Solar MoonLight

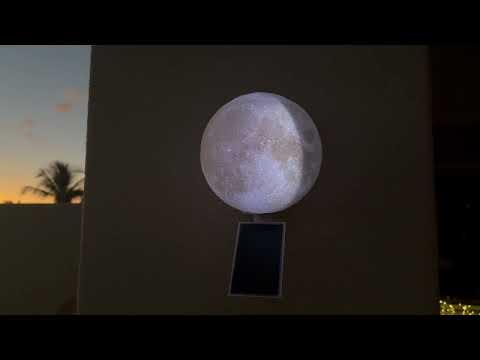

Here in Hawaii the traditional calendar is based on an approximate 30 day lunar cycle of nights. I know relatively little about this subject but refer you to a website that has all the information on naming and the significance of the lunar cycle as interpreted by the wonderful human mind for time keeping: https://www.napea.info/hawaiian-moon-names. Of course there is an incredible depth to this story which has names for every day of the lunar cycle. Everyone remembers "Gibbous" and the attendant waxing and waning qualities of the lunar light. I think the last time I studied this was in 8th grade science and didn't really have a grasp that the moonlight comes and goes from opposite sides of the lunar face. With the extensive study of lunar light the Hawaiians were able to correlate lunar light activity with harvests and the tide...tidal effects being most marked in the early and late periods of the lunar cycle. Their 12 month lunar calendar with corrections organized their planting cycles and dry and wet periods. Lunar calendars were common in many cultures but had built in corrections to enable correspondence with the yearly sun cycle. In keeping with the celebration of lunar time I built a solar powered lunar timekeeper.
The unit is 3D printed of PETG to resist the trauma of outdoor wear and its main housing is the ubiquitous model of the lunar surface adapted from real satellite data. The internals consist of a Xiao ESP32S3 connected to a servo mechanism that runs a baffle that is illuminated with a Neopixel chain of eight lights per side. The timing is done with an accurate real time clock that provides the microcontroller algorithms a starting point. The microcontroller is powered by a litho-battery which is charged all day with a solar cell. It sleeps most of the time waking every 15 minutes to check the time and adjust the moons lighting position. After sundown it turns on the LED's for a couple hours. Waxing and waning are designated with a Neopixel color change but you can adapt the software for a variety of lighting effects. This week will feature a "Black Moon" for the second dark moon of the month to pair with the name "Blue Moon".
Supplies


- Xiao ESP32S3 $5--super little board!
- RTC 3231 from Adafruit...have used the generic ones and seem to have trouble with them regularly...$15
- Tiny Digital Servo $10...dont like the non-digital cheaper versions...they regularly crap out and make more noise
- On/off switch $1
- Litho Battery $3
- 18650 Lithium Battery Charger $1 USB-C
- 5v 1.2 W Solar Panel ETFE $3 Adafruit
- Neopixel string enclosed in Silicon Bead Diffuser $10 Adafruit
The Xiao is a champ still and I use it in most of my projects...just never have a problem with them and they are so small.The RTC 3231 can be obtained on Amazon for a cheaper design but Ive had trouble with these for some reason. The Neopixel with the Silicon Bead Diffuser is quite good for evening out the light from the neopixels
3D Print


All the parts are made on a Bambu P1S printer. Since the unit will spend most of its life outside the parts should be printed in PETG HF white for the lithophane lighting effect. This was a Bambu product and all of the standard flow parameters were used to great success. The original moon globe was taken and modified from Mihovec_Design on the Bambu Slicer. Most of the parts required supports and some were printed with !00% infill.
Wire It


The wiring consists of connecting the RTC clock to the Xiao ESP32S3. The Neopixel strings have two control wires that are also connected to the Xiao.
D4 -- SDA
D5 -- SCL
D9 -- LEDS2
D8 -- LEDS
D7 -- Servo Pin
The remainder of the wiring is done for power for the LEDs and Servo as well as the RTC. These are all connected to the output of the charging circuit. The Xiao itself is powered through the plus Bat terminal on the backside of the microcontroller. No power is fed out through the 3v from the Xiao to use less power when it goes to sleep. The power supply circuit is the lipo battery connected to the 18650 charging board on Bat in (+/-) and the output going through the ON/Off switch to provide power to LED chains as well as Servo and RTC. When the power is disconnected the RTC runs through its own coin cell battery. The Solar Cell is connected to the input side of the 18650 charger adjacent to the USB-C hub.
Downloads
Build It

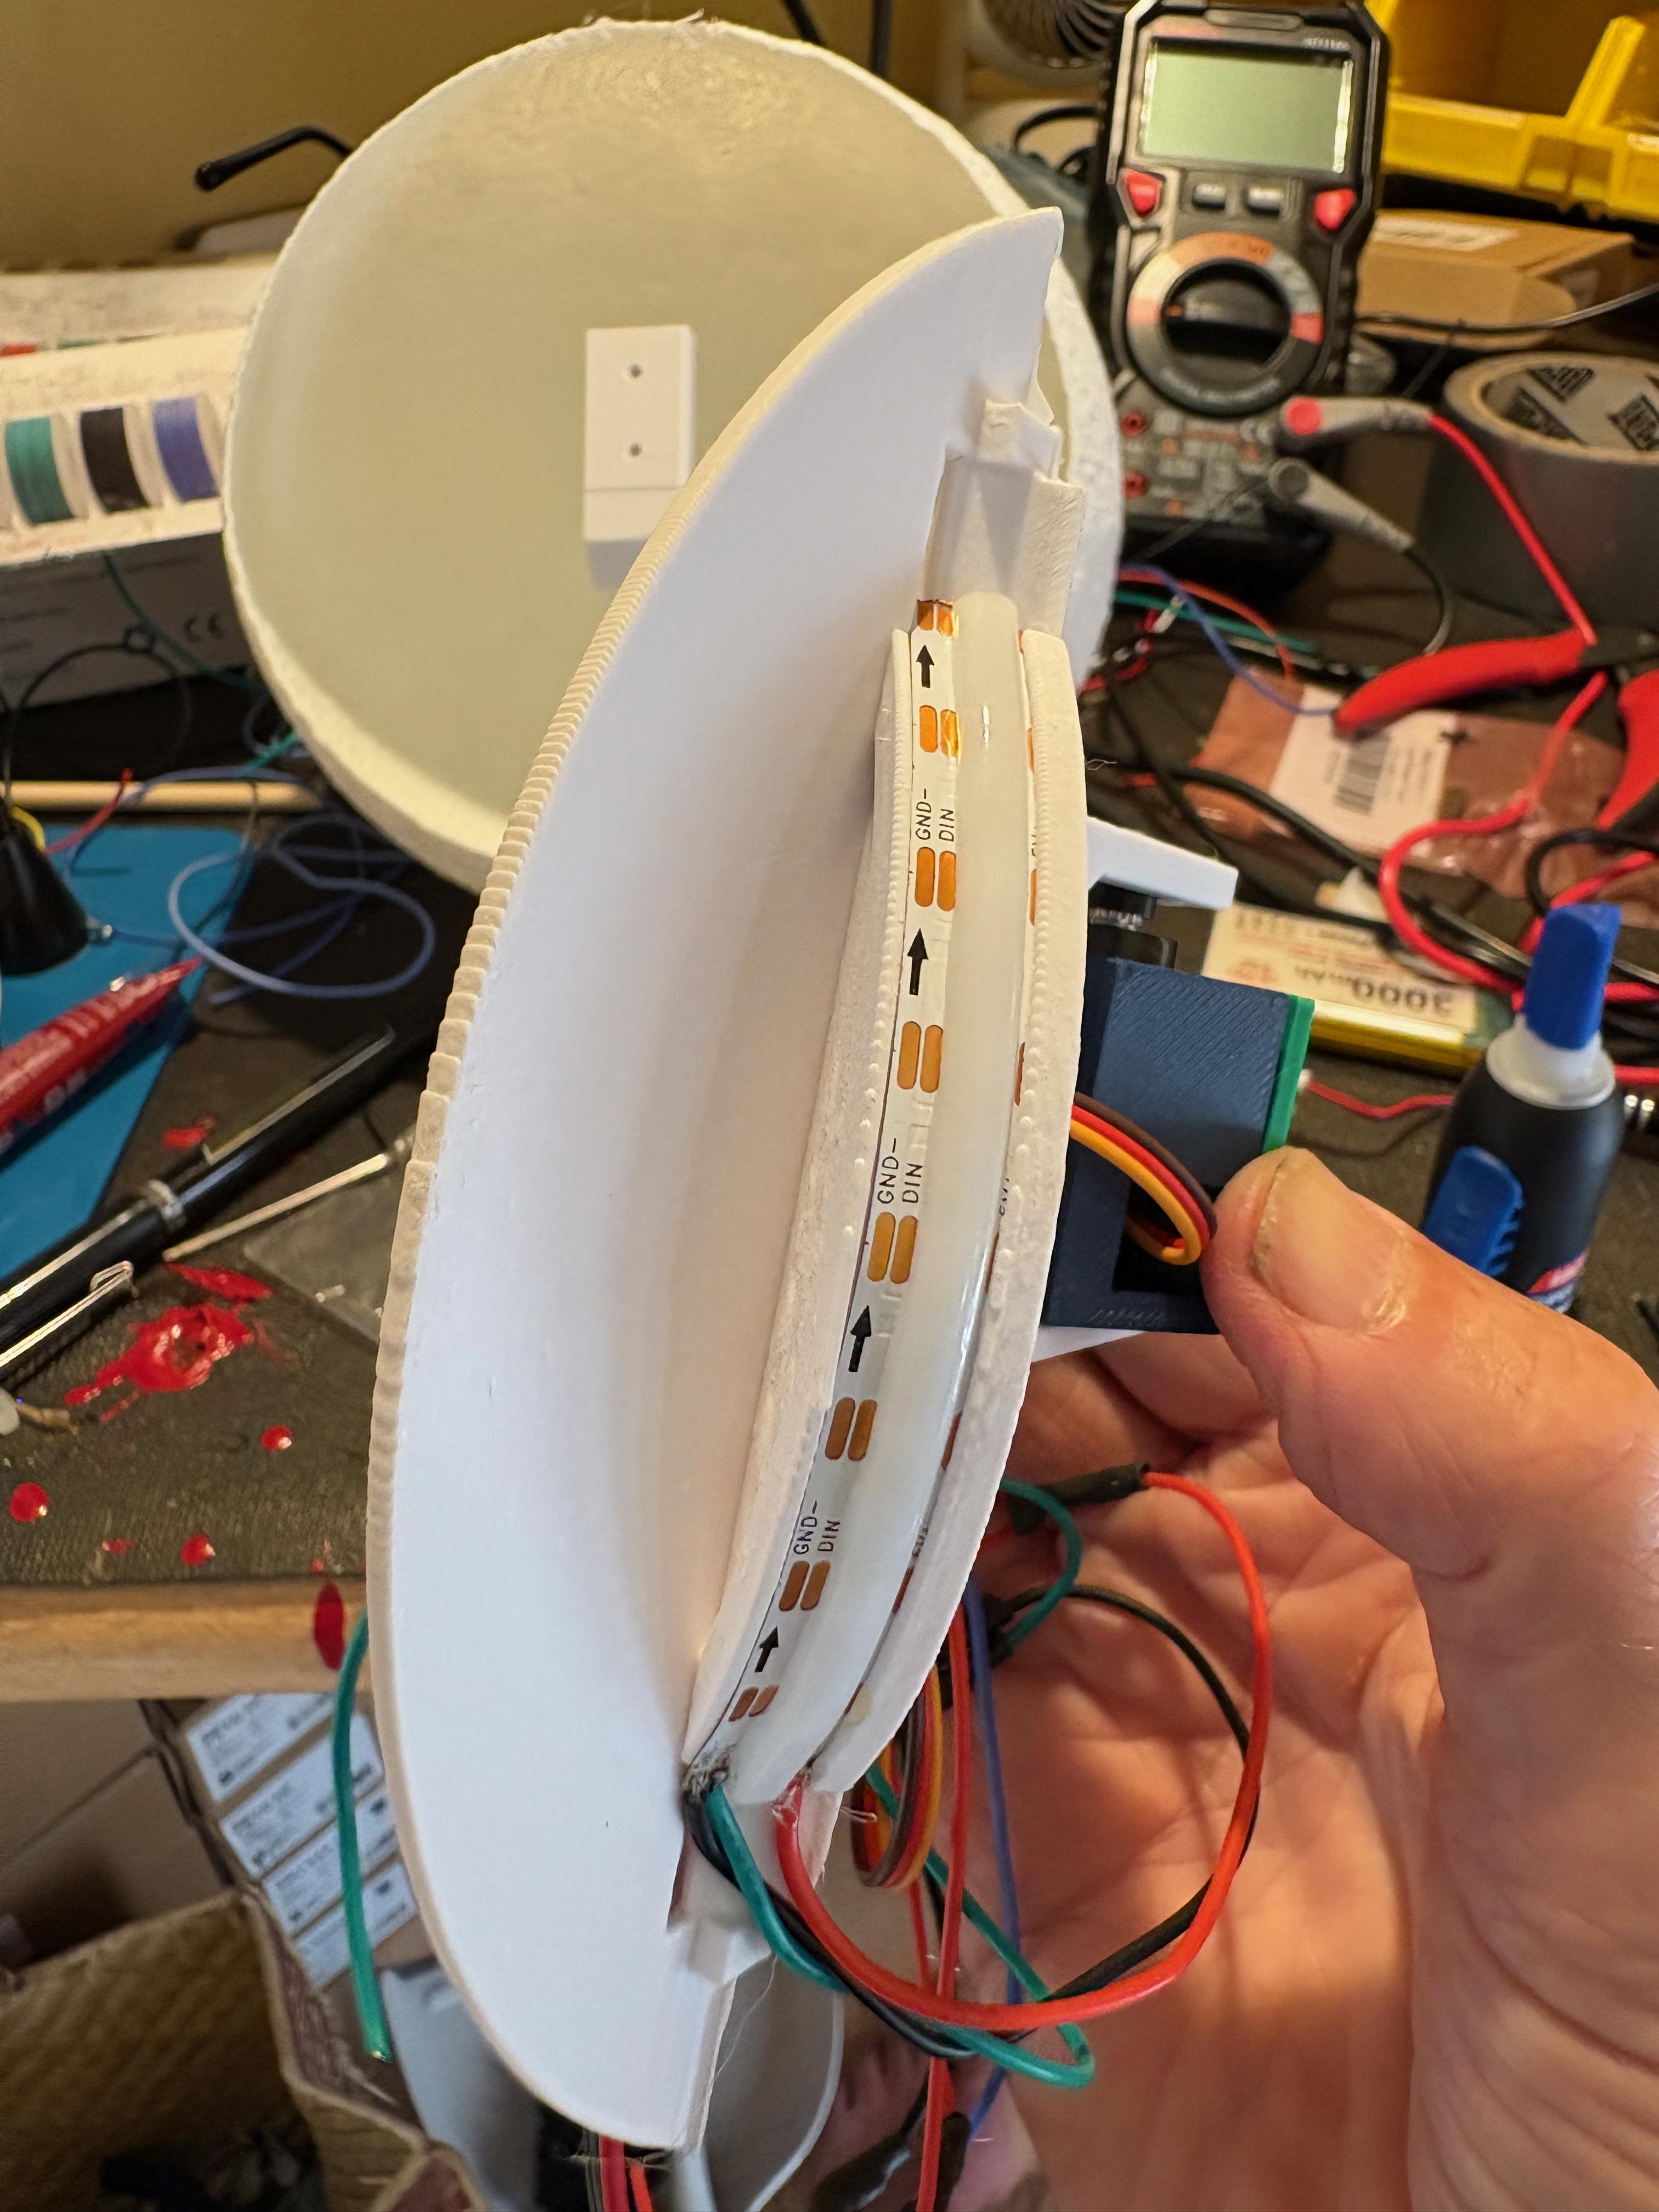

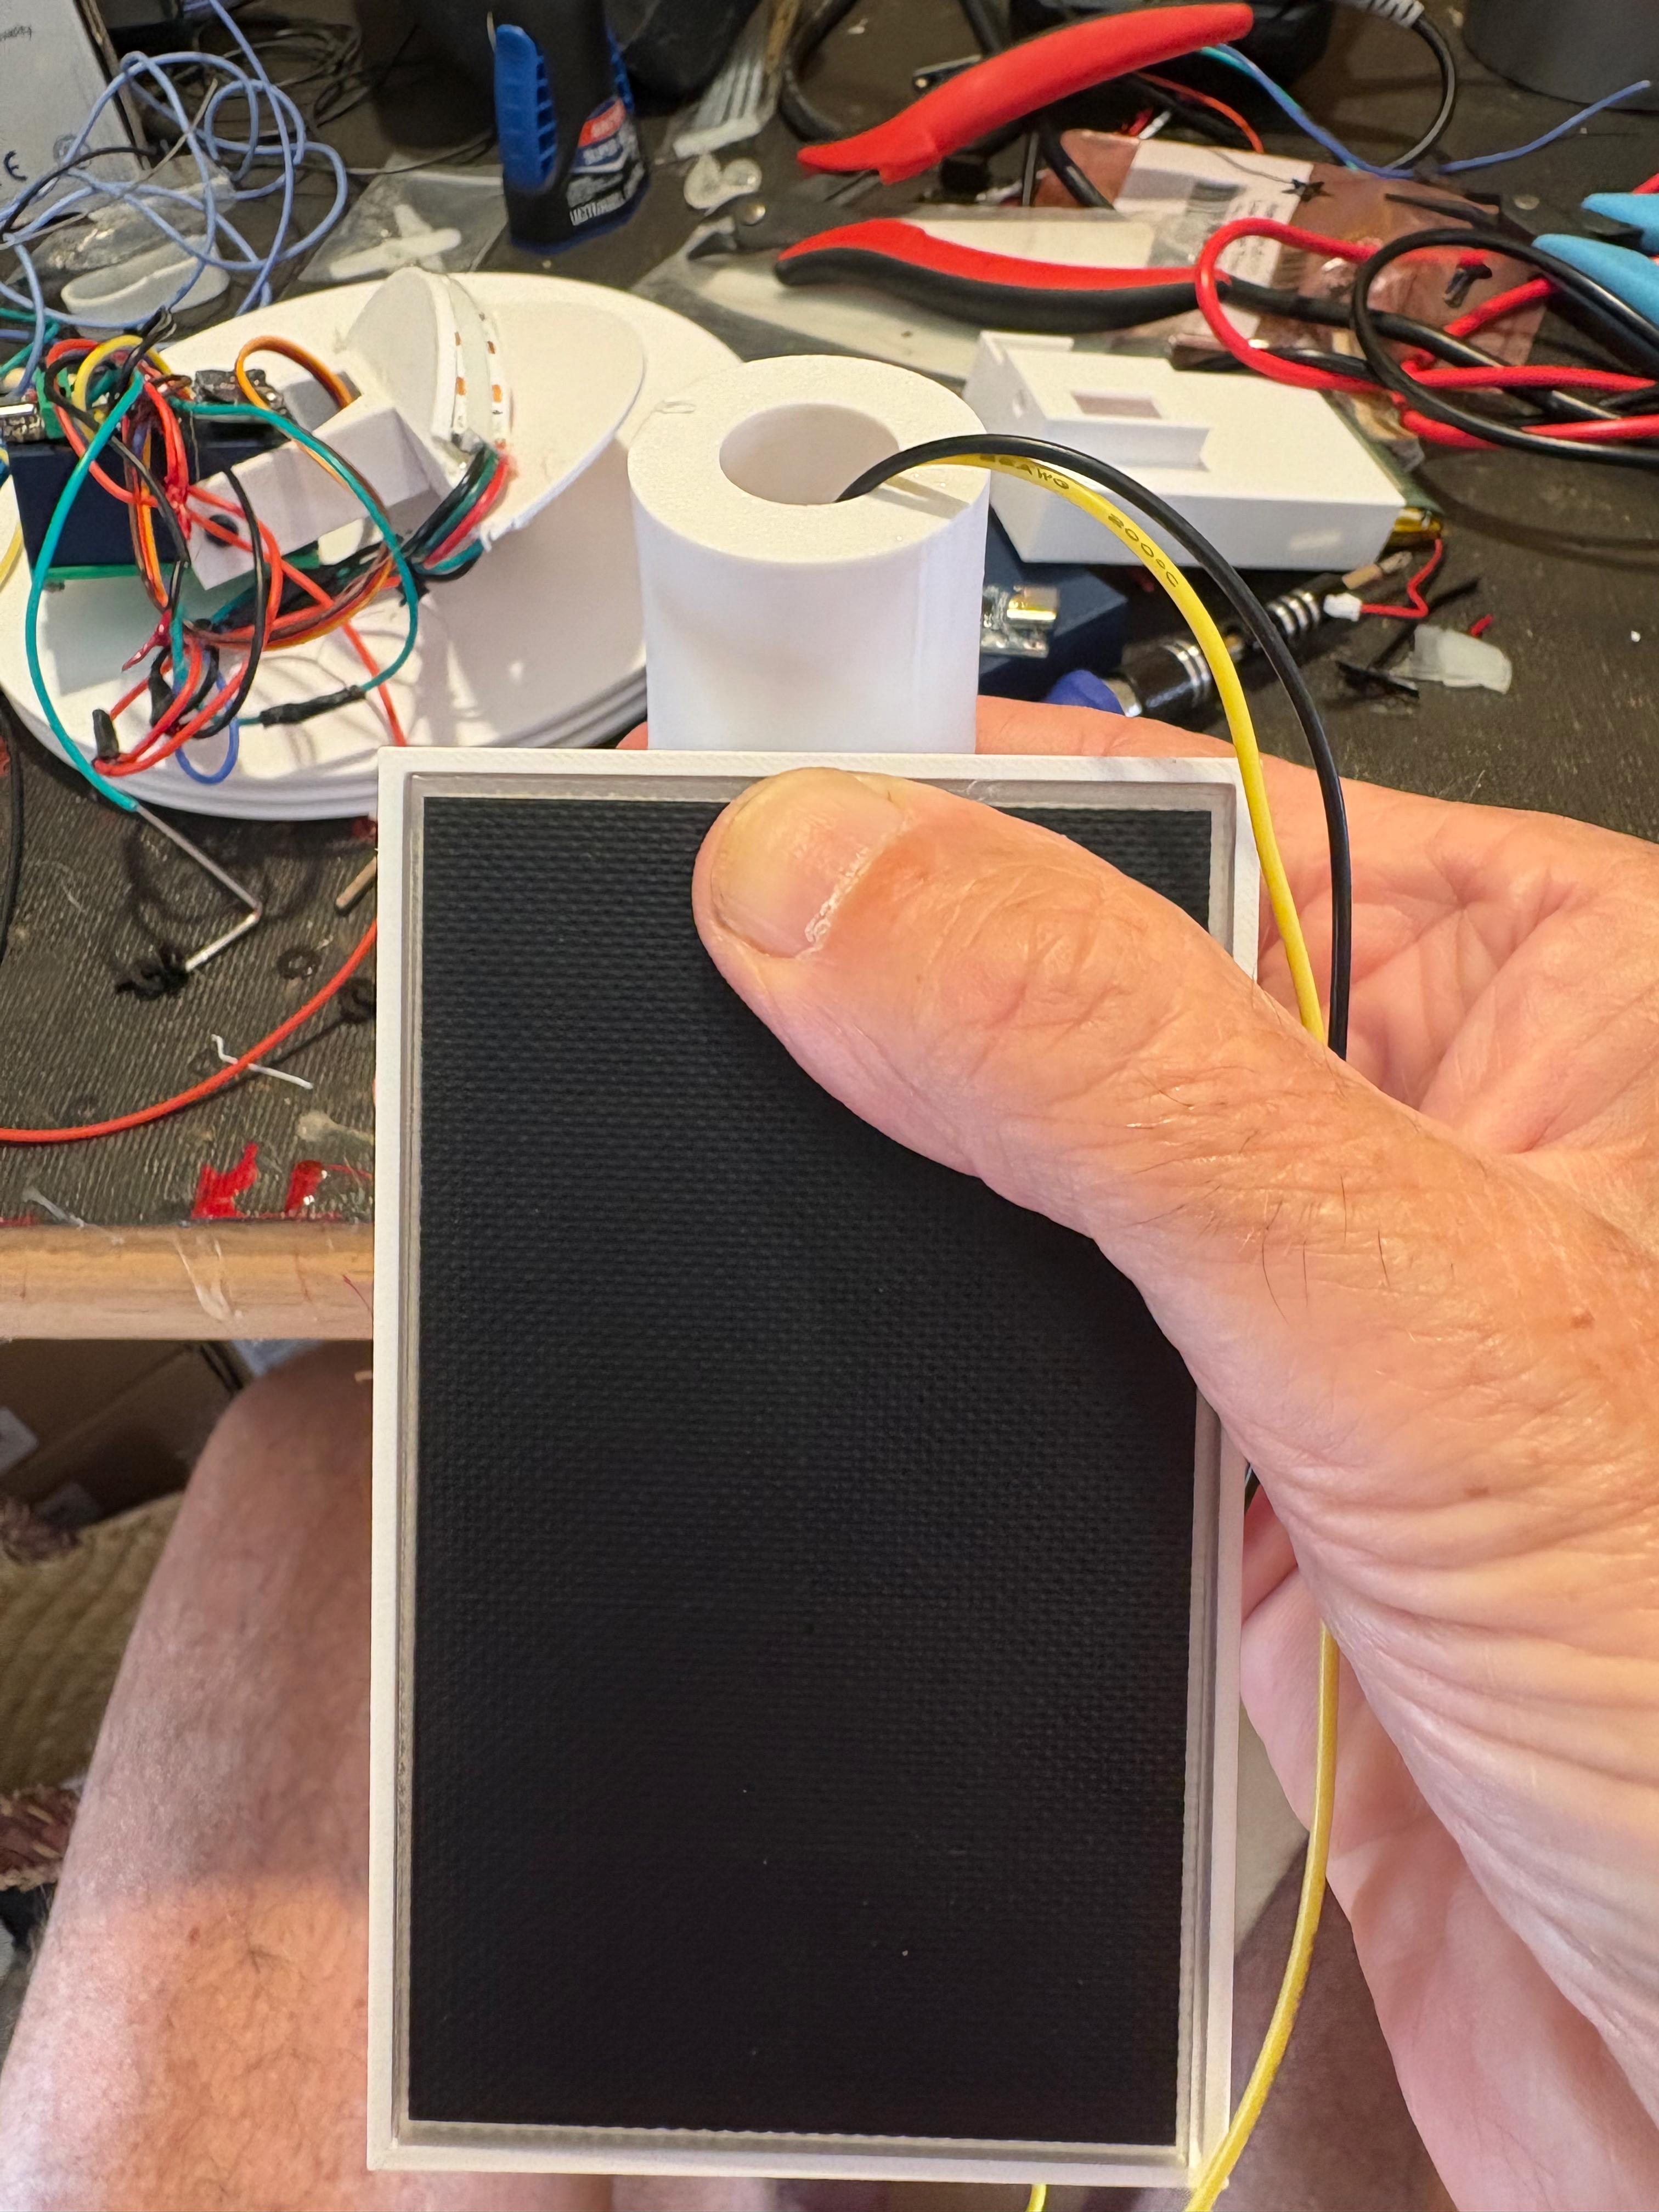
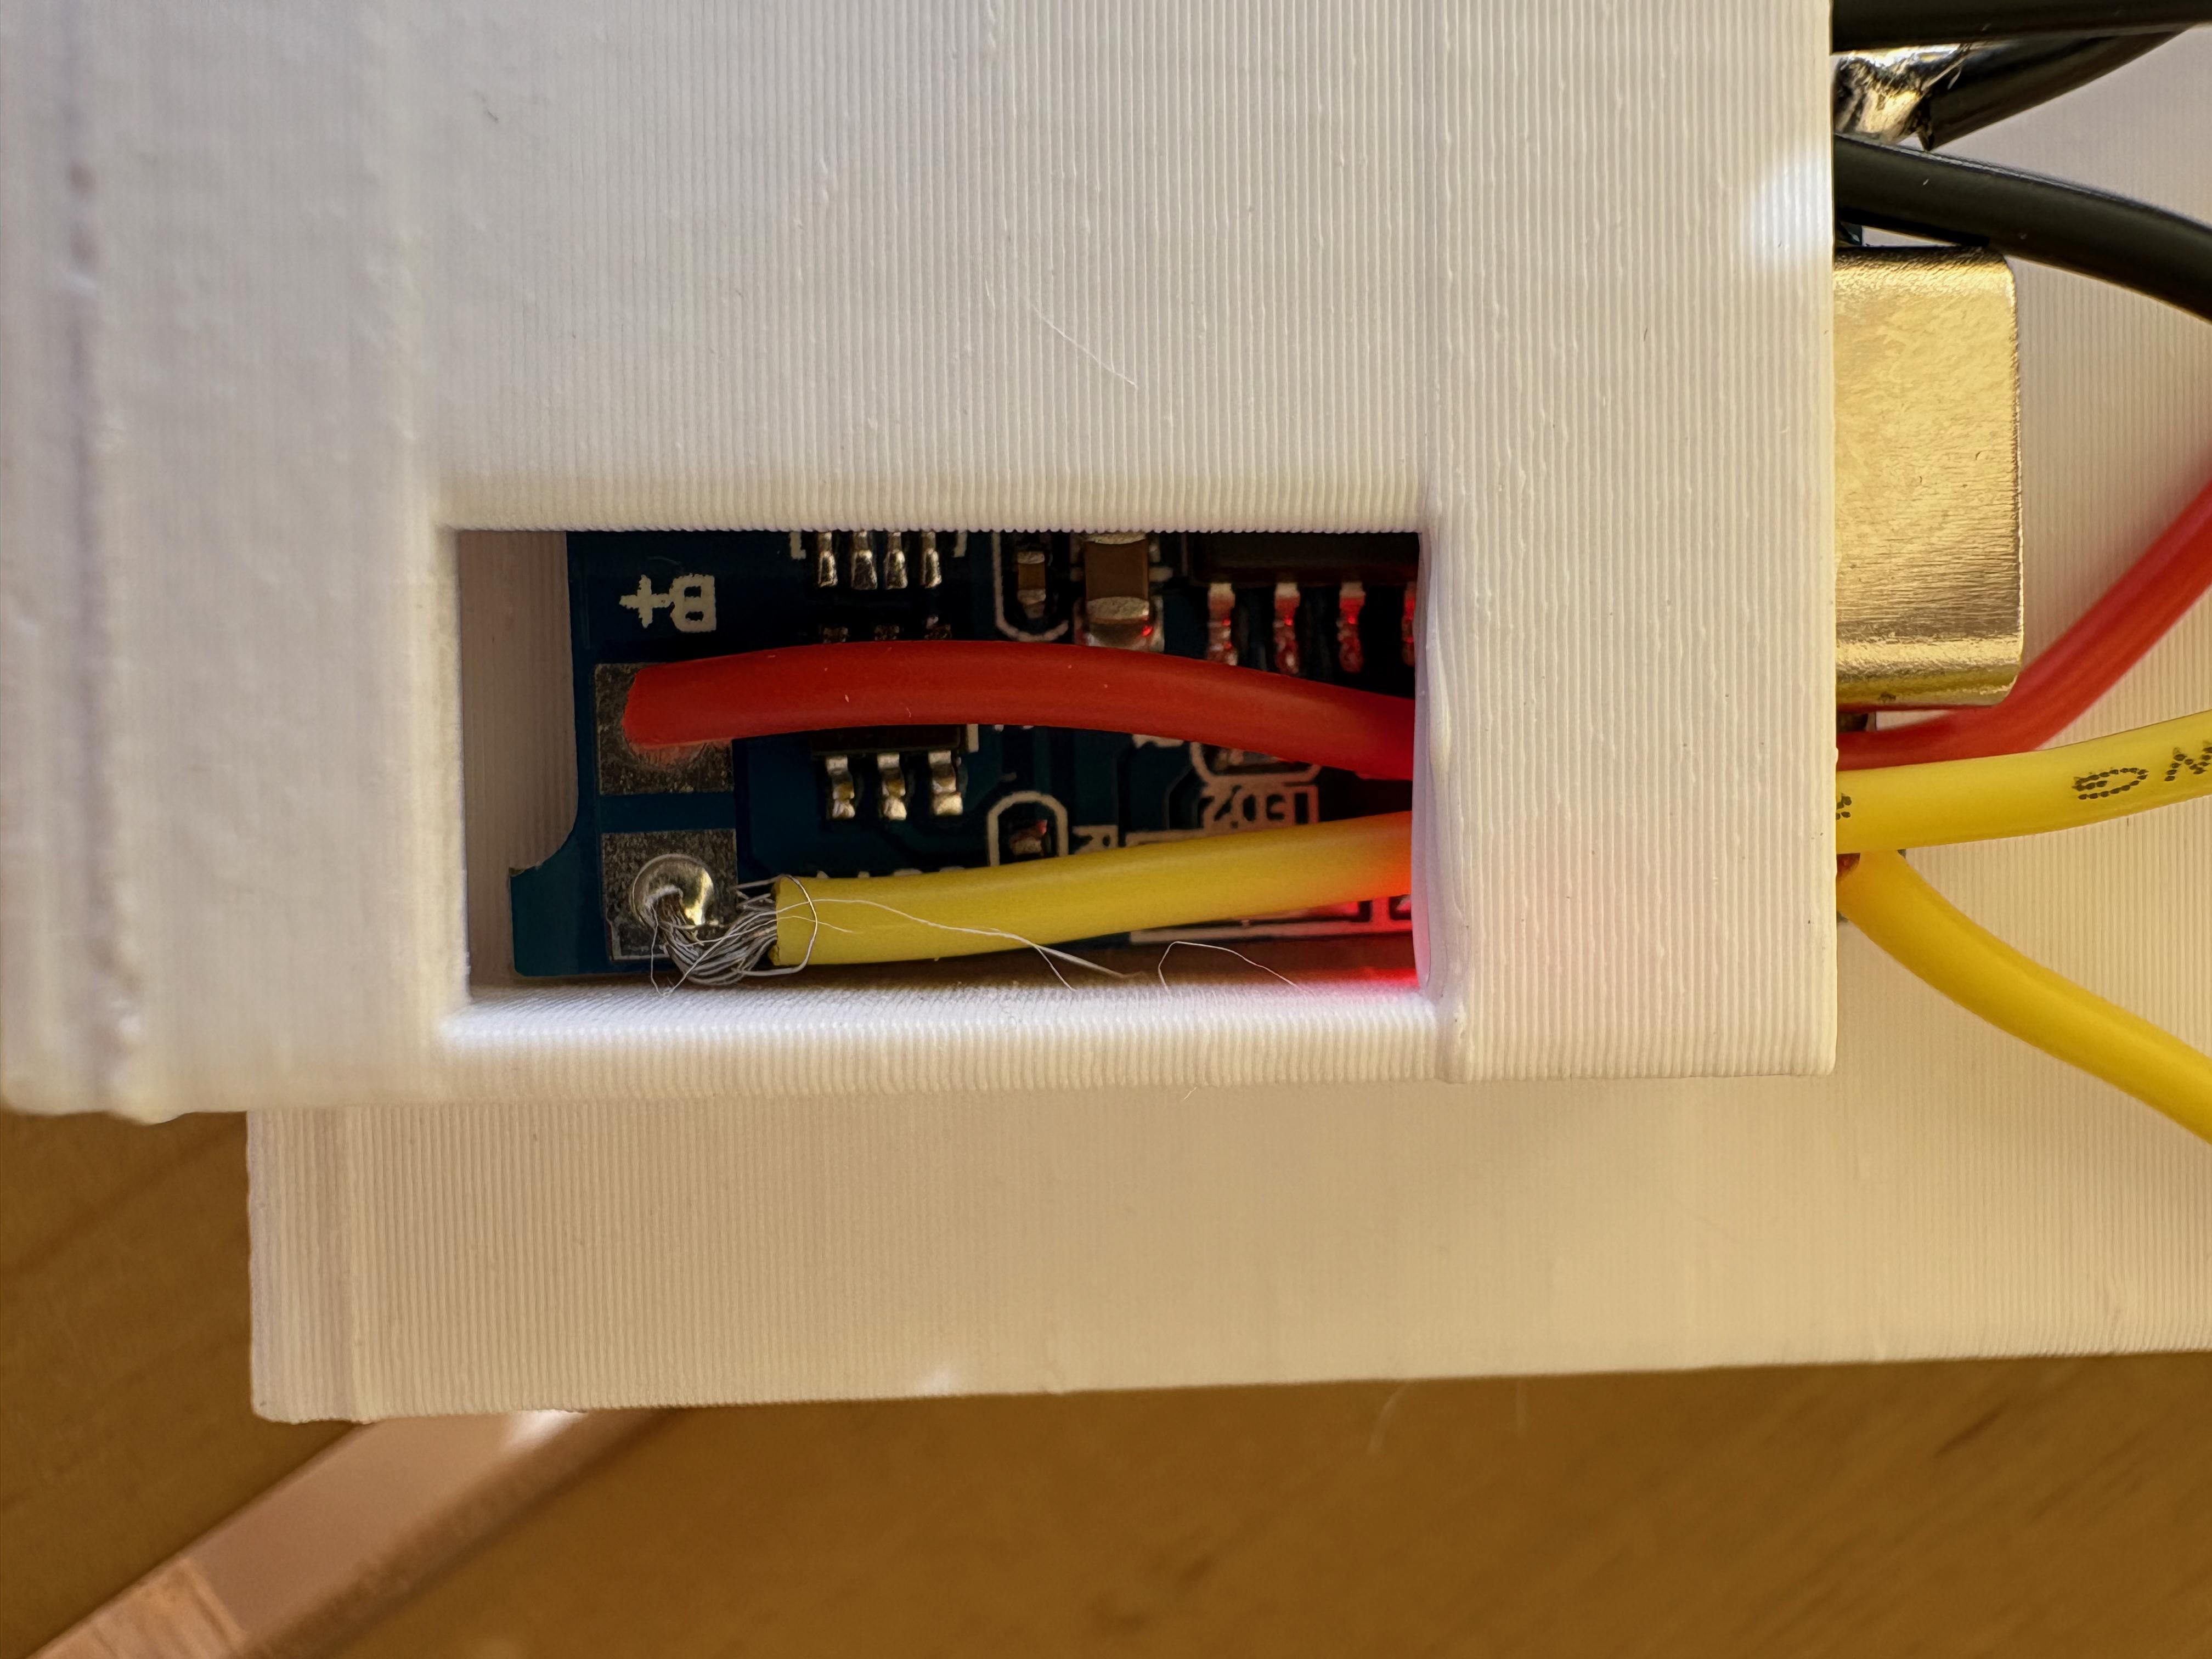
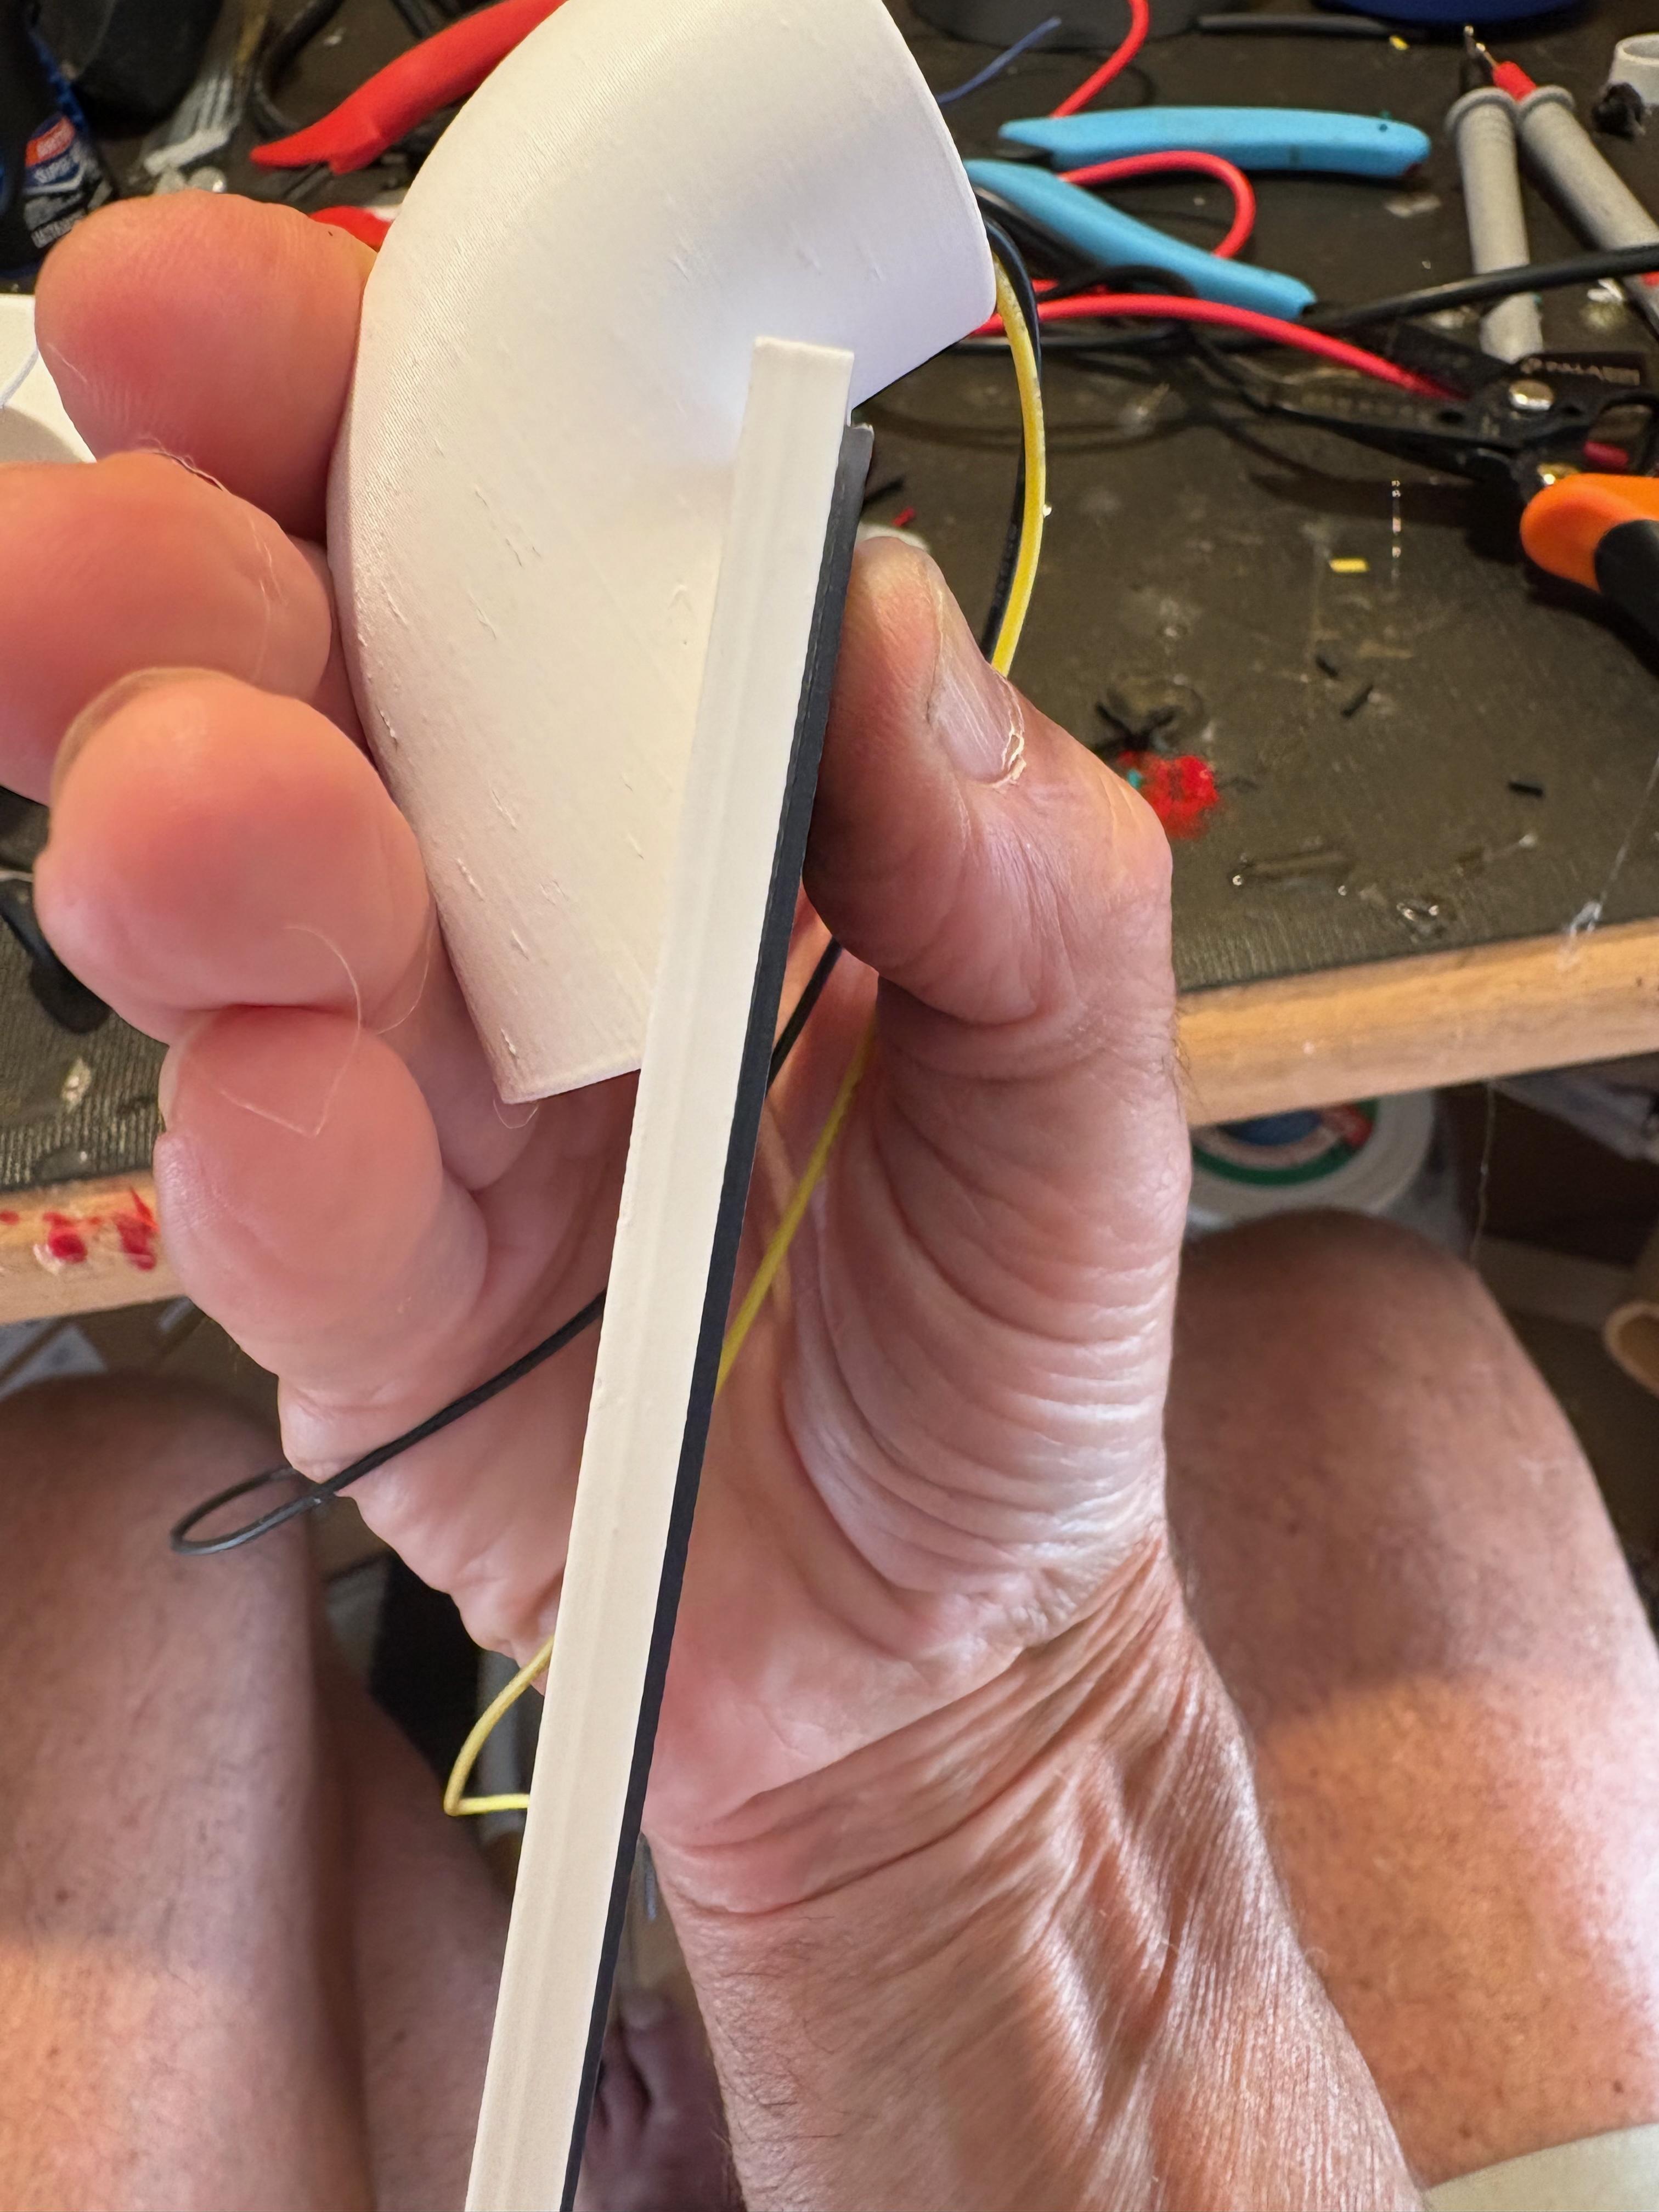
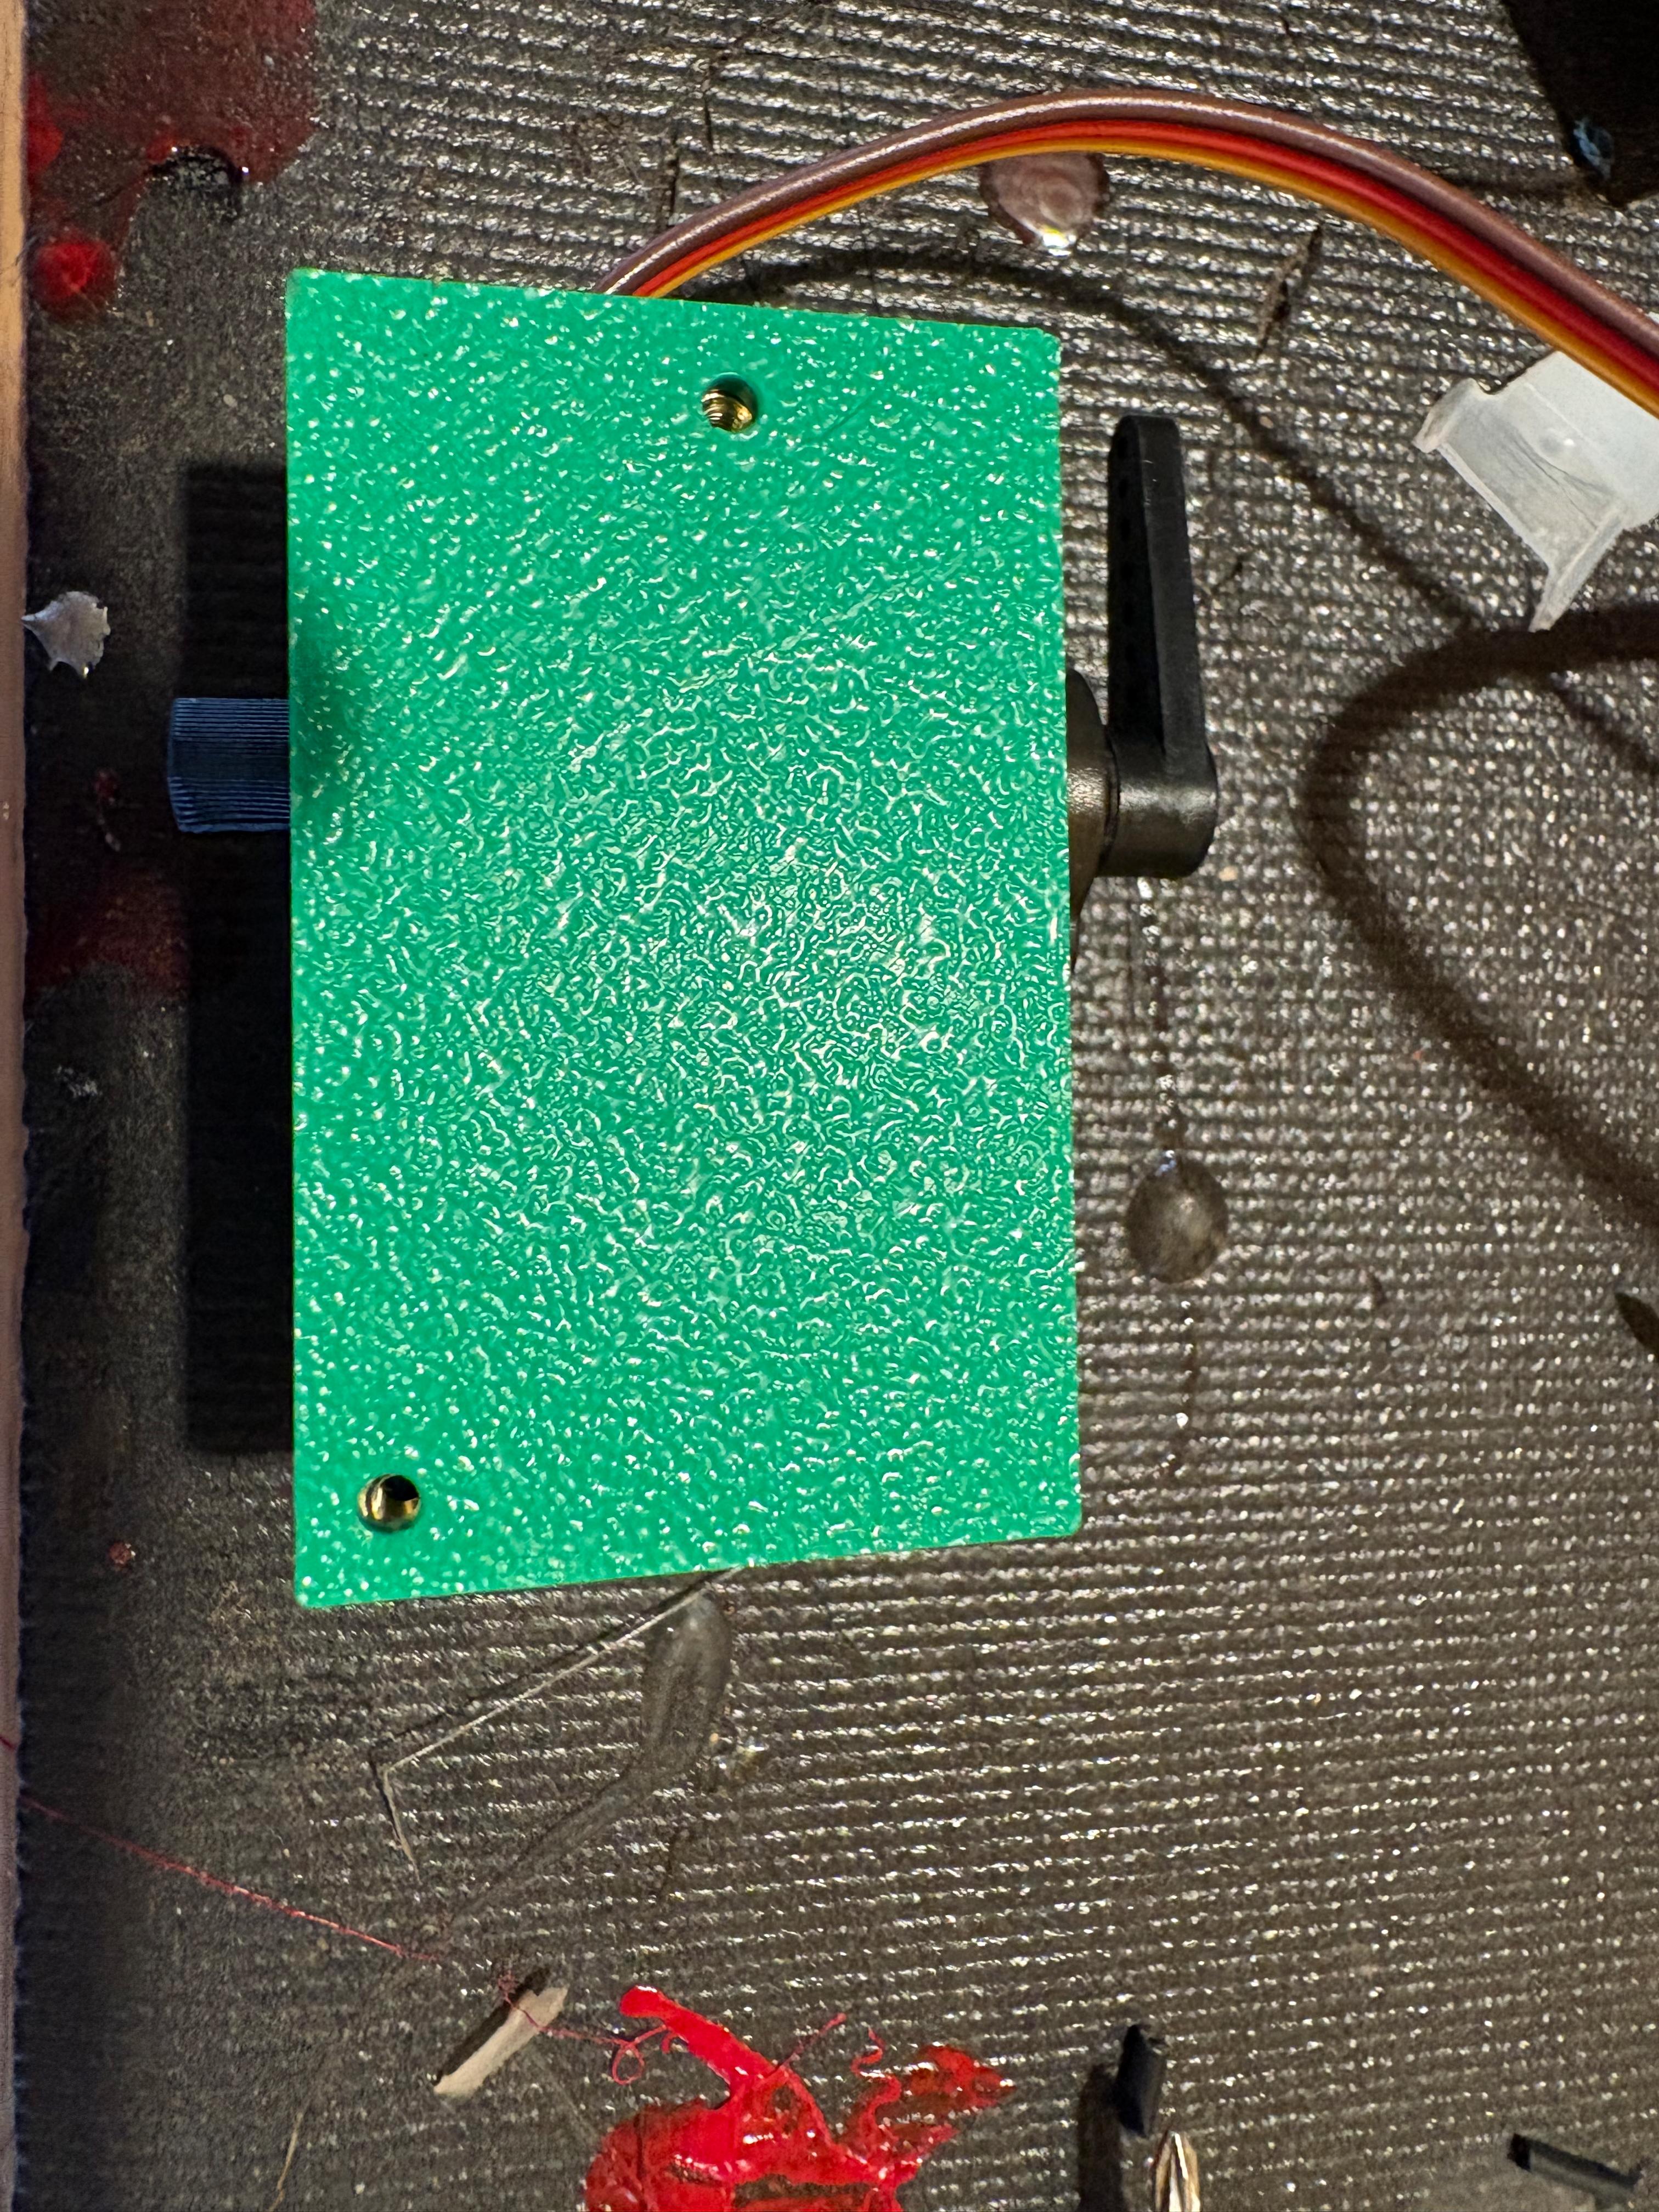
The moon globe has the back half cut off and a large hole in the bottom. A back ring is glued onto the access hole at the back of the globe. This has an internal thread assembly that allows the back access plate to be screwed on and off giving full access to the internals. The back plate has two mounting brackets that are glued to it after accessing where its final position is. The main support bracket goes through the bottom hole in the globe and is held in place with the large nut. The main computer unit holds the servo which fits into the holes for the slots on the sides. All holes in the computer holder have 2mm x 6 mm heat sink holders for all screw positions. These are all placed. Screws are all 2mm in size but with varying depths. The RTC is directly screwed to the outside of the servo unit with (2) 2mm screws. The Xiao is mounted adjacent to the RTC with the mounting plate with (2) 2mm screws. A closure plate over the servo is attached with (2) 2mm screws. A horn is fitted to the top of the servo with included screw. The swing arm is attached over the servo horn and the mounting cylinder at the bottom of the computer mount. The swing arm is than glued to the Neopixel Light holder. The two Neopixel chains of 8 LEDs are then placed into the slots on the Light Holder. Additional glue and attachments hold all the wires in place. The battery holder is assembled by putting the 3000mah Lipo battery into the battery box and then adding the 18650 charger board to the smaller box on its side. The ON/OFF switch is wired into the small box adjacent to the battery and the small cover is placed over the button. The solar panel is glued onto its mounting and attached to the lower curved arm that is glued to the base of the moon after running the wires through the holes. Most of the glue was SuperGlue but some E6000 was used for the back mount where there was some space filling issues.
Program It

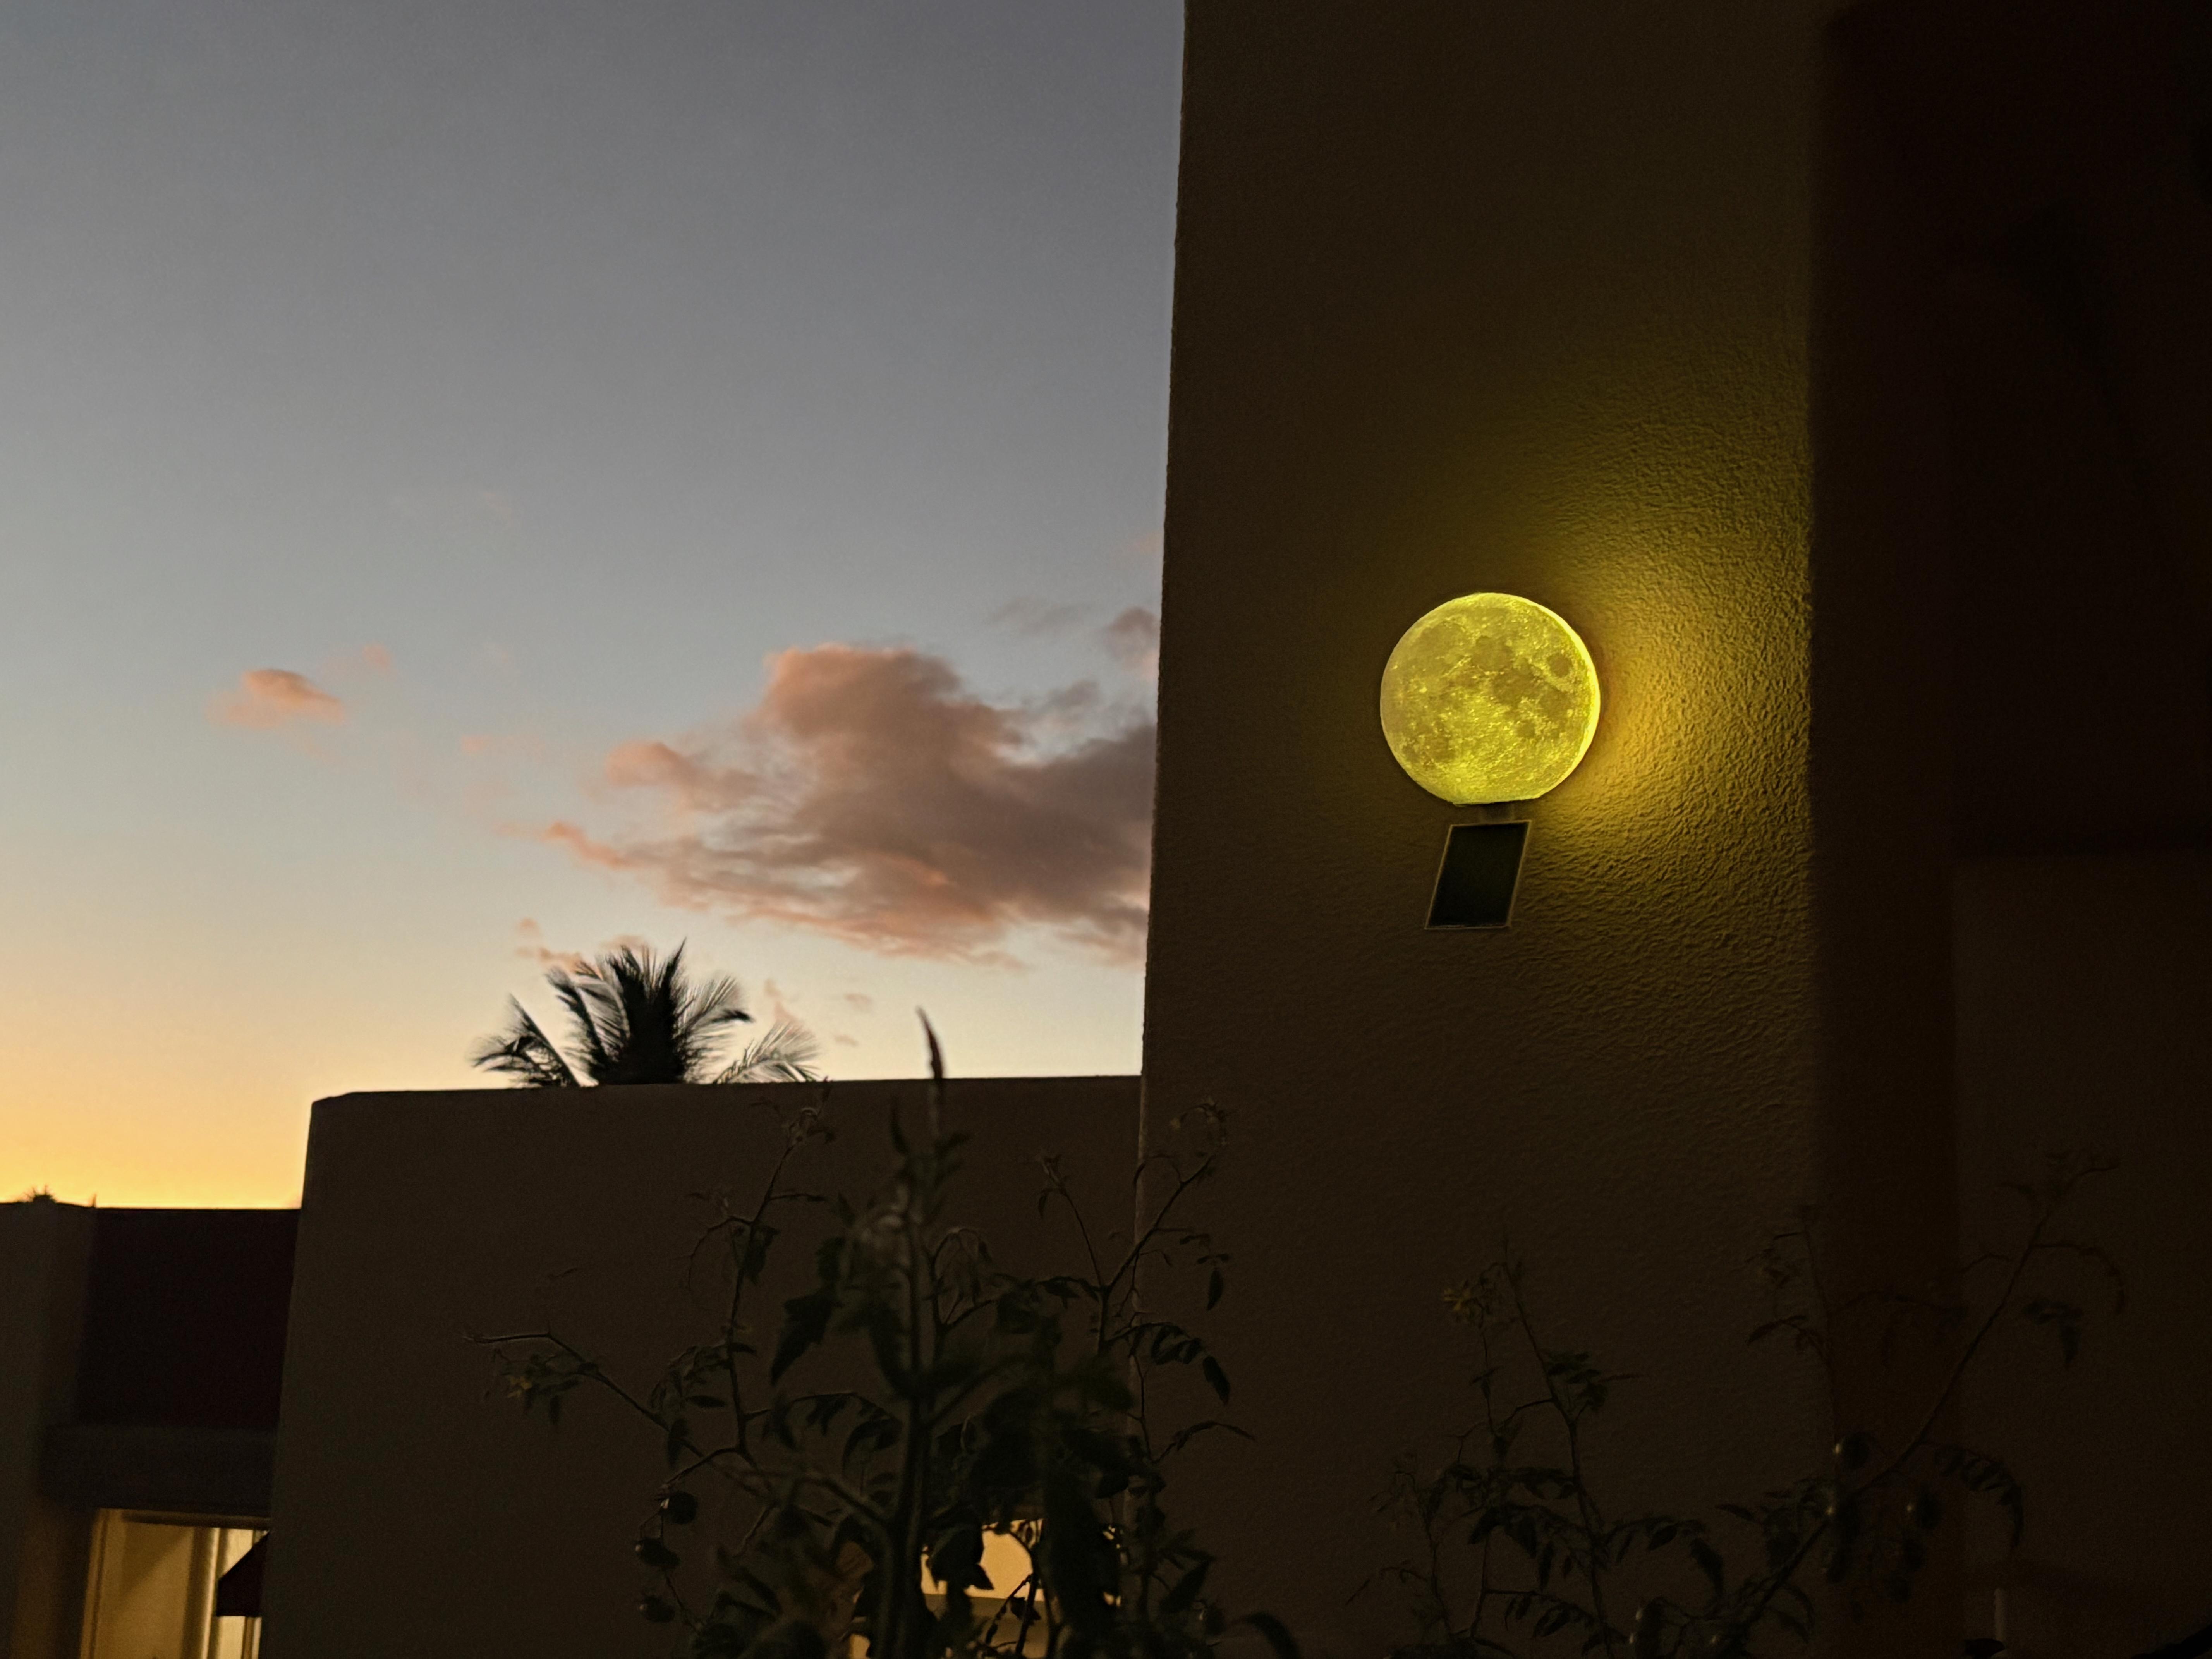
The program for this unit is simple. FastLED is used as the Neopixel control library. Adafruit RTClib is used for the I2C connected clock. Two data pins are set up: D8 and D9. A RTC_DATA_ATTR is set up to check for the boot count when the unit goes to sleep. The TIME_TO_SLEEP at the #define level determines how long the Xiao will sleep in-between wakes to check on the servo position and lighting the LED's. The basic software design is that the unit wakes up and determines the moon phase based on this software: https://github.com/faytor/moon_phase_calculator It first grabs the time from the RTC and converts it to a Julian Date and then converts it to a moonNum from 1 to 29 representing the moon phases. It then determines a servo position based on the phase number and lights one of two Neopixel chains--the Right chain for waxing and the Left chain for waning. It uses a couple of constraint and map functions to come up with the correct servo position. Depending on if it is between 7 PM and Midnight the microcontroller sets the servo position and then lights the correct LED string. If it's in daylight or after midnight it just checks the time and goes back to sleep to save energy. The color selection is for Yellow for waning and white for waxing, but this of course is quite flexible and you can do any number of lighting effects.
Downloads
Using It

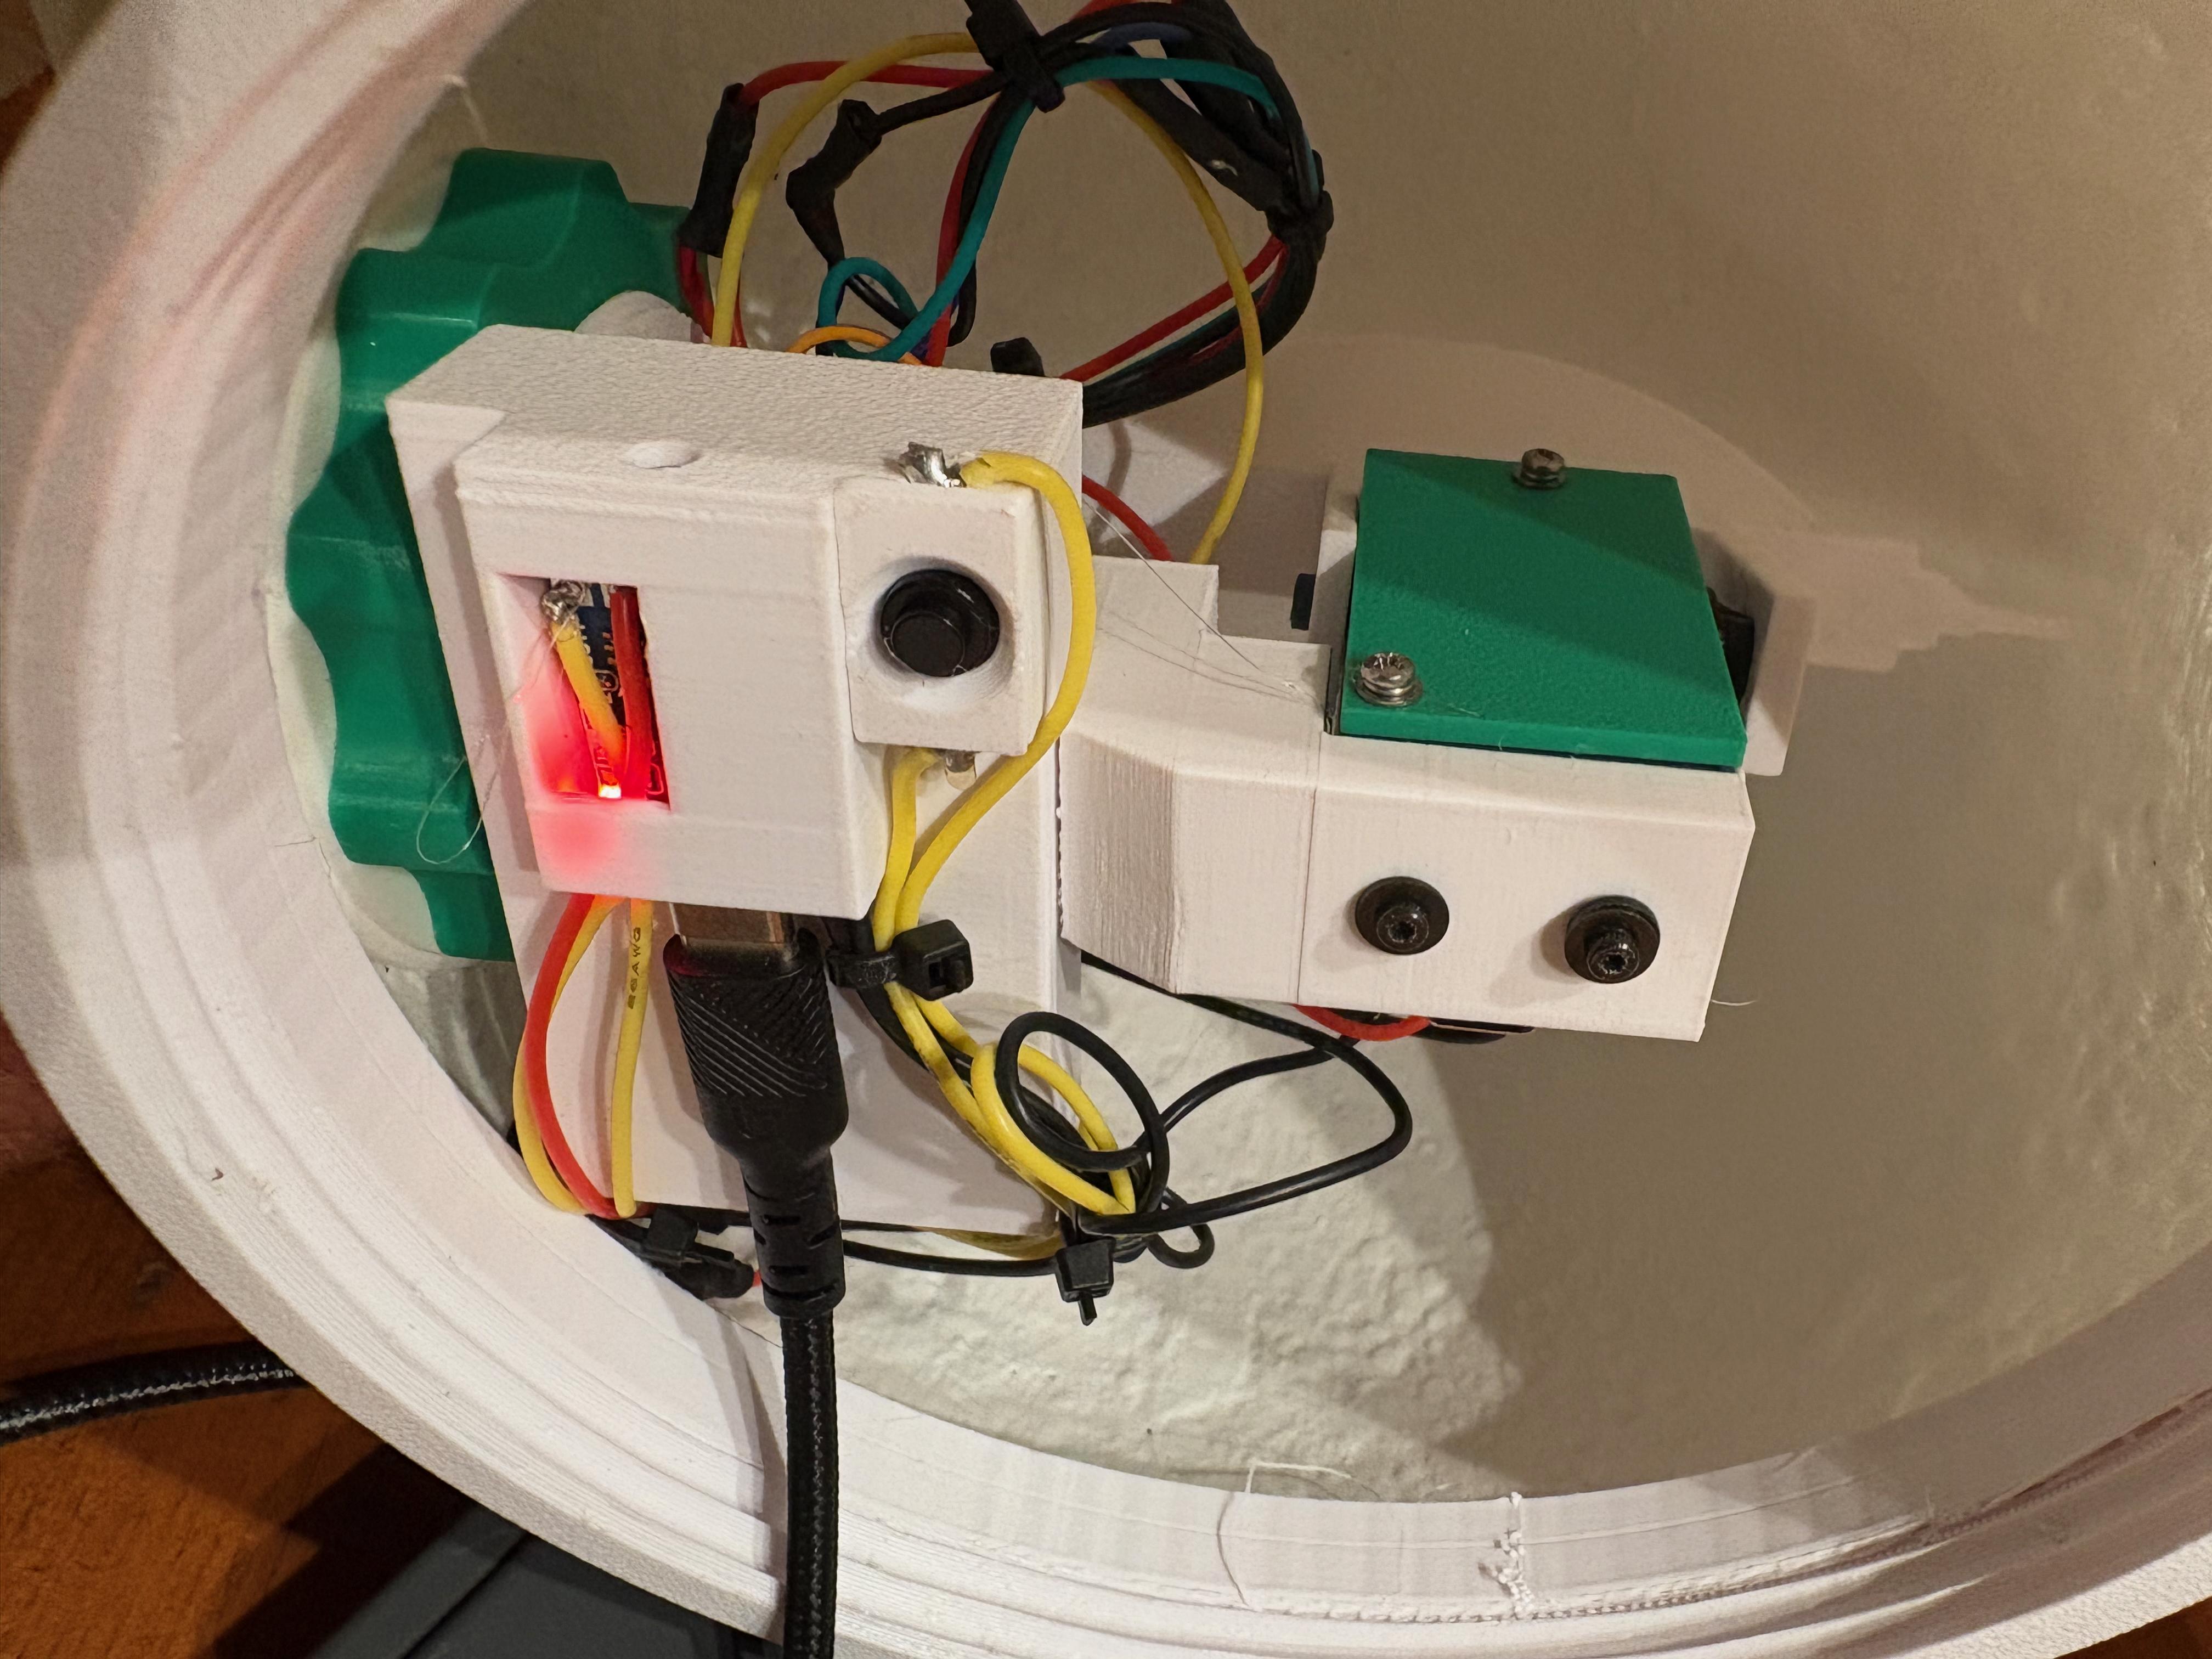
When setting up the software you must include the time zone for the calculation of the Julian Time. The power for the unit is charged with a USB-C charging cable that attaches to the 18650 charging board whose USB-C connector pokes out of its housing on the battery box. The software can be changed by plugging into the Xiao unit on the side of the servo box. The ON/OFF button can either be left in either position for charging with the cord. After the initial charge the unit uses very little power and is easily recharged with the small solar panel if you have good sun for part of the day. The hours of operation can of course be changed in the software. I have used silicon grease for the threads on the main back housing that generally prevents fluid ingress. The dome itself is mostly waterproof and should keep the computer and servo working (the servo is waterproof) but if you have doubts you can always coat the inside of the dome with an epoxy coating.