Run Jump Game Using Unity, BT Arduino, Ultrasonic Sensor
by jegatheesan.soundarapandian in Circuits > Arduino
5414 Views, 8 Favorites, 0 Comments
Run Jump Game Using Unity, BT Arduino, Ultrasonic Sensor
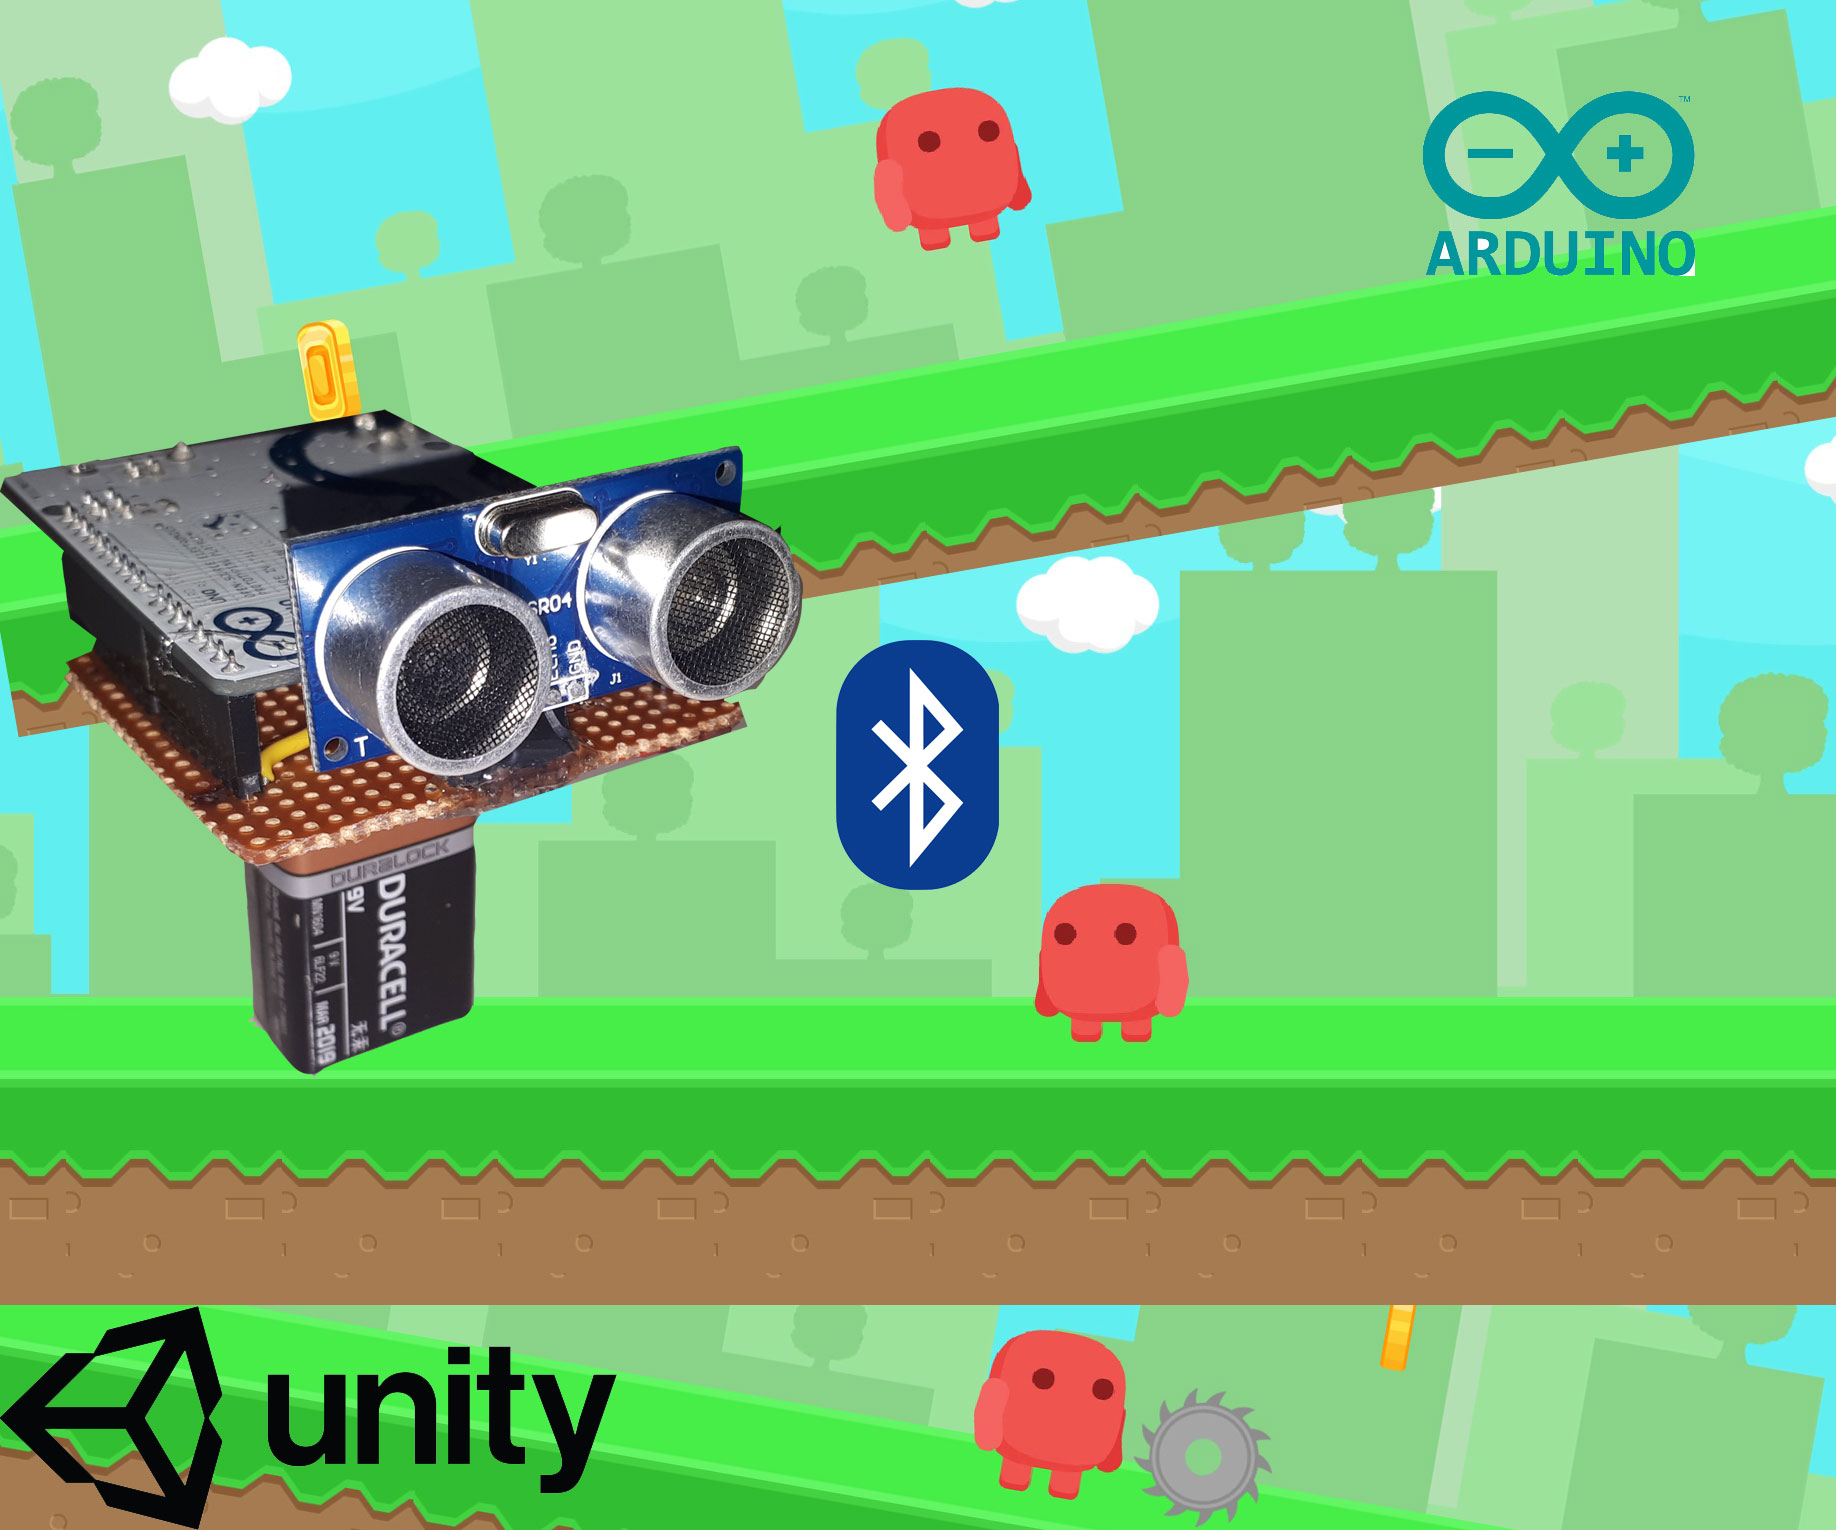
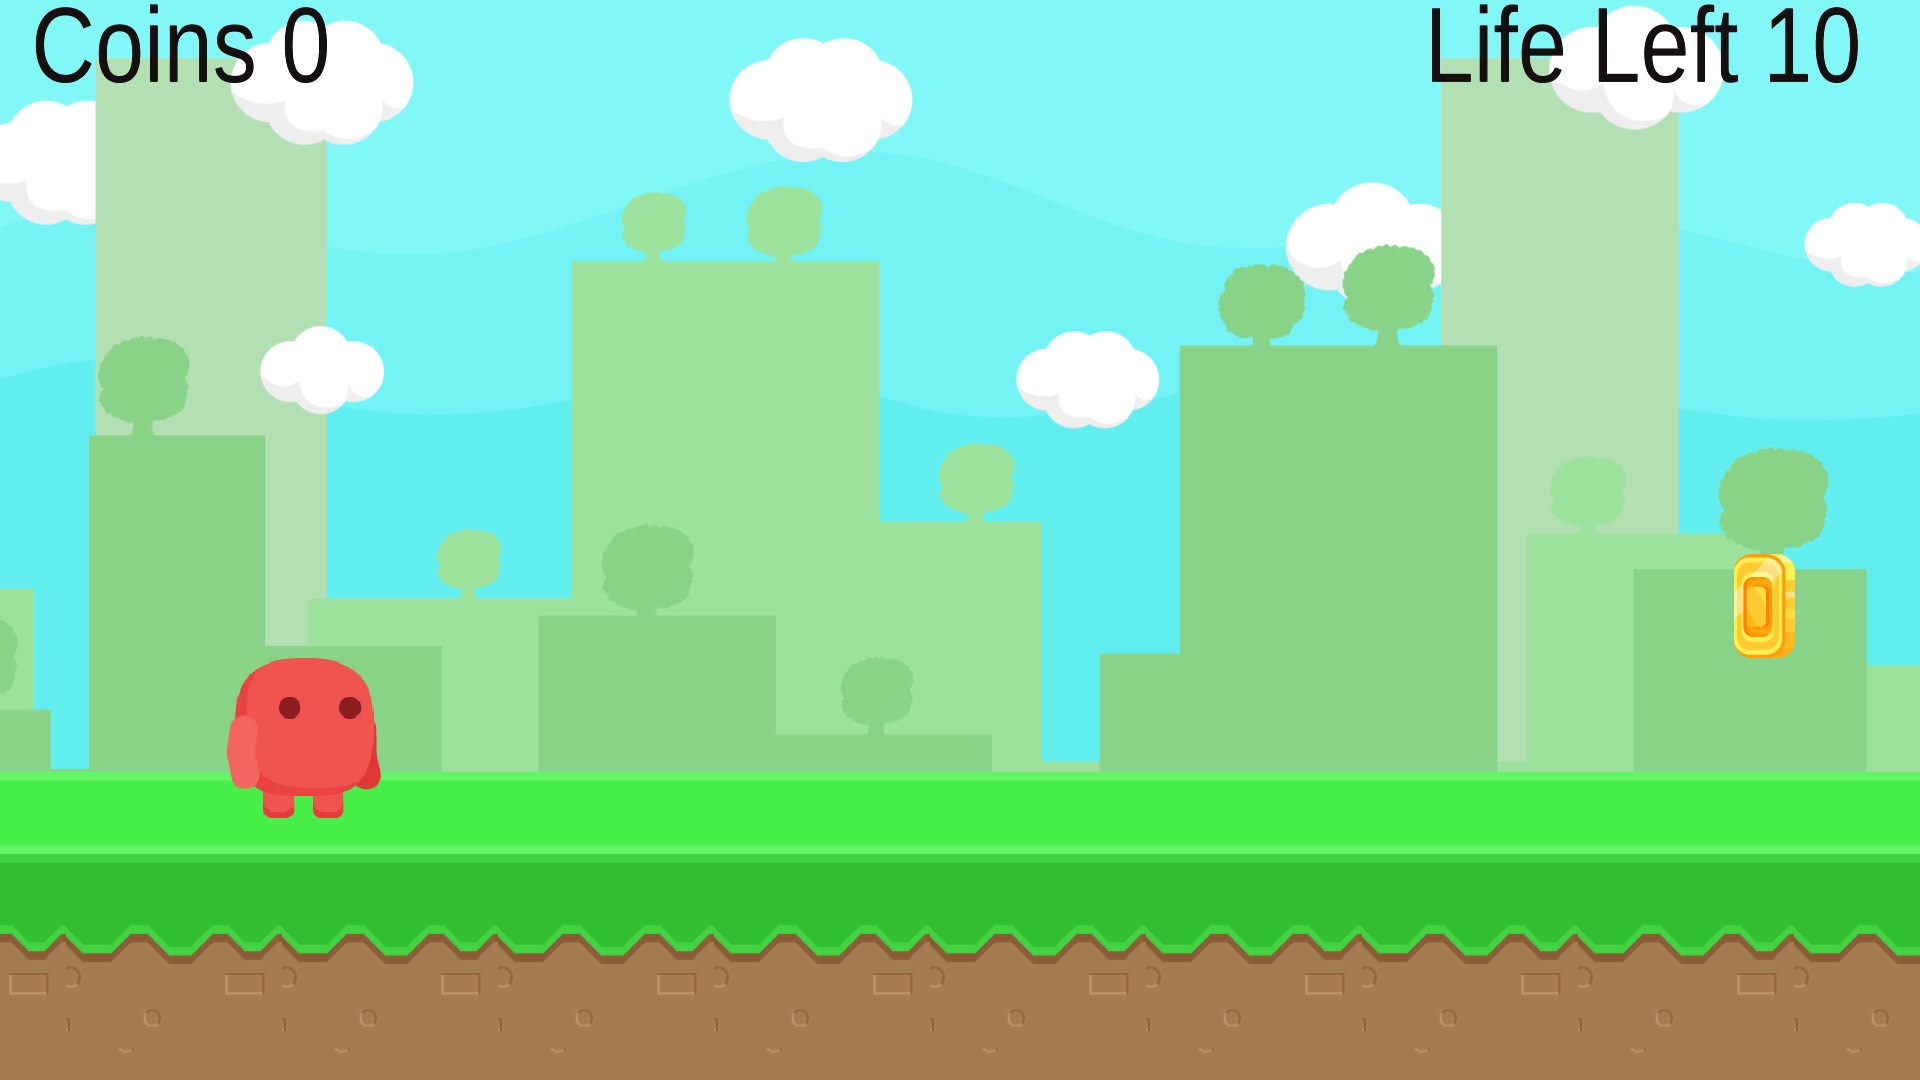
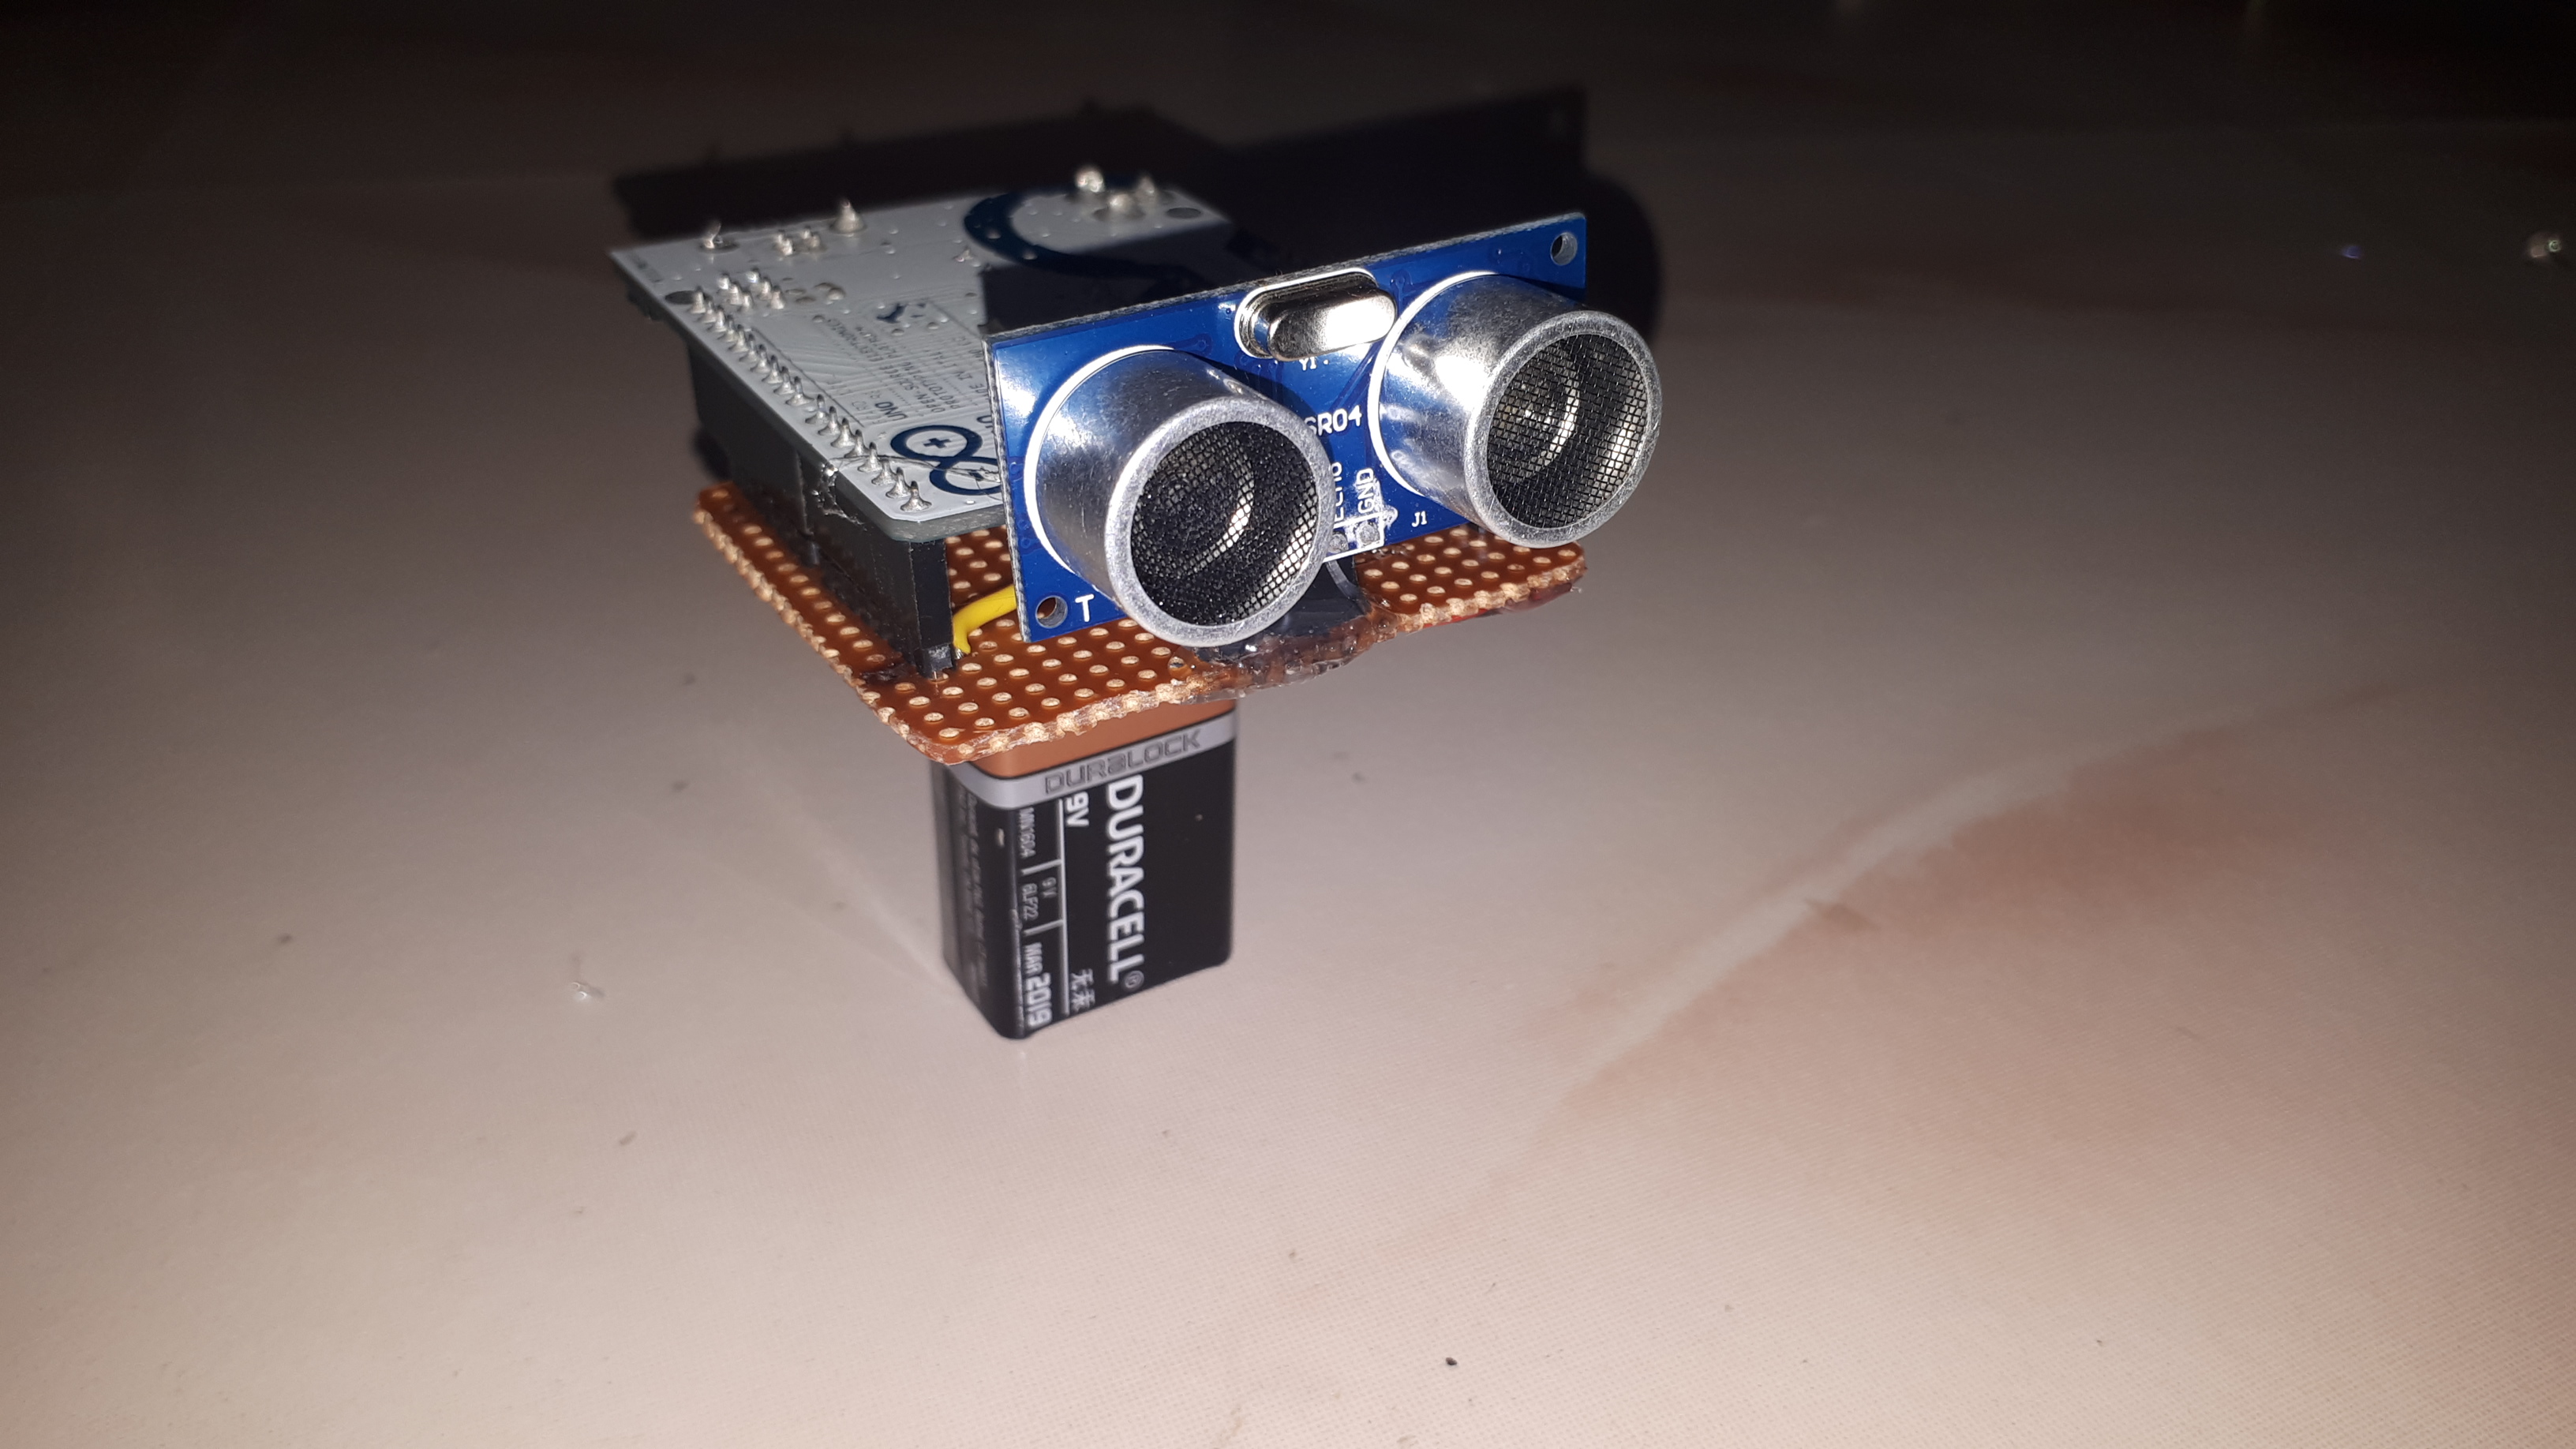
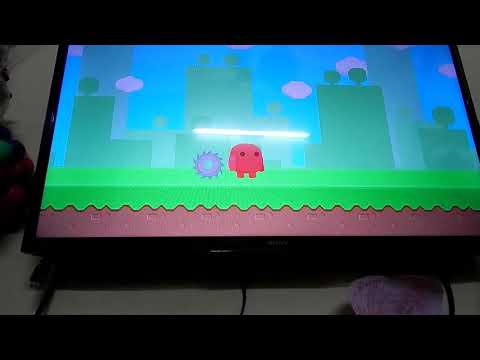
After the sucess of my unity project Unity Multiplayer 3D Hologram Game and Hologram Projector for PC, this is the second project in unity. So to complete the full project from start to end of the game it take time lot of time to study. When I start the project plan for two Ultrasonic sensor for run and jump deduction. But When coding i found only one sensor is enough to complete the project. Here in this project i fully covered the communication between Arduino and Unity using bluetooth. Because of lot of trial and error and correction while building game, i can't able to compile the game development. But detailed the communication problem and steps to correct it in the project. Attached the game as Zip file also. Lets Go to the project.
Circuit
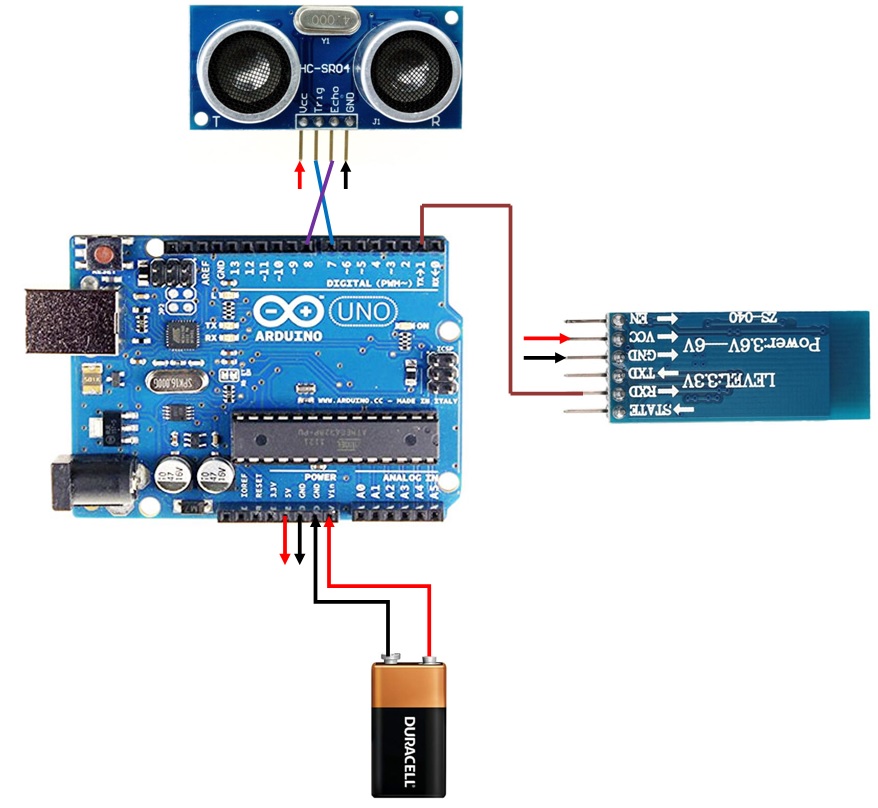
1) Connect the Ultrasonic sensor and Bluetooth module Vcc and Gnd to the 5V and Gnd of arduino.
2) Connect the Tx of the Arduino to the Rx of the Bluetooth module.
3) Connect the D7 pin to the Trigger of the Ultrasonic sensor and D8 to the Echo Pin.
4) Connect 9V battery to the Vin and Gnd of the Arduino.
Materials Required
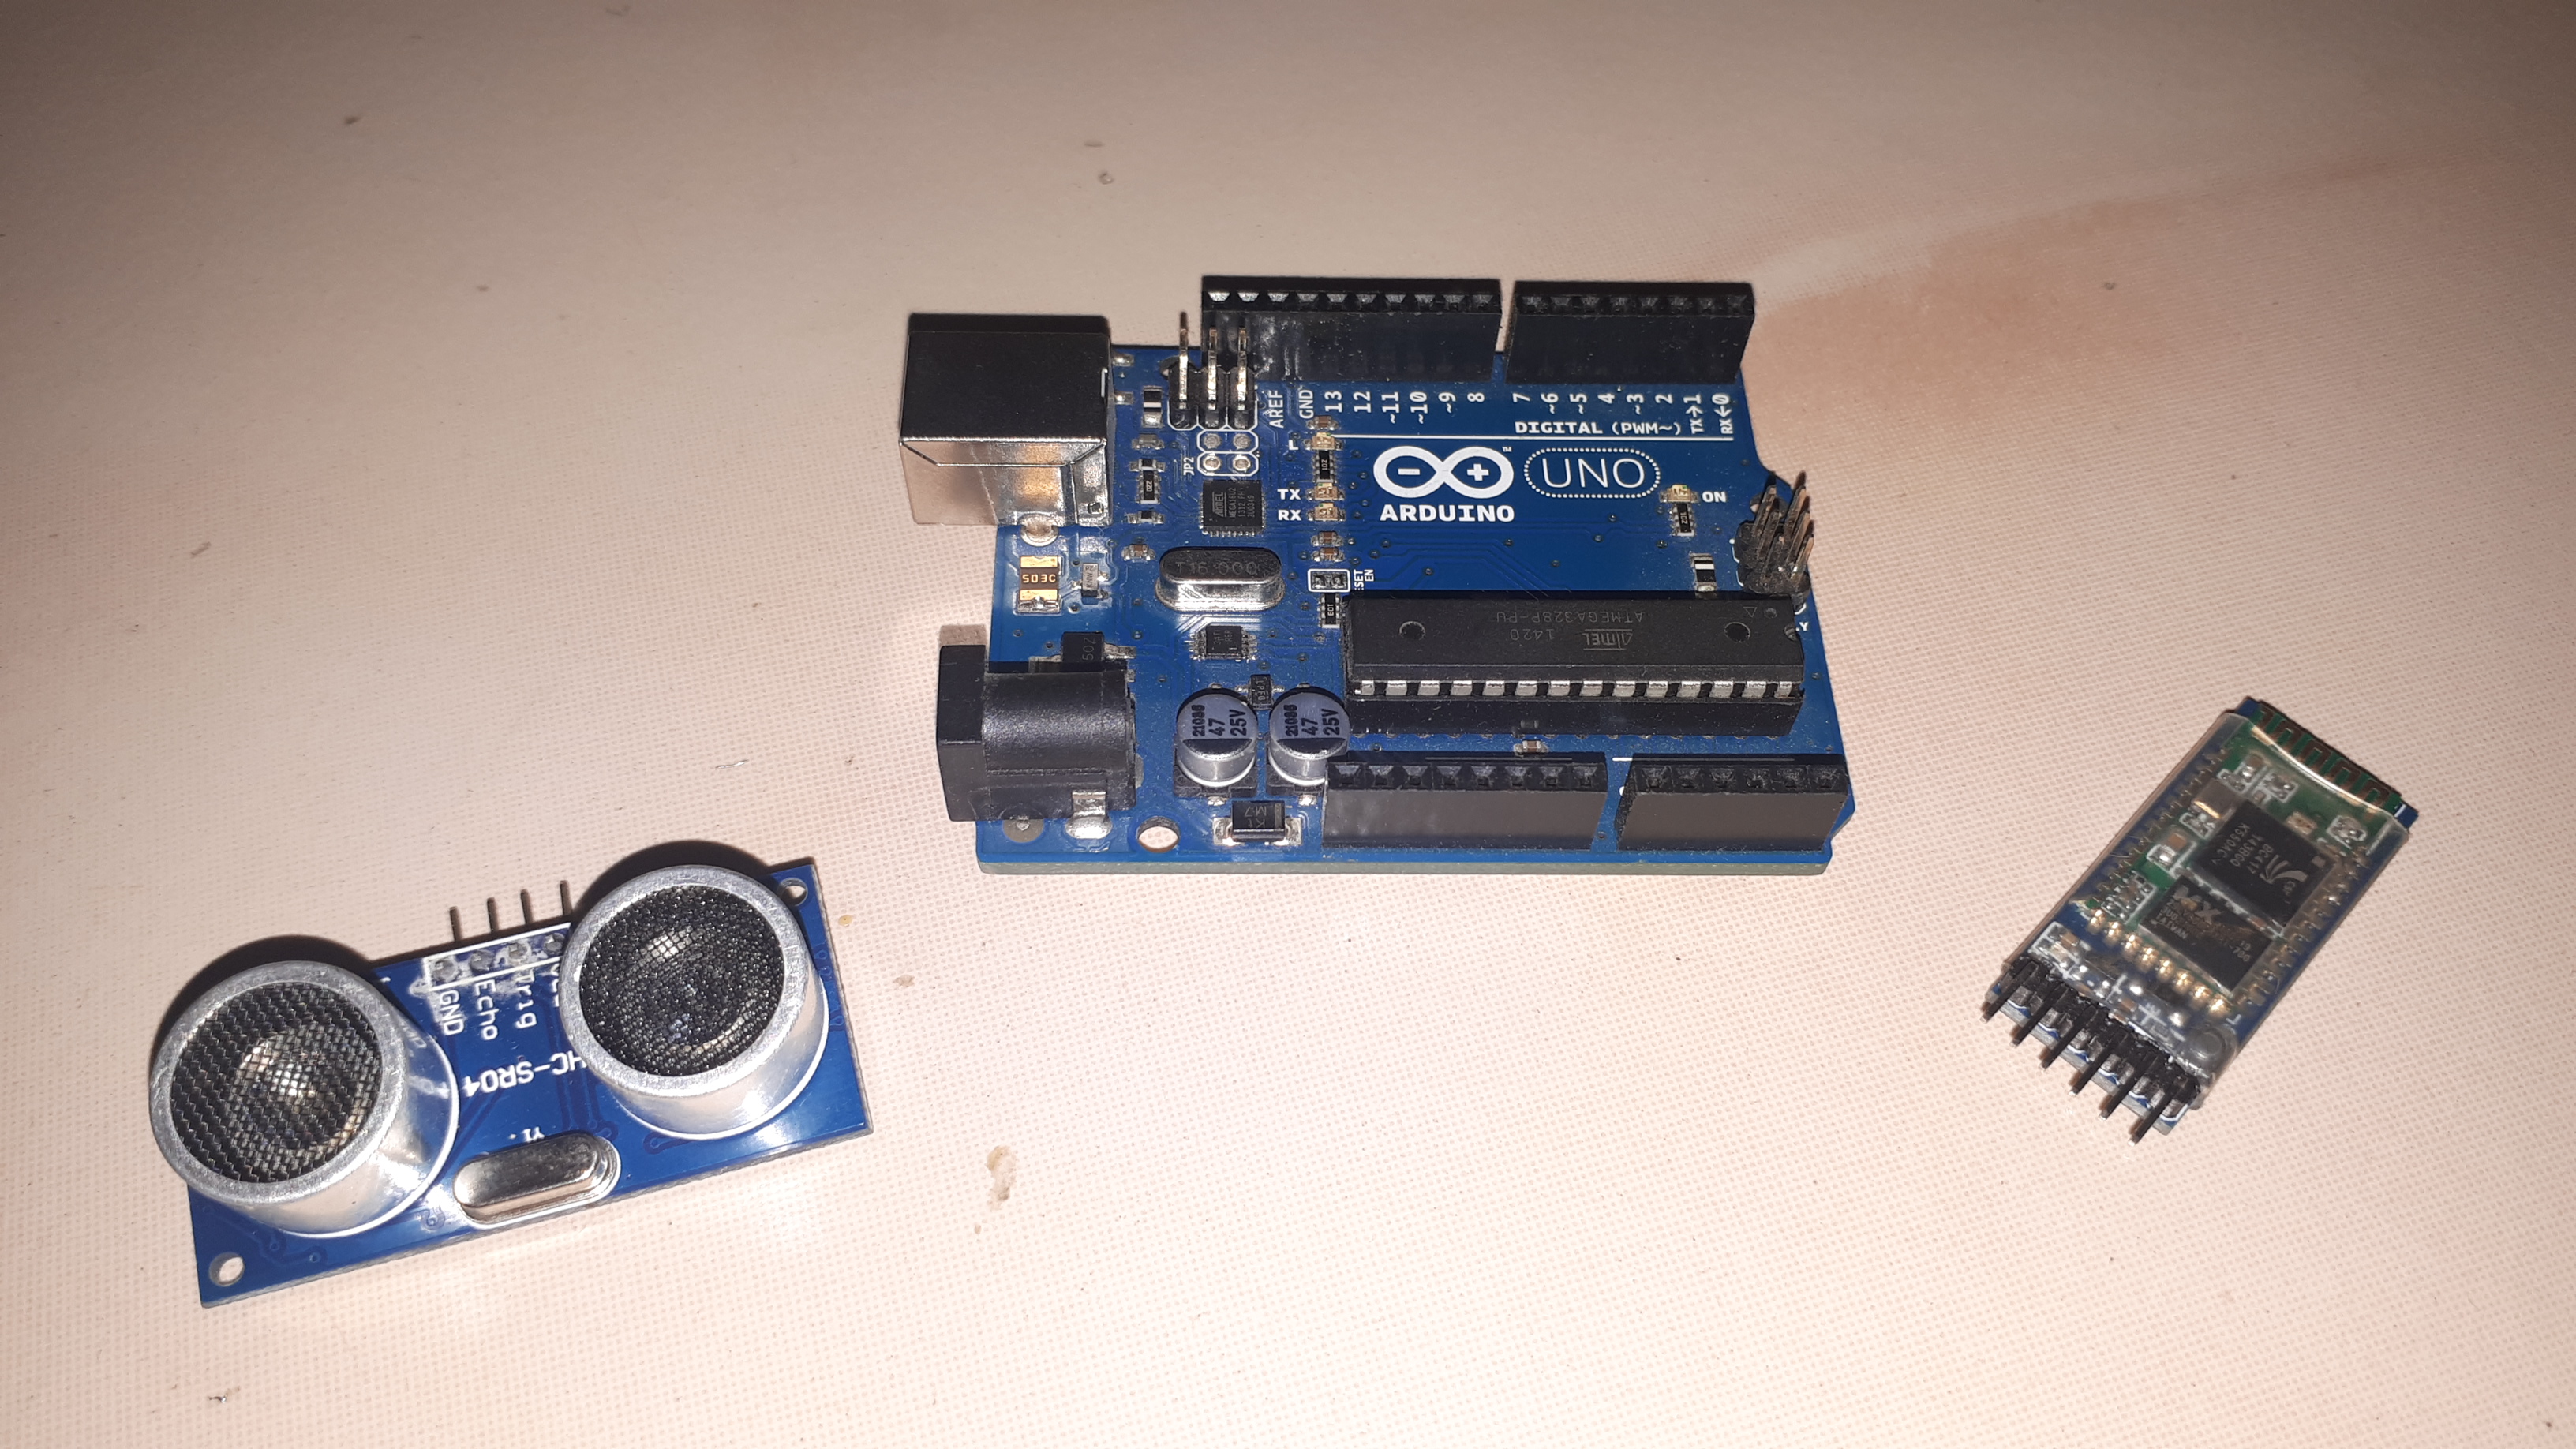
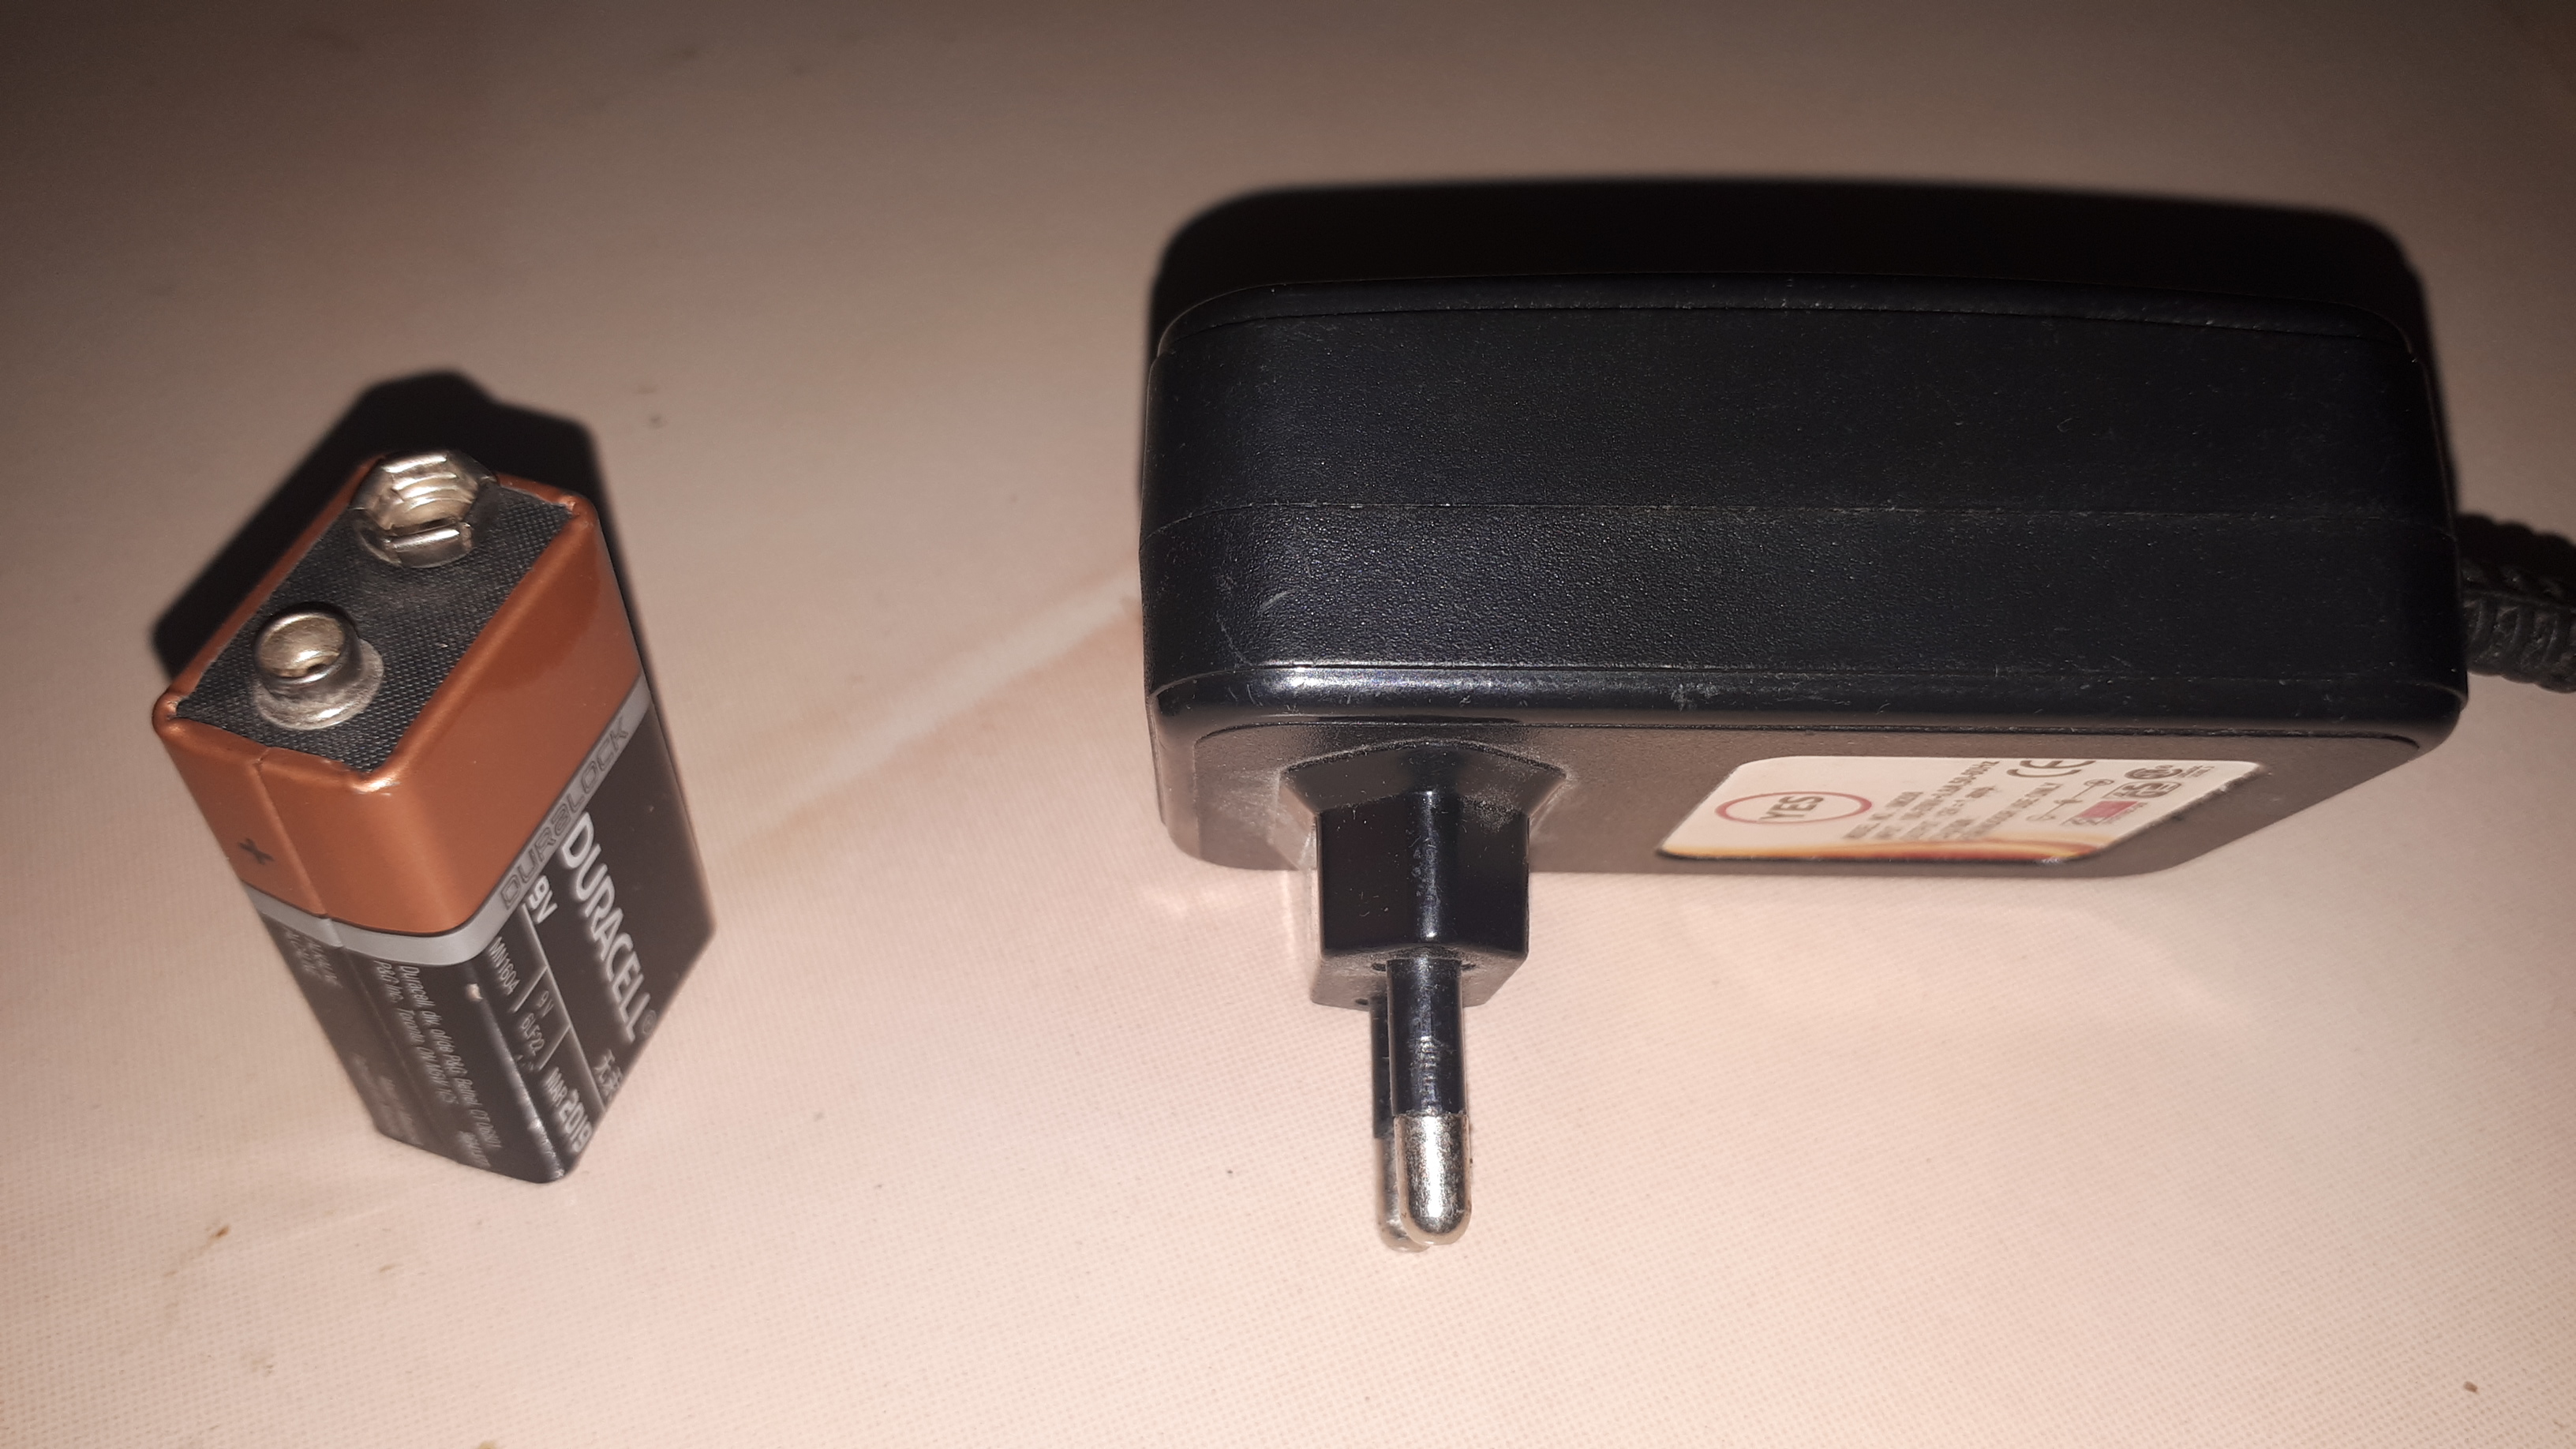
This project need very less amount of Materials but take long time for Unity Program.
Materials Required
1) Arduino Uno - 1No
2) Ultrasonic Sensor HC-SR04 - 1No
3) Bluetooth Module HC-05. - 1No
4) 12V DC Adaptor or 9V Battery (I use 9V battery to make it portable).
5) Plain PCB board.
Software Required
1) Unity.
2) Arduino IDE.
Making Shield
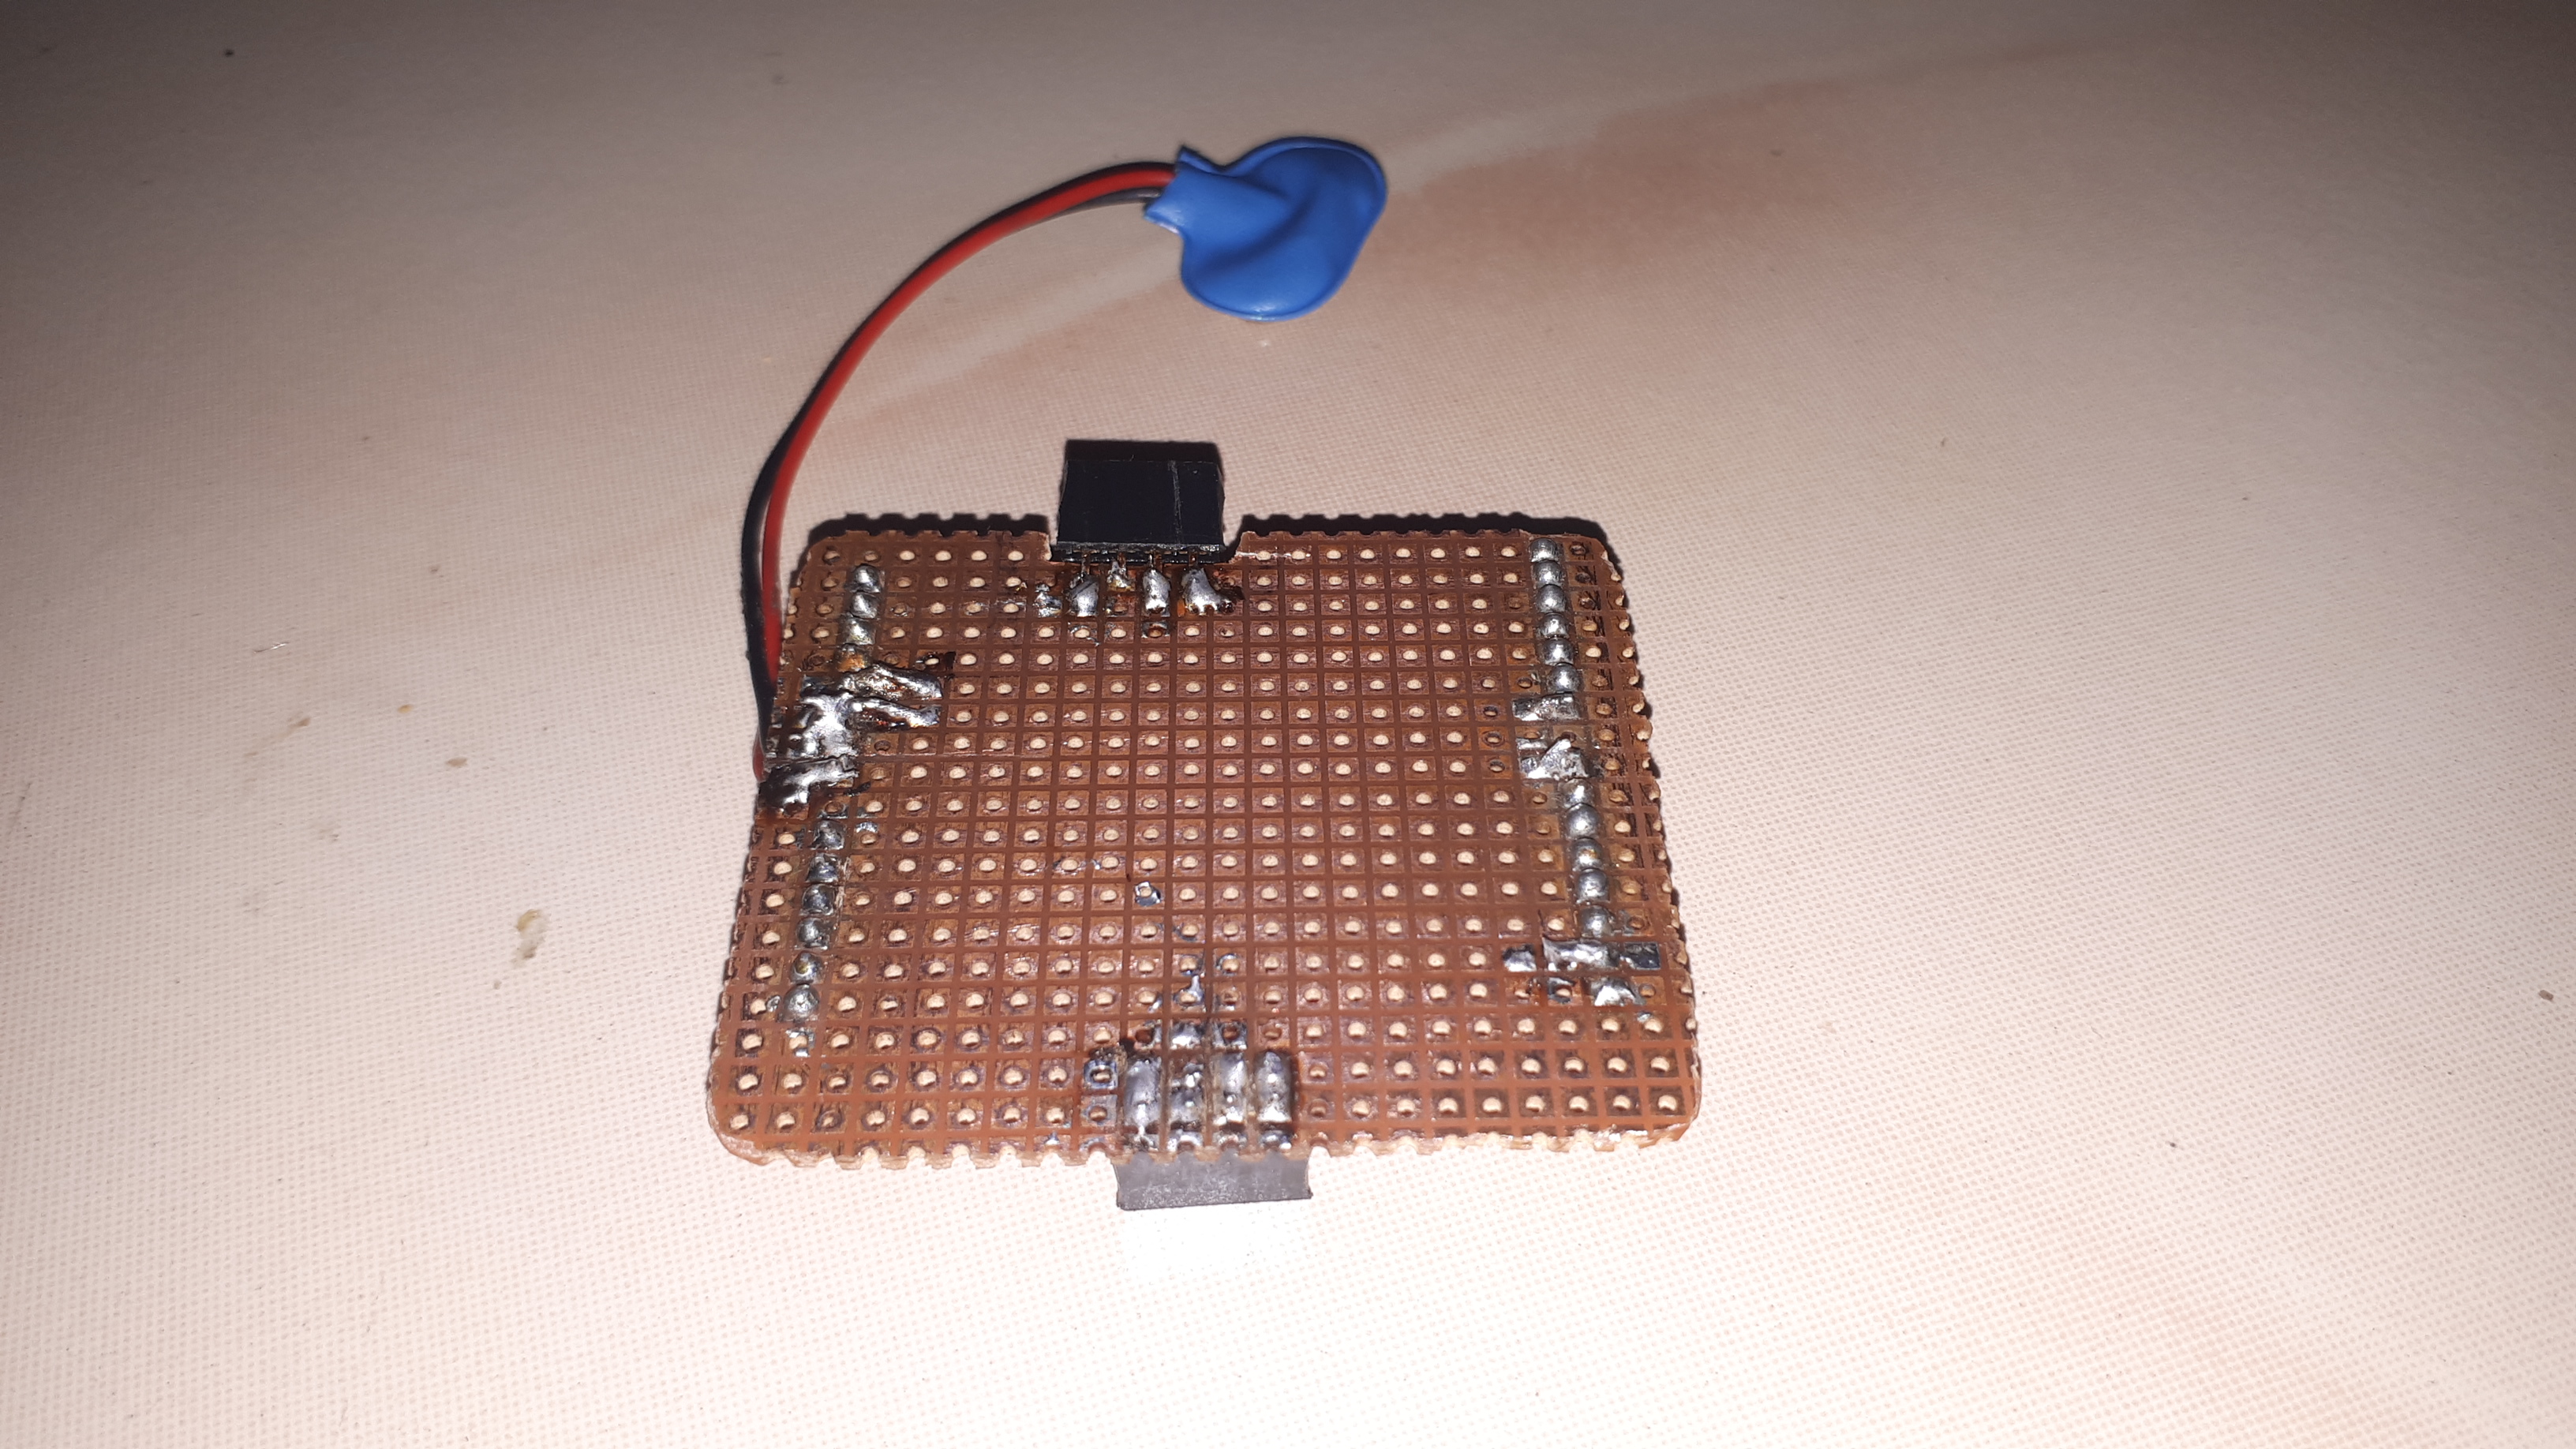
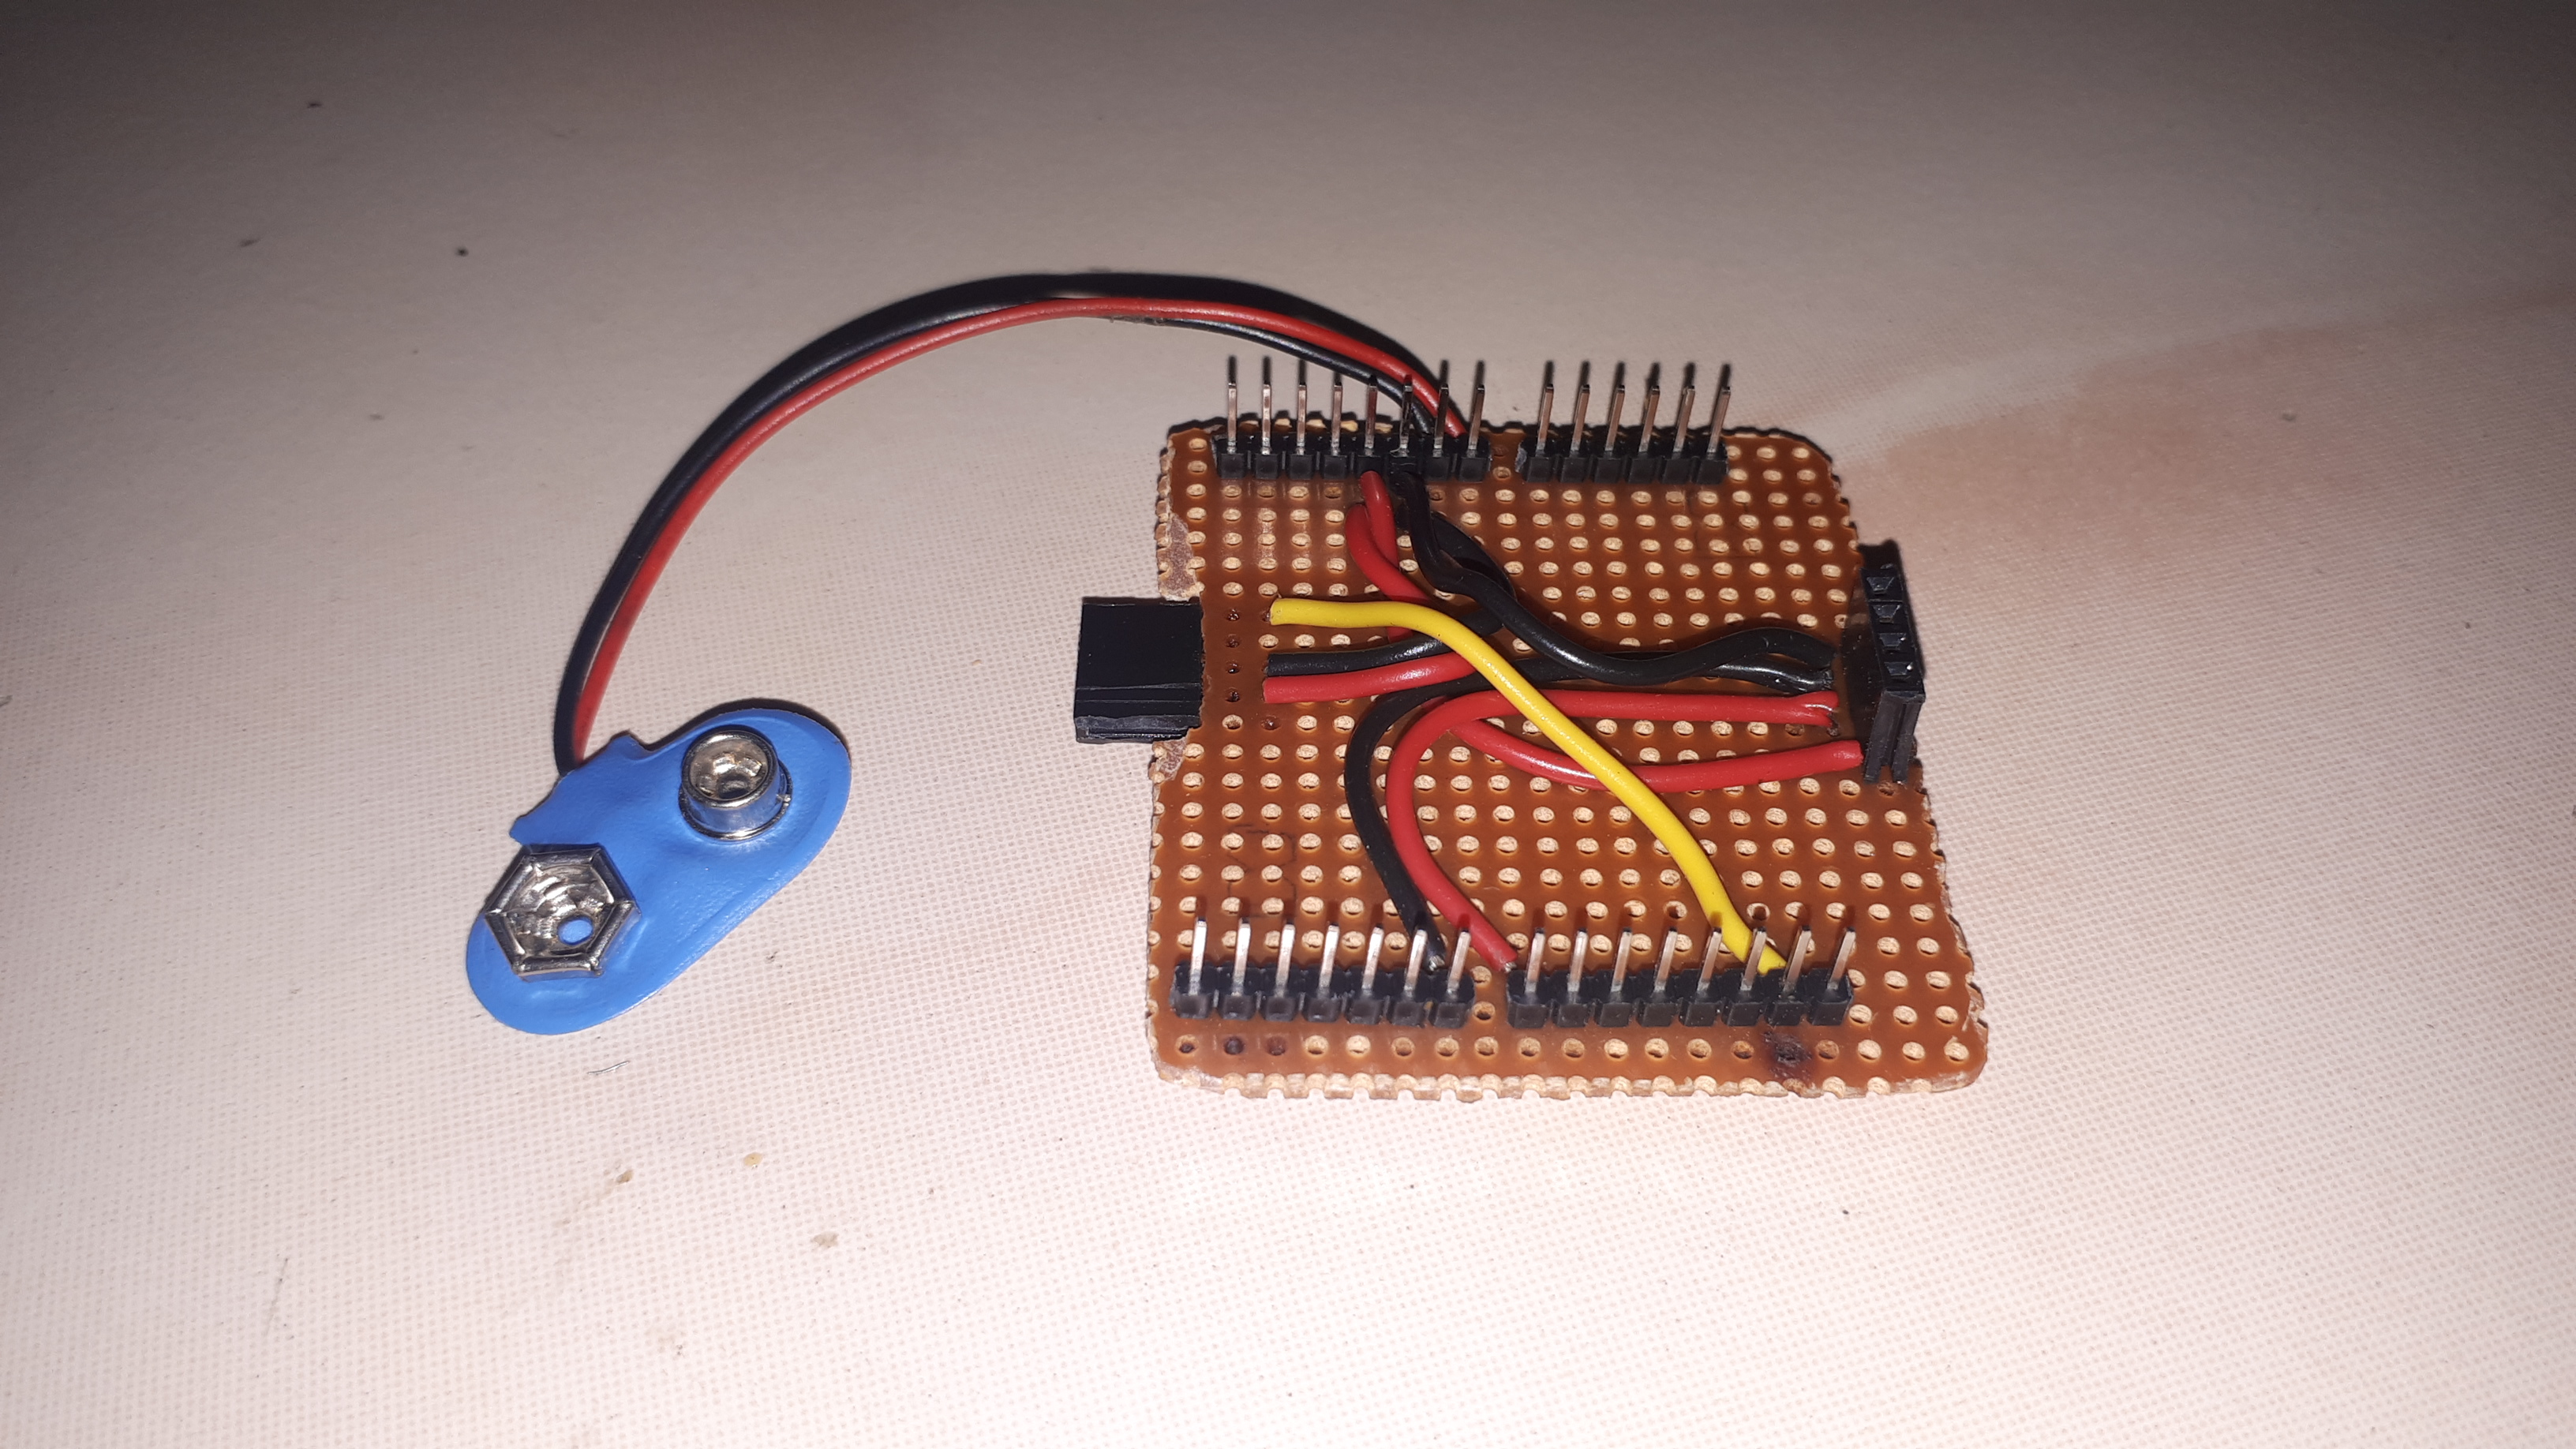
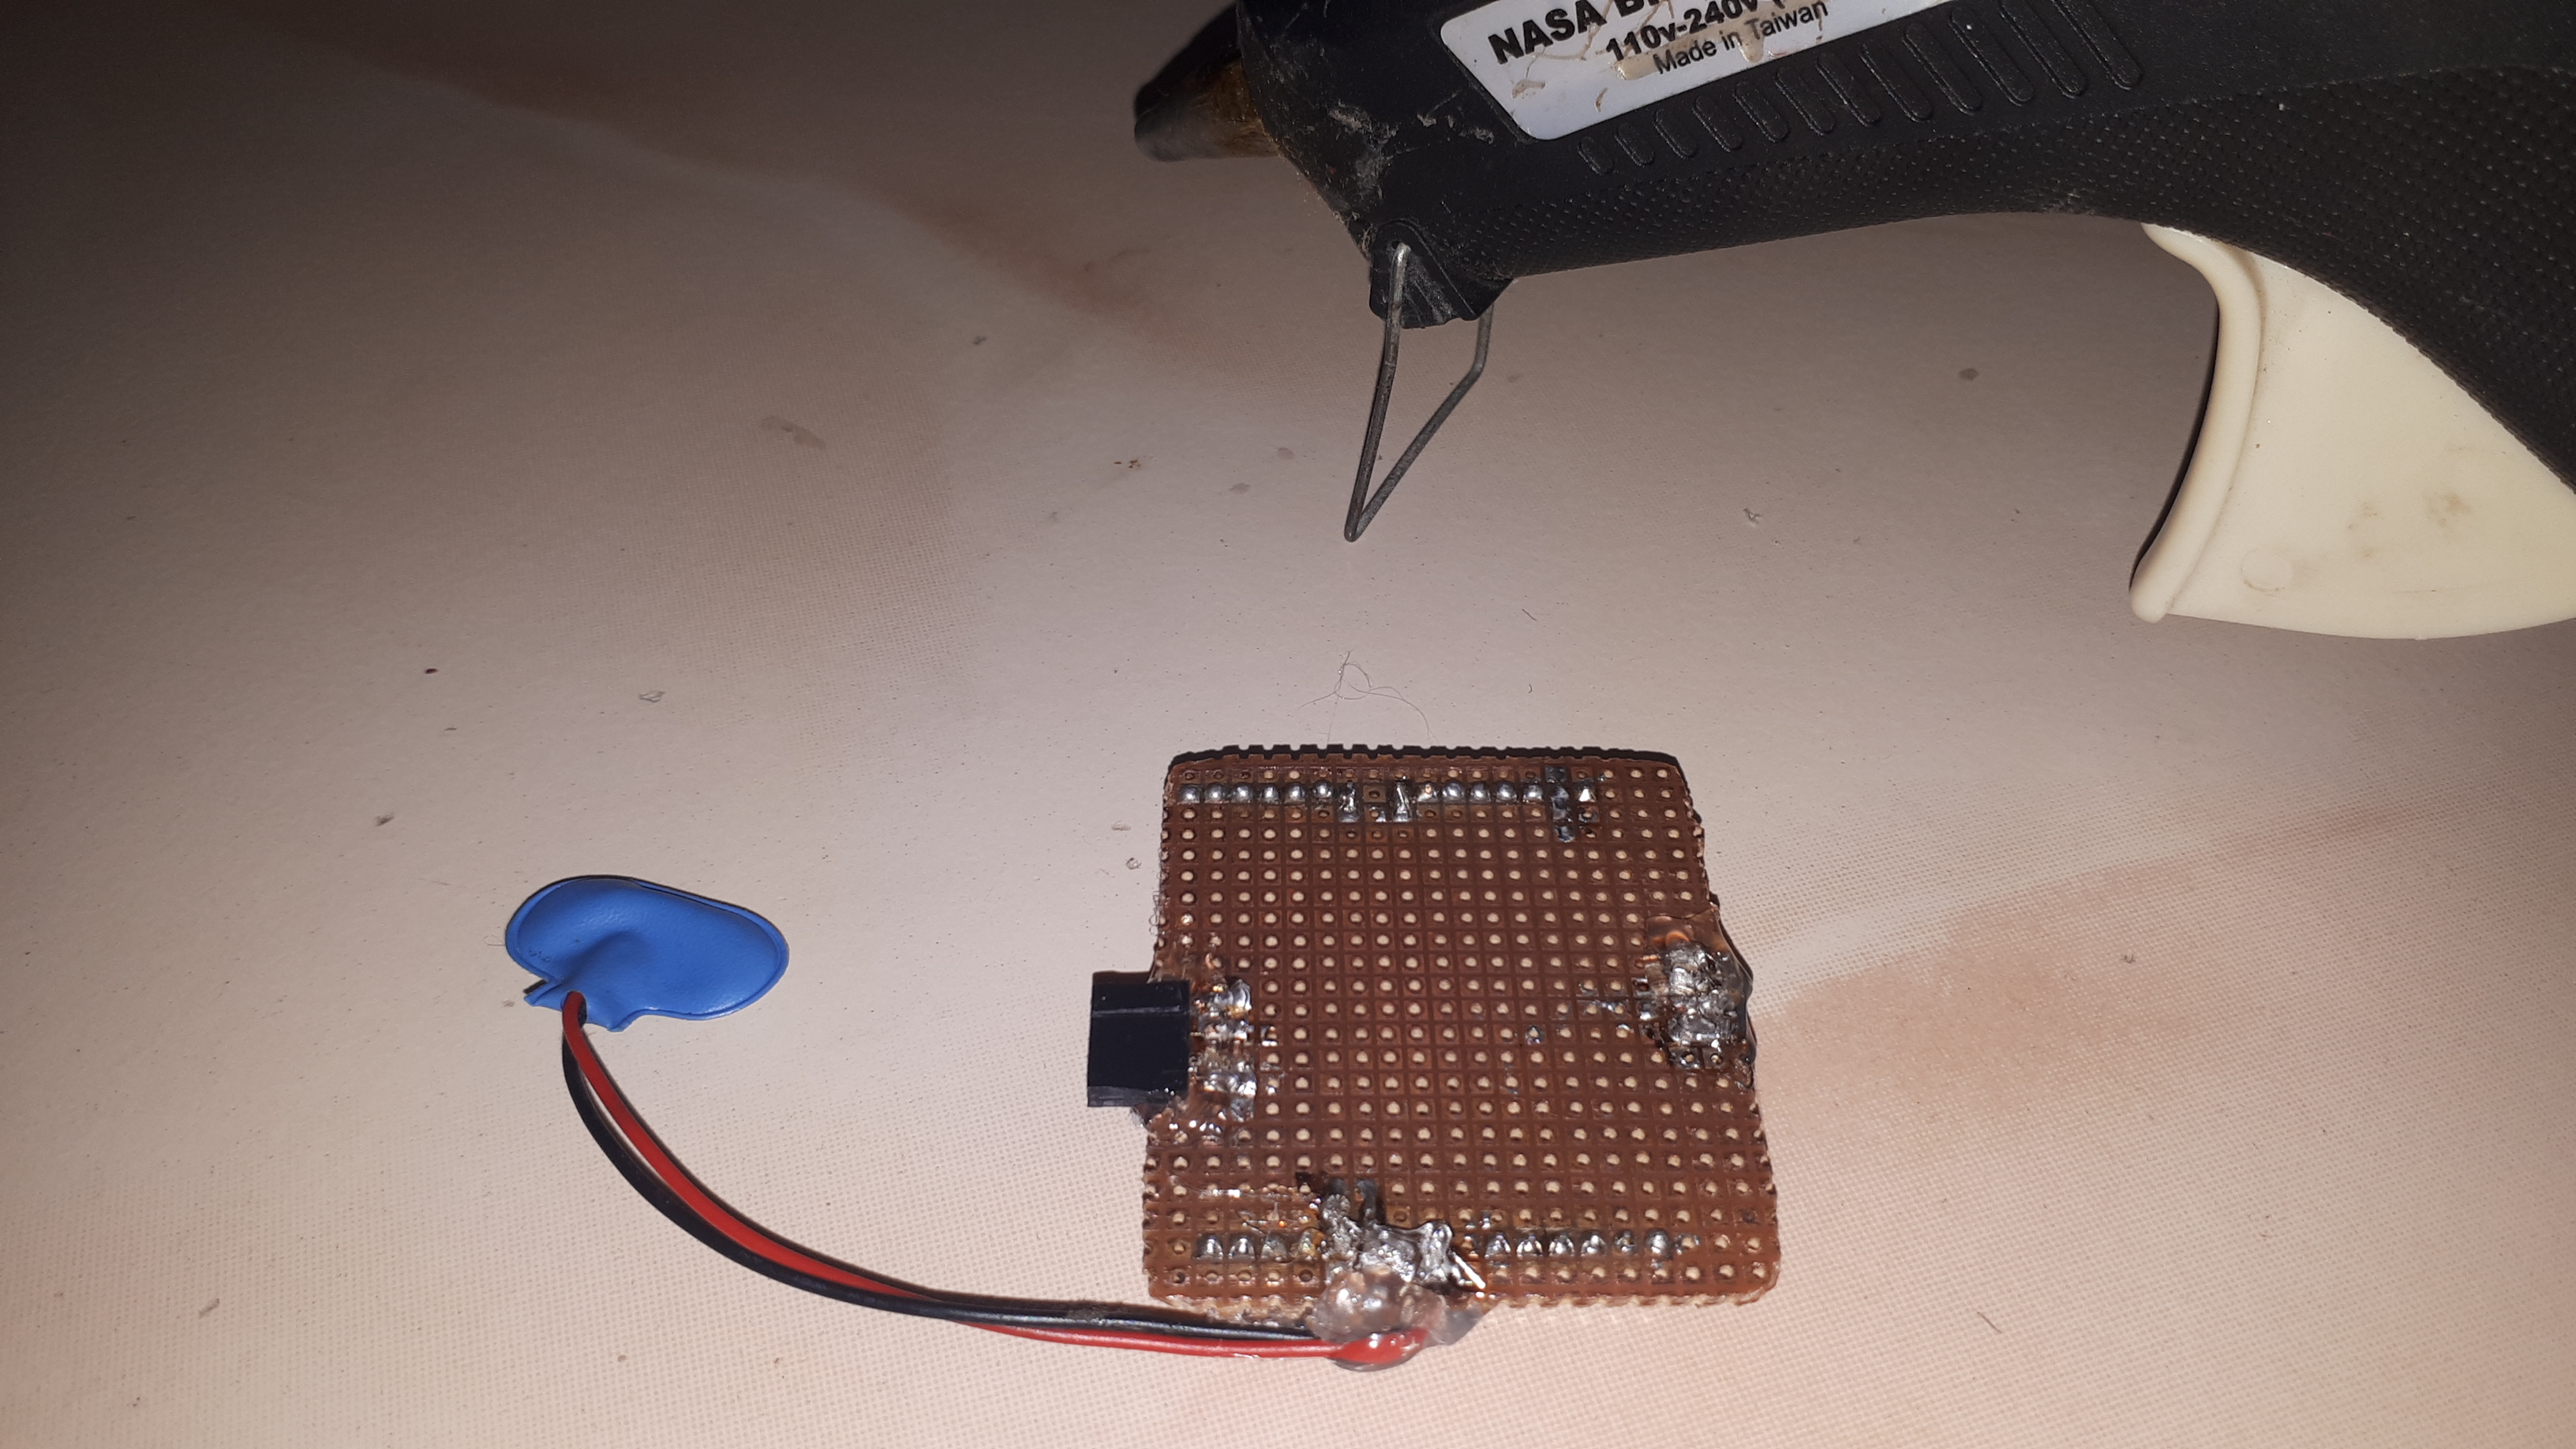
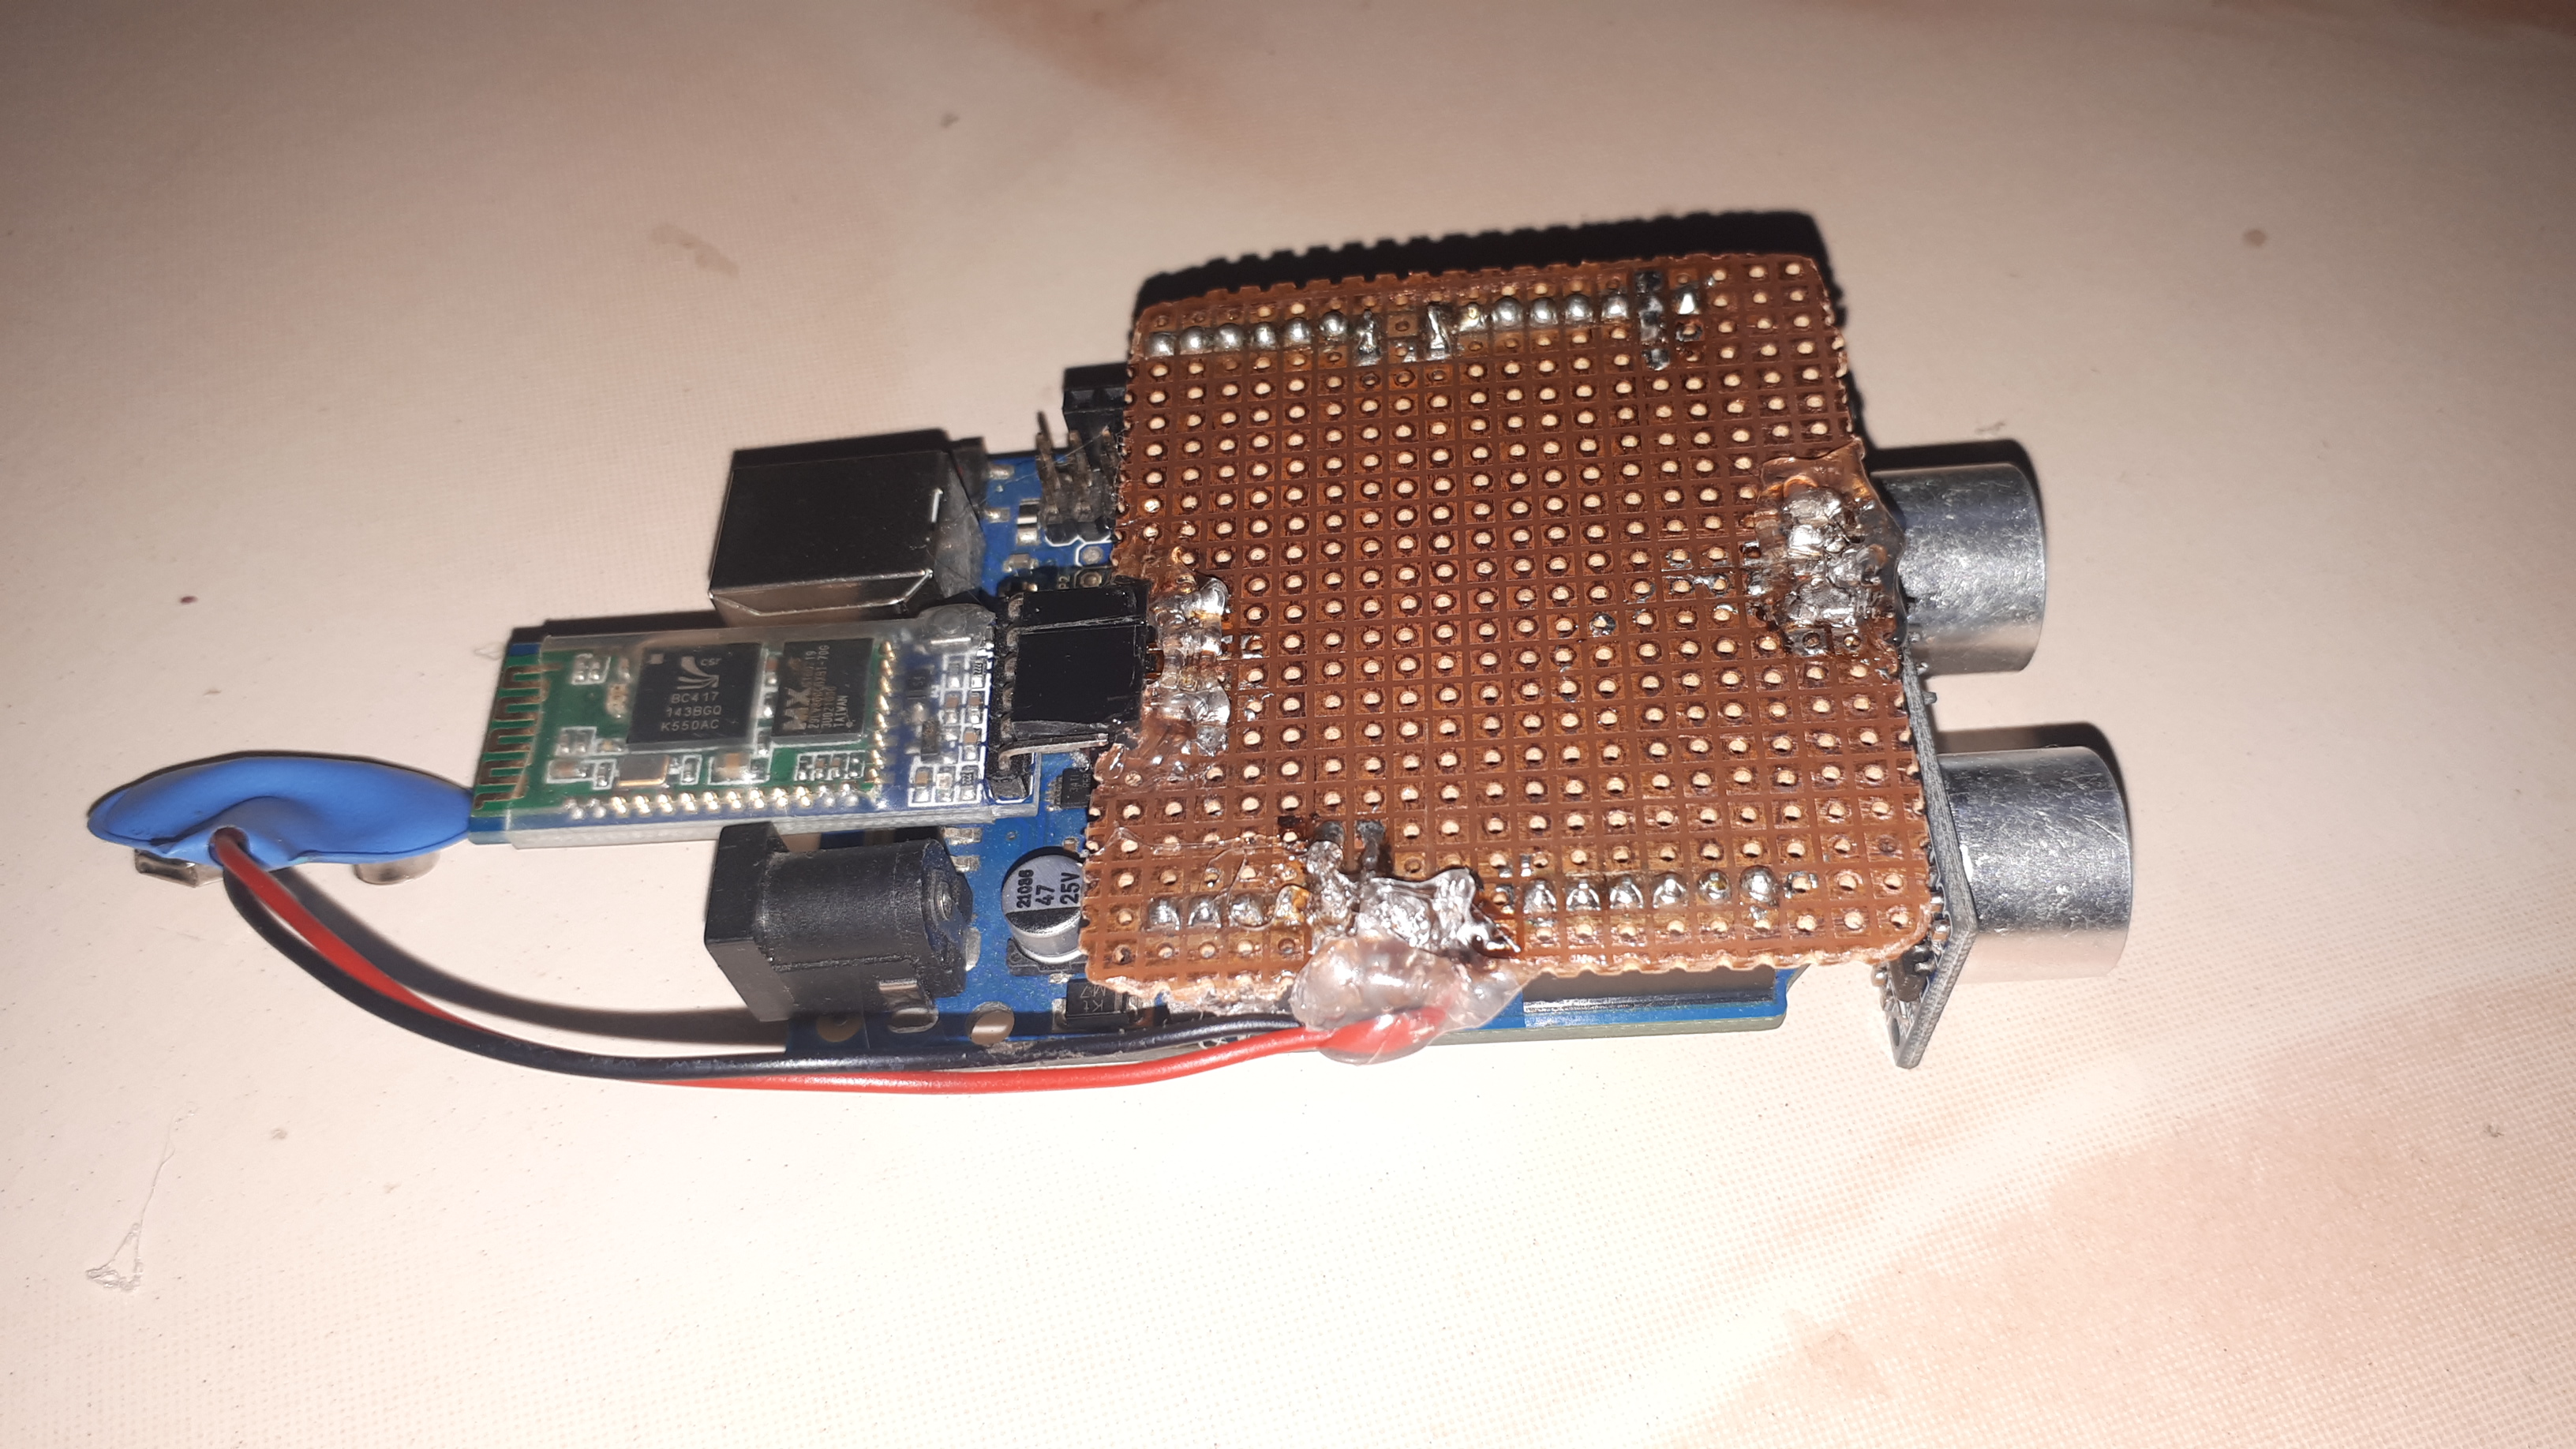
1) Like all my projects i make a shield for the project. If you use breadboard tension while handling especially portable things, so i always make shield for all my projects.
2) I want to make it portable. So to fill the space, i place the bluetooth module between the power supply and usb port of the arduino.
3) Use the male and Female connector to make shield. For battery connection solder a battery connector to Vin and Gnd.
Arduino Code
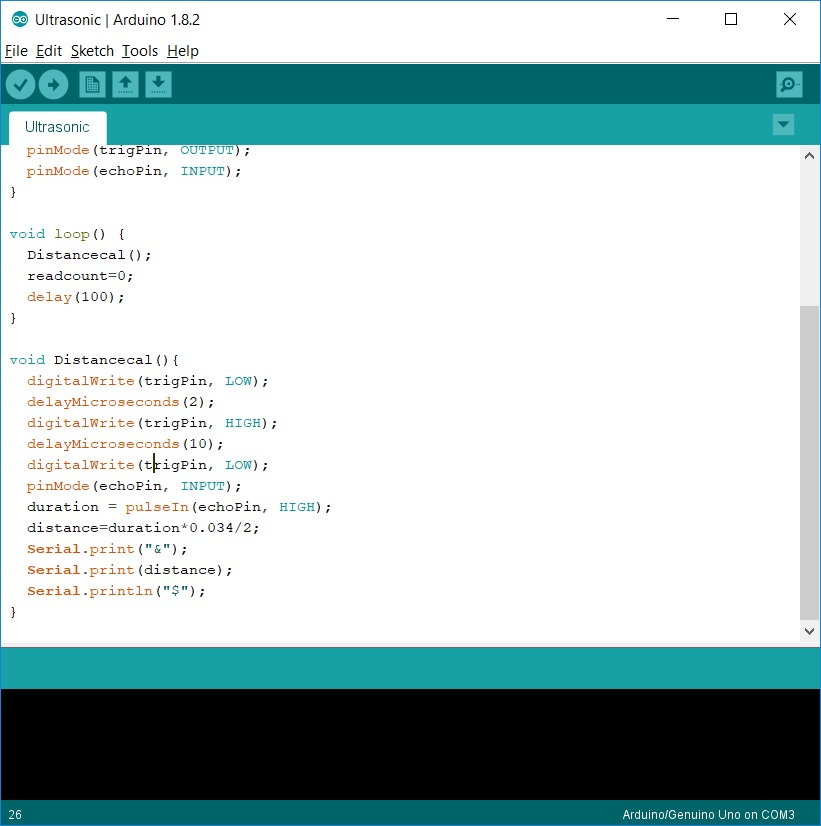
If Connect with PC or mobile, i always reduce the work of the arduino by reduce the code. So in the arduino code i just receive the ultrasonic distance and send the distance through serial tx with & as start charactor and $ as end charactor.
Downloads
View the Result in the Serial Monitor
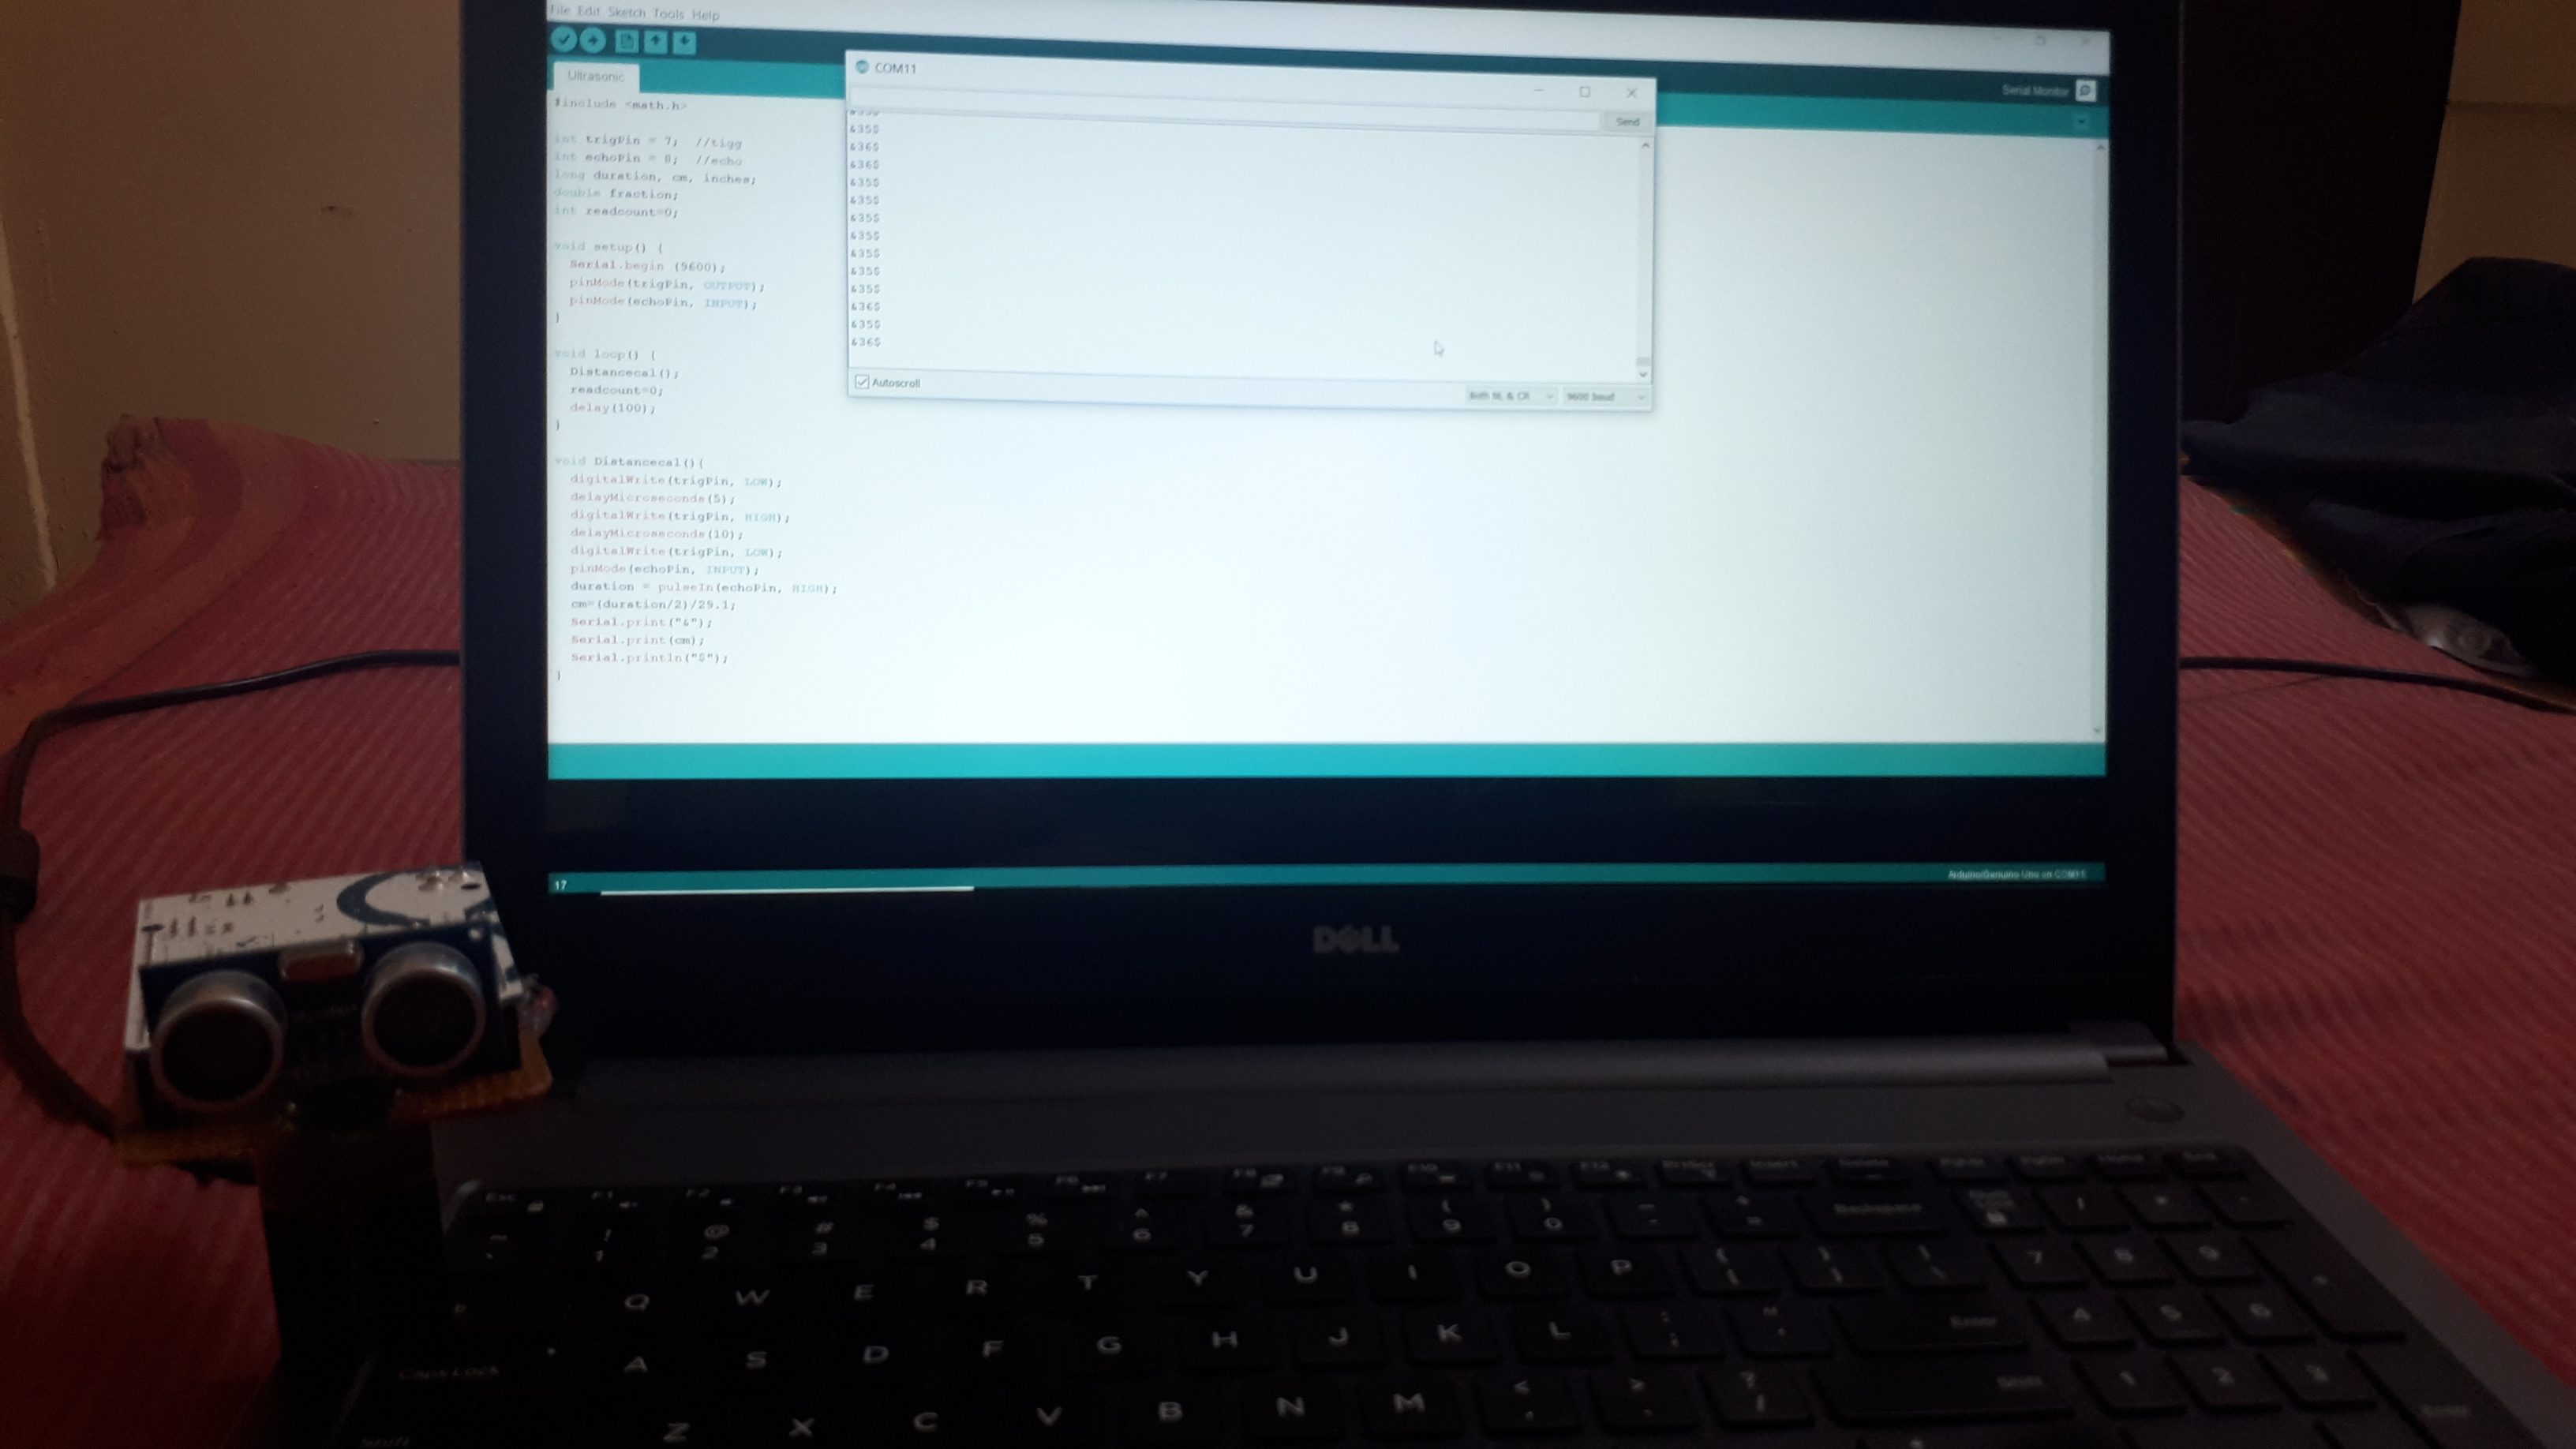
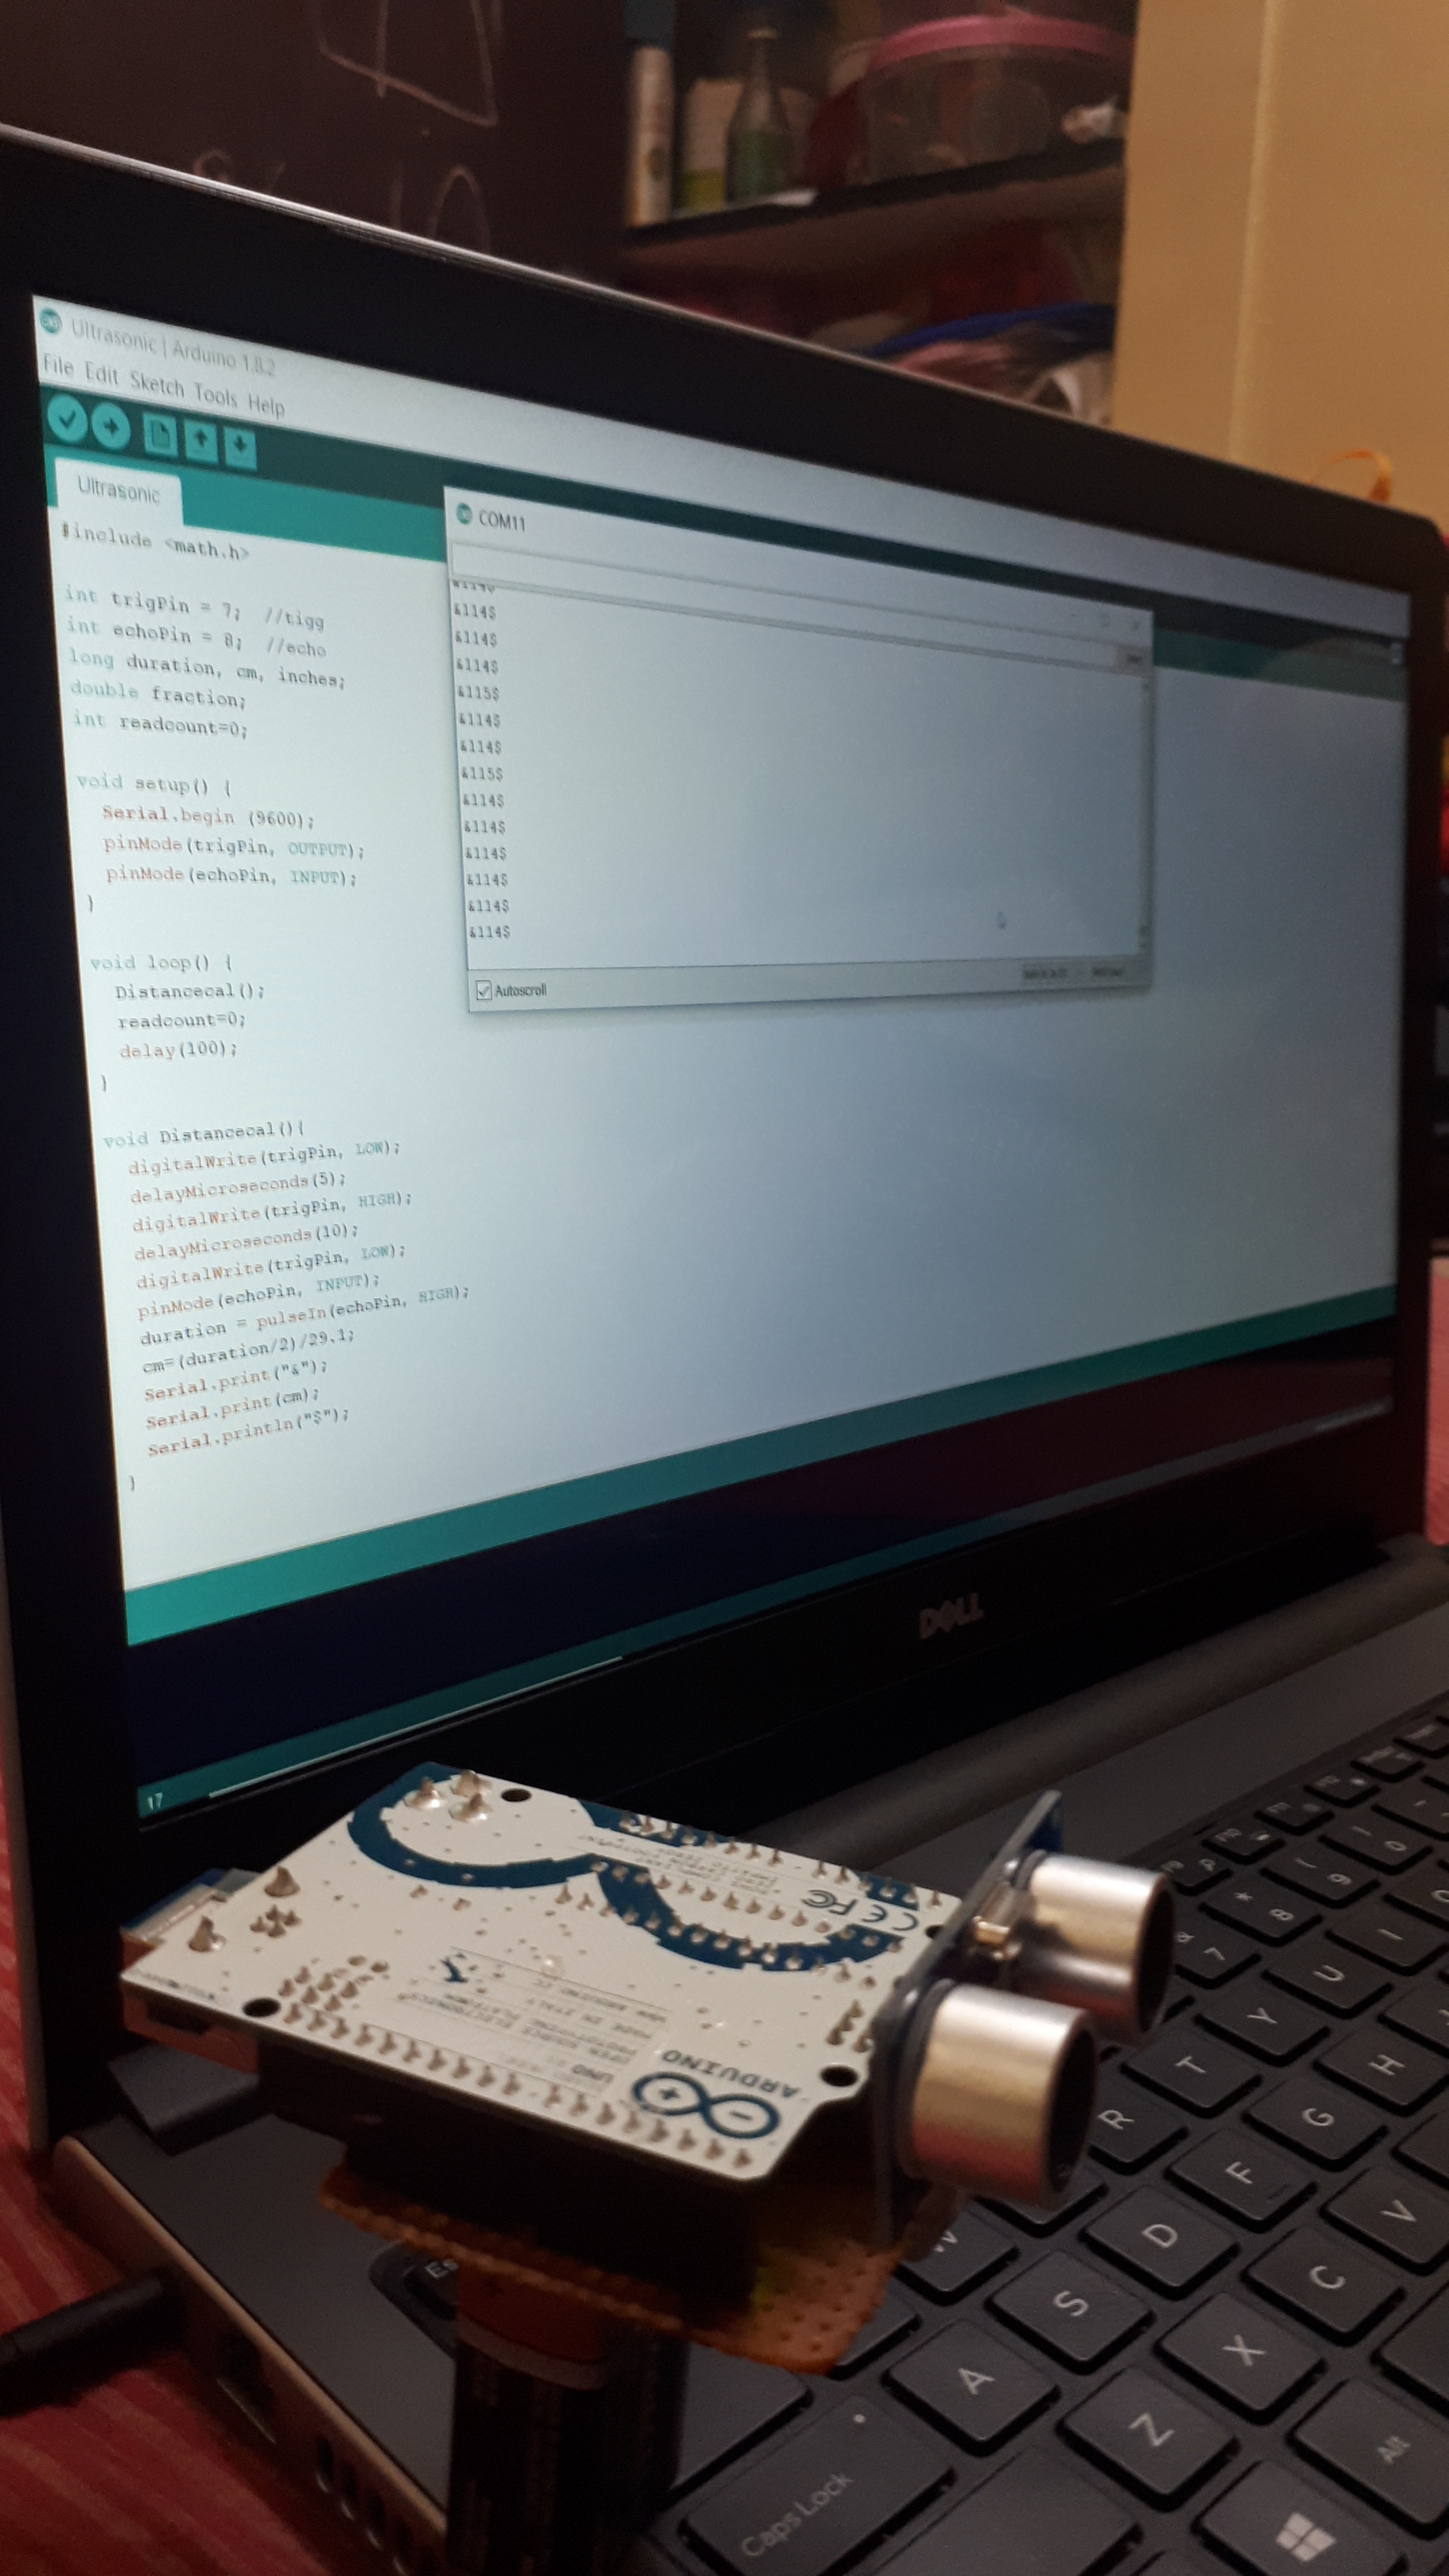
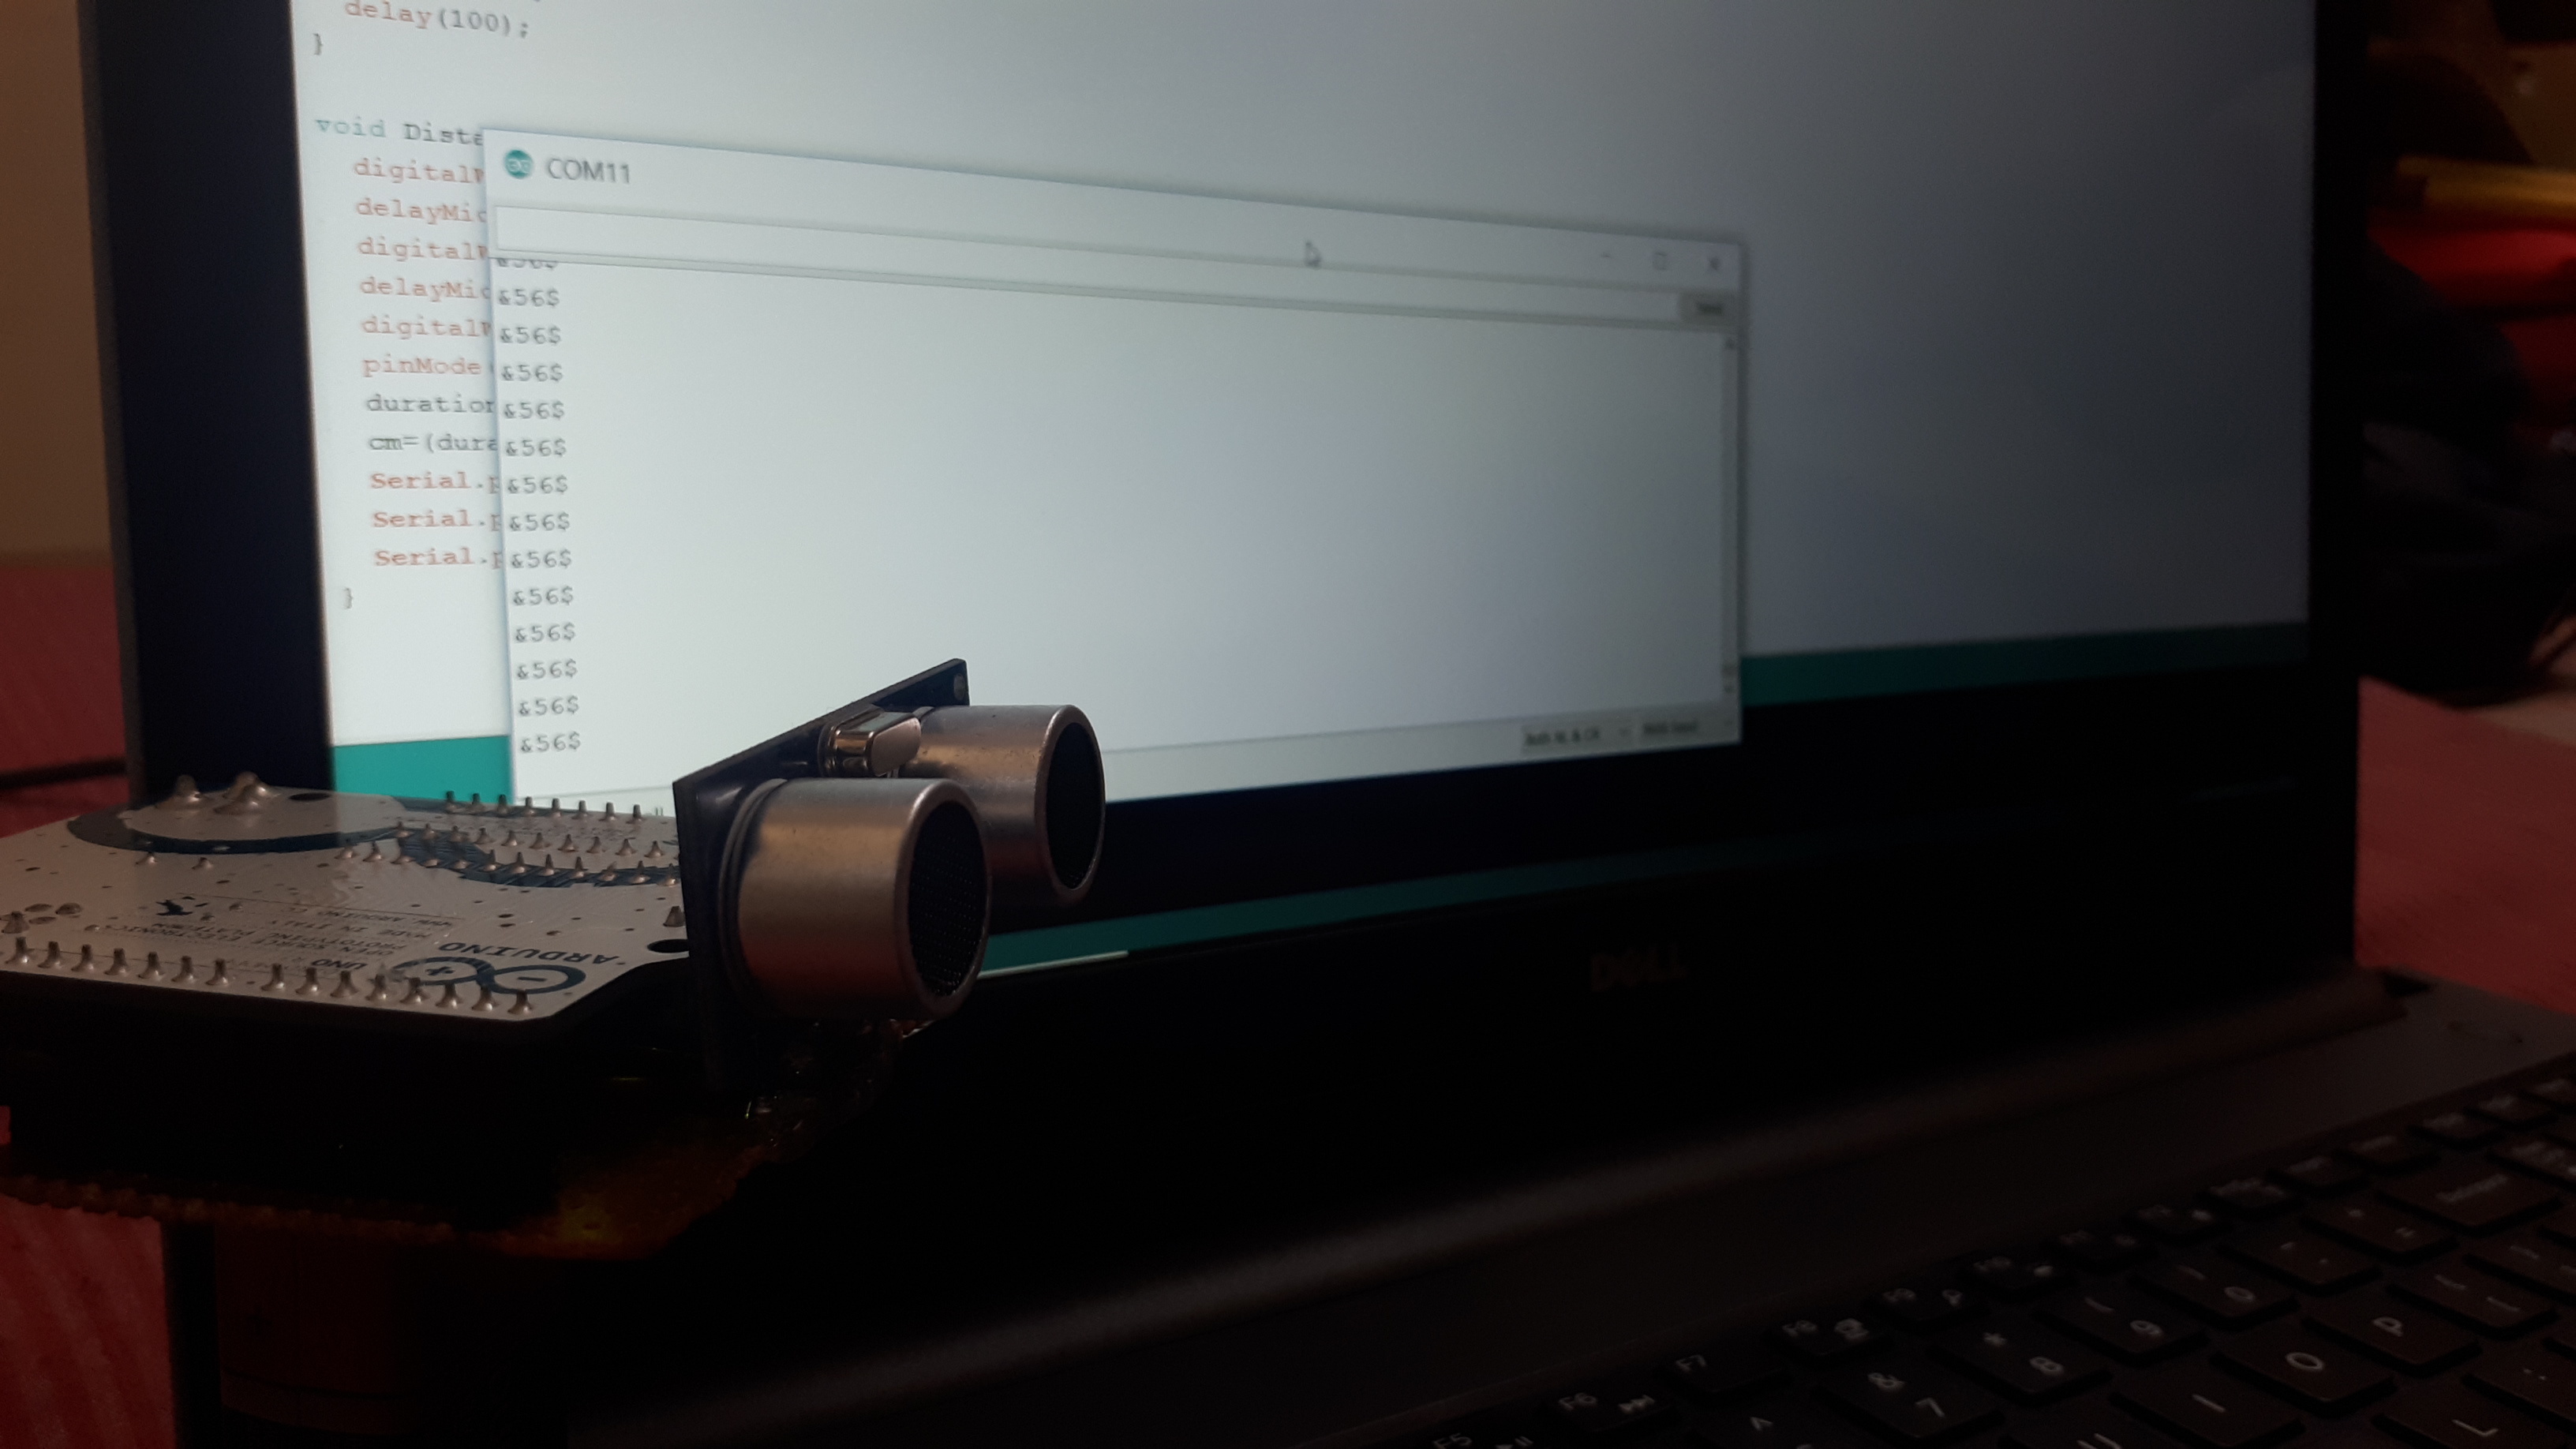
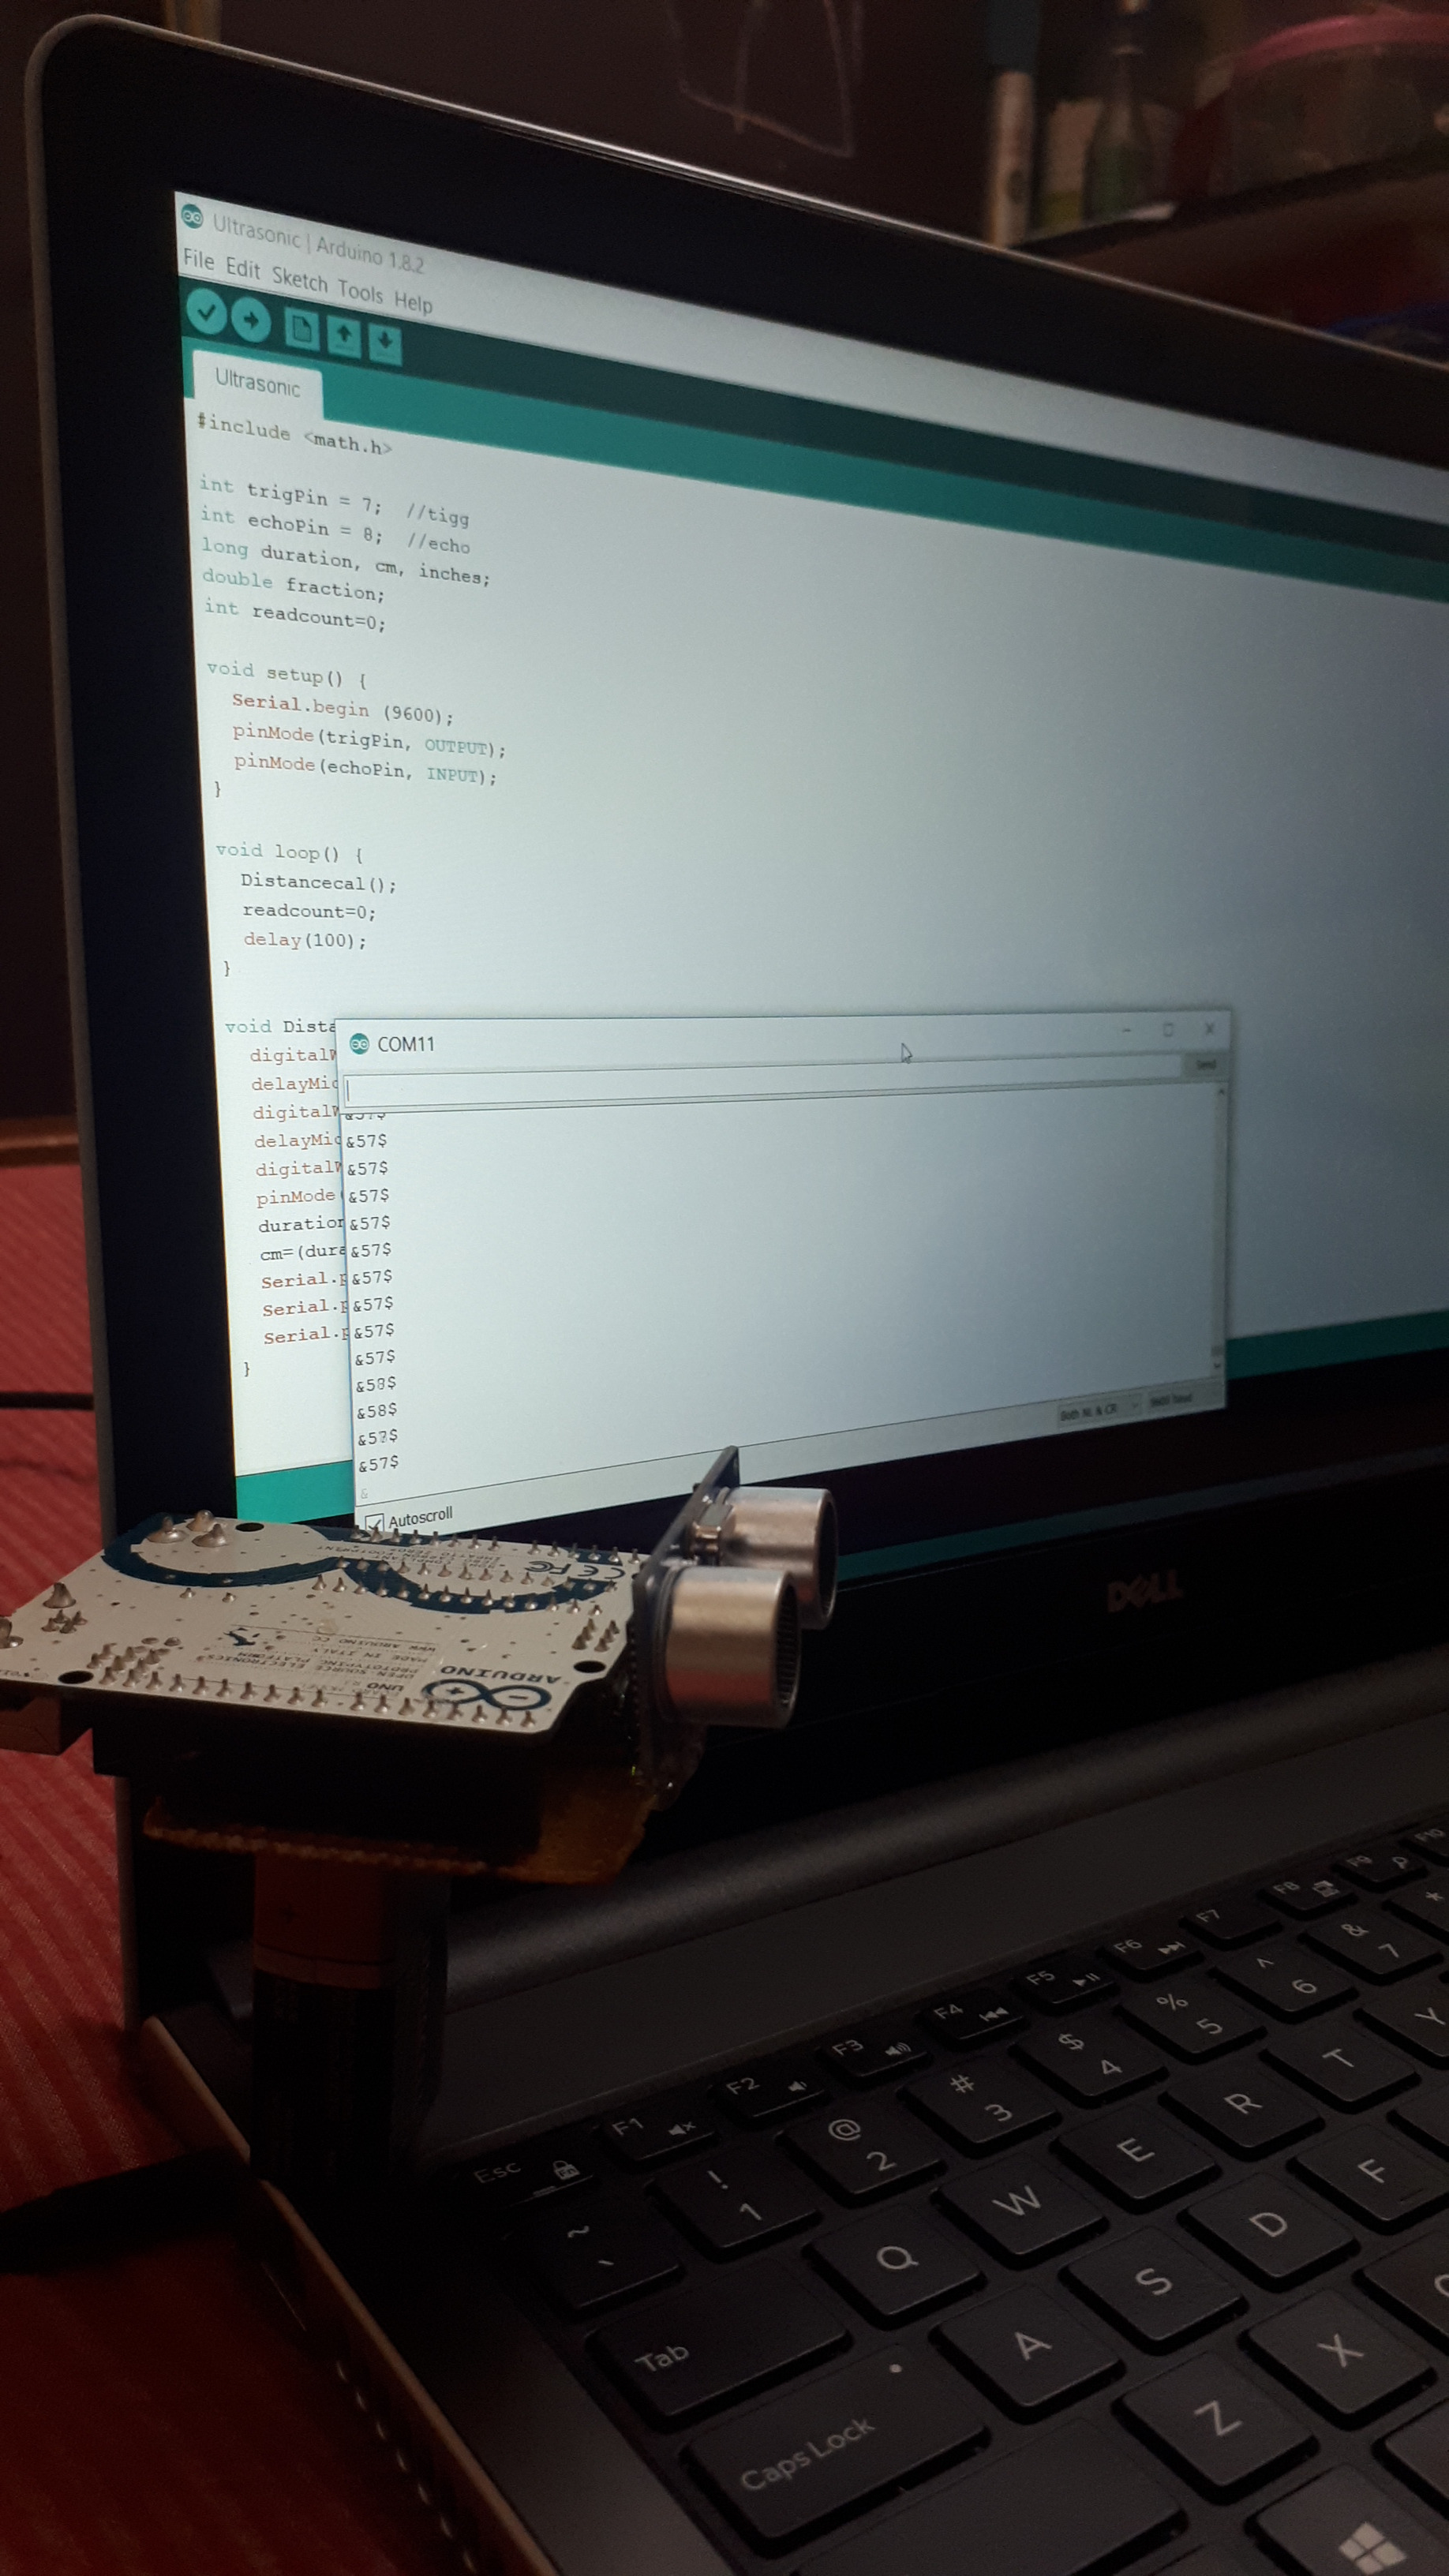
By open the Bluetooth serial port in the Arduino IDE you able to view the data send by the arduino in the serial monitor.
Unity Arduino Communication Check
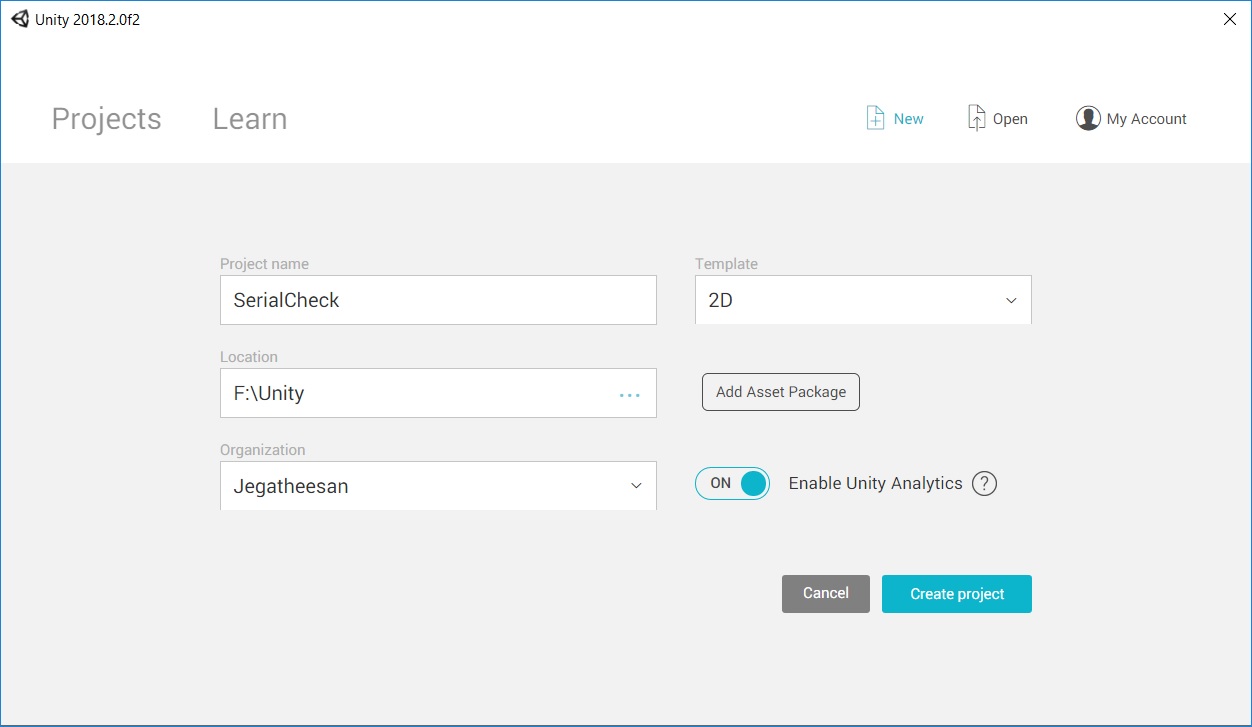
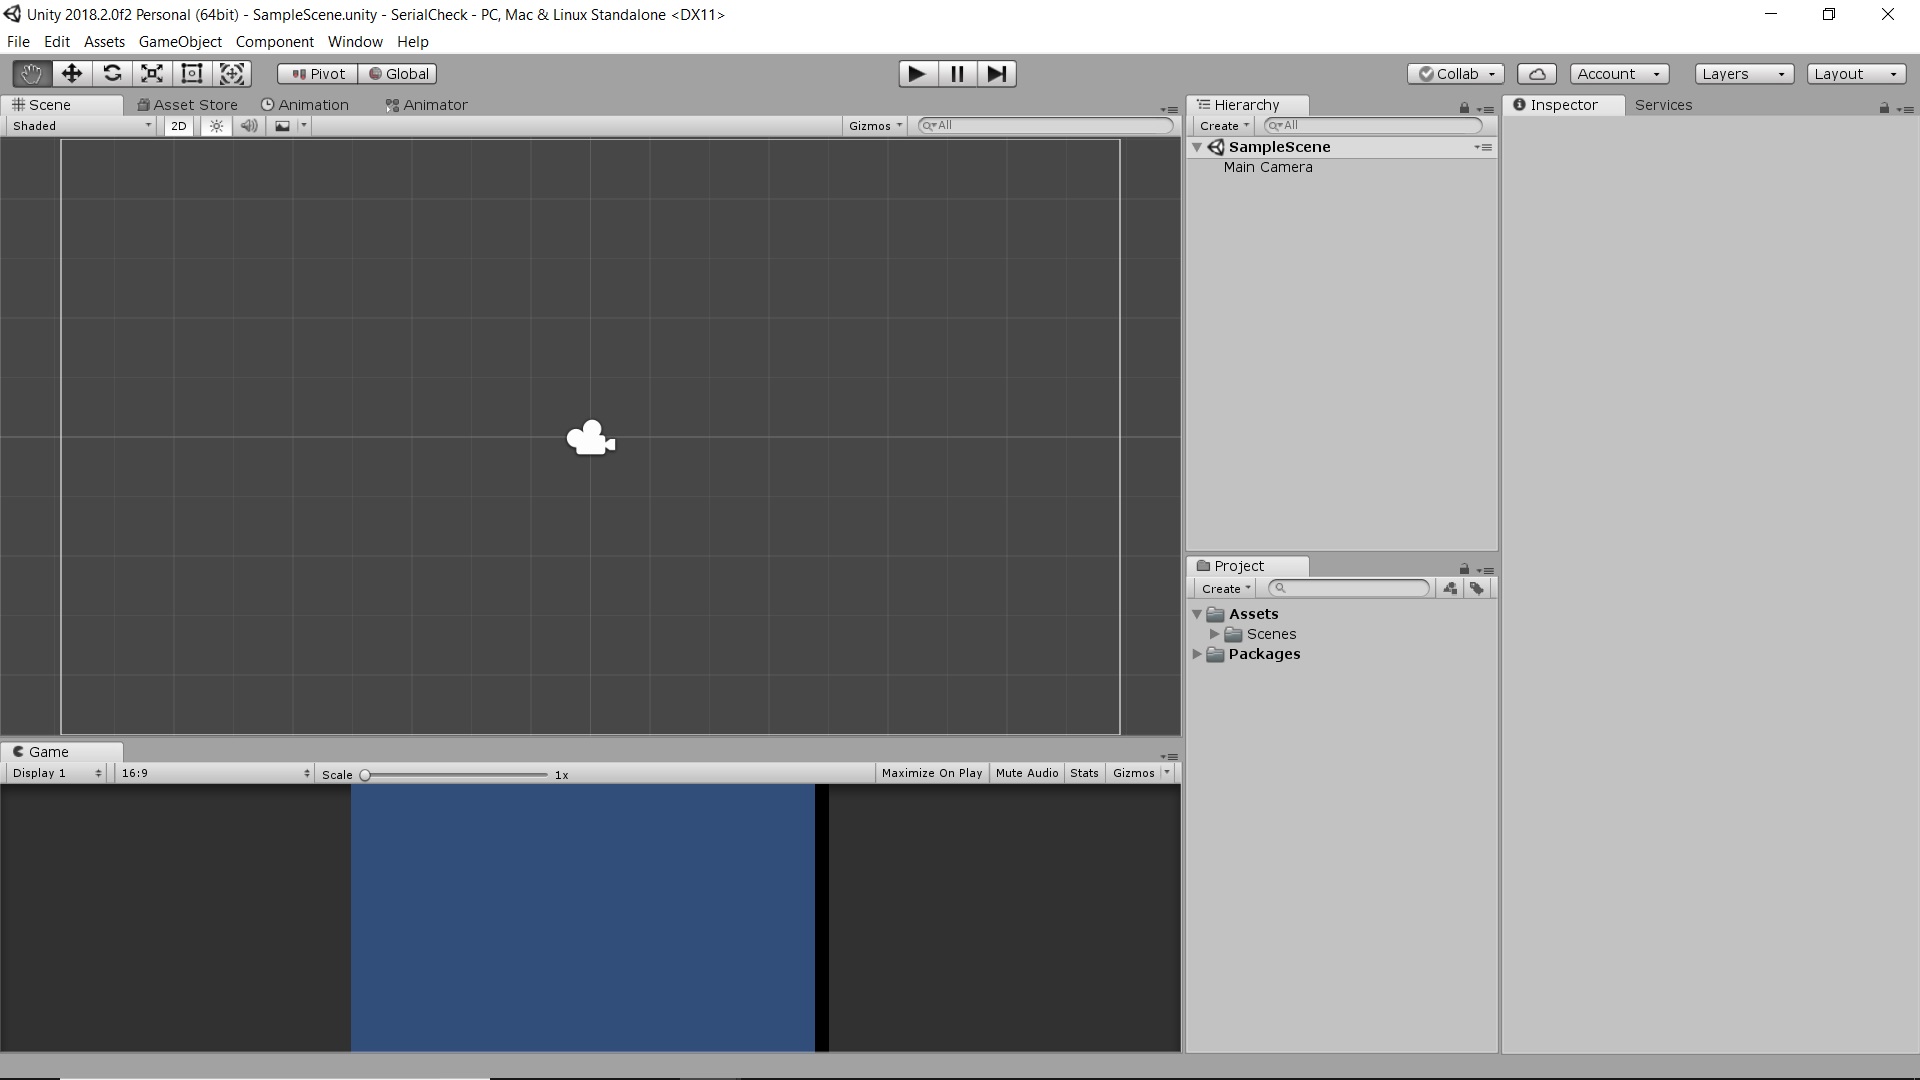
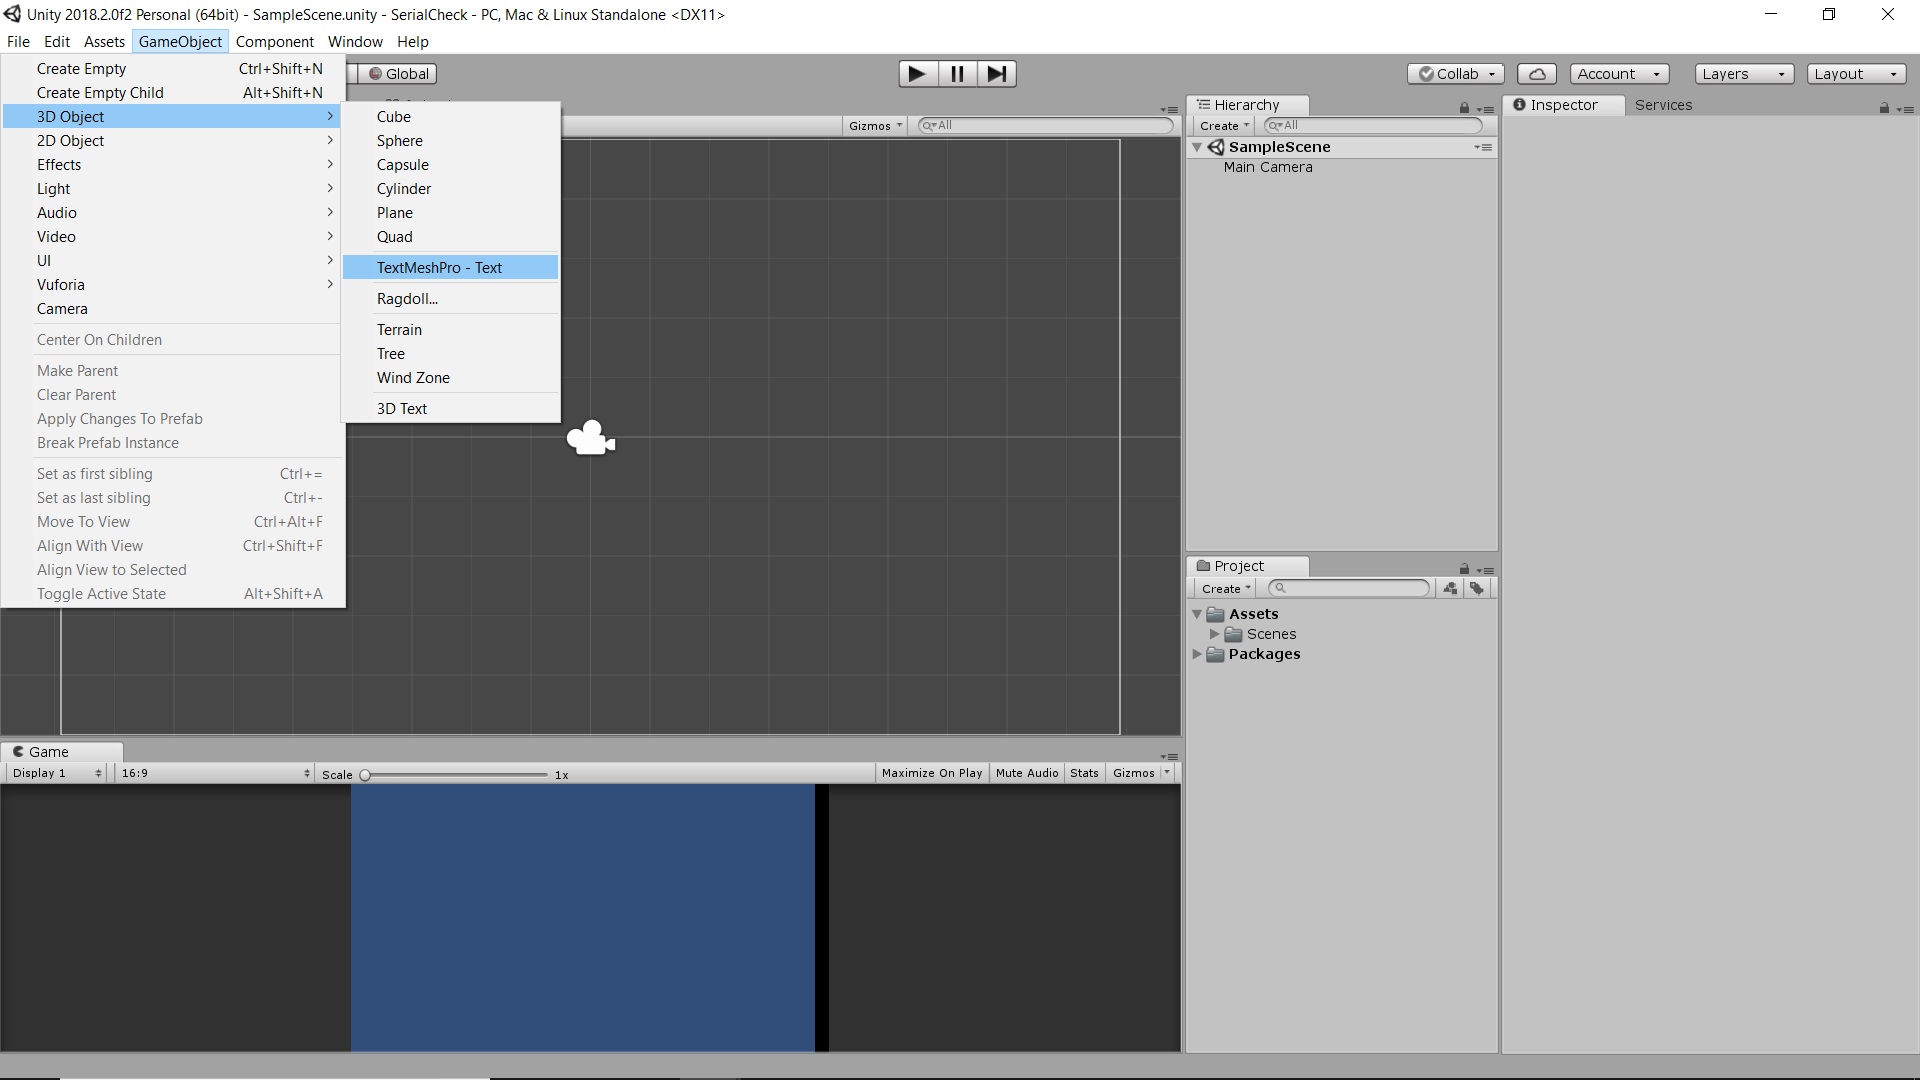
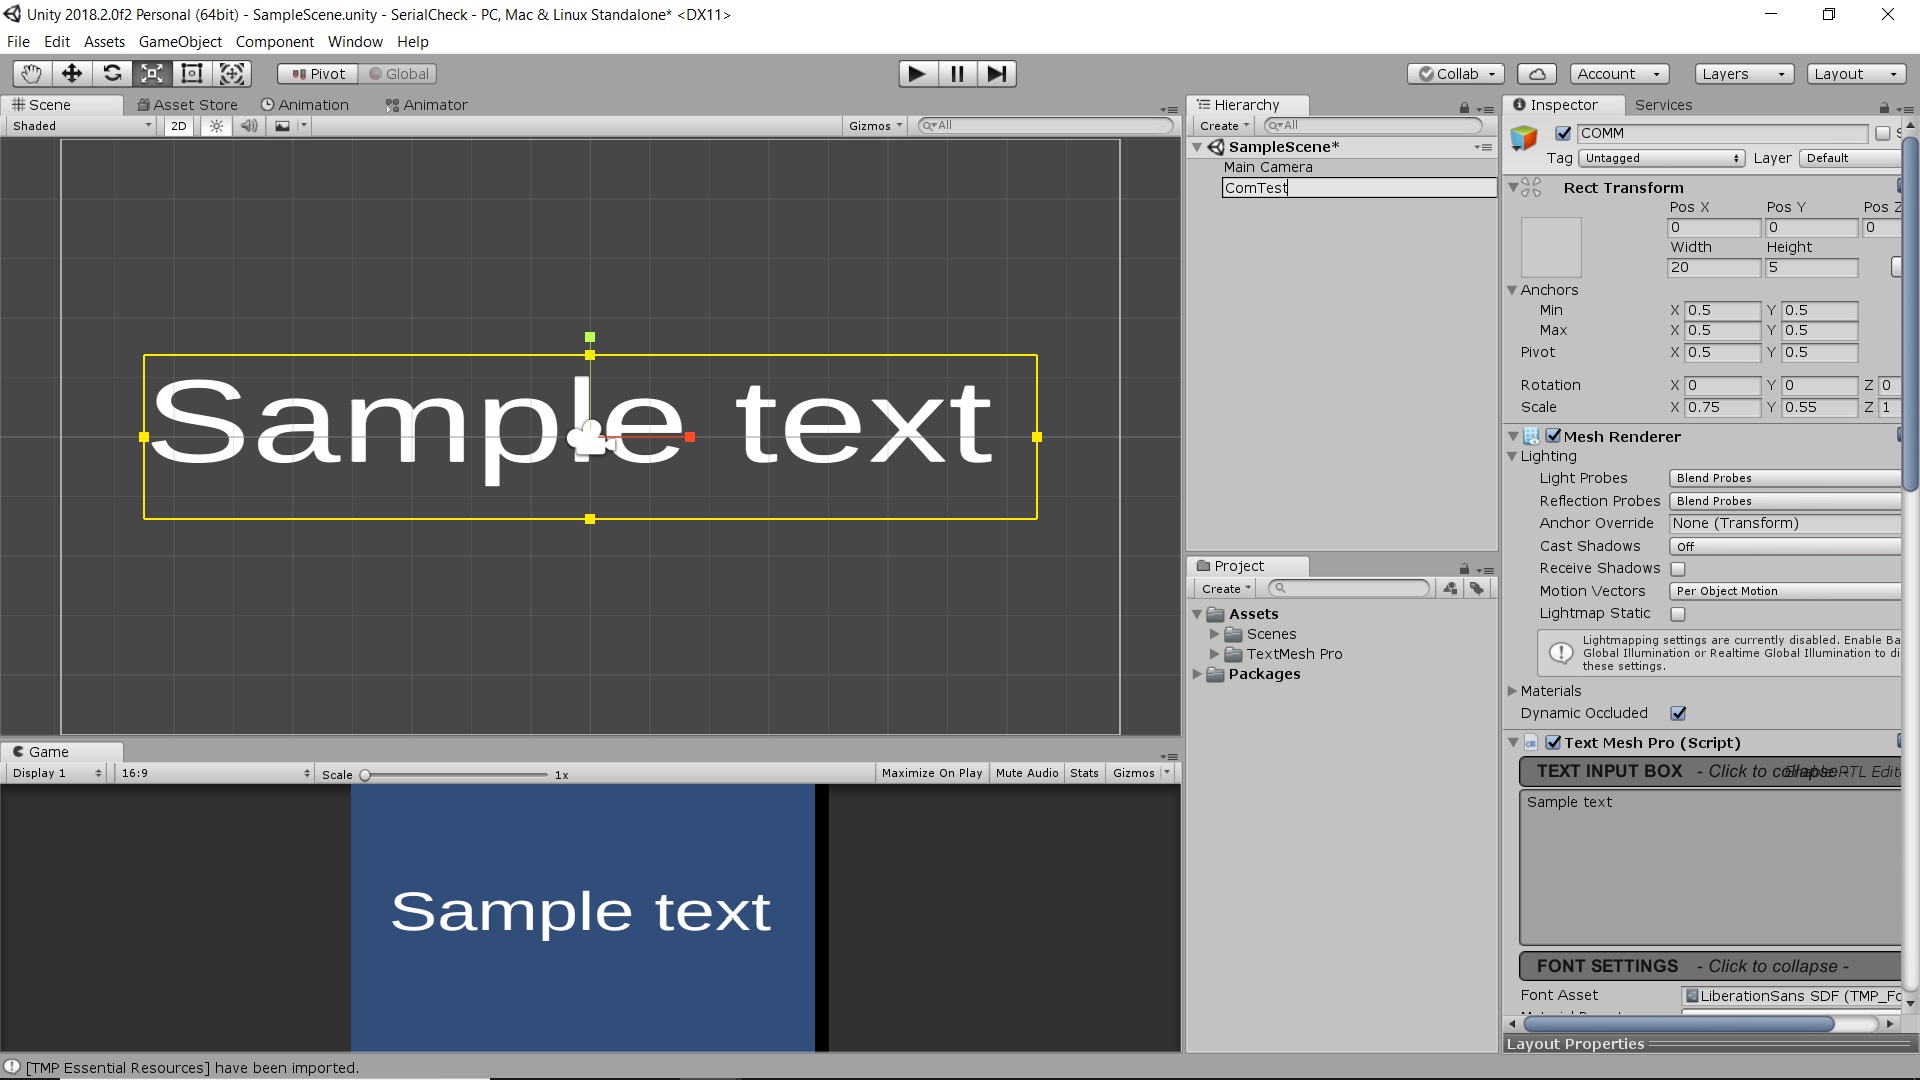
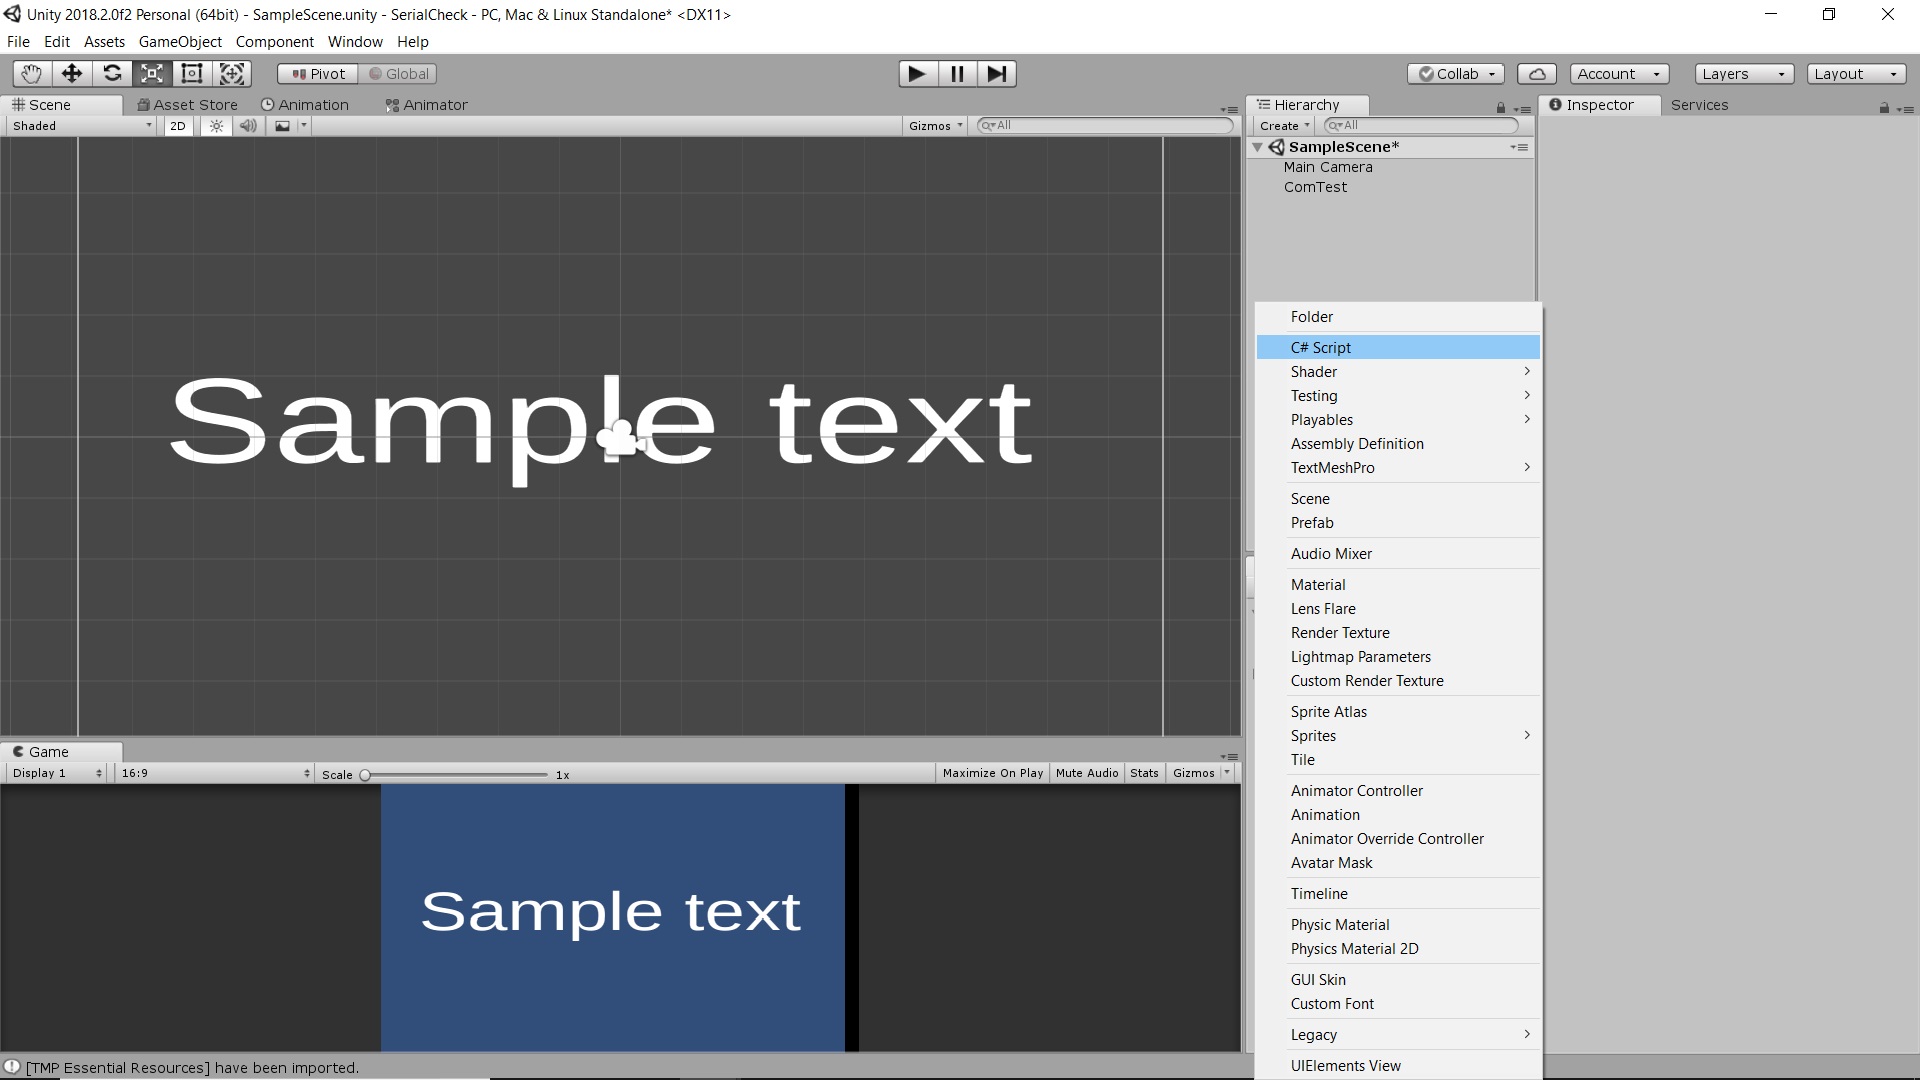
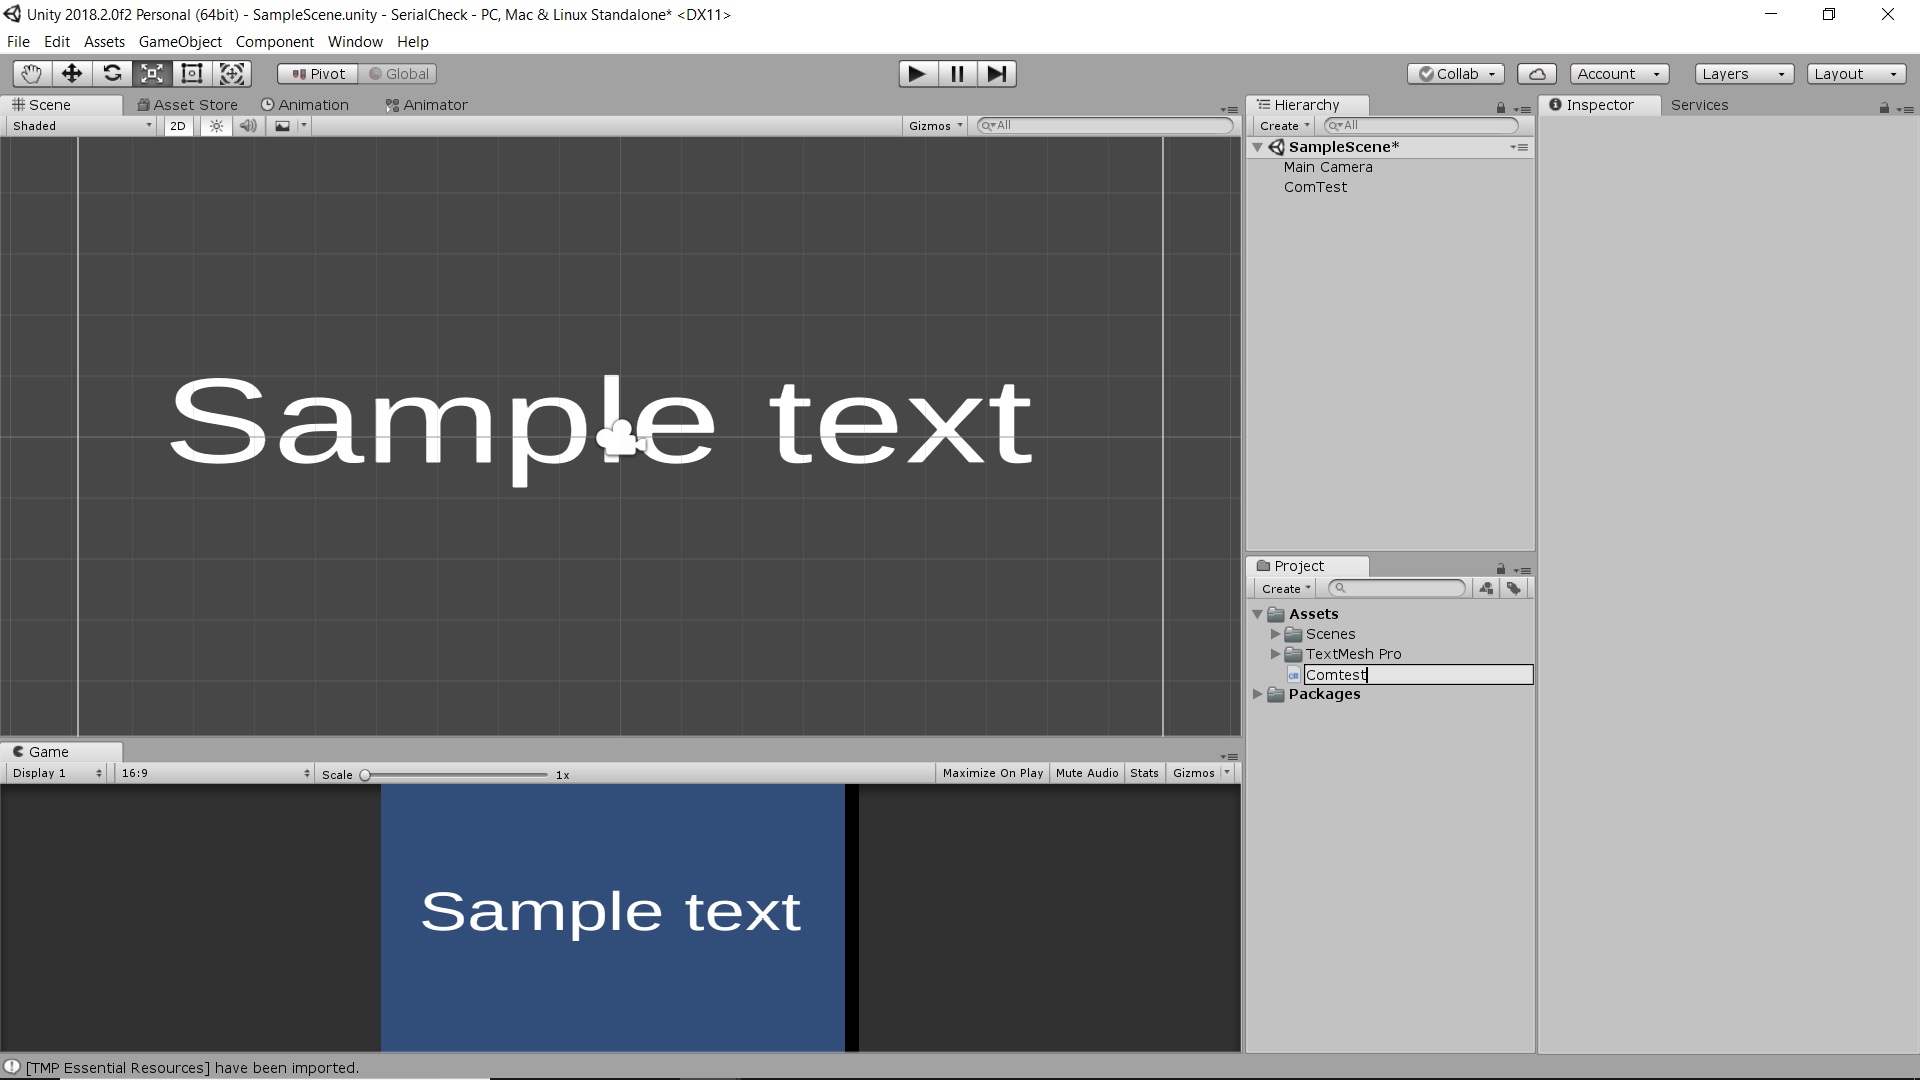
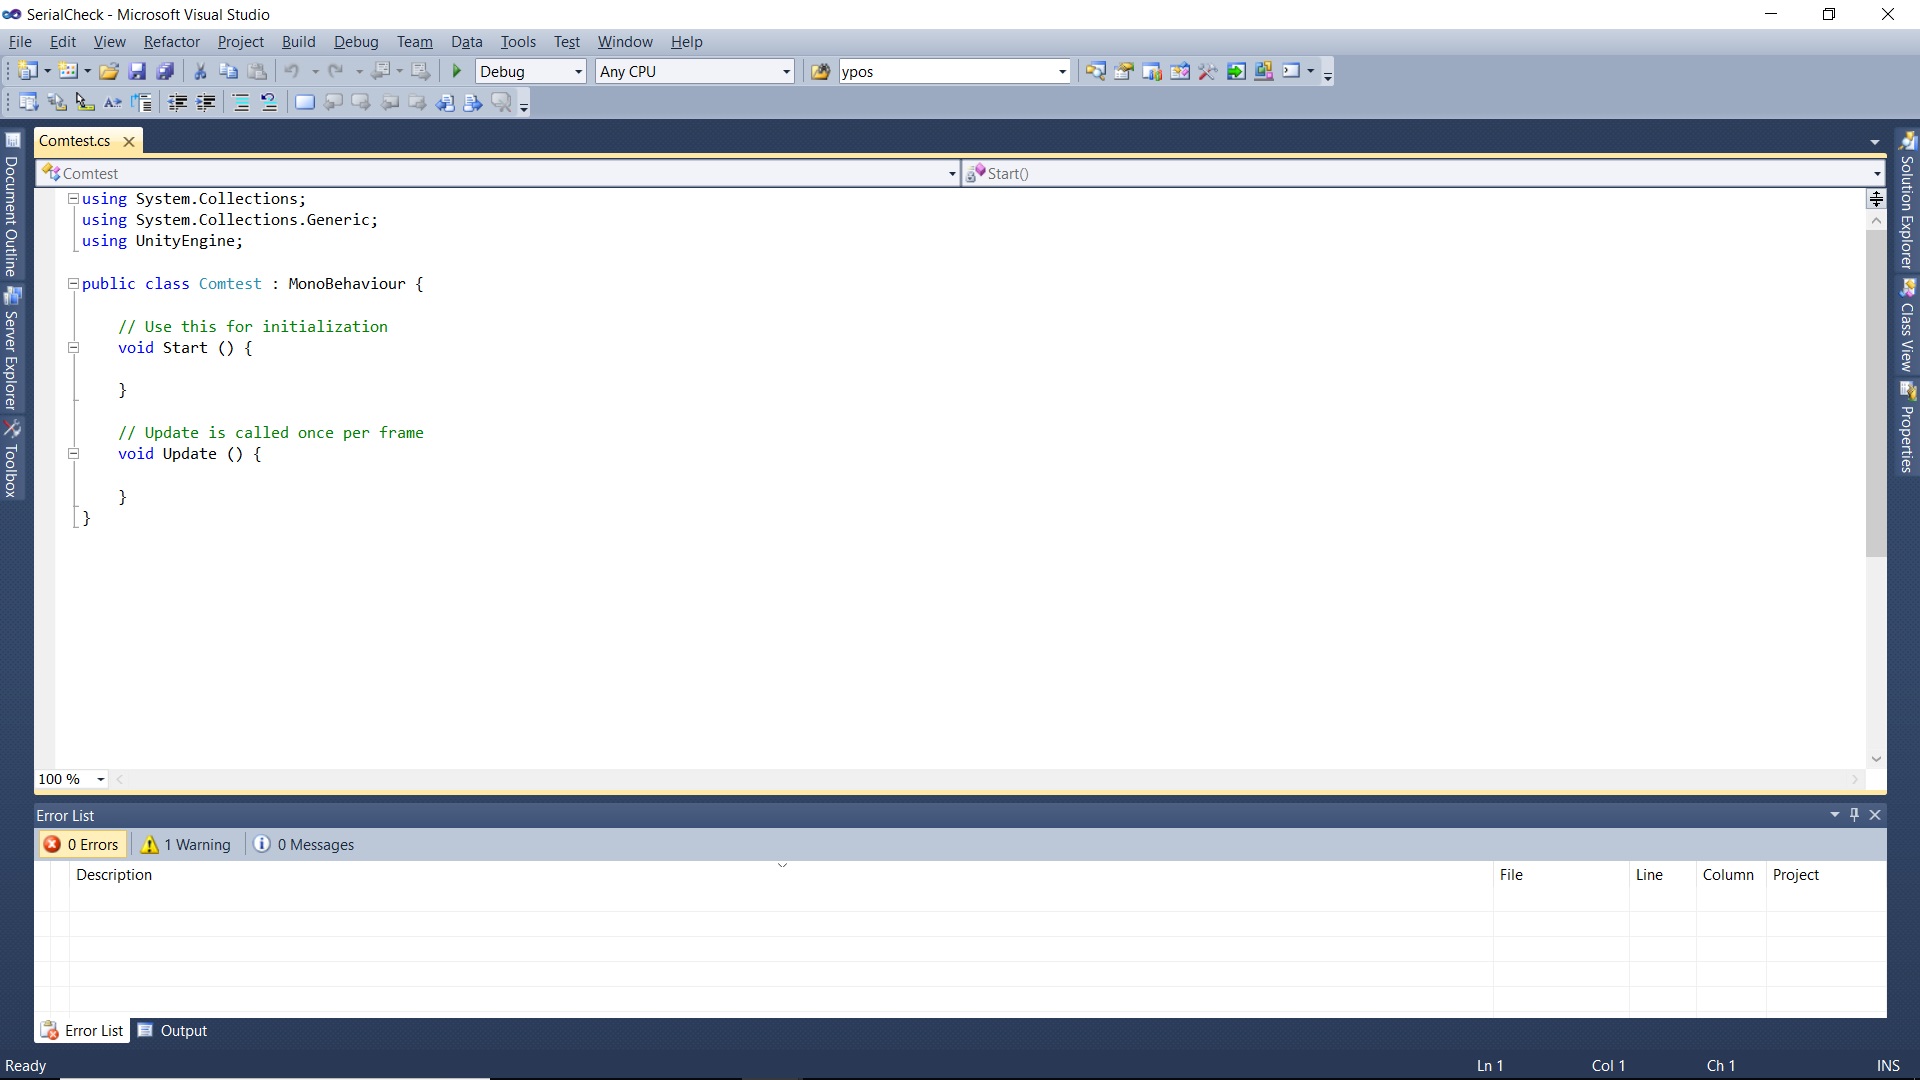
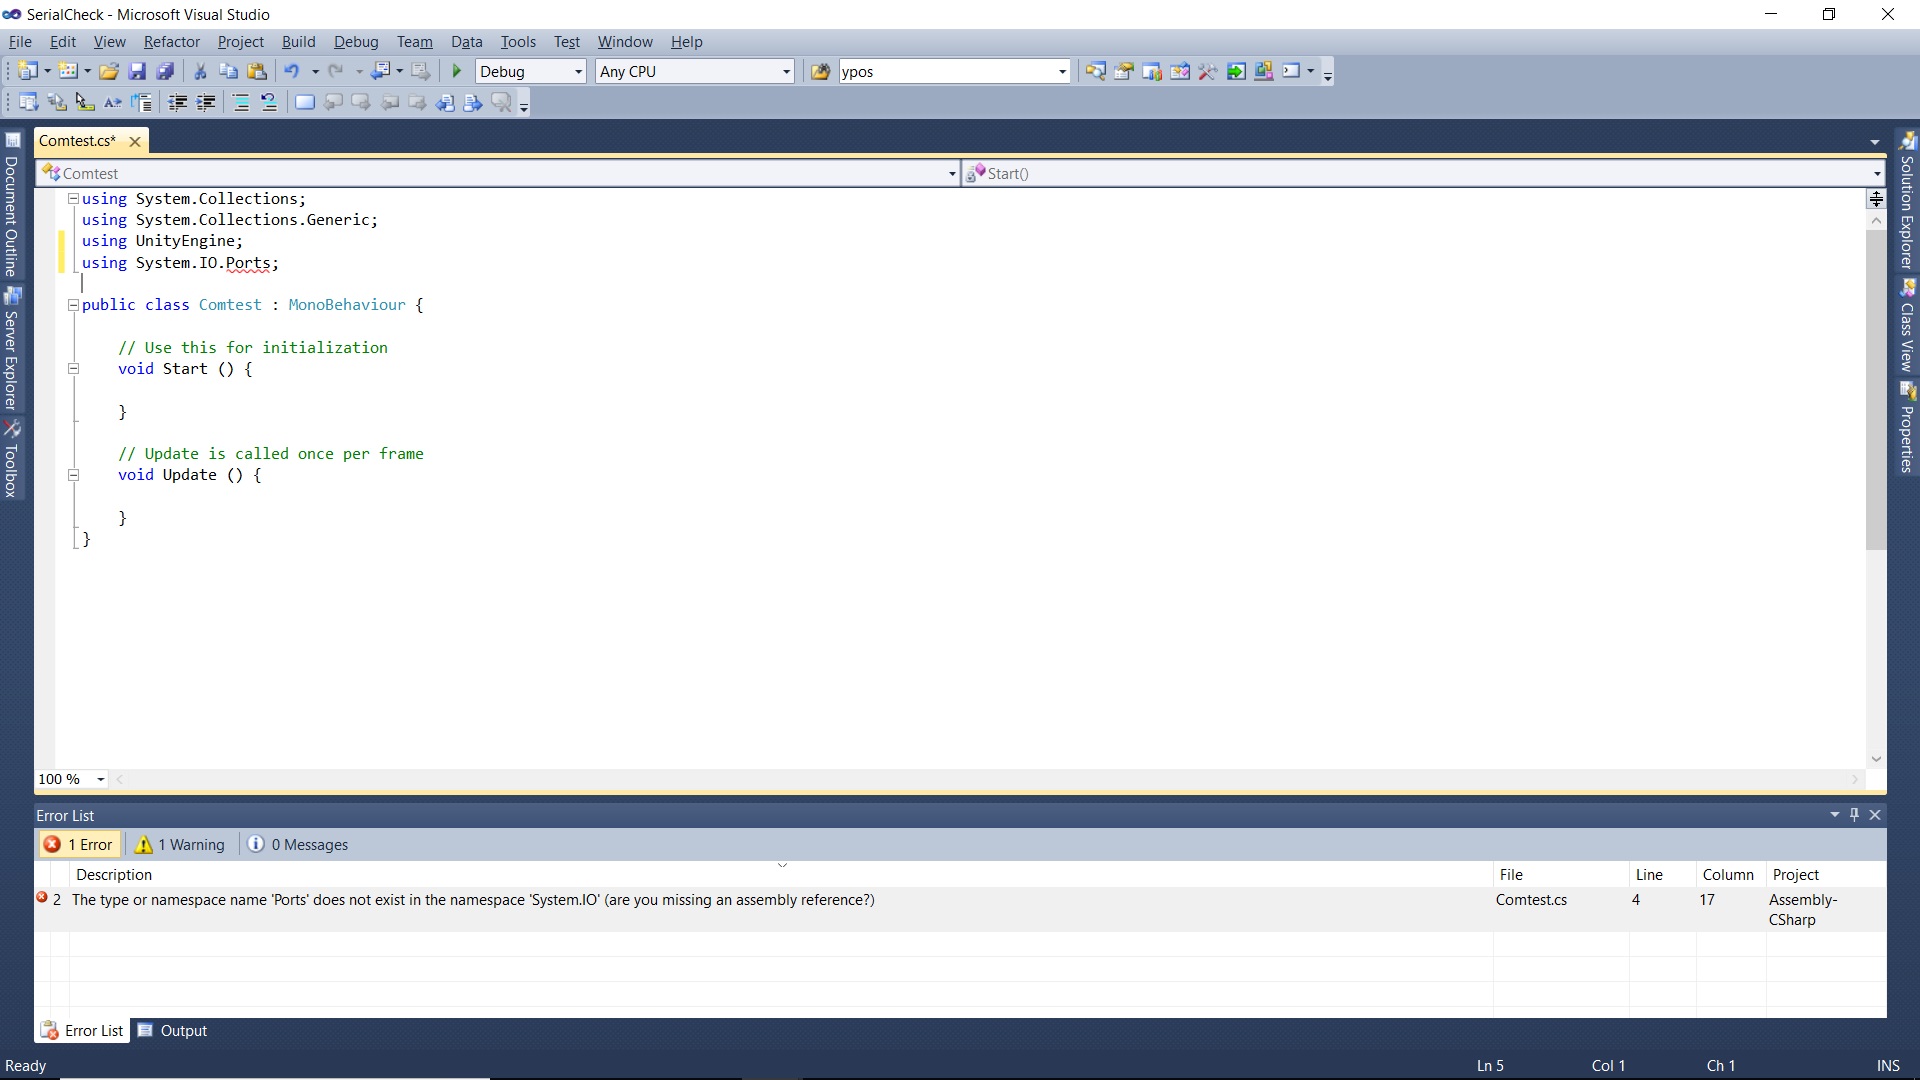
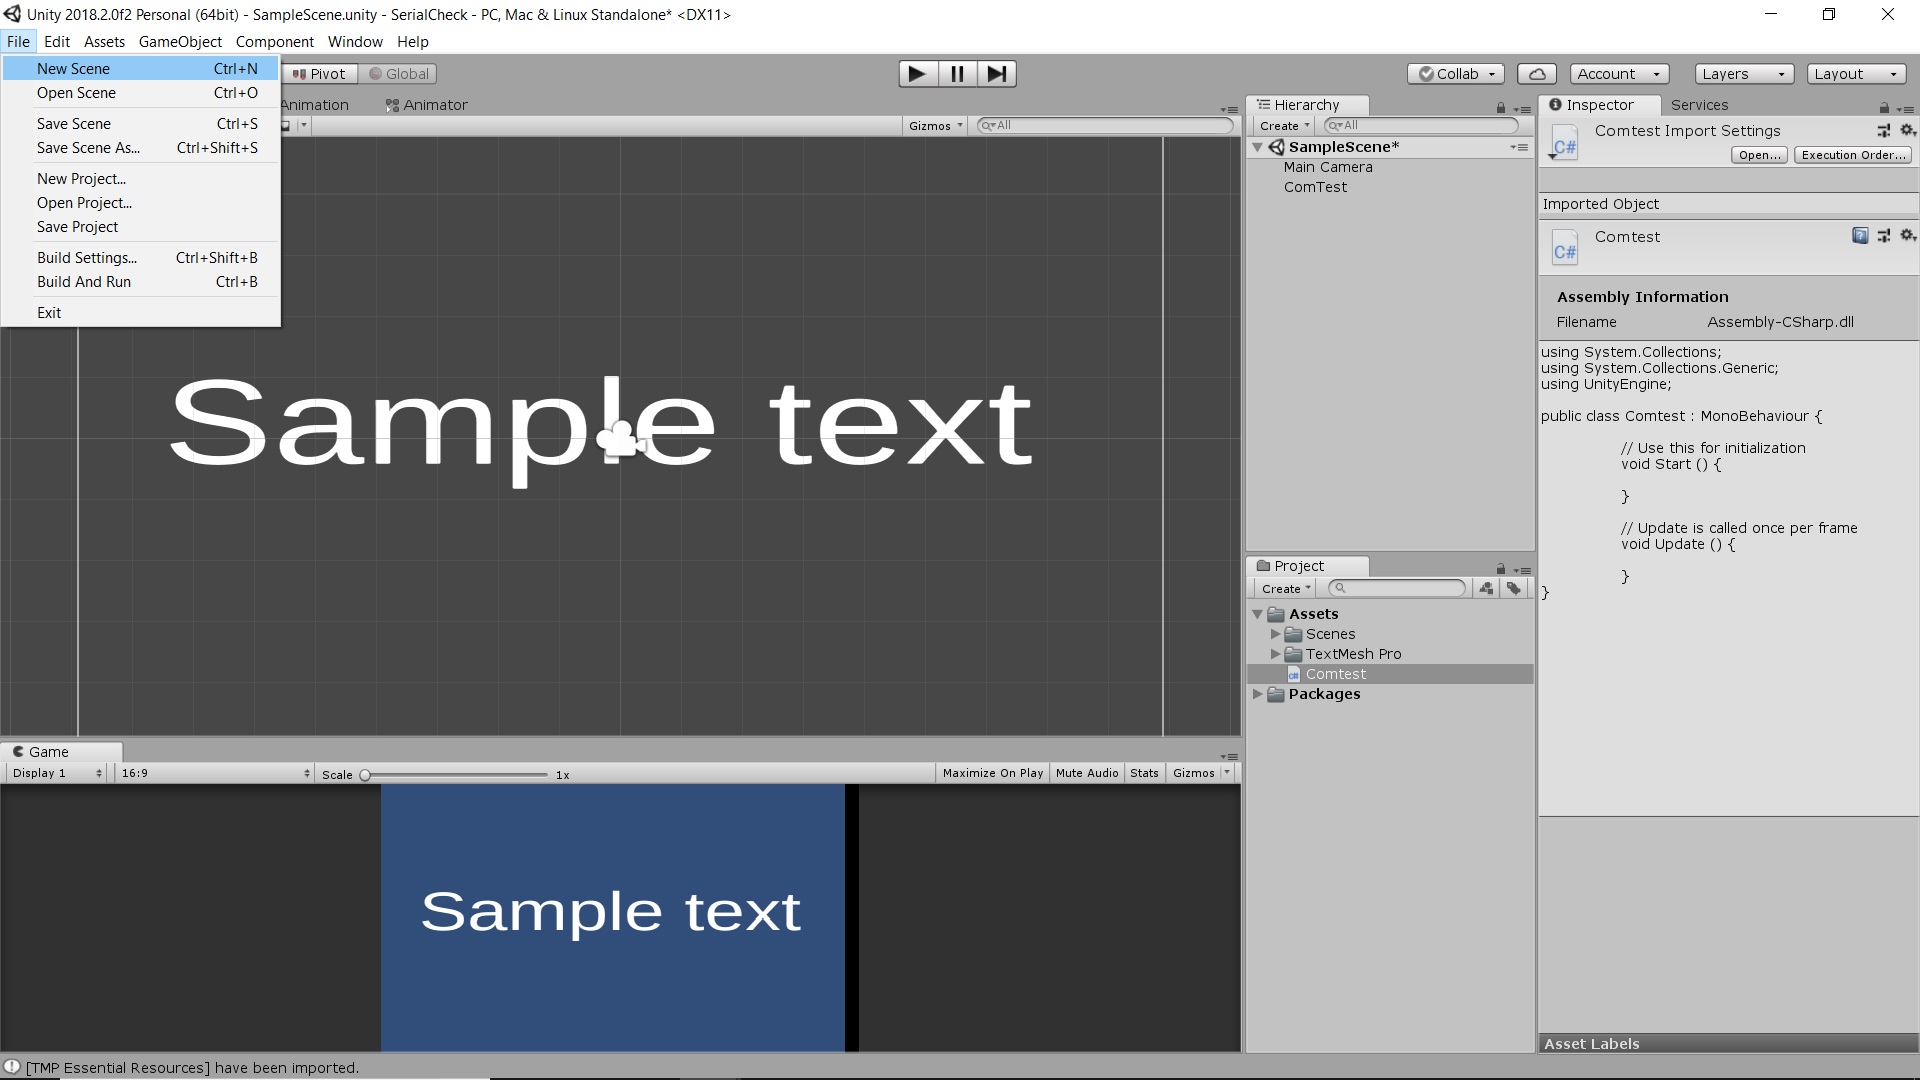
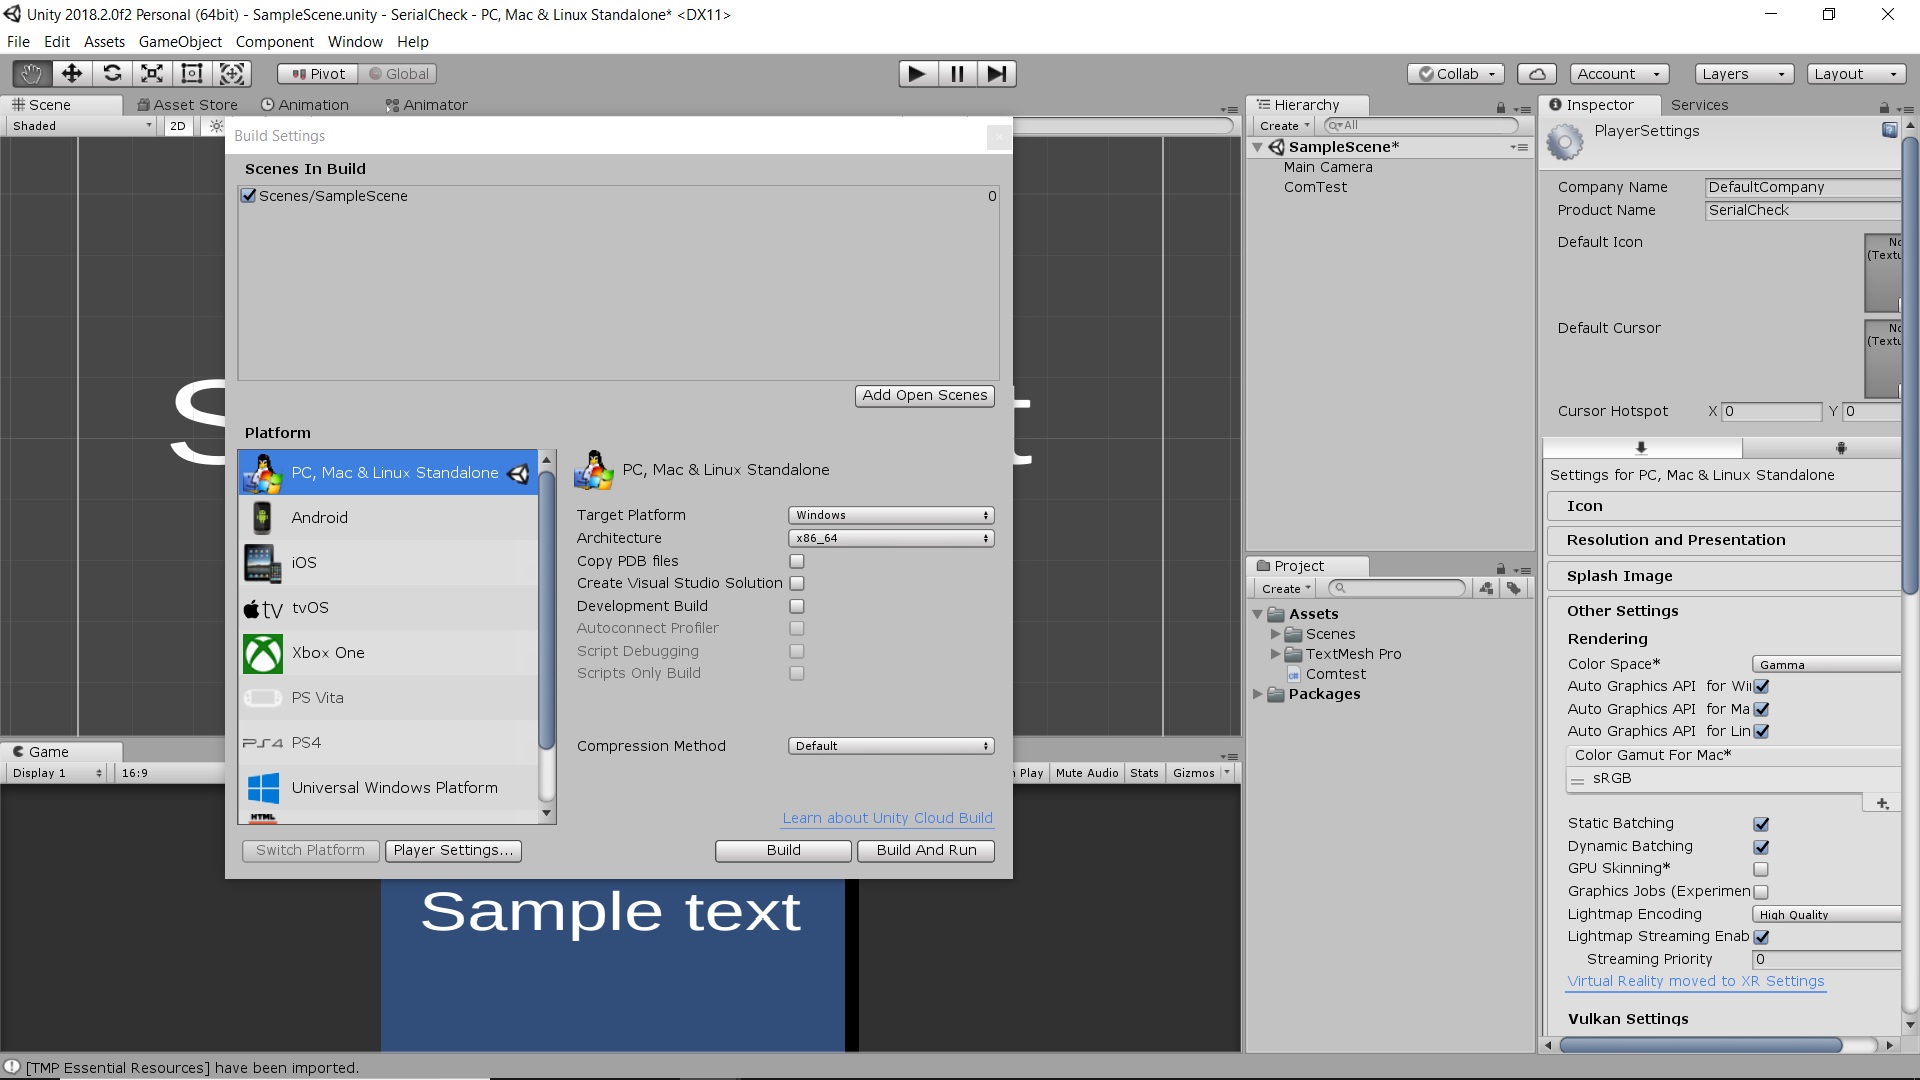
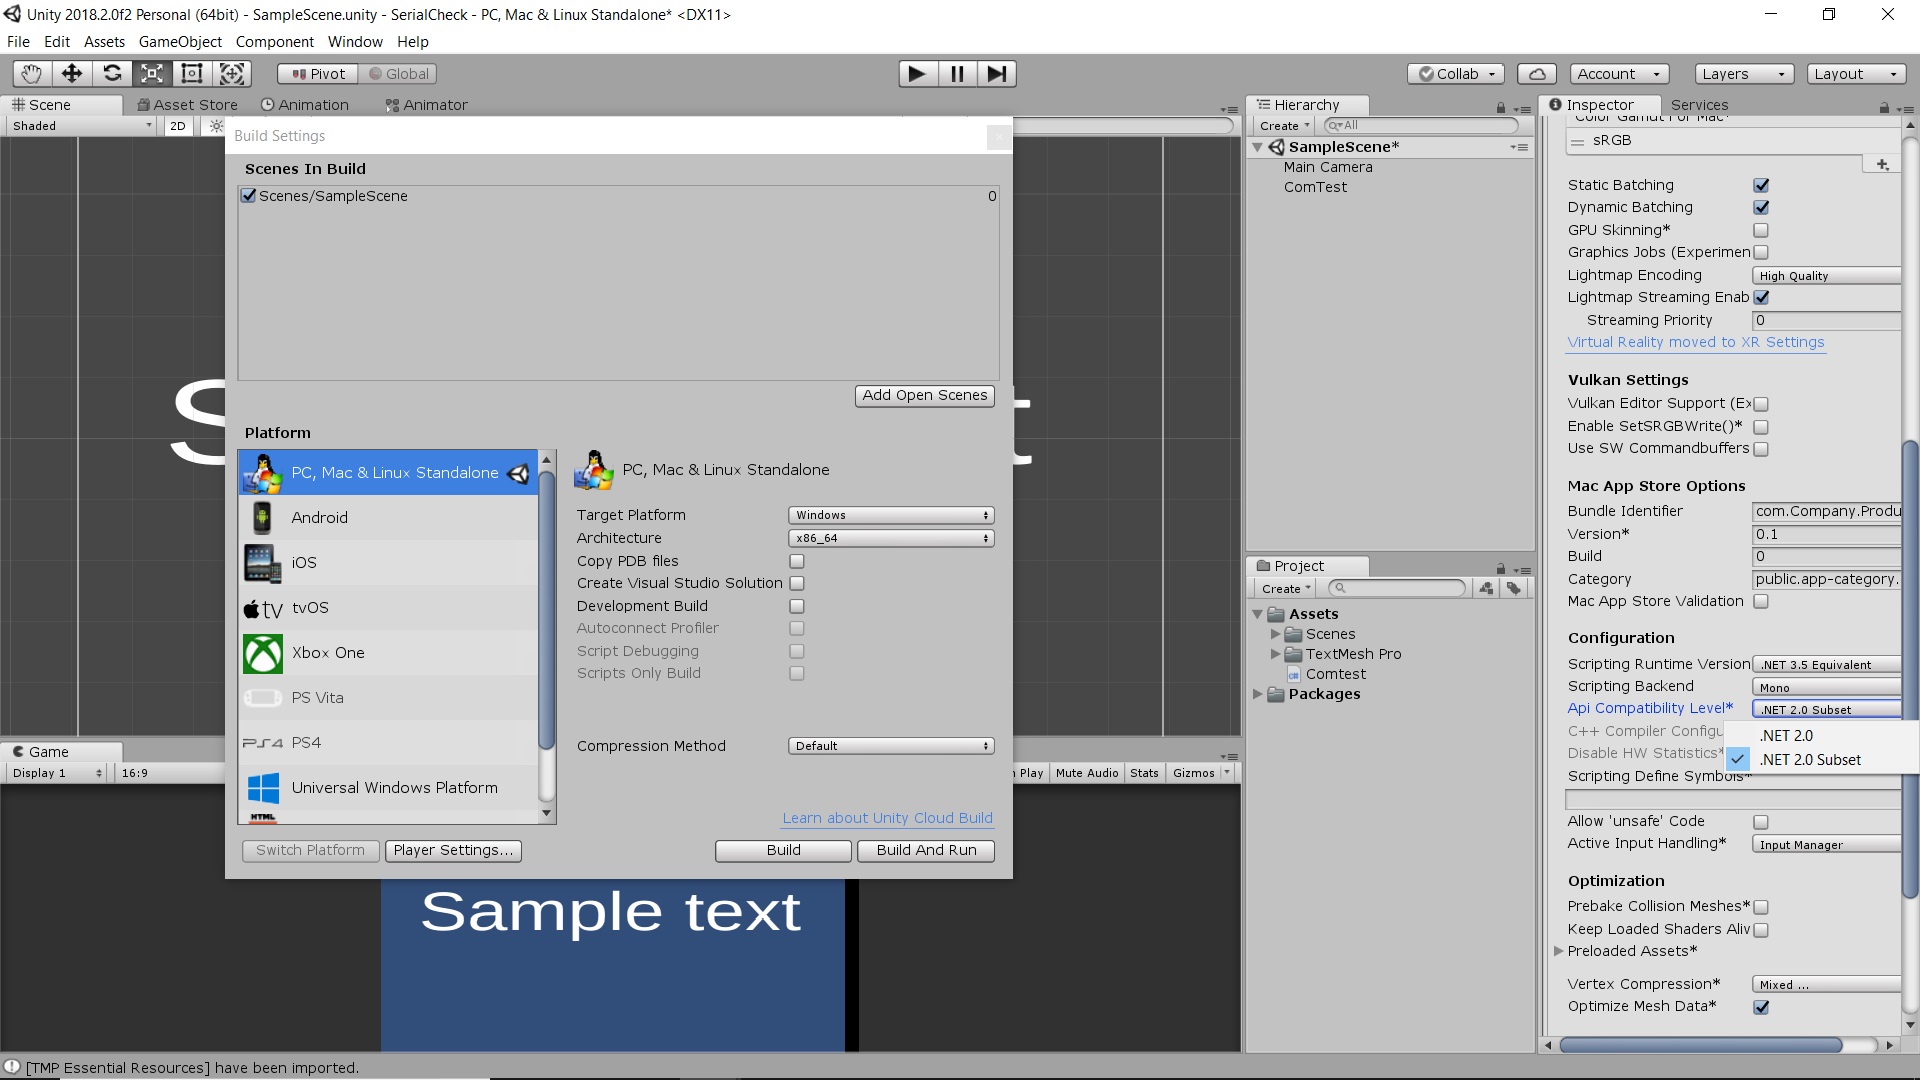
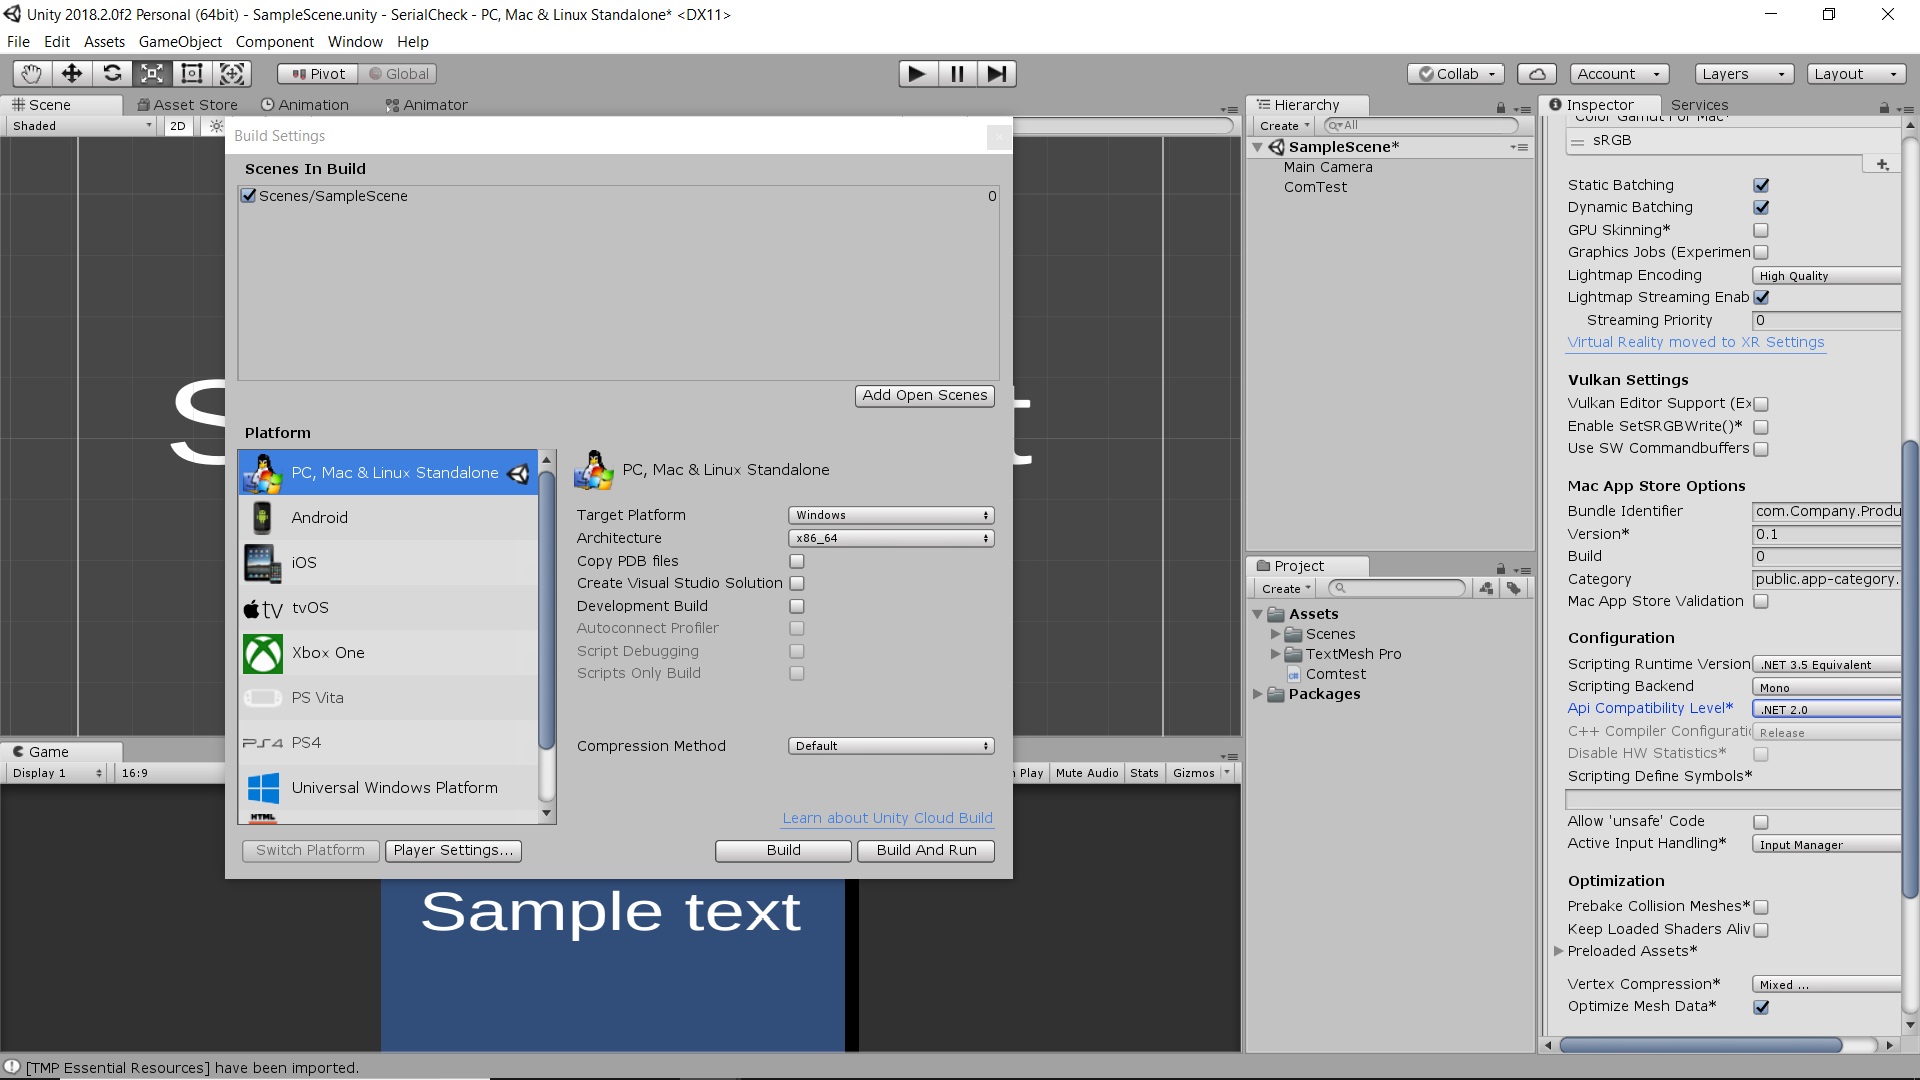
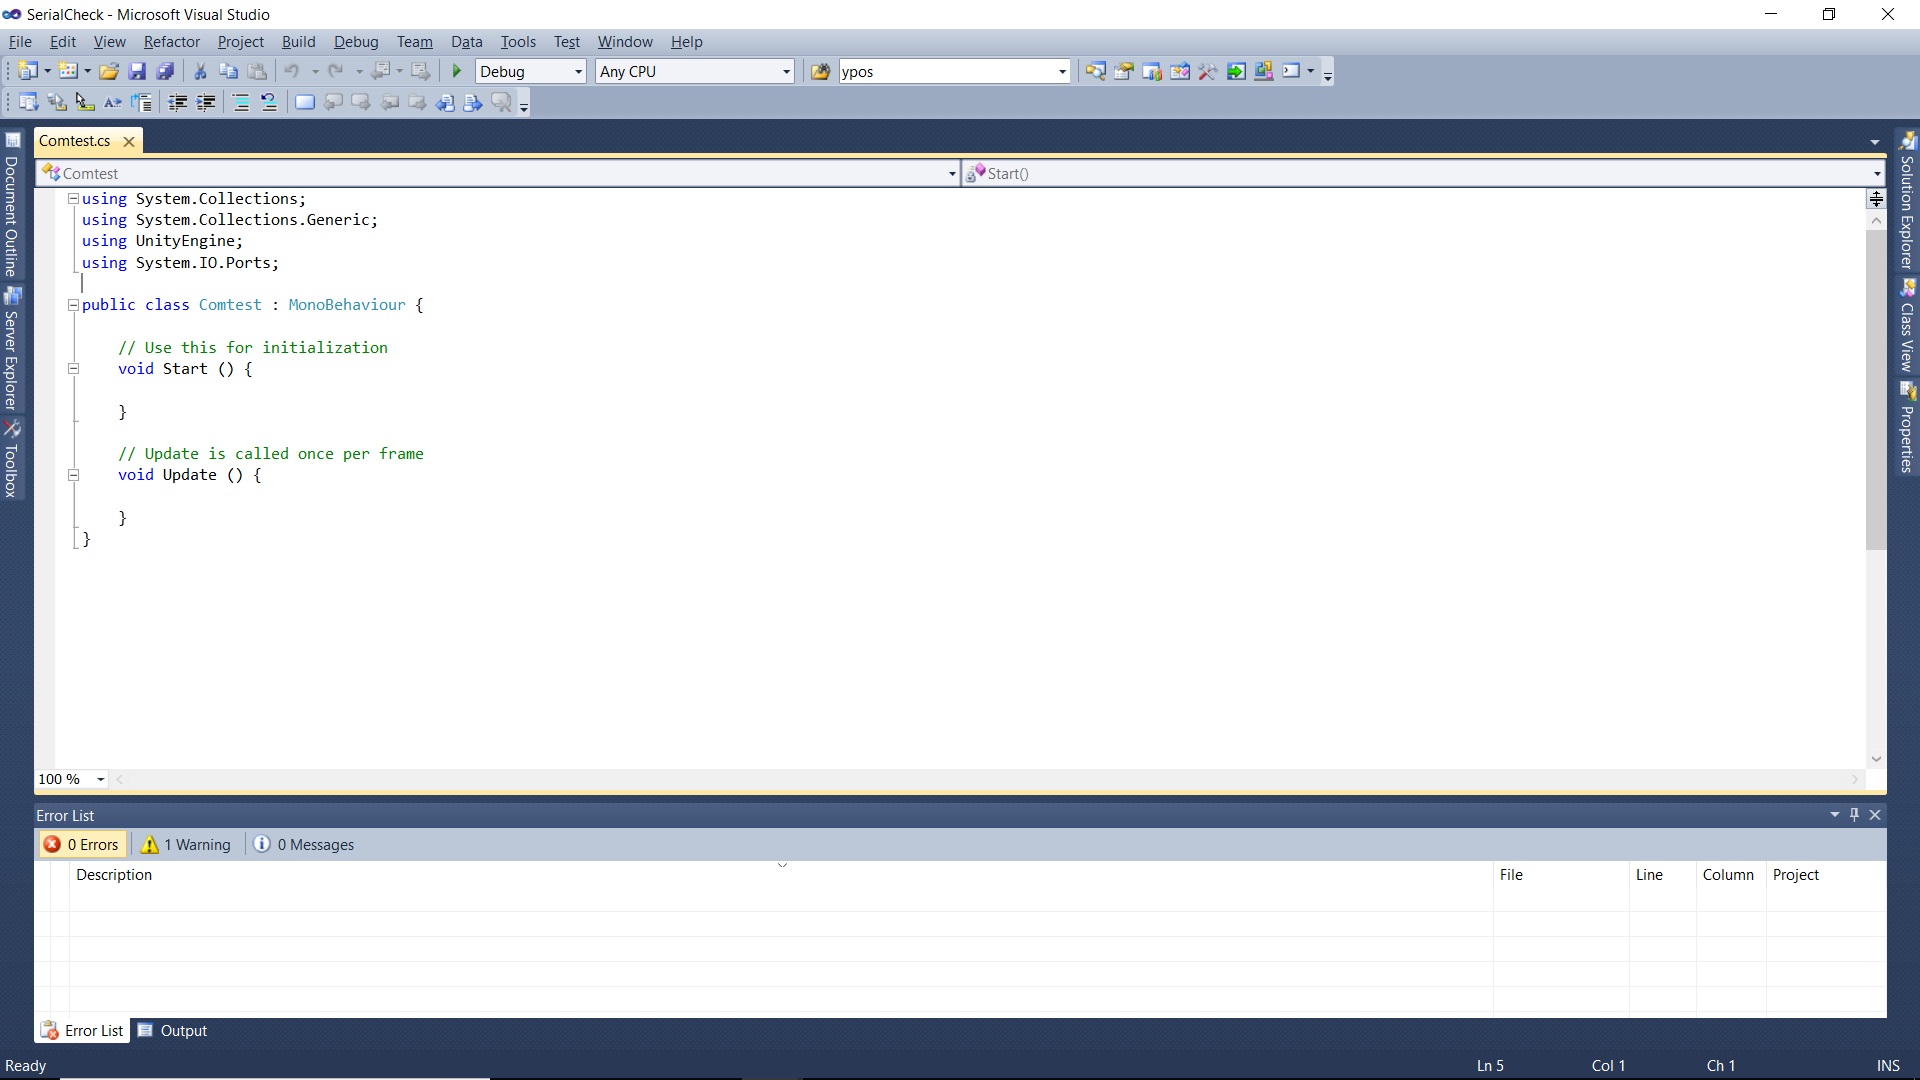
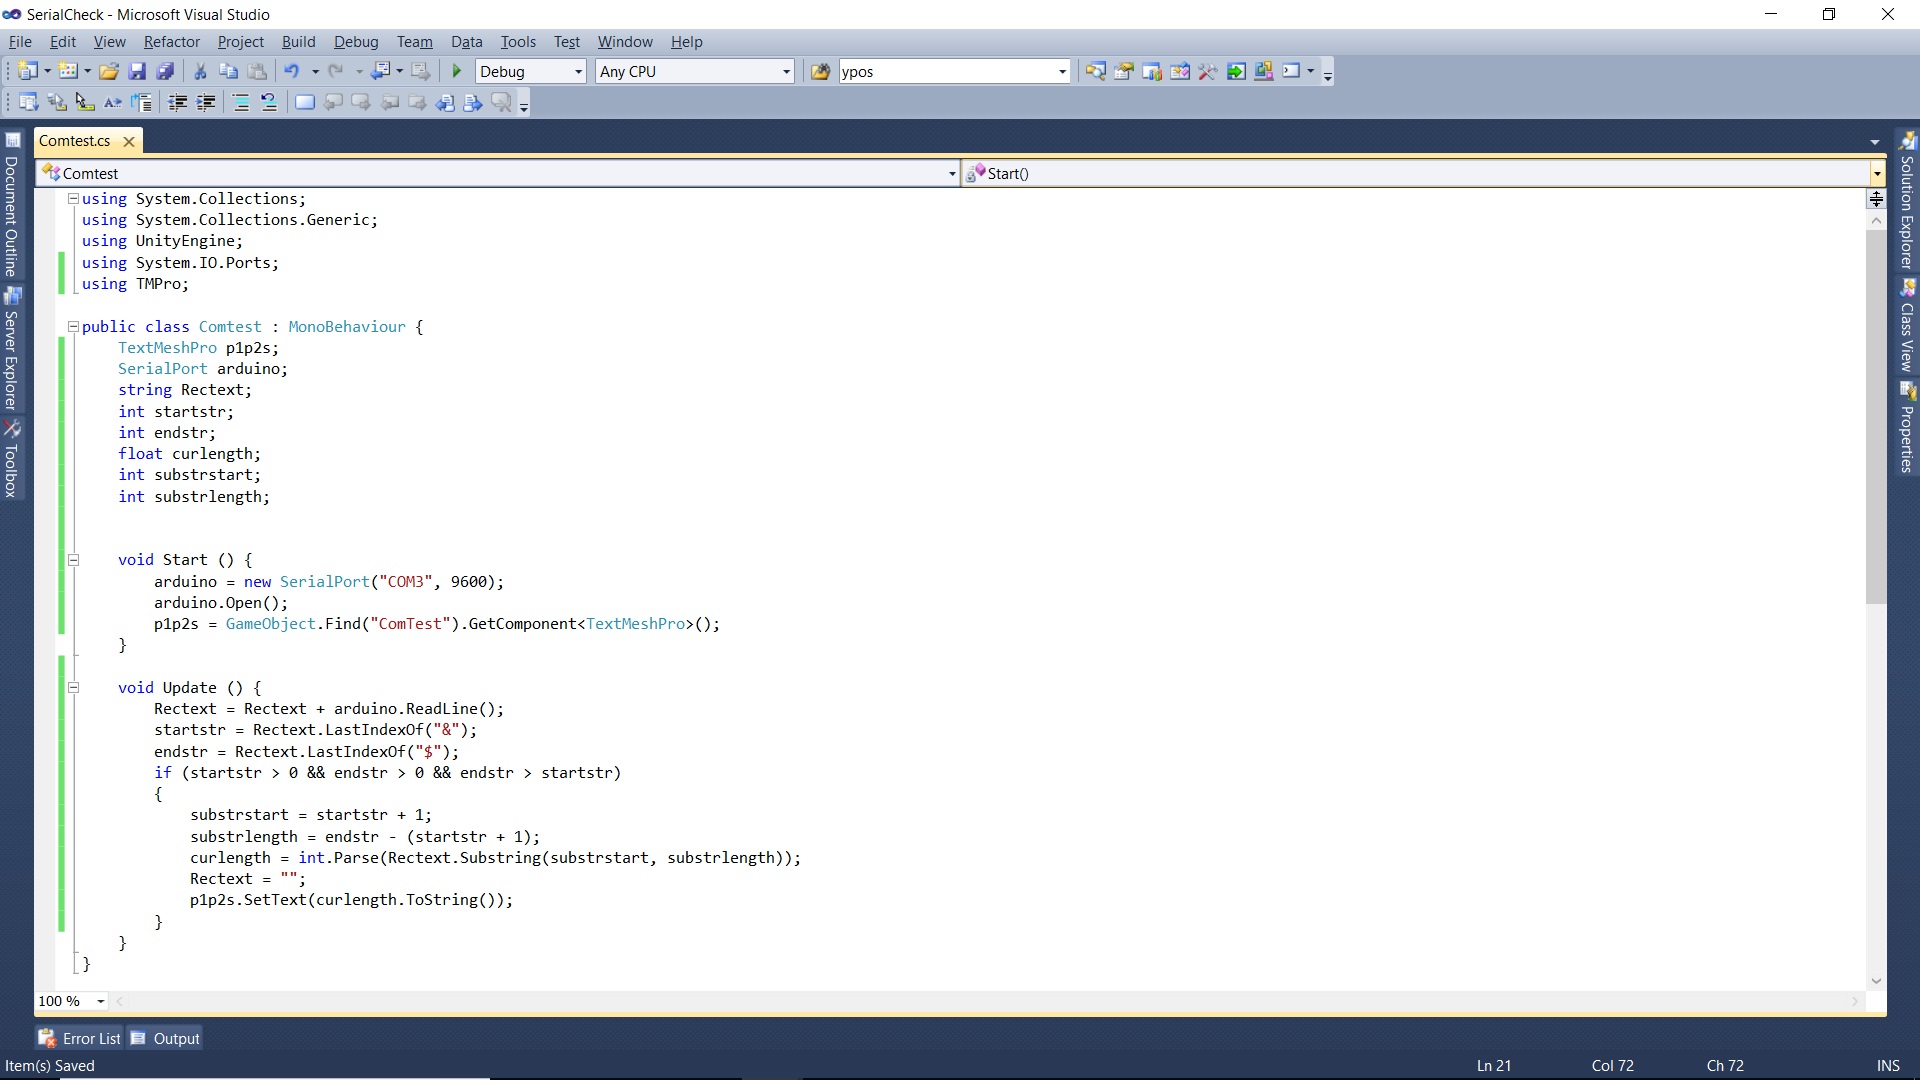
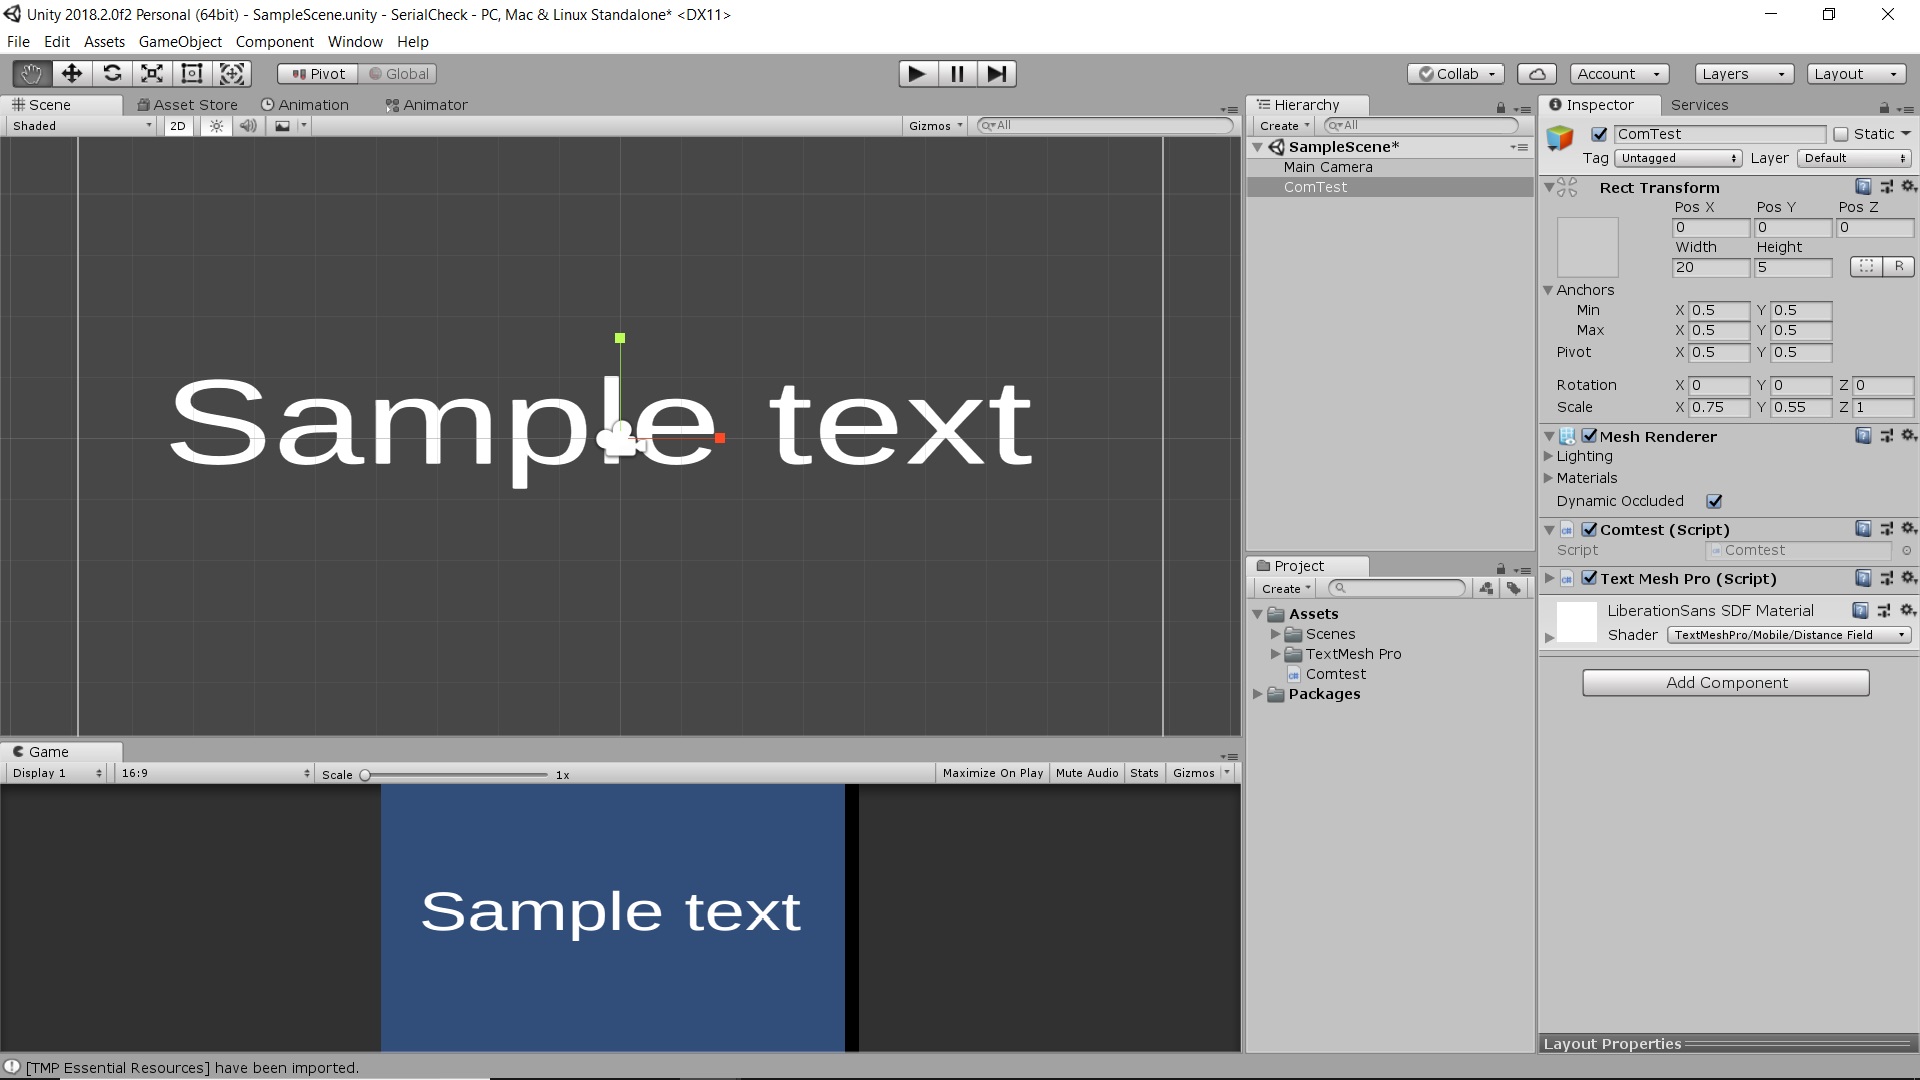
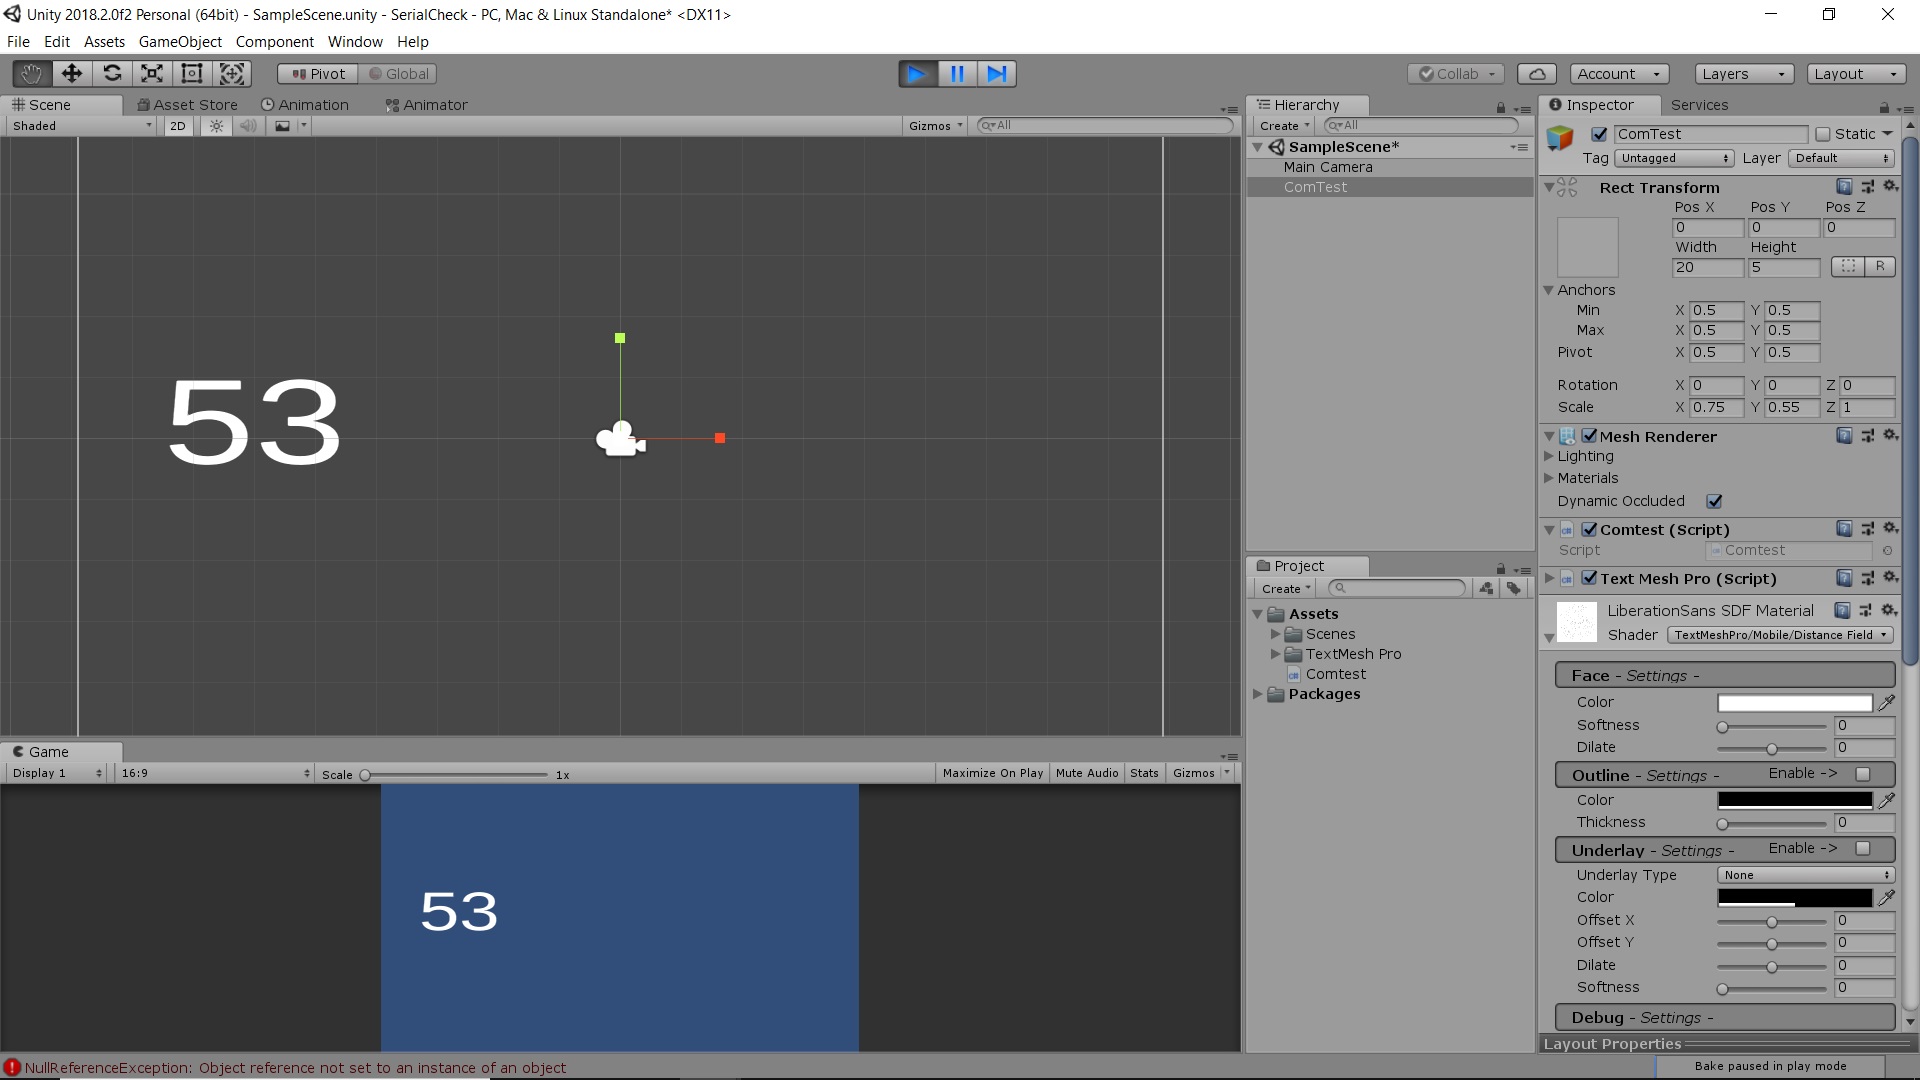
The image is self explanatory. Some of the steps want to done i listed in detailed below for each step.
1) Open unity and Start a 2D new project Serial Check.
2) Unity Open with a main camera.
3) Click Game Object -> 3D Object -> TextMeshPro - Text.
4) Place it in the center of the Scene.
5) In the Project Click Create and in the pop up menu Click "C# Script".
6) Change the Name to Comtest for the new script.
7) Double click to open the script in the visual studio.
8) When Import System.IO.Ports You found Error.
9) Go to unity Click File.Click Build Settings.
10) Click Player Settings and in the end of the player Settings you found Api Compatible level.
11) Change .Net 2.0 Subset to .Net2.0. Now save the Unity.
12) Go to the Visual Studio and found the import is ok.
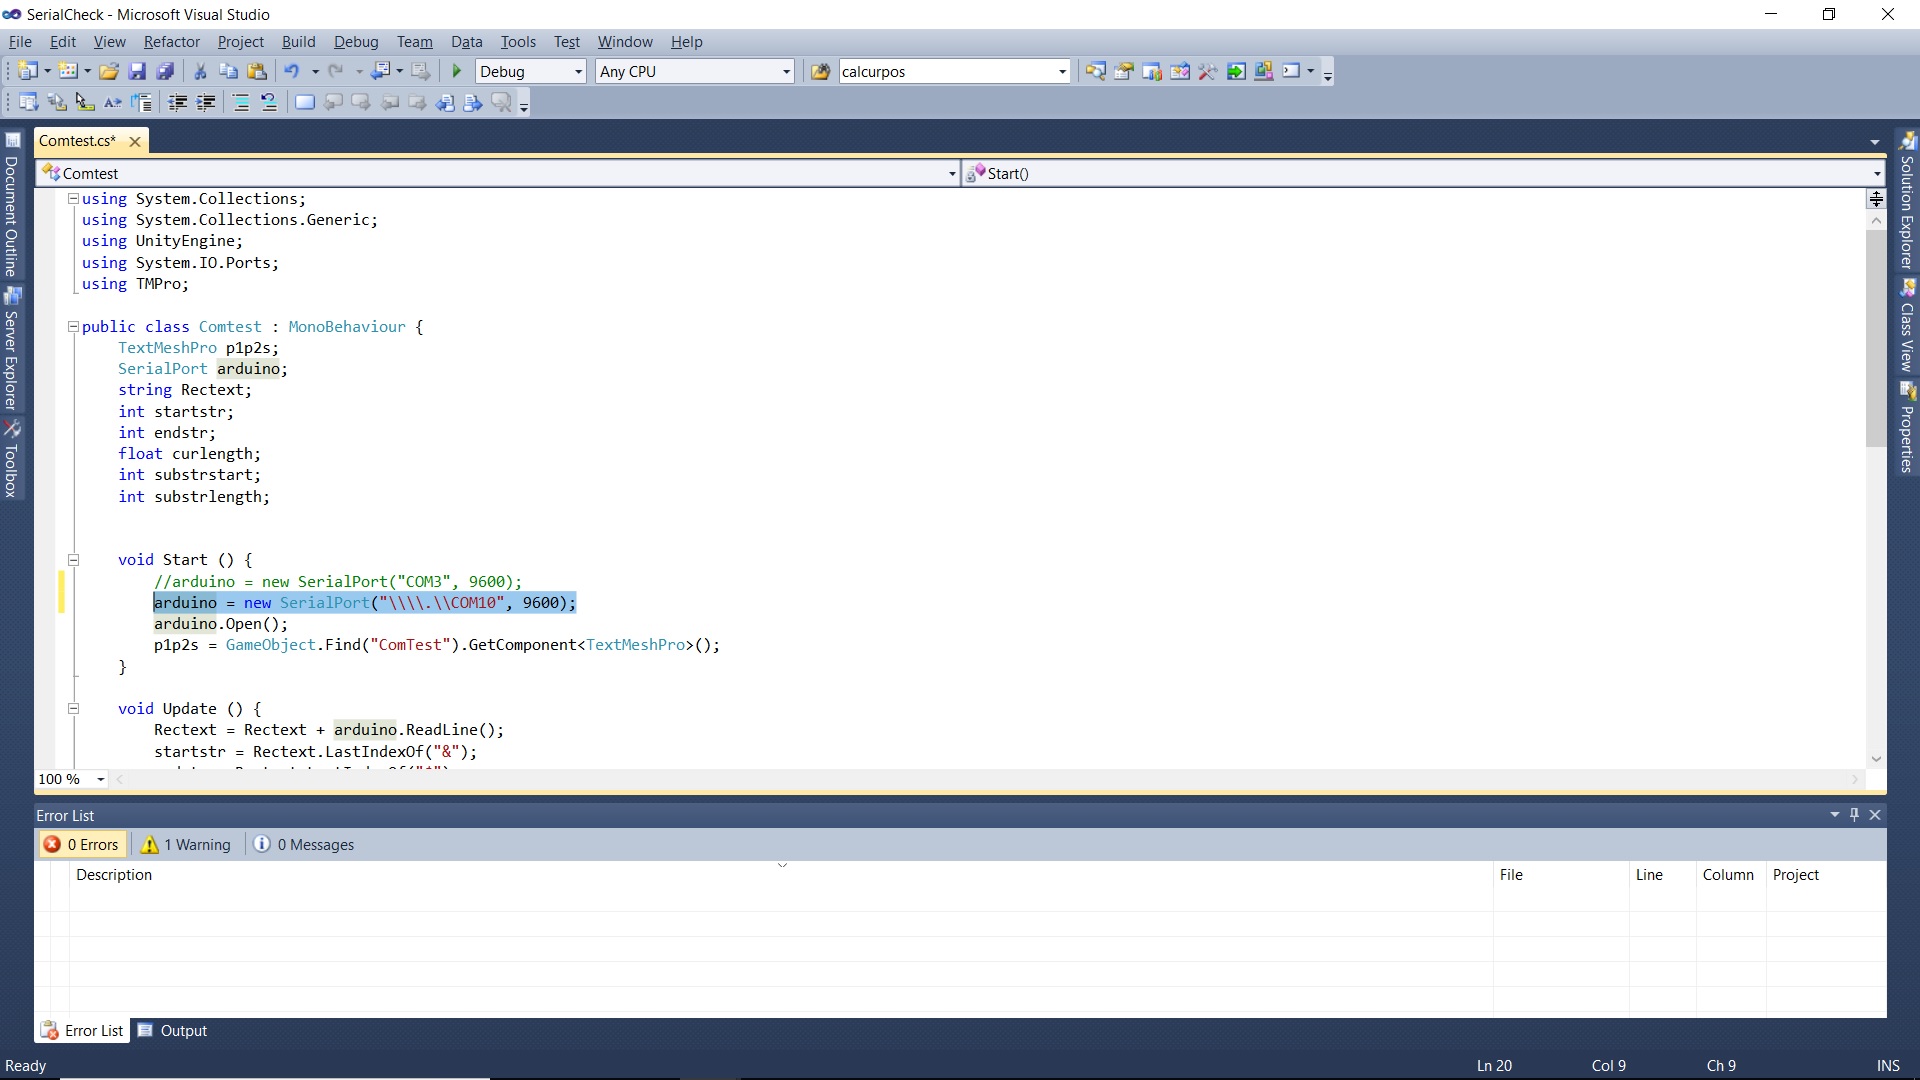
13) Now use the Serial port to establish connection between the unity and Arduino. Filter the Value send using string function with the starting and ending charactor as reference.
14) Drag the Script to the TexttMeshPro we already created.
15) Now Run the Unity program and you found the data send by arduino is show in TexttMeshPro.
Hardware Ready
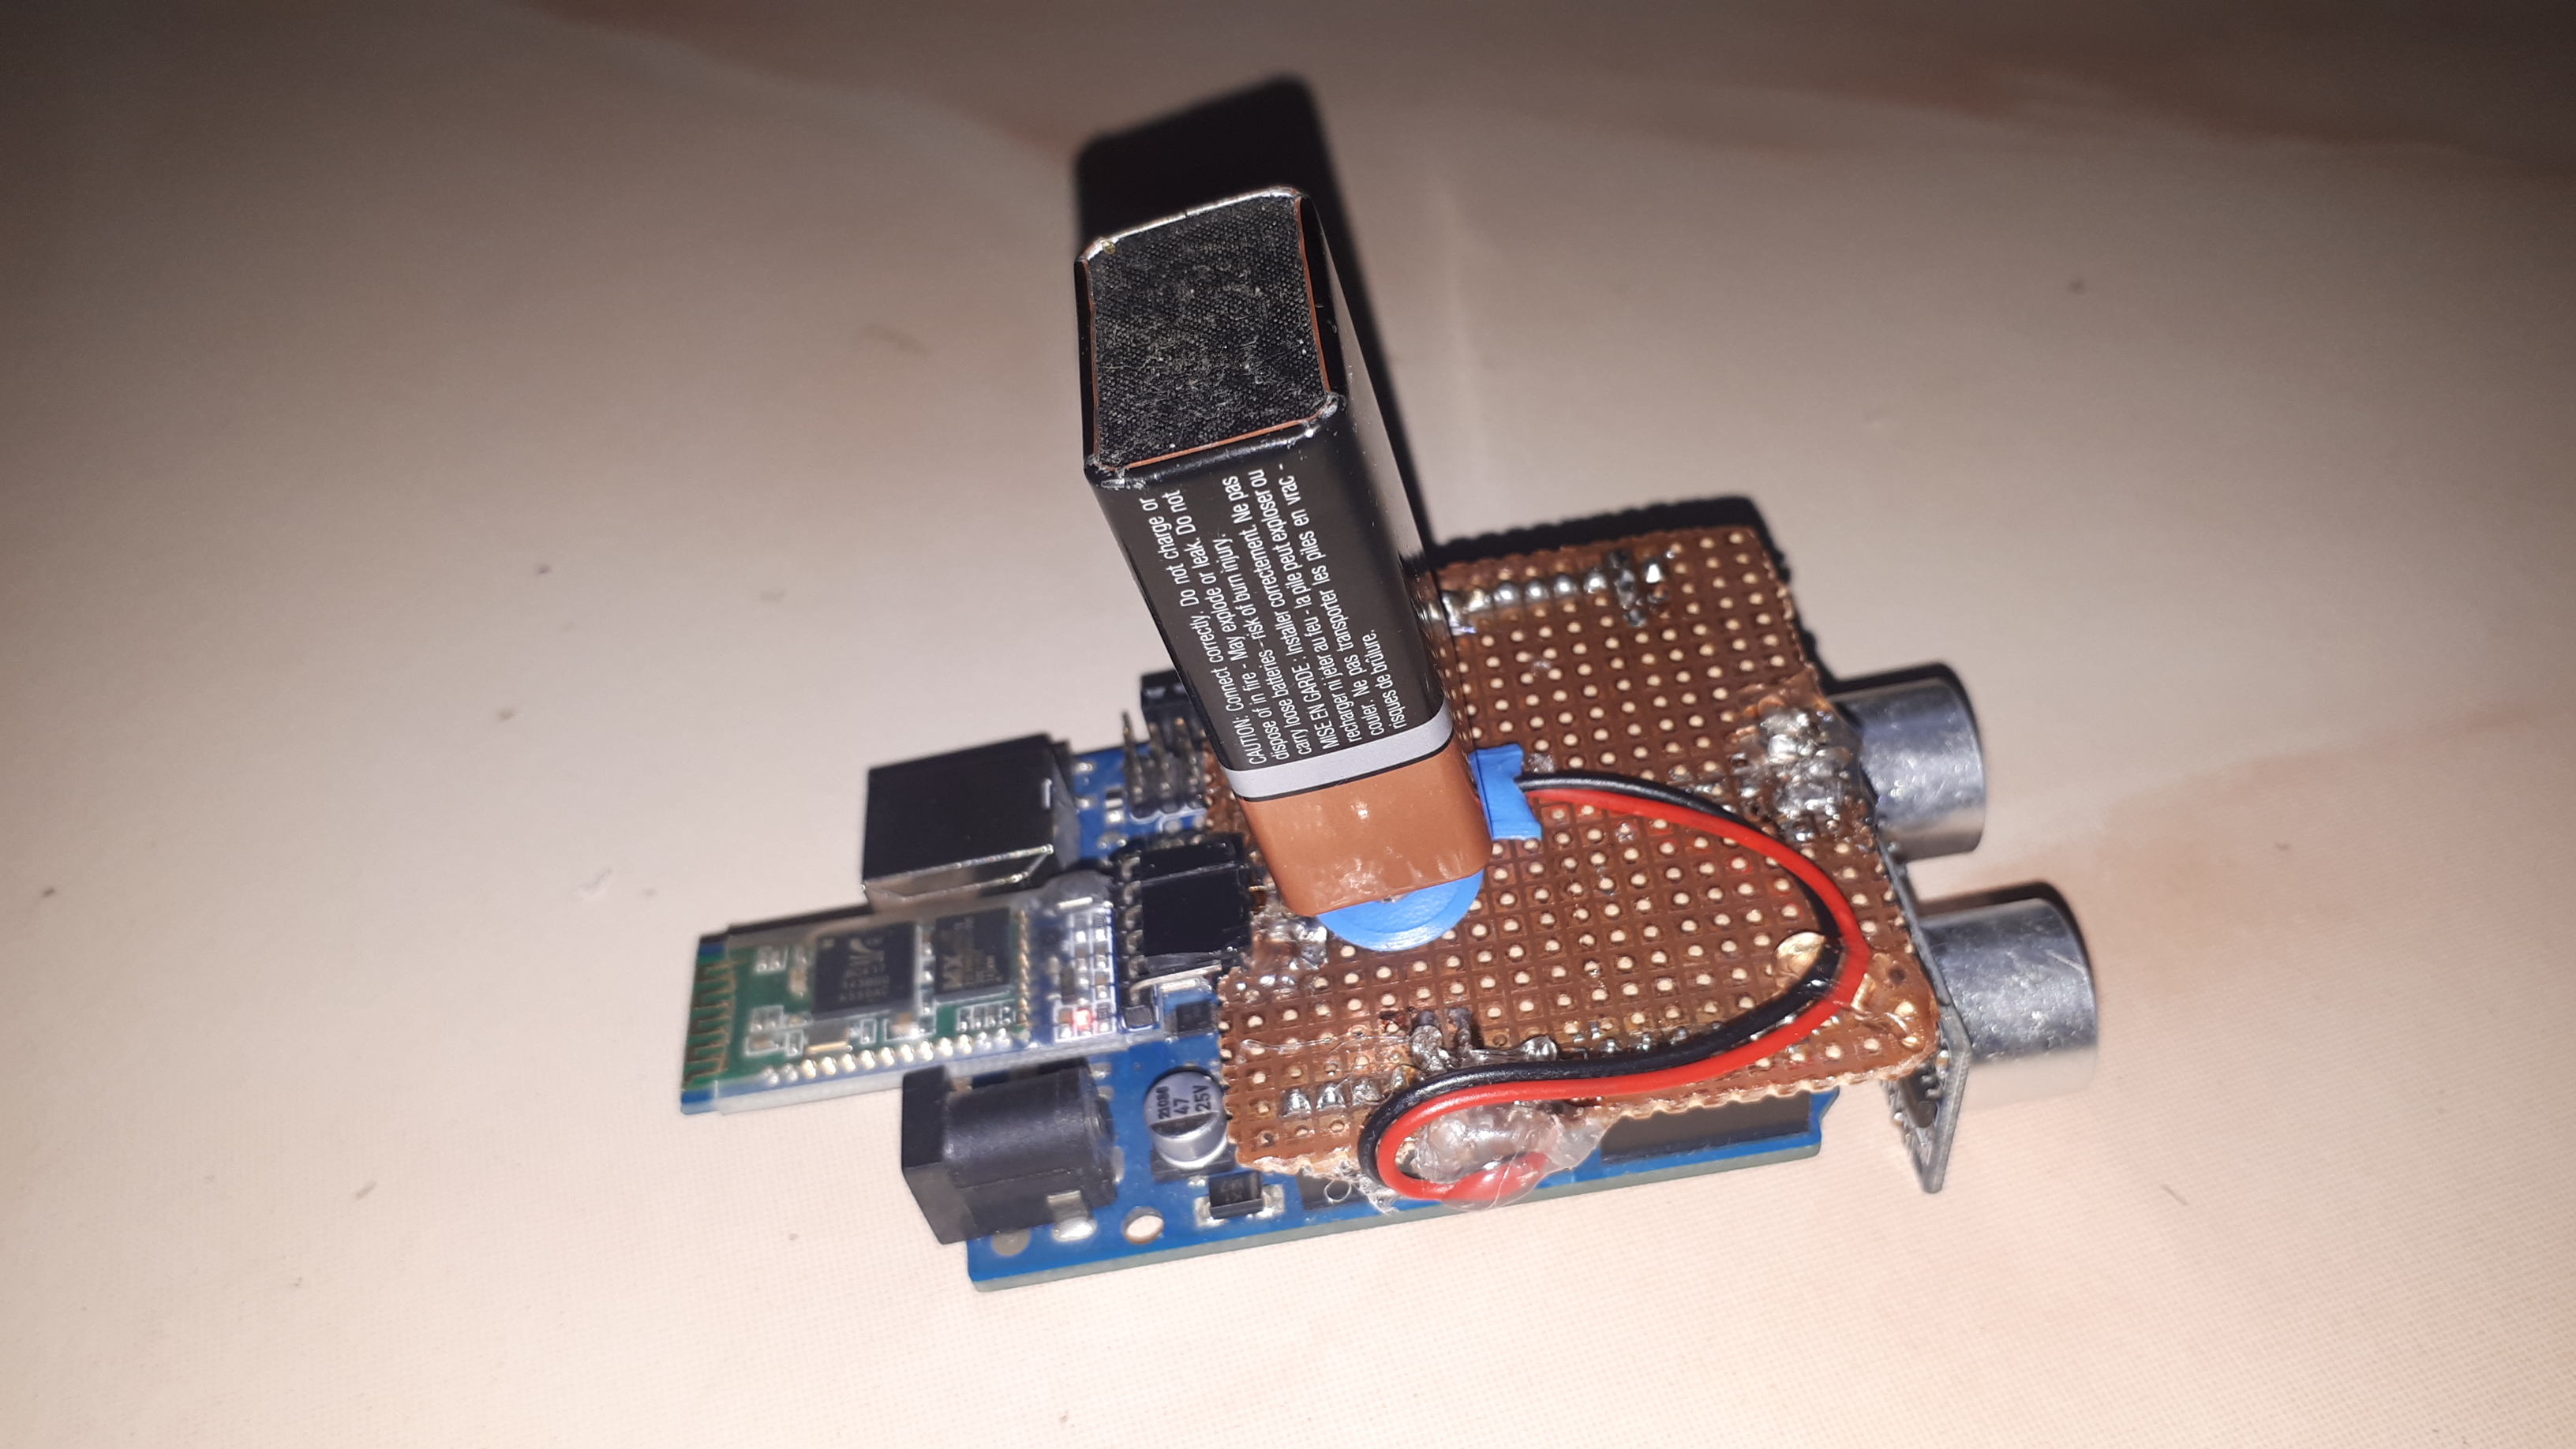
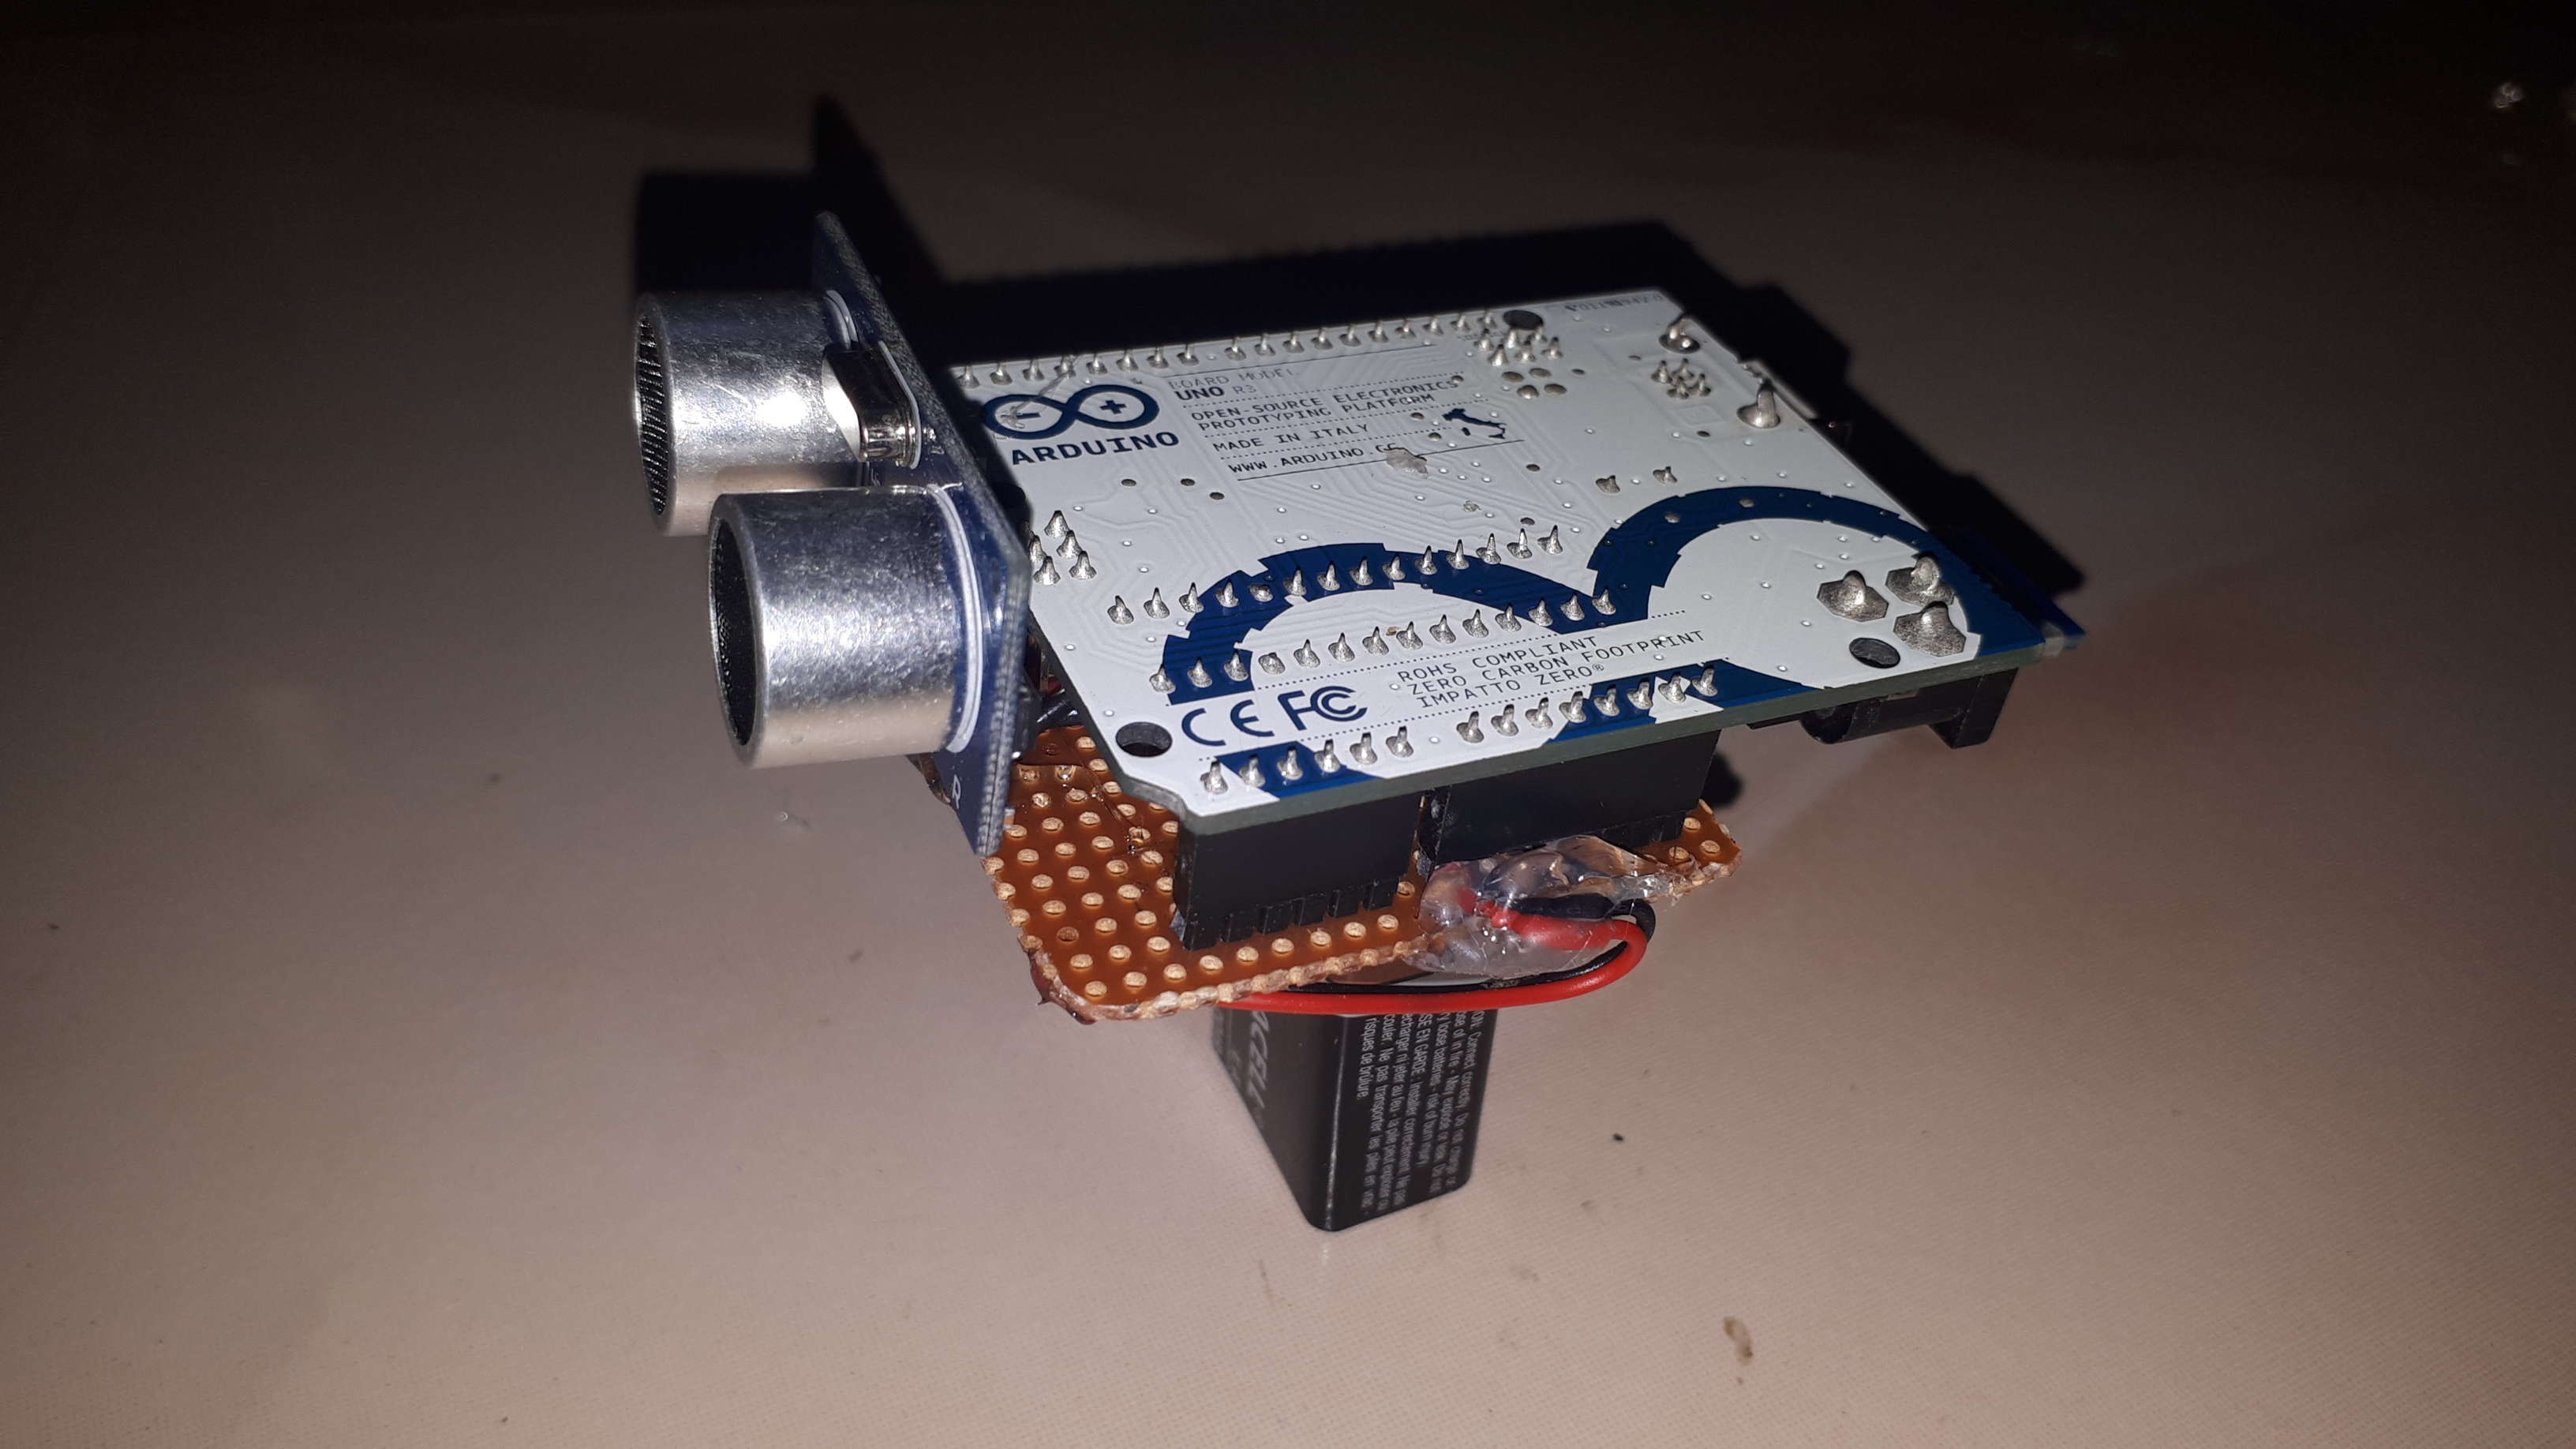

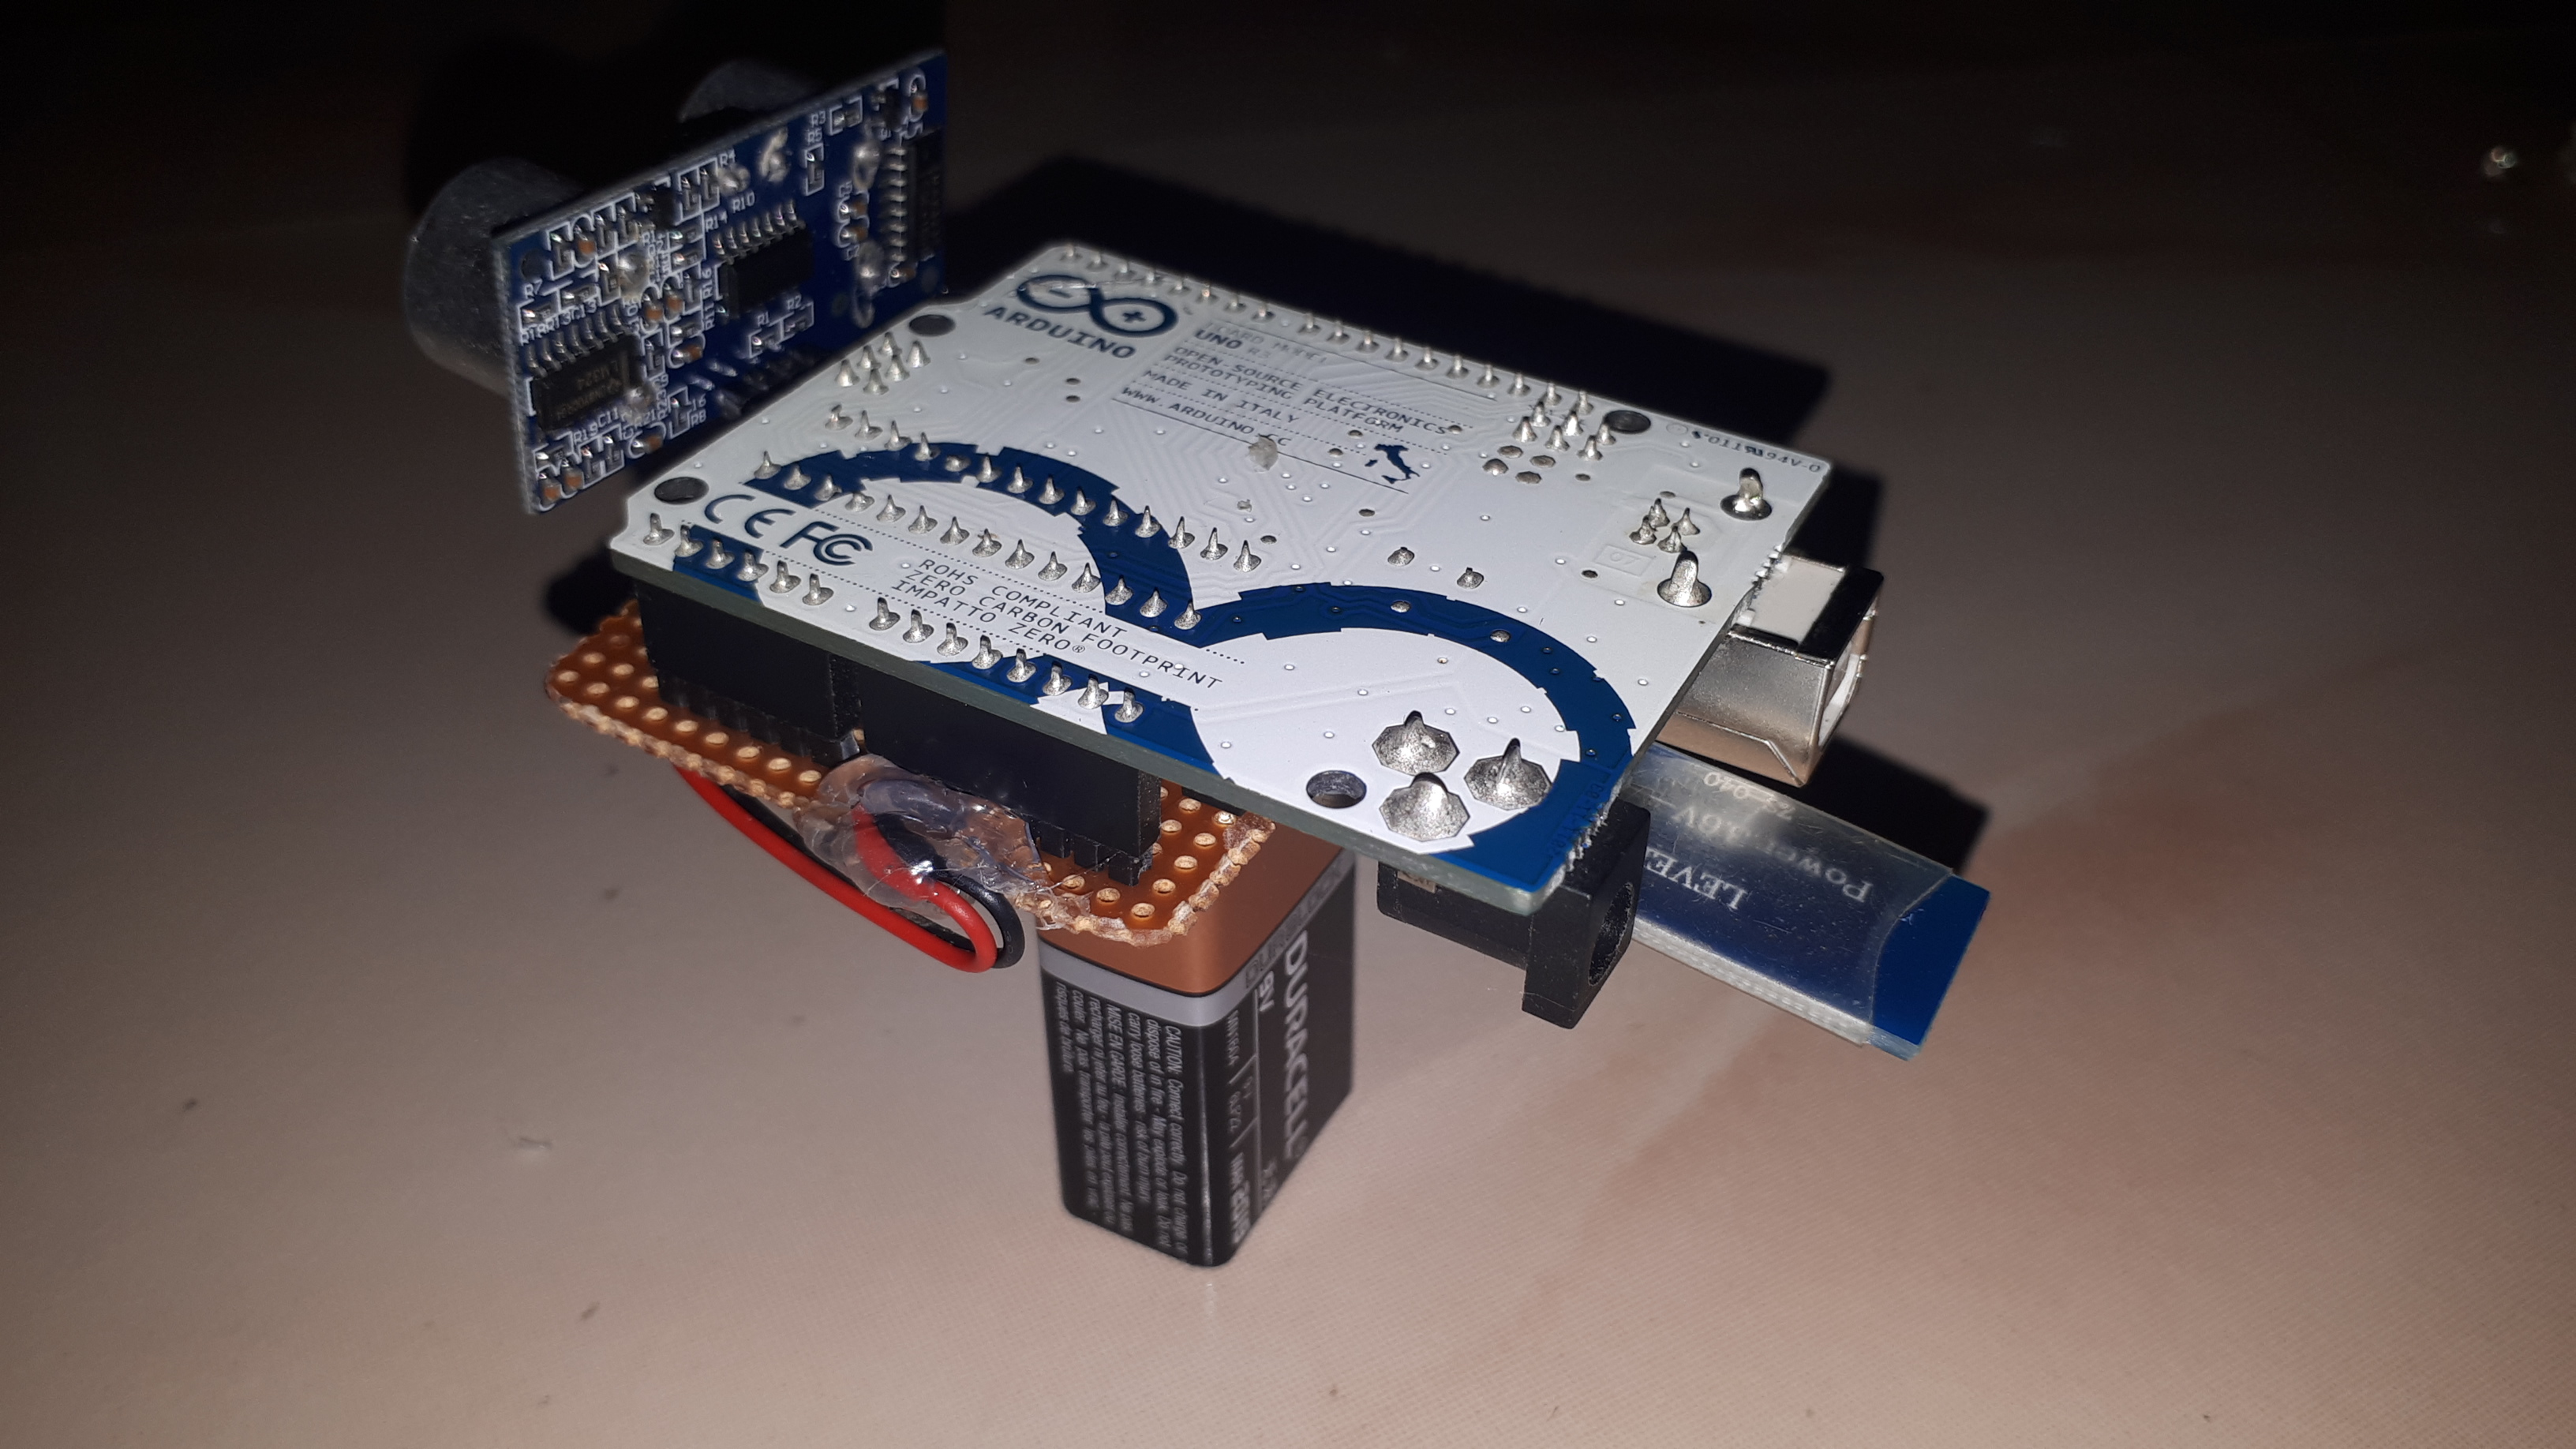
1) Stick the Battery holder in the center of the shield using hot glue gun.
2) Now if the Tin Battery is fitted using it as a stand and make the sensor stand.
3) It look like dinosaur (If you have 3d printer make enclosure for it like dinosaur).
Now the Hardware Setup is ready.
Unity Arduino Communication Video
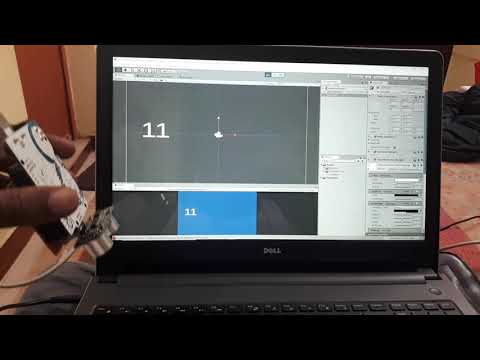
In the Above video you able to see the data sand by arduino received in unity.
Develop Game in Unity
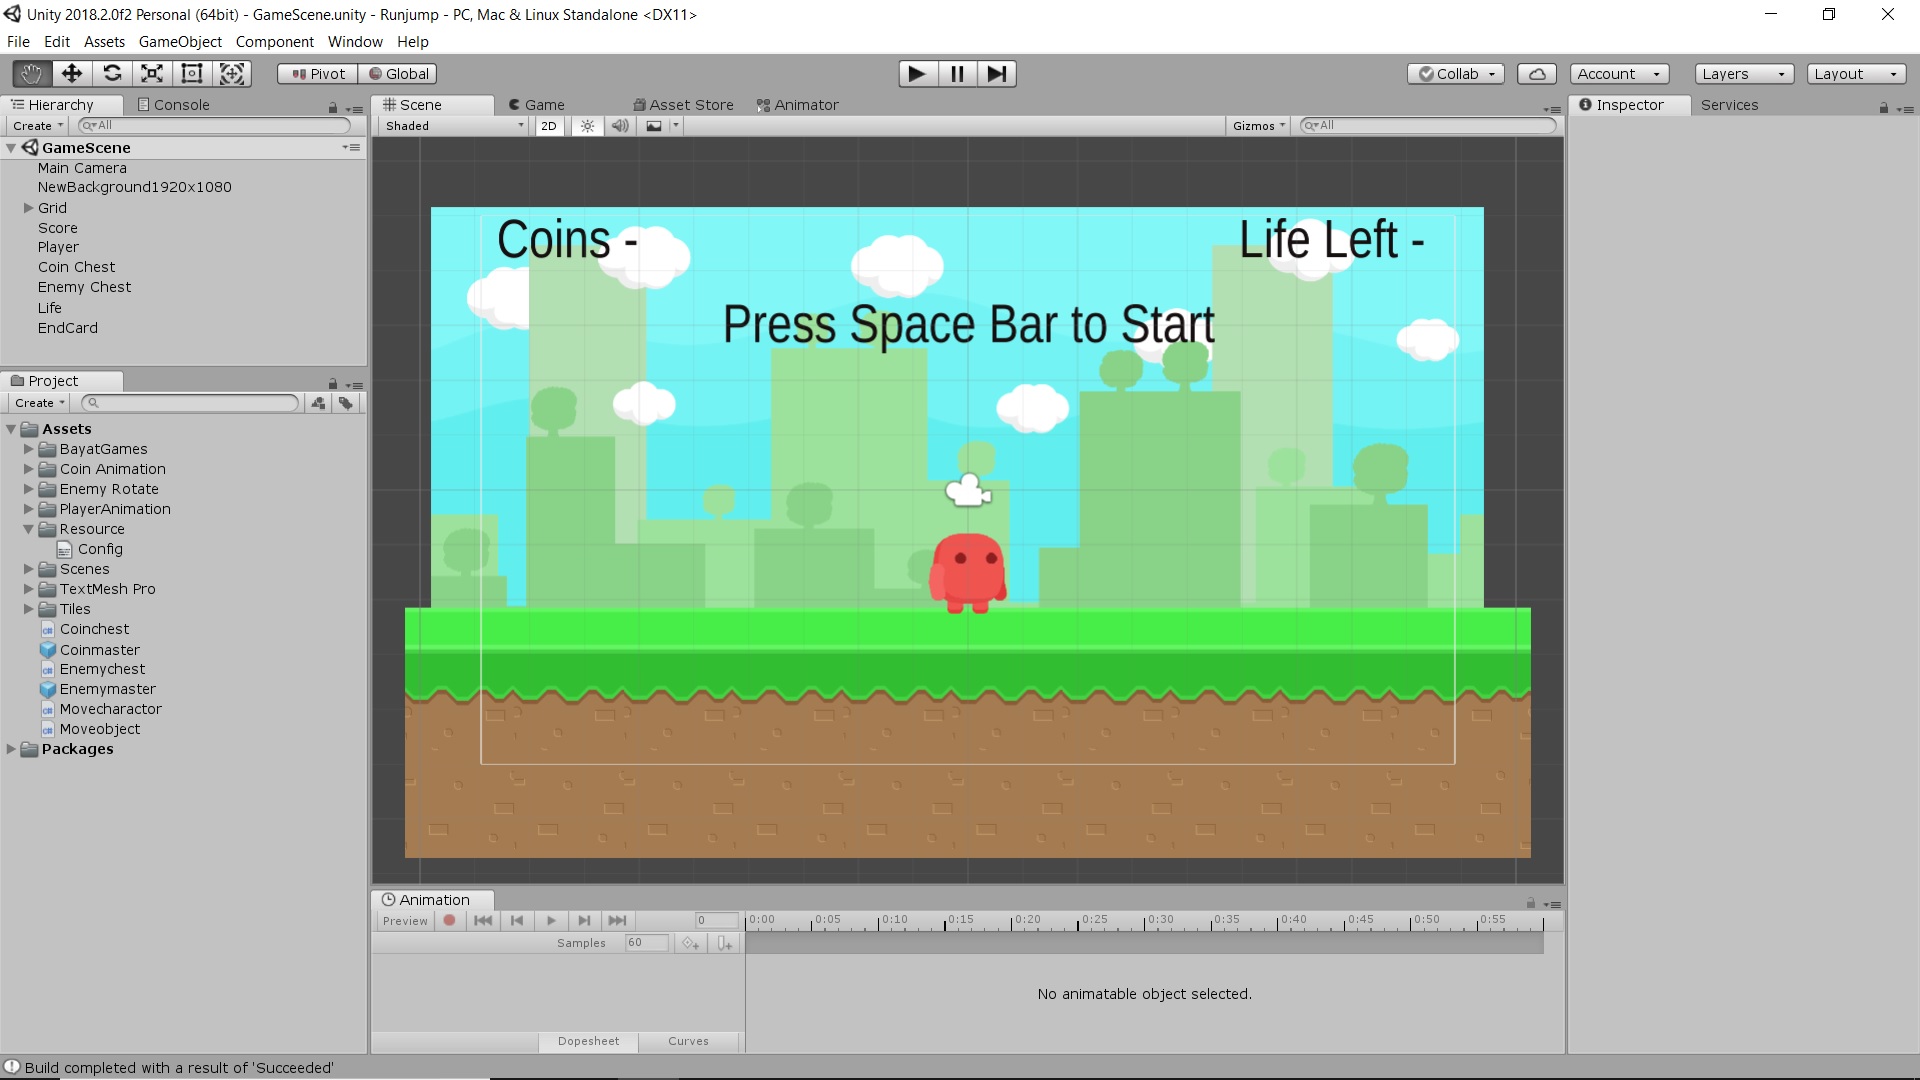
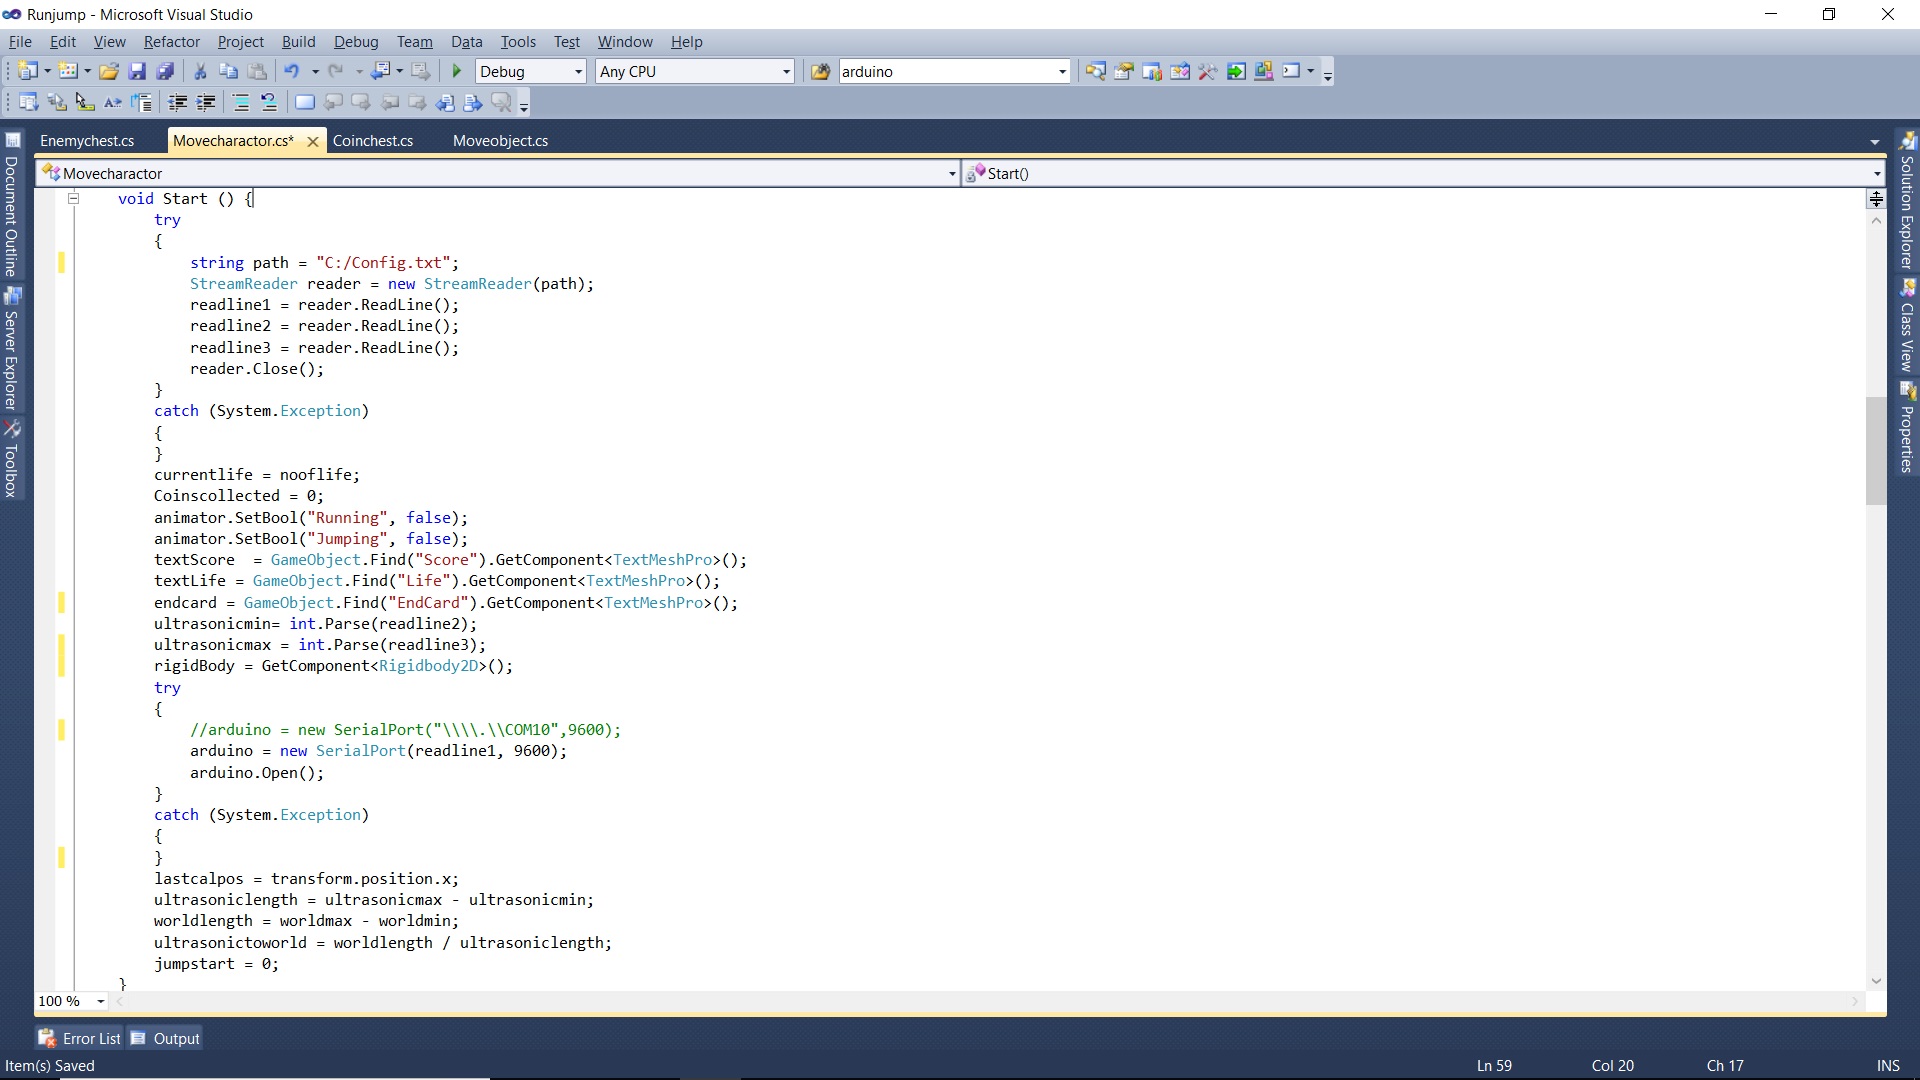
I use tutorial from youtube to develop the game. I down load the free assets from the unity. For detailed game development i make another instructables. Still i am a leaner so i cant able to explain it now.
COM Port Settings
Main things We want to note is Com port name when com port name go more than Com9 Unity not able to connect. So for that we want to give the name as "\\\\\.\\Com10" when given directly. Then only it deduct.
How Jump and Run using single Ultrasonic
I give the minimum and maximum range of ultrasonic i am going to use. Make that between range to screen length by using calculation. Here in this program i use 0 as min range and 85 as maximum range. But if no interrupt the distance is moe than 100. So by using the concept. If the range more than 100 is received and immediately with in the Range received then the program taken it as jump.
Game Check Video in Unity
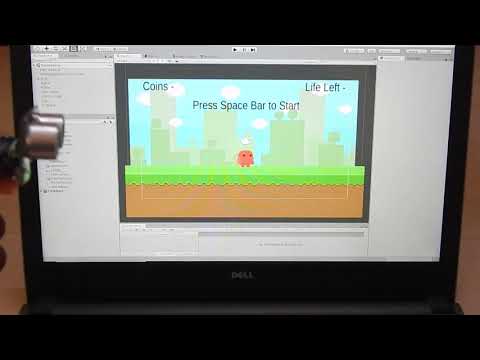
From Unity Run the Game and Check with the Bluetooth Arduino and Ultrasonic.
Game
Here is the Game in the Zip File. Download the File Unzip it and Click the Runjump.exe and the Game is running. Before start the game see the next step to configure the Com port and play distance.
Downloads
Configuration File Config
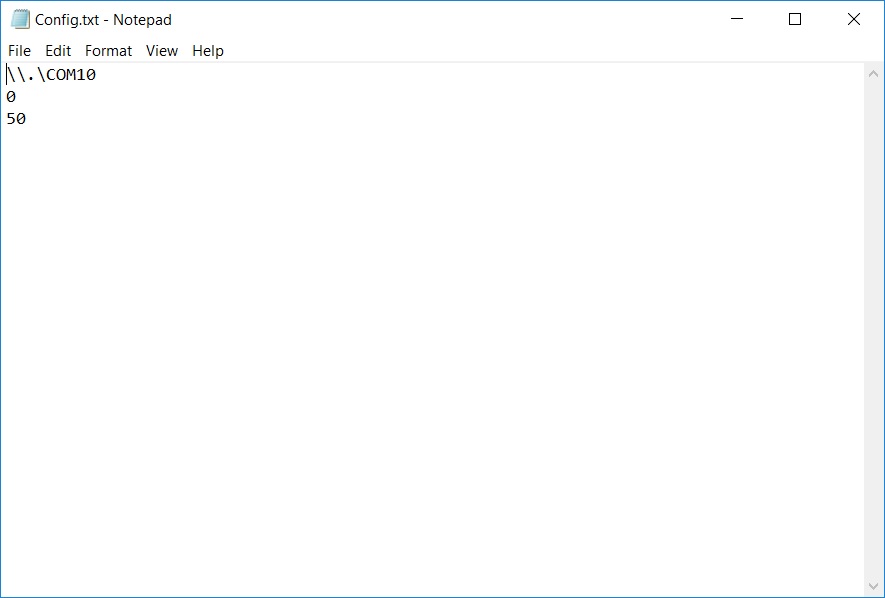
Download the Config.txt file and paste it in the C: of the Local computer. Open the file and you found 3 lines.
Line 1 - Bluetooth comport, By use the \\.\ before the name of the comport only able to use by unity if com port is greater than 9.
Line 2 - Min distance we able to got near the ultrasonic sensor.
Line 3 - Maximum distance away from sensor.
Downloads
Play Game
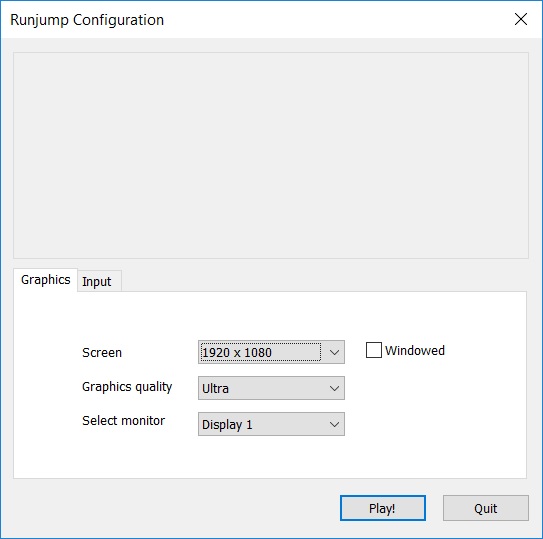
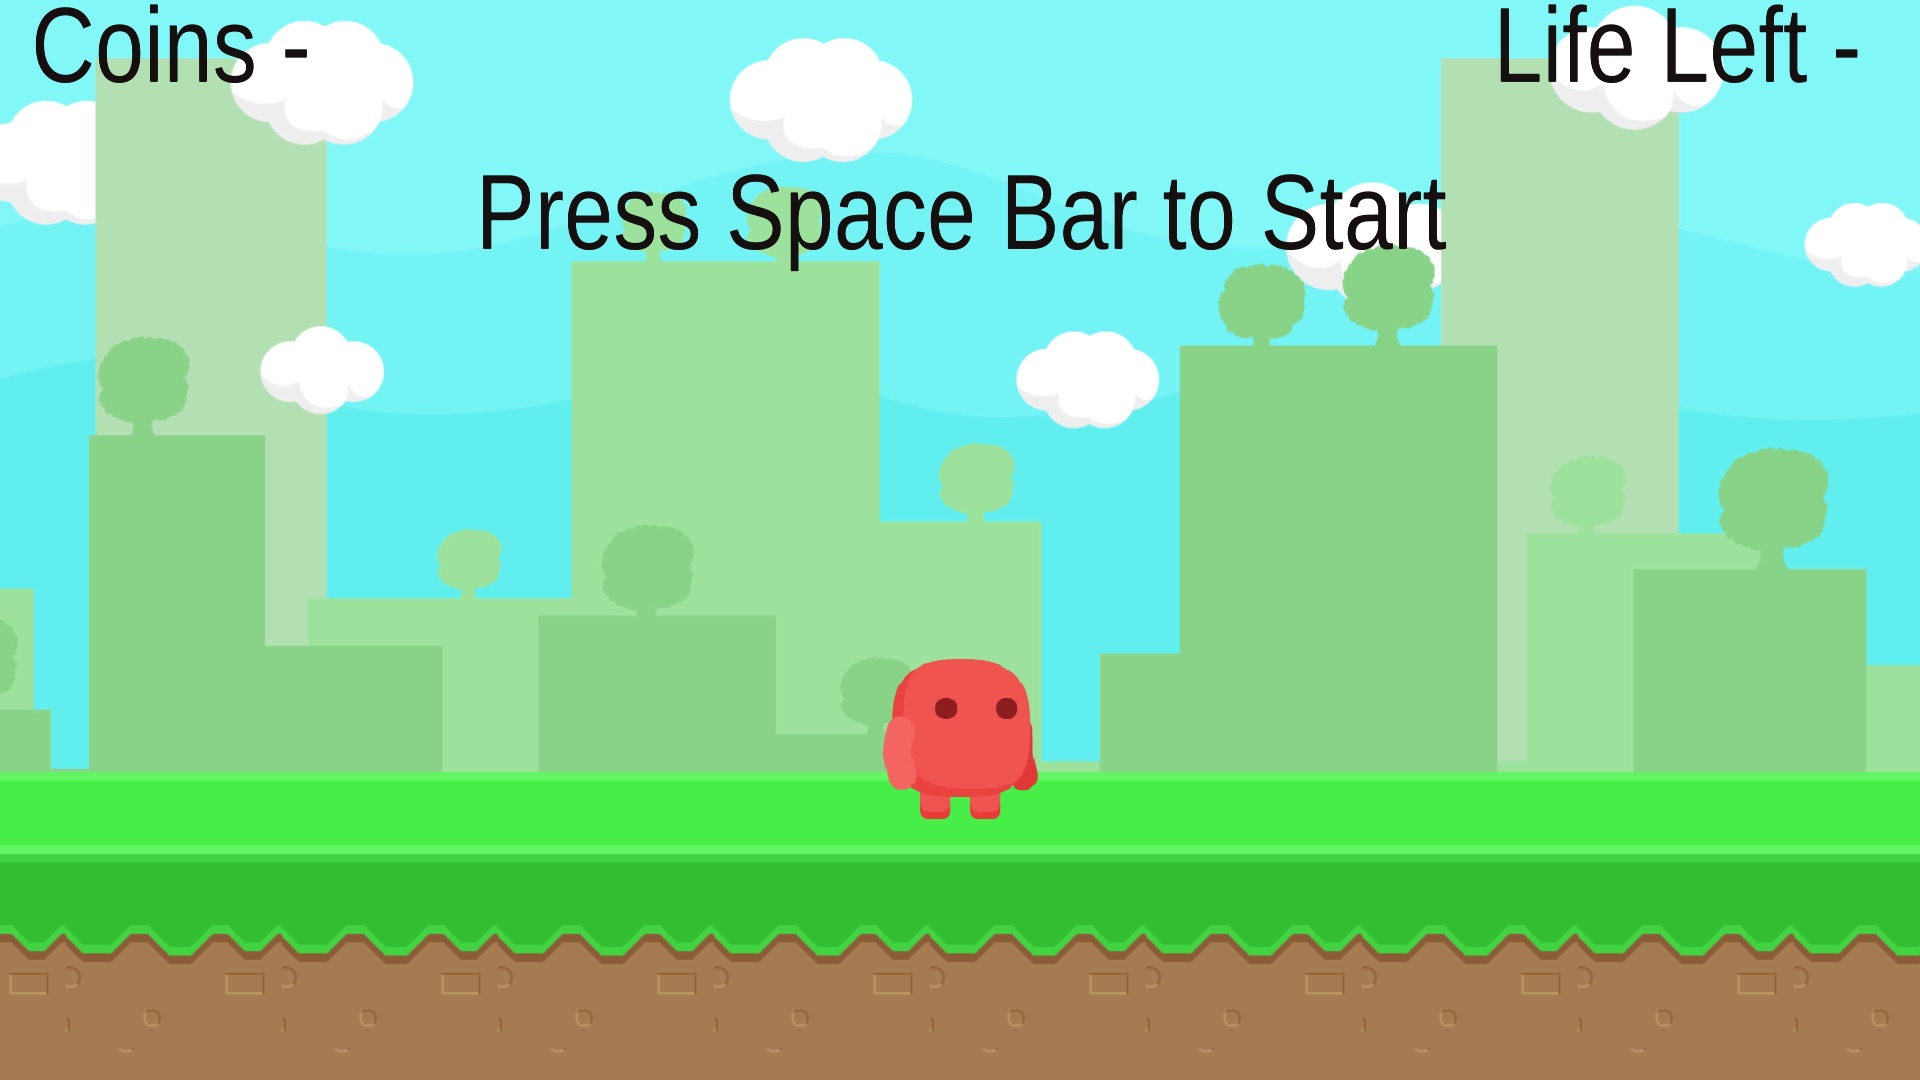
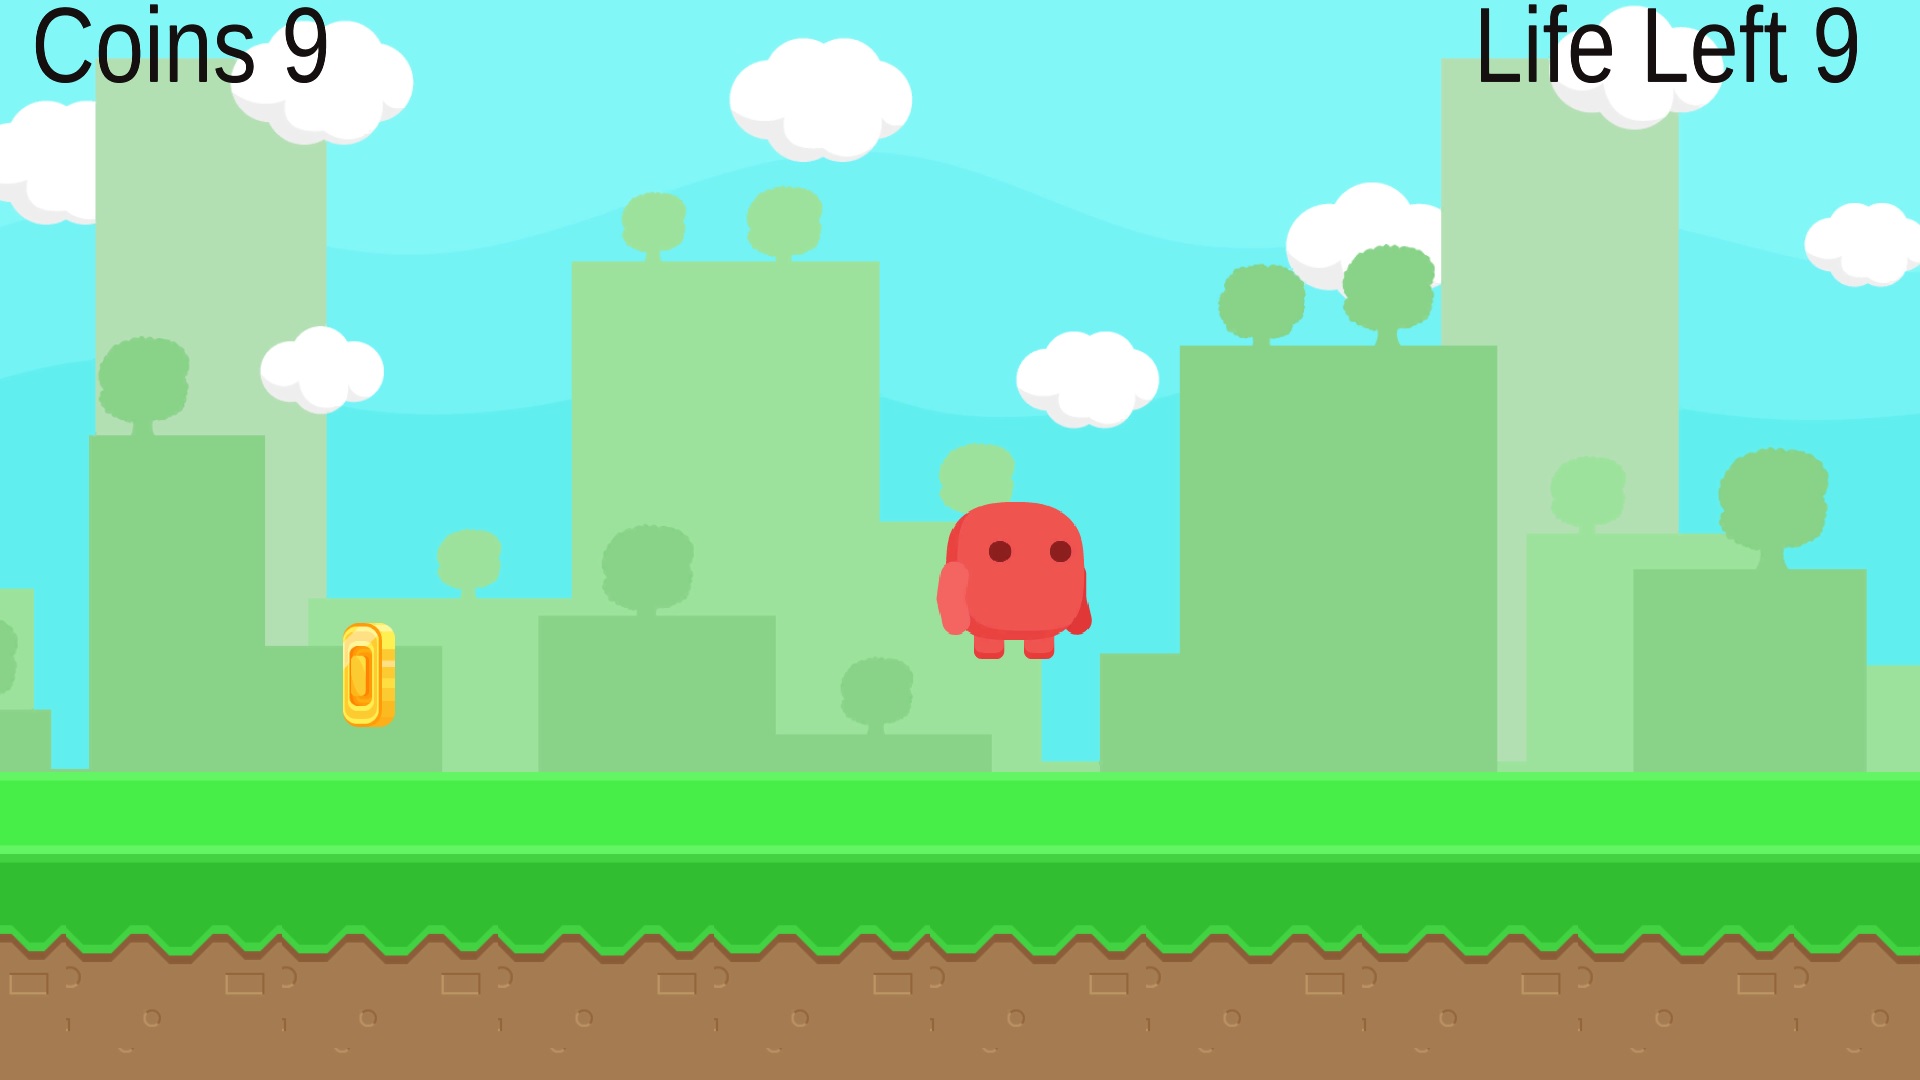
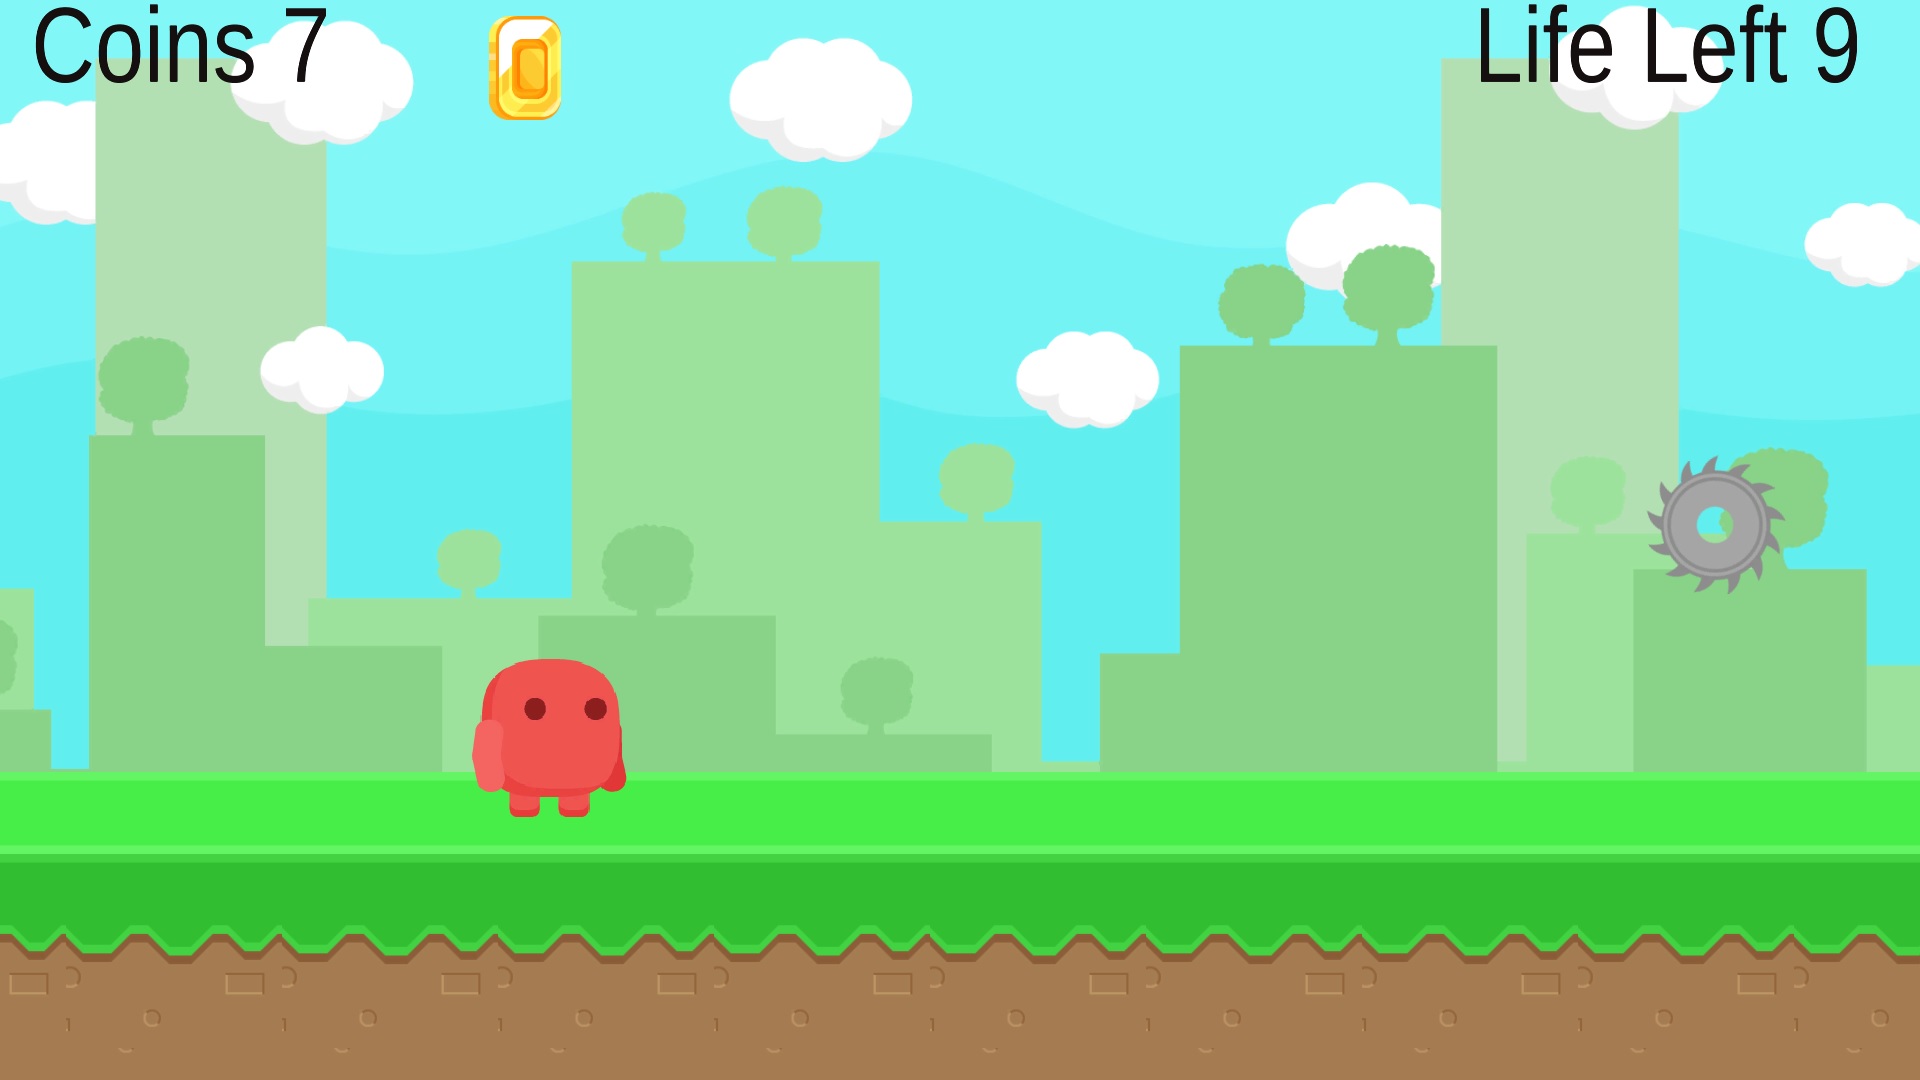
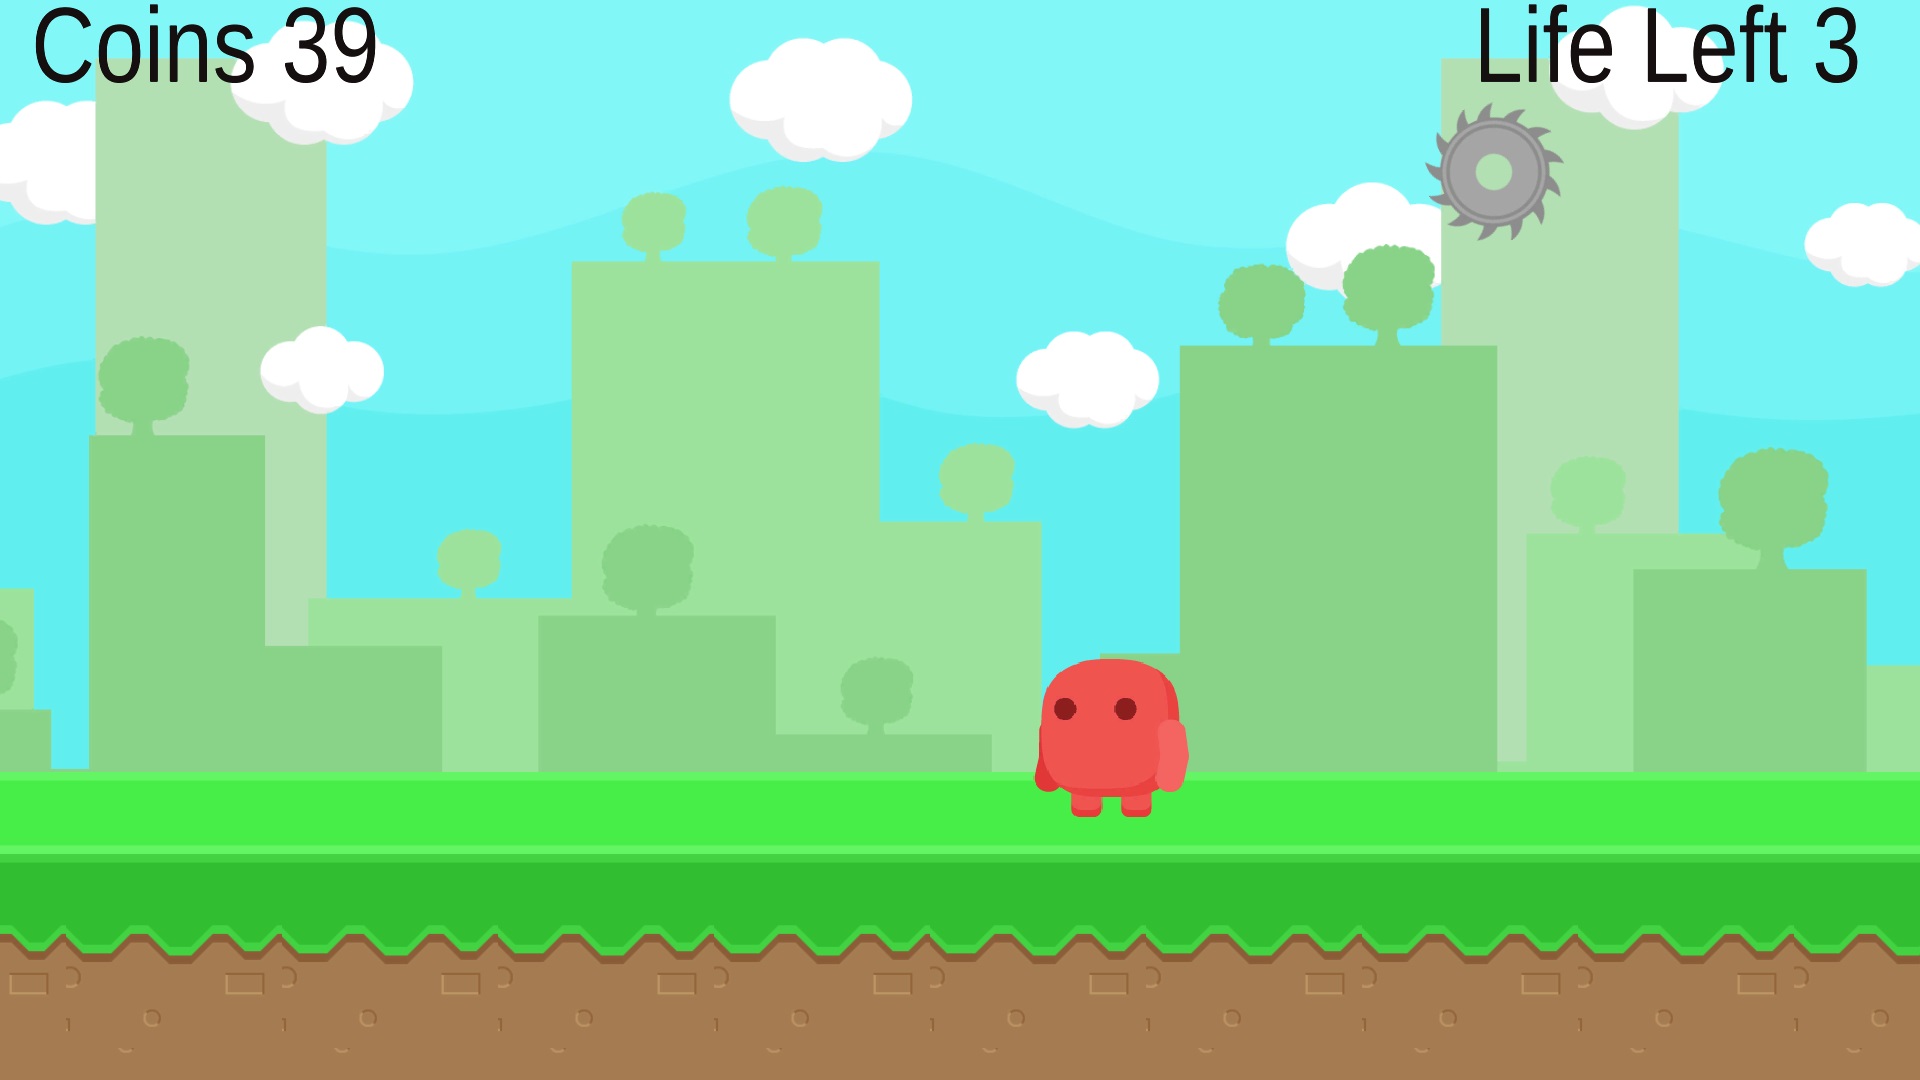
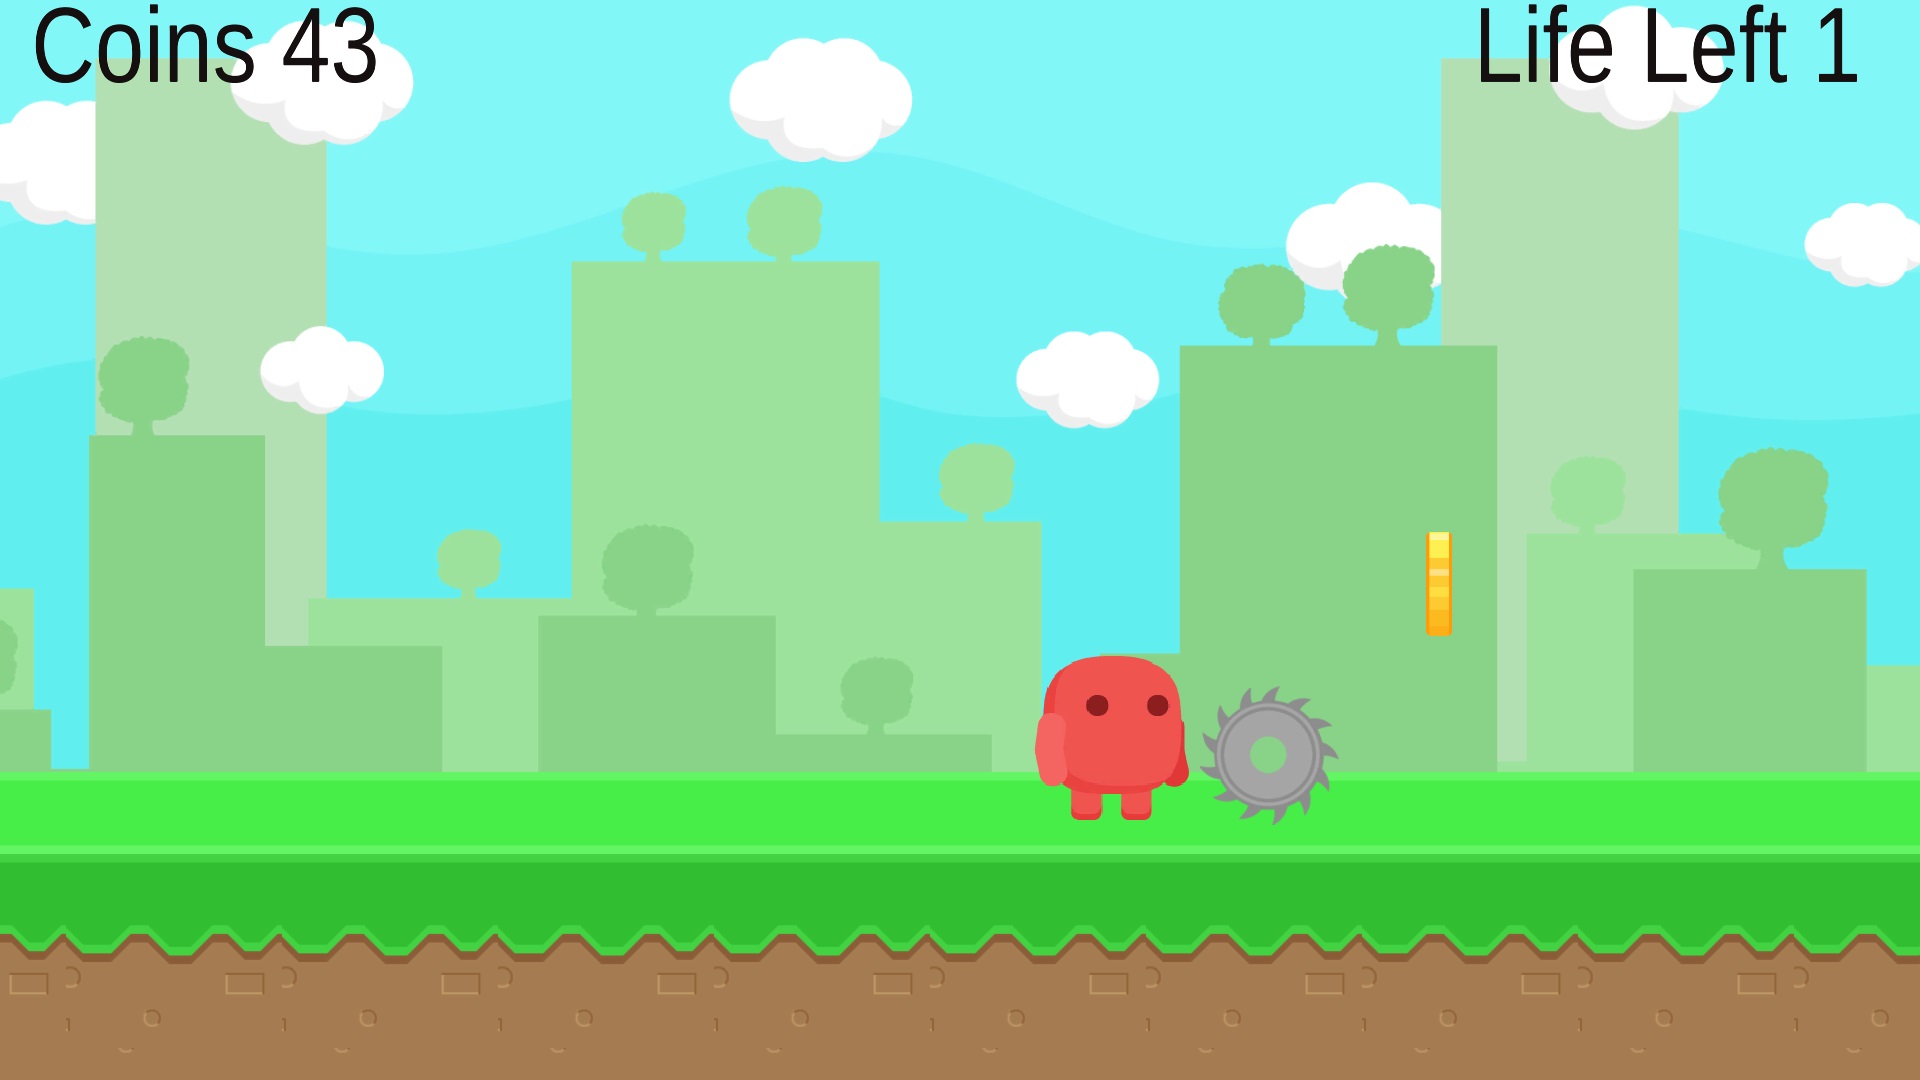
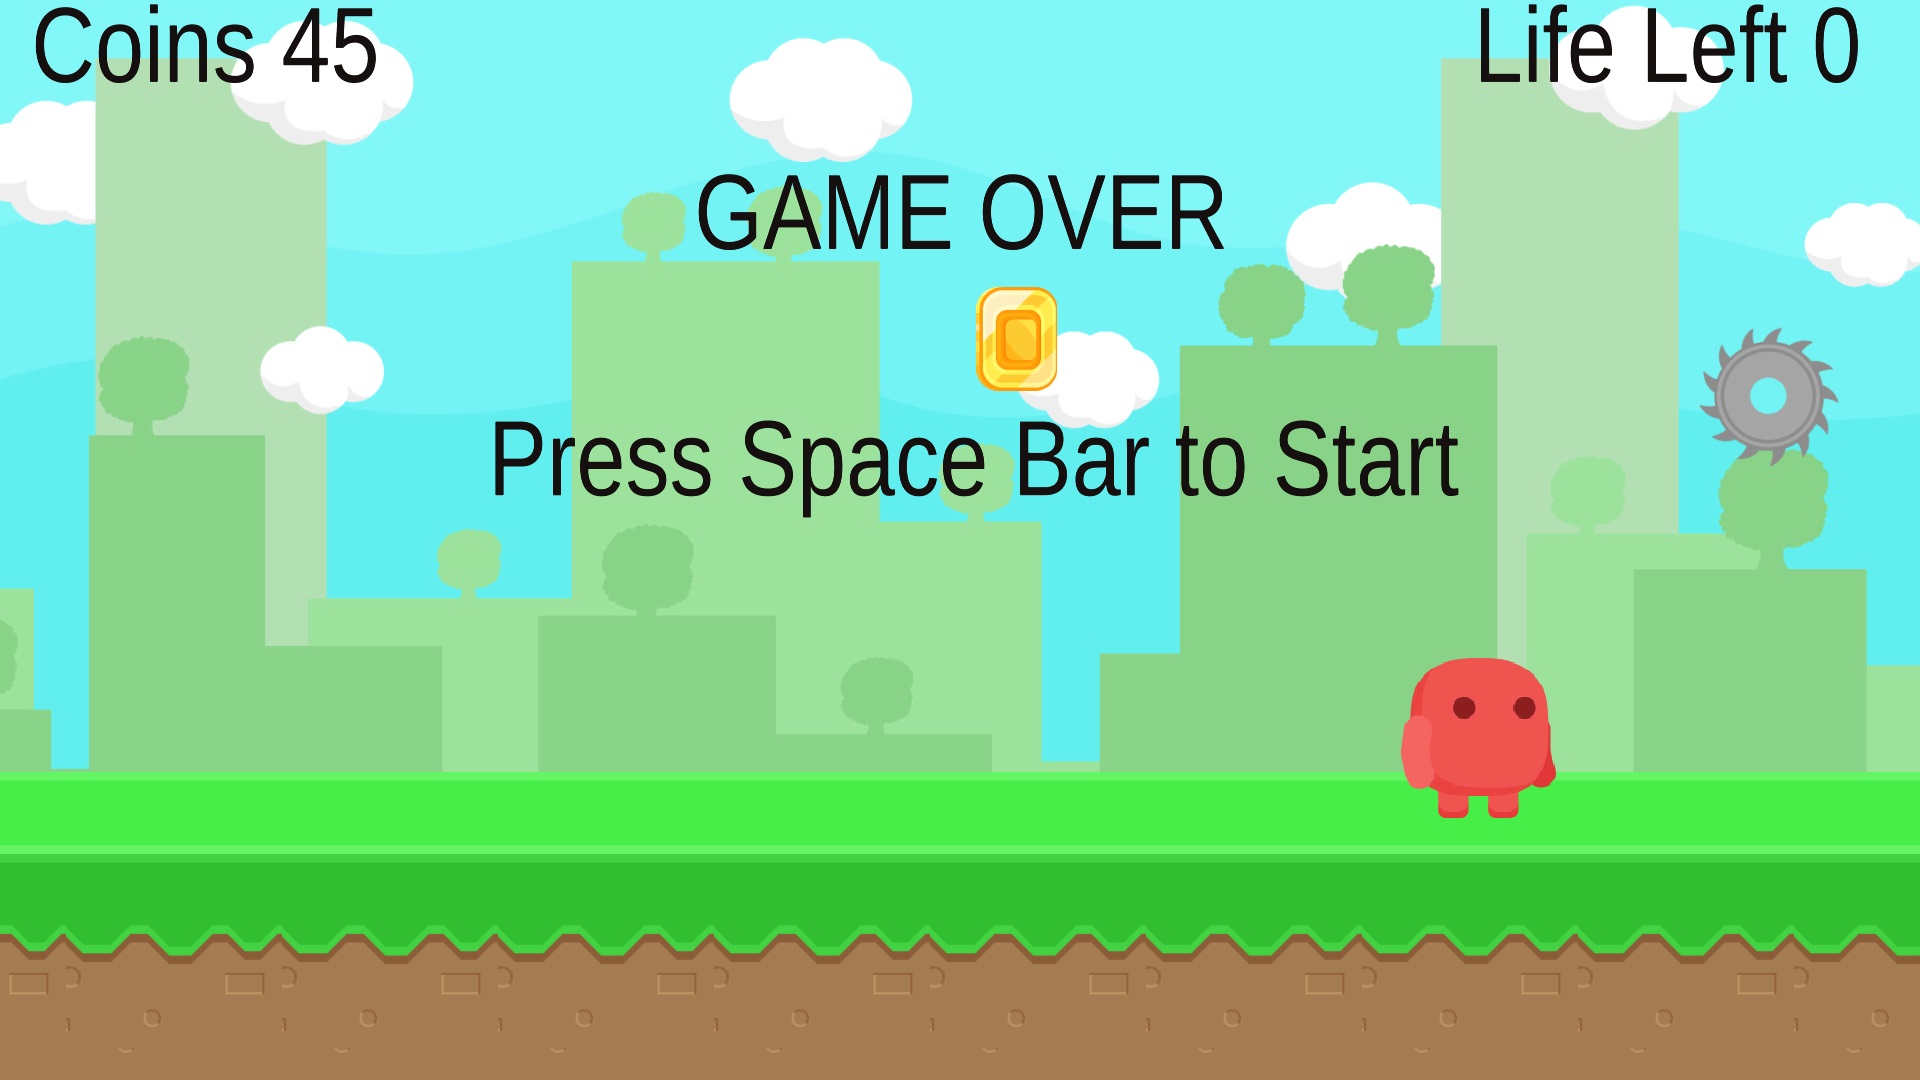
Connect the battery to the arduino and place it on the floor. I use the floor tiles line for make the move straight. Now run the Runjump.exe and wait for the game to load. Click Space bar to start game, run and jump to play the game. Collect more coins and escape from the cutting gear before all the 10 life gone.
See and Play in TV
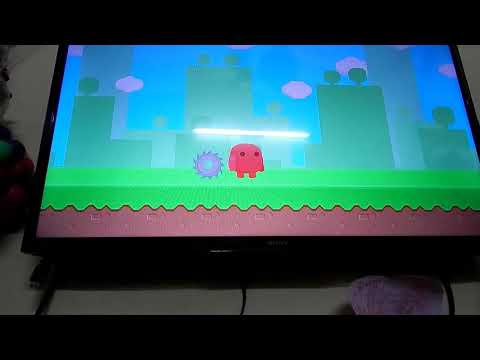
Connect the Laptop with the TV using HDMI cable and Connect the Battery to the circuit and place it on the tiles line on the foor and by see the Tv play the game. Kids like it very much. Change the theme as per your wish like flowers, chocolates. Now the kids enjoy playing with this very low cost hands free gadget.
This is my Second project using unity. Its very fun to work in unity. But it take long time to complete this project. More projects to come.
Lot more to enjoy...............Don't forgot to comment and encourage me friends.