Soundie: a Musical Touch-sensitive Light-up Hoodie
by kanjun in Circuits > Arduino
32387 Views, 203 Favorites, 0 Comments
Soundie: a Musical Touch-sensitive Light-up Hoodie
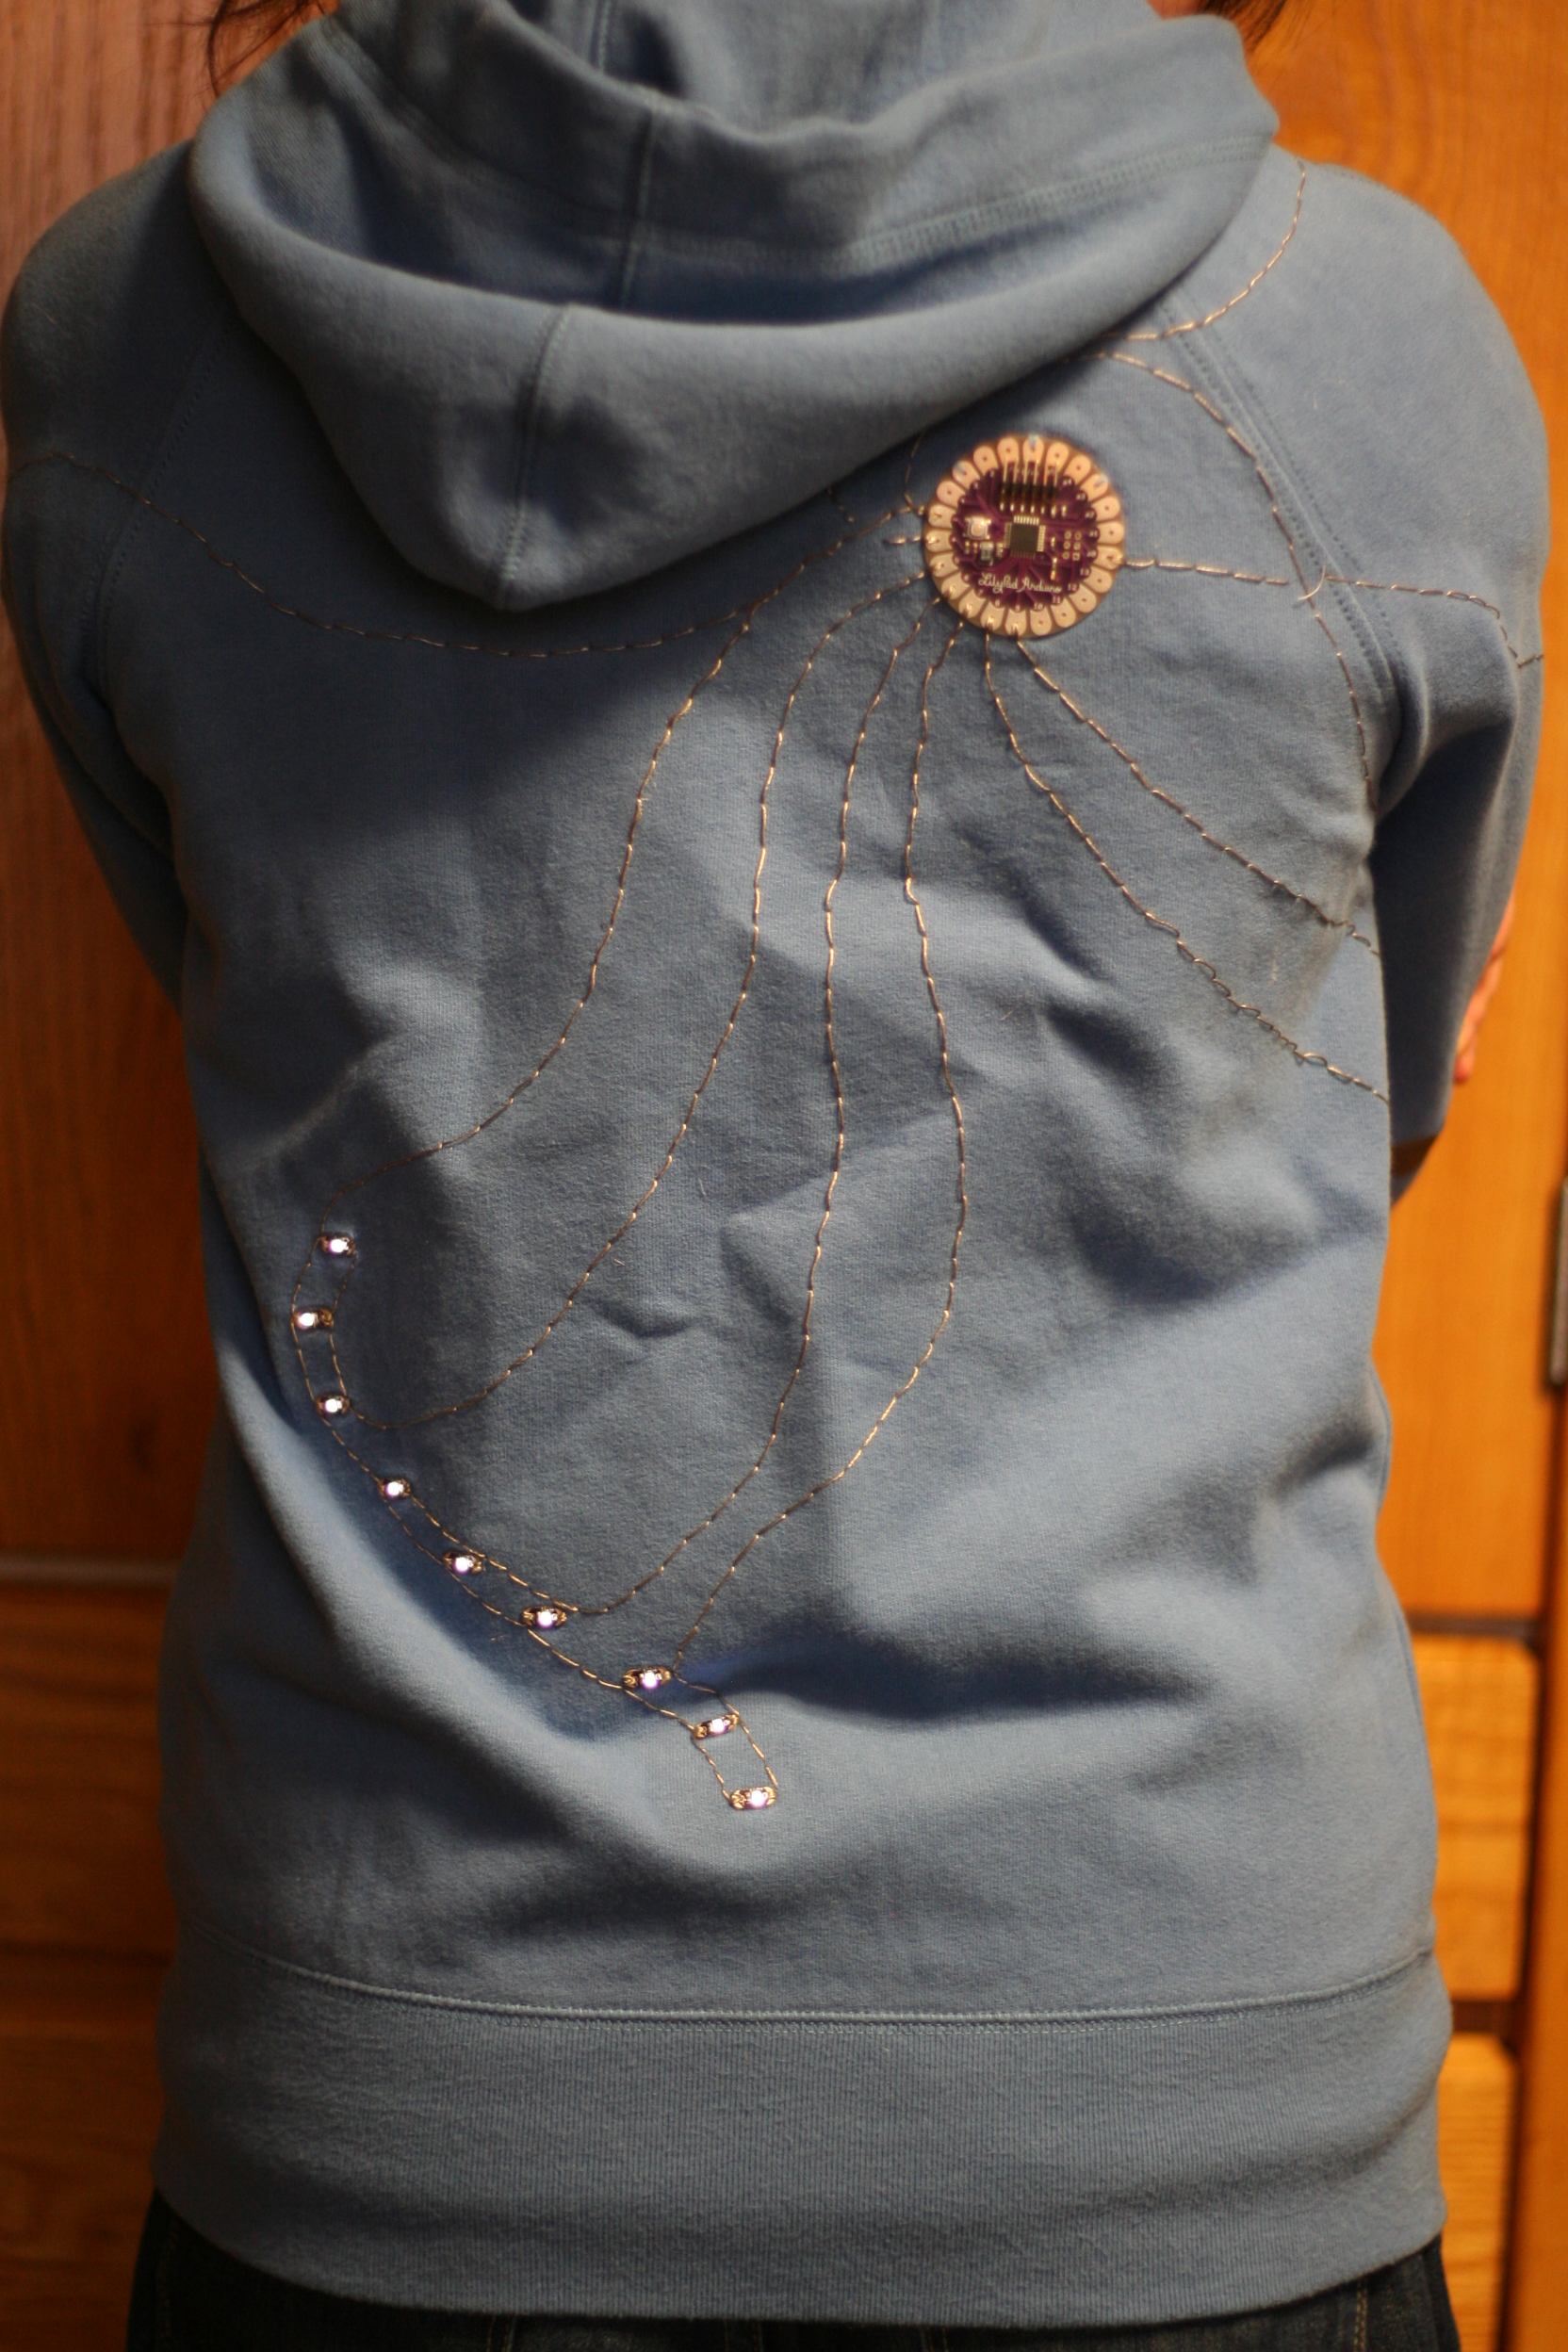
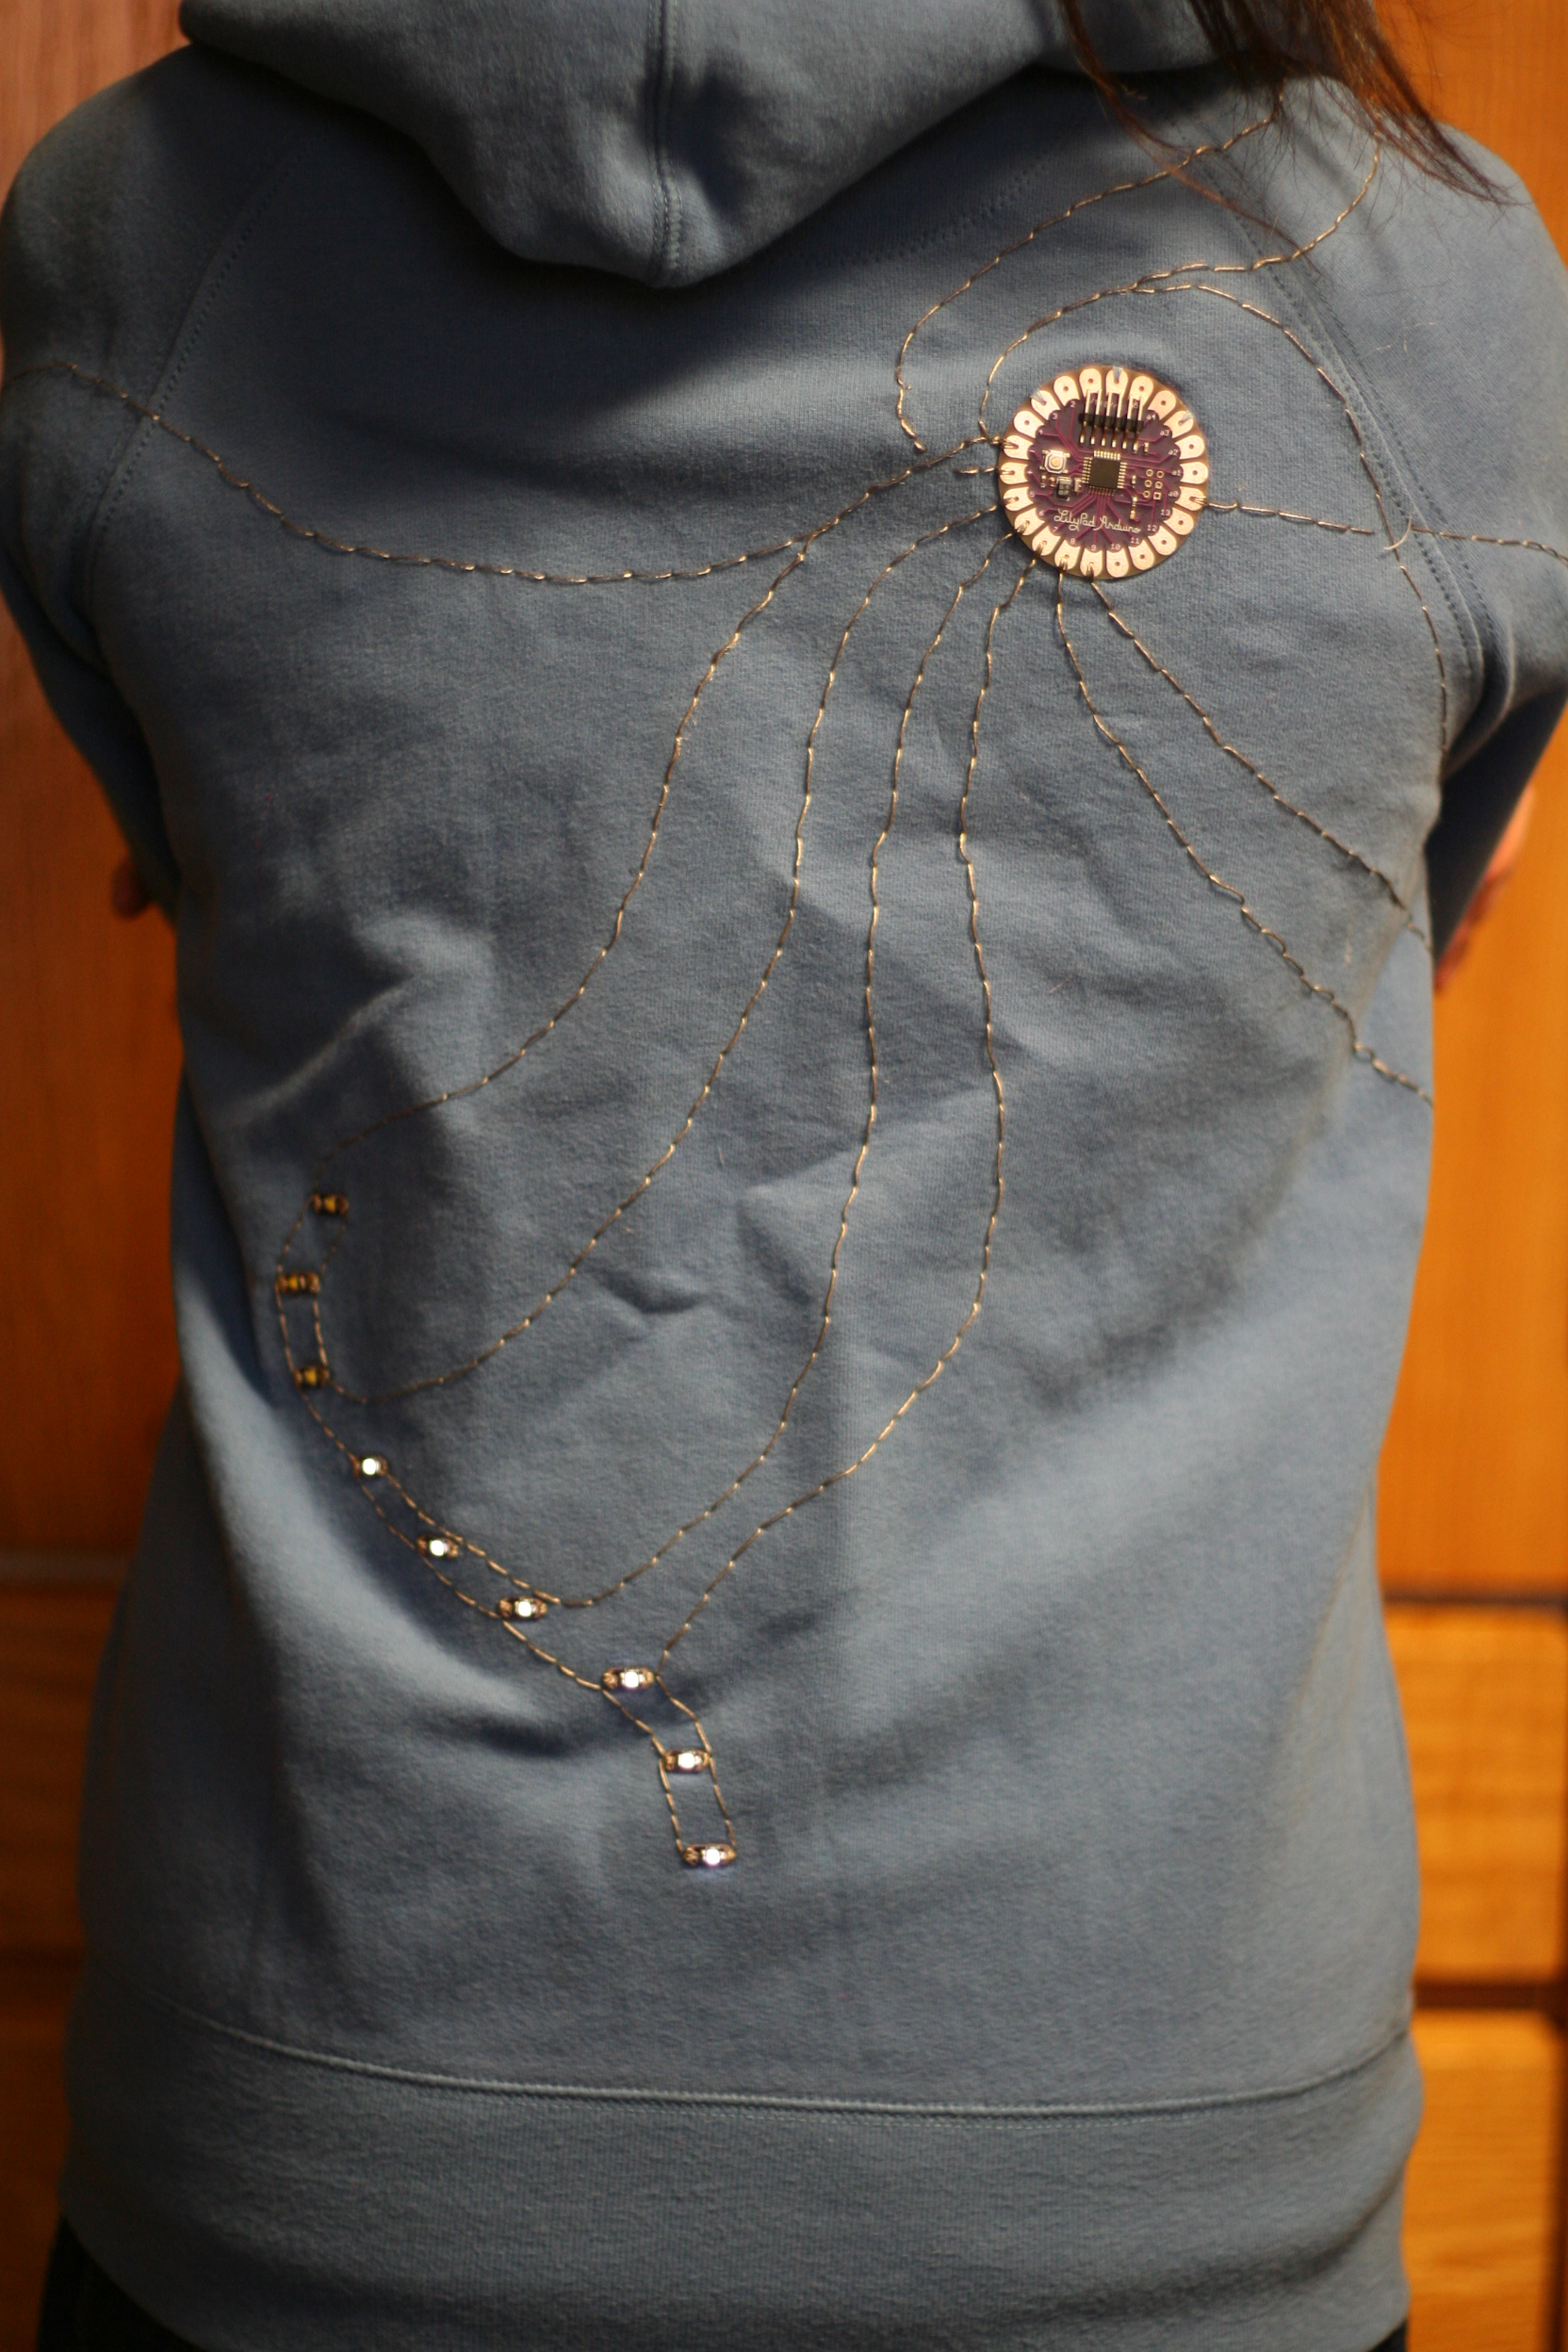
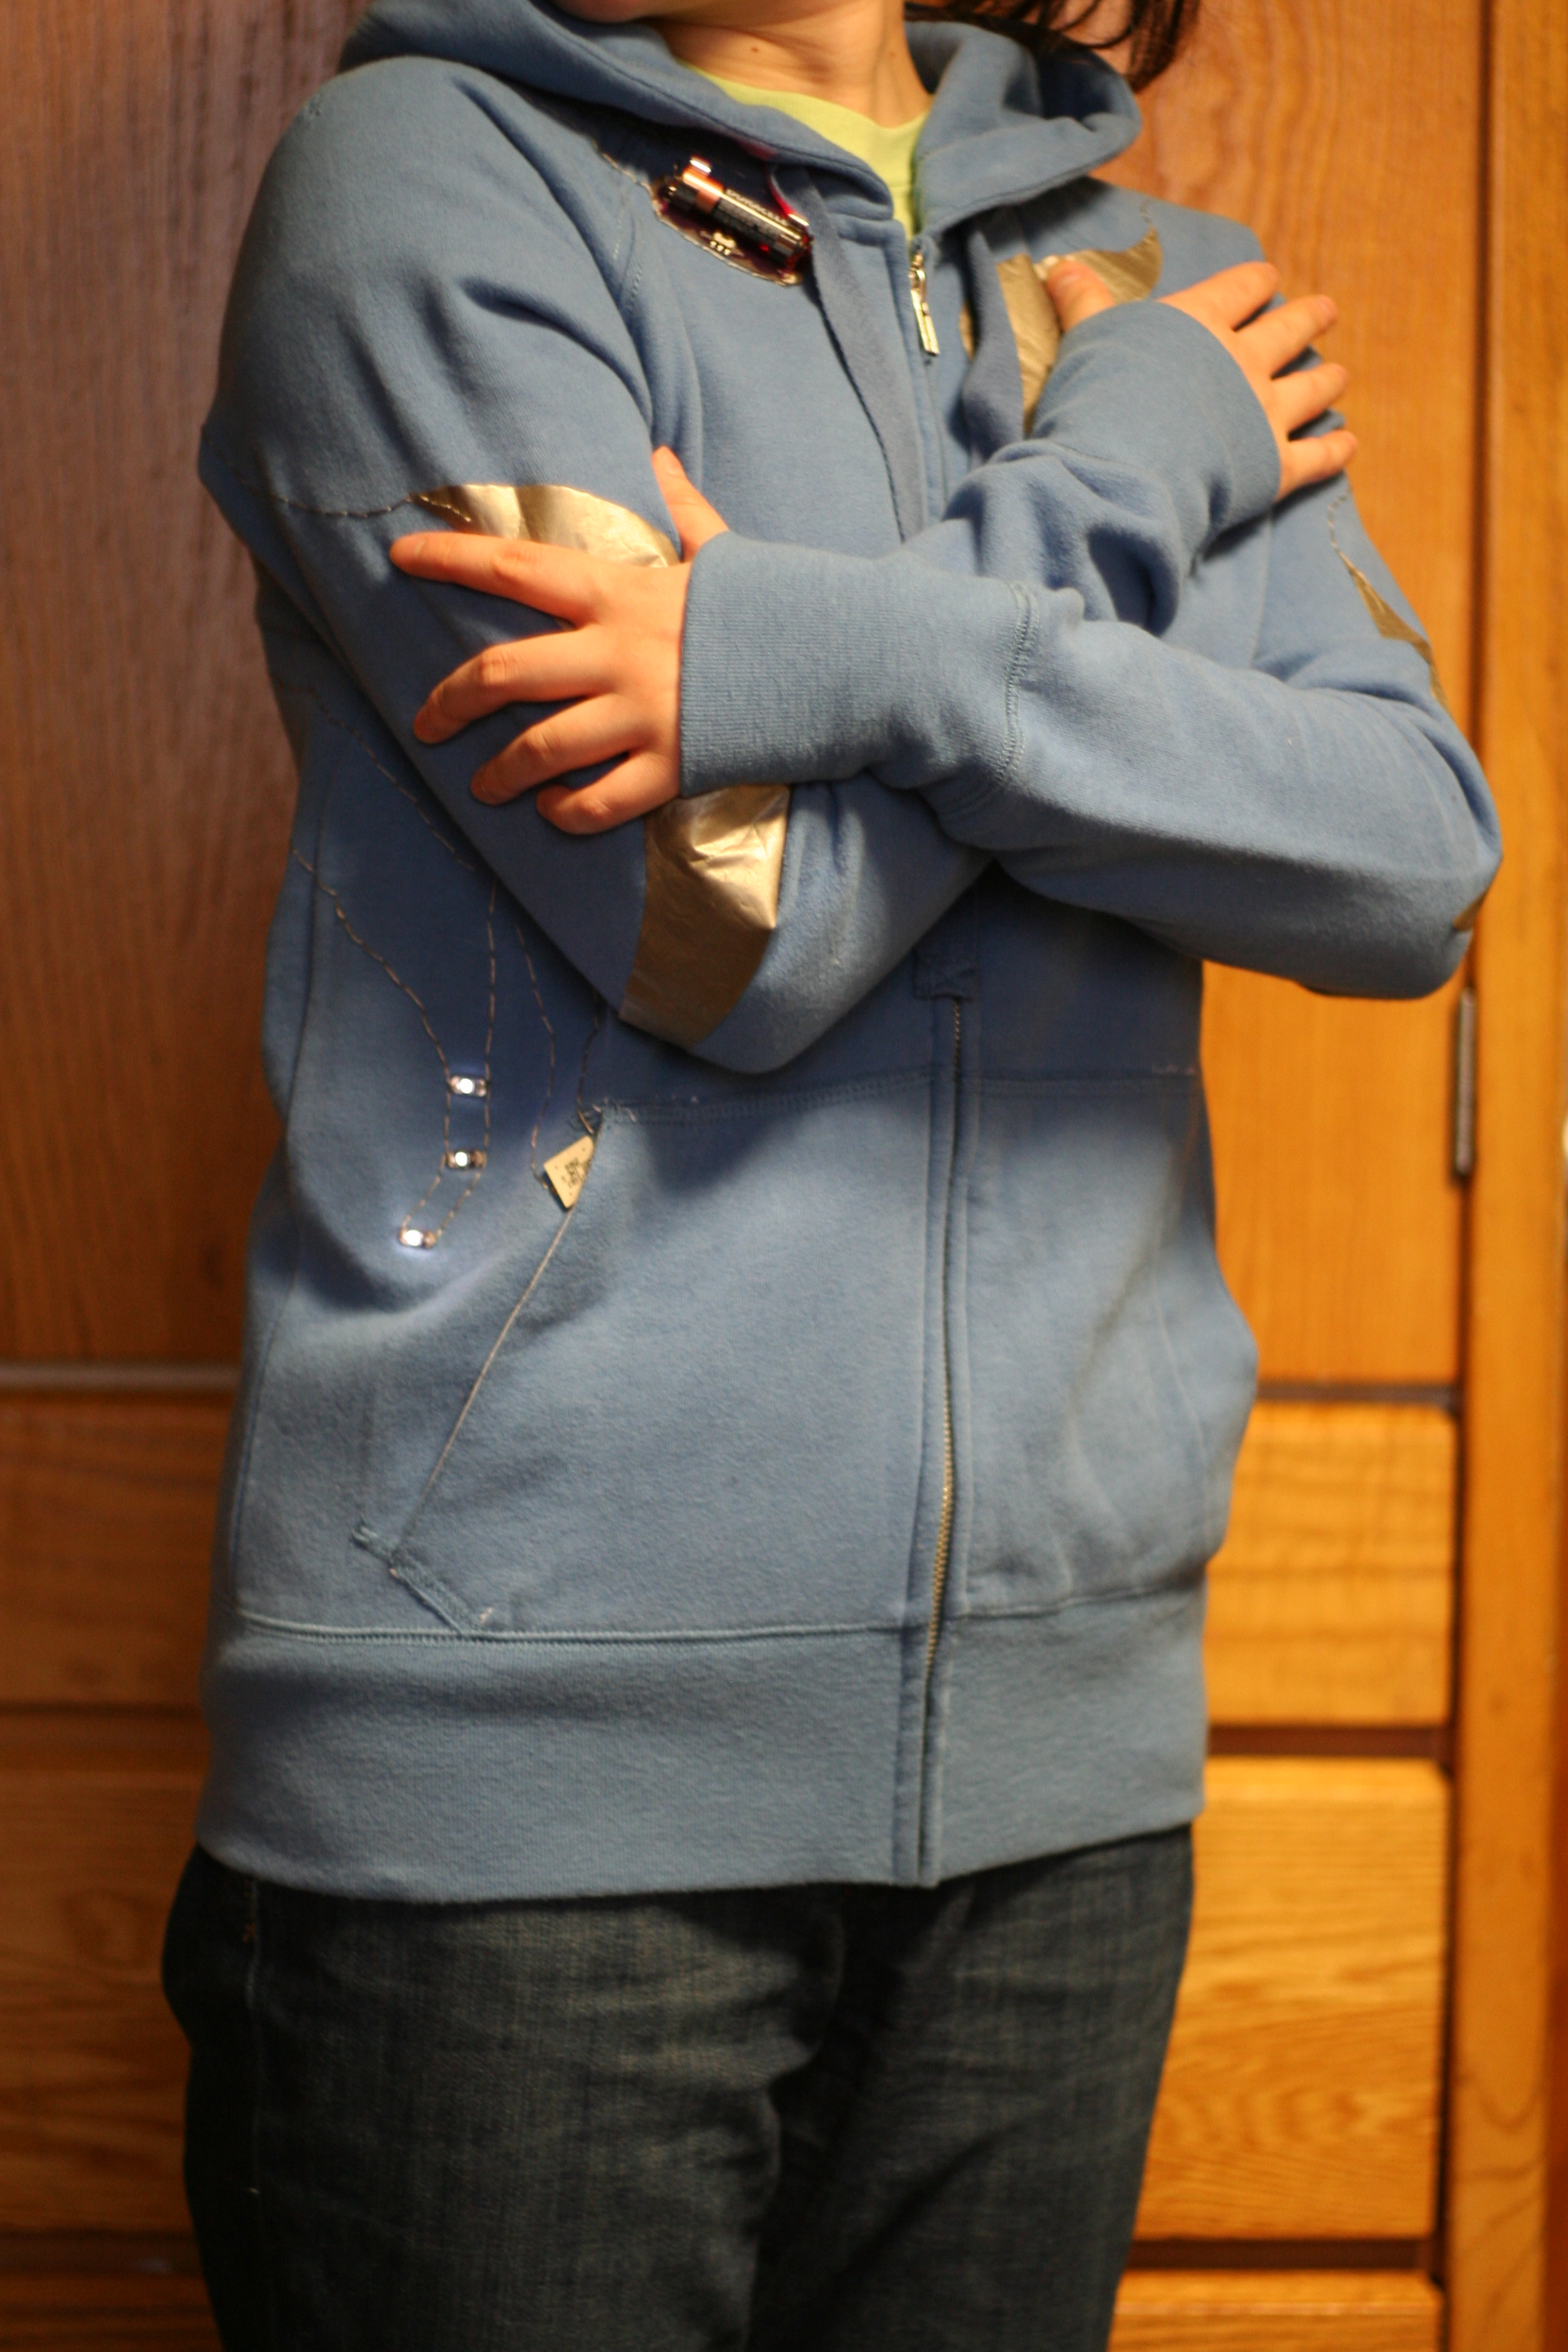
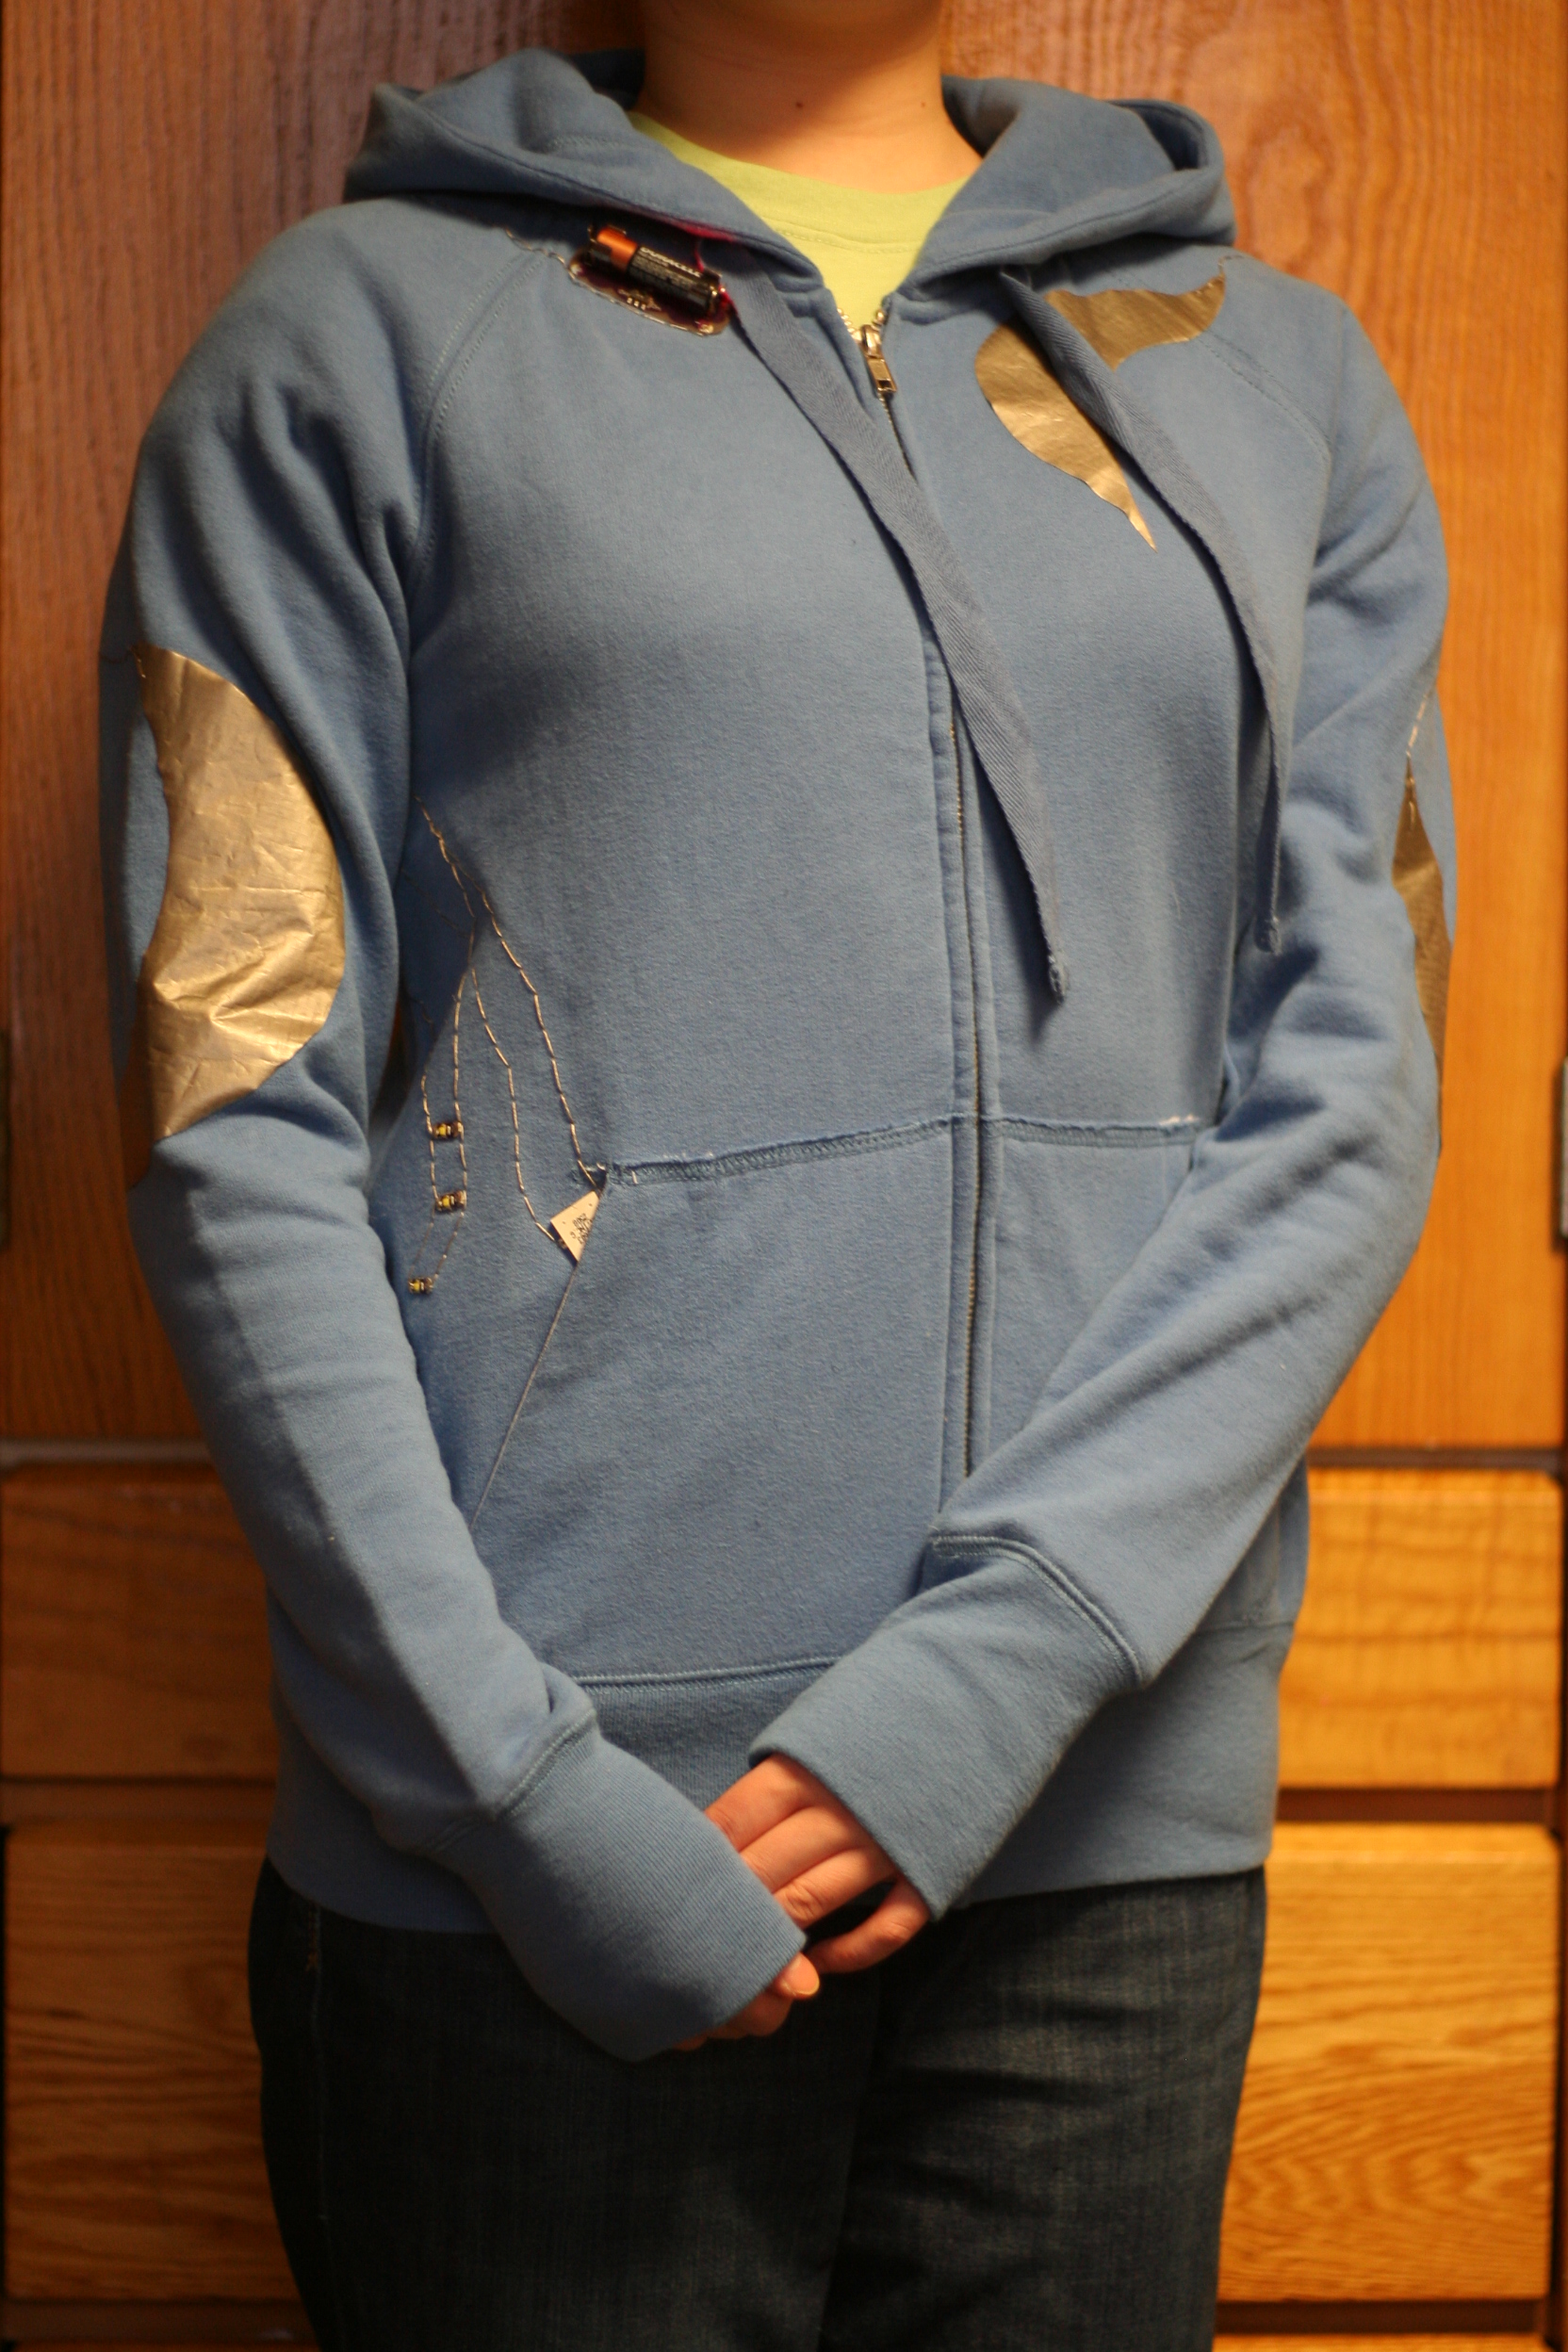
This tutorial will show you how to create a garment that changes its behavior depending on how conductive you are. It detects conductivity through iron-on conductive fabric that we will use, and it will light up and sing different notes depending on how you touch the conductive fabric. We'll be using sewable electronics (the LilyPad arduino module) and conductive threads and fabrics so that your garment will be soft and washable.
Supplies
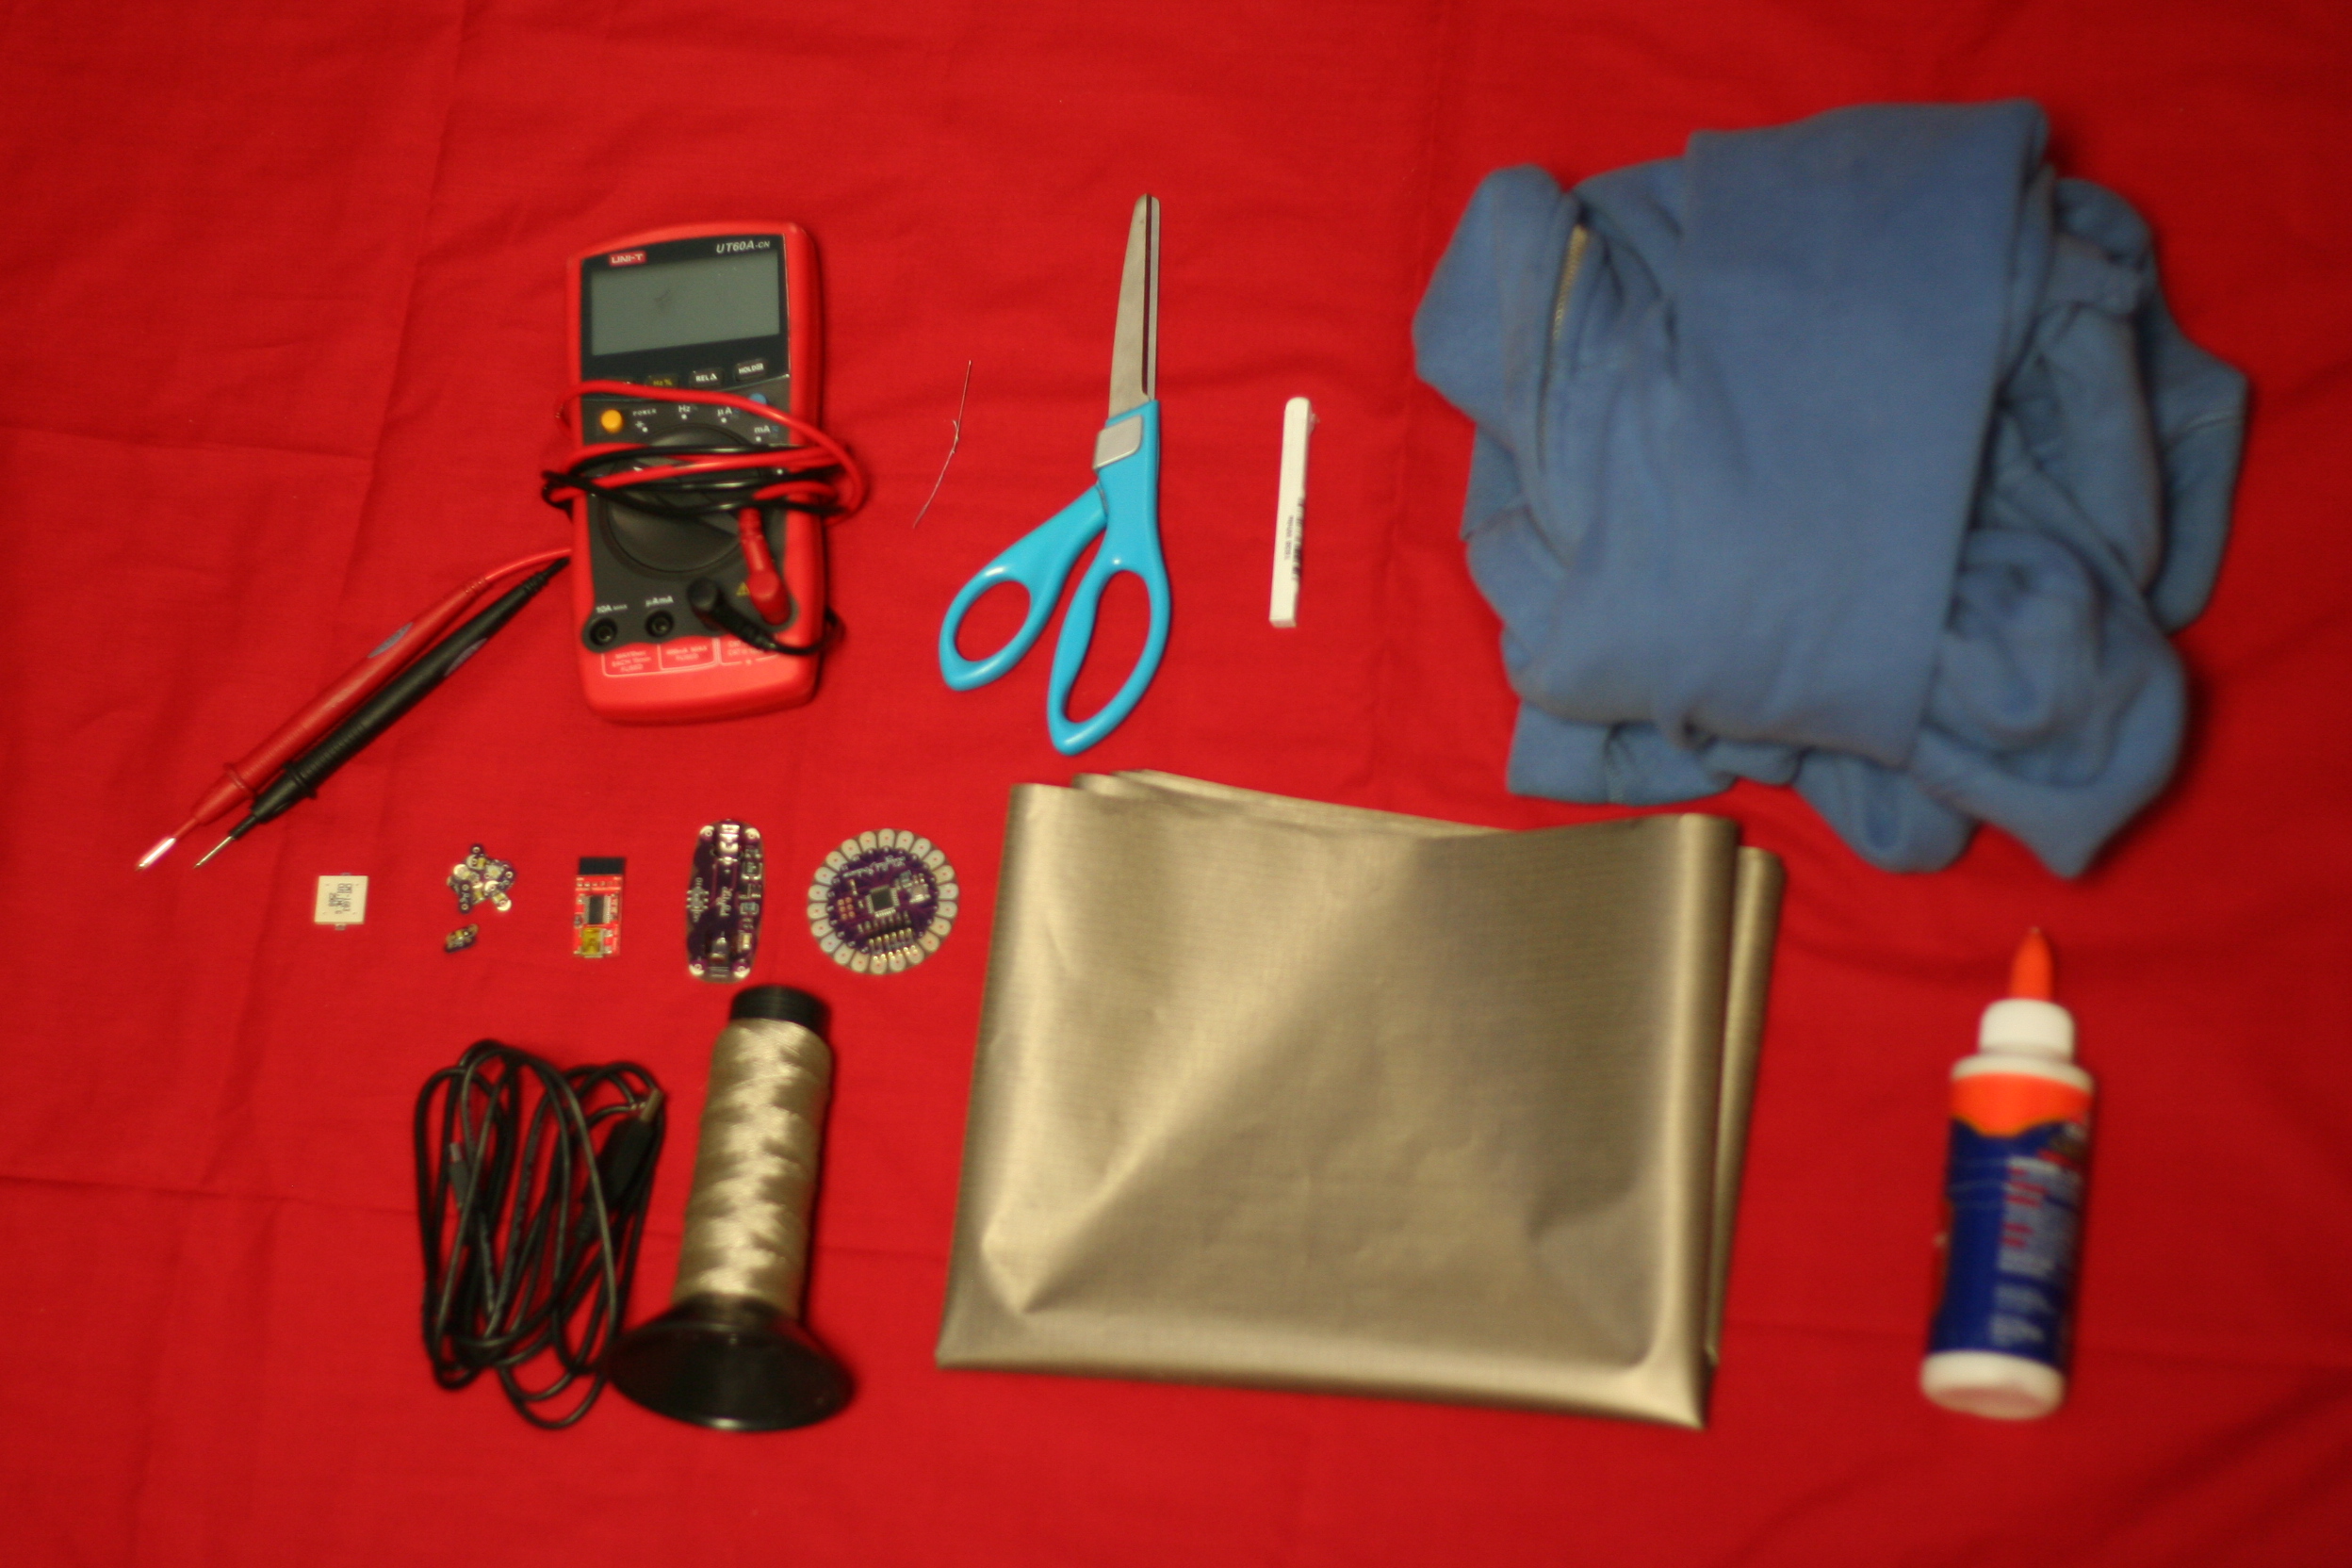
You will need:
-- LilyPad Arduino main board
-- LilyPad USB Link
-- mini USB cable
-- LilyPad power supply
-- 12 LilyPad LEDs
-- speaker
-- a spool of 4-ply conductive thread
-- conductive fabric
-- a digital multimeter
-- a piece of clothing (I used a hoodie)
-- a needle
-- a fabric marker or piece of chalk, a bottle of fabric glue
(Available at your local fabric shop or Joann Stores.)
-- a pair of scissors
-- an iron
-- nail polish
Design and Layout
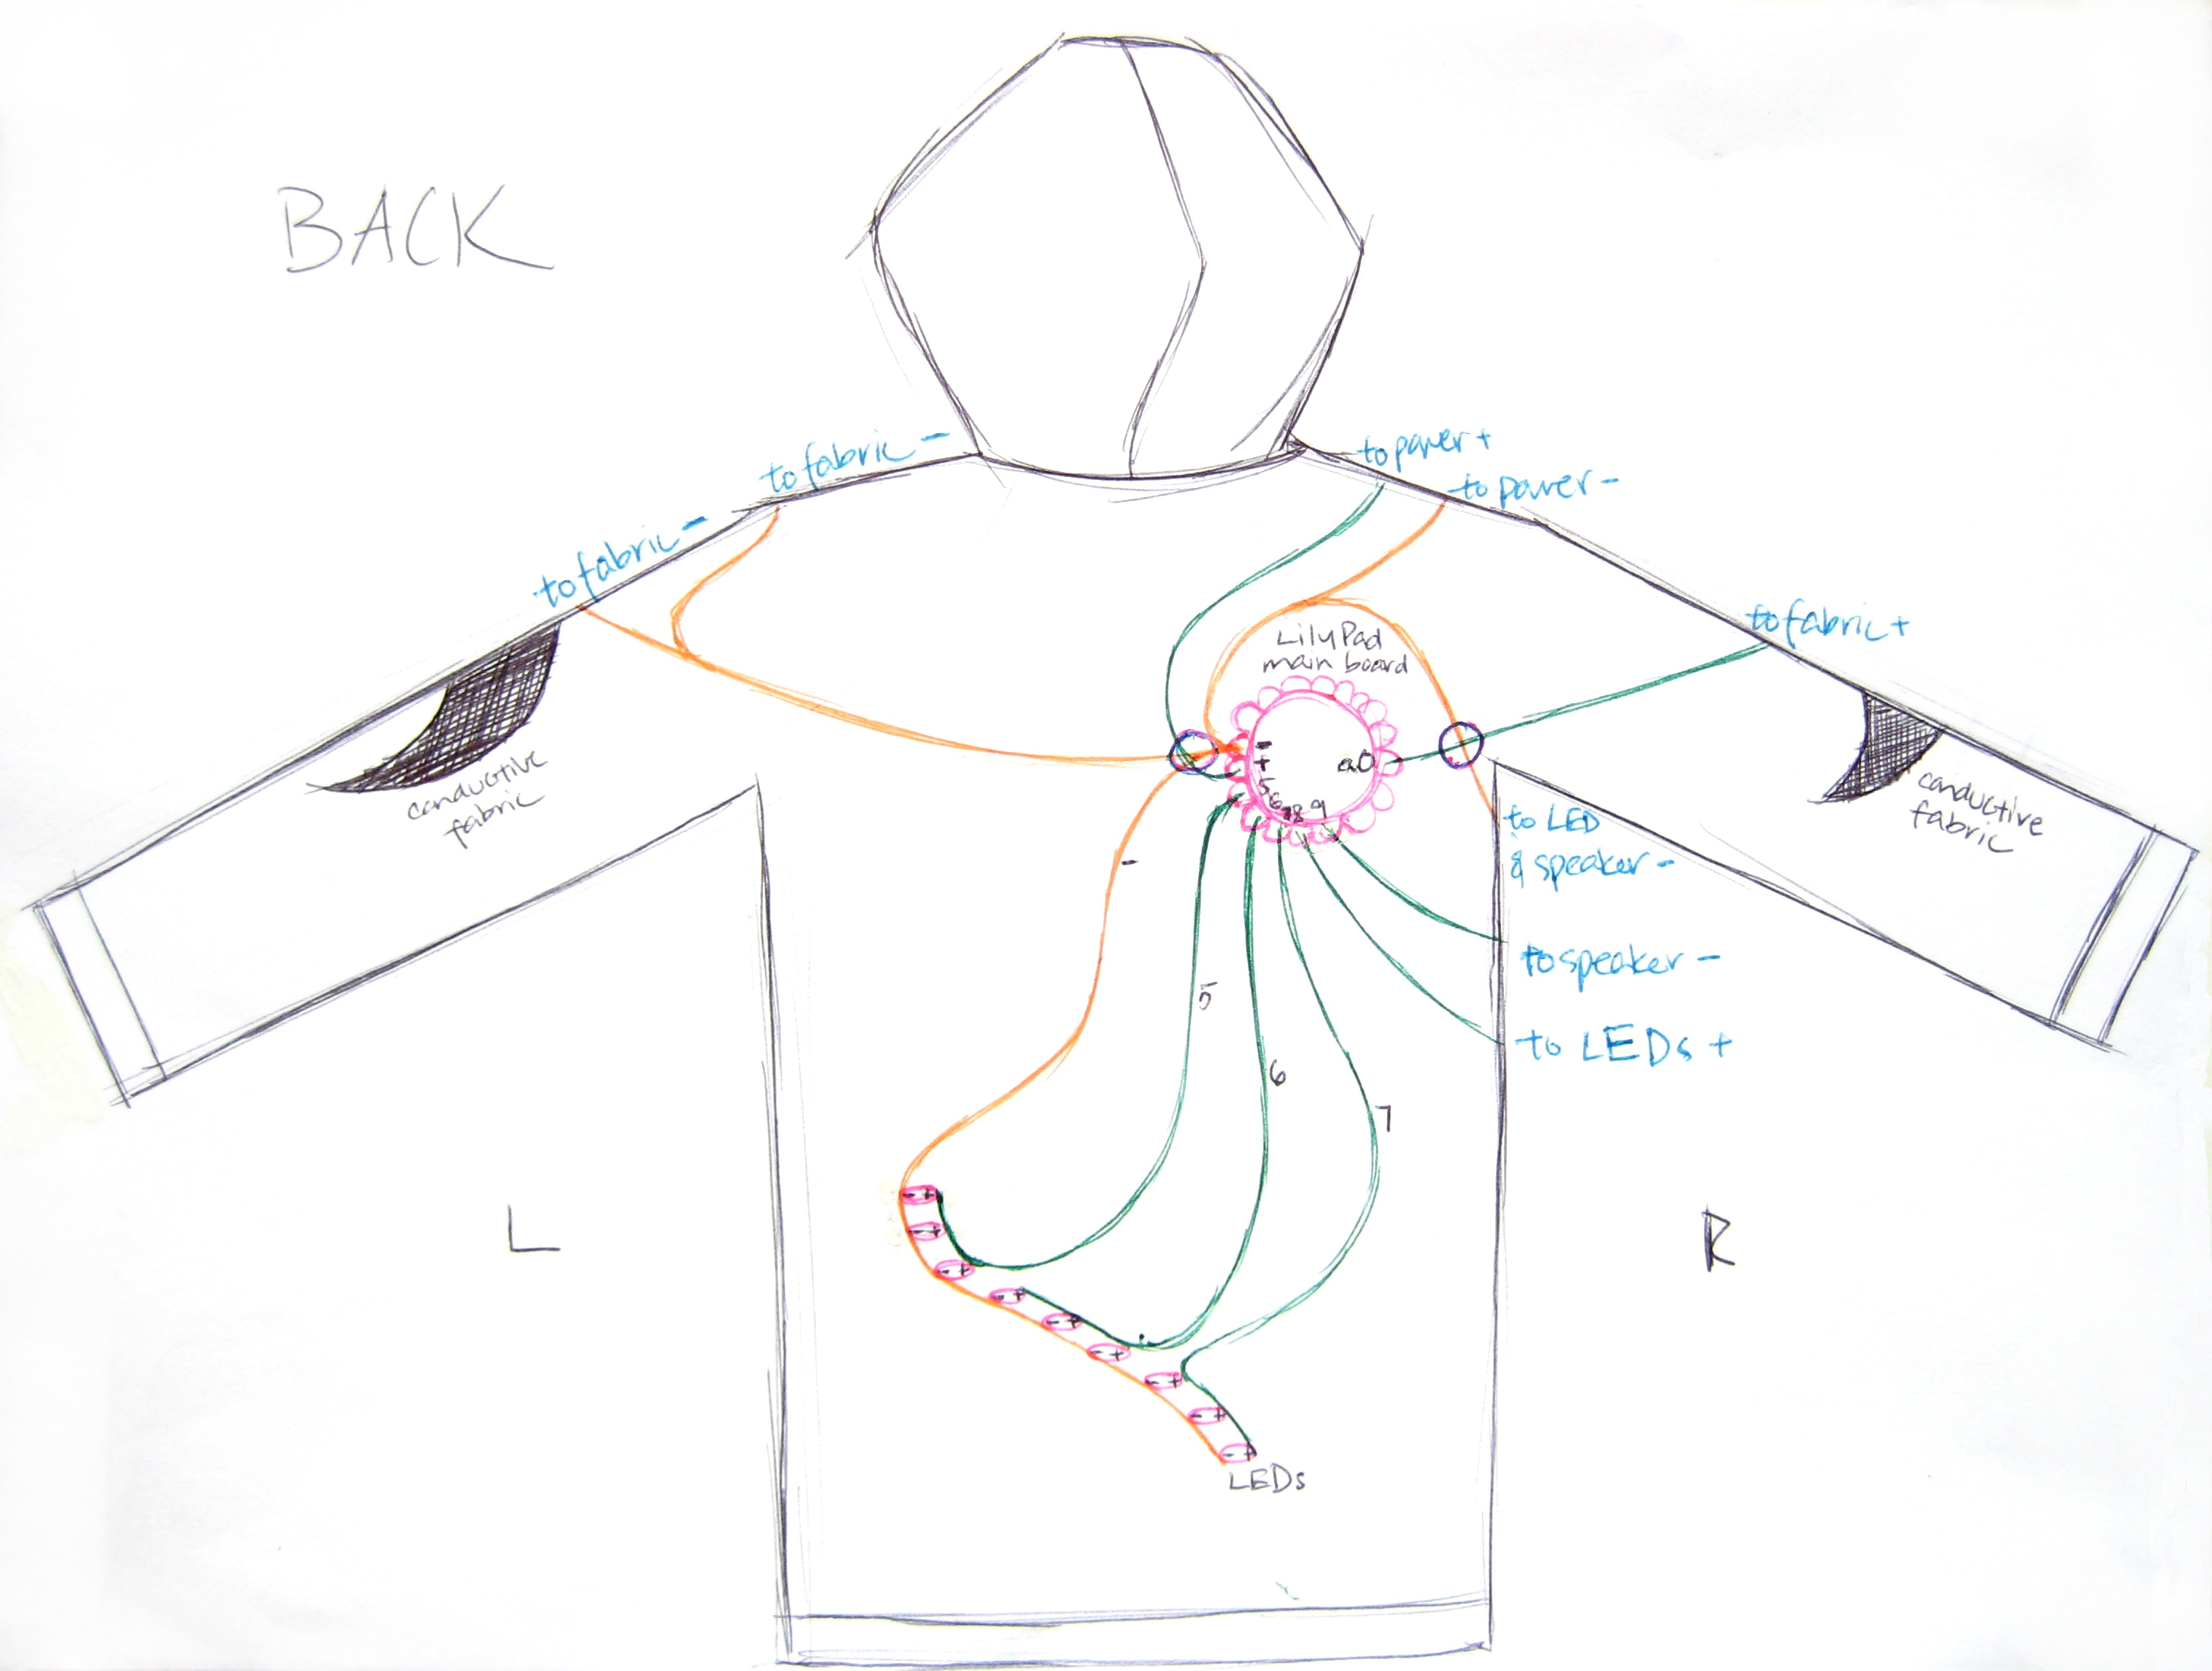
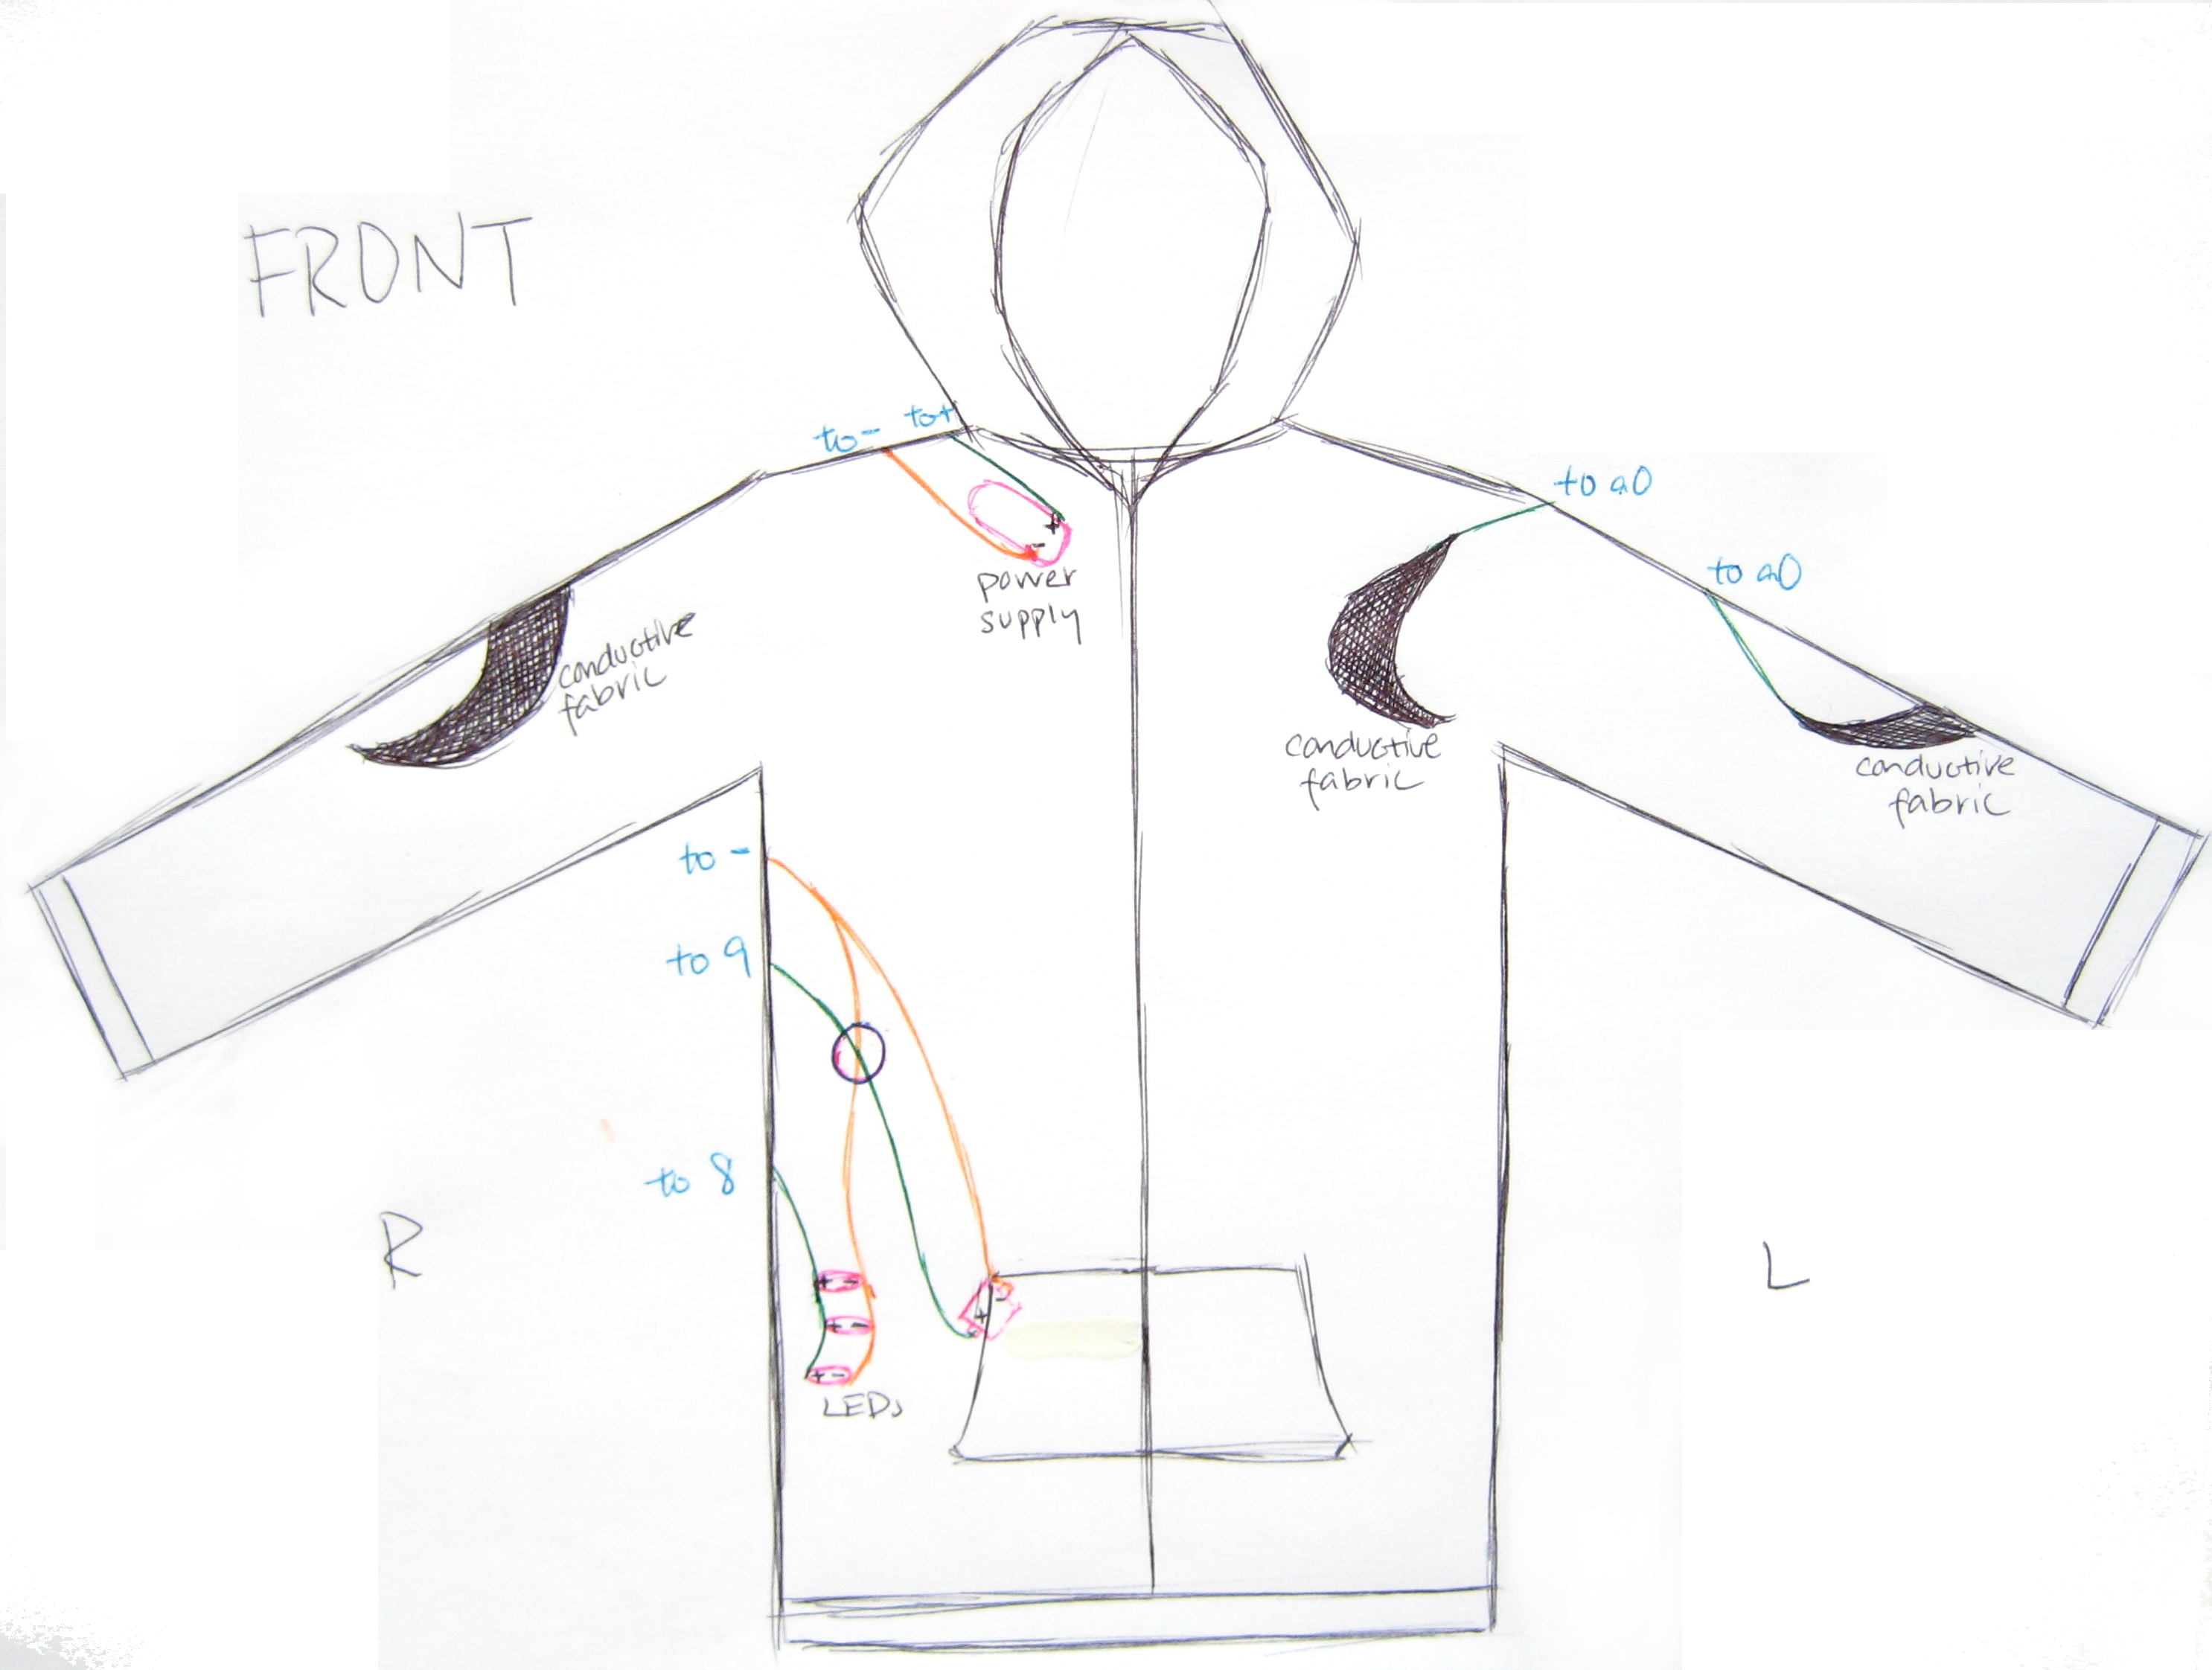
Plan the layout of your garment.
When you place your hands on the conductive fabric of your garment, the program will detect that the circuit has been completed, and the LEDs and speaker will turn on. I laid out the conductive fabric on my hoodie in convenient places (arms, elbows, shoulder) that my hands might rest into naturally, so that placing my hands to complete the circuit does not cause strain.
Lay out what you want your garment to look like, and make a sketch (I've included mine below). Try not to plan too many overlapping conductive thread traces - the more overlaps you have, the more potential shorts you'll encounter in the circuit. In my sketch, I've circled every spot where there's an overlap with a blue pen.
Be sure to keep your power supply close to your LilyPad main board.
Conductive thread has nontrivial resistance. Leah Buechley has a nice explanation of what this does to the voltage at your LilyPad here. The general idea is that more resistance (that is, longer lengths of conductive thread) between your LilyPad and its power supply results in a lower voltage at your LilyPad. If the voltage is too low (generally below 3.3 V for the LilyPad), the LilyPad doesn't get enough power and stops working.
In my design, the power supply and the LilyPad are actually too far away from each other. We will see how to remedy this in the next step.
Locate your power supply.
Consider where you want to place your power supply. The power supply is the heaviest and bulkiest piece of everything you'll be placing onto your garment, so it's nice to place the power supply somewhere that is unobtrusive and not delicate. For instance, you wouldn't want to put it in the crook of your elbow, because then you wouldn't be able to bend your arm. I placed it near my lapel, so that it's both out of the way and at a spot with sturdy fabric.
For a larger image of my sketches below, click for the front and the back.
Transfer Your Sketch to the Garment
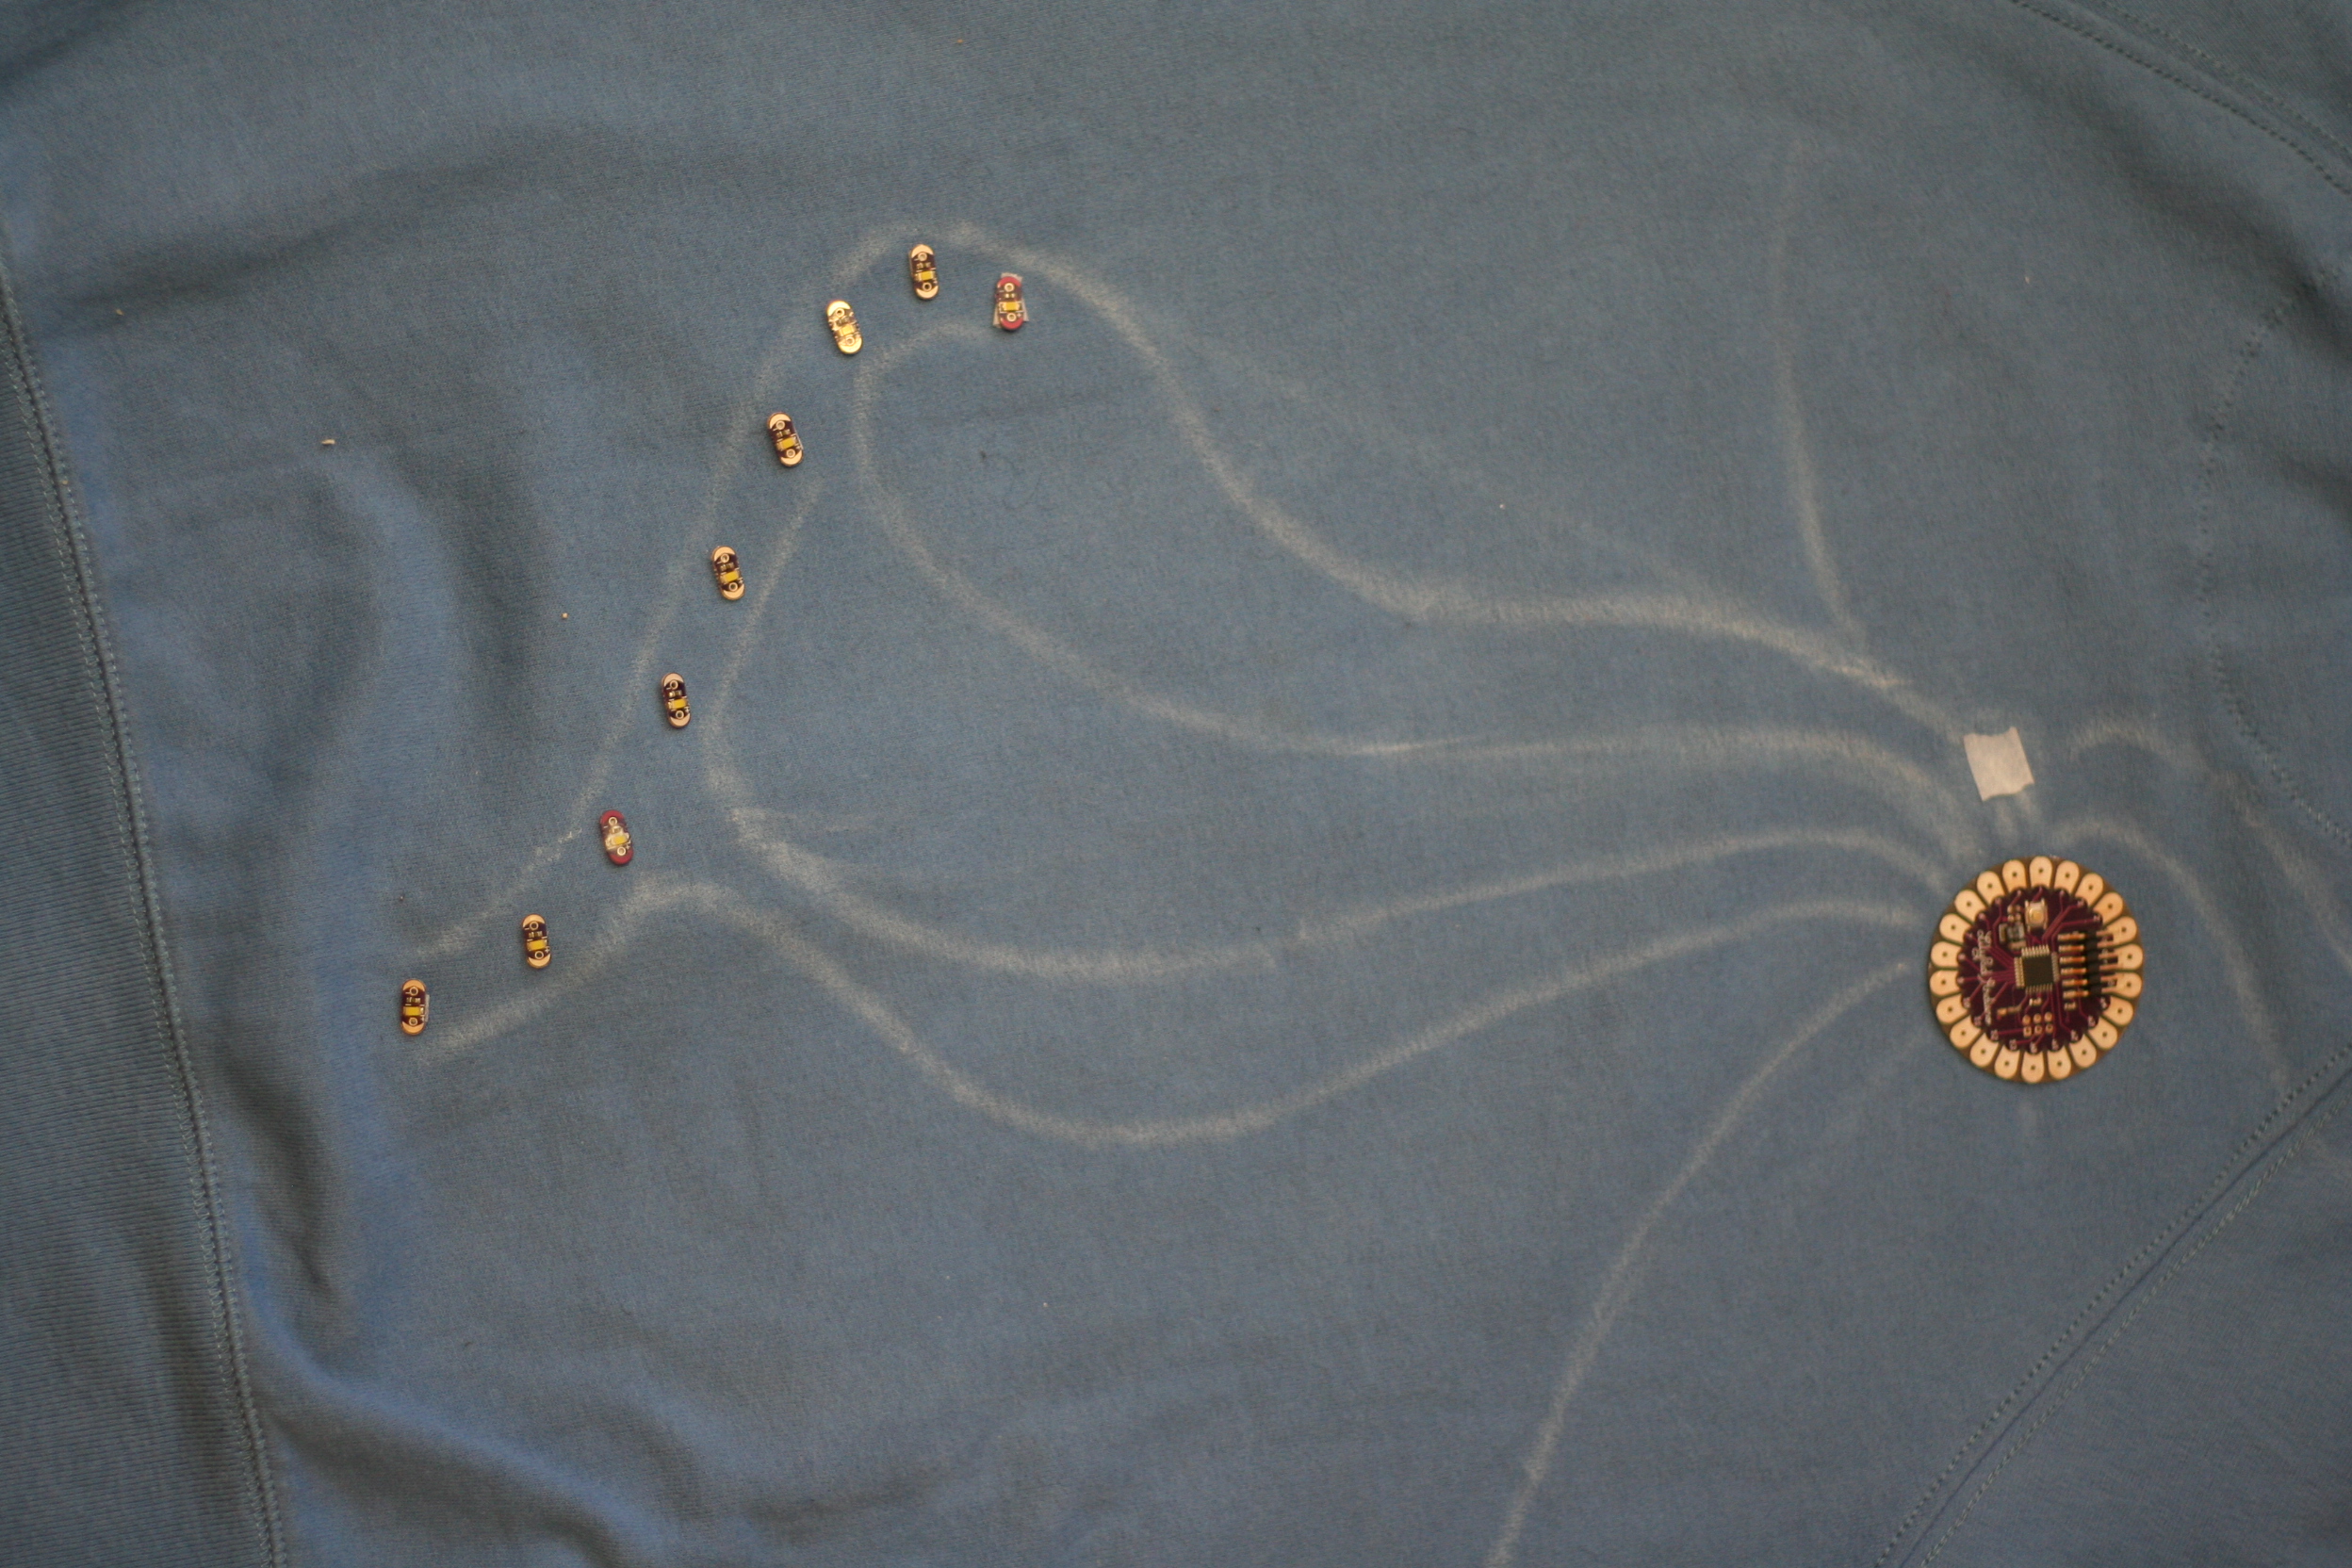
Mark up your garment.
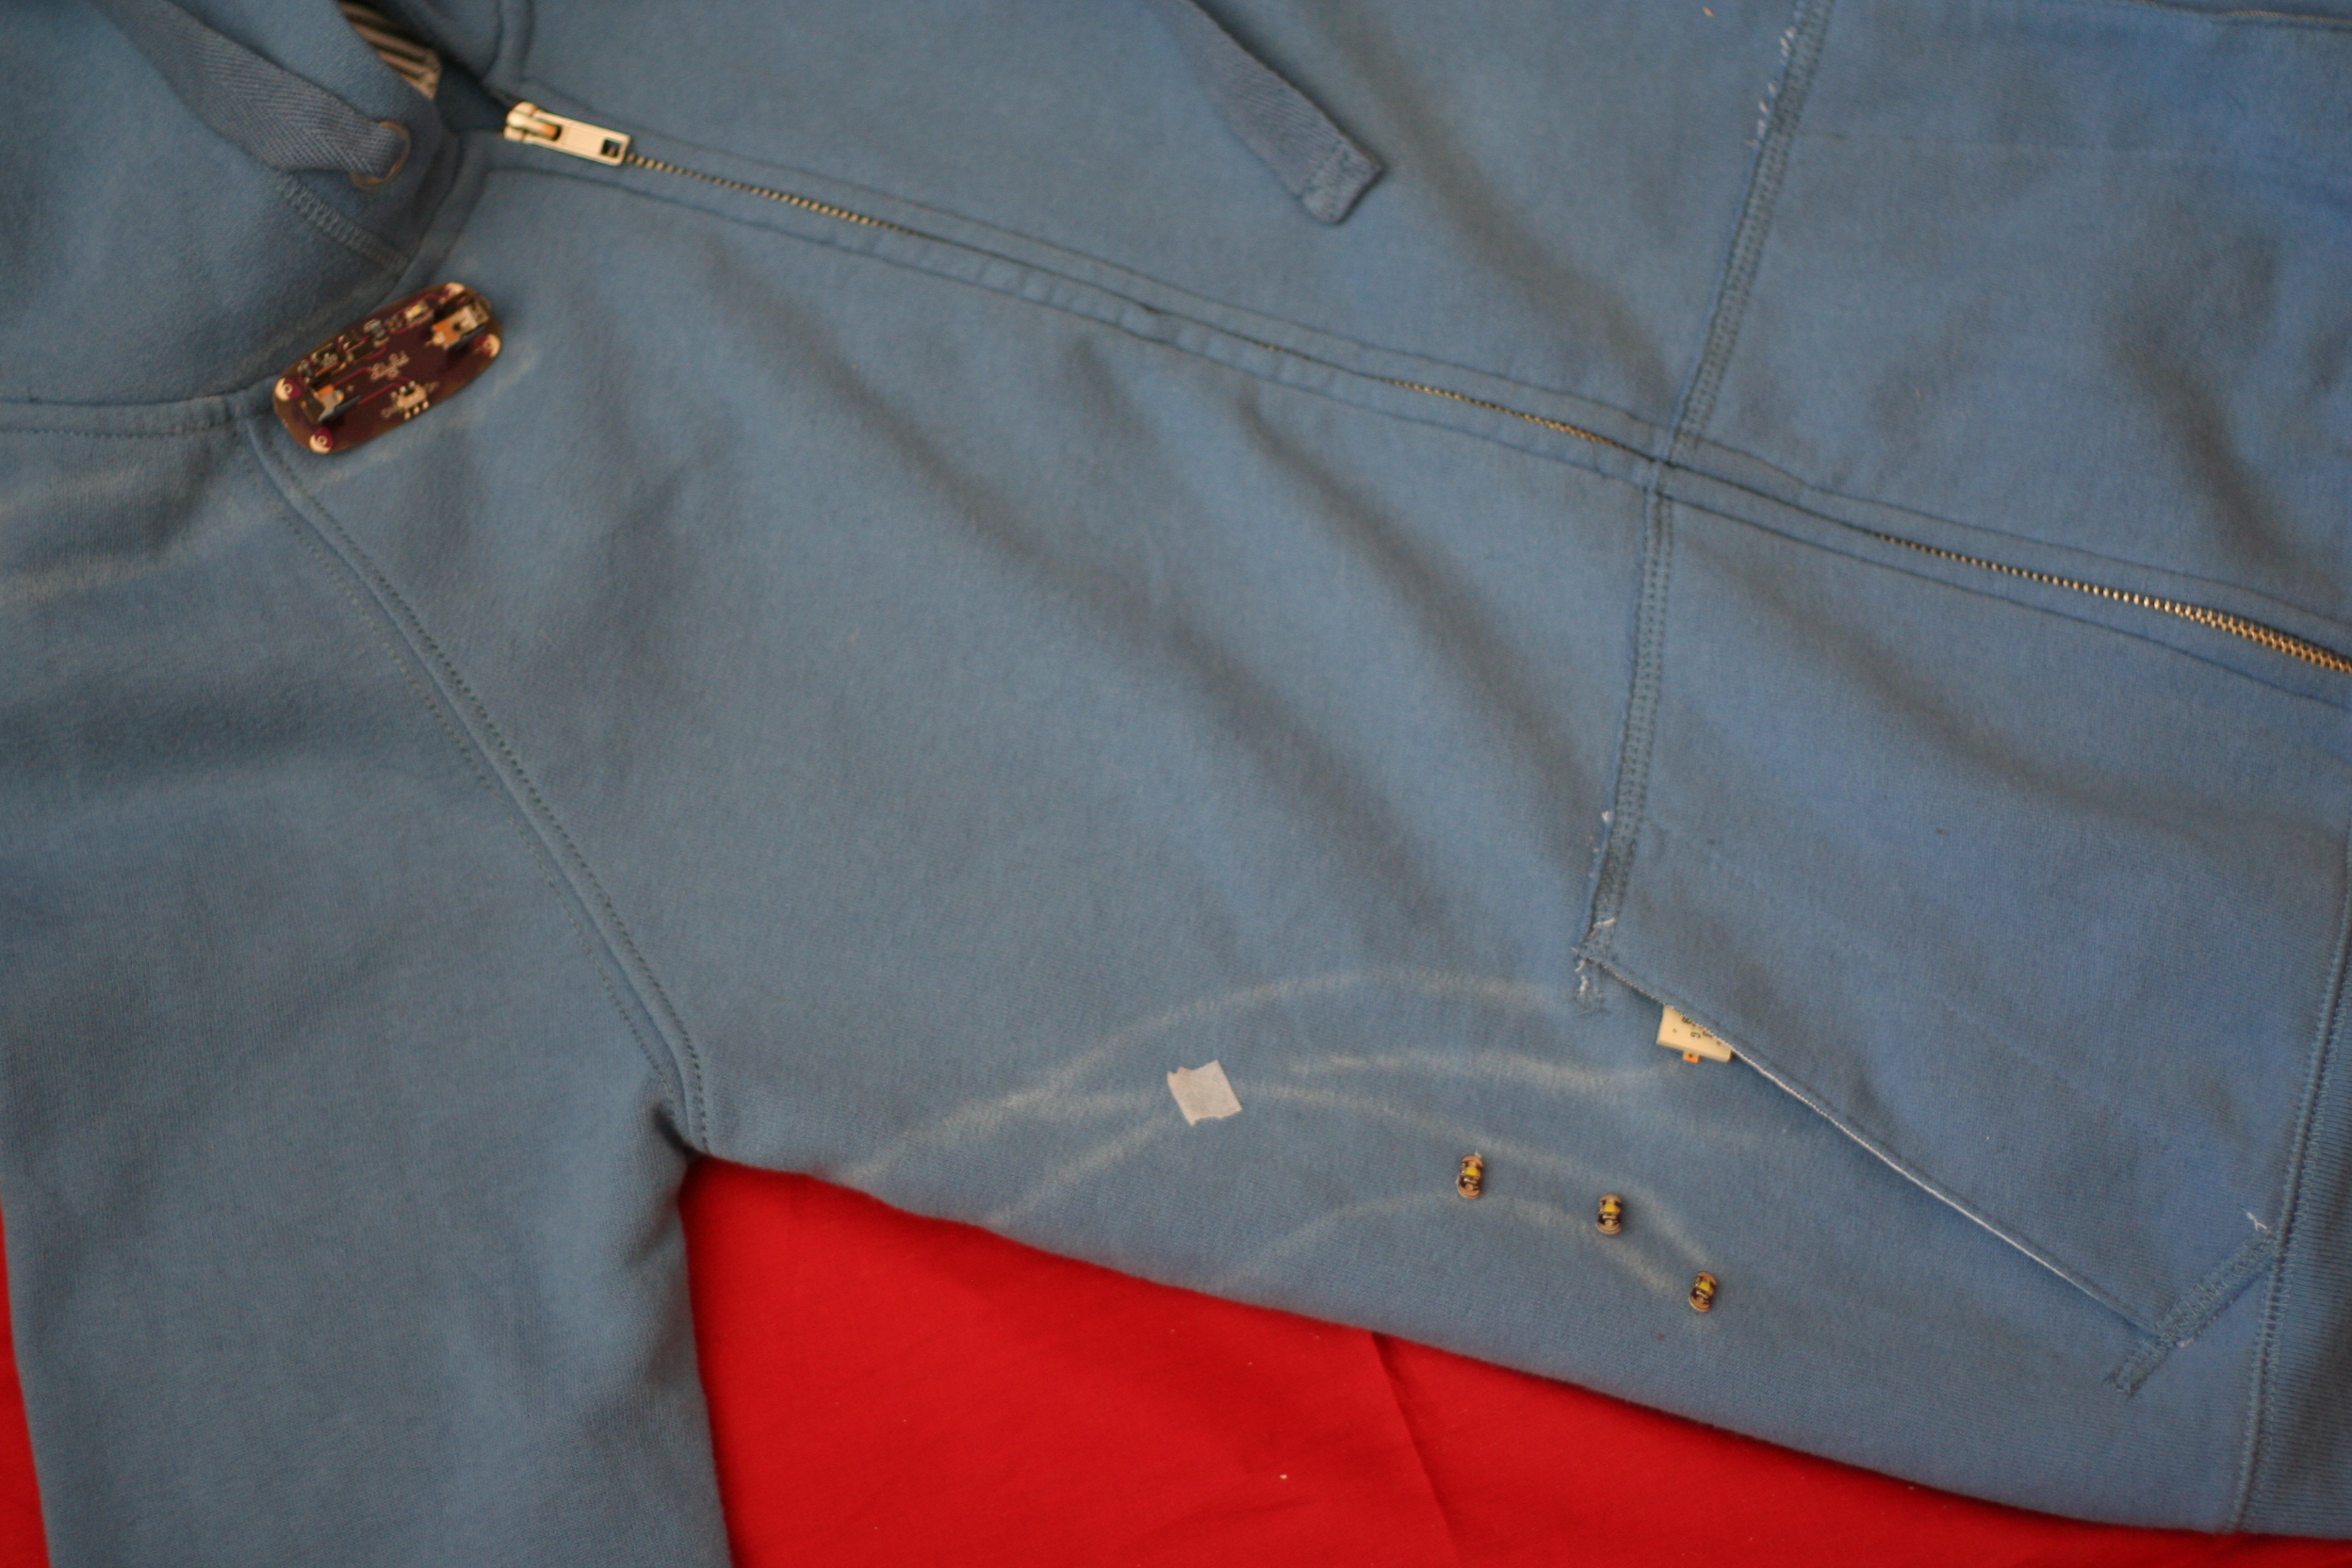
Use double-sided tape (or roll single-sided tape back onto itself to create an essentially double-sided tape) to attach your LilyPad pieces to the garment where the sketch says they should be. Be aware of what directions the + and - parts of the pieces should be facing (especially the LEDs - otherwise they won't work!).
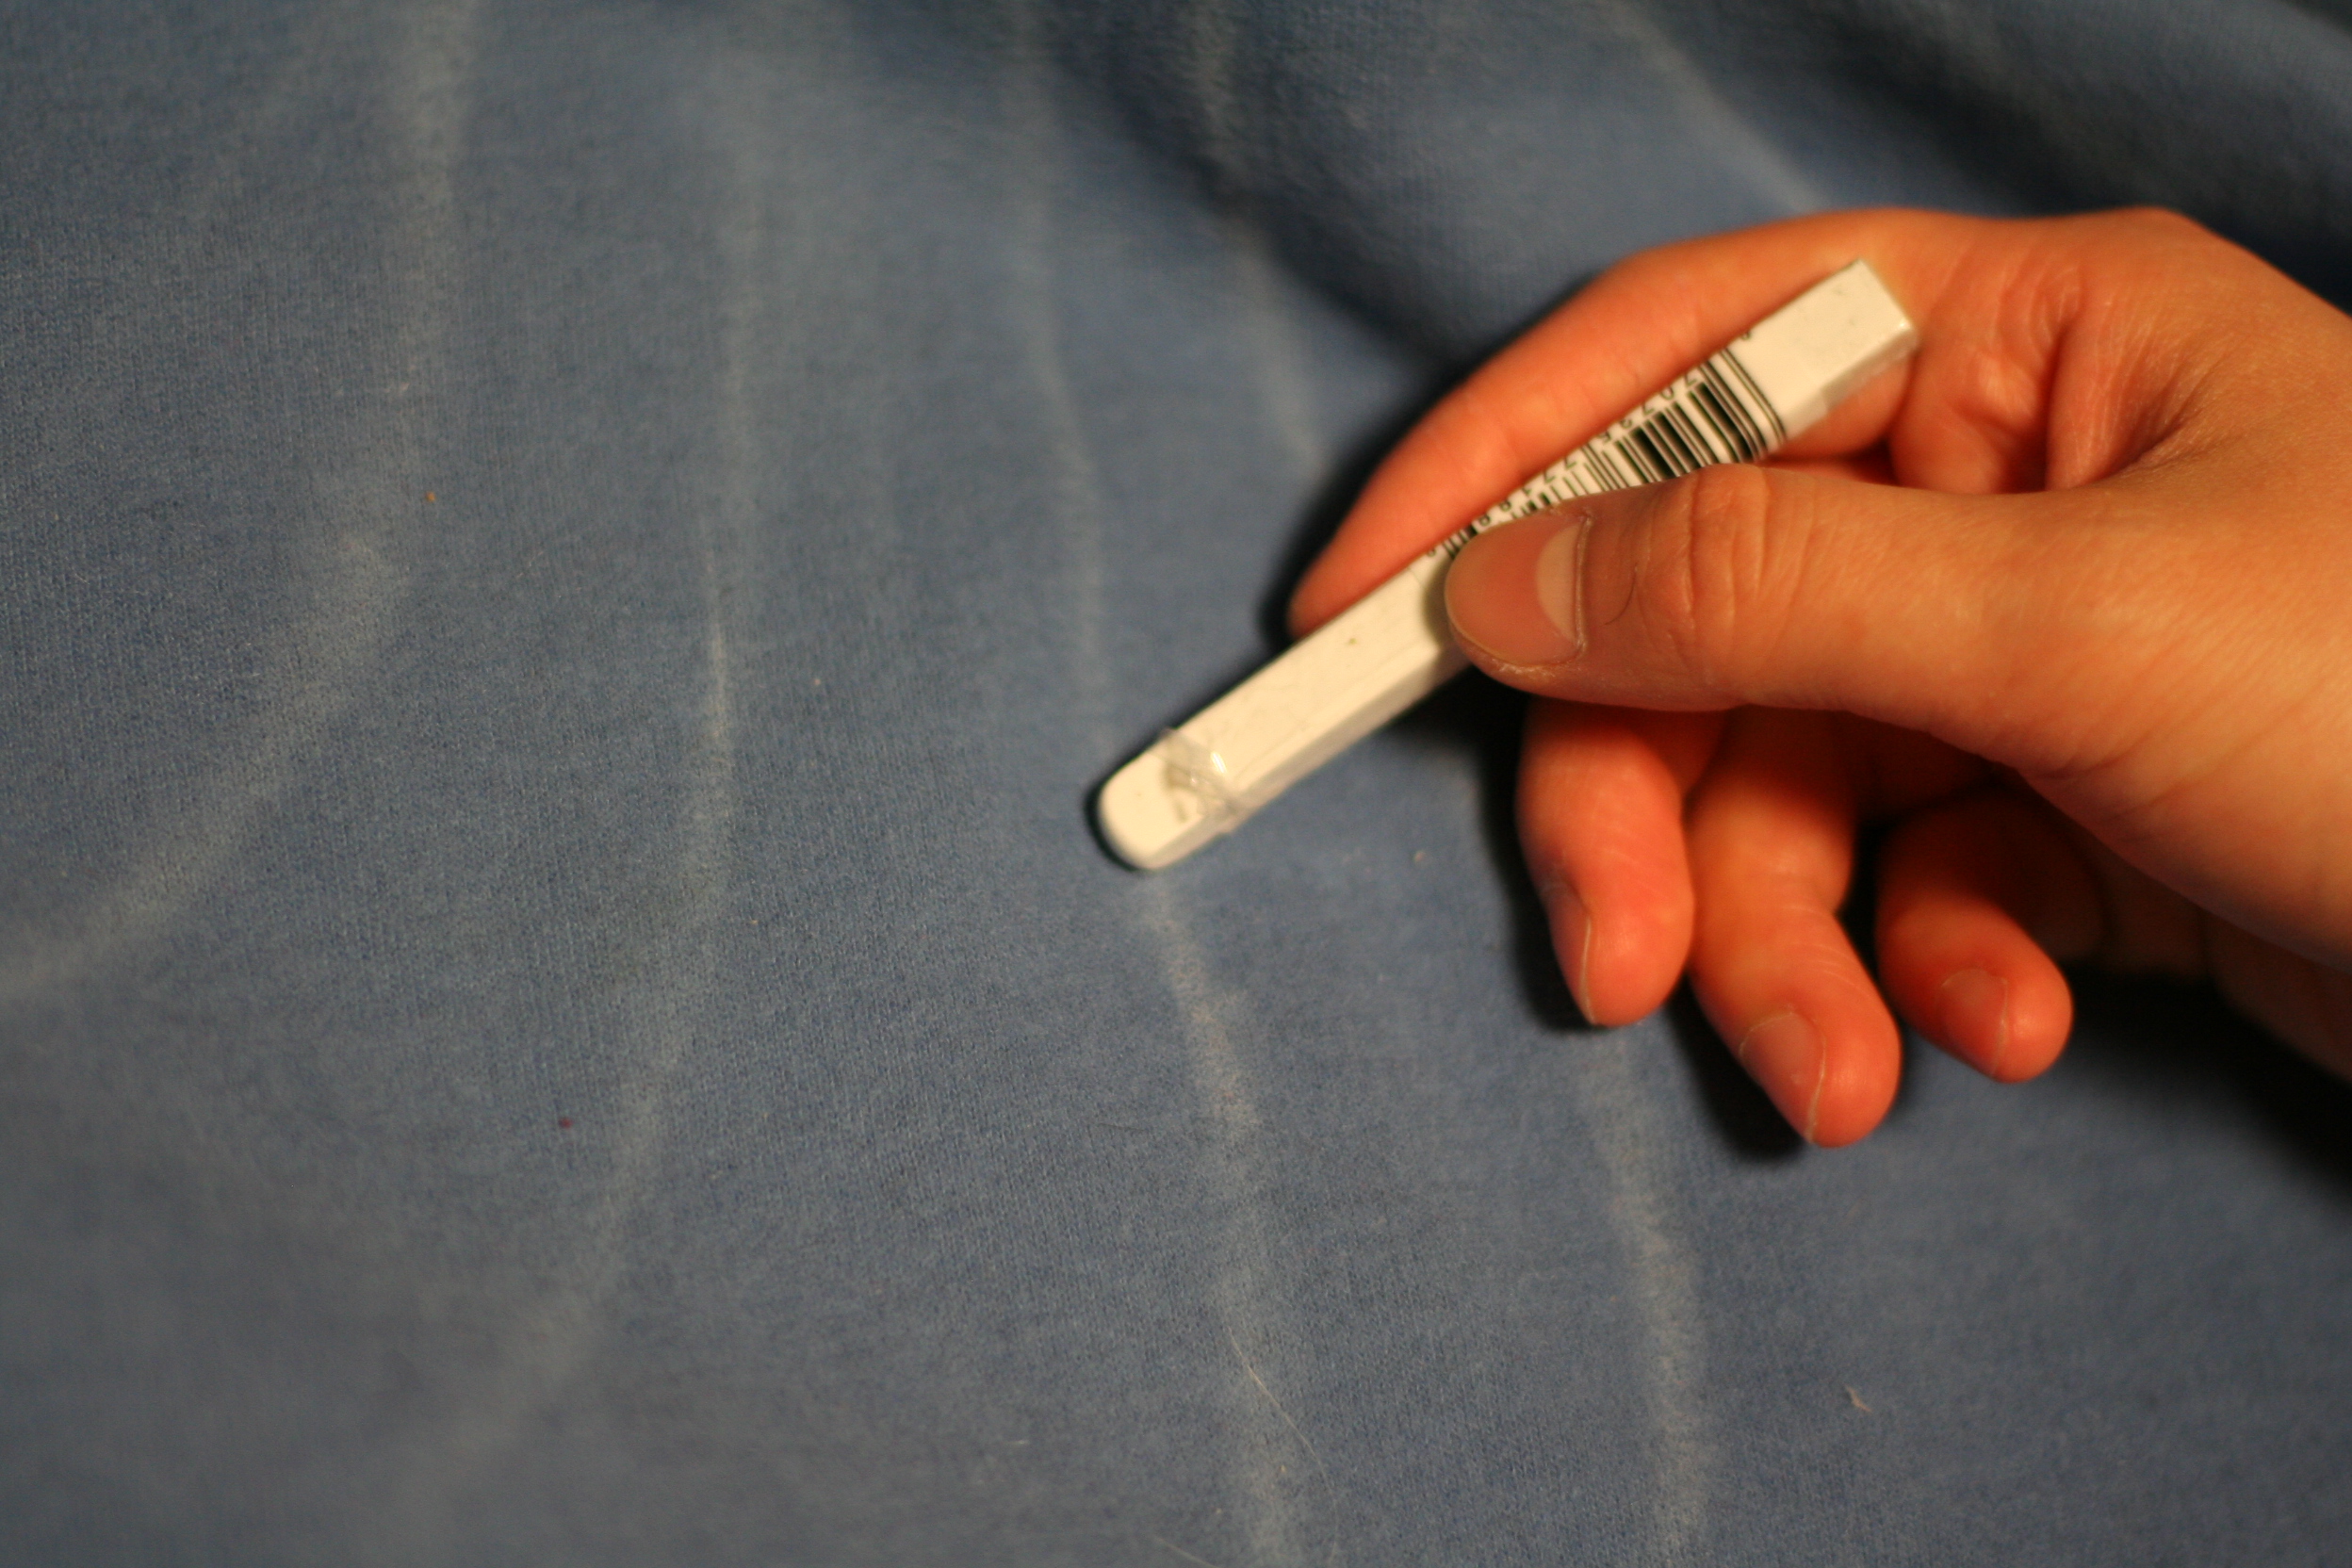
Then use chalk or fabric pencils to transfer your sketch to your garment. Be sure to be precise about how your lines look - you'll be sewing over these same lines later on (it's hard to change the path while you're sewing). Also, make sure you match the lines to the holes on the LilyPad pieces - you'll be sewing through those holes later on.
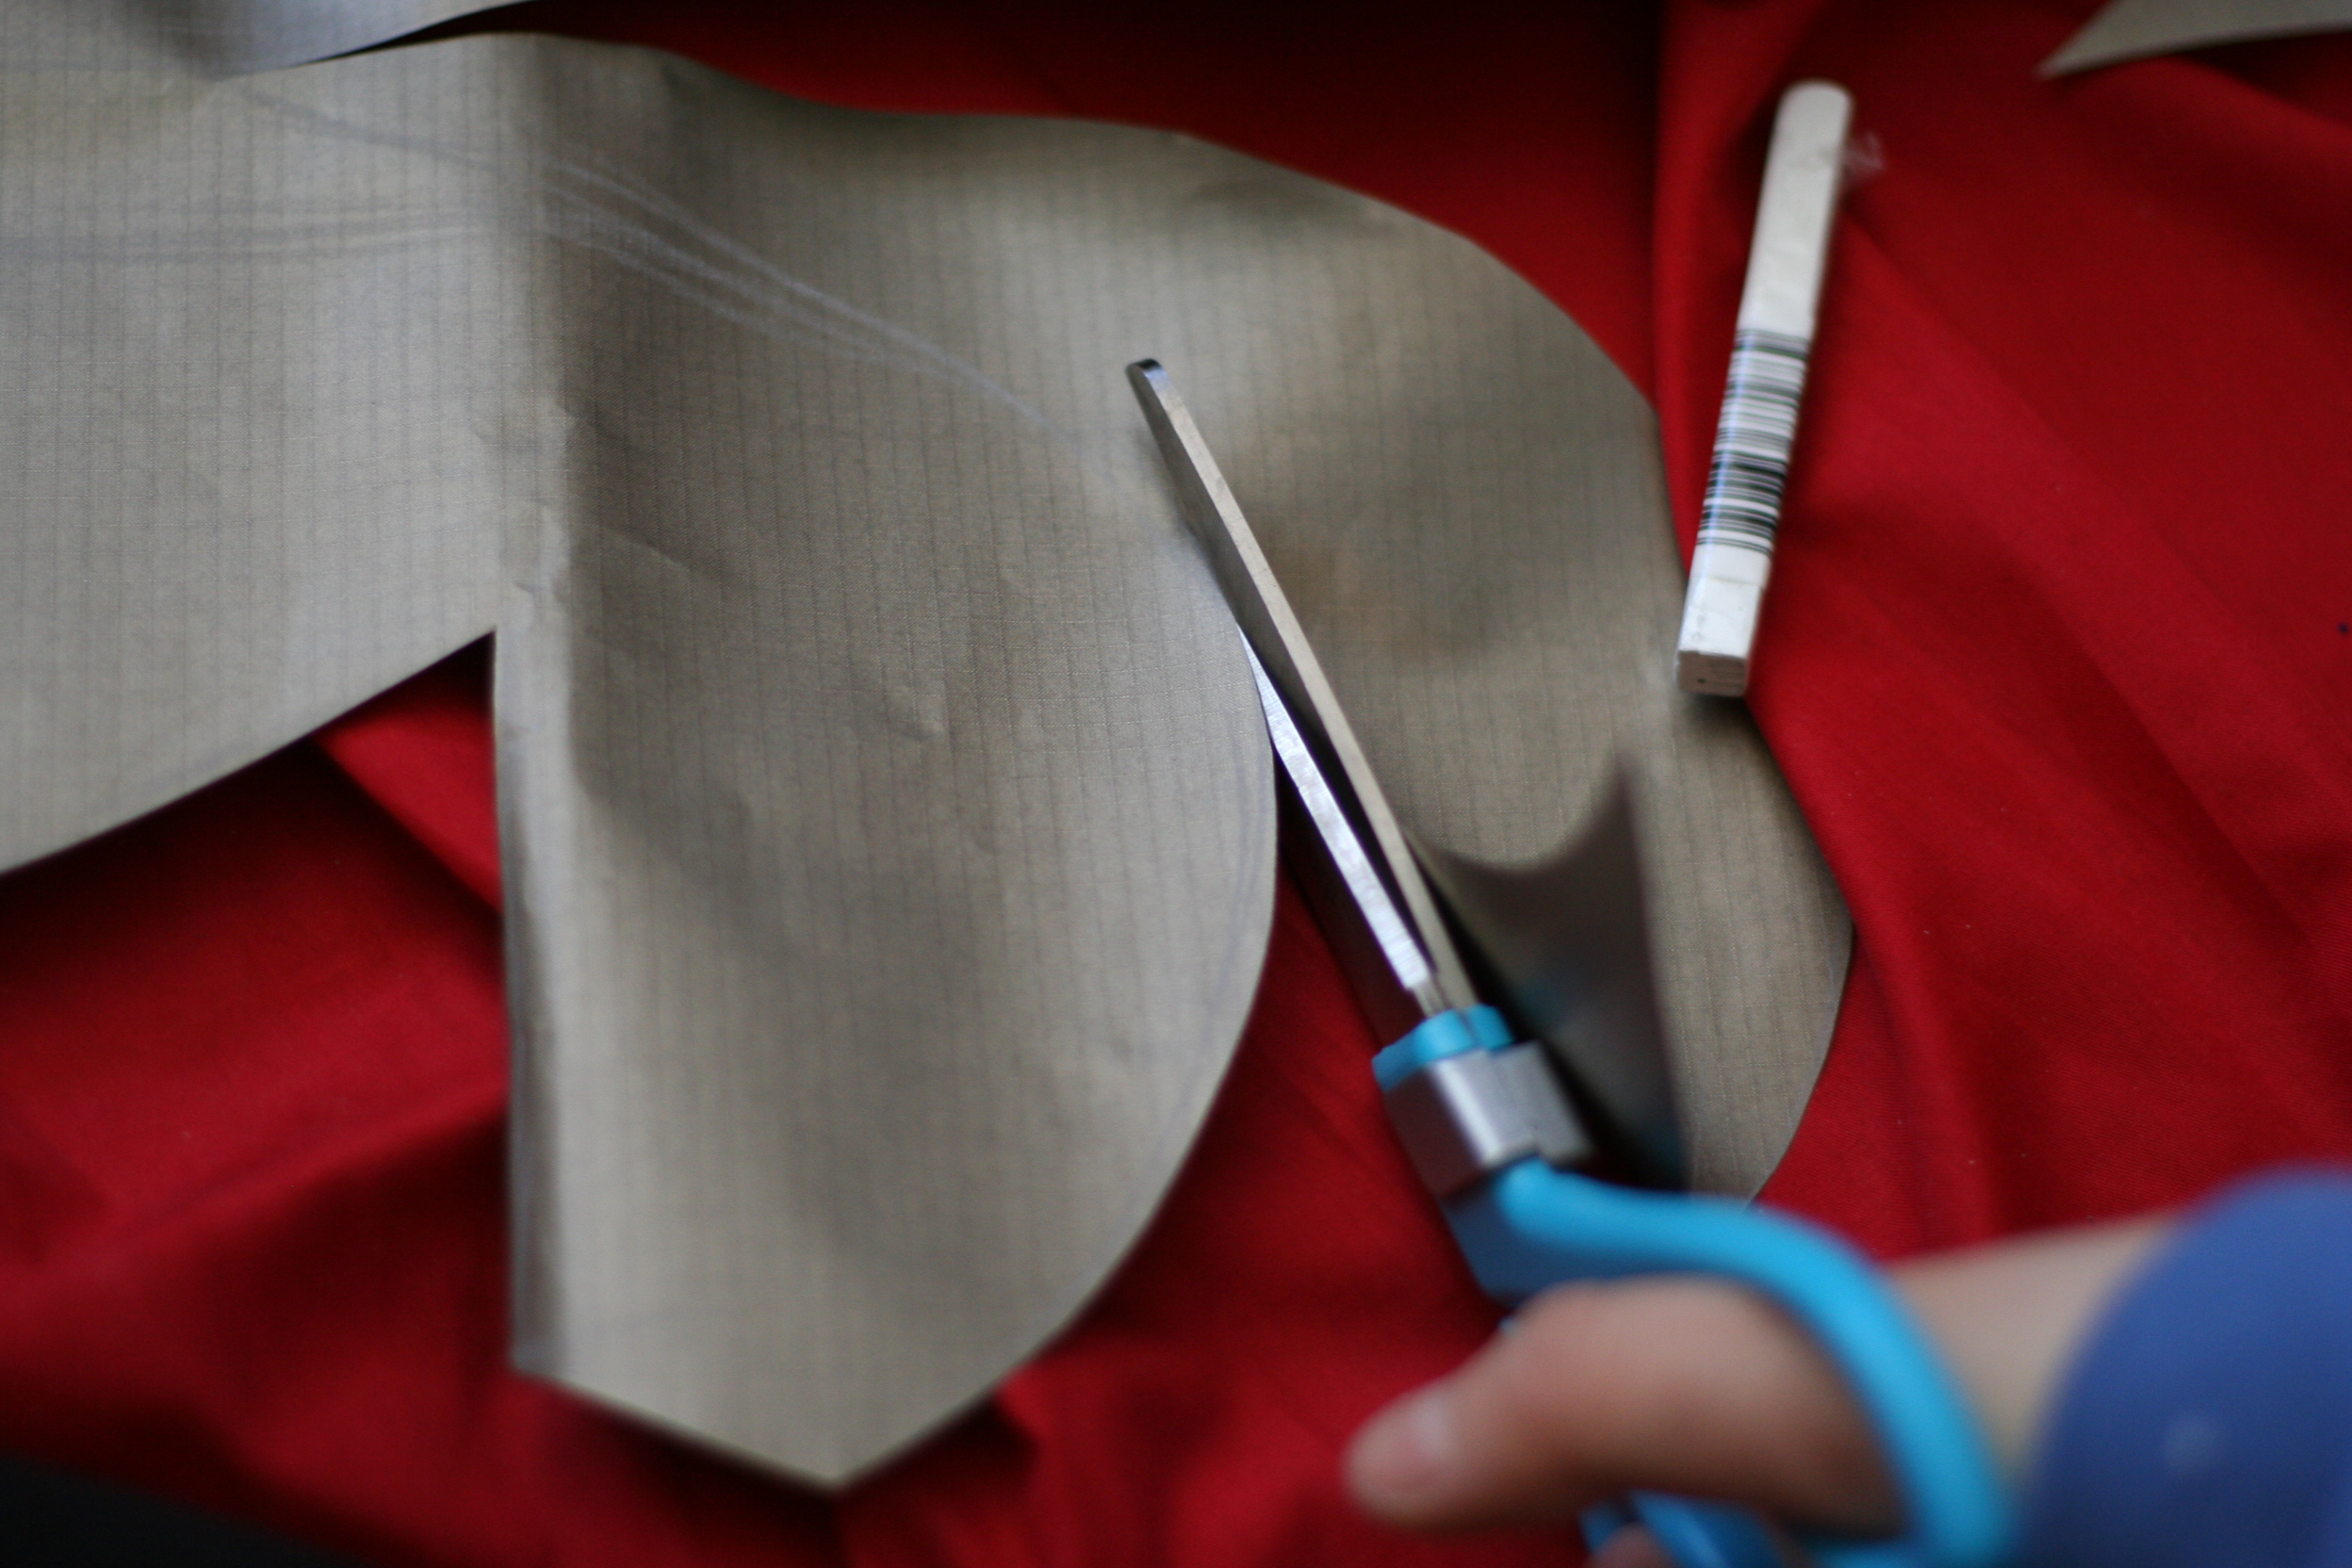
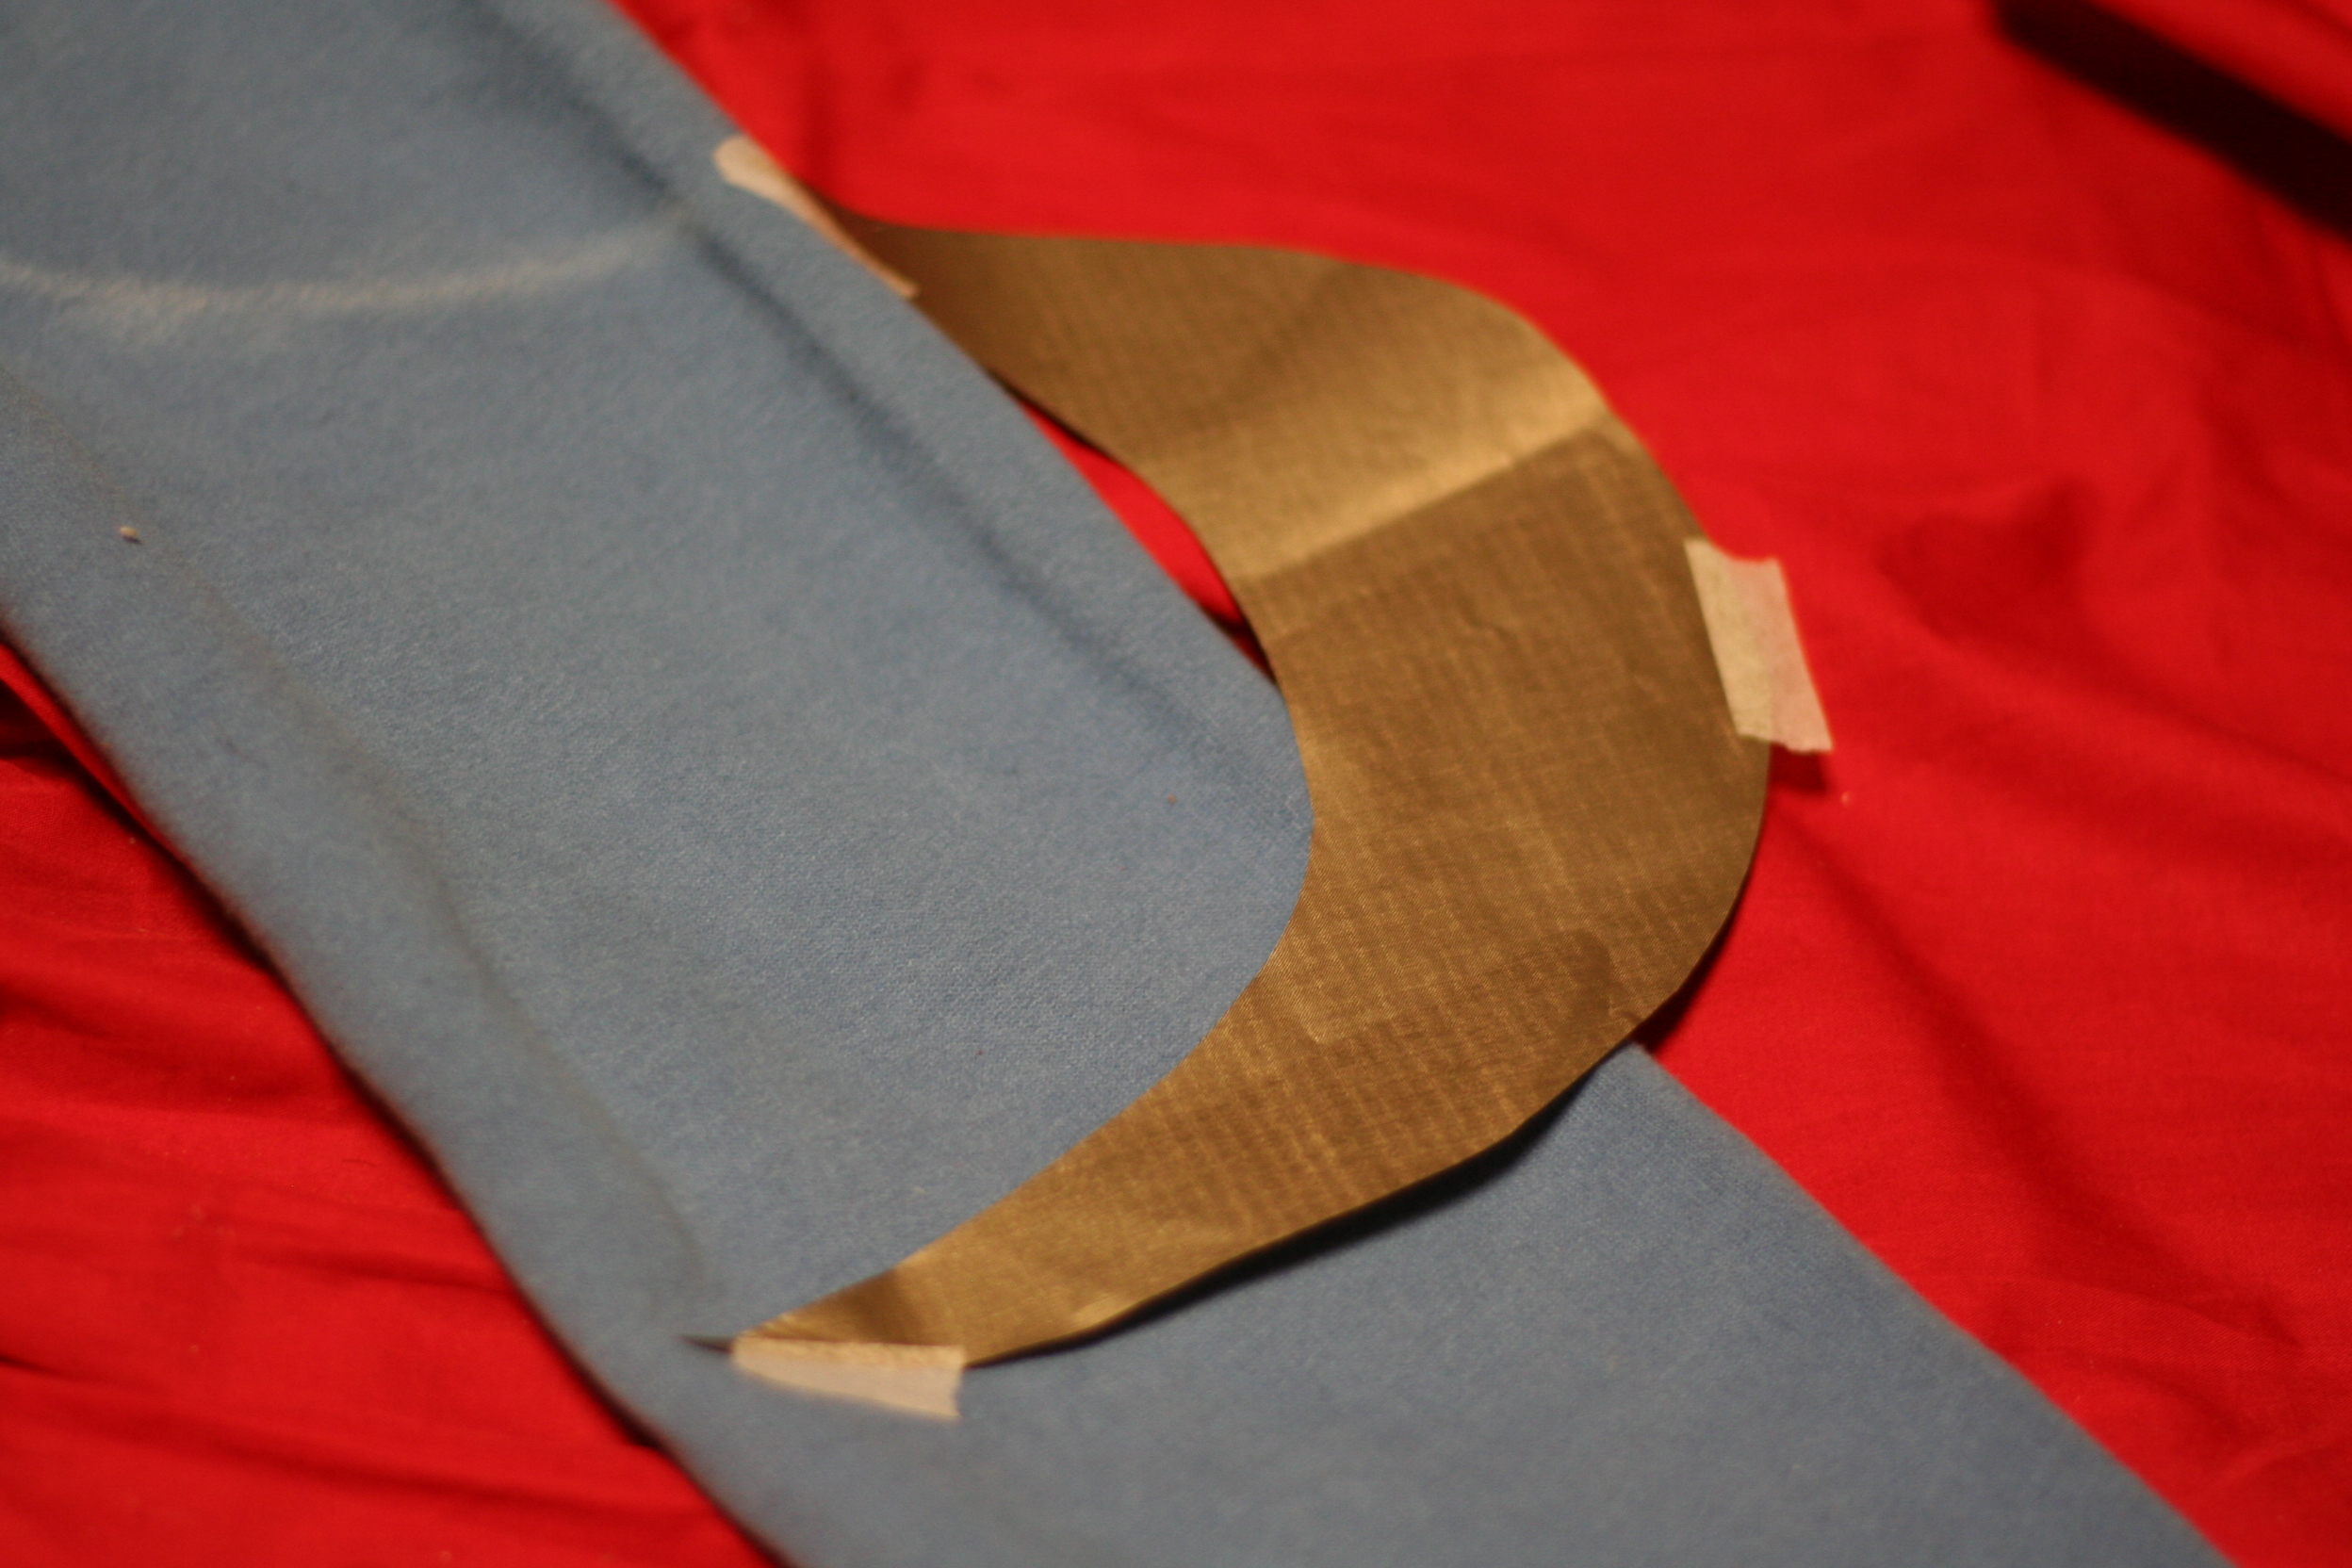
Next, cut out the shapes you want for your conductive fabric. Tape or pin the conductive fabric pieces to your garment. We'll be ironing these on in the next step.
I often find it helpful to attach tape to spots where your traces overlap, so that you remember not to actually overlap the conductive threads. There'll be more instructions on what to do at overlap junctions later in the tutorial in step 7.
Glue LilyPad Pieces and Iron Conductive Fabric Onto Your Garment
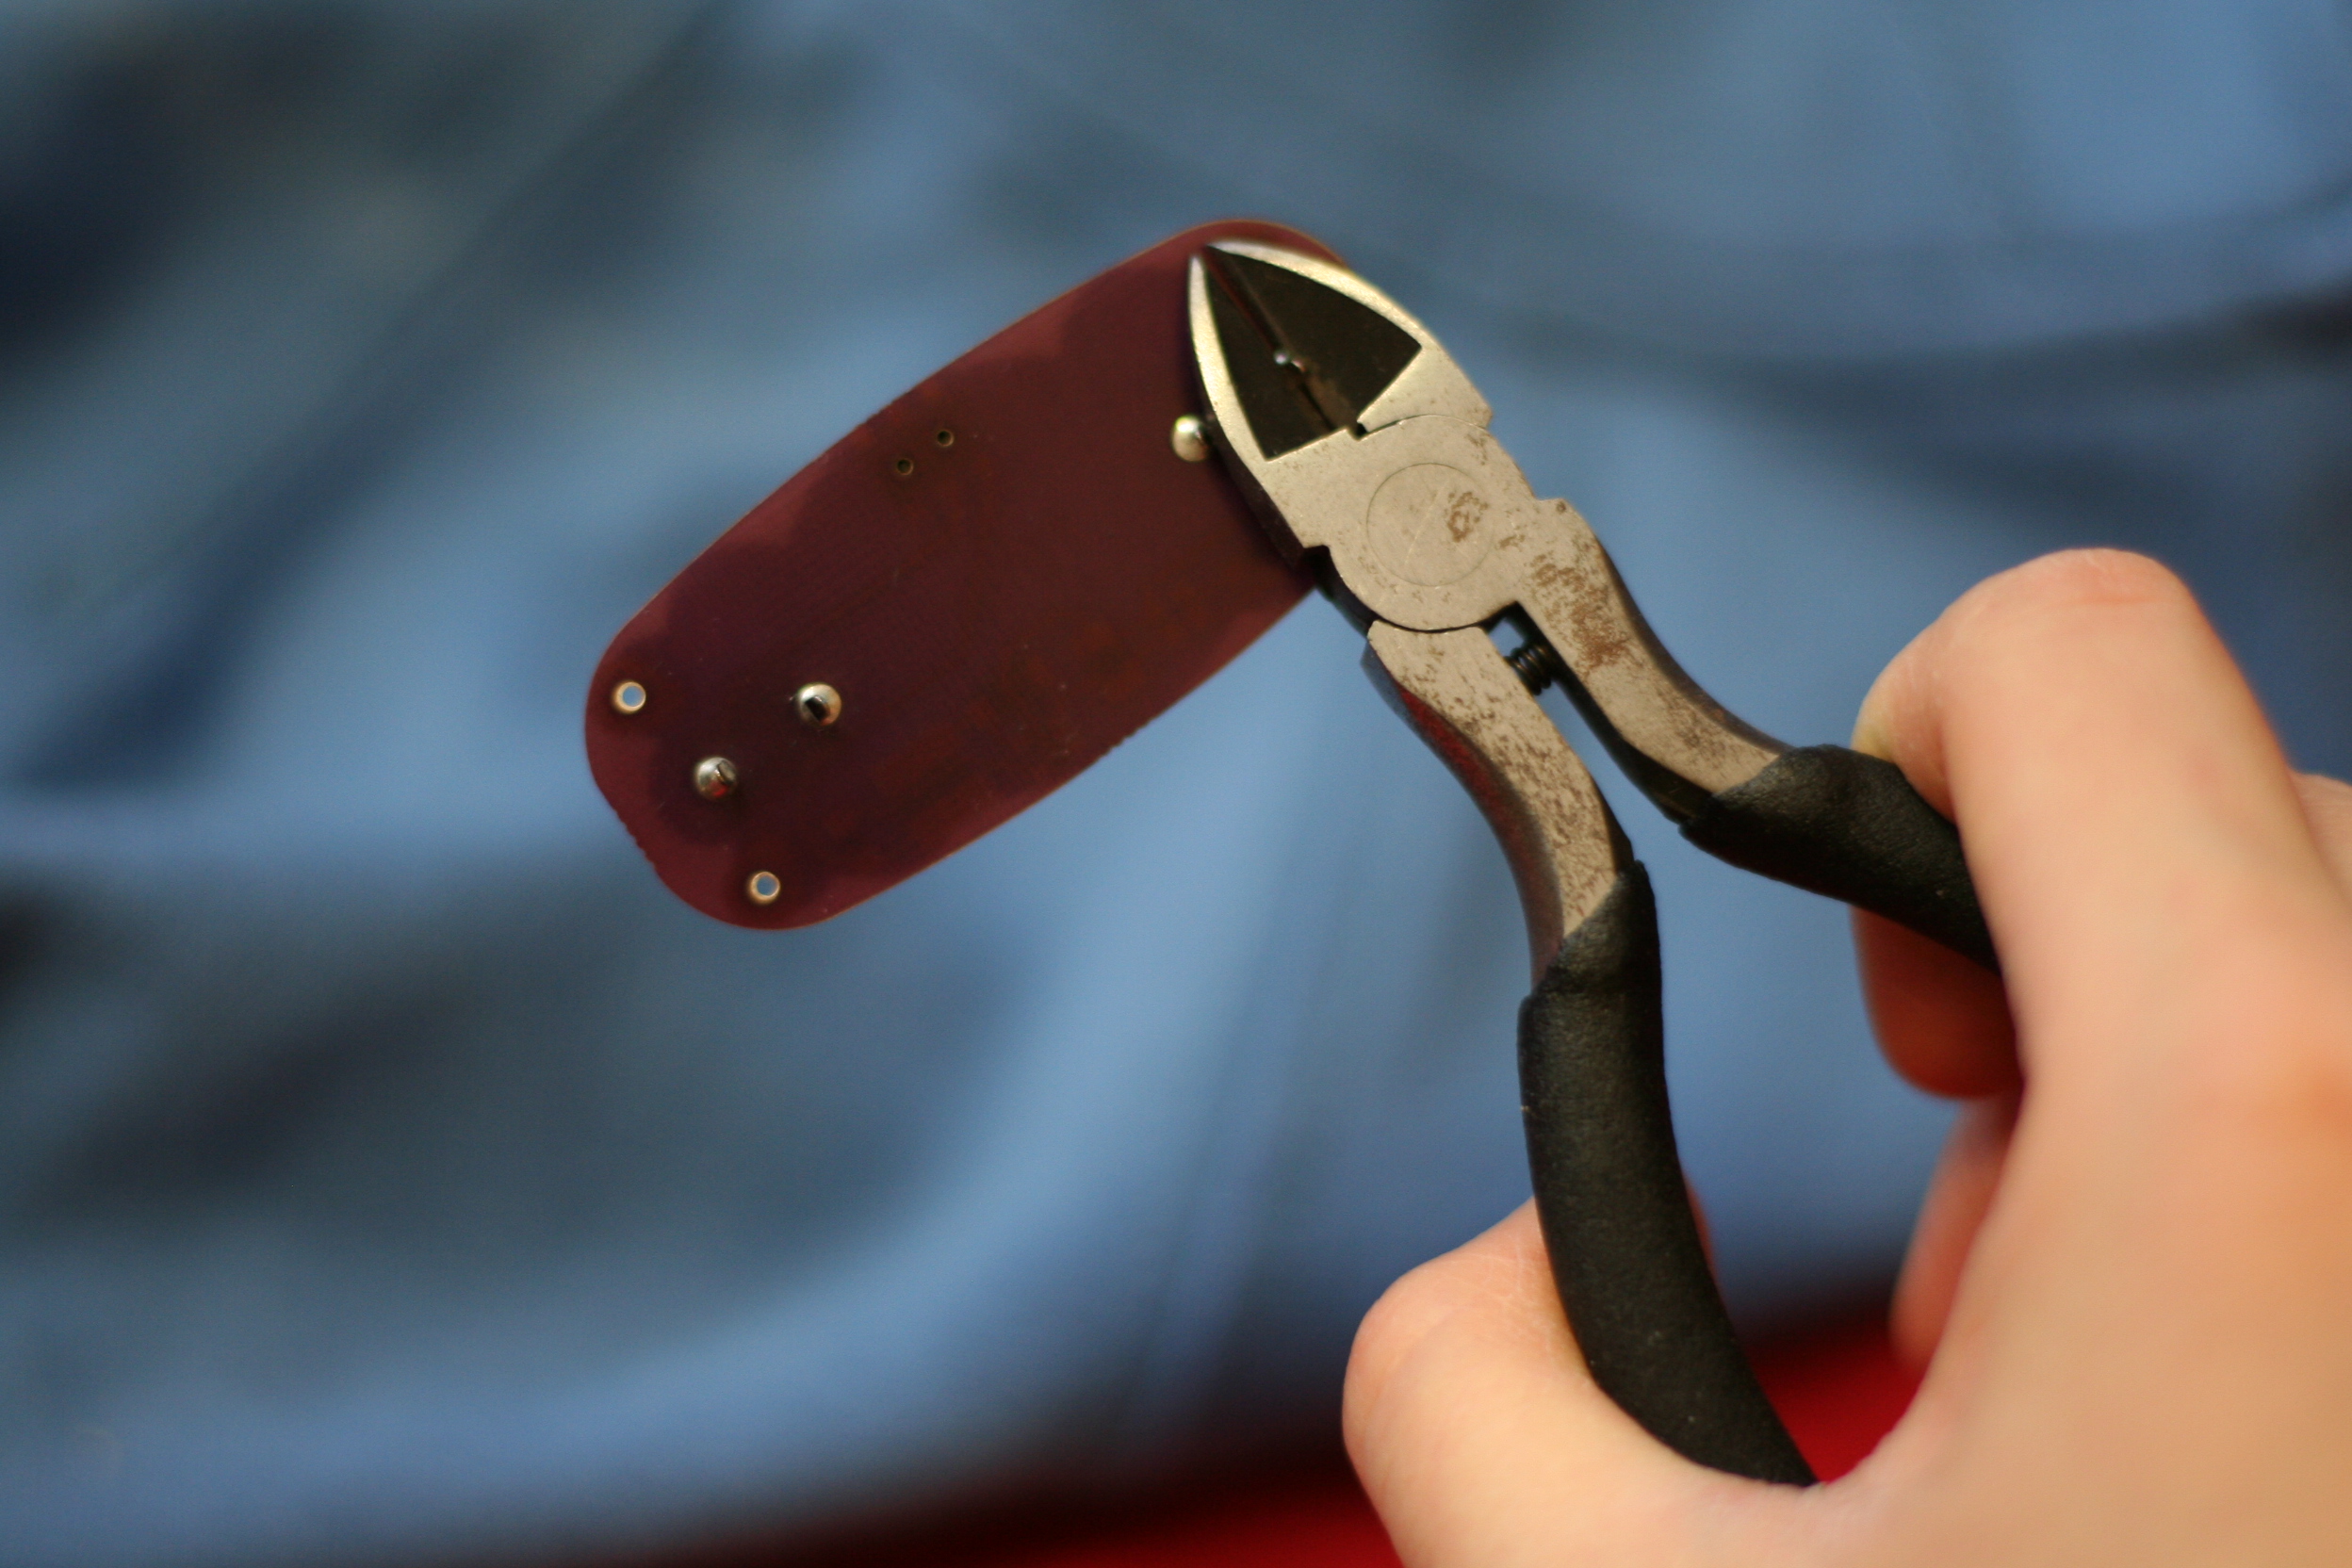
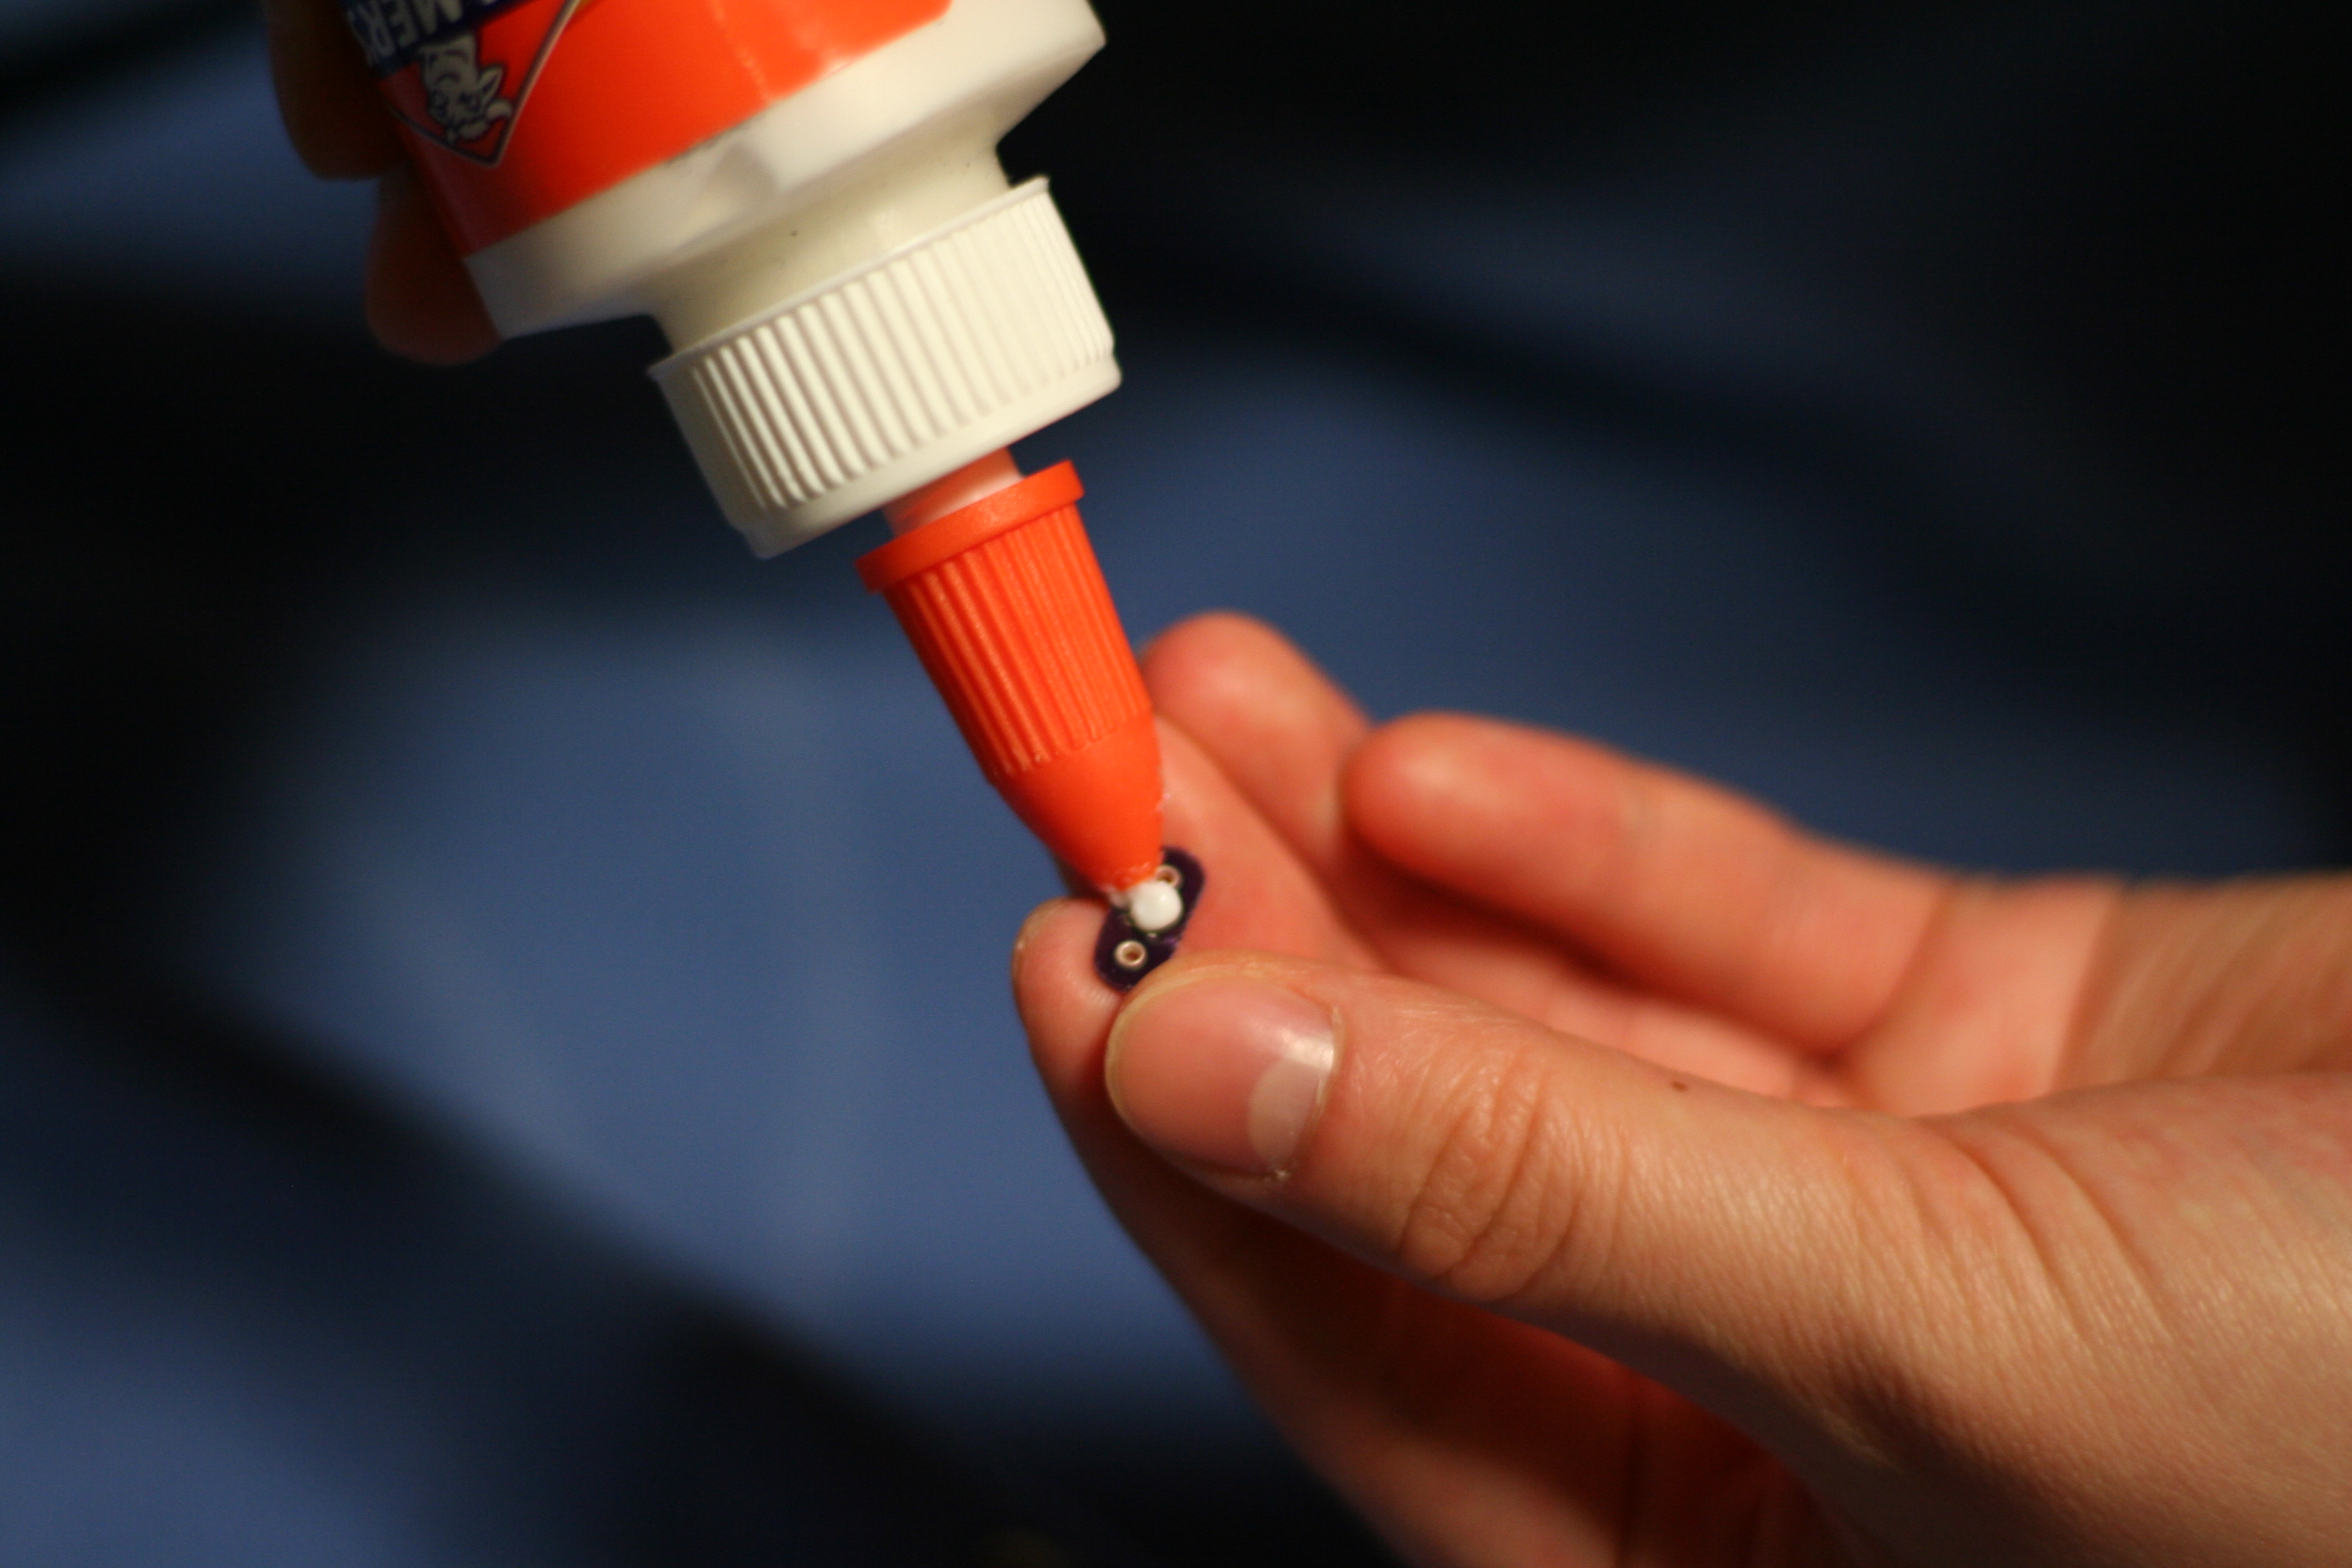
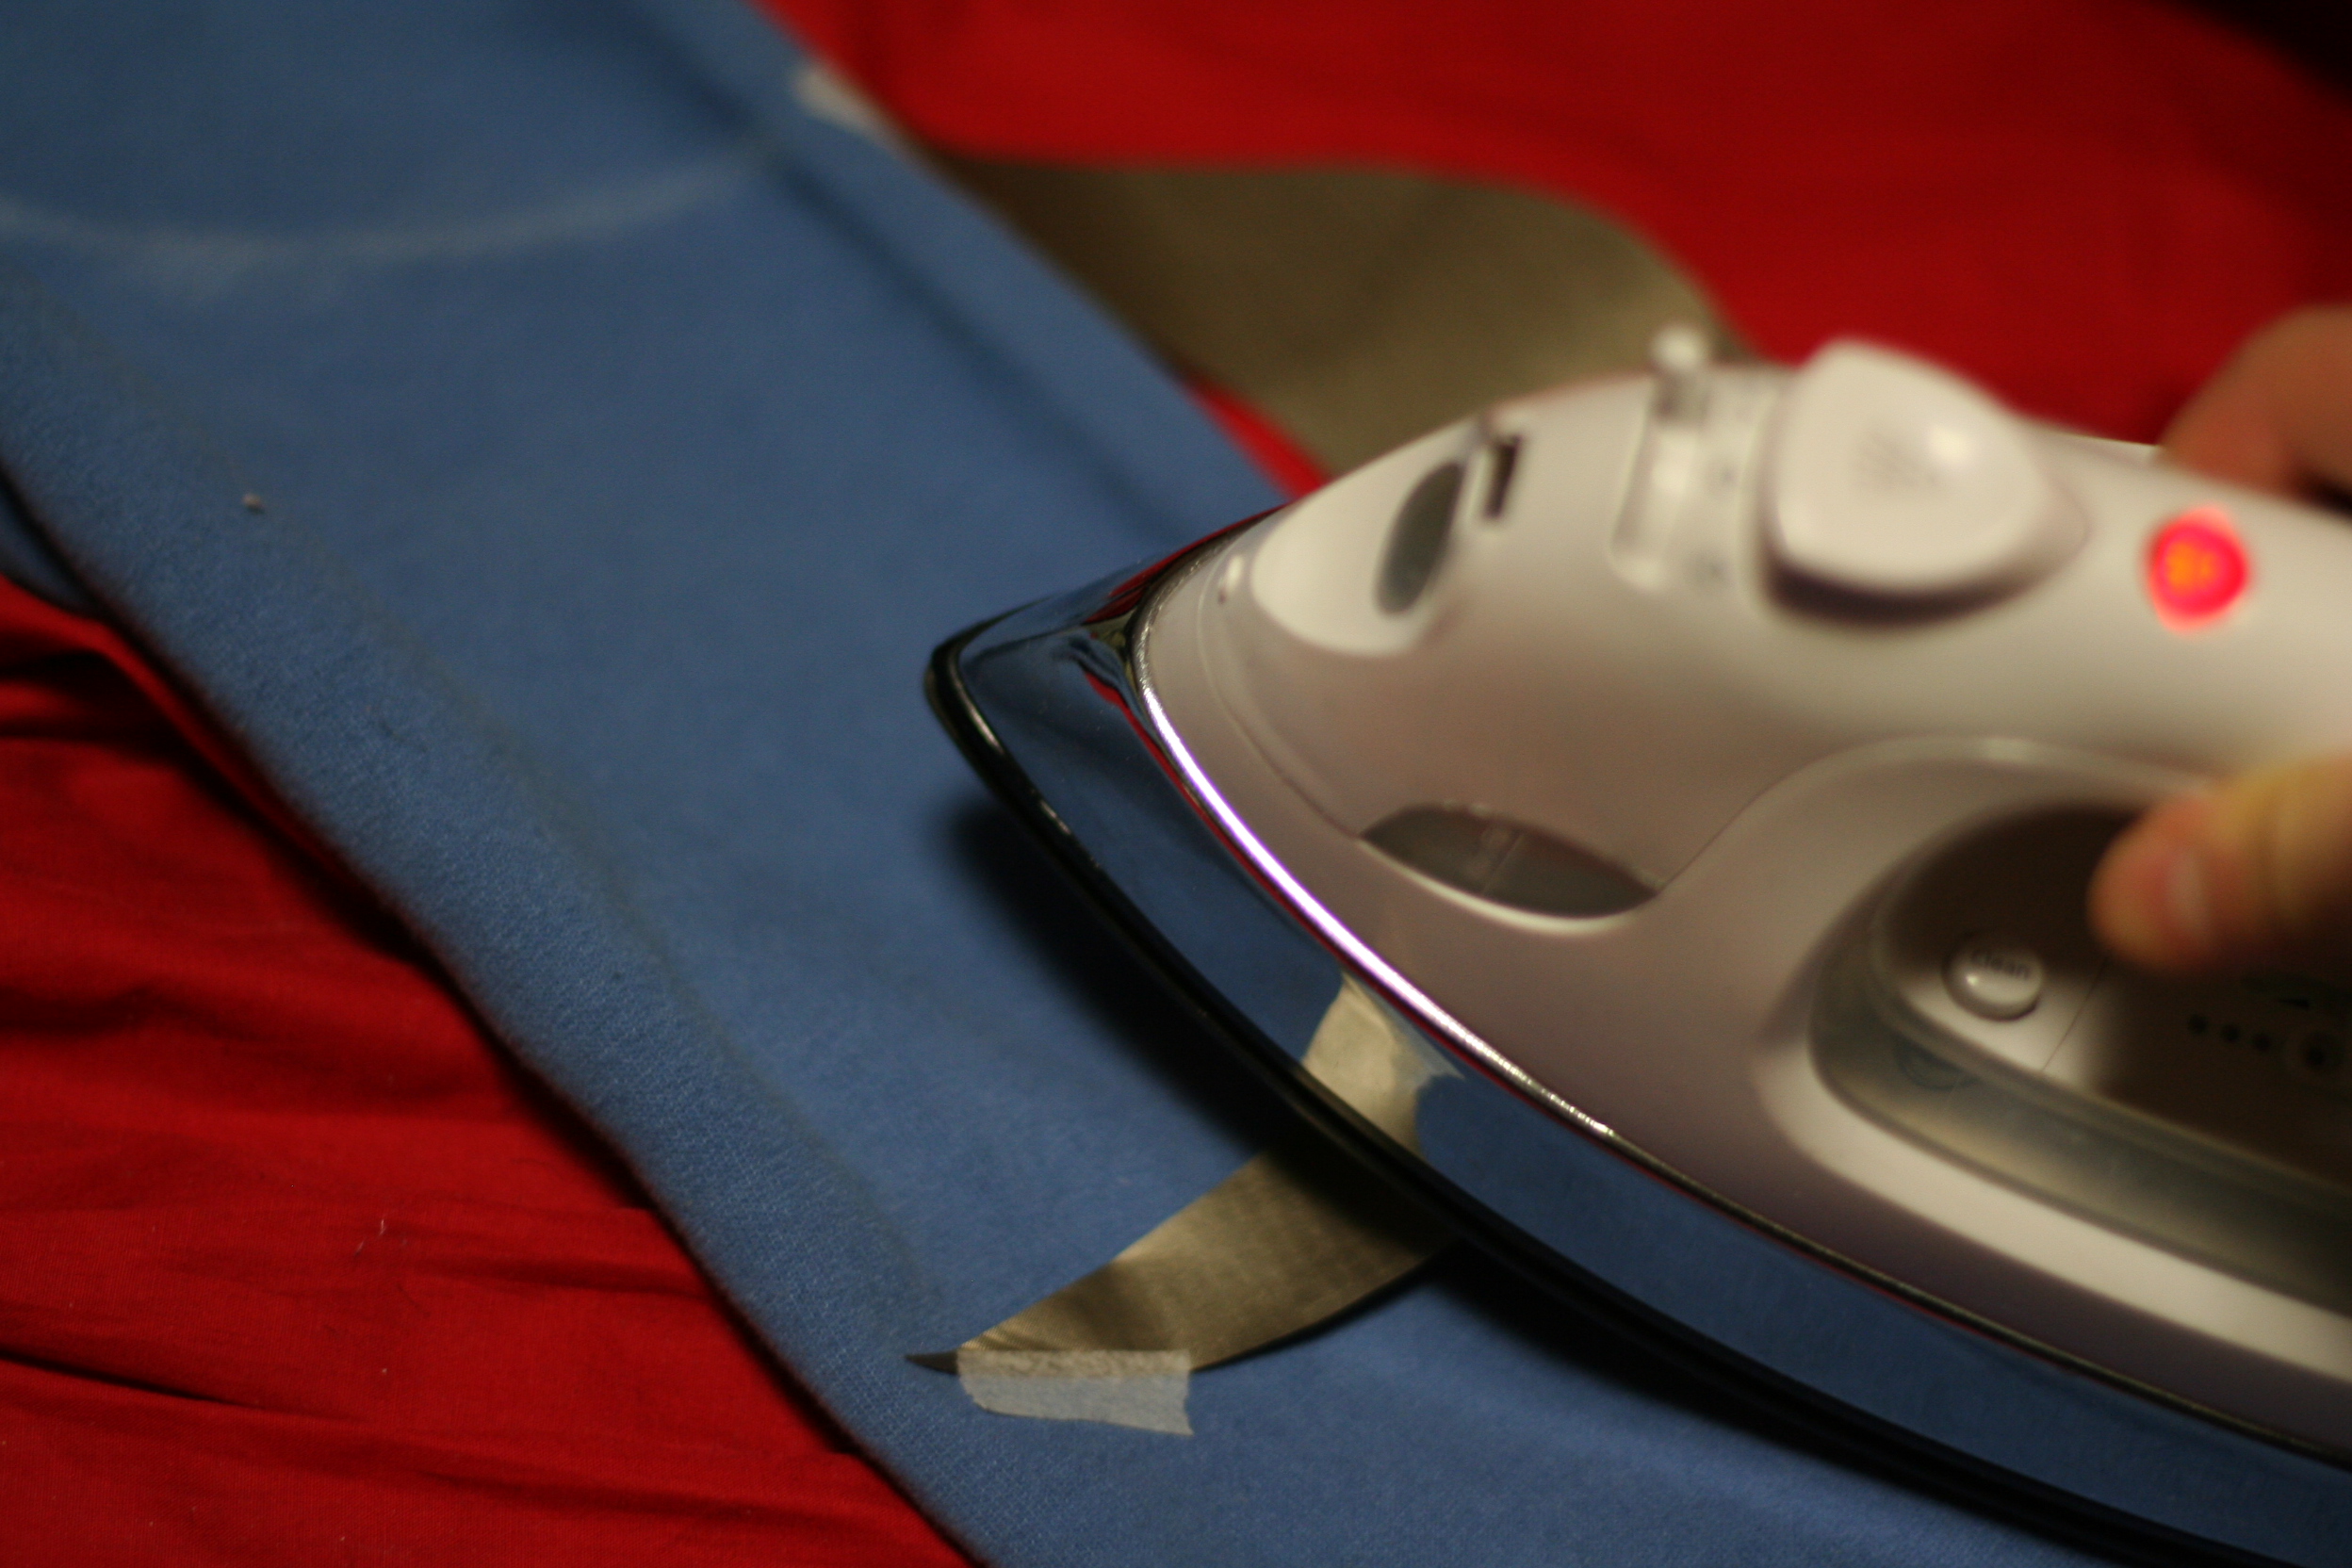
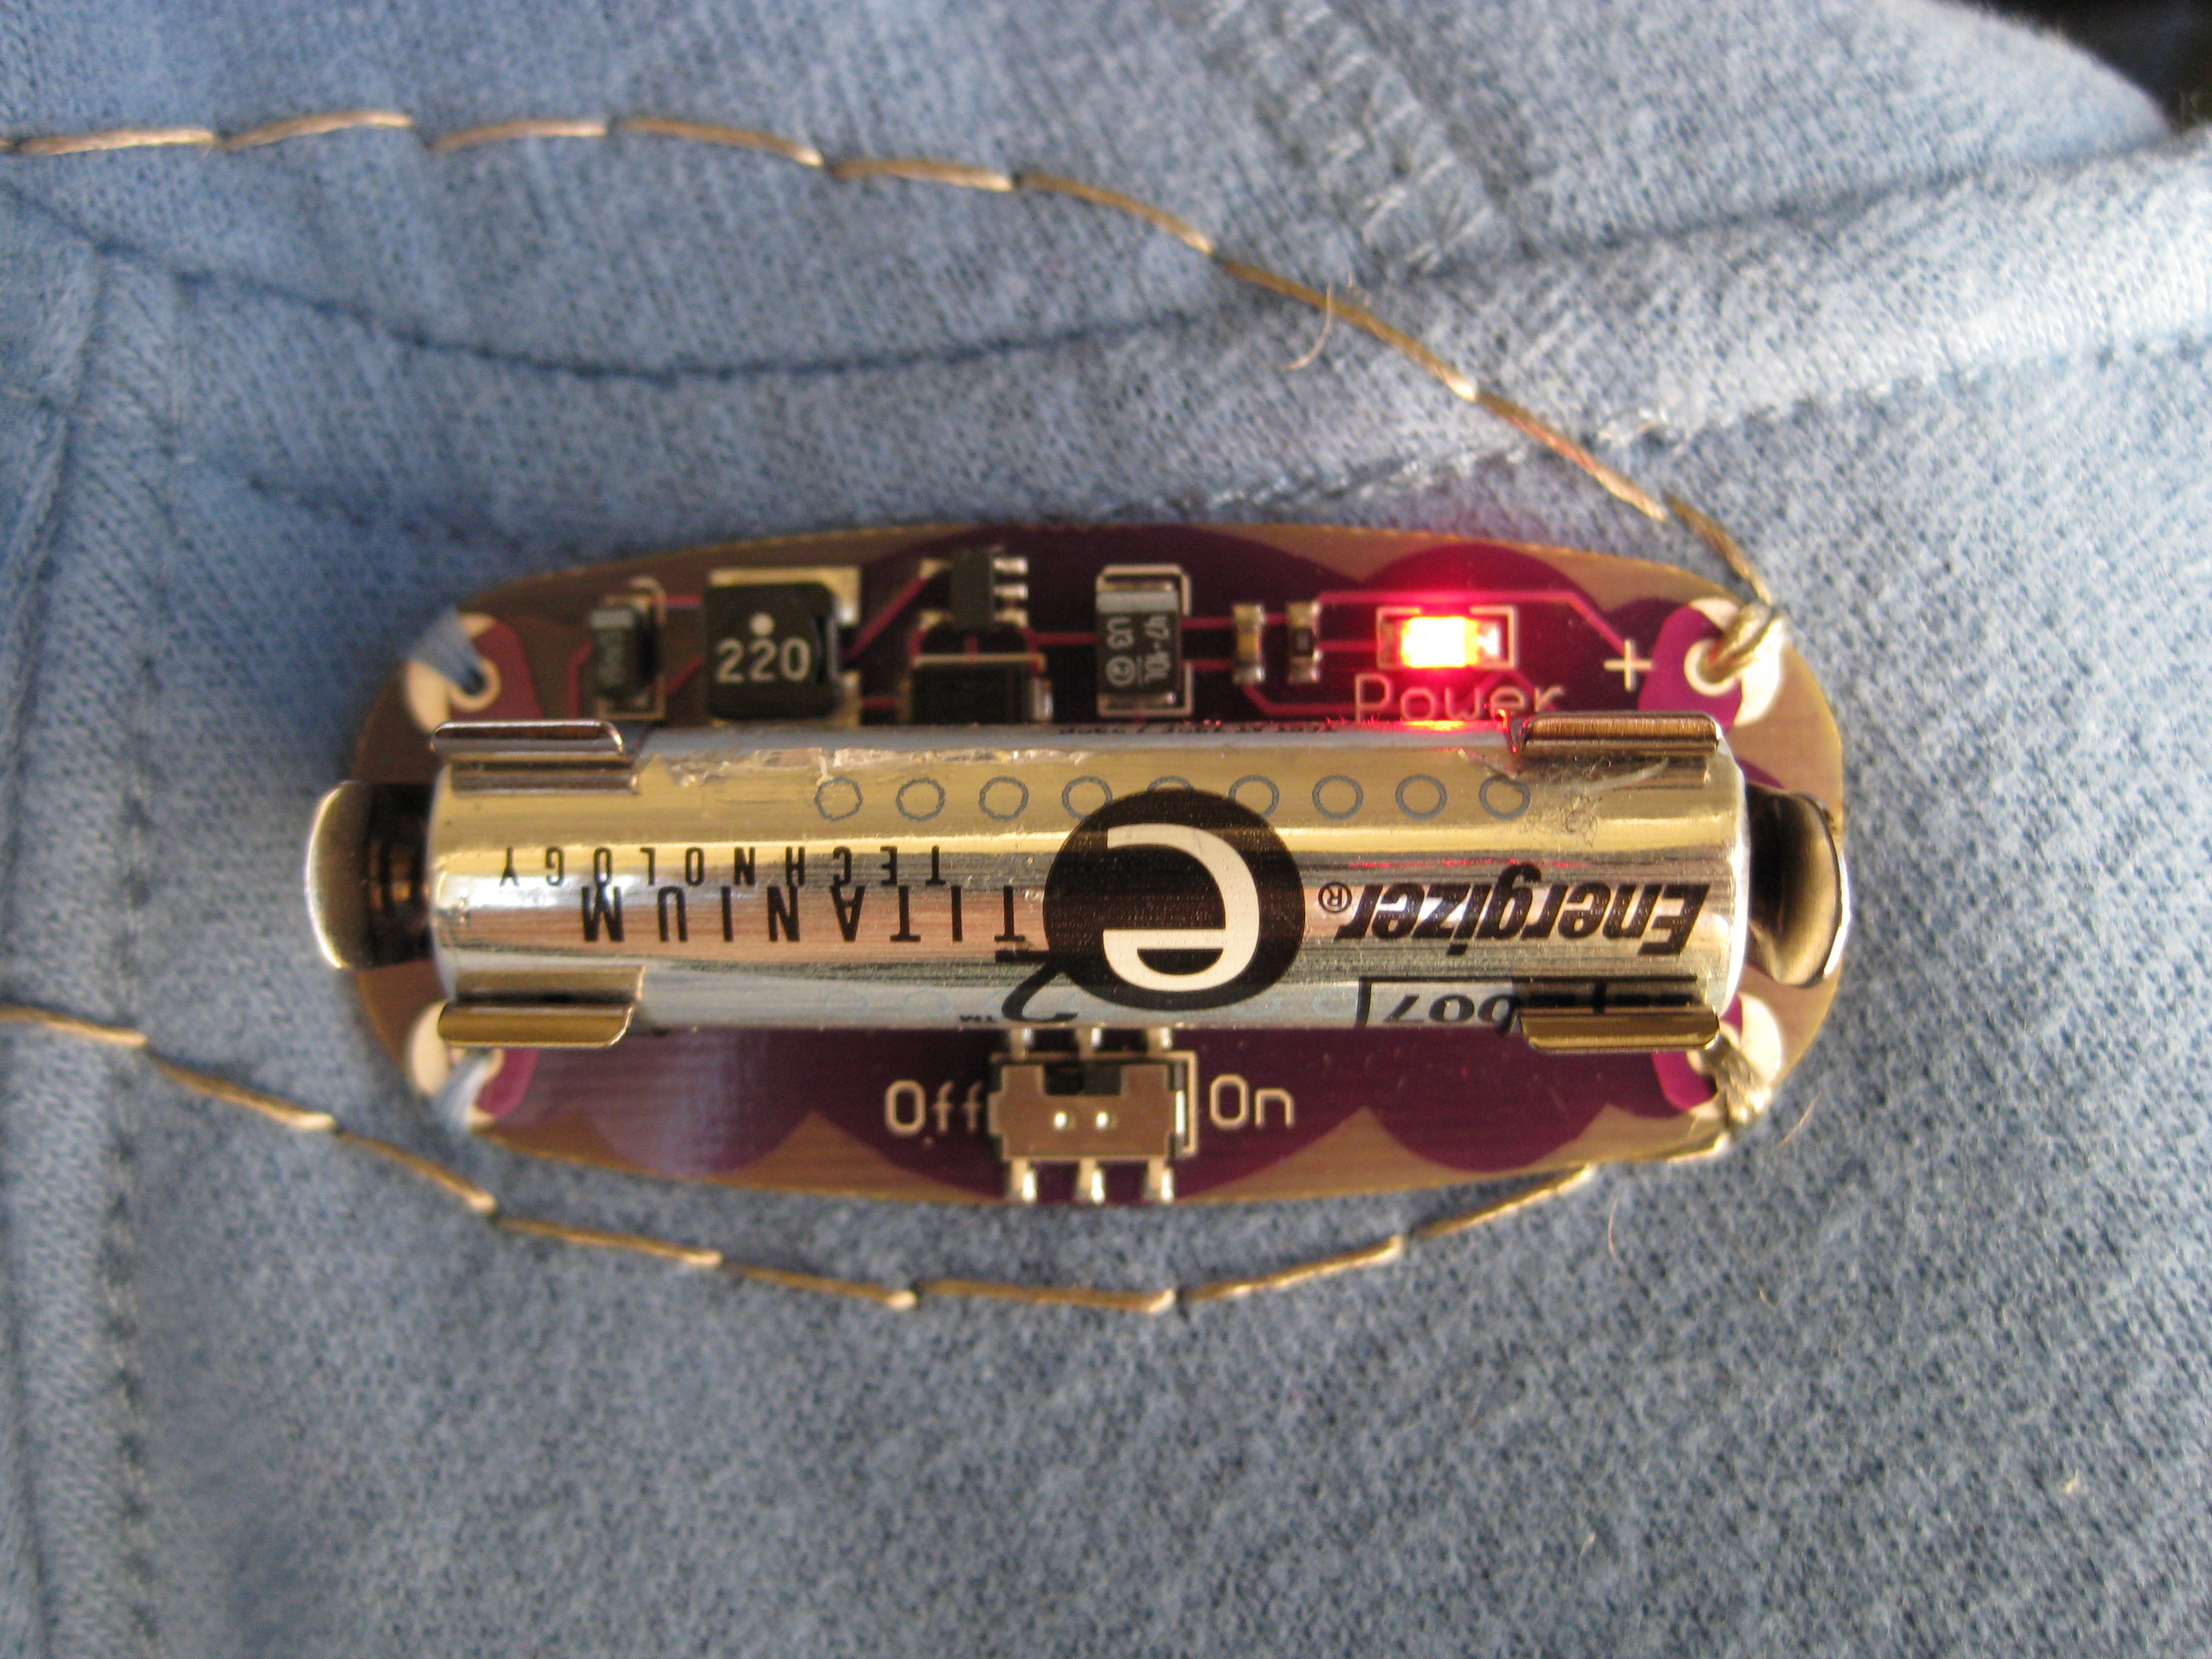
Trim the leads off your power supply.
On the back of your power supply, there are metal parts sticking out. Trim those off with scissors or pliers (shown in picture below).
Glue the taped LilyPad pieces on.
Once you've figured out where you want your LilyPad pieces, choose a piece and remove the tape. Using fabric glue (or some non-permanent glue), attach the LilyPad piece to your garment. Again, in this step, be certain to orient the + and - ends of the pieces in the correct directions, and make sure the holes on your LilyPad pieces match up to your chalk traces. Repeat until you have glued down all your LilyPad pieces in the correct positions.
Iron the conductive fabric onto your garment.
Your conductive fabric should now be pinned or taped onto your garment. With an iron turned to a medium setting with no steam, iron the fabric into place. If the fabric wrinkles, heat it up again with the iron, and rearrange it so that it is straight. If you happen to iron something in the wrong place, heat up the fabric in order to straight or move it. Be careful! The conductive fabric will be VERY hot!
Be sure to let the conductive fabric cool before trying to move the garment - while the fabric is still hot, the adhesive has not yet solidified and so the conductive fabric is not yet entirely stuck.
Sew Power Supply and LilyPad Mainboard to Your Garment
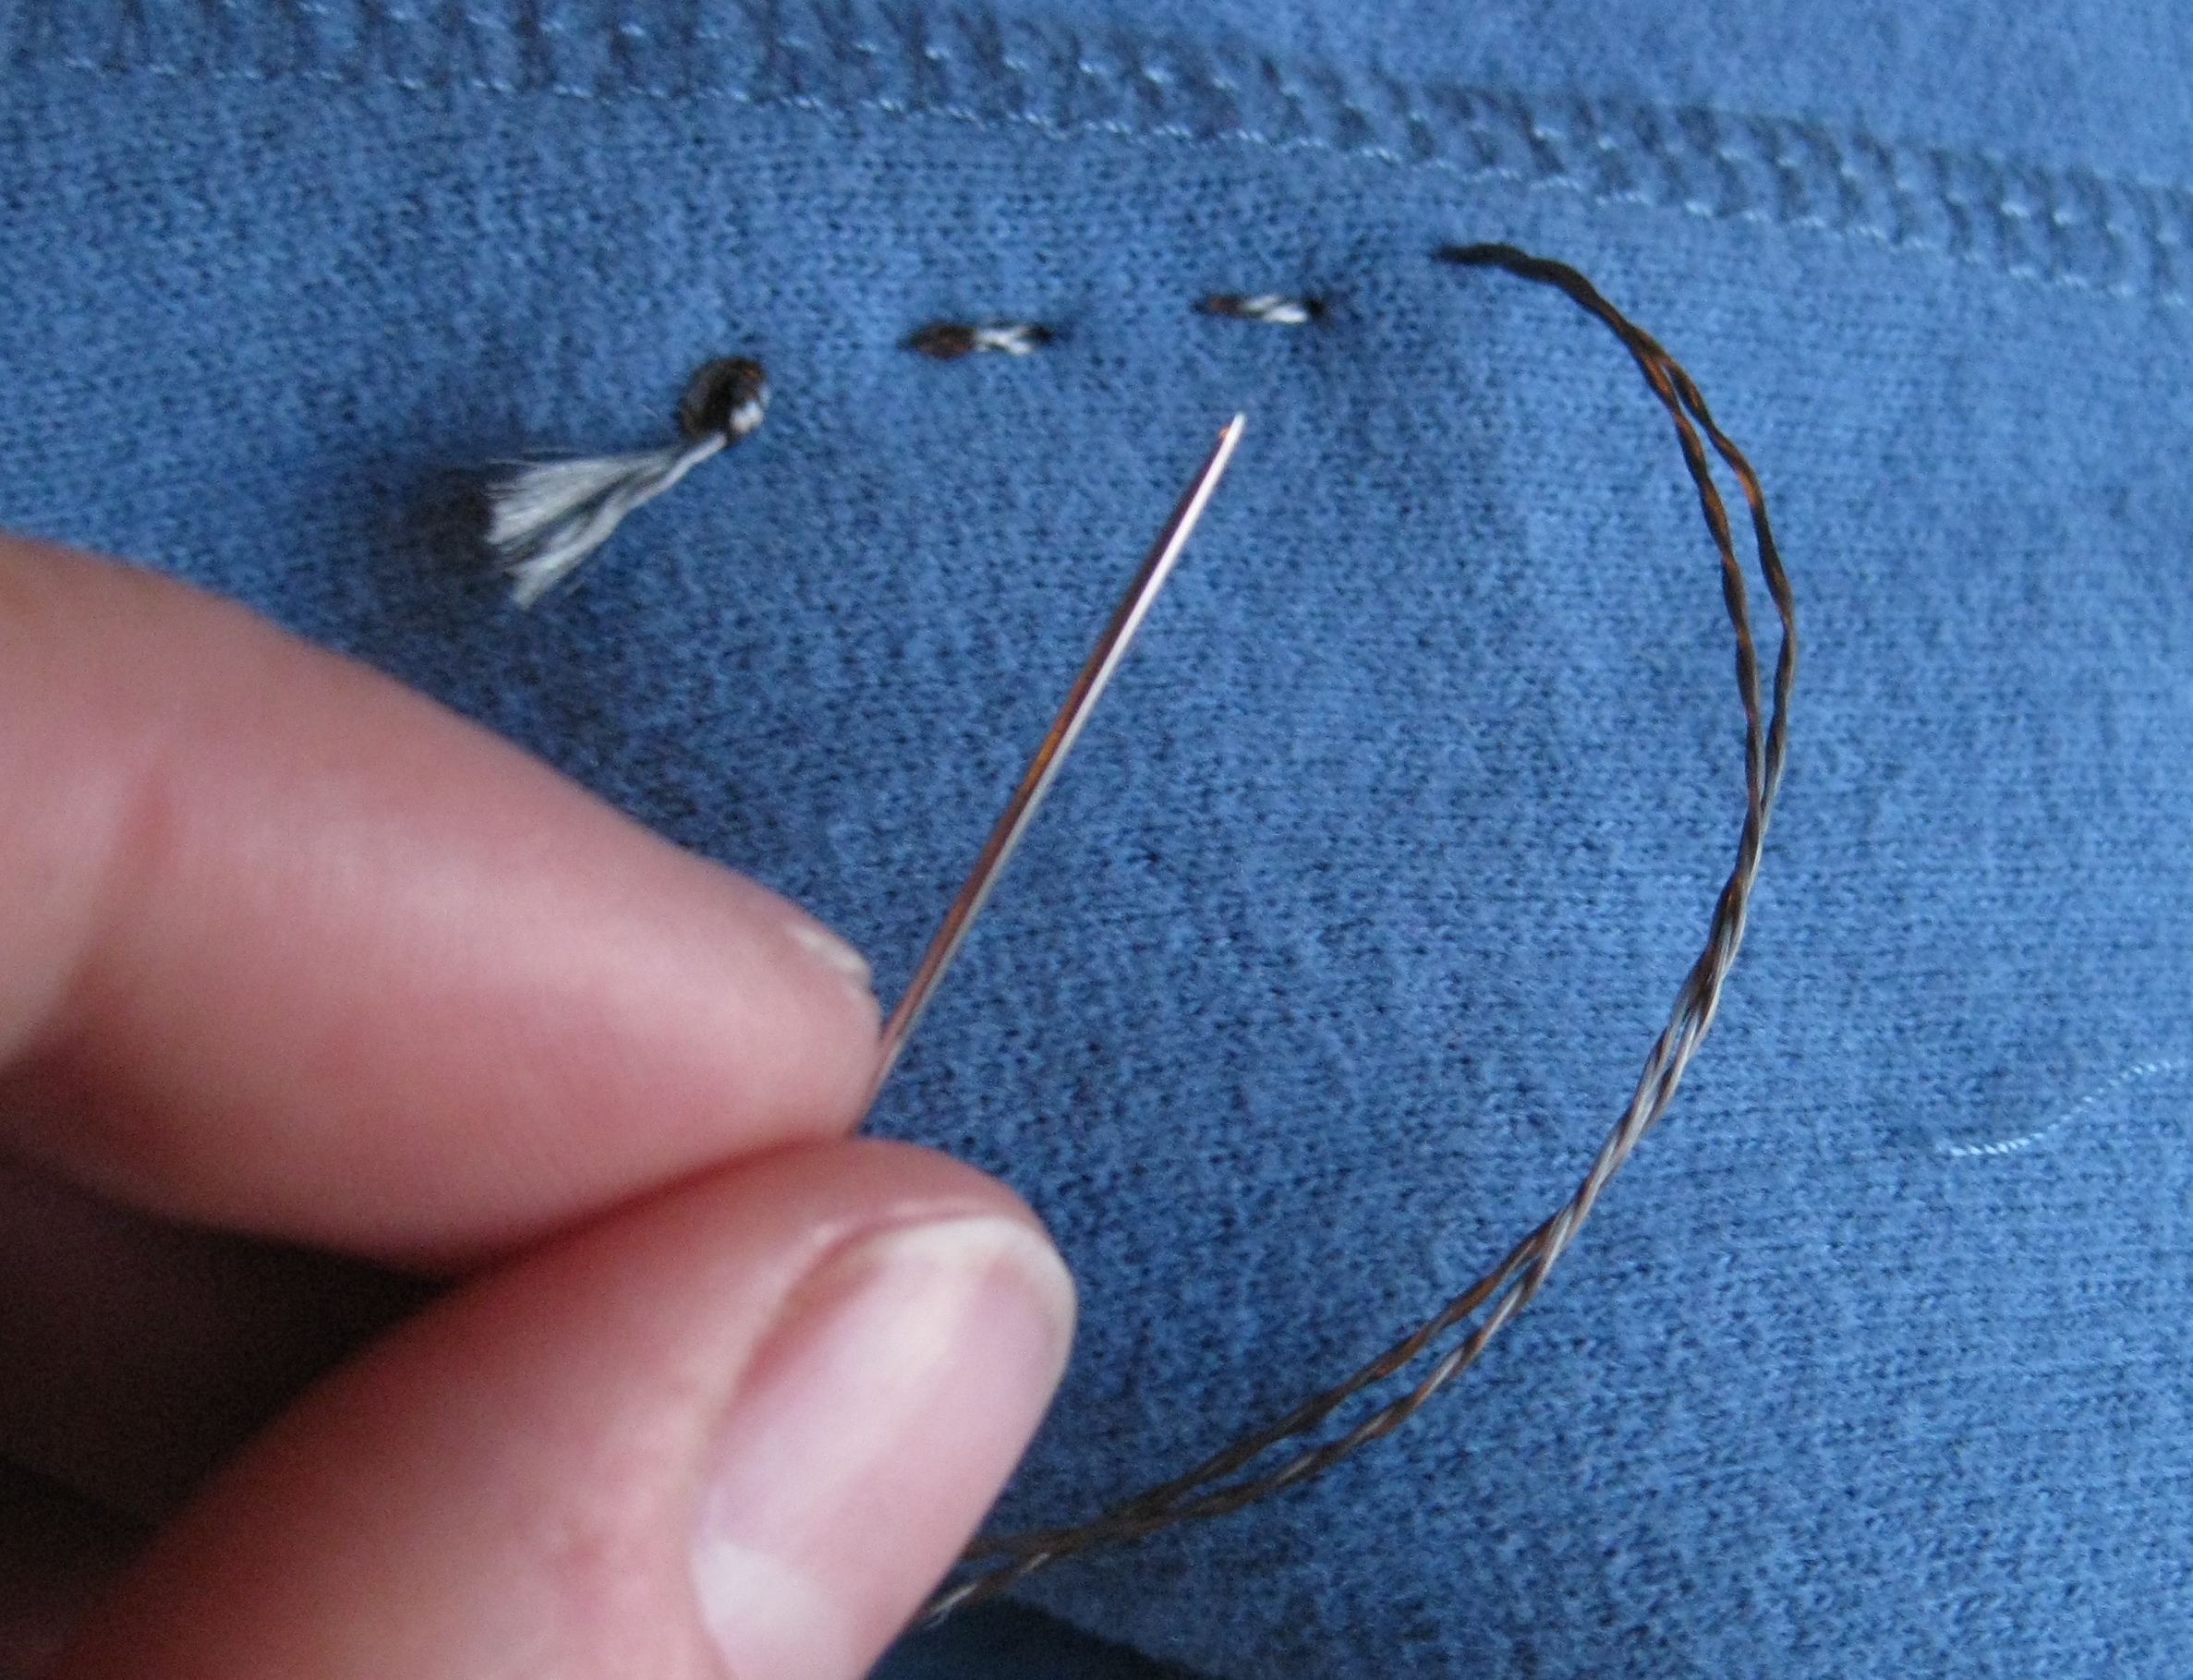
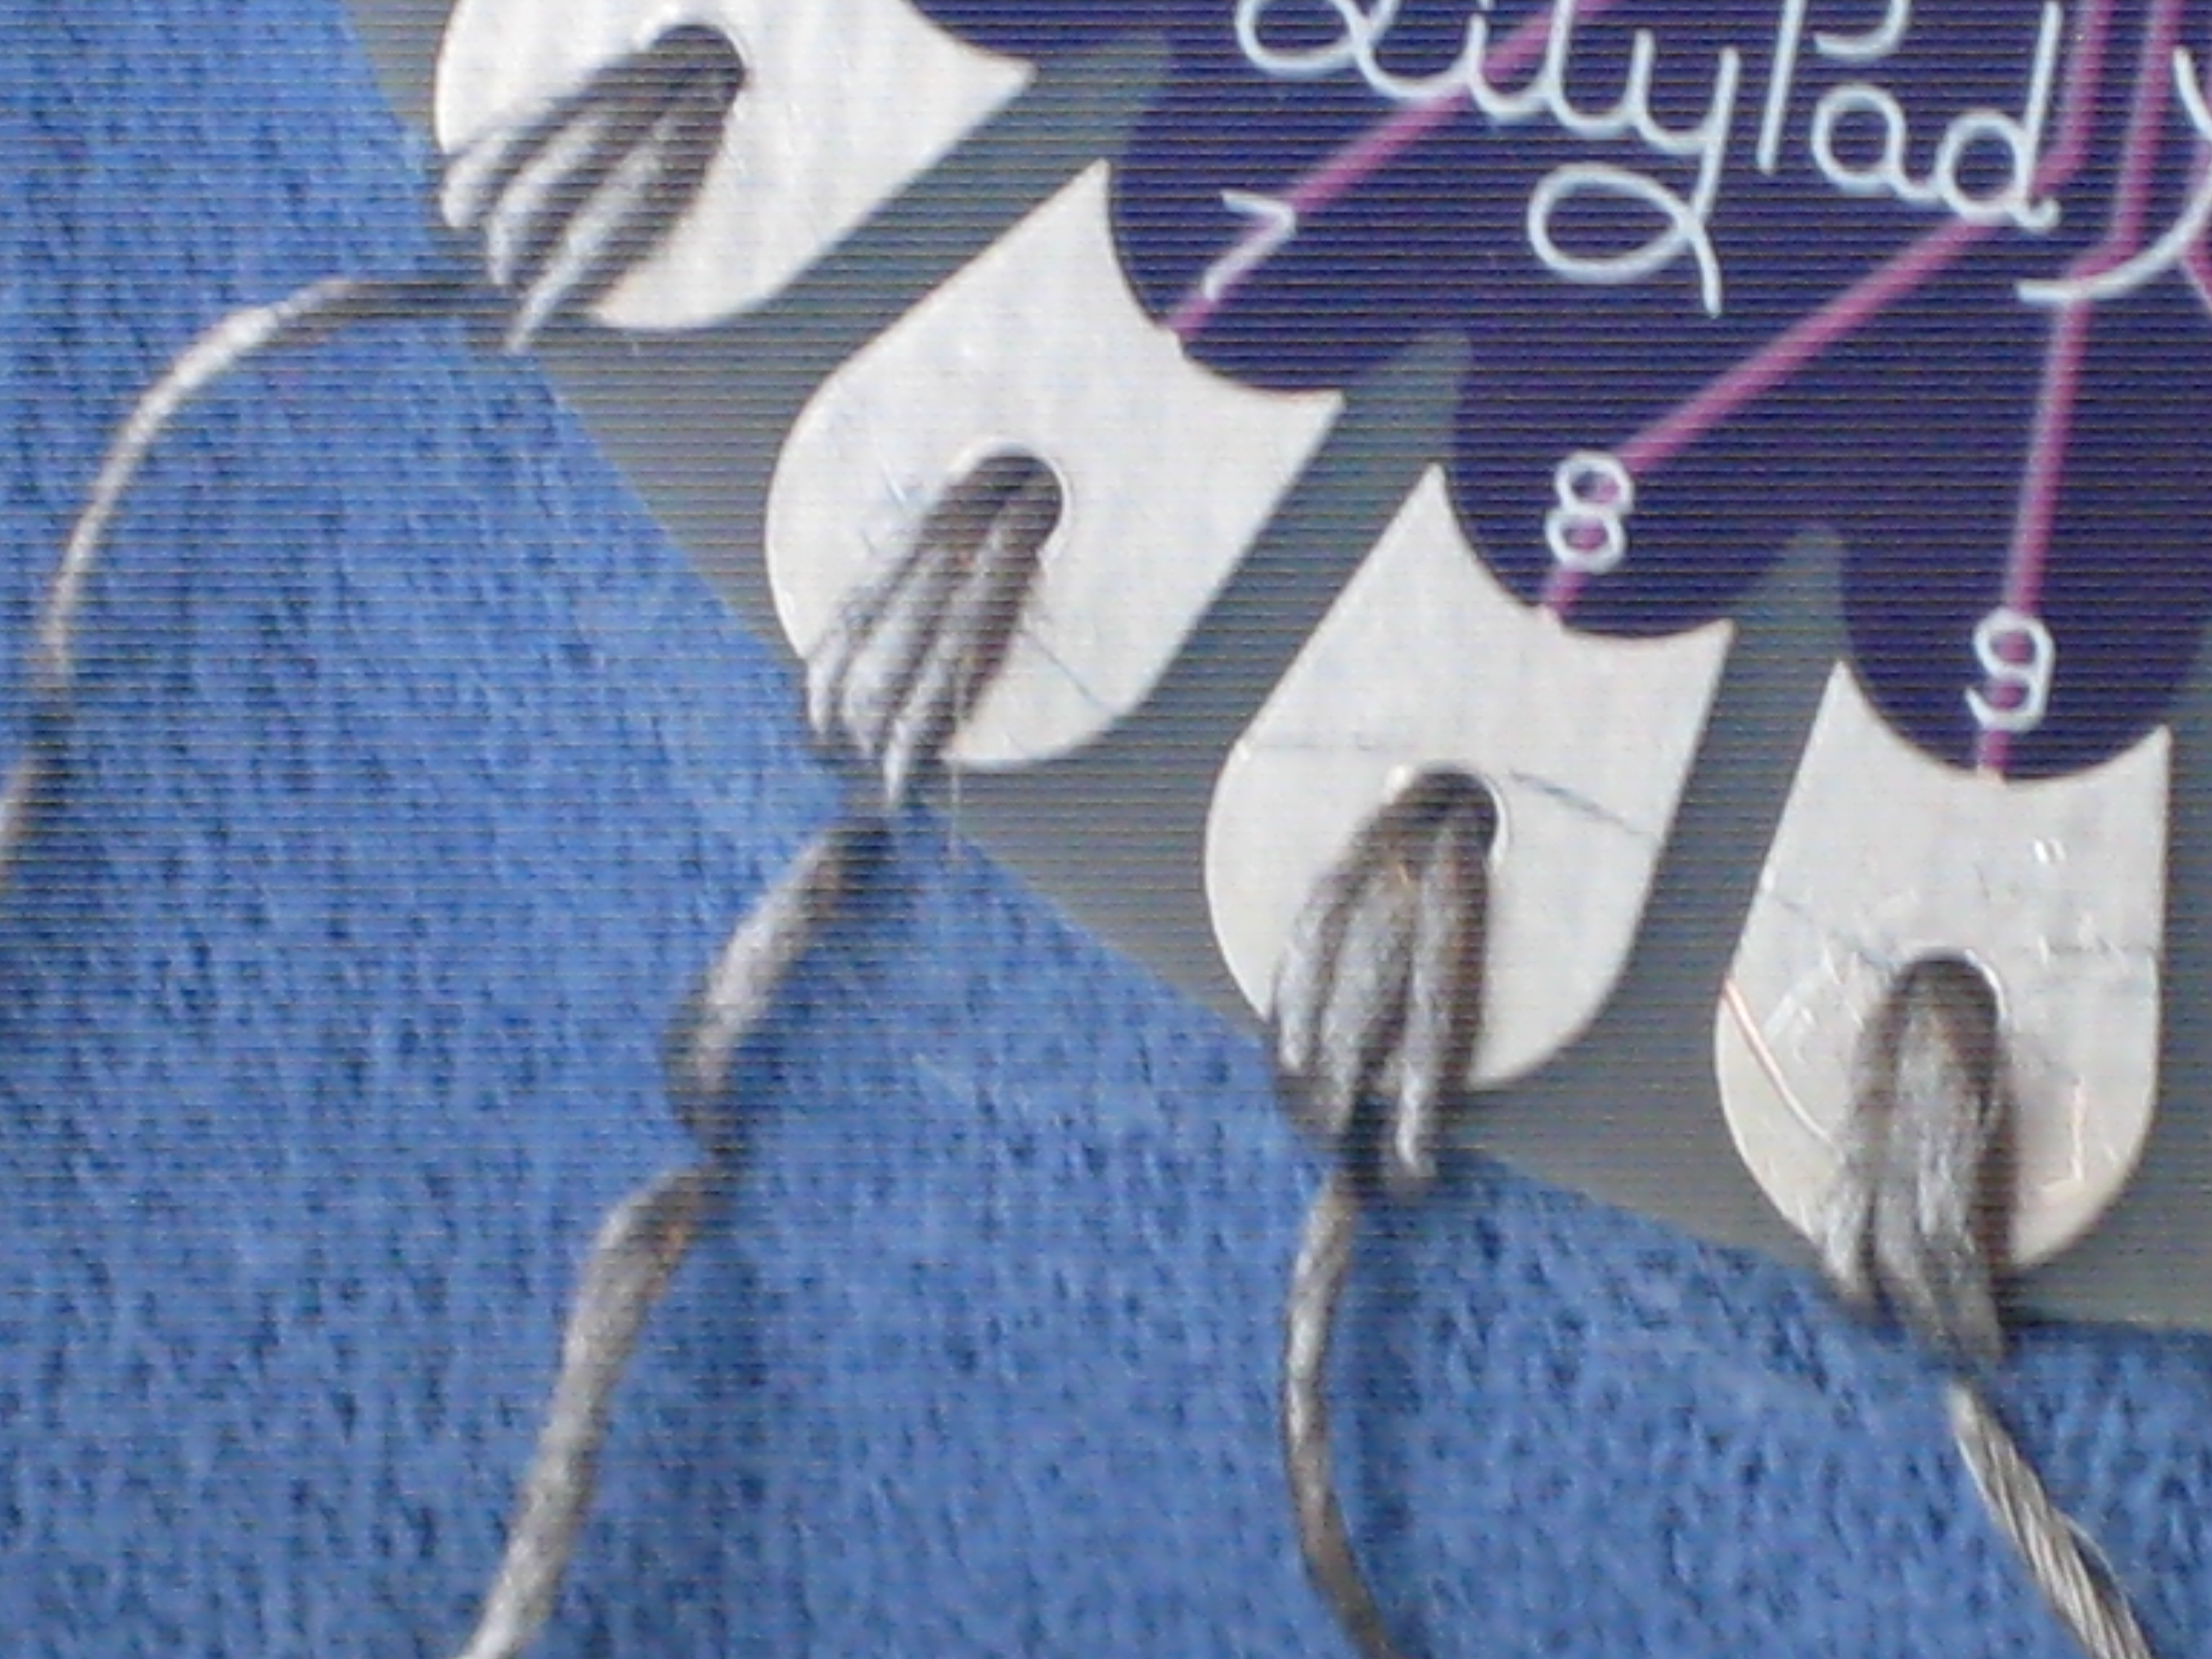
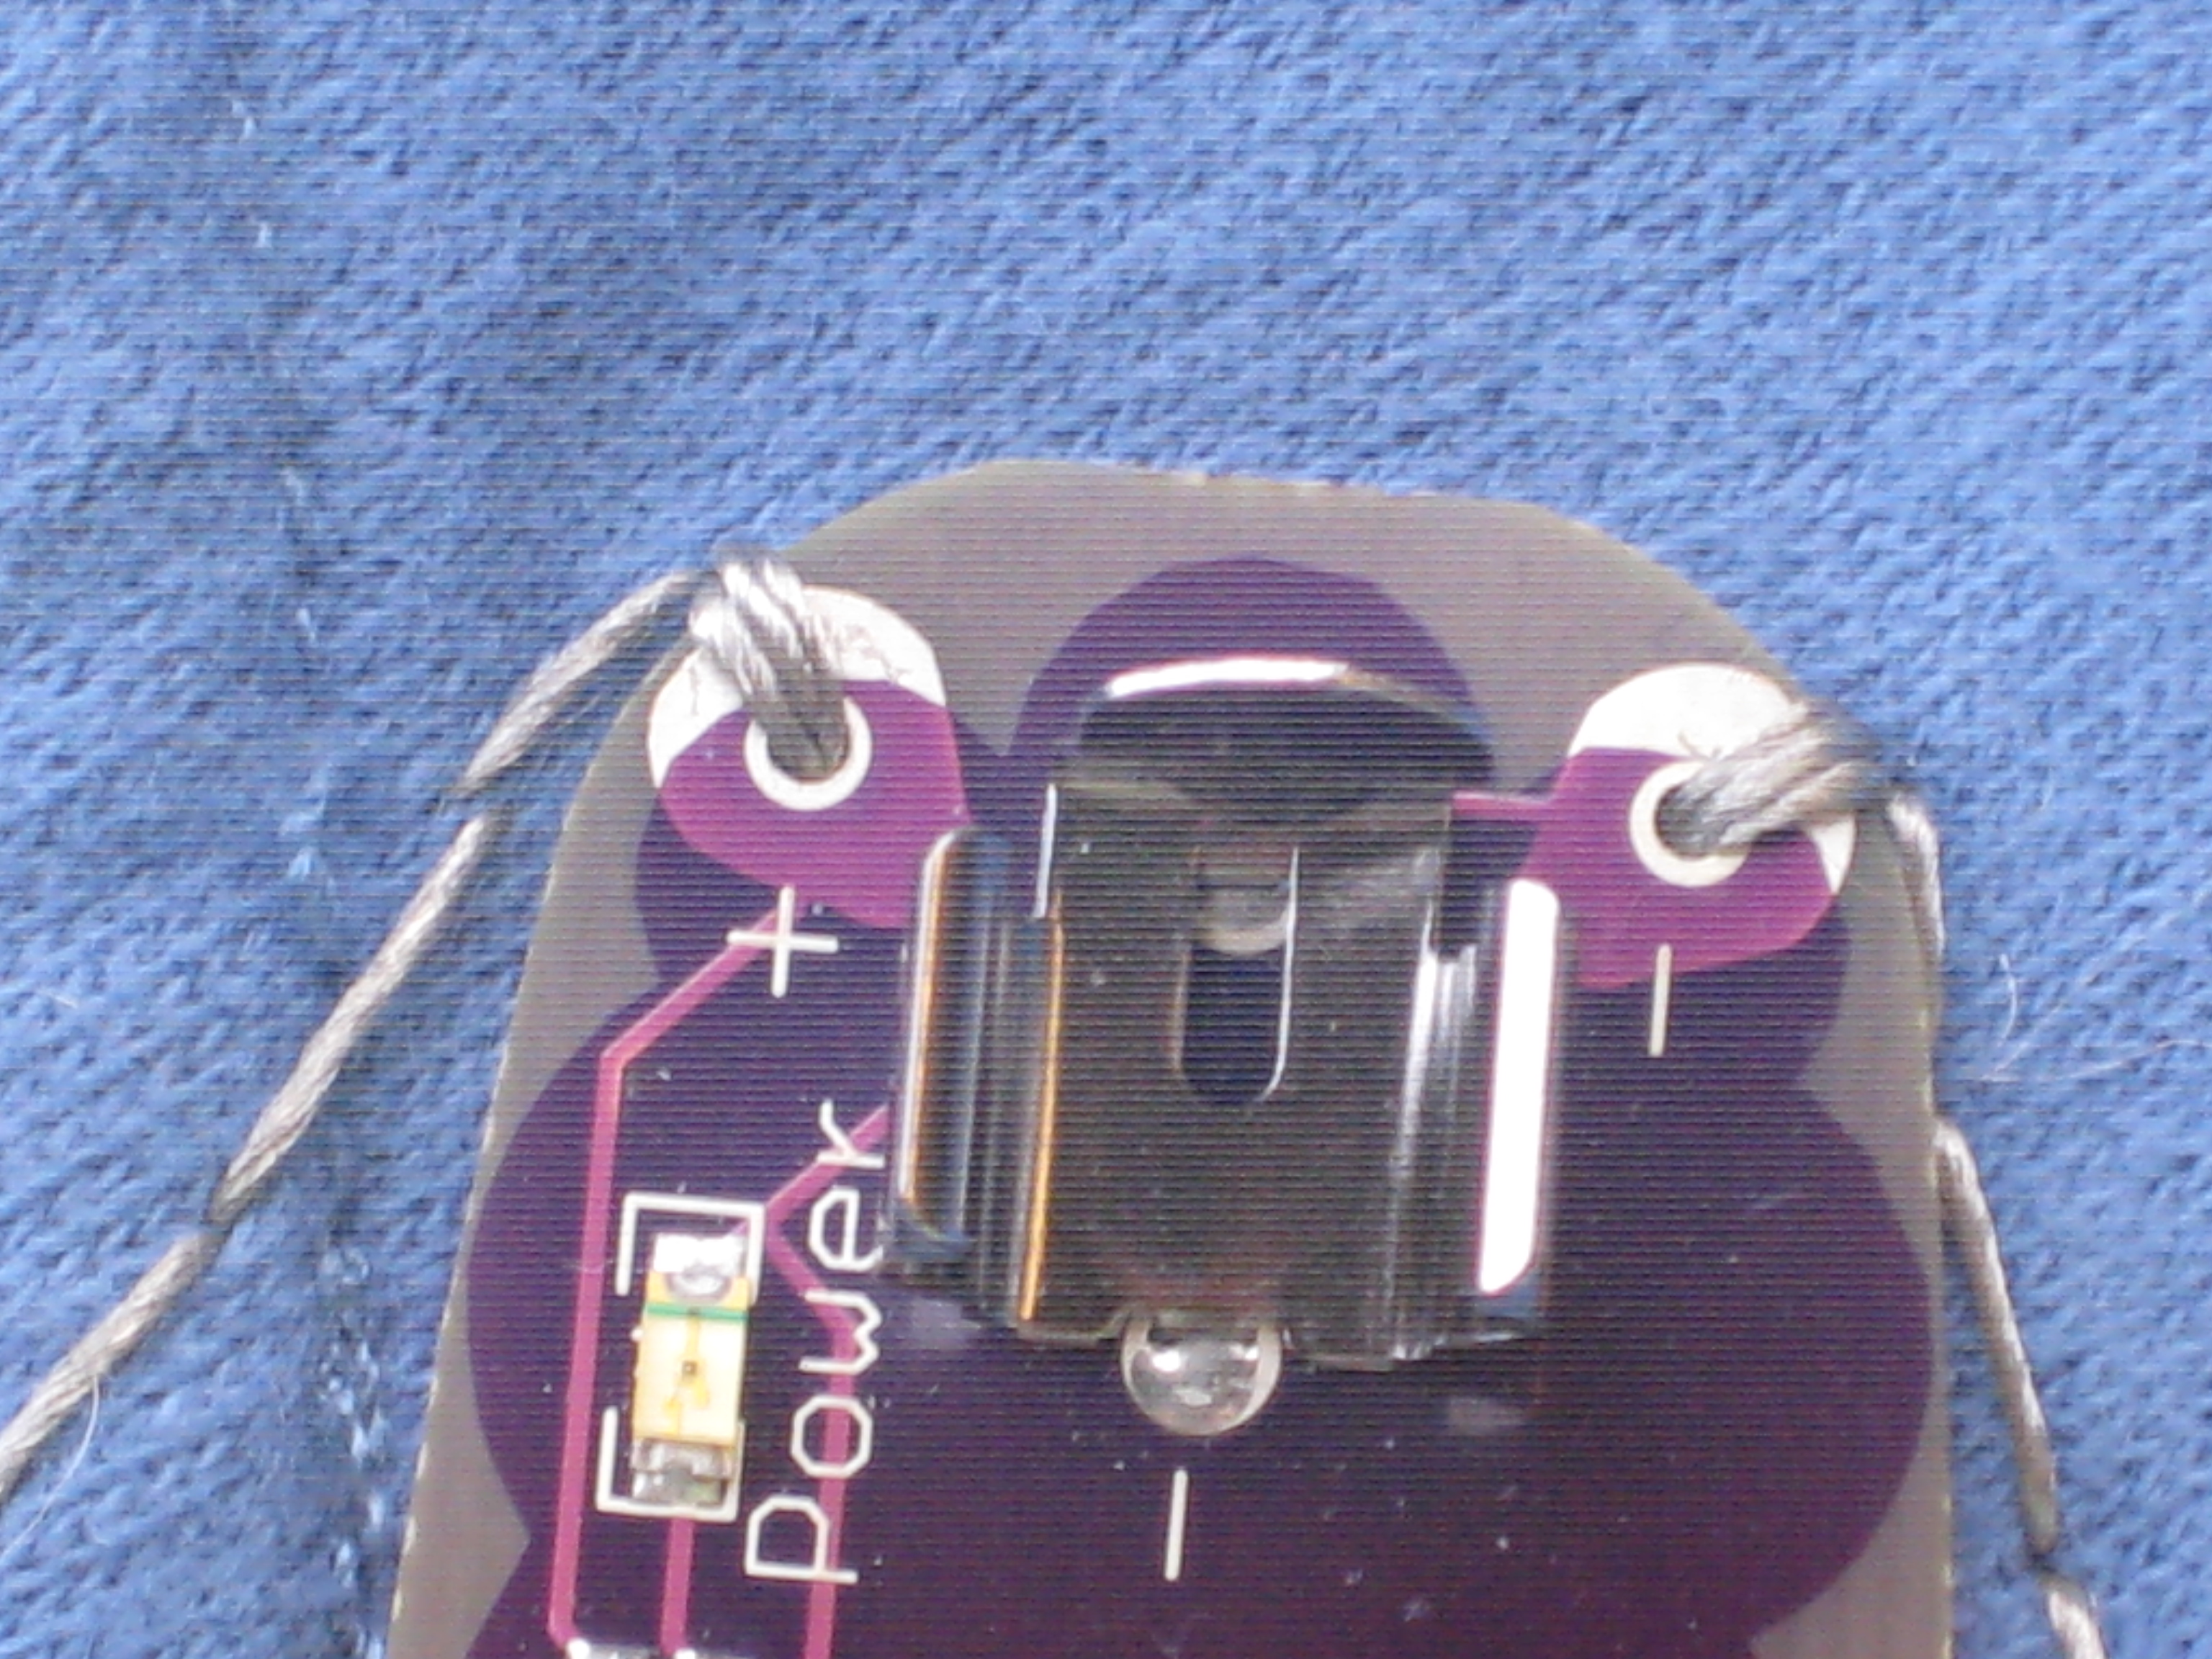
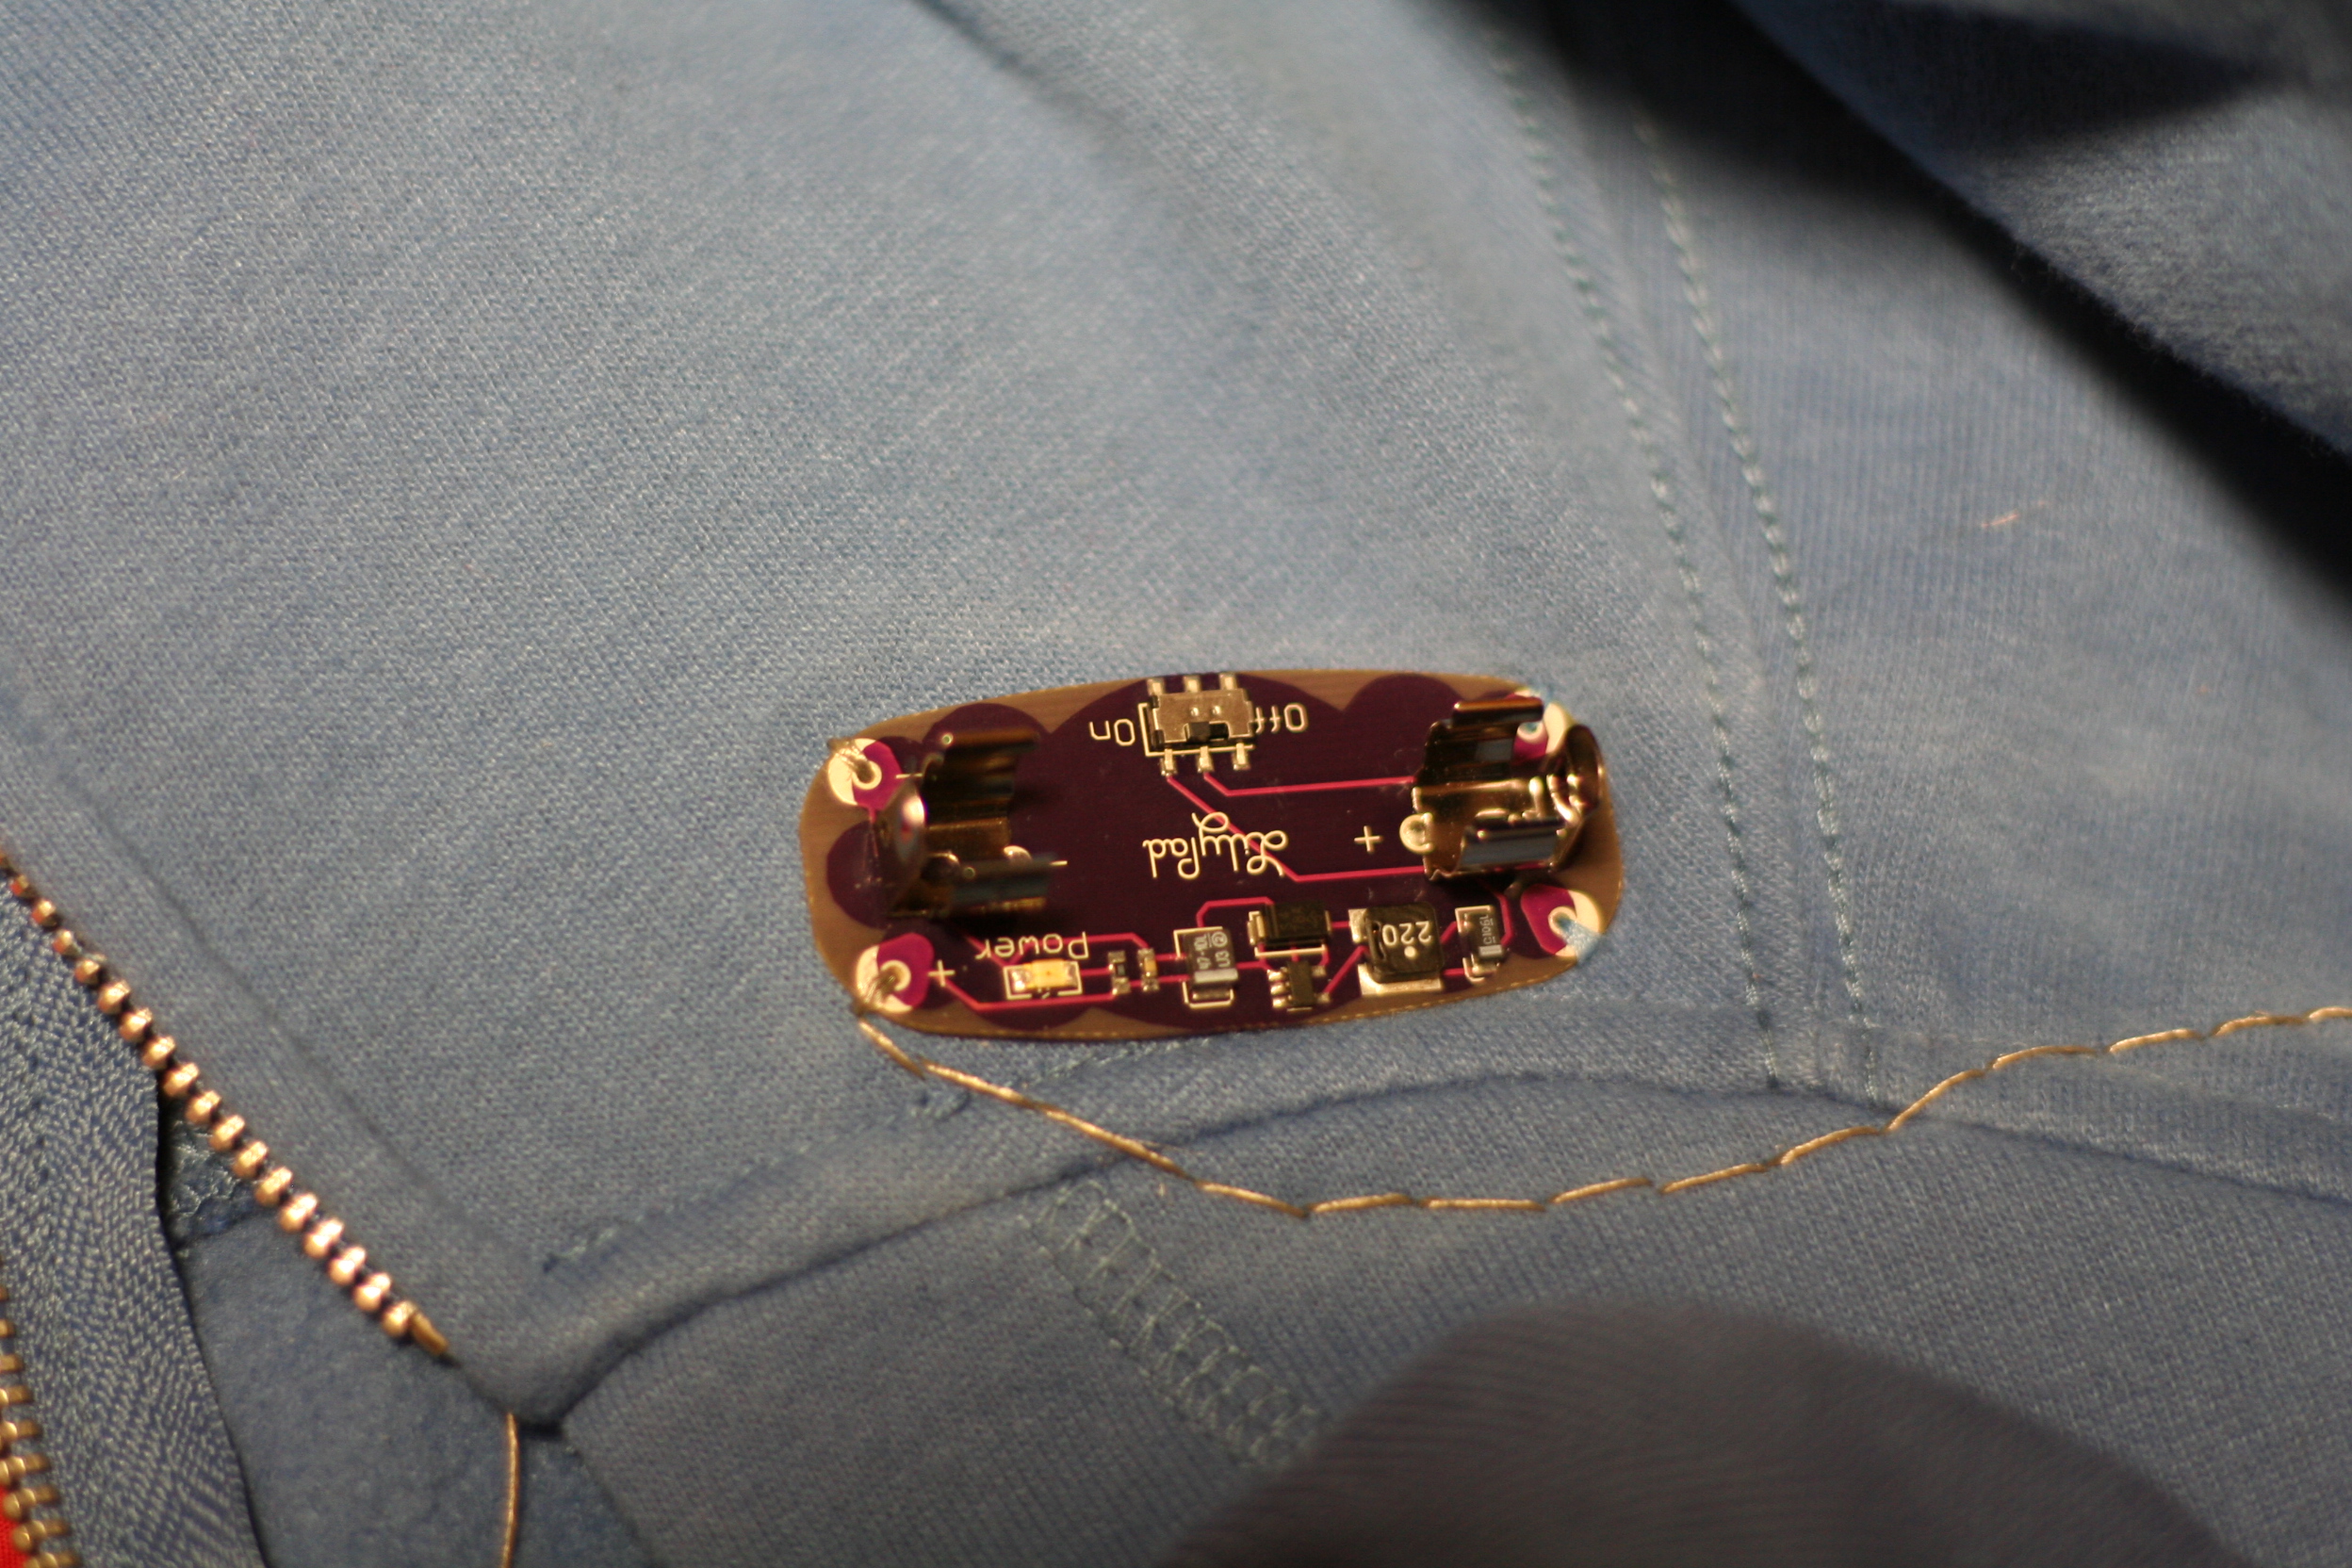
Sew down the + petal of the power supply to your garment.
If you've never done any sewing before, here is an excellent tutorial to introduce you to the basics, including how to thread your needle, tie a knot, and make basic stitches.
First, cut a 3 or 4 foot length of conductive thread. Thread one end through the needle and pull enough thread through (I usually pull about a foot through) so that the thread doesn't fall out of the needle when you start sewing. Tie a knot at the end of the longer length of thread.
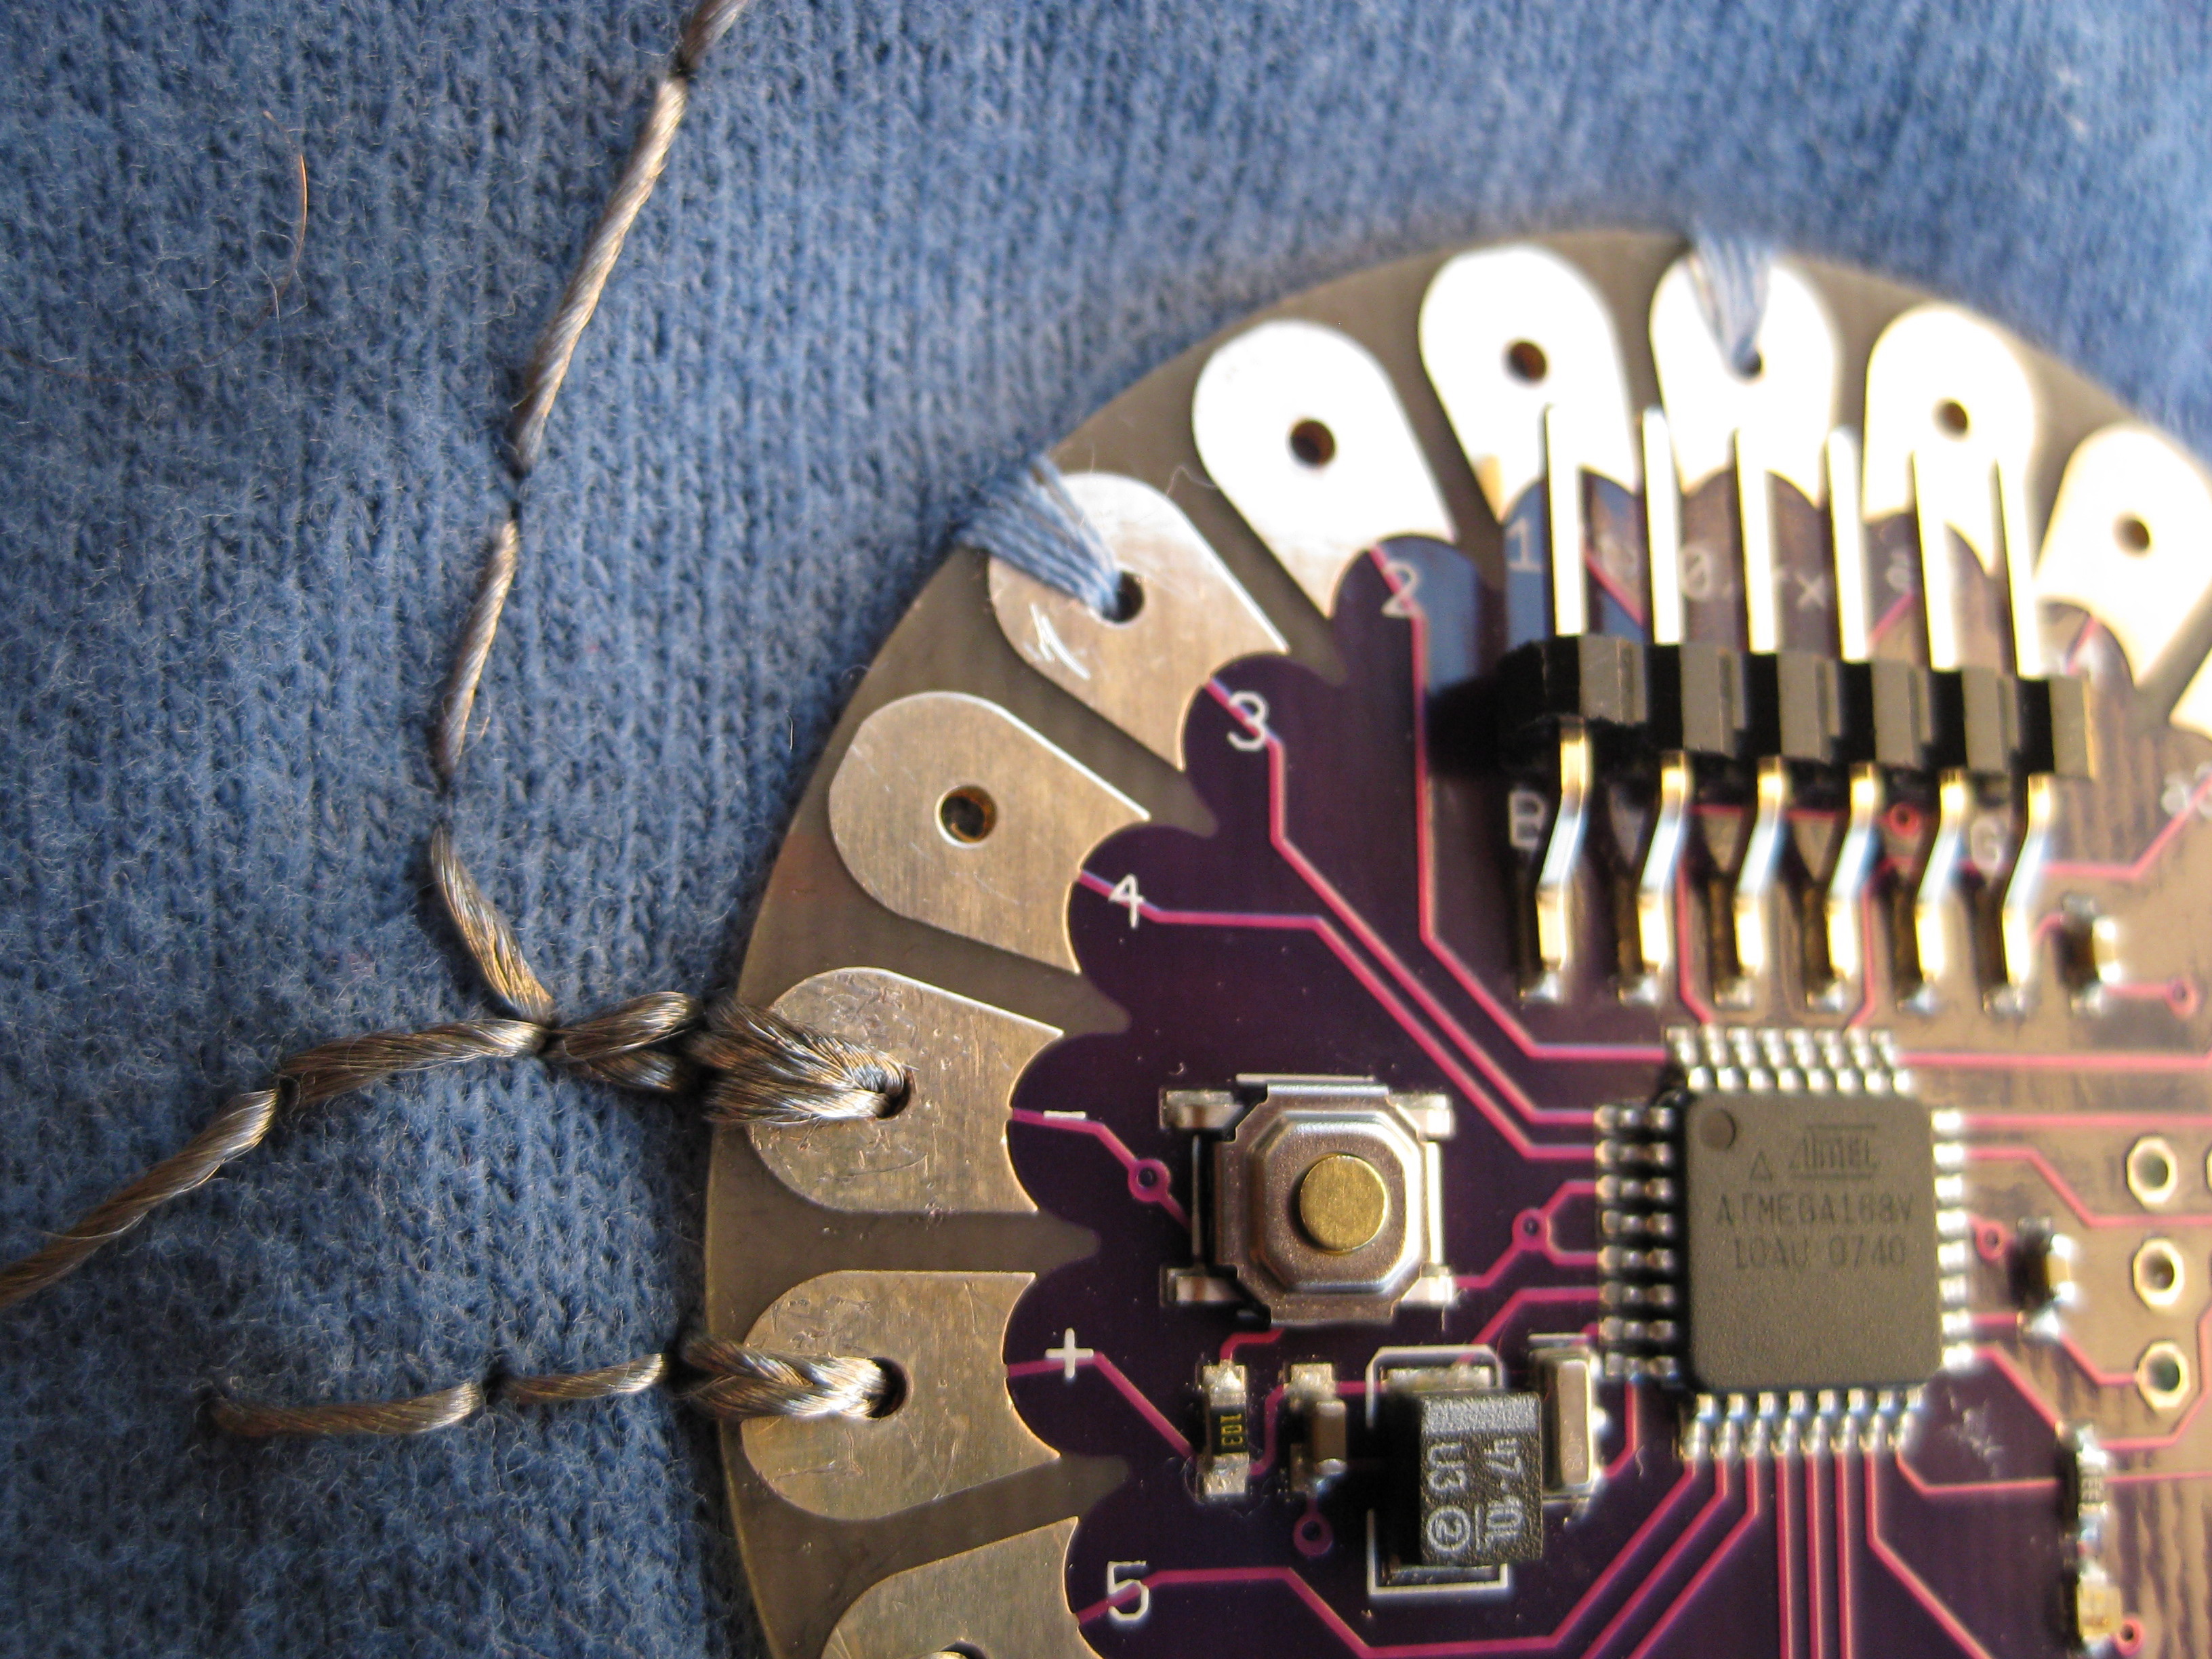
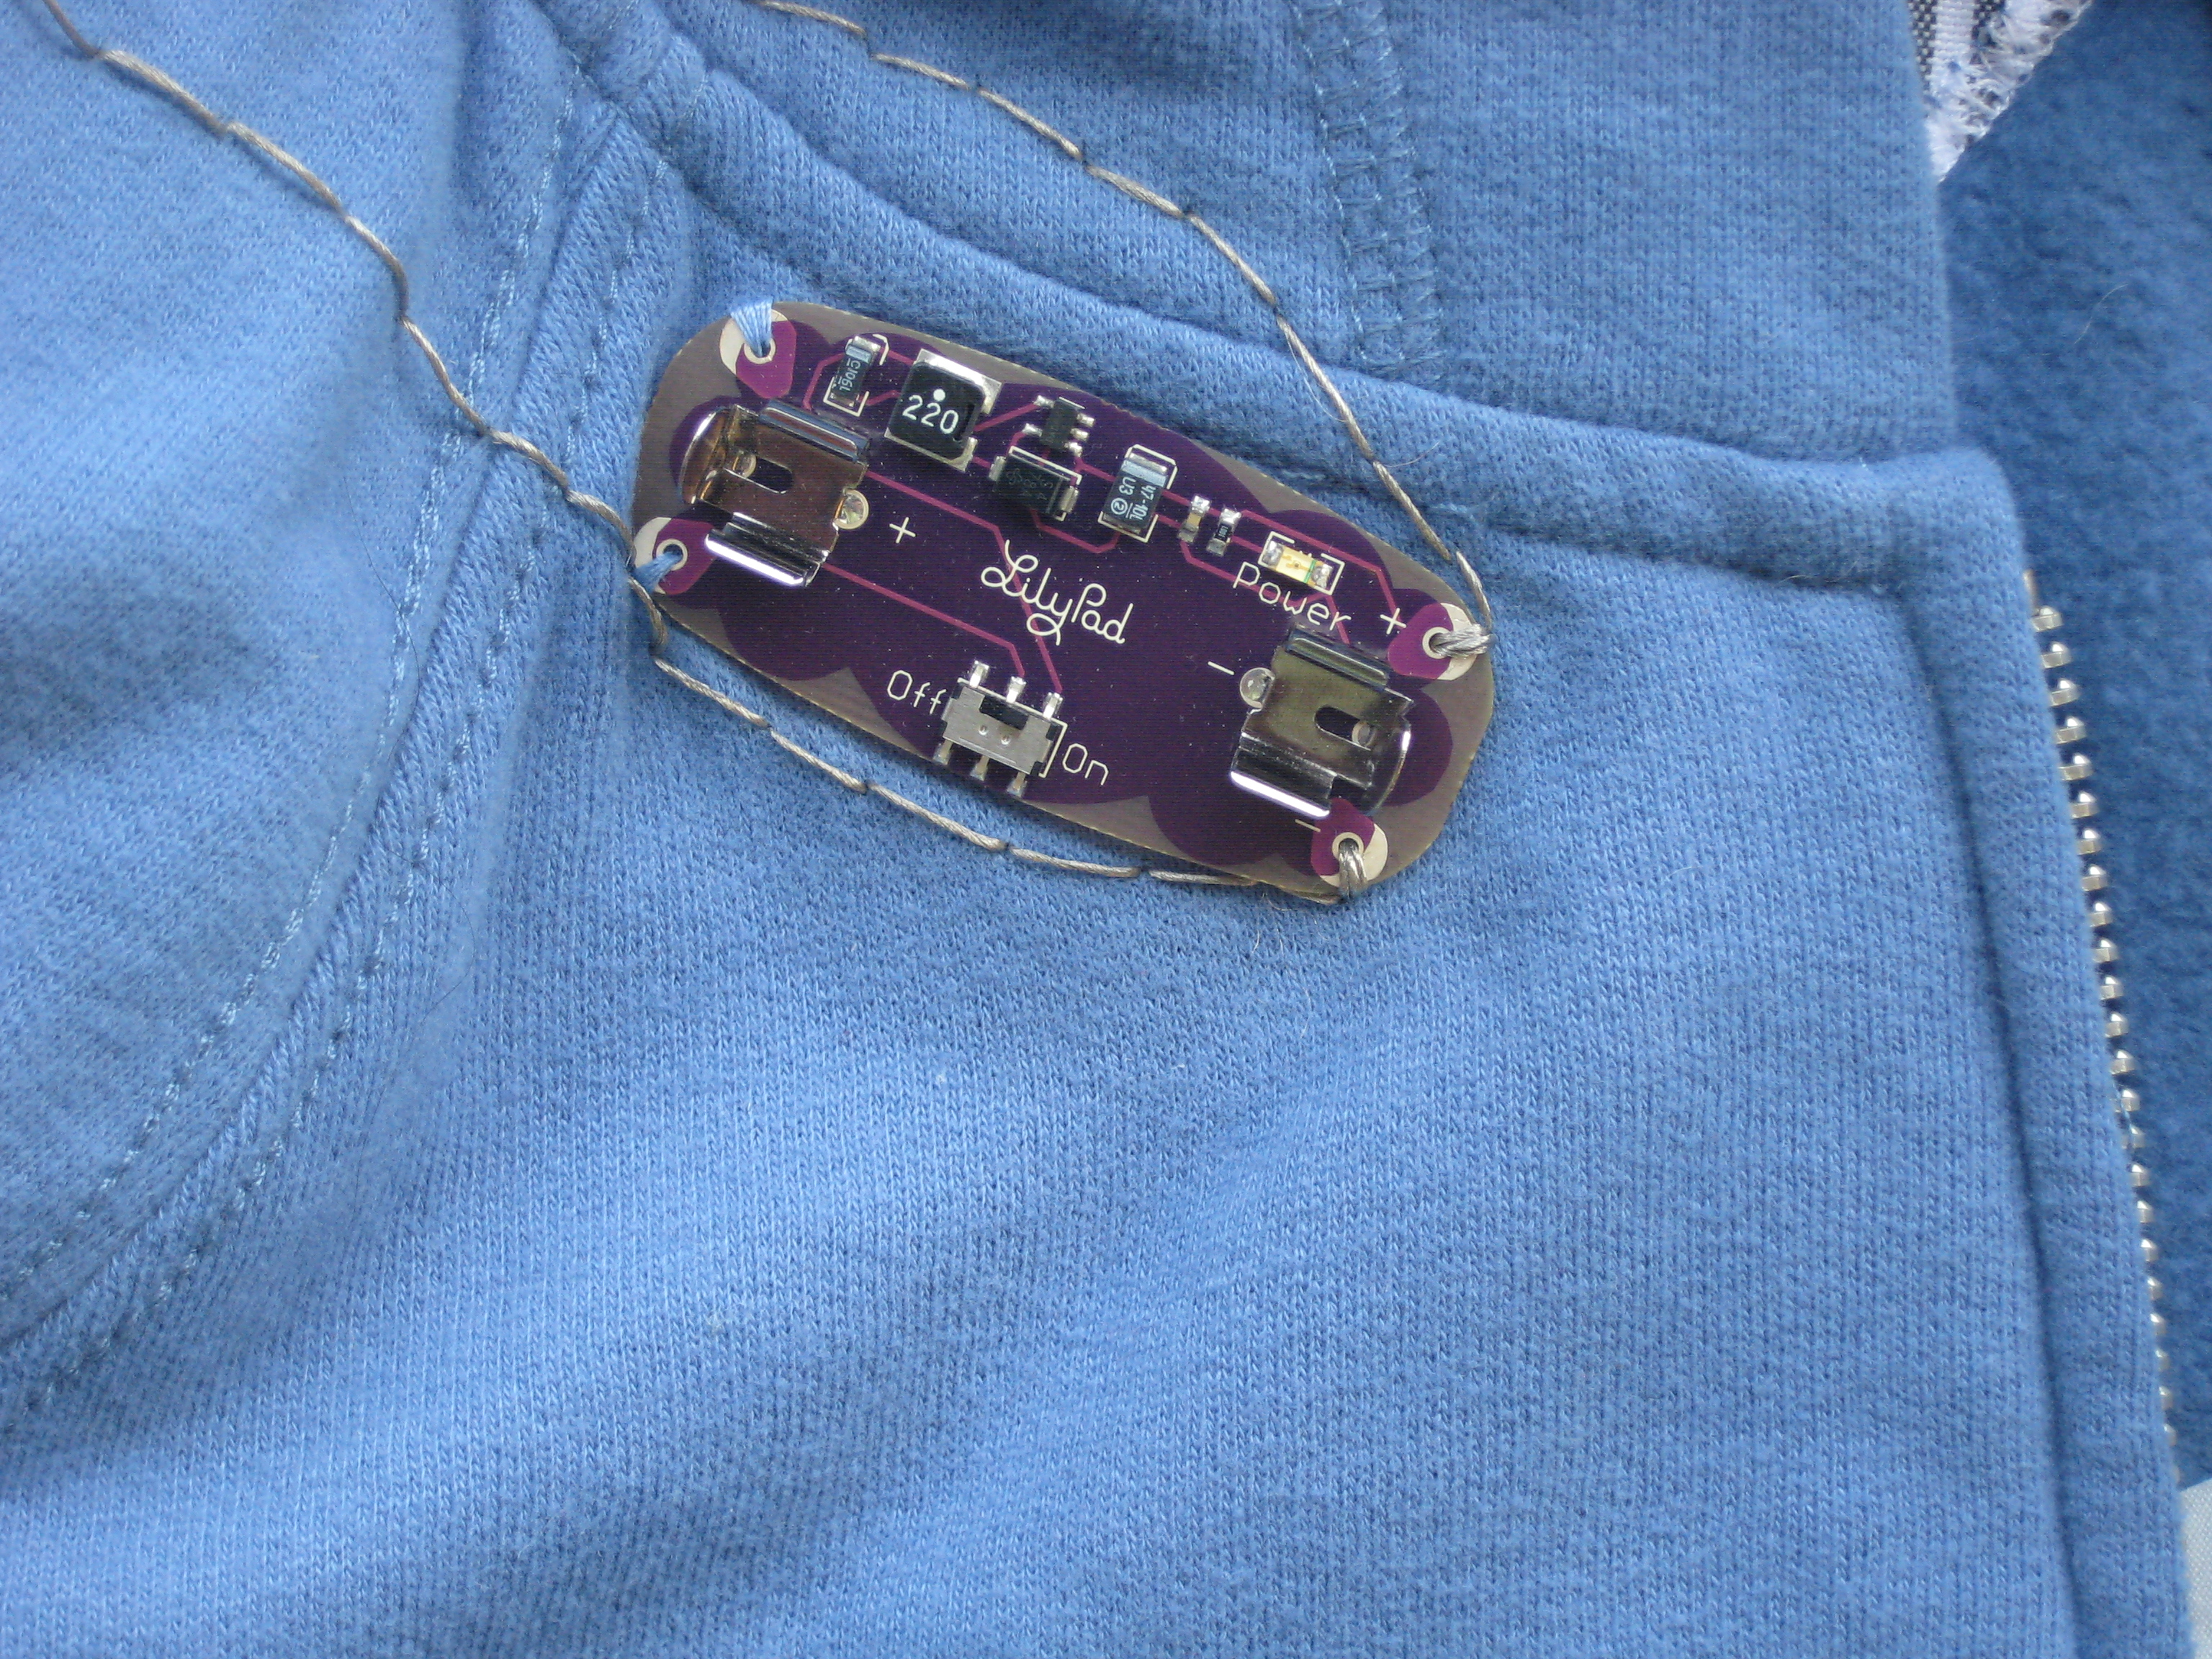
Starting with the inside of your garment facing you (we'll call the inside the back ), poke the needle through to the other side (this is the outside of the garment, which we'll call the front ) right next to the + petal of the power supply. Then, poke the needle (from front to back) into the + hole of the power supply. Poke it (from back to front) again in about the same place you poked it through the very first time. Your needle should now be on the front side of your garment (the outside). Poke it again through the + hole of the power supply. Repeat these steps until you have at least 4 or 5 loops going through the + hole of the power supply.
This stitching should be very secure; it is necessary for the connection between the conductive thread and the power supply to be very strong (which is why we loop the thread through so many times). Once you're done, do not cut your thread, and continue to the next step.
Sew from the power supply to the LilyPad main board.
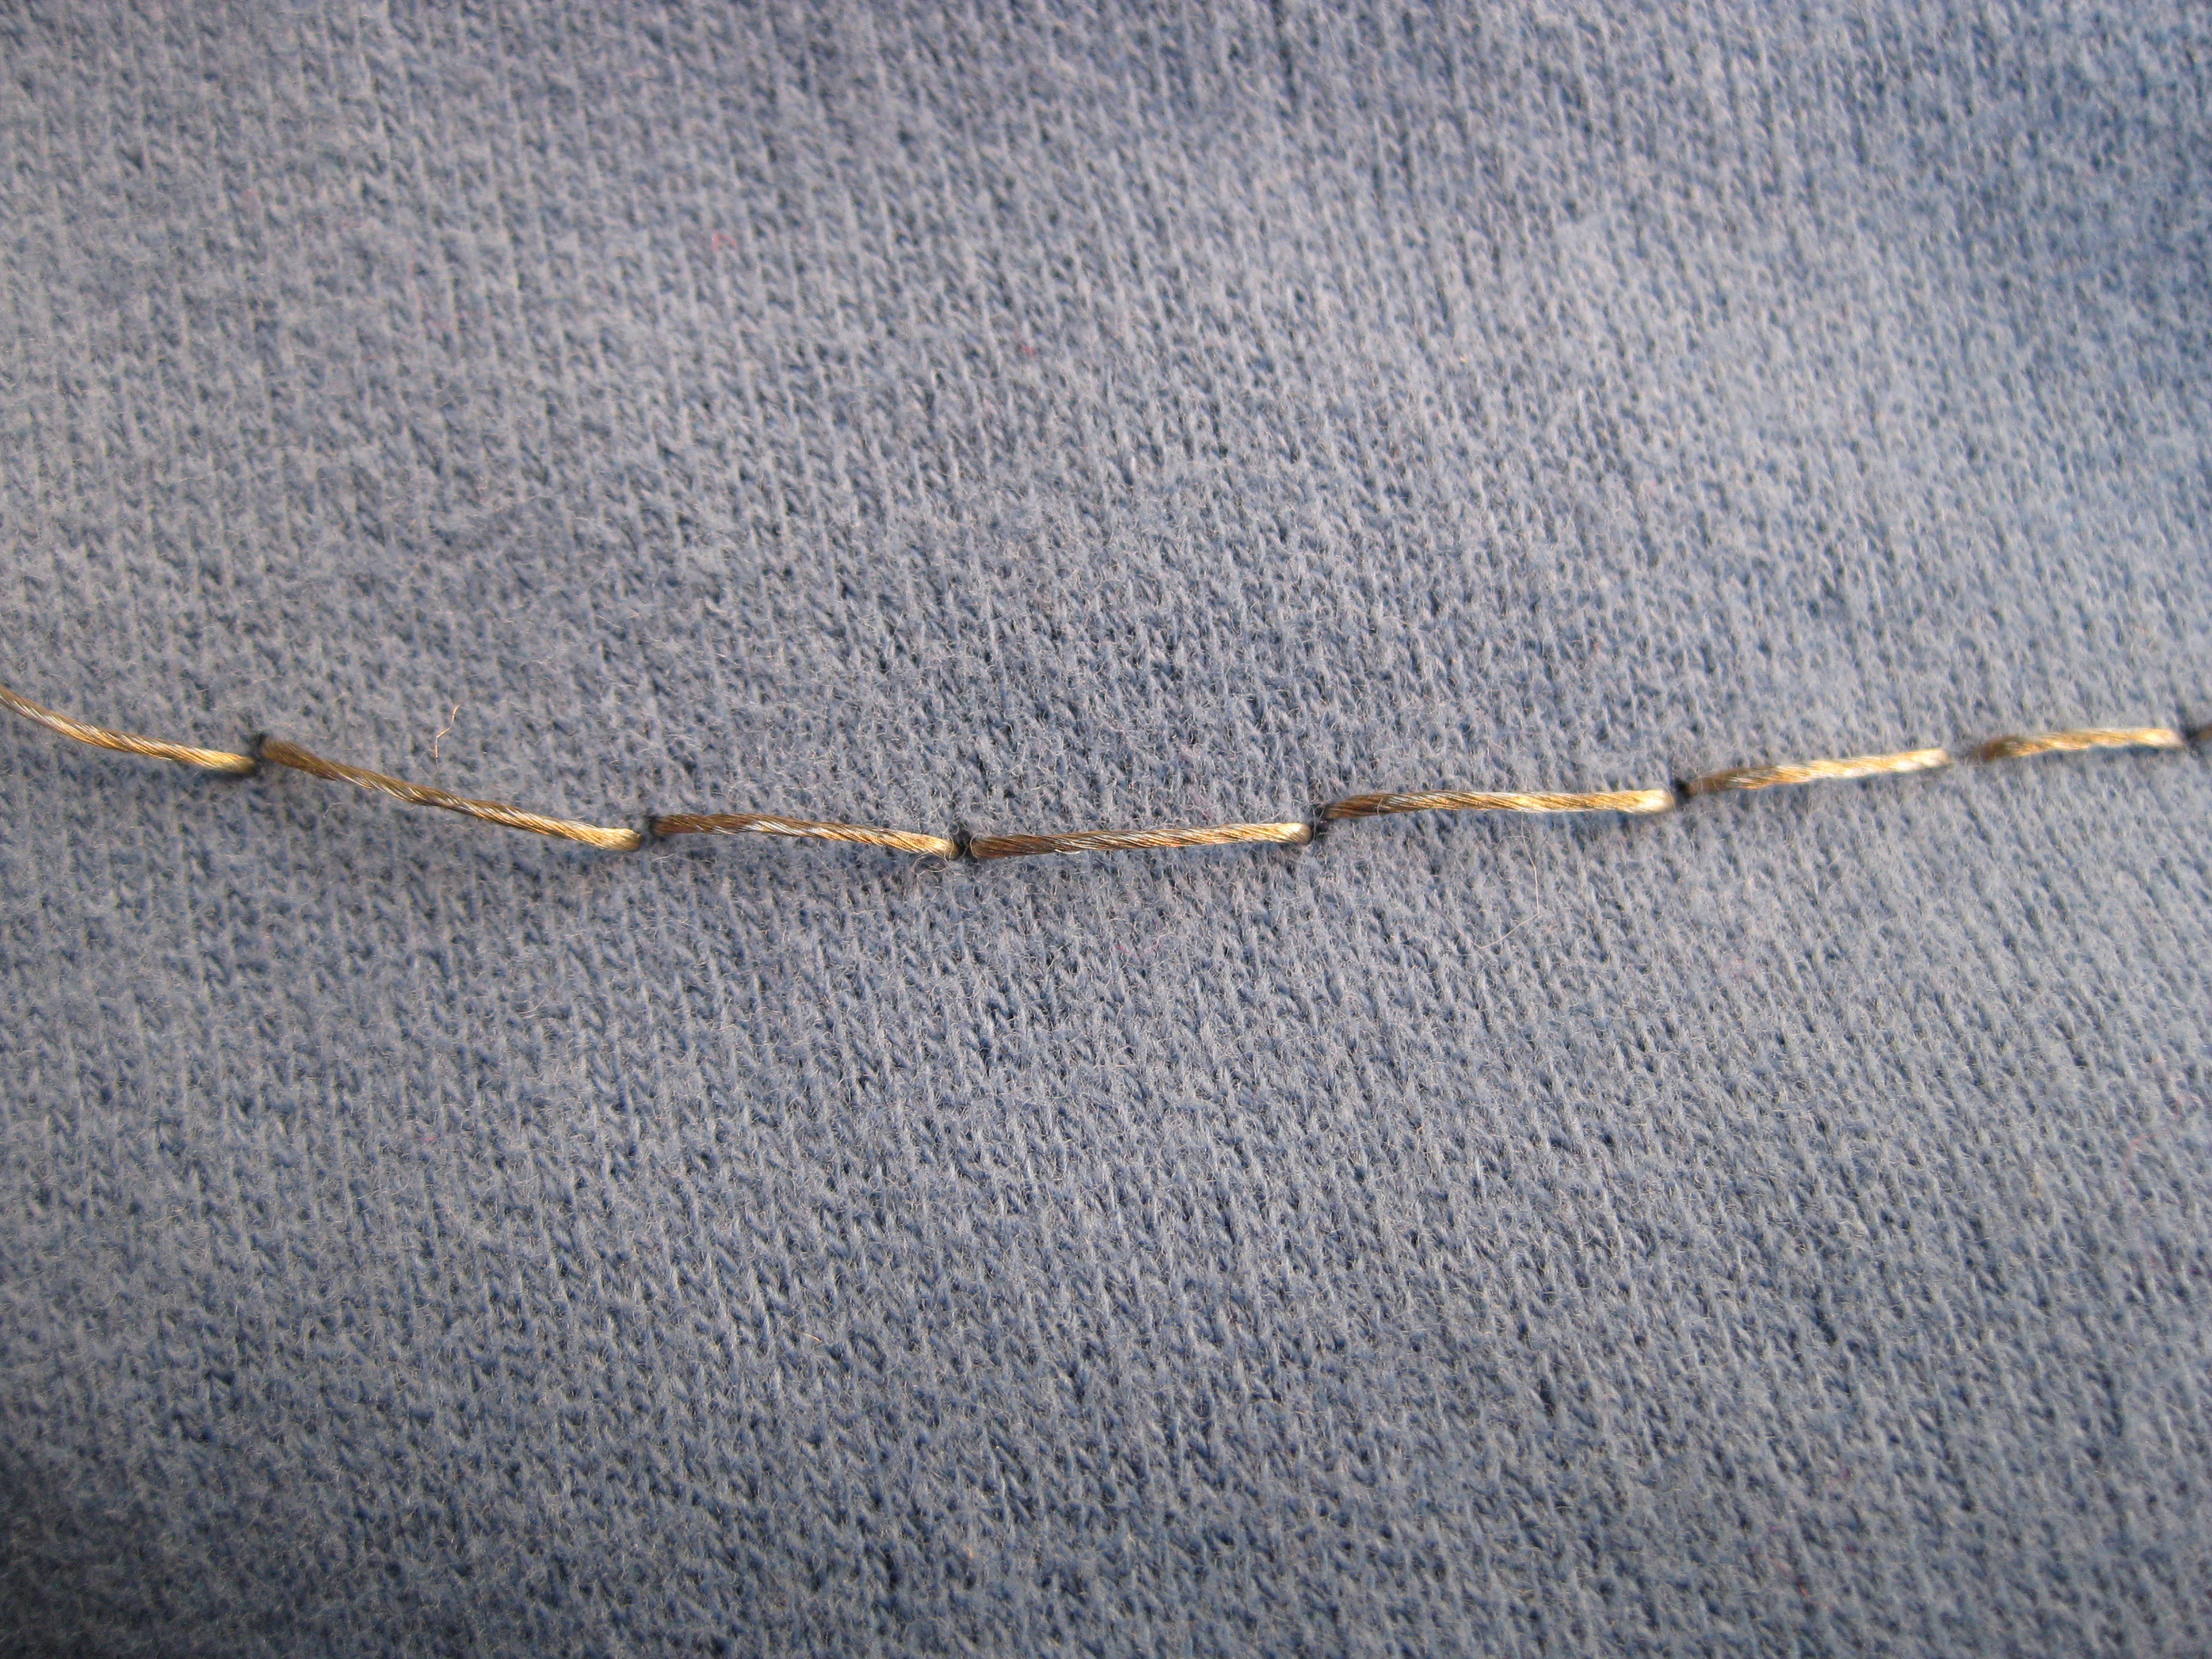
Using your choice of stitch, sew over your chalk traces from the + of the power supply to the + of the LilyPad main board. I used backstitch (step 5 of the How to Sew Instructables tutorial), so that the design created on the outside of the garment would look neat.
A note on stitching: Be sure to make small neat stitches. Your stitches should be around 1 cm in length each. Long stitches will be messy and snag easily on other objects.
Sew the + petal of your LilyPad down.
Once you've followed your chalk traces to the LilyPad main board, sew down the + petal of your LilyPad board using the same technique you used to sew down the + petal of the power supply. Be sure to stitch at least 4 loops going through the hole of the + petal. Again, the connection between the thread and the LilyPad board here is very important, since the LilyPad will be drawing power from the power supply through this thread.
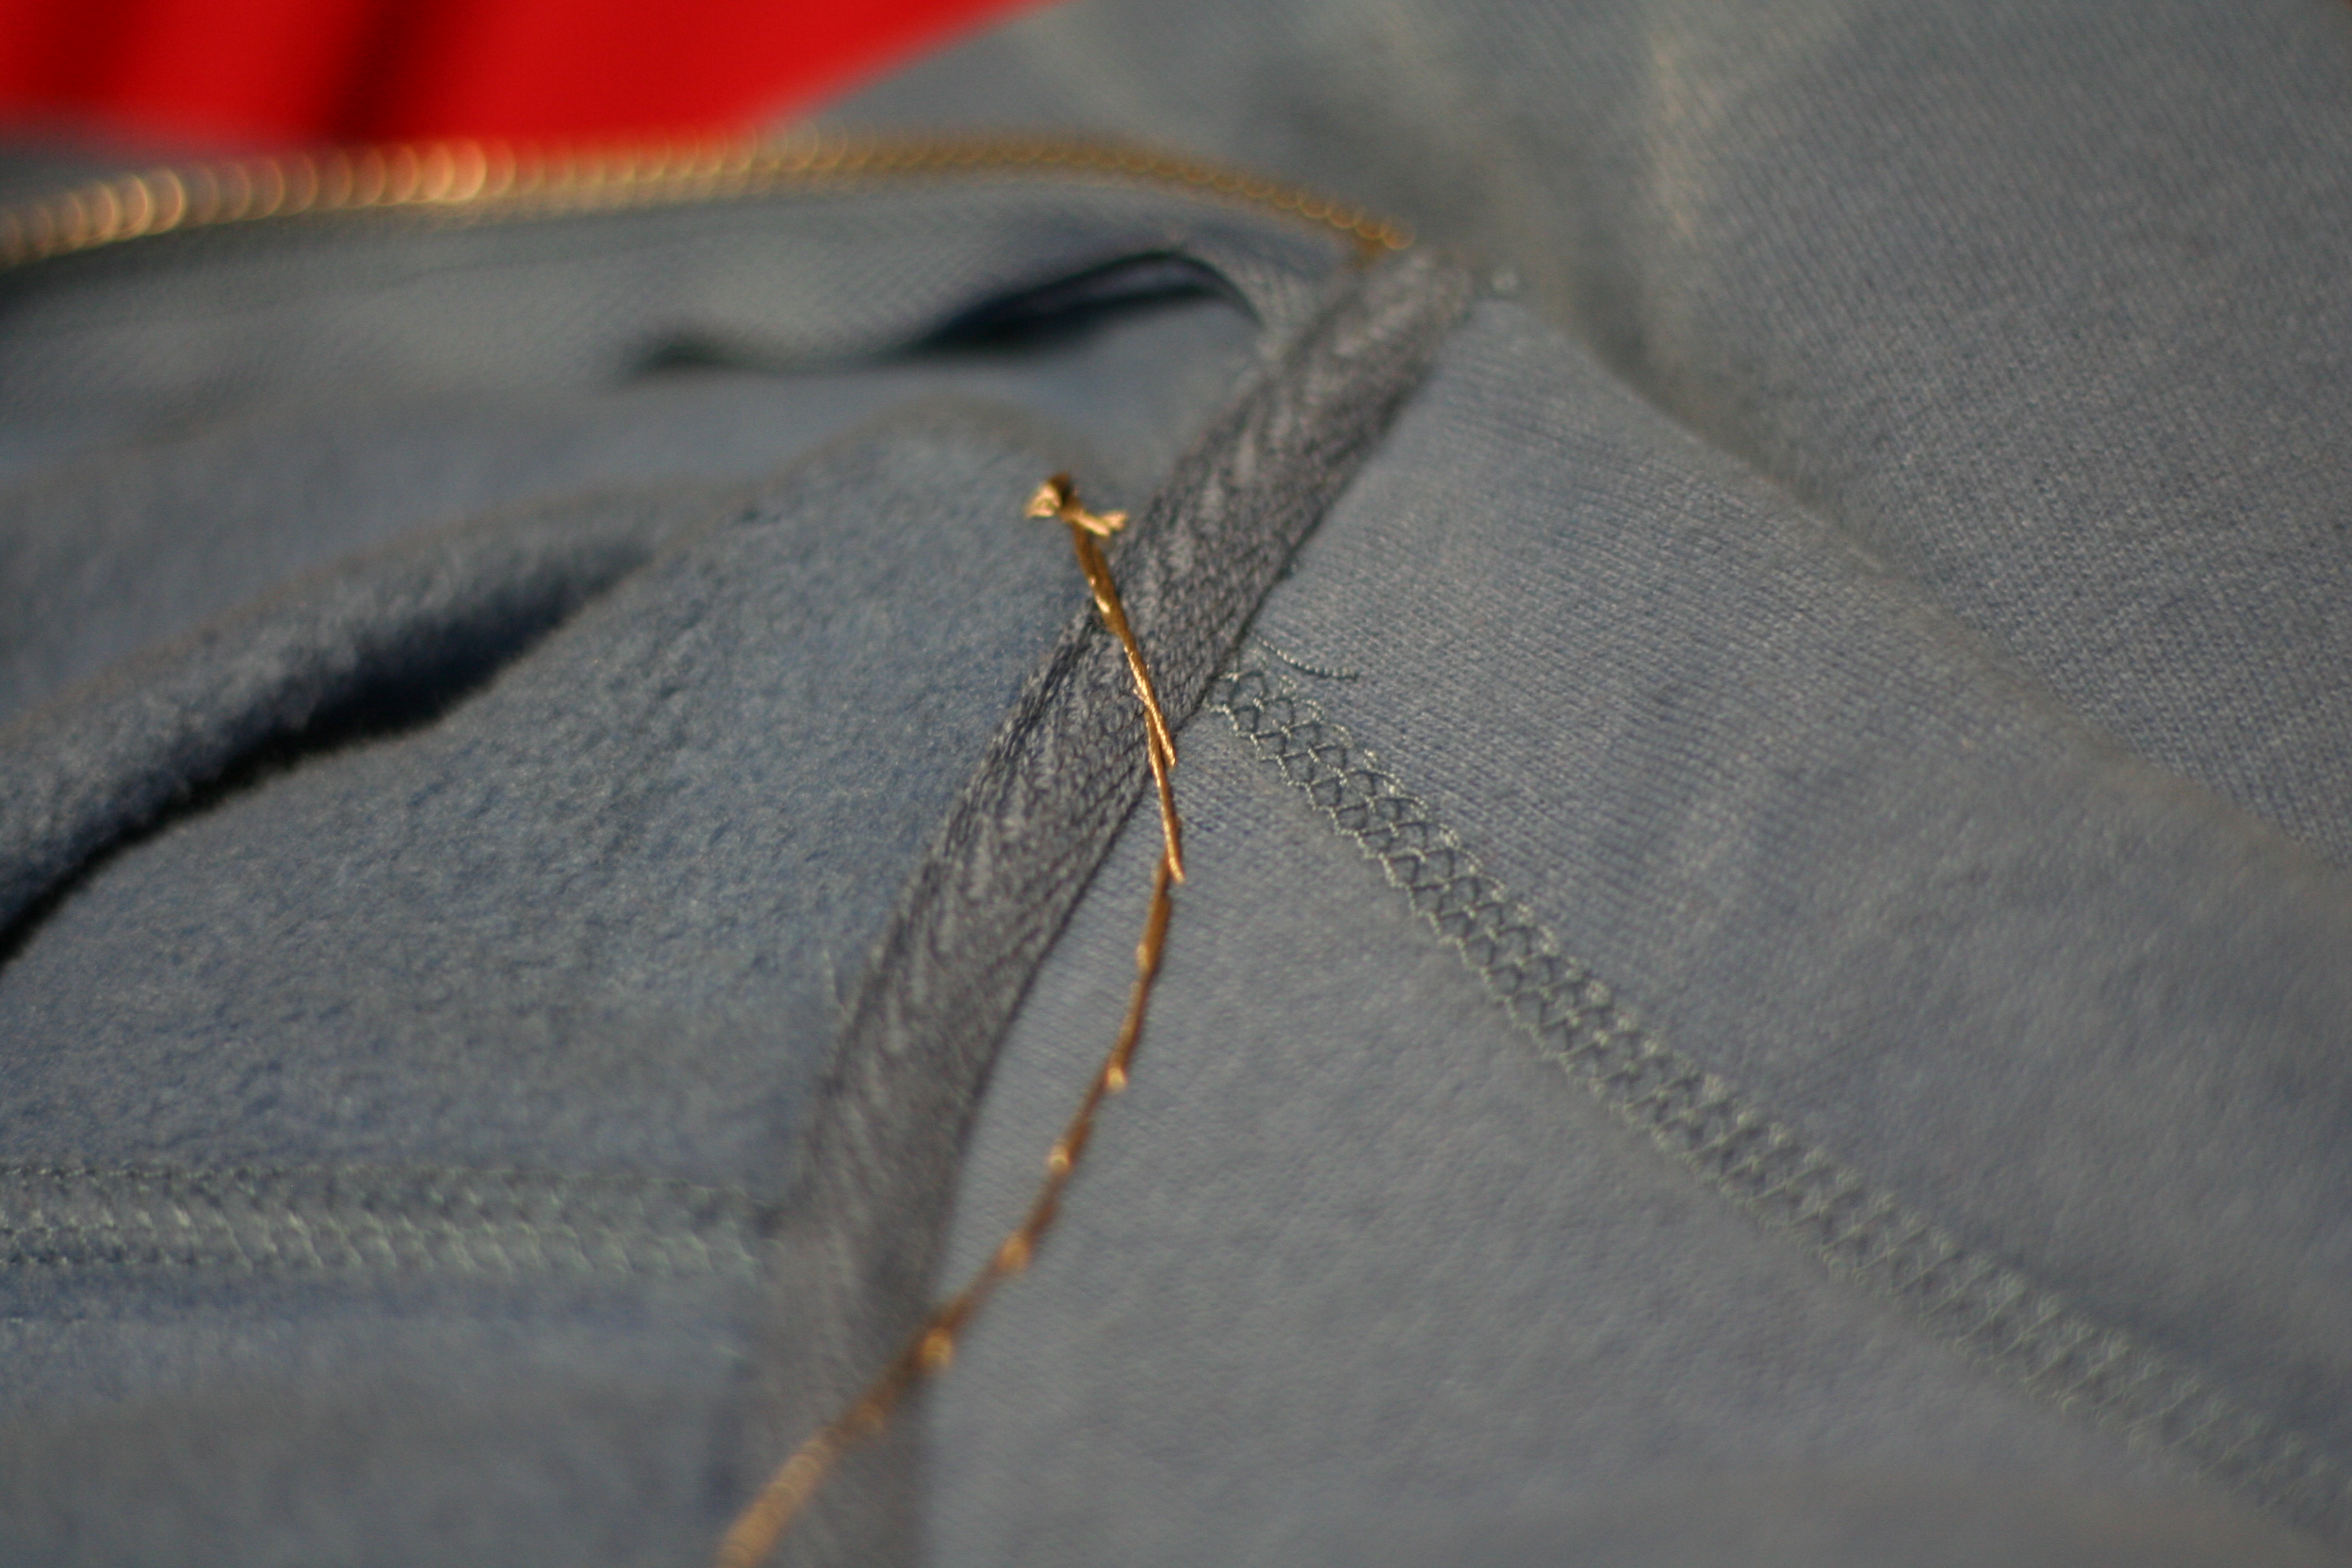
When you are done with the loops, end on the inside of the garment and sew back along your stitching until you're about an inch away from the LilyPad, and tie a knot. Cut the thread about an inch away from the knot so that the knot does not come unraveled.
Use nail polish to secure your knot.
Place a dab of nail polish onto your knot so that the knot doesn't unravel. Once the nail polish has dried, trim the excess thread close to the knot.
Repeat these steps for the - petal of your power supply and LilyPad main board.
Secure your power supply.
Since the power supply is currently only attached to your fabric by the + and - petals on one end, it will be dangling off your garment. Using the same technique as with the conductive thread (sewing loops through the petal hole), use regular thread of the same color to sew the two petals on the other end of the power supply down to your fabric. You can see a photo of how I've done it below.
Multimeter Testing
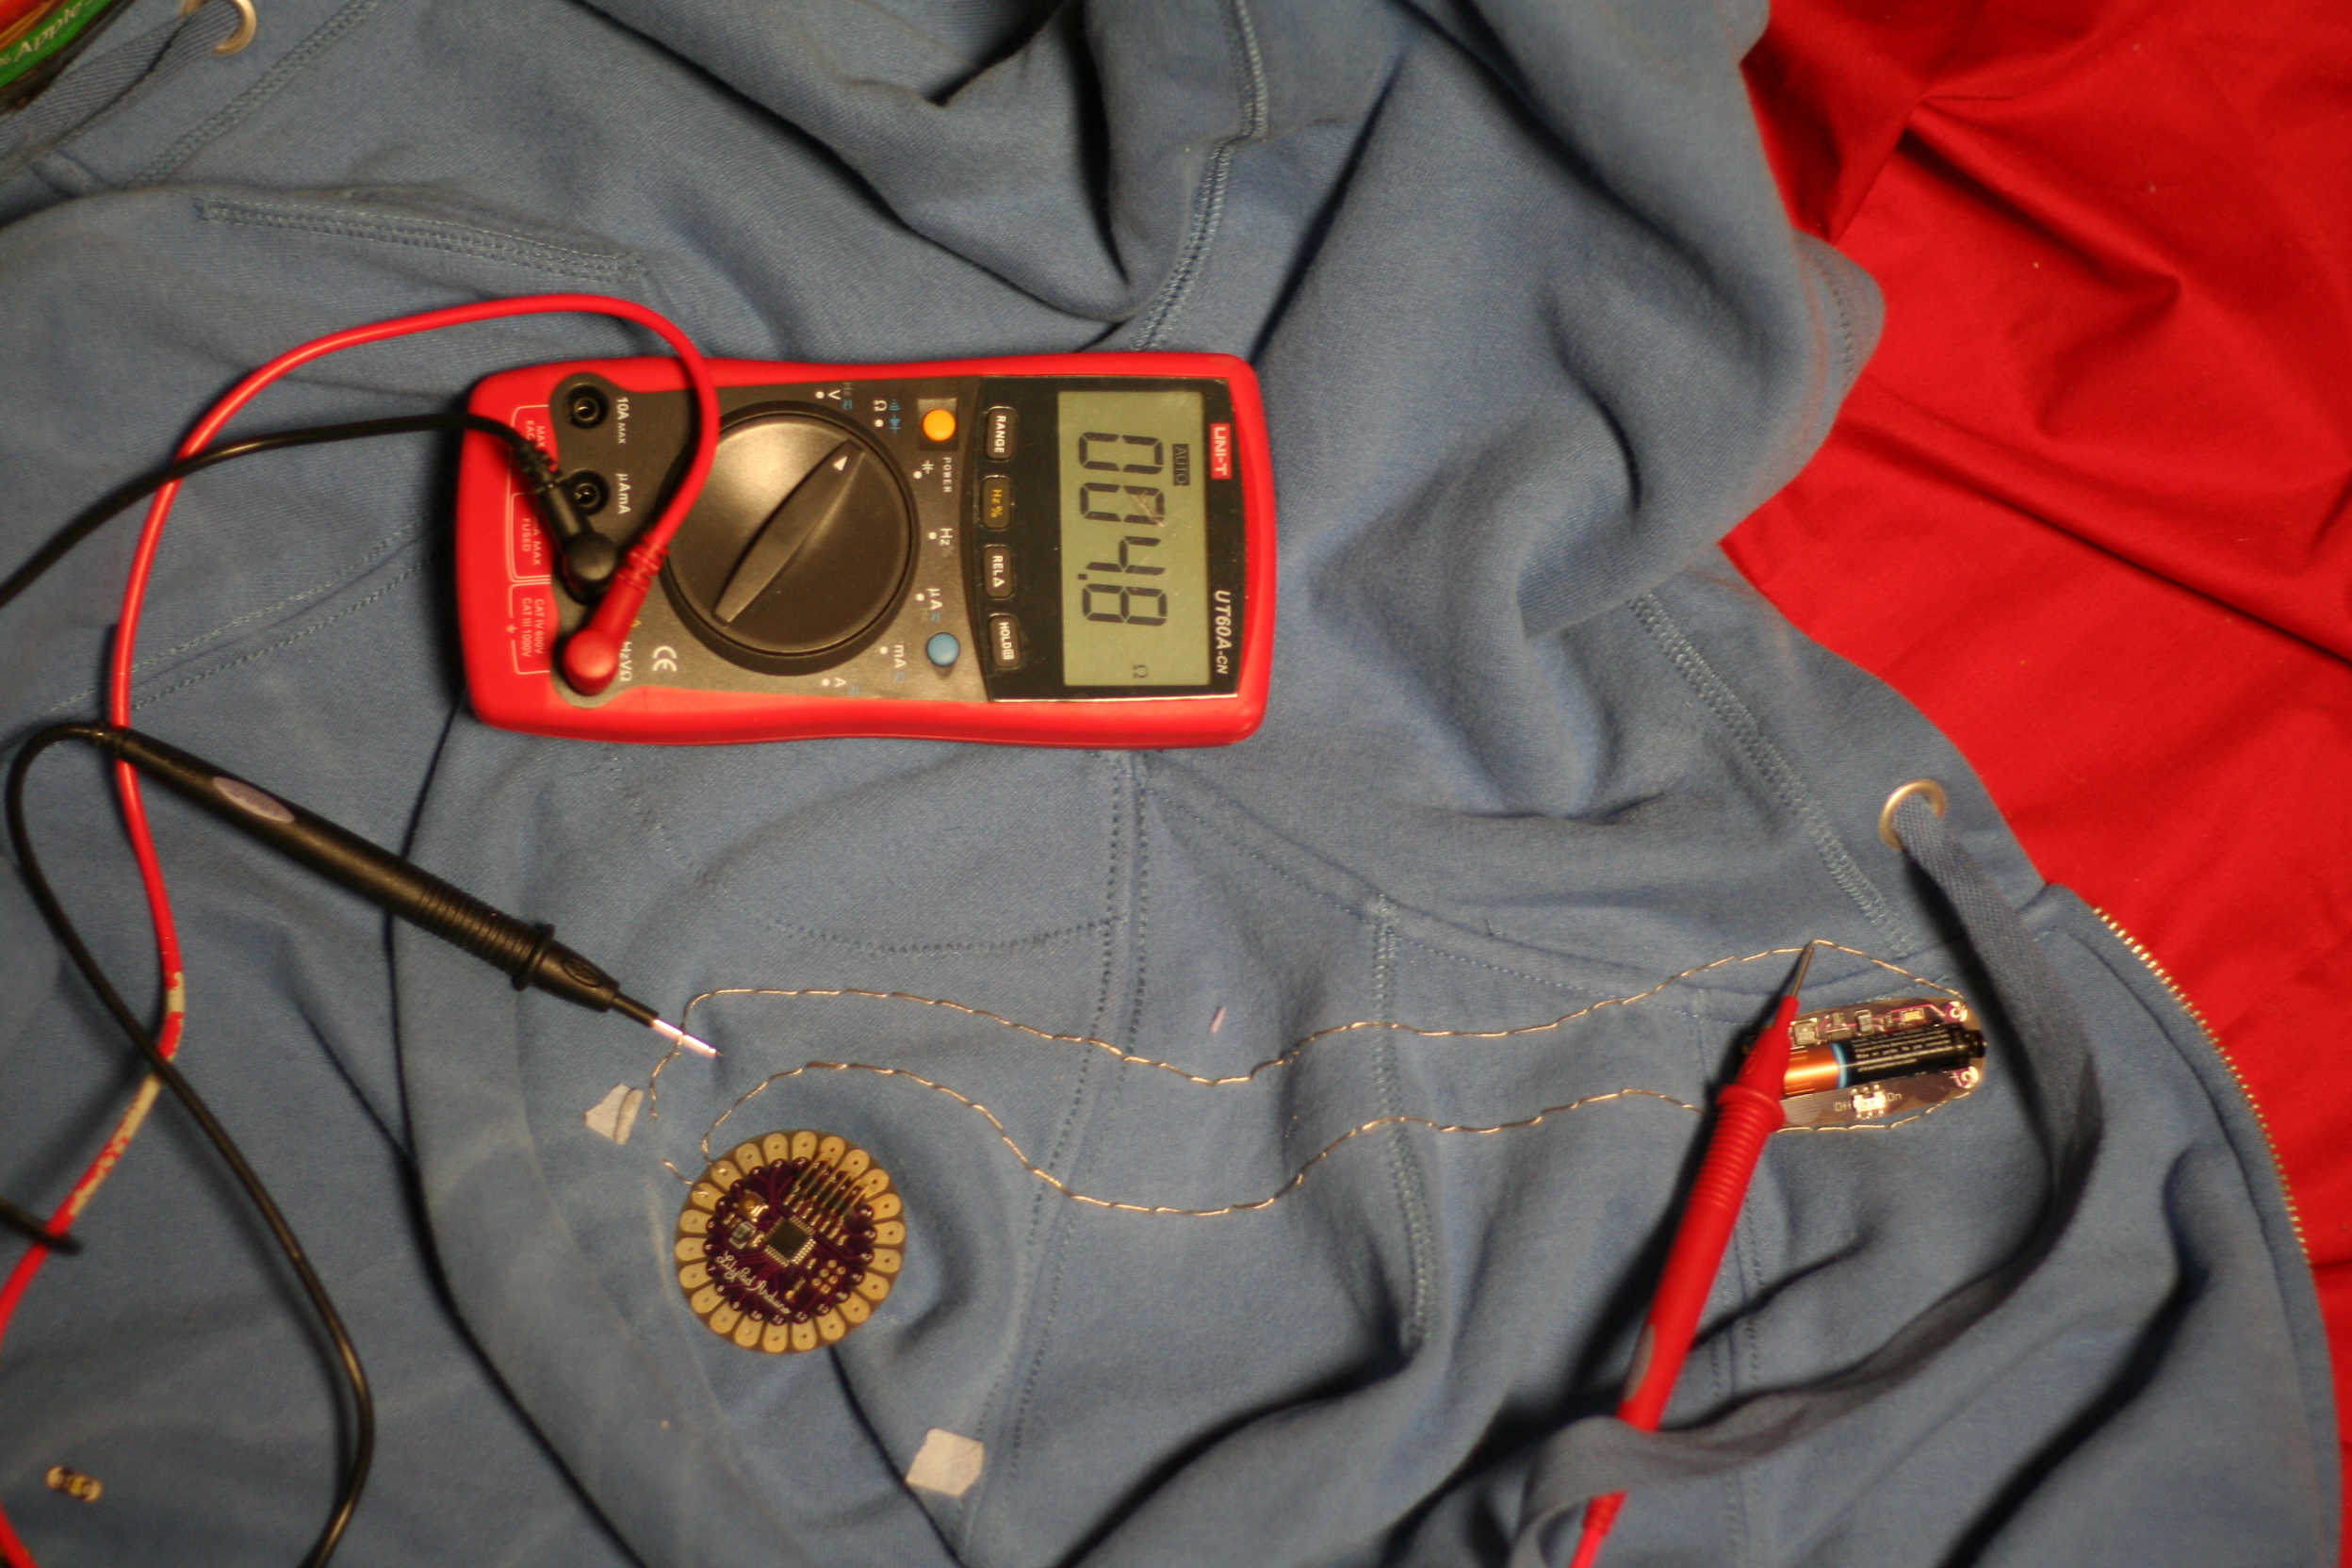
Measure the resistance of your stitching.
Switch the setting of your multimeter so that it measures resistance. Measure resistance from the + of the power supply to the + of the LilyPad, and the - of the power supply to the - of the LilyPad. If either of these resistances is greater than 10 ohms, reinforce your stitching.
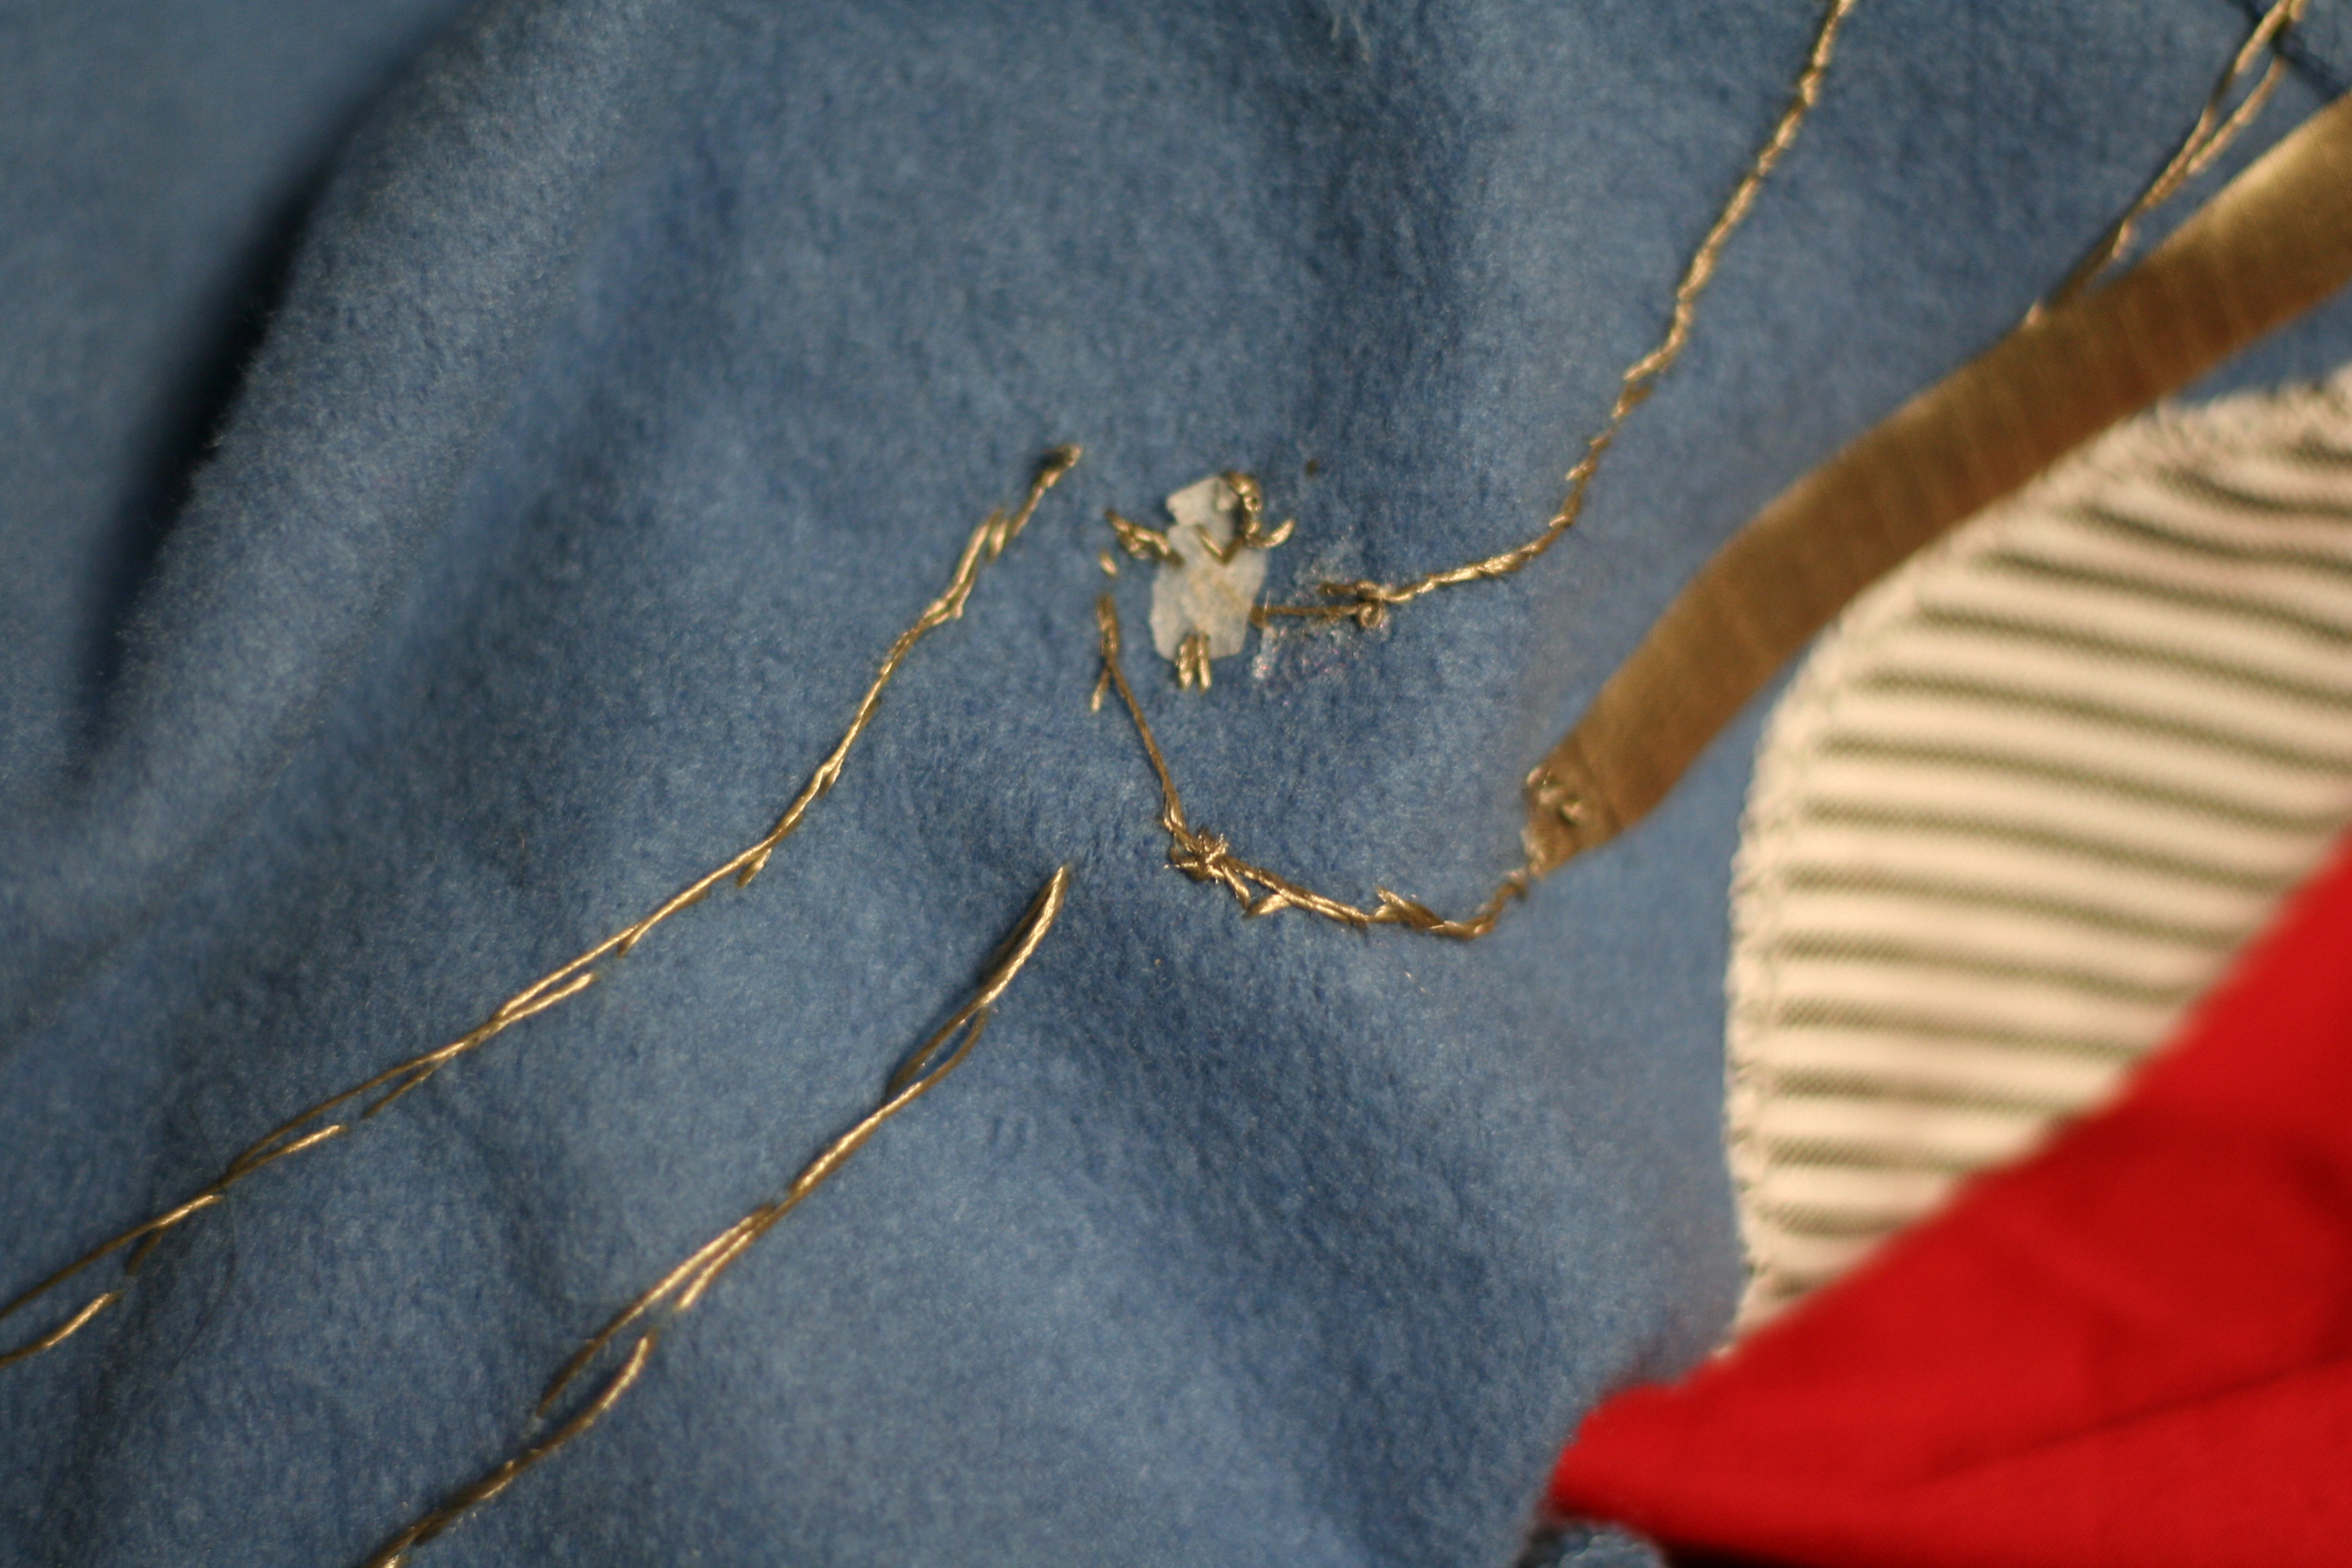
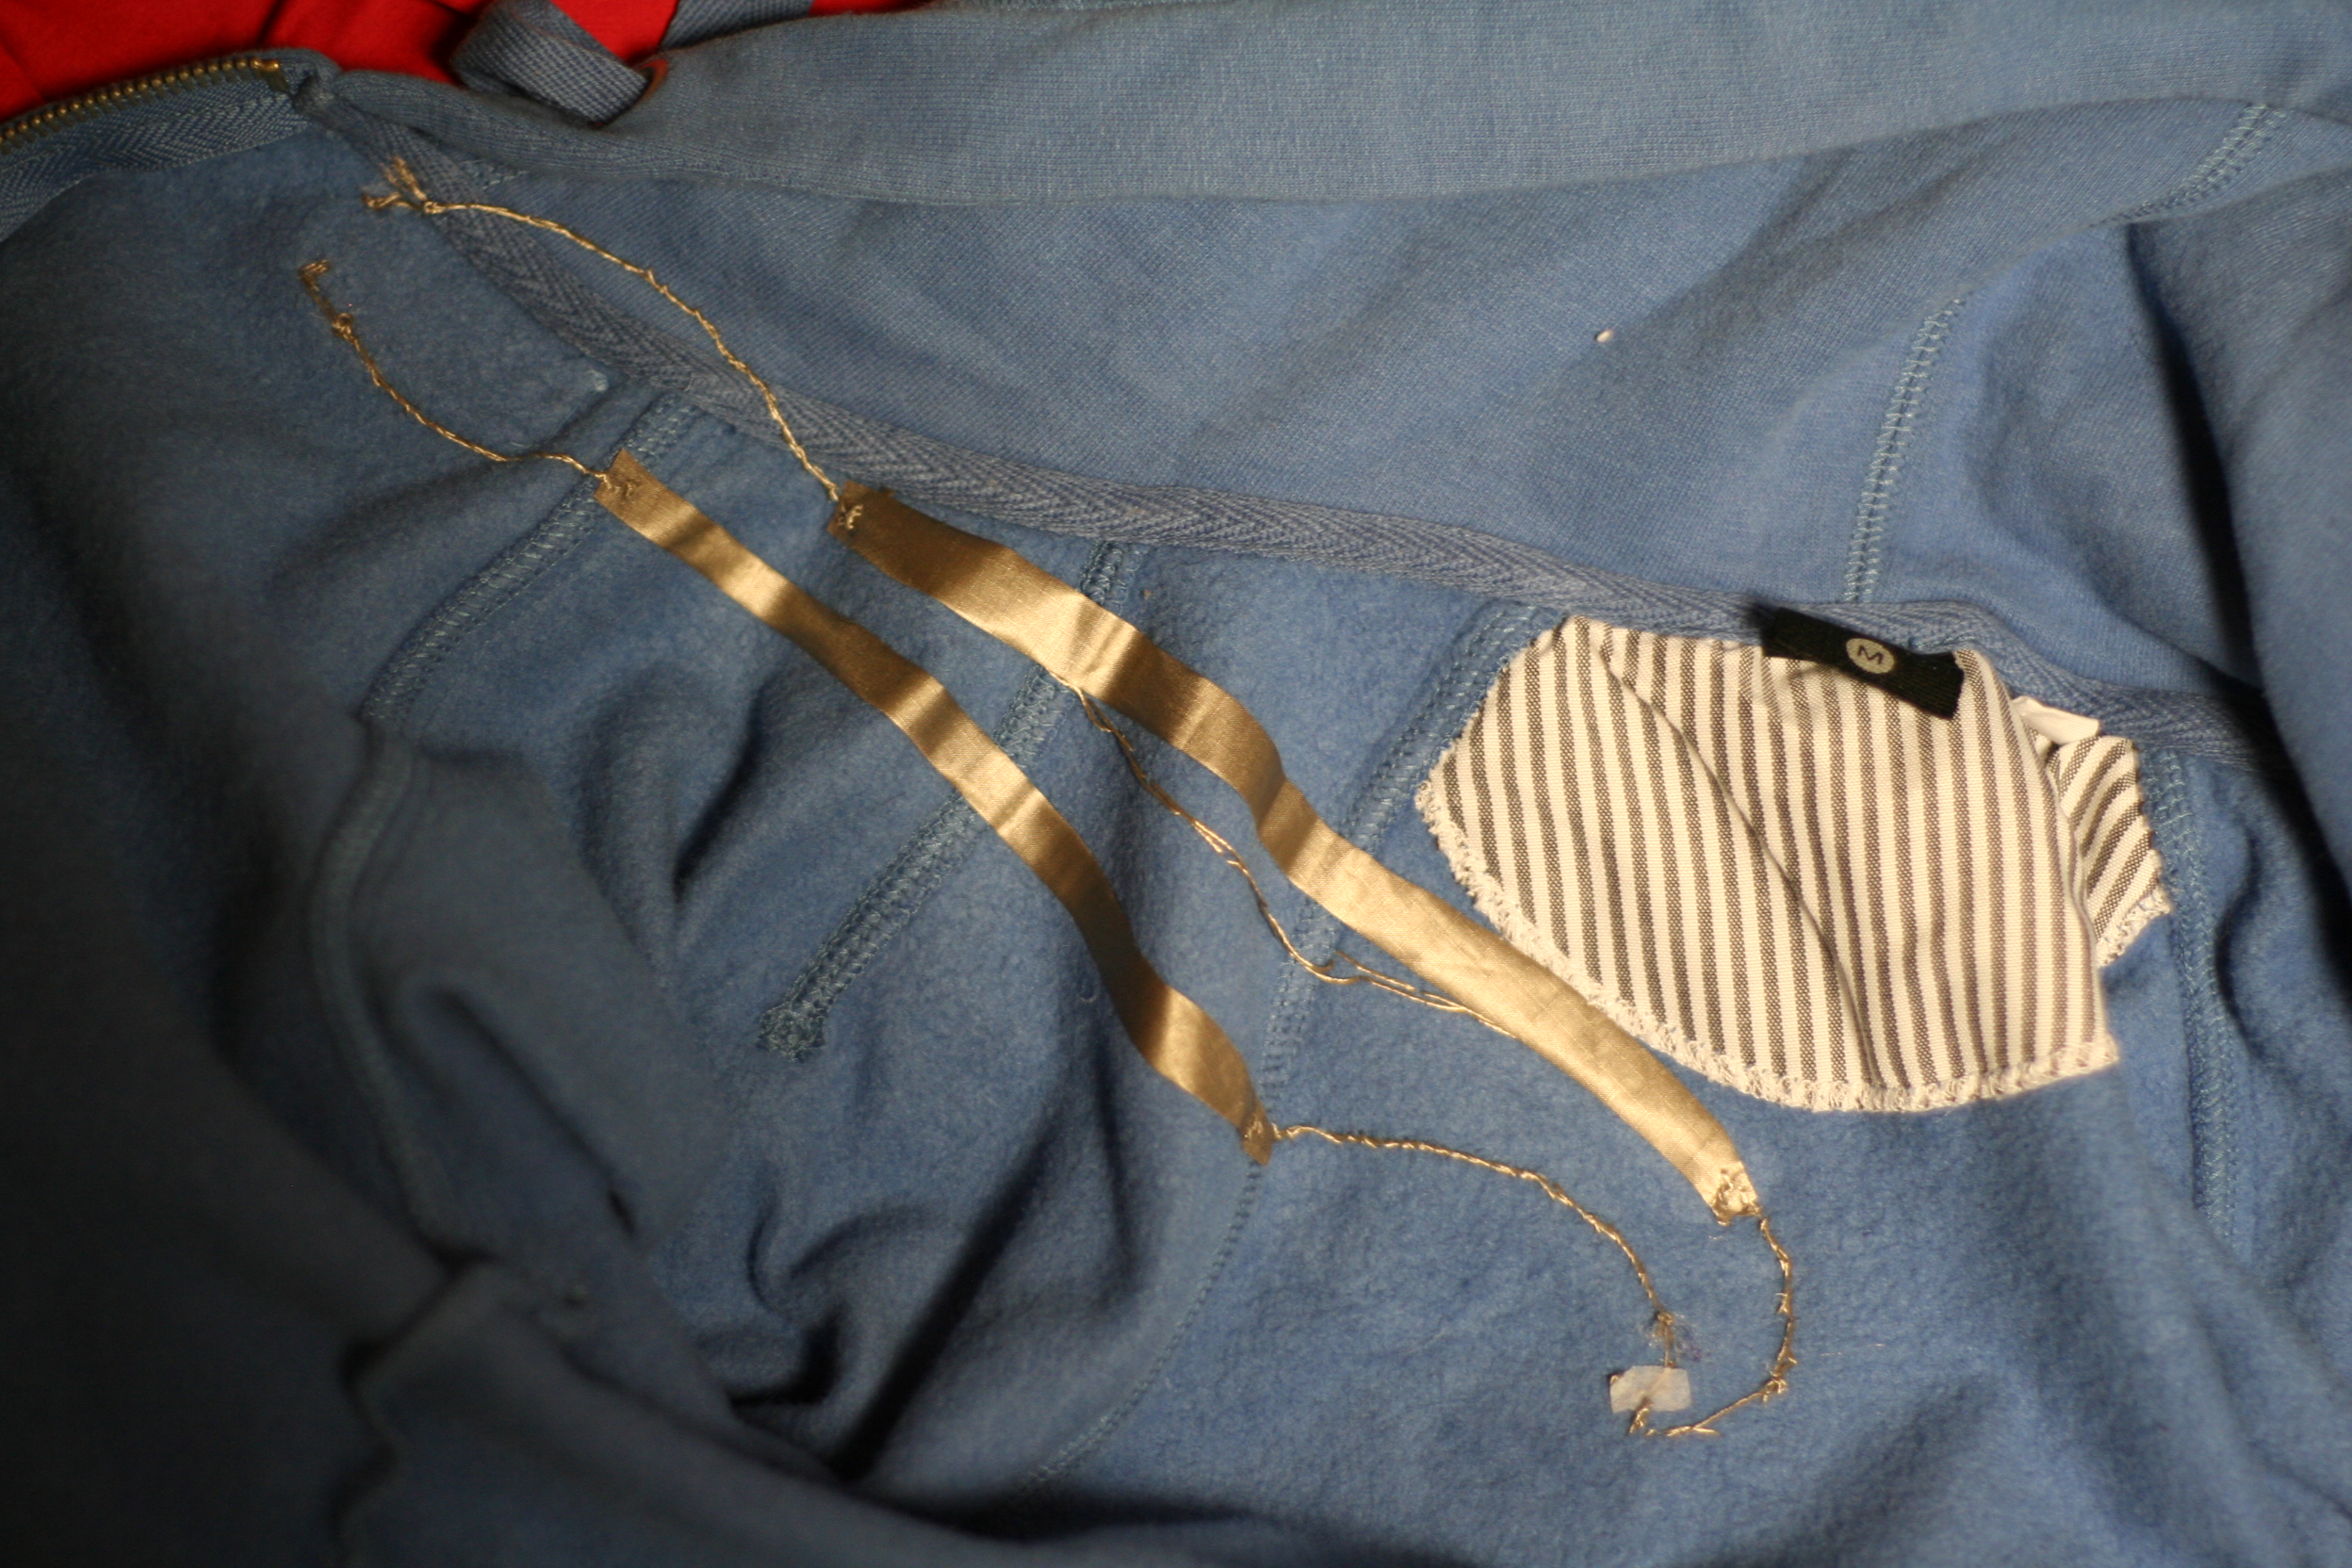
There are two ways to reinforce your stitching. If the resistance is barely above 10 ohms, you can reinforce using more conductive thread. However, if the resistance is extremely higher (greater than 50 ohms), you can reinforce using conductive fabric, which has much lower resistance than thread. In order to do this, cut a strip of conductive fabric and iron it onto the back side of your garment such that both ends of the strip are touching your stitch path. Then, make several stitches from the conductive thread of your original path, and stitch onto the conductive fabric (so that the stitches you're making are on top of the conductive fabric (see photo below)) so that the thread and the fabric are connected. Repeat for the other end of the strip. This should greatly reduce your resistance.
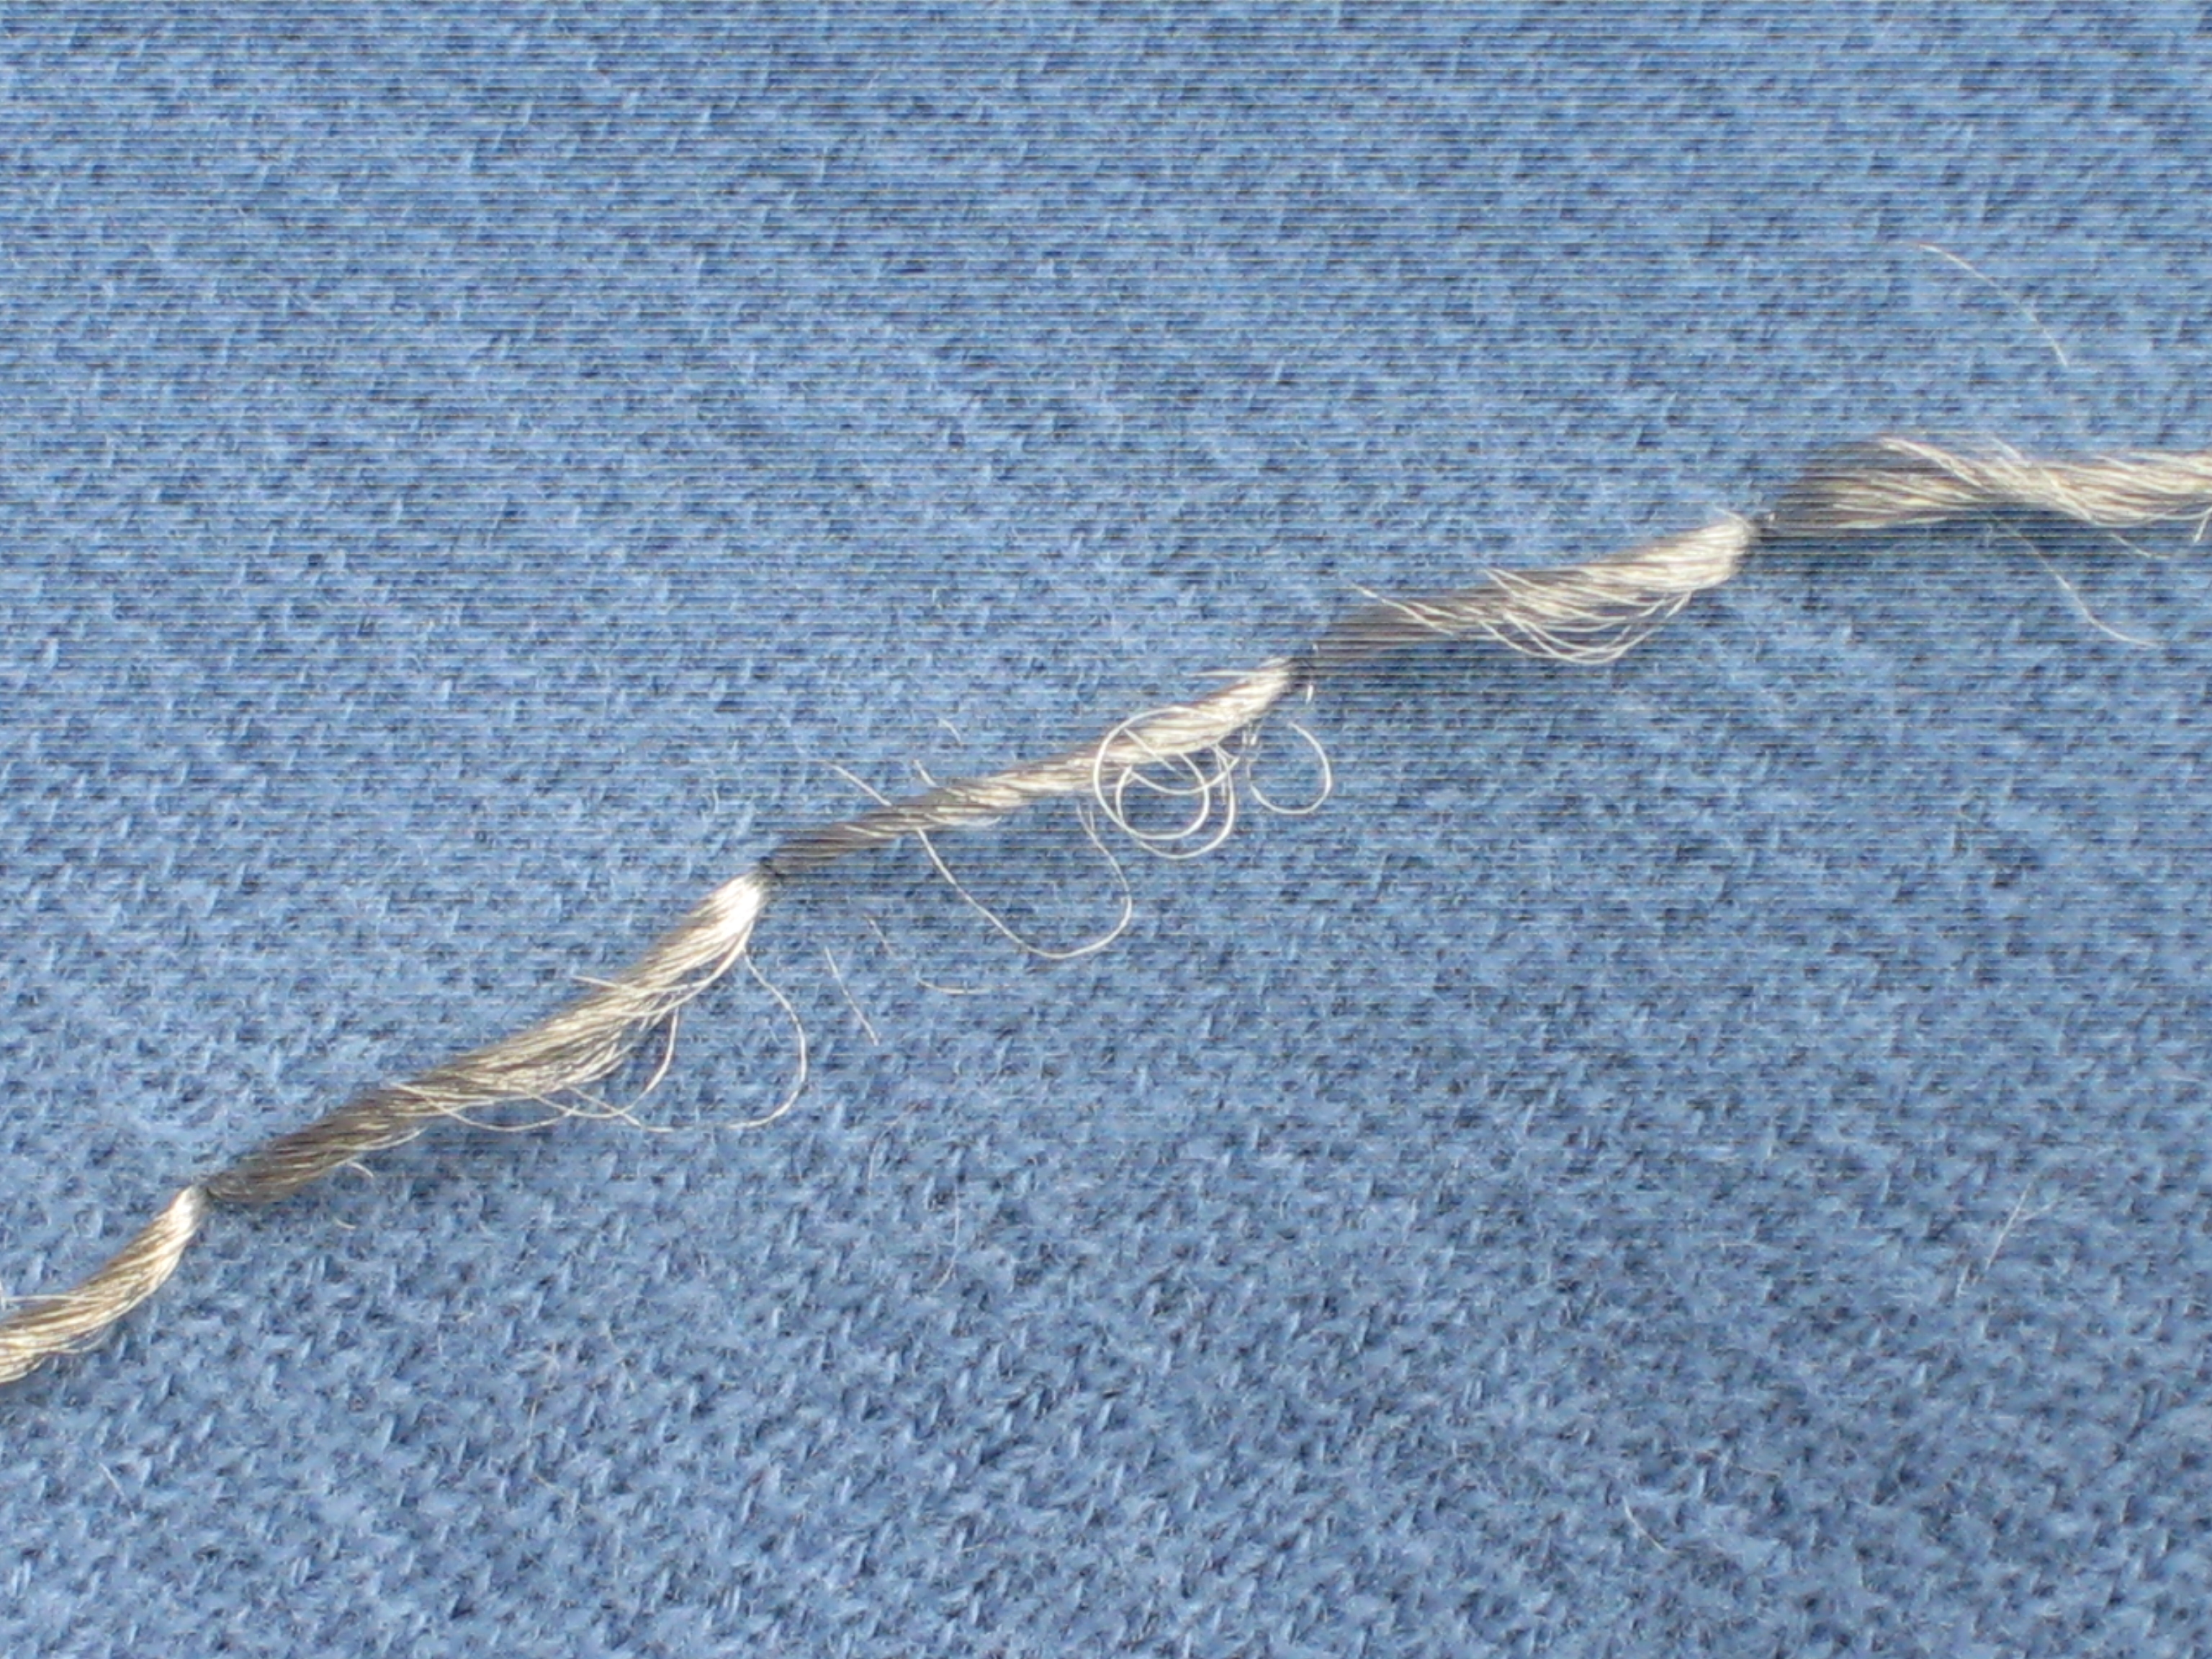
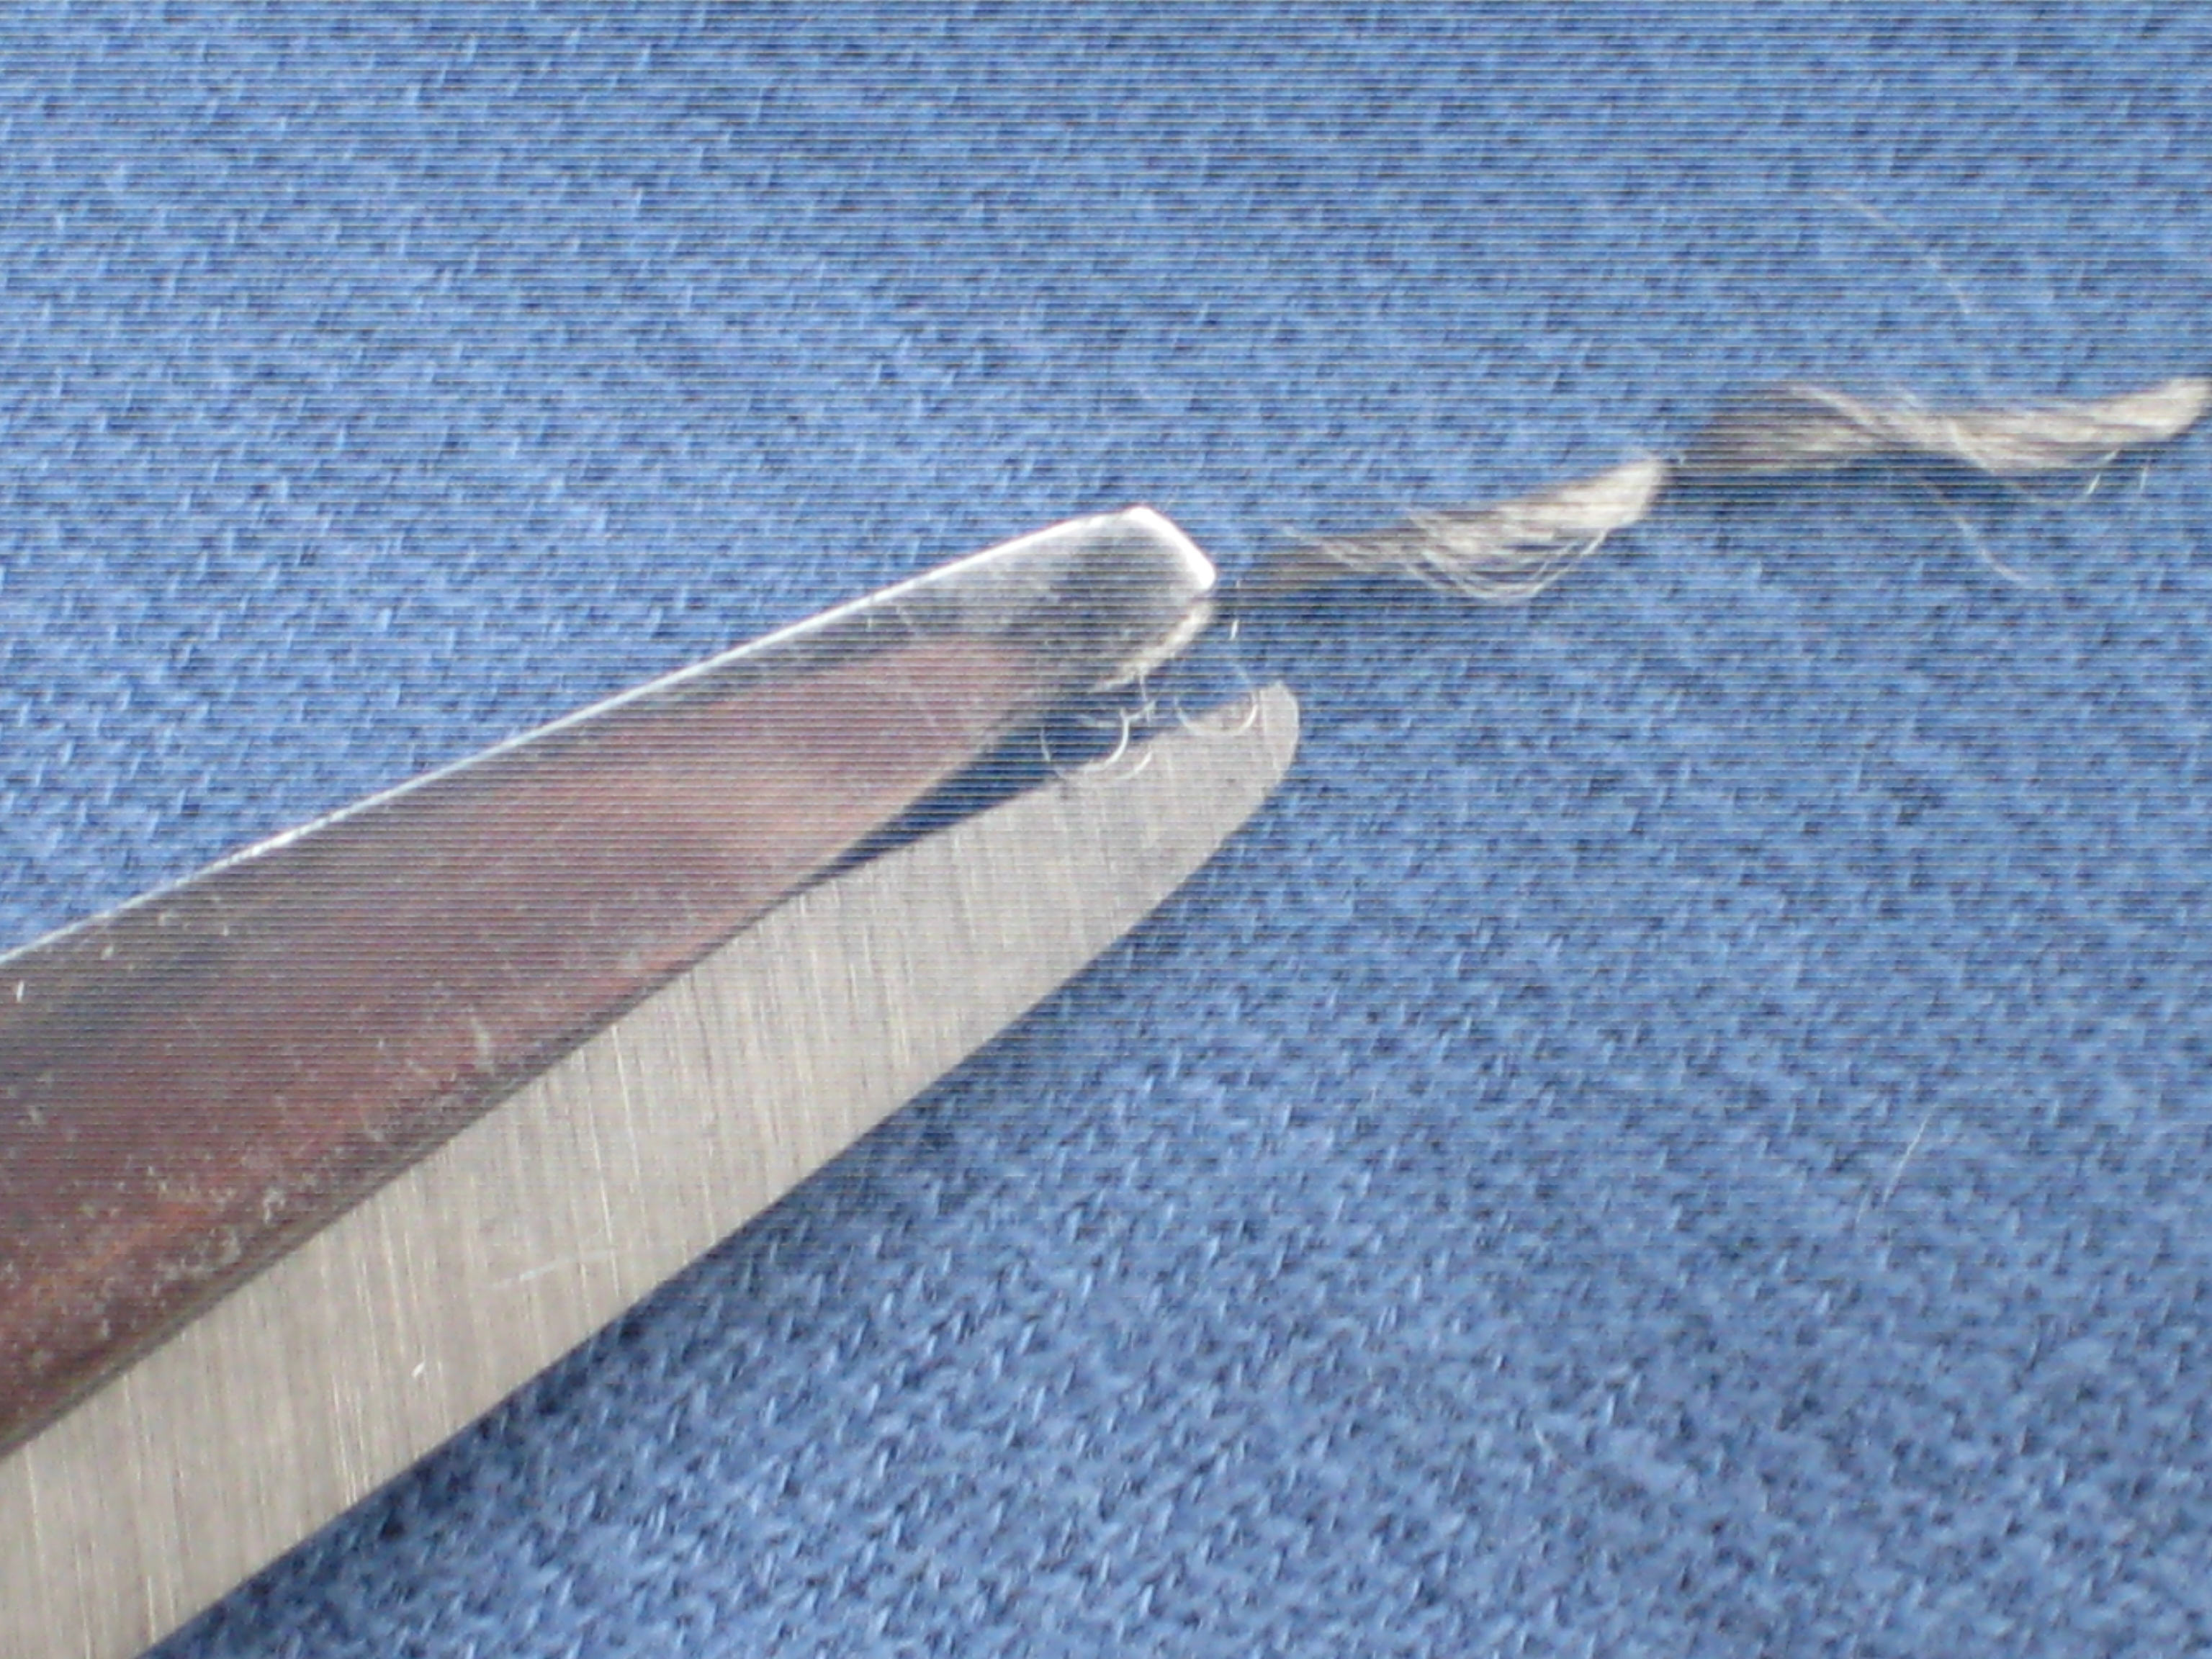
Also check resistance between the + and - stitch paths. If the resistance is less than ~10k ohms, you likely have a short. This may be because a fine hair from one path is touching the other path. Trim the hair, and you should be okay.
Test your stitching.
Once you're certain that you have no shorts, put the battery into the power supply and flip the switch on the power supply to the on position. The red light on the power supply should turn on. If there is no red light, turn off the switch quickly and see whether there is a short between your + and - stitches.
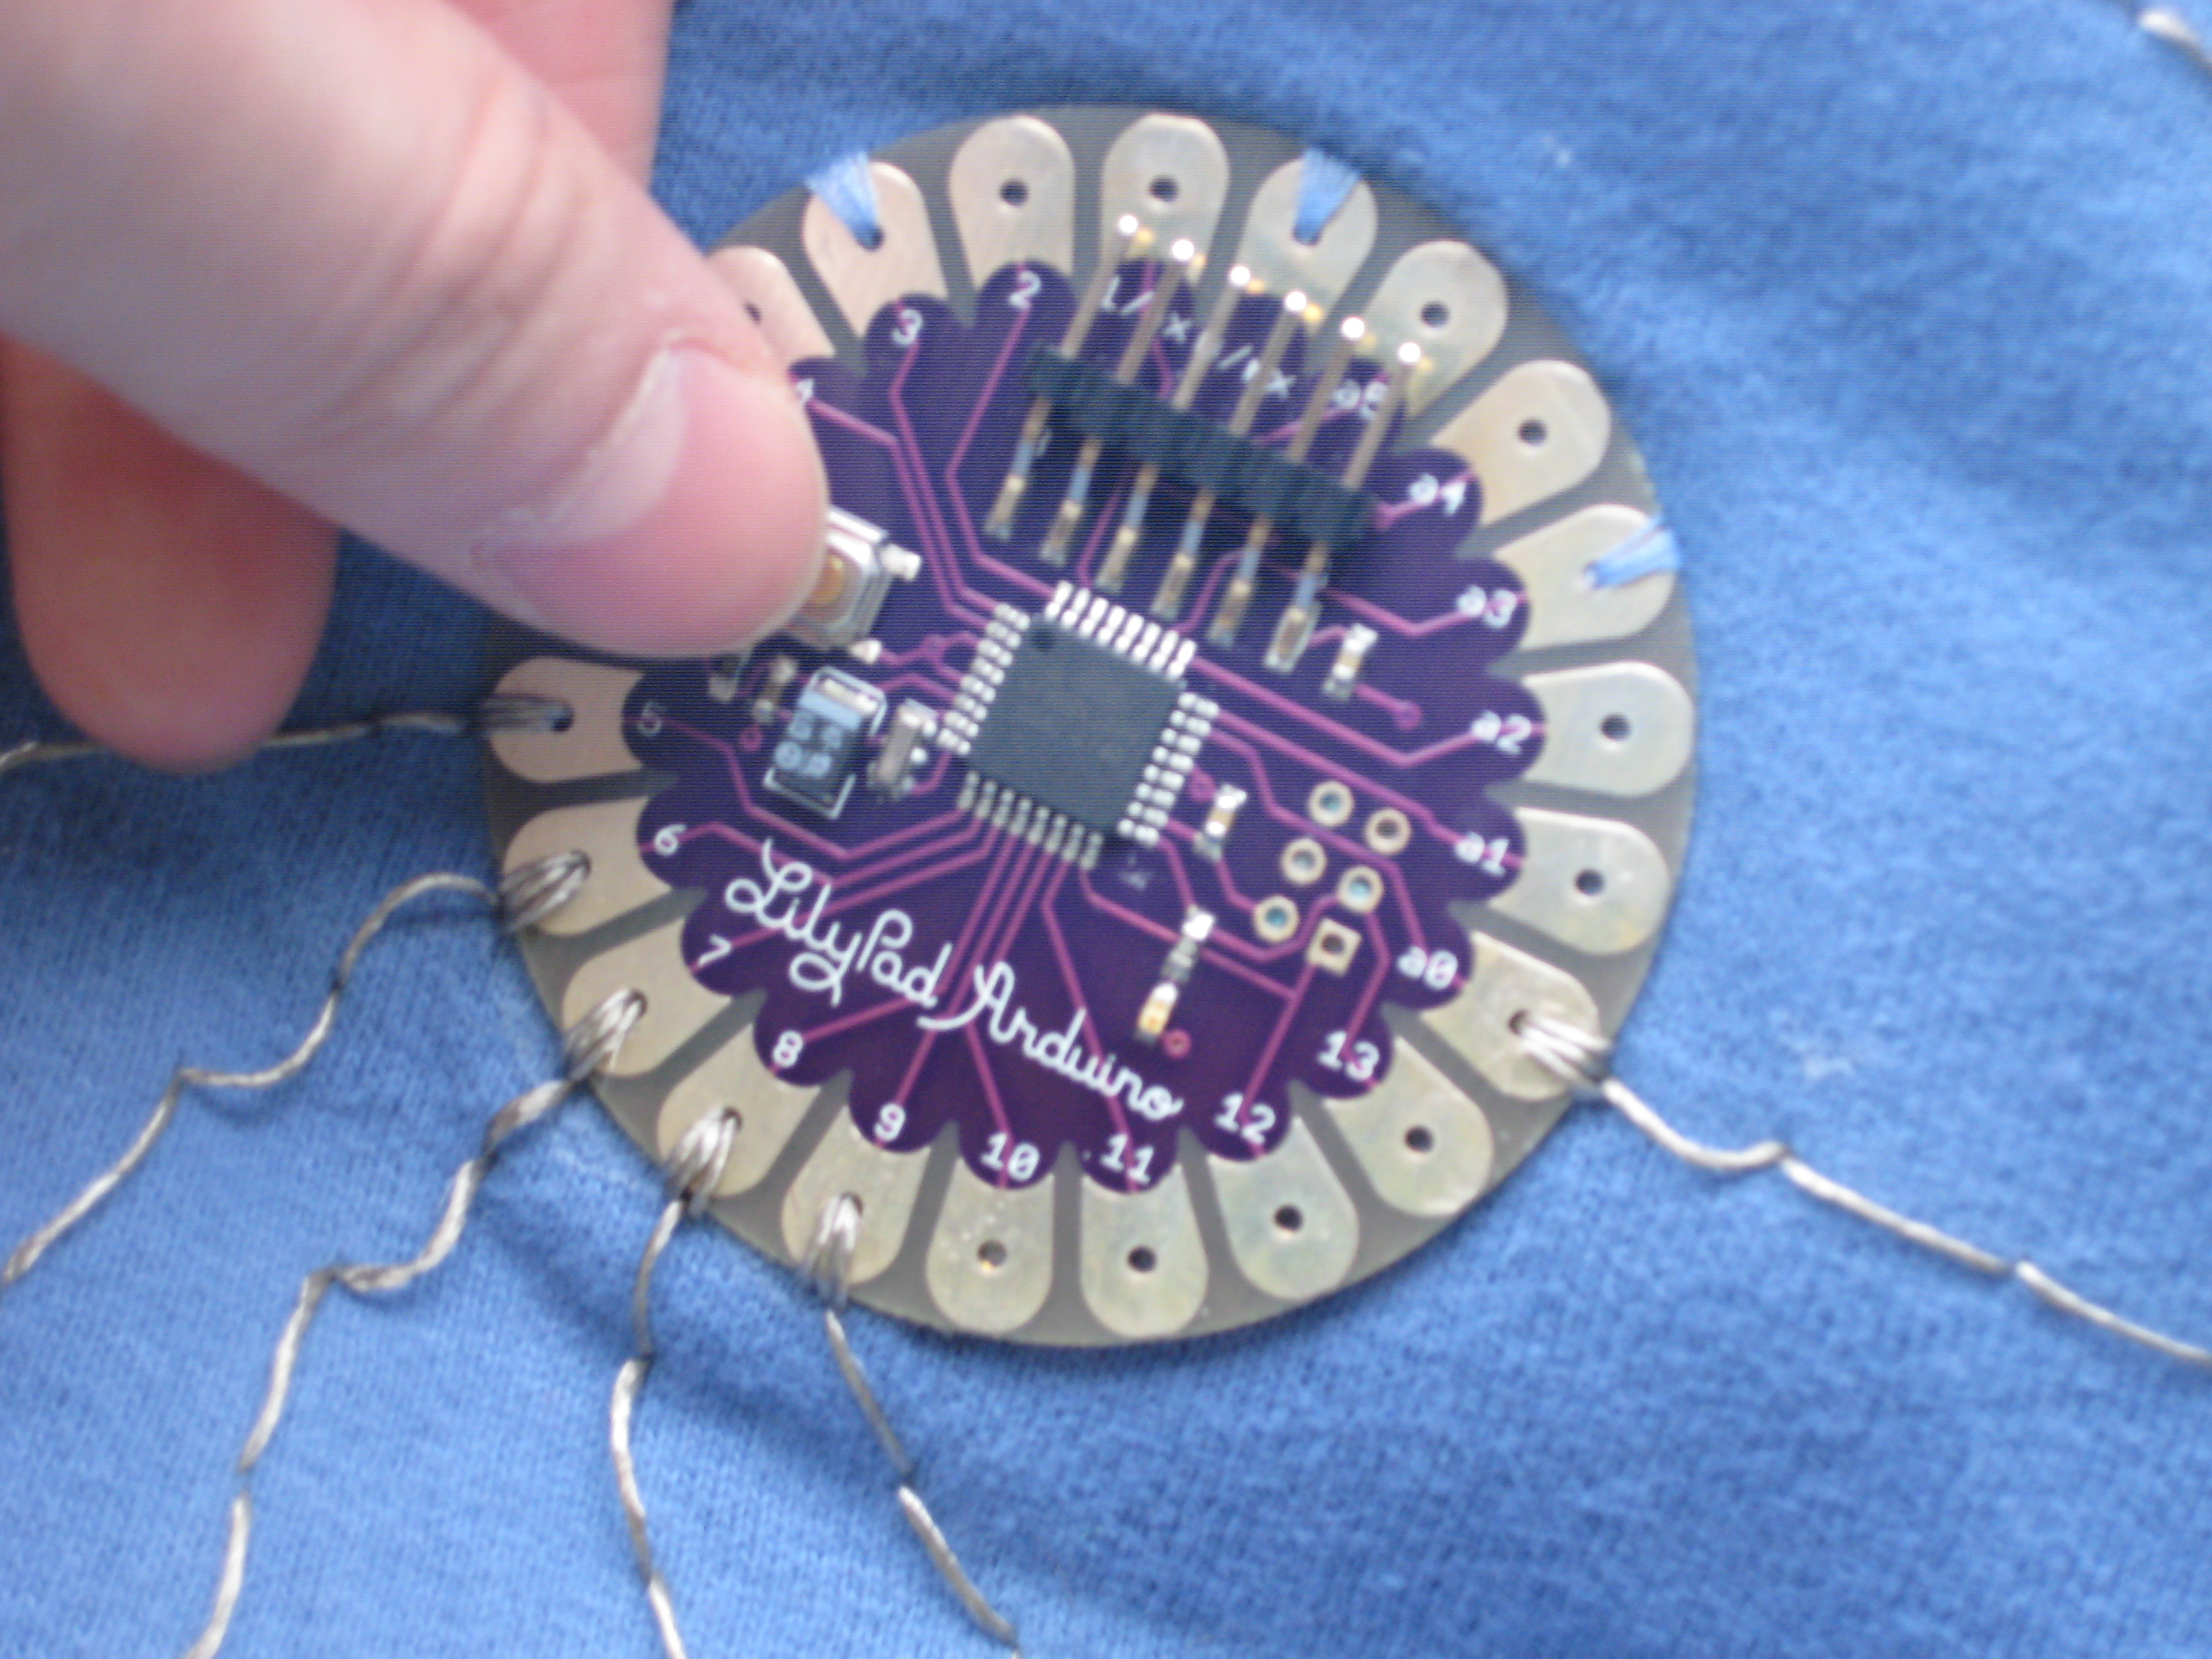
If the red light is on, press the switch button on the LilyPad main board. The light on the LilyPad should blink each time you press the switch. If it doesn't, the resistance between your power supply and LilyPad is too high, and you should reinforce your stitching.
Sew on Your LEDs
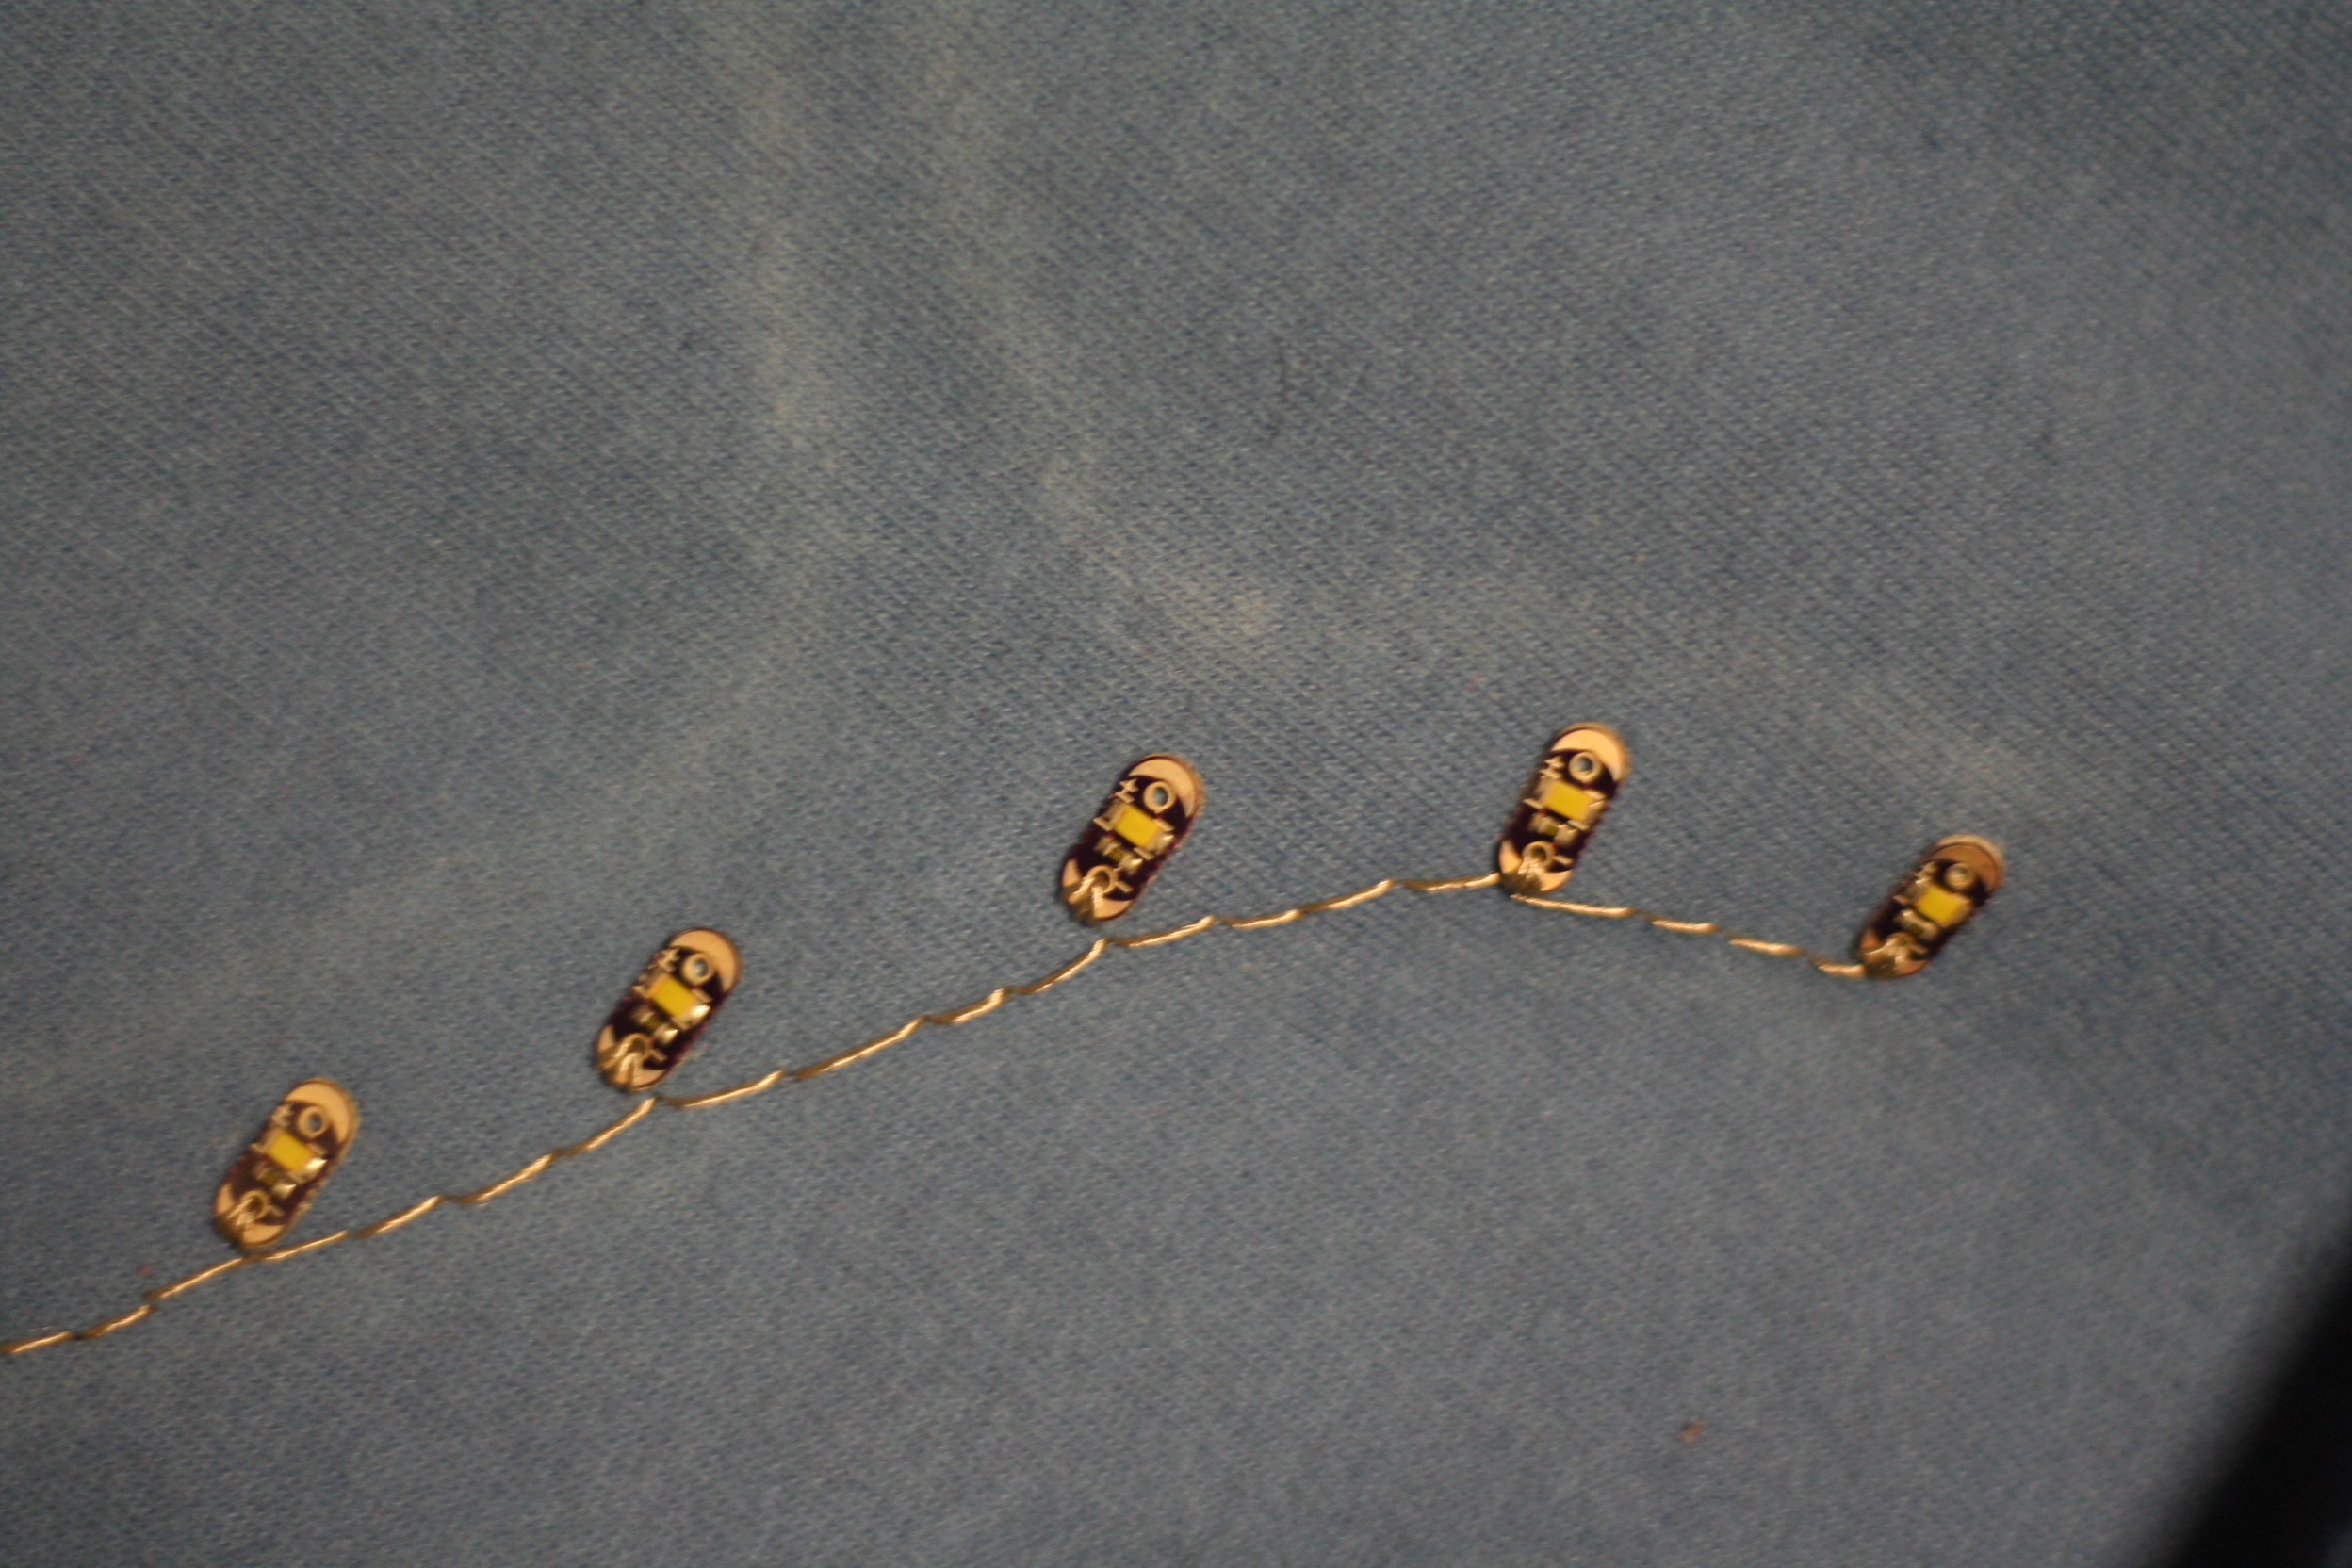
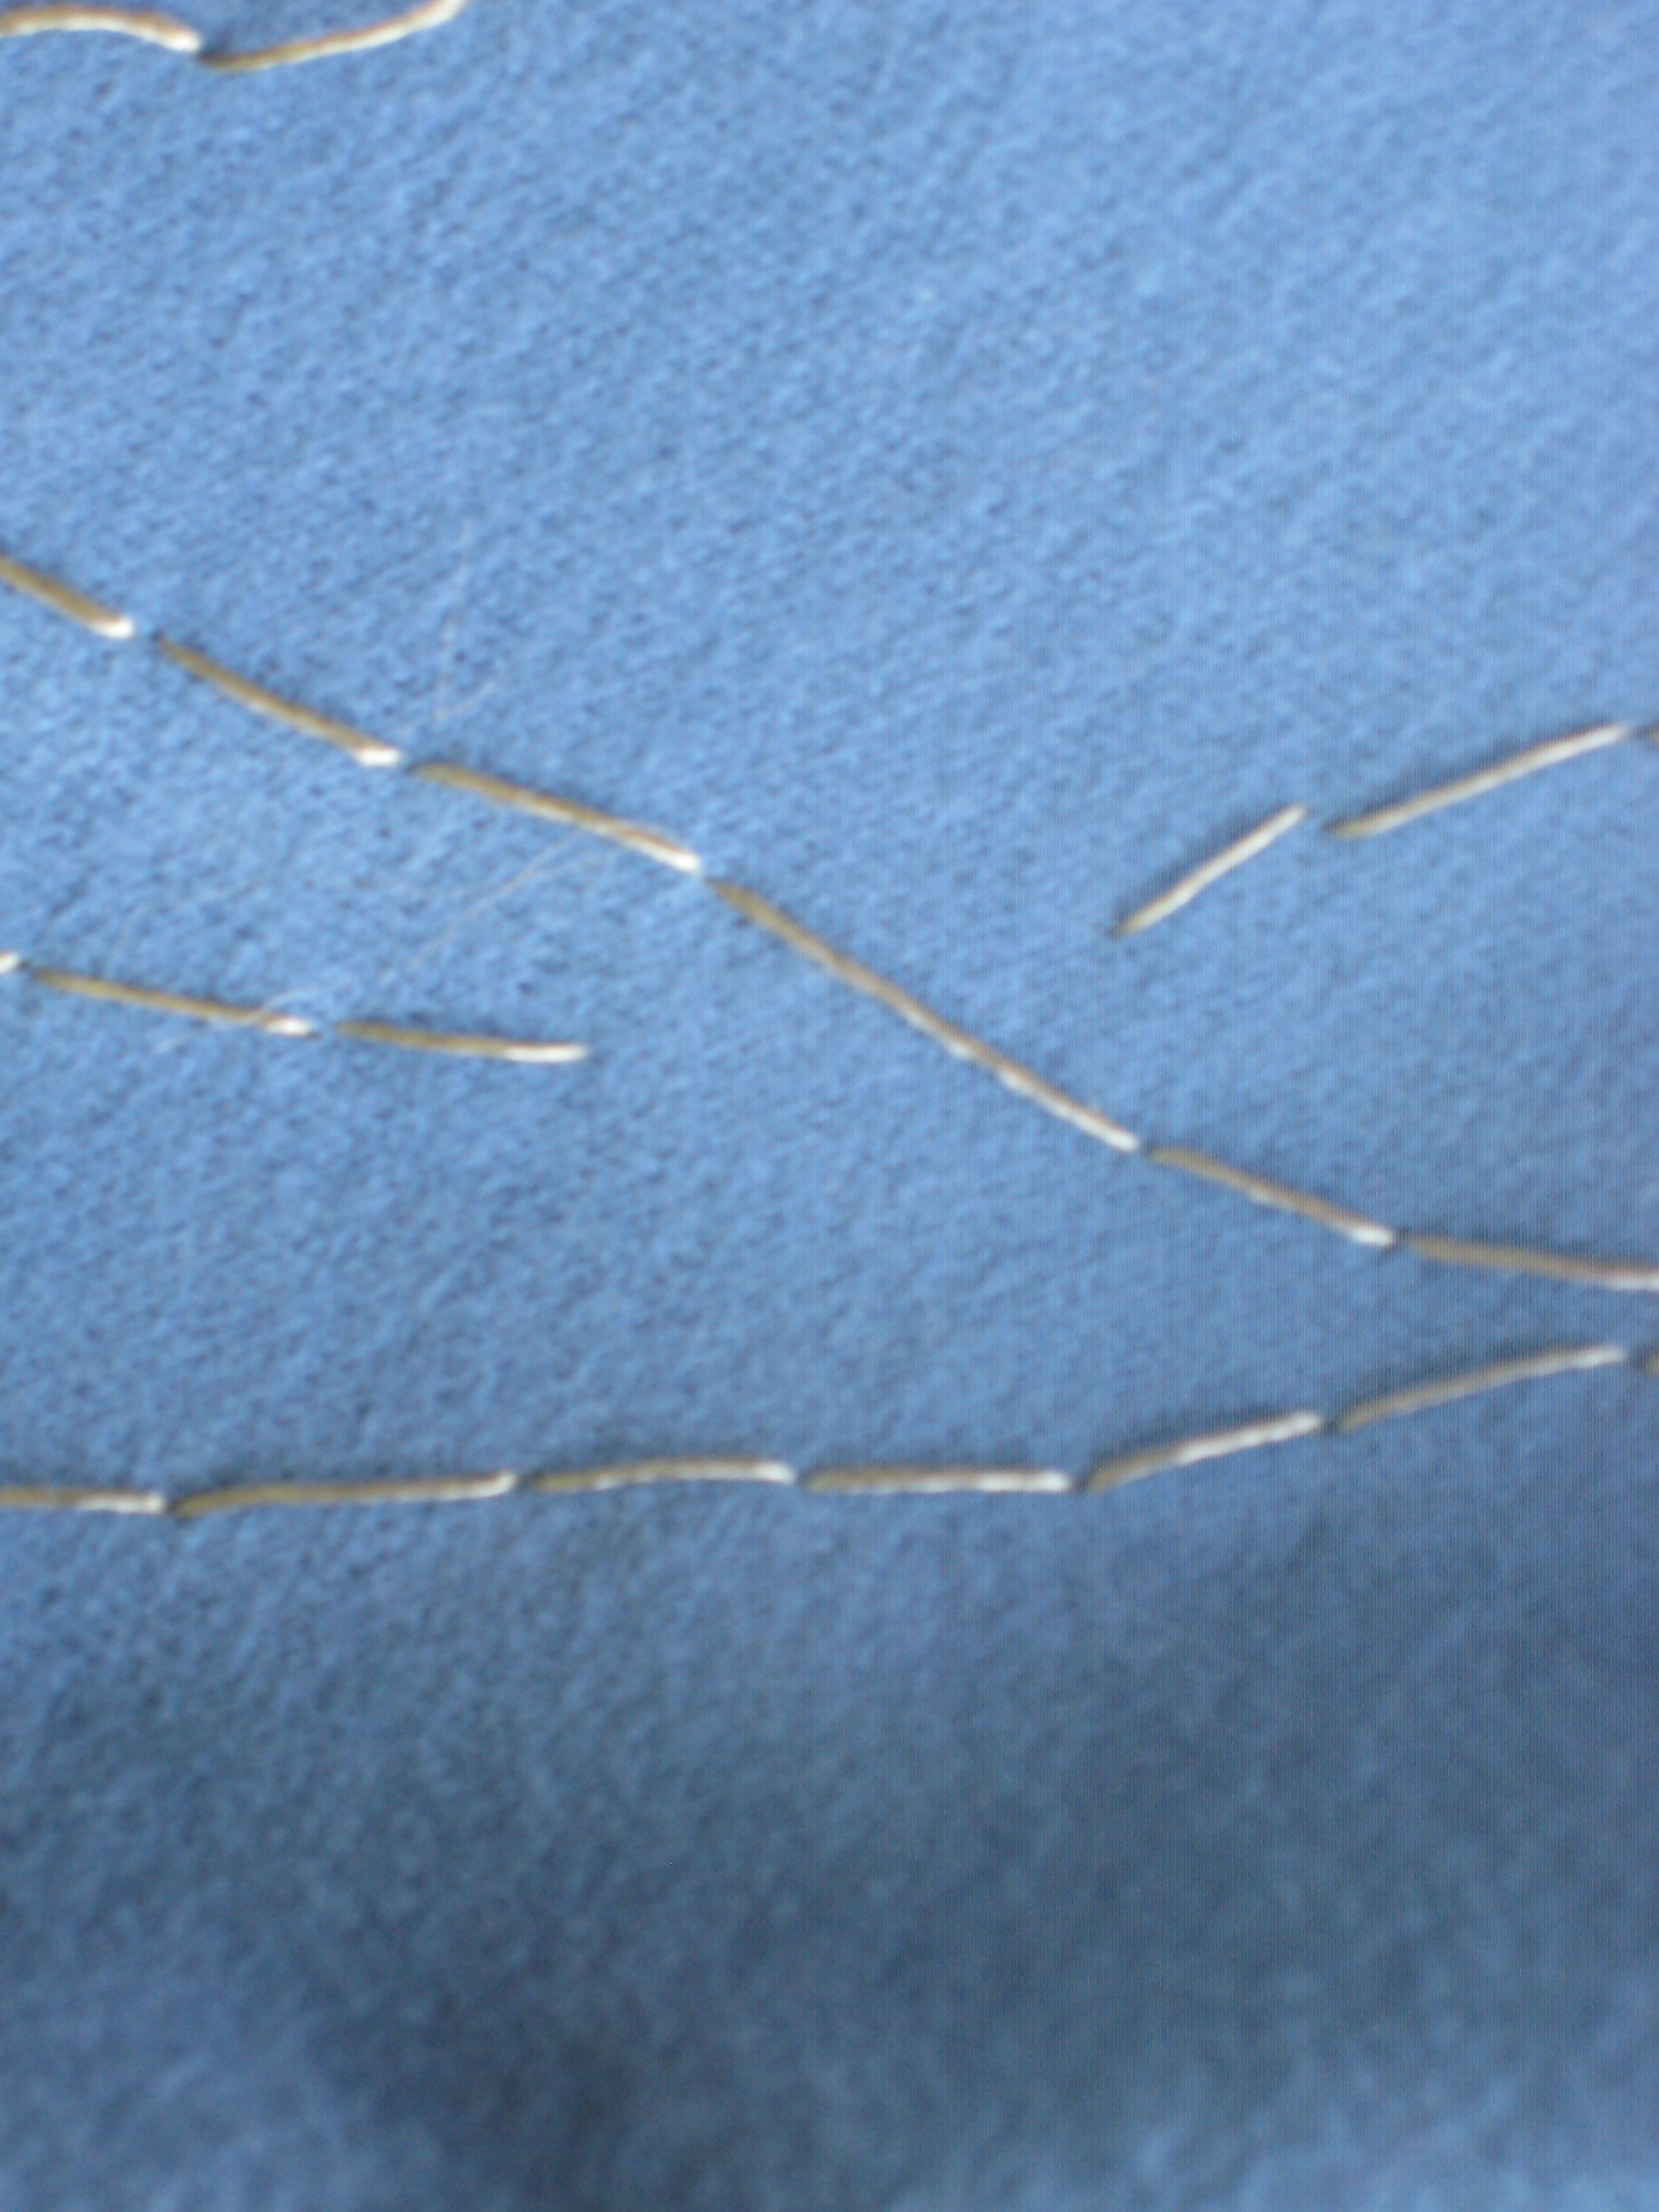
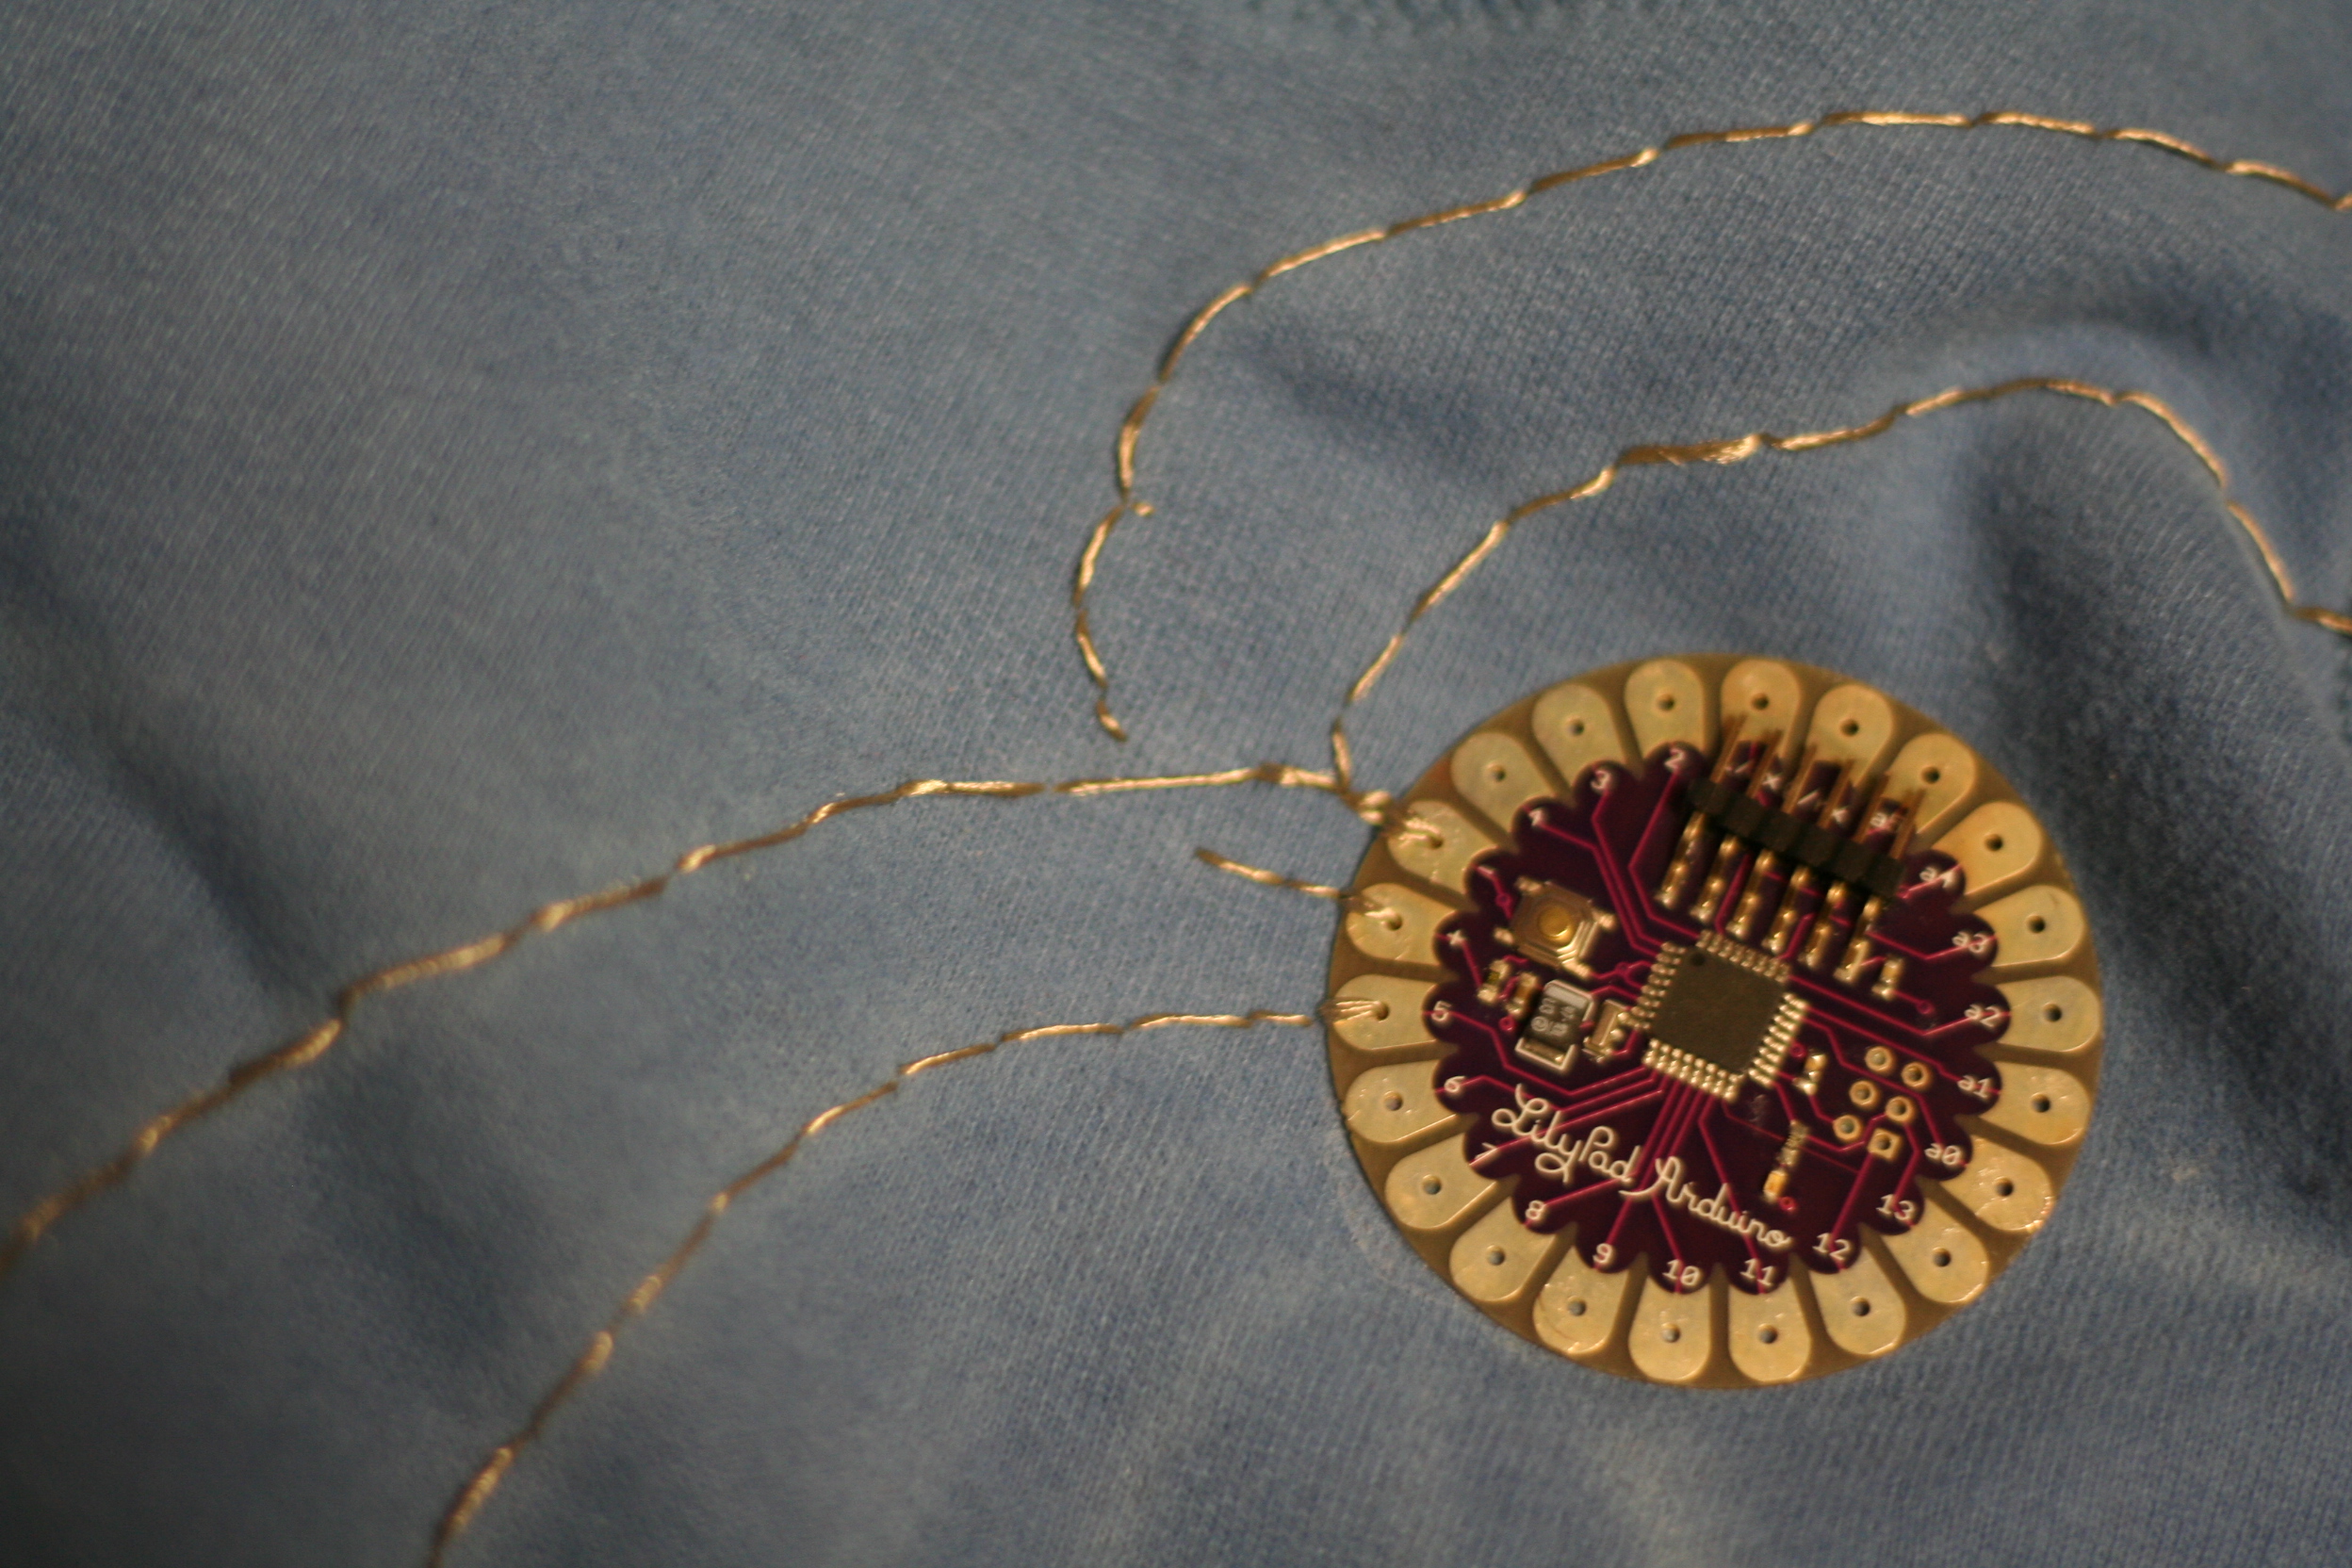
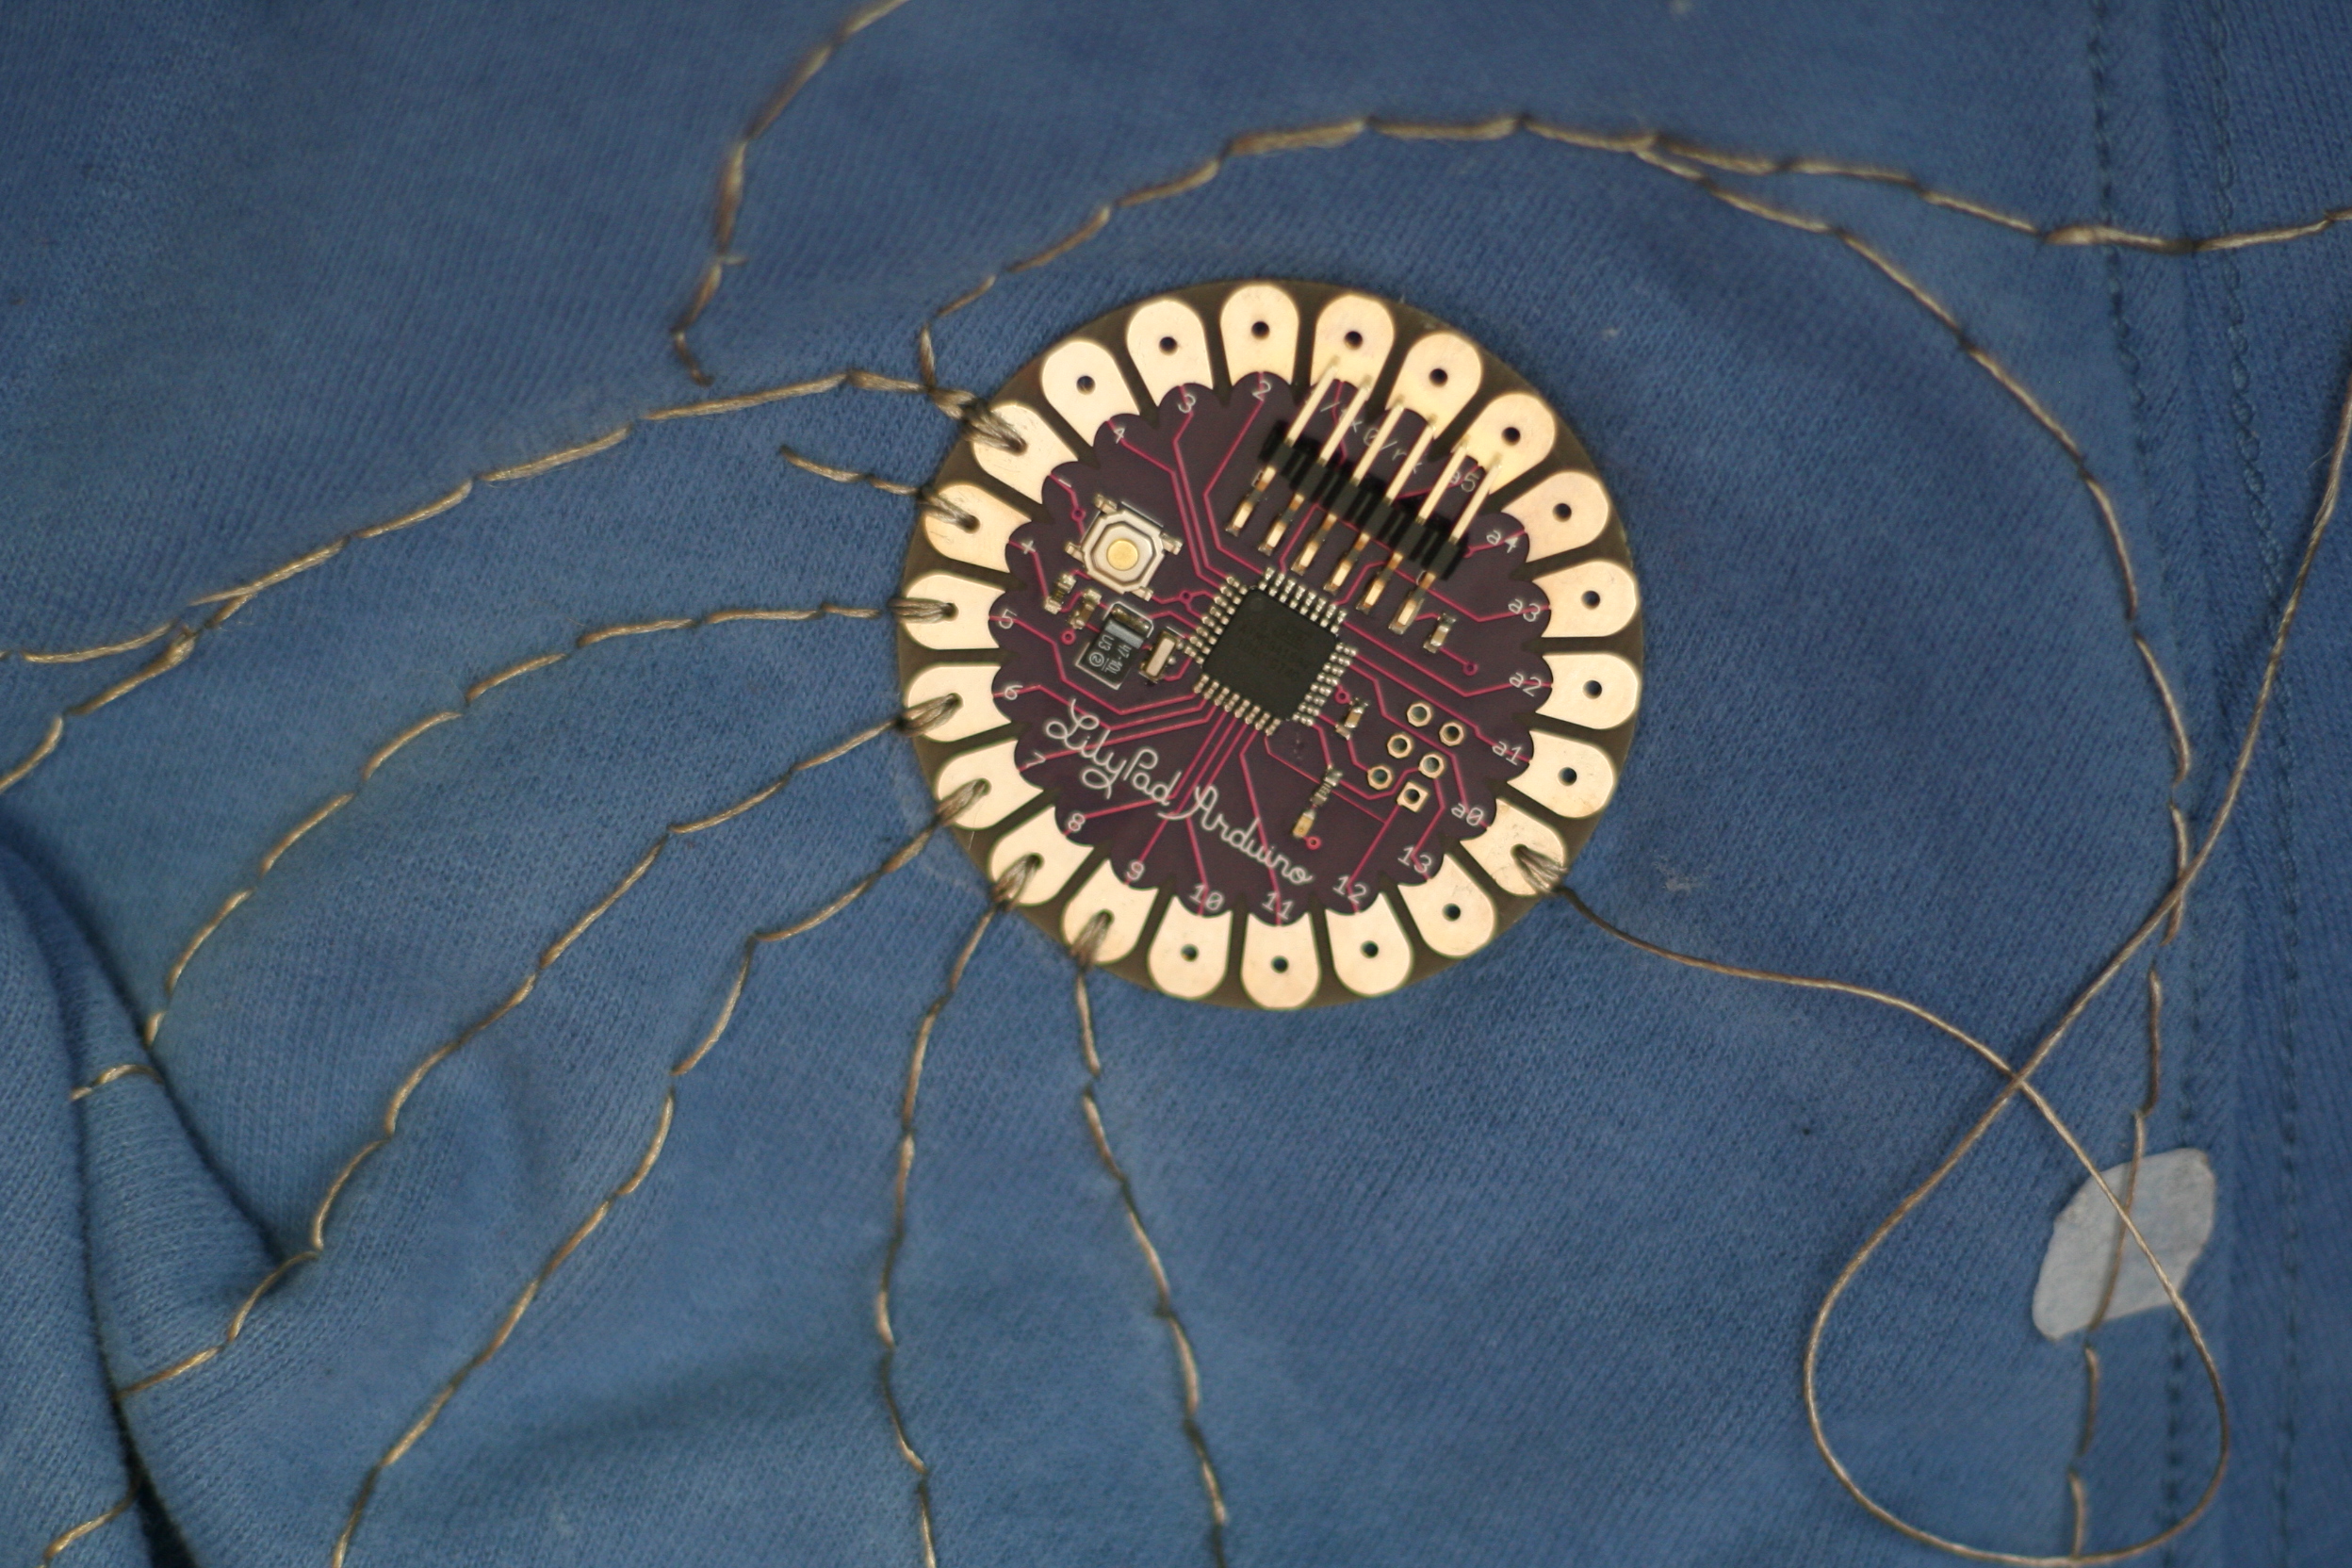
Sew on the LEDs.
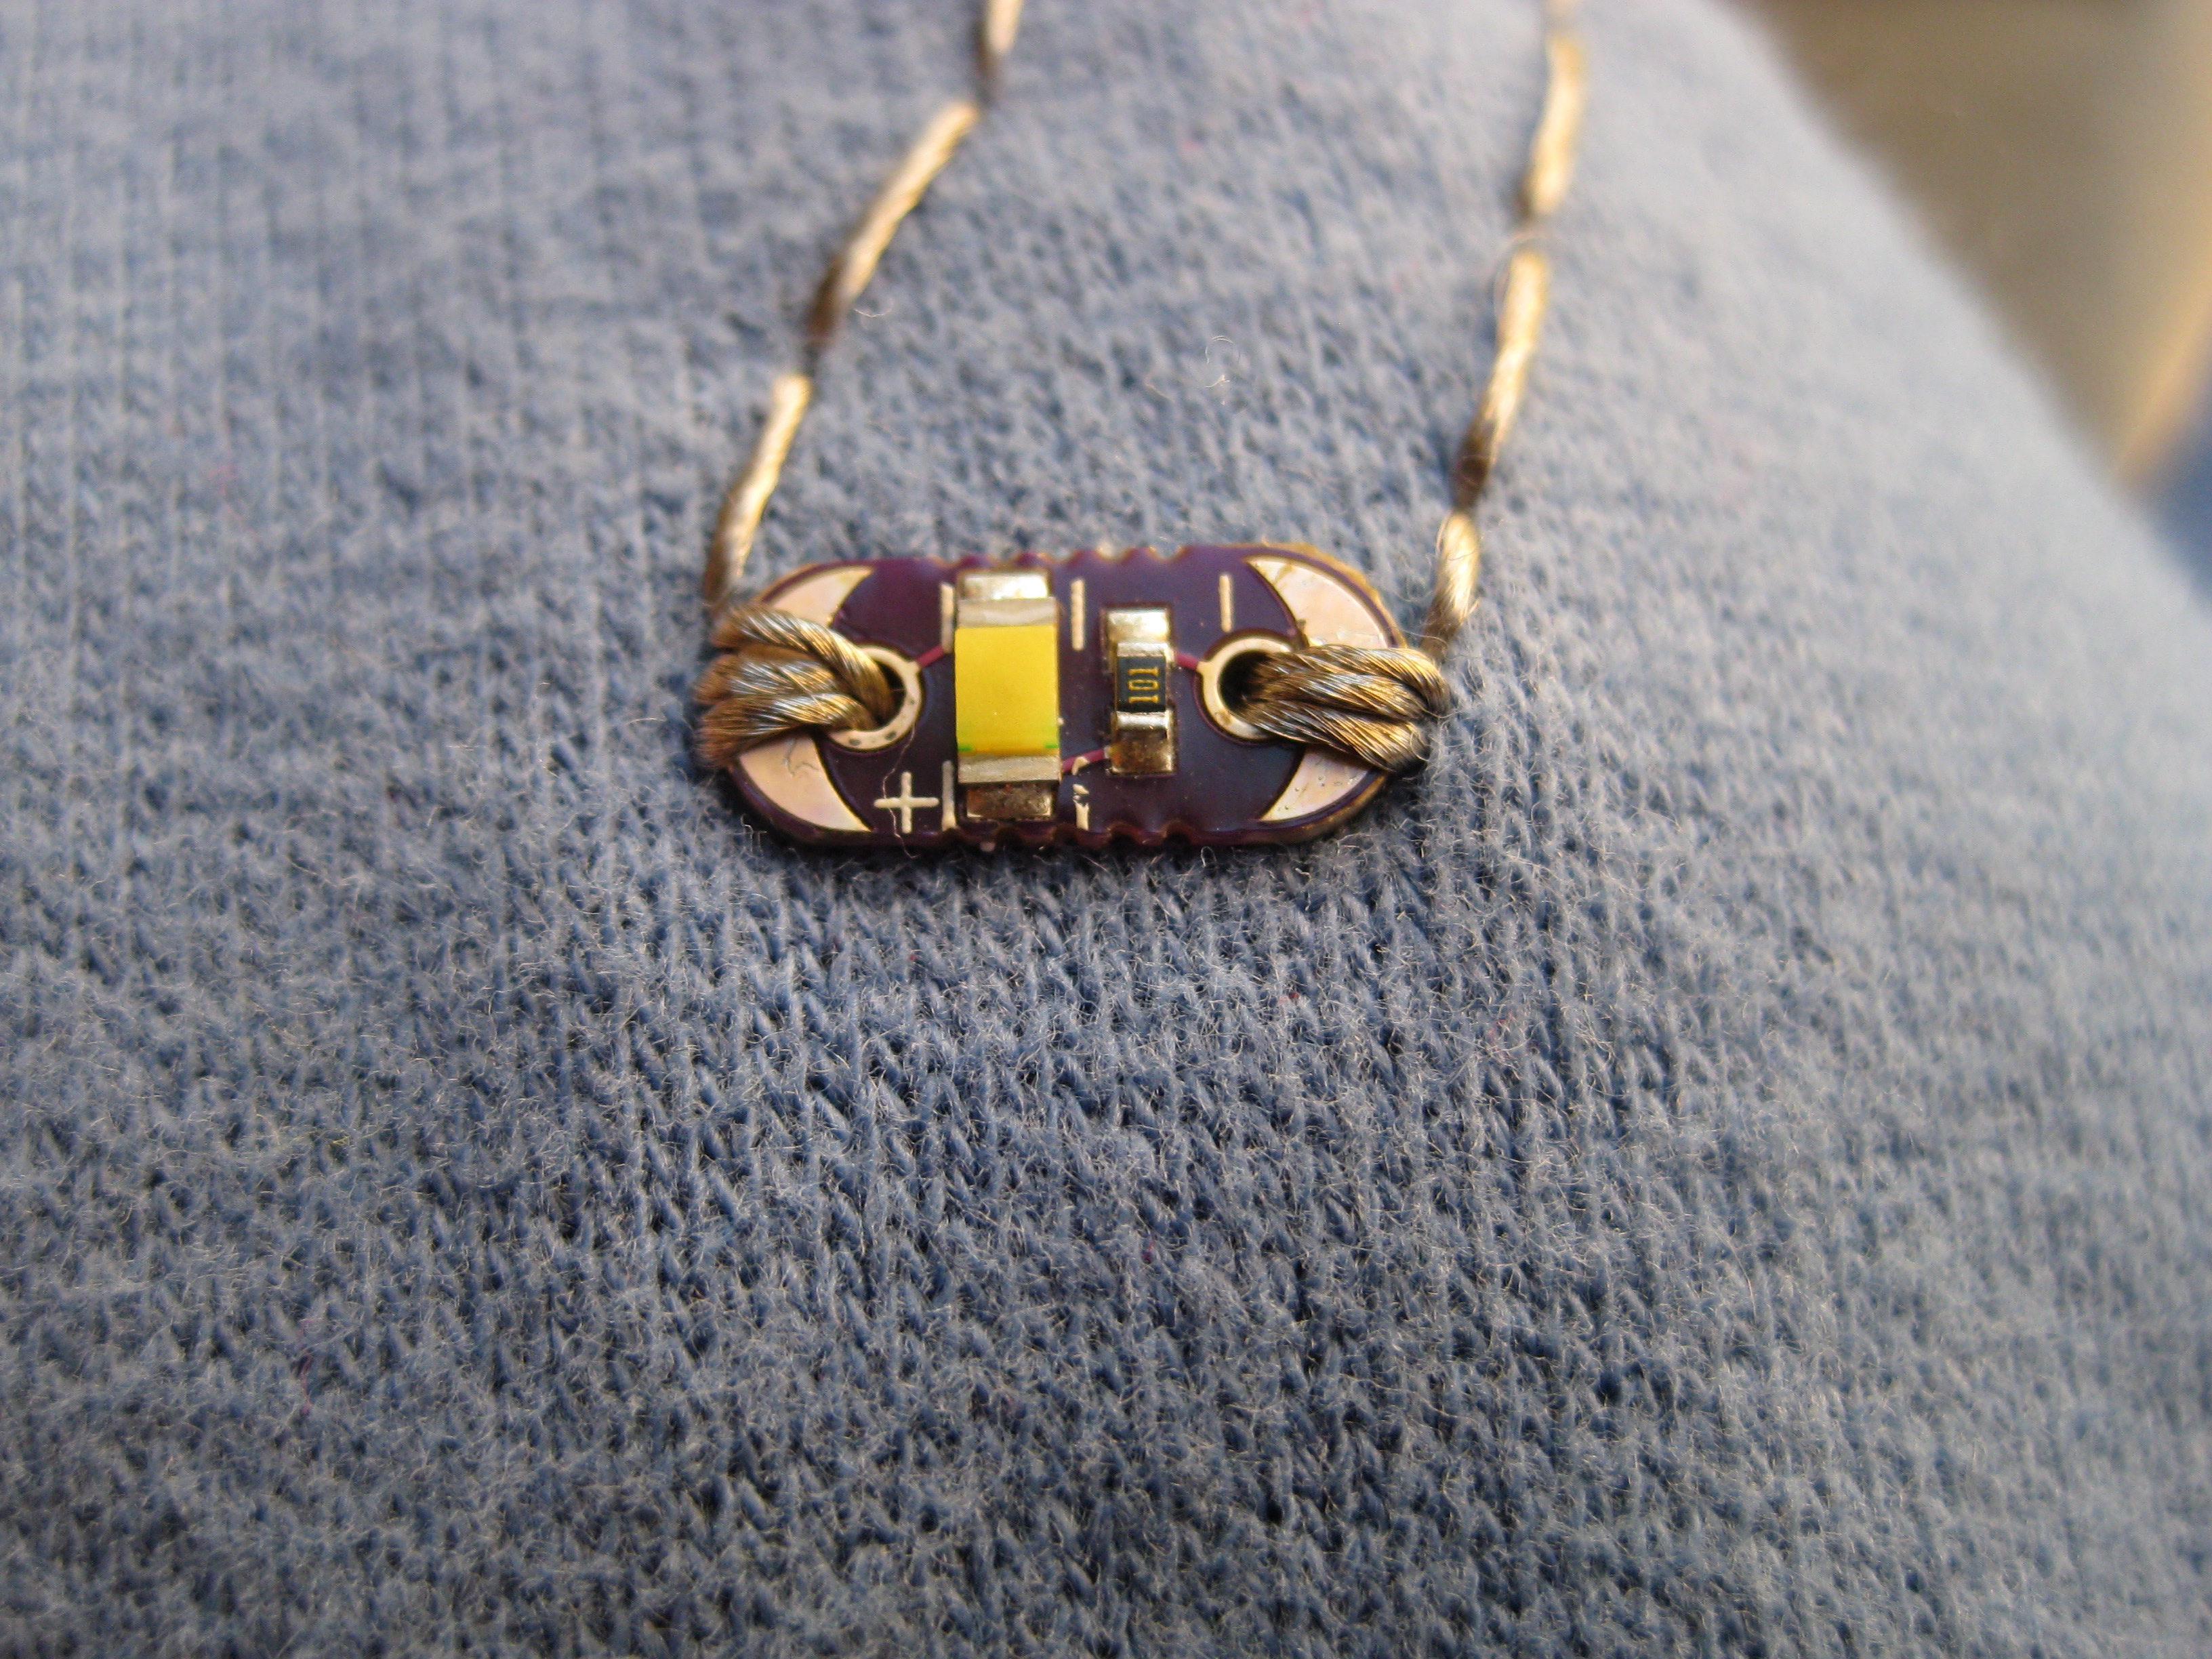
Using the same techniques as for the power supply, sew the LEDs onto your garment. I like to start at the LilyPad main board, and then trace the paths to my LEDs.
I stitched my 12 LEDs in sets of 3. They are connected to petals 5, 6, 7, and 8 on the LilyPad main board, according to my program - but of course you can always change the program to fit your needs. What do I mean when I say that I sew the LEDs in sets ? This means that I sew the + petals of each set of LEDs together, so they all light up at the same time. The - petals of all 12 LEDs can be sewn together (or not, depending on your design) - I sewed them in a set of 9 and a set of 3 for convenience.
Again, here, we're sewing from the numerical petals of the LilyPad main board to the + petals of each LED, and we're sewing from the - petal of the LilyPad main board to the - petals of each LED.
Be very careful to avoid shorts here, and remember to seal your knots with nail polish. It's easiest to avoid shorts using the strategy mentioned earlier - tie your knots further away from each other by sewing back along your stitching once you've reached the petals, and tying the knot about an inch away from the petal. Usually, the biggest cause of shorts is the loose cut ends of your knots, so we want to keep these away from each other.
How to handle overlapping traces: What do you do when two of your traces overlap? Here's my way of handling the problem. Since I'm using backstitch, there's thread along both the outside and the inside of the garment throughout the entire conductive trace. When two traces overlap, this results in a short. To prevent overlapping traces from causing a problem, you can use a running stitch at the overlap. Sew one trace on the outside of the garment and the other trace on the inside of the garment at the overlap. This way, the traces should not be touching each other.
Test your LEDs.
Load a test program onto your LilyPad that blinks each of your LED sets to make sure that they all work.
Here's mine:
'int pin5 = 5; // LED connected to digital pin 5
int pin6 = 6; // LED connected to digital pin 5
int pin7 = 7; // LED connected to digital pin 5
int pin8 = 8; // LED connected to digital pin 5
void setup() // run once, when the sketch starts
{
pinMode(pin5, OUTPUT); // sets digital pin 5 to be an output
pinMode(pin6, OUTPUT); // sets digital pin 6 to be an output
pinMode(pin7, OUTPUT); // sets digital pin 7 to be an output
pinMode(pin8, OUTPUT); // sets digital pin 8 to be an output
}
void loop() // run over and over again
{
digitalWrite(pin5, HIGH); //turns on led connected to pin 5
delay(1000);
digitalWrite(pin6, HIGH); //turns on led connected to pin 6
delay(1000);
digitalWrite(pin7, HIGH); //turns on led connected to pin 7
delay(1000);
digitalWrite(pin8, HIGH); //turns on led connected to pin 8
delay(1000);
digitalWrite(pin5, LOW); //turns off led connected to pin 5
delay(1000);
digitalWrite(pin6, LOW); //turns off led connected to pin 6
delay(1000);
digitalWrite(pin7, LOW); //turns off led connected to pin 7
delay(1000);
digitalWrite(pin8, LOW); //turns off led connected to pin 8
delay(1000);
}
If your LEDs do not work as expected, test your stitching for shorts using the multimeter (as per instructions in the previous step).
Sew on Your Speaker
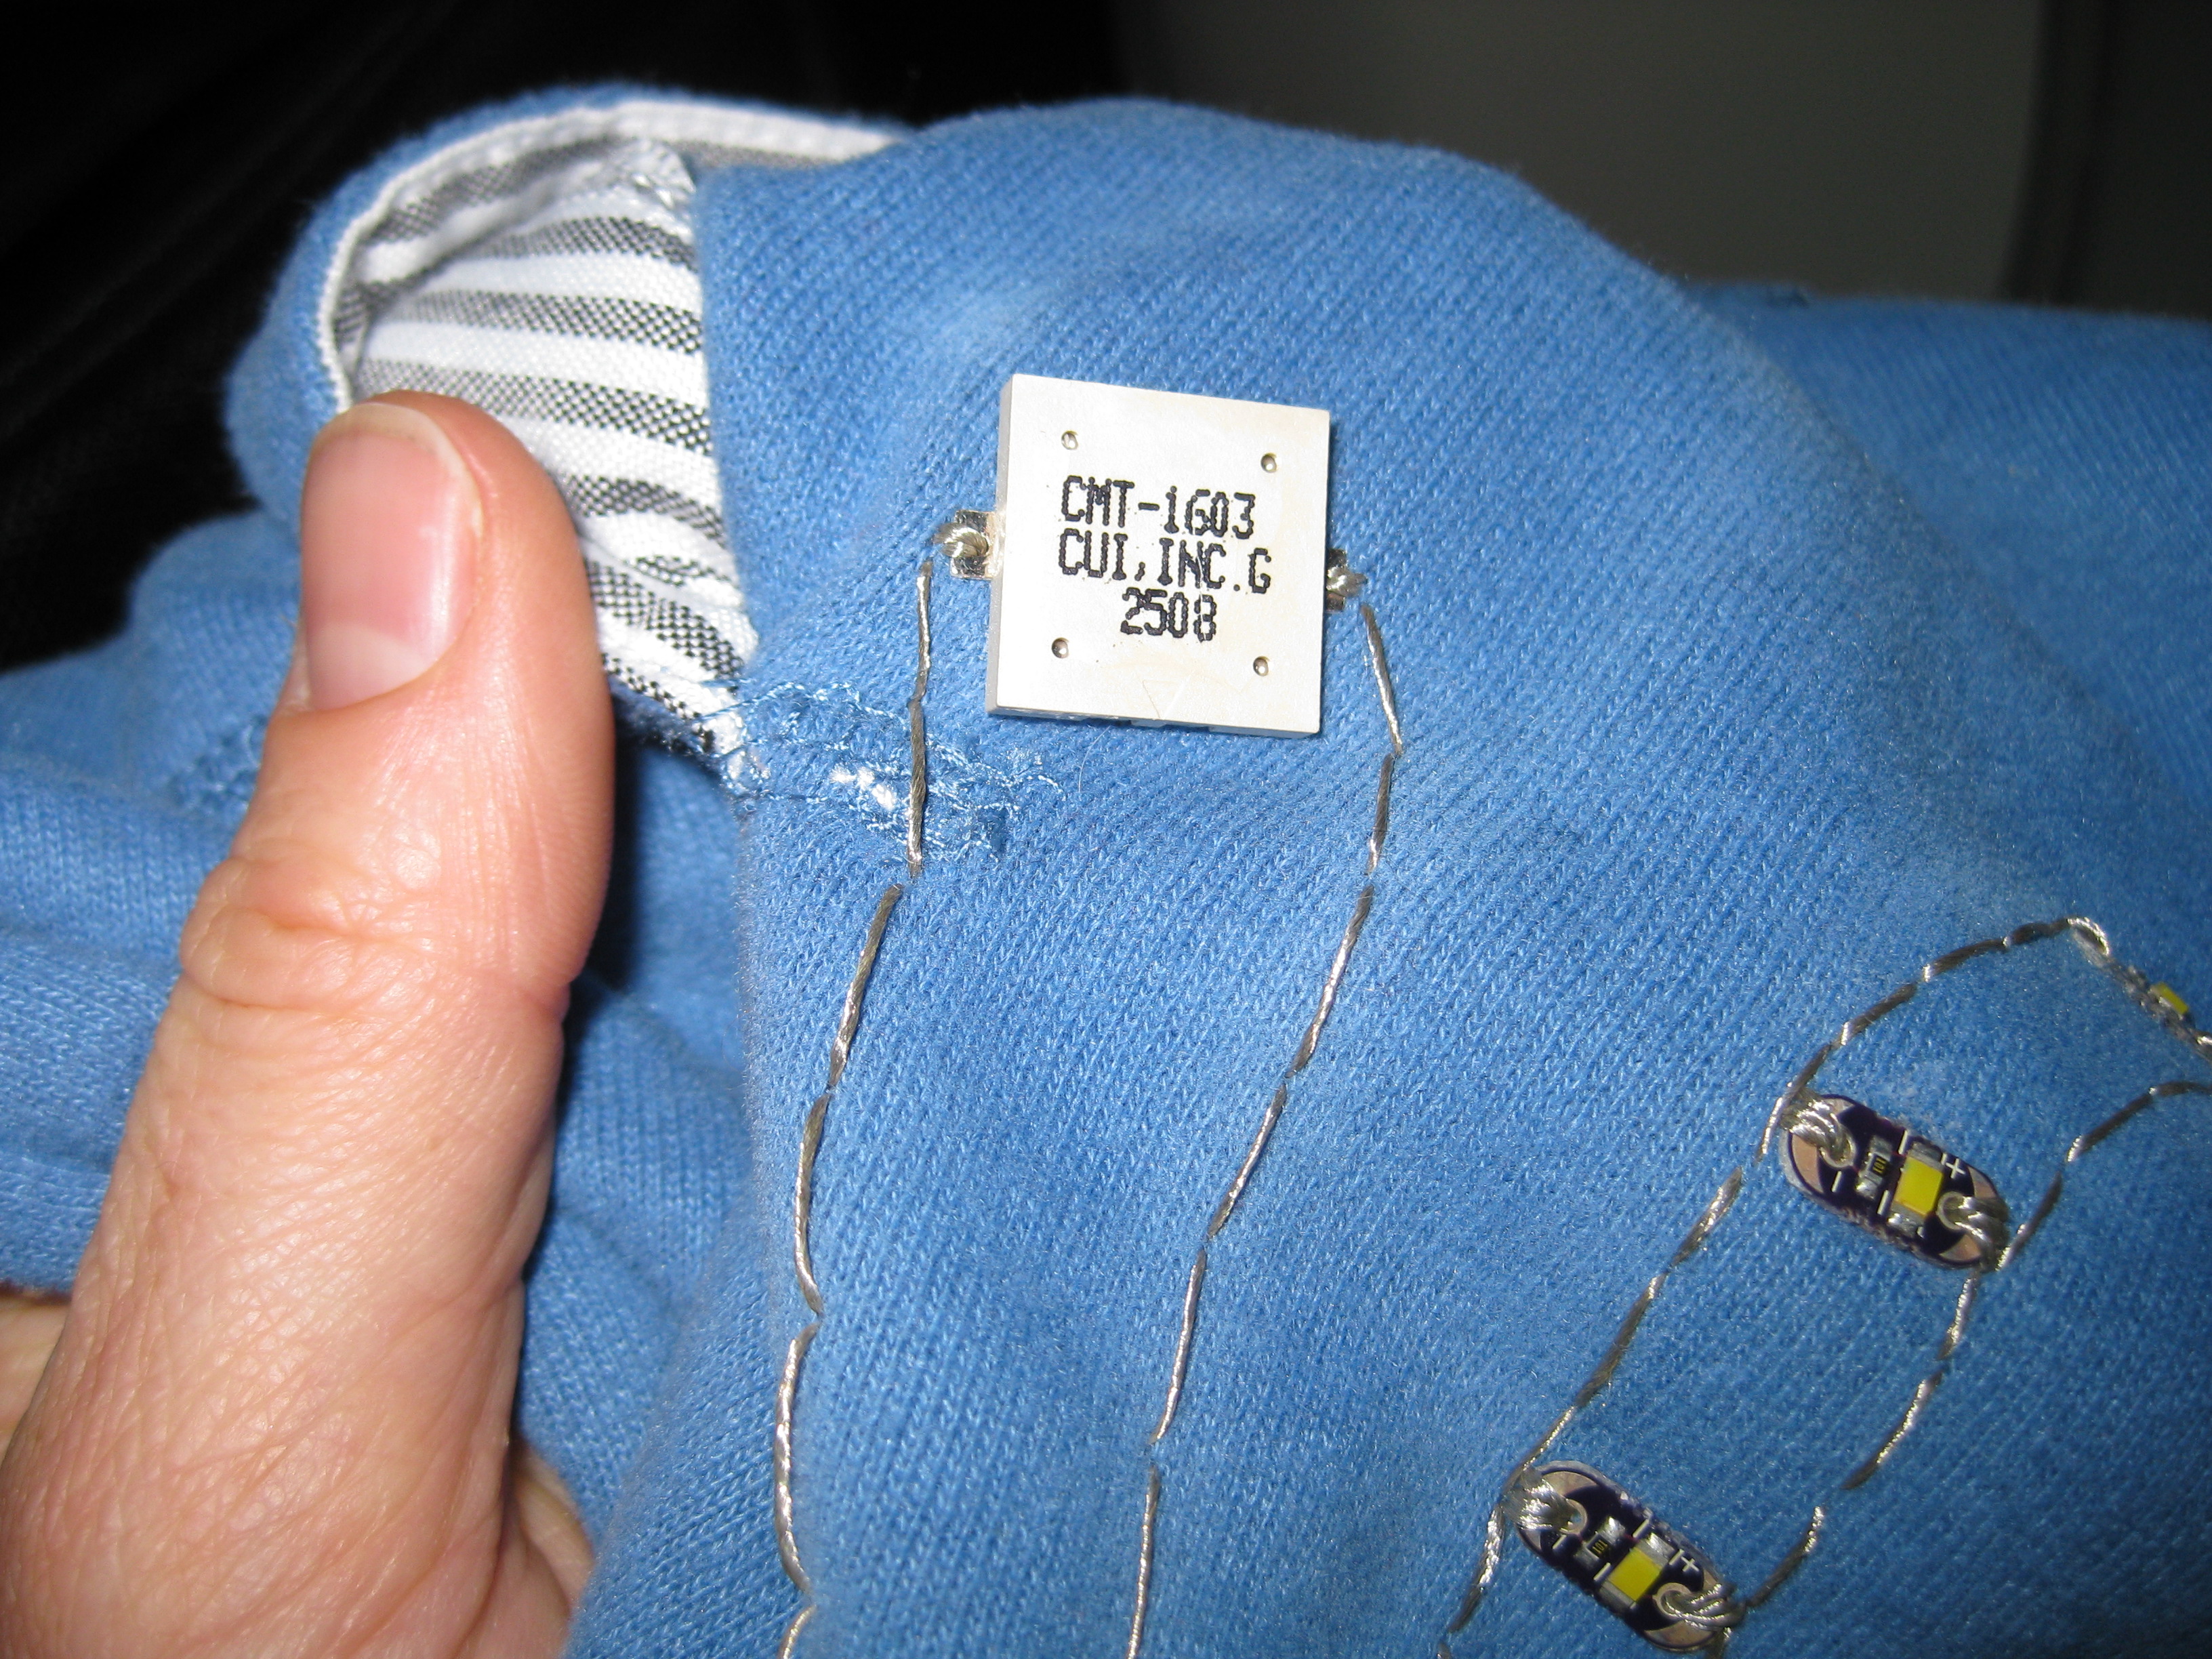
Sew on the speaker.
Using the same techniques as with the LEDs and other components, sew your speaker onto the garment. With the speaker I used, the + and - petals don't matter, but if you're using a different speaker, be sure to pay attention to which is which. The + petal should be connected to one of the numerical petals of the LilyPad main board (I used petal 9), and the - petal should be connected to the - petal of the LilyPad main board.
Test the speaker.
Here's the code I used to test the speaker. If it works, the speaker should hum a fairly constant C note.
int speakerPin = 9; // speaker connected to digital pin 9
void setup() // run once, when the sketch starts
{
pinMode(speakerPin, OUTPUT); // sets the speakerPin to be an output
}
void loop()
{
beep(speakerPin,2093,1000); //C: play the note C 500ms
}
void beep (unsigned char speakerPin, int frequencyInHertz, long timeInMilliseconds) // the sound producing function
{
int x;
long delayAmount = (long)(1000000/frequencyInHertz);
long loopTime = (long)((timeInMilliseconds*1000)/(delayAmount*2));
for (x=0;x<loopTime;x++)
{
digitalWrite(speakerPin,HIGH);
delayMicroseconds(delayAmount);
digitalWrite(speakerPin,LOW);
delayMicroseconds(delayAmount);
}
}
If the speaker does not work, use the multimeter to test for shorts with the instructions from the previous step.
Stitch Traces to the Conductive Fabric
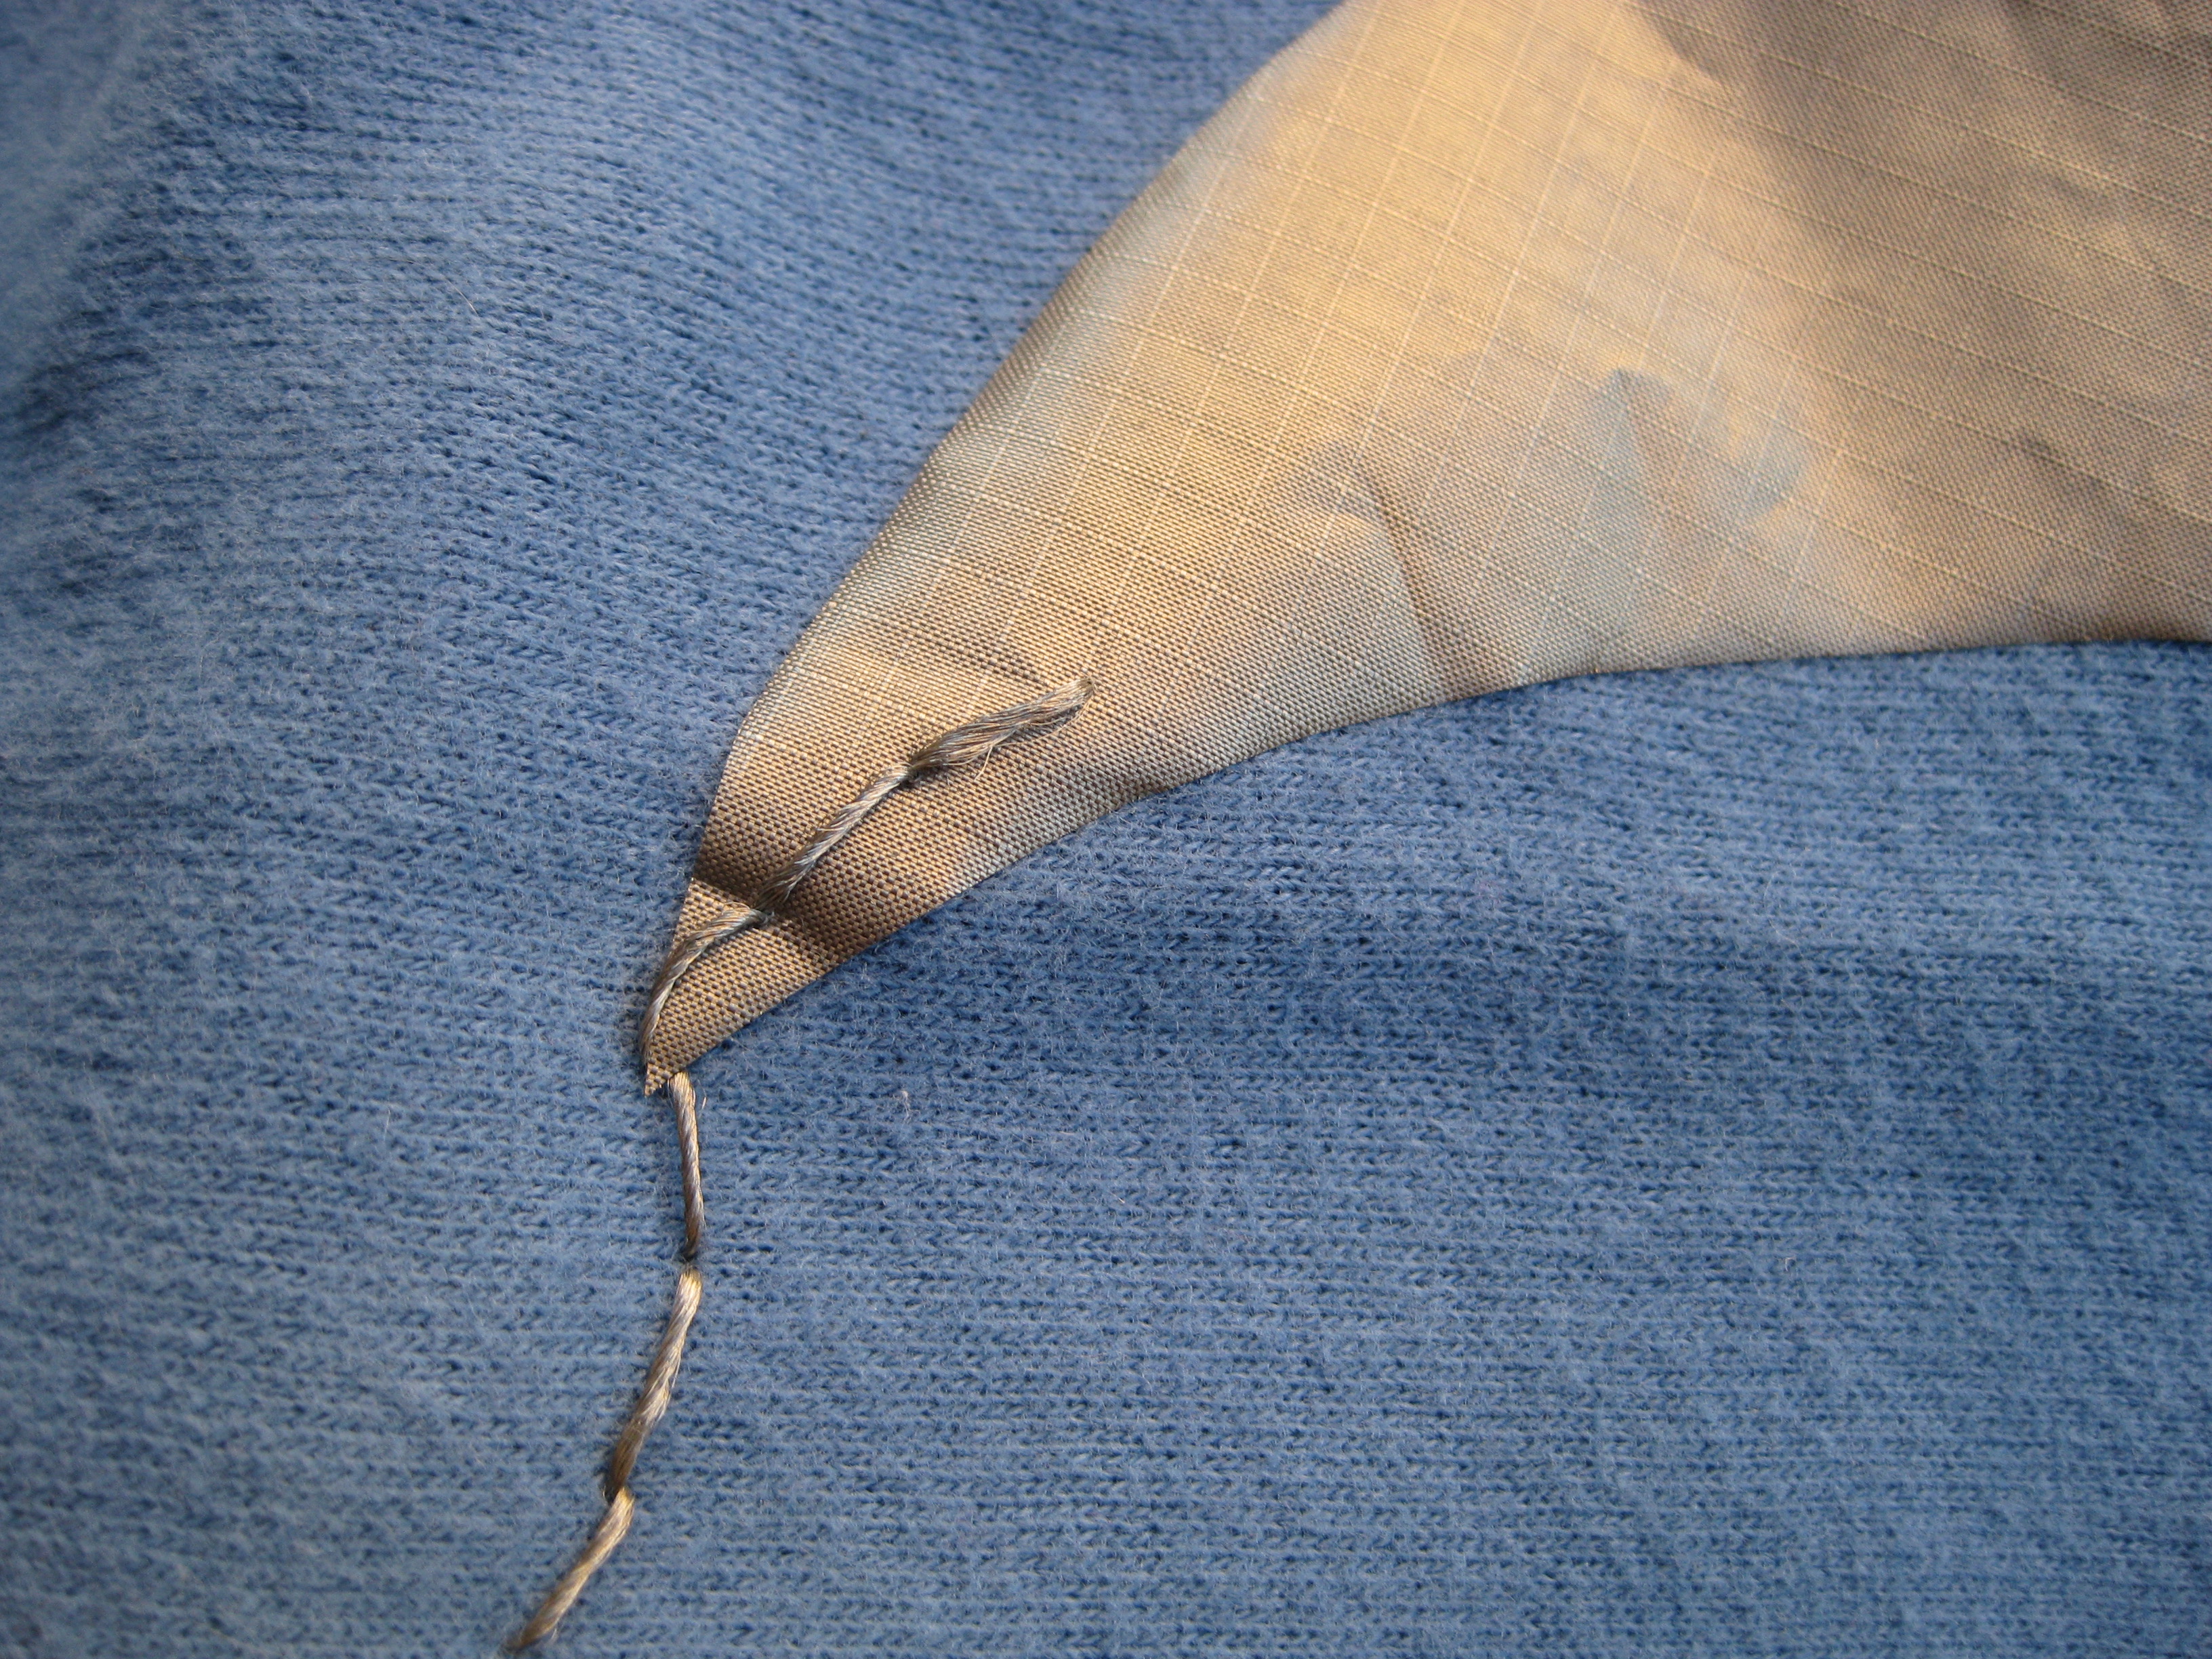
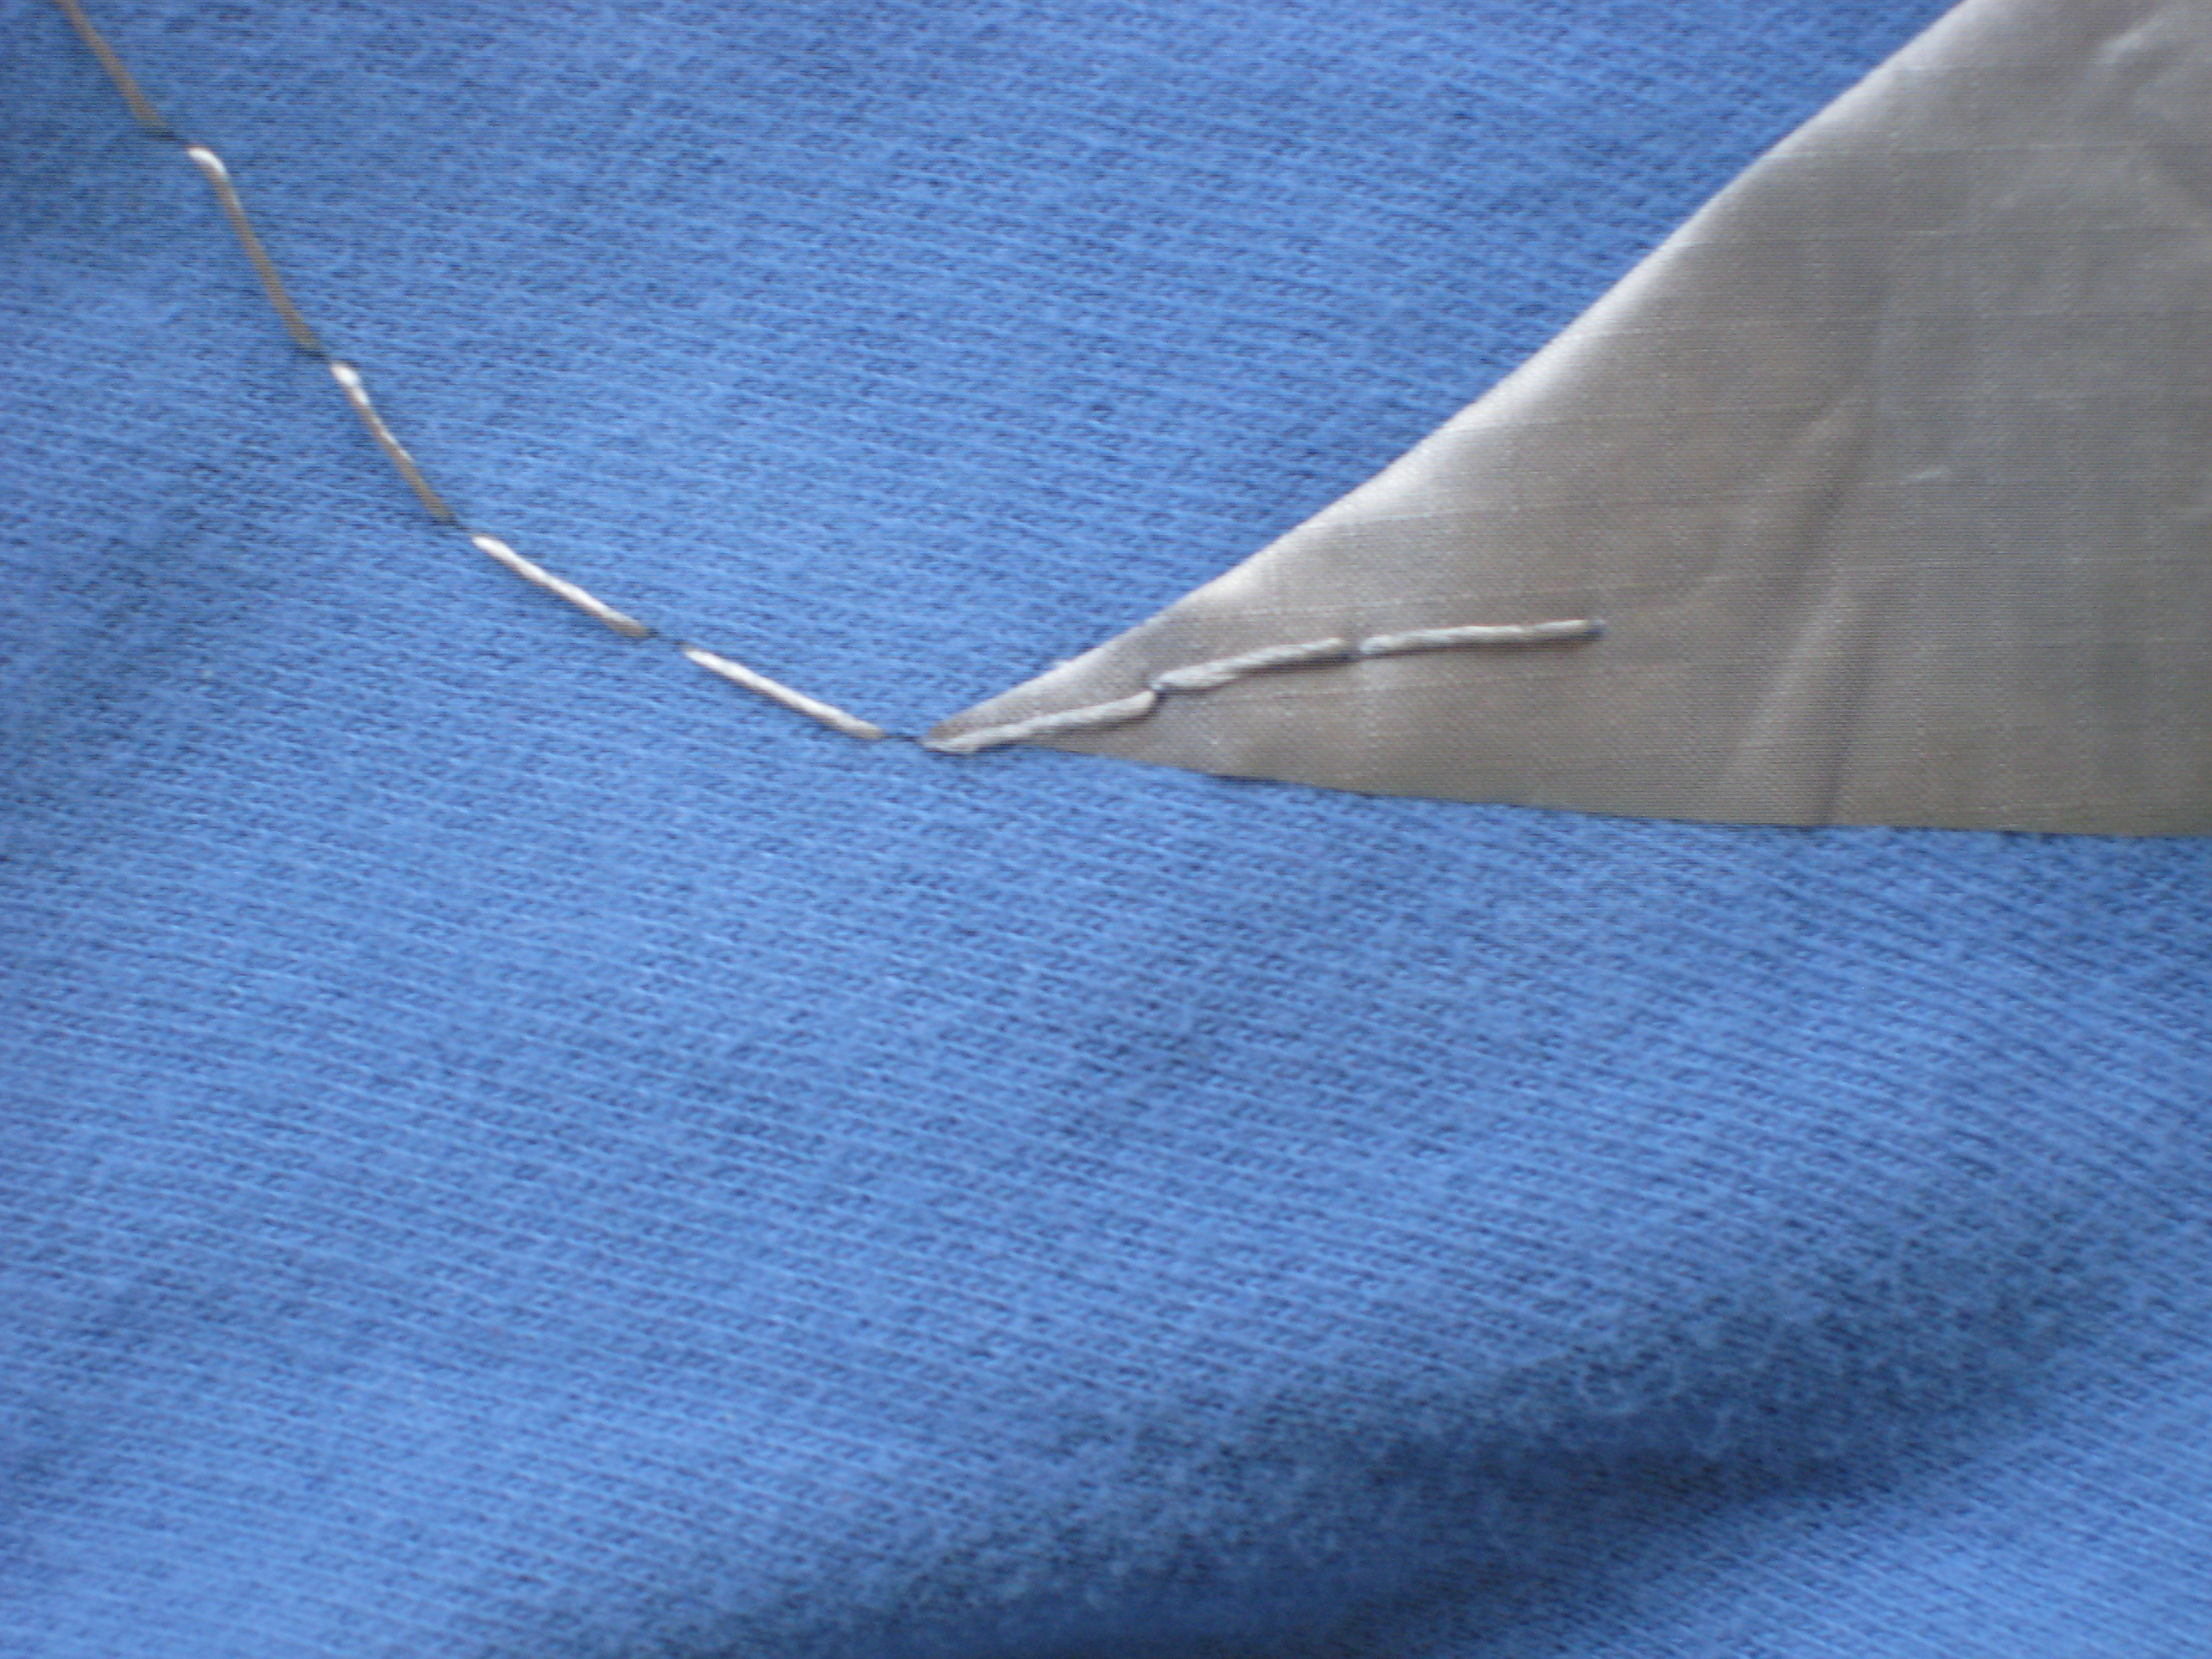
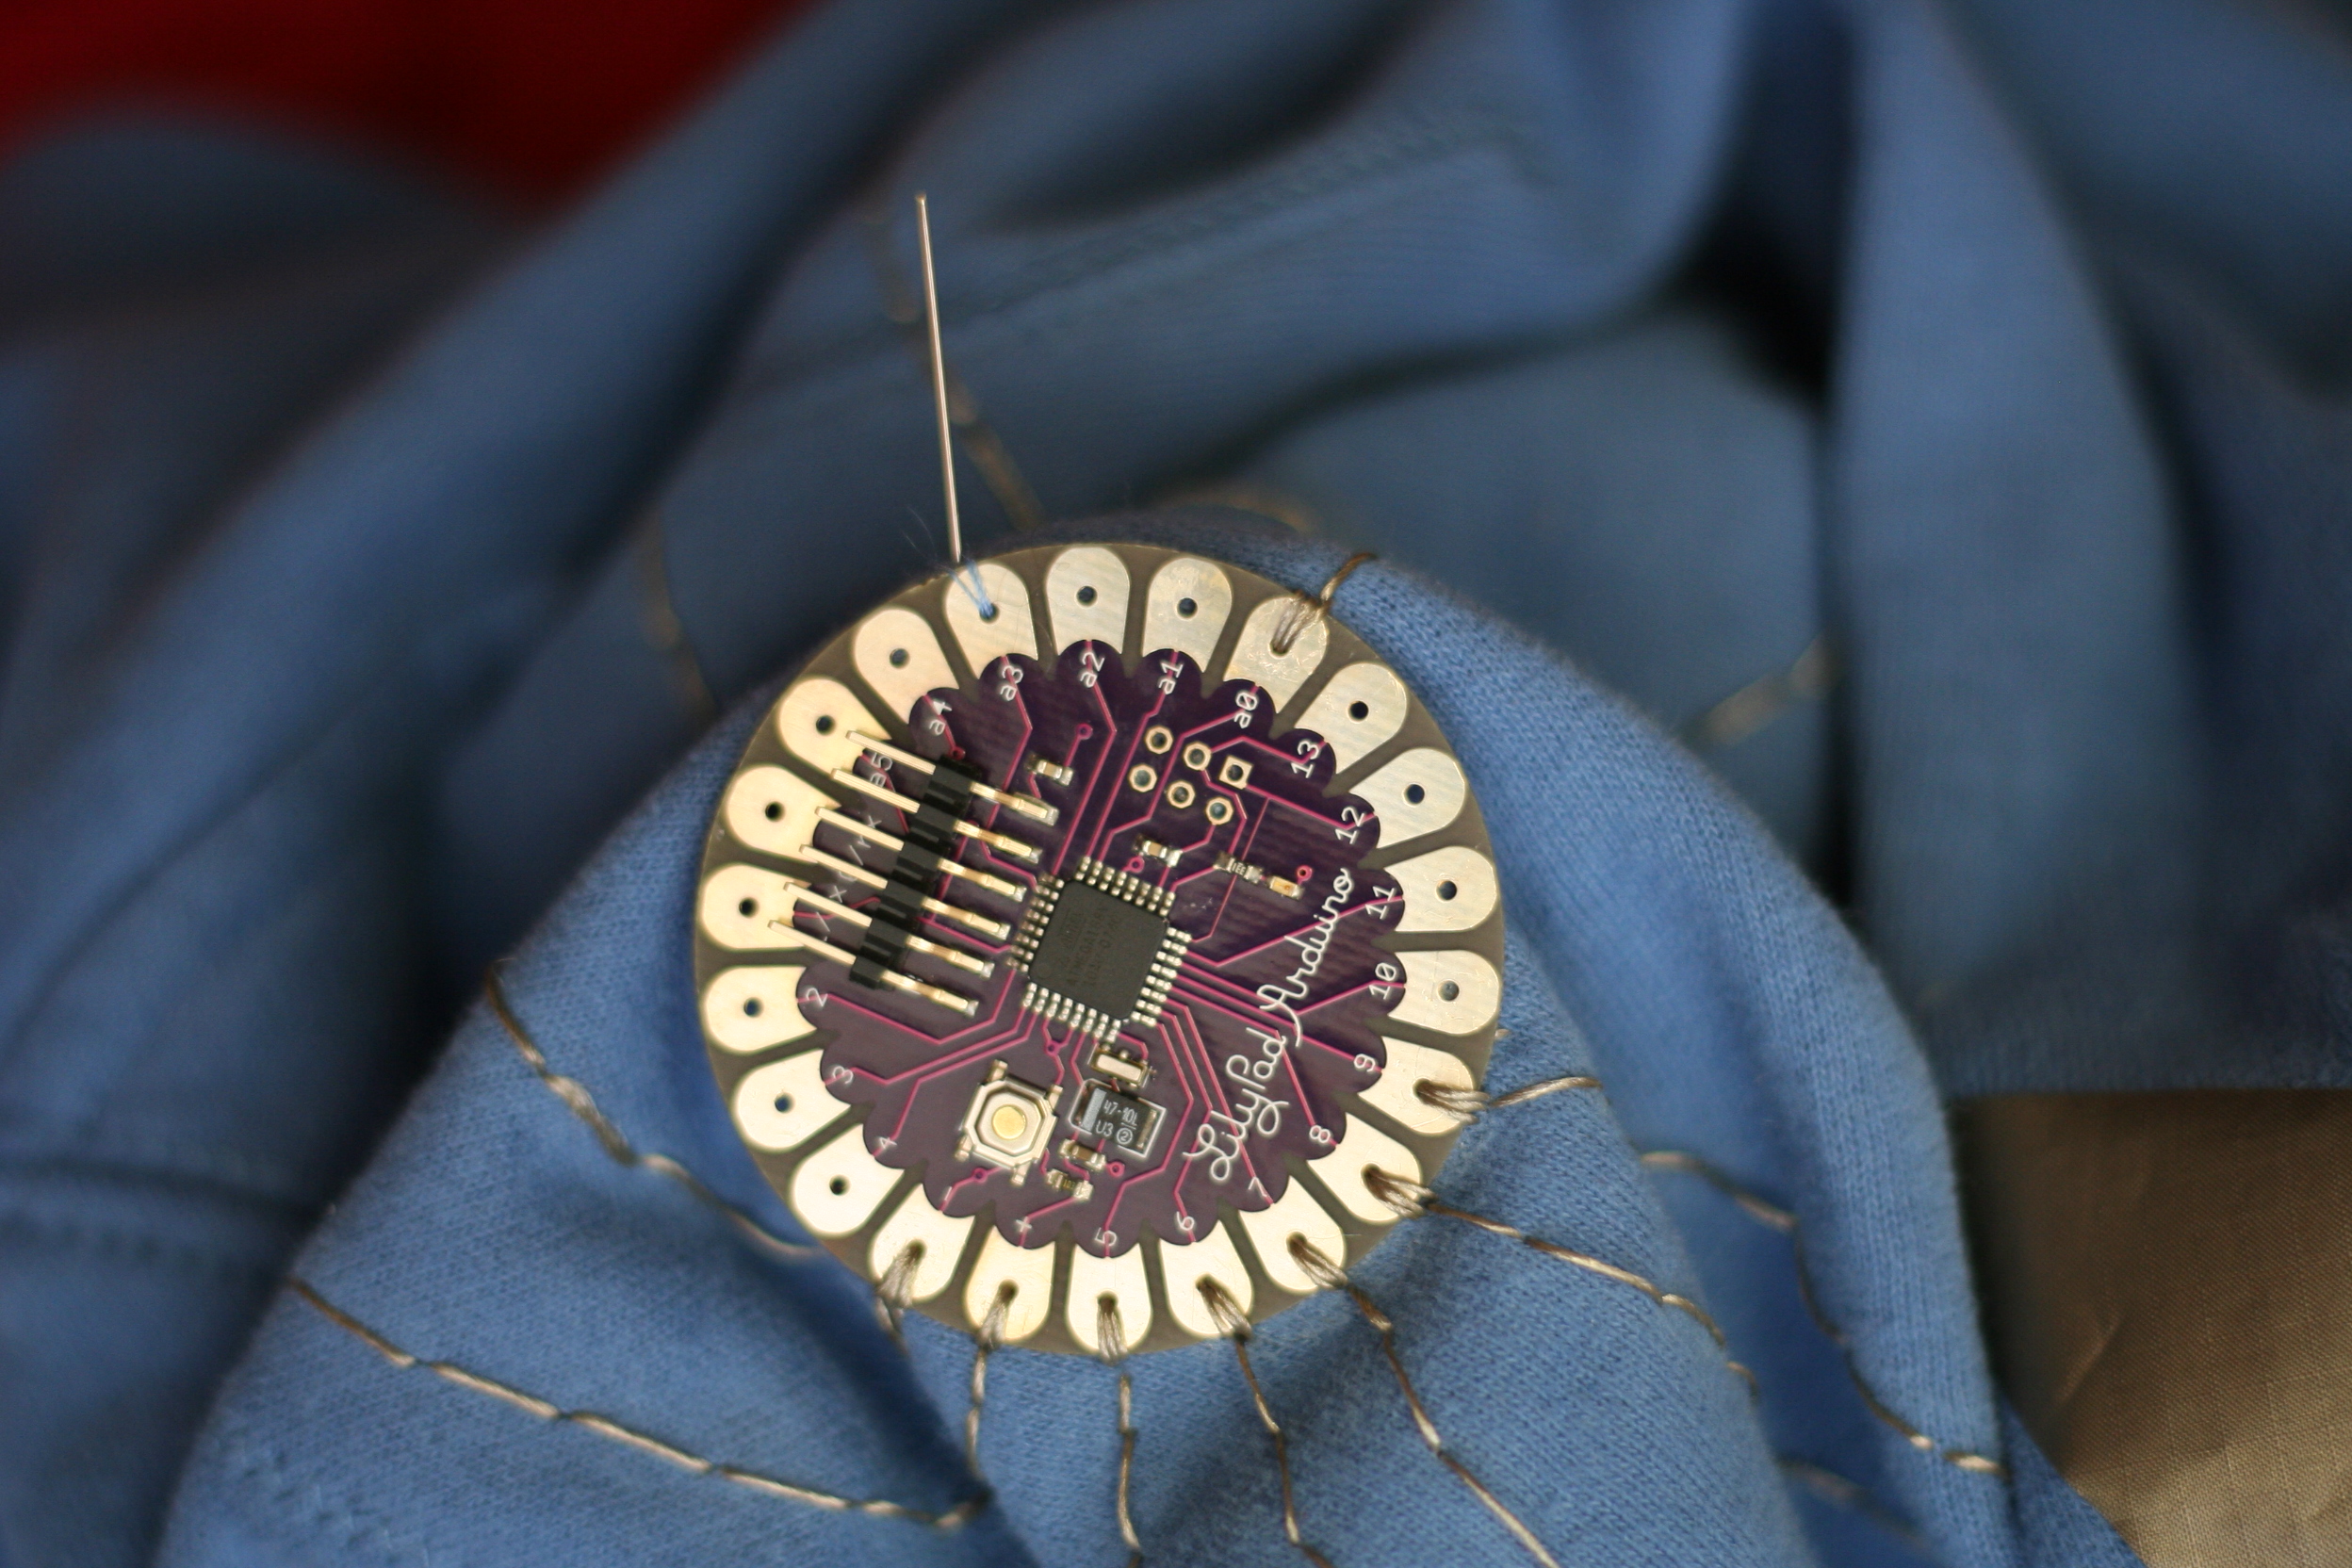
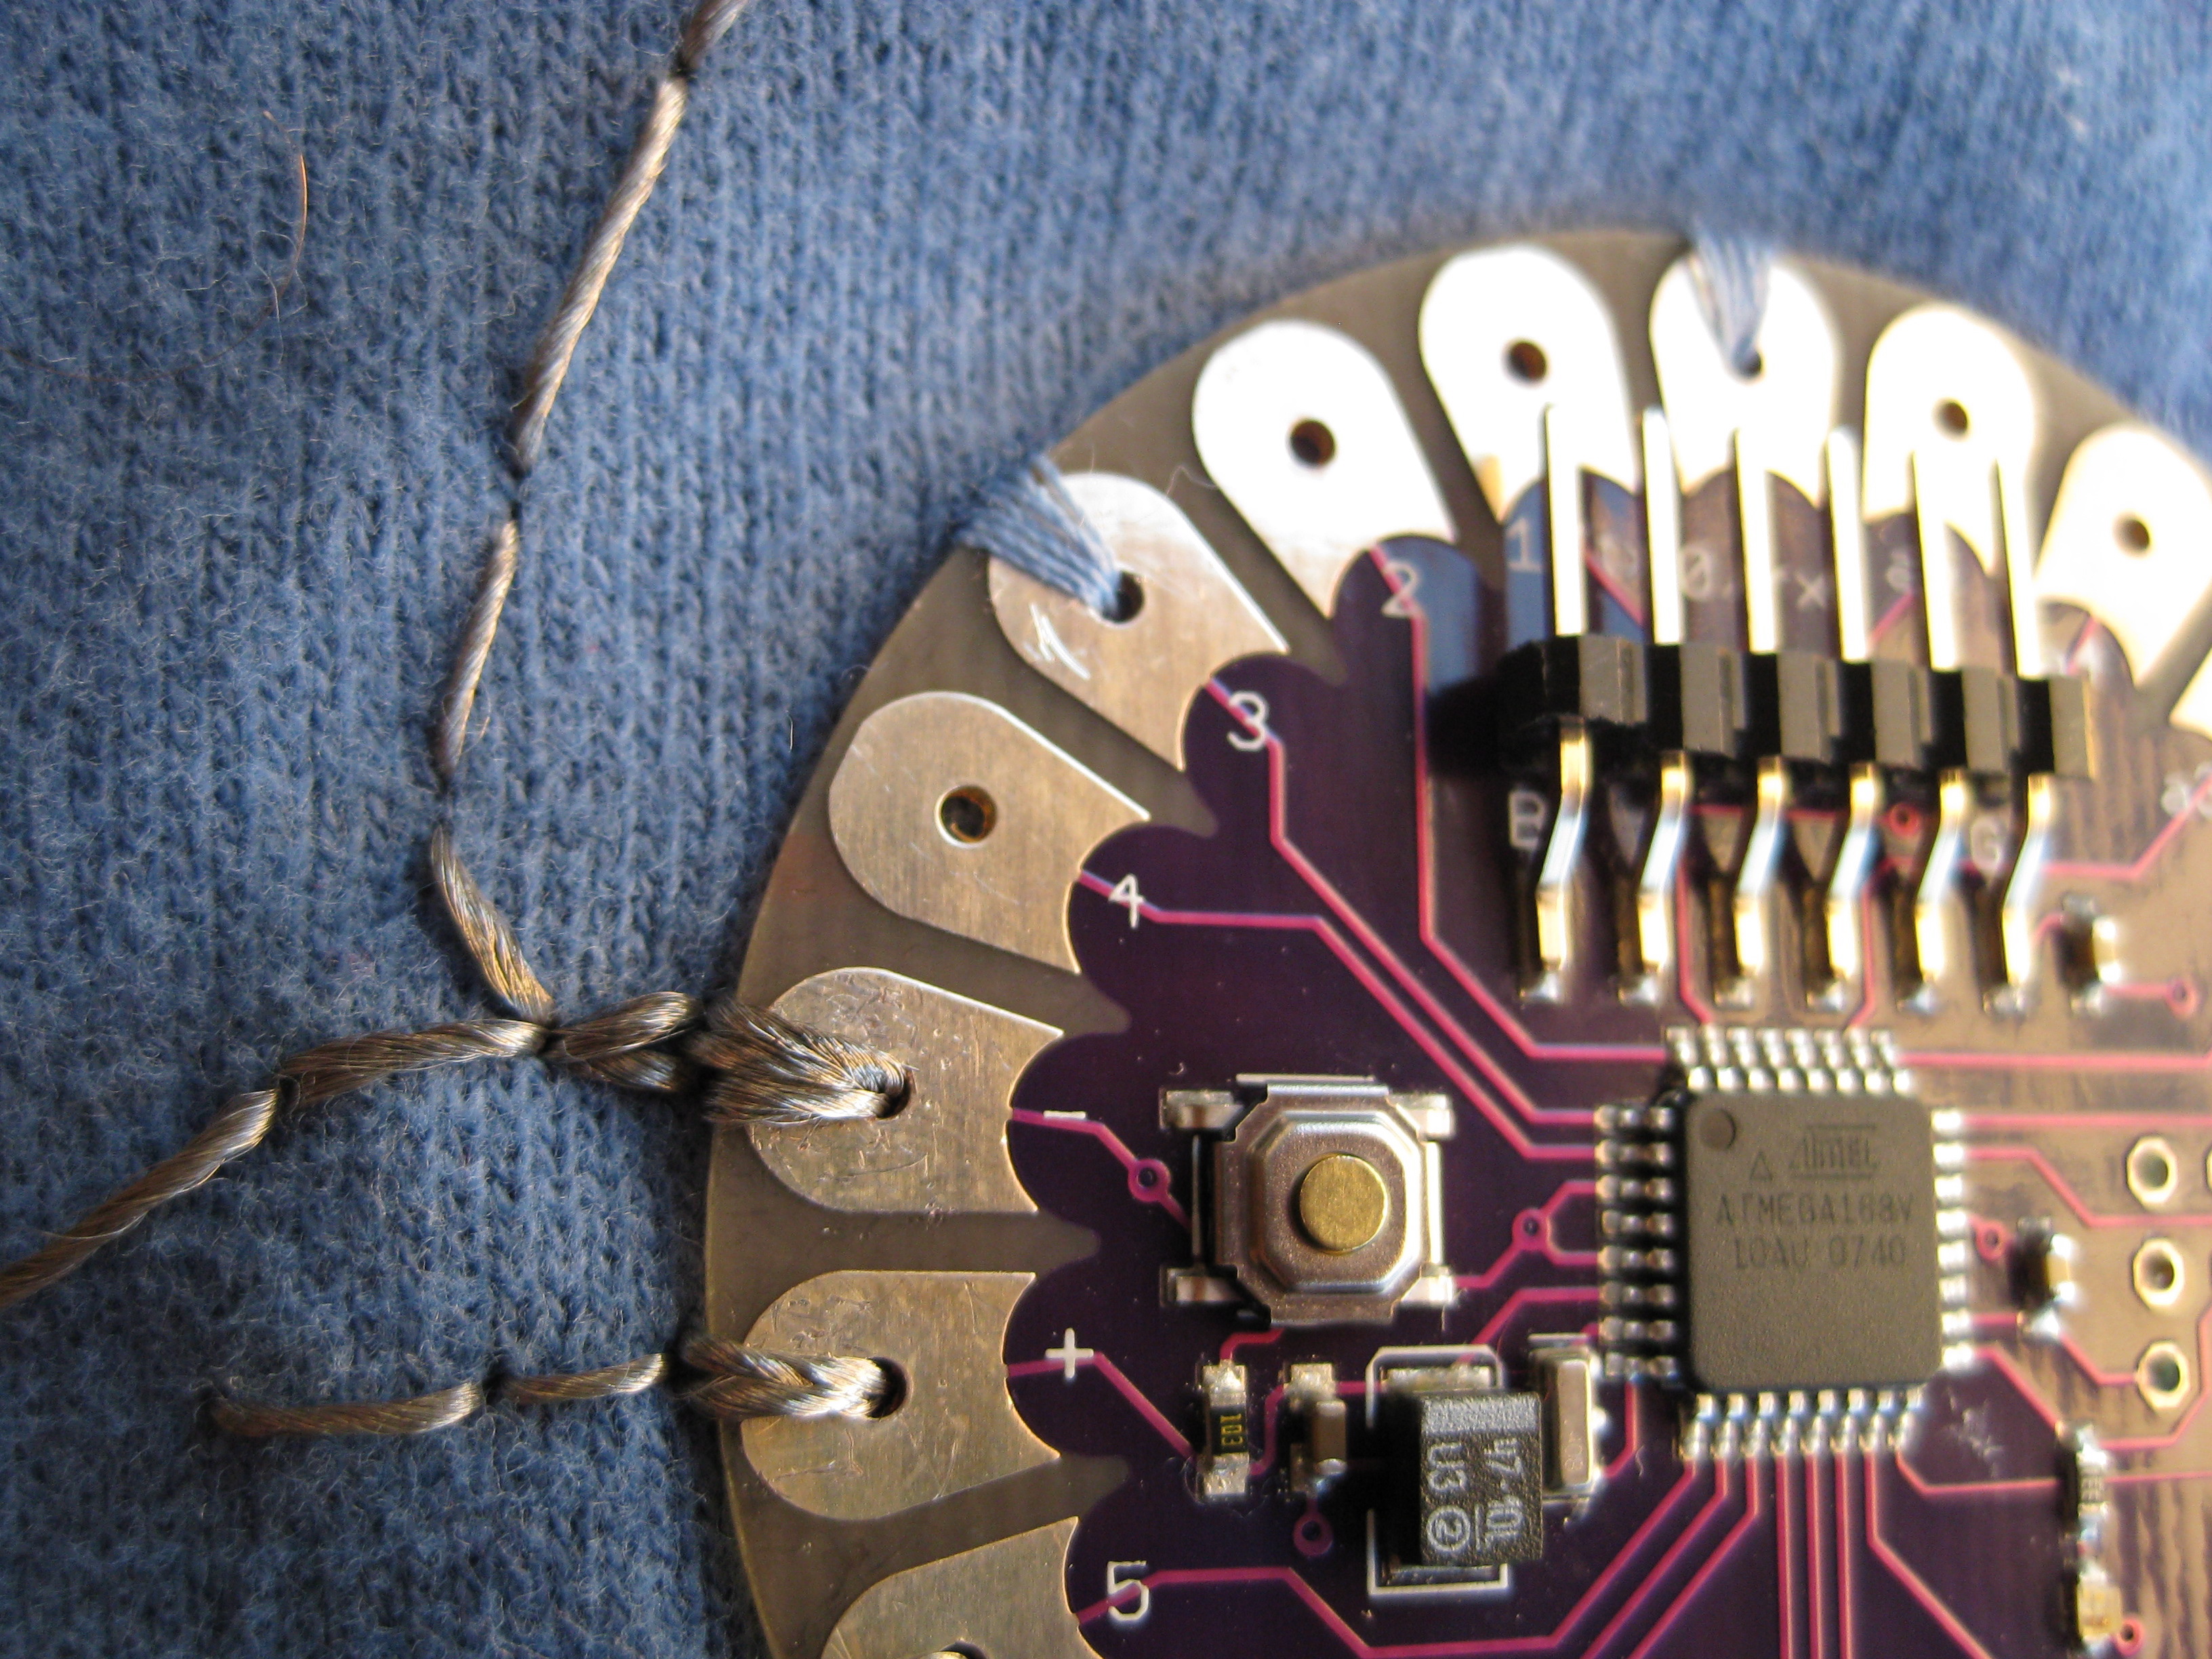
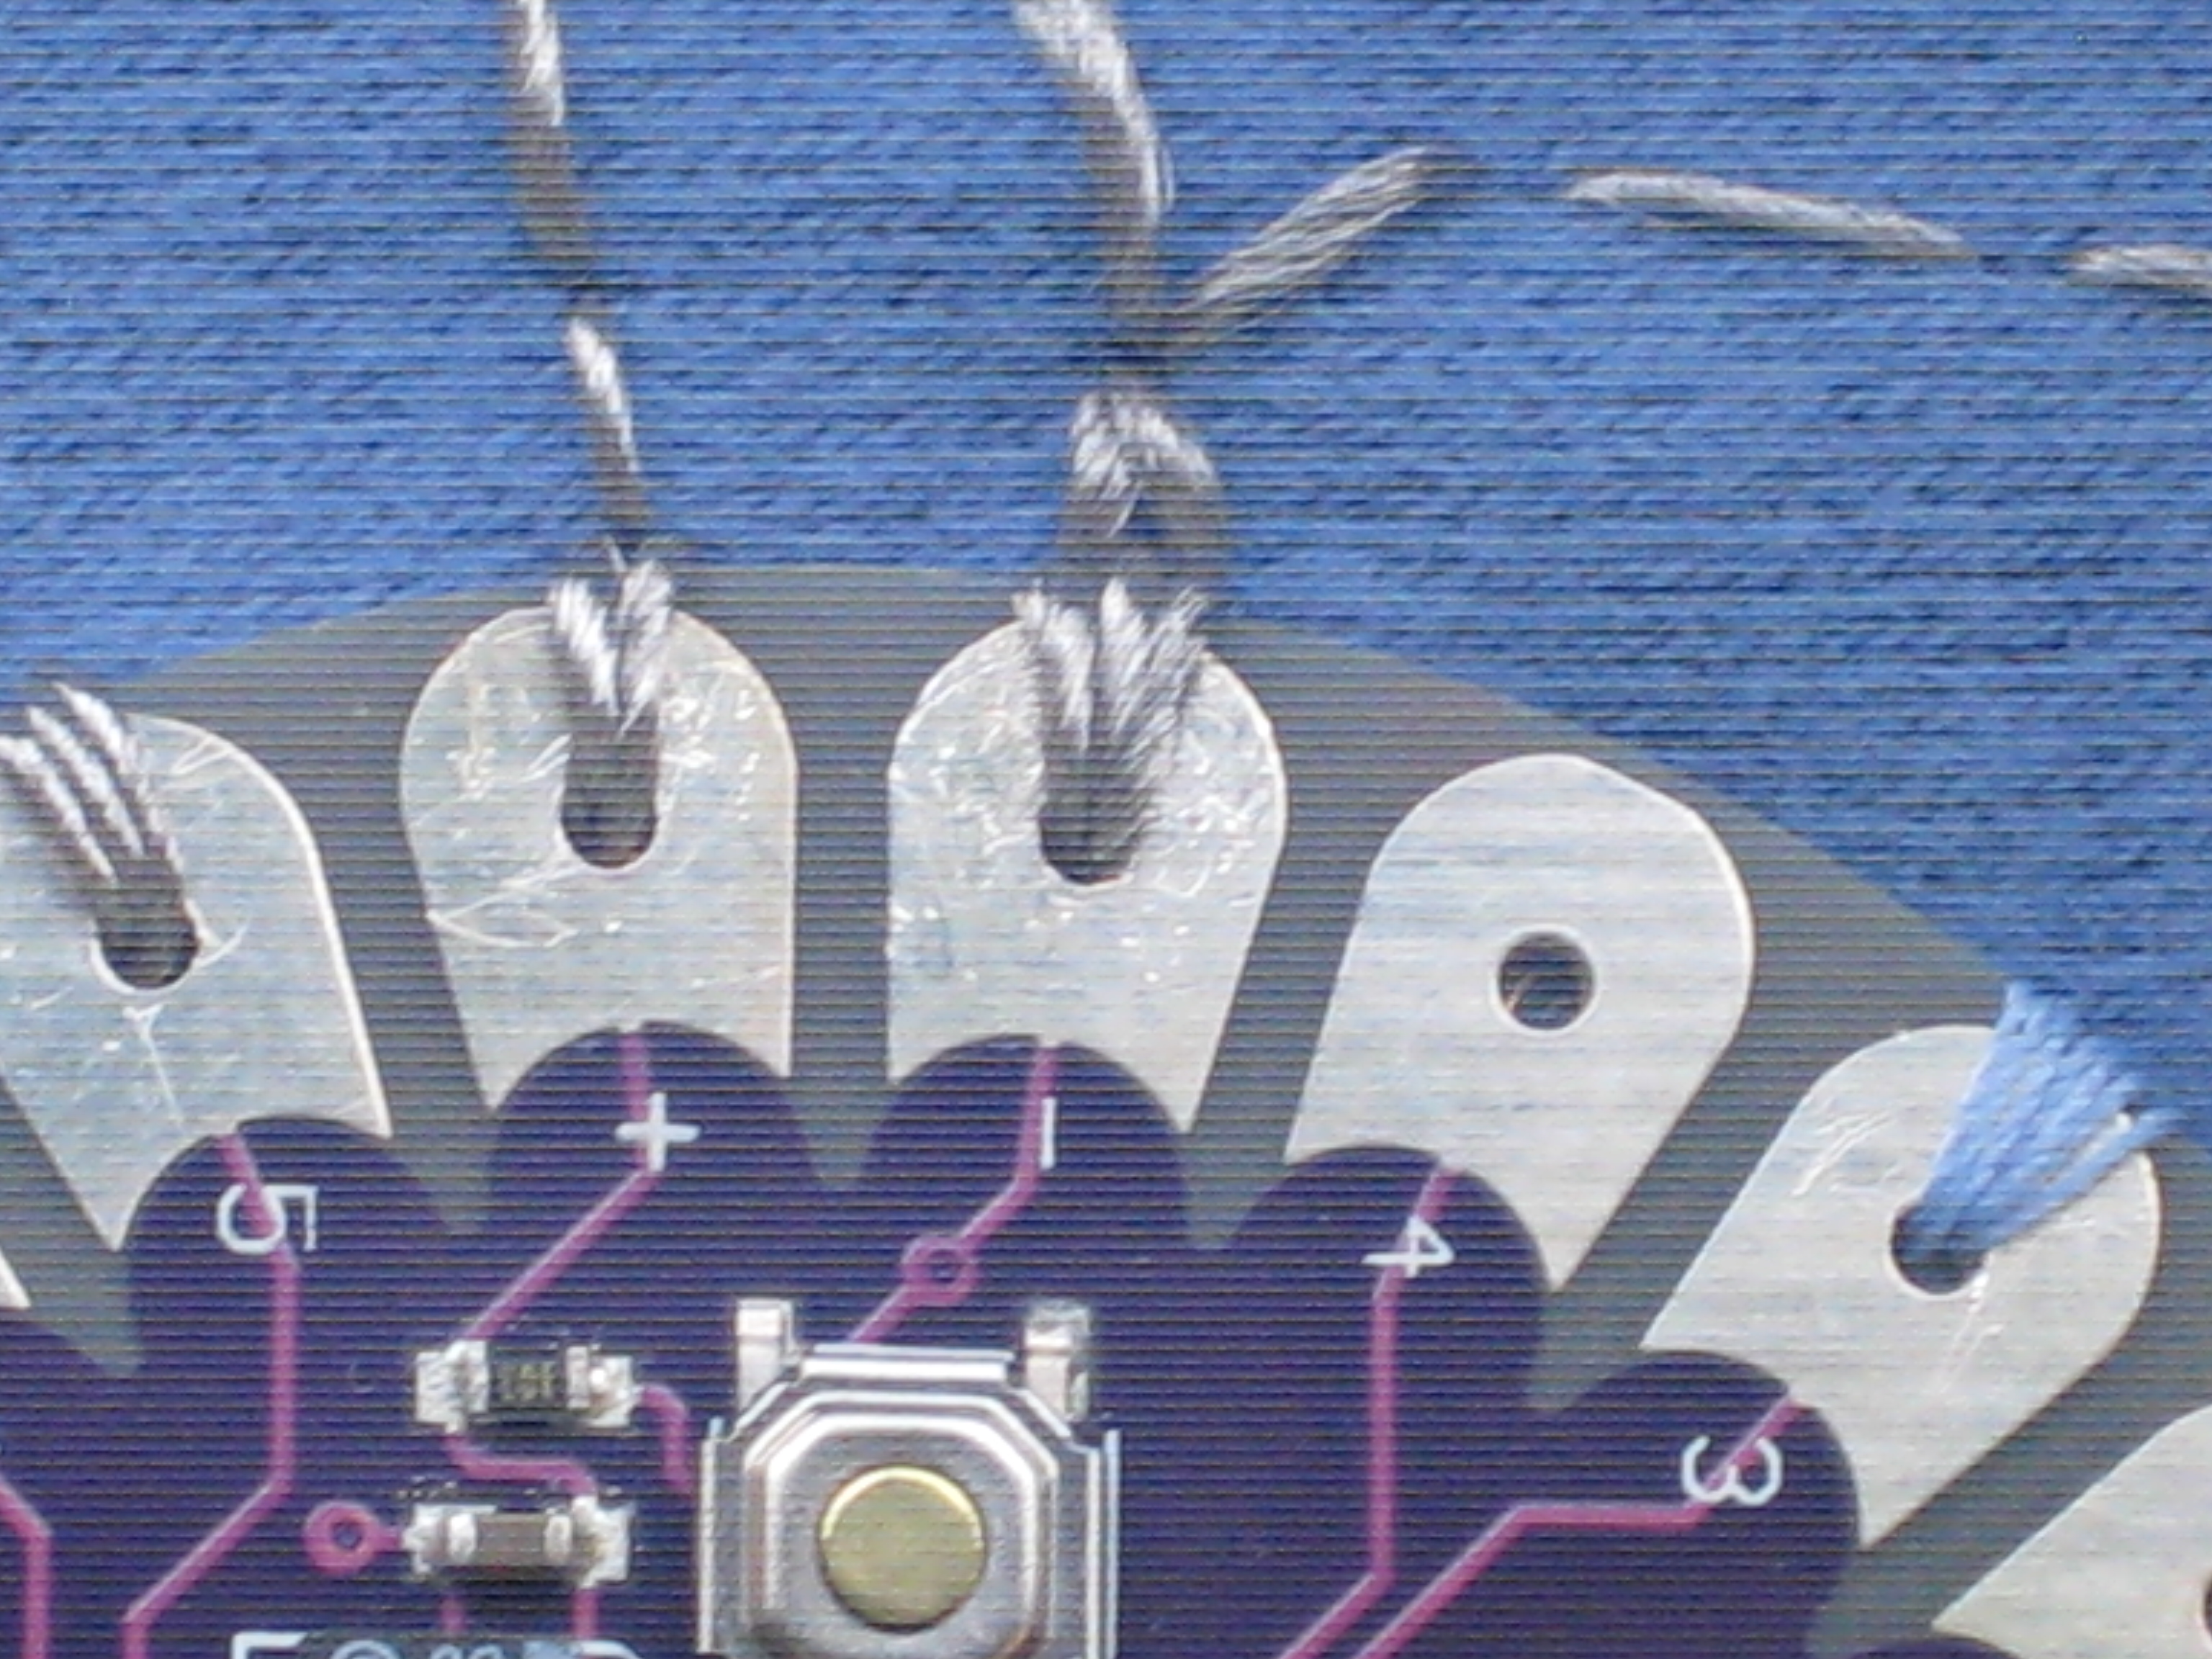
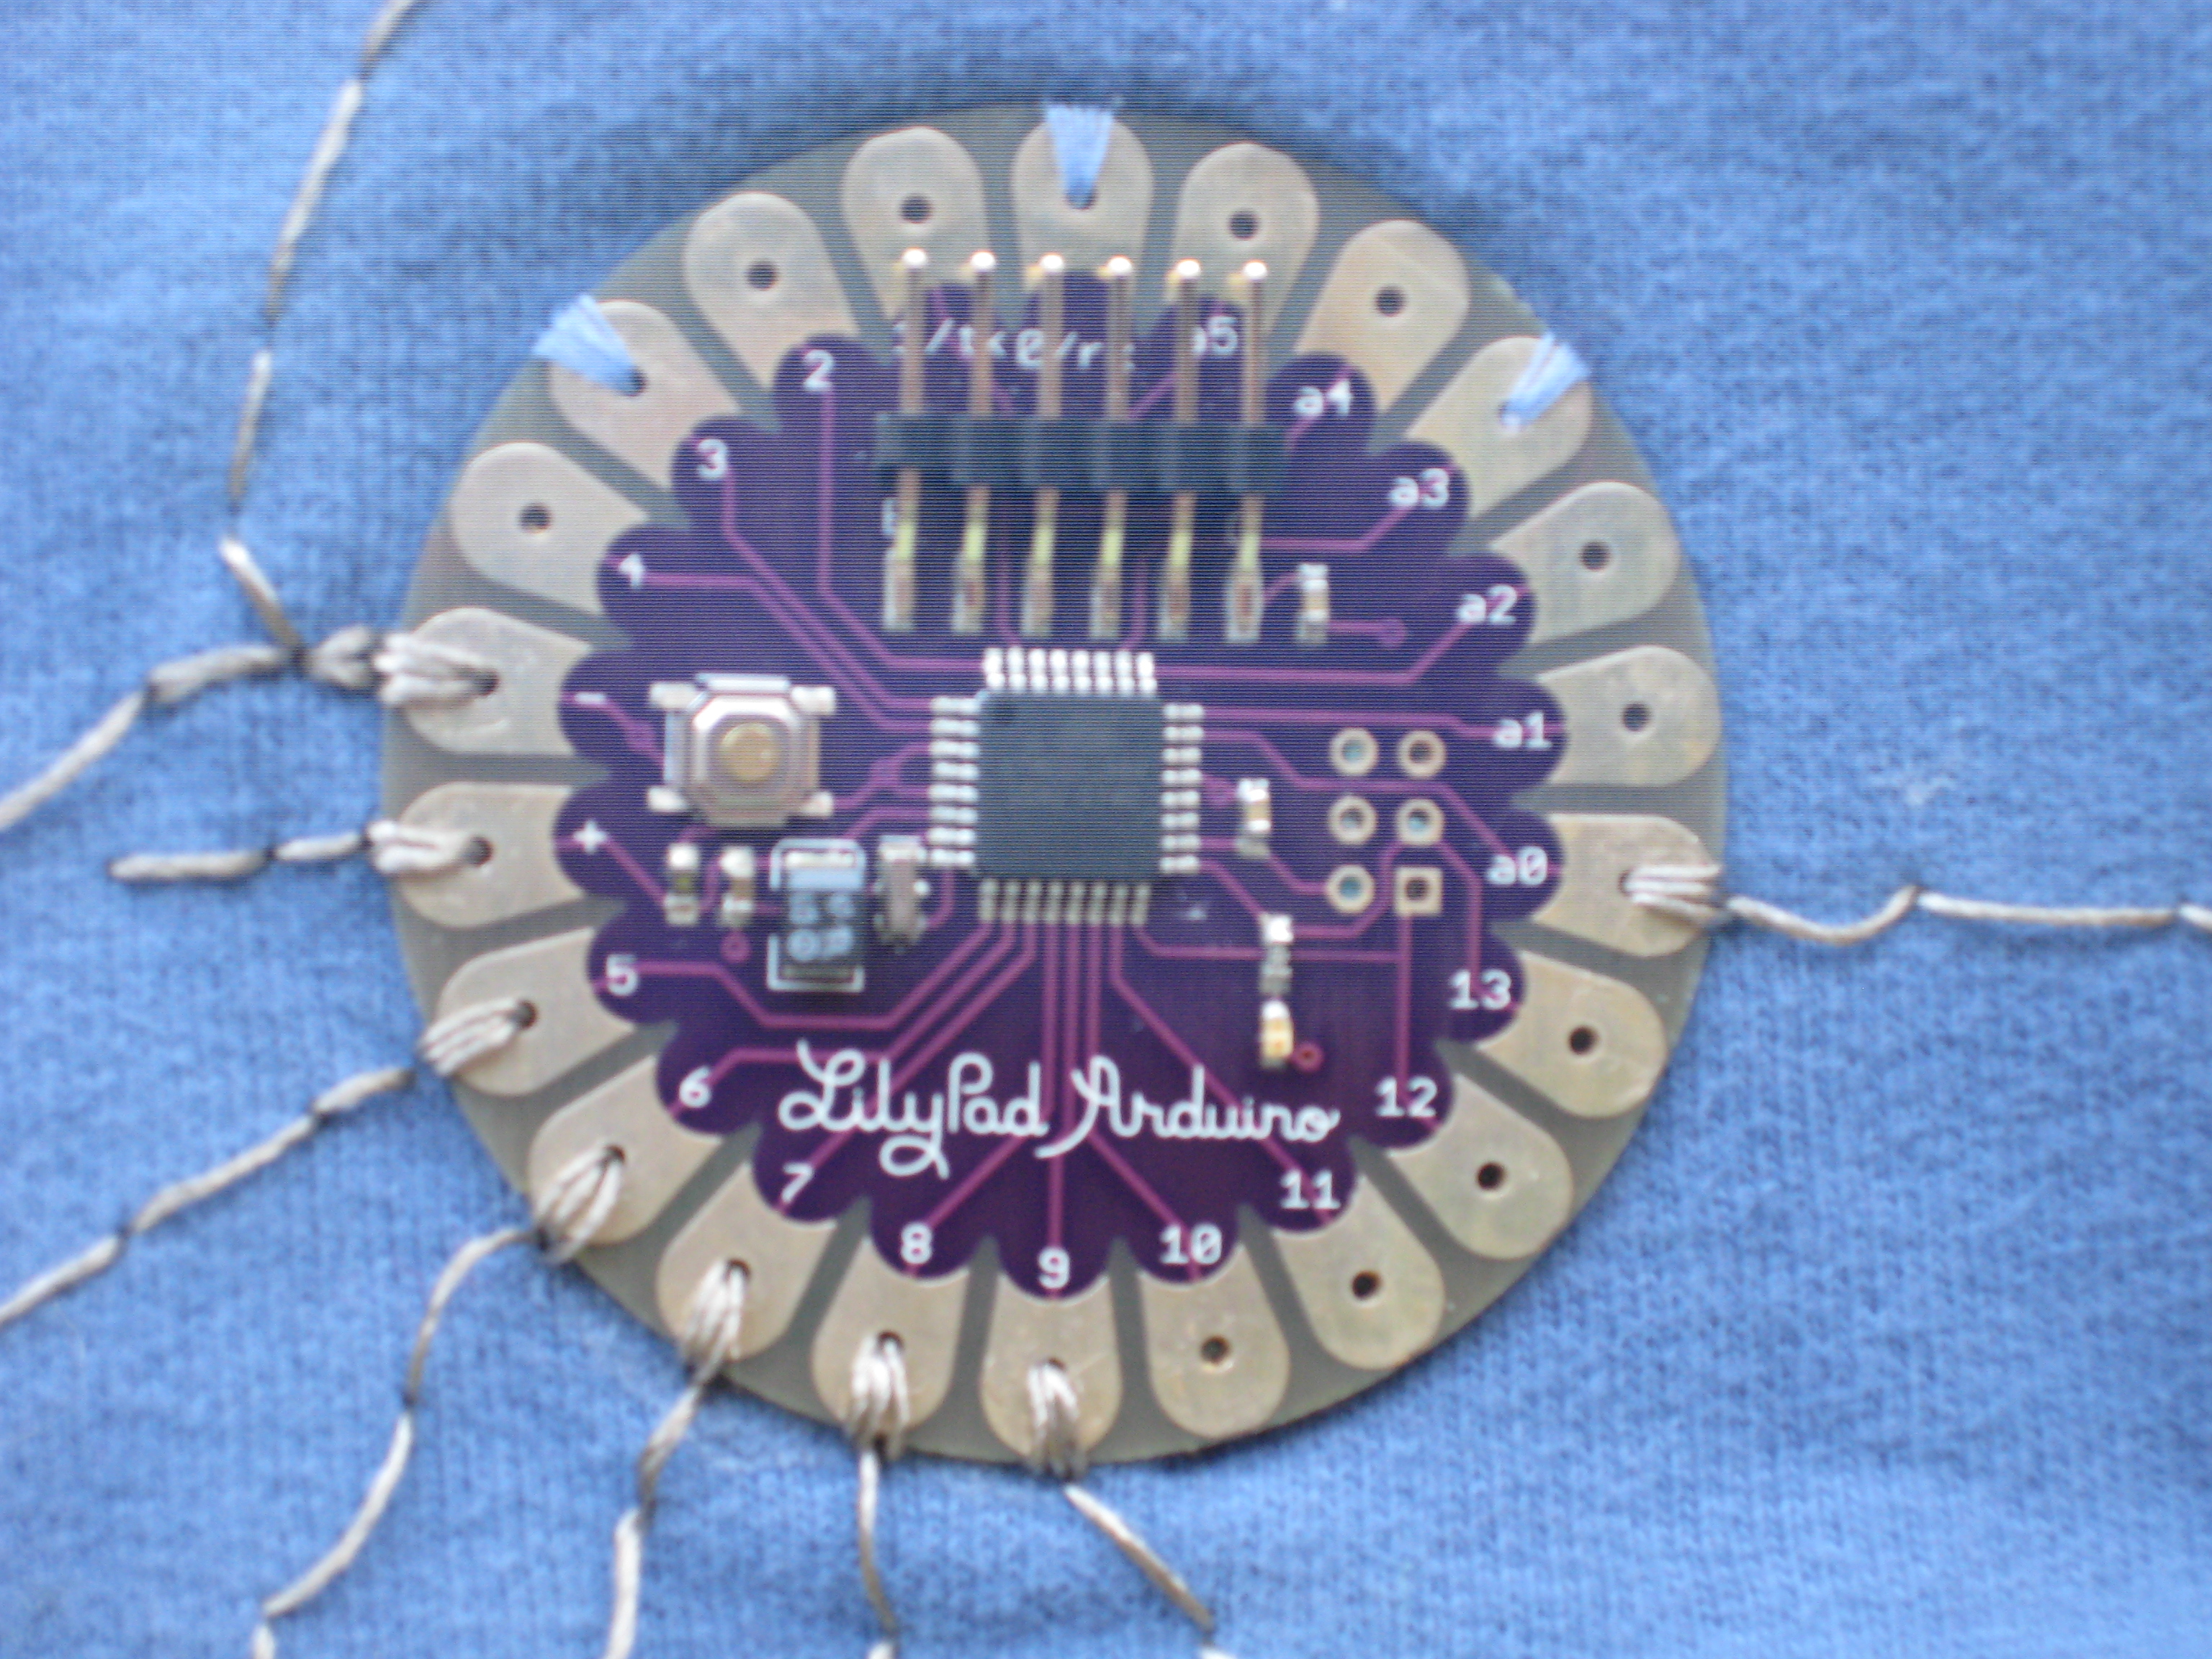
Stitch from the LilyPad main board to the conductive fabric.
You will need to have two separate pieces of conductive fabric connected to the main board (so that before you complete the circuit using your hands, the circuit is broken). One piece of fabric will be connected to the - petal of the LilyPad, while the other piece will be connected to one of the analog outputs of the LilyPad (a0 through a5 - I used a0). You can read more about the analog sensors and code here.
Using our stitching techniques, stitch from the LilyPad main board to the conductive fabric. Be sure to stitch ONTO the conductive fabric - not just next to it (see photo below). You want to make sure that the connection between your stitching and the conductive fabric is strong. It's not necessary to stitch all over the conductive fabric, but you want at least 2 inches of conductive thread to be touching the conductive fabric.
Secure the LilyPad main board.
If you find that your Lilypad is not entirely secured onto your garment, you can use the same stitching method with a non-conductive thread that matches your fabric and stitch loops through the holes of the unused LilyPad petals. I've included a picture below - this should look similar to the stitching of the conductive thread.
Program Your Jacket
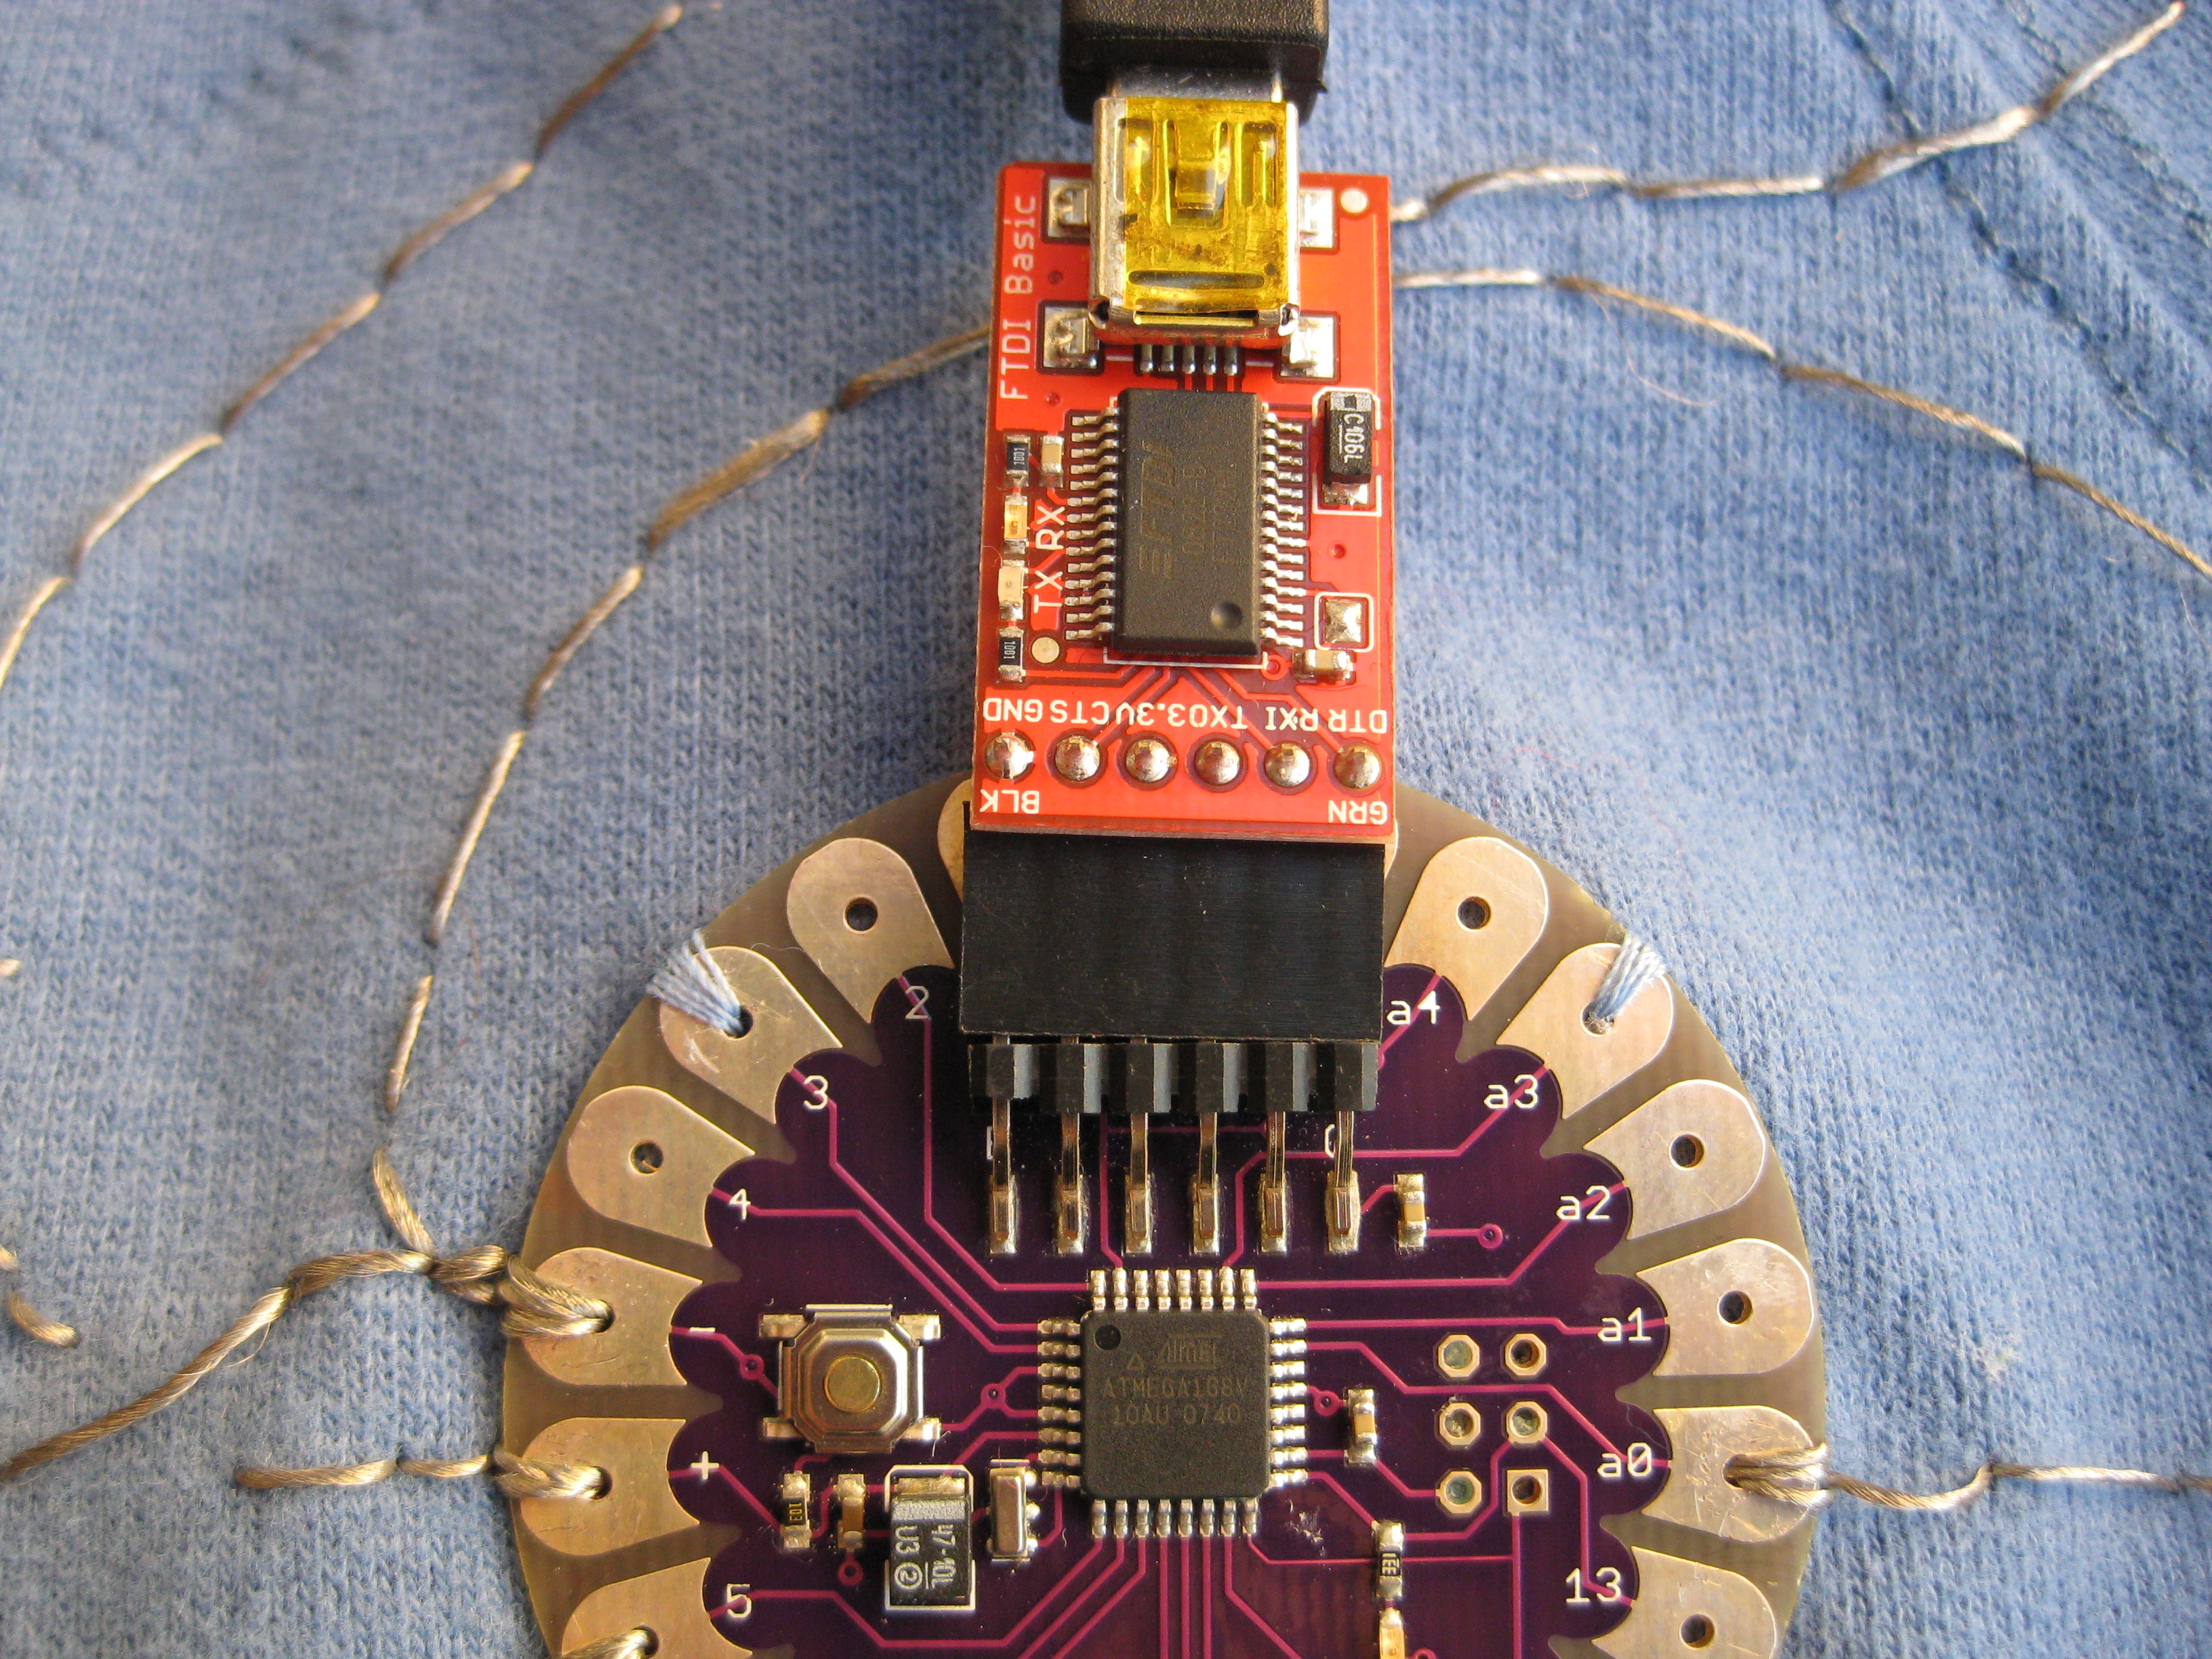
Figure out what you want your garment to do.
There's plenty of flexibility with this speaker and LED and conductive fabric design. The program reads the analog input (that is, your conductivity) as a number between 0 and 1023; you can change the behavior of the jacket depending on the range that the number is in. For instance, when you are more conductive, the analog input is lower. More information on using analog sensors is available here.
I programmed my hoodie to fade the sets of LEDs from one to another when the conductivity is low. Then, with each range of conductivity values, I had the speaker emit a higher noise, and had a different set of LEDs light up.
Here's the code I used to get this behavior:
int sensorPin = 0; // fabric sensor is connected to analog pin 0
int sensorValue; // variable to store the value coming from the sensor
int pin5 = 5; // LED connected to digital pin 5
int pin6 = 6; // LED connected to digital pin 5
int pin7 = 7; // LED connected to digital pin 5
int pin8 = 8; // LED connected to digital pin 5
int speakerPin = 9; // speaker connected to digital pin 9
void setup() // run once, when the sketch starts
{
Serial.begin(9600); // initialize the serial port
digitalWrite(14, HIGH); // sets analog pin a0 to high
pinMode(pin5, OUTPUT); // sets digital pin 5 to be an output
pinMode(pin6, OUTPUT); // sets digital pin 6 to be an output
pinMode(pin7, OUTPUT); // sets digital pin 7 to be an output
pinMode(pin8, OUTPUT); // sets digital pin 8 to be an output
pinMode(speakerPin, OUTPUT); // sets the speakerPin to be an output
}
void loop() // run over and over again
{
sensorValue = analogRead(sensorPin); // read the value from the sensor
Serial.println(sensorValue); // send that value to the computer
if (sensorValue < 1000 && sensorValue >= 970)
{
digitalWrite(pin5, HIGH); //turns on led connected to pin 5
digitalWrite(pin6, HIGH); //turns on led connected to pin 6
digitalWrite(pin7, HIGH); //turns on led connected to pin 7
digitalWrite(pin8, HIGH); //turns on led connected to pin 8
}
else if (sensorValue <= 970 && sensorValue > 890)
{
digitalWrite(pin5, HIGH);
digitalWrite(pin6, LOW);
digitalWrite(pin7, LOW);
digitalWrite(pin8, LOW);
beep(speakerPin,2093,100); //C: play the note C 500ms
}
else if (sensorValue <= 890 && sensorValue > 810)
{
digitalWrite(pin5, HIGH);
digitalWrite(pin6, HIGH);
digitalWrite(pin7, LOW);
digitalWrite(pin8, LOW);
beep(speakerPin,2349,100); //D
}
else if (sensorValue <= 810 && sensorValue > 730)
{
digitalWrite(pin5, HIGH);
digitalWrite(pin6, HIGH);
digitalWrite(pin7, HIGH);
digitalWrite(pin8, LOW);
beep(speakerPin,2637,100); //E
}
else if (sensorValue <= 730 && sensorValue > 660)
{
digitalWrite(pin5, HIGH);
digitalWrite(pin6, HIGH);
digitalWrite(pin7, HIGH);
digitalWrite(pin8, HIGH);
beep(speakerPin,2793,100); //F
}
else if (sensorValue <= 660 && sensorValue > 590)
{
digitalWrite(pin5, HIGH);
digitalWrite(pin6, HIGH);
digitalWrite(pin7, HIGH);
digitalWrite(pin8, HIGH);
beep(speakerPin,3136,100); //G
}
else if (sensorValue <= 590 && sensorValue > 520)
{
digitalWrite(pin5, HIGH);
digitalWrite(pin6, HIGH);
digitalWrite(pin7, HIGH);
digitalWrite(pin8, LOW);
beep(speakerPin,3520,100); //A
}
else if (sensorValue <= 520 && sensorValue > 460)
{
digitalWrite(pin5, HIGH);
digitalWrite(pin6, HIGH);
digitalWrite(pin7, LOW);
digitalWrite(pin8, LOW);
beep(speakerPin,3951,100); //B
}
else if (sensorValue <= 460)
{
digitalWrite(pin5, HIGH);
digitalWrite(pin6, LOW);
digitalWrite(pin7, LOW);
digitalWrite(pin8, LOW);
beep(speakerPin,4186,100); // high C
}
else
{
digitalWrite(pin5, LOW);
digitalWrite(pin6, LOW);
digitalWrite(pin7, LOW);
digitalWrite(pin8, LOW);
}
}
void beep (unsigned char speakerPin, int frequencyInHertz, long timeInMilliseconds) // the sound producing function
{
int x;
long delayAmount = (long)(1000000/frequencyInHertz);
long loopTime = (long)((timeInMilliseconds*1000)/(delayAmount*2));
for (x=0;x<loopTime;x++)
{
digitalWrite(speakerPin,HIGH);
delayMicroseconds(delayAmount);
digitalWrite(speakerPin,LOW);
delayMicroseconds(delayAmount);
}
}
Other possibilities (changing only the section under "void loop()"):
You can change the section under the "void loop()" (be sure to preserve the open bracket at the beginning and close bracket at the end) to something like:
sensorValue = analogRead(sensorPin); // read the value from the sensor
if (sensorValue < 1000)
beep(speakerPin, sensorValue*3, 100);
This will allow a more direct response between how you touch the conductive fabric and what your speaker outputs. The more of the fabric you're touching, the lower the note will be. This is the behavior shown in the video.
If you want the note to become higher when you touch more of the fabric, you can do something like:
sensorValue = analogRead(sensorPin); // read the value from the sensor
if (sensorValue < 1000)
beep(speakerPin, 3072 - sensorValue*3, 100);
Of course, you can still add in code to affect the LEDs - this only changes the behavior of the speaker.
Program your jacket.
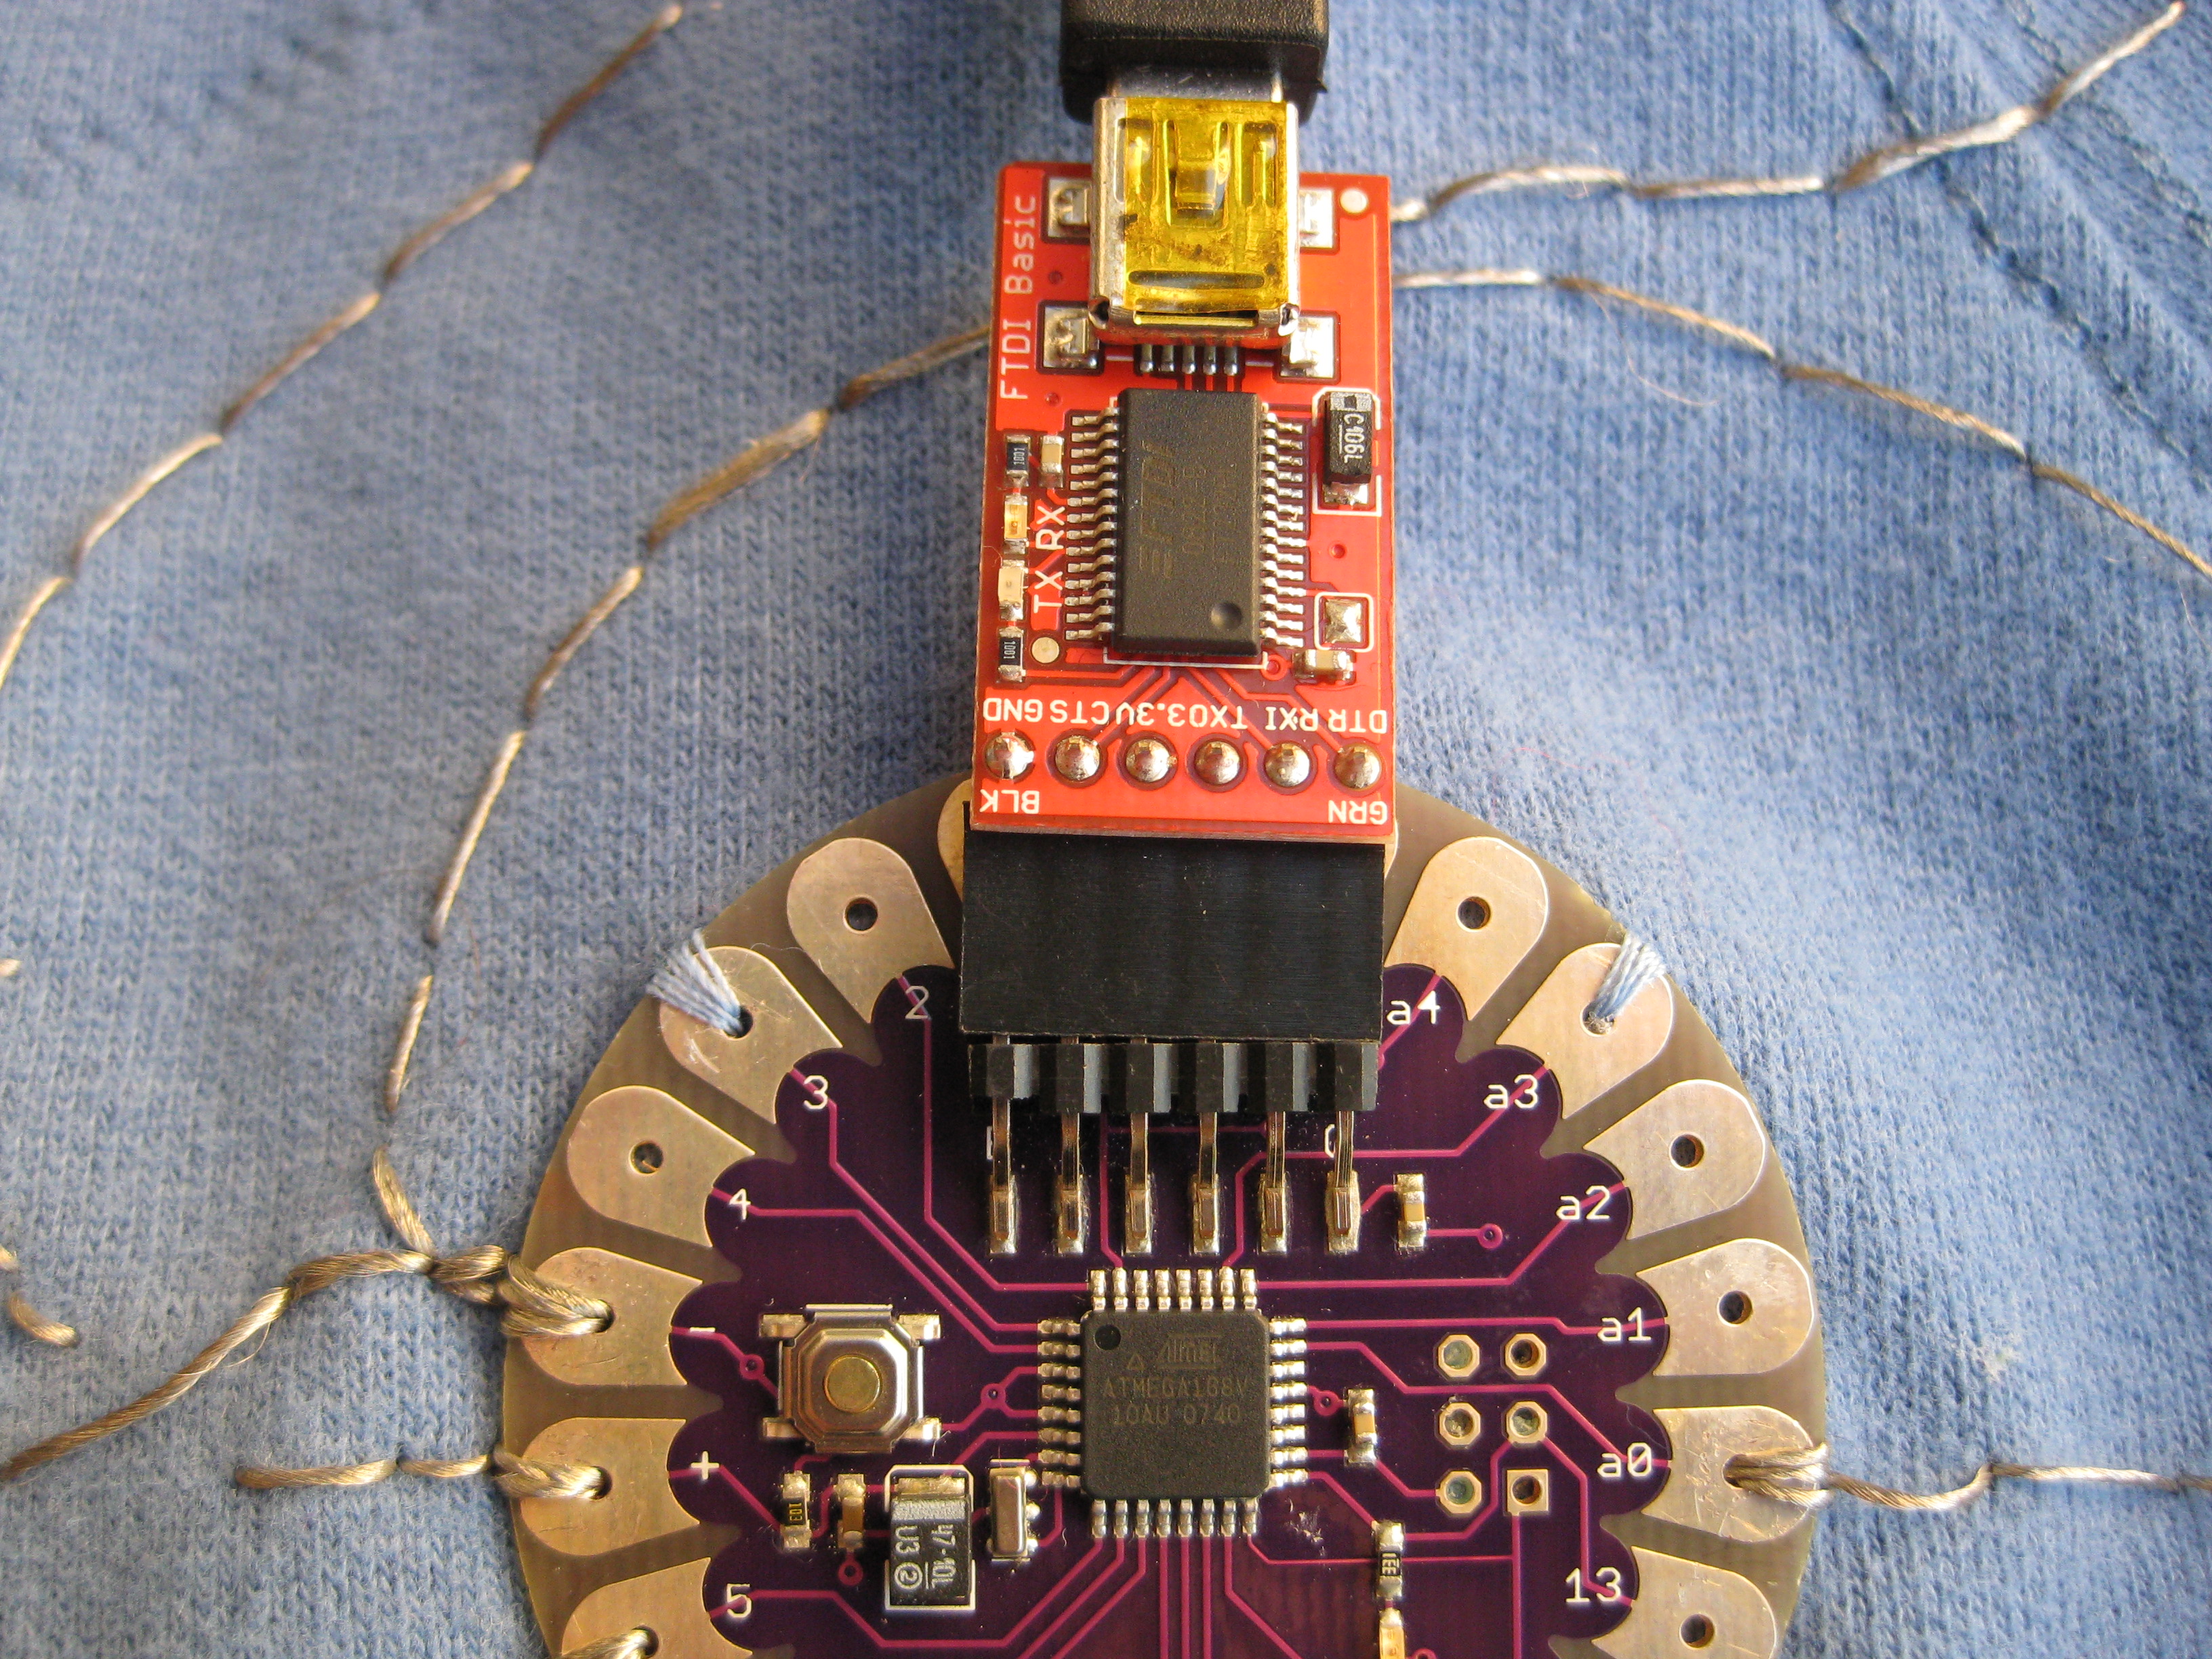
To program your jacket, paste the code above (or write your own code) in the Arduino window and load it onto the LilyPad. If you aren't sure how to program the LilyPad or if the code makes no sense, Leah Buechley has some great instructions here.
Plug in the battery, and have your garment make some music!
Insulate Your Stitching
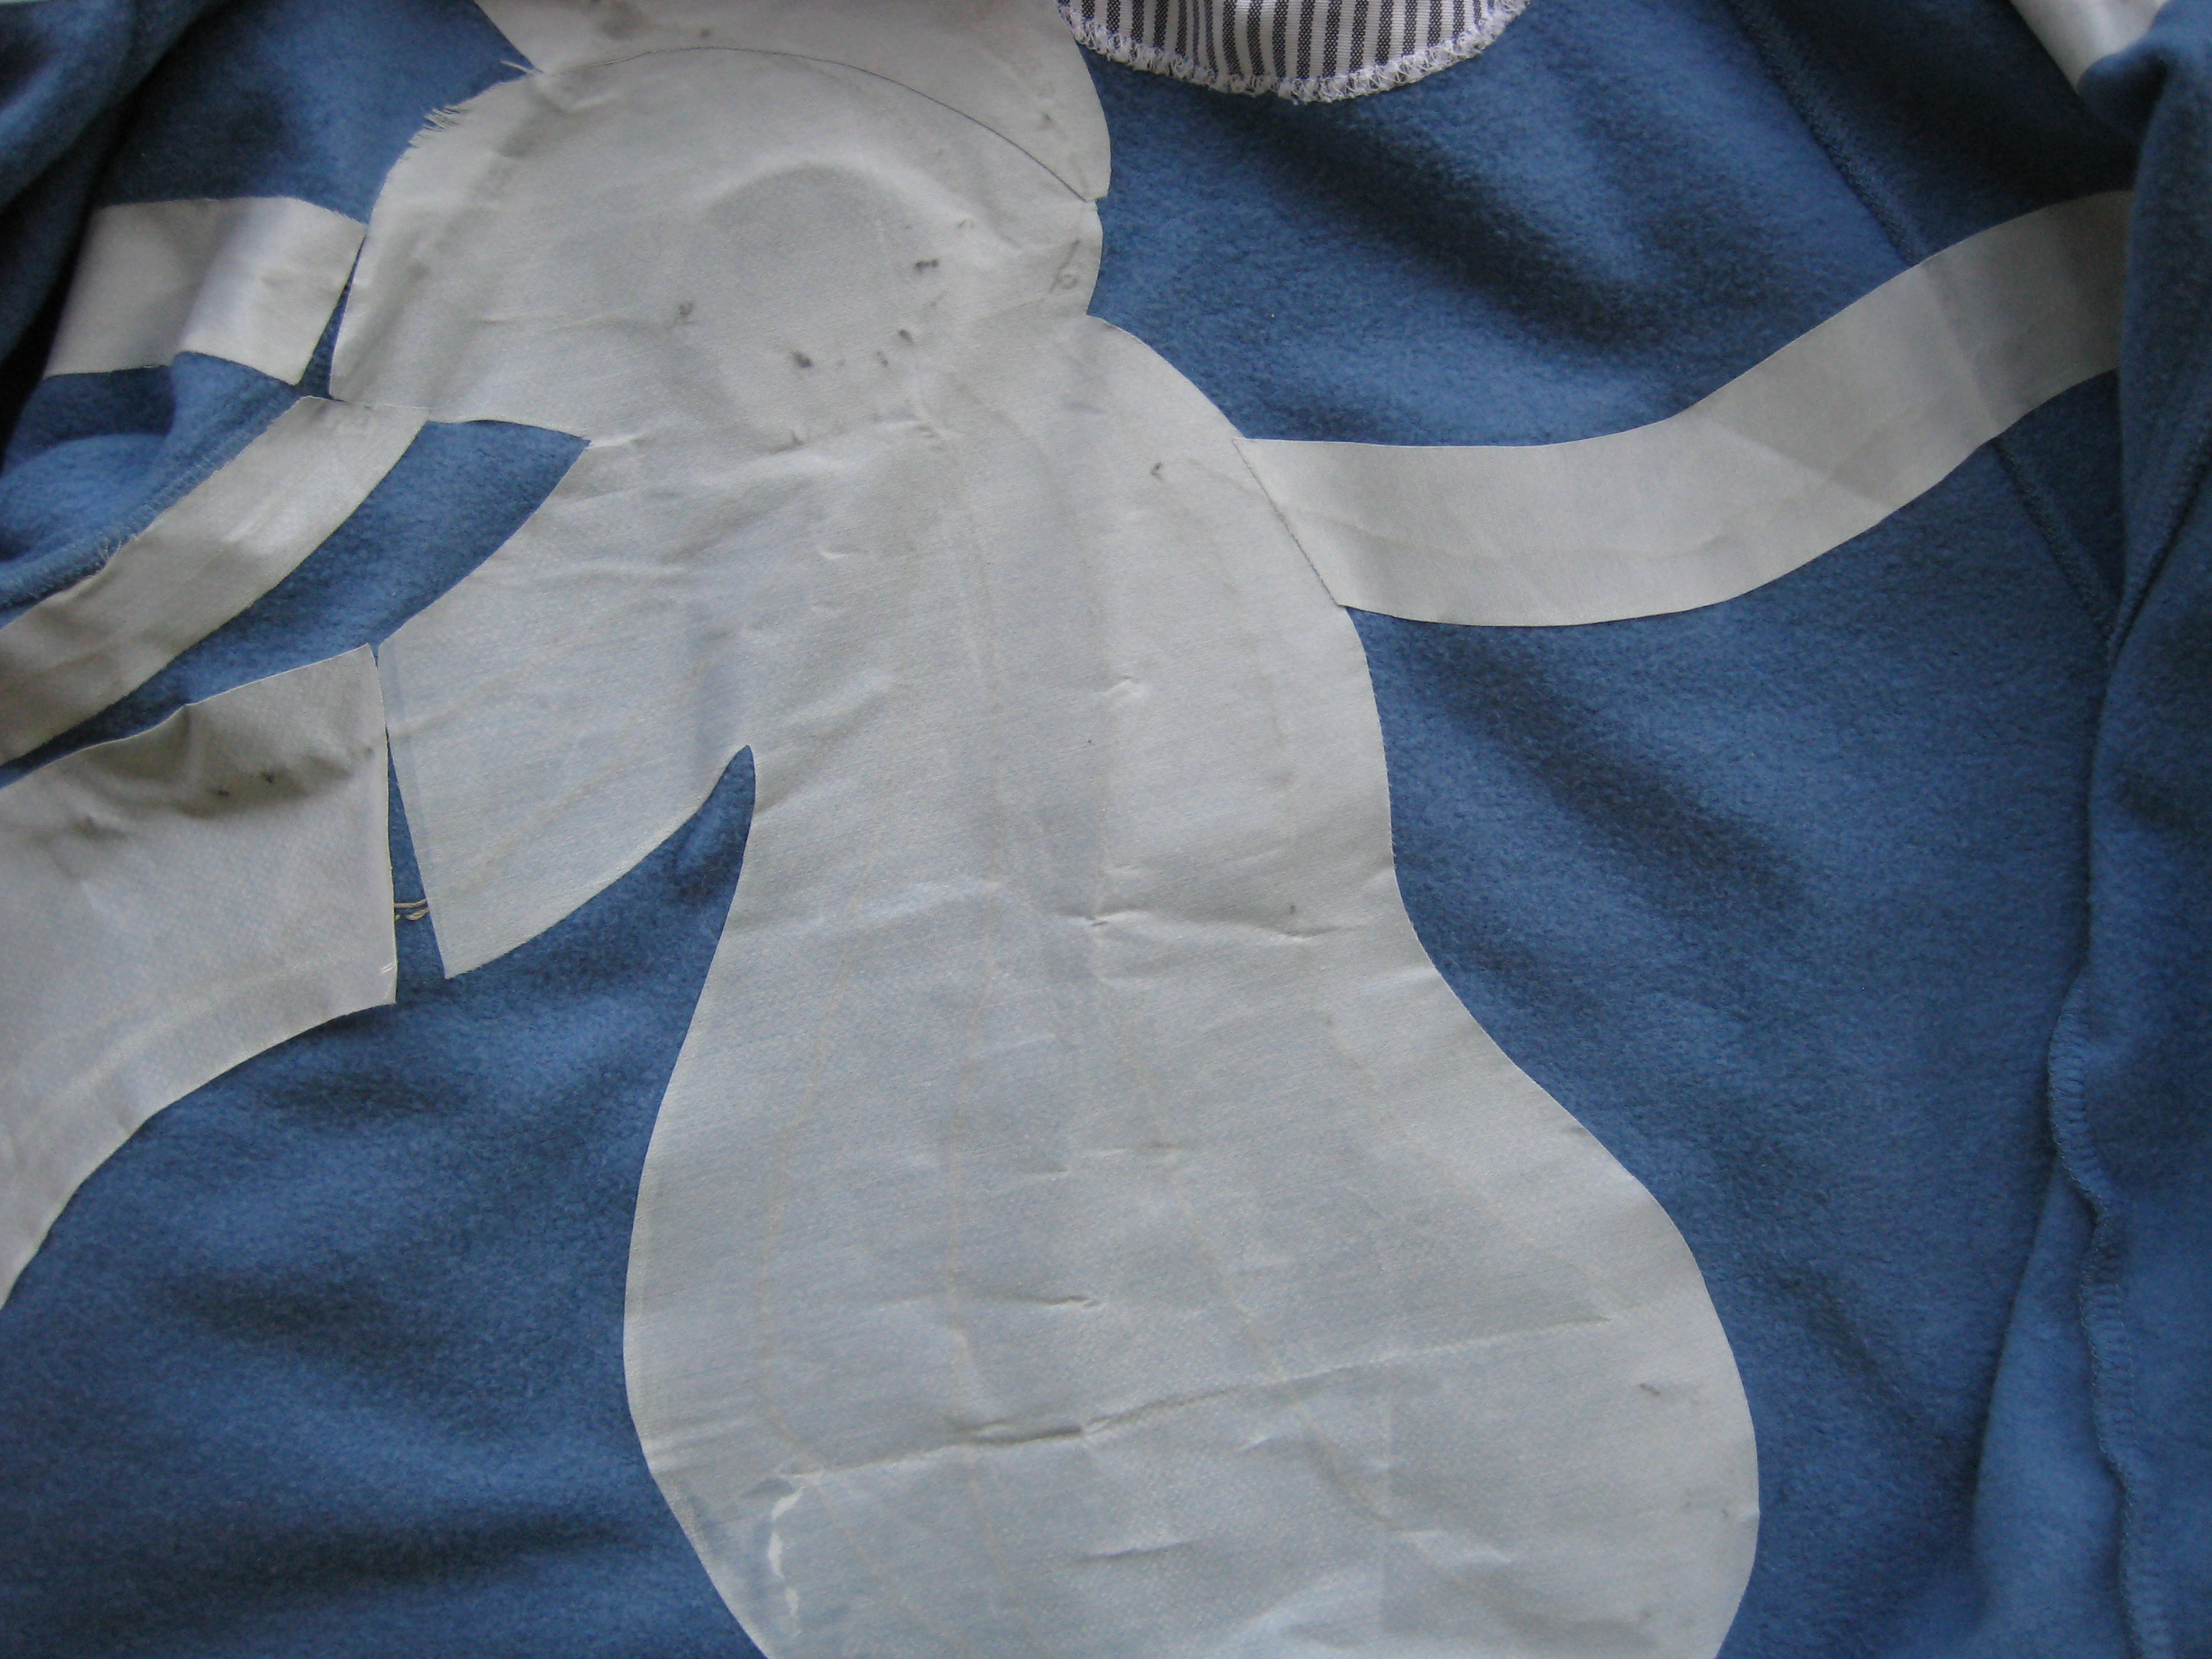
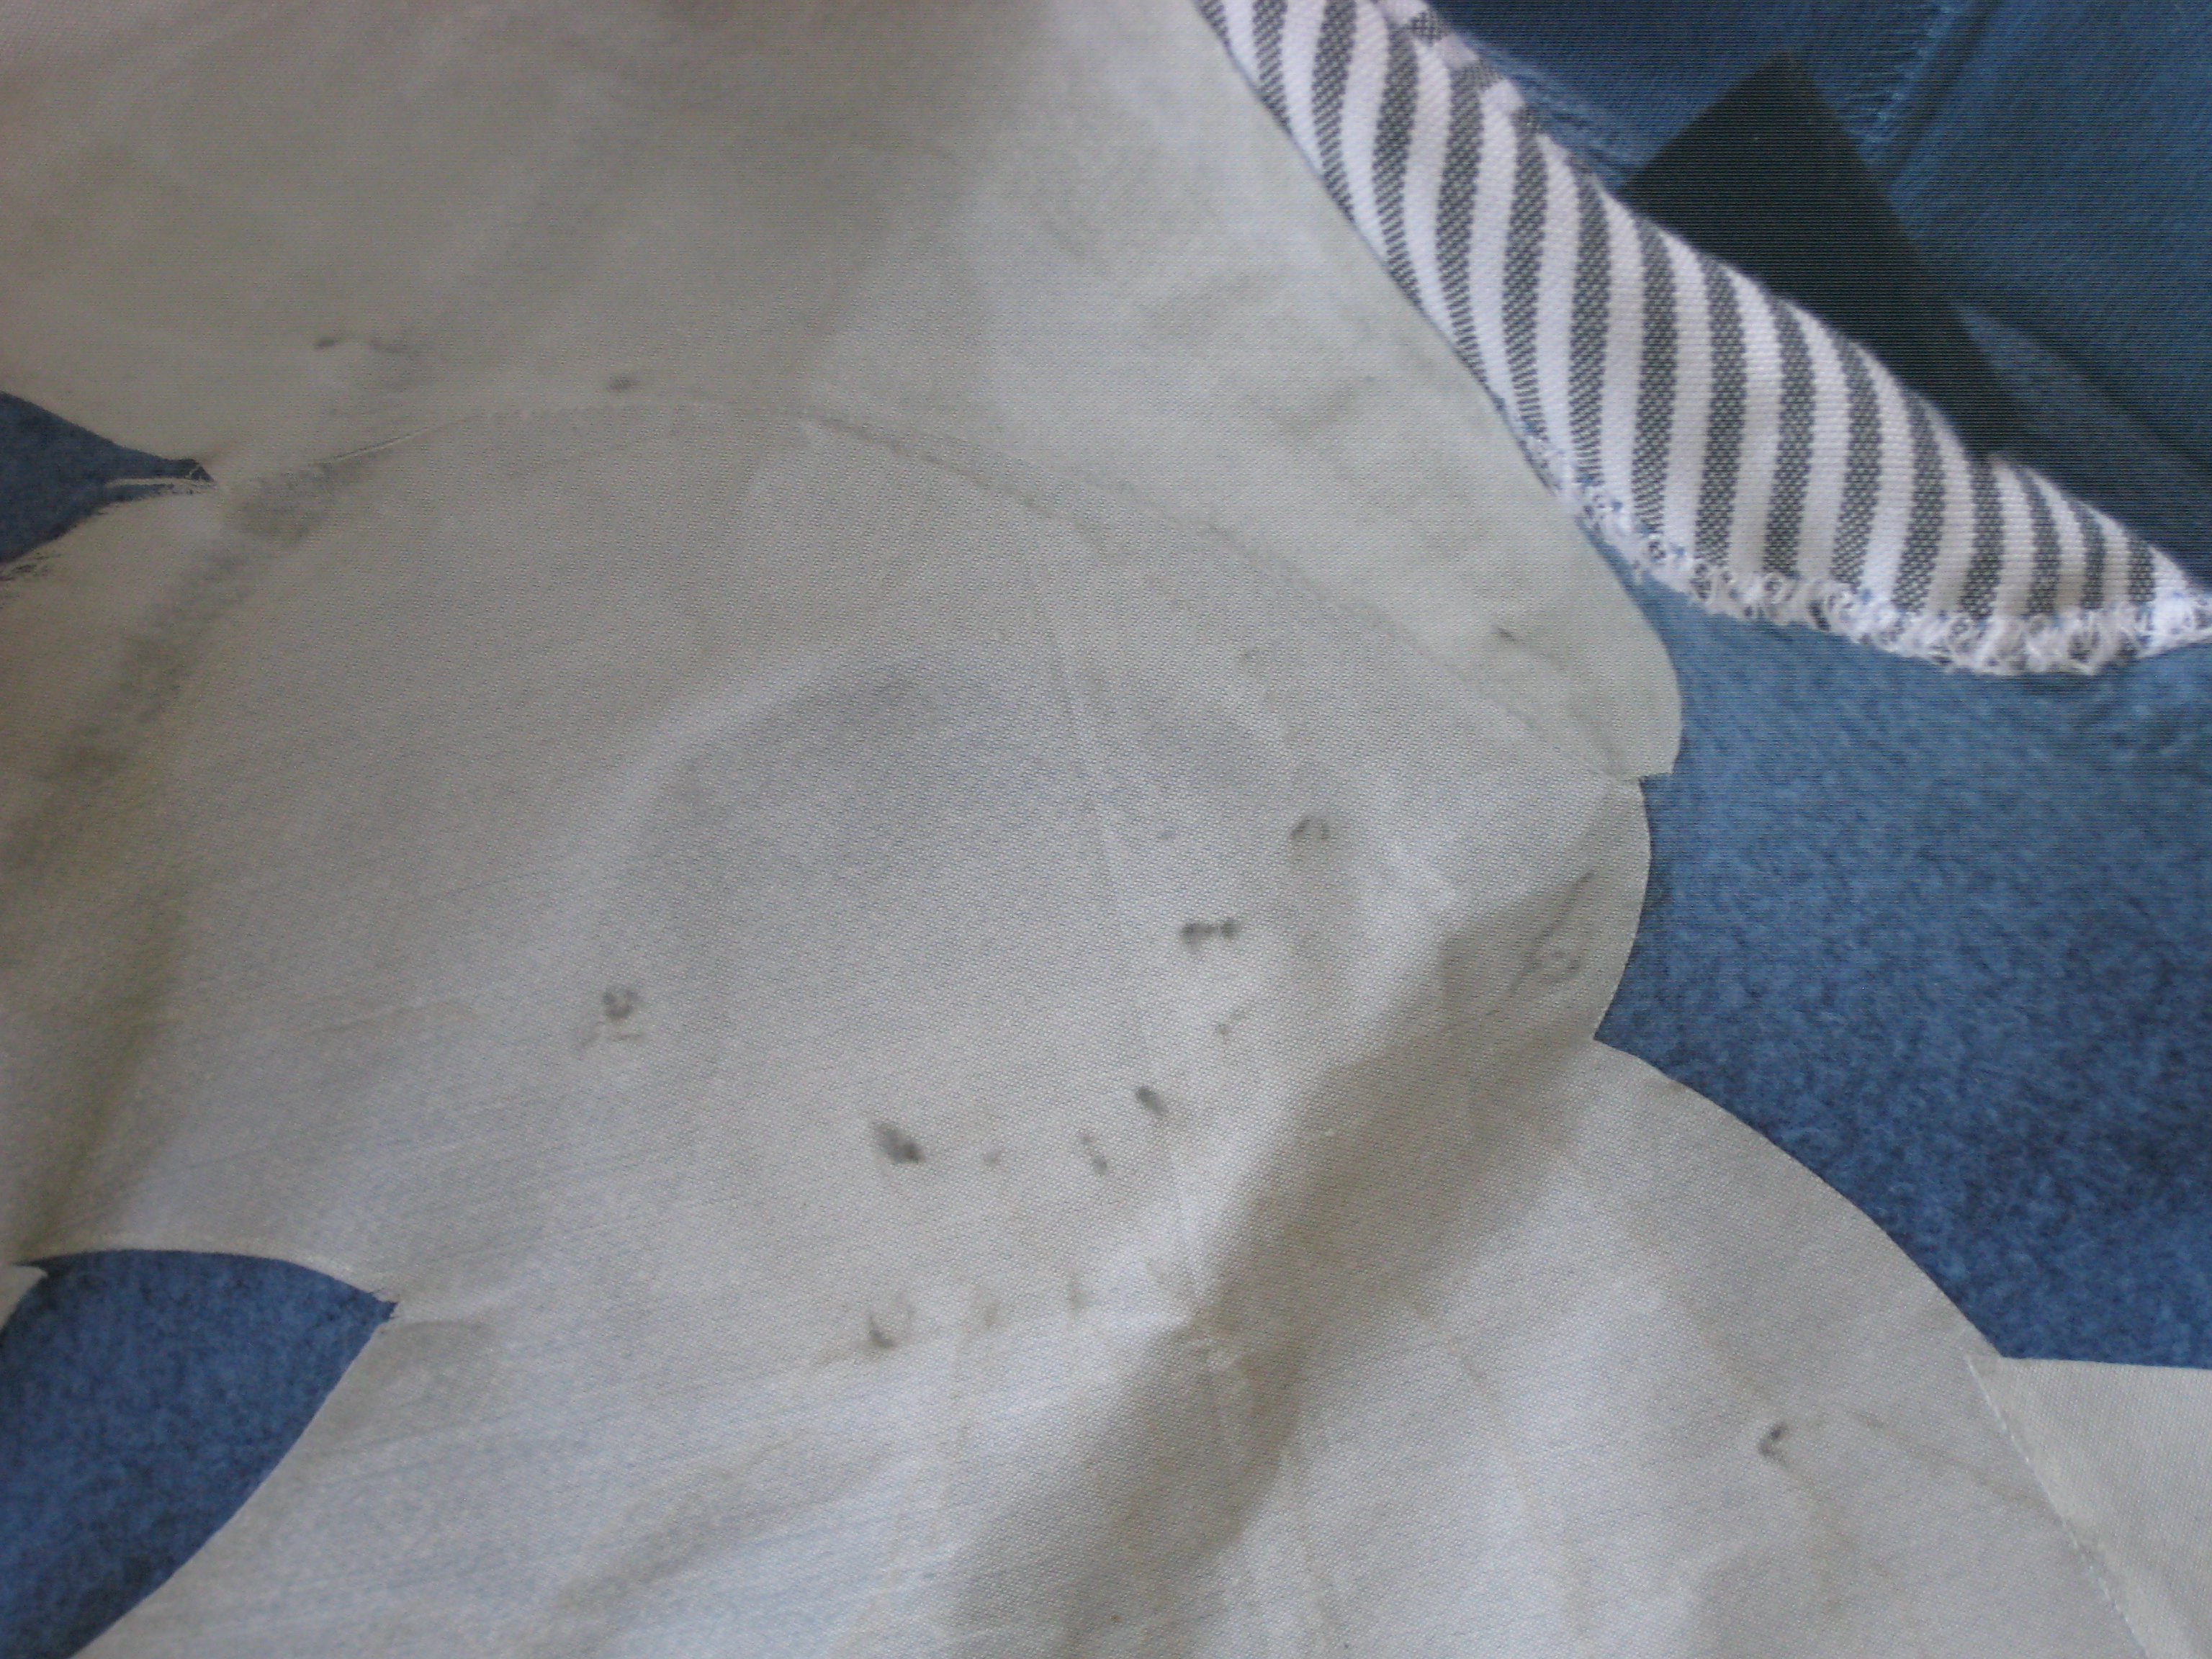
Insulate your traces.
Although your garment now works, you'll find that when you wear it next to your skin, it'll create a buzzing sensation. Also, if you wear it too often, the conductive thread on the inside of the garment may begin to fuzz and the little hairs might cause shorts to occur. To prevent shorts from developing, you'll want to insulate the conductive traces on the inside of your garment.
Once you make sure that all parts of your garment are functioning properly and ensure that you have no shorts, it's time to insulate your stitches. To do this, you can put puffy fabric paint over the stitches on the inside of your garment, or you can iron iron-on adhesive fabric onto the inside of the jacket to cover the inside traces. I used the second method, because my hoodie had many feet of traces. Also, with iron-on adhesive fabrics, you can easily reheat and remove the fabric if you made a mistake or need to fix a trace.
You'll want to make sure that your stitches look neat on the outside before covering any of your traces permanently. To do this, tug on the stitches on the inside of your garment and be sure the outside stitches look straight. Then, cut adhesive fabric to fit the traces on your garment, and iron it on.
Before ironing anything over the inner traces, make sure that everything works so that you aren't making any shorts permanent!