Minecraft Light Up Torch for Your Keychain
by pucksurfer in Circuits > Electronics
1826 Views, 9 Favorites, 0 Comments
Minecraft Light Up Torch for Your Keychain
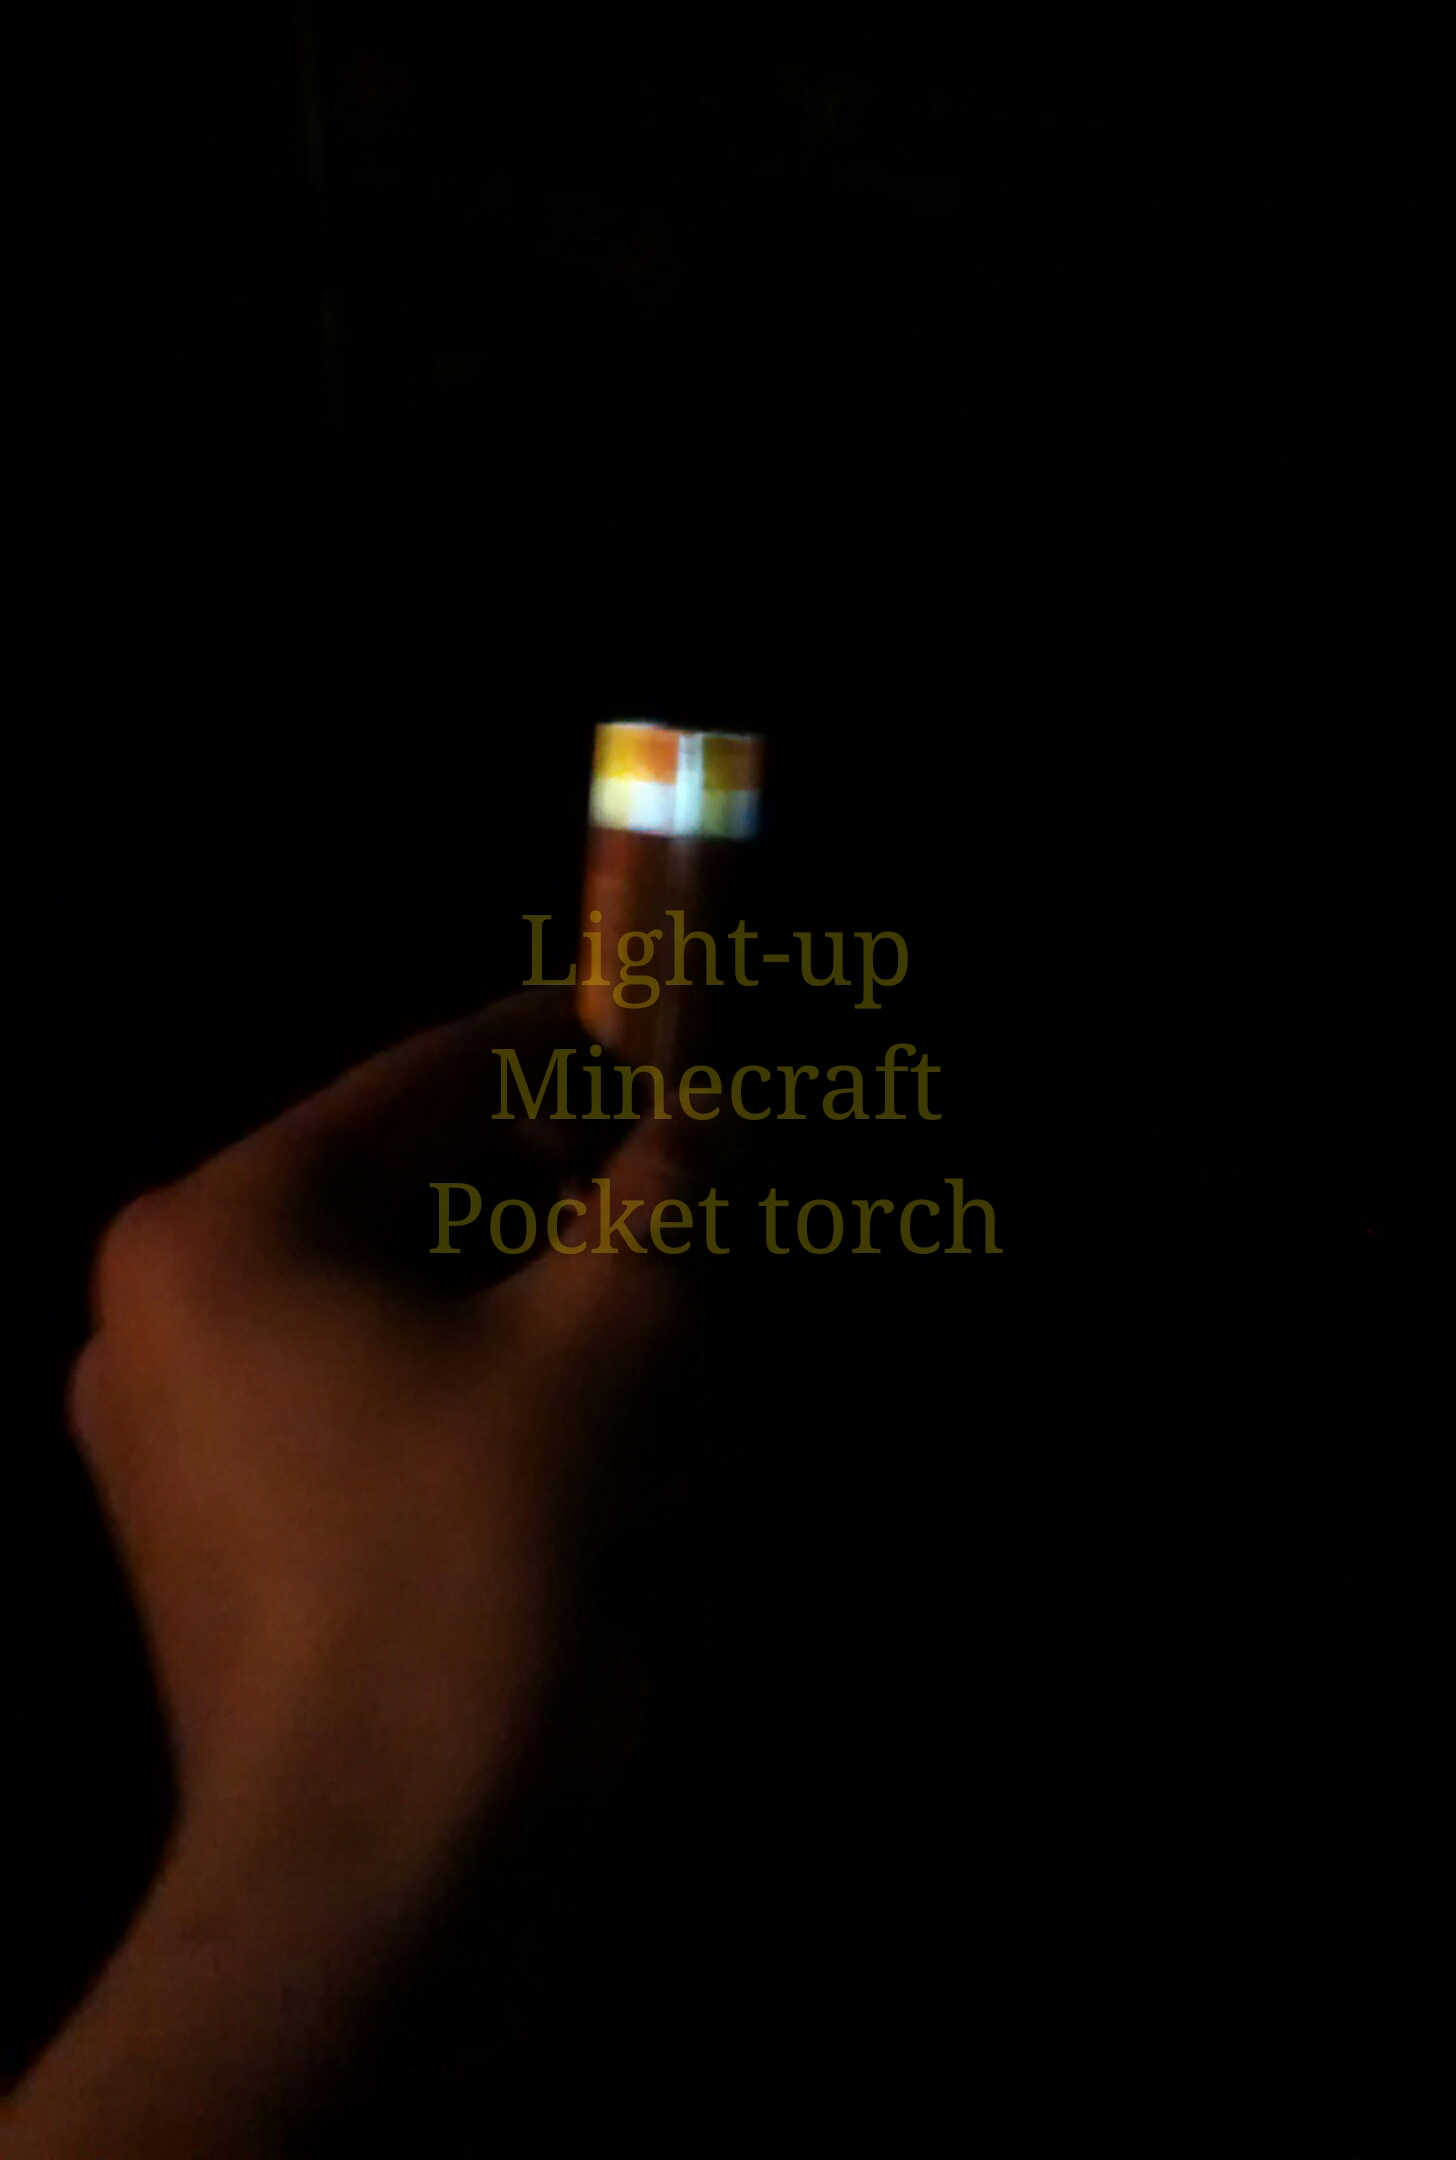
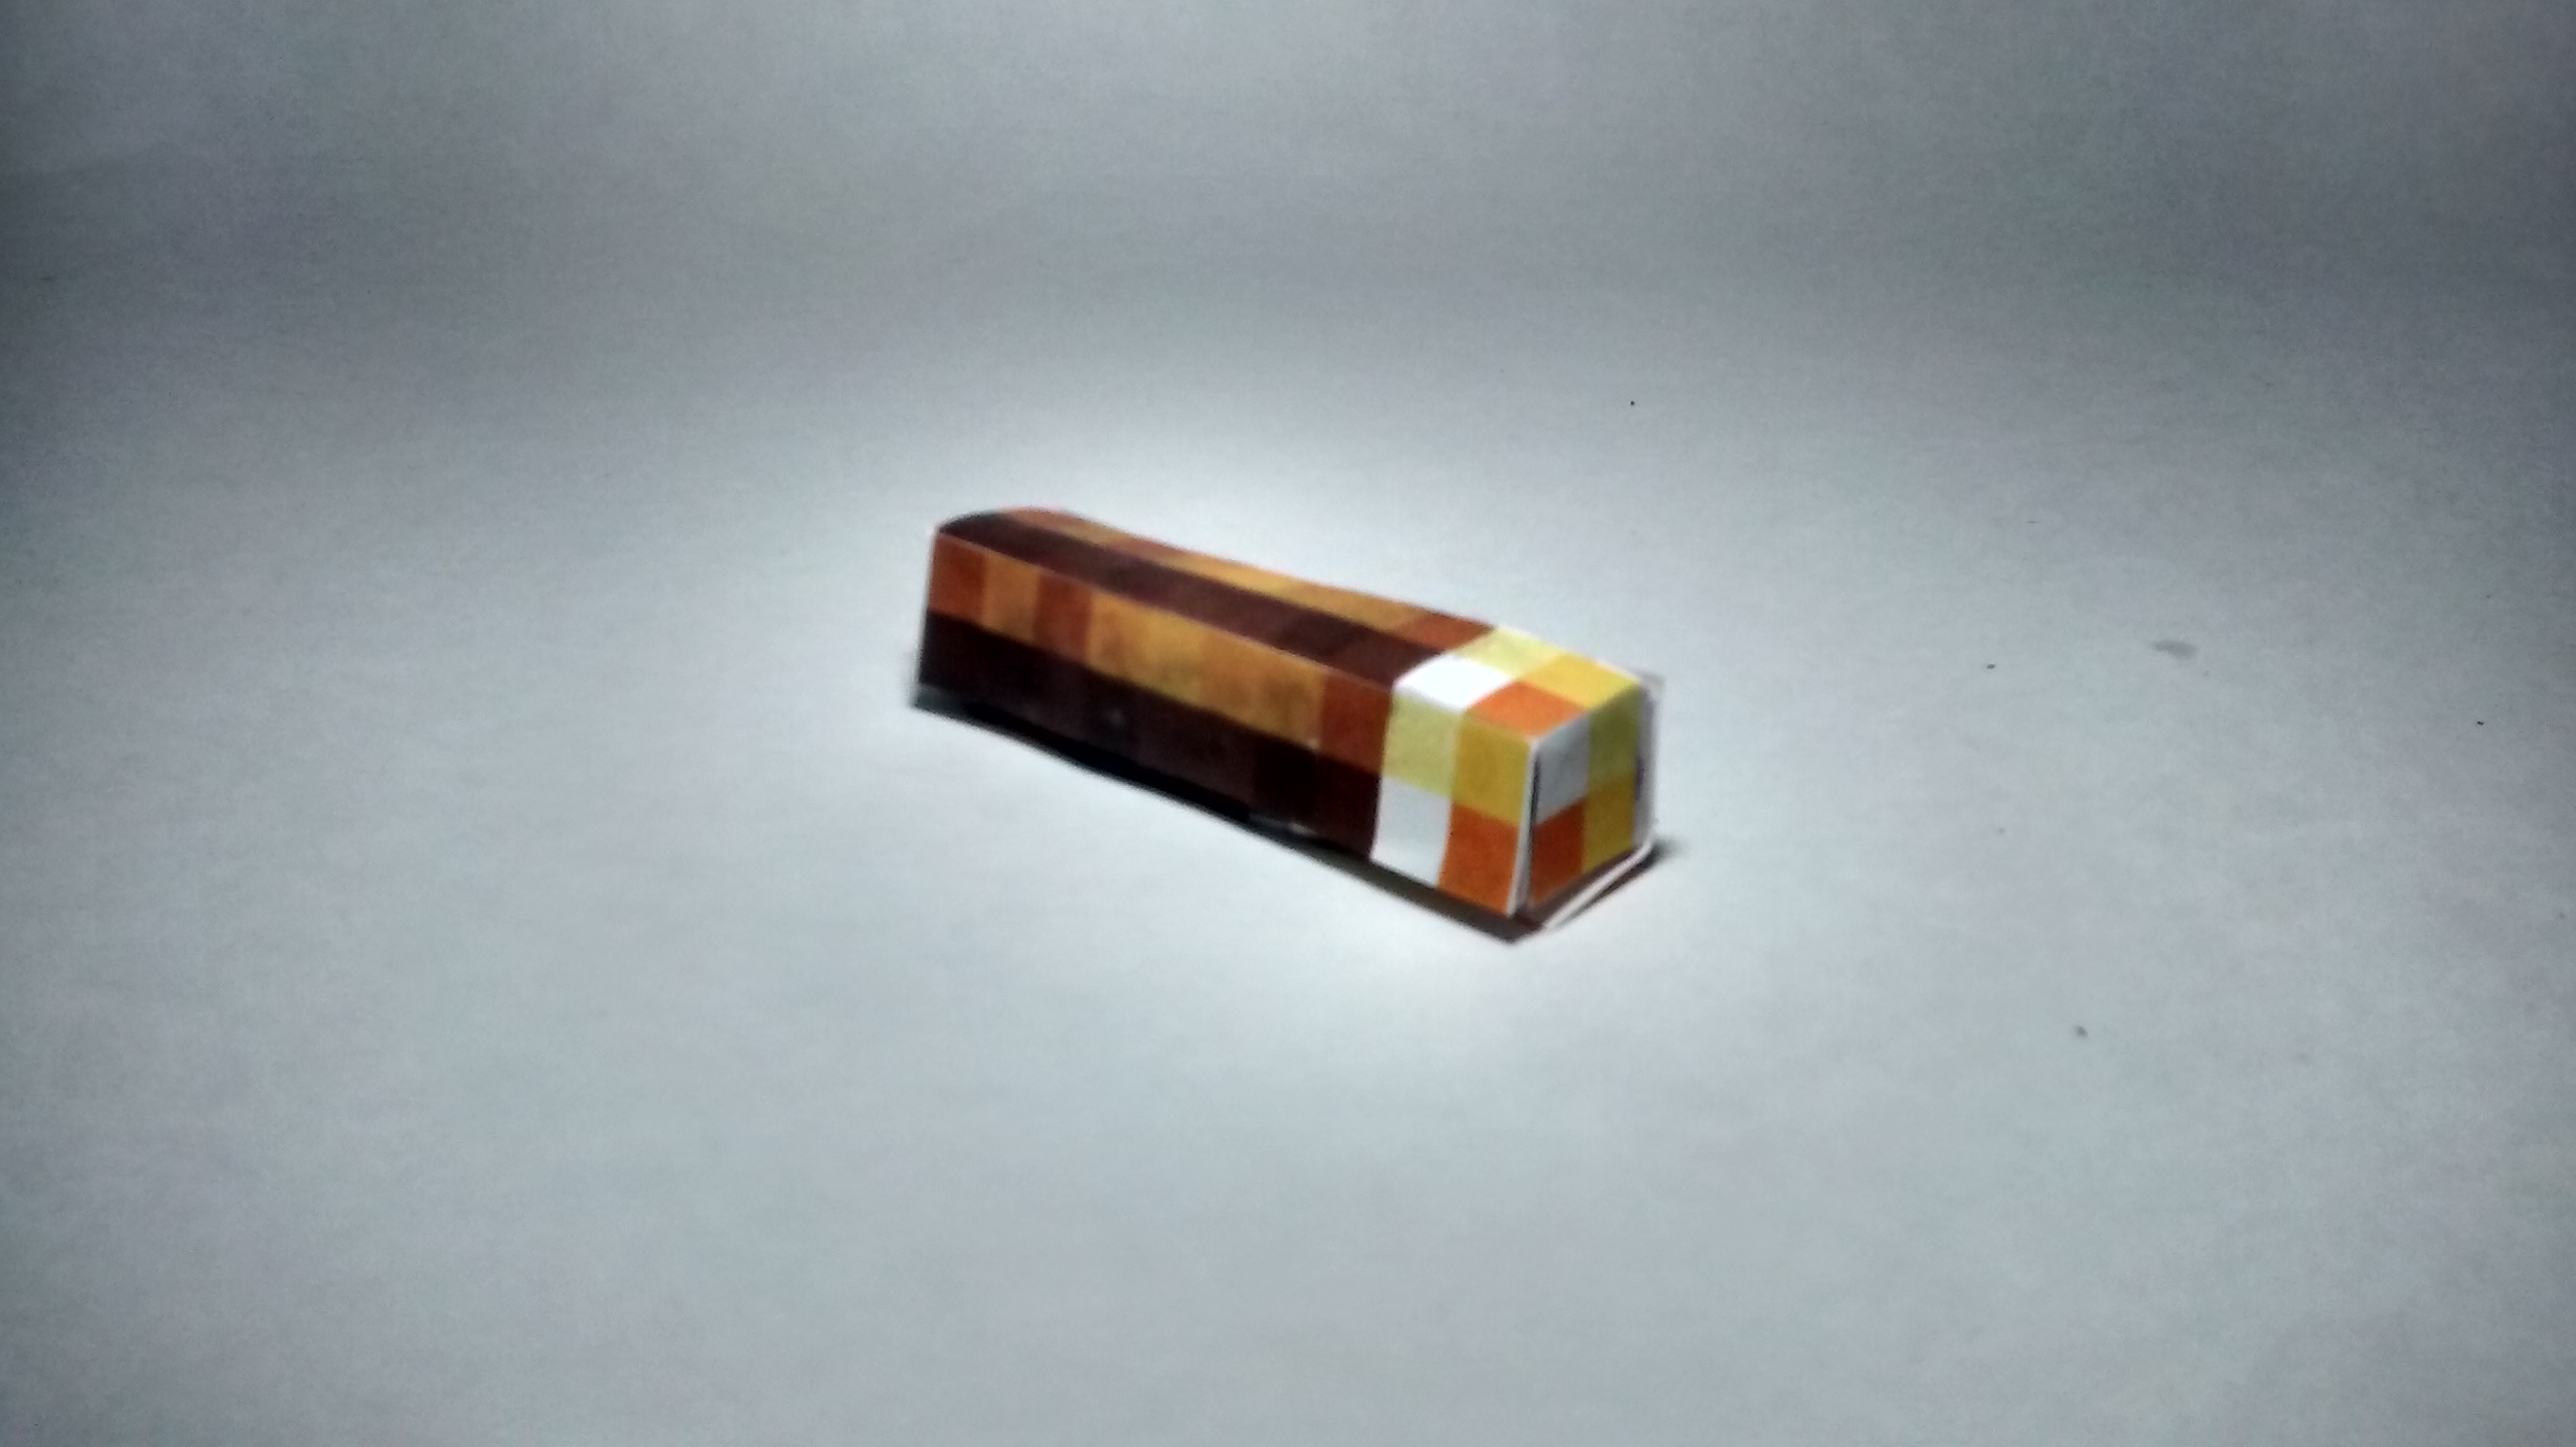
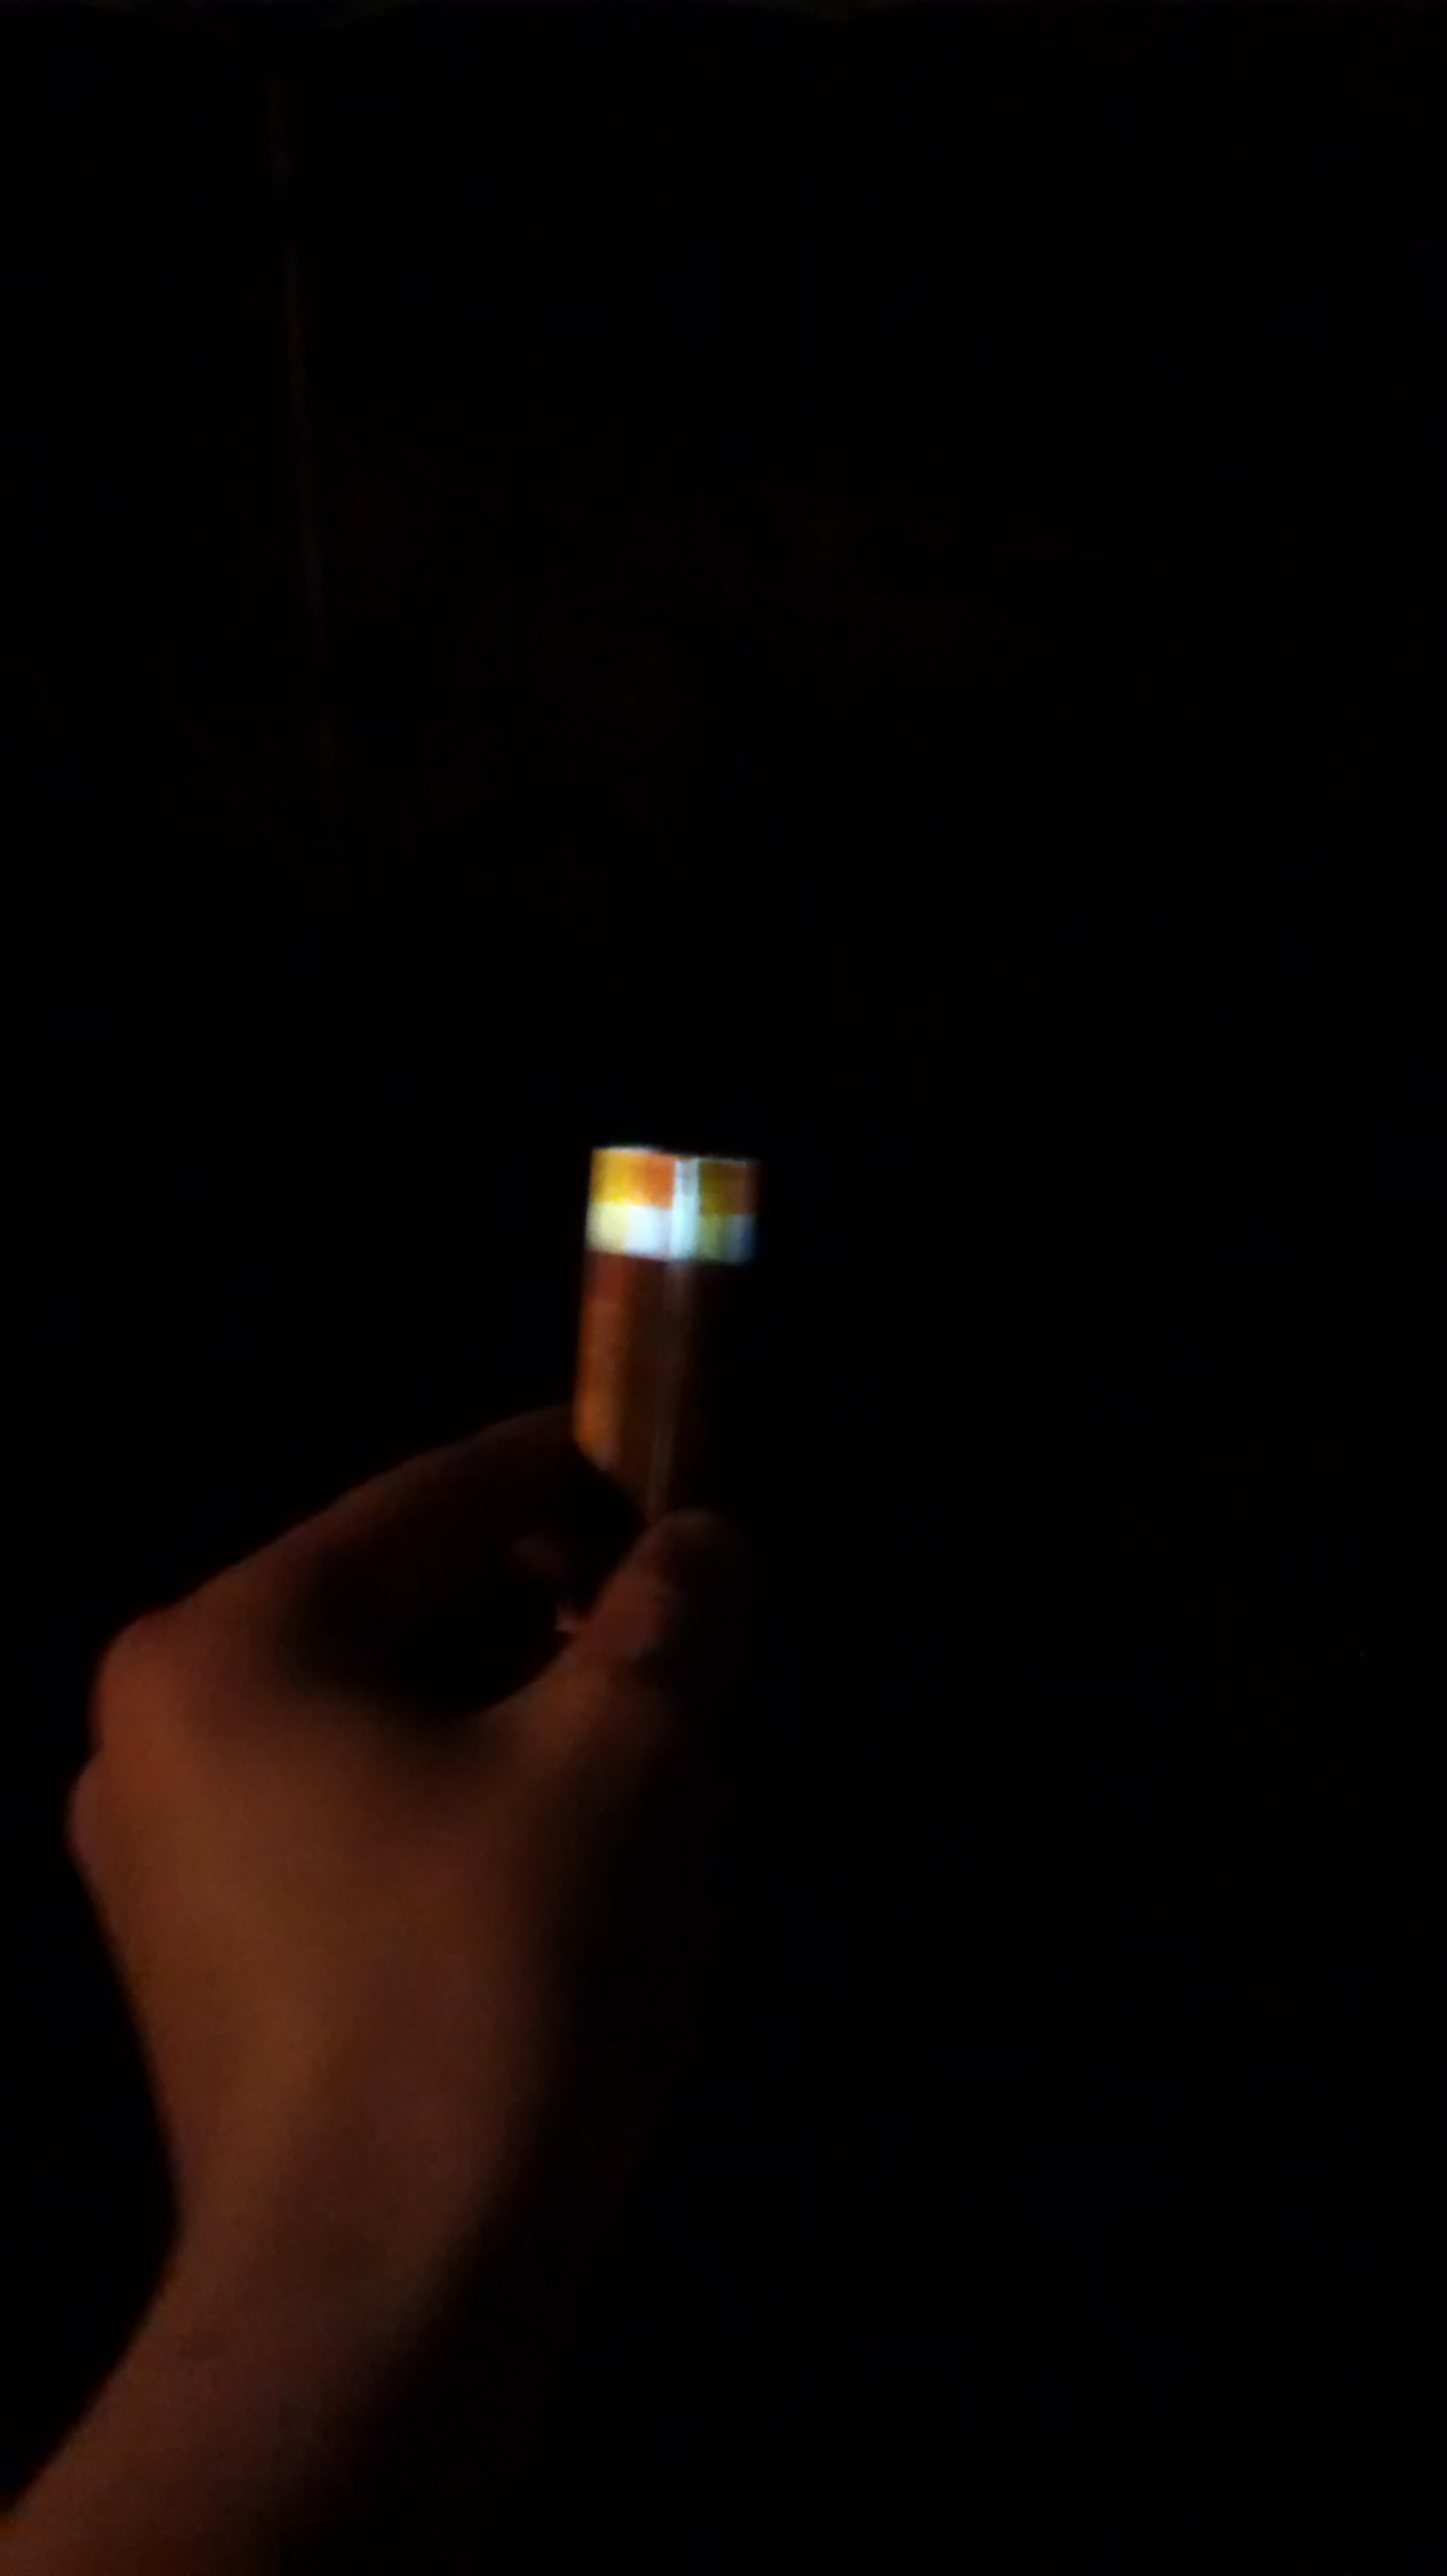
Ever wanted a minecraft trinket but never gotten the chance to get one? Well, here's your chance to create your own, and an even better one. It is a satisfying feeling to have made your own thing, whatever it is. So, here is your chance to create your own light-up minecraft torch.
Adobe Illistrator
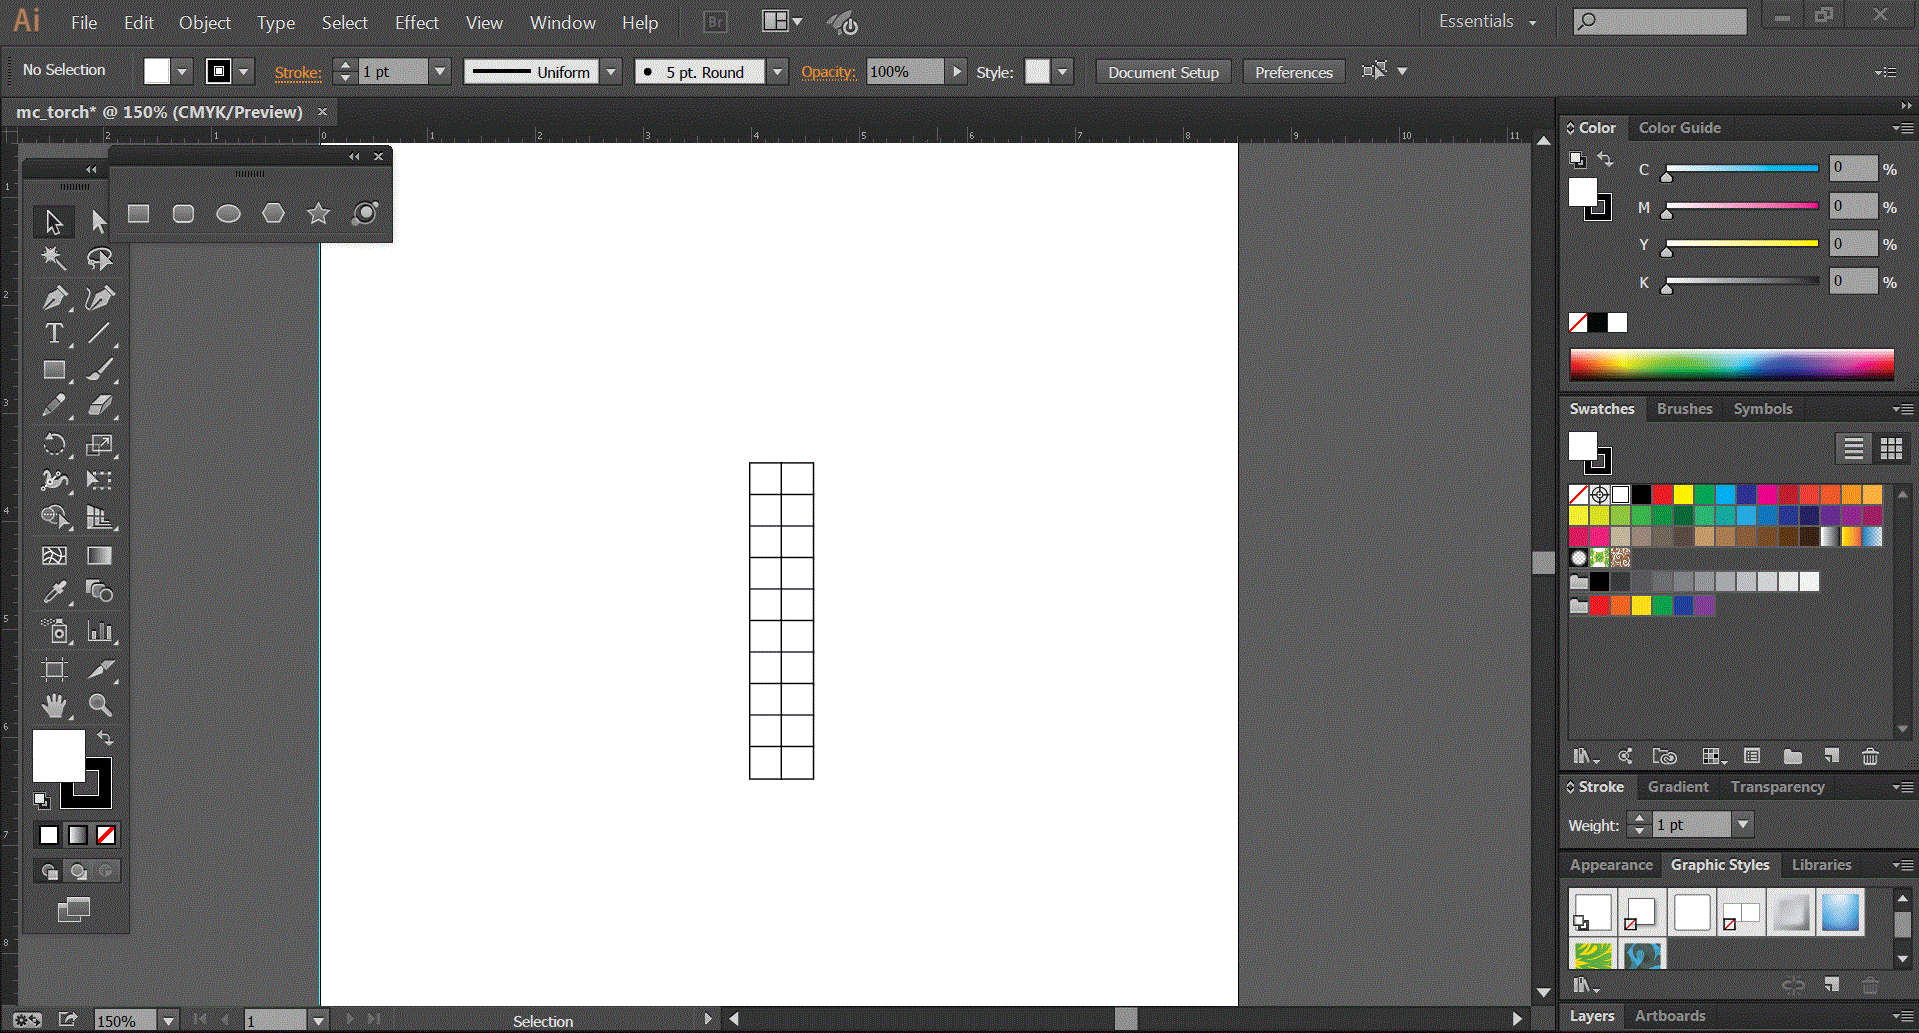
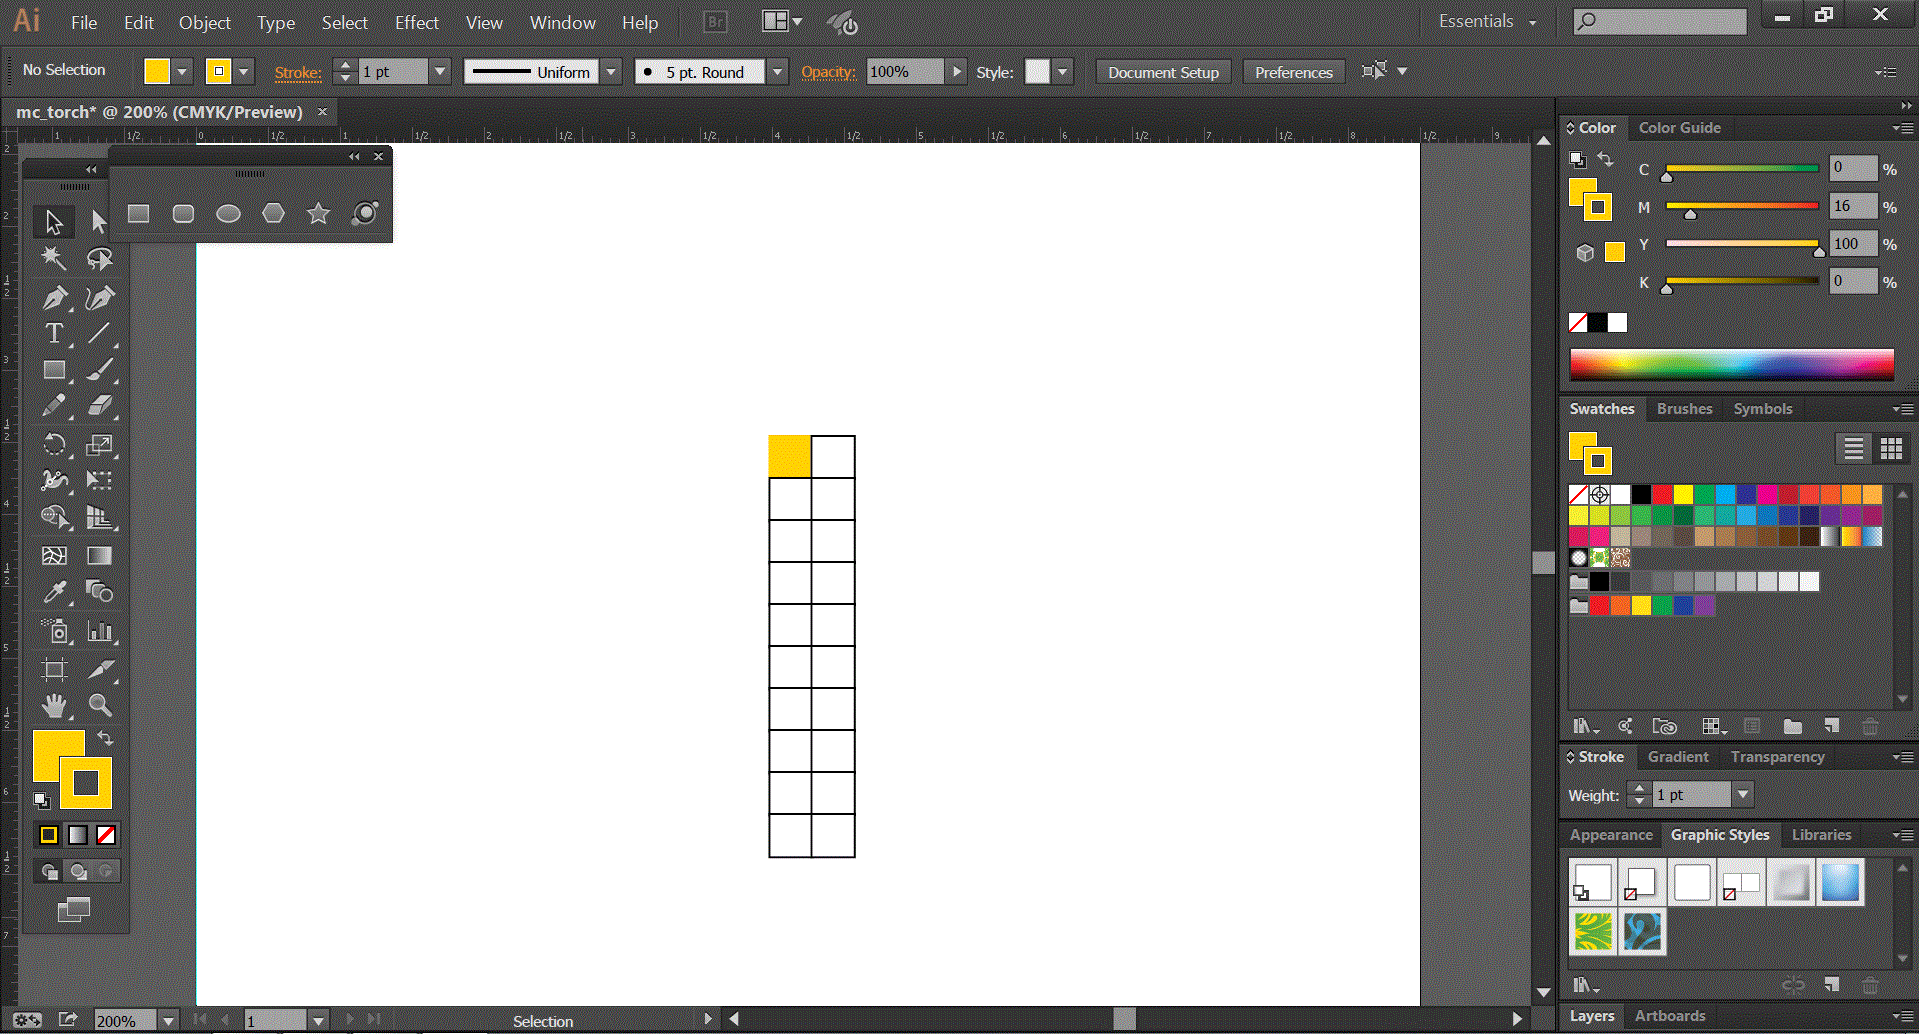
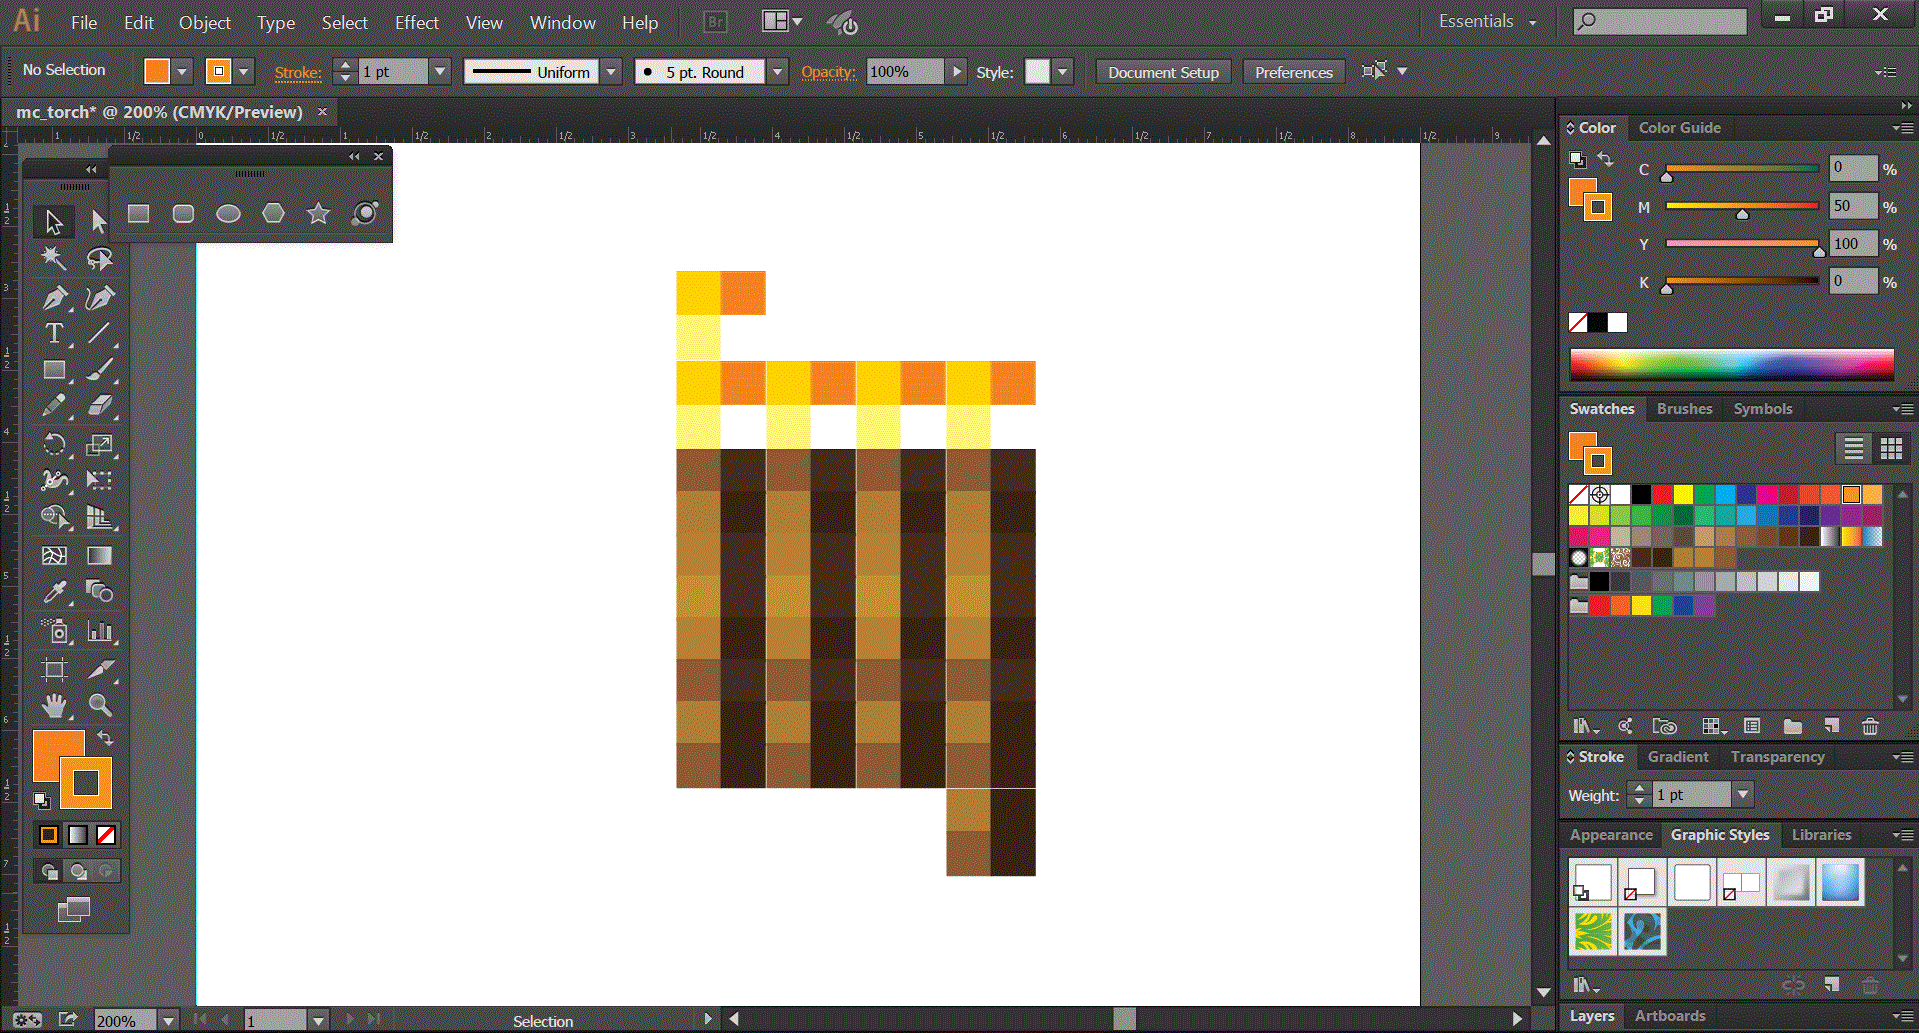
Now you are going to need some kind of drawing program. I find that Adobe Illustrator is probably the best one out there, so that is what I used. Now, I realize that Adobe Illustrator is quite a bit of money (I think that its like $15 a month or something) so instead of buying the program, I opted to just get the free 30 day trial. This gave me plenty of time to do this (and I would hope that it would take you less than 30 days to make something as simple as this).
You can get the free trial from here.
Once you have gotten the program, open up Adobe Illustrator. Then create a new page (Ctrl/Command+N) and make sure that it is in the letter sized format, and I also recommend using CMYK mode because this is what printers use to print, so the colors will be the most accurate. Once you have your document you need to preferences, in the top right corner-ish, then to units on the right of the new window that pops up, then switch general to inches instead of points.
For the actual torch, I googled an image and tried to replicate the minecraft torch as best I could. So, first thing first, a torch is 2 by 10 pixels. So with the 2/10 ratio, I changed that into a ratio of "width in inches/length in inches". I wanted my torch to be about 3 inches long, so to calculate the width that the torch should be I did 2/10=?/3. I turned out with .6 inches, so 2/10=0.6/3. My torch is going to be 0.6 inches wide, by 0.6 inches long, by 3 inches high.
To start off, I went into Illustrator, got the rectangle tool, and clicked once in the middle of the page. I then entered 0.6 for the width, and 3 for the length, then enter. This will create a rectangle on your page that will be your guide. Then click on the top right corner of the new rectangle, and enter your pixel size, mine was 0.3 by 0.3, I just divided my width of .6 inches by 2 (the number of pixels in the width), which got me .3, then I knew that it had to be a square so I just made it 0.3 by 0.3. For now, It's okay to keep the pixels with a white fill and a black stroke, we'll change that later. Once I had my first pixel, I selected it with the black arrow, and then copied it (Ctrl+C), and the pasted on top of (Ctrl+F). You probably won't see any changes to your picture because the Ctrl+F command pastes the object that was copied, right on top of the object that was copied. The new pixel should be automatically selected when you paste it. While it is still selected use your right arrow key to move it over (to the right) 21 key presses (press the right arrow key 21 times). This is only if you are using the same dimensions as me, if you are not, you can use outline mode (Ctrl+Y) to help line up the two squares.DO NOT USE CLICK AND DRAG, IT WILL MAKE YOUR PICTURE INACCURATE, USING THE ARROW KEYS WILL NOT. You are then going to select the two pixels that you now have then Ctrl+C, Ctrl+F, and then down 21 times with the down arrow, then Ctrl+C, Ctrl+F, and down 21 times. Keep doing this until you have 10 pixels down and the pixels go down to bottom of the guide that you made. Now to color the pixels. I googled "minecraft torch layout in google images and found a picture from minecraftforum.net. I then used this as a guide. I tried to replicate the colors for each individual pixel using the swatch pallet and the color sliders above the swatch pallet, also, it is important to set the stroke as the same color as the fill for each pixel. Once I finished the first side, I selected all of it, then did Ctrl+C, Ctrl+F, and moved it over 45 times using the right arrow. Then, I selected everything, Ctrl+C, Ctrl+F, and moved it to the right 90 times (Yes, this can get tedious).
Now your almost done with Illustrator! Now all you need to do is select the four of the top pixels (the flame pixels) out of one of your sides, Then copy and Ctrl+F, Then move it up 45 times. Then do the same with the bottom 4 pixels of a side. If you are confused, look at the last picture in this step above. All of the copying and pasting is so that we can fold the torch and make it 3 dimensional.
Now save your file. You can choose the name but change the file type from .ai (only Illustrator compatible) to a .pdf (pretty much universal)
Print Out Your PDF
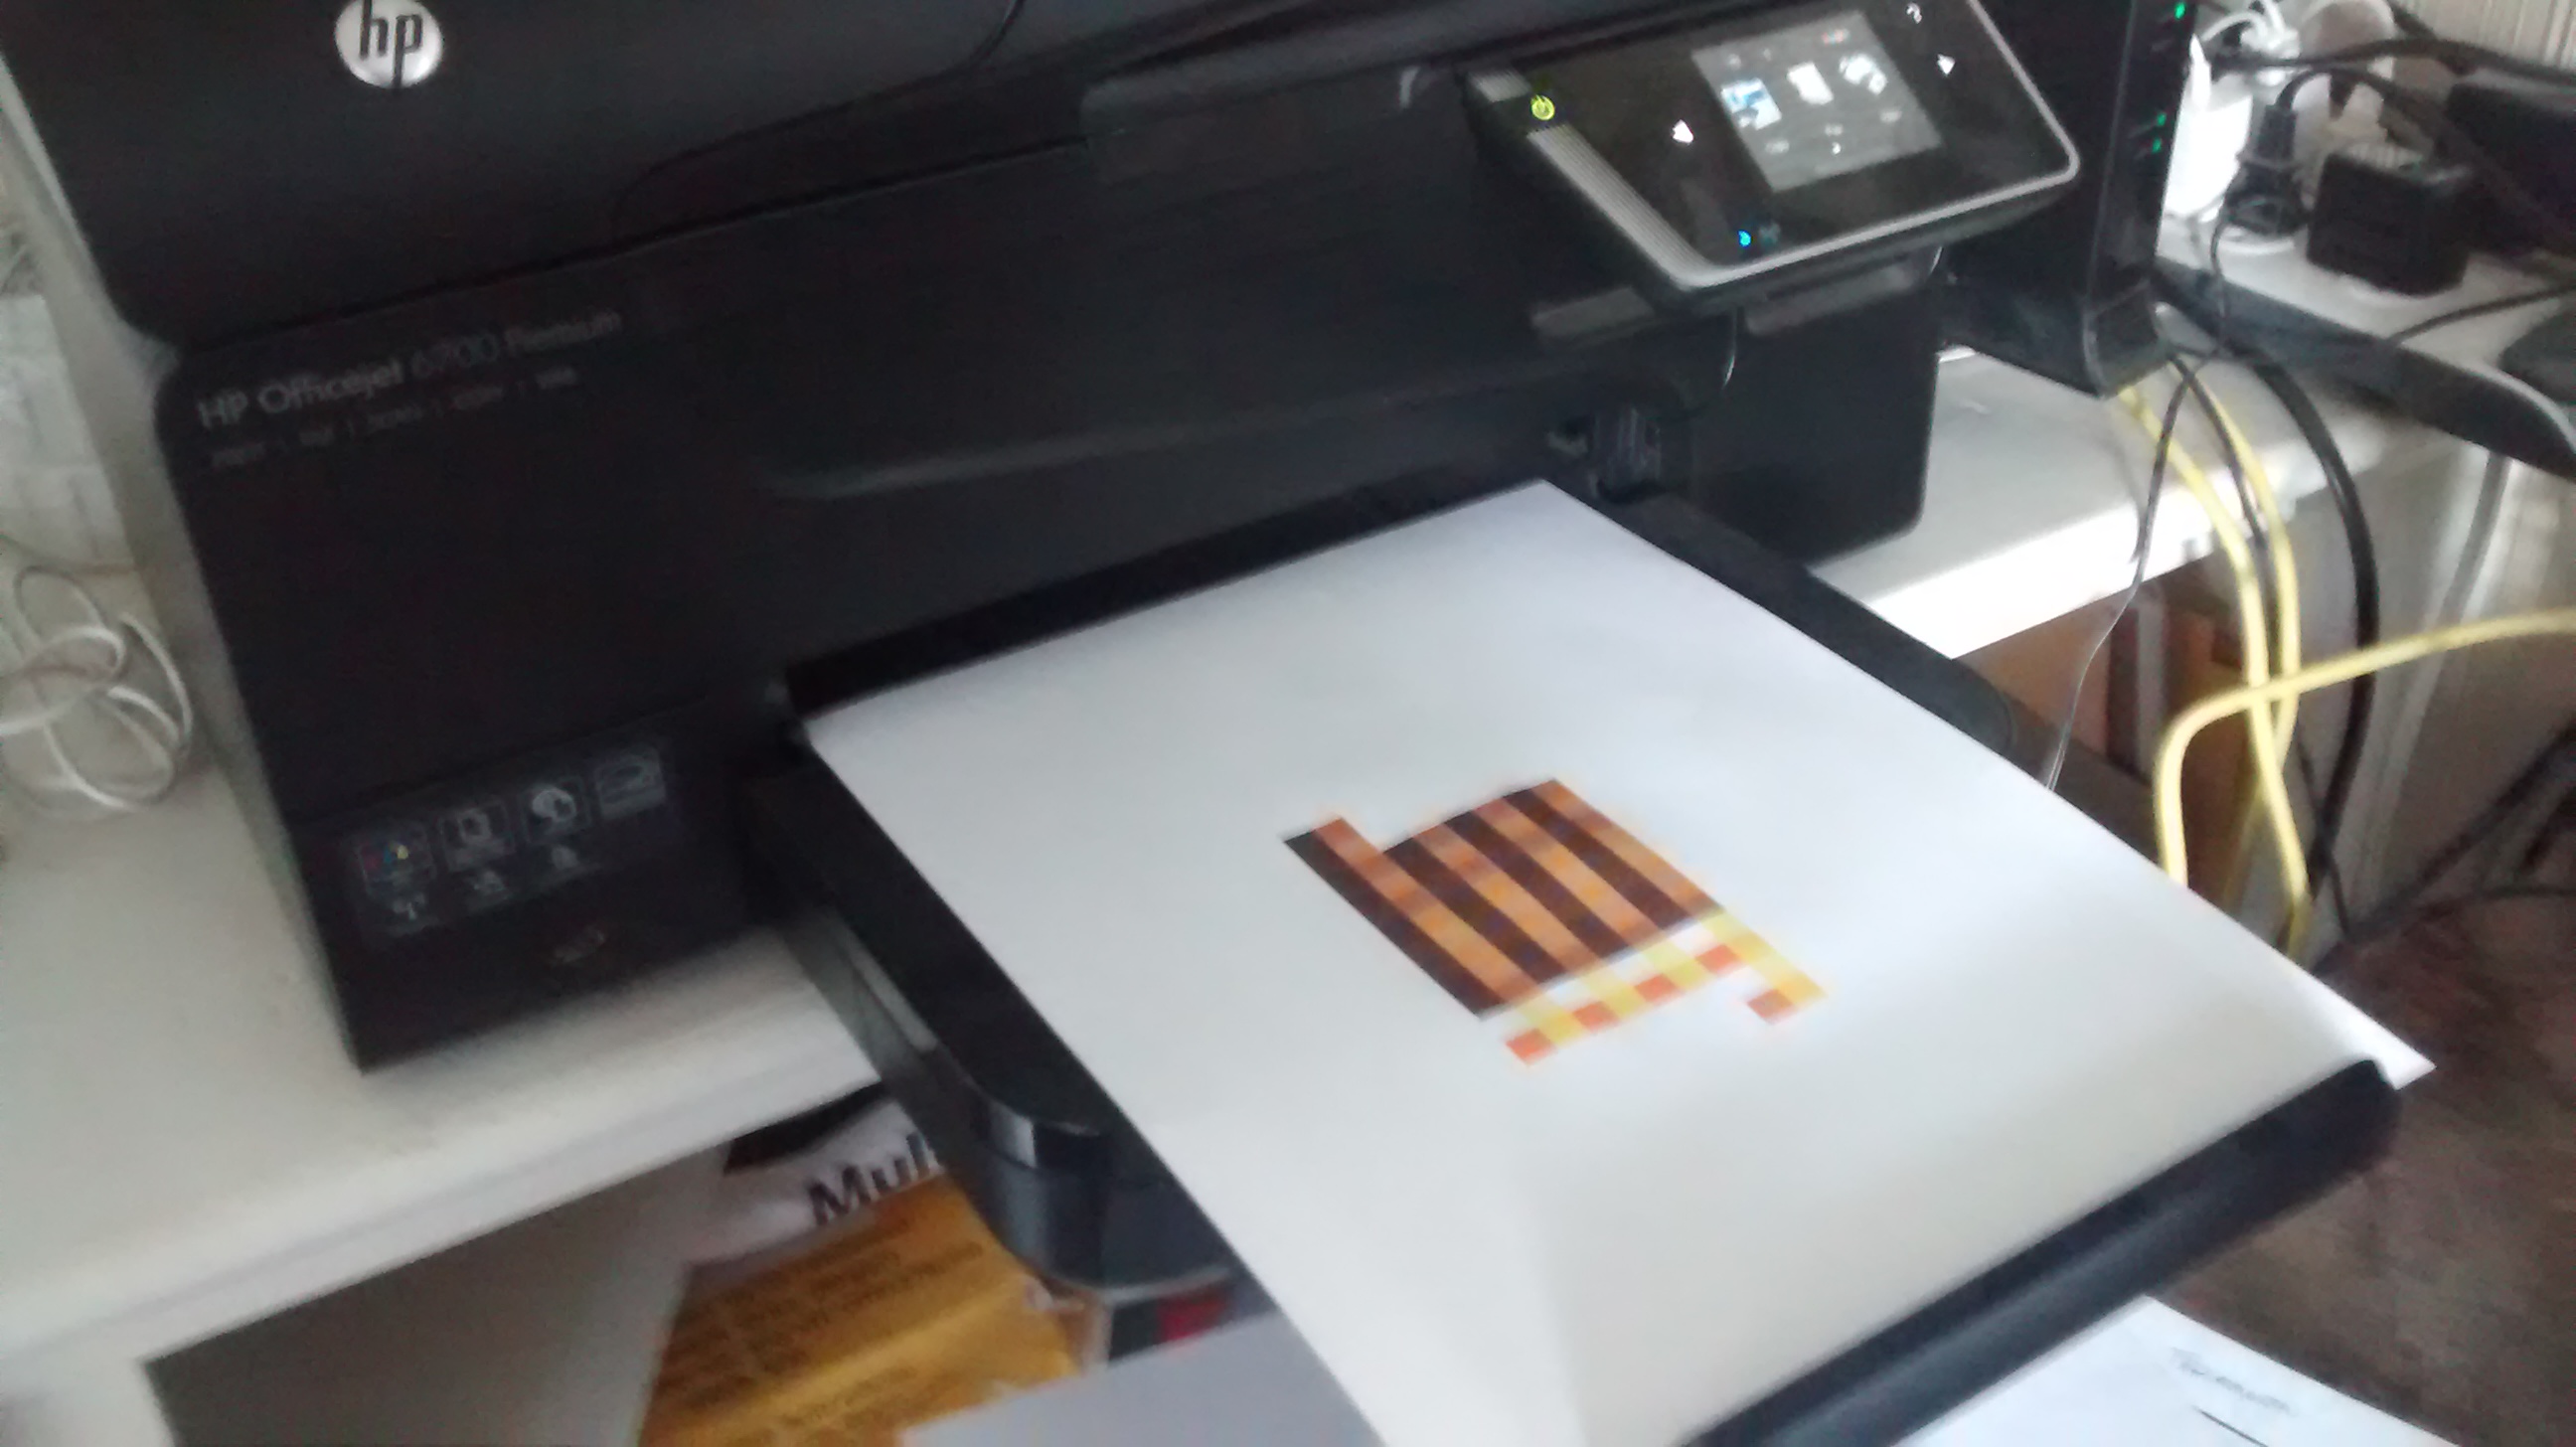
Now, in Illustrator or in another program with your PDF open. Click Ctrl+P and print your picture. I also printed a second one (it's black and white) to be my guide for the cardboard and stuff.
Making the Base: Cardboard
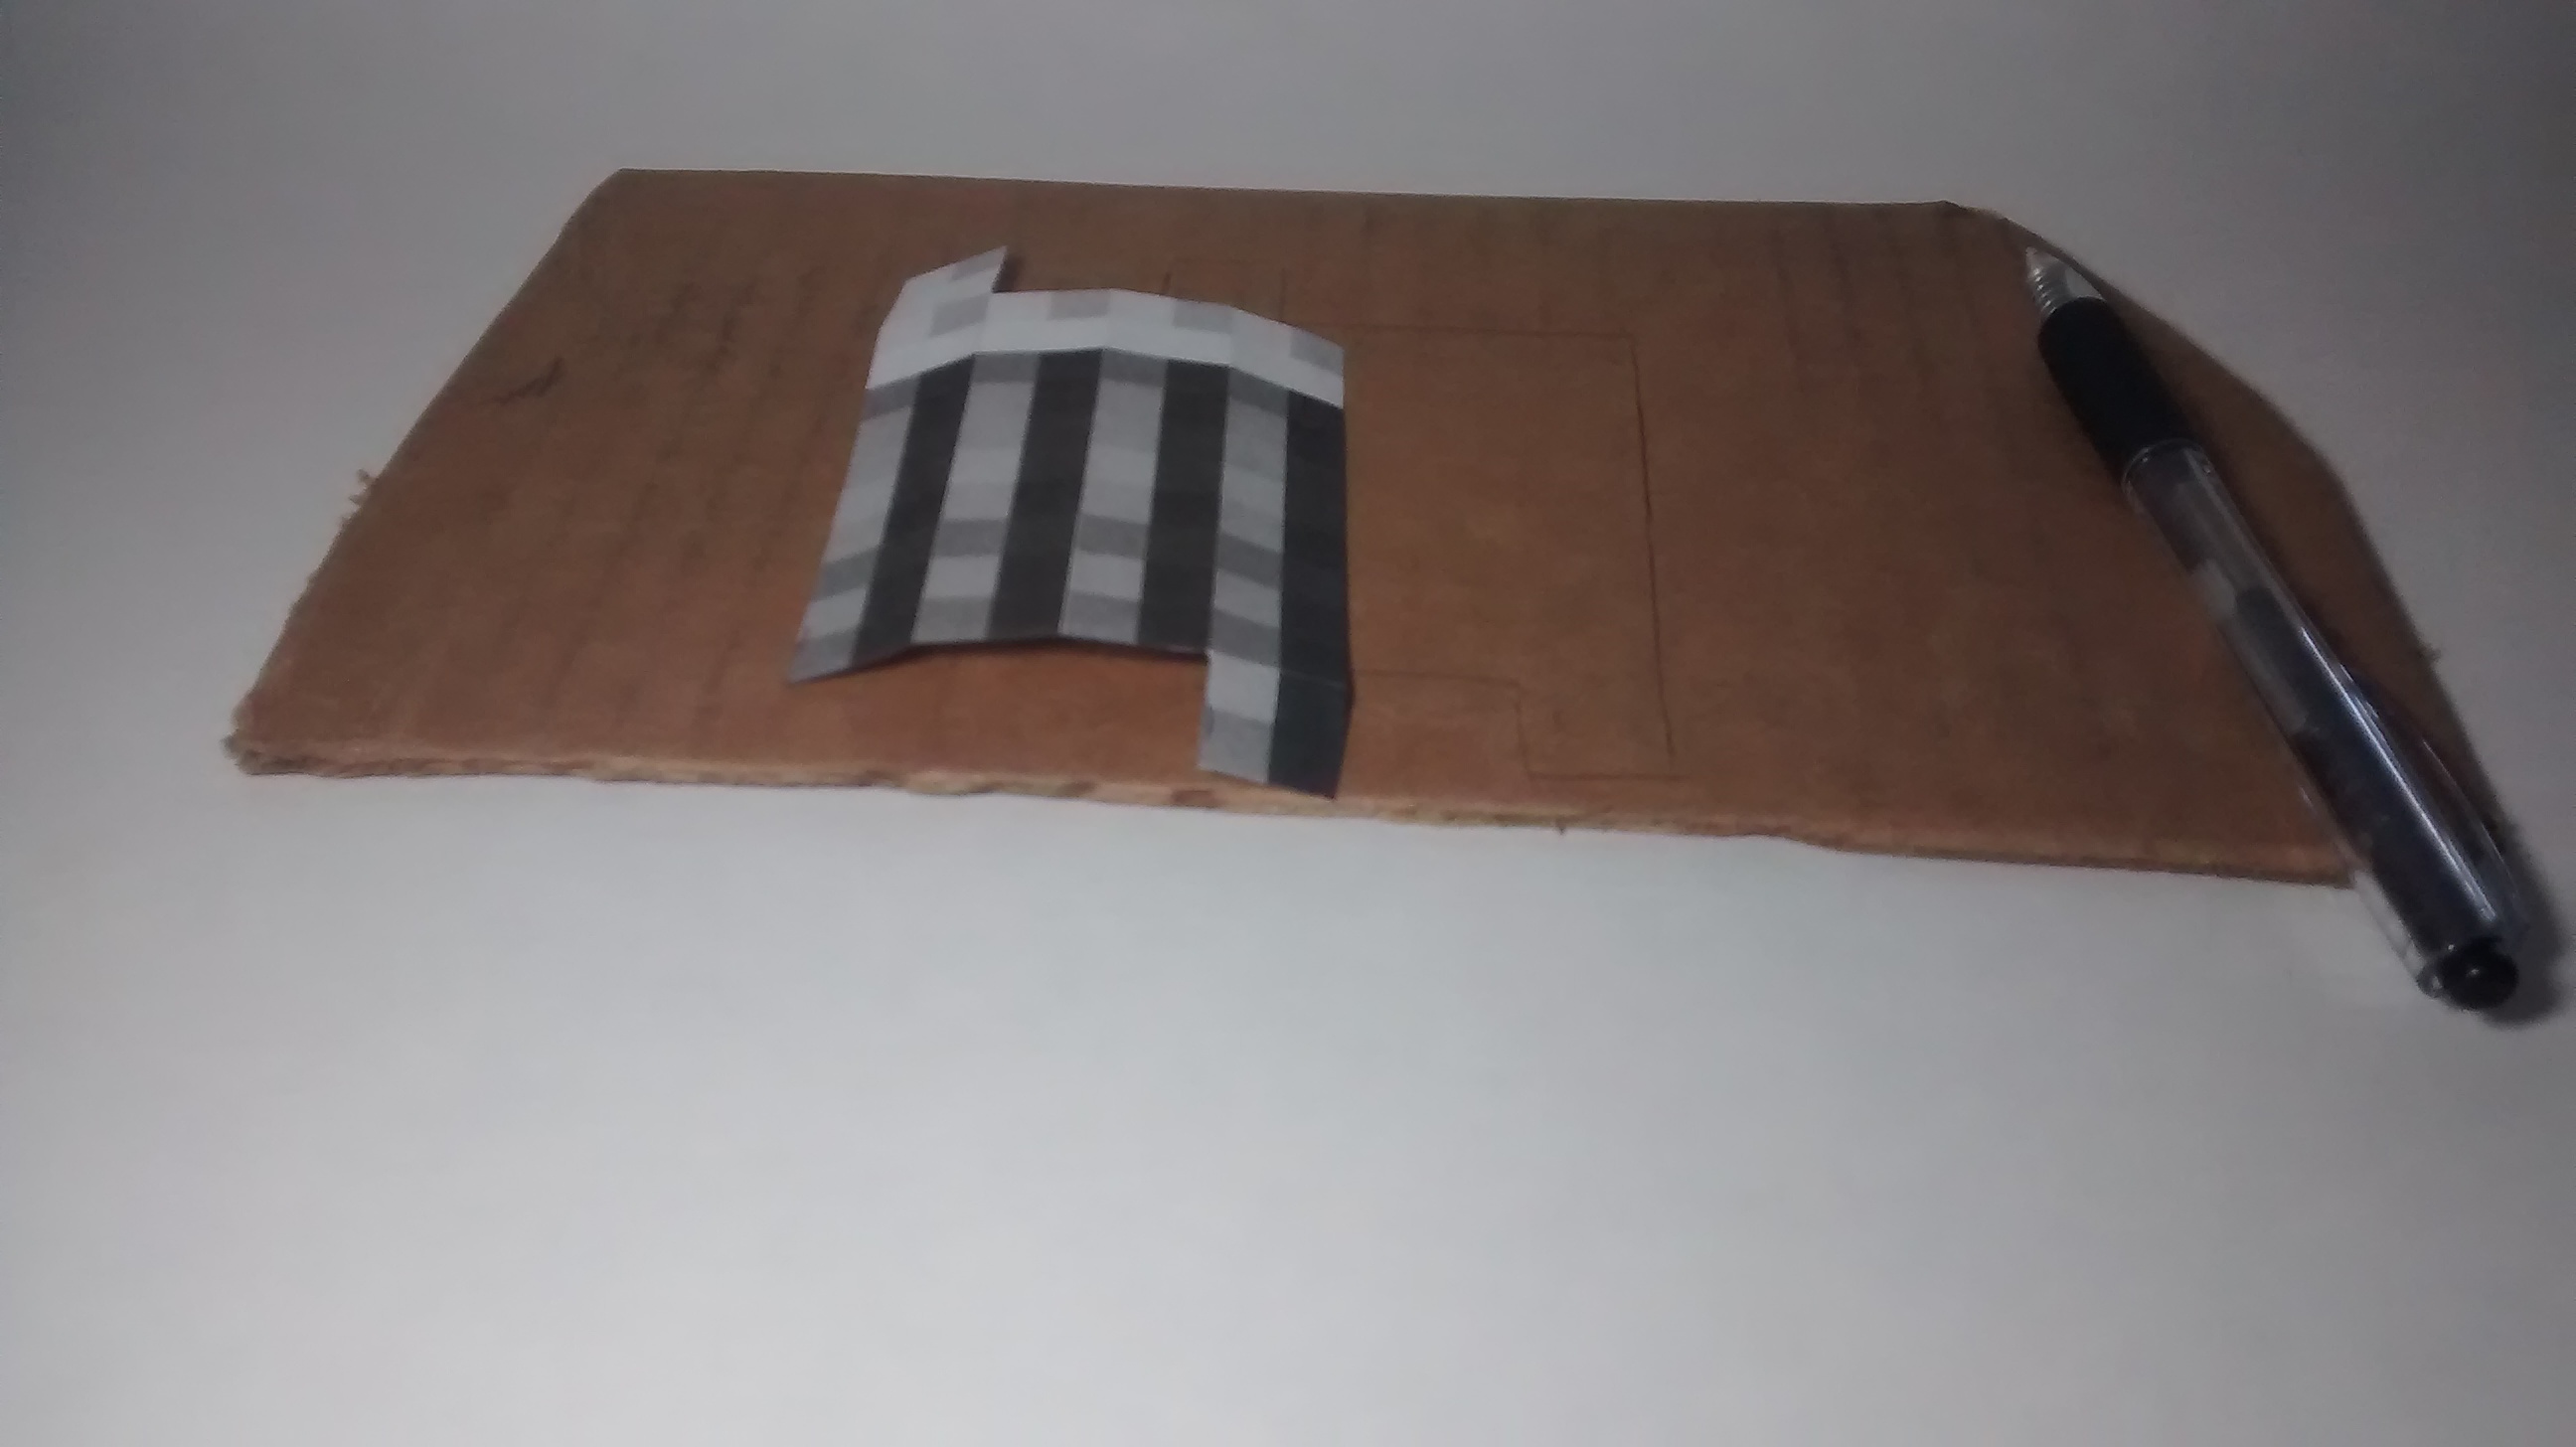
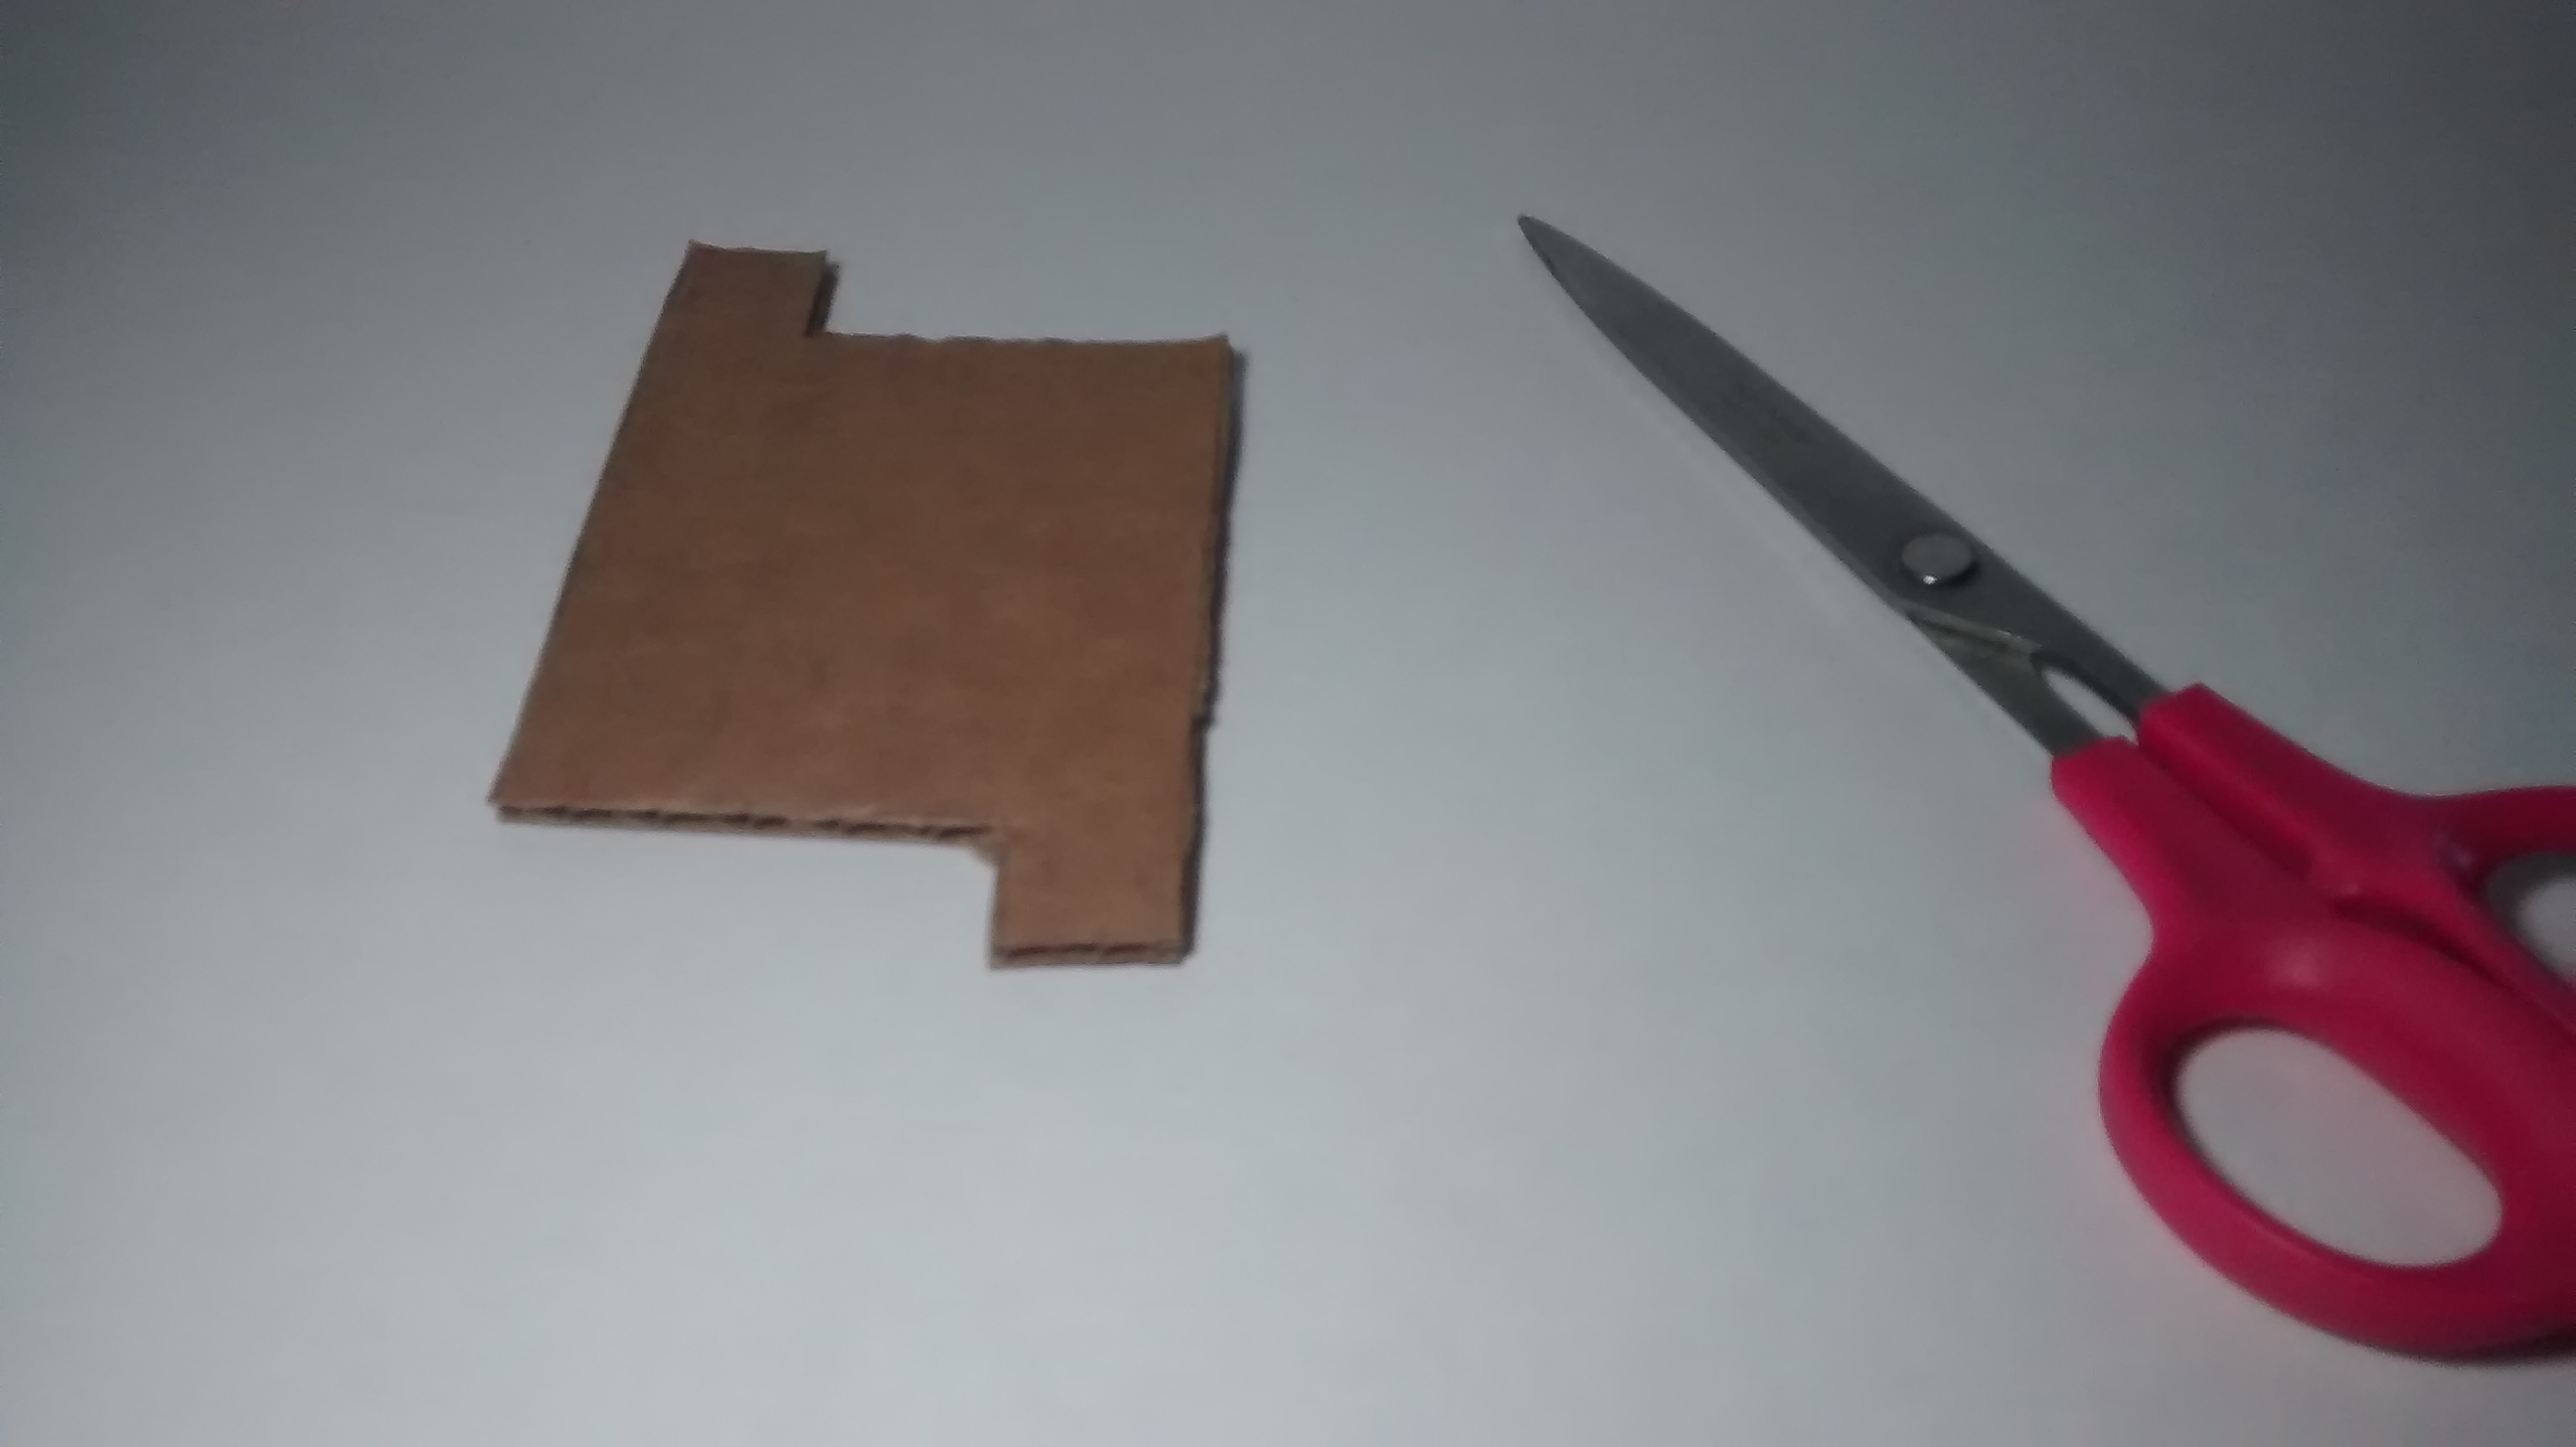
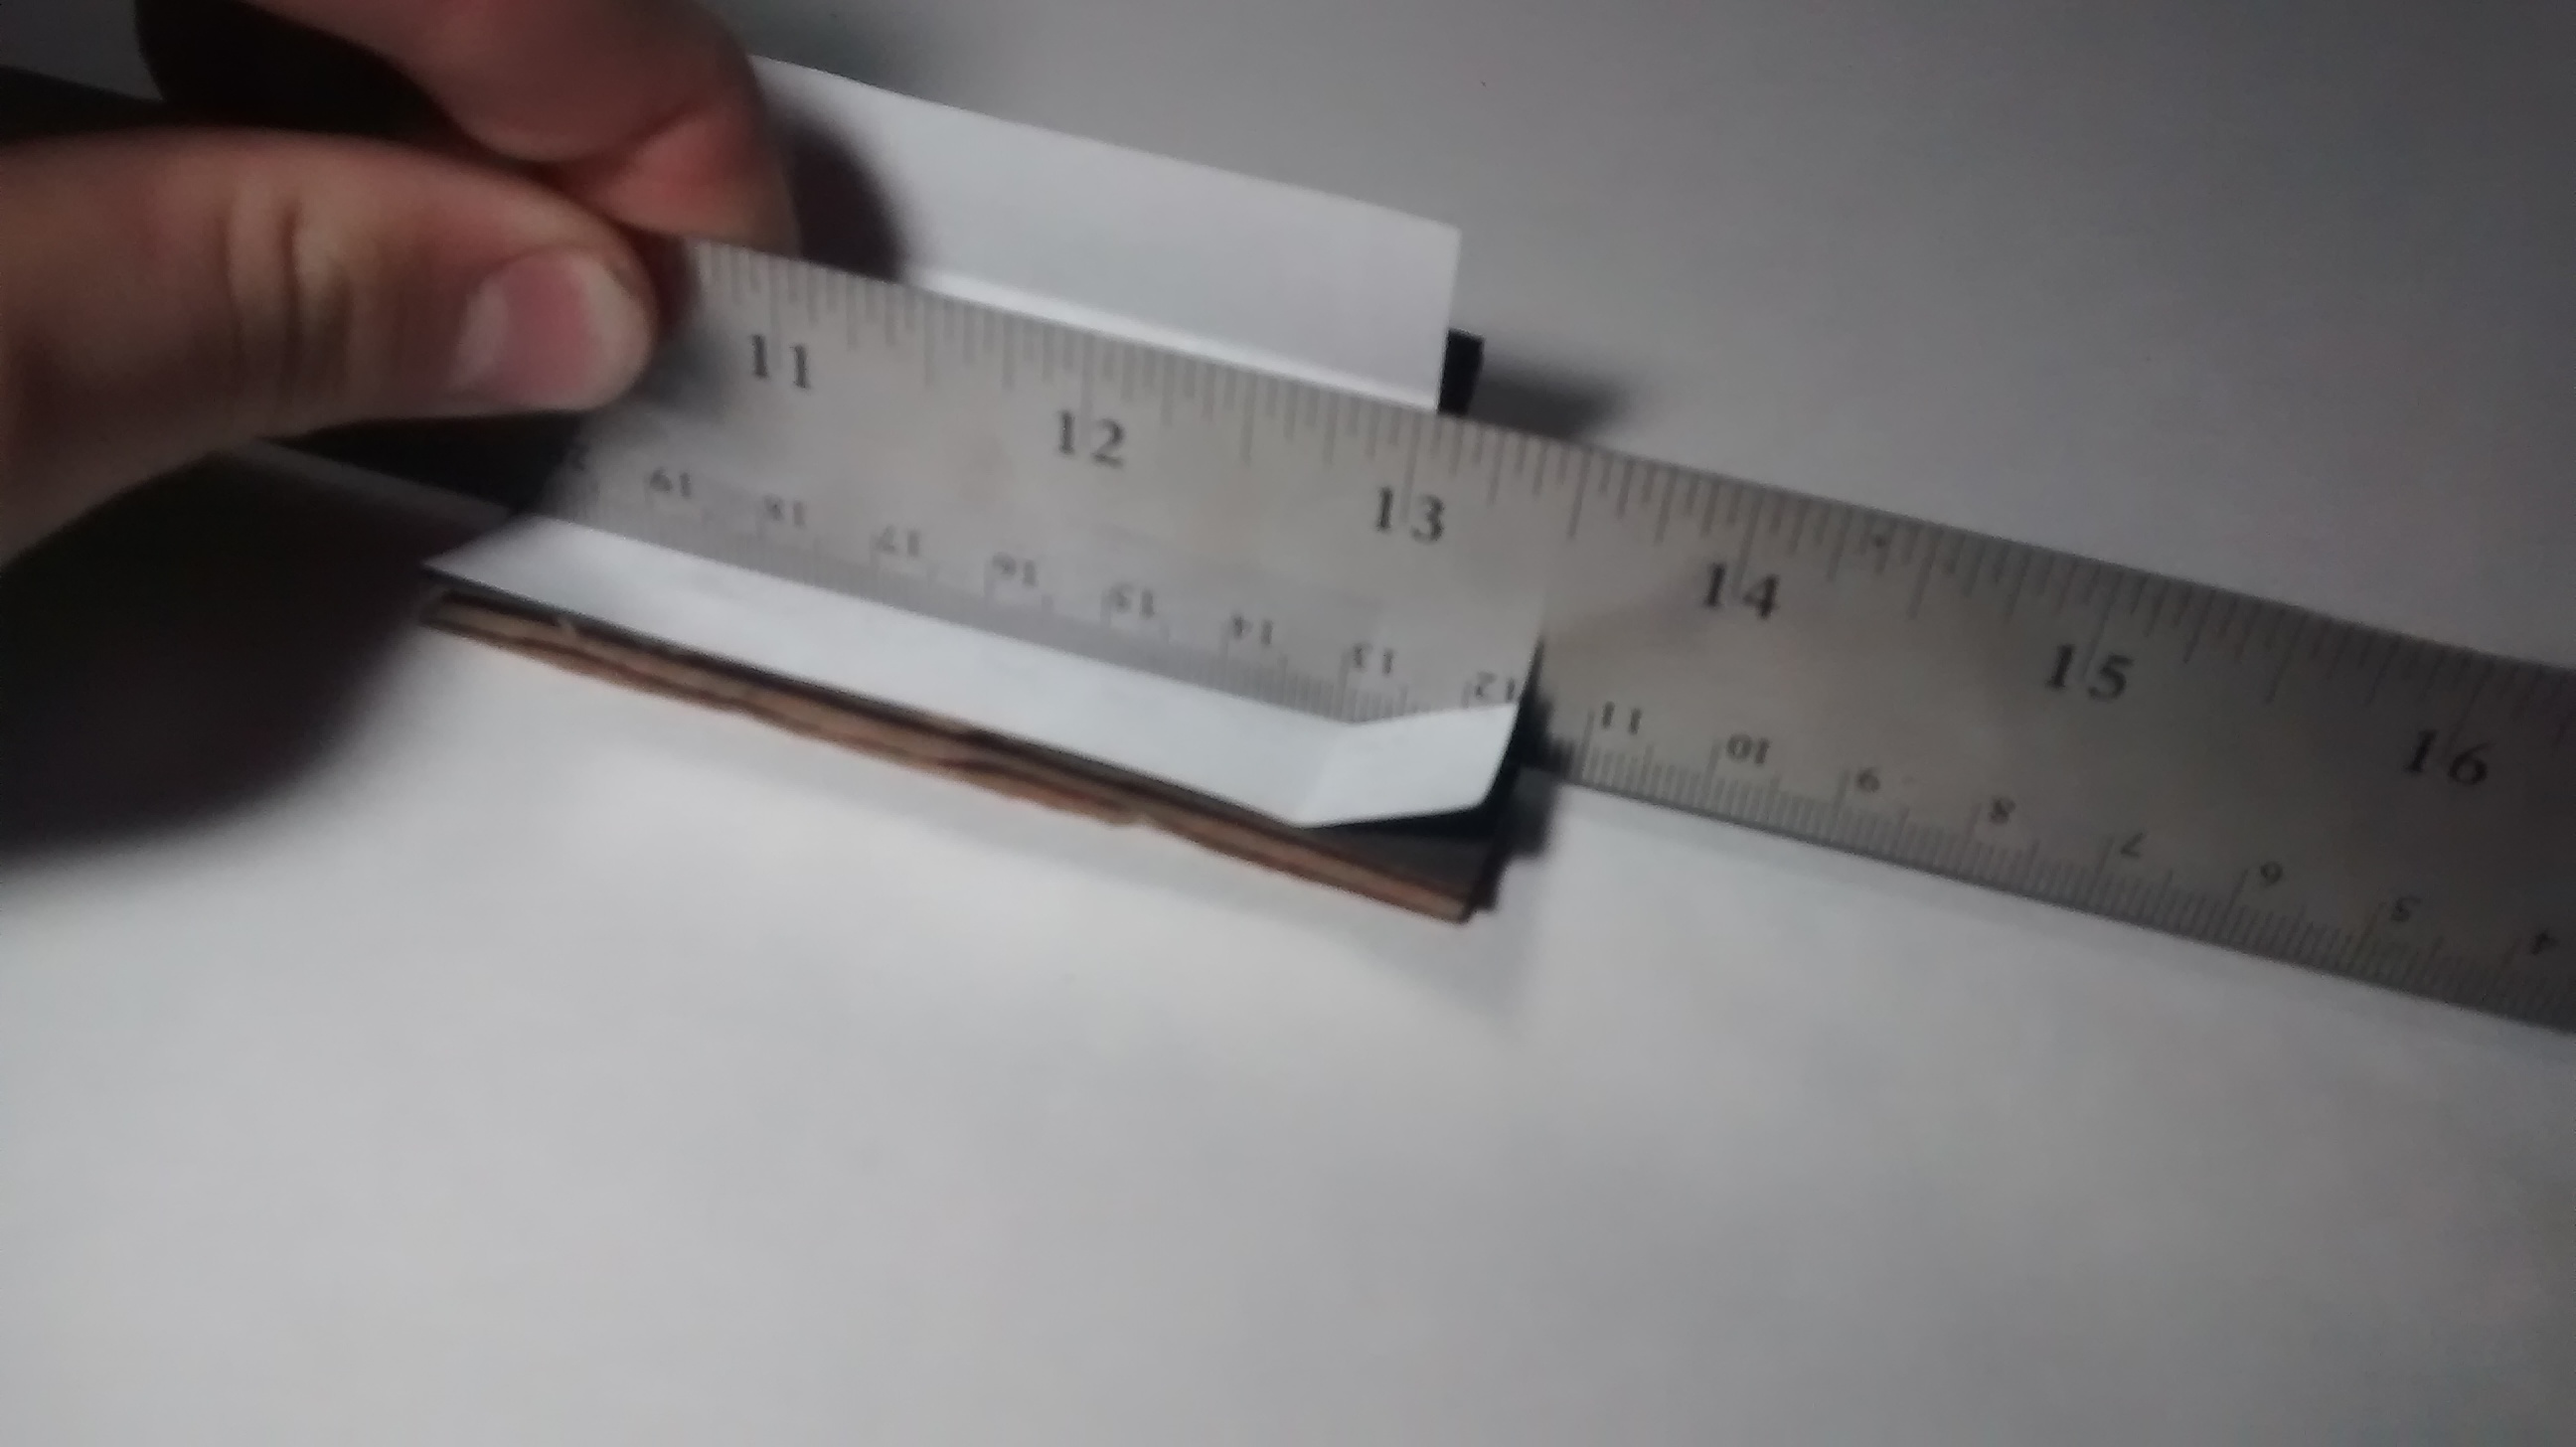
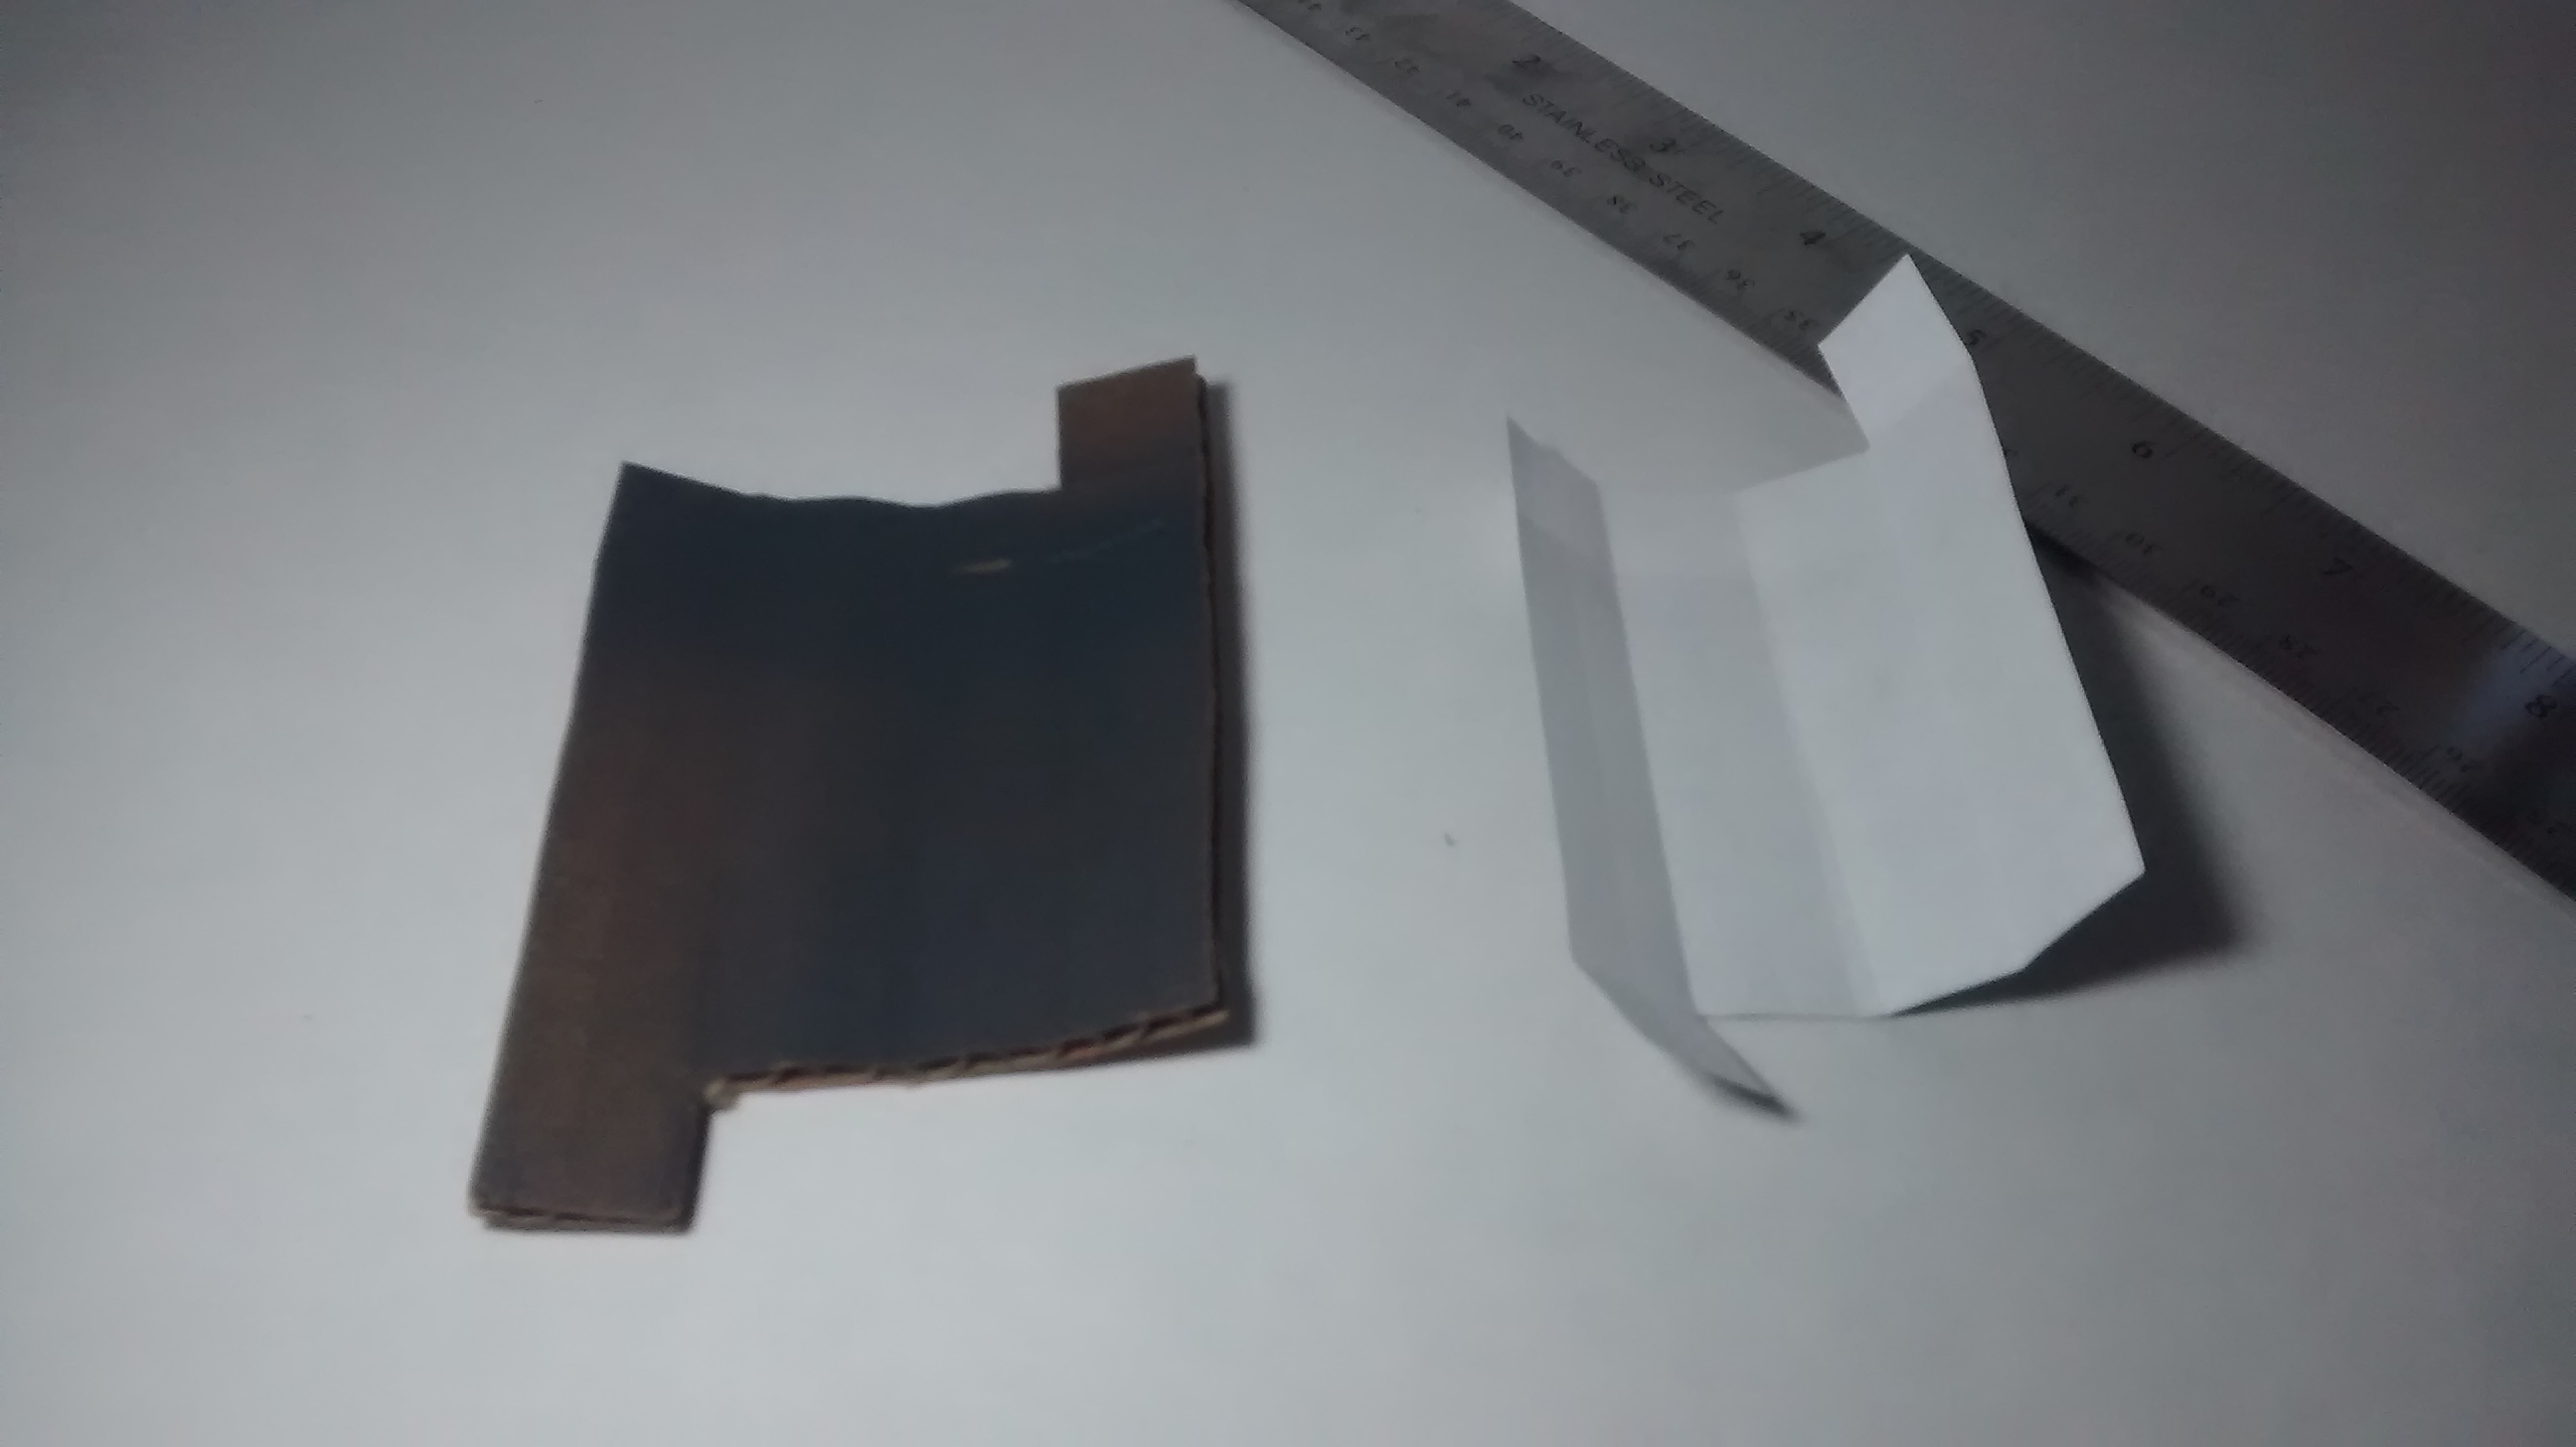
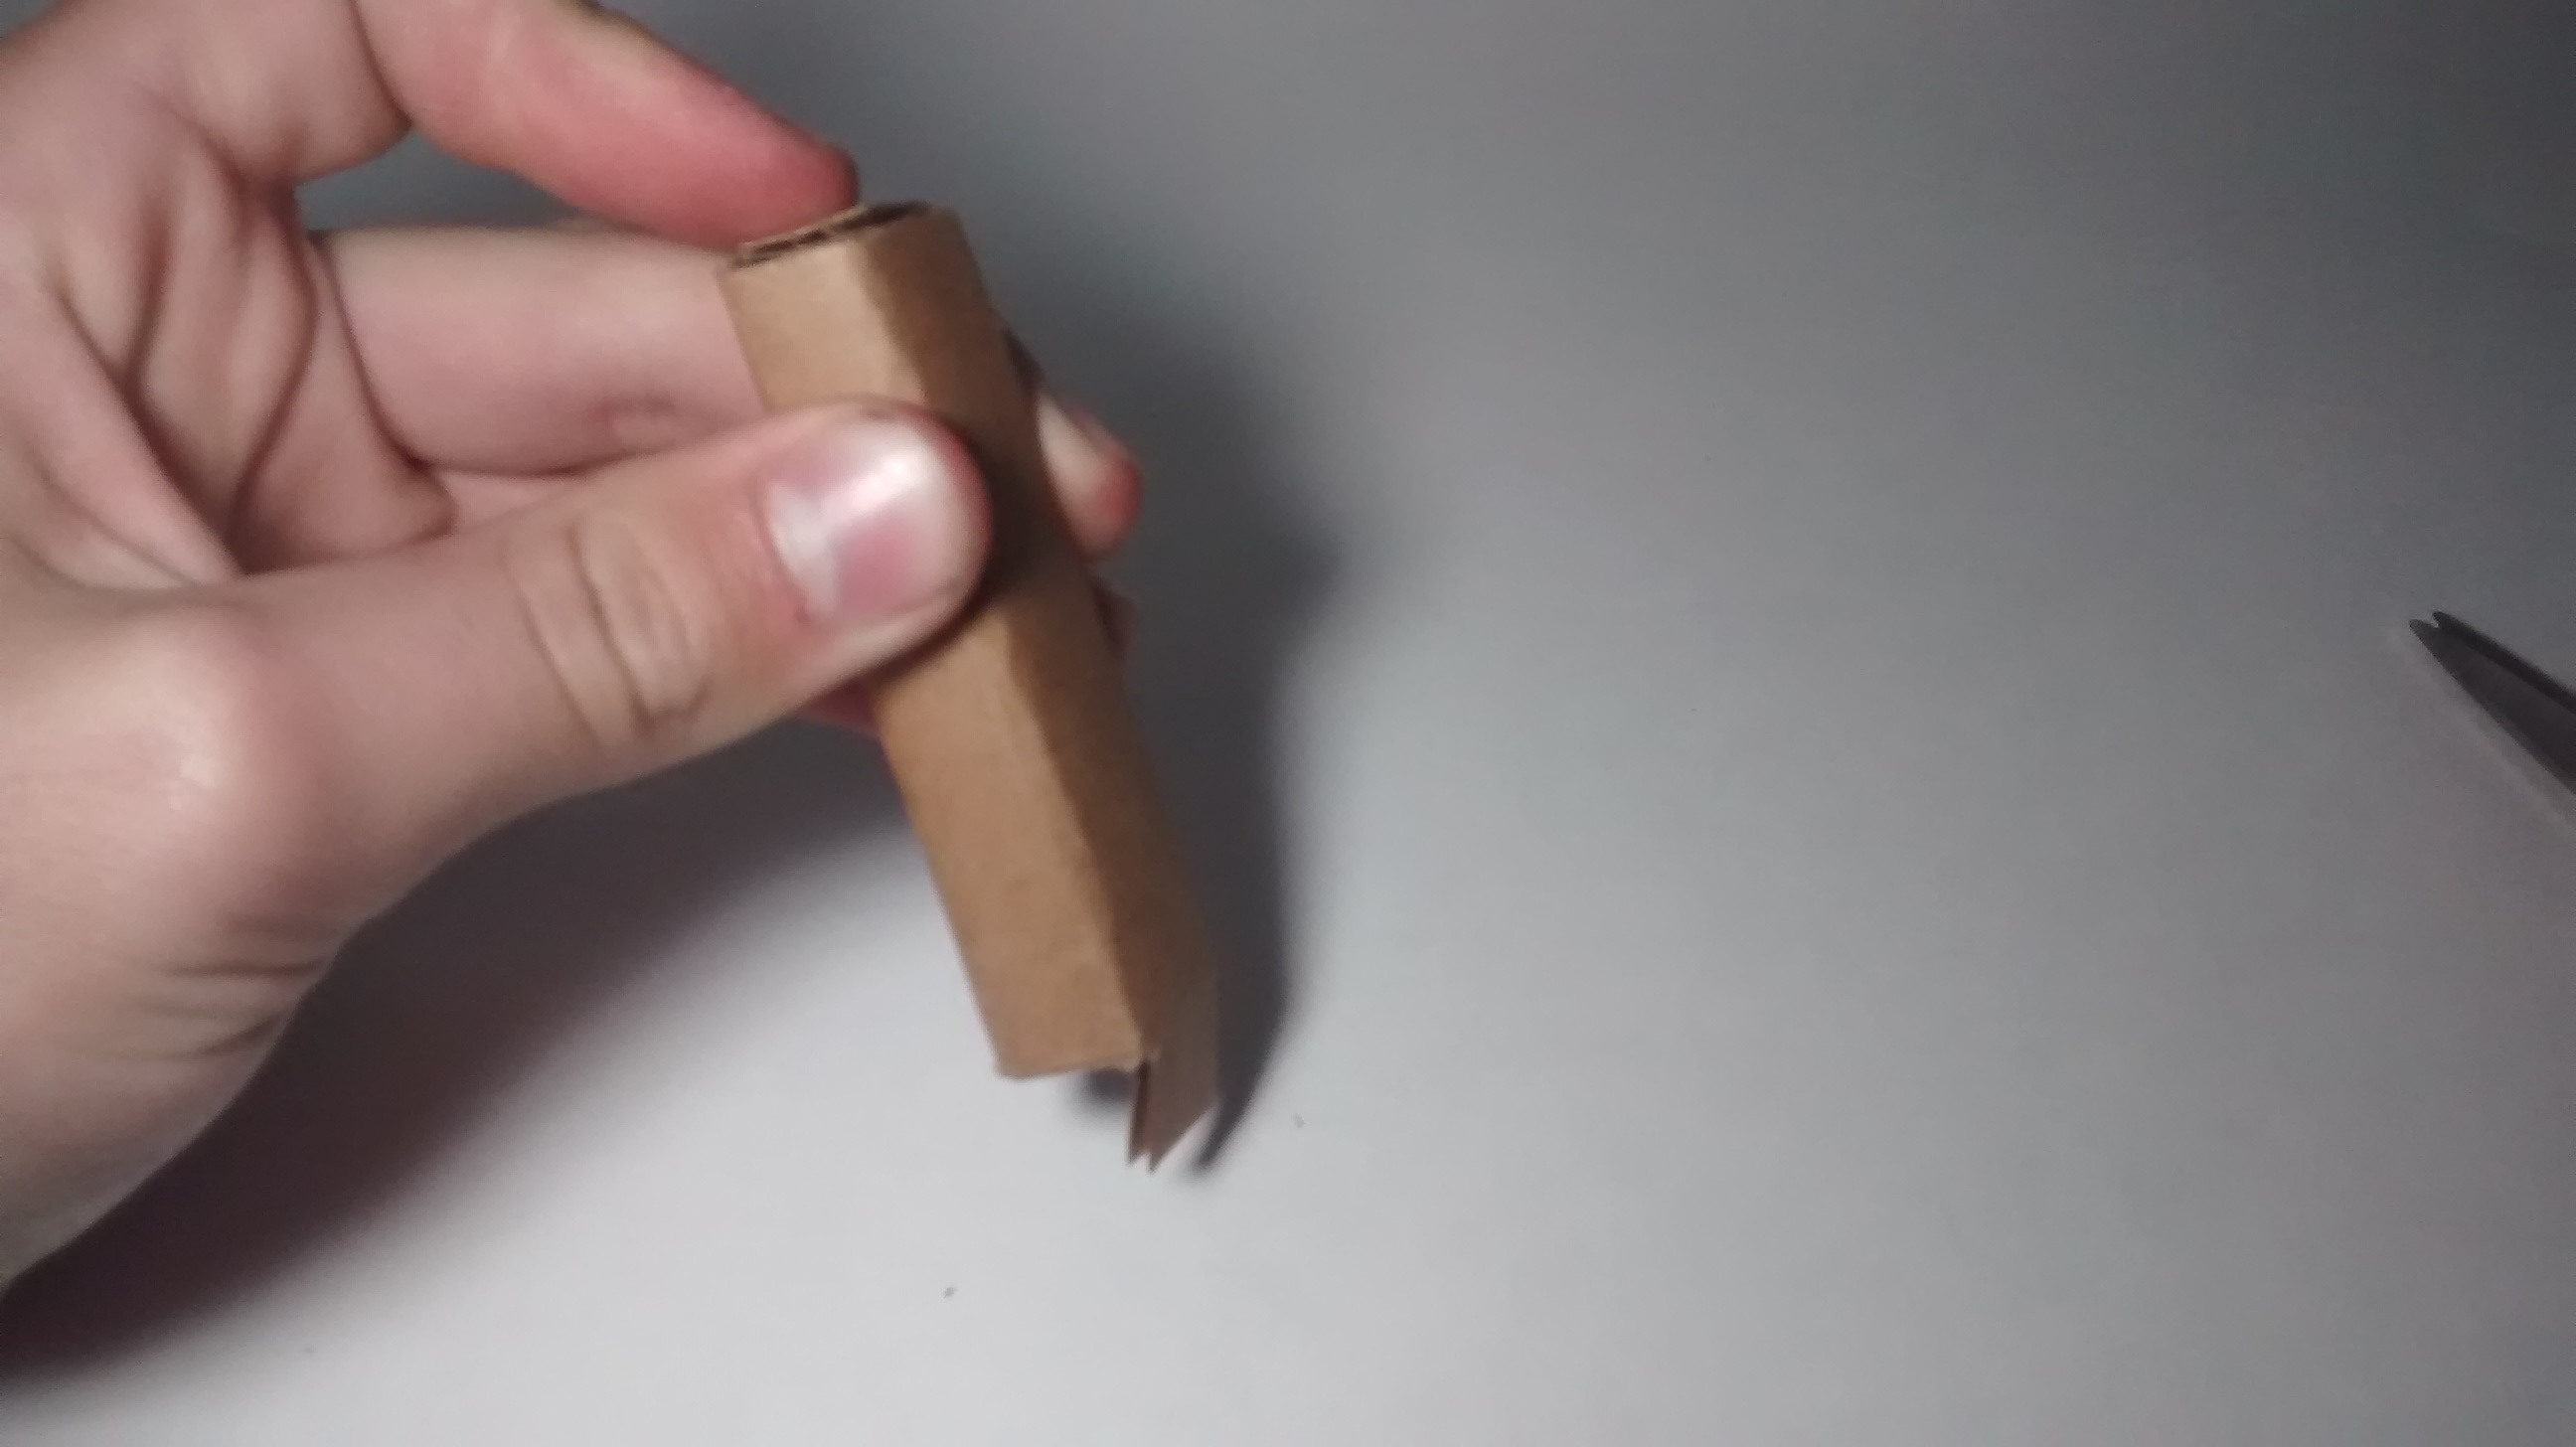
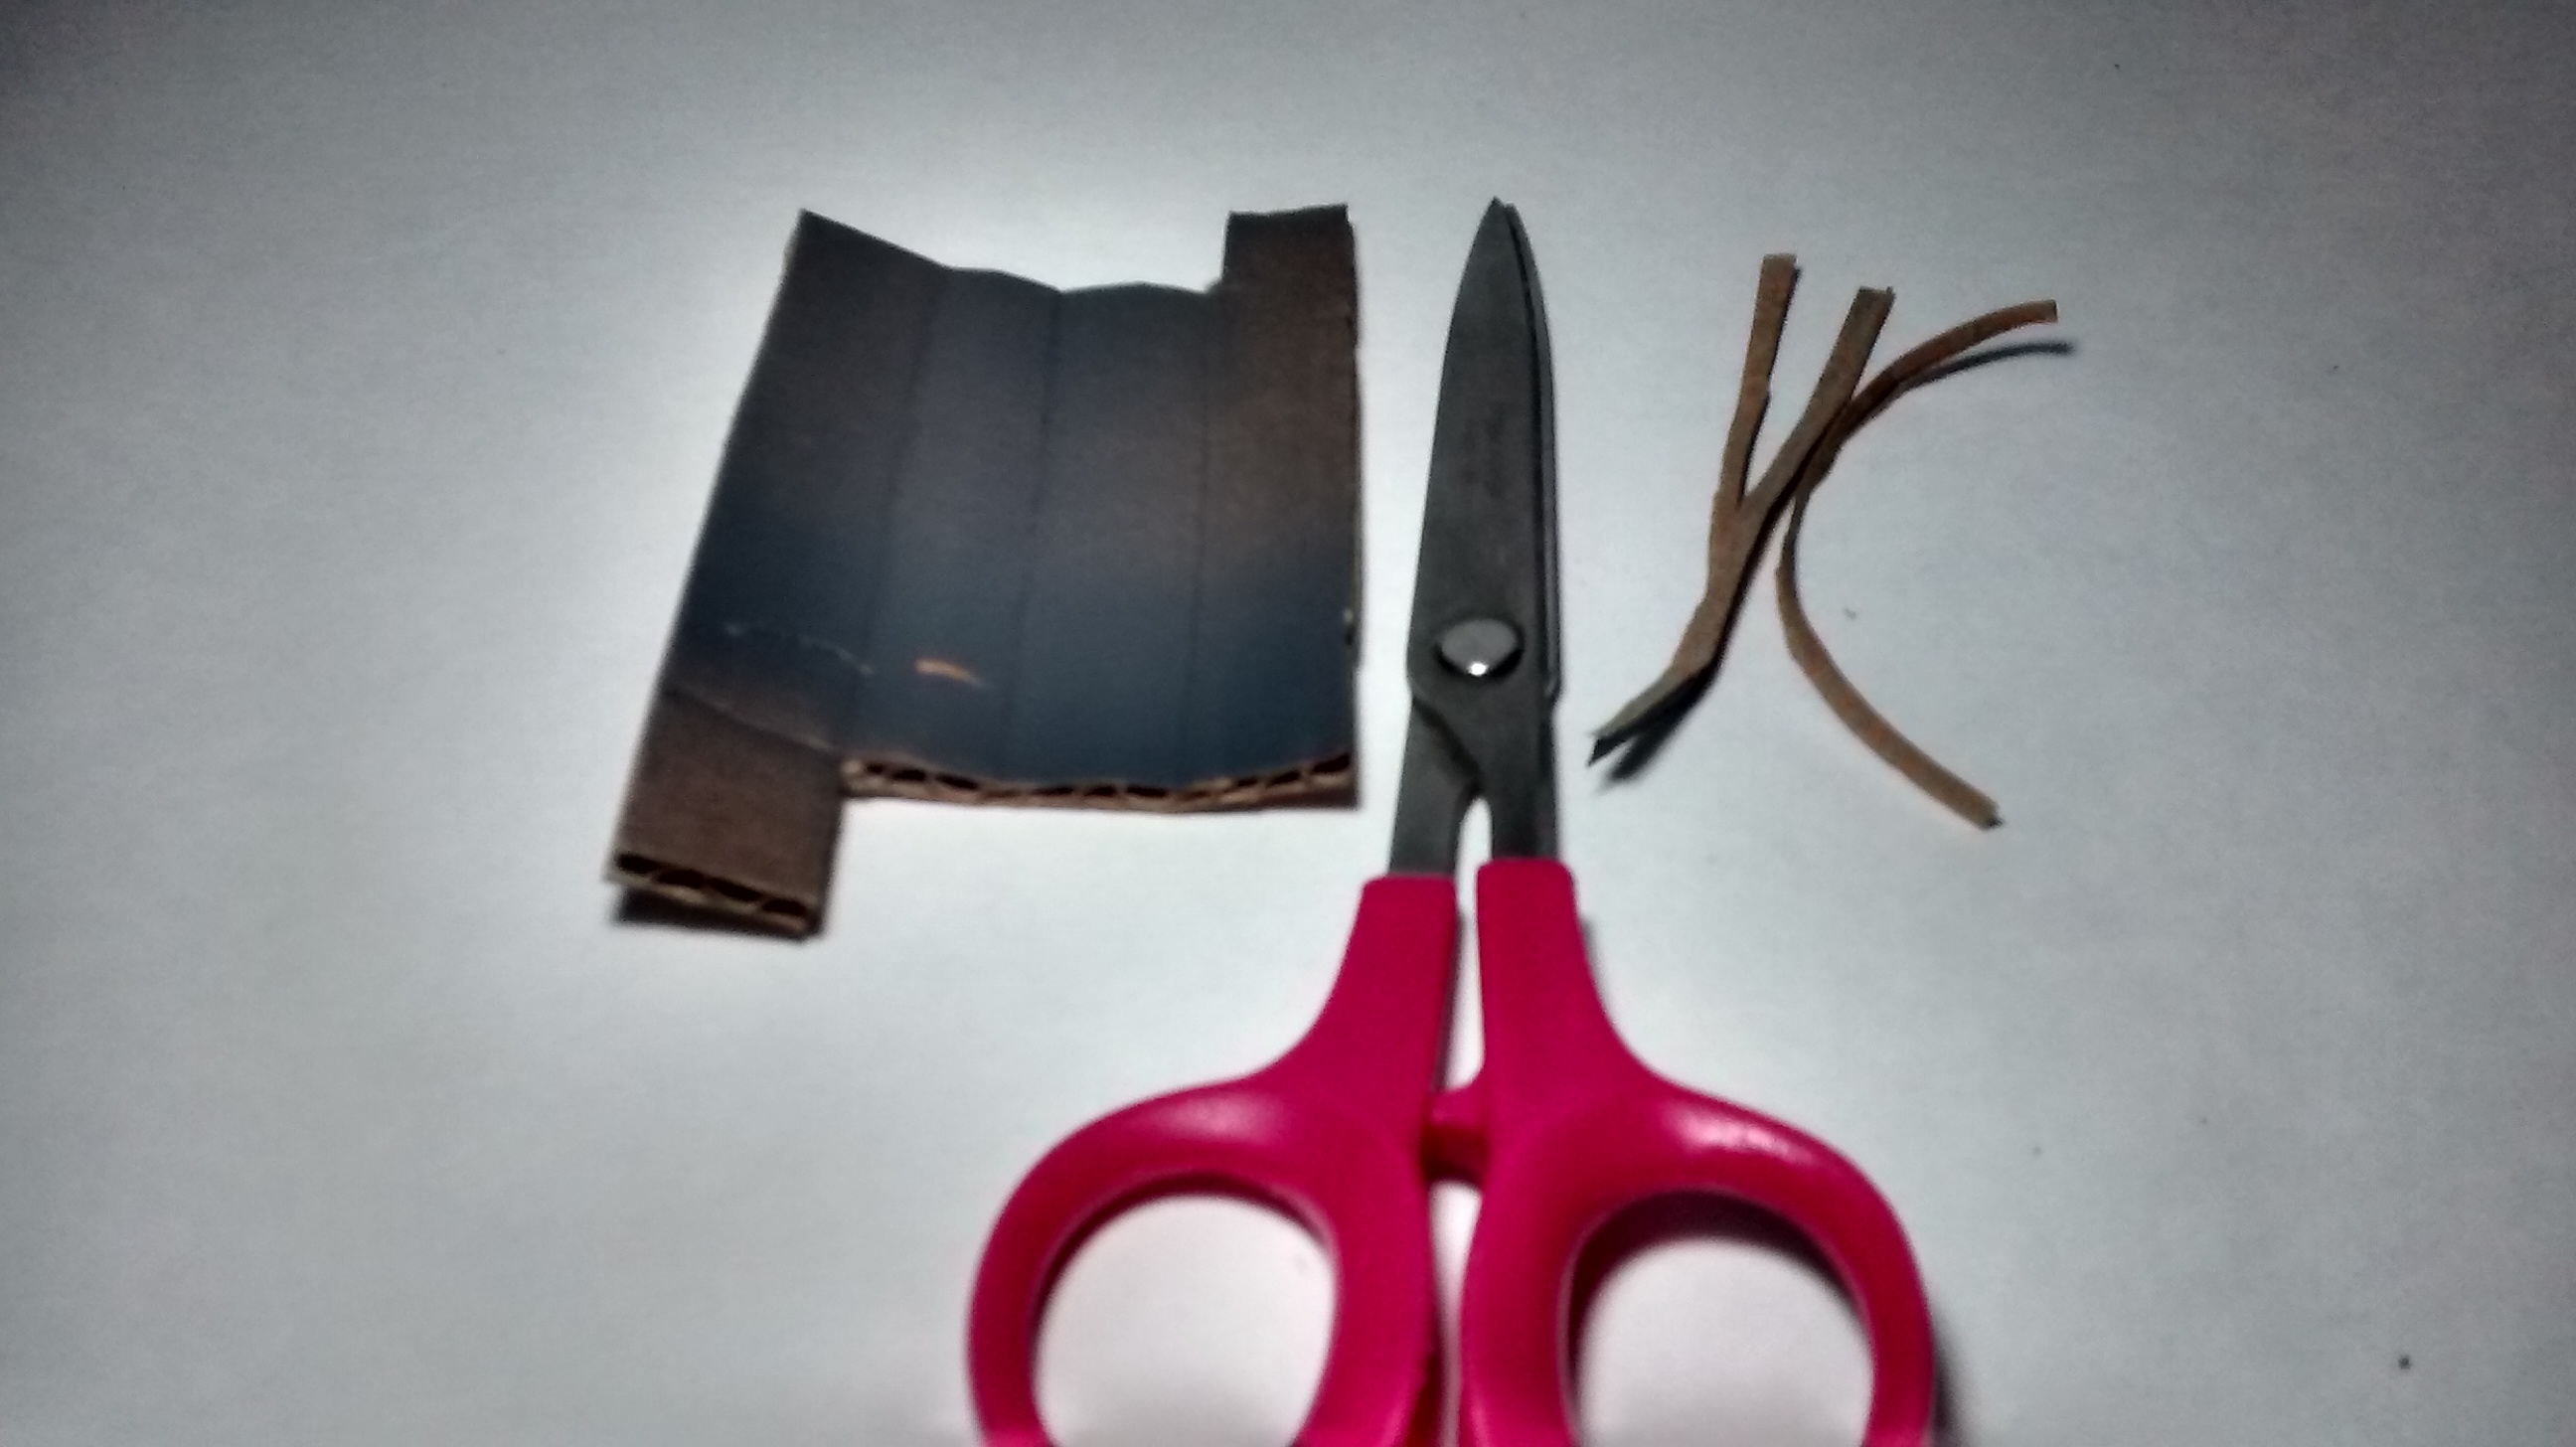
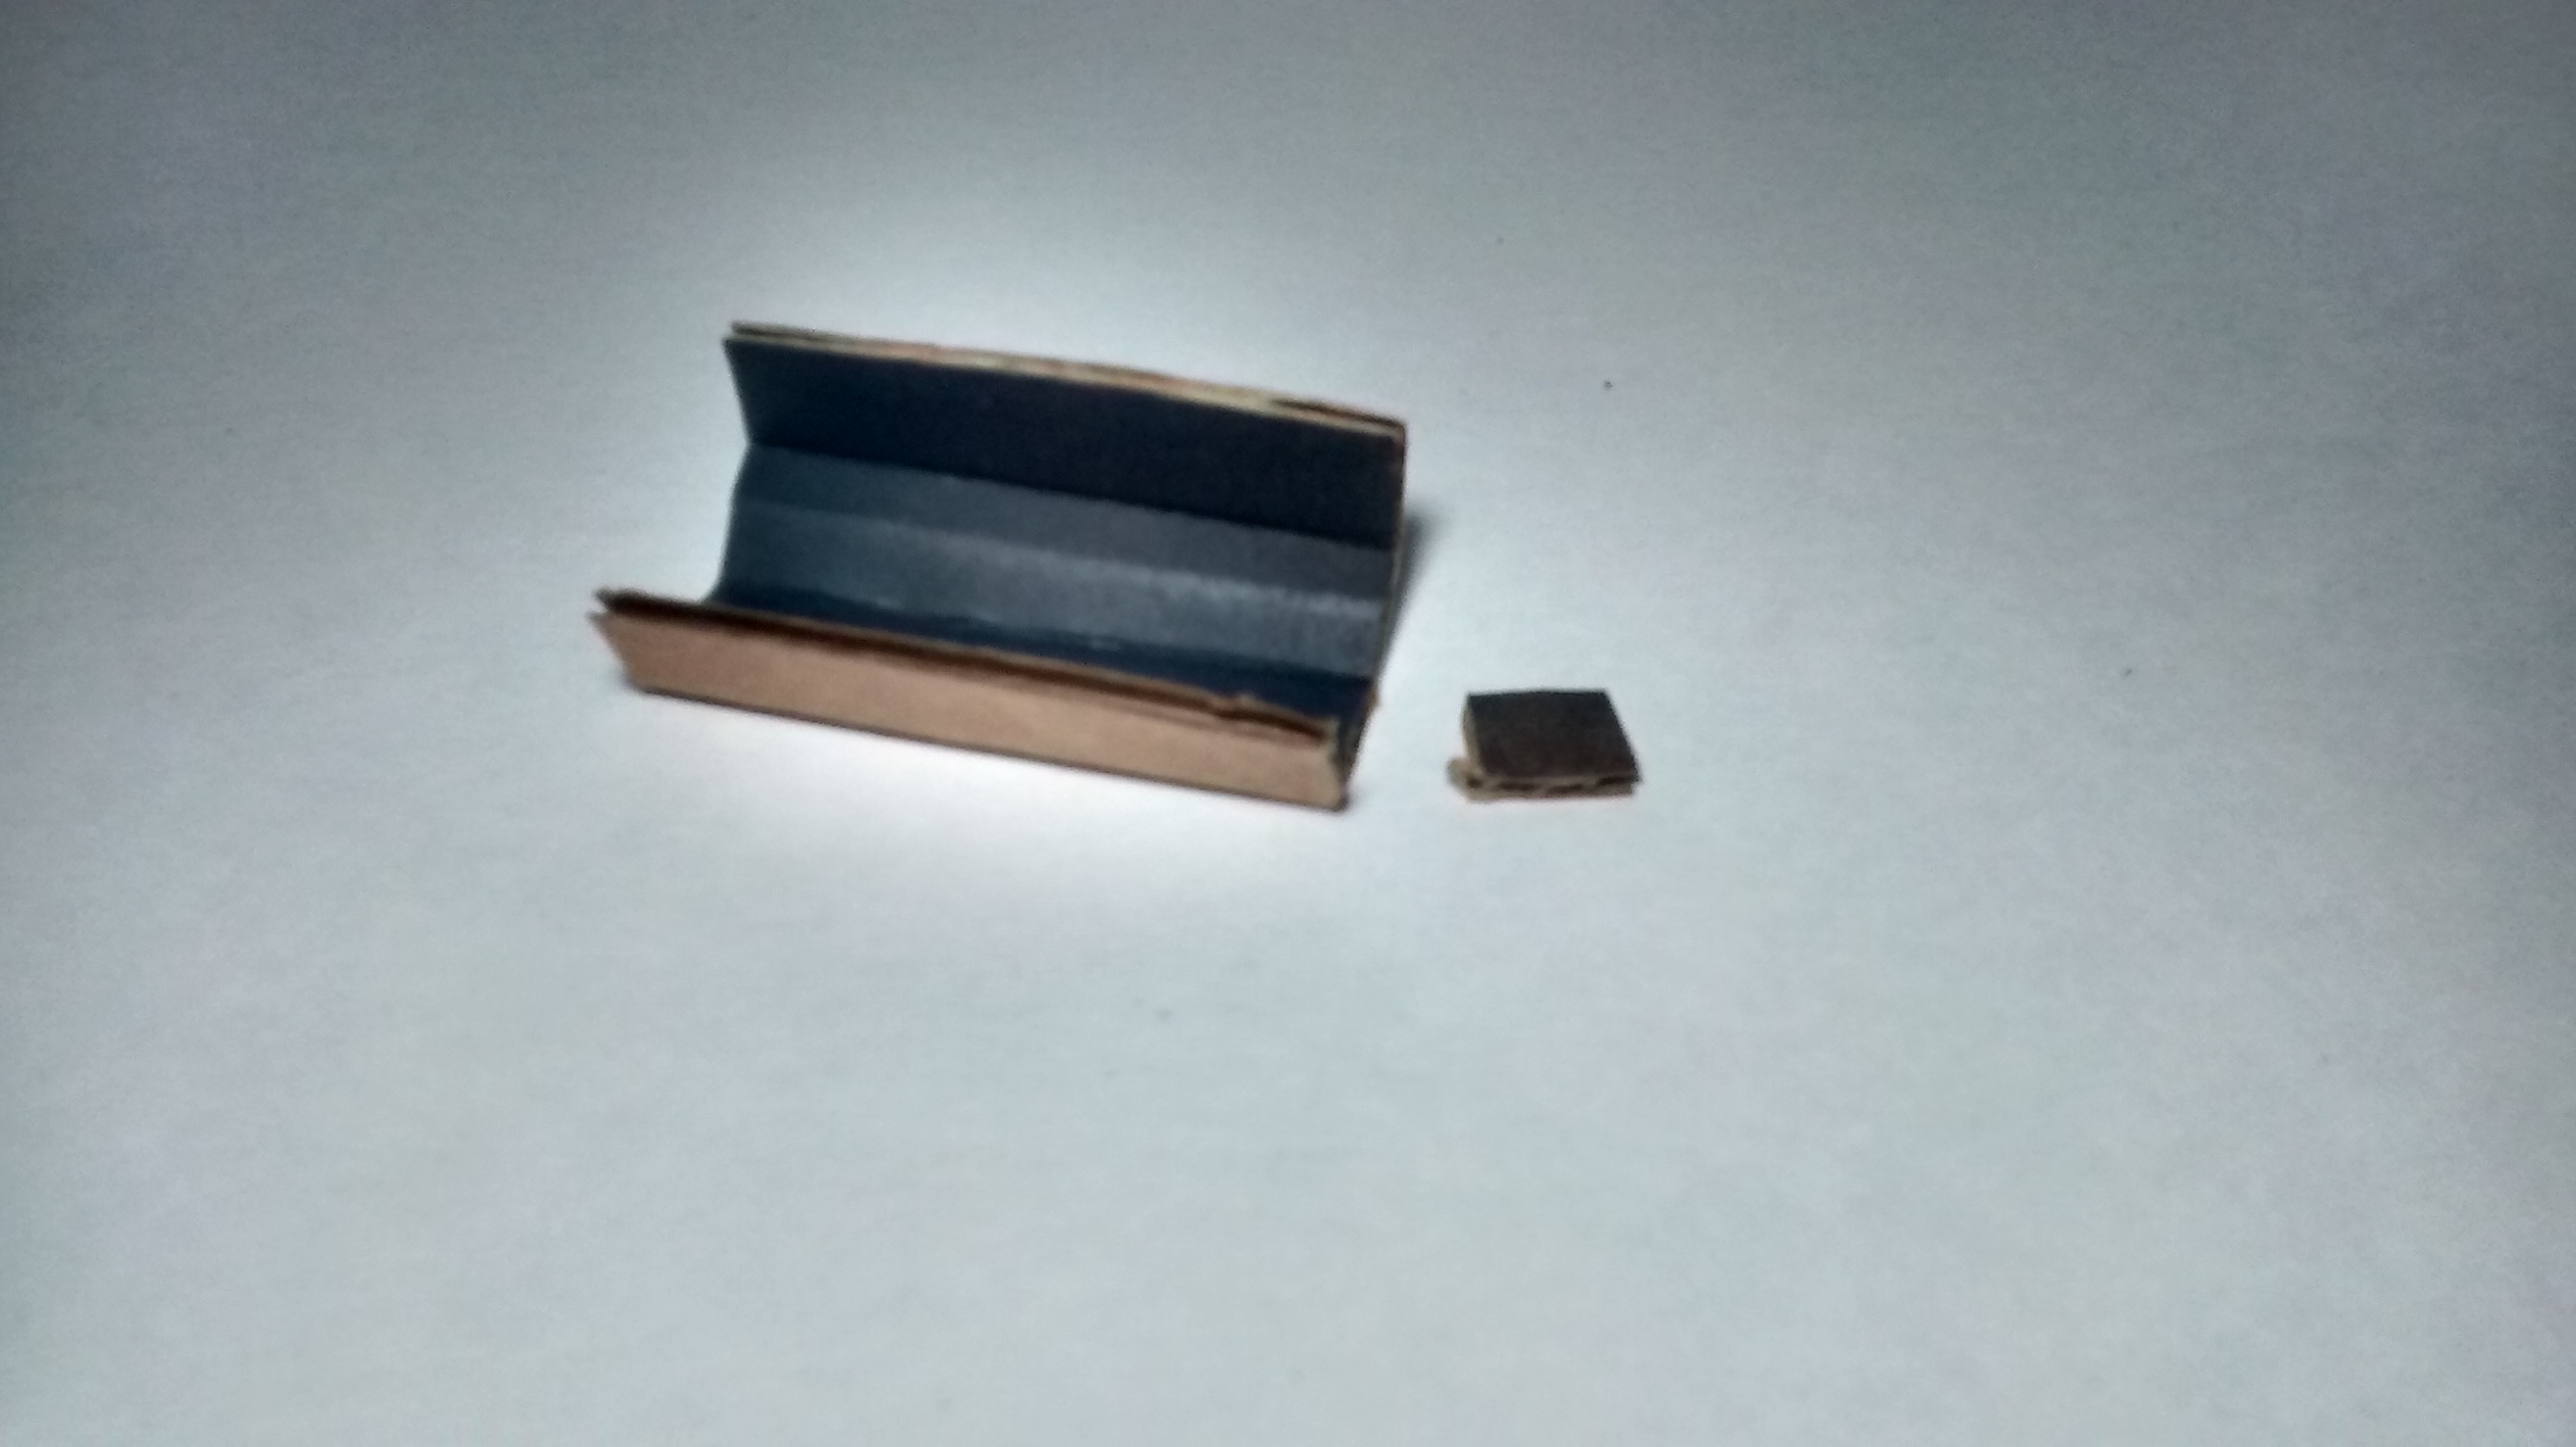
Now, use your stencil (extra print) and trace the outline of the torch onto the cardboard. Then cut out the cardboard. I then folded my stencil how it would be if it were done. I then put it on top of the cardboard, and put the edge of a ruler on the fold in the paper, and pushed down to fold the cardboard under it. This creates a clean, straight fold in the cardboard. I then folded the cardboard to how it will end up when the project is done, and cut off any edges that needed to be cut off in order for the cardboard to be in a perfect square (or at least close)
Making the Base: Top
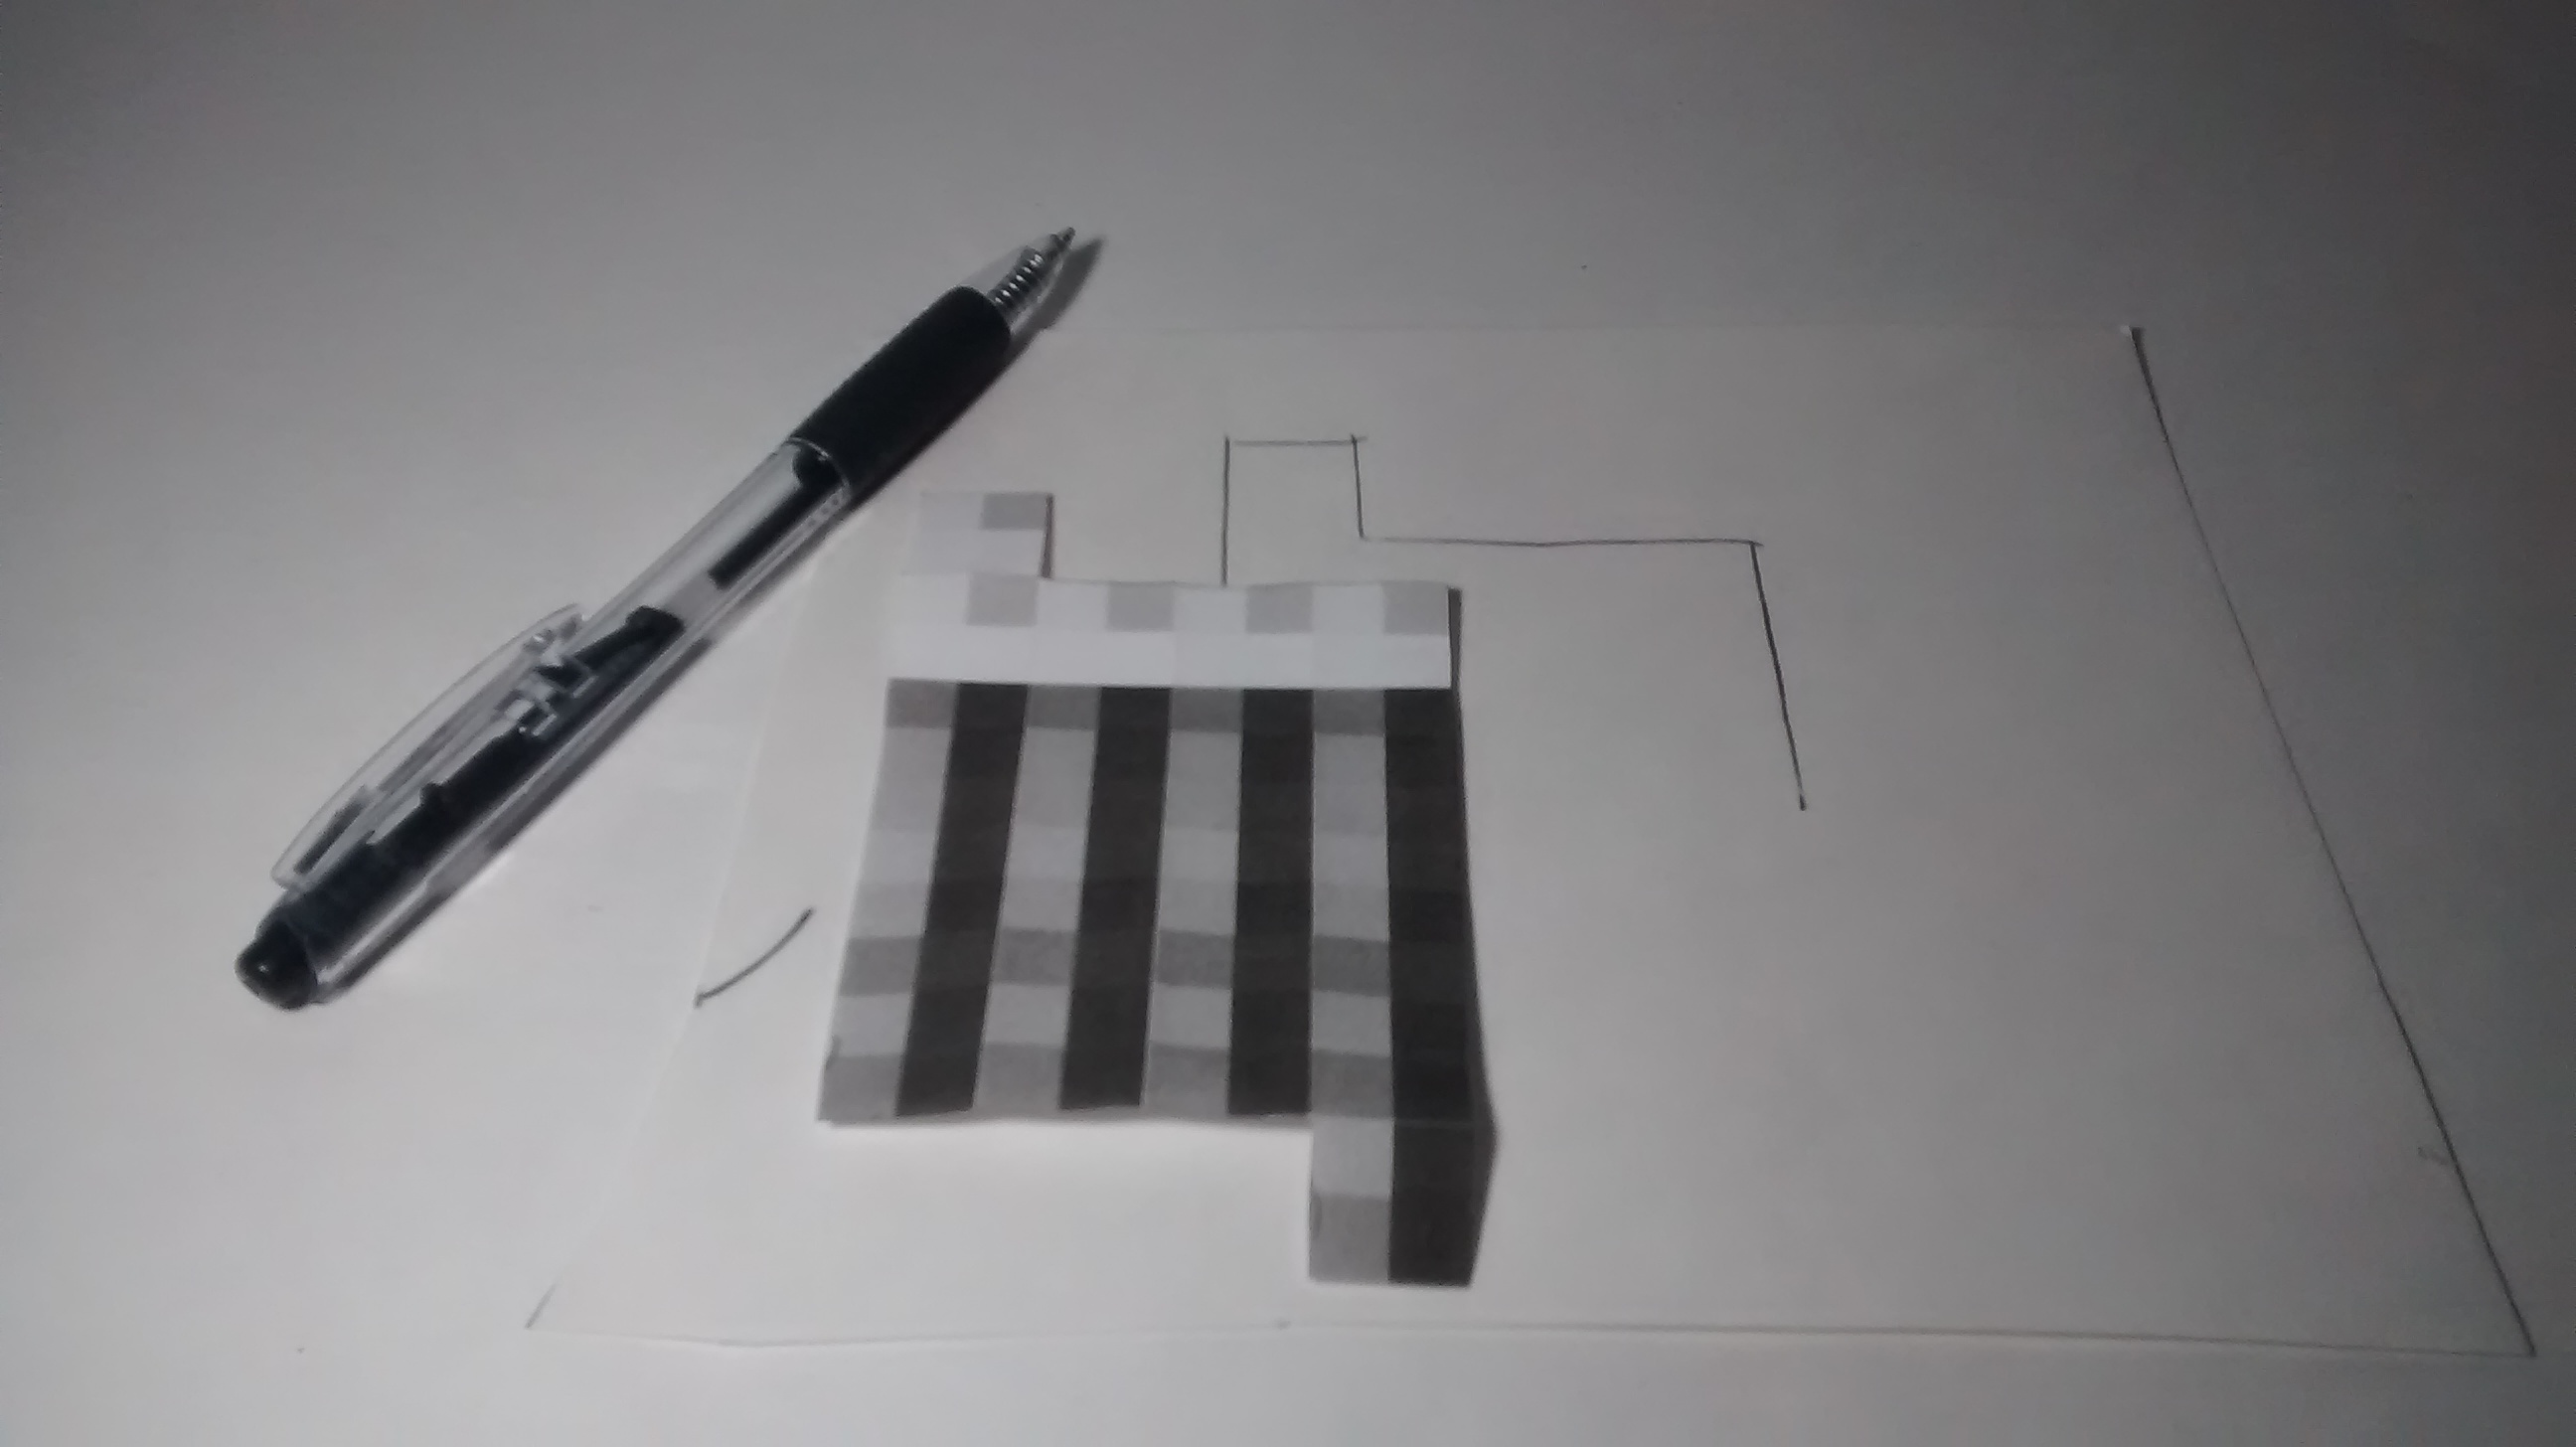
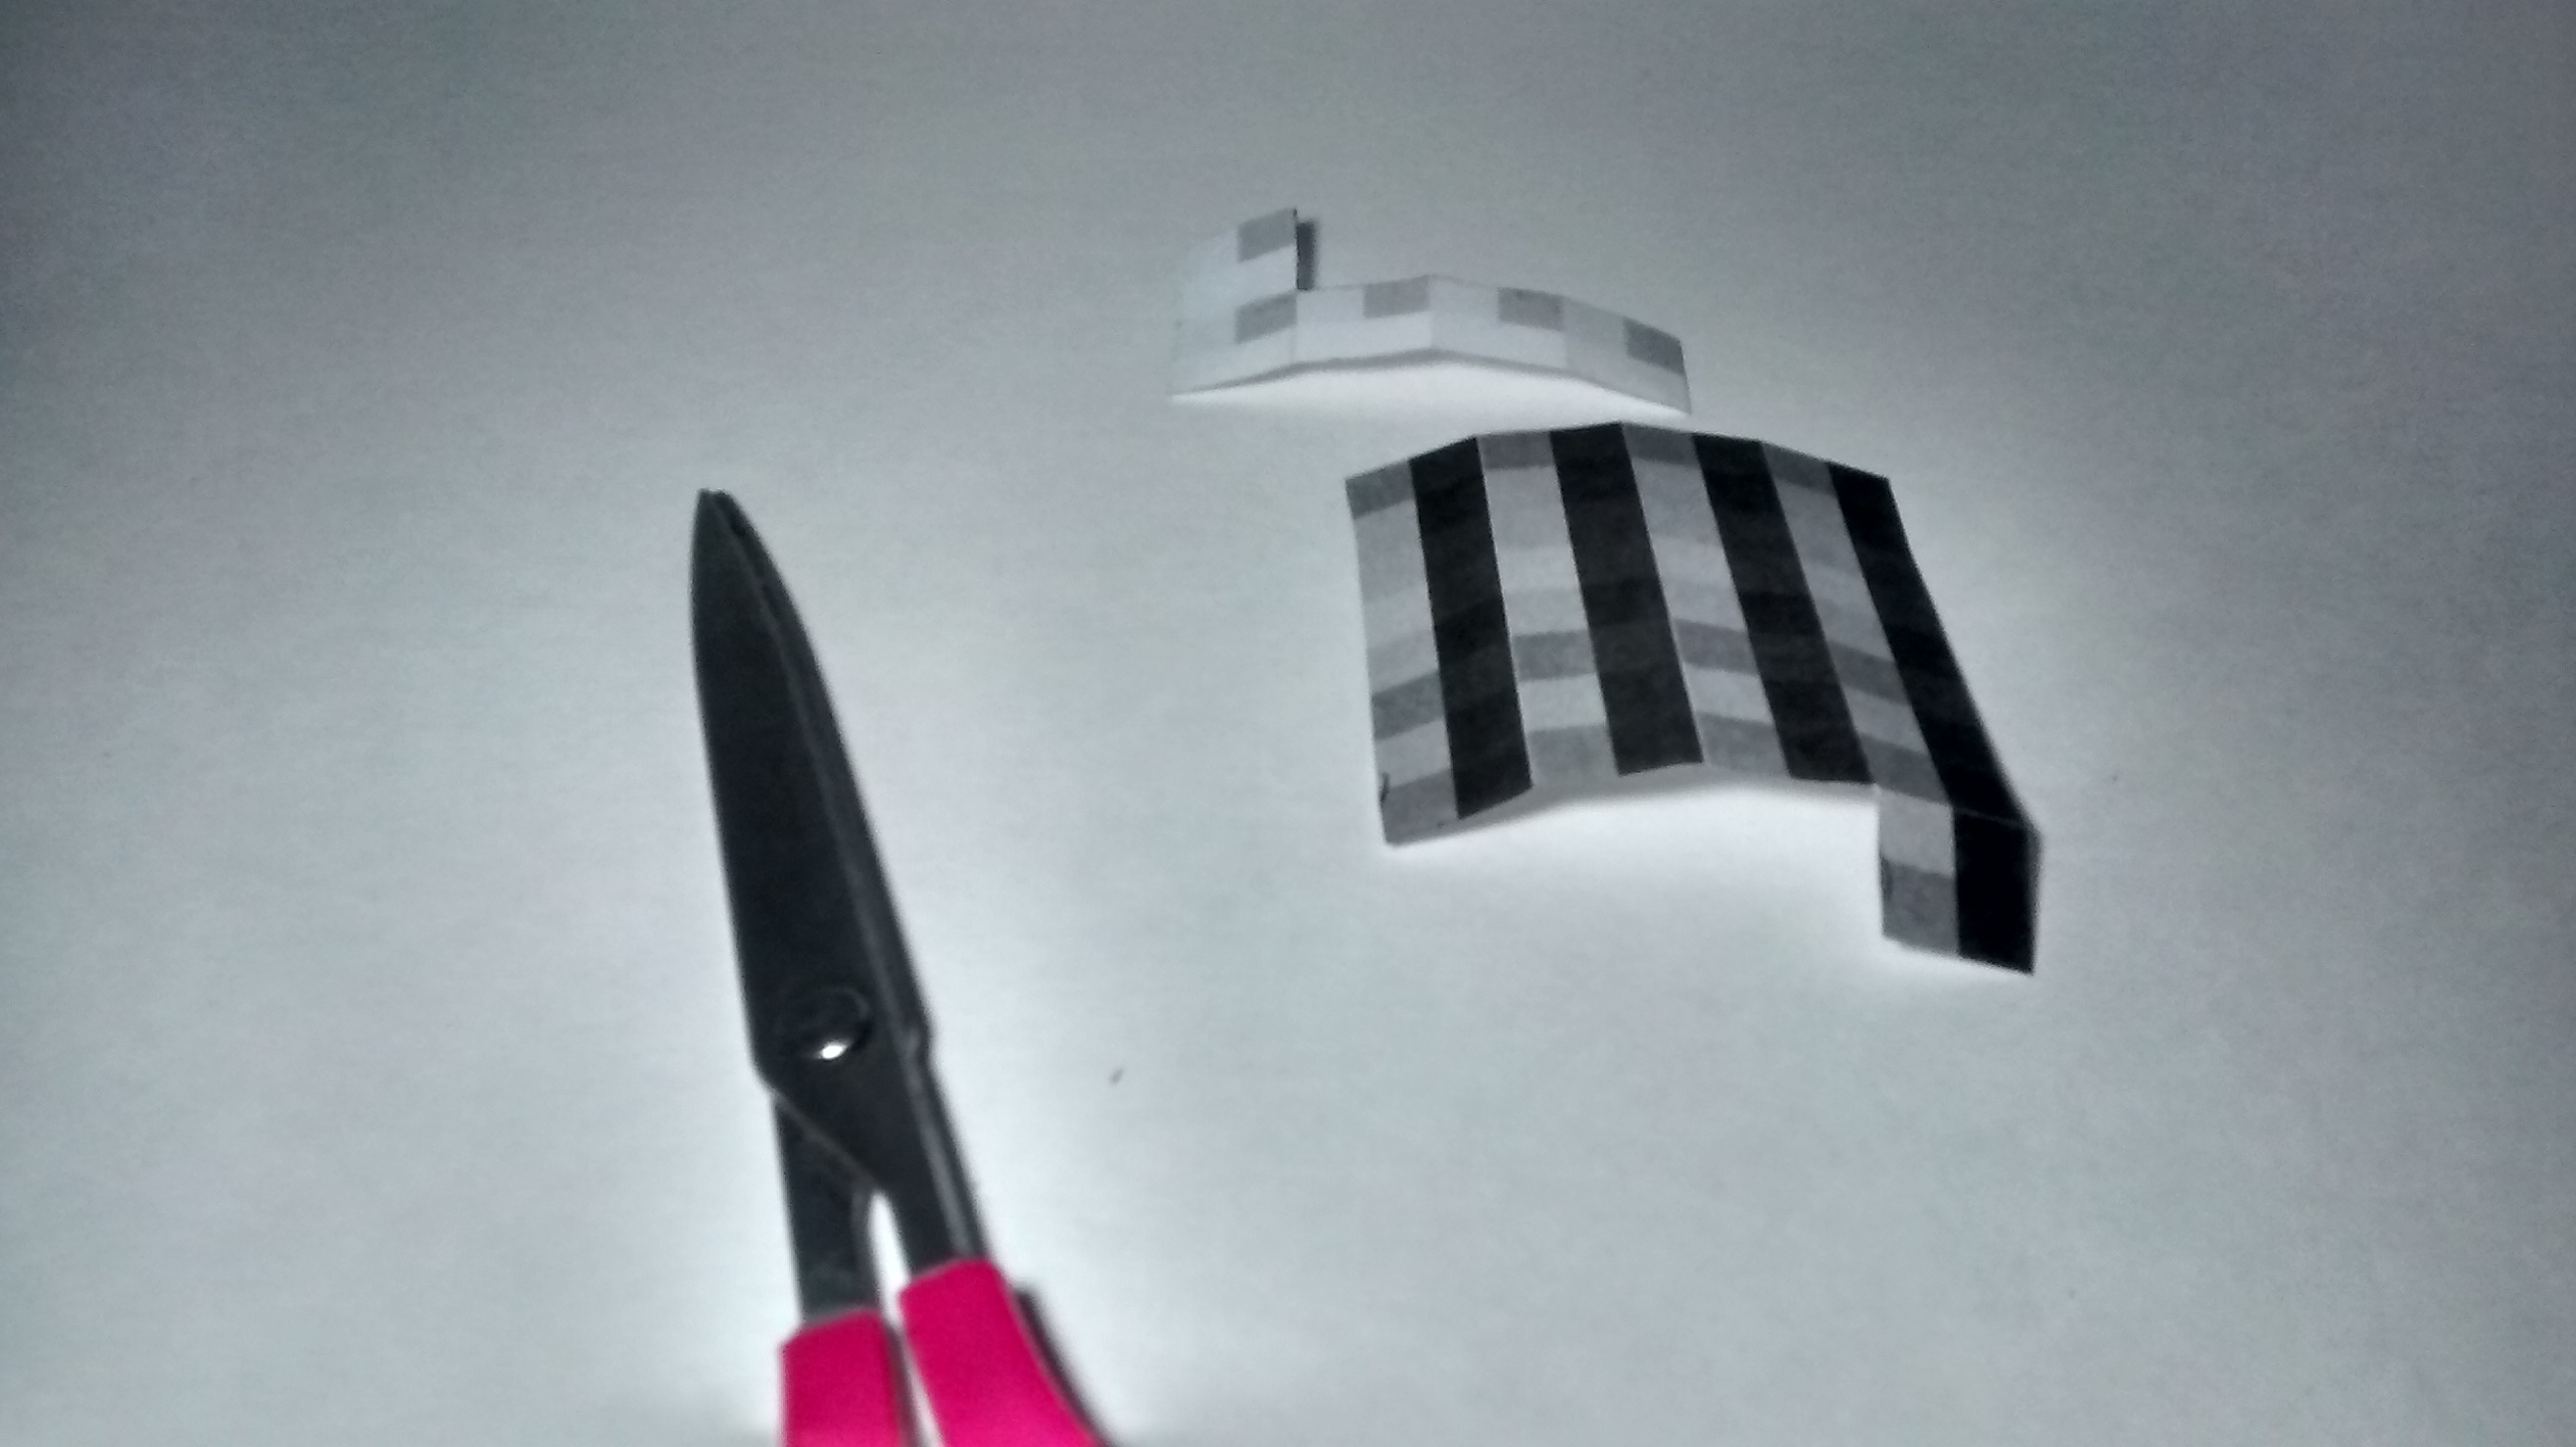
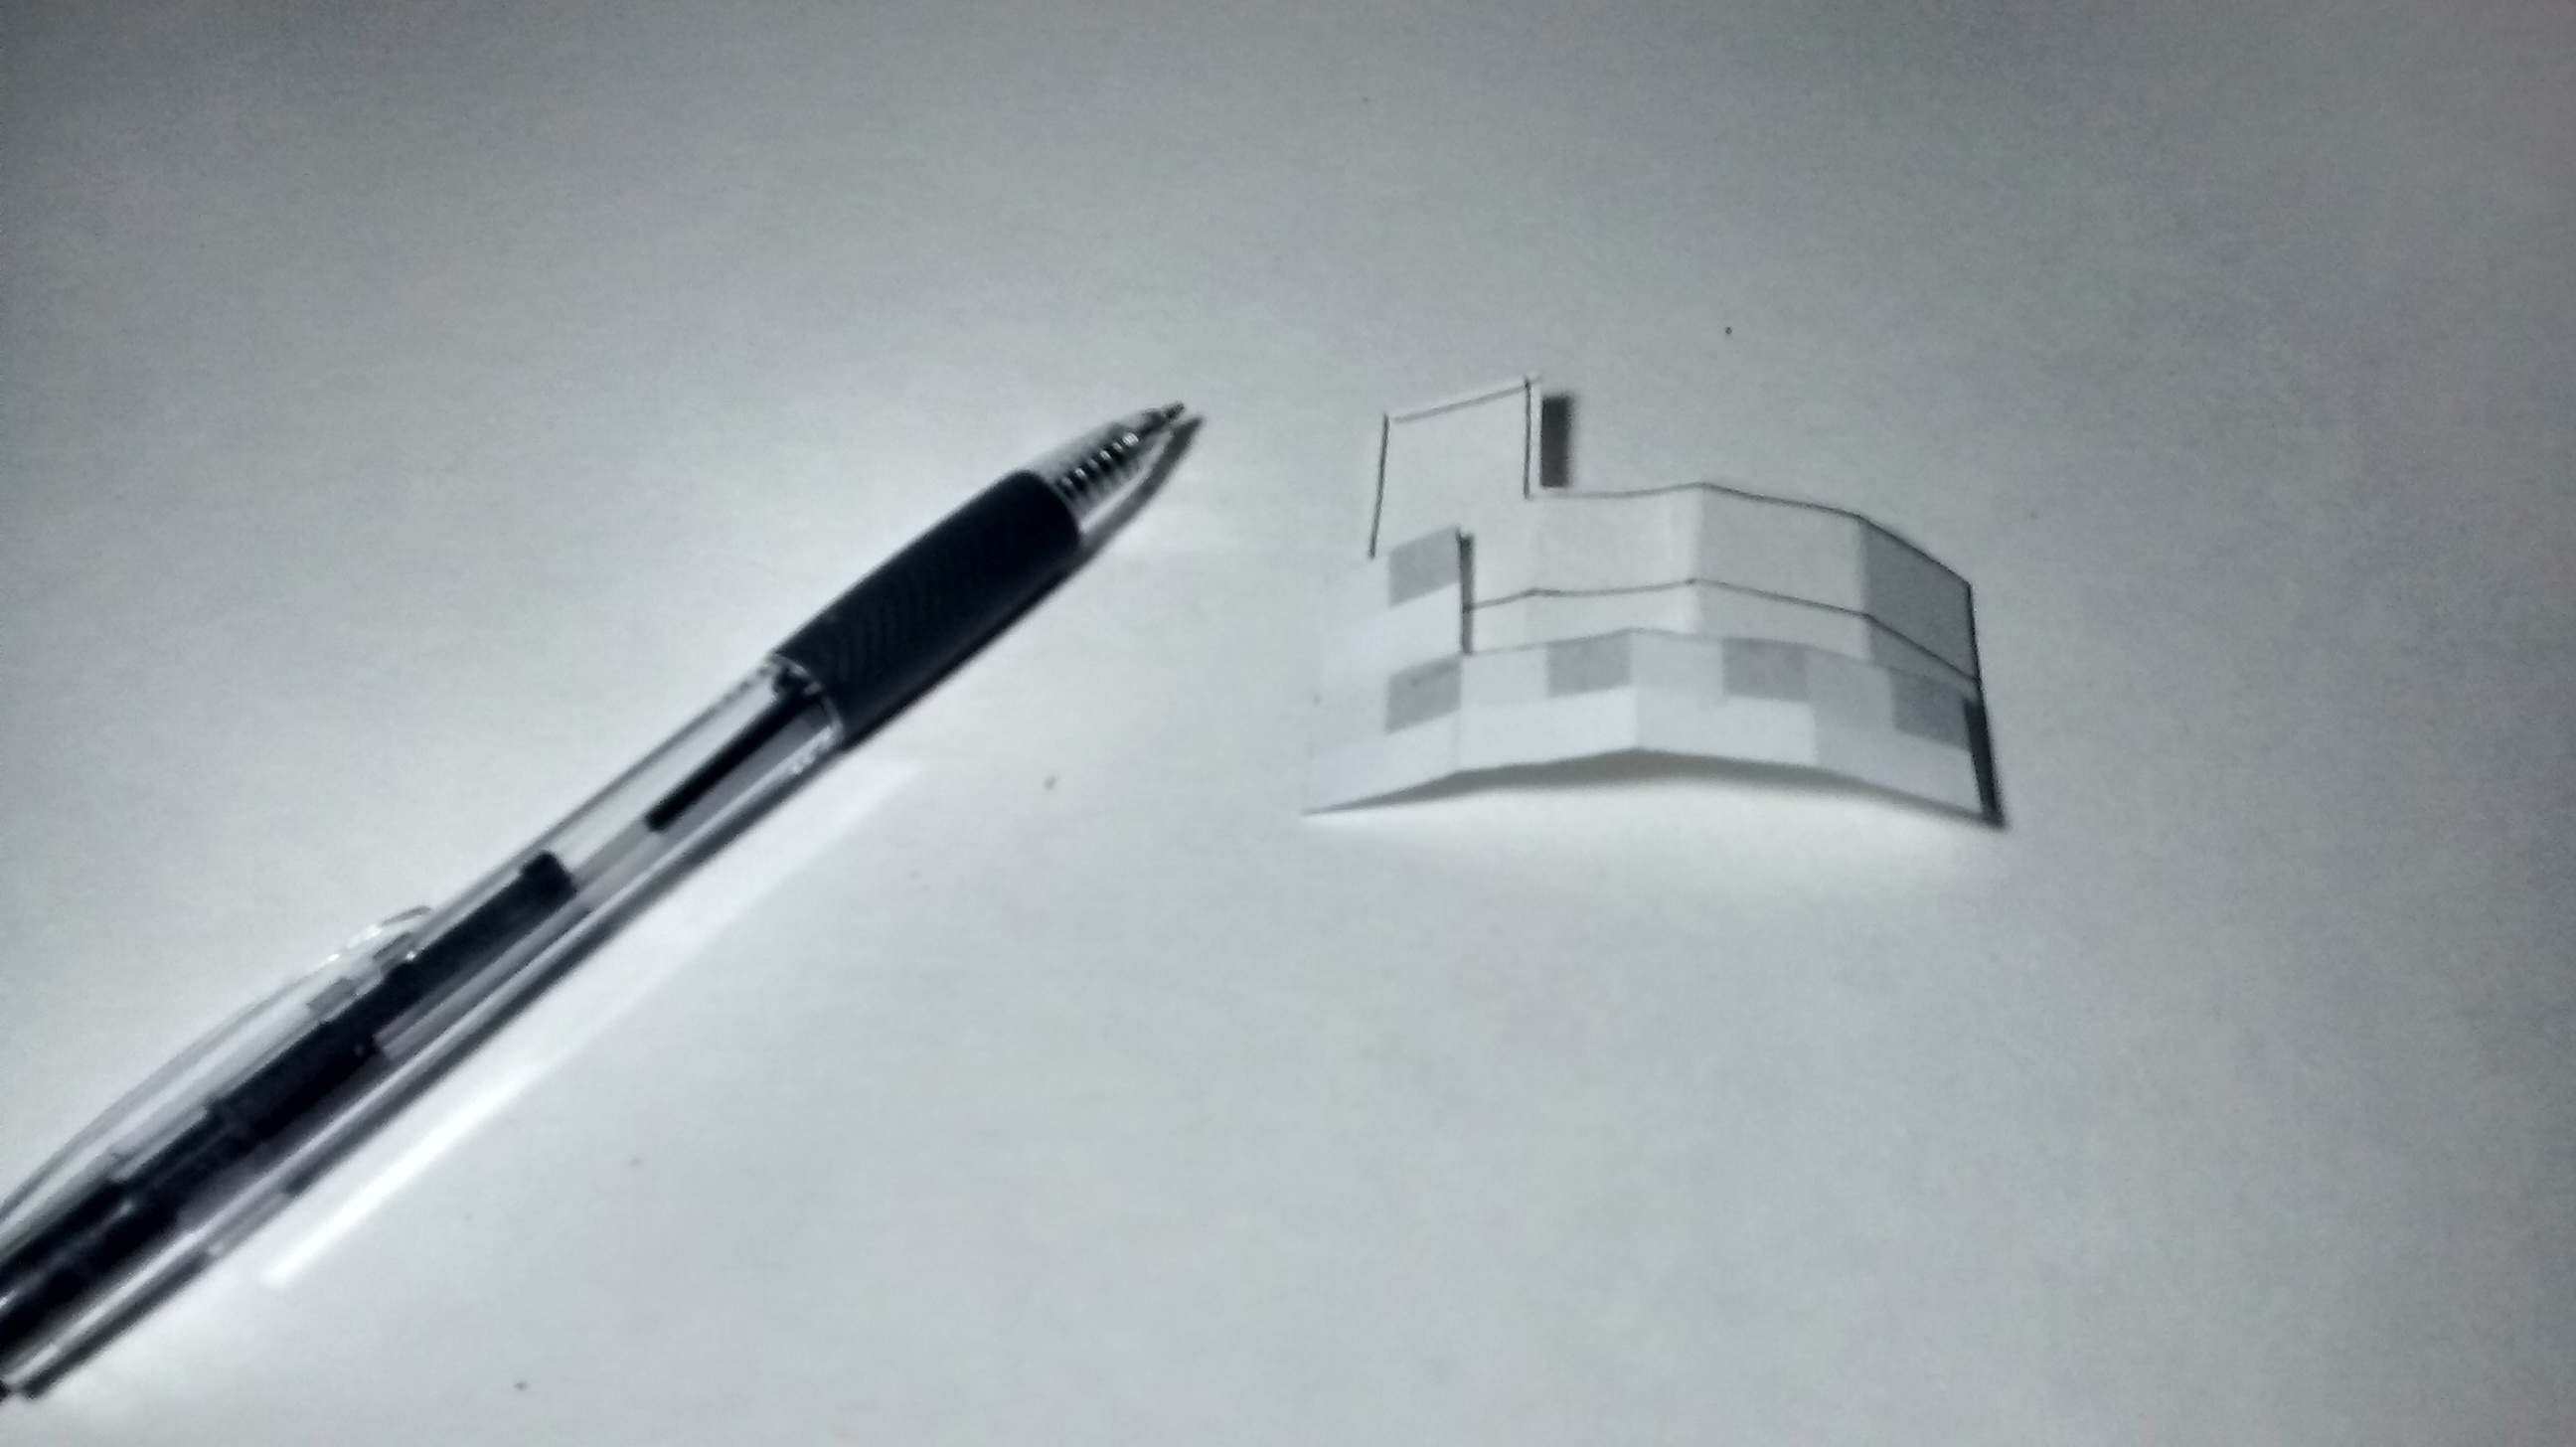
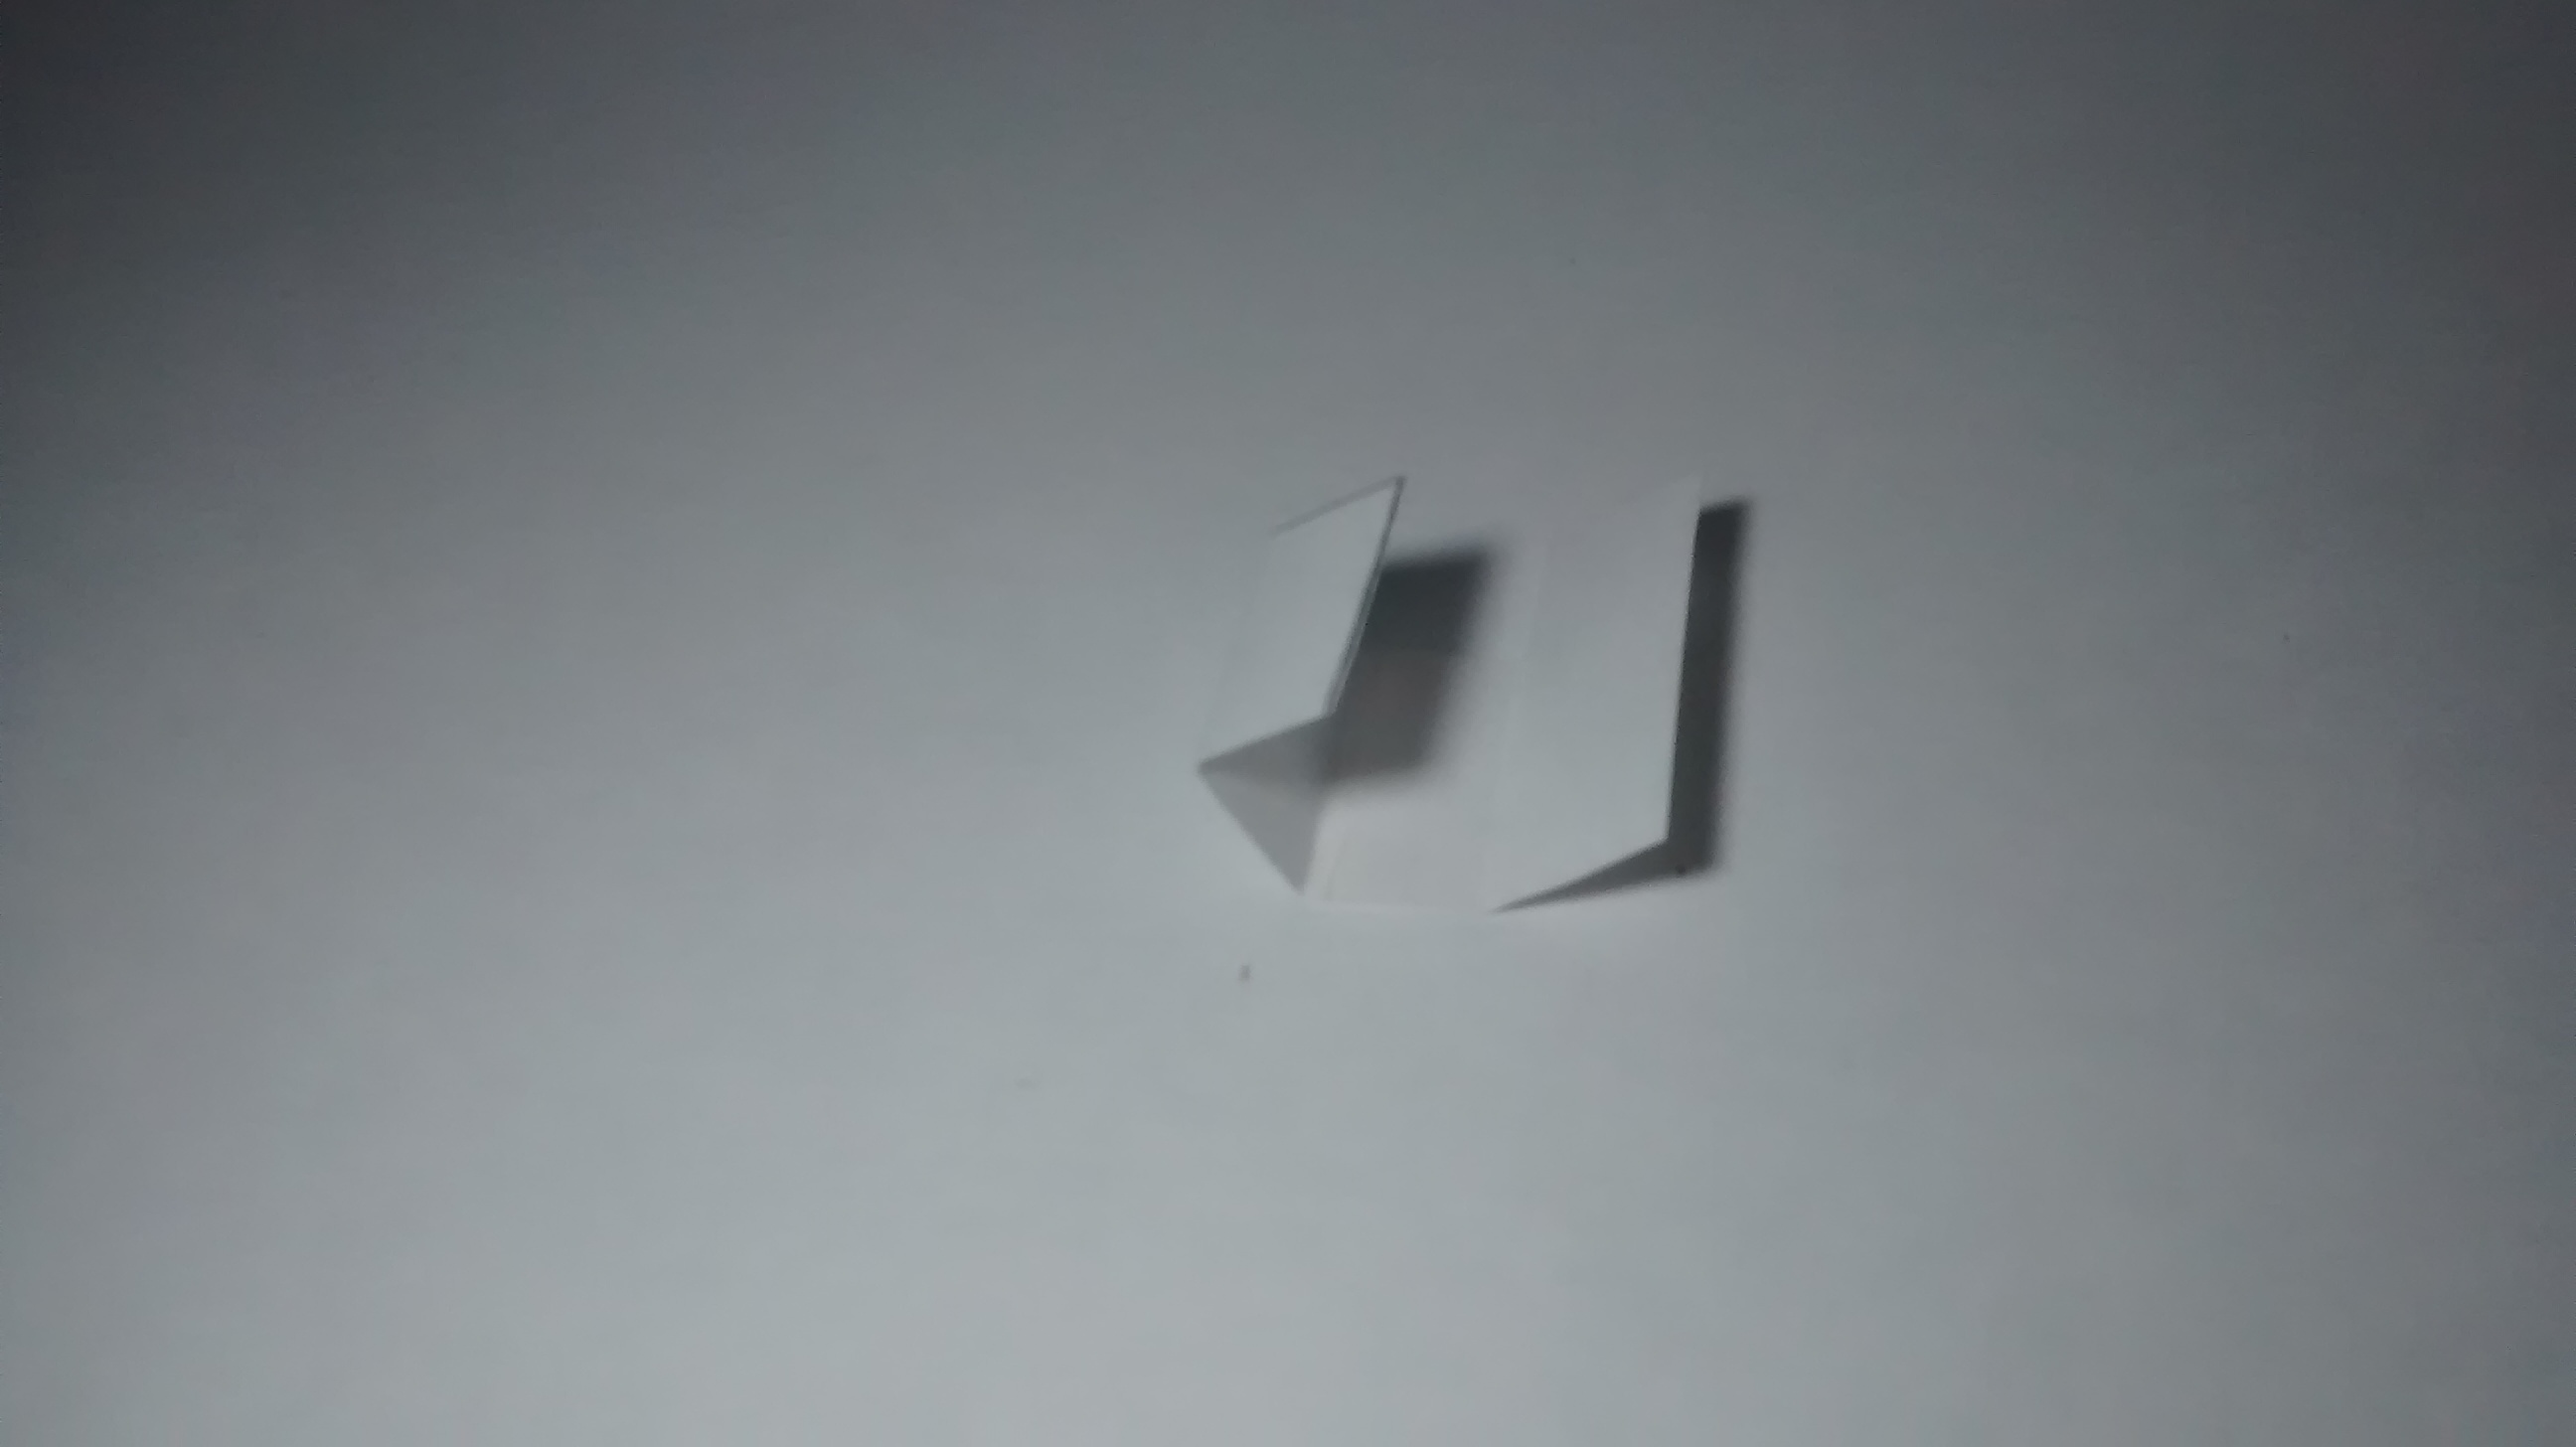
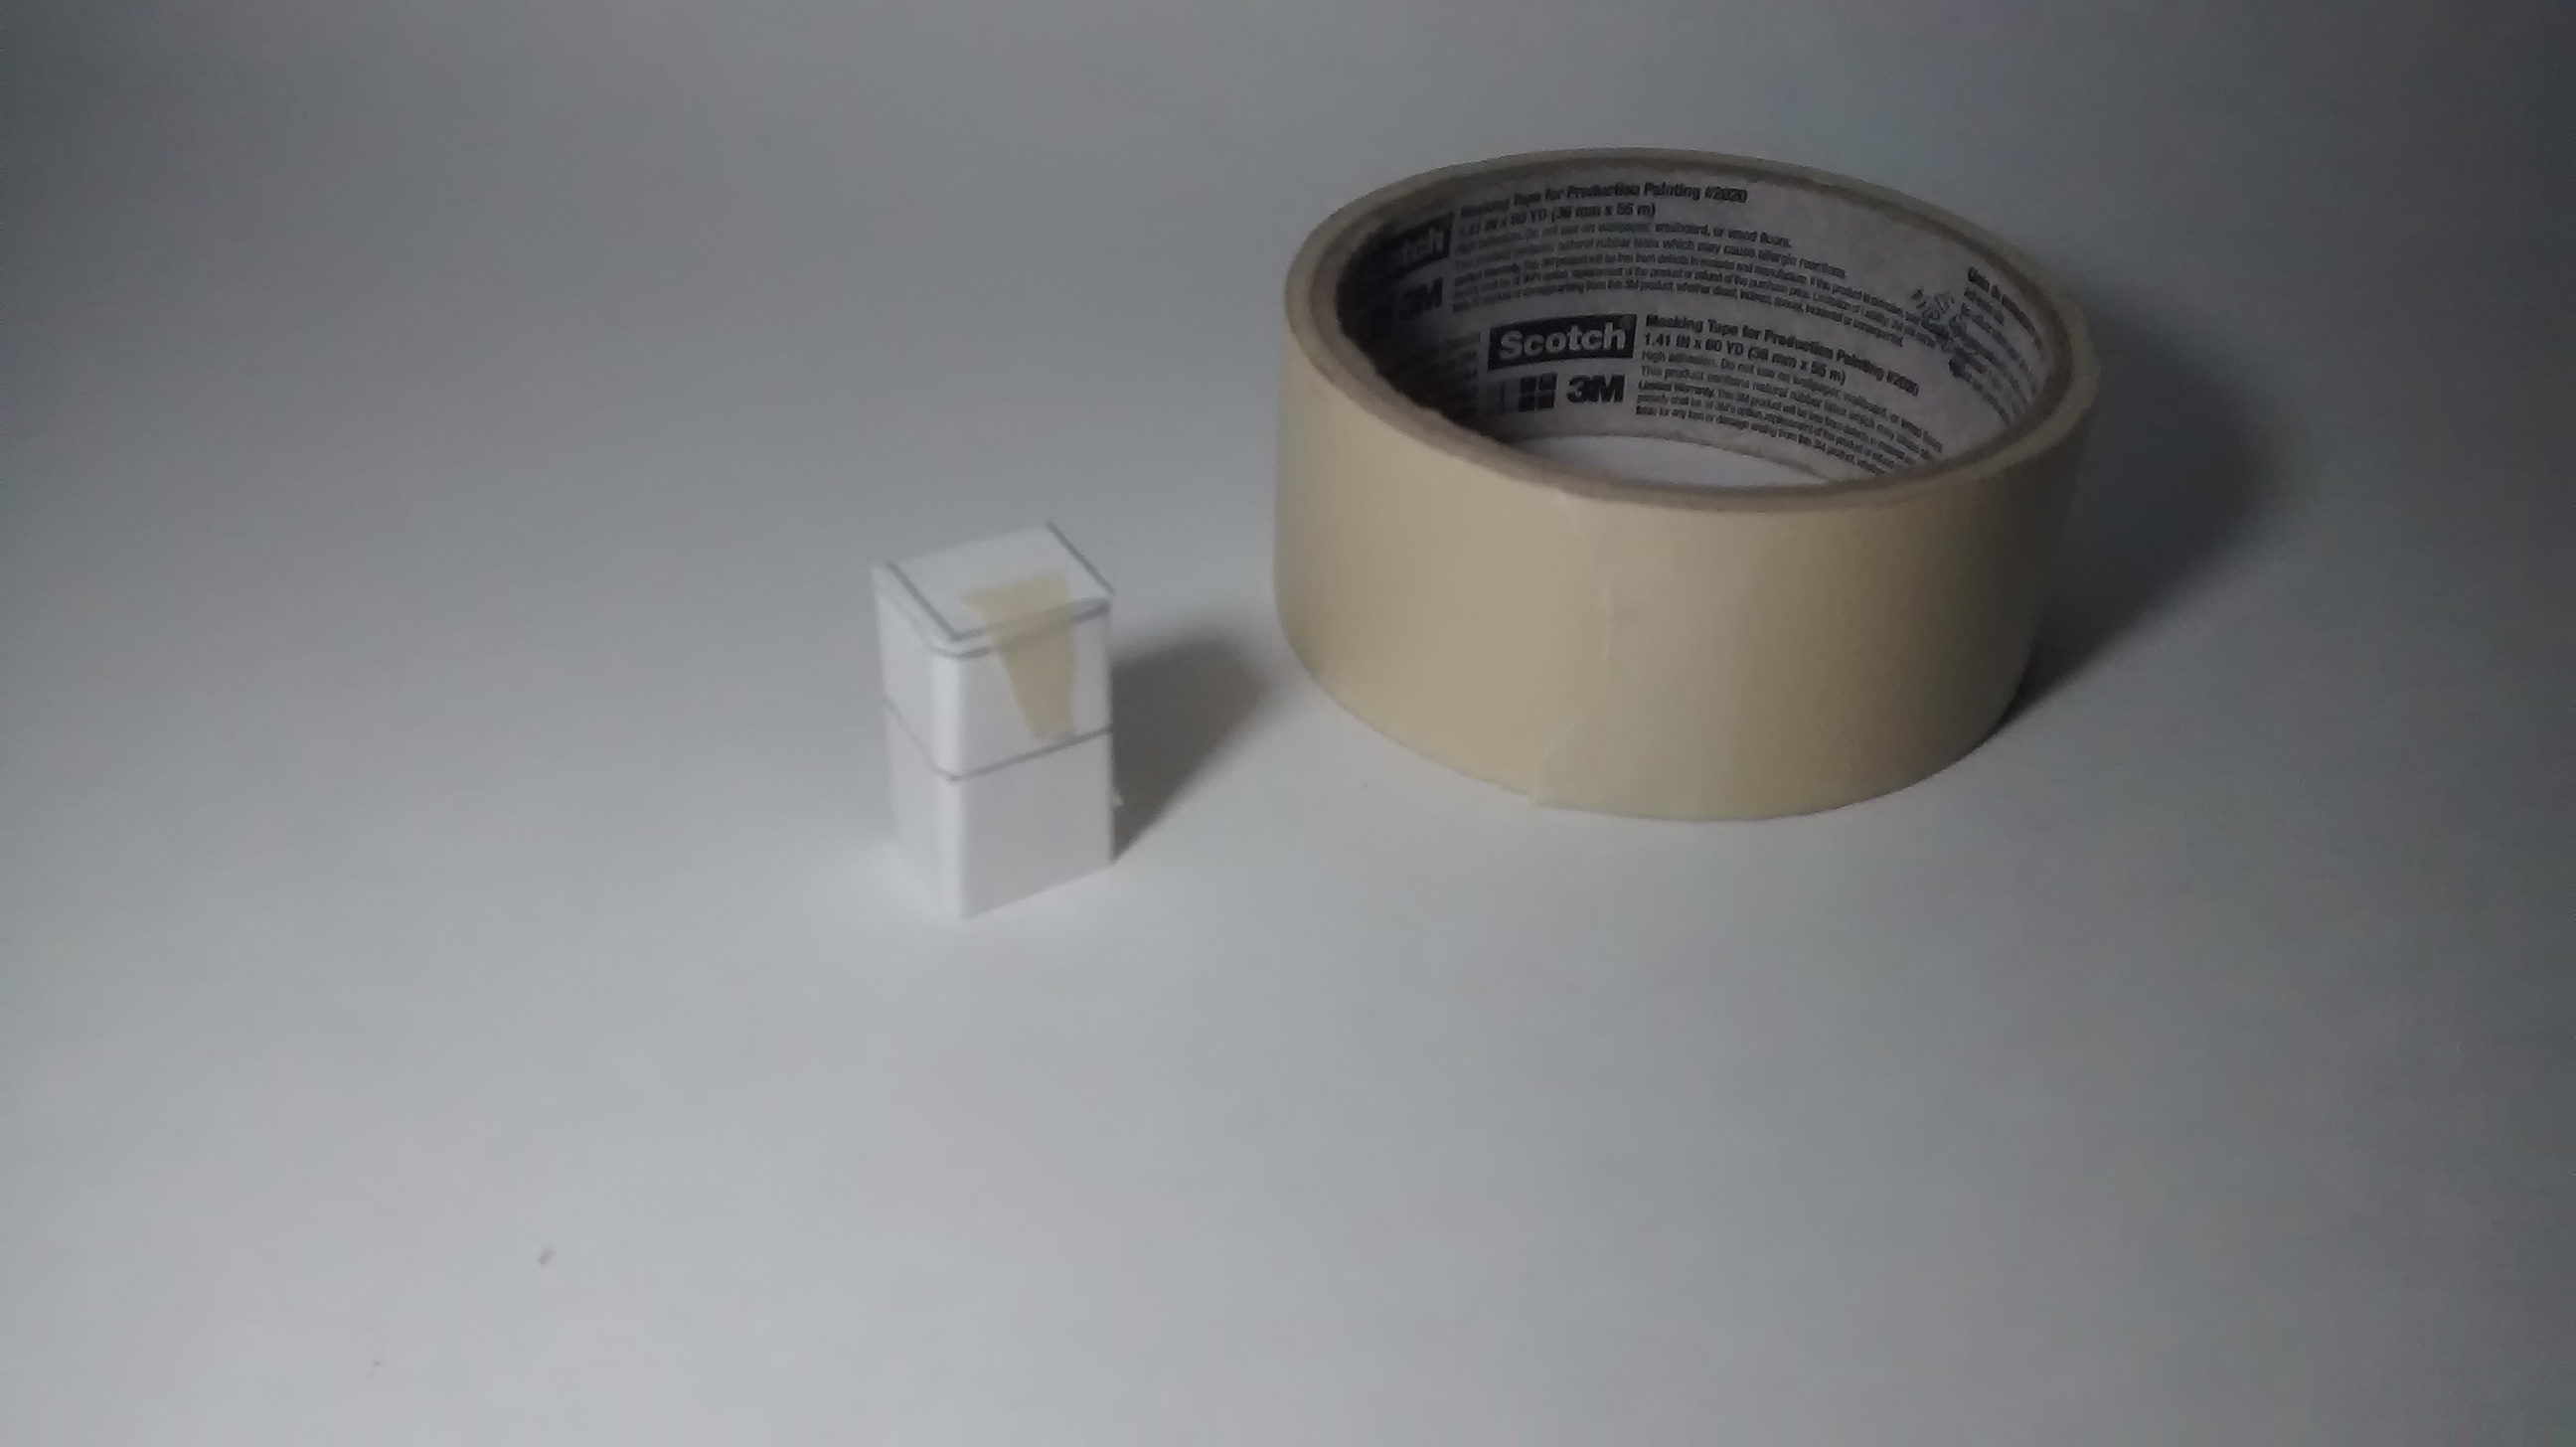
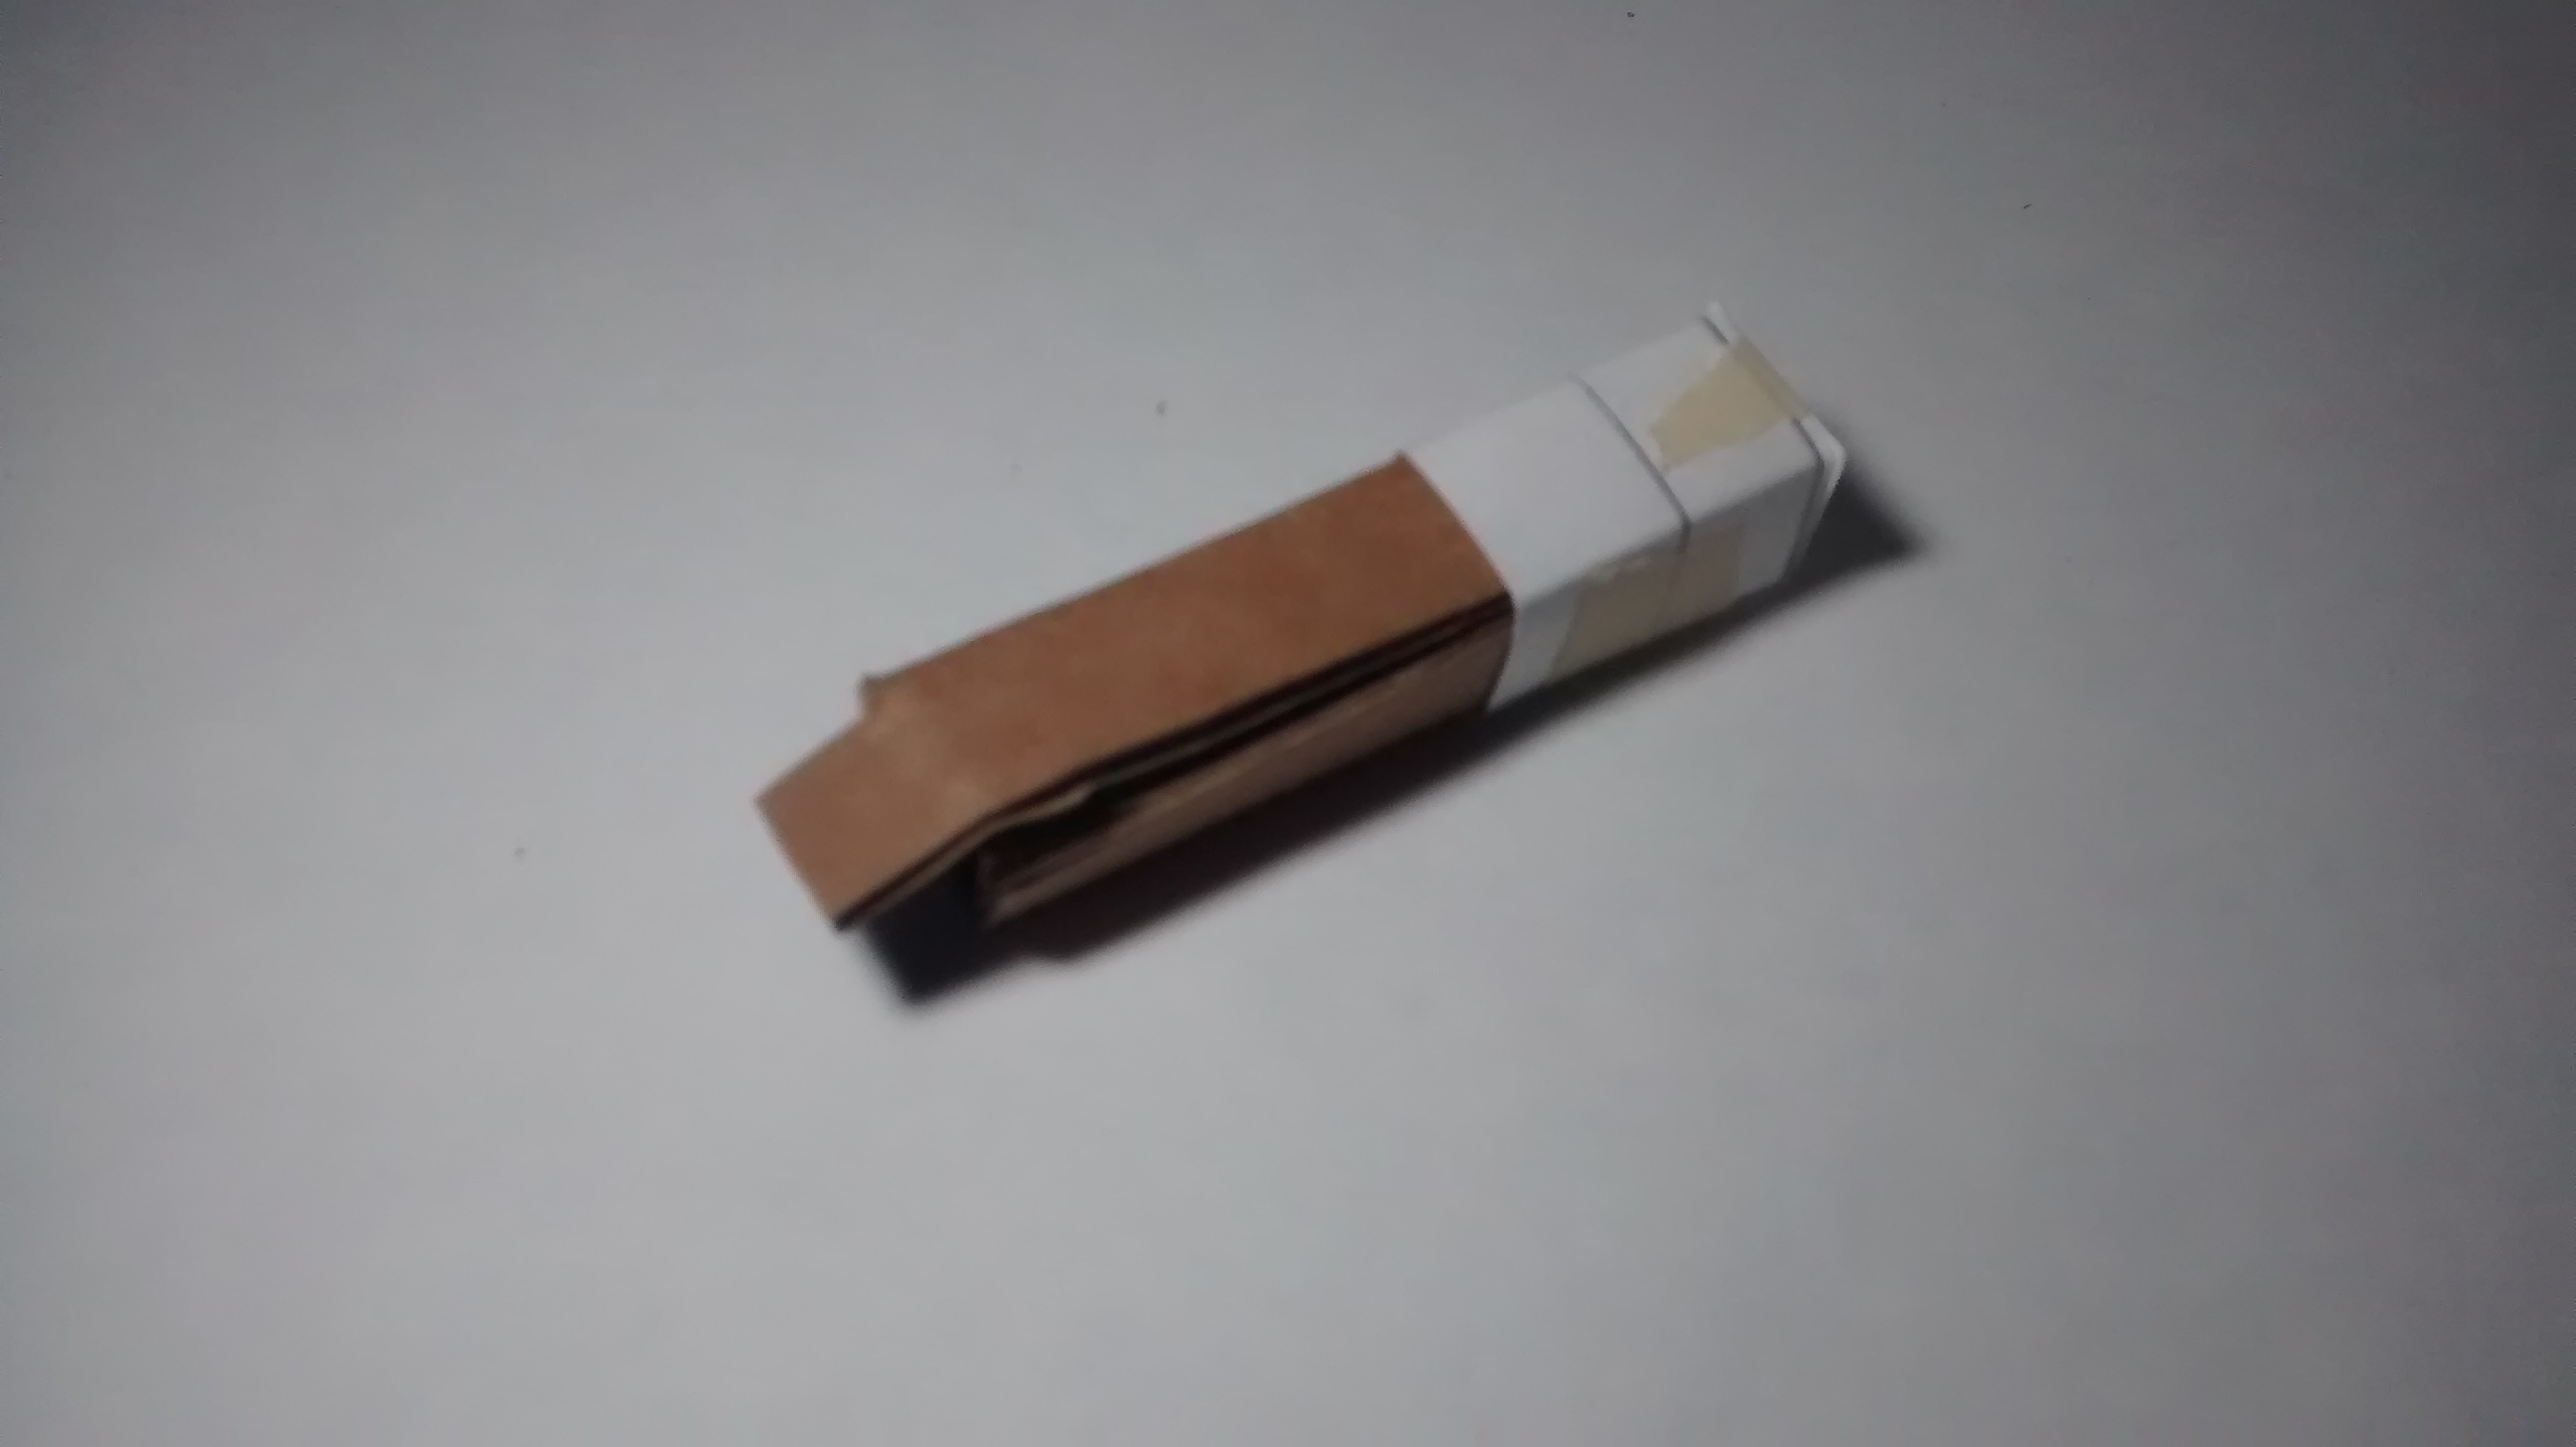
First, take your stencil, and outline the top half of your stencil onto a piece of paper. Then cut out your piece of paper. Next, cut off the top "torch part of your stencil, line it up with your cut out piece of paper, and outline that, but don't cut it. Then fold your paper using the stencil as a guide. Then tape it together as shown in the picture above. Just to be safe, make sure that the paper top piece fits on the cardboard nicely.
Electronics
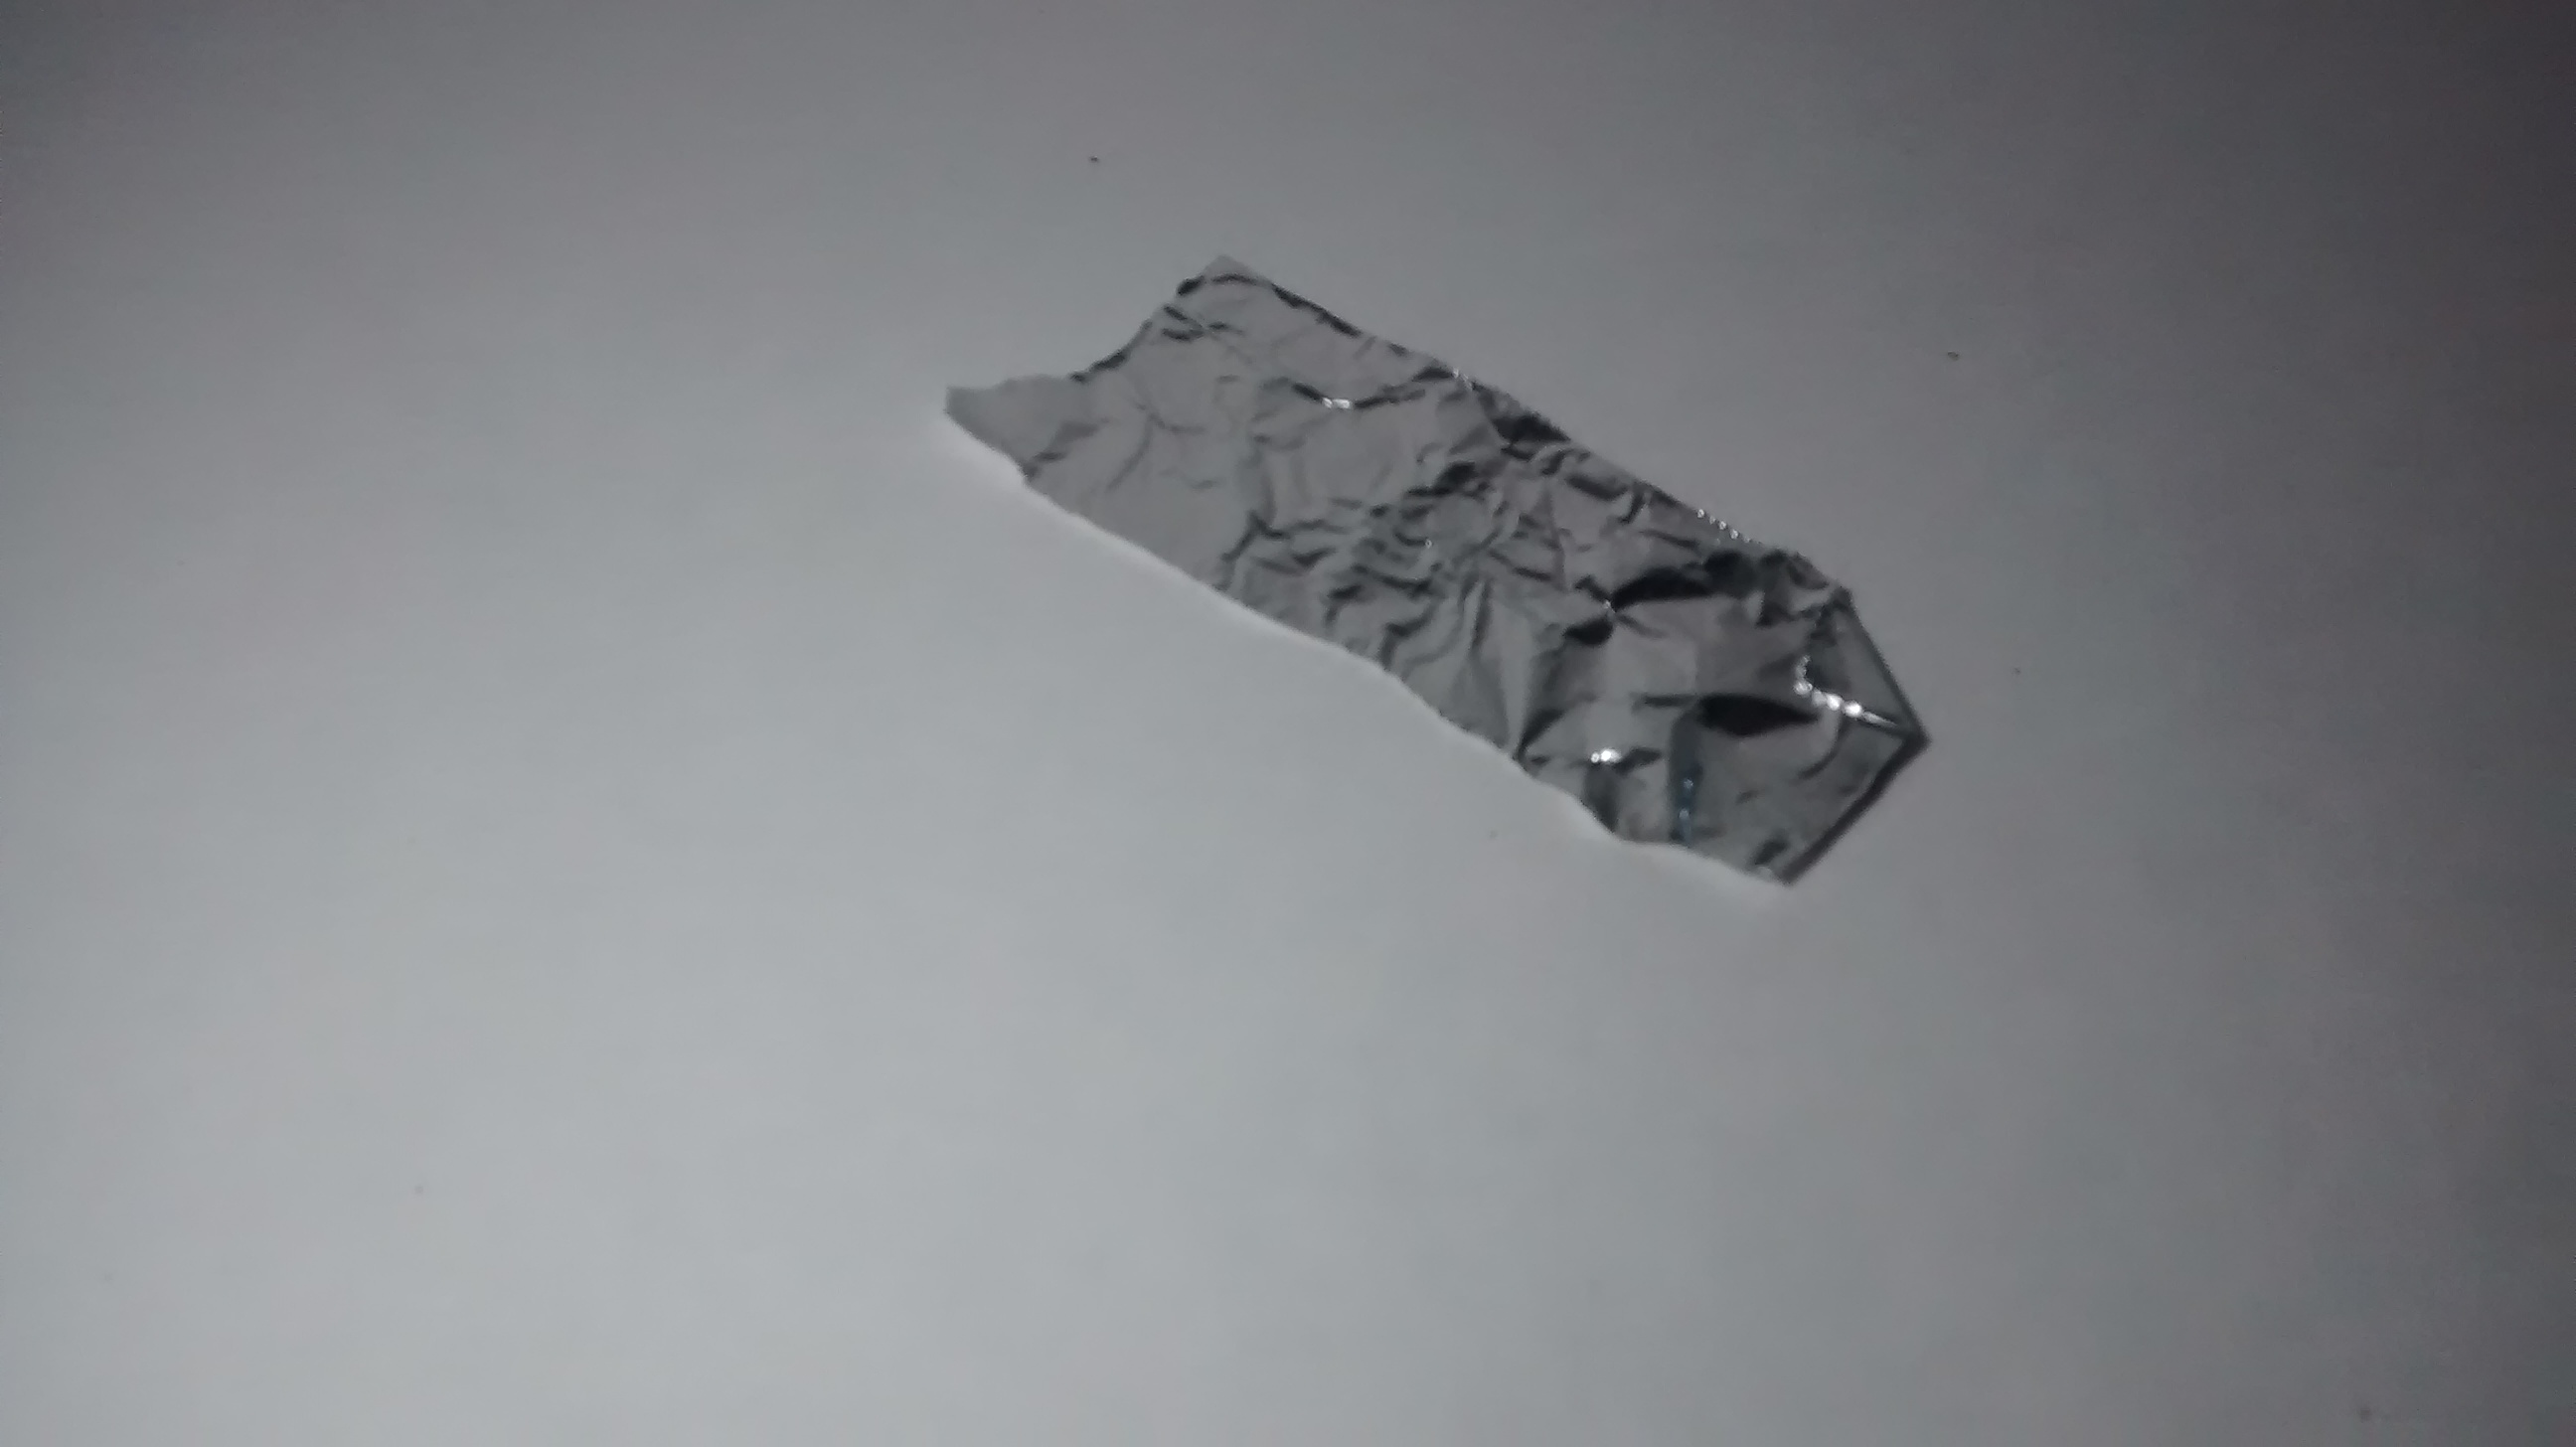
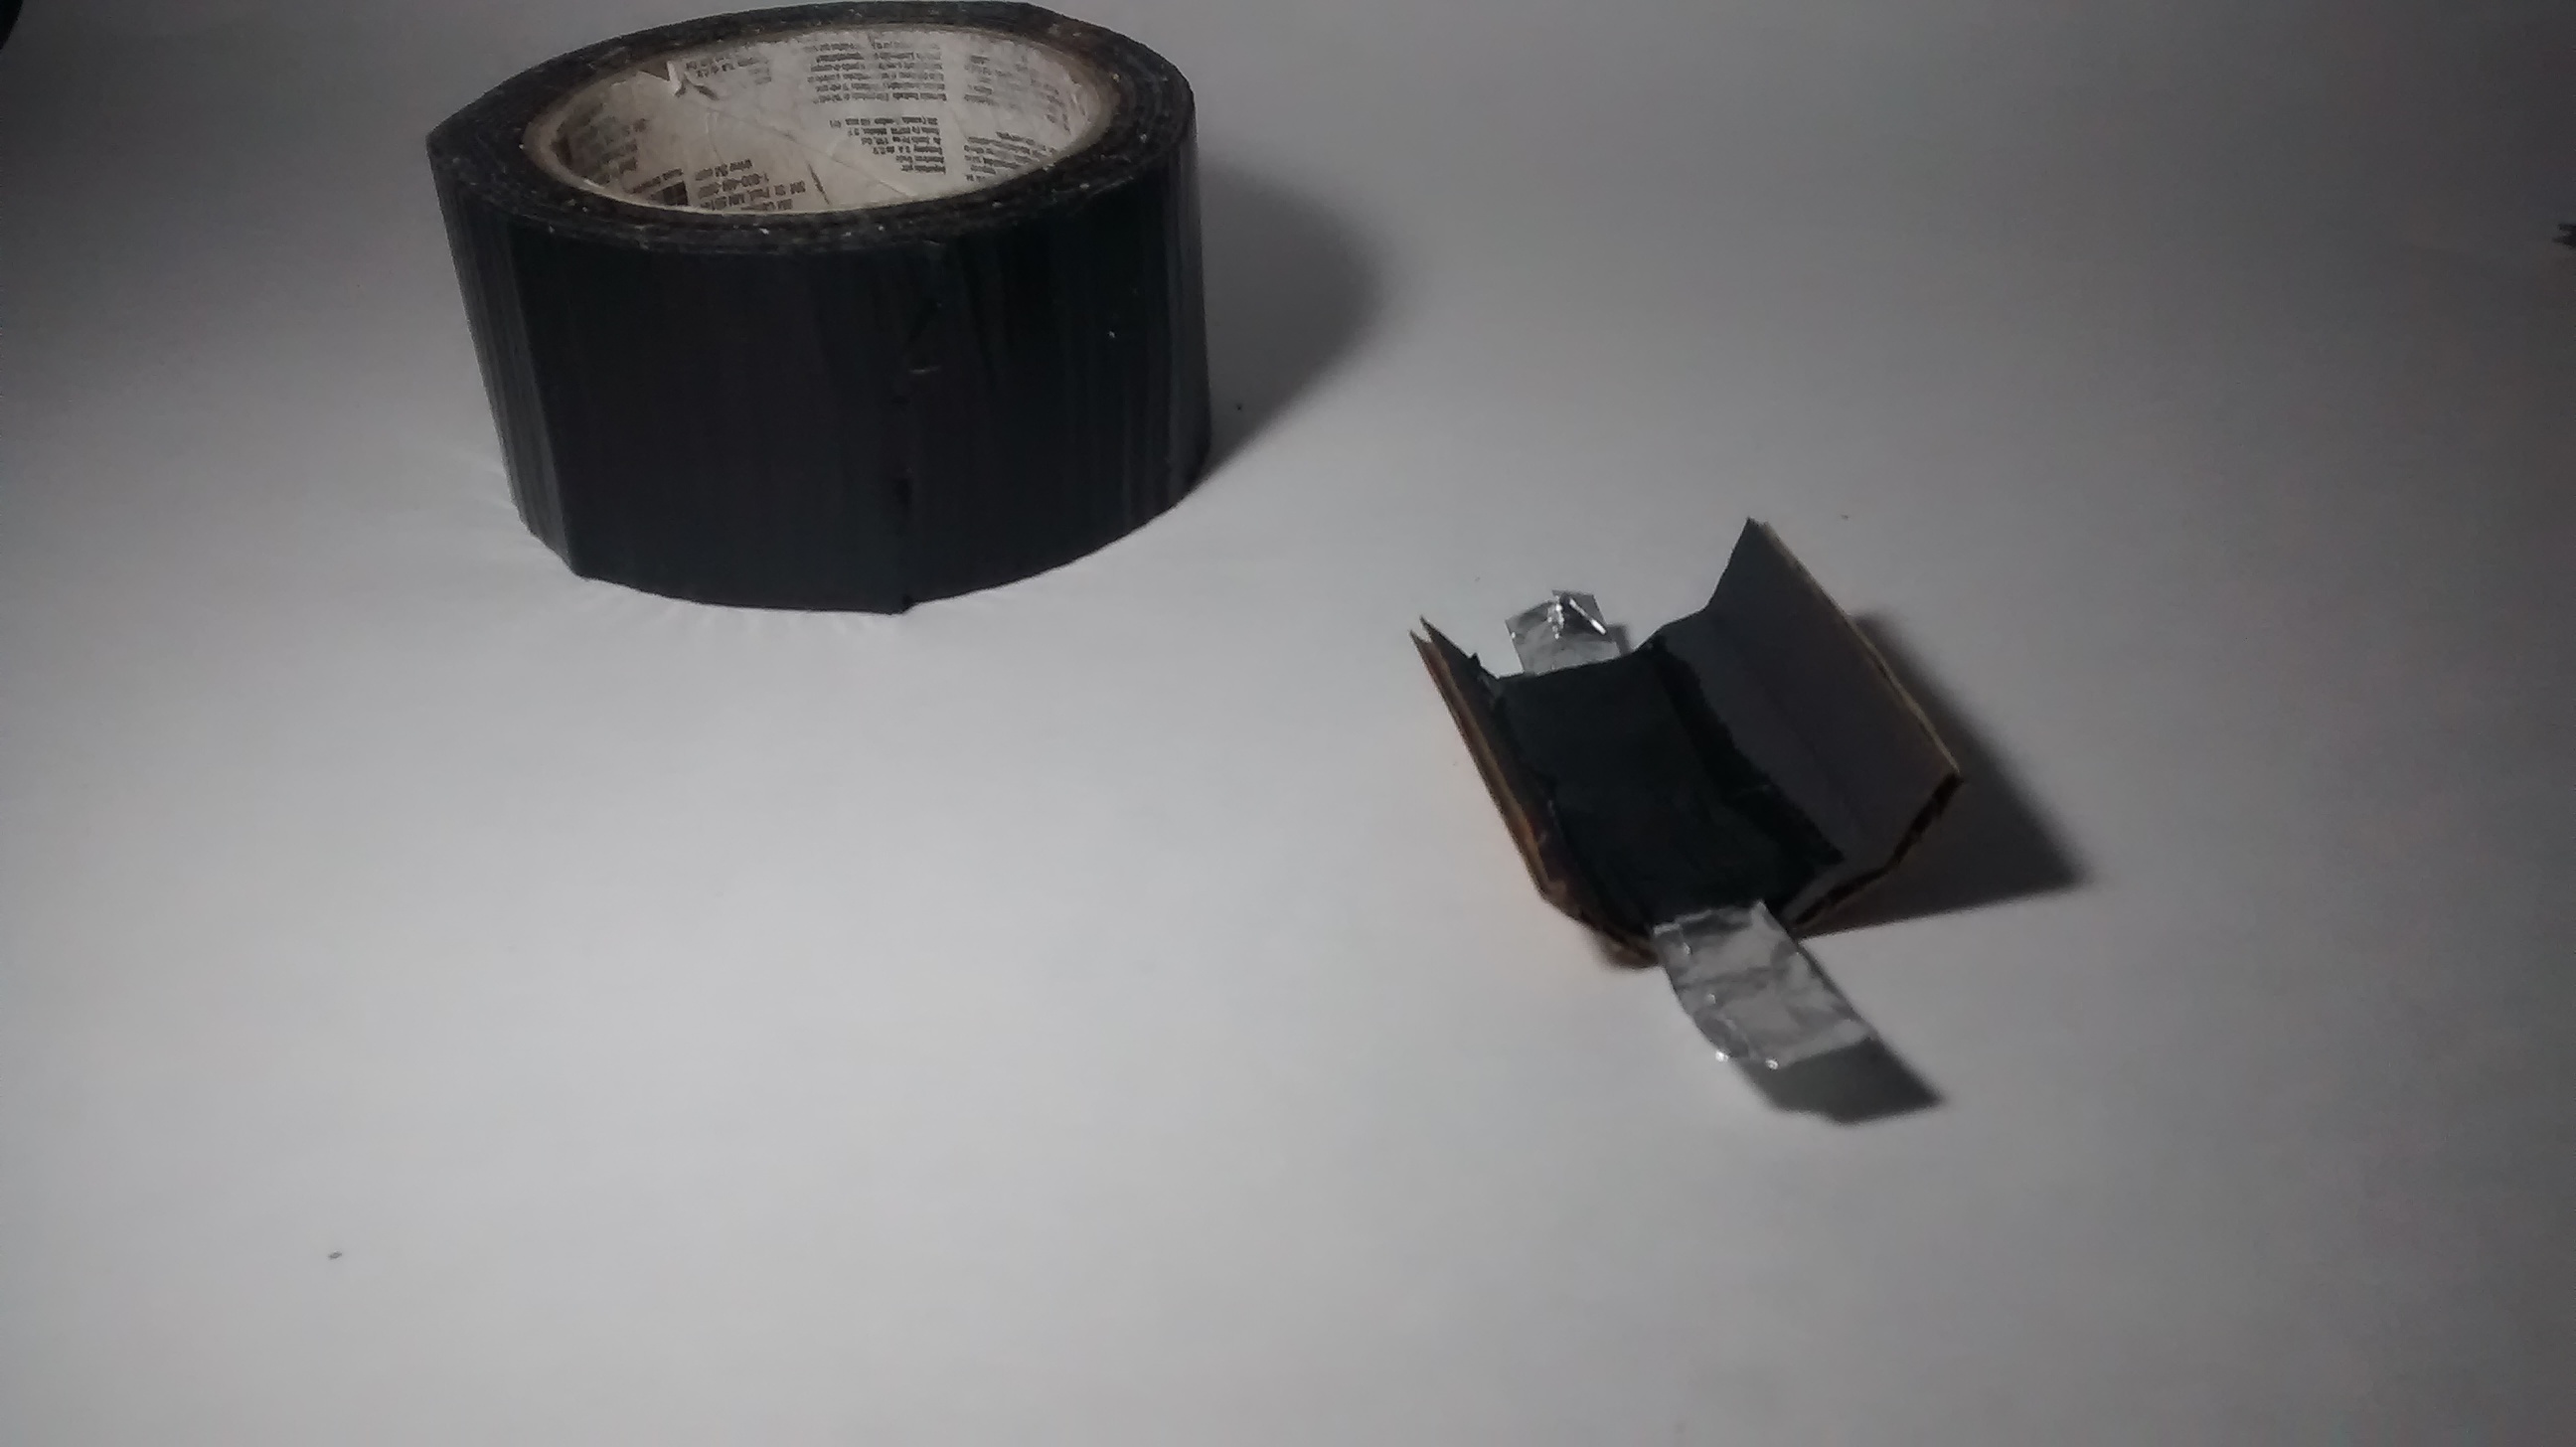
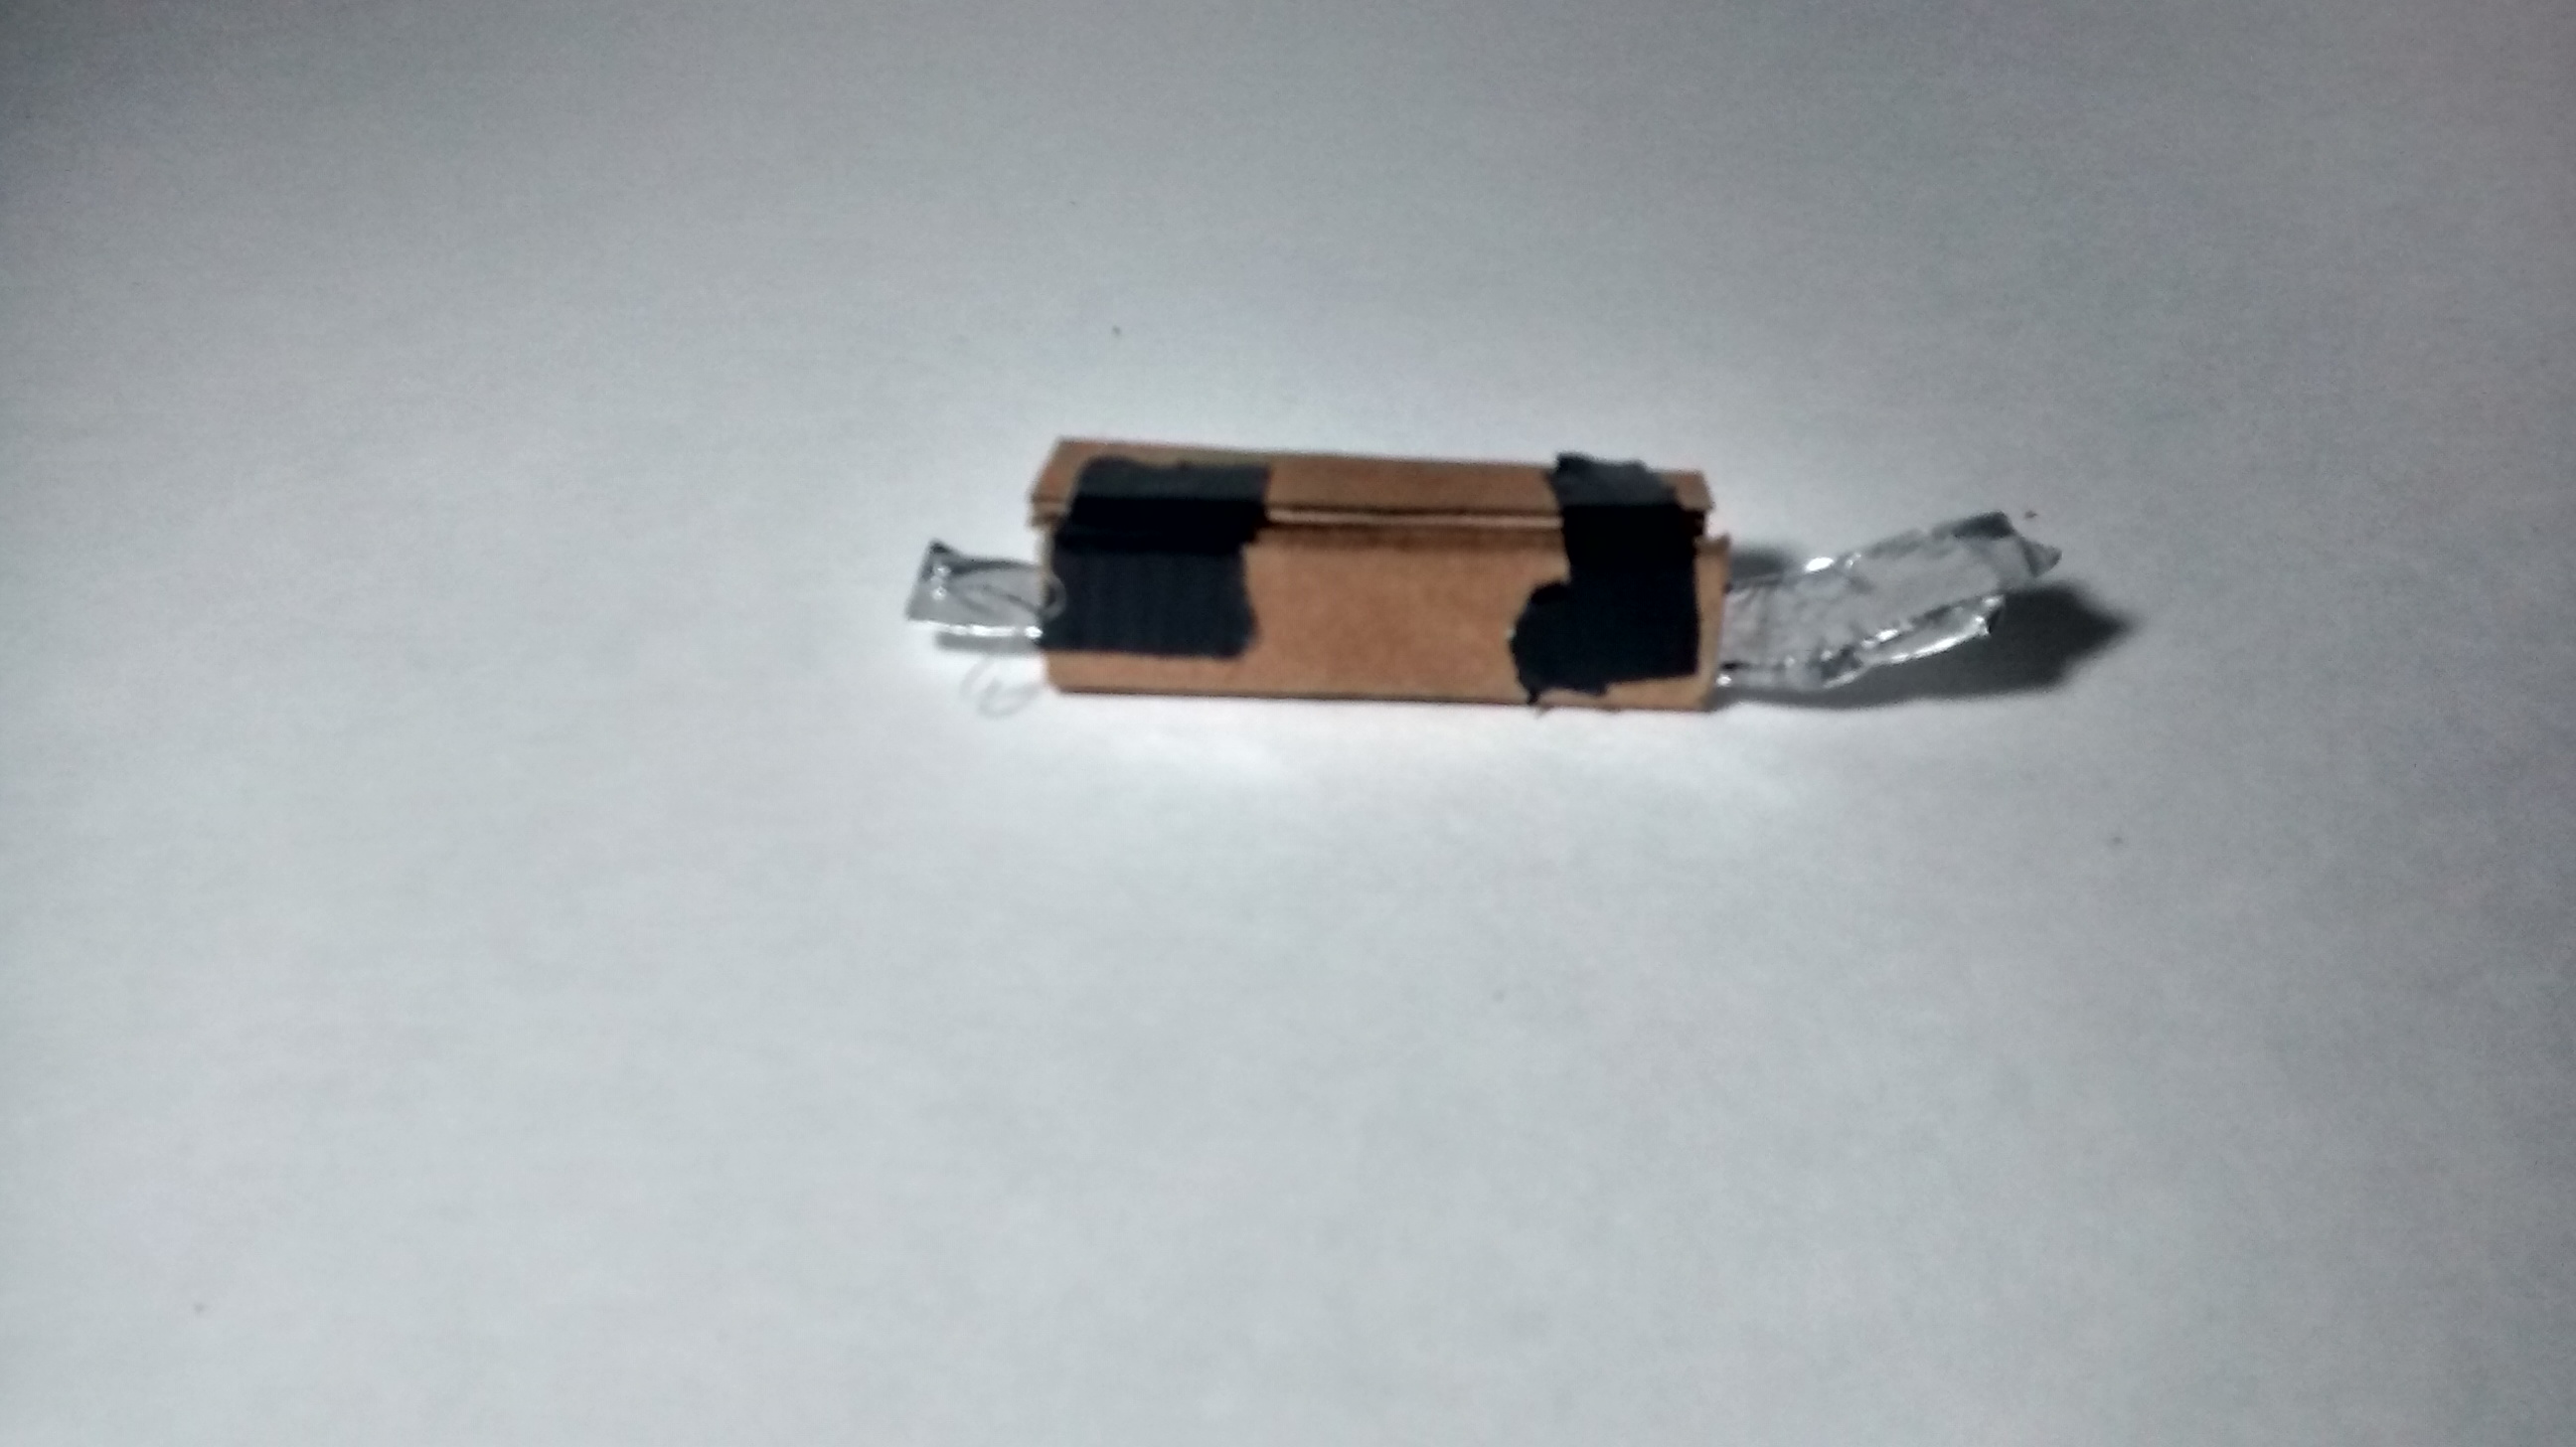
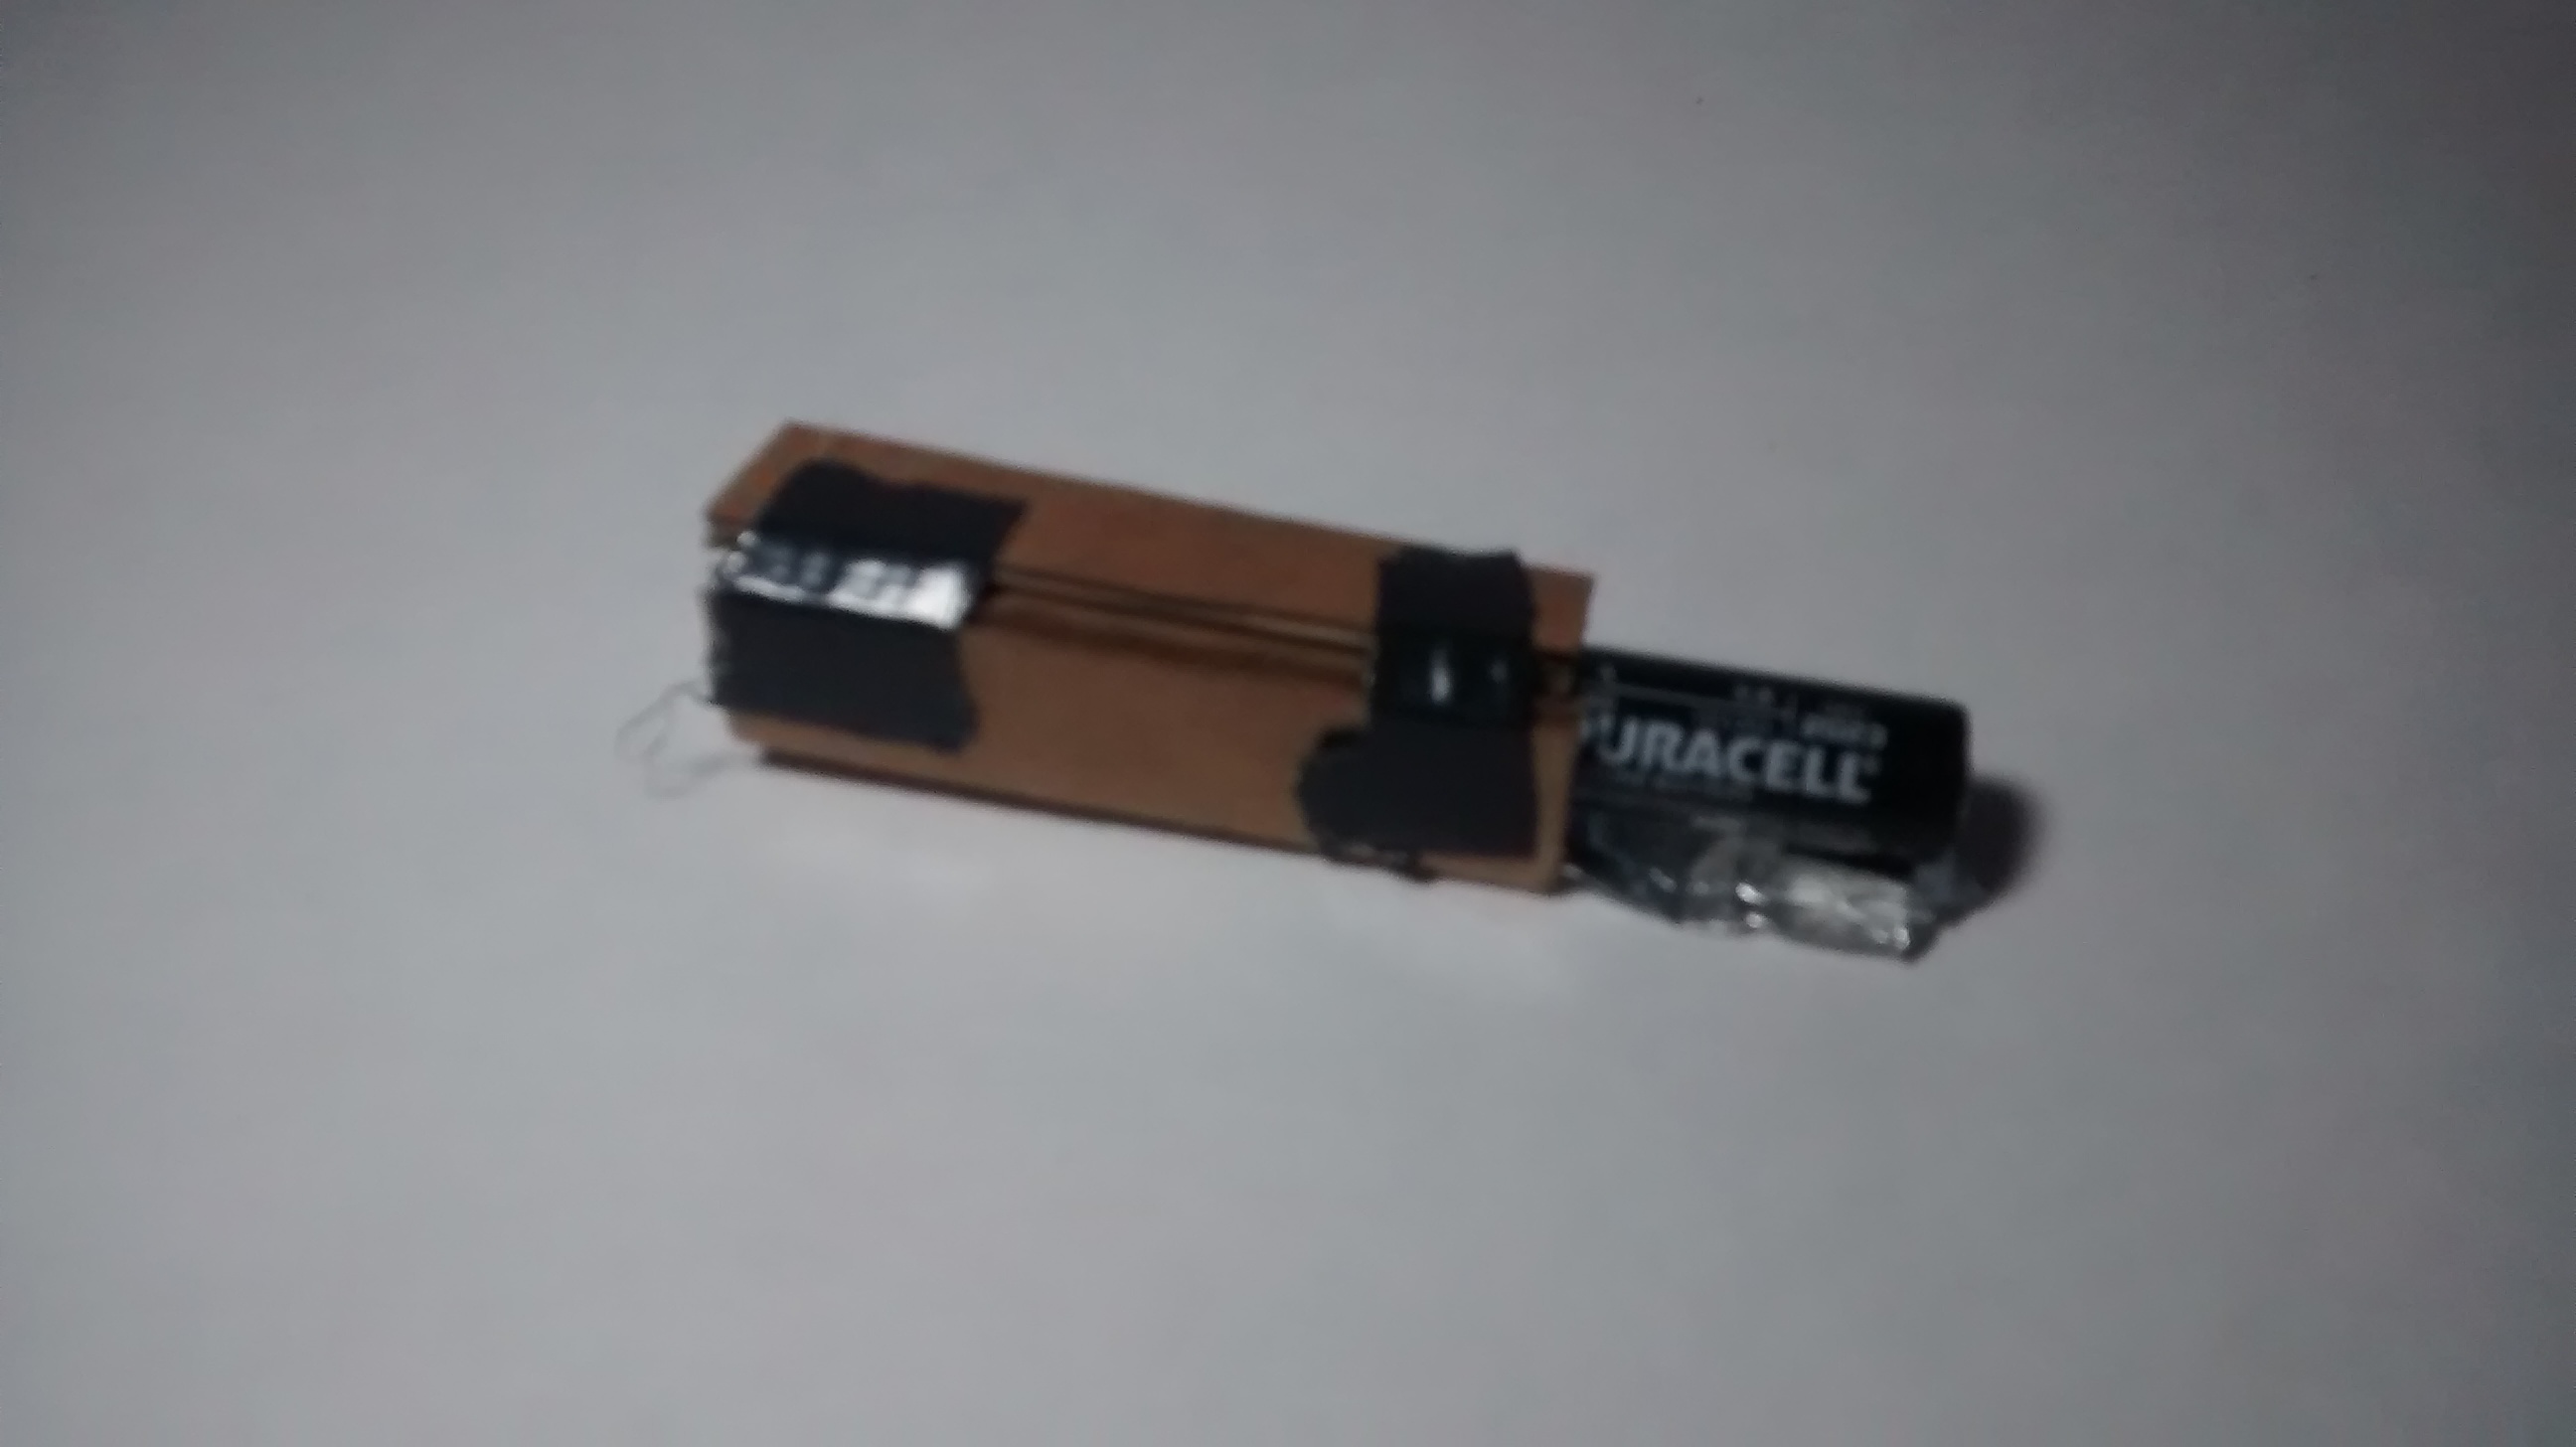
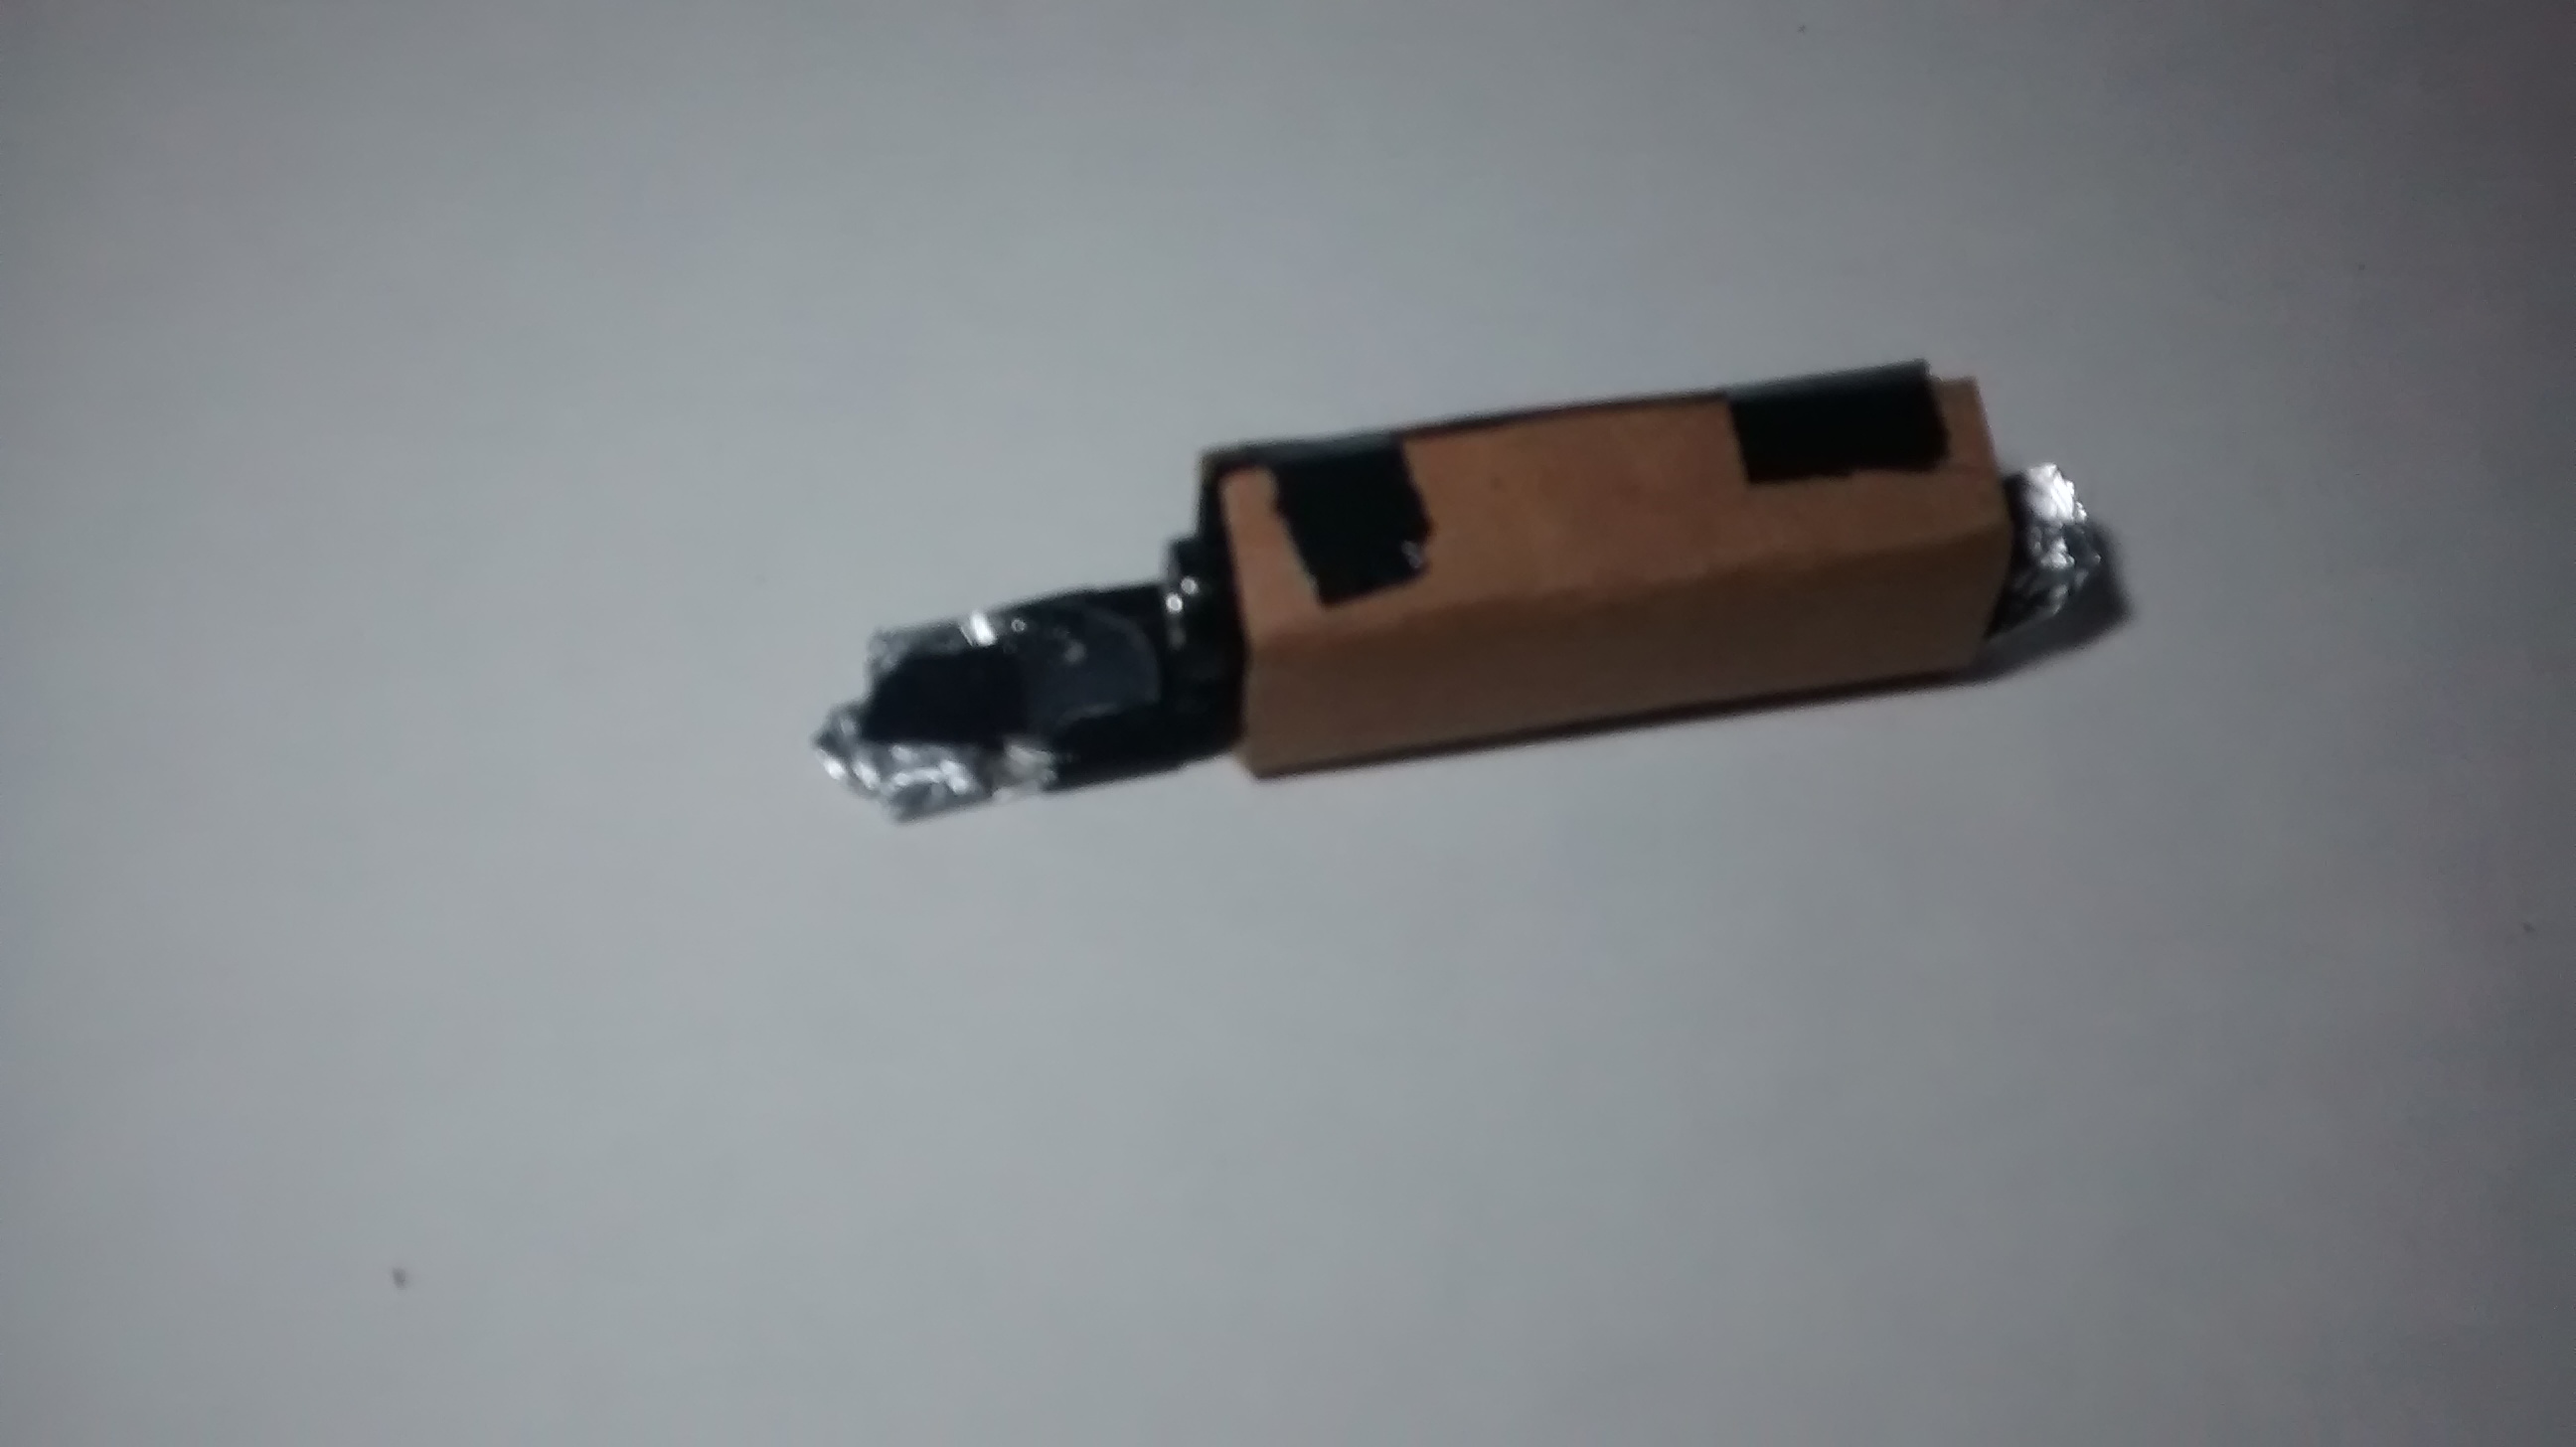
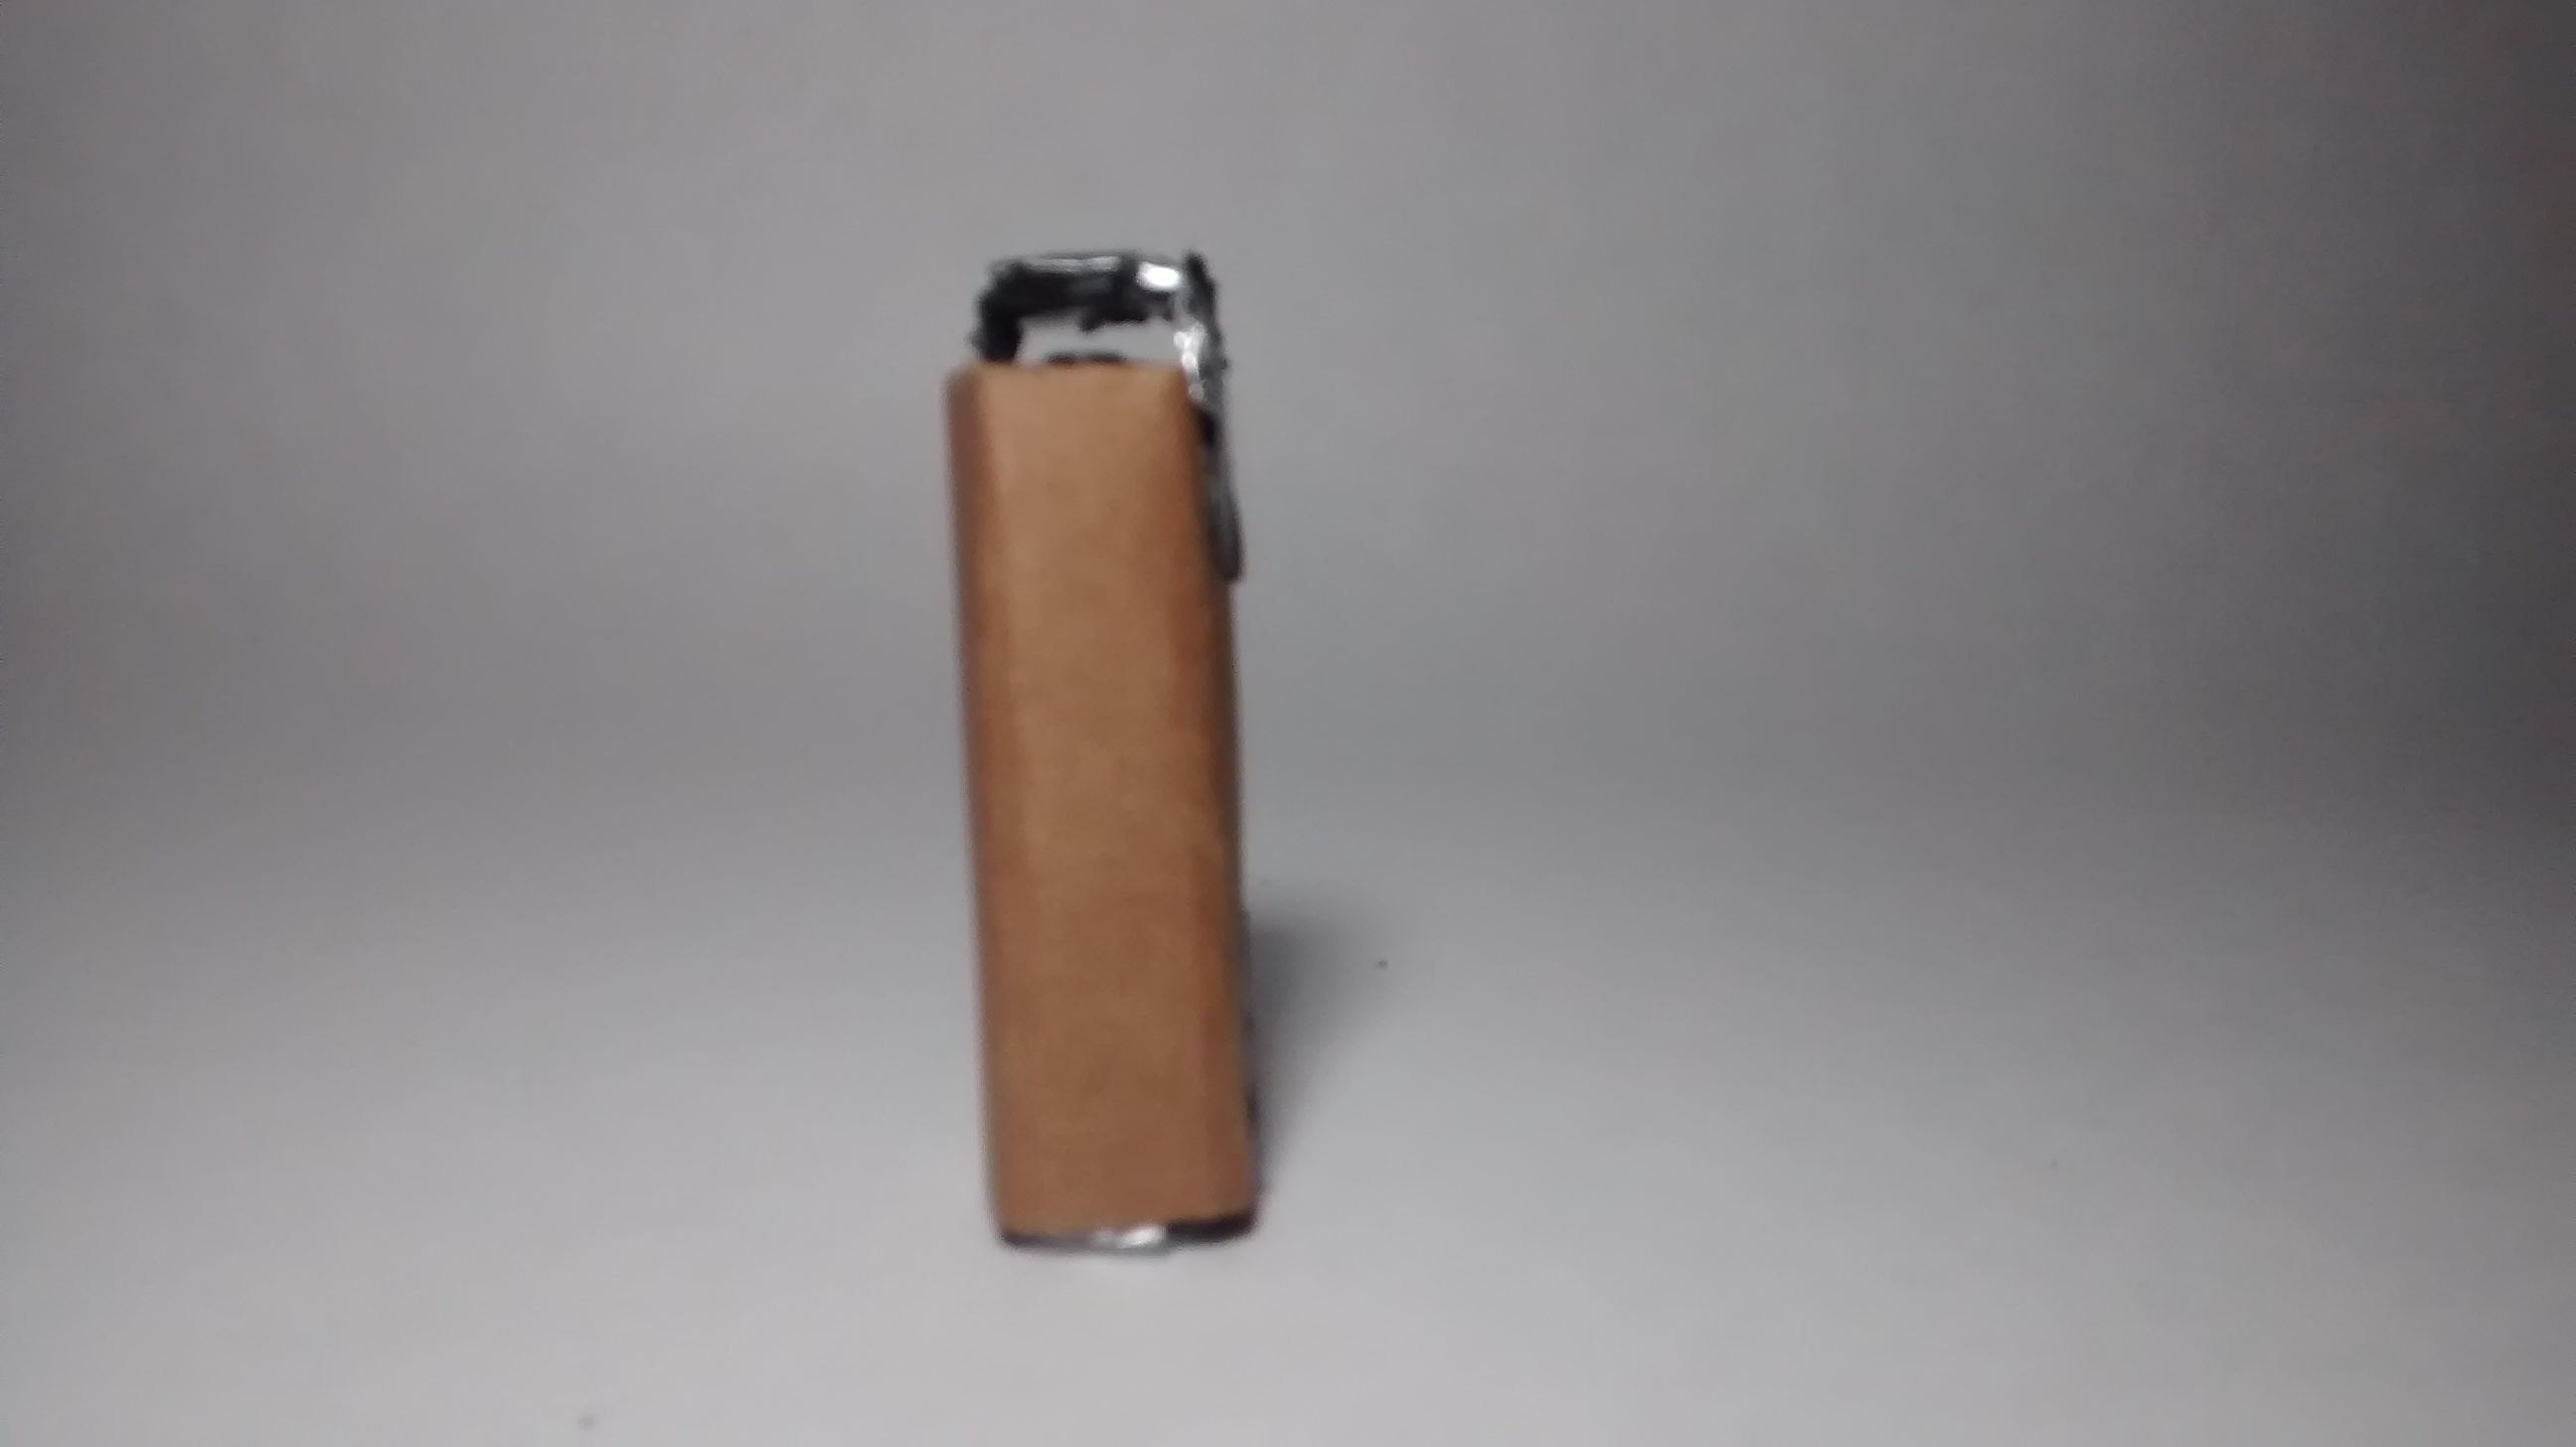
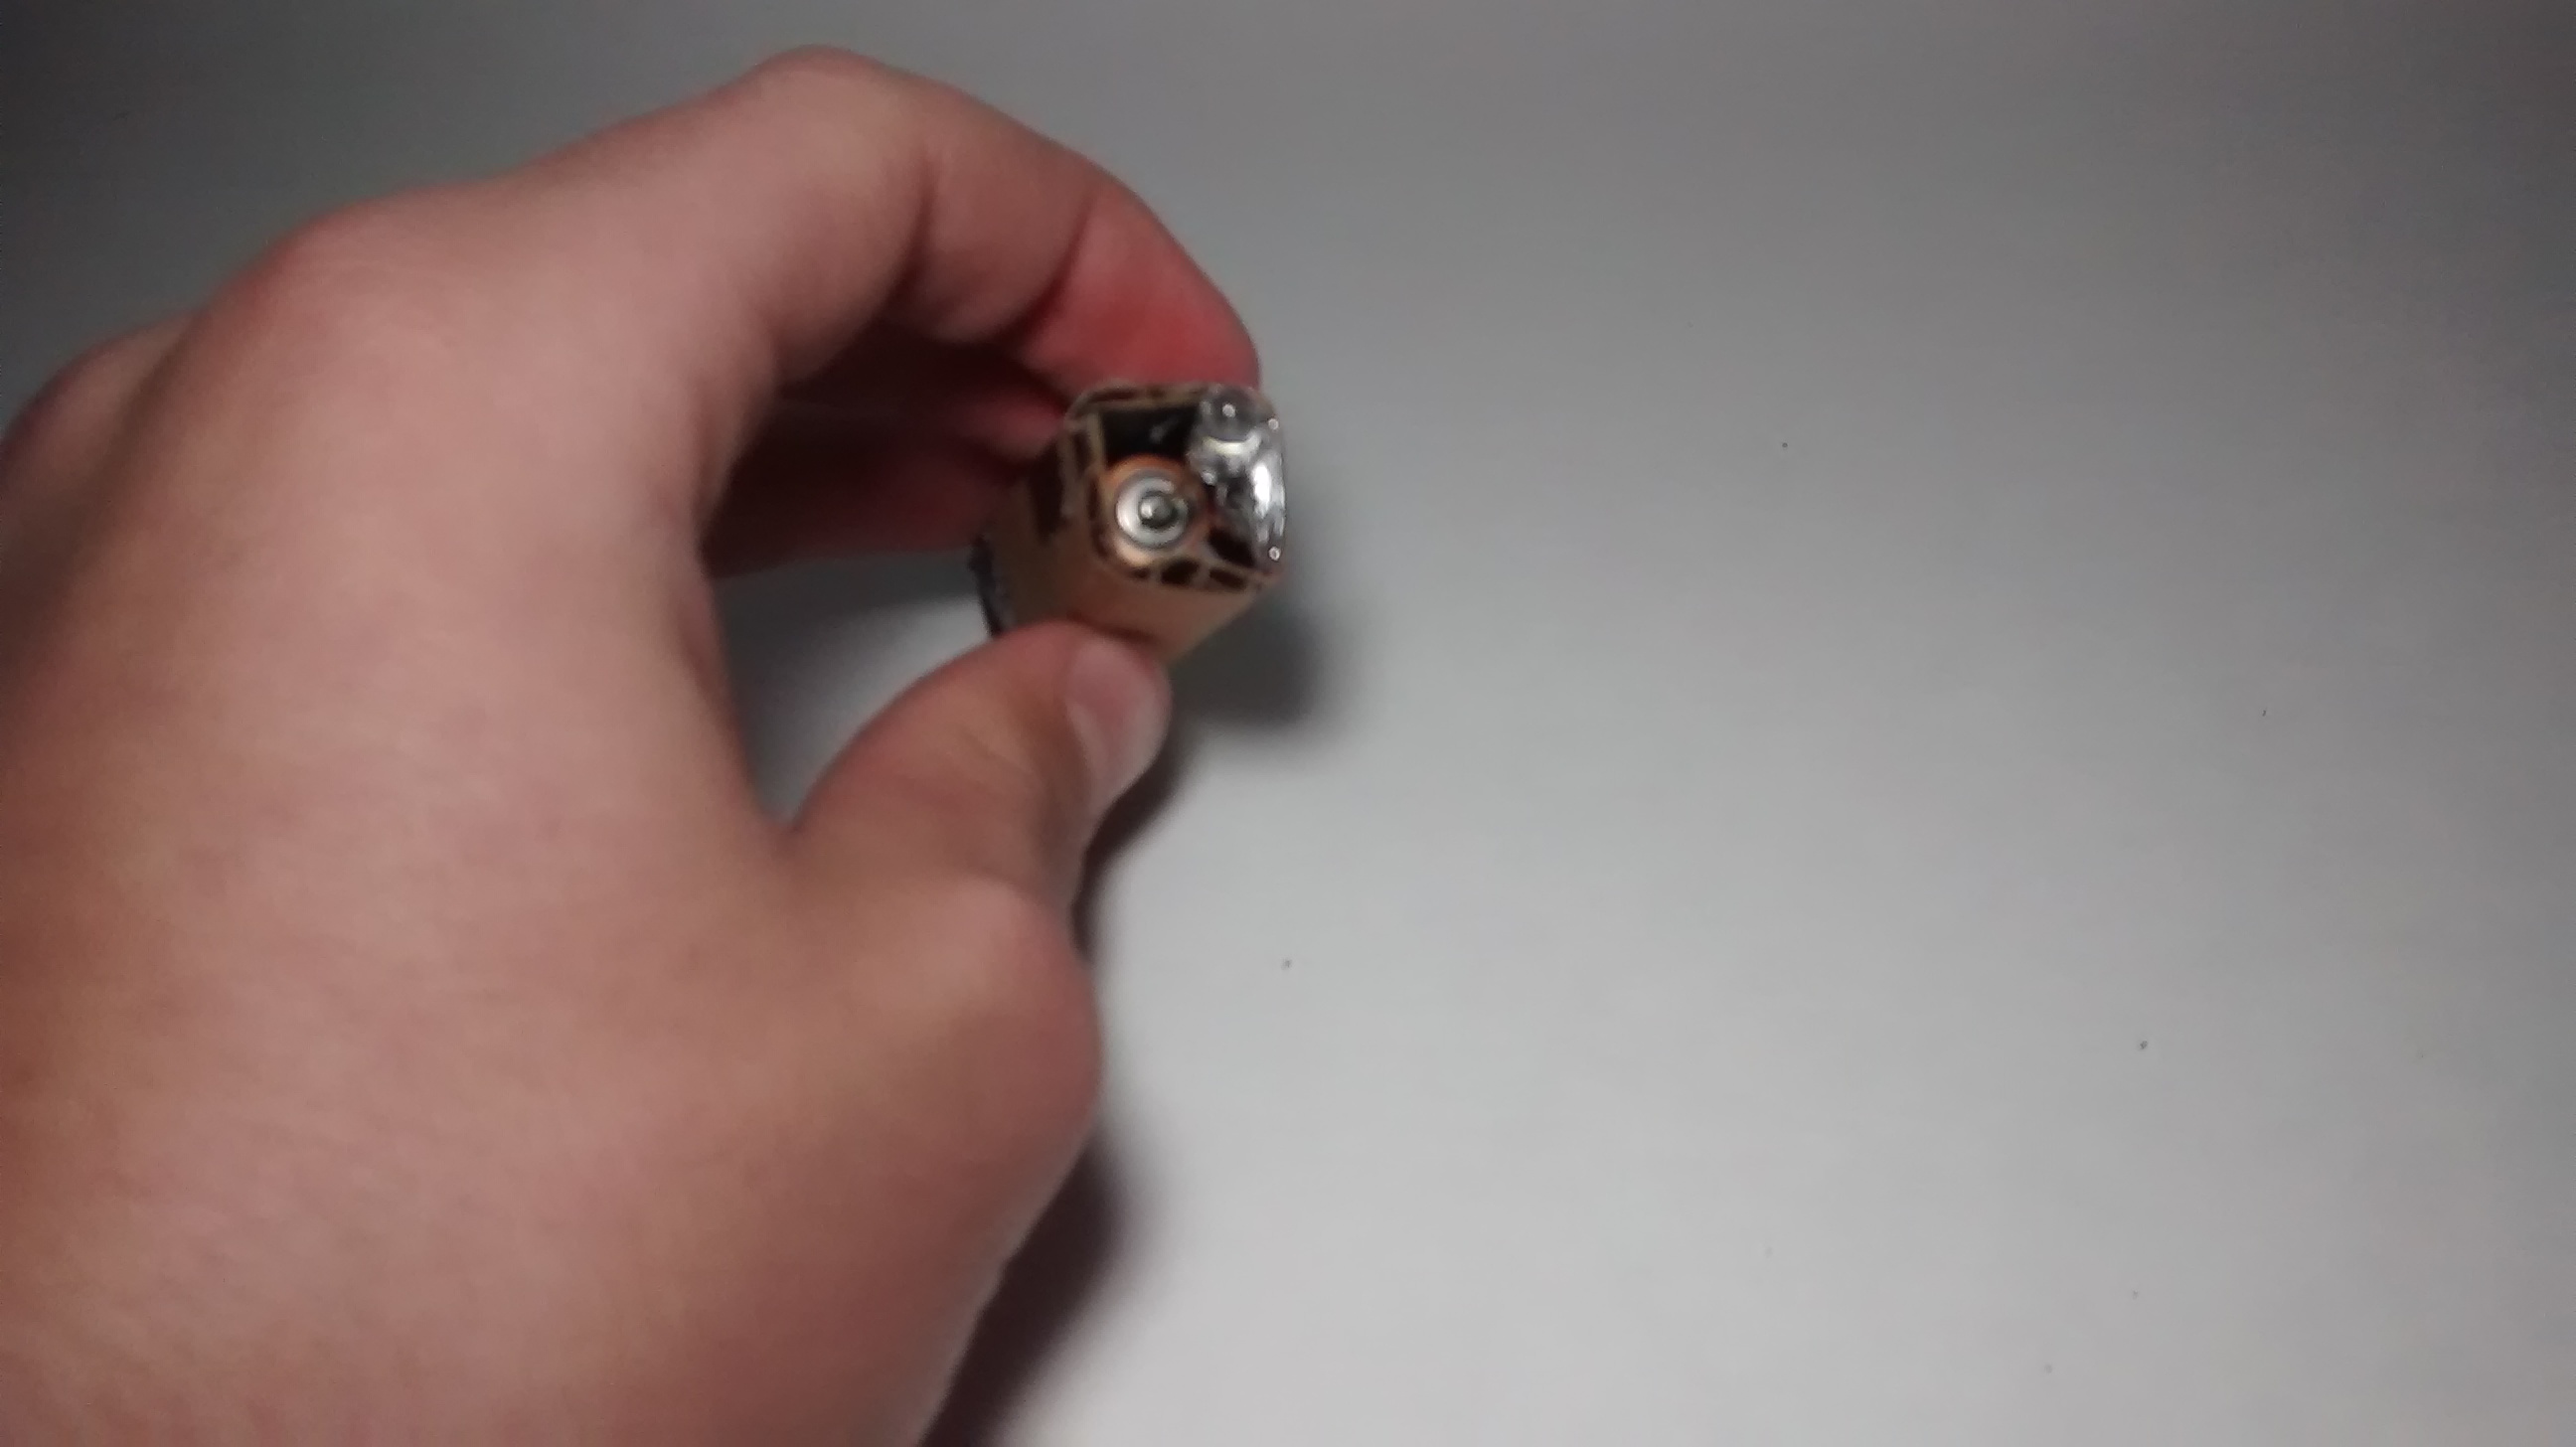
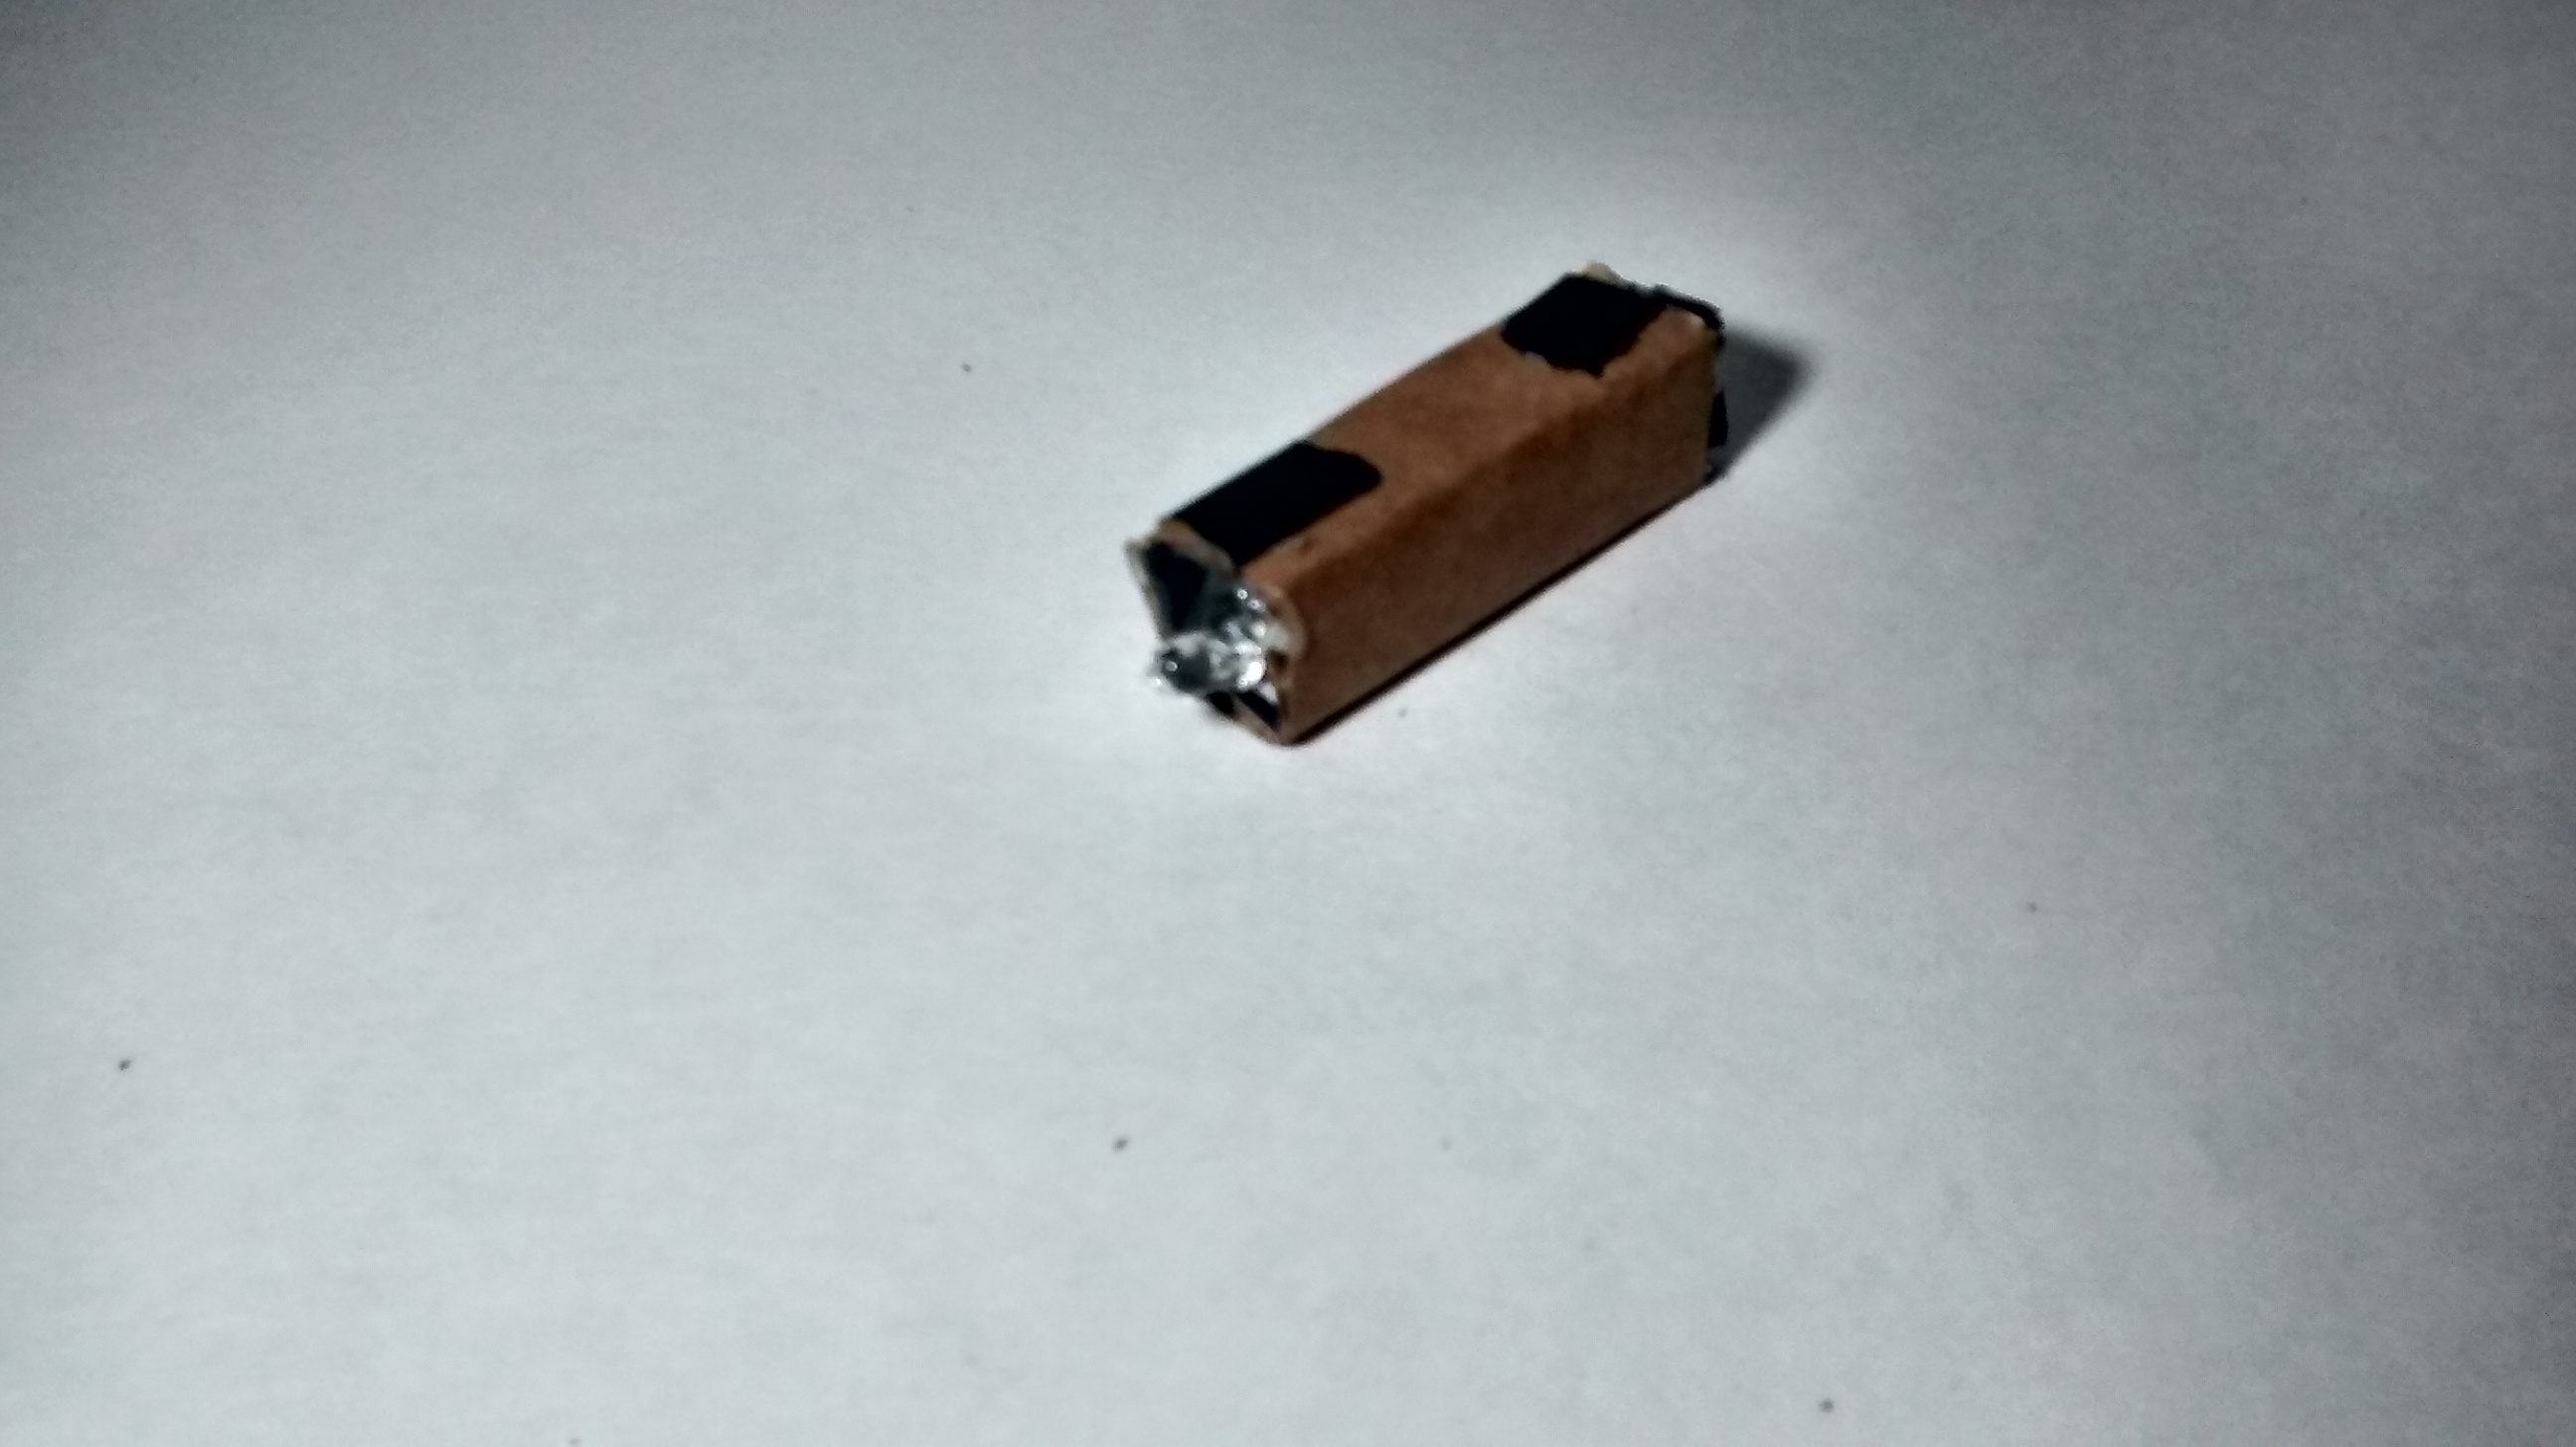
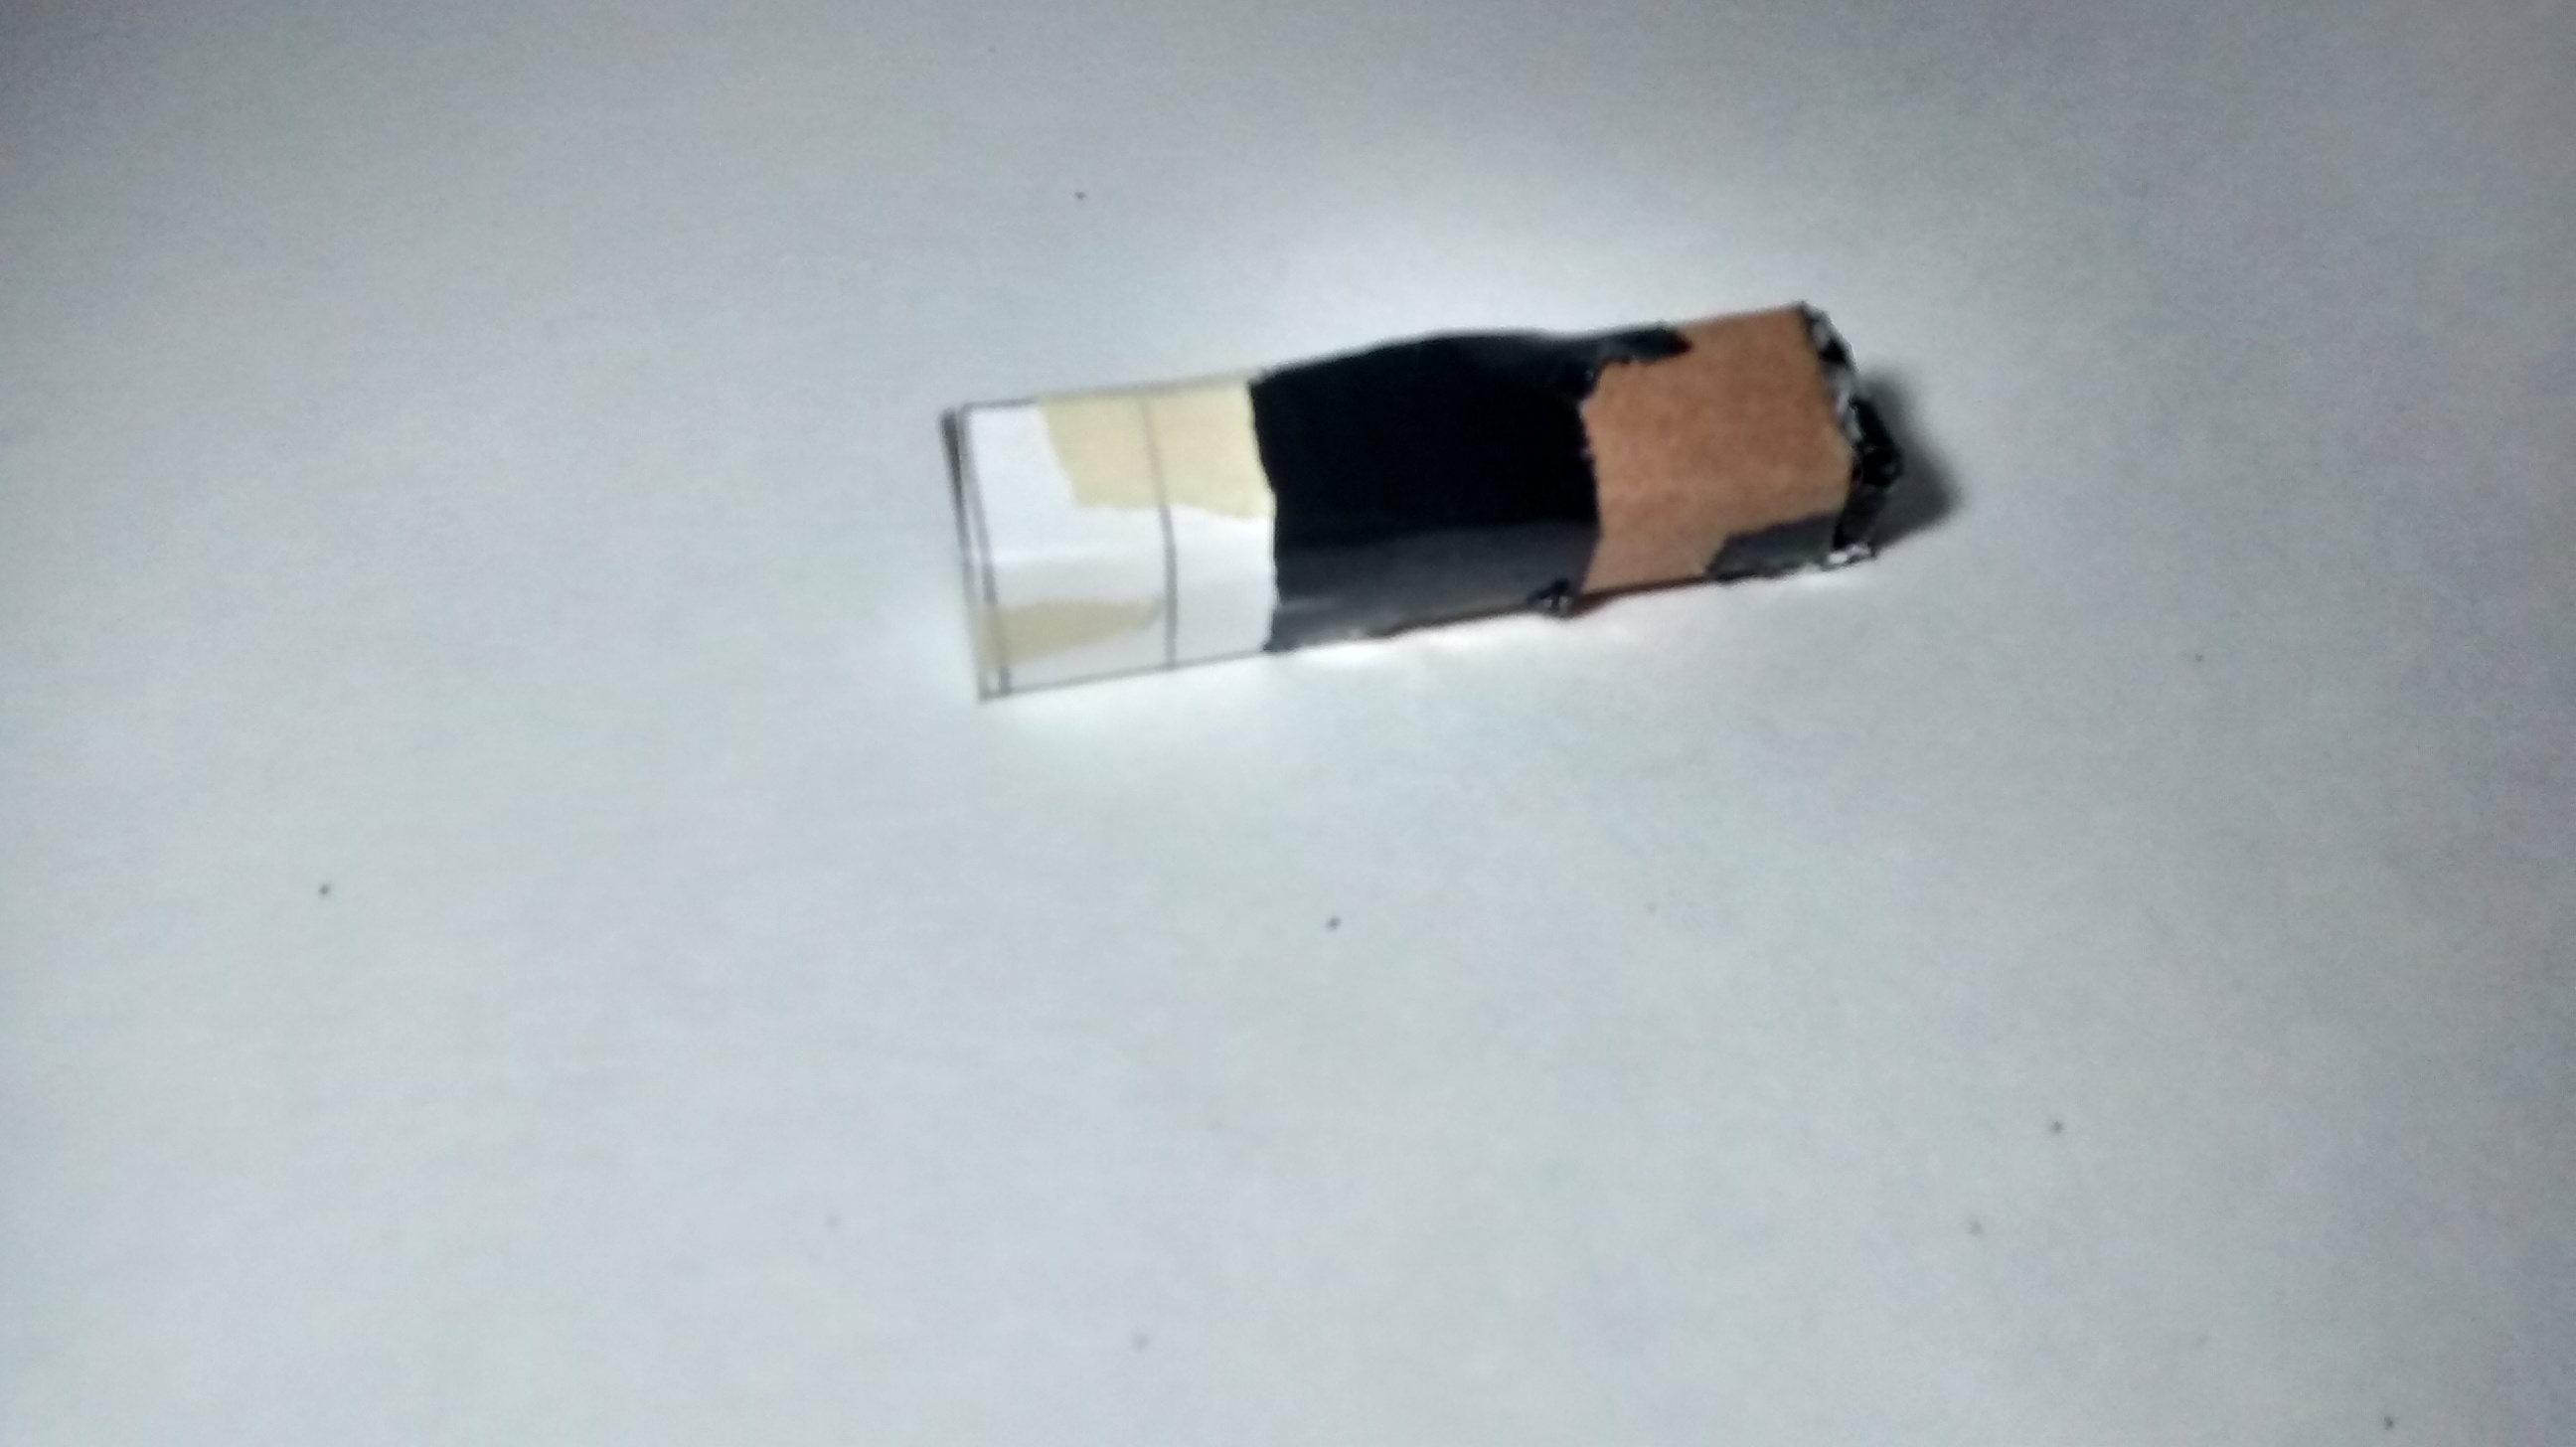
Now for the electronics to light up the torch. This part is super simple and shouldn't take to long. First, get a small piece of foil, this will act as part of your switch and also the negative wire. tape this to the inside of the cardboard, but make sure that there are two ends sticking out of the ends of the cardboard. I also would make sure that inside of the box, the foil is insulated to prevent us from shorting the battery. Now tape the cardboard closed. I then inserted a AAA battery and taped it in. I then got a 3 volt button battery and connected it to the foil wire bellow the AAA battery. Make sure that the Negative end of the button battery is connected to the wire. Then tape the end of the wire down at the other side (refer to pictures) so that when you flip everything upside down that the wire (and button battery) is doing a "rainbow" over the AAA battery. MAKE SURE THAT THE TWO BATTERIES ARE NOT TOUCHING. If they are touching they are just a live circuit, not acting like a push button, like we want. when you push down the bottom of the torch, the two batteries should touch each other. Then insert the LED at the other end so that the positive end (longer end) is touching the positive end (top) of the AAA battery and the negative end is touching the foil wire. Now test it out, when you push the button, the light should turn on, when you let go, the light should turn off. If this worked, Then add some glue into the cavity that is still left so that the LED is stuck and then add on the paper onto the top. Make sure that the level of the cardboard and the level of the line in the middle of the paper are the same. Then tape down the paper.
Decorating
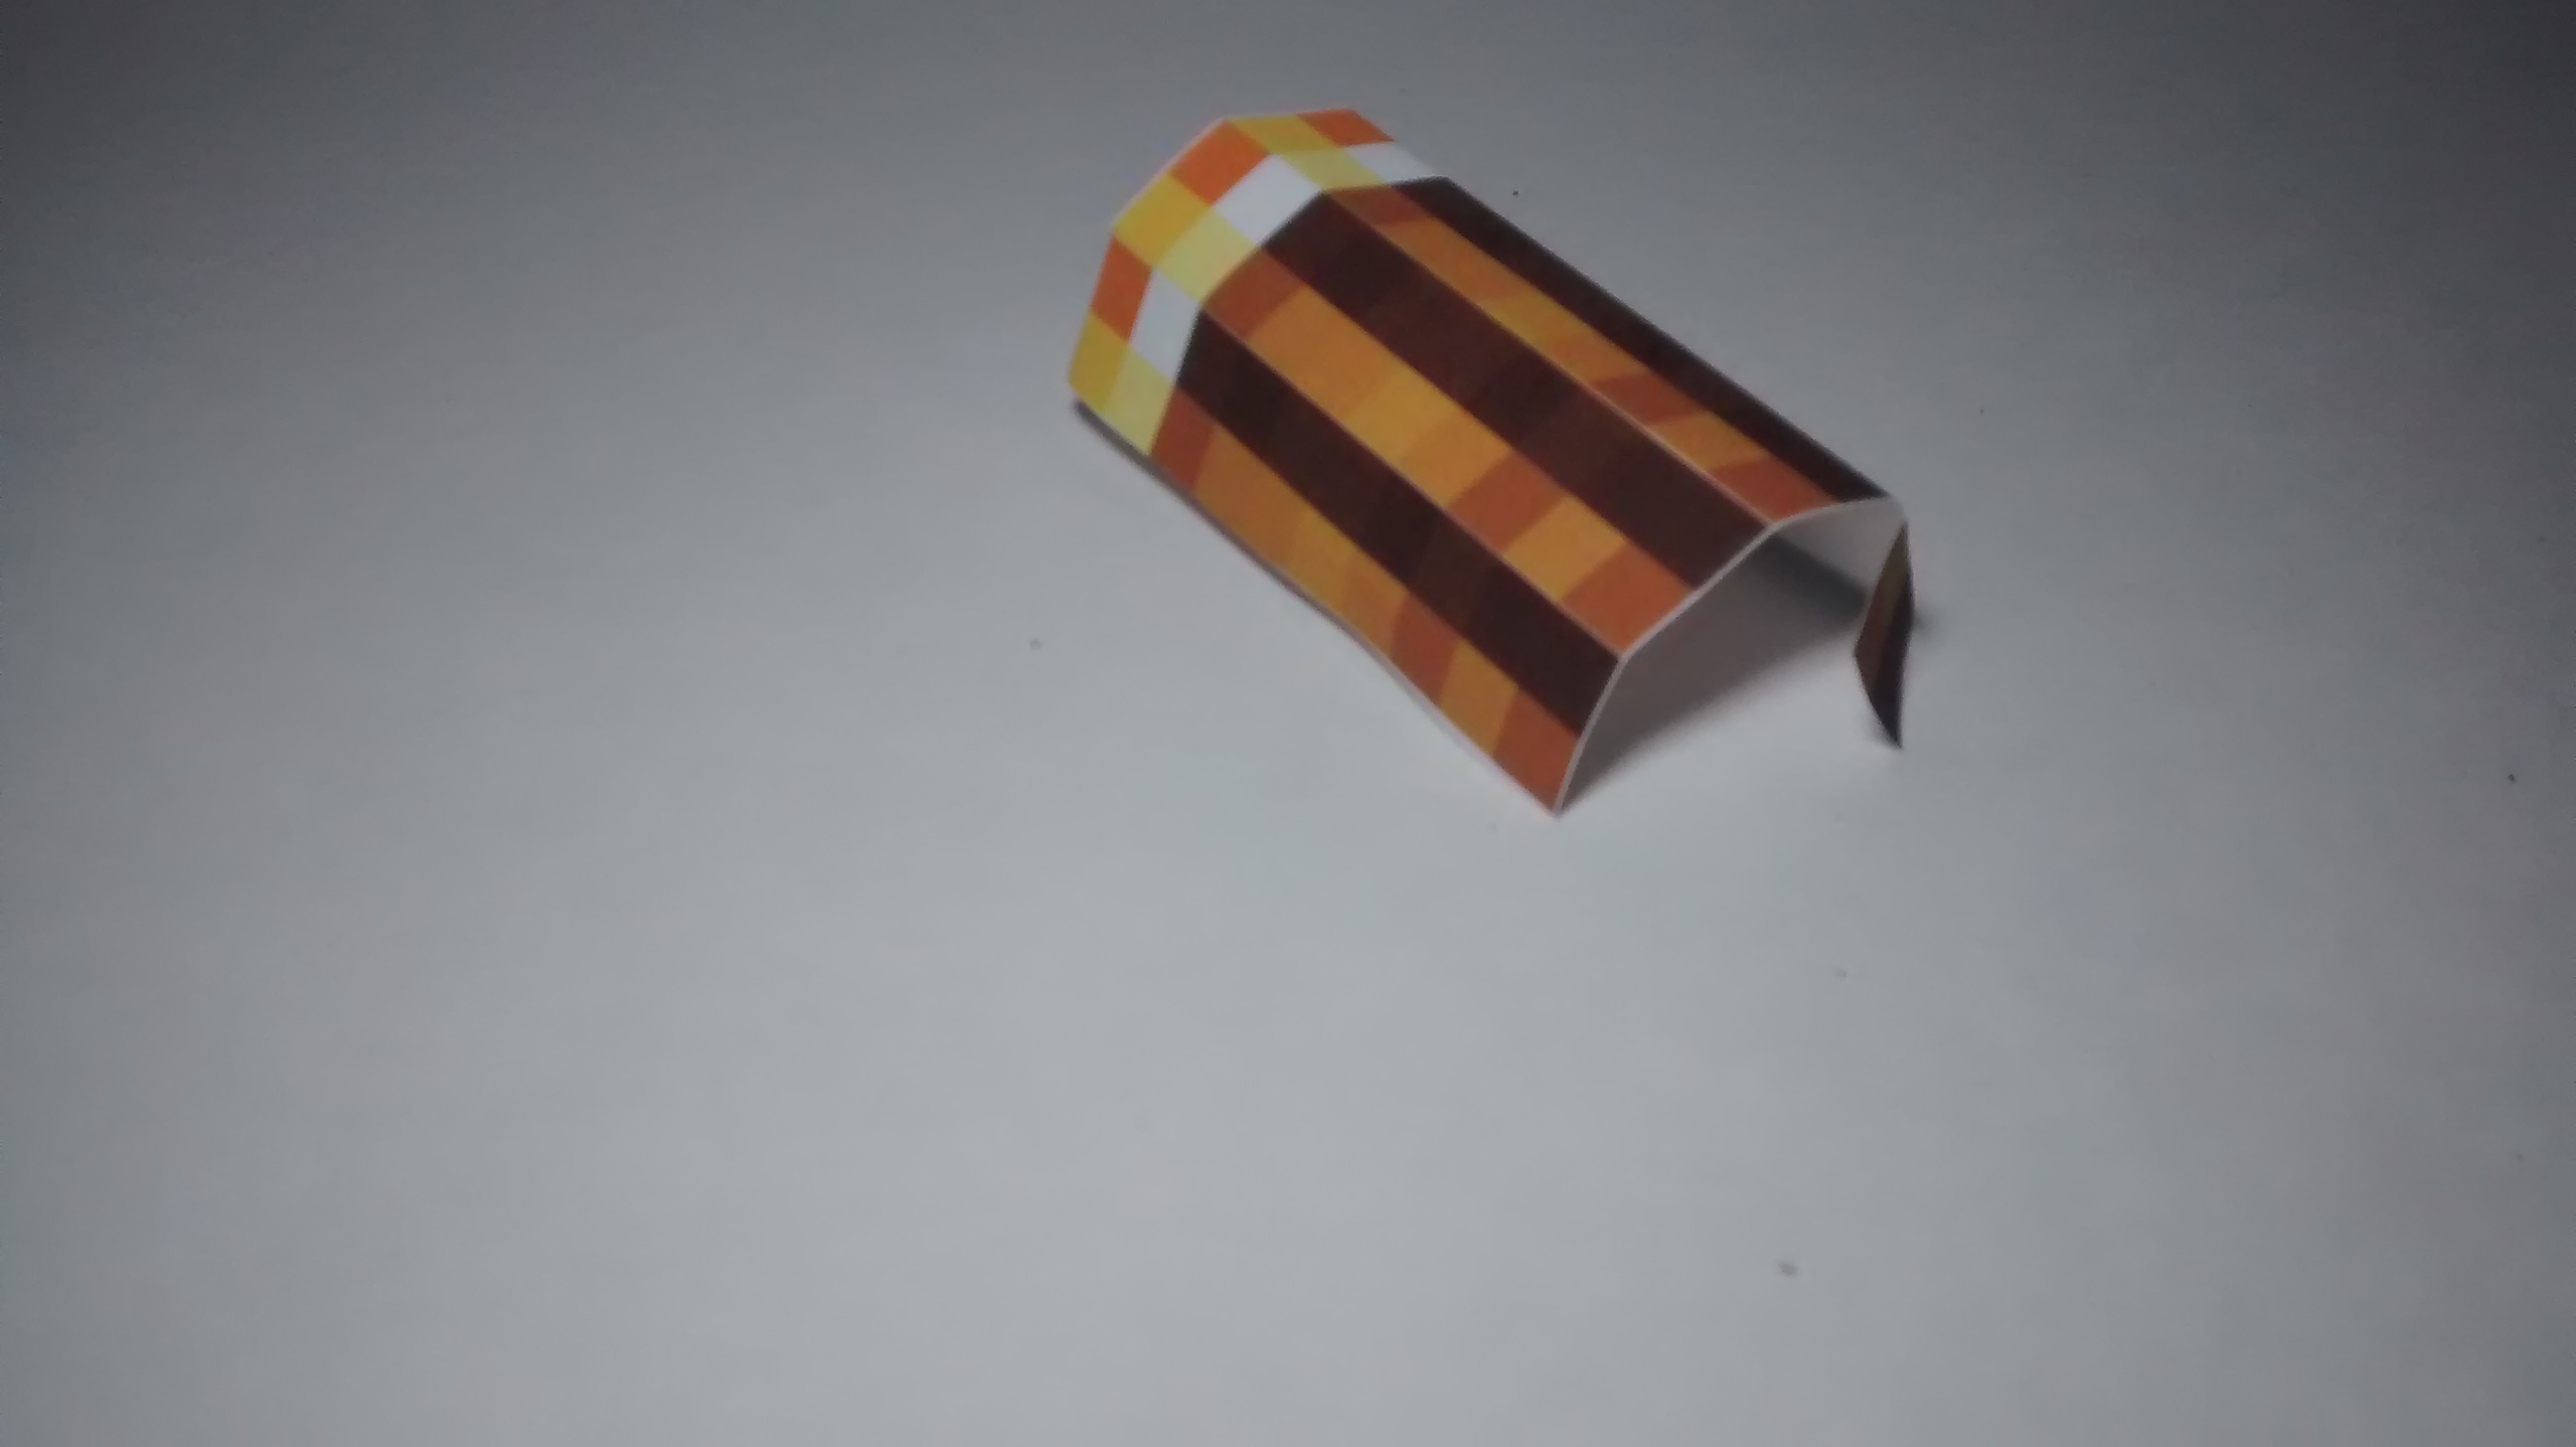
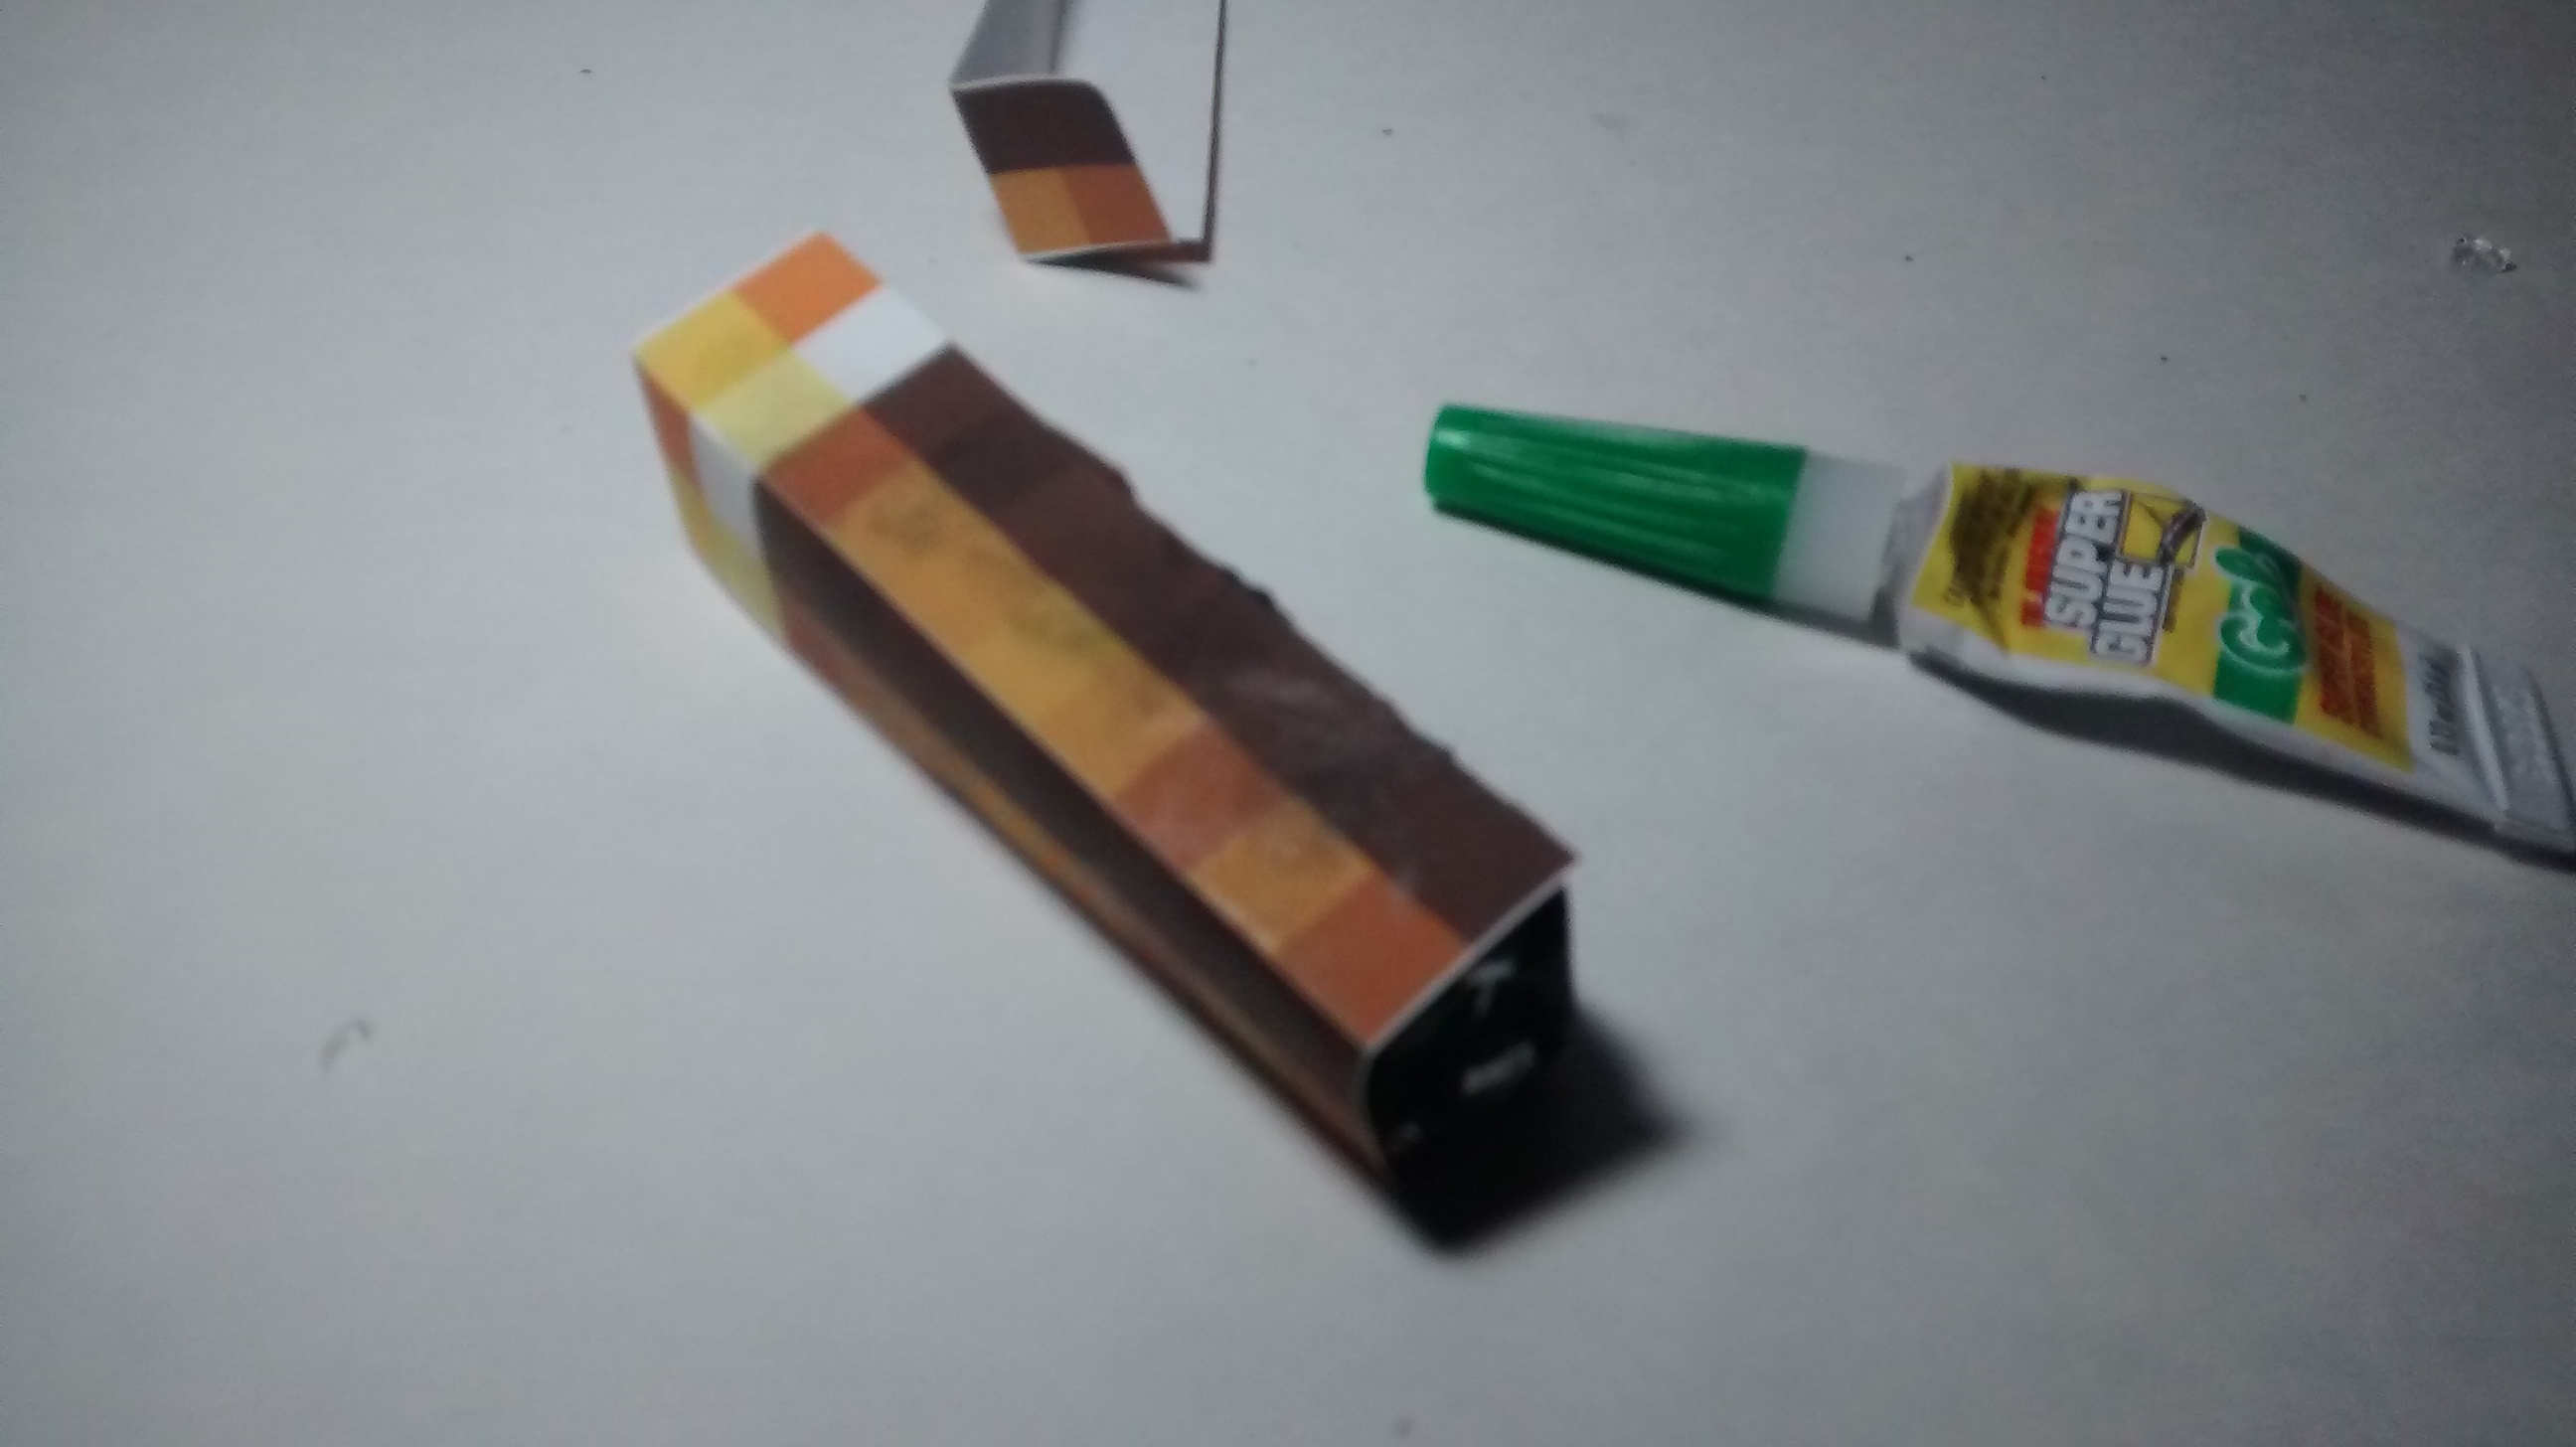
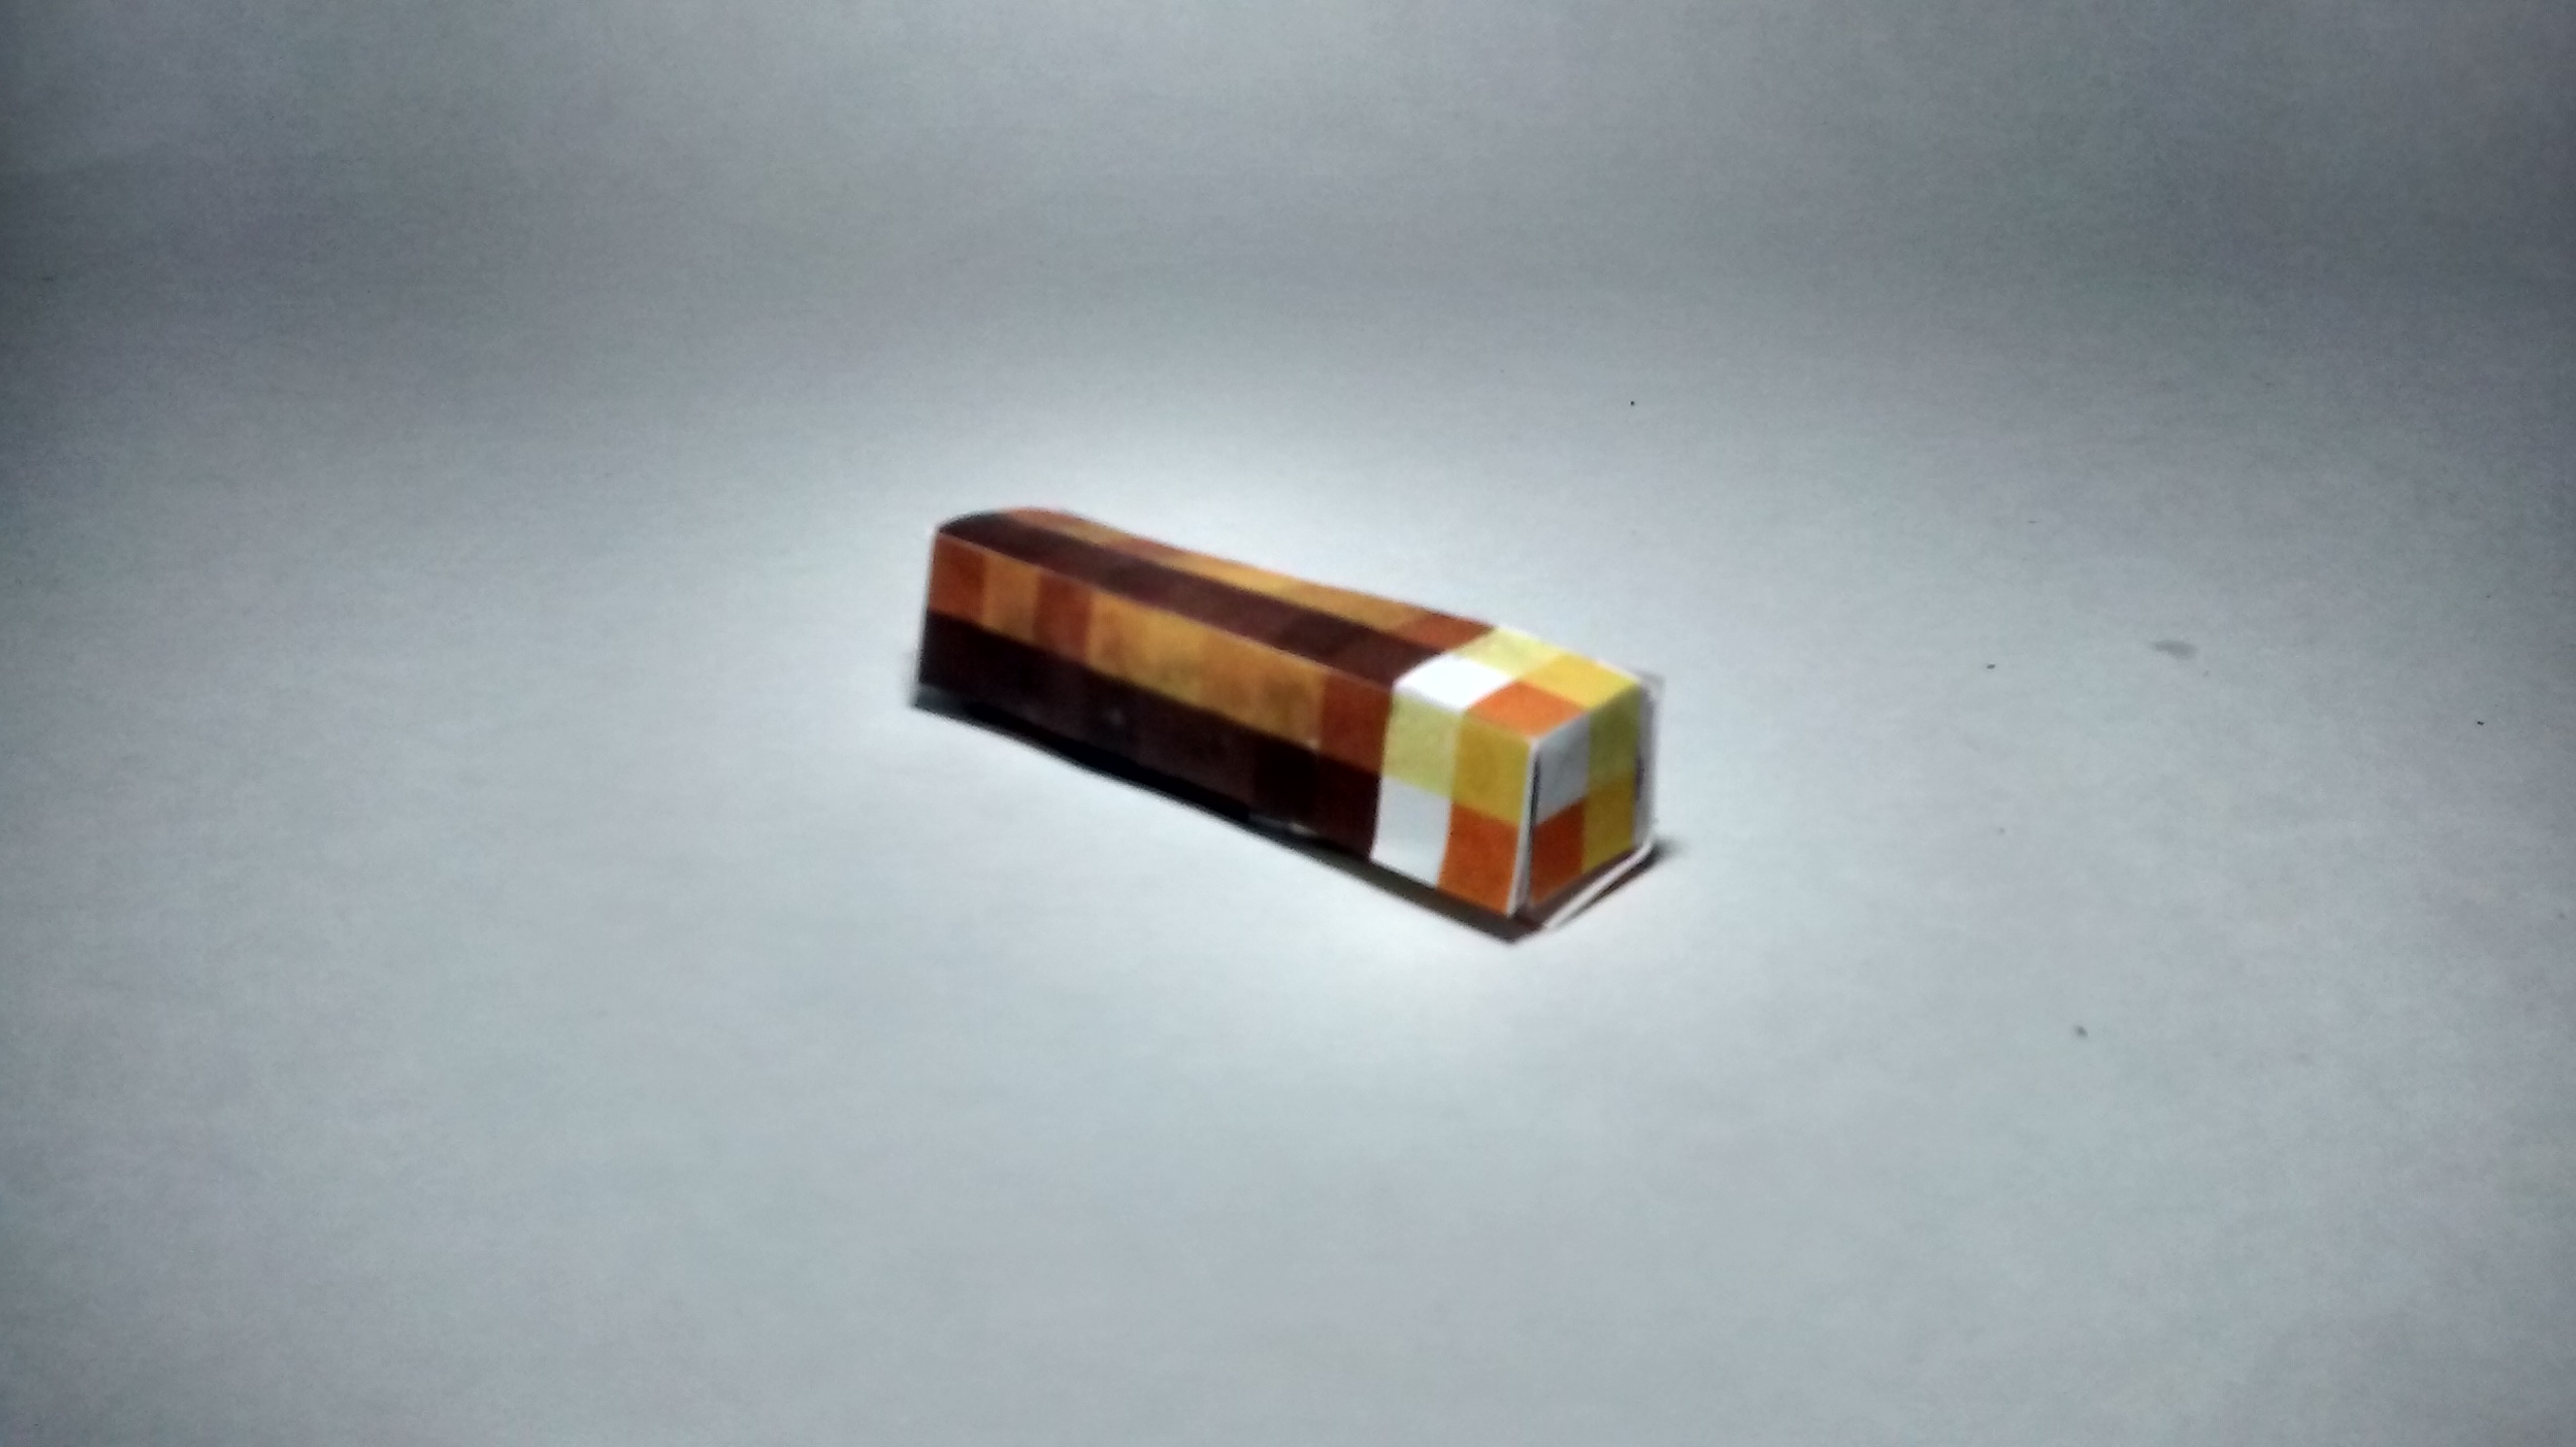
Now to put on the paper that we designed. First, cut out the paper and then Fold it on the lines that are there. Then simply glue it to the cardboard. Place the folds on the corners and glue it on. I would recommend using regular school glue.
Finished
