Insulated Duct Tape Winter Coat

by ostomesto in Outside > Snow

18981 Views, 64 Favorites, 0 Comments

Insulated Duct Tape Winter Coat

101128-222241.jpg

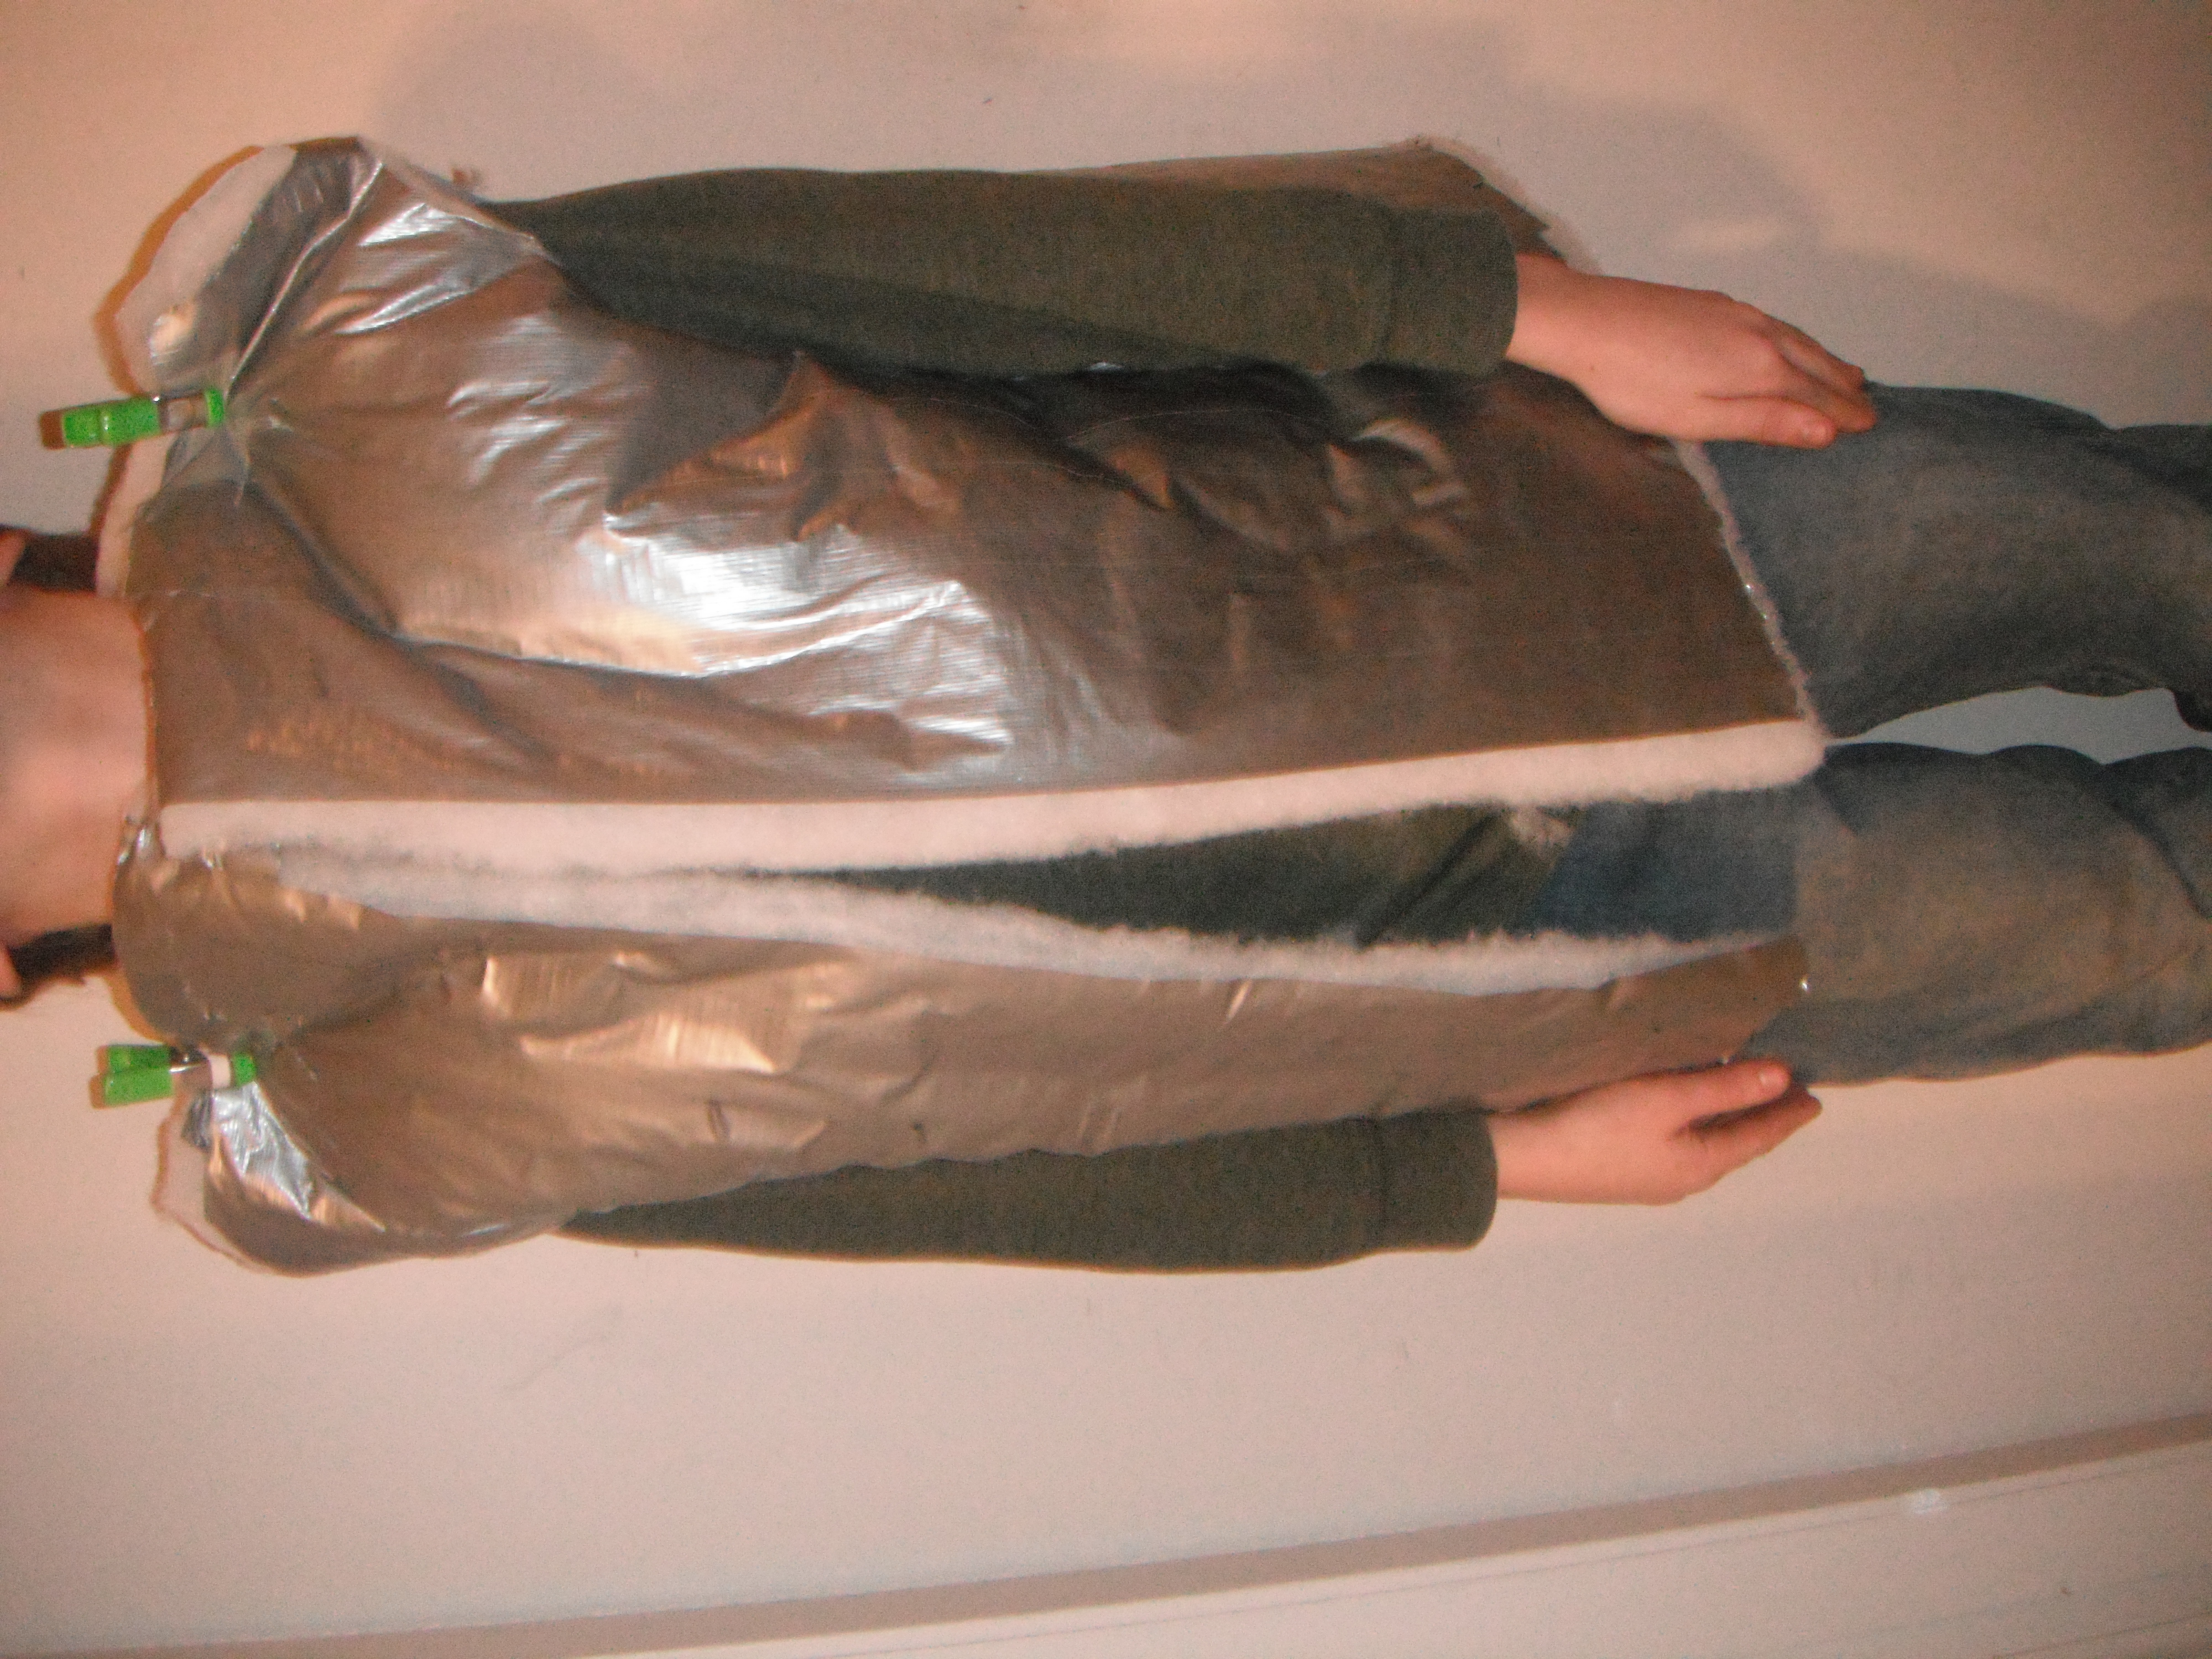
Wallets,hats, bags and backpacks, cases and skins. These are all things that you can make from duct tape. I love them all but I wanted to make something new, something barely anyone if anyone has done before. So i came up with an idea. A duct tape coat, a insulated winter coat to be precise. And after days of work and 2 e-large rolls of duct tape i made it. and now im going to show you how to do it

Supplies

002.JPG

heres a list of things you need to make it. There are some things in the picture that you dont need. I learned you could go without them while making it
2 rolls of duct tape, just get a lot of it
an insulator such as foam batting. not padding batting
a coat to model off of
strong scissors
polar fleece if you want to put something more over the batting
 at least 6 small clamps

Starting It
003.JPG
004.JPG
005.JPG
030.JPG
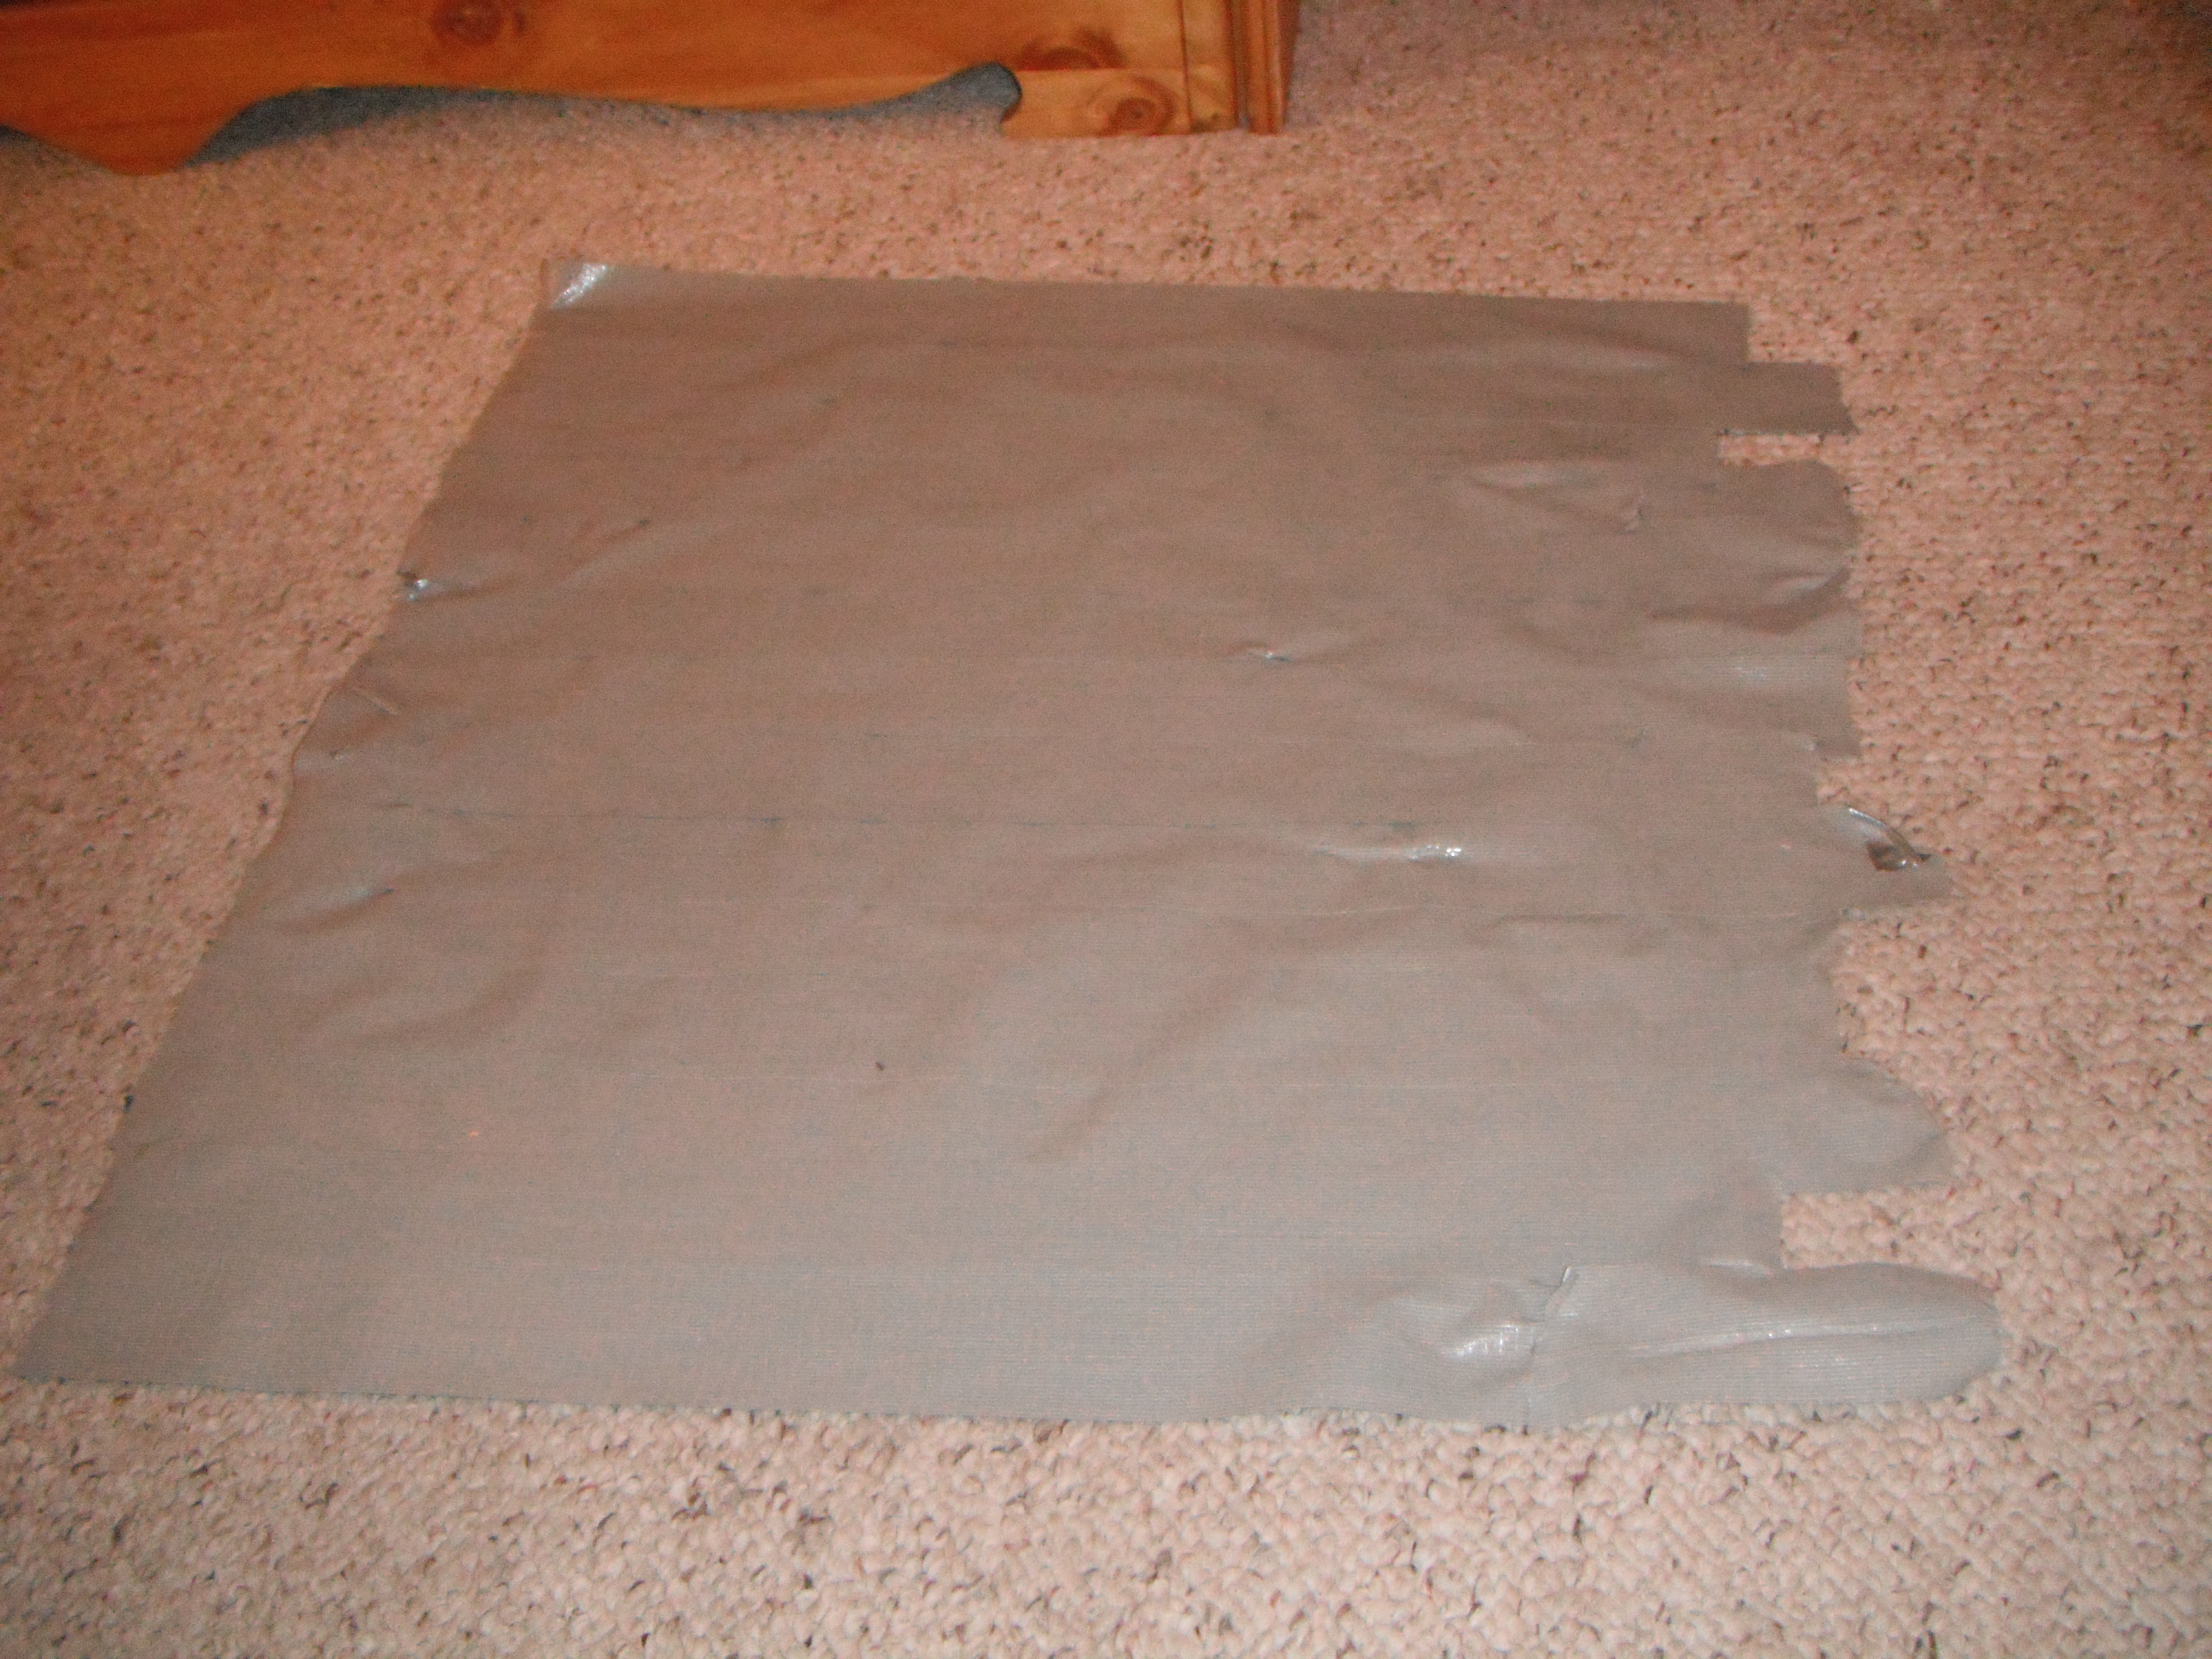
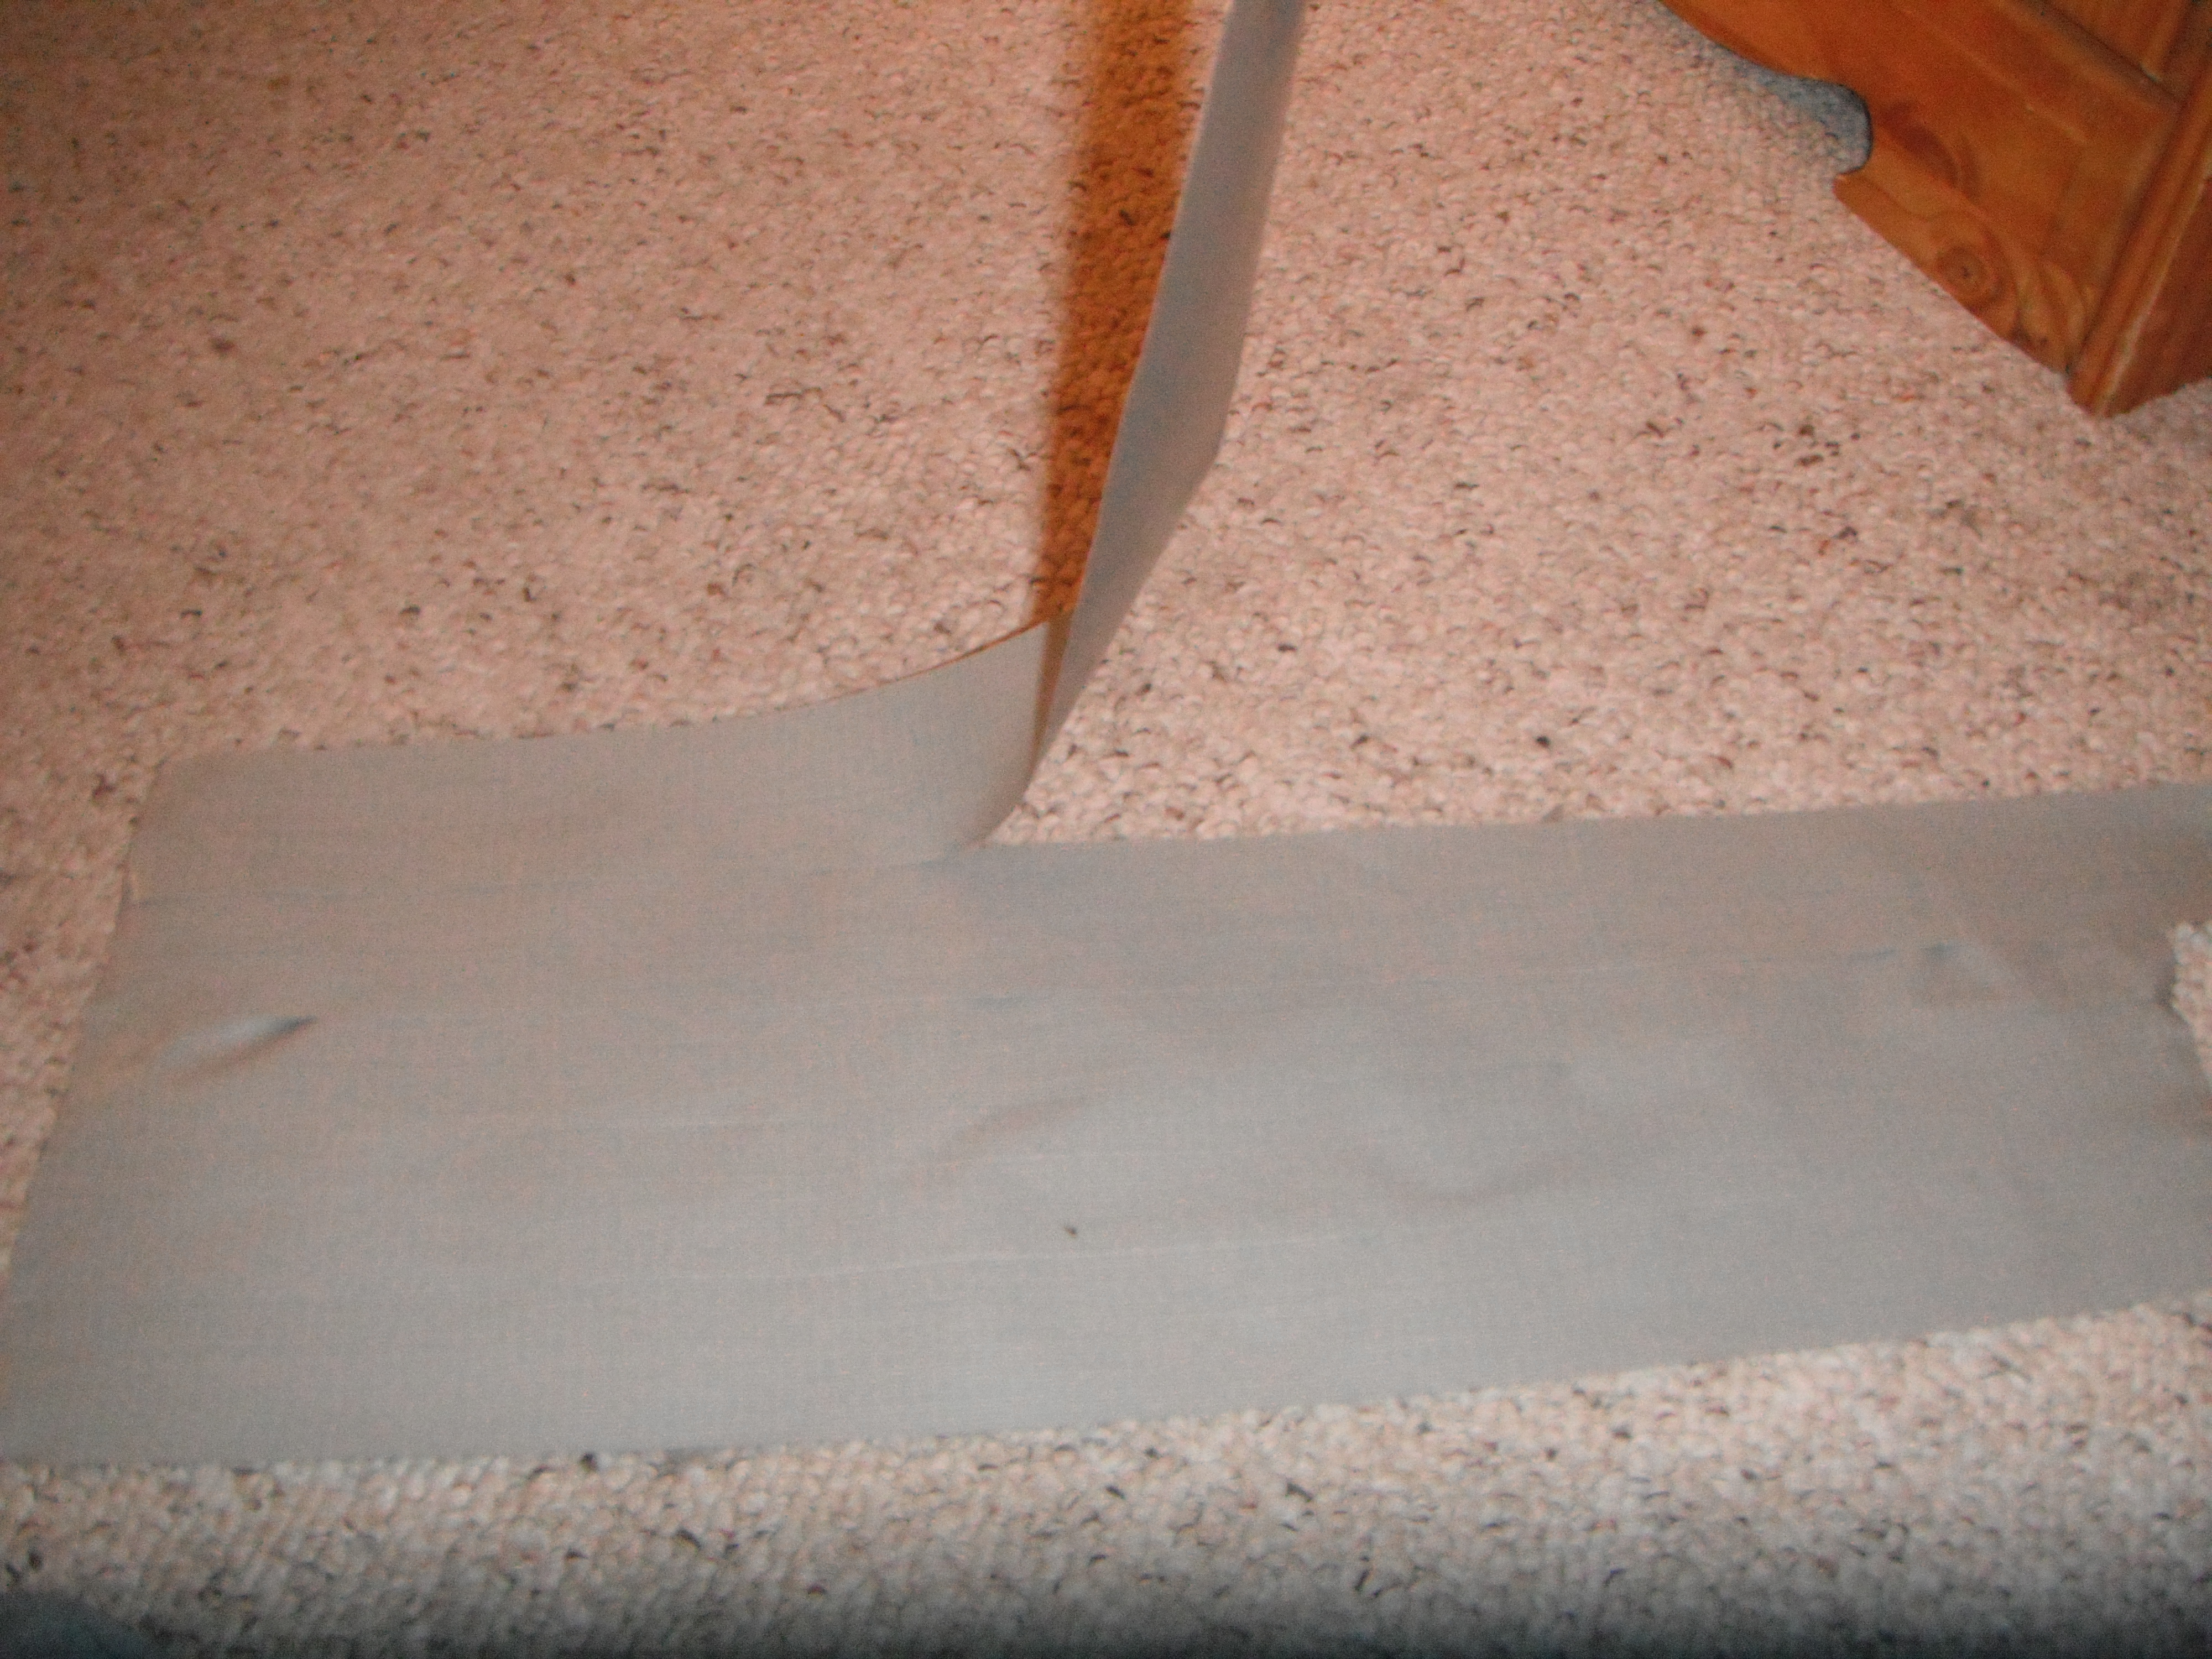
first you need to put some strips of tape togather to make a larger square of tape. It should all be stickky side up. So you do a small overlap to attach them togather. Put about 1/2 of a strip over the other and continue.You should end up with a large square of tape that could easily wrap around yourself. This is a tedious part so dont give up if some tape accidently folds over and ruins it. Try to salvage as much of it as you can if that happens. Then you take a piece of badding of equal size and put it on the tape square so it sticks. You can now test if the base is wide enough to wrap around you without ruining it. Add to it if its not wide enough

Configuring the Base

007.JPG
009.JPG
010.JPG
013.JPG
015.JPG
014.JPG
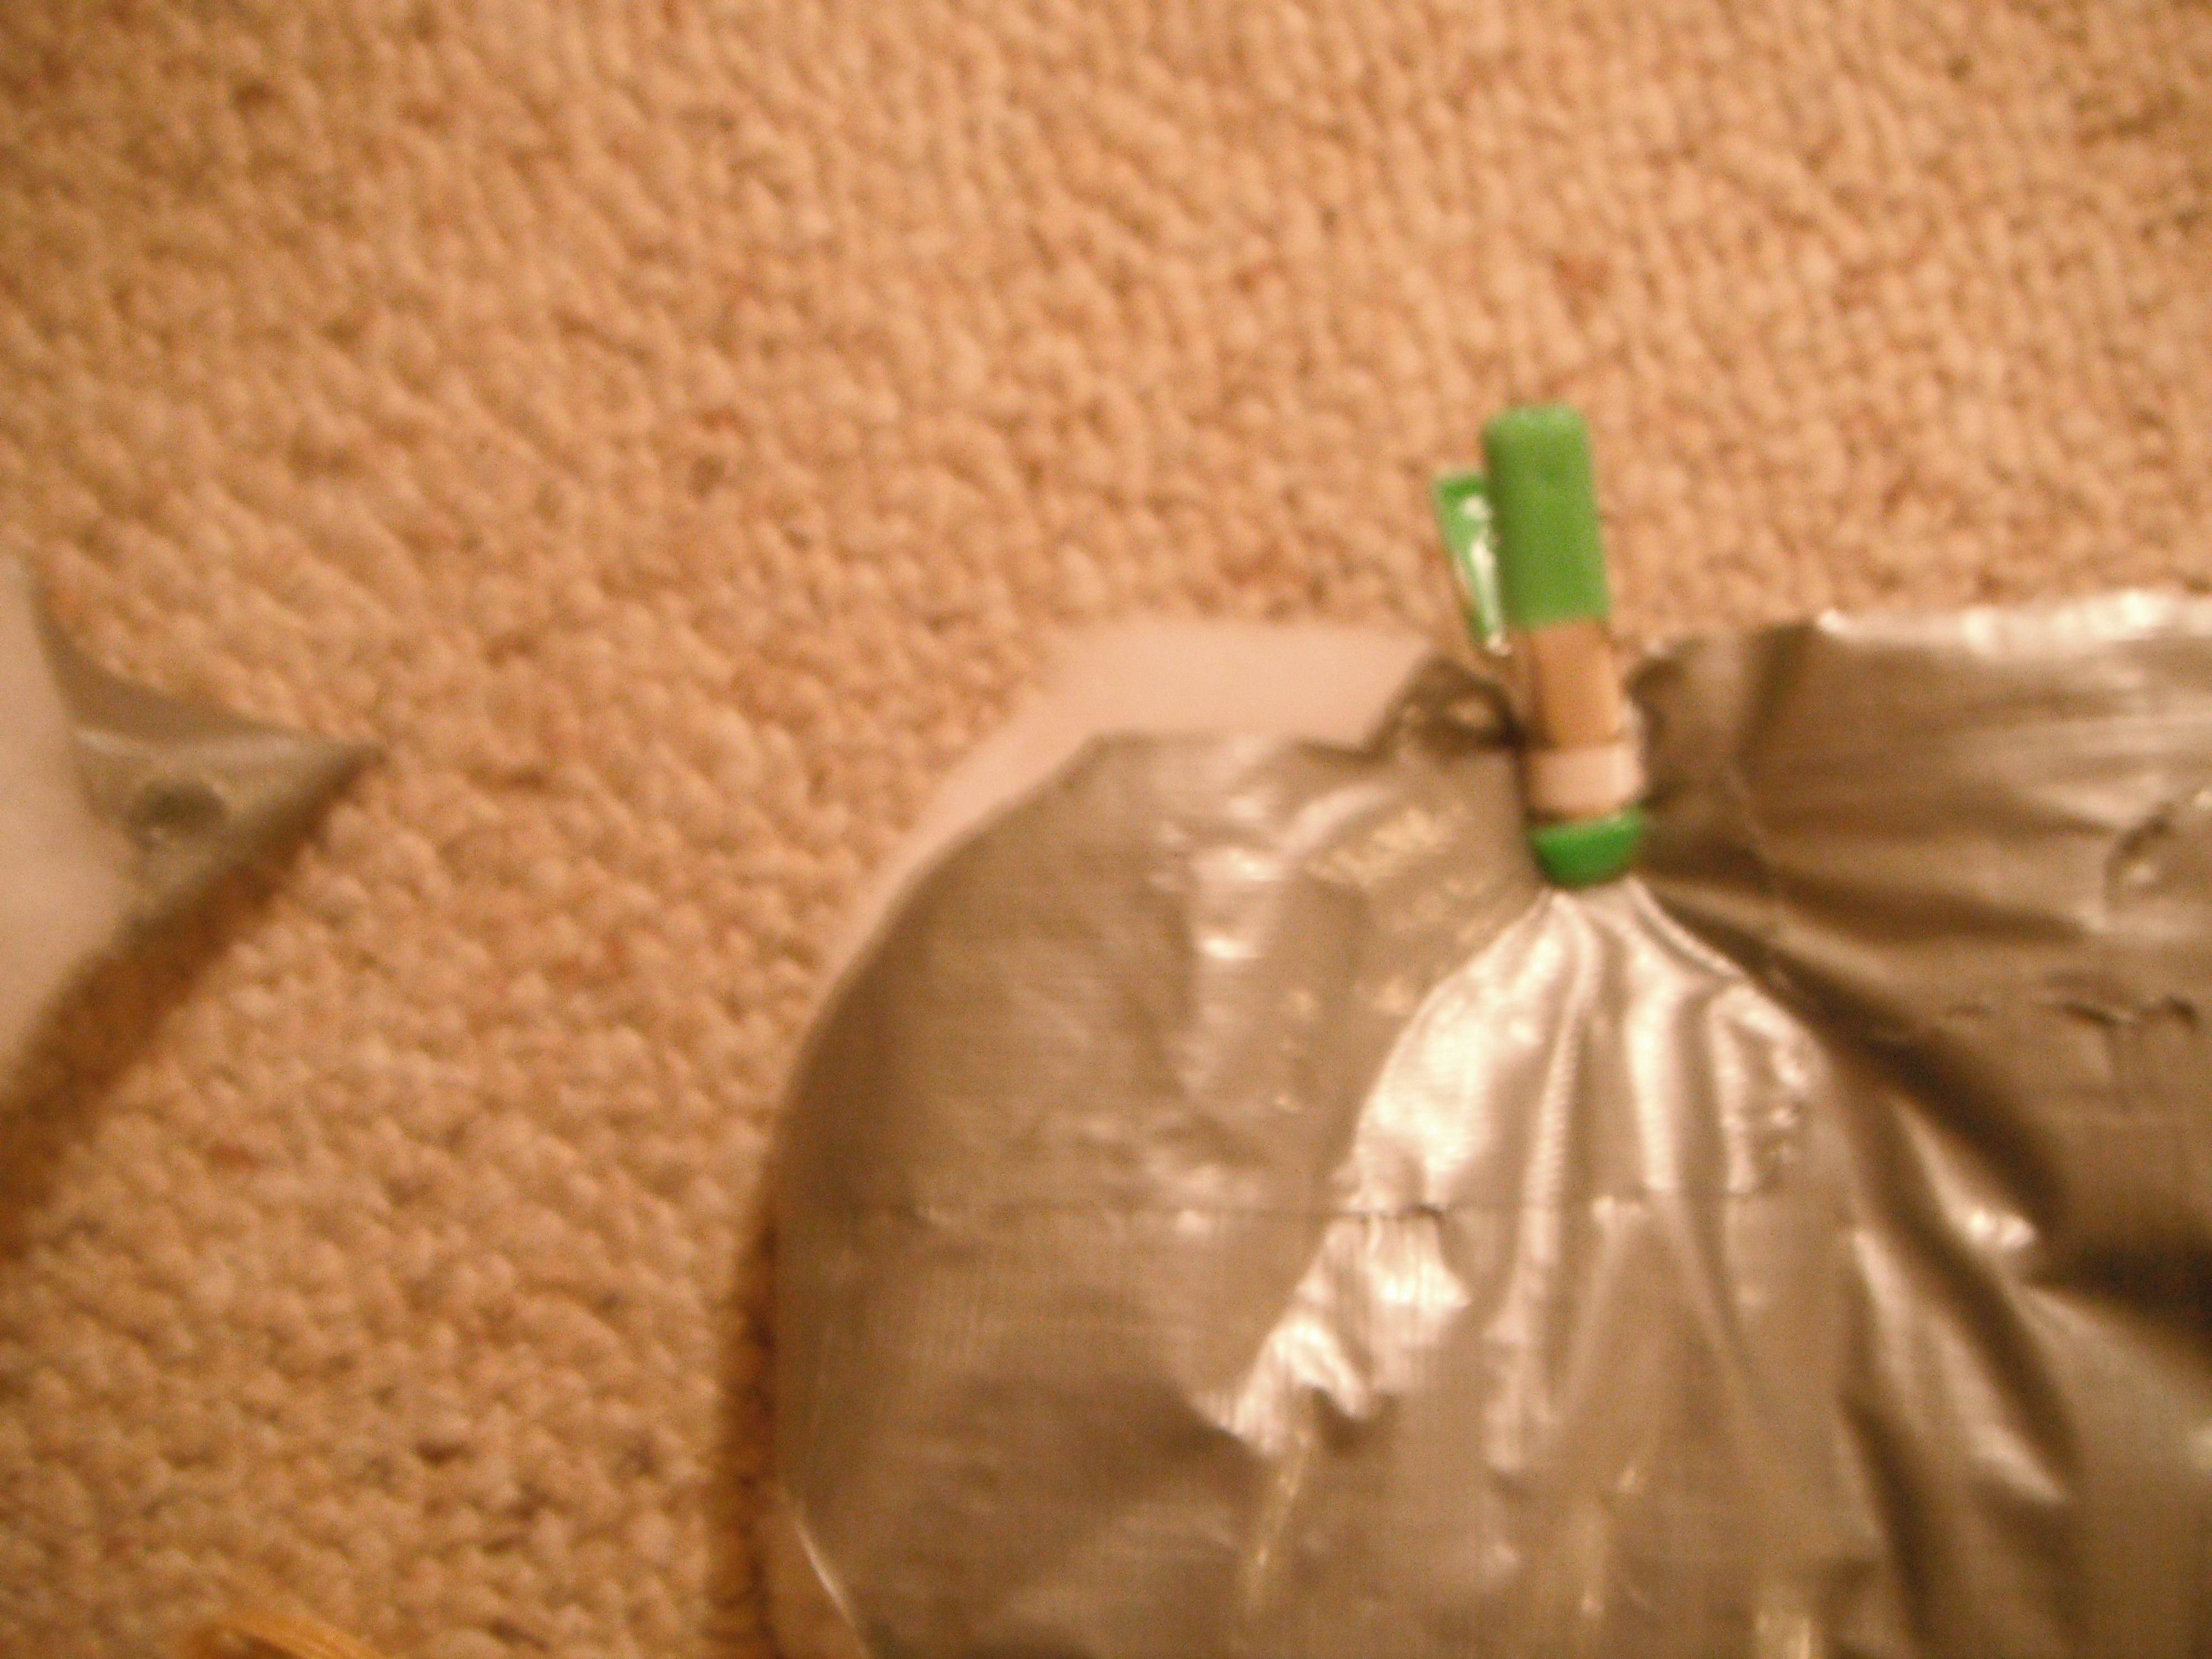
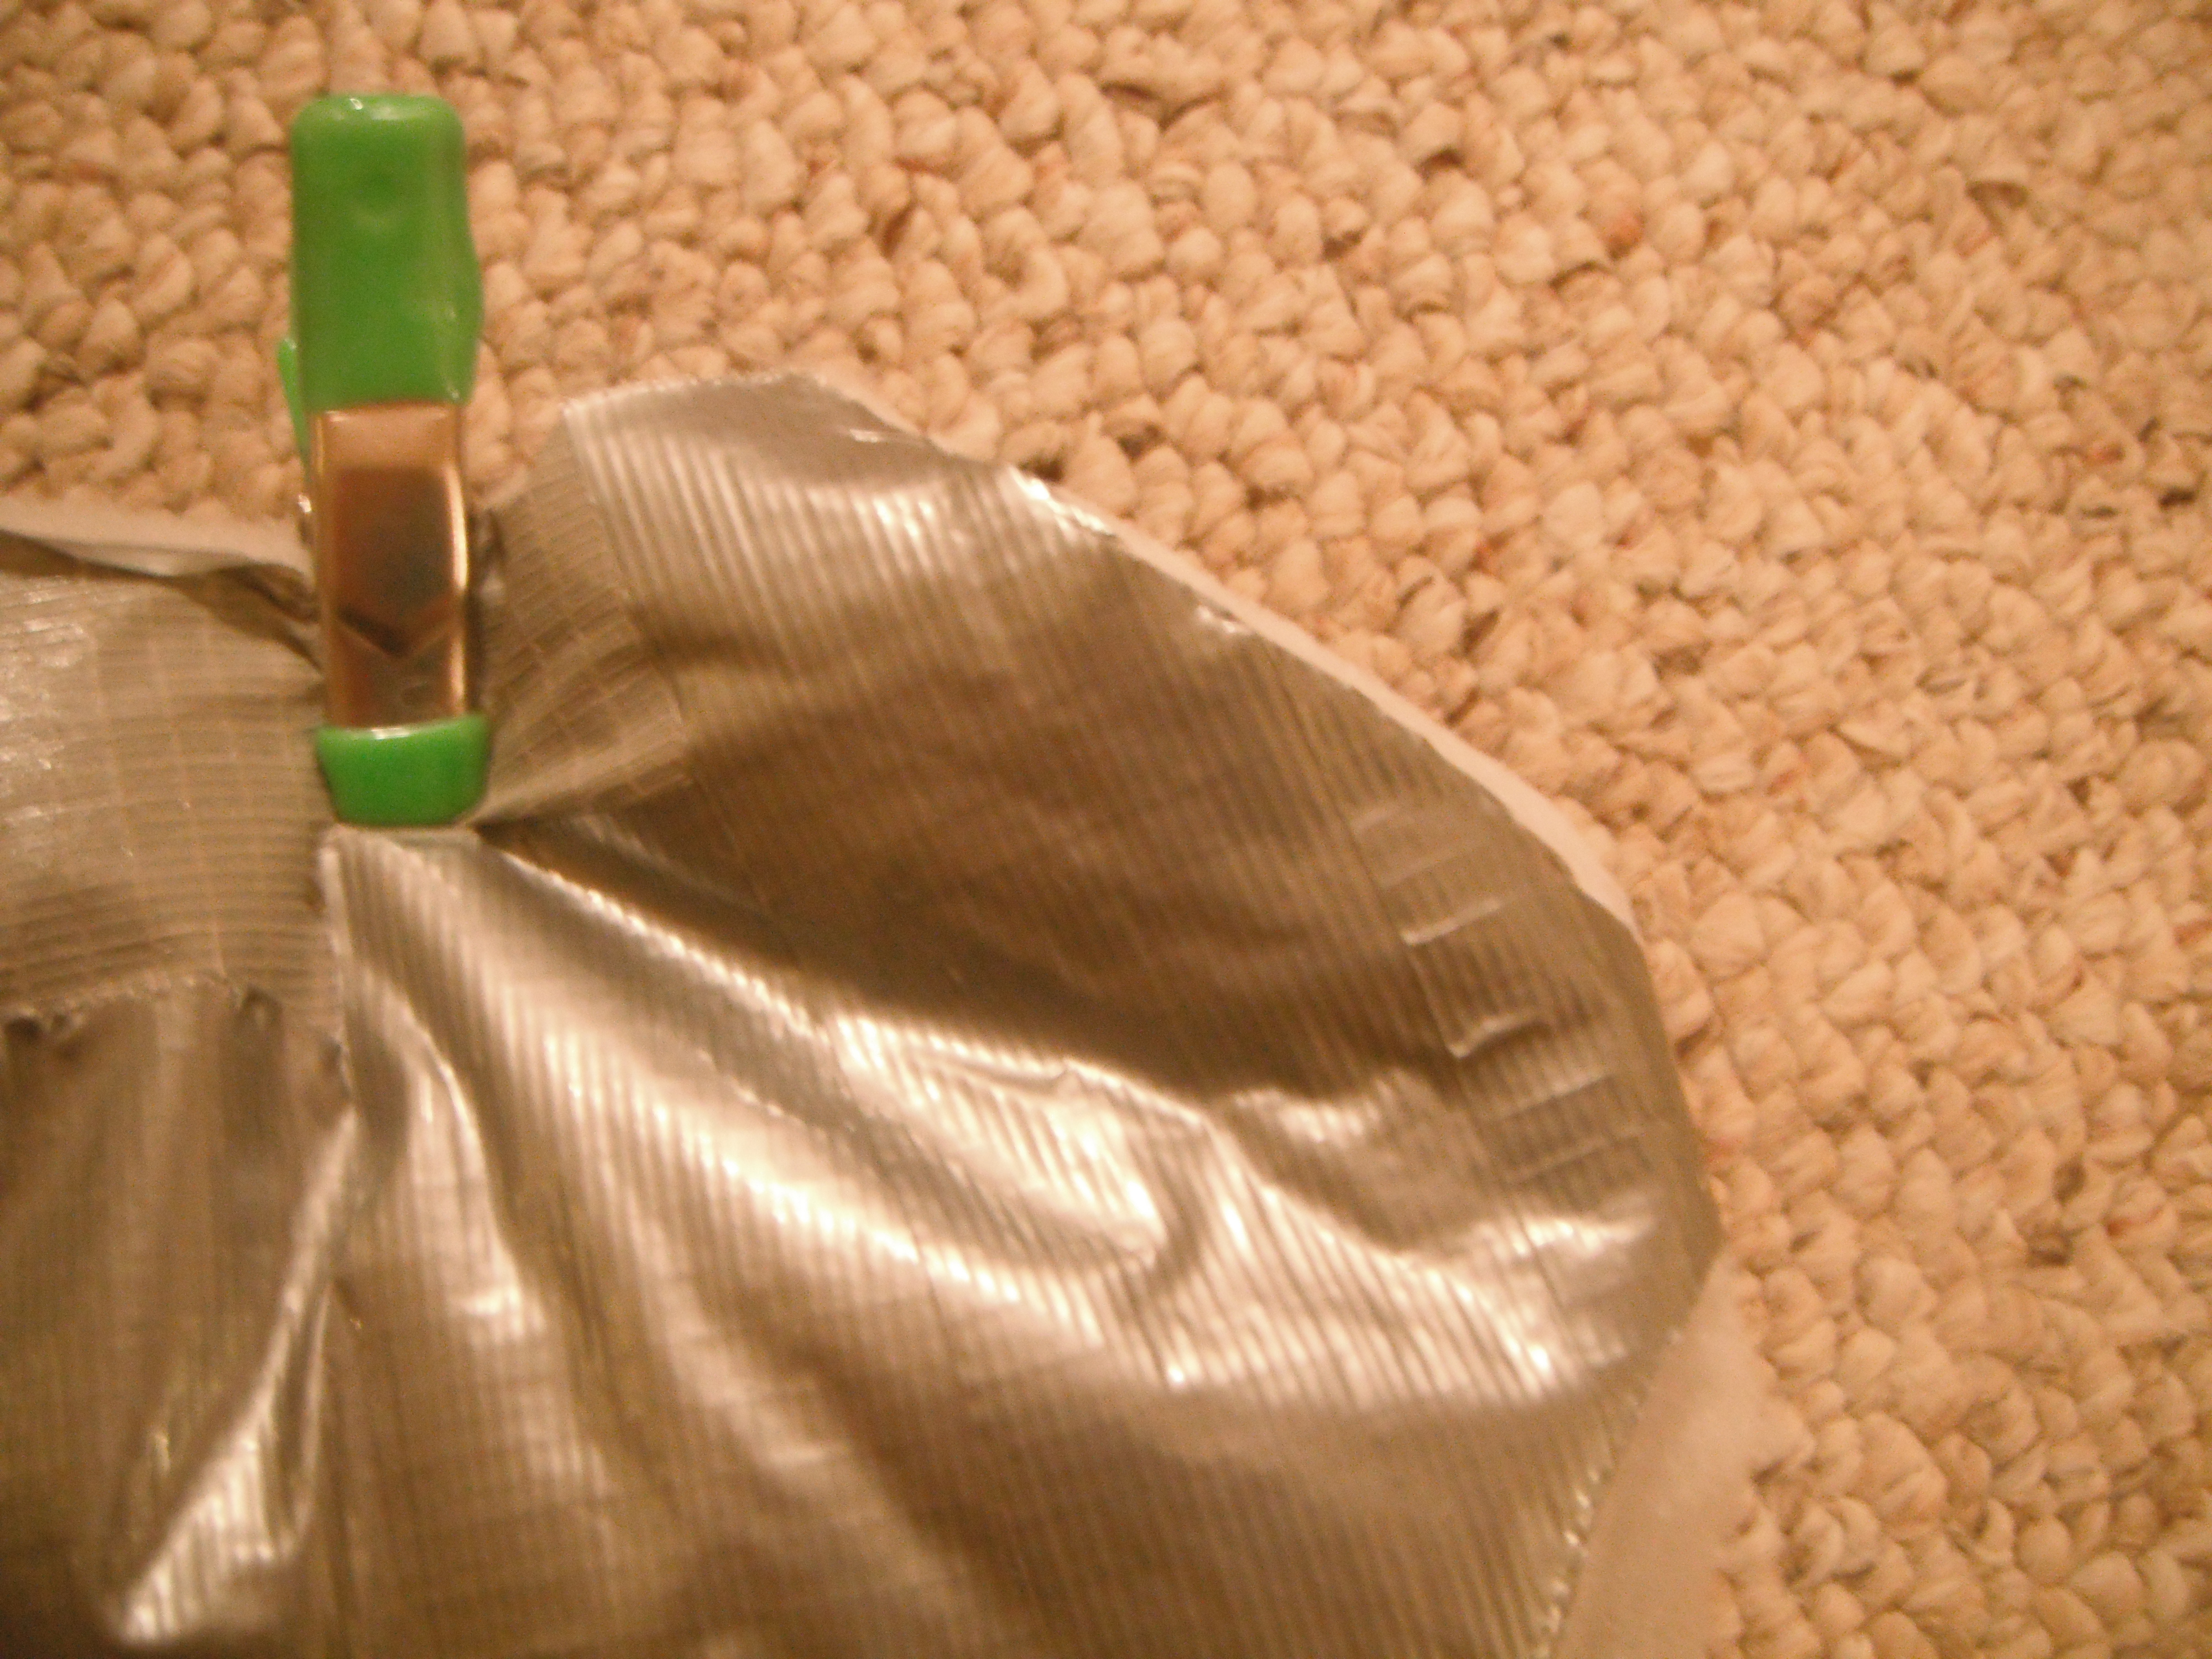
Fold the sides of it to the middle and you should start to see the shape of a coat. Take the small clamps and clamp the top 2 times of each side. The space in the middle will be for the neck hole. It wont be as much of a hole as it is 2 cuts on either side. Now tape up the top so its closed off on both sides. Only tape the sides because you need to be able to put your neck thourgh the middle of them. It will look like a coat with no sleeves or arm holes. You can take off the clamps form the top since its taped and will hold itself togather. Put the clamps on the sides, 2 on each, in the middle of the 2 will be where you will cut the arms so you can choose where you want them. Take the scissors and cut off a piece that looks like this ) on the right side this (   cut it through both layers and when you take it out you should have a nice arm hole in the coat. It should look like a vest now because there are no sleeves.

Sleeves

028.JPG
003.JPG
029.JPG
030.JPG
To make the sleeves you do the same thing you did for the base but not as wide. Put some peices togather so that it is wide enough to wrap around your arm with some extra room. After you have made it wide enough add on a couple more pieces because it will be a thicker with the badding on it and might not wrap around completely. Cut the batting so you can lay it side to side with, cut it so that it is an 1 1/2 shorter than the tape. Take your arm if you have someone to help you. Of your on your own you can use a large piece of pipe to modle your arm. Wrap it around and stick the part of the tape that doesnt have badding covering it onto the top of the other side and you should have a tube that your arm can easily into. It will be a little stiff but will soften up over time. Make another one for your other arm the same way

Attaching the Sleeves

030.JPG
032.JPG
101128-222241.jpg
cut a corner off the sleeves so they make a right angle with the other corner. This will make it angle down instead of straight out when you attach it to the arms slips you made in the previous step. Put a sleeve onto its slit and attach it to the base with two pieces of tape stuck togather. Now put a couple more pieces on so you can make sure its sucure for when your permanently attach it. Take a piece of tape and run it from the sleeve to the base lengthwise. Do that repeatedly on both sleeves and they should be sucure. done. The tape should make it waterproof but if youn dont trust the tape then you ca use the plastic liner in the supplies picture to make it completely waterproof. It will be a little stiff and in need of some adjustment but you can do that easy.

Extra's

here are some extra things to help it.

1. slice a large shirt up the front and put it in the coat,the sleeves go in the sleeves, and you will be protected from the scracthy lining

2. cut a small slit on the back of the sleeves where your elbows are to make it more flexible. Then cover that with a piece of tape a little bigger than the slit to keep it flexible and still water proof and keep you warm

3.use different color duct tape to make logos on in like your initials or a flag or something

tell your friends and RCS(rate comment subscribe