1st Generation IPad Air Digitizer Repair
by Tech_Restore in Circuits > Apple
12622 Views, 7 Favorites, 0 Comments
1st Generation IPad Air Digitizer Repair
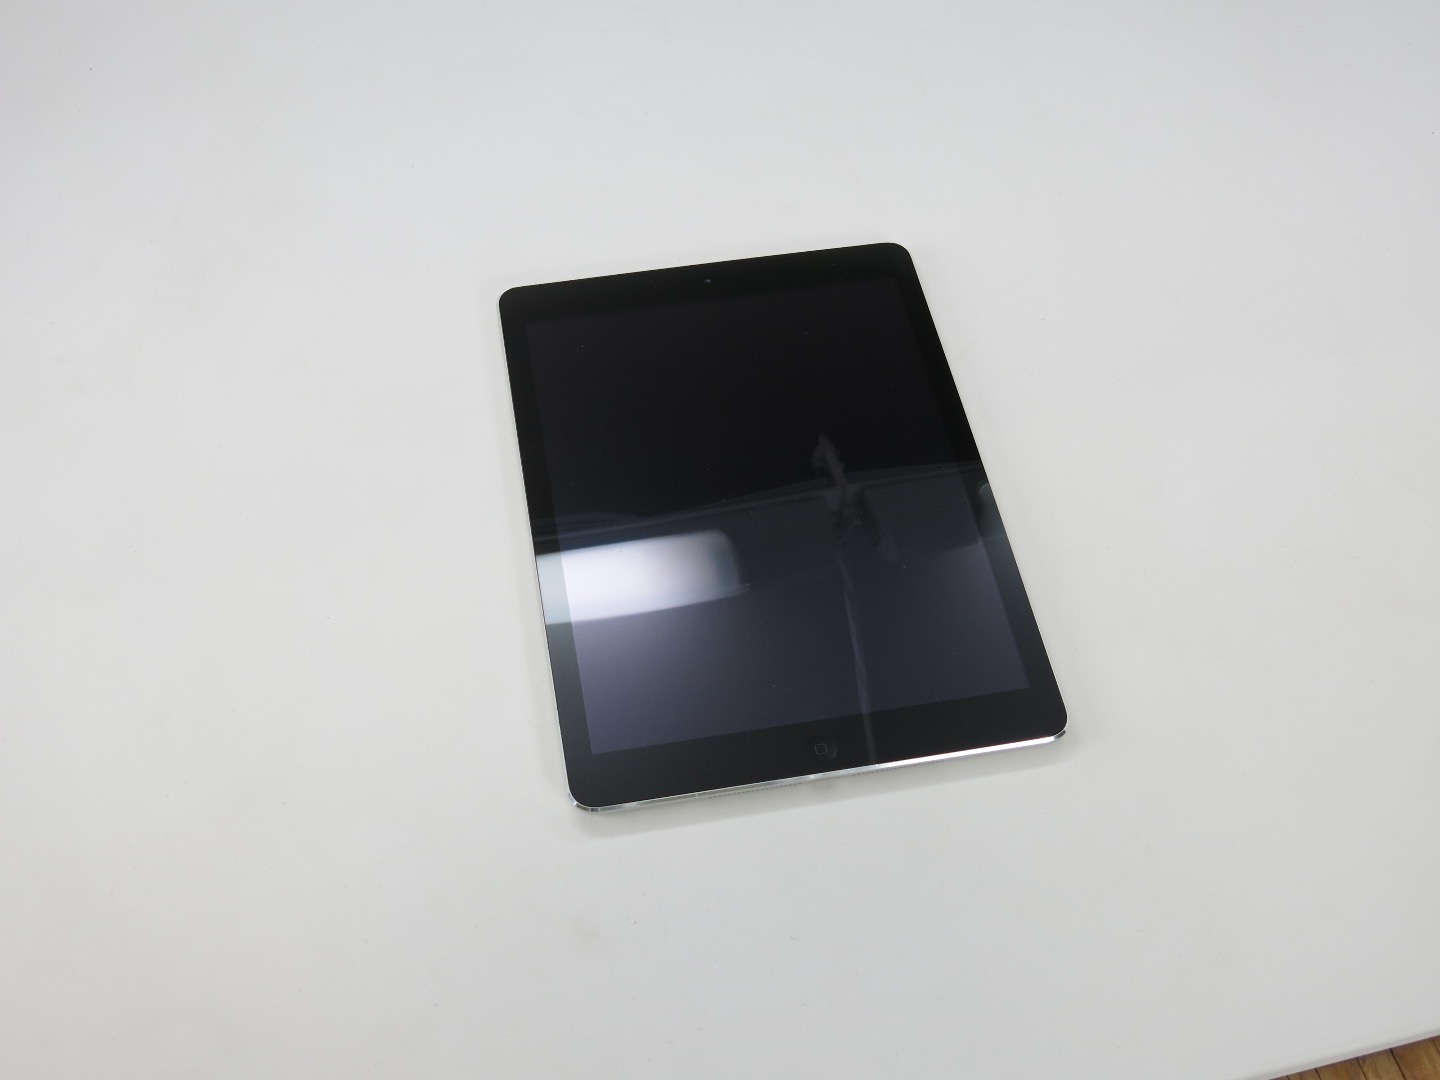
The purpose of this guide is to walk you through the removal and replacement process of the glass digitizer of the 1st Generation iPad Air.
Tools Required:
- Black plastic spudger
- Philips #00 Screwdriver
- Scissors
- Screen removal tool
- Tweezers
- Heat gun or blow dryer
- X-acto Knife or simliar product
Parts and Materials Required:
- iPad Air Digitizer
- DigiStick 1/4-inch x 36-yard Adhesive Tape for Mac, iPad, iPhone & iPod Repair
- DigiStick 2mm (very thin) x 55-yard Adhesive Tape for Mac, iPad, iPhone & iPod Repair
Before You Begin
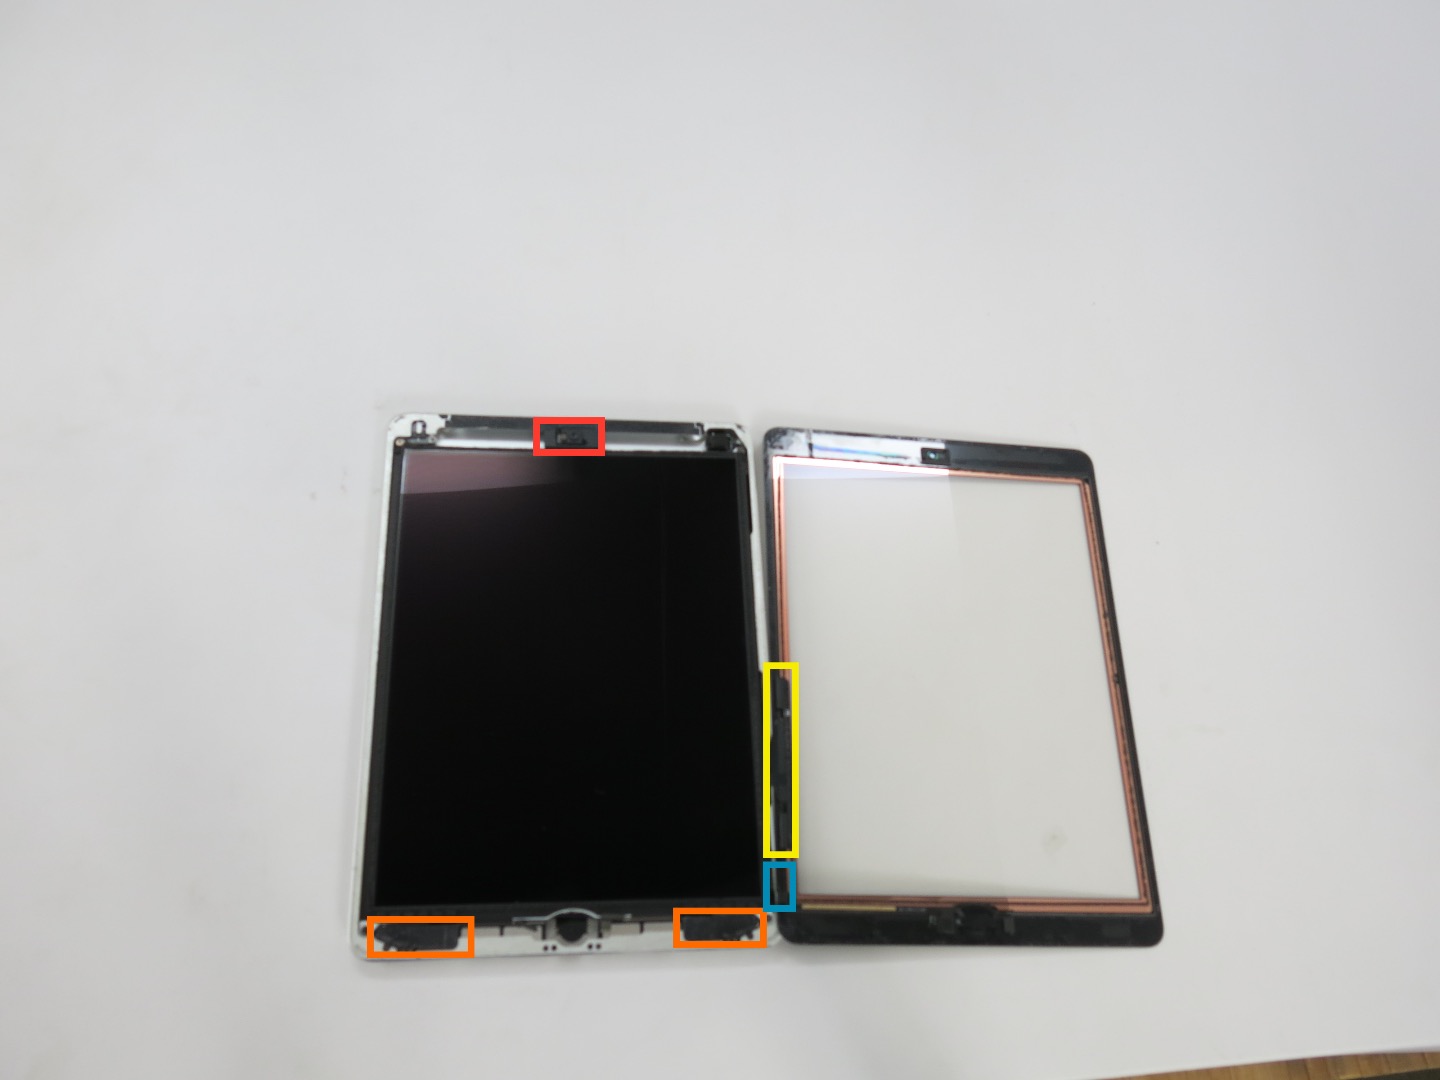
The iPad looks uniform from the outside, but on the inside are delicate components that can be damaged if handled too roughly. Familiarize yourself with these areas before beginning and apply caution when approaching these areas.
These parts are:
- Antenna cables (bottom)
- Front facing camera (top)
- Digitizer cable (right side middle)
- Home button cable (right side near bottom)
Removing the Screen
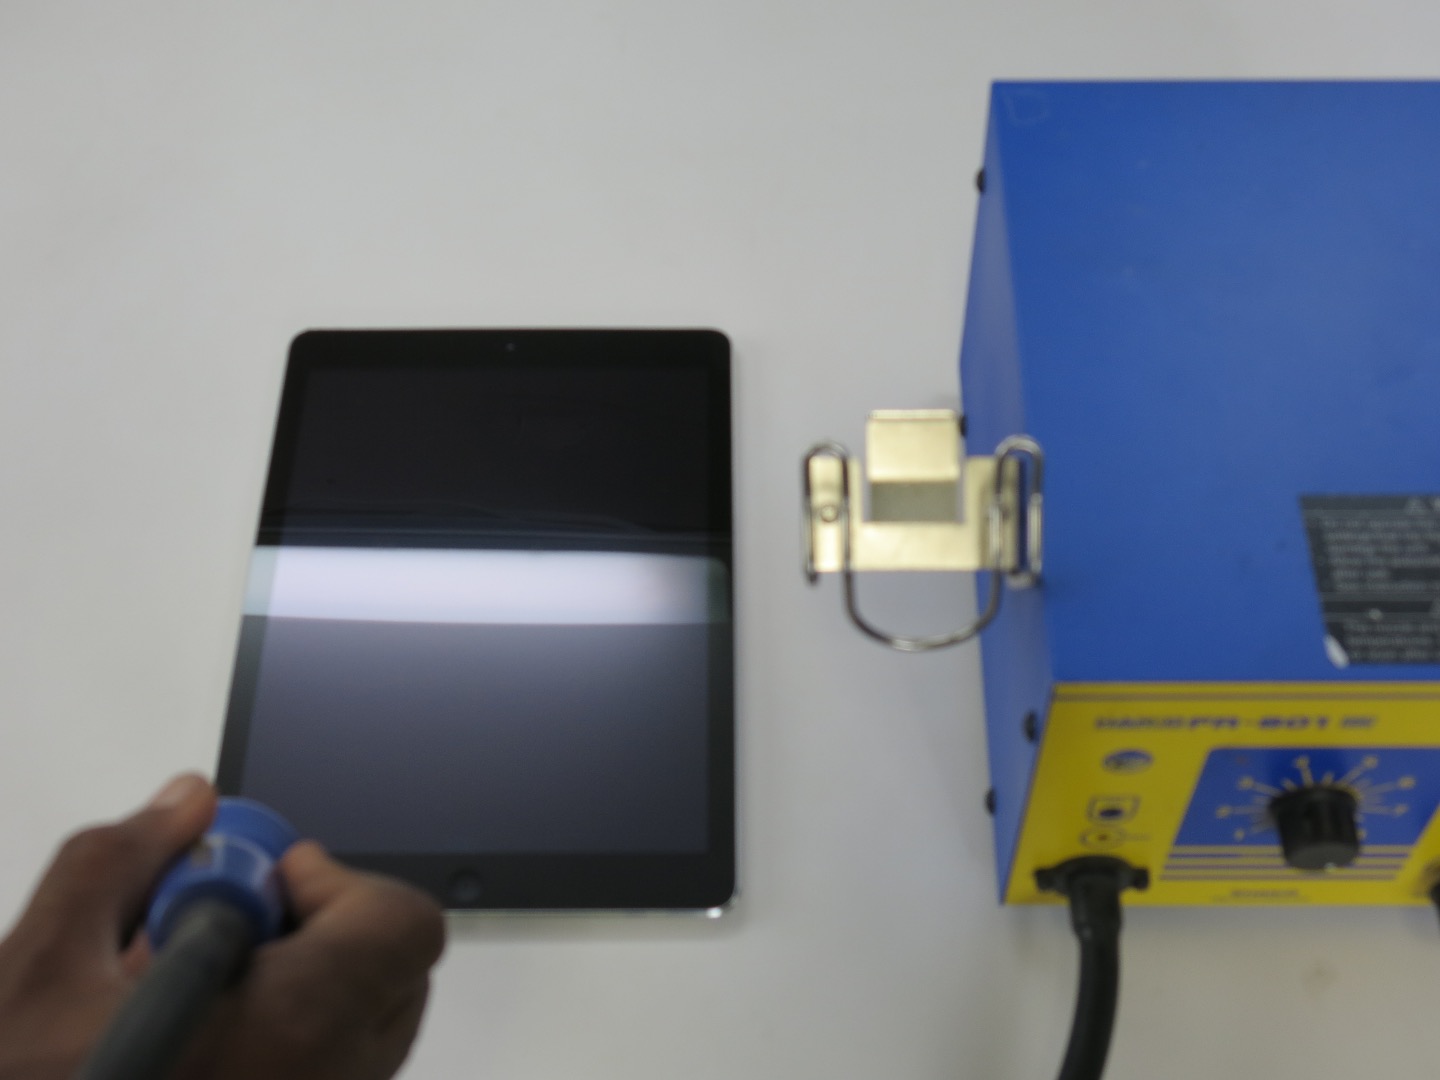
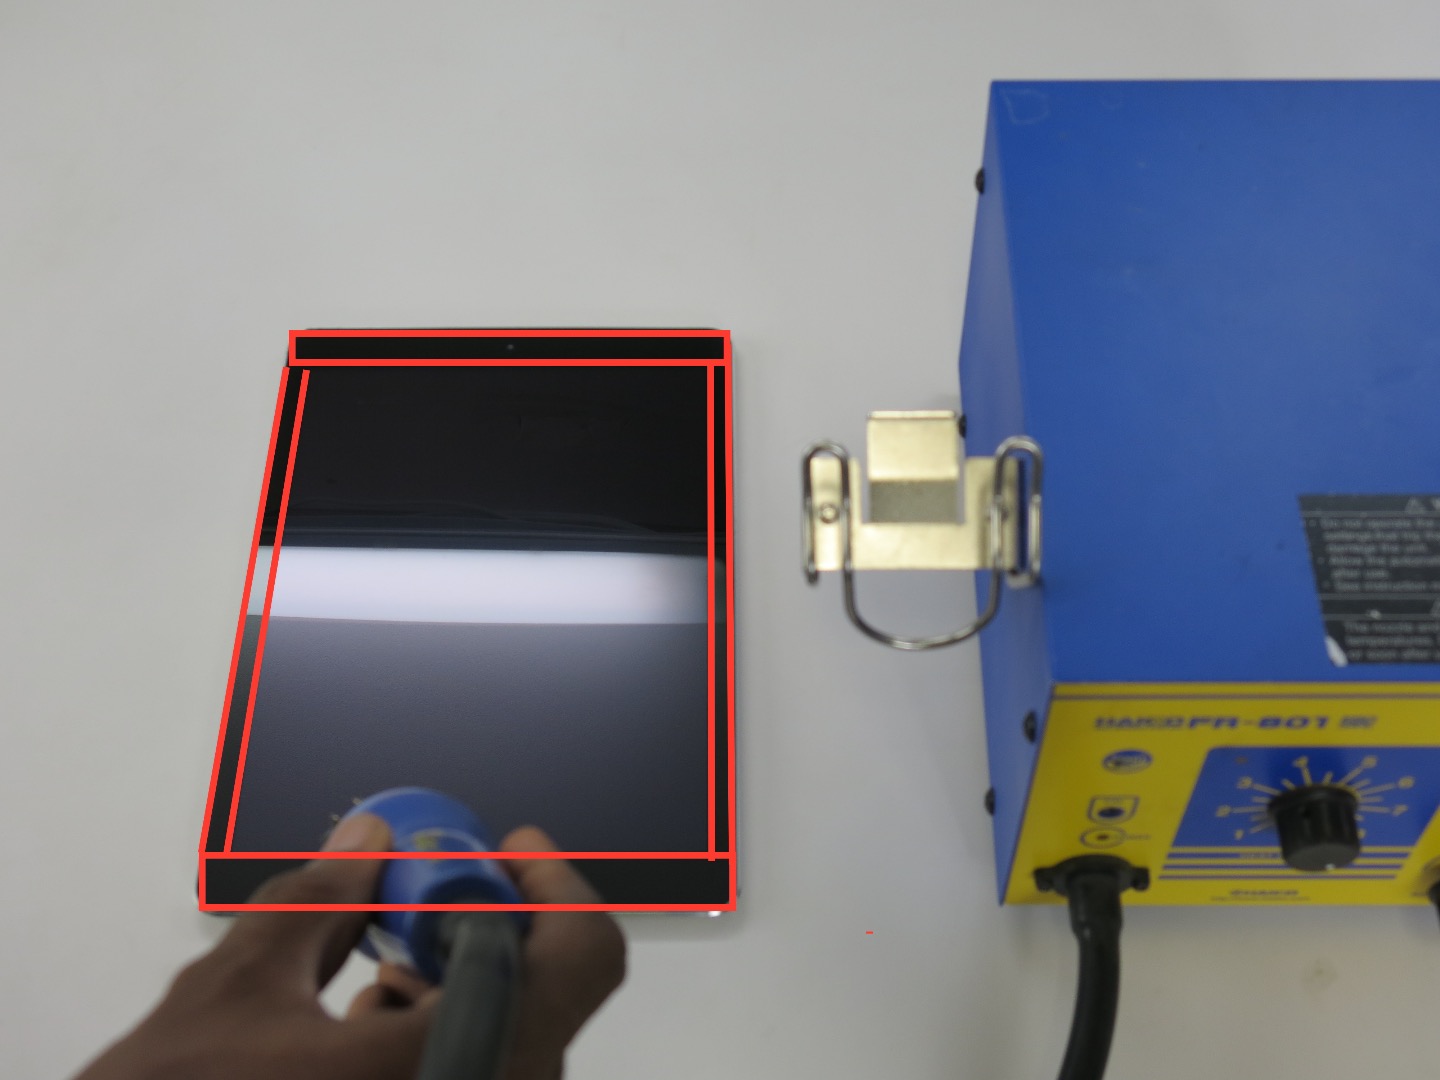
We recommend that you wear safety glasses to protect your eyes, you should also be careful and aware whenever operating the heat gun.
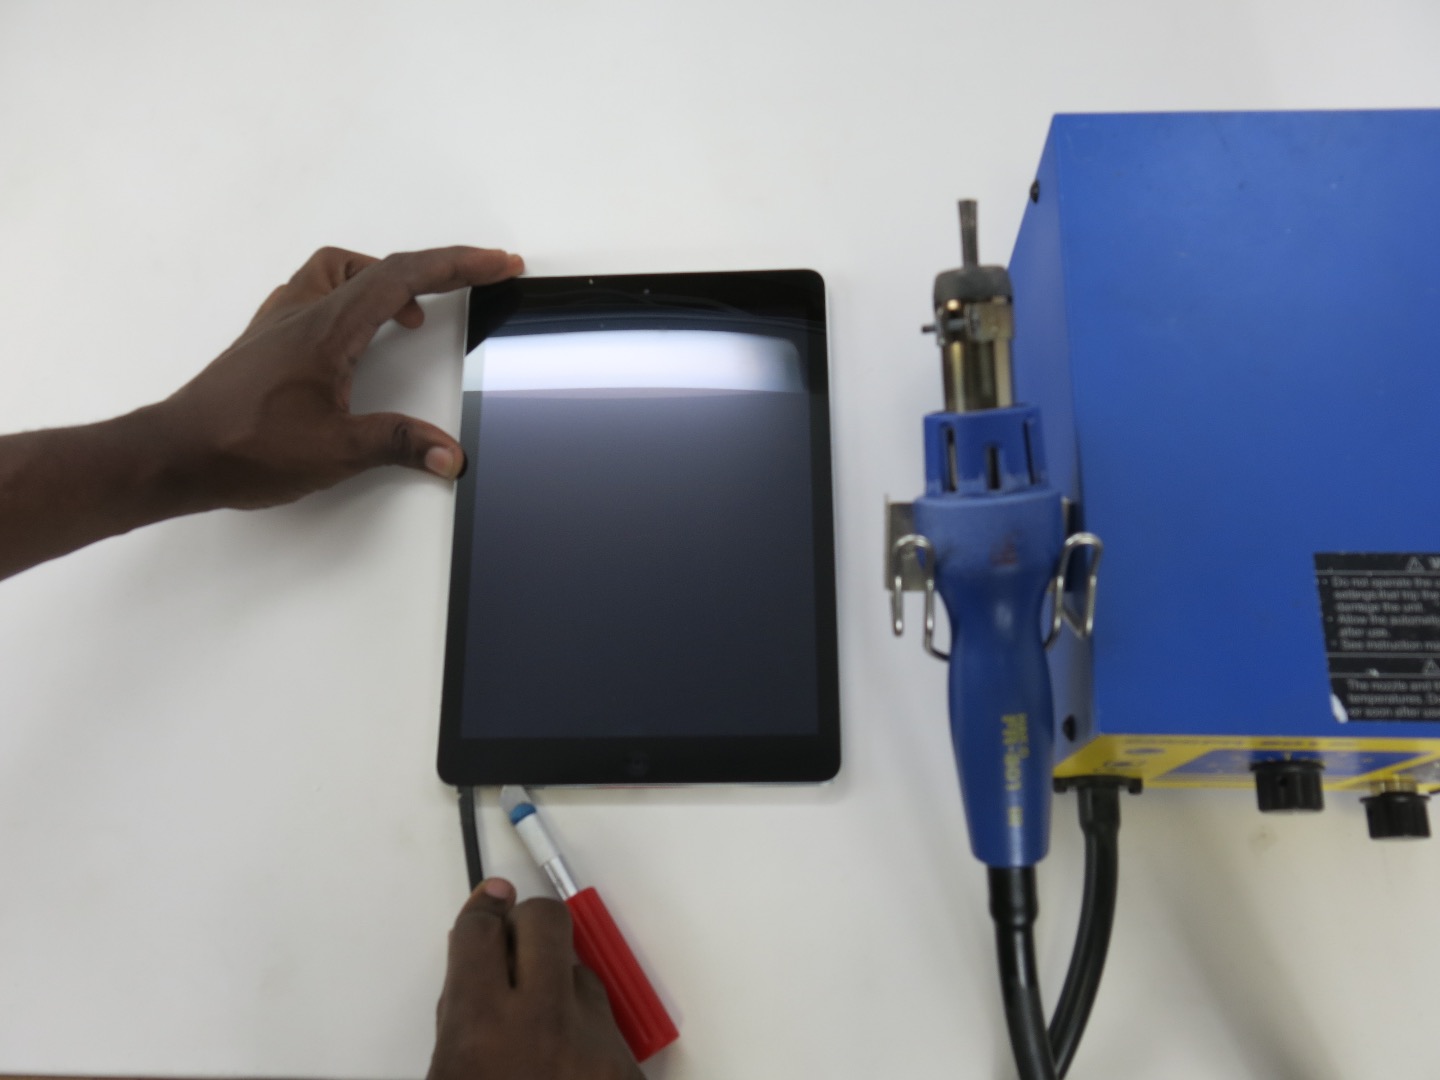
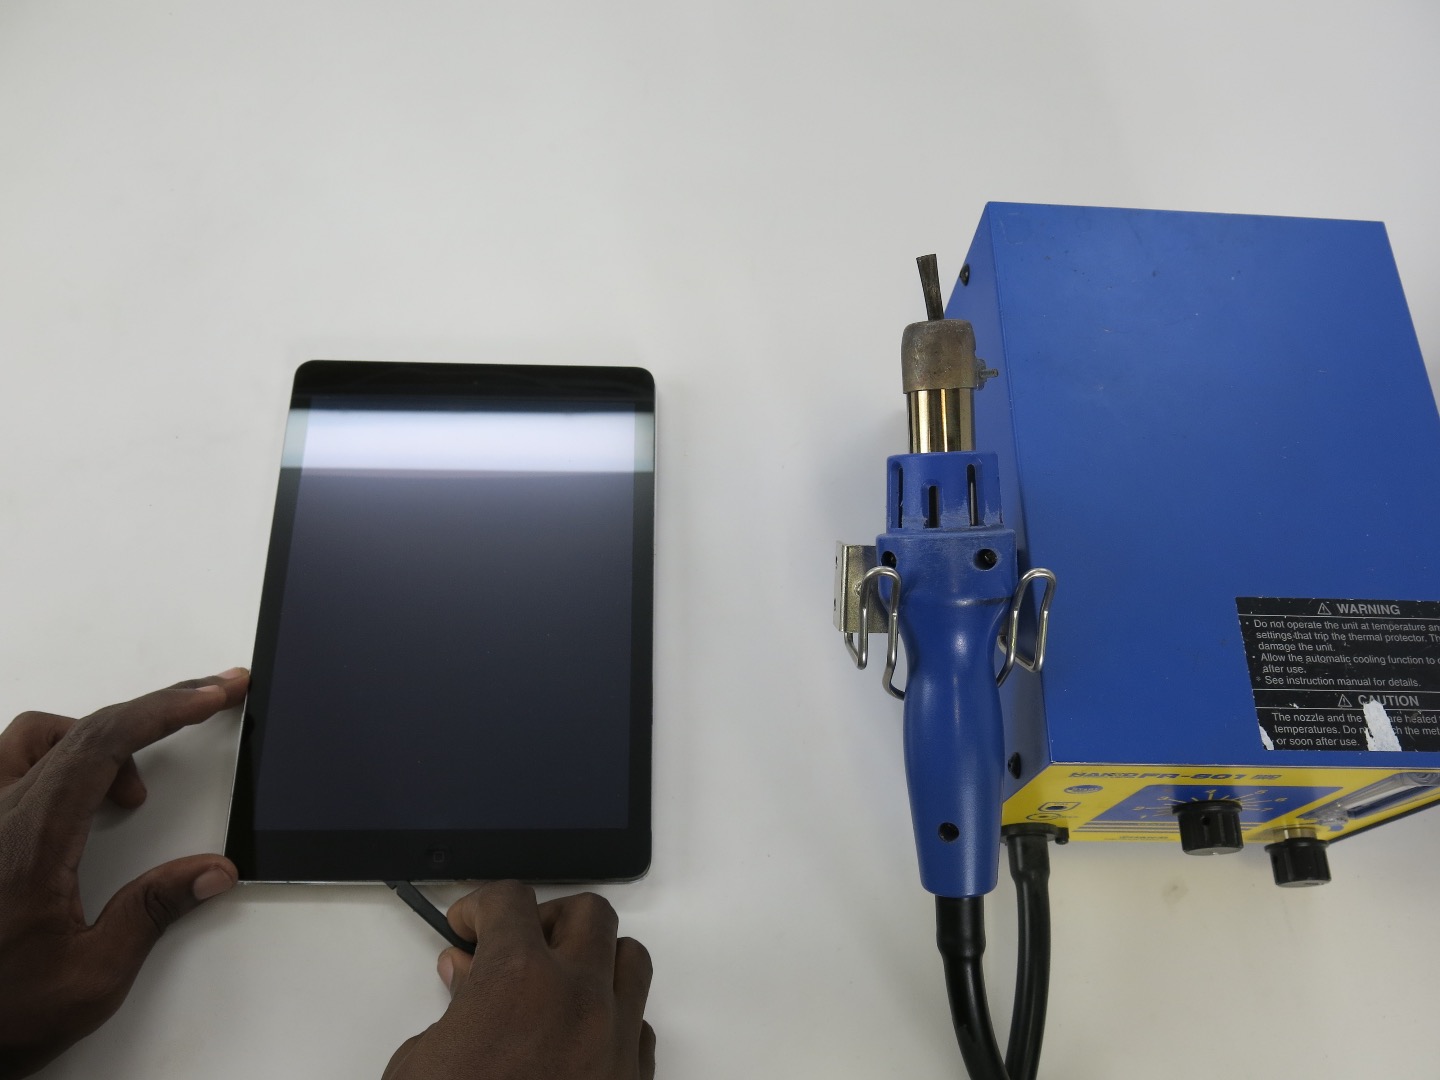
- Turn your heat onto a medium or low setting. Temperatures may vary depending on your heating device, so you may need to adjust heat to what suits you.
- We’re using a heat re-work station, since we repair thousands of iPads, but you can use a blow dryer or generic heat gun at low temperatures”
- Turn your iPad so that the power button faces away from you and the home button is nearest to you.
- Start by heating the bottom left corner of the glass around the edge. Be careful to only apply heat to the glass that covers the frame and not the glass that covers the LCD. Refer to annotated image above for clarification.
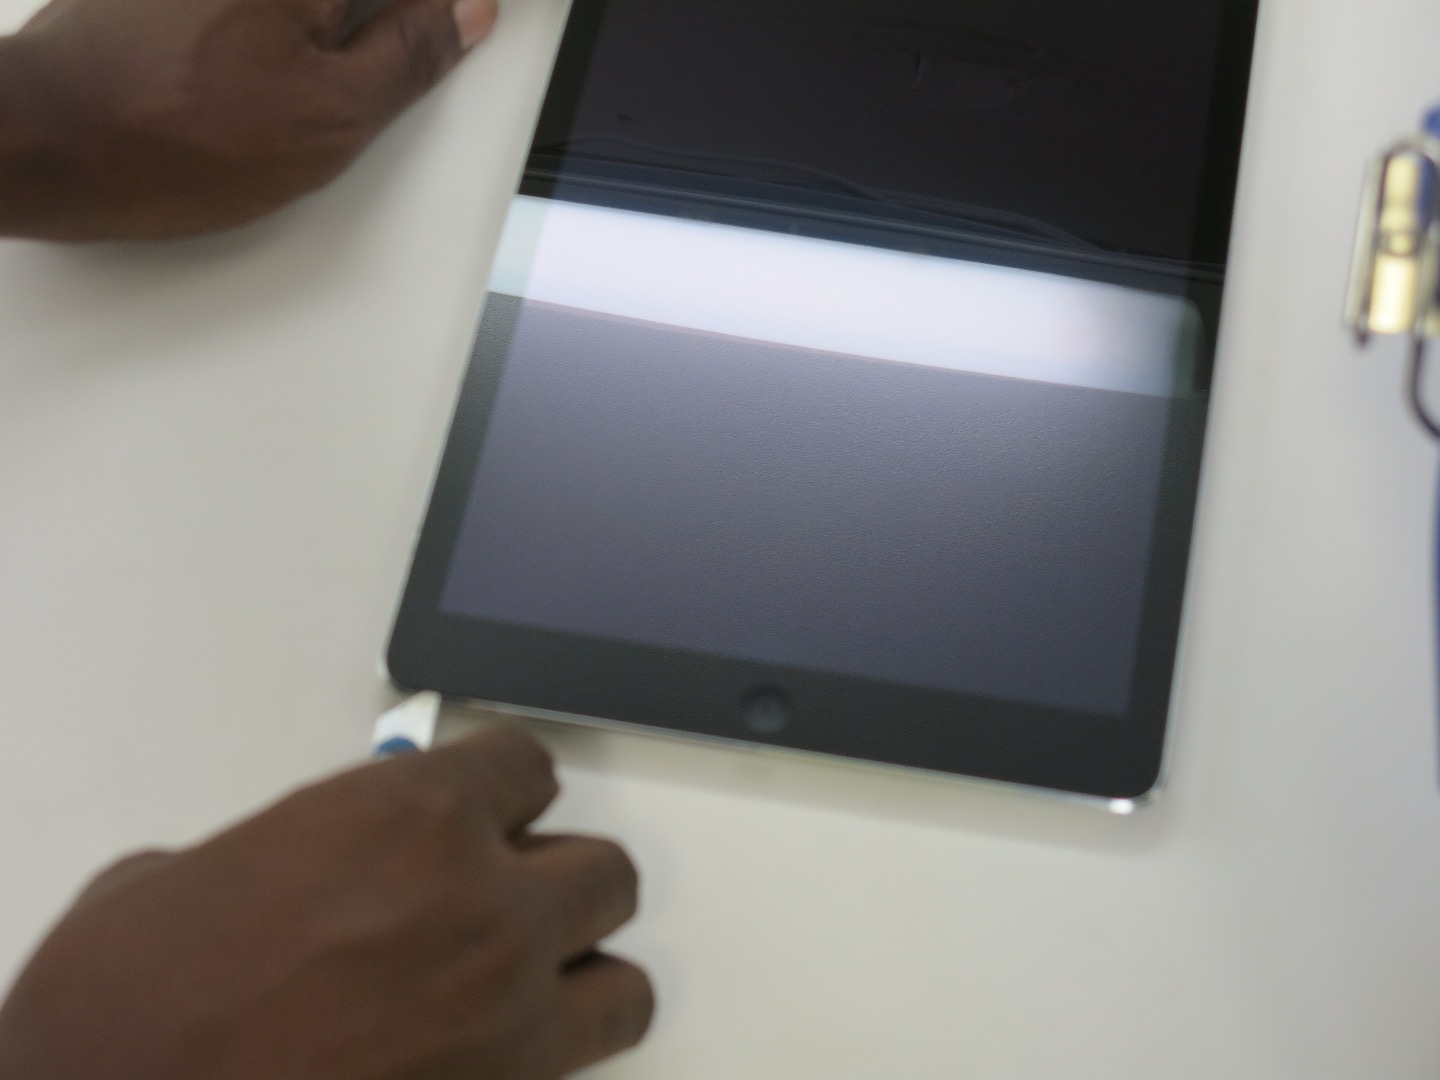
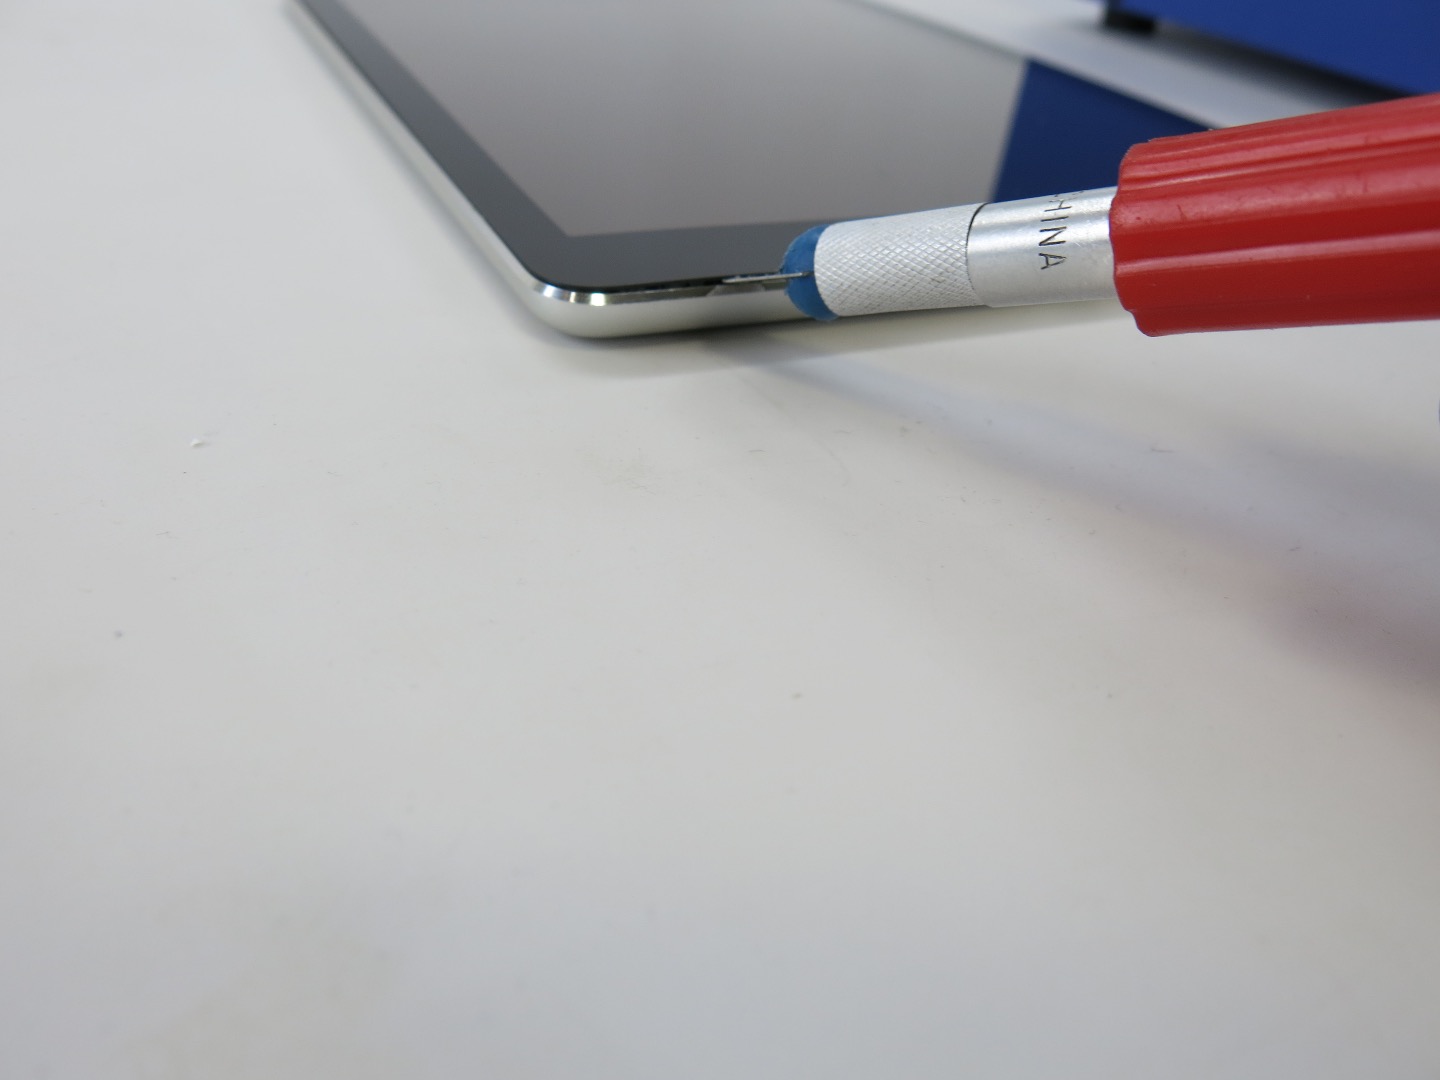
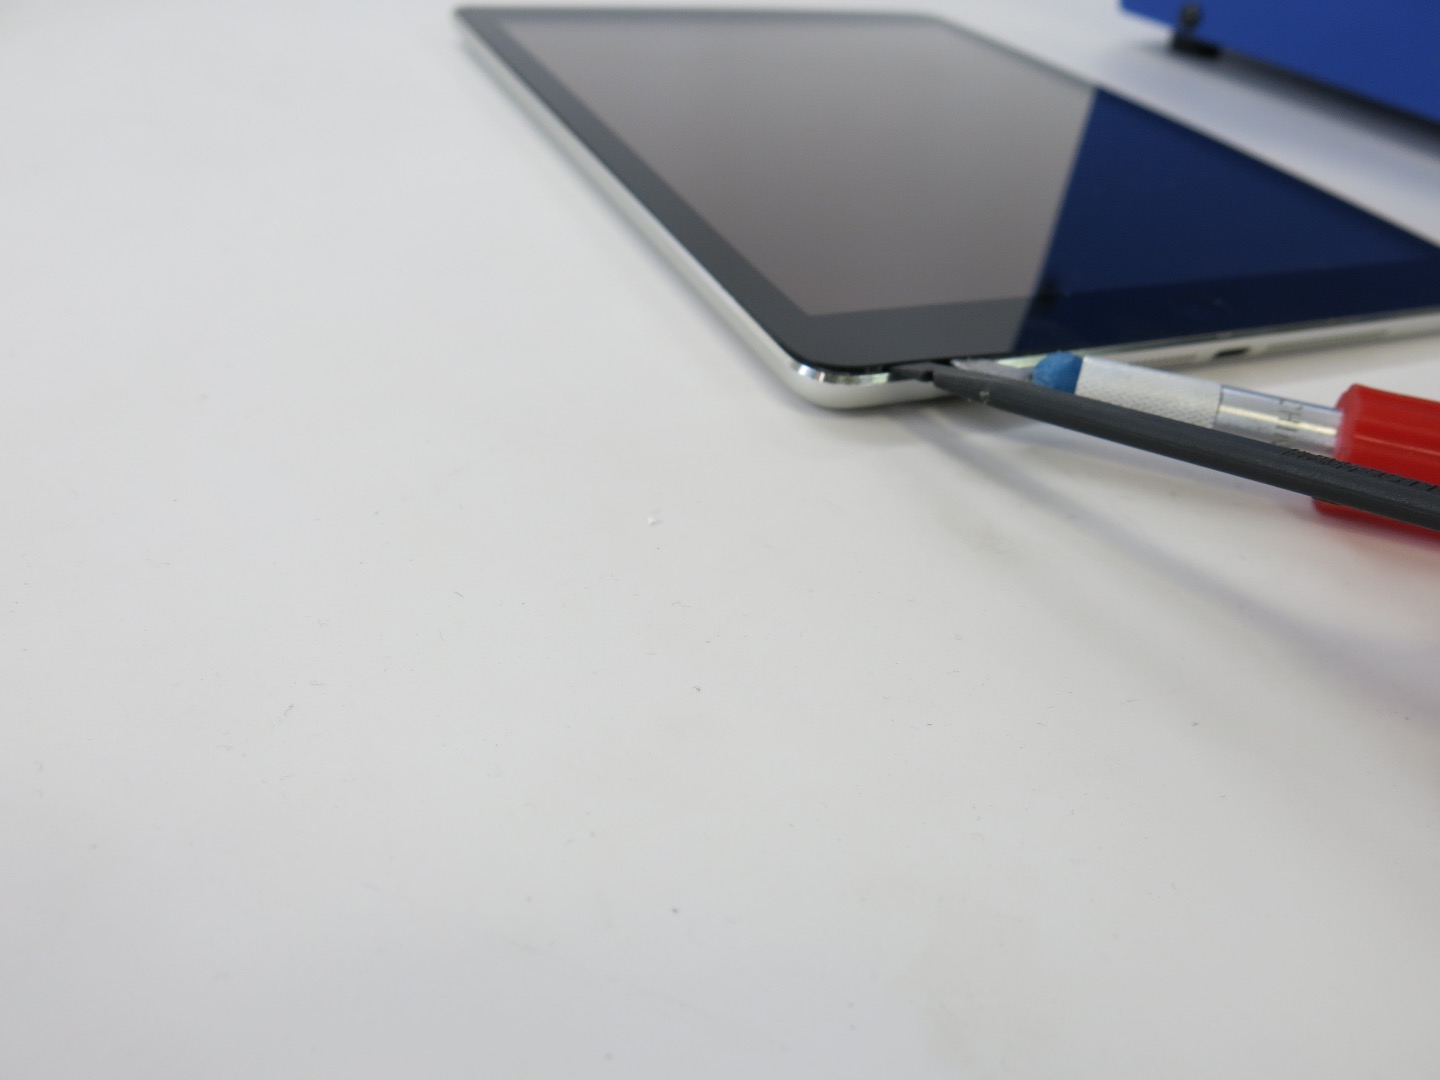
- Insert the tip of your X-acto knife about 1/4 inch into the small gap between the glass and the metal frame near the corner you just finished heating.
- The blade may not go in easily, if you feel too much resistance you may need to stop and apply more heat.
- Once you've inserted the X-acto, insert the black plastic spudger into the space that you've created. Apply more heat when needed if you encounter more resistance.
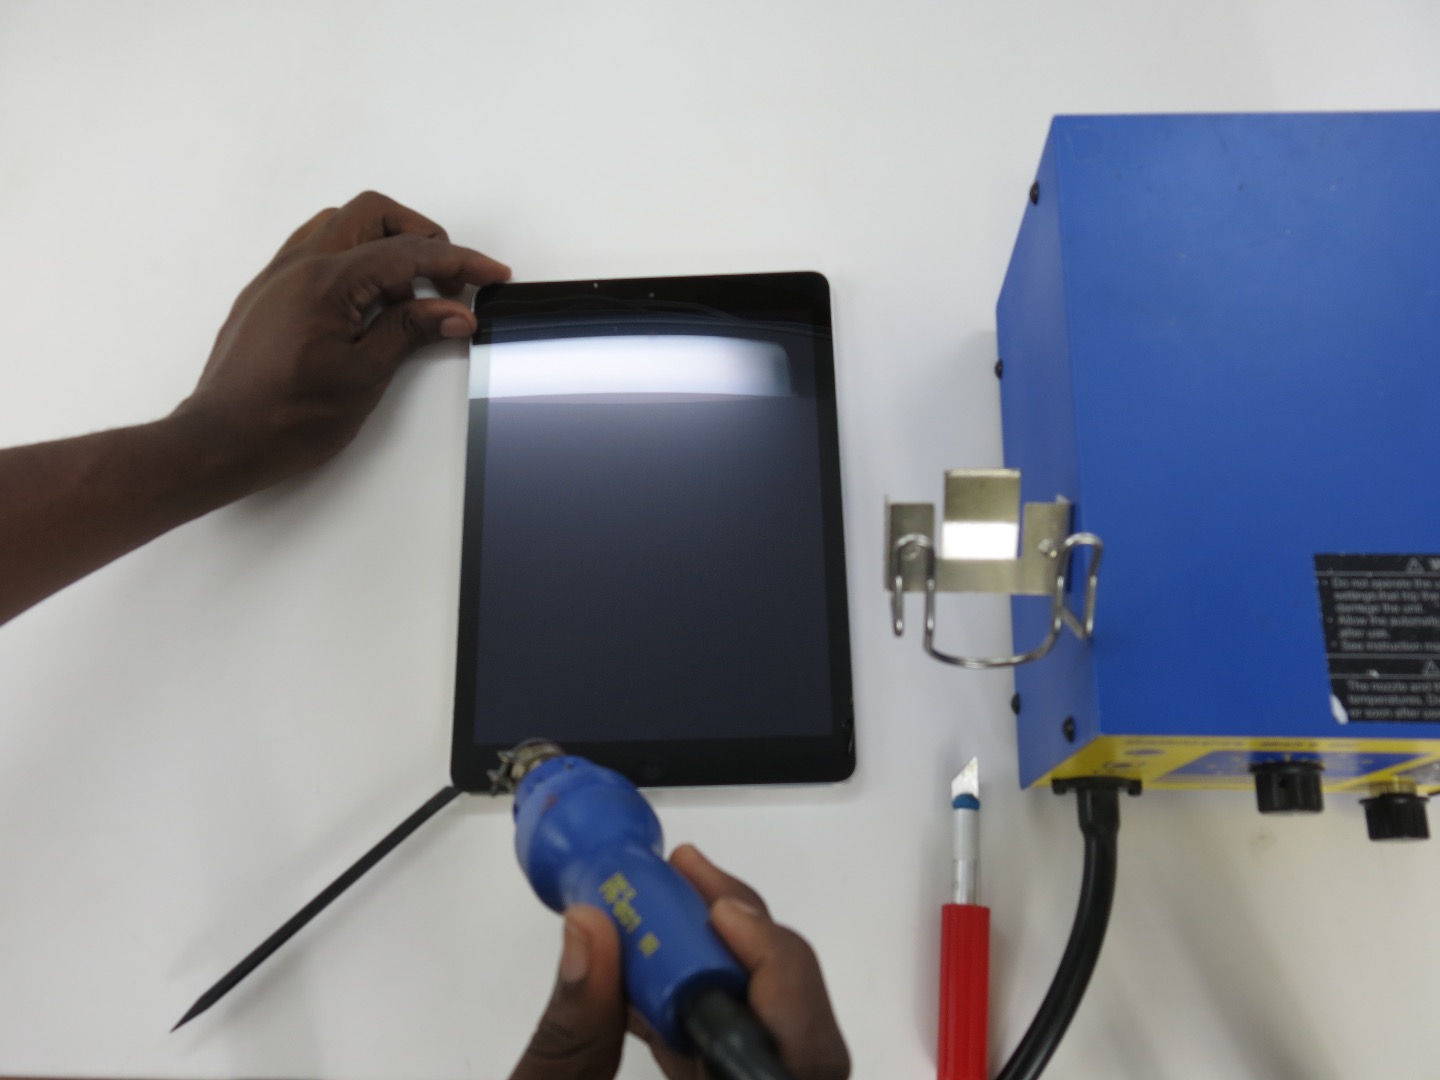
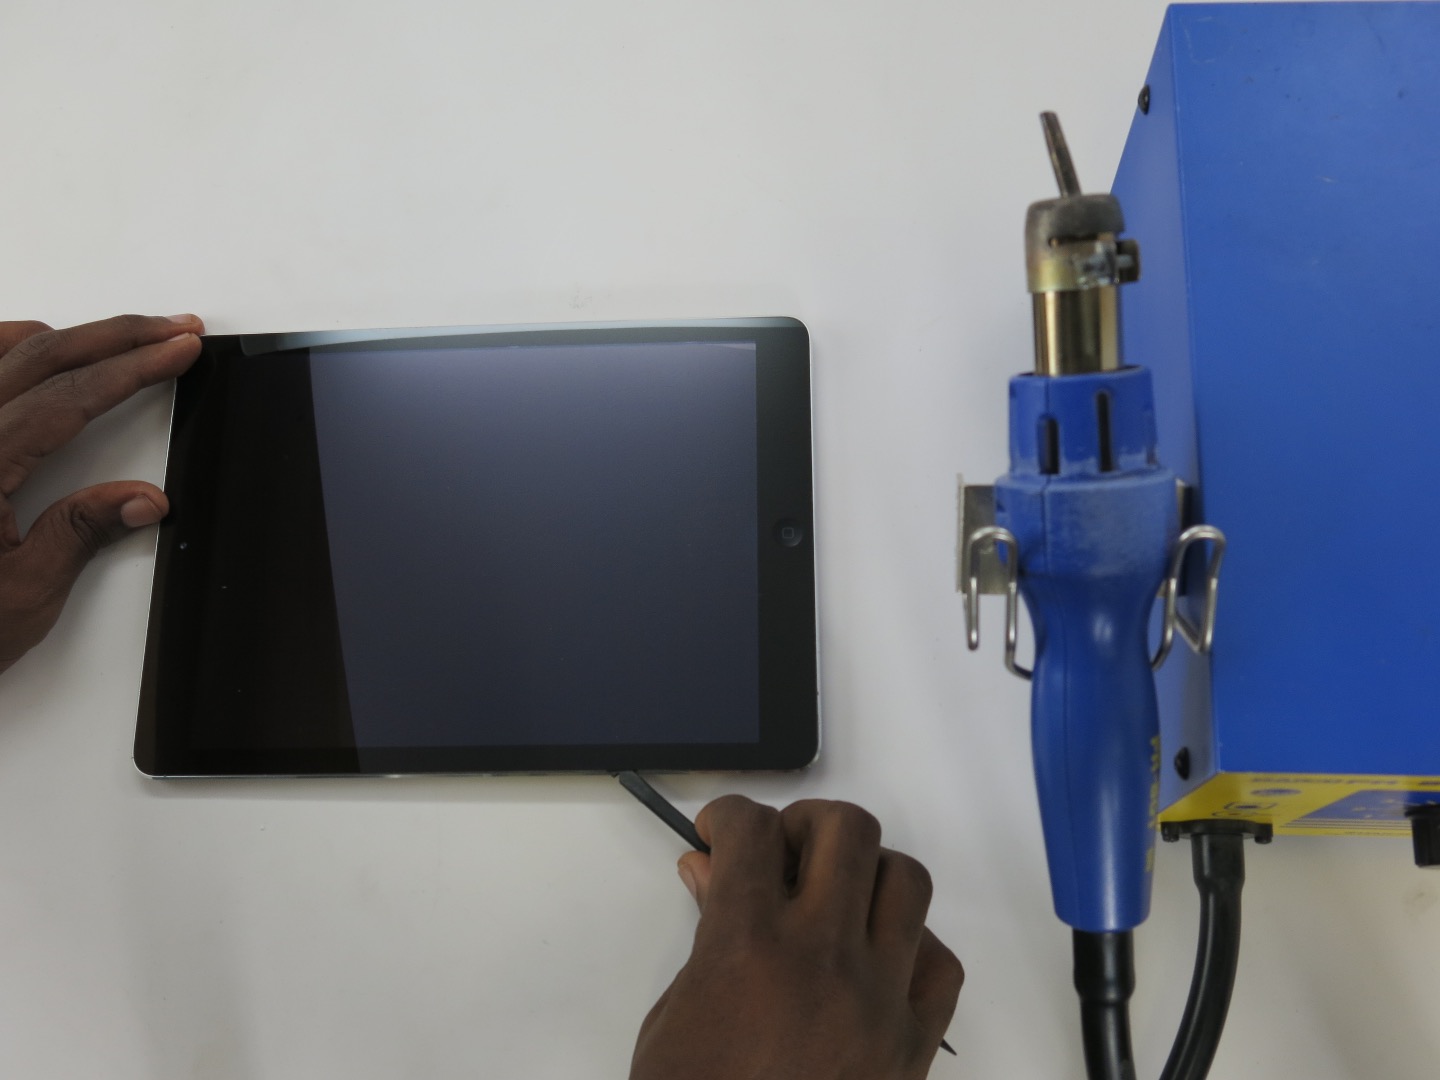
- Start to slide the plastic spudger between the glass screen and metal frame along the bottom of the iPad and along the left side. If you encounter resistance, apply more heat.
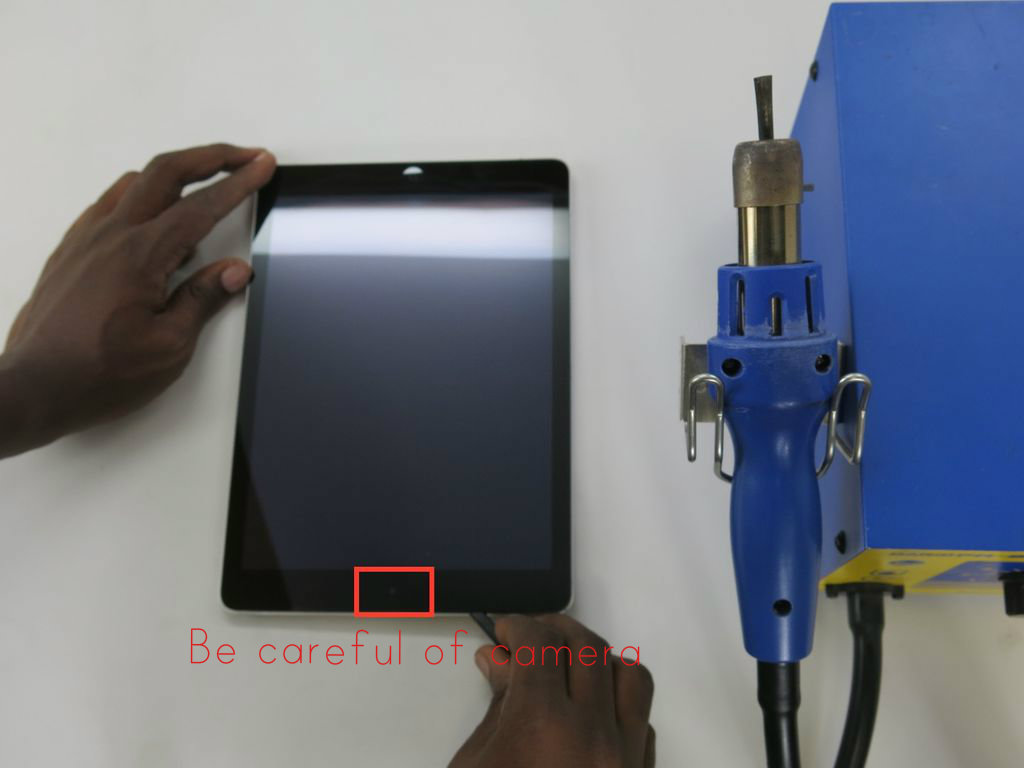
- Continue around the left side of iPad with the plastic spudger as you did in the previous step. Use heat when you encounter resistance, and use the X-acto knife to create space for the spudger if the glass breaks or the spudger slips.
- Be careful as you near the front facing camera, using to much heat or the X-acto knife across here can damage the camera. Be patient and take your time.
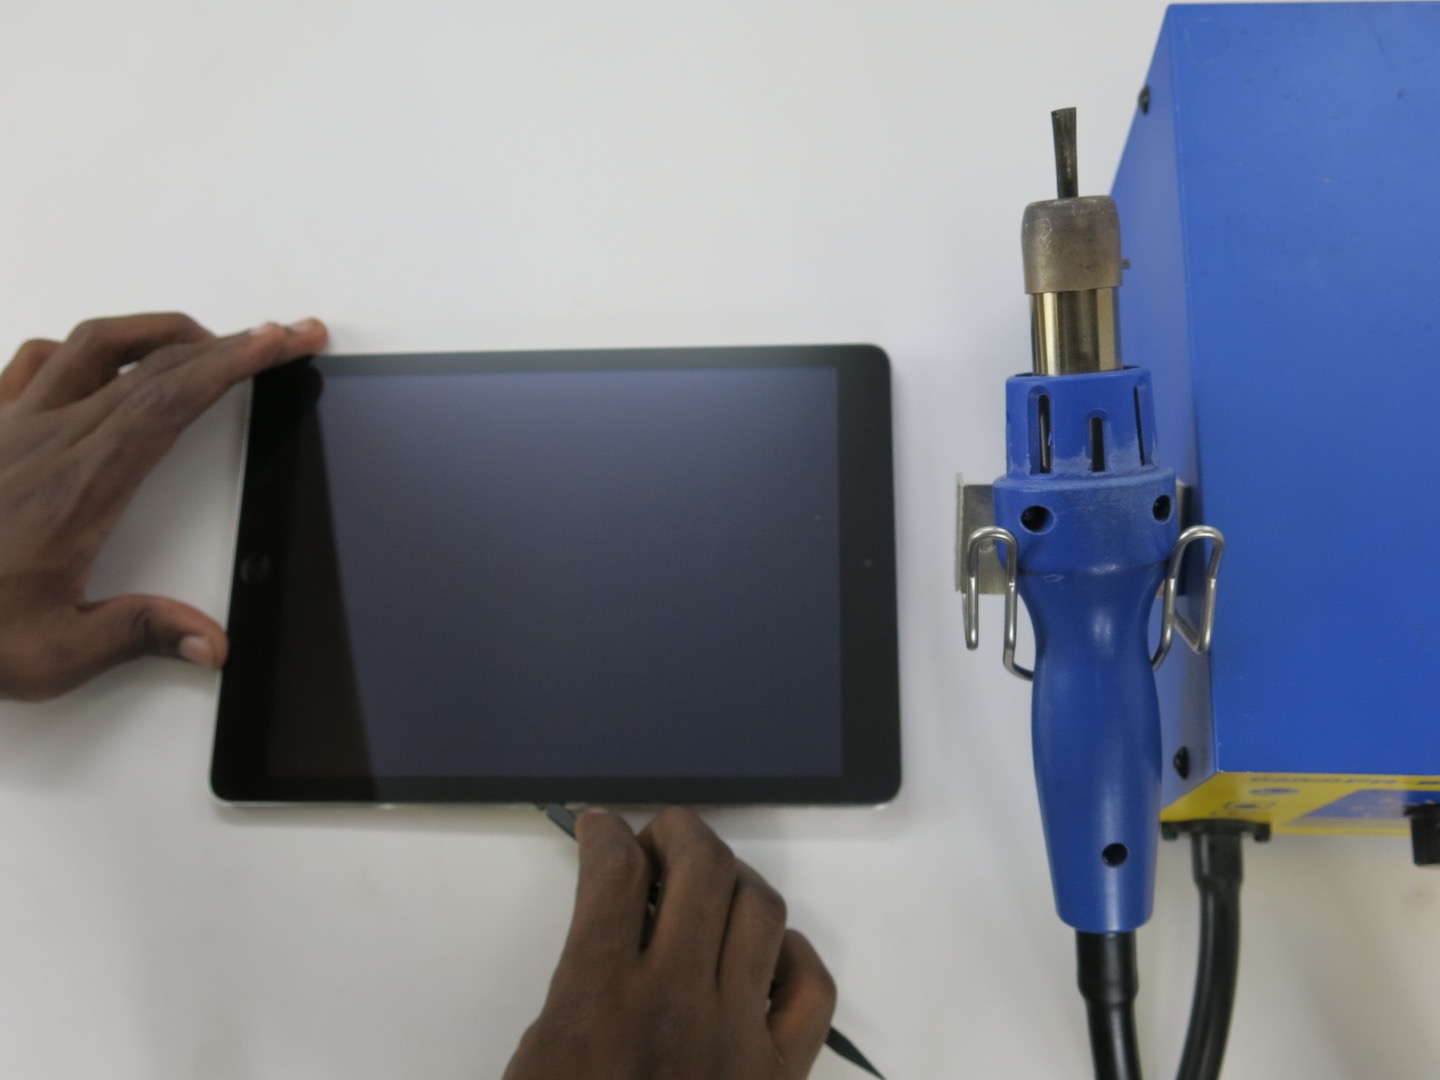
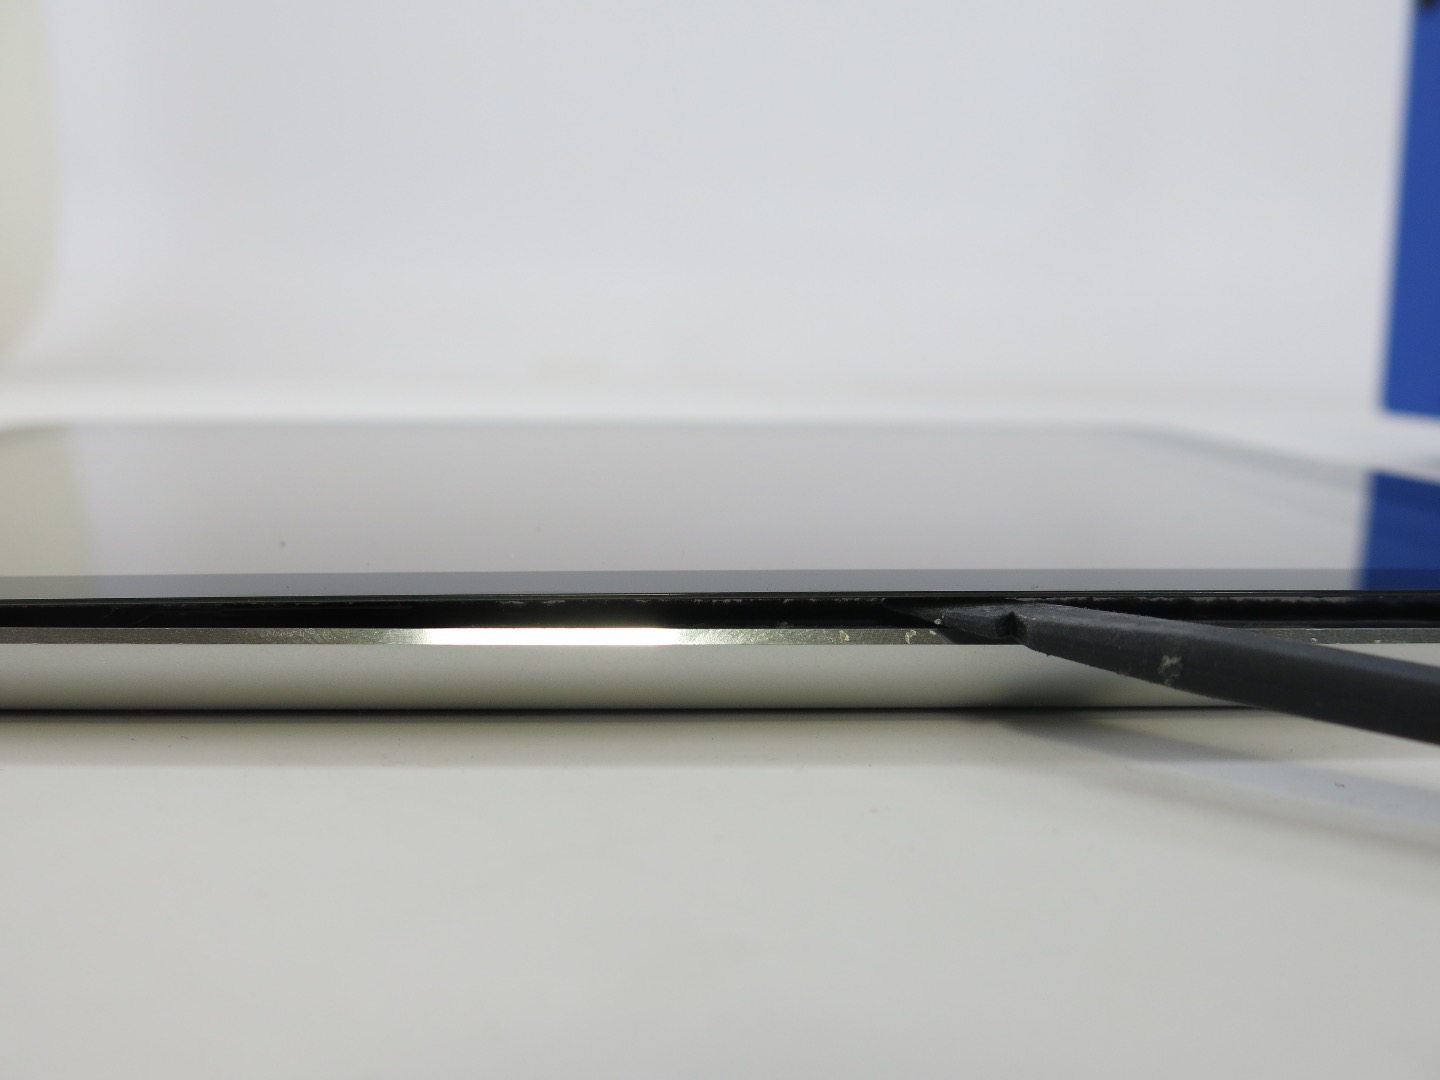
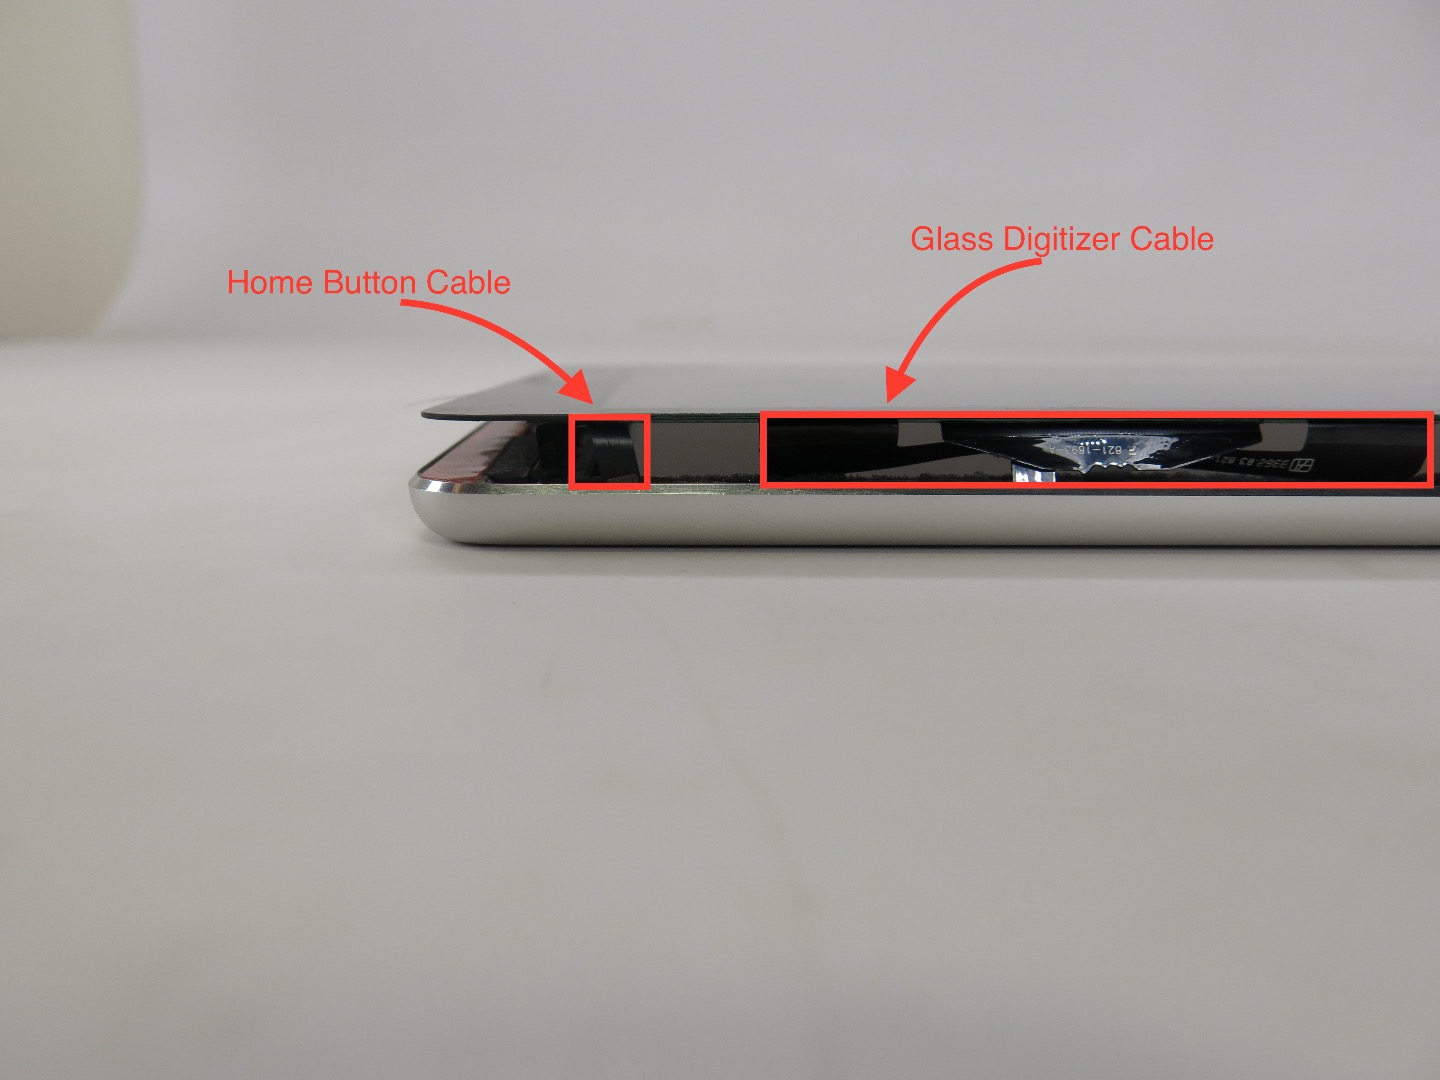
- Continue the process of using the spudger and heat to separate the screen from the frame along the right side of the iPad, the side with the volume buttons.
- Stop once you get about halfway along this side. There are cables here that connect to the glass digitizer and the home button. Refer to the above image for clarification.
- The digitizer cable can be cut or damaged as we won't be reusing this digitizer, but the home button should be saved so that it can be reused.
- Use the spudger around this area to lightly pry the screen up so that you can see the cables. You can avoid damaging the home button cable by only going in as far as the black bezel or about 1/8 inch deep with the spudger.
- Continue sliding the spudger, using heat as needed, along past the home button cable and around the bottom of the iPad near the home button. You should be back at the corner that you started at now.
Removing the LCD
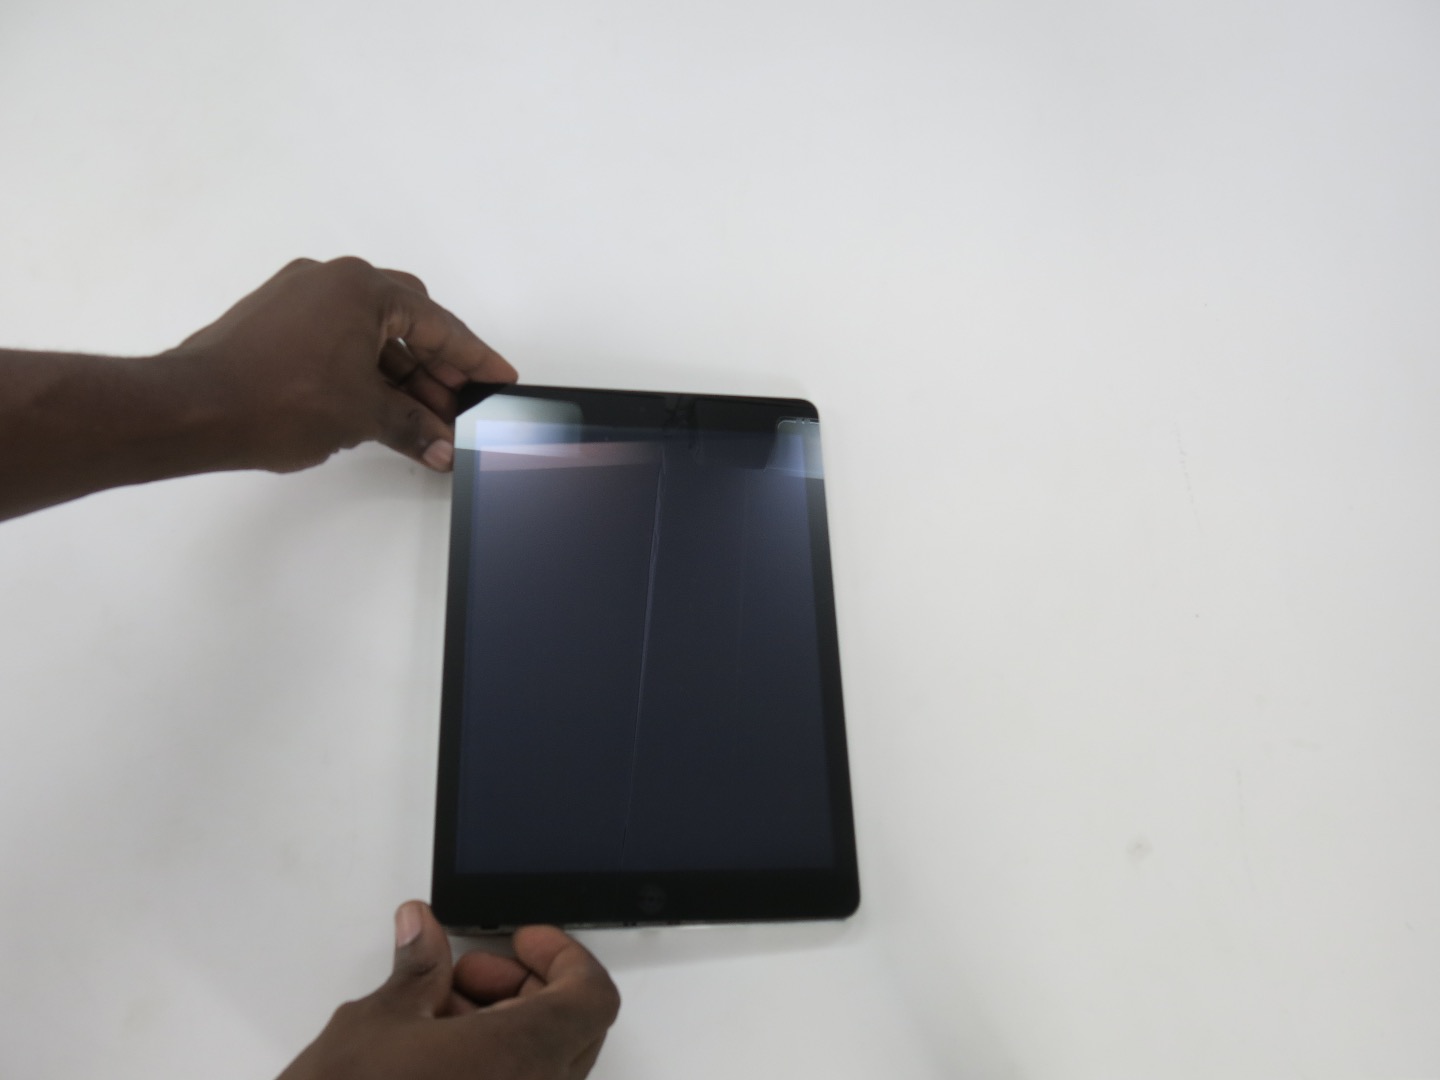
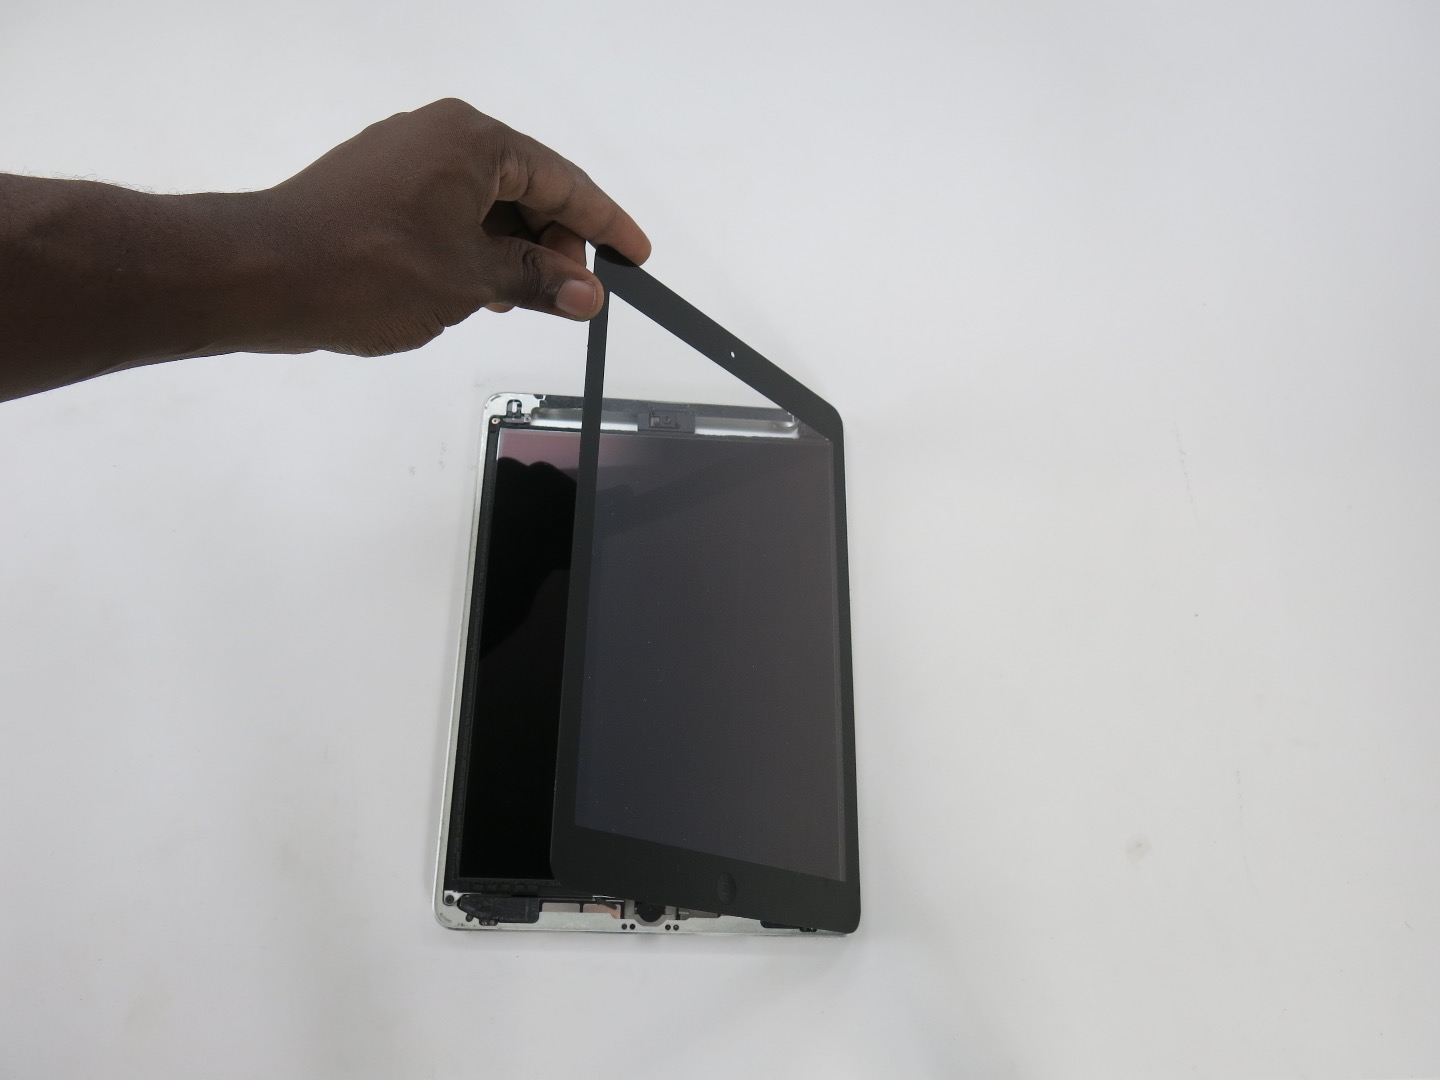
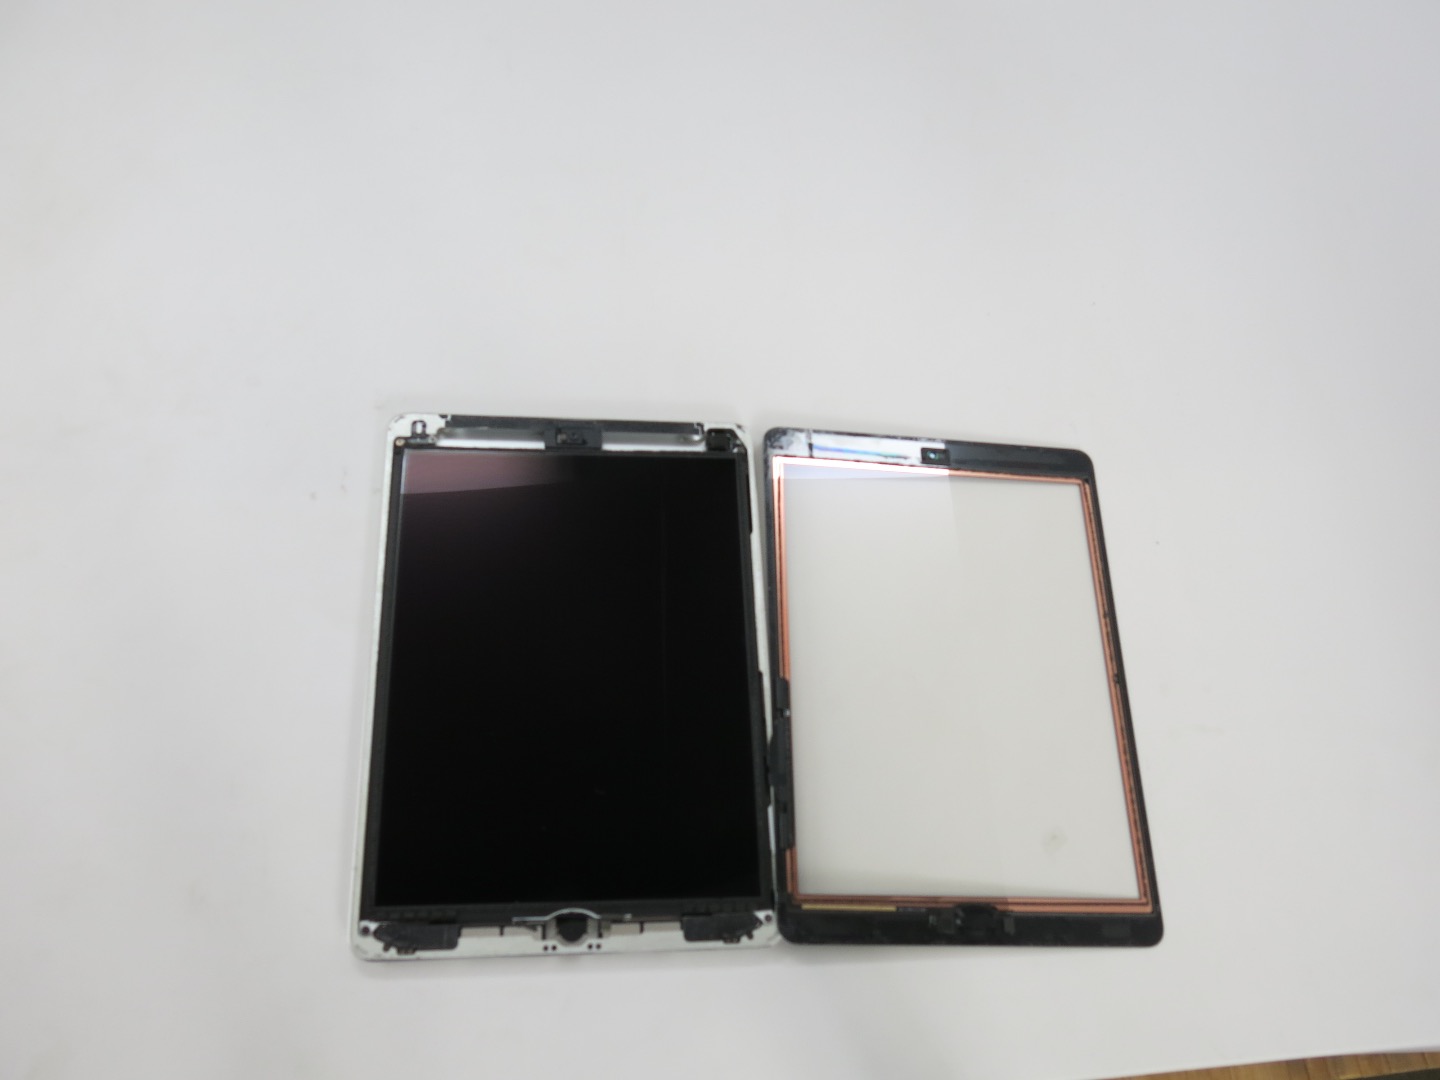
- Now you're ready to remove the screen. Lift the left side of the glass with your hand and flip it over towards the right side as you would a book. The glass screen is still connected to the iPad via the digitizer connector cables and the home button cable.
- You may need to run your spudger in between the glass and frame again to separate any adhesive that is still hanging on. Use more heat around the bezel if you need to.
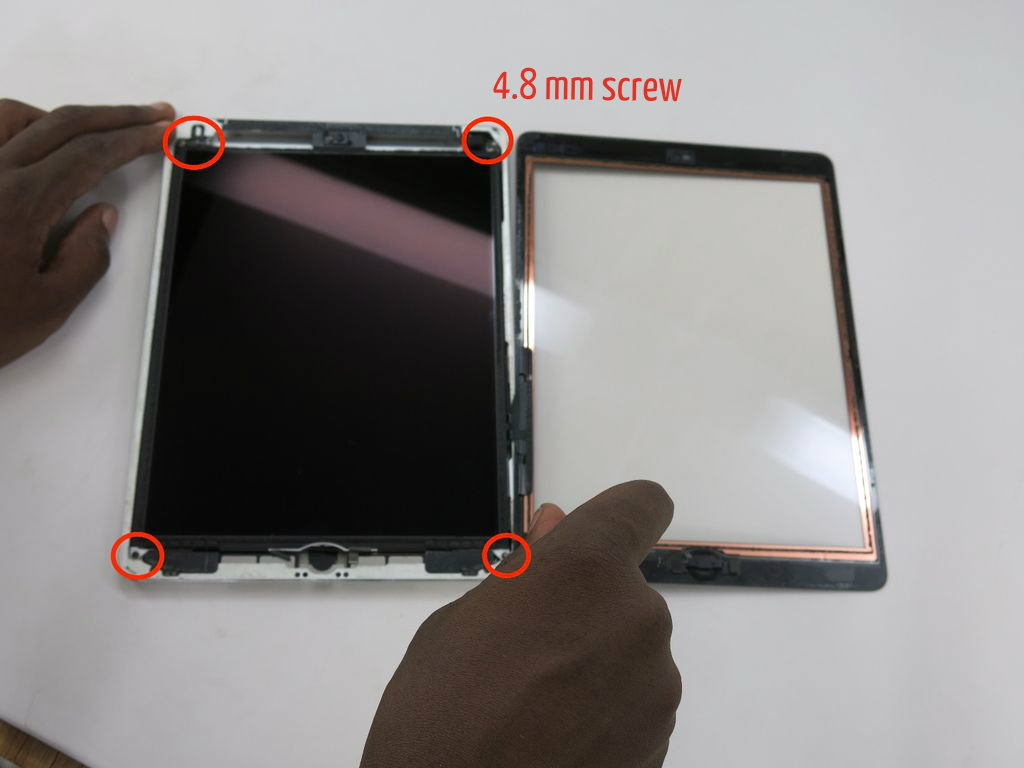
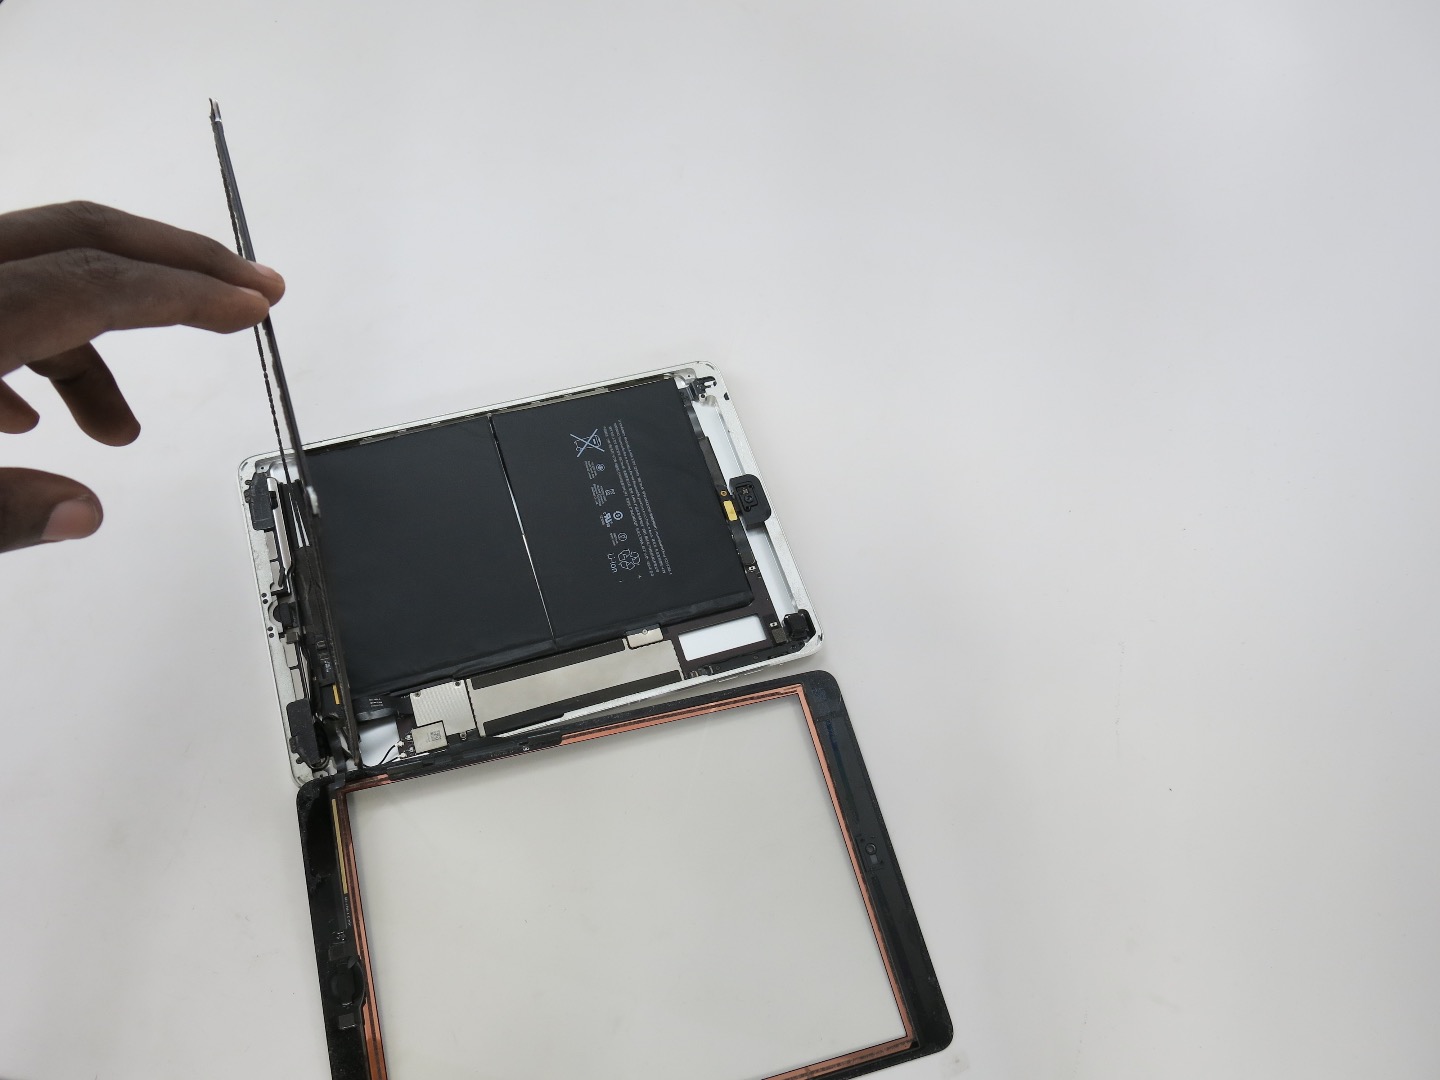
- First remove the black tape covering the four screws.
- Remove each of the four screws that hold the LCD in place and set these screws aside to reuse later. Note that the top right screw is a 4.8mm screw as opposed to the other 4mm screws, and will only fit in that one screw whole.
- Once the screws are removed, lift the LCD from the top until the internals of the iPad are exposed. Be careful because the LCD is still connected near the bottom.
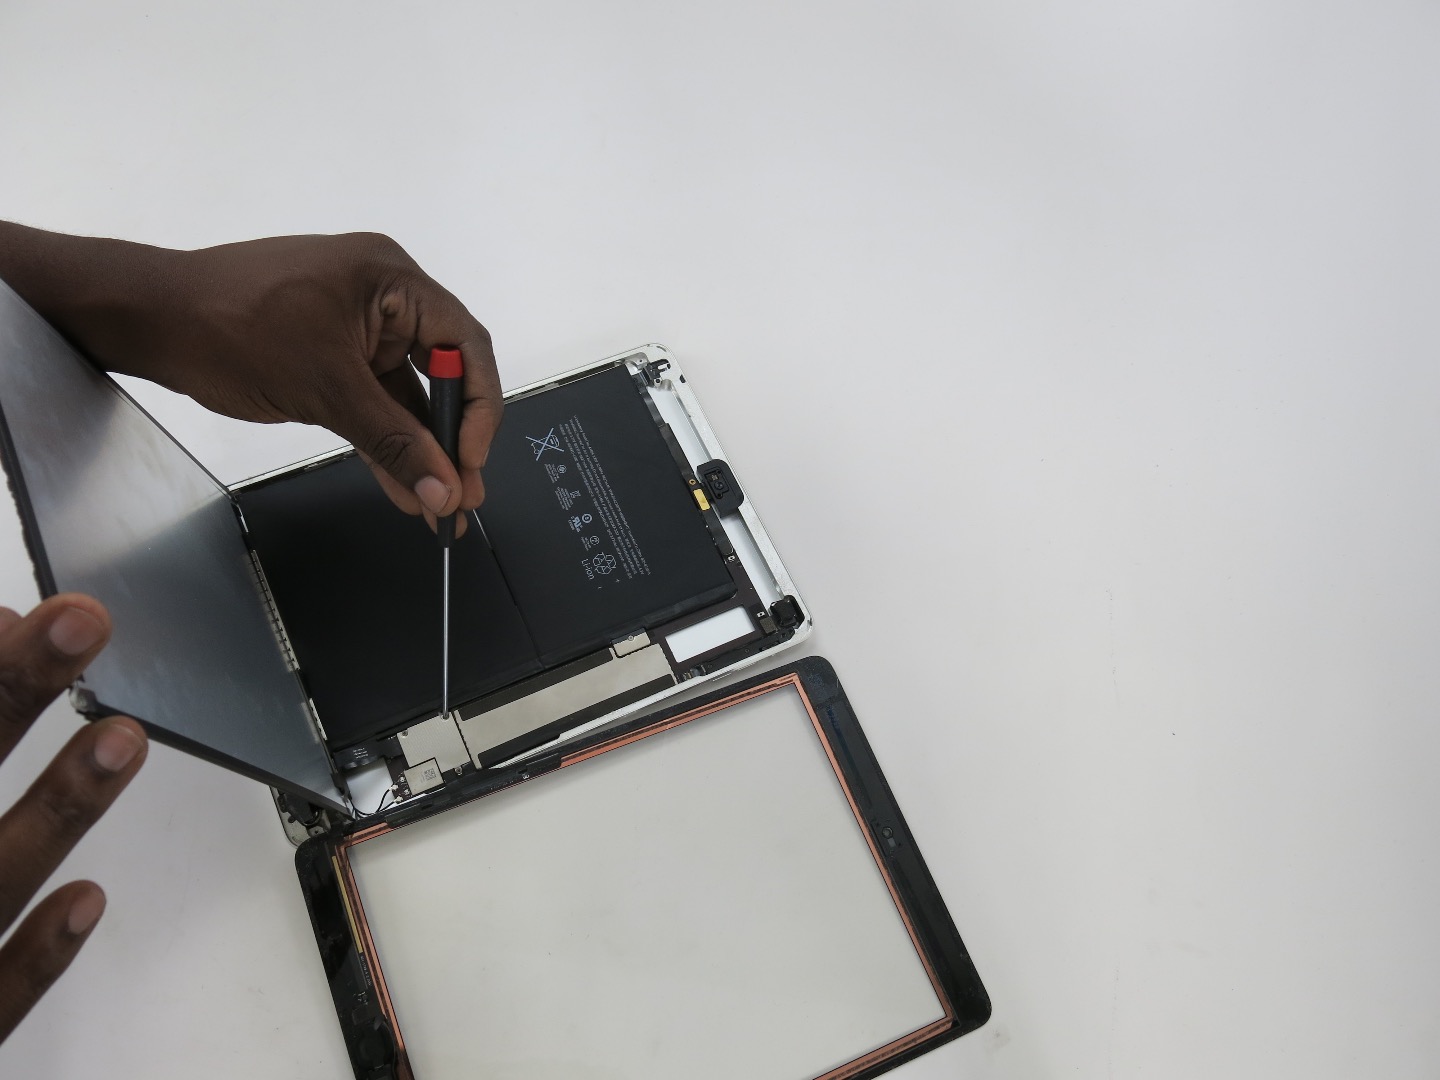
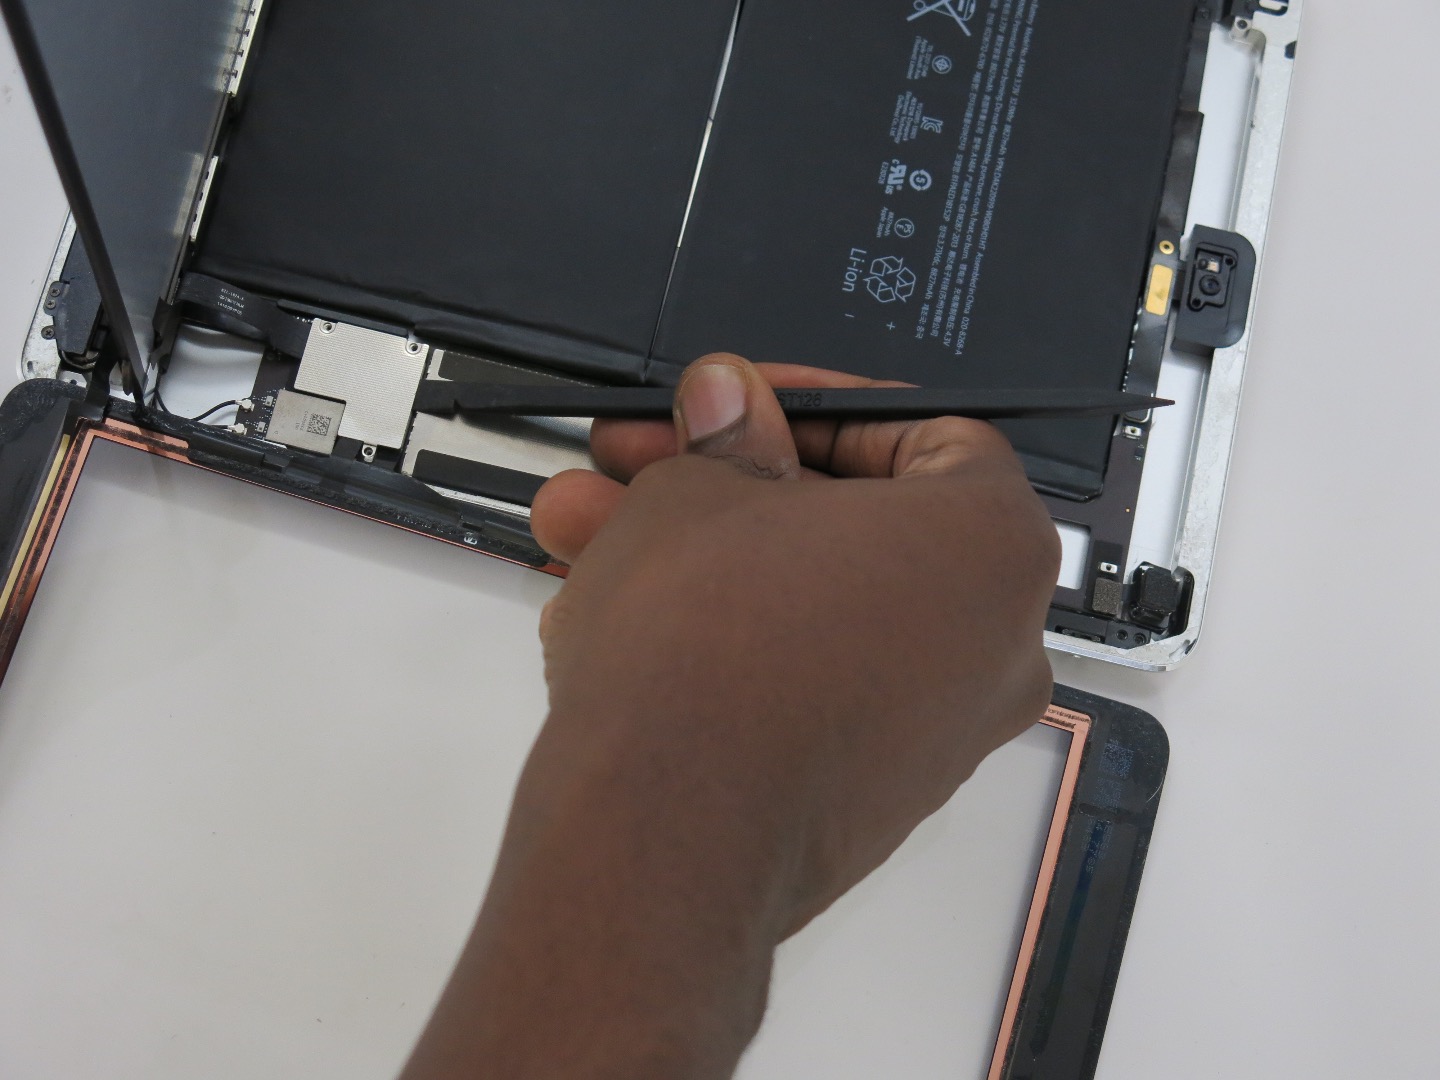
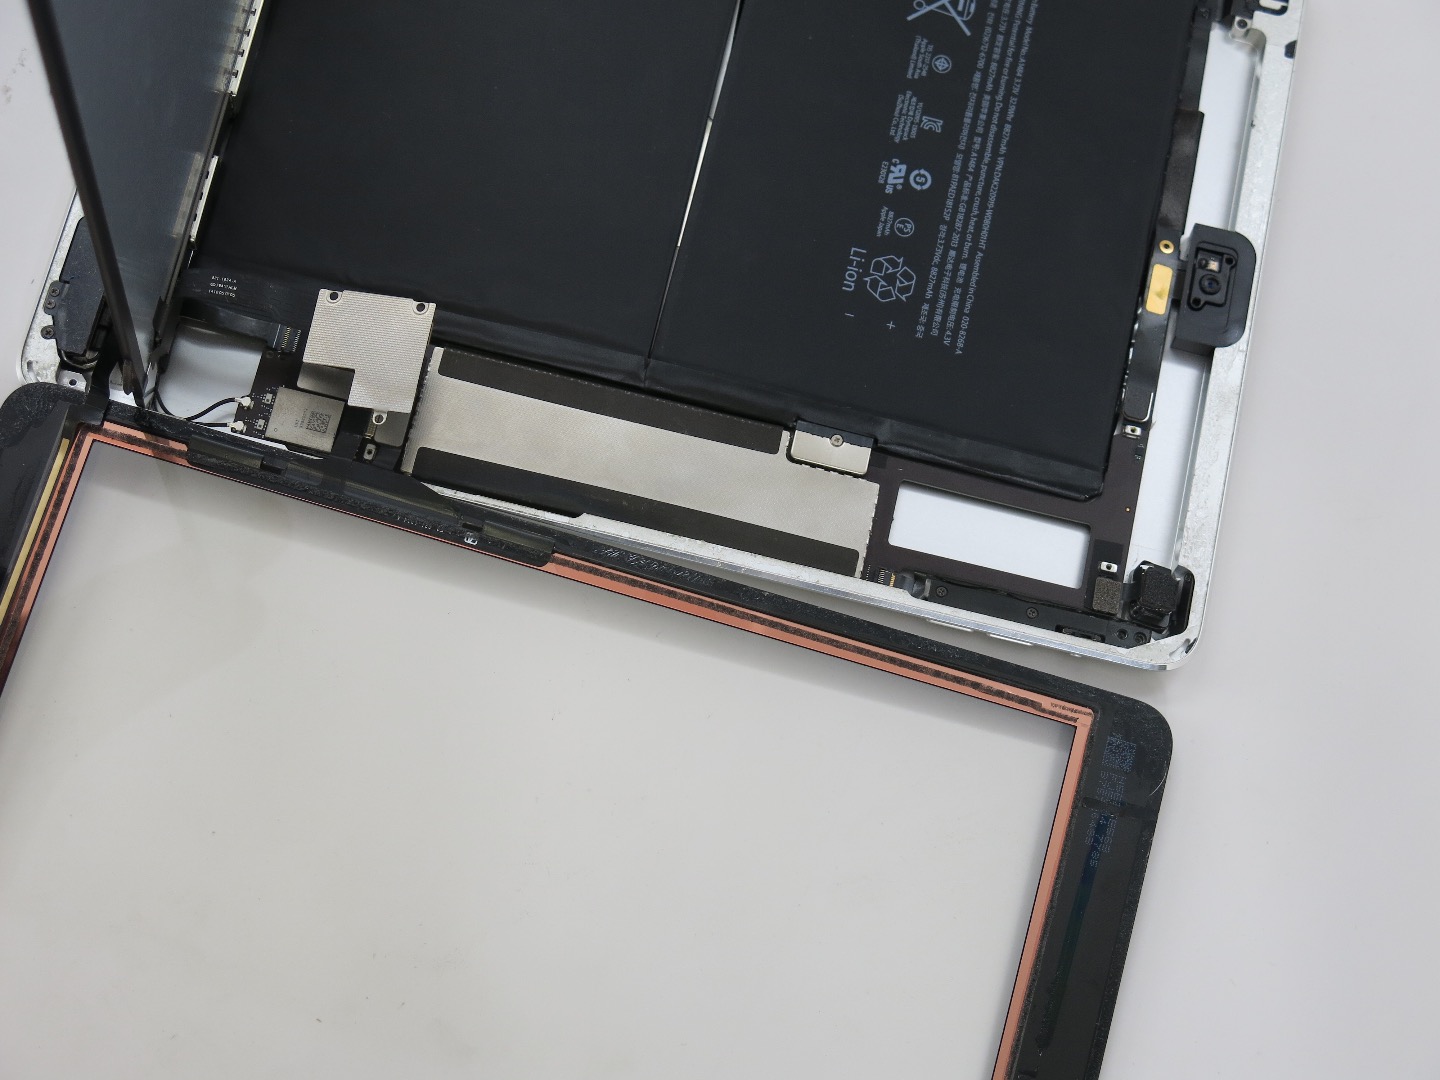
- Use your screw driver to to remove the three screws that secure the metal connector shield. Place the screws aside to reuse later.
- Remove the metal connector shield. Note that the connector shield is glued to the LCD connector and will disconnect the LCD with it. Use the flat end of your spudger to gently pry the connector and shield loose.
- Remove the LCD, set it aside.
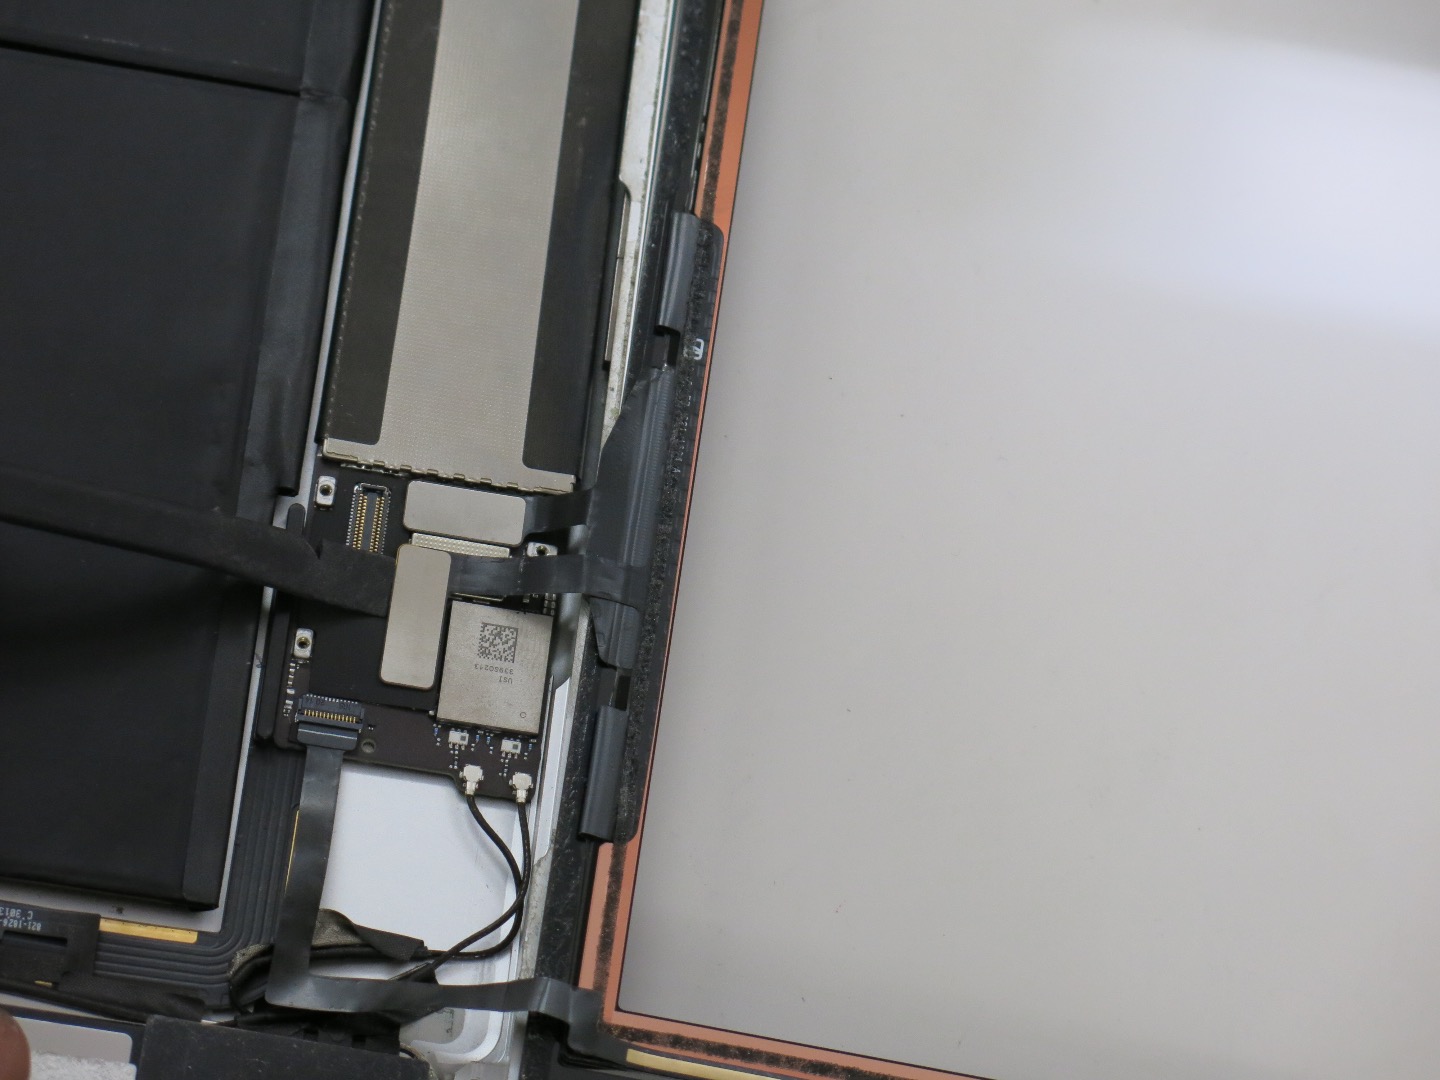
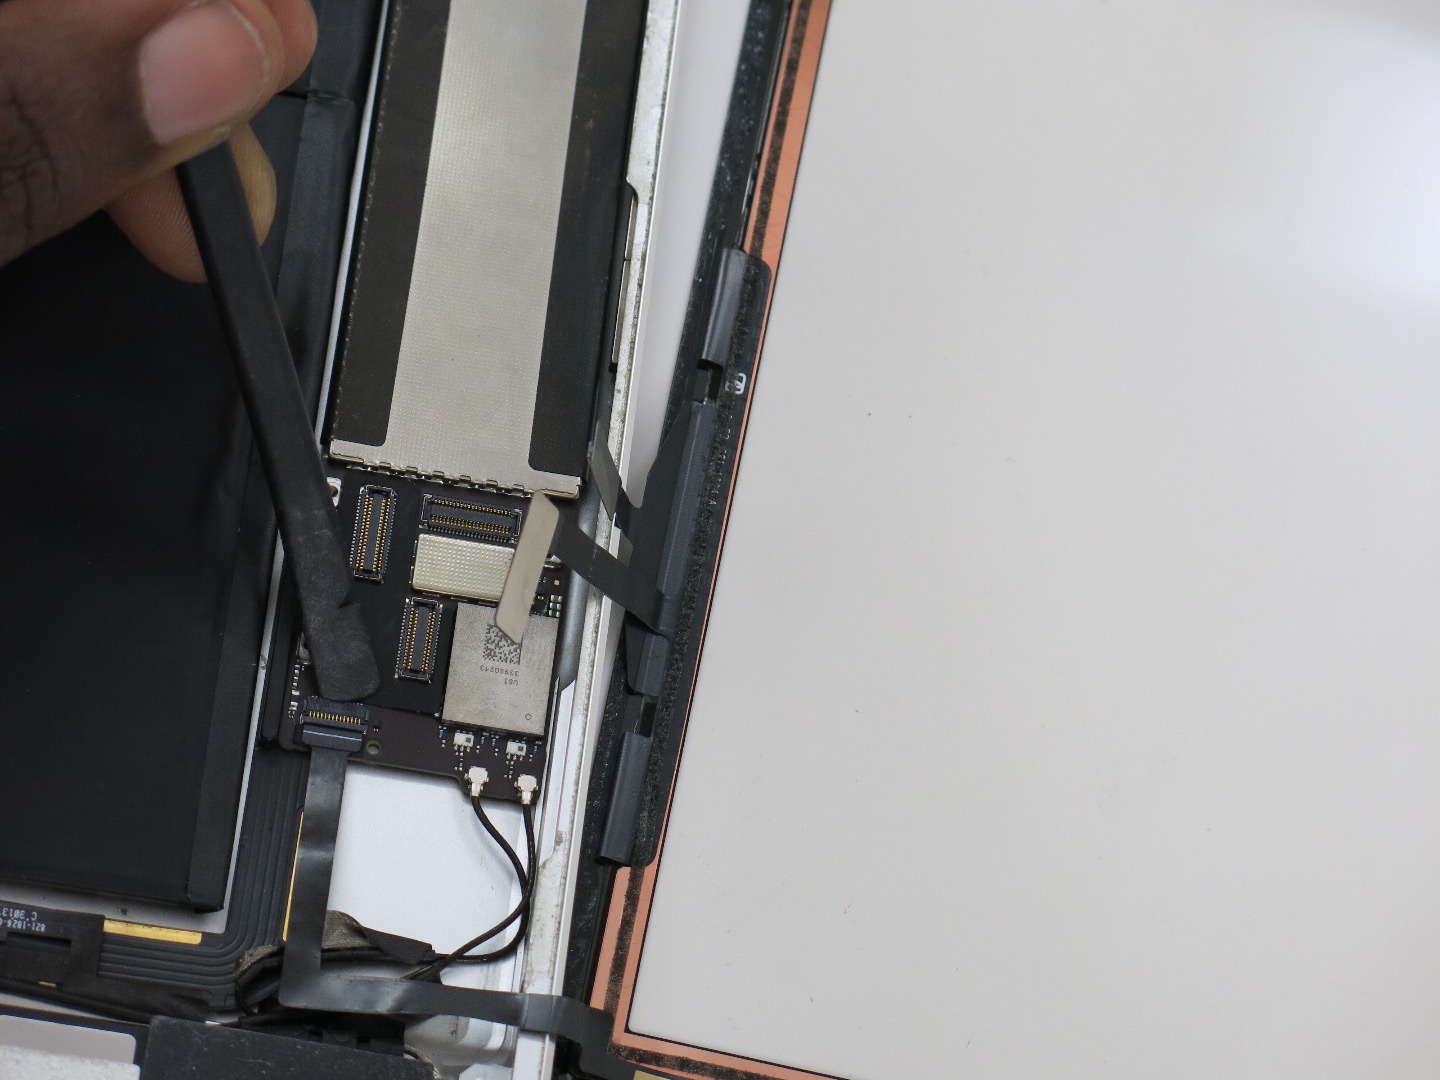
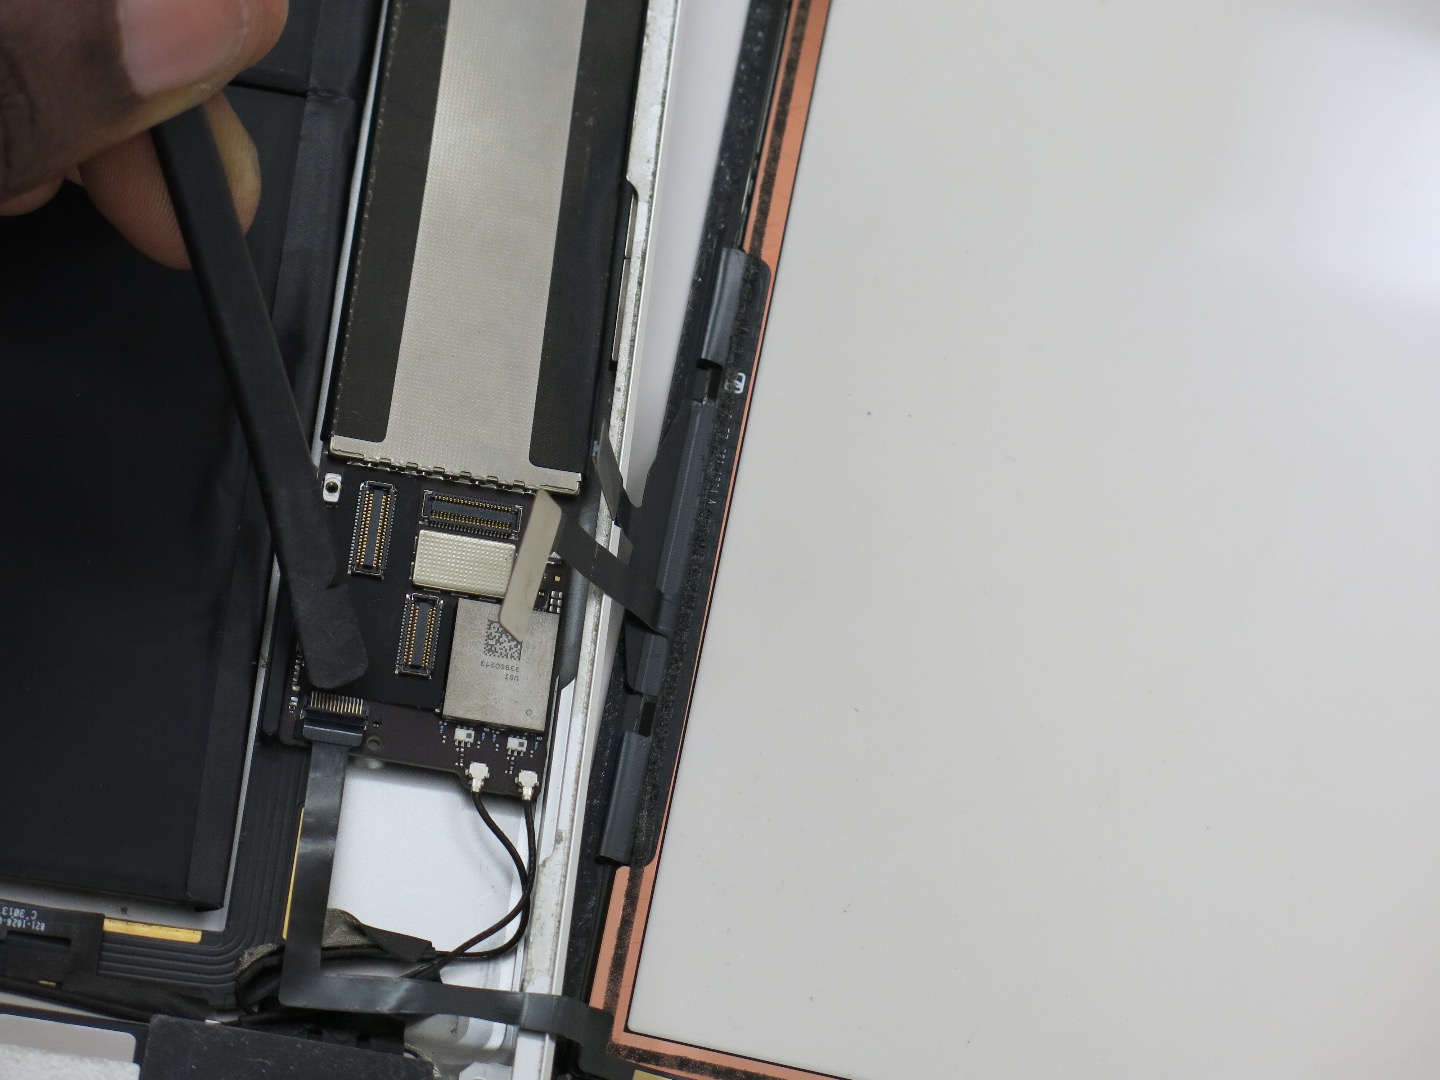
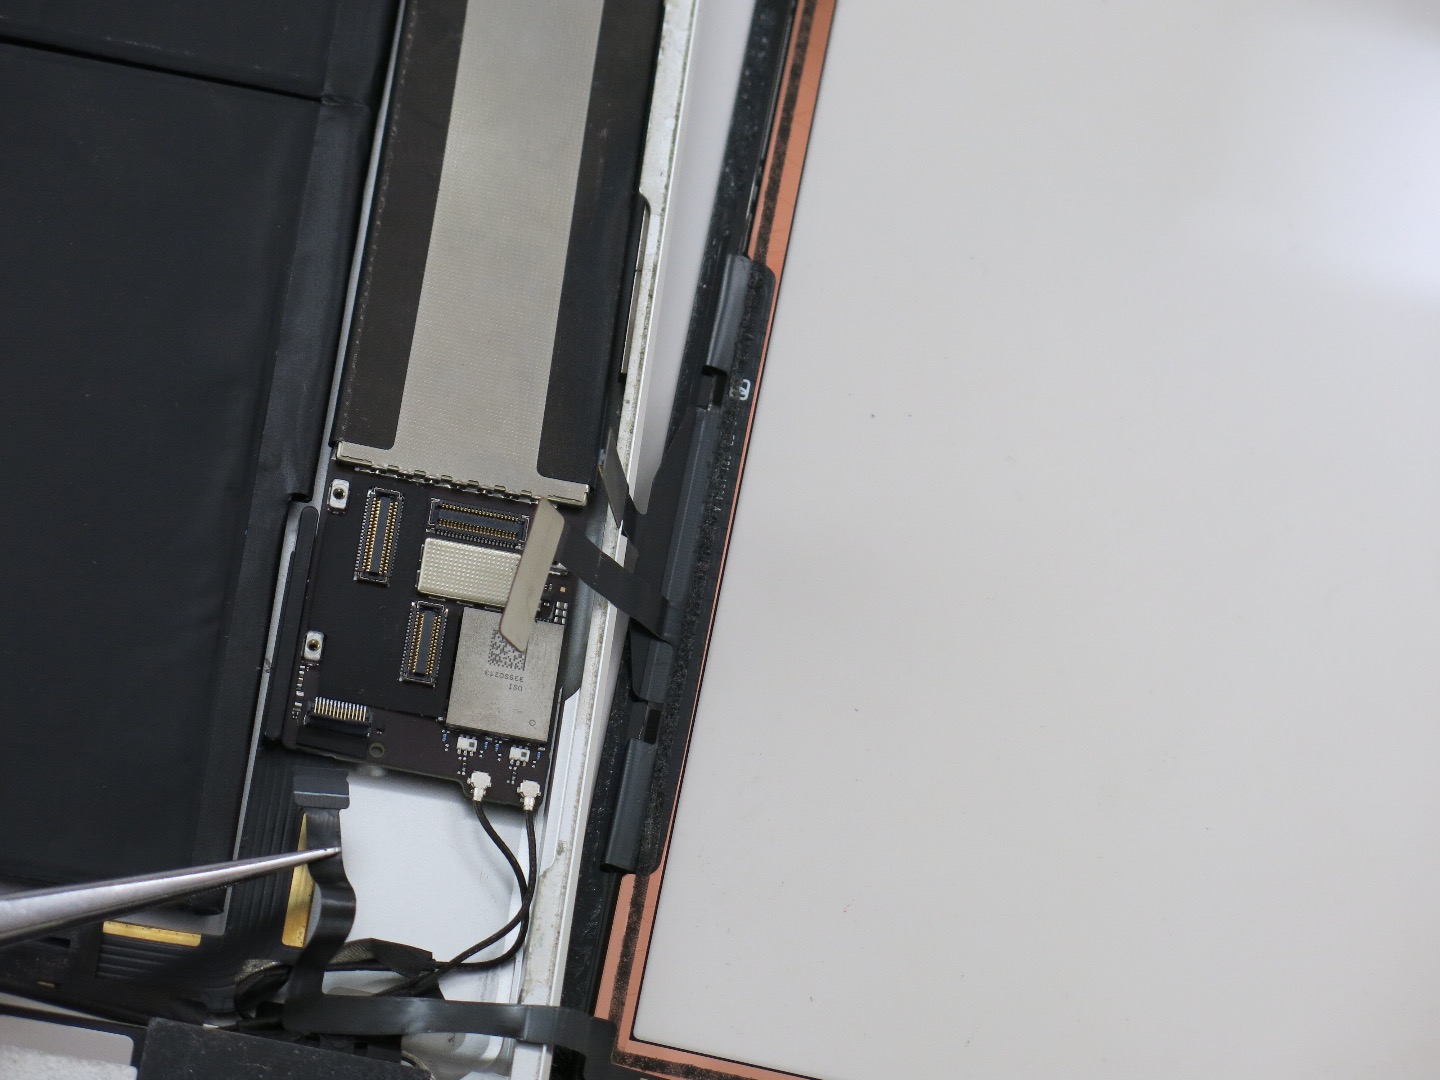
- Use the flat end of your spudger to gently pry the digitizer connectors loose.
- Next remove the black tape covering the home button connector cable, you can save the black tape to reapply it later. Again use your spudger to to flip up the connector and remove the home button cable. You can now fully remove the digitizer.
Preparing the New Digitizer
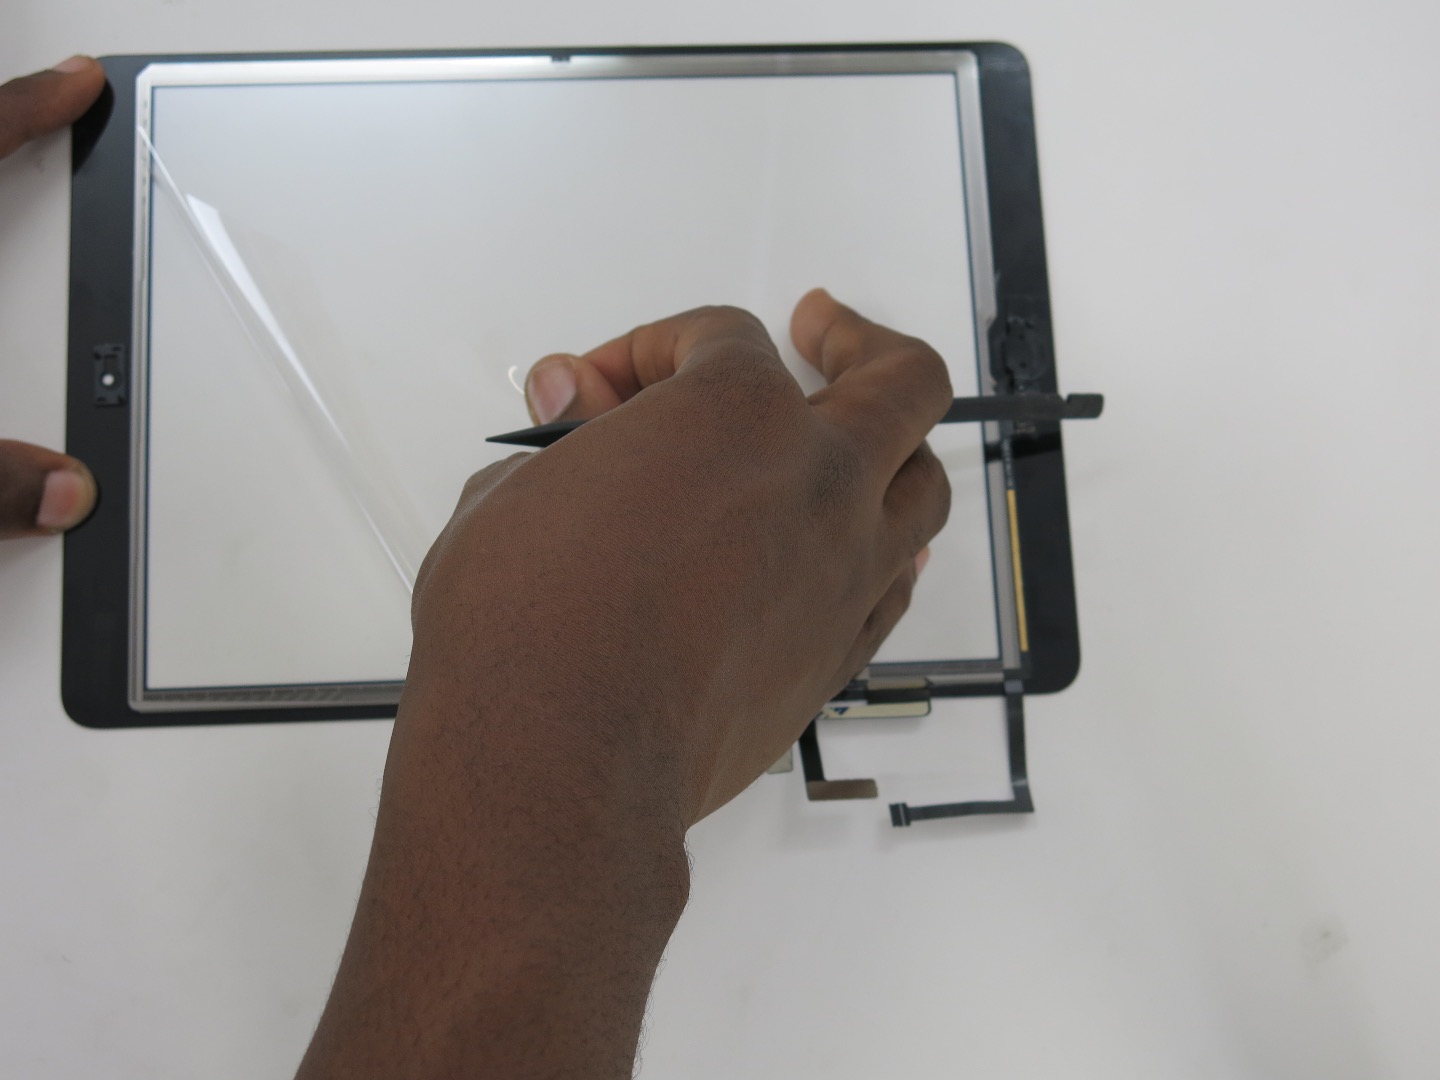
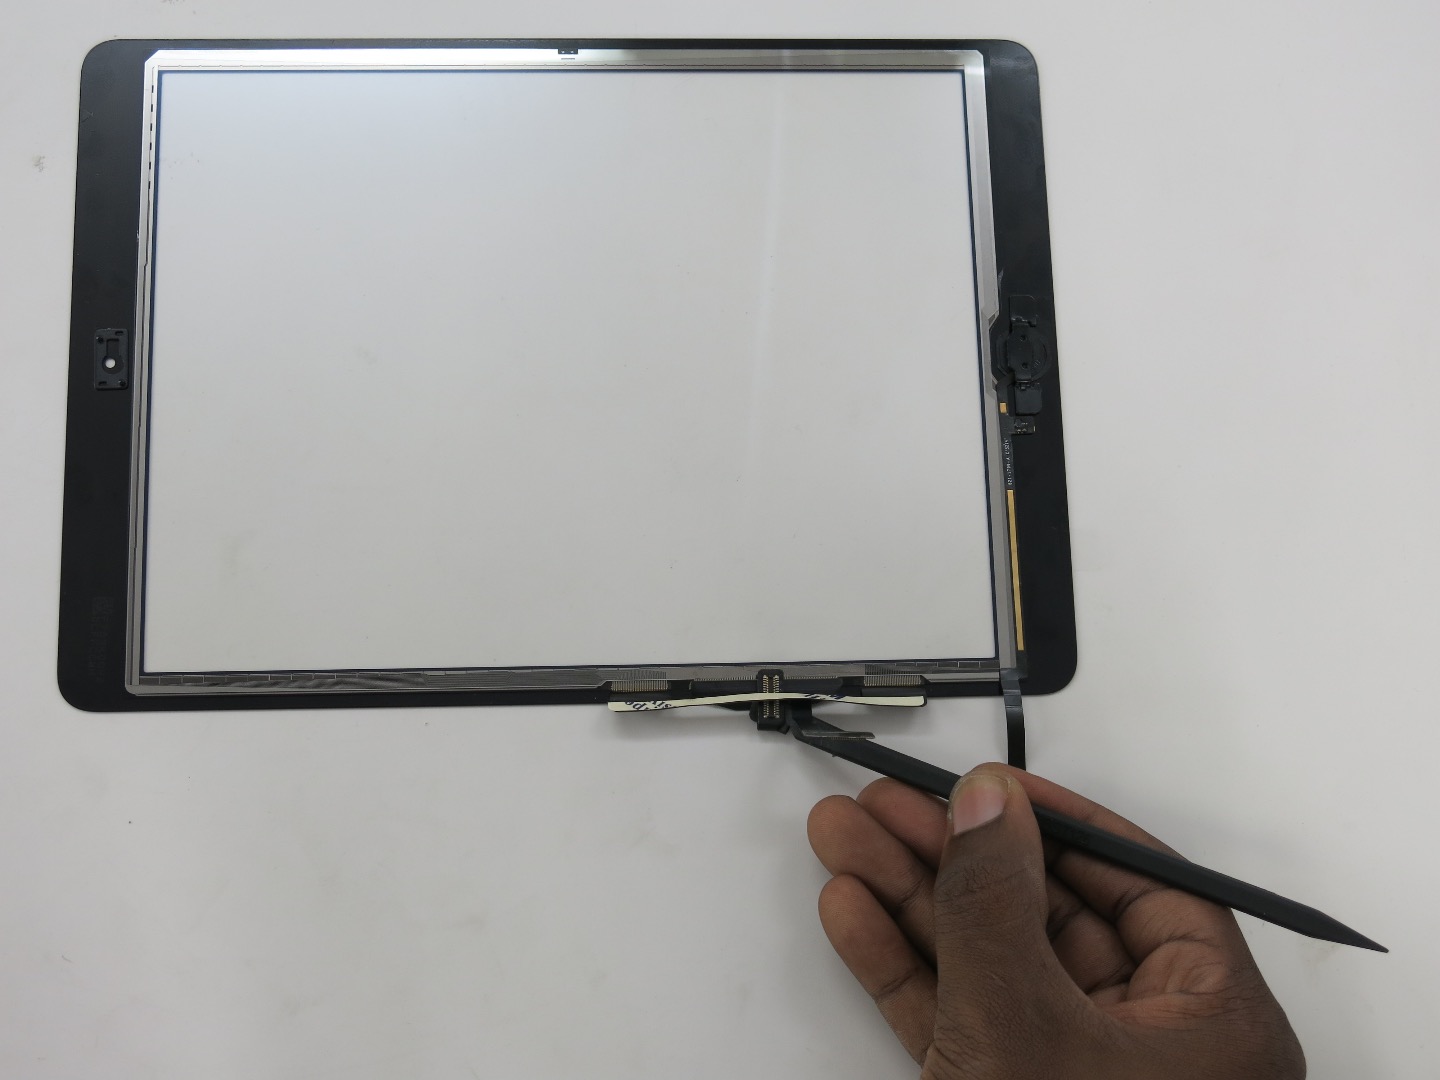
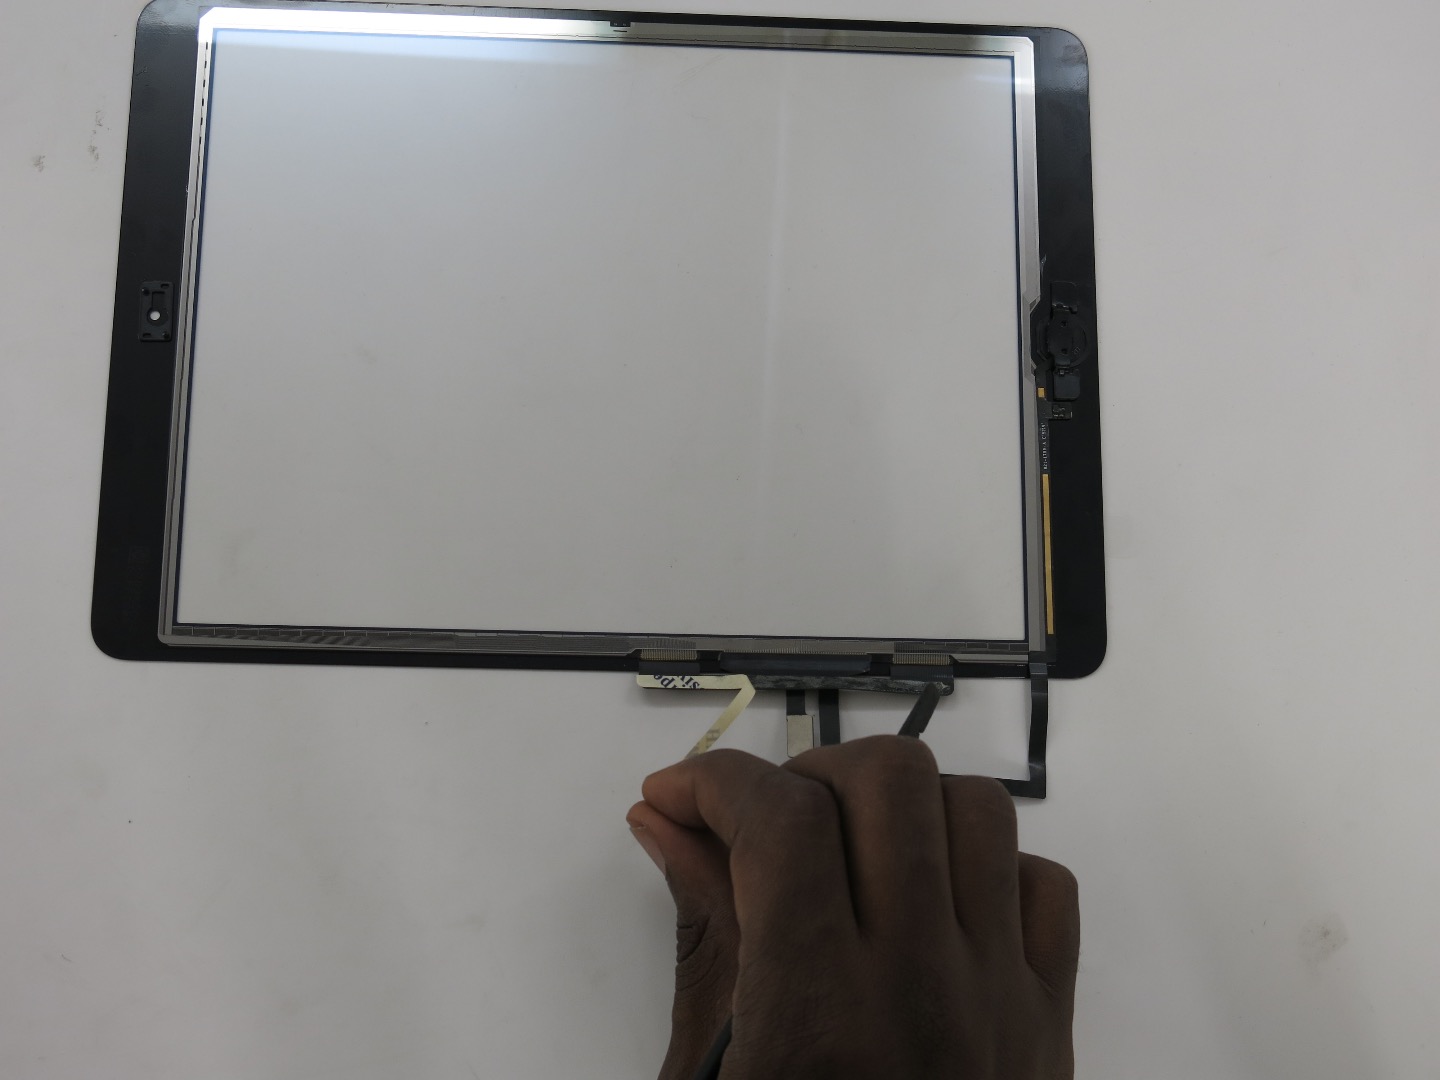
- Use the plastic tab to remove the plastic shield from the inside of your glass digitizer. Be careful not to touch the inside of the glass, any spots you leave you will have to clean later.
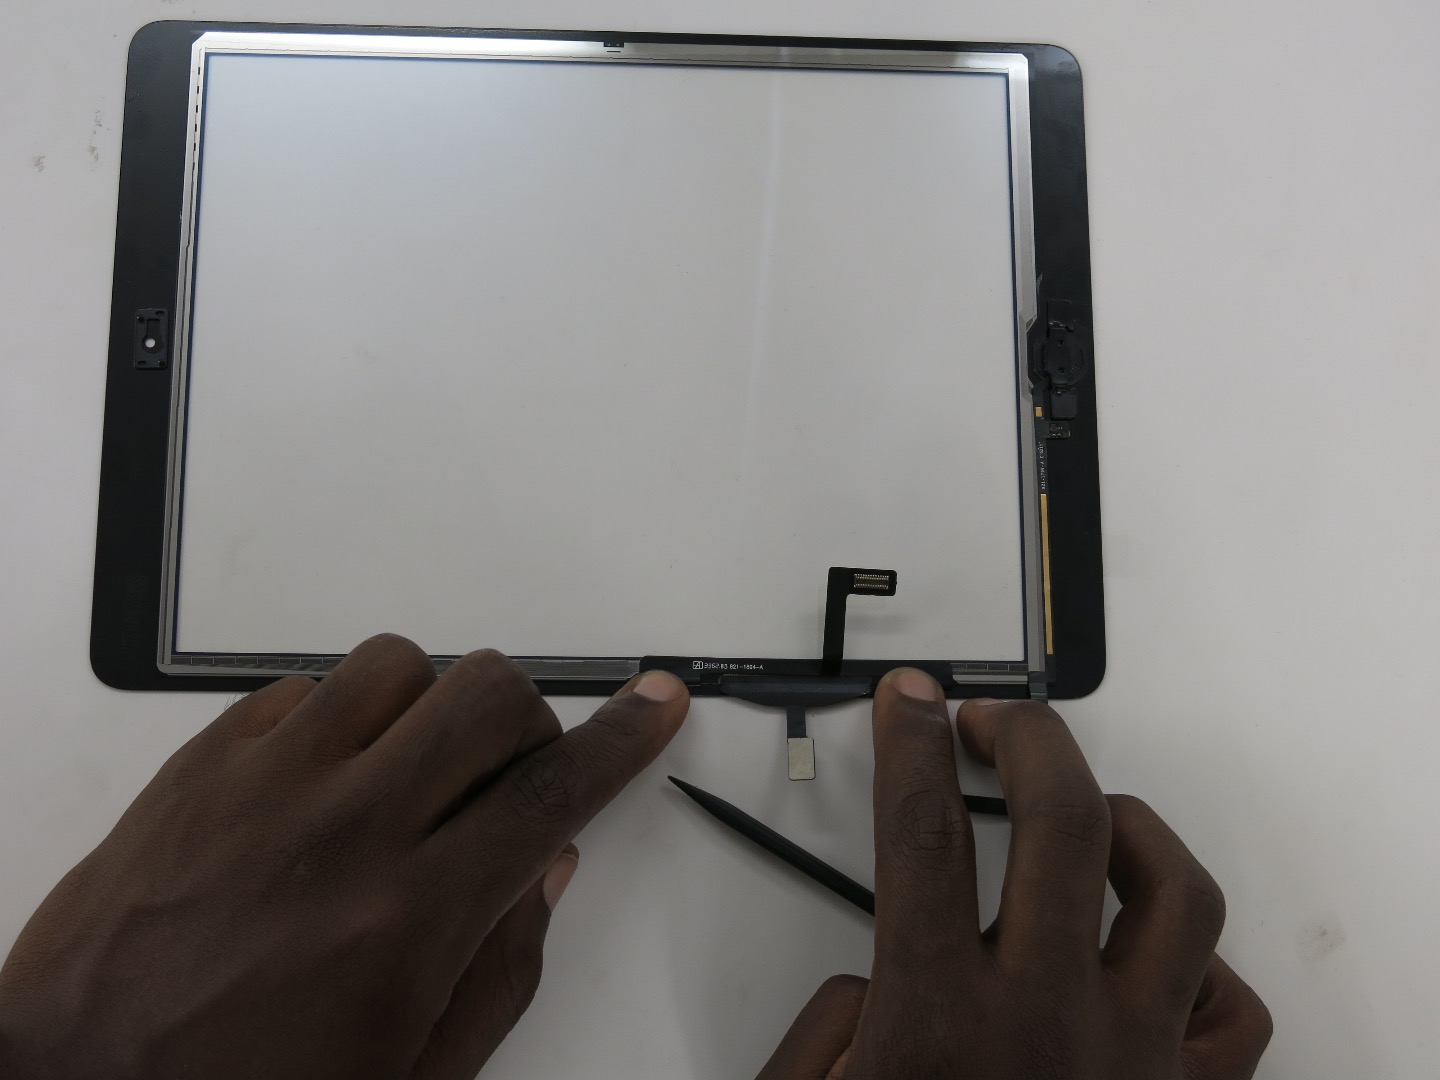
- Feed the top cable through the slit in the bottom cable so that when you remove the adhesive and fold the bottom cable over it is not obstructed.
- Peel the strip off that covers the adhesive and fold the cable so that its almost flush with where the clear glass begins on the digitizer. Make sure that when you turn the digitizer over you can't see the cable on the edge.
Clean and Tape
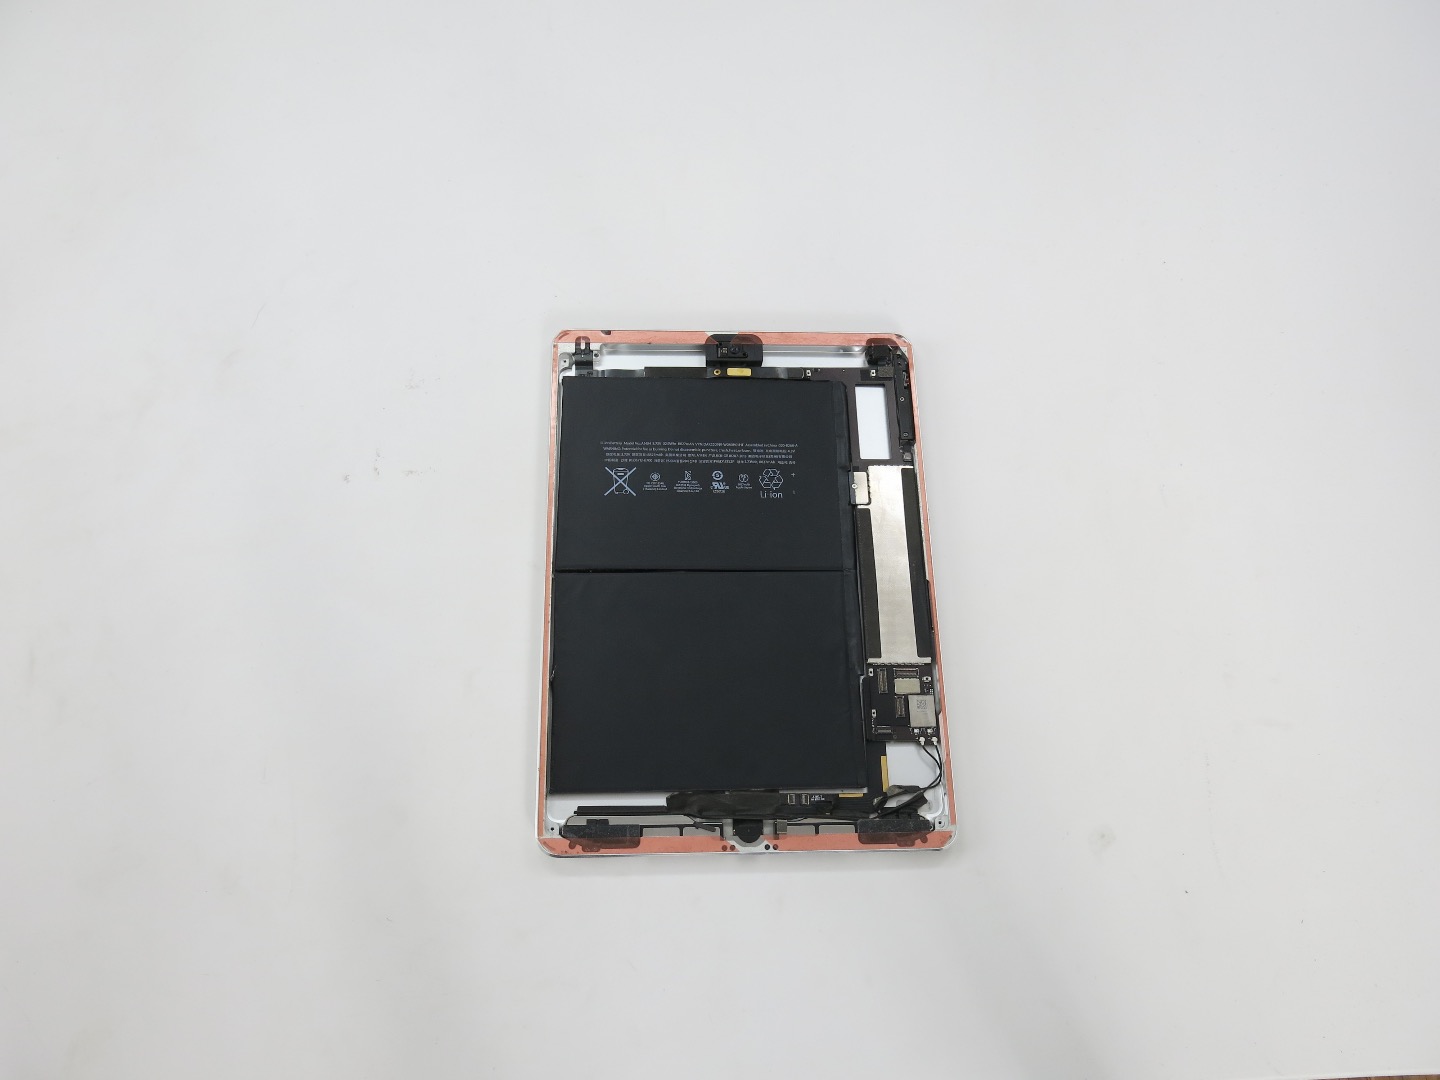
- Use the metal screen removal tool to scrape any of the excess black adhesive and glass from the metal frame. Also make sure that the inside of the iPad is clean of any glass or debris. This step is very important because any glass caught in between the frame and new digitizer may cause it to break.
- Tape the metal frame of the iPad using the quarter inch tape along the top and bottom and the 2mm tape along the sides like it is in the picture above.
Reassembly
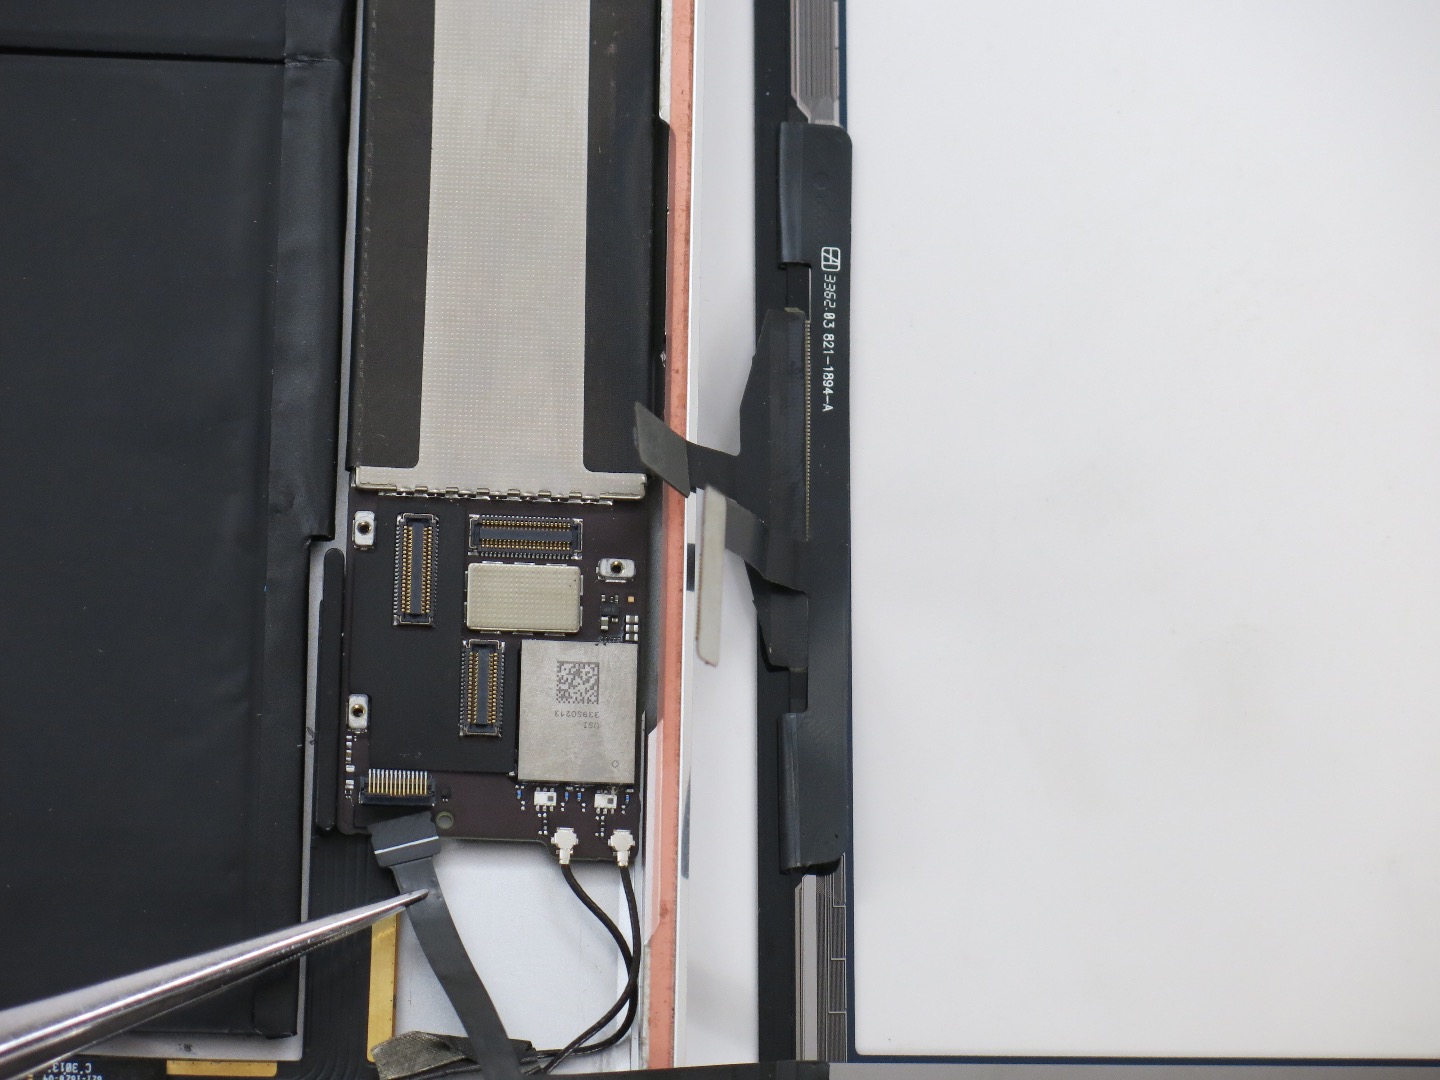
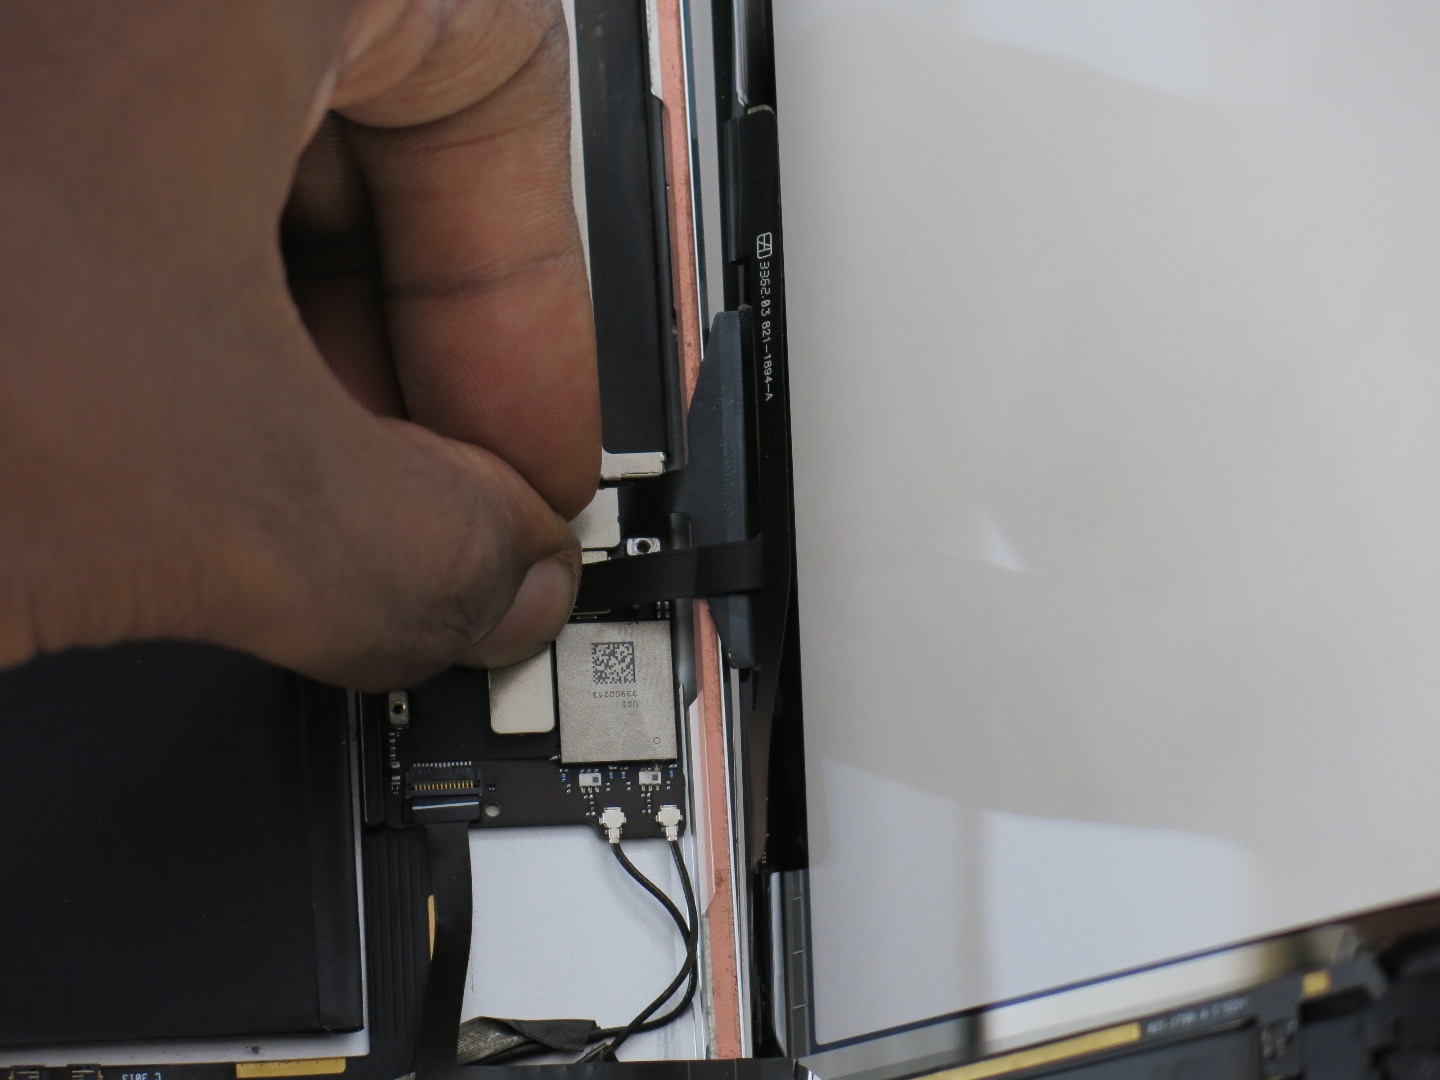
- Lay the new digitizer beside the iPad. Insert the home button cable and and flip down the connector. Place the black tape over the connector if you saved it earlier.
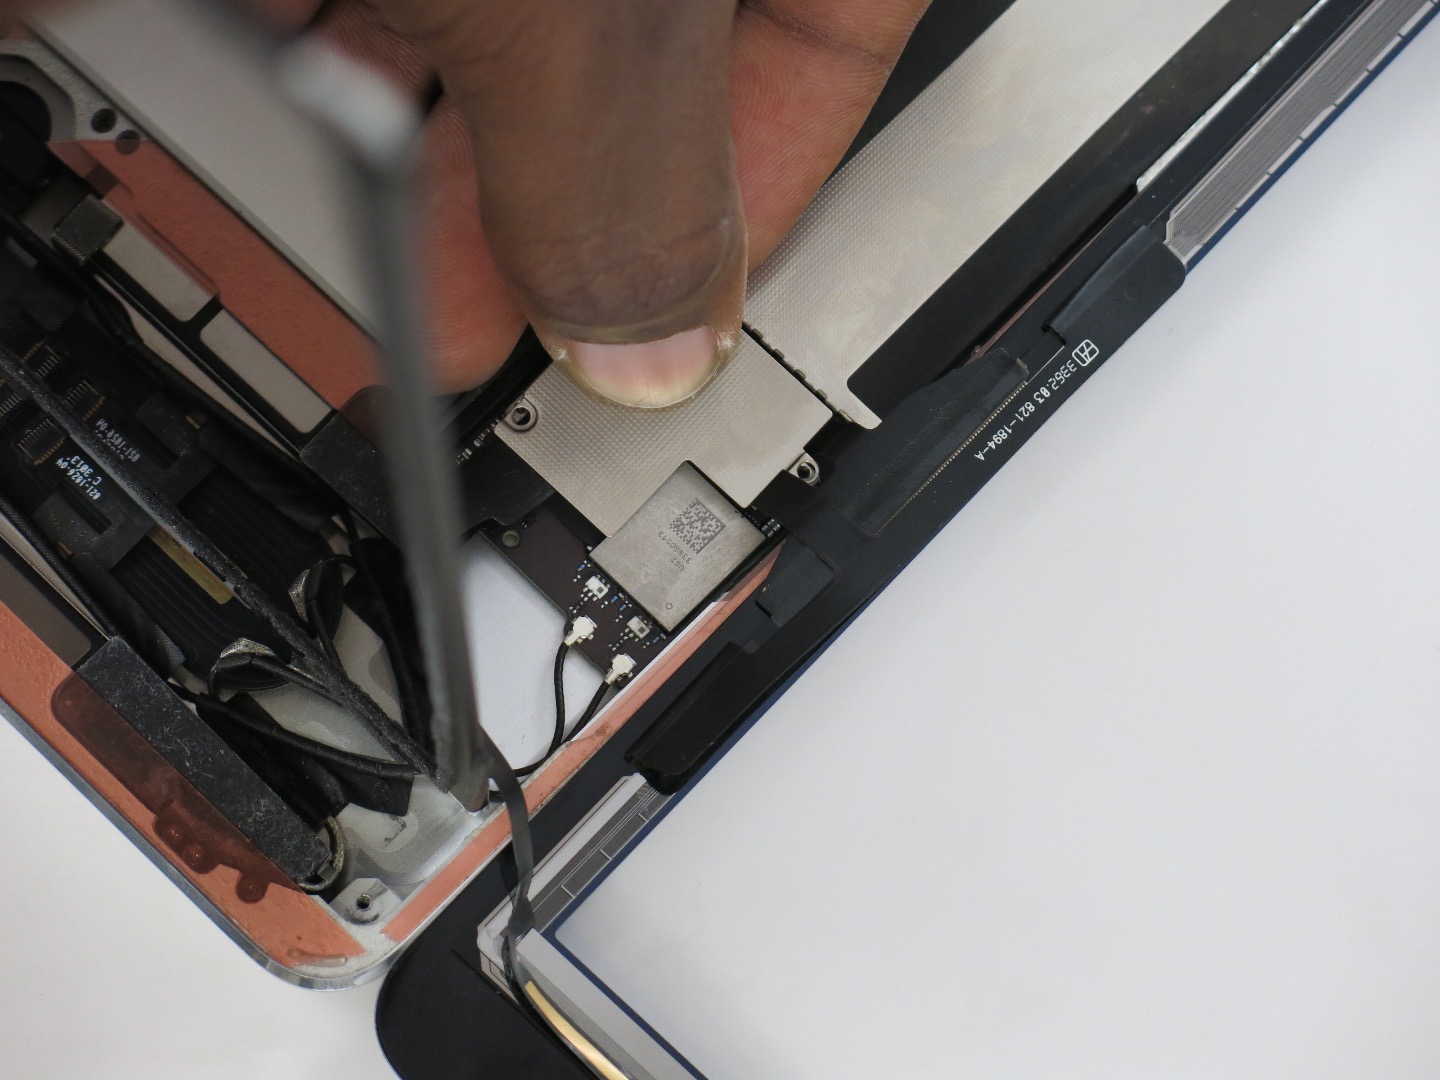
- Connect the two digitizer cables. To connect these cables, line them up with the connectors and gently press down using your thumb, you should feel the connector snap in place. If the connector doesn't seem to sink in, realign the cable.
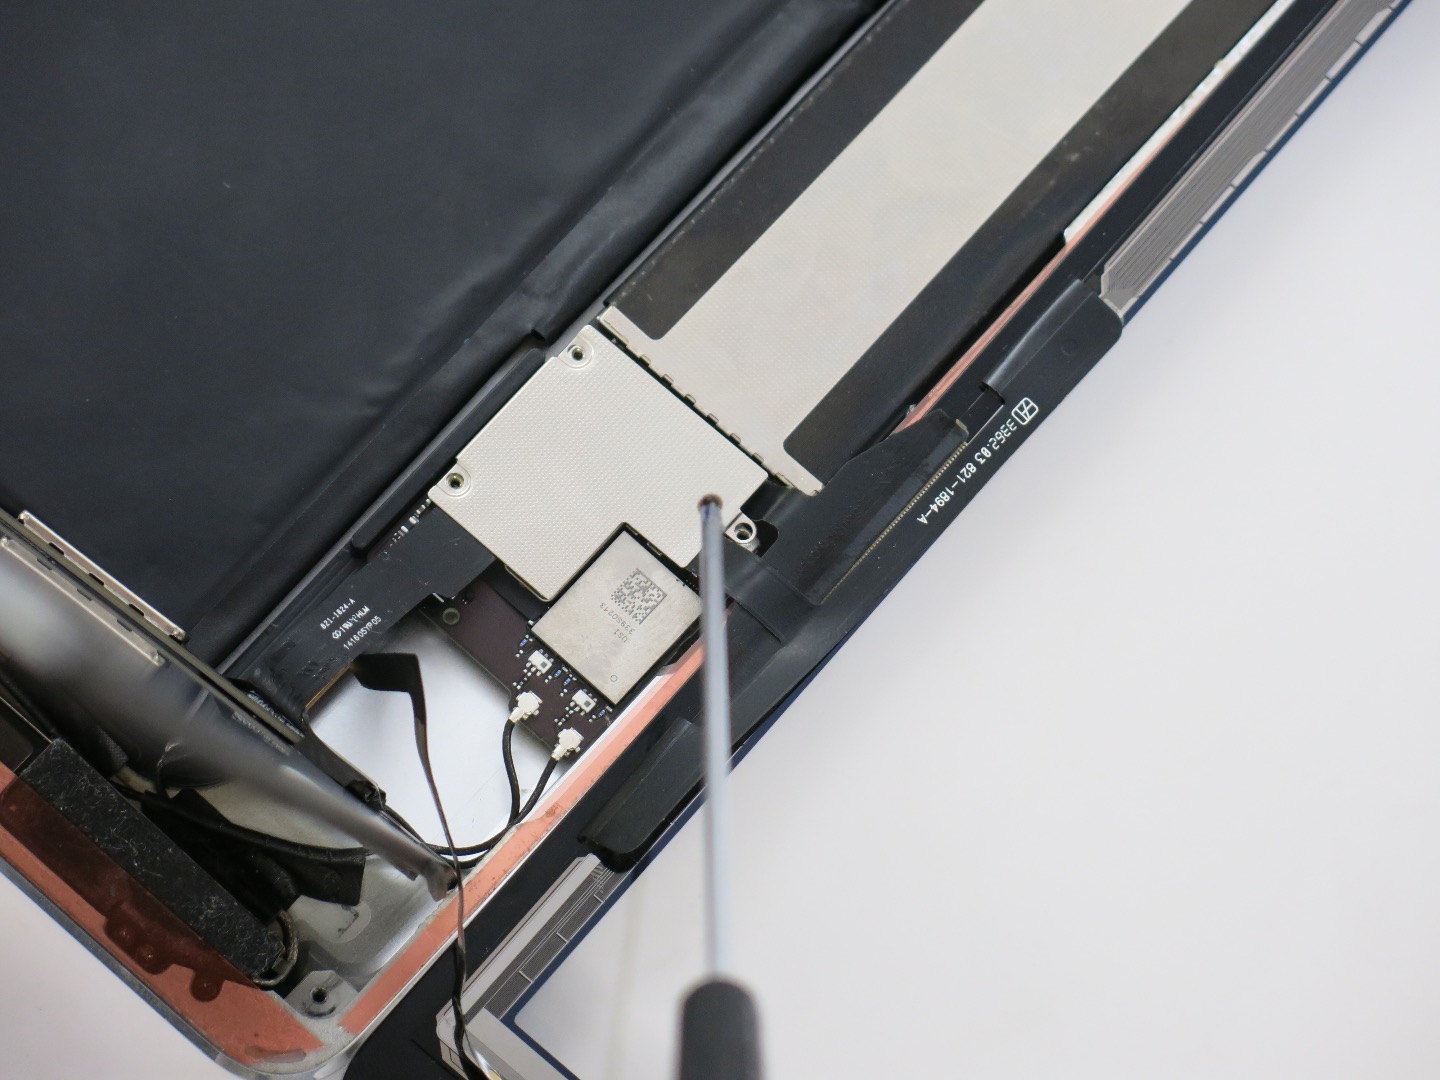
- Next set the LCD in place and connect the cable to the Logic Board. The easiest way to do this may be to line the three screw holes on the metal shield up to the screw holes on the board and then gently press it into place with your thumb.
- Finally replace the three screws for the metal shield that you removed earlier and lay the LCD in the iPad.
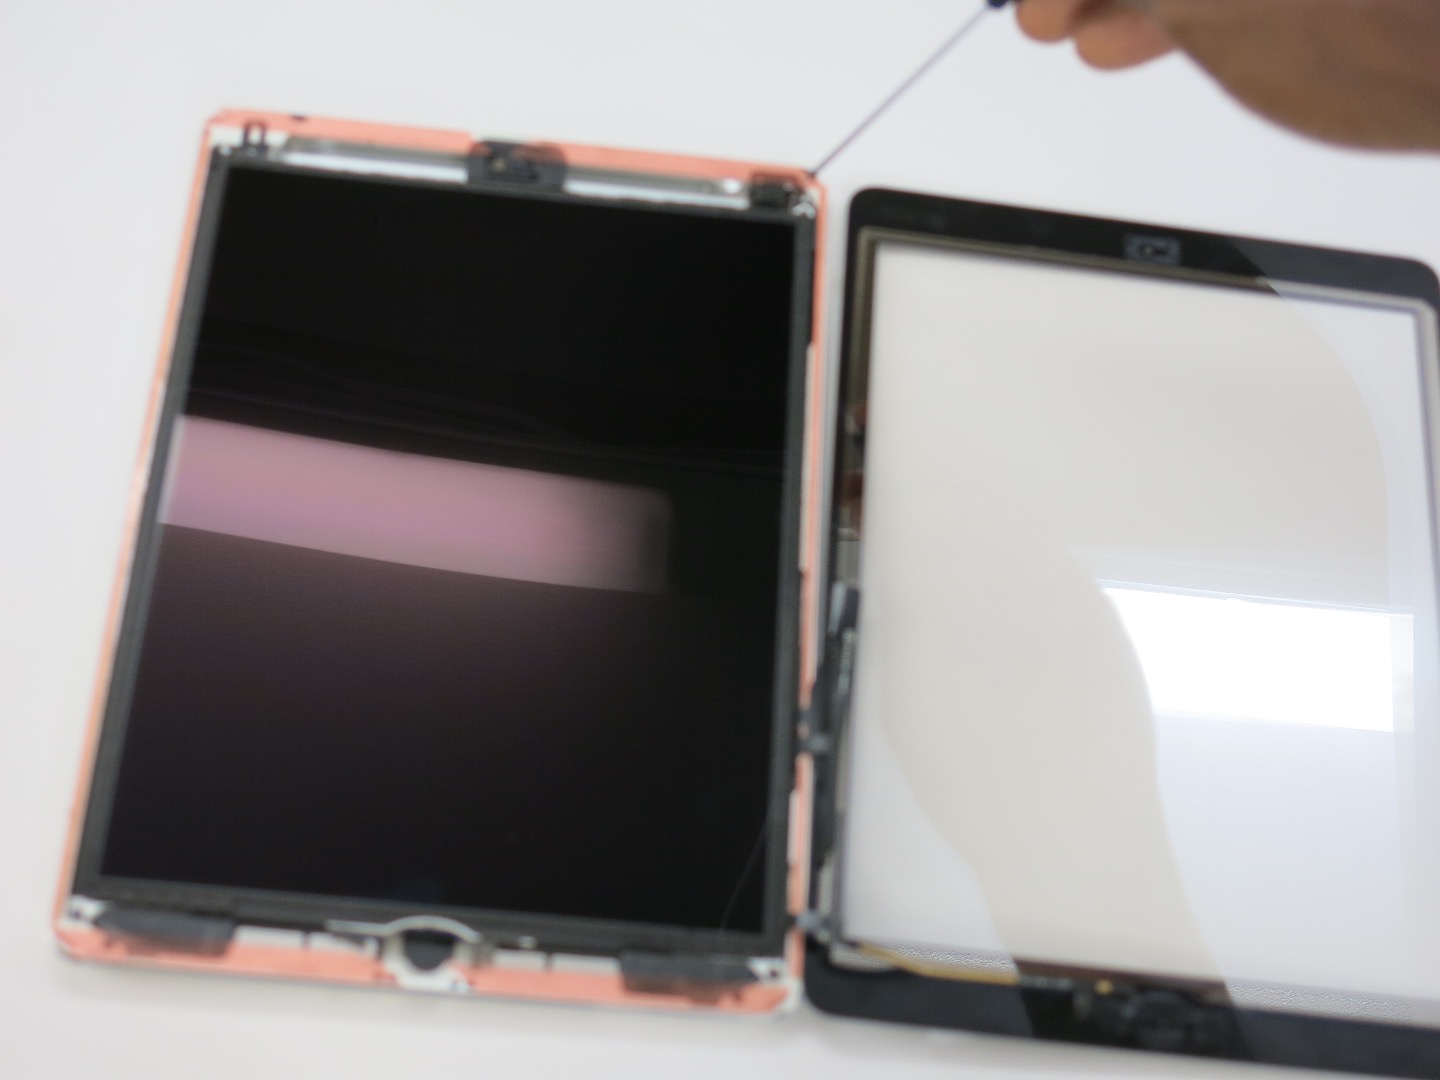
- Now securely screw in the four LCD screws that you removed earlier. Remember that one screw is a bit longer and belongs in the top right screw hole.
Checking the IPad
- With the iPad on a flat surface and before removing the plastic cover on the adhesive, turn the iPad and fold the screen over so that you can check it. You're going to check the functionality of the iPad to ensure that everything is working before we close it.
Things to check:
- Open both cameras
- Click home button and ensure it's responsive
- Check that LCD looks fine
- Make sure that power, volume, and mute switch still work
- Connect to a wifi network and ensure signal is strong
- Long press an app and run it across the screen to make sure there are no unresponsive spots on the touch glass
Final Prep & Cleaning
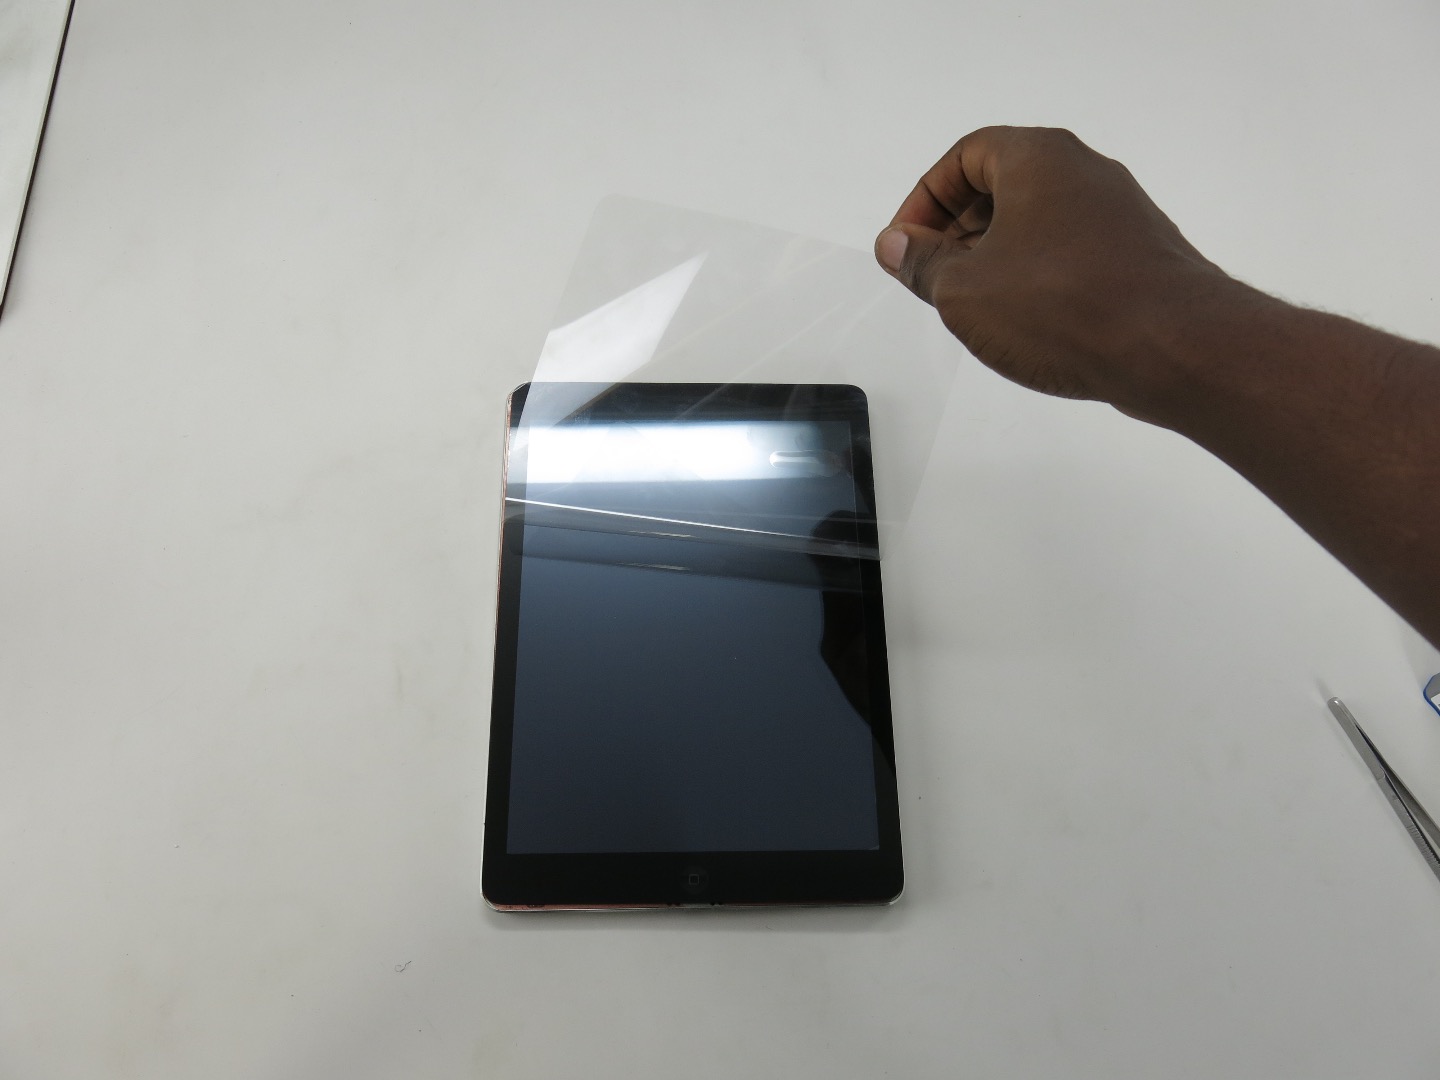
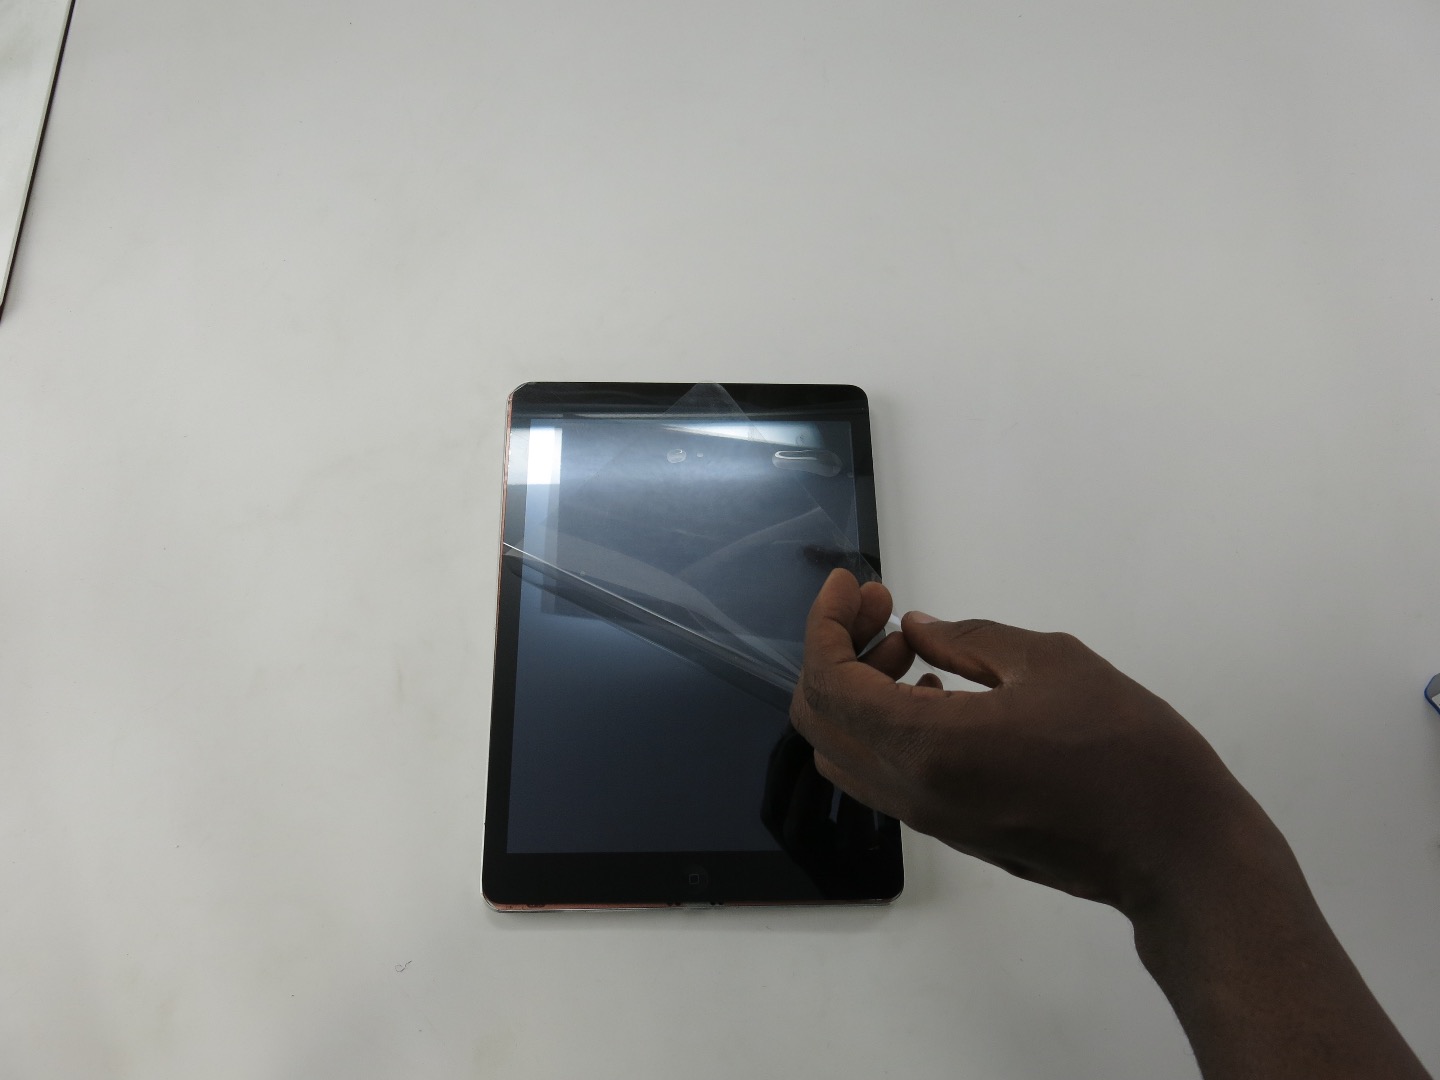
- With the glass digitizer over the LCD, lift or remove the plastic cover on the front so that you can check for any blemishes, spots, or dust.
- If you see anything such as a spot or fingerprint , use a clean cloth and screen cleaner if necessary to wipe it away. For dust use compressed air, can-of-air, or a clean dry cloth and your fingertip.
Sealing the Screen
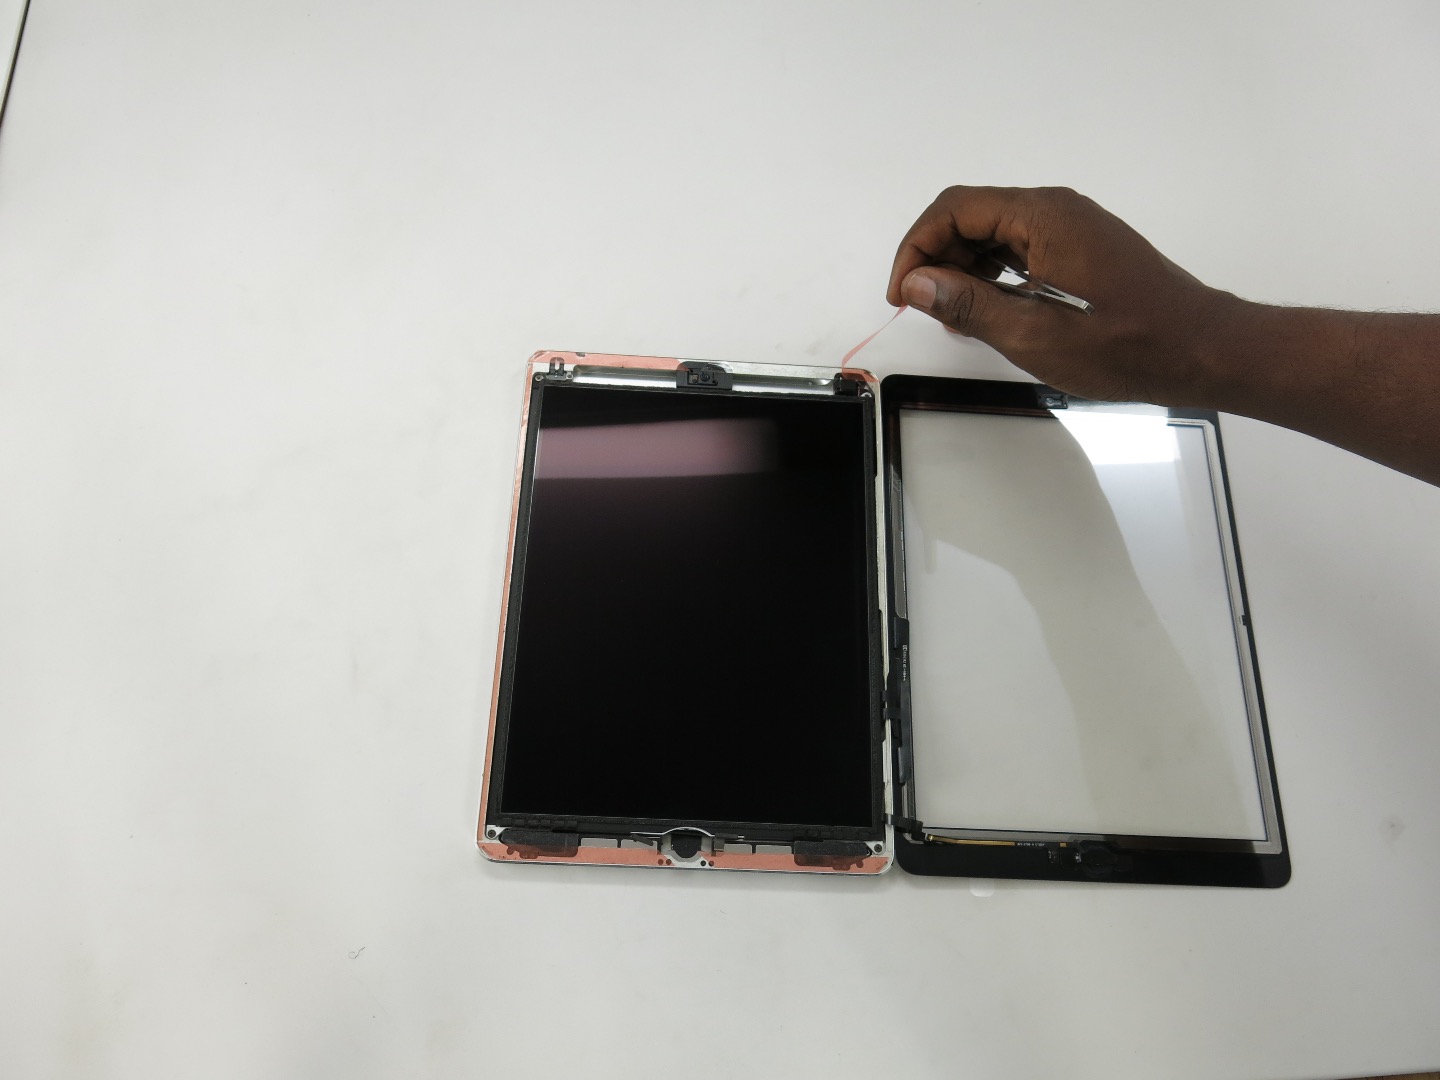
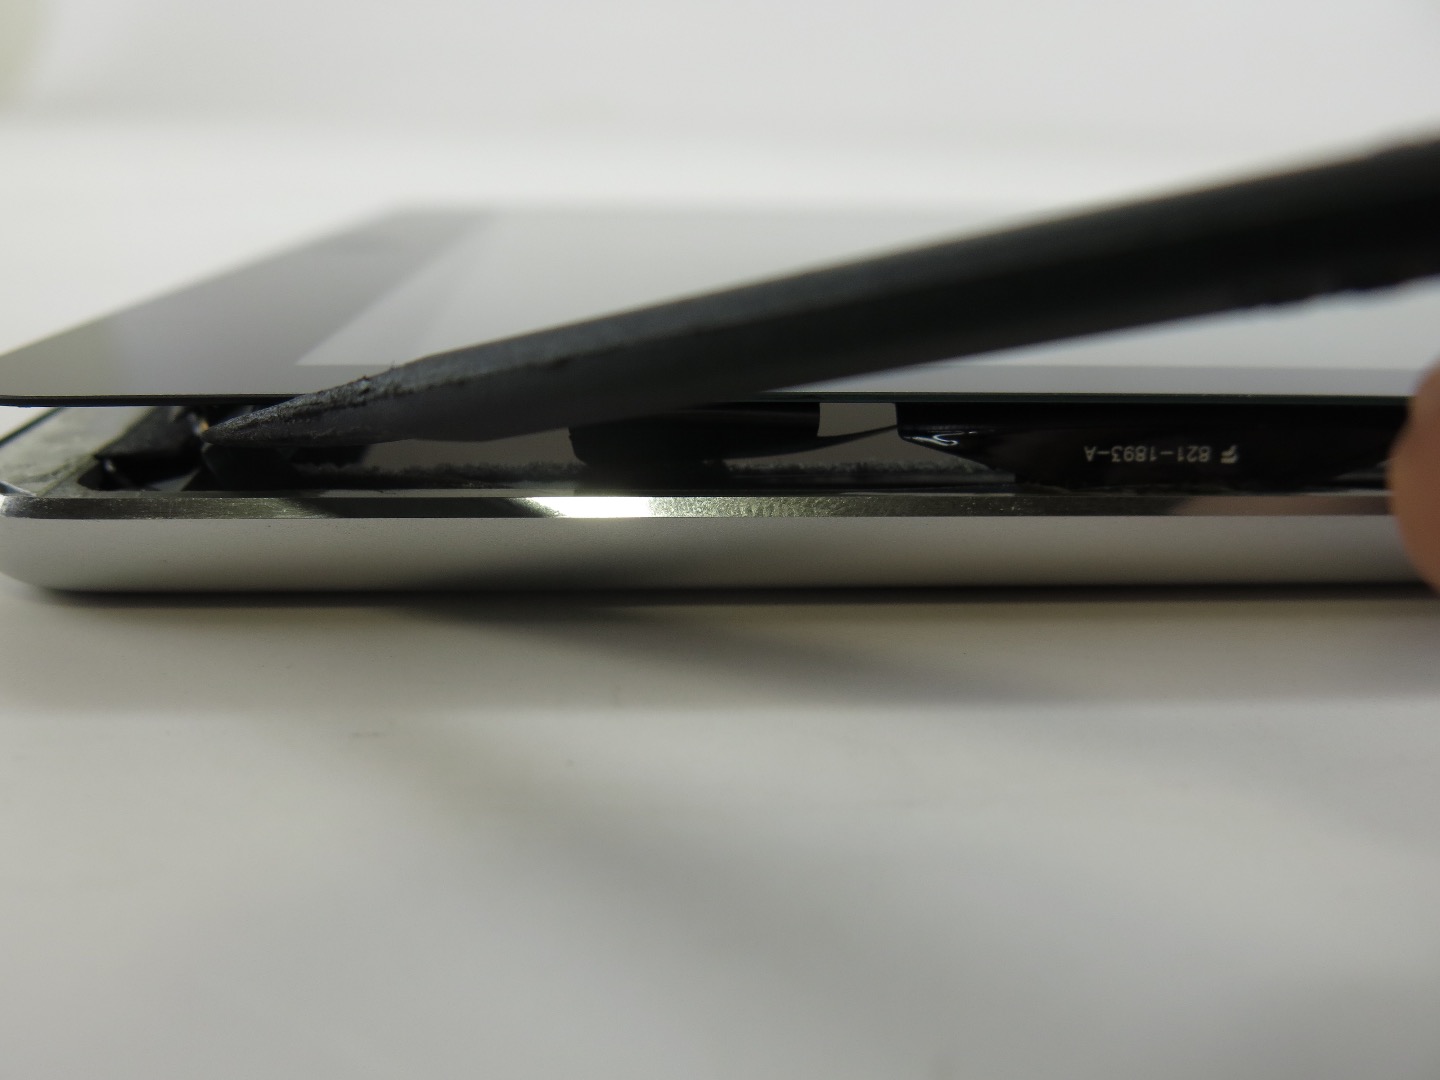
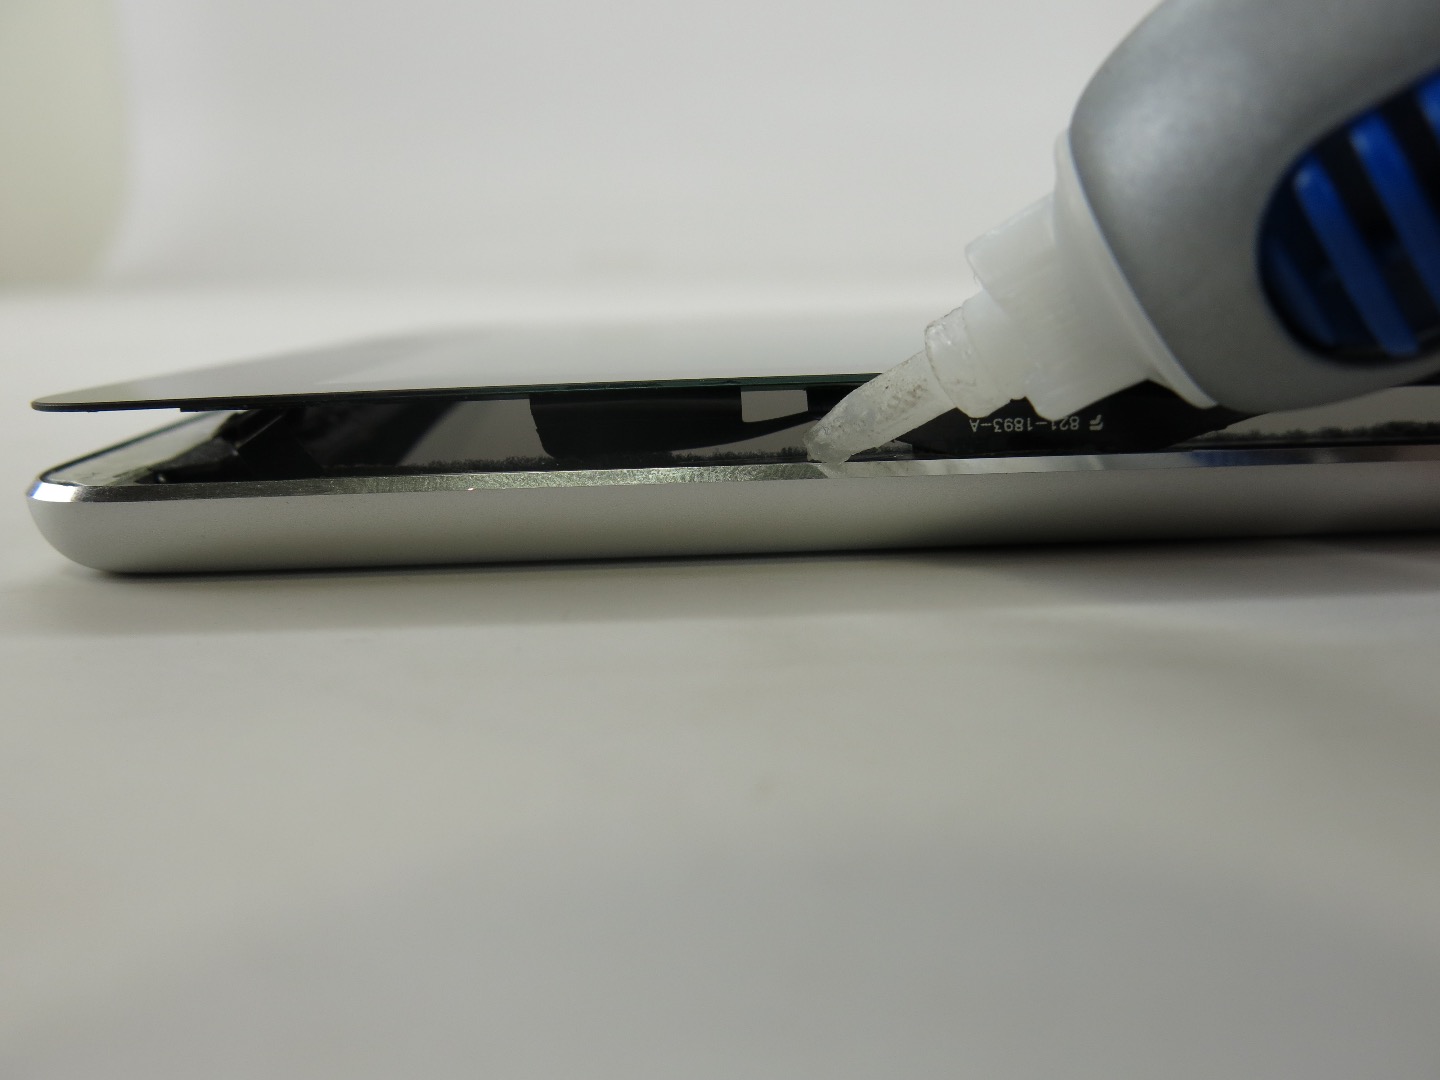
- Turn the glass back over so that the iPad appears open like a book. Peel off the plastic layer on the adhesive tape.
- Turn the glass over and lay it down on the left side of the metal frame so that it is aligned but don't press down. The right side of the glass should be held up a small amount by the connector cables on that side.
- Make sure that the home button and digitizer connector cables aren't stuck to the adhesive and that when you close the iPad the cables won't be pinched between the glass and the frame. You can use your plastic spudger to gently guide the cables out of the way.
- Remove the protective plastic that covers the digitizer if you haven't already.
- Apply a small beaded line of Loctite super glue along the edge of the metal frame where the connector cables are visible.
- Press down on the right side of the iPad to close it,
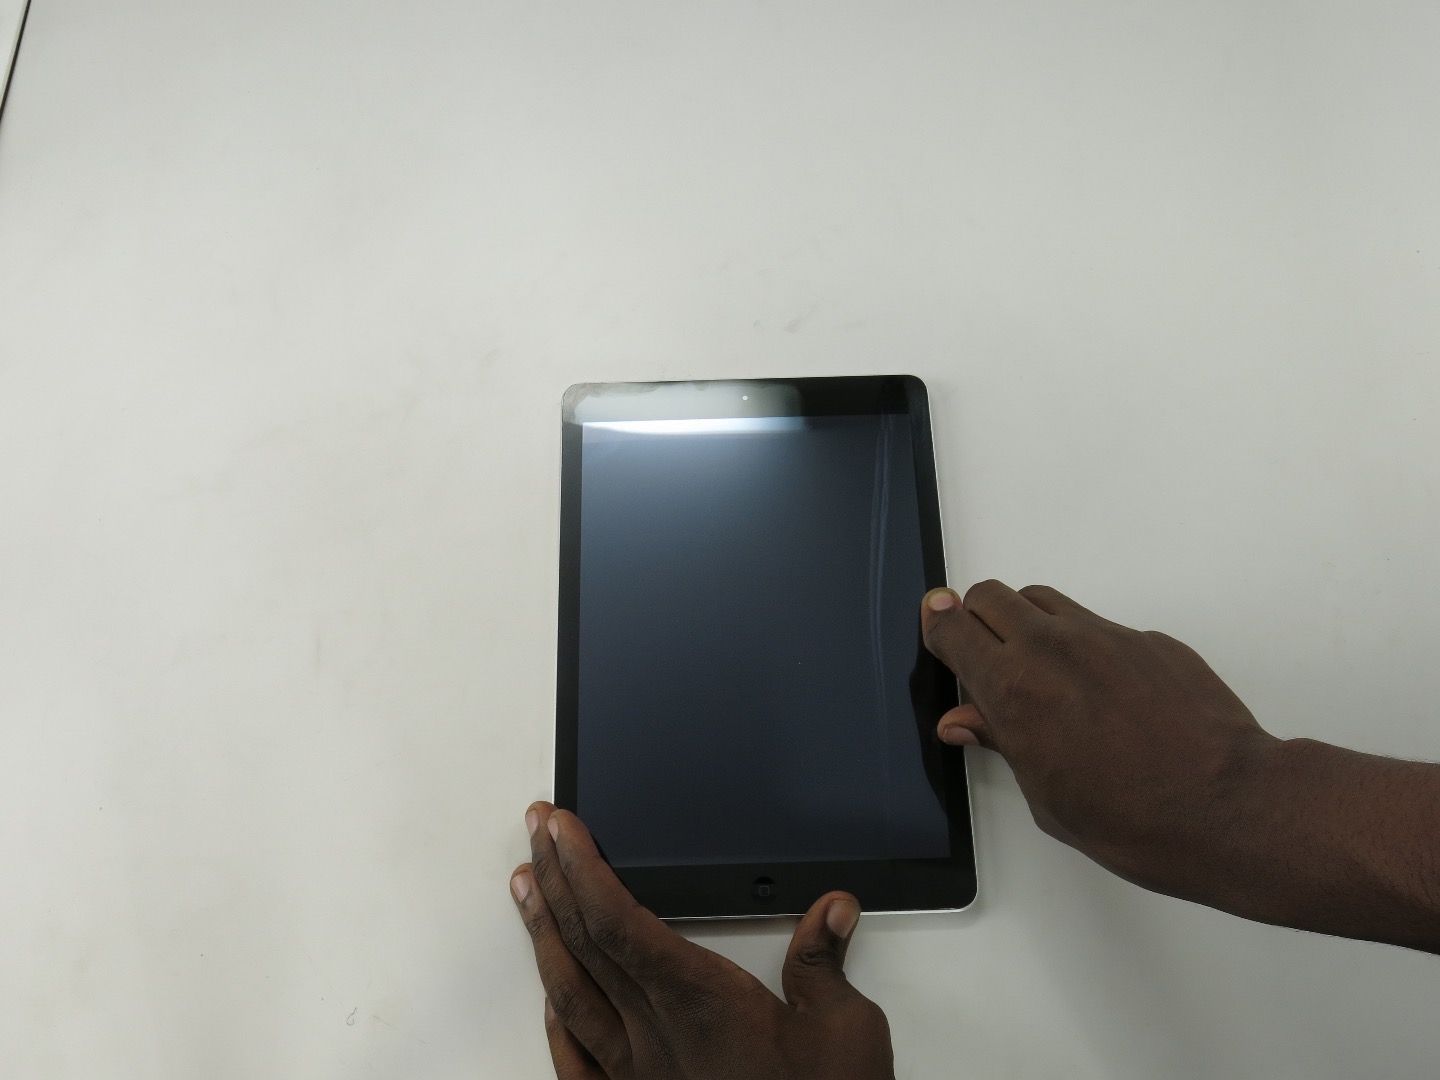
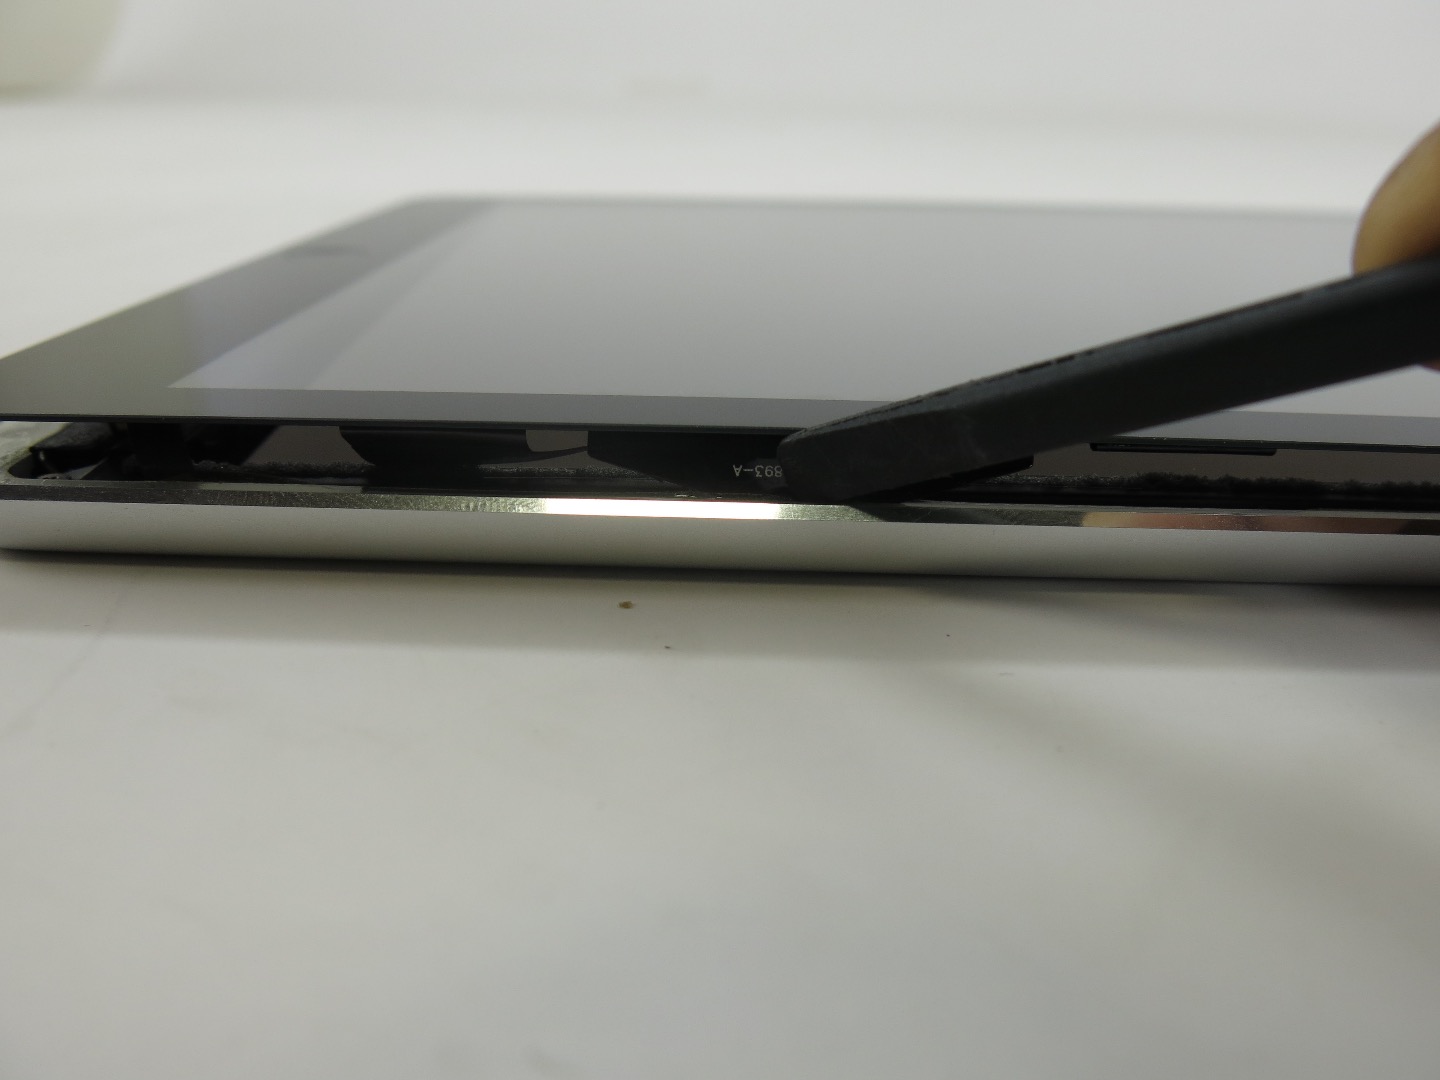
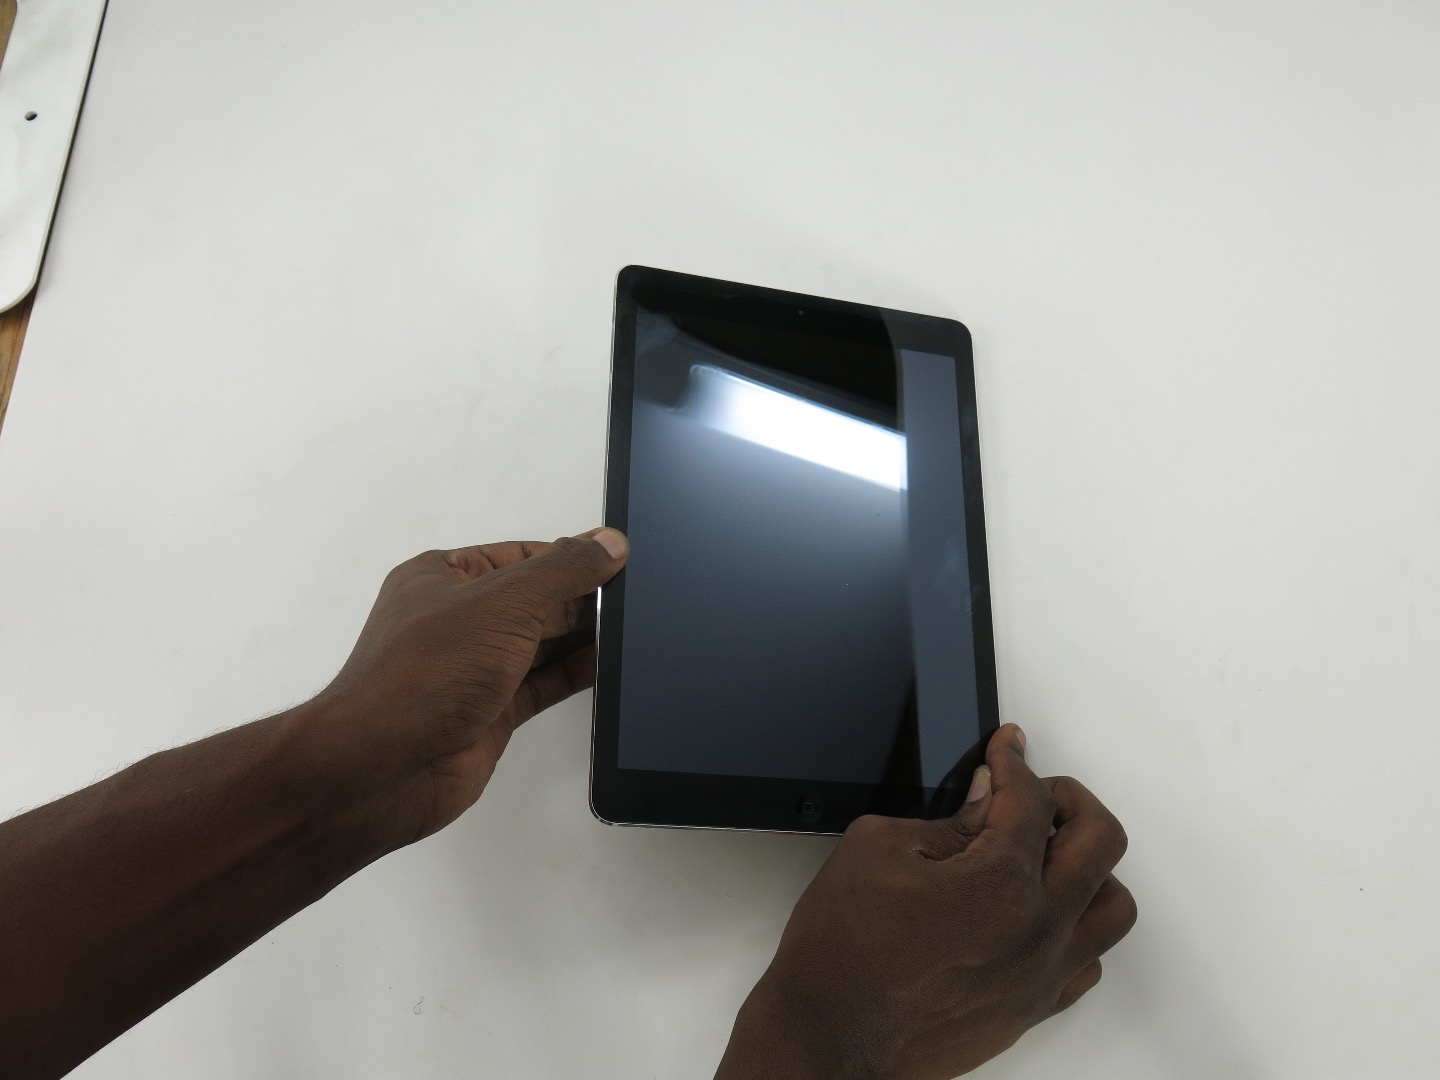
- Starting with the left side of the iPad, press down with your thumb on the bezel to seal the screen to the adhesive. Use the plastic spudger as you do to ensure the digitizer cables tuck in nicely and aren't aught between the metal frame and he screen,.
- Contuse sealing the iPad by applying pressure with your finger along the entire bezel of the iPad.
- Apply pressure to the section of the iPad screen where you applied the super glue for about a minute. You can use your hand to clamp down on this section for about a minute, or use a rubber vise clamp if you have one.