Fabric Portrait of a Horse Quilt Block
by dulciquilt in Craft > Sewing
26297 Views, 44 Favorites, 0 Comments
Fabric Portrait of a Horse Quilt Block



This shows the steps I went through to assemble an applique quilt block of a horse head for a friend.
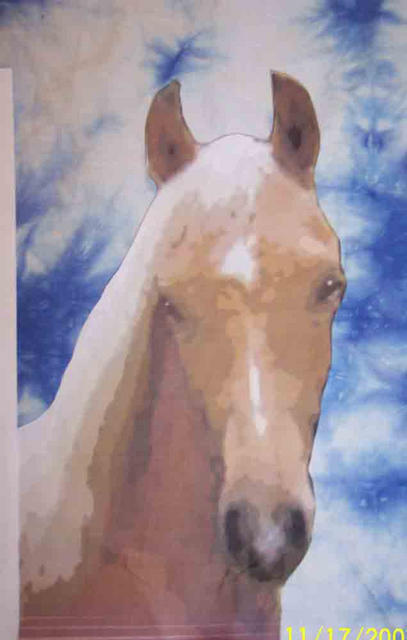
Print the Pattern

I printed out the original photo after using photoshop to separate colors and shapes and cut it out to help choose background fabric.
This instructable shows the process I used in photoshop on a similar project: https://www.instructables.com/id/Designing-fabric-portaitsquilts-using-photoshop/
This instructable shows the process I used in photoshop on a similar project: https://www.instructables.com/id/Designing-fabric-portaitsquilts-using-photoshop/
Trace the Shapes on Tracing Paper and Choose Fabrics

This shows the lines drawn to separate the shapes so they can be traced. Each pieced is numbered and given a letter that corresponds to the fabric for that piece. I glued snips of each fabric on the size to keep track.
Line Fabrics Up on Pattern

I use deli paper or tracing paper to trace the pattern to help with placing the pieces on the background. I lay the tracing paper on top and line of the fabric piece under it make sure I get it in the right place. I also keep pieces pinned to it until I'm ready to attach them.
Test Fabric Layout

Here are the pieces laid out to see how they work together before I start basting.
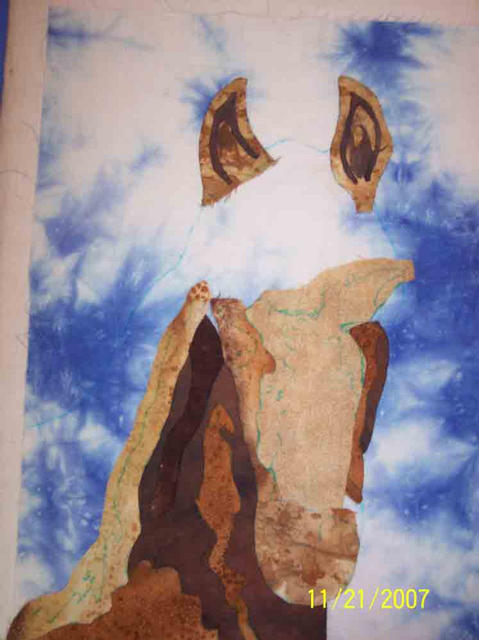
Baste the First Pieces to Background

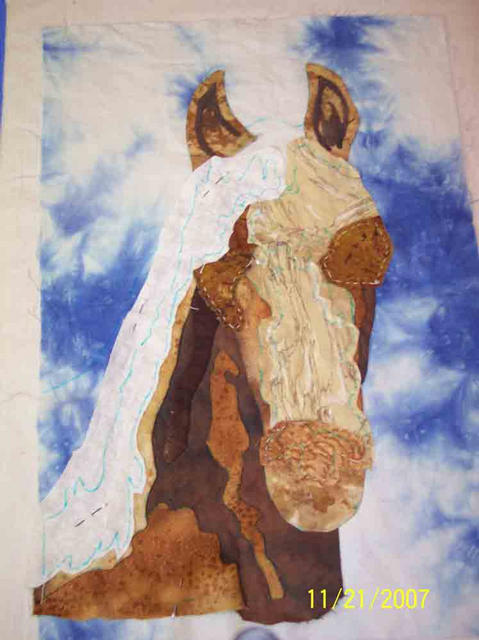
Here are the first pieces basted and ready to appliqué. I use a large needle and heavy thread to baste on the stitching line. This makes it easier to turn the edges under using the tip of the needle.
First Pieces Appliqued and Next Group Basted

The first pieces are stitched down and the next are pinned and ready to baste.
Making Adjustments

The second group is stitched, but at this point I realized I had either cut something too small or didn't place it exactly right and there was a gap above the dark shadow piece near the mane.
More Adjustments

I chose a new fabric after looking at the photo and seeing there was a dark ring around the eyes and added that to both eyes and it covered the gap easily. Now to stitch them down.
Almost Finished!

Getting ready to add the final pieces and will be finished!
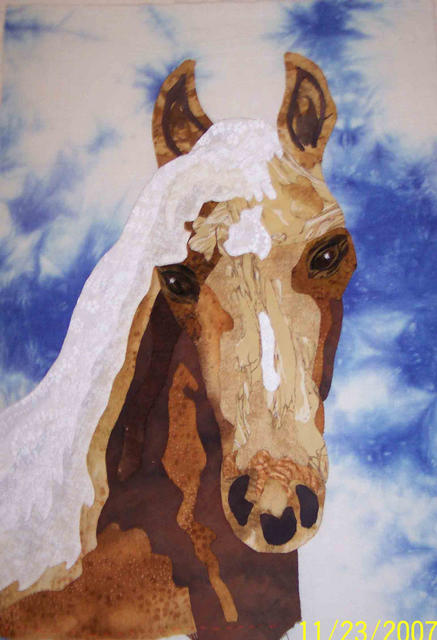
Finished!

And here is the finished product. It's fun choosing the fabrics as you have to look at the prints differently. The eyes were actually knot holes in a woodgrain print. Look for batiks, marbles, even some florals will work. Don't be afraid to use the wrong side of the fabrics as well.
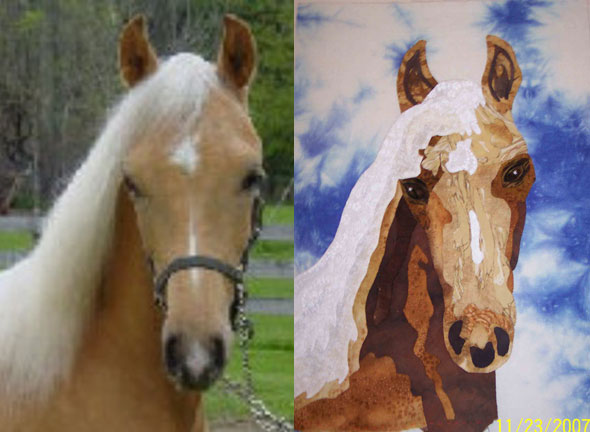
Side by Side View

Yes, the shadows on the block are darker than the original picture, but they add more depth and interest. I used fabrics out of my stash, but I might have been able to match the colors more closely had I shopped specifically for this project. It may not be a perfect copy of the photo, but it catches the spirit of the horse. remember, you are creating art, so it is open to your interpretation.
join our quilter's chat group and learn about all kinds of quilting: http://quiltchatjava.ascends.info/
join our quilter's chat group and learn about all kinds of quilting: http://quiltchatjava.ascends.info/