Designing an Enclosure for the MediaTek LinkIt One Board
by jayludden in Workshop > Laser Cutting
902 Views, 3 Favorites, 0 Comments
Designing an Enclosure for the MediaTek LinkIt One Board


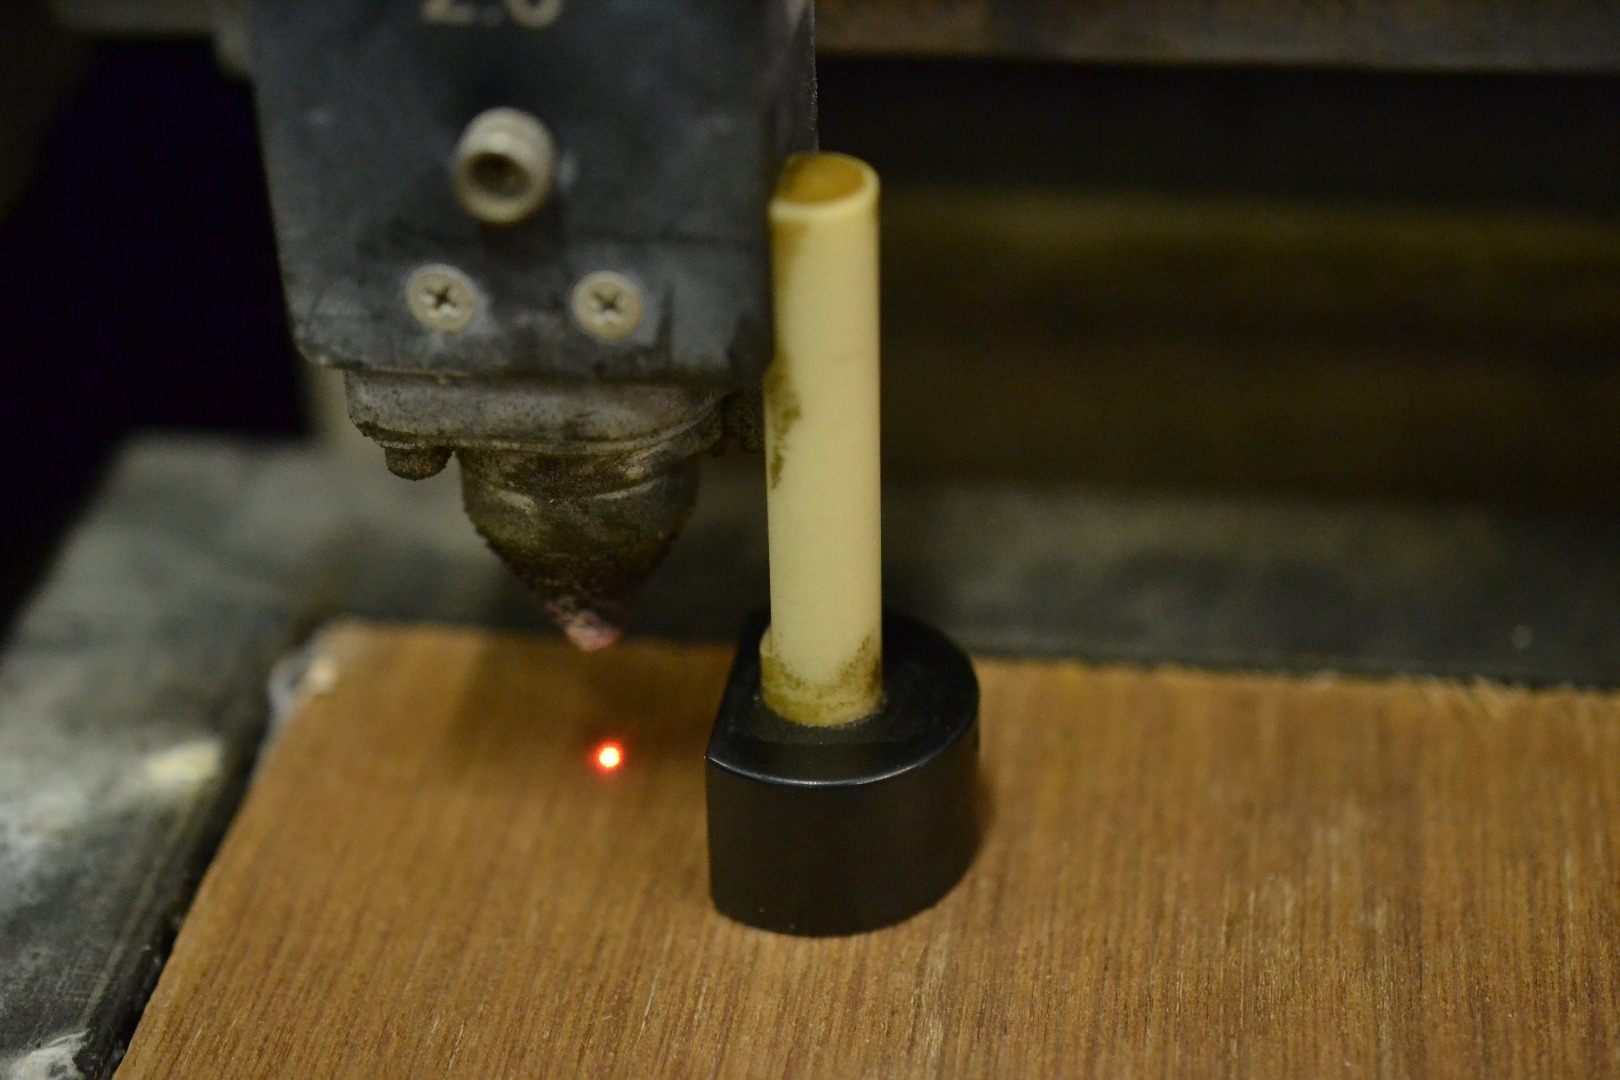
I wanted to make a simple, sturdy, and minimal enclosure for the LinkIt. I made this one using a laser cutter and ~1/8" material (acrylic, plywood, cardboard, etc would all work). I suppose if you were super careful, you might be able to do this with an exacto knife though.
PCB dimensions are ~3.3 x 2.1 inches
Downloads
Designing in Illustrator (and Making Mistakes)


I wanted this to be able to friction fit together and be nice and sturdy. I used Makercase to generate the side walls, but I wanted the top and bottom to have holes for finger joints to be able to fit into, so I did edits in Illustrator.
Probably easiest to follow along with the images above, but a quick summary:
- First I made a box the size of the PCB in Illustrator so I could see how it would fit into the case. Then I made a box that would be able to fit the board and leave extra room for the walls to be able to fit into, 2.75"x4".
- Then, I made a box on makercase that was slightly smaller than 2.75x4 at 2.5x3.75. Download case plans
- Make another rectangle that is 2.5x3.75 and place it in the center of one of the pieces.
- Copy two of the walls from Makercase into Illustrator and line them up along the 2.5x3.5 rectangle as if you unfolded the box. Select all and Command/ctrl+5 to make guides.
- draw a guide rectangle in the space the walls will fit into.
- Hide layers that are distracting, you only need the guide rectangles and the walls.
- On a new layer, use the anchor points of the guides to draw the holes.
- I drew two sides, then selected that layer, command/ctrl+g to make a group, duplicated the group, rotated 180 degrees and aligned the guides.
- Next, I started drawing where to put holes for the various ports. I brought in an image of the link it and scaled it to size so that I could draw roughly where to put the holes.
- Bring in the other sides, duplicate the bottom board.
- Delete extra guide layers.
- Color/make stroke width according to your laser cutter, for me I need RGB colors and 0.072 pt lines.
Laser Cut/Fixing Mistakes


I drew parts of the box incorrectly: the holes for the finger joints on the side were drawn in the wrong parts and some of the parts were flipped because I was drawing based on the top of the box even though I wanted the parts to be aligned to the bottom. It would have been okay, but the bamboo plywood I was using looks a lot better on one side than the other.
Lesson learned: I should use a practice material like cardboard before trying my final material.
The fixed file is attached at the top. It friction fits pretty well, so no glue or hardware is necessary.