Zsnes Emulator Controller
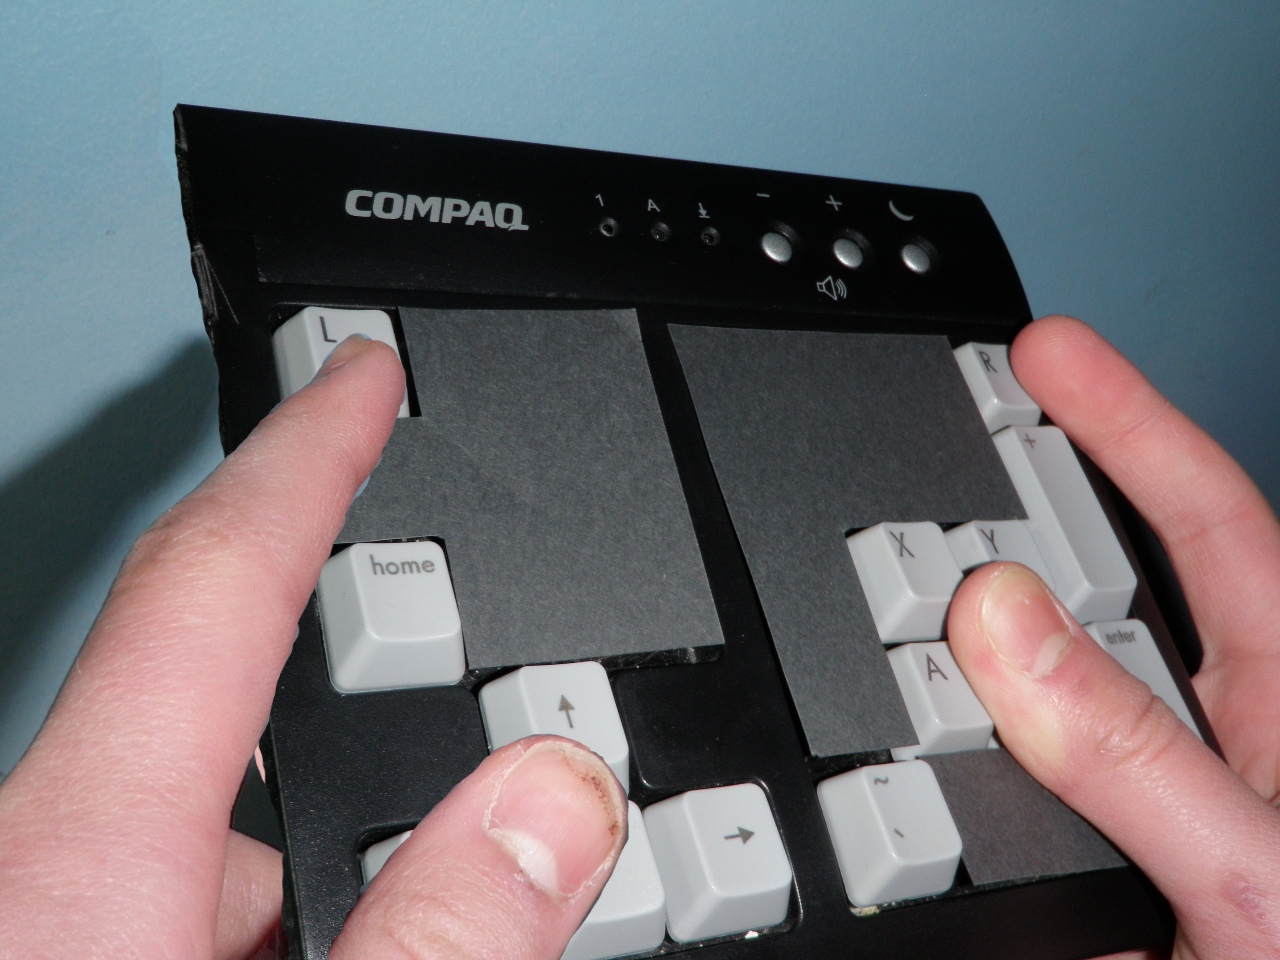
hello, this is my first published instructable (so forgive any of my newbie mistakes...)
with this i will show you how to make a controller for your zsnes Super-NES emulator (or any other emulator that uses the same buttons) out of a keyboard.
I'm not going to write a big long spiel about safety and what-not, but i will say this: if you try this and something gets broken or you hurt yourself , you chose to do it . I'm not saying you are going to blow up the world or something, but if something happens I am in no way responsible!
also, i worked on this with citrusoda2009co so if she posts an ible similar to this i didn't copy her and she didn't copy me...
enough of that, now to the actual building of stuff!
This ible is entered in the Keyboard Vs. Mouse speed challenge so please vote!
What You Need
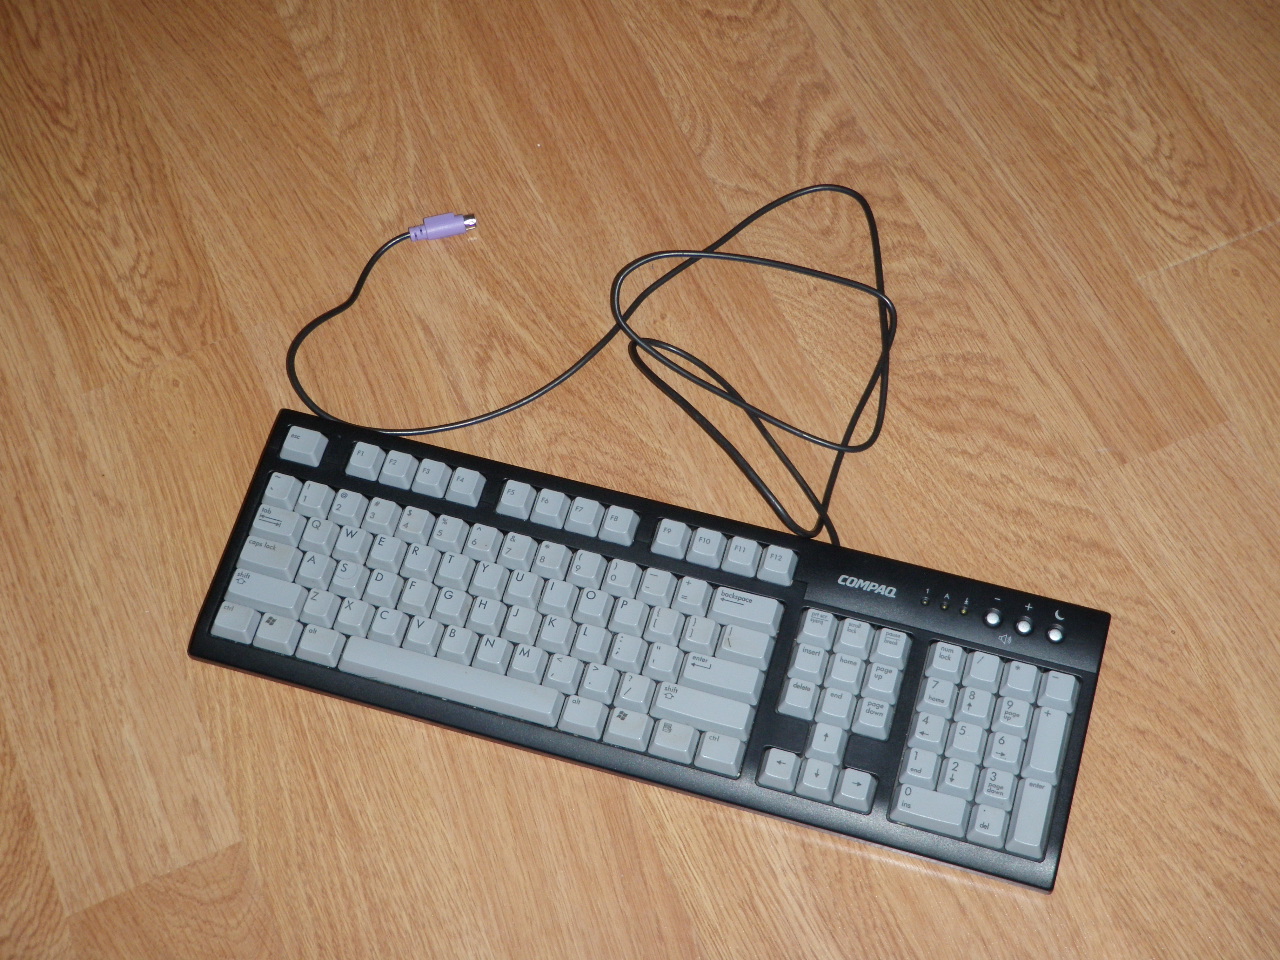
you will need the following parts do build the controller:
-a keyboard (preferably a usb keyboard, but i used a ps2 keyboard 'cause that's all i had...)
-a screwdriver
-something to cut the keyboard's plastic casing (eg. a saw)(it would be great if you had a laser cutter, you would be able to make far smoother cuts)
-a few scraps of wire (if you really need to just steal some from your keyboard's cord)
-pen 'n paper
-solder + soldering iron
-scissors
optional (only if you plan on breaking the wires off the board accidentally):
-wire-strippers (you could use a knife or nail-clippers if you have to...)
The GREAT "first Step"
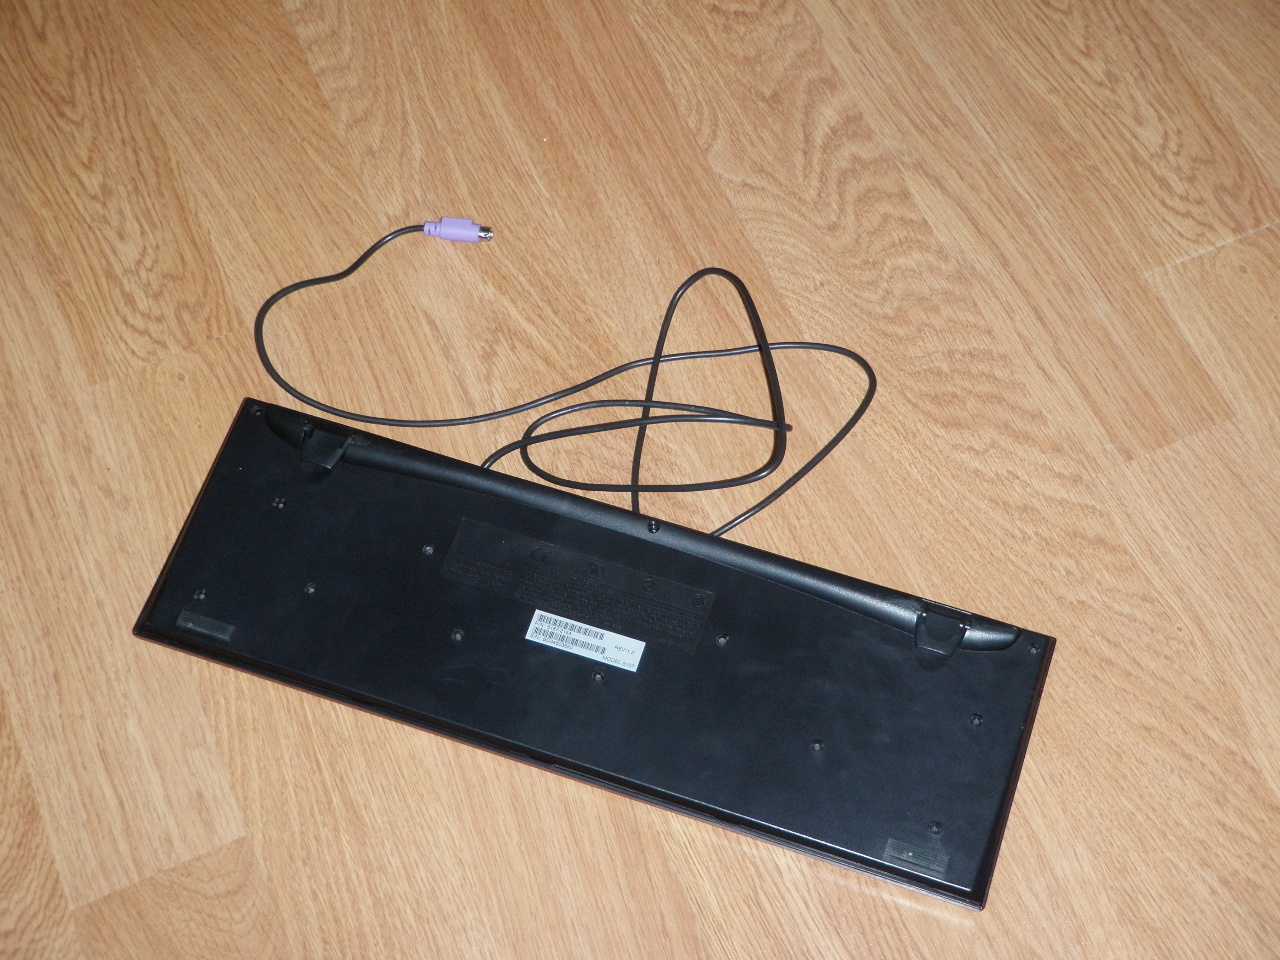
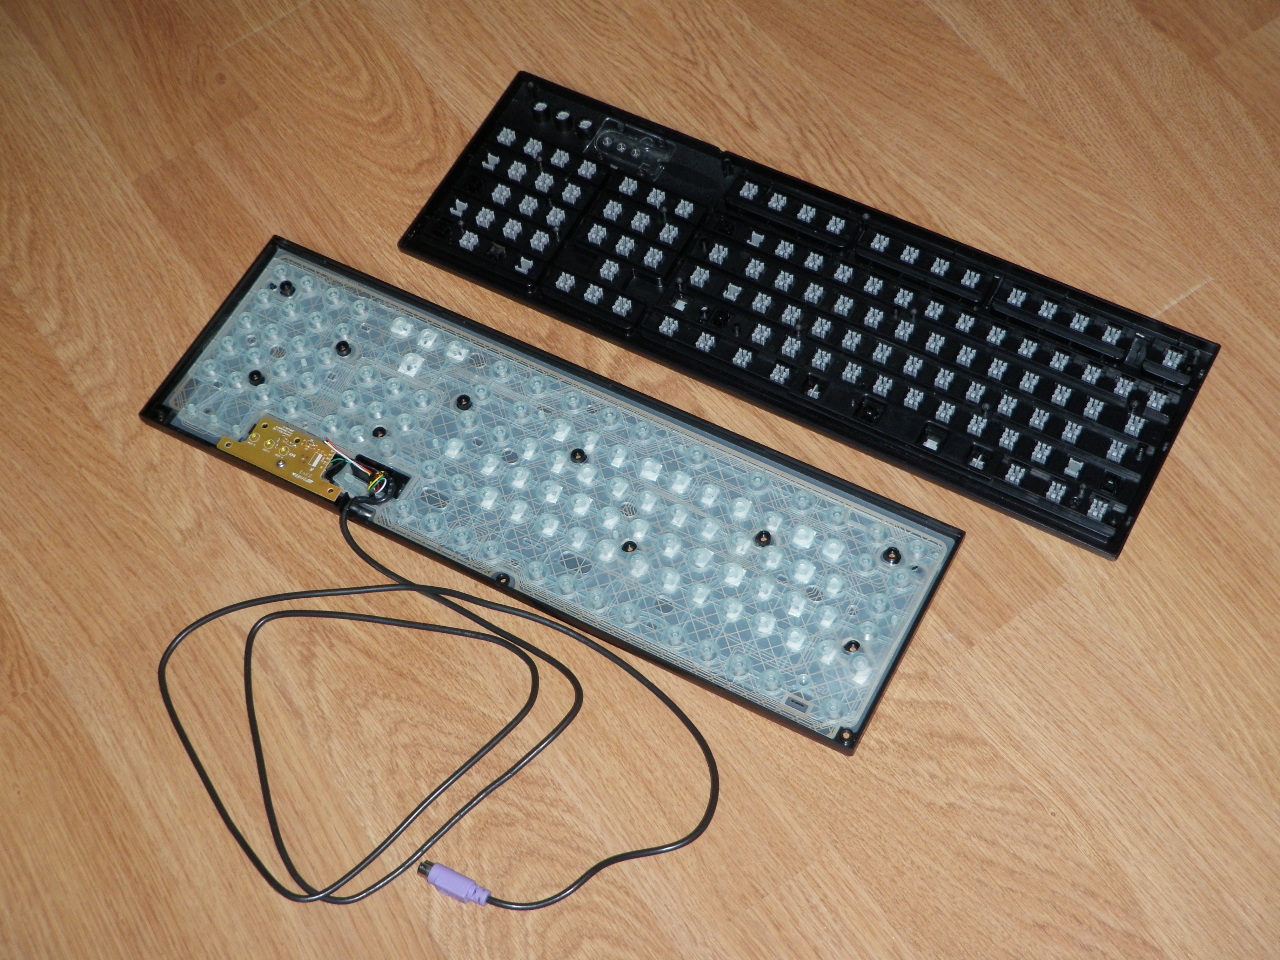
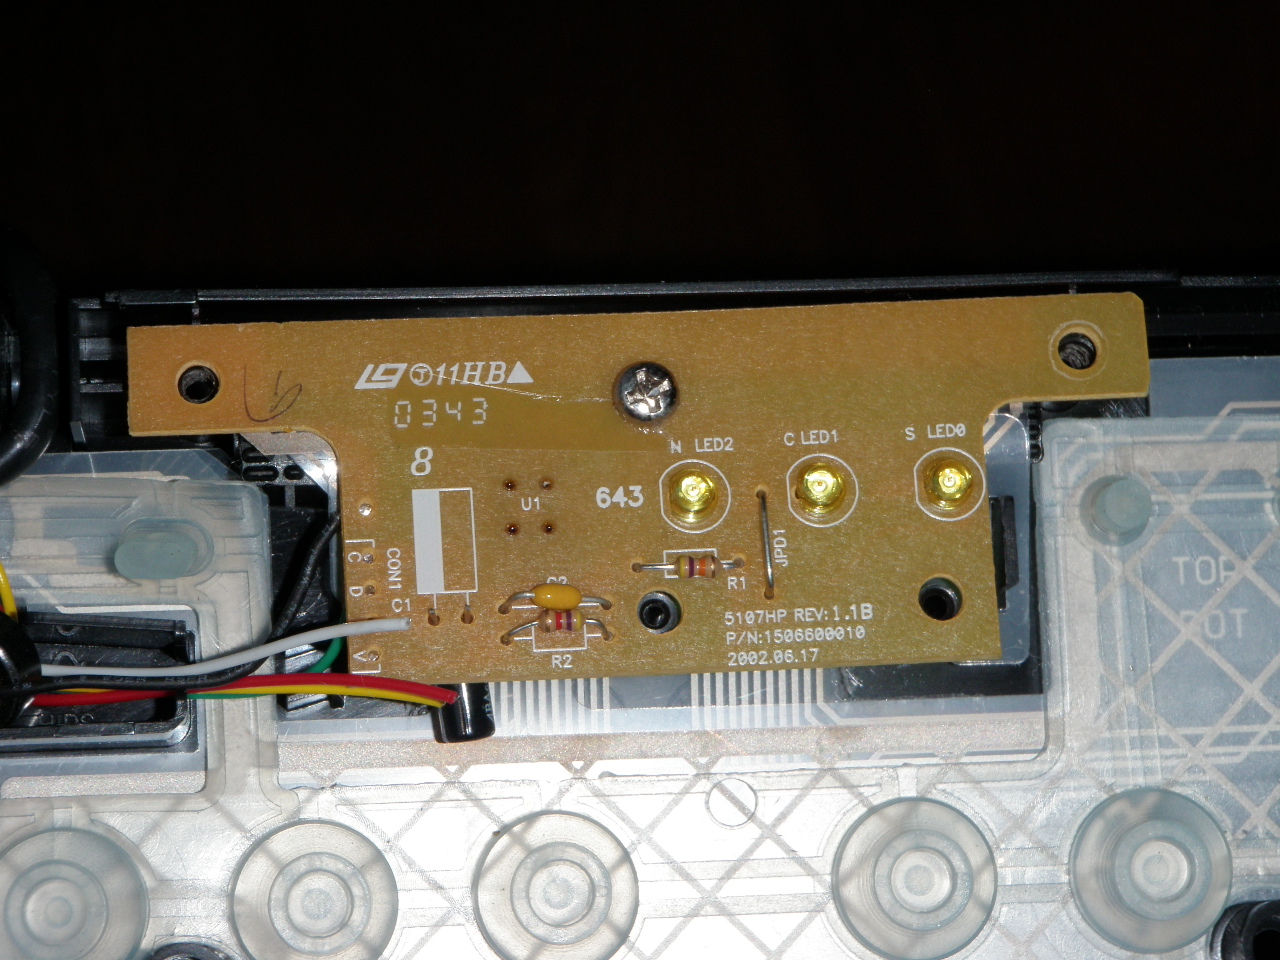
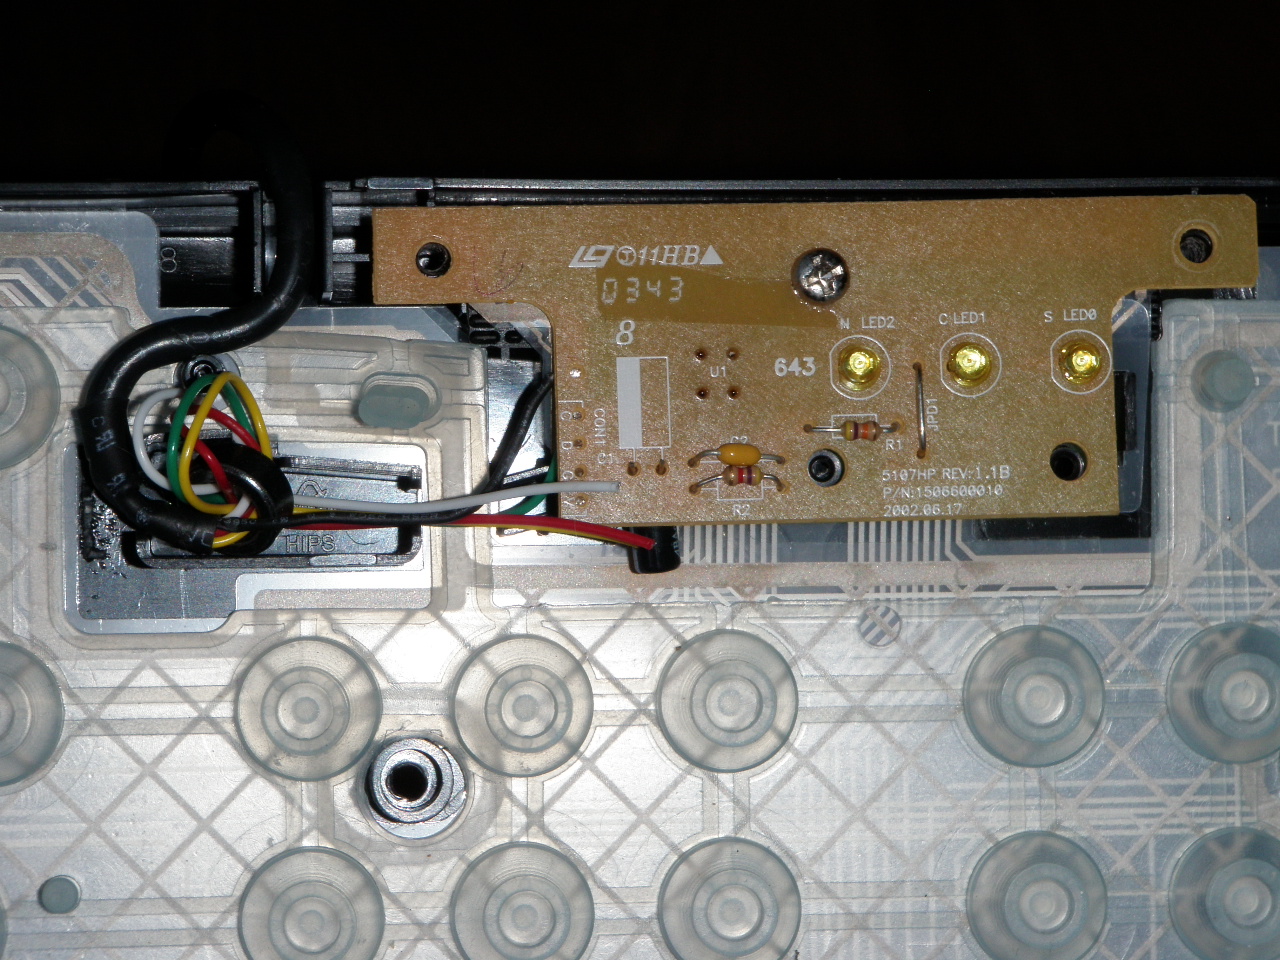
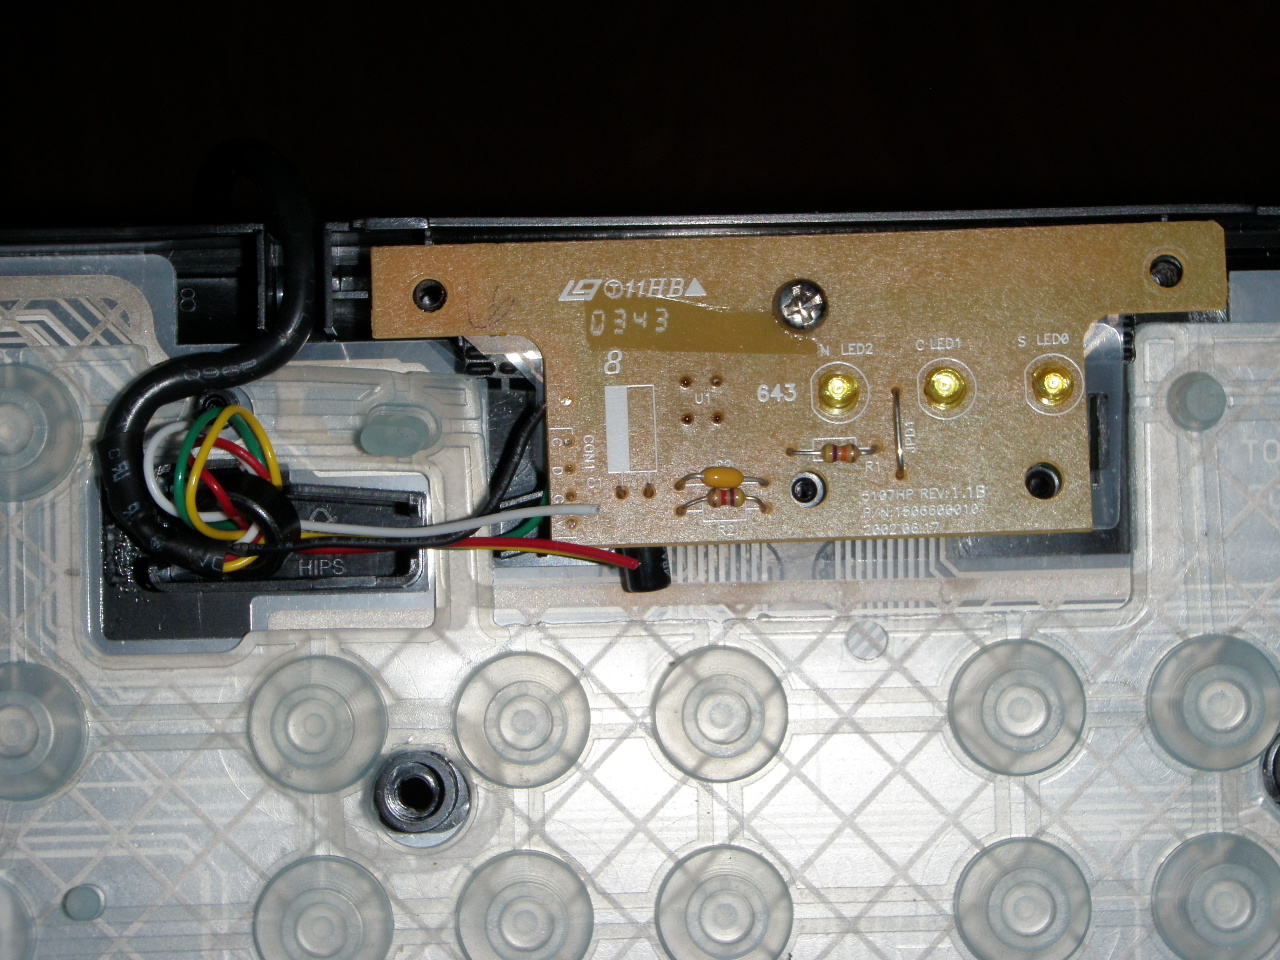
remove the screws from the back of your keyboard (don't lose them).
carefully remove the little circuit board from the case (there should be a little screw holding it in place), try not to break off the wires (it makes a lot of work...).
carefully remove the little circuit board from the case (there should be a little screw holding it in place), try not to break off the wires (it makes a lot of work...).
The Next Step
once everything is removed from the casing begin to remove the keys.
they come out really easily (just wedge a screwdriver under the key and pop it out)
they come out really easily (just wedge a screwdriver under the key and pop it out)
Hacking Up the Case
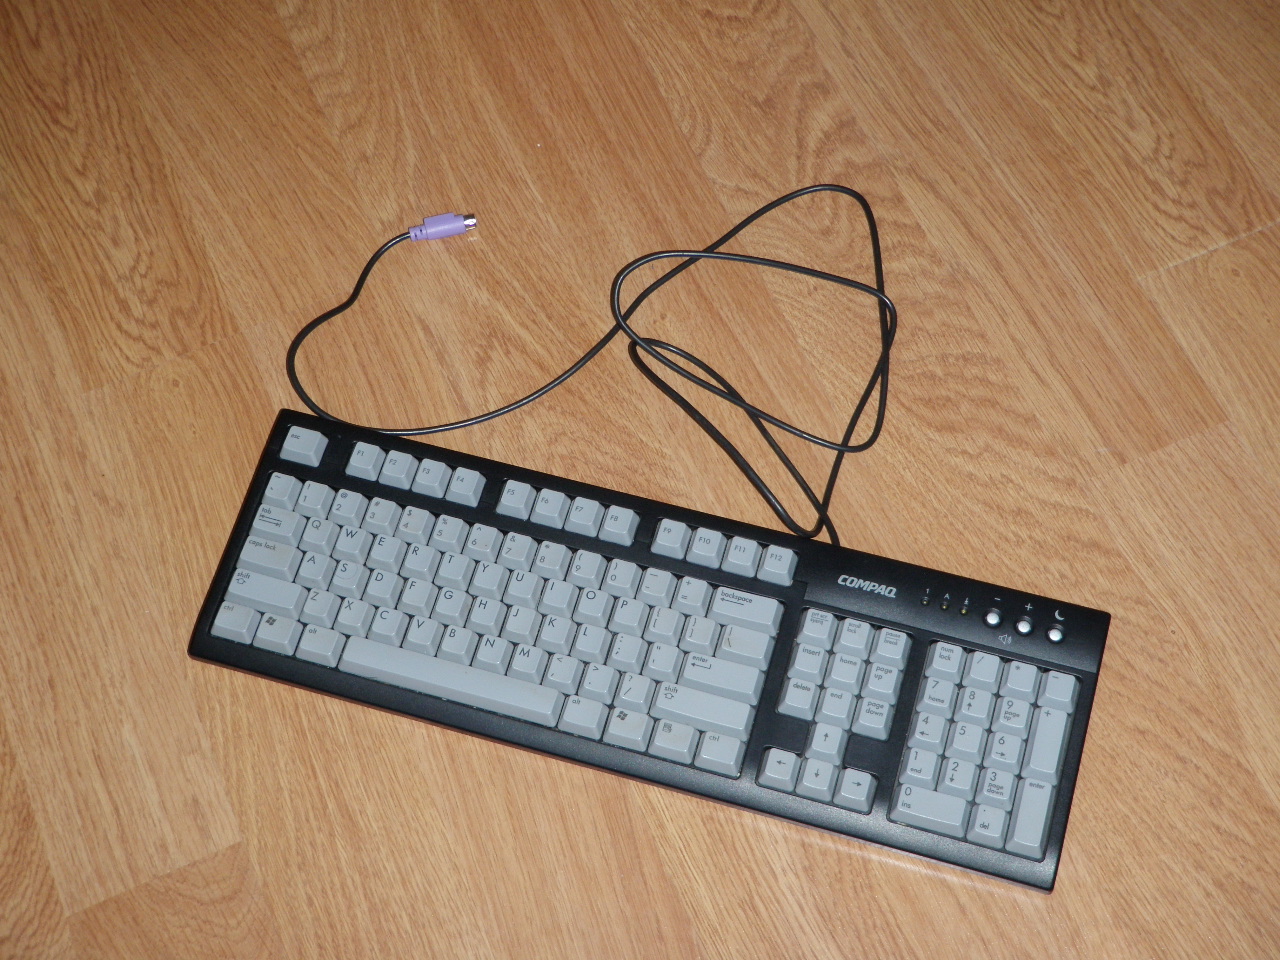
take your saw (or whatever other sharp implement you have chosen to use) and cut your case in half (ish).
The Technical Bit
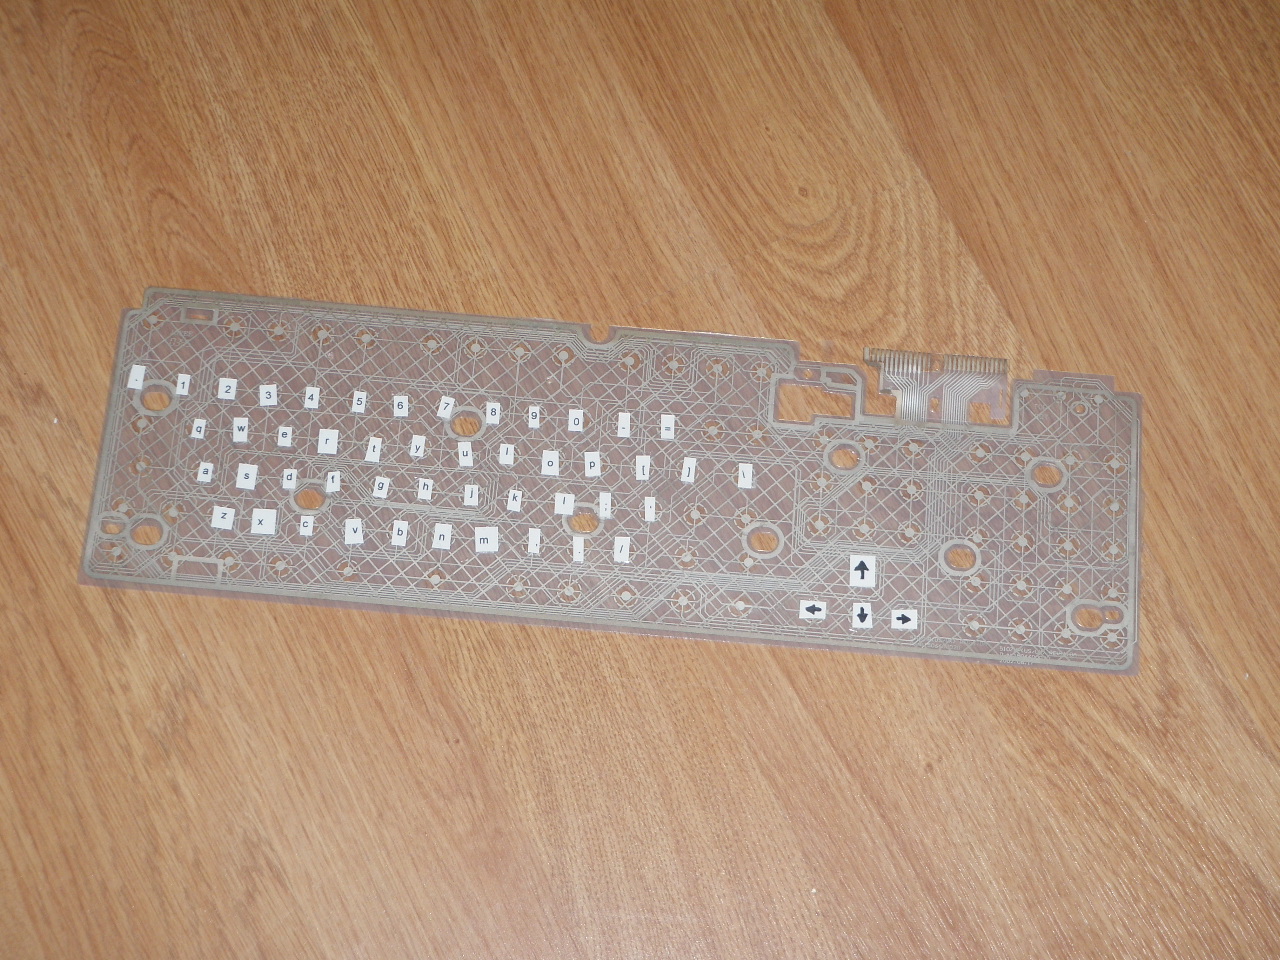
replace the thin piece of plastic with the circuits printed on it back in the small half of the case .
this is the point where you have 2 options:
1. you can trace the circuits and solder some bits of wire onto the plastic sheets to complete the circuits once the plastic sheet is cut. (this takes a while)
or
2. you can carefully fold the plastic an punch a few holes in it so the whole thing will fit in the case (you need to make sure the position of the buttons for the number pad stays the same.) (this is more difficult, and often won't work)
i did the first one but you could try either...
Cutting or Folding
once you decide what you are going to do:
if you are going to cut it you need to know what buttons connect to what there is an excellent ible on this: here , another method of doing this is with a resistance tester (just connect one side to the button and test each of the connectors til you get a reading, rinse and repeat for both sheets). once you know what buttons connect to what get a couple bits of wire so you can re-connect the circuits and solider them to the plastic sheet.
if you are going to fold it a word of advice: "please try the other method". it is really hard to line up the screw hole and not break one of the circuits. only try this if you don't have a soldering iron.
Putting It All Together
cut the octopus-like silicone sheet and replace the short end in the case.
replace the circuit board in its holder (replace the screw).
re-attache the top of the case.
replace the circuit board in its holder (replace the screw).
re-attache the top of the case.
The Buttons
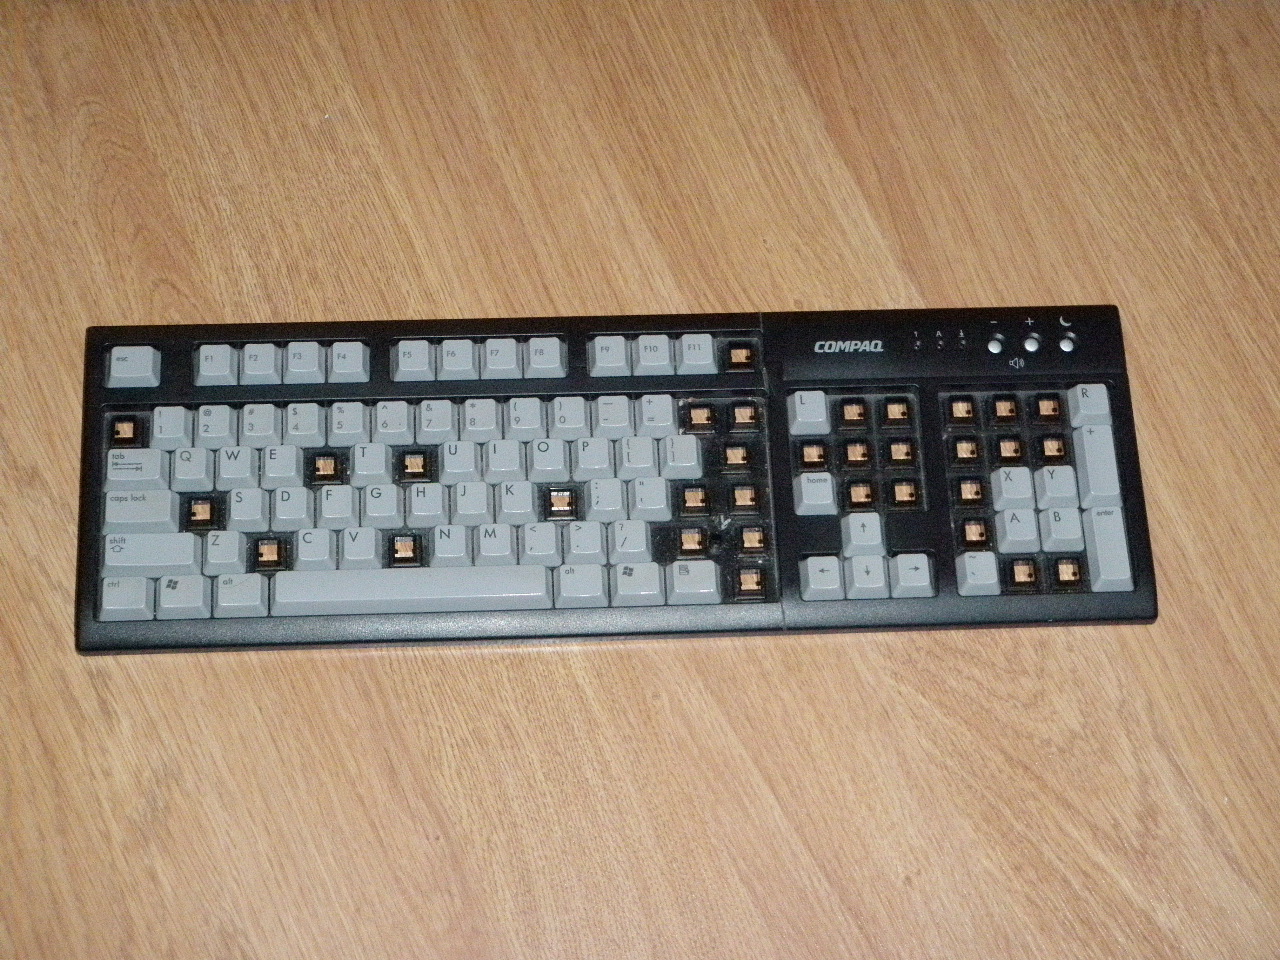
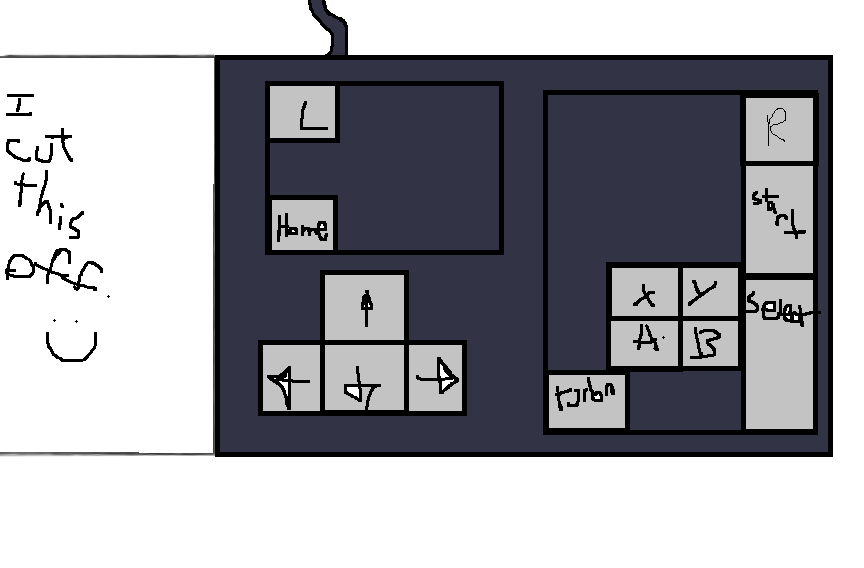
you should now have a lovely square-ish controller... but something is missing!
you still need buttons!
you should still have the keys that you removed from the keyboard.
find the "a", "b", "x", "y", "l", "r", "~", "home", "up", "down", "left", "right", "+" (the tall one from the number pad), and "enter"(also from the number pad).
attach them to the controller as shown in the pictures.
Setting the Buttons
open Zsnes and go to the controls menu, select input.
then change the l, r, a, b, start, select, turbo, up, down, left, right, home, x, and y buttons to their inputs on the controller.
then change the l, r, a, b, start, select, turbo, up, down, left, right, home, x, and y buttons to their inputs on the controller.
Finished!
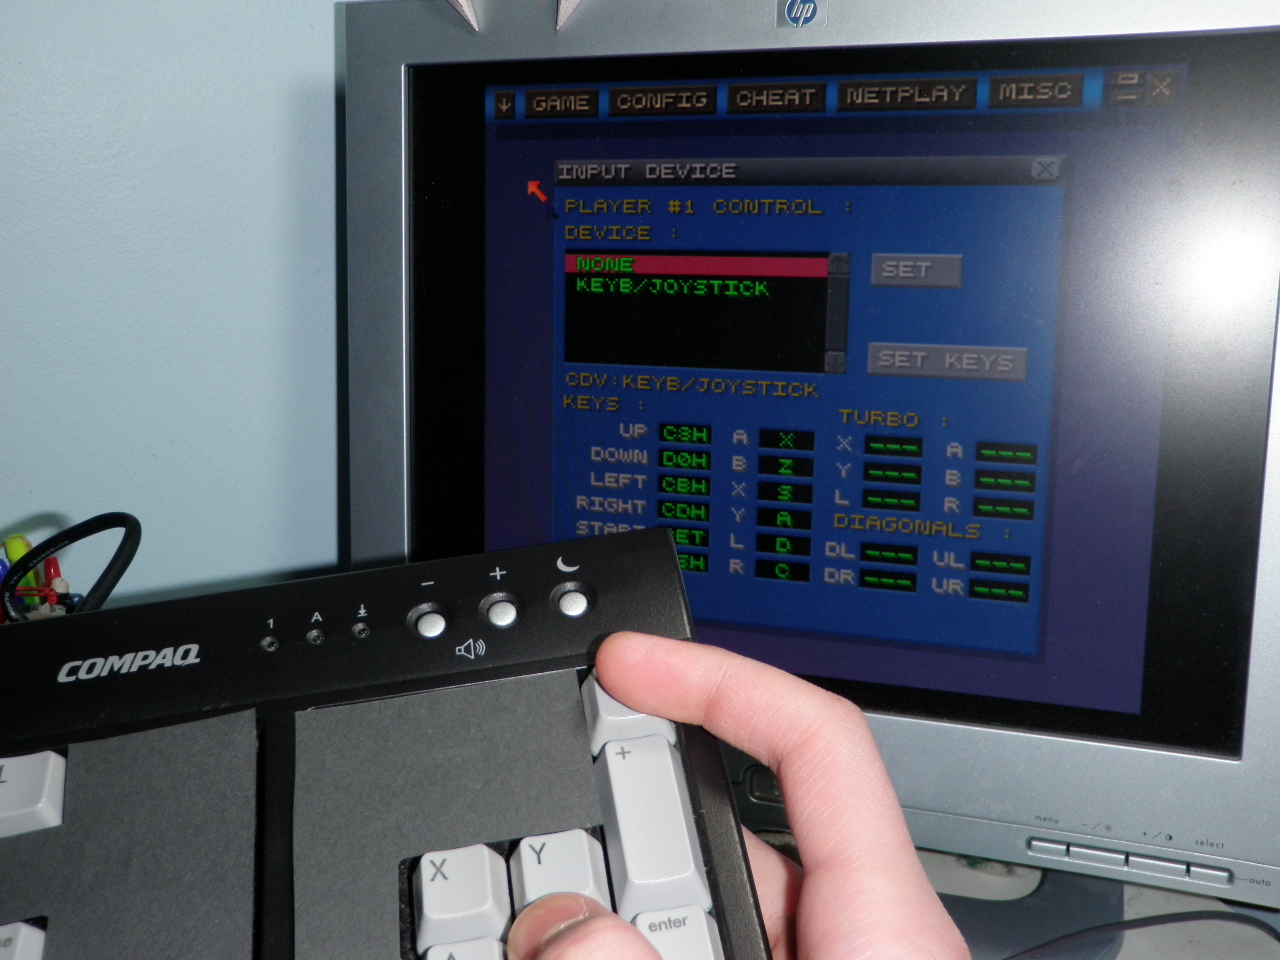

congratulations! you are now the proud owner of a Zsnes controller!
i would advise using this with a separate usb keyboard (so you can log in and whatnot), especially if you are using a ps2 keyboard
you may now do whatever you like to make it look more pretty (i would suggest covering the open space in the side with a piece of electrical tape, and covering the hole left from the now missing keys).
thank you for reading this and please vote!