Zombie Halloween Pavlova


When my family moved to Australia, one of the desserts I learned to make was a Pavlova. It may look like meringue but it's not. It has a crispy outer shell and inside is a marshmallow-like texture. It's a brilliant base for any toppings you can think of especially fresh fruits.
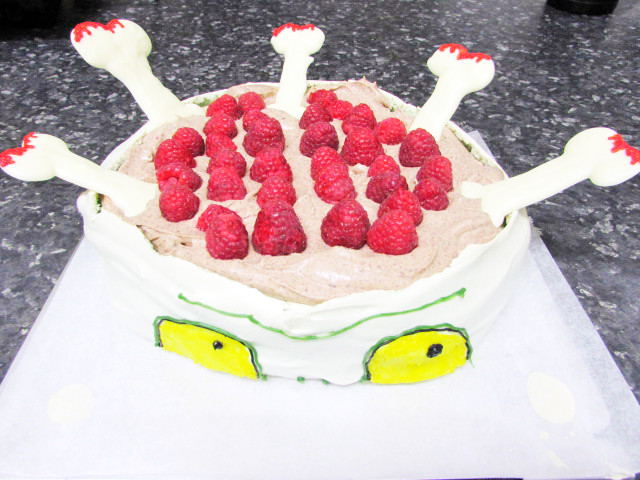
For Halloween, I've concocted a Zombie themed Pavlova. Basically, his head is the Pavlova and up top is his exposed chocolate blood and raspberry brains. To add a bit of height, I added in some white chocolate bones. This is pretty easy to make and a fun treat for kids this coming Halloween.
Ingredients
Pavlova
- 5 egg whites
- 250 g white sugar
- 2 teaspoons vinegar
- 1 Tablespoon cornstarch
- Green food colour gel
Toppings:
Chocolate Whipped Cream
- 60 grams dark chocolate bar
- 300 ml heavy cream
- 2 Tablespoons sugar
- a punnet of Raspberries ( You can add more fruits like strawberries)
- 100 grams white chocolate bar
- writing icing: black, red, green, yellow
Pavlova


- Preheat the oven to 150 degrees celsius. (I'm using a convection oven)
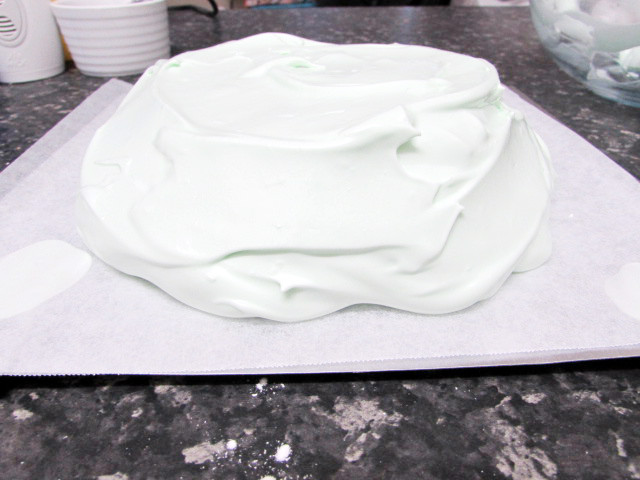
- Whisk the egg whites. When it becomes frothy as shown in the 2nd image, add in 2 spoonfuls of sugar at a time while whisking to dissolve and incorporate the sugar well.
- When the mixture is stiff and glossy, fold in the vinegar using a spatula.
- Fold in the green food colour gel a drop at a time until the colour is your desired shade of green. (It took about 3 to 4 drops to get a pastel green colour with mine.)
- Fold in the cornstarch.
- Prepare a parchment covered oven tray and place the mixture on top. Shape it into a round mound and flatten the top part.
- Lower the temperature to 100 degrees celsius as soon as you place it in the oven. Bake for 1 hour and 30 minutes and leave it in the oven until it cools down to room temperature. You will notice as it bakes, it will expand a bit. Also, the top part cracked but it's fine since it going to be covered with toppings.
White Chocolate Bones

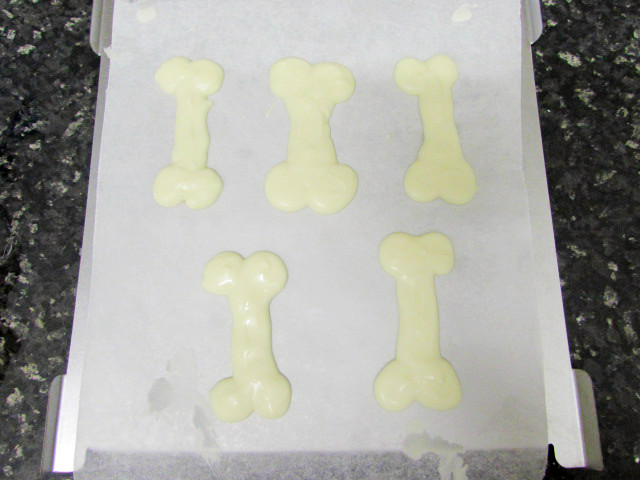

- Melt the white chocolate in a double boiler.
- On a parchment, take a spoonful and make a vertical line, then take another spoonful and add 2 round shapes on each end. Let this cool in the refrigerator until it hardens.
- Decorate the top part with red writing icing.
Chocolate Whipped Cream

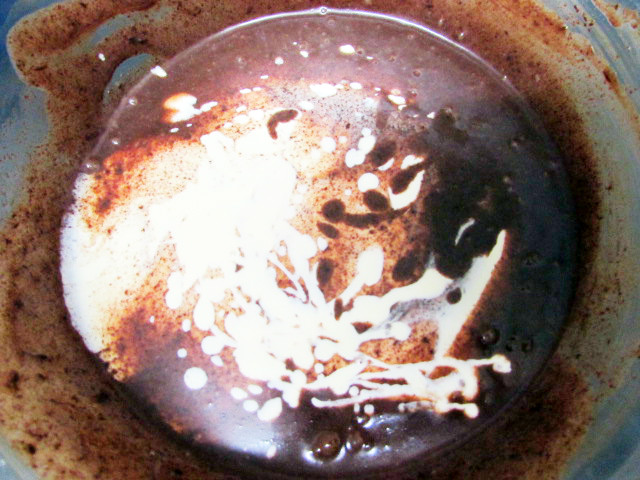

- In a sauce pan in moderate heat, place the sugar and half of the cream. When the sugar dissolves, place the cream in a bowl with the dark chocolate and stir until melted.
- When it is completely cooled down, add in the rest of the cream and whisk until it's thick and fluffy.
Assembly


- Decorate the pavlova with writing icing. Pipe 2 yellow half arches for the eyeballs. Outline the eyes with black icing and place 2 dots for the pupils. Make another outline with green icing around the eyes and a horizontal line for the brow.
- Place the chocolate cream on top of the pavlova.
- Arrange the raspberries on top and the chocolate bones.
- Have a slice and enjoy your fruits of labor.