Zodiac Laser Cut Coasters
by elongcor2 in Workshop > Laser Cutting
625 Views, 5 Favorites, 0 Comments
Zodiac Laser Cut Coasters
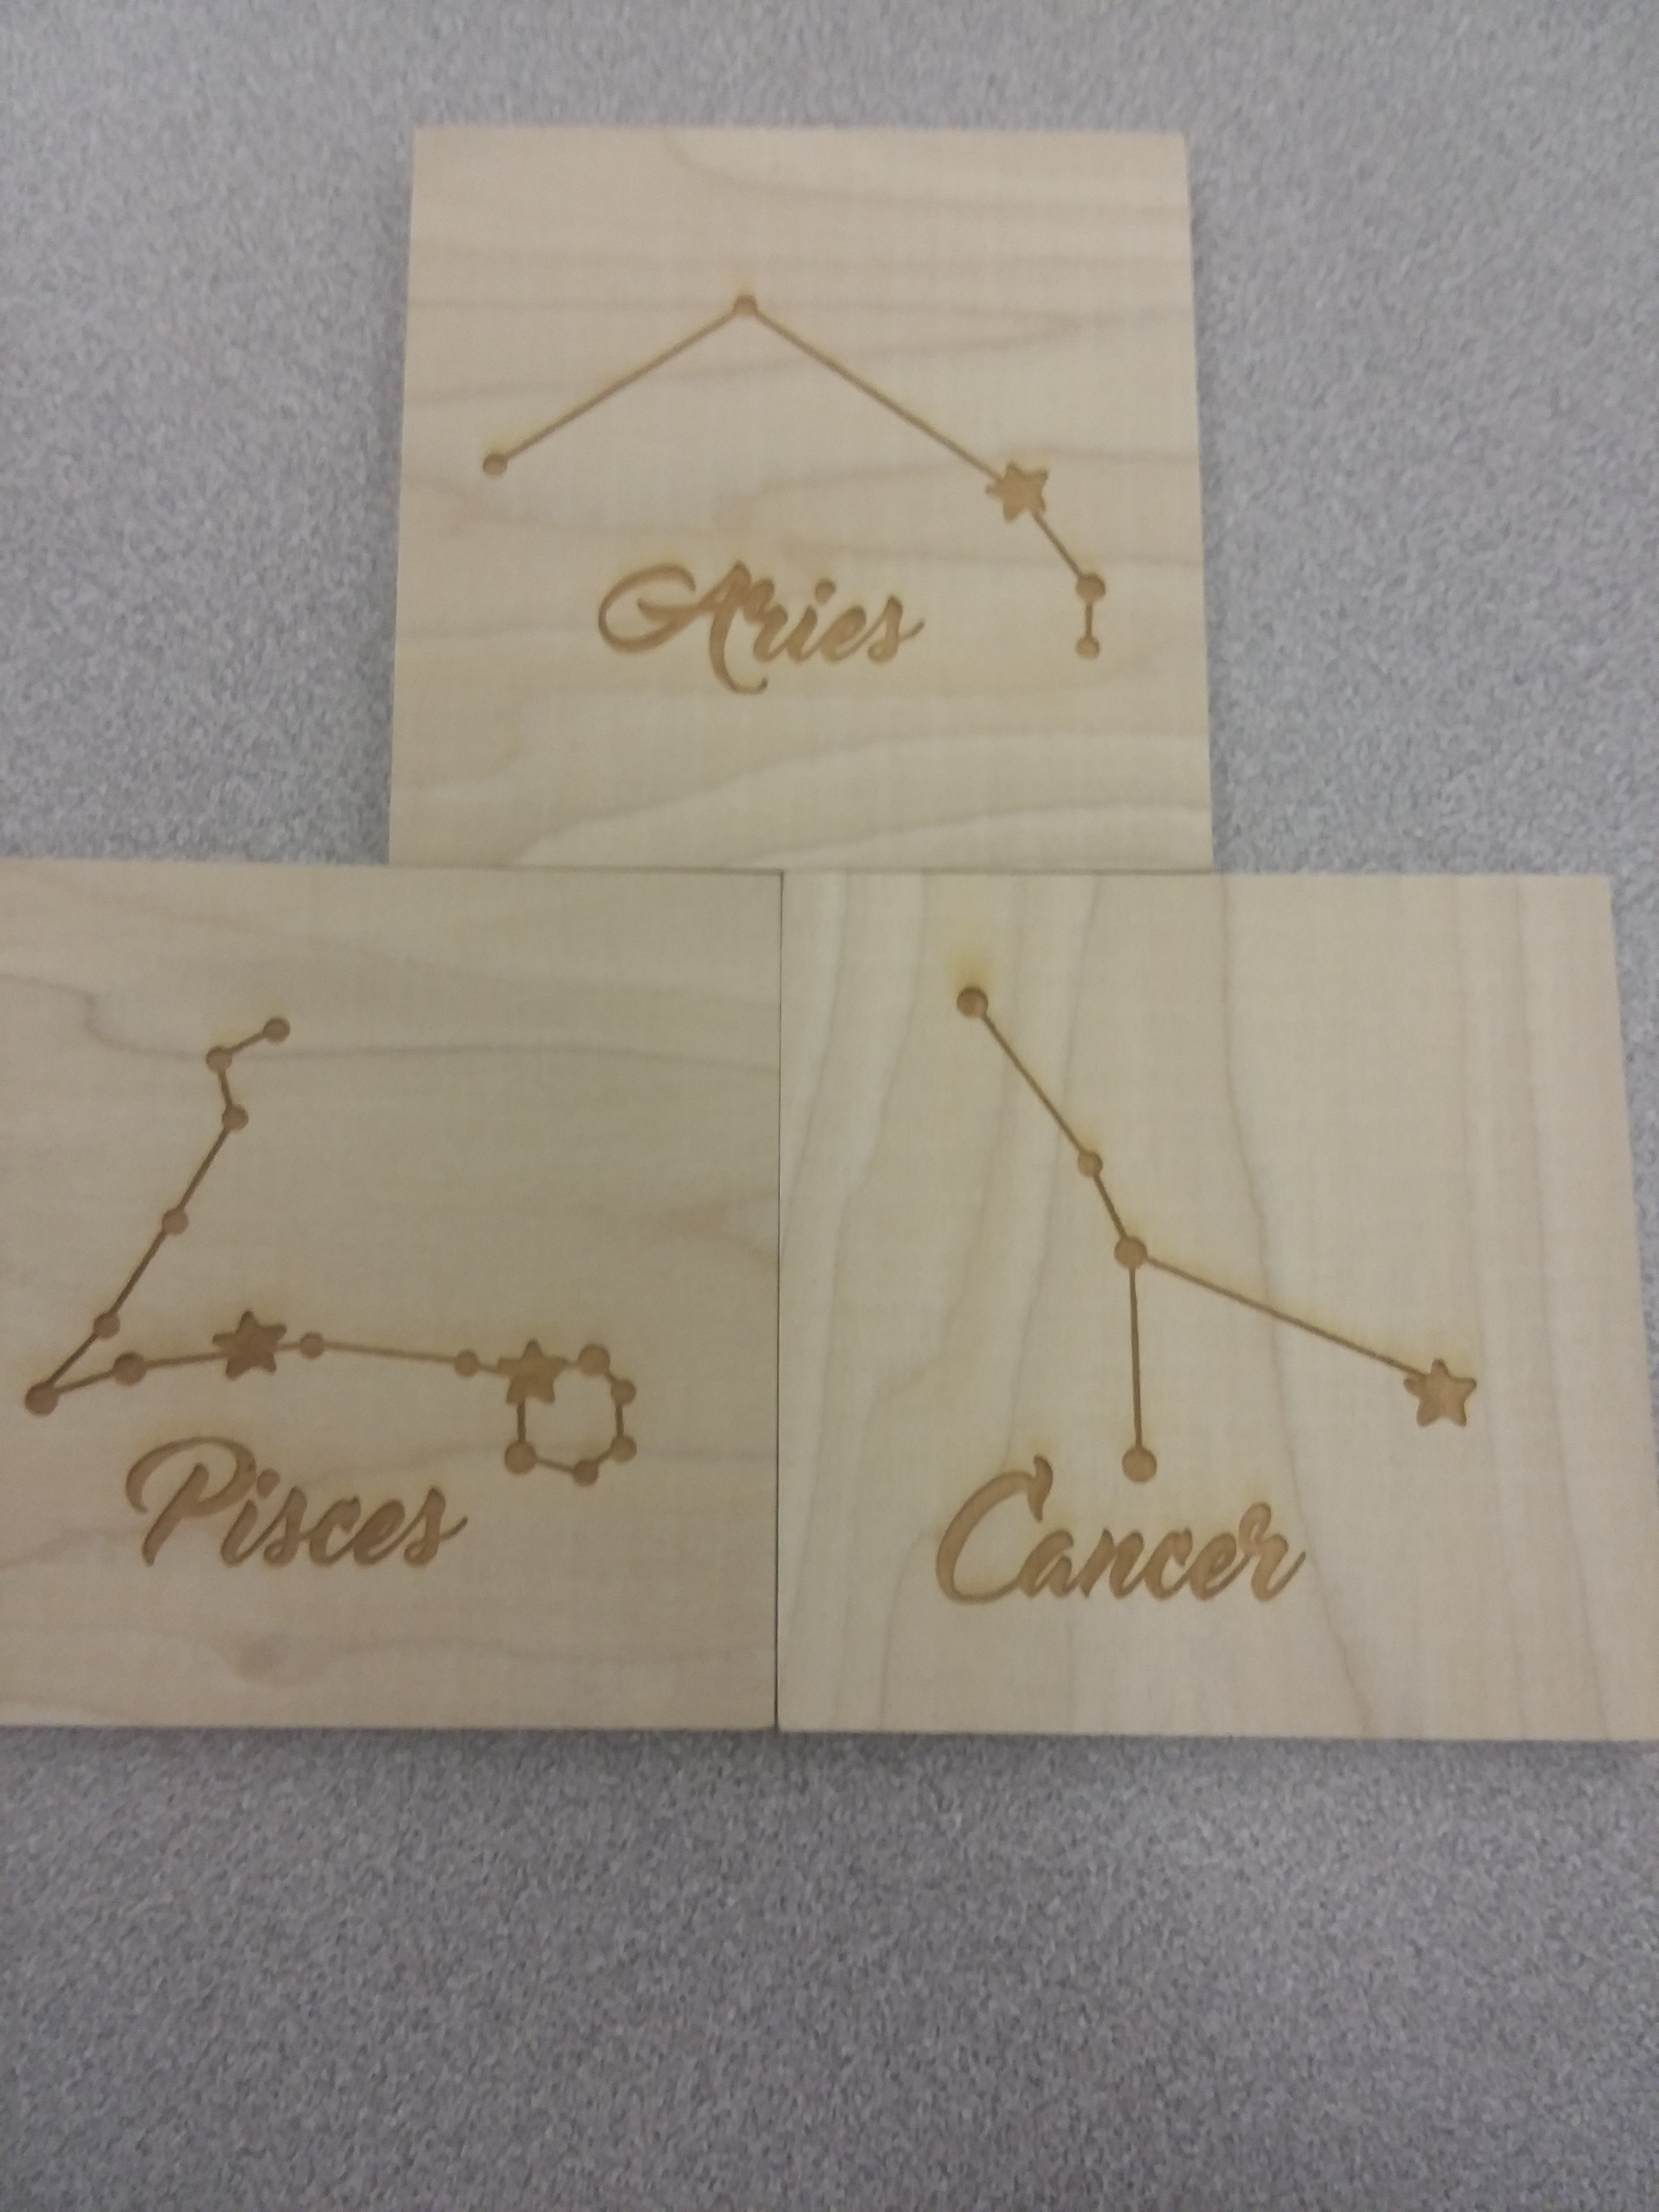
I wanted something that was different and unique so I made Zodiac Coasters. I had laser cut them to be the right size for a can, bottle, cup, etc. I wanted something for Father's Day (June 16). I wanted to give him something that was different and a DIY, something he doesn't have. I found different patterns and liked these the best. Now just waiting for June 16.
Materials:
~ 12 - 4" x 4" pieces of wood .375 inches thick
~ Adobe Illustrator CC 2018
~ Laser Cutter hooked up to a desktop computer
~ Graph Paper, Pencil, and Ruler (Optional for sketching)
Sketching
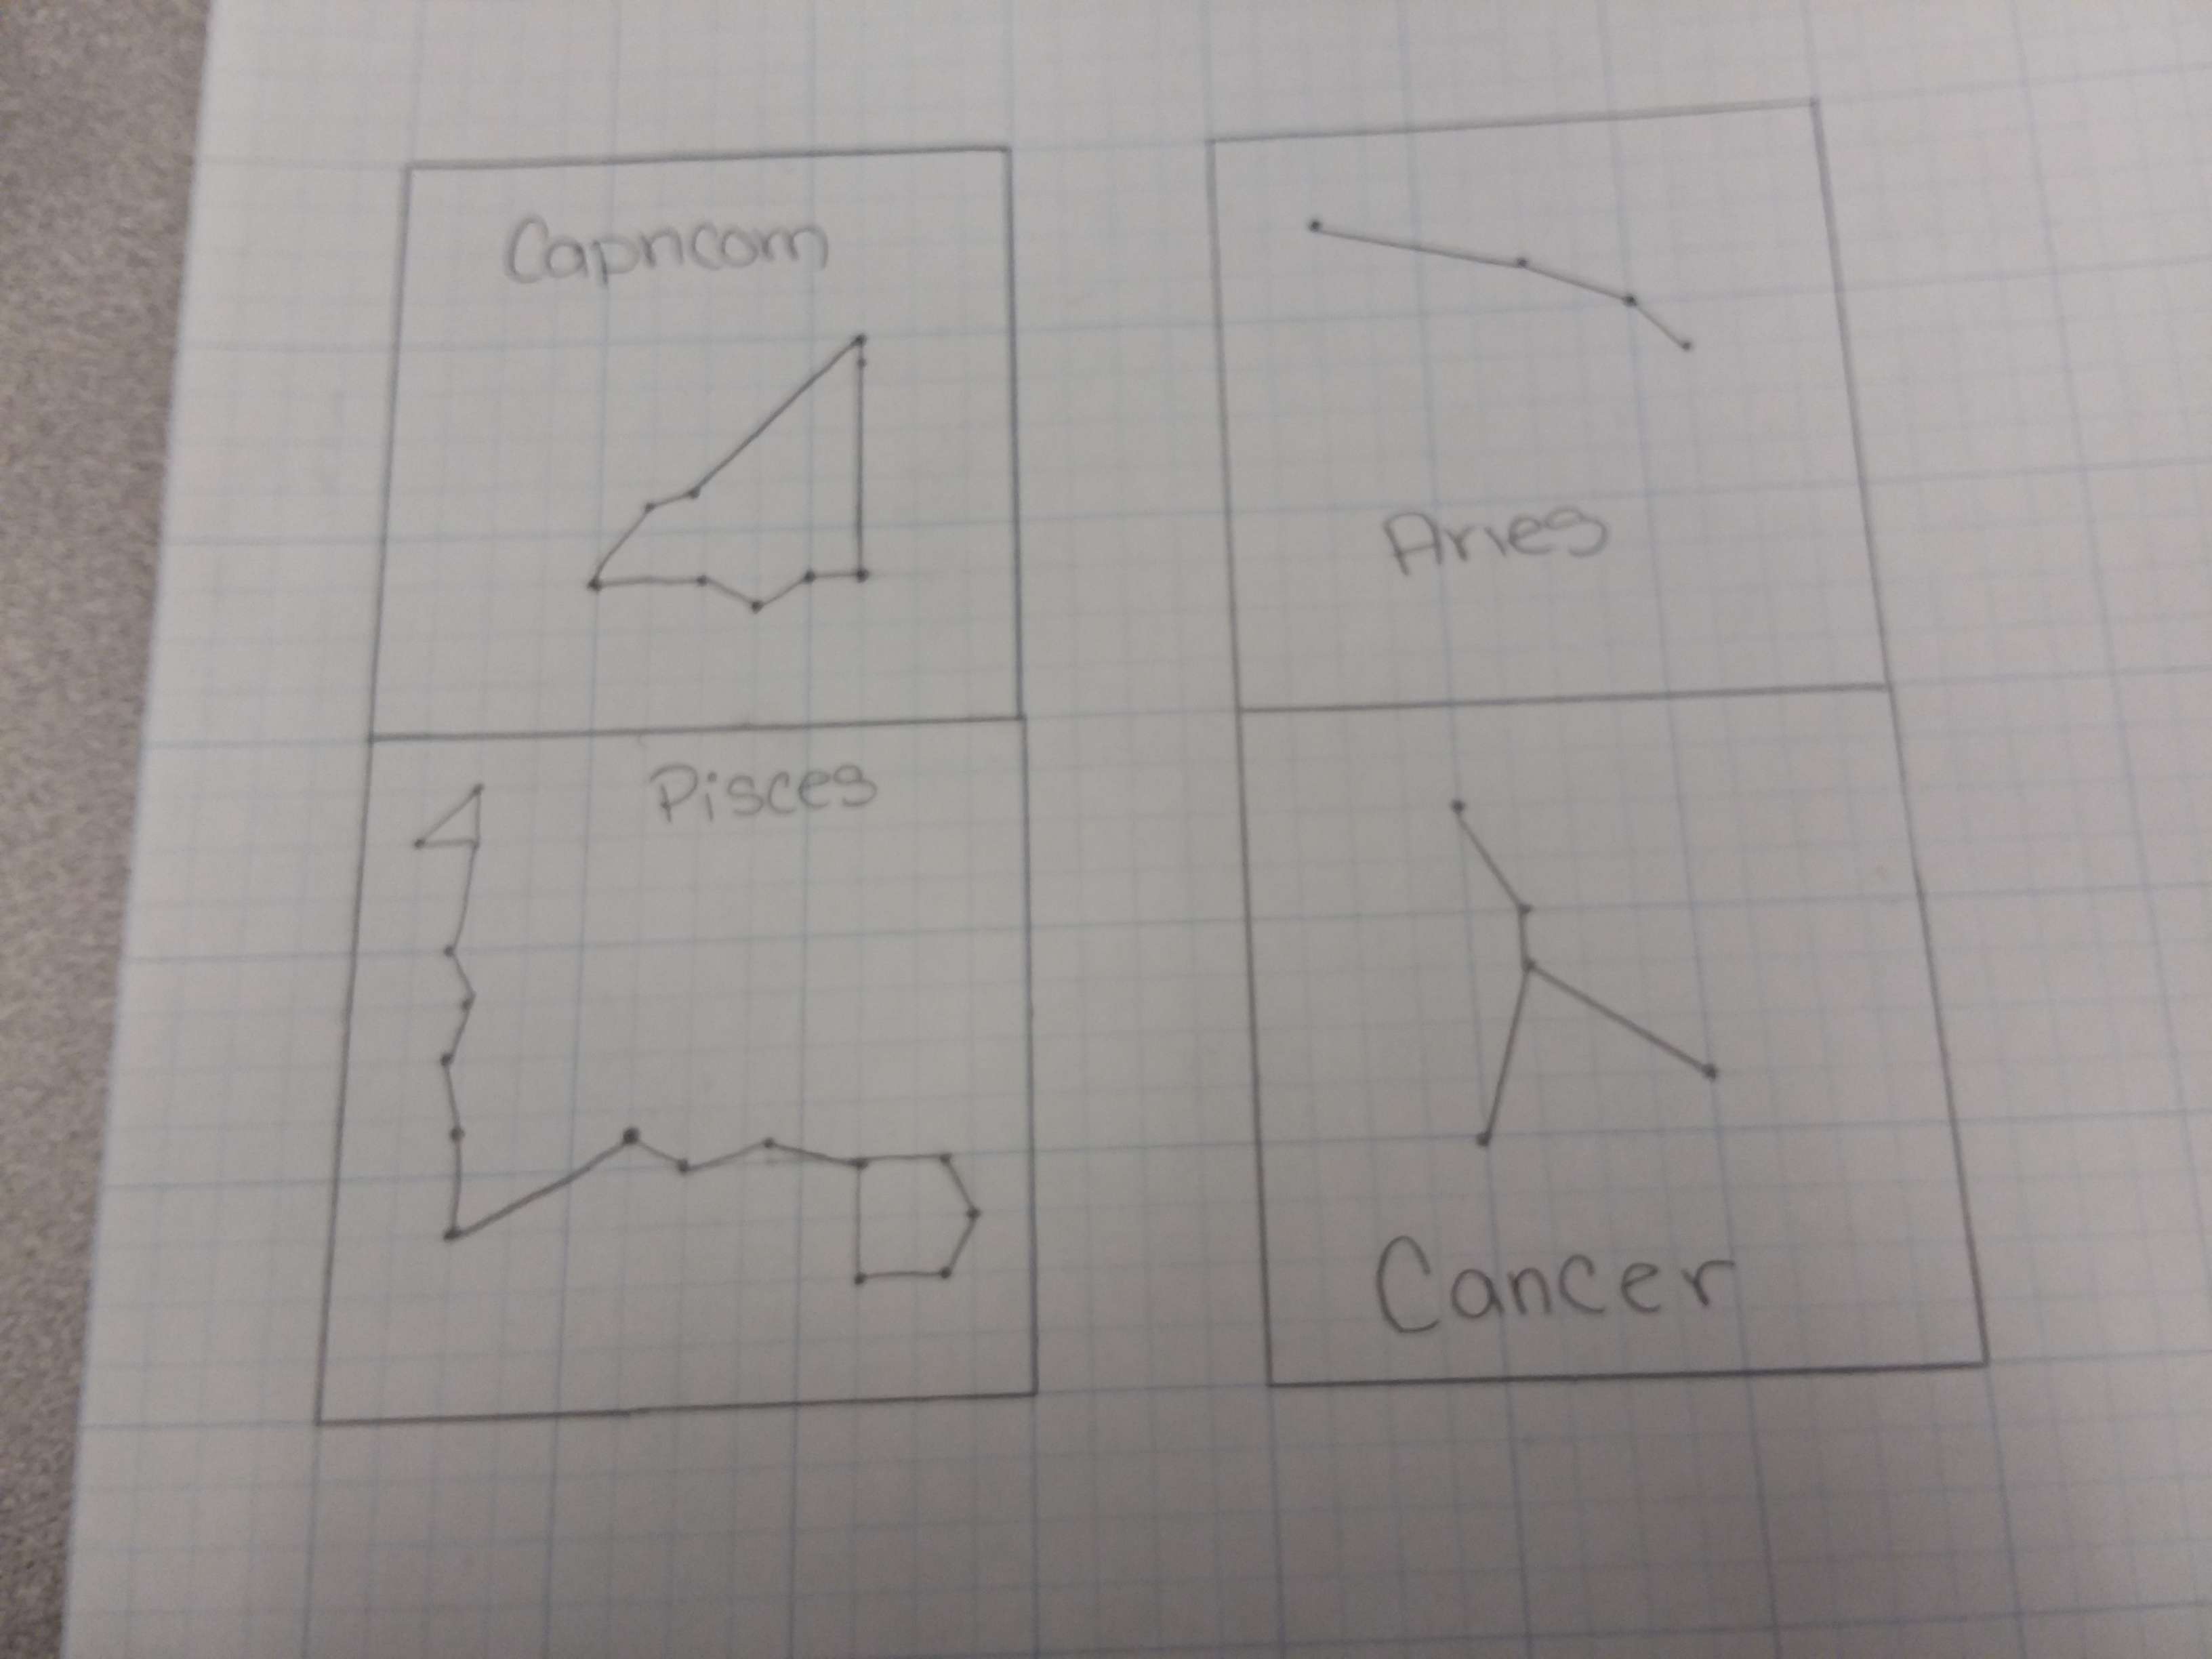
Sketch out the design you want for your coasters. For mine I used 1” x 1” grid paper, a ruler, and a 0.5 mm mechanical pencil.
Cutting
.jpg)
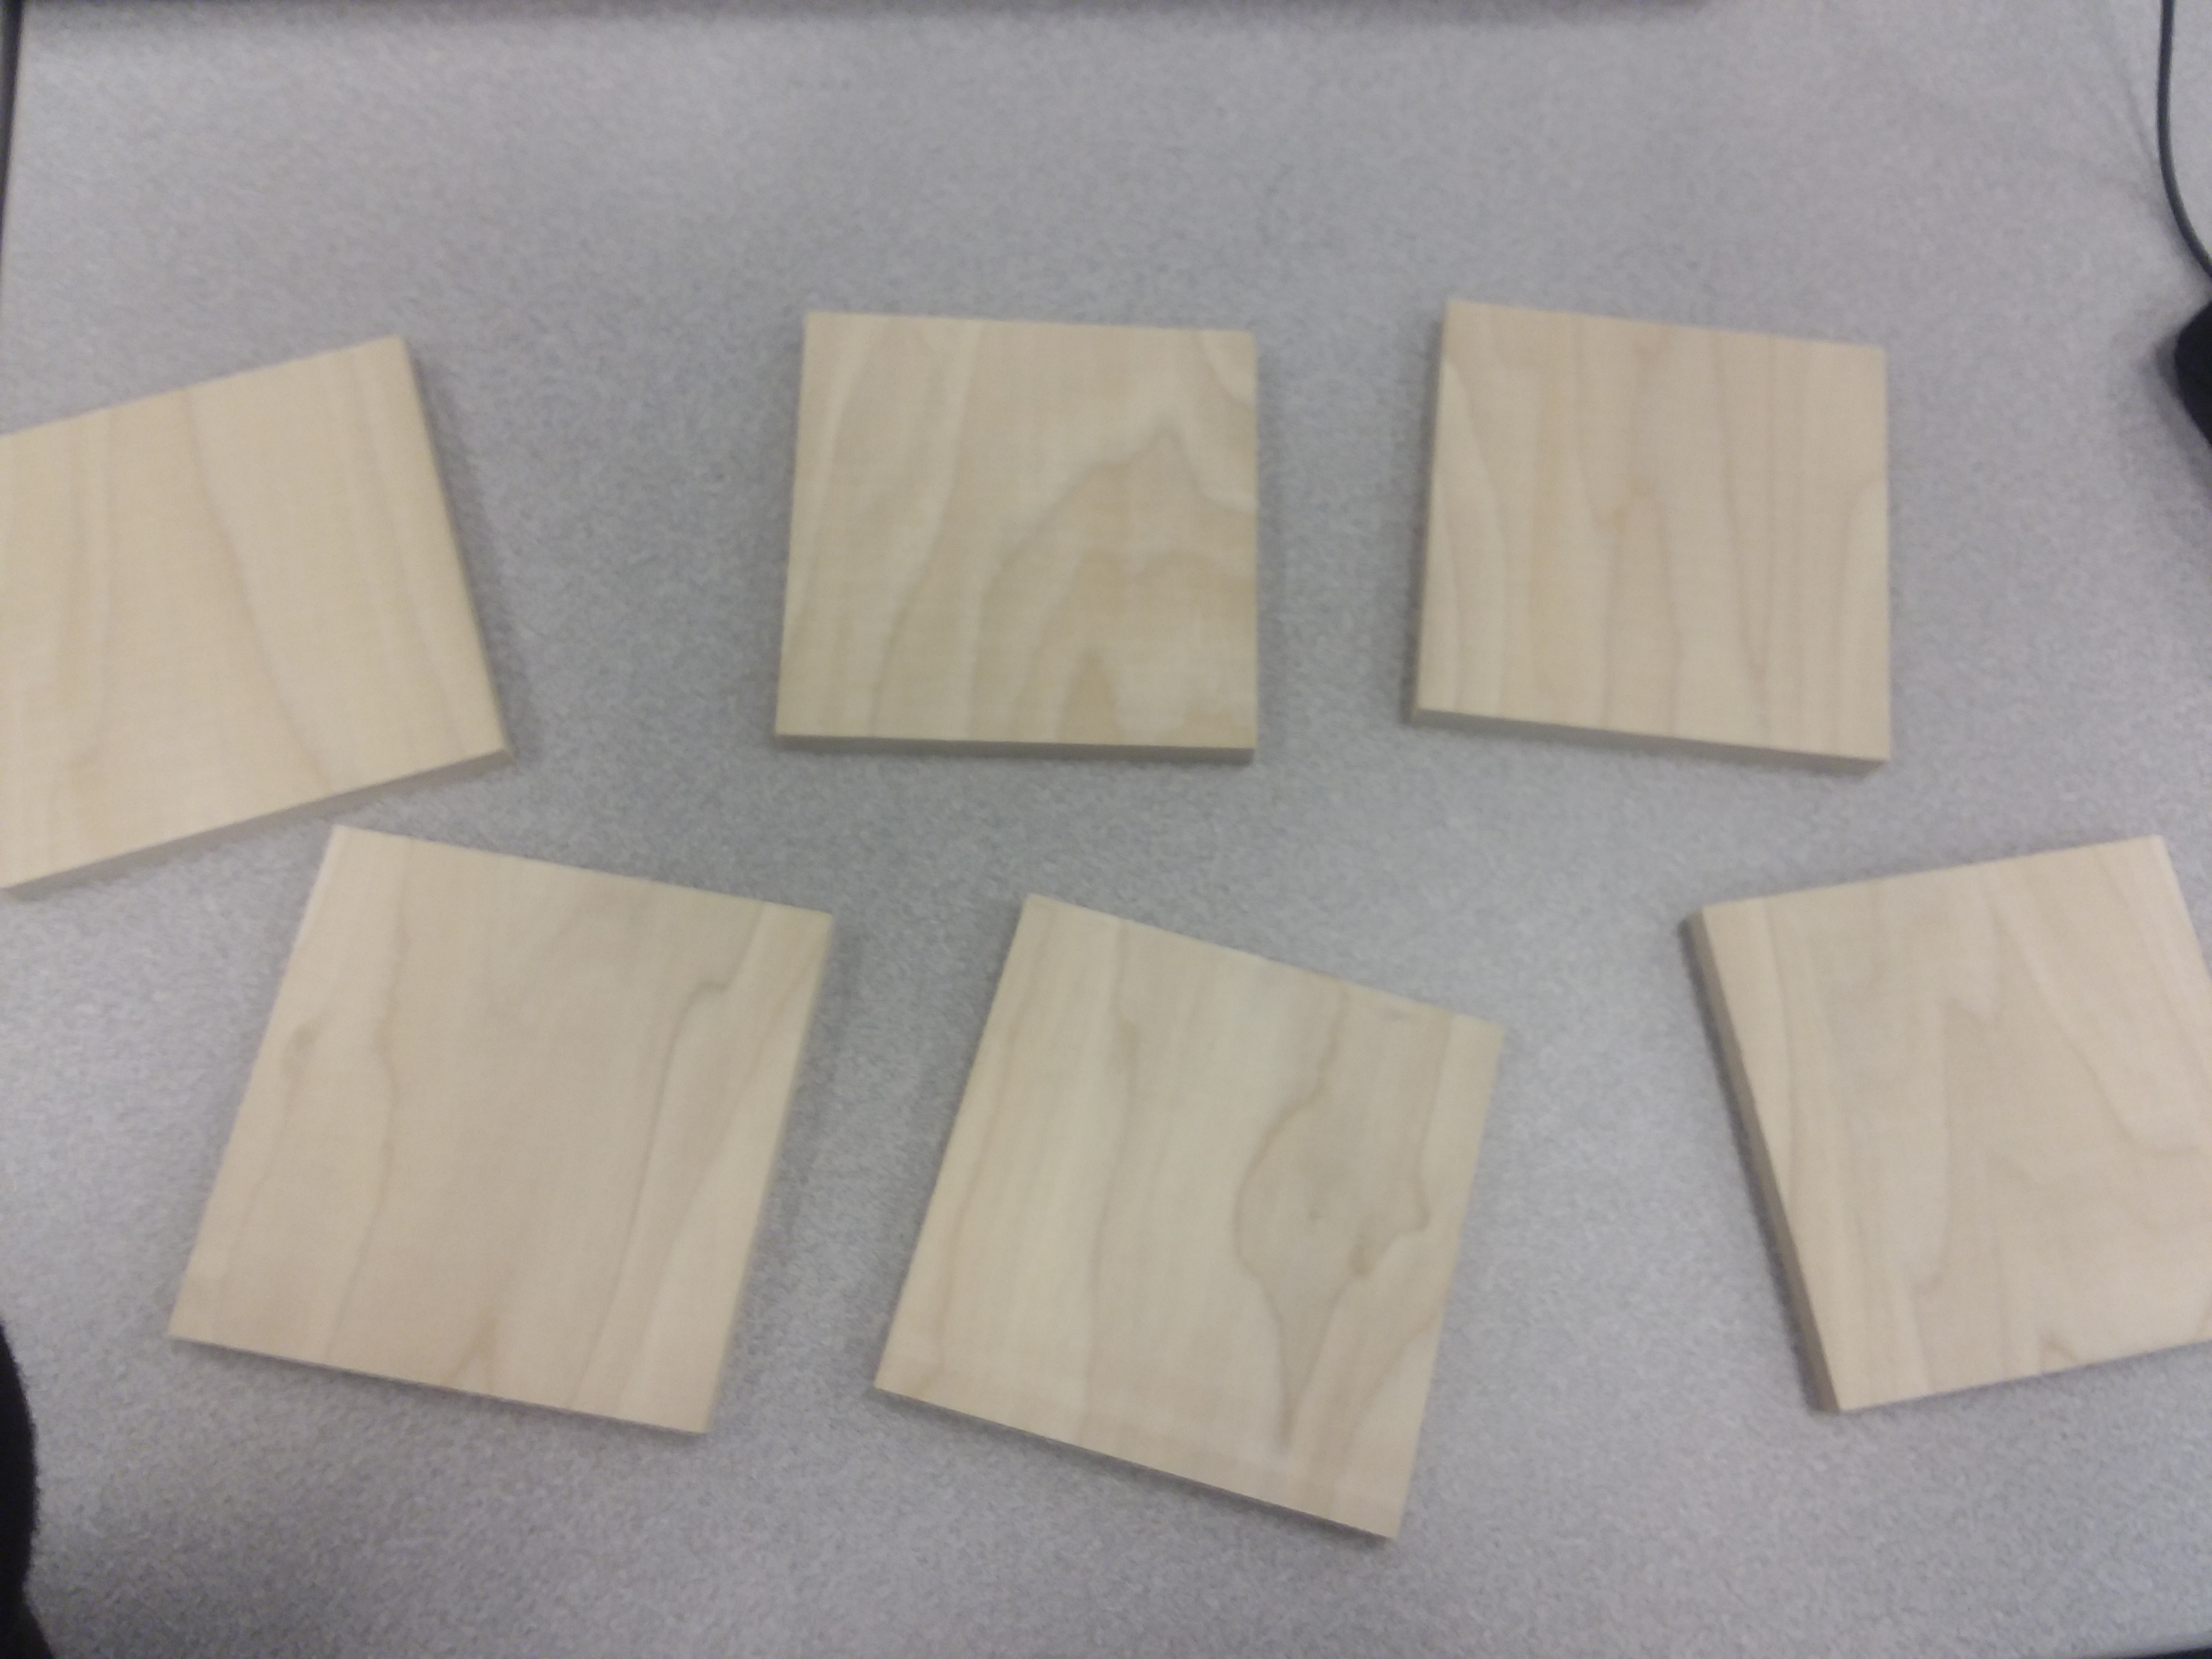
Cut out six pieces of wood that are 4” x 4” and 0.375 inches thick.
Font
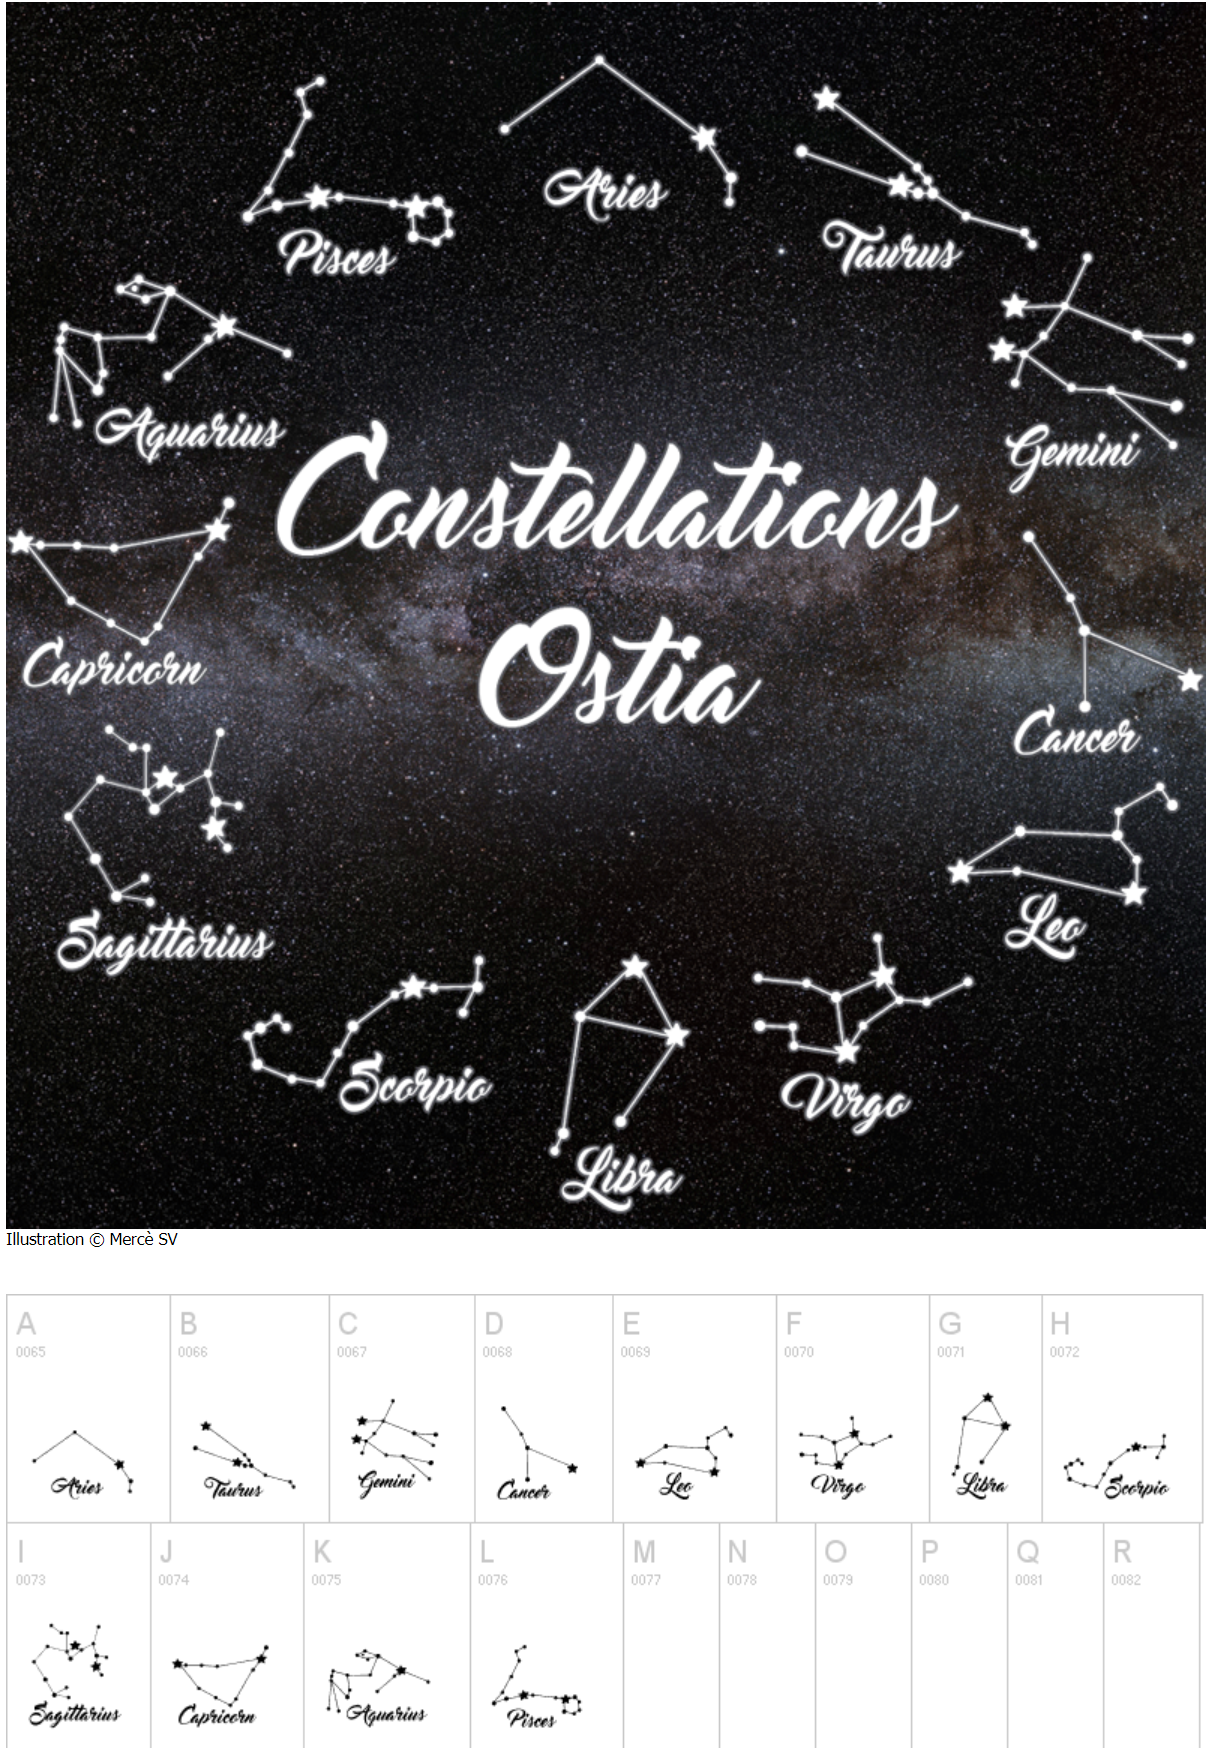
Go to the link and download the zodiac font. LINK
Adobe Illustrator CC 2018
Download if not already Adobe Illustrator CC 2018. Open the extension.
Setting Up the Image
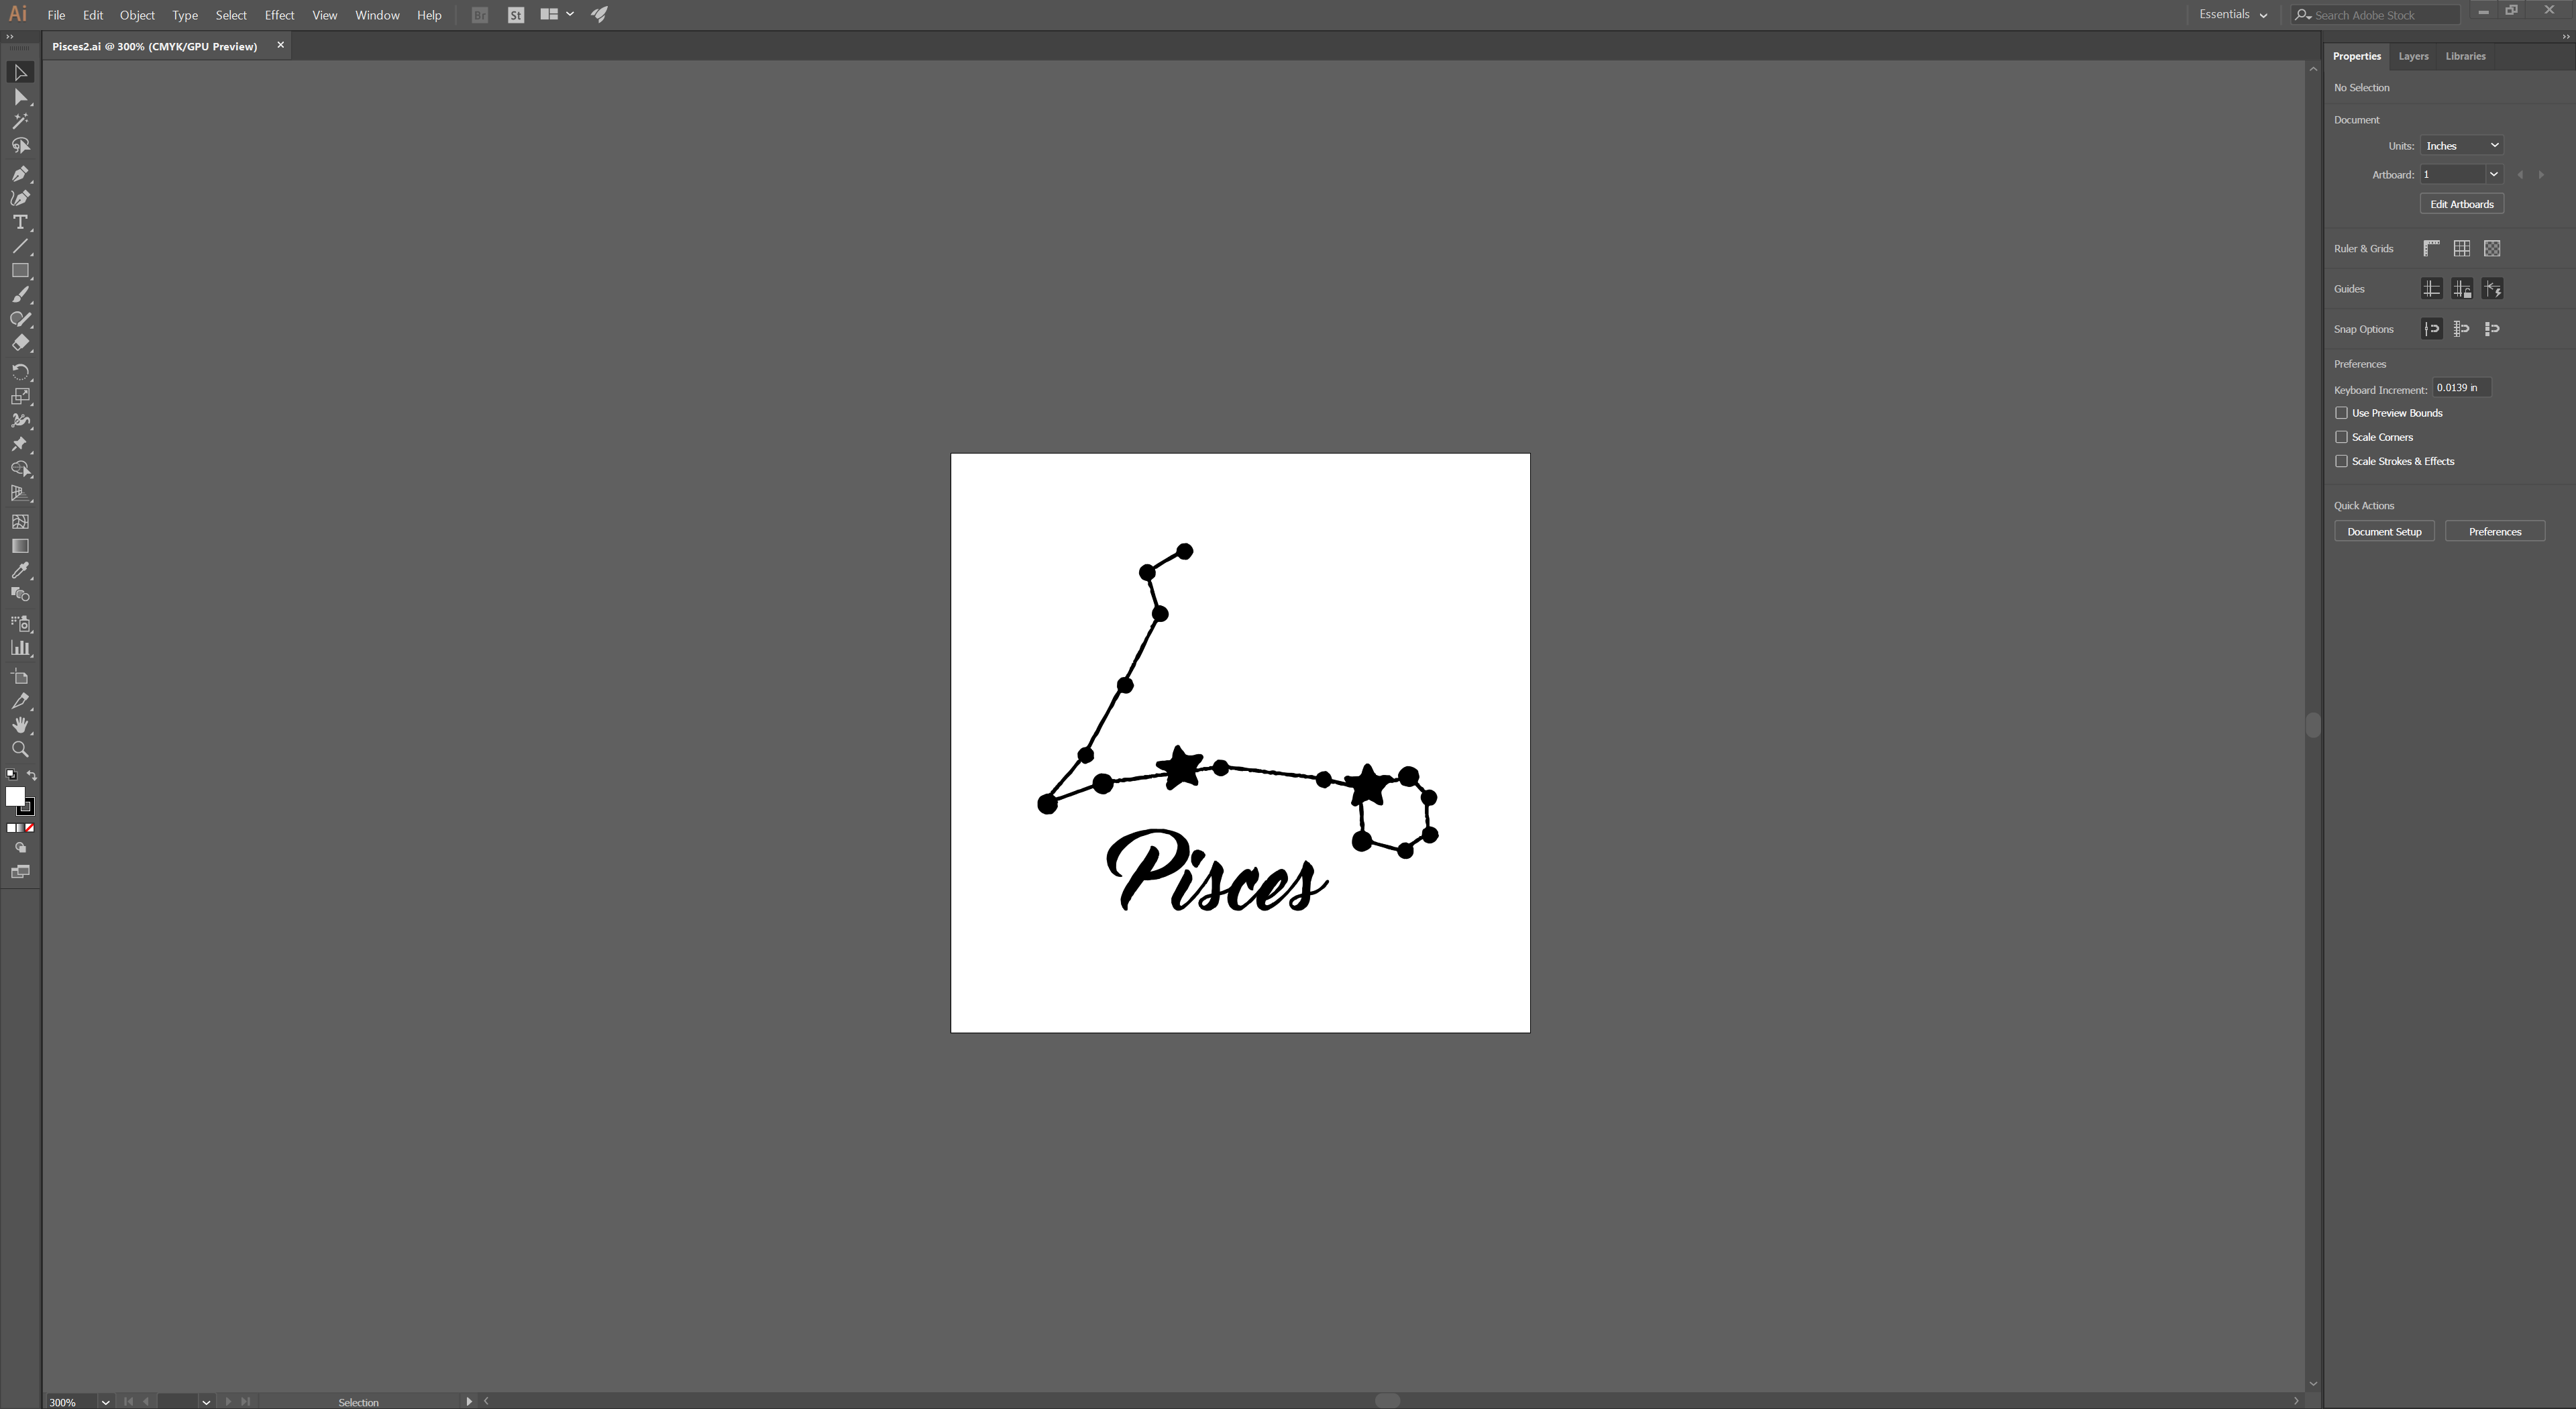
Open the image up to fit a 4" x 4" back drop.
Printing Setup
Then go to file and print. From there you want to change the media size to the User-Defined Landscape. Click print.
Print Setup 2
Open the software for the laser cutter. (For mine I went to the re locator tool, clicked the center of the image, and sent it to 2” X 2”. Then went to settings, wood, softwood, general. The thickness of the wood is .375.)
Finishing
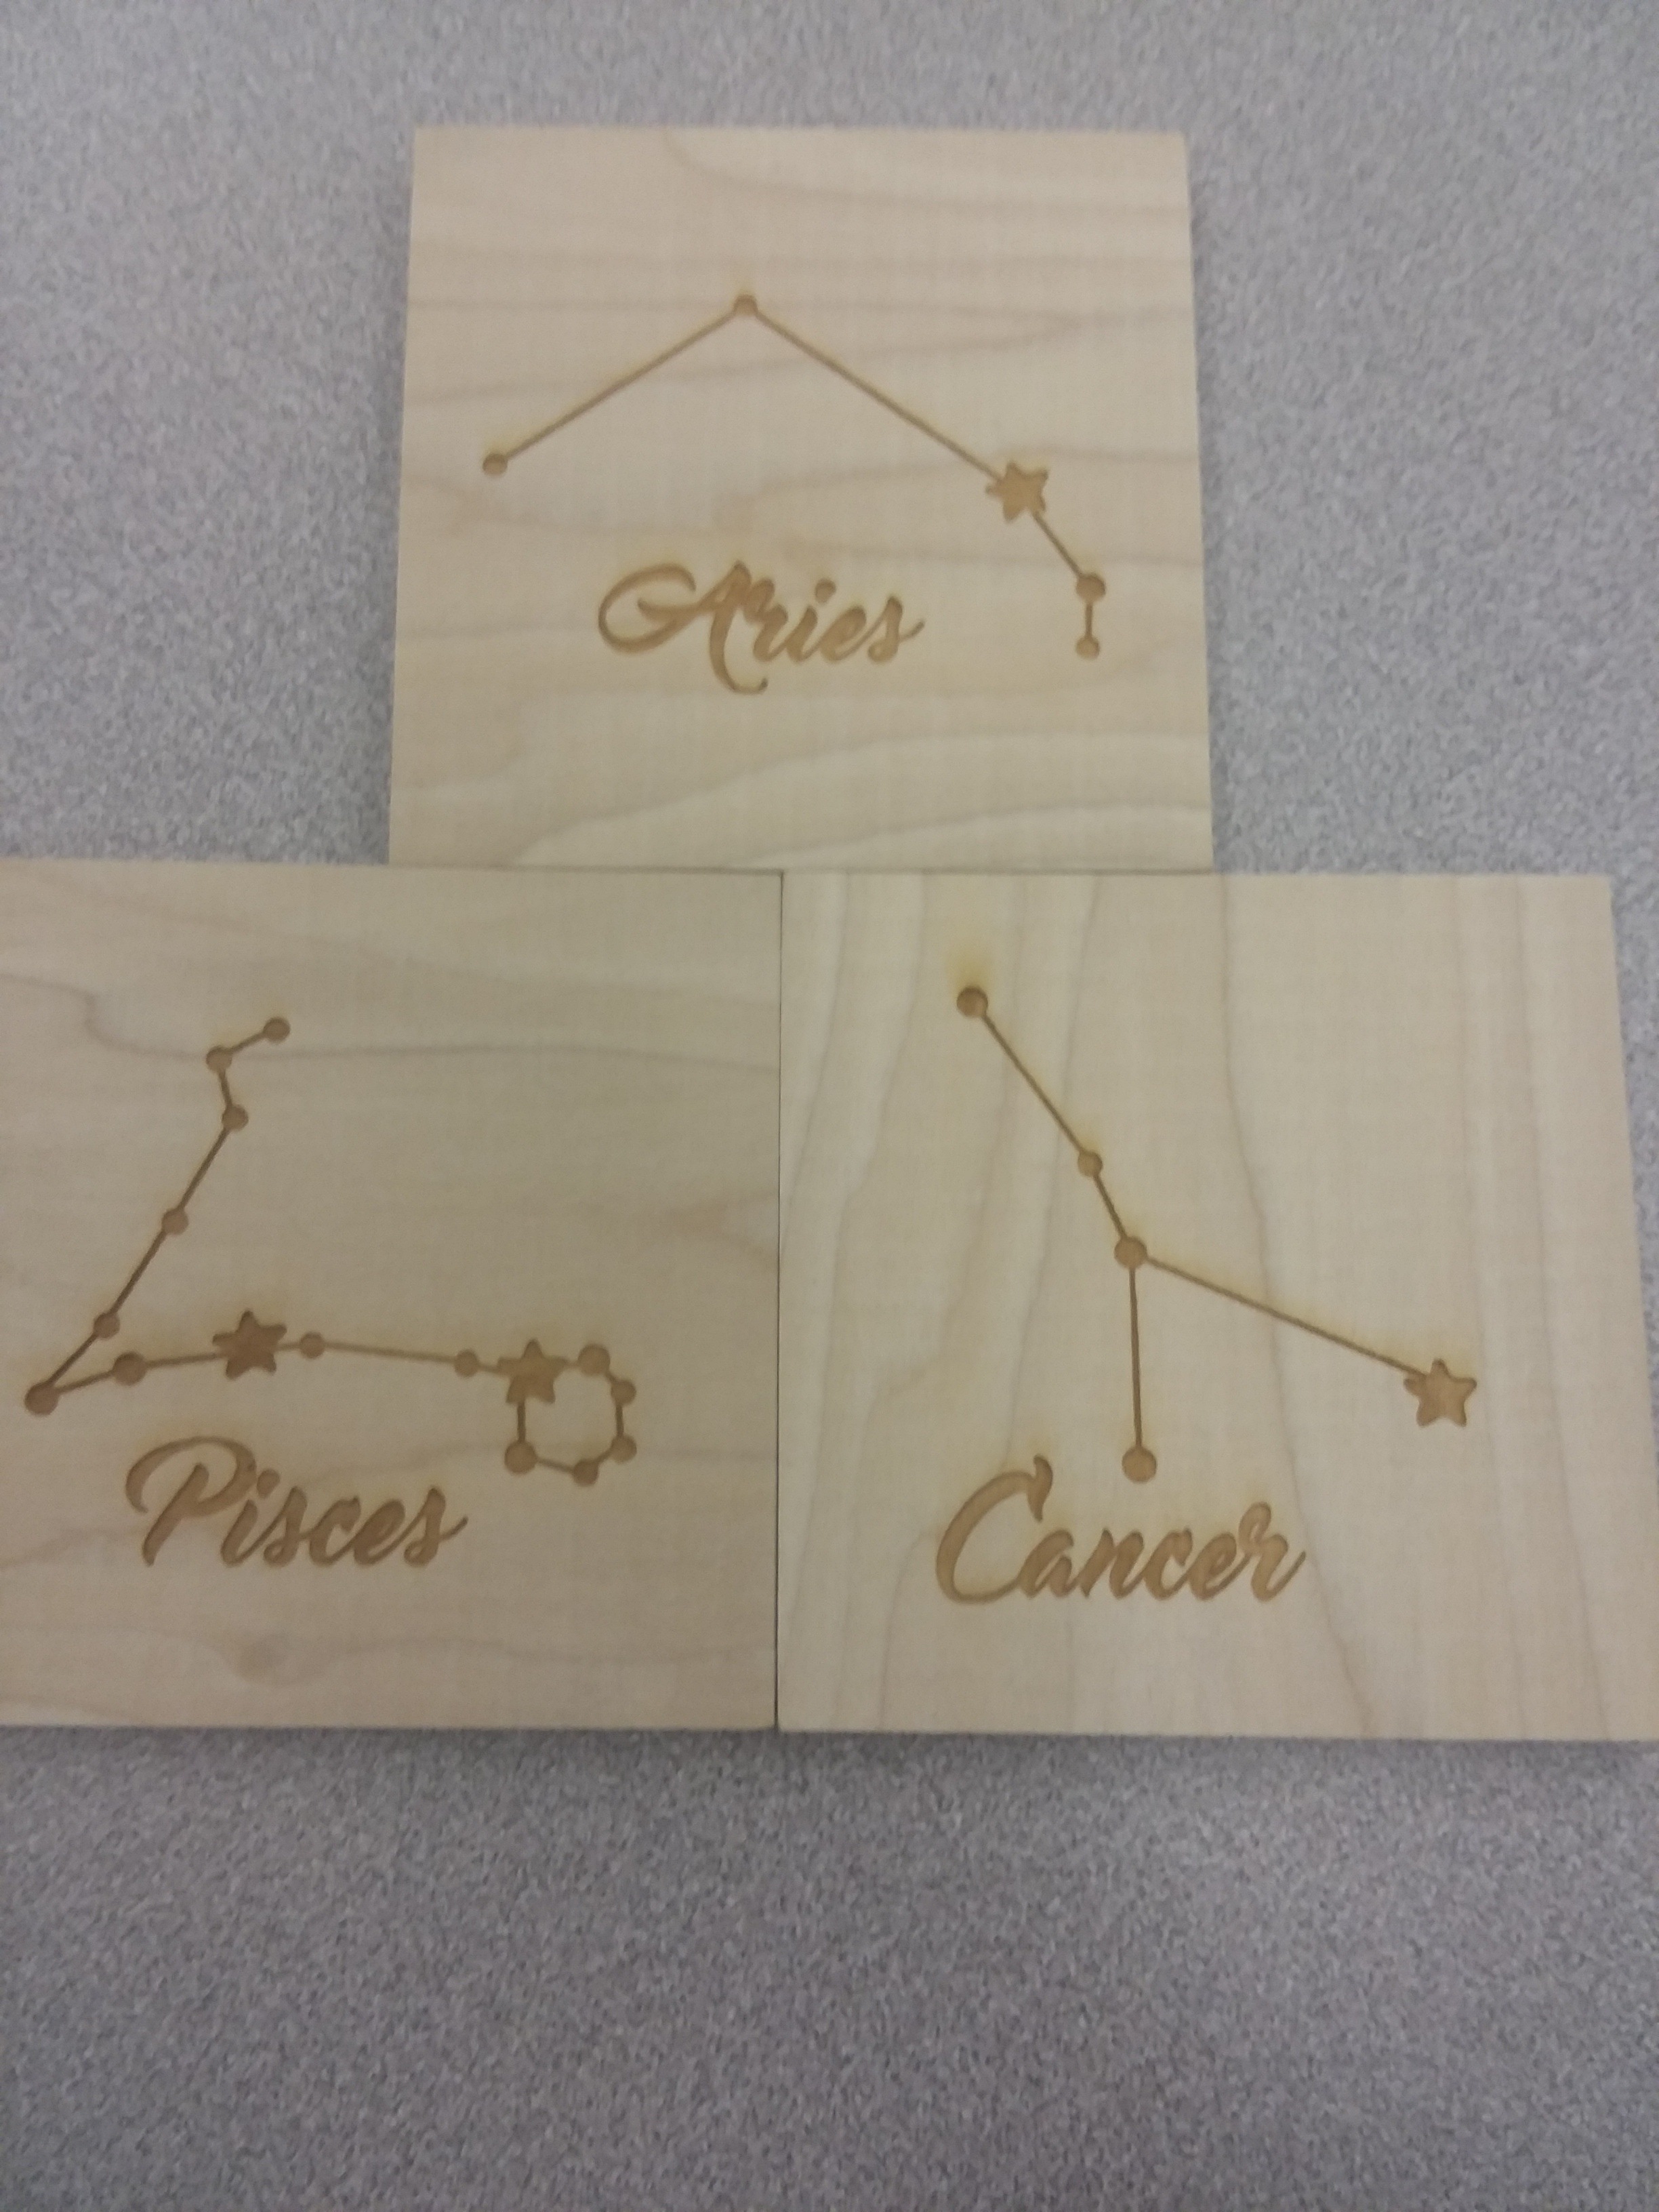
I waited about four minutes for the coasters to be done. Repeat as many times as you want with different designs.