Zippable Pouffe and Cover


What is a pouffe?
The short answer is comfortable. The longer answer is a cushioned footstool with no back.
You may be wondering why a zippable pouffe?
I have noticed a couple of things with pouffes, firstly that they are super comfortable to sit on or to put your feet on. Secondly, that they can get dirty far too easily and are not always easy to clean. My solution is to make an pouffe with a easy clean fabric, and then make a cover for that pouffe!
But then why zippers on both of them?
I have also found that over the years stuffing can get pretty deflated, so I want the ability to put more stuffing in, or even take some stuffing out, depending on the desired level of floofiness. A zipper on the inner piece allows for that kind of modification, and a zipper on the cover allows for easy removal and cleaning.
Here are a couple terms to know before we jump in.
Terms:
Right side of the fabric: The decorative or patterned side of the fabric that you want to be seen on the completed piece. When the fabric looks the same on both sides this term does not matter as much.
Wrong side of the fabric: The non decorative or patterned side
Supplies
- fabric for the inner pouffe (I chose a water resistant one)
- fabric for the pouffe cover (I chose a decorative fabric with a white liner)
- Zippers
-14" zipper in matching color to inner pouffe fabric
-16" +* zipper in matching color or pouffe cover fabric
*Your zipper on the cover can be longer. If this is something you would like you can check out how to make this happen in the Notes section at the end of this instructable
- Newsprint to create your stencils
- Colored pencils to mark fabric
- Compass or protractor (optional- I found a compass very useful when creating my stencils)
- Sewing supplies:
- Fabric scissors
- Pins
- Needles
- Thread (to match your fabric selections)
- Sewing machine (highly recommended but technically not necessary)
Gather Your Supplies!


Have some fun picking out what fabric you want to use!
Find Measurements and Create Your Stencils

This is where I am going to show you the math of my design.
You can either follow my pattern and measurements exactly or follow my process and create a smaller or larger pouffe depending on your preference. I made my stencils out of newsprint but you can use anything similar that’ll do the job.
First decide how big you want your pouffe. I wanted a cylinder shape 14" tall with top and bottom circle pieces with a 14" diameter.
This gives us:
Height (h) = 14"
Diameter (d) = 14"
Radius (r) = 7"
Now we are going to need this formula for circumference: C= 2πr
When we input our values we get:
C = 2π(7)
C = 44 (rounded)
The 44 inches of the circumference is how long our middle piece will be, with the 14" of height. When we add the 1/2" seam allowance the total measurements to 45" x 15"
I just drew these measurements onto the fabric since it is a simple rectangular shape.
Now we will use the circumference to figure out the size of the triangle pieces. We have 8 triangle pieces to we will divide the circumference by the number of triangles making the circle.
C = 44"
44 / 8 = 5.5
So, the 5.5 will be the width of the triangle and the 7" of the radius will be the height of the triangle pieces.
To get the curvature of the triangle stencil measure from the top point of the triangle and dot out a few points so that each point is 7 inches from the tip of the triangle.
Now that you have the stencil measurements you can add 1/2" seam allowance to the outside.
Draw out the triangle measurements on the newsprint making sure to mark the 1/2" seam allowance. This will be our stencil that we can use to cut out the 16 triangle pieces (8 pieces for the top and 8 pieces for the bottom).
Cut Your Fabric


Measure twice and cut once! I used a white colored pencil to mark on my fabric. You could also use chalk here.
I am choosing to use a water resistant fabric with a clear plastic backing. Because of this fabric choice, I made my pencil marks on the right side of the fabric because the wrong side is especially shiny and wouldn’t take pencil markings easily. Normally you want to make your markings on the wrong side of the fabric but if circumstance prevents it try to use chalk so your markings can be rubbed away later.
Mark and cut out the long middle piece and then cut out the 16 triangle pieces with the stencil.
Make sure to hang on to your fabric scraps, we can use them later when stuffing the pouffe!
Pin and Sew! (Top and Bottom Pieces)


This is the fun part. We are going to start with the top and bottom triangle pieces.
You want to line up two of the triangles with the right sides facing each other. After pinning the fabric we will sew along one edge with a ½” seam allowance. Do this for 8 panels until you have a full circle made.
Make two of these 8 triangle circles and we will have our top and bottom pieces.
Pin and Sew! (Add the Zipper to the Middle Piece)

Now we will add the zipper to the middle section. We will pin the zipper with a ½” seam allowance and then sew one side of the zipper to the fabric panel. Make sure the right side of the zipper is facing the right side of the fabric.
Pin and Sew! (Attach the Top and Bottom Pieces to the Middle Piece)
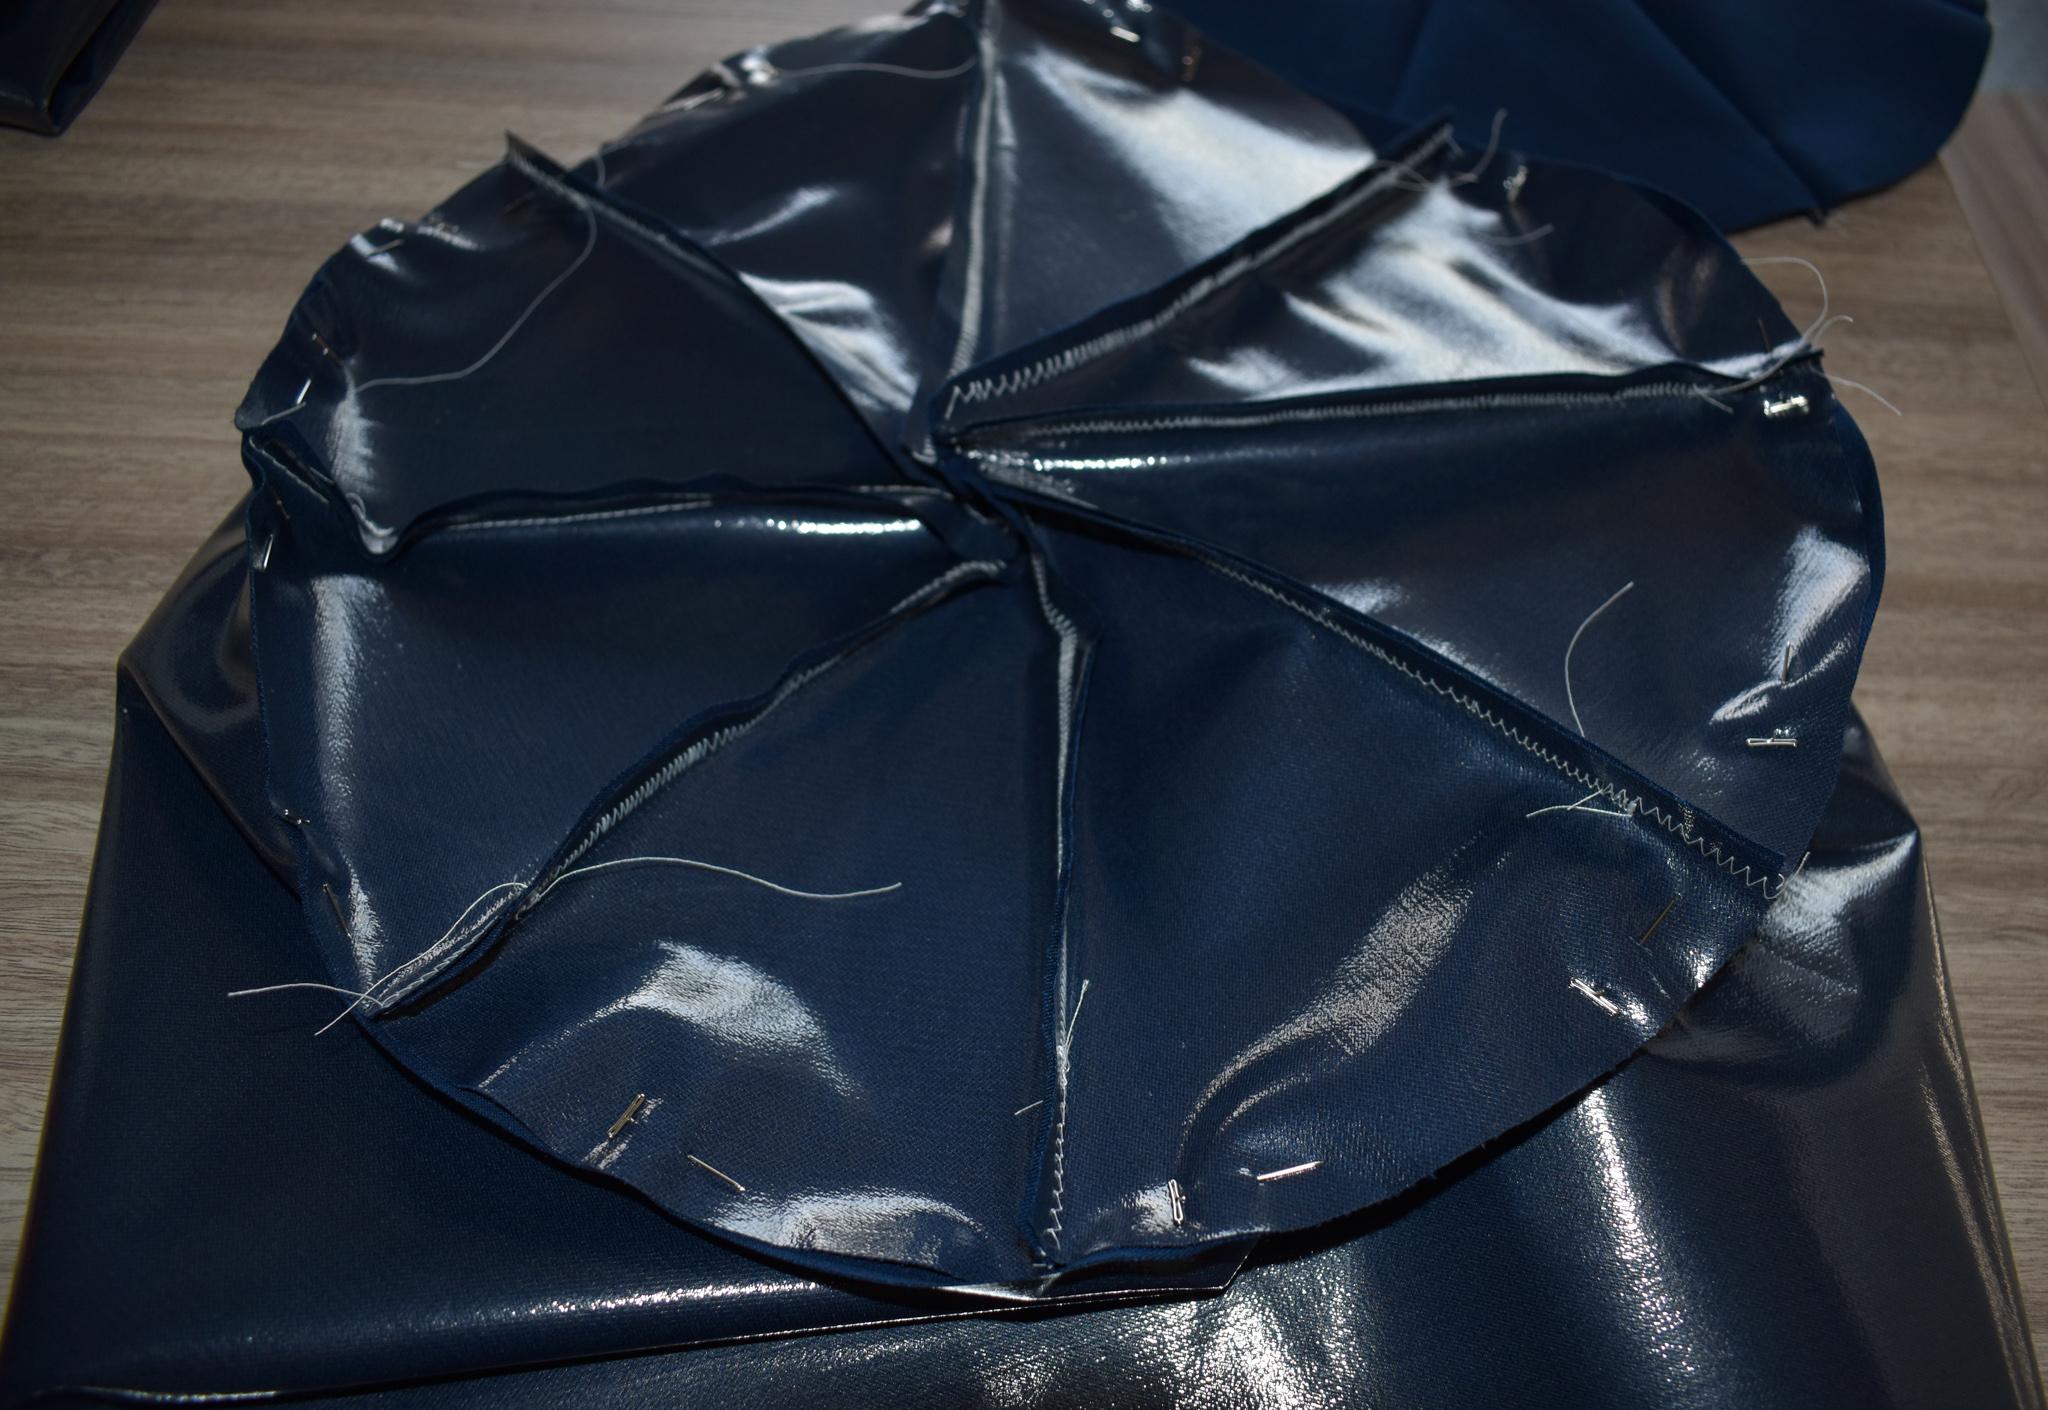


Next we will pin the top triangle piece to the middle panel
with the right sides facing each other and with a ½” seam allowance. Then sew with a ½” seam allowance.
Once the top panel and middle panel are attached we will sew the other half of the zipper. Pin the other half of the zipper to the other side of the fabric facing the right sides together and sew that line.
Now we can add the bottom panel. Before we pin and sew it make sure the zipper is undone so you have a way to flip it around. We will pin and sew the bottom panel just like we did above.
With the three main pieces sewn together let’s inside it out and see what we have!
Pin and Sew! (Cut Out and Sew Decorative Circles)


Awesome! Here is where I decided to cut out a couple extra circle panels to attach to the middle of the top and bottom. Technically this step could be done before we attach the top and bottom piece to the middle panel but I like the aesthetic look of the hand stitching and I felt better centering the panel after the main pieces were sewn together.
I used the newsprint and a compass to make a quick stencil with a 7" diameter (matching the length of the radius).
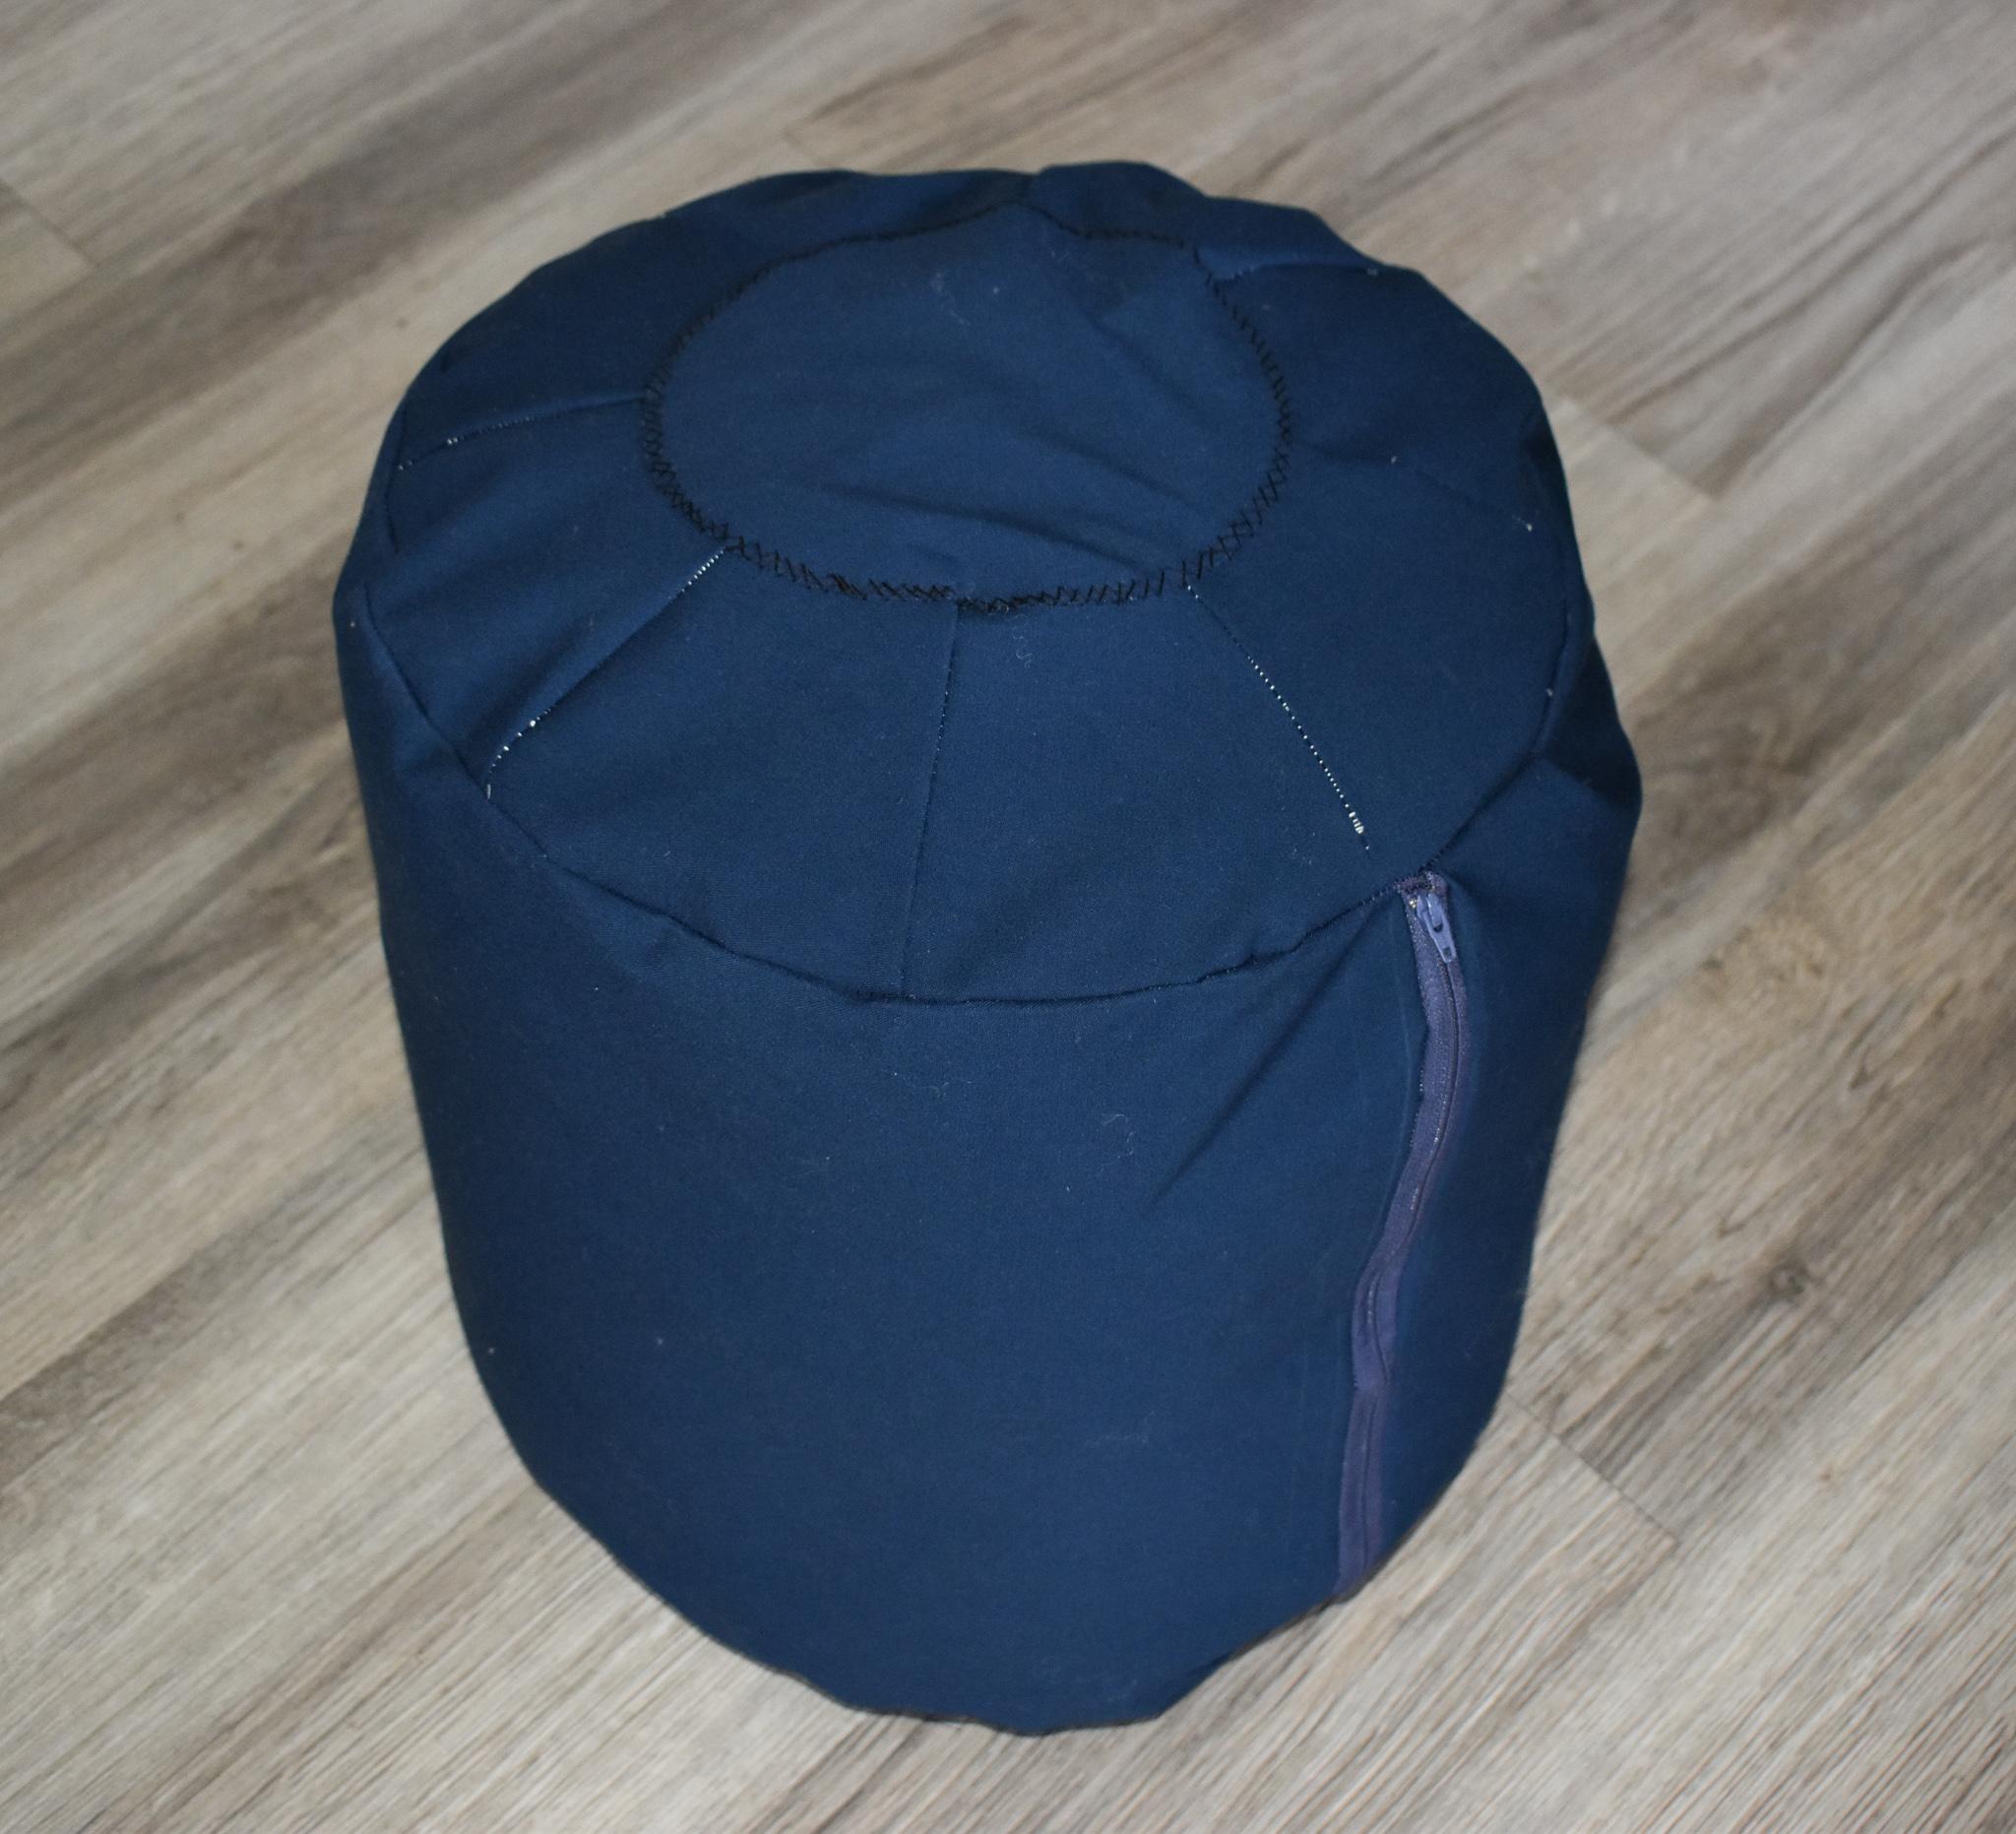
After cutting out 2 of those circles, I used a simple X stitching pattern to attach it and make it a little more decorative. You can use any stitching technique you like to attach it though.
Stuffing the Pouffe

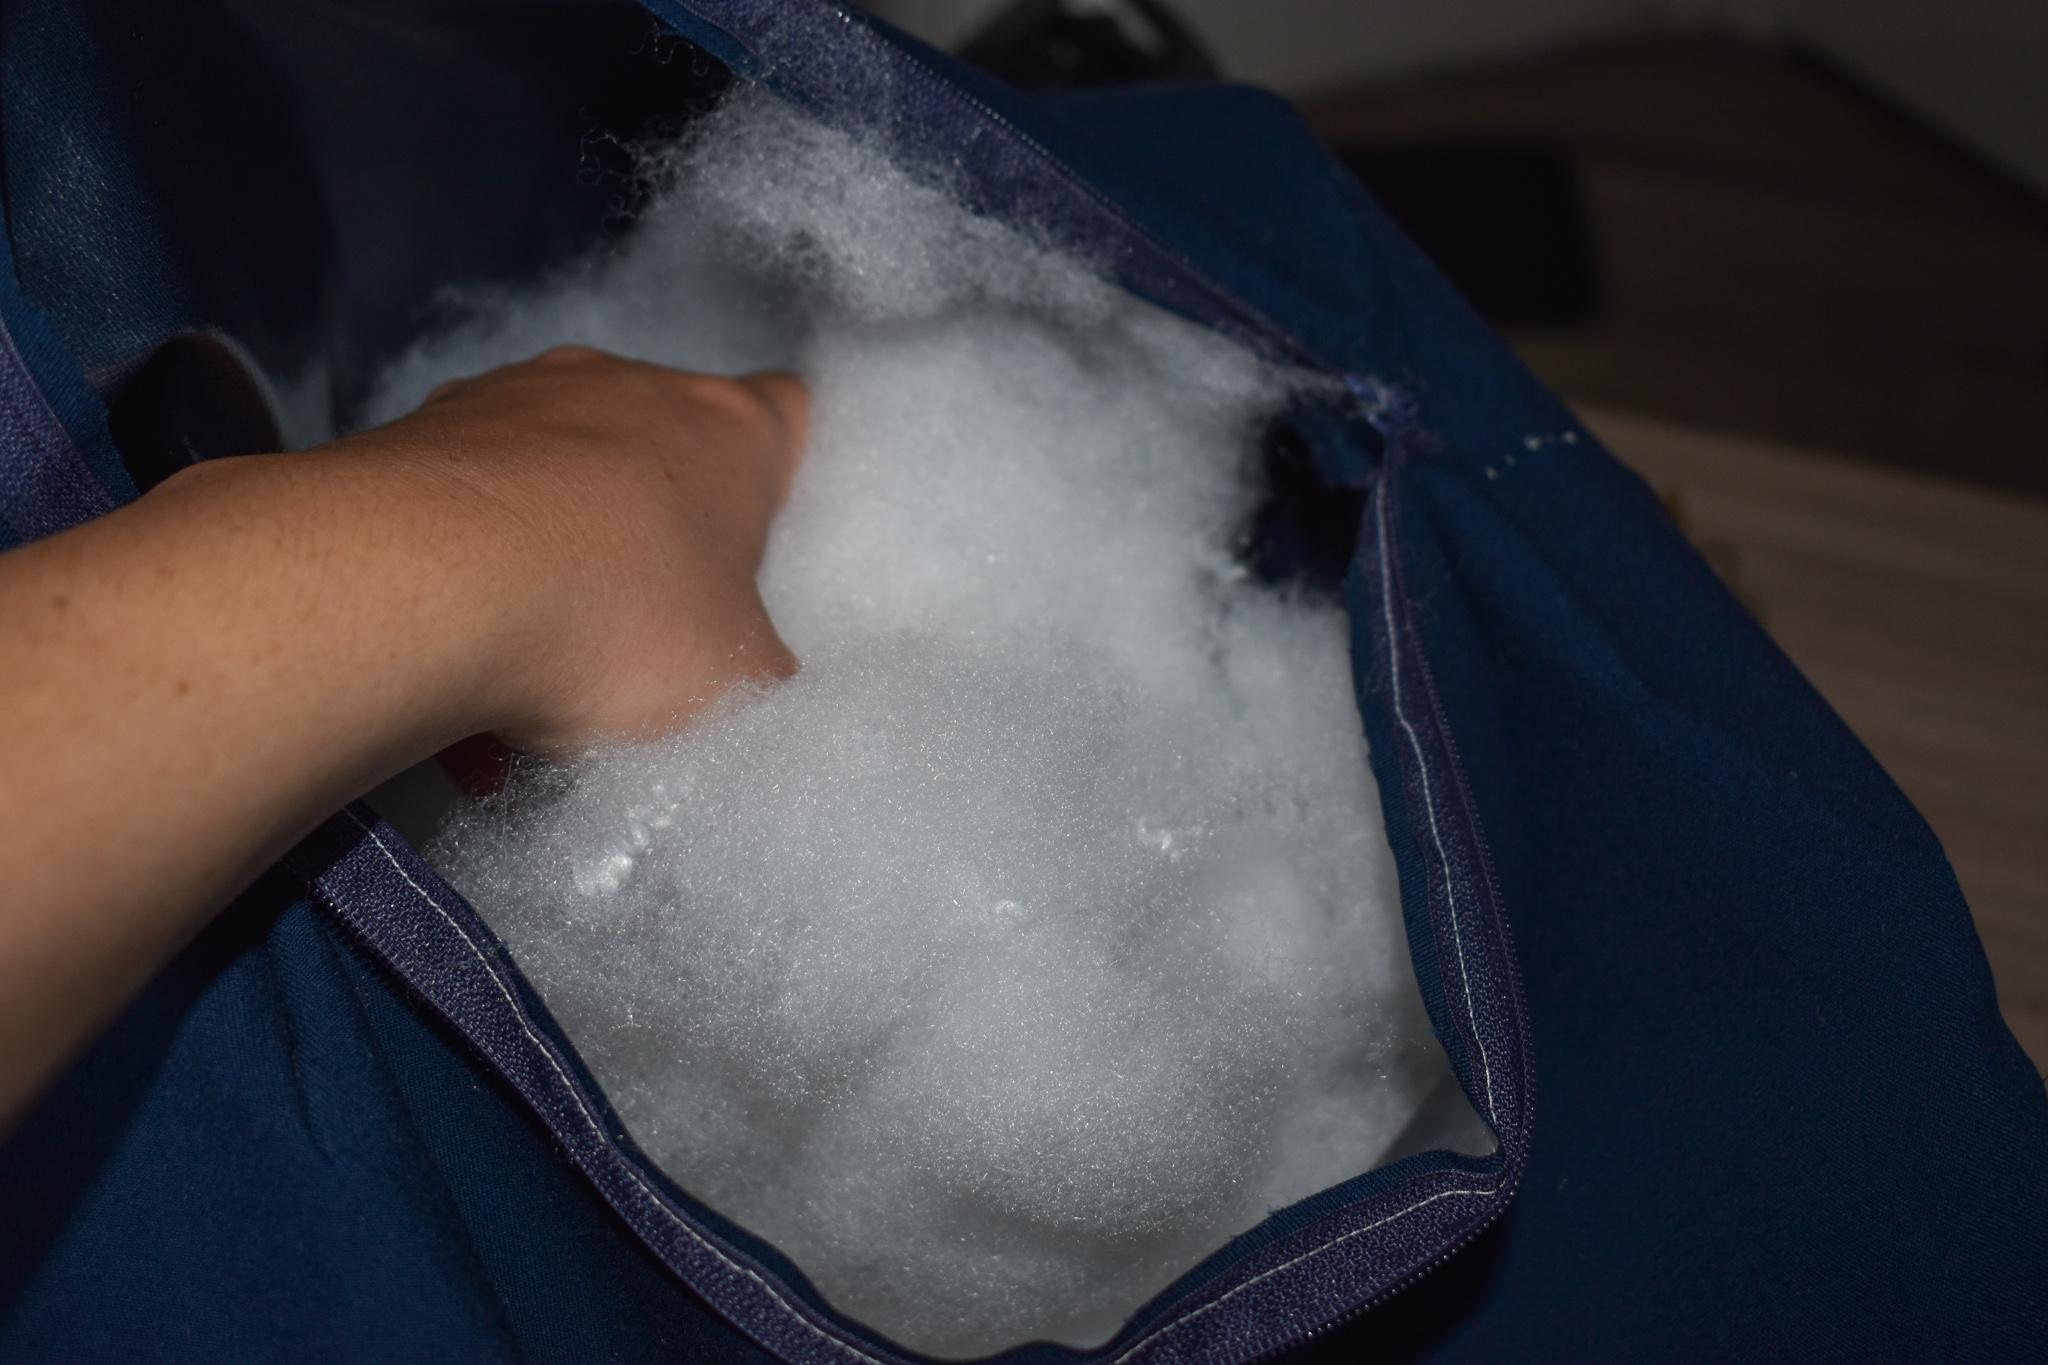
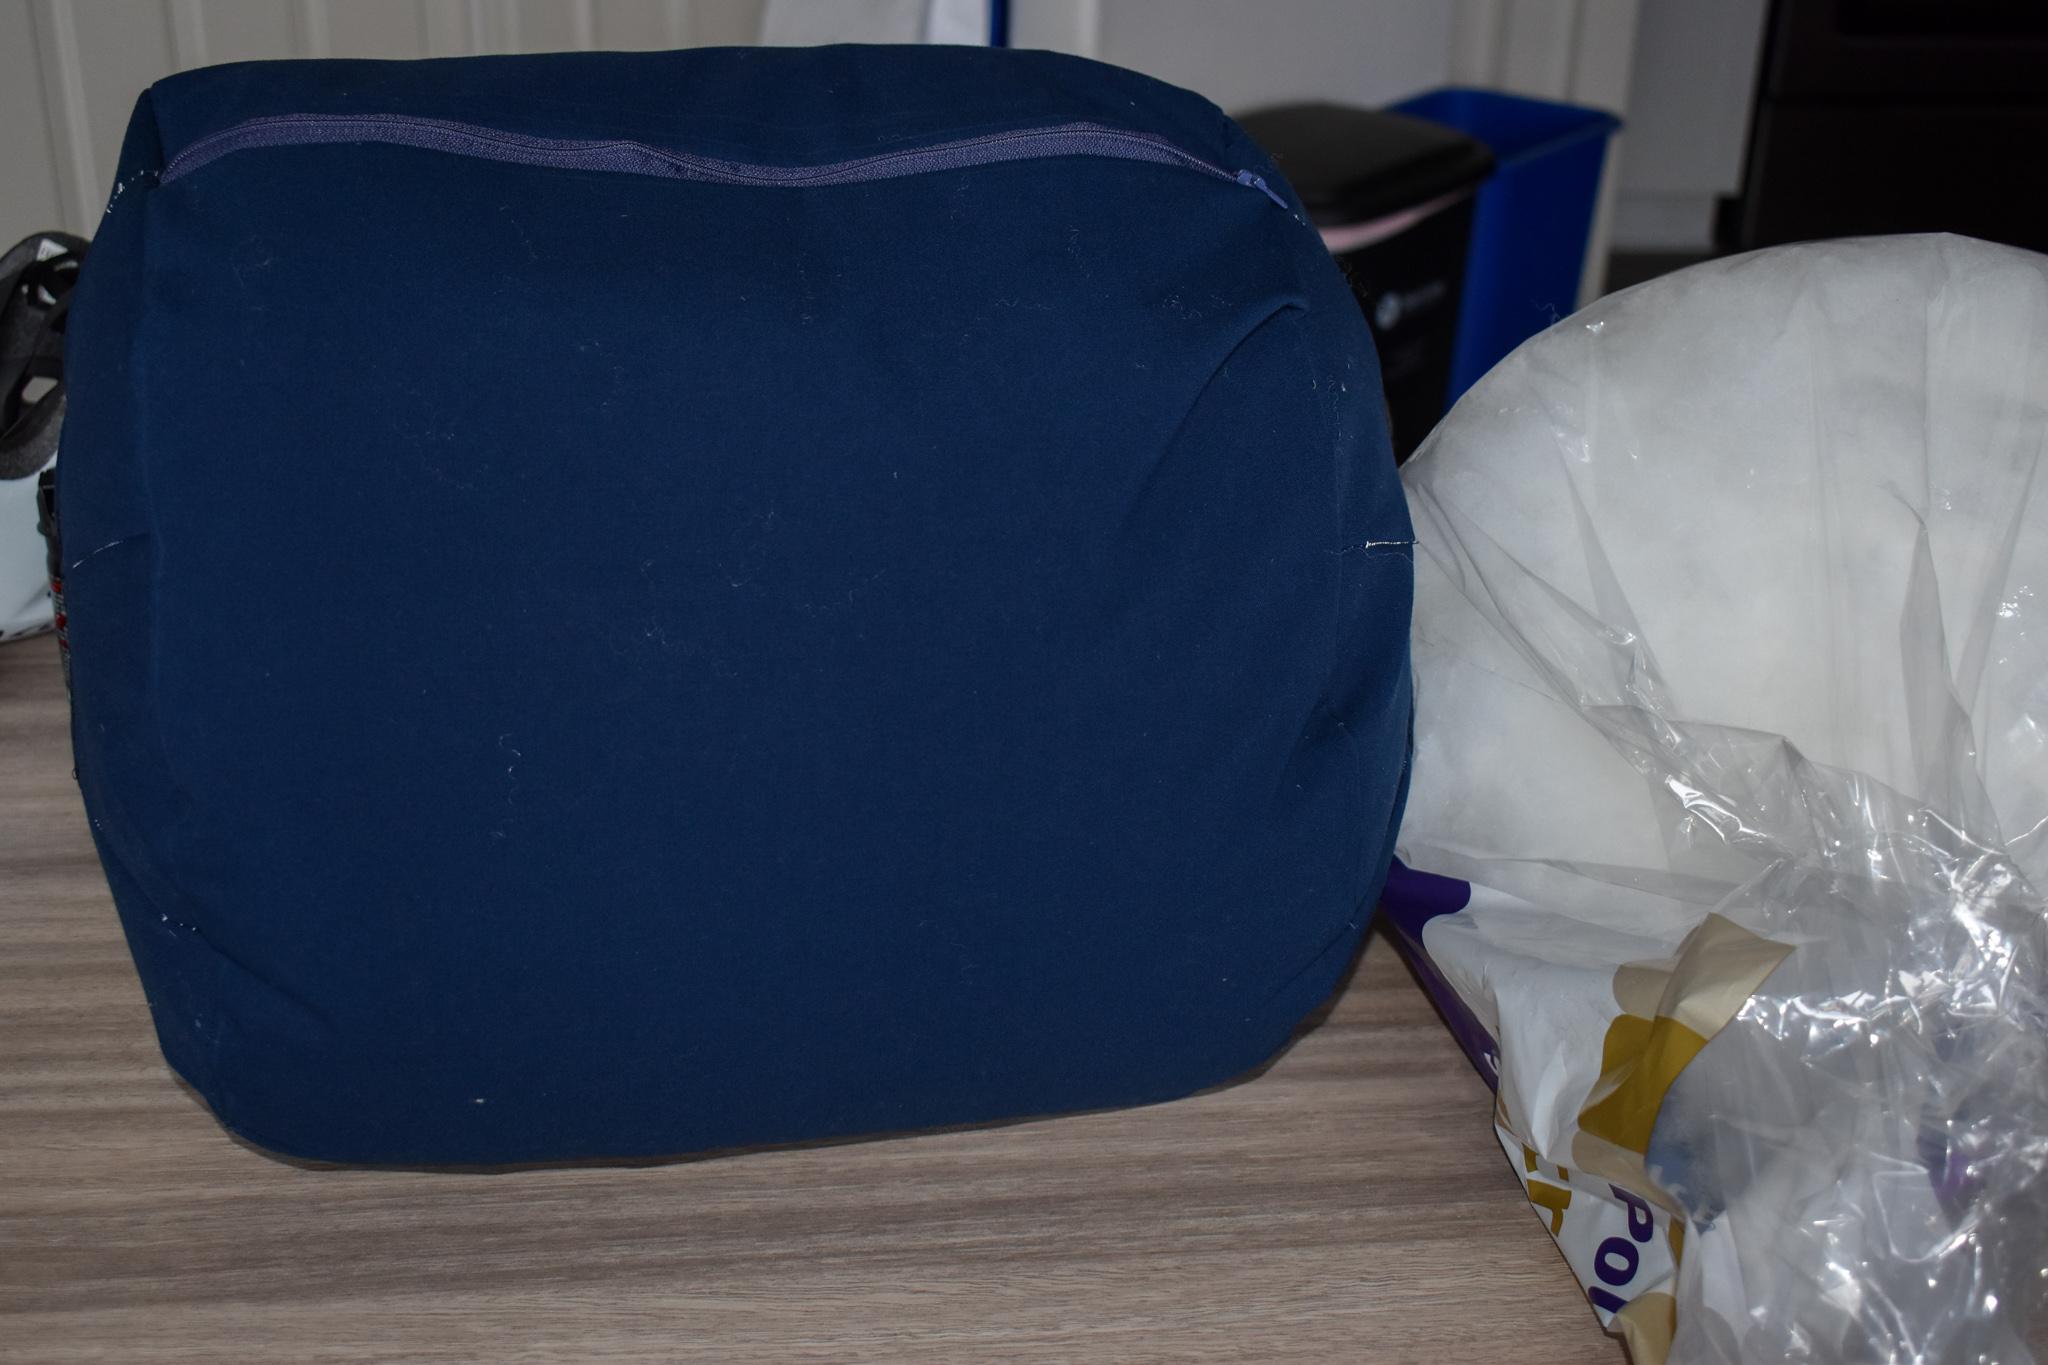
Now we will gather all the extra fabric scraps, maybe some old newspapers, and whatever other stuffing you have into a pile. Some ecofriendly options could be old towels, beat up clothes, and paper scraps. There was only so much reusable material that I had lying around so I ended up using some pillow stuffing as well.
Once you think you have it filled zip it up and do a little test to see how you like the floofiness of it.
Measurements for the Pouffe Cover

This measurement process is pretty much the same as earlier, but we will add a little extra fabric here to make sure it will fully cover the stuffed pouffe. So we will be making a new triangle stencil and adding a little extra fabric to the middle piece.
The general rule for making covers is to add 1 inch to the height and 2-4 inches to the width.
So, we will take the inner pouffe measurements plus the cover measurements, plus the ½” seam allowance.
H = 14" + 1" = 15" + ½” + ½” seam allowance = 16"
C = 44" + 4" = 48 + ½” + ½” seam allowance = 49"
Now our long middle piece will be 16" x 49" including the ½” seam allowance.
For the Triangle pieces we take the new height (without the ½” seam allowance) and divide by 2 to get the radius, and the new circumference (½” seam allowance) and divide by 8 to get the new width of our pieces.
H = 15" / 2 = 7.5" + ½” + ½” seam allowance = 8.5"
C = 48" / 8 = 6" + ½” + ½” seam allowance = 7"
To get the curvature of the triangle stencil measure from the top point of the triangle and dot out a few points so that each point is 8 inches from the tip of the triangle. Then you can connect the dots.
Cut Your Cover Fabric
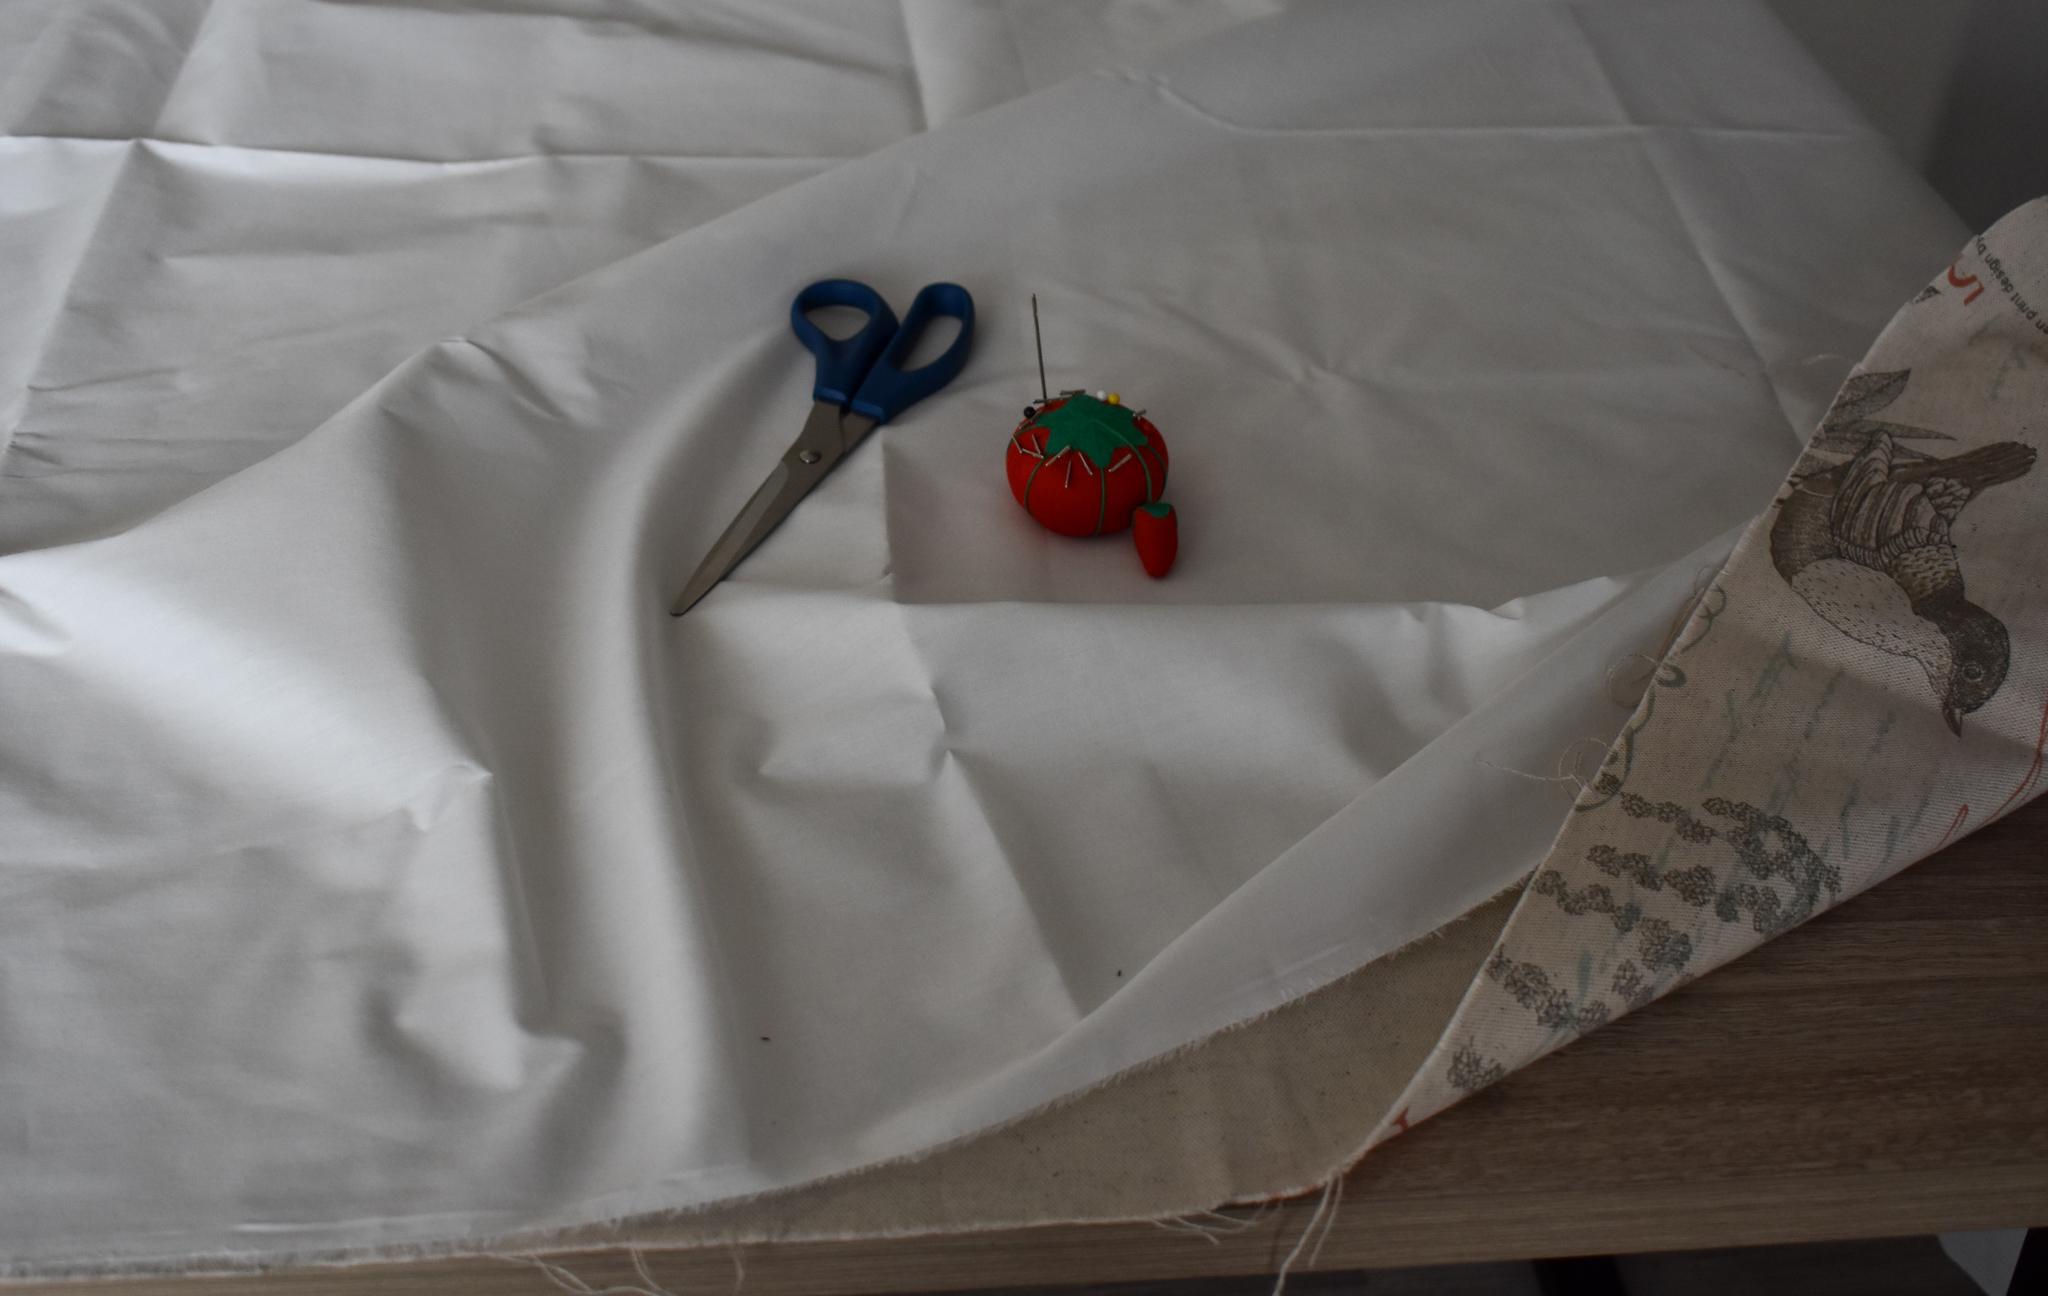


I am using two fabrics for the cover. My top decorative fabric has a loose weave, so I wanted to add a liner for a little more durability. I laid them atop each other and pinned them together so they would act as one piece.
Then all you have to do is use your stencils to cut out the middle piece and the 16 triangle pieces. I used a dark colored pencil to make the markings on the wrong side of the fabric (liner side).
Pin and Sew (Top and Bottom)


Back to the fun part.
Just like before we will start with the triangle pieces. Pin them together with the right sides facing each other. Then sew along one side with a ½” seam allowance. If you choose to work with a liner like I did make sure all the fabric pieces are aligned as you sew. With several layers of fabric it can be easy to loose a single layer.
Do this for the remaining pieces until you have two circles each made of 8 triangle panels. **See the Notes section for a modification**
Pin and Sew (Attaching the Zipper)
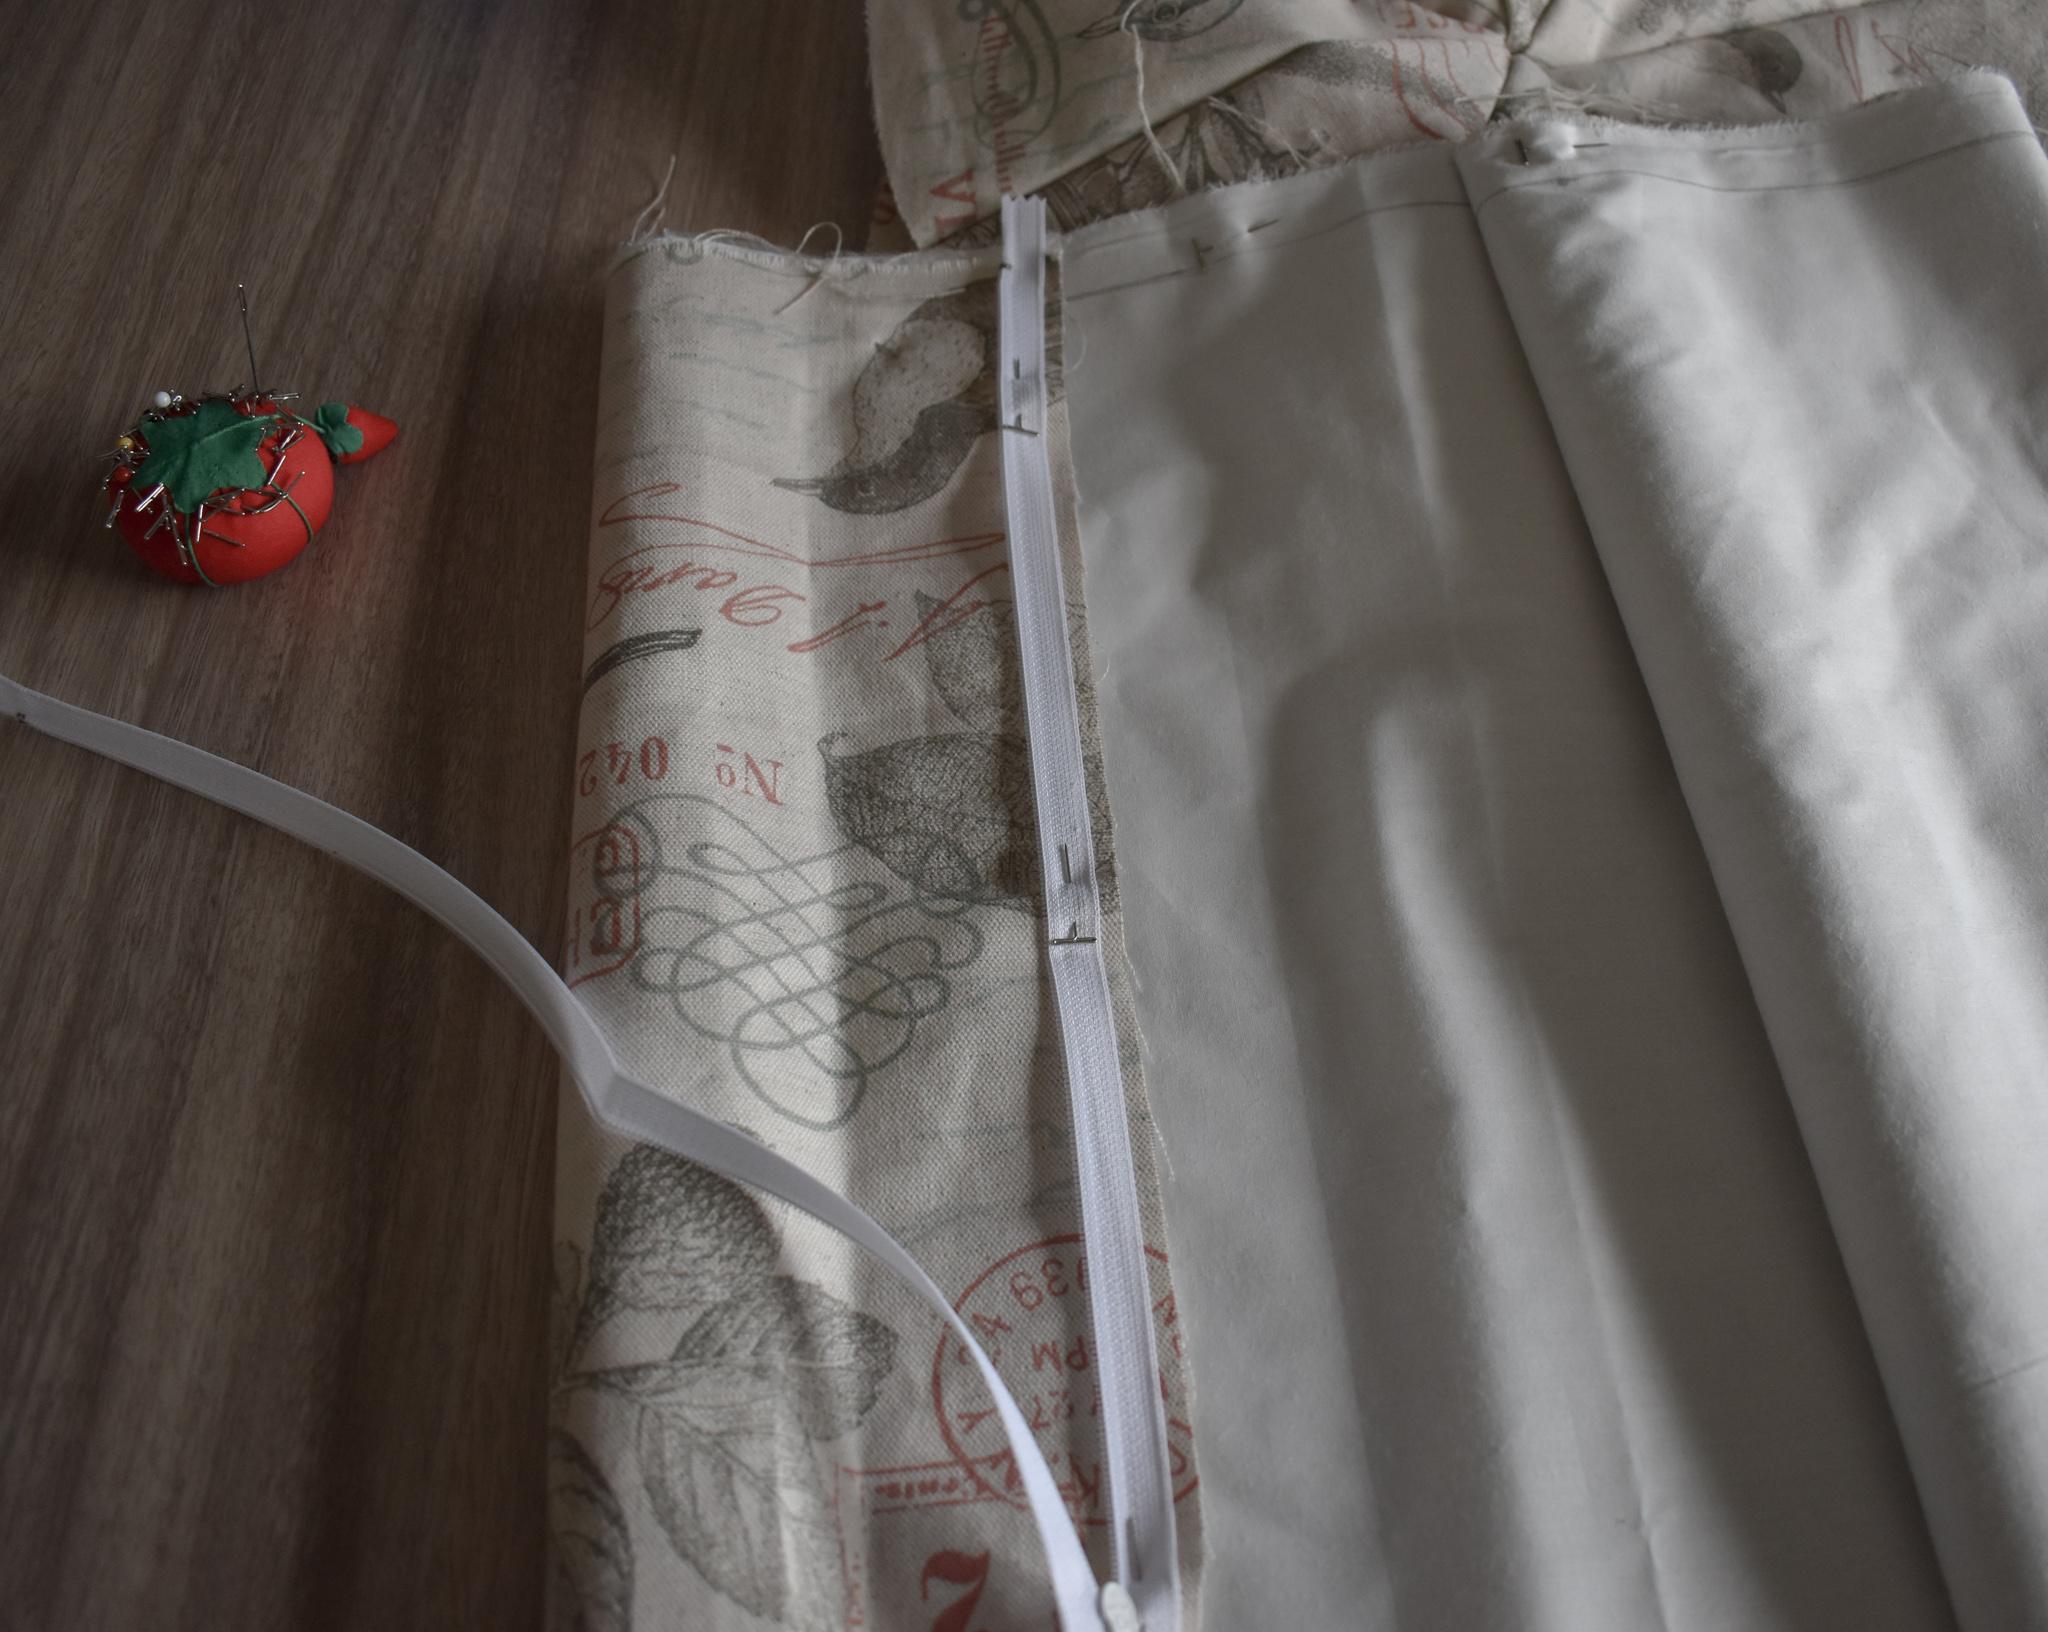
Next up sew one side of the zipper to the middle panel with the right sides facing each other. It can be helpful to unzip the zipper while you sew it.
Pin and Sew (Attach the Top and Bottom to the Middle Piece)
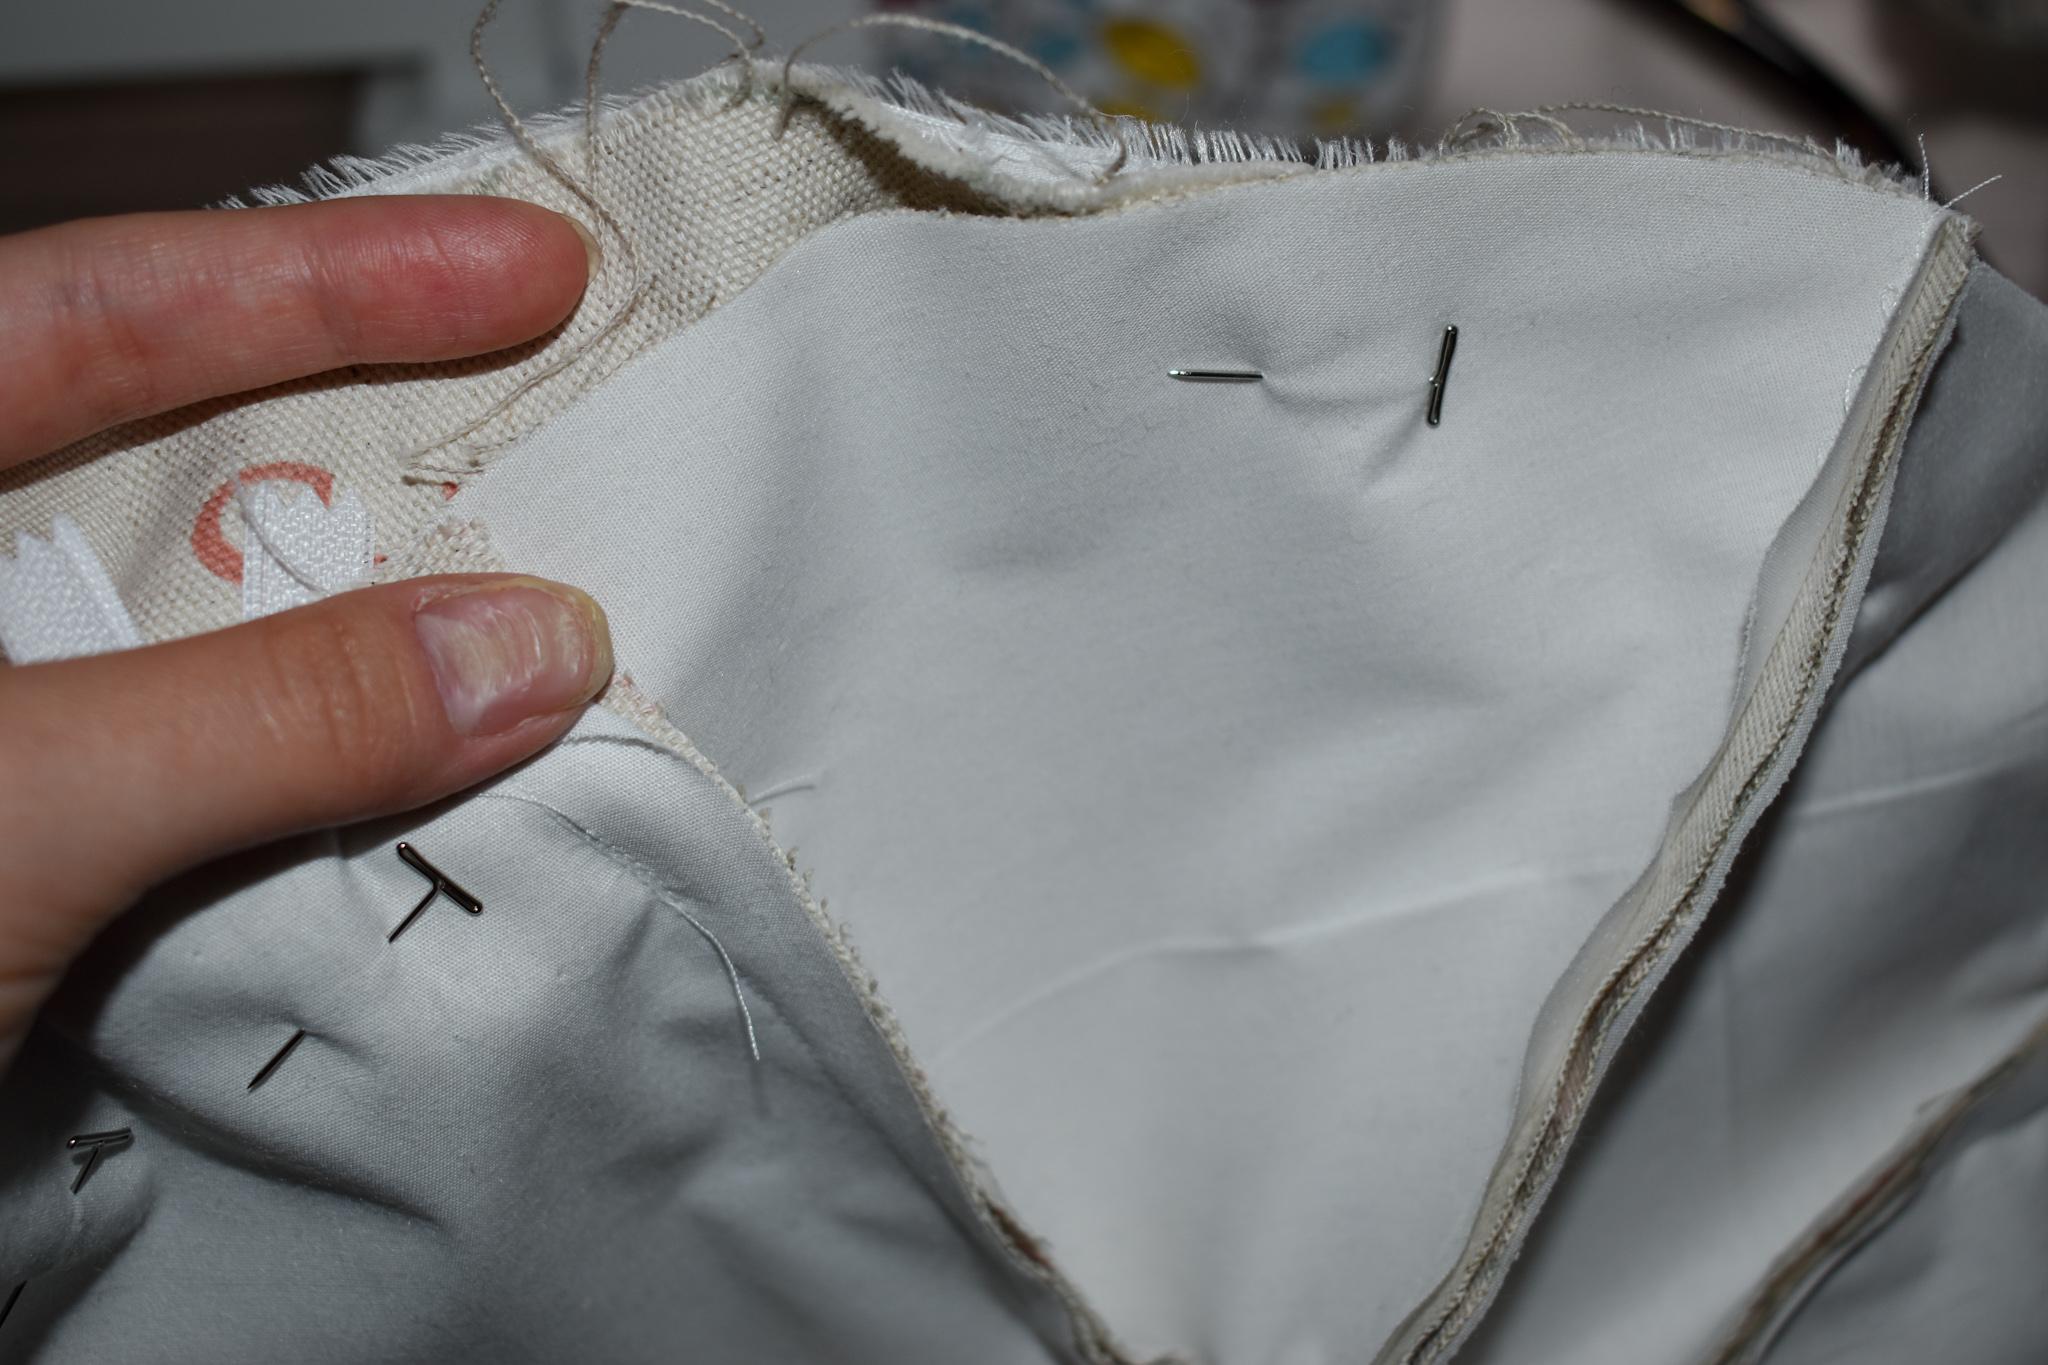

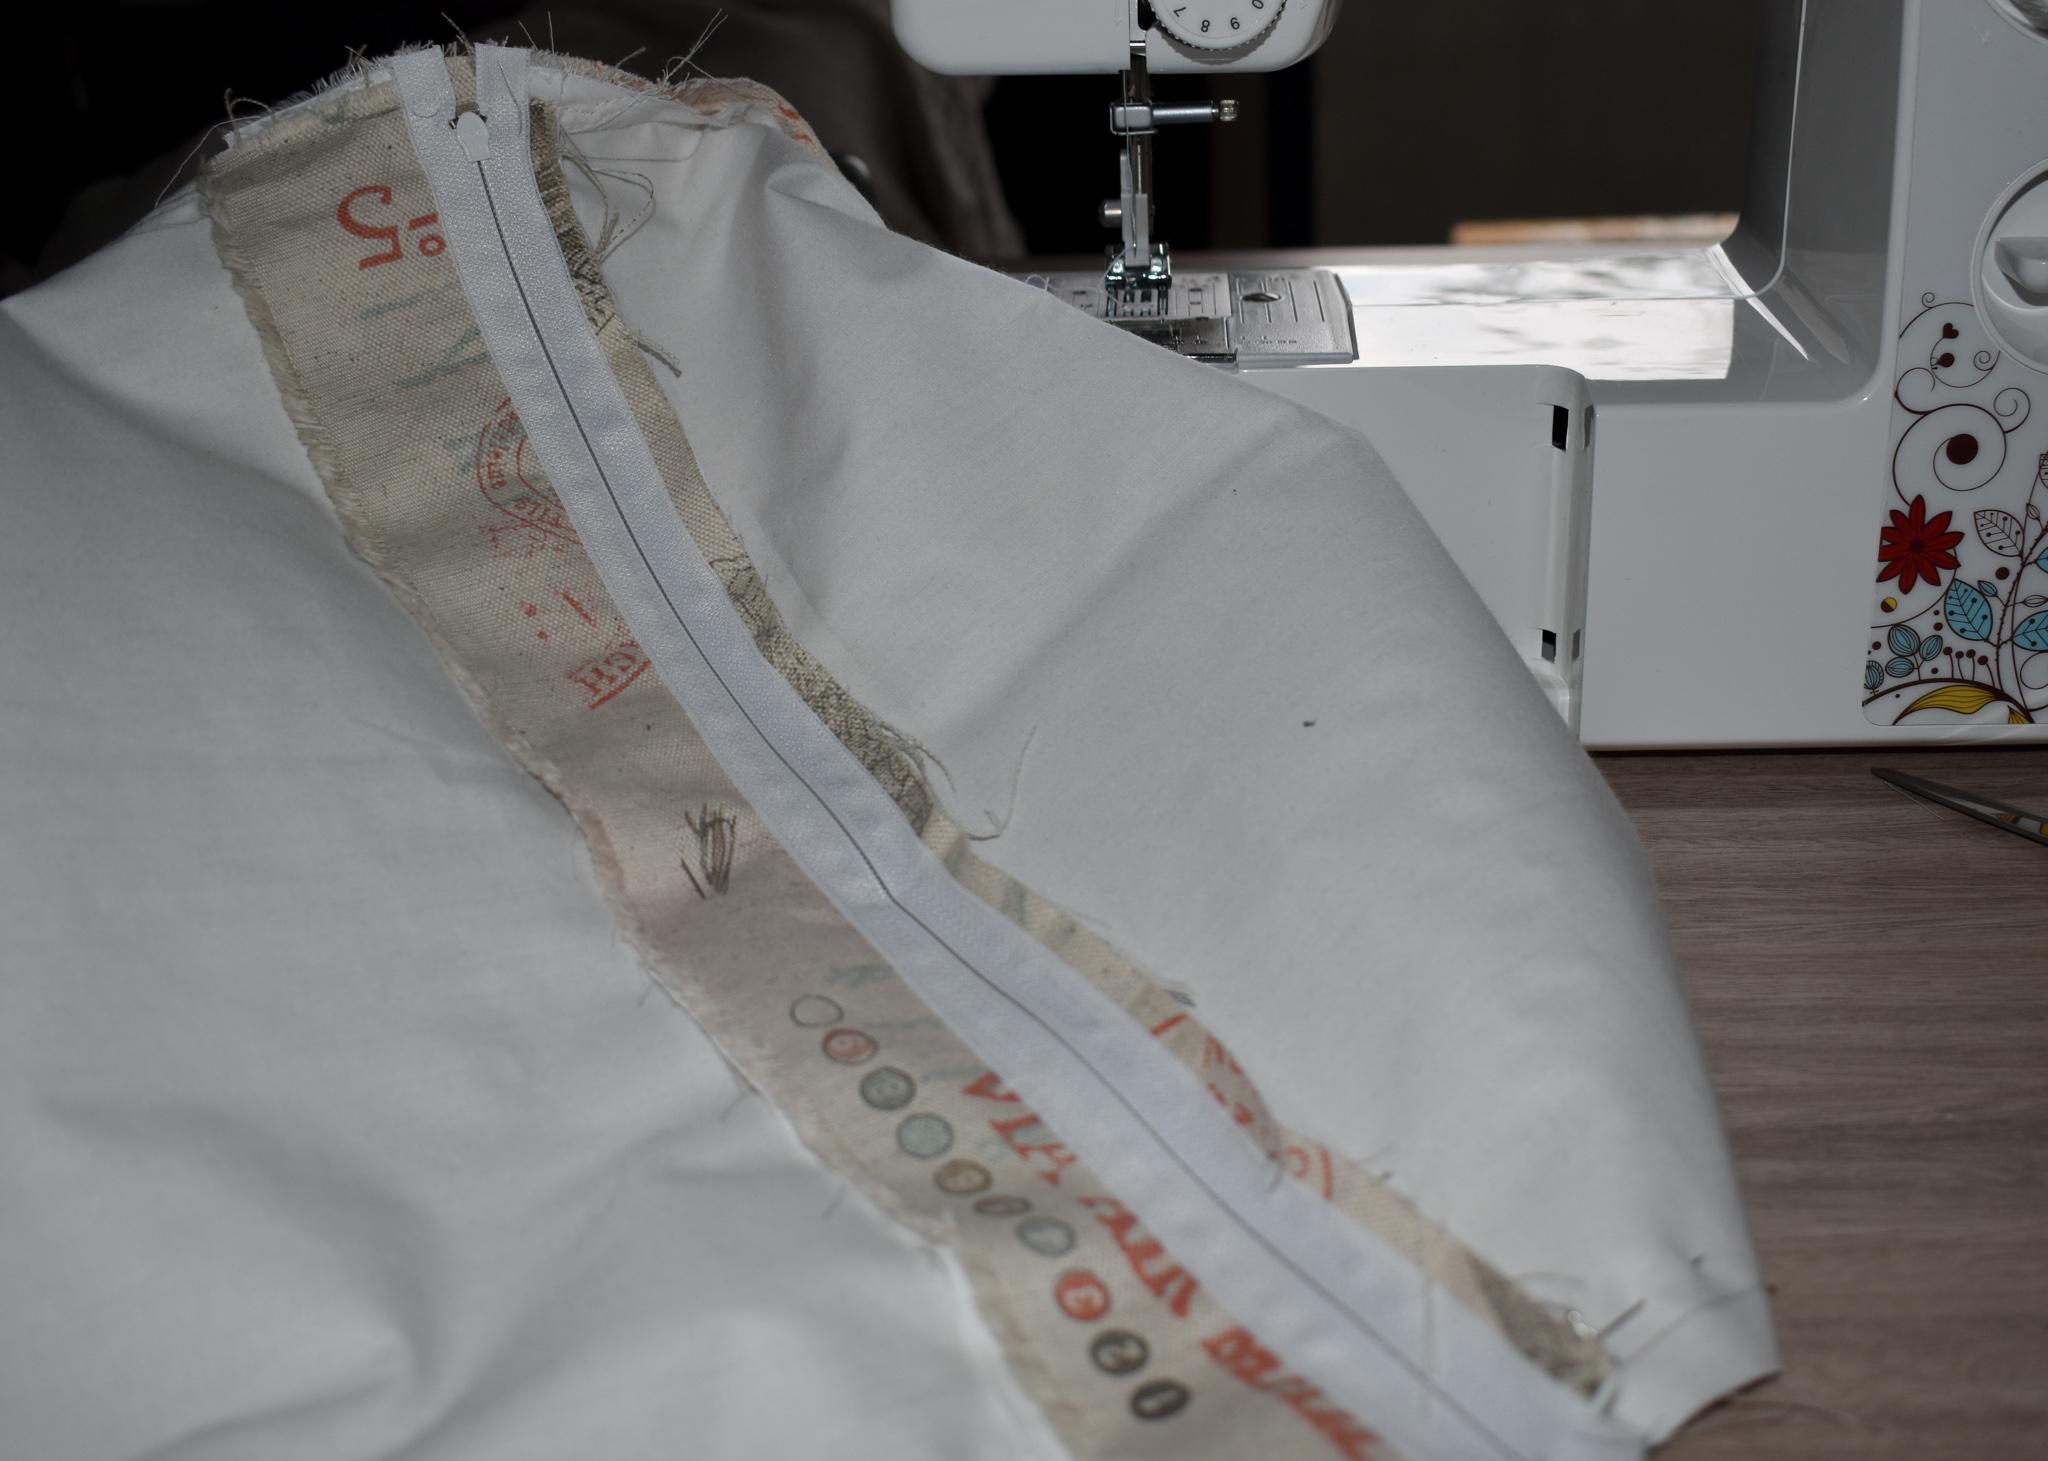
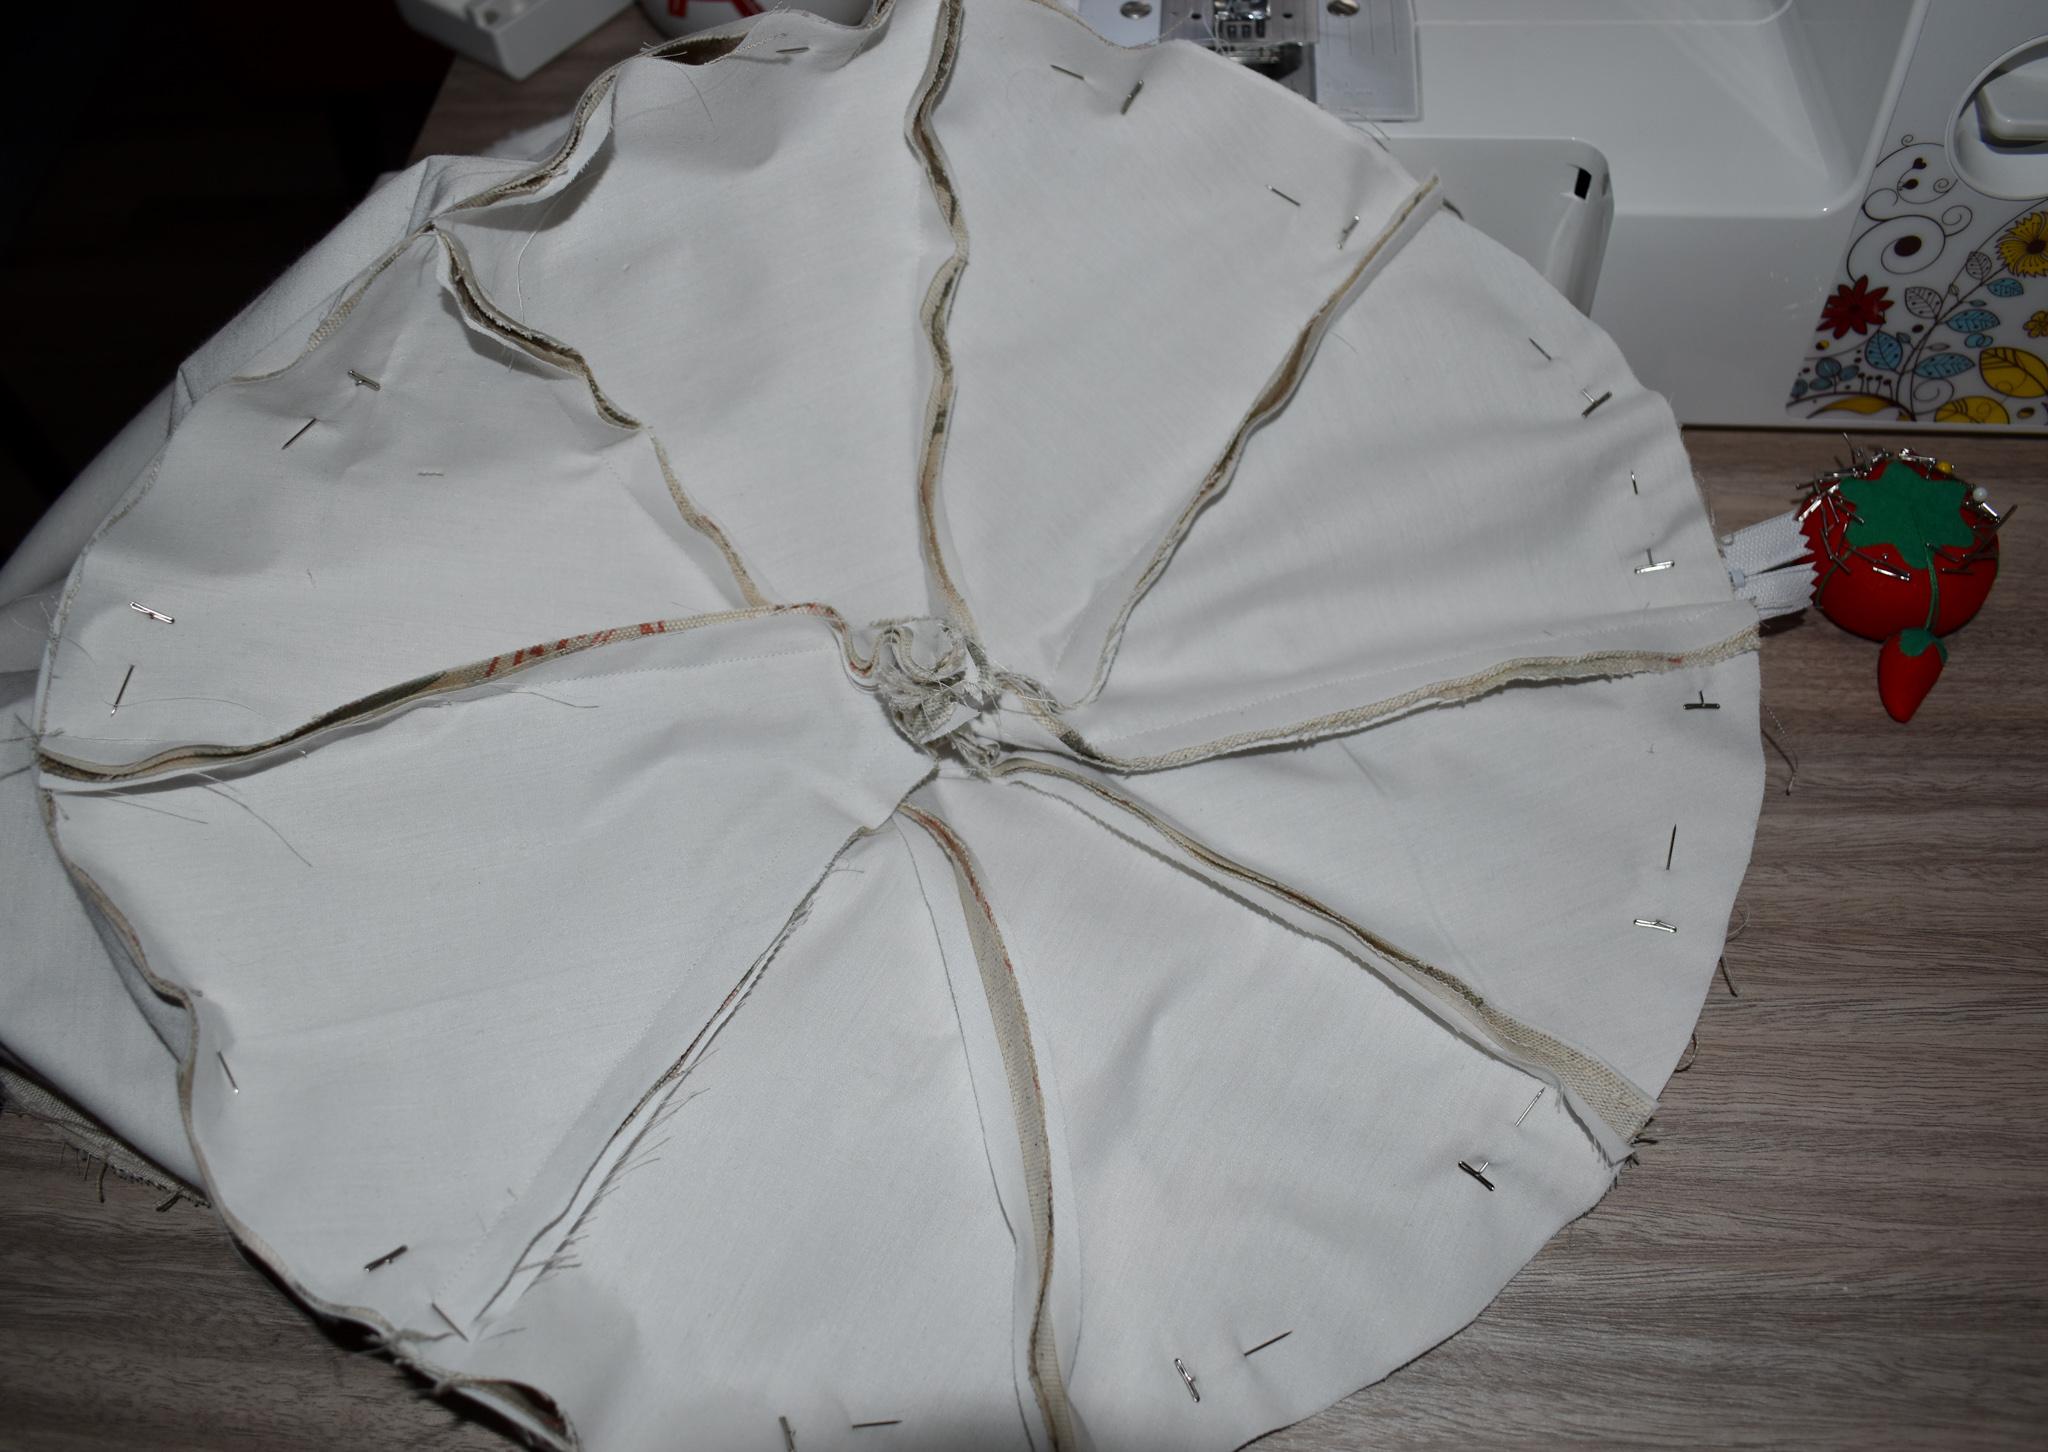
Now let’s pin the top panel to the middle panel and sew with a ½” seam allowance.
Then, sew the other half of the zipper to the middle panel. You might have some extra fabric like I did in which case you can just fold it inside. Better extra fabric than not enough in my opinion!
Now for the bottom panel. Like before make sure the zipper is unzipped so we can easily inside it out later.
Pin the bottom panel to the middle piece with the right sides facing each other.
Then sew with a ½” seam allowance.
Once sewn you can inside it out through the zipper and see the pretty outside pattern.
Pin and Sew (Cut Out and Sew Decorative Circles)


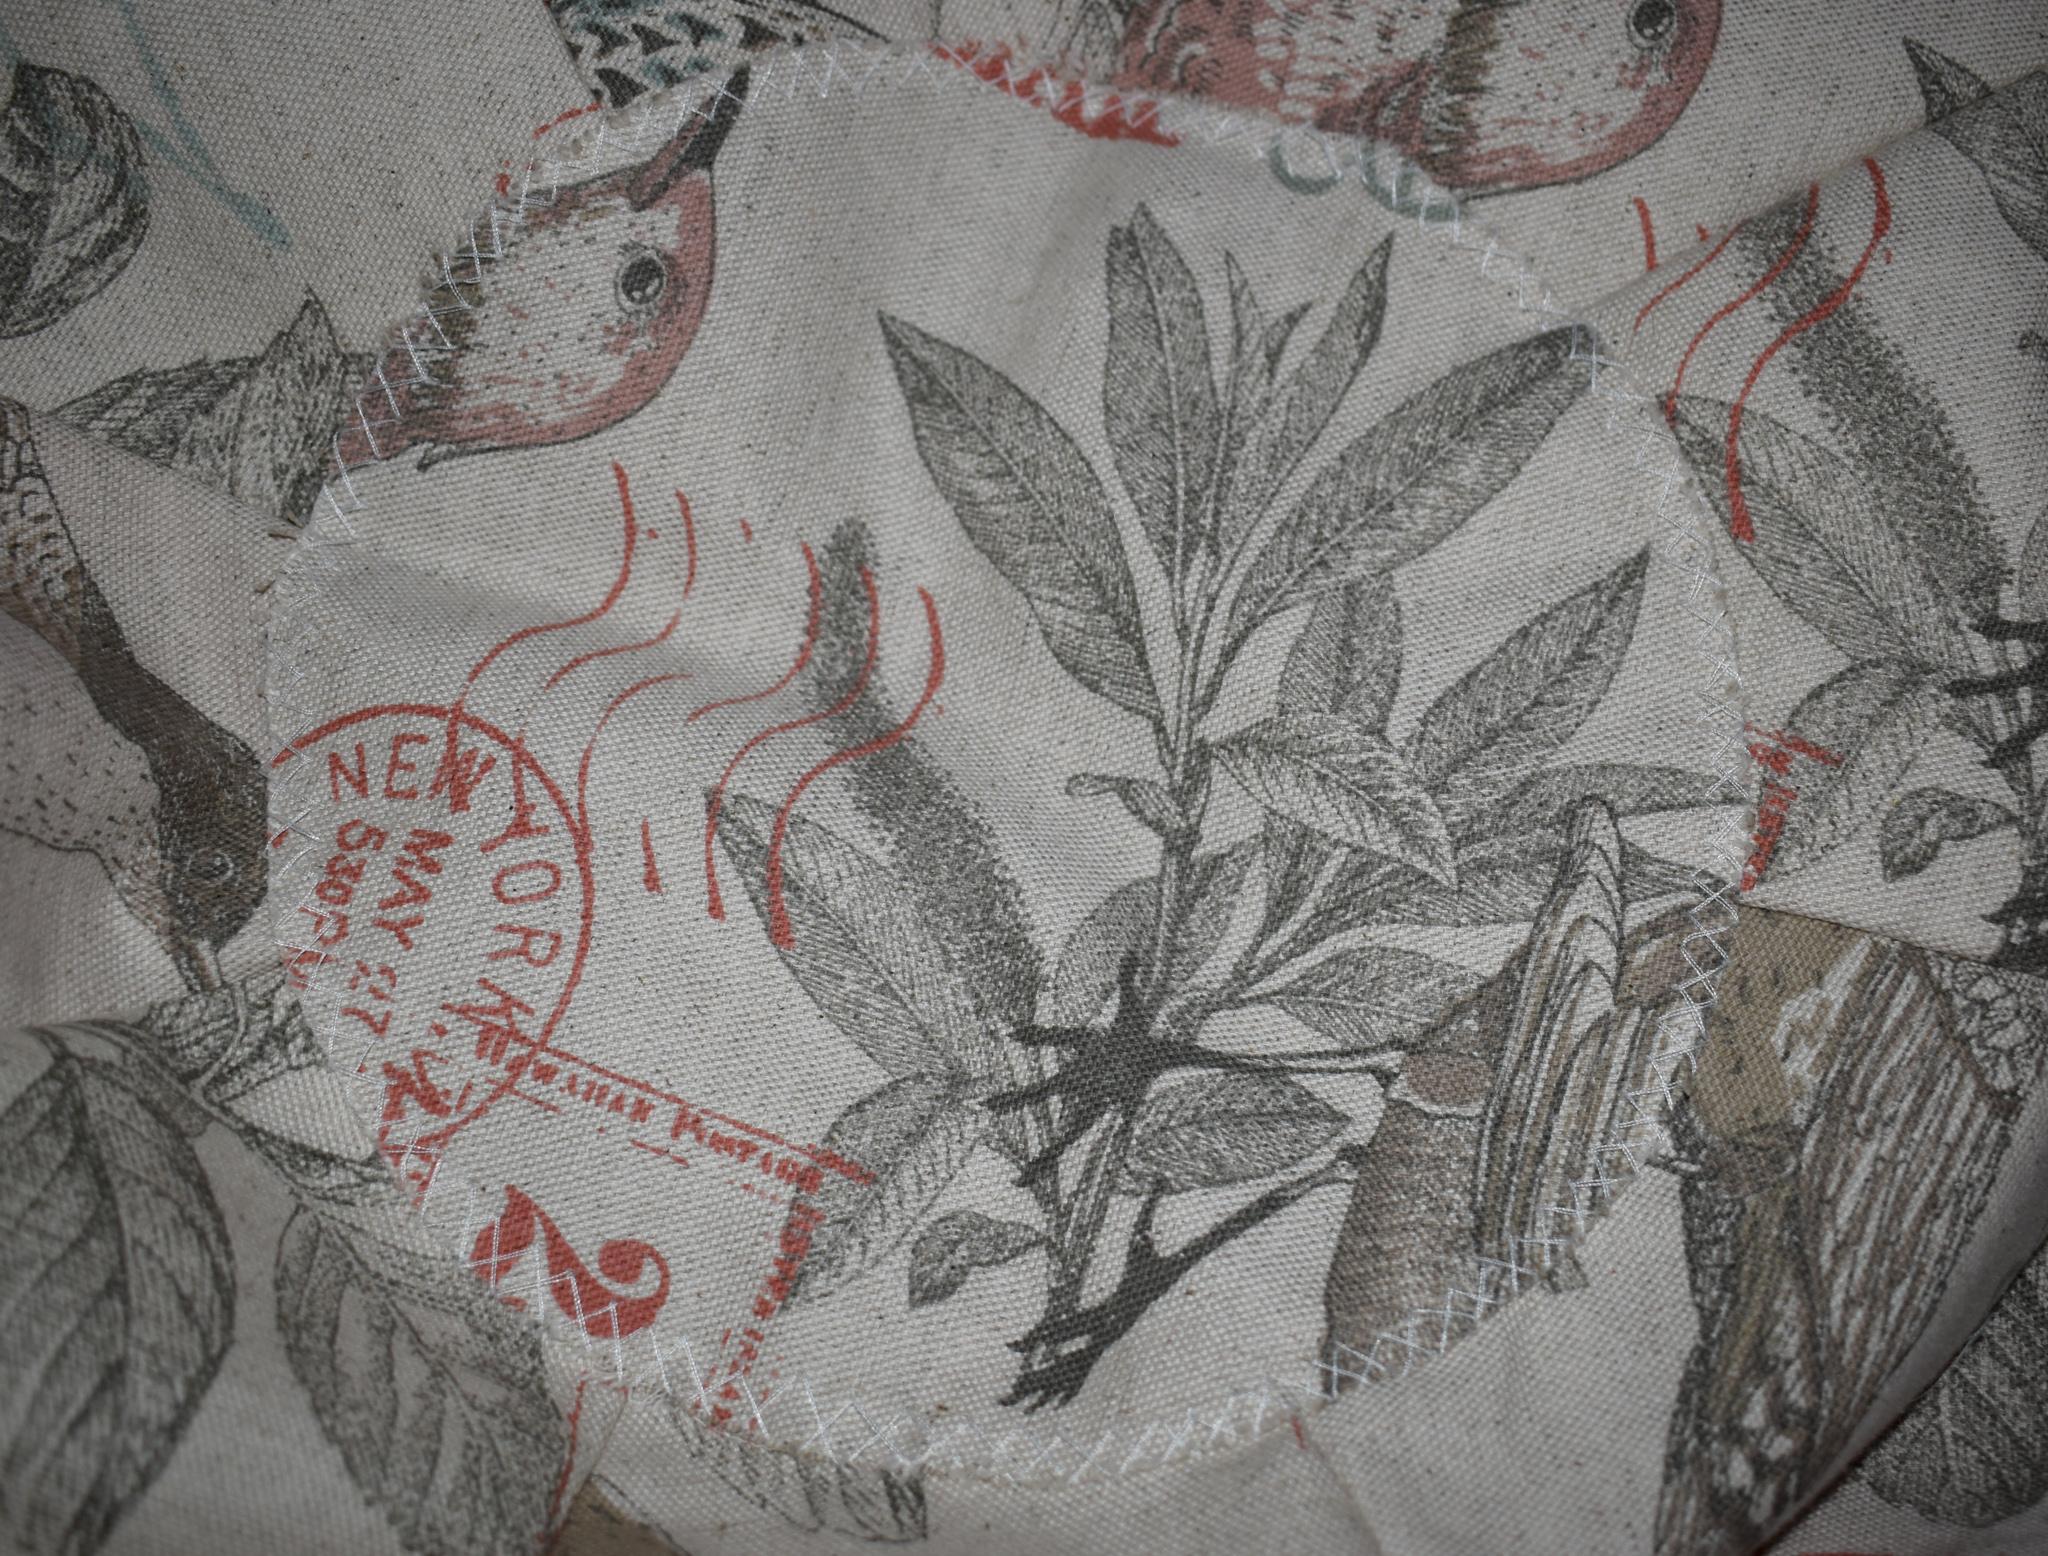

This is where I cut out my decorative circles. I drew a quick stencil on newsprint with a compass, deciding on an 8" diameter.
I liked how the decorative stitching on the pouffe turned out so I kept the X stitch.
Put the Cover on the Pouffe

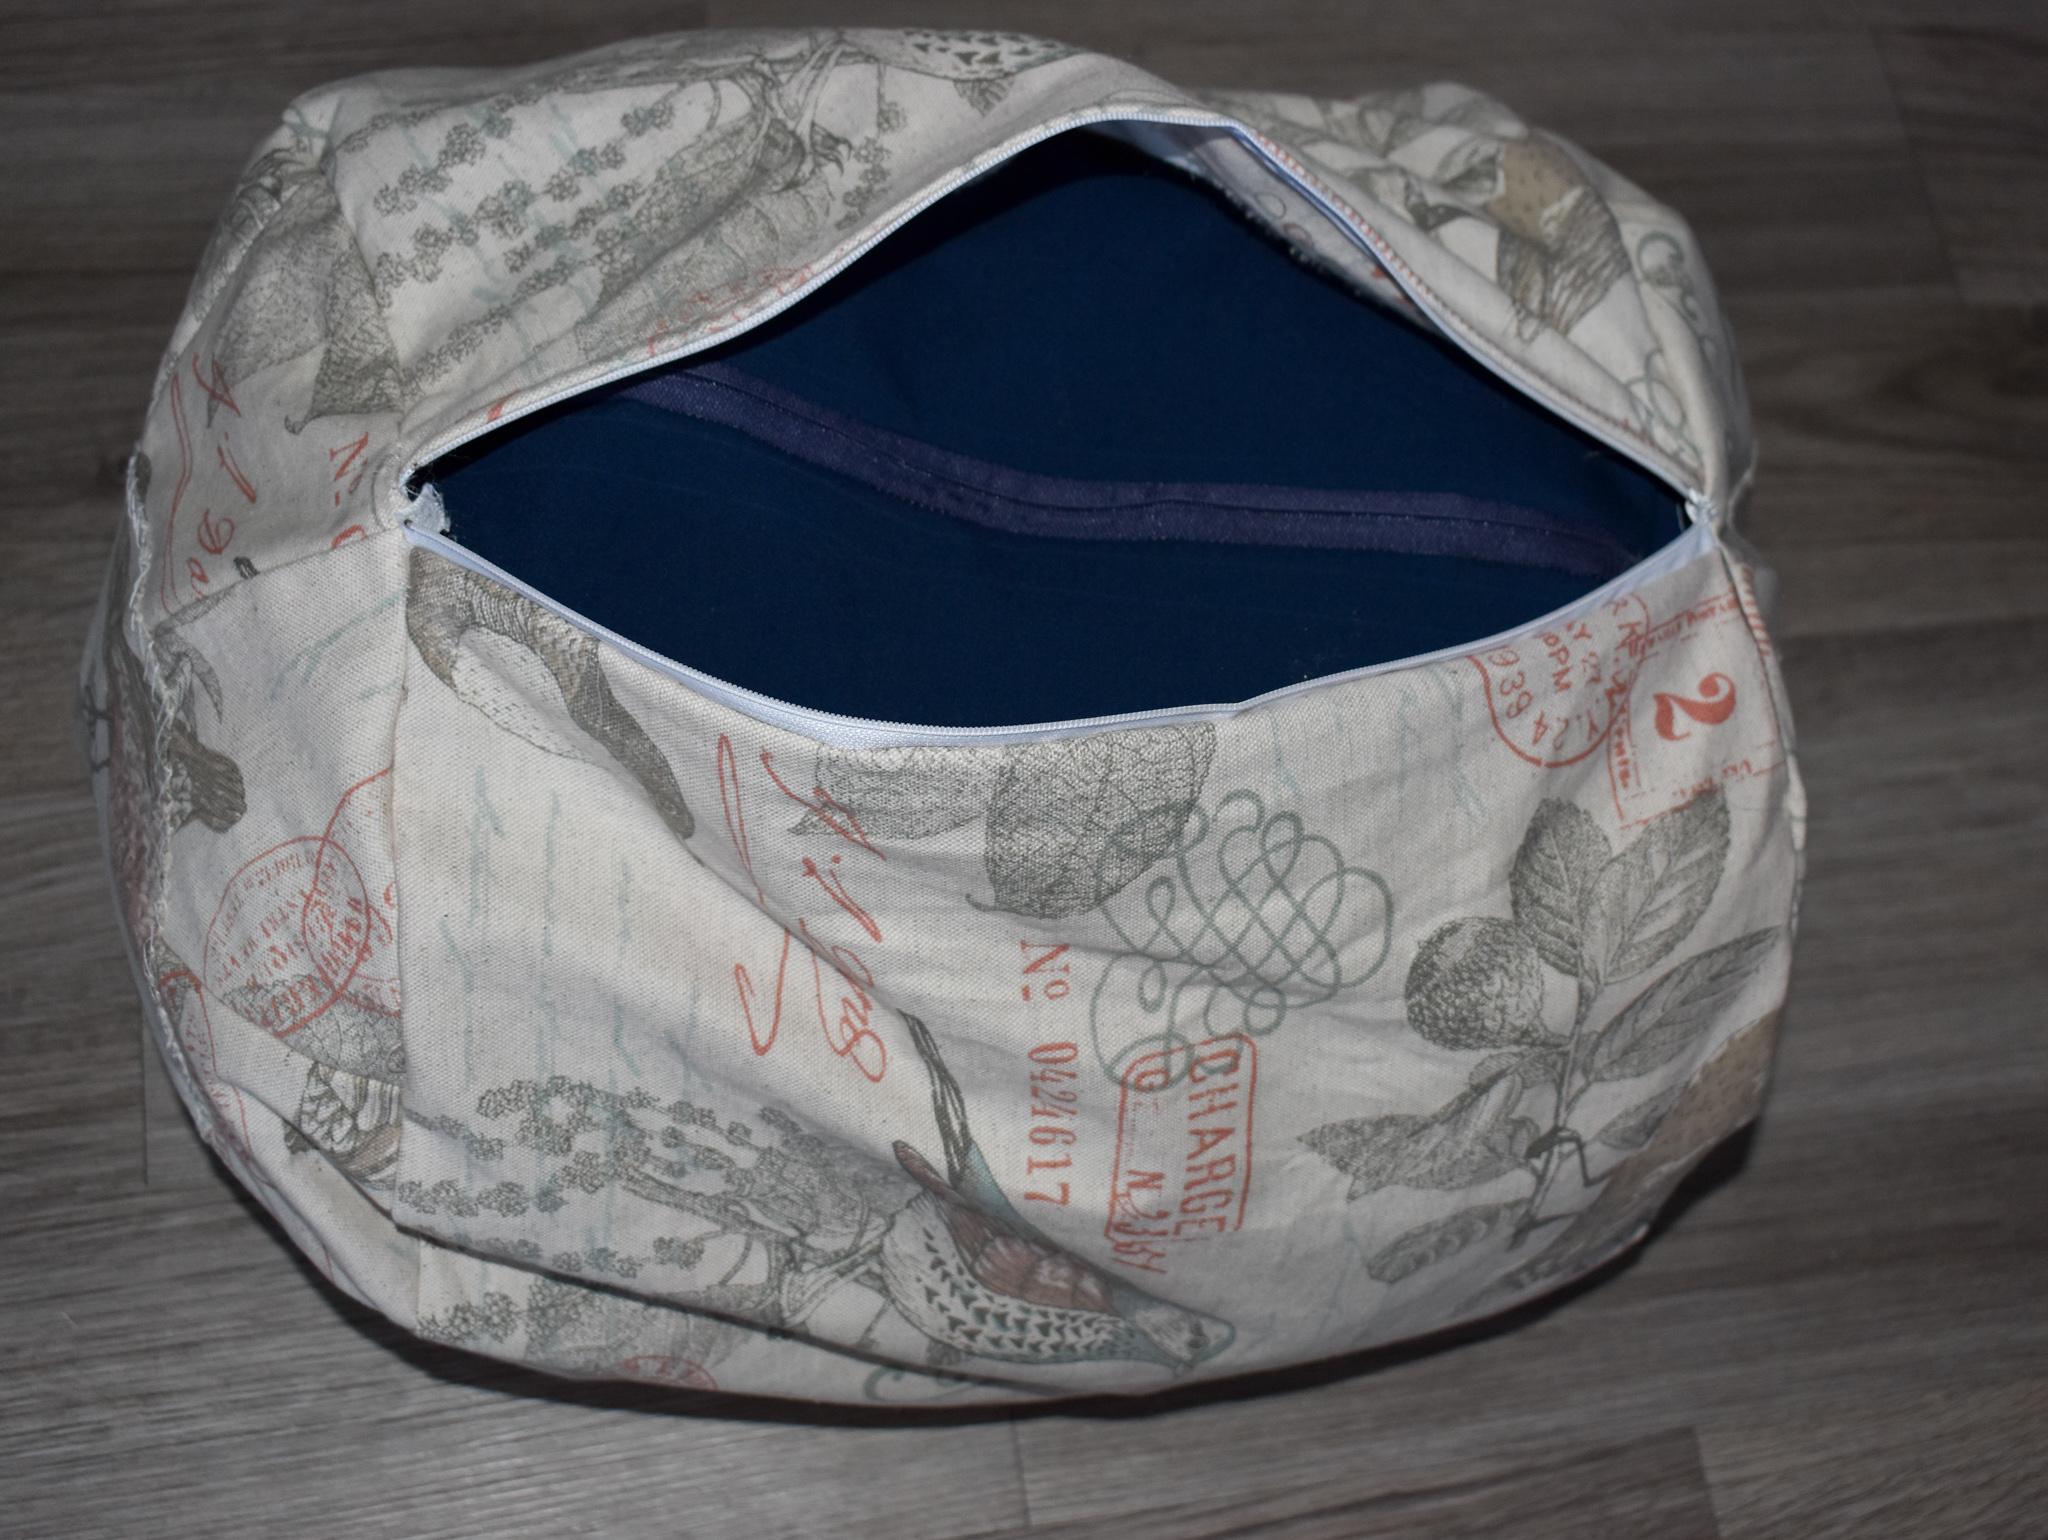
This requires you to really squish your stuffed pouffe down to fit the cover on.
But, this is where zippers on both of them come in handy. With only half the stuffing in the pouffe it becomes much easier to fit the cover on. When you've gotten the cover over the inner pouffe you can now refill it with the stuffing and zip them both up.
Notes:
I wanted the ability to adjust the stuffing level after it was sewn so the removal and adjustment of the stuffing to attach the cover does not bother me. BUT if you prefer a bit more ease of use check out the notes section where I explain how to modify the sewing of the zipper on the cover to make it easier to take on and off. For this modification to work you will need a longer zipper than what I have used.
Starting at the sewing of the circle pieces - leave one side open on the top and bottom pieces that you could attach the zipper to.
Next you can sew the middle piece to the top circle piece. You will want to keep the open parts of the circle piece and the middle piece aligned.
Keeping that slit open you can move on to sew the bottom piece to the middle piece keeping the ½” seam allowance.
Now, keeping the piece inside out we will add the zipper to one side of the slit with the right sides facing each other. Then pin and sew half of the zipper down the open slit. (it would be helpful to keep it unzipped here)
Now, before we sew the other half of the zipper, make sure it is unzipped so we can still inside it out.
On the last open side pin and sew the other half of the zipper, with the right sides facing each other.
Now you can inside it out and see your work! With a long zipper like this you should be able to cover your pouffe easily without removing any stuffing.
Finished!


Hurray! We did it!
You can now toss that pouffe cover in the wash anytime you want. Fur, hair, and dust have nothing on this design!
All that's left now is to sit back, put your feet up and relax.