Zine Template for a Mac
by luann2425 in Craft > Books & Journals
6019 Views, 6 Favorites, 0 Comments
Zine Template for a Mac

Make a template for a single-page cut/fold mini-zine, using a Mac computer and the free application Pages.
Here Is a VIDEO of the Steps
It is best to have both printed steps AND a video!
From the Menu, Choose File > New
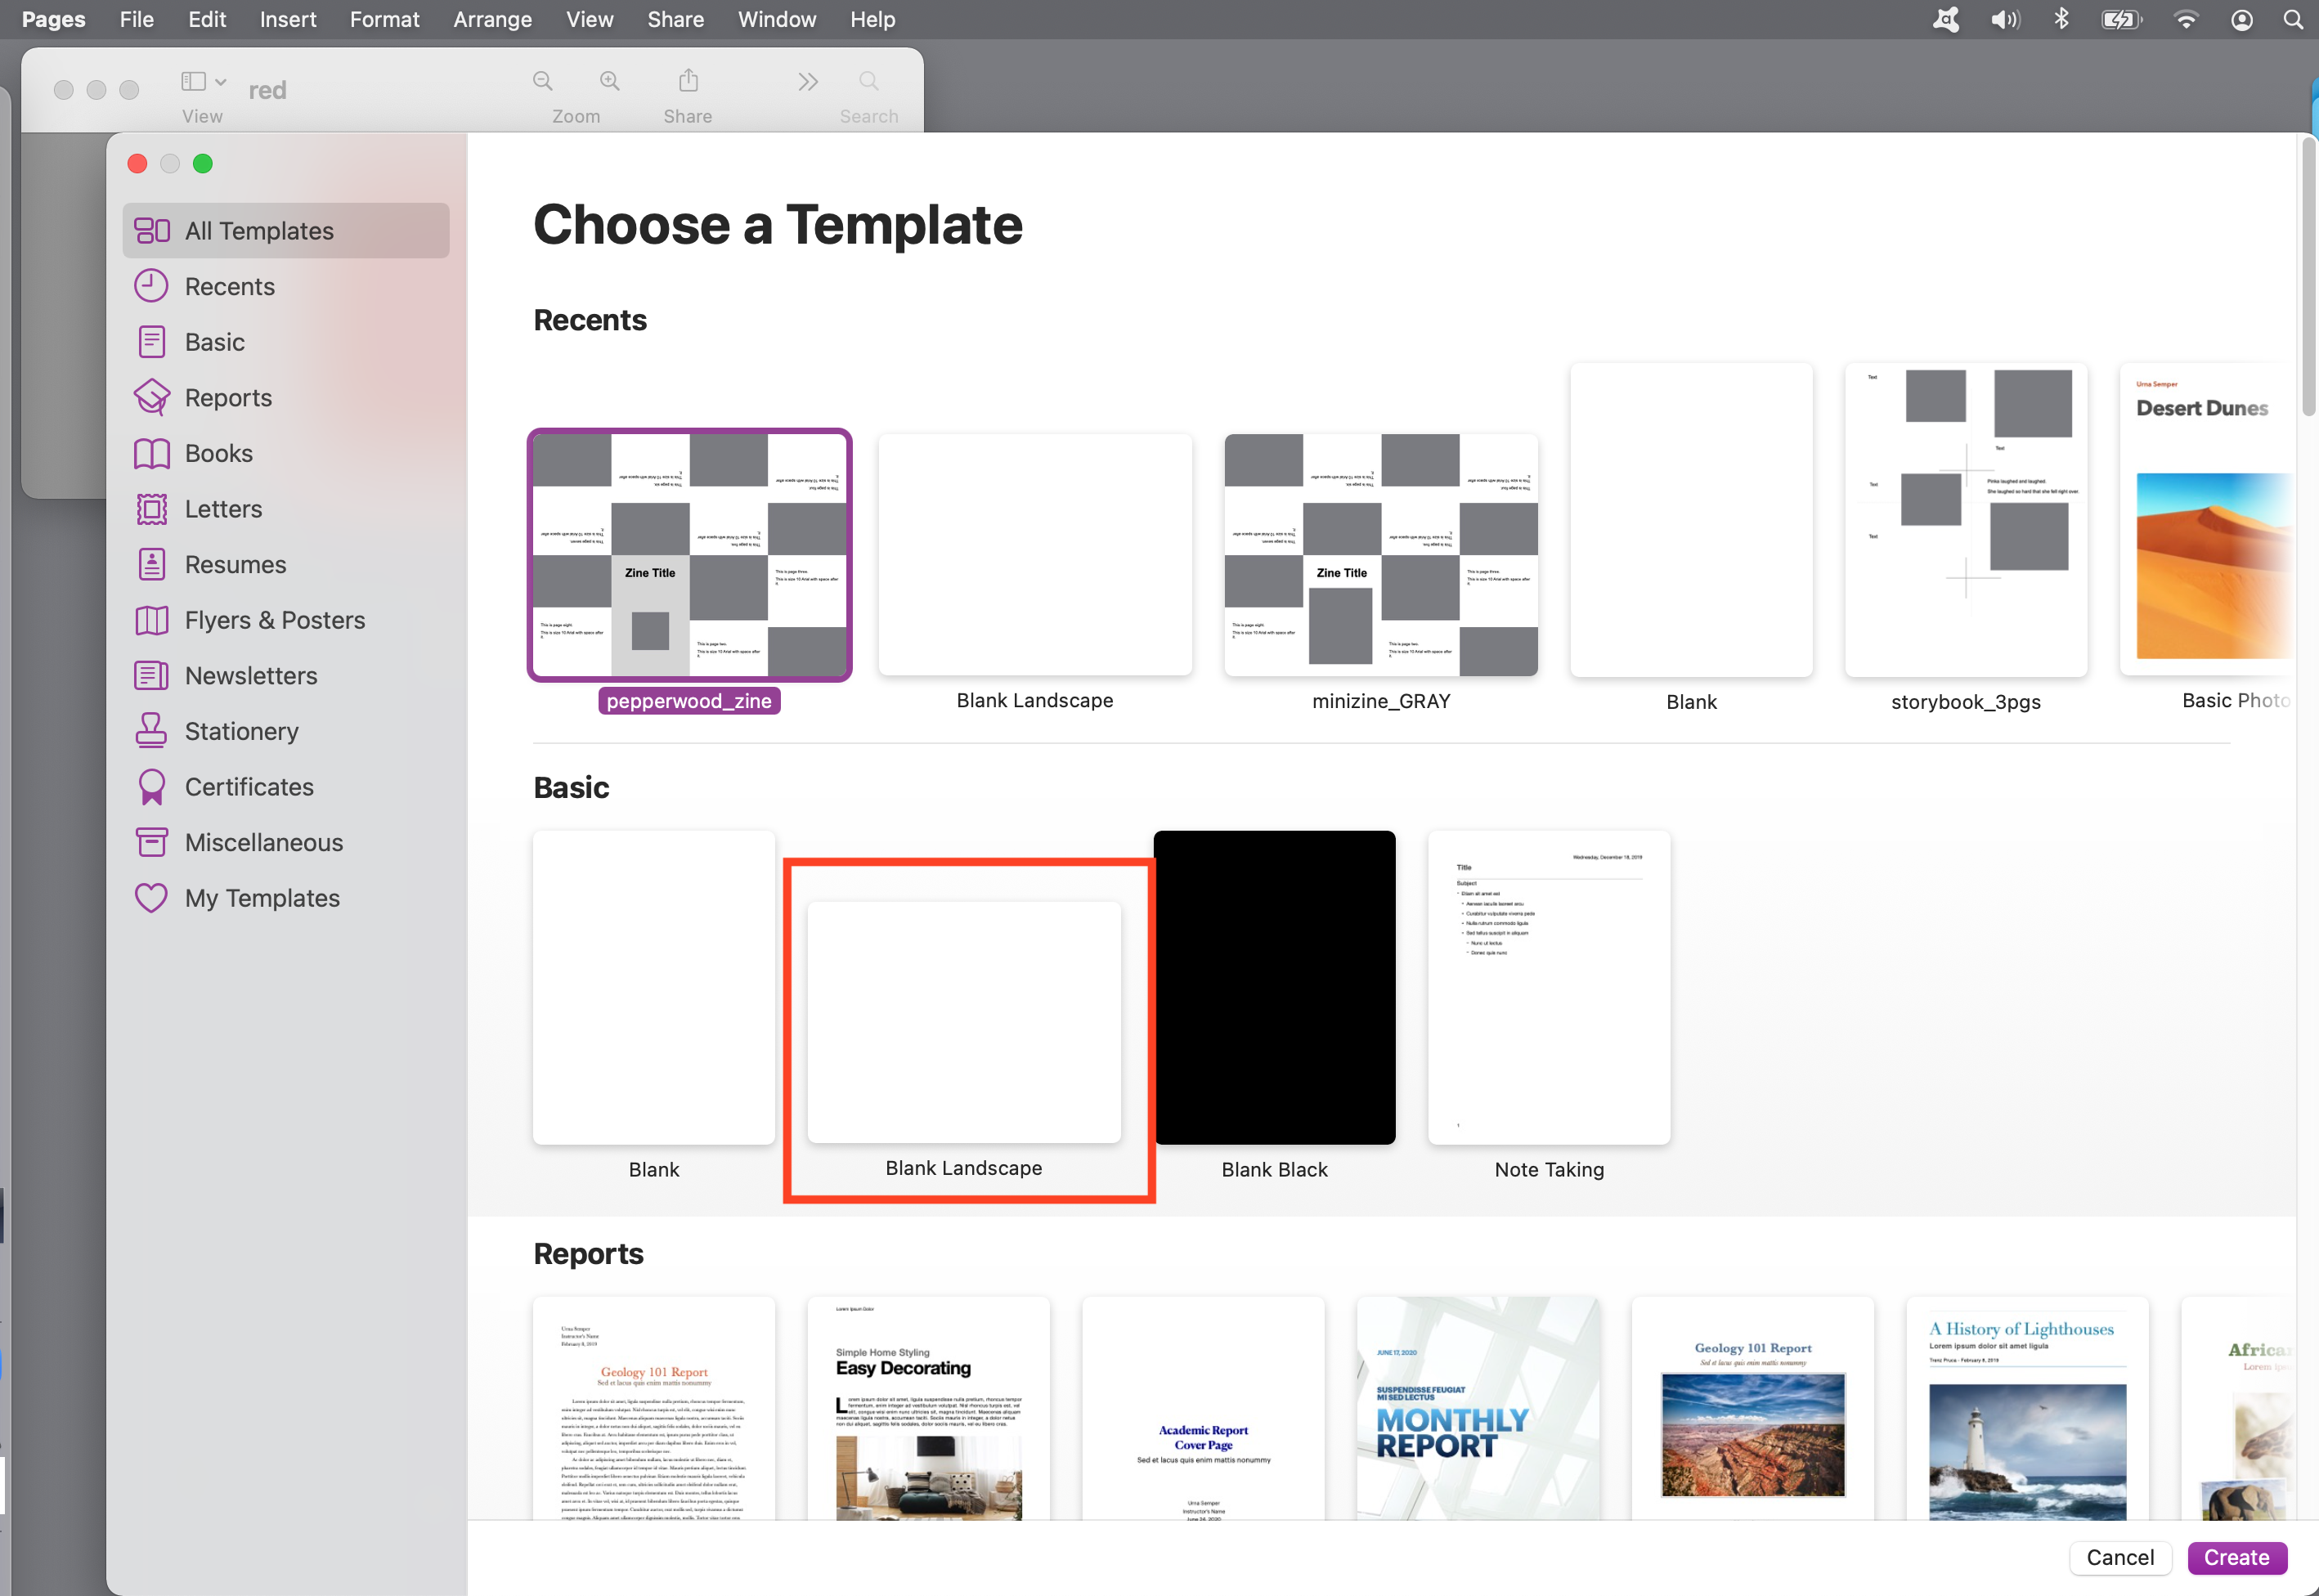
Choose "Blank Landscape" (red rectangle in the illustration) and click the CREATE button (lower right corner).

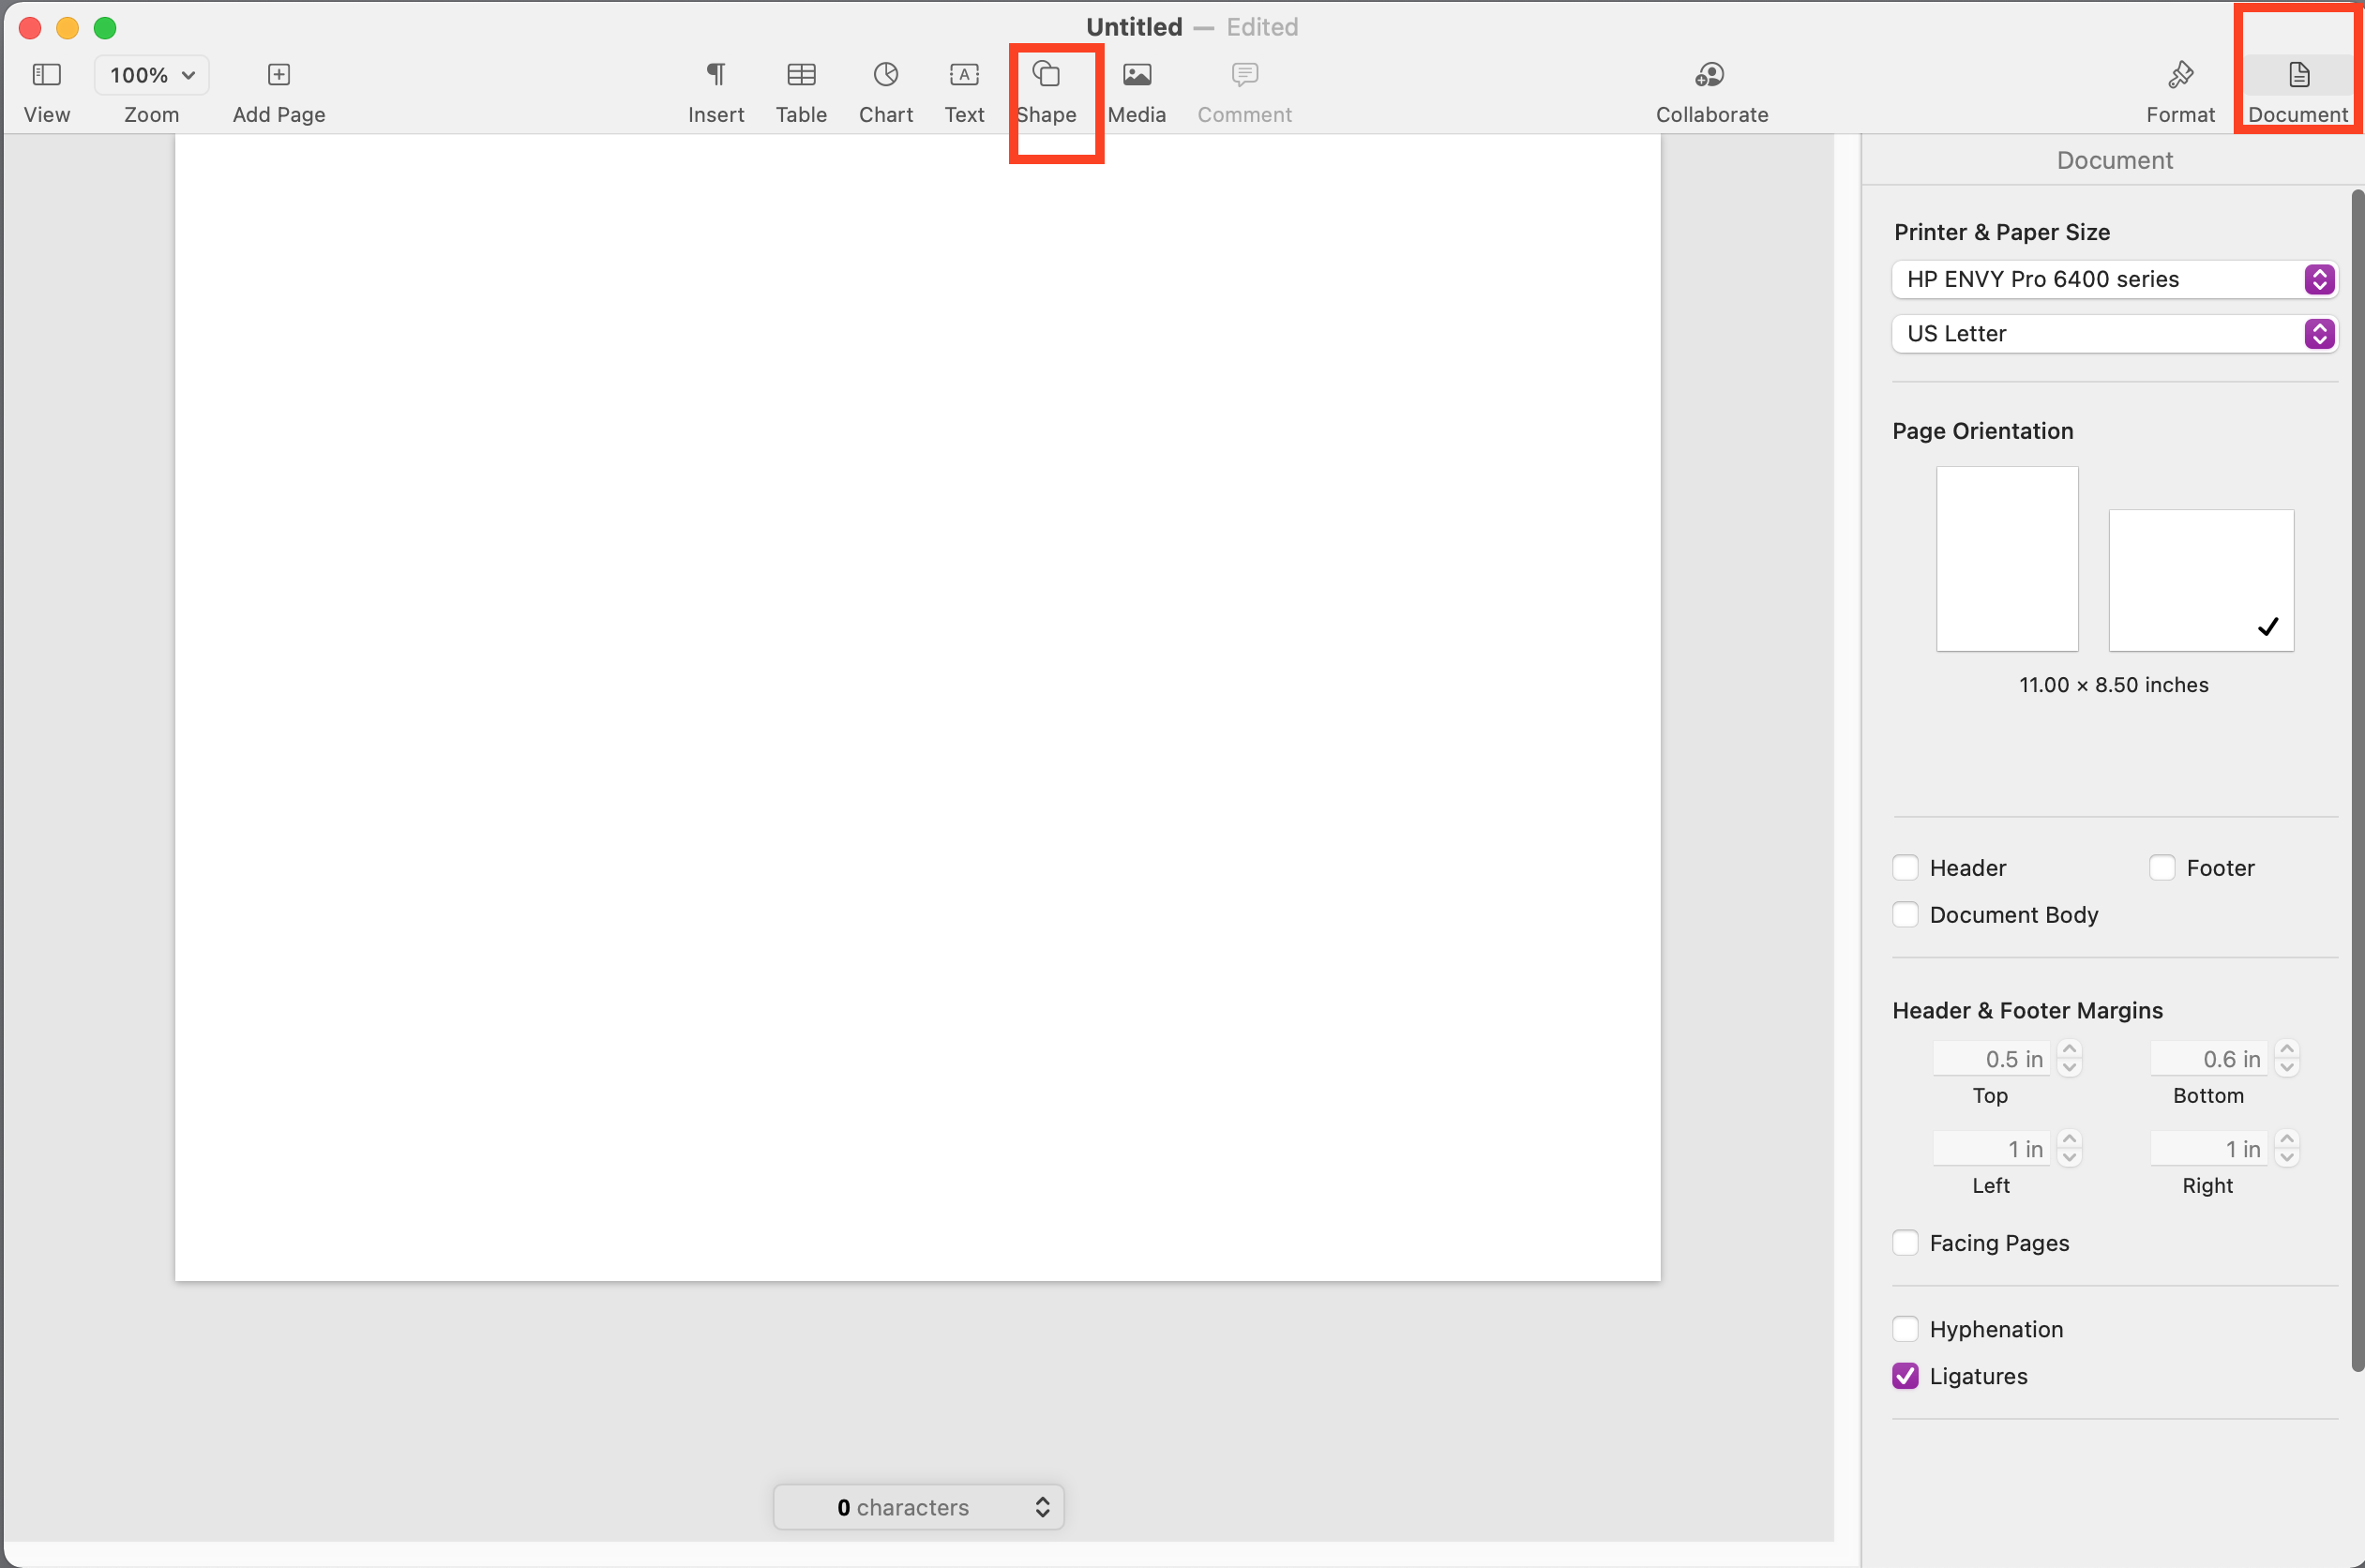
NOTE: I am trying to show a lot of steps in one screenshot. The portion that is grayed out will not appear grayed out until you have completed step d below.
a. In the top right corner, click the "Document" button.
b. Click to remove the checkmark from "Header"
c. Click to remove the checkmark from "Footer"
d. Click to remove the checkmark from "Document Body"
e. A dialog box will pop up.
f. Click "Convert."
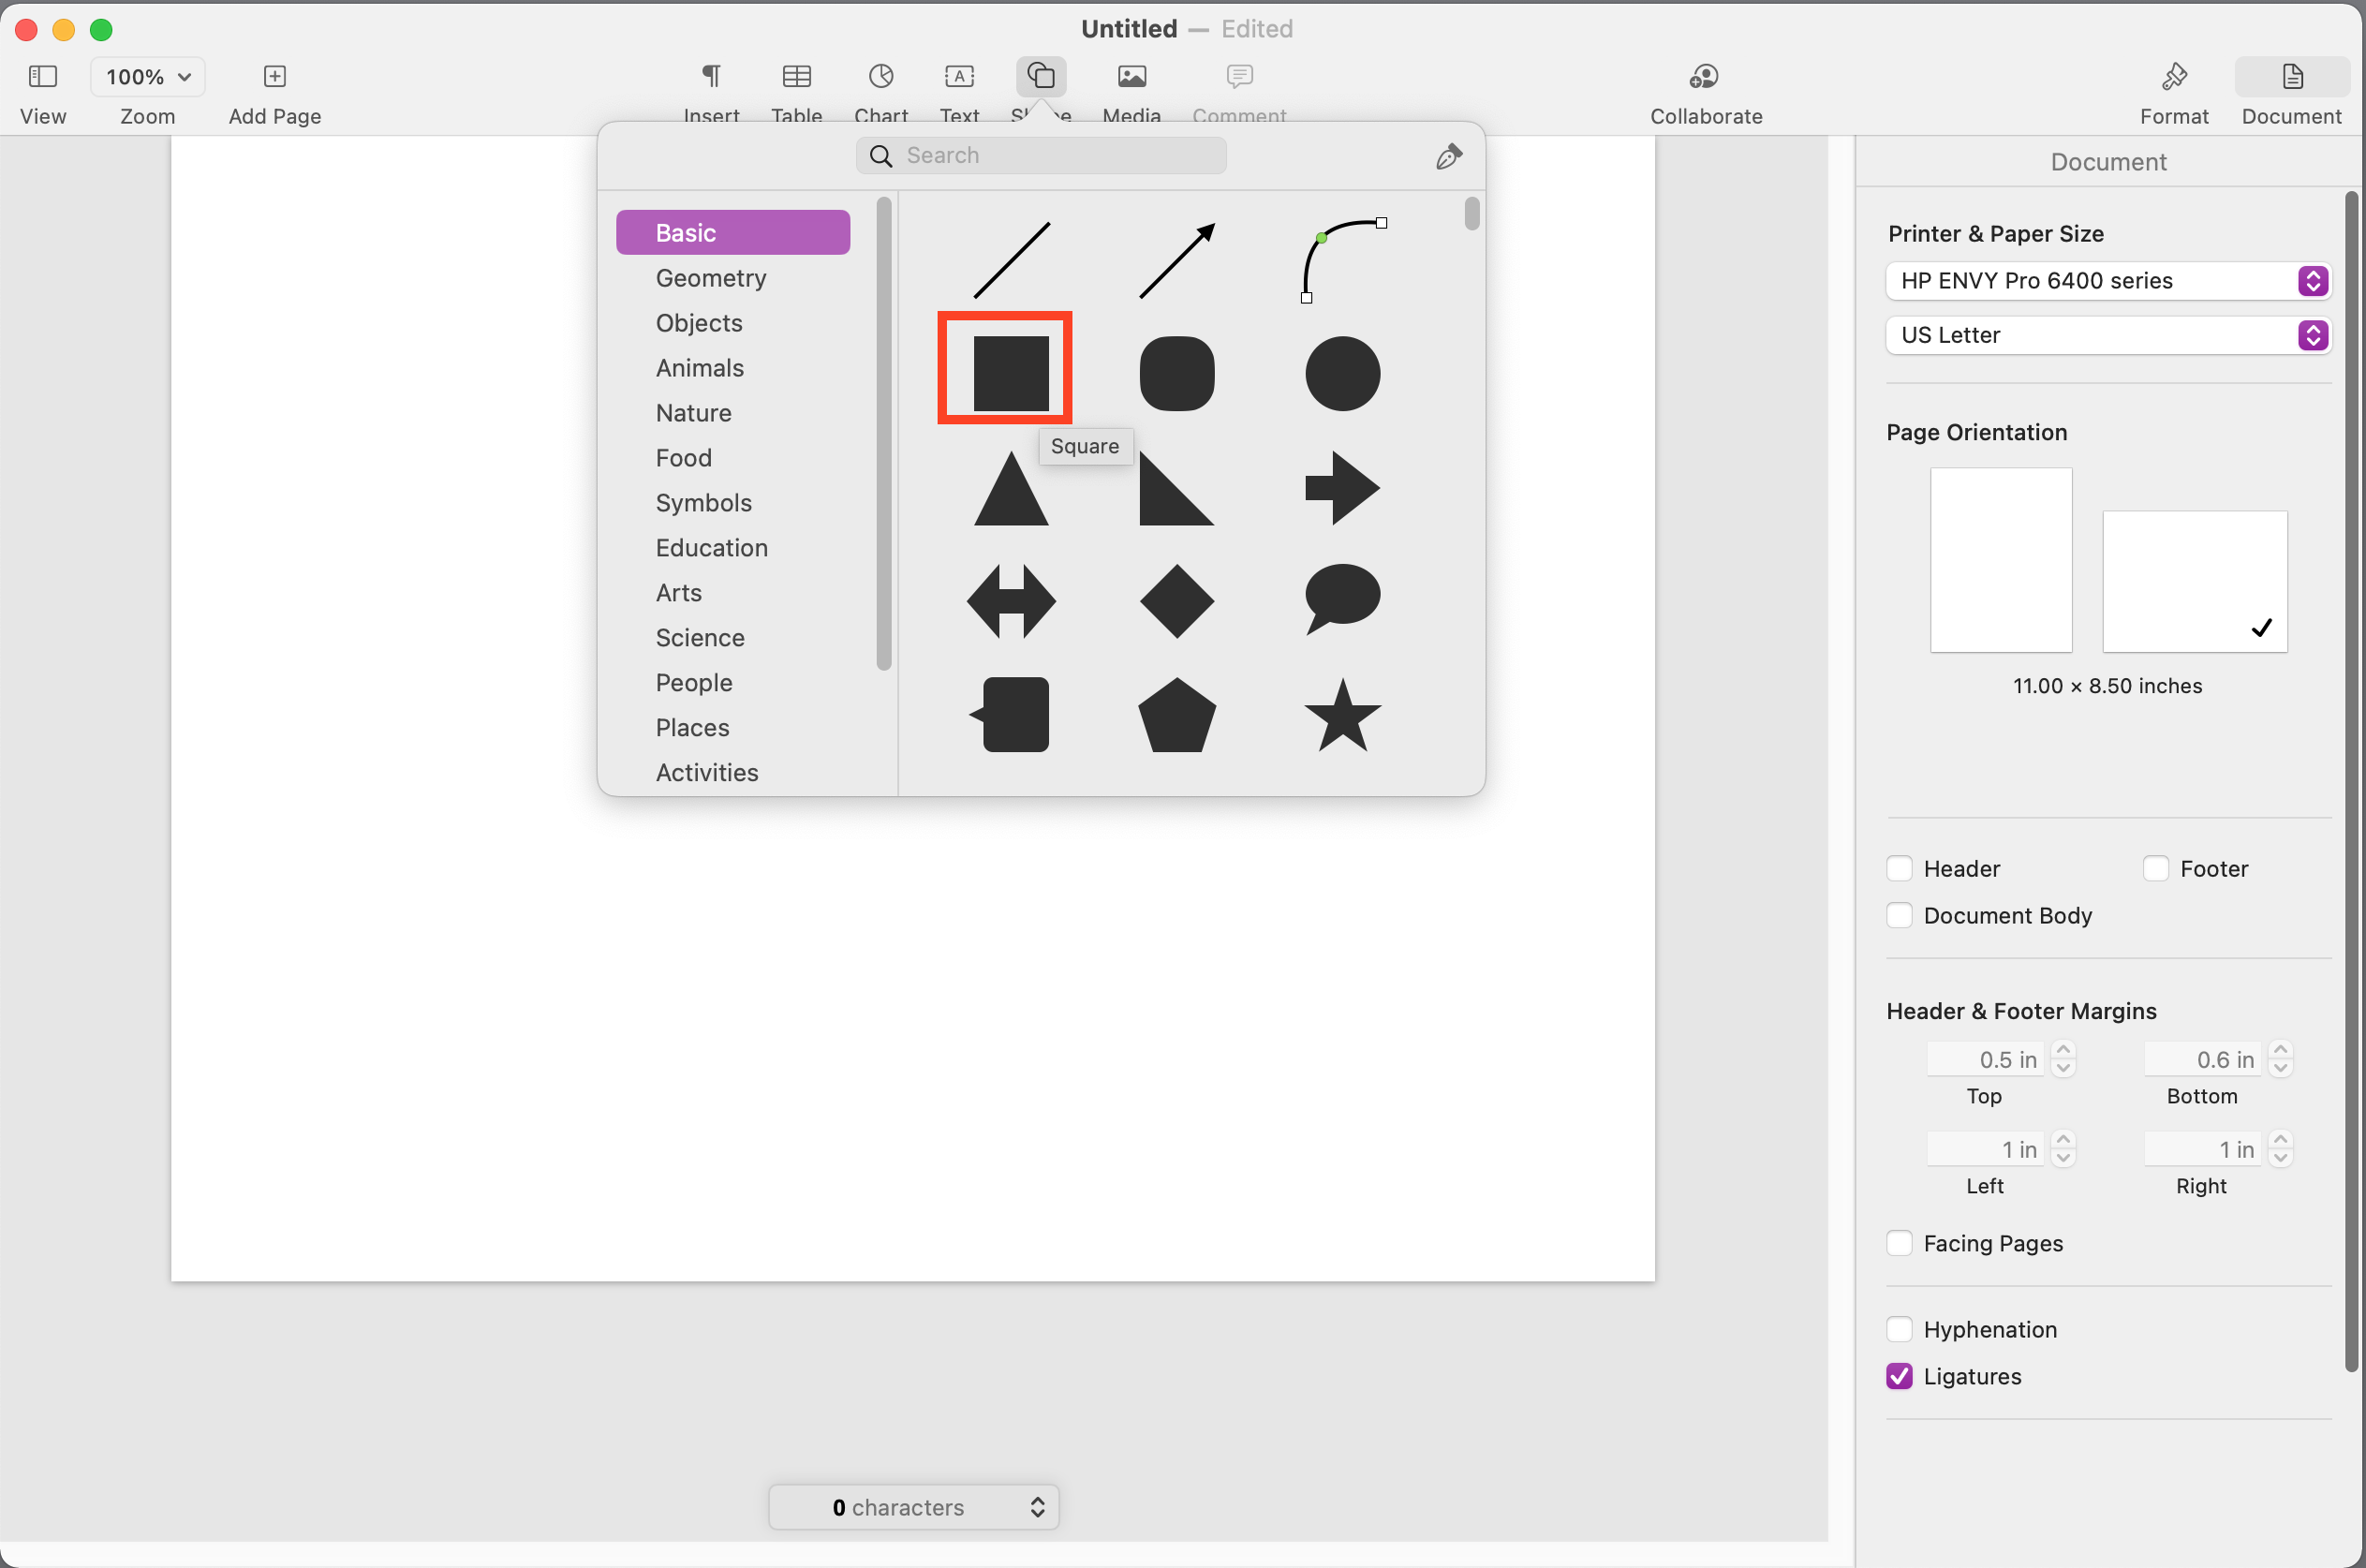
Click the SHAPE Button.
Click on the Square.
Change the Width and Height of the Square.
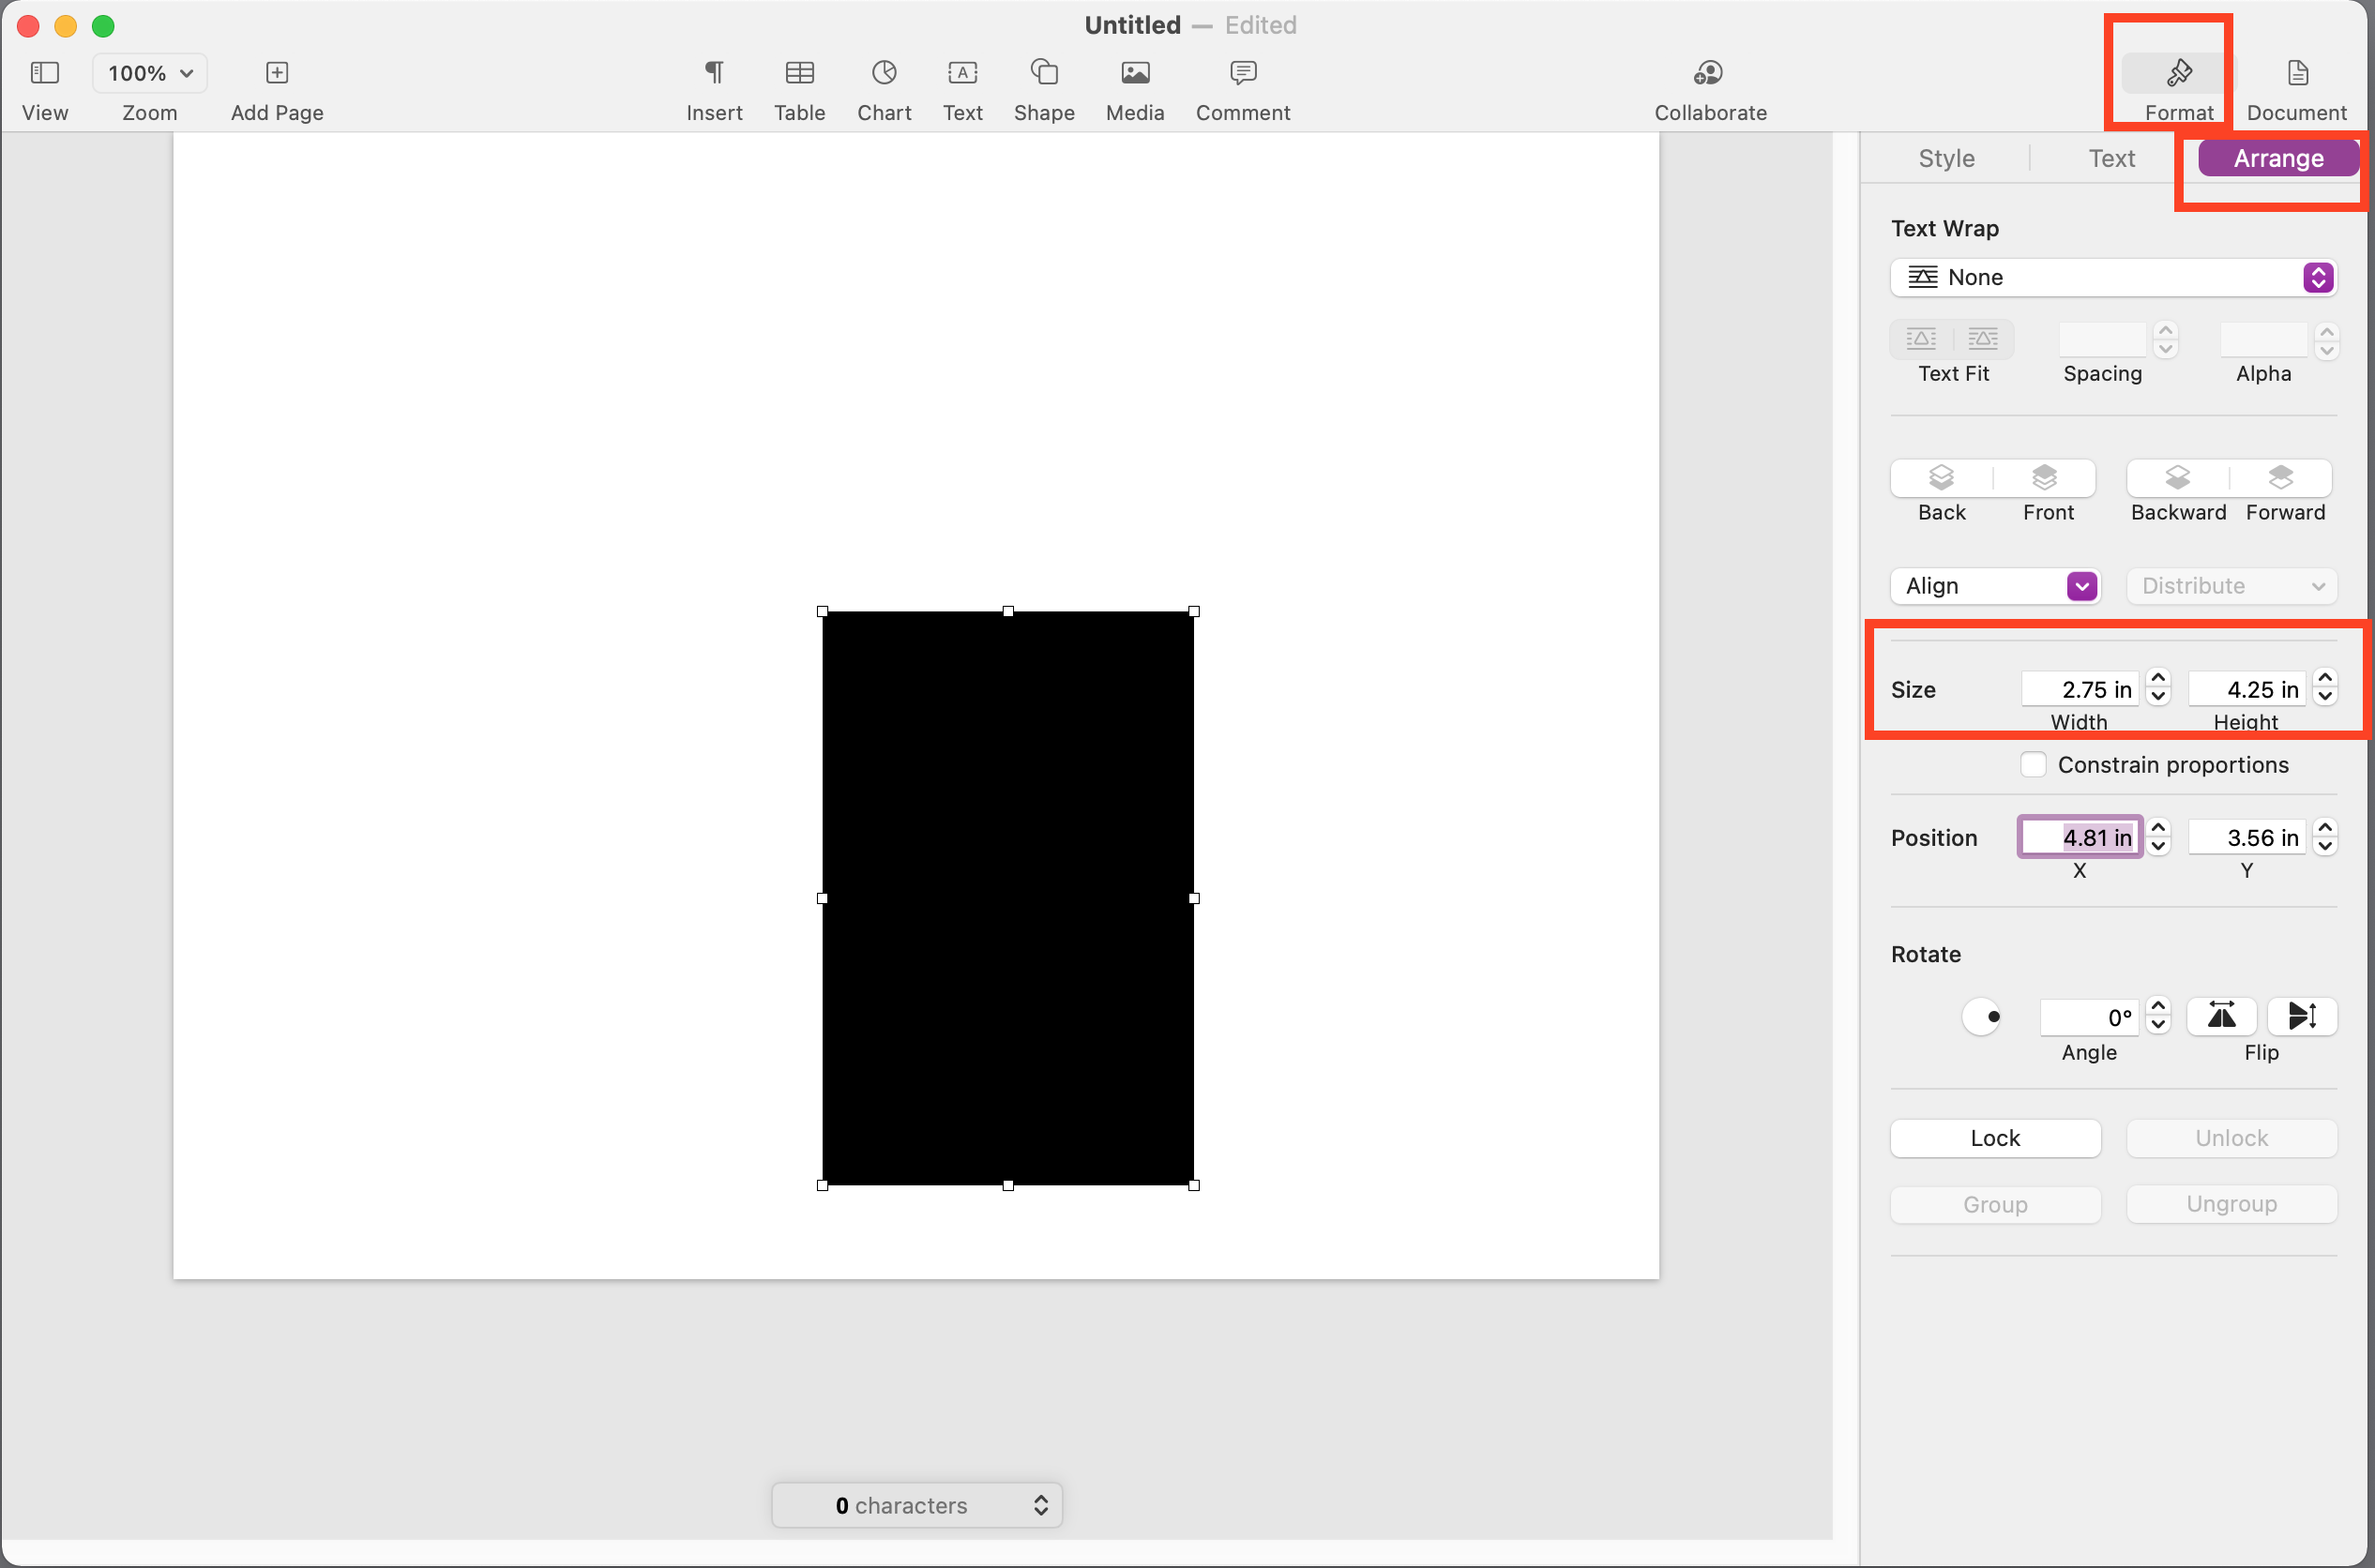
In the panel on the right, with the square still selected (white squares at the corners) change the size of the sqare so that it is 2.75 inches wide and 5.25 inches high.
Change the Color of the Rectangle.
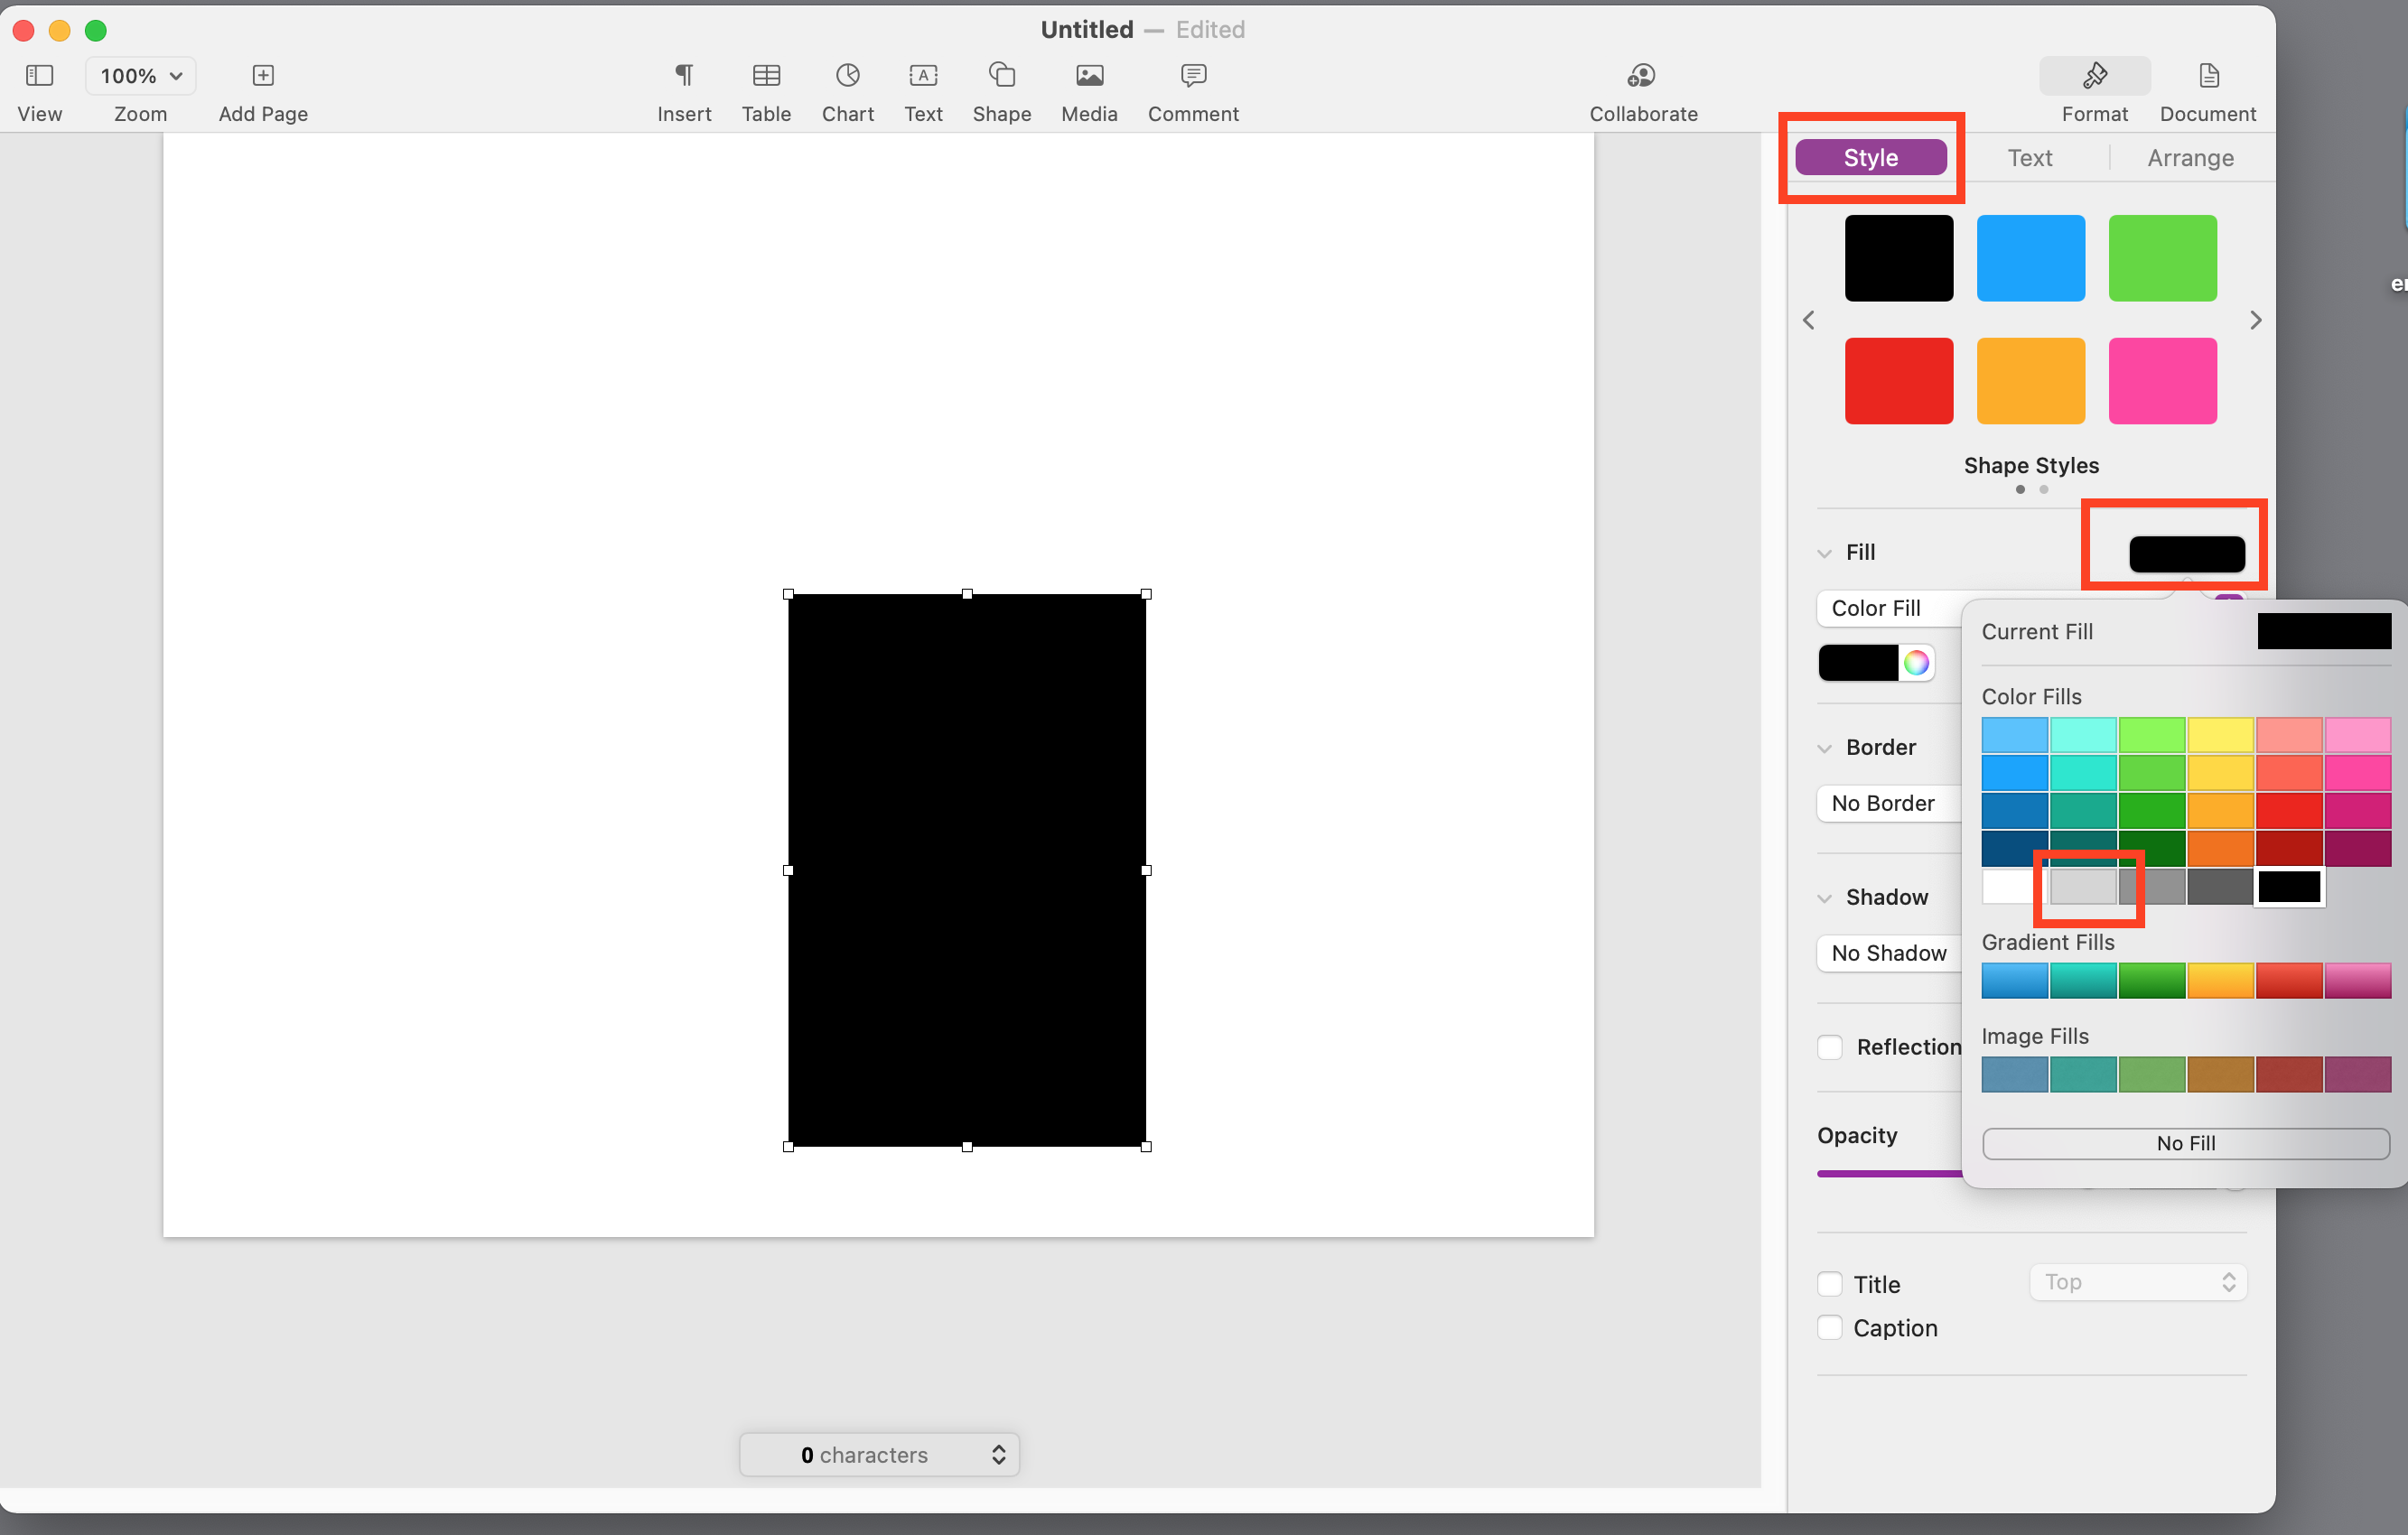
In the panel at the right, near the top of the panel, click the style button.
Partway down in the panel, click the color button and change the rectangle to light gray.
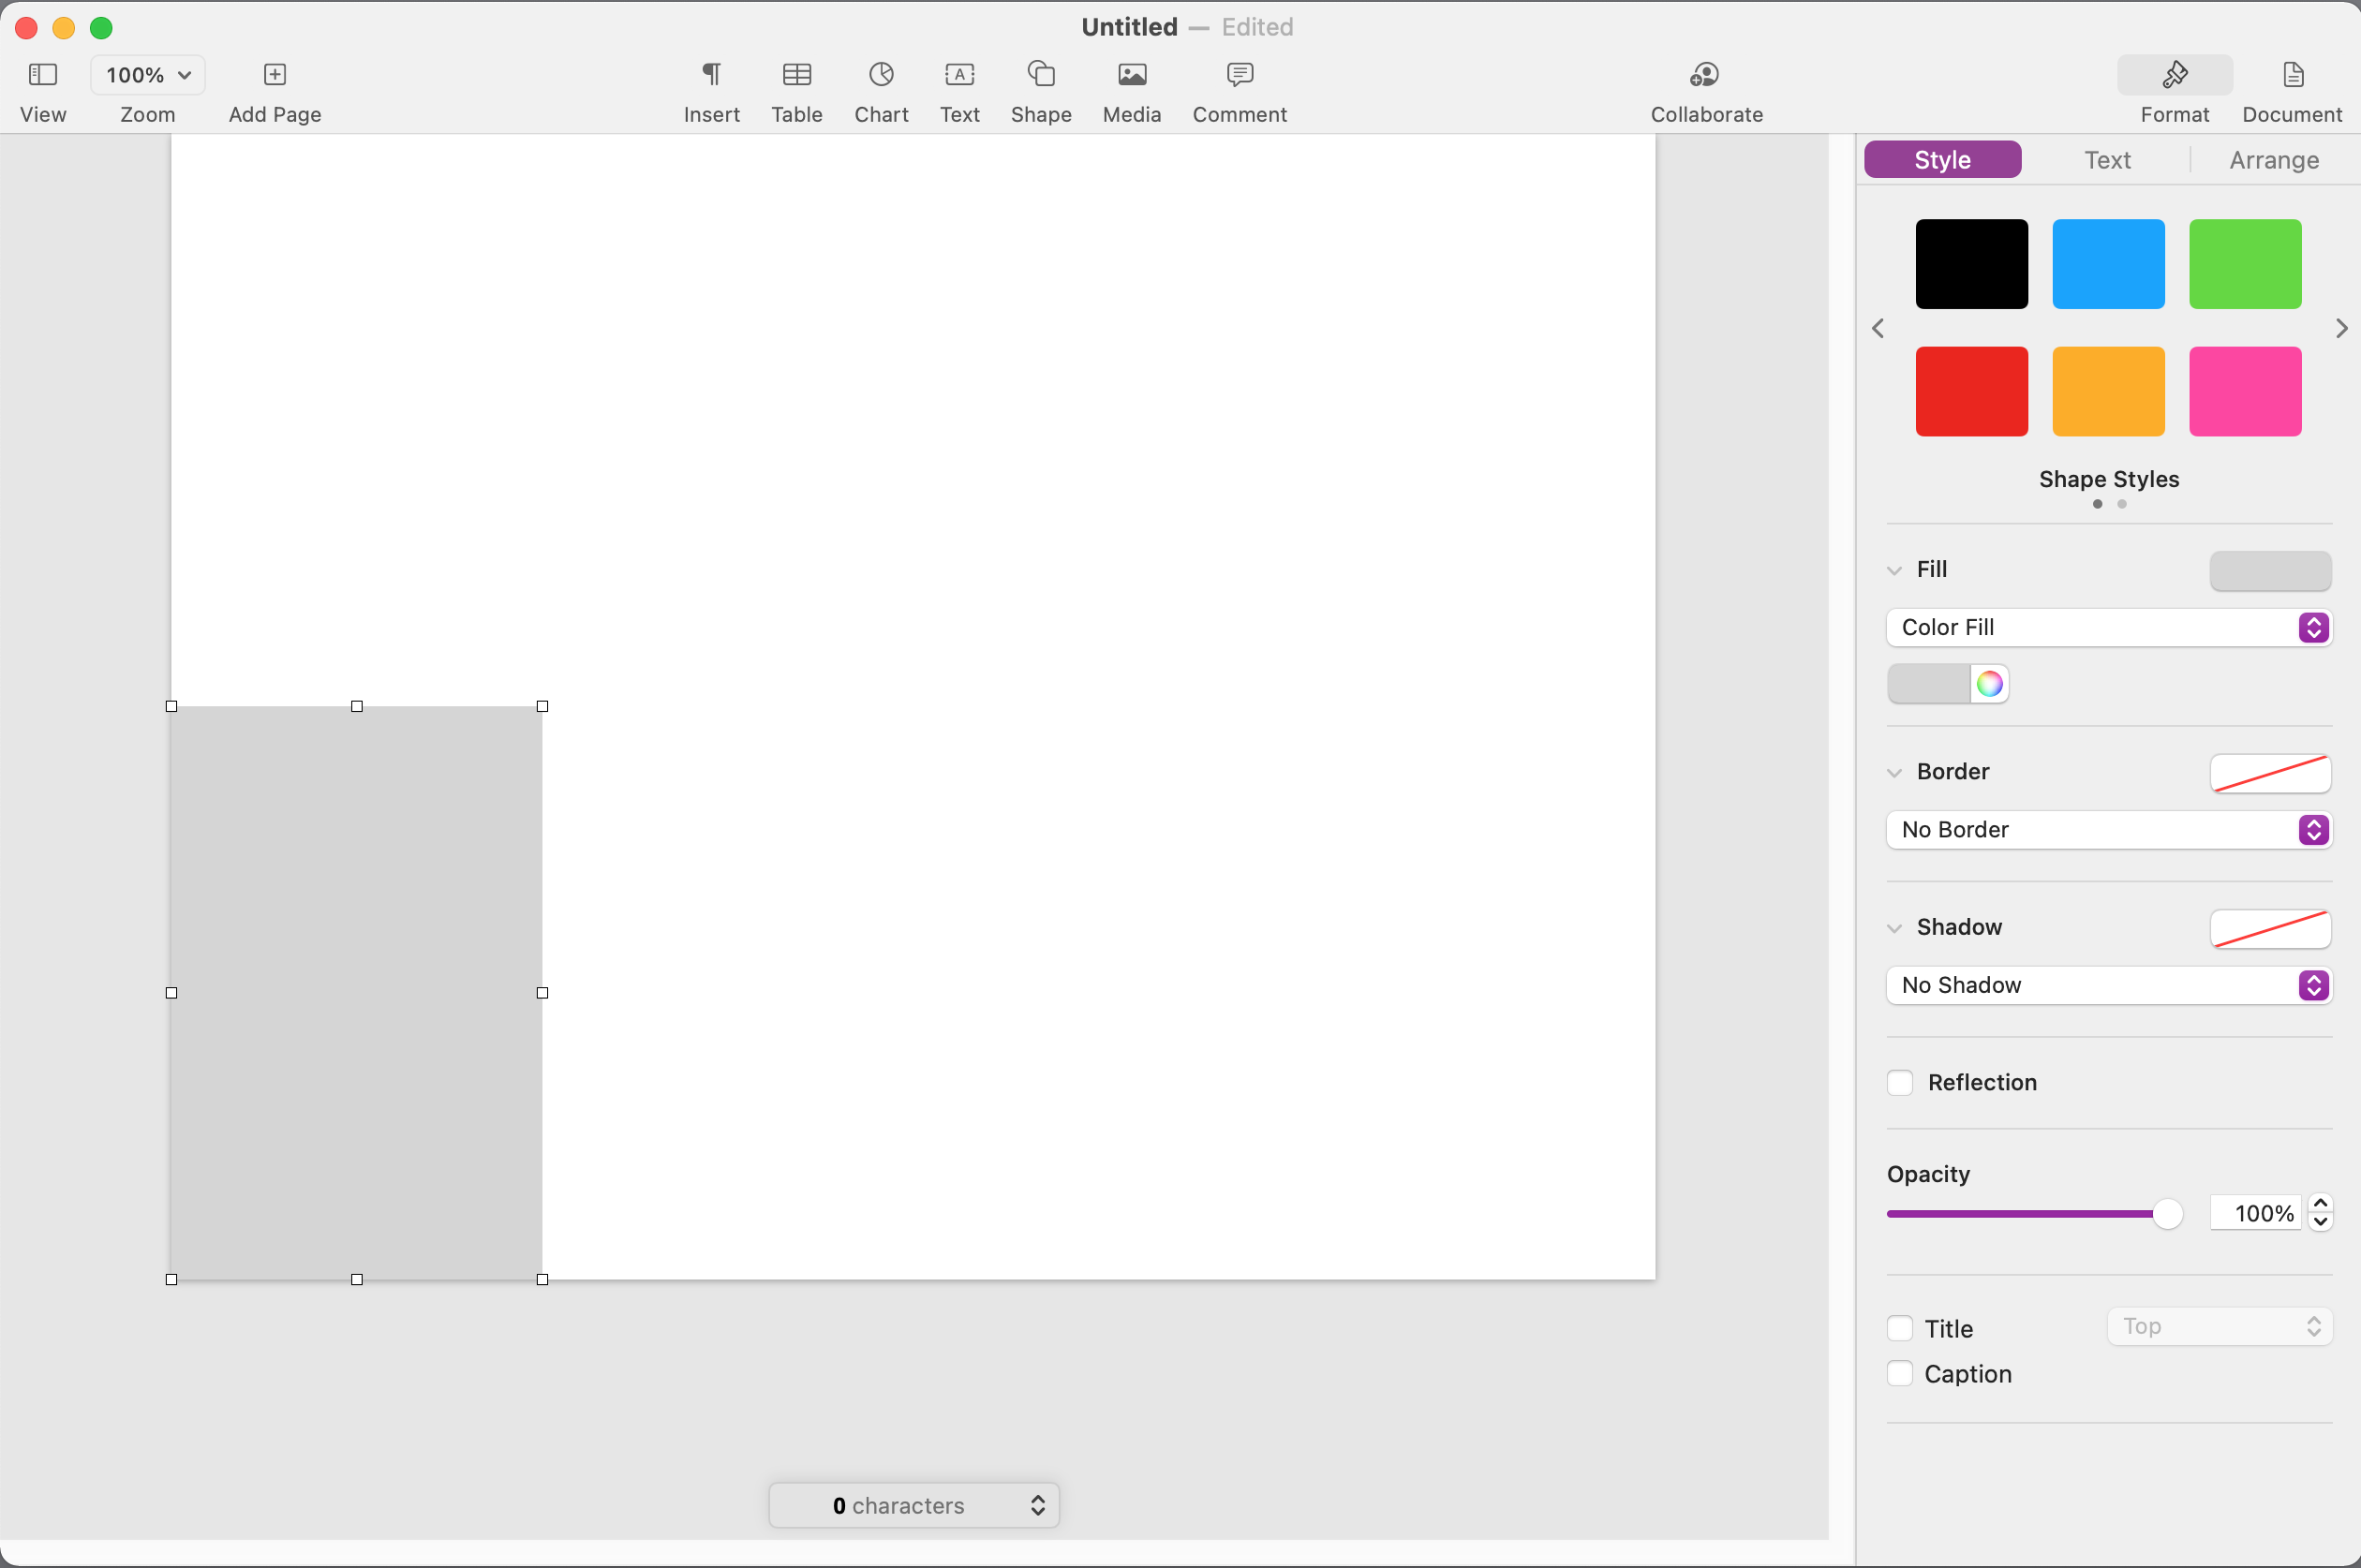
Drag the Rectangle to the Lower Left Corner.
Copy and Paste Additional Rectangles.
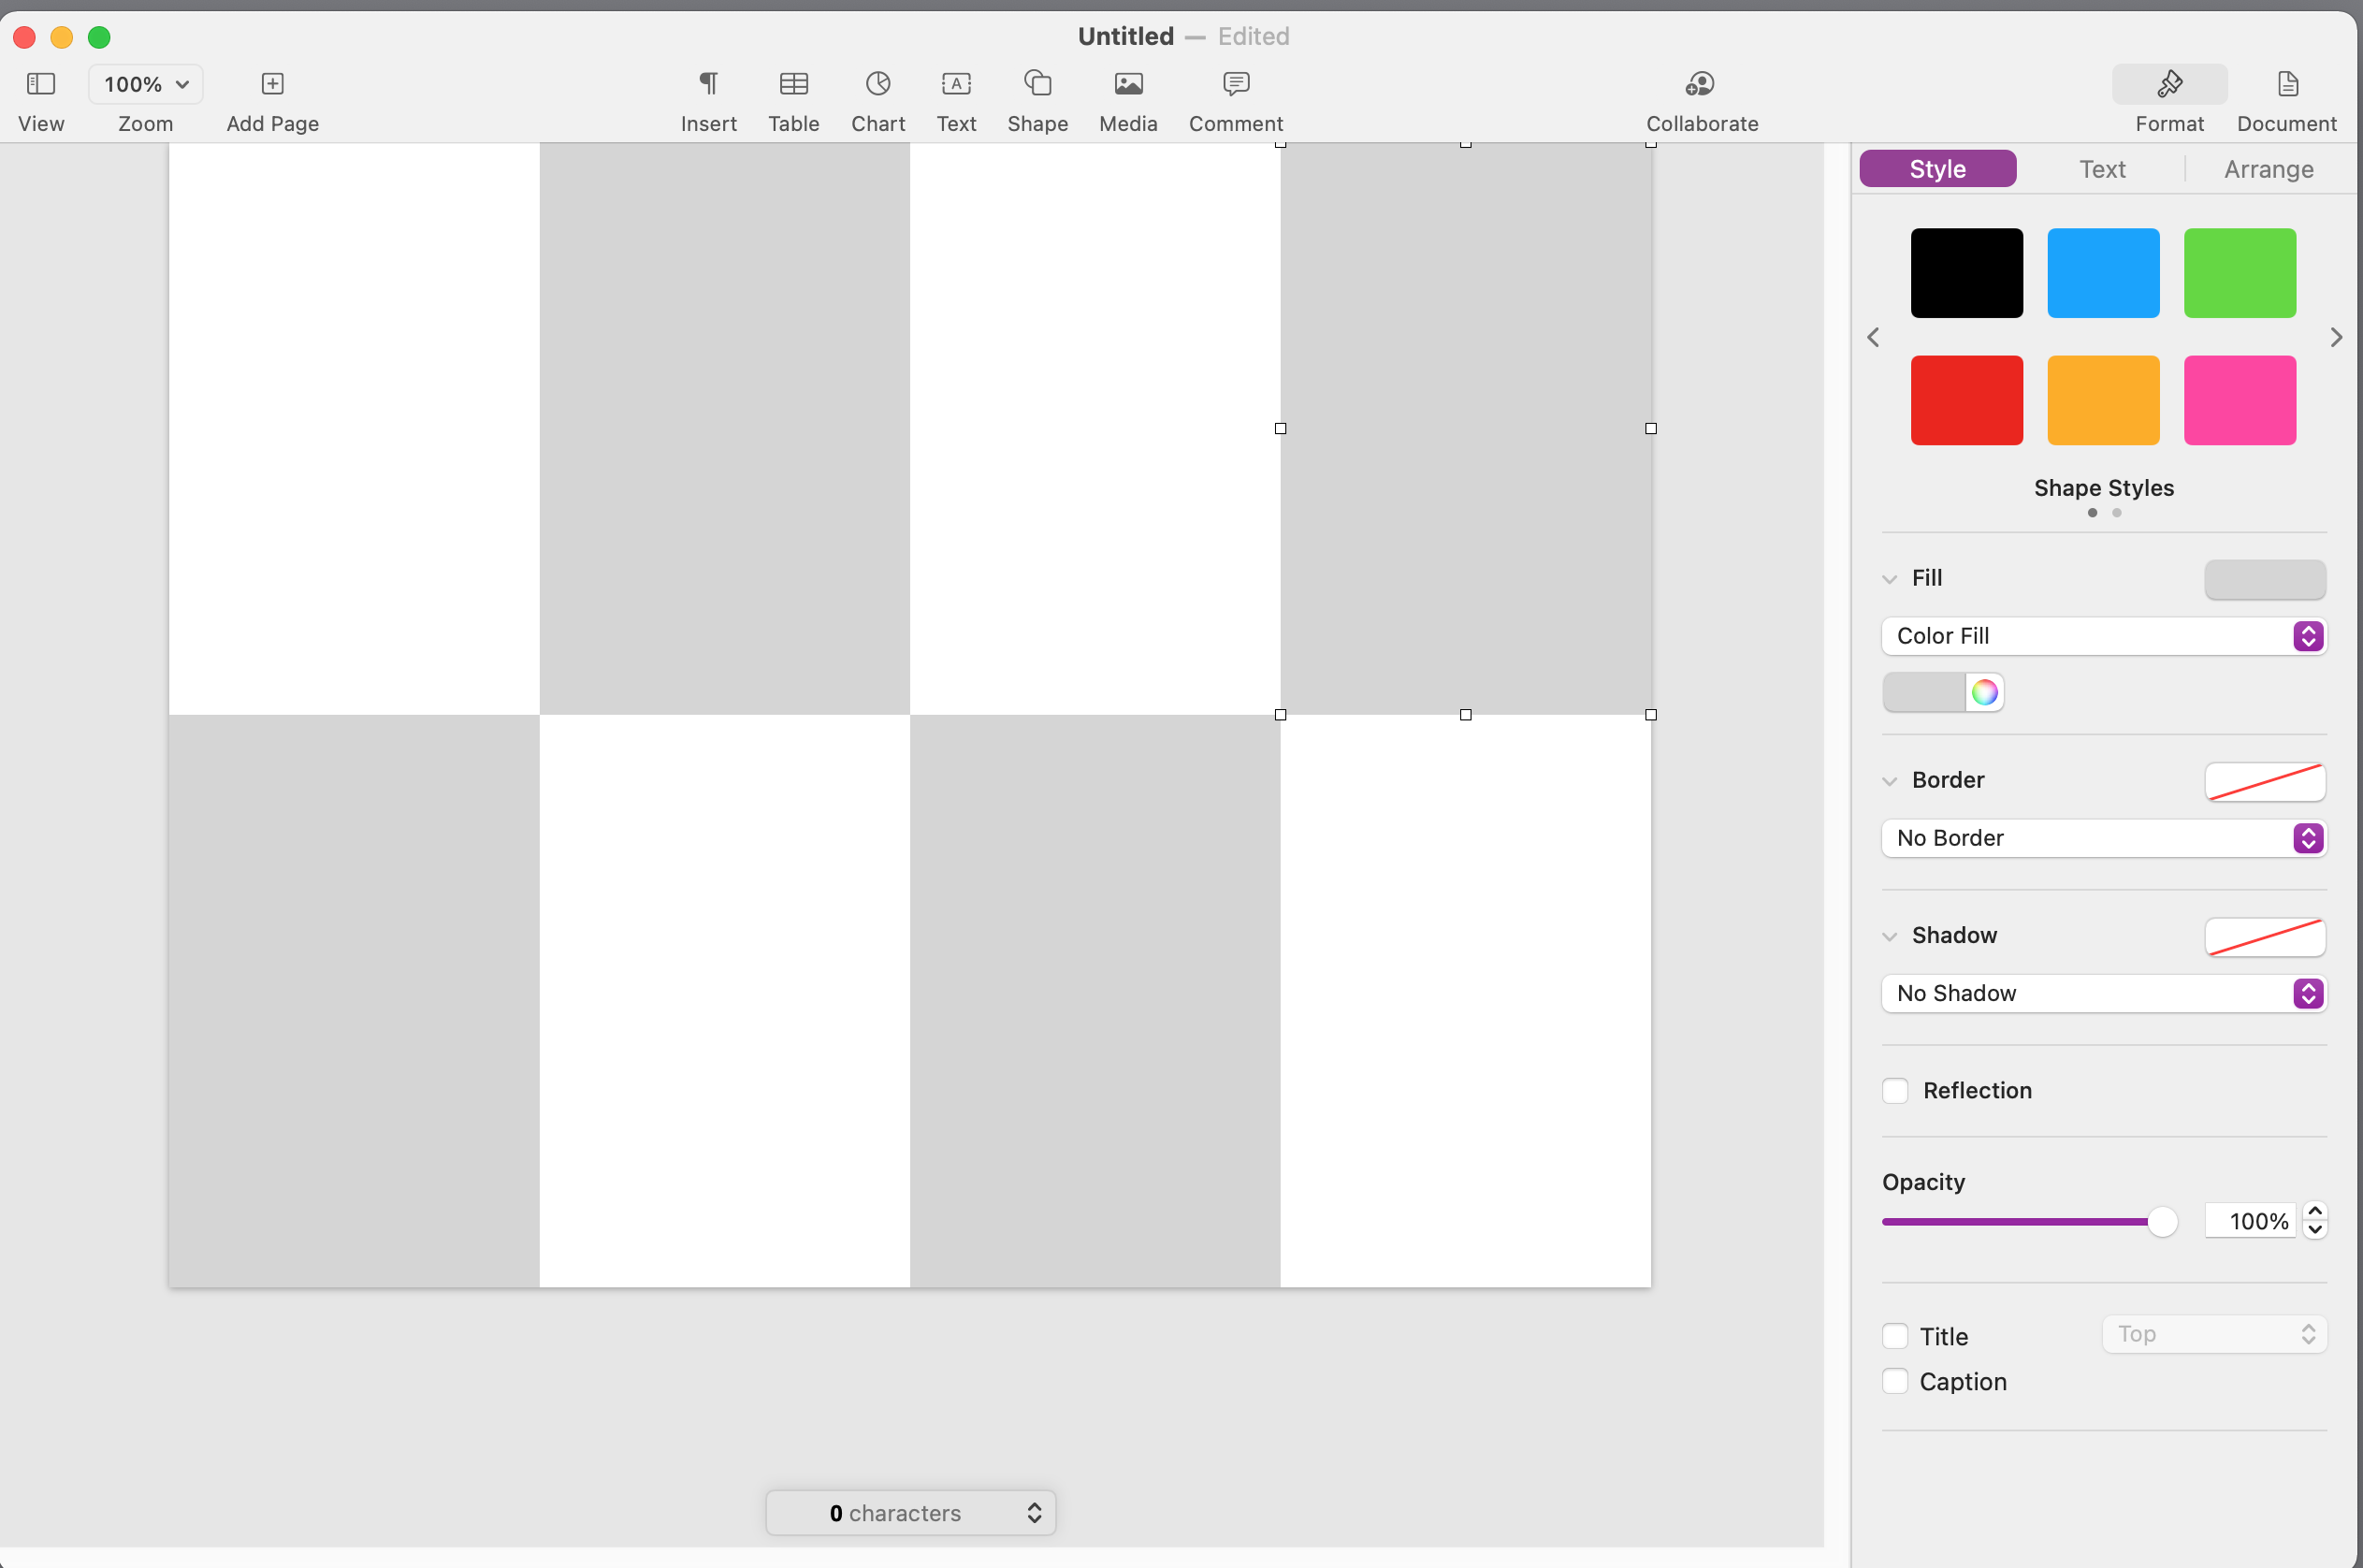
Use Command + C to Copy and Command + v to paste three more rectangles.
Drag them into the positions shown.
Add the First Text Box.
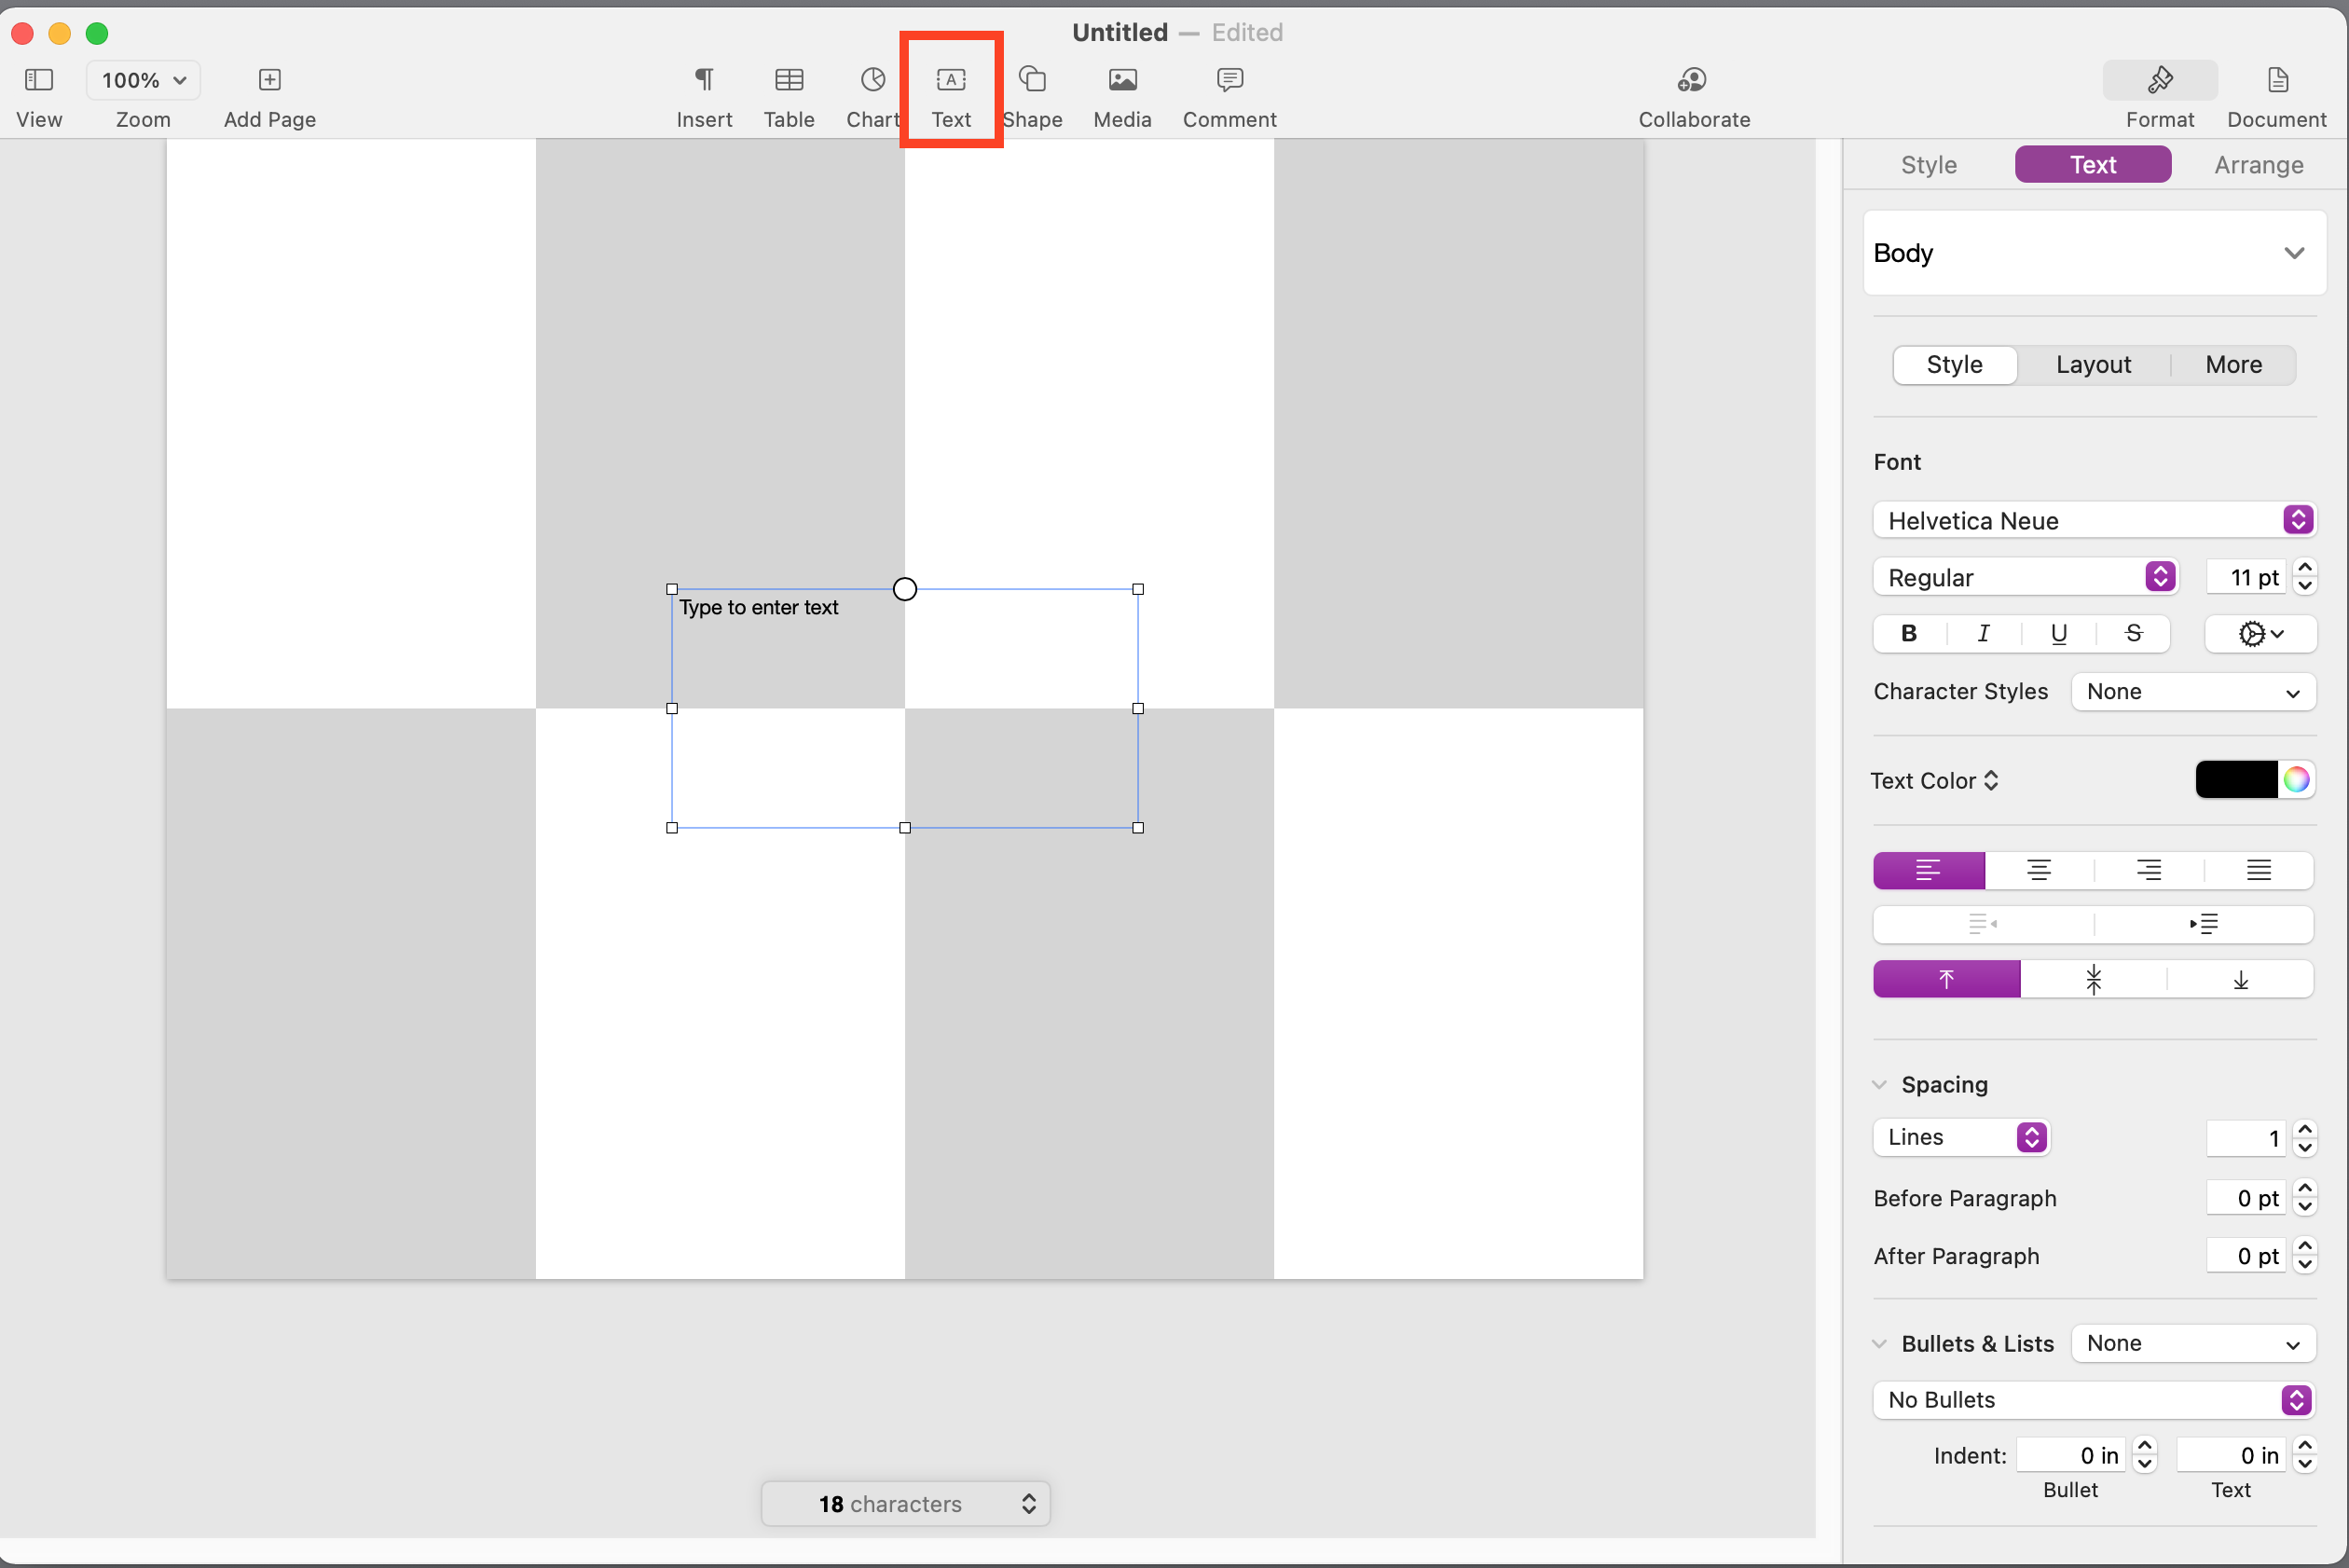
Click the text box button (top, middle).
A text box/ text frame appears in the middle.
Note the handlebars.
This frame can be resized and dragged to a new position.
Re-size the Text Frame.
Drag the edge so that the text frame fits in the white rectangle as shown. This is the cover of the mini-zine.
Type a Title.
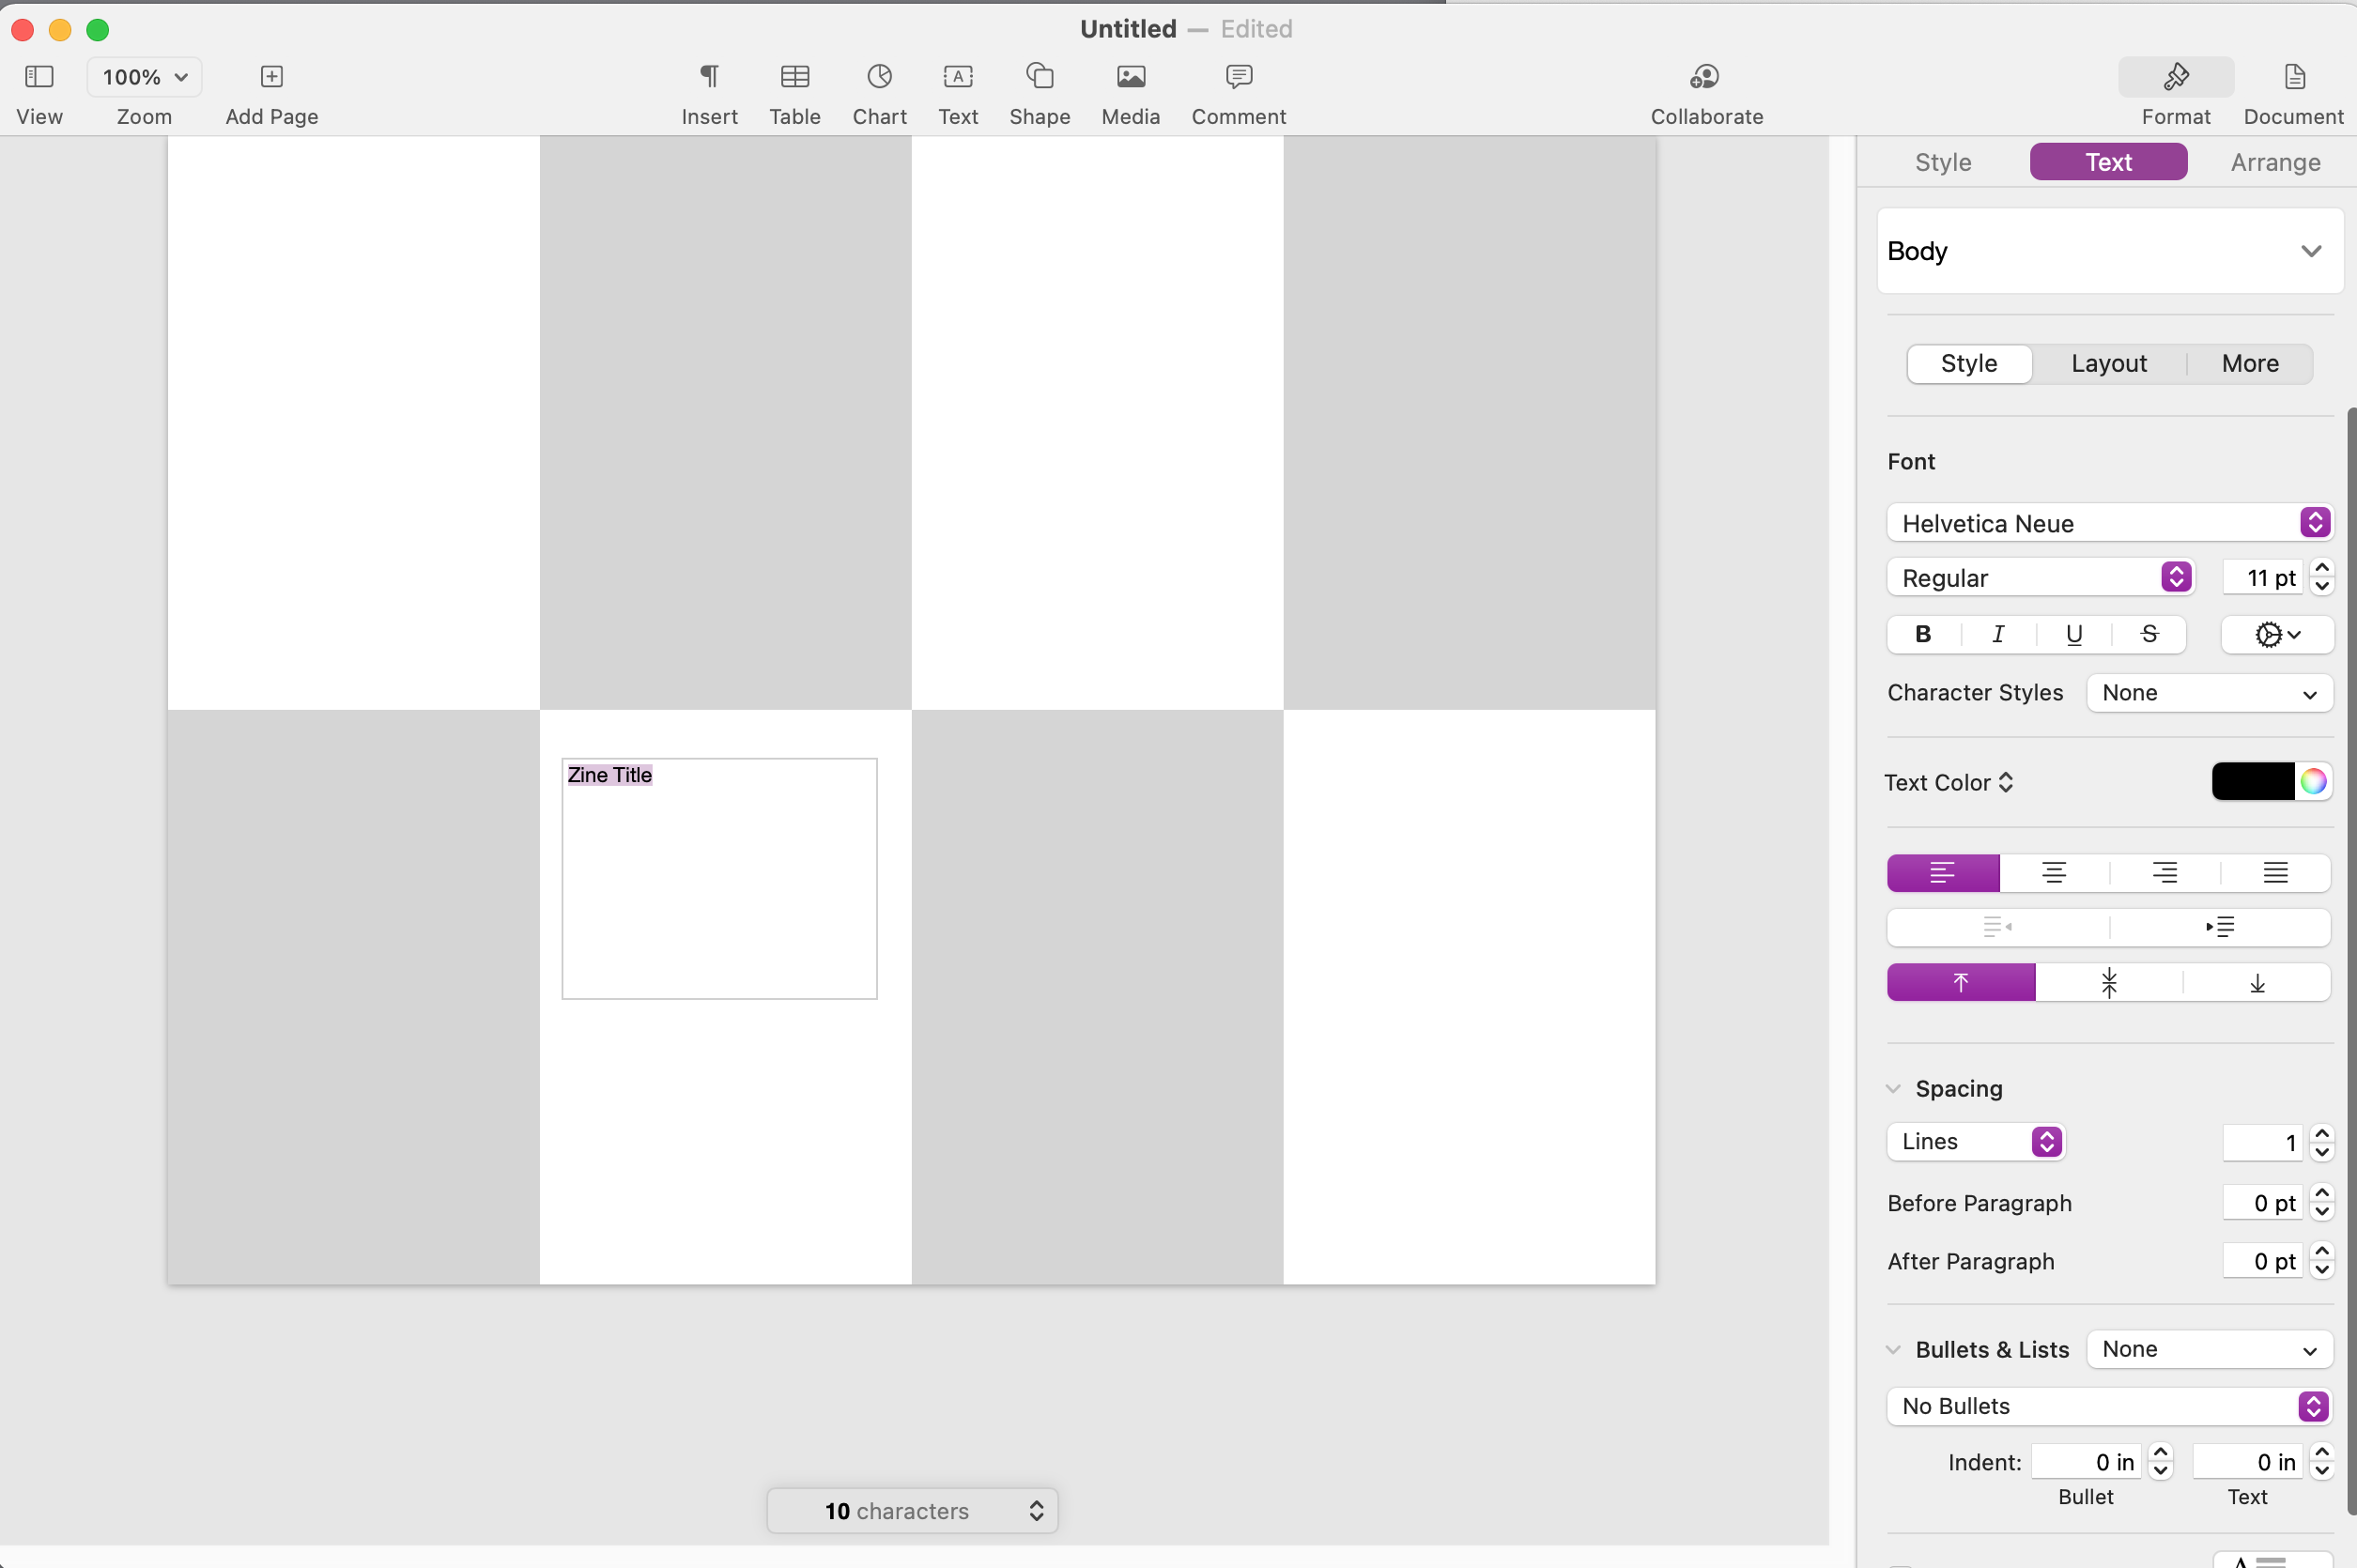
Make the Text Large, Bold, and Centered.
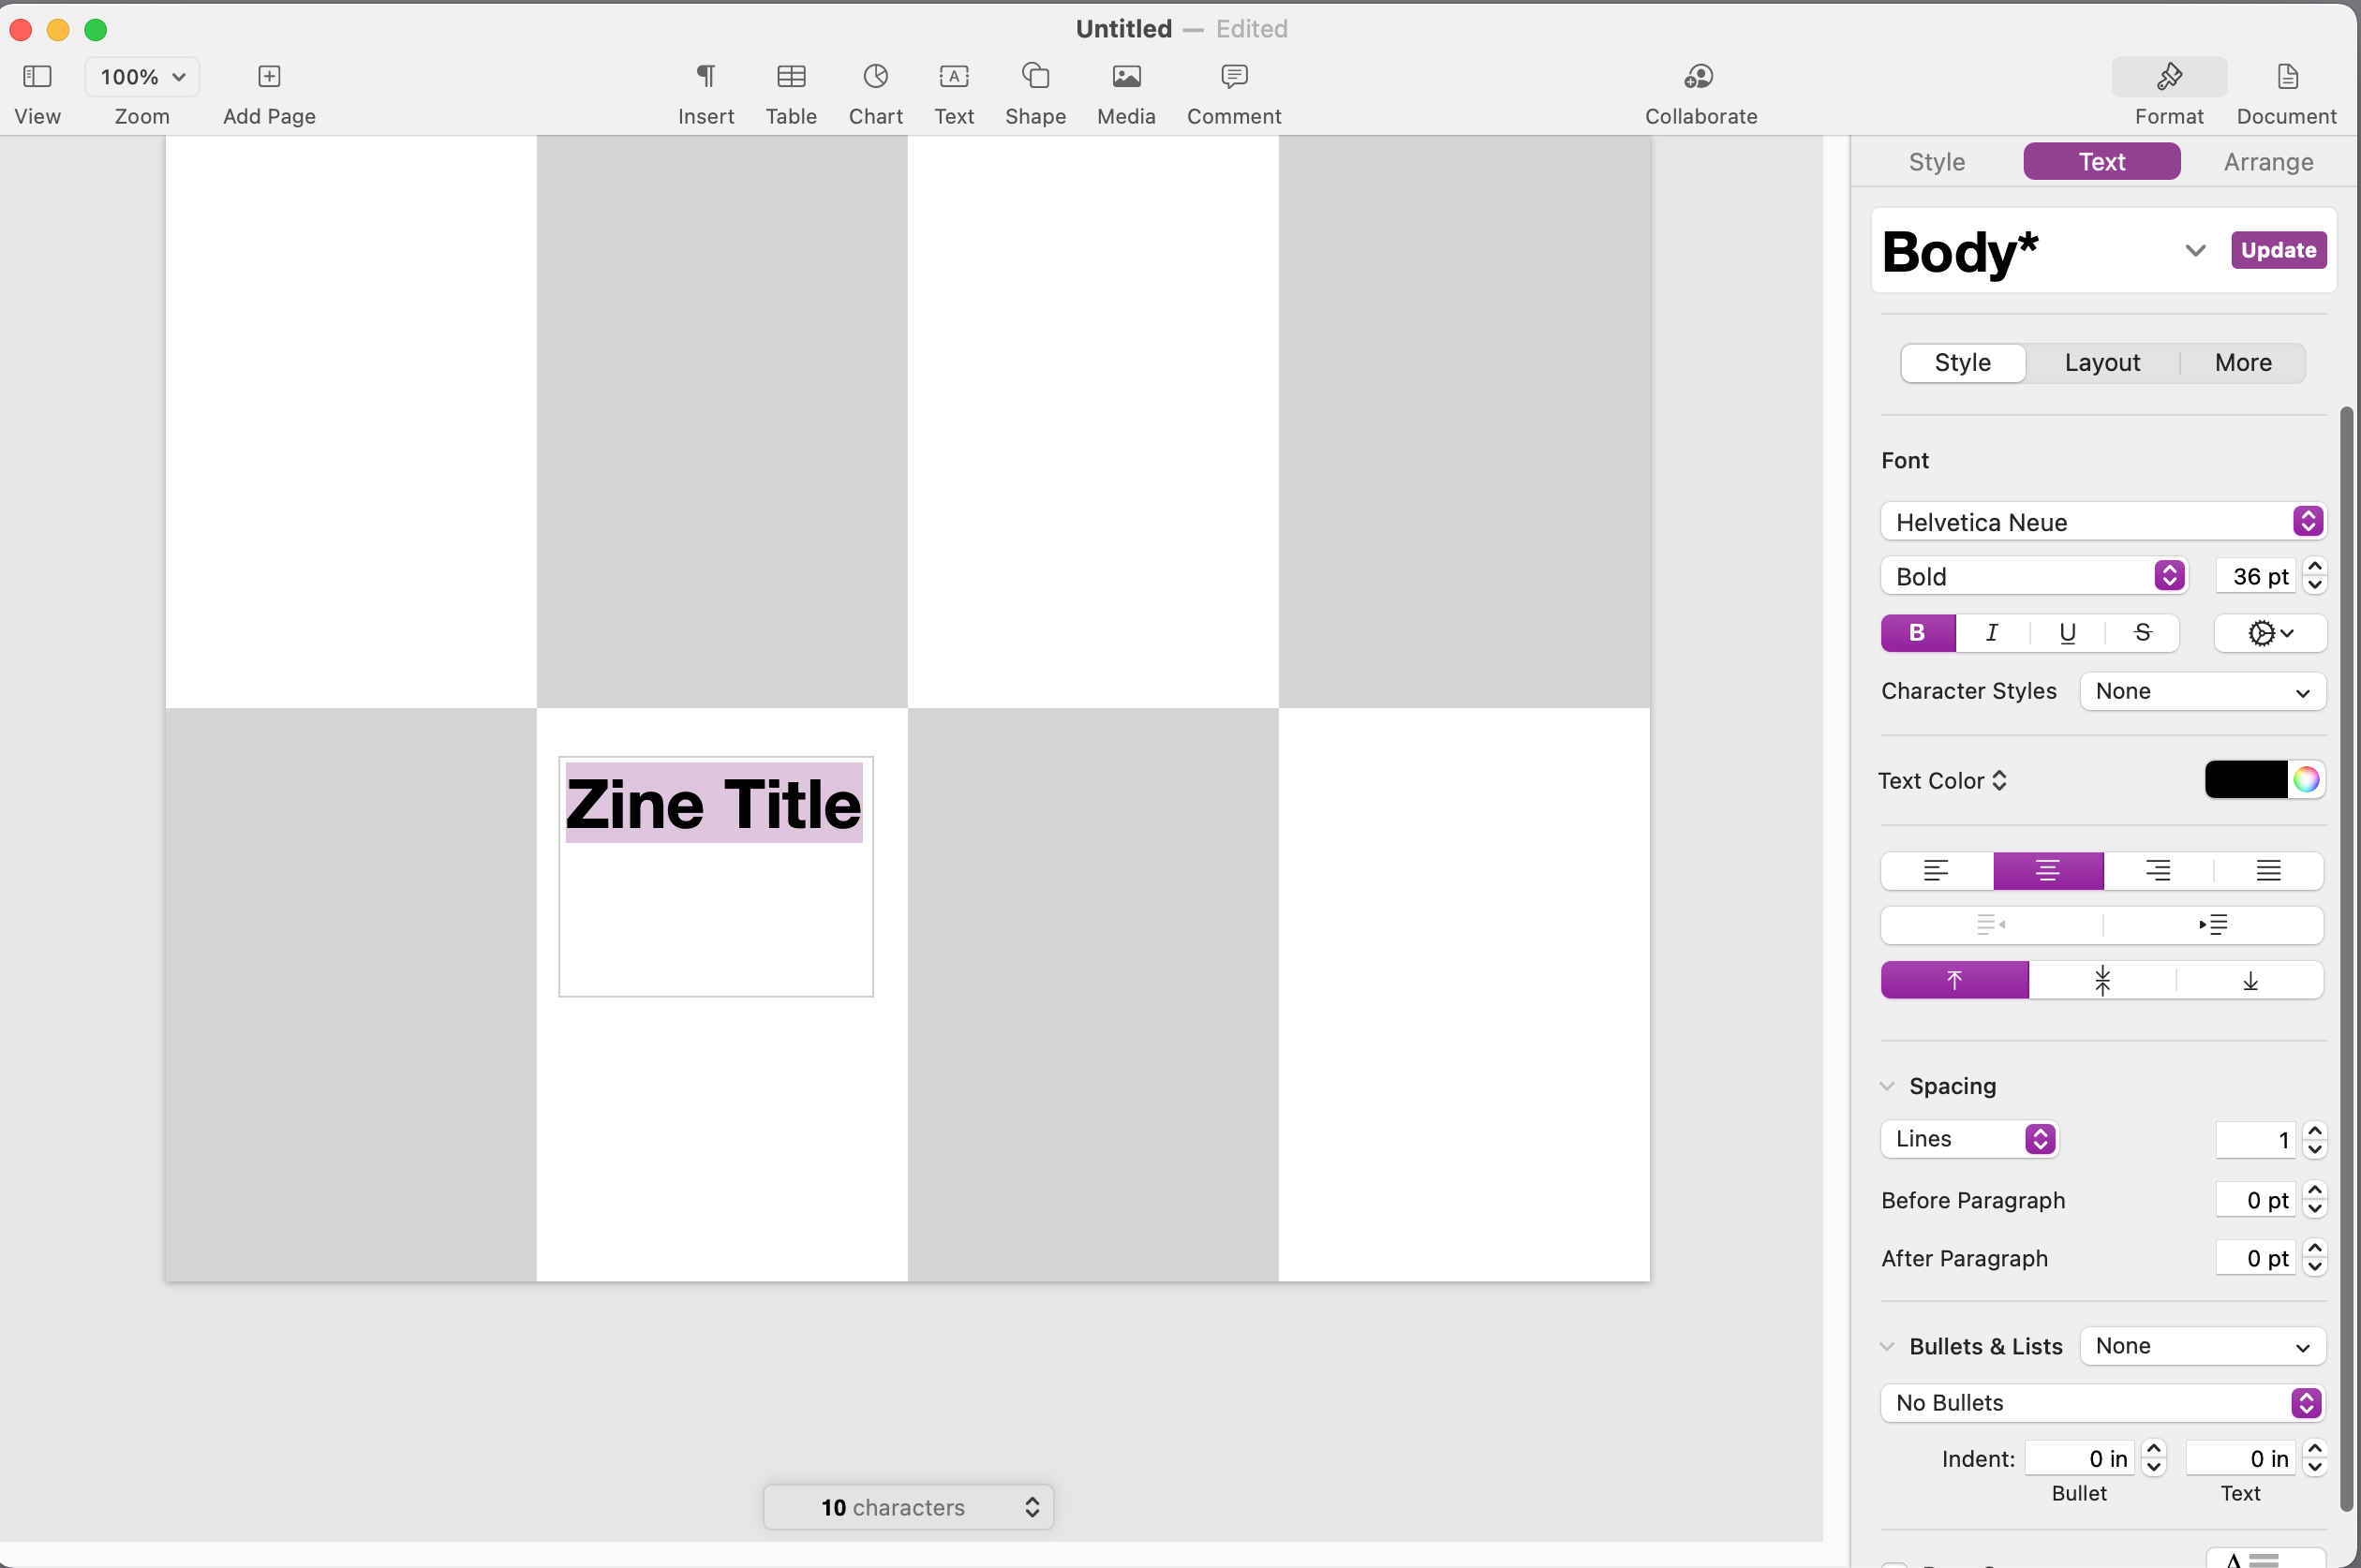
Drag across the text to select it. Use the button in the right panel to make it large, bold, and centered.
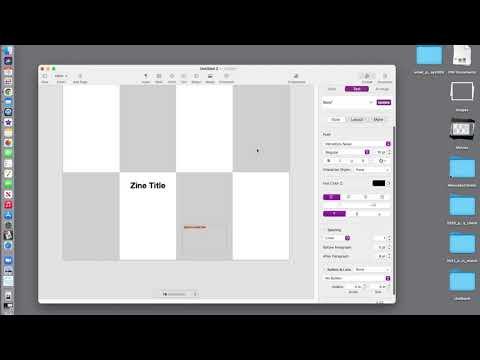
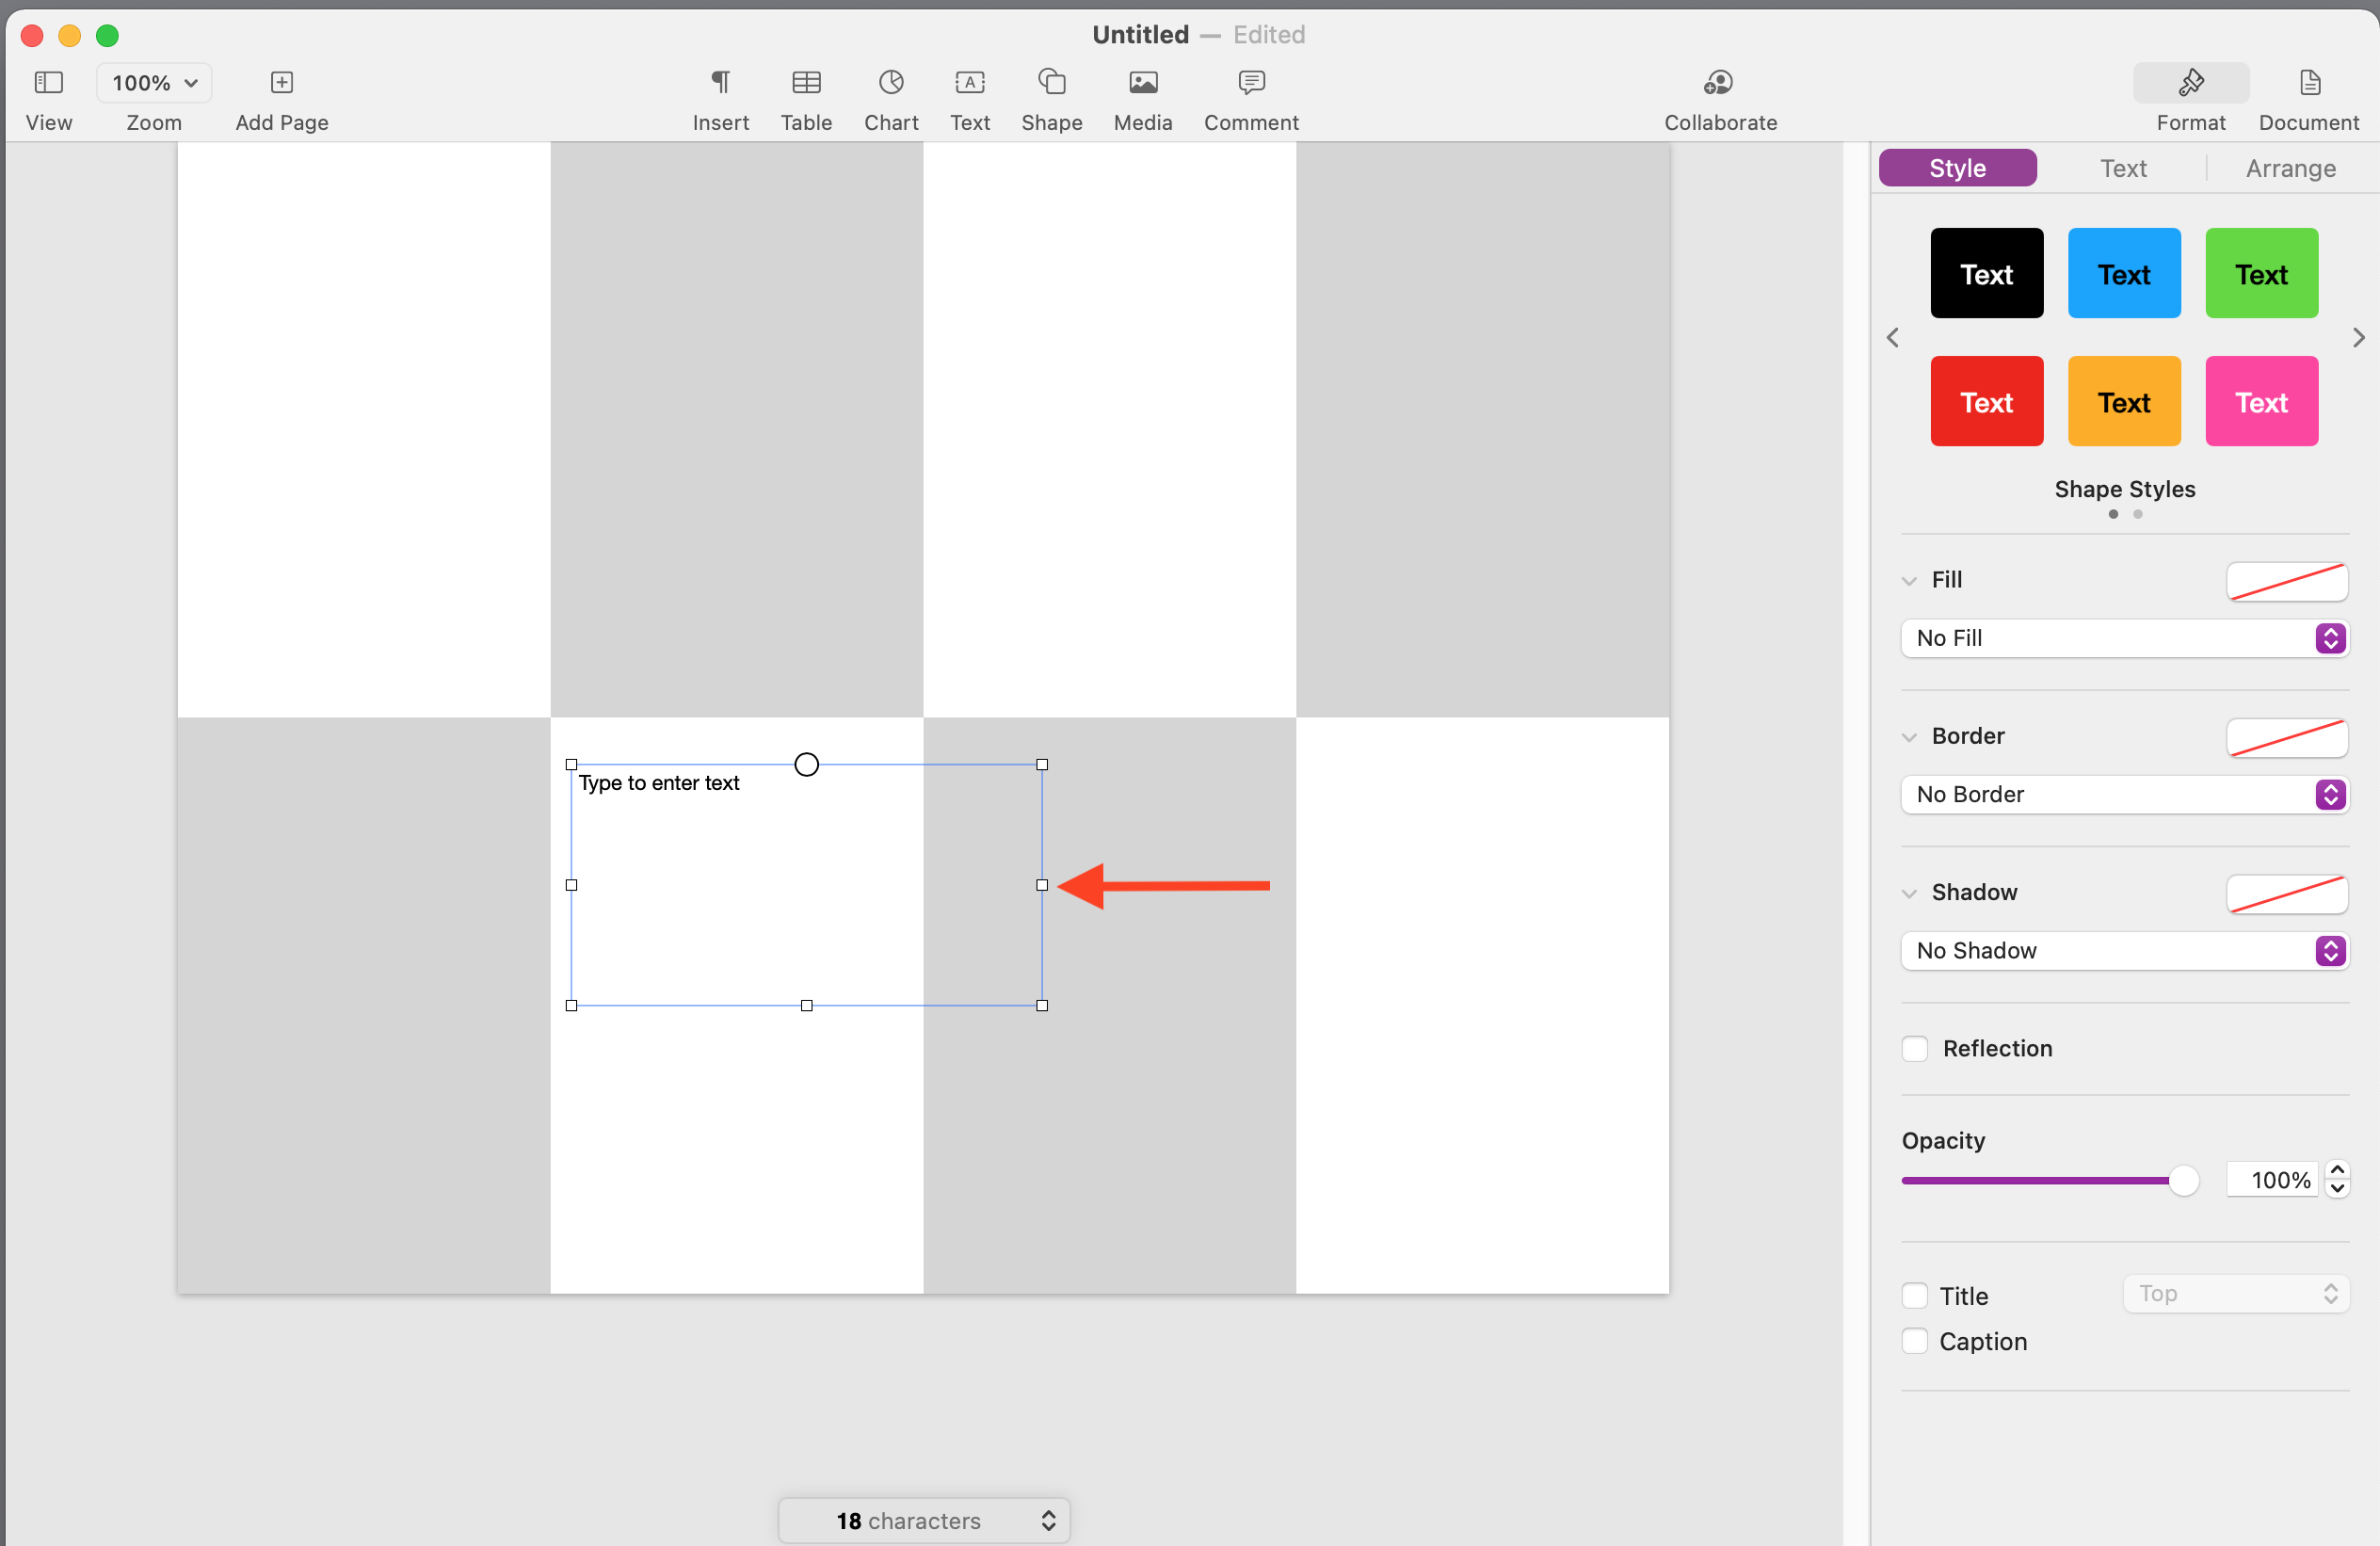
Add a Second Text Frame and Style the Text.
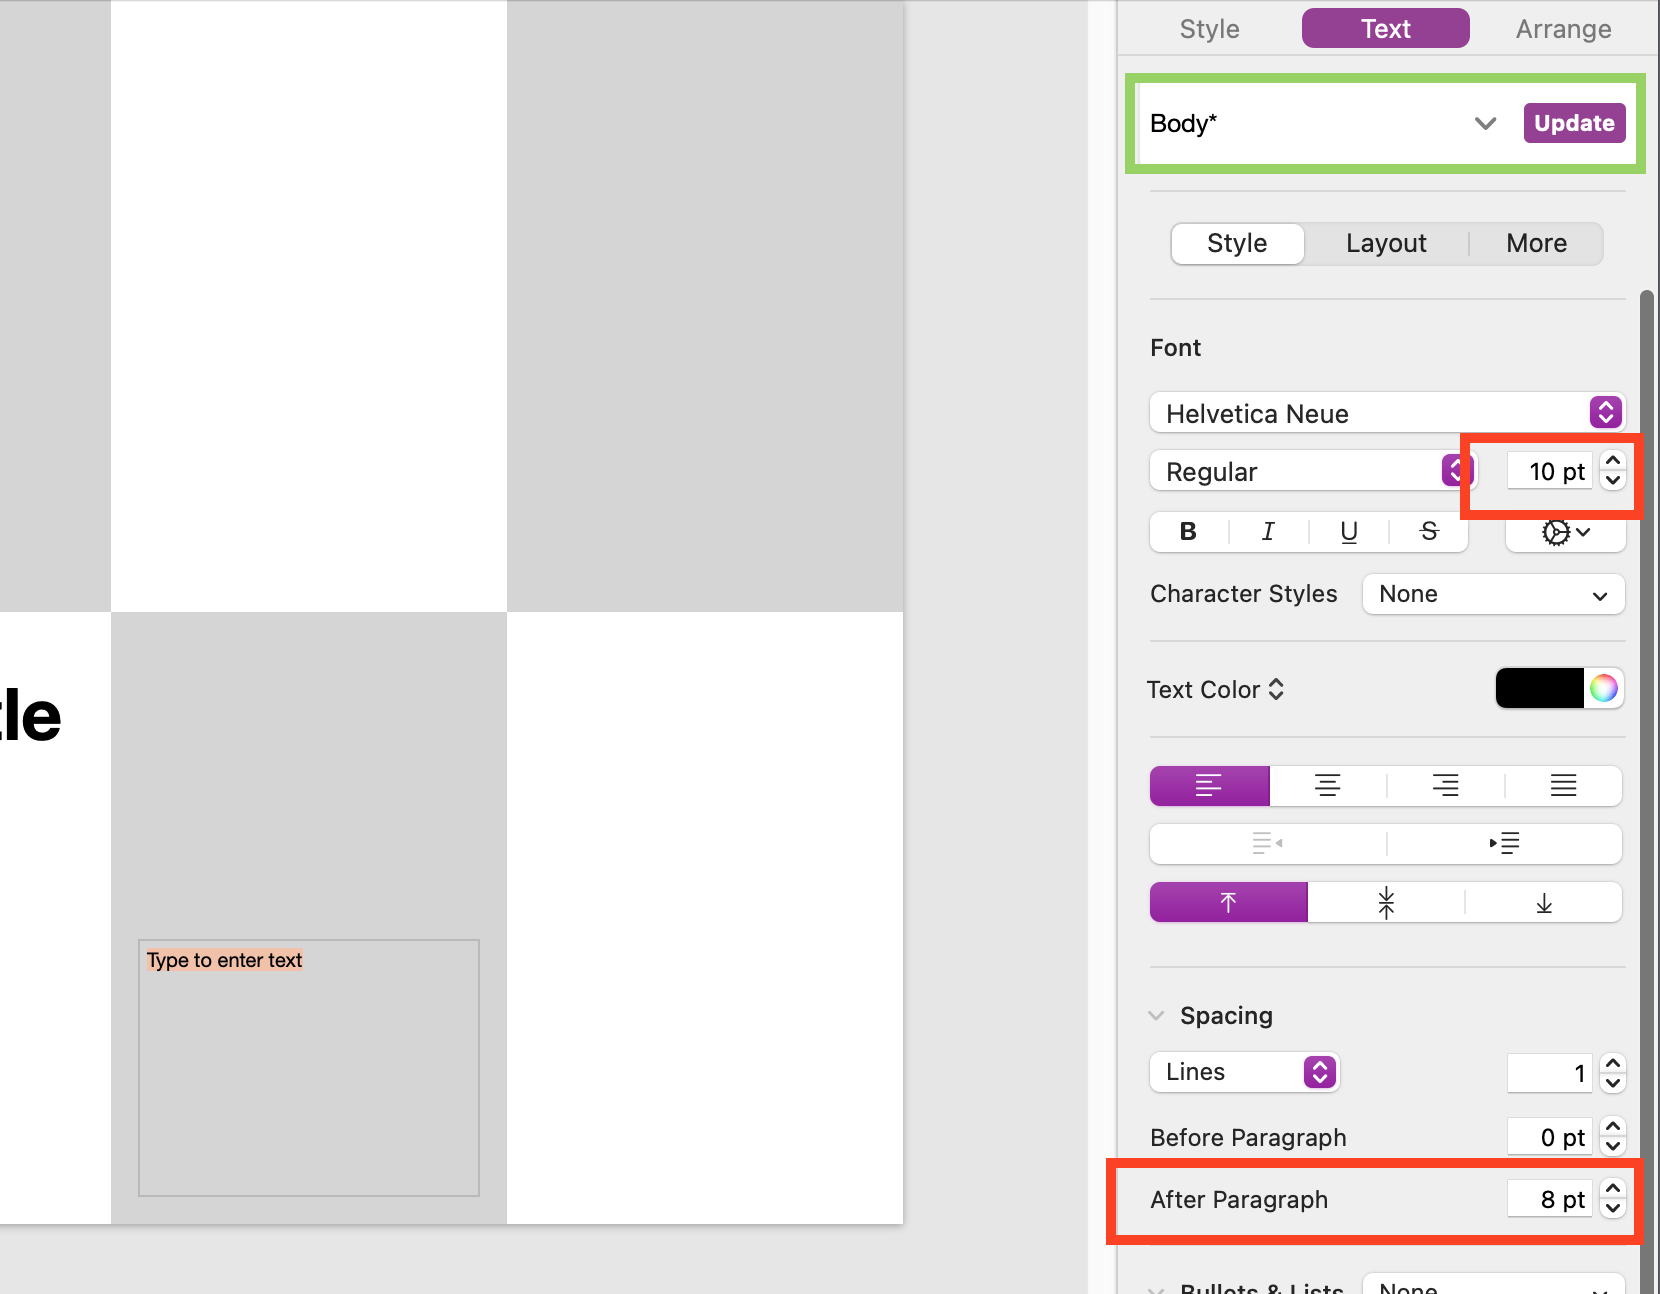
The second text frame will contain text for the "body" of the book, so choose wisely.
I like size 10 text with 8 pts of space after each paragraph.
In order to make this the DEFAULT for each text frame, on the left, at the top, I click the "Update" button.
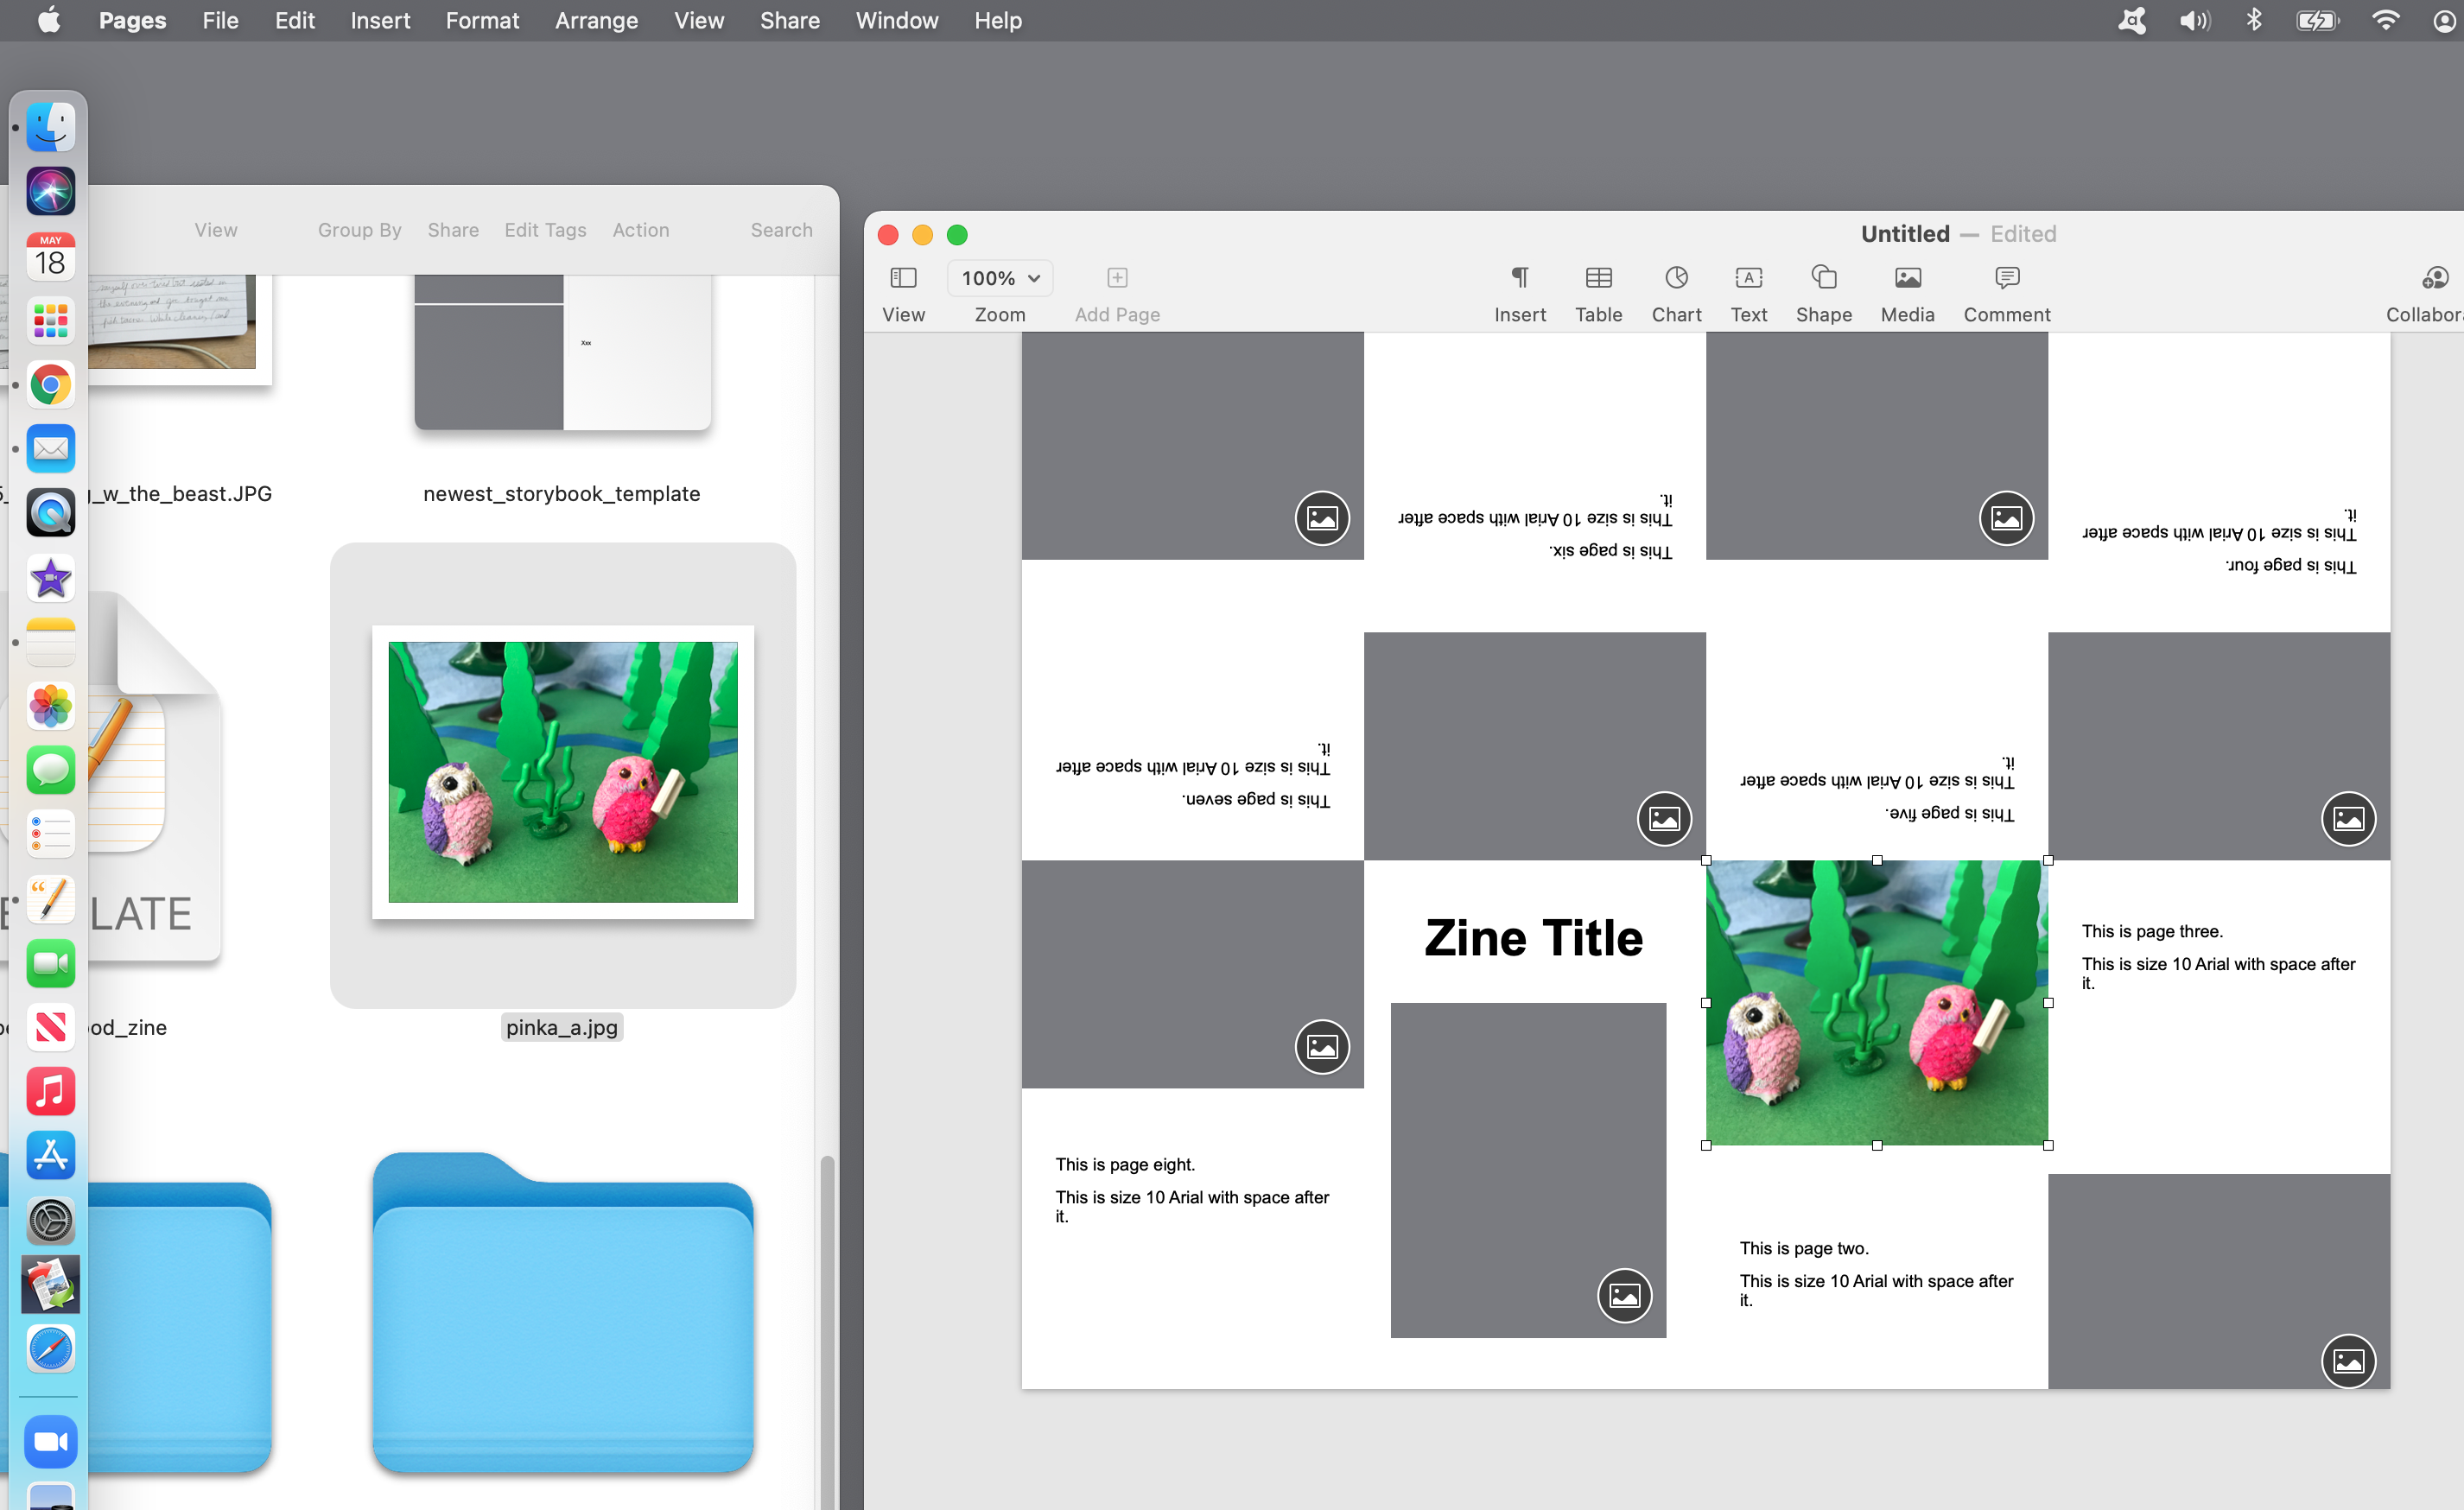
Explanation of the Template So Far.
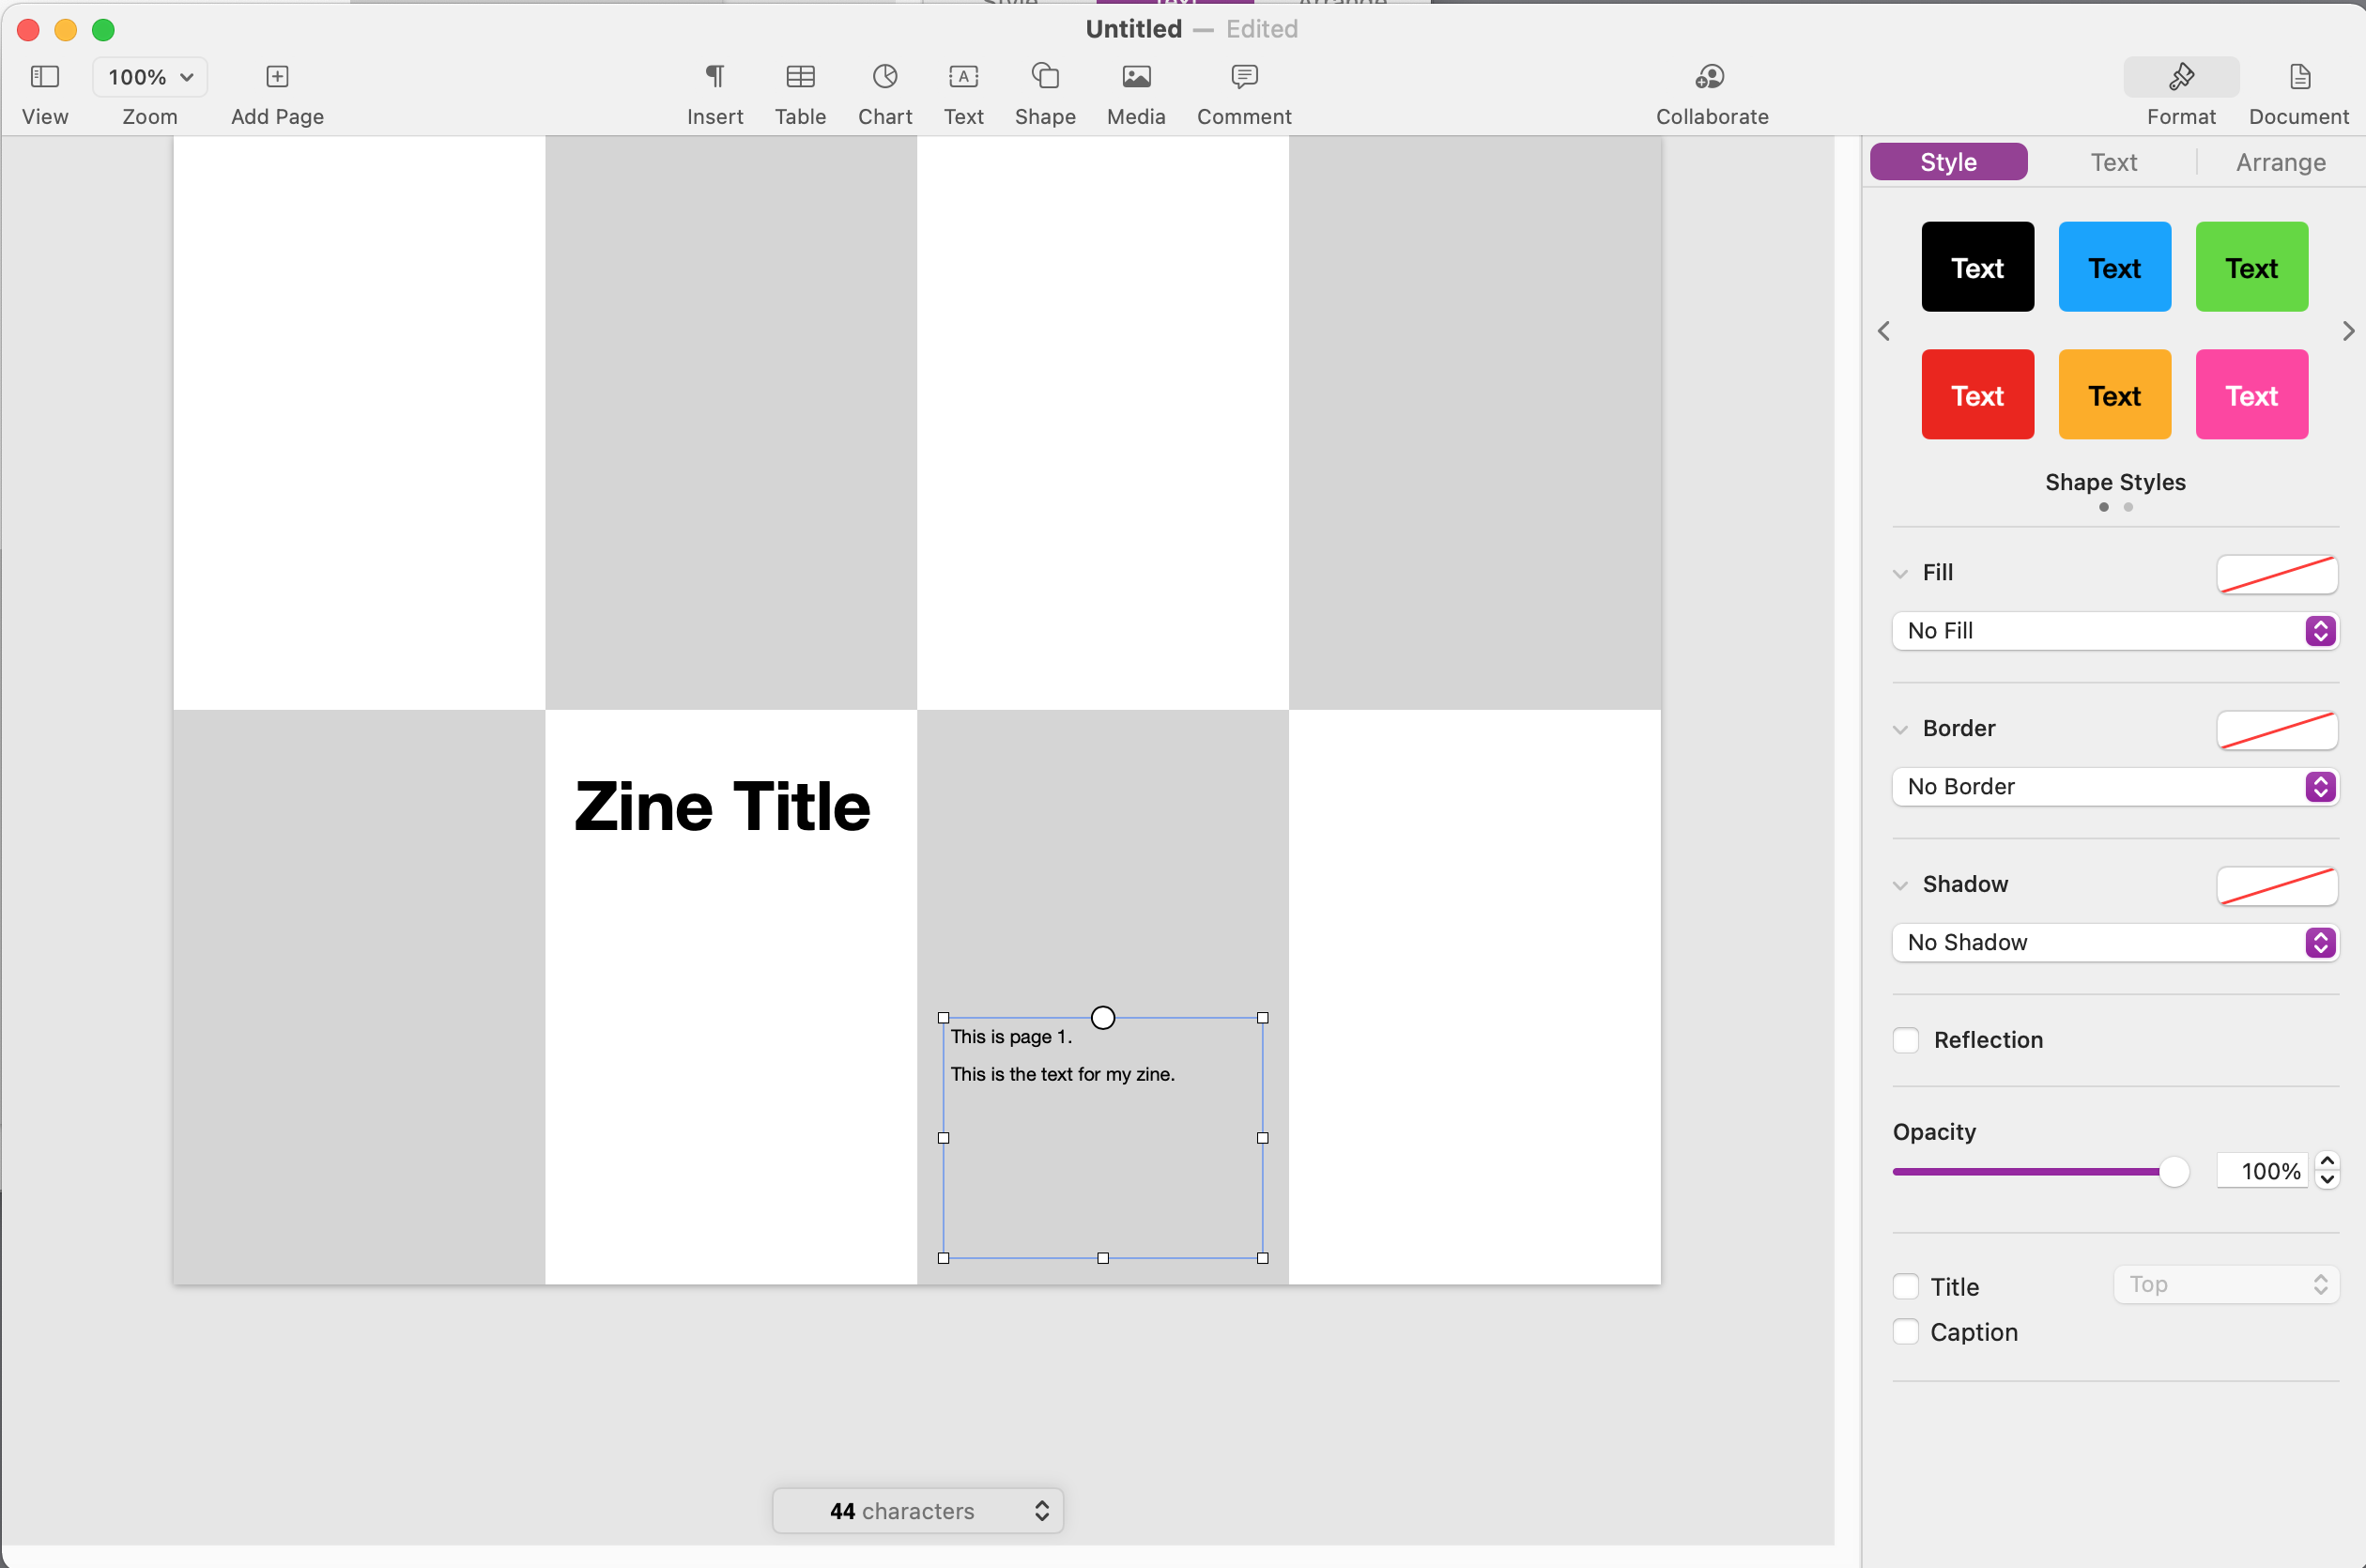
The white and gray rectangles represent the eight pages of a mini-zine. We are going to copy and paste the text frame with small text onto seven of the eight pages.
Technically, the title page is page one, so the small text shown here SHOULD say "This is page 2."
(This will be corrected in later illustrations!)
Copy and Paste the Text Frame Onto Each of the Eight Pages.
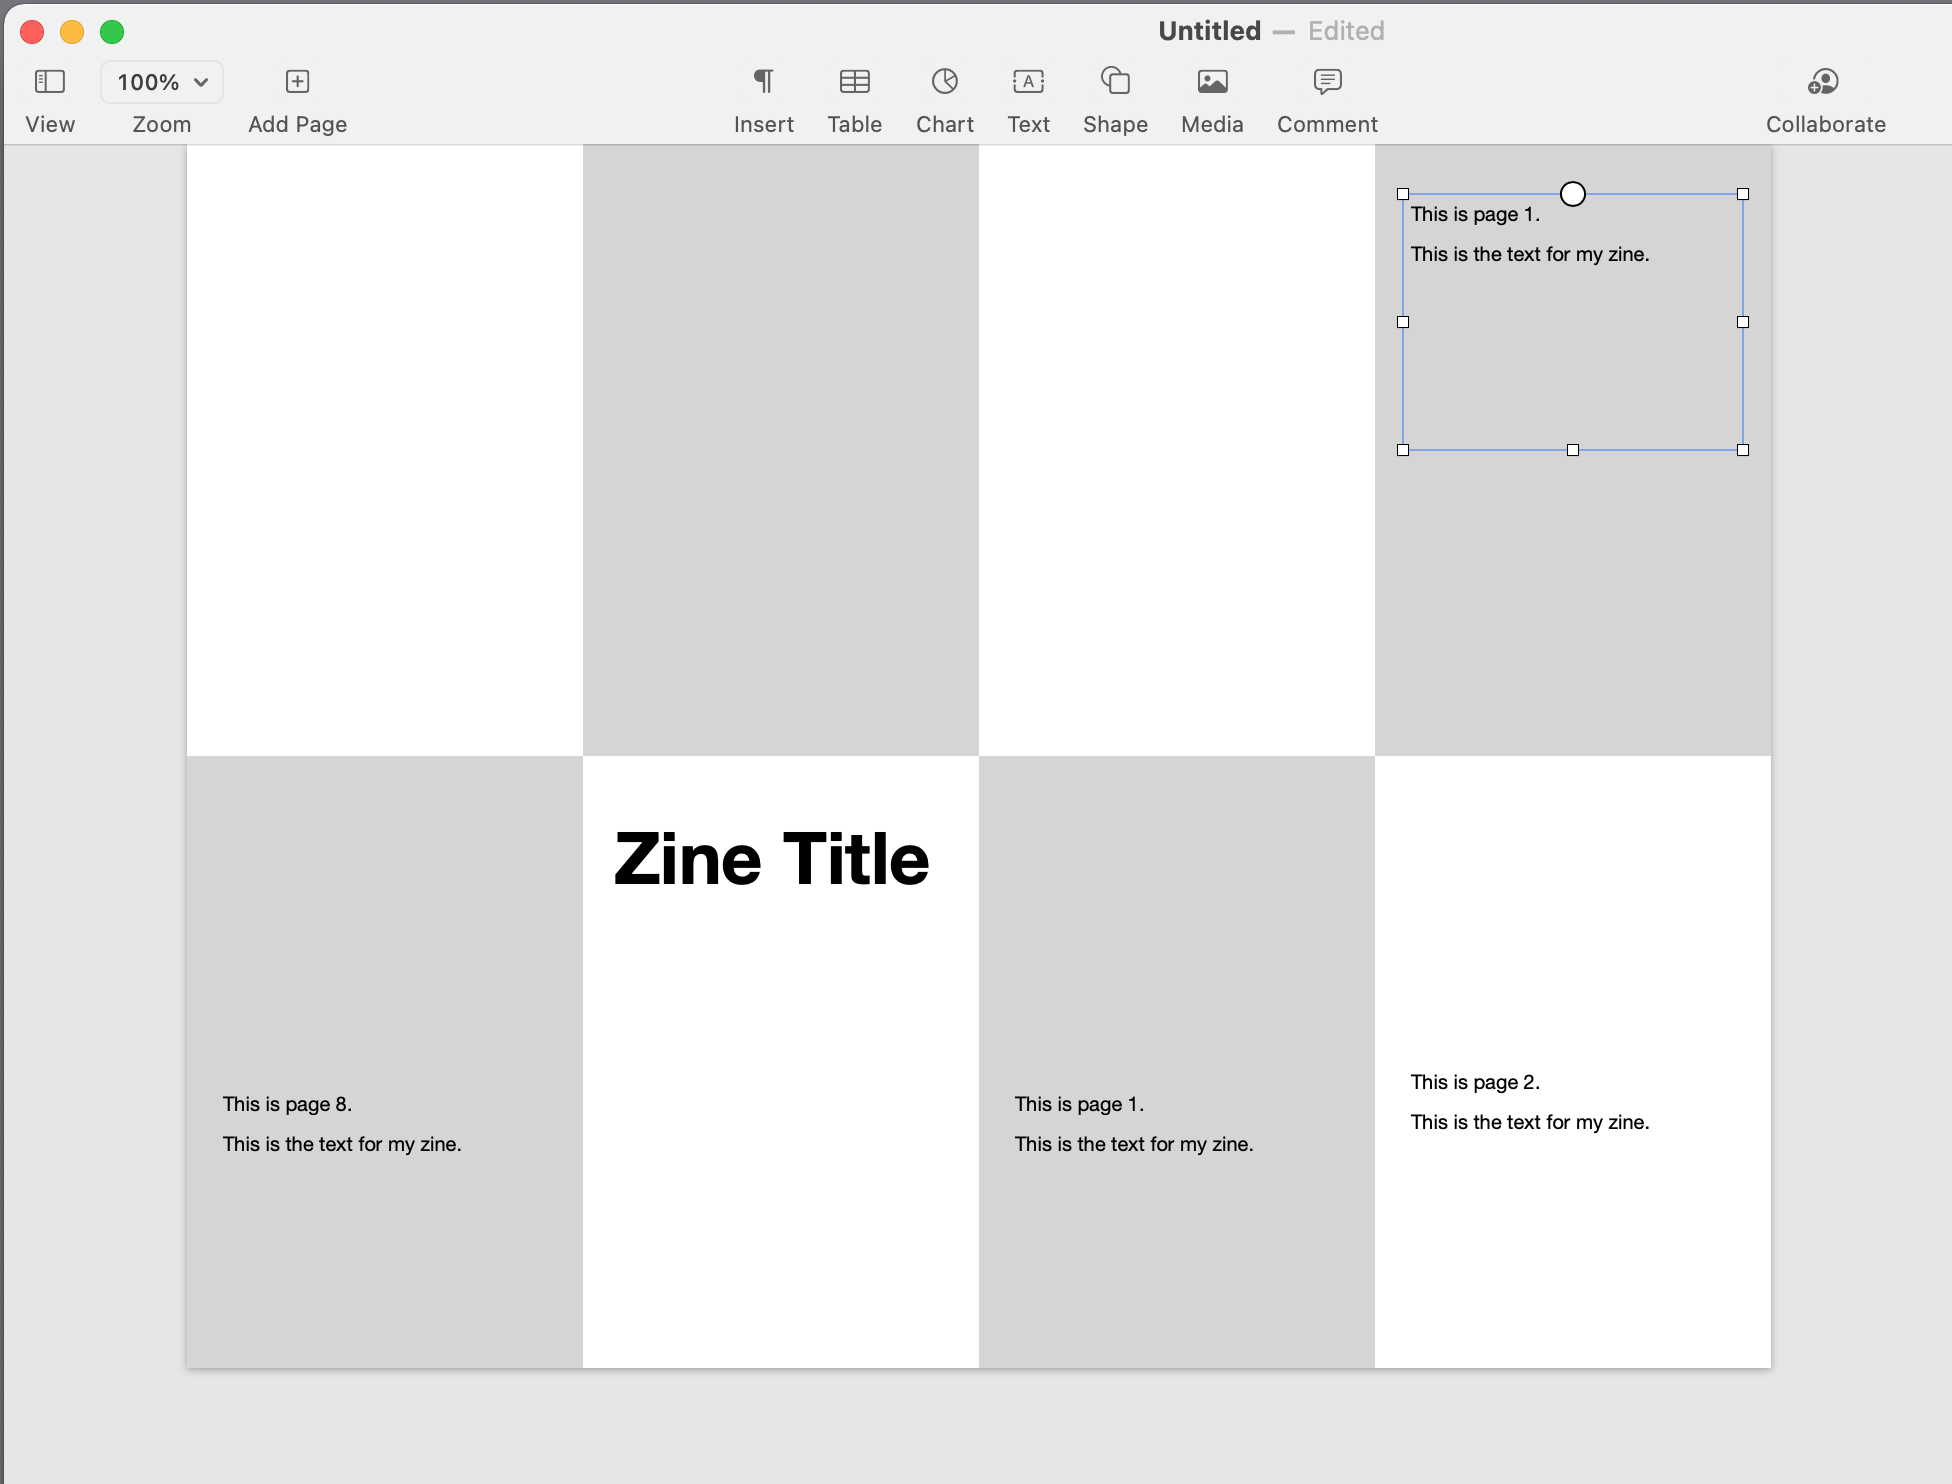
The lower four rectangles are right-side up on the template.
But a zine is folded and cut, and the top four pages, when created in the Pages application, will need to be upside down. These are pages 4, 5, 6 and 7.
We will rotate the text boxes later. Just get a text frame on each page for now!
To rotate a text frame: Make sure it is selected (white handlebars appear)
Copy and Paste the Rotated Text Frame.
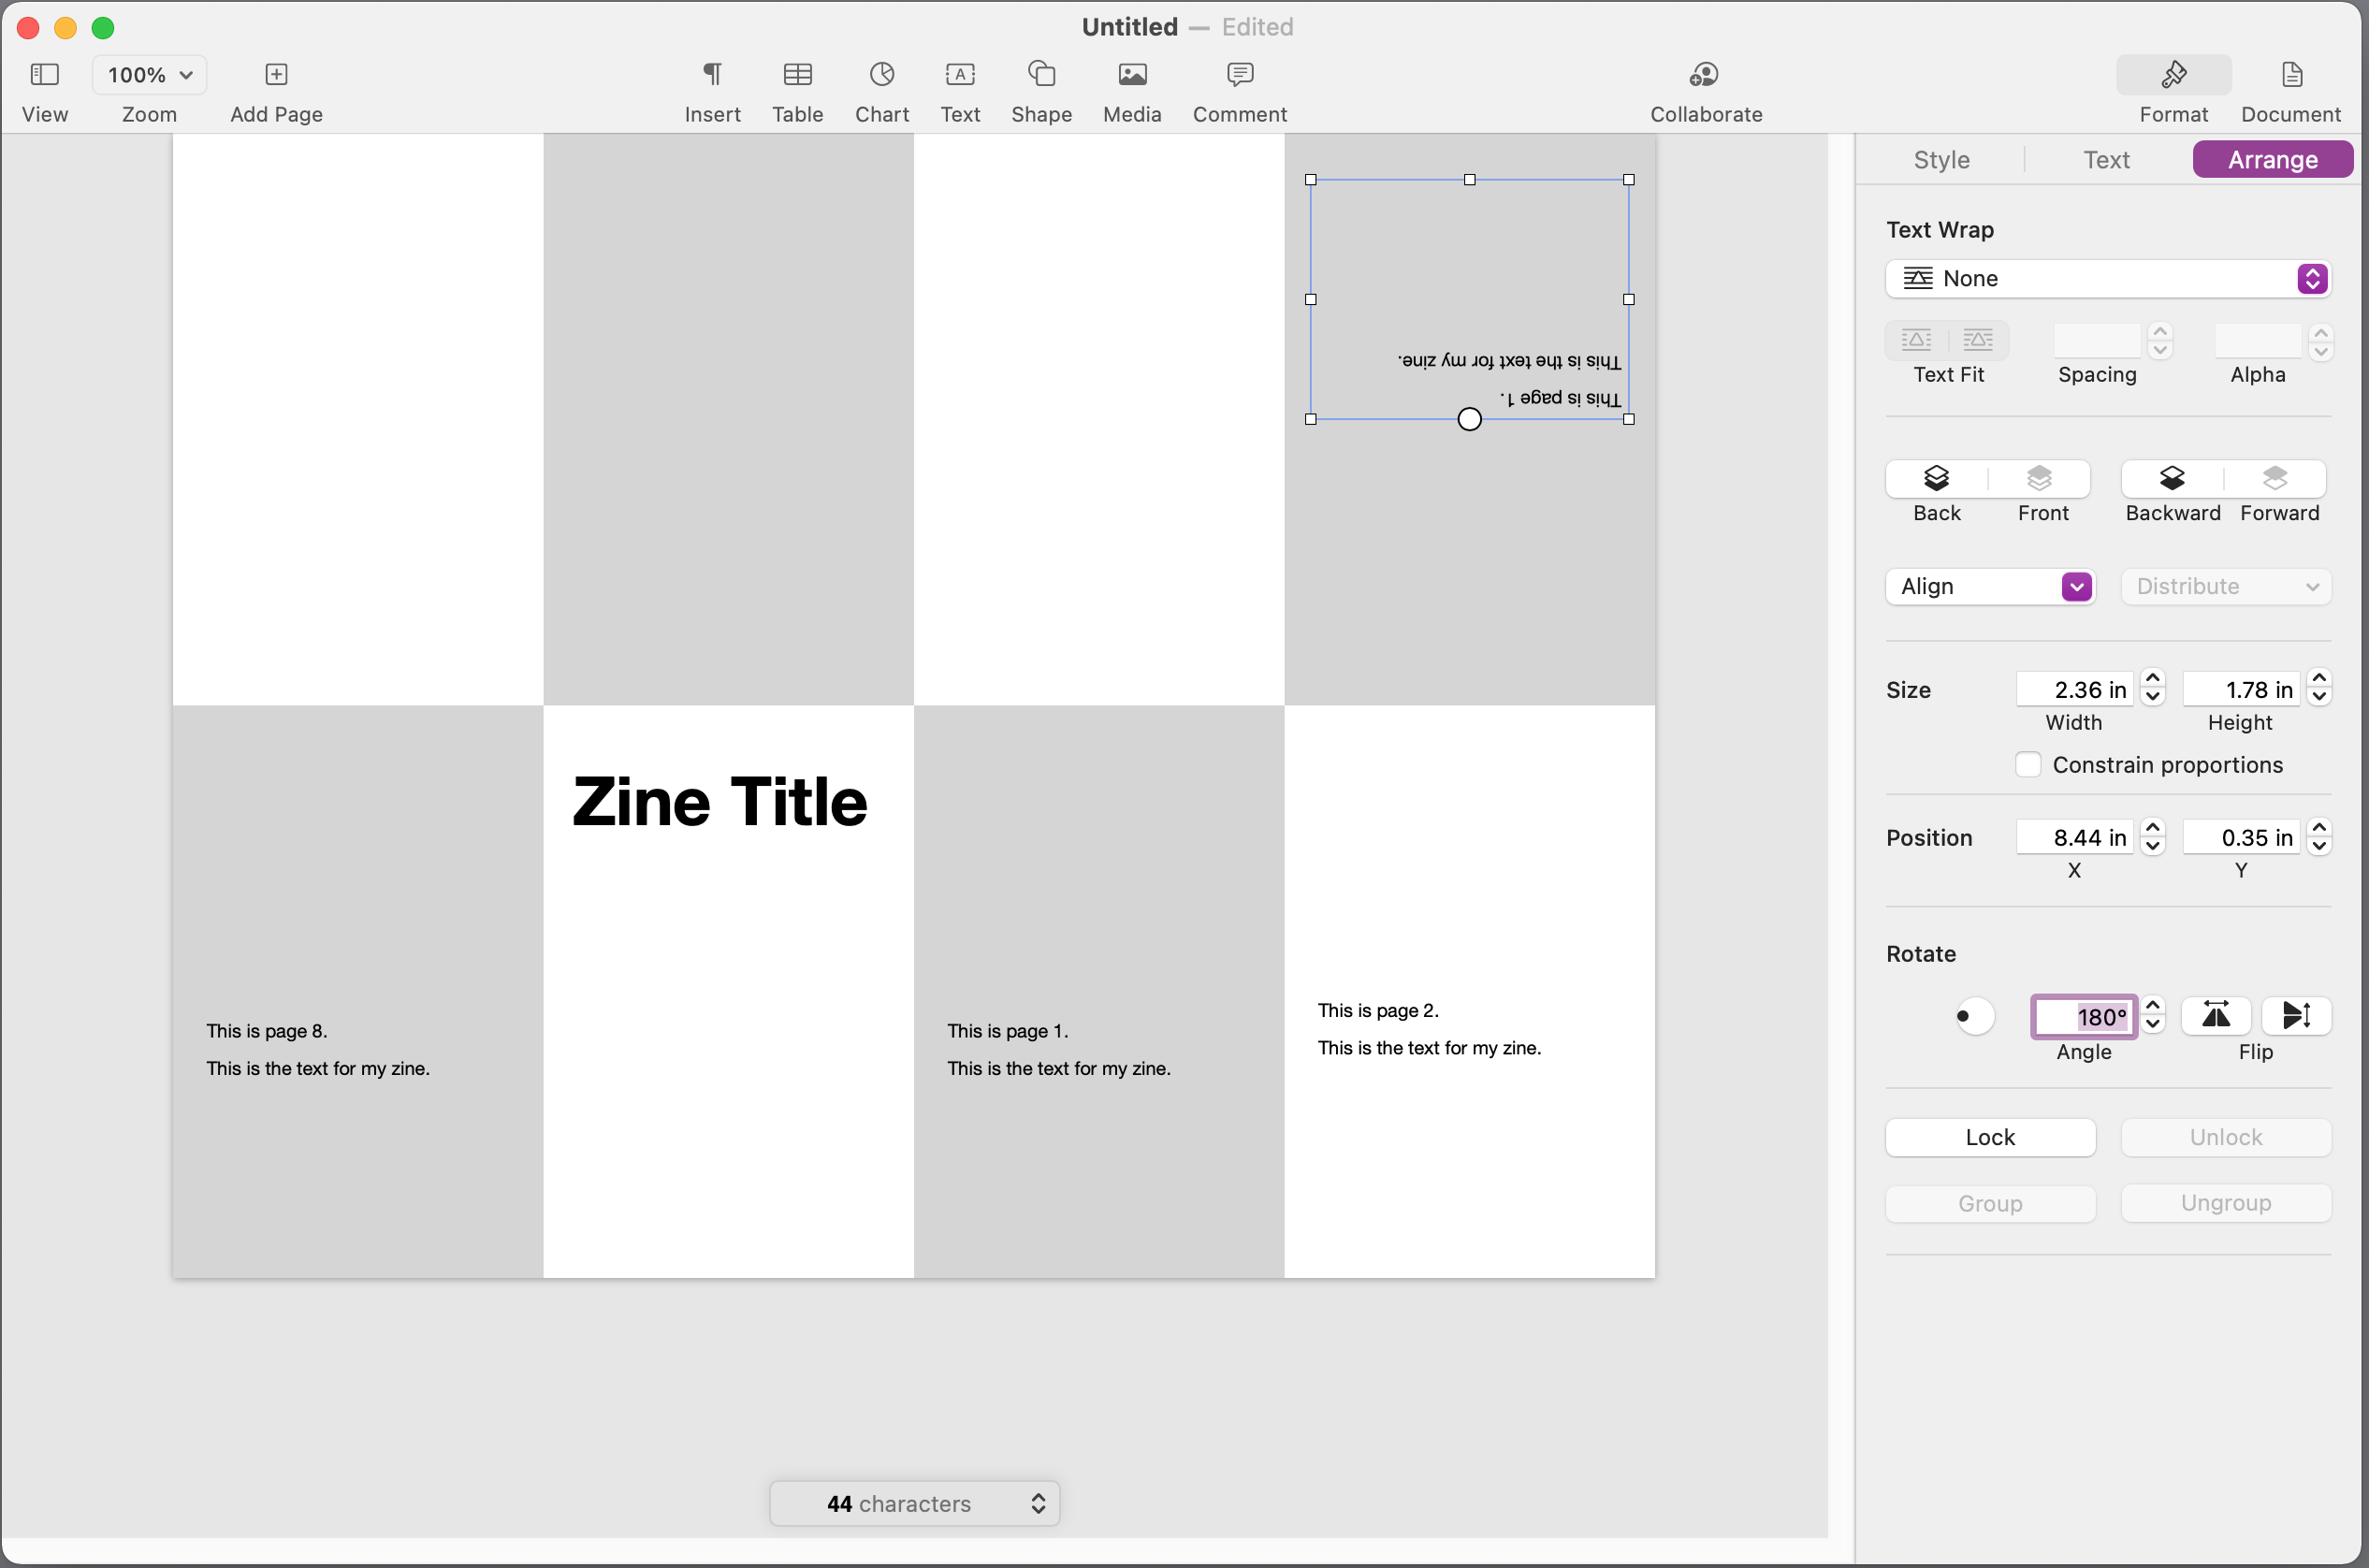
Copy from page 4 onto pages 5, 6, and 7.
The Text Frames Are Now in Place.
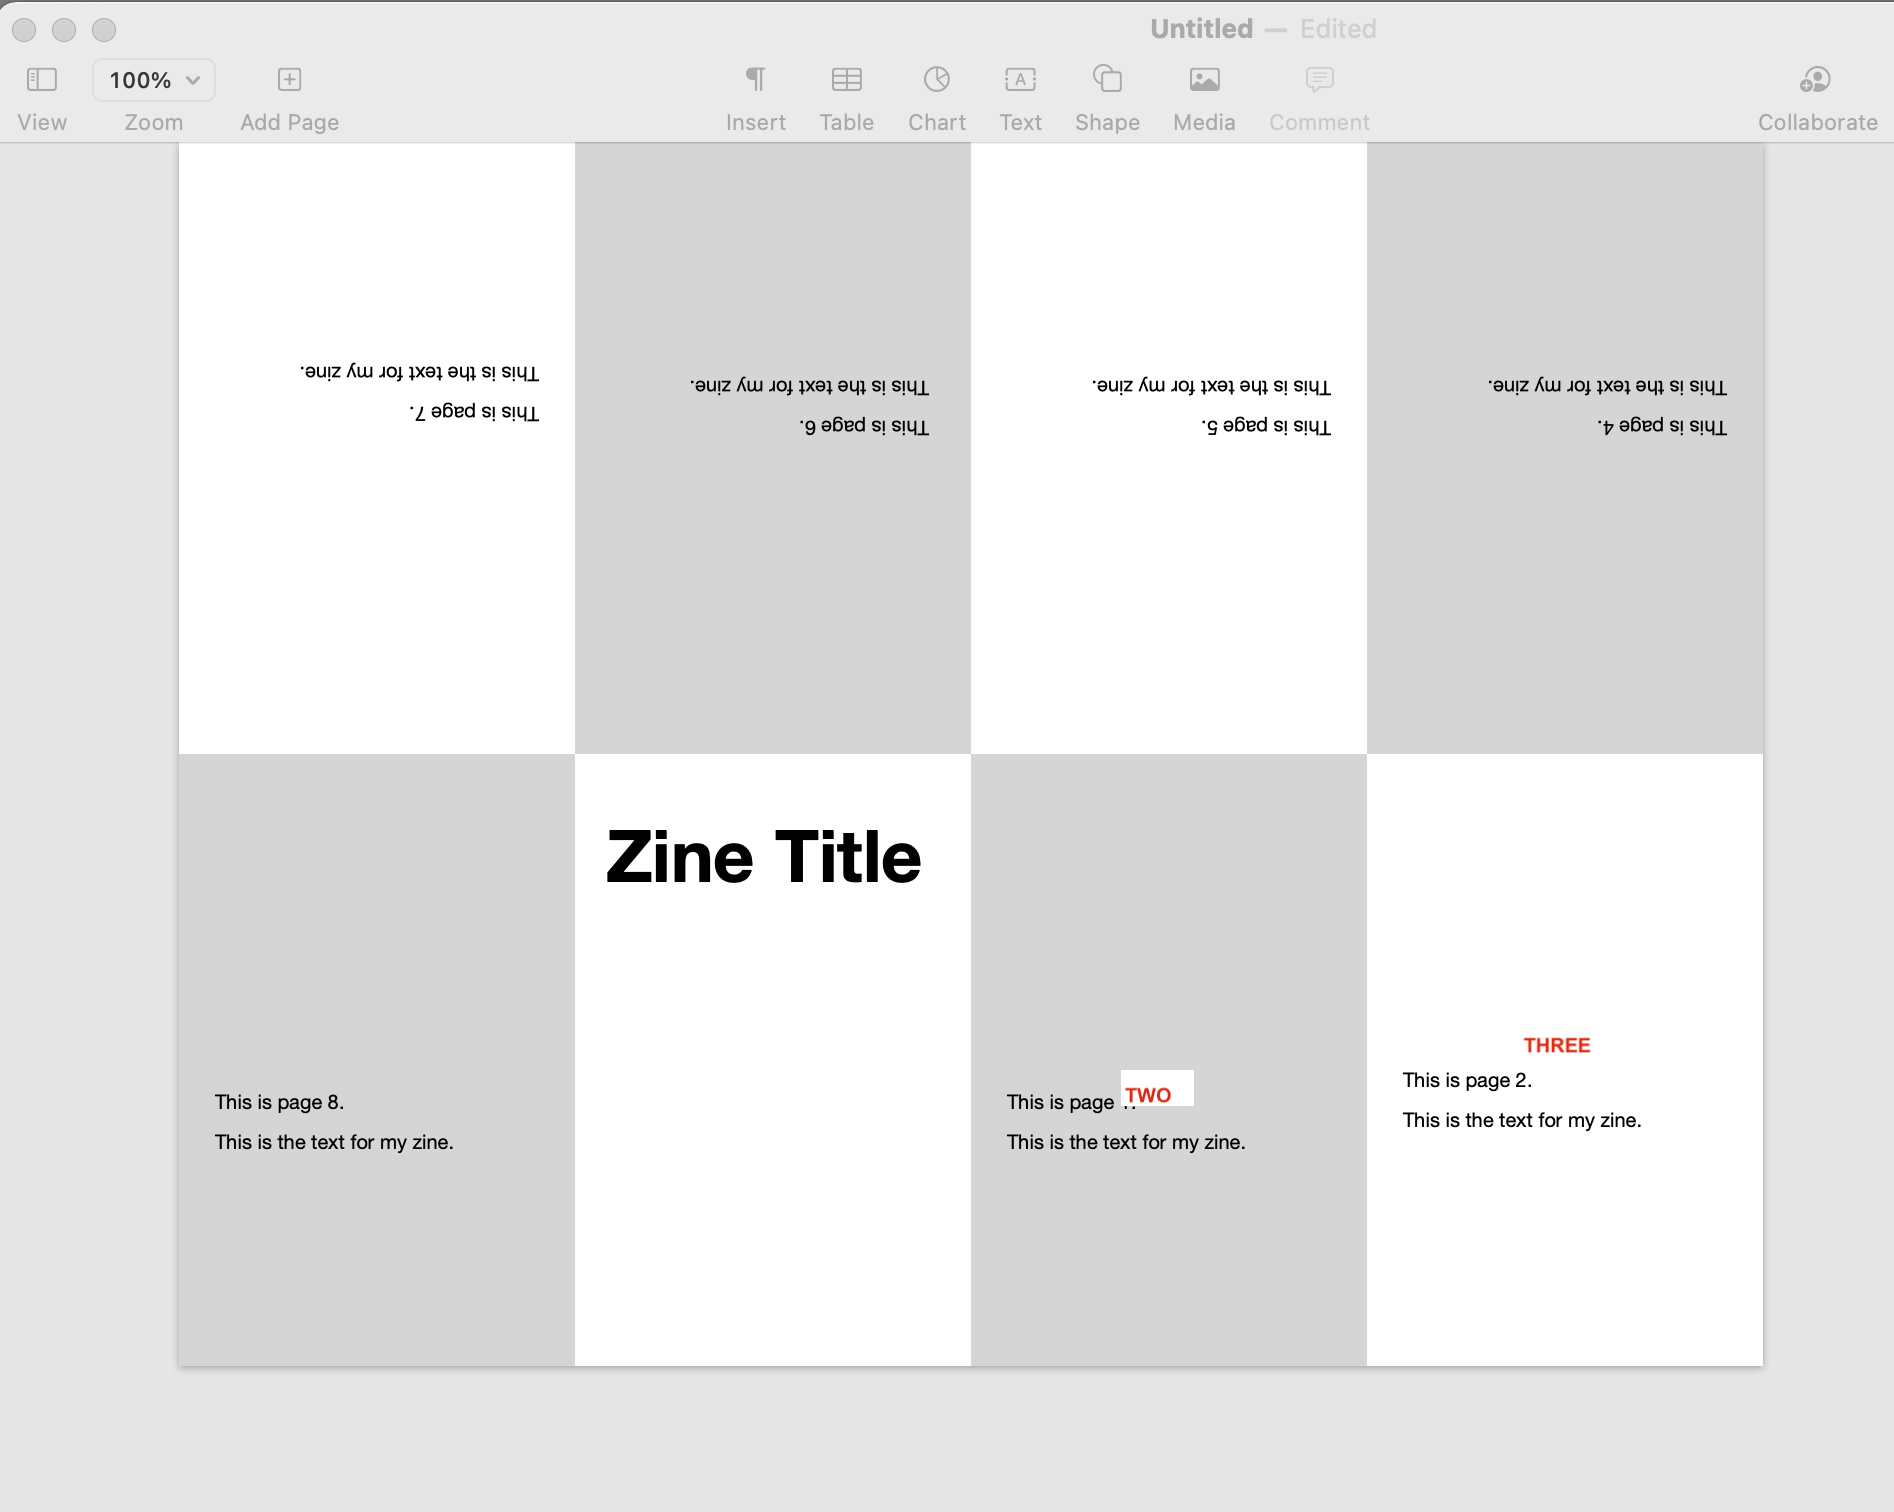
It is helpful to make sure the page numbers are on each page. This will help you when you are new to mini-zine-making!
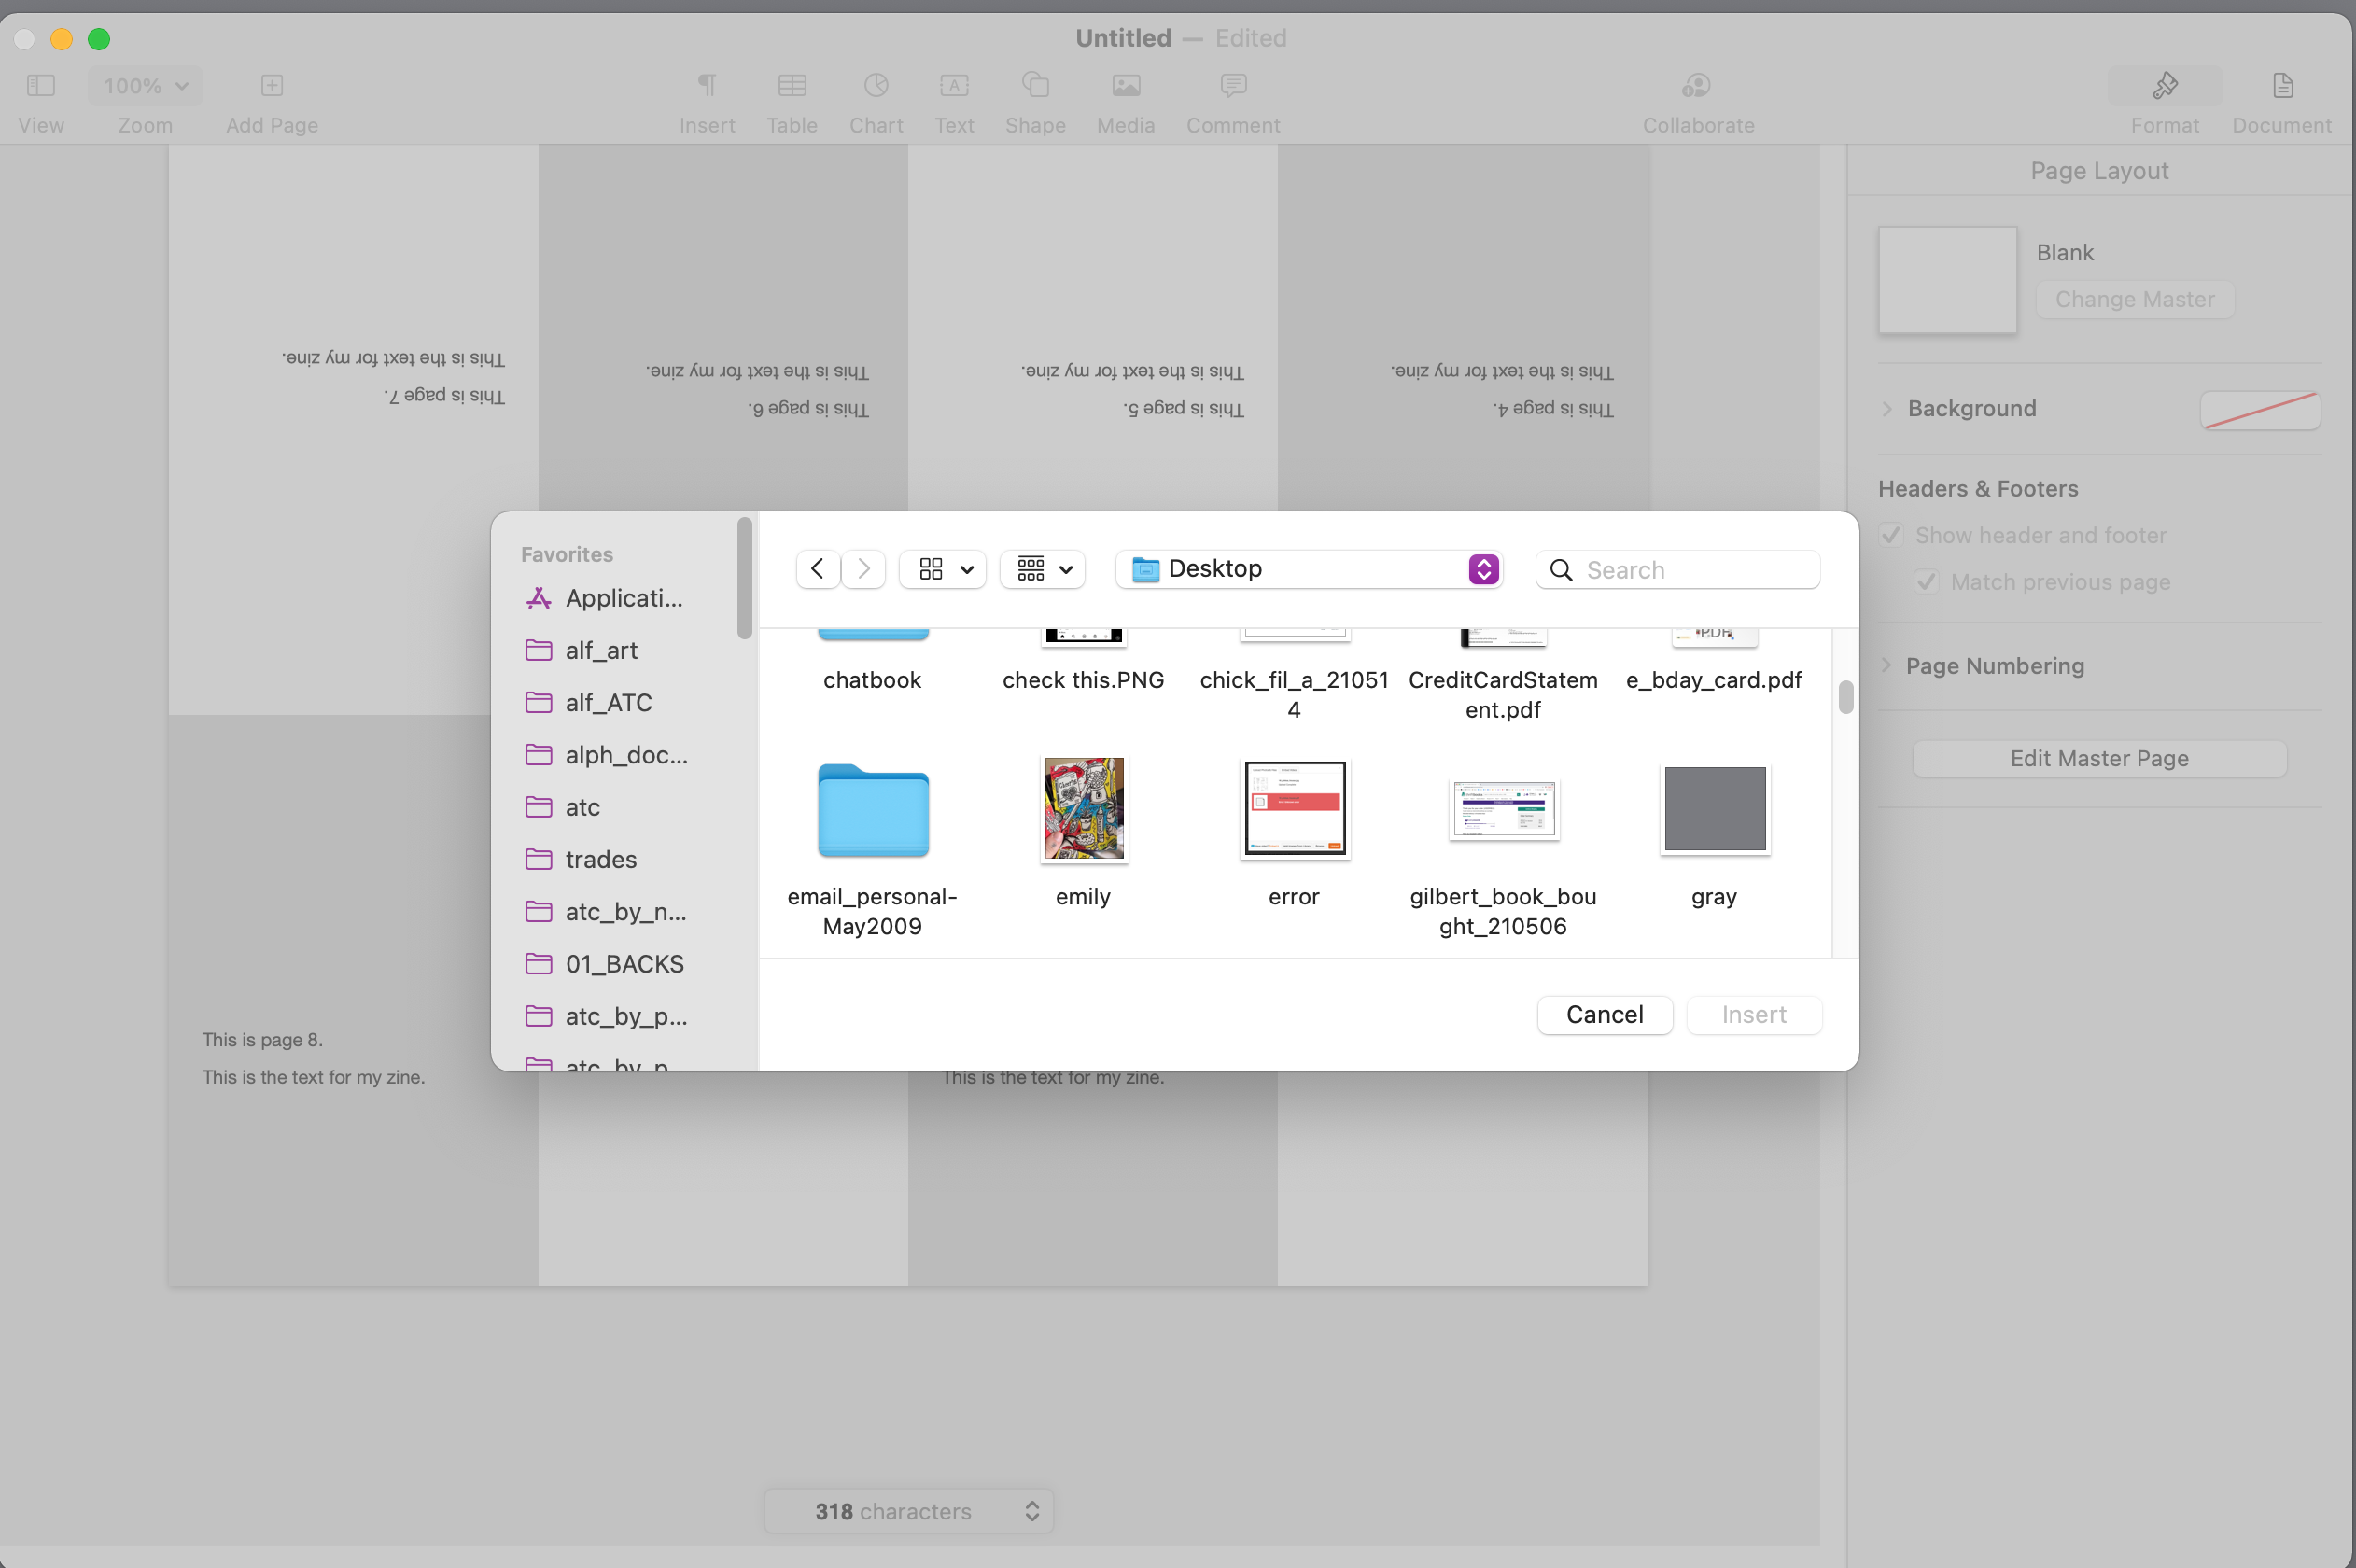
Insert an Image.
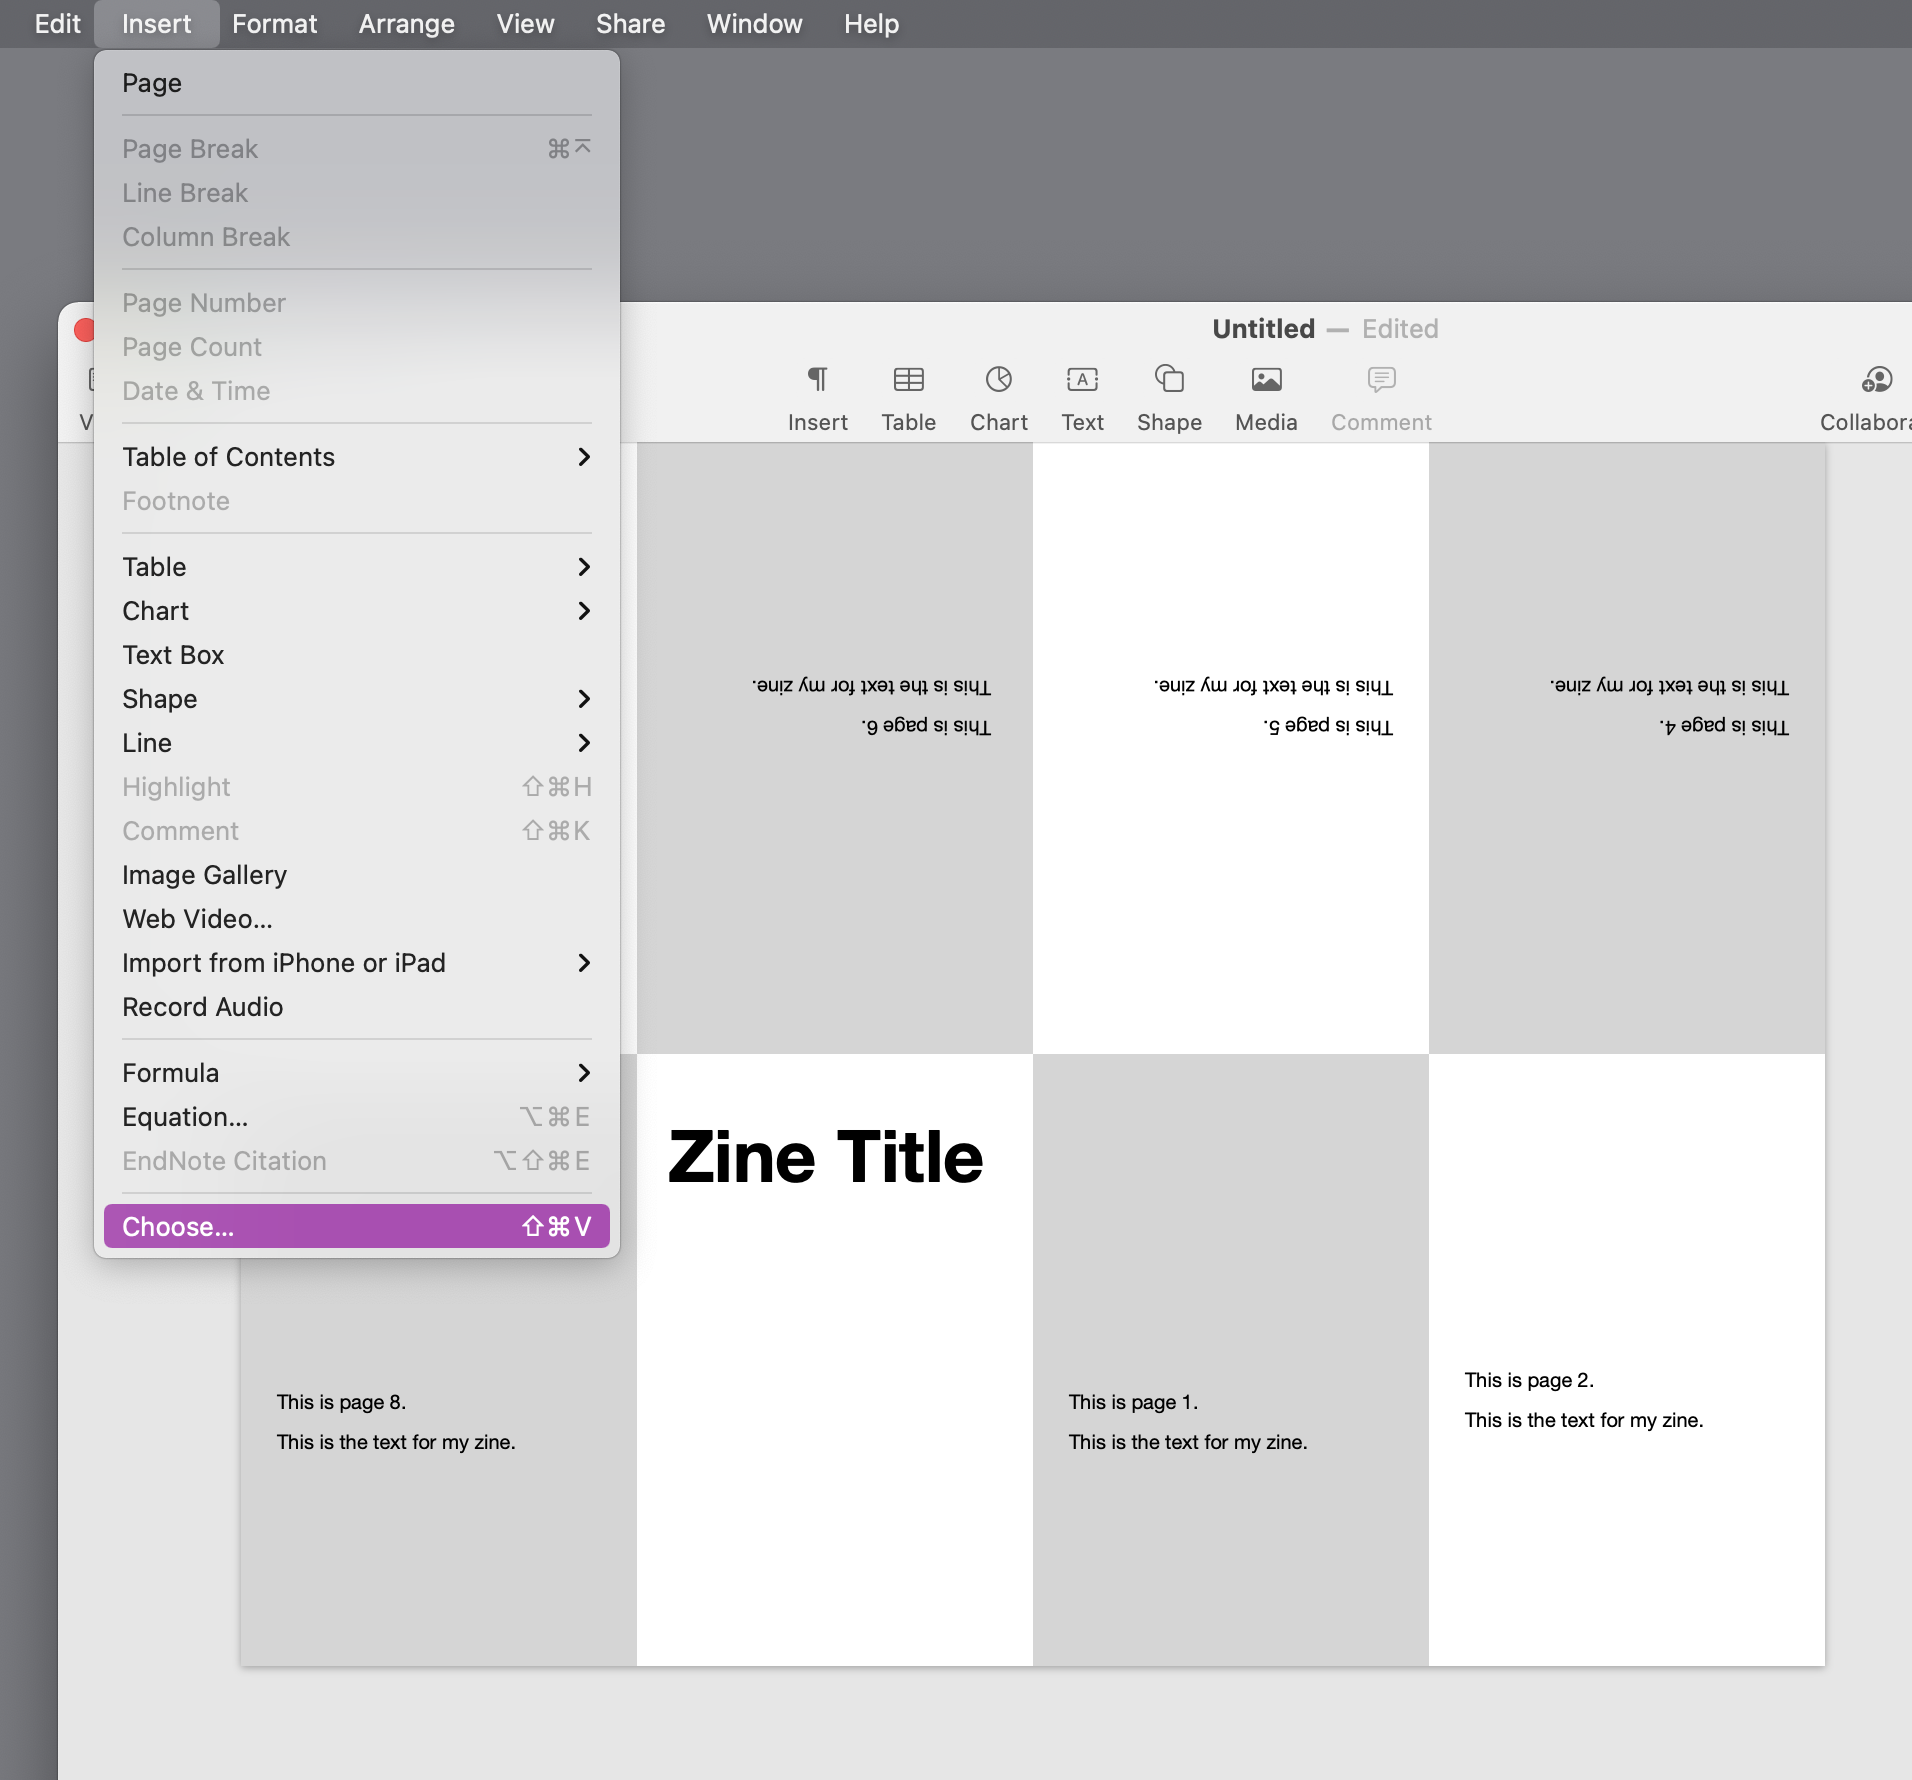
From the top menu, click File > Choose....
Navigate to a folder that has pictures.
Add a Placeholder Image.
I do not like to have "real" photos in my template. It is too easy to forget to replace a real photo, if you write a lot of storybooks with the same characters. So my template image is just a little screenshot of my gray desktop.
Resize the Image.

The image will come in big.
Resize it by dragging a corner until it is the right size.
Move the Placeholder Into Position.
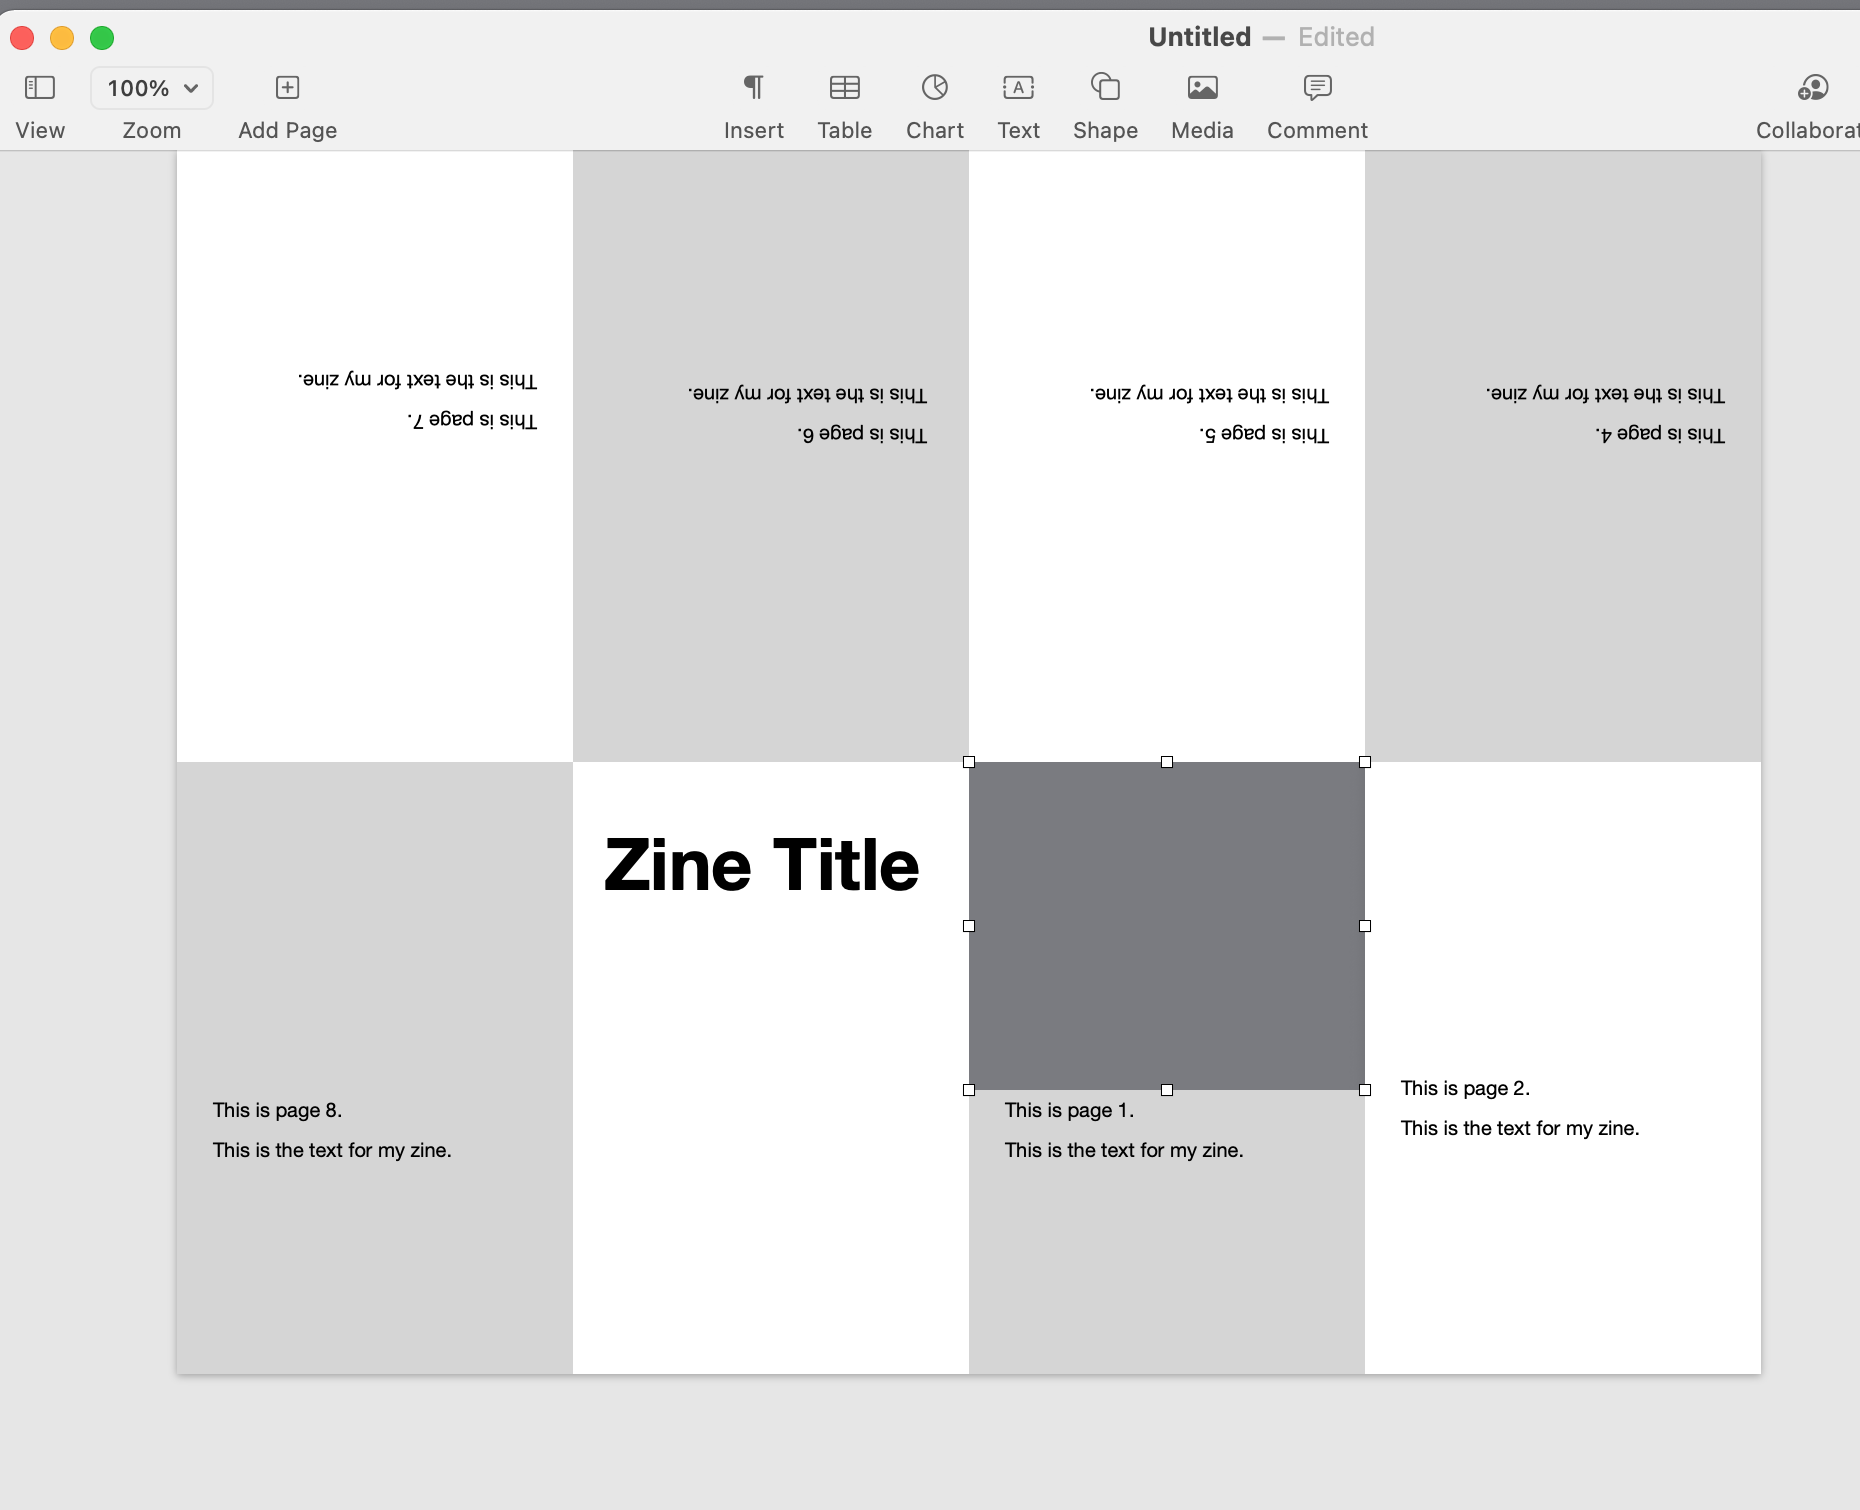
I like to have a picture at the top of page two. Line up the edges of your placeholder image until that line up with the page sides and top.
Turn "Your" Image Into a "Placeholder Image."
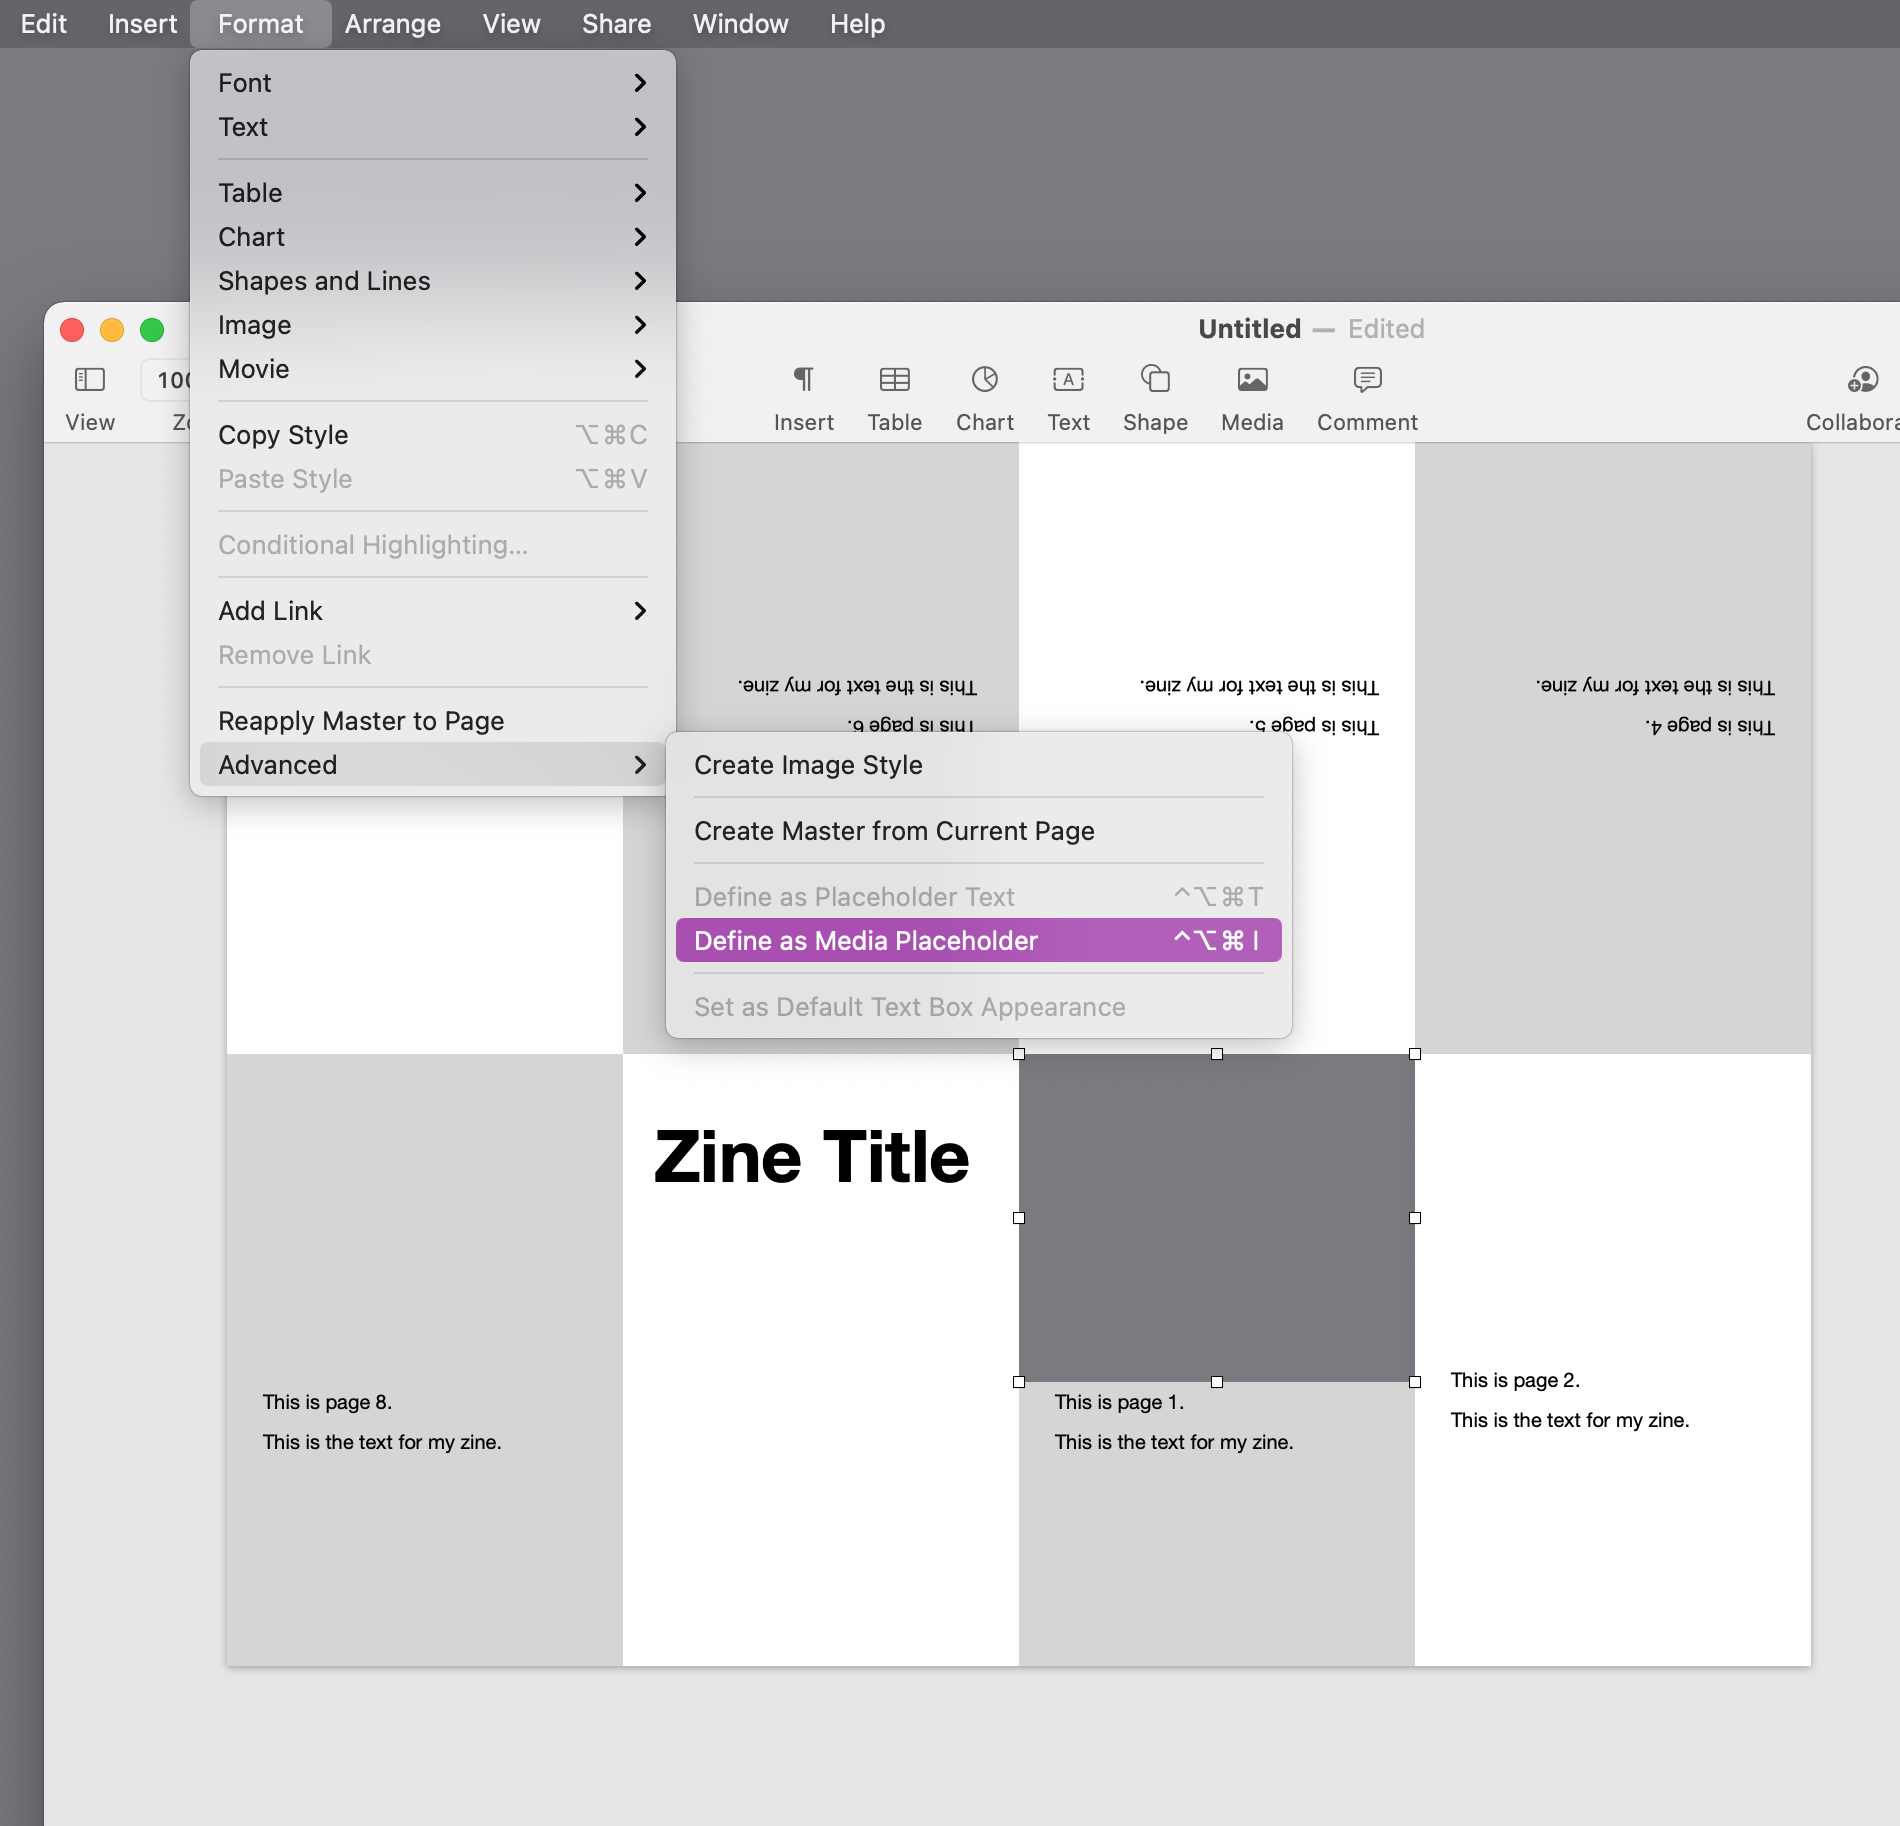
This is the KEY to making a little zine template work: You need to tell the Mac that you want to be able to drop a picture "into" this rectangle.
From the menu, click Format > Advanced > Define as Media Placeholder.
Copy and Paste a Second "Media Placeholder."
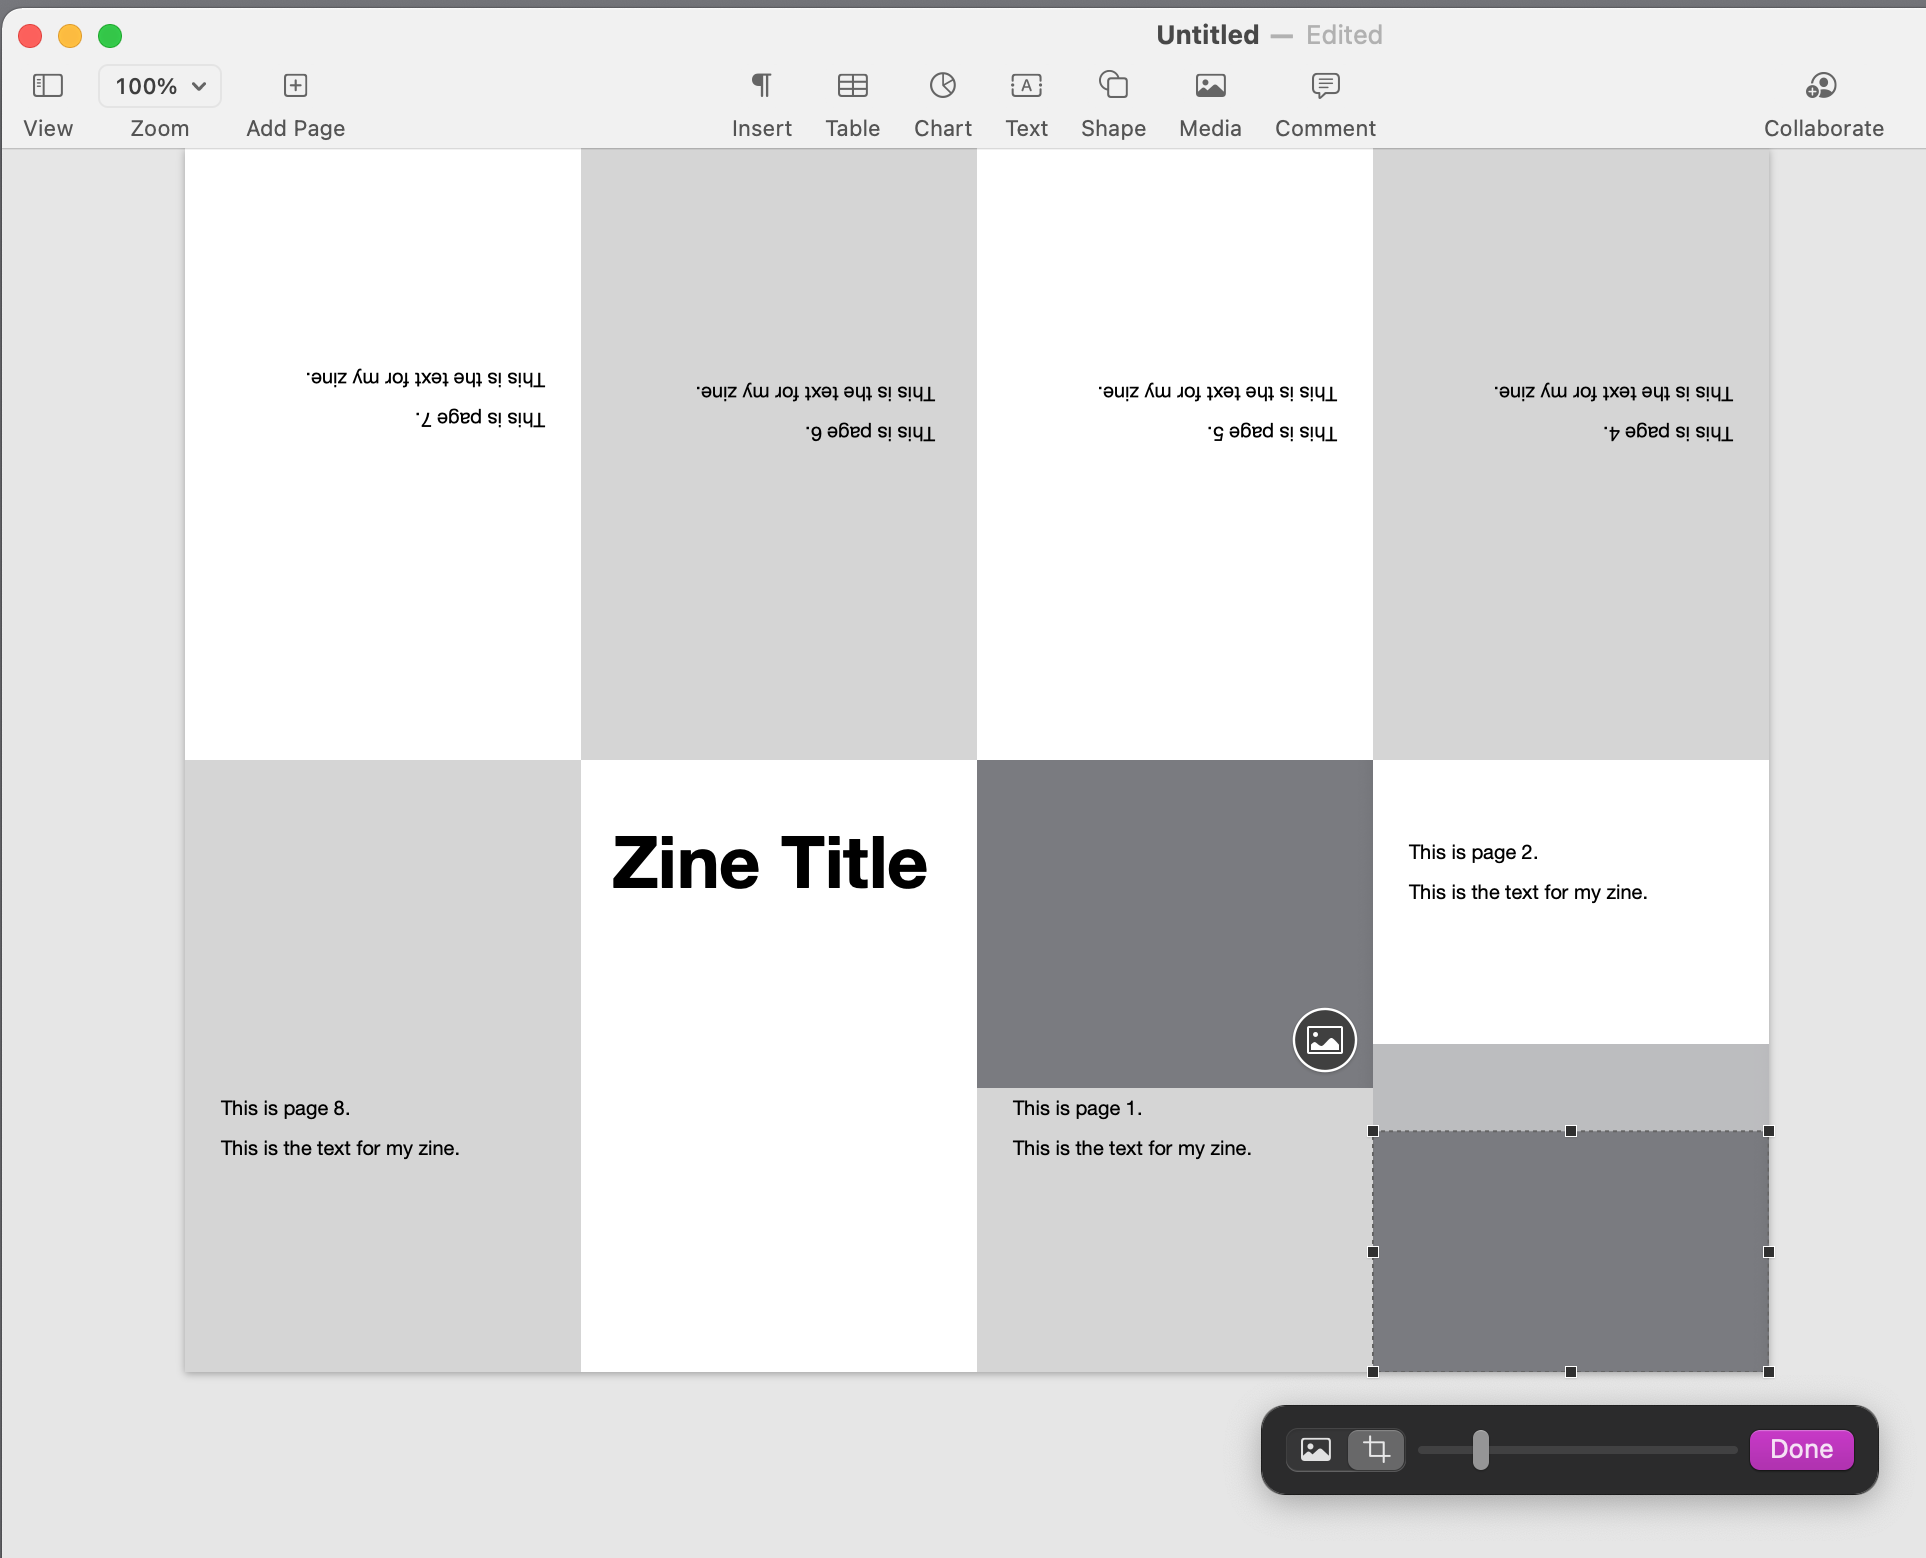
Note that a little icon appears on the placeholder.
Click to select the rectangle, use Command C to copy and Command V to paste.
This next part is a little tricky to explain. Play with it a bit.
There are two kinds of handlebars for an image. One click gives white handlebars that let you move or resize the outer edges of the rectangle itself.
TWO CLICKS provide black handlebars. When black handlebars are present, you can "crop" an image by dragging the handlebars. I have cropped off the top of the gray image so that the media placeholder on page three is smaller than the media placeholder on page two.
Copy and Paste the Smaller Image Placeholder to the Remaining Pages.
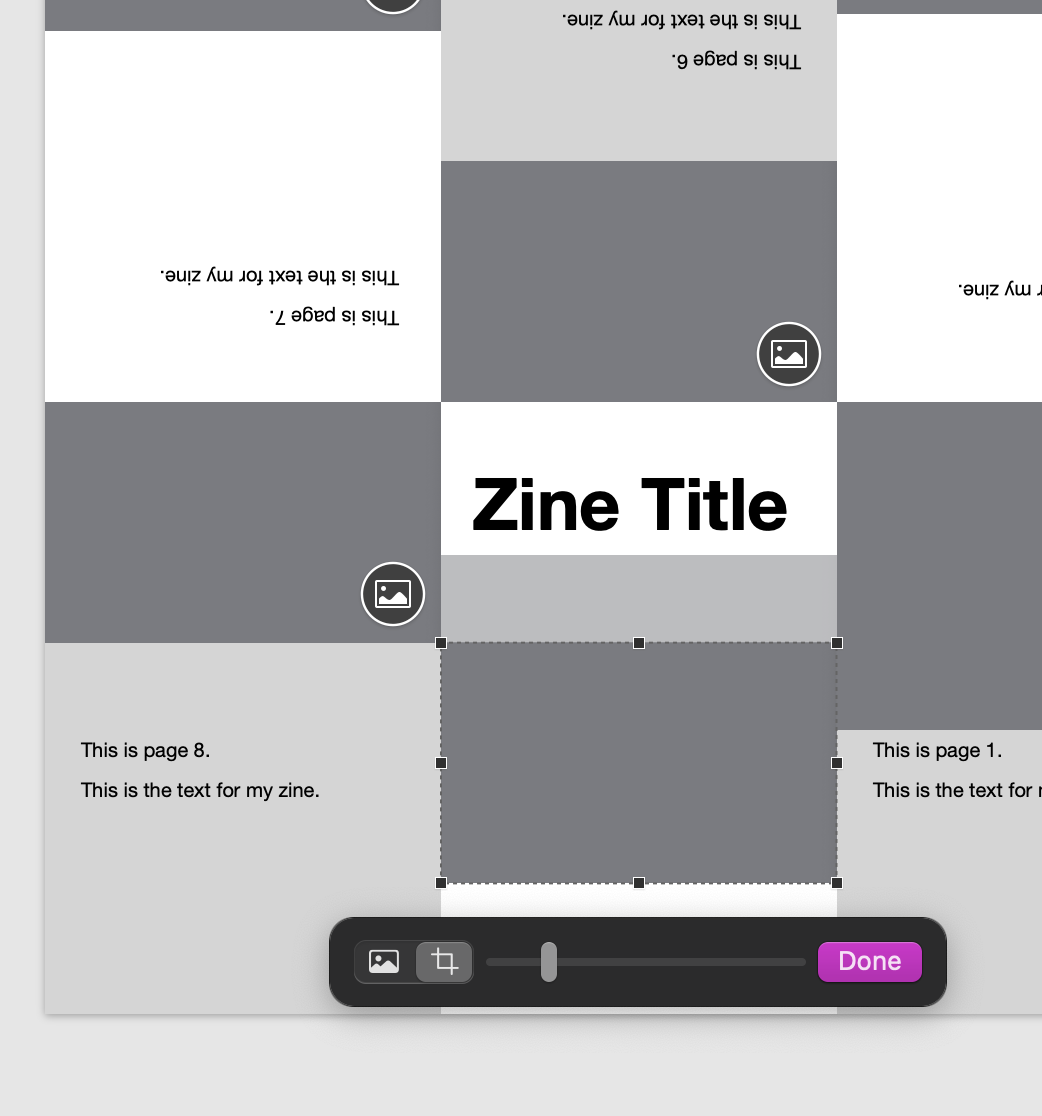
Once the media placeholders on on pages 4-7, you can drag the images and text frames to whatever positions you want on each page.
Remember that the light gray and white rectangles stand for pages.
Remember that the top four pages are upside down.
I like to have the images on the top for even-numbered pages and on the bottom for odd-numbered pages.
FINALLY:
I added an image on the title / cover page.
Here's another thing that's a little hard to explain: When you double click on an image, you can also resize the image within the frame. That's what the little slider shown here is for.
More About Images
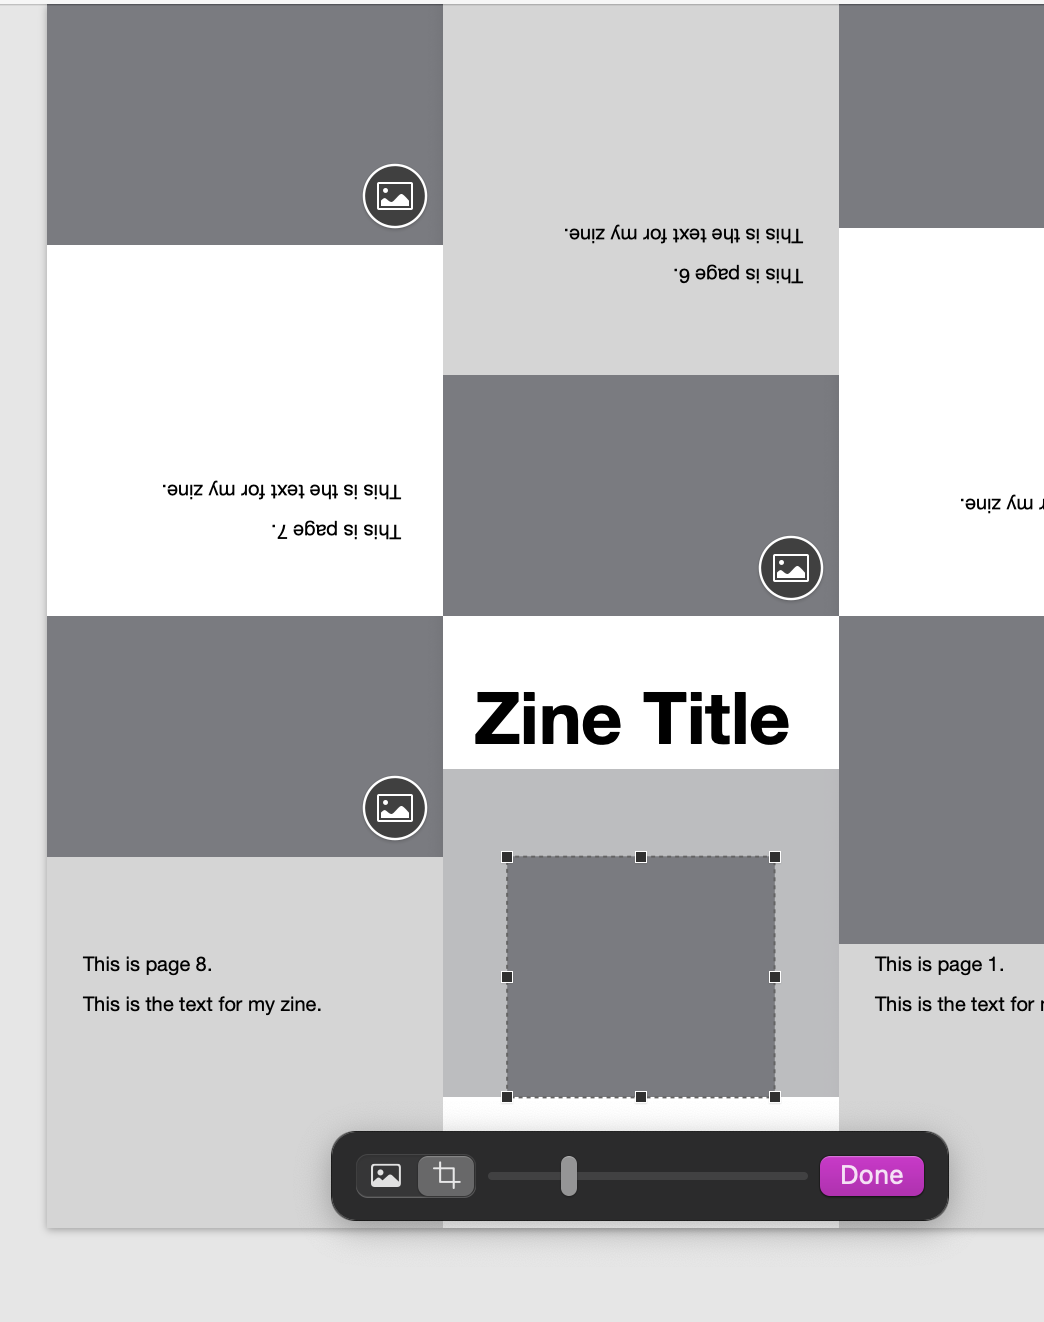
Unfortunately, it is hard to show re-sizing with a gray rectangle!
But on the cover I made the media placeholder much smaller!
Turn This Thing Into a Template!
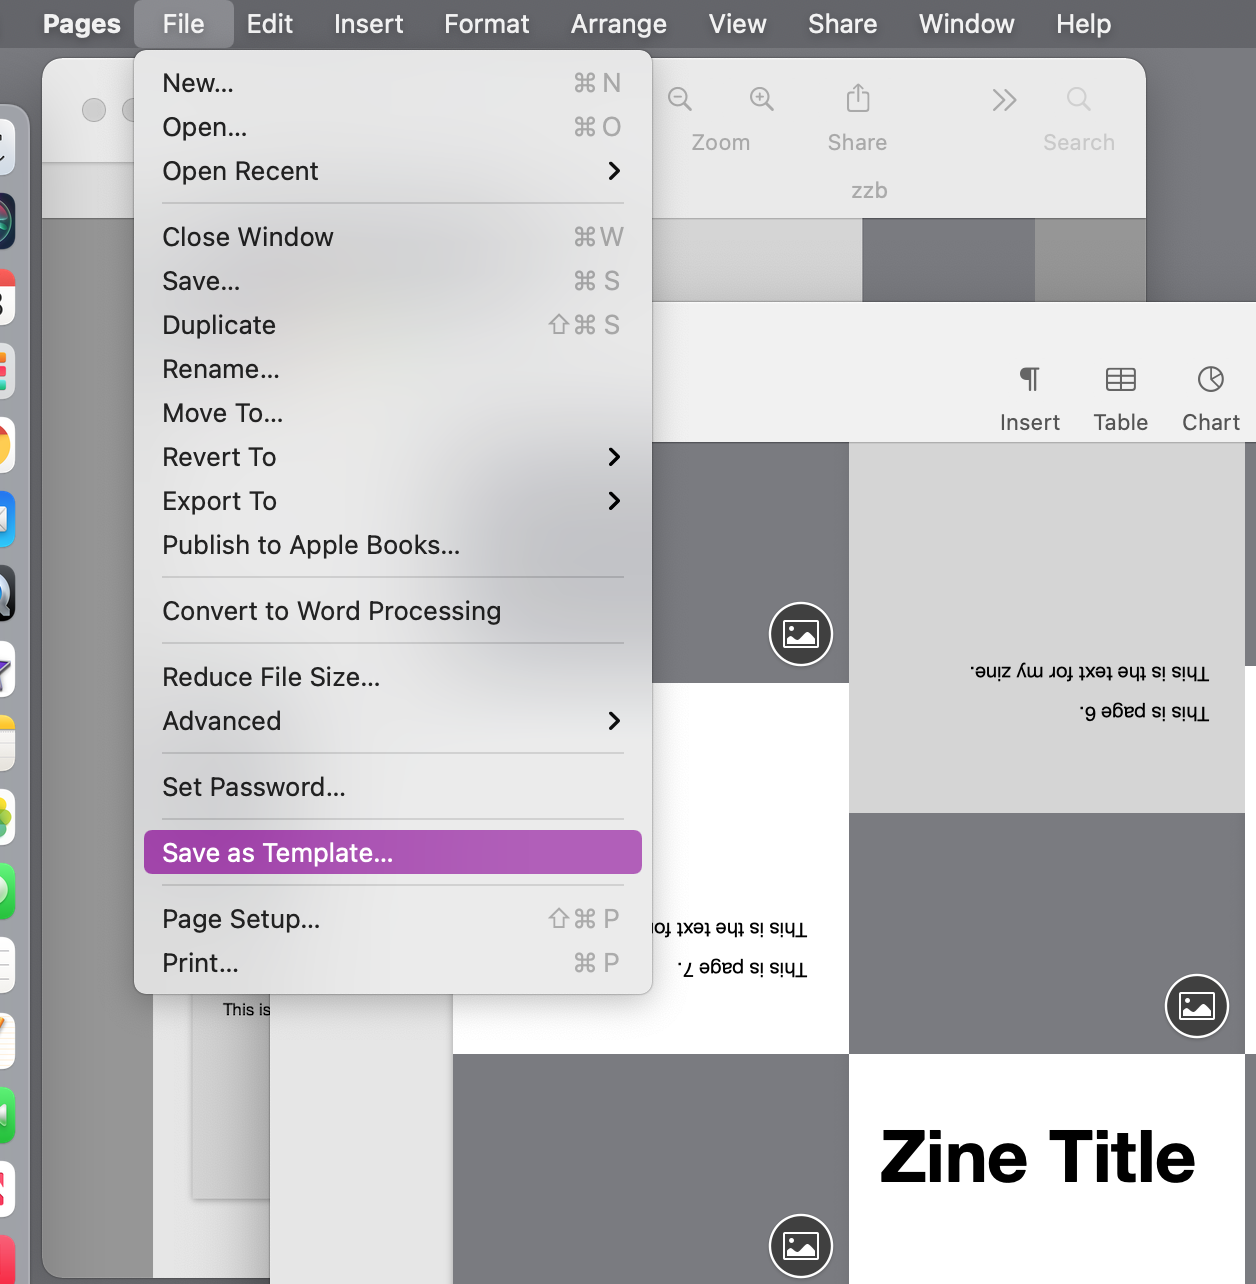
From the menu, click File > Save as Template.
Add It to the Template Chooser.
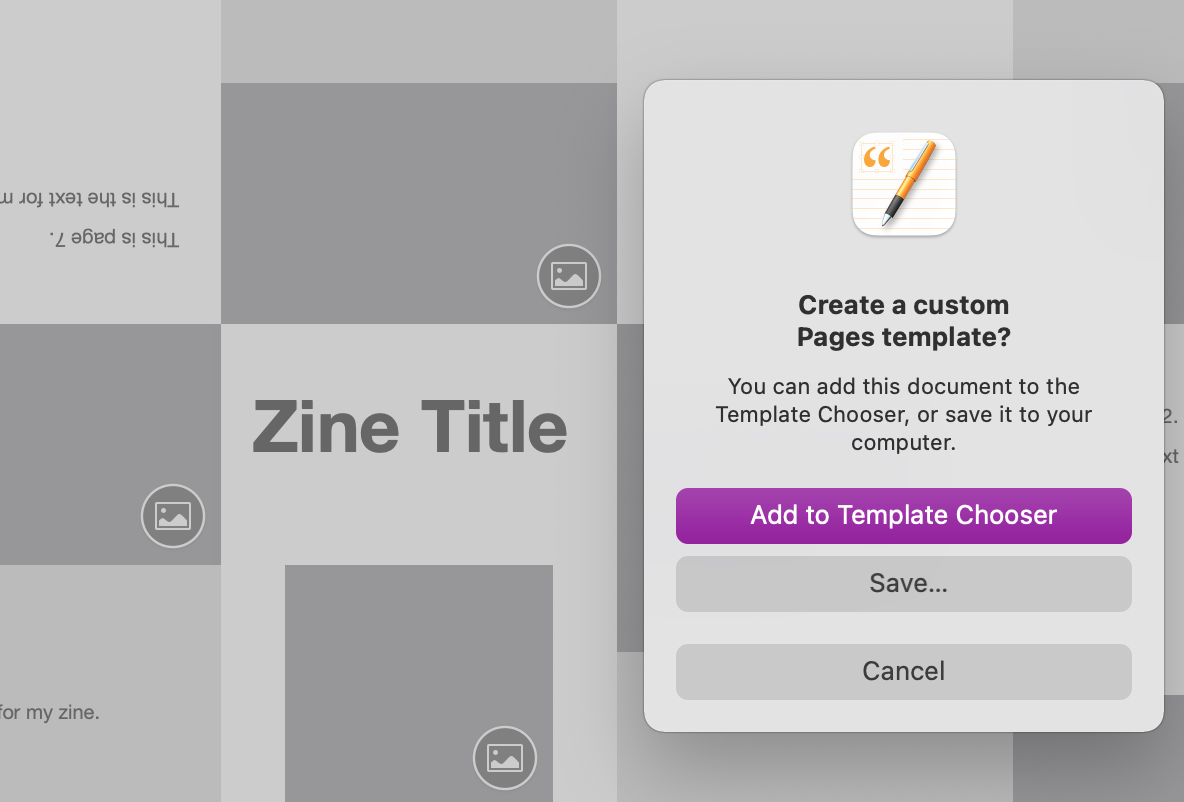
Click the "add to template chooser button."
Type in a Name for the Template and Close Everything.
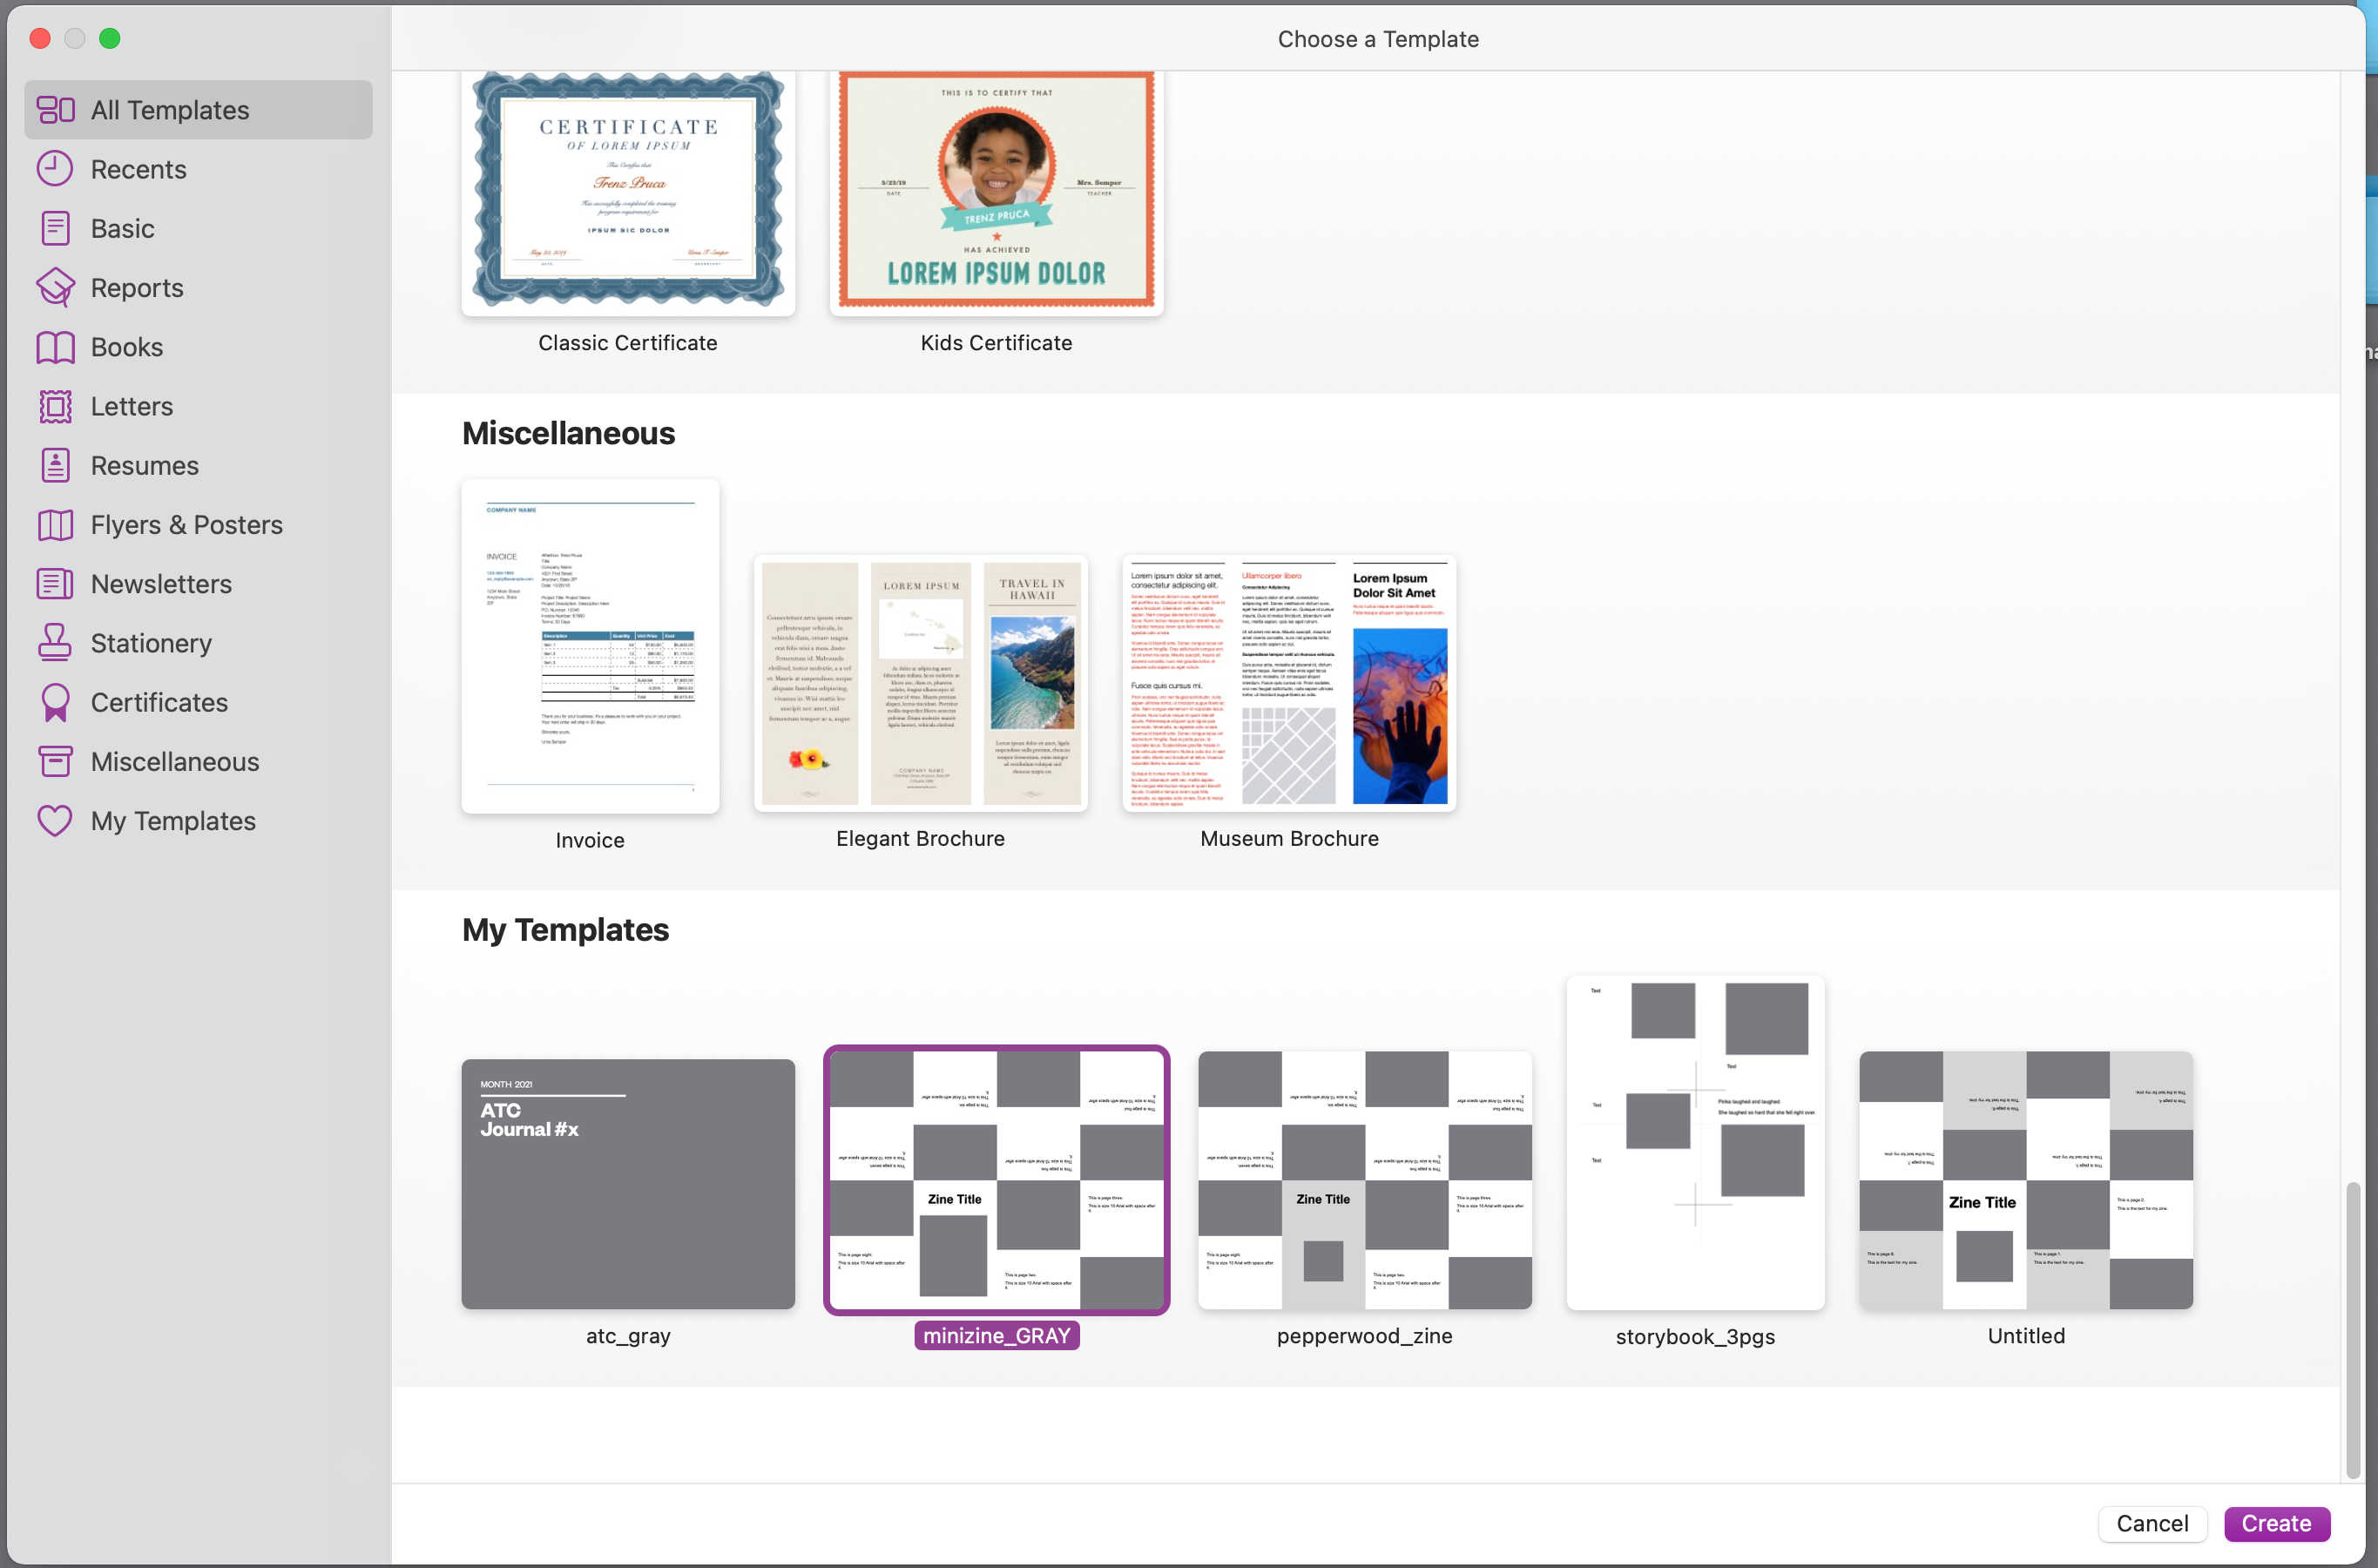
Open Your New Template
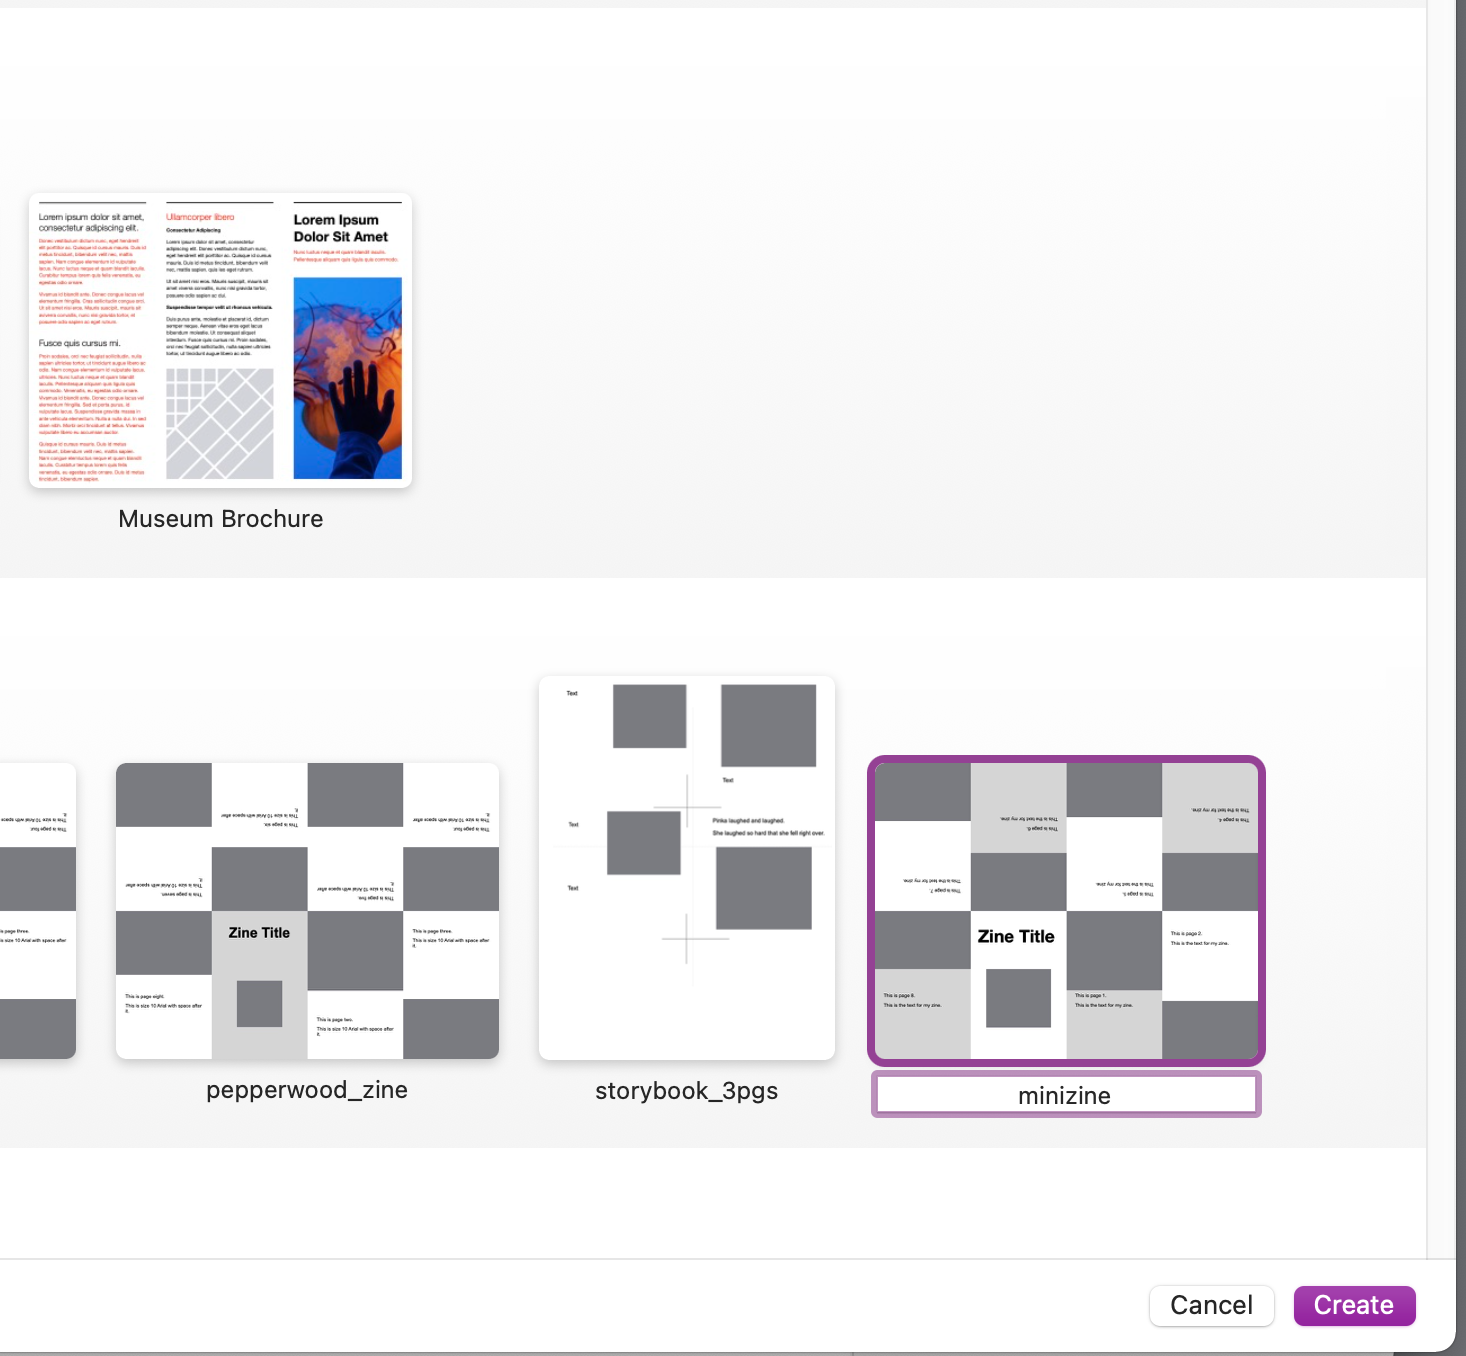
When you open Pages and select File > New,
scroll down to the very bottom of the choices and select your new template.
Add Images.
The simplest way to add images is to reduce the window size and open a finder window right next to the Pages window. Just drag the picture right into the media placeholder.
Repeat for each page.
For text, just select the text on each page and type right over it.
NOTE: All of this is easier to understand in the VIDEO!
Export to PDF
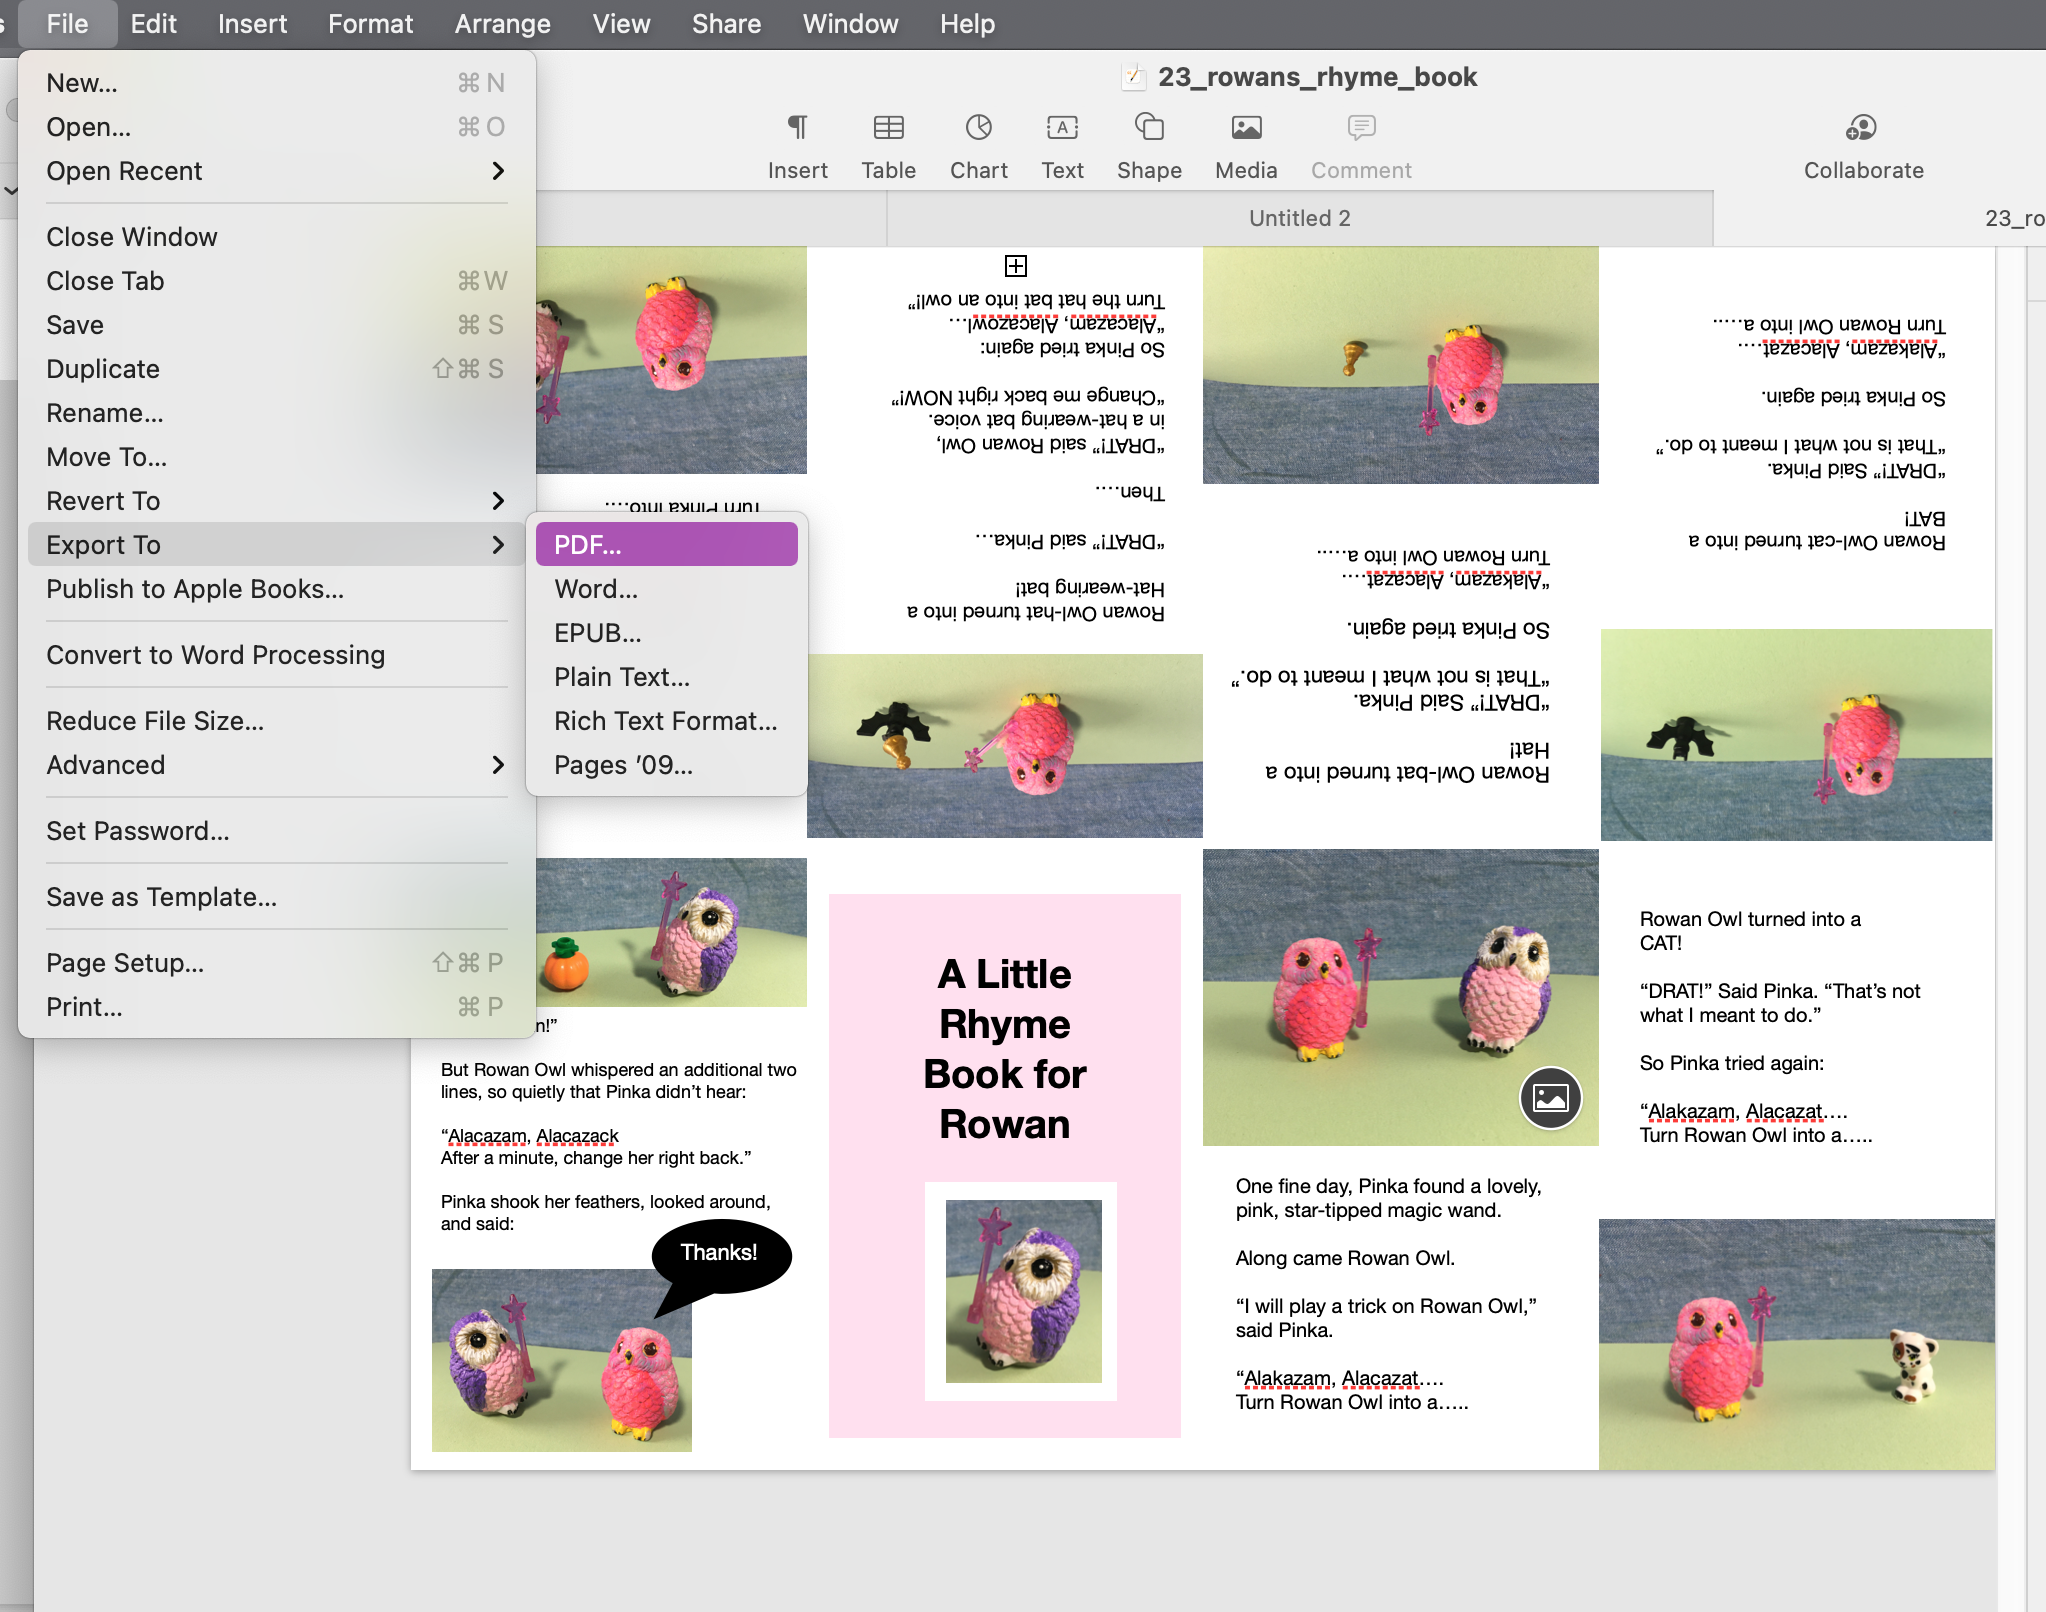
Once you have all of your text and images in place, from the menu, click File > Export > PDF.
There are many places to find instructions for CUTTING and FOLDING your zine.
Here is one video I like: