ZX Spectrum Wired USB Keyboard Part 1
by garrysmith in Circuits > USB
12473 Views, 26 Favorites, 0 Comments
ZX Spectrum Wired USB Keyboard Part 1
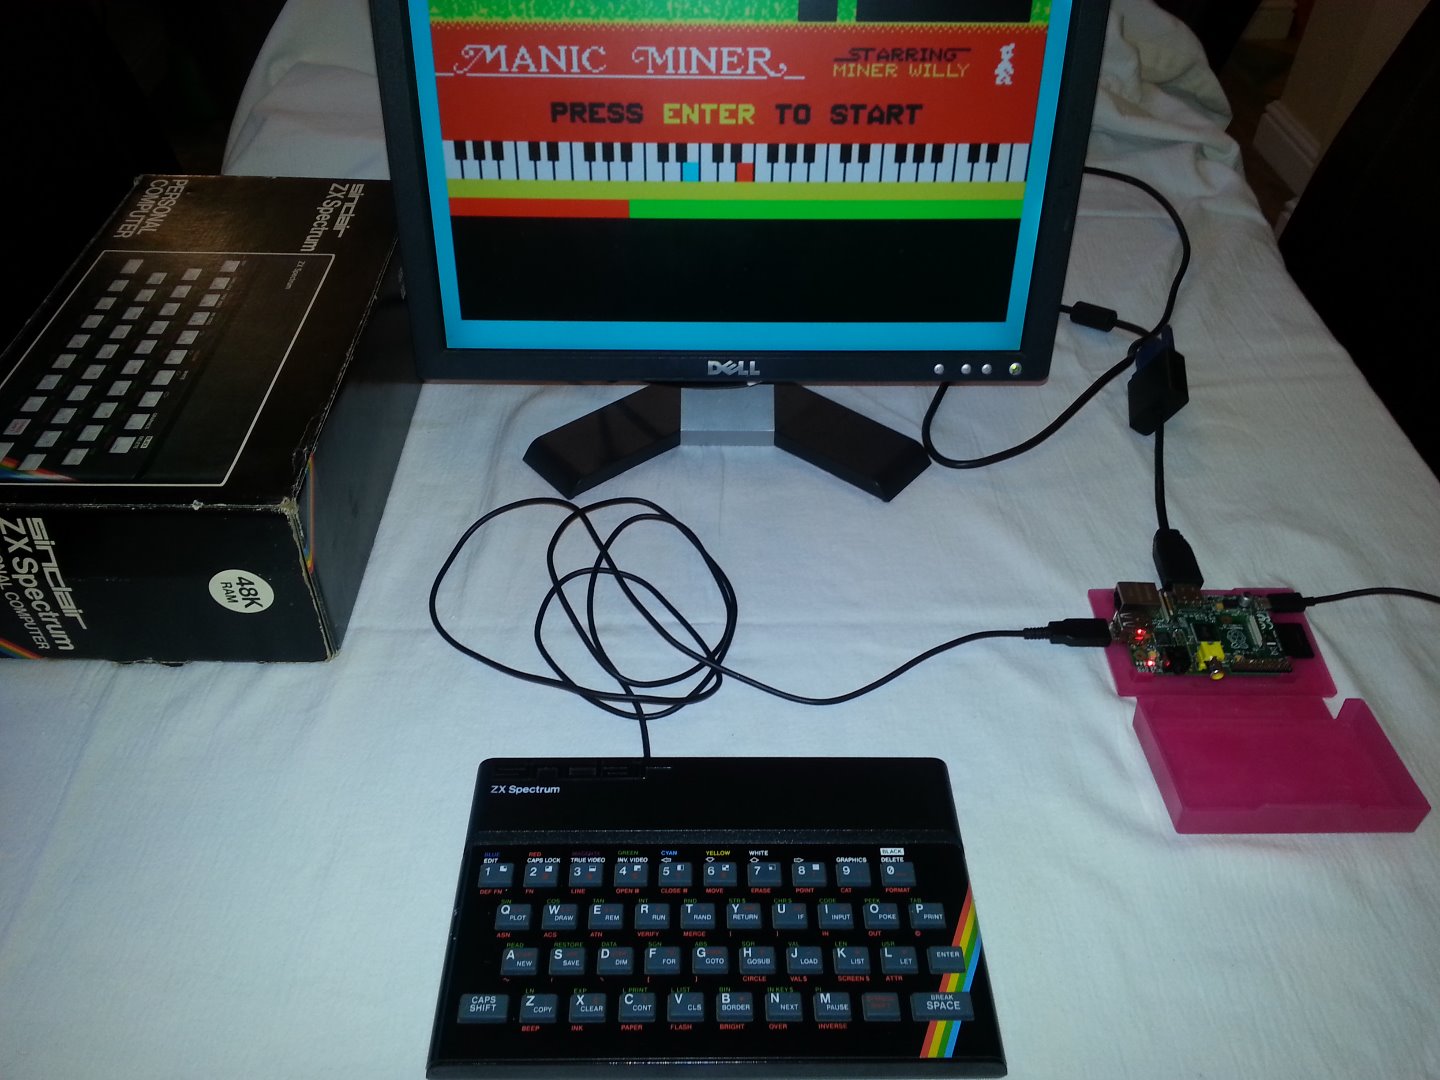
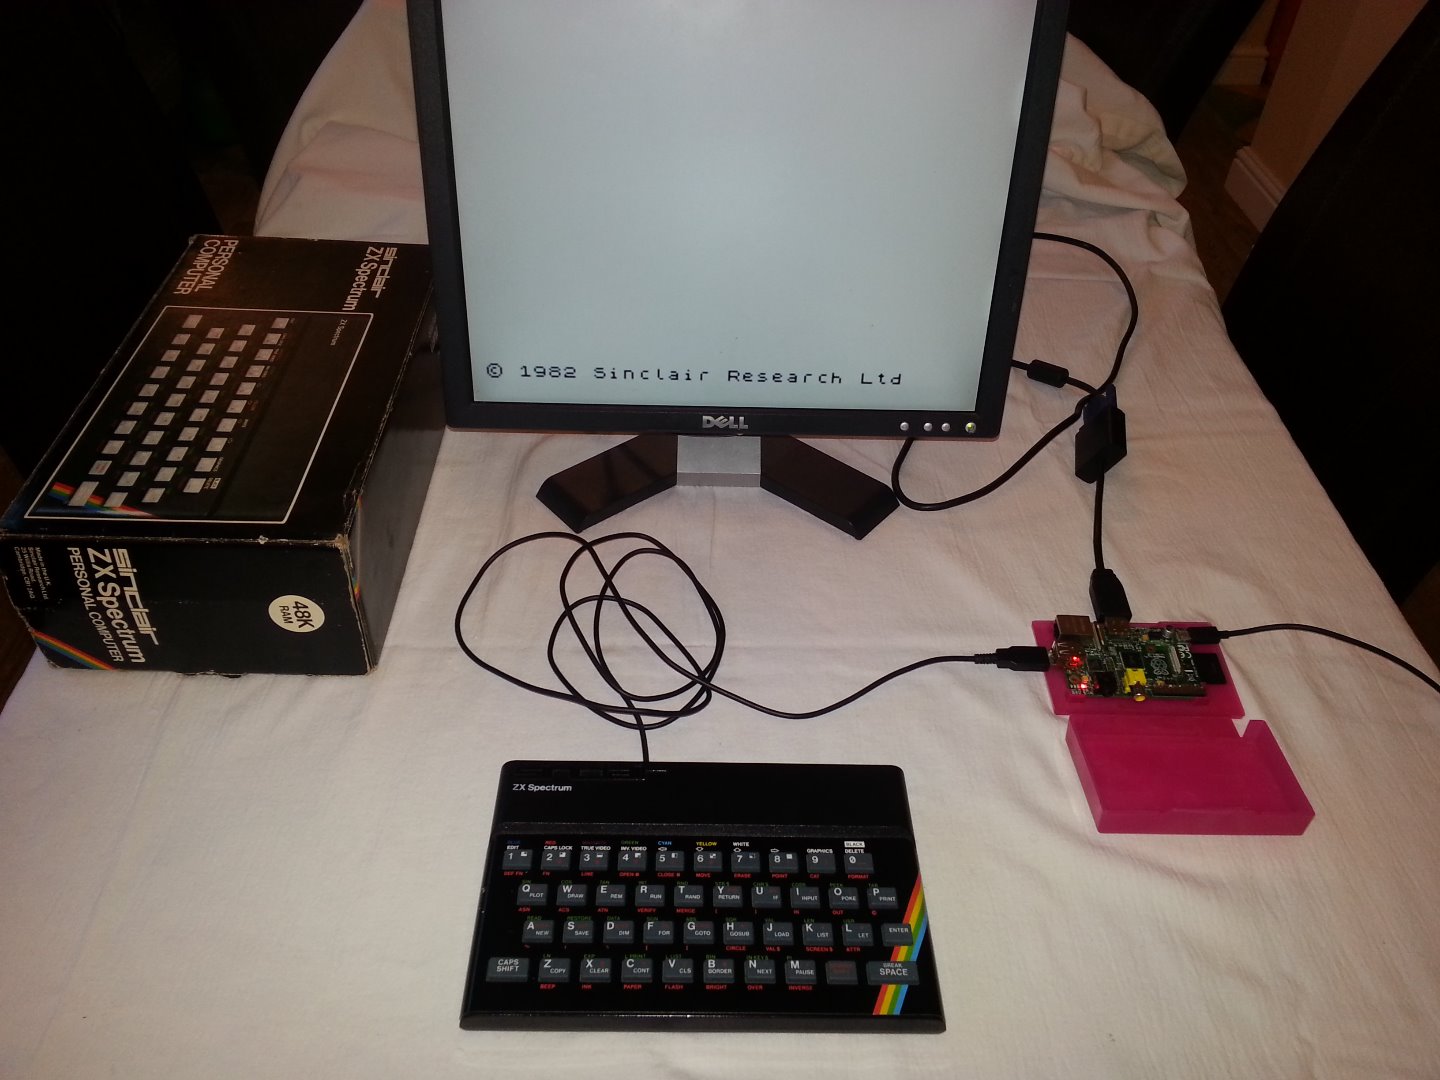
In this Instructable I will show you the simple steps I used to convert a ZX Spectrum into a USB Keyboard.
I know there are purists out there that will hate this but if your motherboard is beyond repair then this is a way of giving the keyboard a new lease of life and convert it to a wired USB Keyboard for use with a Raspberry Pi or PC loaded with an emulator.
The software has been specifically designed to work with Unreal Speccy Portable Emulator Menus but can be modified to work with any emulator menus.
No damage is done to the keyboard, case or motherboard so you could perform this on a working ZX Spectrum as long as the motherboard is kept safe and restored to its original state at a later date.
What You Will Need.
You will need:
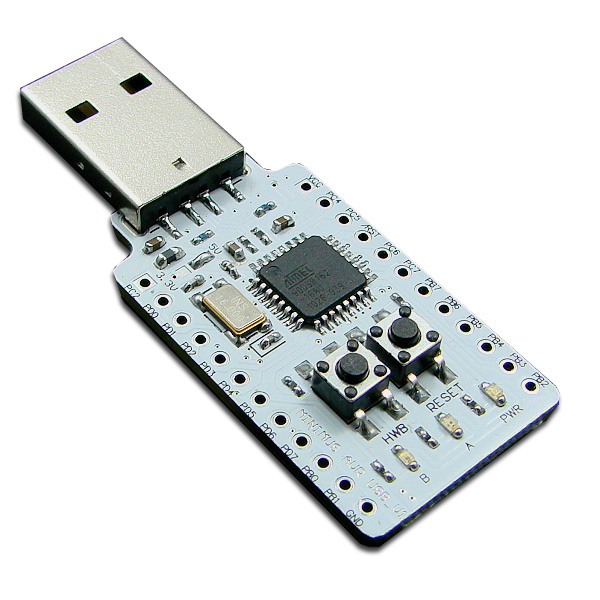
- Minimus 32 AVR USB Dev Board
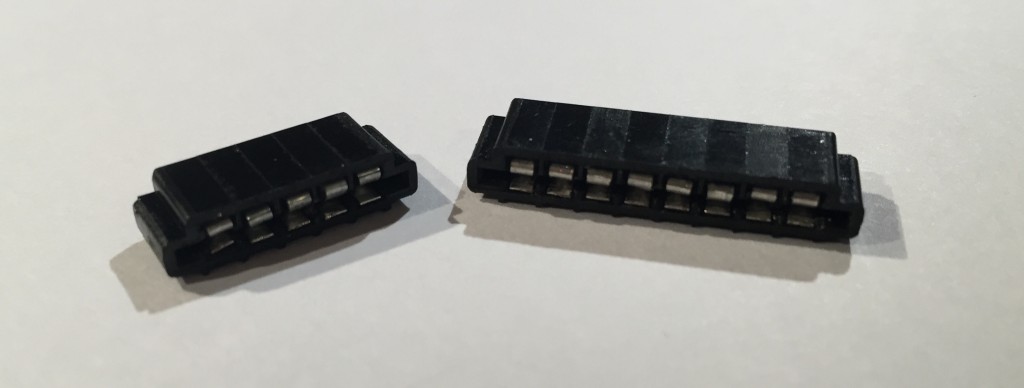
- Molex Edge Connector Set (5pin & 8pin)
- Soldering Iron
- USB Lead
- Cable Gland/Grommet
I bought the connectors from here http://www.sellmyretro.com/offer/details/Set-of-M... for £4.50 + £1.80 P+P.
The Minimus can be found here http://www.ck3.co.uk/minimus-32-avr-atmel-atmega32... for £8 or less if bought in quantity. I had and old usb mouse that didnt work so i used the cable off that. The gland is from Maplins but still looking for a better one.
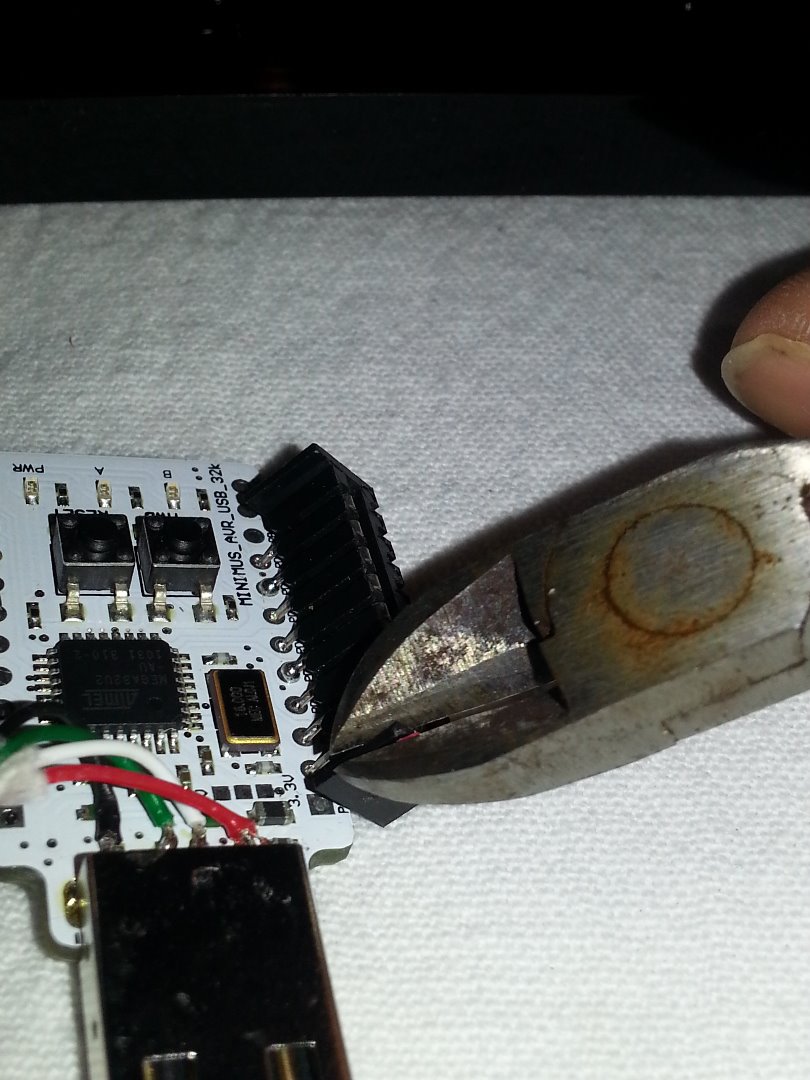
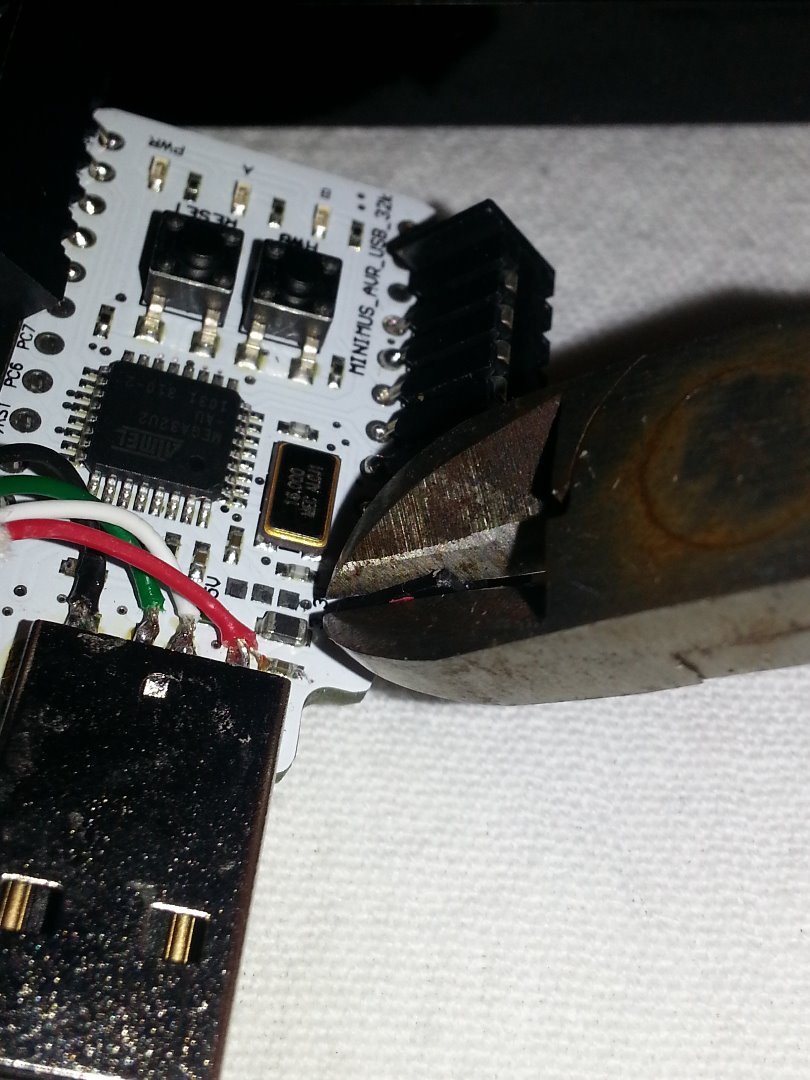
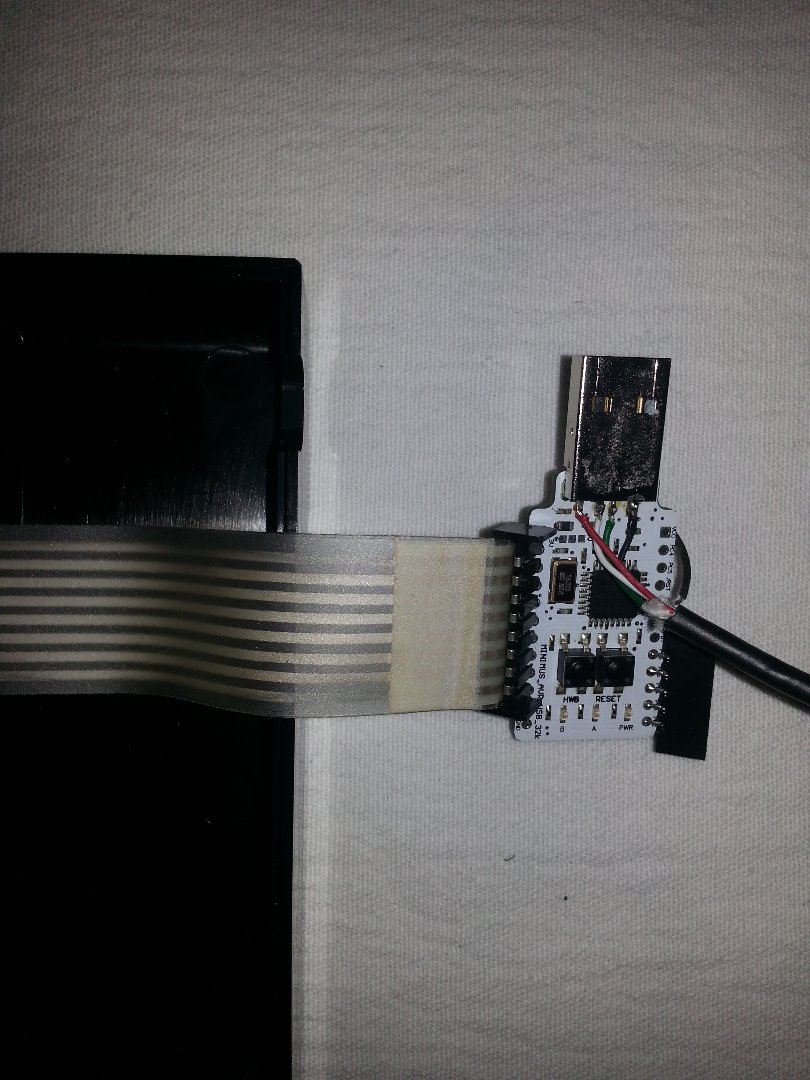
Soldering the Molex Connecters

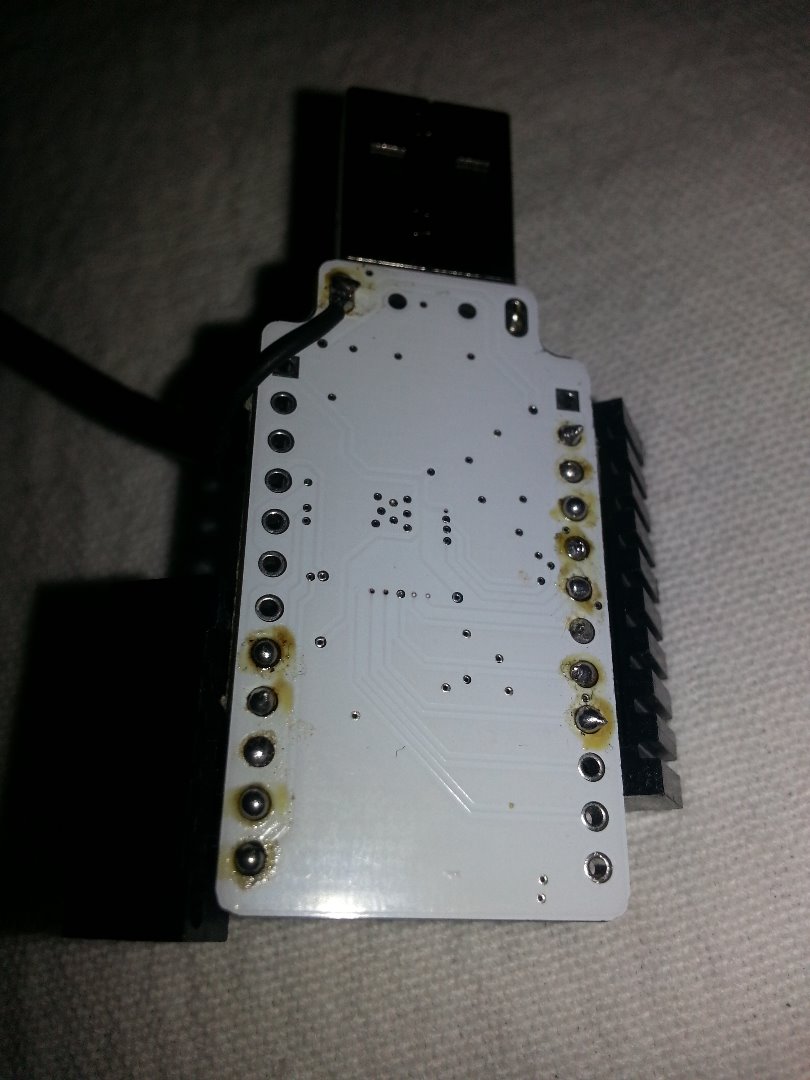
There are 2 Molex connecters required for connecting the ribbon cables of the ZX Spectrum Keyboard to the Minimus USB.
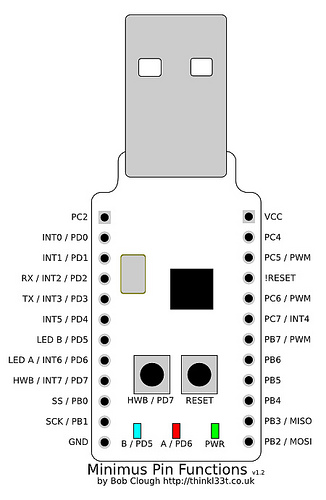
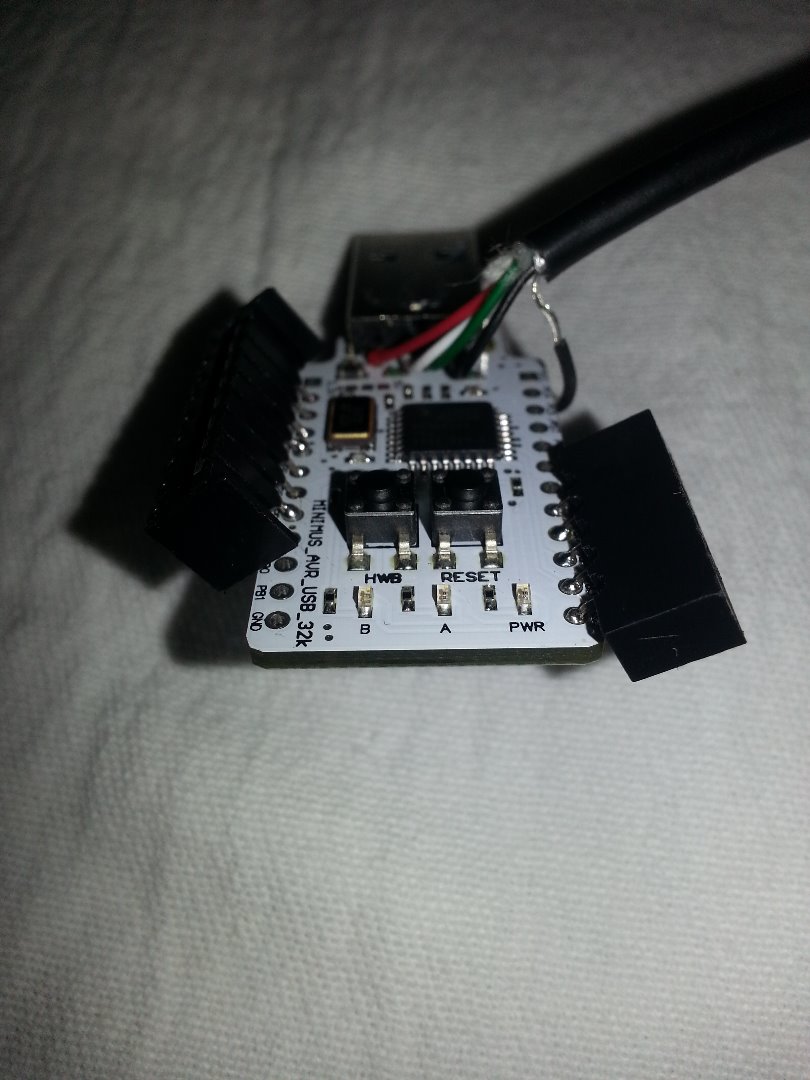
The Molex connectors need to be soldered onto the component side of the Minimus 32.
The 5pin connector is soldered into PB2 to PB6 of the Minimus with the contacts pointing outwards.
The 8pin connector is soldered into PD0 to PD7of the Minimus with the contacts pointing inwards.
If you Solder them so no excess pin needs cutting this will leave the connecter proud allowing them to be gently bent out at an angle making it easier to connect the ribbon cables.
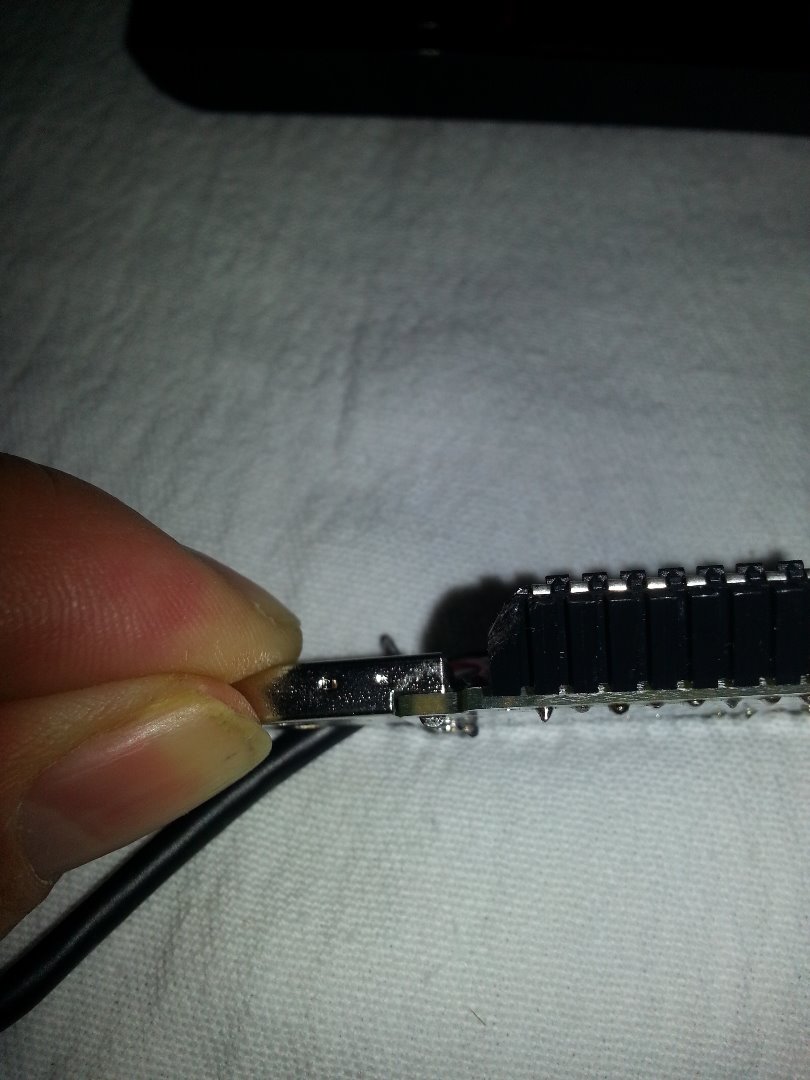
A standard USB expansion cable to connect from the Minimus to the USB port of the PC or Raspberry Pi will work but I didn't want to buy a new cable and didn't know if the bulk of the connector would prevent the ZX Spectrum case from closing.
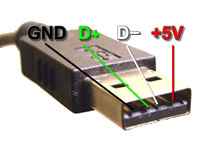
I had an old USB mouse that didn't work so cut the lead off and used that. I passed the cable through a grommet I purchased from Maplins, I'm not happy with the grommet so still looking for an alternative cable gland. Using a multi-meter to work what each wire was I soldered them onto the Minimus. I believe that the colours used in a USB lead is standard so should be left to right (Red, White, Green Black) I sleeved the shield of the cable and soldered that onto shield of the USB connector on the opposite side of the board.
Loading the Software.
Credit to Dean Camera :- http://www.fourwalledcubicle.com/index.php
None of this would have been possible without LUFA (Lightweight USB Framework for AVRs) the Libraries Dean Camera has created.
The software is nothing more than a .hex file that can be simply downloaded, extracted and then transferred across to the Minimus.
To transfer you will need to load a free piece of software onto you PC.
Kade from here http://kadevice.com/loader-software
Scroll down to the 'downloaded from here' link and download the software.
Then follow the Quickstart Guide here http://kadevice.com/kade-miniarcade/quickstart-guide
Once you get to Step 8 click File and select the USBZX.hex file you downloaded earlier.
Skip Steps 9 & 10
Start again at Step 11
Note:- This software was quickly adapted from a program I created for a USB sensory chess board so will need to be cleaned up a little bit when I have the time, but it works.
I will post up a Part 2 for the software at a later date.
Downloads
Removing the Motherboard
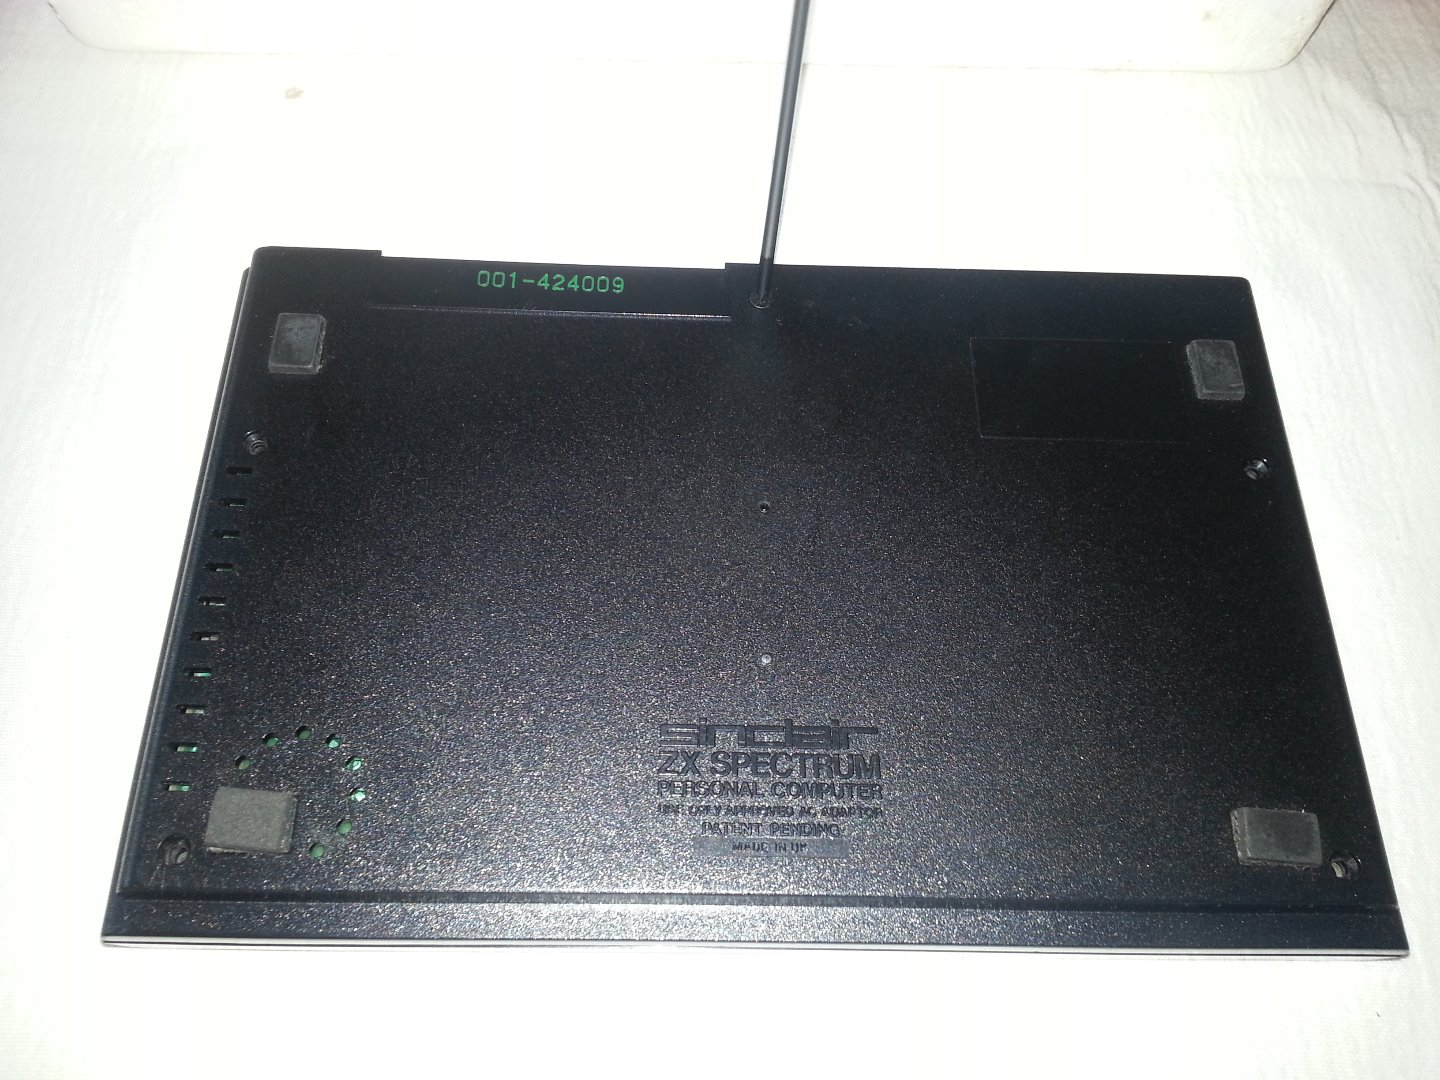
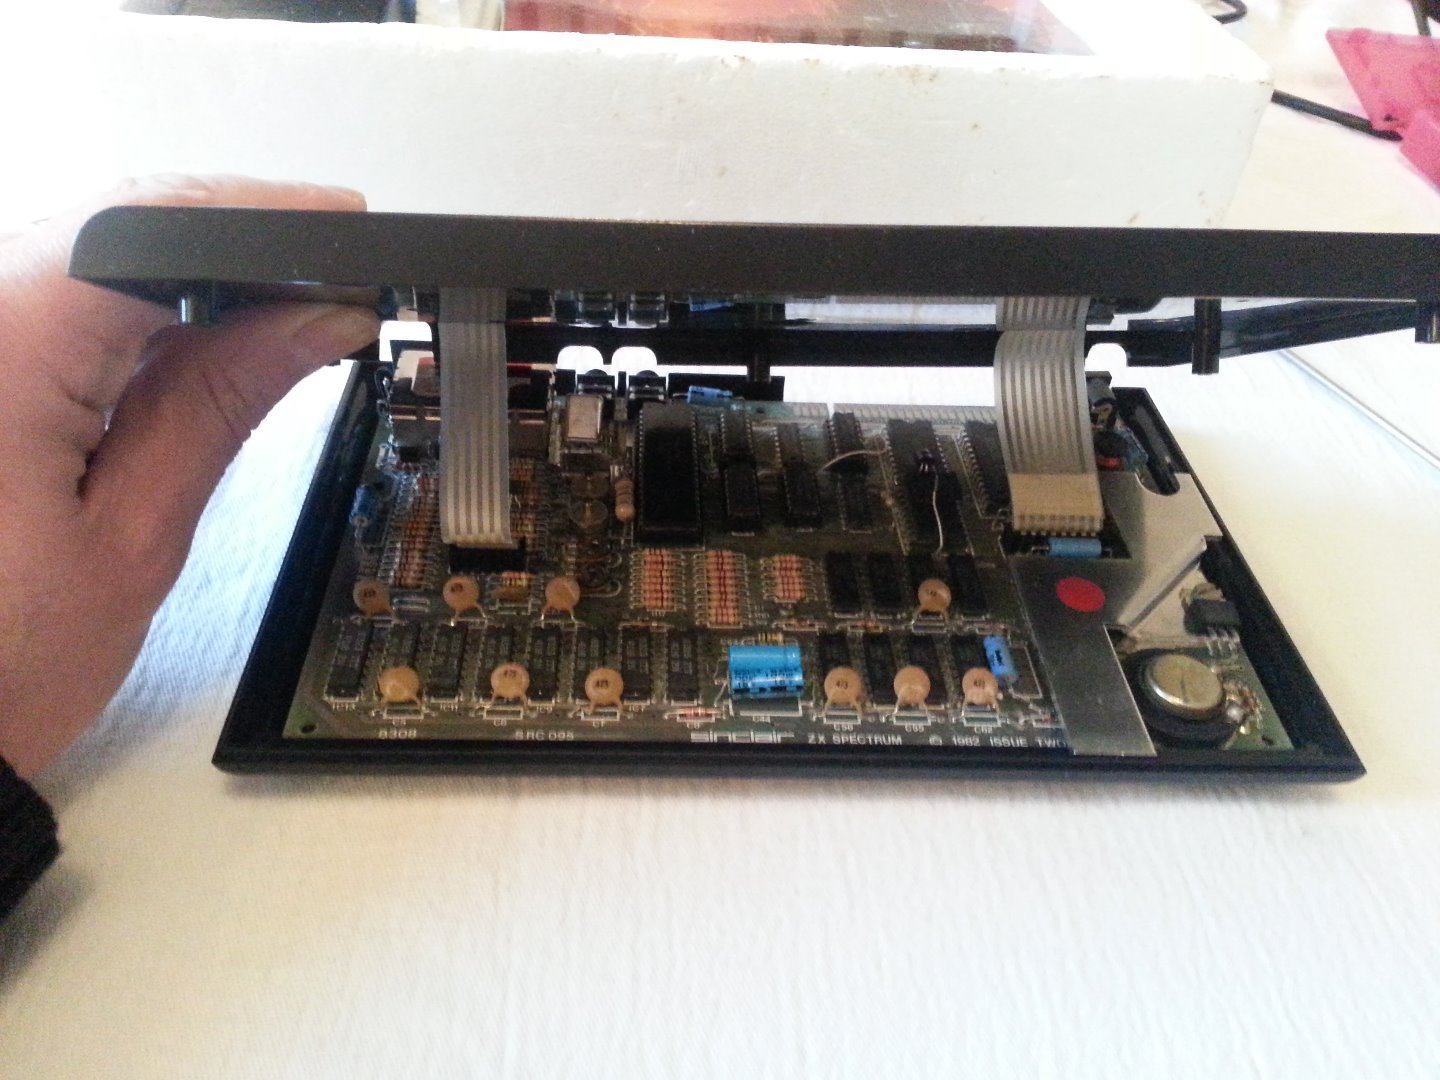
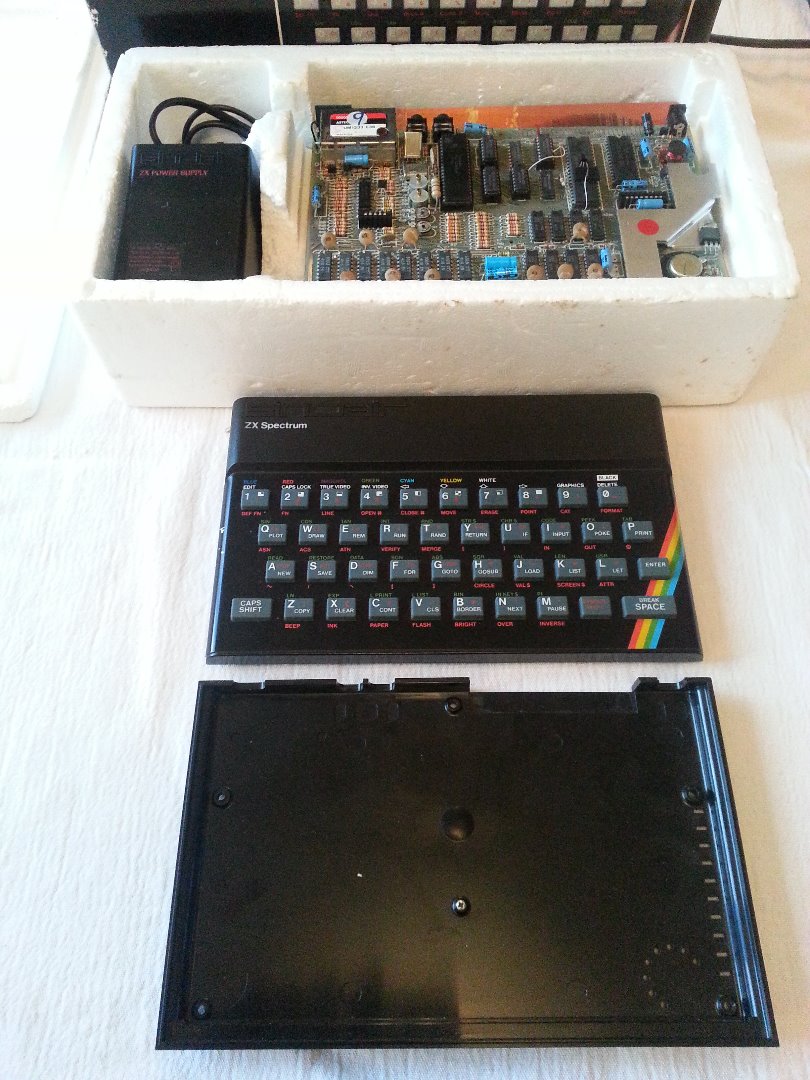
To remove the Motherboard unscrew the 5 screws on the underside of the Spectrum. Turn it back over and lift the upper part (Keyboard) ensuring you don't damage the ribbon connectors. Carefully, but firmly pull the ribbon connectors upward out of the motherboard to remove them. The upper part (Keyboard) should now be free of the bottom.
Remove the screw holding the motherboard in place and remove it. The screw can be kept safe by screwing back into the case.
Please keep the Motherboard safe if is still functioning or pass it to someone who can repair it if faulty.
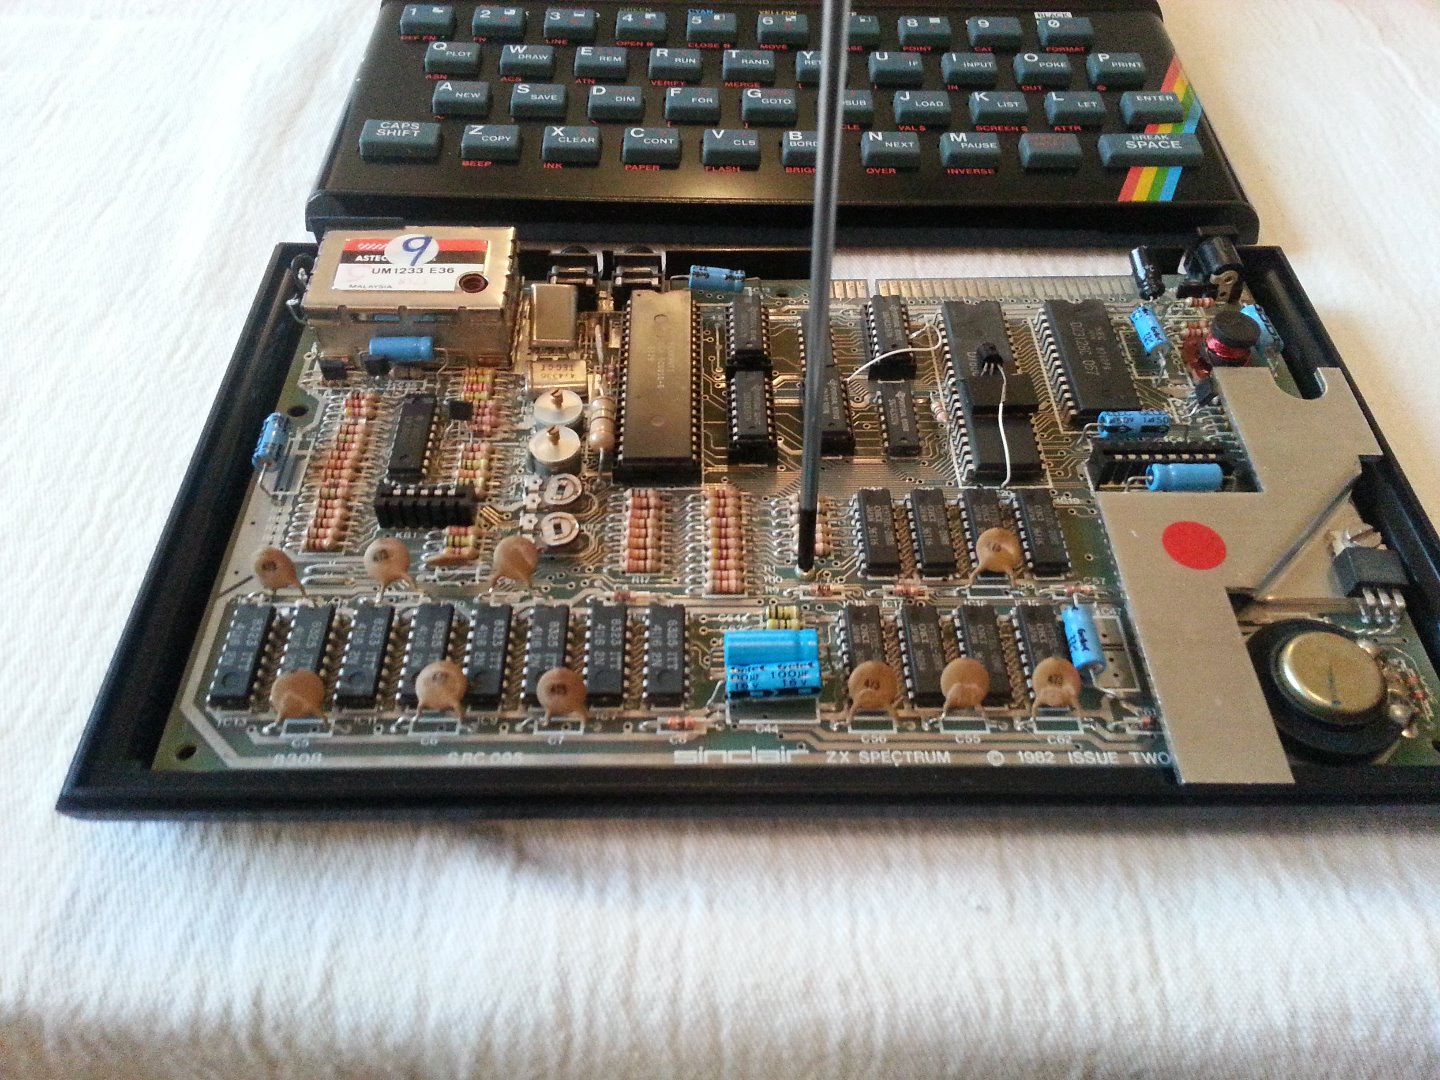
Fitting the Minimus
The membranes are very fragile and may not survive being unplugged from the motherboard and folded round to connect on to the Minimus 32 USB Dev Board. If it doesn't survive then fear not, a nice new shiny membrane can be purchased form here for around £7.50. http://www.sellmyretro.com/offer/details/Brand-New...
Mark Fixes Stuff has put up a nice video that explains how to replace it. https://www.youtube.com/watch?v=-PJLPEI8RW8
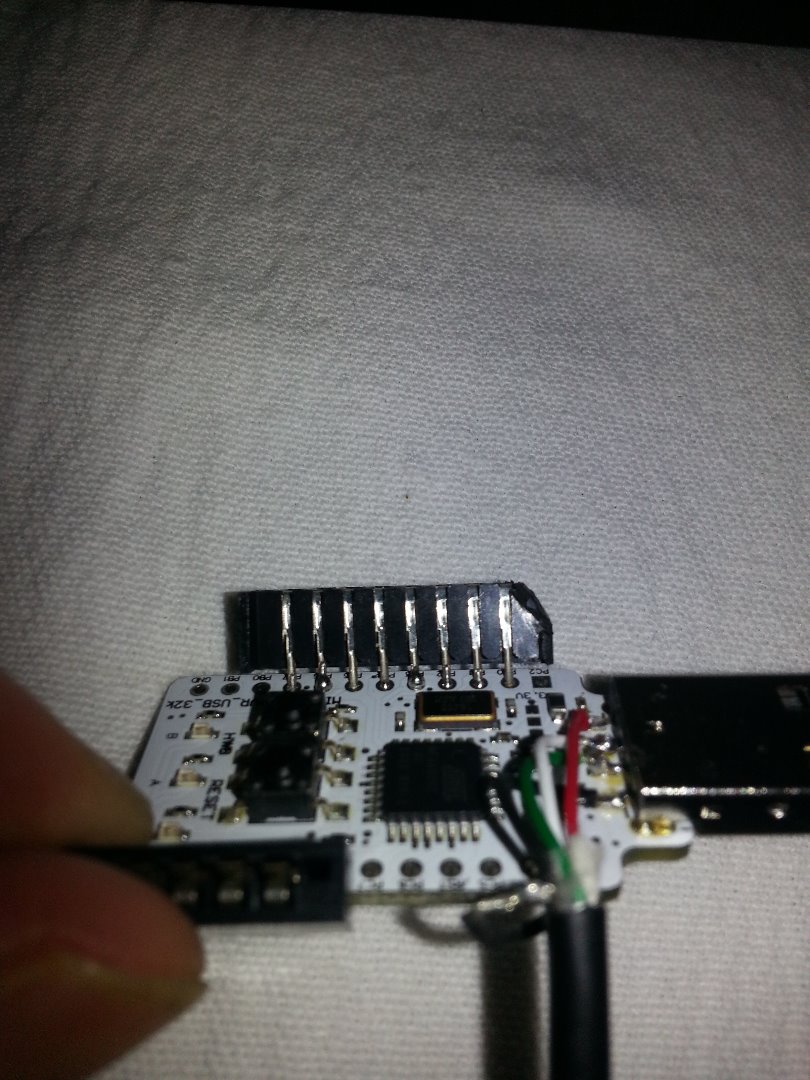
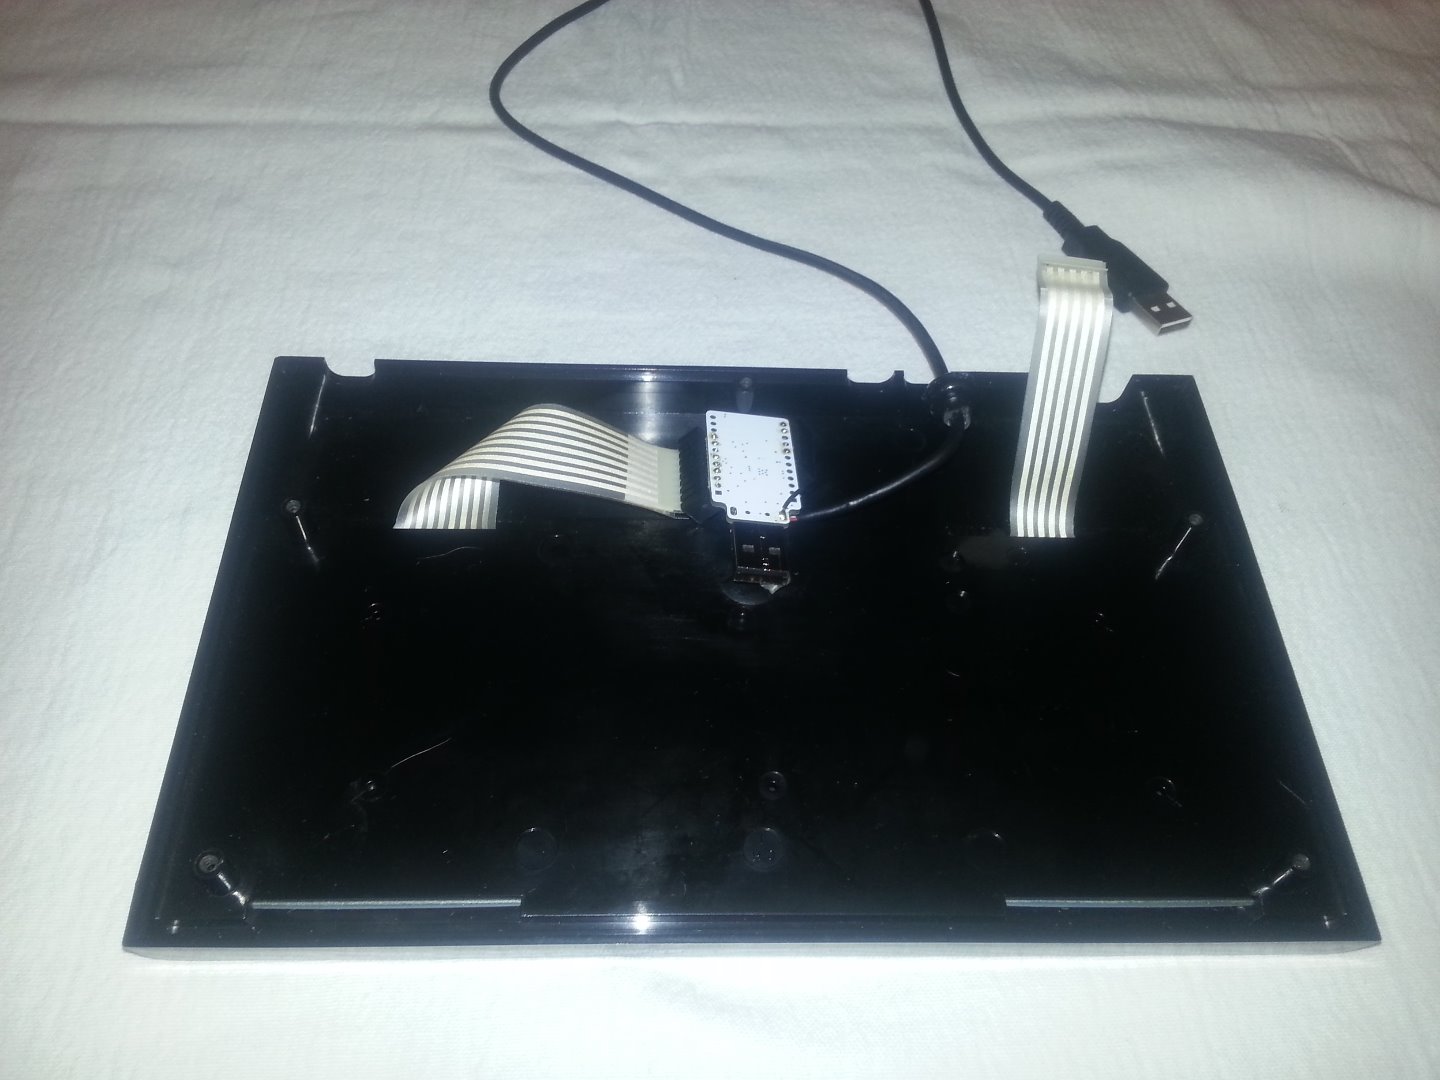
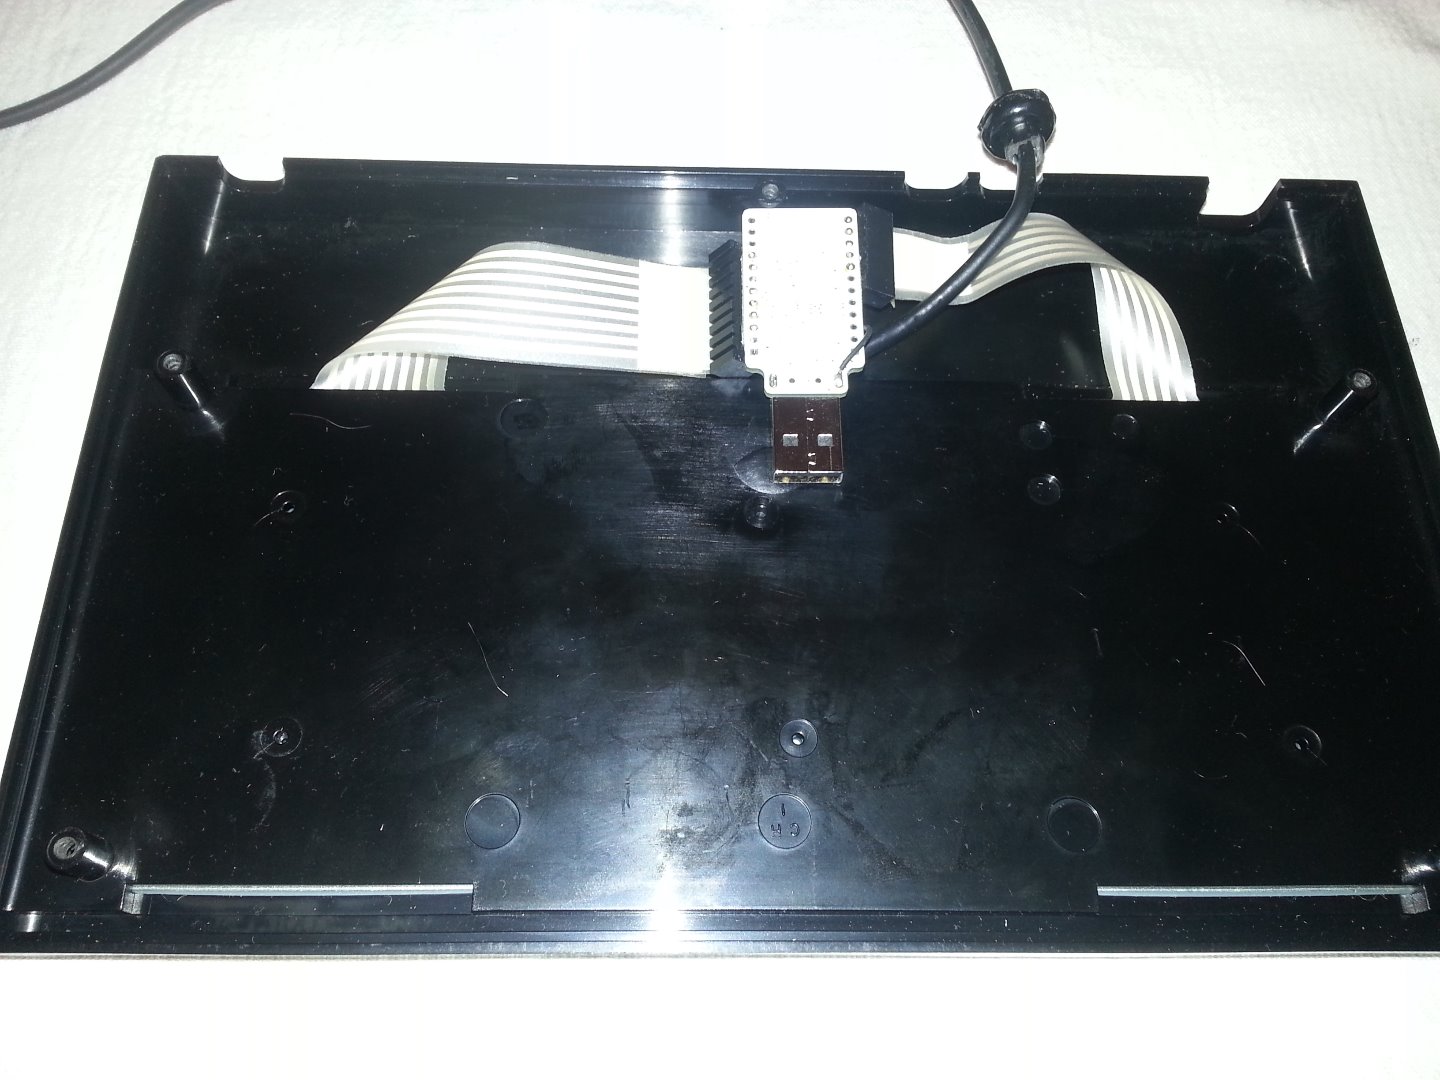
Before connecting the ribbon cables offer the Minimus upto the keyboard. Due to the 8 way Molex connector it may not sit into place. It's not an issue but I decided to cut a little bit of the Molex connector so that it would fit nicely.
Connect the Minimus to the 8 way ribbon cable first.
Gently bend the cable and Minimus over towards the centre of the case.
Now gently bend the 5 way cable over and connect it to the 5pin Molex connector.
It's a little bit fiddly so take care.
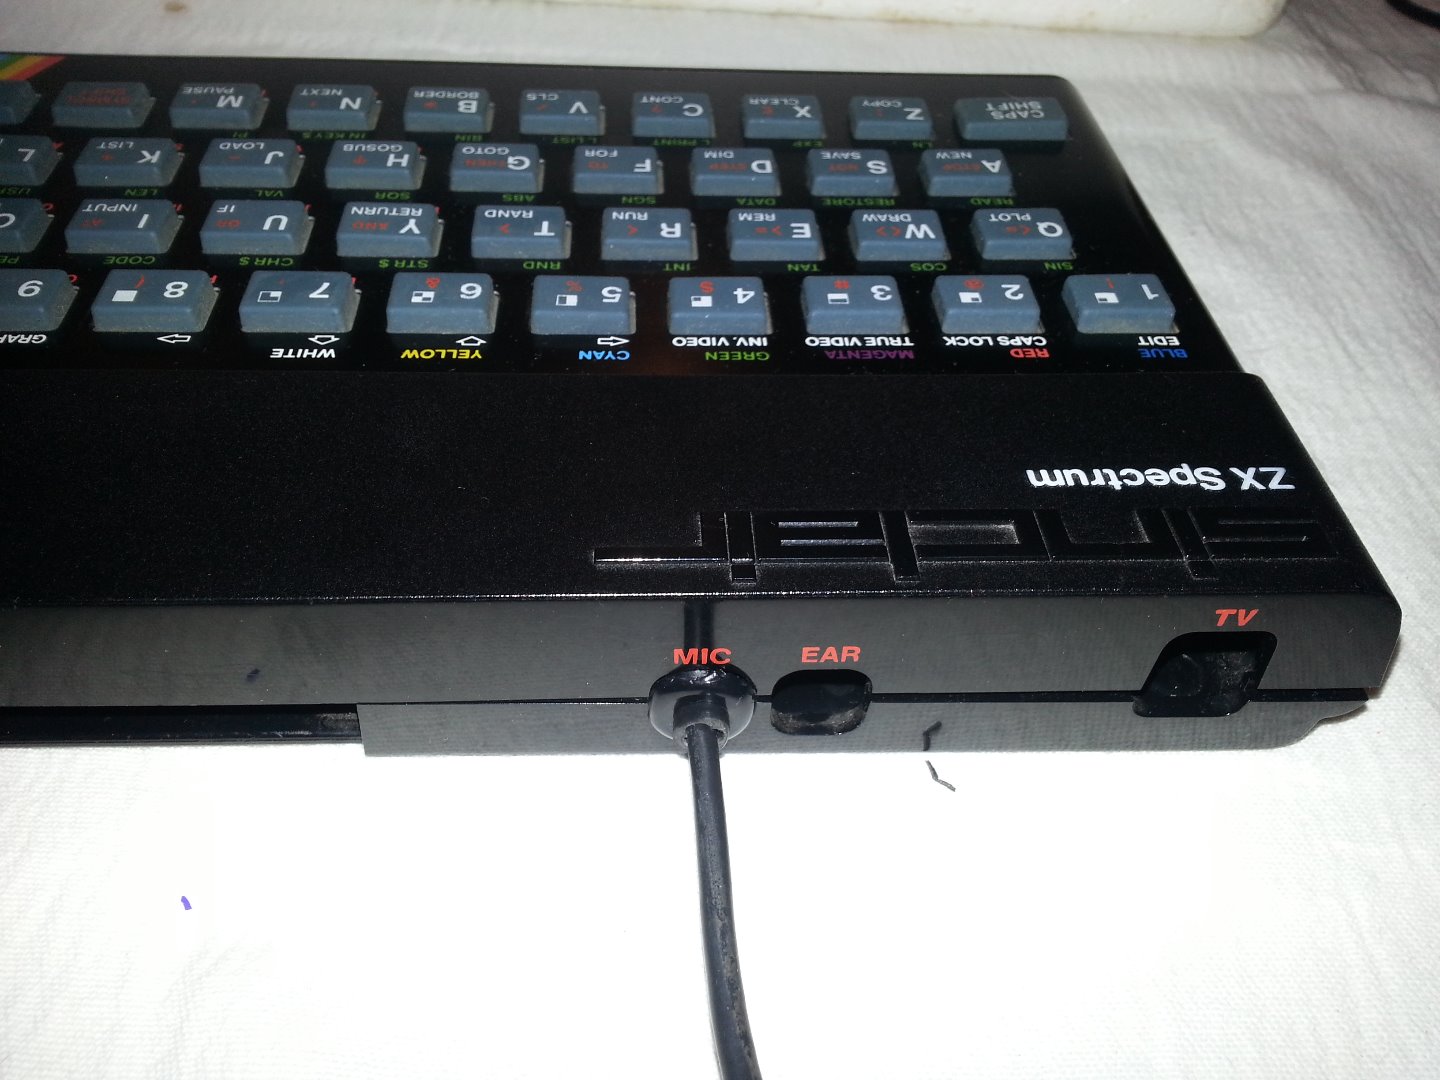
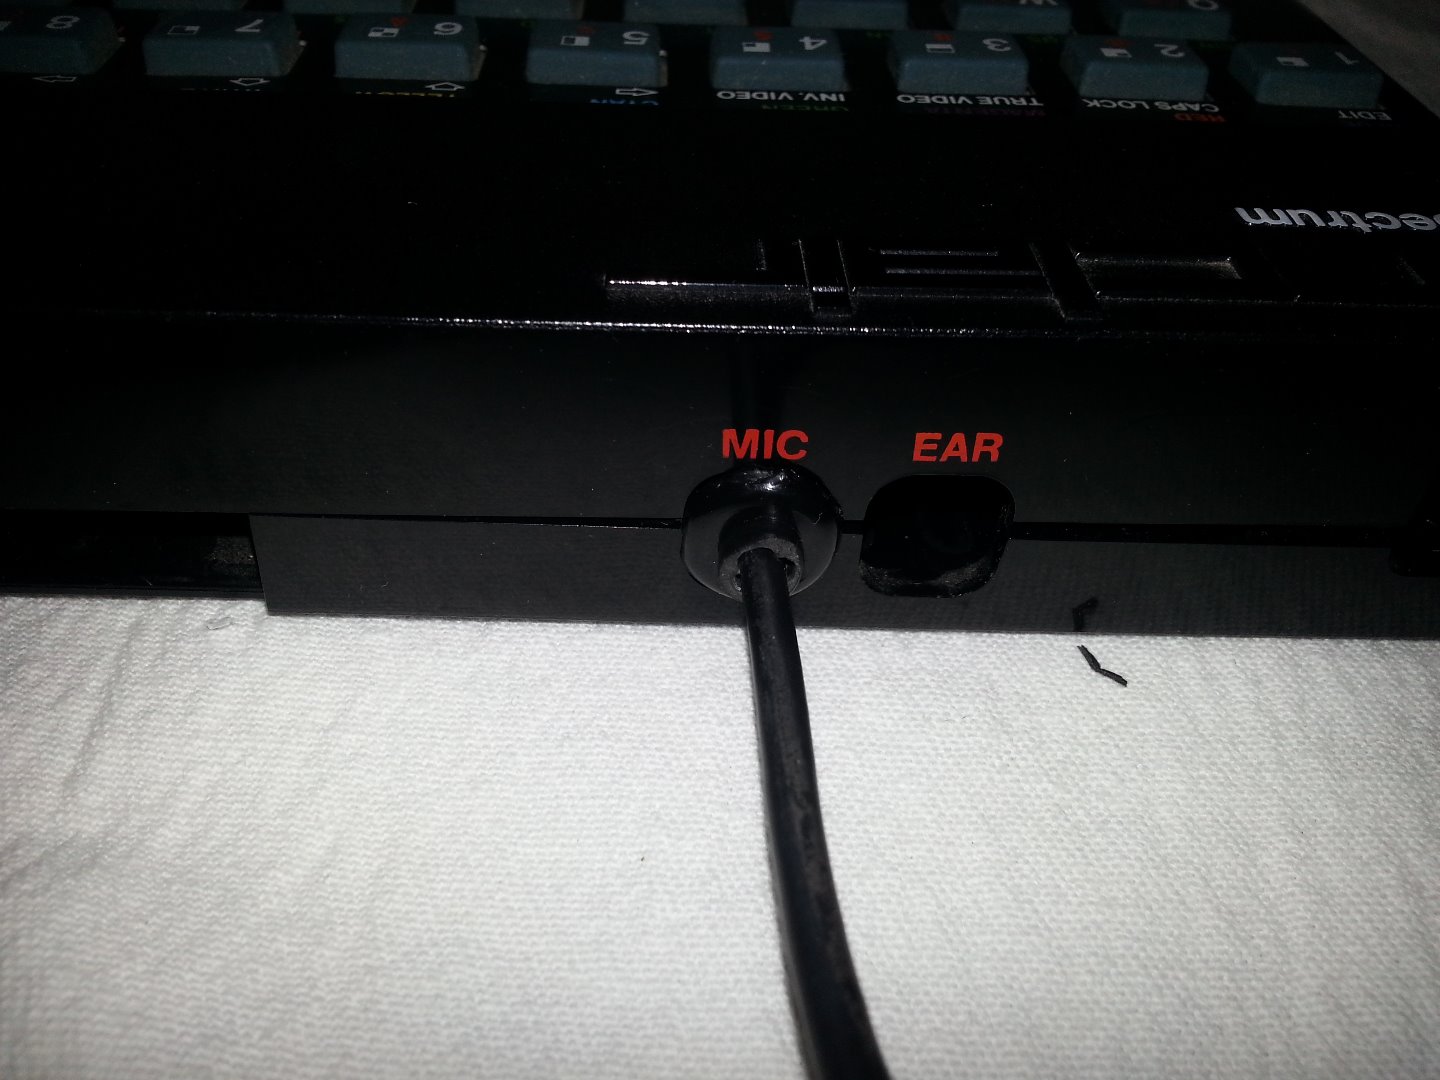
The cable gland / grommet is pushed into the Mic or Ear position of the case.
I used double sided tape on the shield of the USB to hold it in place while the case was offered up.
Place the lower part of the spectrum onto the keyboard paying attention to the grommet.
Refit the 5 screw that hold the keyboard and lower case together.
Testing the Keyboard
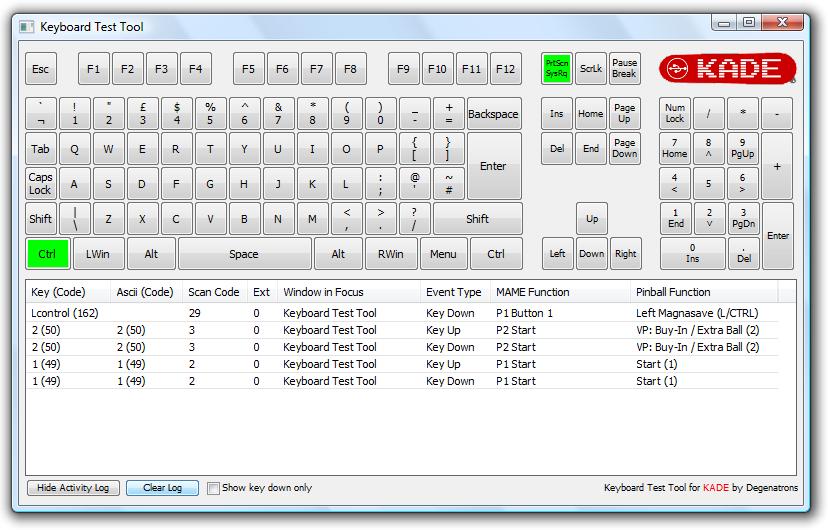
Part of the Kade software is a nice little keyboard test found under the Utilities Tab.
Using this you can test all the Keys on the ZX Spectrum Keyboard.
When using Unreal Speccy Portable emulator the keyboard will behave just like the original.
To access the menus of USP the Escape key is required which the original ZX Spectrum never had.
By Pressing the 'CAPS SHIFT' + 'BREAK SPACE' keys together will cause the Minimus to send the 'Escape' key as well as set the Minimus into Standard Keyboard mode.
In the Standard Keyboard mode most key work the same.
To navigate the Menu use 'CAPS SHIFT' + 5, 6, 7 & 8 as they are sent Cursor Keys.
To toggle back to ZX Spectrum Mode press the 'CAPS SHIFT' + 'BREAK SPACE' keys together again.
Have fun :-D
Garry