Your Favorite 4-Letter Word ... F@*! S&#^ D%@#
by corecubizt in Craft > Jewelry
215 Views, 1 Favorites, 0 Comments
Your Favorite 4-Letter Word ... F@*! S&#^ D%@#
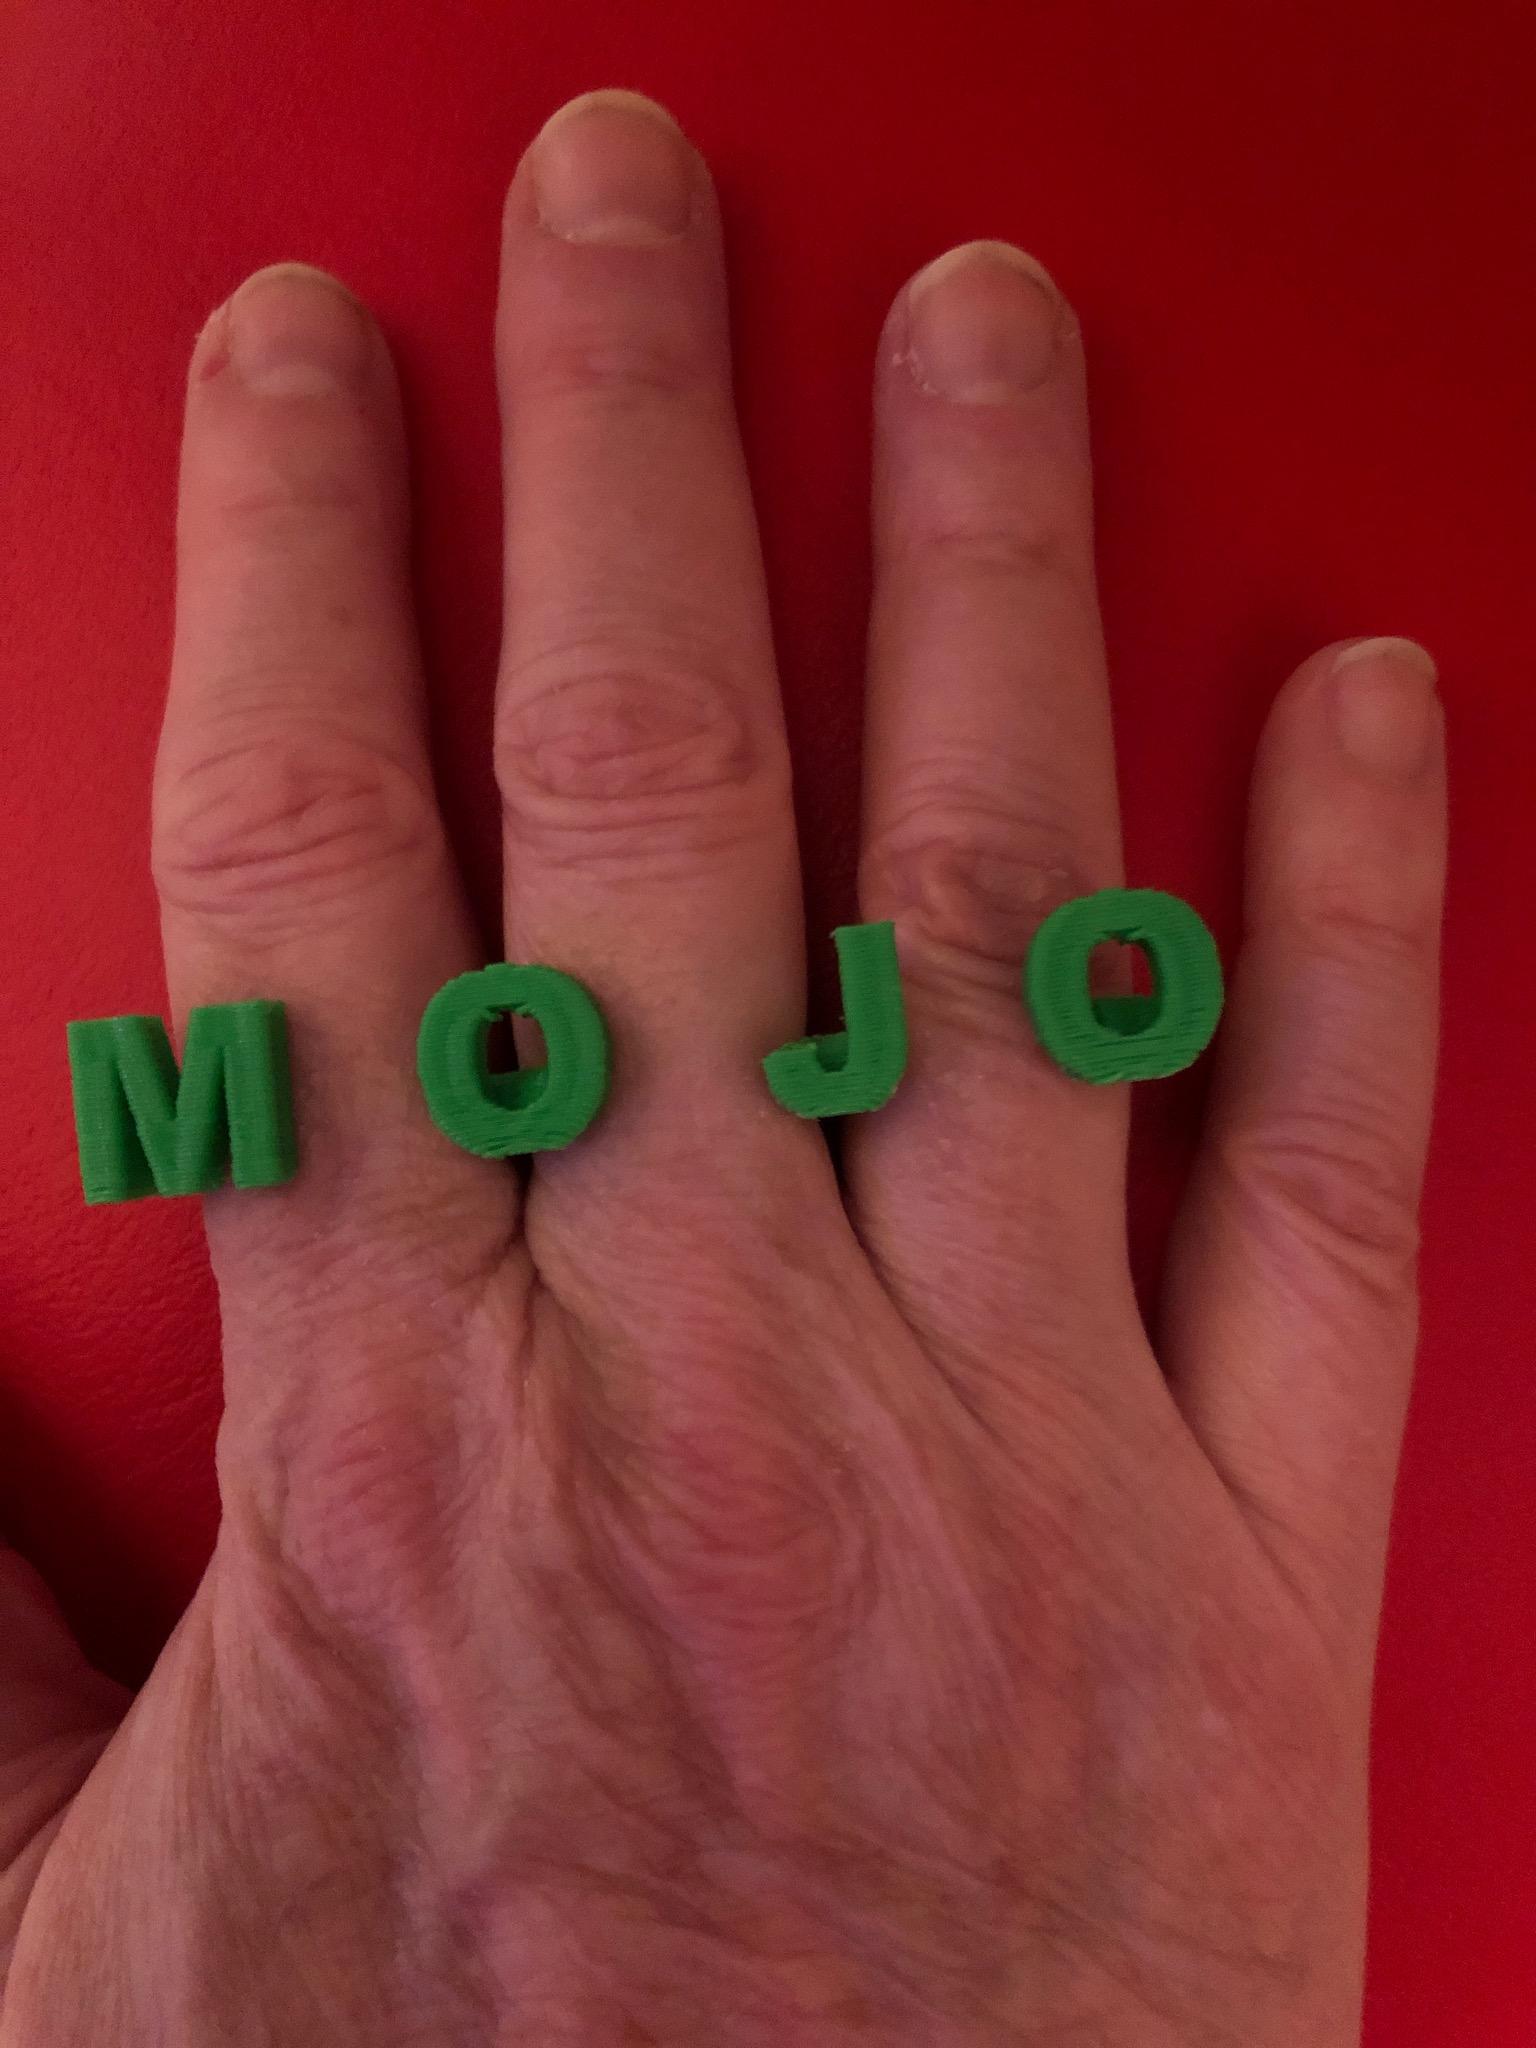
Tell your friends how you really feel! What you're about! Where they can go.... and What they can do when they get there.... Give'em a piece of your mind!
Or share your mojo with your custom letter ring.
Supplies
- Ruler
- TinkerCad
- 3-D Printer
Determine the Ring Diameter
- Measure the diameter of your middle finger.
- Add 2mm to this diameter. This value will be the diameter of each of the rings in the design. The rings are meant to be somewhat loose on the fingers.
Create the Ring Shapes
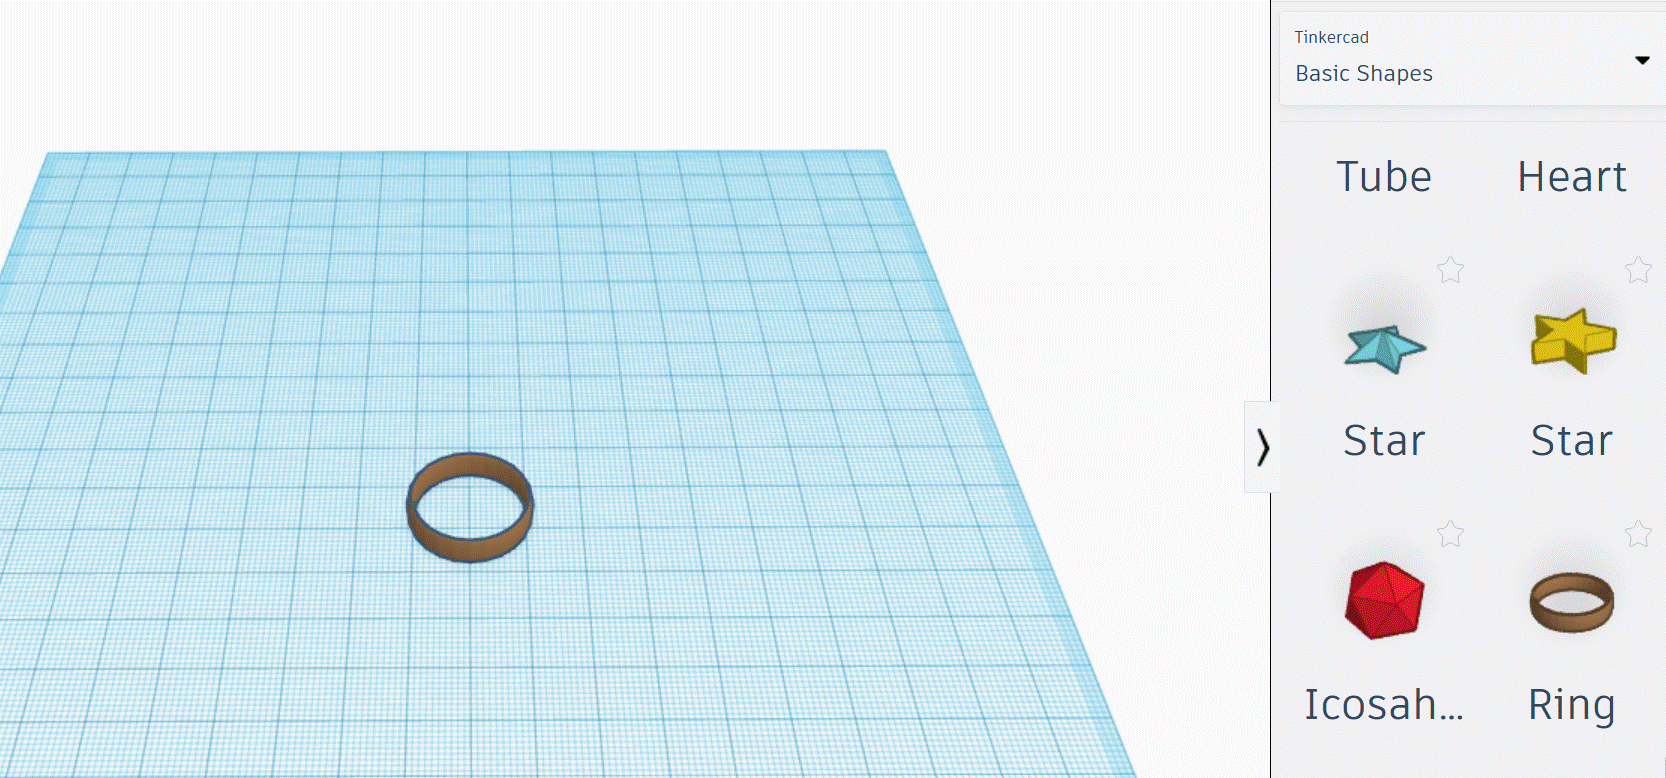
- Select a Ring shape from the Basic Shapes menu on the right side of TinkerCad.
- Resize the ring shape so that the diameter is the value of 2mm + Your Finger Diameter
- Use the default Tinkercad settings for the rest of the ring measurements. (i.e. ring width is 5mm)
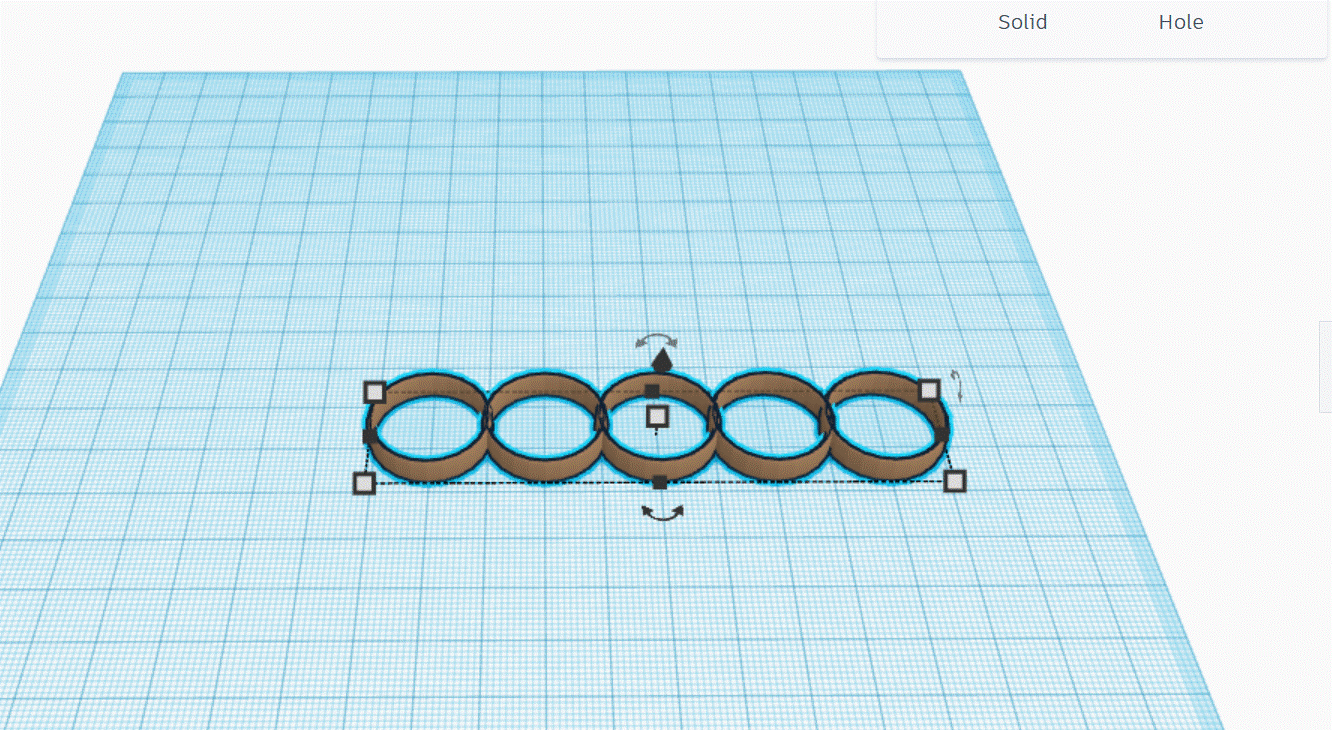
- Duplicate this ring 5 times. (Click on the ring shape and then type CTRL+C to copy and then CTRL+V to paste additional rings)
- Align the rings next to each other.
- Overlap the sides where 2 different rings meet. This will add more strength to the piece.
Erase Part of the 2 End Rings
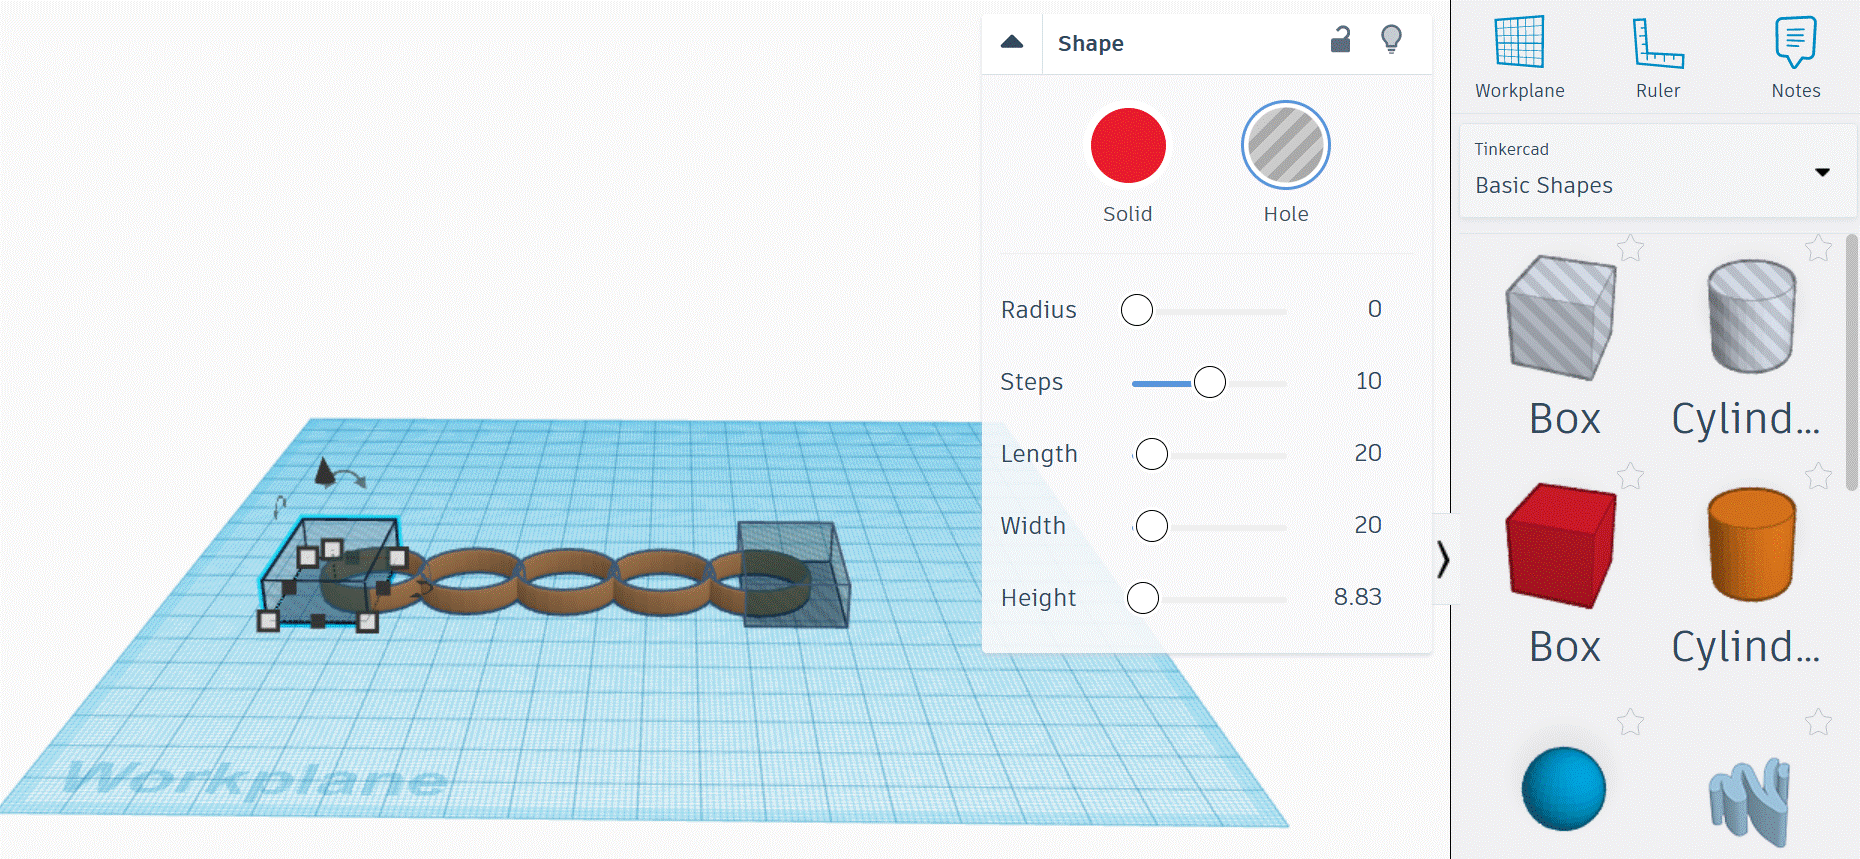
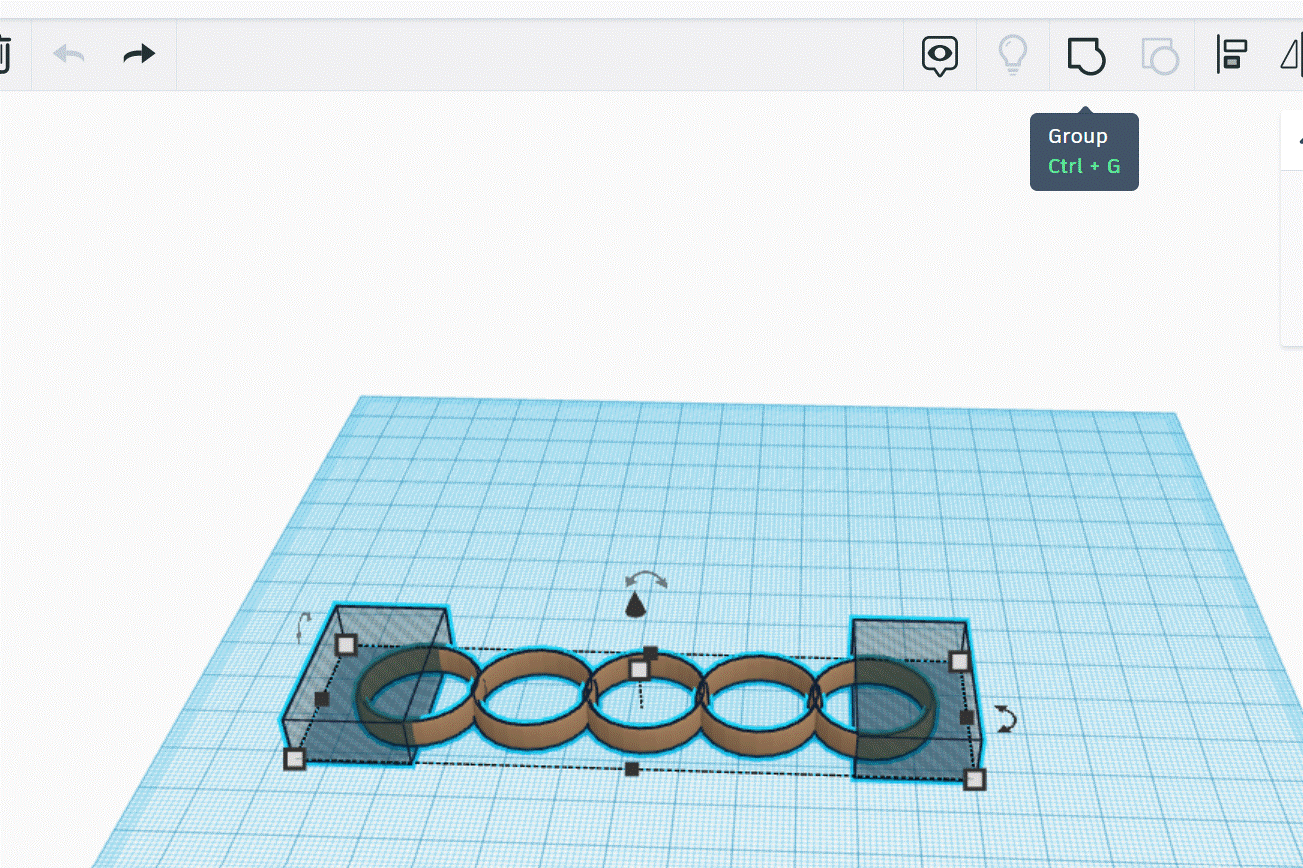
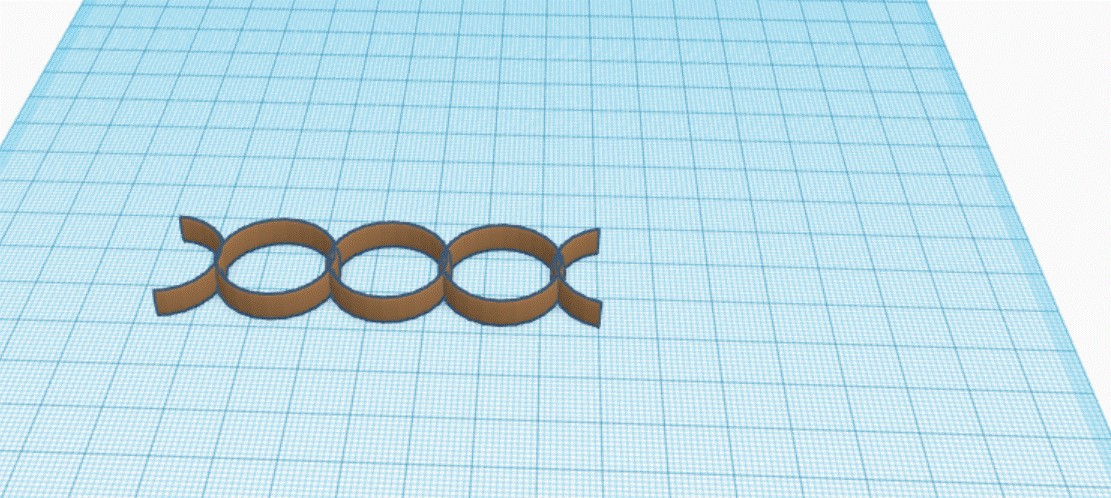
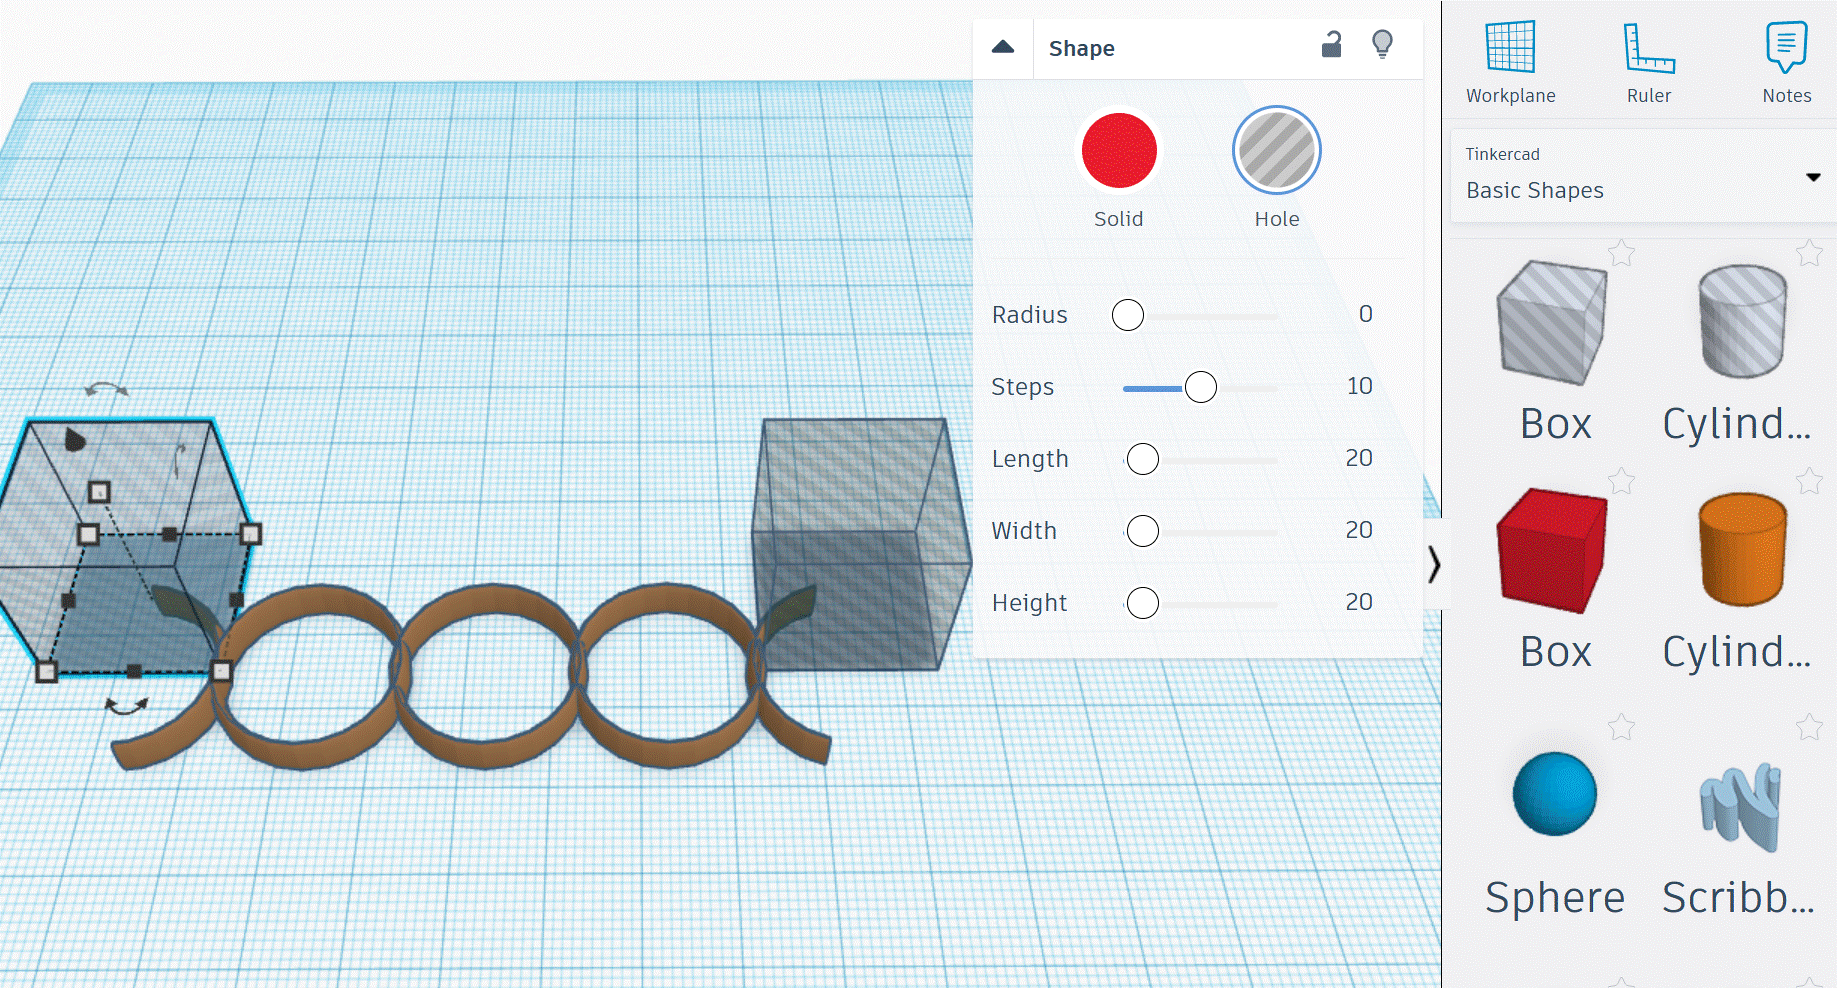
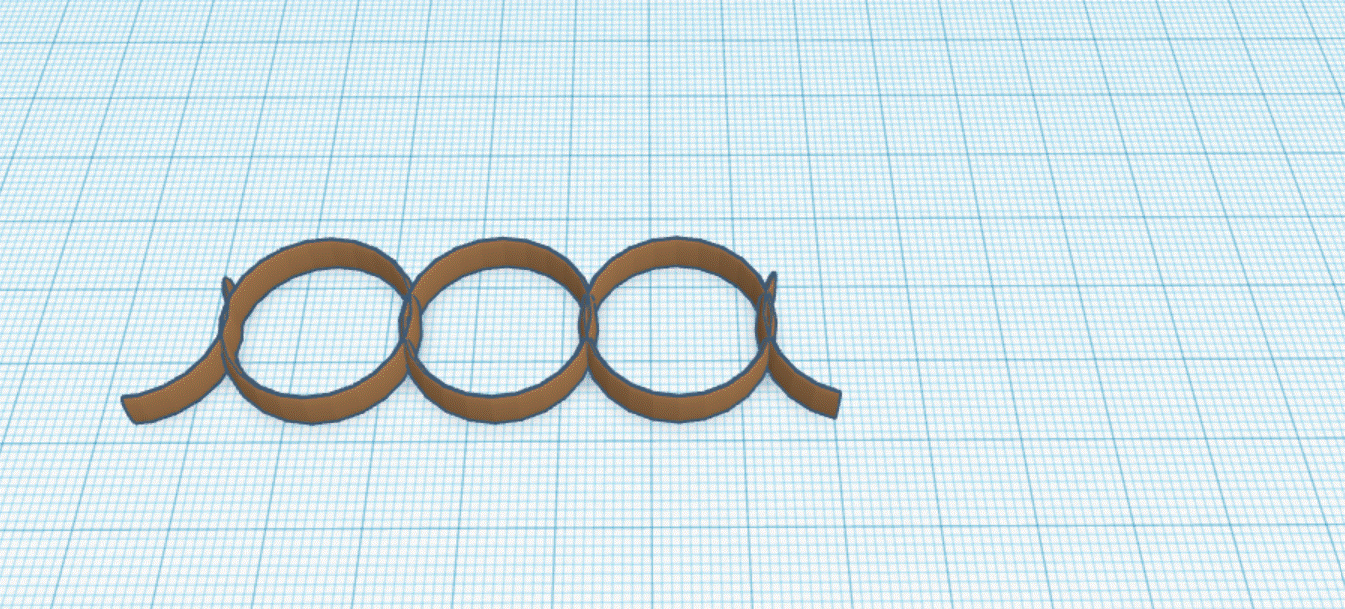
- Select the Box shape from the Basic Shapes menu on the right side of TinkerCad.
- Drag the box onto the TinkerCad Workplane.
- Position the box on one side of the 5 rings, such that it overlaps the ring.
- Select Hole from the Shapes drop down box. This action 'erases' most of the ring on one side.
- Repeat the same above steps with a second box, positioned over the other side of the ring to 'erase' most of that part of the ring.
- Grouping all items will show you what you've erased. Select all items on the Workplane by typing CTRL+A. Select the Group icon from the top menu bar, or type CTRL+G.
- Repeat this process with 2 more void boxes, to erase part of the remaining end rings. (See picture)
Select Your 4-Letter Word
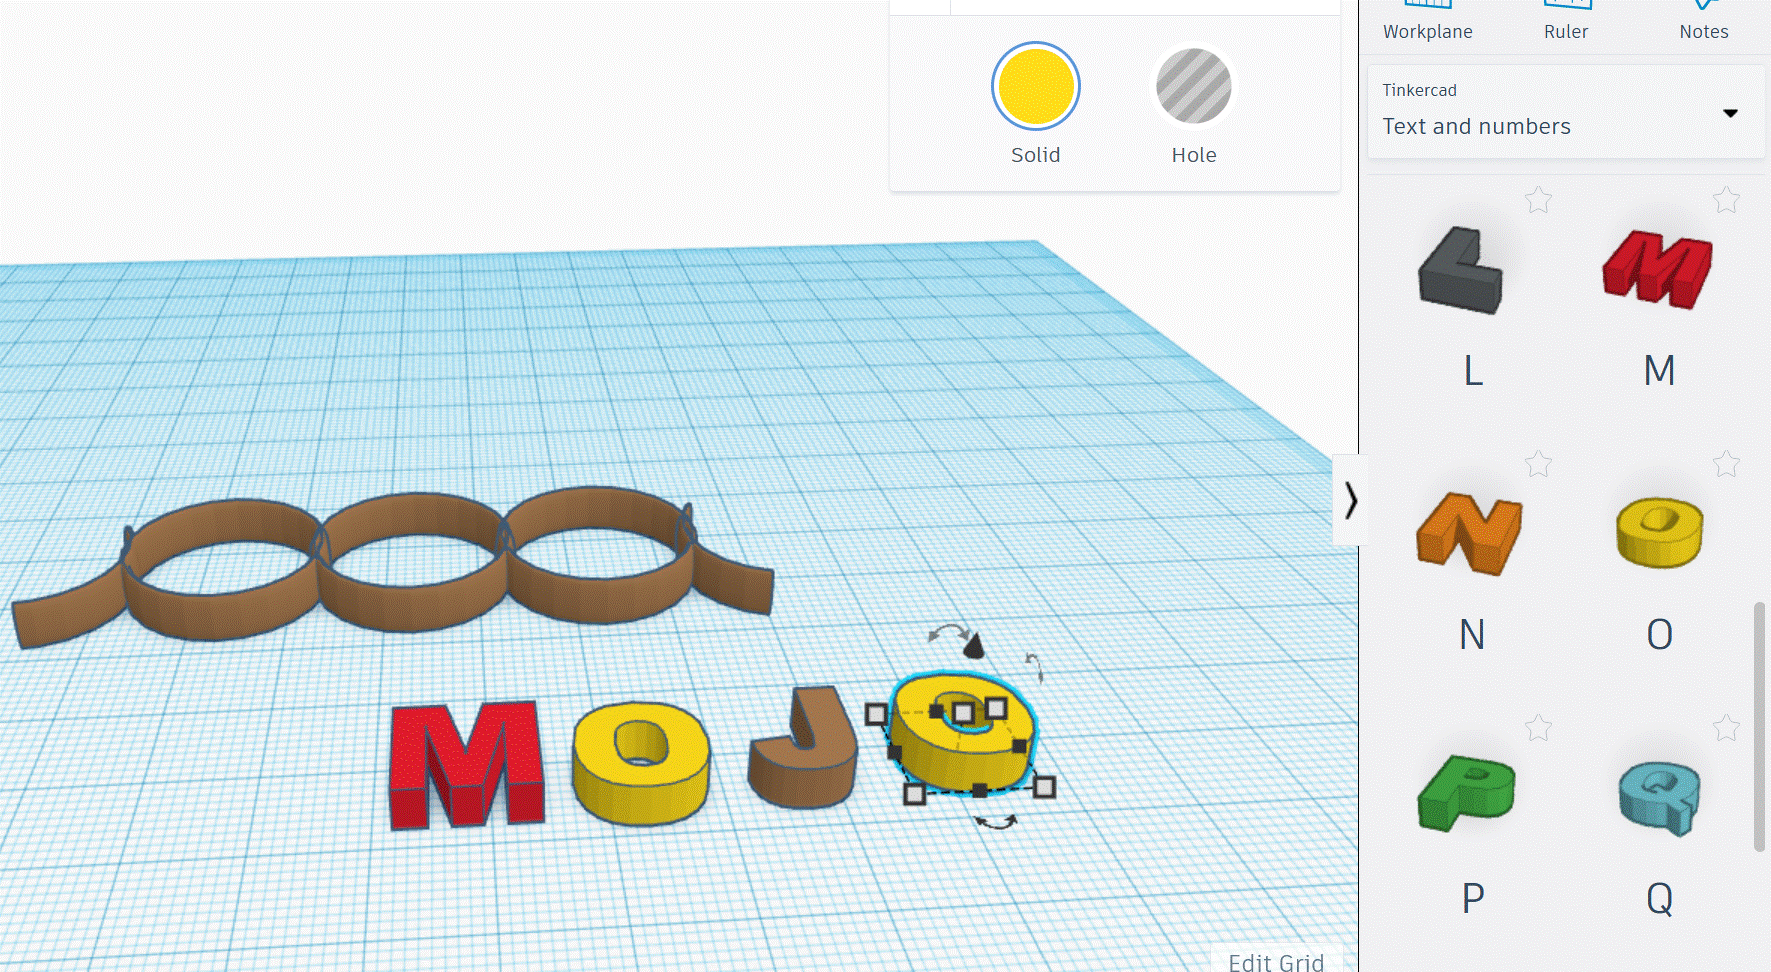
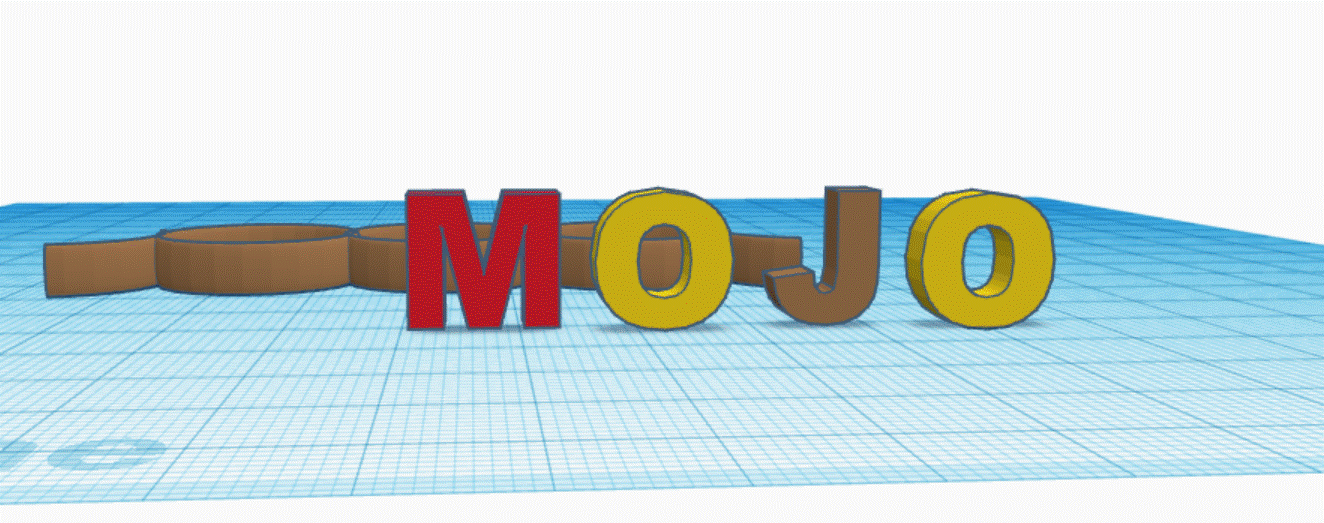
- Select the Text and Numbers drop down menu on the right side of your TinkerCad window
- Drag and drop the 4 letters onto the Workplane
- Map out how large you want the letters to be on your hand, and resize the letters accordingly.
- Rotate the 4 letters by 90degrees so that they are standing up straight on the Workplane.
Affix Letters to the Rings & Adjust Letter Positions
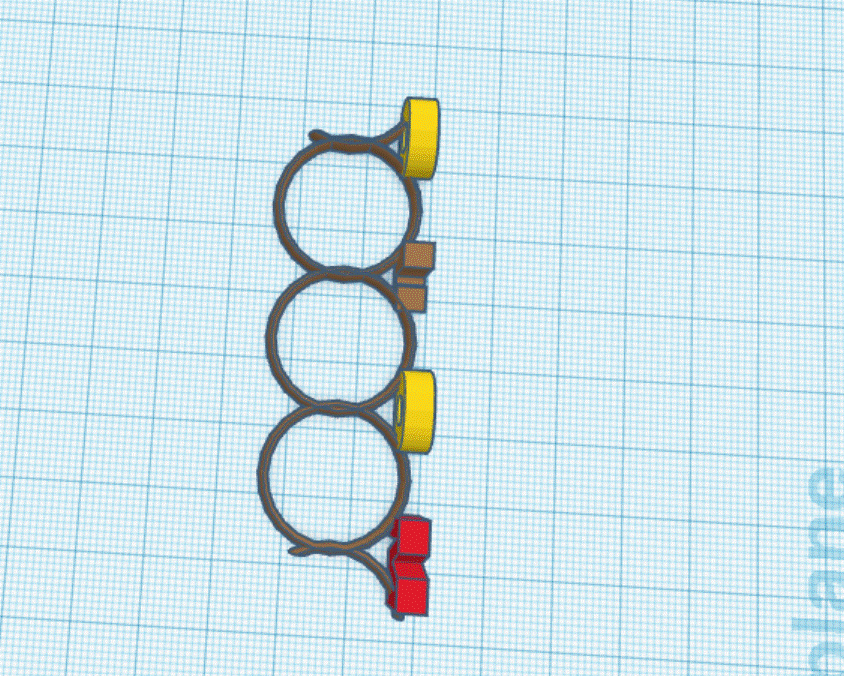

- Place the standing letters next to the rings.
- Make sure that letters physically intersect with the rings as much as possible, to ensure that the letters don't break off the ring.
- Position the Workplane so that you can read the letters head on.
- Adjust the spacing between the letters to your liking.
Congratulations! You're Ready to Print Your Ring!
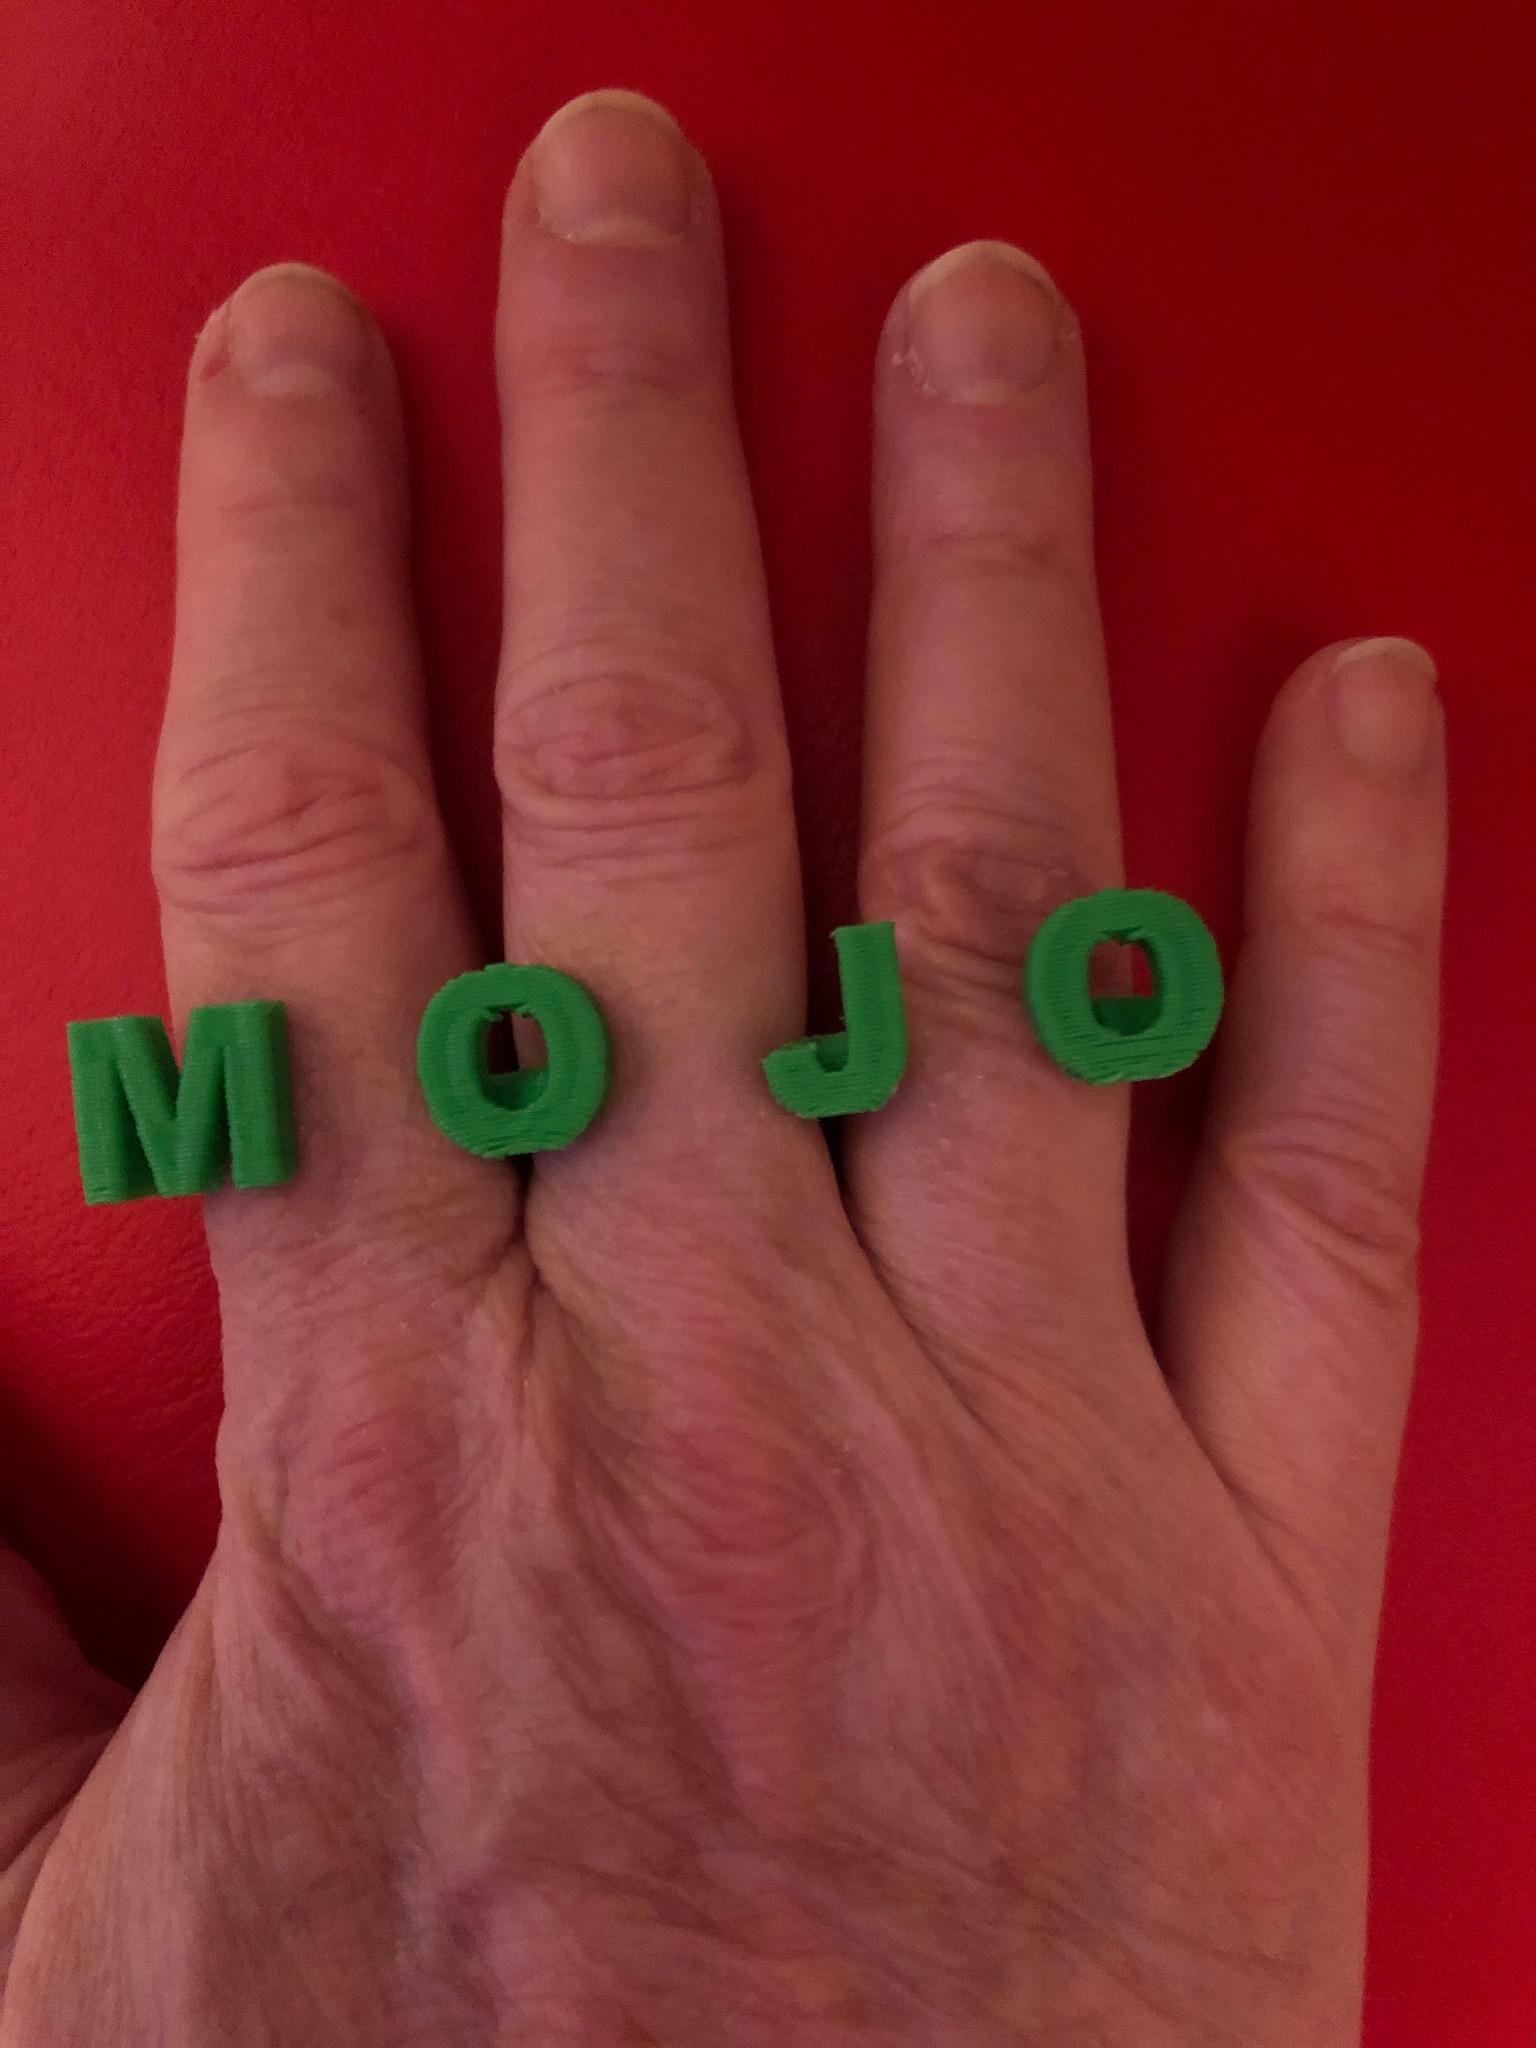
- It may take a few iterations of redesigning and printing the ring to get the exact proportions that you want.
- Once you've fine-tuned the ring, use very fine sandpaper to smooth out any rough or pointy parts on the ring.