YouTube Subscriber Counter Using an E-Paper Display and Raspberry Pi Zero W
by thediylife in Circuits > Raspberry Pi
6892 Views, 96 Favorites, 0 Comments
YouTube Subscriber Counter Using an E-Paper Display and Raspberry Pi Zero W
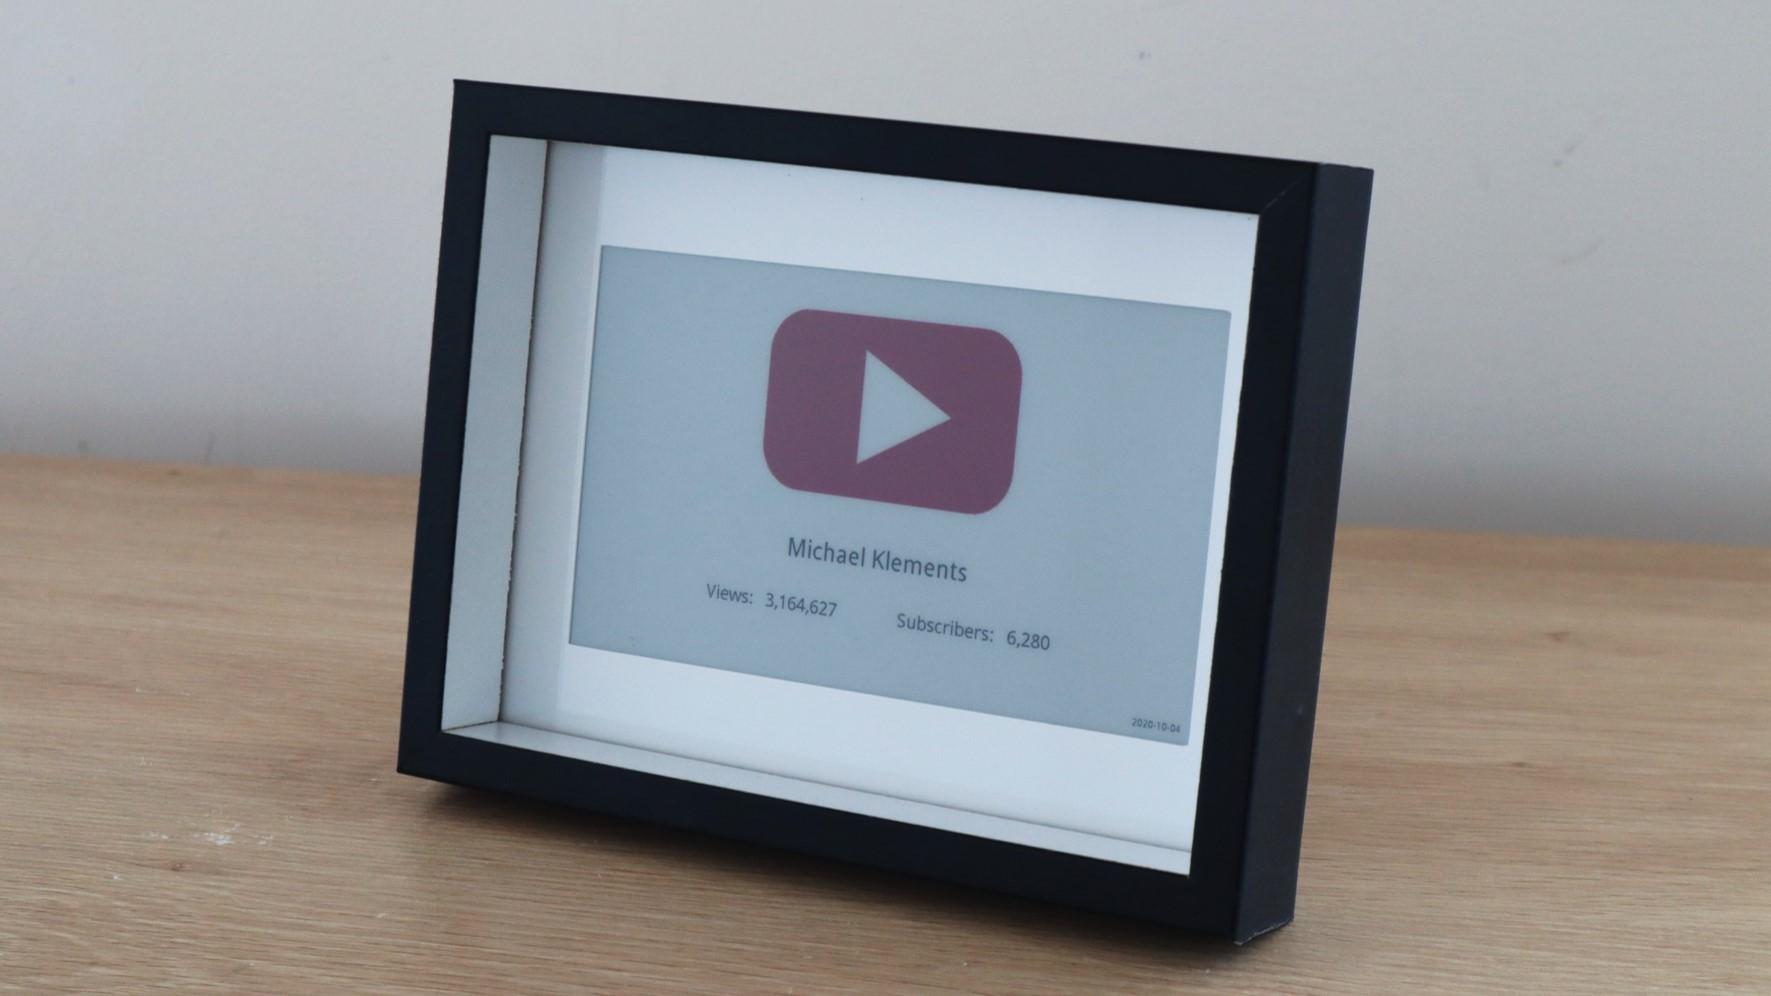
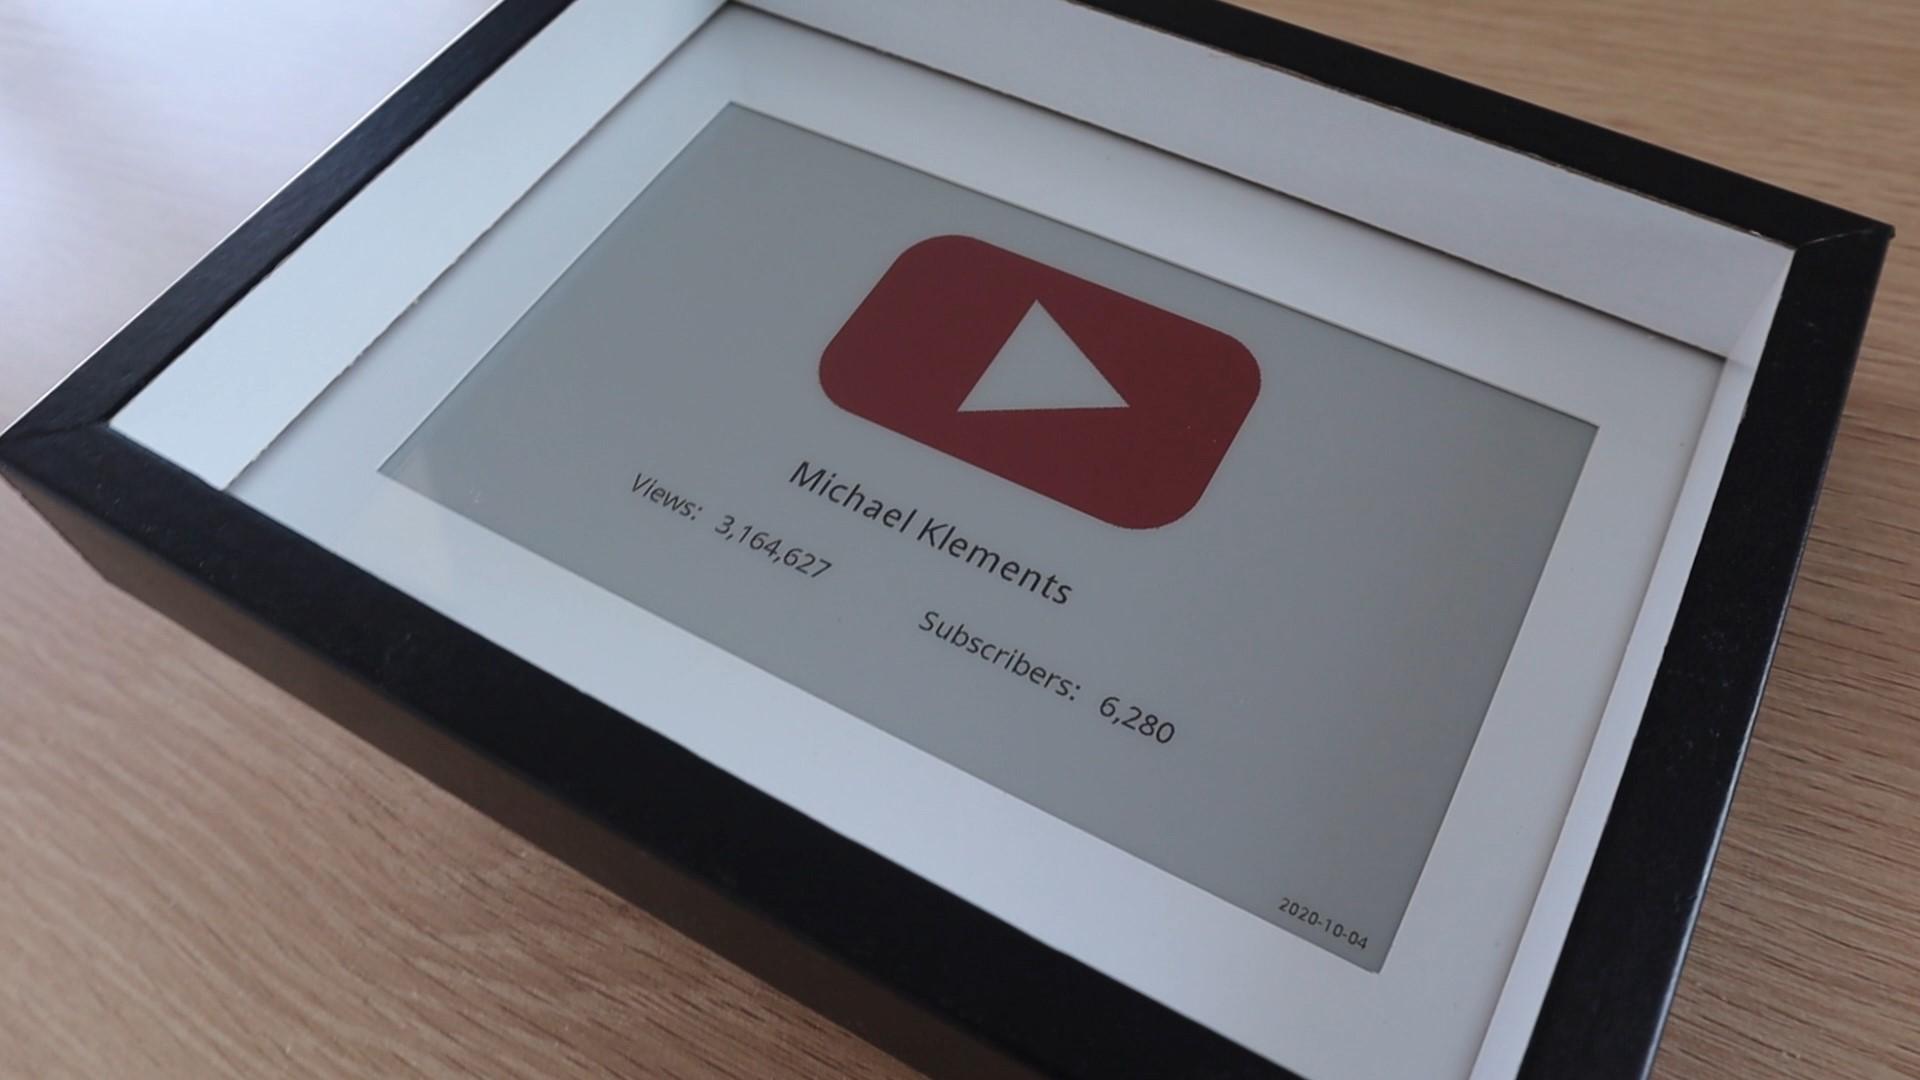
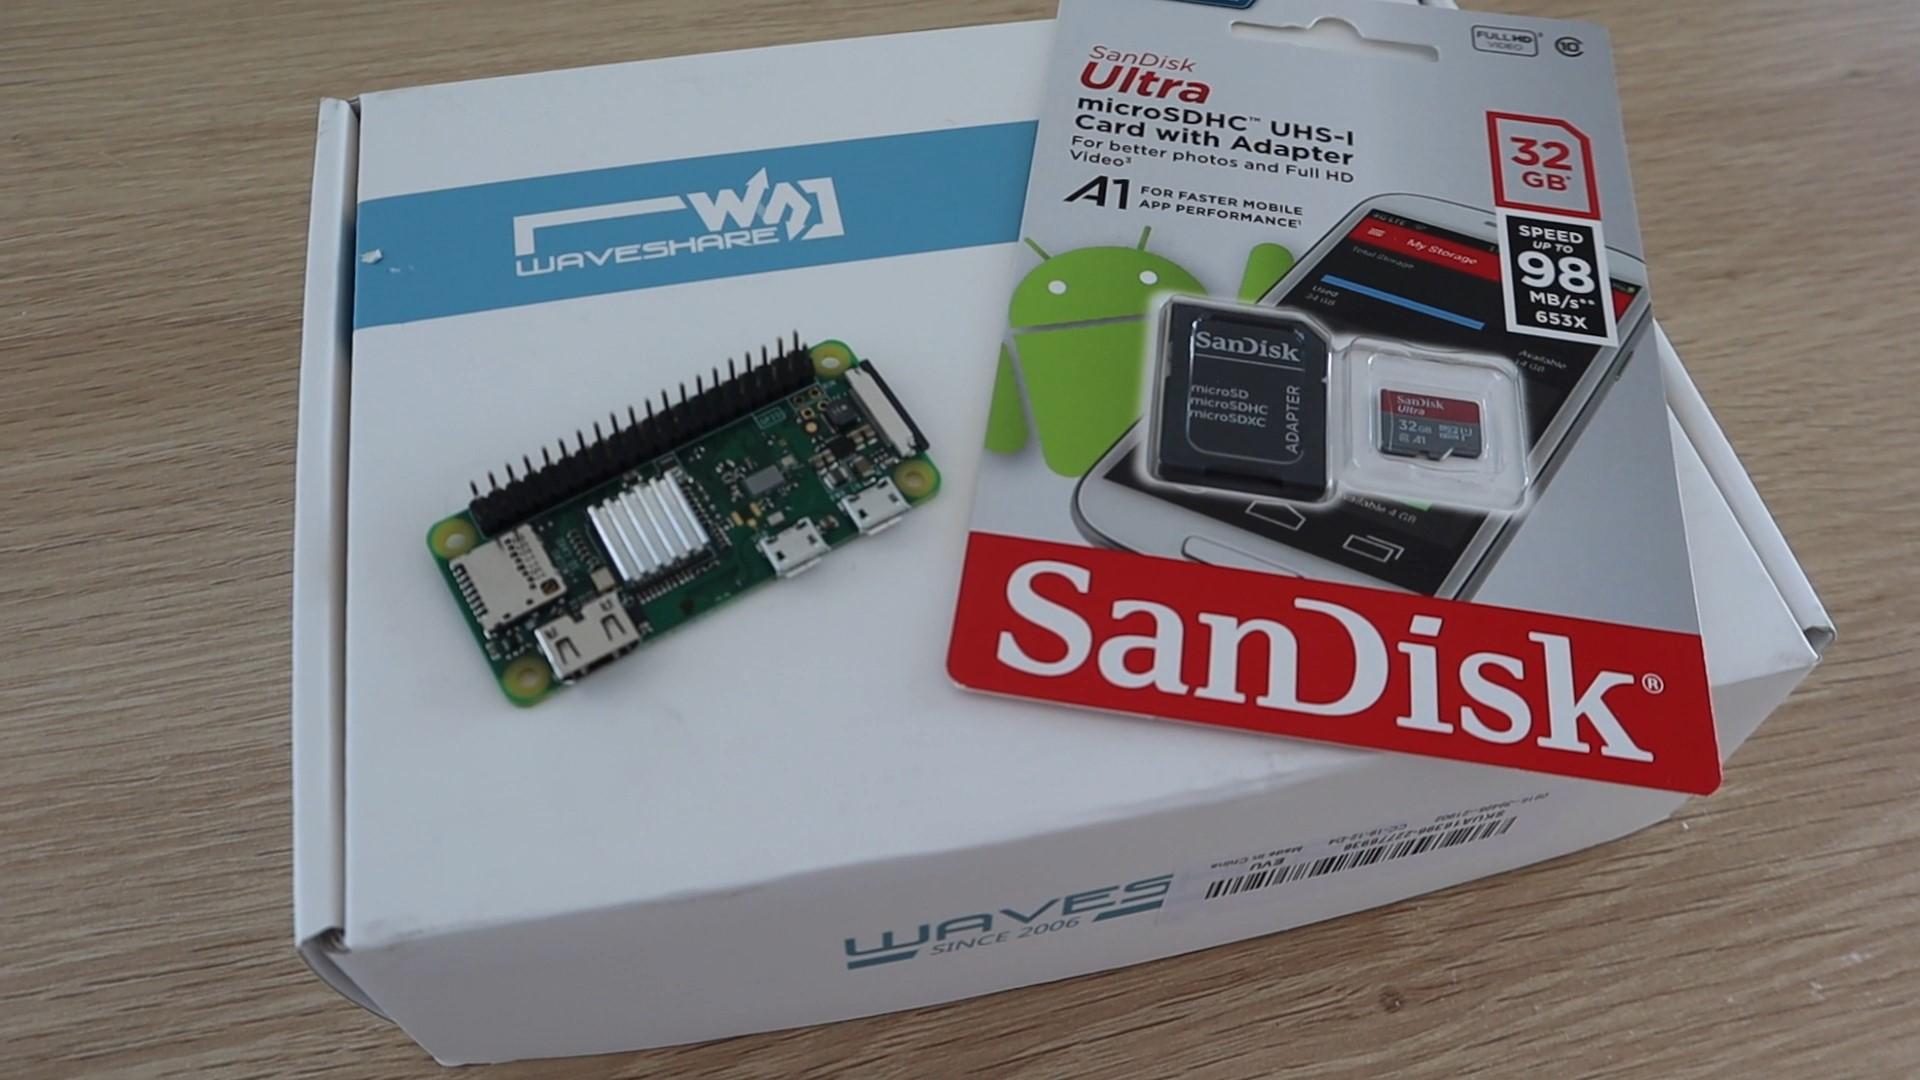
In this Instructable, I'll show you how to build your own Youtube Subscriber Counter using an e-paper display, and a Raspberry Pi Zero W to query the YouTube API and update the display. E-paper displays are great for this type of project as they have great readability, even in bright sunlight, and can be viewed from almost any angle, like paper.
The display should be updated a minimum of once per day to prevent burn-in on the display, but I've set mine to update every three hours.
This counter uses very little power as the display is only powered when it is updated, the rest of the time it is essentially off. The Raspberry Pi Zero W runs continuously on the back of the frame and uses around 0.6W while idle.
Supplies
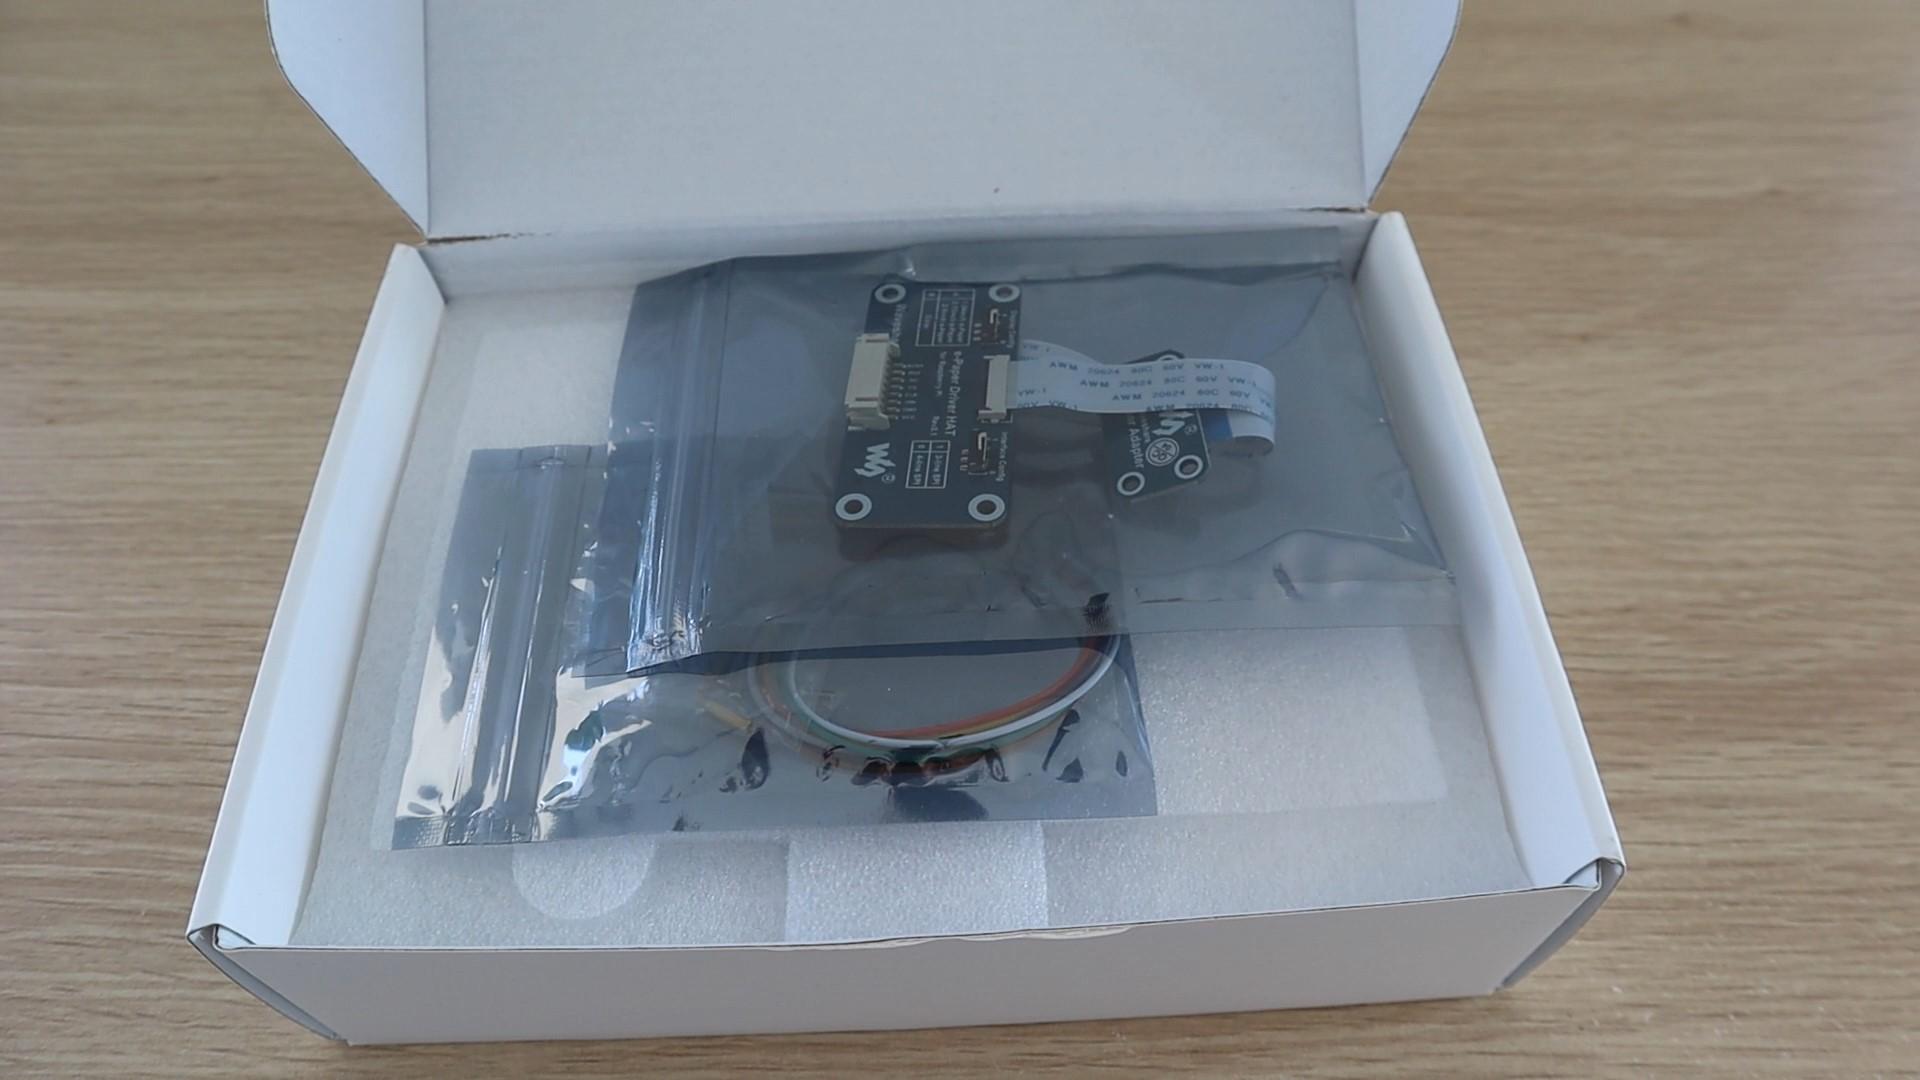
All you need for this project is a Raspberry Pi Zero W, an SD card and a Waveshare E-Ink Display, make sure that you order the display which includes the hat display controller for the Raspberry Pi. You'll also need a frame or shadow box to build the display into.
Prepare Your Electronics
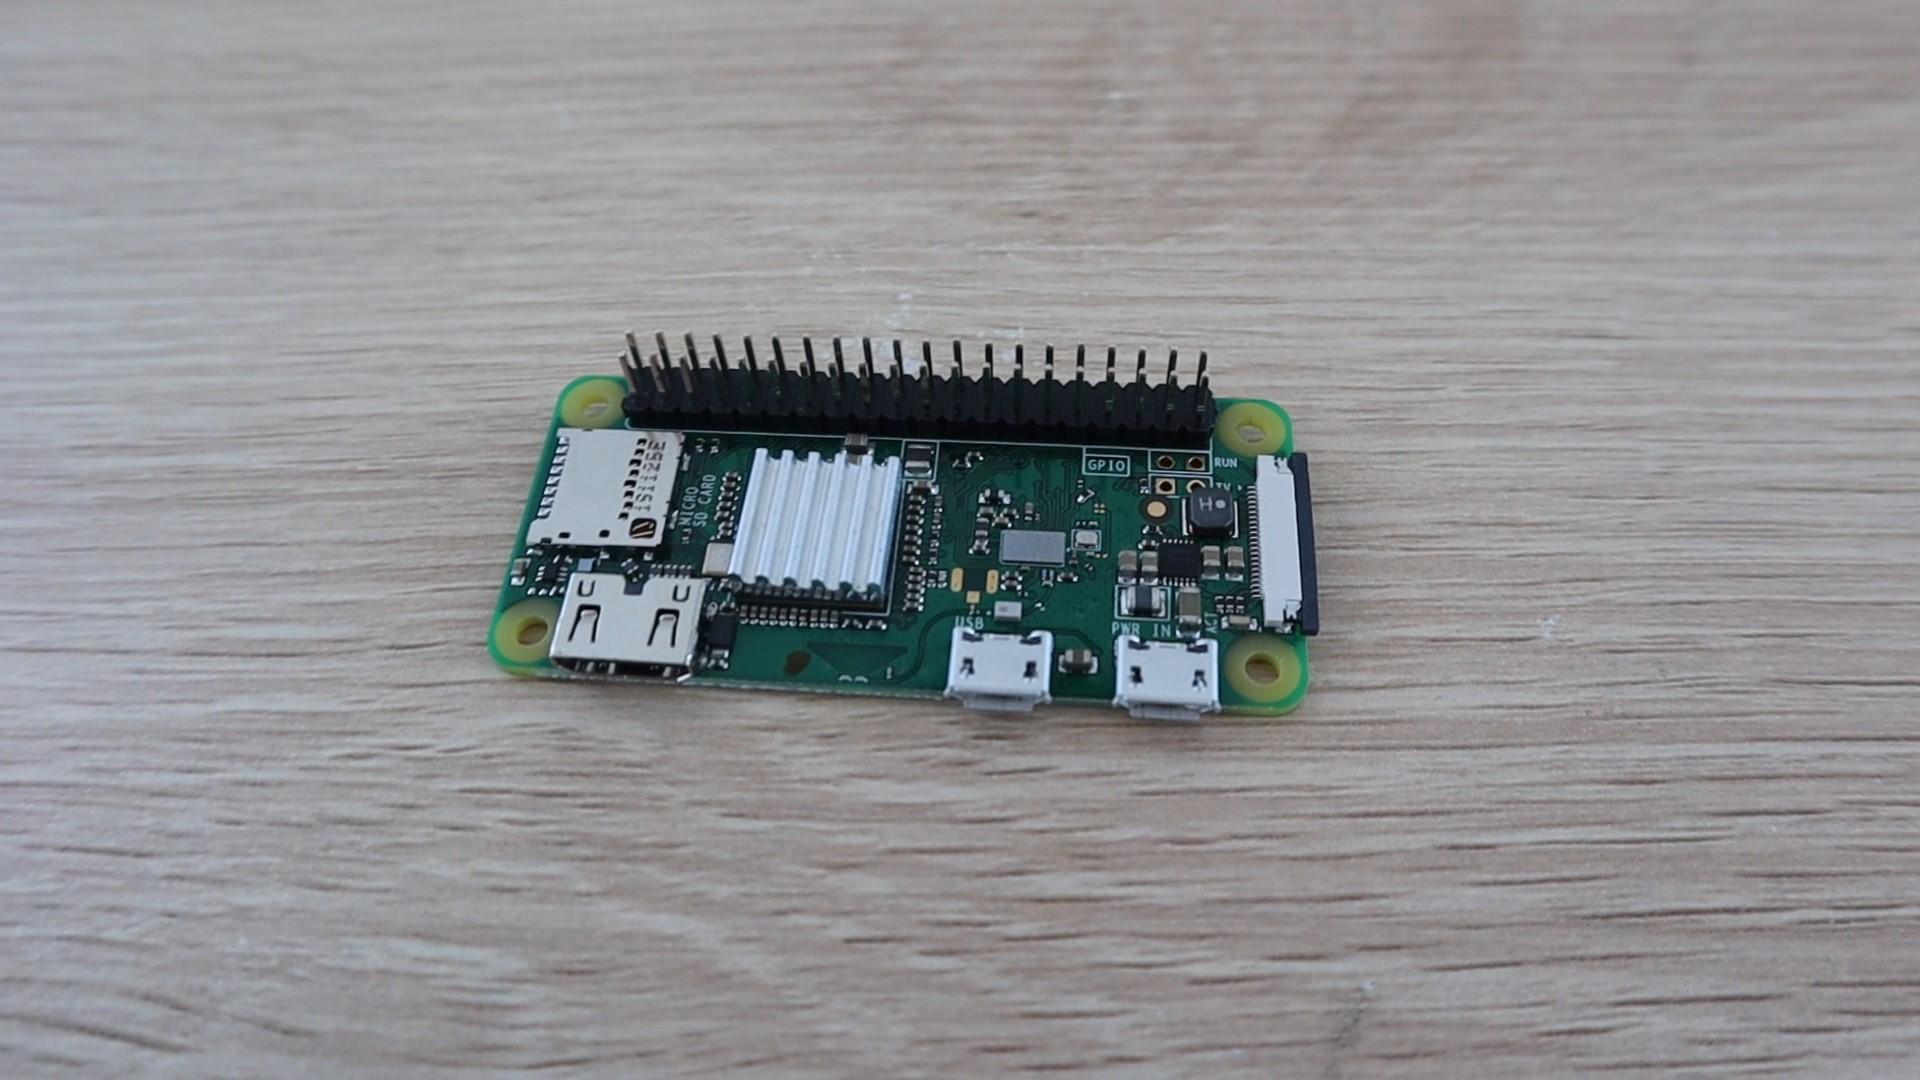
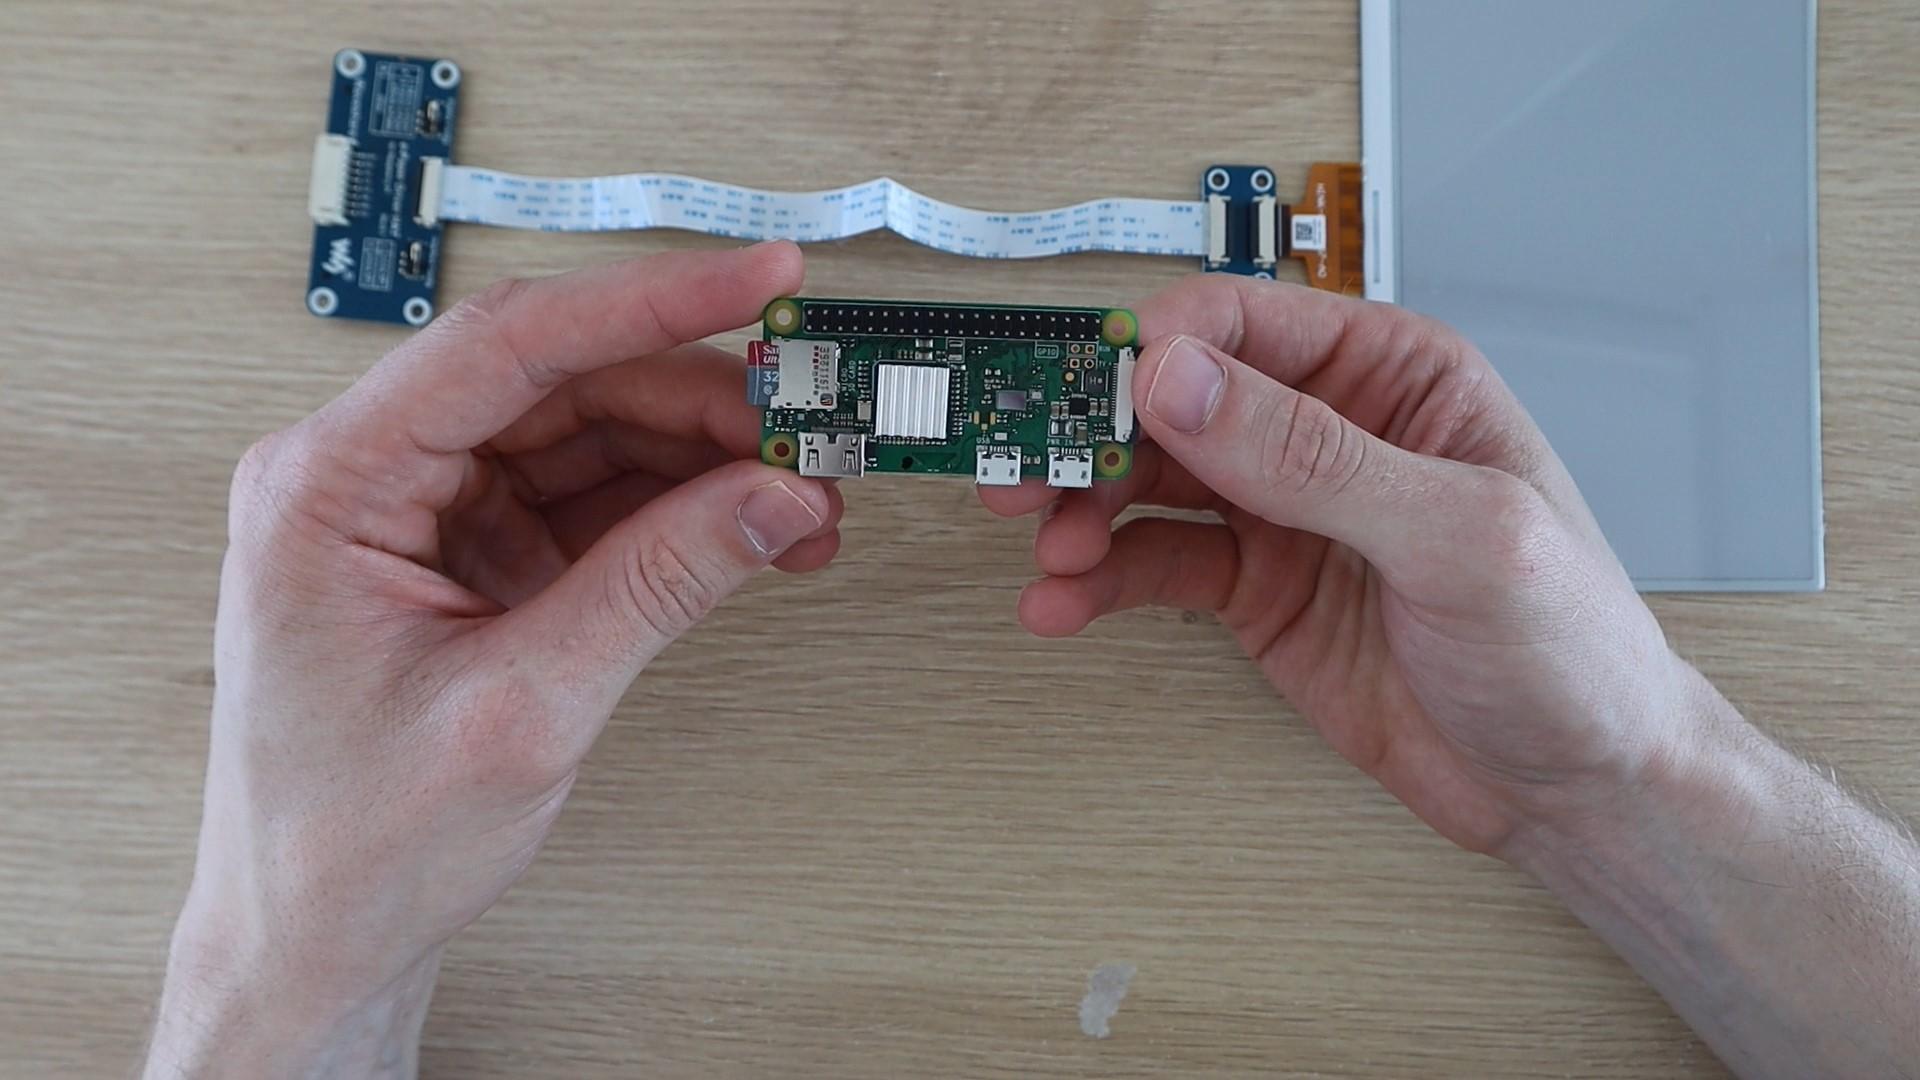
Start off by soldering your header pins onto your Raspberry Pi Zero W if they weren't already installed when you got it, and attach the heatsink if it came with one.
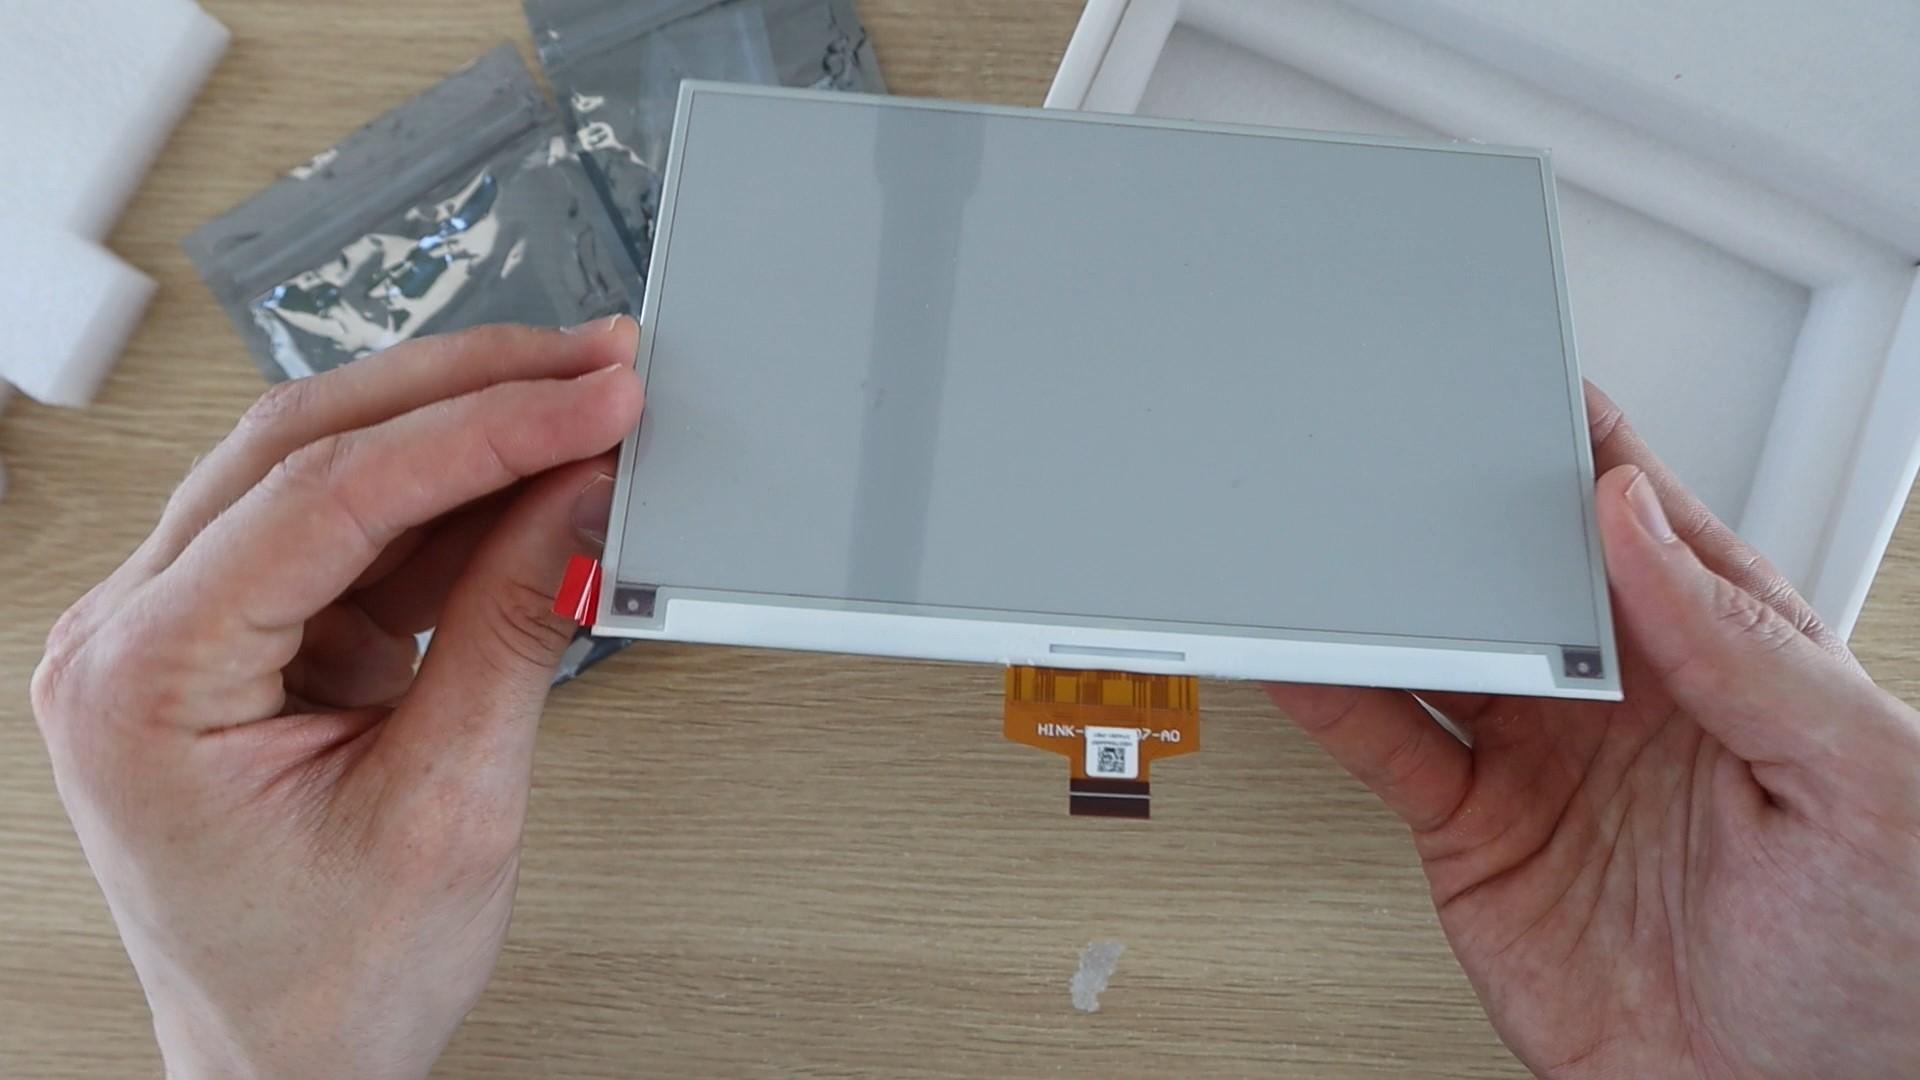
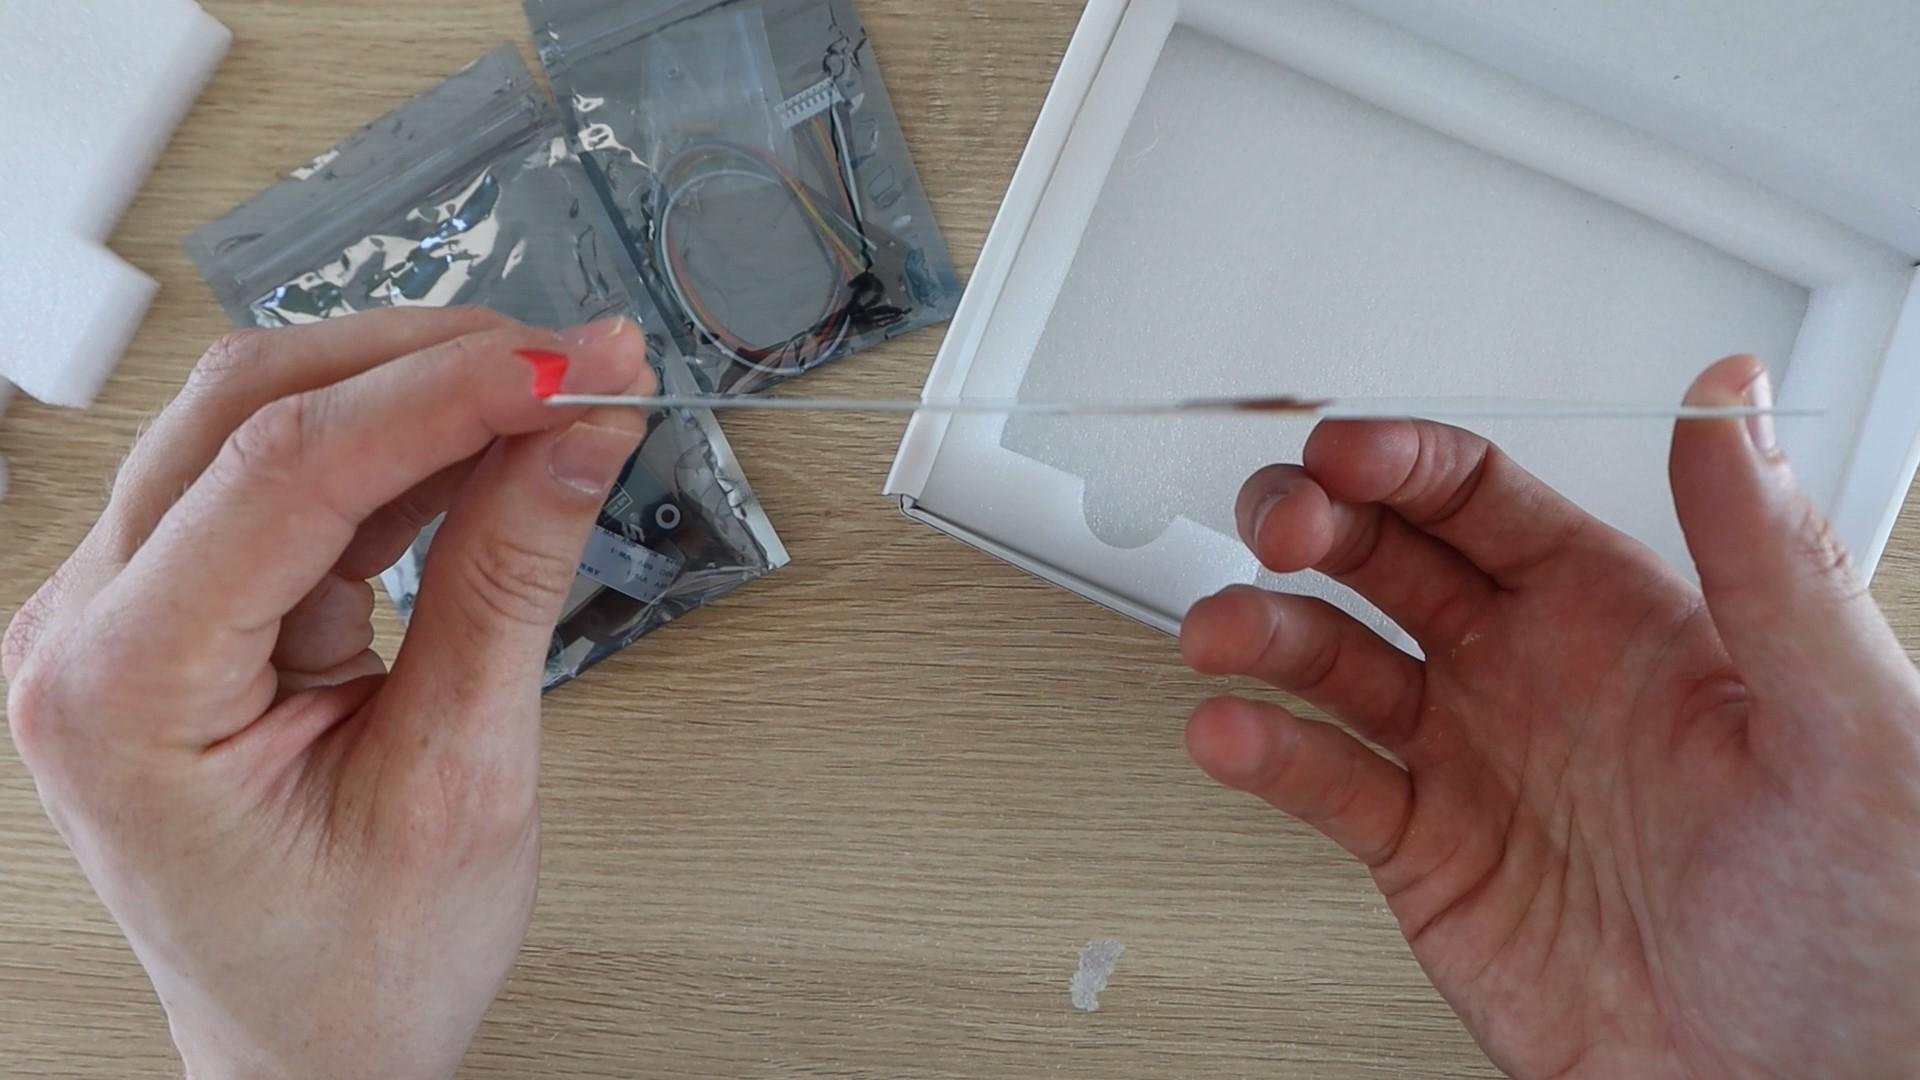
The display I've used is the Waveshare 7.5" HD 3 Colour E-Paper (Model B). They also made a two colour version and another three colour version with yellow instead of red, but the red works better for the YouTube play button. The display is really thin, perfect for mounting into a picture frame without having to modify the back panel significantly.
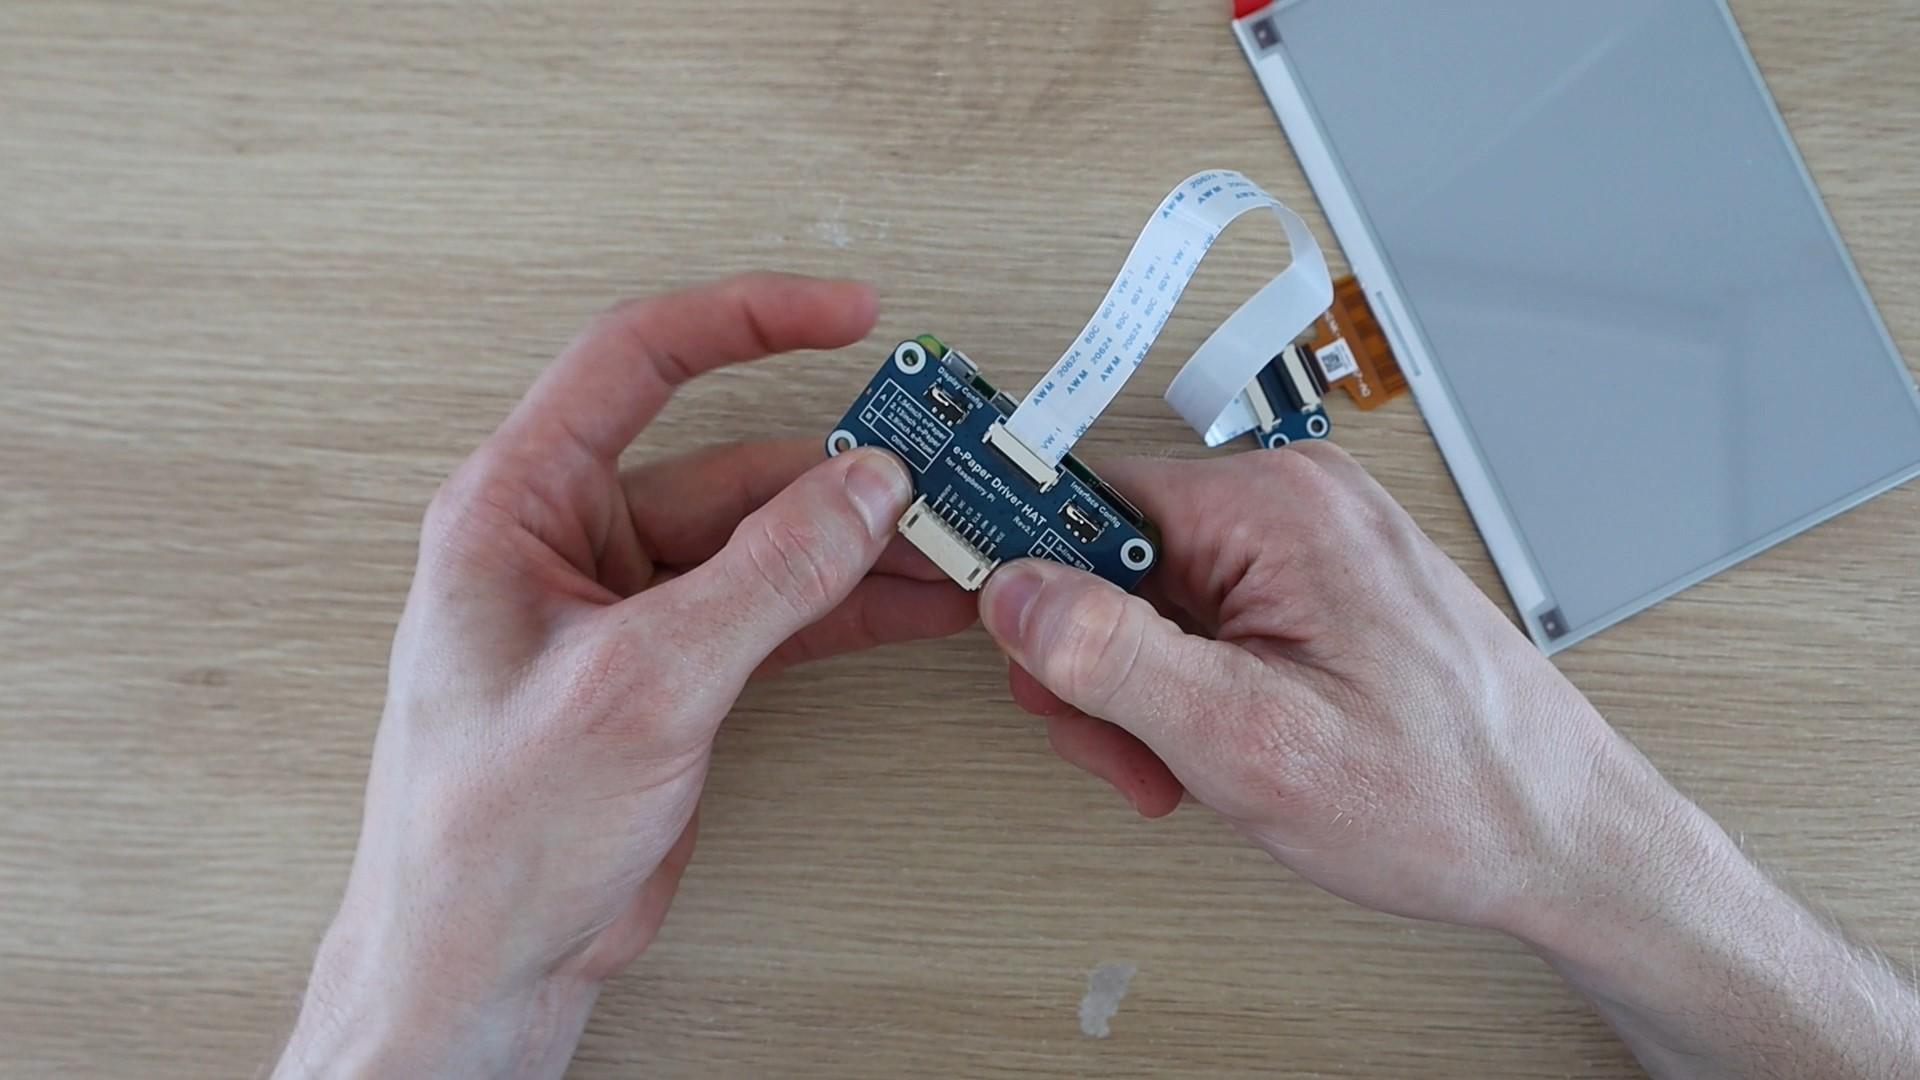
In the box, you'll get the SPI display controller, which is designed as a hat, ready to be plugged directly onto the Pi's GPIO pins, so you don't have to do any more soldering.
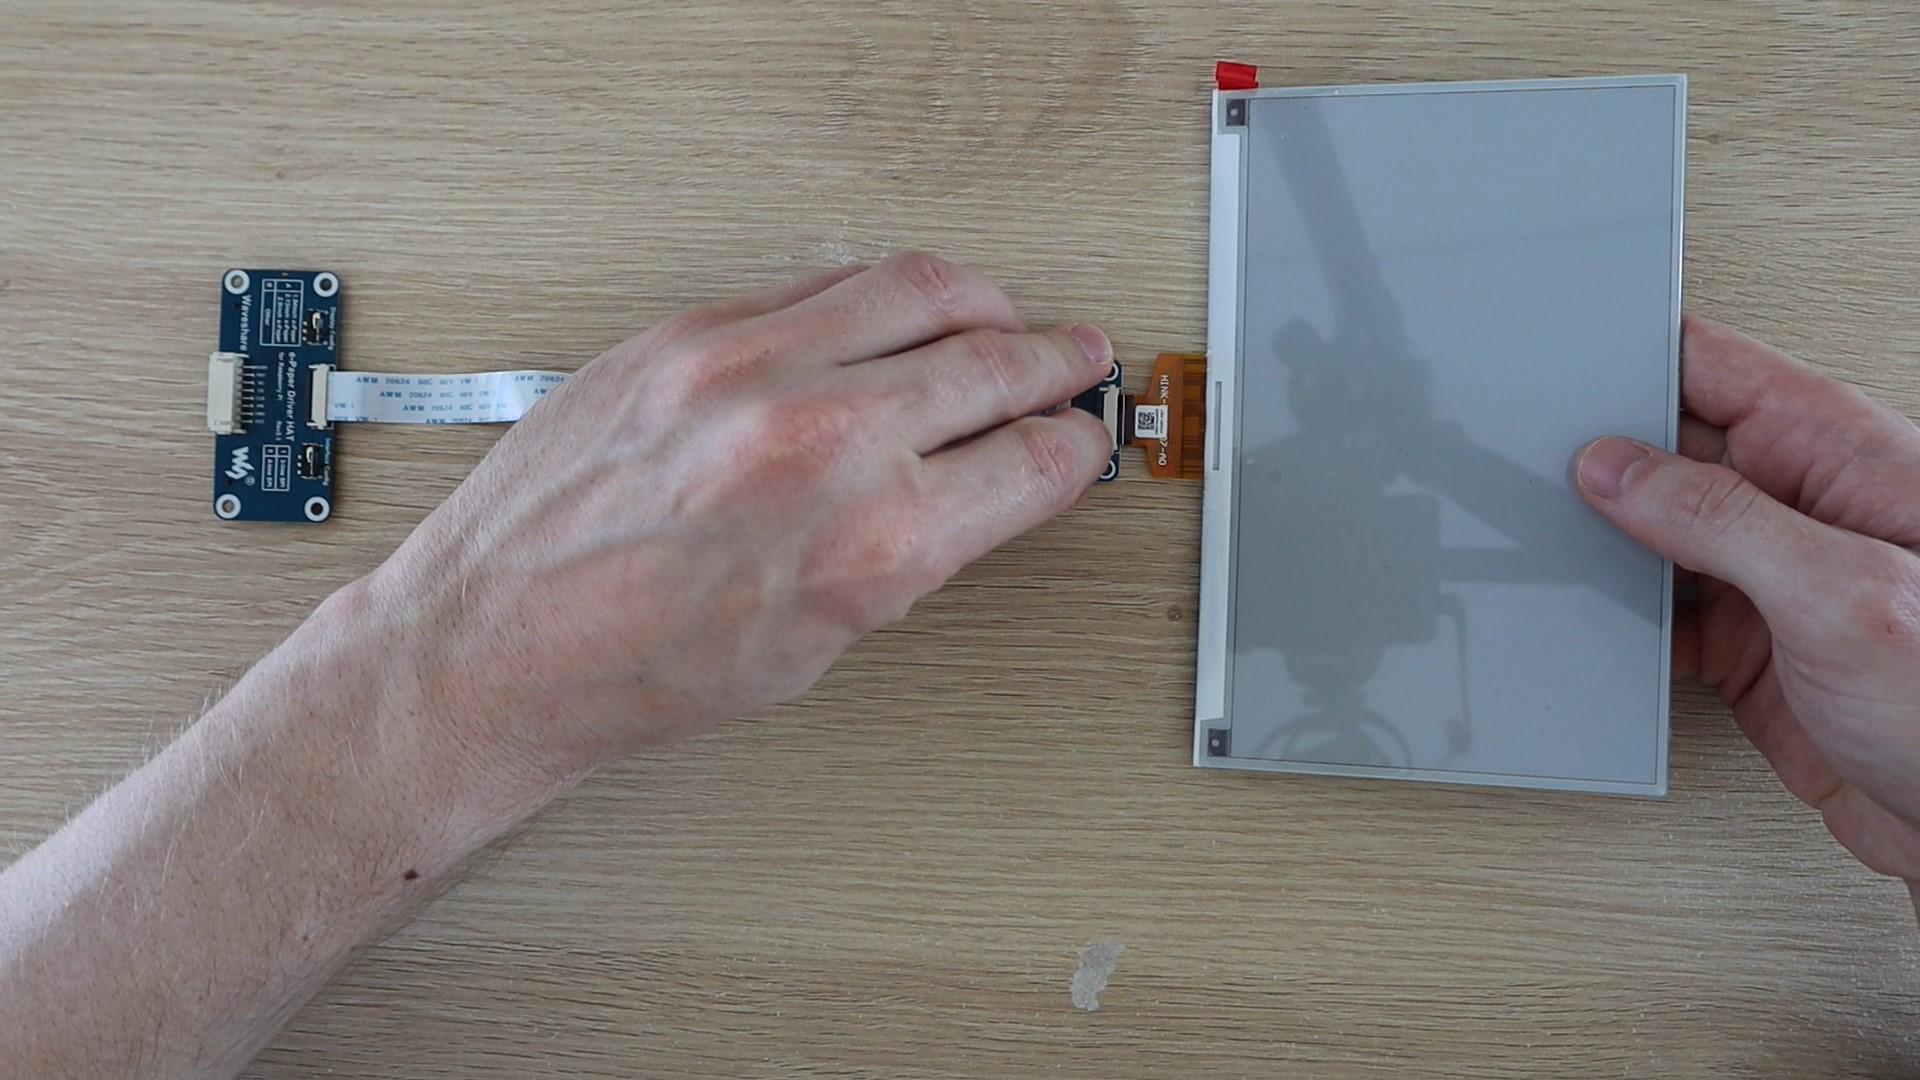
Plug the display's ribbon cable into the controller connector by lifting the black tab, pushing the ribbon cable into the connector and then pushing the black tab down again to lock it into place.
Your SD card can be plugged into your Pi if it is preloaded with Raspberry Pi OS, else keep it aside until you've loaded the software.
Lastly, plug the hat onto the Pi.
You're now ready to test your display. A great place to start is with the Waveshare 7.5" E-Paper Wiki, they've got some good instructions to get started and some example code as well.
If you don't want to play around with the examples, we'll look at the programming and set up in the coming steps.
Modify the Display Box
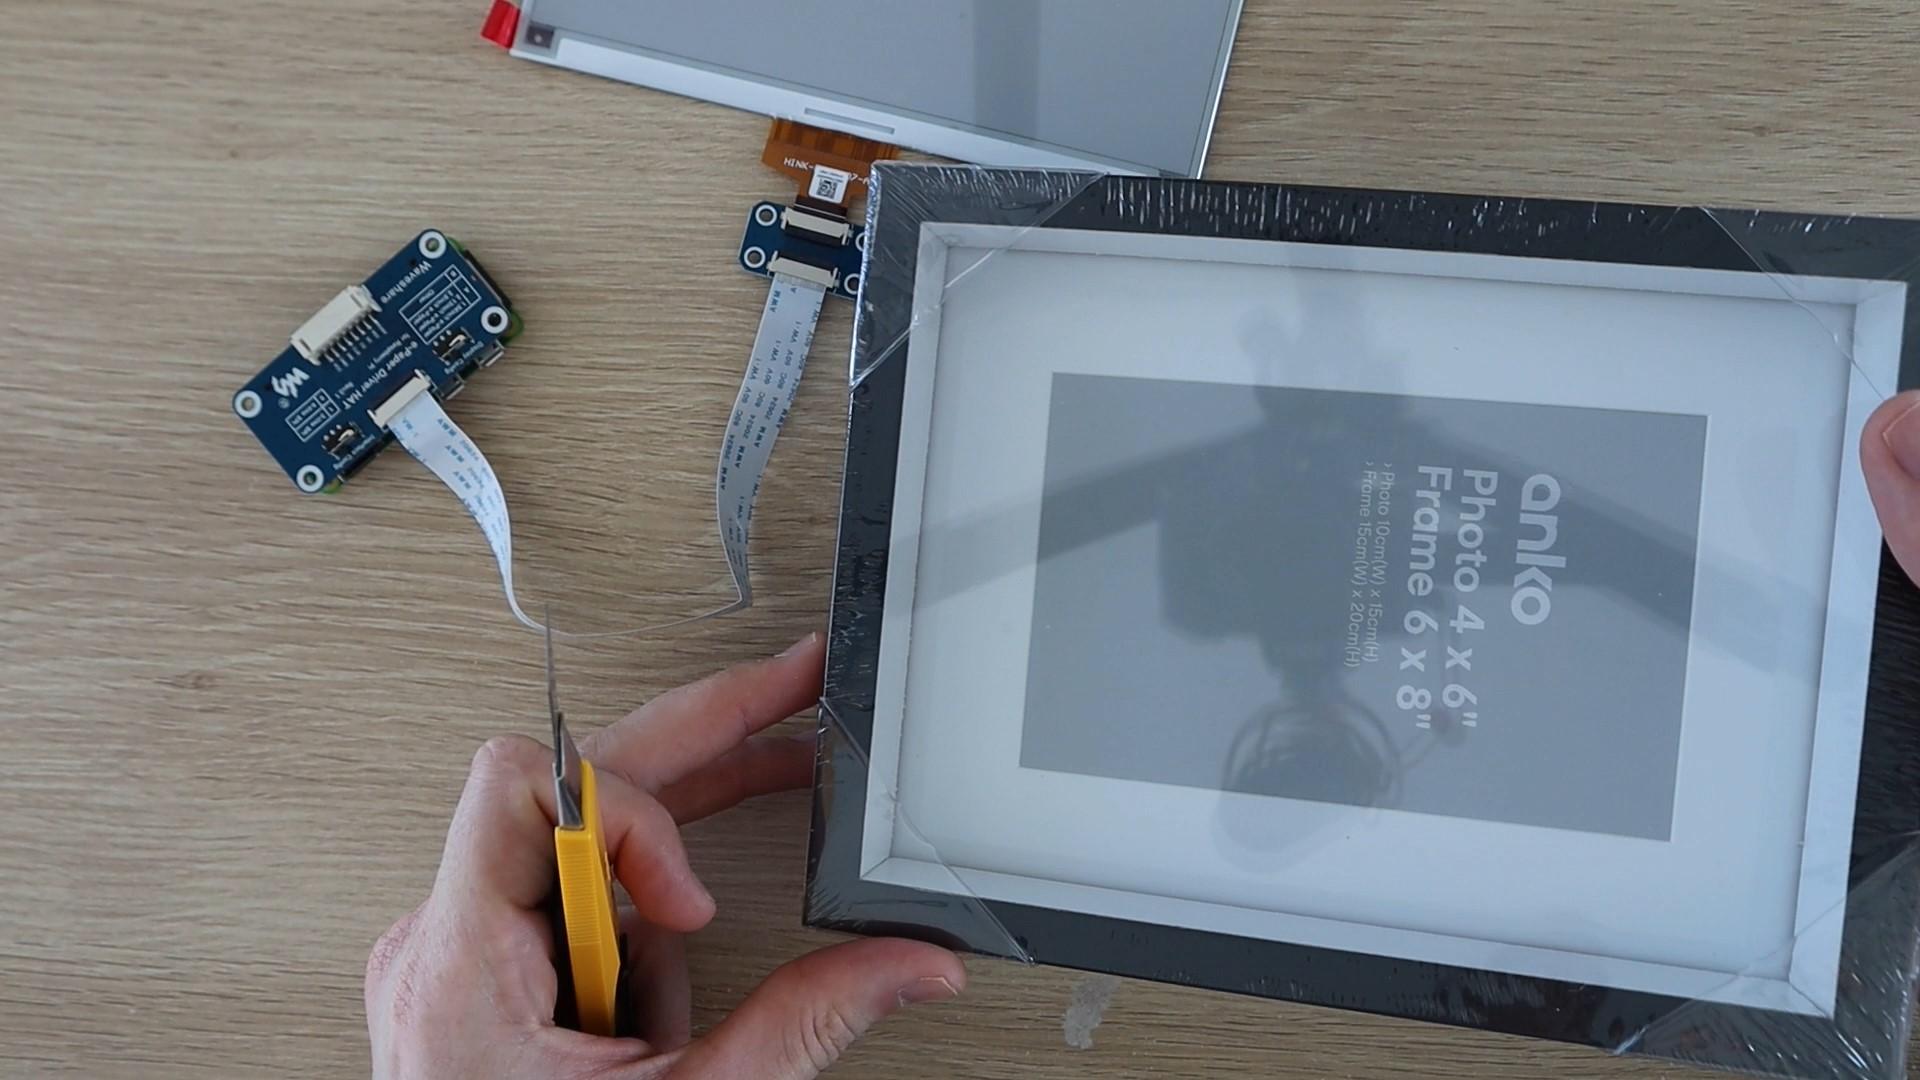
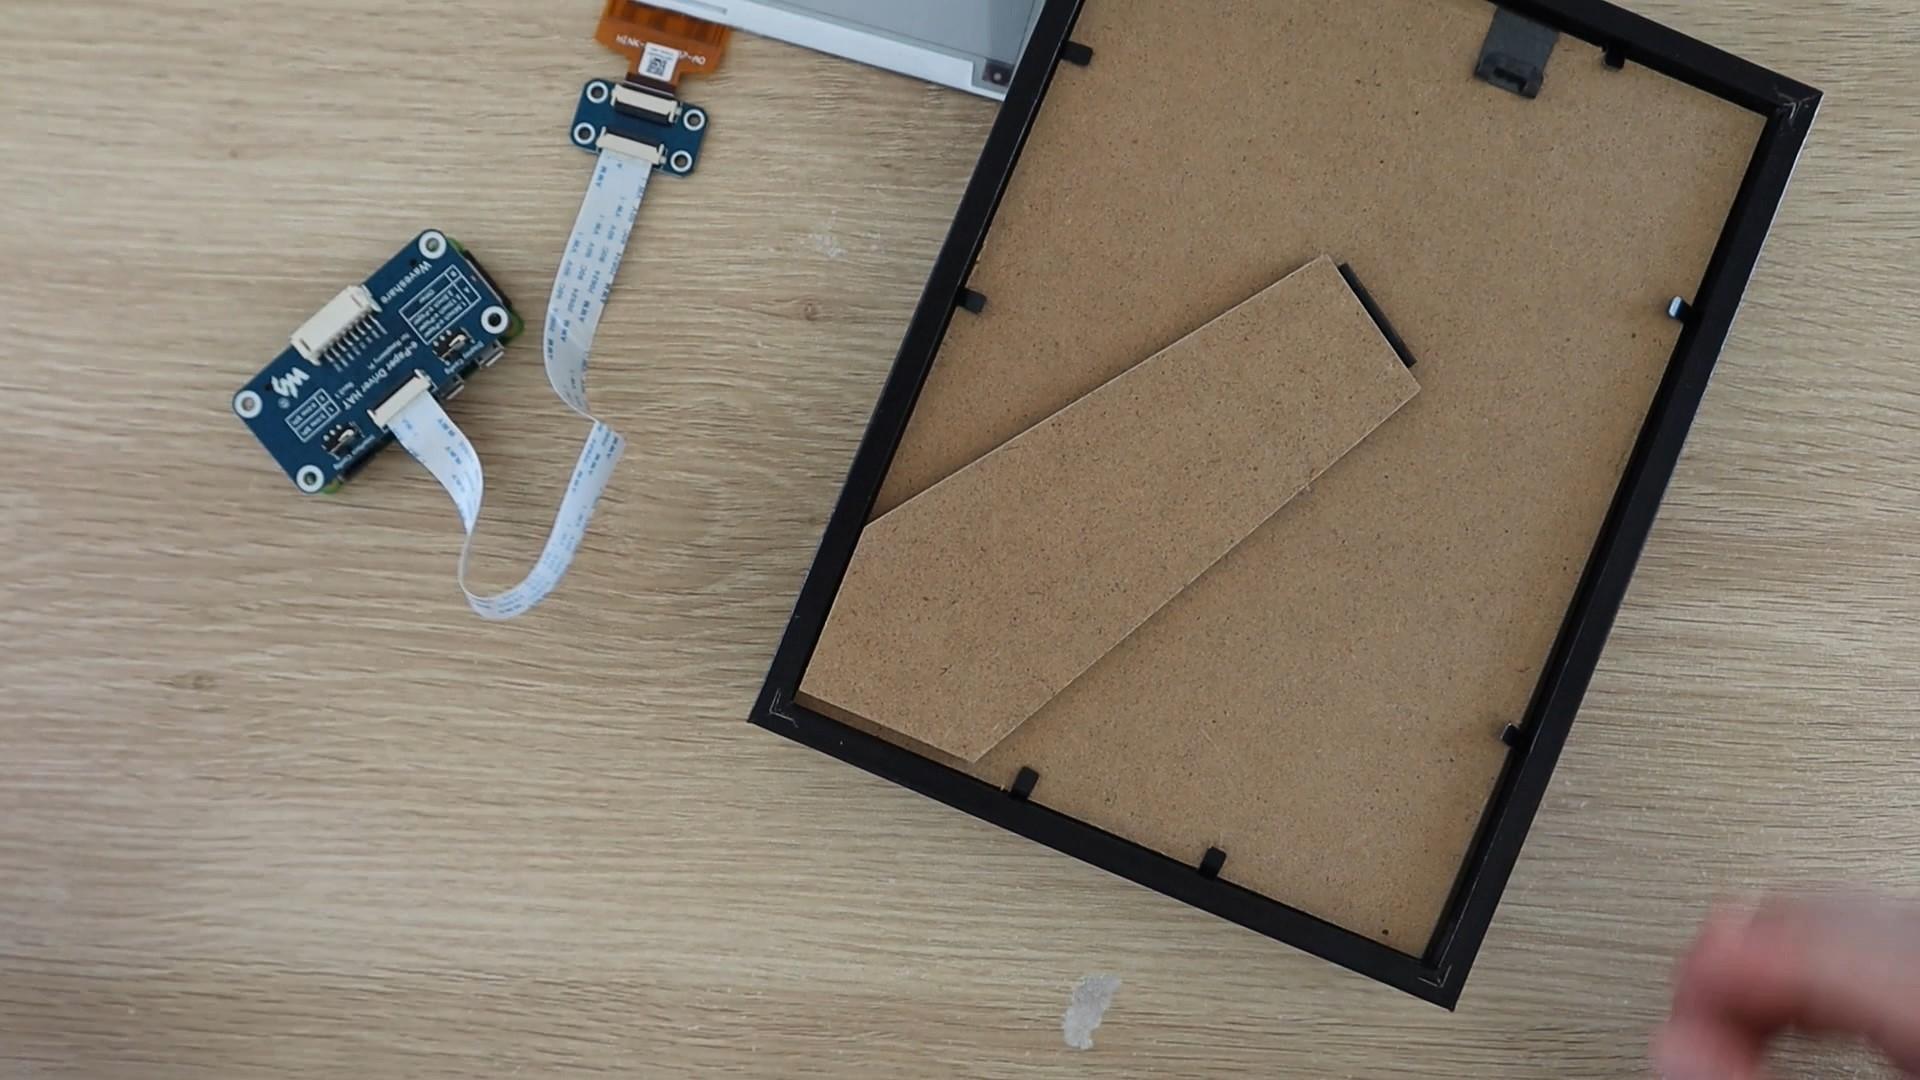
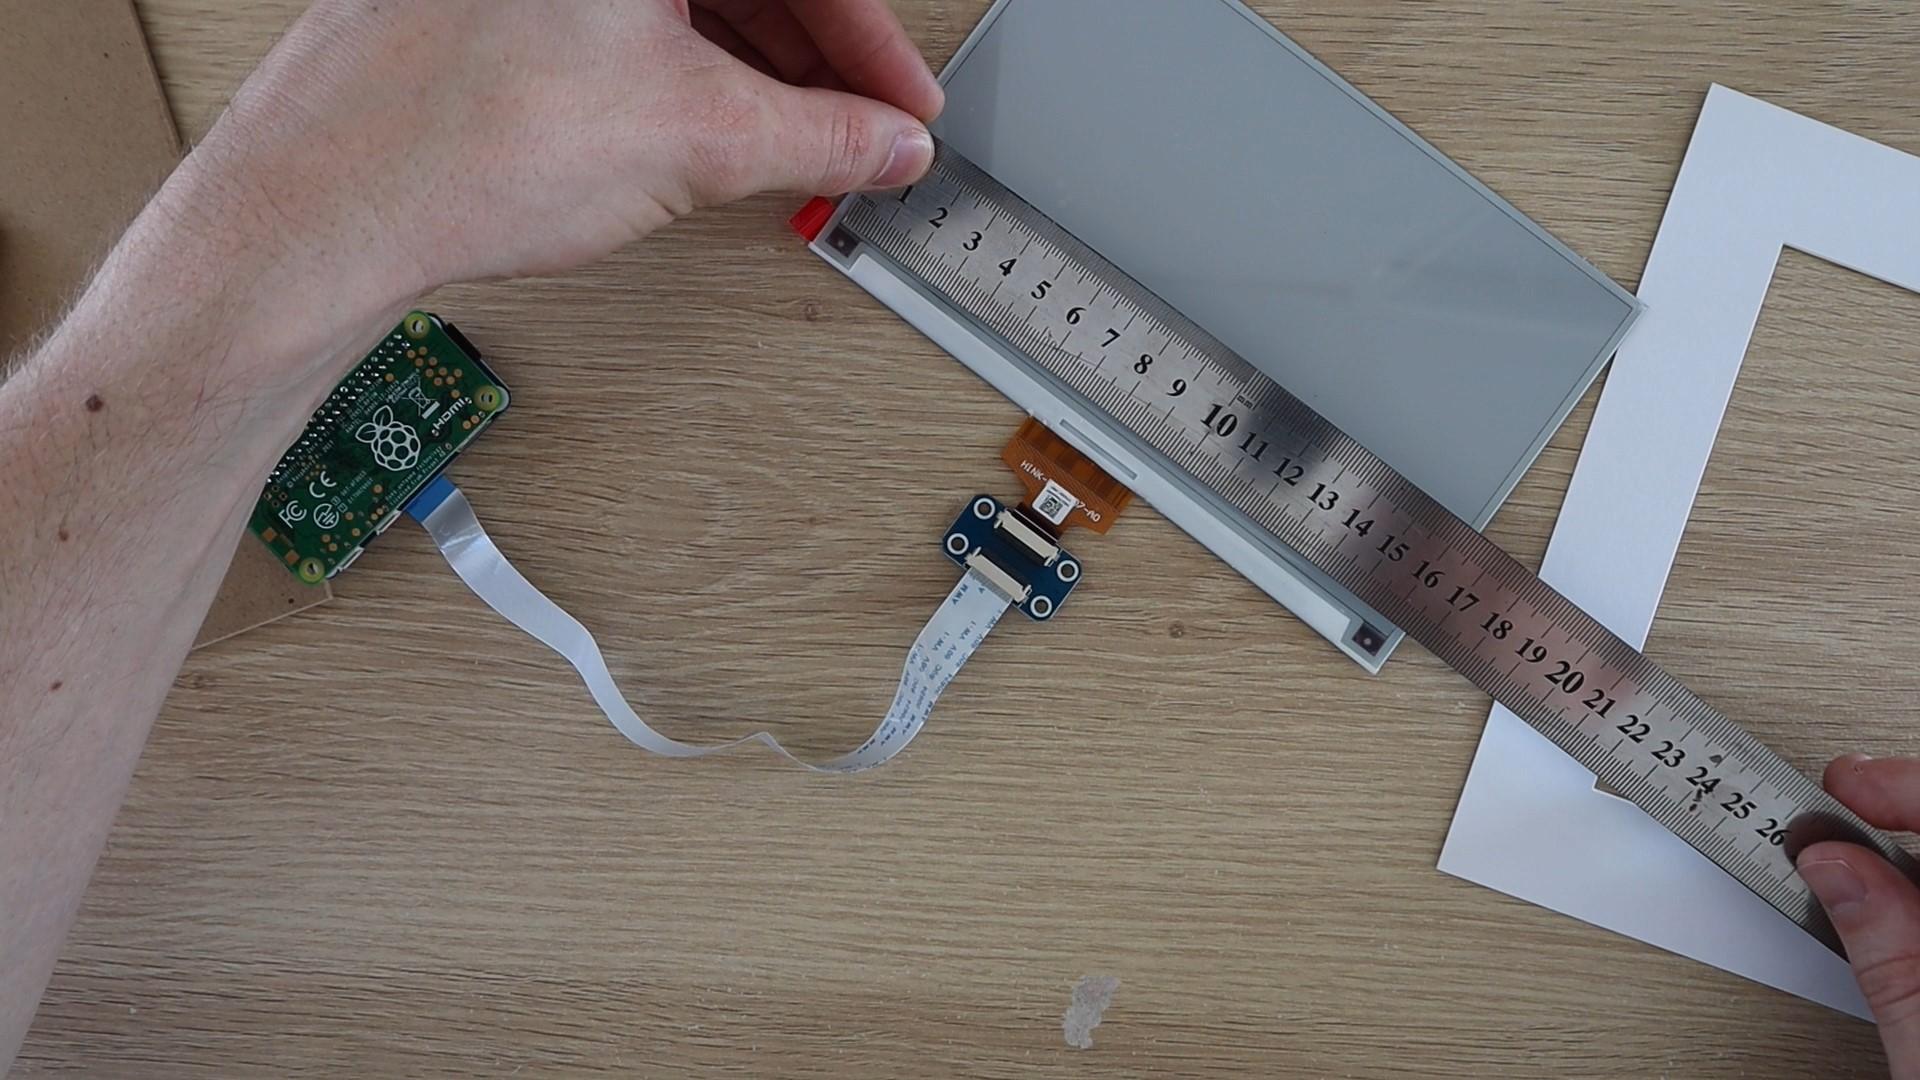
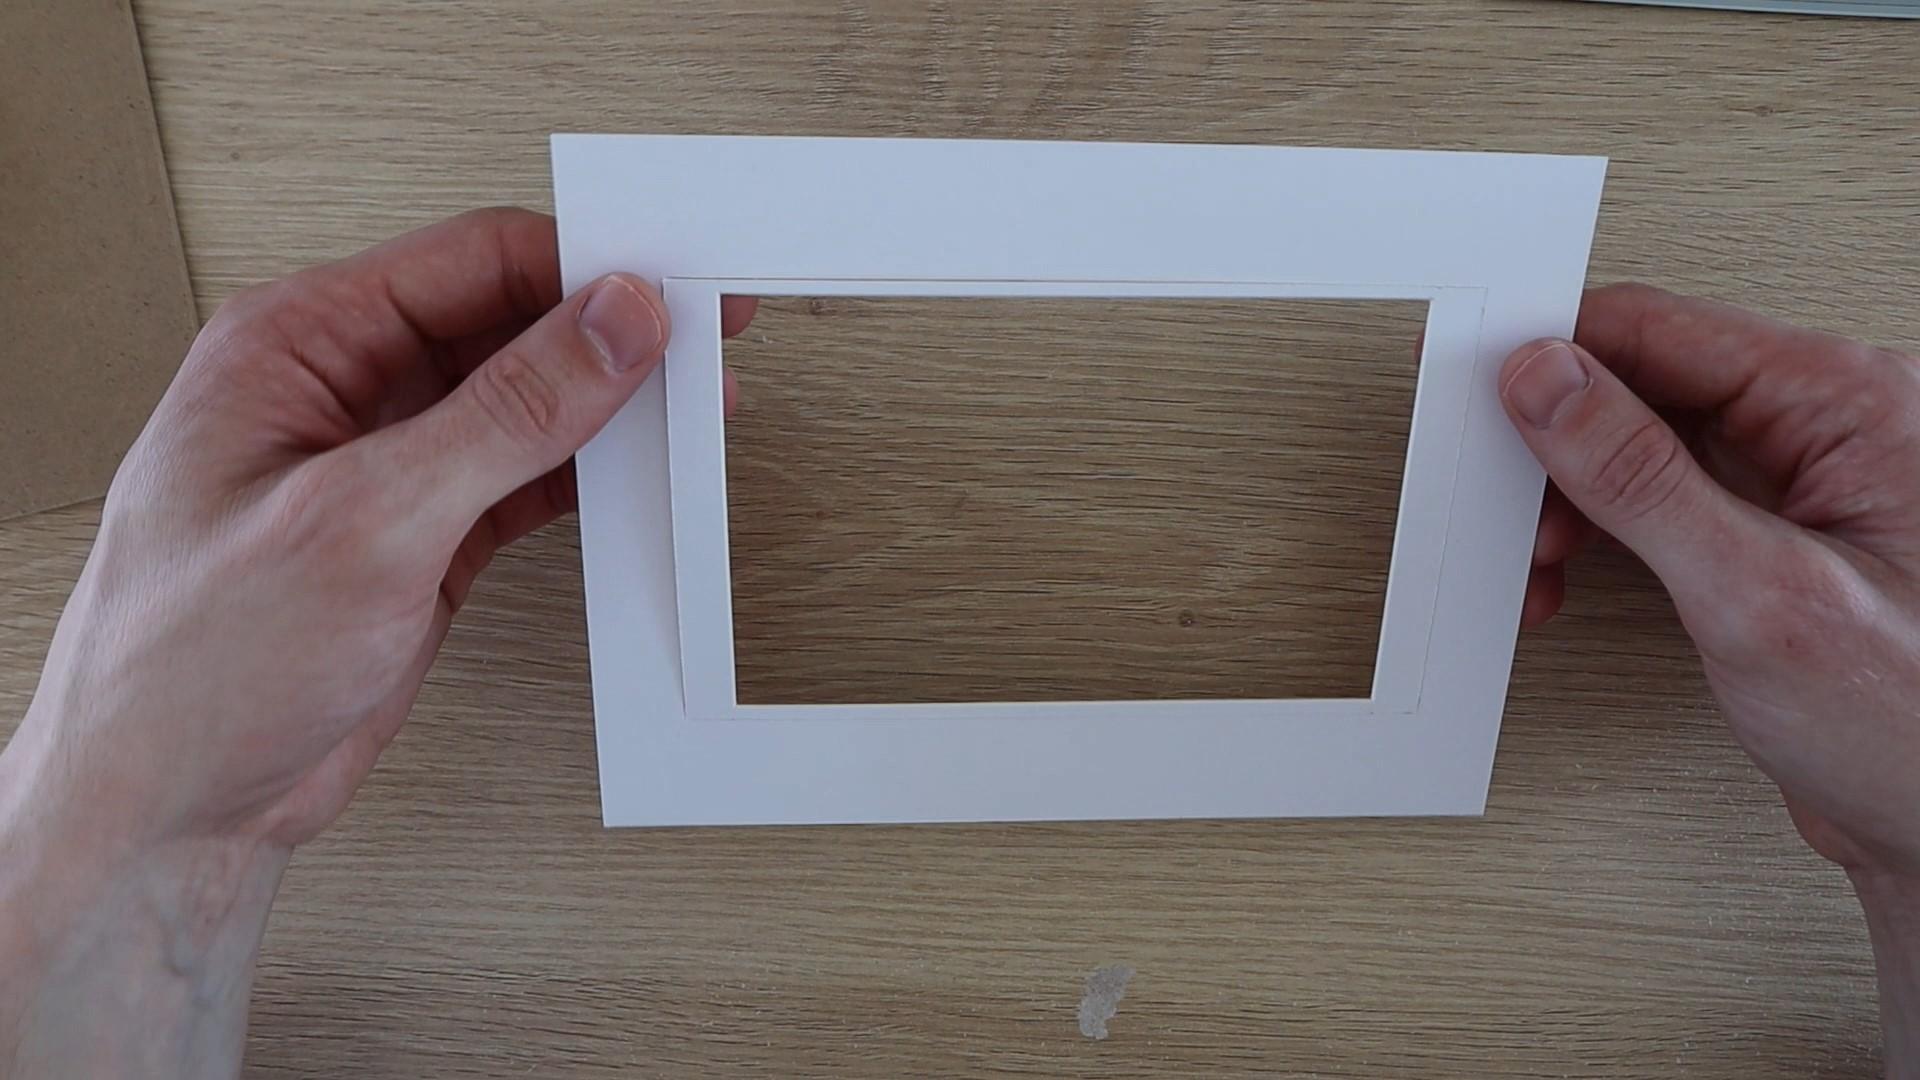
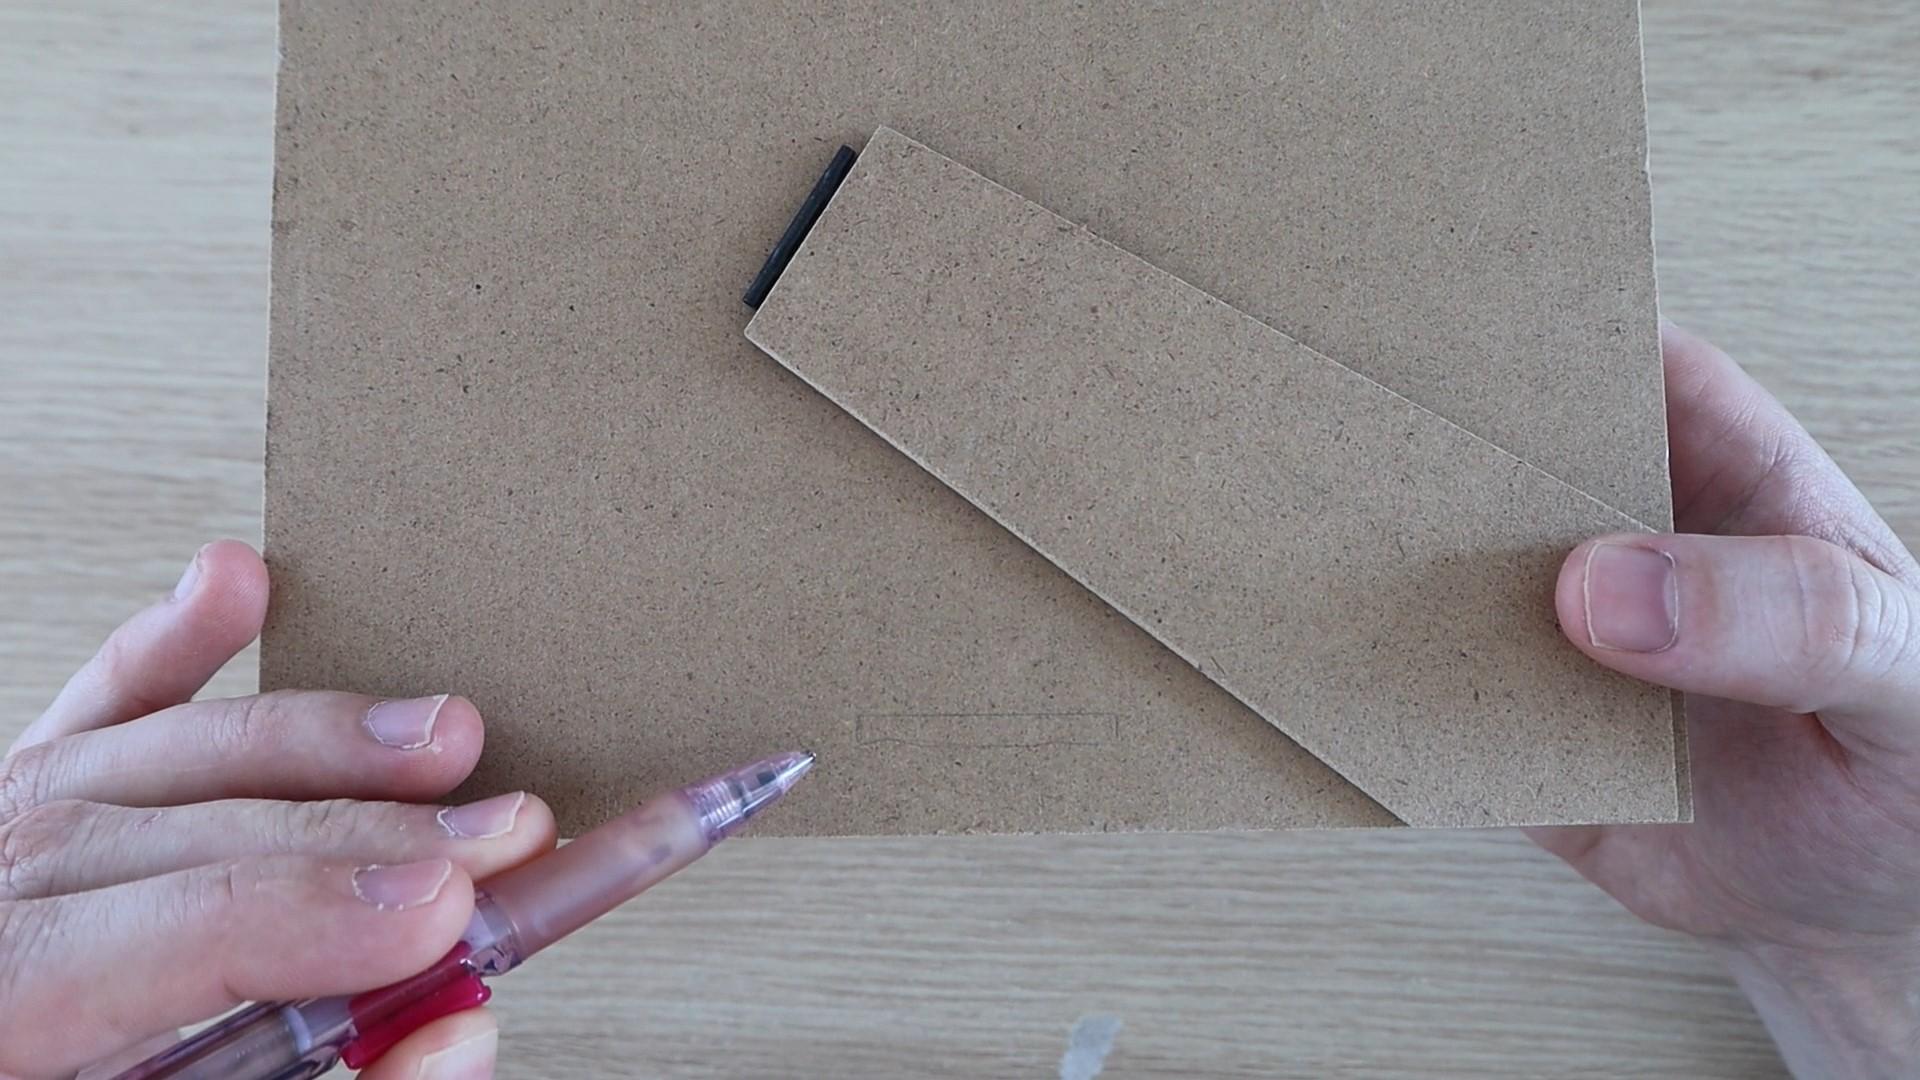
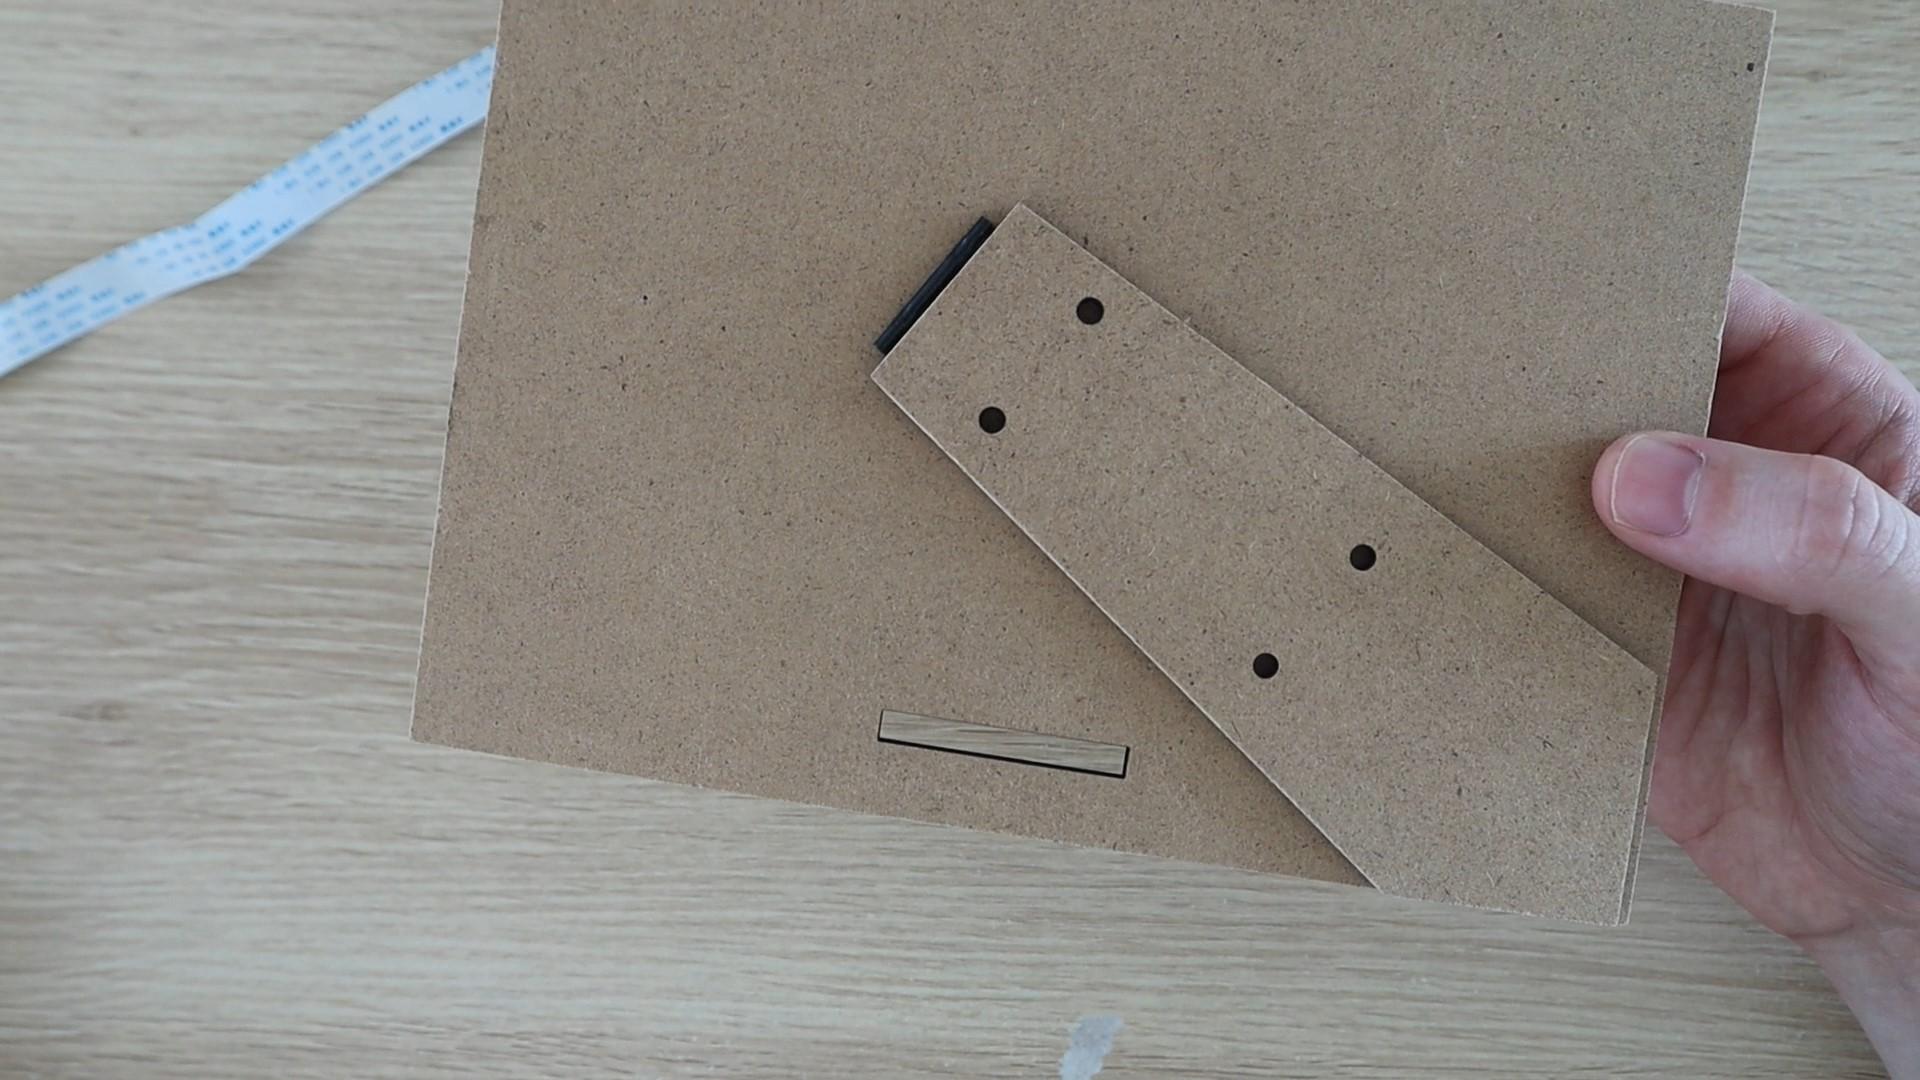
Next you'll need to build the display into your frame or shadow box.
I got this 6x8 inch frame from a local store for a few dollars.
Remove the back panel to get to the white frame panel.
You'll probably need to cut this panel a bit larger to fit the display area on your e-paper display. Measure the display area and then use a ruler and sharp craft knife to mark and cut it out to the correct size.
You could also adjust the display layout and element sizes to fit within your white frame panel if you don't want to cut it.
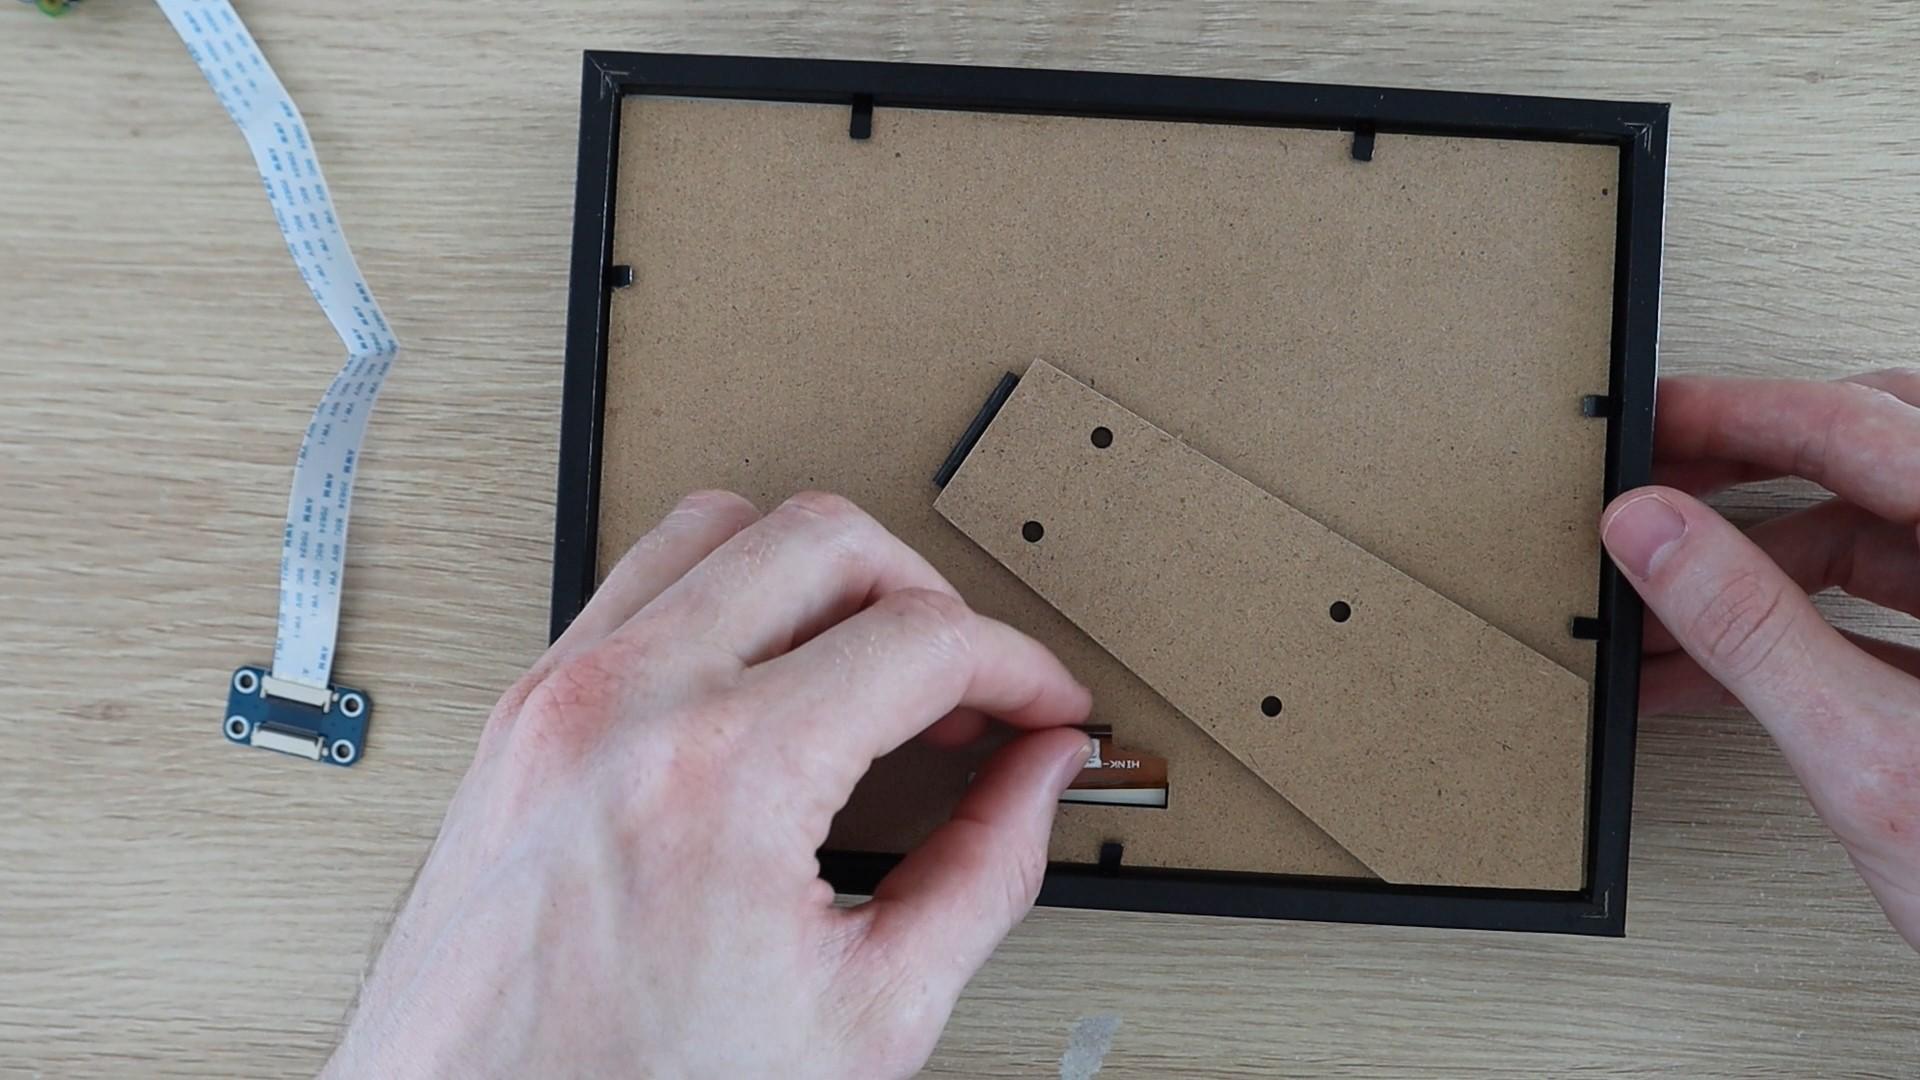
Next, mark out a slot for the ribbon cable to pass through the back panel and use a craft knife or rotary tool to cut it out. I used a laser cutter to cut the rectangular section out and make some holes to mount the Raspberry Pi onto the stand.
Install the Electronics
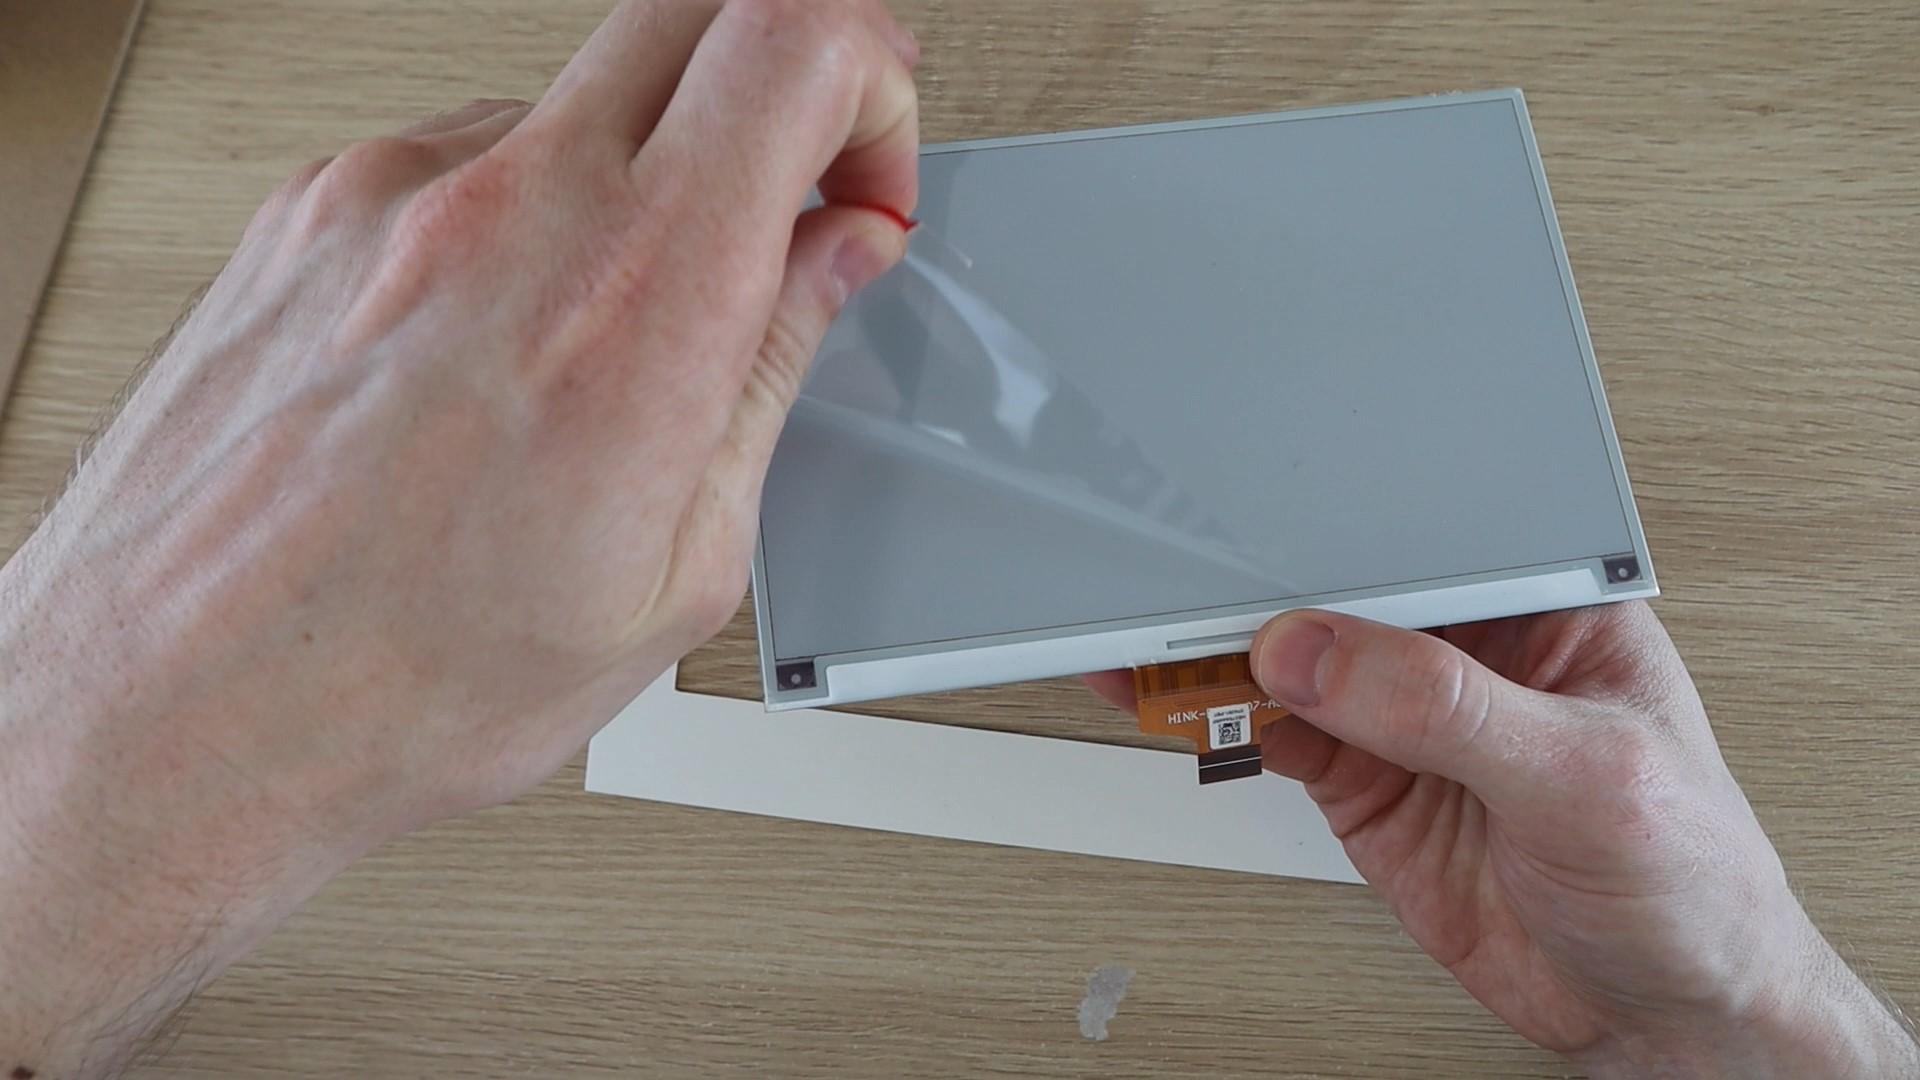
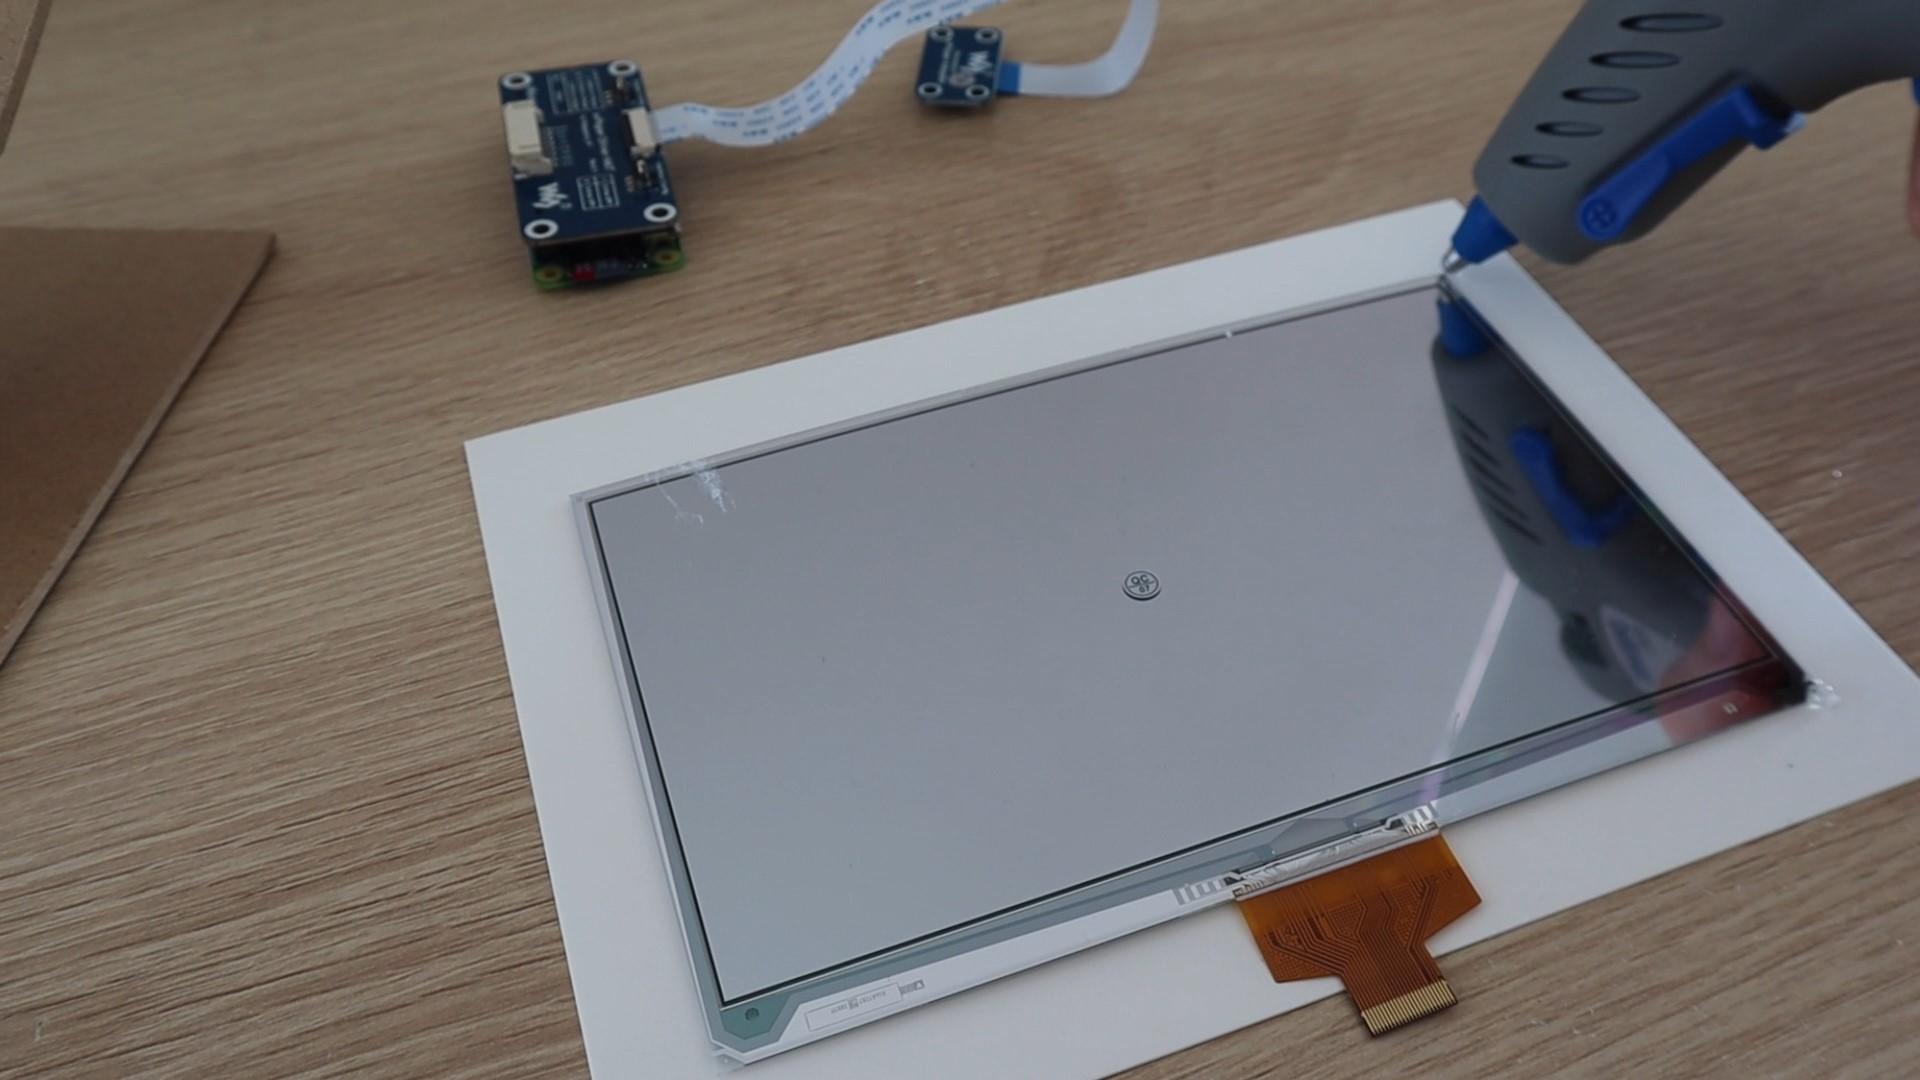
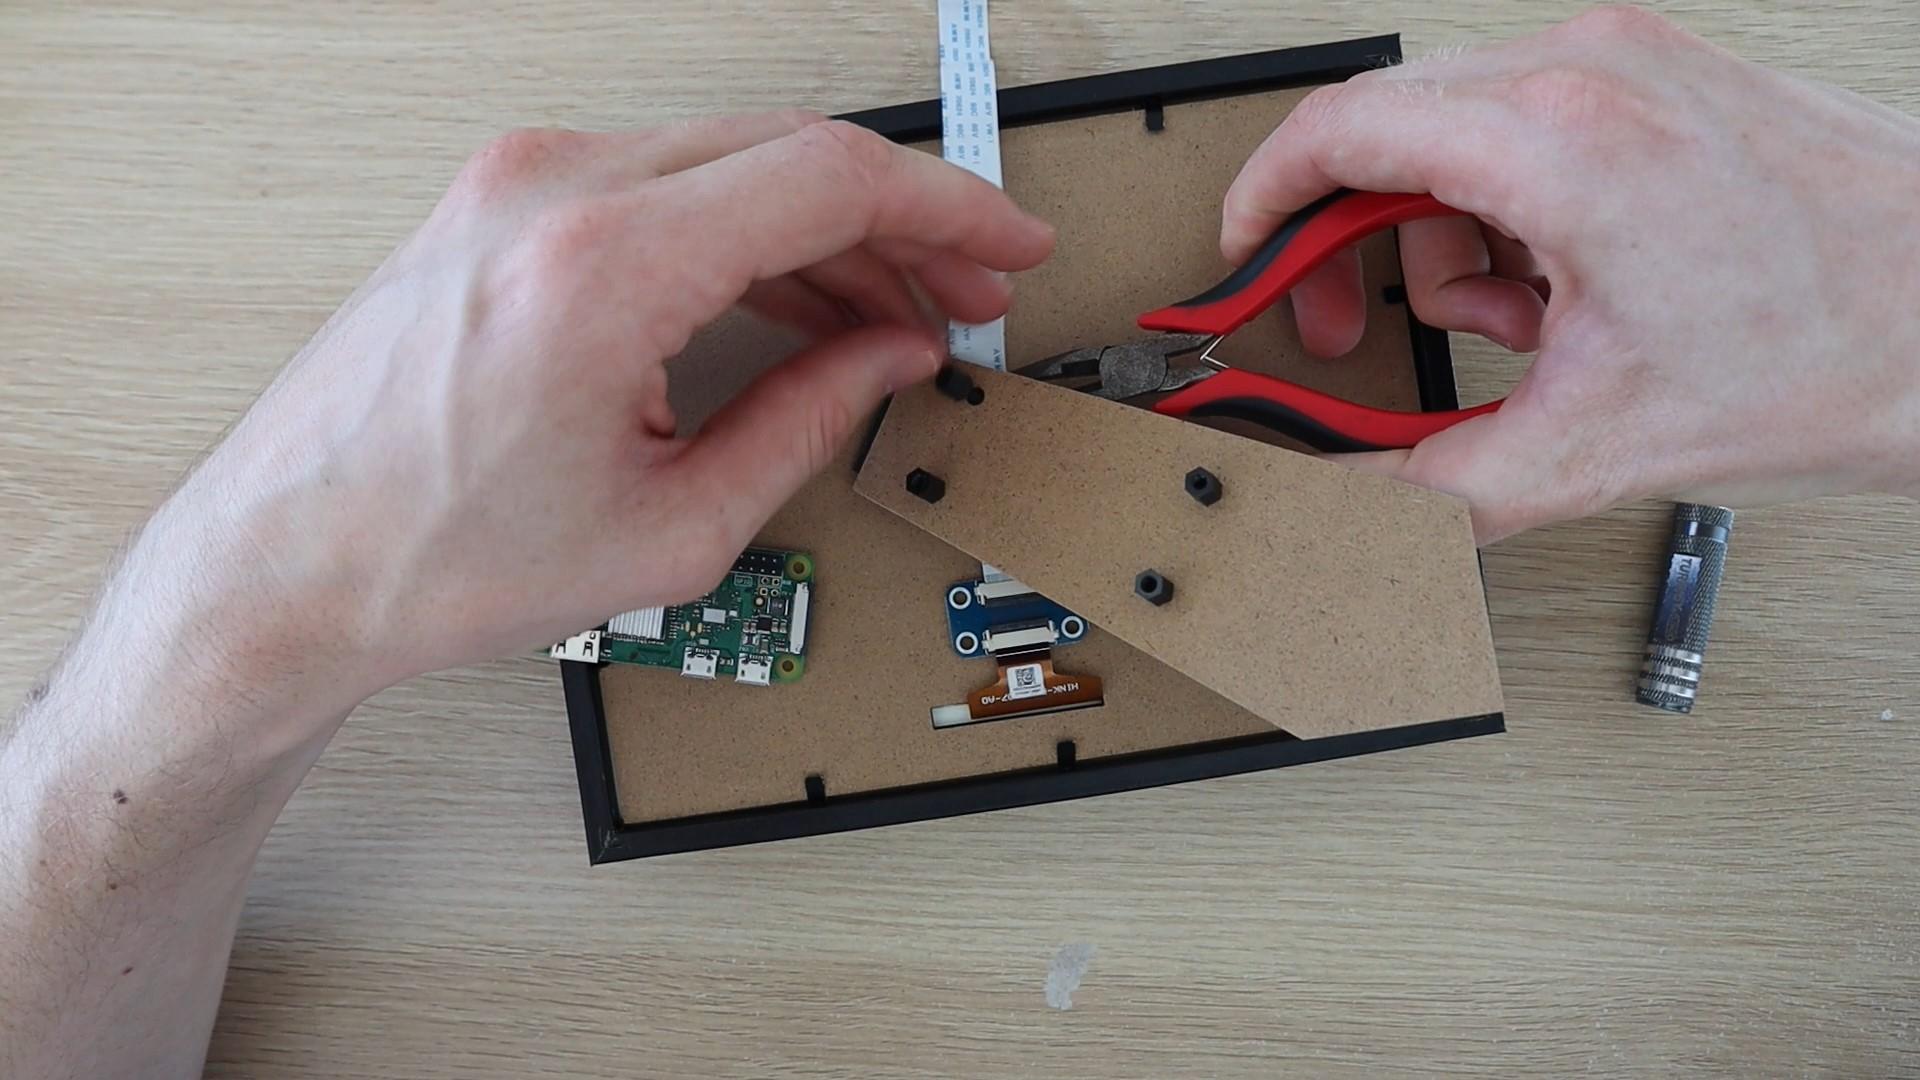
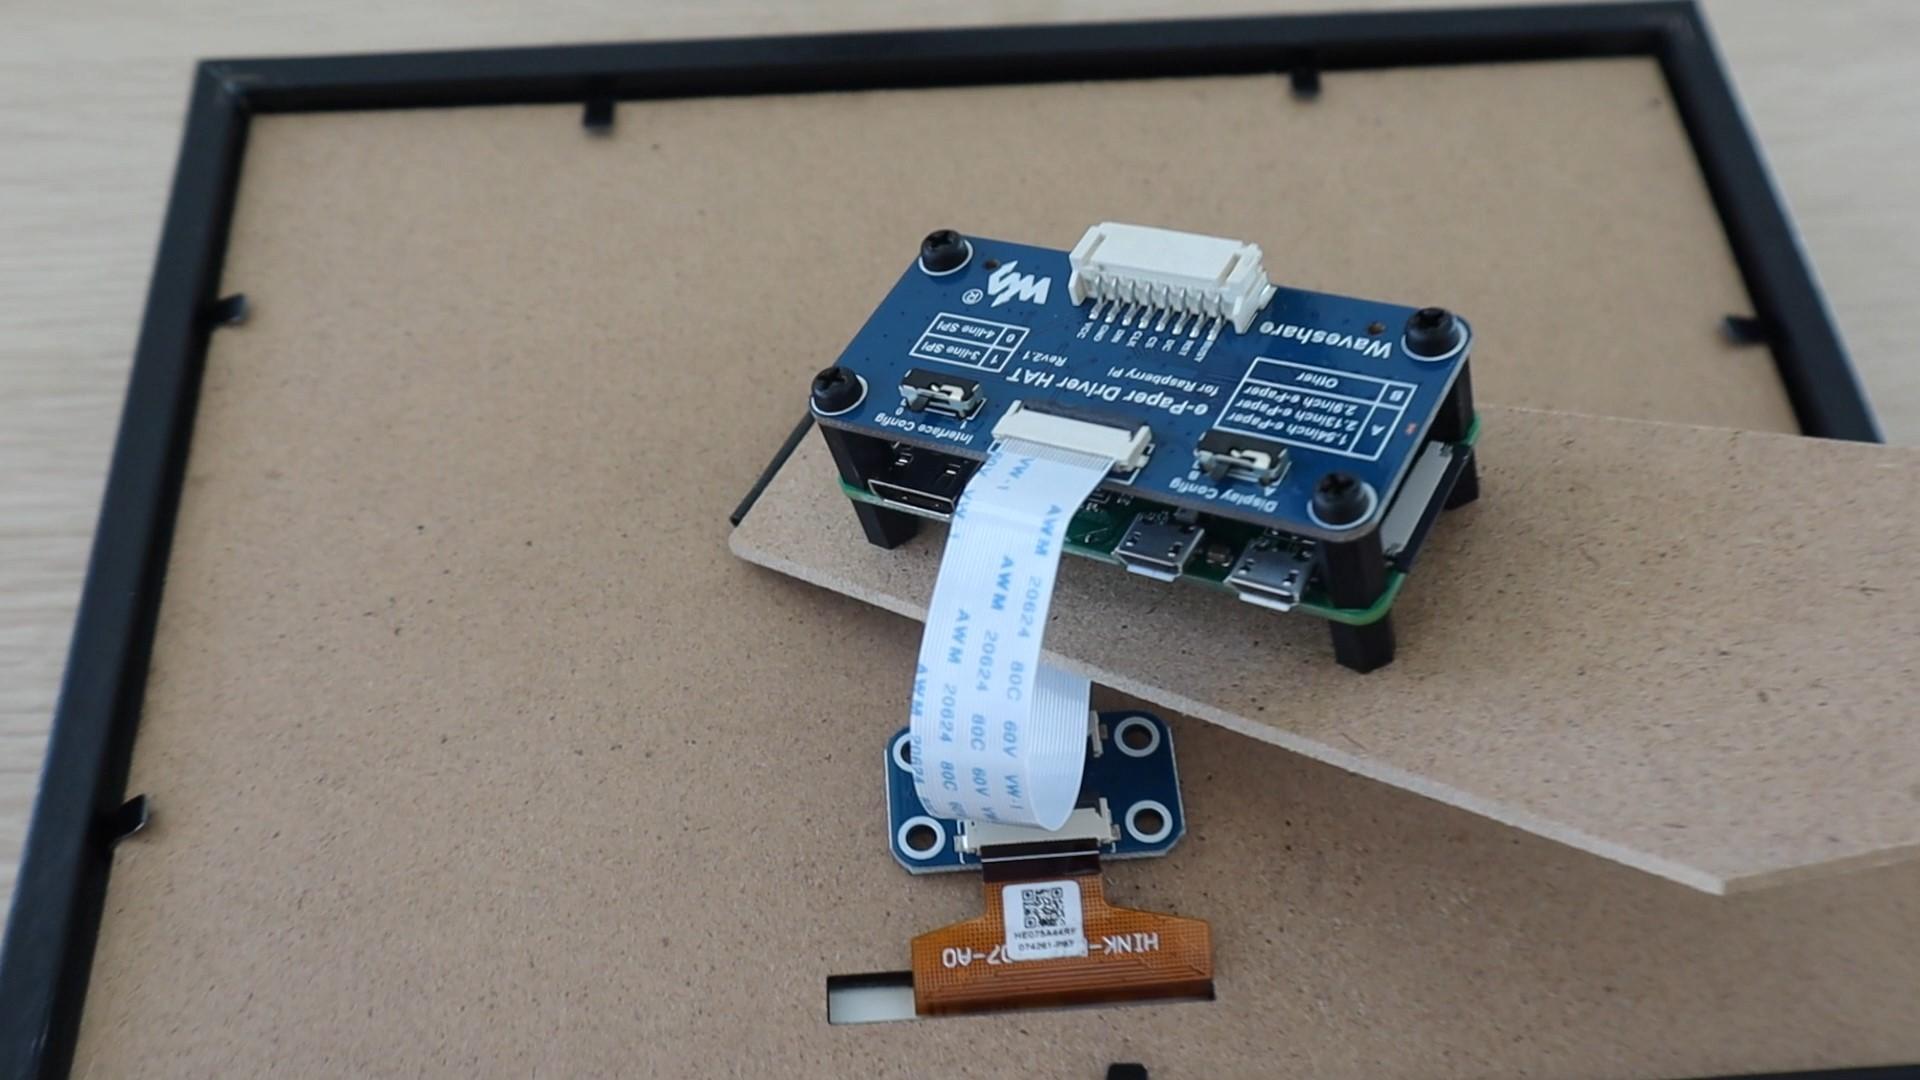
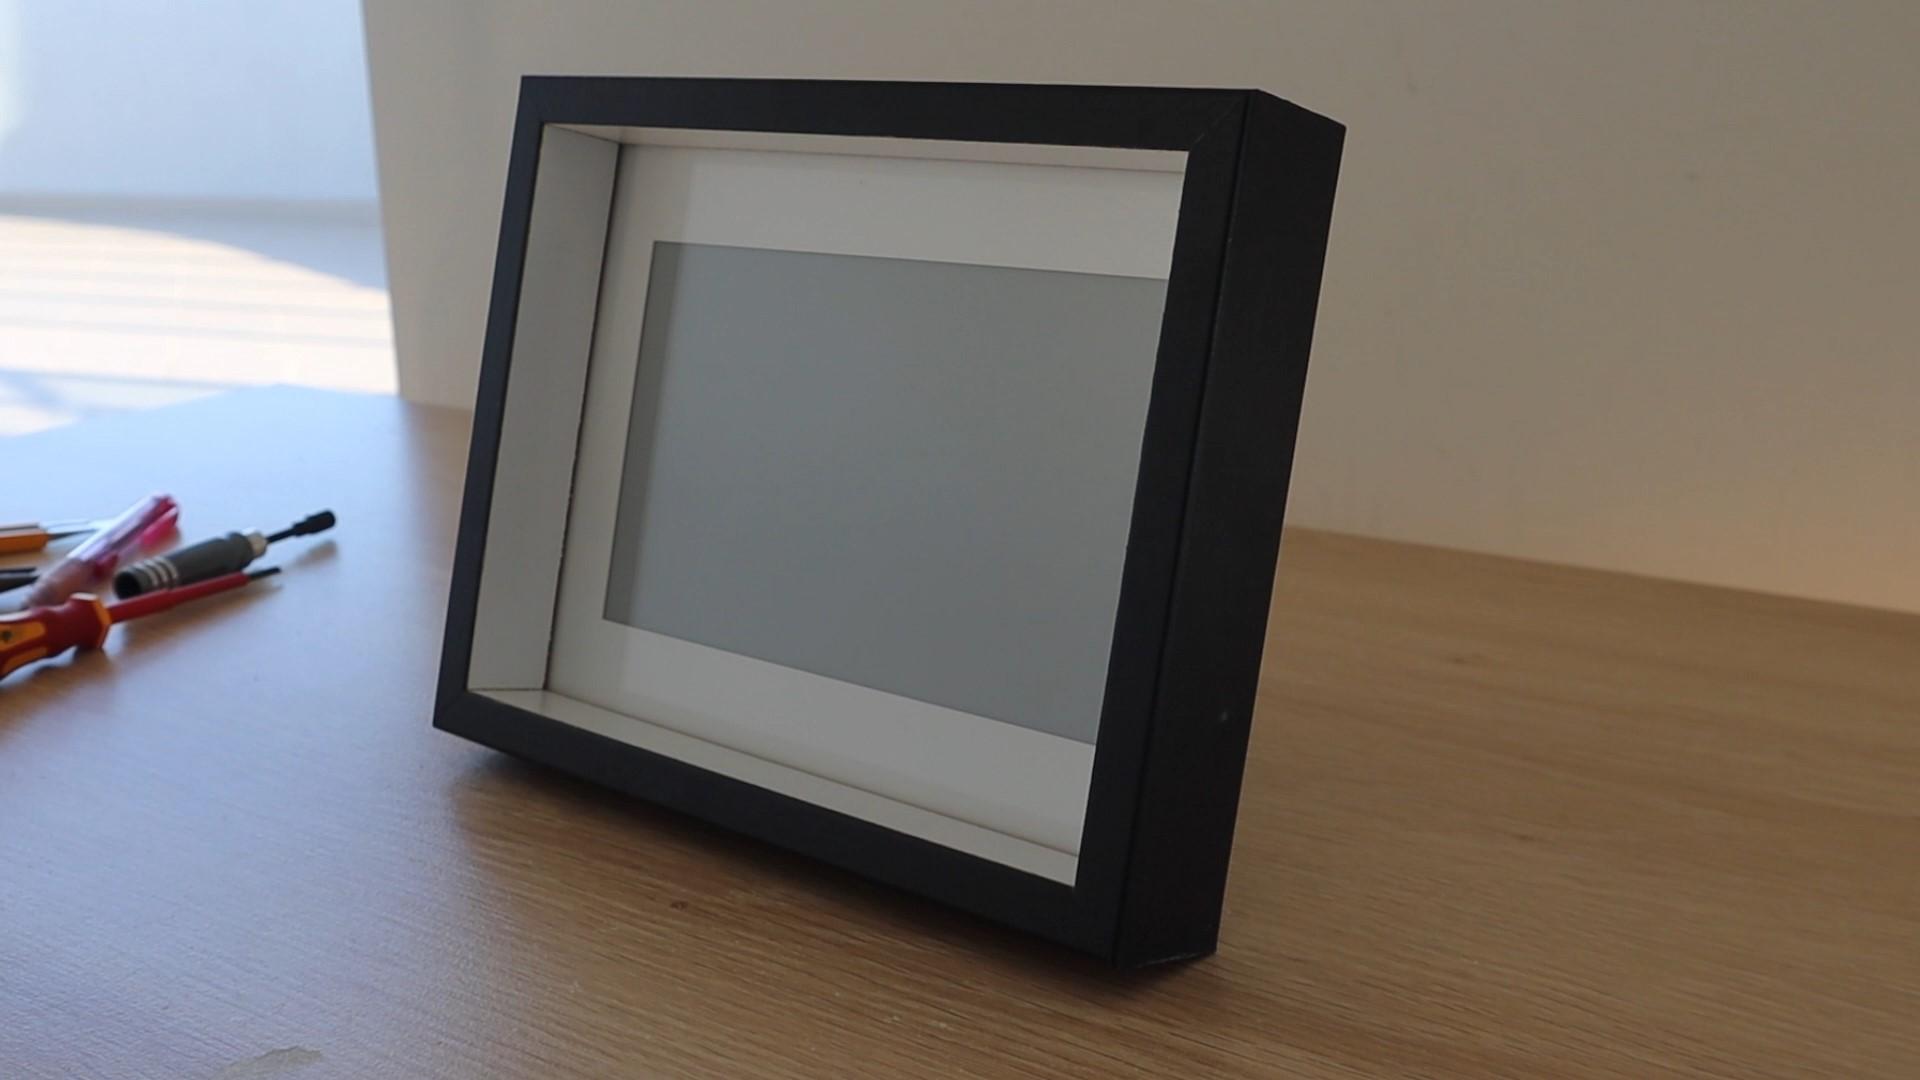
Peel off the protective film and then glue the display to the white frame, making sure that it is centred and straight. I just used a small drop of hot glue on the corners to hold it in place. It will be lightly clamped by the back as well, so you don't need a lot of glue.
Re-assemble the frame layer, gently pulling the ribbon cable through the back panel before you close it up.
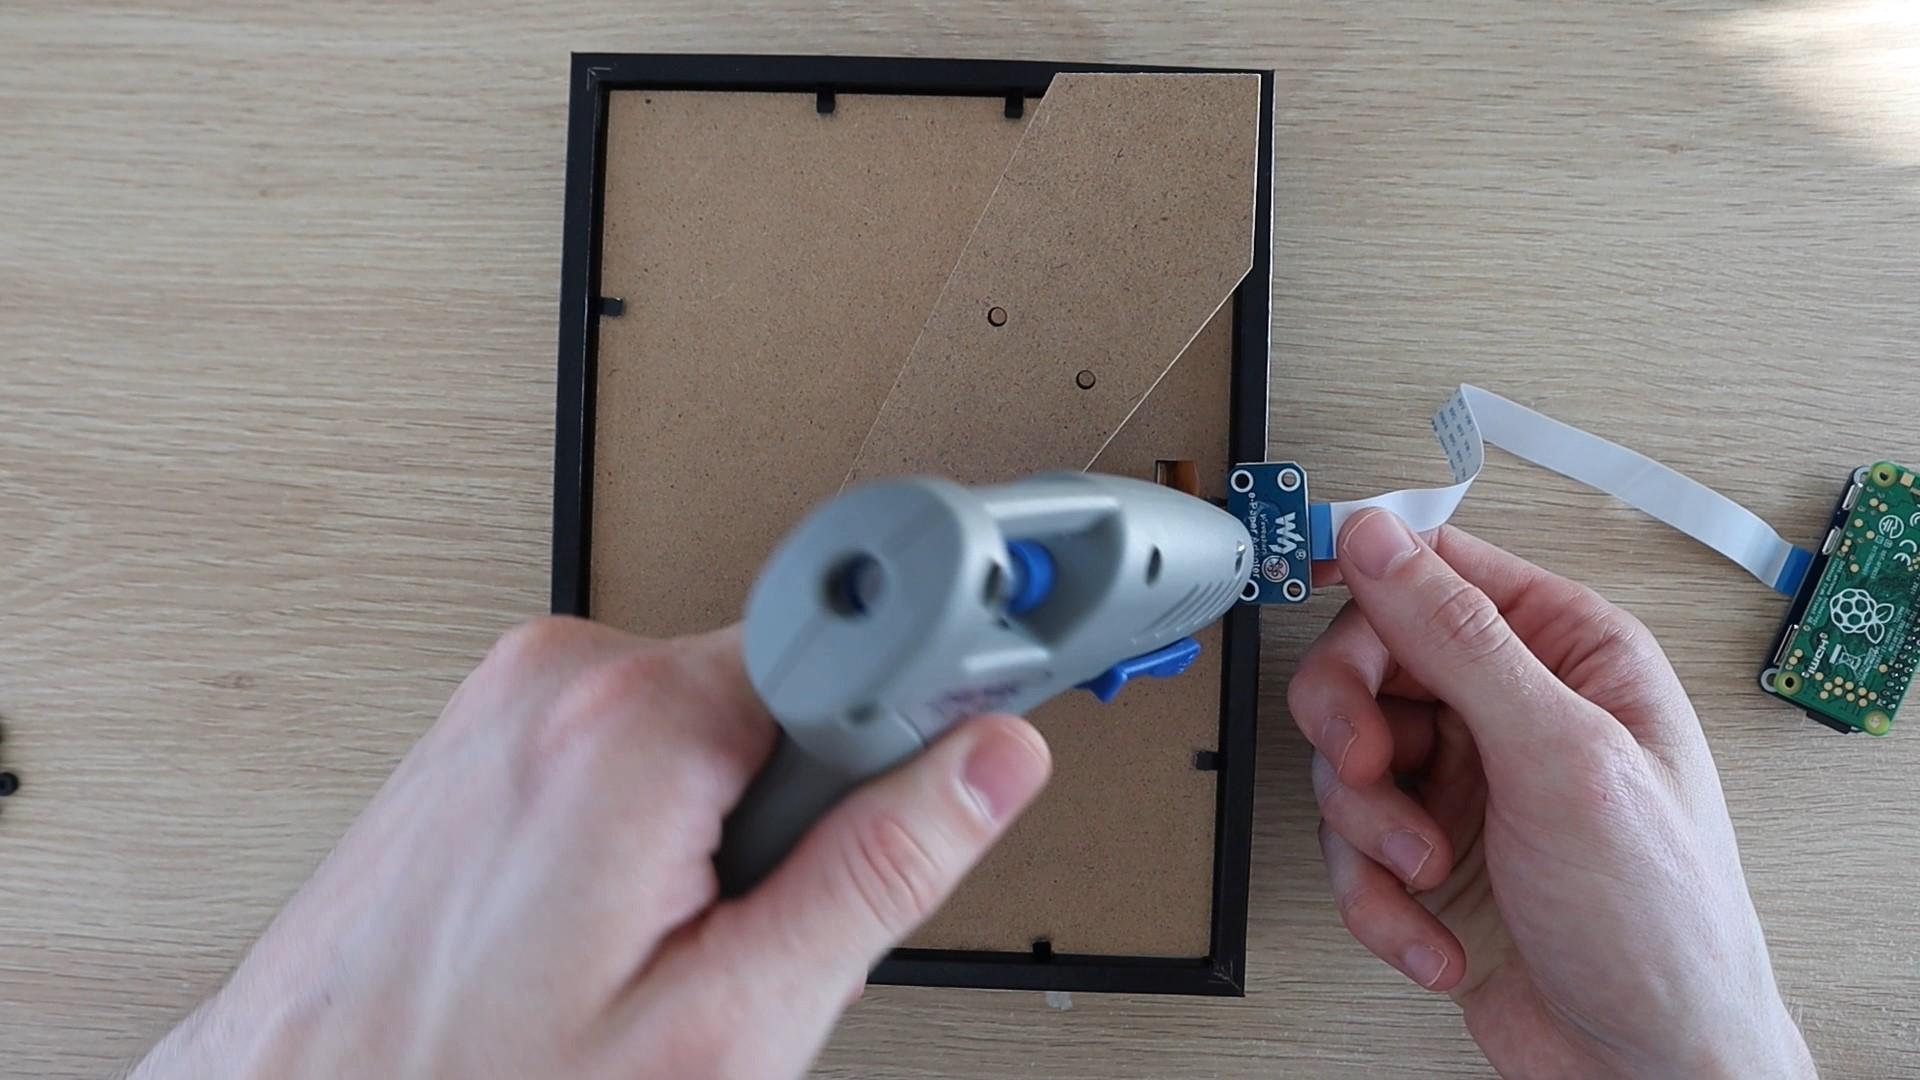
Plug the ribbon cable into the connector and then glue the connector into place to prevent any pulling or strain being placed on the cable, which may tear it.
Lastly, mount the Raspberry Pi and hat onto the stand of the frame. It is best to use some plastic or brass standoff mounts for this. You can use hot glue to just glue the back of the Pi to the stand if you don't have standoff mounts.
That's it, your display is now ready to be programmed.
Program & Set Up the Raspberry Pi
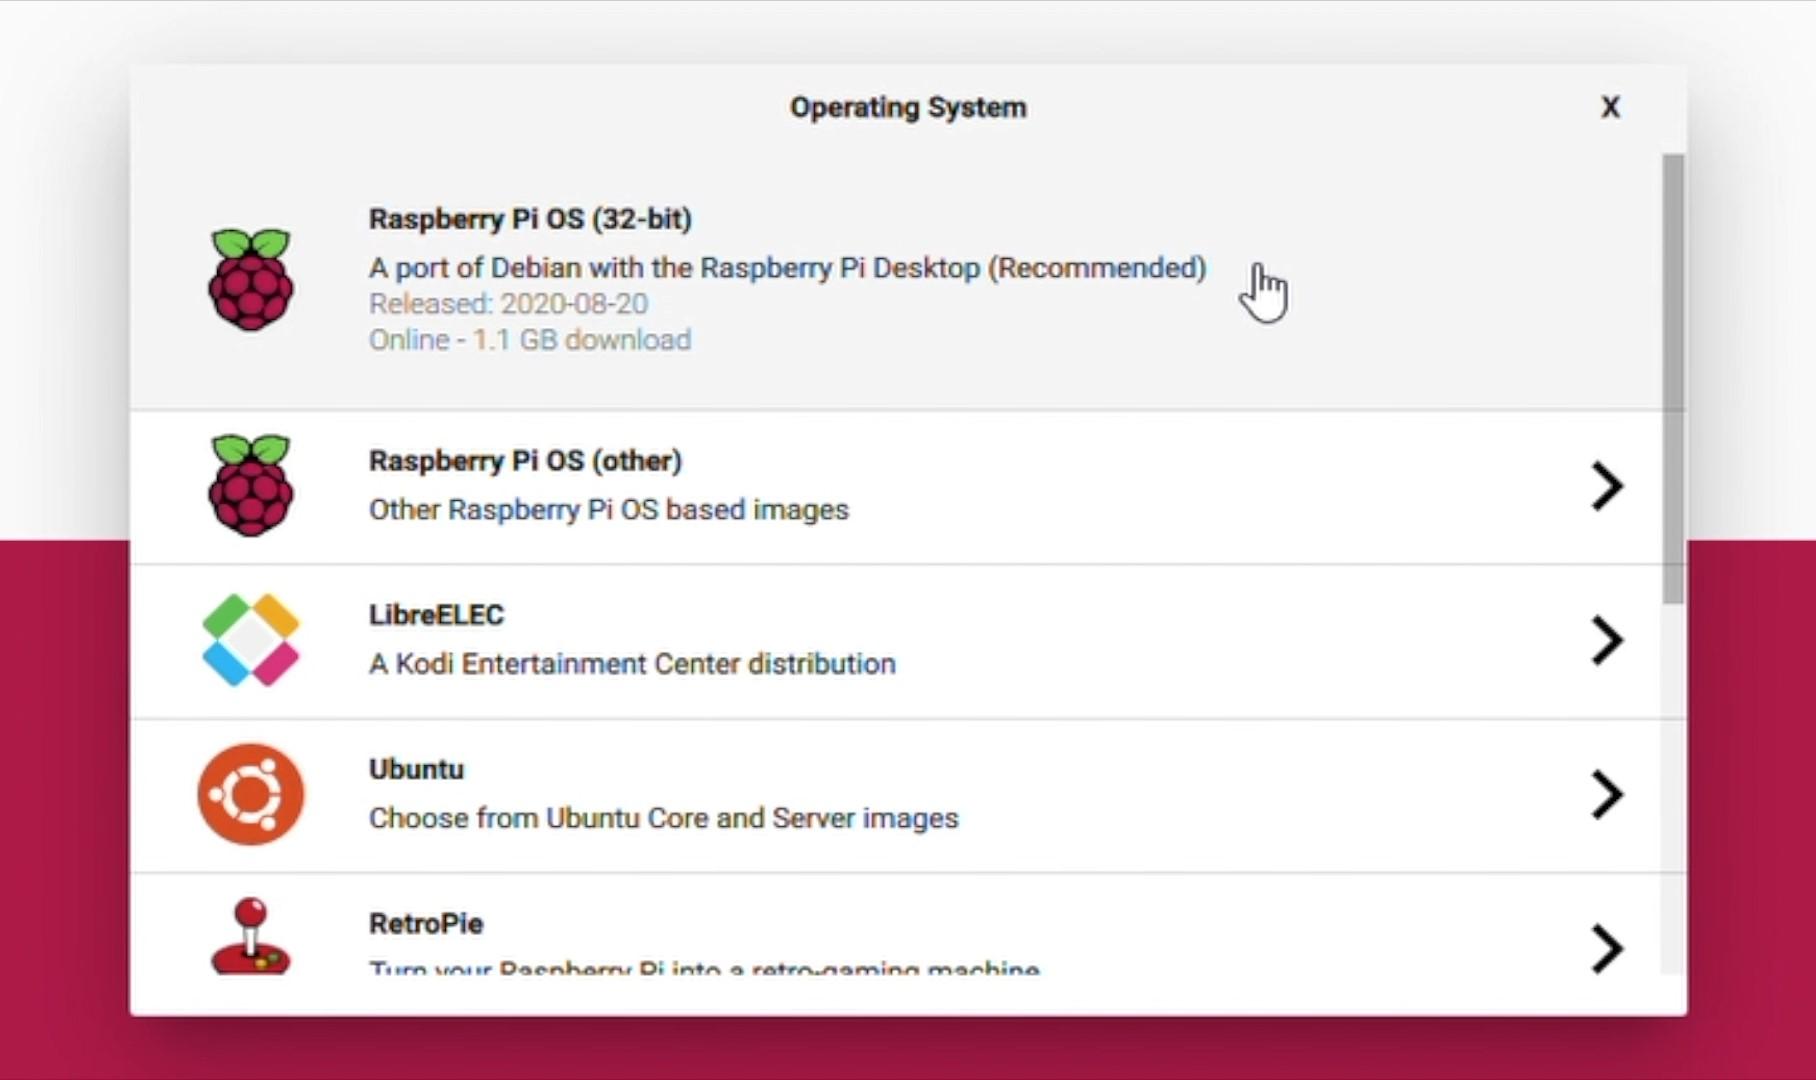
The programming of the display is pretty straight forward but can be a long process to work through.
You need to:
- Prepare the Raspberry Pi OS installation
- Install the libraries and updates
- Get your YouTube API Key and Channel ID
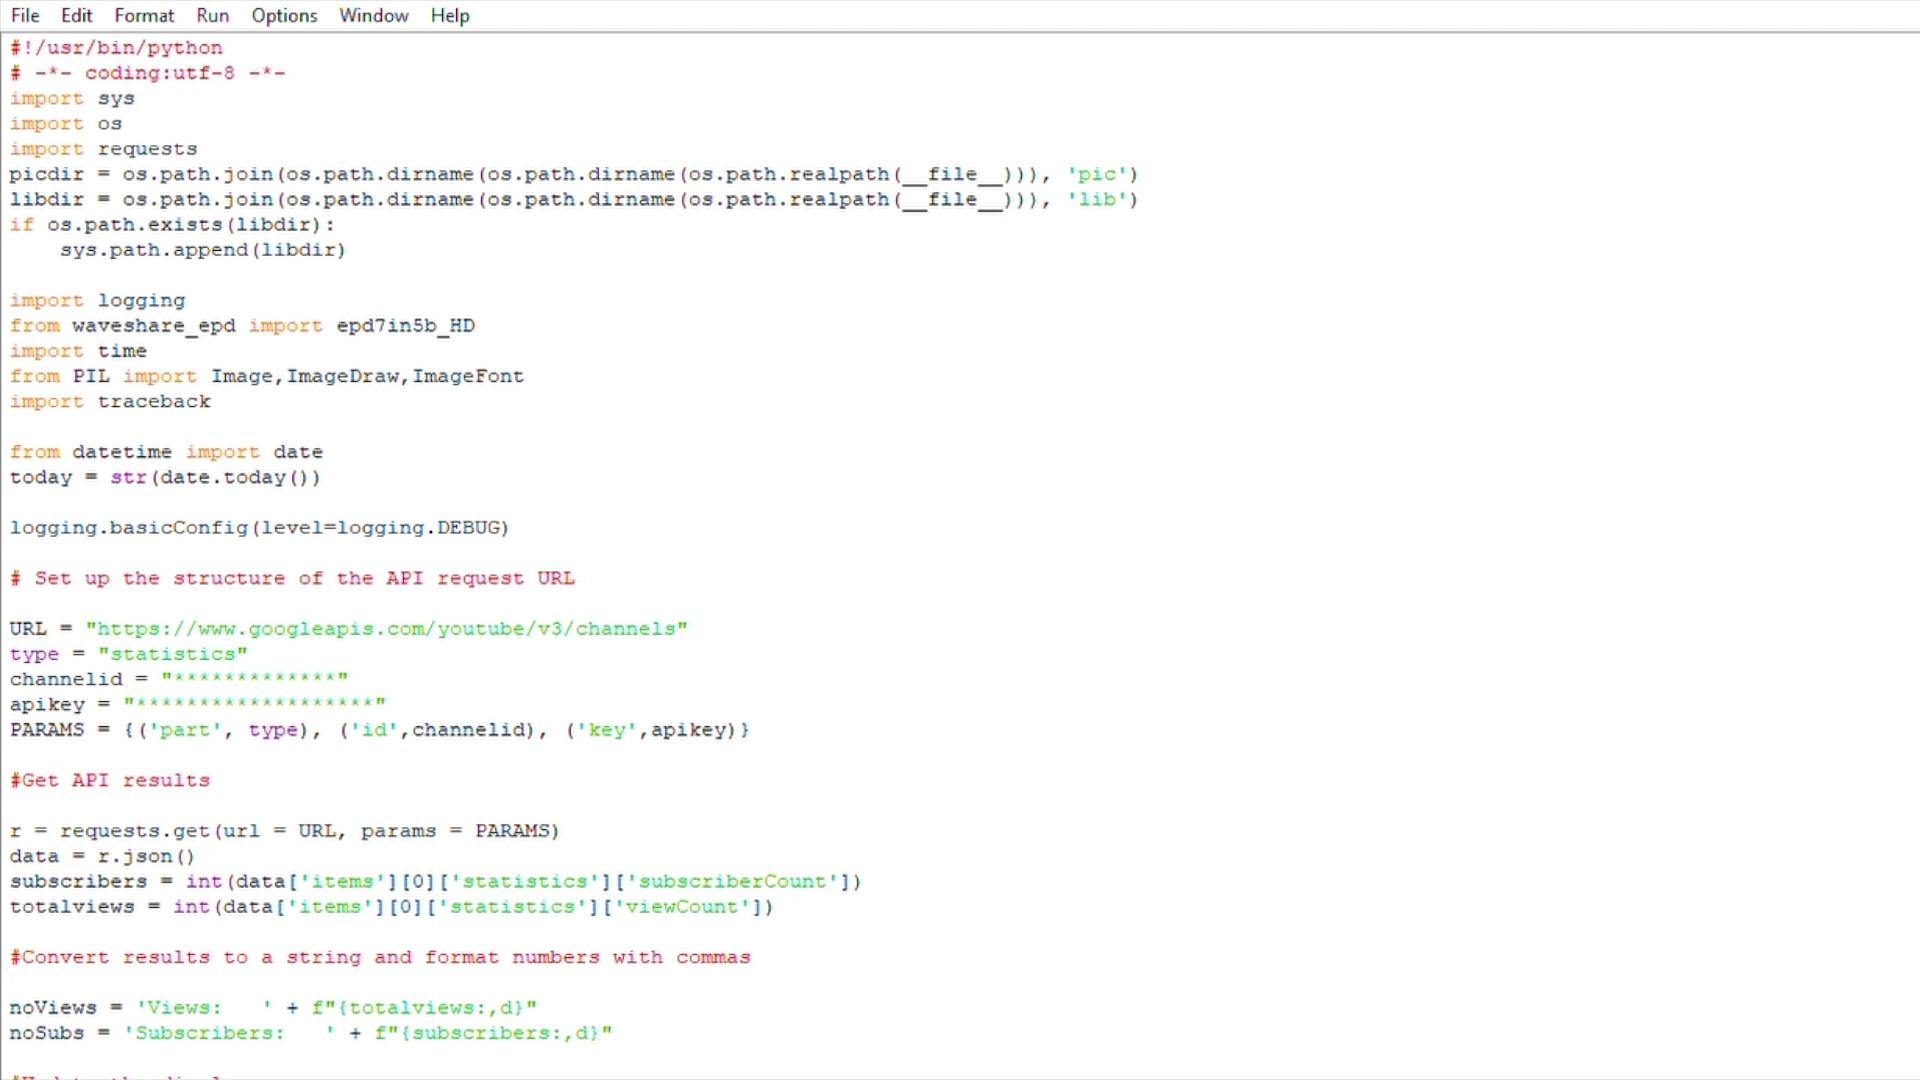
- Modify the Python script and save it to your Pi
- Test run the script
- Automate running the script with crontab
I'm not going to go into step by step detail in this Instructable, as I've already written out a detailed and methodical guide on my blog with downloads for the Python scripts - Youtube Subscriber Counter
The Python script essentially imports the required libraries and functions, then queries the YouTube API, reformats the numbers to include commas and then updates the display to reflect the latest values. It also updates a small date field in the bottom right corner so that you can easily tell if the Pi hasn't updated the display in a while due to an error.
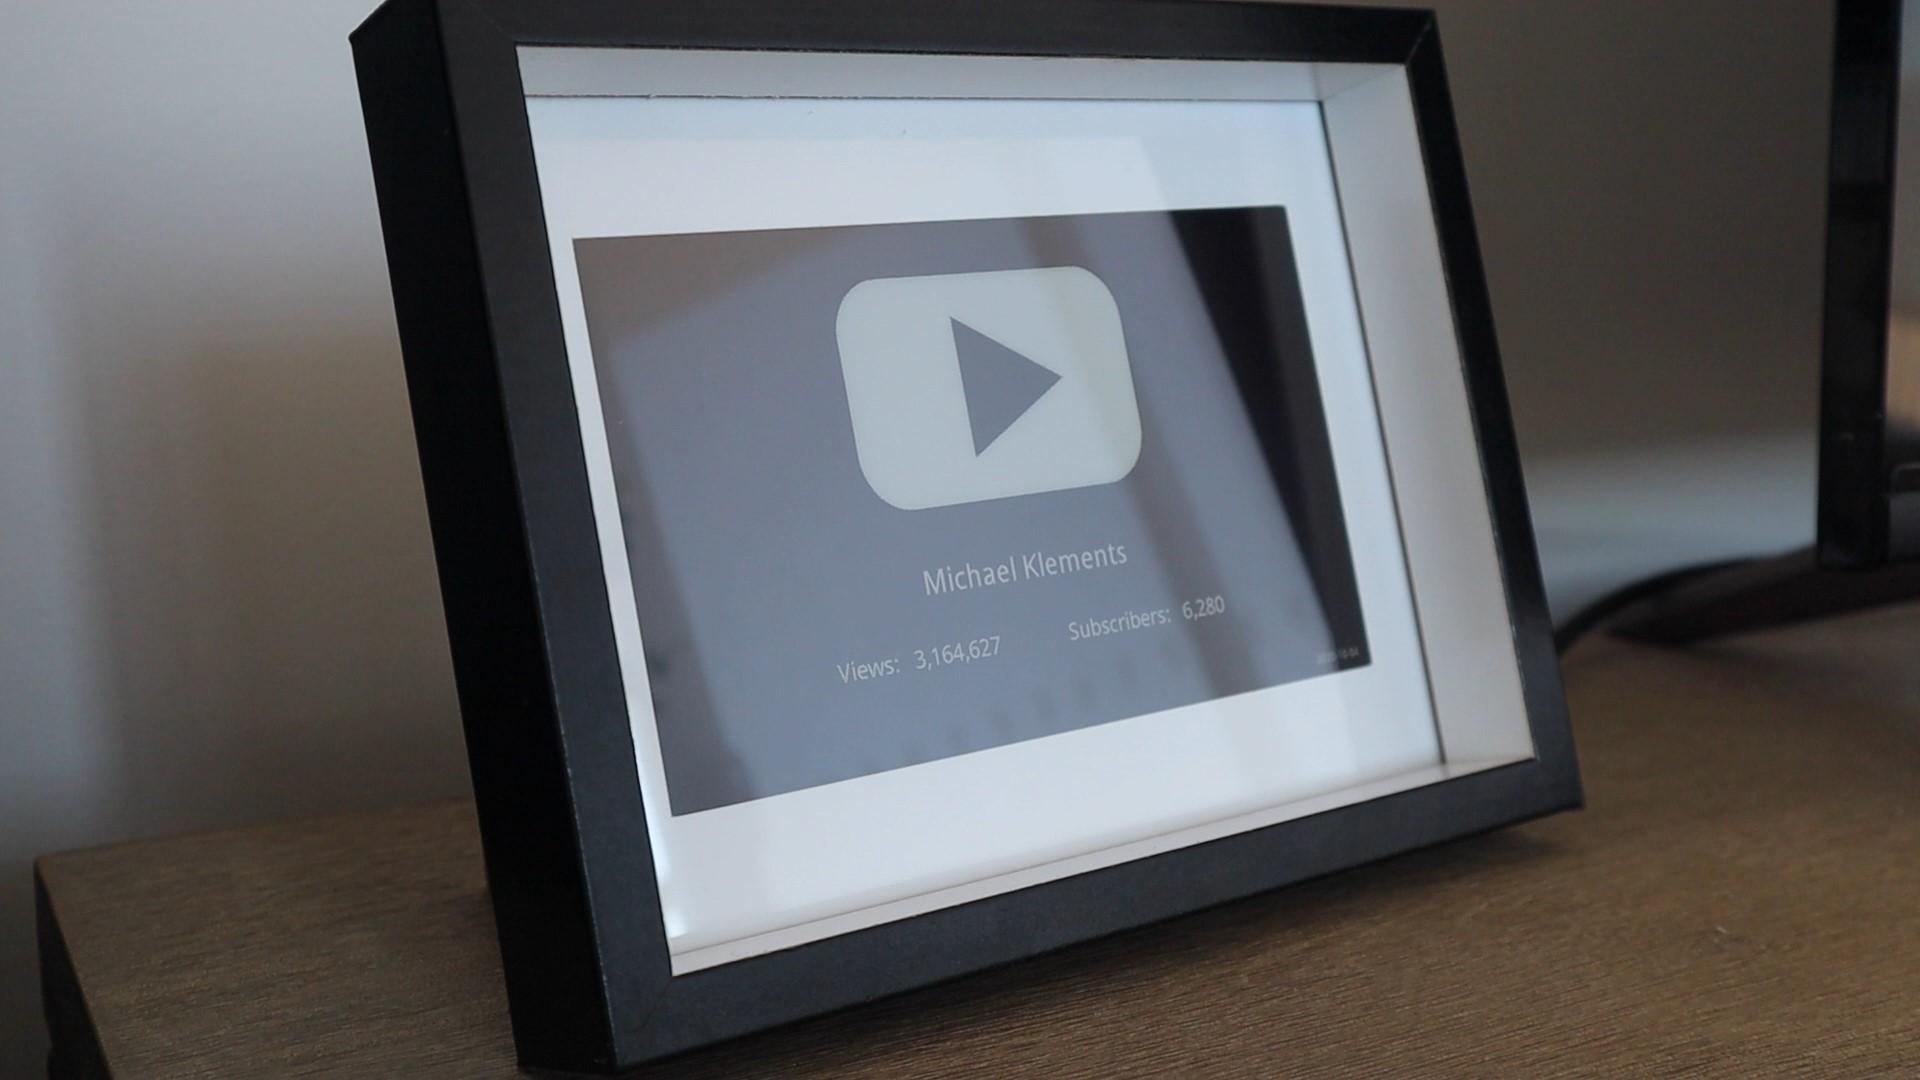
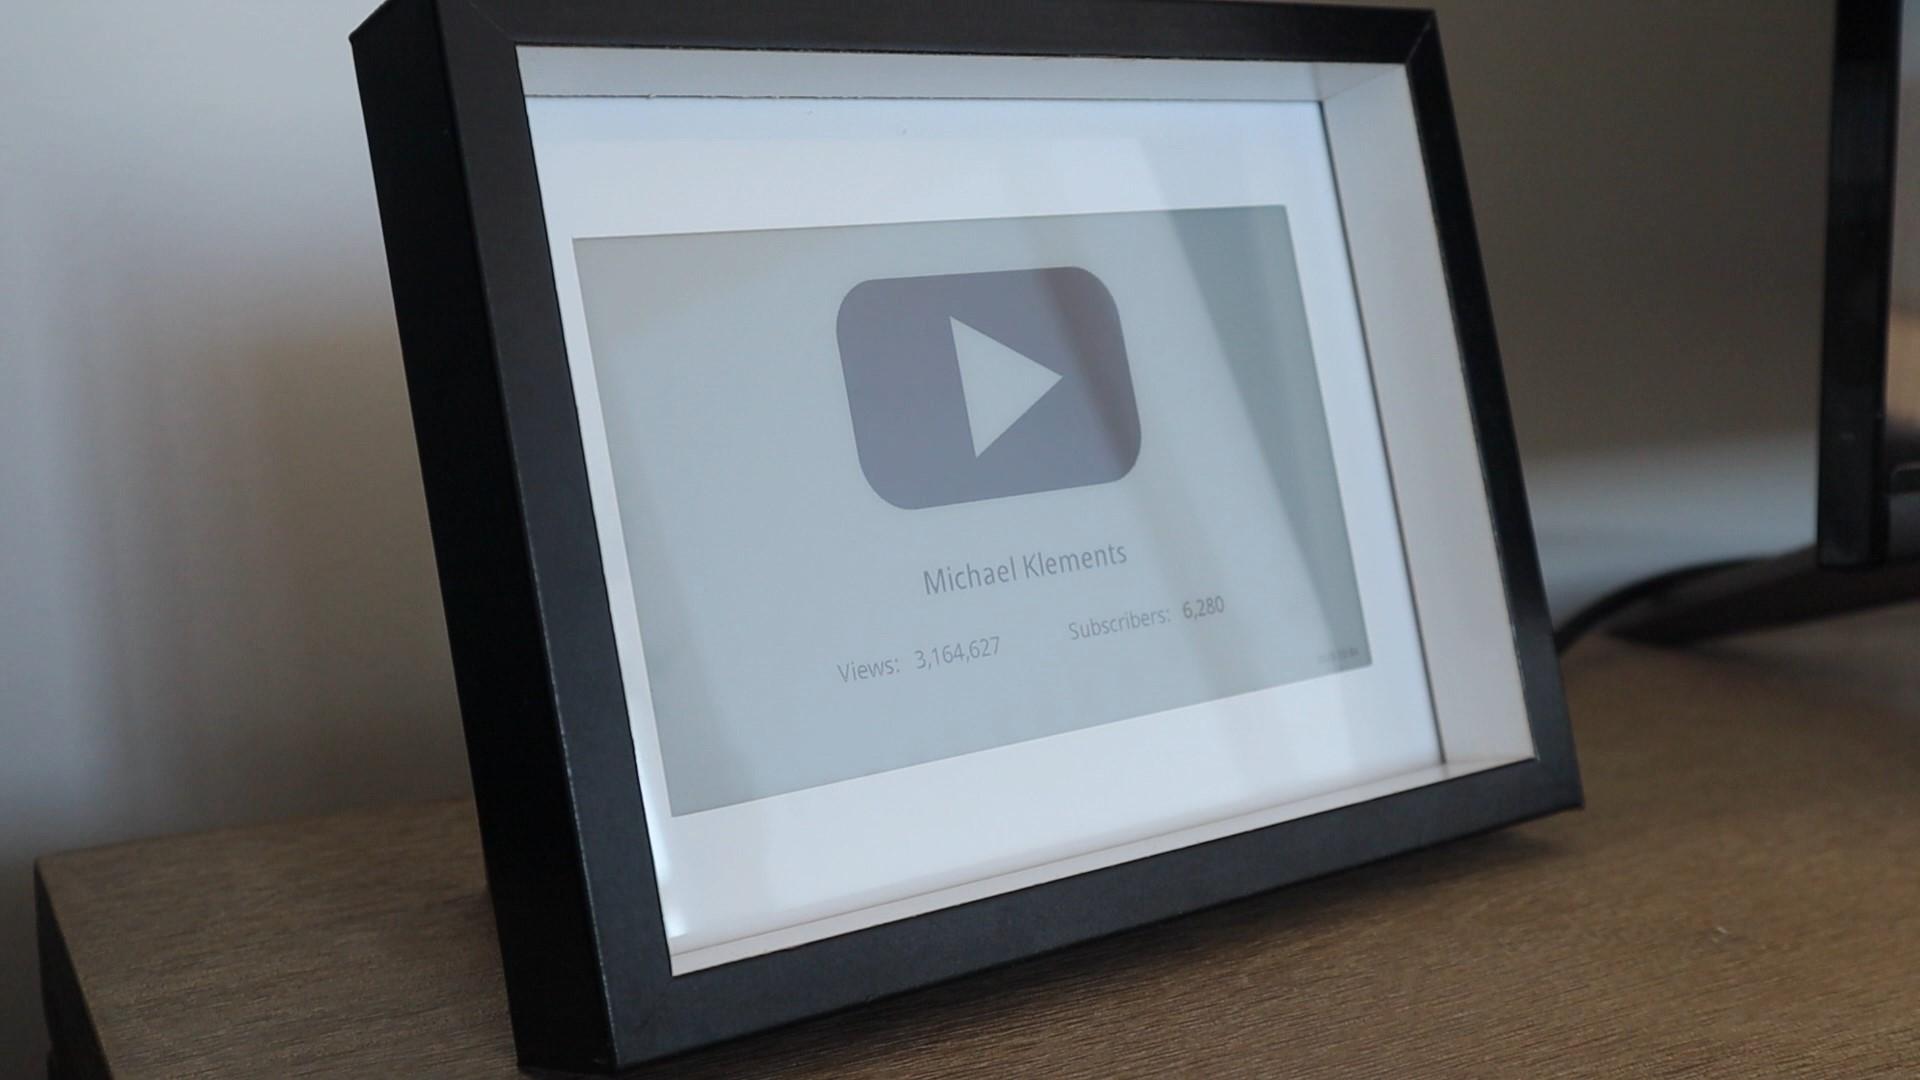
When you run the script, the display will start the refresh process after a few seconds. It takes around 30-40 seconds for a full refresh. During this time, the display will first flicker black and white and then go blank, it will then generate a black and white version of the display and finally fill in the red by replacing some of the black areas. The flickering is normal and is done by the controller to cycle the display elements and prevent burn-in.
Use Your Subscriber Counter
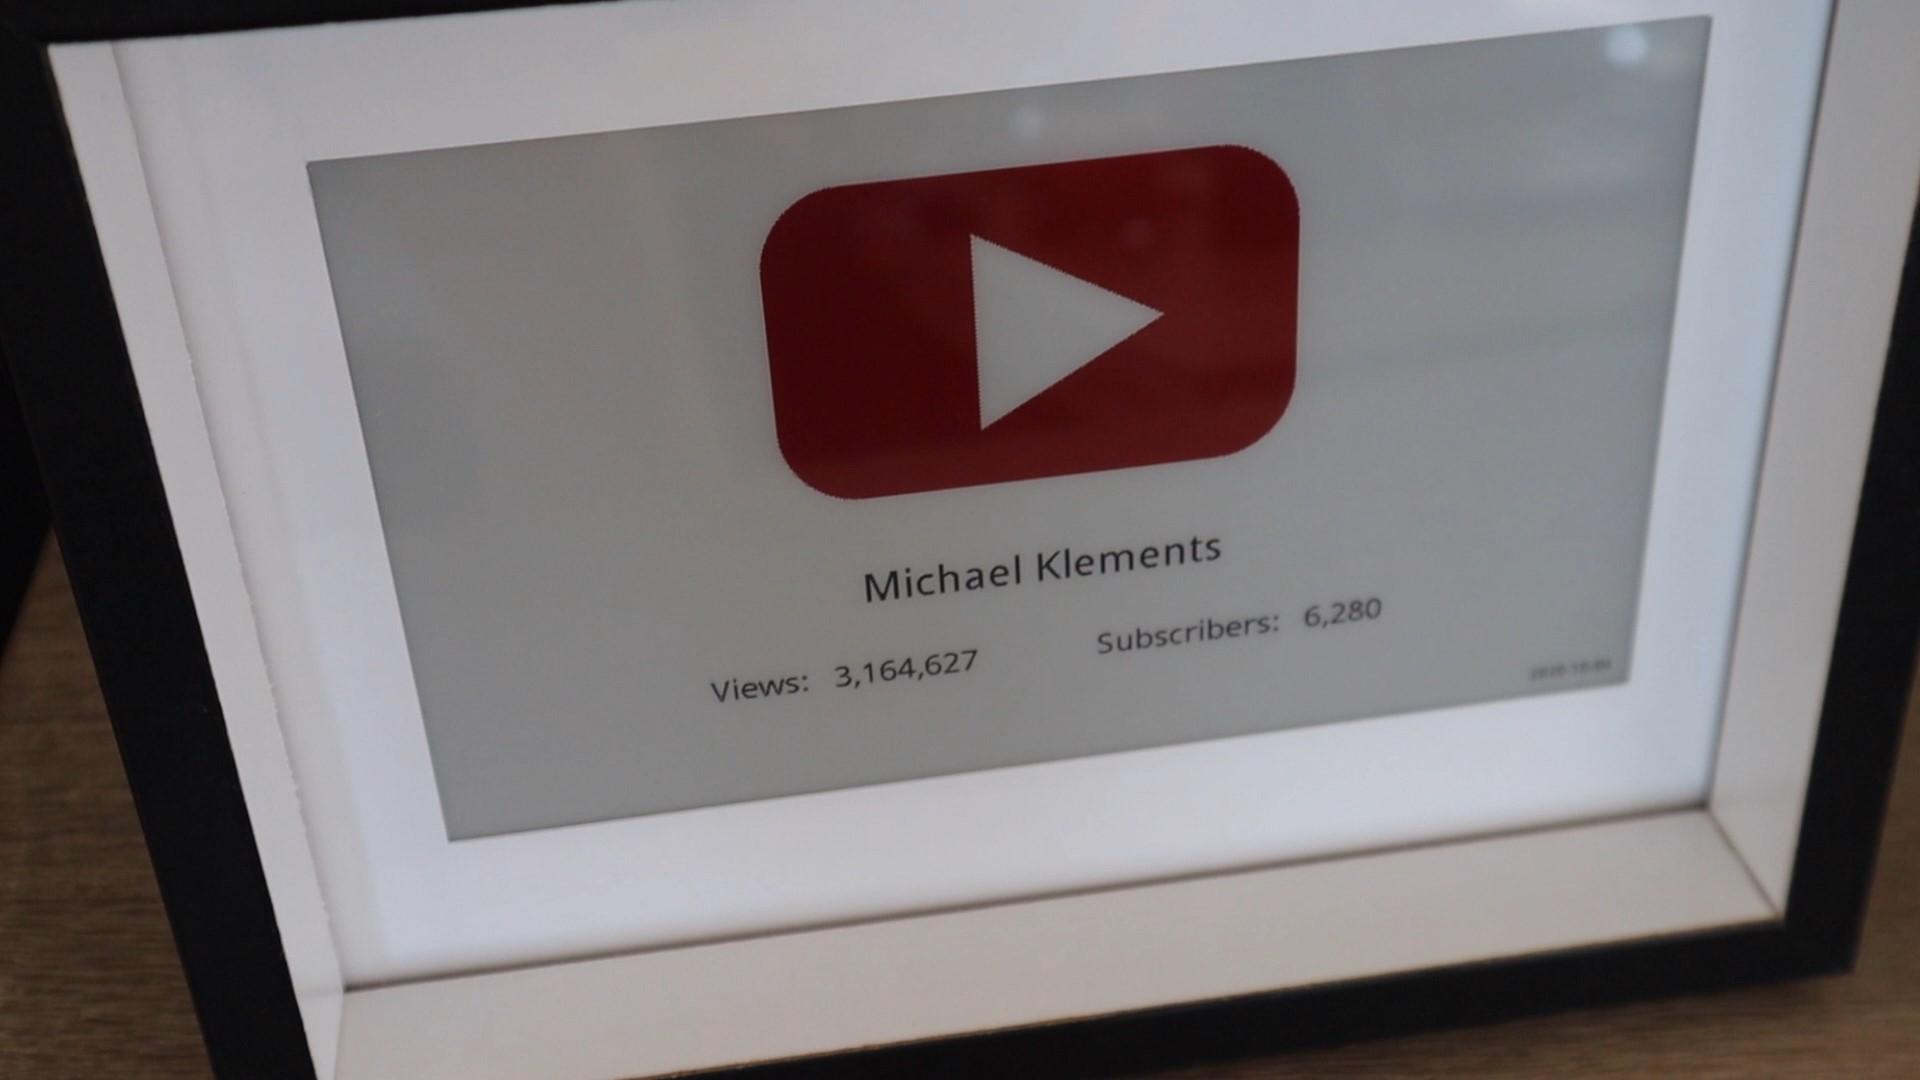
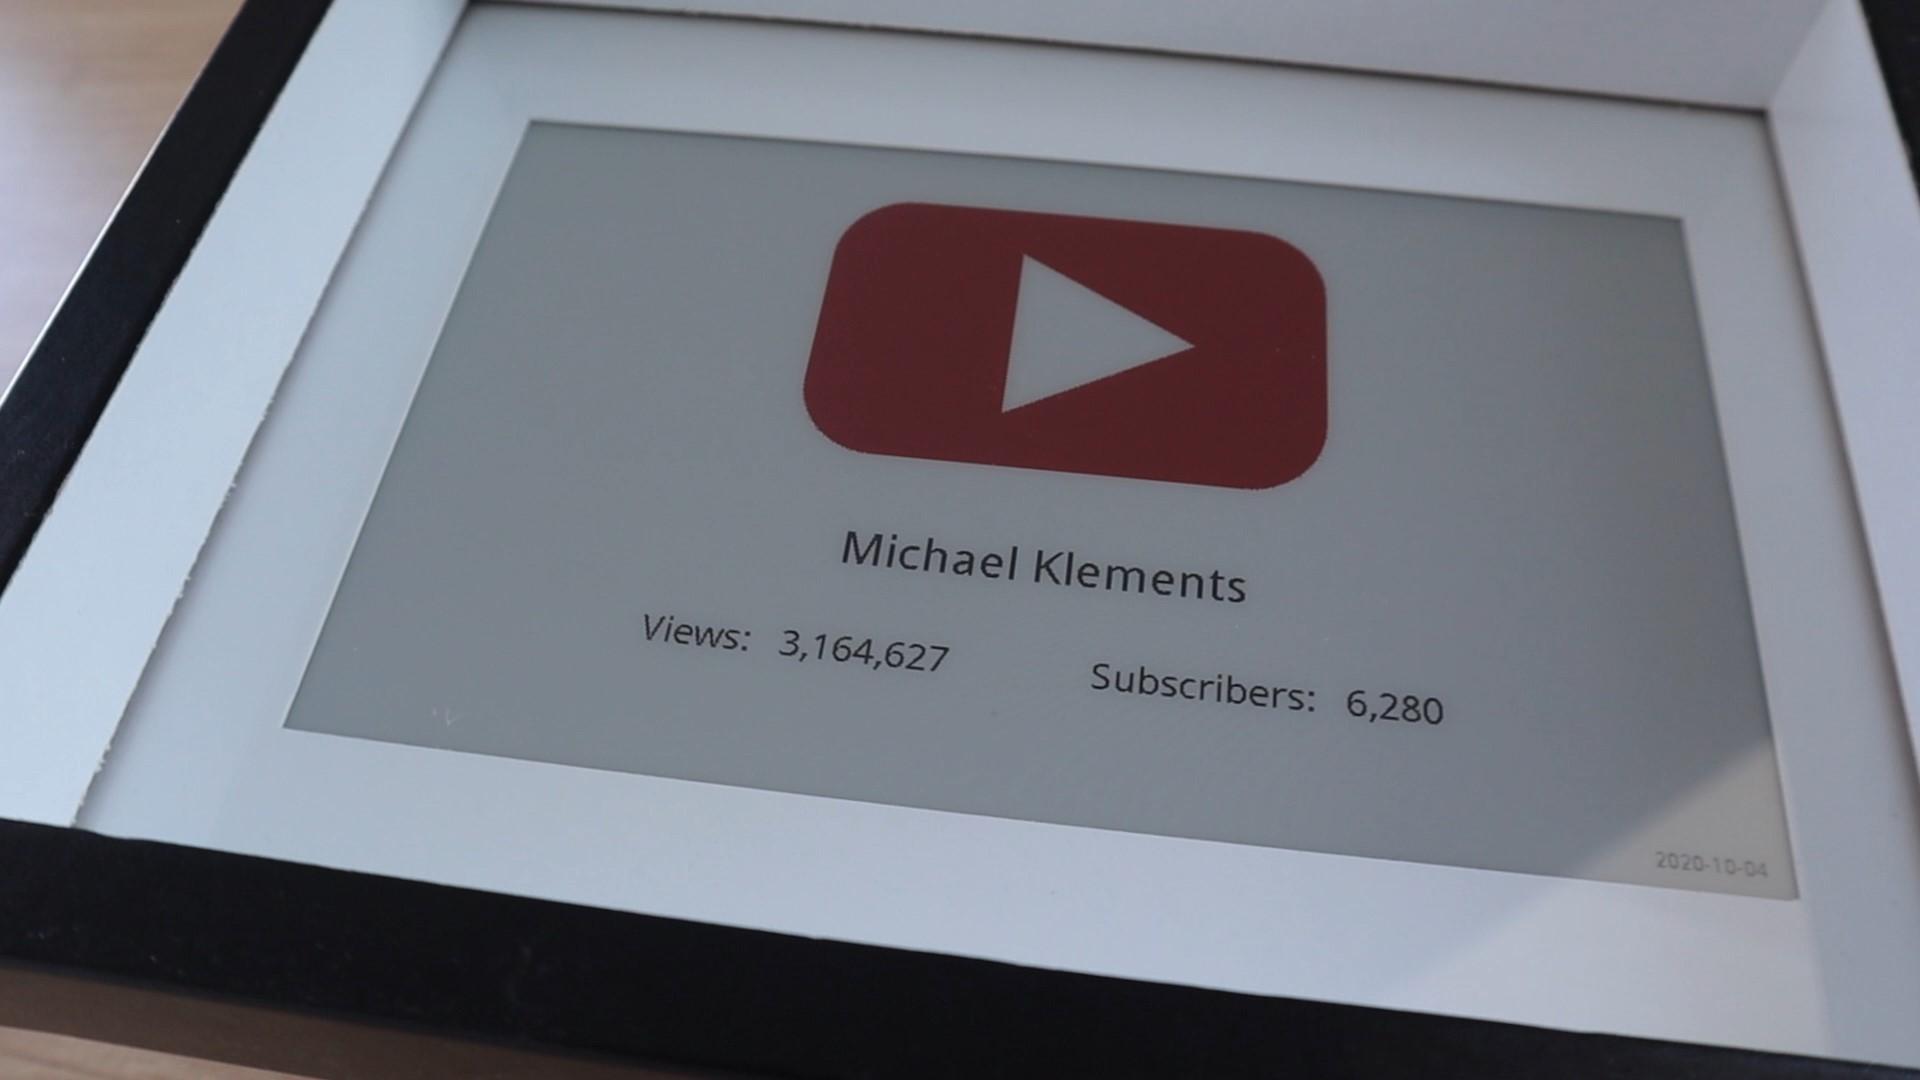
Once you've got your script running and automated using crontab, your counter is ready to be used. Just plug it into a USB power supply and place it on your desk or shelf.
I wanted to build this particular YouTube Subscriber Counter using a Raspberry Pi Zero W, but you could also use an ESP32 to use even less power by putting the controller to sleep between updates to the display, something that’s difficult to do on a Raspberry Pi.
Follow my YouTube channel for more Raspberry Pi and Arduino projects, and to help get the counter up!
Let me know what you think of it in the comments section and let me know if you try building your own!