Writing High-contrast Text on a Resin 3D Print
by Thomas TEMPÉ in Workshop > 3D Printing
1962 Views, 8 Favorites, 0 Comments
Writing High-contrast Text on a Resin 3D Print


Resin printers give beautifully detailed prints, but we haven't invented a way to have them produce multicolor objects yet. Here I demonstrate a very simple process for creating wear-resistant text on your prints, using 3D-printing resin of a different color as infill.
We will demonstrate two processes:
- fine prints (3mm letter height)
- larger text (7mm letter height)
While you still need to respect the usual safety precautions when working with uncured resin, I found that the relatively small amounts of resin used did not generate an overwhelming smell like printing does.
Supplies

You'll need:
- a resin 3D printer with all the usual accessories. A curing station is recommended for this particular project, or at least a curing light. Curing outside in the sun might not work well.
- a bottle of resin of a different color from your model.
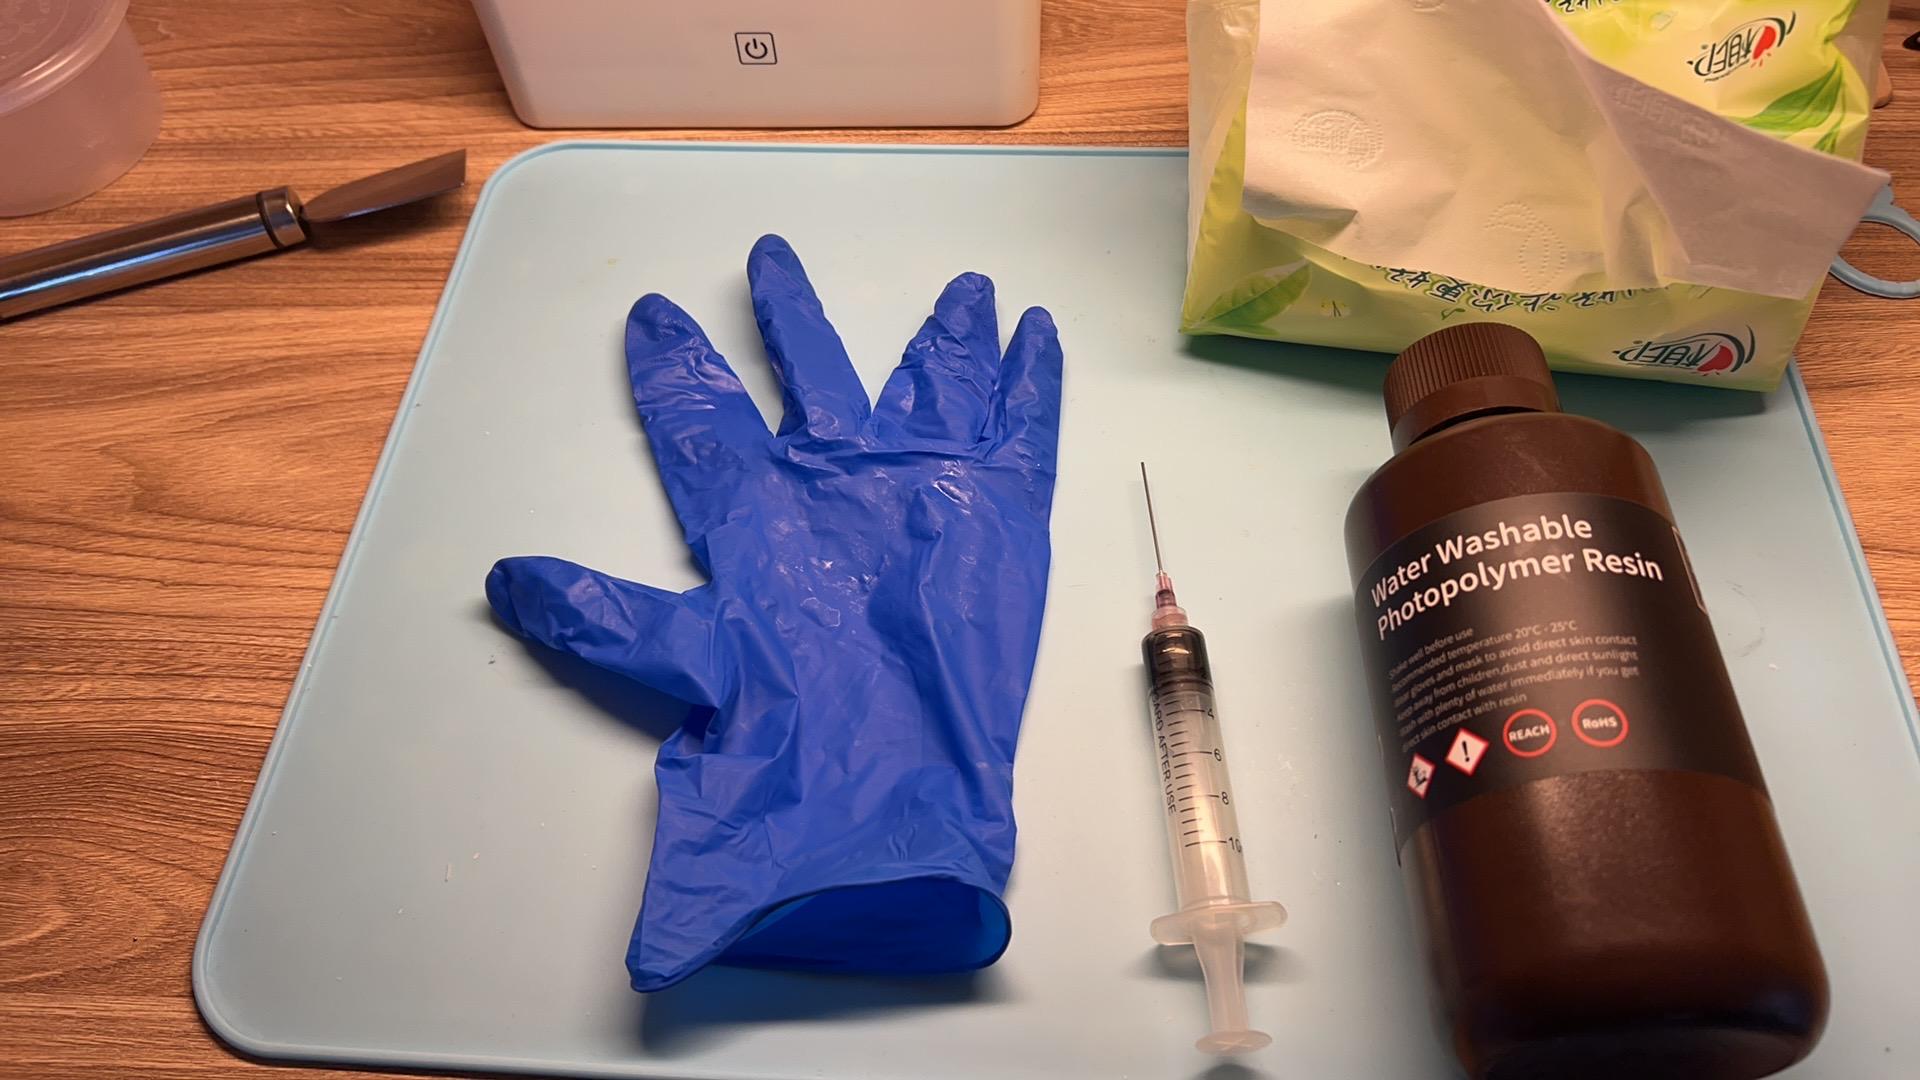
- a small 2~10ml syringe (smaller is better)
- for large text, blunt needles, ~0.8mm outside diameter (21G) or larger. It needs to be smaller than the width of lines you're printing.
- optionally, some UV-cured nail varnish, to create additional colors
- plenty of paper tissue
- some cottons swabs
3D Design
First, you need to engrave your text on your 3D printer.
On Fusion 360, you will first create a "text" objet on a sketch, then either extrude (cut) it into a body, or use the Create->Emboss tool in the Design view. This part of the process is extensively covered elsewhere, so I won't elaborate.
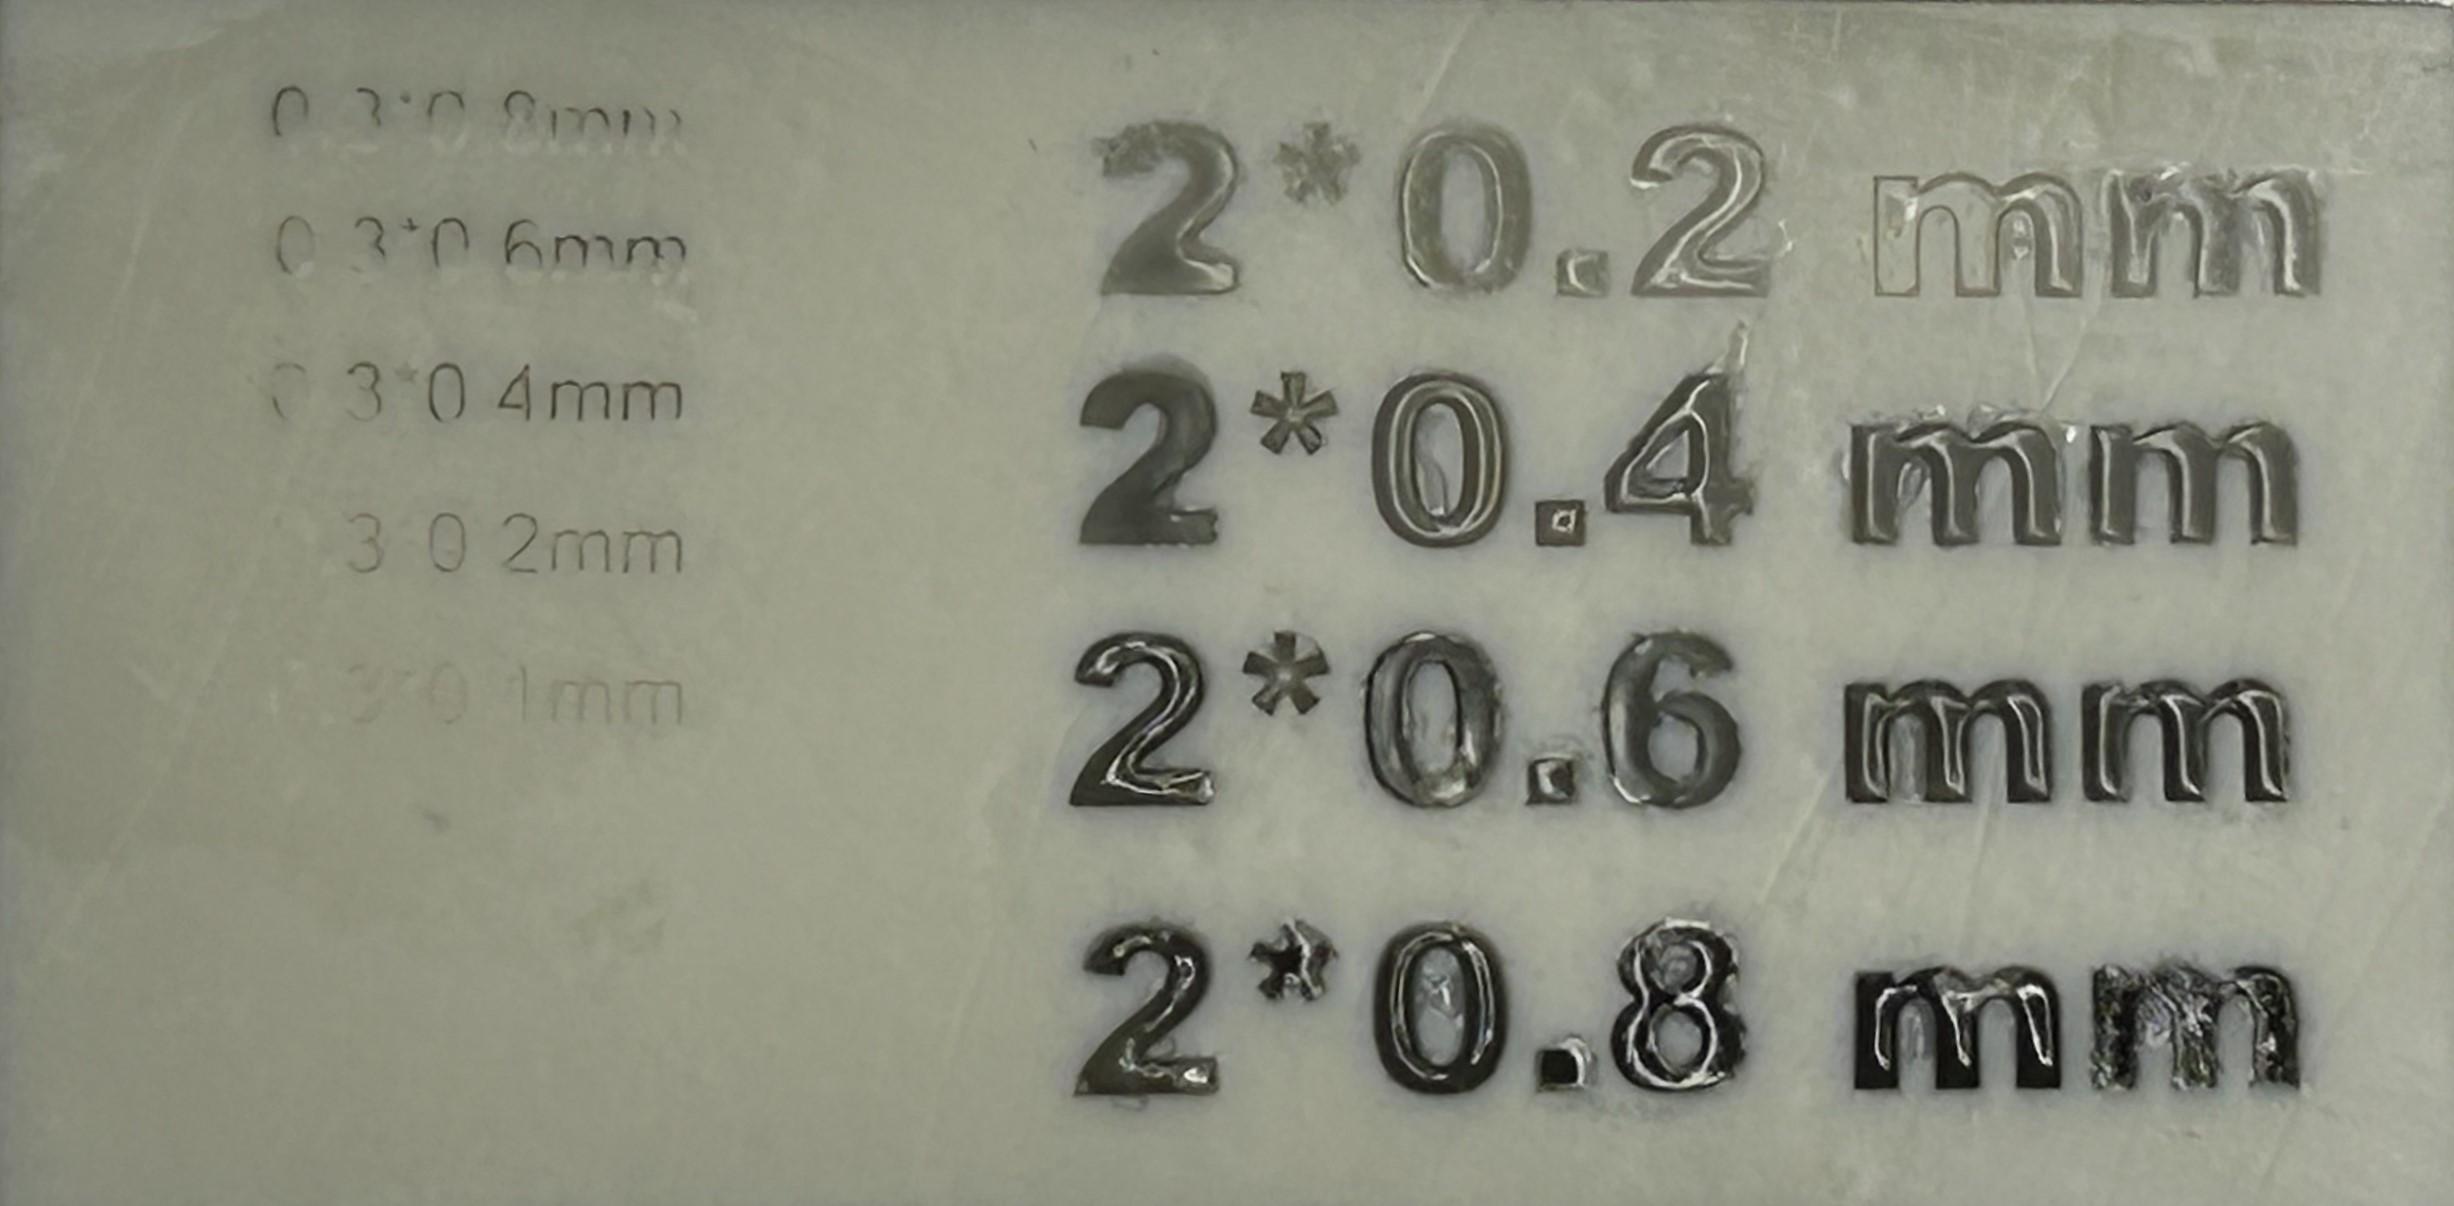
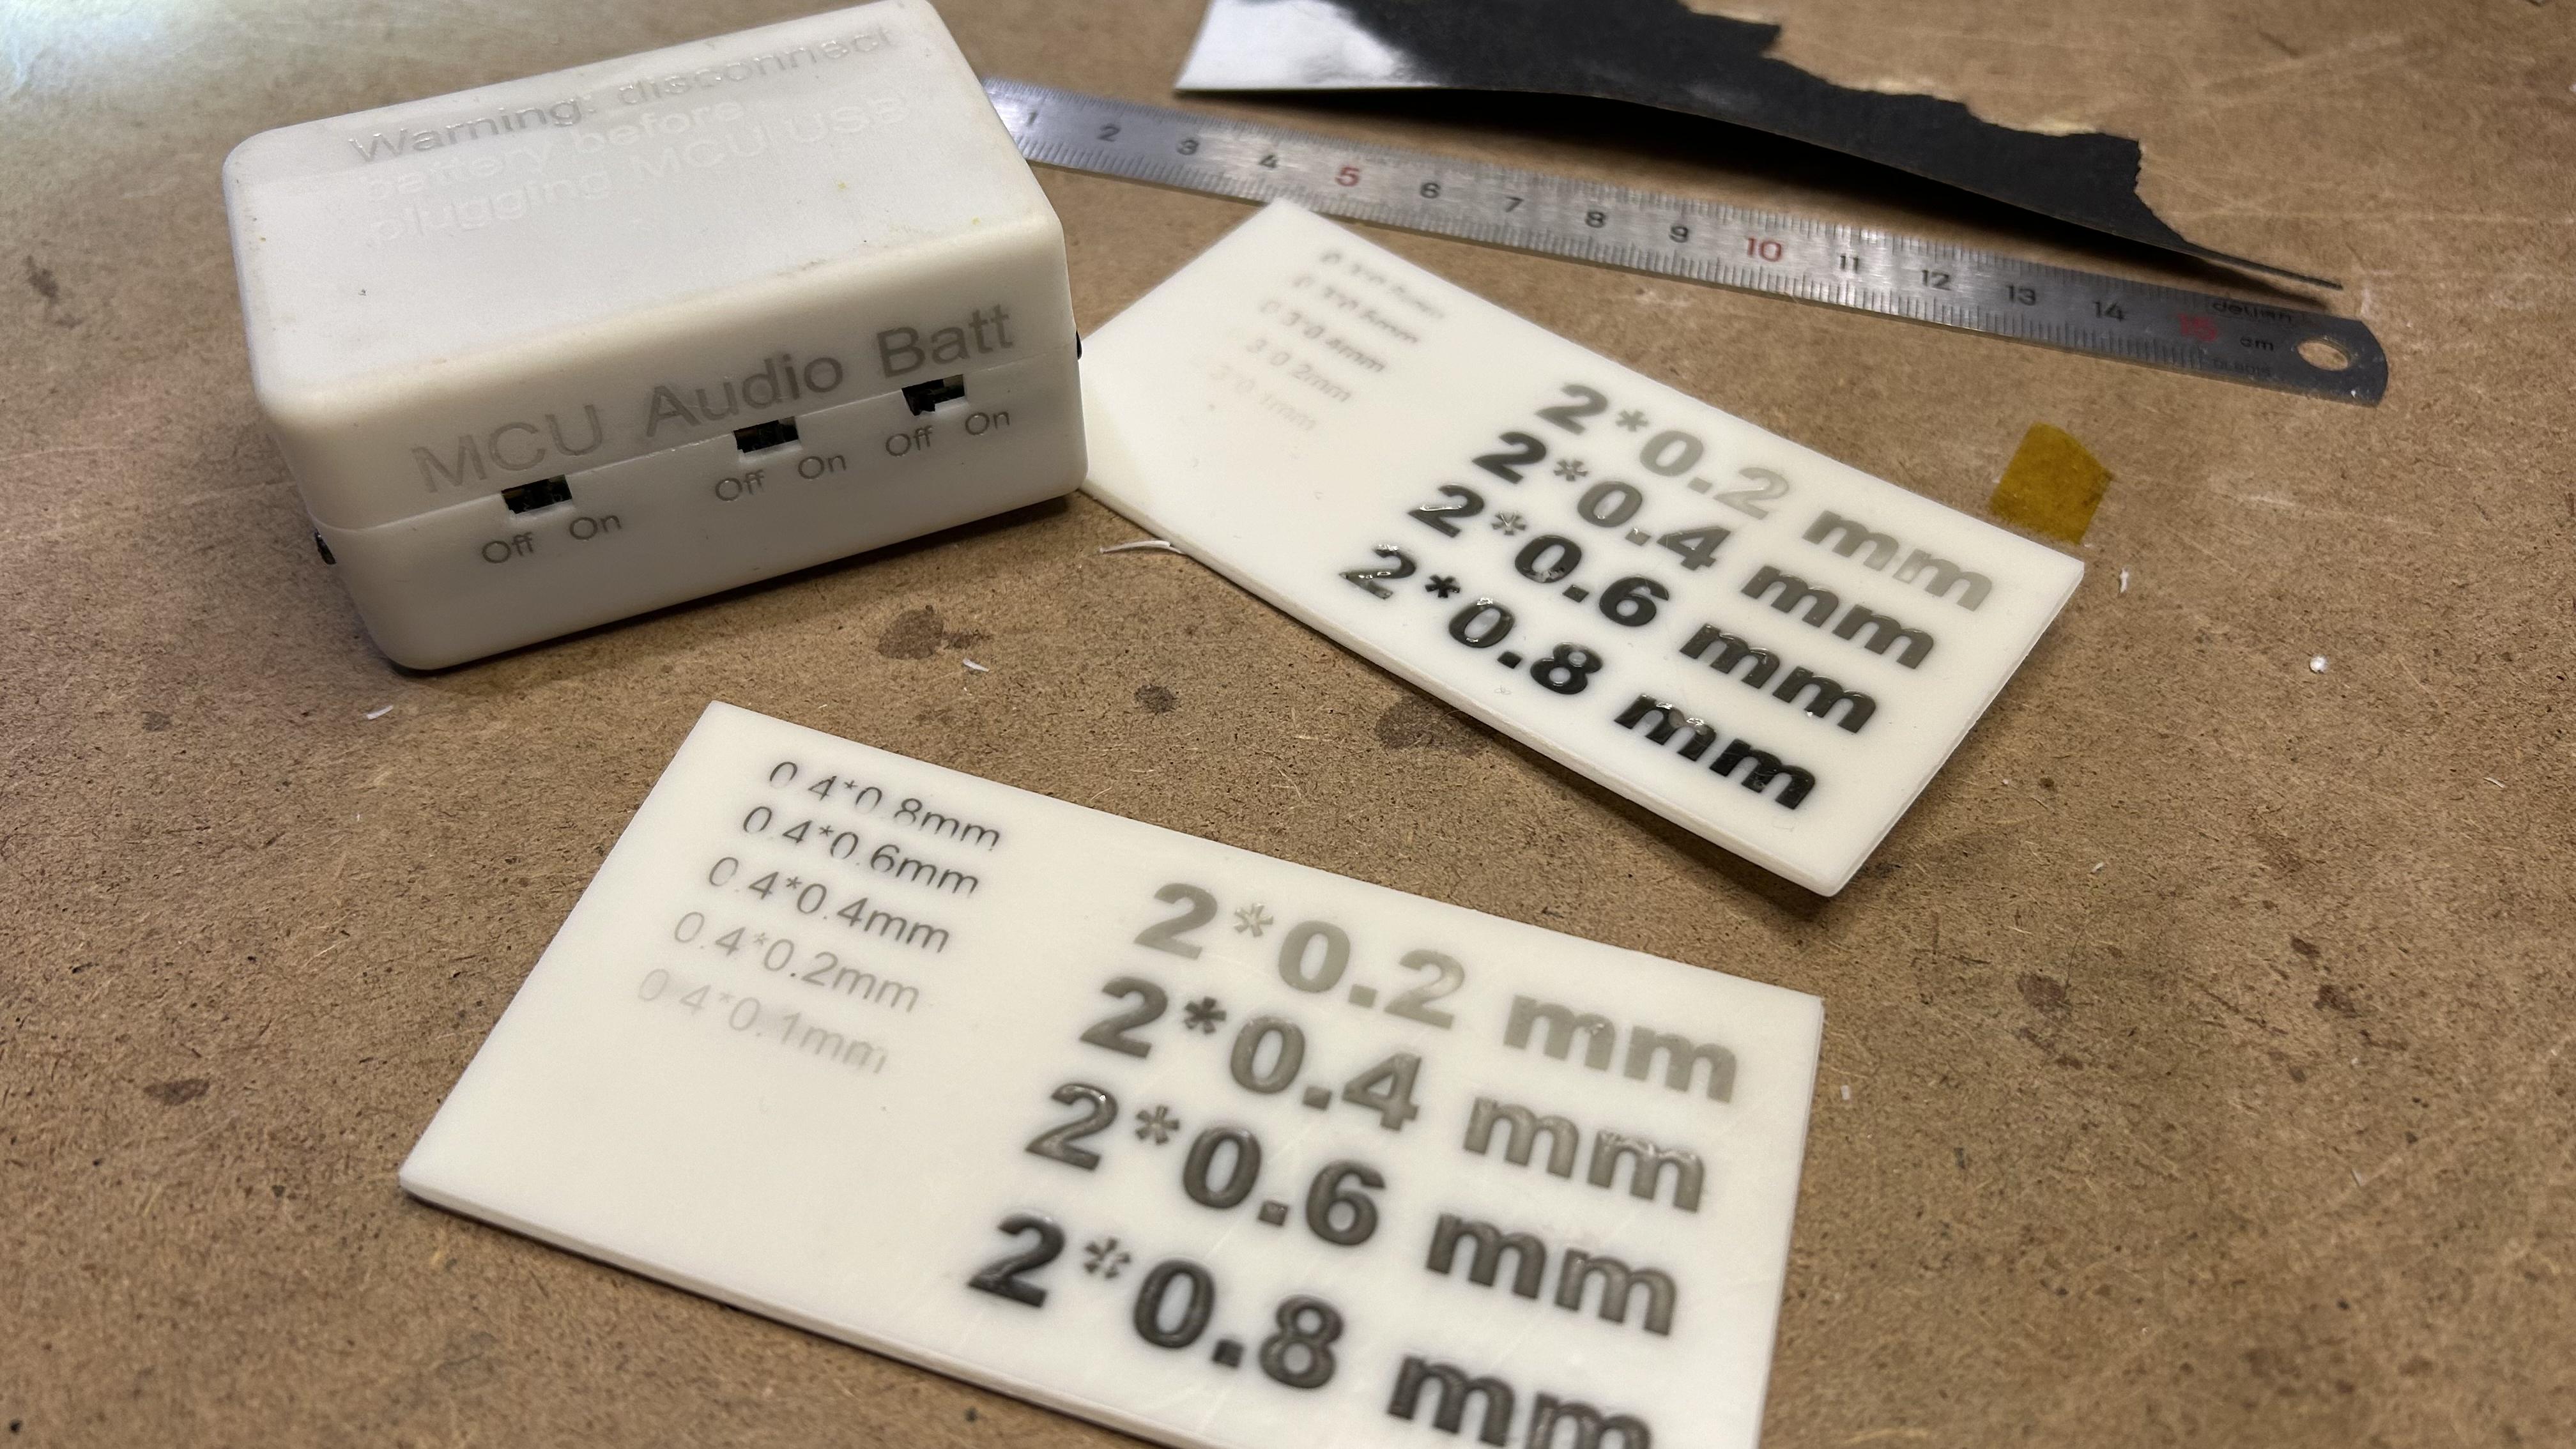
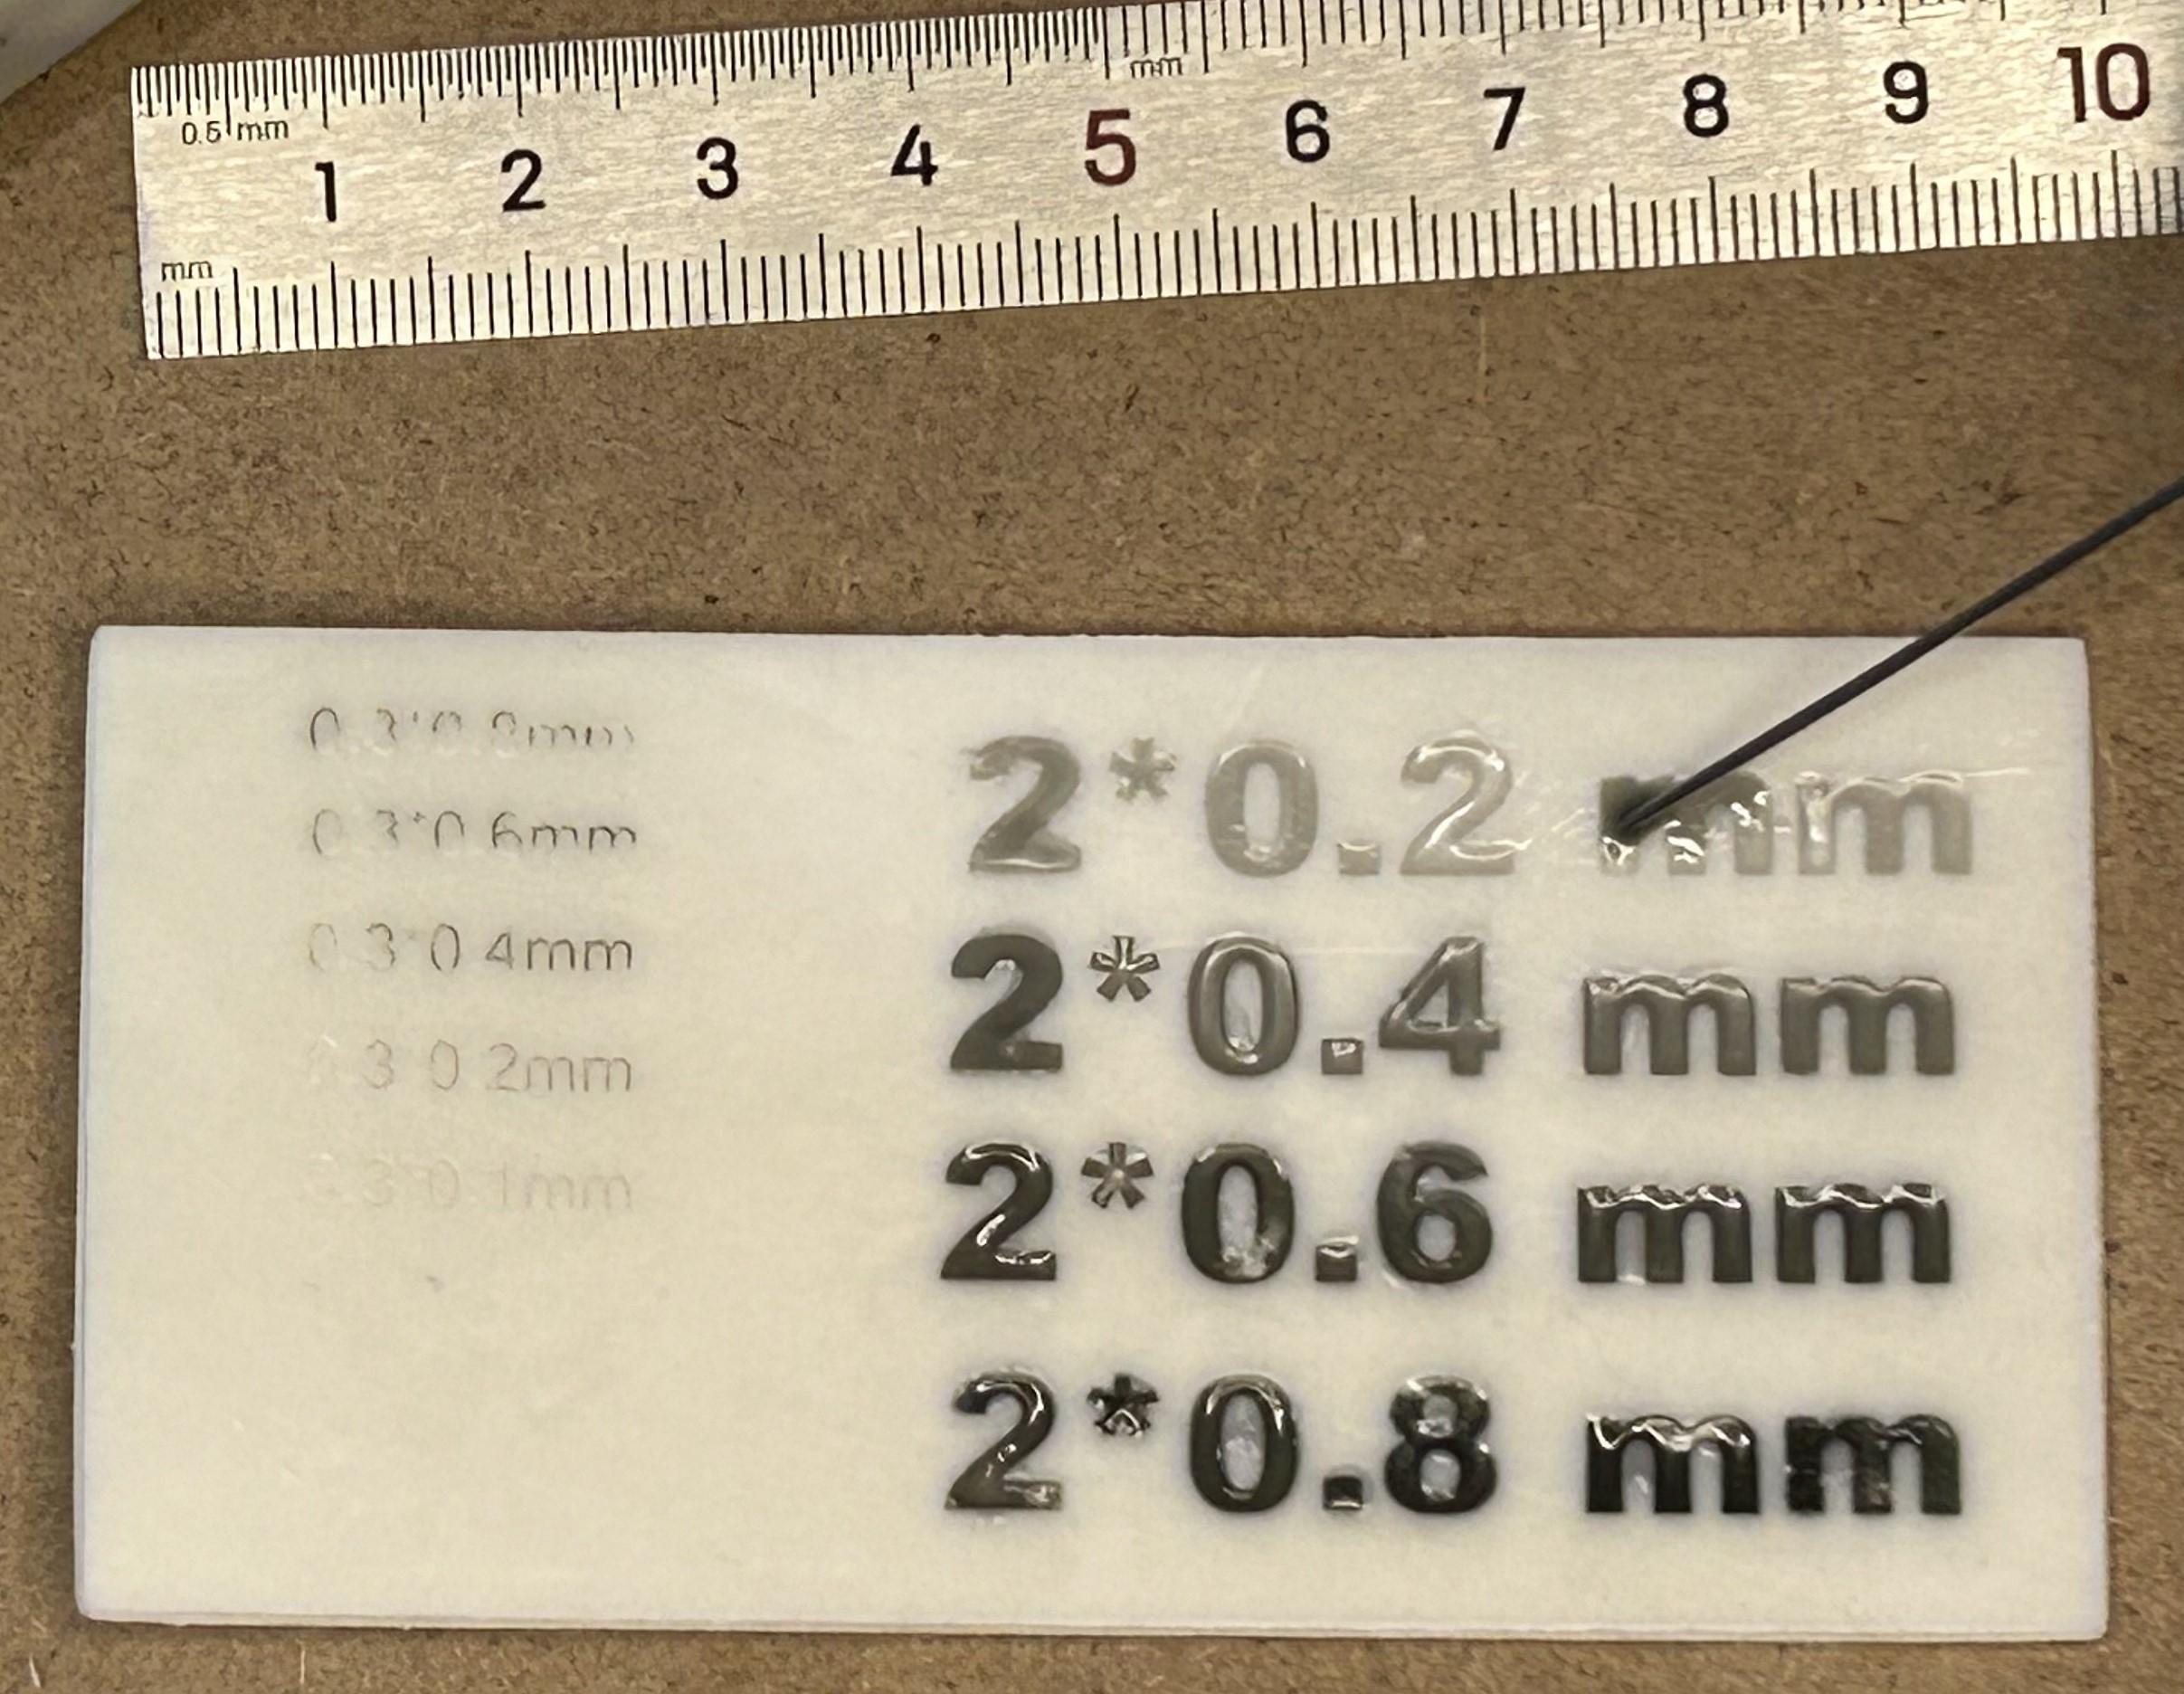
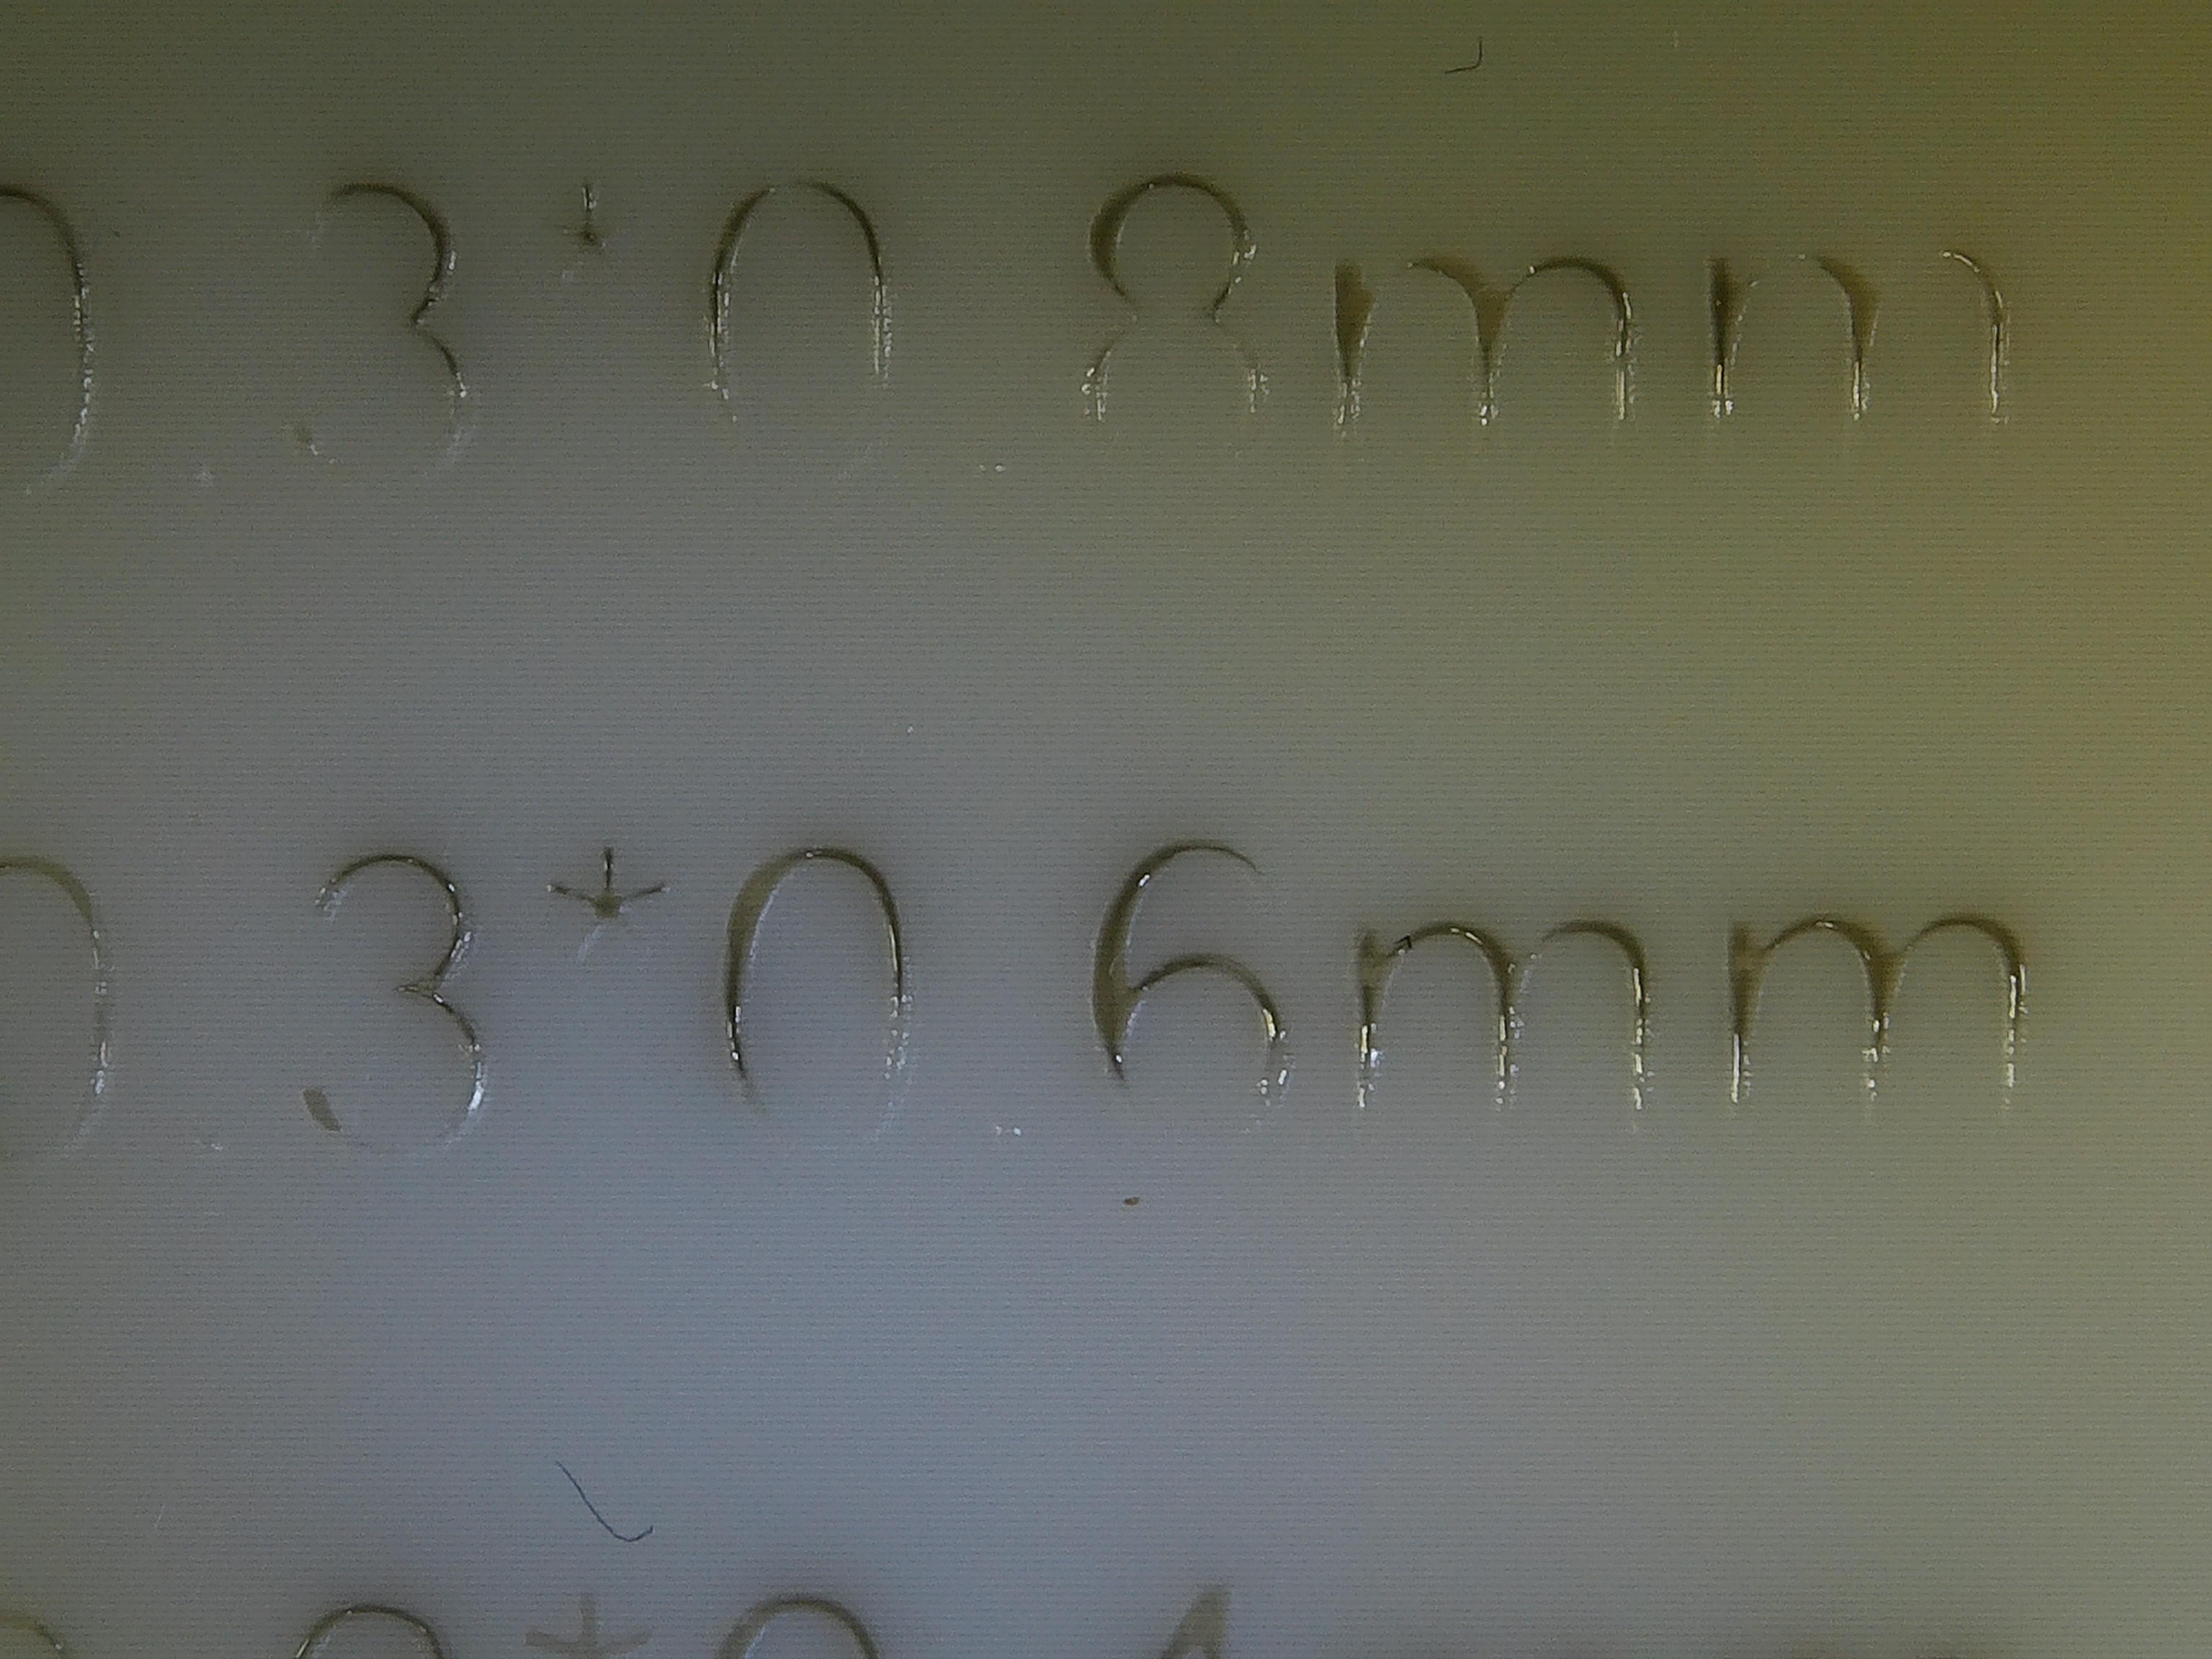
There are 2 parameters you want to watch during this process:
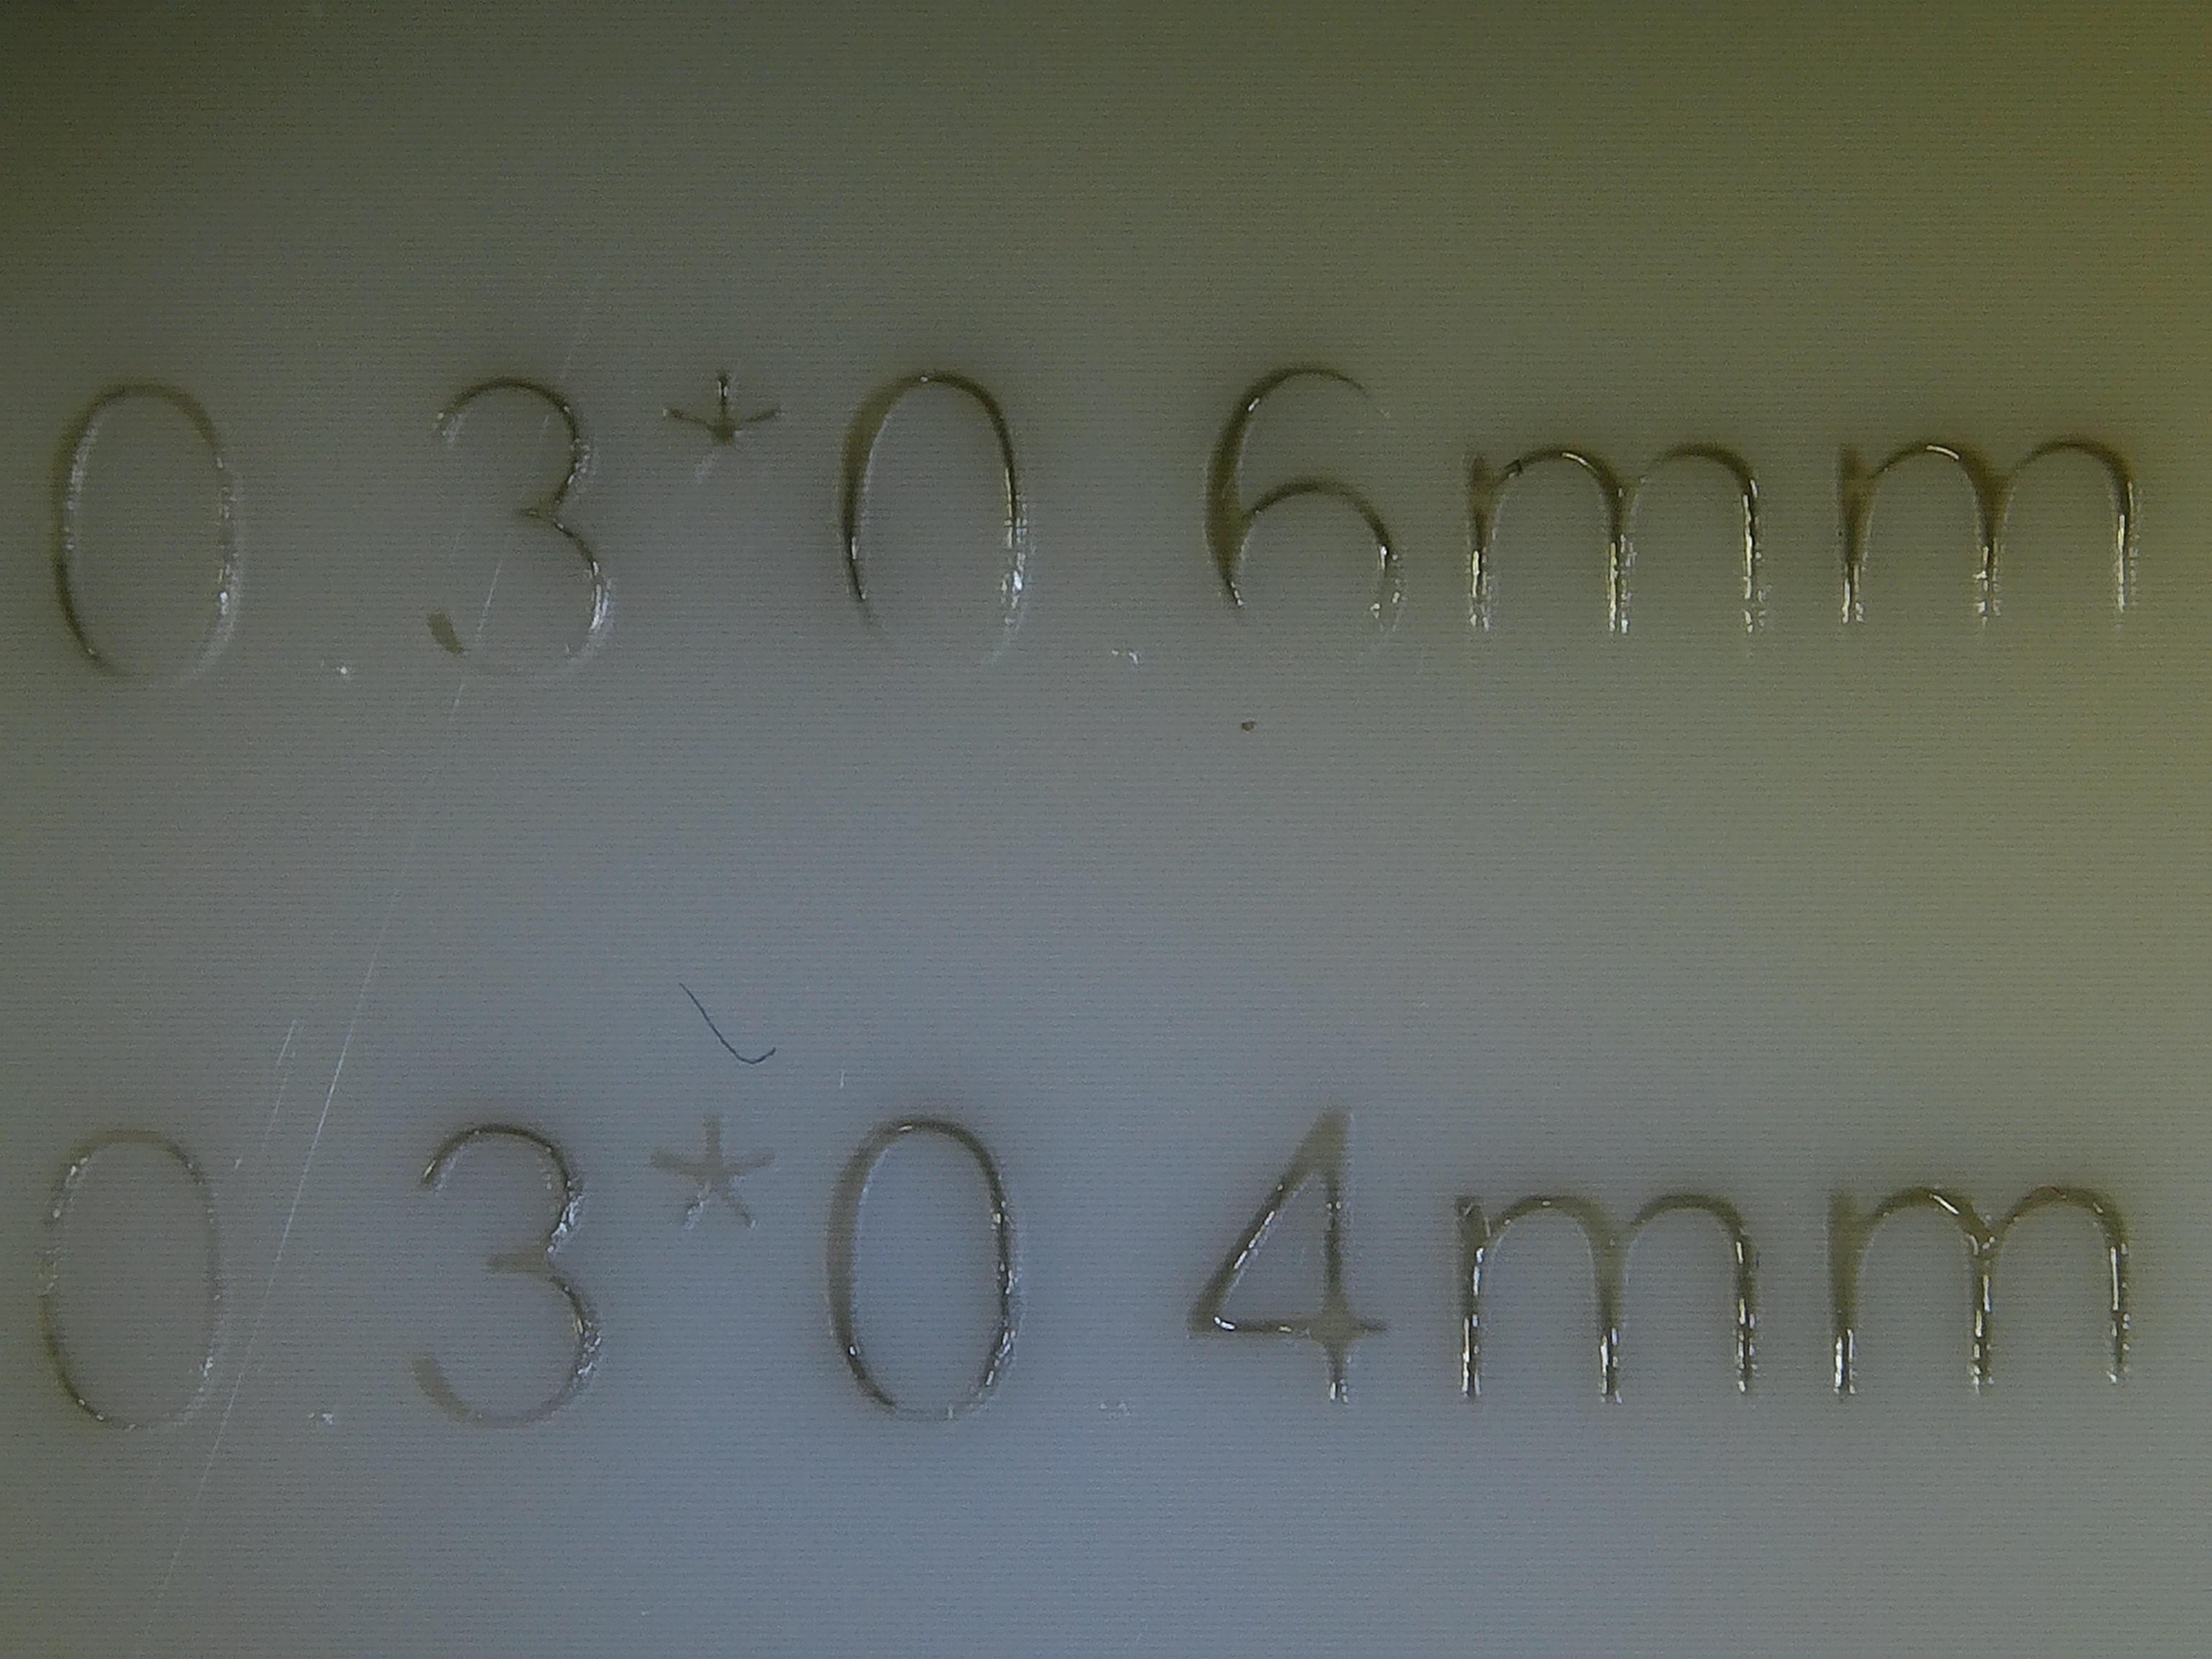
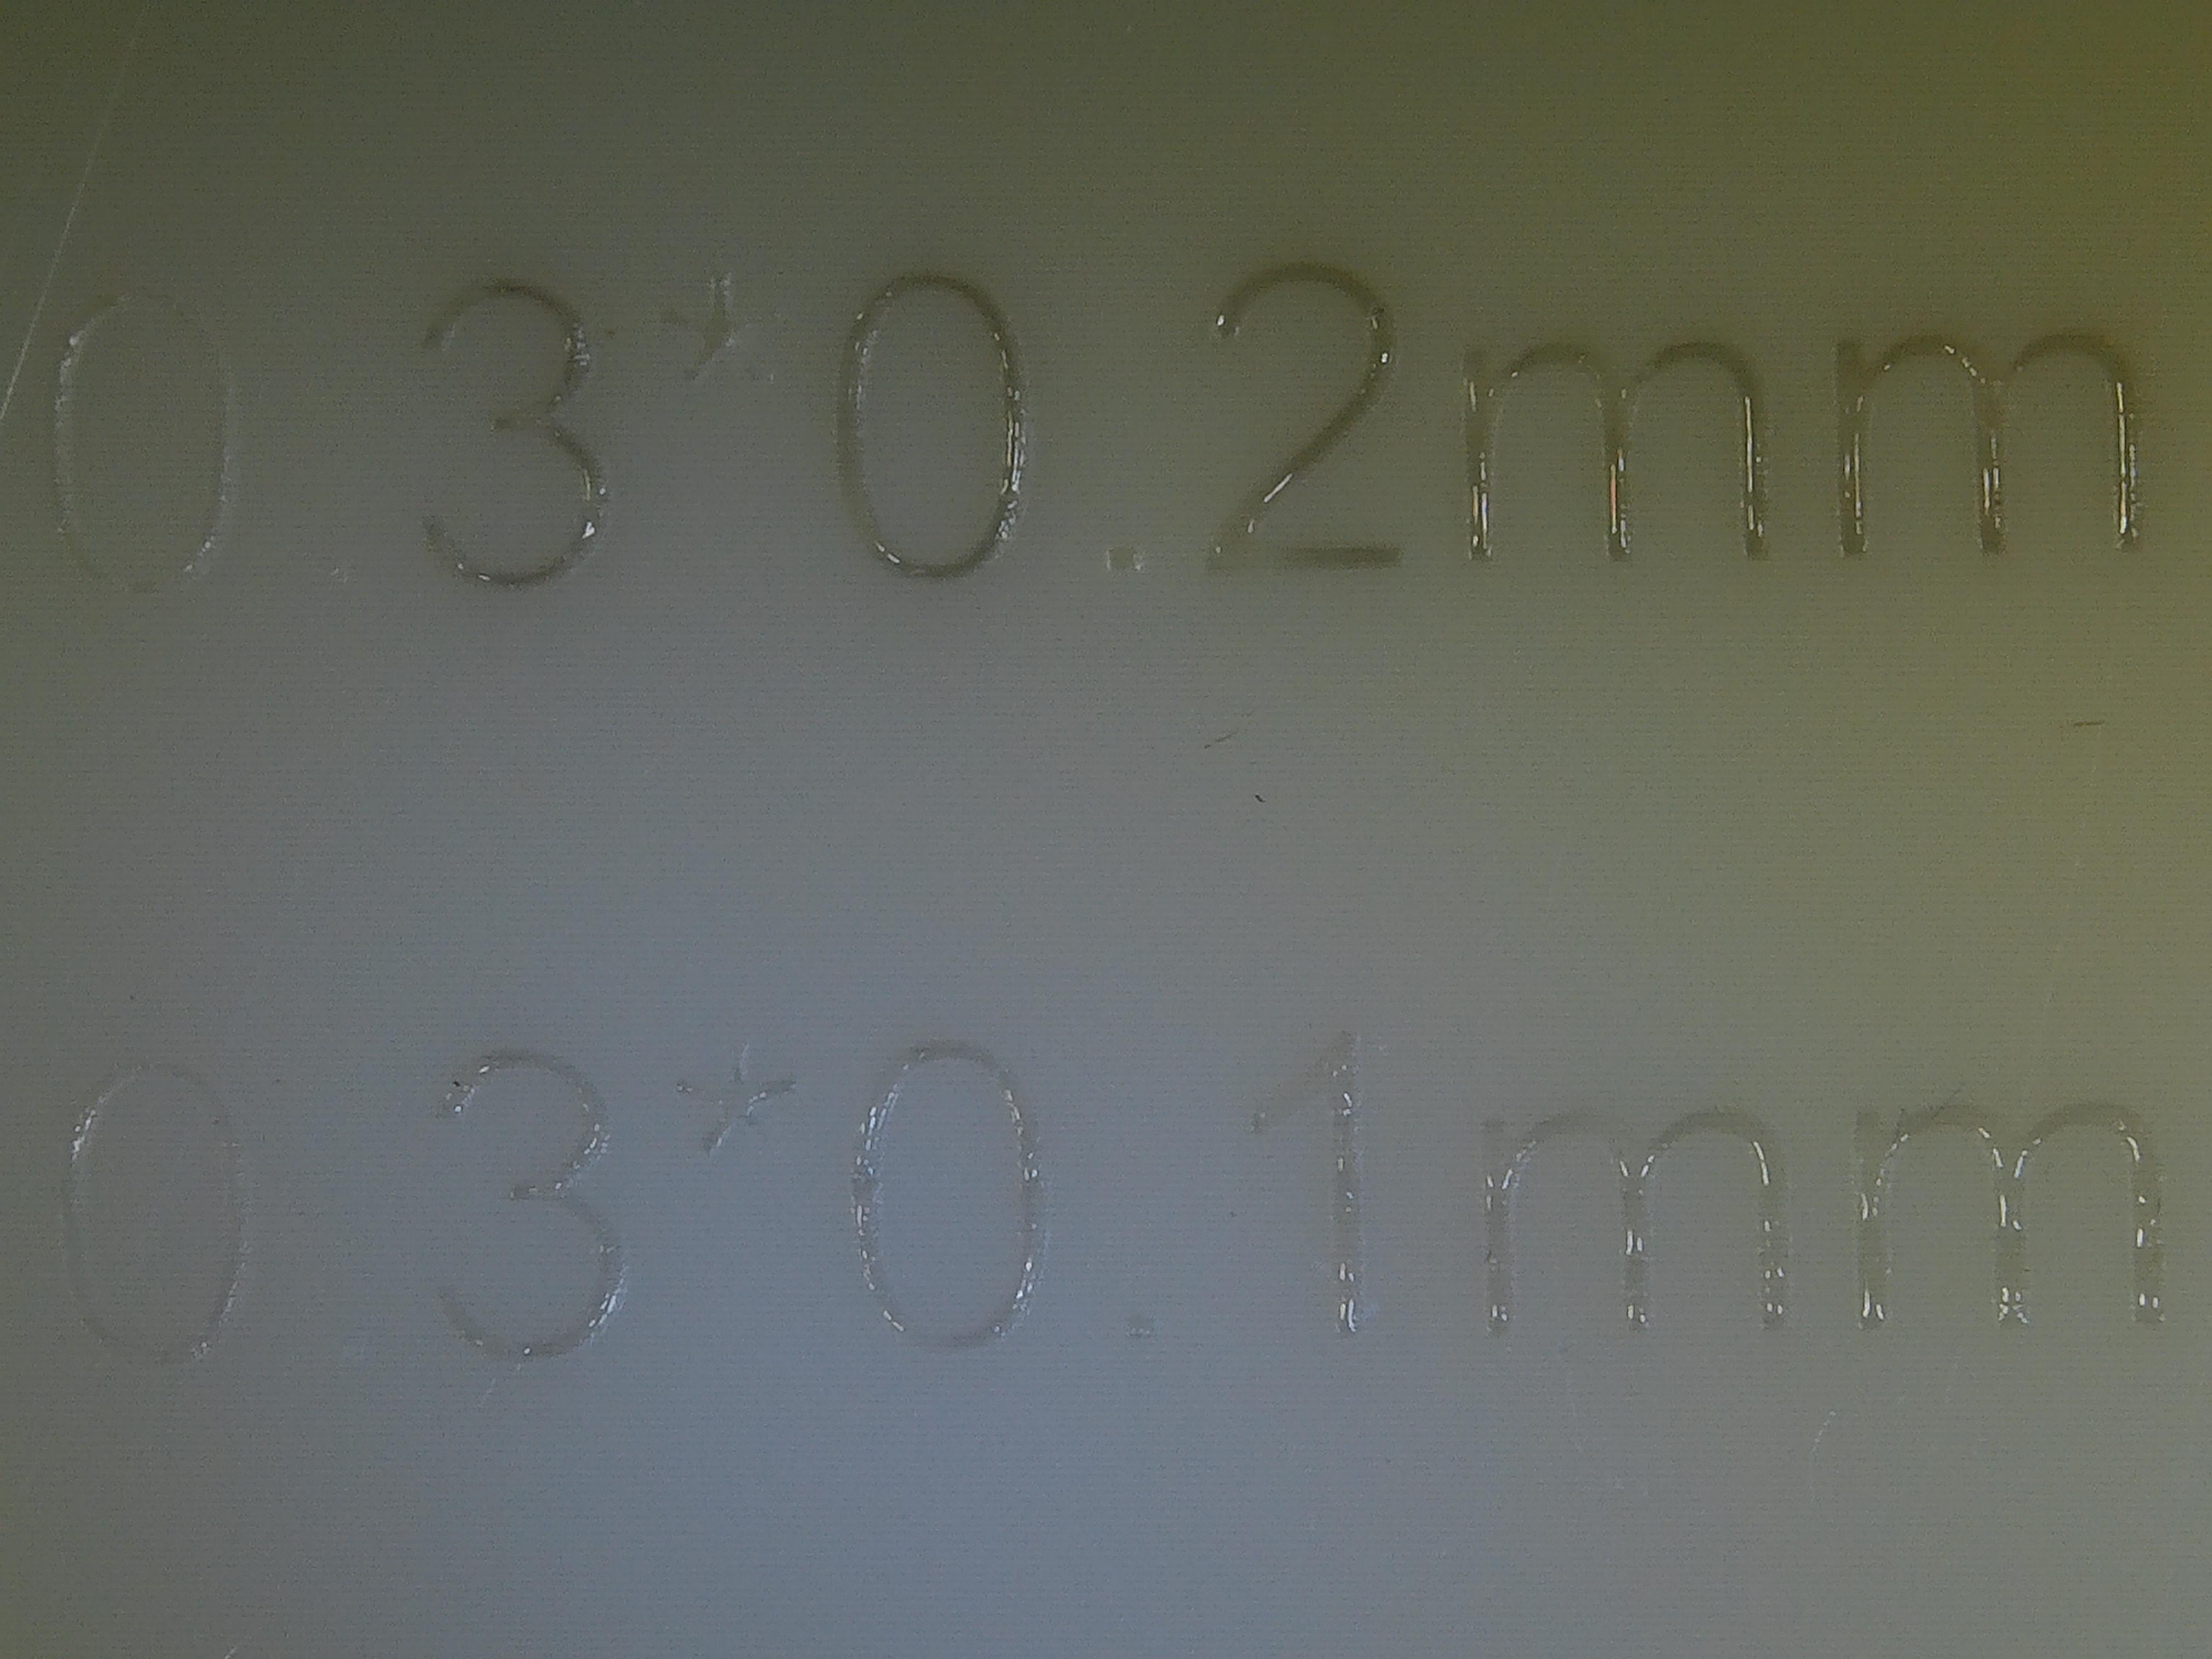
- the depth of embossing: I recommend 0.4mm. Shallower, and it's hard to fill cleanly. Deeper, and the results become more irregular, as well as harder to cure thoroughly.
- the width of the line: anything above 0.4mm will be fine. This will come down to font size and your choice of font. You want to consider the width of your needle (for large text), as well as the resolution of your particular printer.
Downloads
Printing
Print, clean and dry your model. Leaving a bit of humidity at the bottom of the letters is fine.
Don't cure it yet. We will fill the green resin, to avoid over-curing.
Fill Your Syringe
With a larger syringe, you can pour resin in directly (remember to block the needle end as you do that); otherwise suck it from a small container. Be sure to remove all the air bubbles, as they will decrease your control over the pressure you exert on the resin.
Remember to shake your resin well beforehand if your pigments tend to decant.
To get additional colors, add a drop or two of nail varnish to your resin. Mix thoroughly. Nail varnish alone is too thick to be useable as is. Remember that you're not looking to have a high opacity, just enough pigmentation for the letters to be readable.
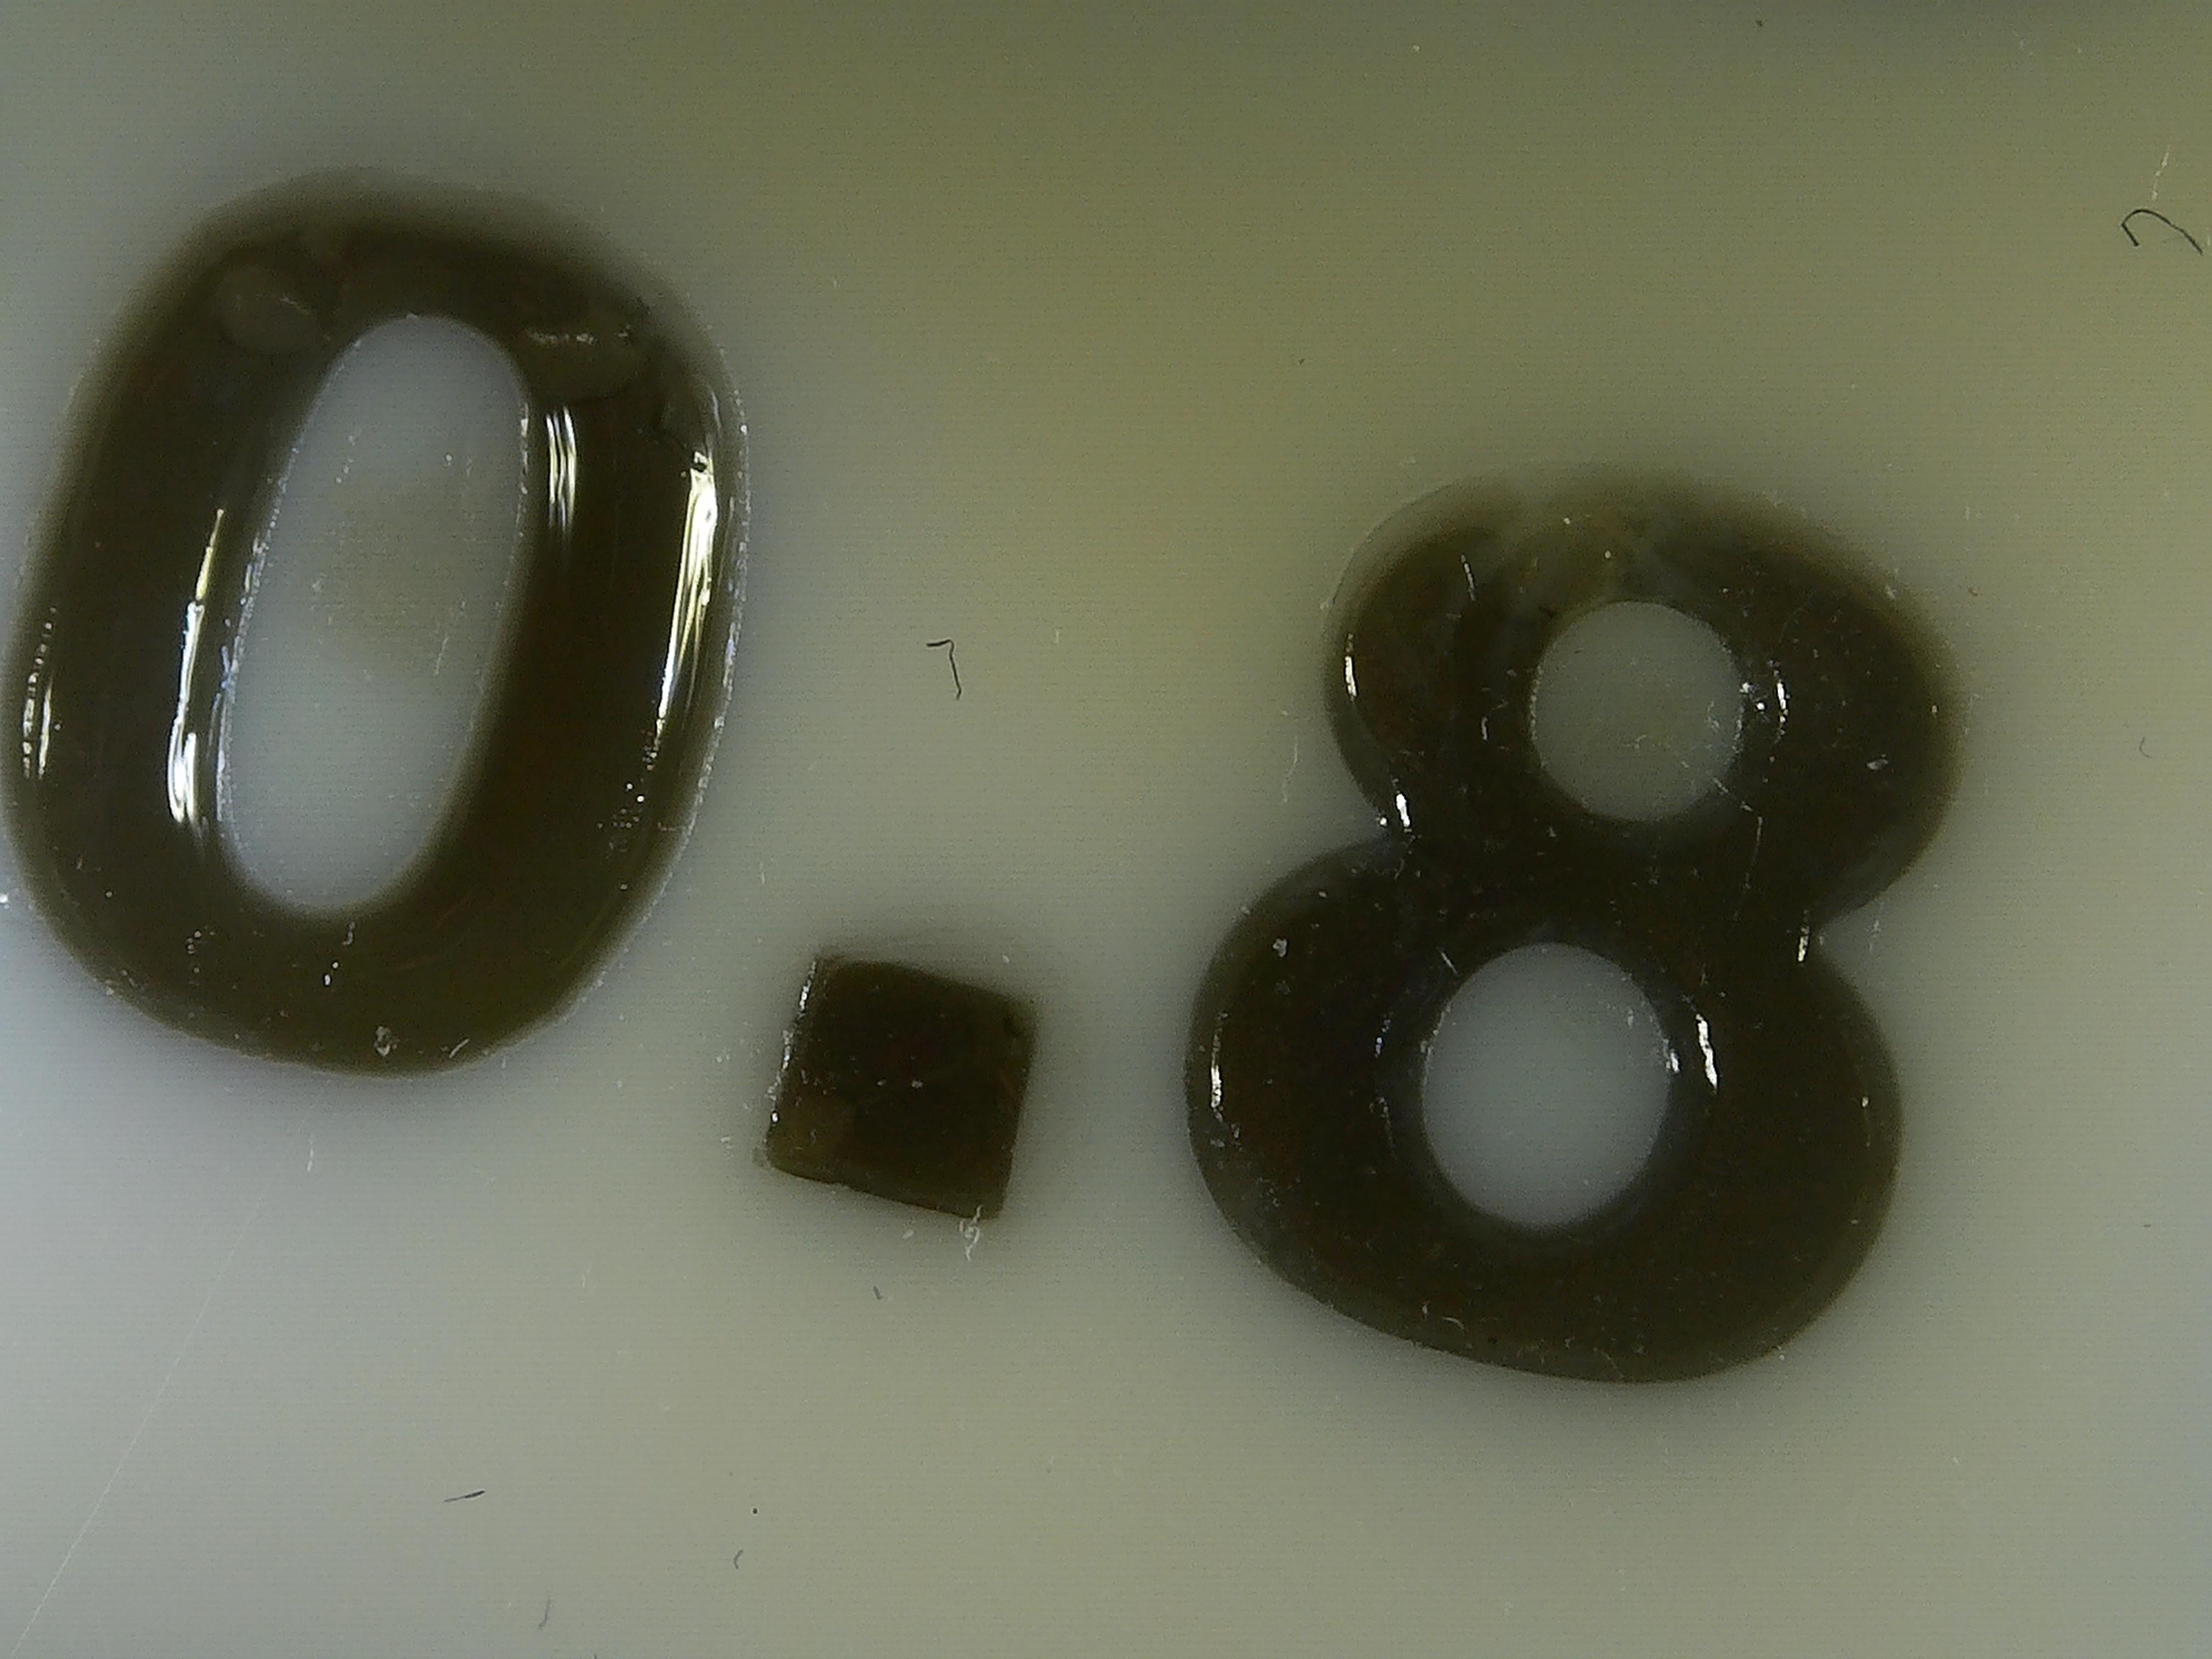
Filling Small Text:
Here we're looking at text with a line width that's smaller than your syringe's needle.
If your model is perfectly dry, you can wet it with a drop of water or IPA, using the tip of your finger. drench the grooves, then wipe off the excess. This will help drive the liquid inside your letters by capilarity.
Spread a bit of resin over the letters, then wipe off the excess lightly with a clean tissue, or cotton swab (tissue tends to drink everything in, while cotton swabs might be better to remove only the resin that's outside the grooves).
You will not get extreme contrast, but the letters will still be clearly readable. Step back and have a look from afar.
Your exact groove width will depend on your printer's calibration.
Downloads
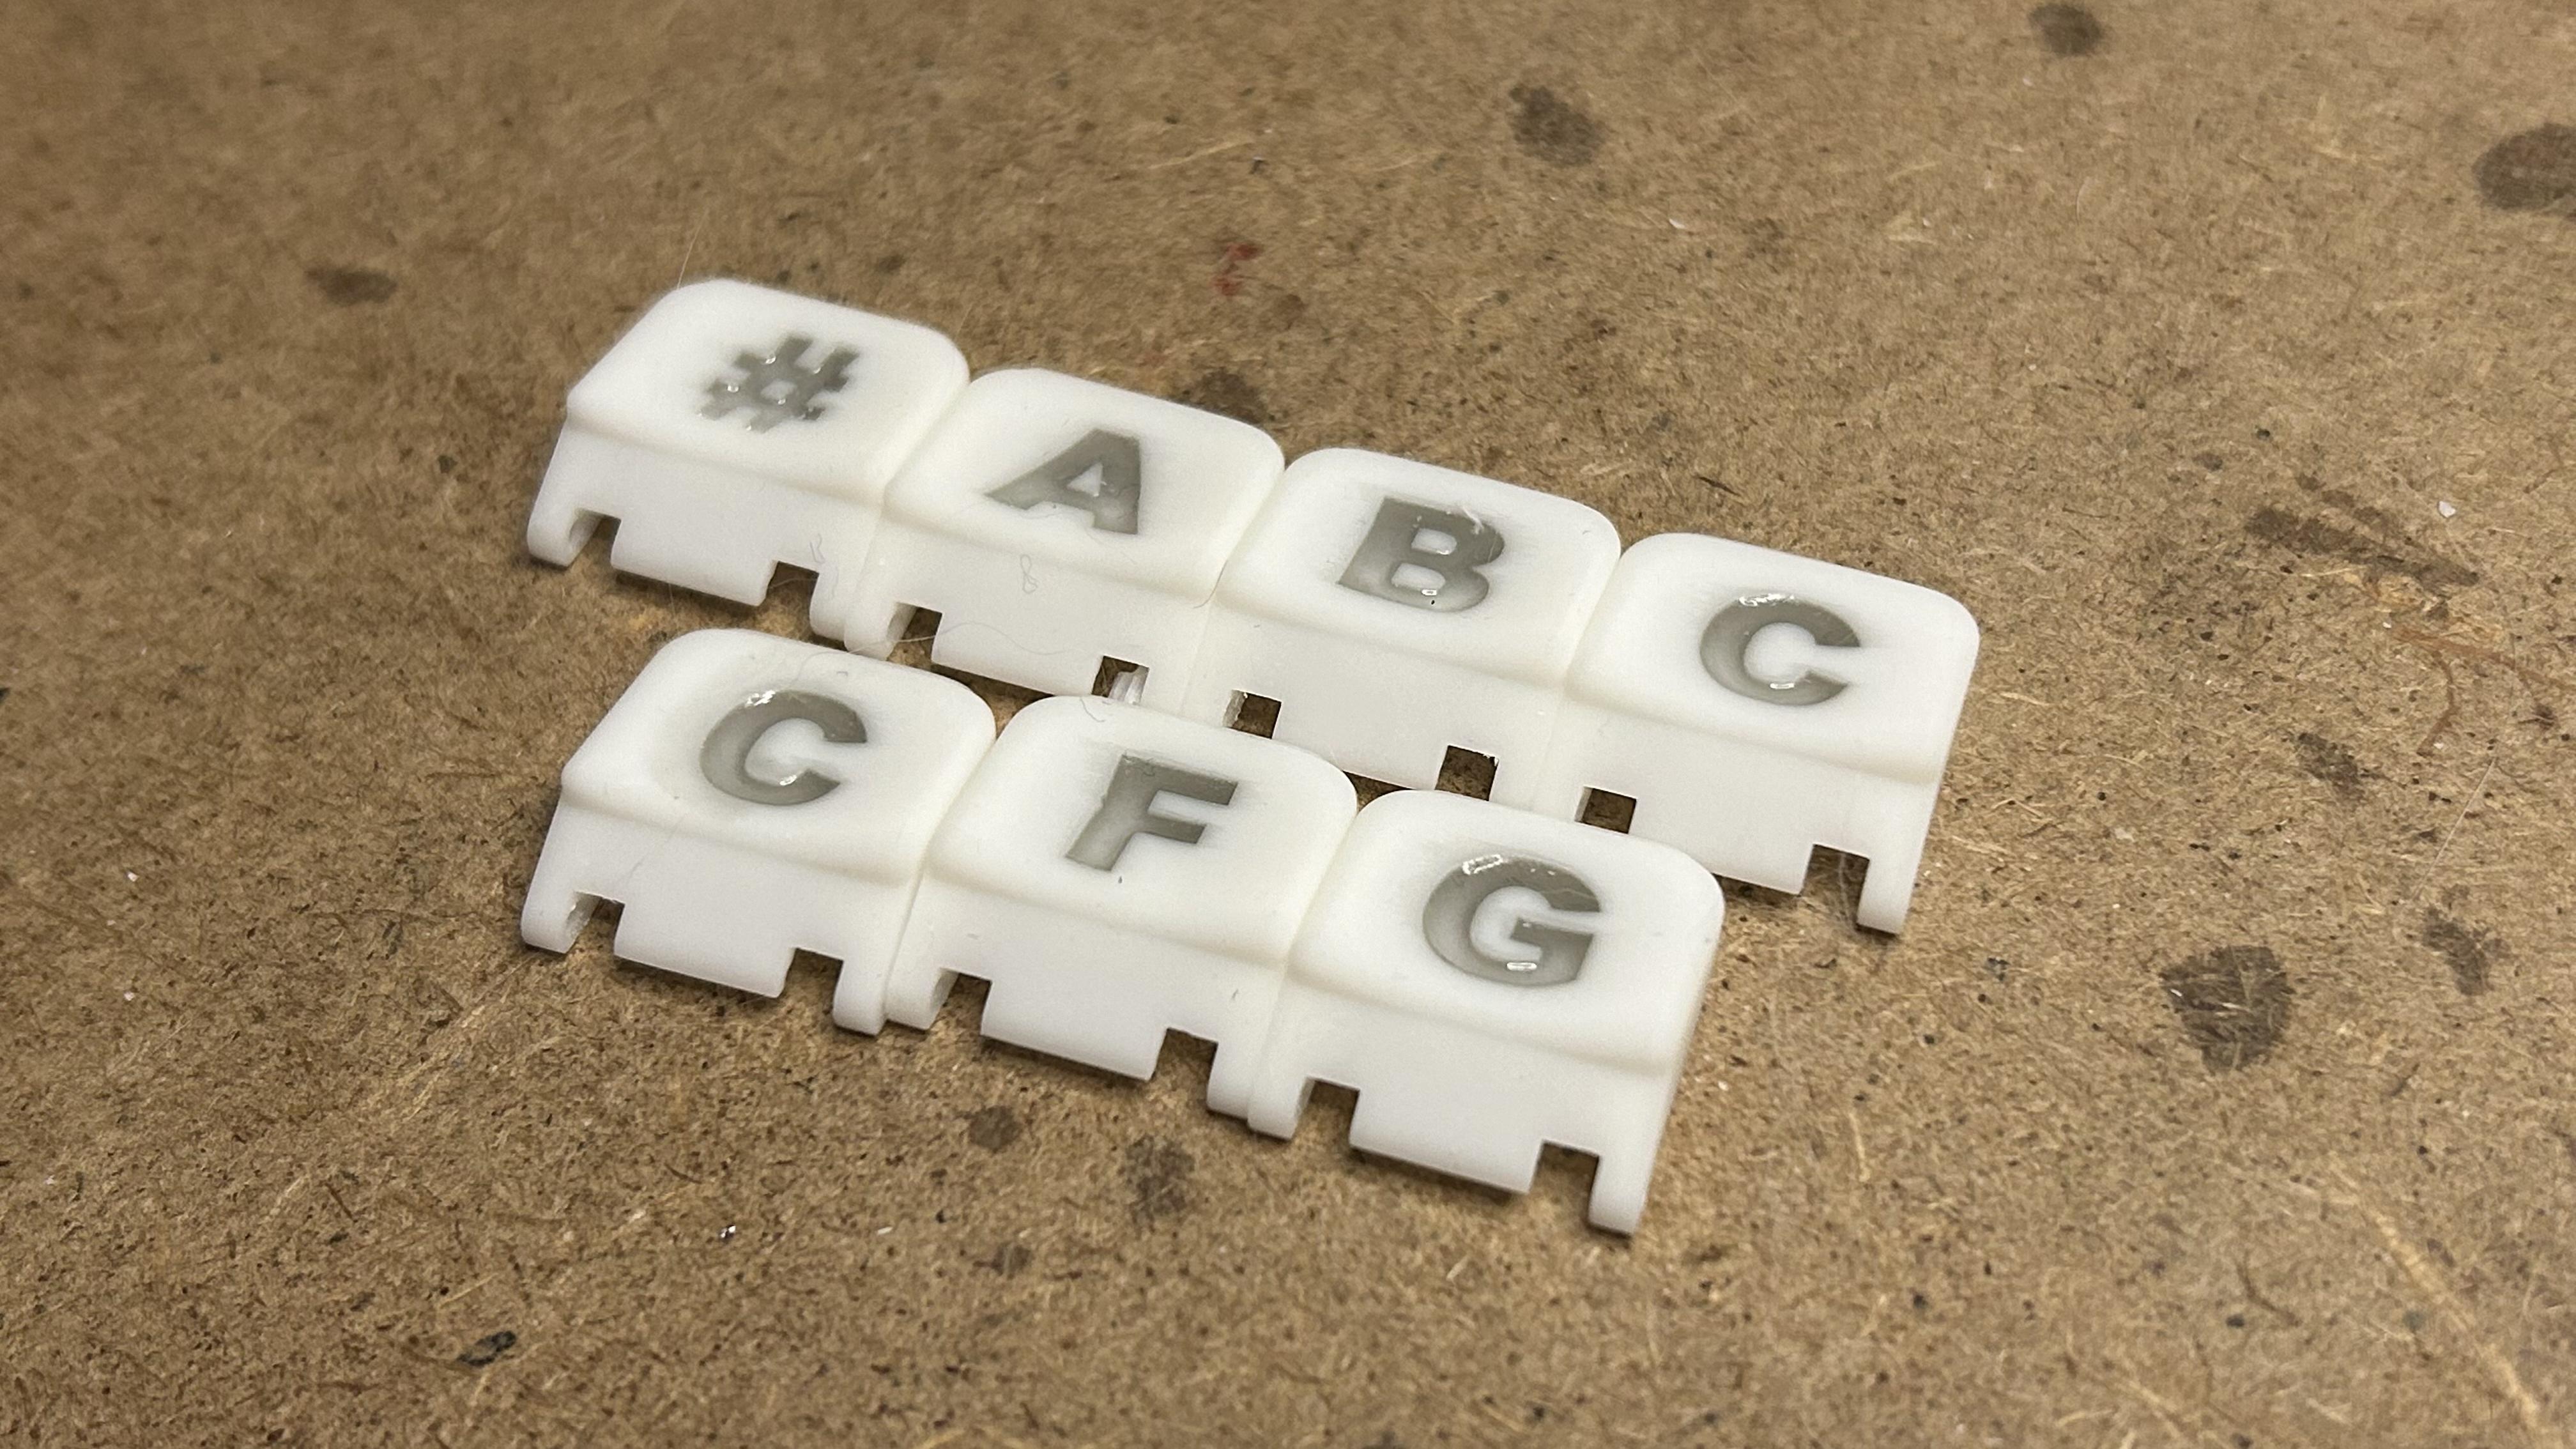
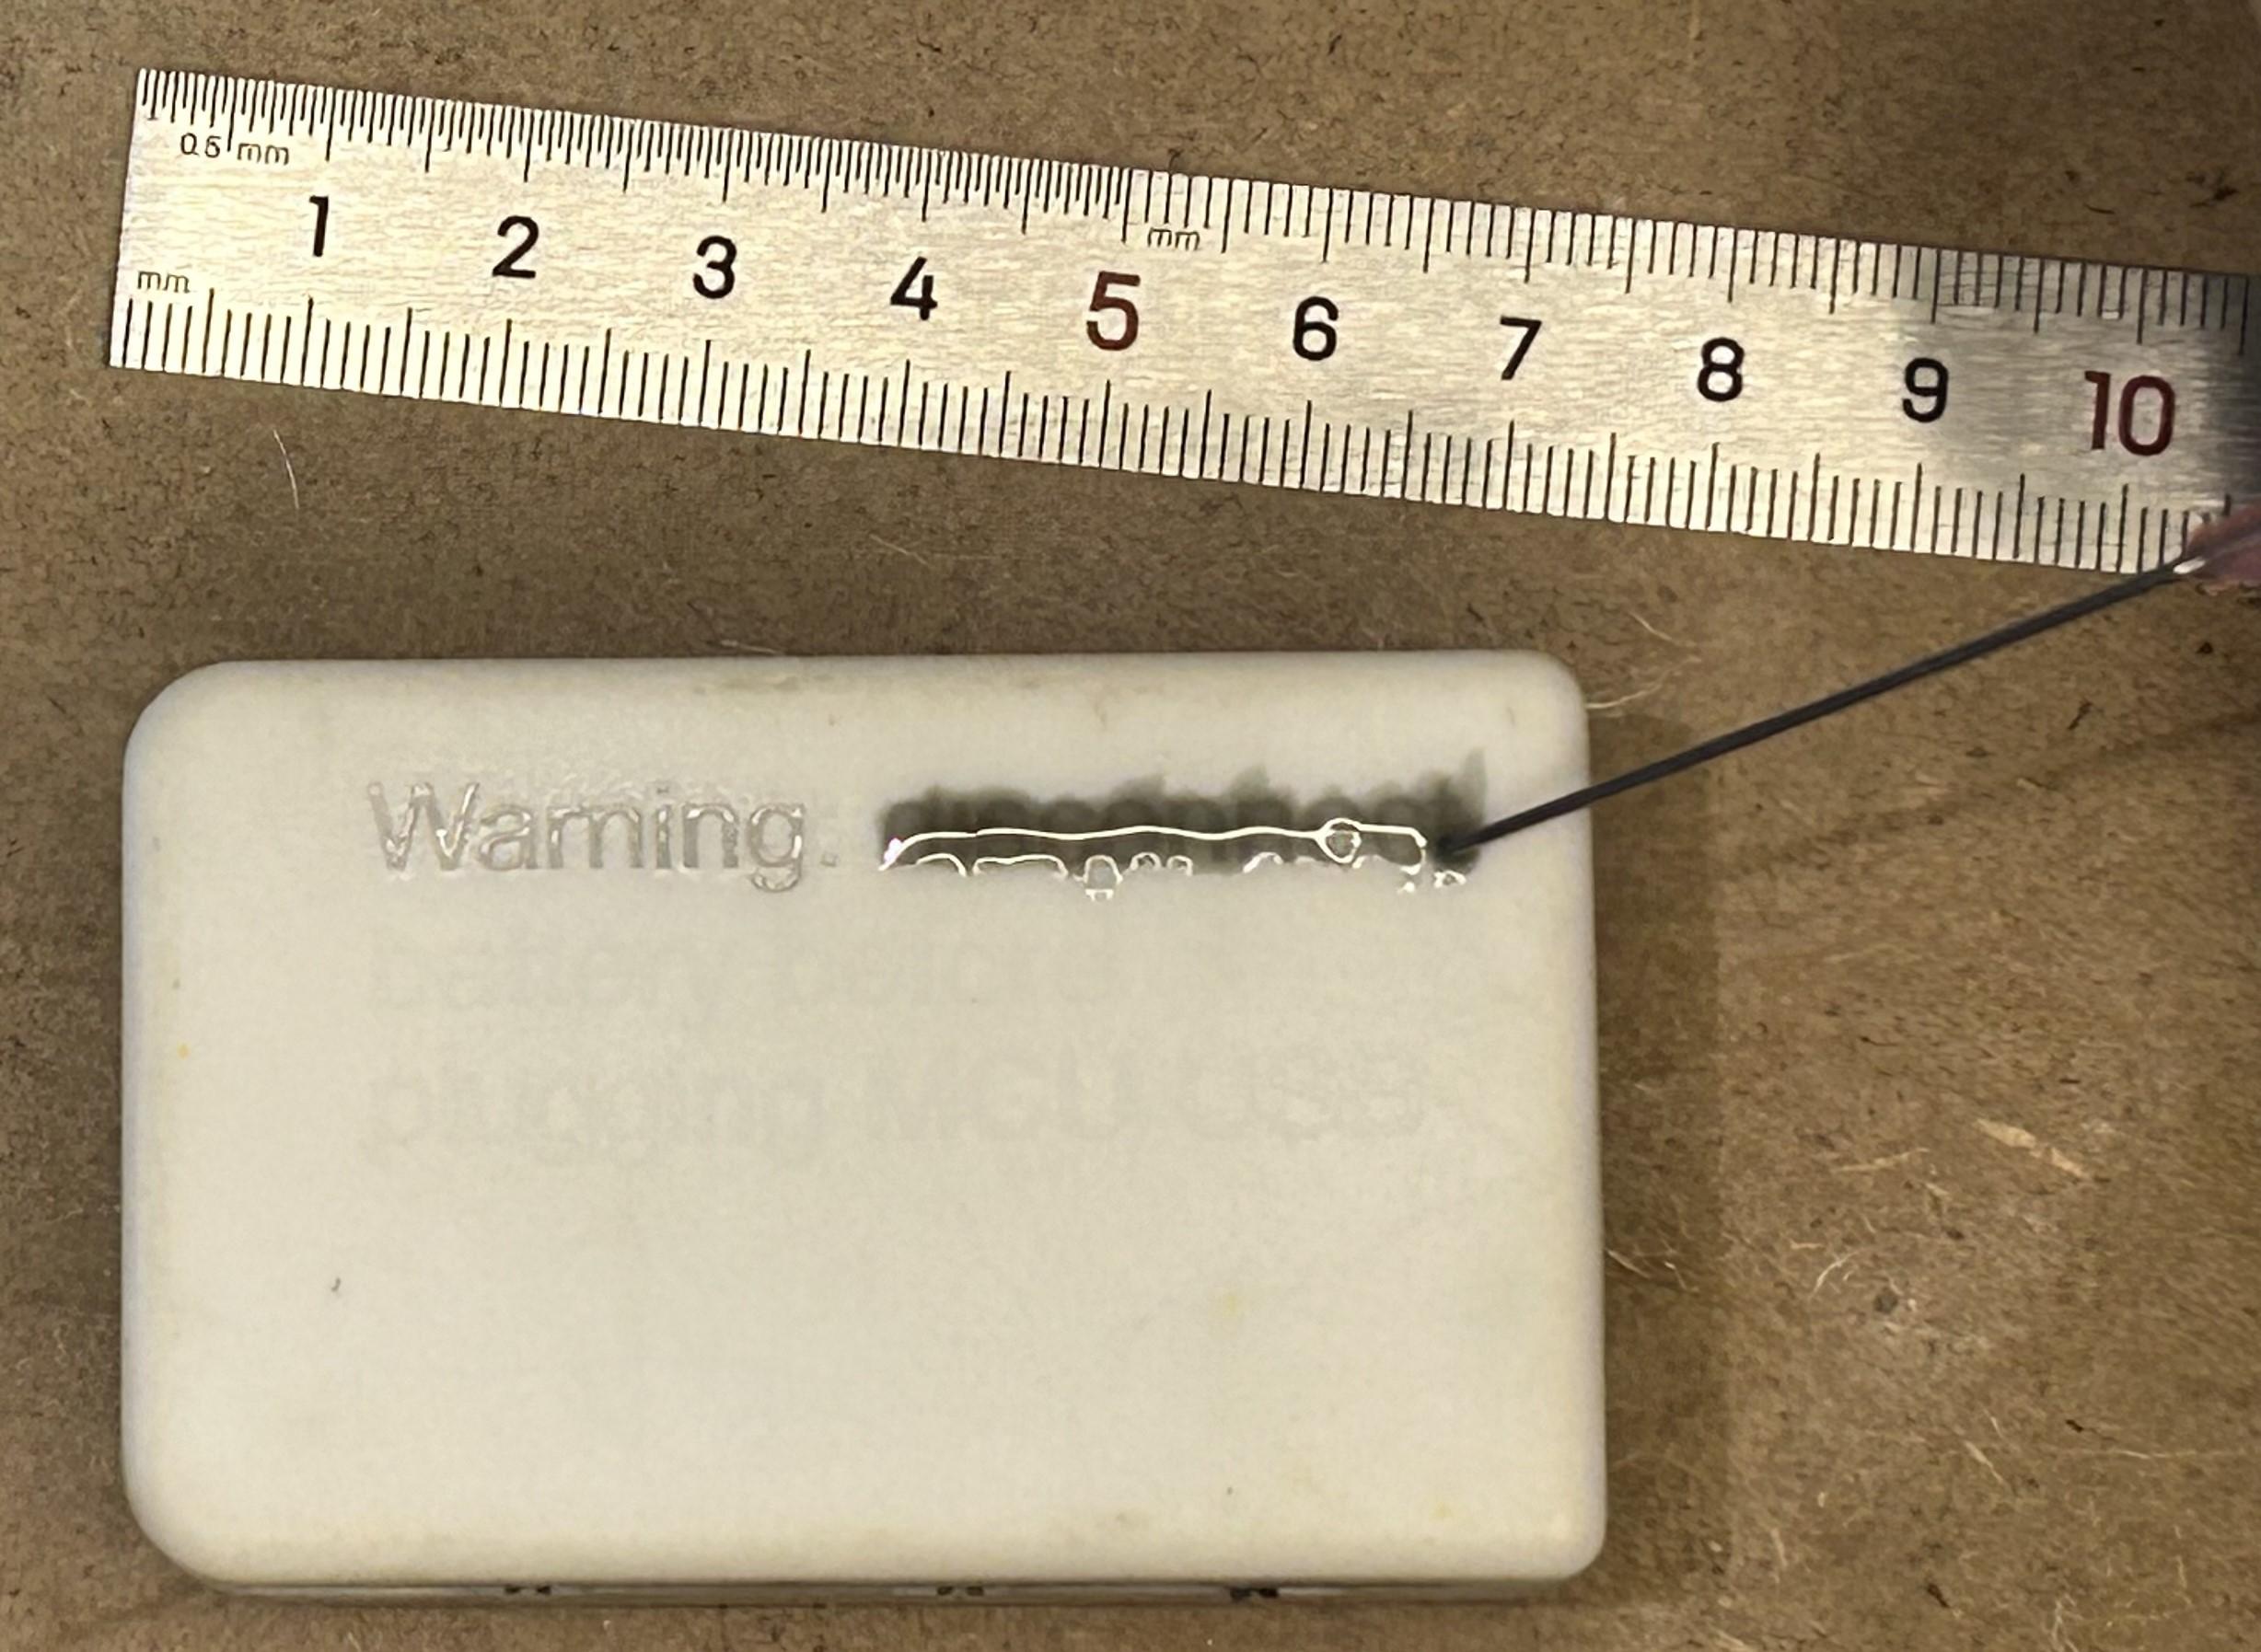
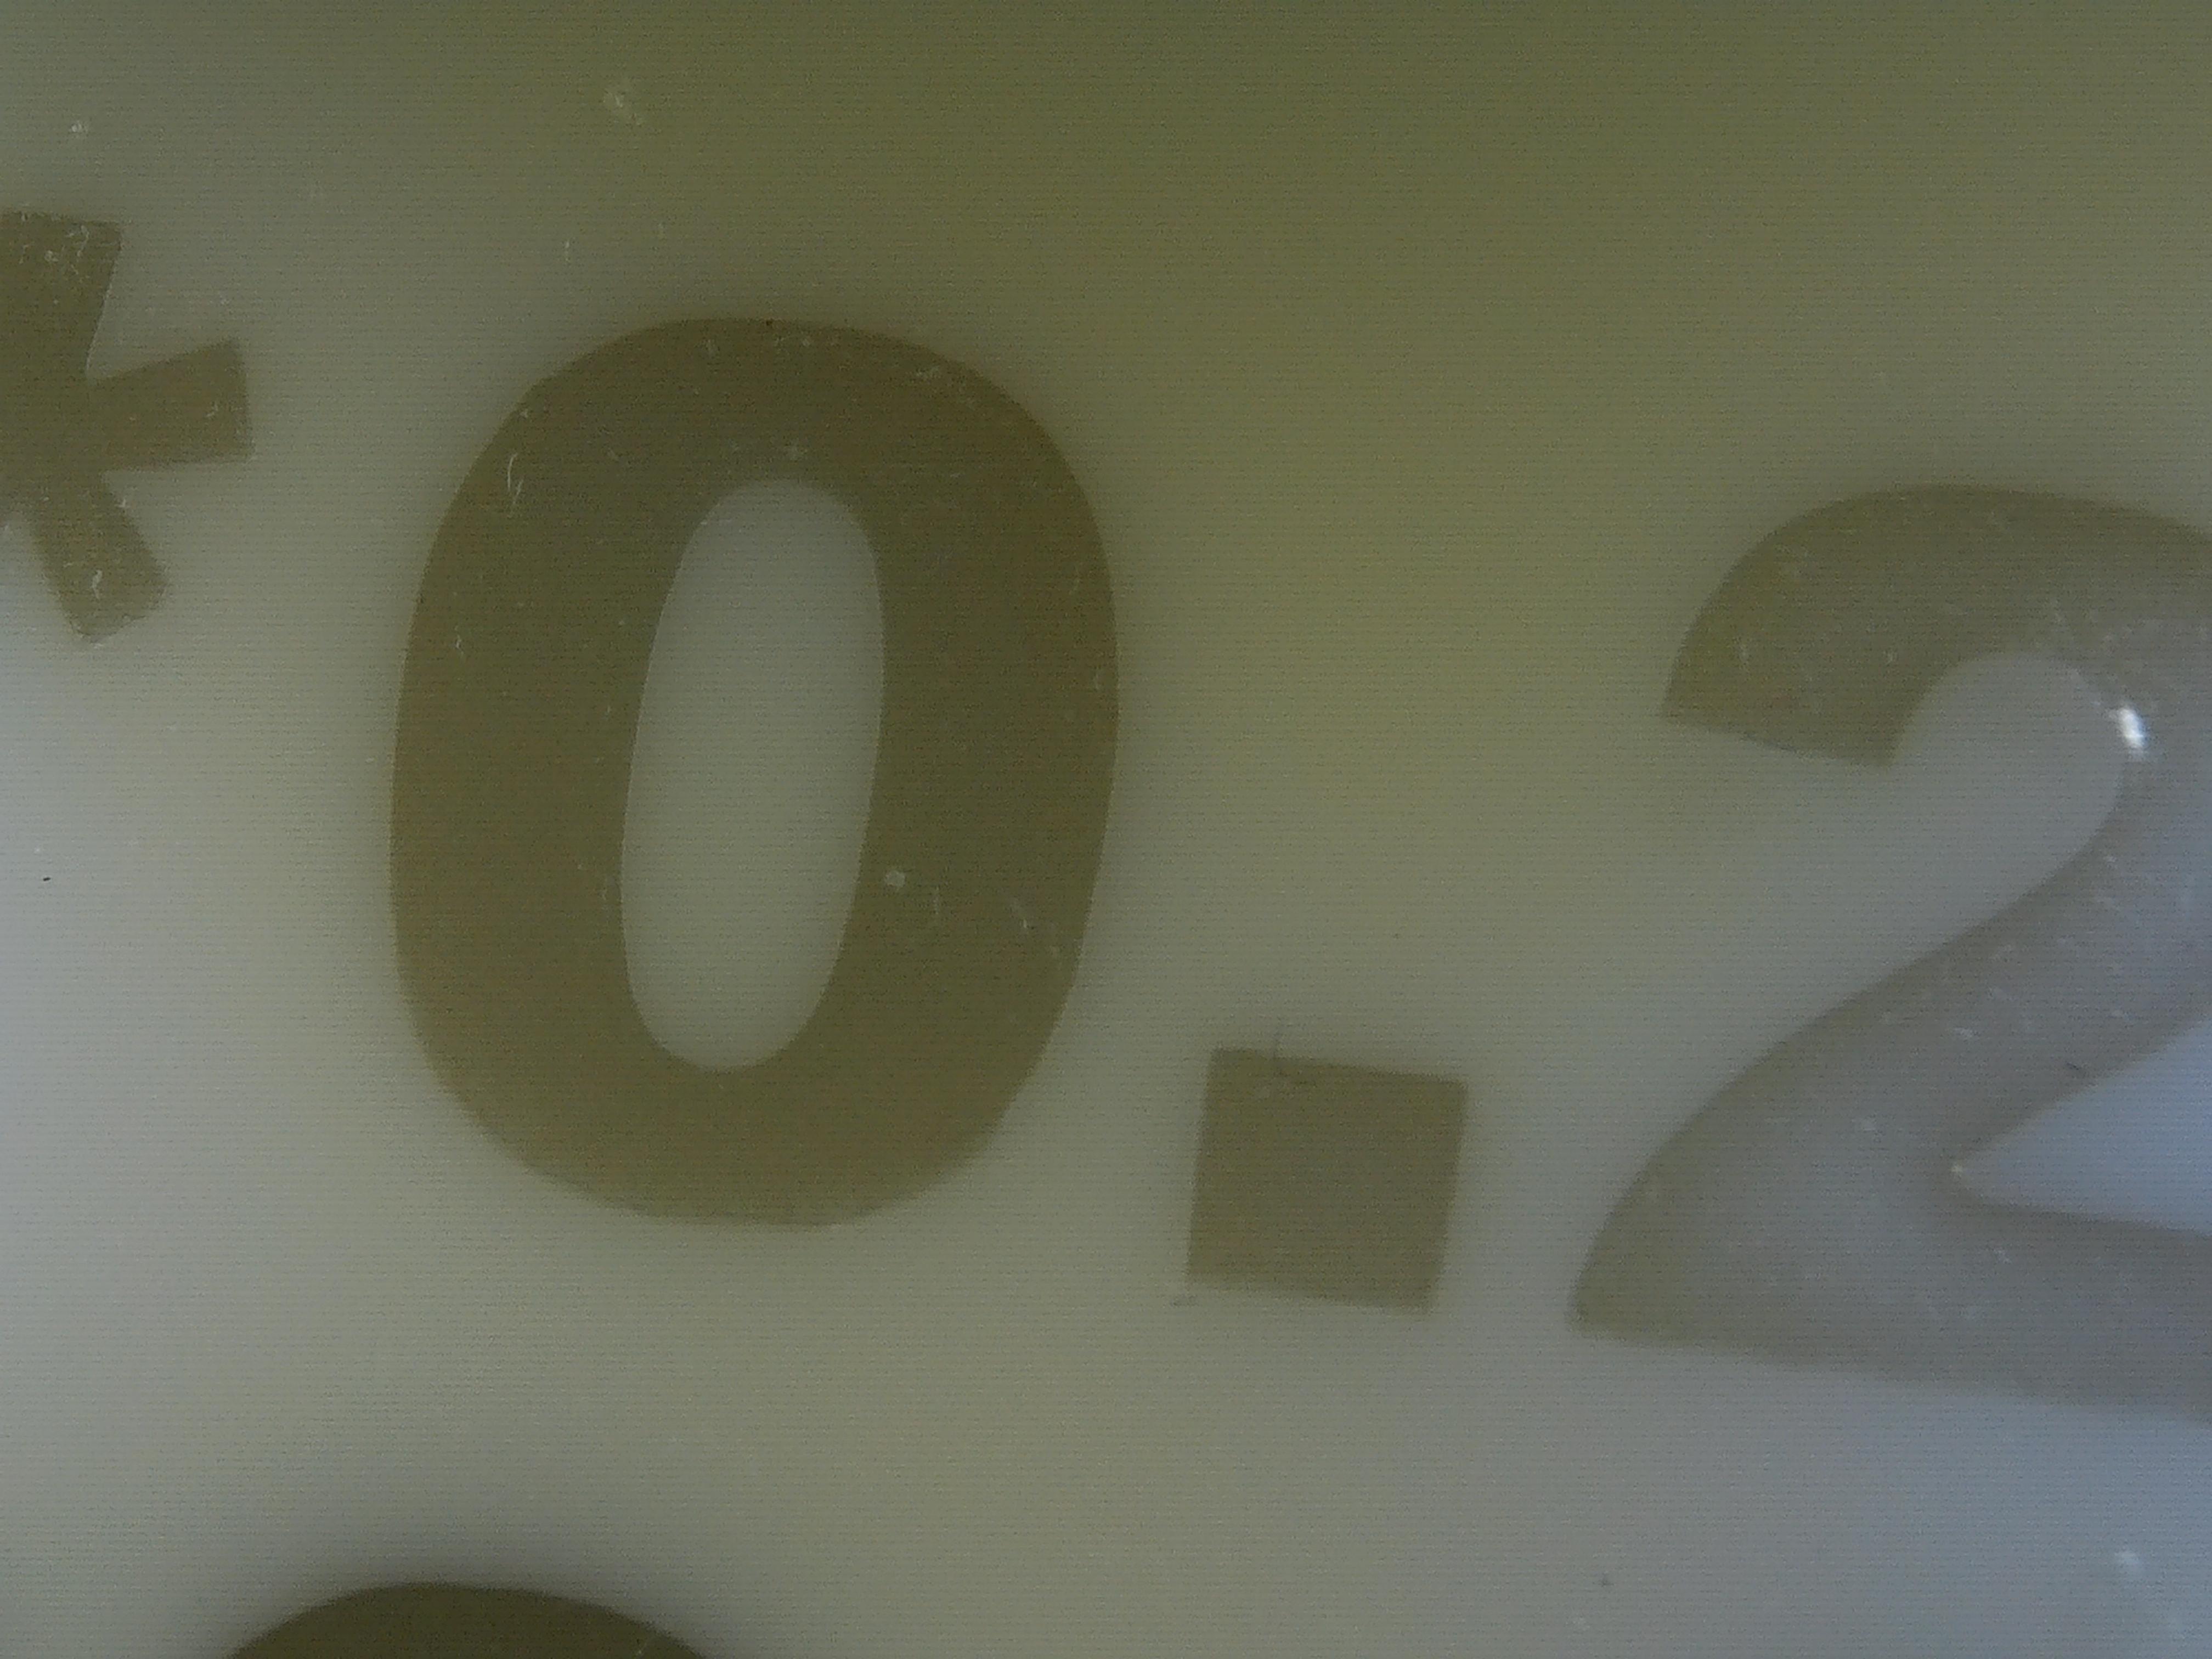
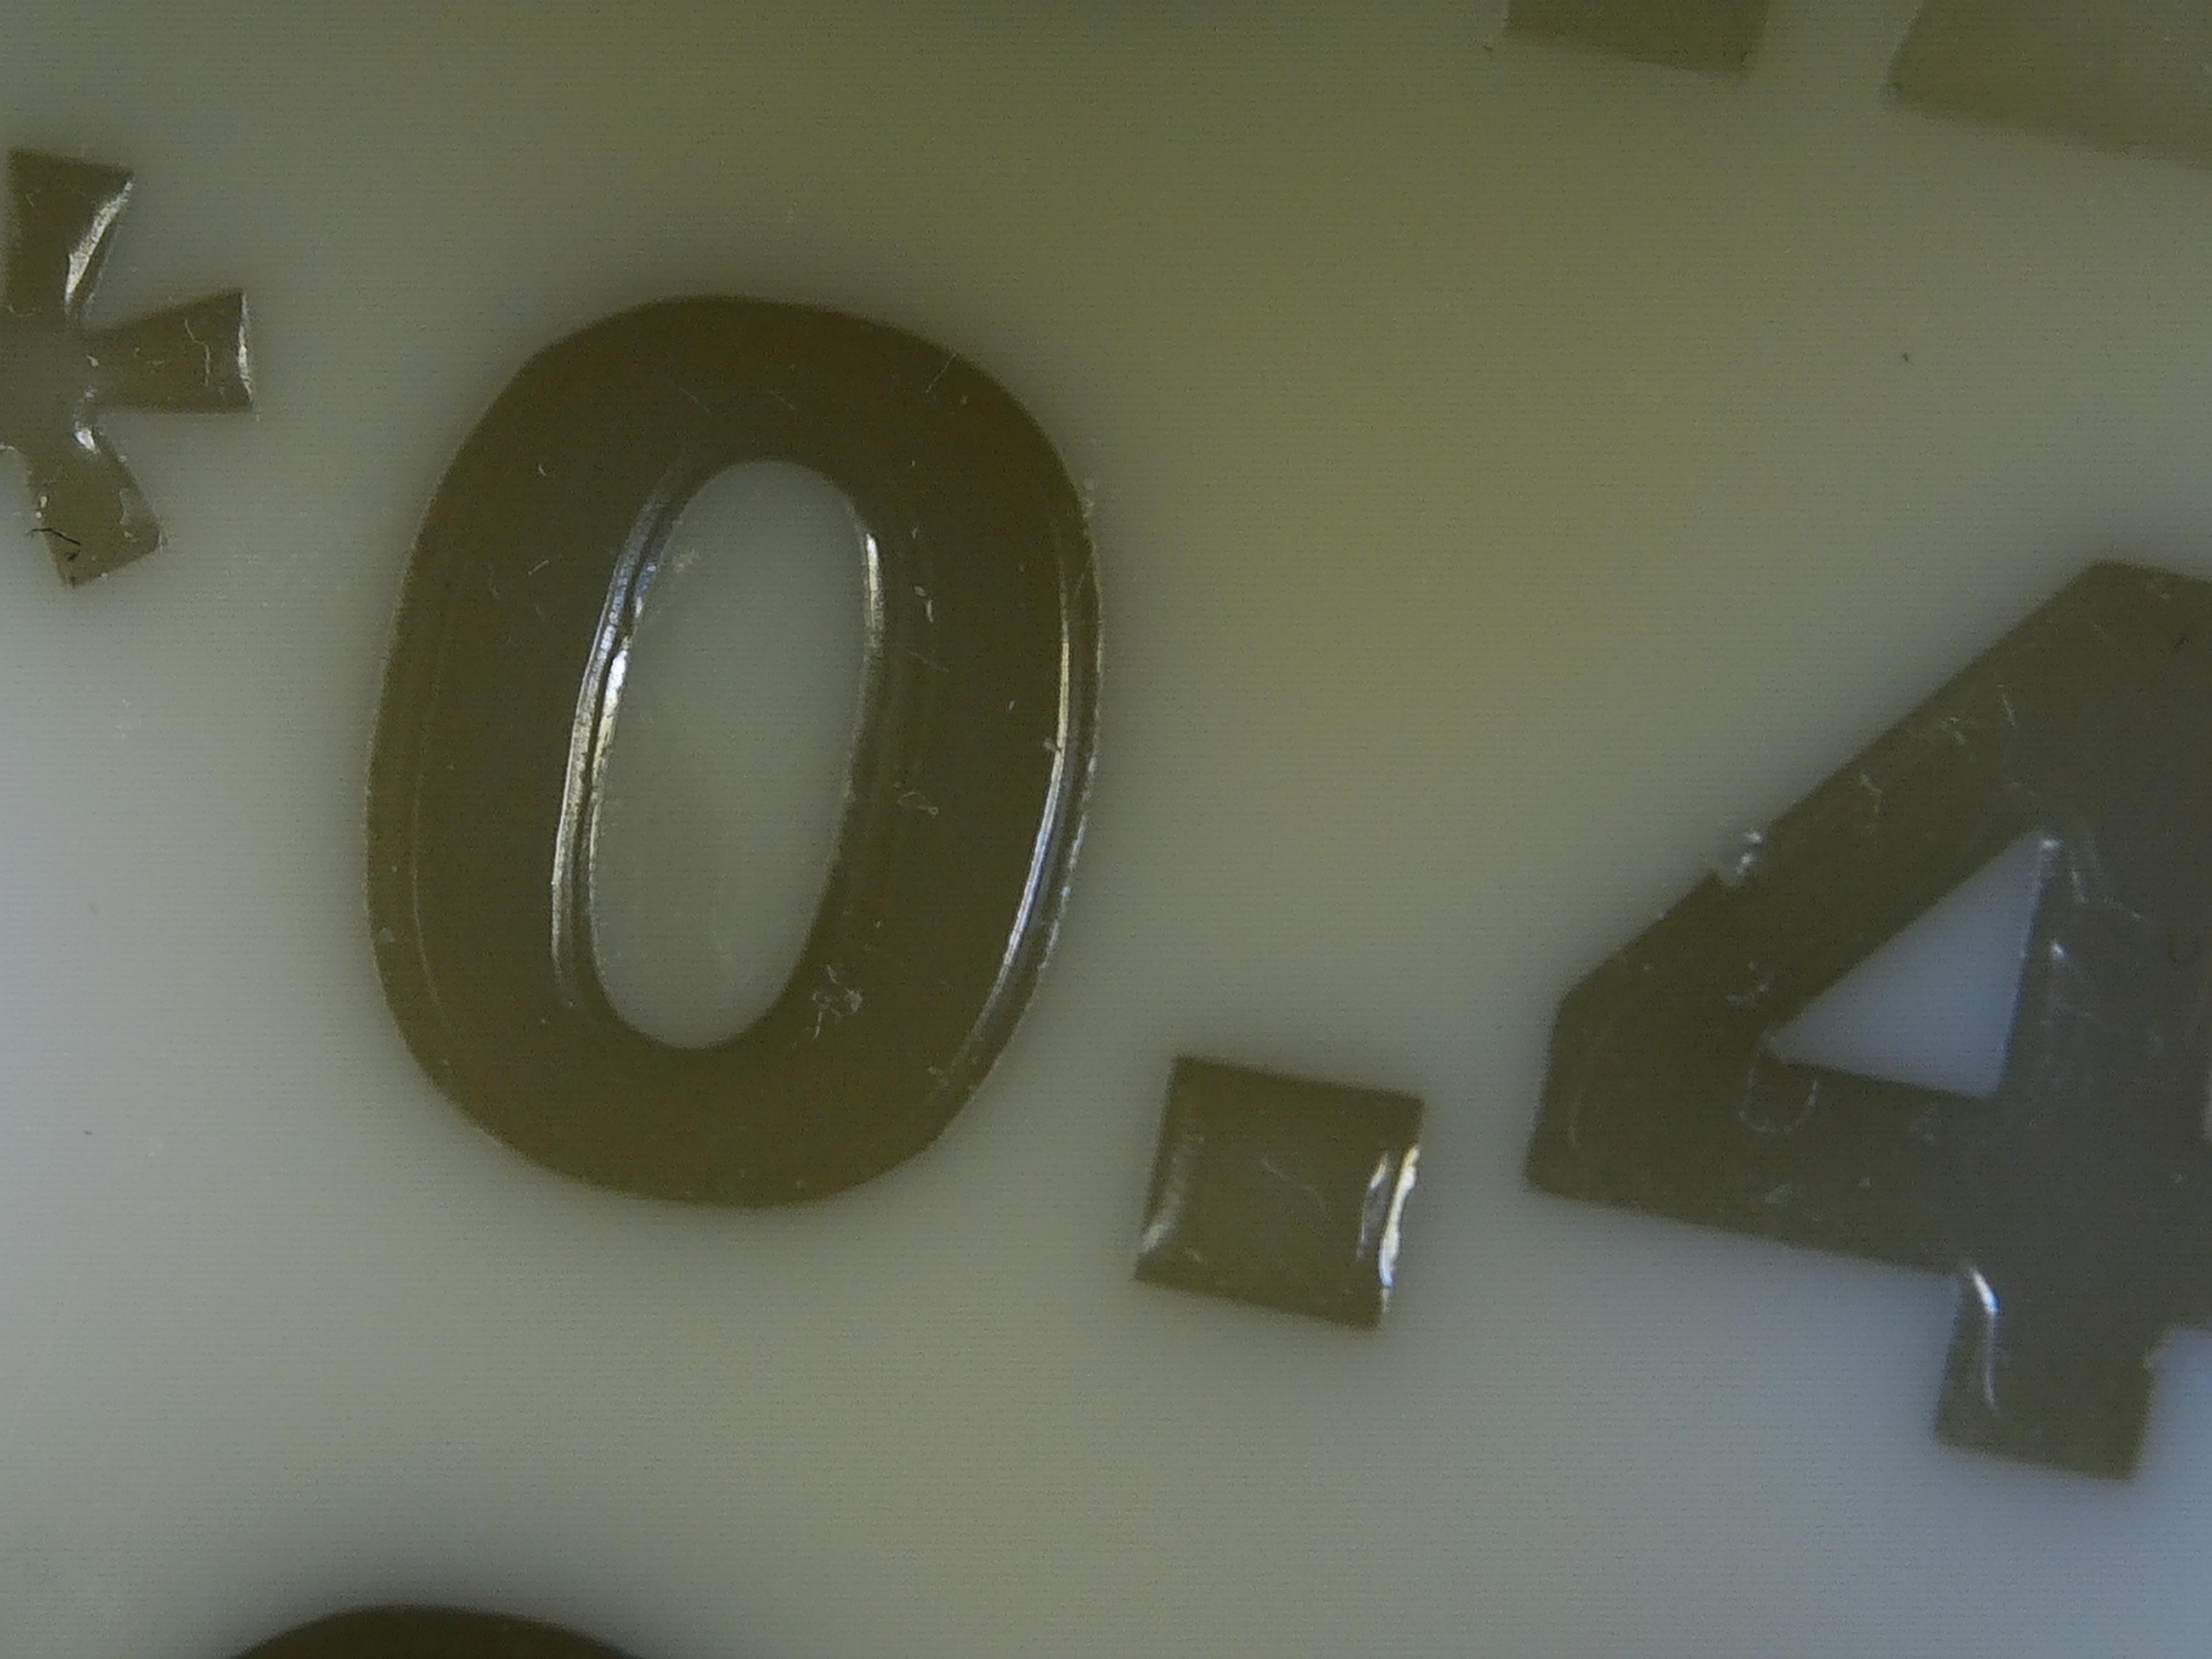
Filling Large Text
In this process, we are using the syringe needle to deposit the liquid resin inside the grooves of the text. As before, wet them with the tip of your finger, then push a drop of resin in ; it will flow evenly and relatively effortlessly.
Don't try to be perfect I found that my black resin is actually quite transparent at low thickness, and the very small thickness that would overflow is not very visible. Cotton swabs work better at cleaning only the edge.
Don't feel the need to overfill each letter. There will be a meniscus (the resin will be thinner in the middle, and thicker near the edges, due to surface tension. This is fine. You will not achieve perfectly opaque text, but it will still stand out and be clearly readable. Step back and look at your project from afar to judge your results.
Downloads
Finish and Admire!
Cure your print the usual way.
If the text can't cure flat, you can use a UV torchlight to first set the uncured resin in place; though surface tension will generally keep it inside the grooves, even when standing vertical.
For large text, after curing, wipe with a towel, to make sure it is completely free of uncured resin.