Wrapping Paper Bookmarks
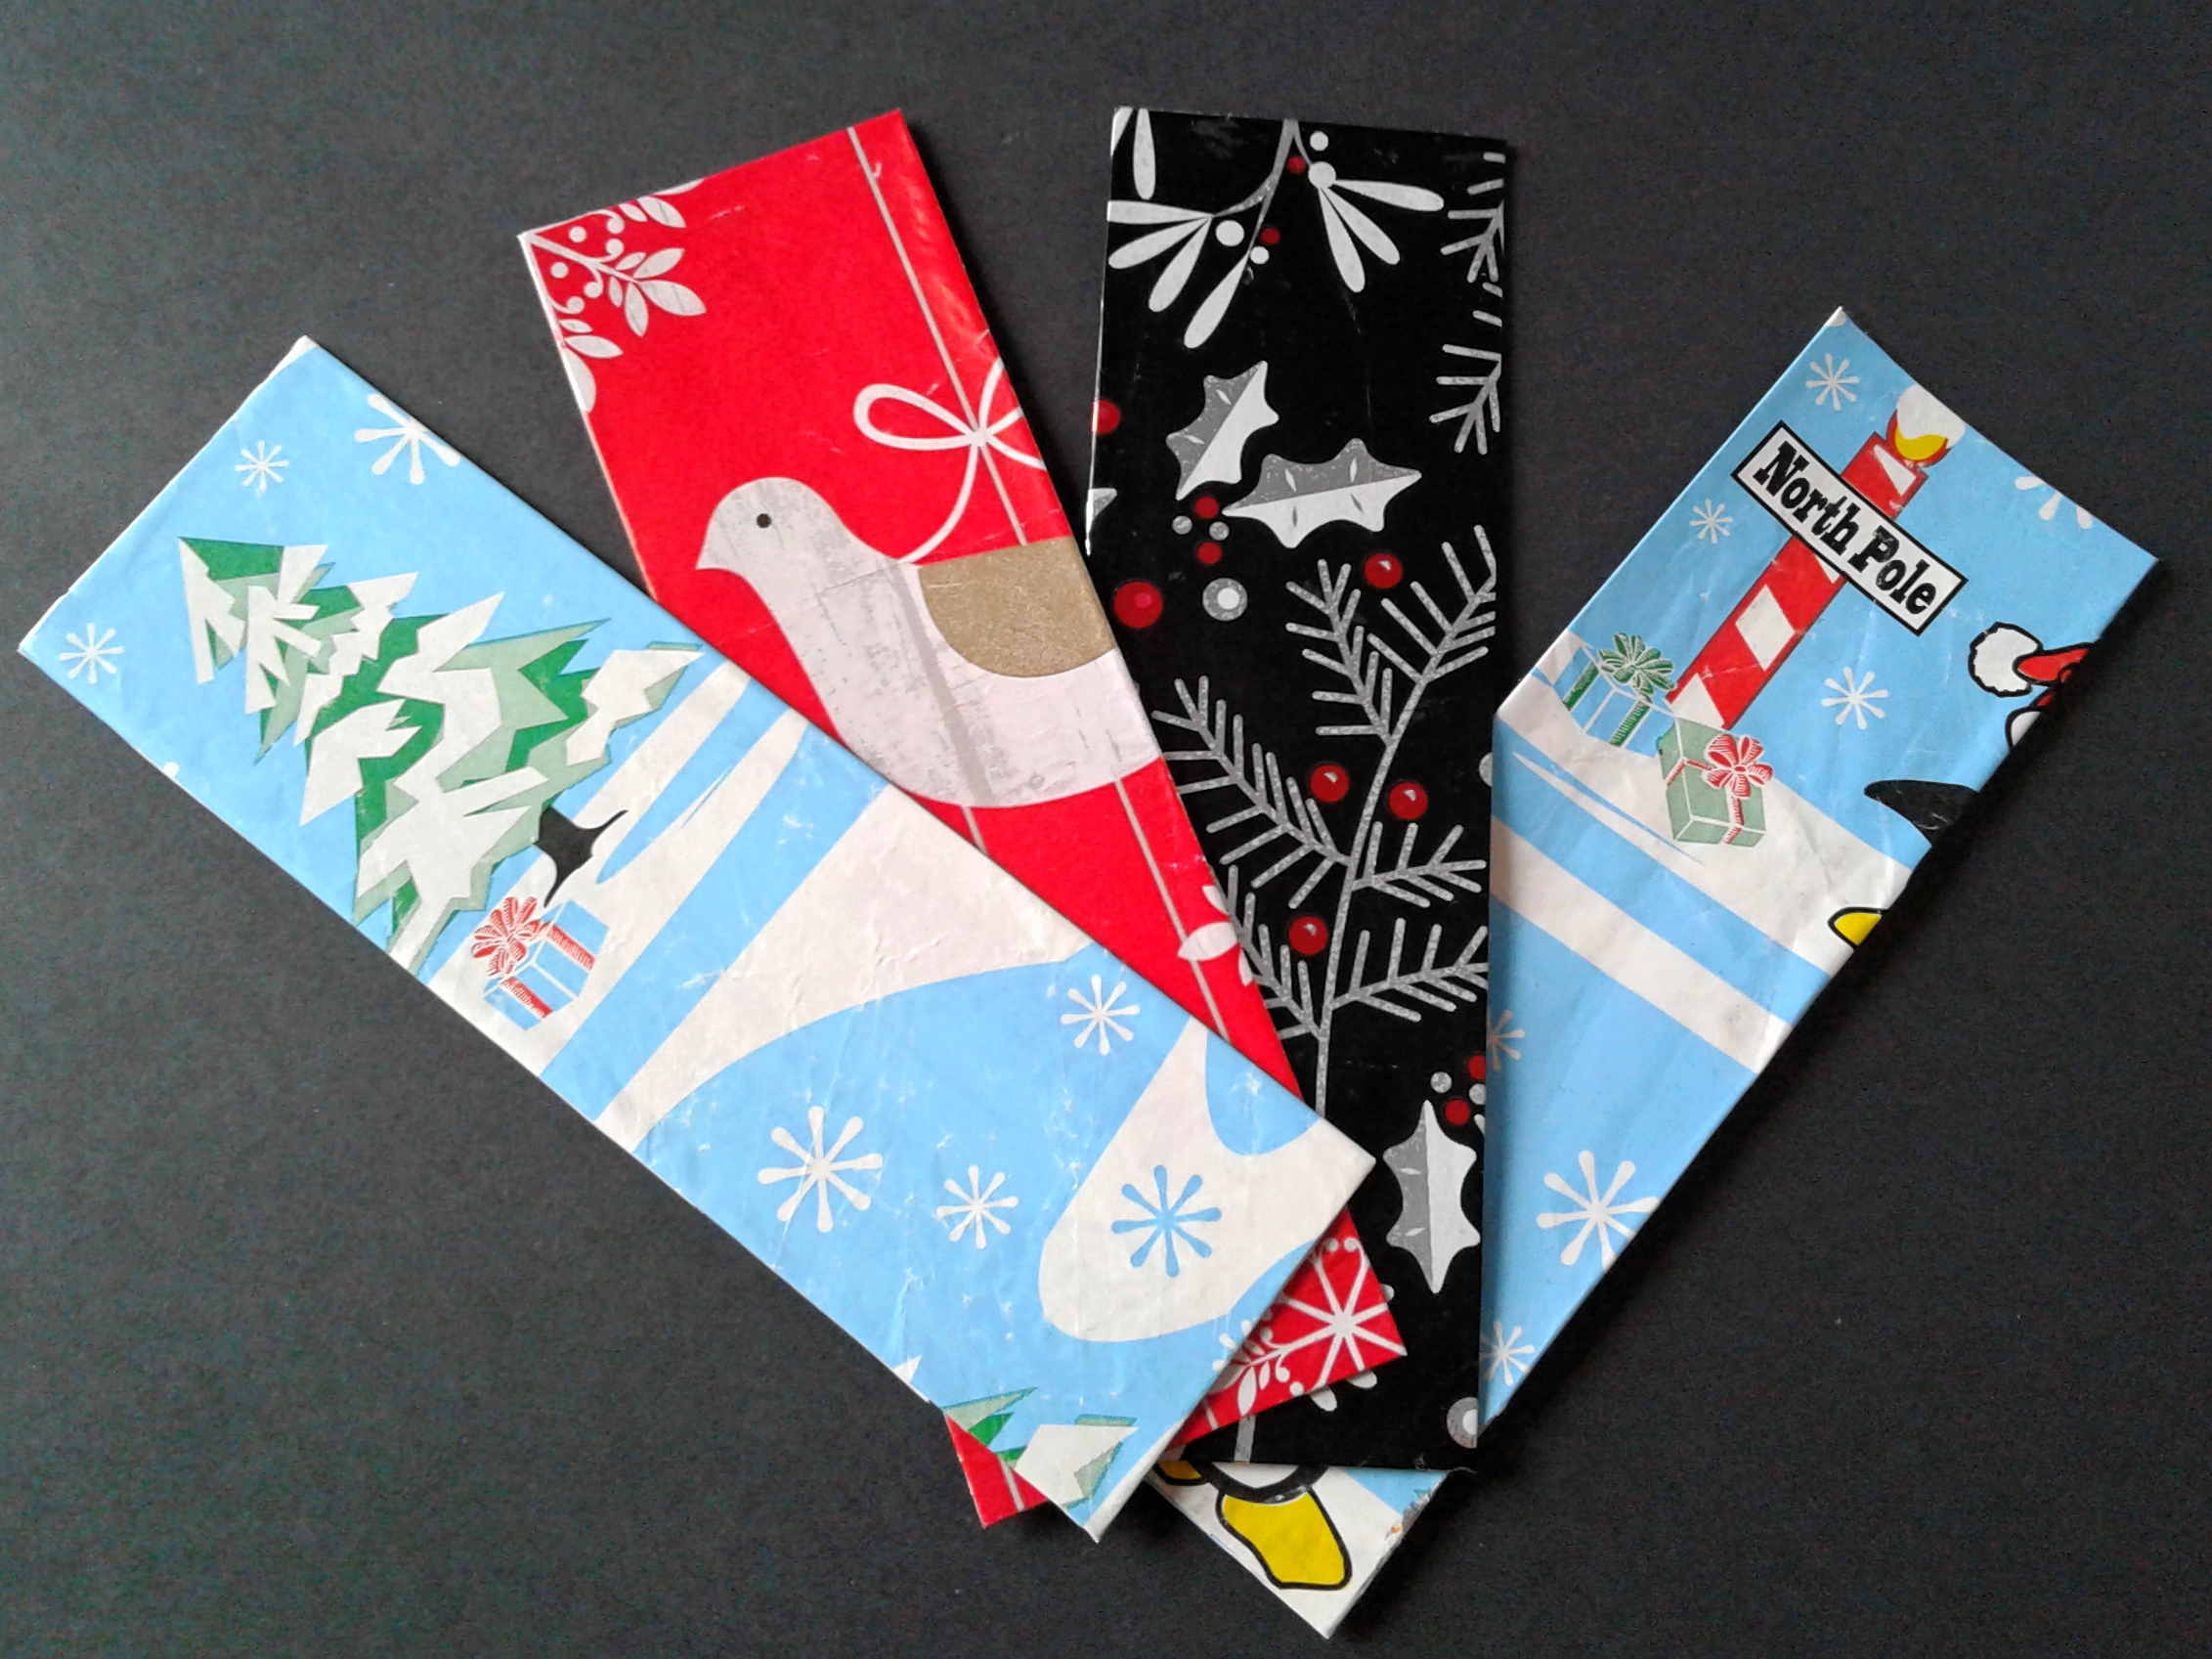
Whenever the holidays roll around, tons of presents, wrapped in pretty colored paper come with them. Not only does this mean a large amount of work buying and wrapping these presents and a large amount of fun staring at them with anticipation until finally being let loose to tear them open, it also means, inevitably, no small number of scraps of wrapping paper that will likely go to waste, after both wrapping and unwrapping presents.
Around the same time as wrapping presents, I was reading a book and I realized I didn't have a bookmark. I somehow have this magical ability to misplace bookmarks very quickly. I also know several others with the same uncanny gift so I decided to make some for them too.
Armed with some wrapping paper scraps, I resolved to create a few colorful bookmarks that I would be less likely to misplace.
Materials
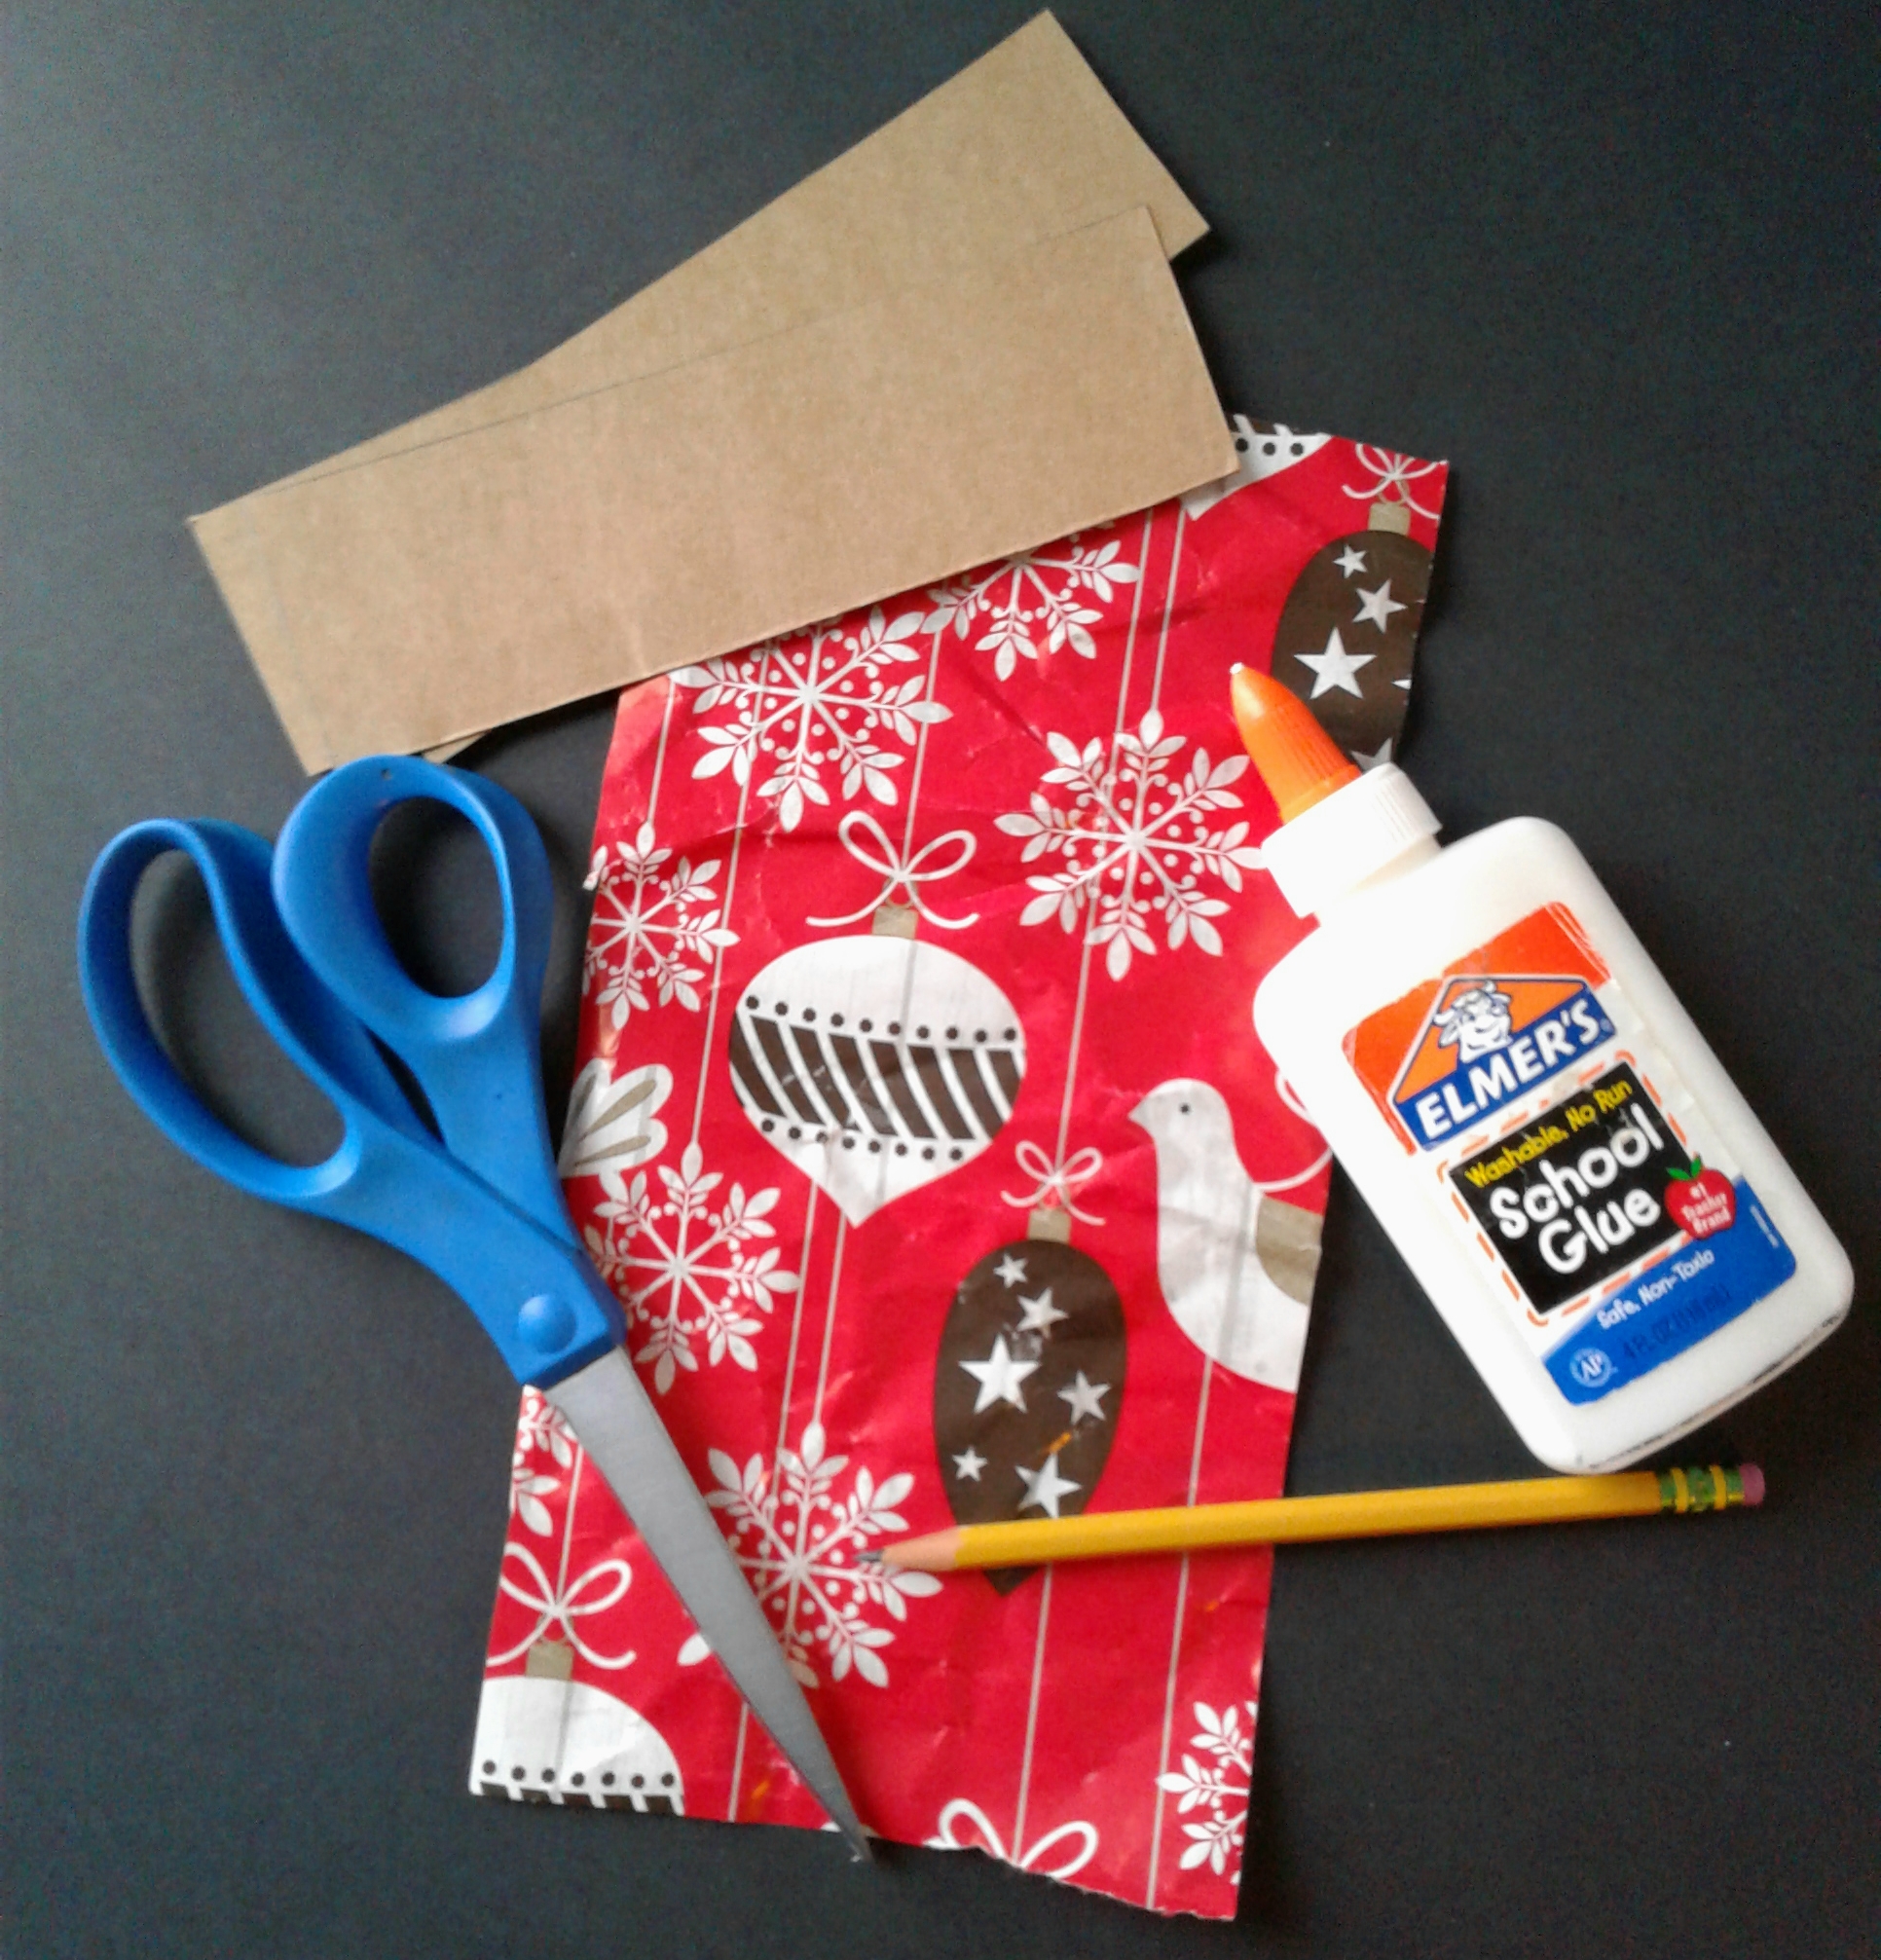
Materials Required:
- Cereal box
- Wrapping paper scraps (at least 17cm X 11cm)
- Glue
Tools:
- Scissors
- Ruler
- Pen/pencil
Cardboard Core
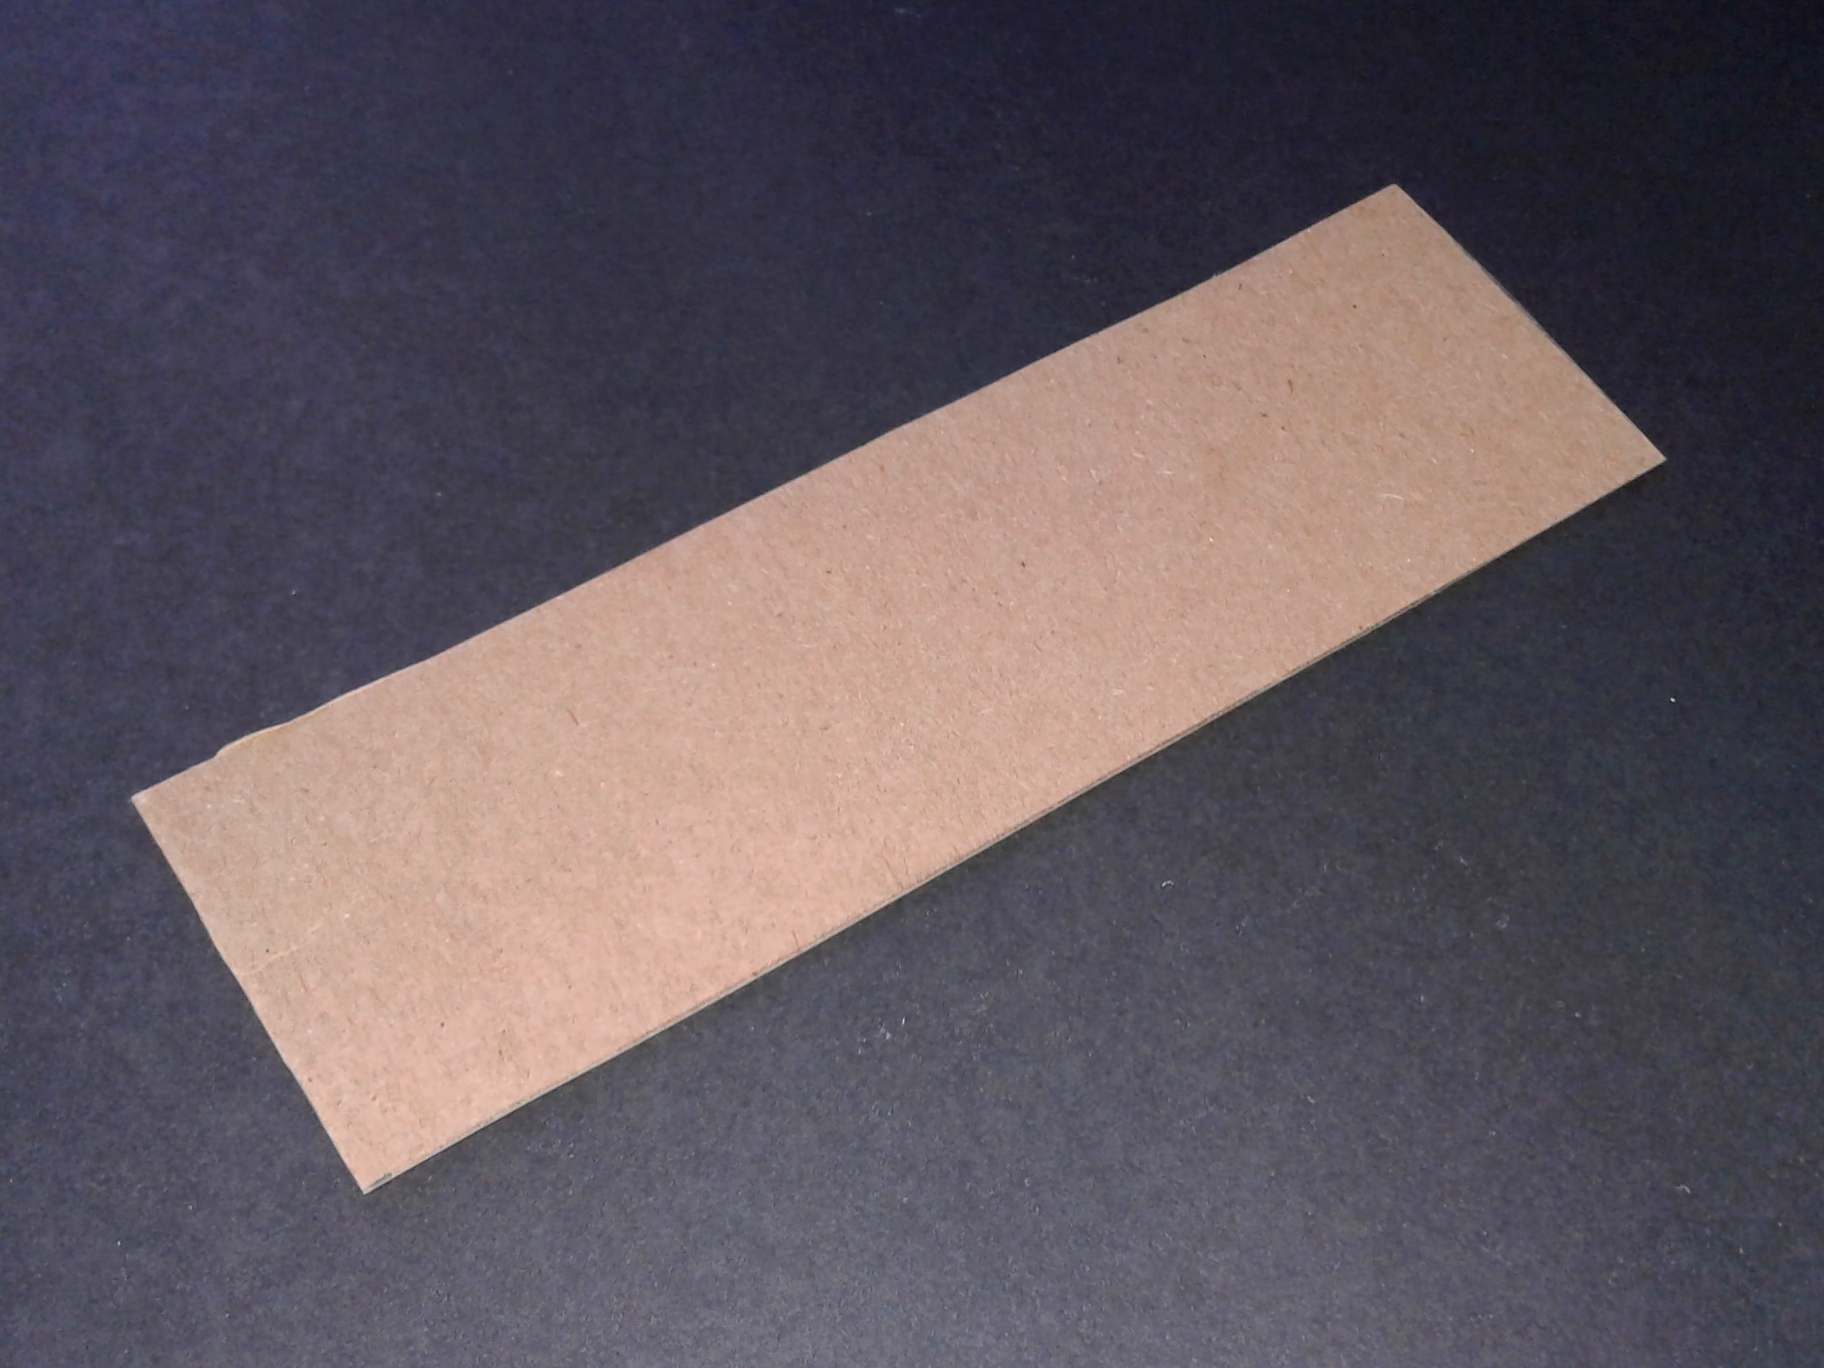
Cardboard from a cereal box serves to add some stiffness and width to the bookmark while also preventing it from ripping. To get a suitable piece of cardboard for the bookmark, first, cut the cereal box so it can be spread flat. Then, use a ruler and pen/pencil to measure and mark a rectangle 5cm X 16.5cm. Use scissors to cut this rectangle out.
Front Design
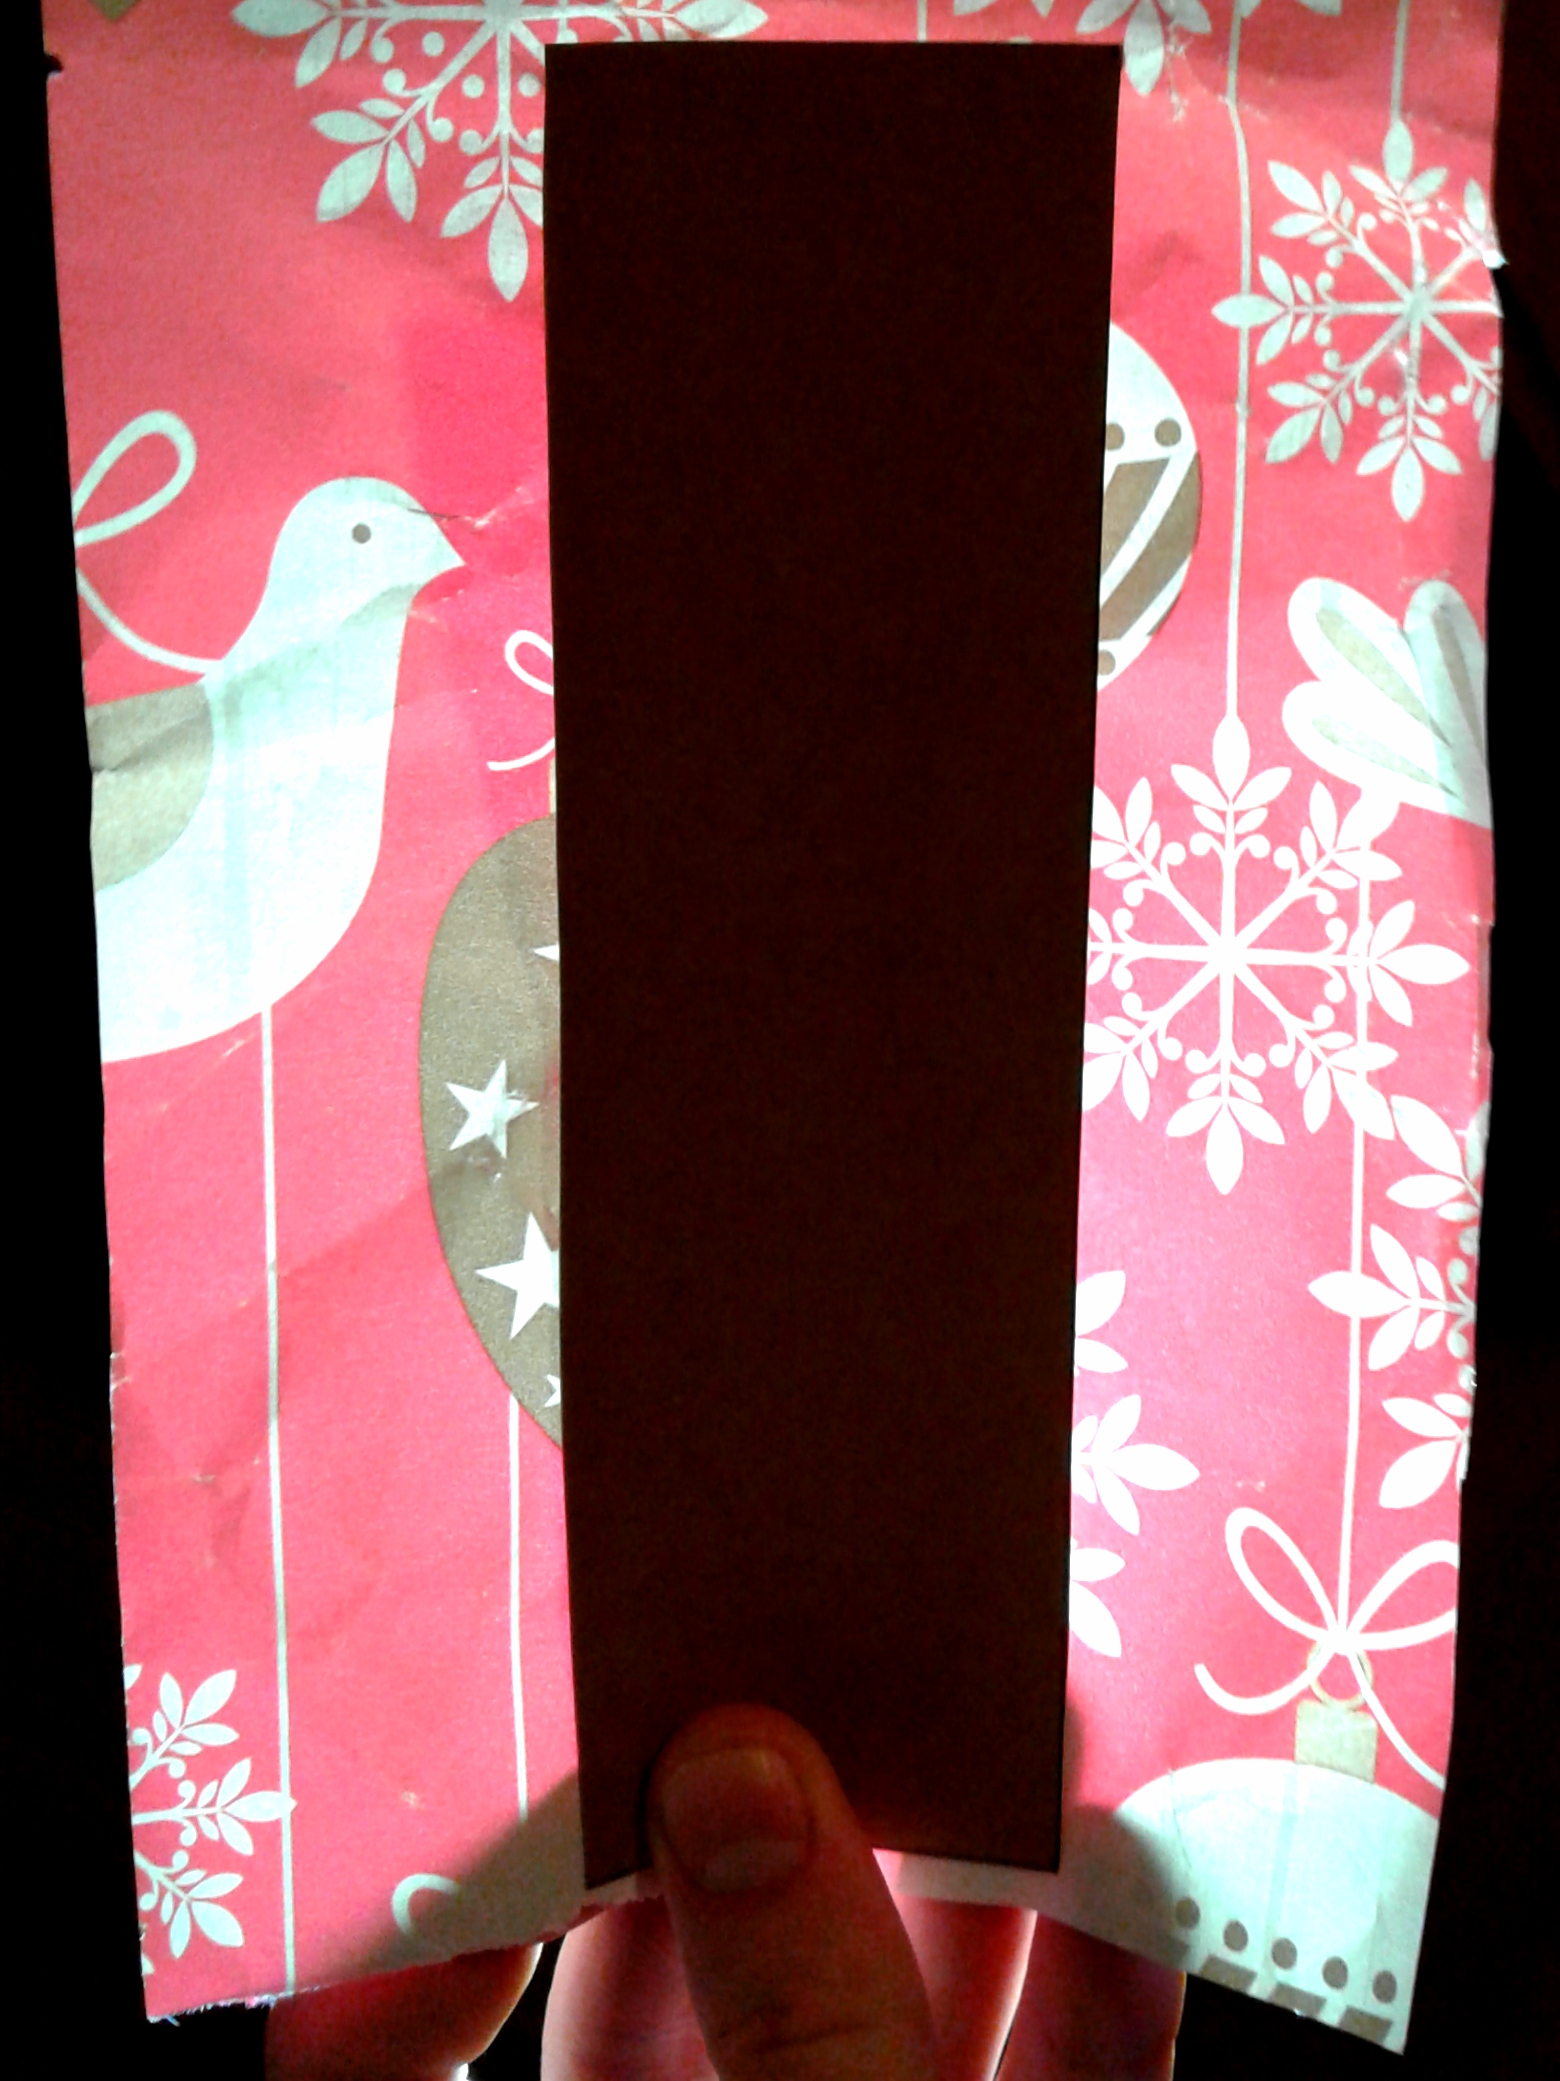
At this point, it's best to determine which portion of the wrapping paper scrap you wish to be on the top of the bookmark. If the wrapping paper is one solid color/homogeneous pattern or you simply do not care what part of the design will be displayed on the front of the bookmark, this probably doesn't matter and you may disregard this step. If, however, there are characters or words on the paper that you wish to display, it's best to line those up before gluing.
There are two main ways I can think of to do this. One is to hold the cardboard rectangle (cut out in step 2) on the underside of the wrapping paper and hold both up to a light. You should then be able to see through the paper and use the cardboard to block out the design you want visible on the top of the bookmark. This will work if the paper allows enough light to travel through it. If the paper does not, the other option is to hold the cardboard on the underside of the paper, but instead of holding it up to the light, have the design of the paper face you and carefully feel around the edges of the cardboard, ideally without creasing the paper. Whichever way you choose, cut the paper so you have roughly 1/2 cm excess over the bottom and top edges of the cardboard. Cut the left and right sides of the paper so one has roughly 2 cm overhanging the cardboard and the other has over 5 cm. When you are happy with what will be displayed on the frontside of the bookmark, hold the paper and cereal box piece together in that way.
Gluing One Side
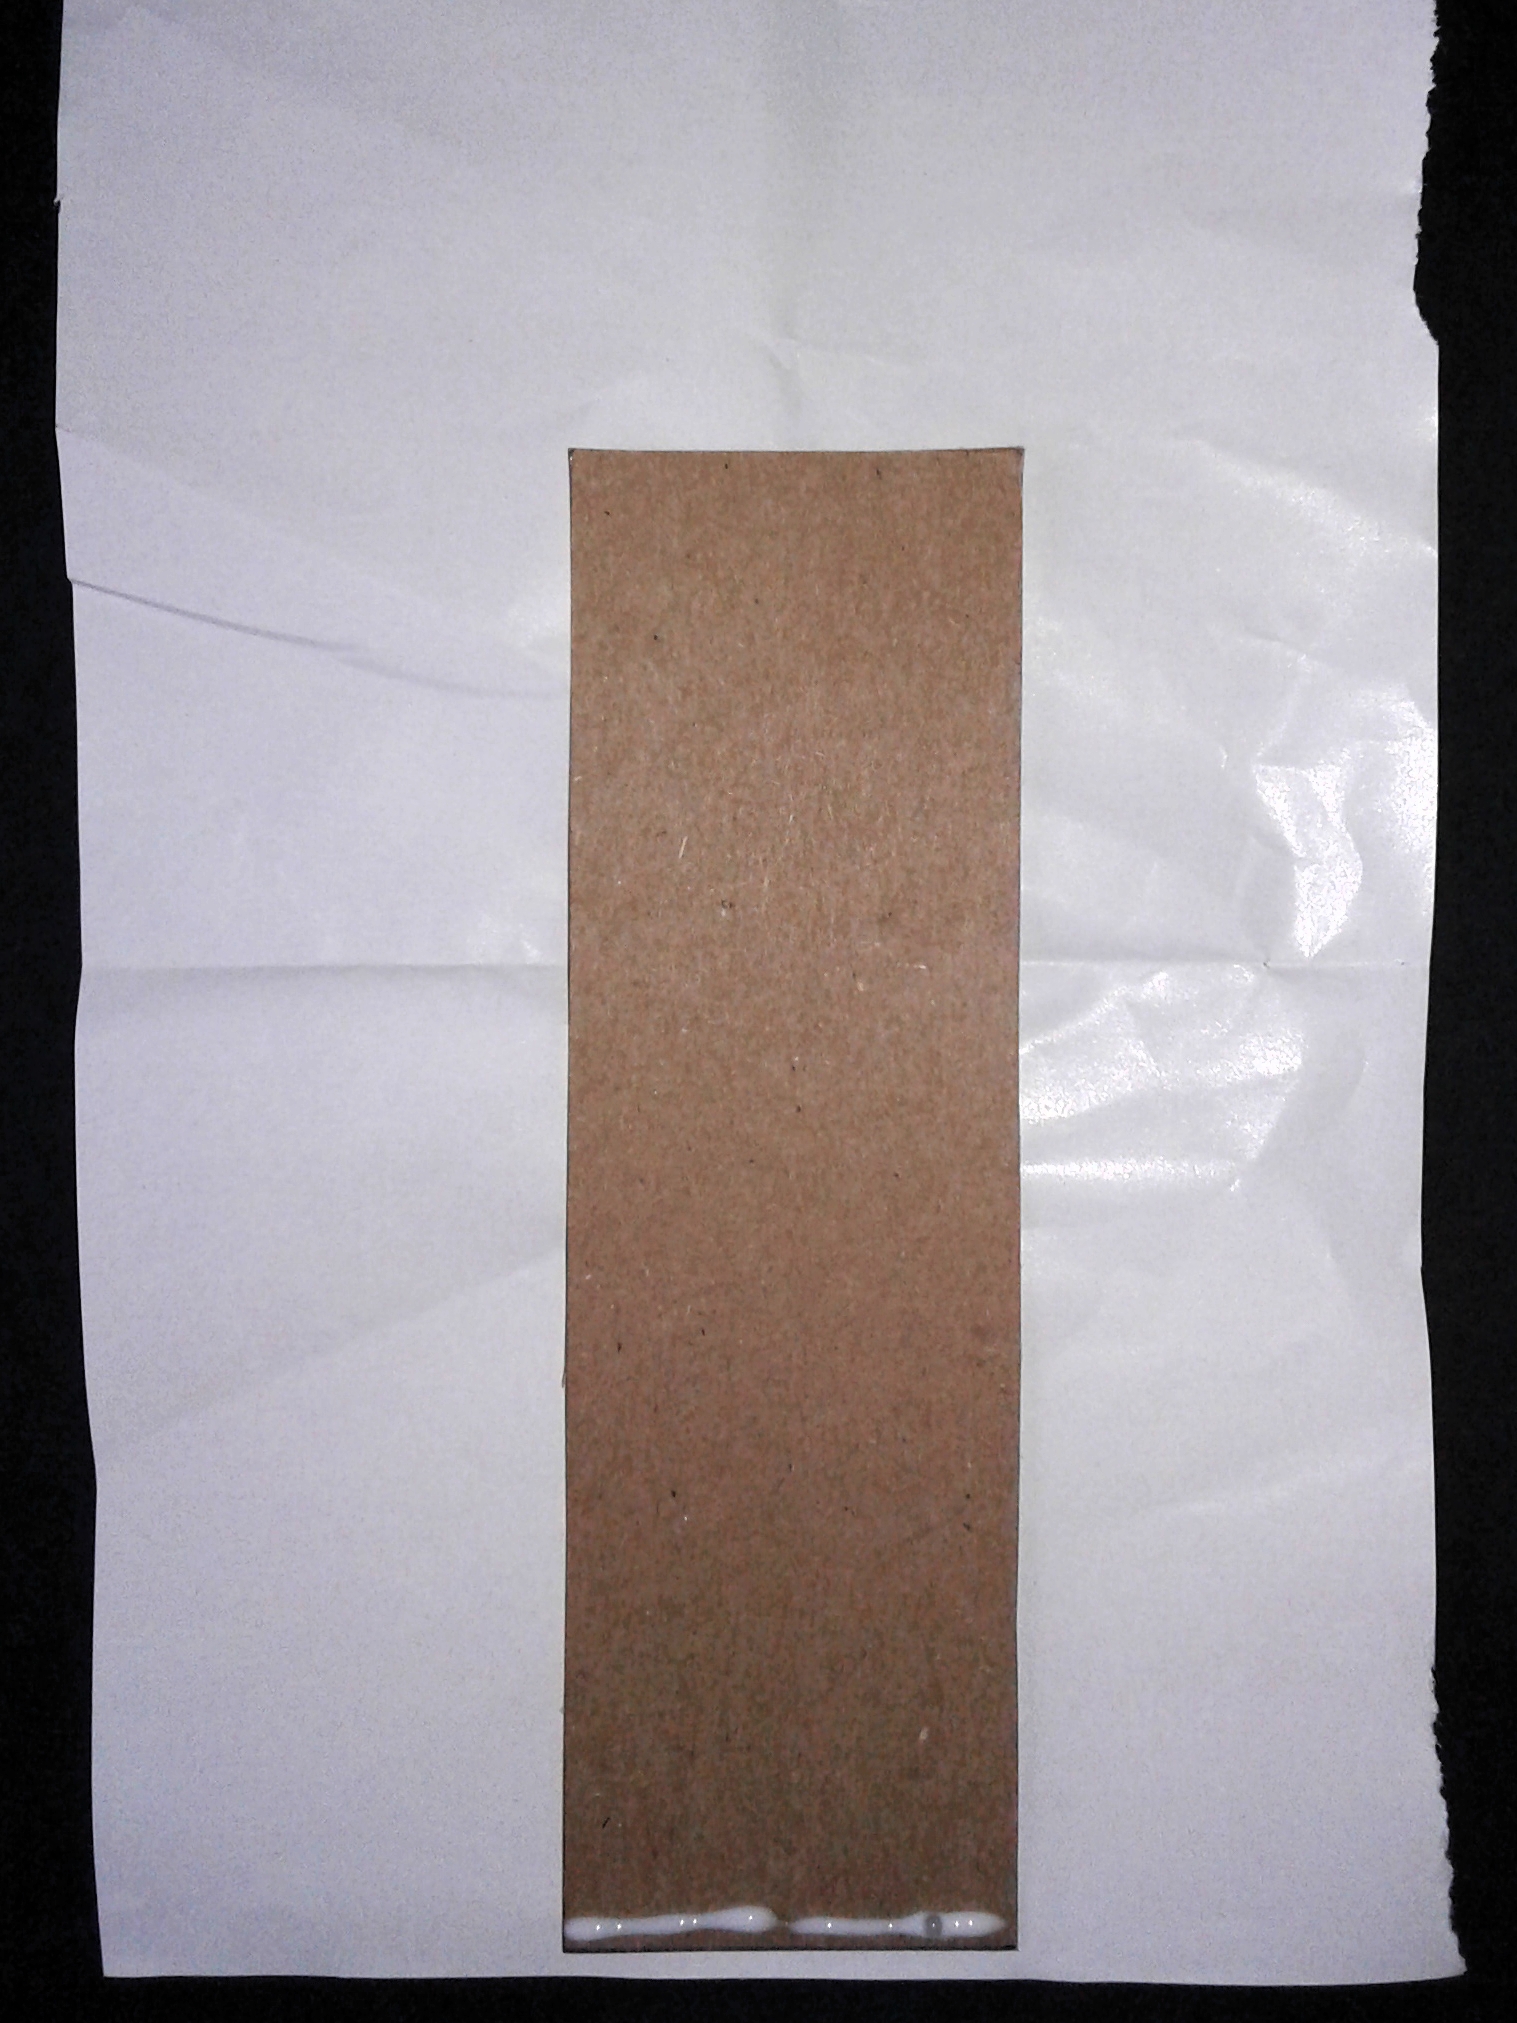
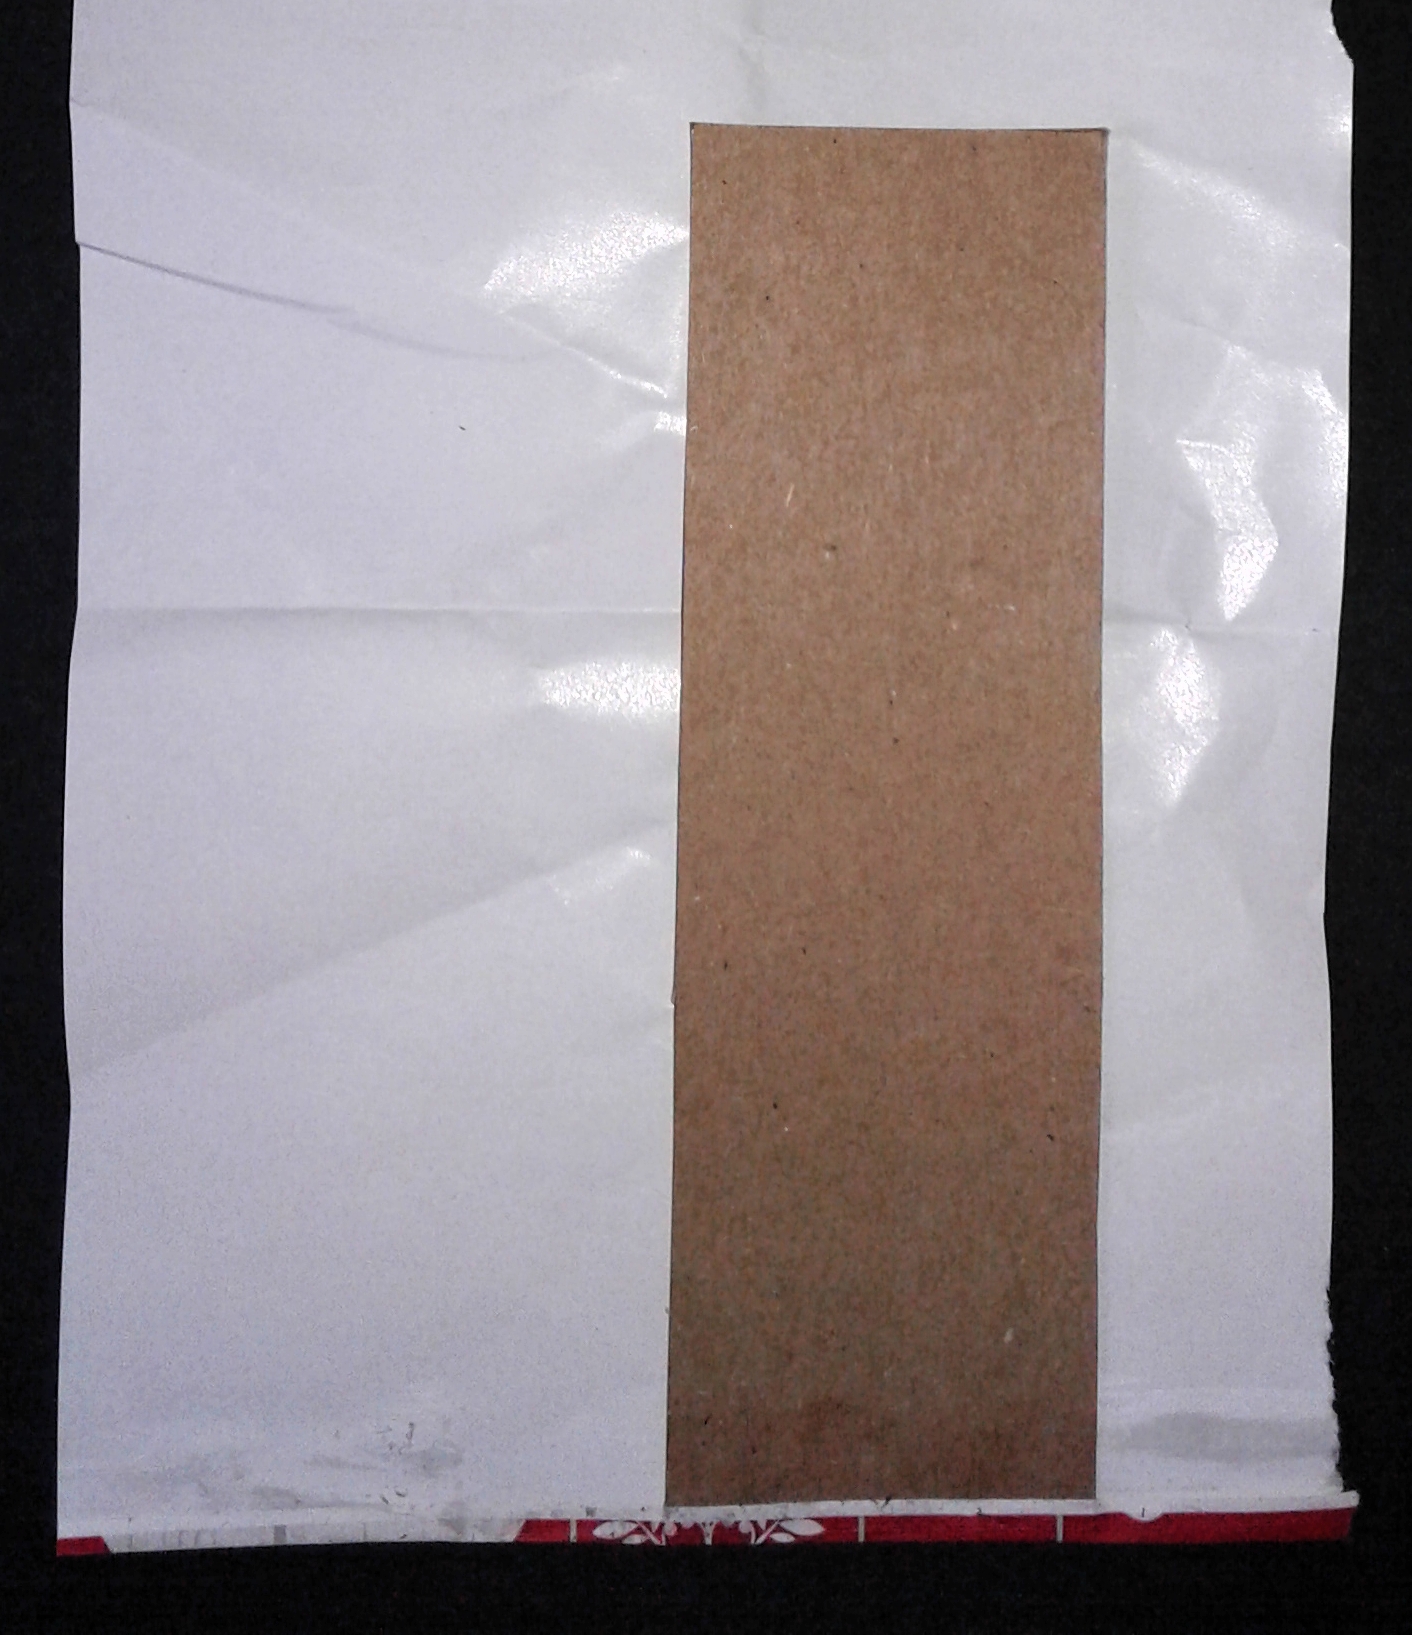
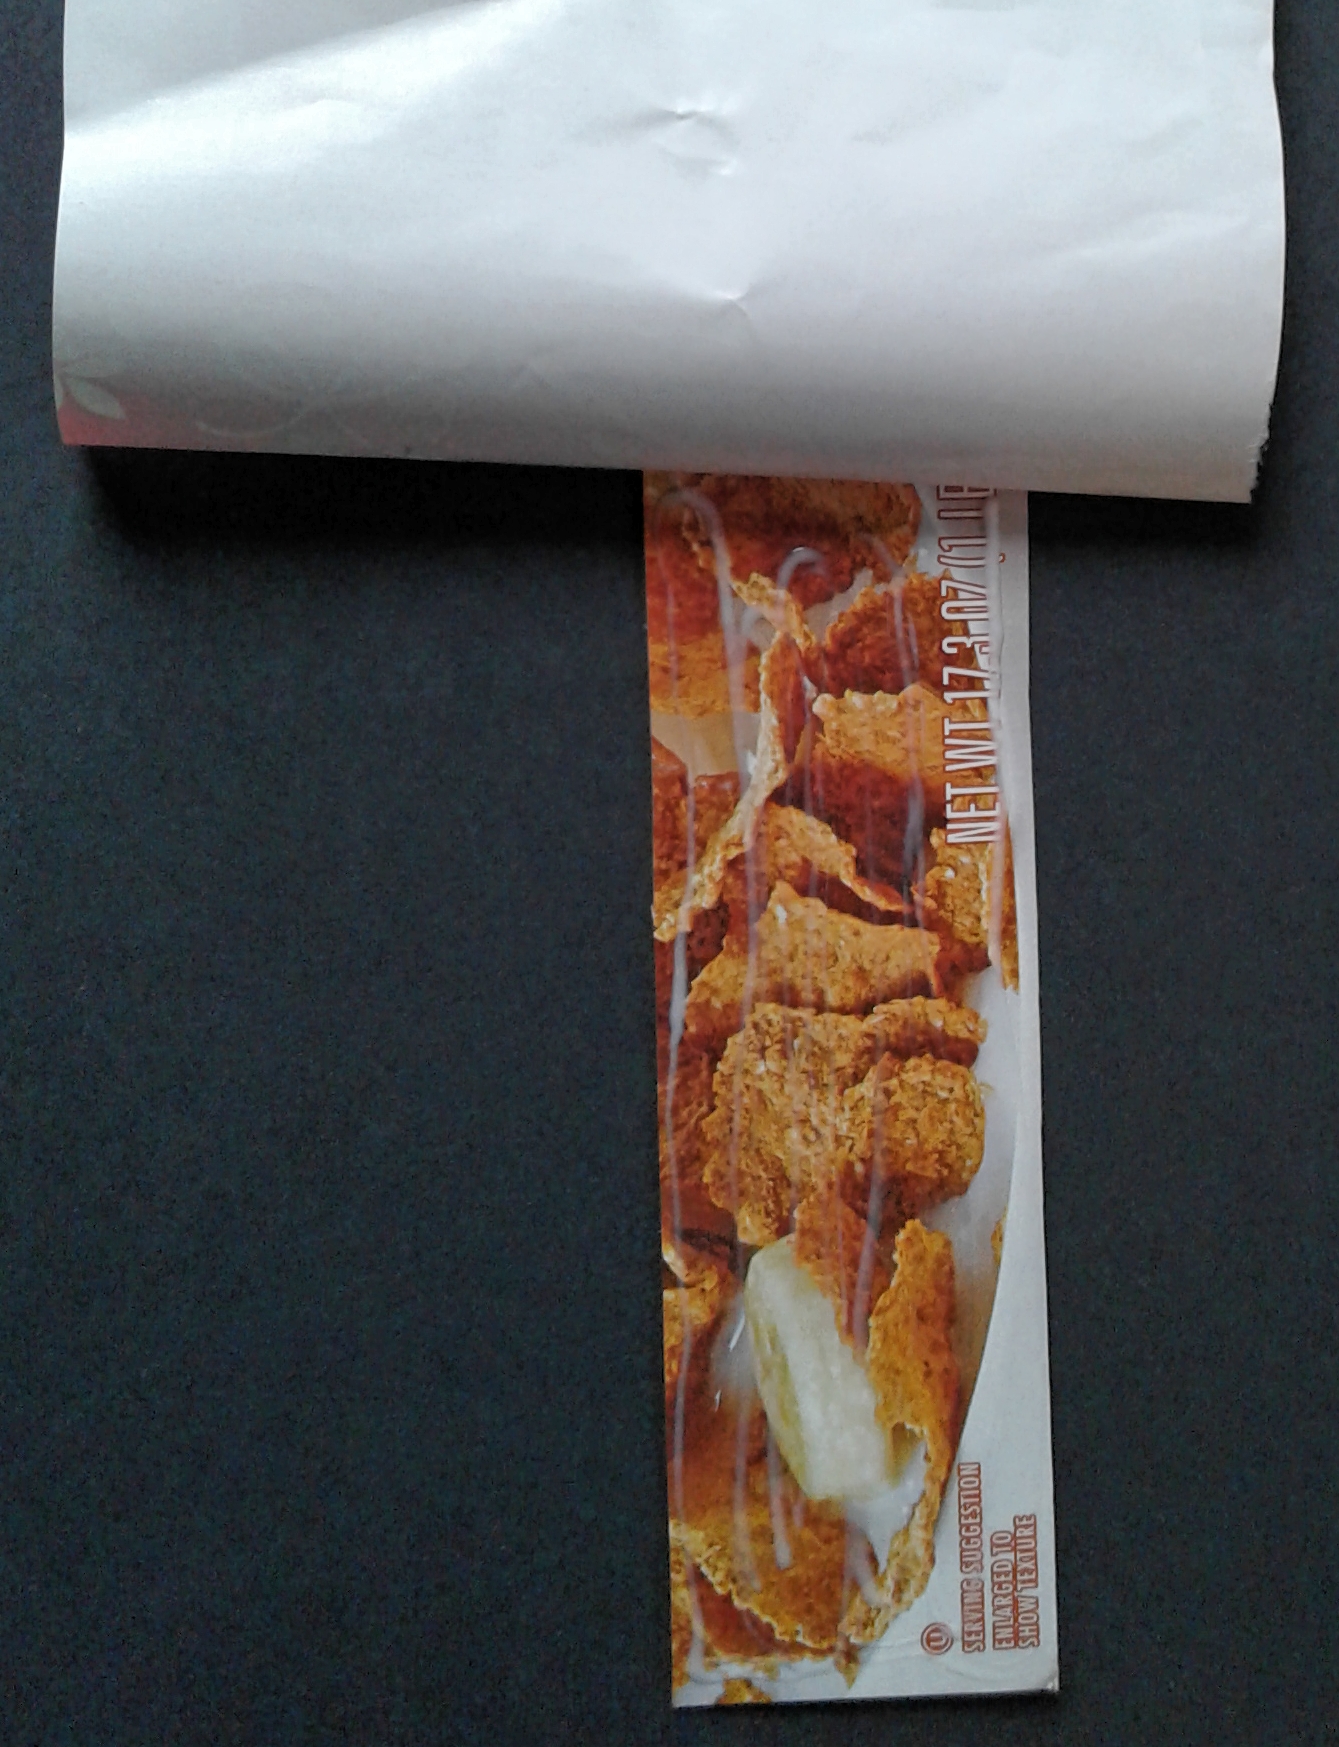
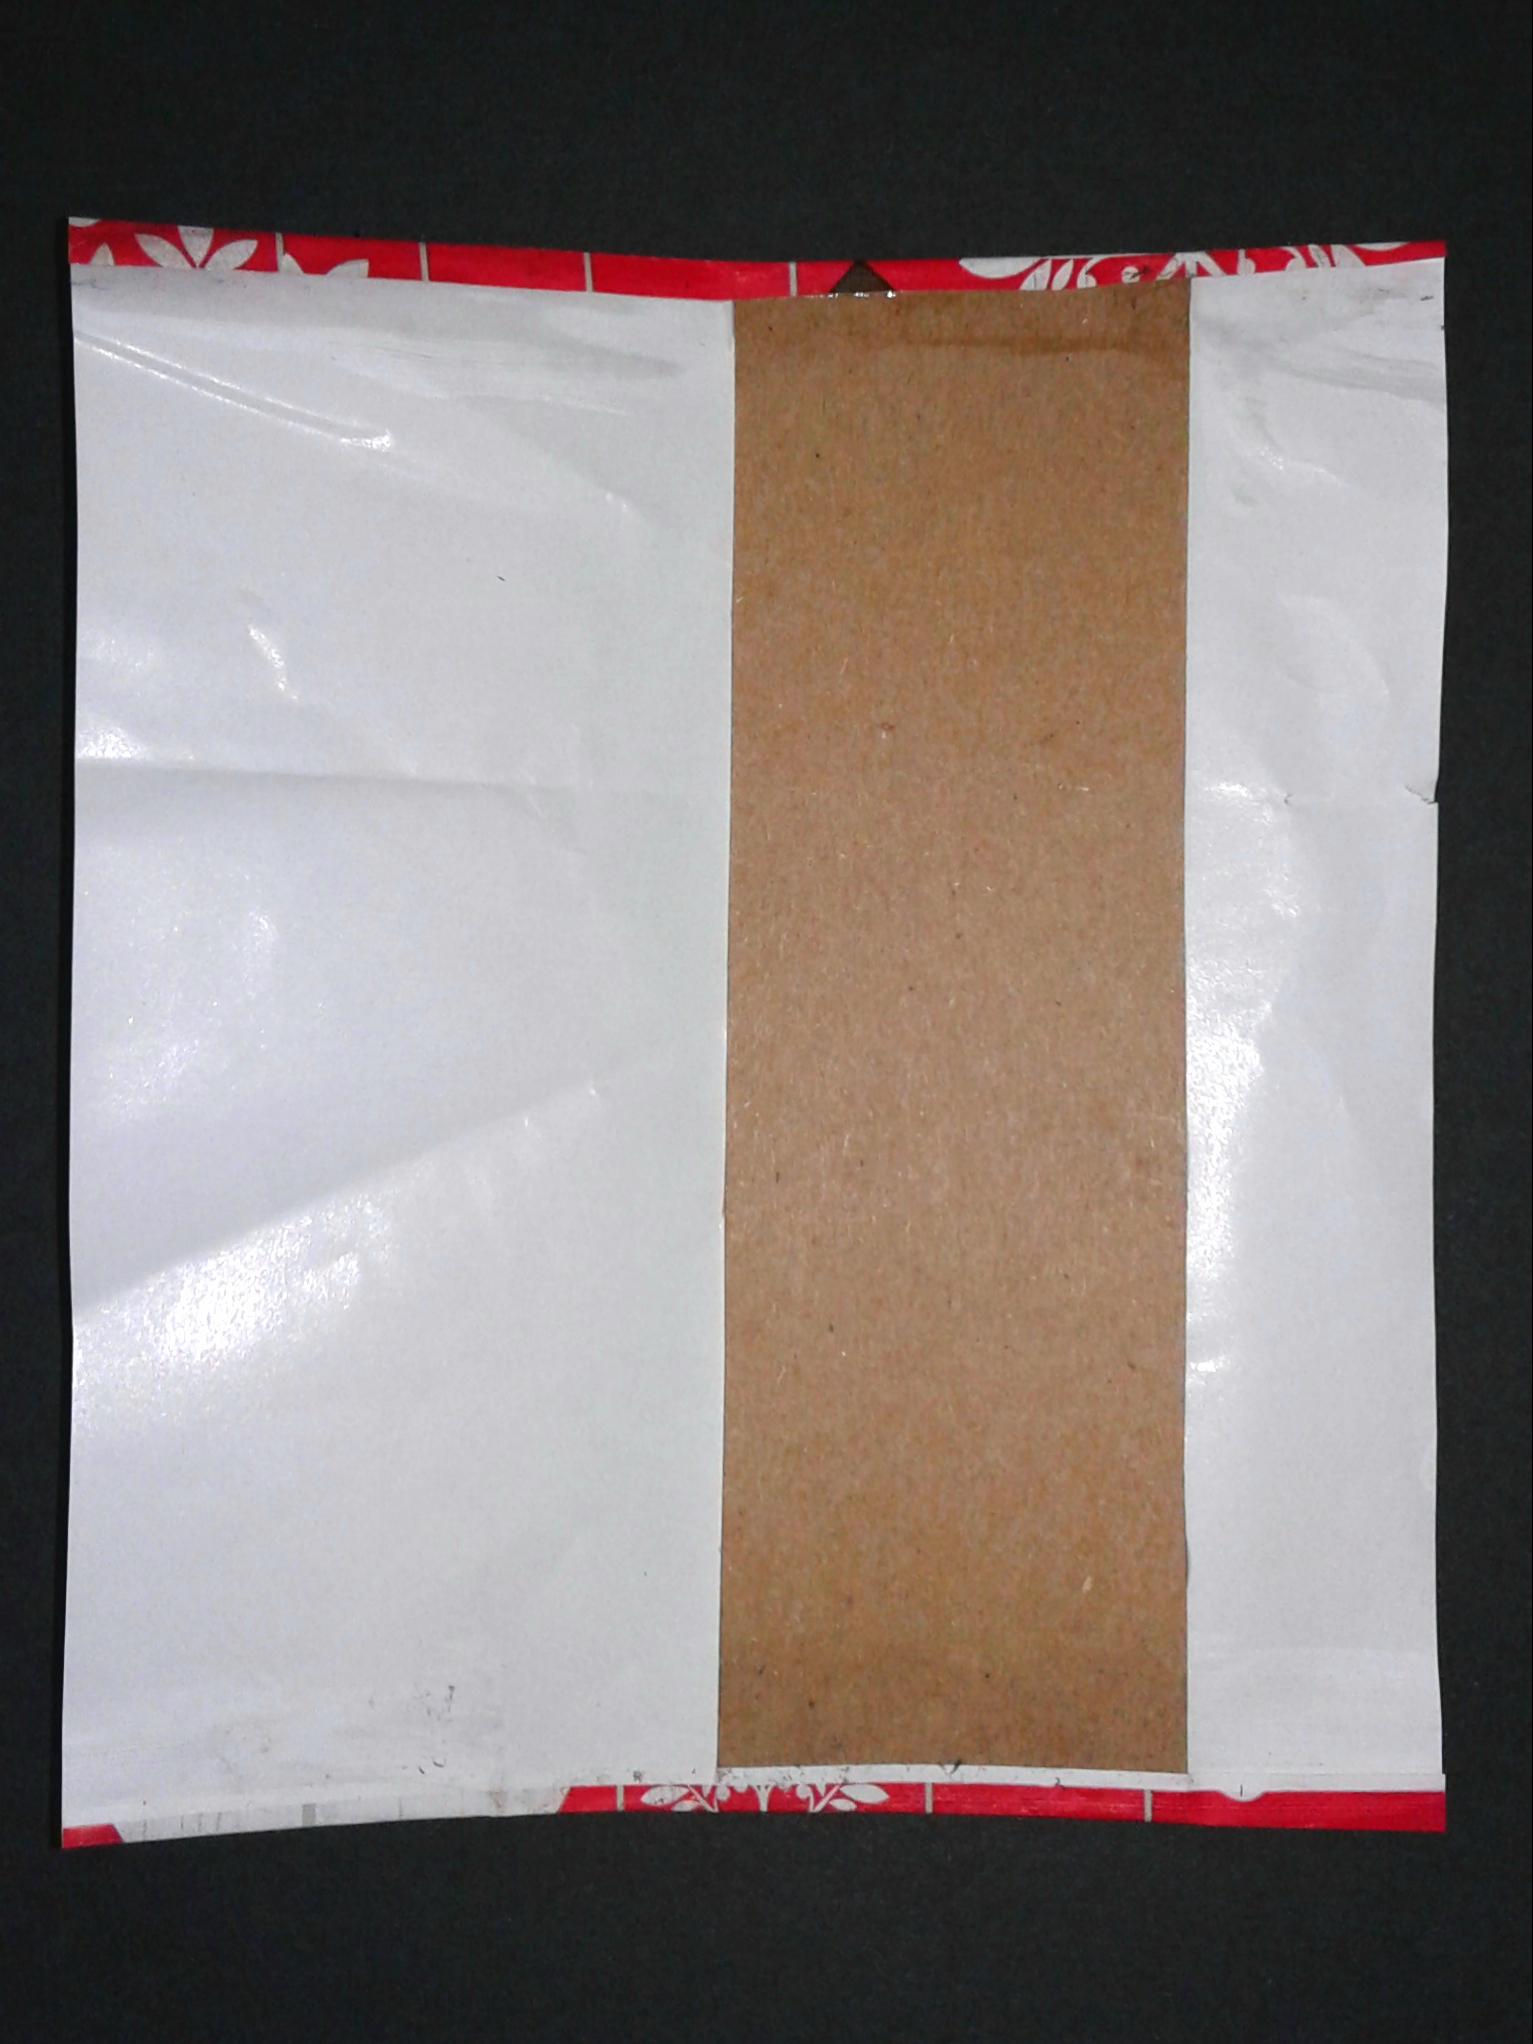
Place the paper and cardboard facedown on a table. Carefully run a thin bead of glue along the bottom edge and fold the overhanging 1/2 cm onto it . Apply some pressure to set the glue and wipe away the excess.
To access the other side of the cardboard, flip it, but leave the paper face down (3rd picture). Using a few thin beads, apply a miniscule amount of glue to the cardboard. Flatten the paper on top of it and use your palm to gently flatten it, pushing any trapped air away from the bottom.
Once again flip the bookmark so the underside of the paper is visible. Glue the top overhanging 1/2 cm in the same way you did the bottom.
Gluing the Other
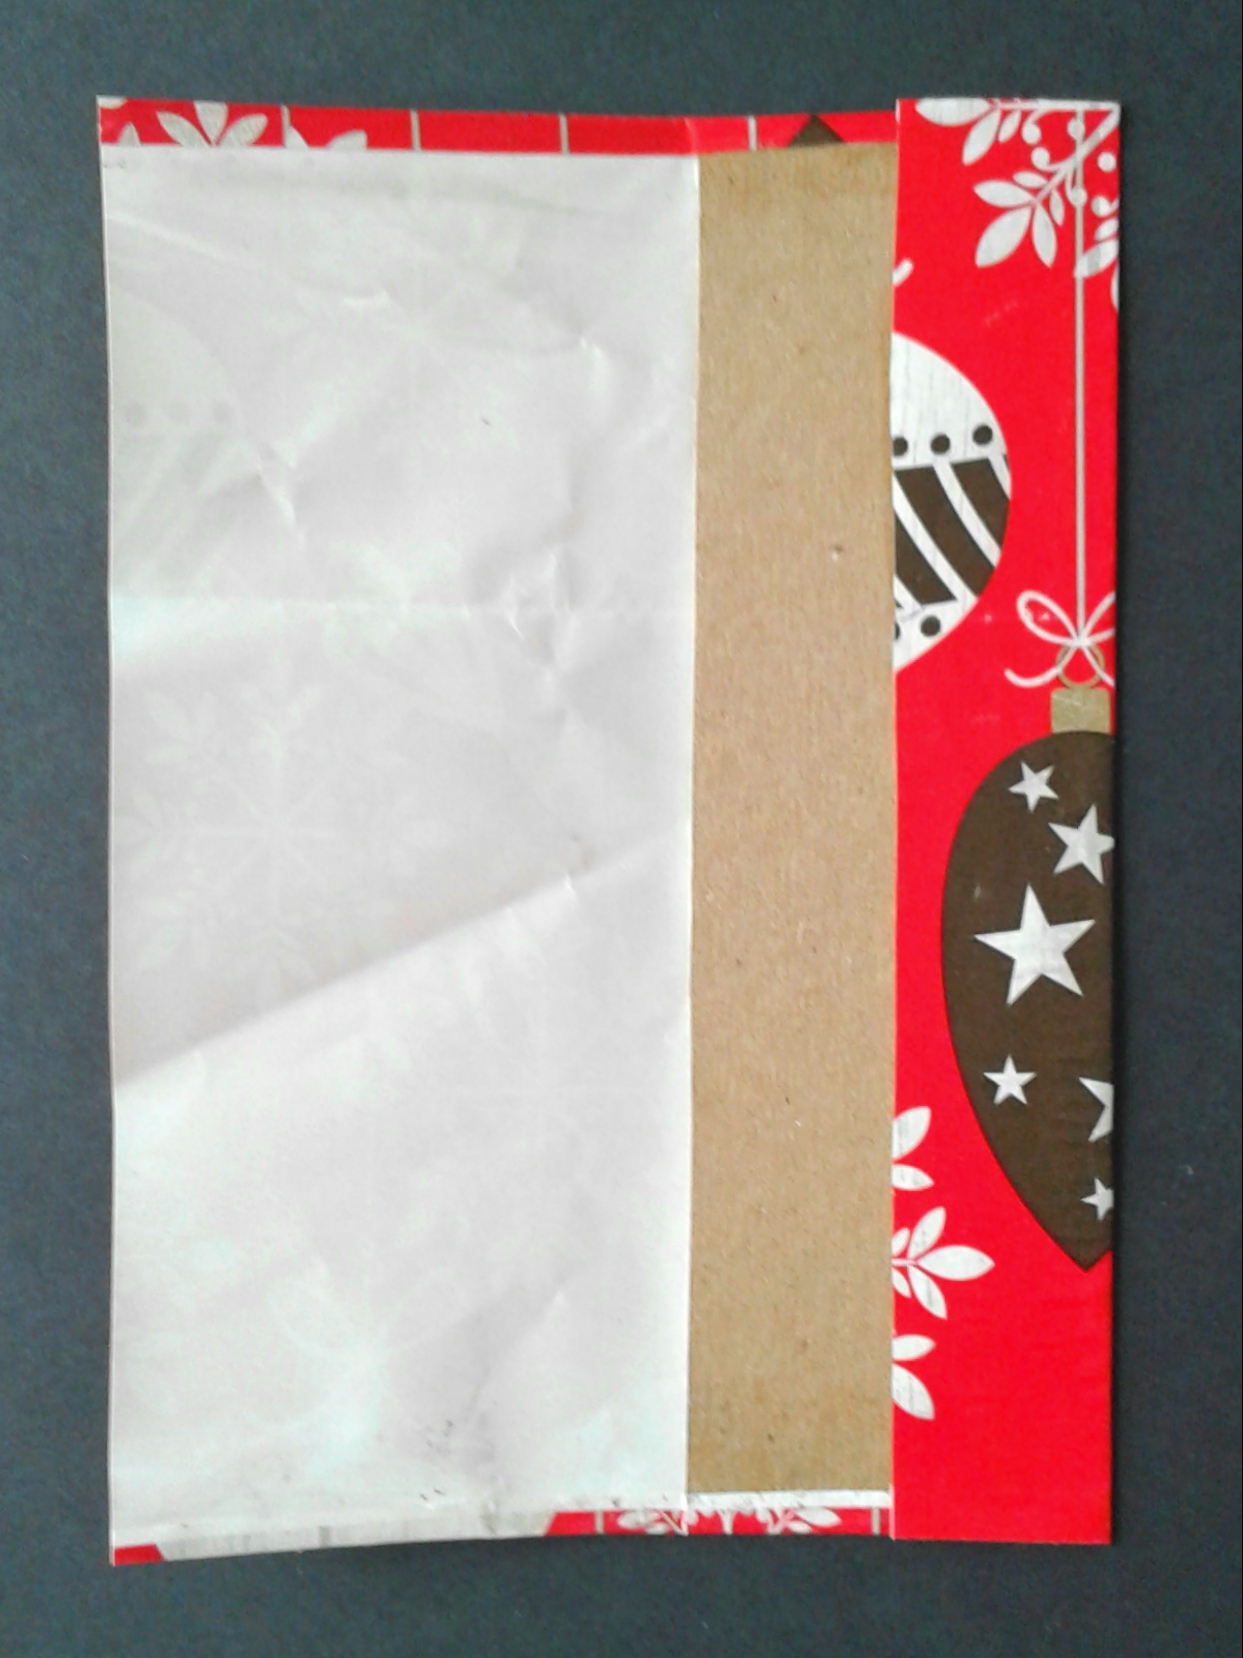
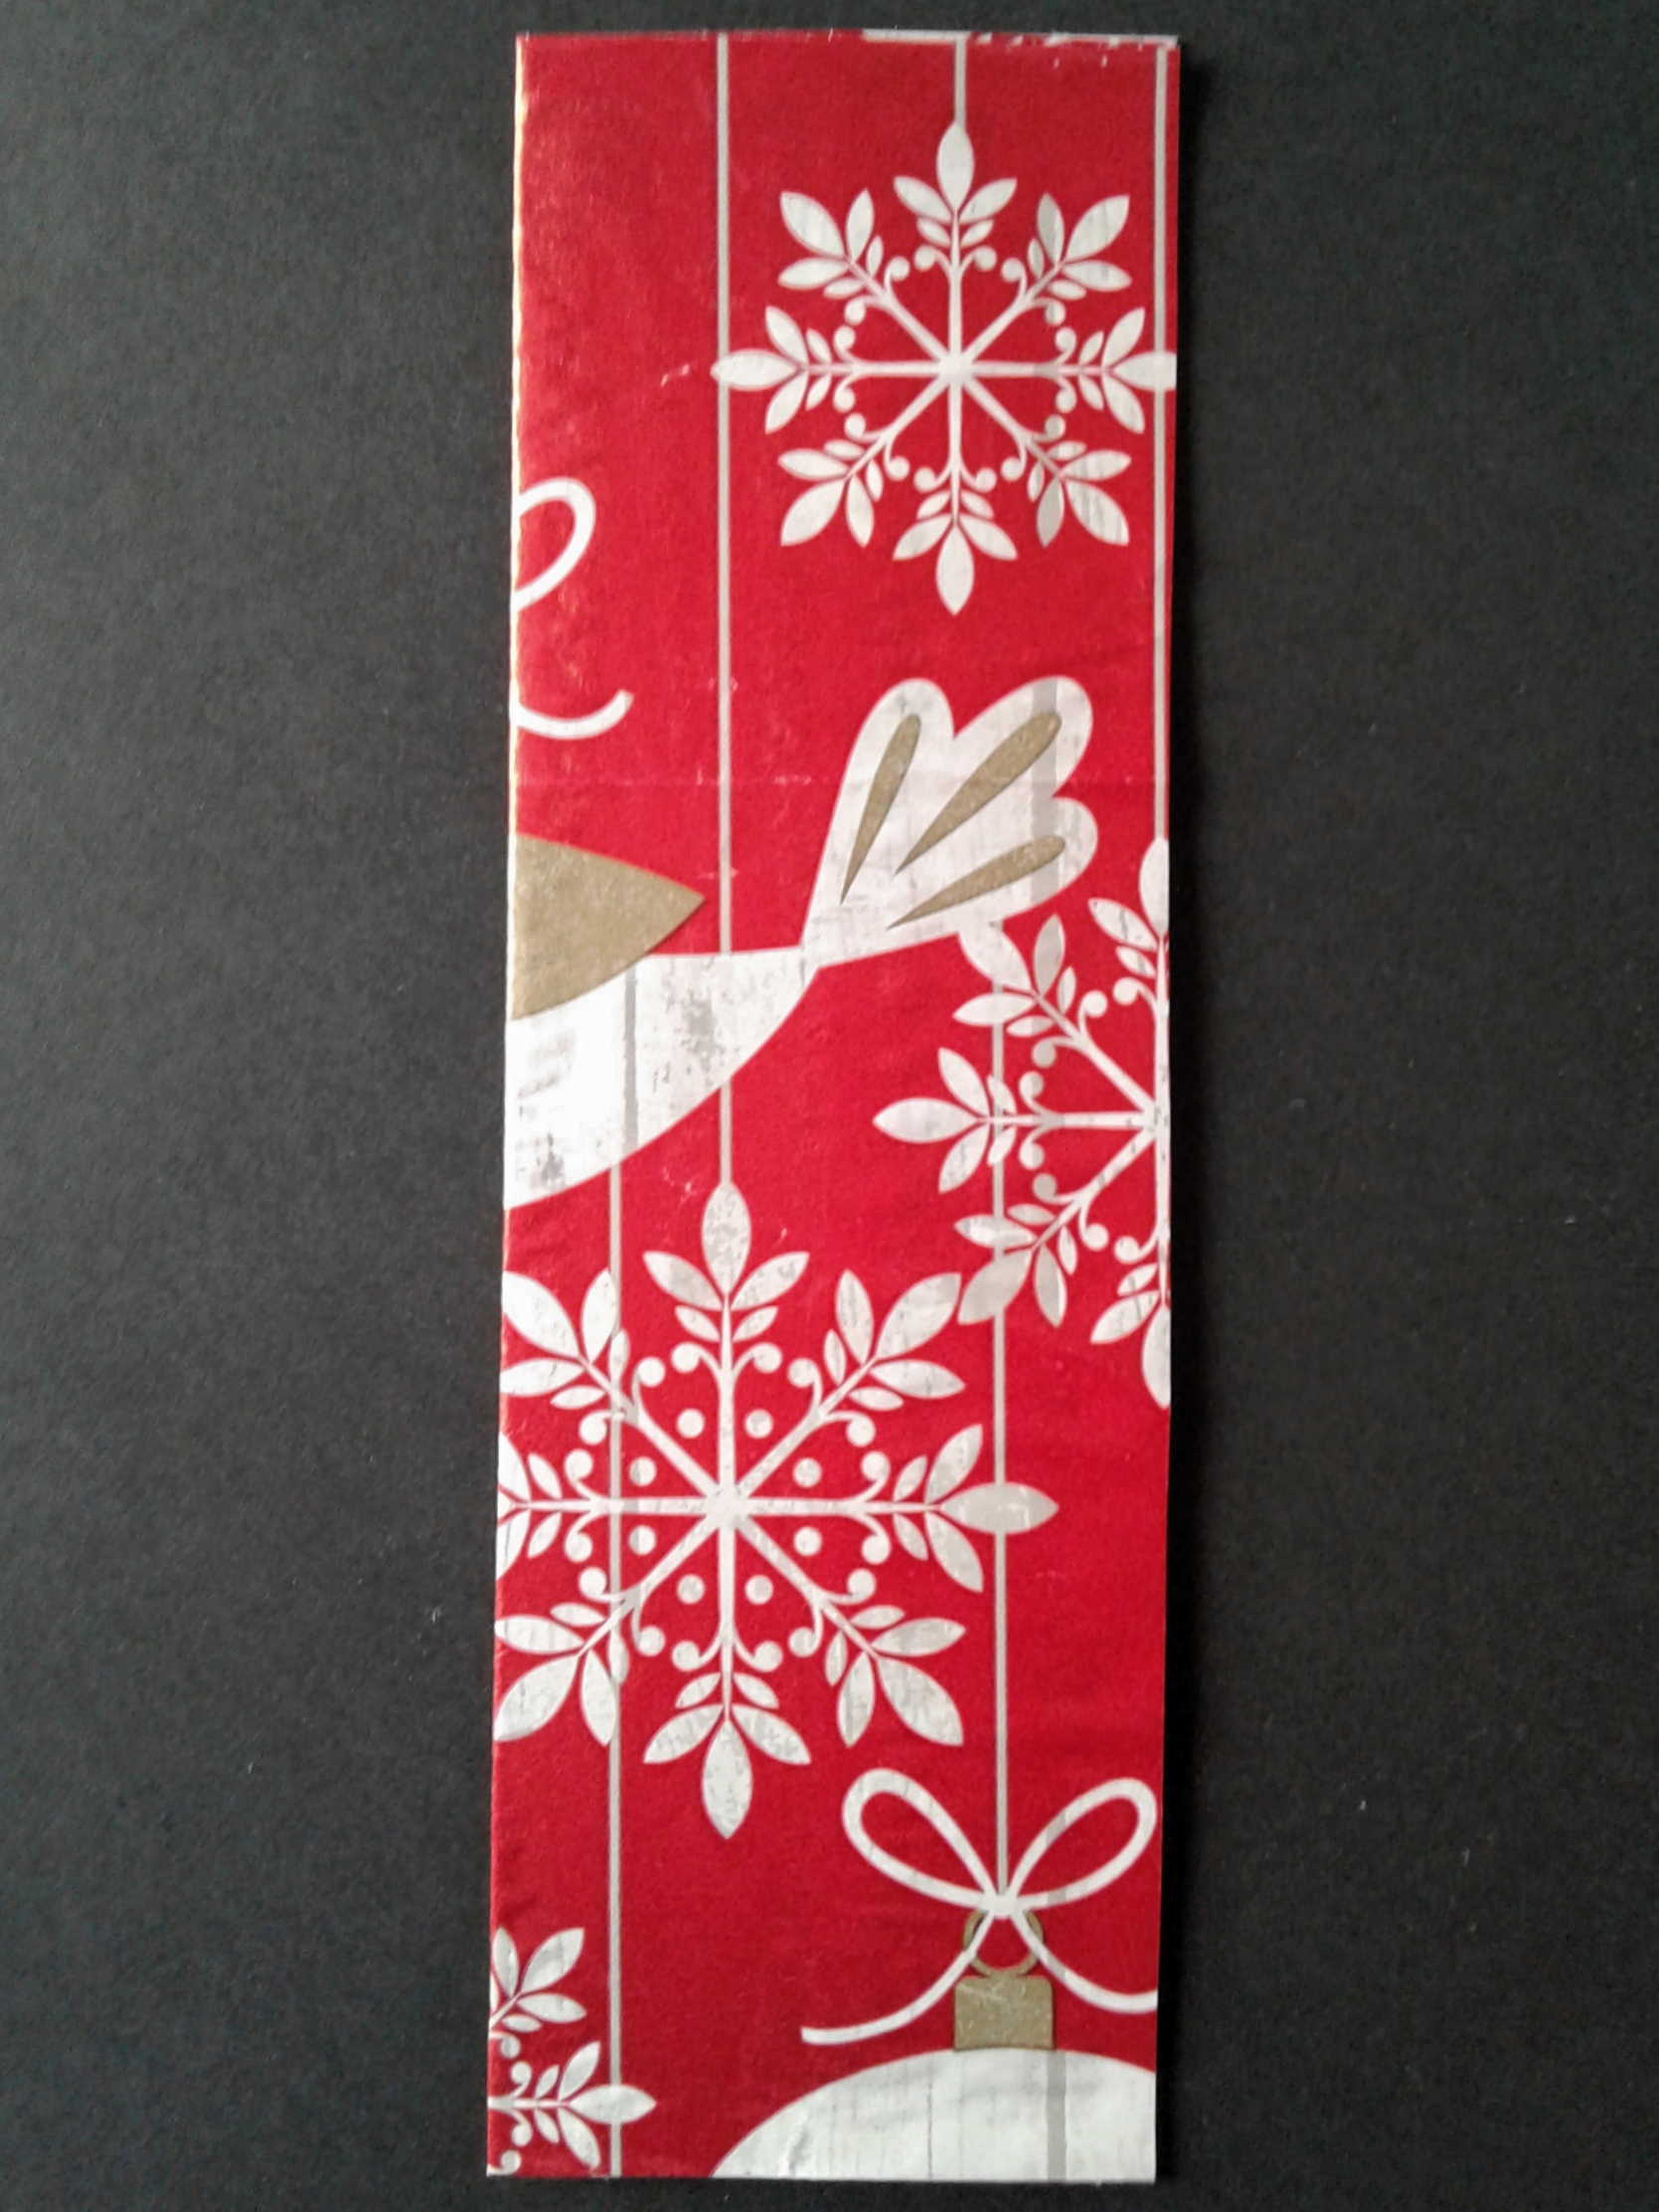
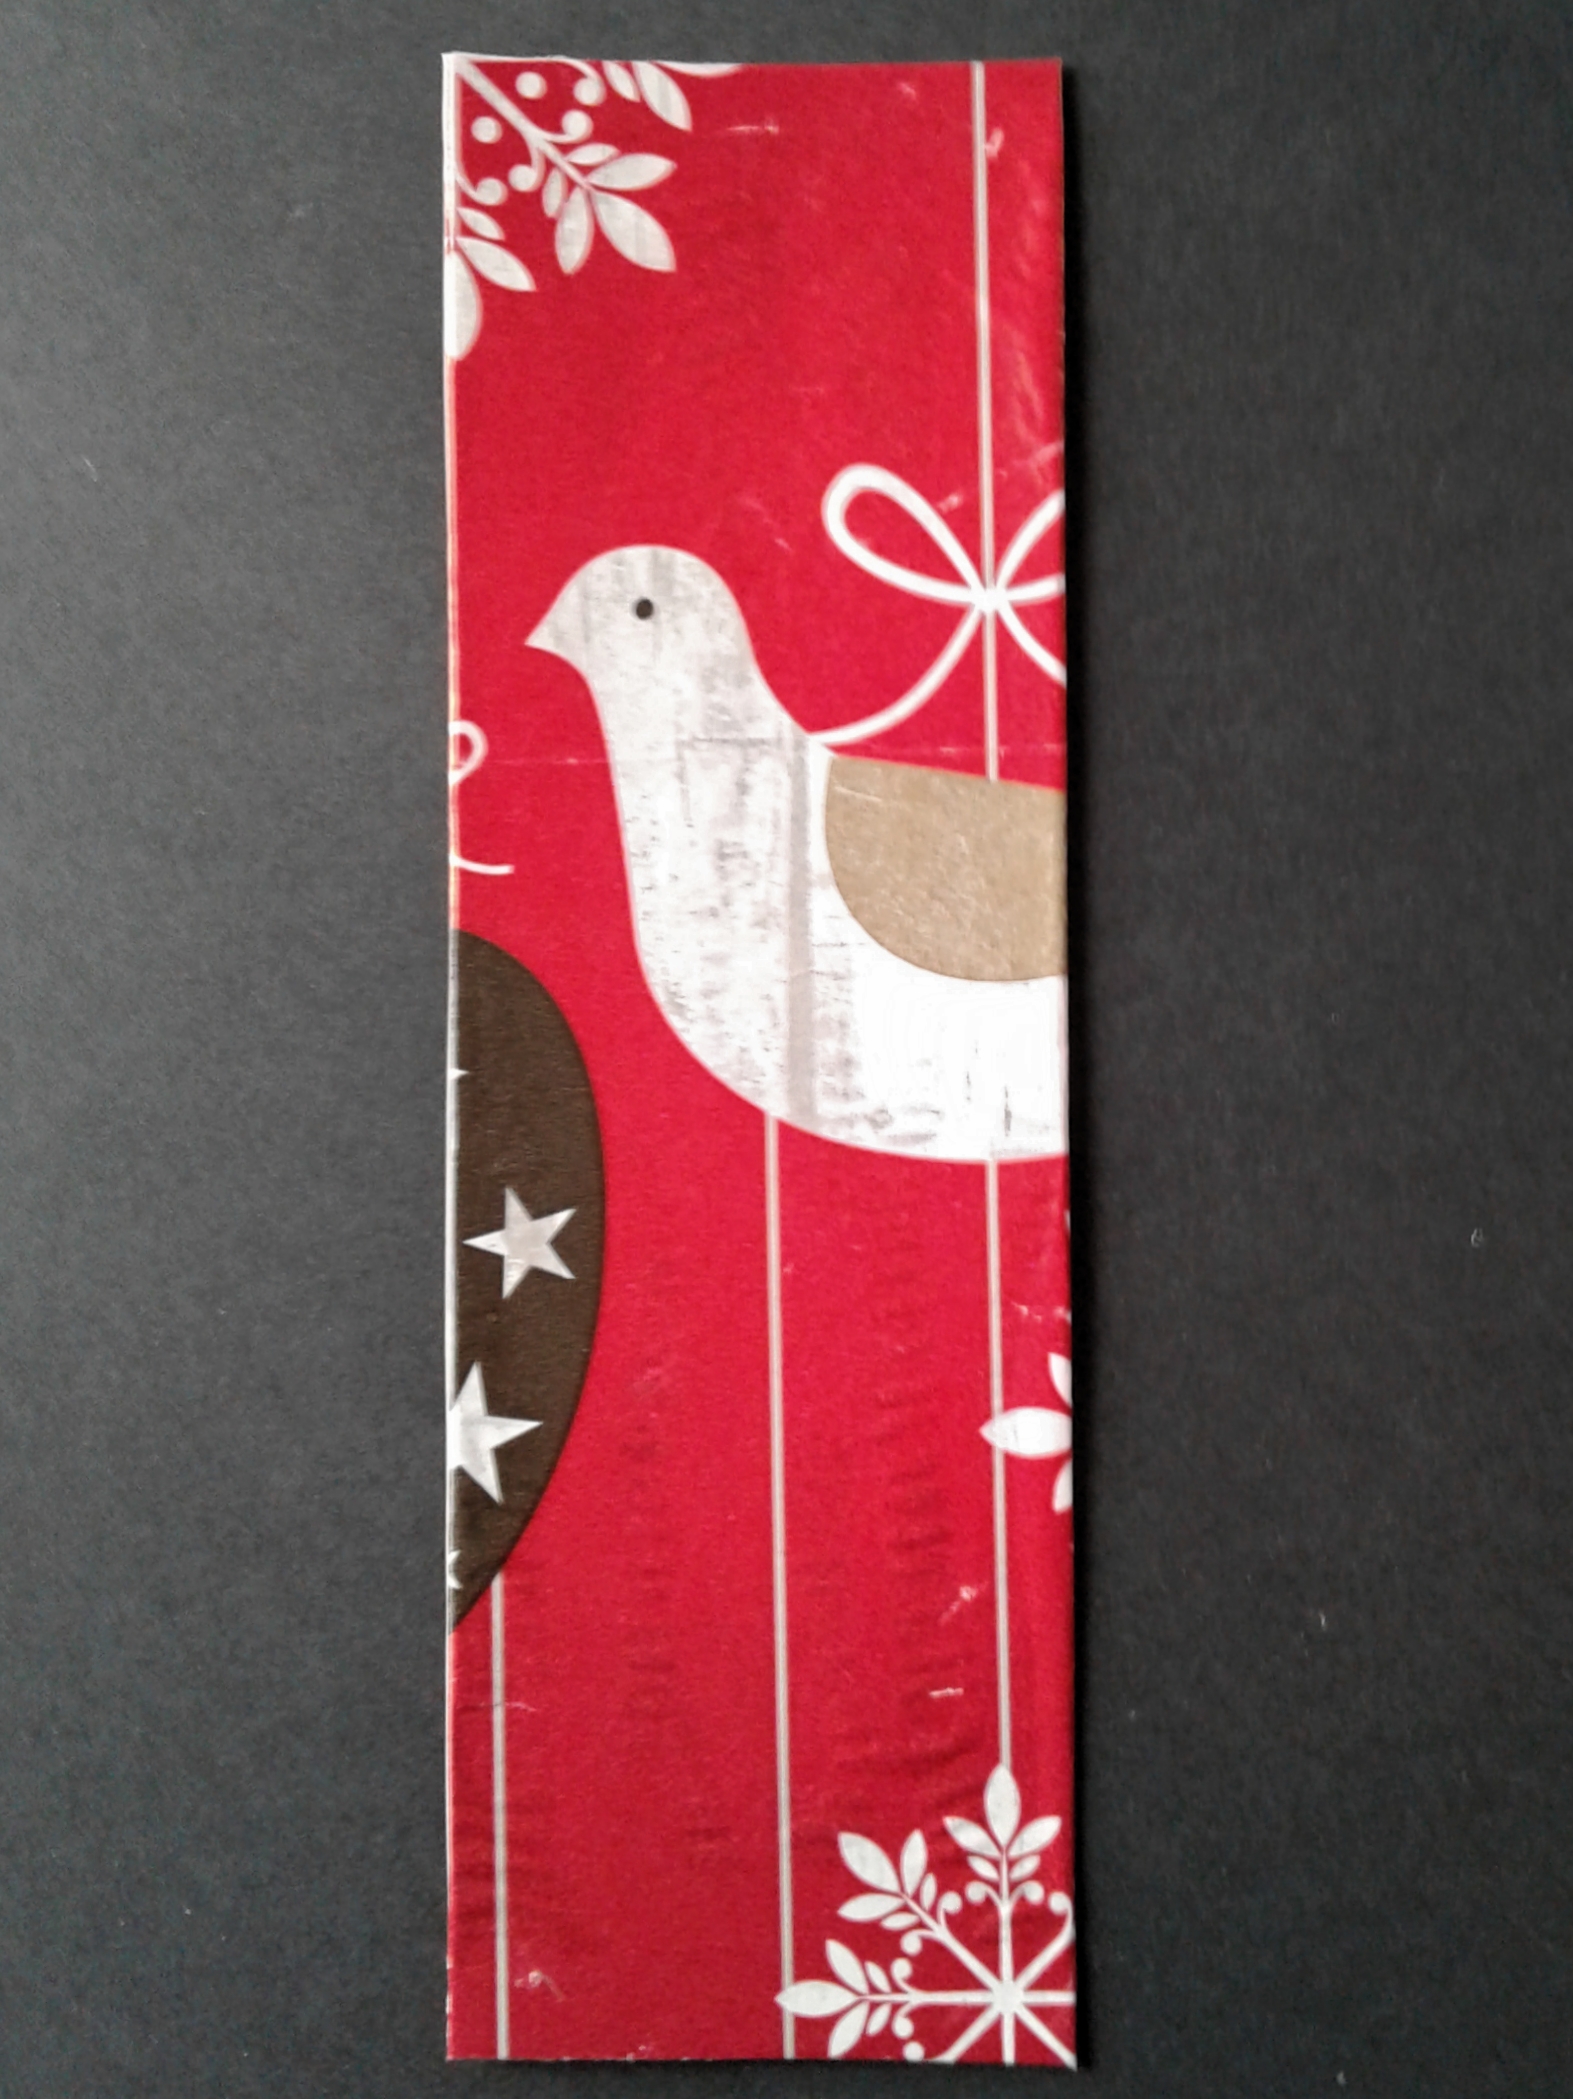
Fold the smaller of the remaining overhanging pieces of wrapping paper over after applying a small amount of glue to where it will be folded. Smooth this out if possible.
Then, apply a conservative amount of glue over the entire back of the bookmark (including the attached small flap). Fold down the remaining paper flap, and smooth it out. Cut off any excess paper that goes over the side.
Final Thoughts
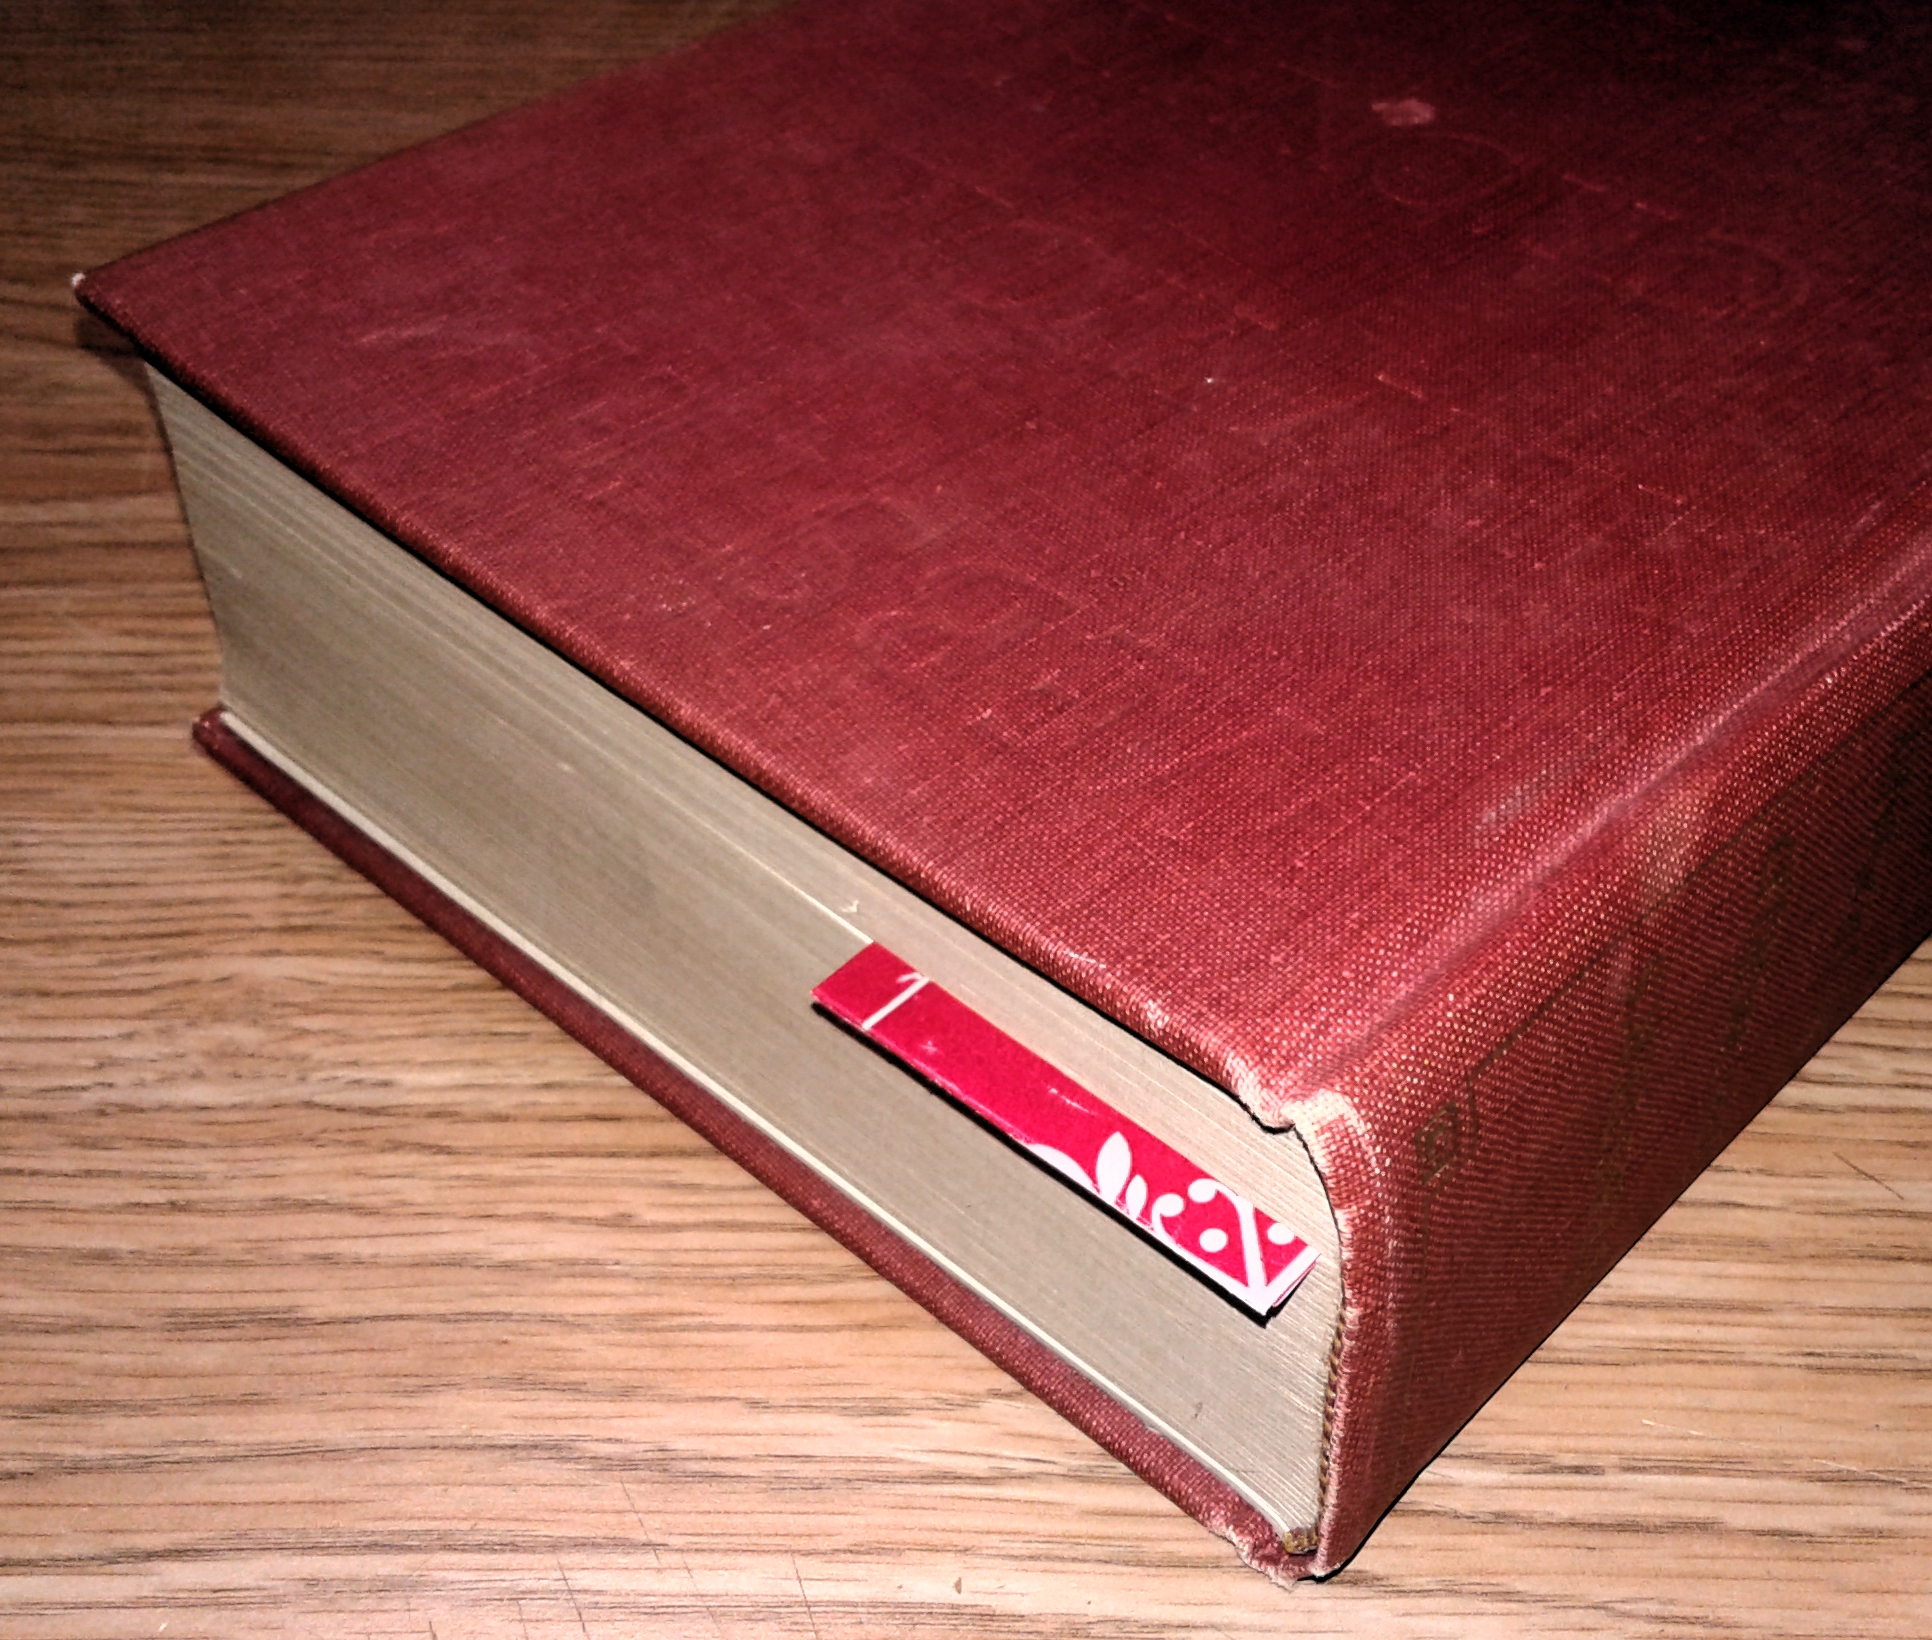
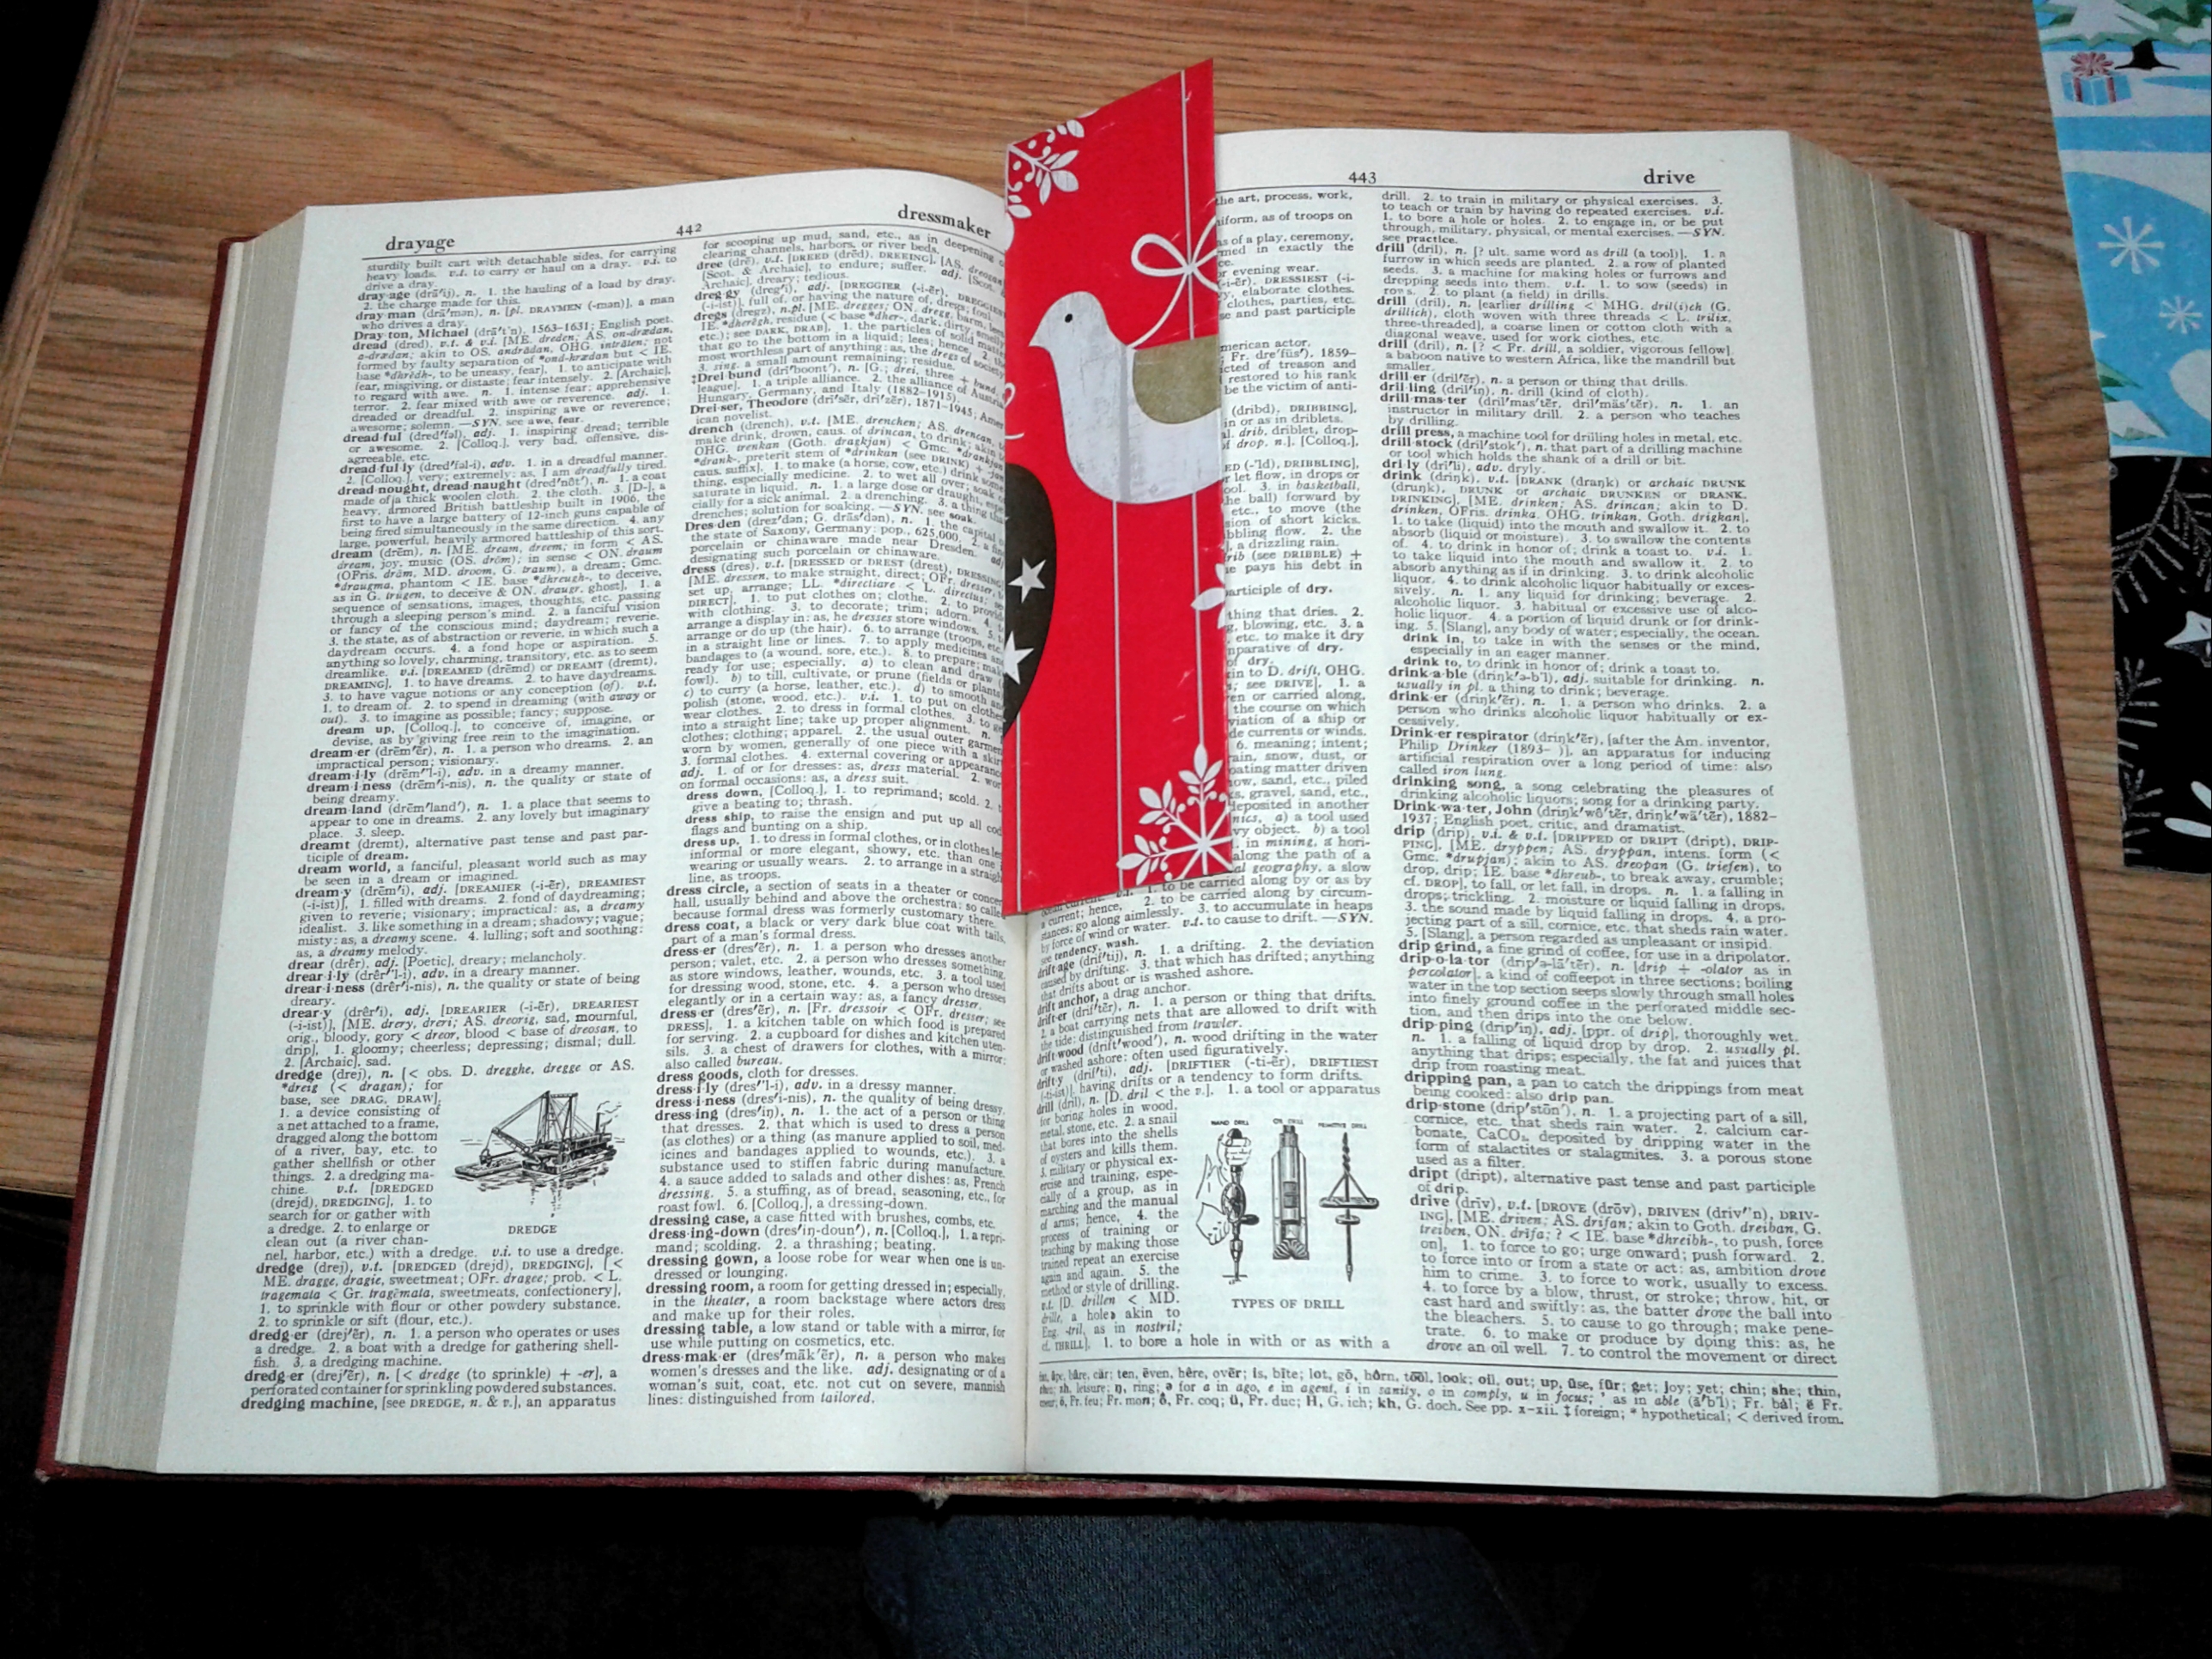
With the bookmark complete, it's time to test it out, after letting it dry of course. I find the wrapping paper not only adds a special aesthetic, but also serves to help the bookmark slide in and out of pages easier.
I hope you enjoyed this instructable. If you have any questions or found anything unclear, you are more than welcome to ask in the comment section below. Also, I'd love to see pictures of any wrapping paper bookmarks you made! I hope you'll be here for my next instructable!