Woven Hearts Greeting Cards
Valentine Greeting Cards with Woven Ribbon Hearts
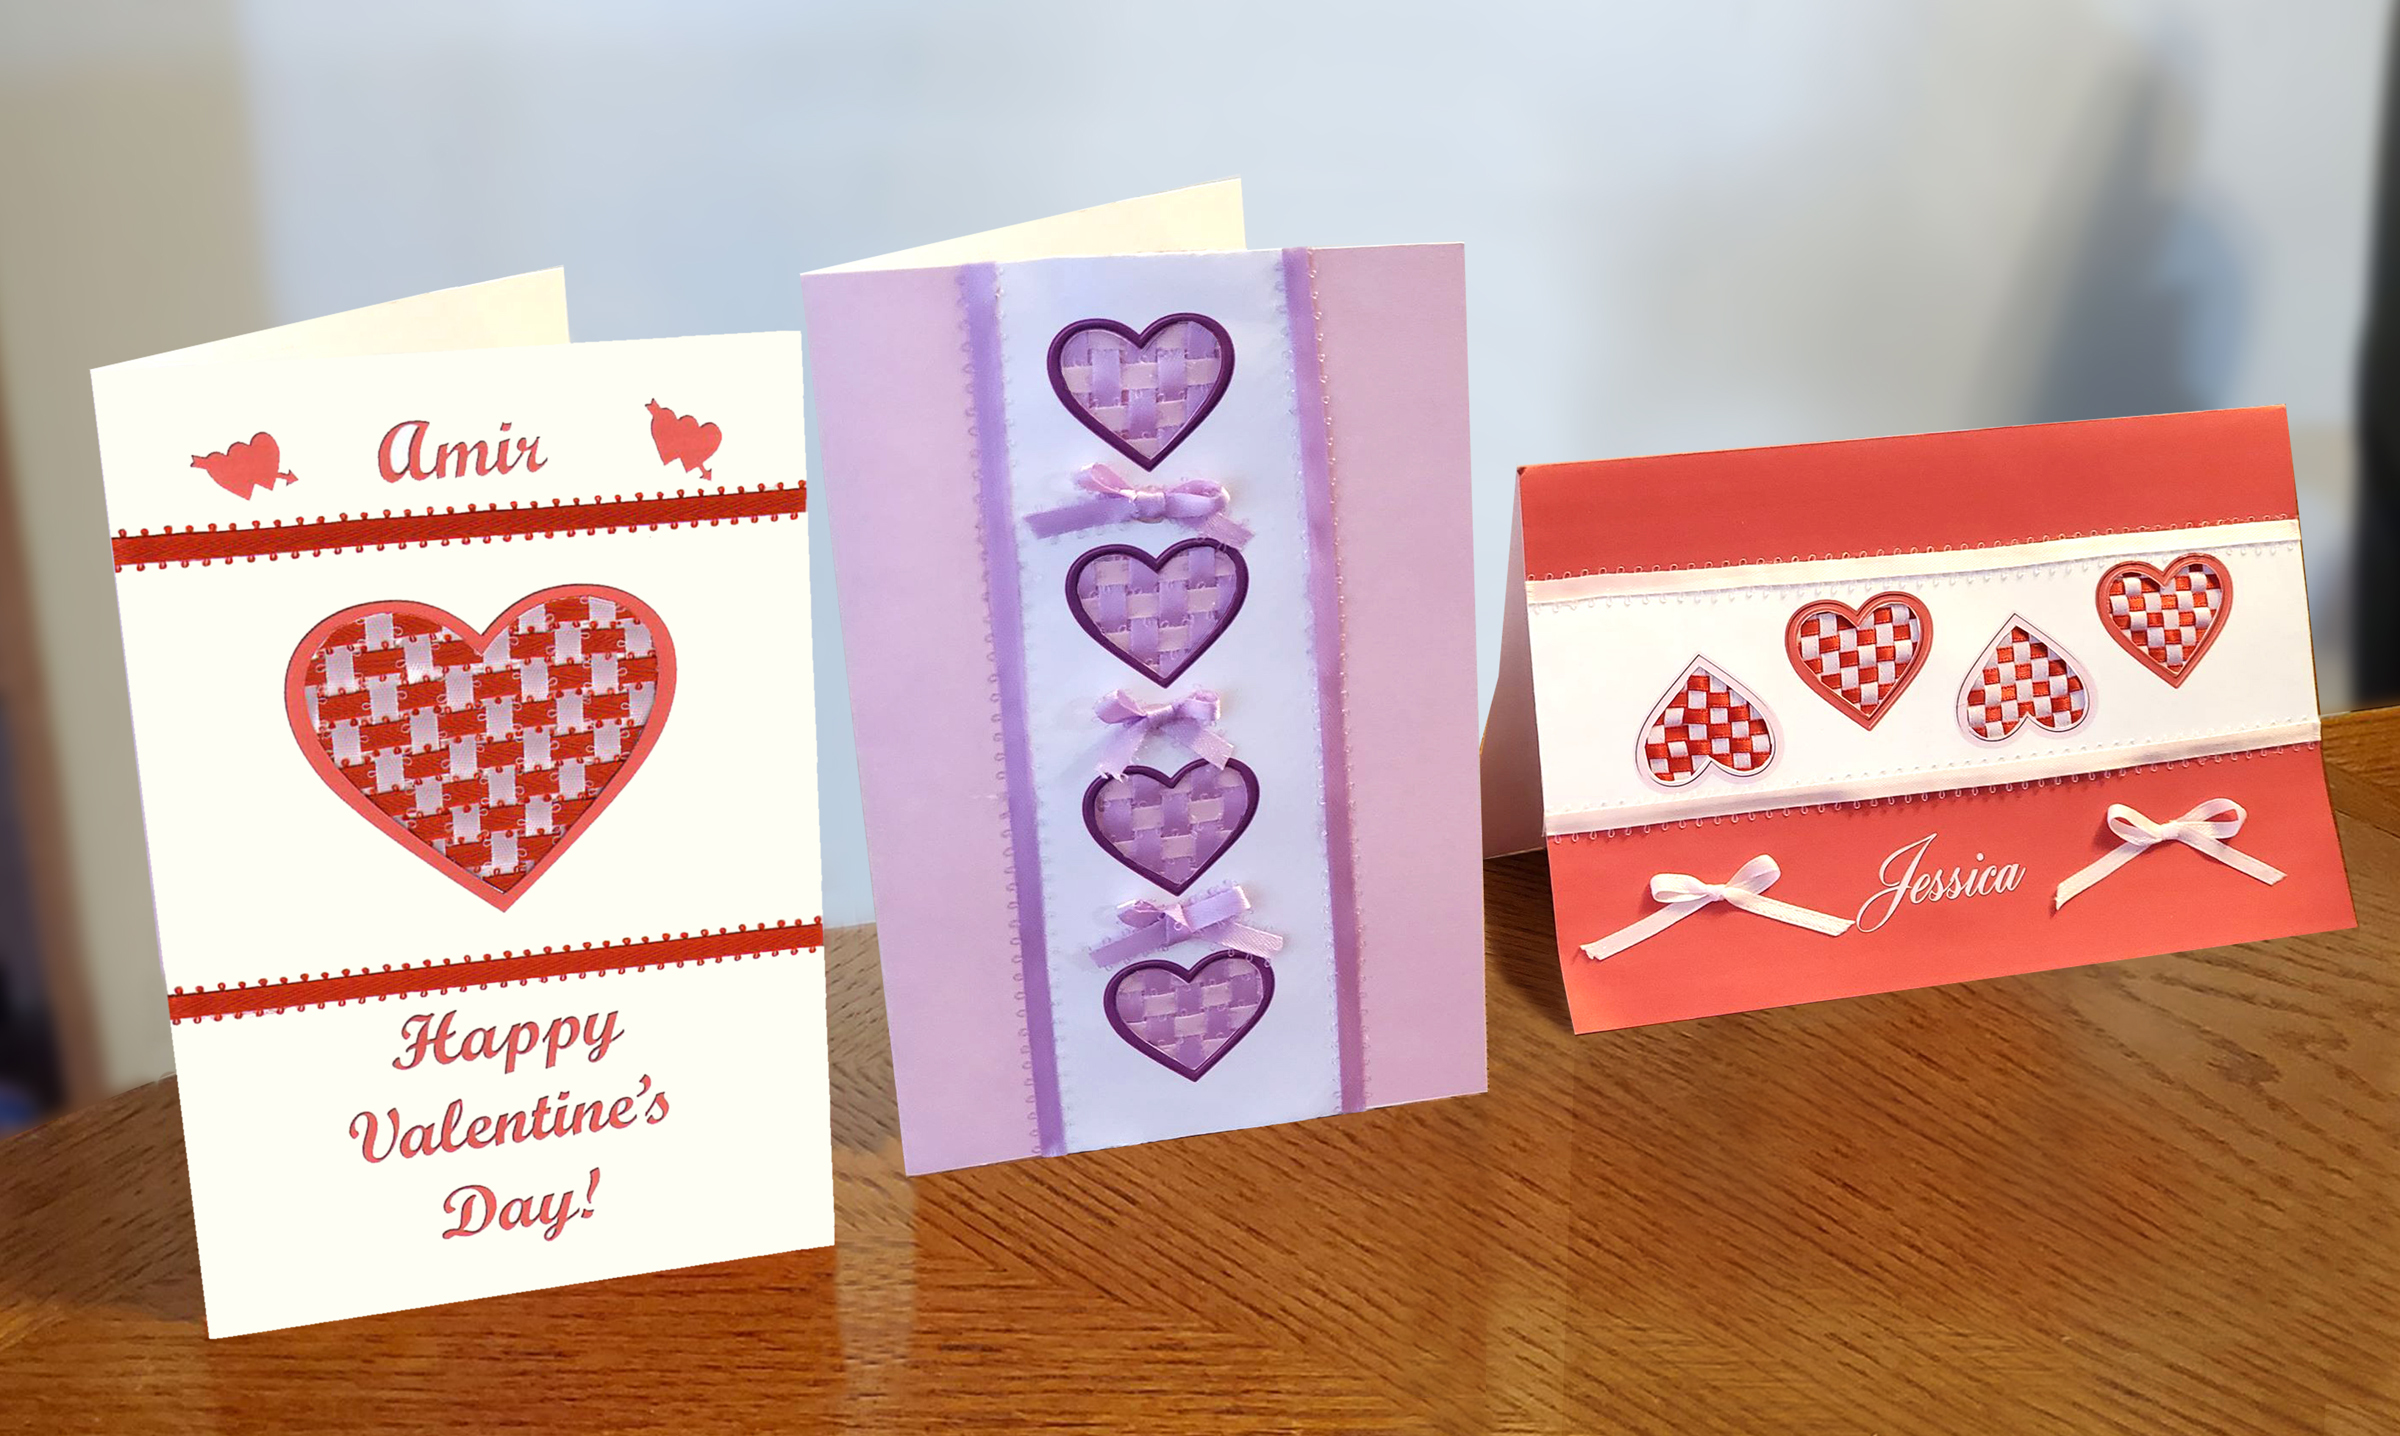
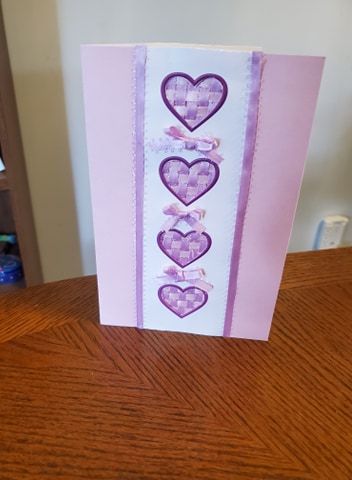
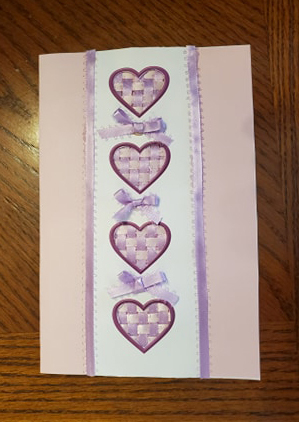
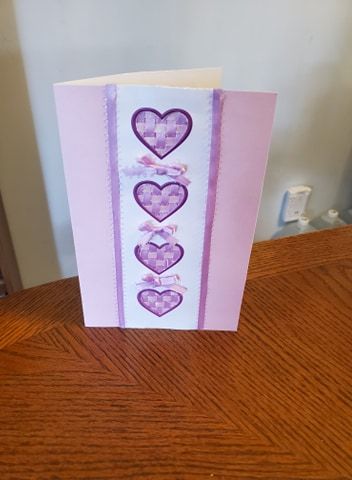
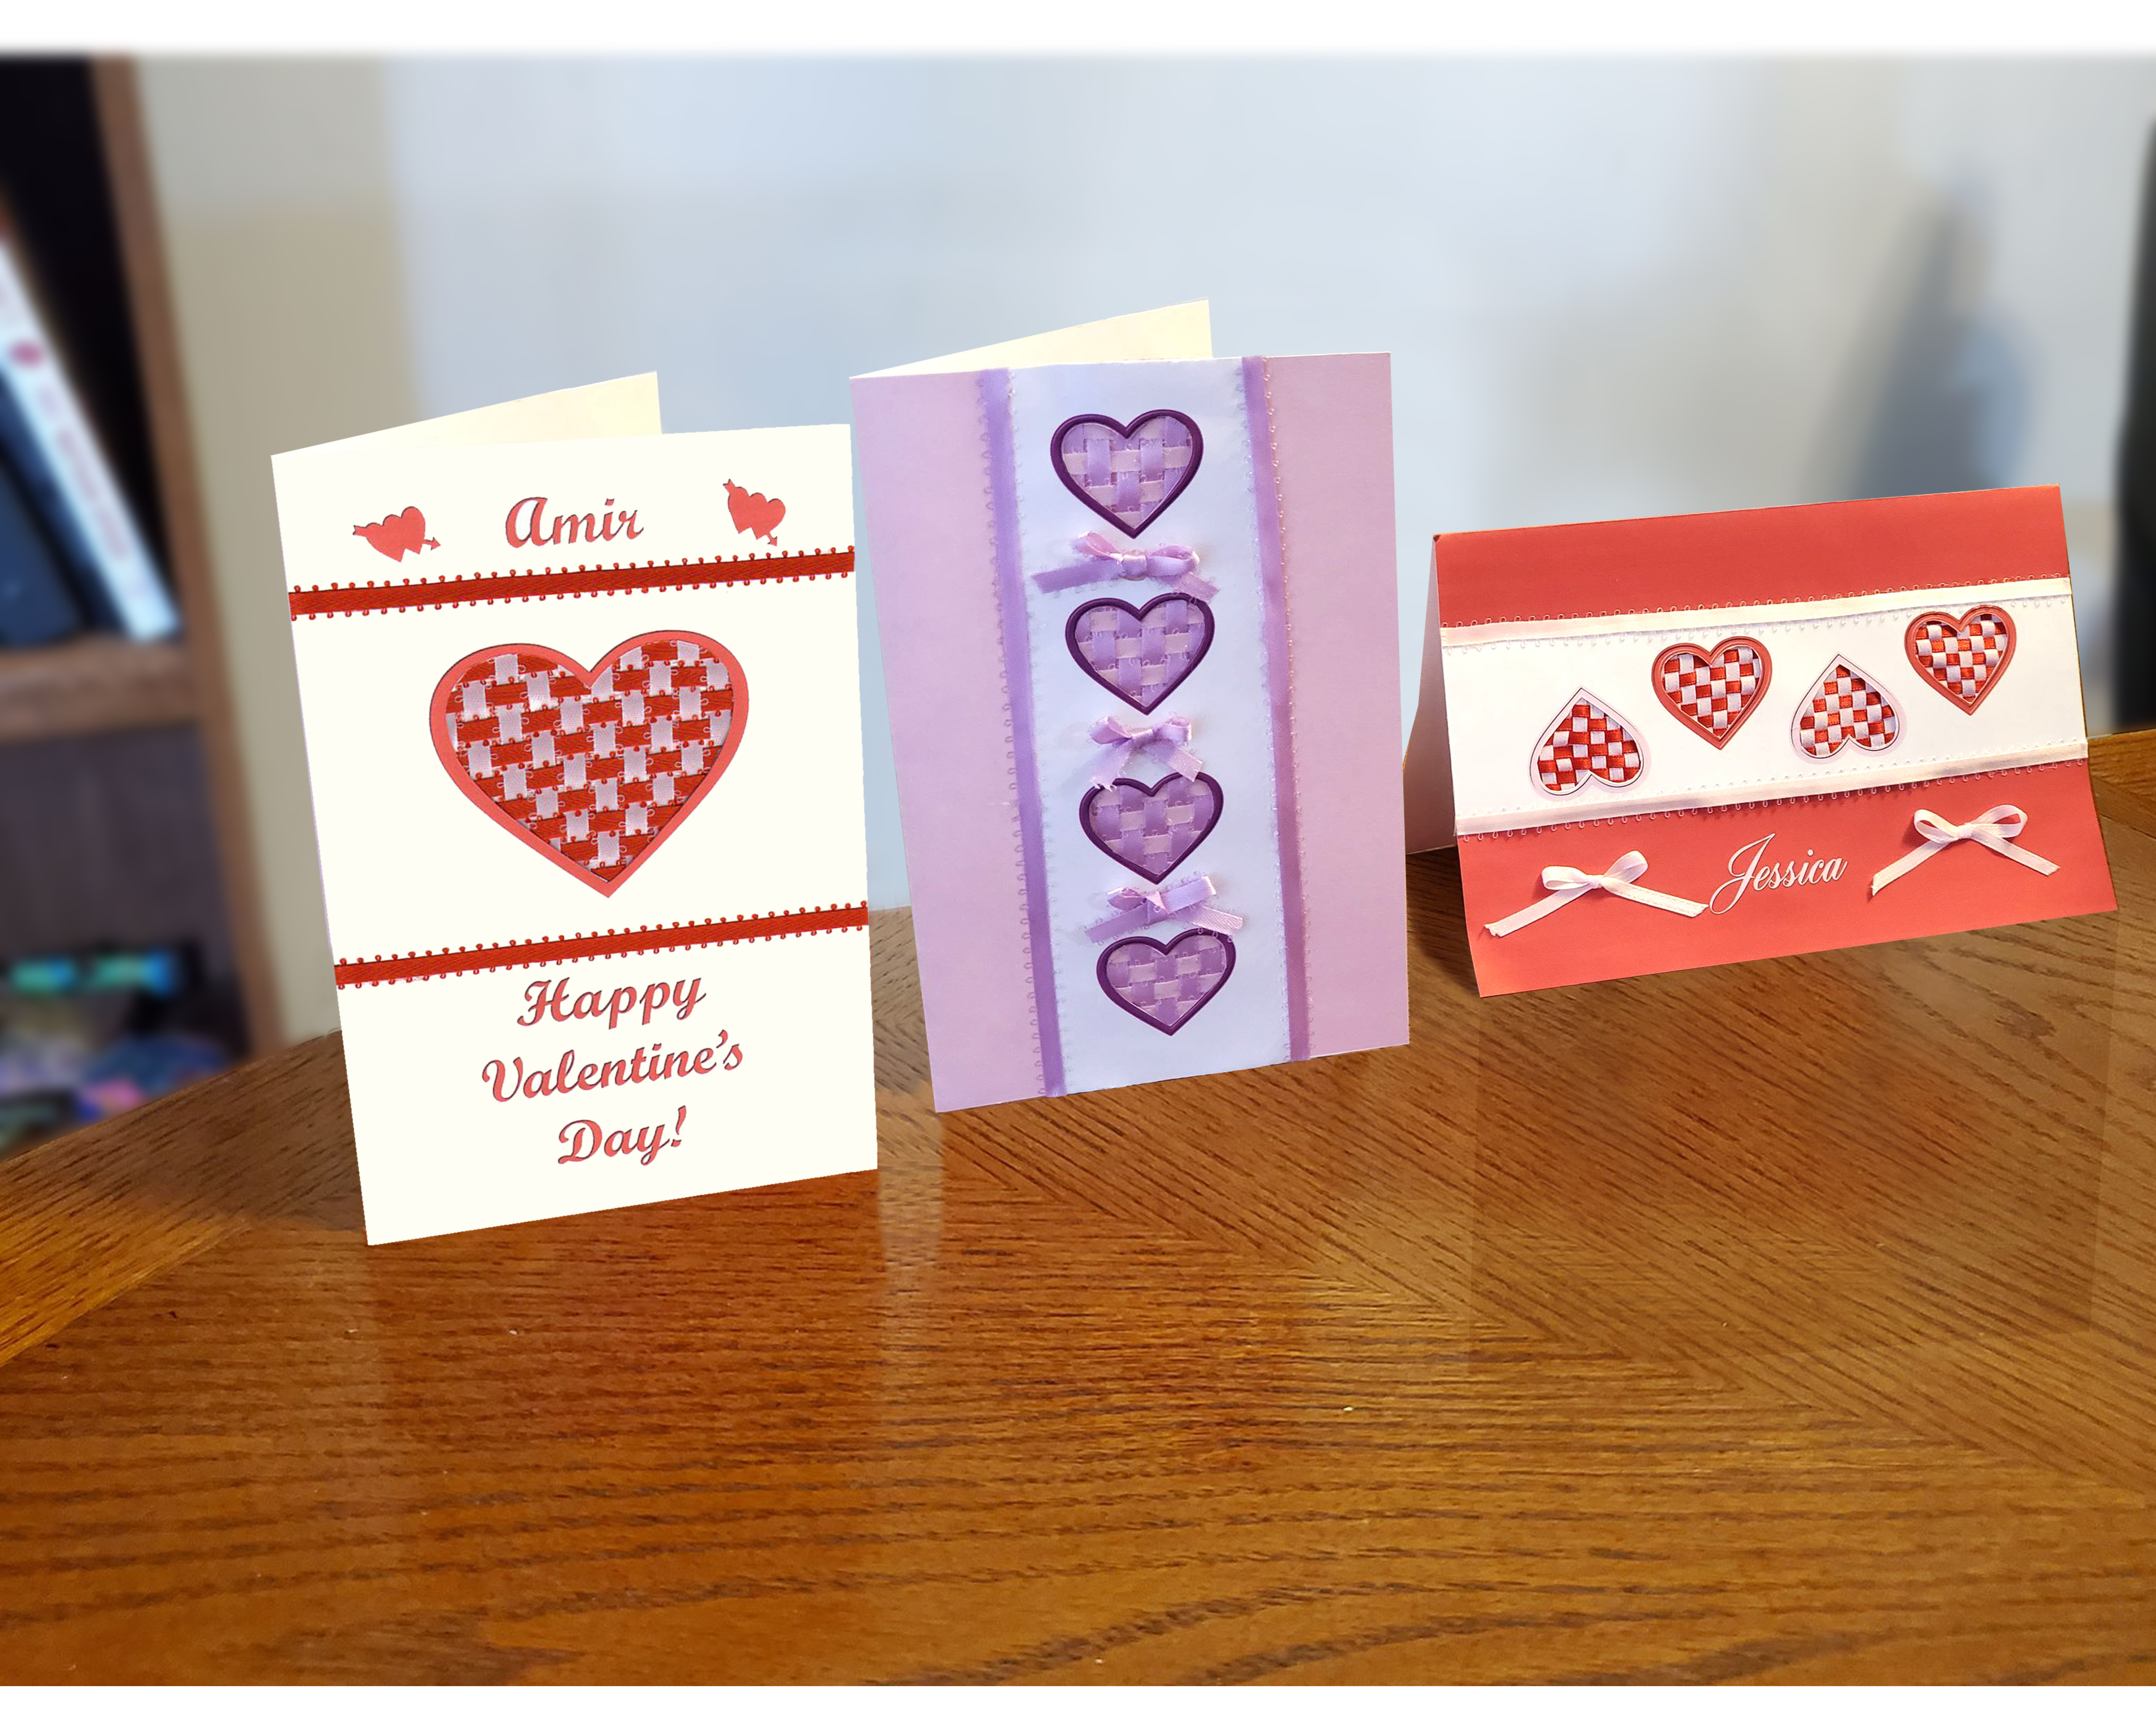
These Valentine cards I made have heart cutouts exposing the woven ribbons!
Supplies
Card Stock Paper
Computer (Optional, you don't have to use a computer; you can draw your hearts by hand, or trace them.)
Computer Software (I use Photoshop Elements) (Optional)
Printer (Optional)
X-acto Blade (or tiny nail scissors)
Cutting Board or Old Magazine
Cardboard
Scissors
Tape
Satin Ribbons in 2 colors 3/16 " (or curing ribbon or even strips of paper)
Safety Pin
Hot Glue Gun (or any glue, (but hot glues dries faster), you'd have to wait longer for white glue)
Open Your Software
I'll show you how I made the pink card. (I used a computer, but you don't have to, you can use whatever color paper you want.)
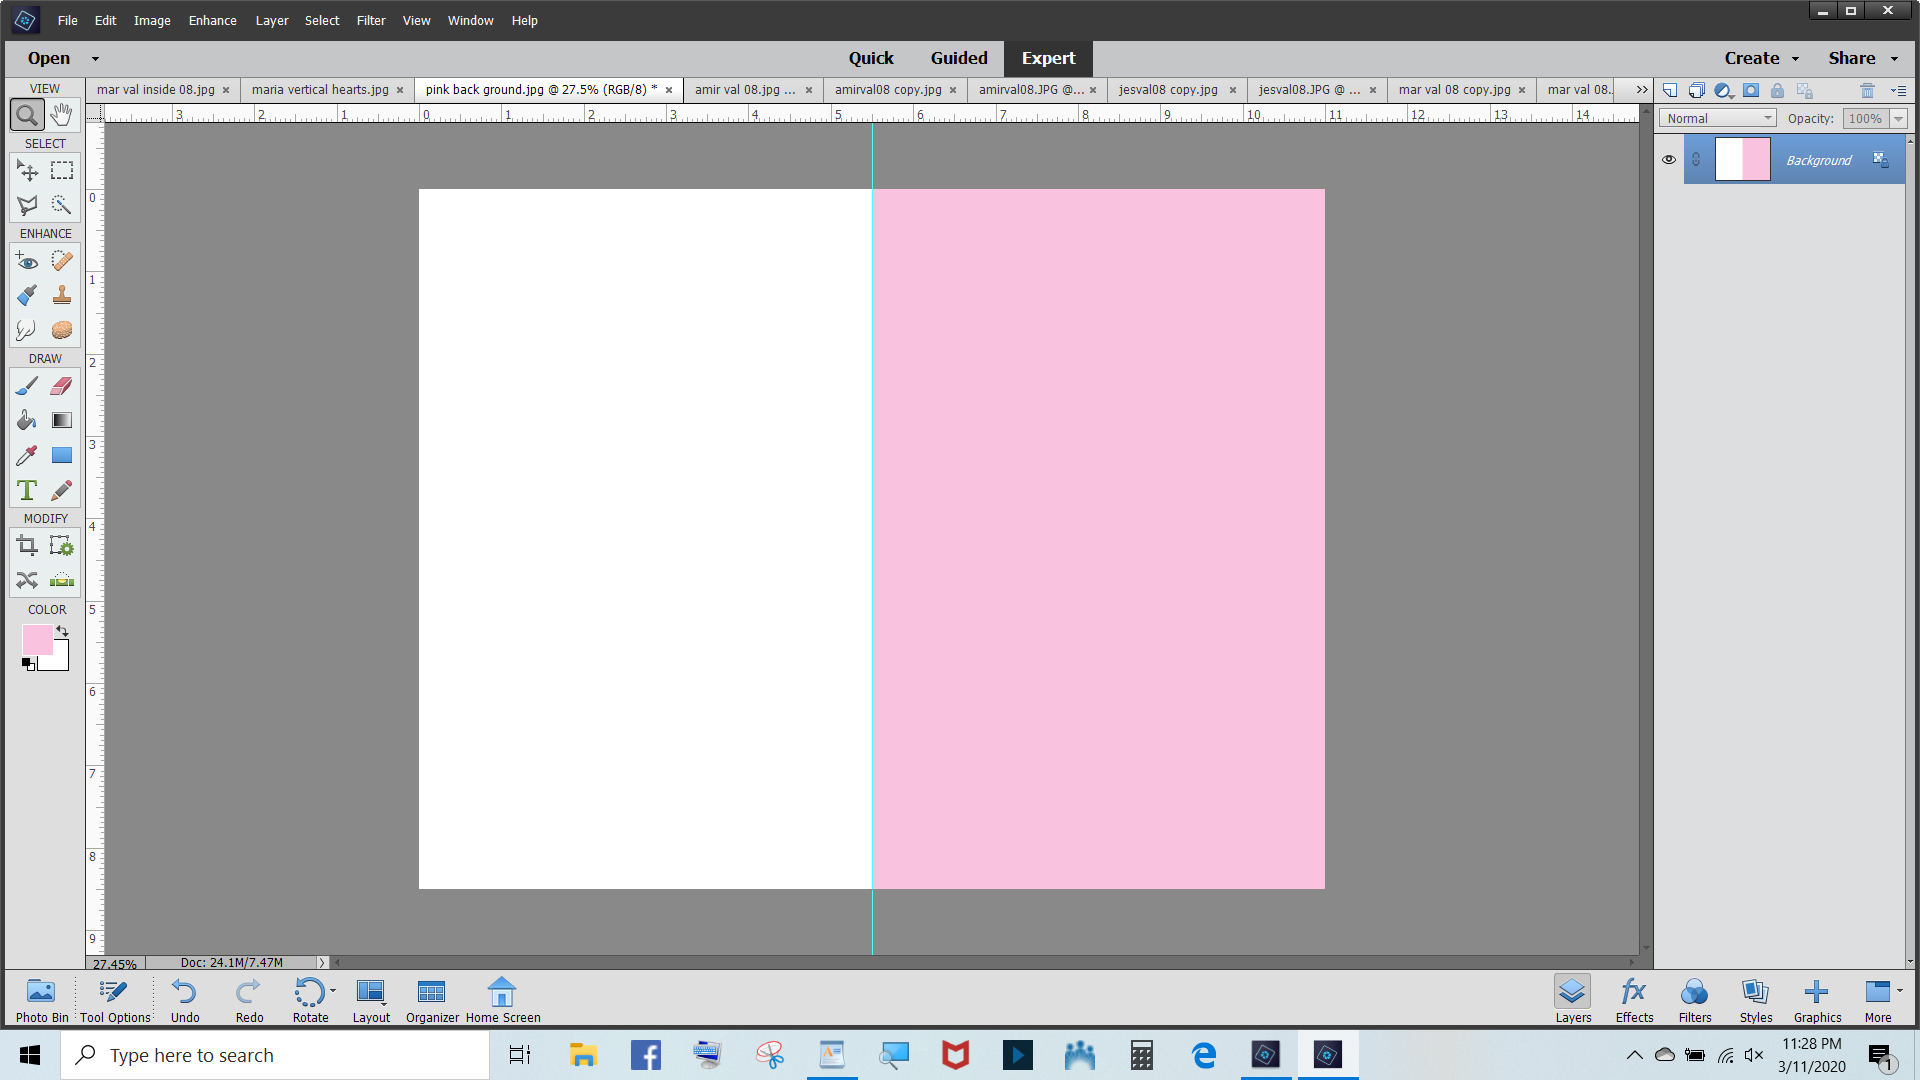
Open your software. (I use Photoshop Elements.) Set your "canvas" (the background where you will be creating the card), to the size of your paper, 8 1/2" x 11" landscape, if you want a vertical card. You will be putting up a vertical guideline in the center of the page at 5 1/2" as a fold line. (If you prefer a horizontal card, then put your canvas as portrait and put your fold guideline at 5 1/2" horizontally.)
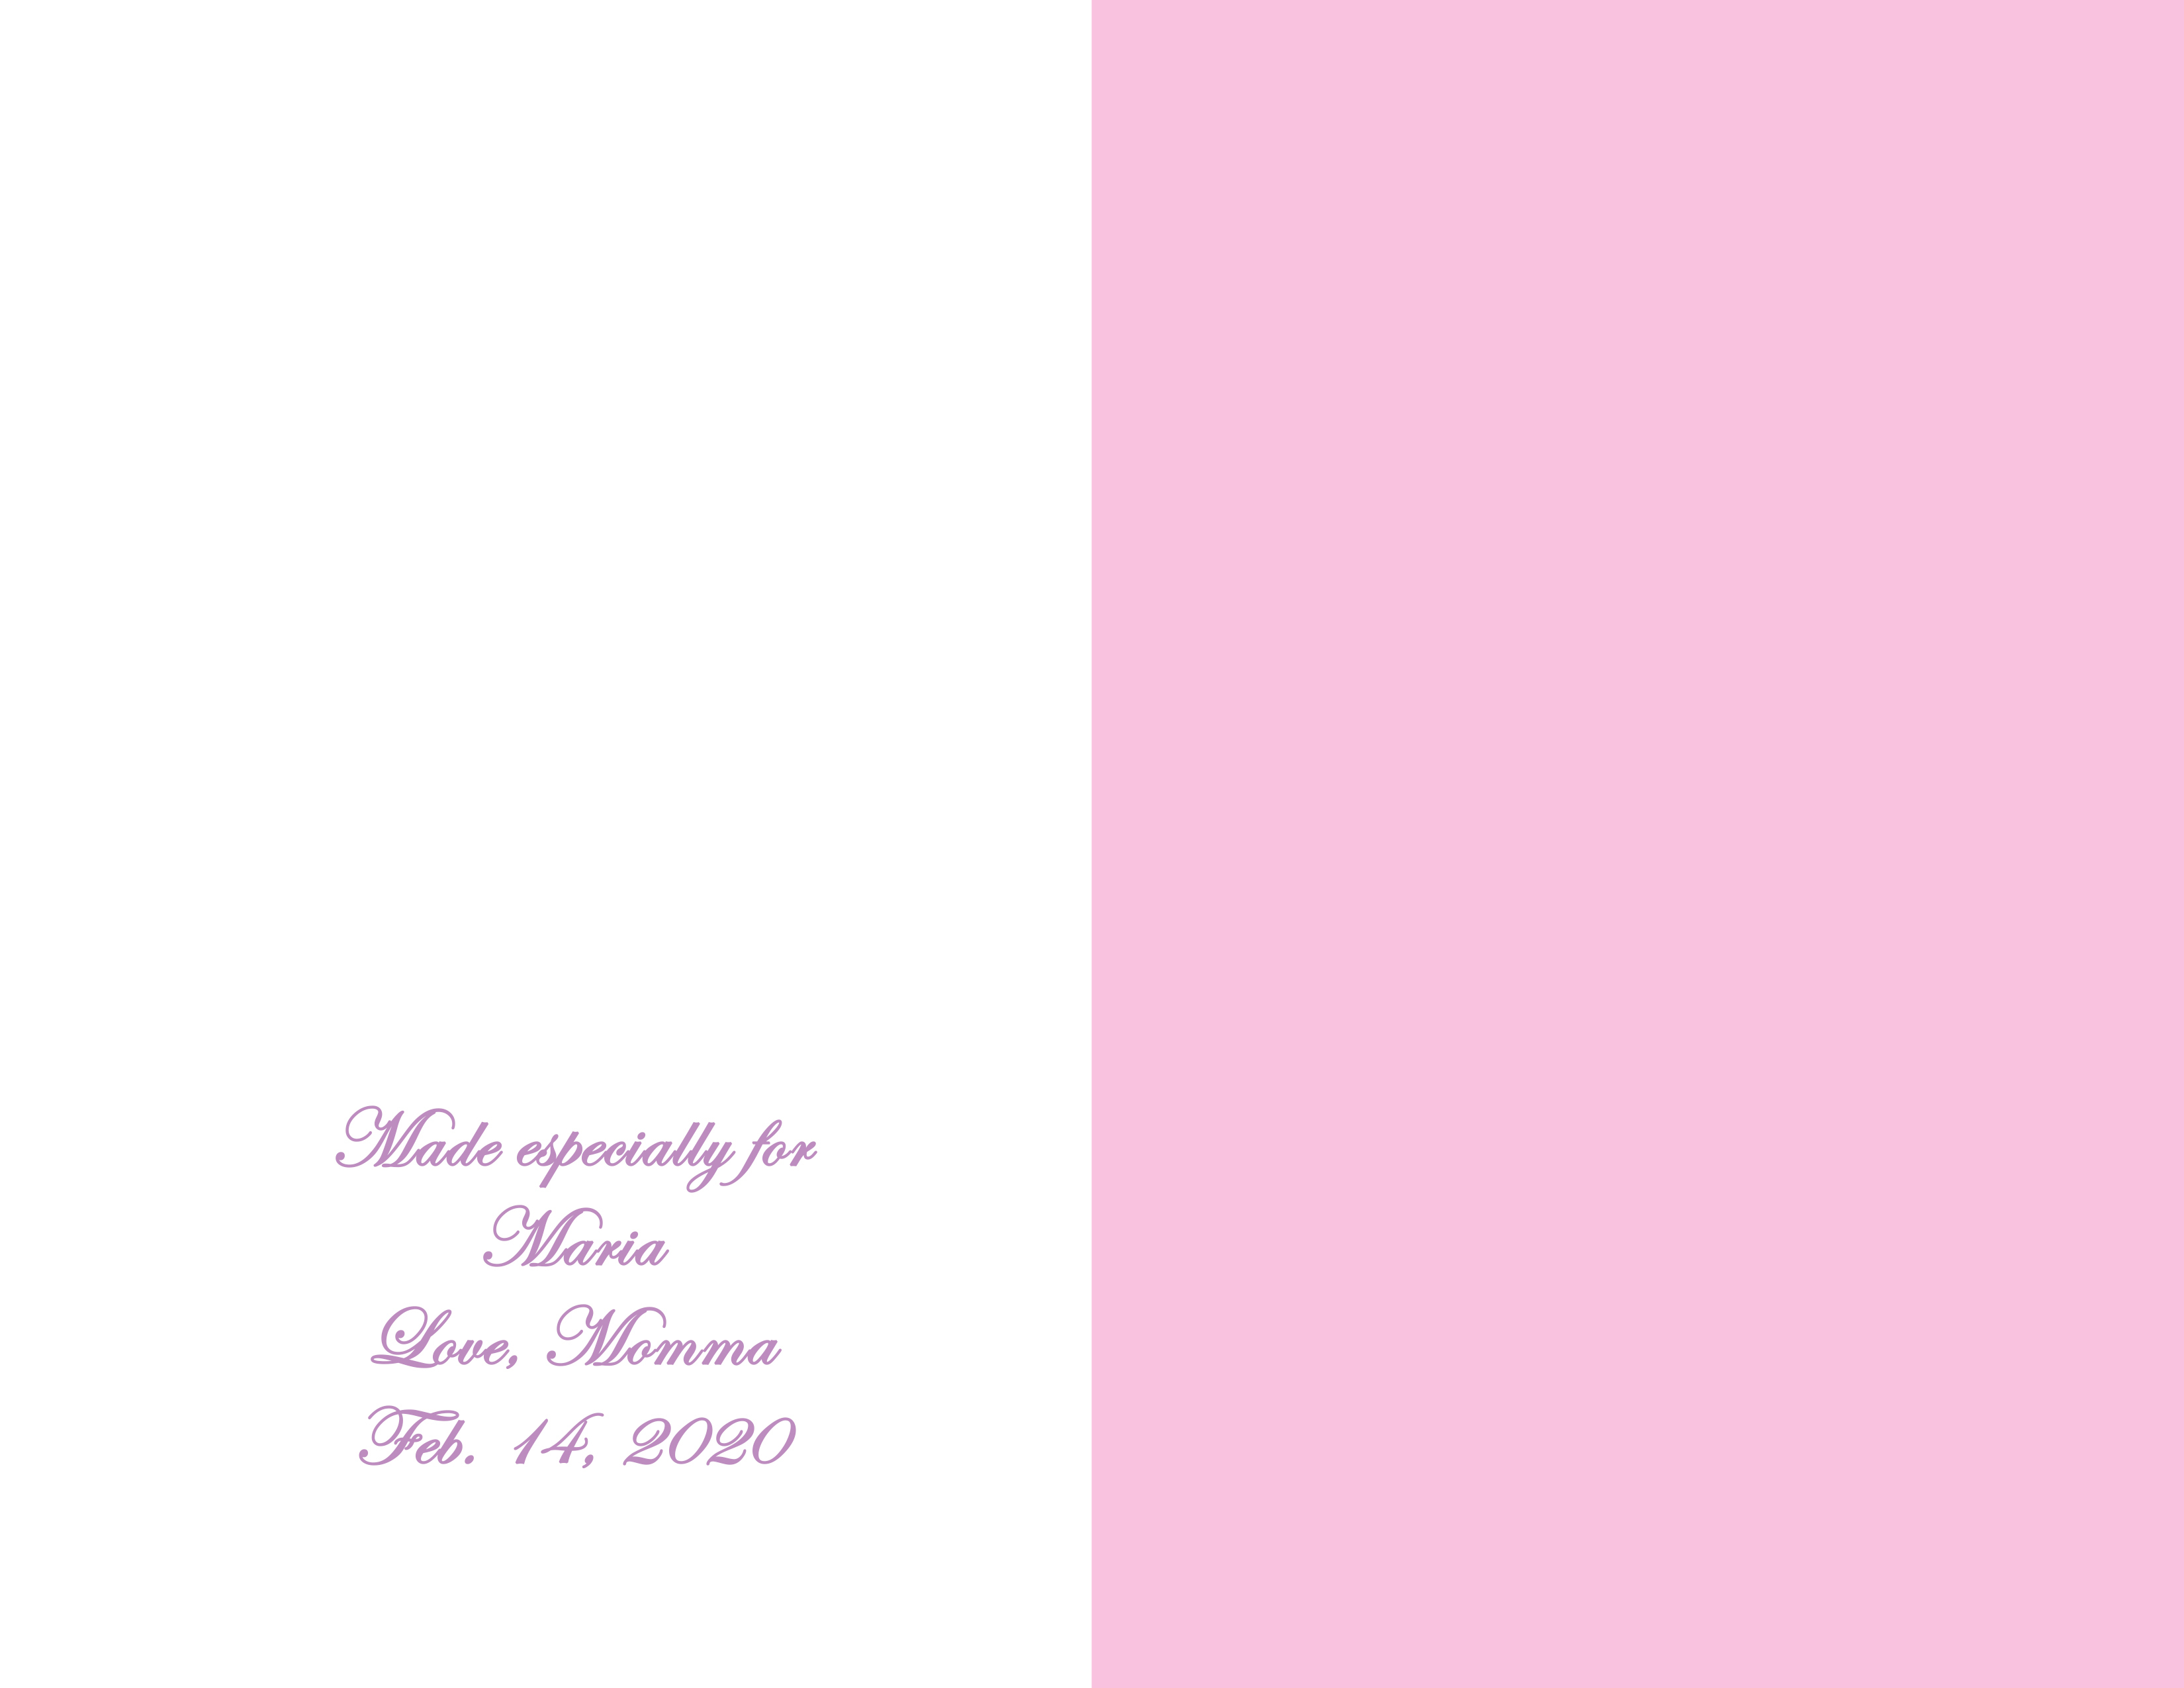
Decide what color, if any, will be on the face of your card. For example this card will have a pink background. If you want to add text, you can, (for the pink card I didn't want any.) On the back (the left side) I usually say who I made the card for and the date.
Inside of the Card
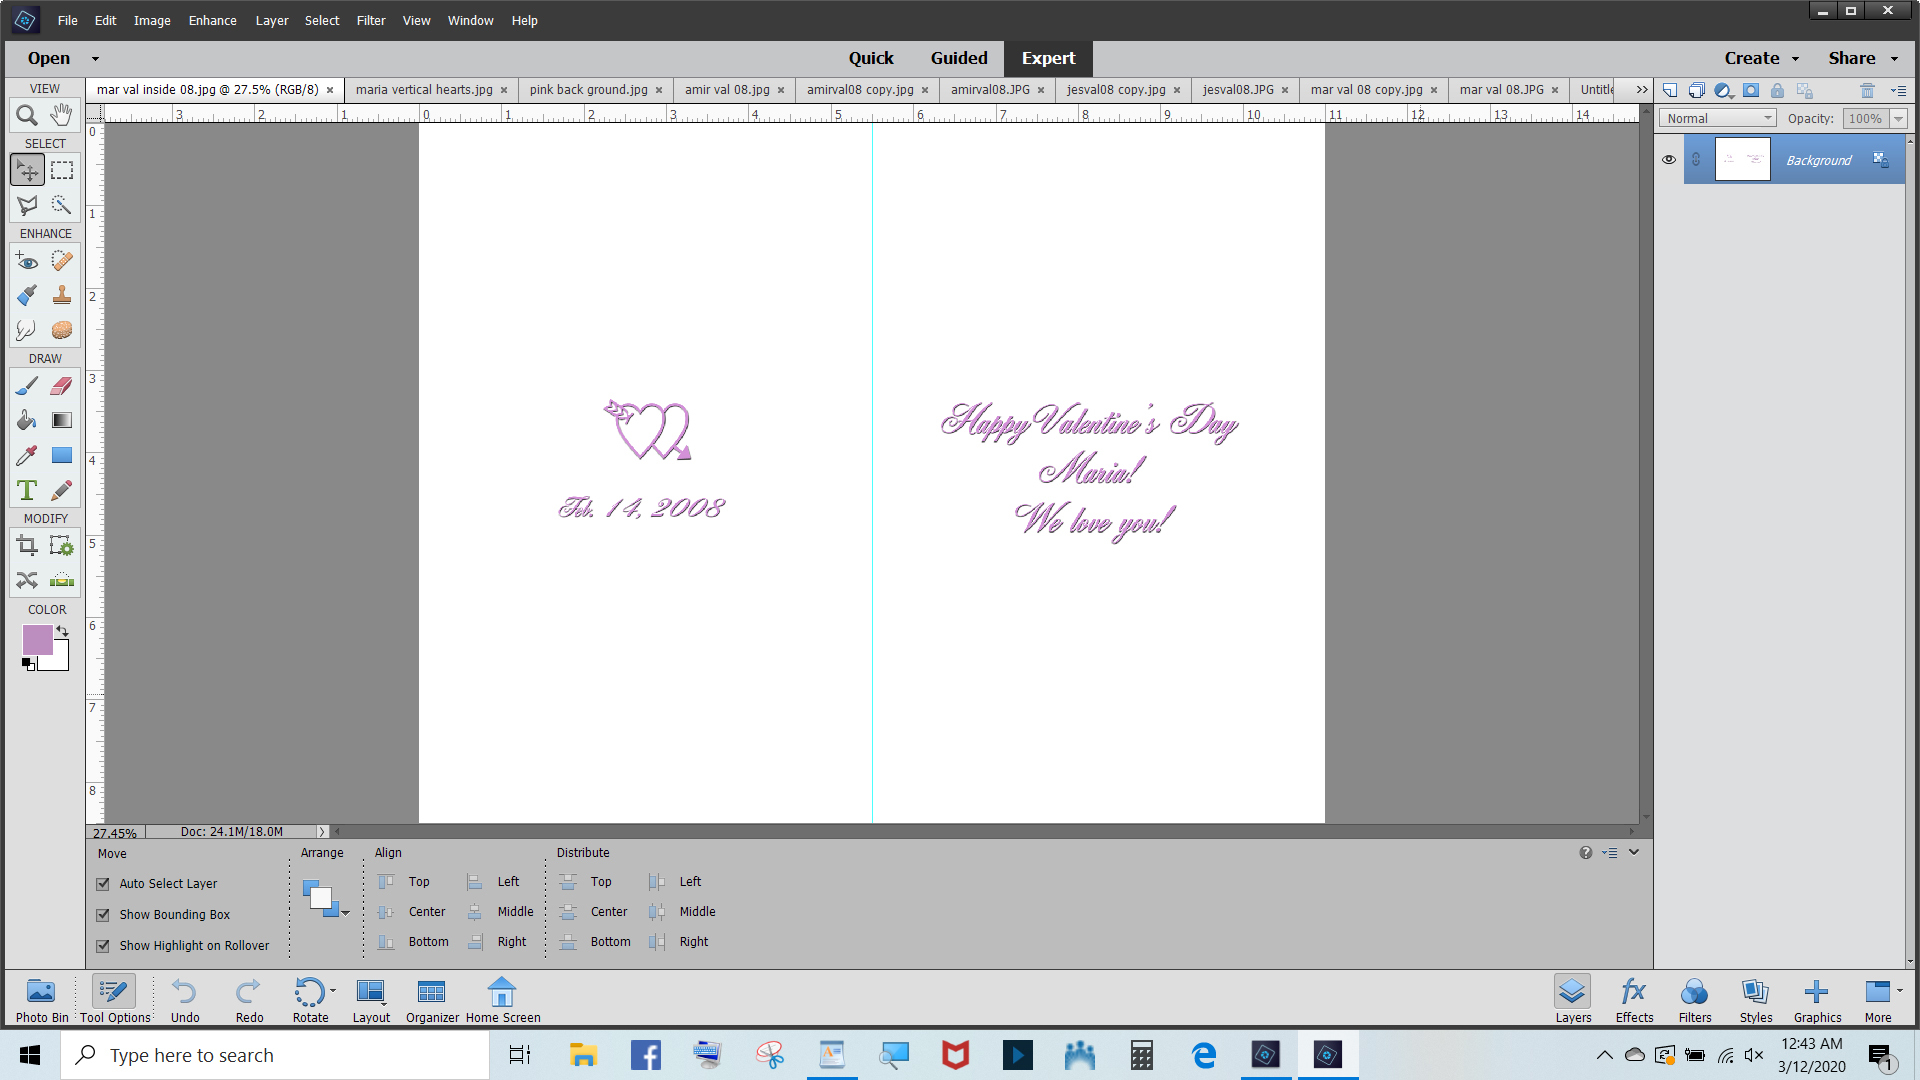
For the inside of your card, you can hand write it or make the text on the computer. (I like to type mine because I have terrible handwriting, lol.)
For the inside of the card I open a separate canvas. (I make separate files and put my card stock back into the printer again to print the other side because my printer won't automatically print on the backside of card stock.)
Put up the same fold guide lines. Type whatever text you want the card to say.
Go ahead and print out your card. Print the front first, then turn it over and print the inside on the other side. (You might do a practice print on draft first so you don't waste good paper and ink if you make a mistake.)
Make Your Hearts Frame

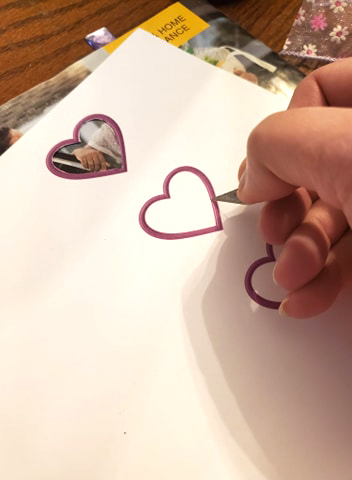
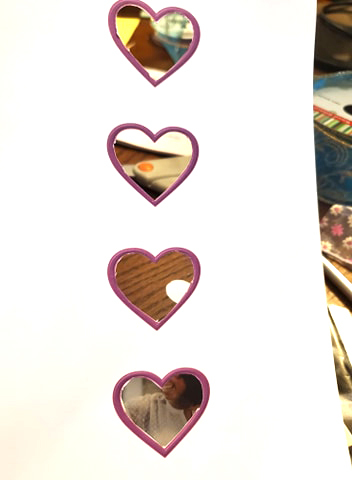
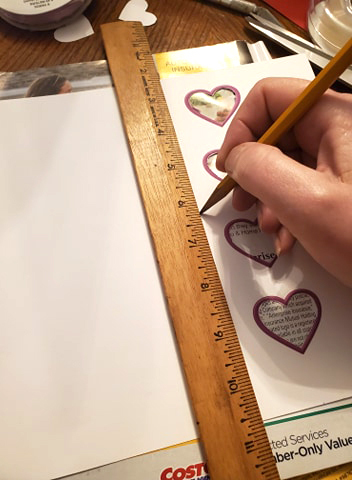
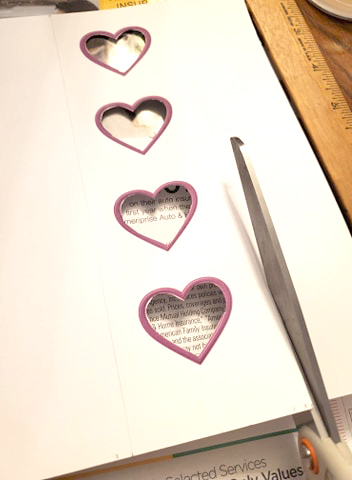
You can draw your hearts with a marker, or cut out a folded heart and trace around it with a marker. (I suppose you could fold your paper and cut out the hears with scissors, but it looks nicer without the crease mark.) But I like to print mine on the computer; to do that:
Open a third canvas. This one will be for the hearts frame. Figure out how many hearts and what style and color you want. Choose a heart graphic, or clip art. You can find them free online; or maybe your software has some. Sometimes you can make a heart from the Ariel font if you hold down the alt key and type a number 3. ♥ Any way, make them whatever color you want. For this one I made them lavender, but left the rest of the paper white. Print out this on card stock.
Put this card stock over the cutting board or old magazine and use your X-acto blade to carefully cut out the center of the hearts, (or you could use a small pair of fingernail scissors.)
Use a ruler to draw straight lines and cut out the strip of hearts to fit the front of your card.
Weaving Your Hearts
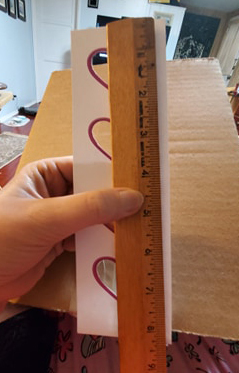
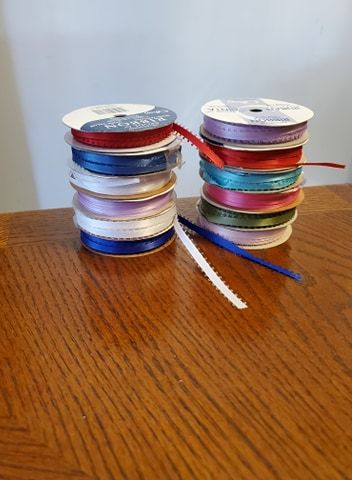
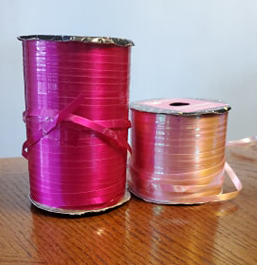
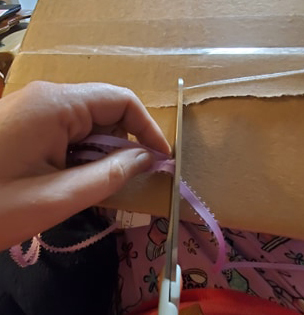
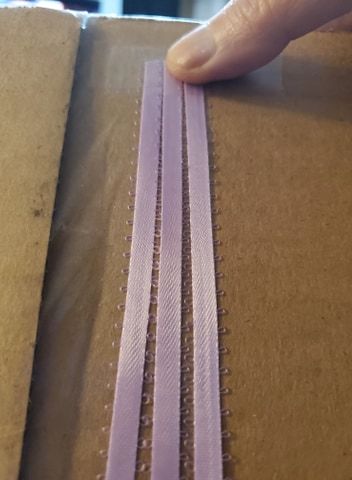
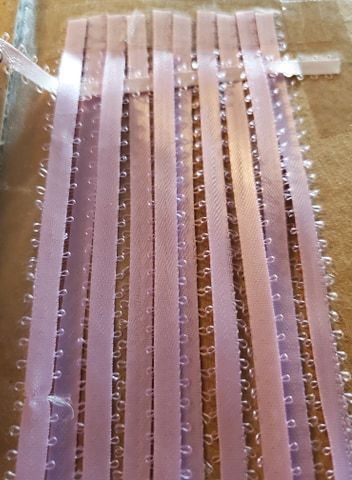
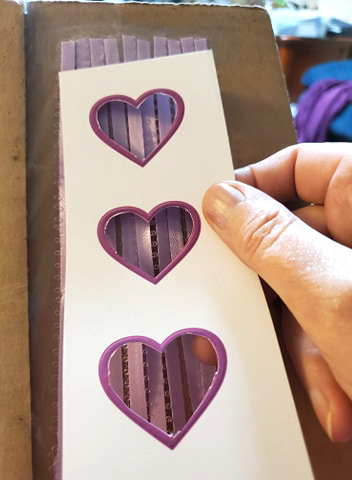
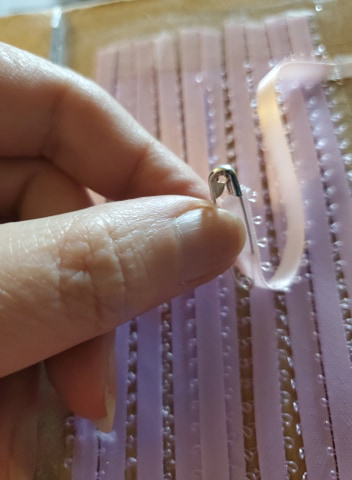
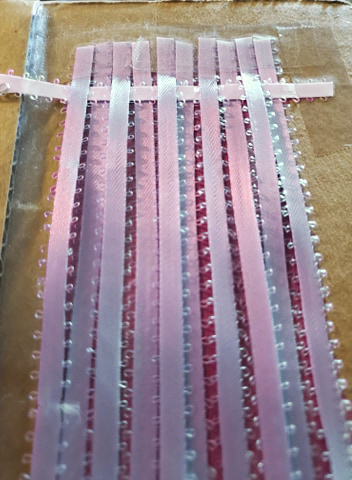
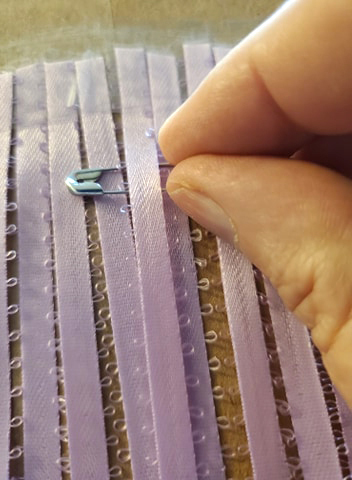
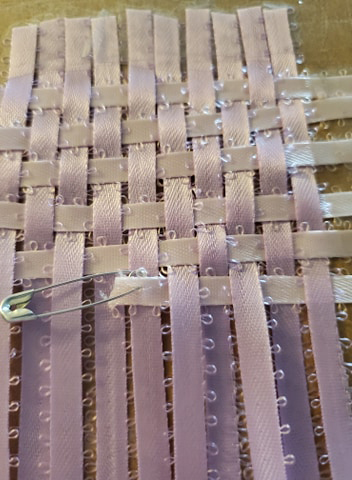
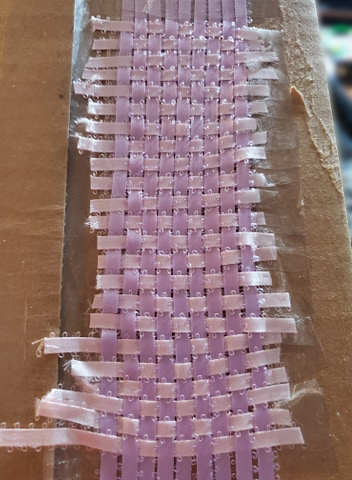
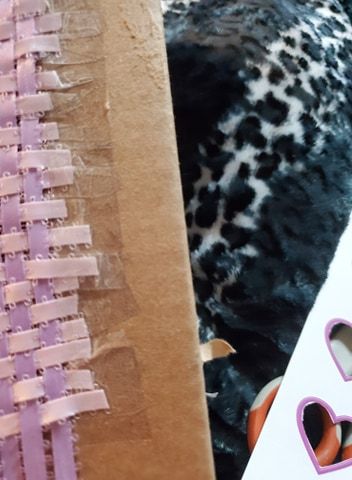
Measure your strip of hearts. You'll make your weaving about that size. You can use satin ribbon or curling ribbon, (or even strips of paper!) Choose 2 colors, for this one I chose lavender and pink.
Get your cardboard; you're going to be taping down your ribbons.
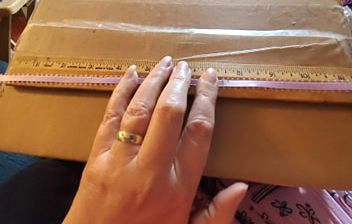
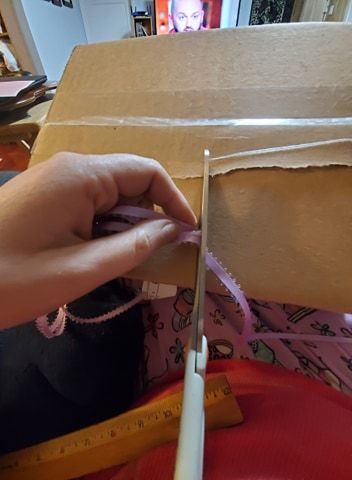
Use one of the colors of ribbon and measure the length a bit longer than your hearts frame. Cut a bunch of strips of that color ribbon.
Tape these next to each other on the cardboard, at the top and also on the bottom.
Now for the ones that are weaved across, cut some lengths of ribbon of the other color, a little longer than the hearts frame horizontally.
Put a safety pin into one end of the ribbon and and tape down the other end at the edge.
Use the pin to weave under and over across the taped down vertical ribbons. Continue until you reach the end. Then tape down that ribbon at the edge. Then do the next one over and under, the same way.
Make sure the weaving is nice and tight. (You might have to untape and restick the eges to be sure.) When it is evenly tight, go ahead and tape down the sides with a strip of tape.
Frame Your Weaving
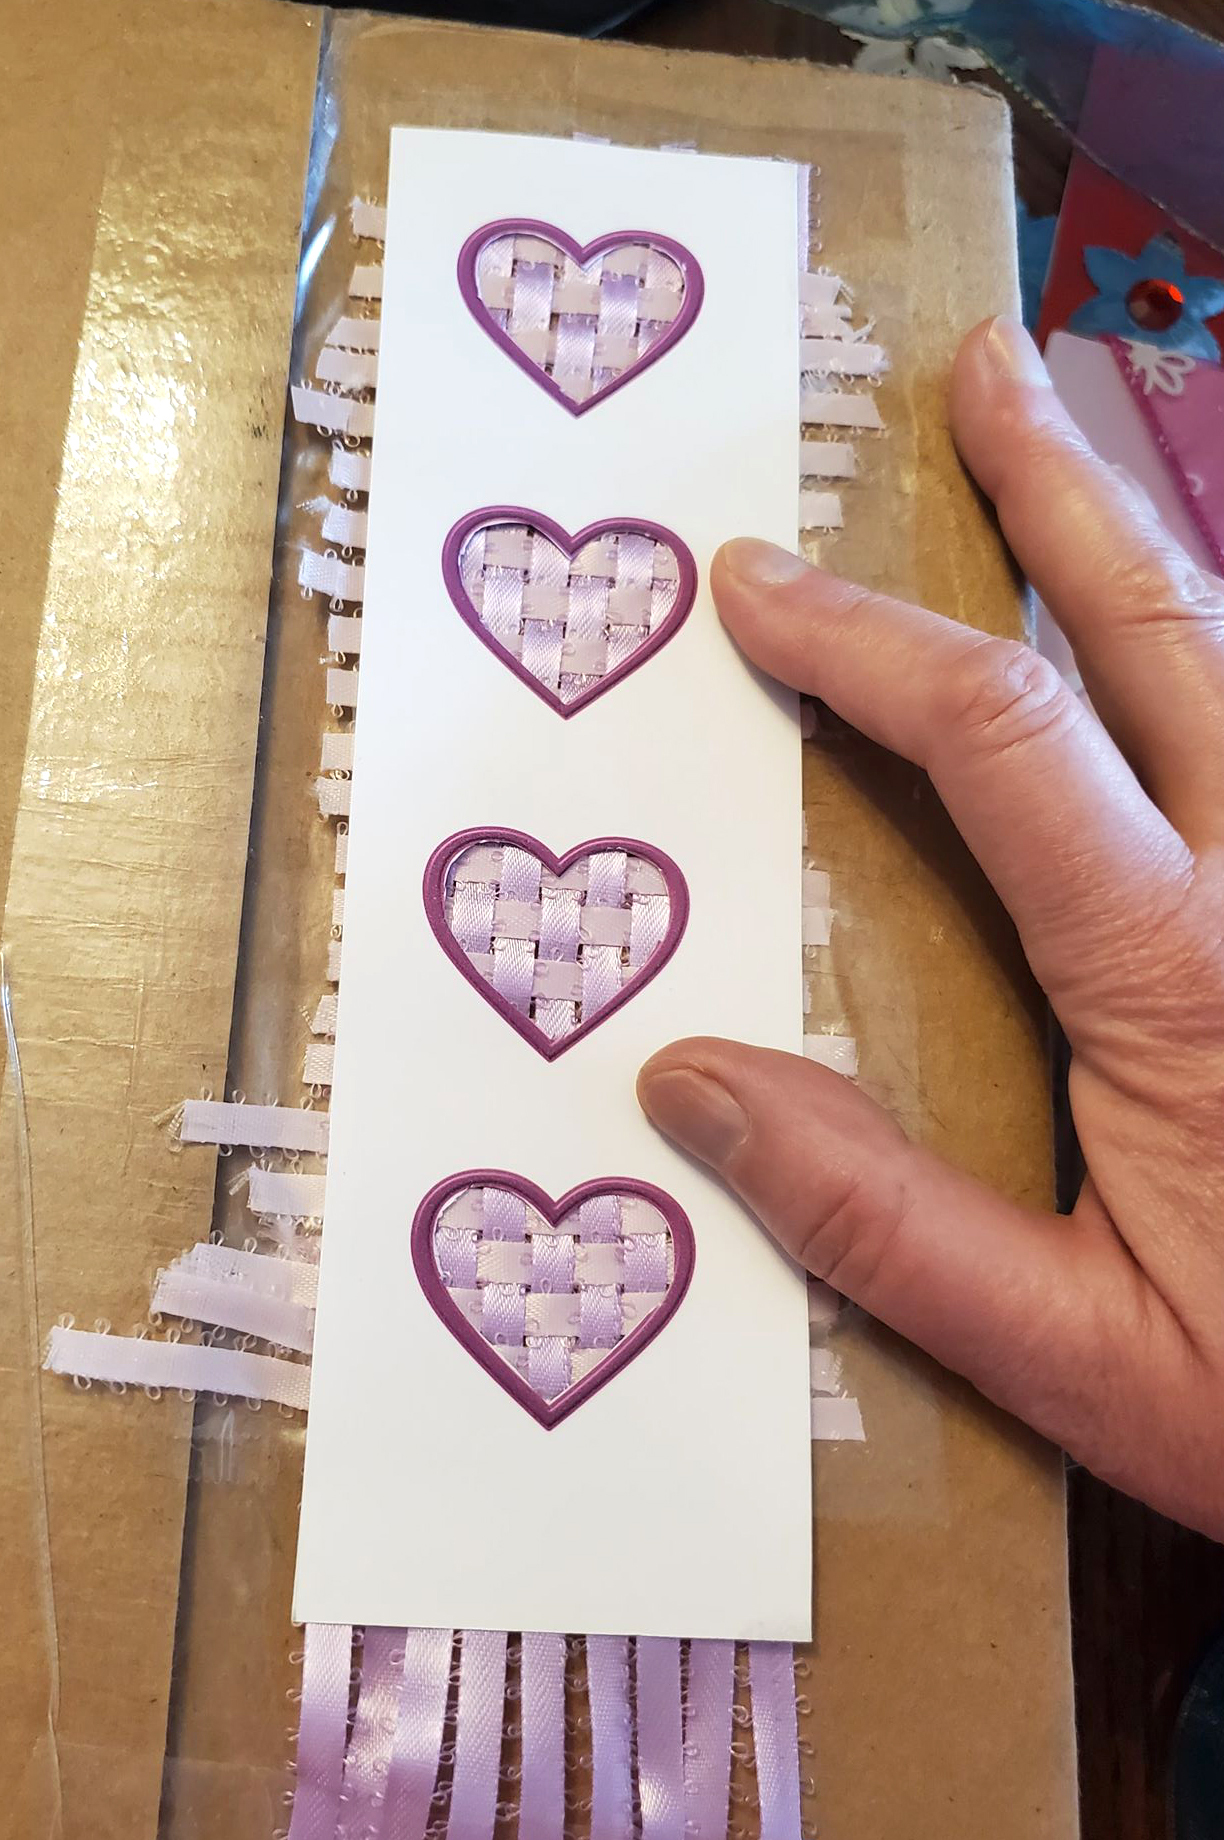
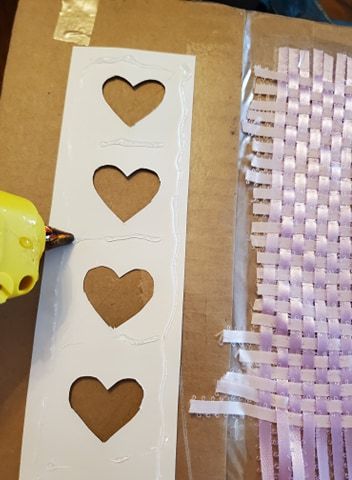
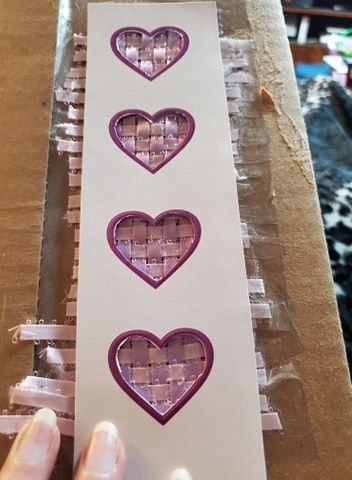
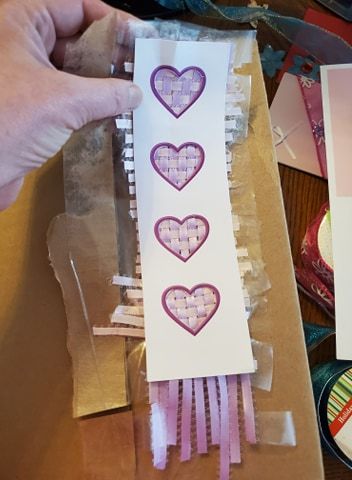
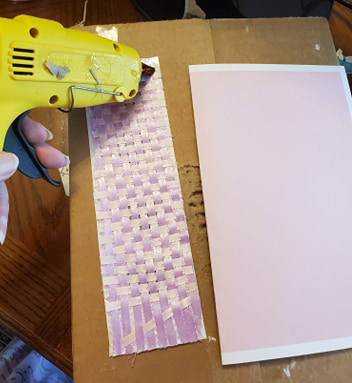
Try you heart frame strip over your weaving. If it fits nicely, plug in your glue gun and put hot glue thinly onto the back of the heart frame, (don't use too much glue; you don't want any to squish out or be lumpy.) Quickly stick the heart frame onto the weaving and press it down.
When it is dry, carefully peel your weaving and frame off the cardboard.
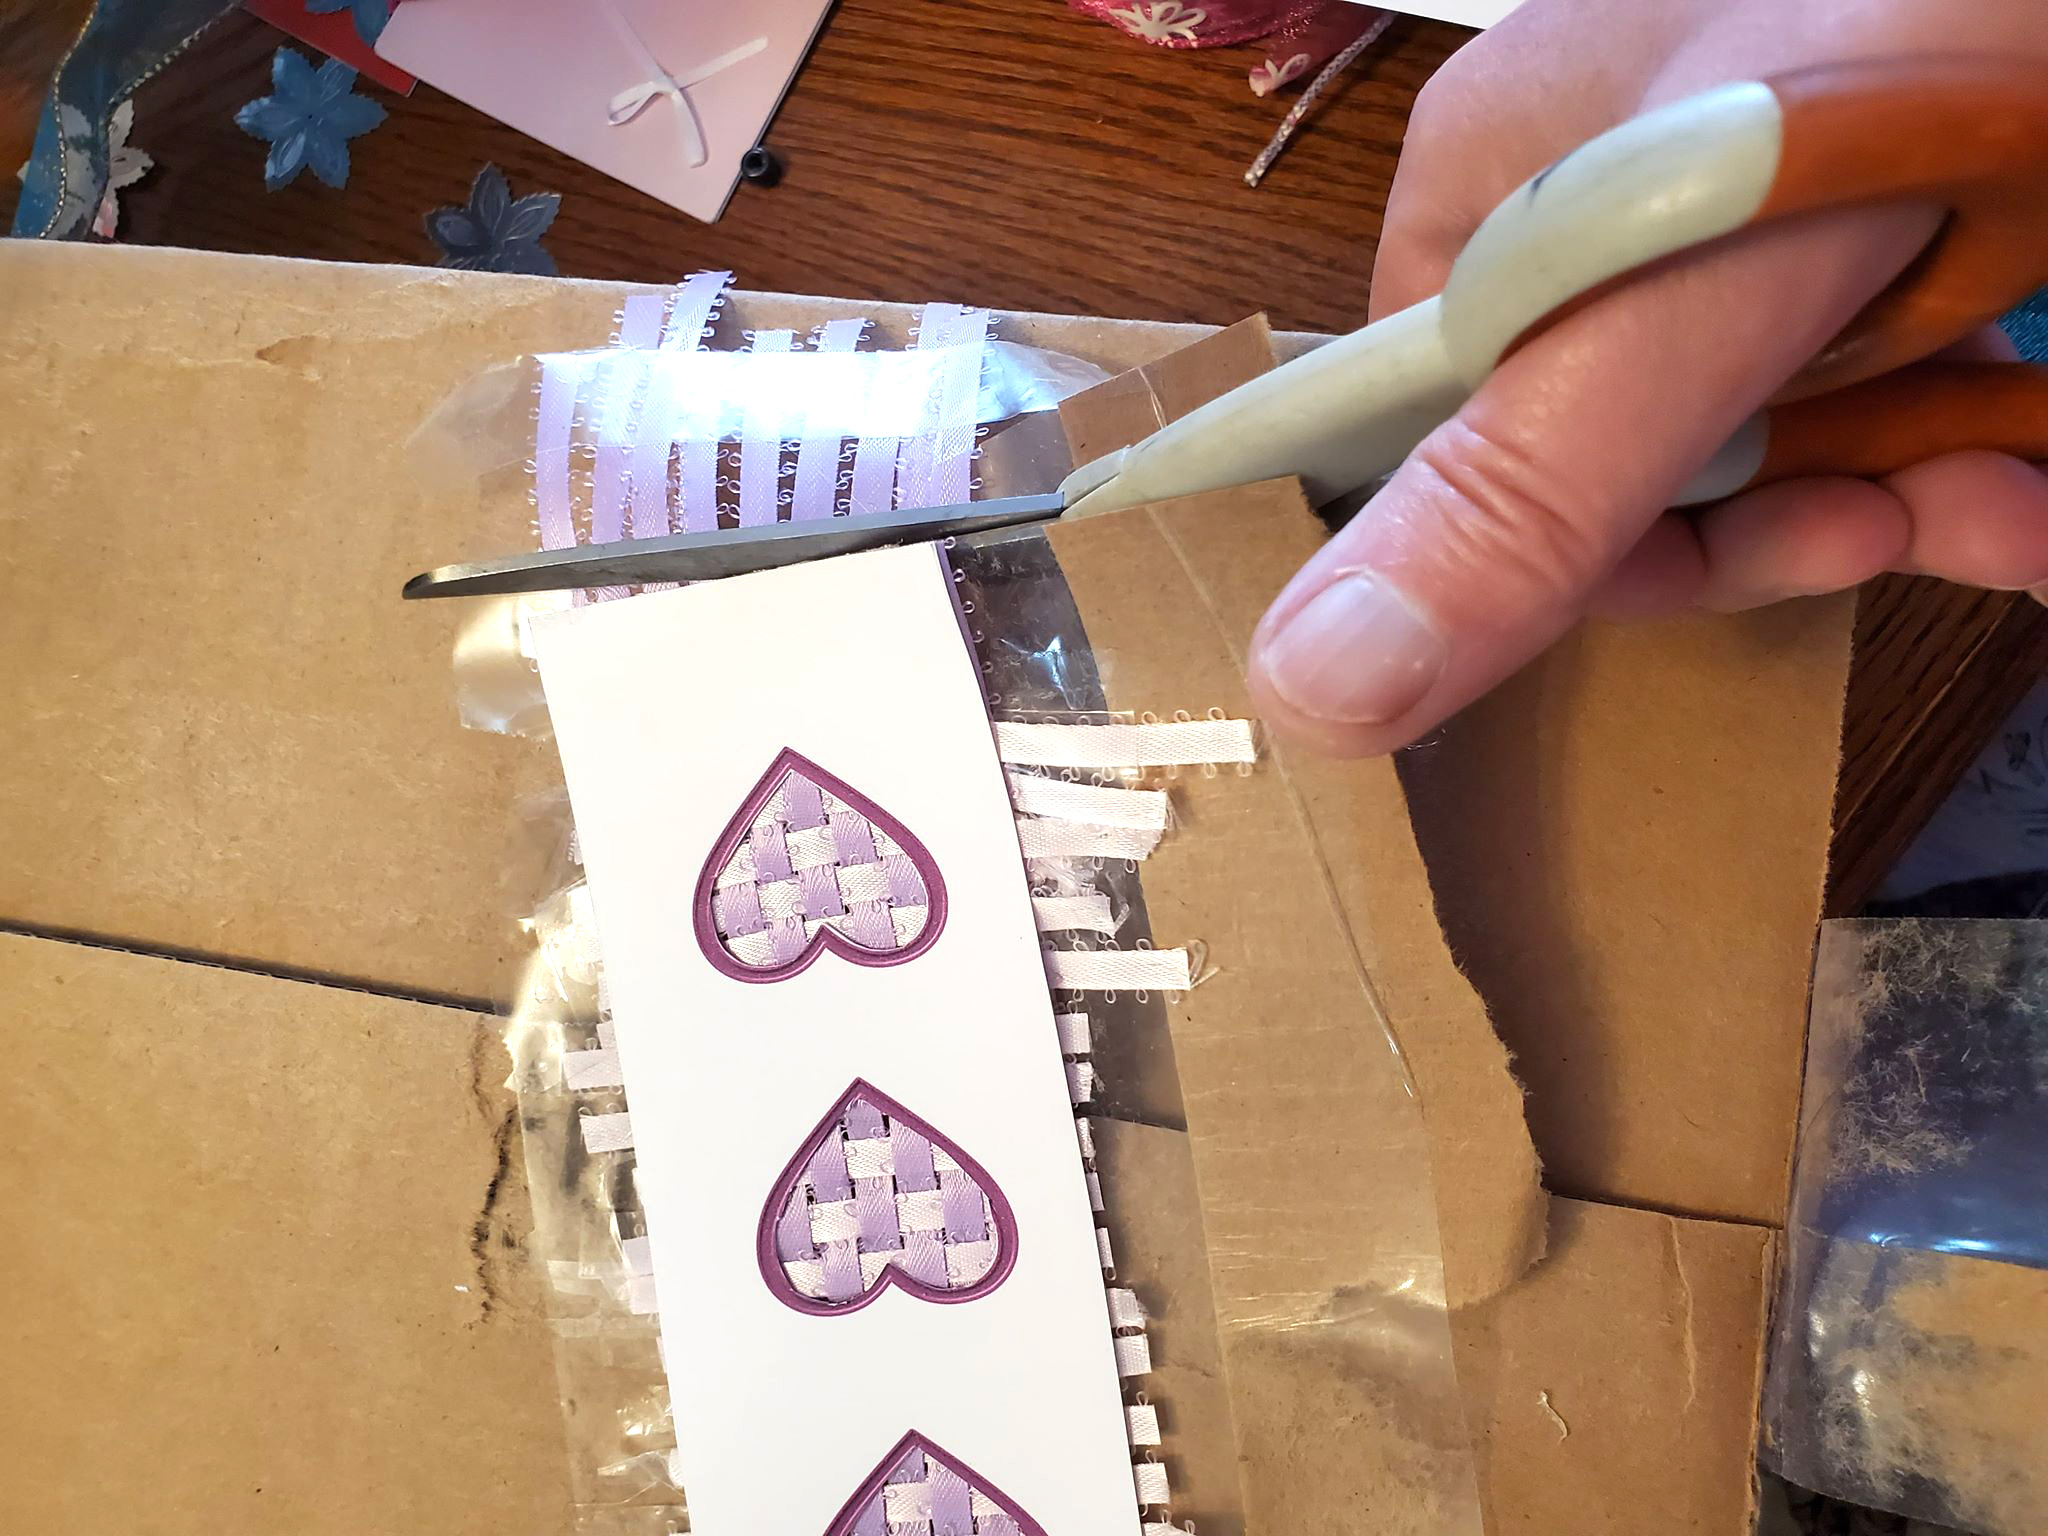
When it's dry, take your scissors and trim off all the ribbons from the edges of the strip.
Glue Heart Frame and Weaving to Card
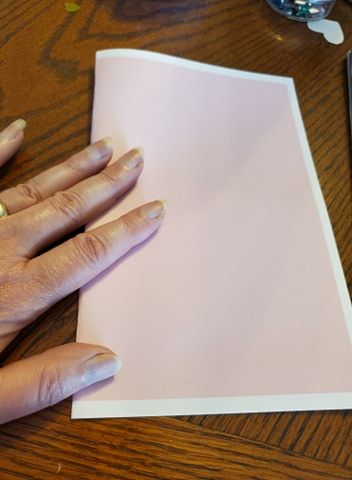
Fold your card in half.
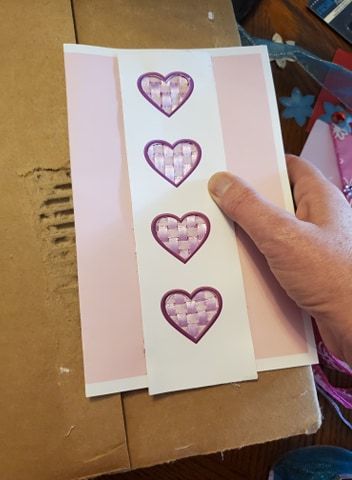
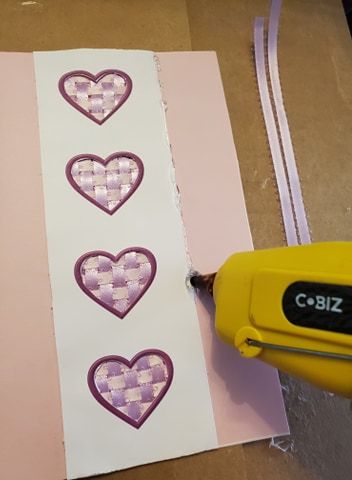
Next put hot glue the strip of weaving and press onto the front of your card. Do it quickly so the glue doesn't dry ahead of time and get lumpy.
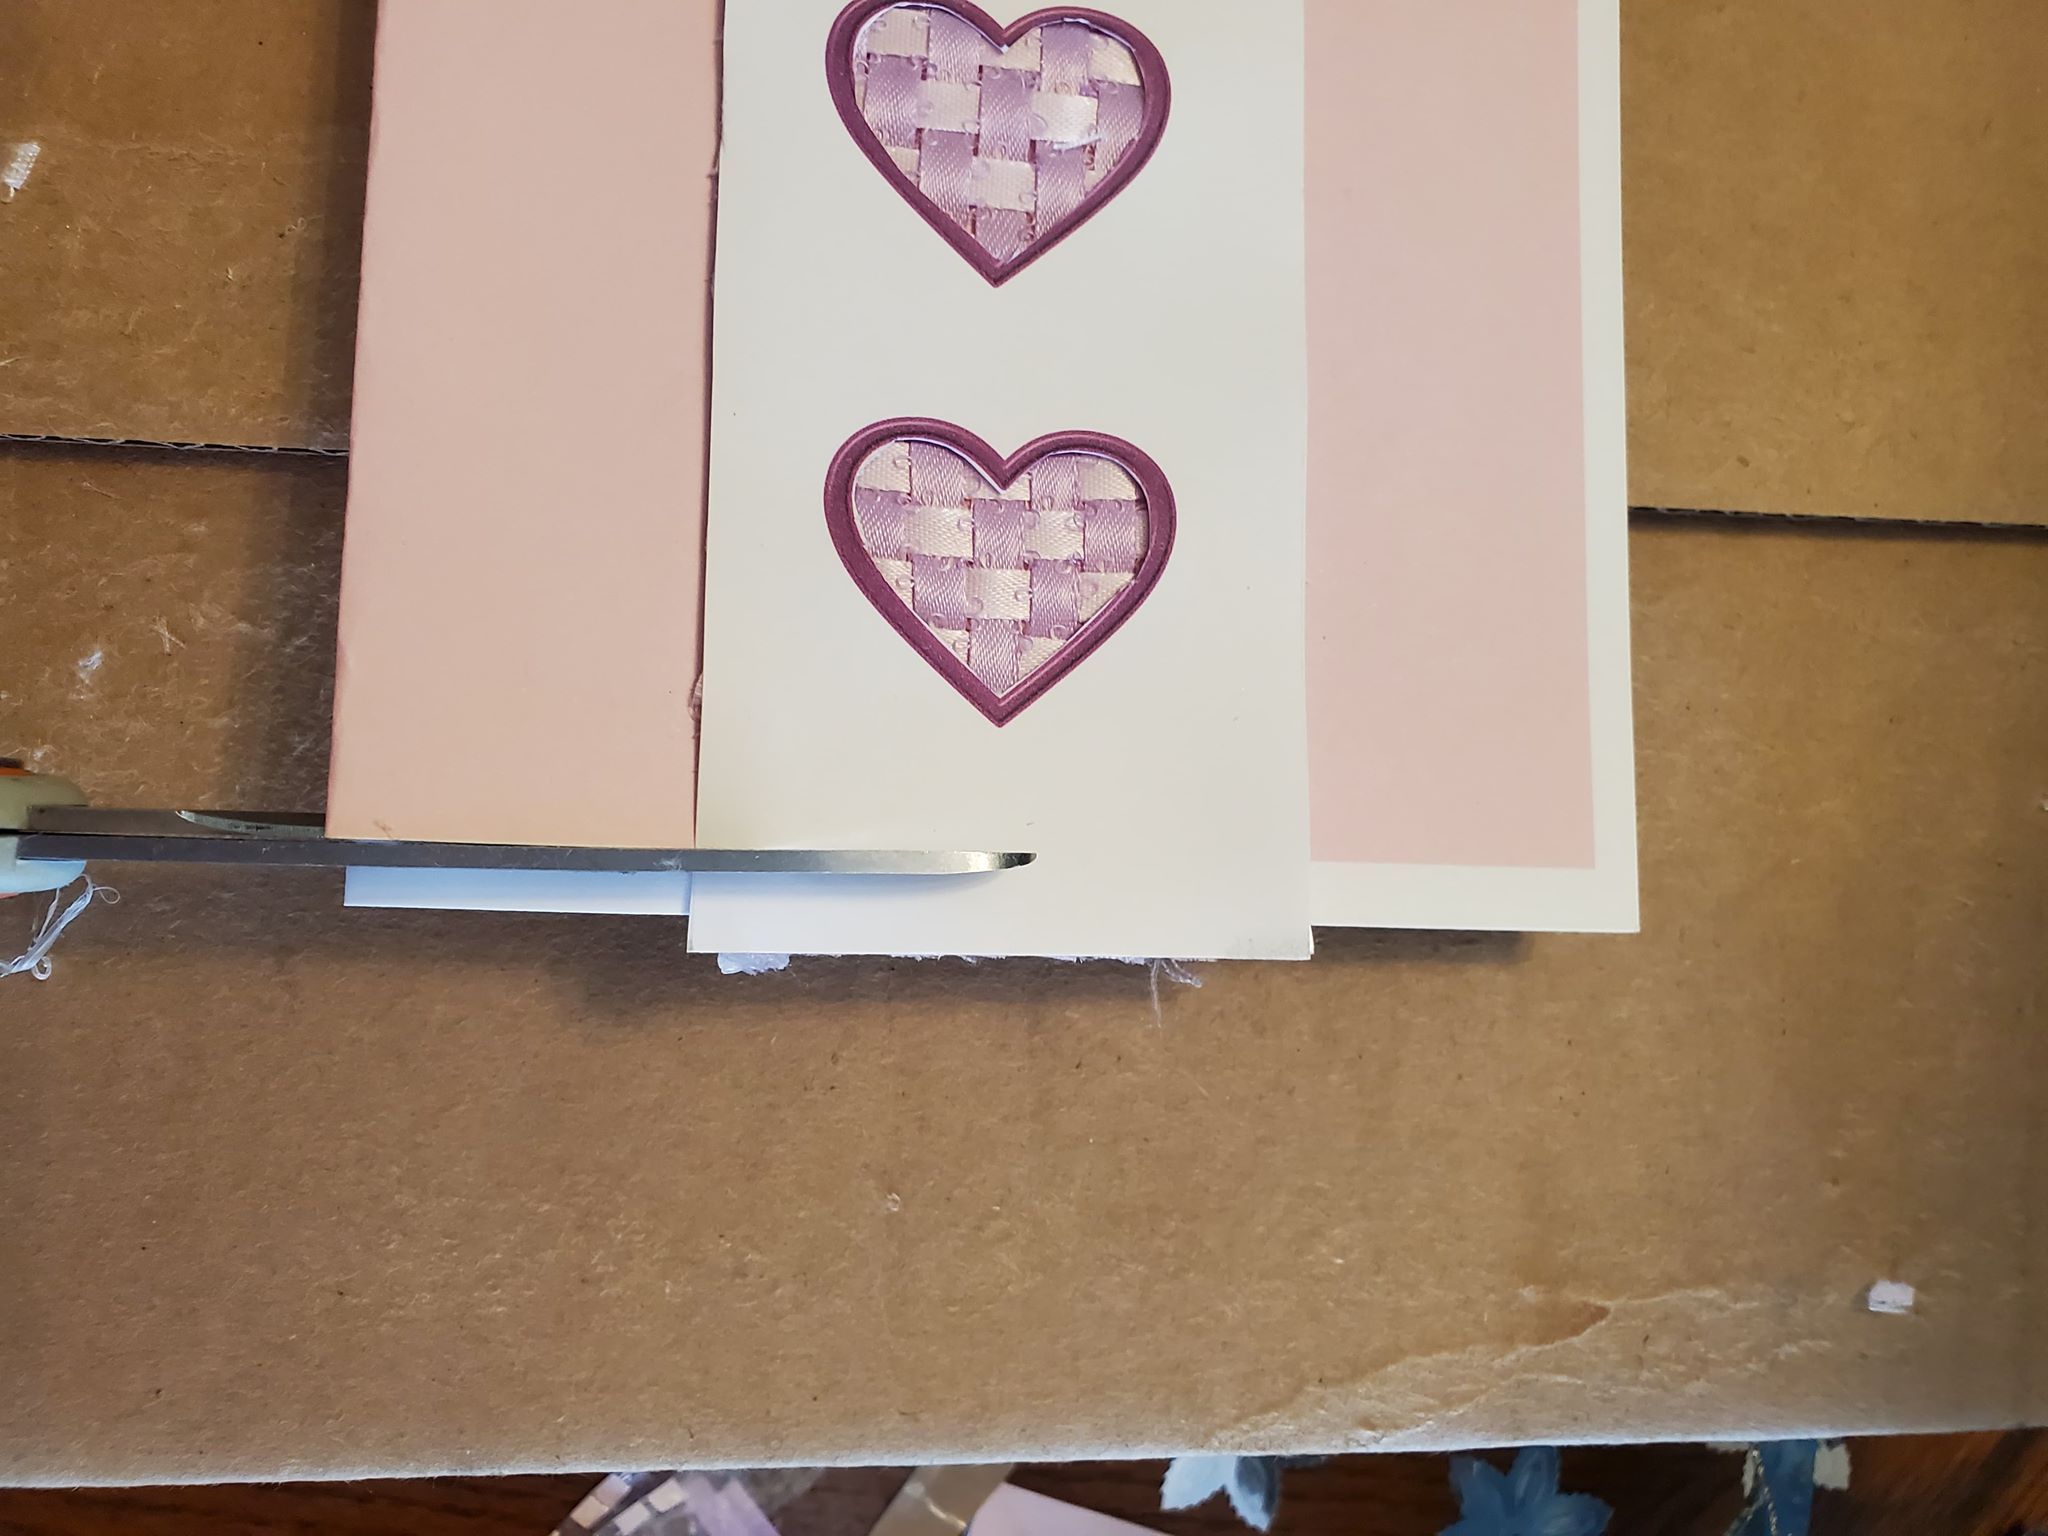
I didn't like the white edge my card had (my printer couldn't print to the edge), so I decided to trim it off.
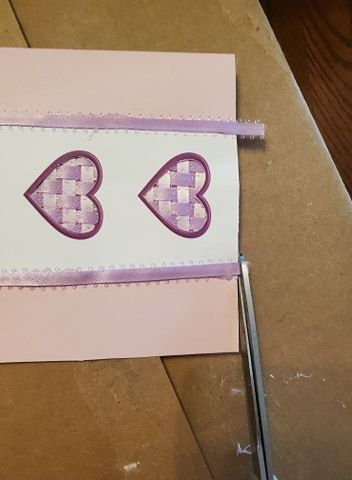
Measure and cut a length of ribbon to fit over the seam of the frame strip and the card.
Put hot glue along the edge of the seam, but not too much, you don't want it to squish out the edges.
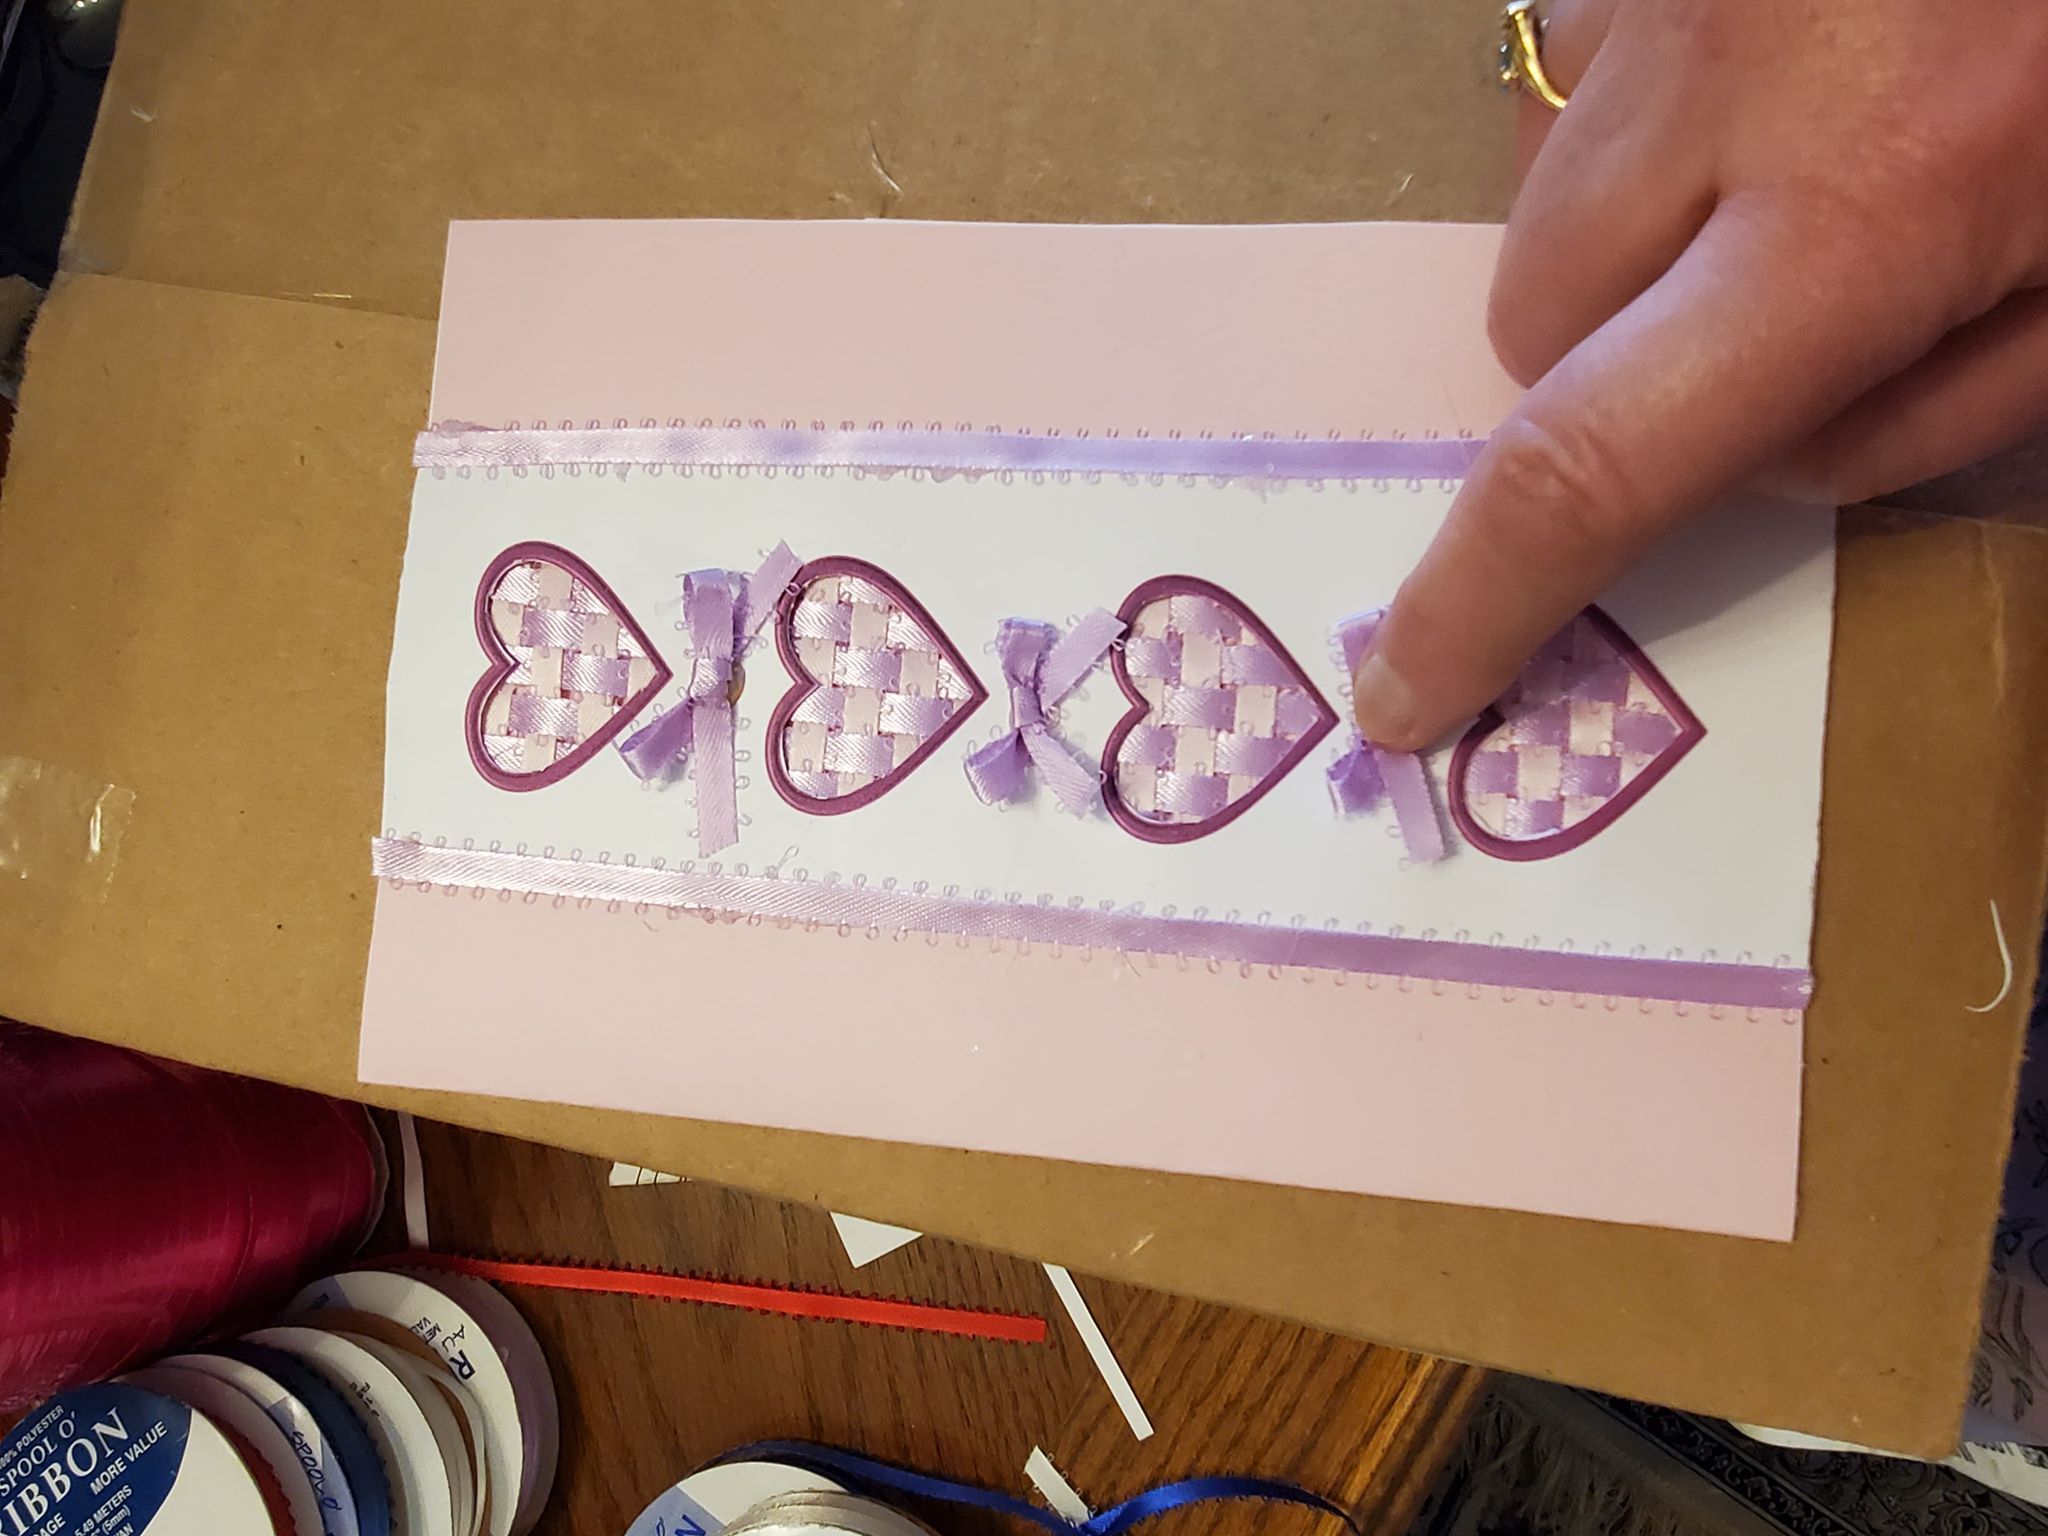
Glue the ribbon over the seam of the frame strip and the card. Trim the ribbons on the edges.
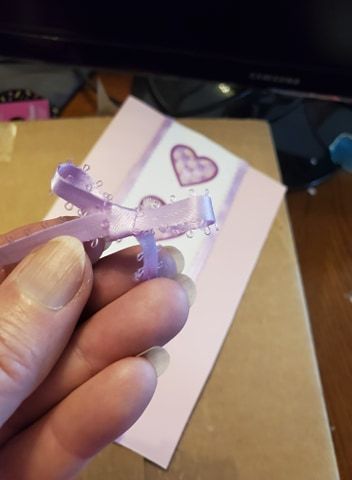
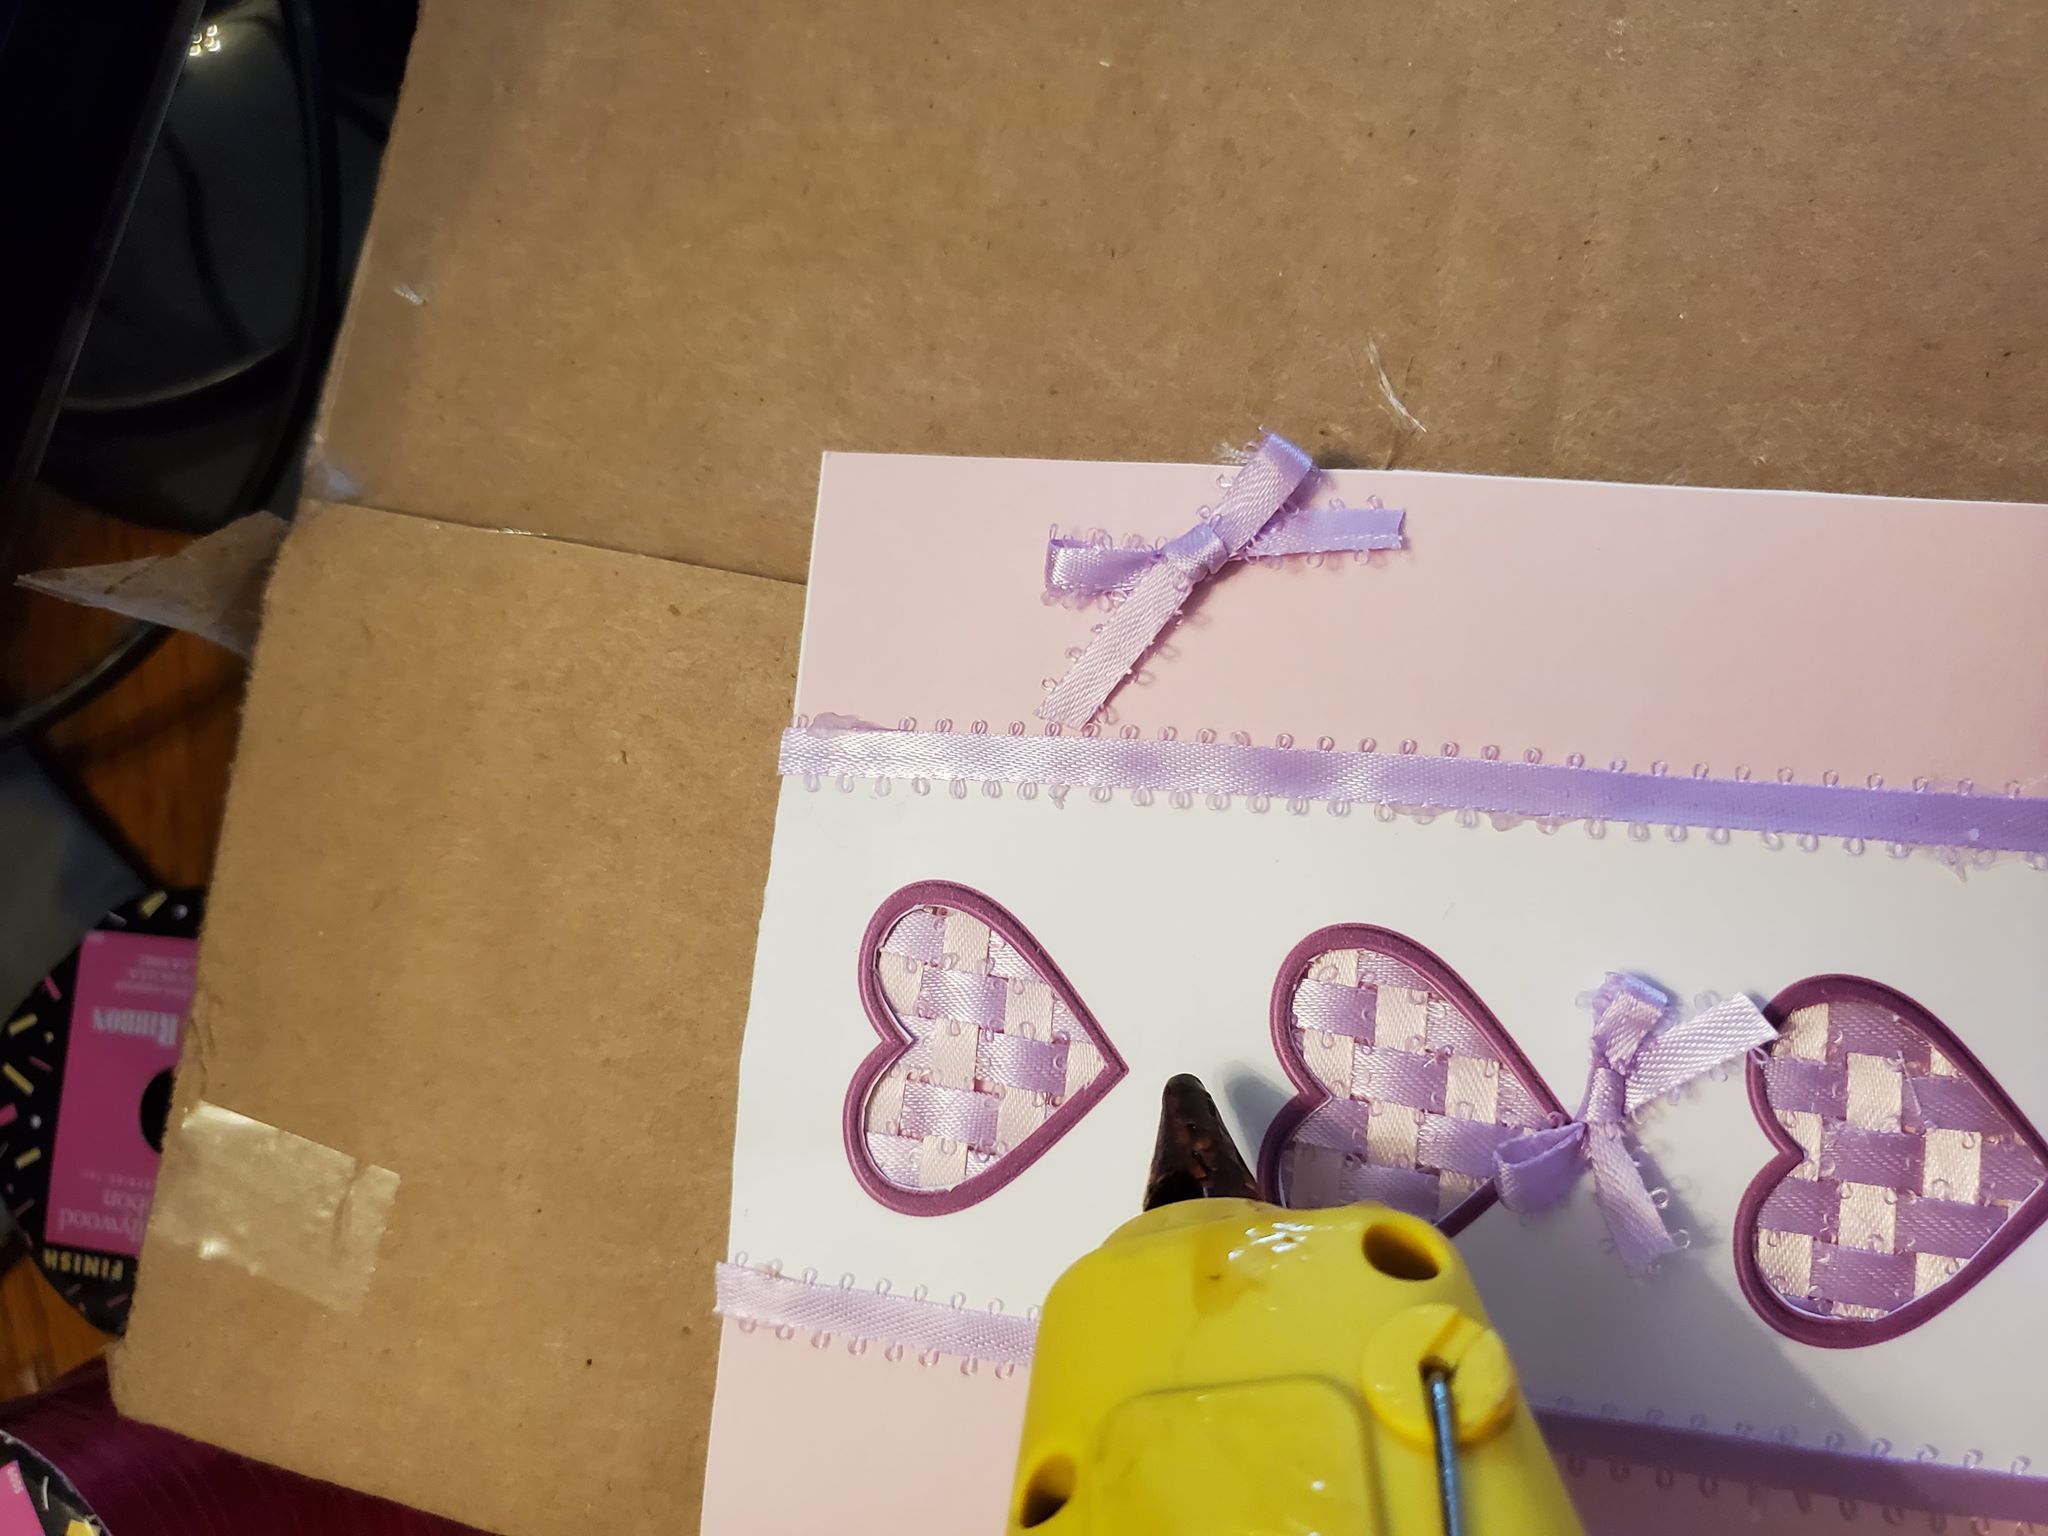
You can make little bows out of the ribbons and glue those on too, to decorate it even more!
Enjoy!