Word of the Day Display With IoT
by Tesalex in Circuits > Wireless
1528 Views, 8 Favorites, 0 Comments
Word of the Day Display With IoT
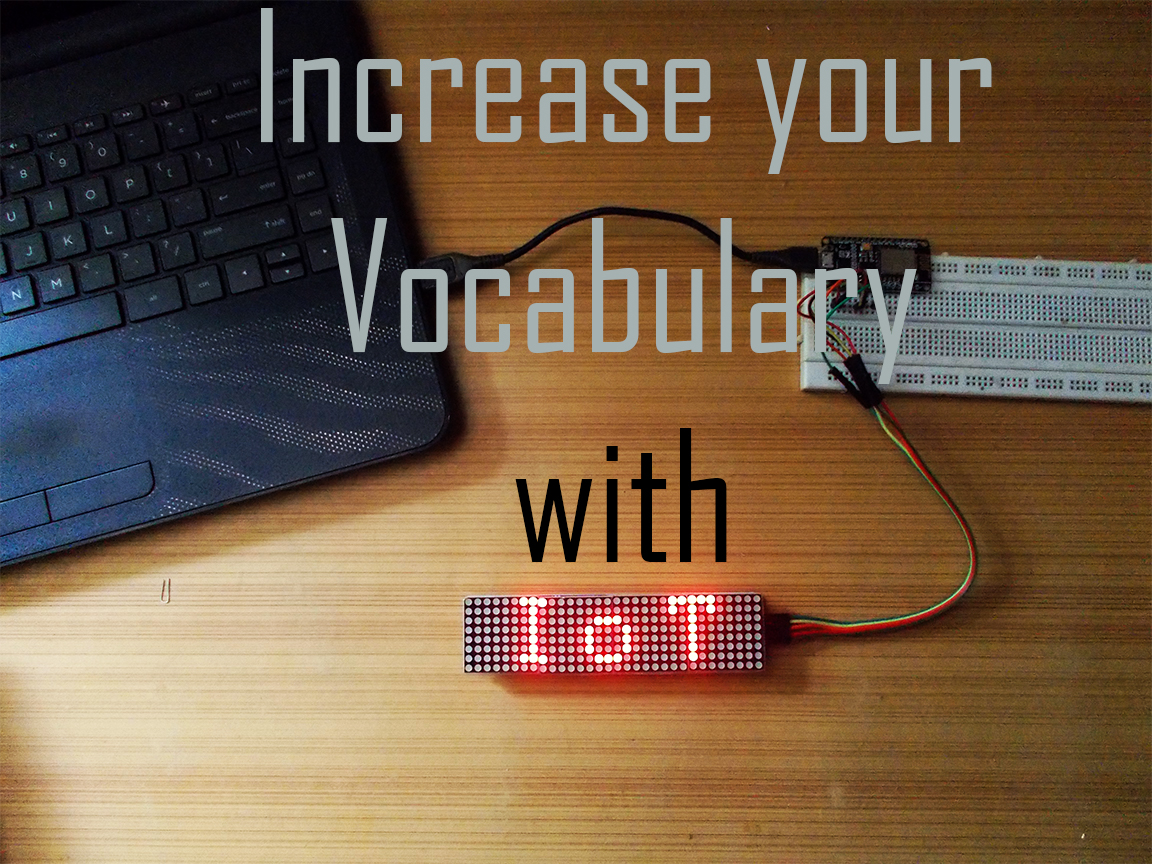
In this Instructable, I'll show you how you can build a "Word of the Day Display" using NodeMCU Wi-Fi module and a Dot Matrix Display. Instead of word of the day, you can display anything you want (text) from the whole internet, after going through this tutorial. If this is your first time using a Wi-Fi module, then also this tutorial will hep you, as I have covered from the start all the way to the end.
Let's get into it.
Watch the Video.
In the video I have covered all the steps necessary to build this project. I have also covered an in depth explanation of the code used in the project which is also useful for a beginner, and otherwise not possible to explain in written format.
So make sure you watch that before moving on.
Prepare Arduino IDE to Work With NodeMCU Wi-Fi Module.
First time working on a Wi-Fi module is not always a cake walk for most of the users (me too). Therefore, it is recommended to start step by step with it.
I'll suggest this Instructables class for every beginner. The author bekathwia has done a great job on explaining how to start with this module. I myself utilized the same source for getting acquainted with the module.
So, if you are a beginner go through that class, then only you can work your way out in the coming steps.
Test the Dot Matrix Display.
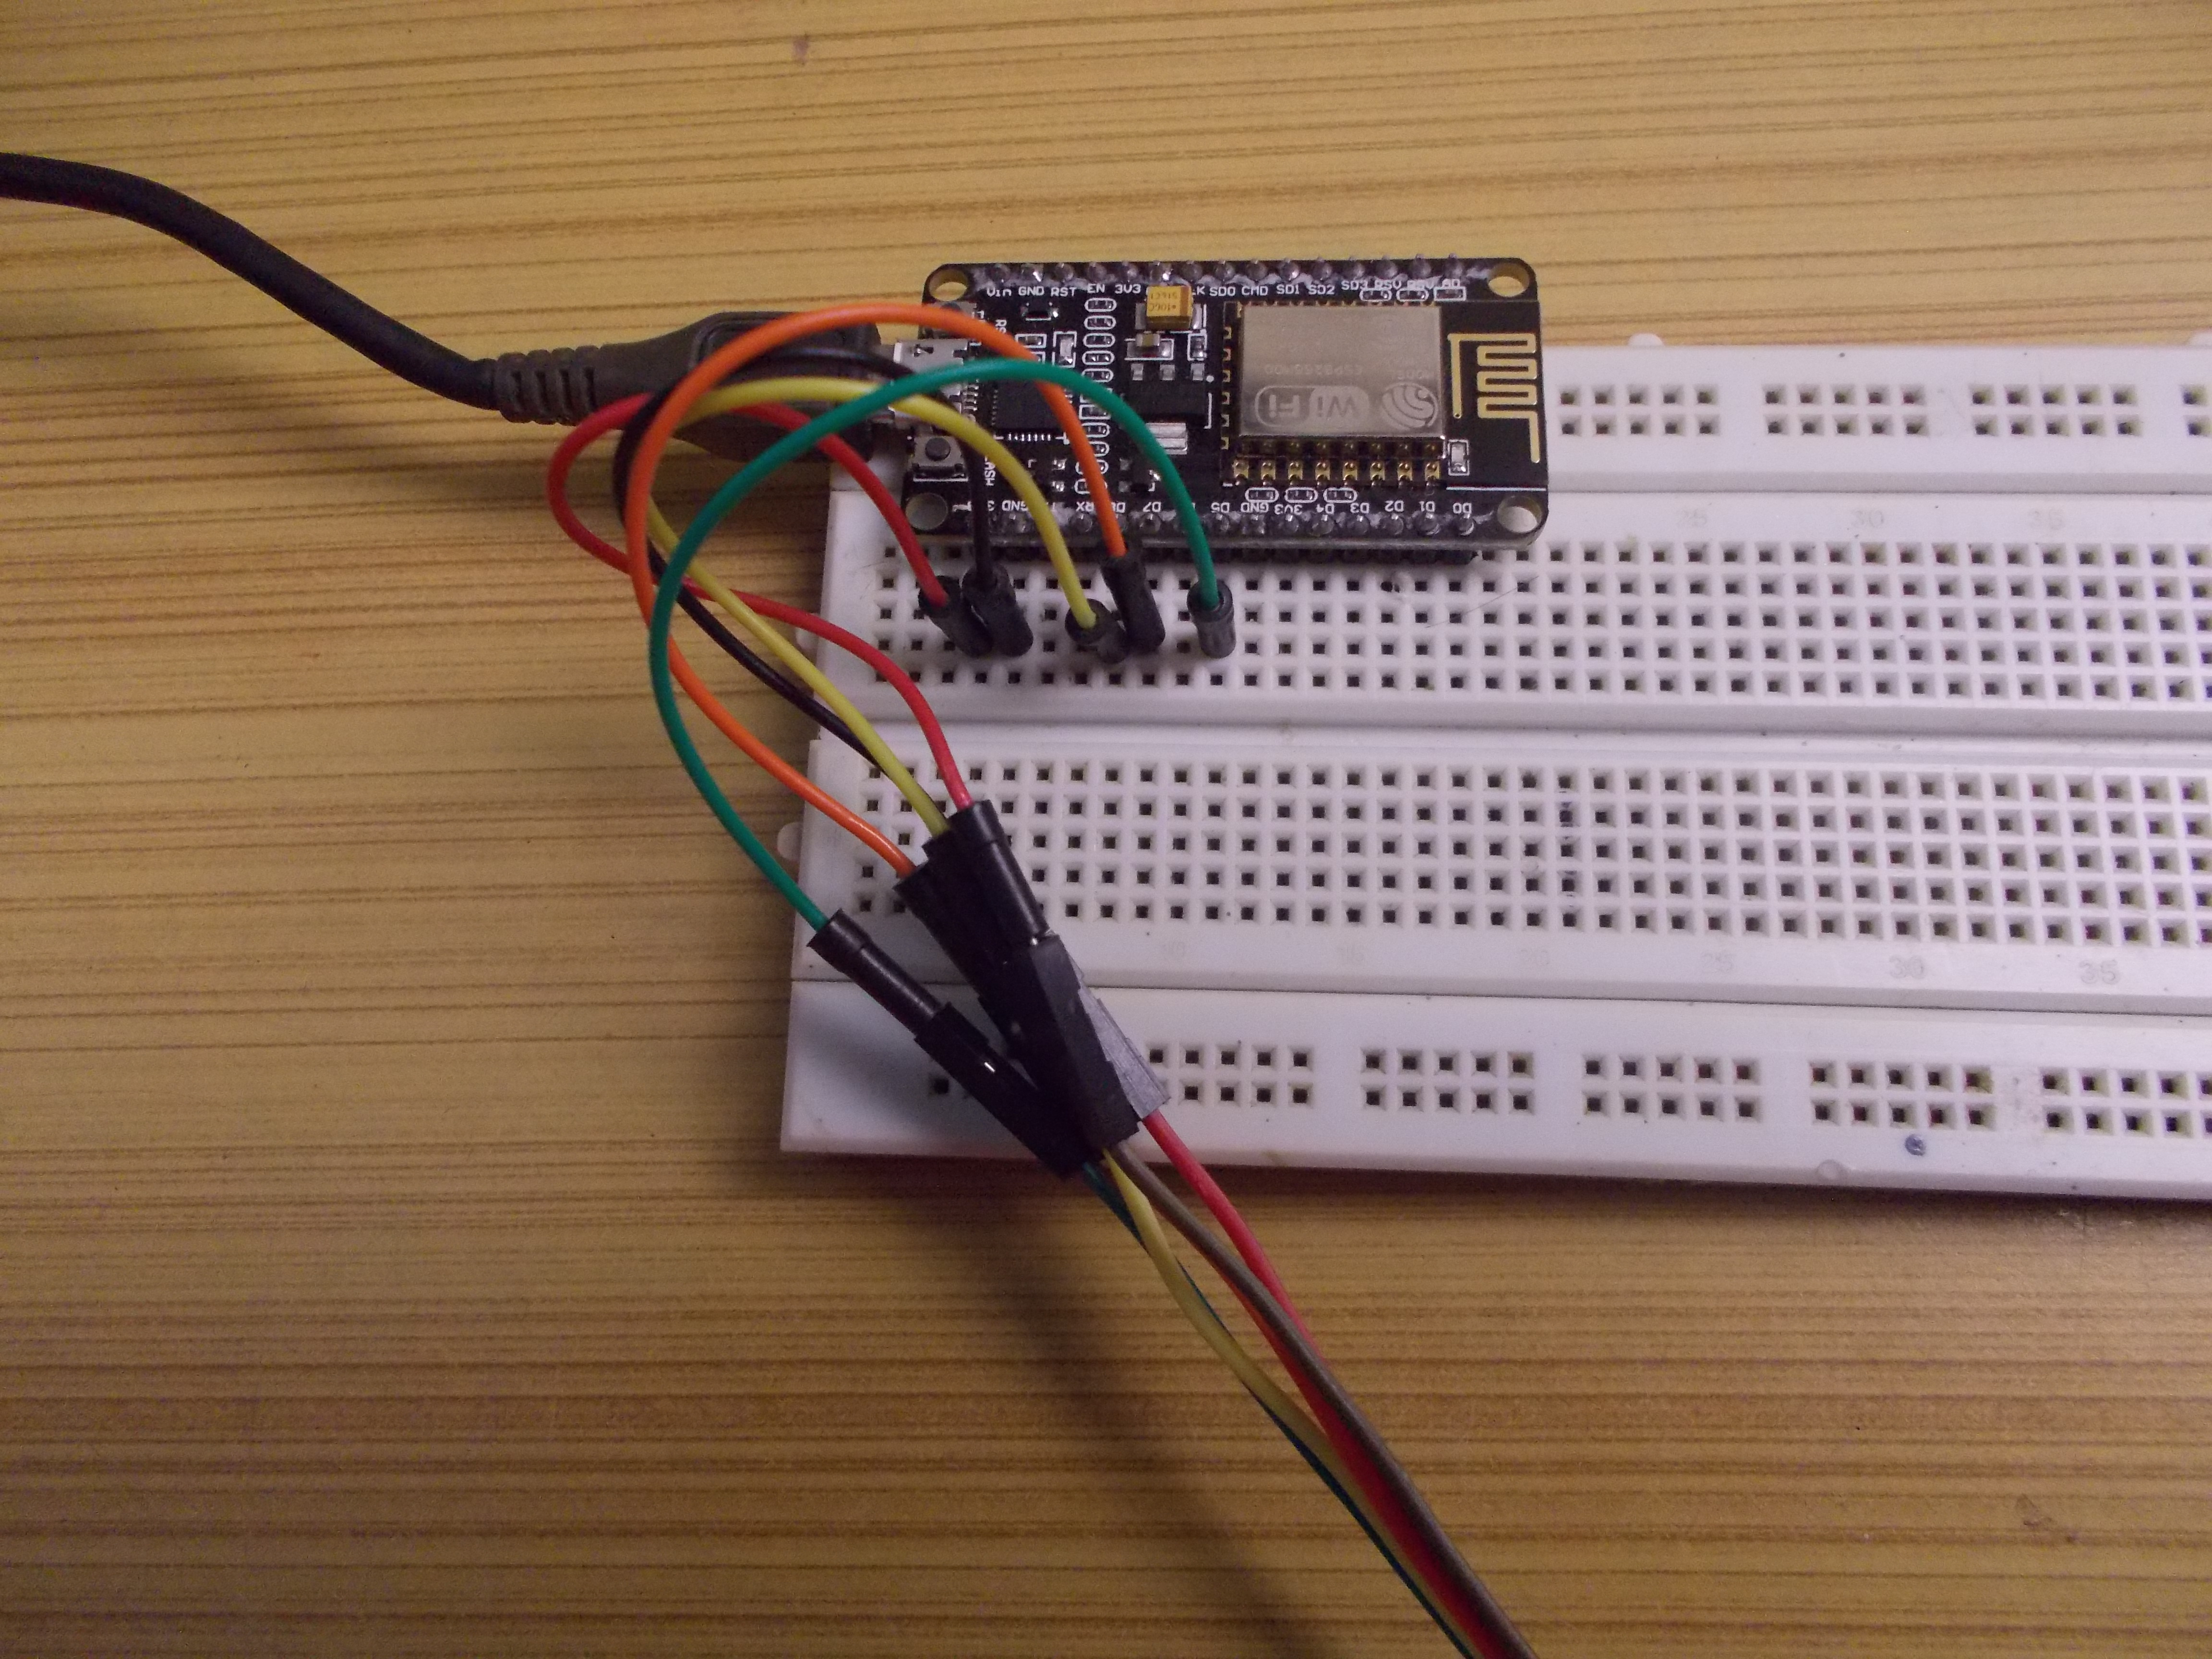
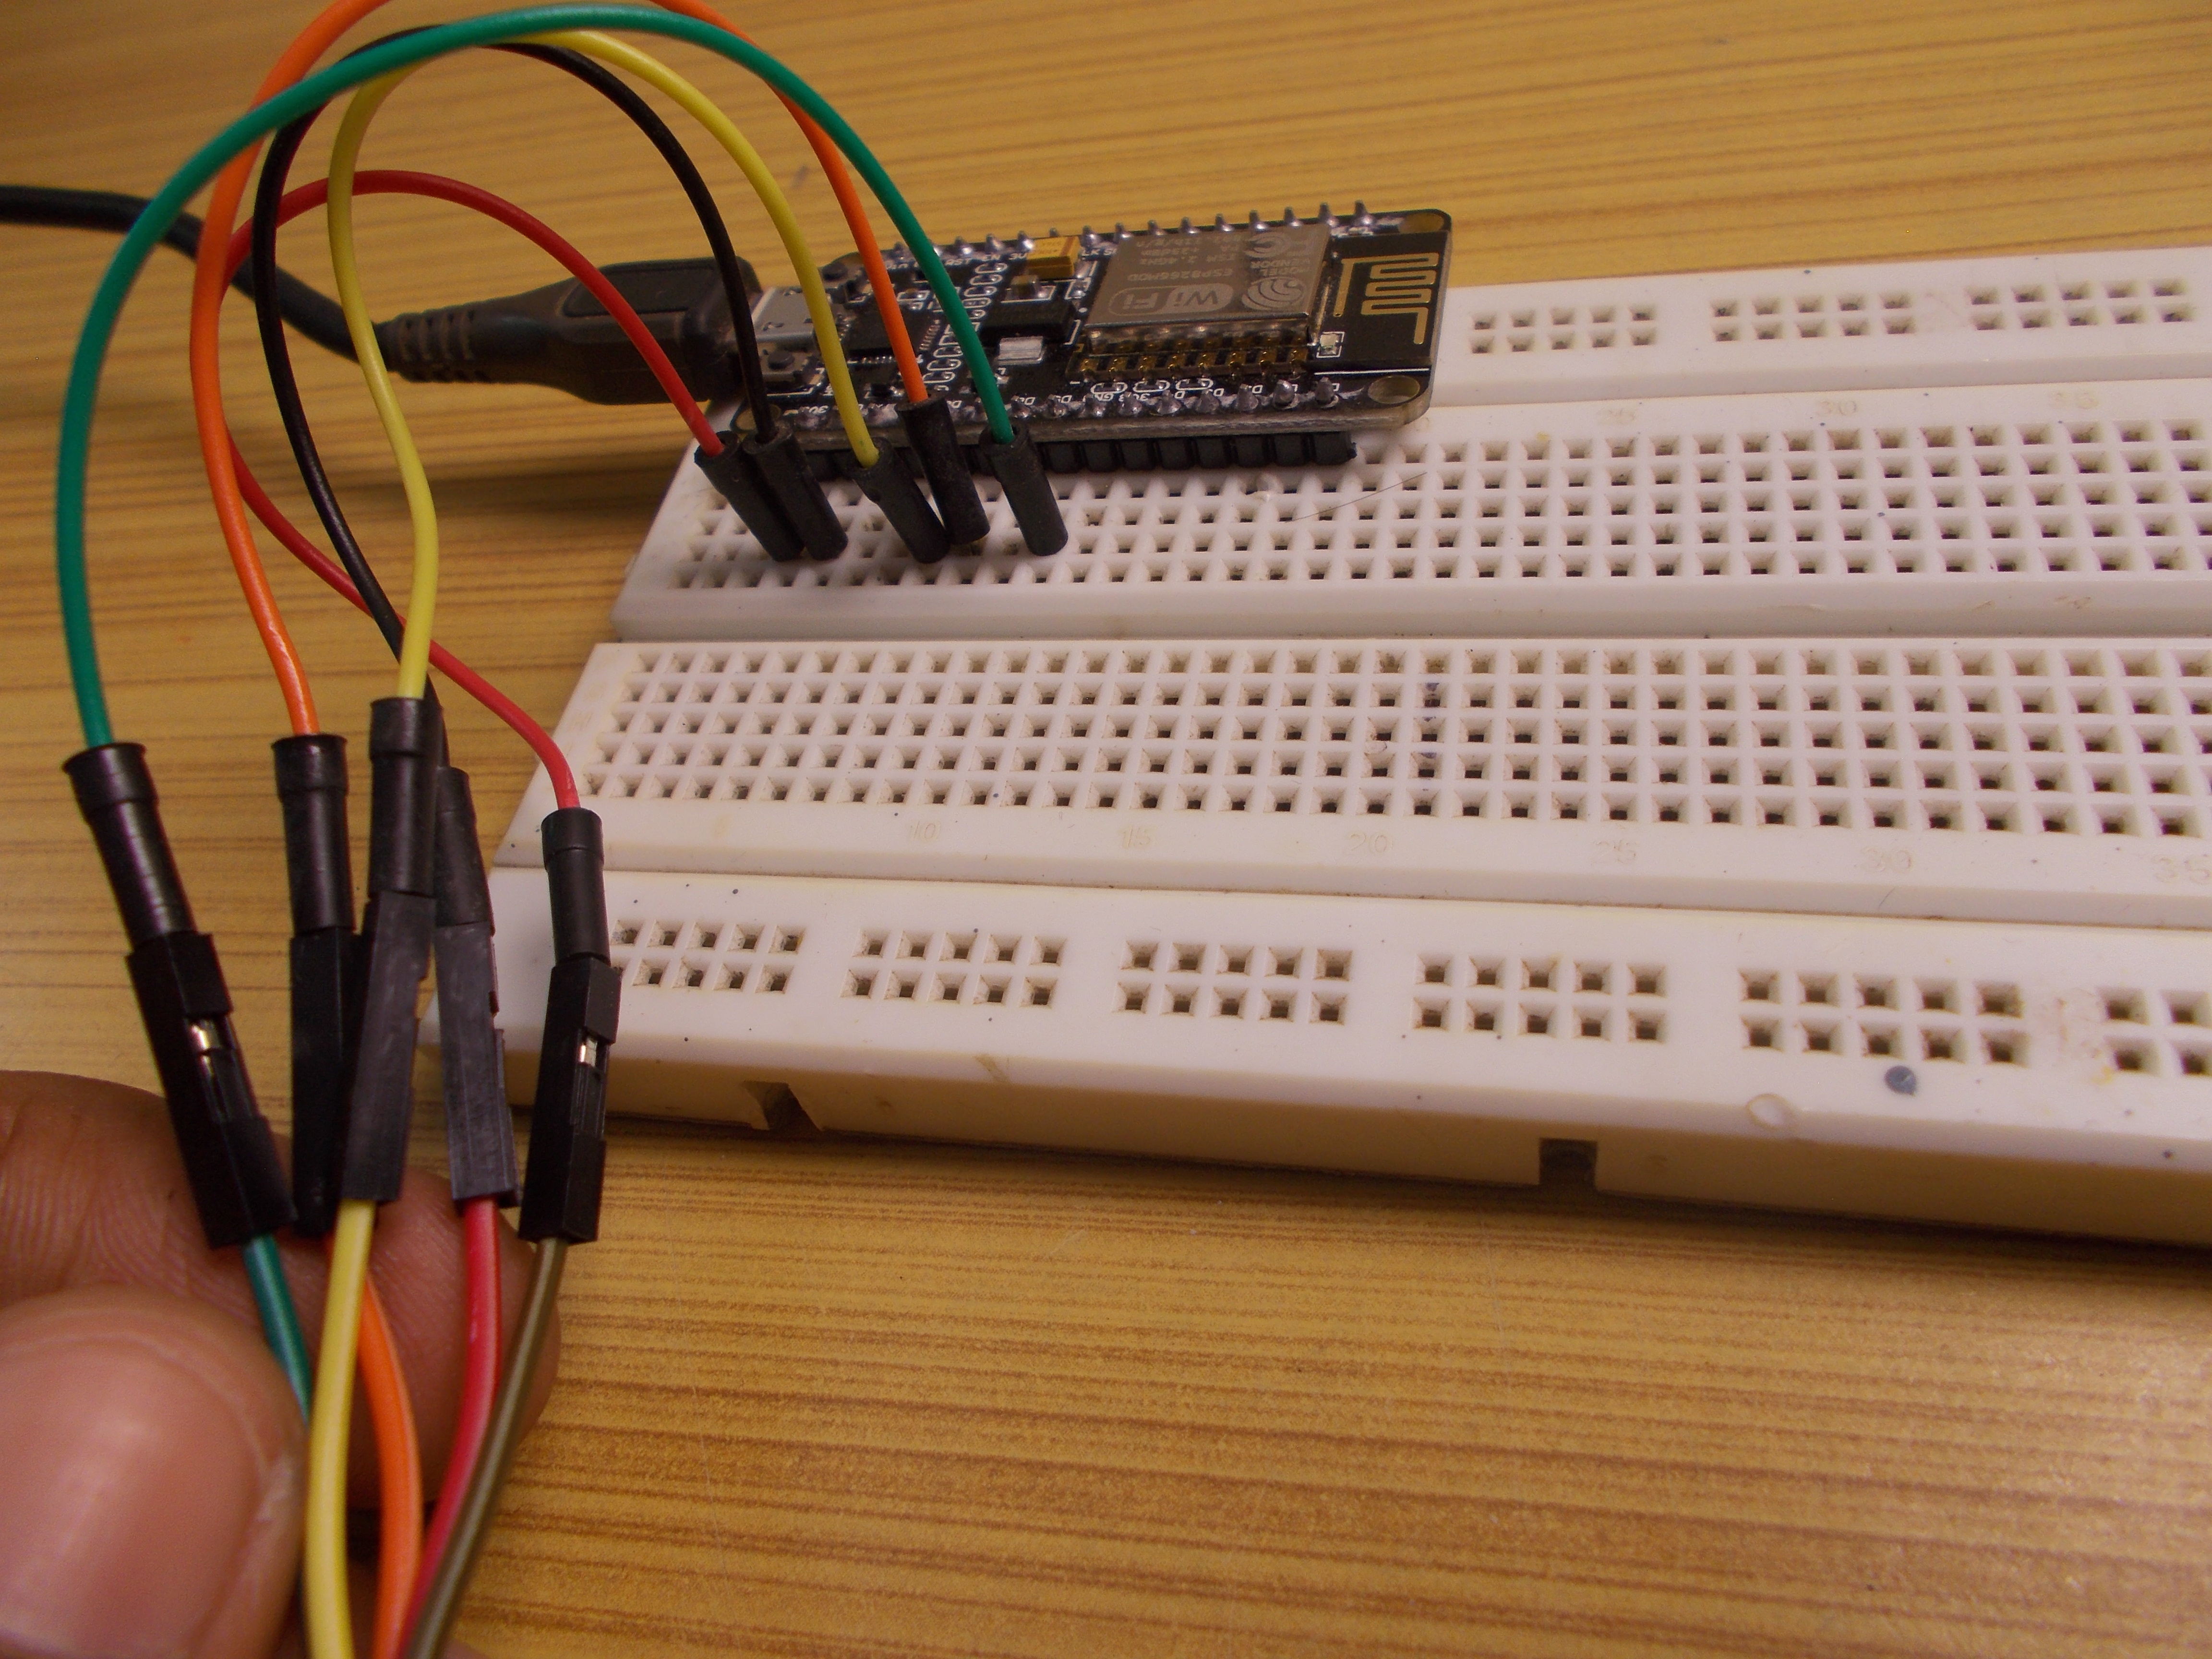
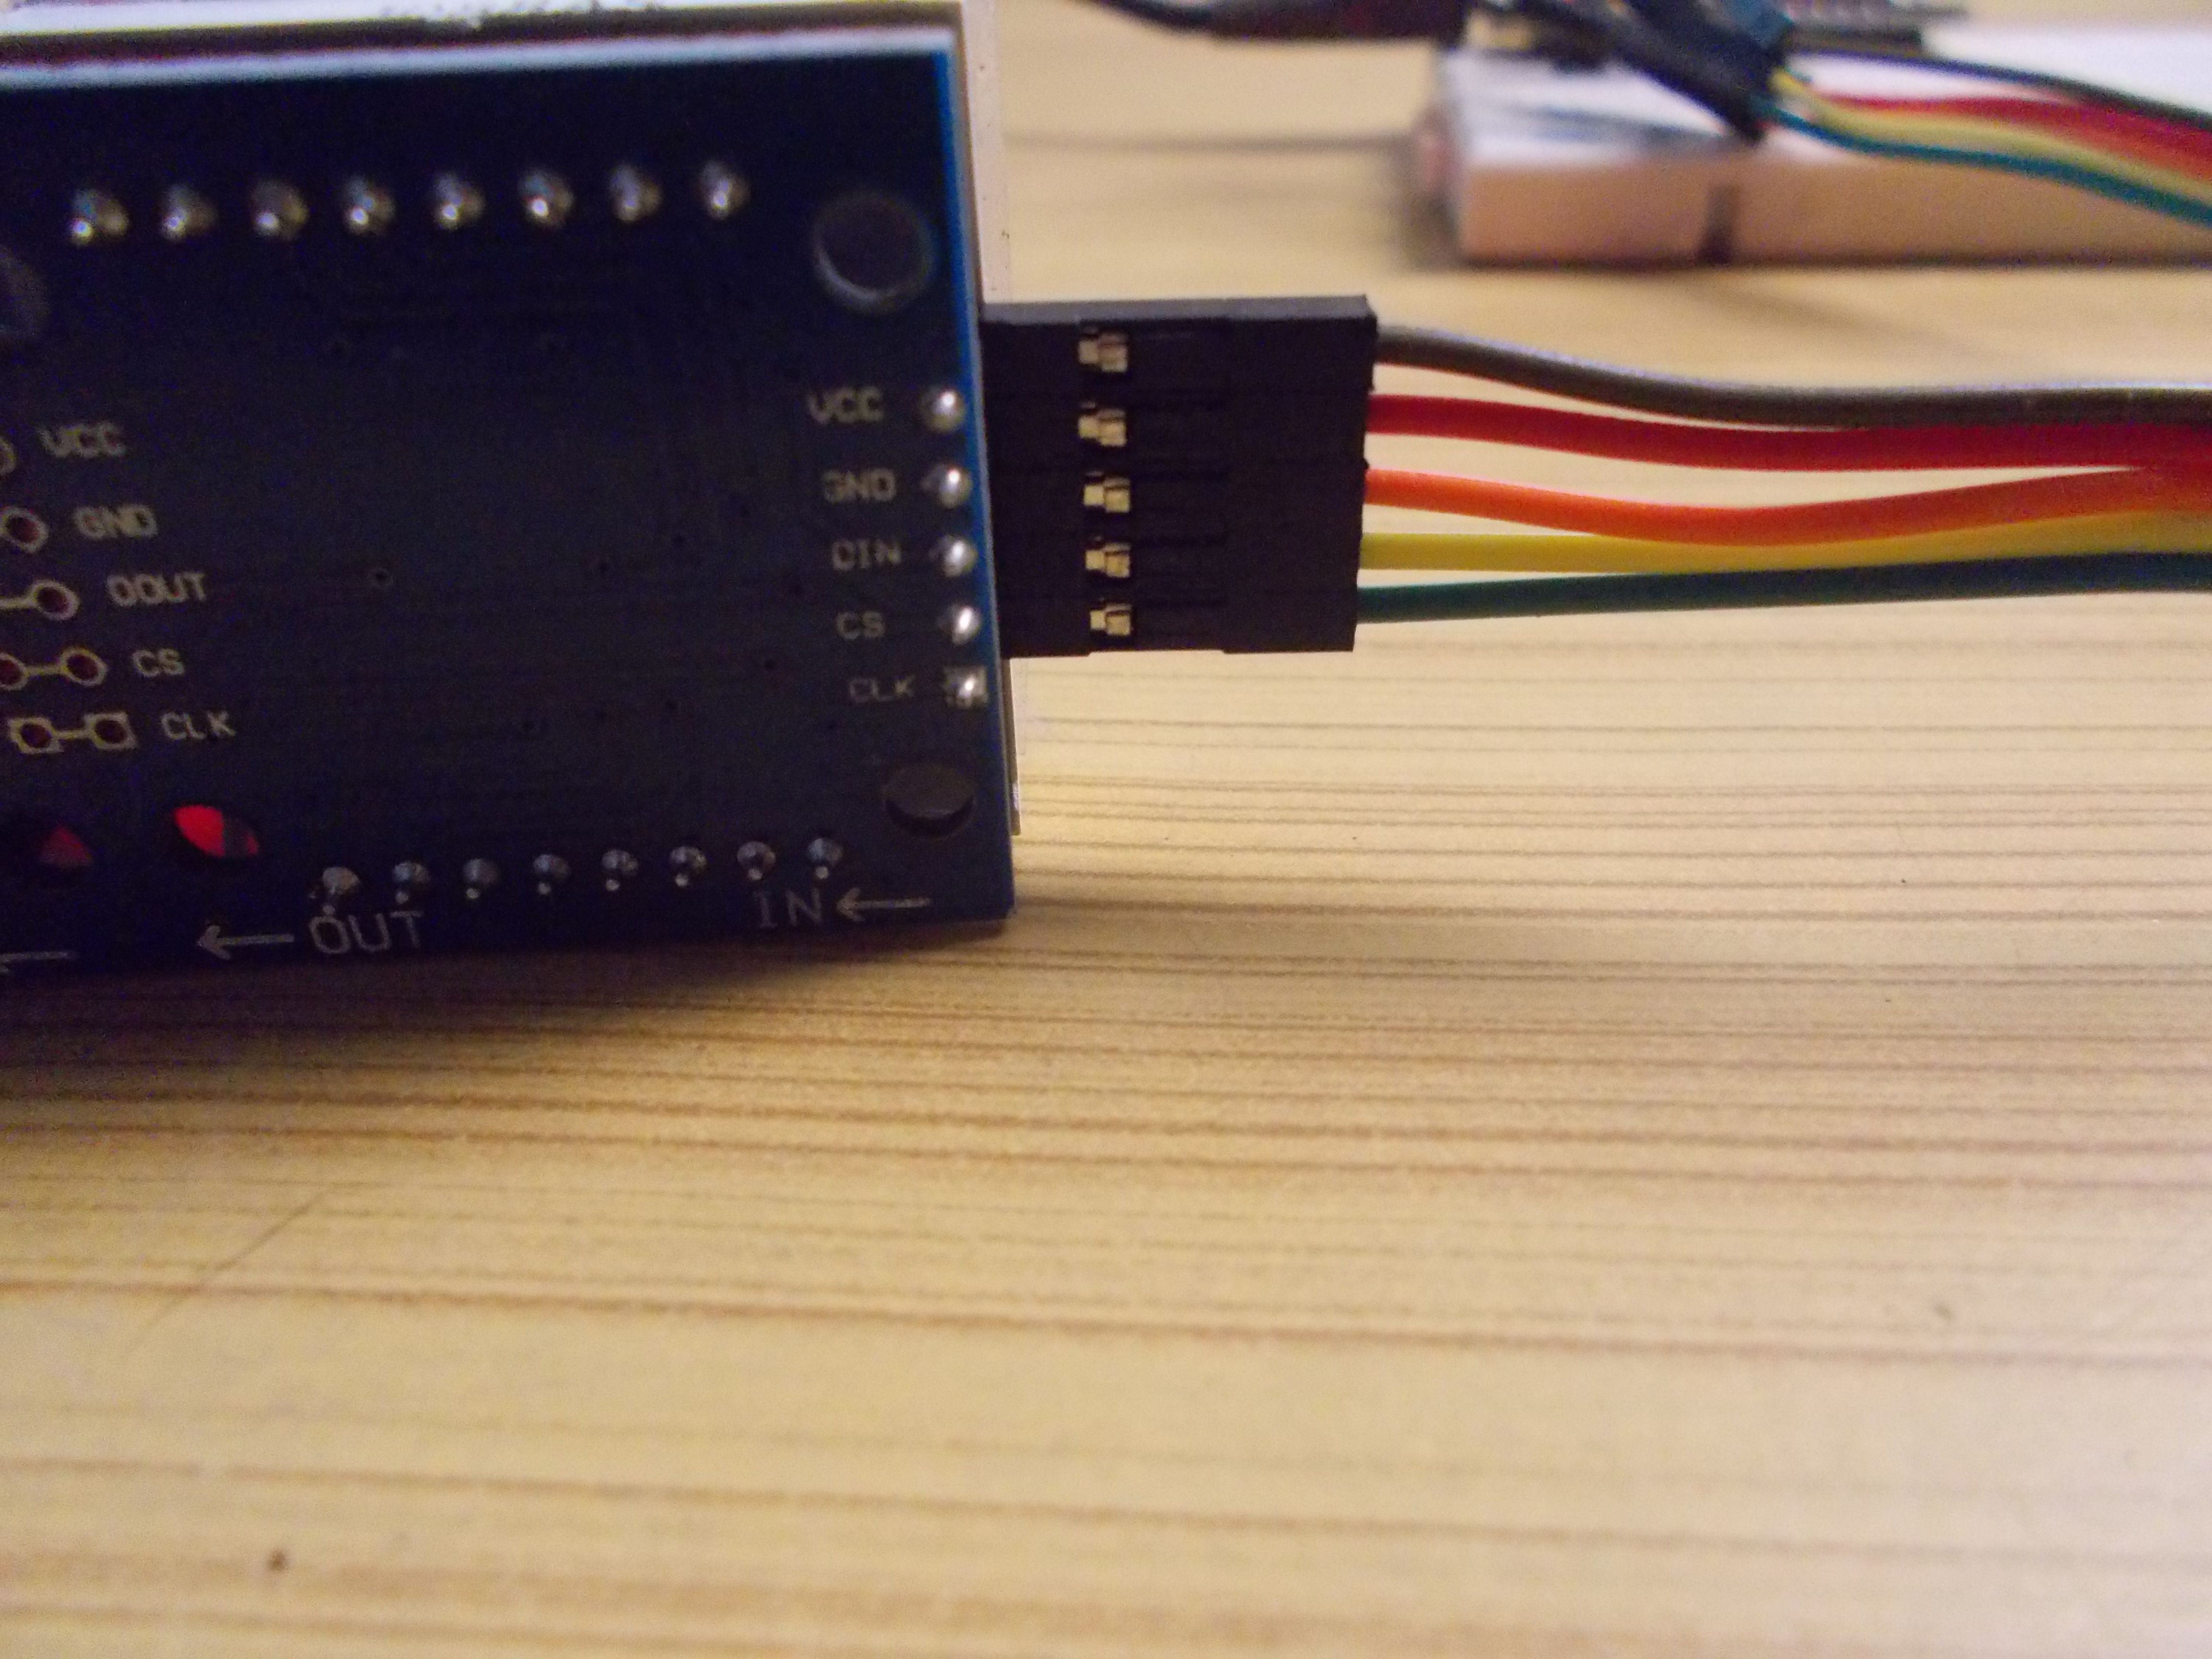
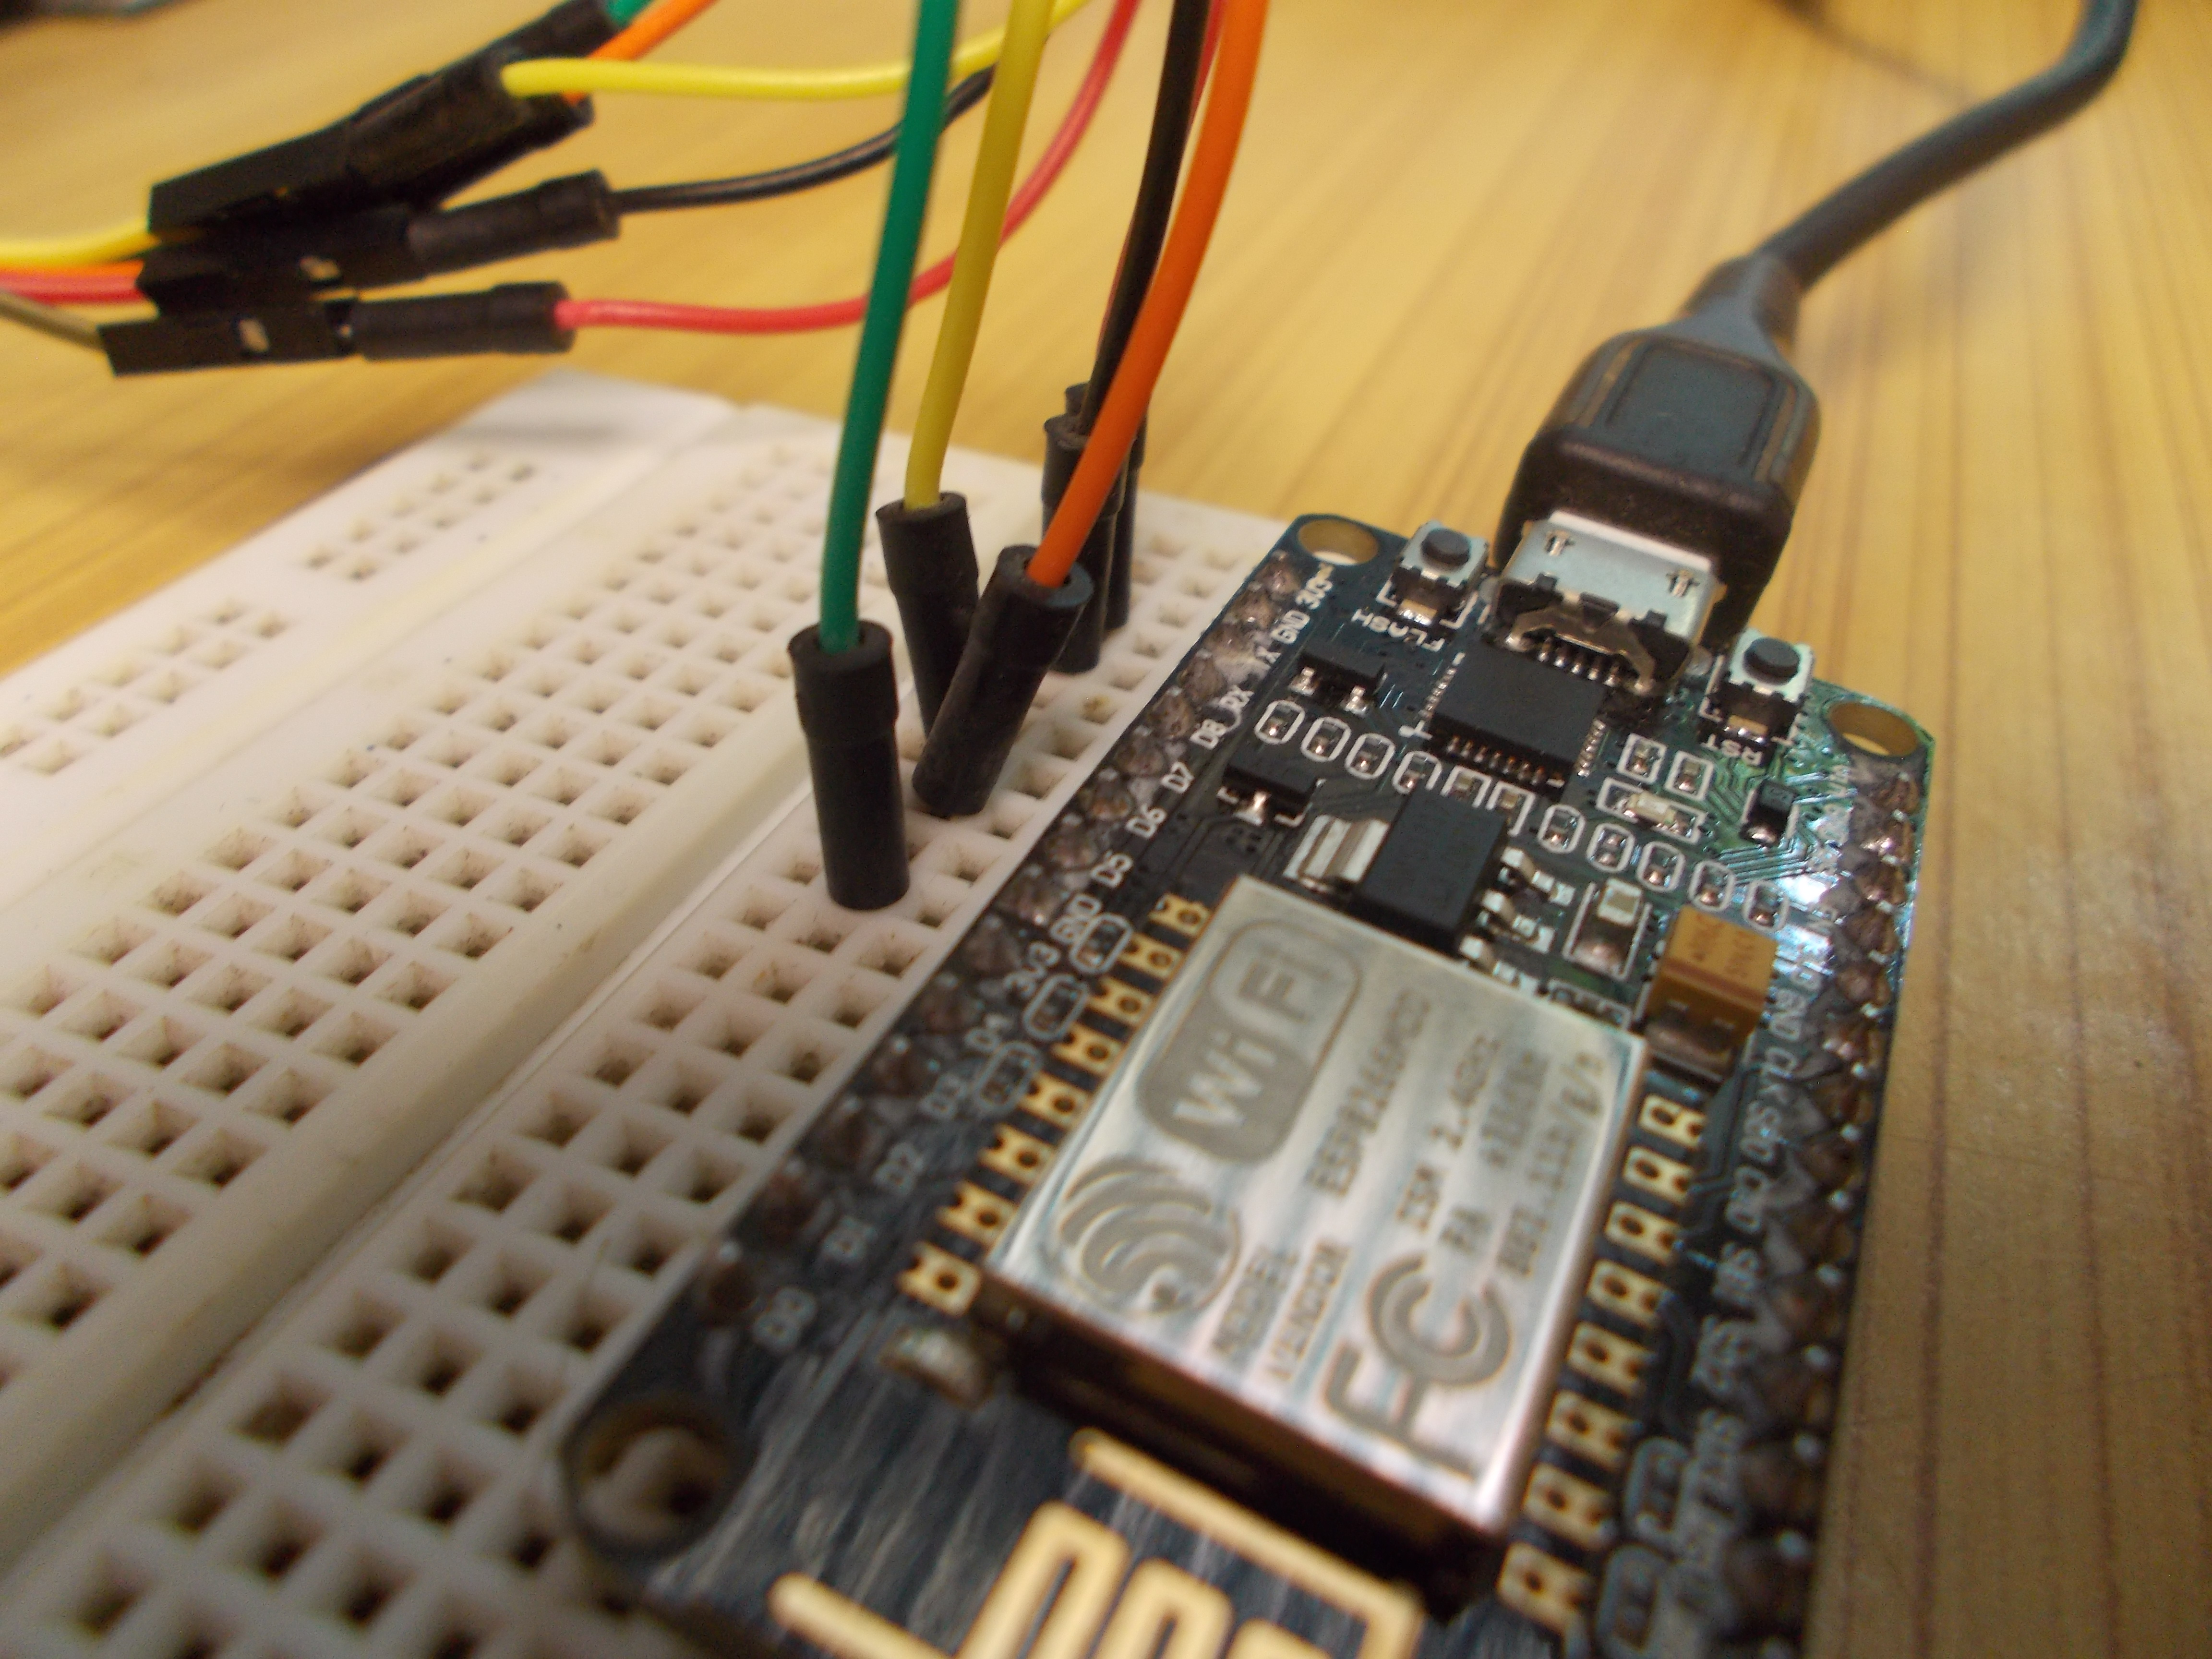
Connect the Dot Matrix to Wi-Fi module as follows:
DMD - NodeMCU
Vcc - 3.3V
Gnd - Gnd
Clk - D5
Din - D7
CS - D8
Now to check Dot Matrix Display, add MD Parola and MD_MAX72XX libraries to Arduino library.
But before using it, go to Arduino libraries folder, open MD_MAX_72XX library folder, then go to docs and open any HMTL file, then determine the type of Dot Matrix Display you have (click here to learn more). Mine is FC_16. After this, go to “src” folder and open MD_MAX72XX.h file. Modify the header file according to the module you have and then save it. Now you can check your module
Open test sketch and upload it. The dot matrix should display some patterns followed by their titles, which can also be seen in the Serial Monitor.
Prepare ThingHTTP.
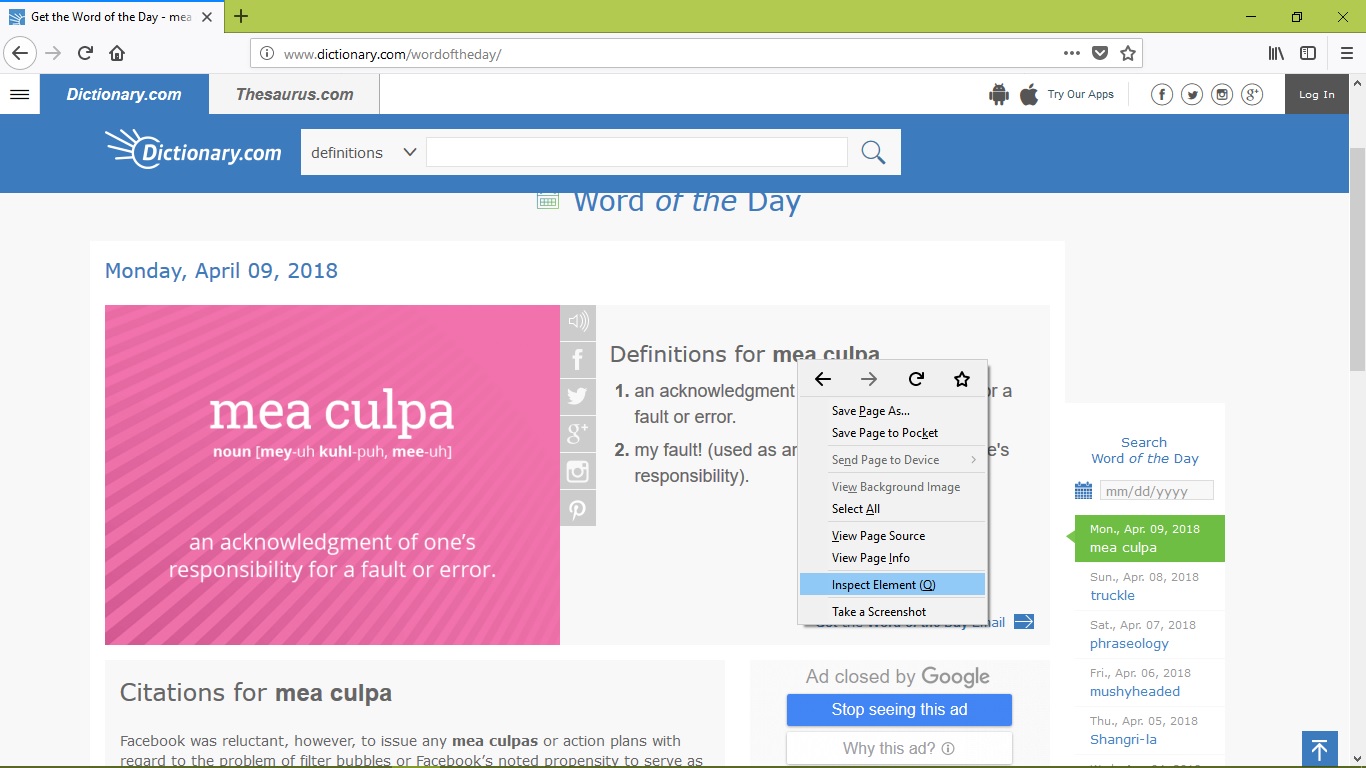

1. Open Mozilla Firefox (Chrome didn't work for me).
2. Choose your website (I used Dictionary.com).
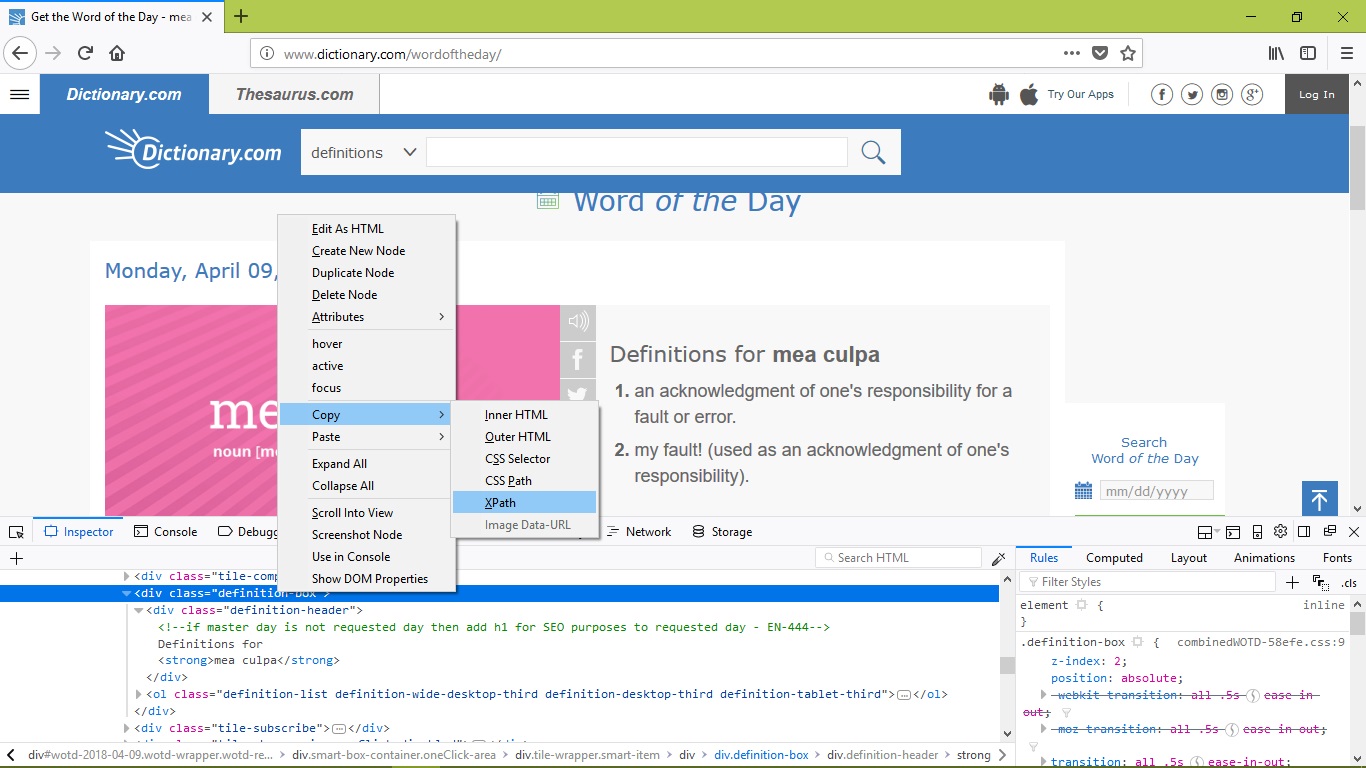
3. Right click on the word you are interested, select inspect element.
4. Copy XPath of the code highlighted.
5. Go to Thingspeak.com
6. Go to apps, and then select ThingHTTP.
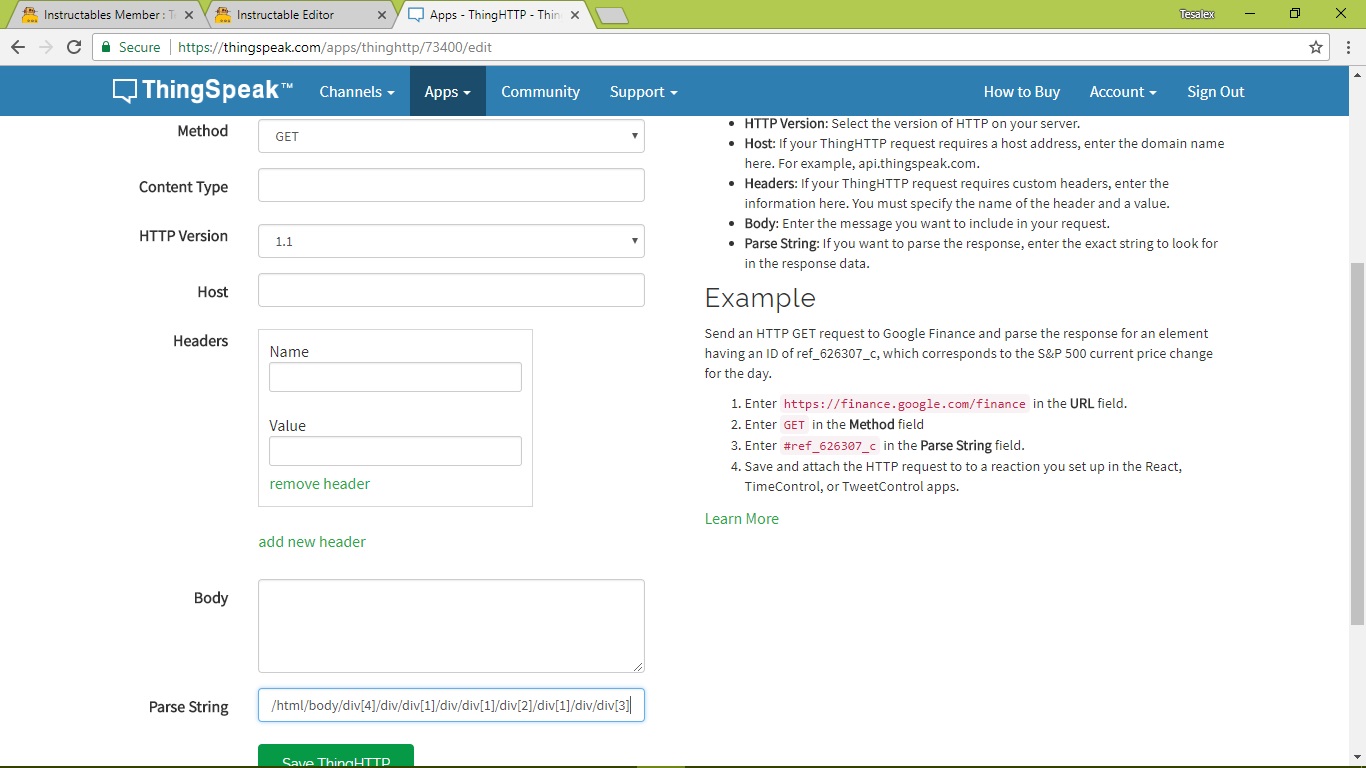
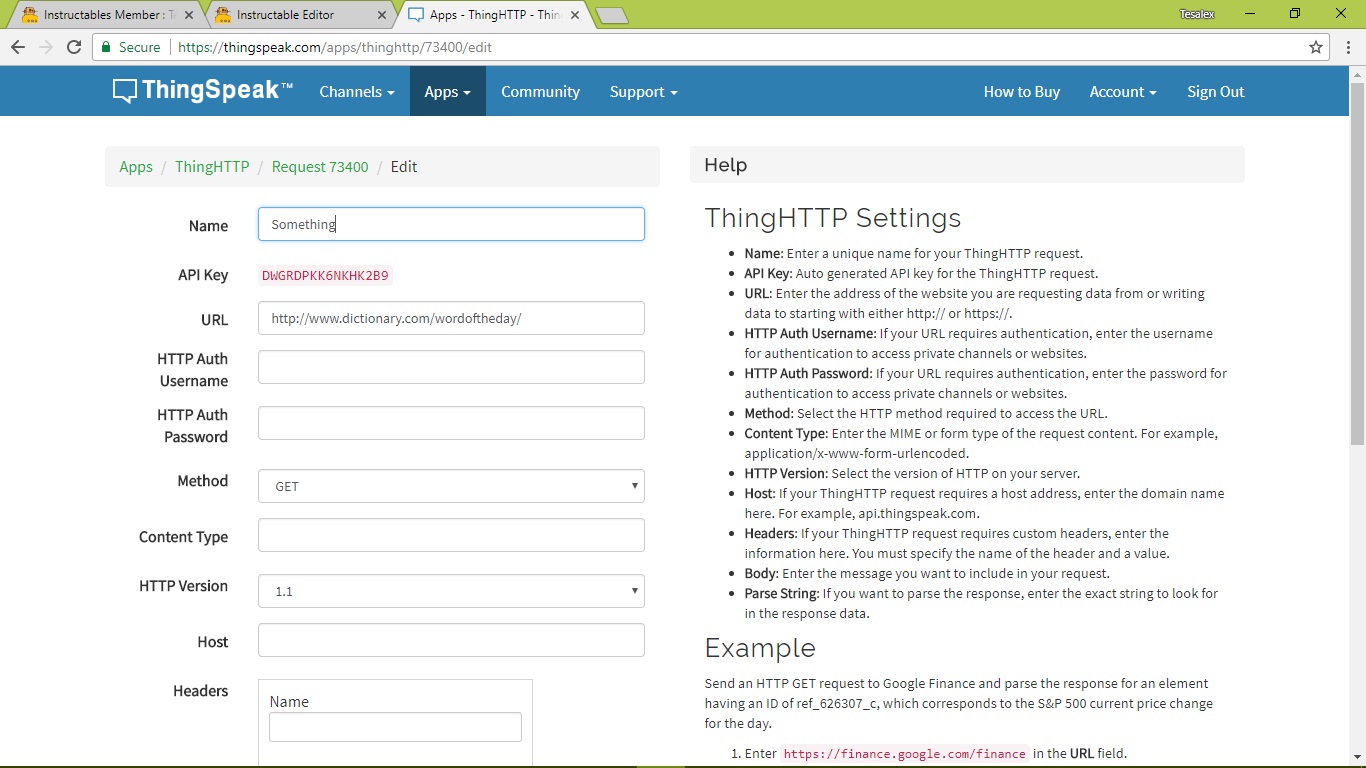
7. Create new ThingHTTP, name it something, provide the URL of the page where you copied XPath from, paste XPath previously copied to parse string, save the ThingHTTP.
Take a note of the API generated.
Watch the video for proper understanding and the need for doing this.
Test the Module.
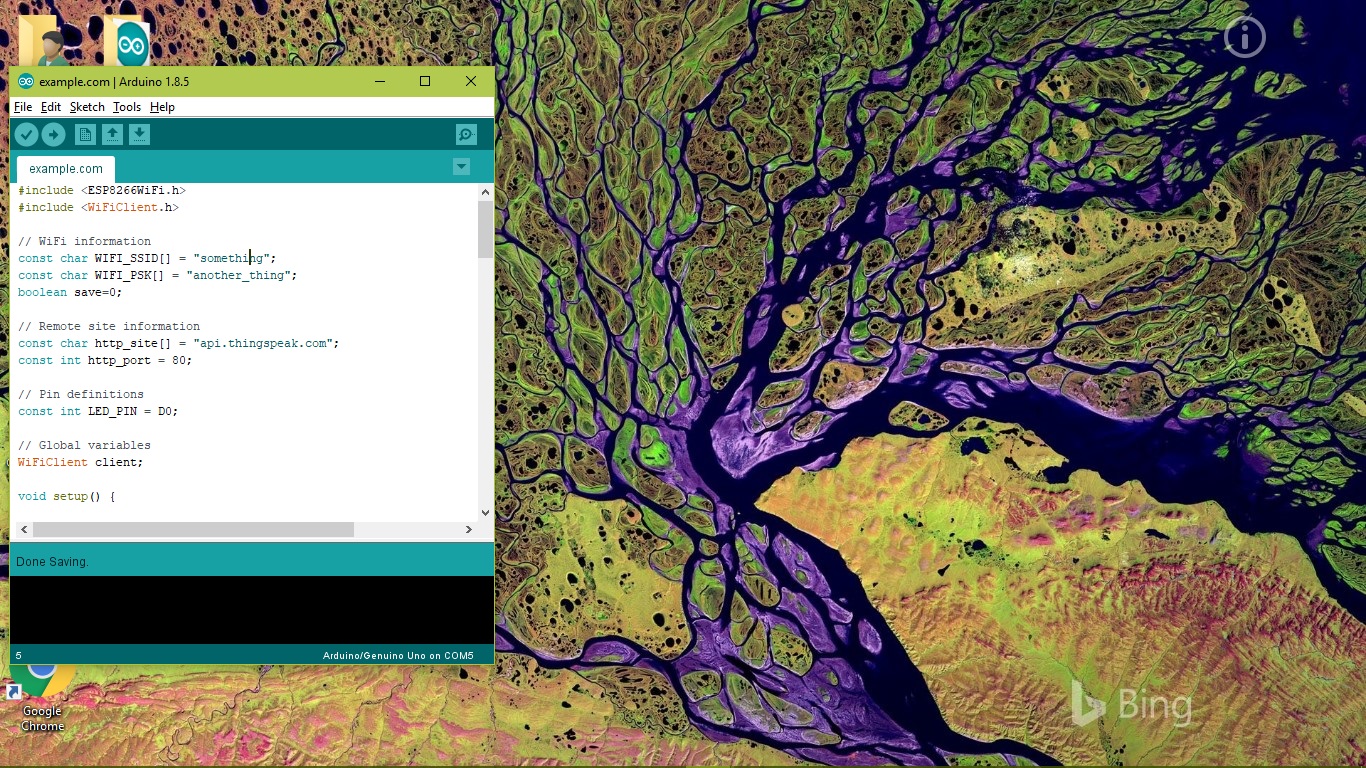
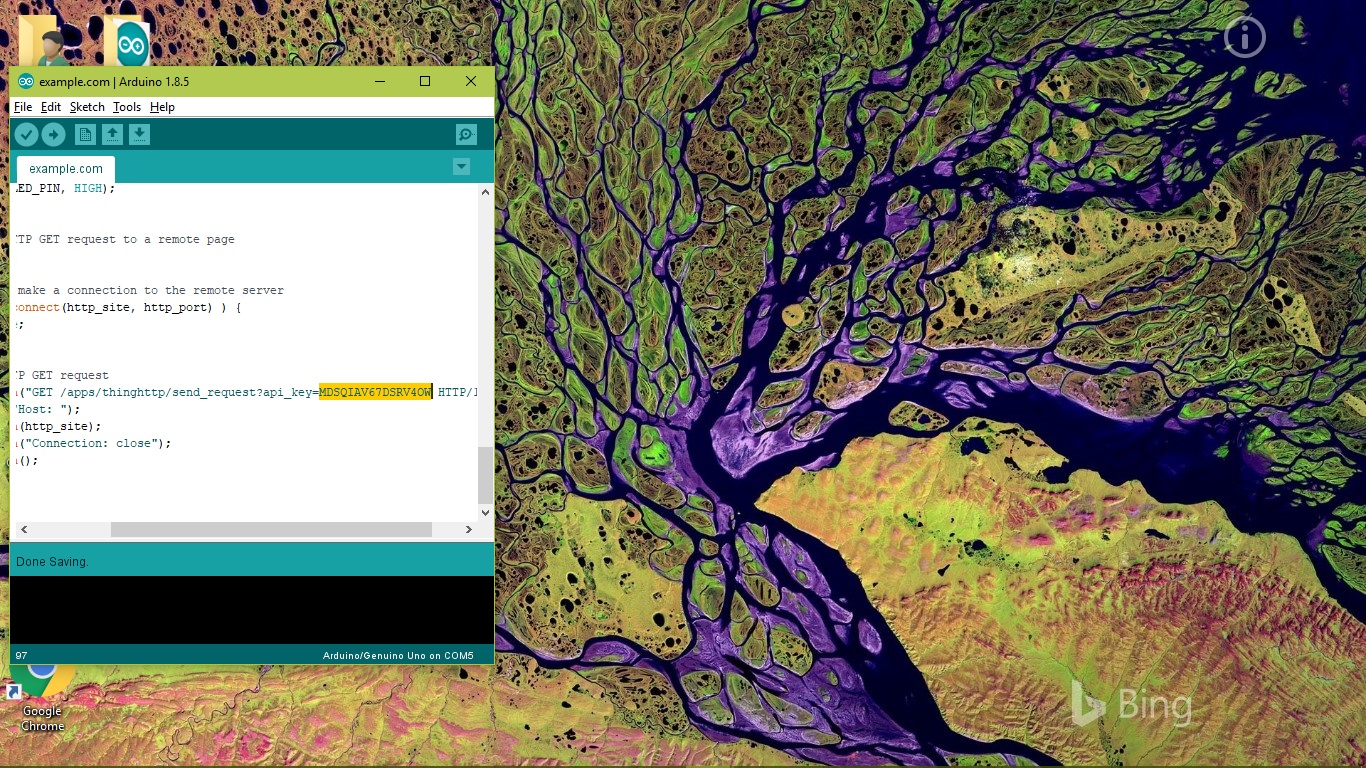
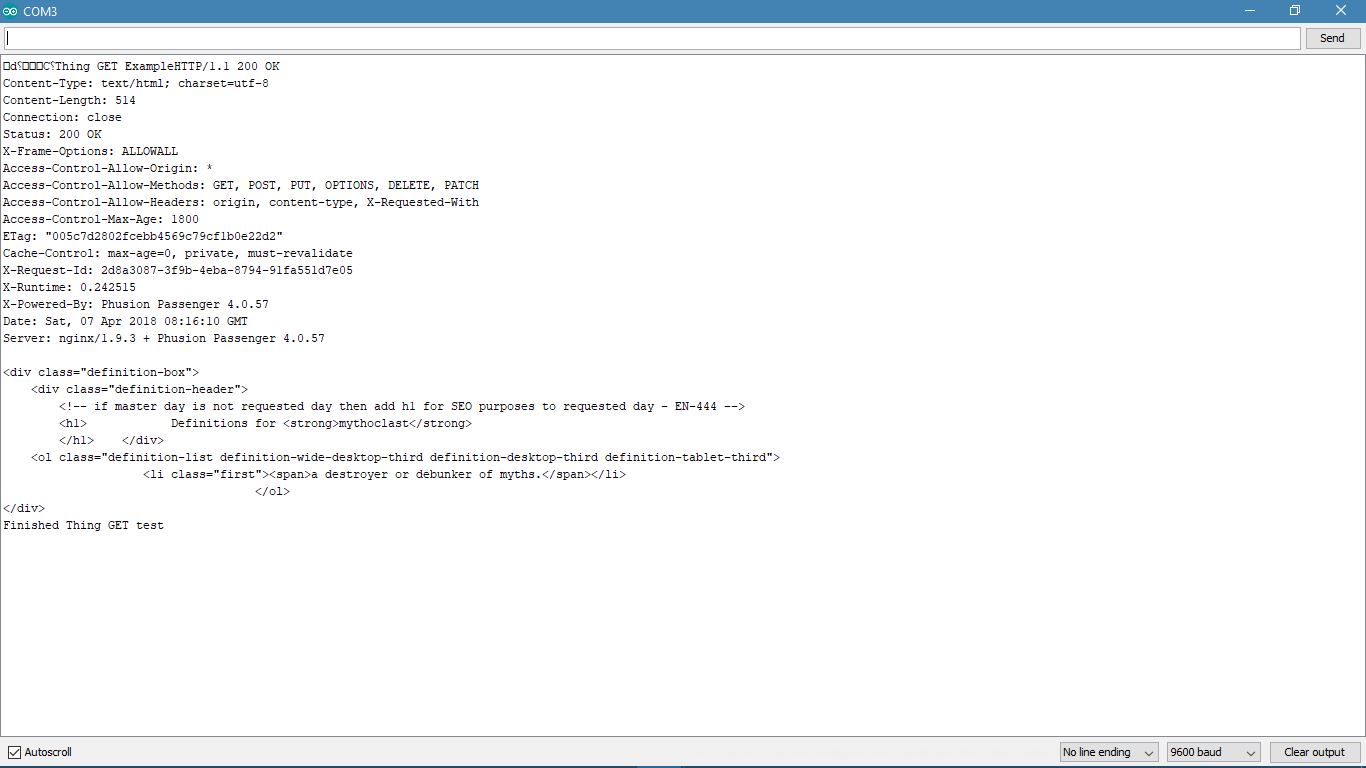
Open the sketch attached in this step and edit the Wi-Fi SSID, Pass Key and the API key and upload it
After uploading, open serial monitor, if the output looks something like the one I have attached in this step then the module is working fine and you can move on to the final step.
You can also use any different website if you want, check out this.
Downloads
Final Sketch.

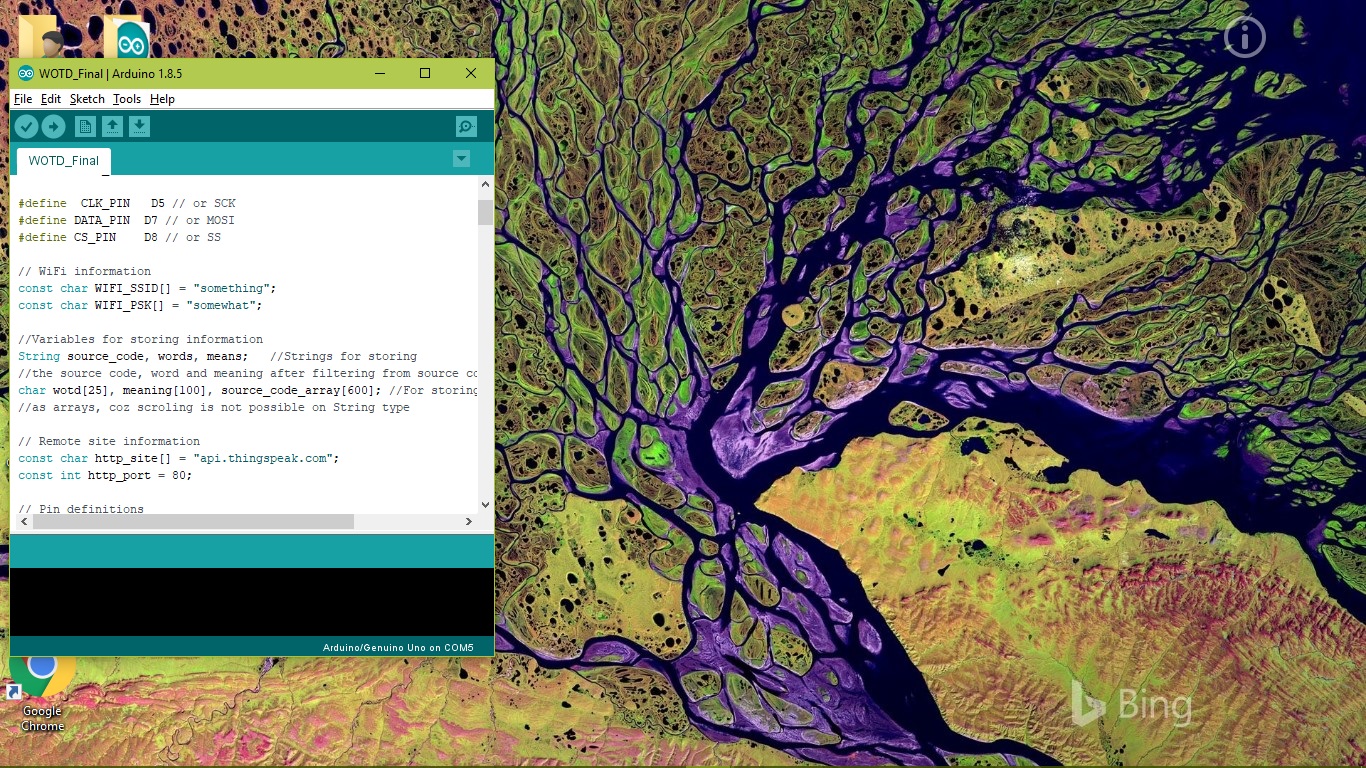
Do the same connections as in step 3. The final code is attached in this step.
Edit the Wi-Fi SSID, Pass Key (leave blank inside quotes if Wi-Fi is open) and API and upload it to the module.
Once it has connected to Wi-Fi and fetched the data, it will then disconnect and display the word and the meaning in the DMD (watch the in built LED to determine the status, blinking - attempting to connect to Wi-Fi, solid blue - connected, off - disconnected). Disconnecting from Wi-Fi saves power but it also has a disadvantage, you will need to restart the module to fetch new data.
But for applications like these, I don't really think it is a good idea to keep connected to Wi-Fi, however you can easily do that after a few tweaking in the program. It's all up to you.
Downloads
Done!
That's it!
Feel free to comment any tips or doubts, I'll be more than happy to help you.
Thanks for reading, consider subscribing, and if you liked this project, check out our YouTube channel, we have a lot of those :)
See you in the next Instructable.