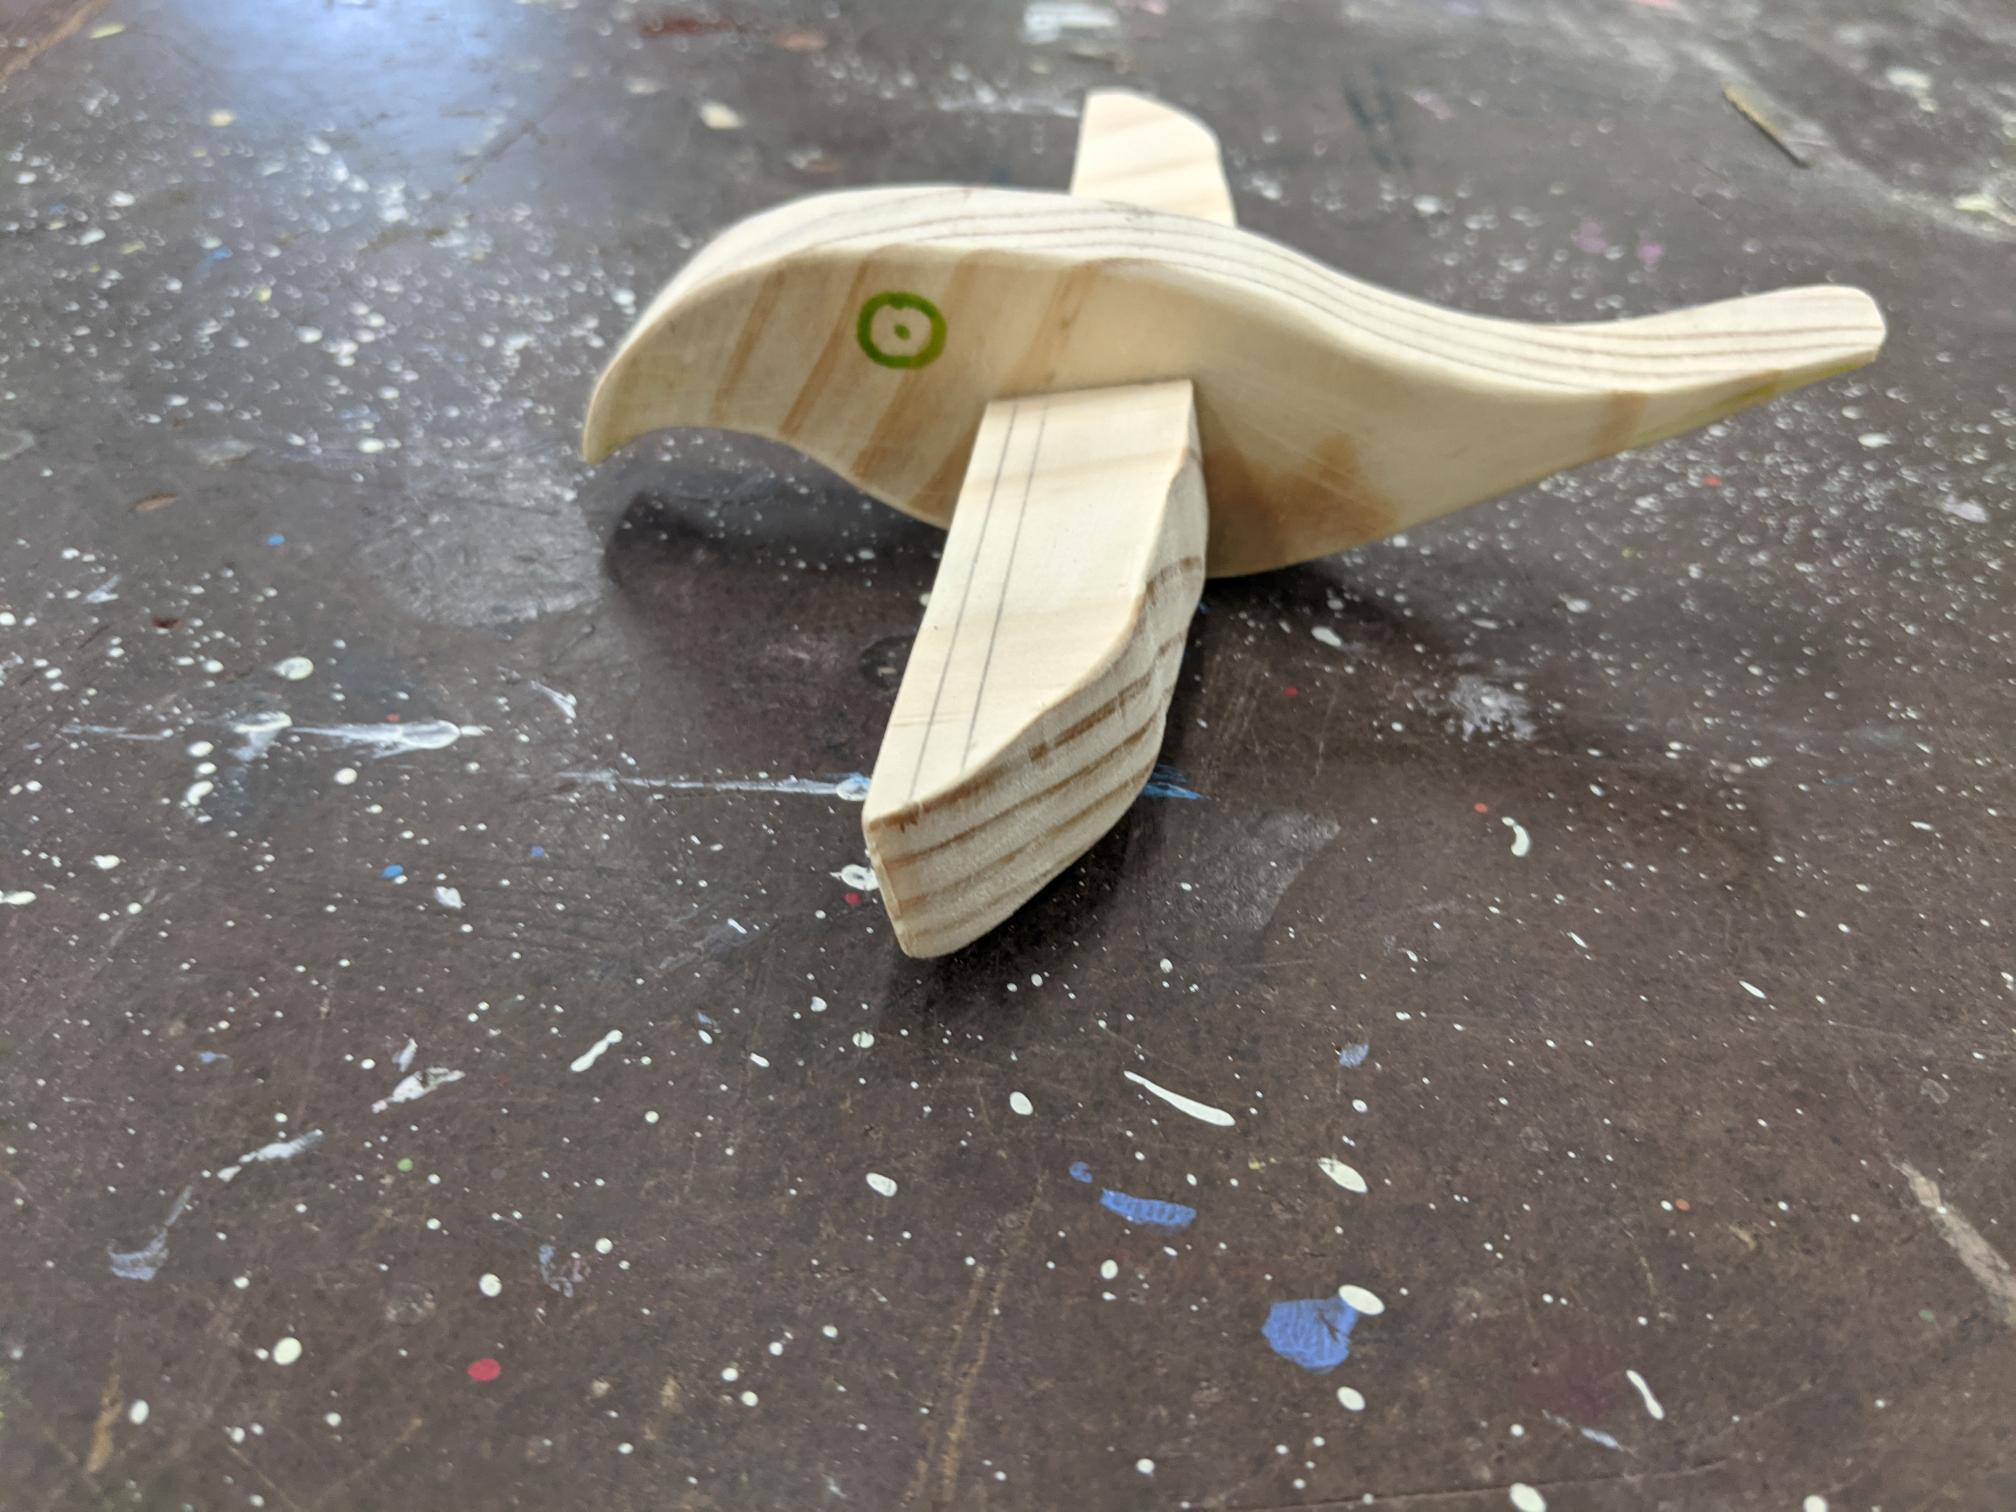
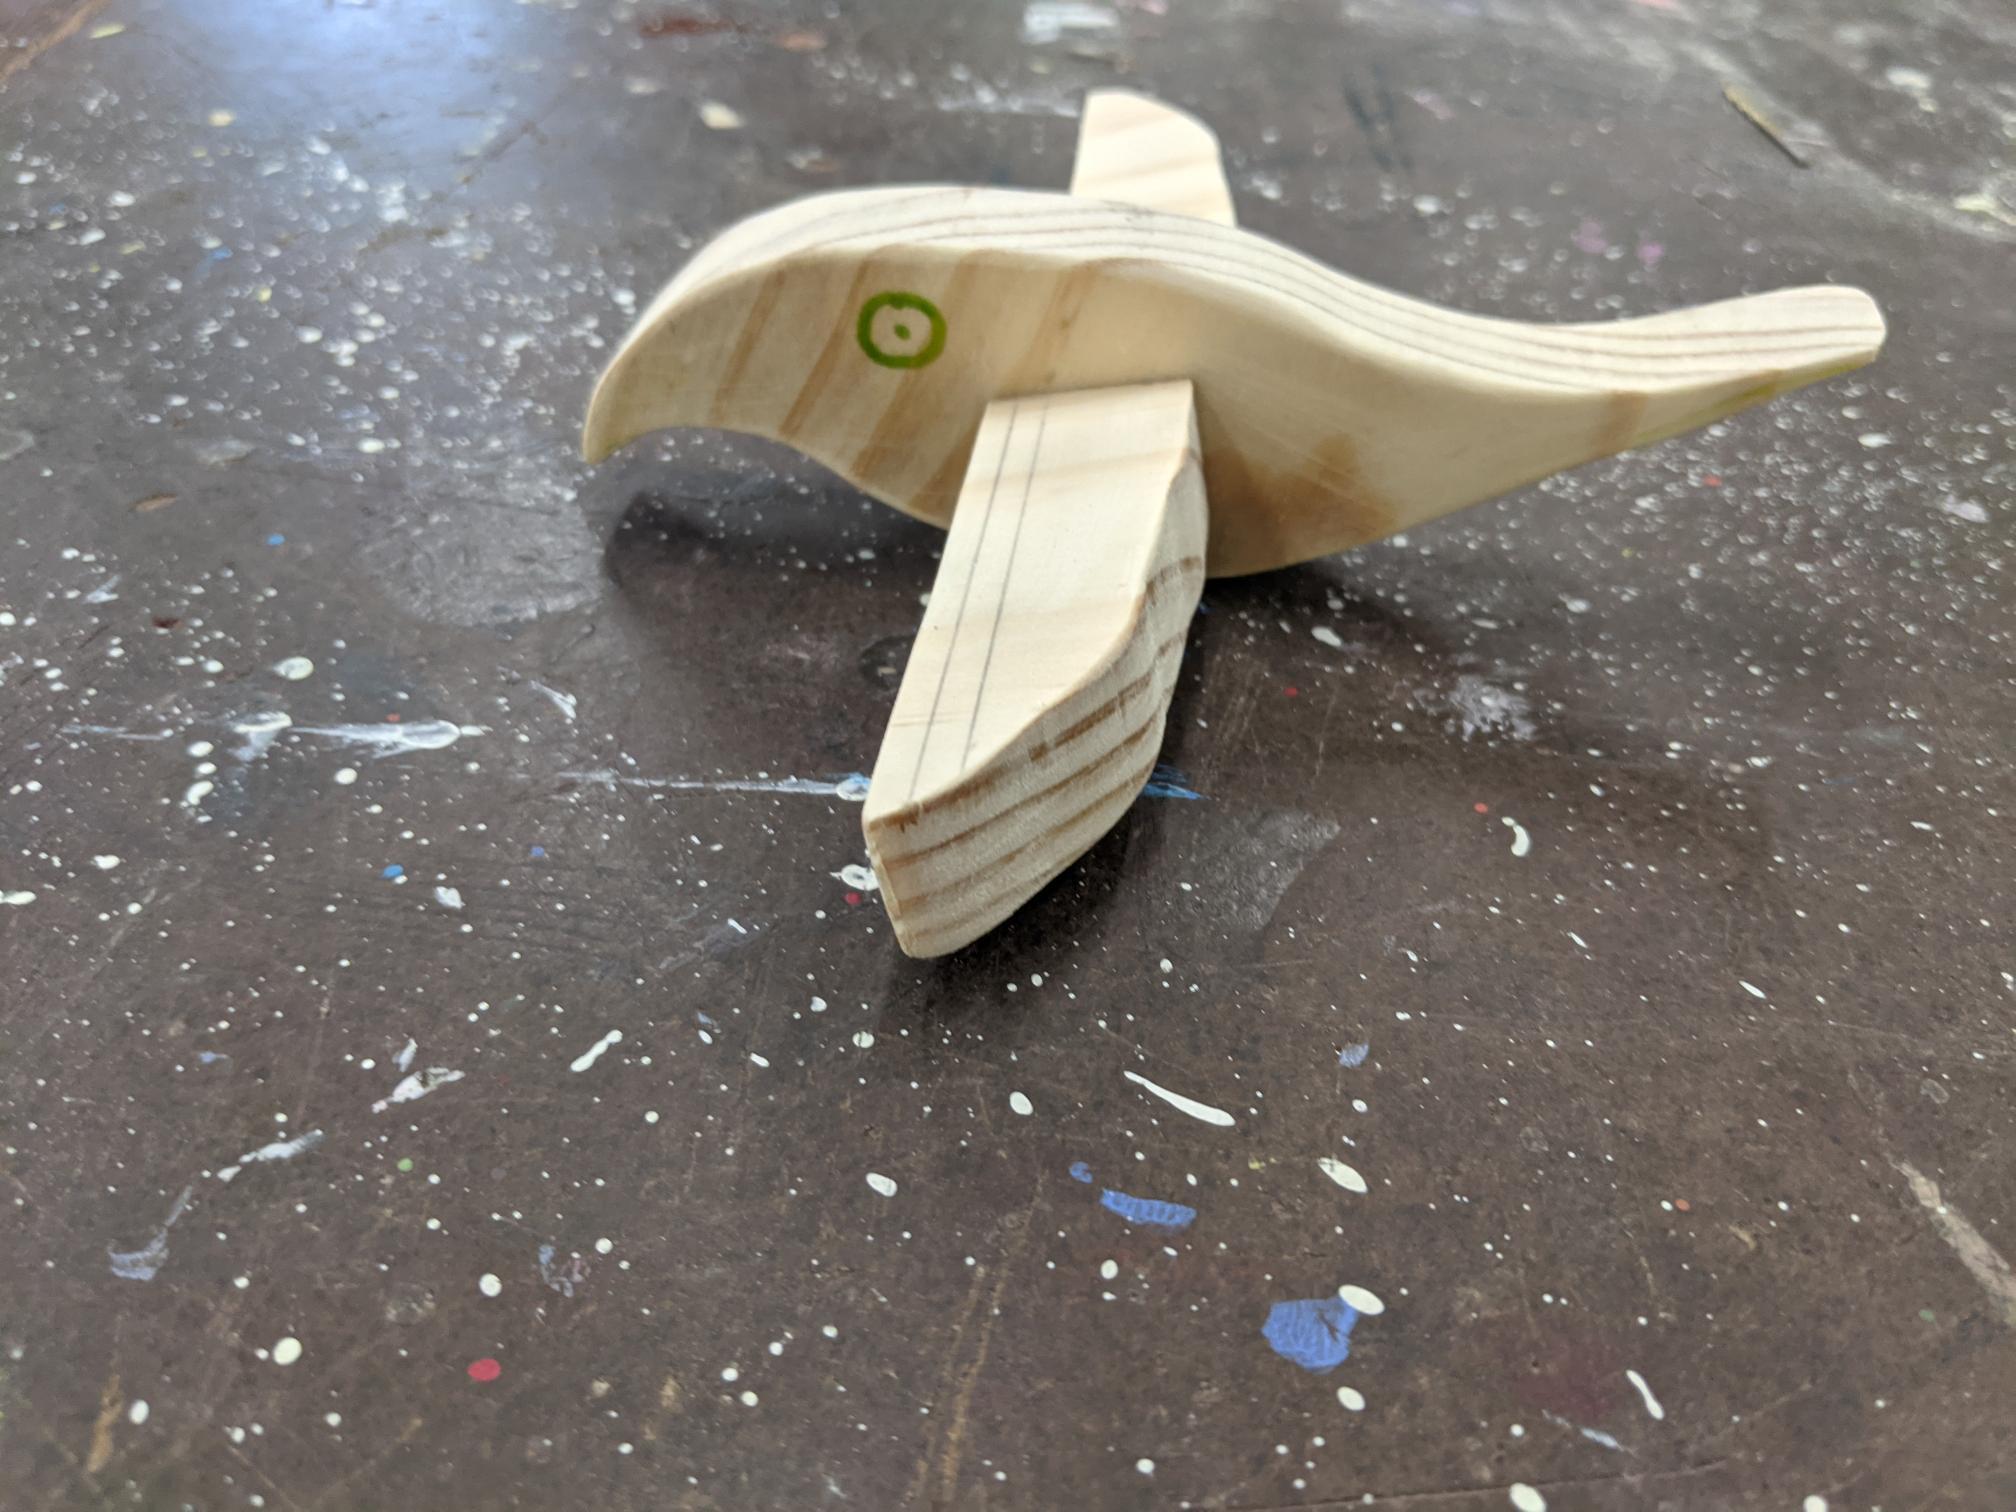
Wooden Scrap Bird


This is a quick project for two lessons in the woodwork shop.
Students should make use of scrap pine (which we have a lot of).
............................................................................................................
This project is to practice the following skills:
1. Marking a curved line and cutting using either scroll saw or coping saw.
2. Matching a driver bit to the thickness of a dowell and drilling holes.
3. Bonding with PVA glue.
Drawing a Bird With Two Curves.


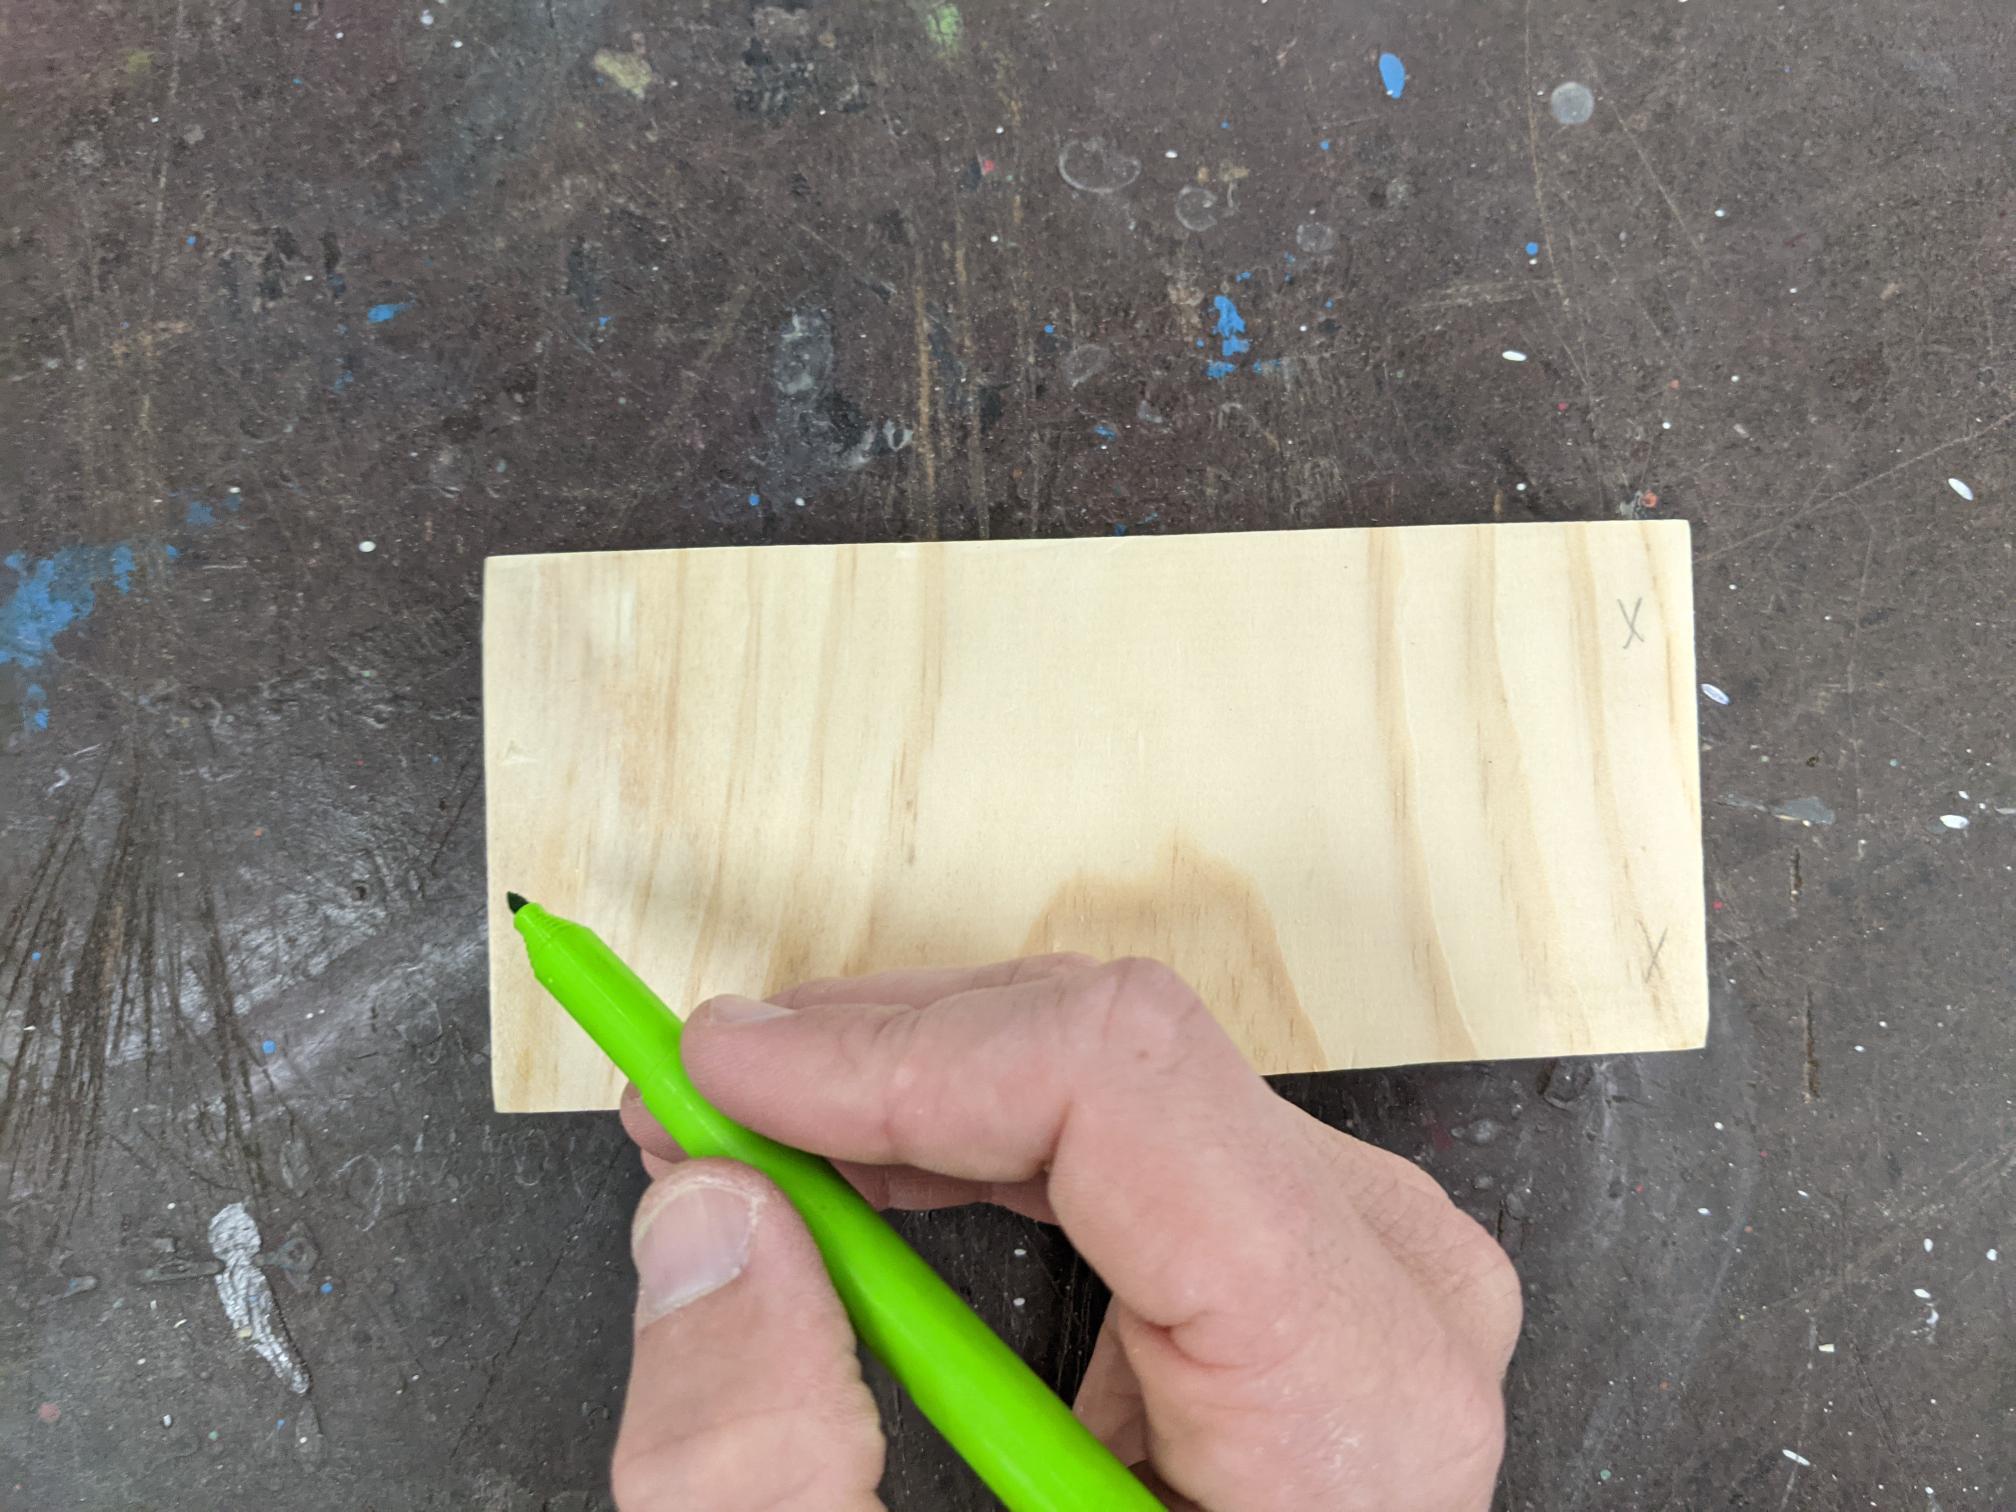
Starting from one corner, I drew an S shaped curve to the diagonally opposite corner. I then drew a second below it. Between these two curves is the body of the bird. Put an eye where you think the eye should be.
Cut the Bird Body With Scroll Saw and or Coping Saw.

Slowly and carefully, cut the two lines using either the scroll saw or coping saw.
Use the Left Over Pieces to Make Two Wings.


I stacked them on top of each other to figure out a wing shape that used as much of the scrap as possible.
These we also cut on the scroll saw.
Assembly

These are the four pieces that make up the bird:
- Body
- Wings
- Dowell.
Drilling Holes in the Wings and Body.


Because the drill bit is almost as thick as the wood, there was a risk of splitting the wood. I was extra careful to clamp these pieces in the vice or G-clamp so they could be drilled accurately, without damaging the wood, or hurting myself.
Sanding --> Glueing.

You can now sand and finish the parts of your bird. I wanted to make this friendly to young hands (Ages 1+) by taking off any sharp edges.
I used a little PVA glue to secure the dowell inside the wings.