Wooden Motorcycle Keychain: a Beginner Friendly Introduction to CNC Routing
by kavya_lalith in Workshop > CNC
433 Views, 2 Favorites, 0 Comments
Wooden Motorcycle Keychain: a Beginner Friendly Introduction to CNC Routing
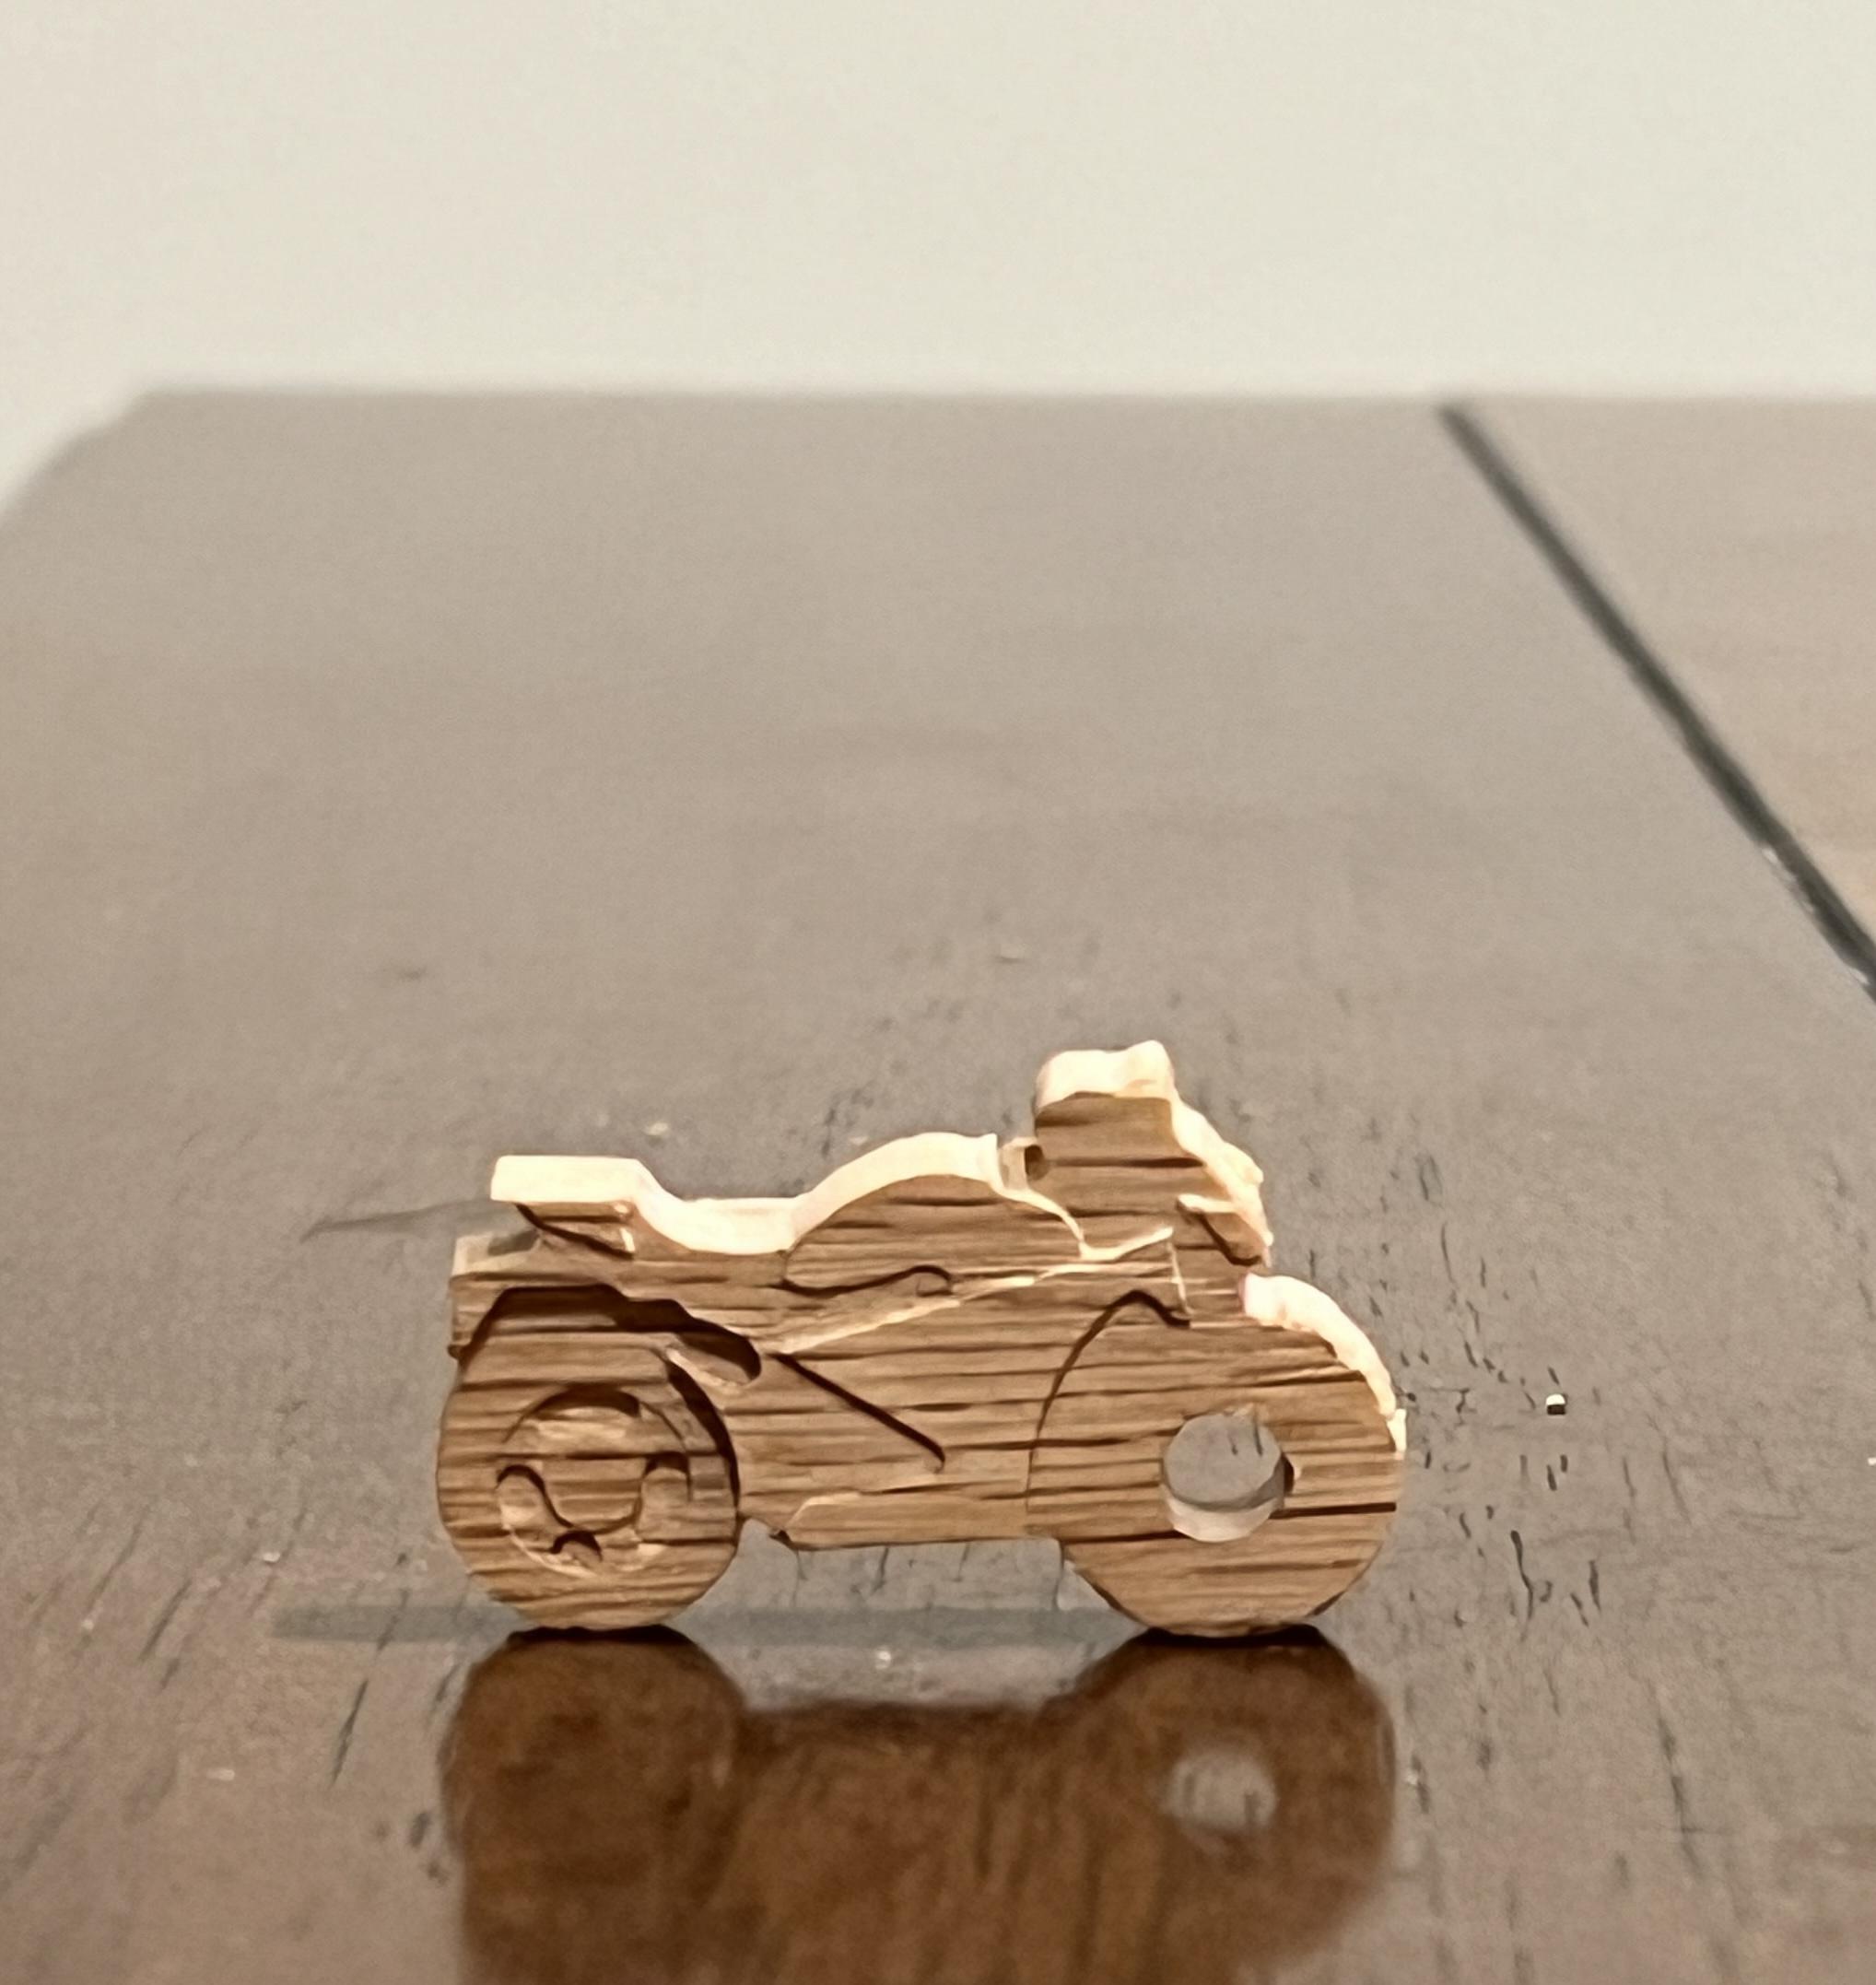
Hello! My name is Kavya Lalith and I'm a freshman at Georgia Institute of Technology.
For Christmas I wanted to make my dad a keychain, and this is a guide on how I did it!
I've never used a CNC Router before this project, so I wanted to make this guide to be a step-by-step tutorial for other beginners to make their first design. I know I was personally intimidated by the CNC Router when I started this project, so hopefully this helps someone else realize that it's really not that complicated!
Supplies
CNC Router (I'm personally using the Desktop CNC Router: Carvey by Inventable)
Drill Bit for Router (I'm using a 1/16 in flat drill bit, since that was the smallest drill bit available; a smaller drill bit allows you to have more intricate details, the only catch is if you want to finish the project without changing the drill bit it'll take longer)
Wood or any material compatible with your CNC Router (you can find free pieces of scrap wood at Home Depot or your local carpentry shop)
Calipers
Software Programs:
- Fusion 360
- Easel
CAD Model - Picking an Image
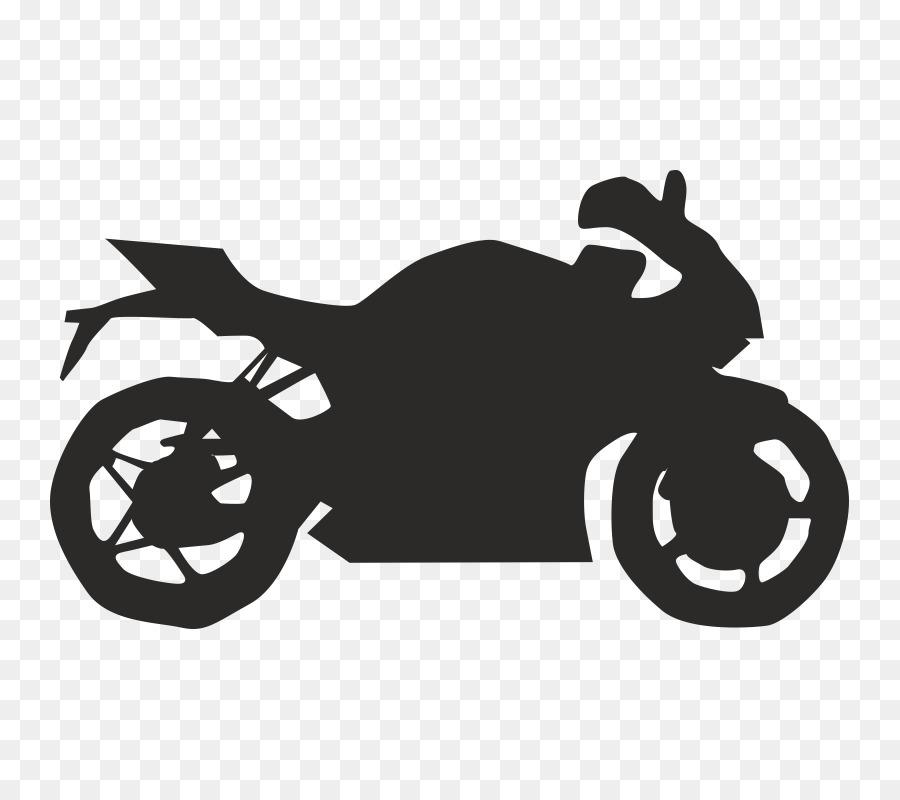
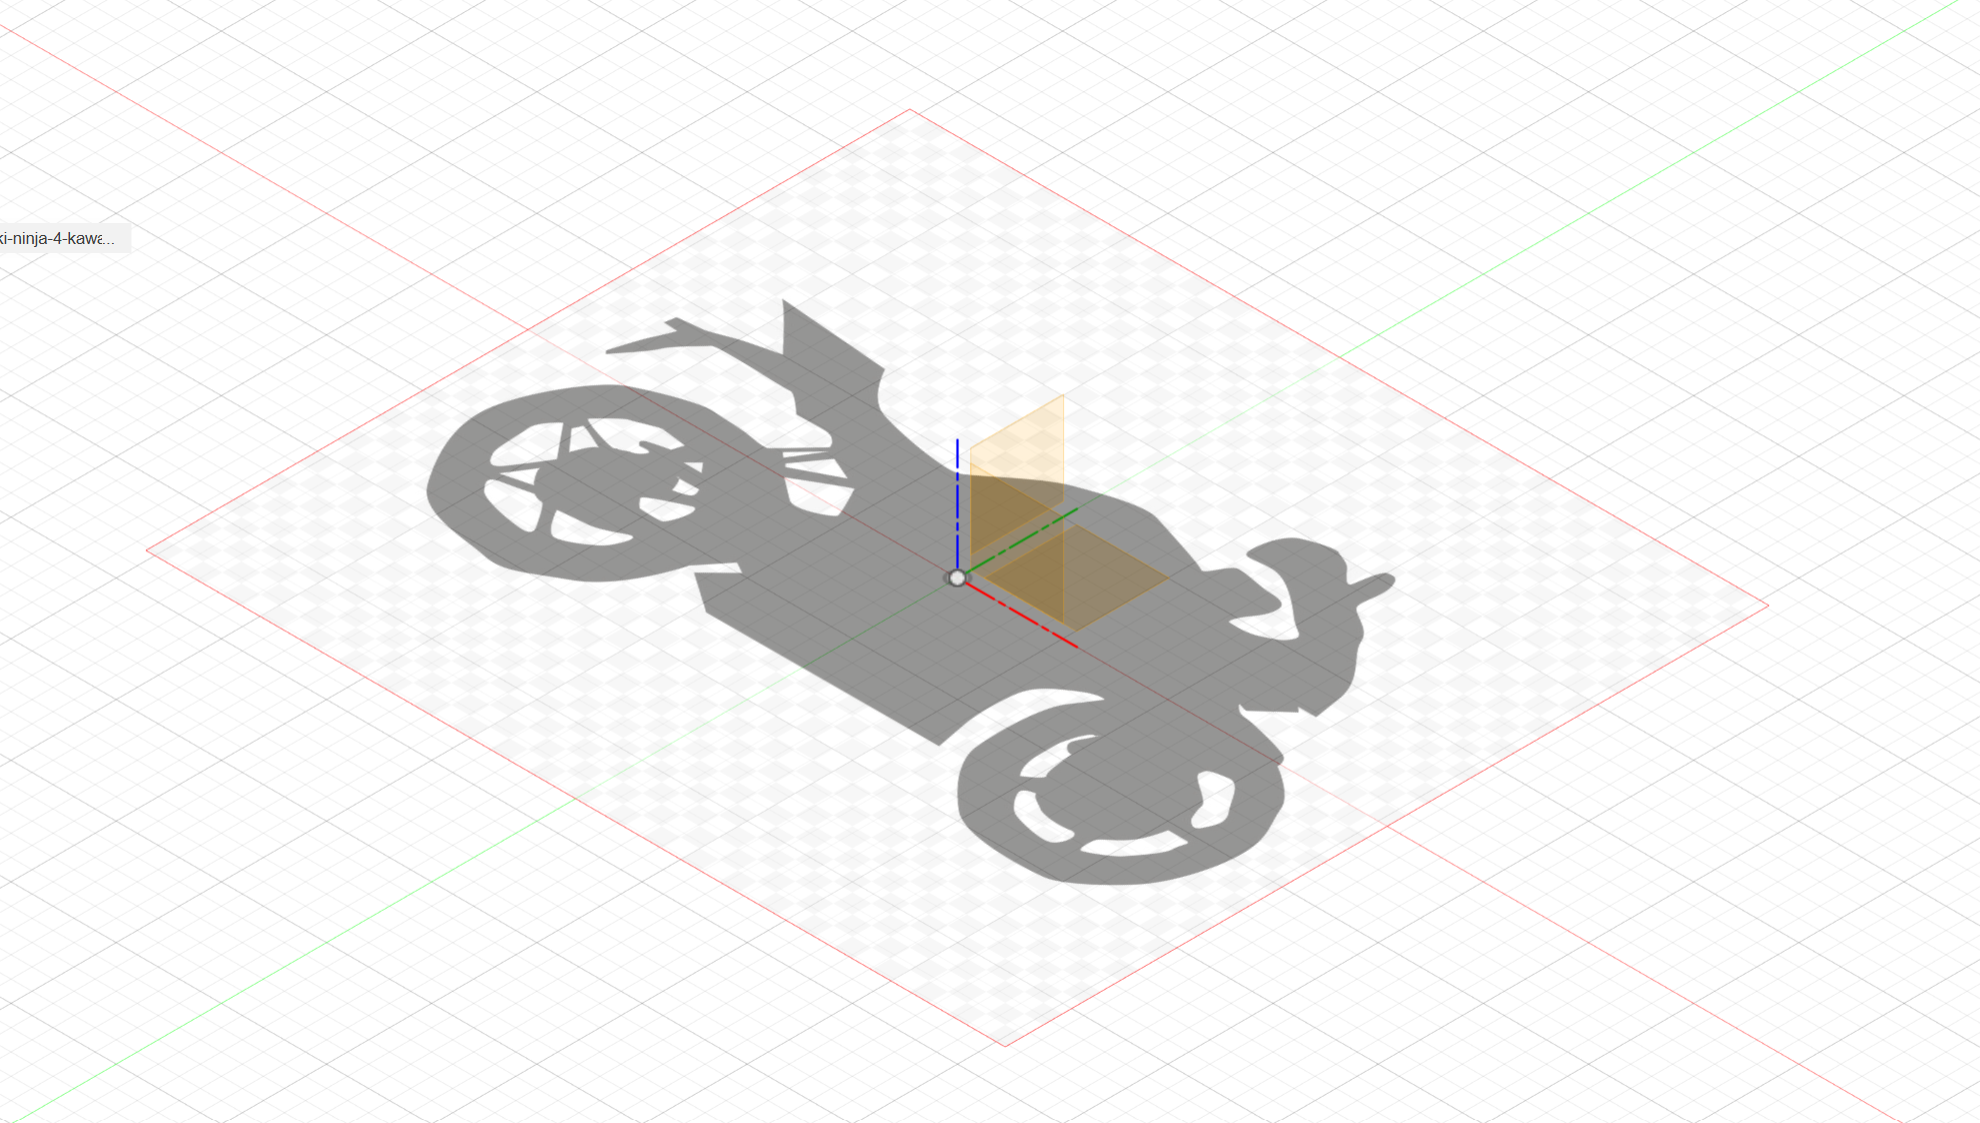
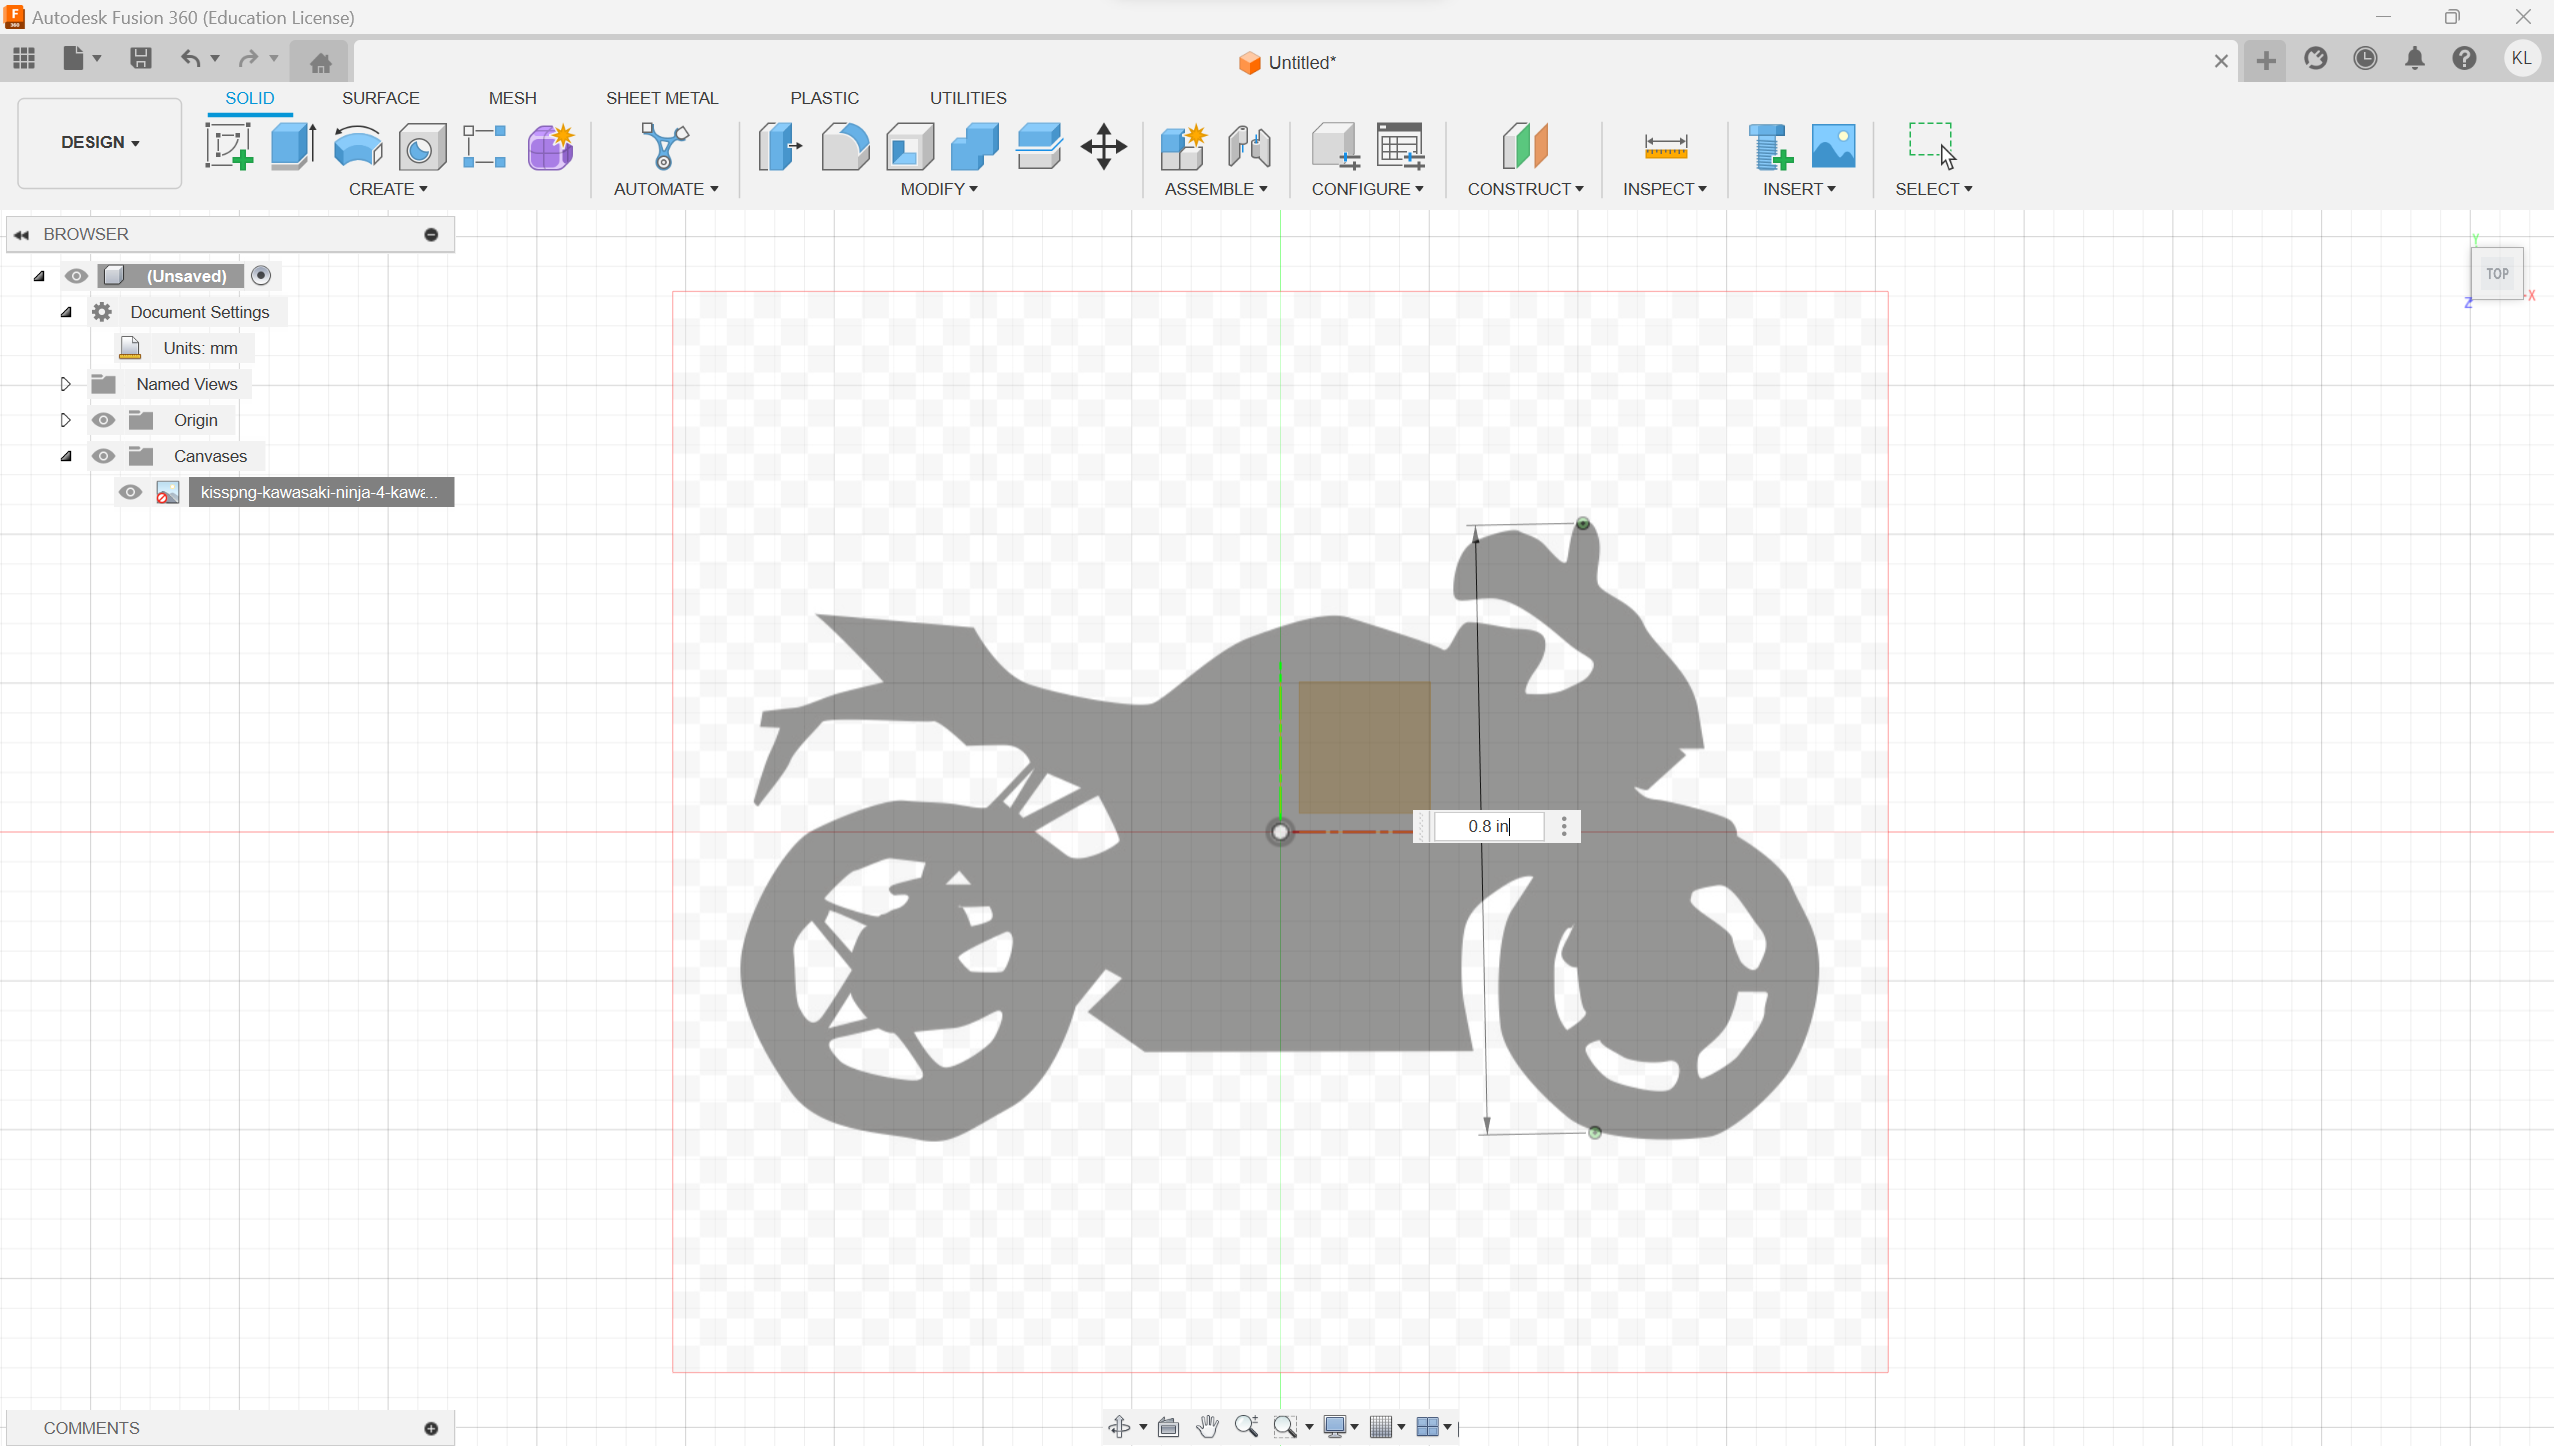
First, we need to create our model!
- Pick an image of the object you want to design for your keychain.
- Insert the image into Fusion 360, with the "Insert a Canvas" option. Select the the xy-plane as the "Face" for the image.
- Right click and calibrate the image to be whatever size you want. I selected the two points for calibration to be on the tallest point of my bike, and used that as a reference for deciding how big I wanted my overall keychain to be.
CAD - Designing the Body
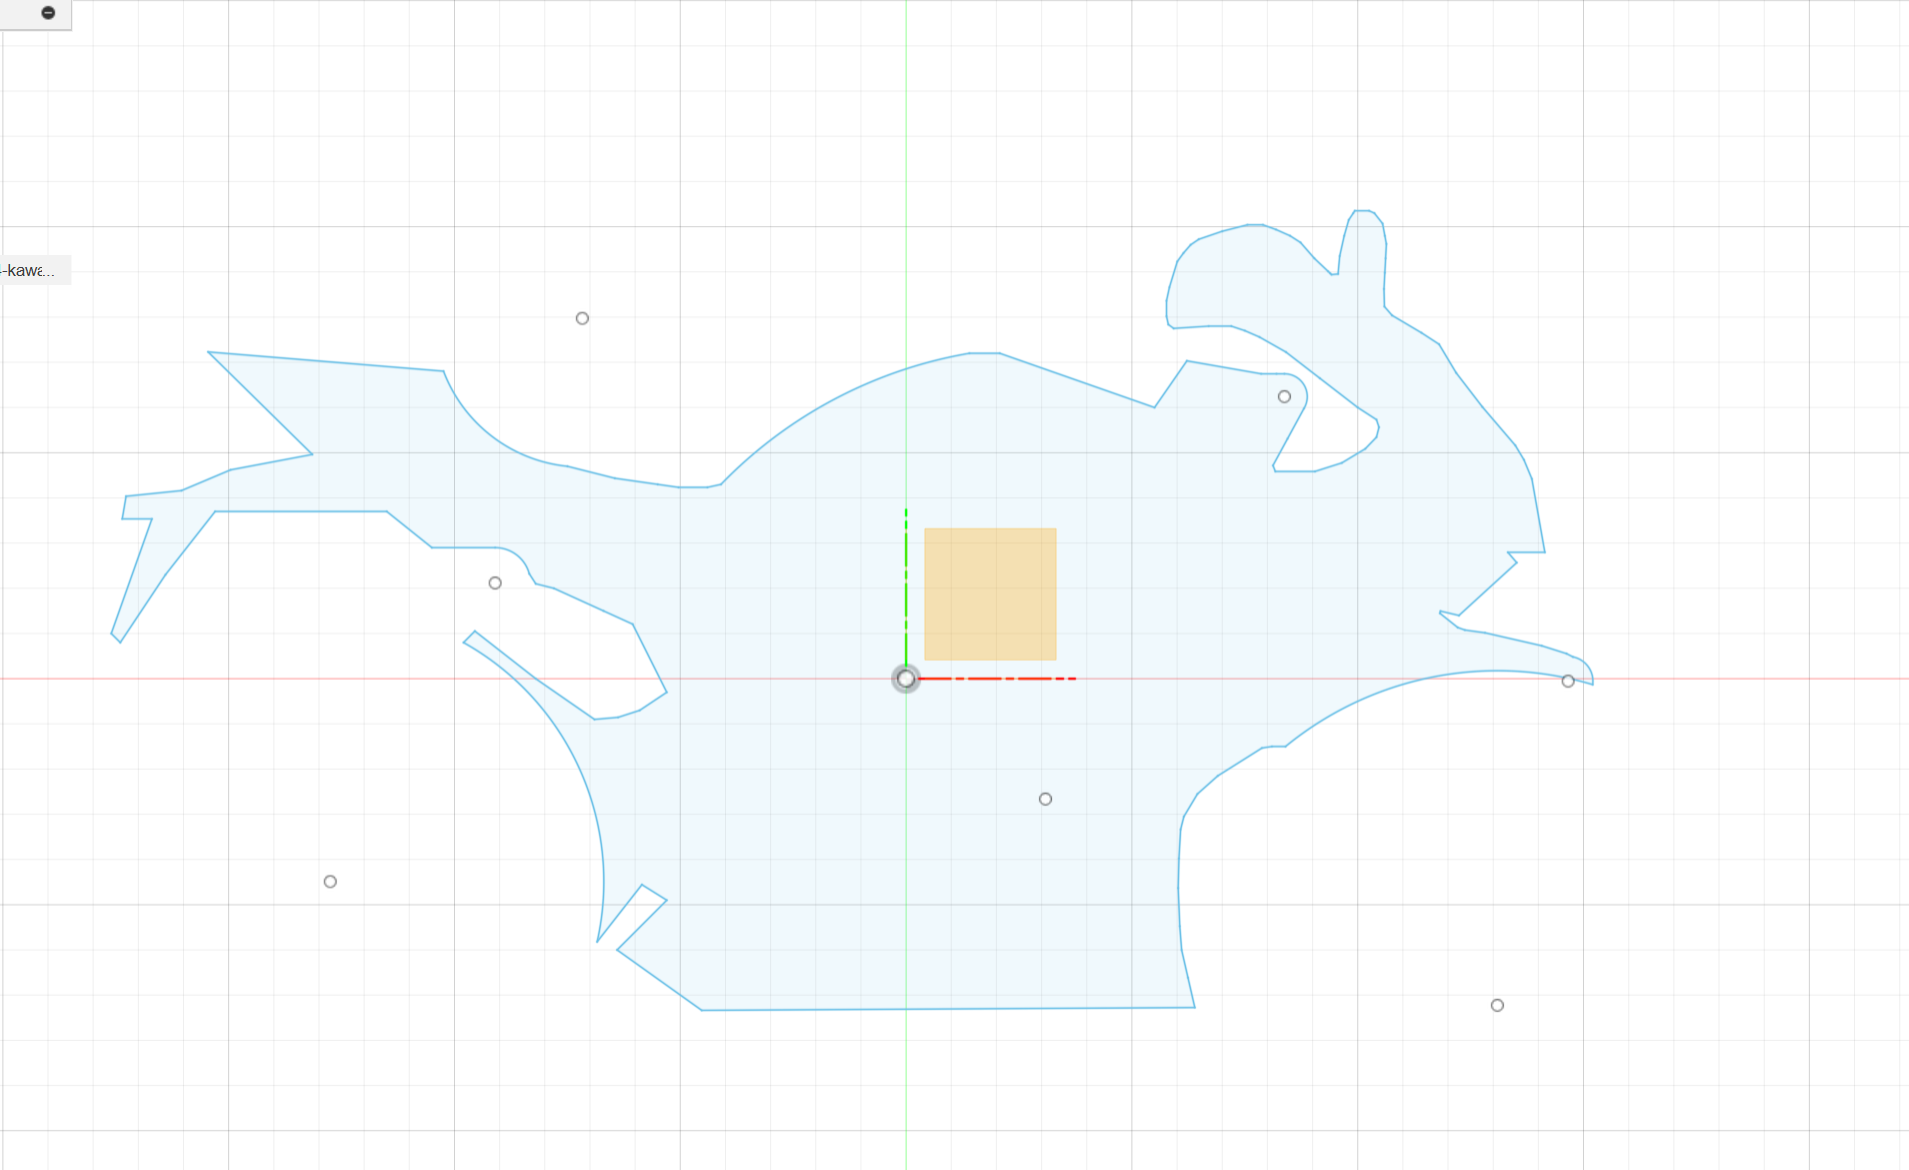
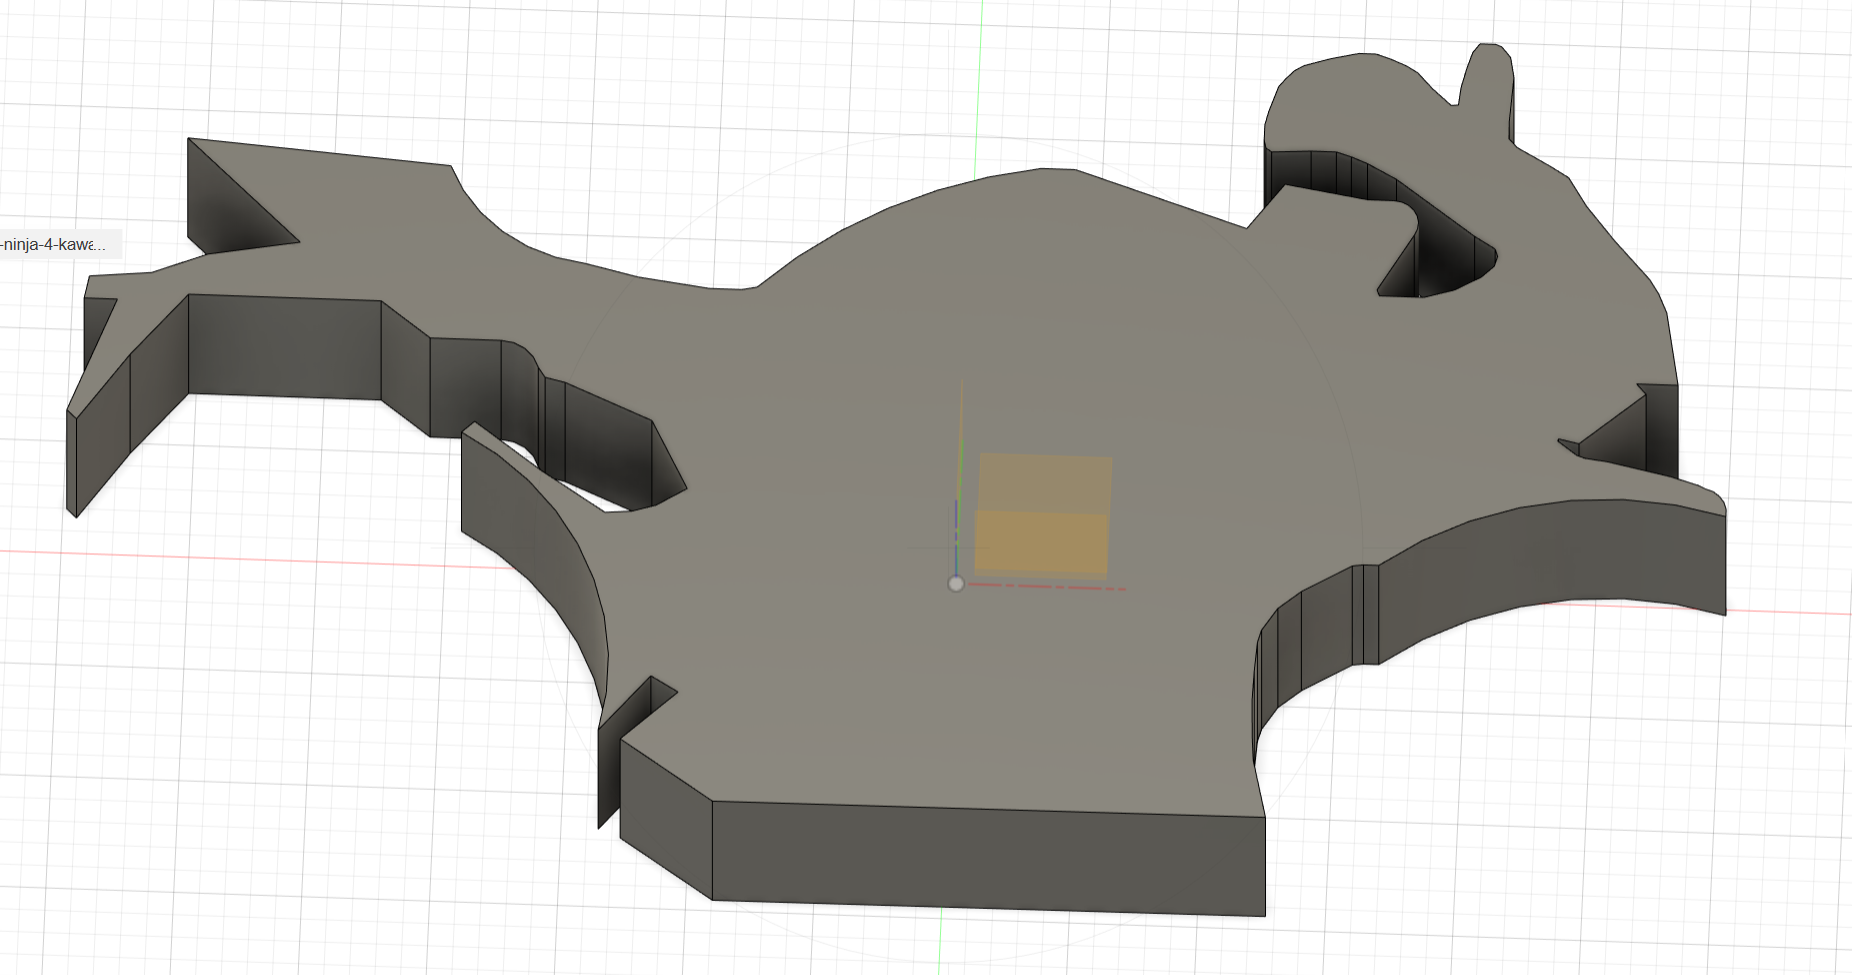
- Sketch out the base body of the bike, I used the line tool and 3-point arc tool, and most designs won't require any other tool. The key thing to remember here is to make sure that your sketch covers an enclosed space when you finish.
- Extrude your sketch. I extruded my sketch 0.6 cm because that was how thick I wanted my design to be.
CAD - Add Details (Optional)
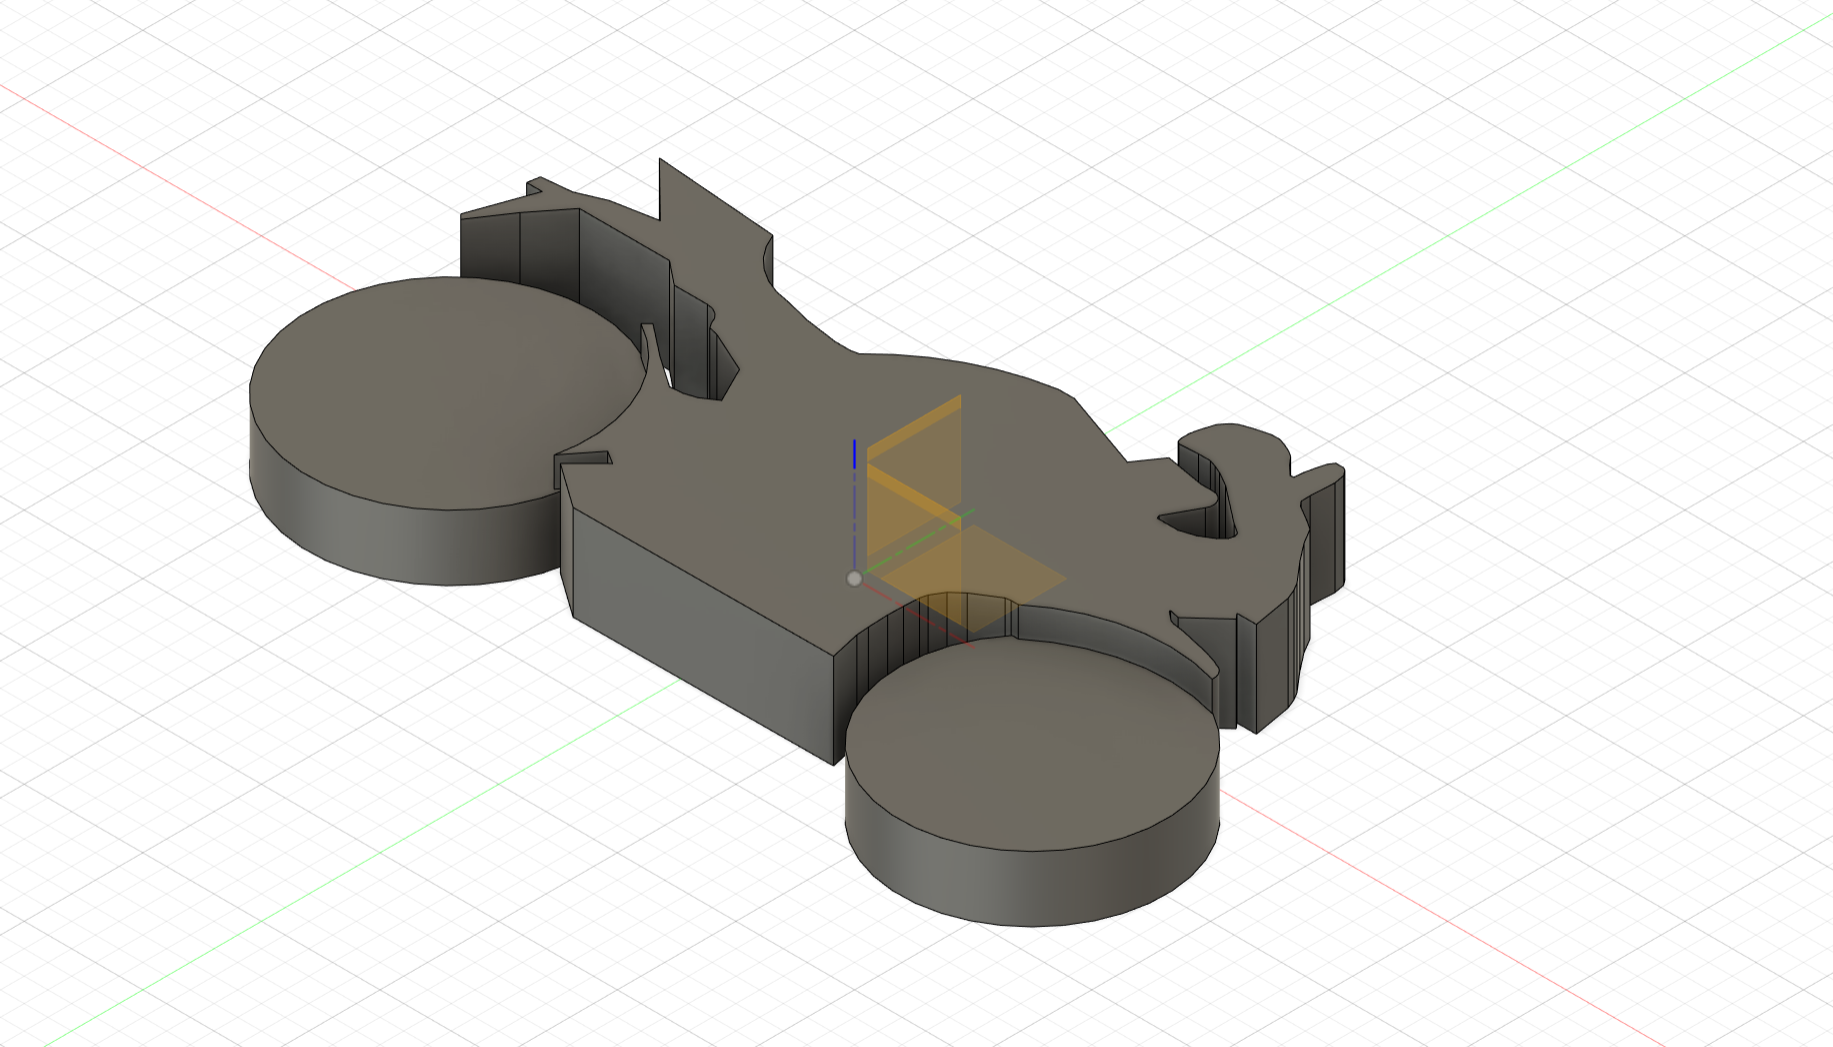
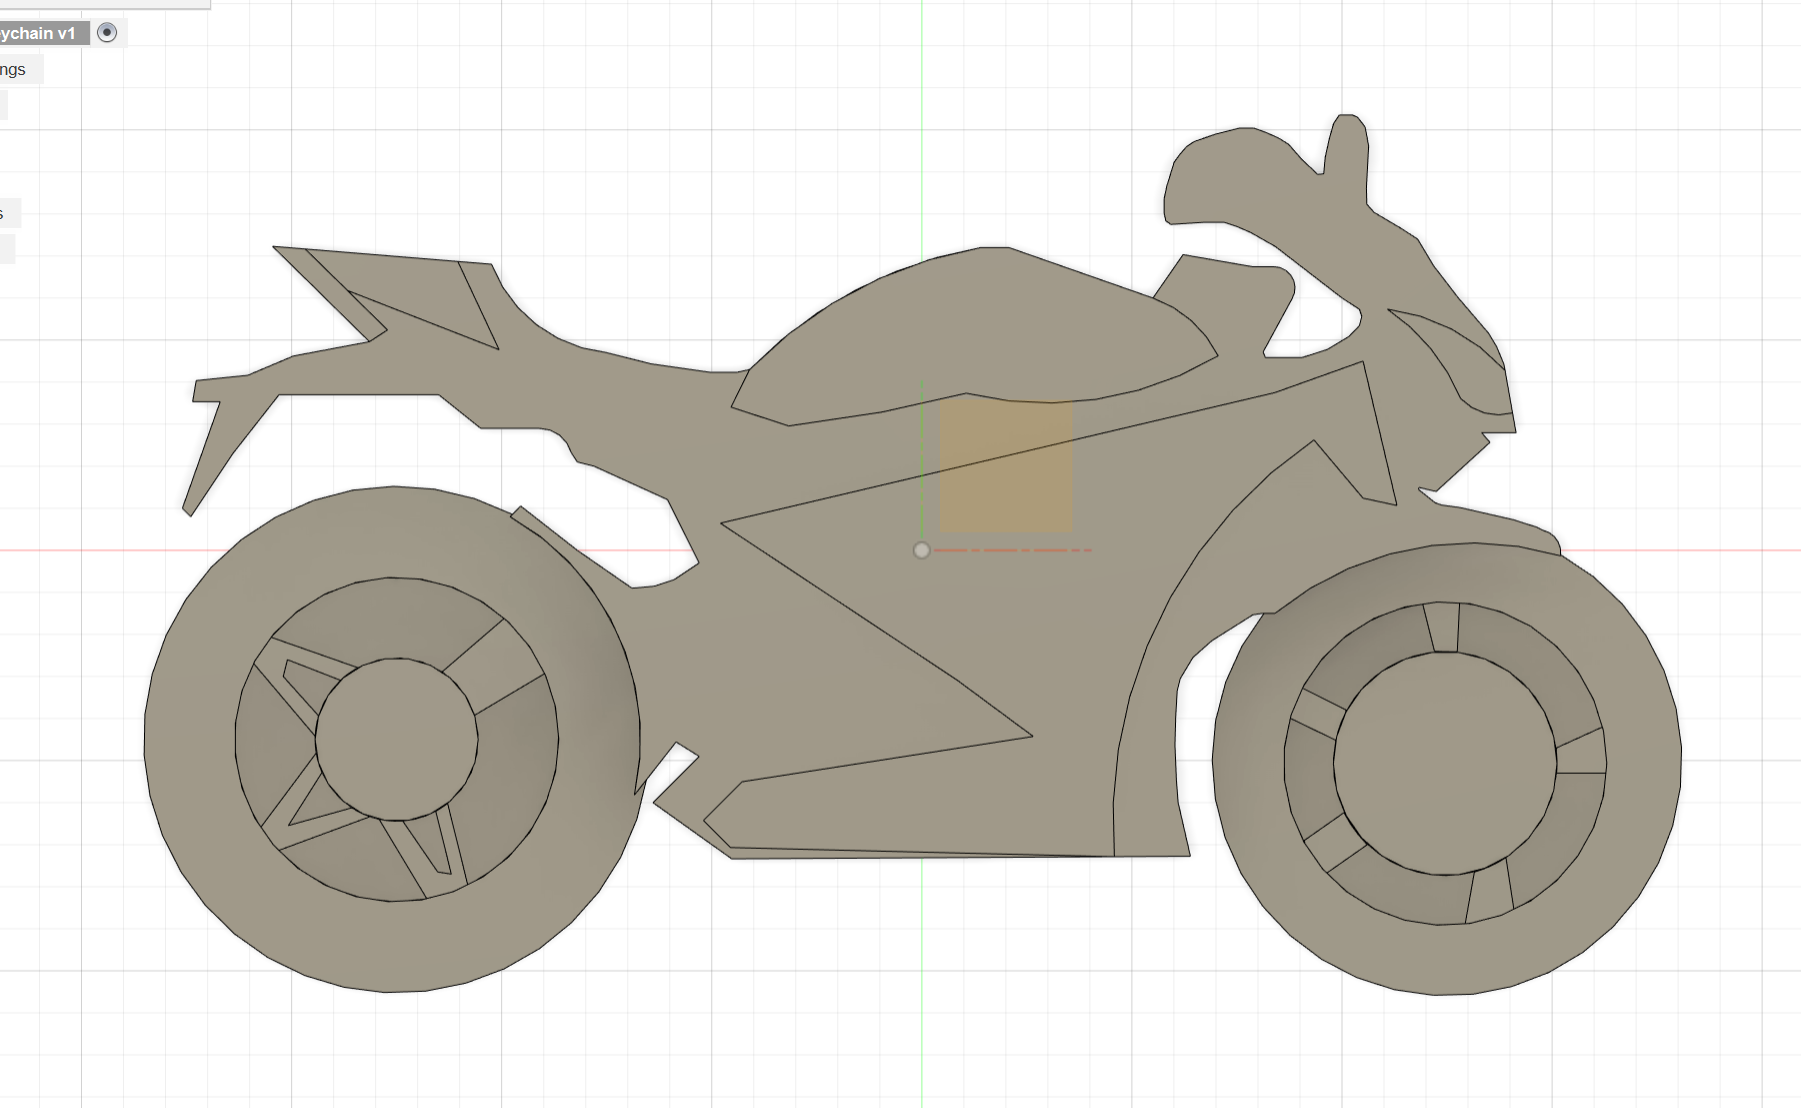
Now, that we have our base it's time for the fun details! This is entirely up to you how detailed you want to go, I wanted to add wheels to the bike, and add more dimension with some details like spokes and a headlamp. For these details I just created additional sketches on top of the body and extruded them.
Whatever you decide to do there's two things to keep in mind:
- The overall height of your keychain shouldn't exceed the height of your material.
- When adding the extrusions, either chose "Join" or "Cut" under the operations tab. This ensures that your design is still one body which will make the process easier in followings steps. When doing a "Cut" operation be careful not make your keychain too thin or take off too much materials, just to make sure your keychain isn't too fragile.
An example of what I did for the wheels: I sketched the wheels, and made sure they were a little big so that they overlapped with the body, to make sure they were connected to the body. Next, I did a "Join" extrusion and extruded the wheels by 3mm.
CAD Model - Keychain Hole
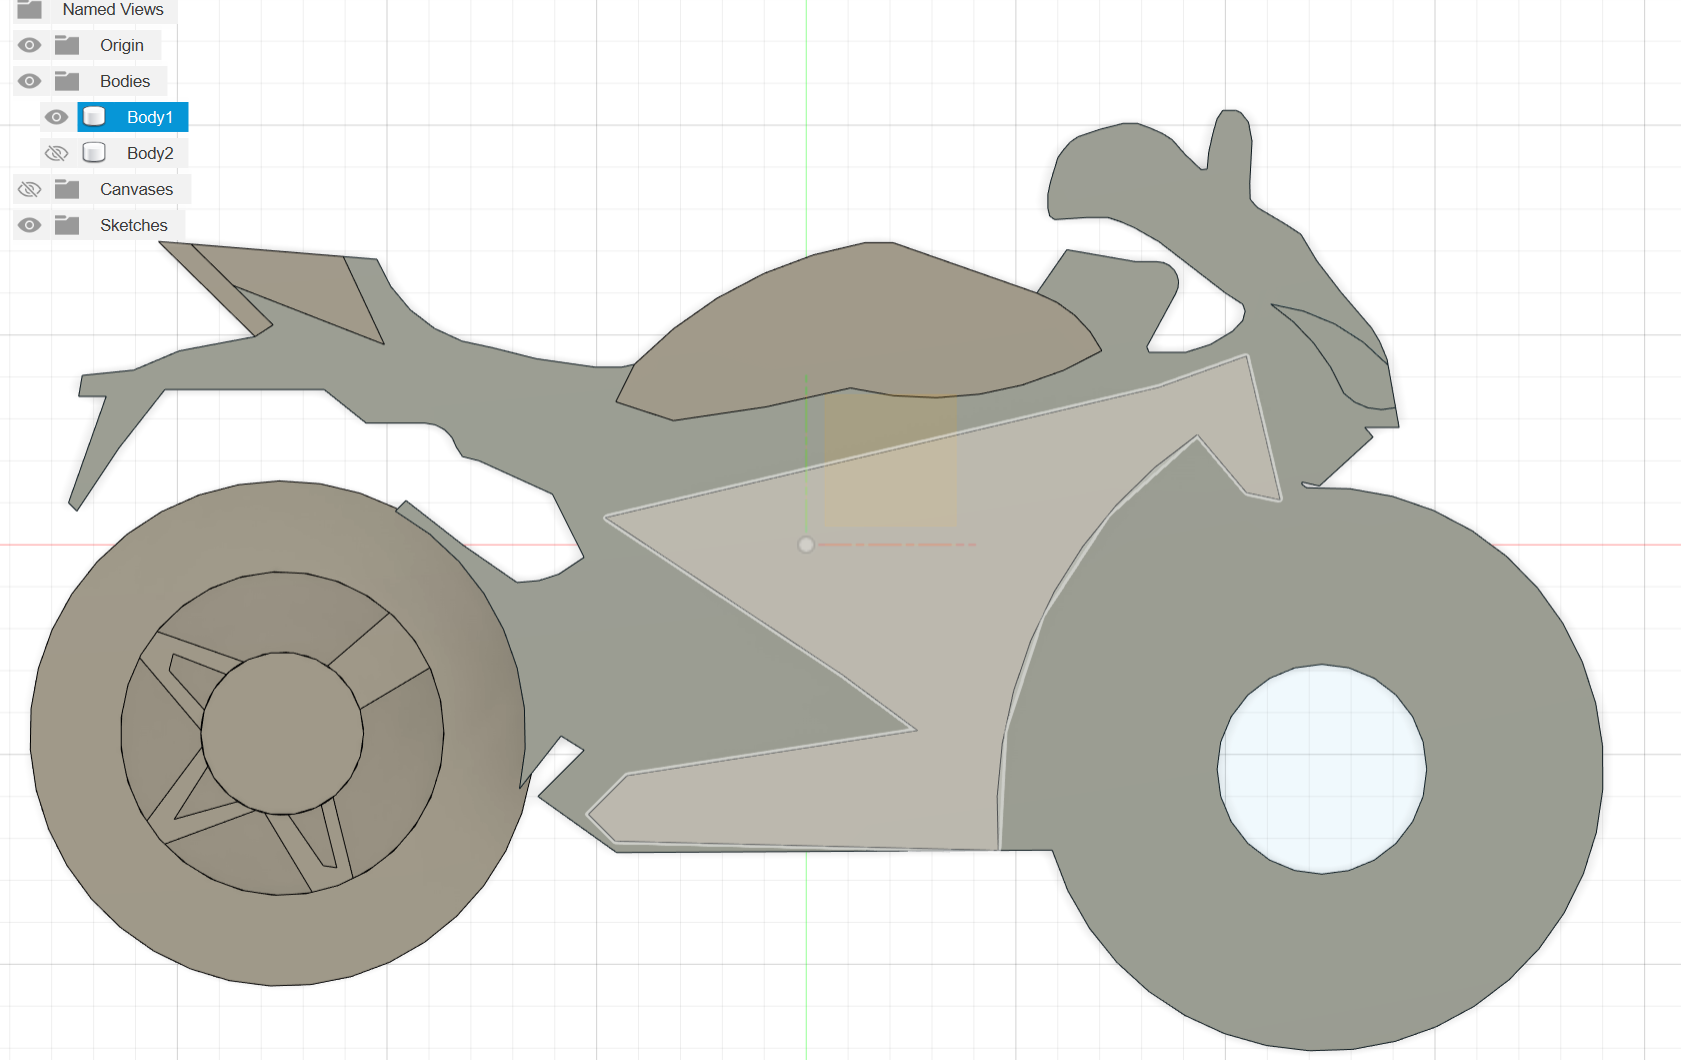
Lastly, don't forget to make a hole for the keychain ring!
- Sketch a circle approximately the diameter of 5mm, and make a cut extrusion to make the hole.
CAM (Computer-Aided Manufacturing) Time!
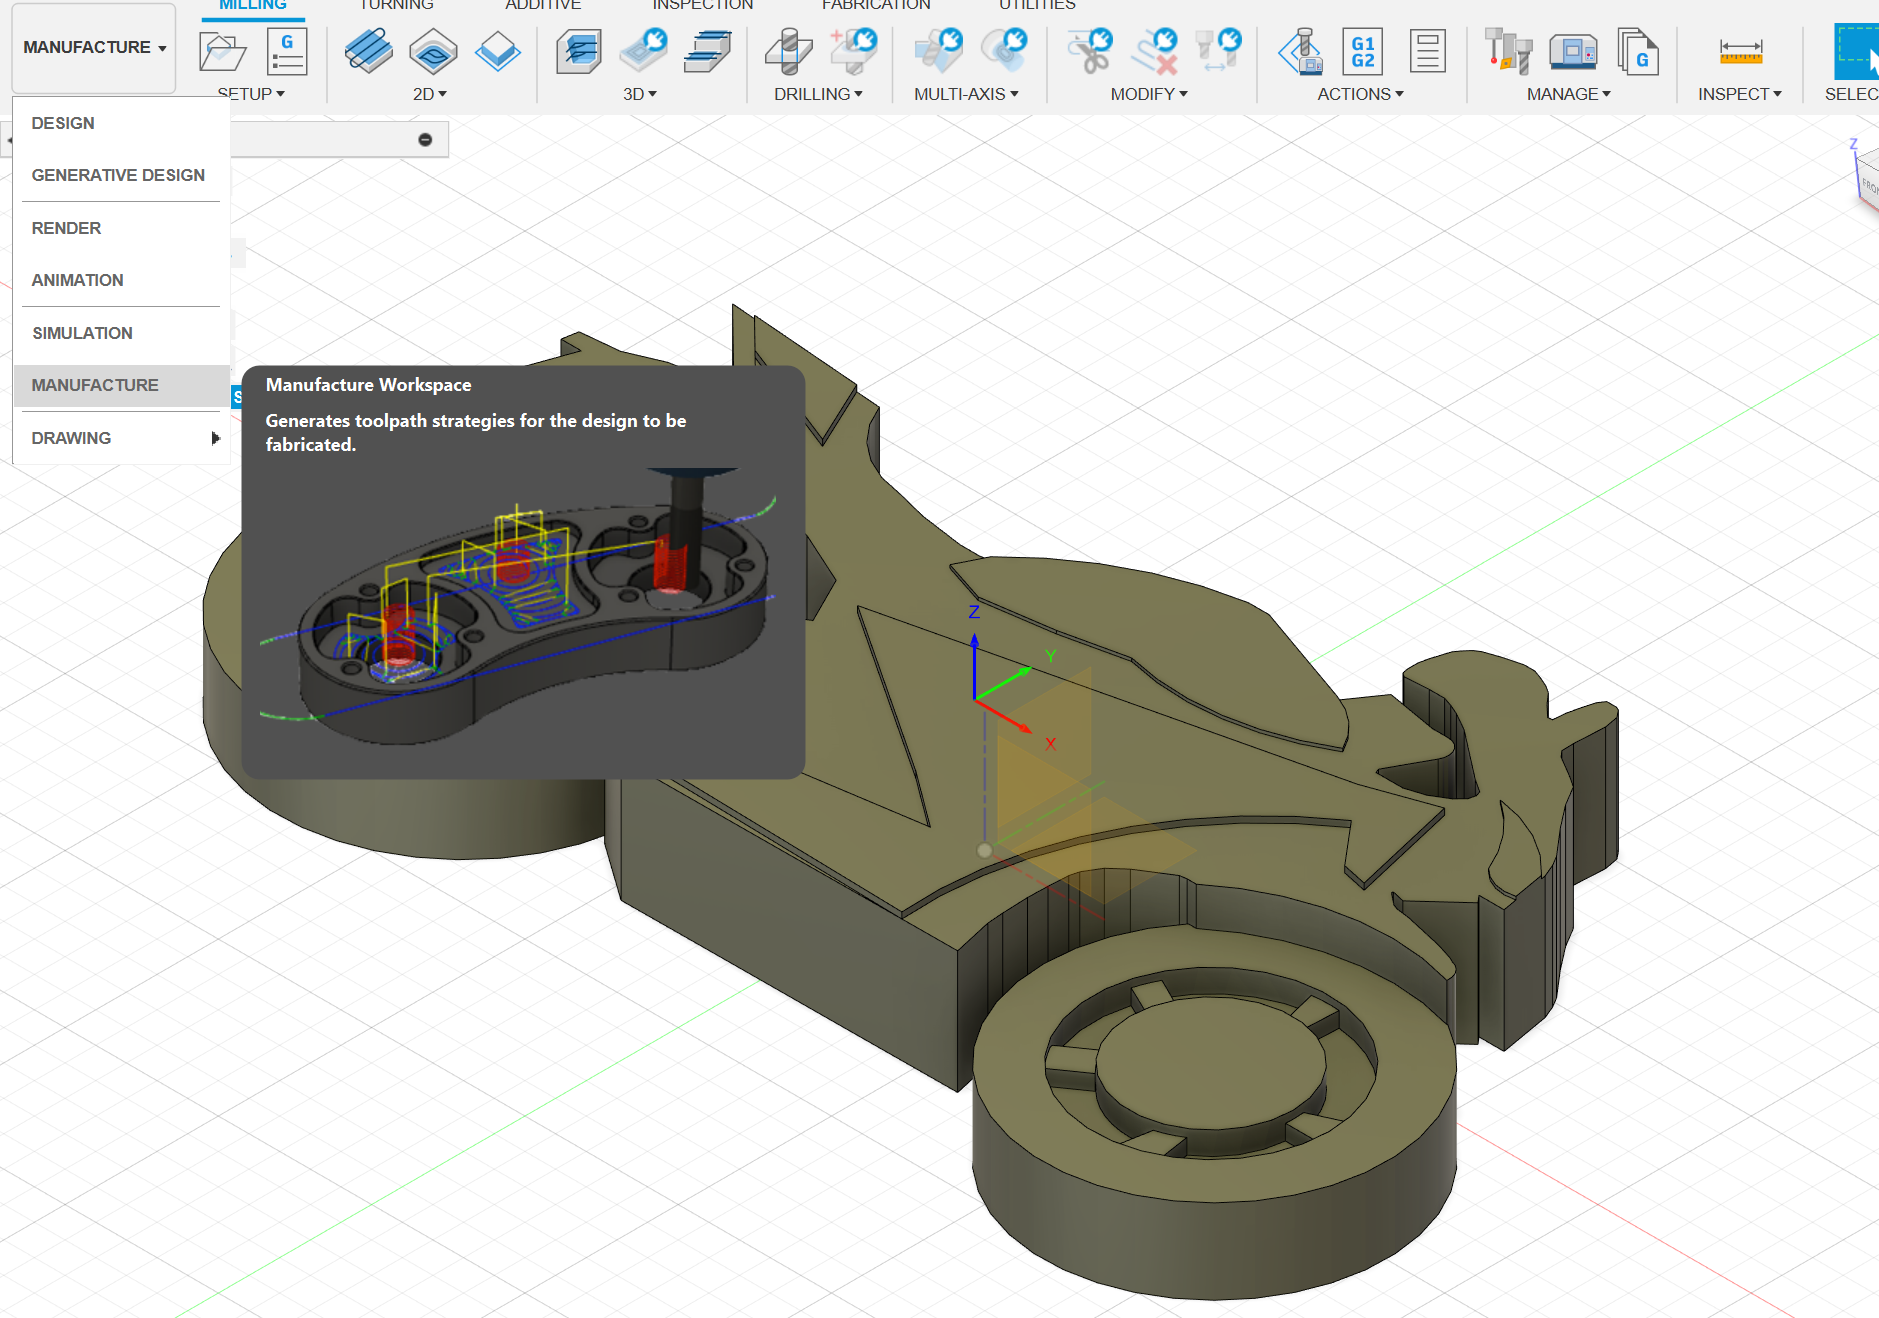
In the workplace dropdown select manufacturing, now you're ready to tell your CNC Router how to make your design come to life!
CAM - Setup & Stock
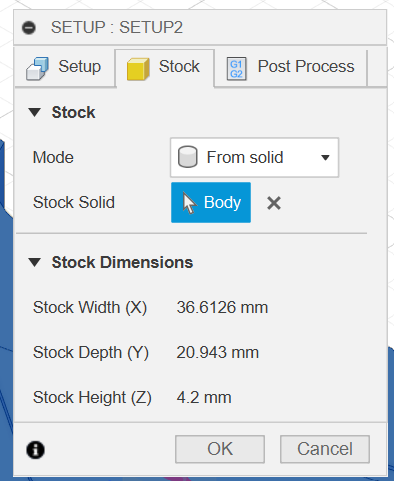
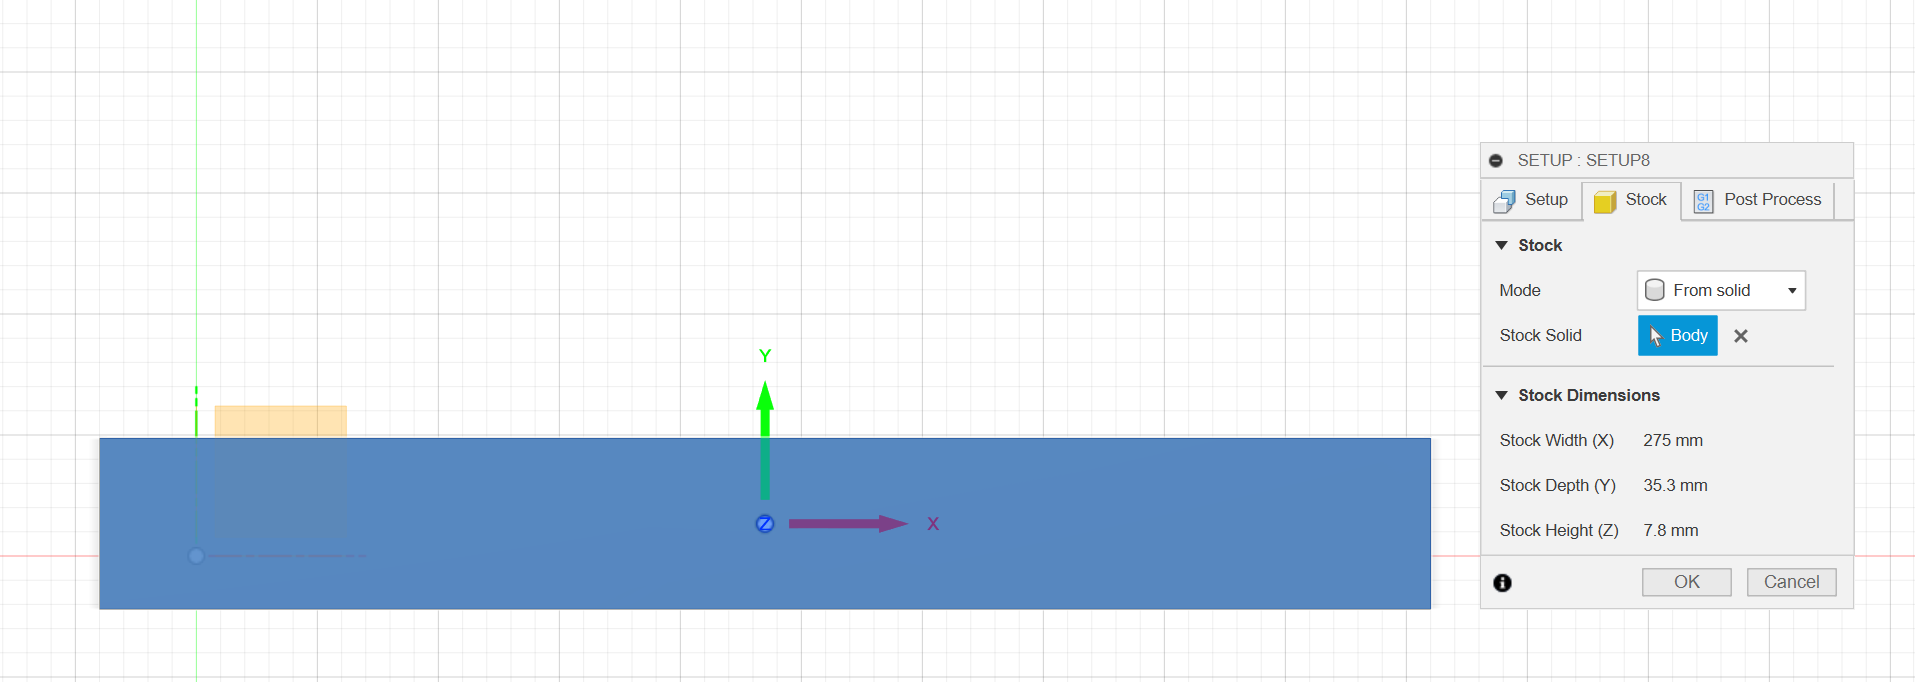
- Add a new setup, this should pull up a tab where you select the stock tab.
- First, use the calipers to measure the dimensions of your stock.
- Next, there's two things you can do for your stock. Either select "Fixed Size Box" under the "Stock" tab and then input the dimensions of the material you're using, or you can go back to the Design workplace create a new body representing your stock and select that body to be your stock. (The images show the second way).
CAM - Drill Bit Setup
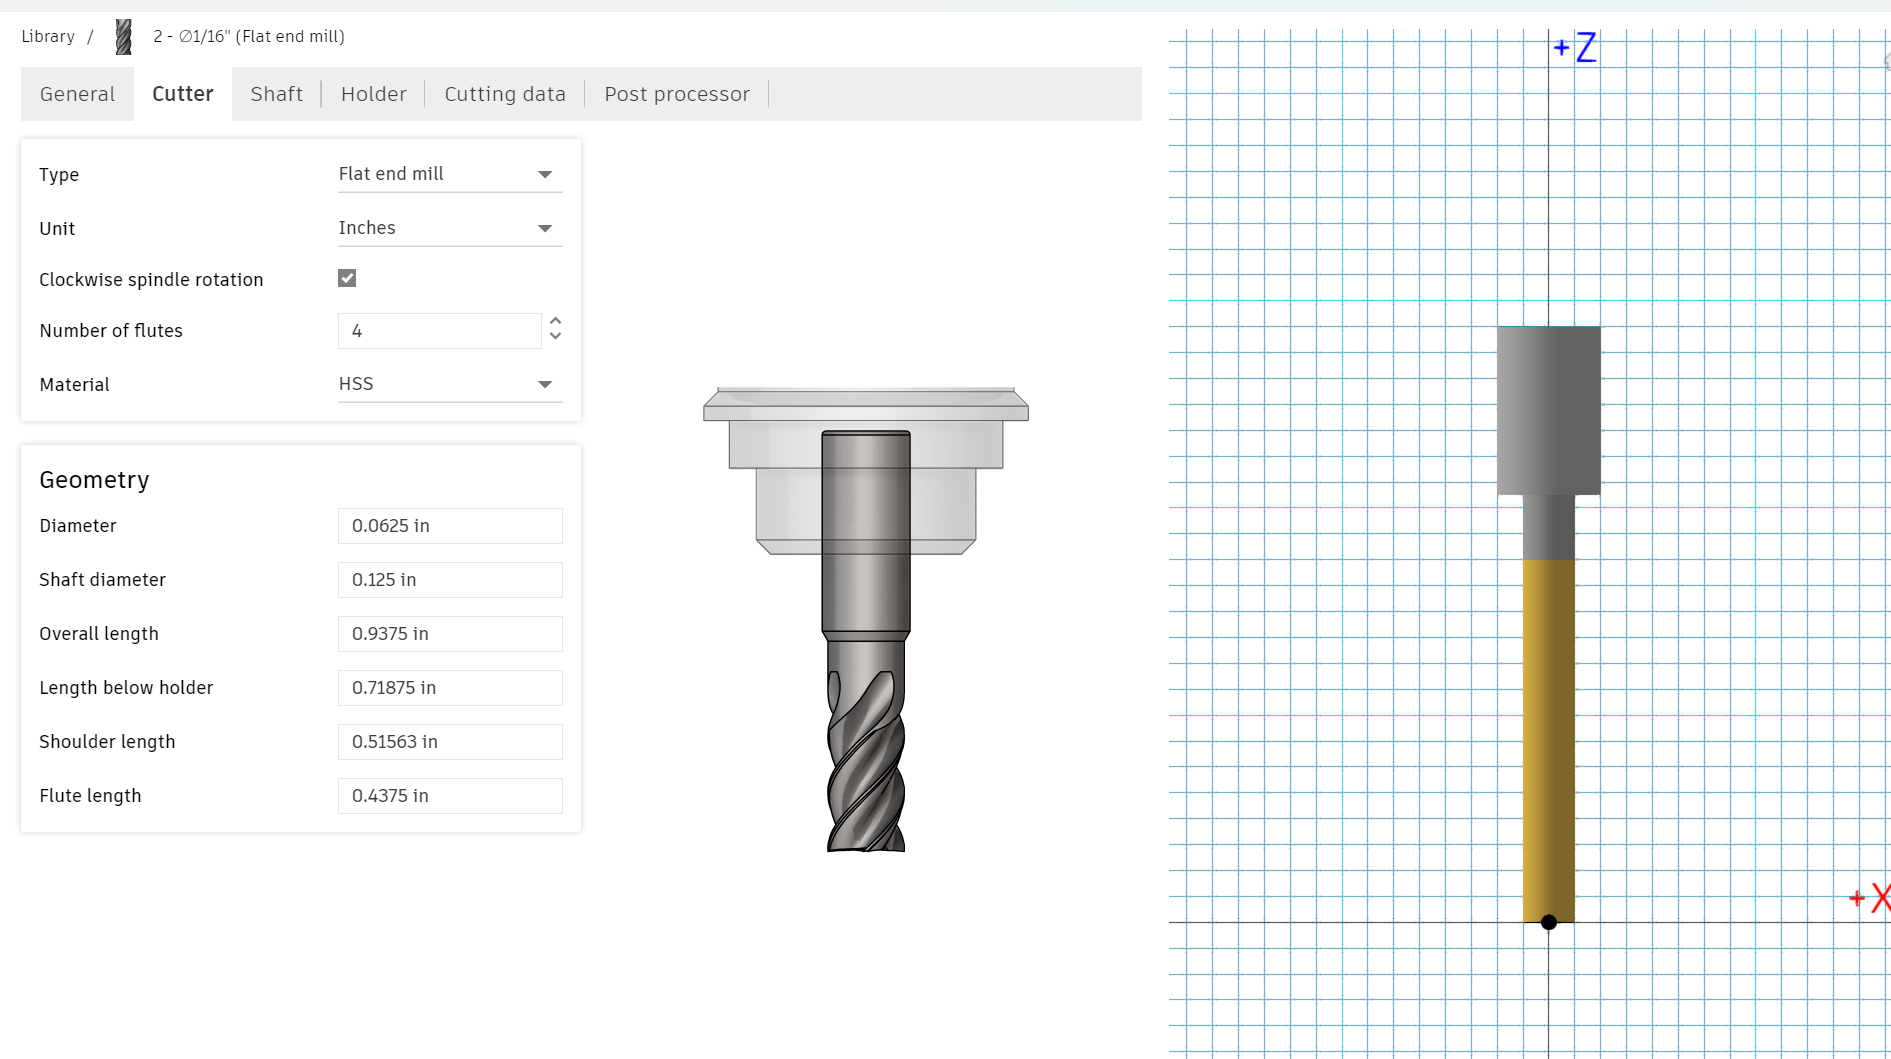
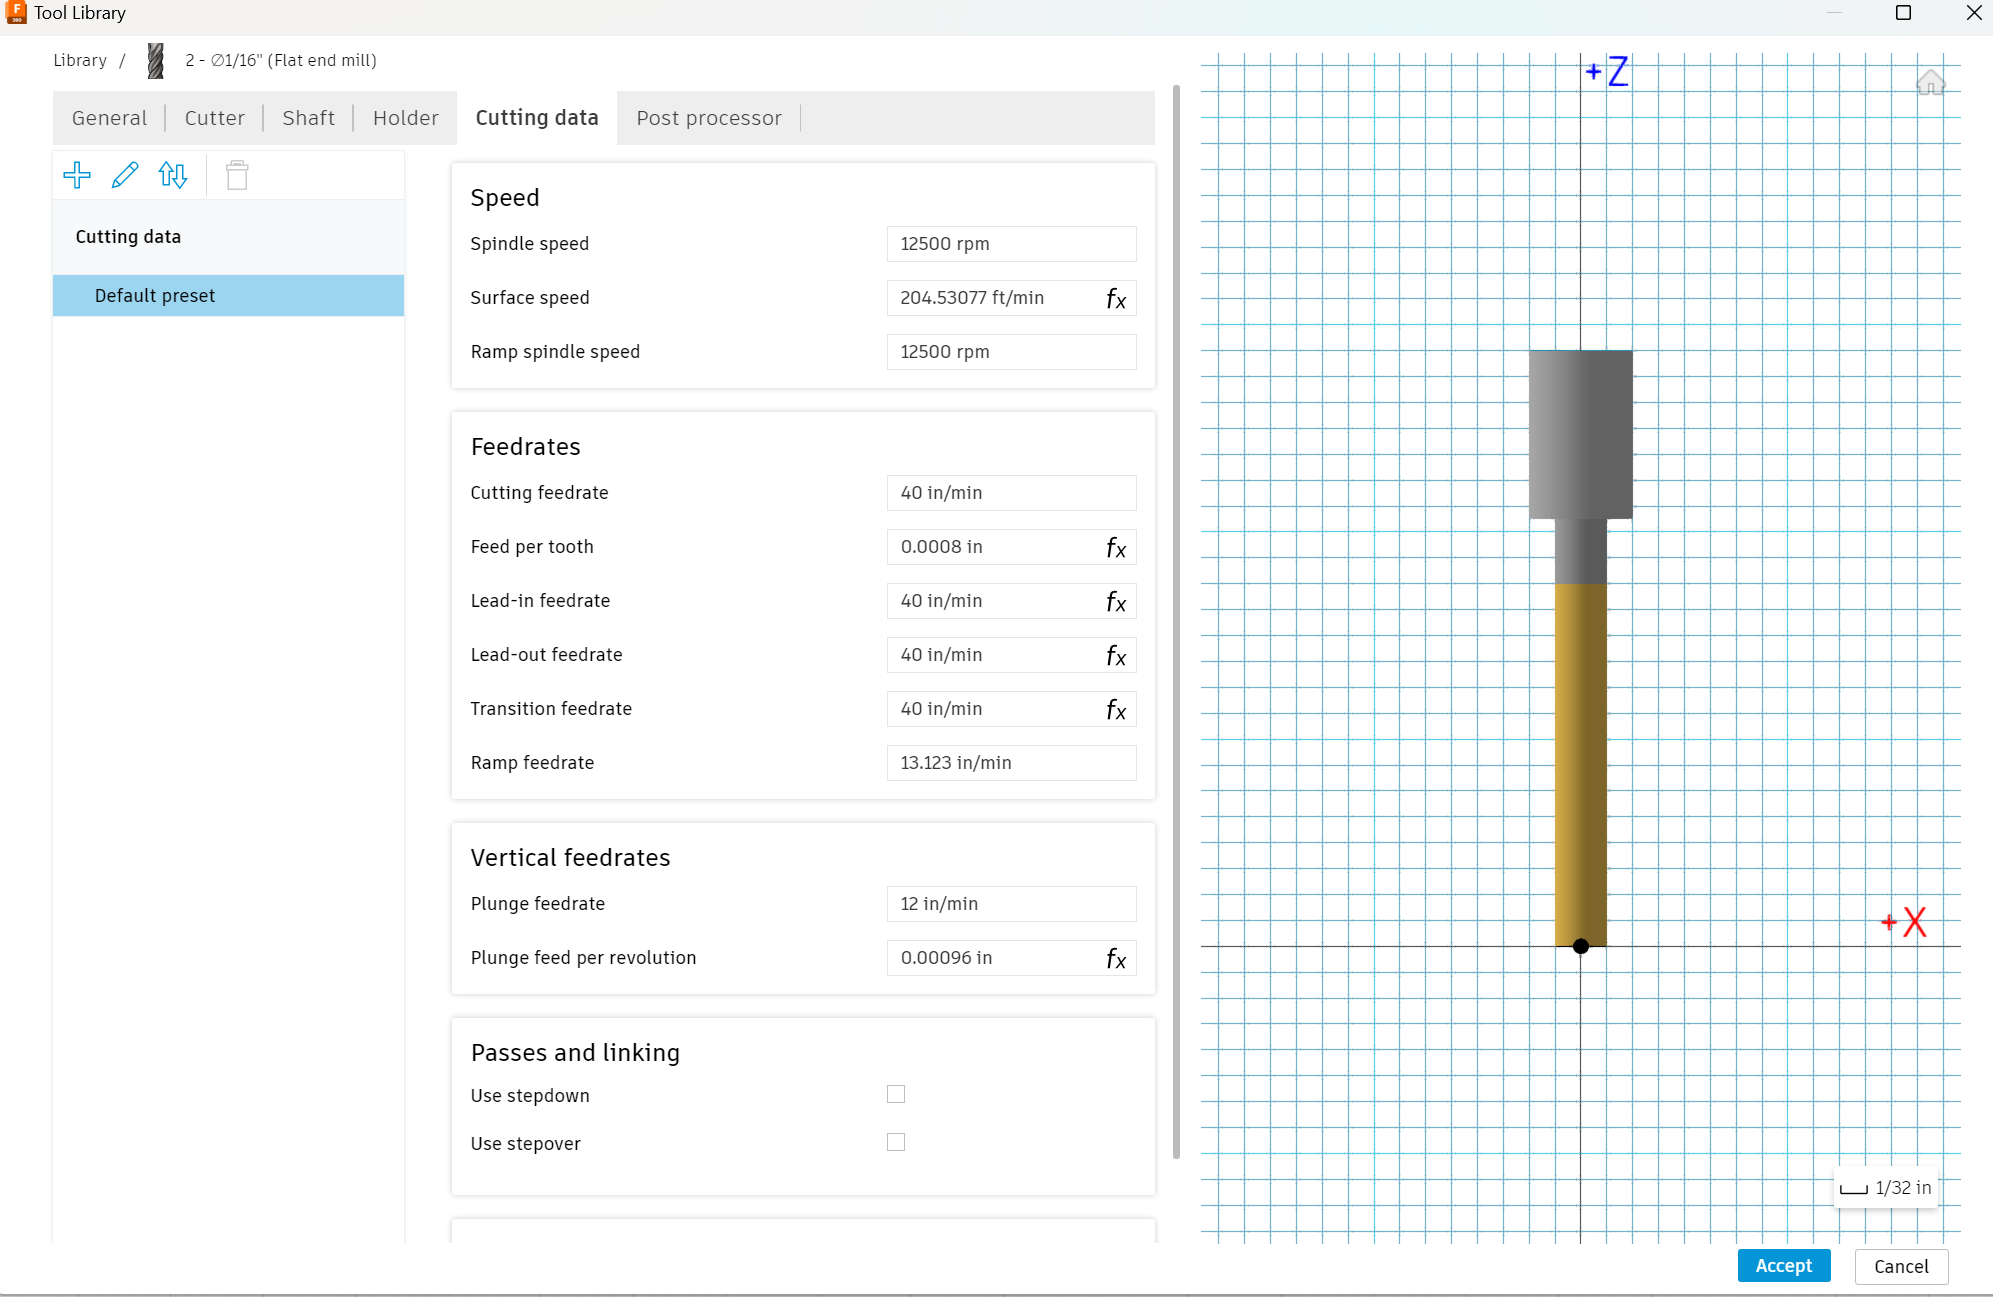
Next, set up your drill bit.
- Open up your tool library and in the "Local" tab create a new drill bit.
- Now, the settings here are individualized depending on the CNC, material, and drill bits you have available. I used a Carvey Desktop CNC Router with a 1/16 in flat bottom drill bit, and a piece of oak wood.
- To set-up your drill bit, if you don't have the data for the settings, you can measure the data using a caliper. To figure out what kind of drill bit you have you can use this guide: https://www.elephant-cnc.com/blog/complete-buyer-guide-of-cnc-router-bits/
- A trick if you want to figure out the feedrate and plungerate for your specific material with your specific bit: use Easel. Input your material type and select your specific drill bit, now click on cut settings to find out your specific rates!
CAM - Toolpaths
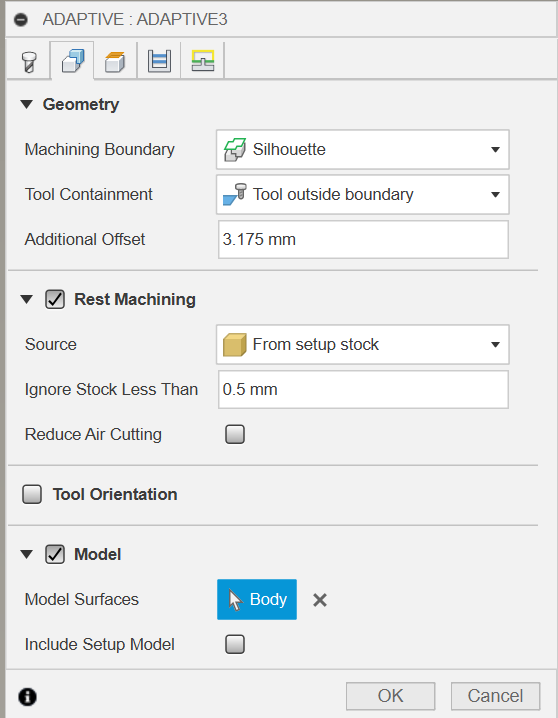
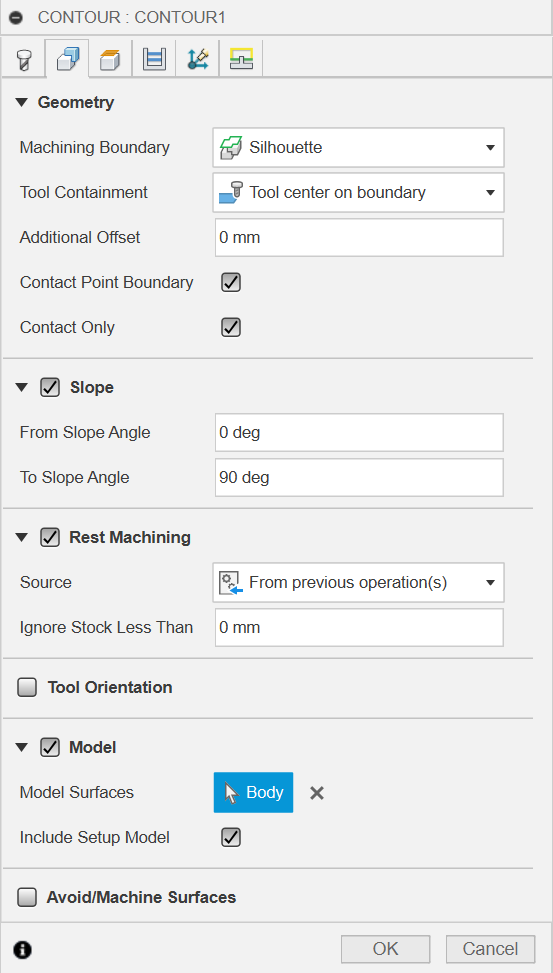
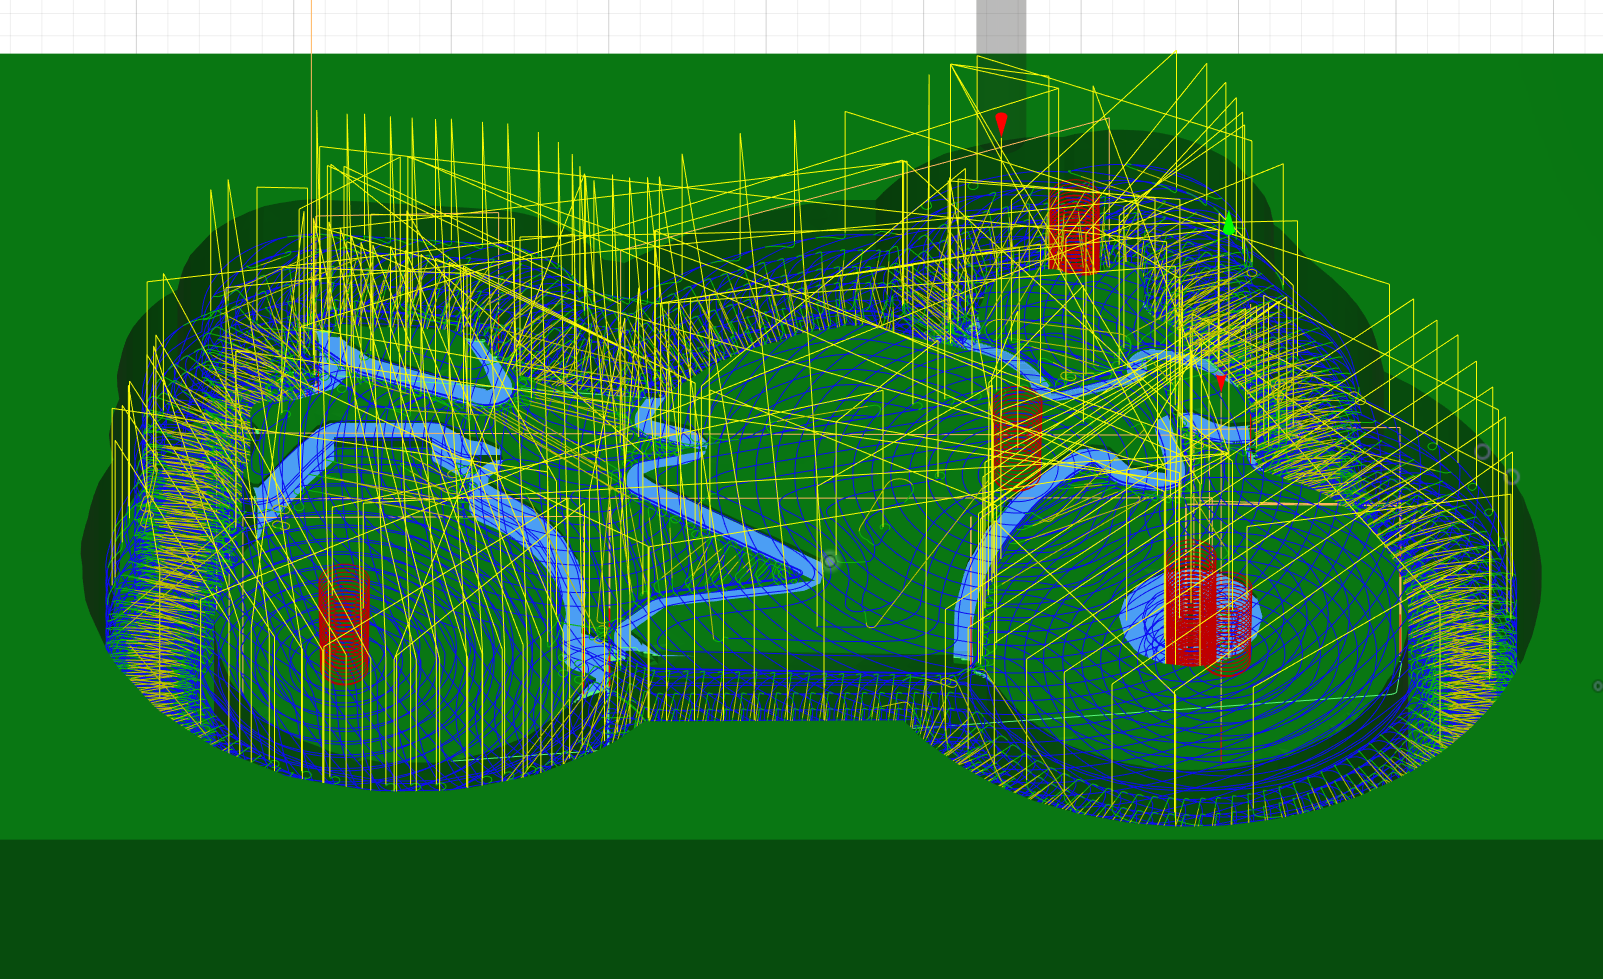
Let's start our first toolpath. This is basically the instructions we give our CNC Router to tell it what and how to cut up our stock.
- Select Adaptive Clearing from the 3D menu. Now, in the Tool tab select the tool you made in the previous step. In the Geometry tab copy the details from image 1, the only option that may be different for you is if you're using a bigger drill bit you'll want the "Offset" for your silhouette to be bigger (roughly twice as big as your drill bit's diameter. Next for the Passes tab, change the "Maximum Roughing Stepdown" to the depth rate you generated in the previous step from easel.
- Optional: if you want a smoother finish on your keychain:
- In the Passes tab select the "Stock to Leave" option. Leave around 0.2mm - 0.5mm extra stock.
- Select Parallel from the 3D menu. Set this toolpath up the same way, with one key difference: in the Geometry tab under "Rest Machining" choose "From Previous Operations" and set it to ignore stock less than whatever value you entered in the part A.
- Now select on both toolpaths after they generate and try simulating the toolpaths. This will show you a computer generated version of what you can expect when your CNC Router is done running the toolpaths. If everything looks good you can go on to the next step!
CAM & Machine Controller - Exporting the Toolpaths
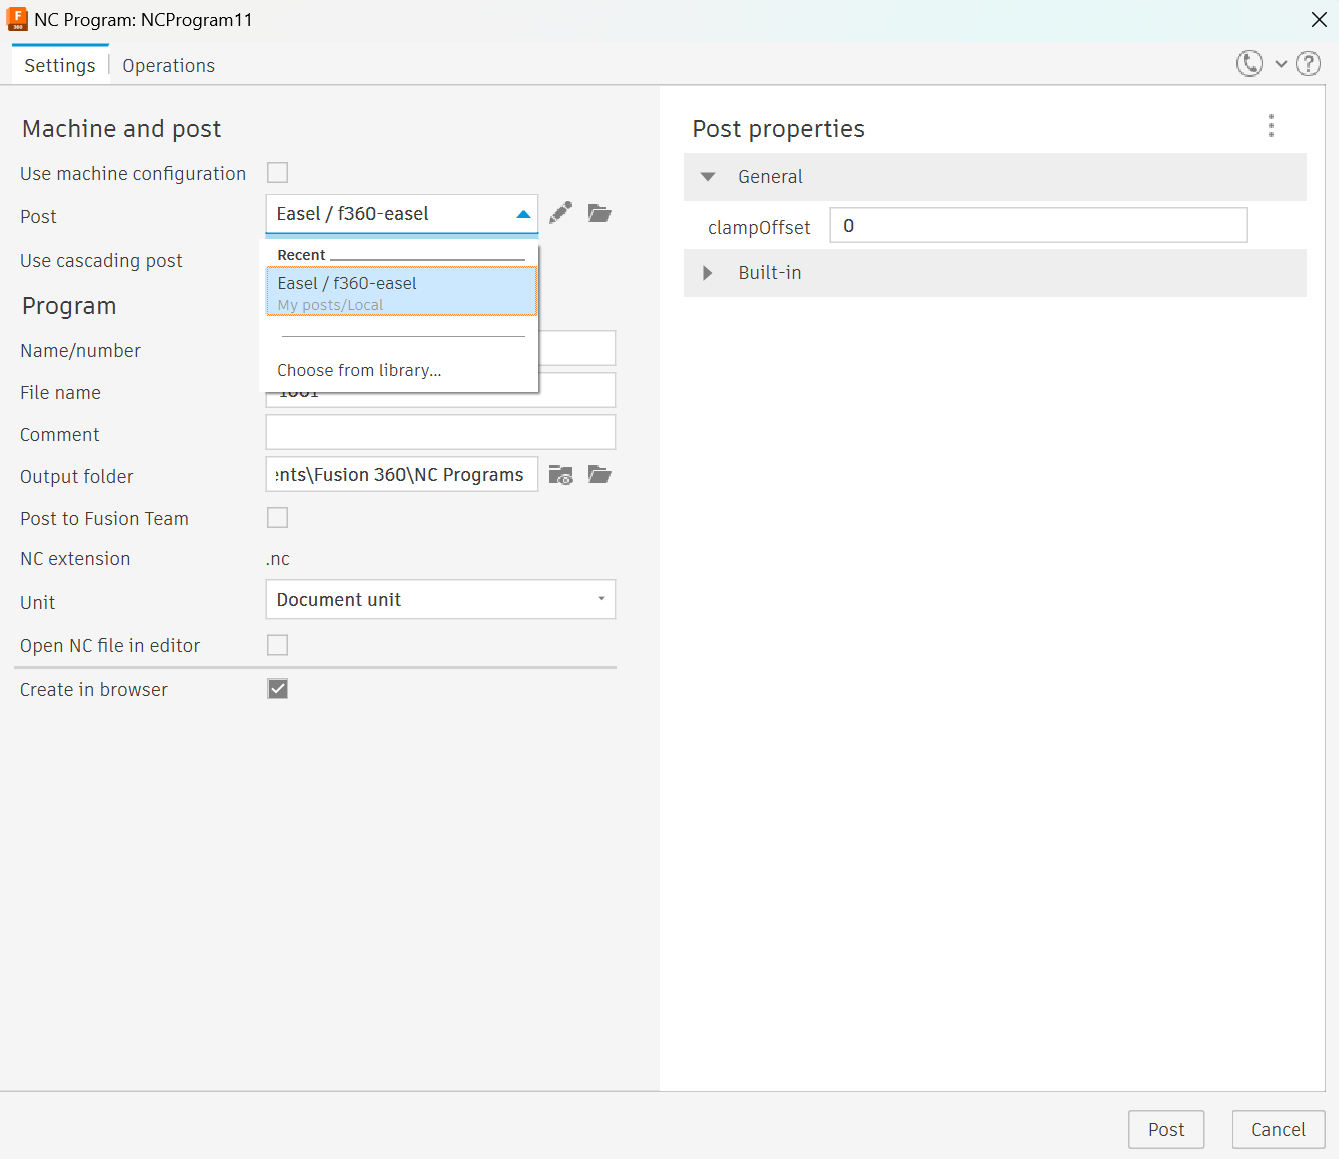
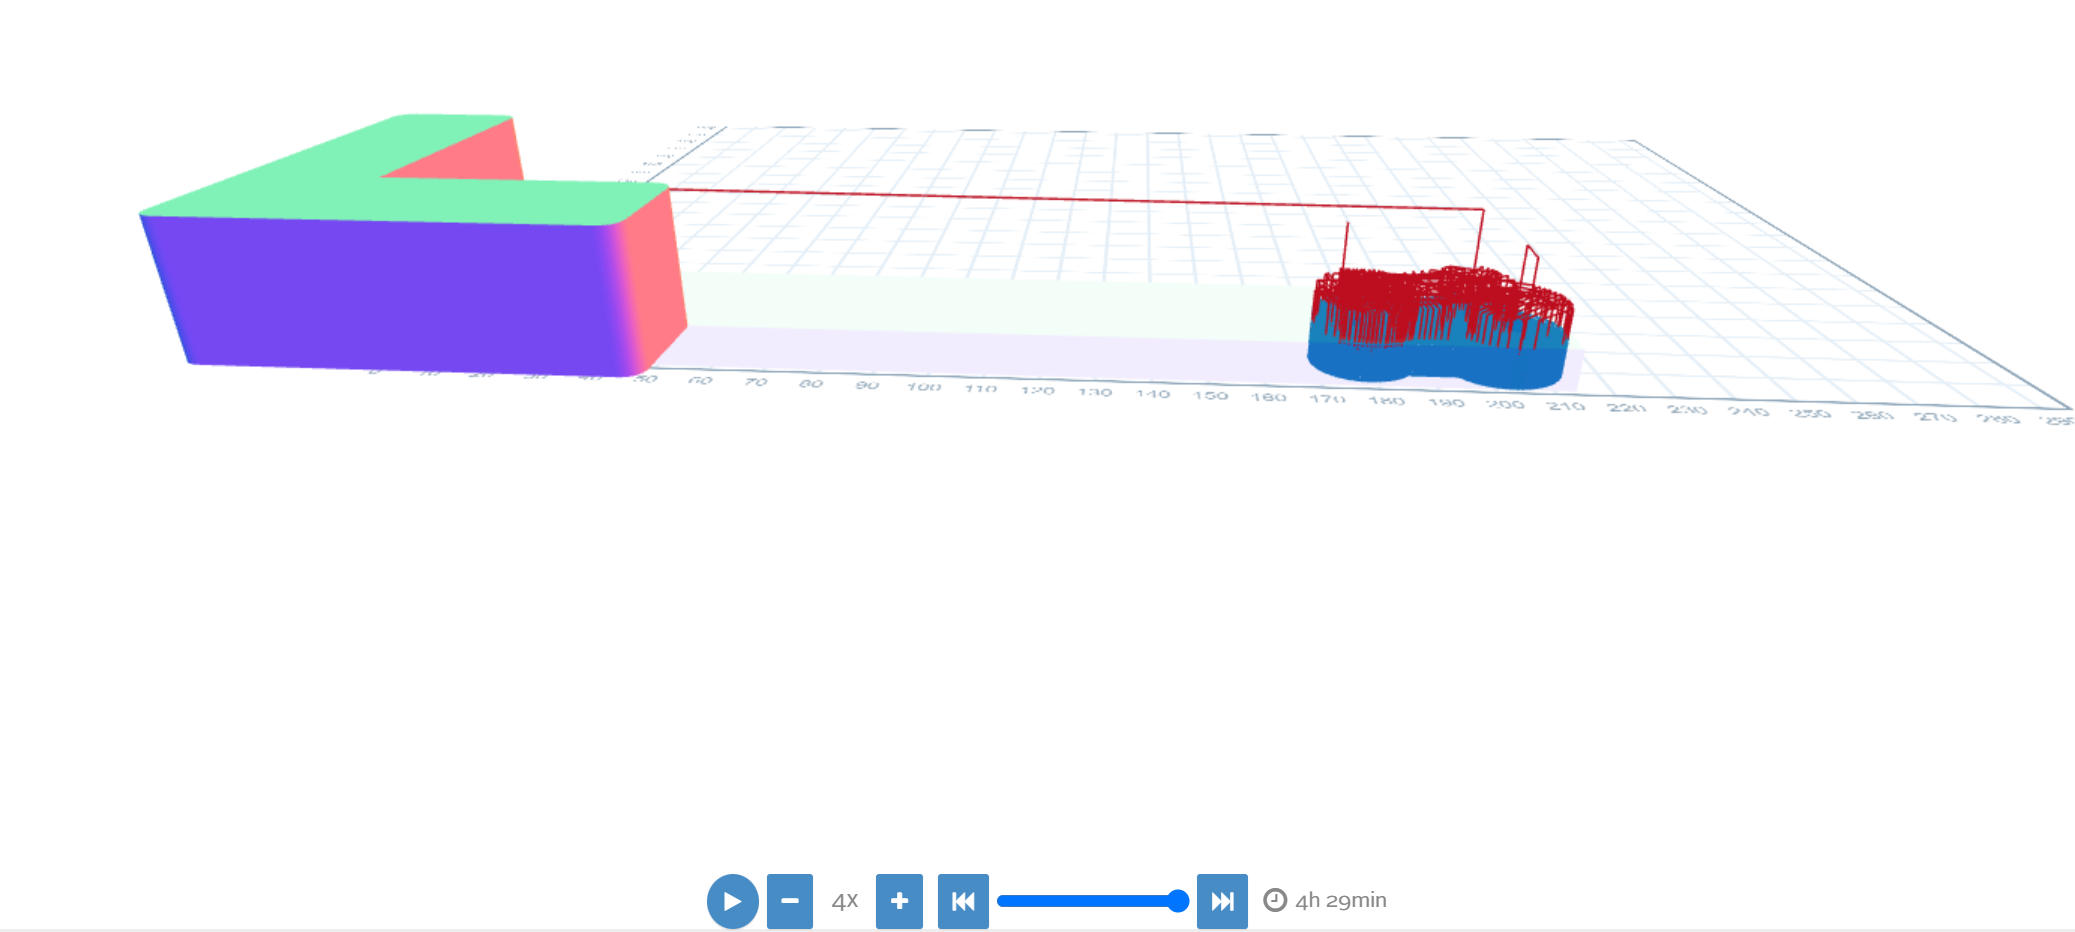
- Next, figure out what specific Machine Controller is required for your CNC Router. I needed to use Easel for the Carvey.
- Your Machine Controller program will have a specific post-processor file associated with it. Download this.
- Select the toolpath(s) you want to export and chose the "Post-Process" option. In the Post dropdown select the file you downloaded in the previous step, name your file, and post it.
- Import the file from step 3 onto your Machine Controller software.
CNC Time!
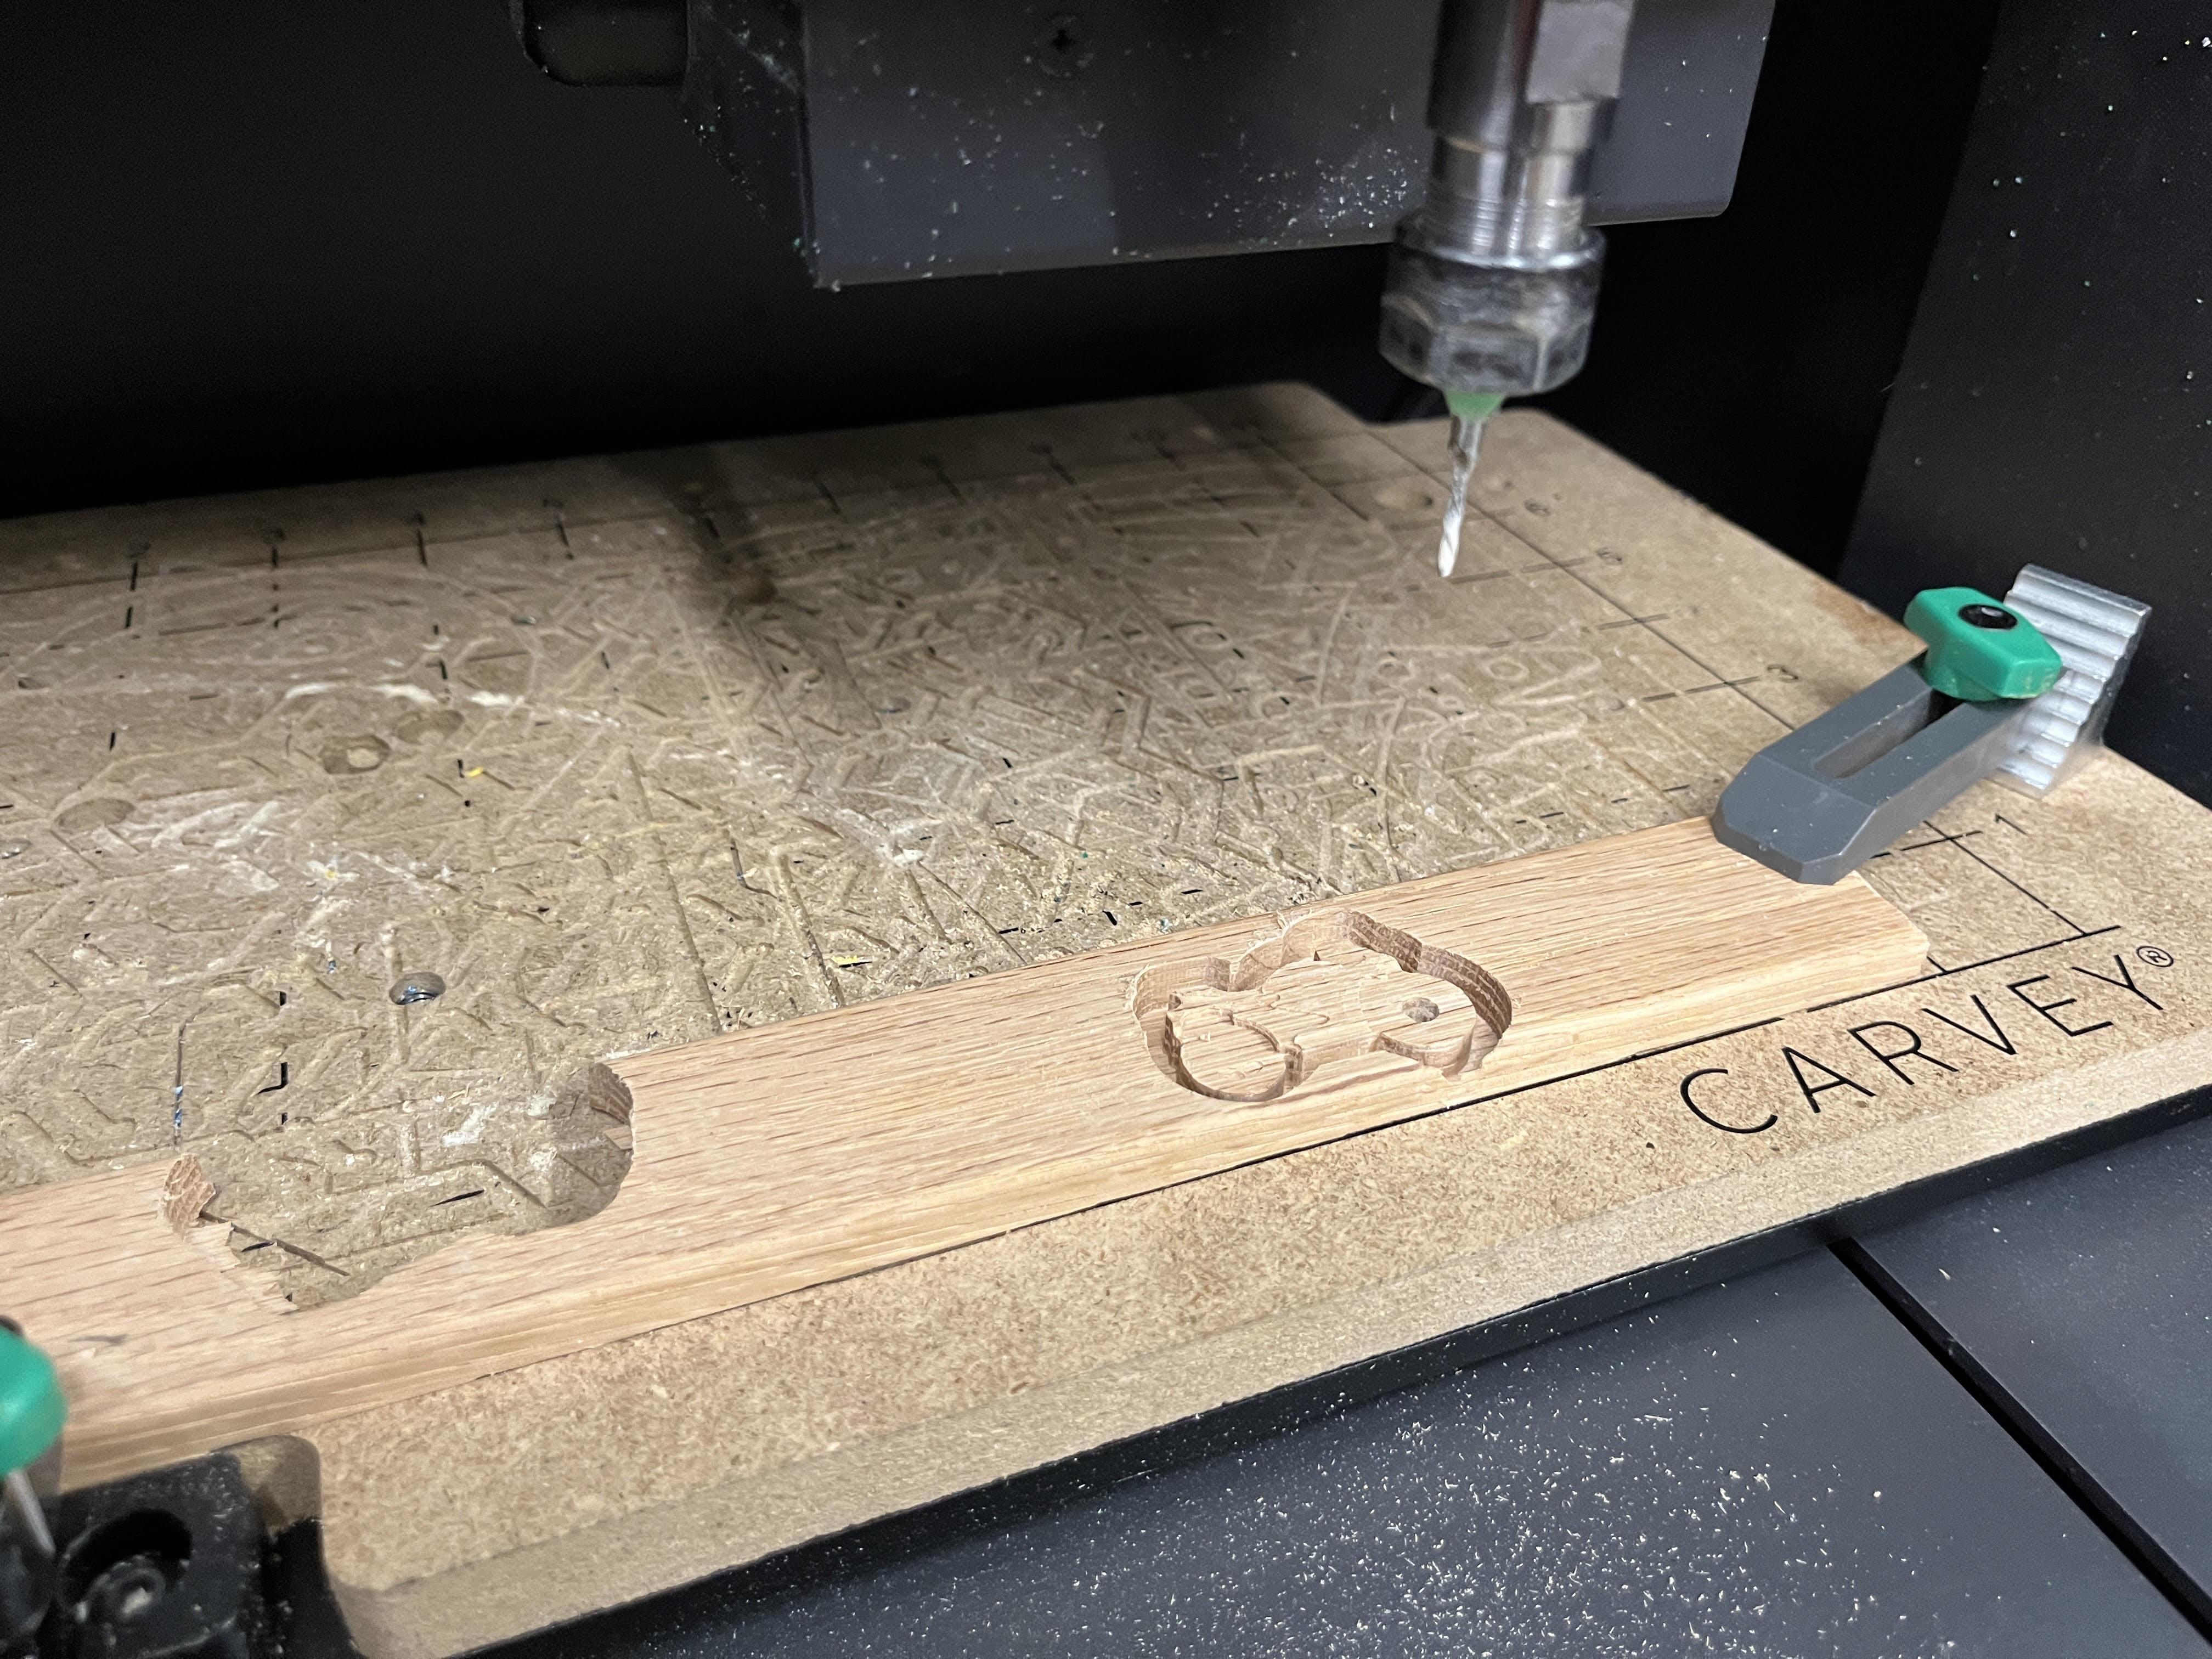
- Connect your Machine Controller to your CNC Router.
- Make sure your material is securely clamped in, and you have the right drill bit fitted.
- Start it!
- During the machining it's a good idea to occasionally vacuum your project after pausing your CNC Router. This will help improve the quality of the details on your keychain.
Final Product!
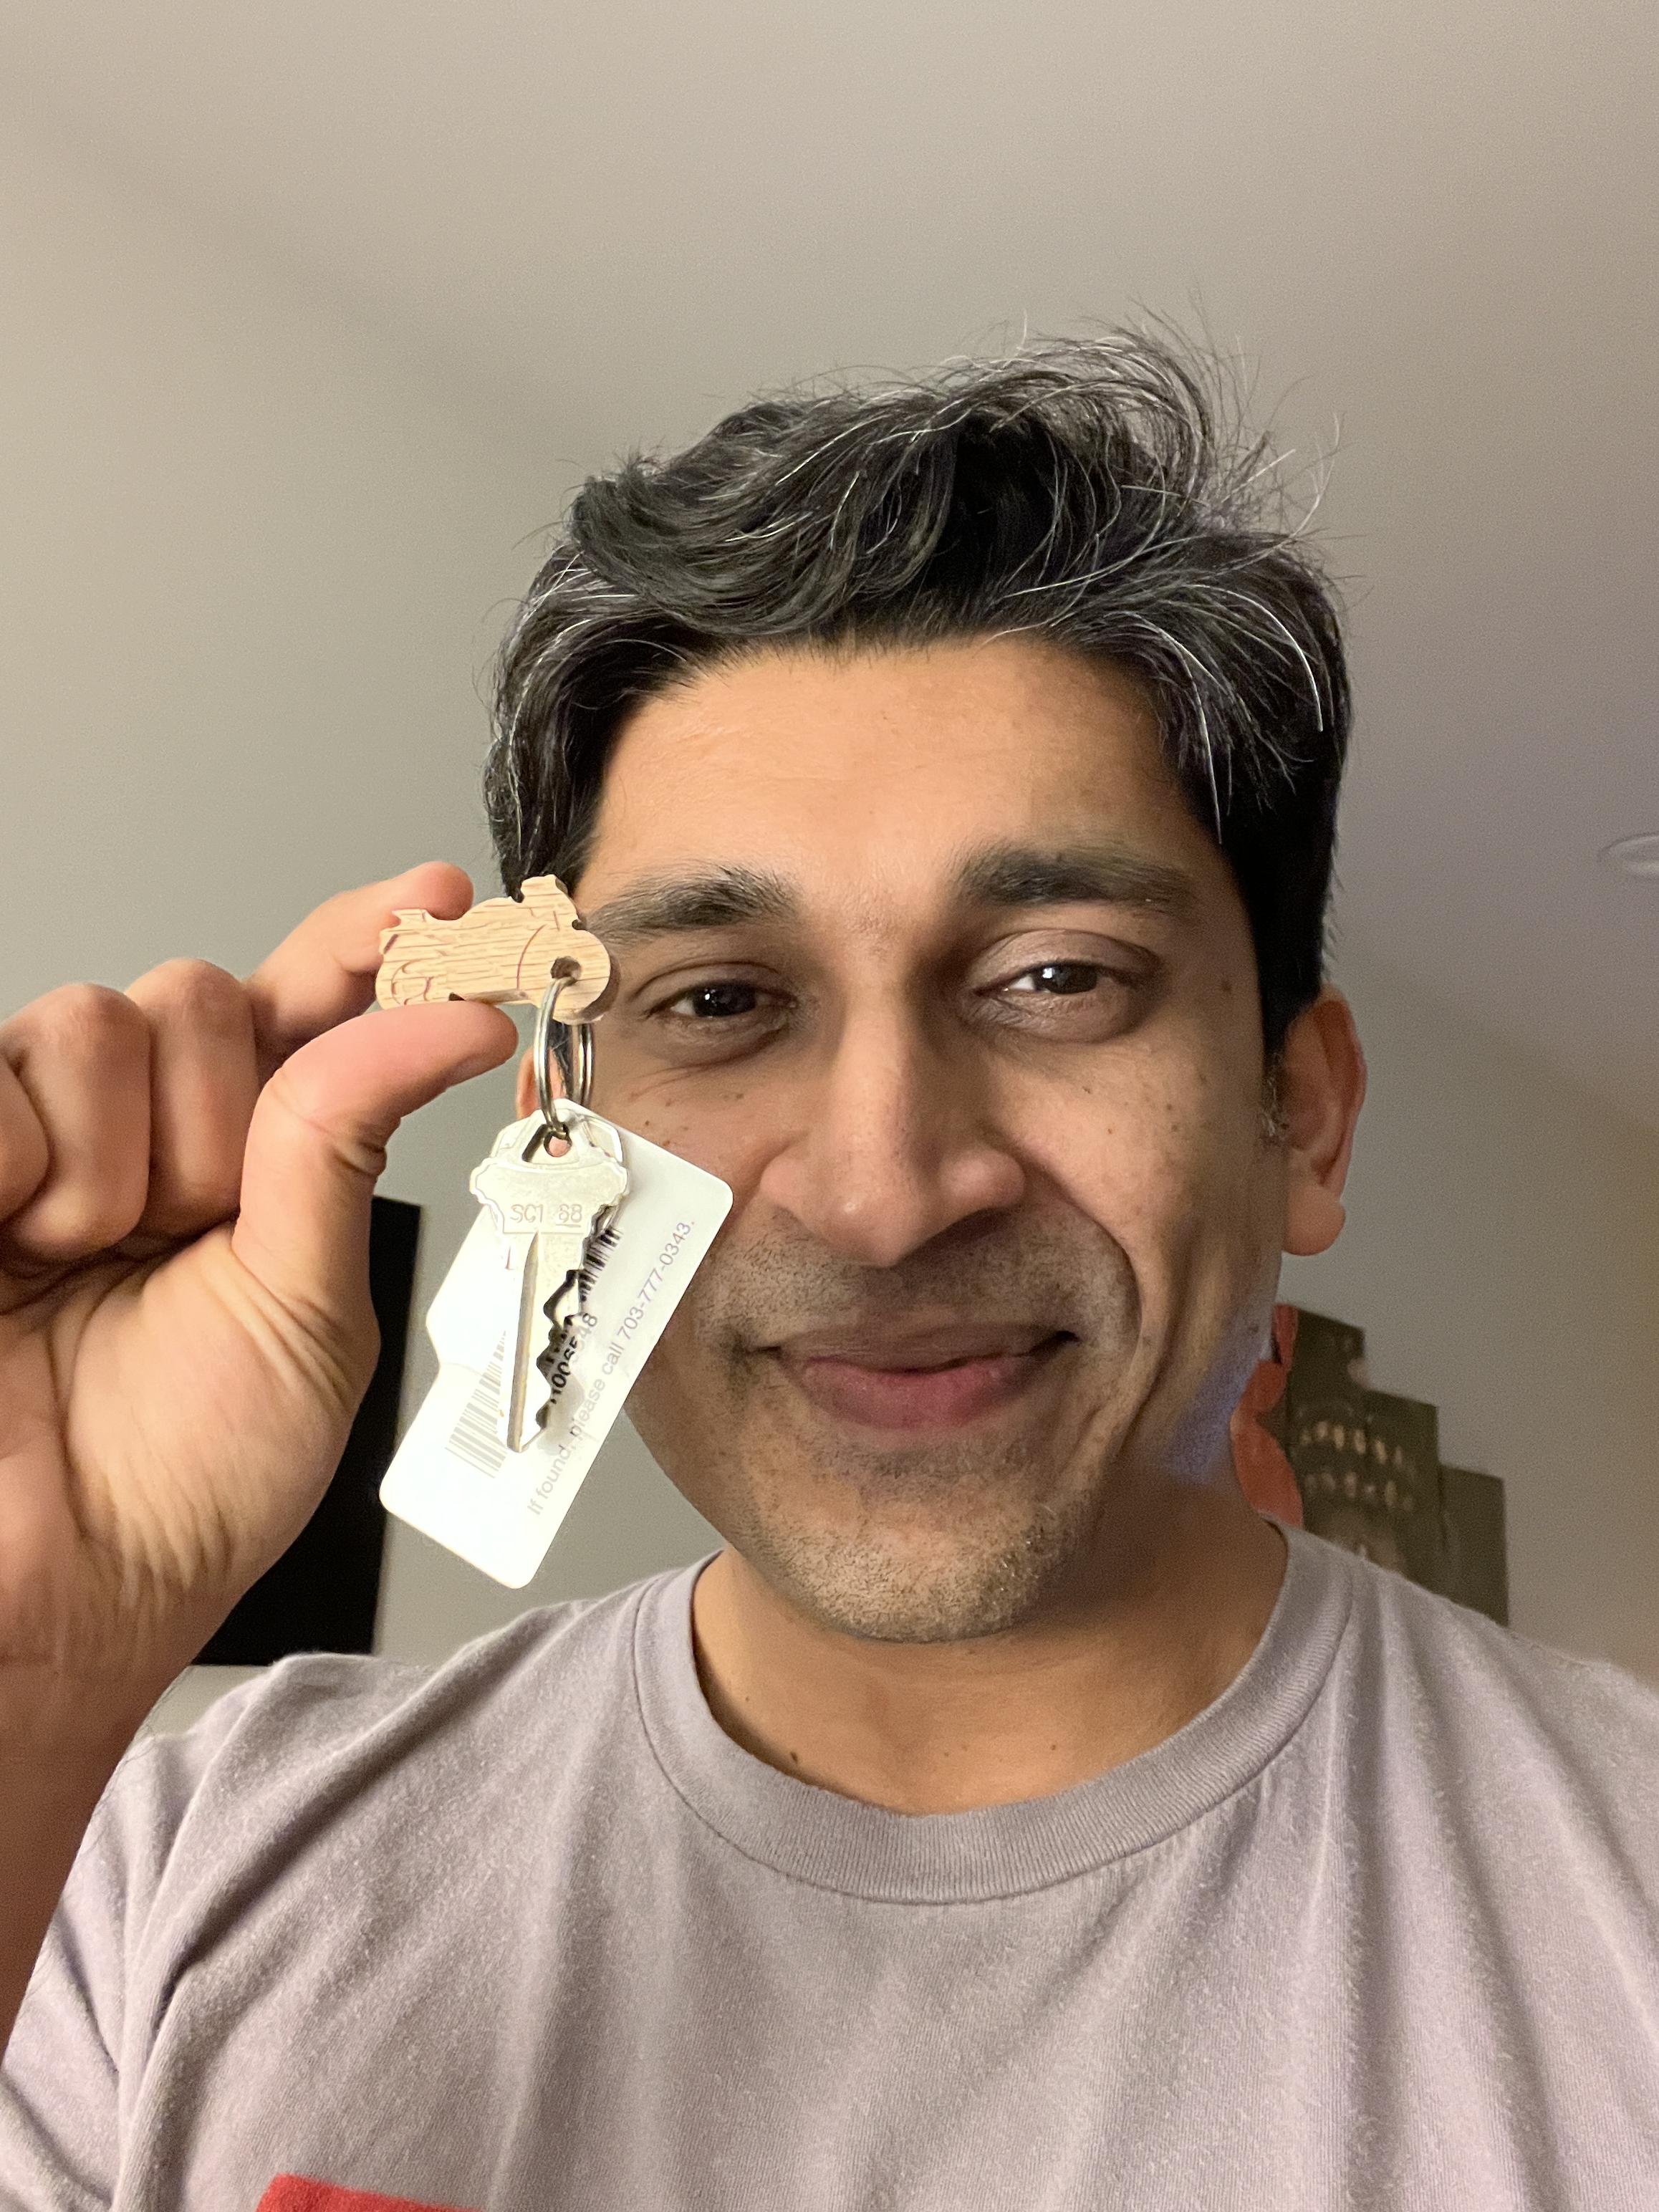
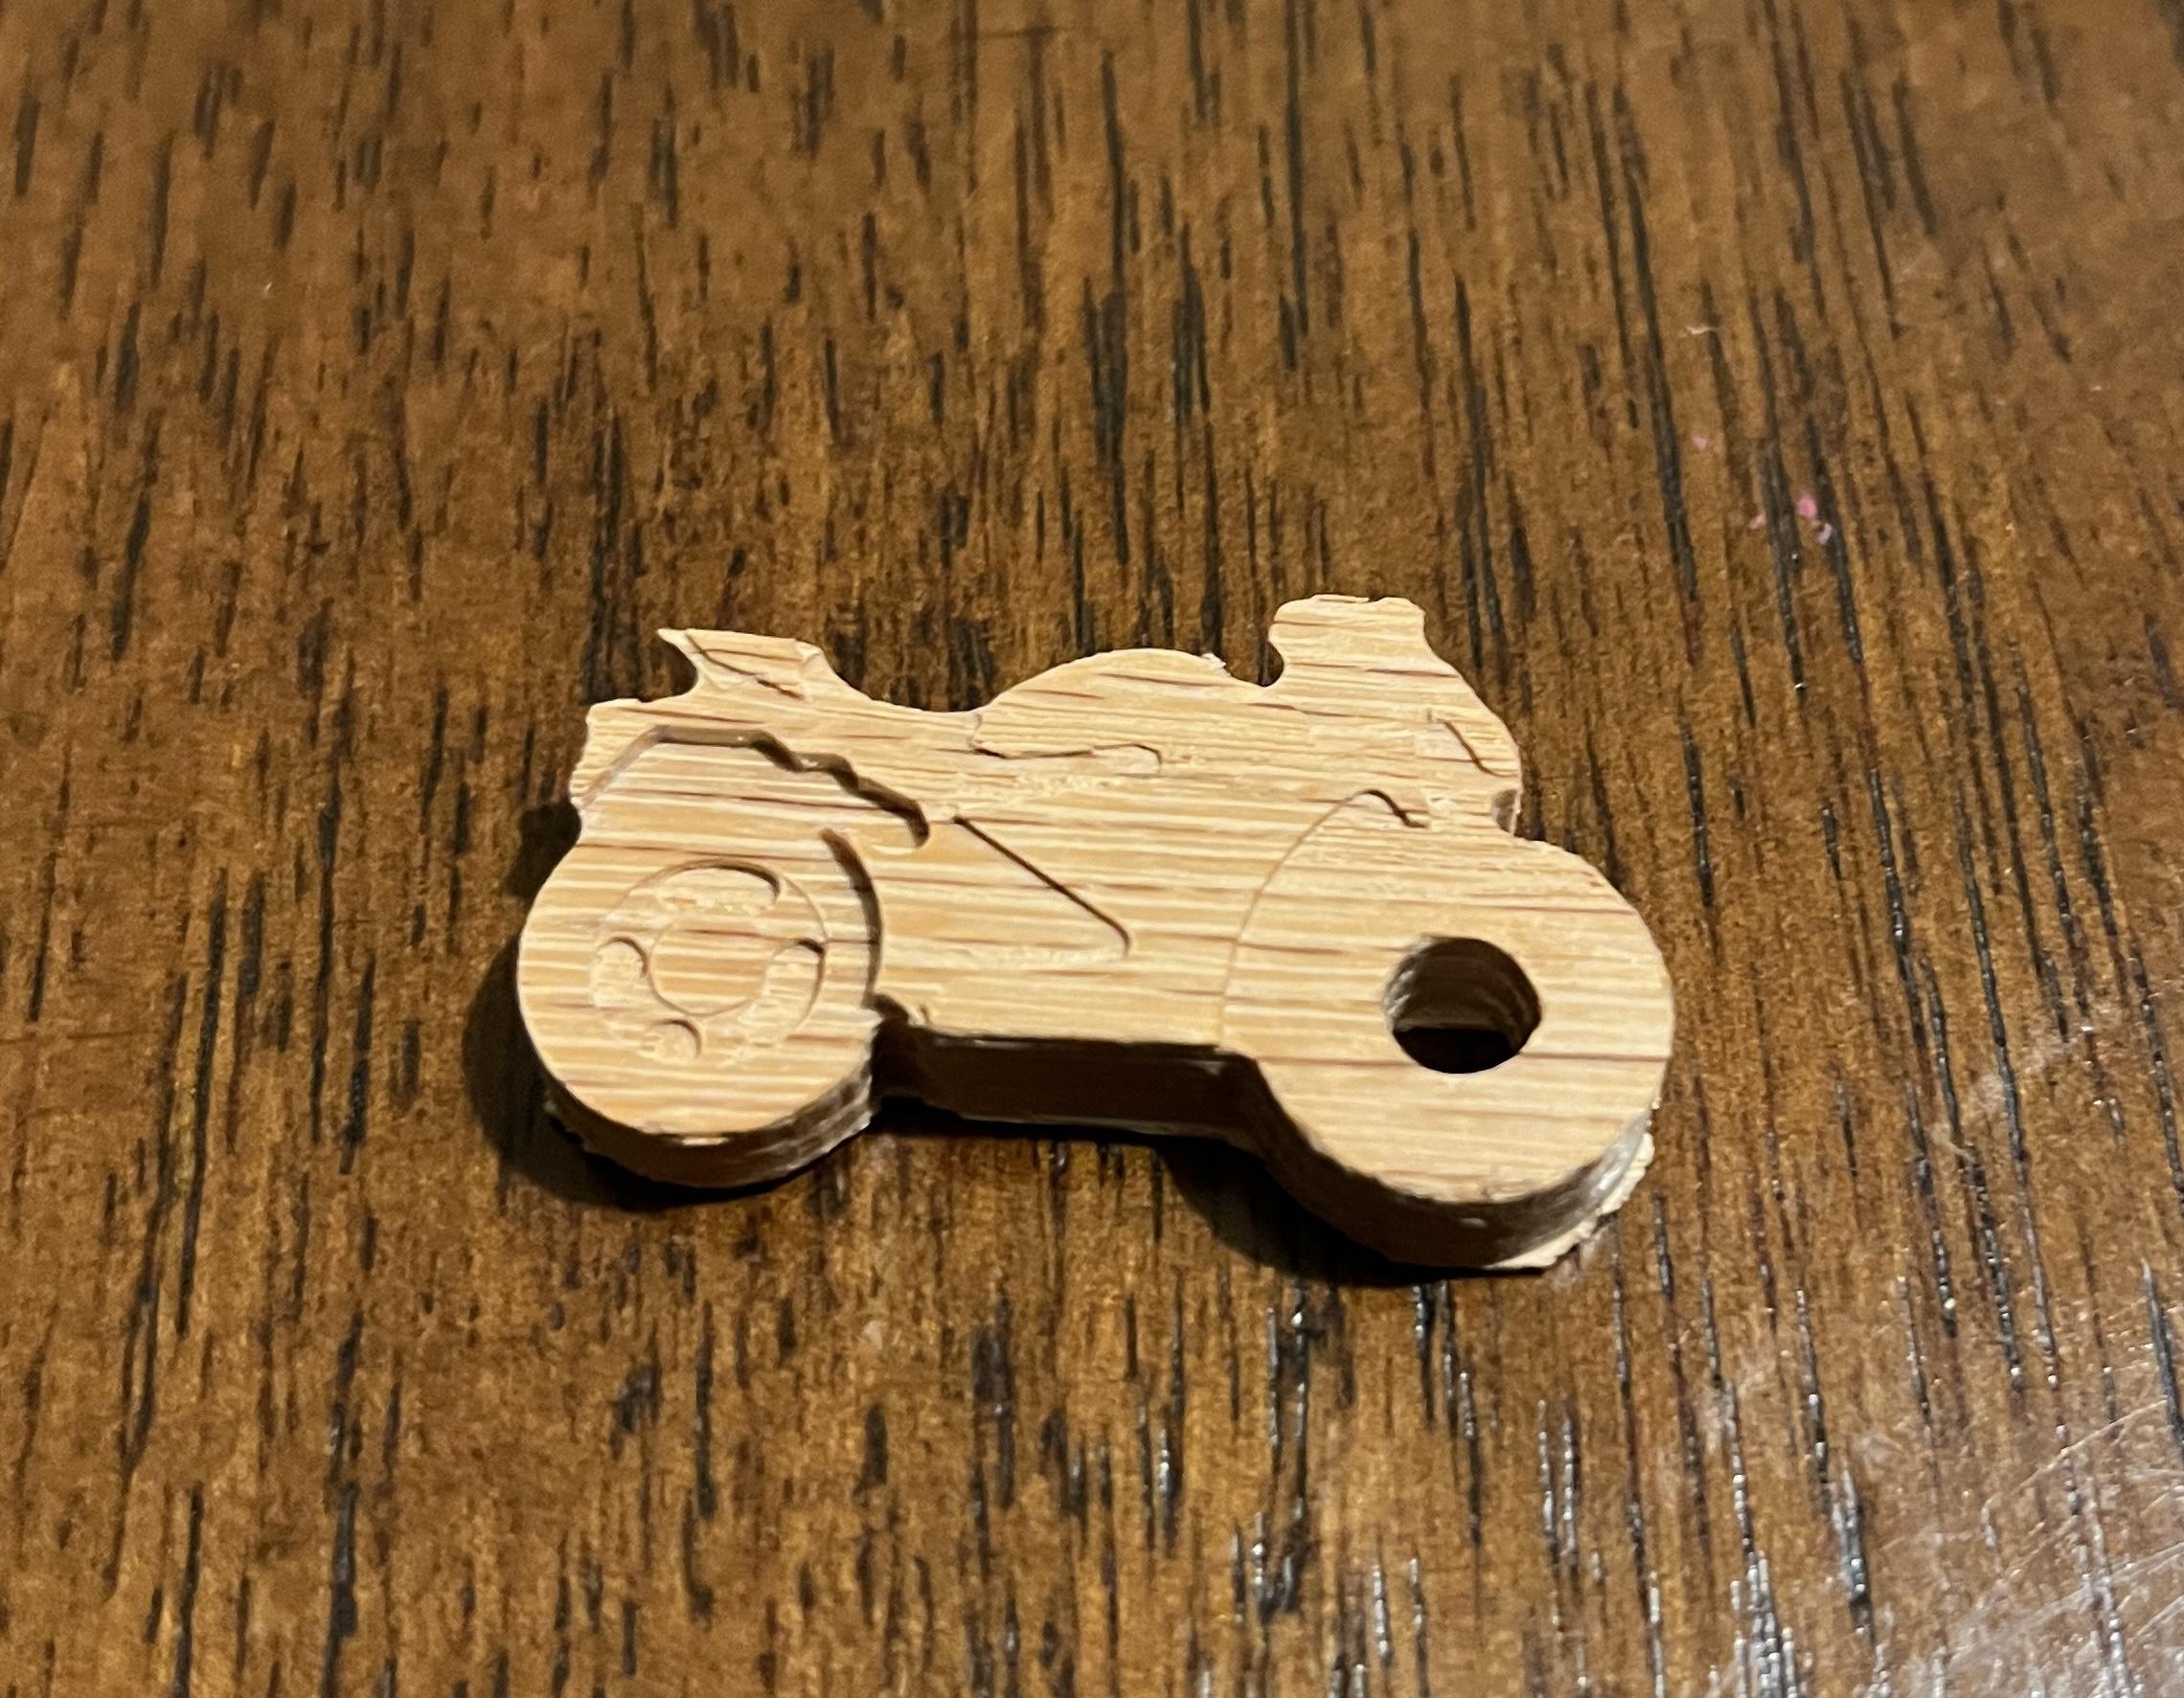
My finished product and one happy dad!
Special thank you to my local library for letting me use their CNC Router!