Wooden Grill Scraper


Using a wooden grill scraper offers several advantages over metal or plastic alternatives:
- Safety: Wooden scrapers are less likely to scratch or damage the surface of your grill compared to metal scrapers, which can leave marks or even cause rust spots over time. This is especially important if you have porcelain-coated or non-stick grill grates.
- Non-conductive: Wood is non-conductive, meaning it won't conduct heat like metal does. This makes wooden scrapers safer to use on hot grills because they won't heat up and burn your hands.
- Custom Fit: Wooden scrapers can be custom-shaped to fit the specific contours of your grill grates over time. As you use the scraper, it naturally conforms to the grill surface, providing a more effective cleaning experience.
- Natural Material: Wood is a natural and sustainable material, making wooden scrapers an environmentally friendly choice compared to plastic alternatives. They are biodegradable and can be easily recycled or composted at the end of their lifespan.
- Ease of Use: Wooden scrapers typically have a comfortable grip and are easy to maneuver, allowing for efficient cleaning of grill grates without excessive effort.
- No Metal Bristles: Unlike some grill brushes that have metal bristles which can break off and potentially get into your food, wooden scrapers eliminate this risk entirely.
Overall, using a wooden grill scraper provides a safe, effective, and eco-friendly way to maintain your grill, ensuring it stays clean and ready for cooking without compromising on safety or grill longevity.
Making a wooden grill scraper is a practical and straightforward woodworking project. Here’s a step-by-step guide to help you create your own. This is one project that I like to use some of my scrap wood. Grab some pieces and let's get started.
Supplies

Materials Needed:
- Wood: A hardwood such as oak or maple, approximately 1 inch thick, 3 to 6 inches wide, and 12 to 16 inches long.
- Sandpaper: Coarse (around 80-grit) and fine (around 220-grit).
- Ruler or Tape Measure
- Pencil
- Glue
- Wood Finish or Oil (optional)
Tools Needed:
- Saw: To cut the wooden block to size. I used a hand saw to cut my piece to length and a scroll saw to cut the shape.
- Drill: For making a hole in the handle.
- Clamps: To hold the wood securely while working and to glue pieces together to get your desired width.
- Sandpaper: To smooth out the edges and surfaces. I used a random orbit sander.
- Safety Equipment: Safety goggles and dust mask
Prepare the Wood


- Glue: Glue pieces of wood together to get your desired width.
- Measure and Mark: Using a ruler and pencil, mark a section of the wood that is about 12-16 inches long. This will be the main body of your scraper.
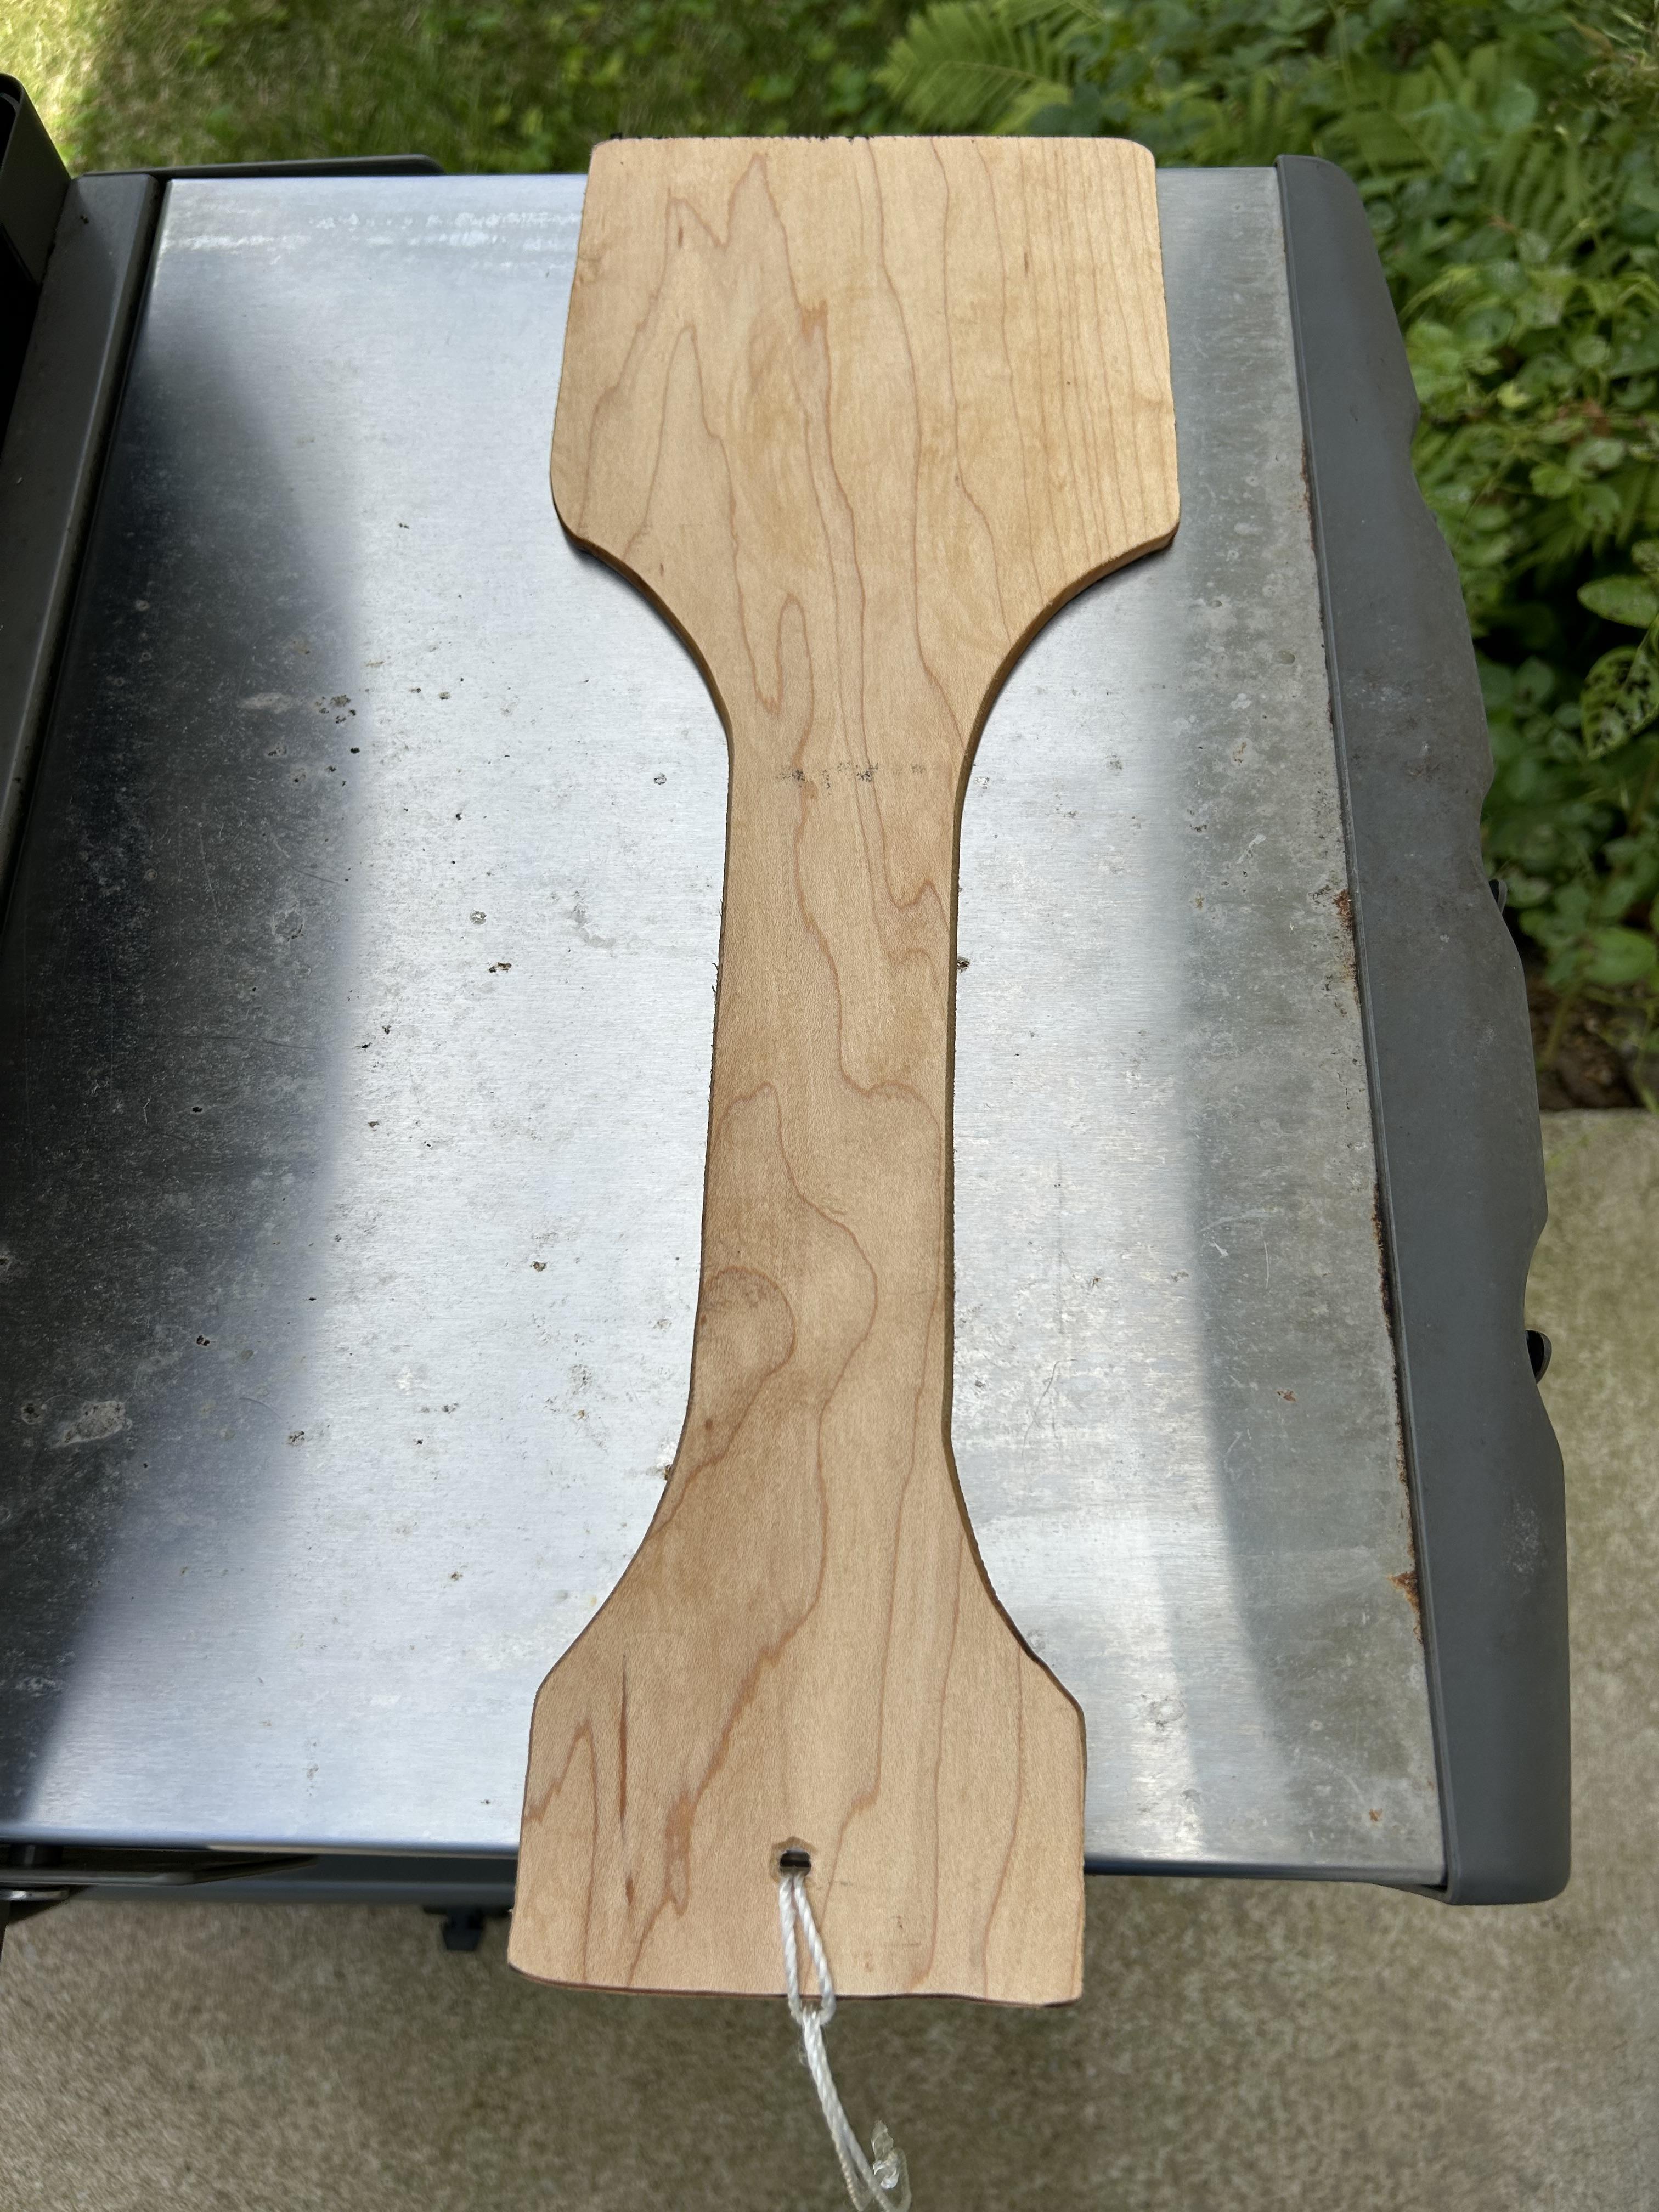
- Cut the Wood: Use a saw to cut along the marked line, creating the desired length piece of wood. I made mine 16 inches long and in the future I will probably shorten it to 12 inches. The longer length would be good for people with a large grill or smoker. 12 inches is probably best for your average backyard grill.
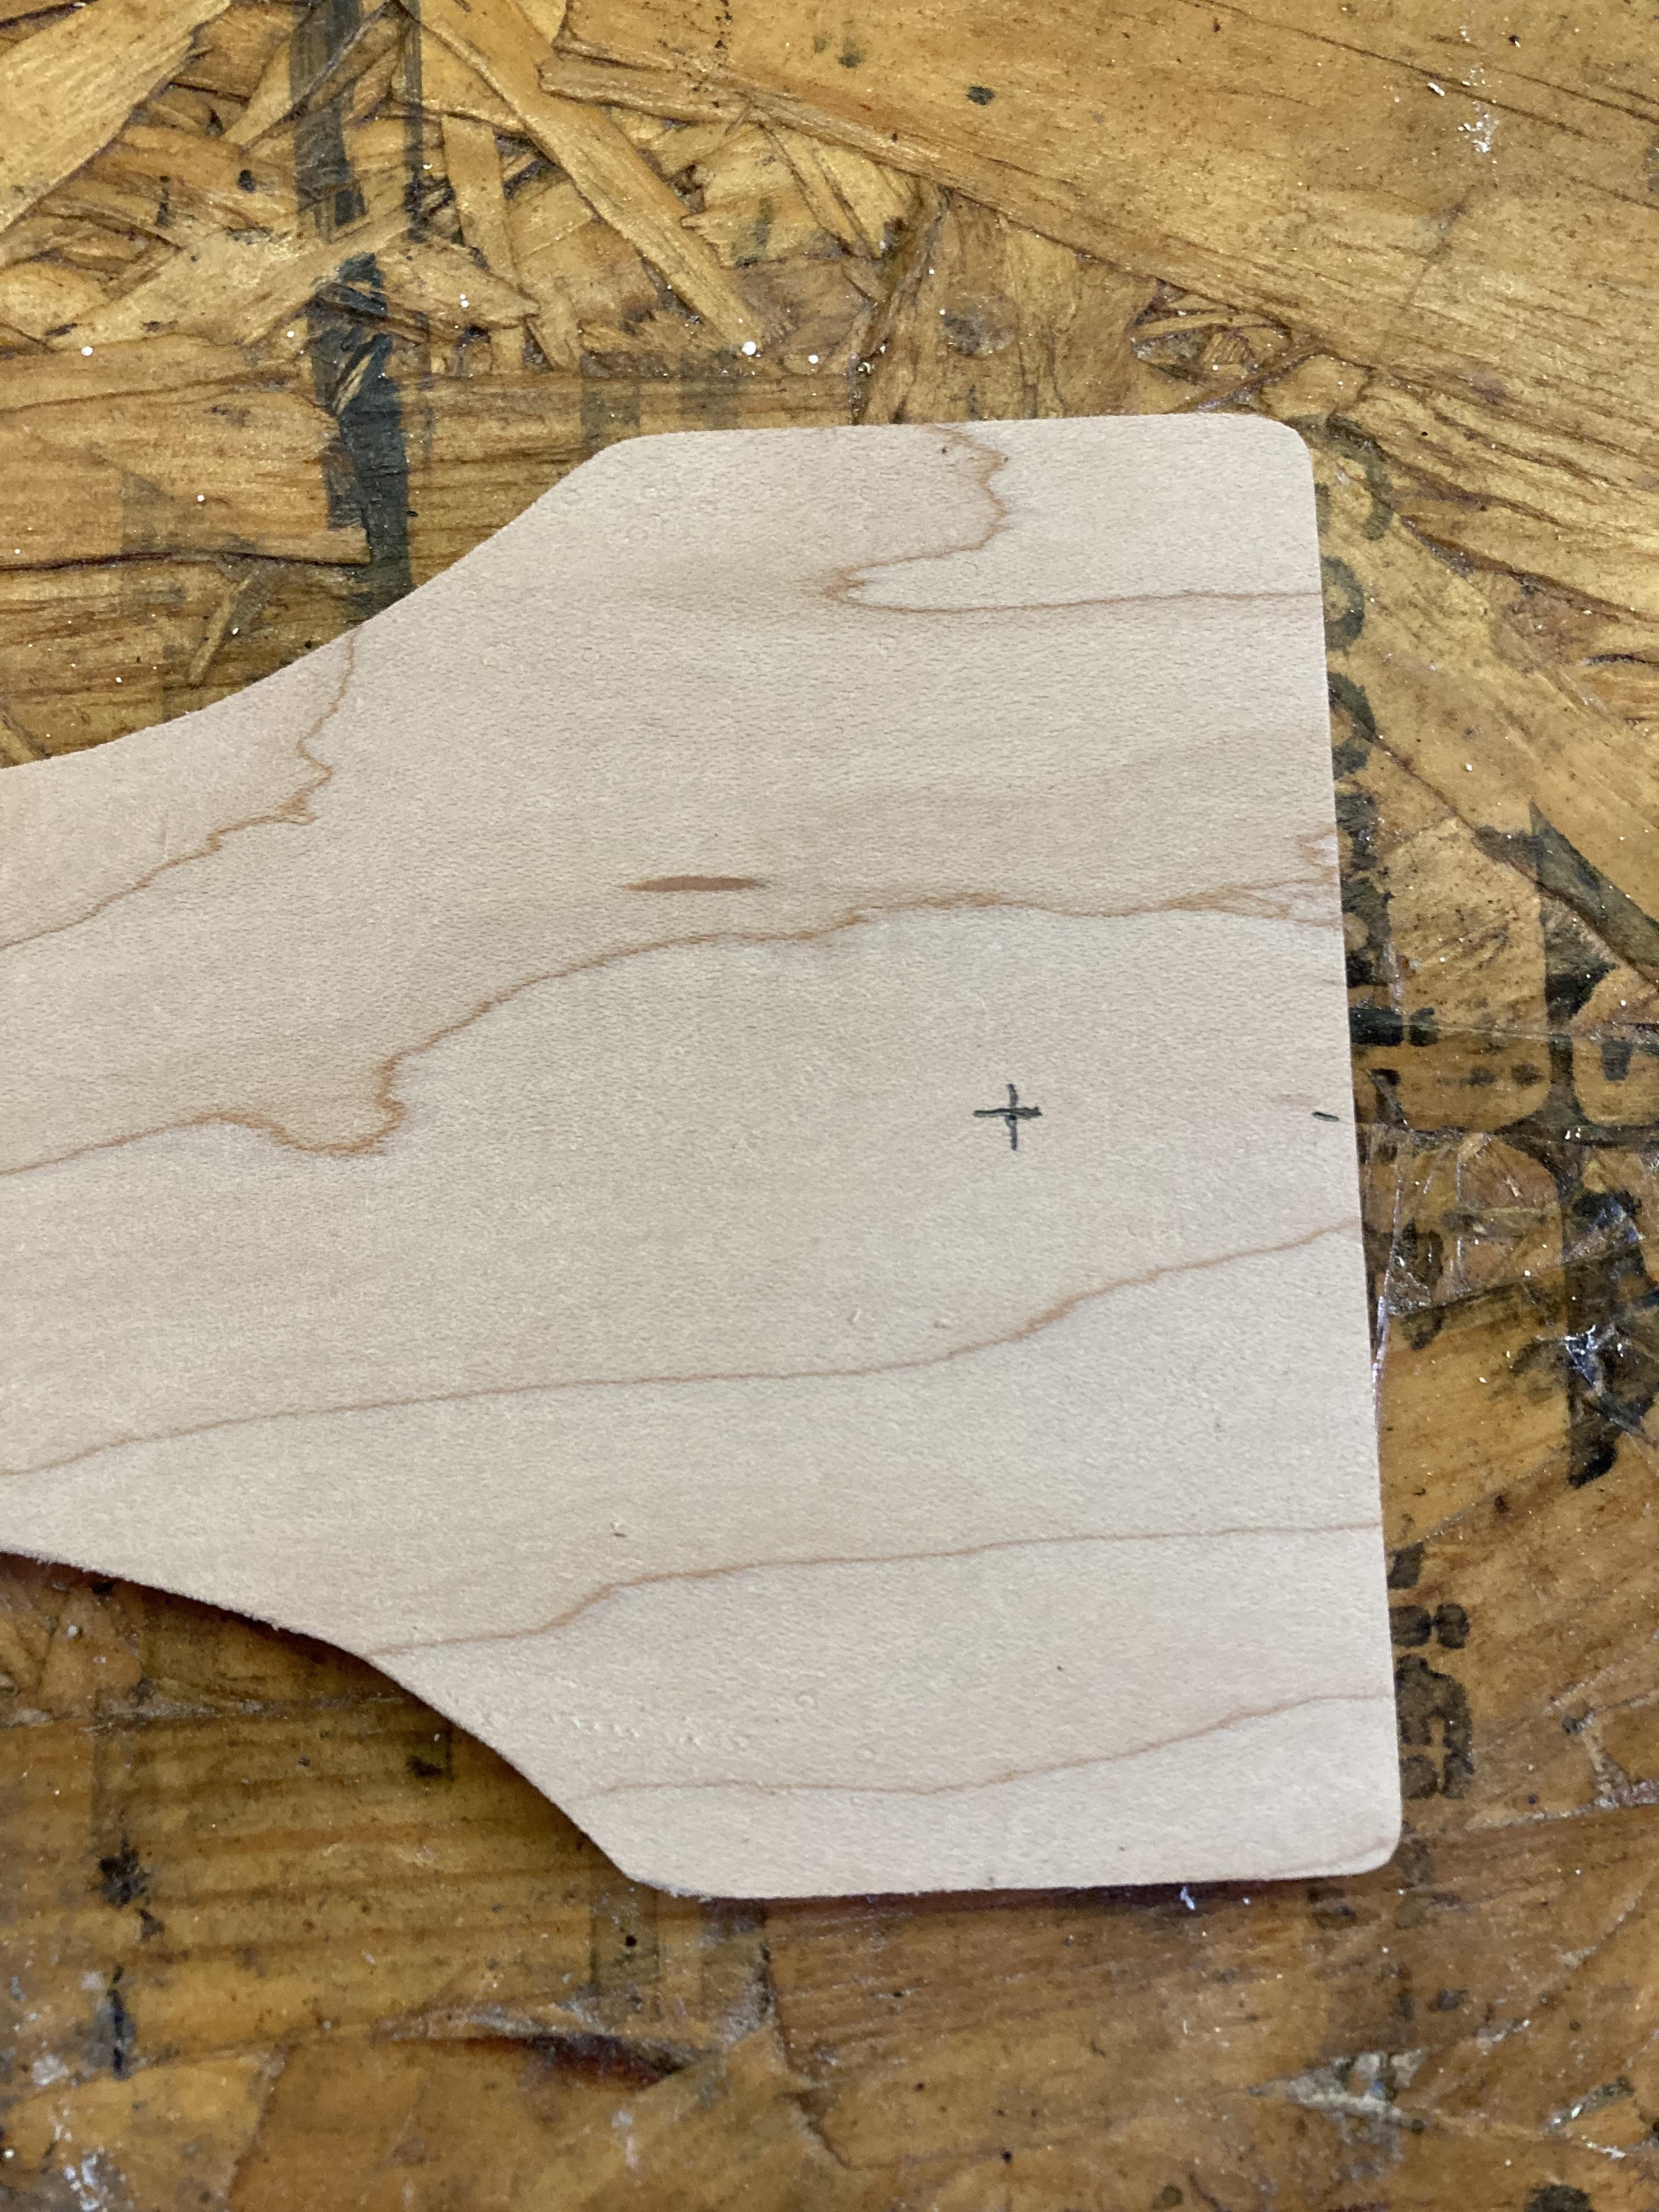
- Angle the Scraper Edge (Optional): Some may want to cut off the scrape end at a 45 - 60 degree angle. I did not do this and will probably not do it in the future unless requested.
Shape the Handle


- Mark the Handle: On one end of the block, measure and mark about 2 inches. This will be the handle. I used a 6 inch wide piece of wood. I cut the handle down to 4 inches wide and 2 inches tall. Then I created a 2 inch with body. I traced along a 1 gallon paint can to create a curve from the handle to the body.
- Shape the Handle: Use the saw to cut down from the top of the block to the handle mark, creating a tapered shape. Round off the edges of the handle using sandpaper for a comfortable grip.
Drill a Hanging Hole (Optional)


Mark the Hole: Near the end of the handle, drill a small hole through the width of the wood block. This hole is for hanging your scraper when not in use.
Sand and Finish

- Sand the Wood: Use coarse sandpaper to smooth out any rough edges and surfaces. Follow up with fine sandpaper to achieve a smooth finish.
- Apply Finish (Optional): If desired, apply a food-safe wood finish or oil to protect the wood and enhance its appearance. Let it dry according to the manufacturer's instructions. I used food safe mineral oil (sometimes called butcher block oil).
Create the Scraper Edge

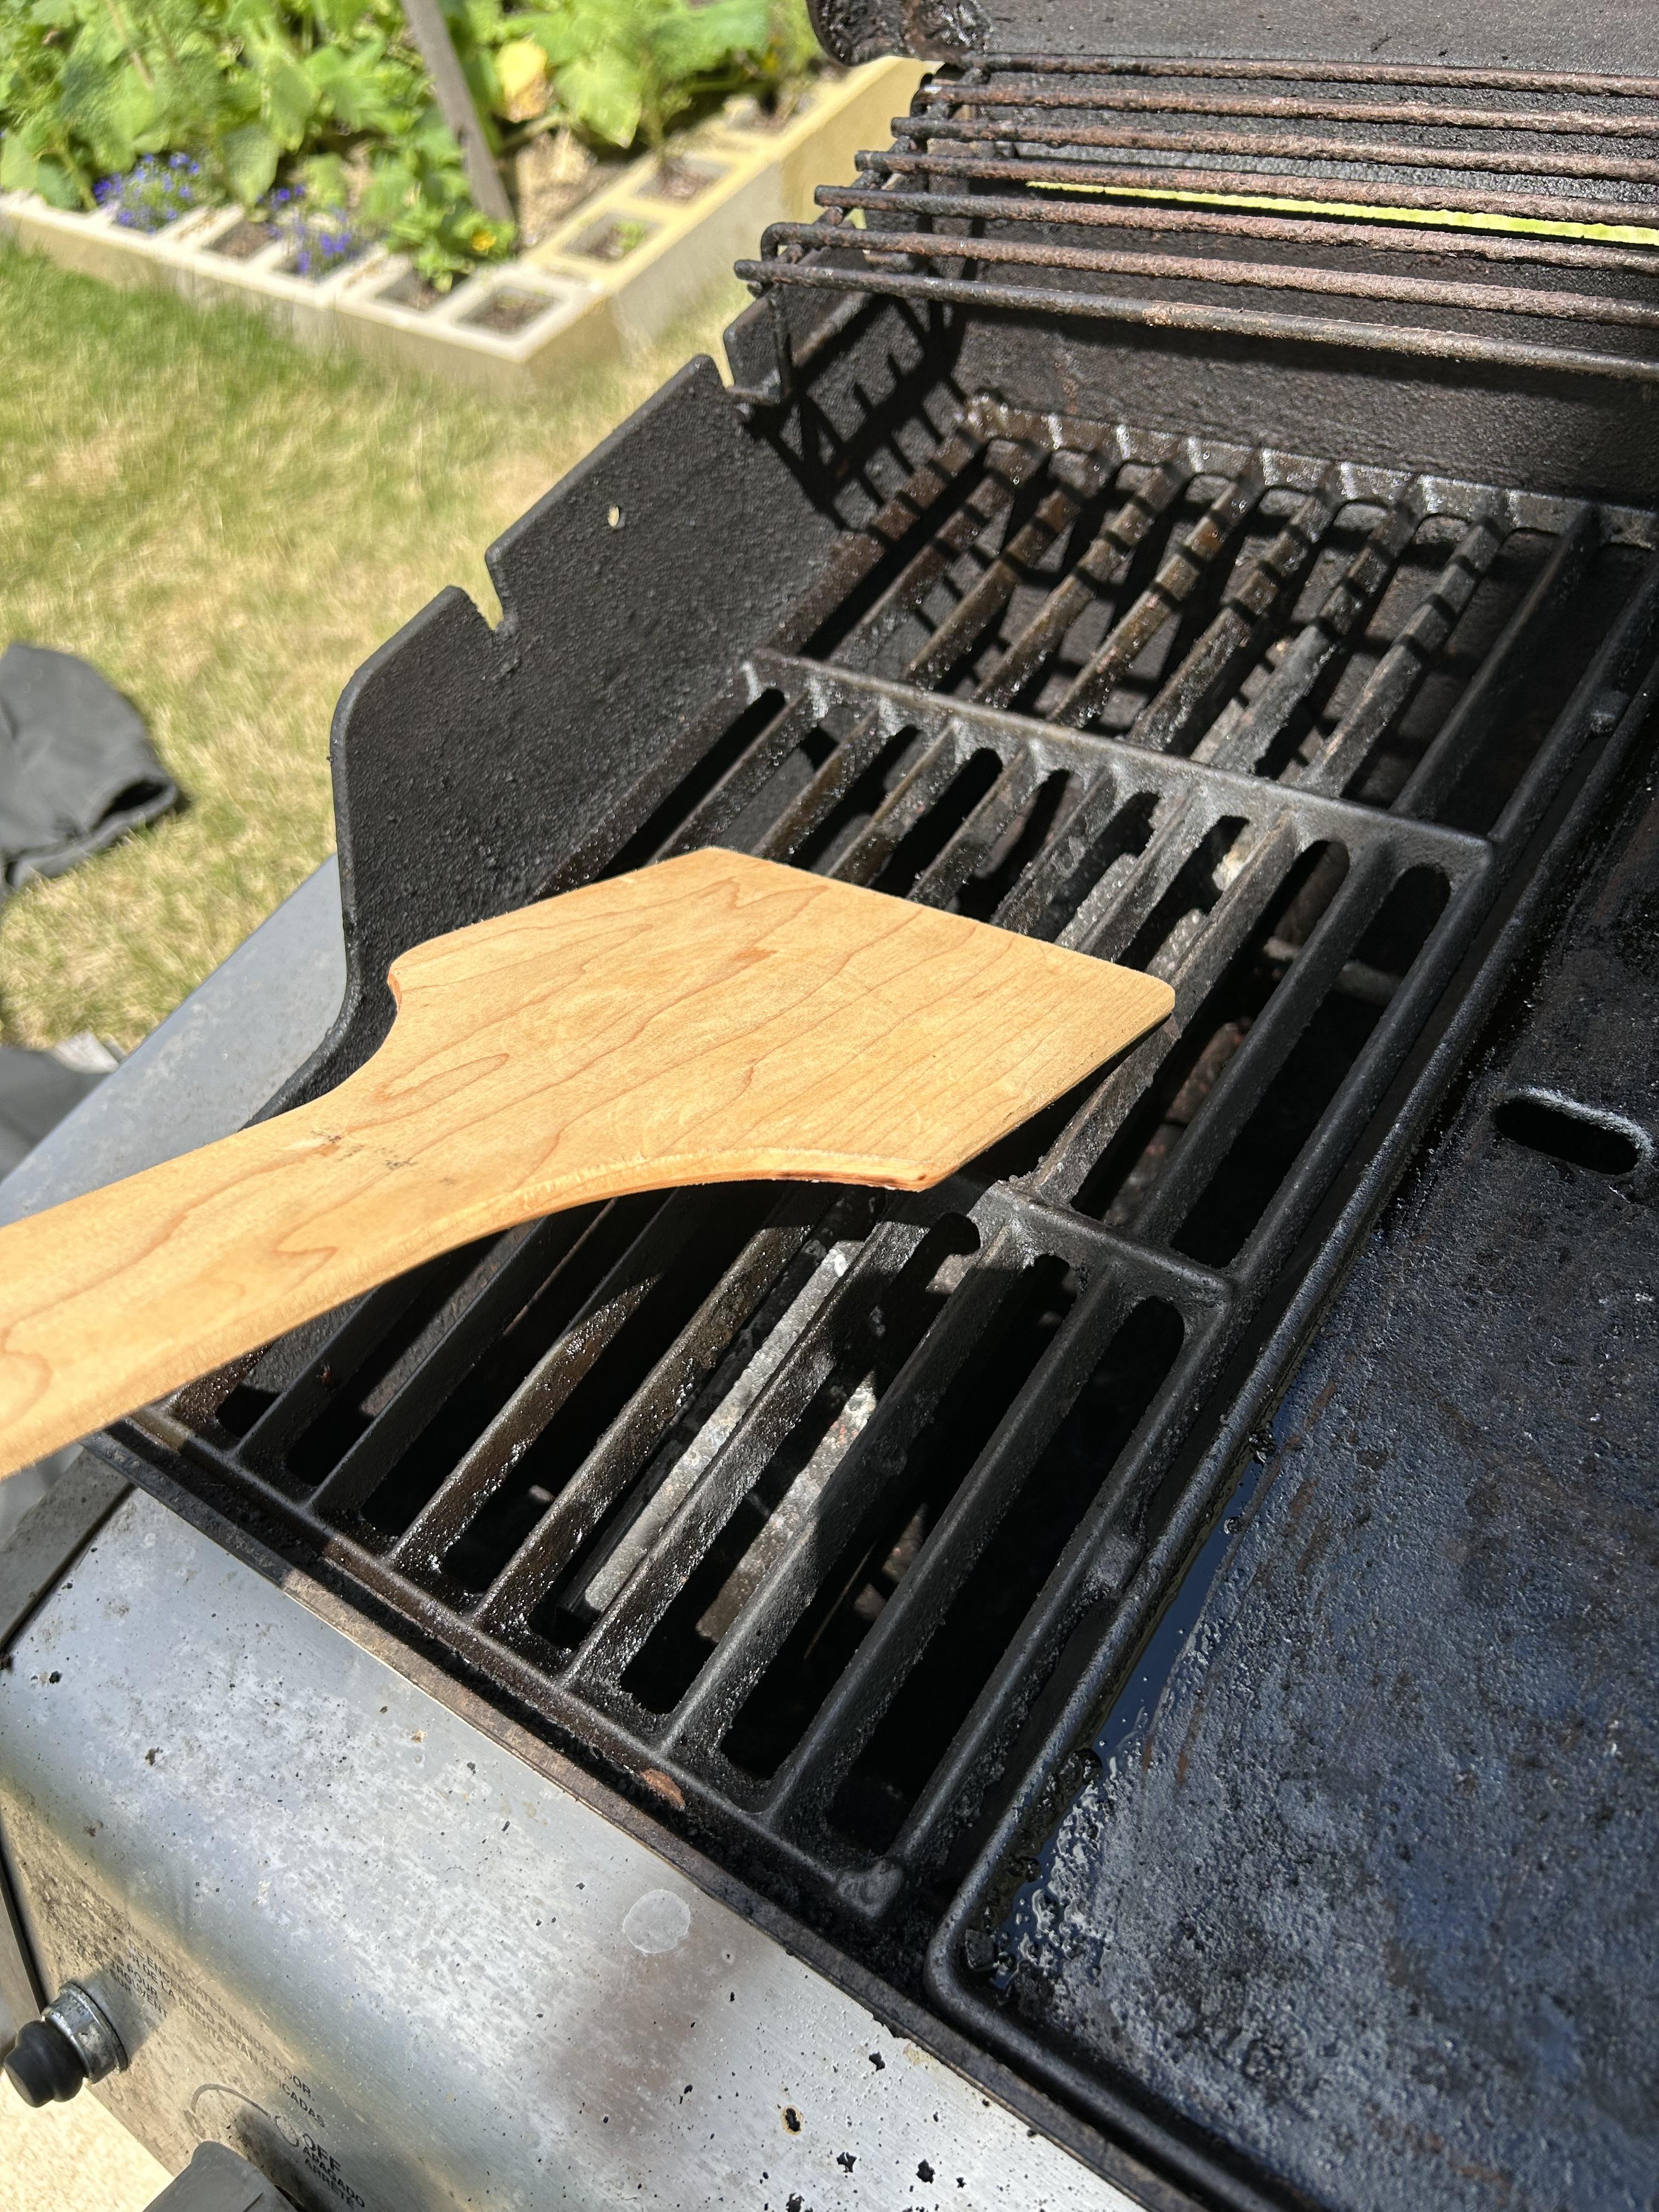
- Heat Your Grill.
- Create Groove: Position your scraper on the grill. Apply downward pressure with one hand and use your other hand to move the scraper forward and backward. Do this about 20 times to create grooves in the wood.