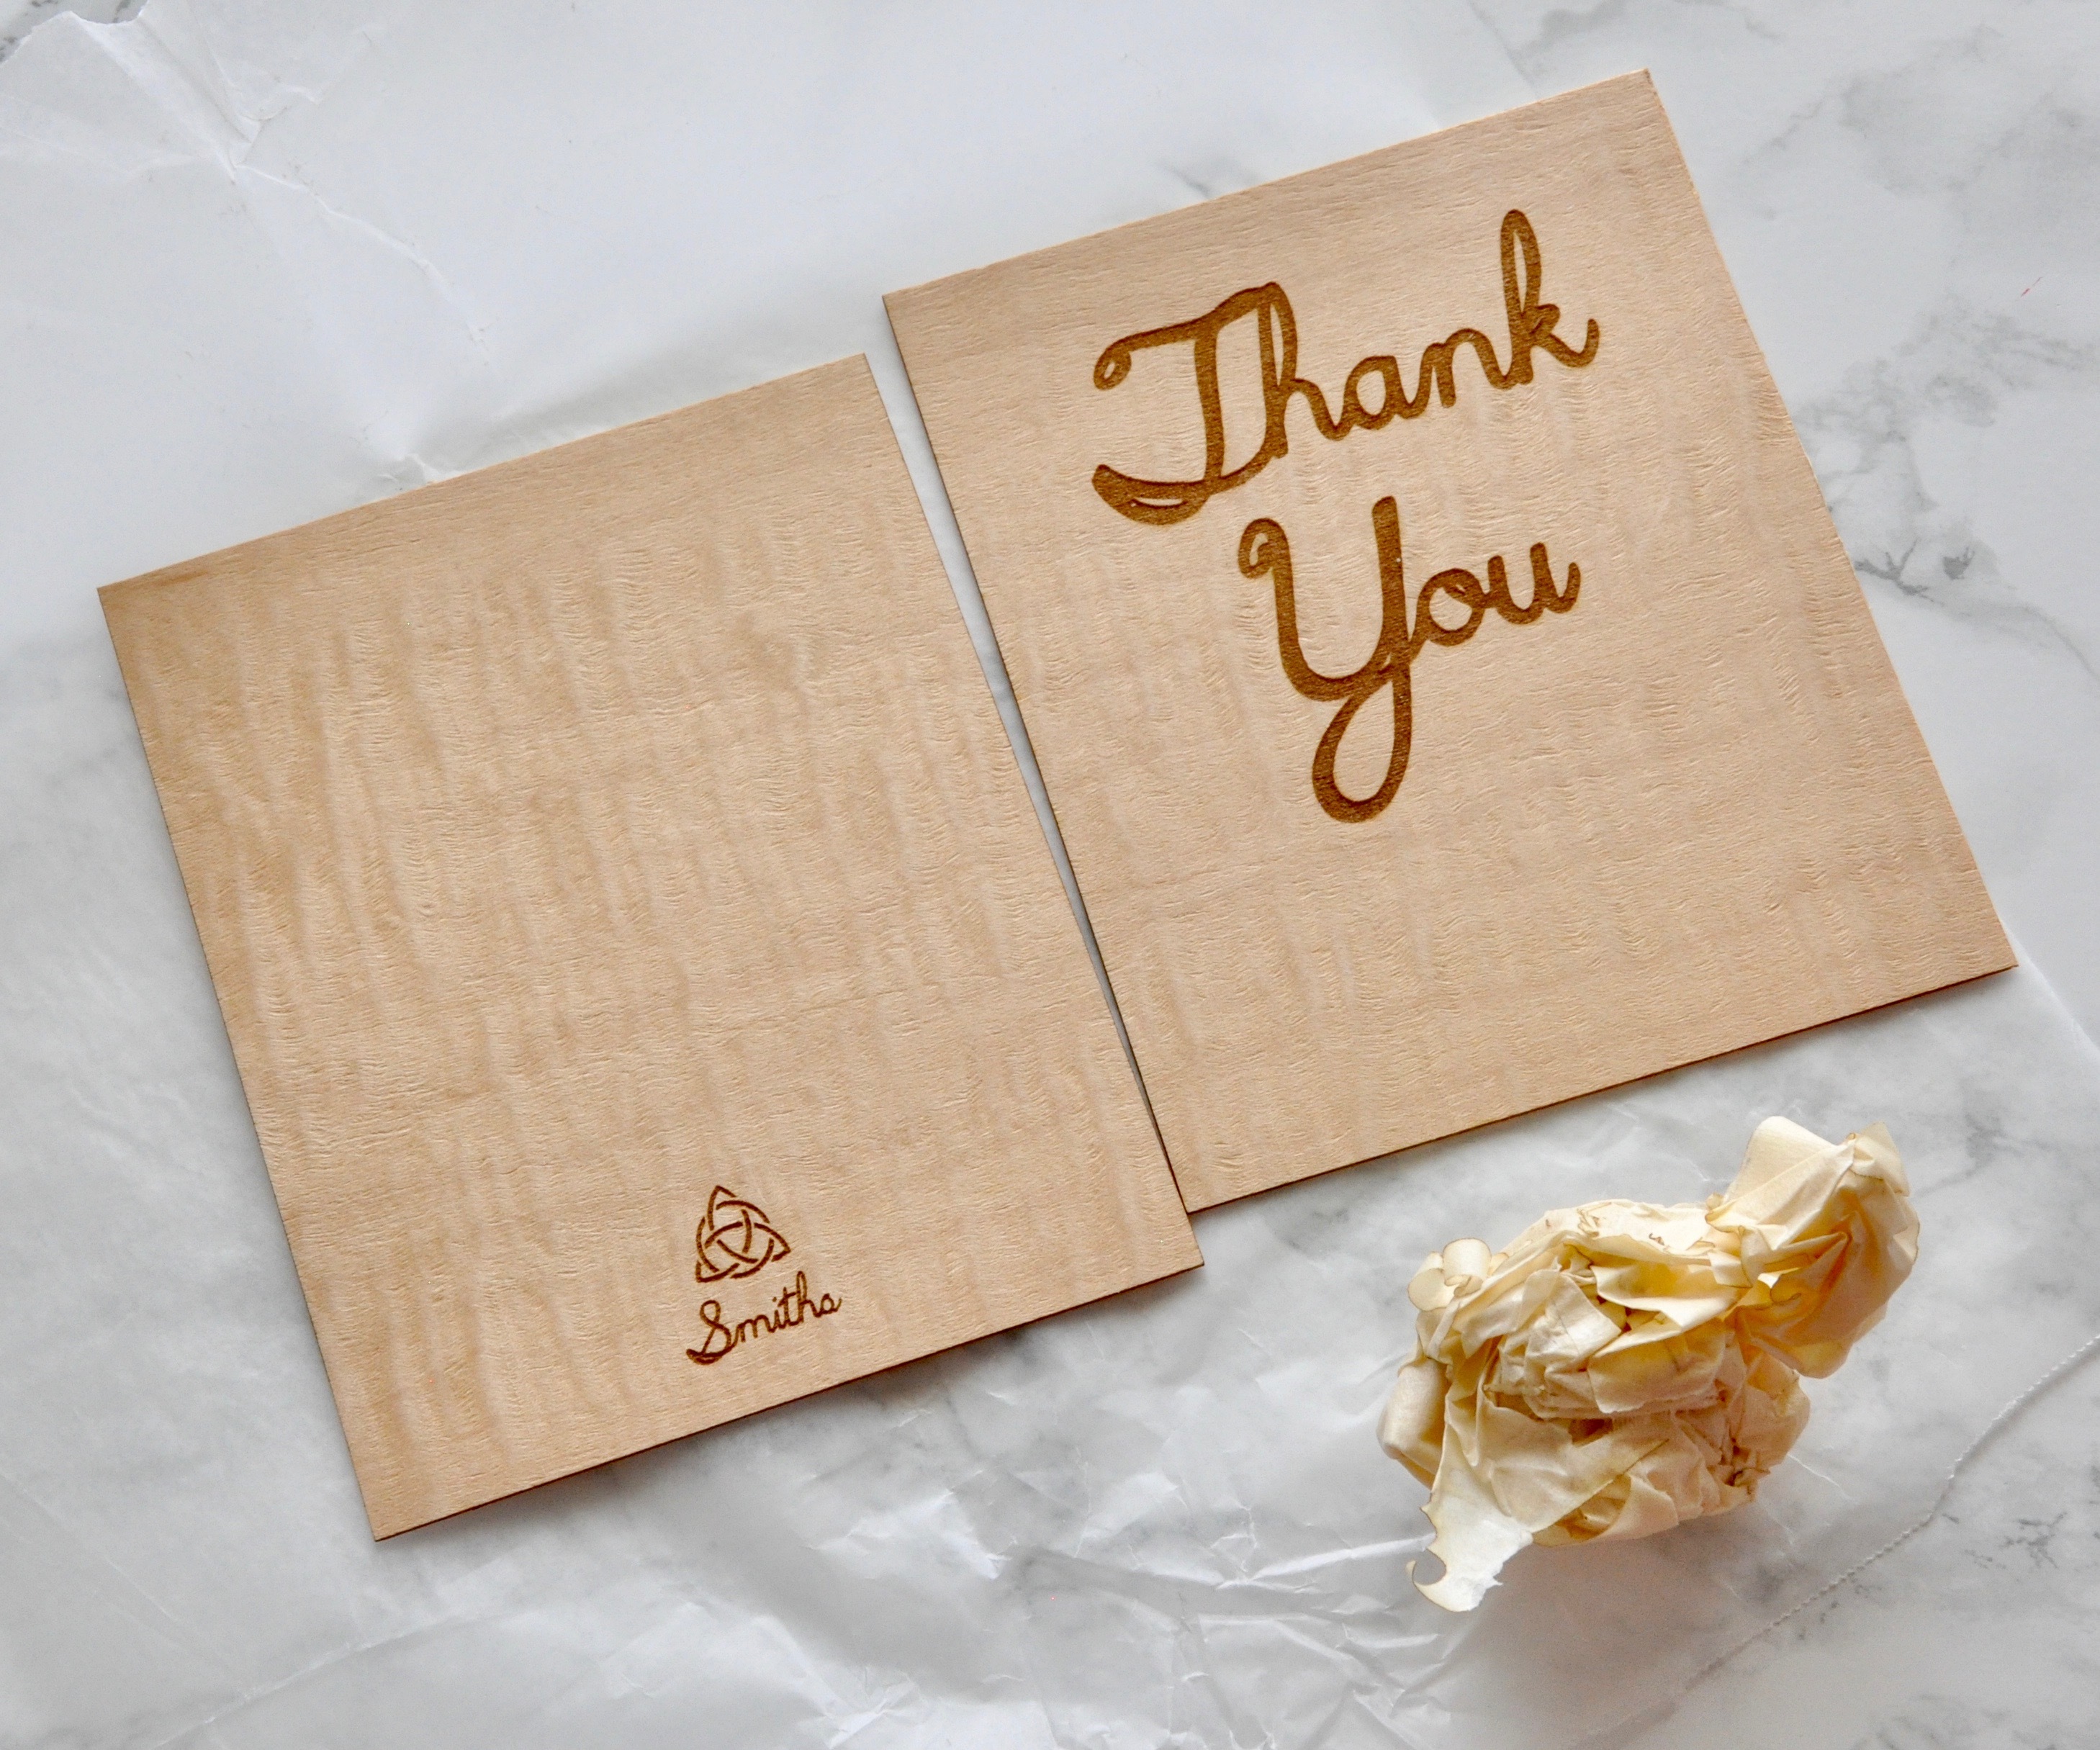
Wooden Greeting Card
by Penolopy Bulnick in Workshop > Laser Cutting
6238 Views, 39 Favorites, 0 Comments
Wooden Greeting Card
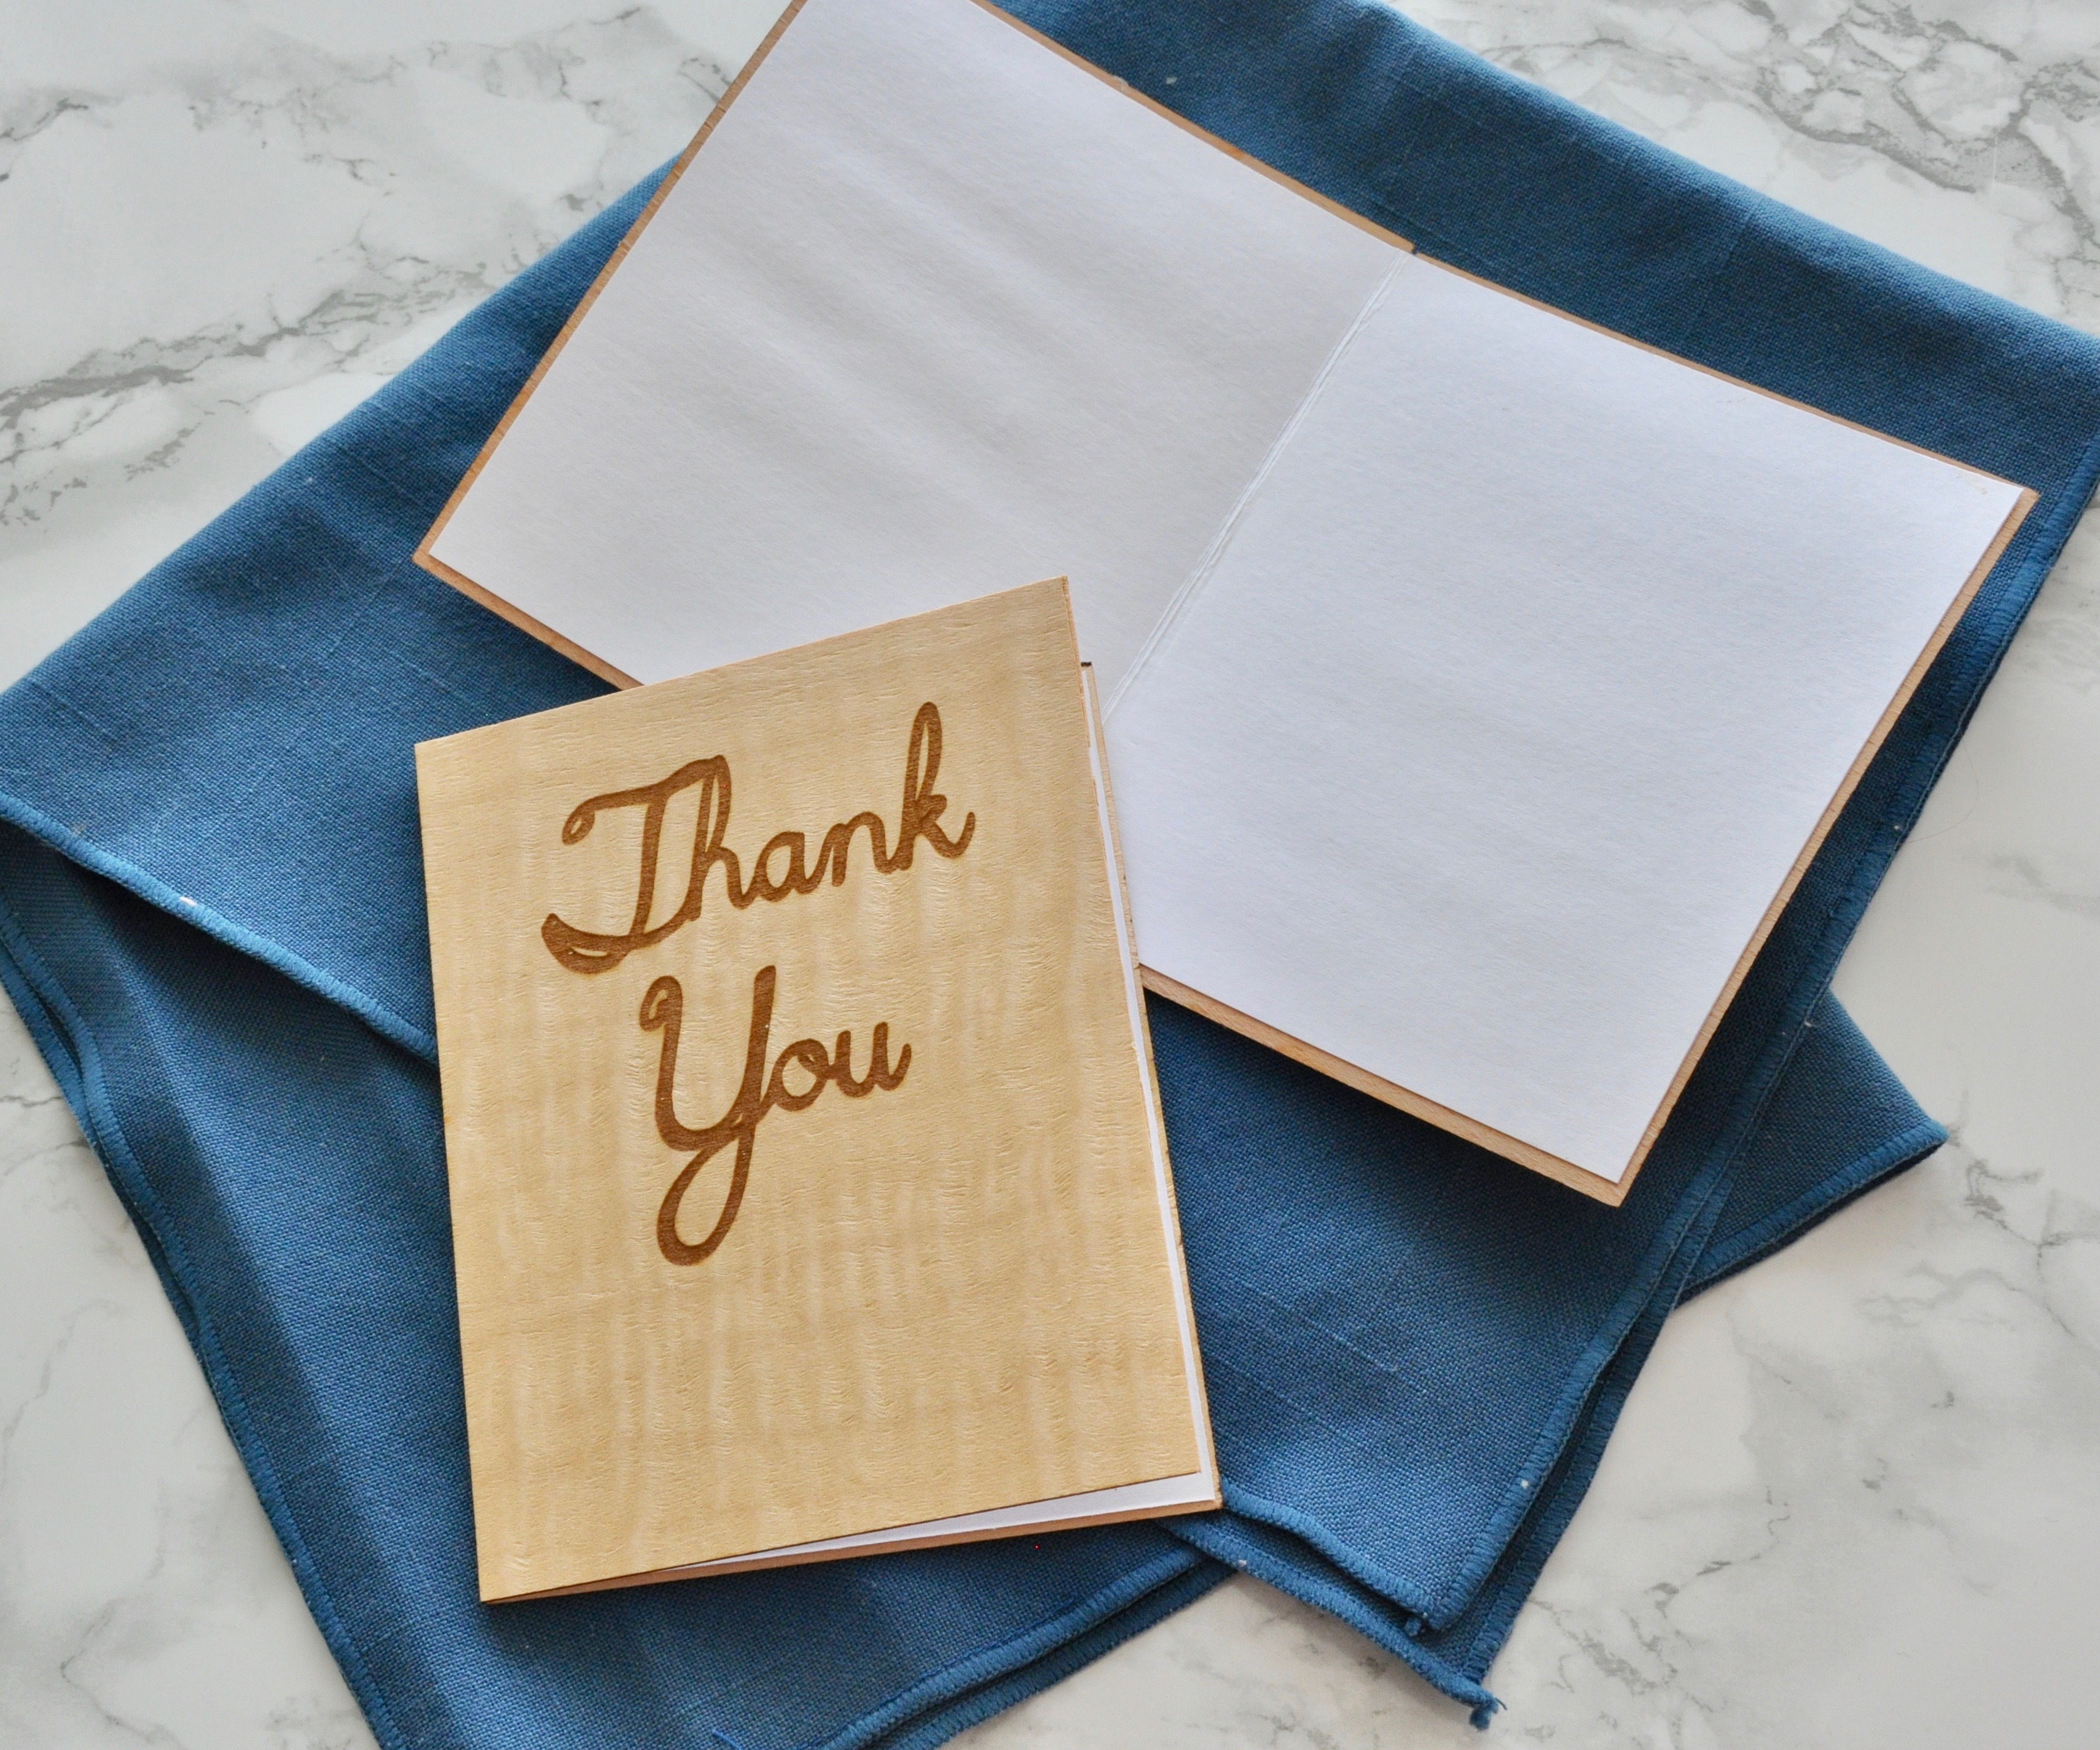
After making my popsicle stick greeting card, I knew I would want to make another one out of wood veneer that looked more professional. Instead of doing it by hand, I decided to use my laser cutter this time and the result is a very nice and simple wooden greeting card that can be customized for any occasion.
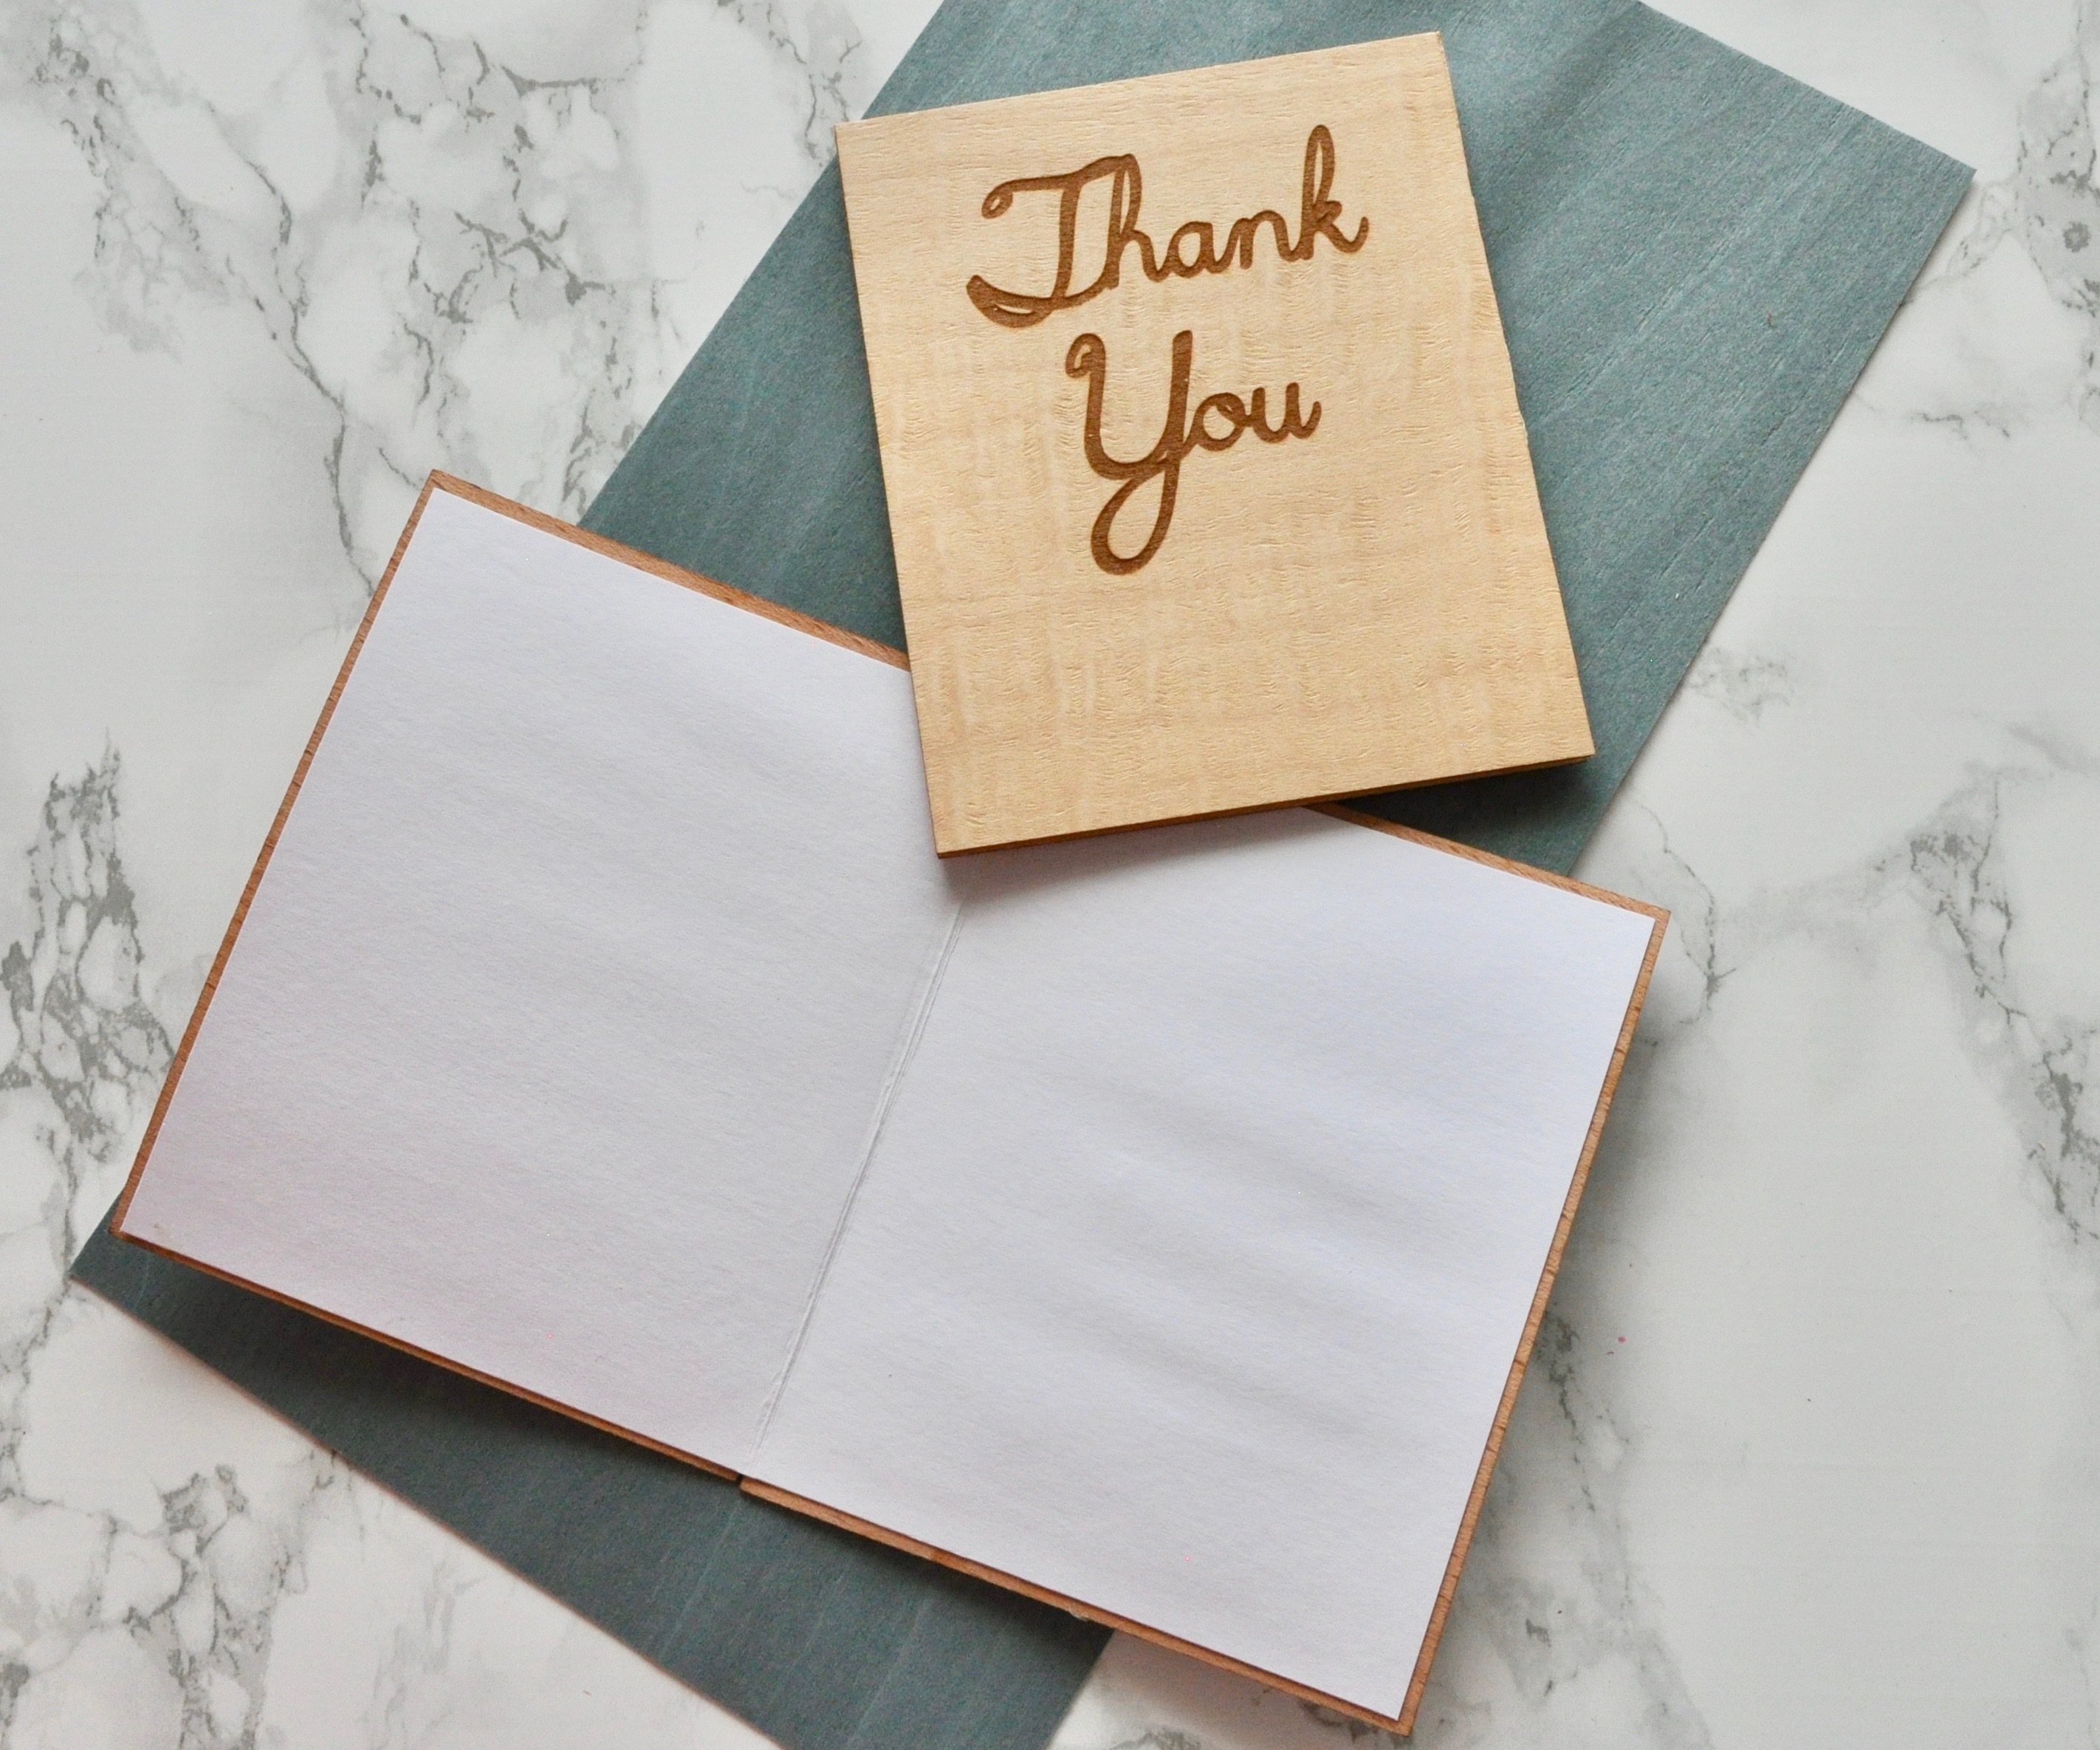
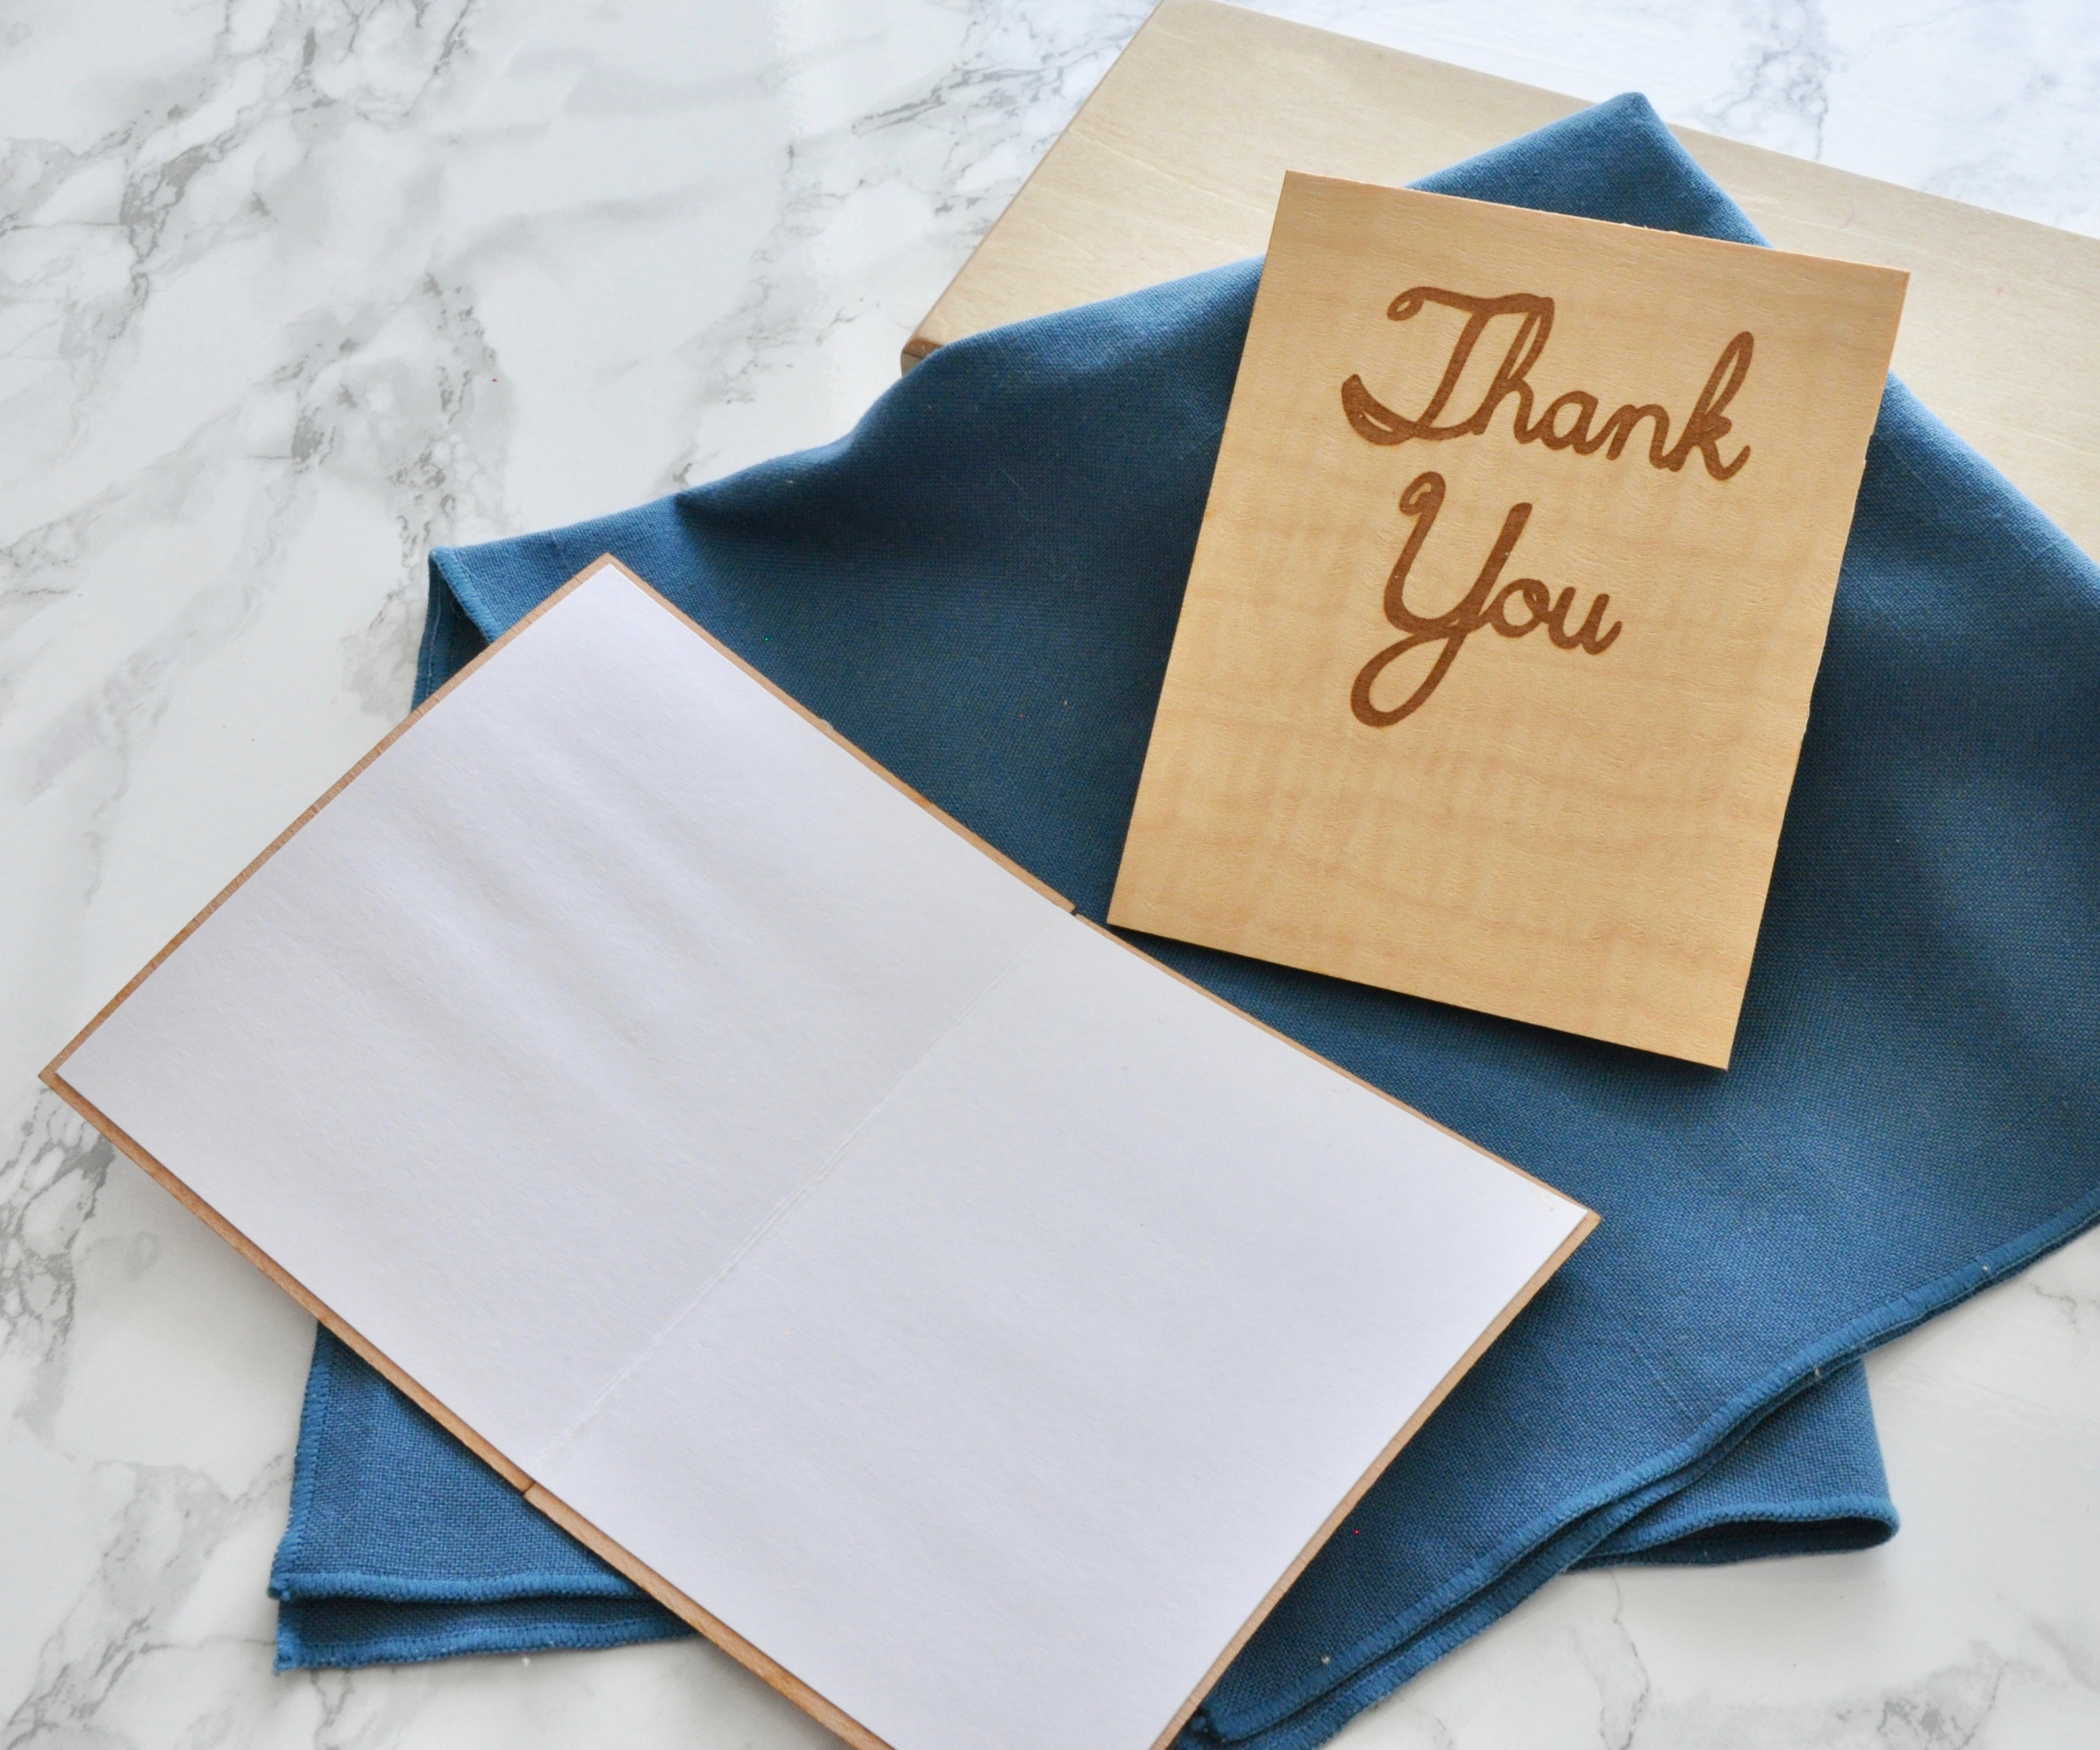
I just do a simple etching design on my card, but you could also be fancy and cut out pieces from other veneers and glue it onto the cover of the card.
Supplies
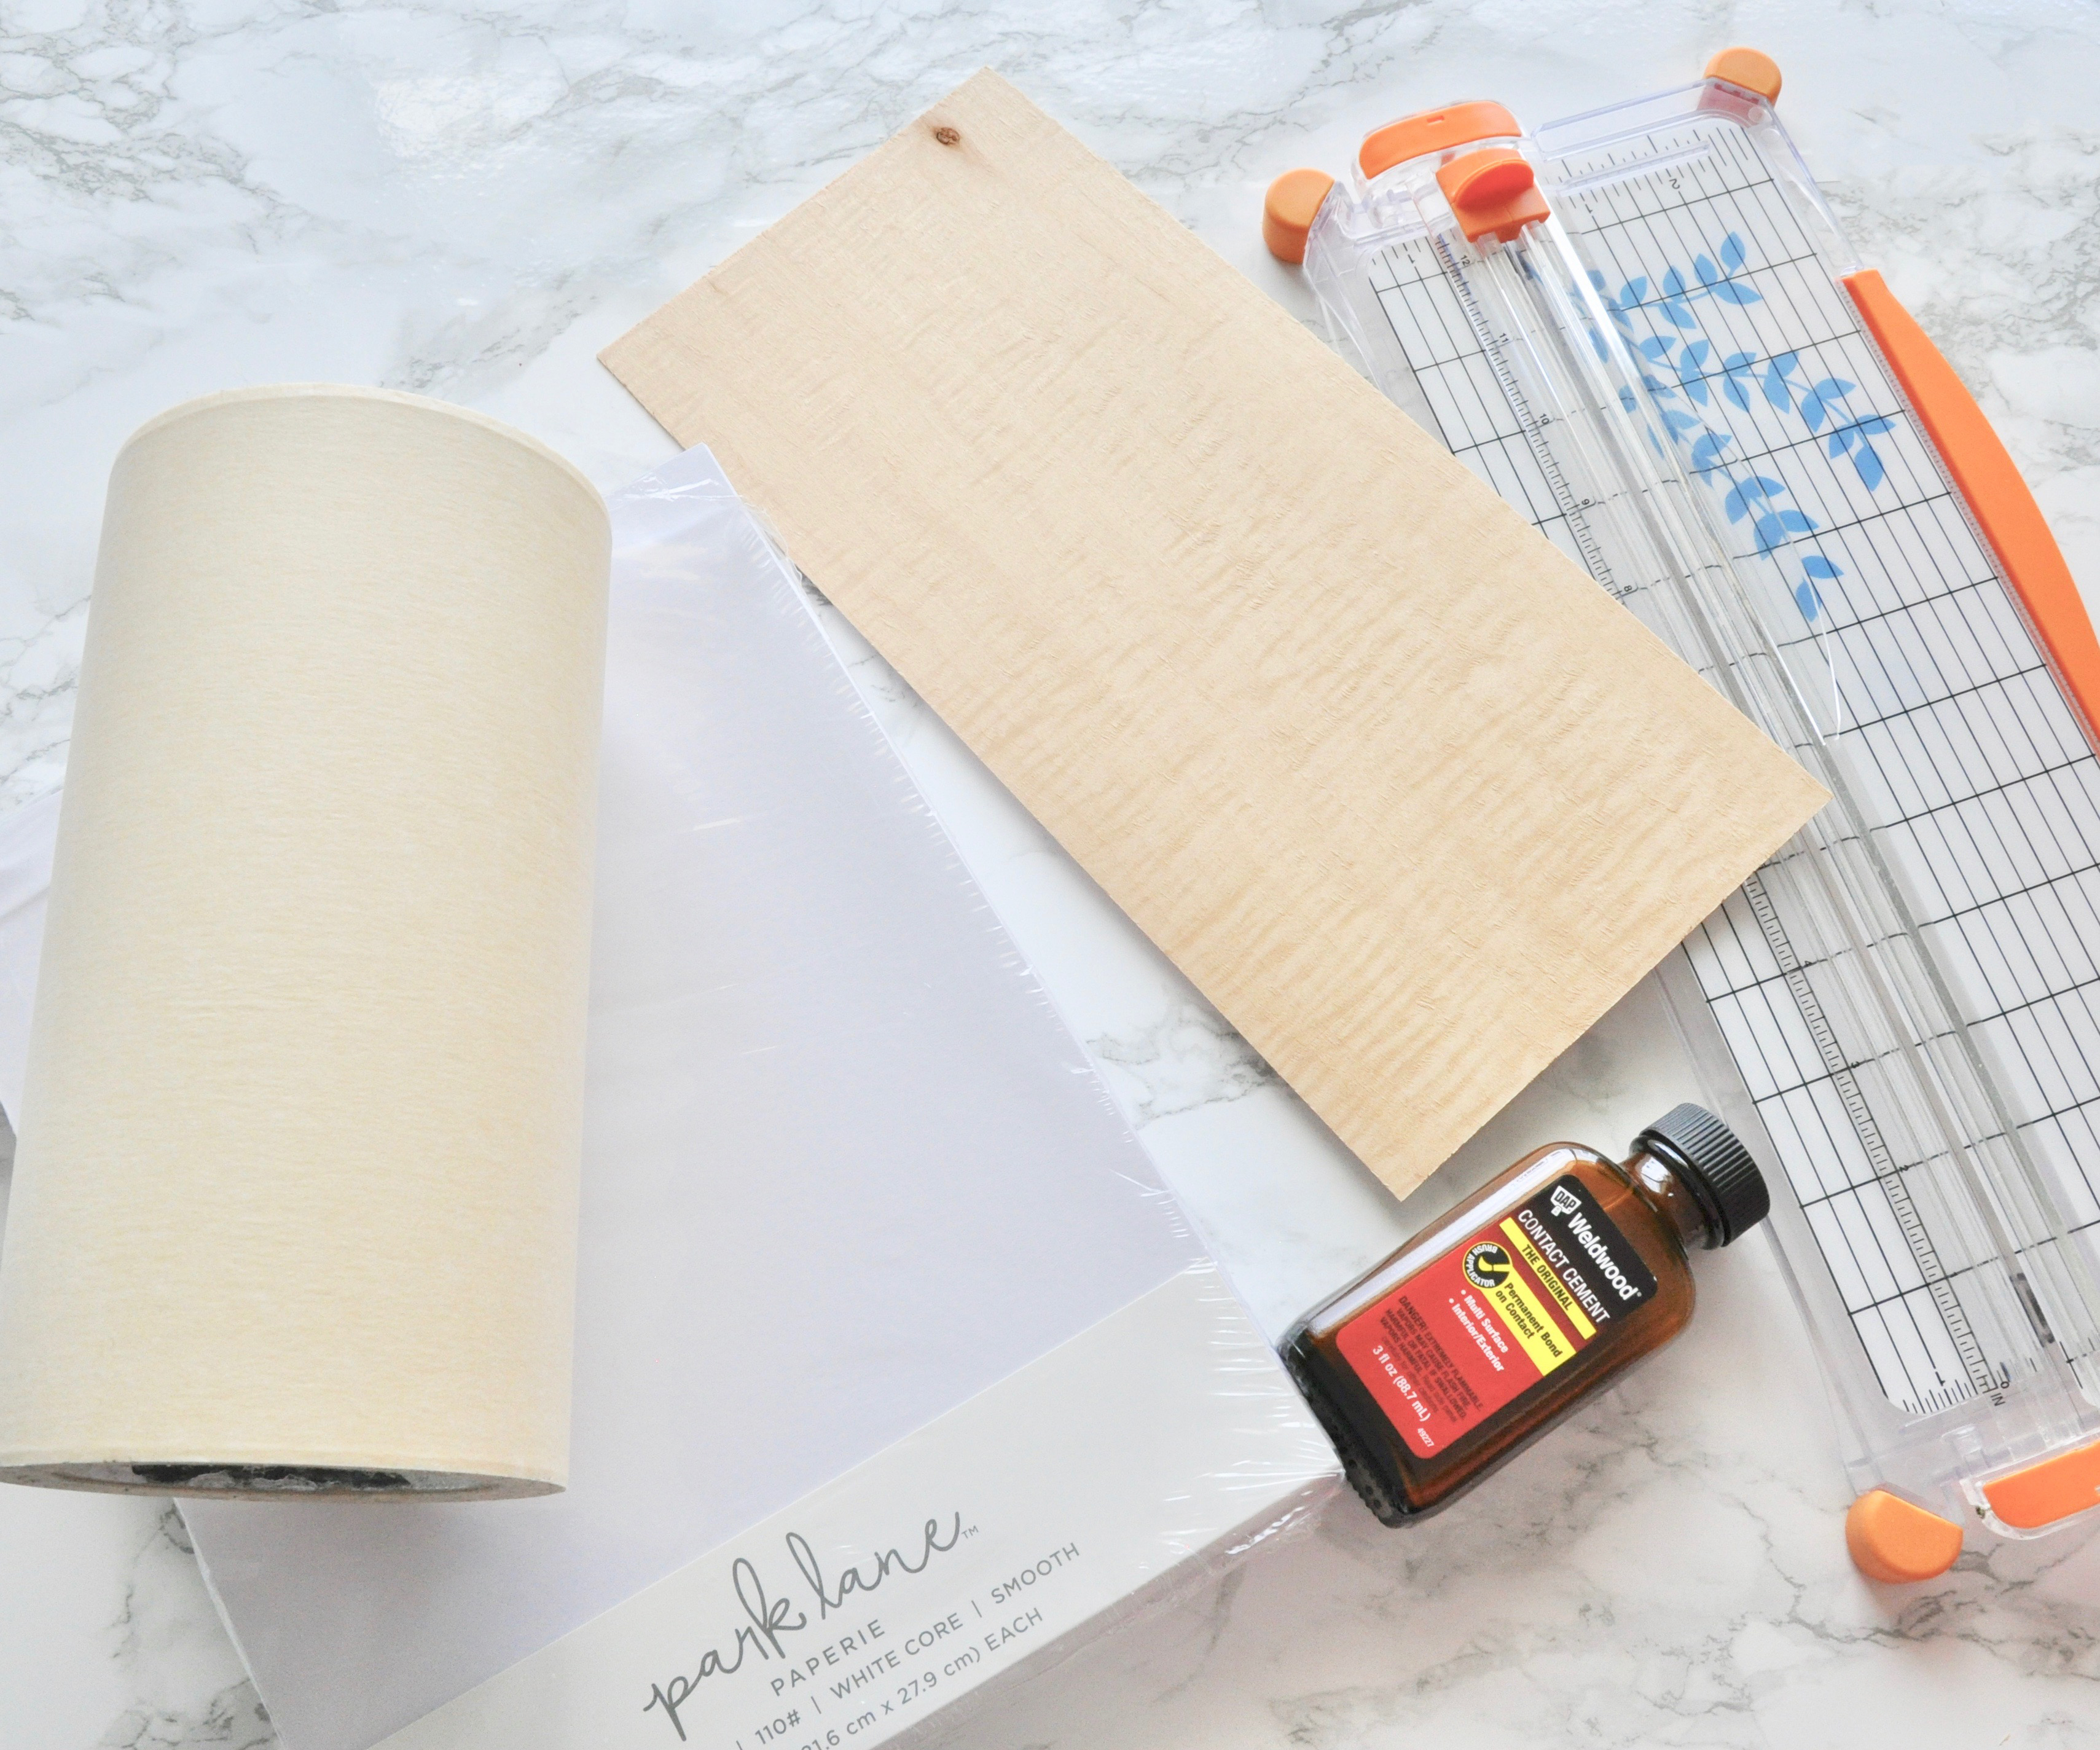
Supplies:
- Wood Veneer - Mine is from a variety pack, you can use what you want but I recommend using a lighter wood so your etching will show up
- Wide Masking Tape - to cover the veneer and protect it from charing
- Thick Cardstock - I'm using 110# Cardstock, you can use something lighter but I recommend using something thicker than printer paper (which is about 20#) so your card is sturdy.
- Paper Cutter - just makes cutting the paper easier
- Laser Cutter - I'm obviously using a laser cutter (a Glowforge to be exact - this is a referral link and if you use it, you can get up to $500 off if you decide to purchase one) but you could hand cut the card and use a wood burner to put a design on it
- Contact Cement - I initially used Wood Glue and while it worked it caused the veneer to warp so I recommend contact cement
Any Amazon links are Amazon Associates links.
Design
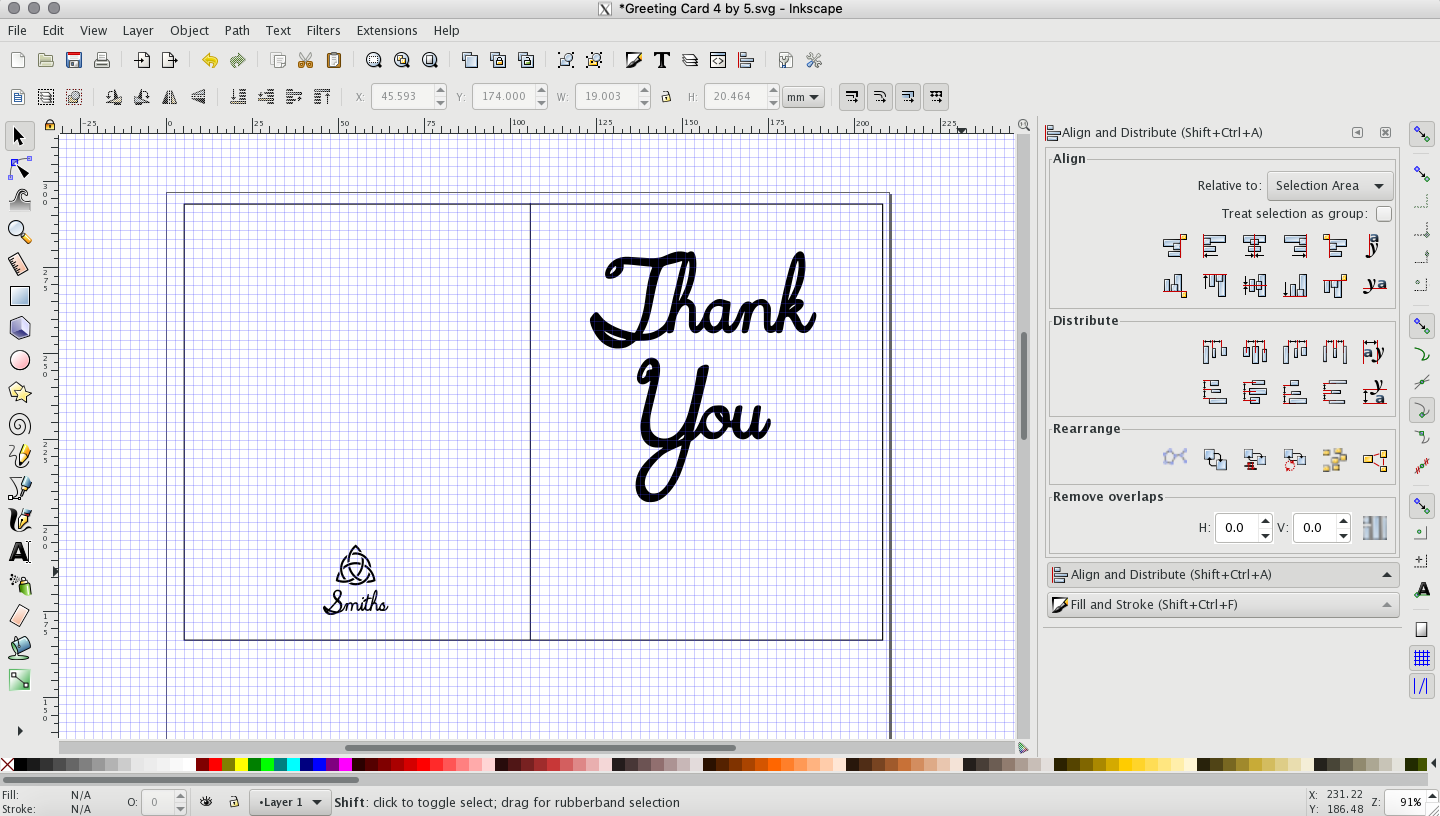
Designing a greeting card for laser cutting is pretty basic.
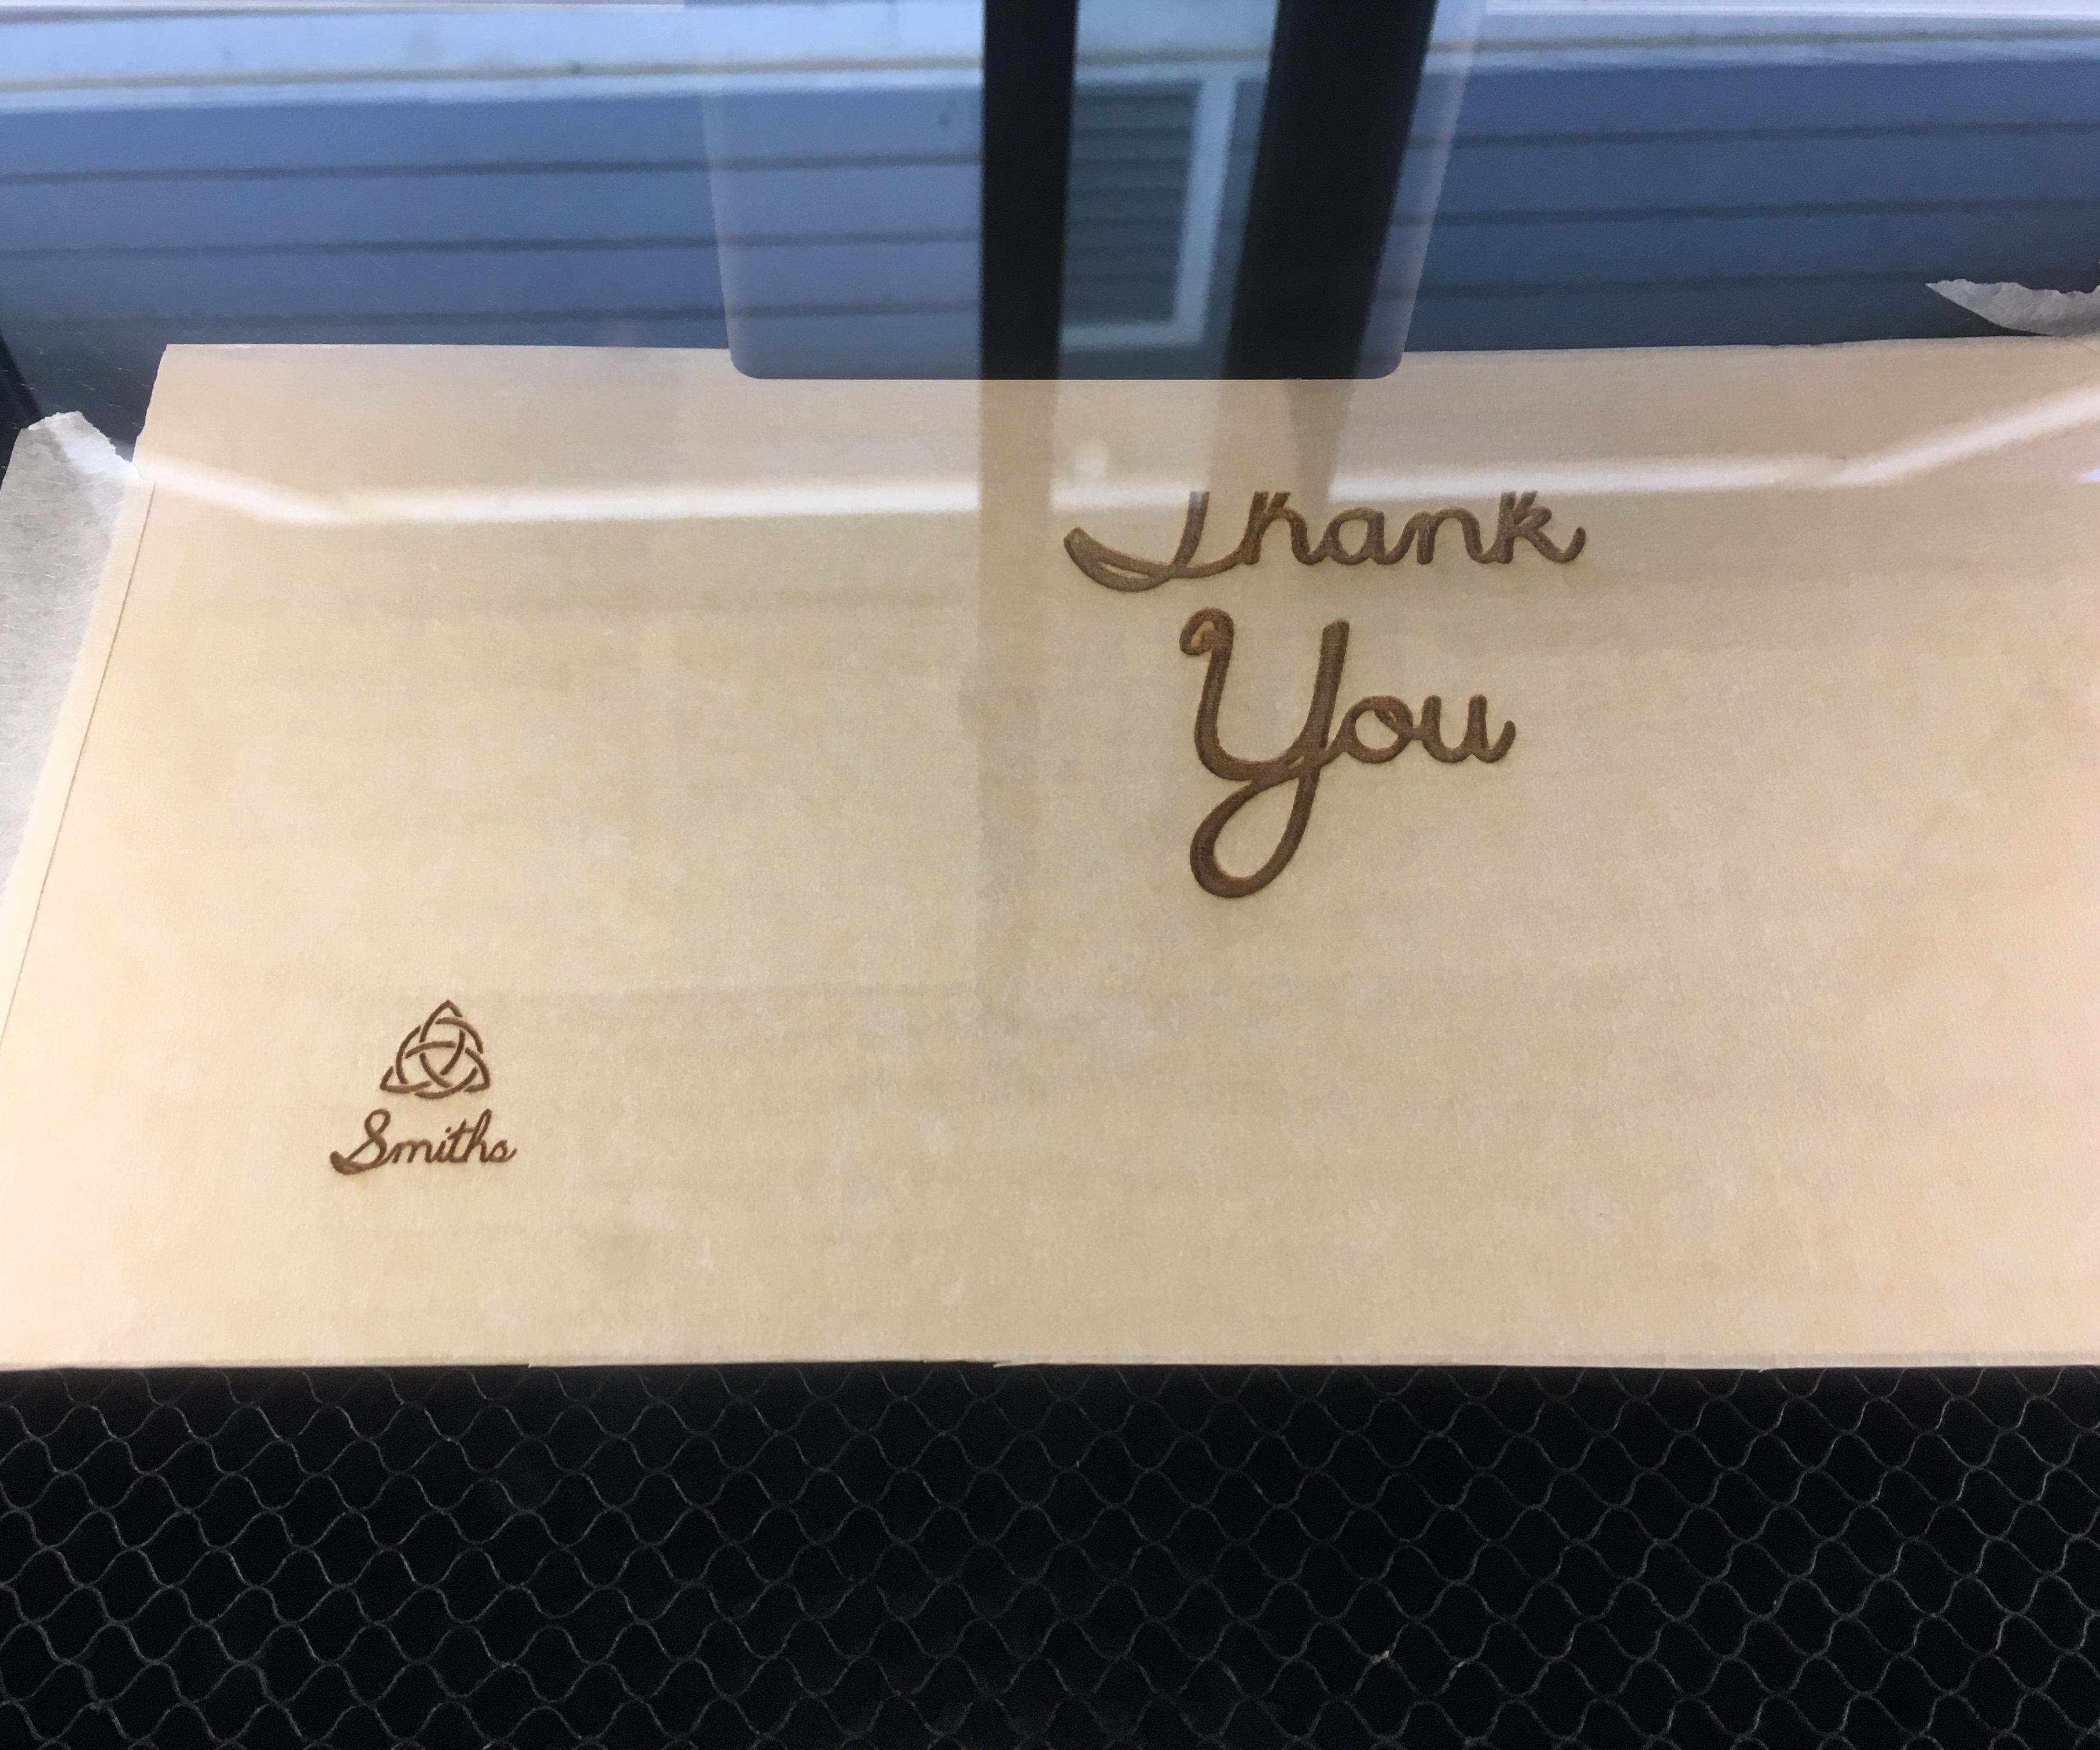
Start by creating cut lines for the card size. Since I made a 4" by 5" card I made a large rectangle that was 8" wide and 5" tall and a cut line down the middle. This made the front and back of the card.
Then create etch lines of your design. (It doesn't matter which side the design is on when you etch because you can always swap them after they are cut out.)
I used the 5th Grade Cursive font I found here.
Once you have the file ready, you can bring it over to your laser cutter program.
Downloads
Laser Cutting

As I mentioned, you can hand cut the wood and use a wood burner to etch your design or you can use a laser cutter. I used a laser cutter.
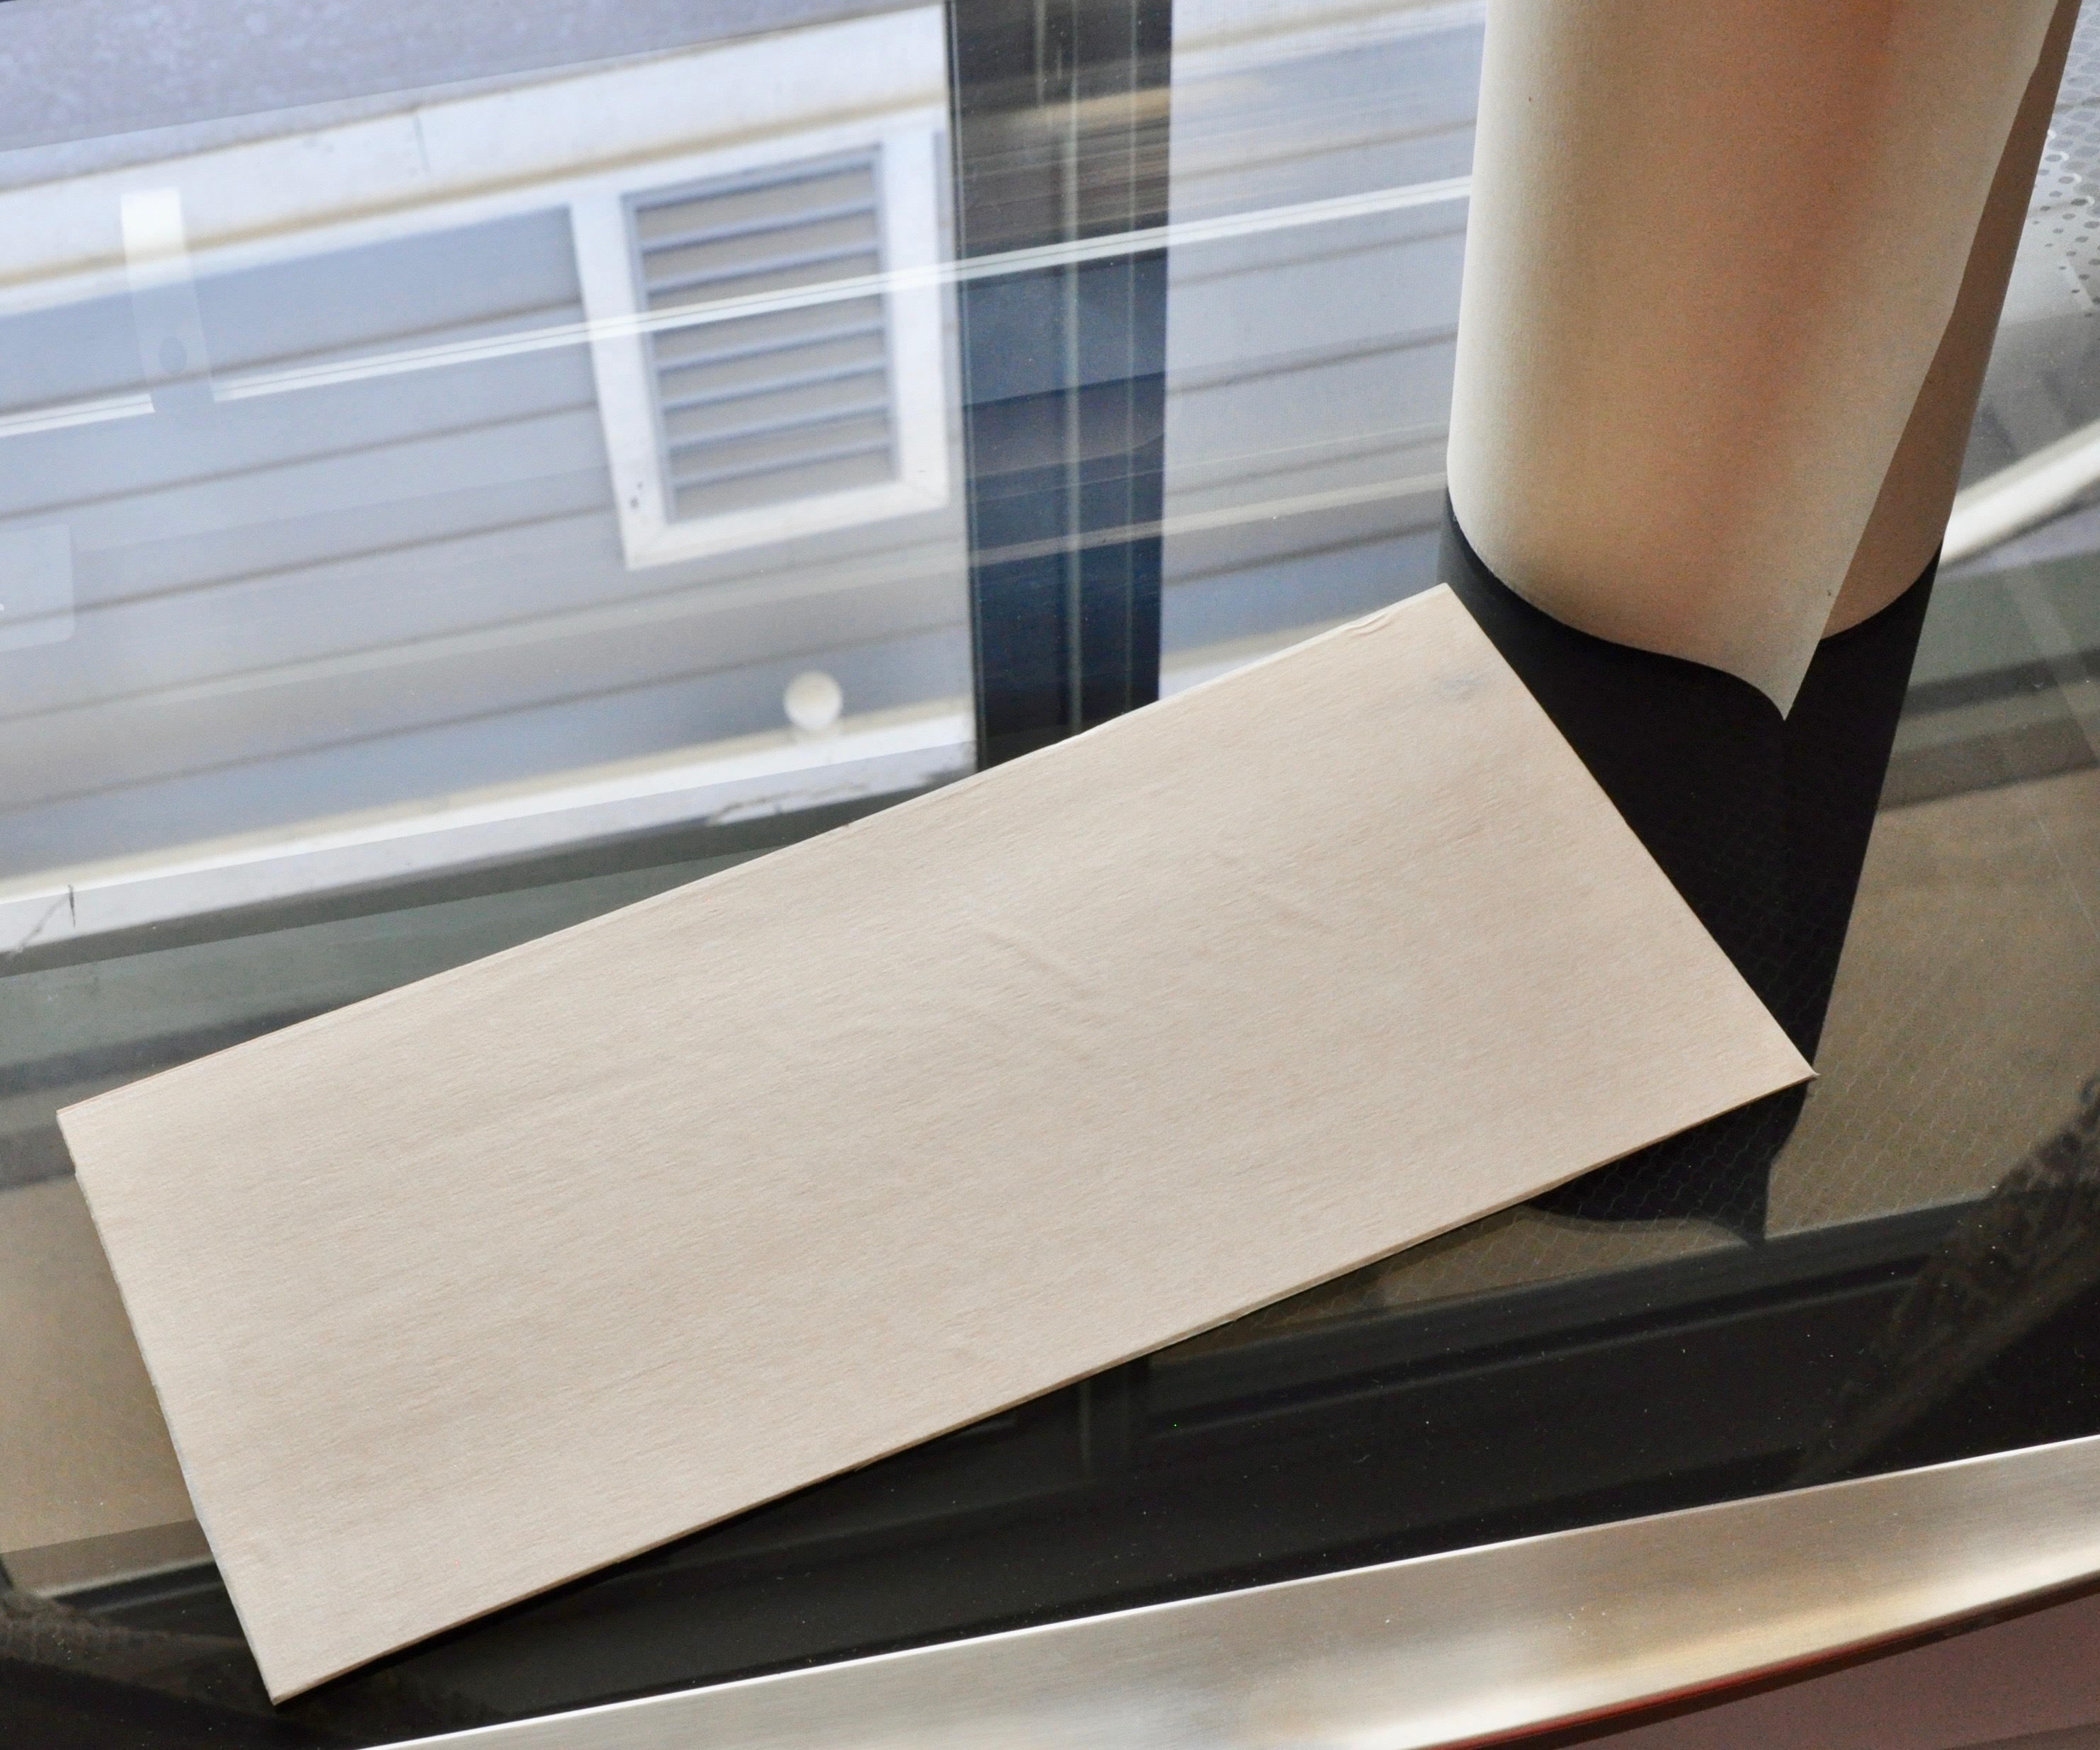
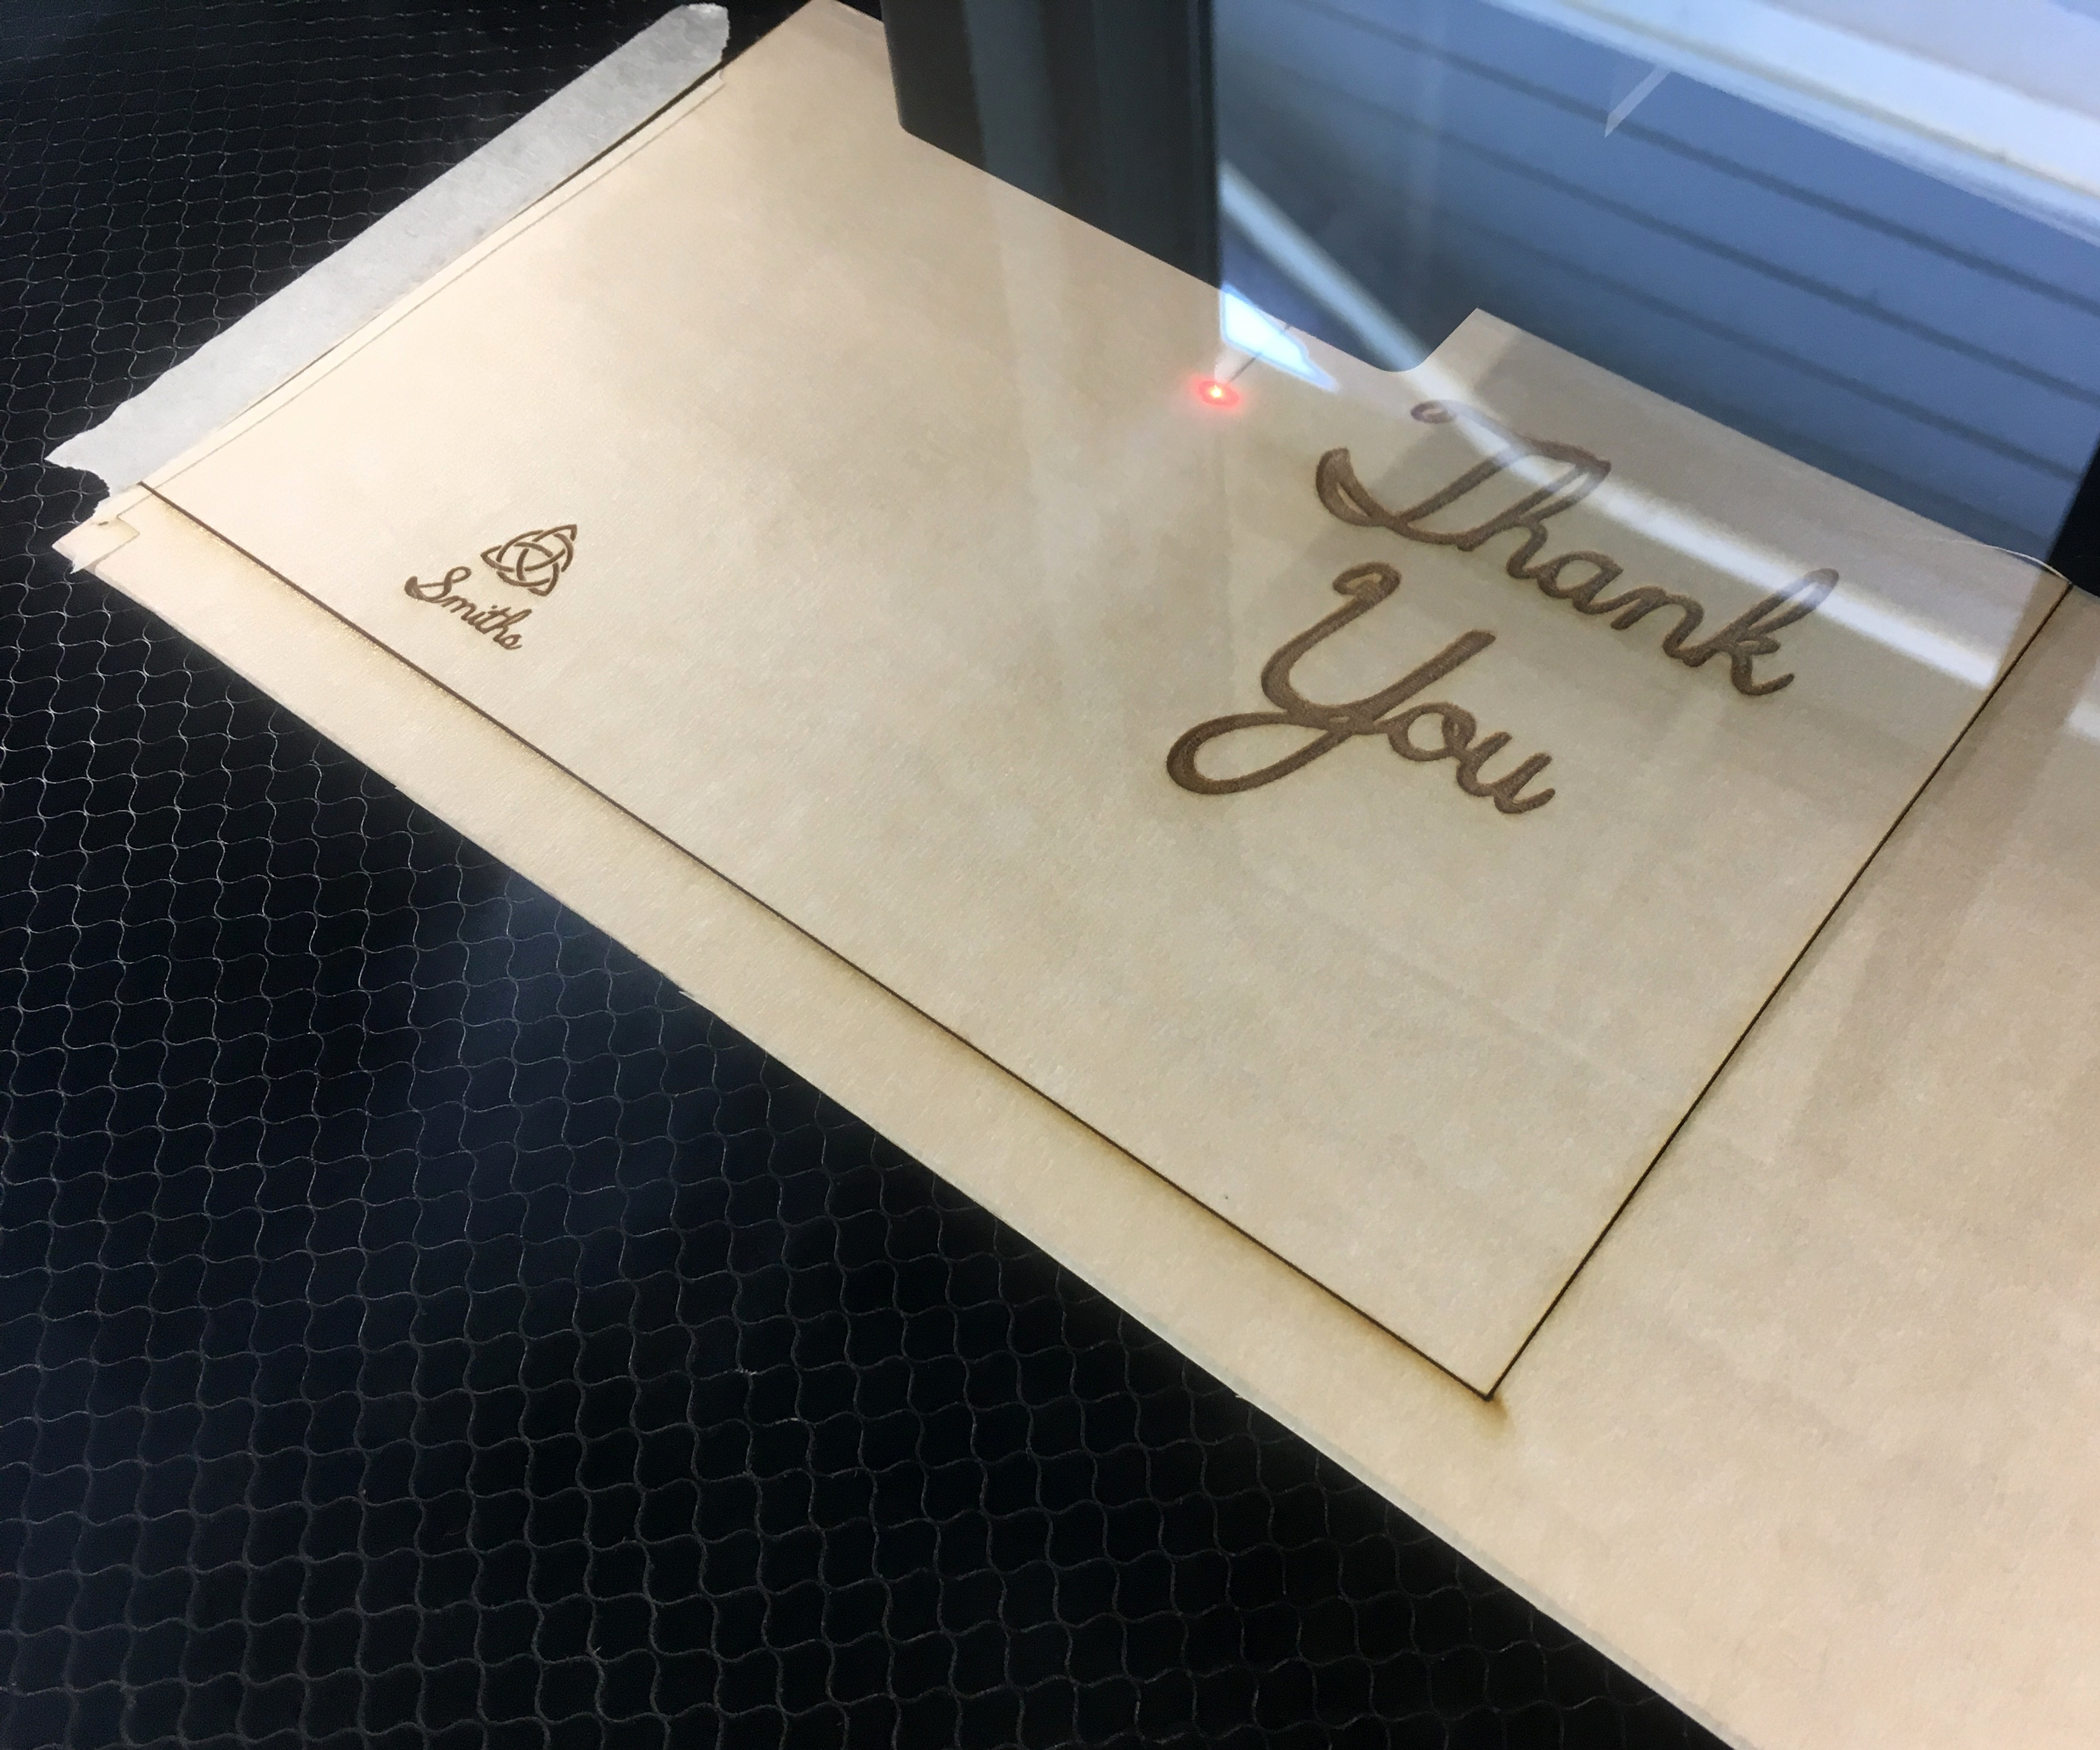
Start by taping up your veneer so it won't char as much in the machine.
Tape the veneer down so it won't move while being cut and etched. (Make sure you don't put extra tape over where you will etch or it will cause the etching to be uneven.)
Set up your file and send it to your laser cutter to etch and then cut.
The settings for yours will depend on your material but here are the settings I used for mine. Be careful of your etch settings. You don't want to go all the way through the wood.
Etch:
- Speed: 1000
- Power: 80
- Focus Height: 0.027 in
Cut:
- Speed: 350
- Full Power
- Focus Height: 0.027 in
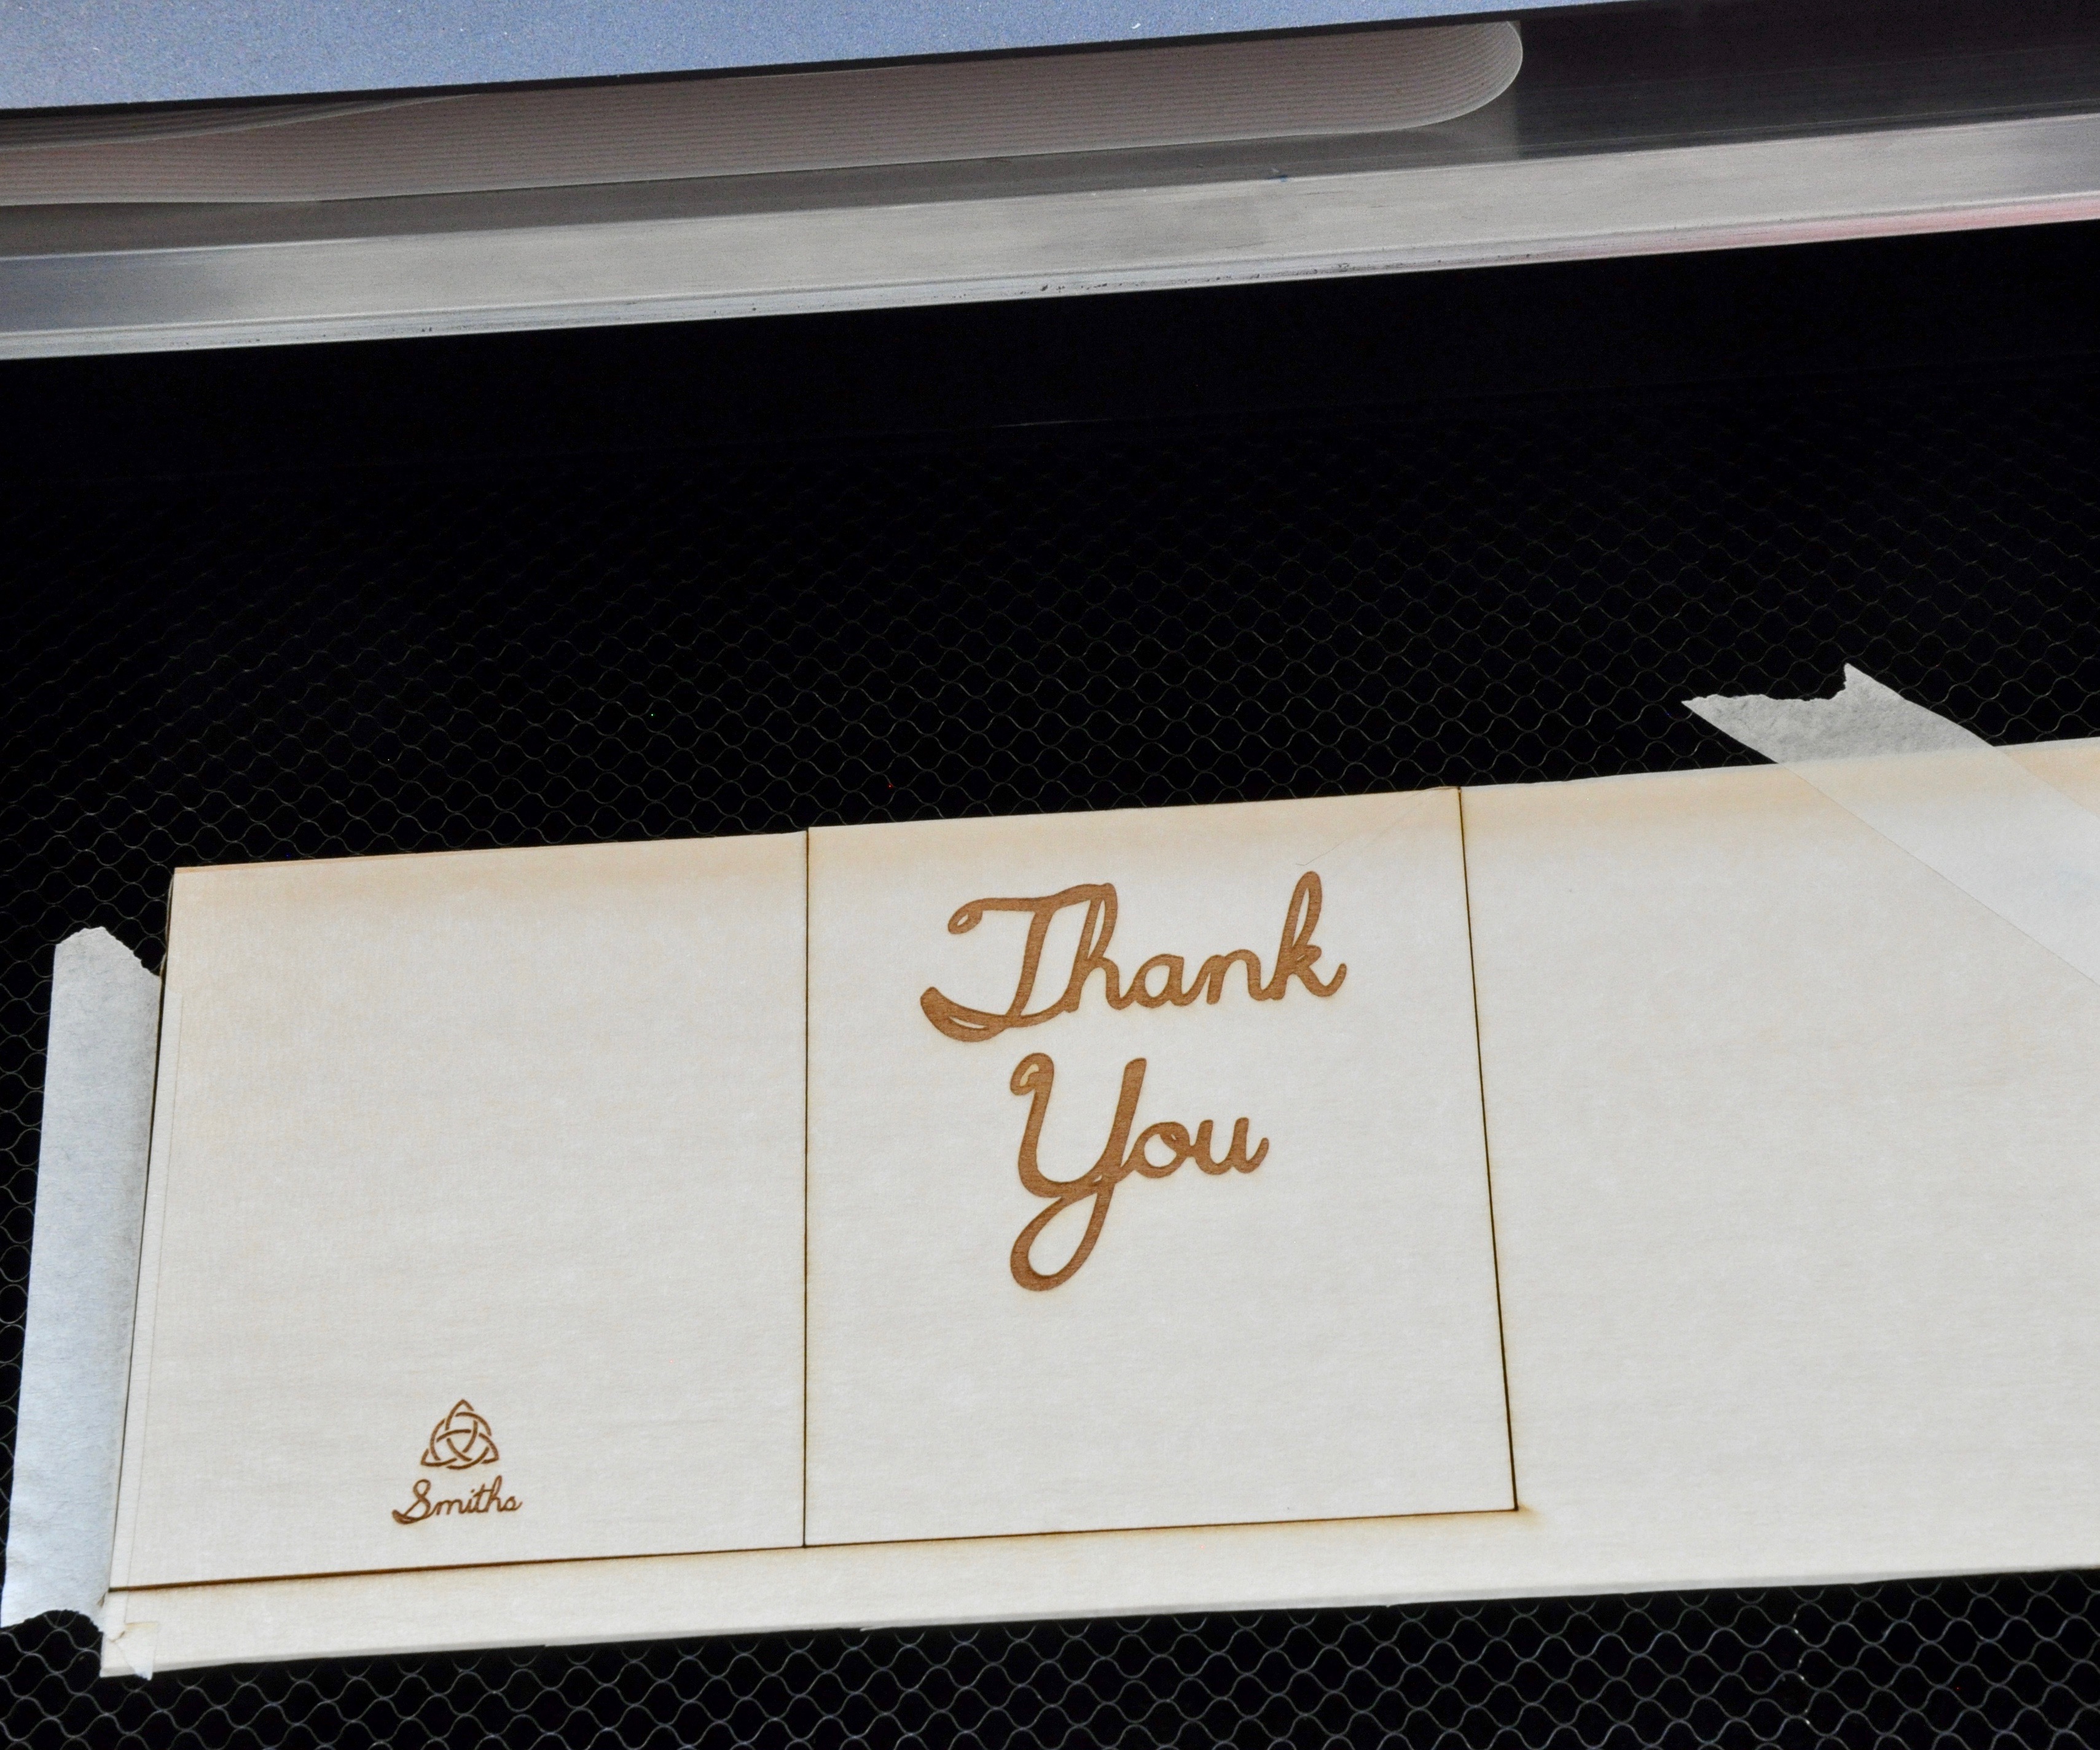
Once it is done cutting and etching, remove all the masking tape. You're ready to add the paper.
Cut Paper
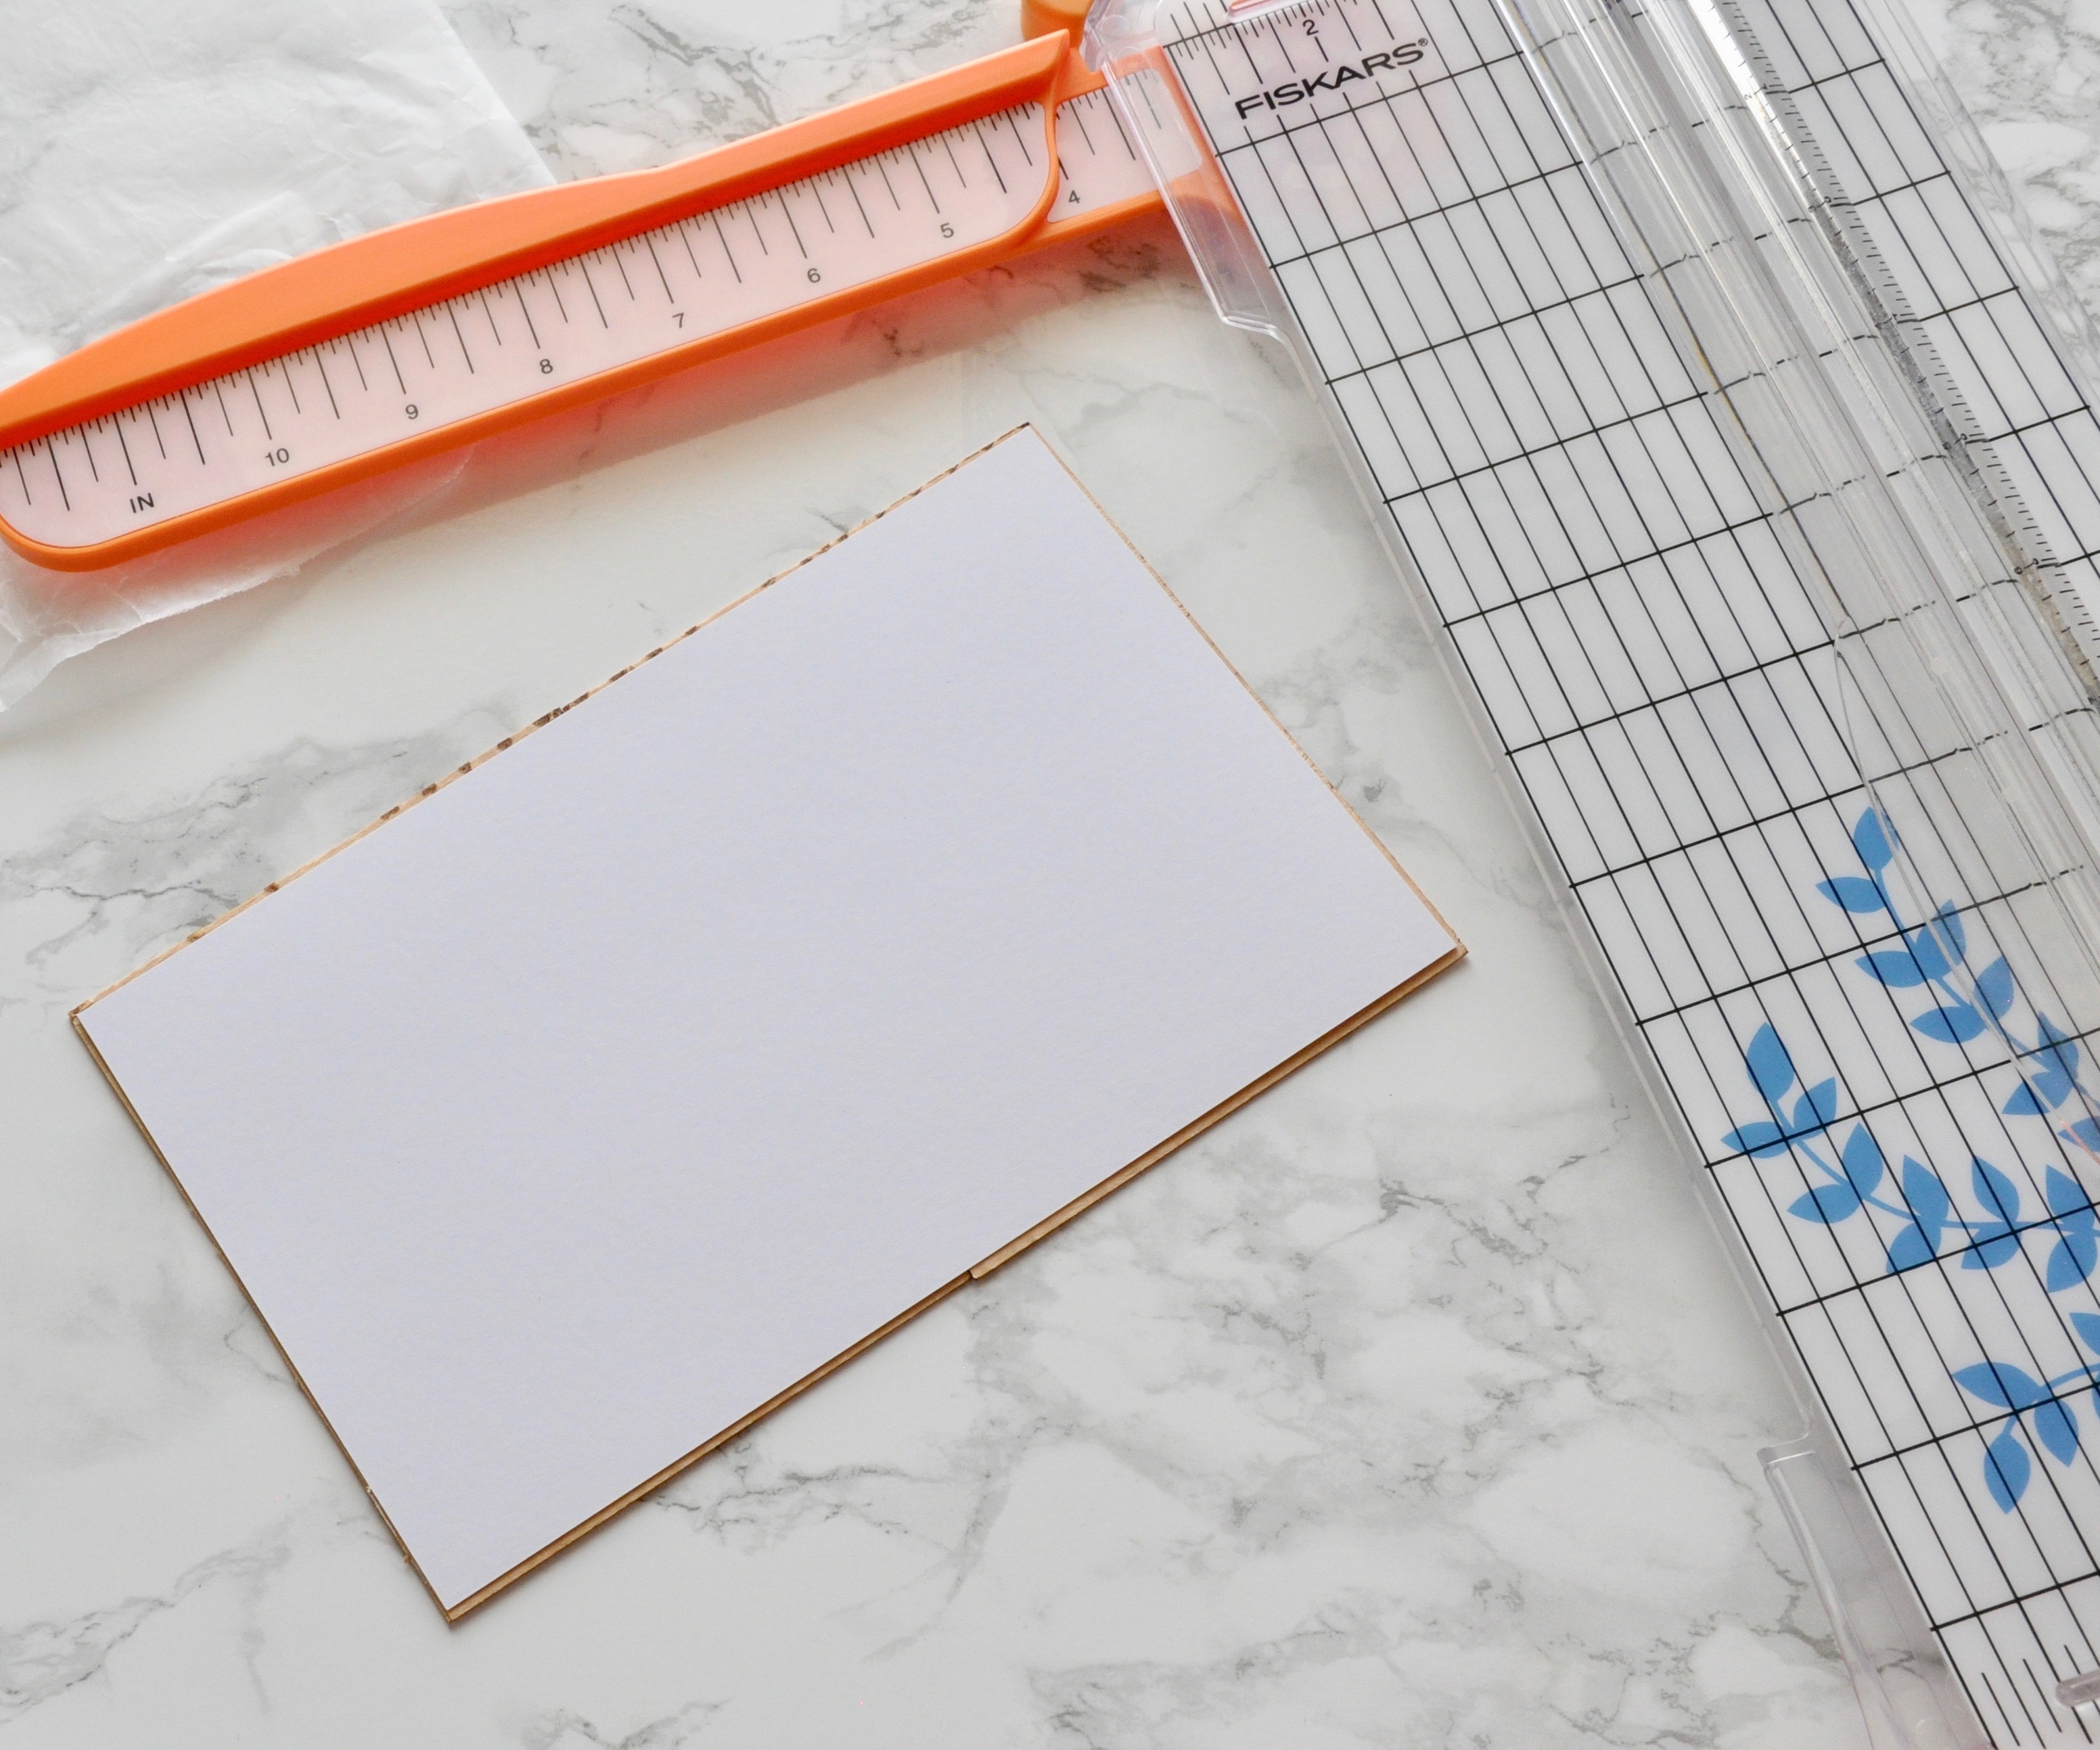
To make your card, you are going to need a piece of paper that is slightly smaller than the two sides of the card set side by side (5" by 8").
I cut my paper about 7 13/16" by 4 13/16"
Glue
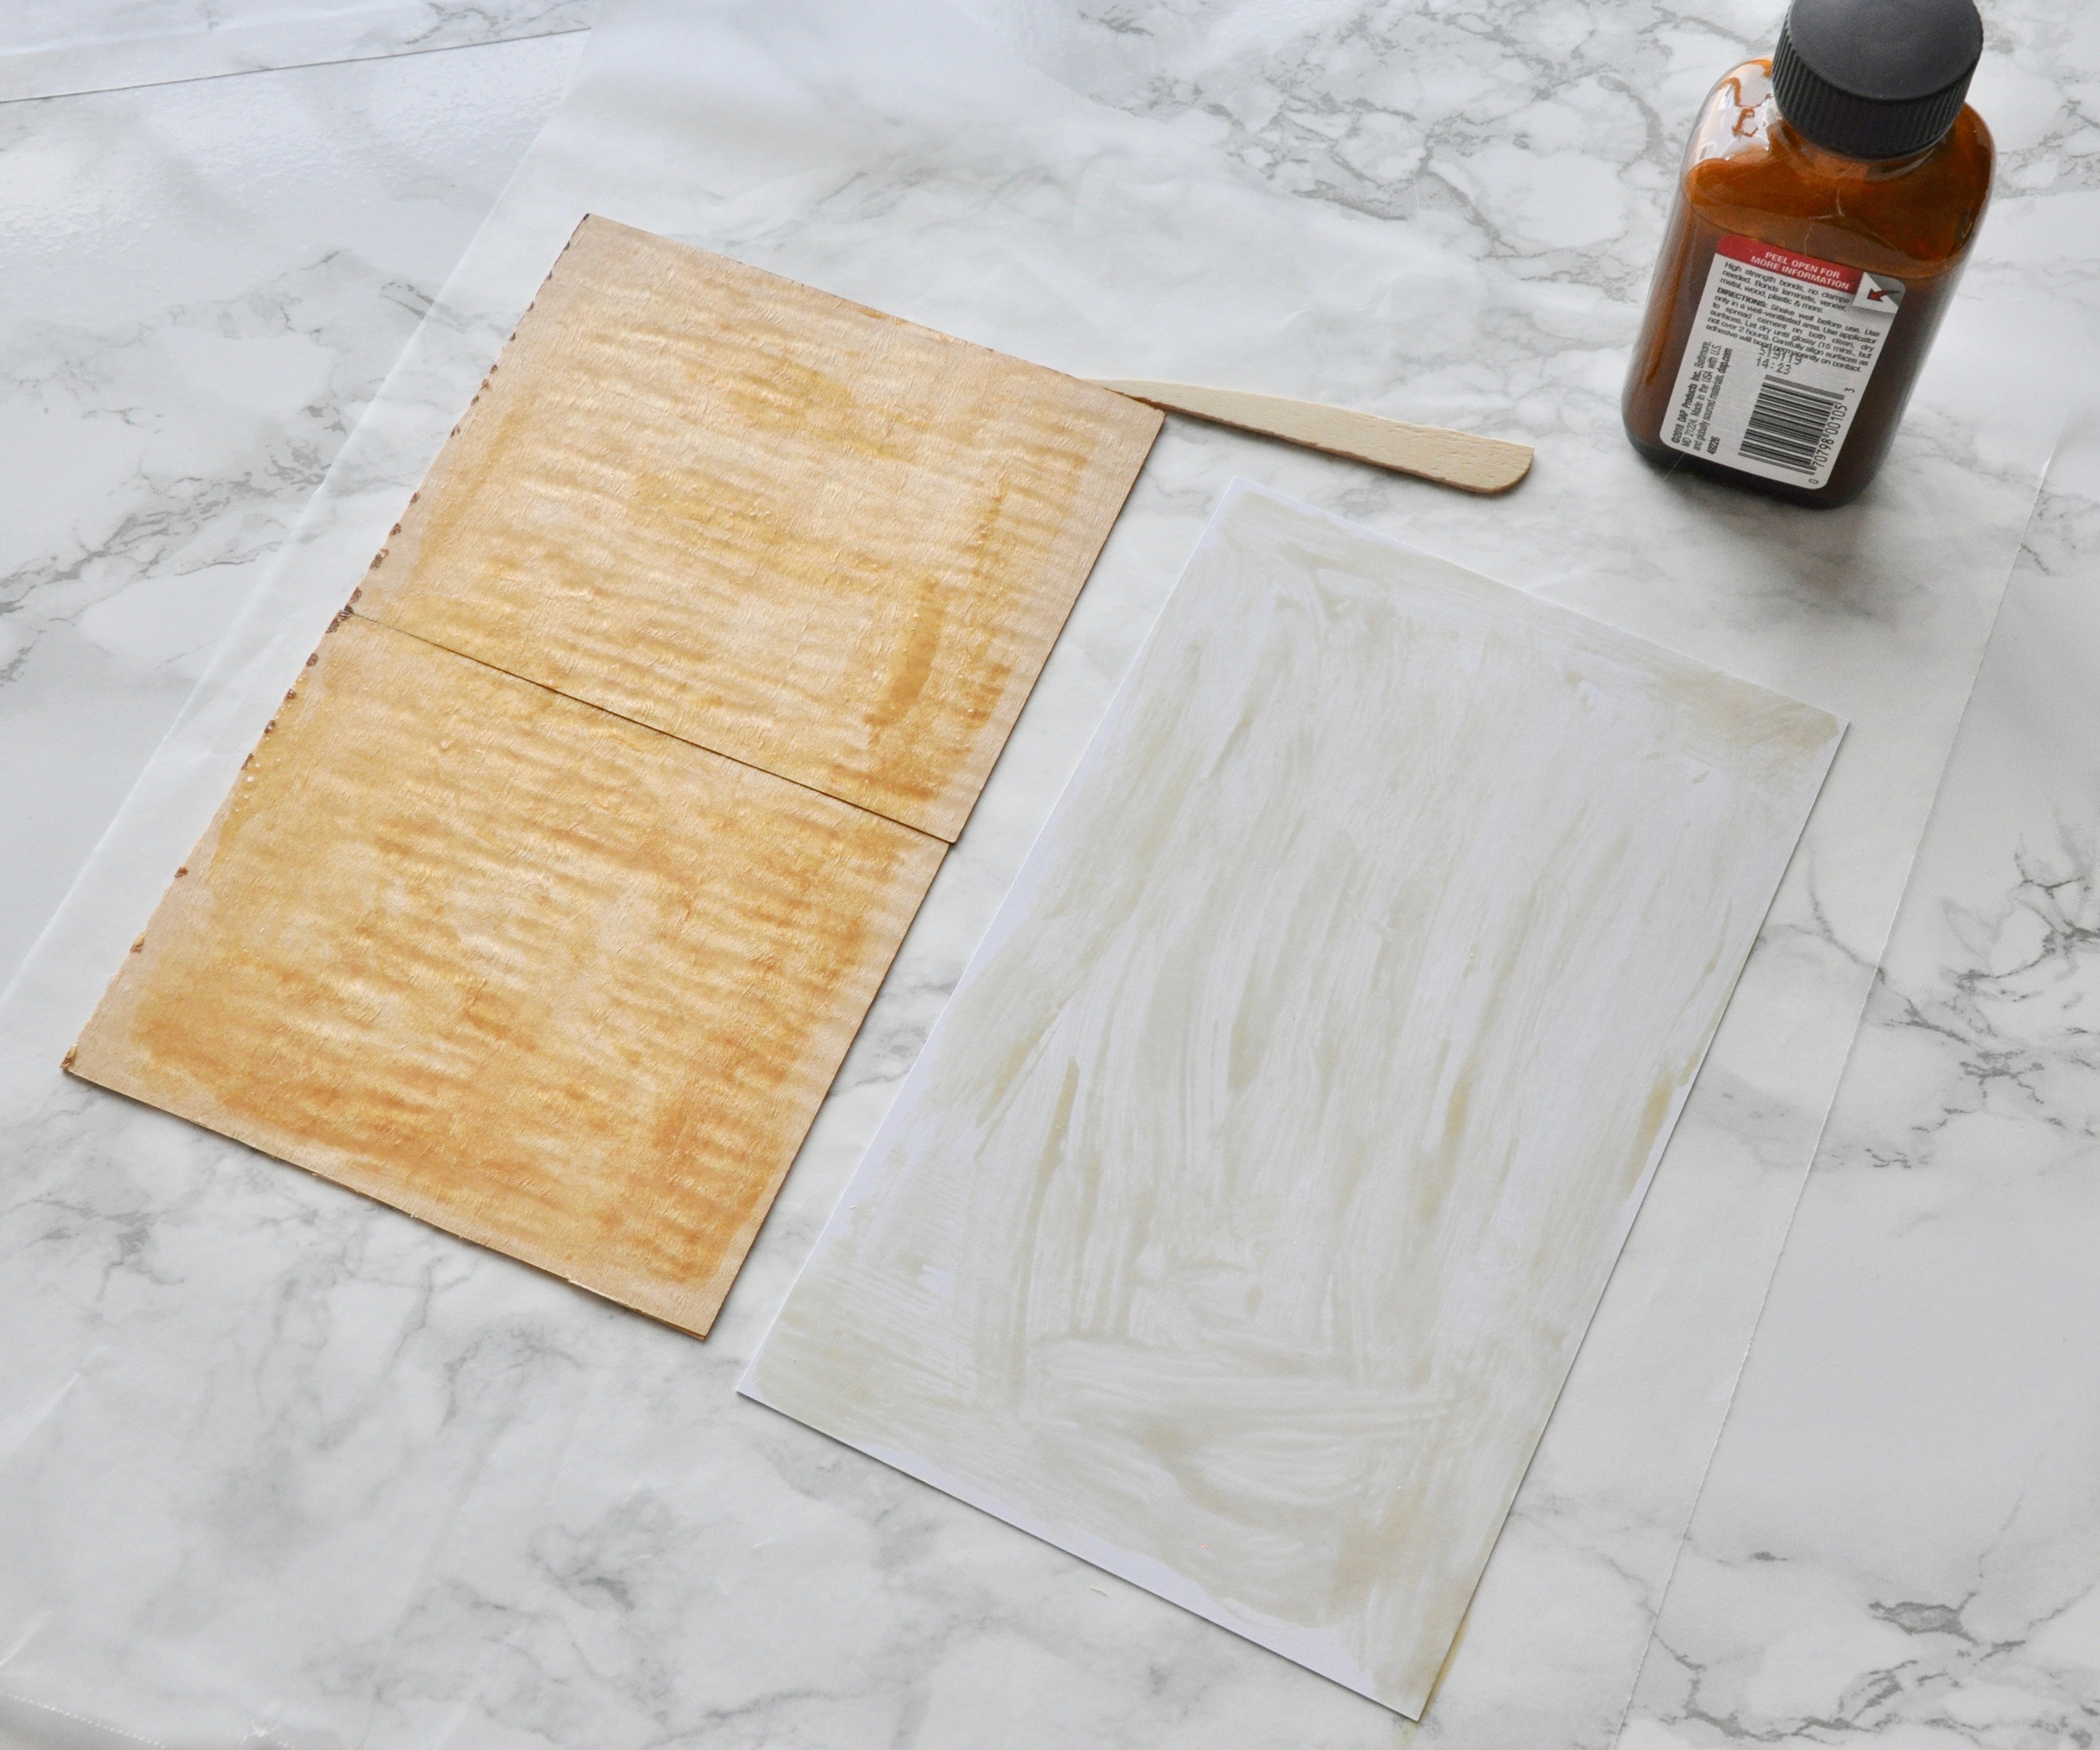
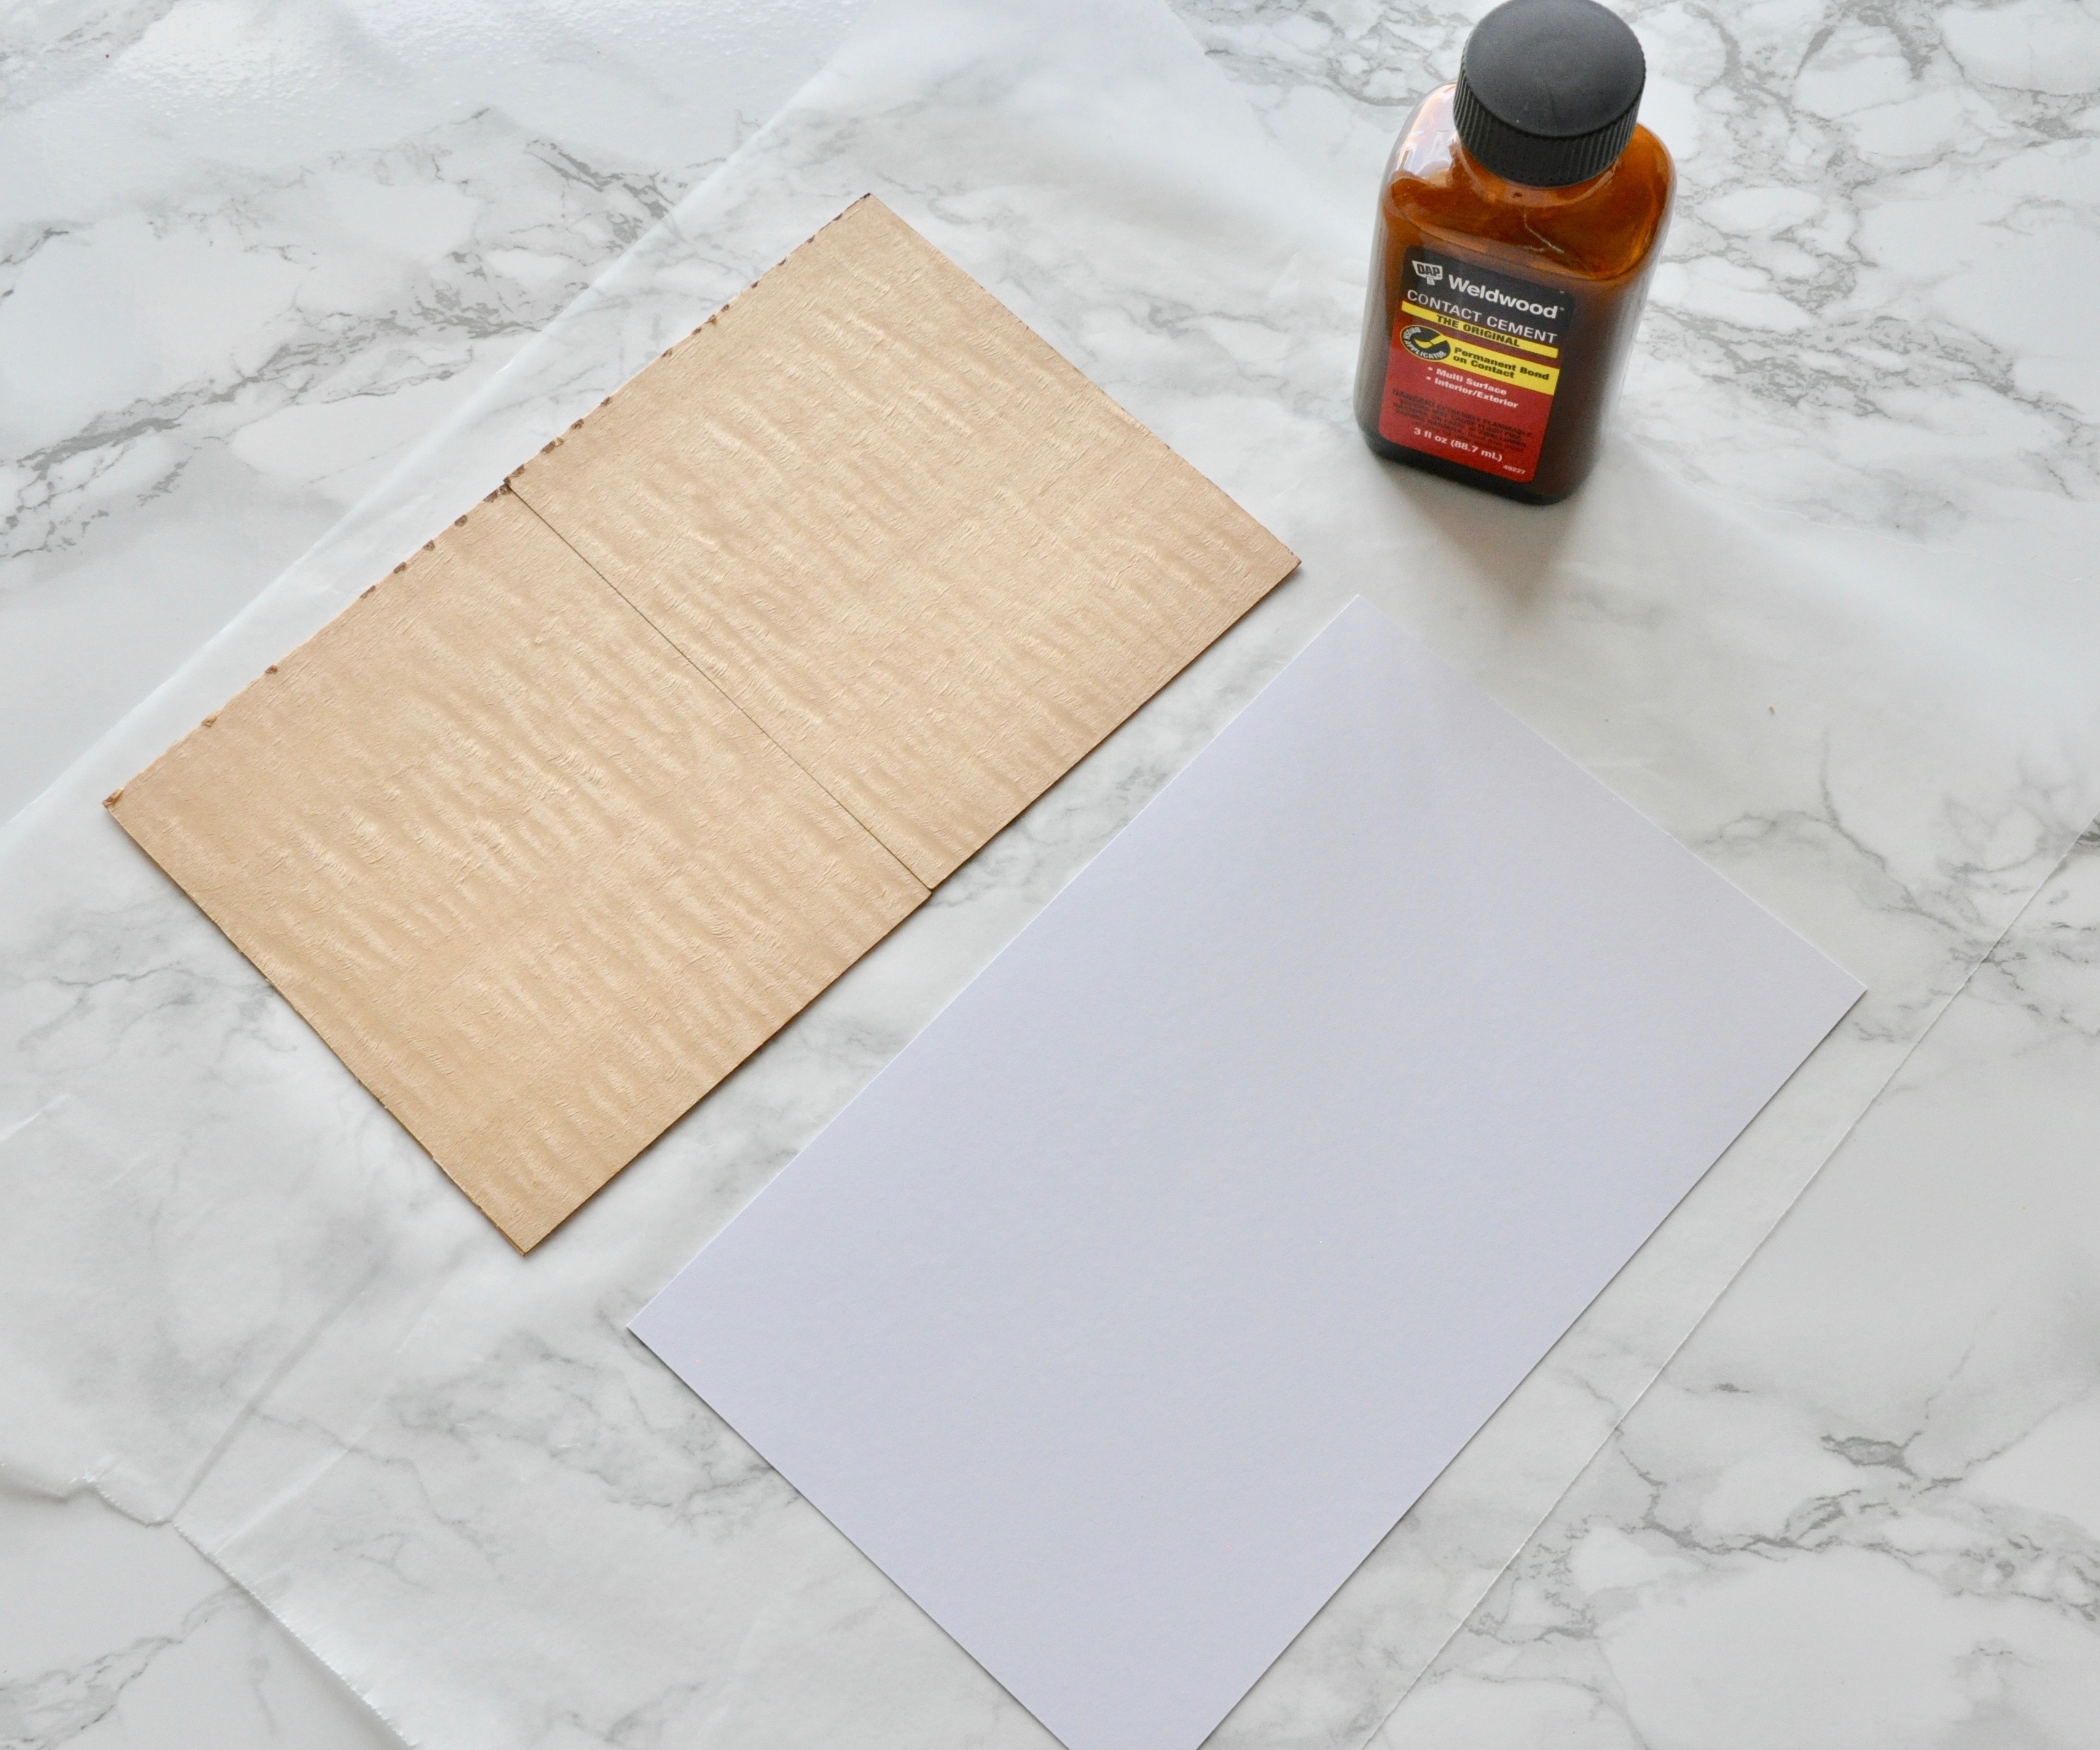
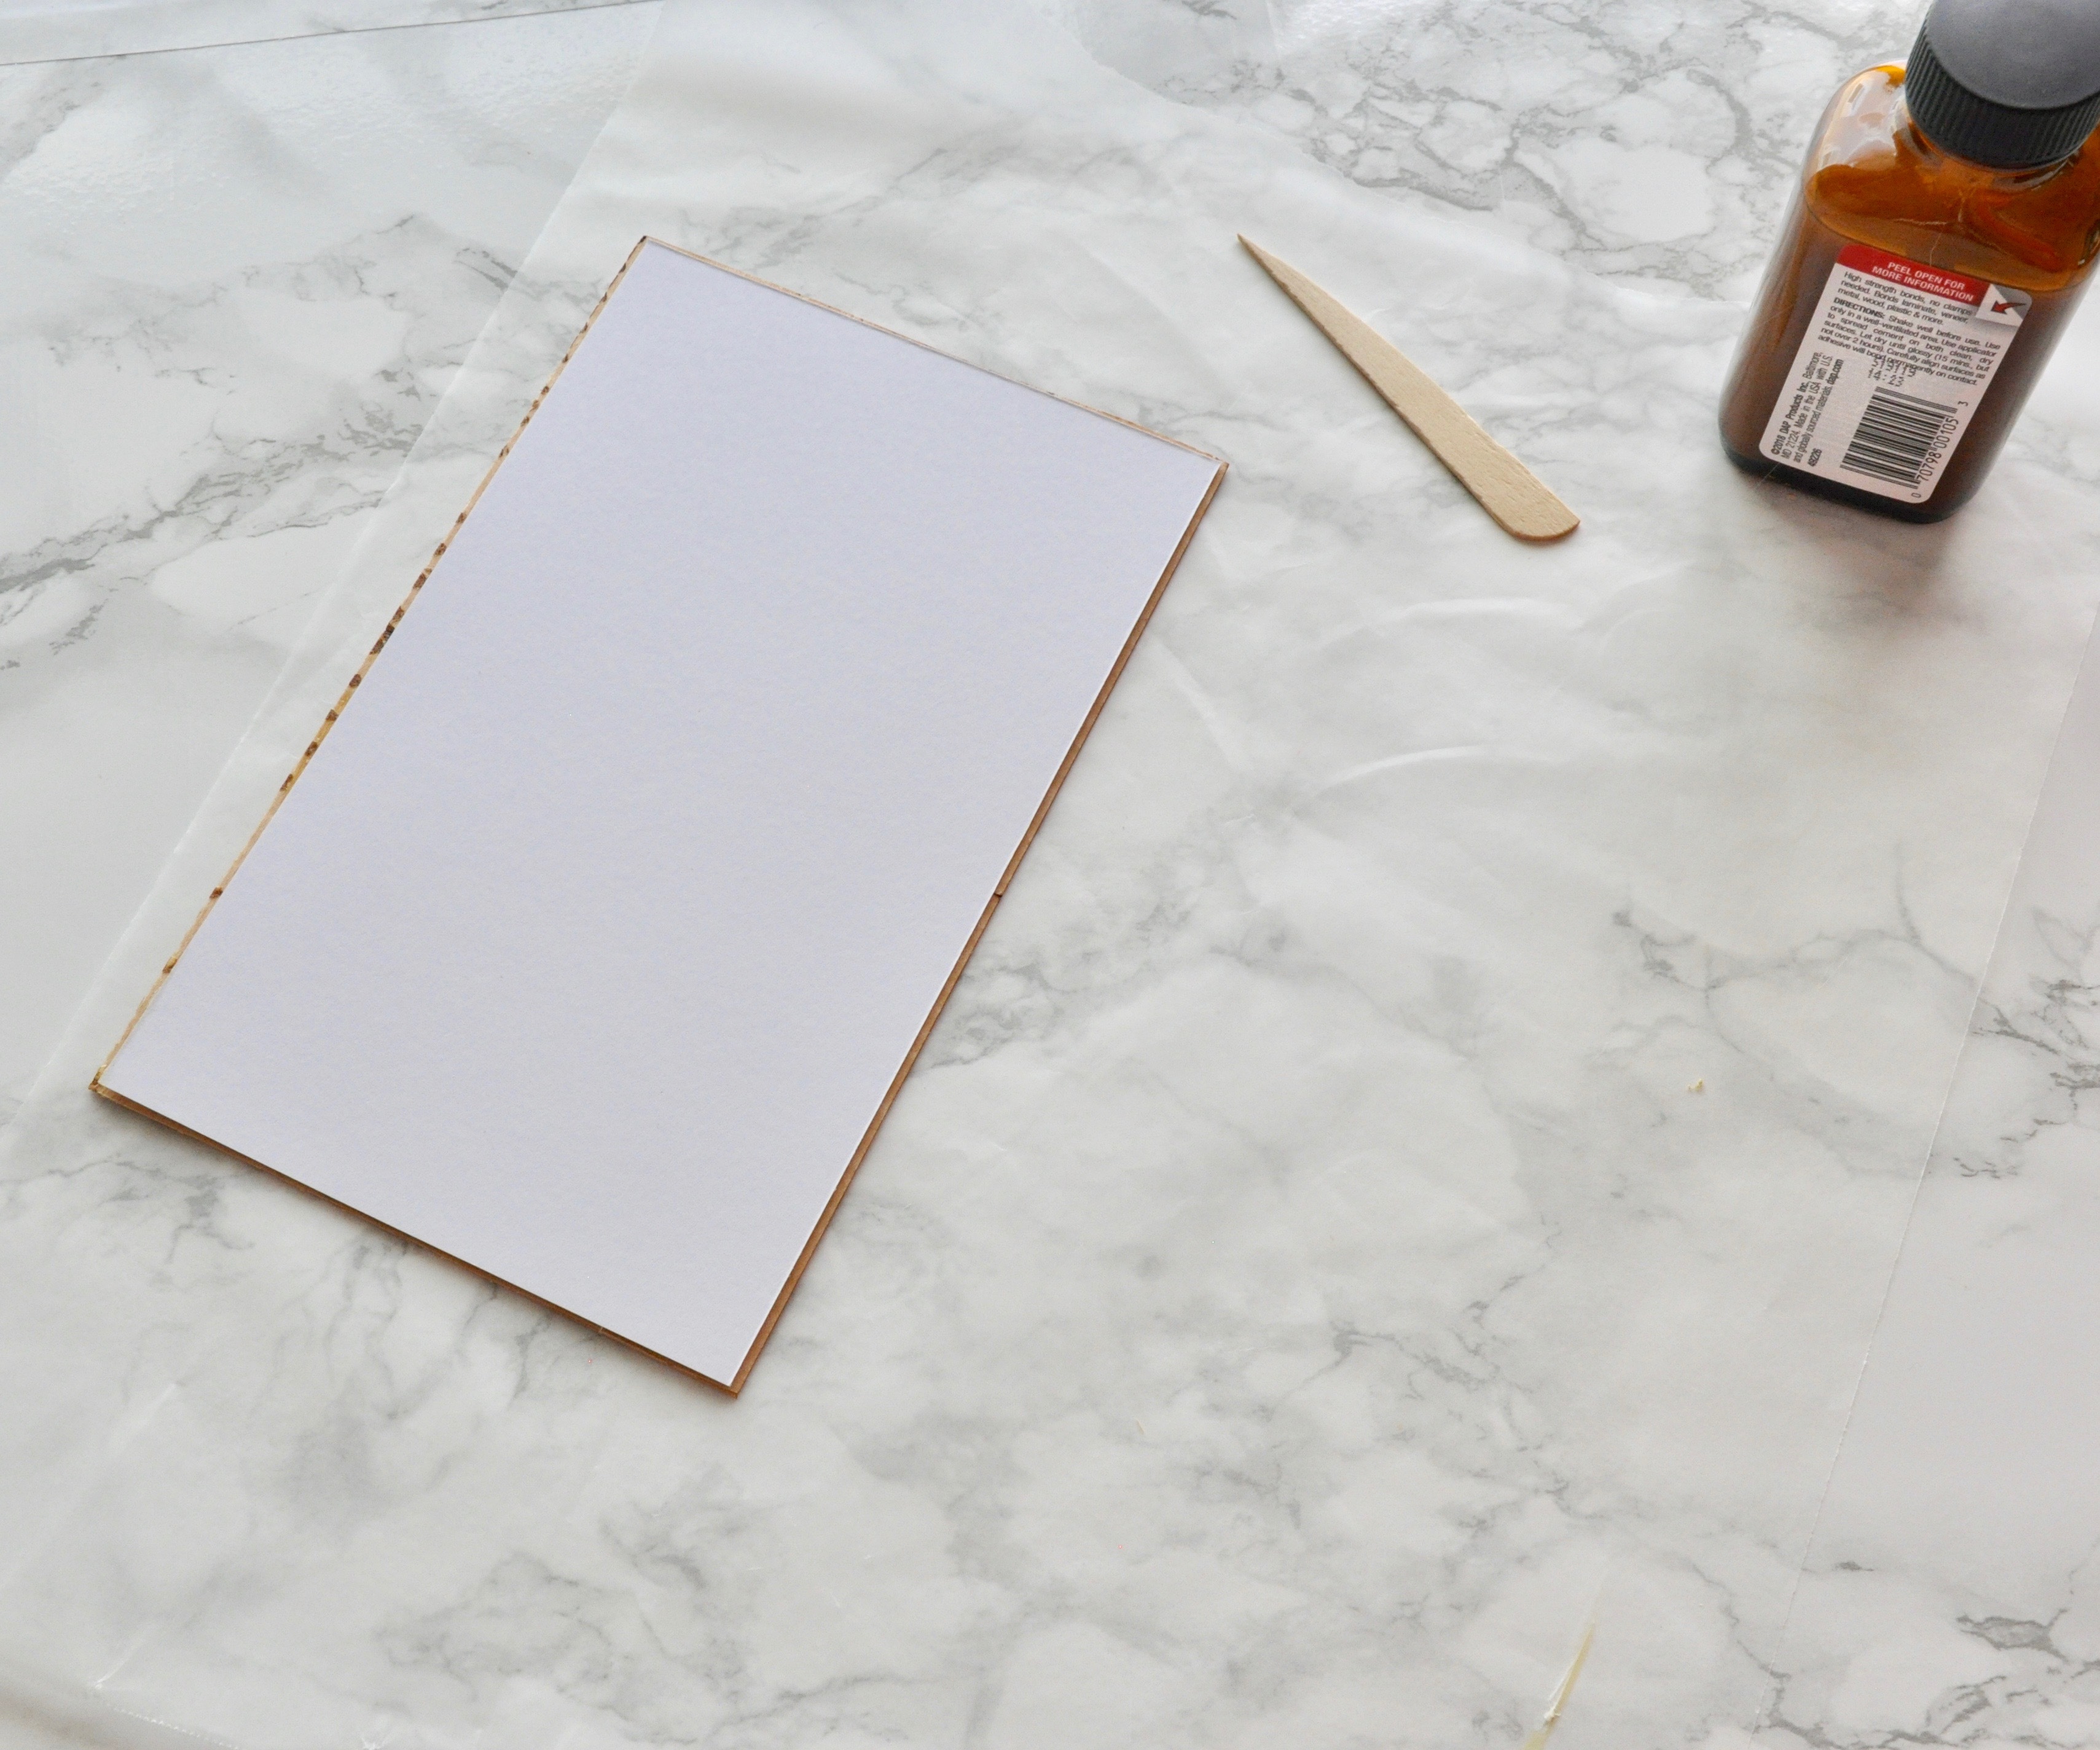

Now it's time to glue!
If you are using contact cement, you need to spread the cement on both the paper and the cards and then let it sit according to the directions.
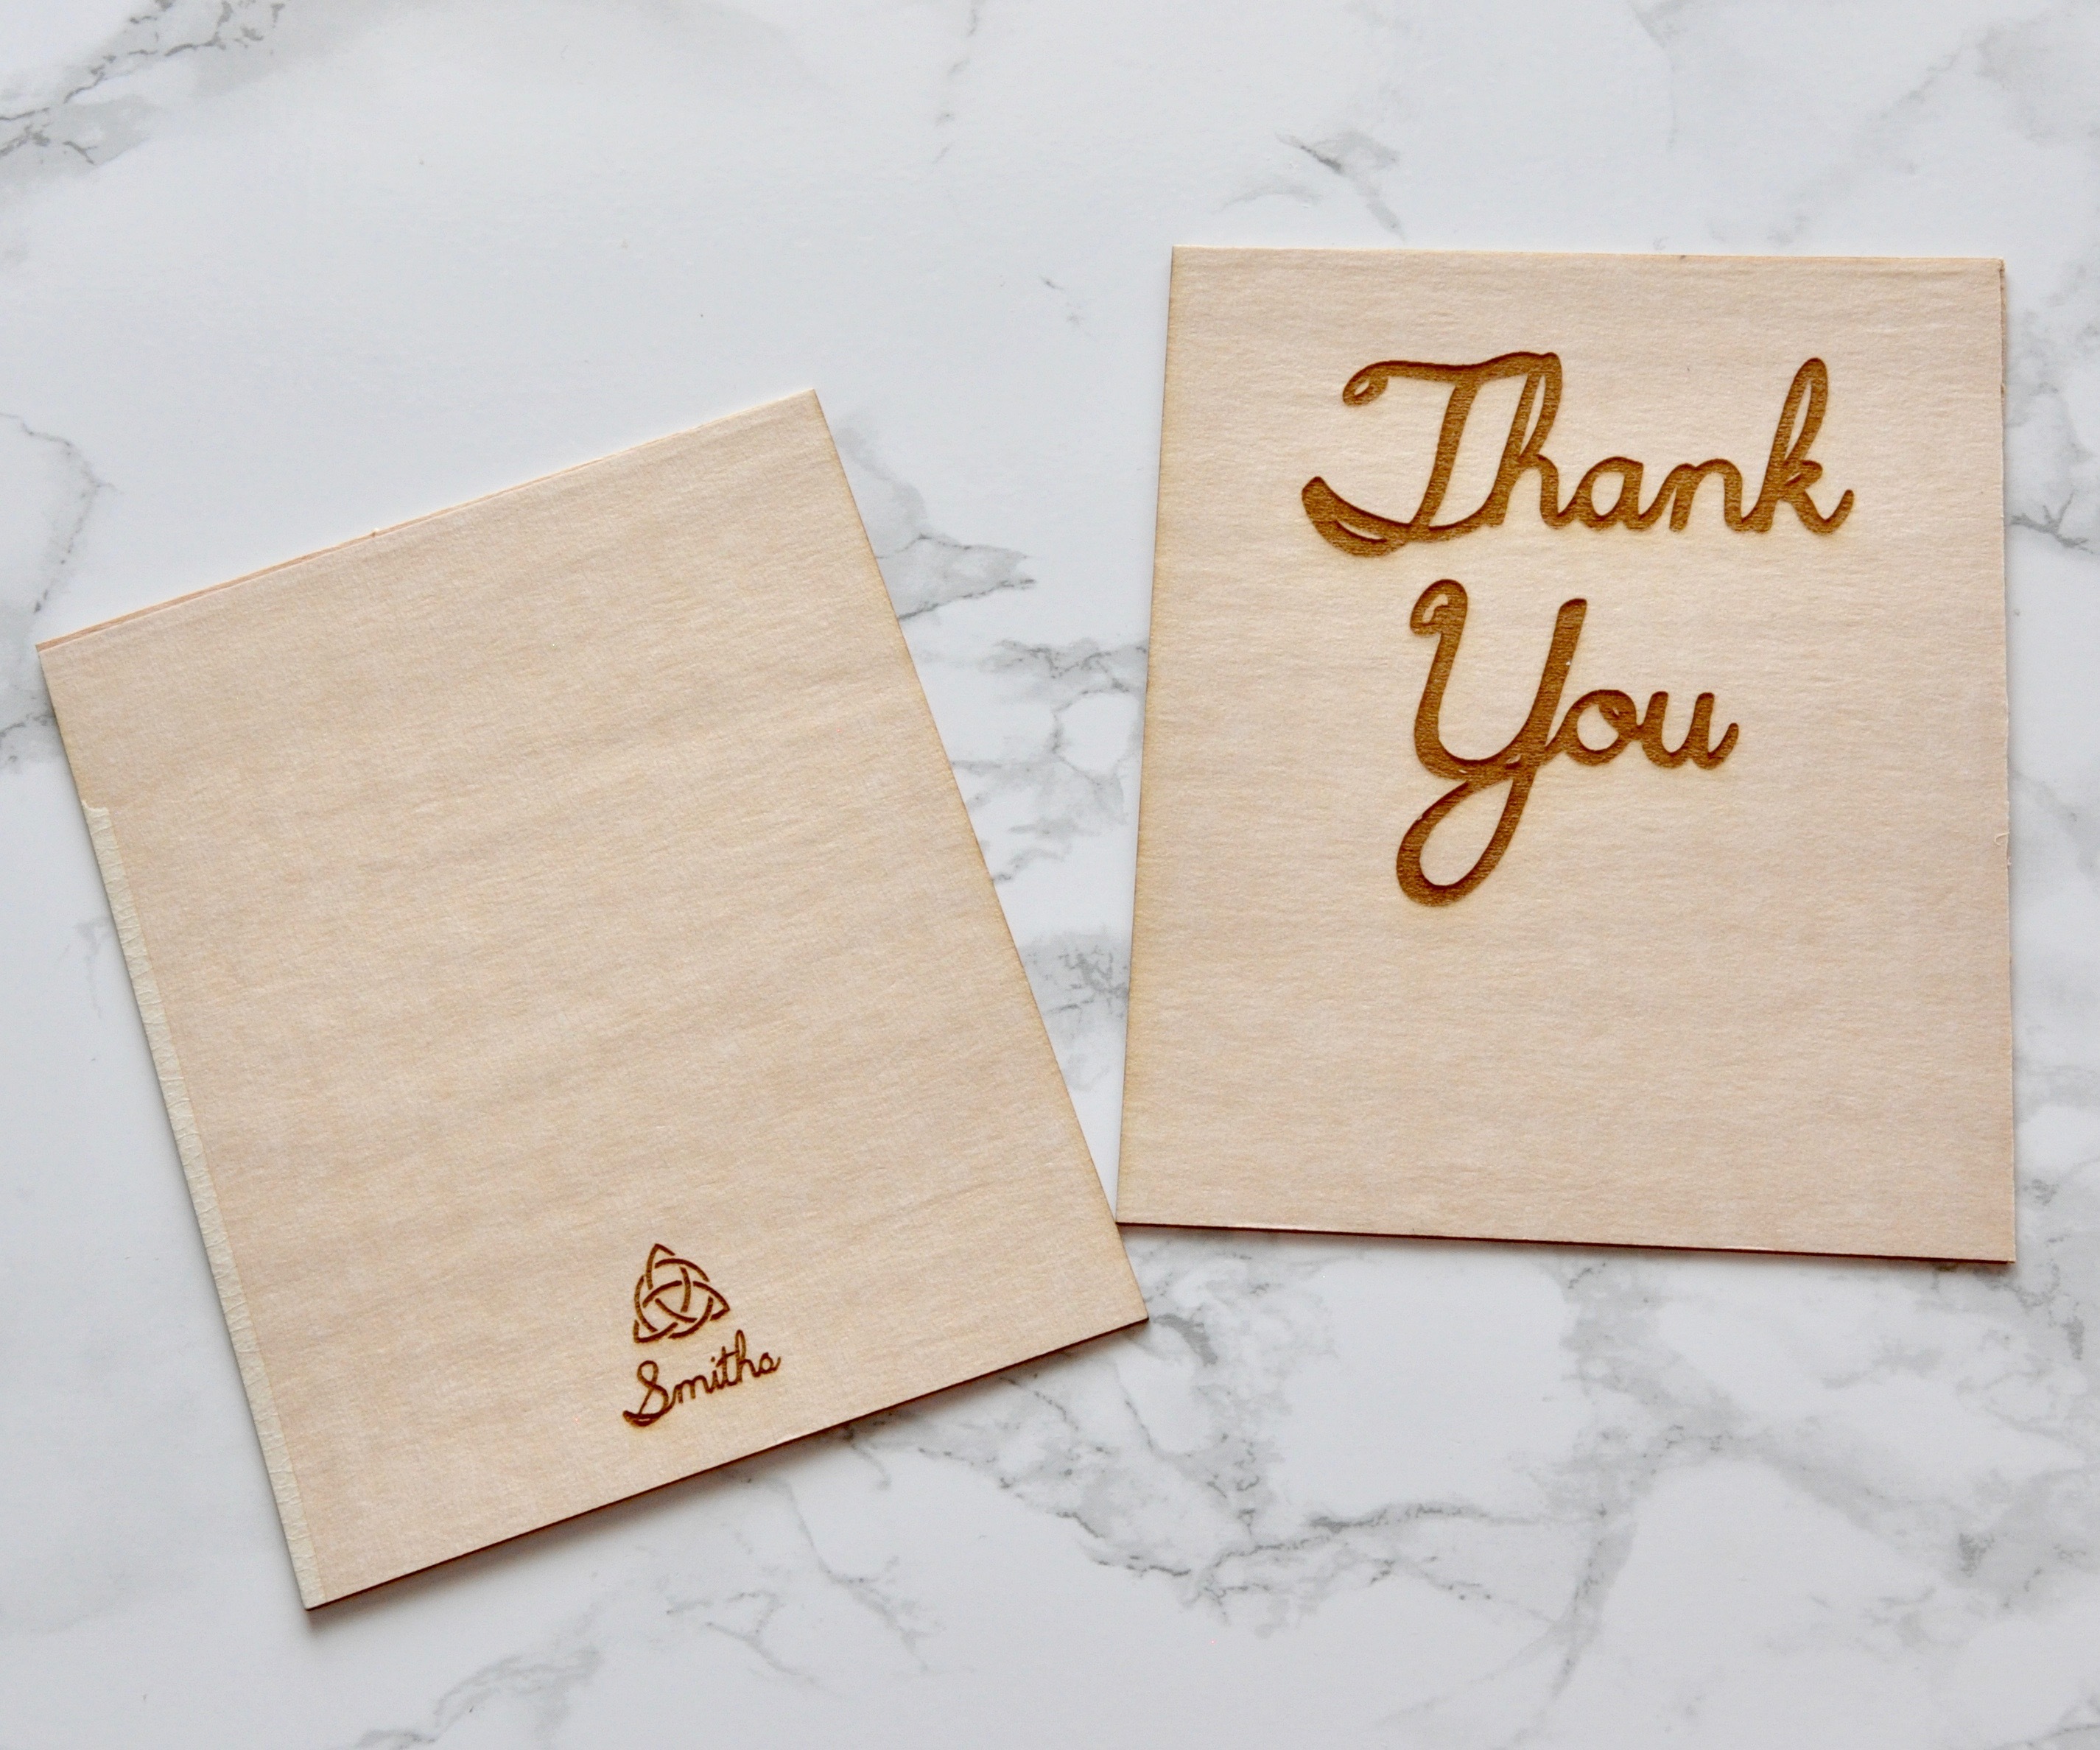
Once enough time has passed, very carefully put the paper on top of the veneer. Make sure the veneer pieces are in the correct order so the card will look right when folded closed. When you have them upside down as in the first picture, you should have the front on the left and back on the right.
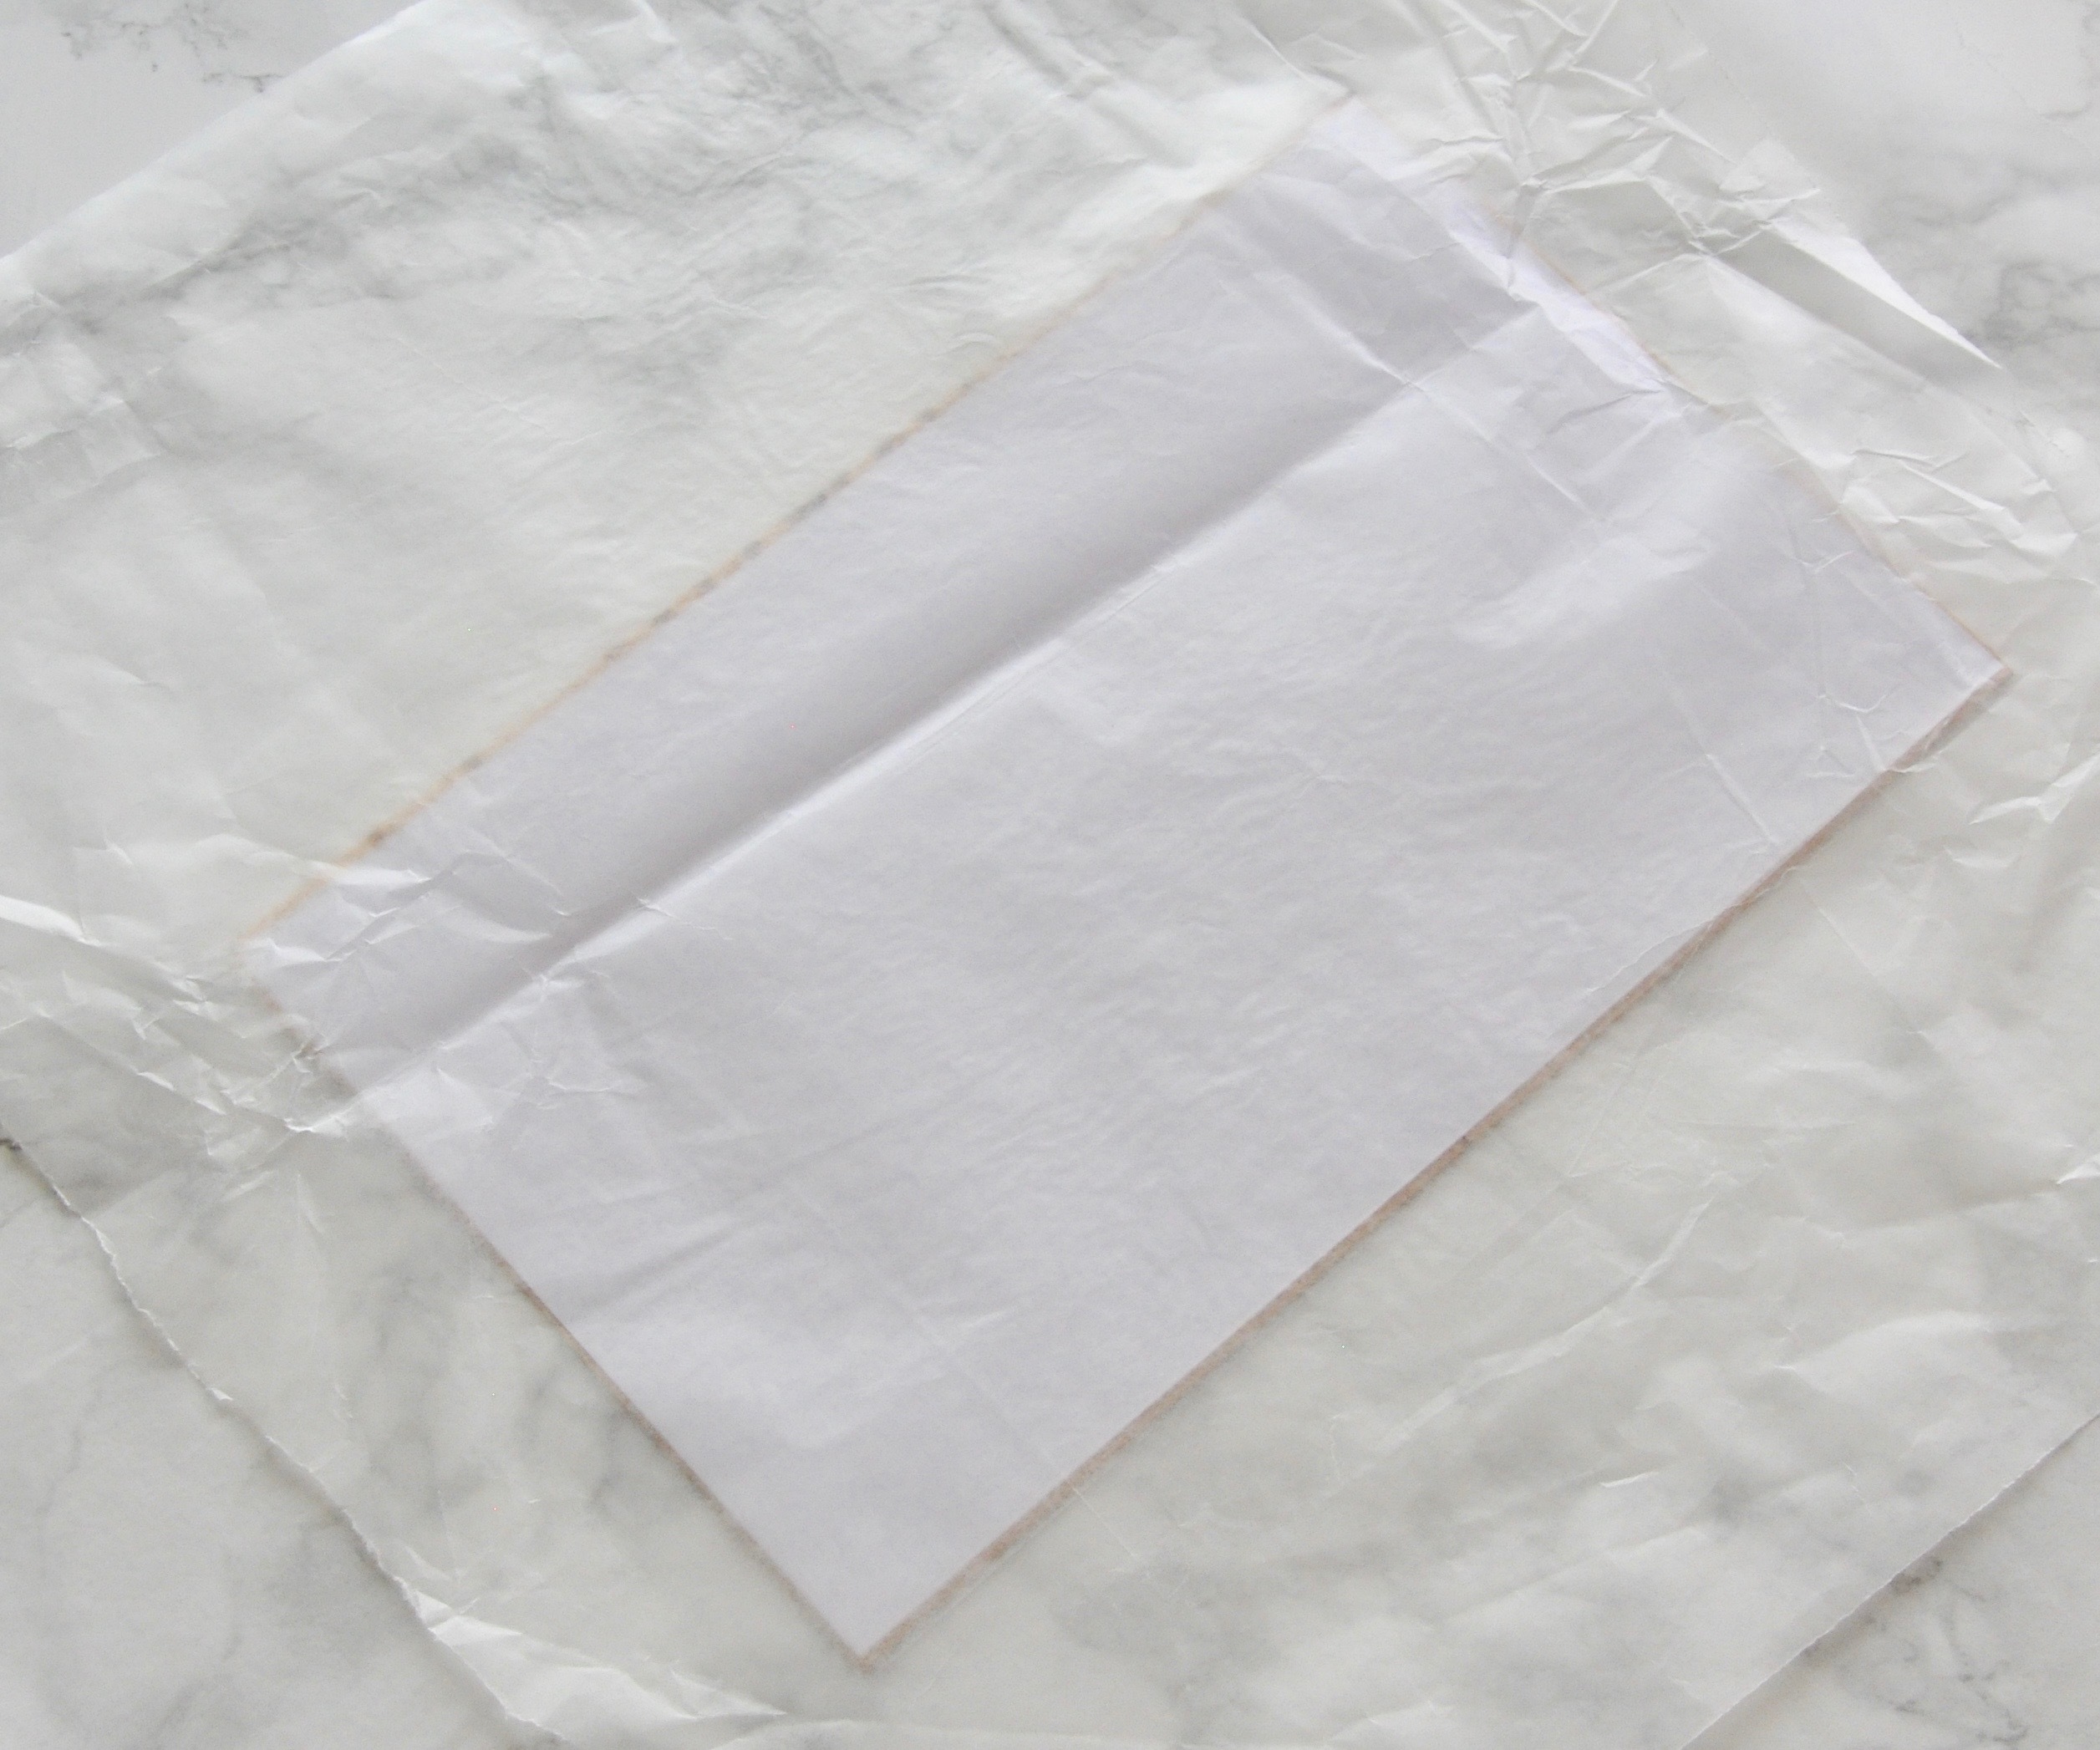
I put wax paper on top of it and used my pack of paper to hold it down.
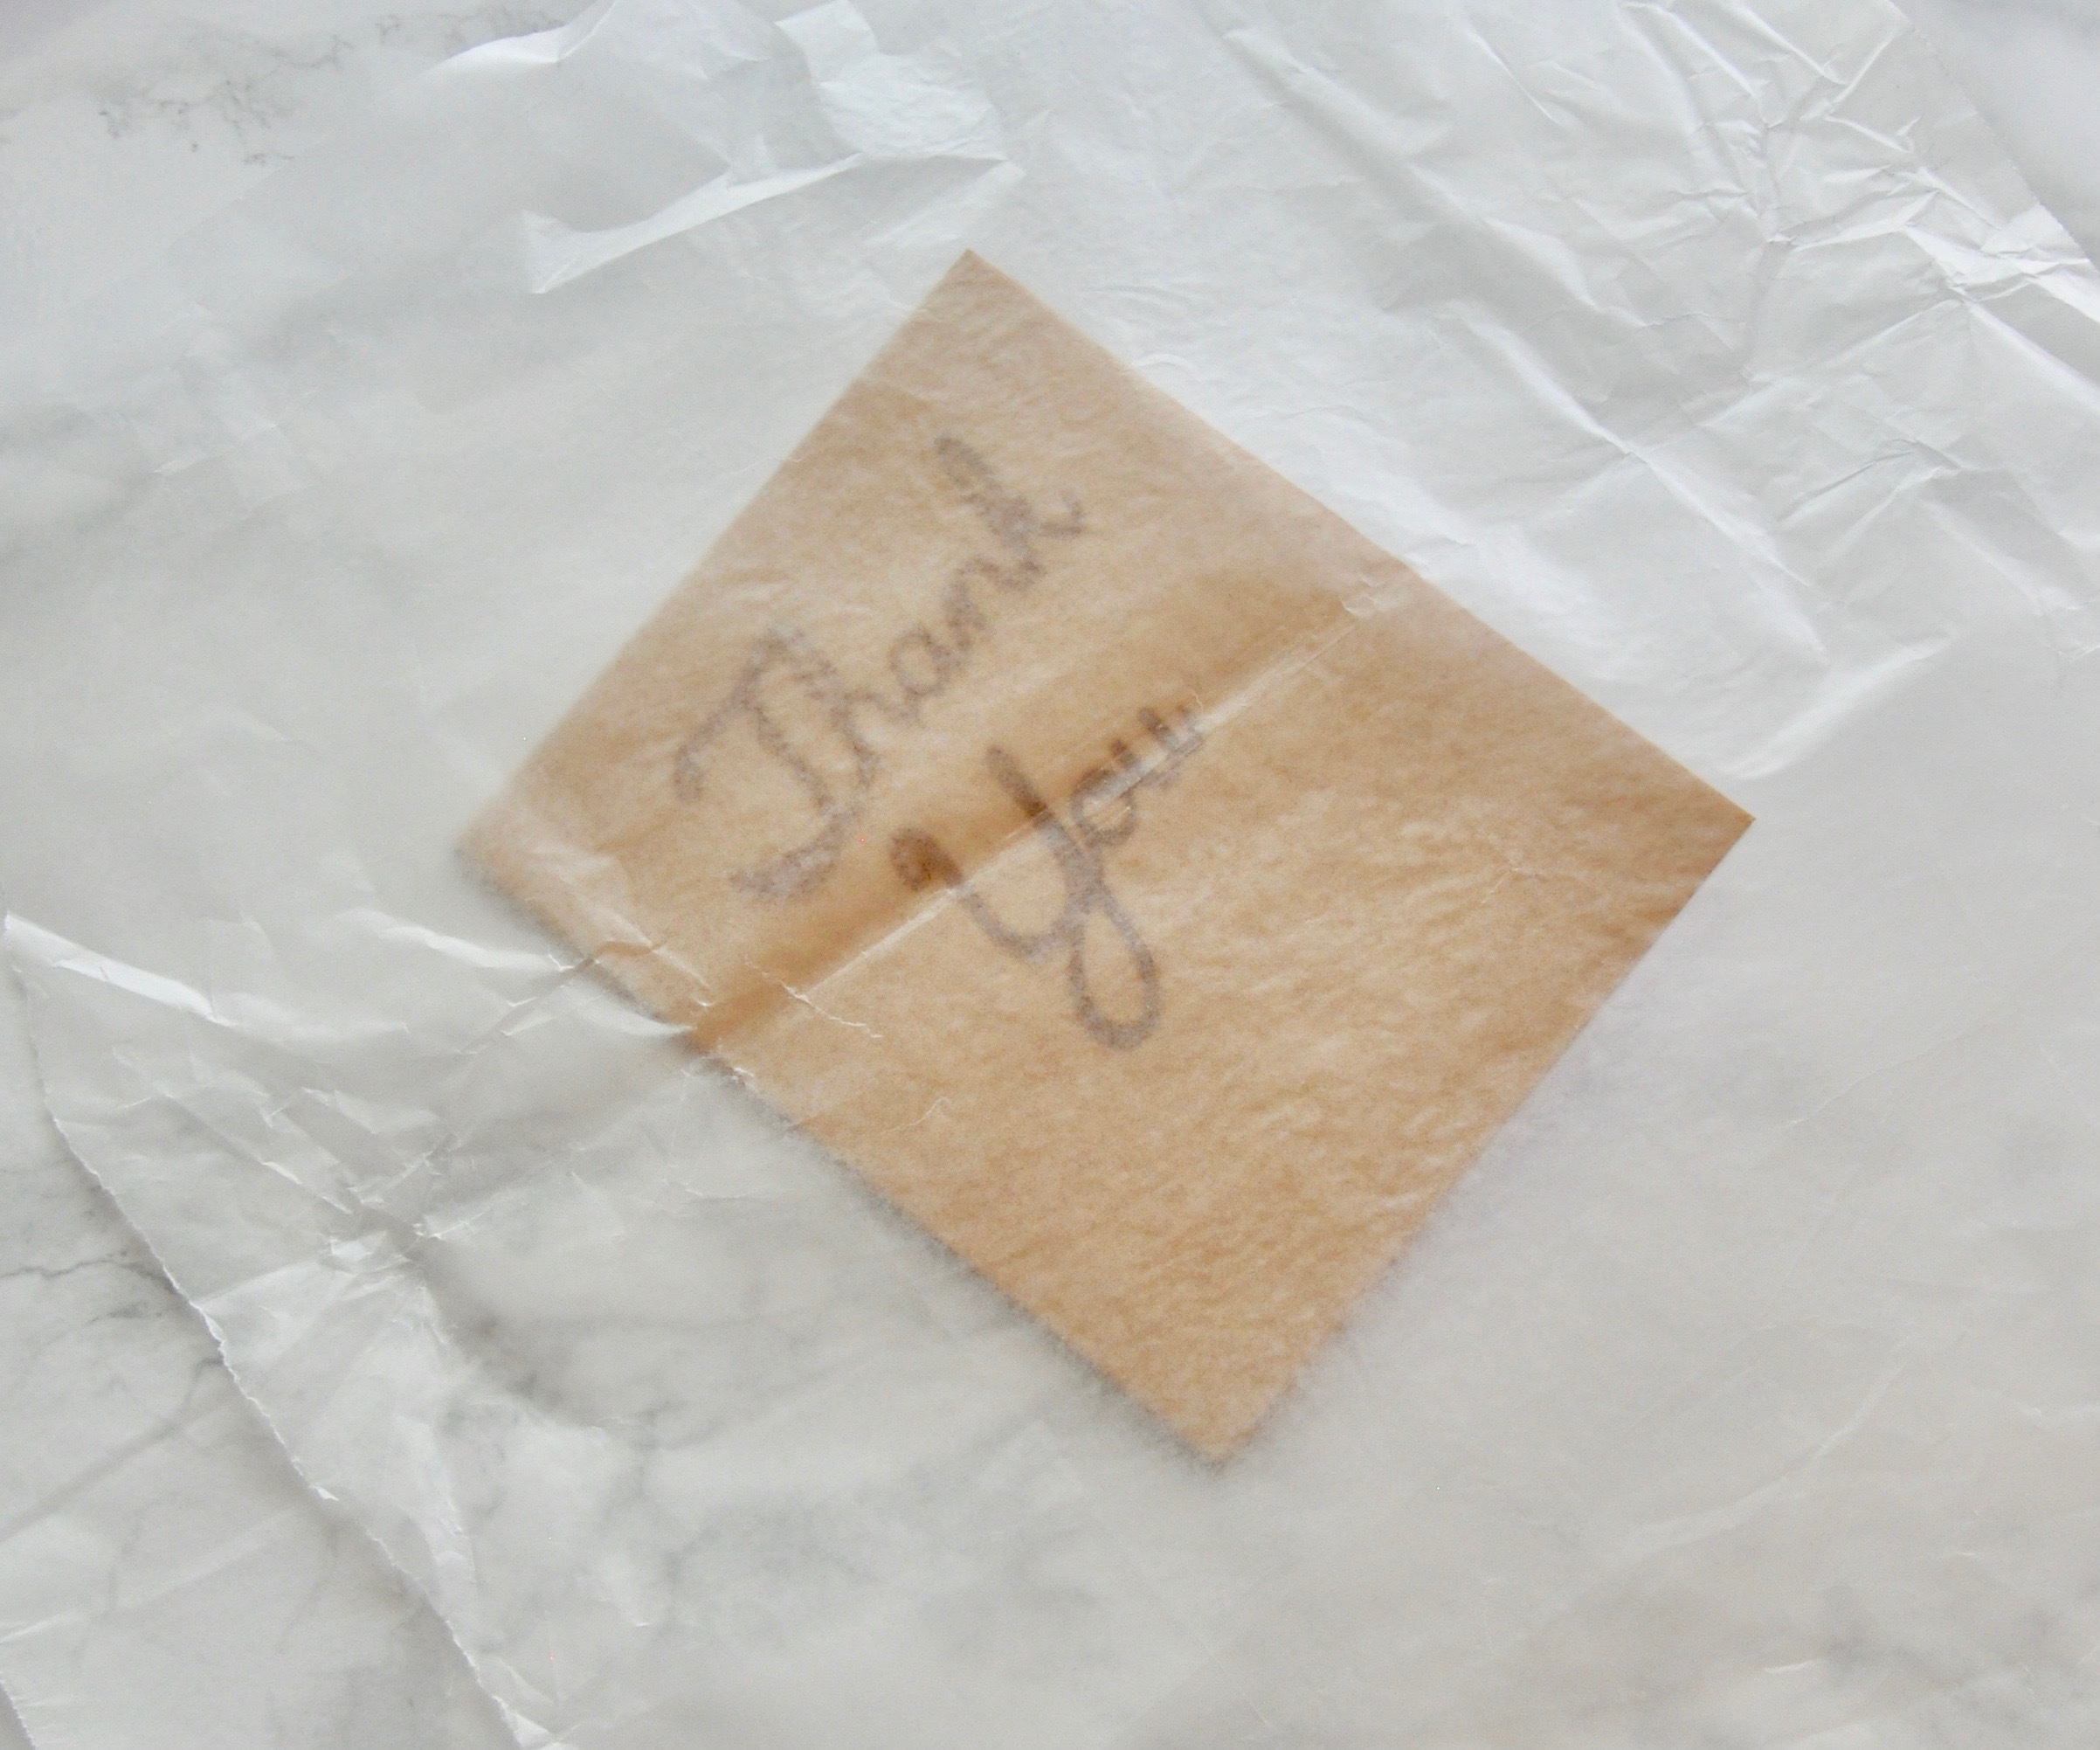
After that set, I folded the card shut and again put the wax paper on top and put the stack of paper on it to hold it closed.
Be careful when folding it as it will be very sturdy and you don't want it to tear.
Mailing

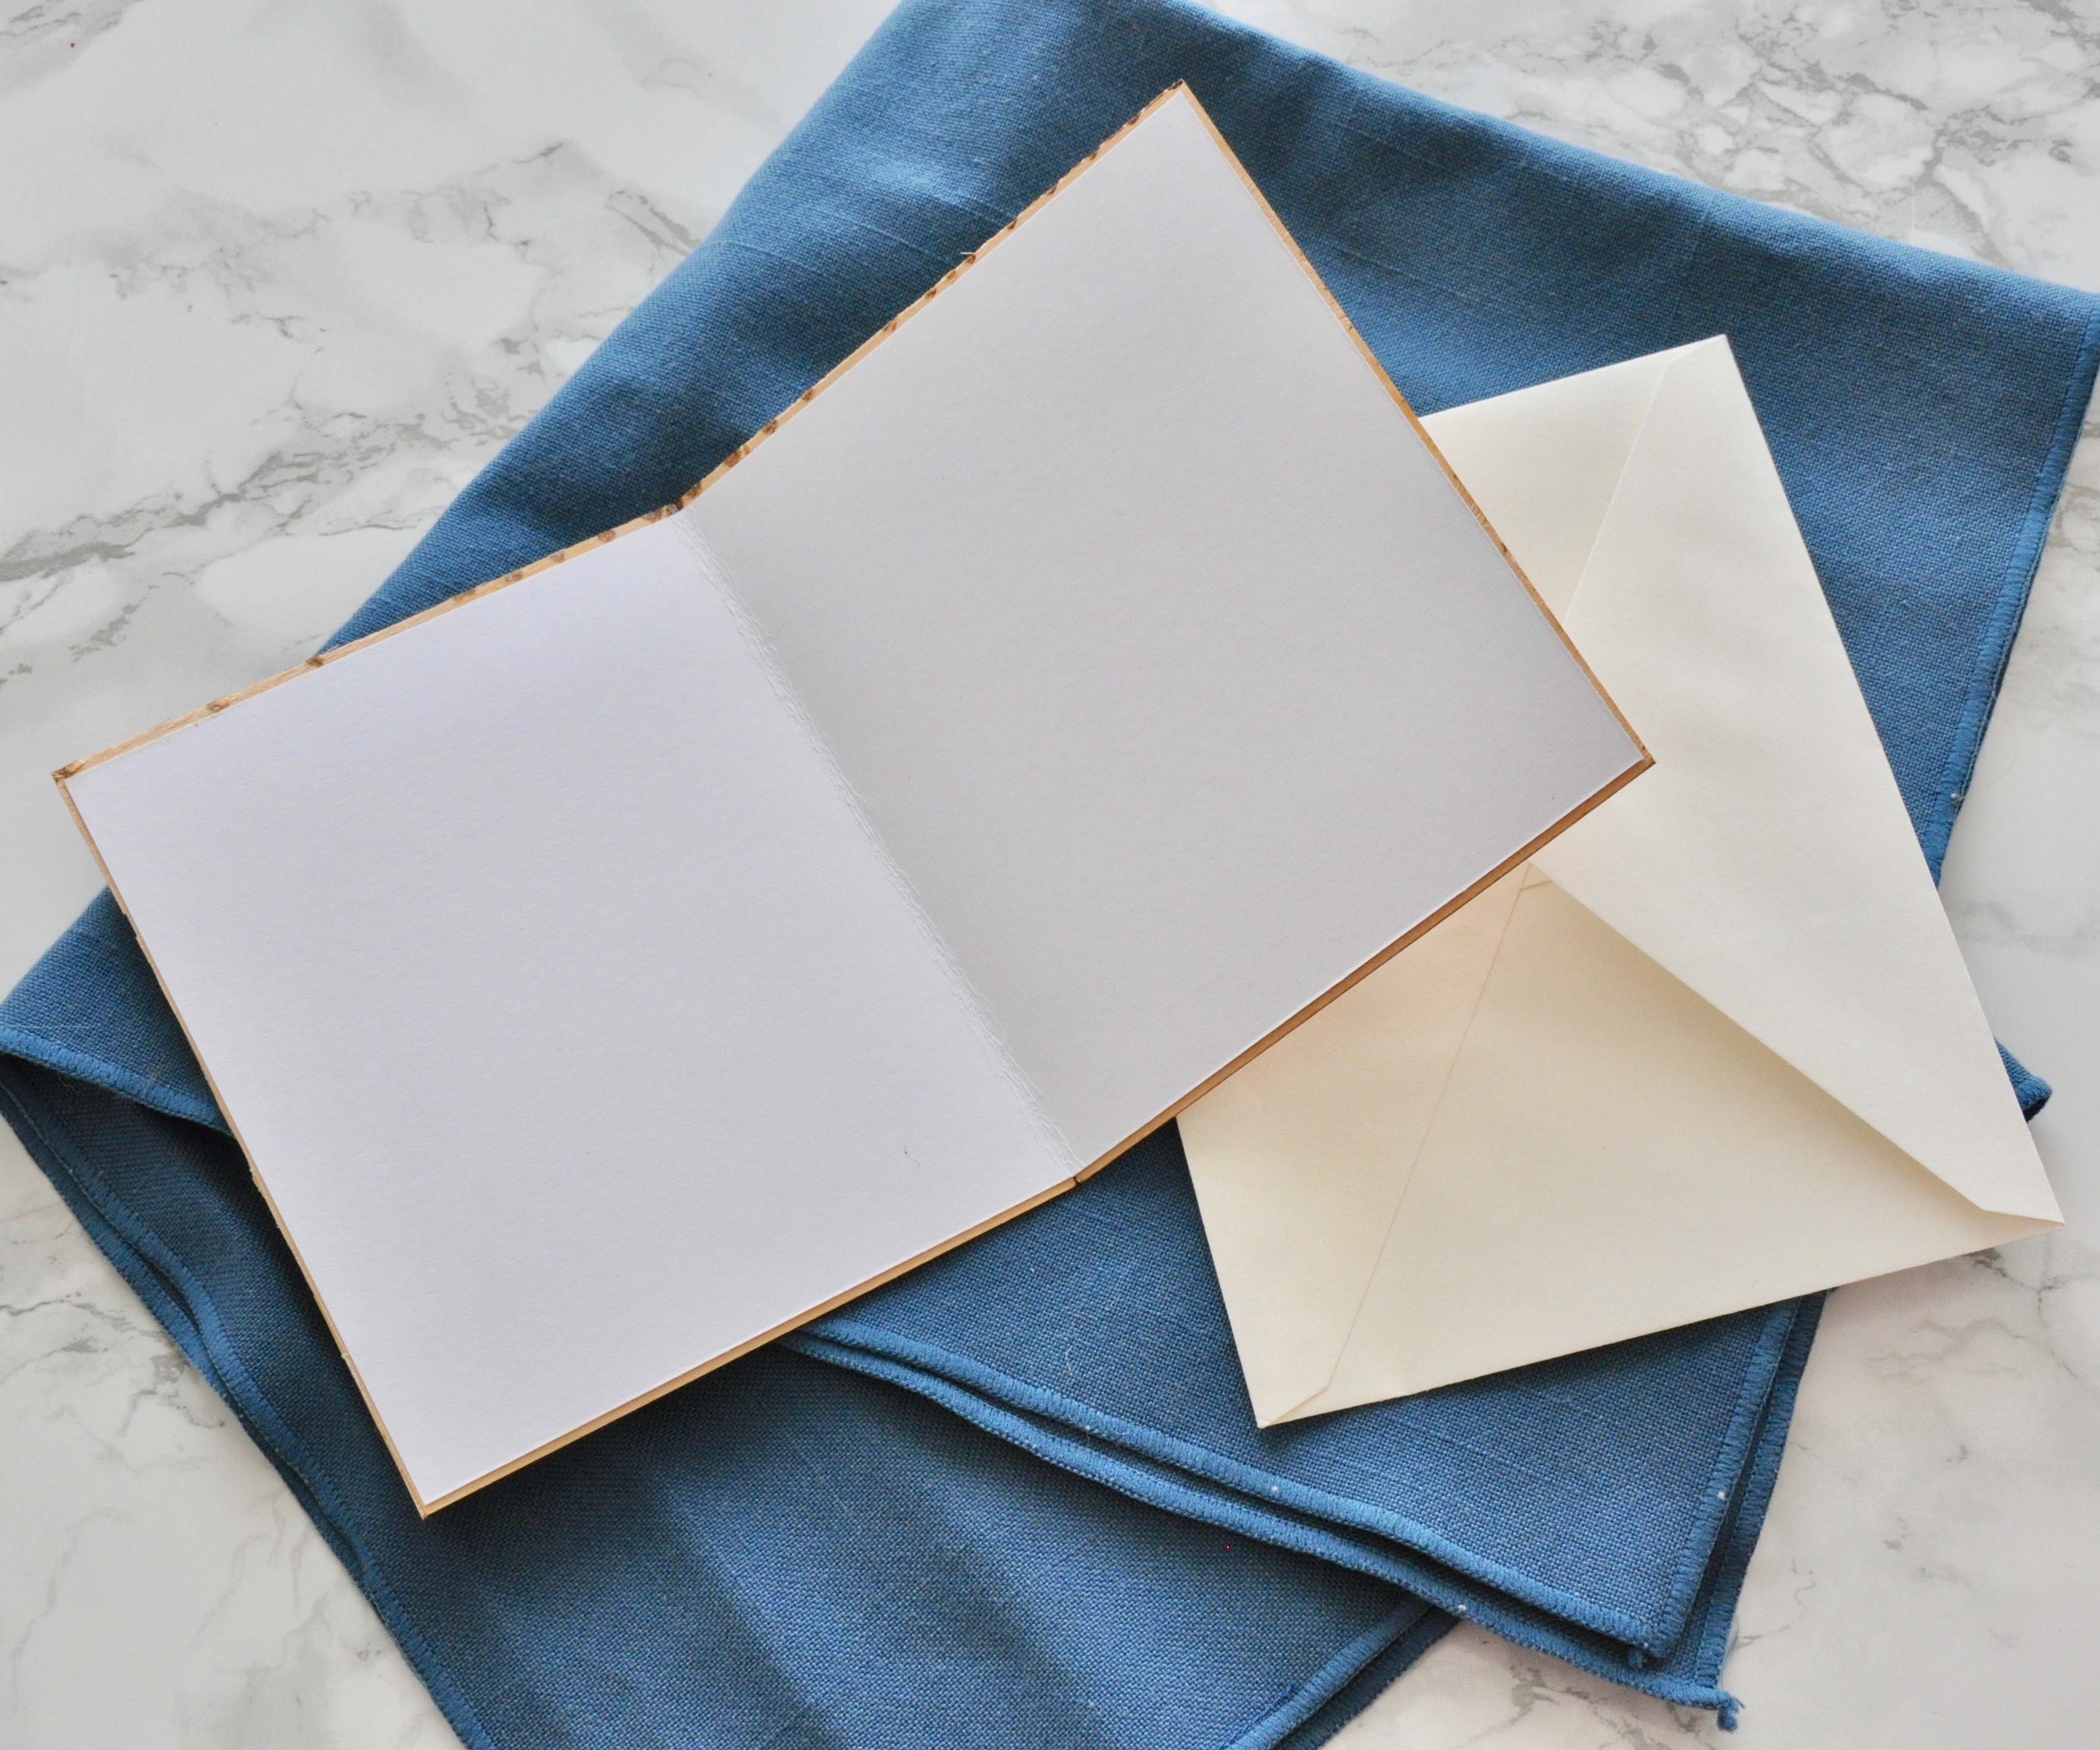
Your card is done! Now you just need an envelope that the card will fit in.
To mail it, you will need to take it to the post office and it won't be cheap to send (apparently because it can't bend they charge you more). I can't remember how much it was to send the last time I mailed one but I will update here when I mail this one.
Wood Glue
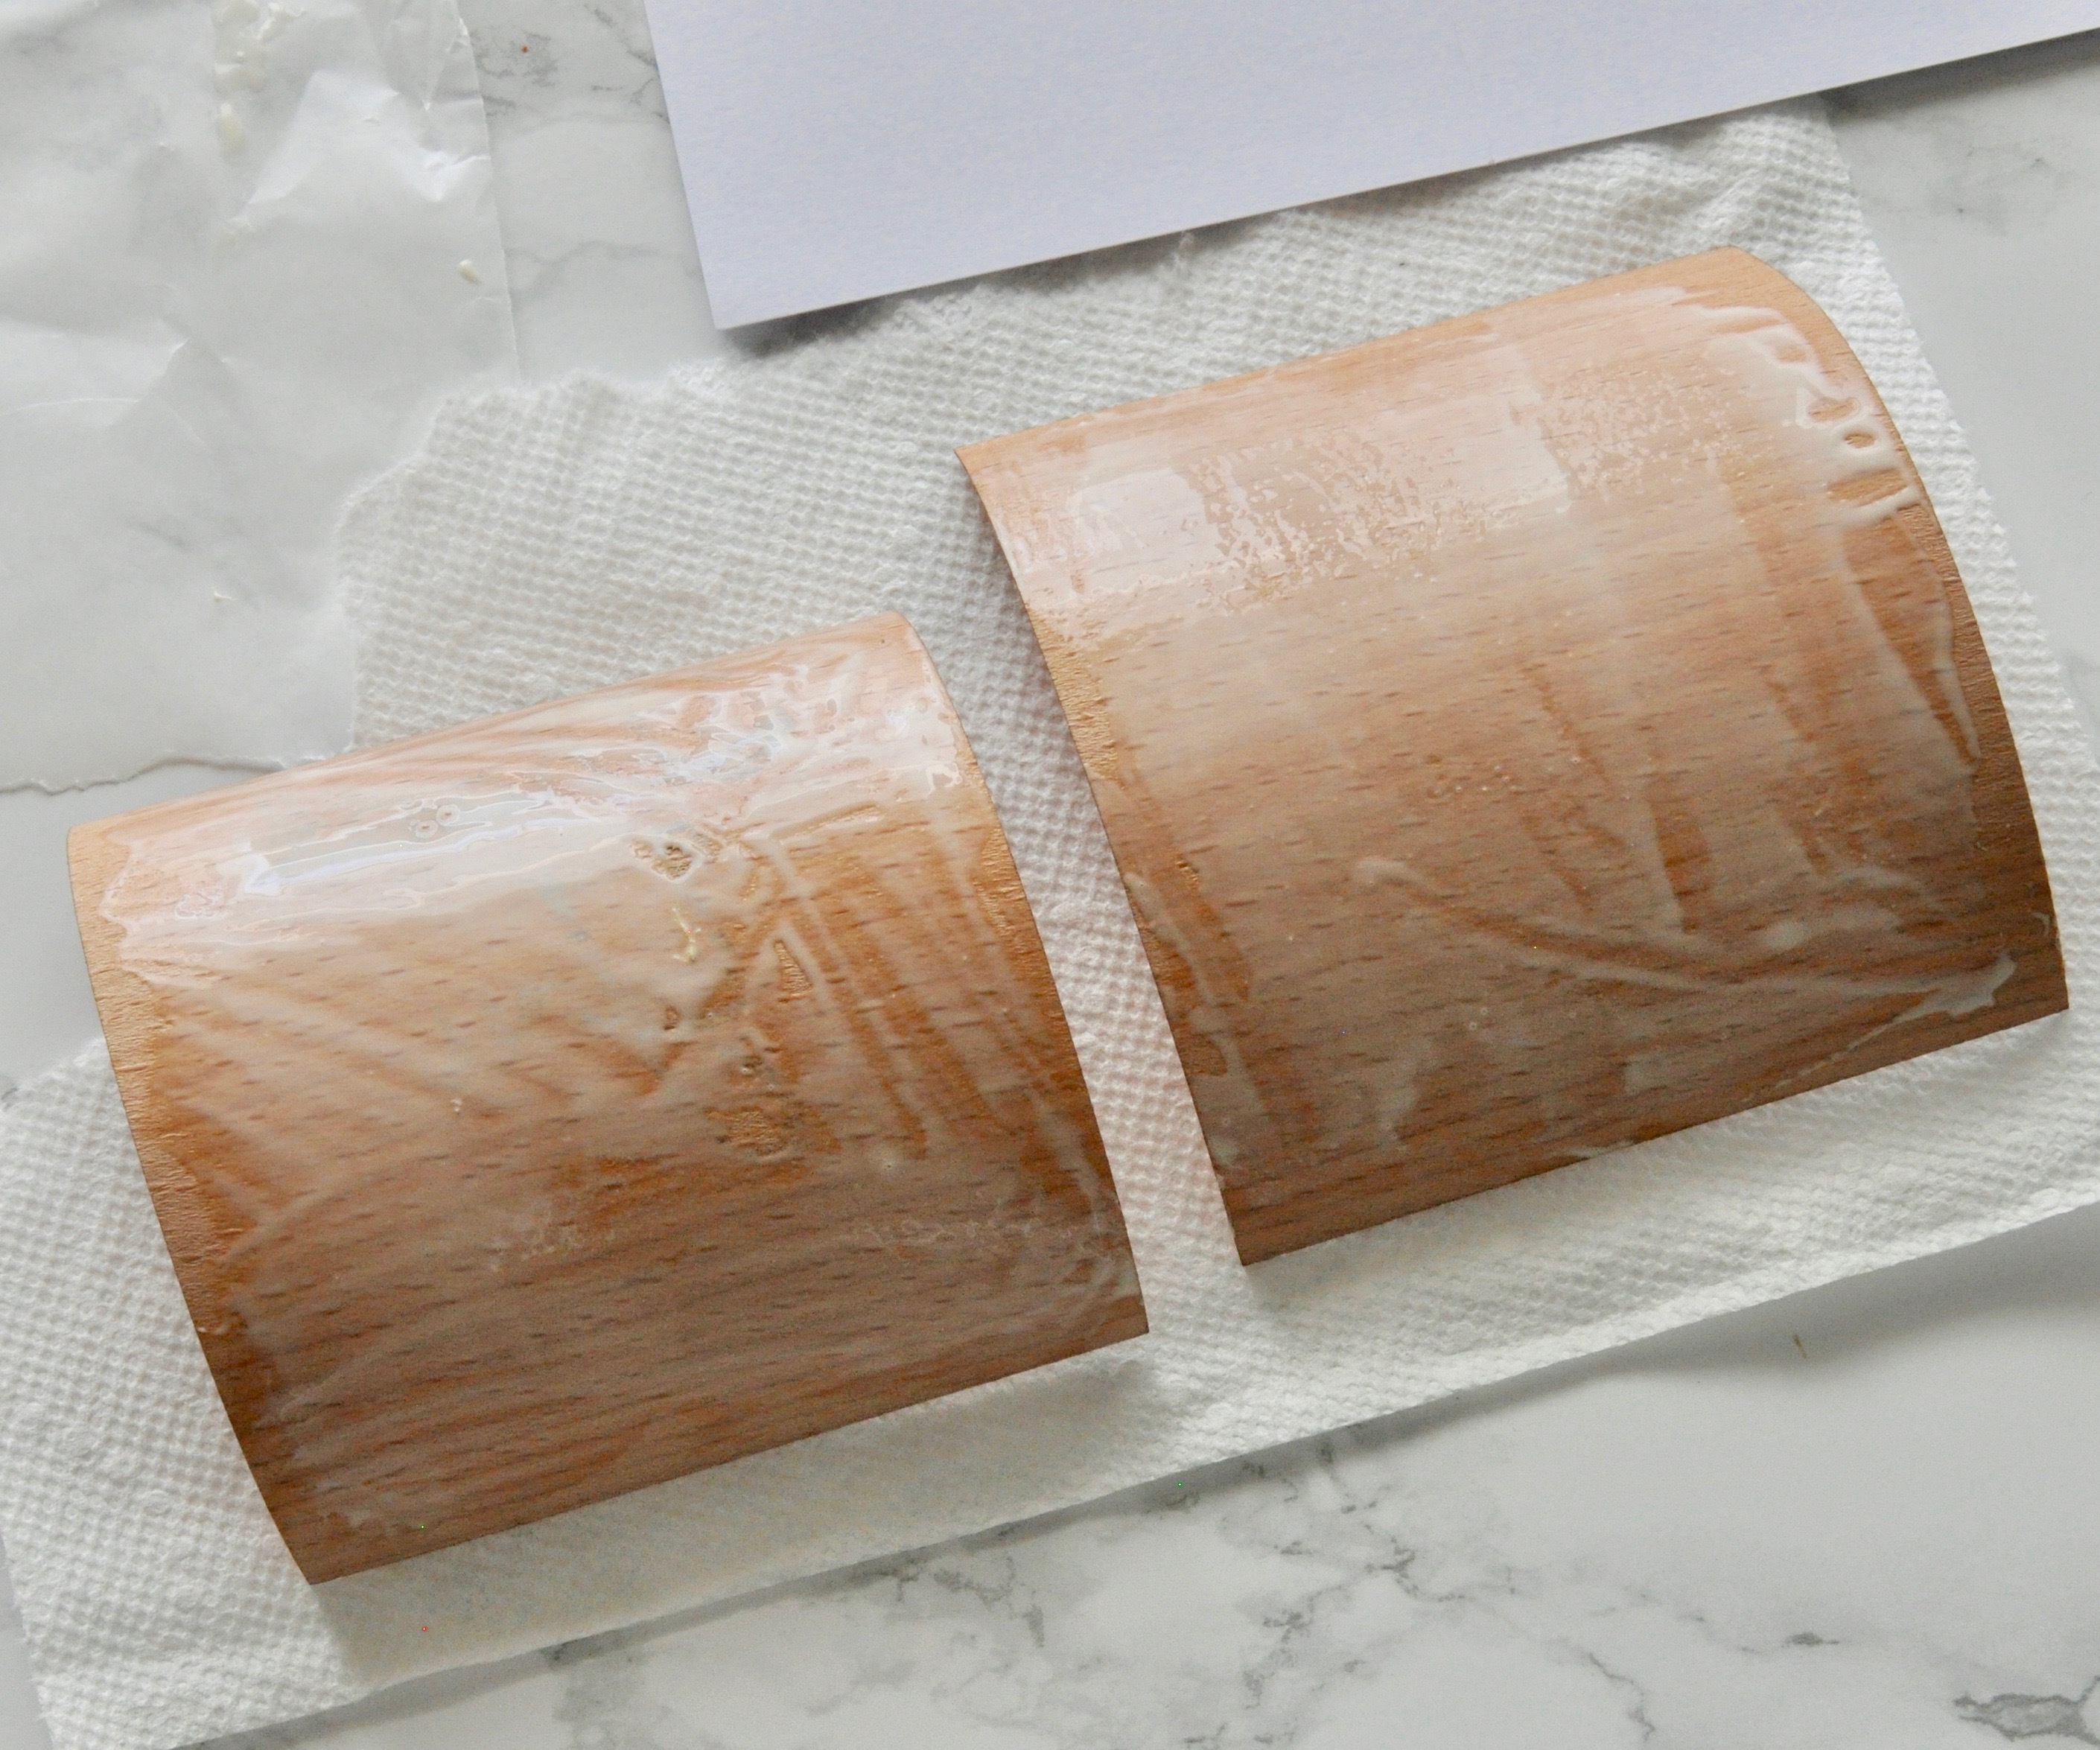
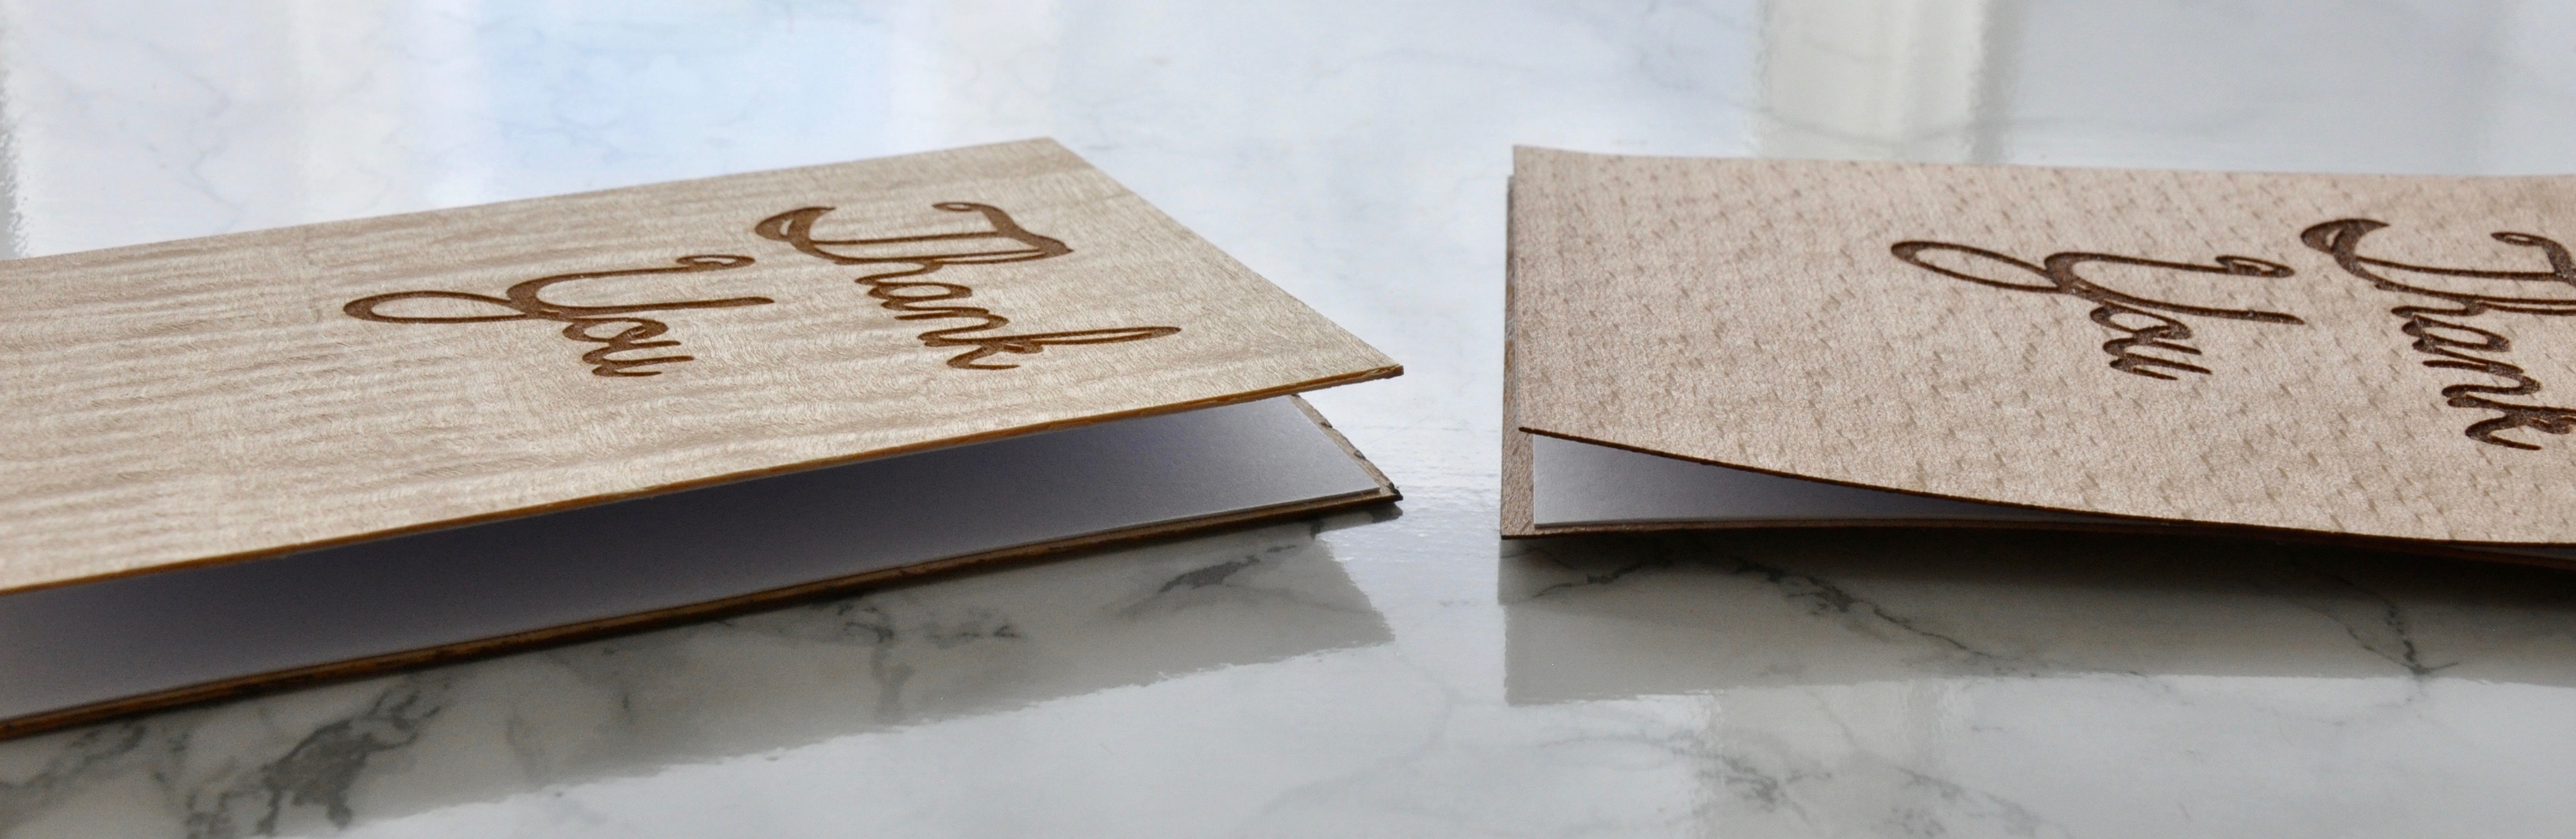
Here is a look at what happens when you use wood glue.
If you have to do it, for one thing, glue the paper and not the veneer as I did above. It causes the veneer to bend and makes it hard to line up on the paper
The second image compares the contact cement on the left and wood glue on the right. It makes the card warp a bit and the paper is a bit wavy.