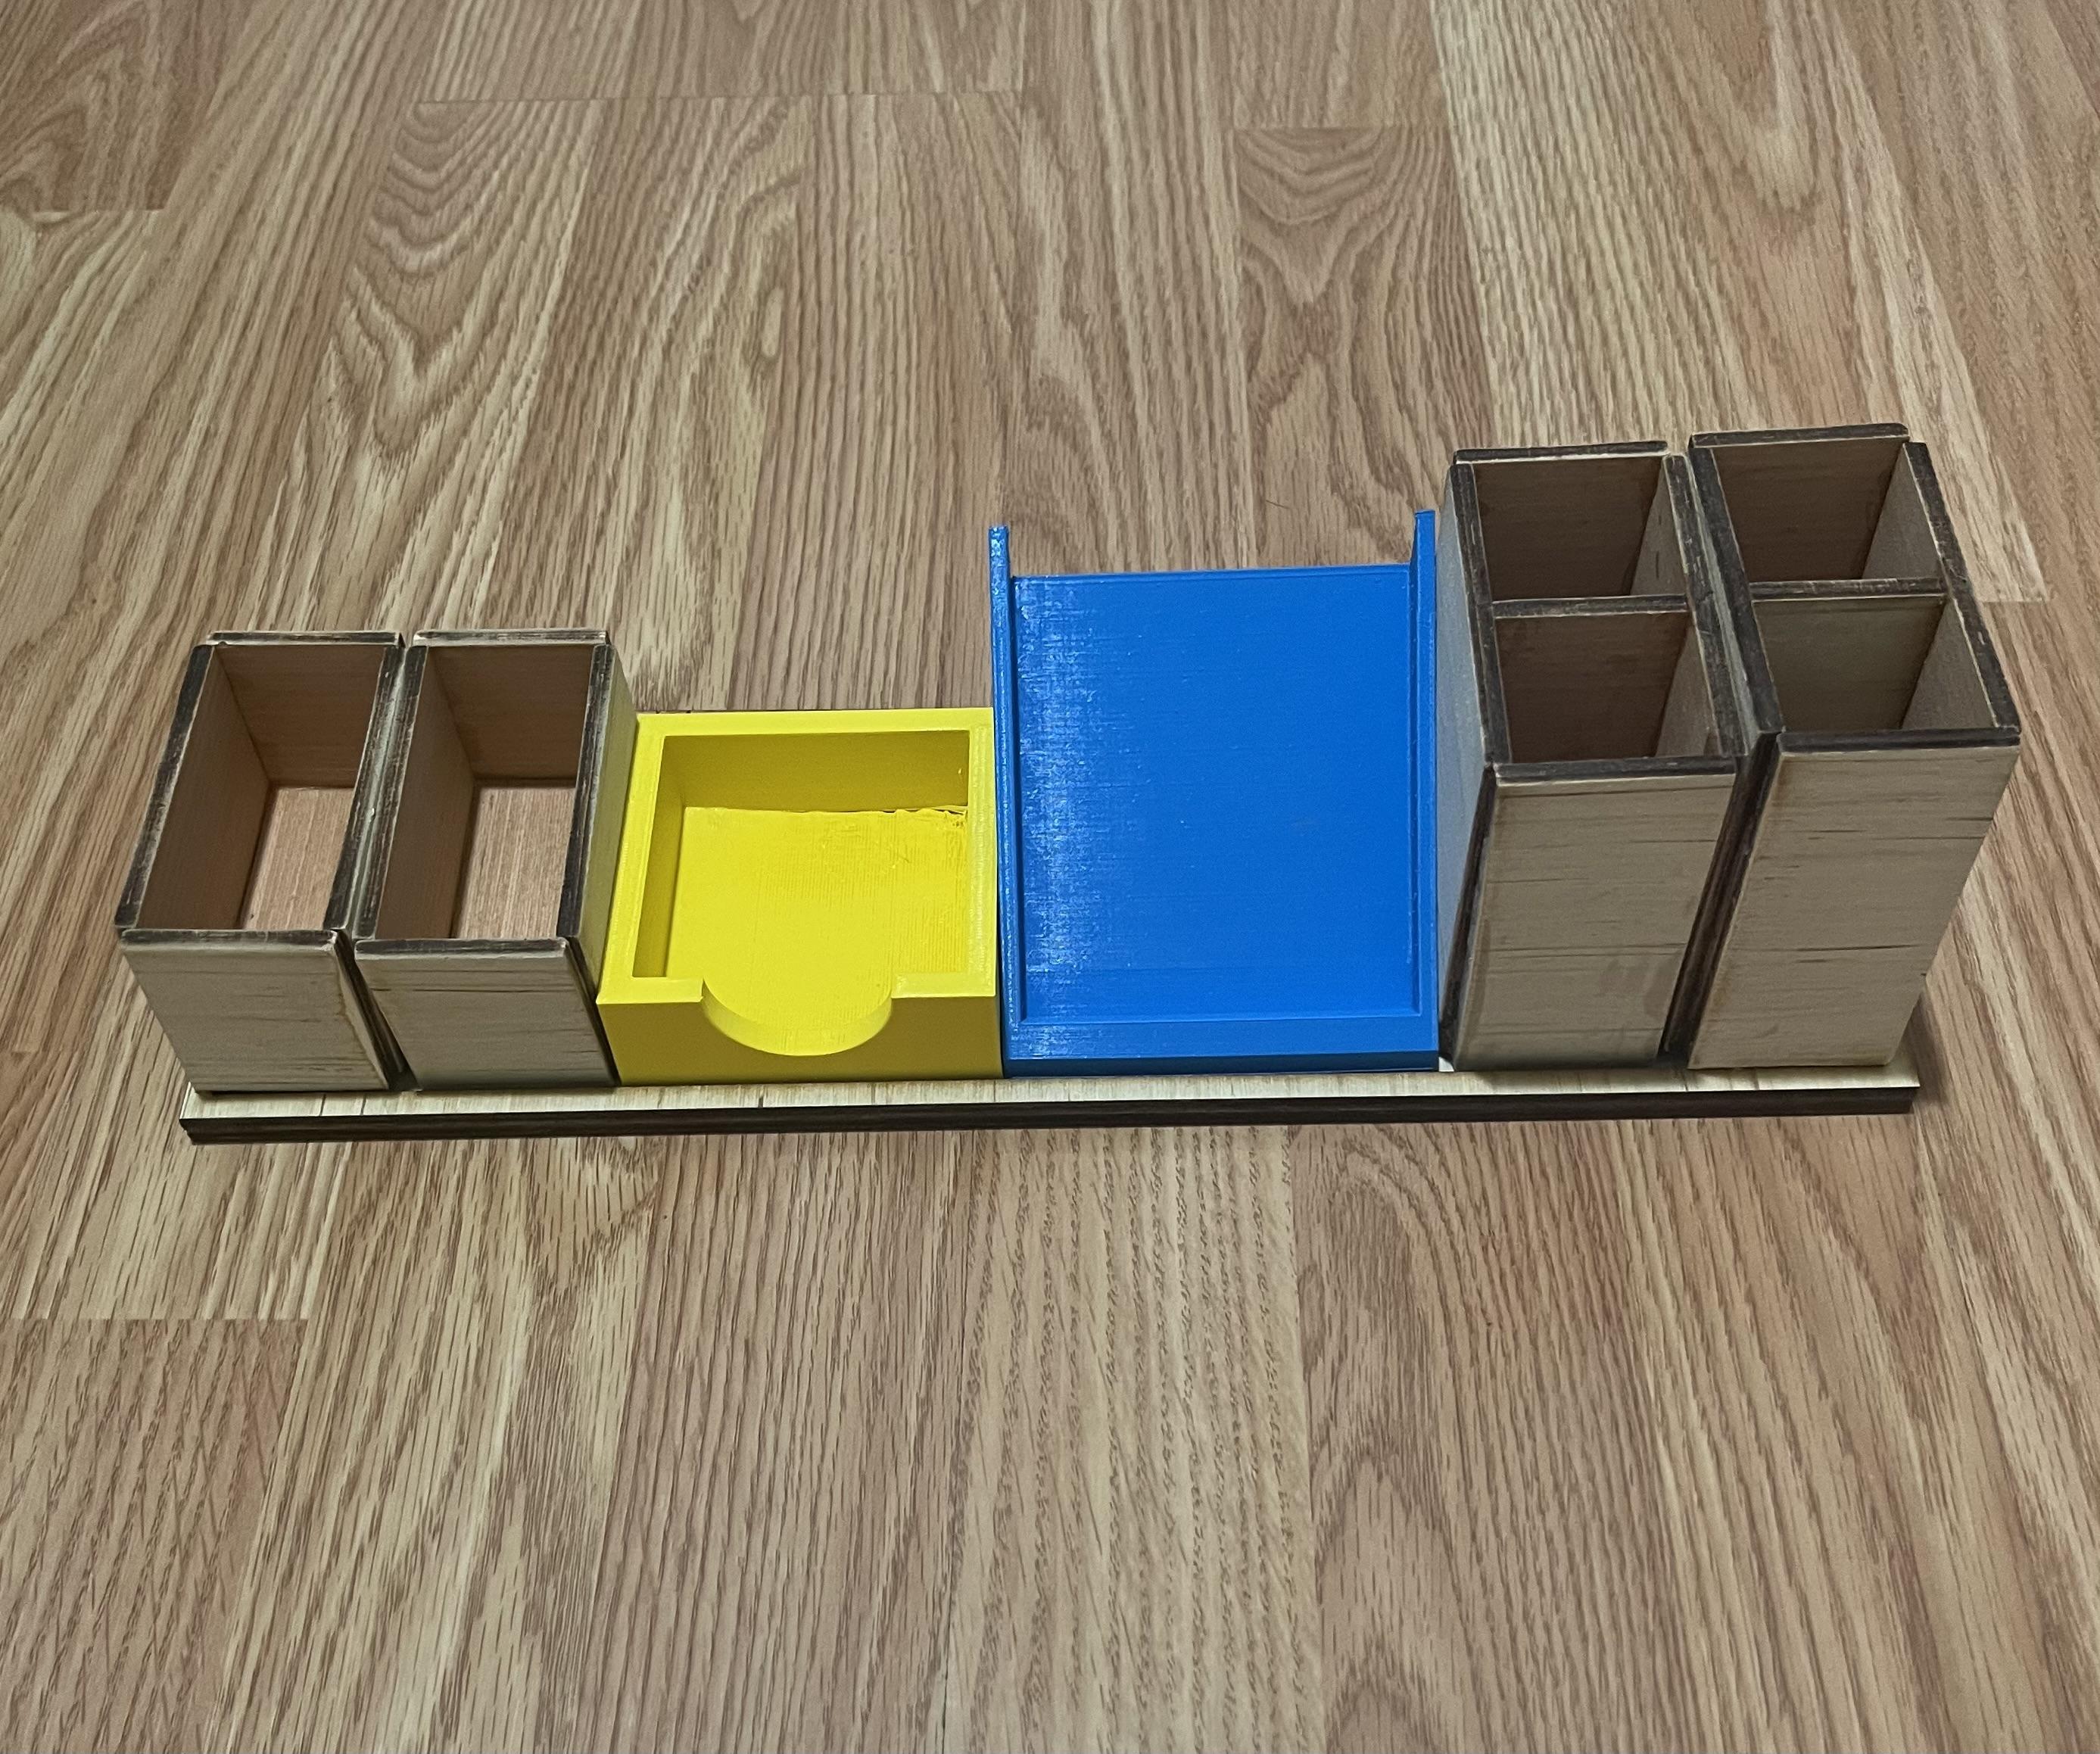
Wooden Desk Organizer
.jpg)
We are a trio from Piedmont Hills High School, and we were challenged to create any object with CNC to enter into this contest. We decided to build a desk organizer, not because it pushes the boundaries of design, but because we needed to survive this final project for the semester. The dimensions are customizable, so change them as you wish.
Supplies
- CNC machine
- Wood
- Laser cutter
- Fusion 360
- Adobe Illustrator
- Hot glue
- Sandpaper
- Method Printer
- MakerBot Print
- USB Drive
The Model (Tray)
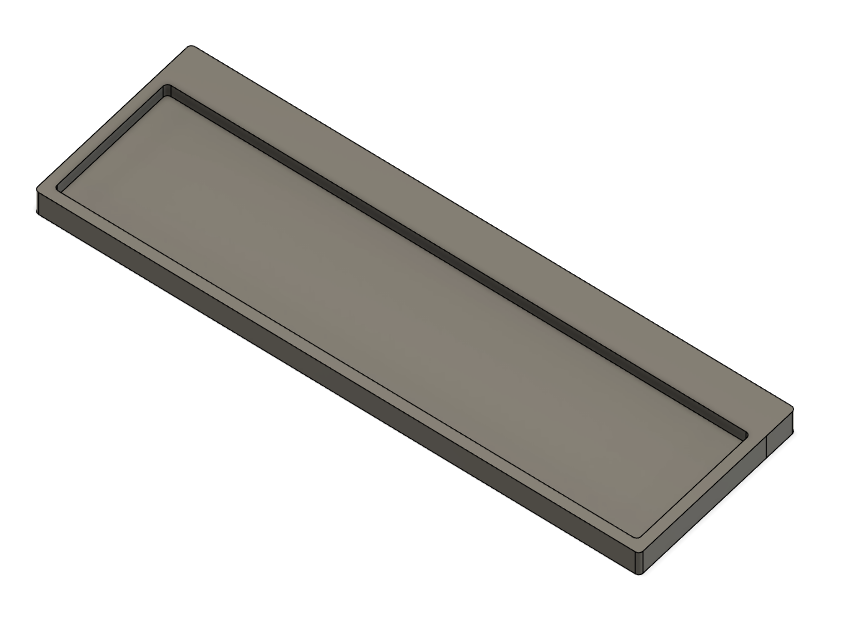
In order to create your desk organizer, you would first need to make the model of it, starting with the tray.
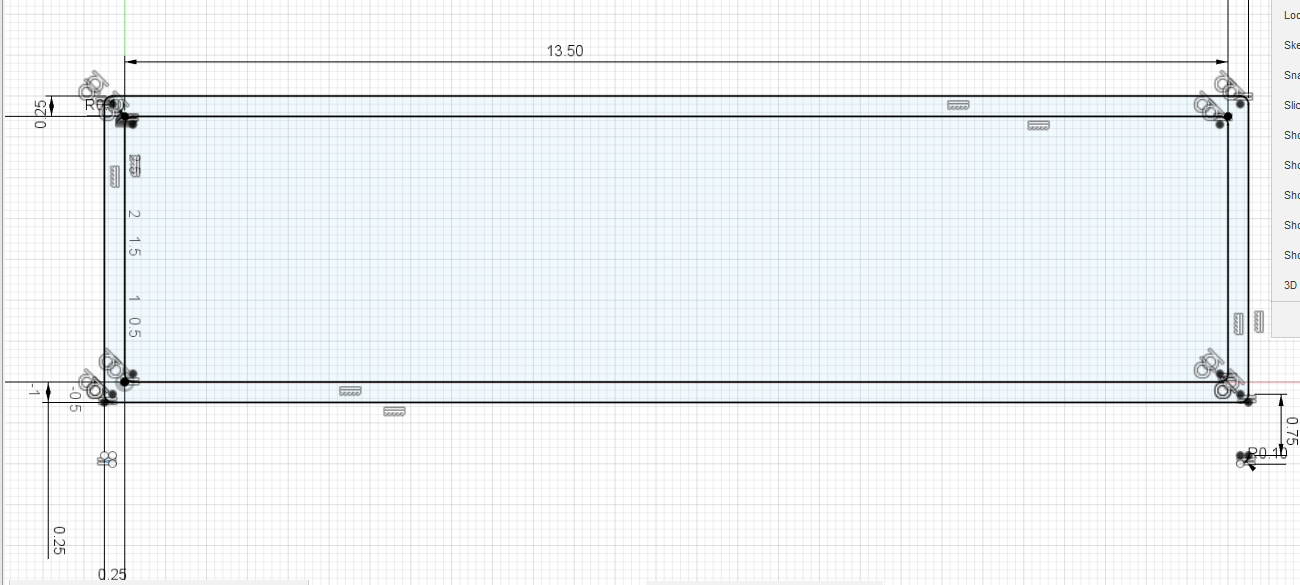
After opening Fusion 360 and creating your sketch, sketch out your tray using the dimensions shown in the following image.
Once finished with your sketch, extrude the rim by .6 inches, then the plate by .3 inches.
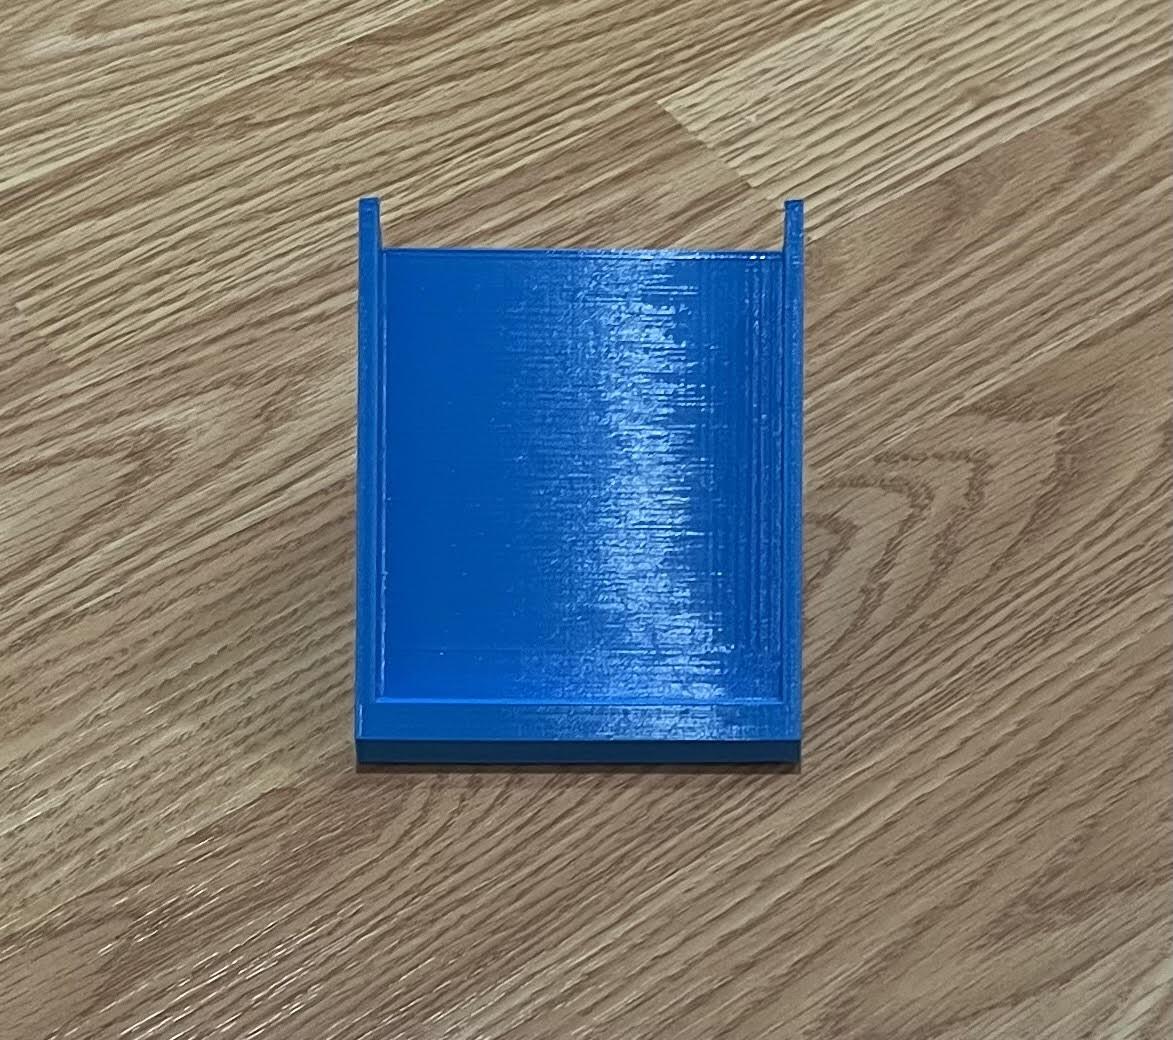
The Model (Phone Stand)
Now that you've finished your tray, begin sketching your phone stand.
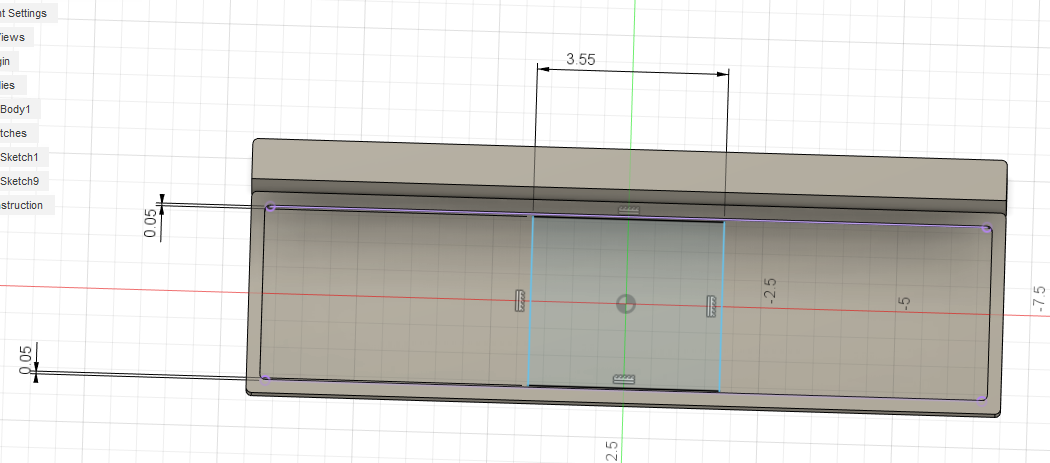
On the tray, sketch a box, with a .05 inch difference from the edges of the tray.
When finished, extrude by 3.25 inches before splitting it from the top corner to a point 0.3 inches up from the bottom corner.
Next, create two lines with a 0.15 inch gap between the sides from the top to a point 0.3 inches above the bottom and create a line at that point to connect the two, and to finish. cut it at .548 inches.
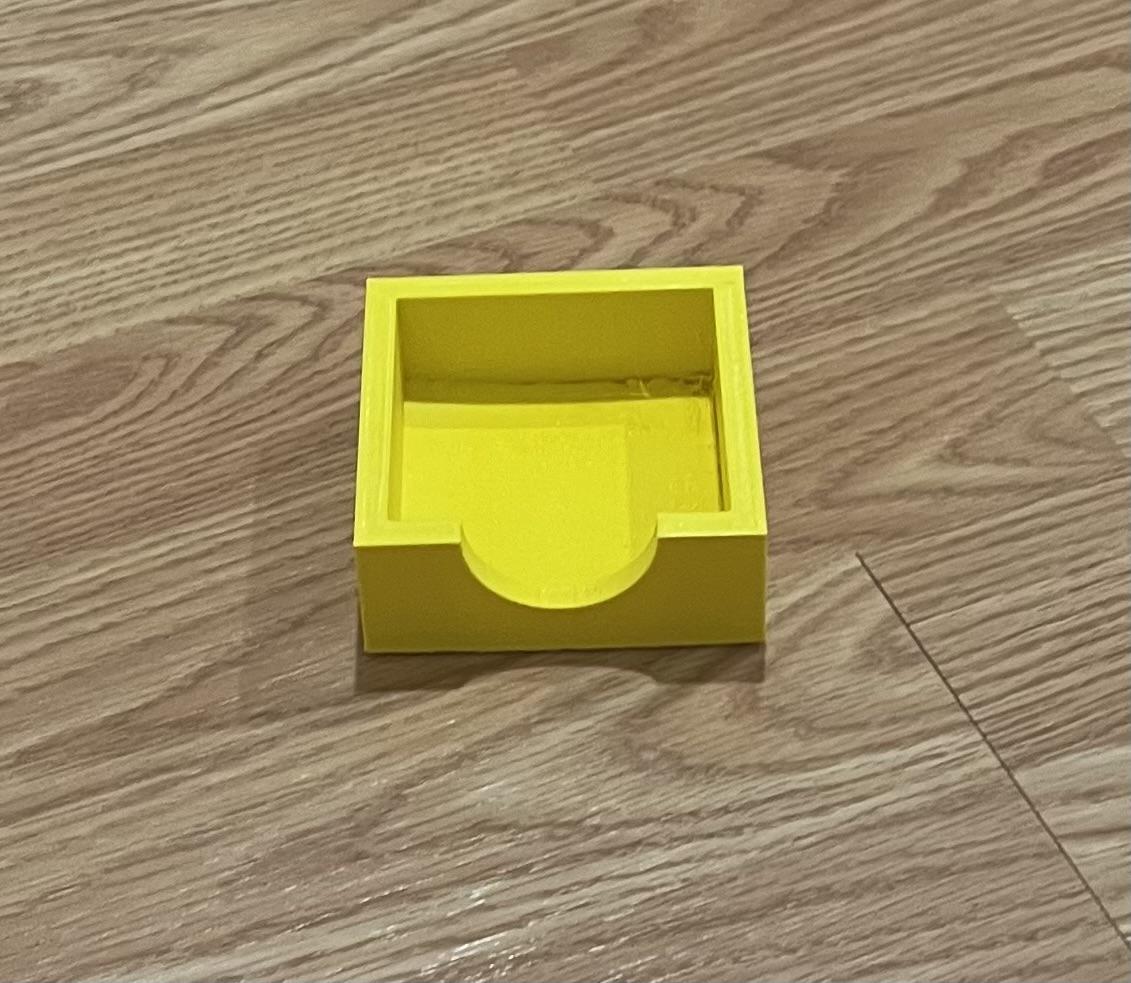
The Model (Post-it Holder)
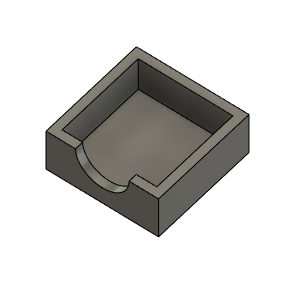
Now to make your post-it holder, sketch a box 3.15 inches on each side, each distant from the rim of the tray by .05 inches. Extrude it up by 1.25 inches and create a shell of 0.25 inches.
(Optionally) Extrude a circle with a radius of 0.75 through the middle.
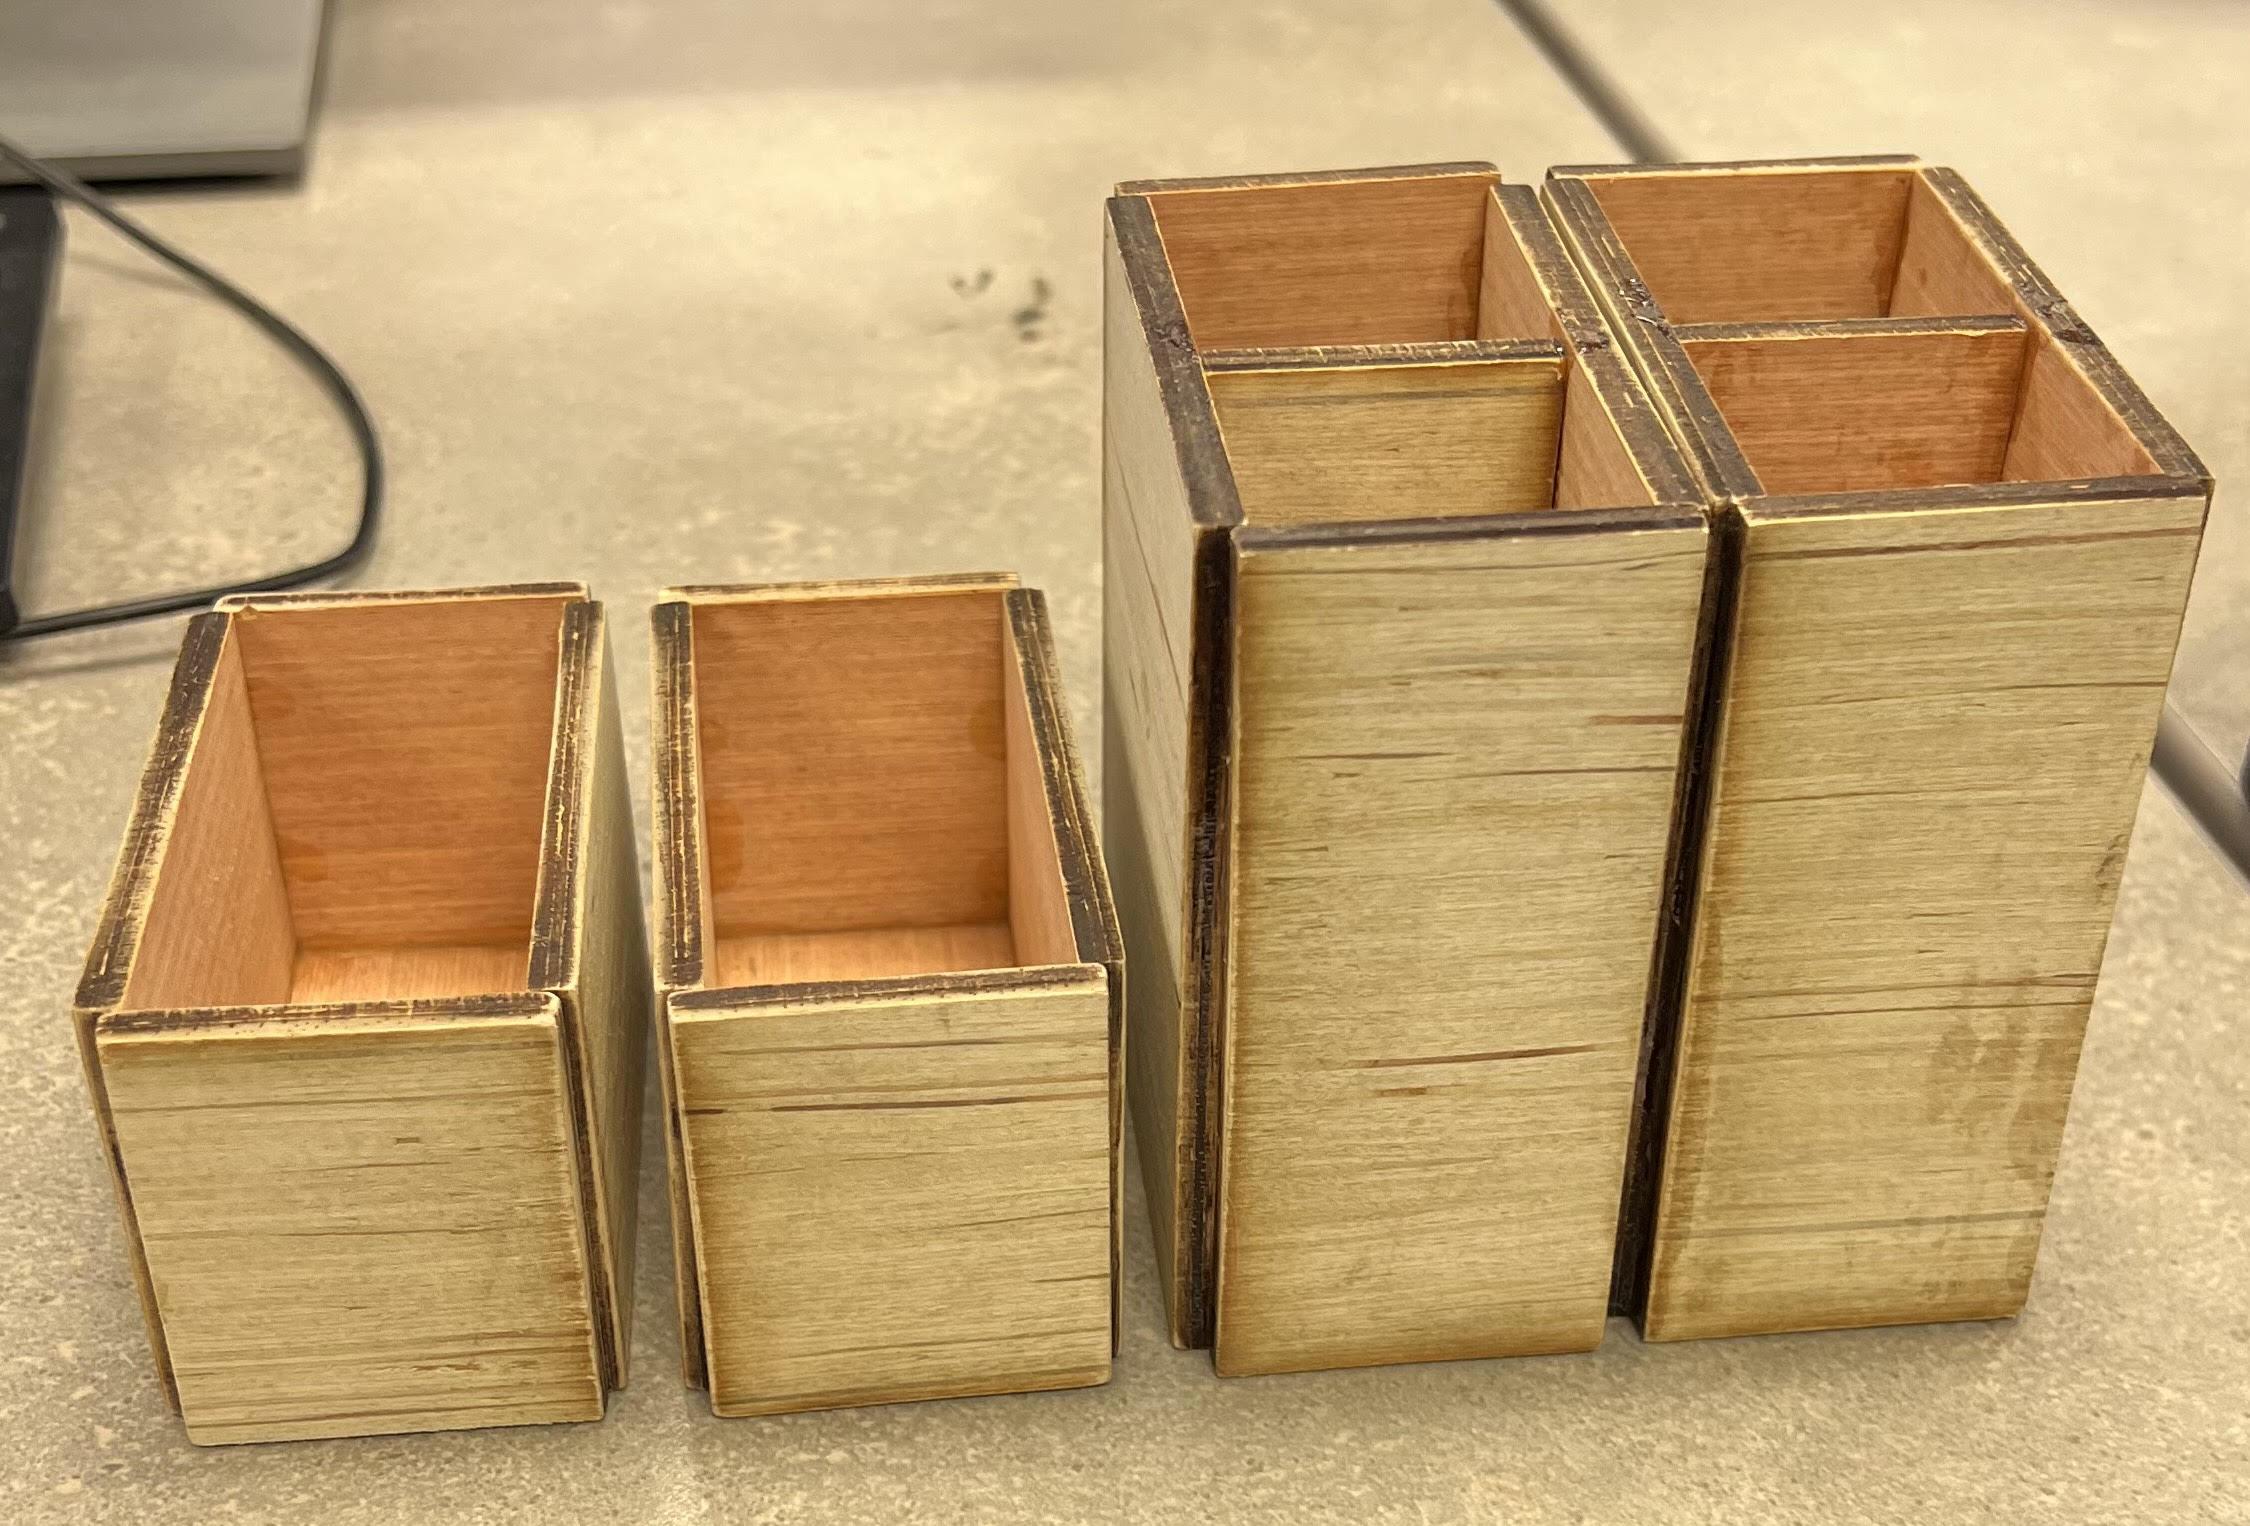
The Model (Medium Traysx2)
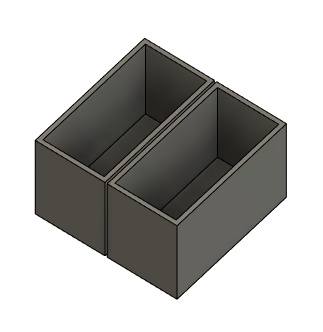
To make your medium sized trays, make two 1.615 inch x 3.15 inch bases and extrude them up by 2 in.
Then make a 0.2 inches shell.
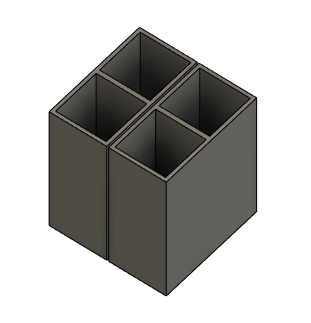
The Model (Tall Trayx2)
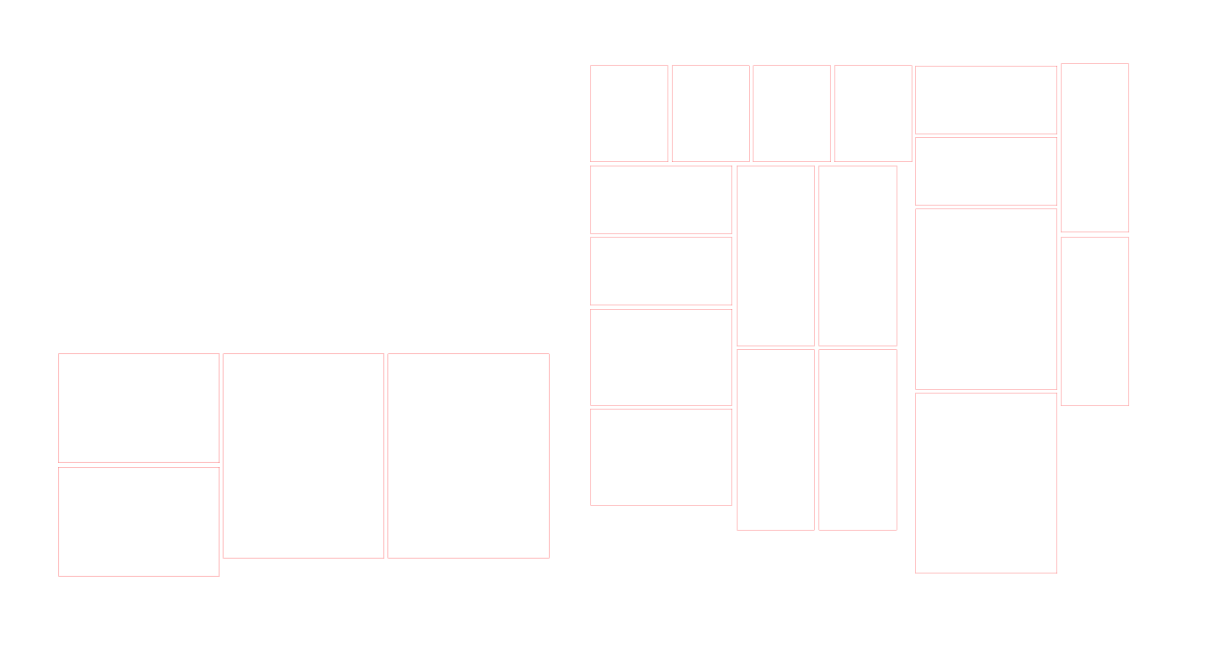
Laser Cutting and Assembly
.jpg)
Using the model from earlier, split the medium and small trays into separate faces in Adobe Illustrator. Then laser cut.
Once the pieces are cut out, sand them down and glue them together.
Printing and CNC

Isolate the phone stand and post-it holder and 3D print it out.
The tray will be CNC cut into two pieces, which can be assembled by gluing them together.
Enjoy
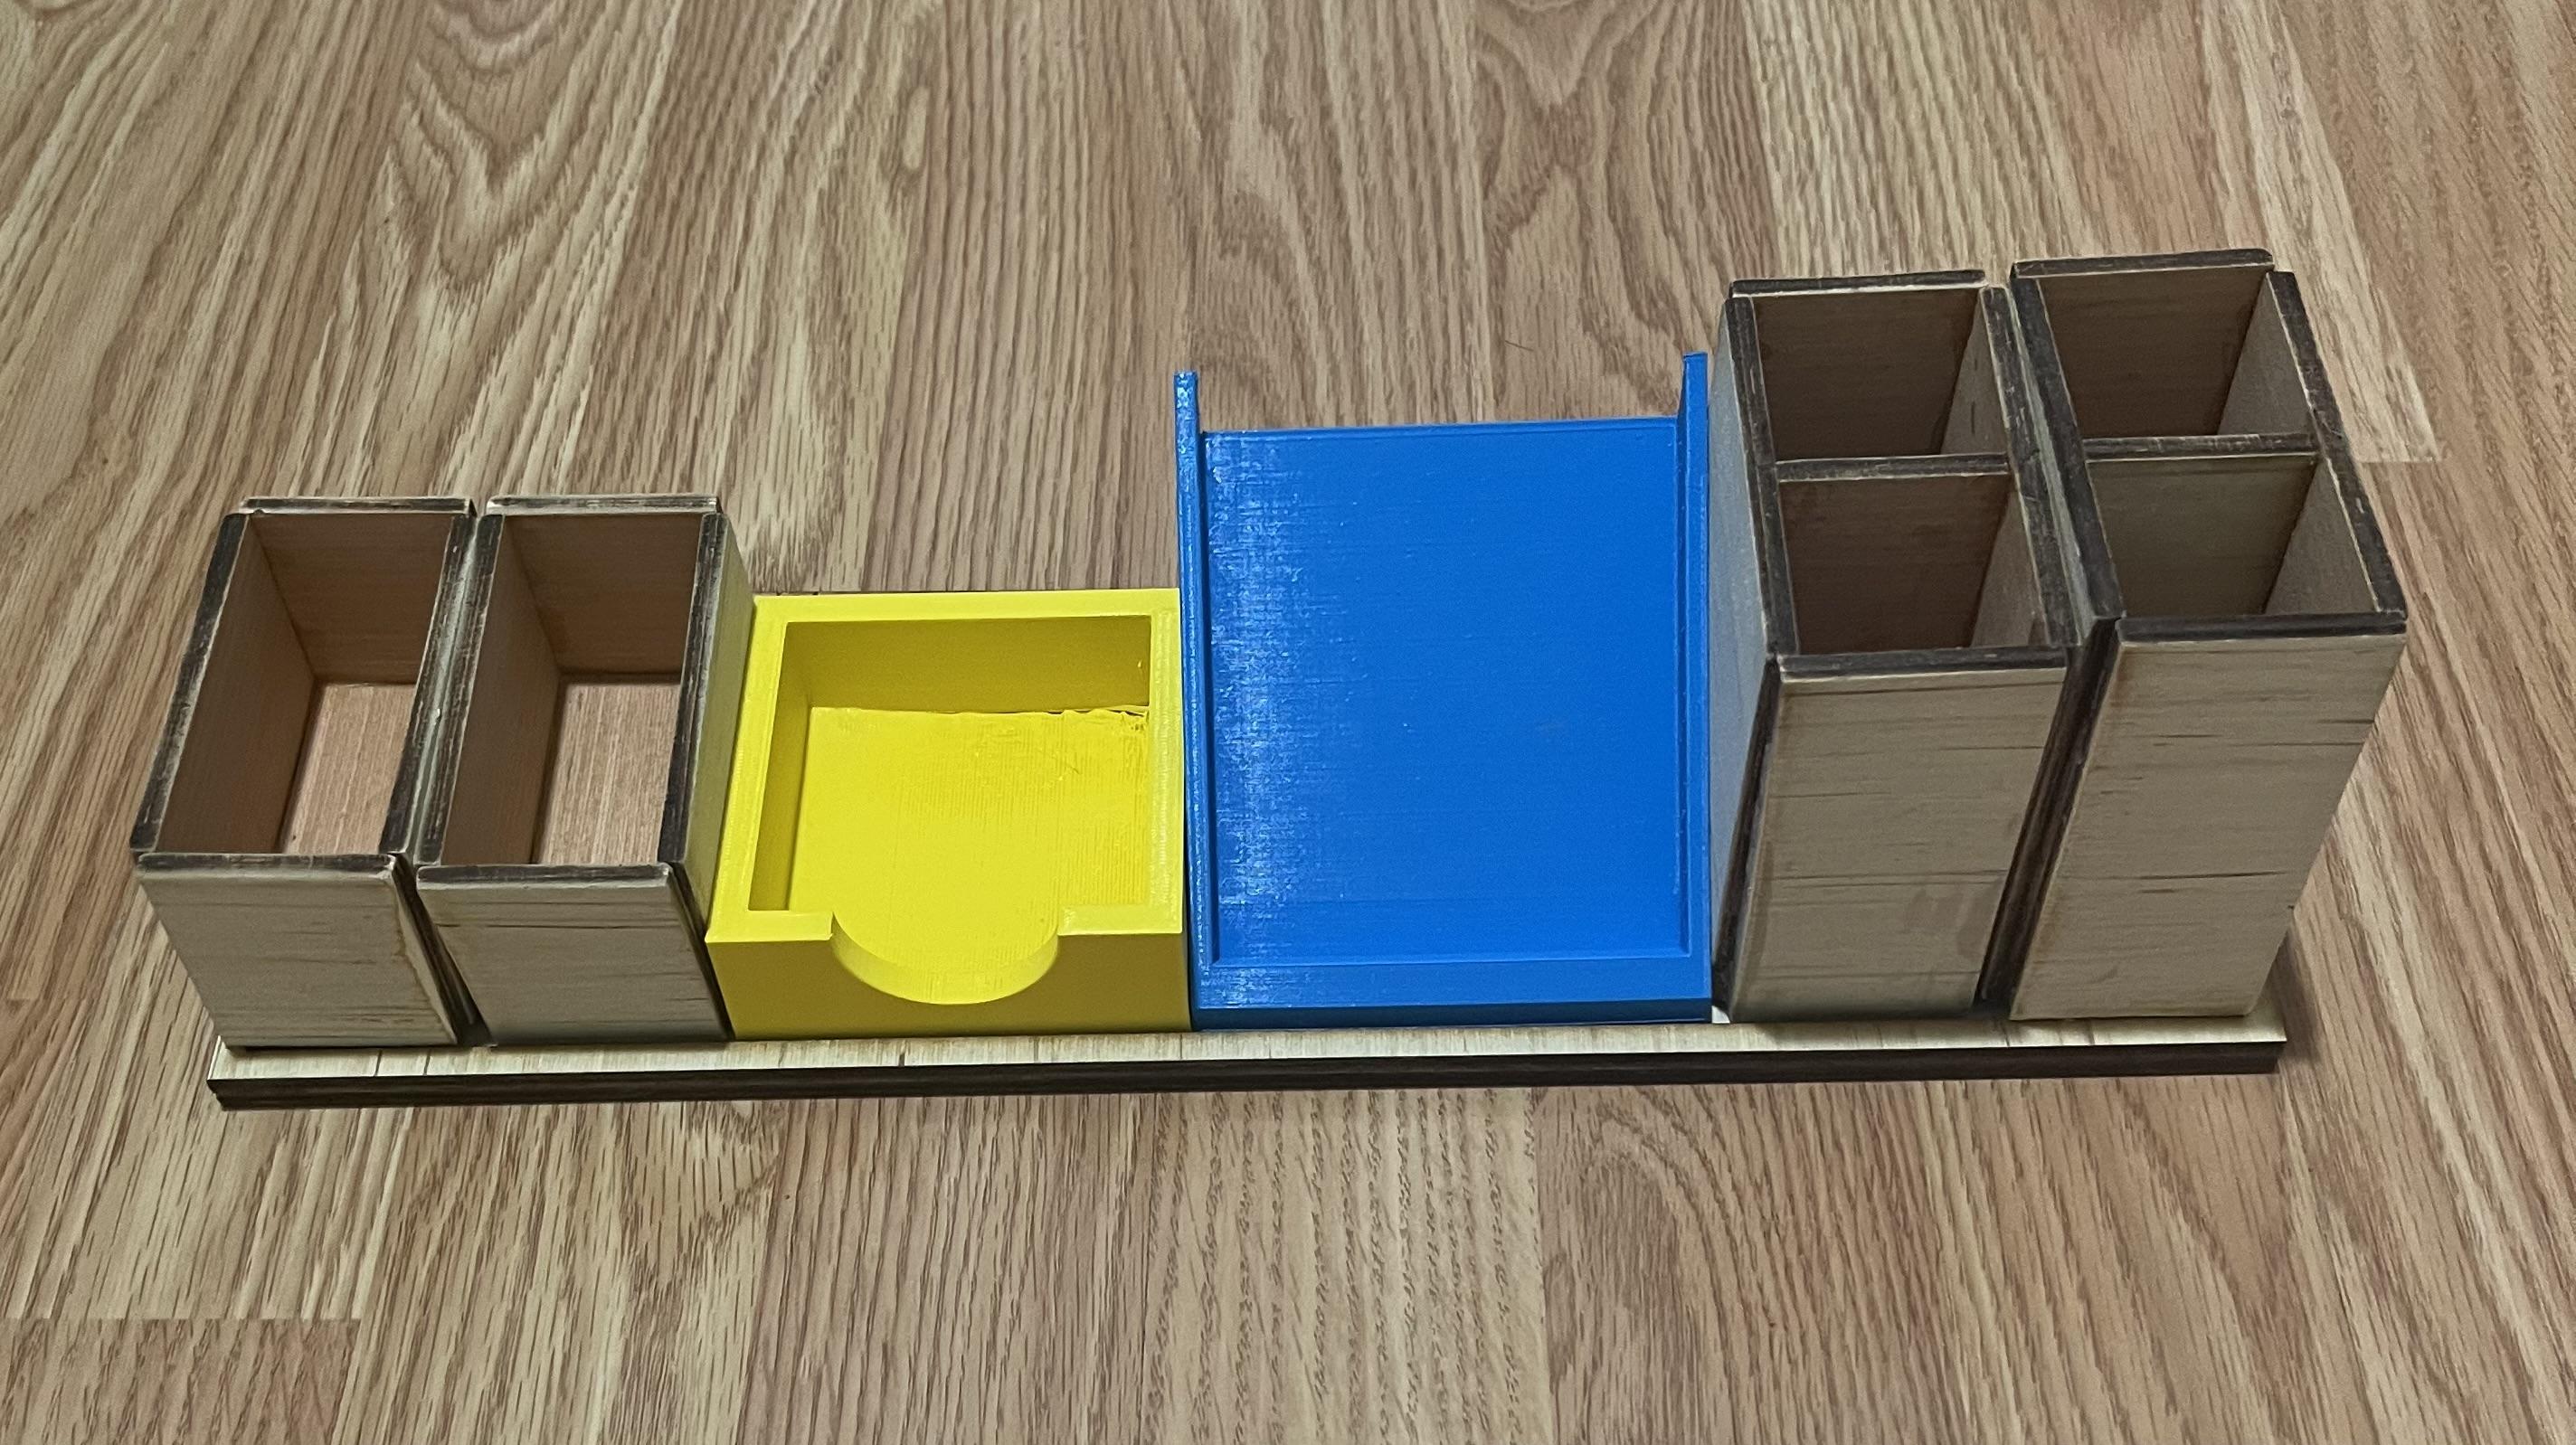
You've finished making a simple desk organizer! Use it to your heart's content!