Wooden DUNE Book Nook (With LEDs)
by LiamVanderWoude in Workshop > Woodworking
2320 Views, 59 Favorites, 0 Comments
Wooden DUNE Book Nook (With LEDs)
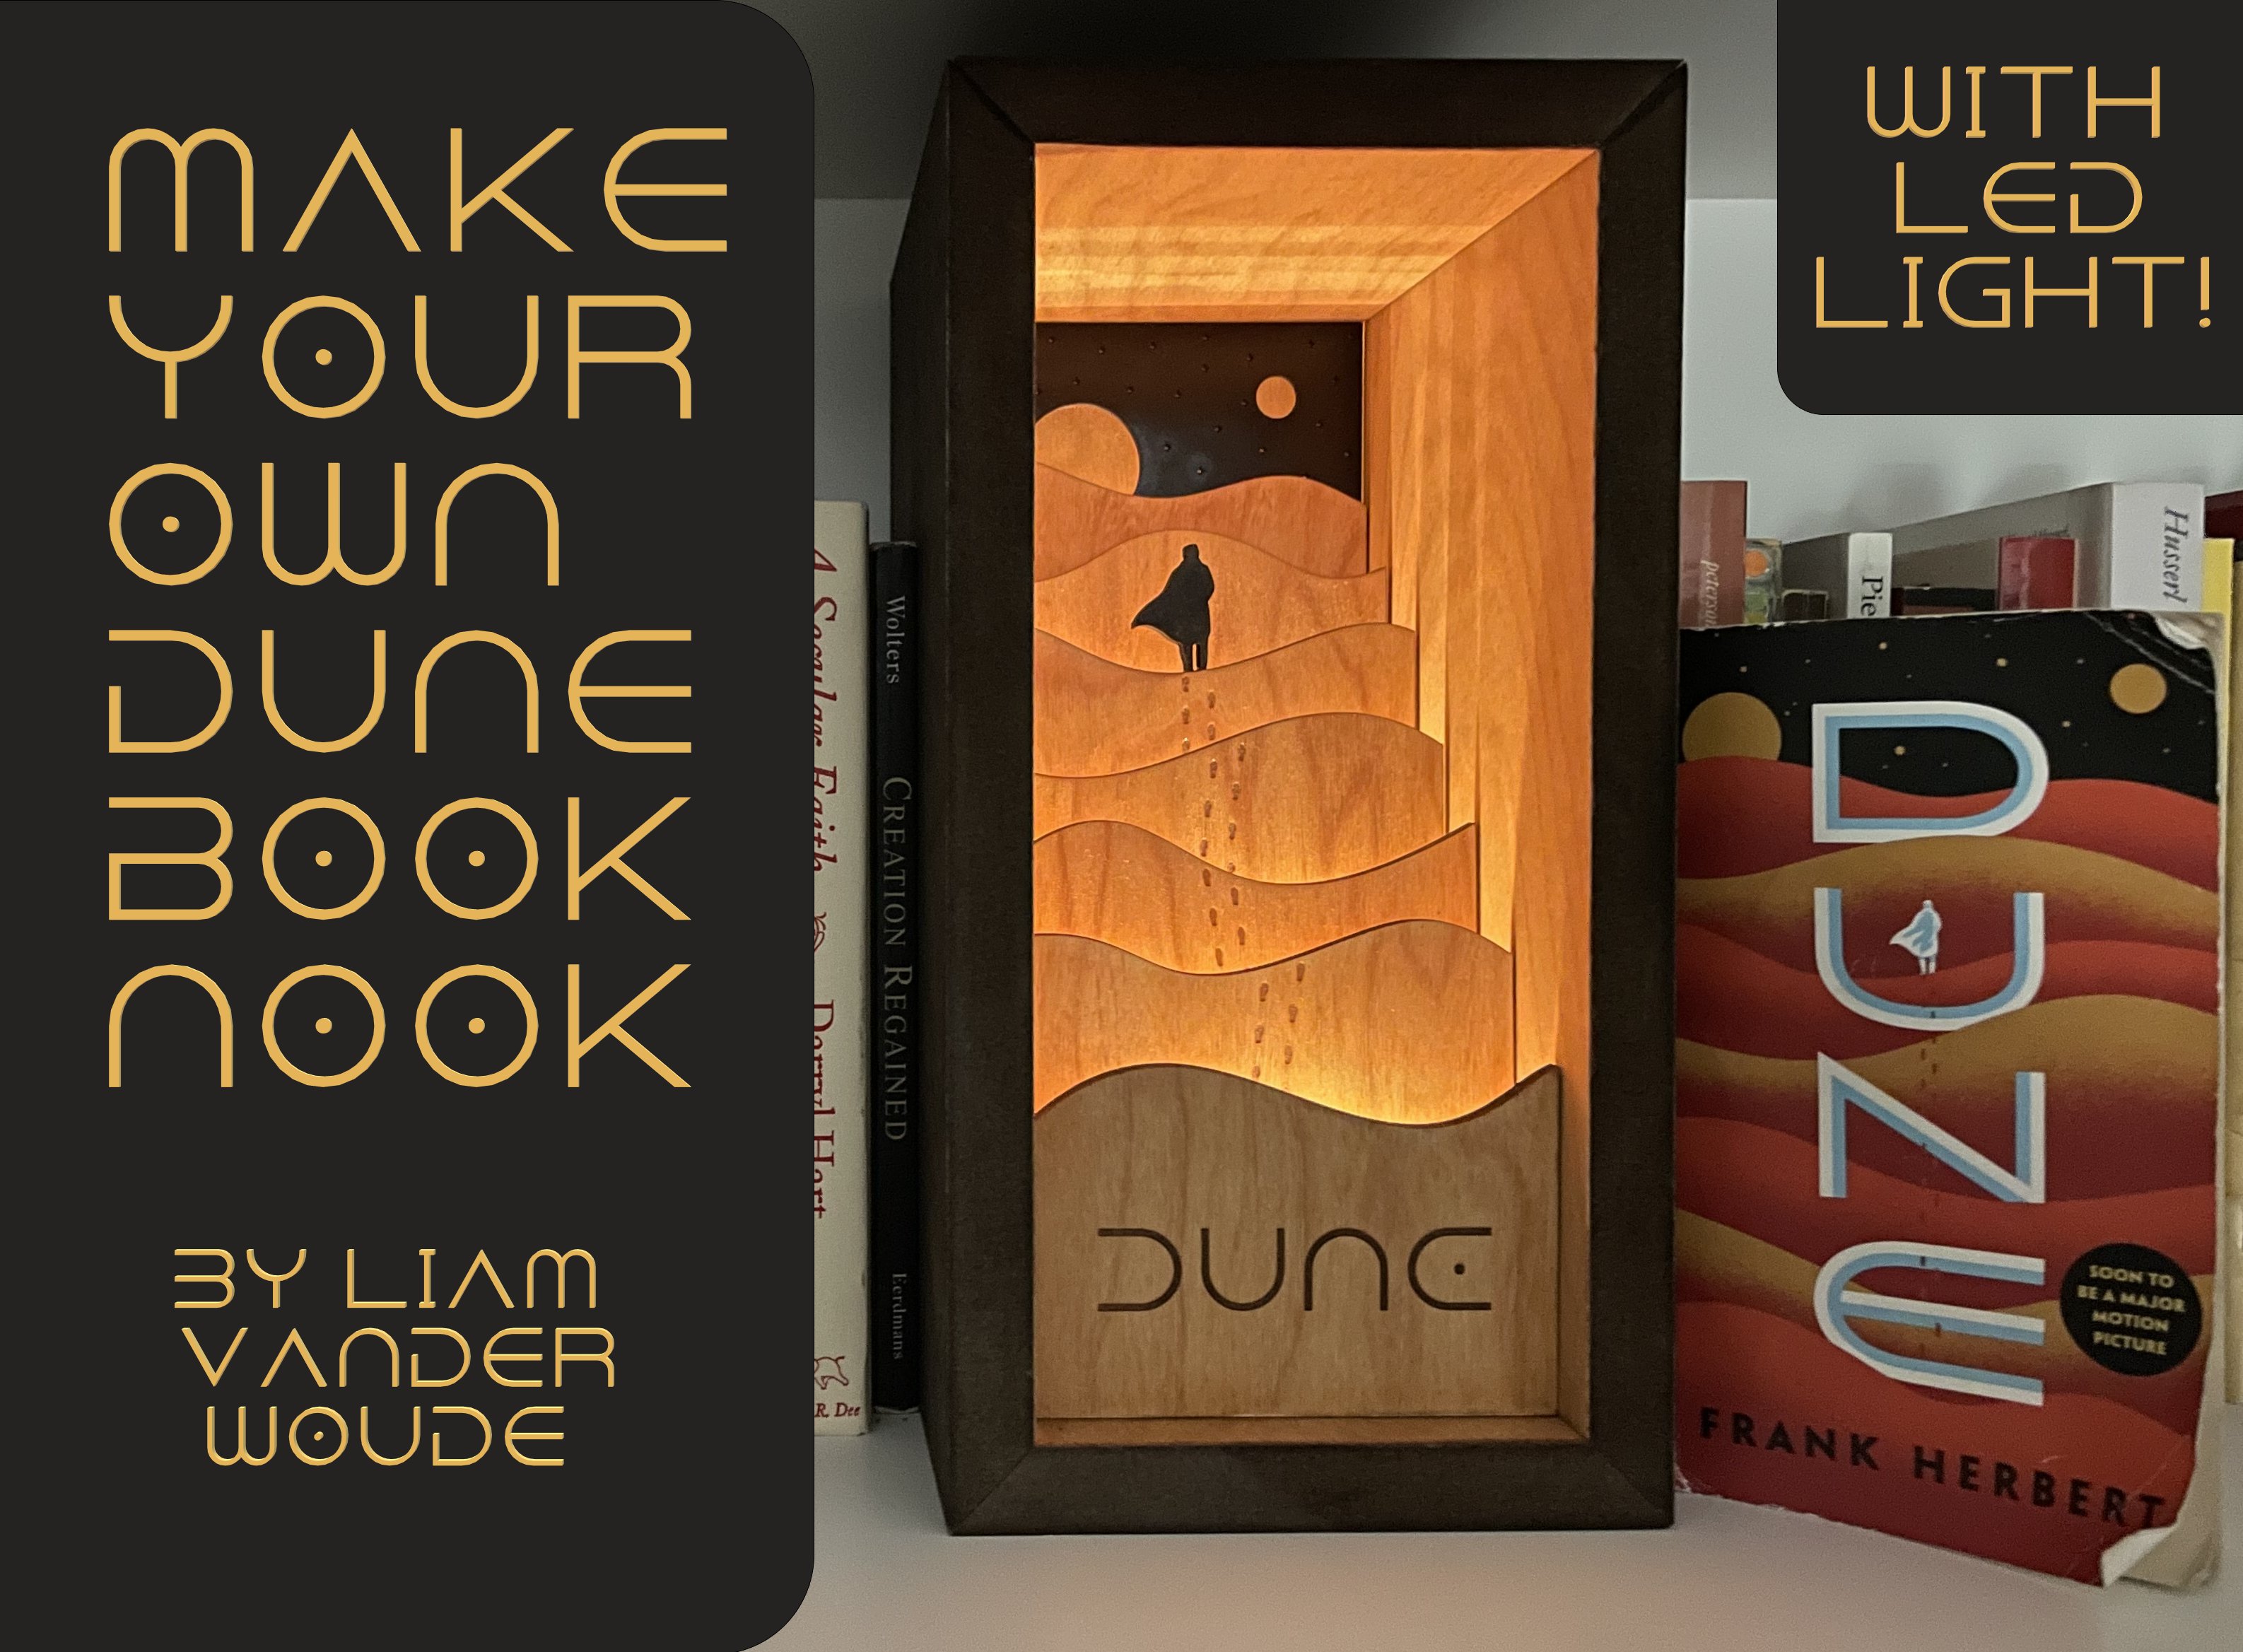
Hello! My name is Liam, and I am a sophomore at Iliana Christian High School. When I saw the theme for this contest, I immediately thought of my most recent favorite book: Dune. I wanted to make something relatively easy to make with the materials I had. I also wanted my creation to be something that would stand out and be seen on a bookshelf. Thus the Dune Book Nook was born.
This step by step guide will bring you through the process I took to make my Dune Book Nook so that you can make your own. Let's begin!
Supplies

Materials needed for this project:
- Measuring tape
- Computer
- CAD software (Fusion 360 was used)
- Laser cutting software (Lightburn was used)
- Laser cutter
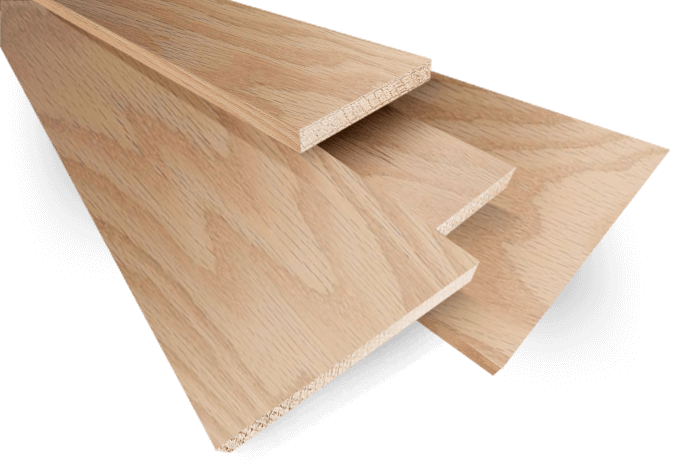
- 3/4" wood sheets
- 1/4" wood sheets
- 1/8" wood sheets
- Table saw
- Miter saw
- Palm sander
- Minwax Wood Finish (Golden Pecan and Dark Walnut)
- Paint sponge
- Spray paint (Black)
- Super glue
- Wood glue
- Led light strip (at least 40")
Planning
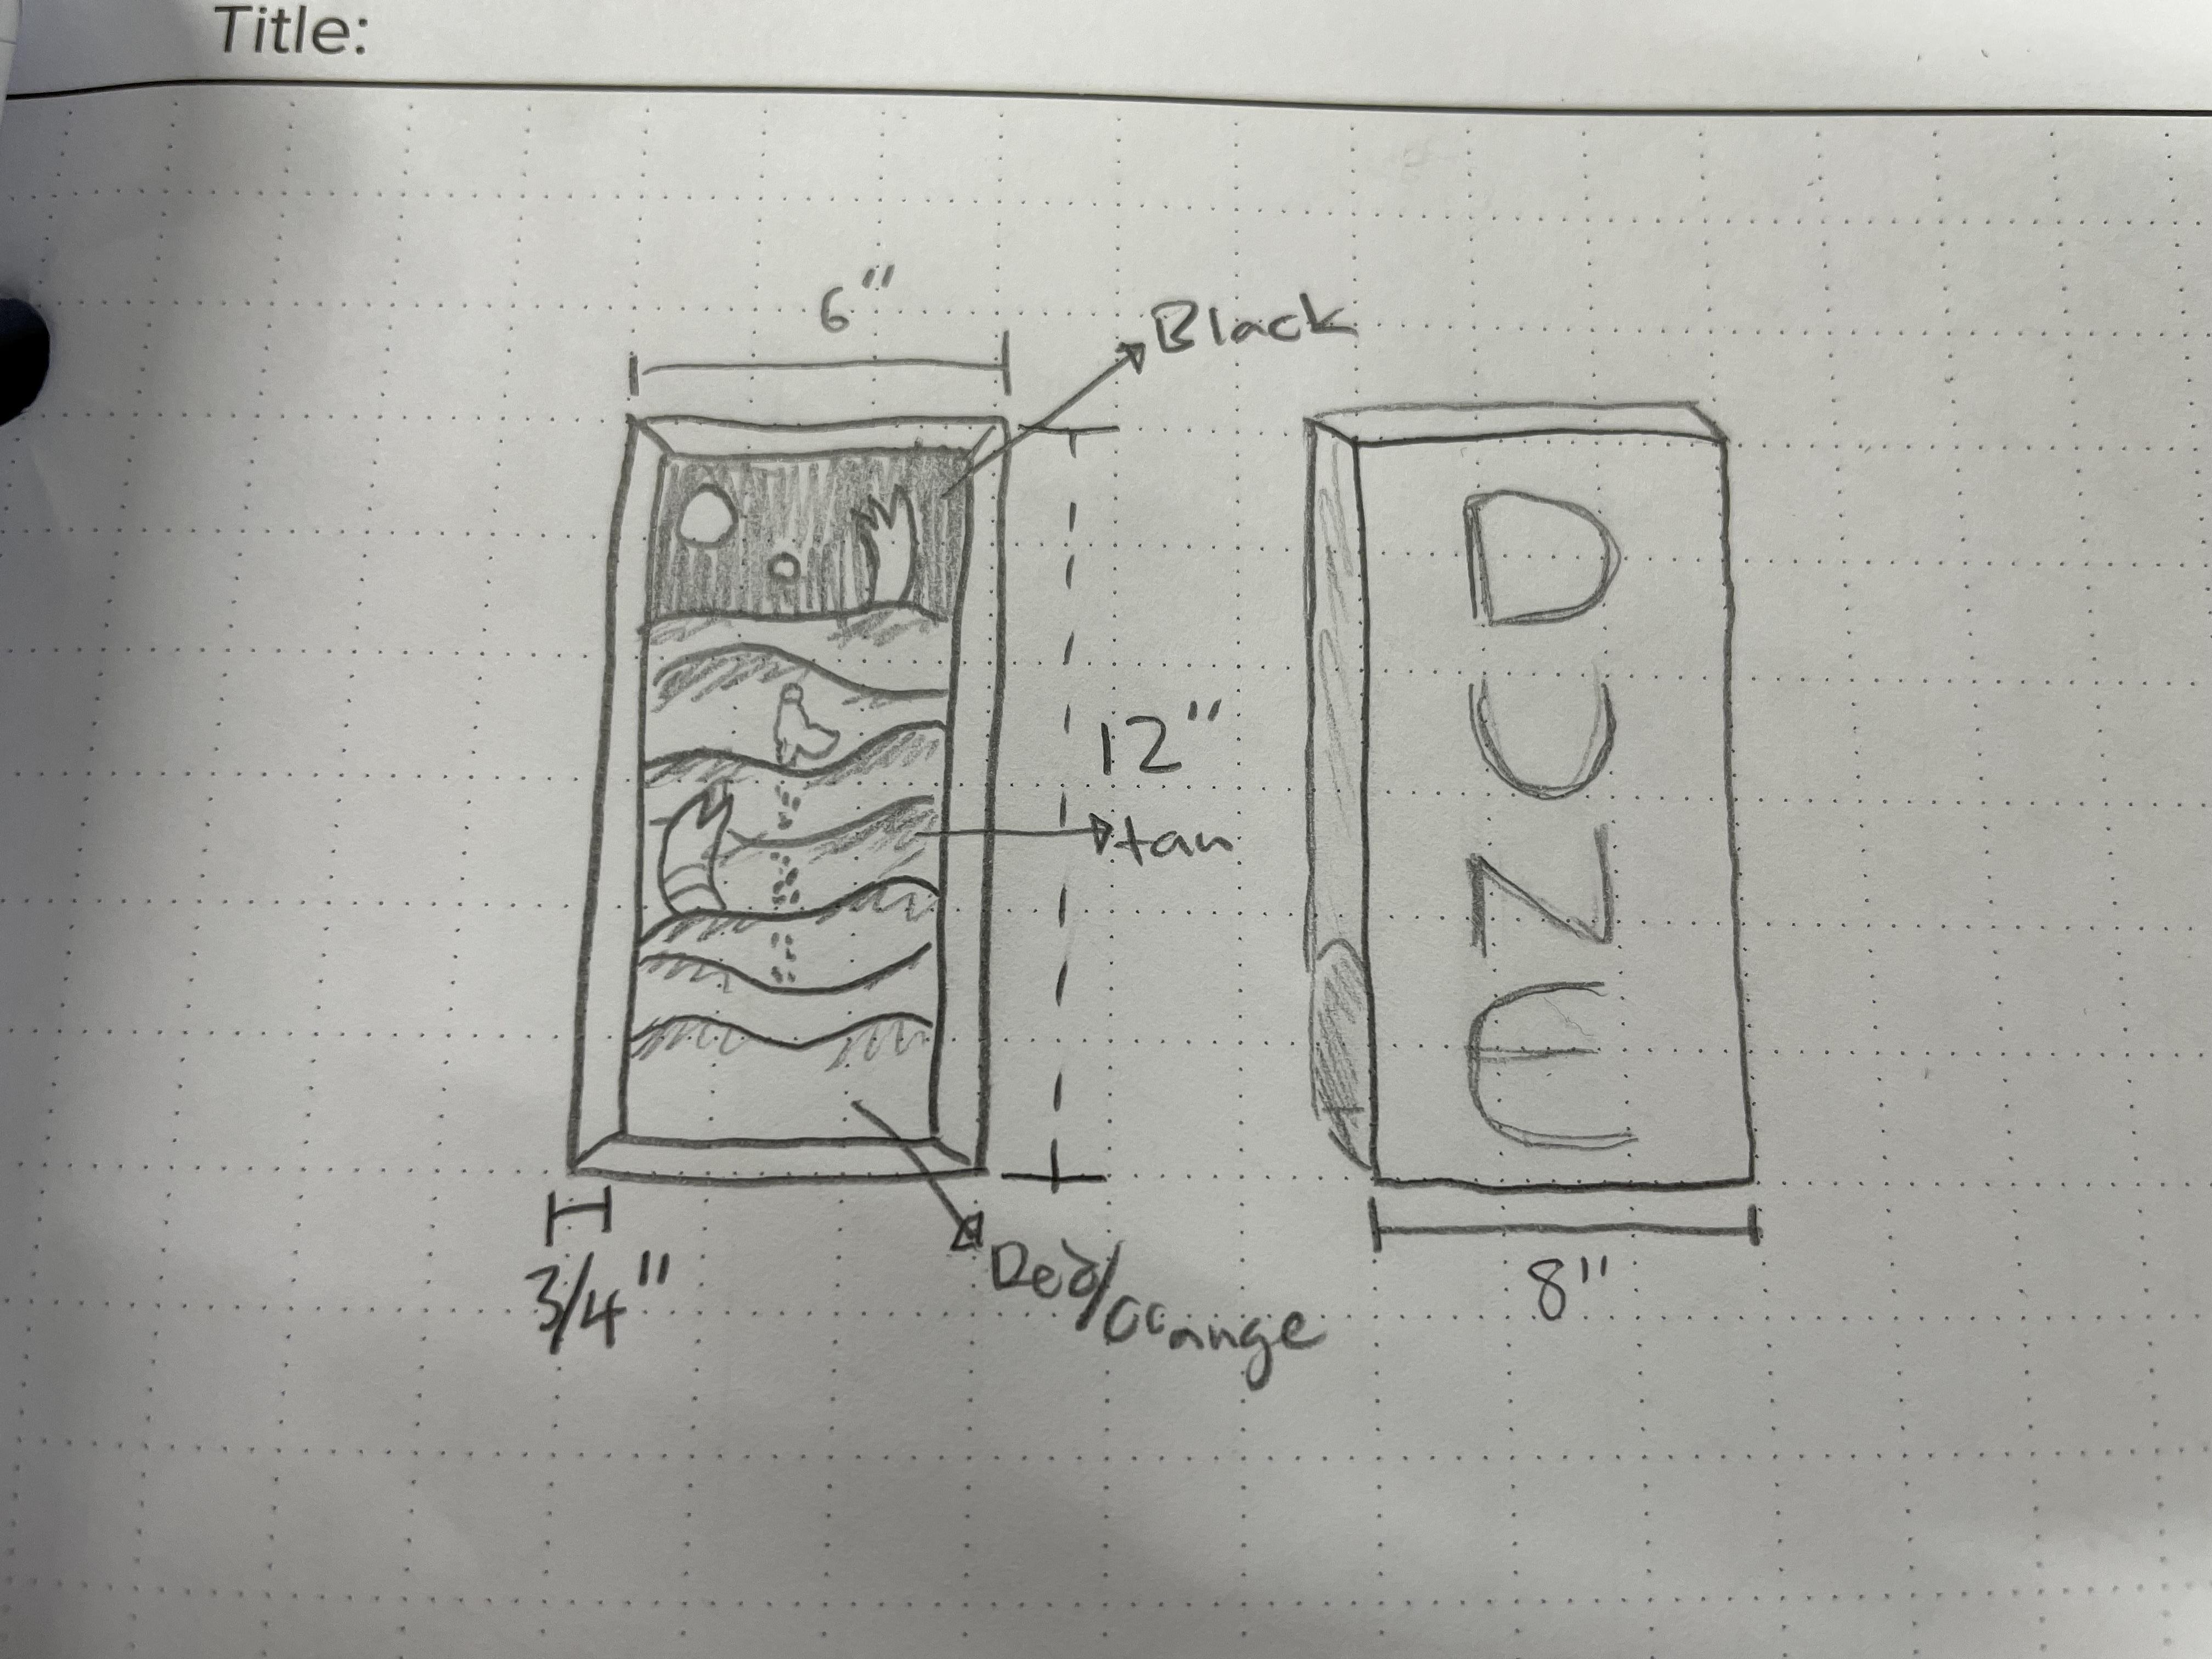
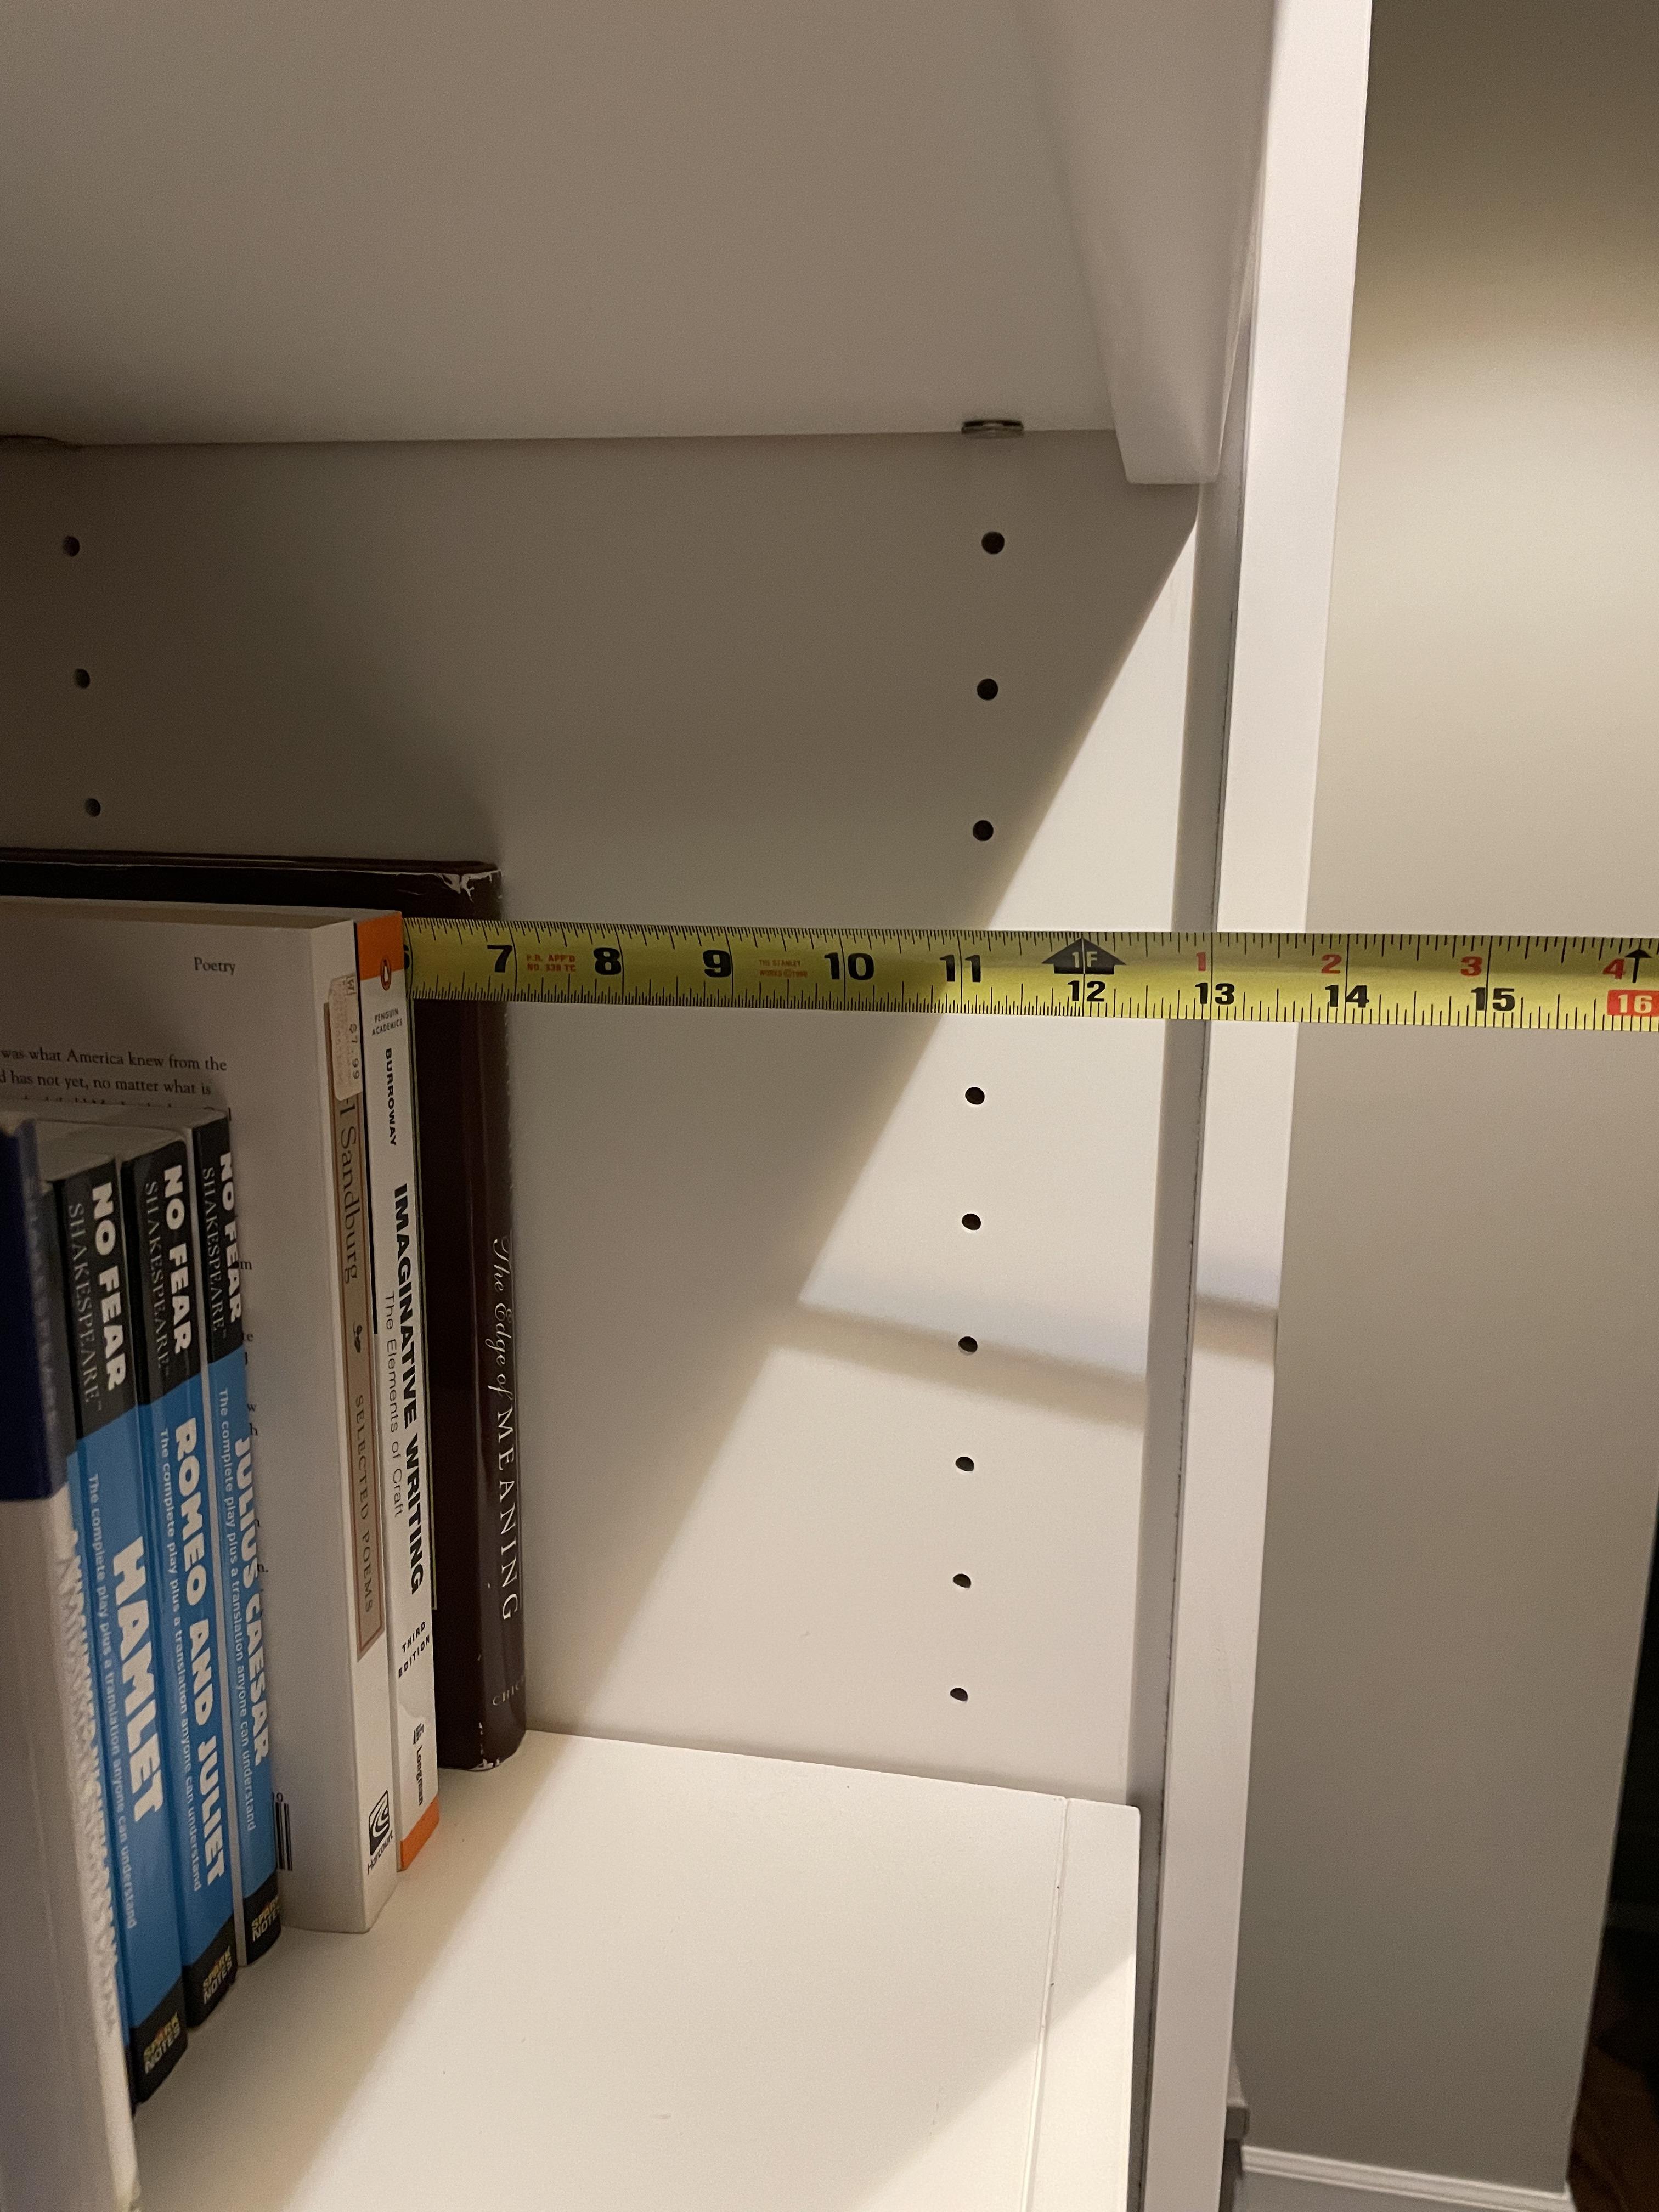
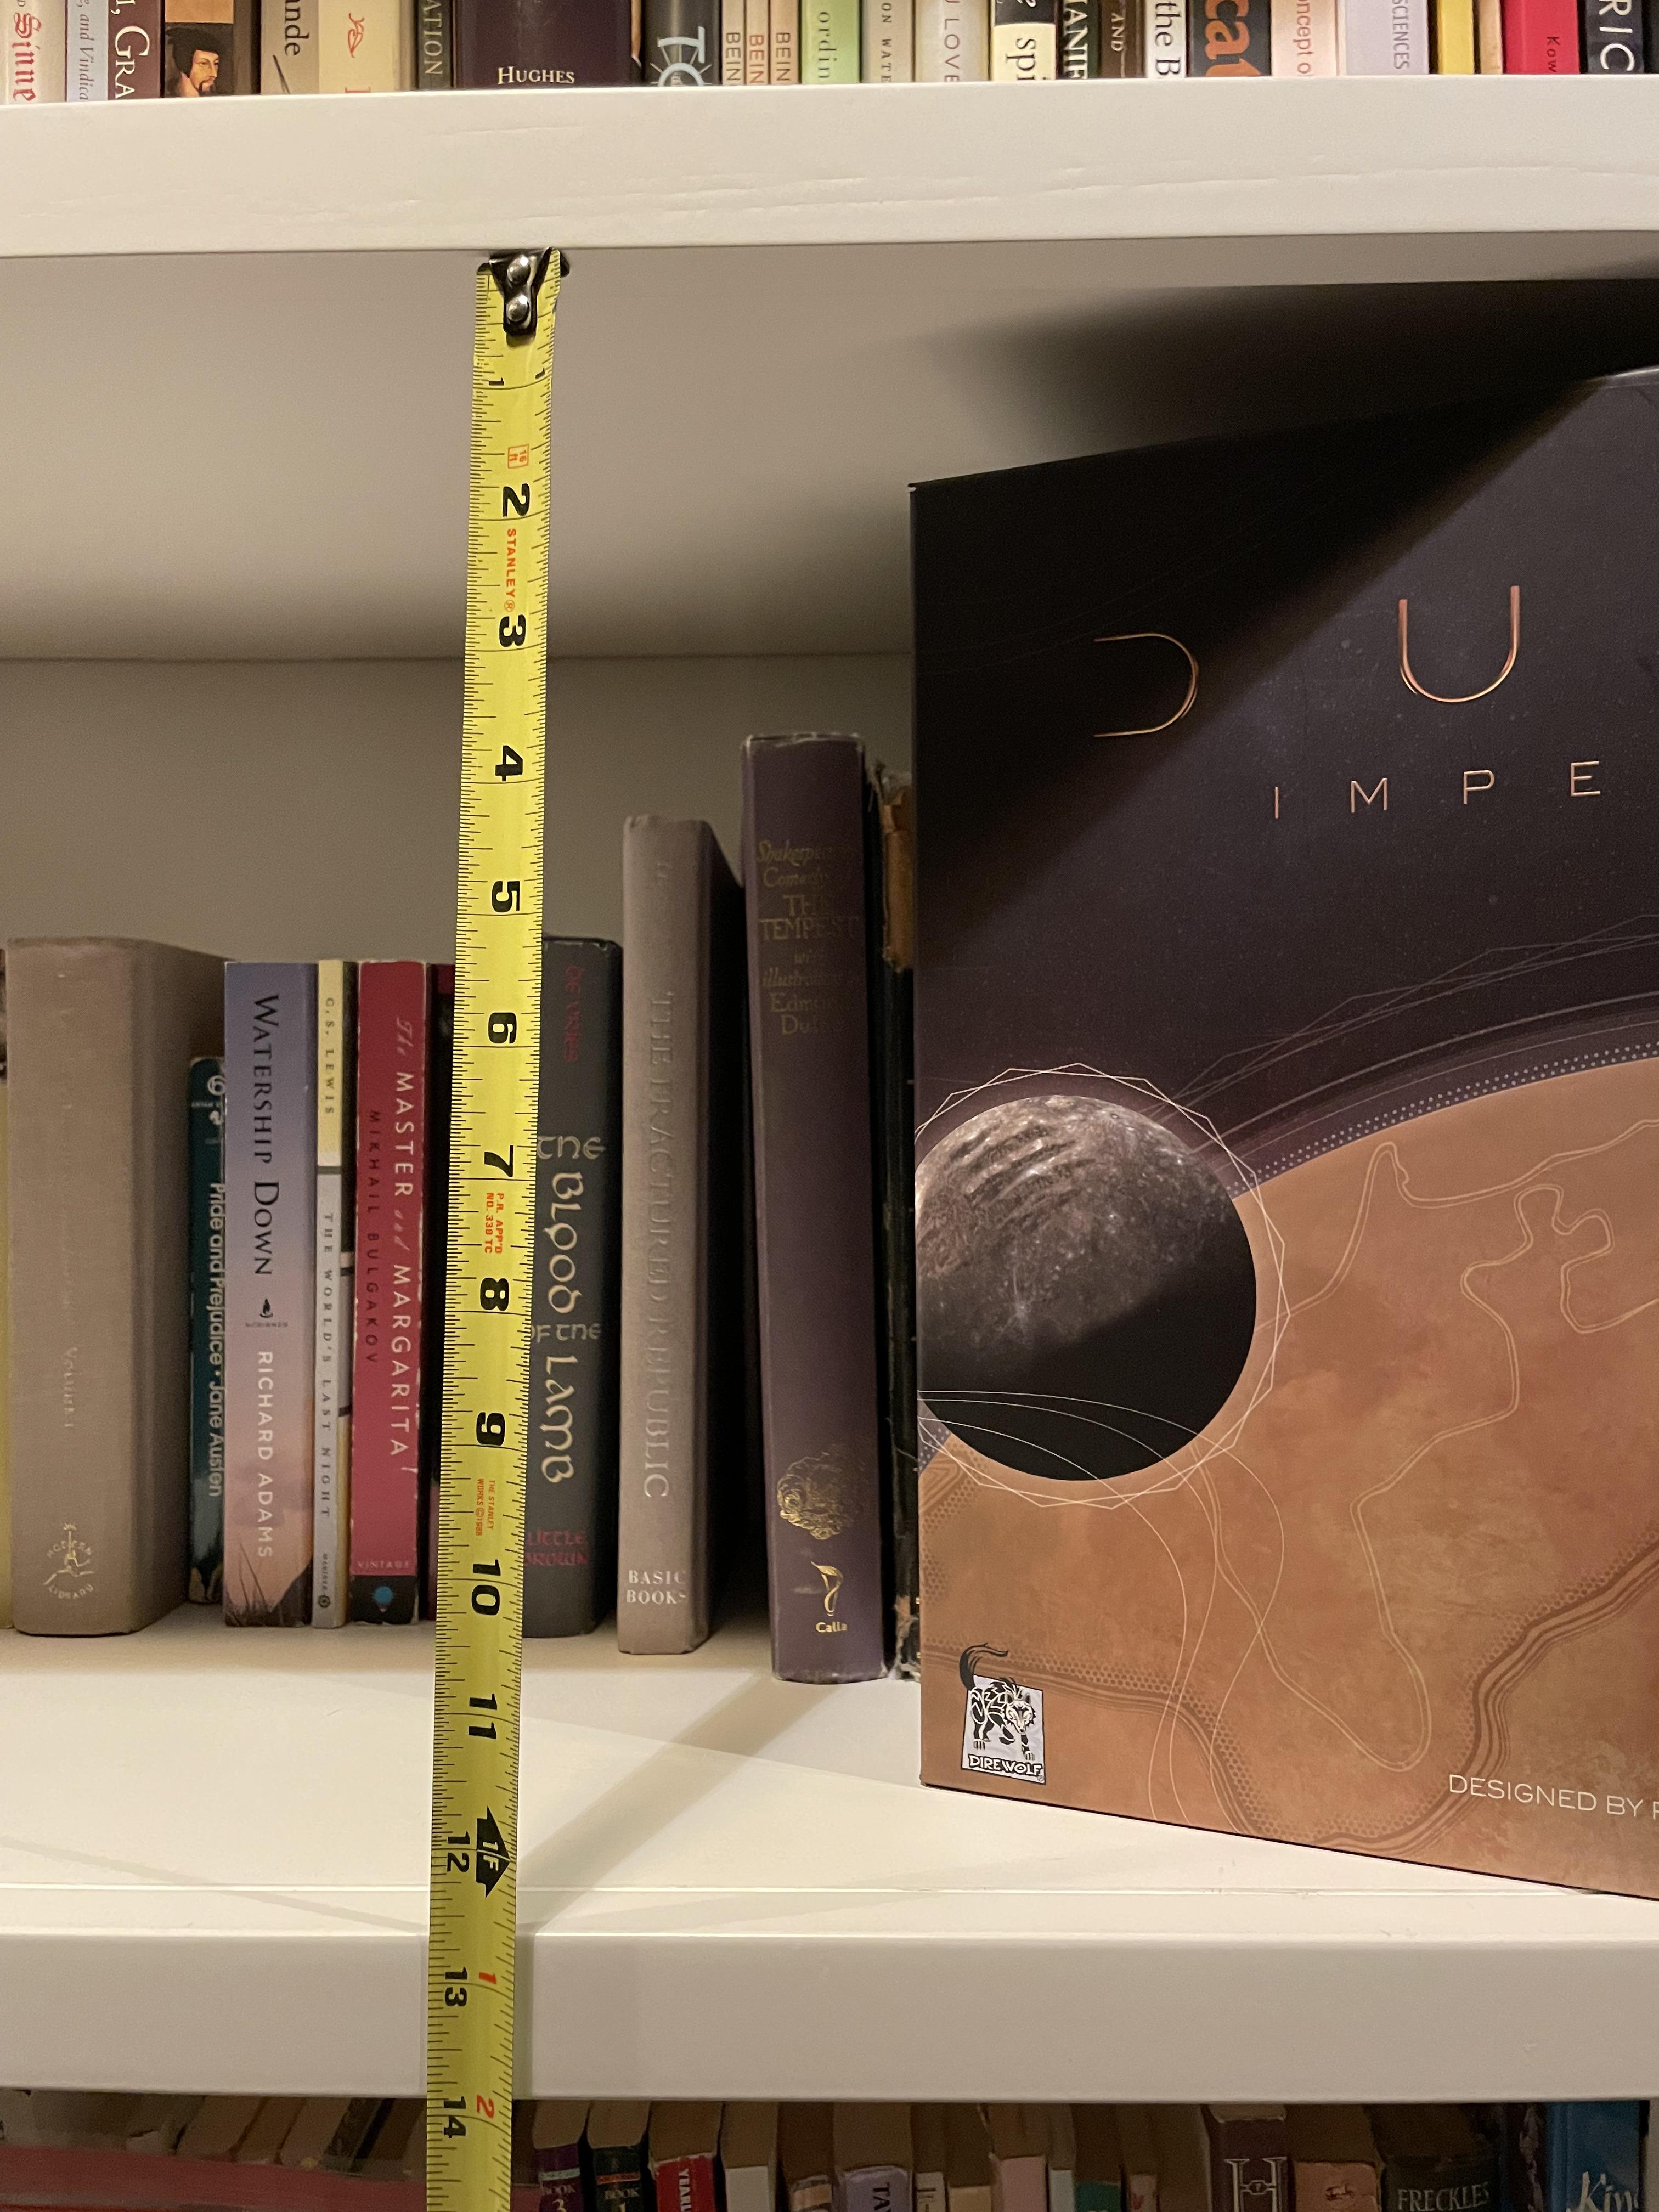
The first step of any design project is always brainstorming and planning. I measured the height and depth of my designated bookshelf. Then I created a sketch of what I wanted my Dune Book Nook to look like, including dimensions and some notes. I took much of my inspiration from this cover of Dune.
Design Box in Software


Next I wanted my ideas to take form. Open up any CAD software (I used Fusion 360) and follow these steps:
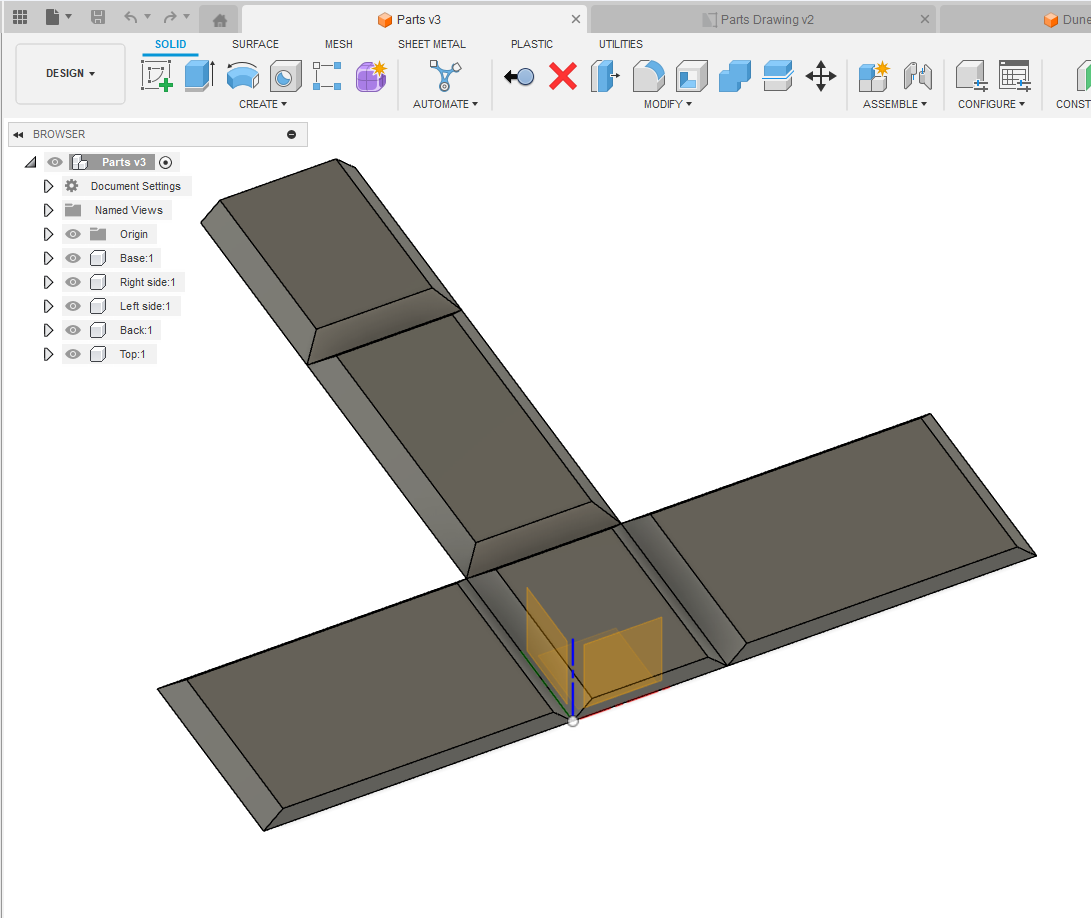
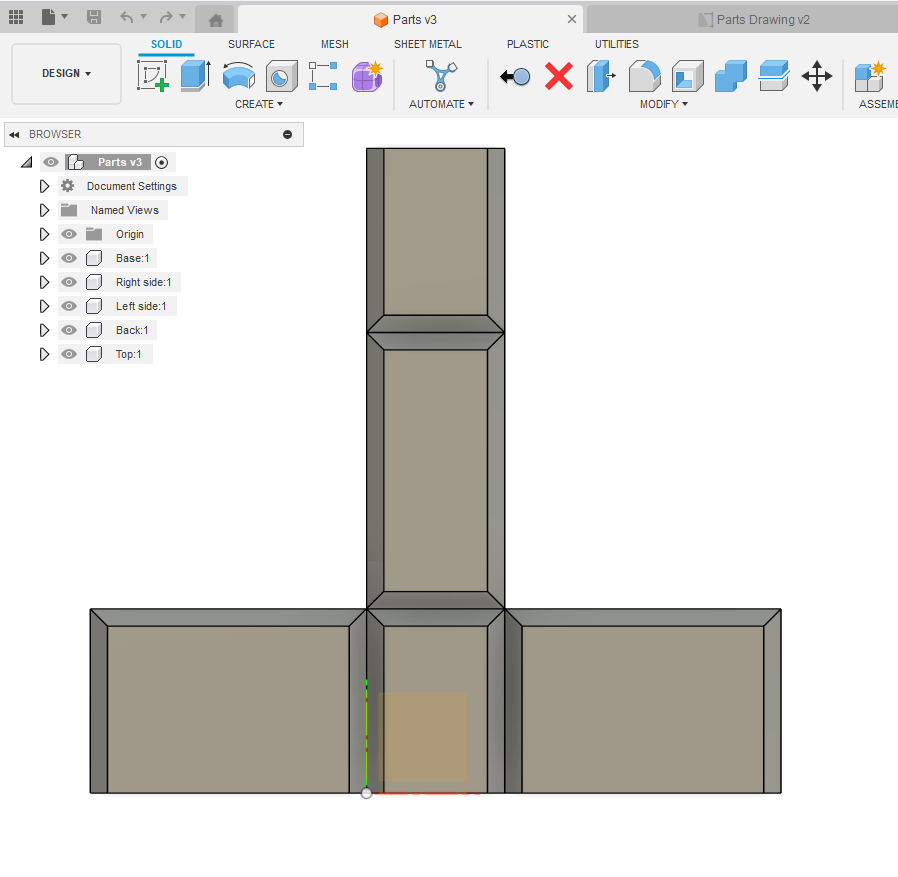
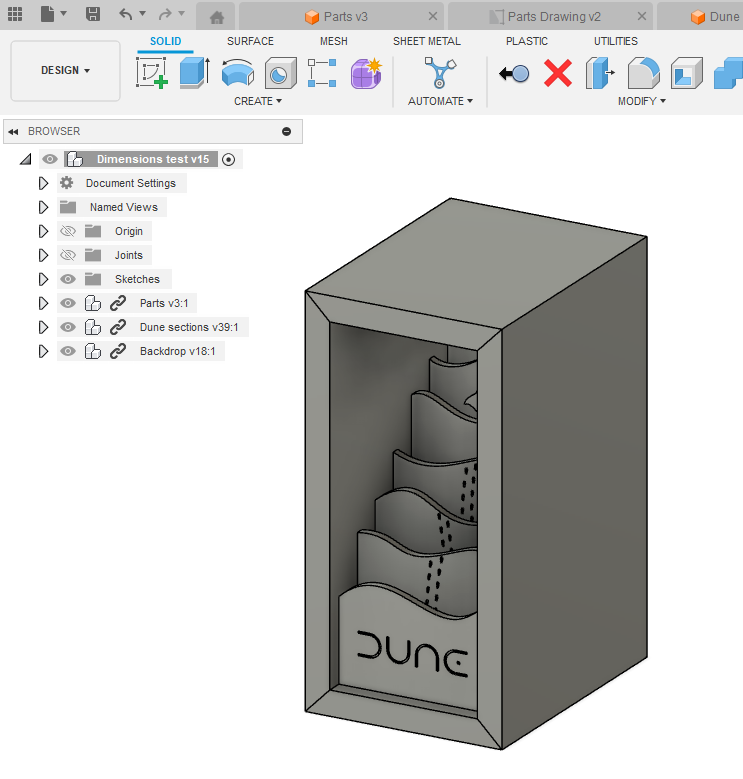
- Create the sides of your box. Each side should be 3/4" thick. Dimensions: top and bottom sides - 6x8", right and left sides - 8x12", backside - 6x12". Make sure that all sides that aren't the front of the box are chamfered at 45°.
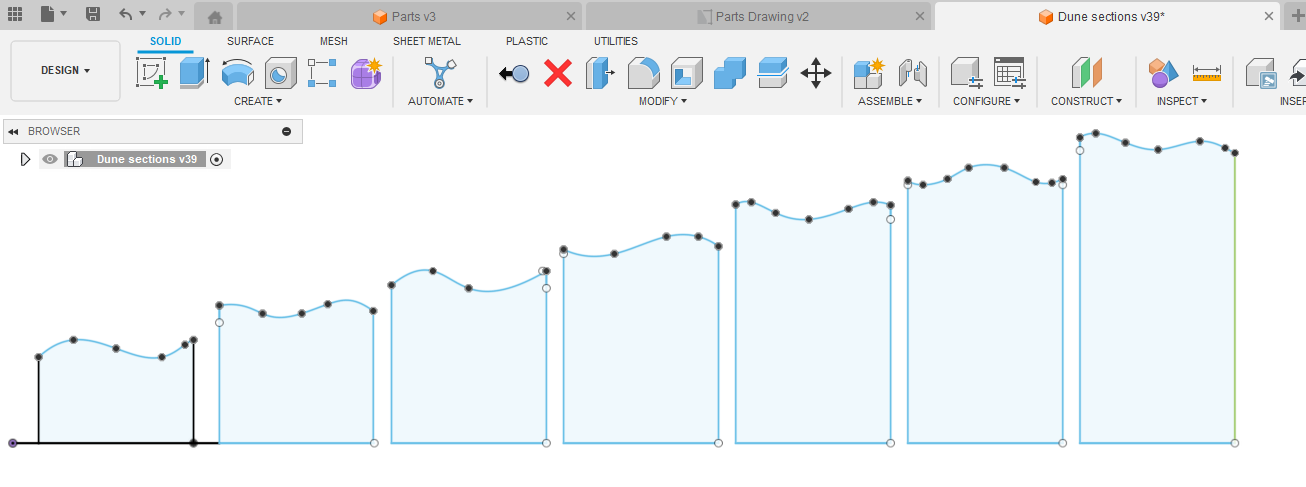
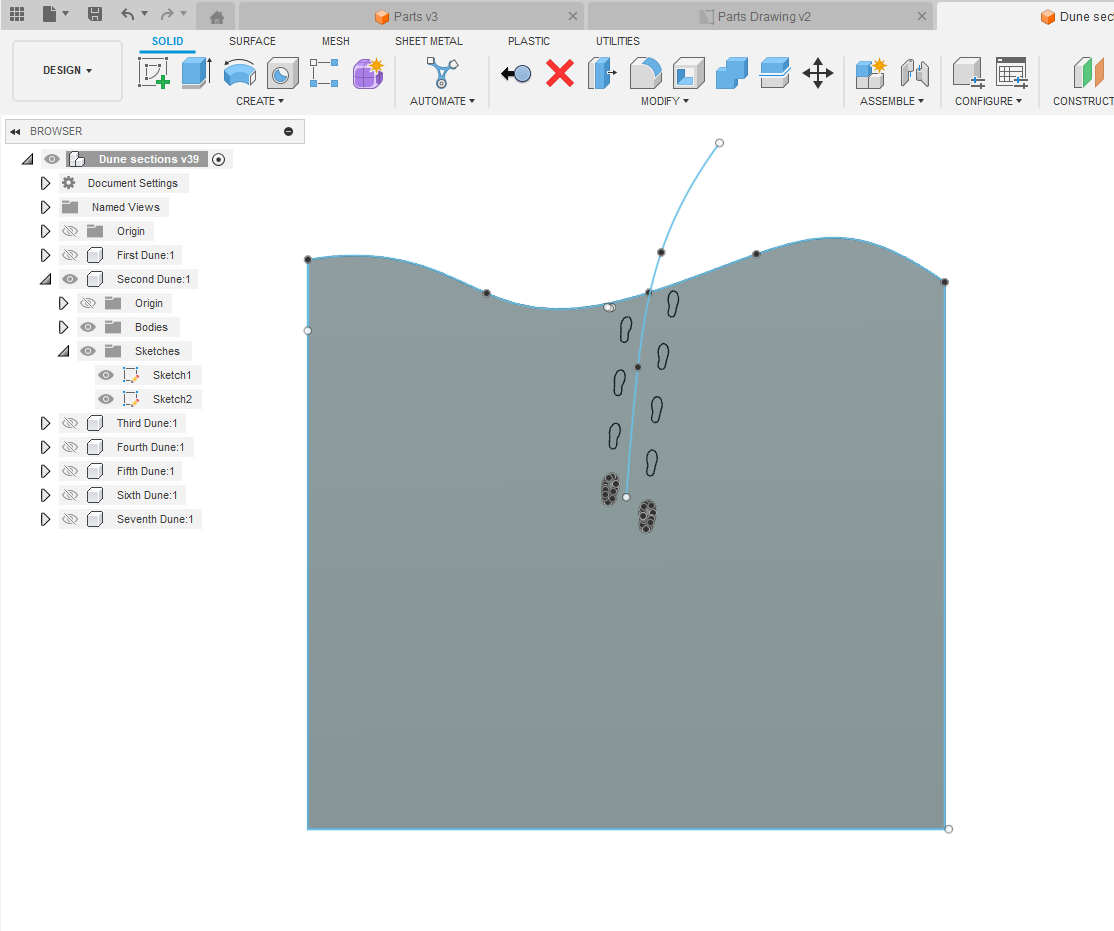
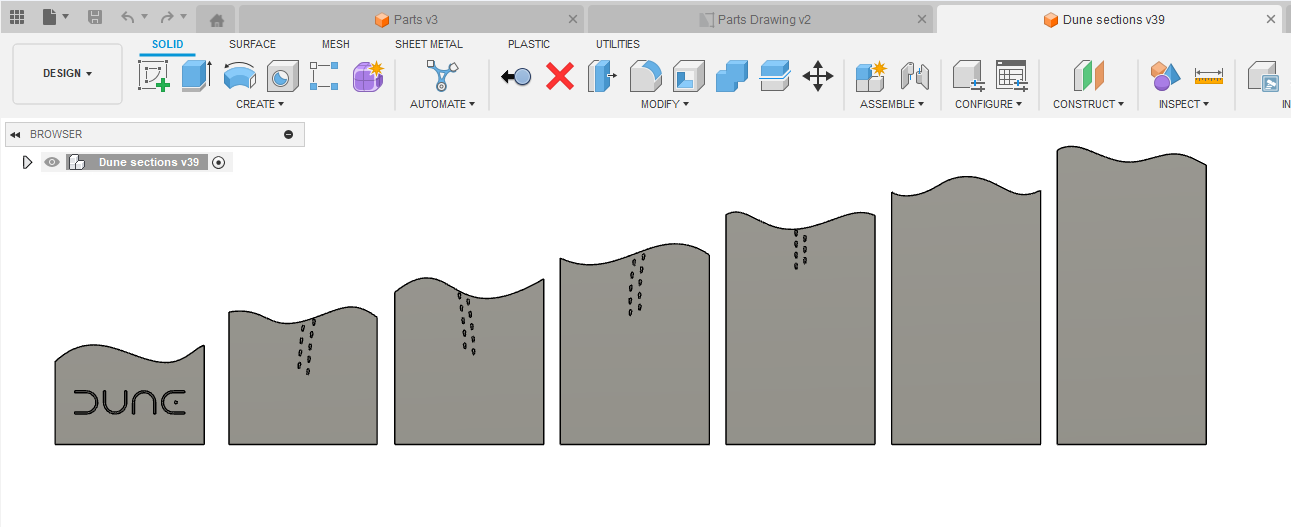
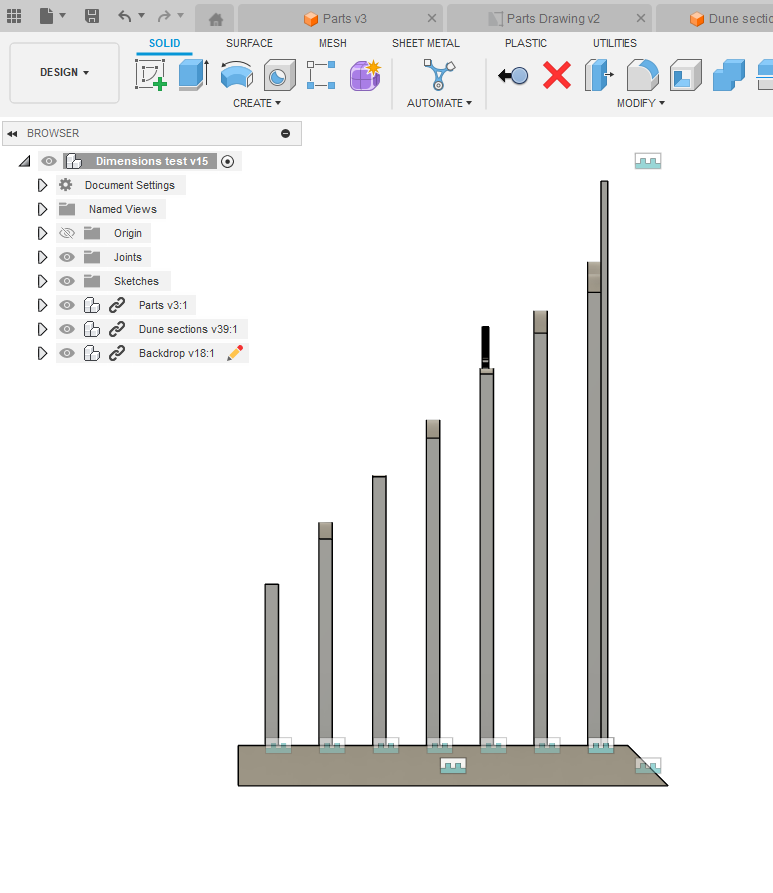
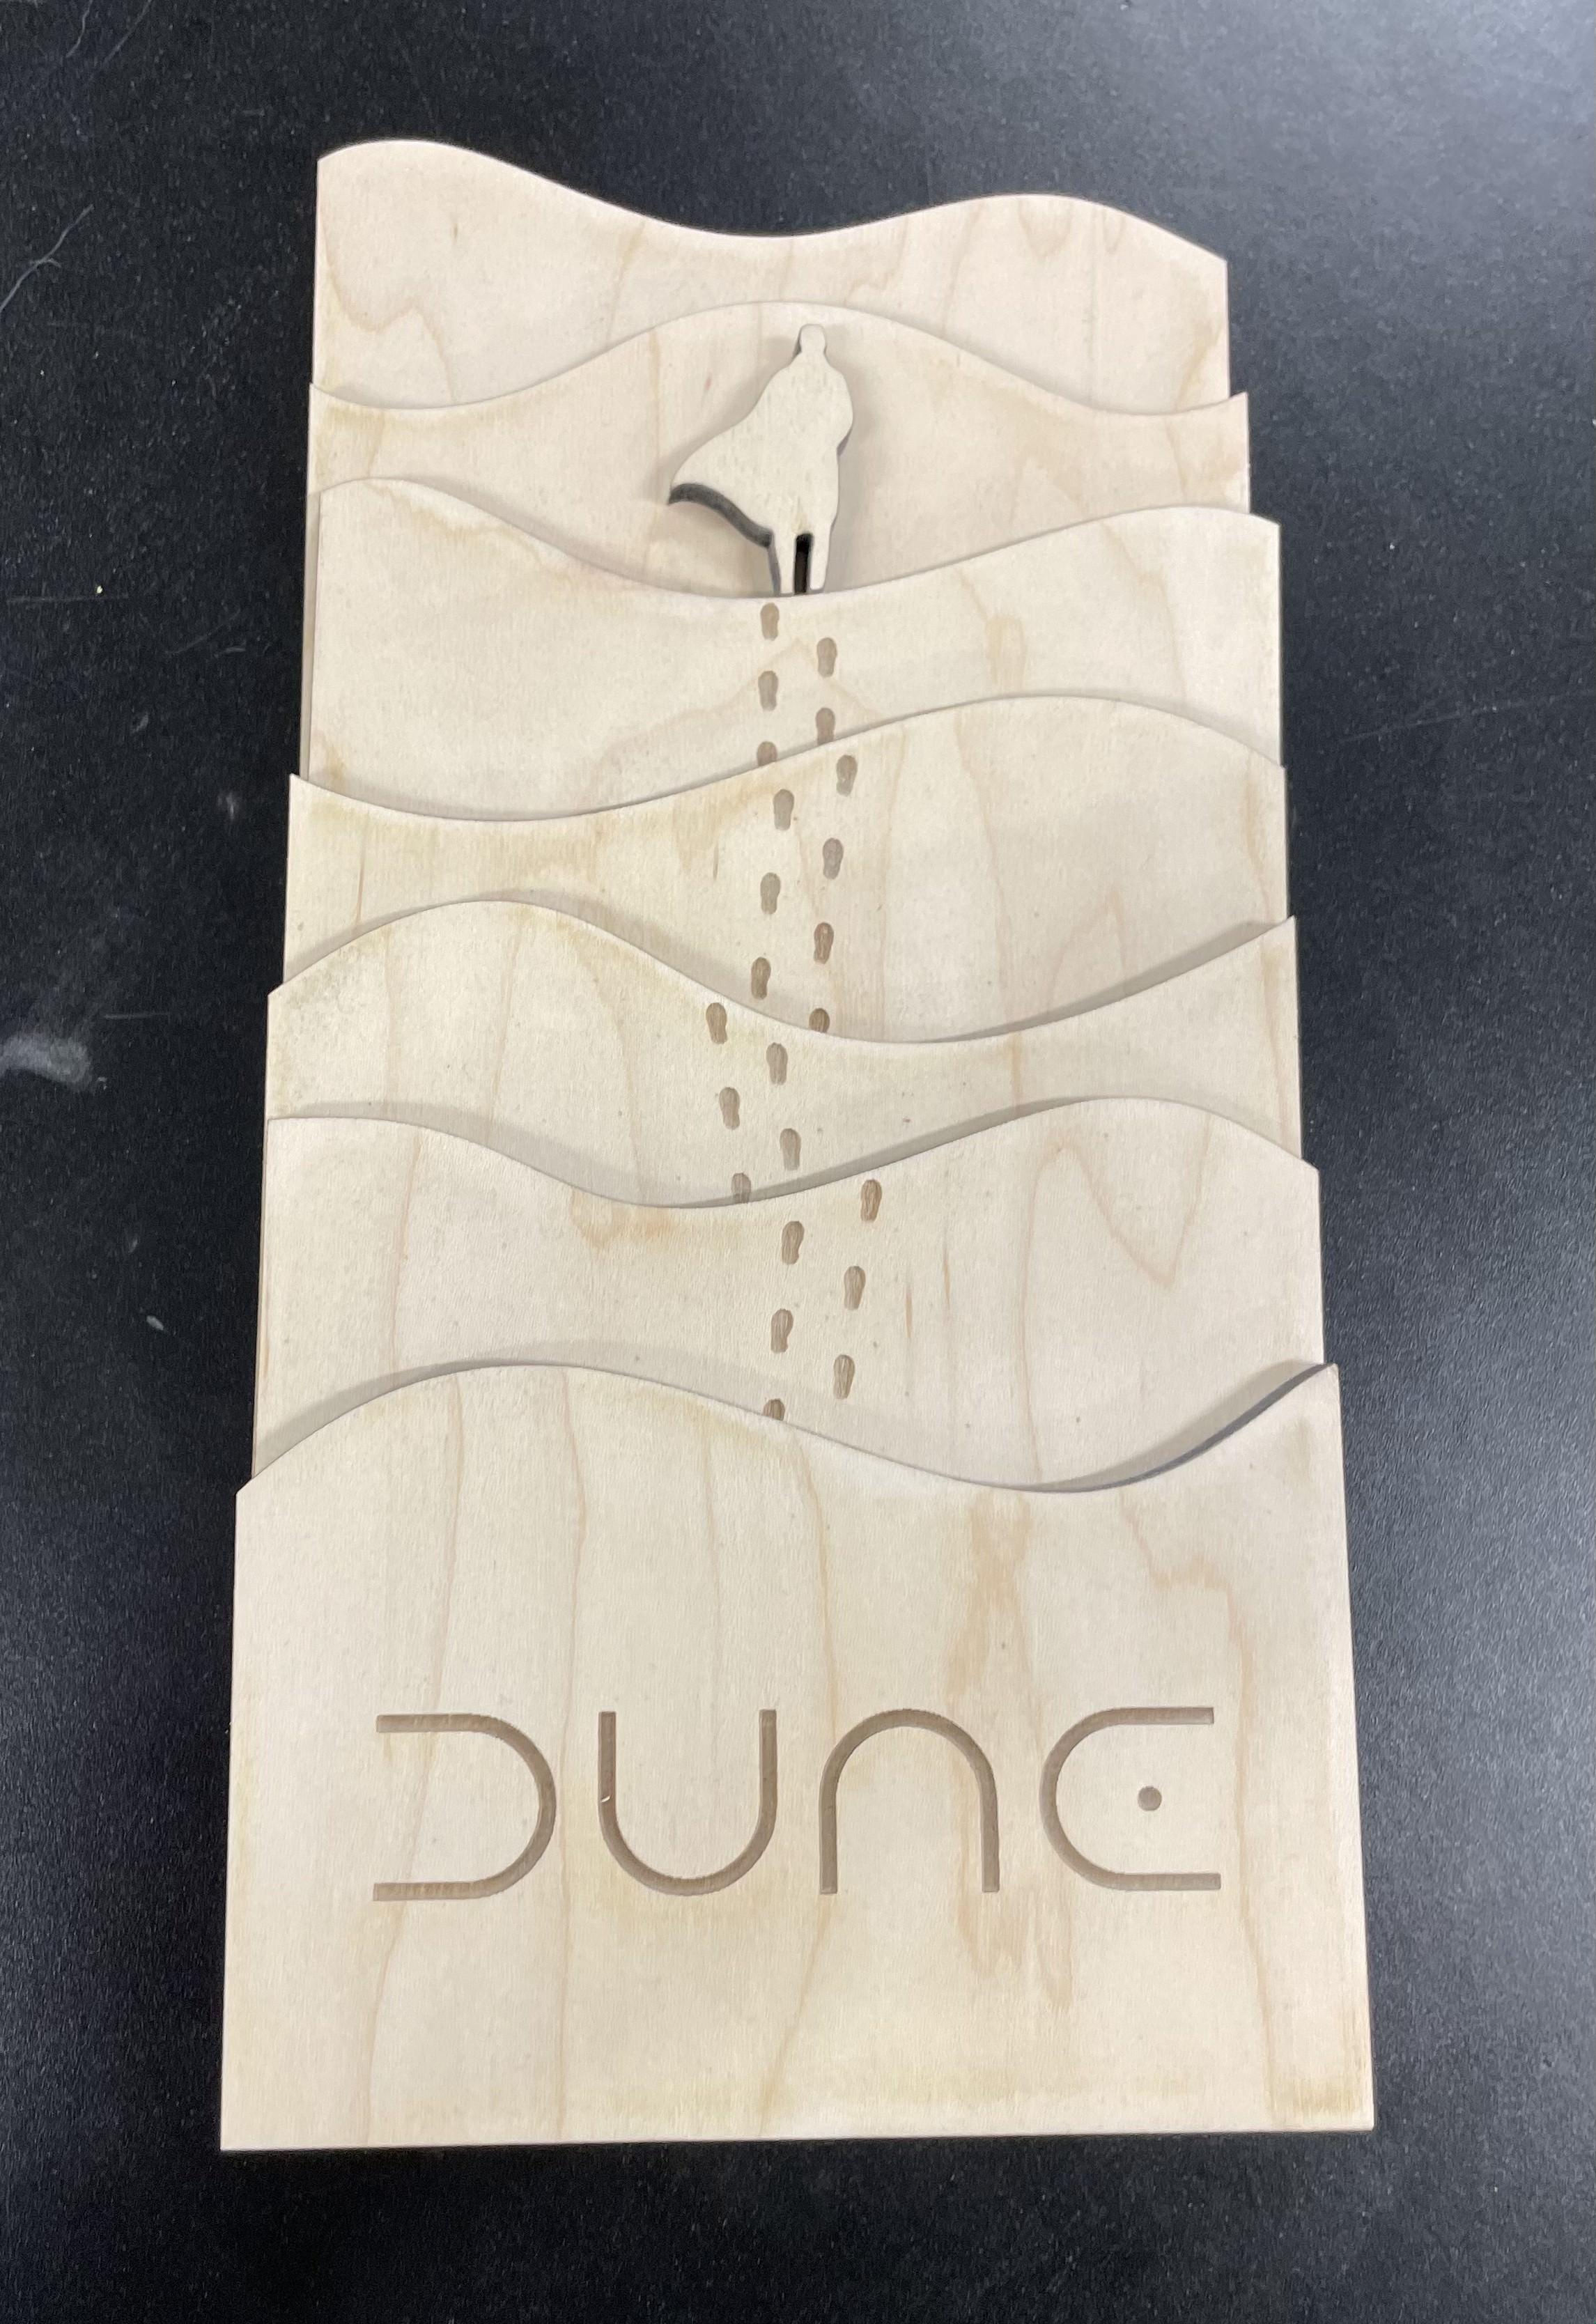
- Create your dunes. Start by making 7 rectangles, the first at 3" tall with each 1" higher than the previous. Then create the curved dune shape at the top of each rectangle. Make sure each dune is a separate component. These should be 1/4" thick.
- Add footsteps on the dunes. Import a picture of a pair of footsteps and outline it in a sketch. Then create a curved line that those foot steps can follow. Using that line, make a pattern of the footsteps on that line to the amount you desire.
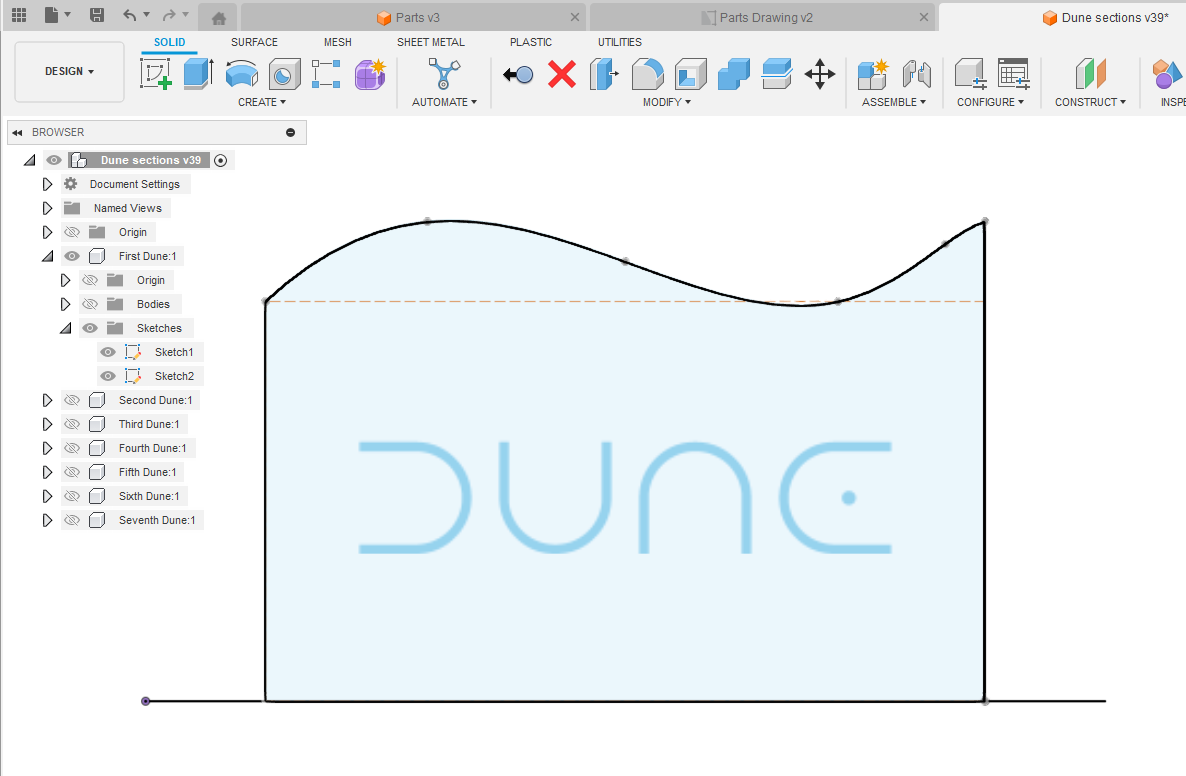
- Create a text box on the first Dune. You first need to add the Dune Rise font to your computer. Download the Dune Rise font here. Create a text box sketch and type "DUNE" on the smallest dune piece, making sure it is centered and large enough.
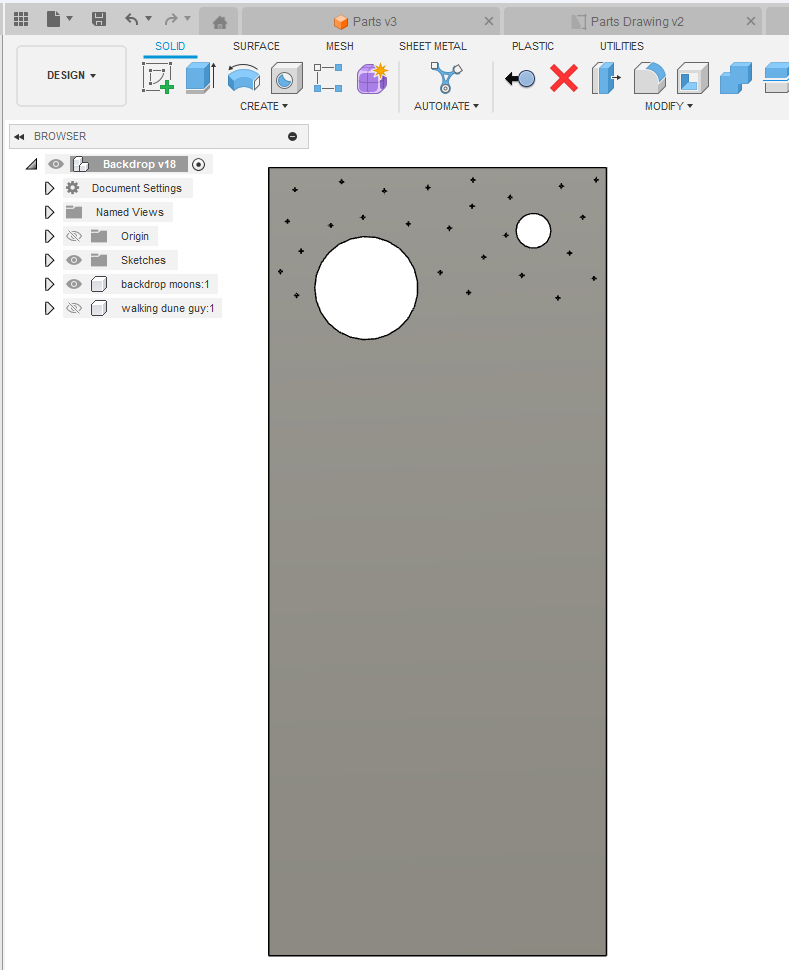
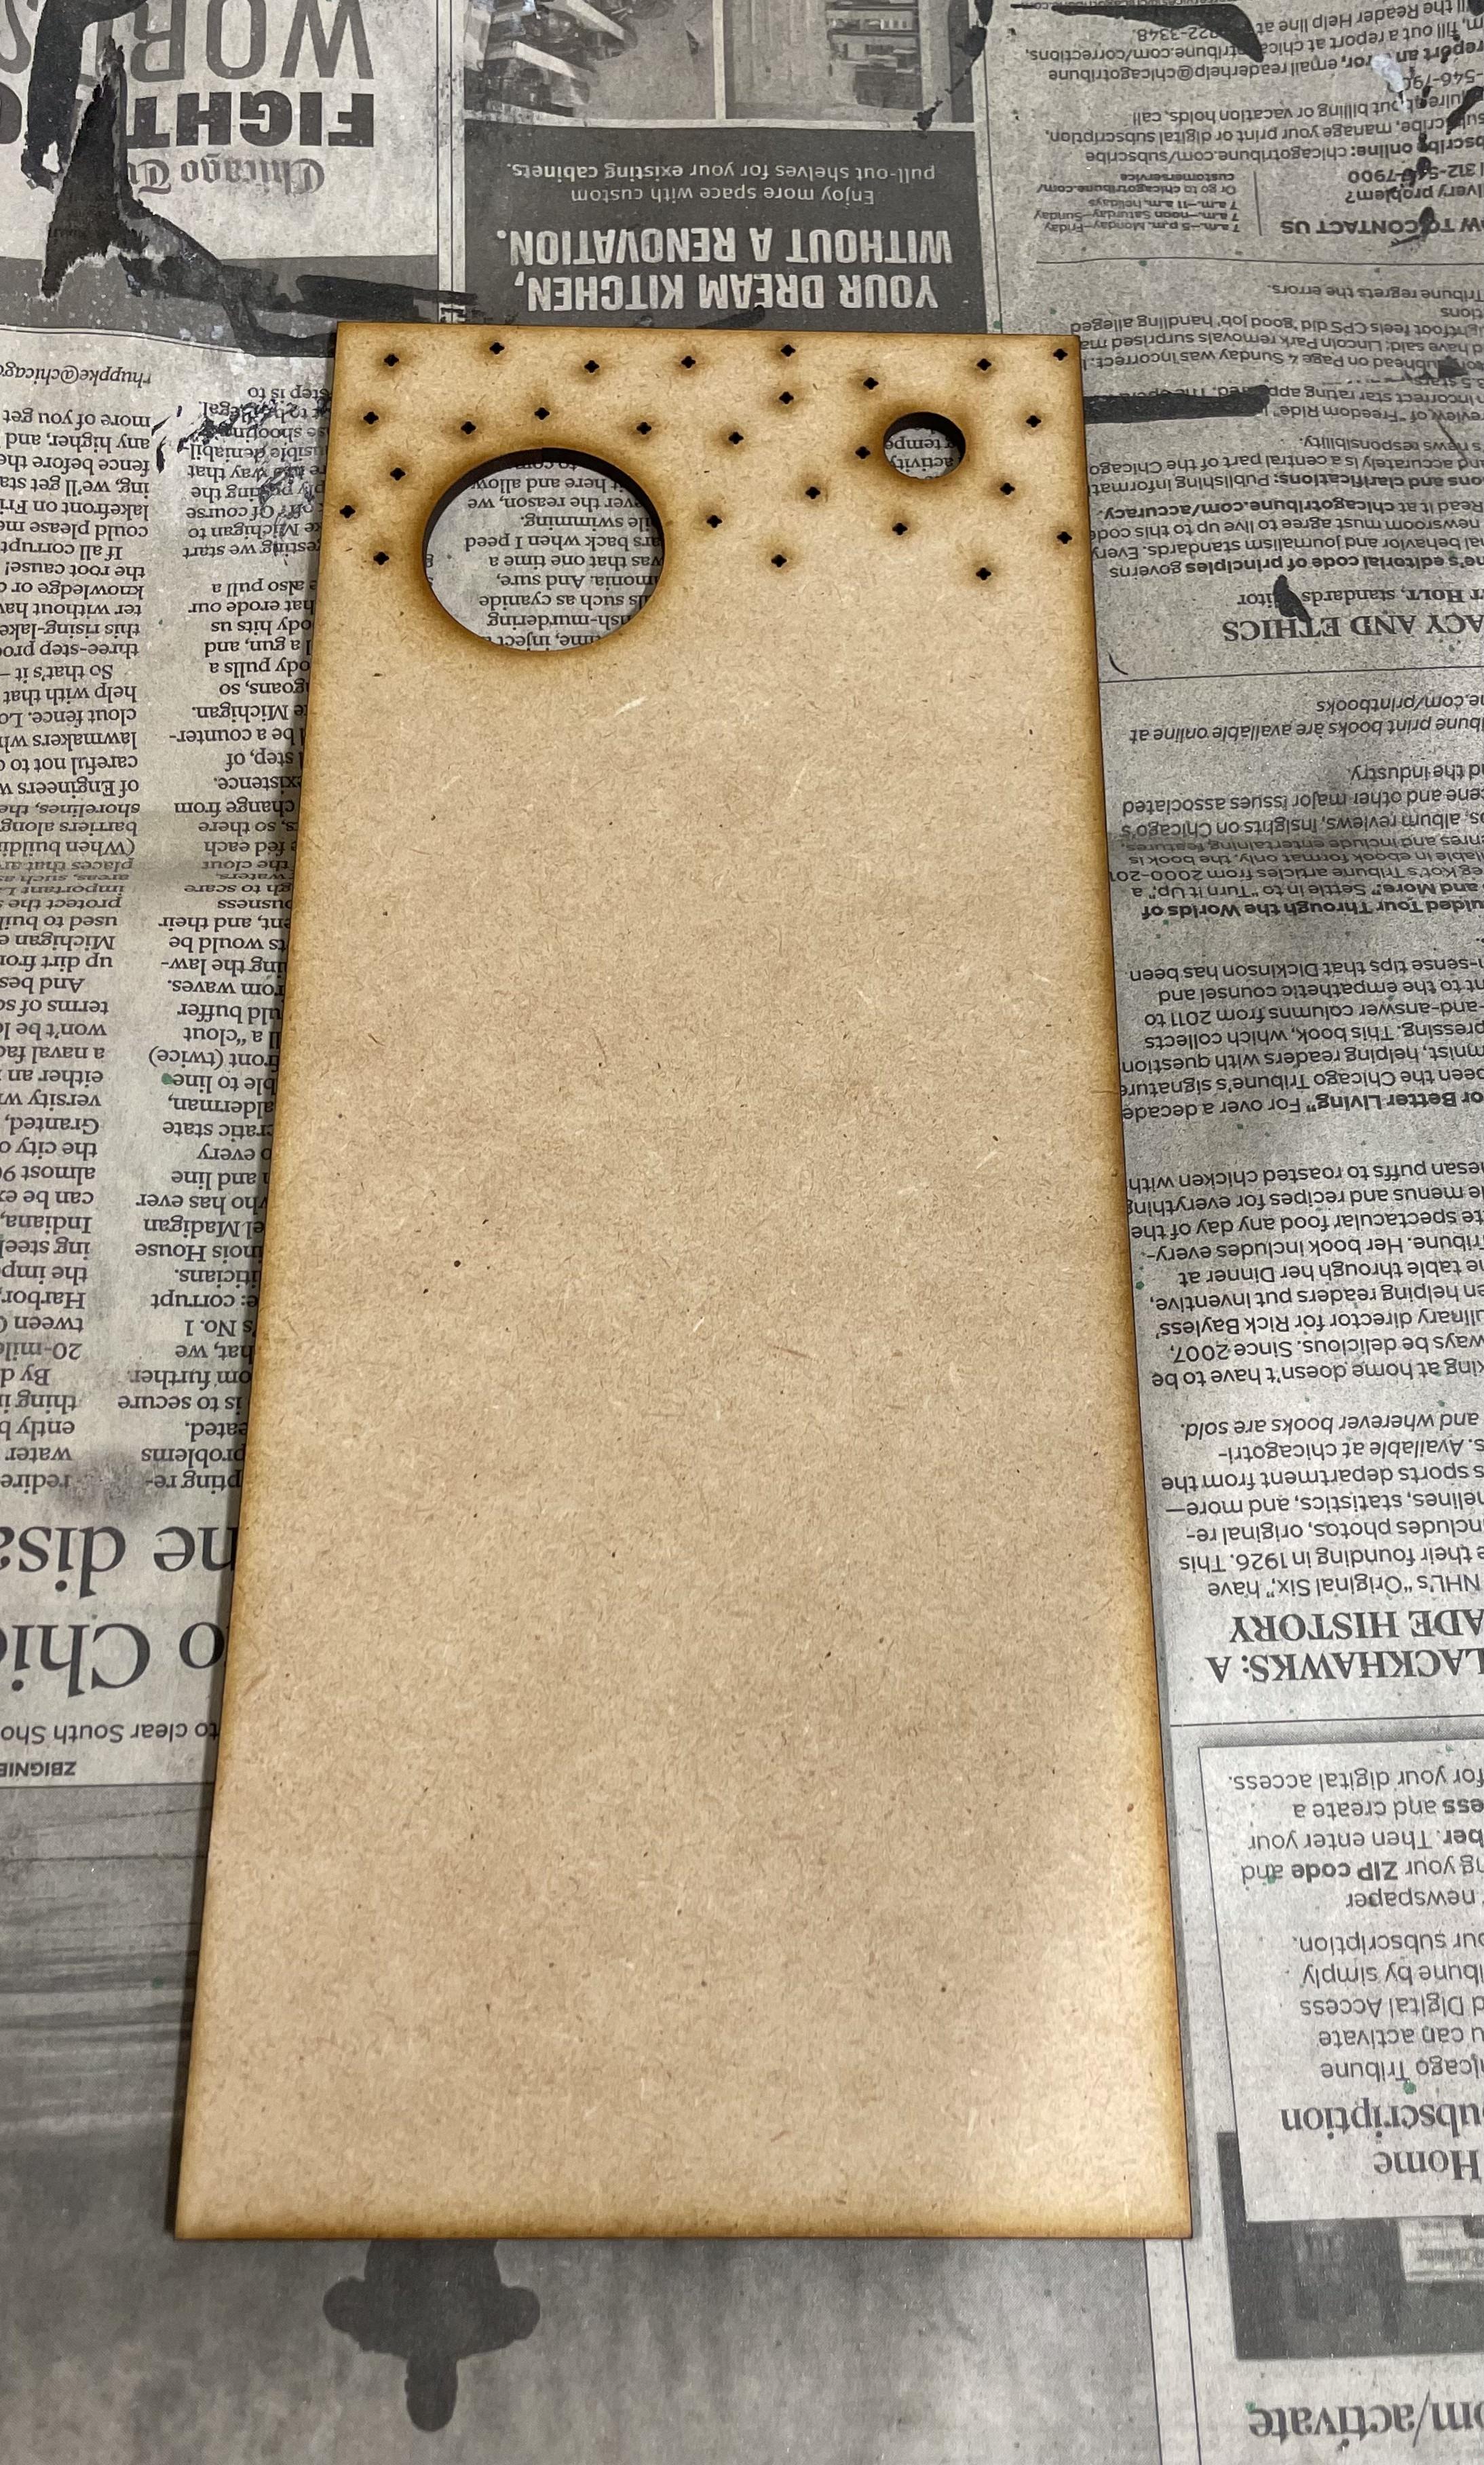
- Create the space background. Create a rectangle that is 4.5x10.5". Create a sketch on the rectangle and make 2 circles, one small and one big, for the two moons. Then create a small star shape and copy and paste it all over the section of the rectangle that will be visible. This piece should be 1/8" deep.
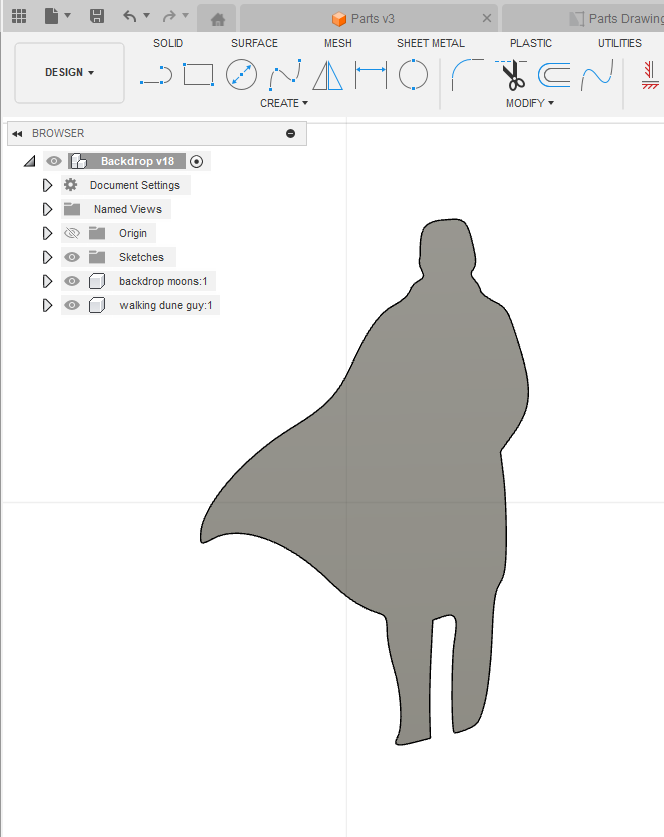
- Create a walking Fremen. Import an image of this cover of Dune then trace the walking Fremen as best possible. It should be around 1.4" tall, 1" wide, and 1/8" deep.
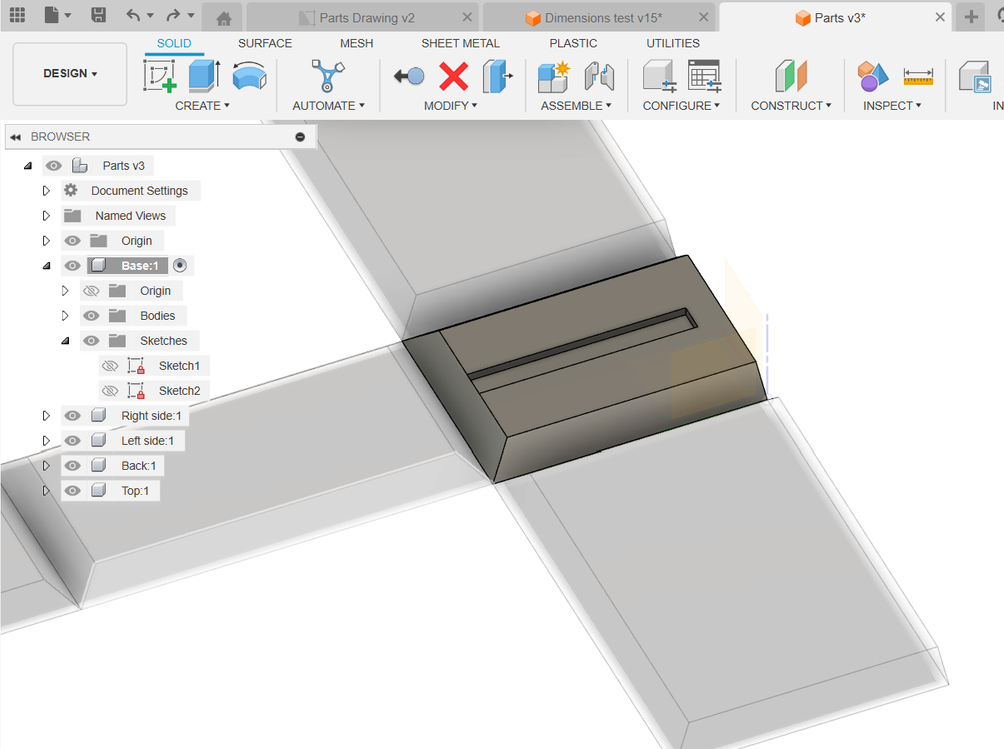
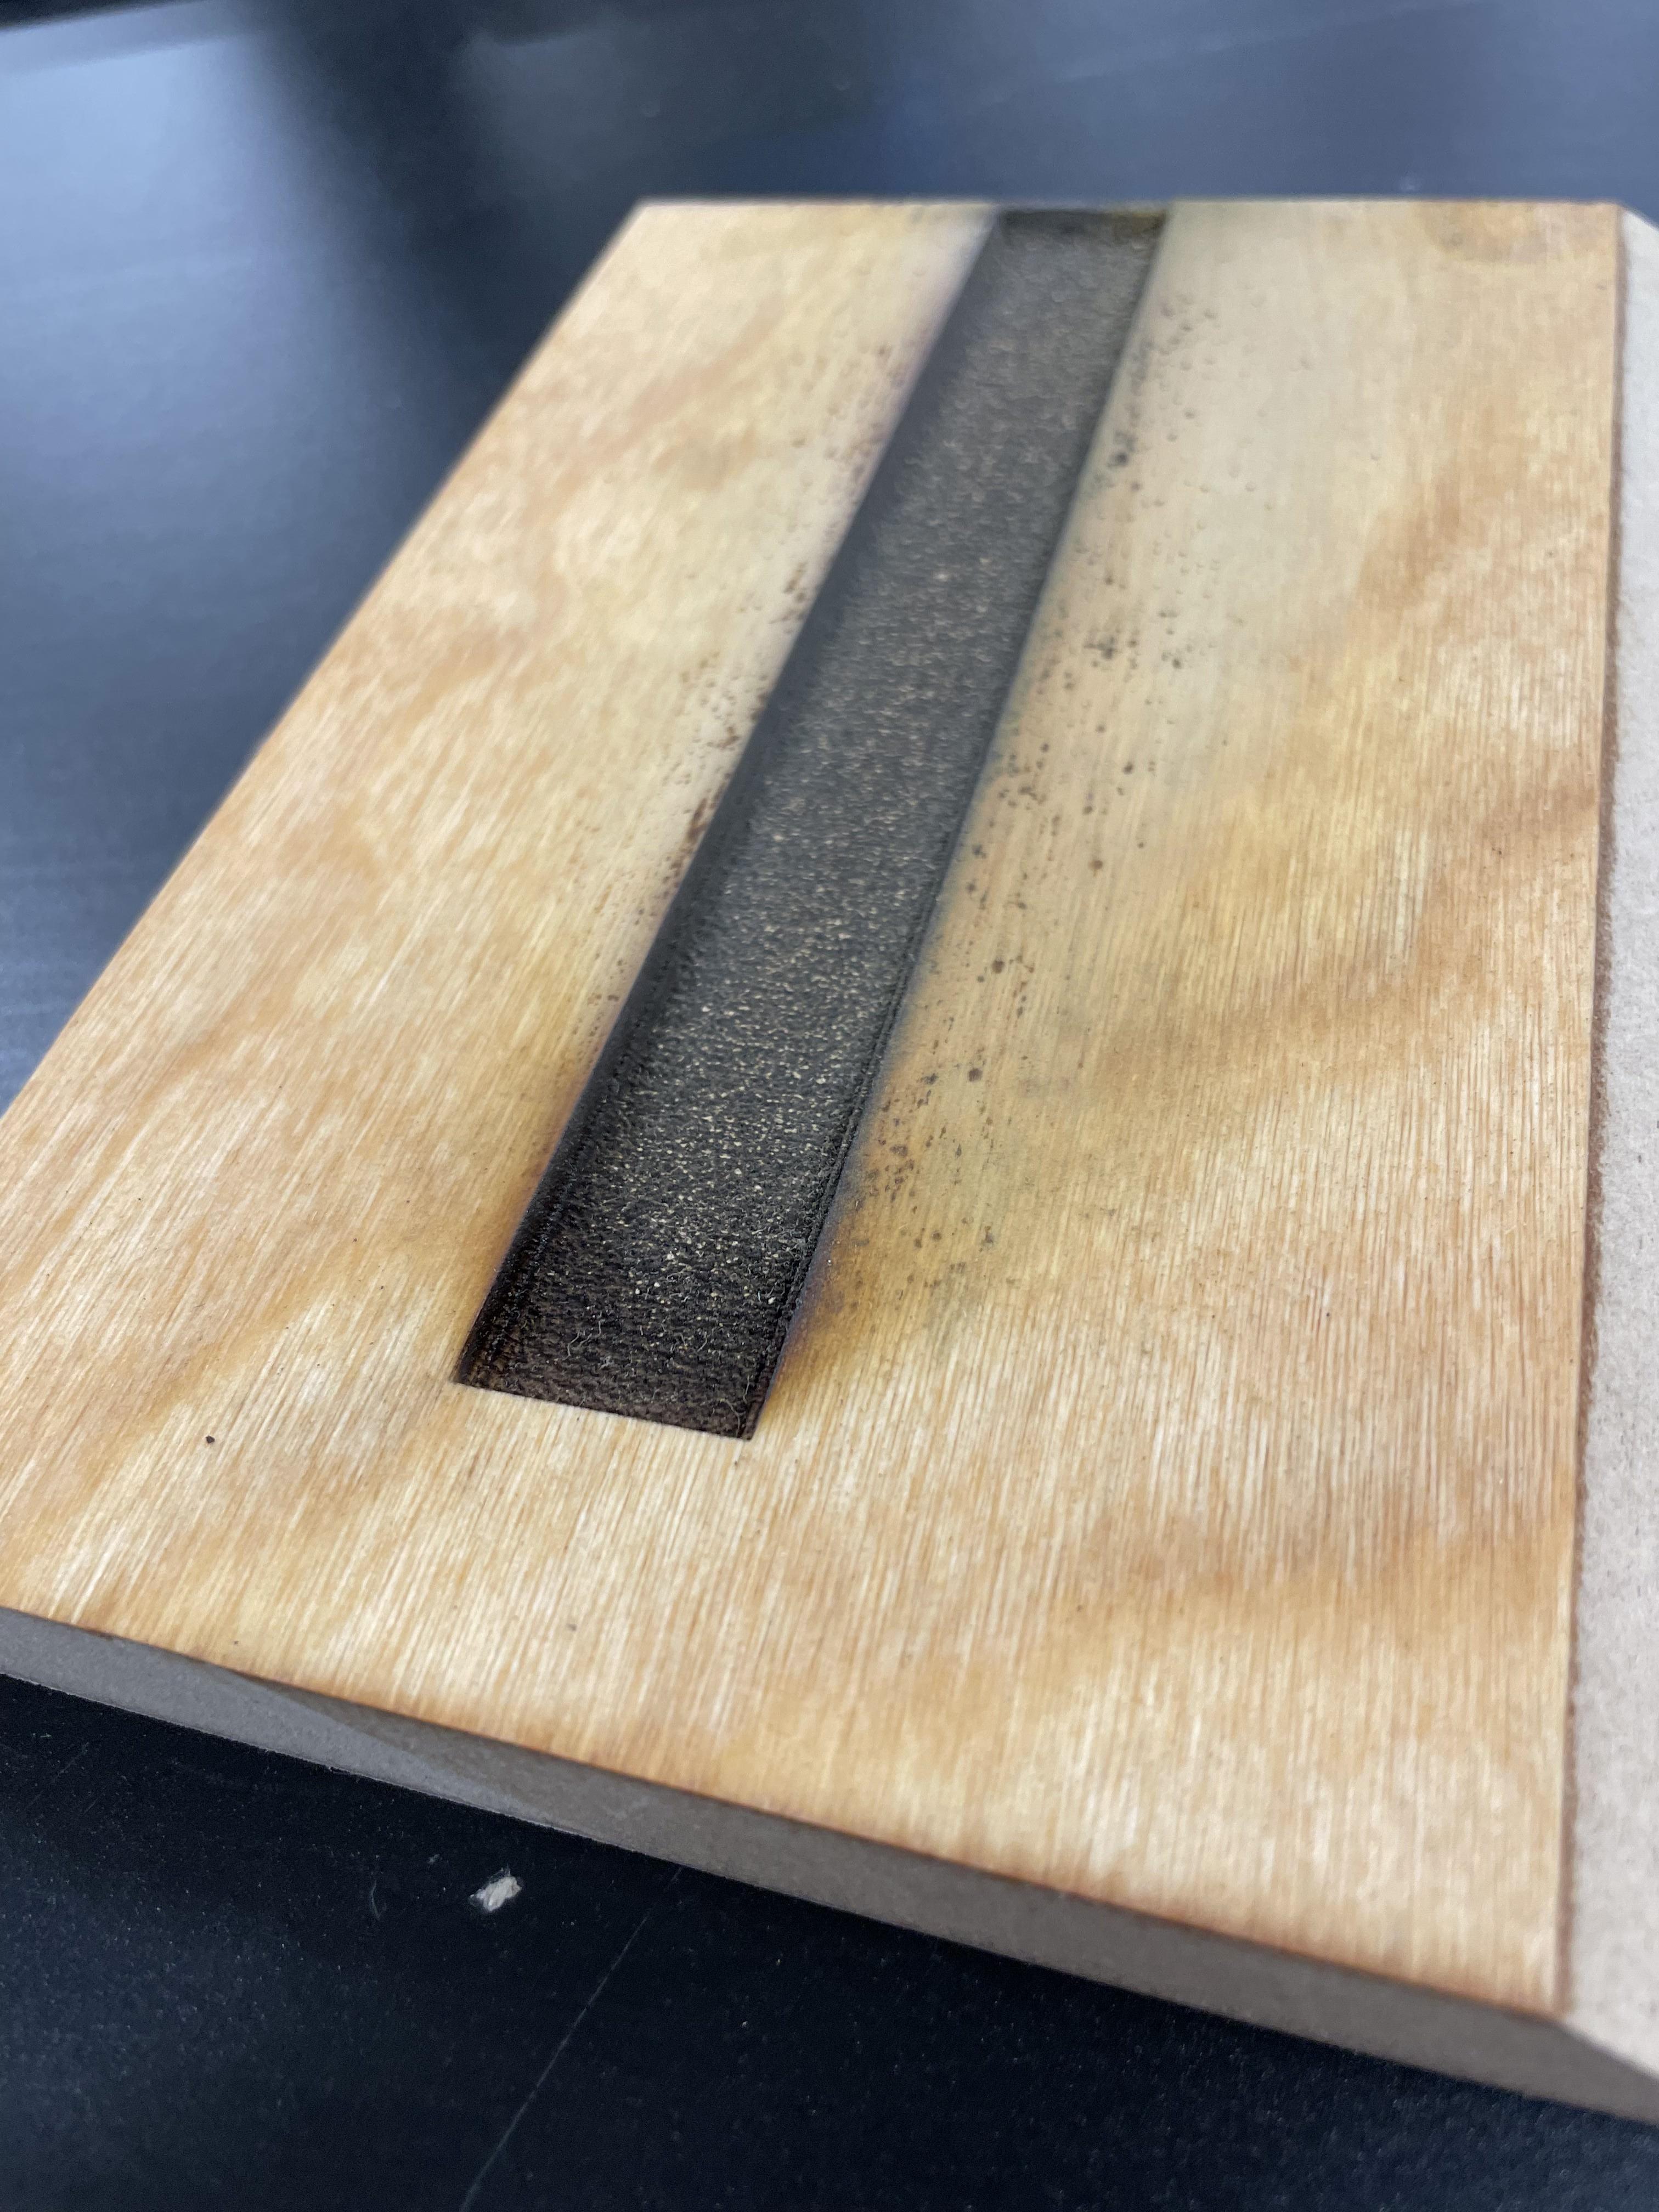
- Create section for LED strip. With this box we are going to have an LED strip run underneath each dune piece to light up each gap. To do this, we need to laser cut a section out of the base of the box. Make a sketch with a rectangle that is wide enough to fit the LED strip and reaches from the back to the very first dune. This should be deep enough so that there is no friction with the dune pieces when sliding the LED strip underneath.
- Use joints to put the sides together in a separate file to see how it looks!
Cut Pieces Out of Wood

Now you are ready to start building the real box.
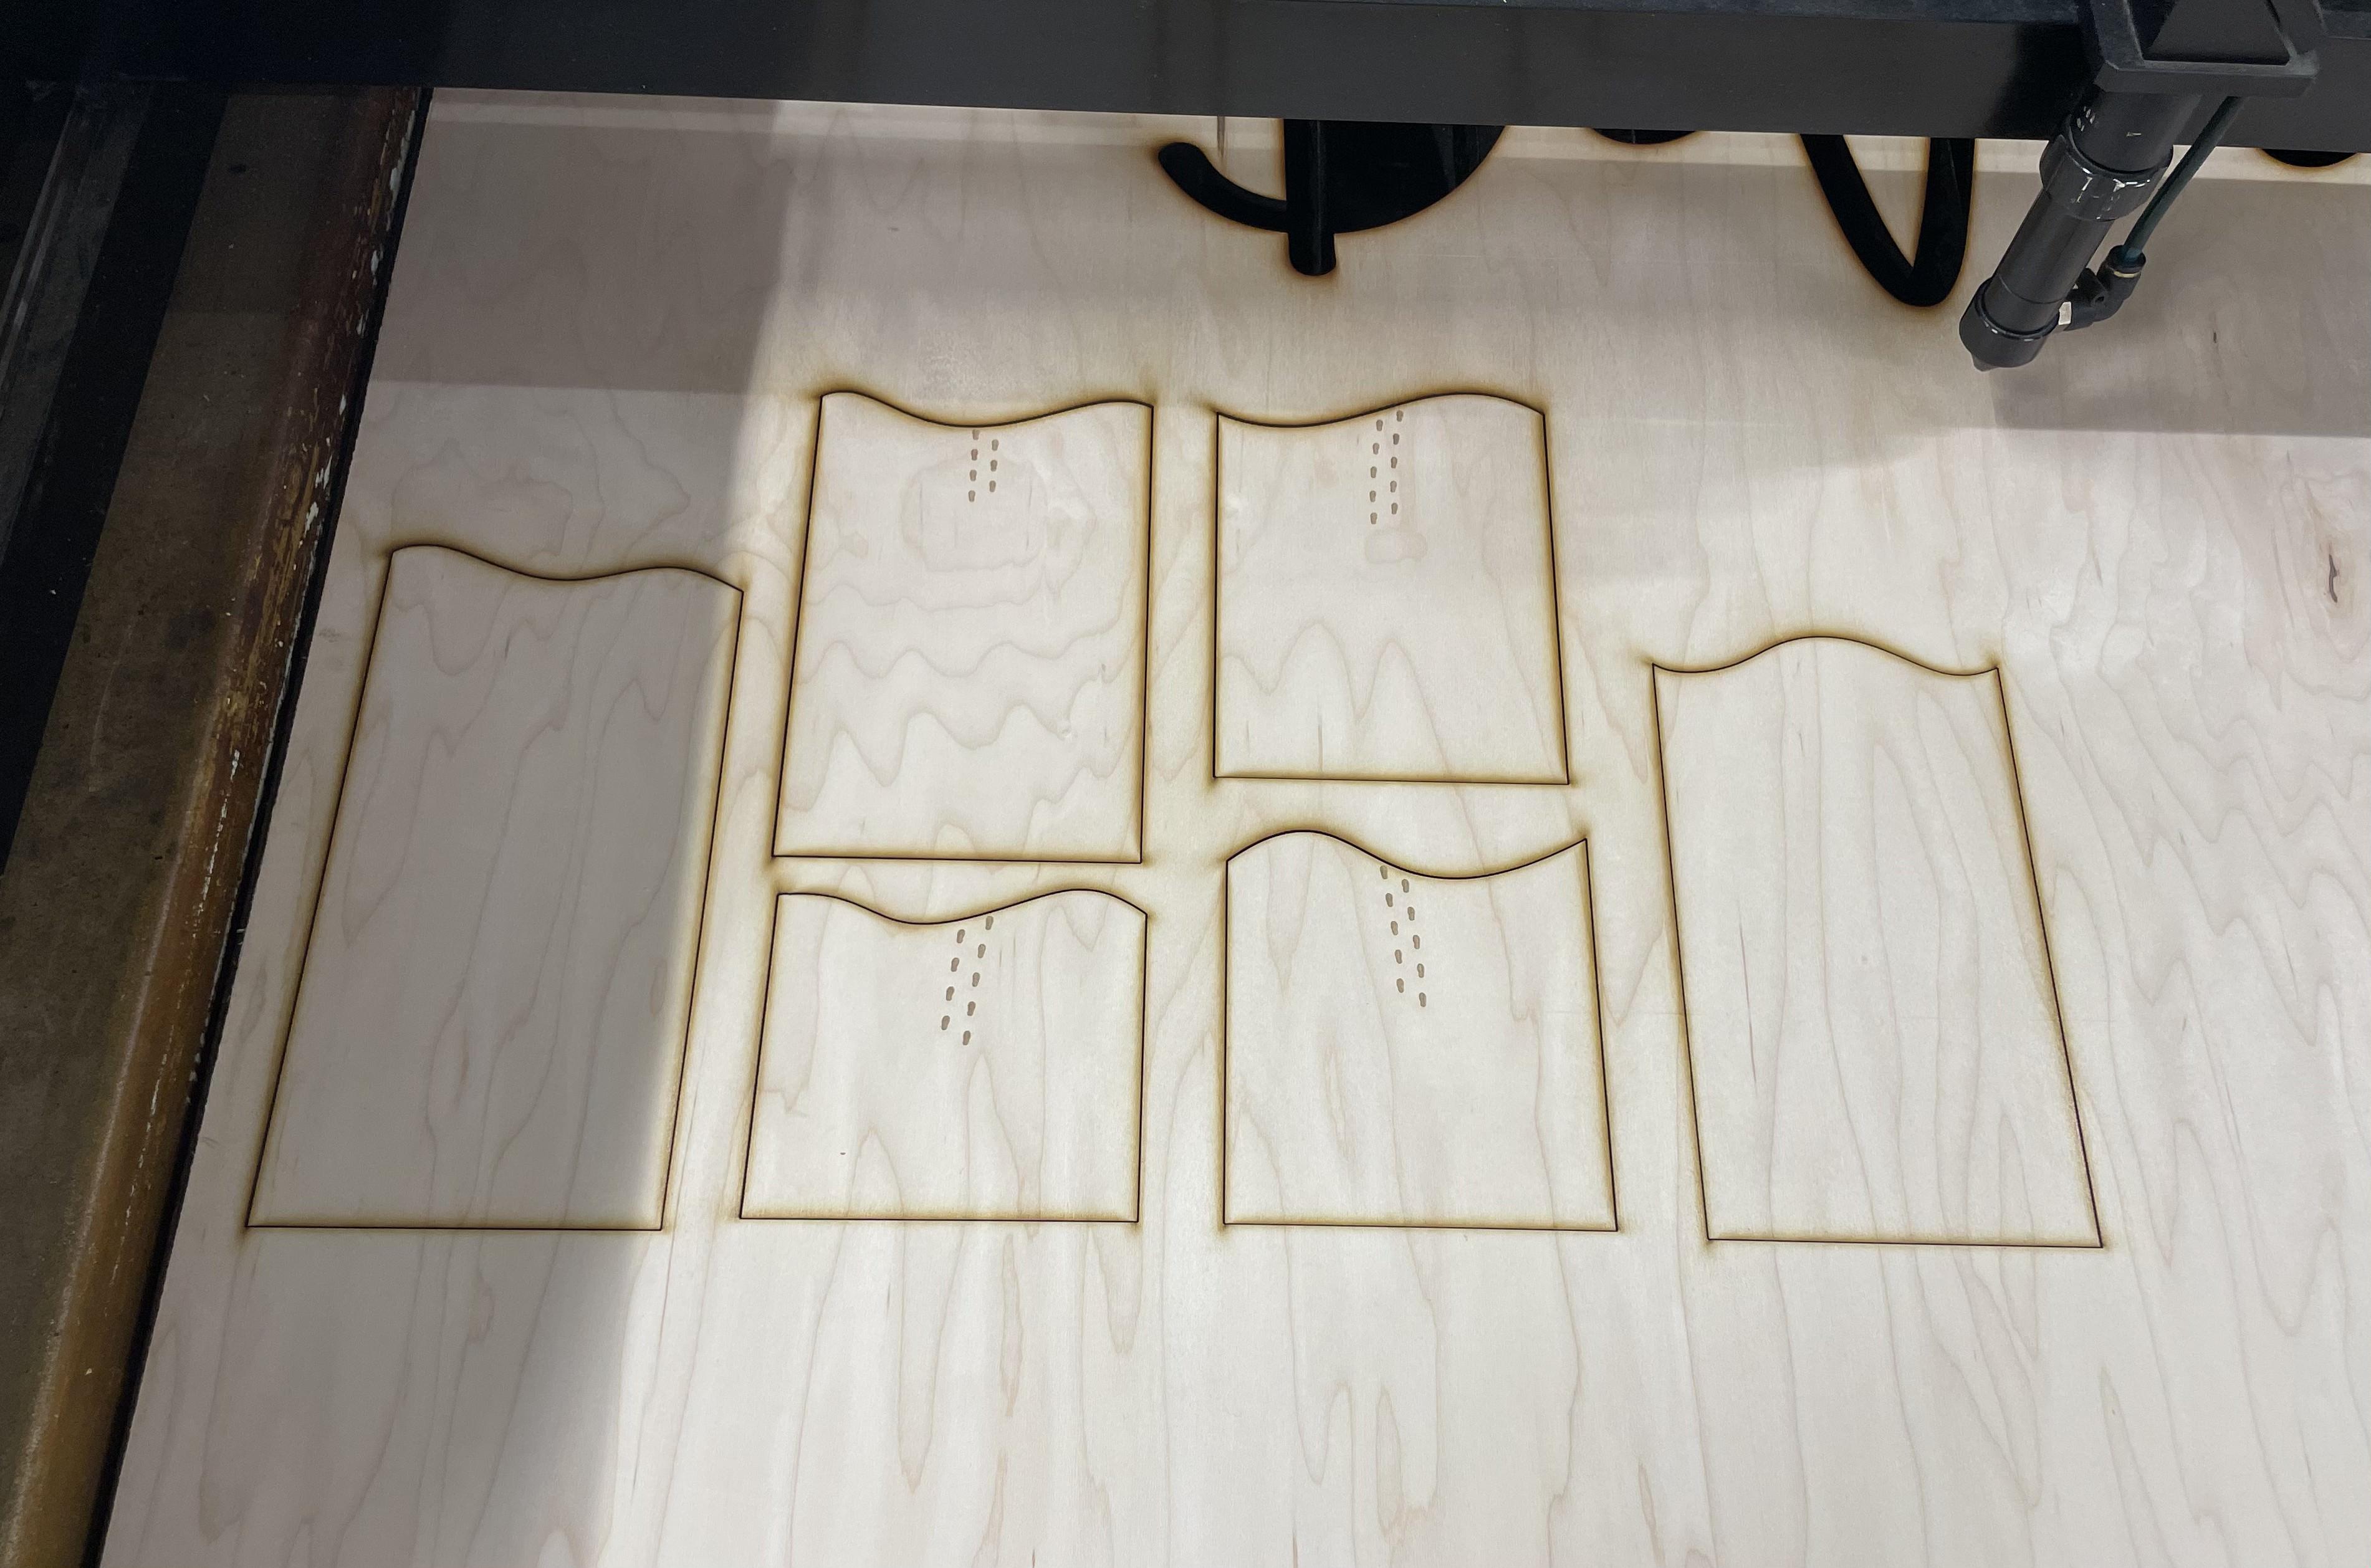
Follow these steps to laser cut your dunes:
- Create .dxf files. Make drawings for your sketches of your dunes, walking Fremen, and the space background and export them as .dxf files.
- Send designs to laser cutter. Open Lightburn, or any other laser cutting software, and import your .dxf files. Set your speed and power settings to fit your laser cutter's needs.
- Cut out your pieces. Make sure that the dunes are cut on 1/4" wood and the Fremen and space background is cut on 1/8" wood. Also be sure your laser cutter is spaced and set up correctly for both lengths of wood.
- Sand. Use sand paper or a palm sander to take away the burnt look from the laser.
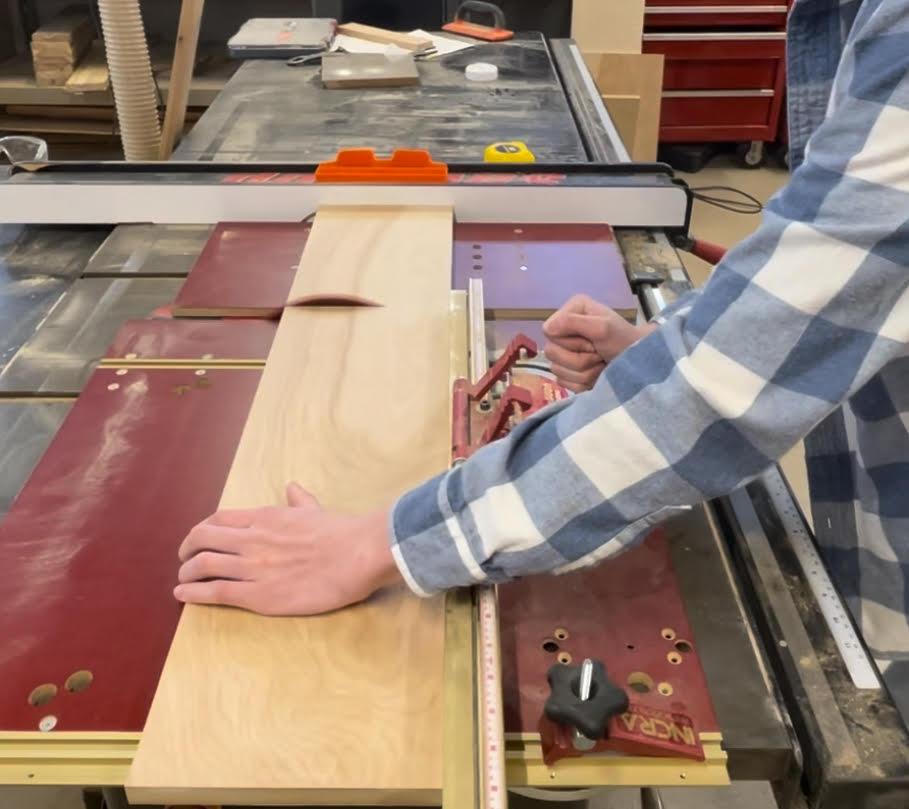
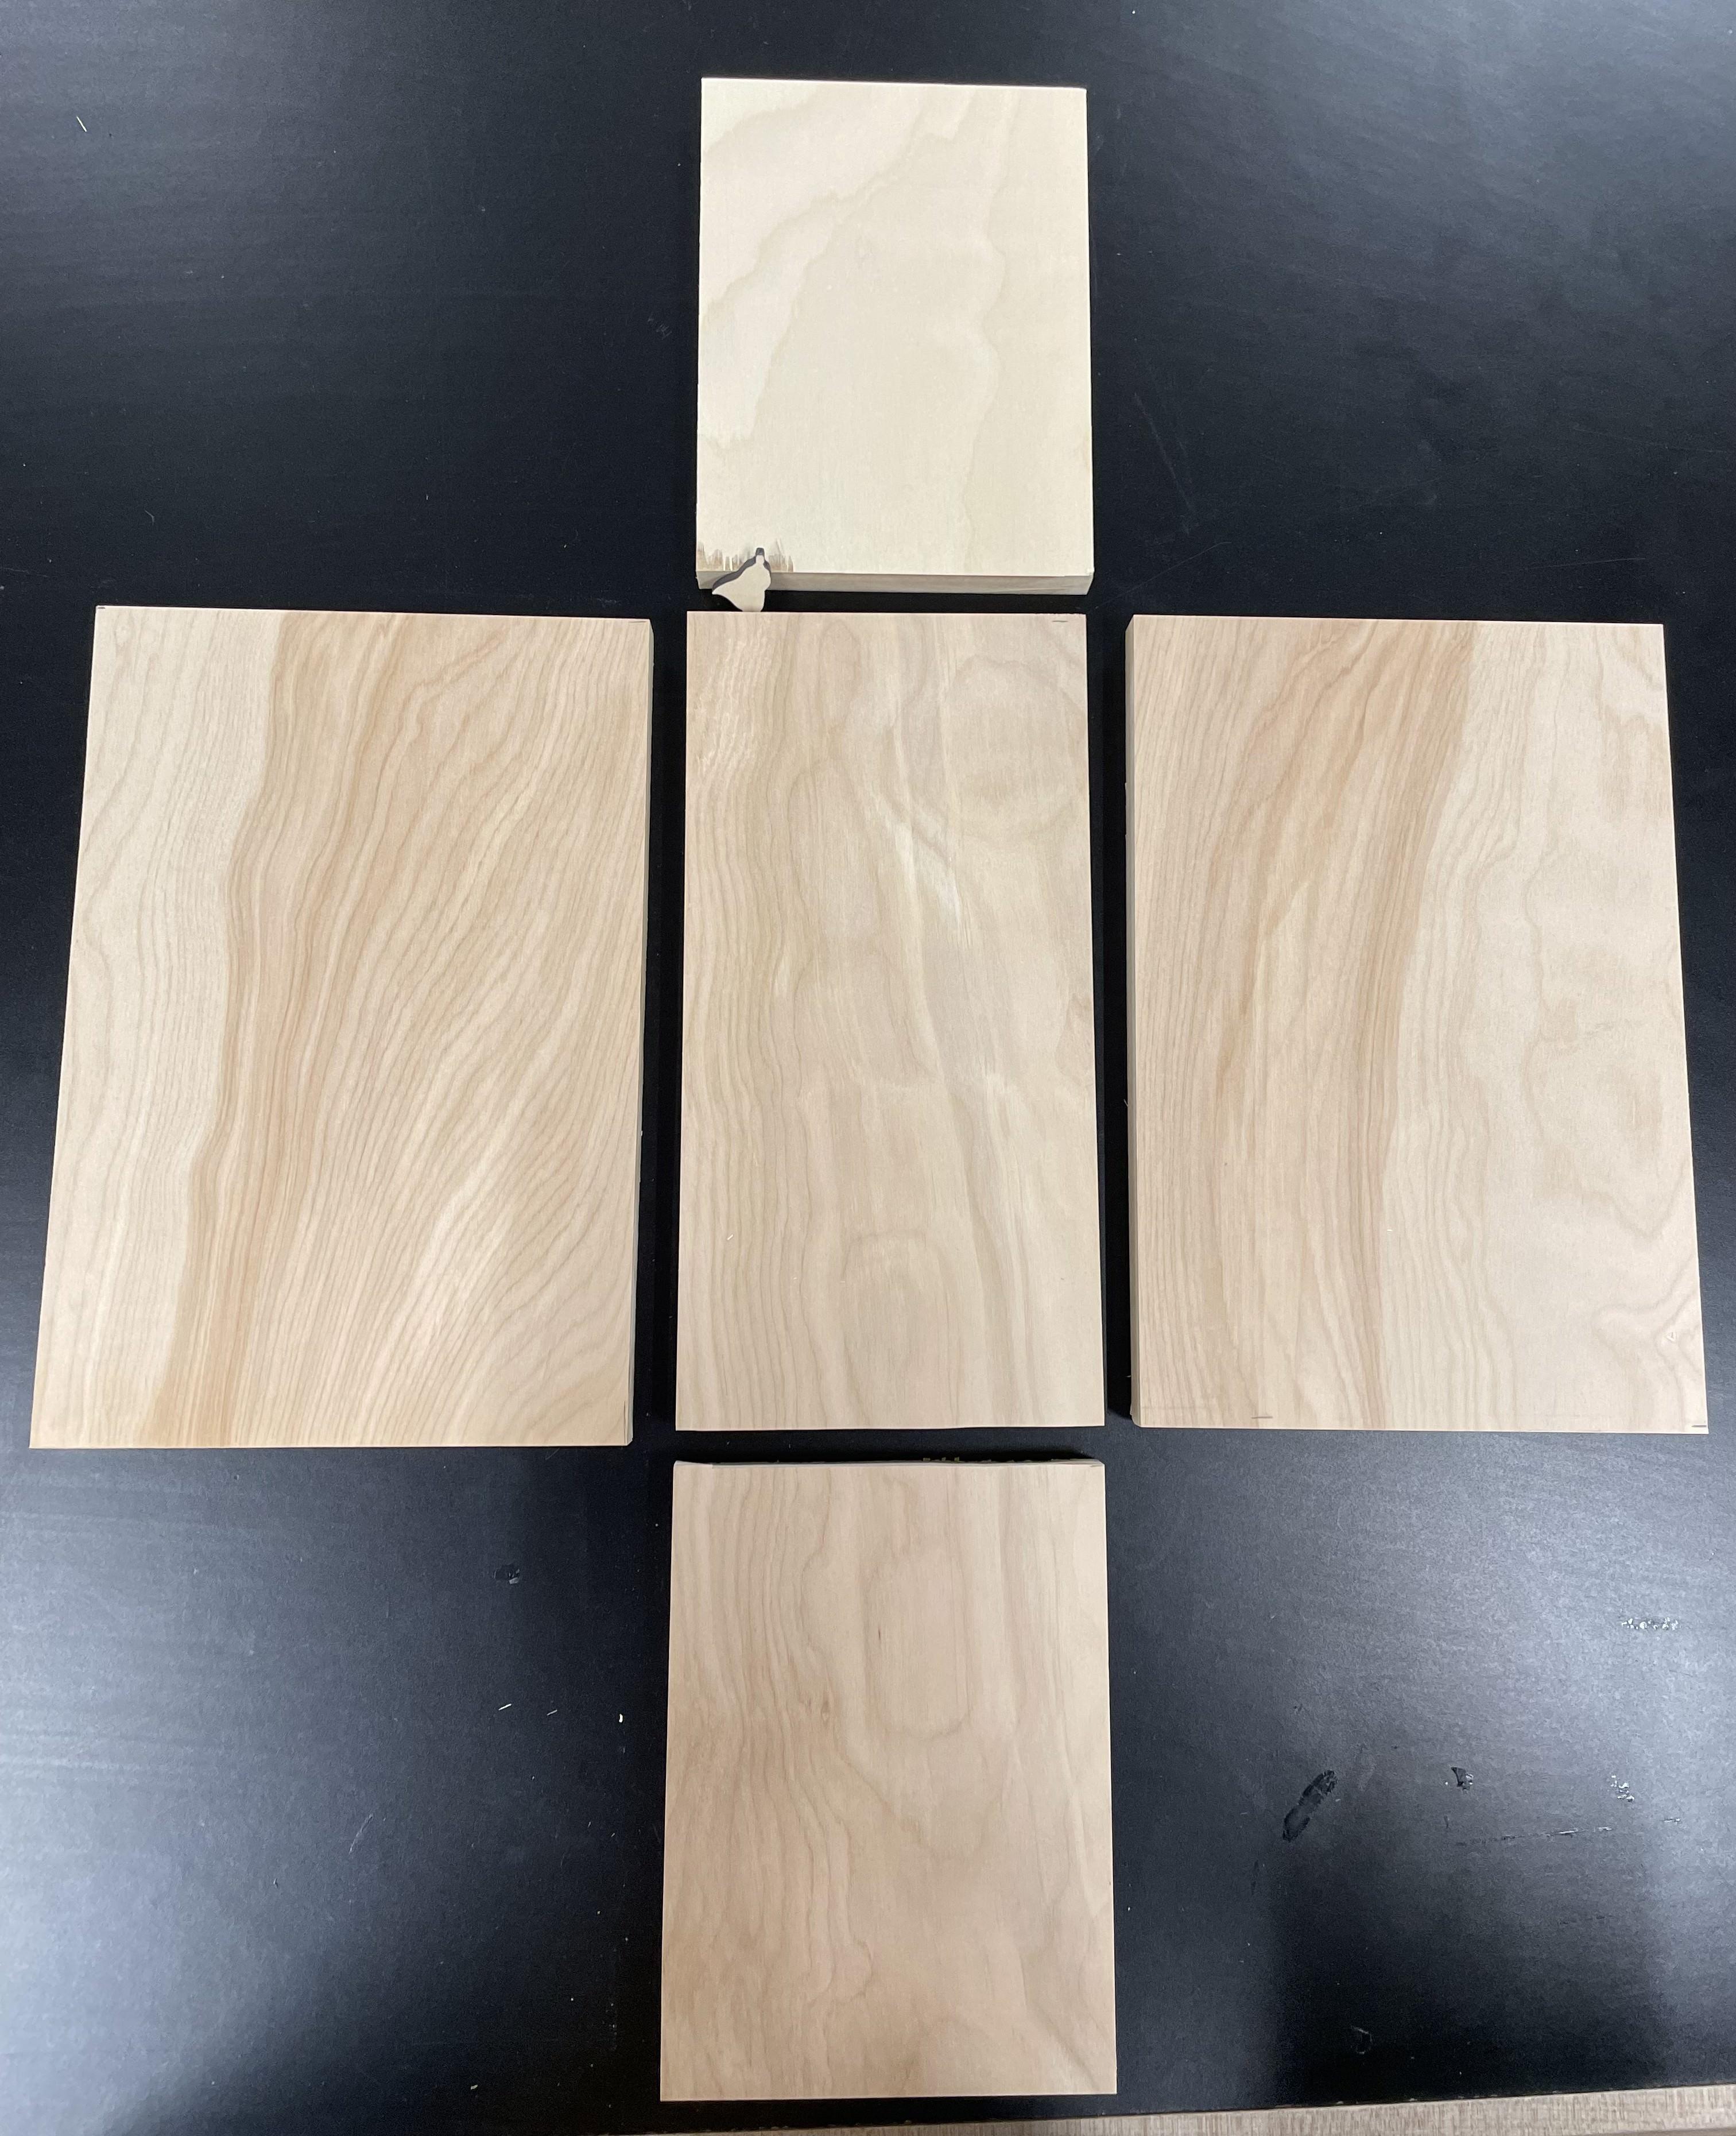
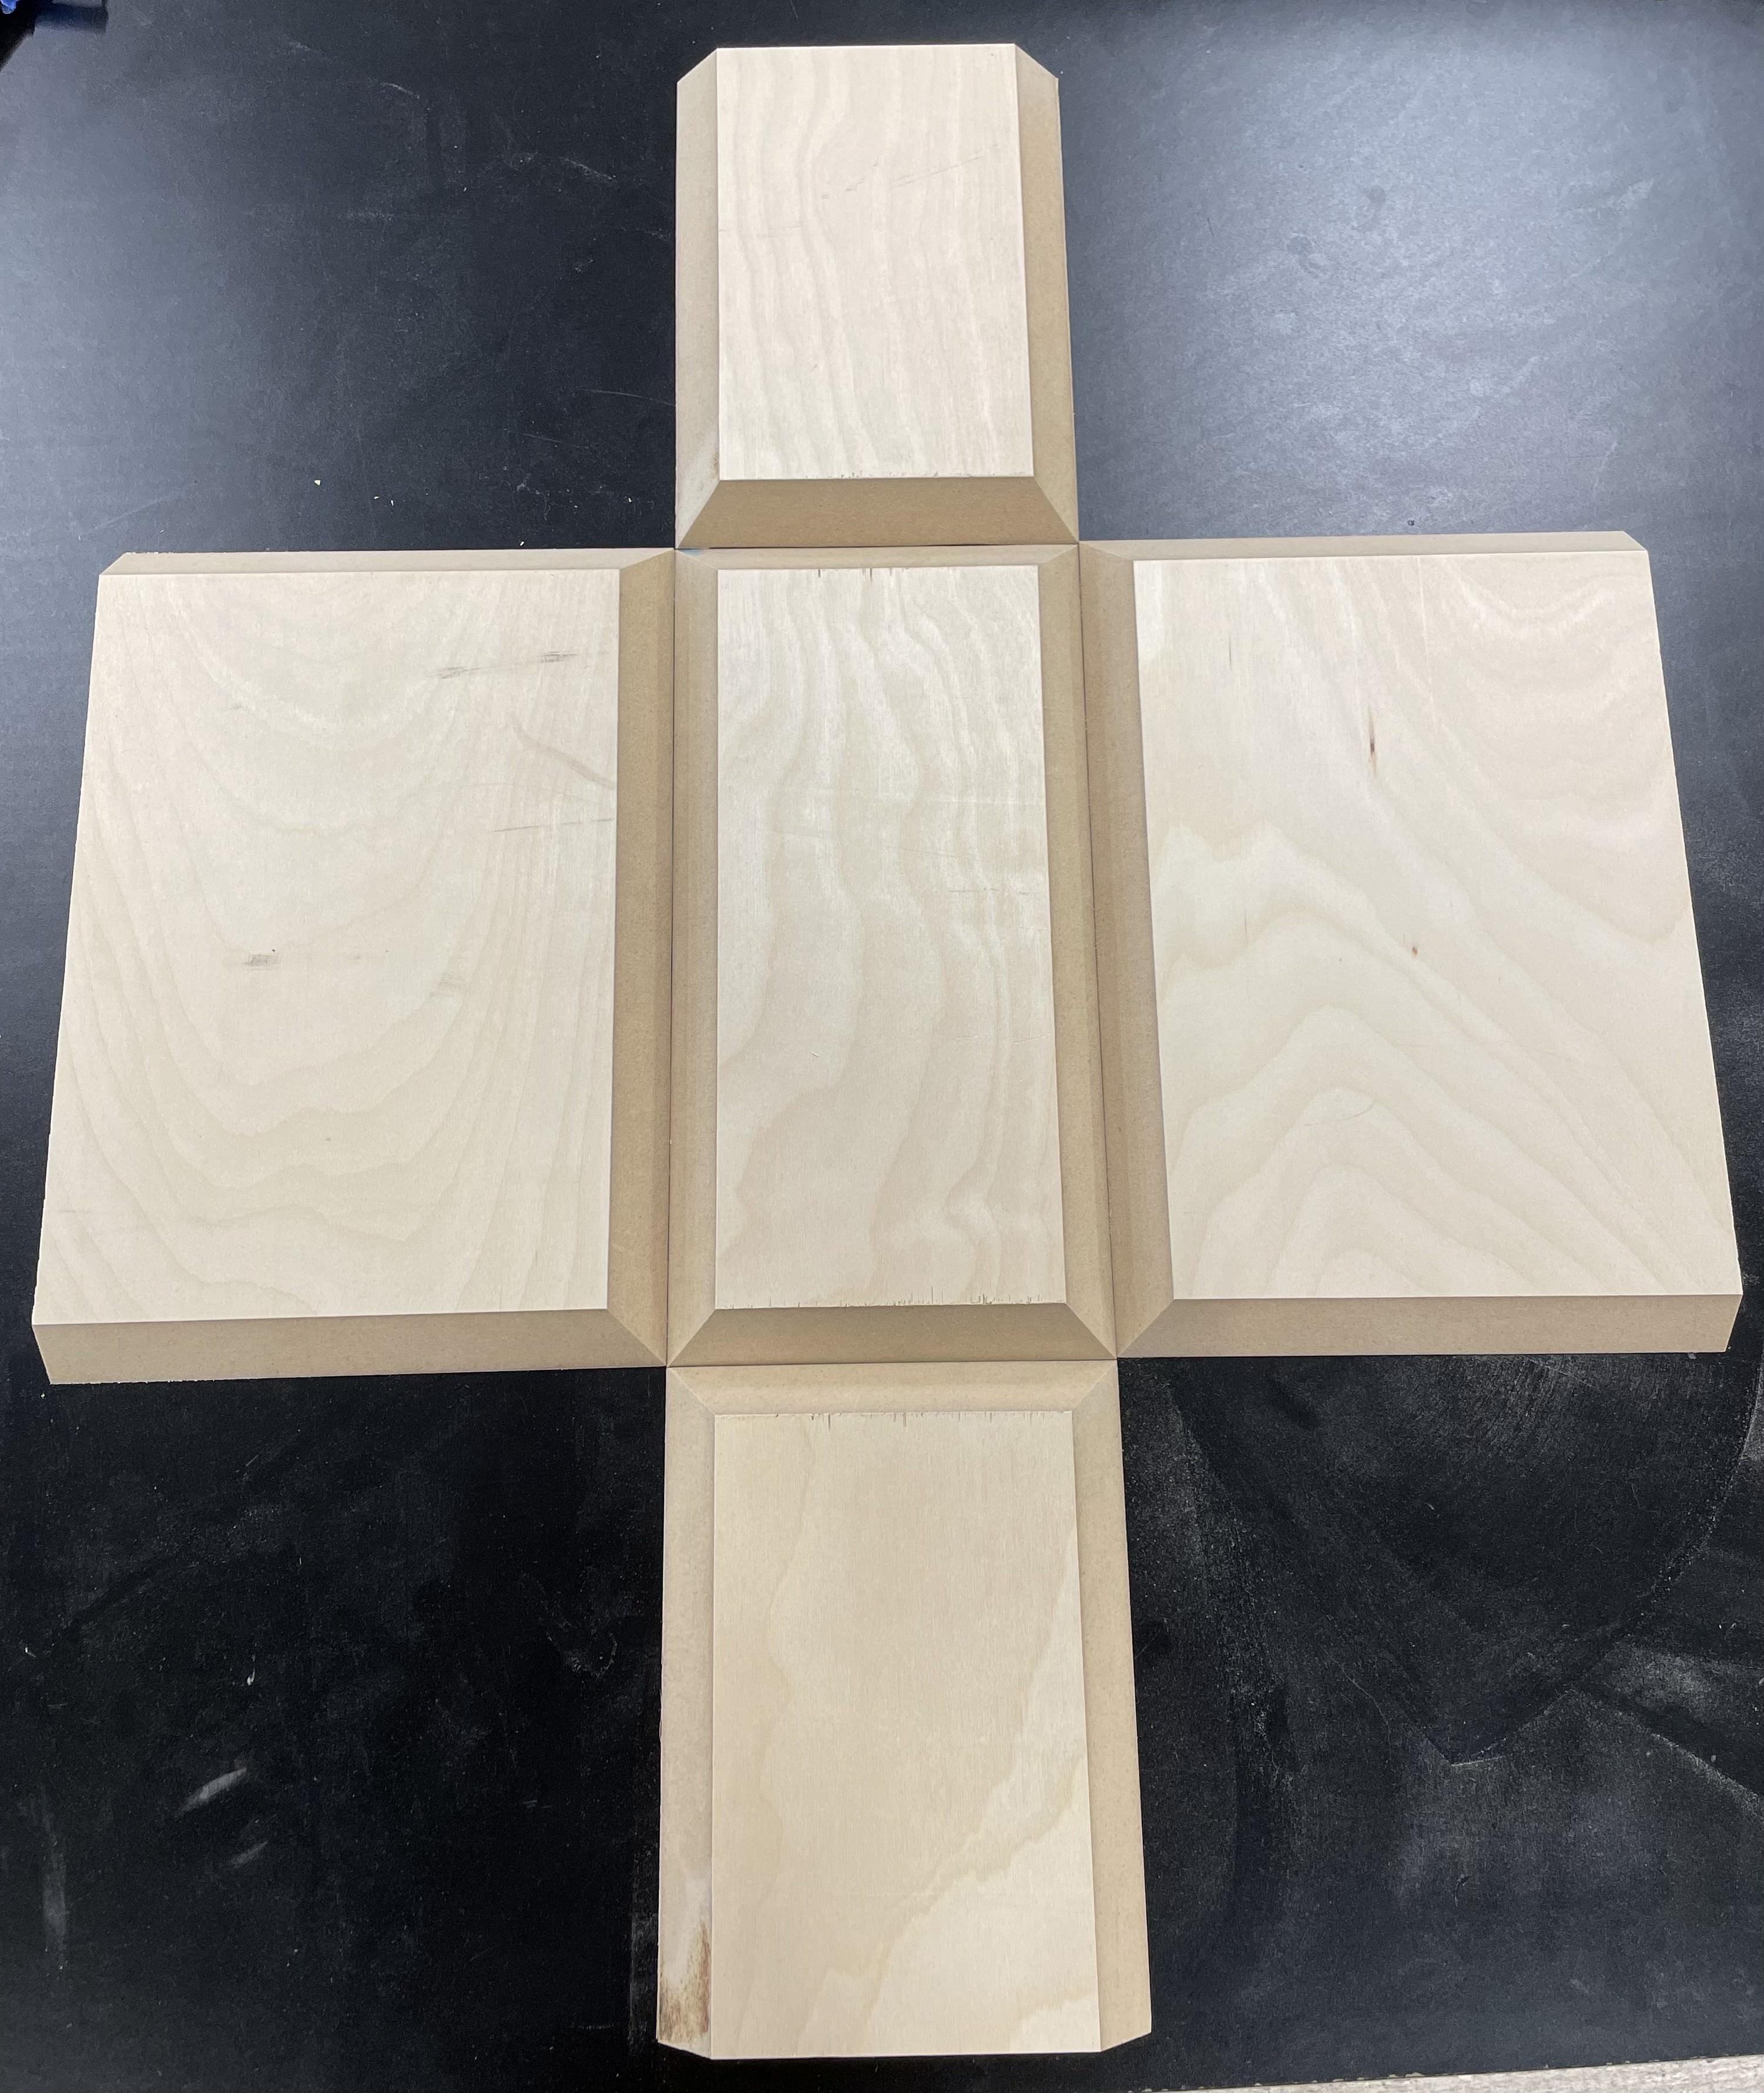
Follow these steps to cut the 3/4" wooden sides of the box:
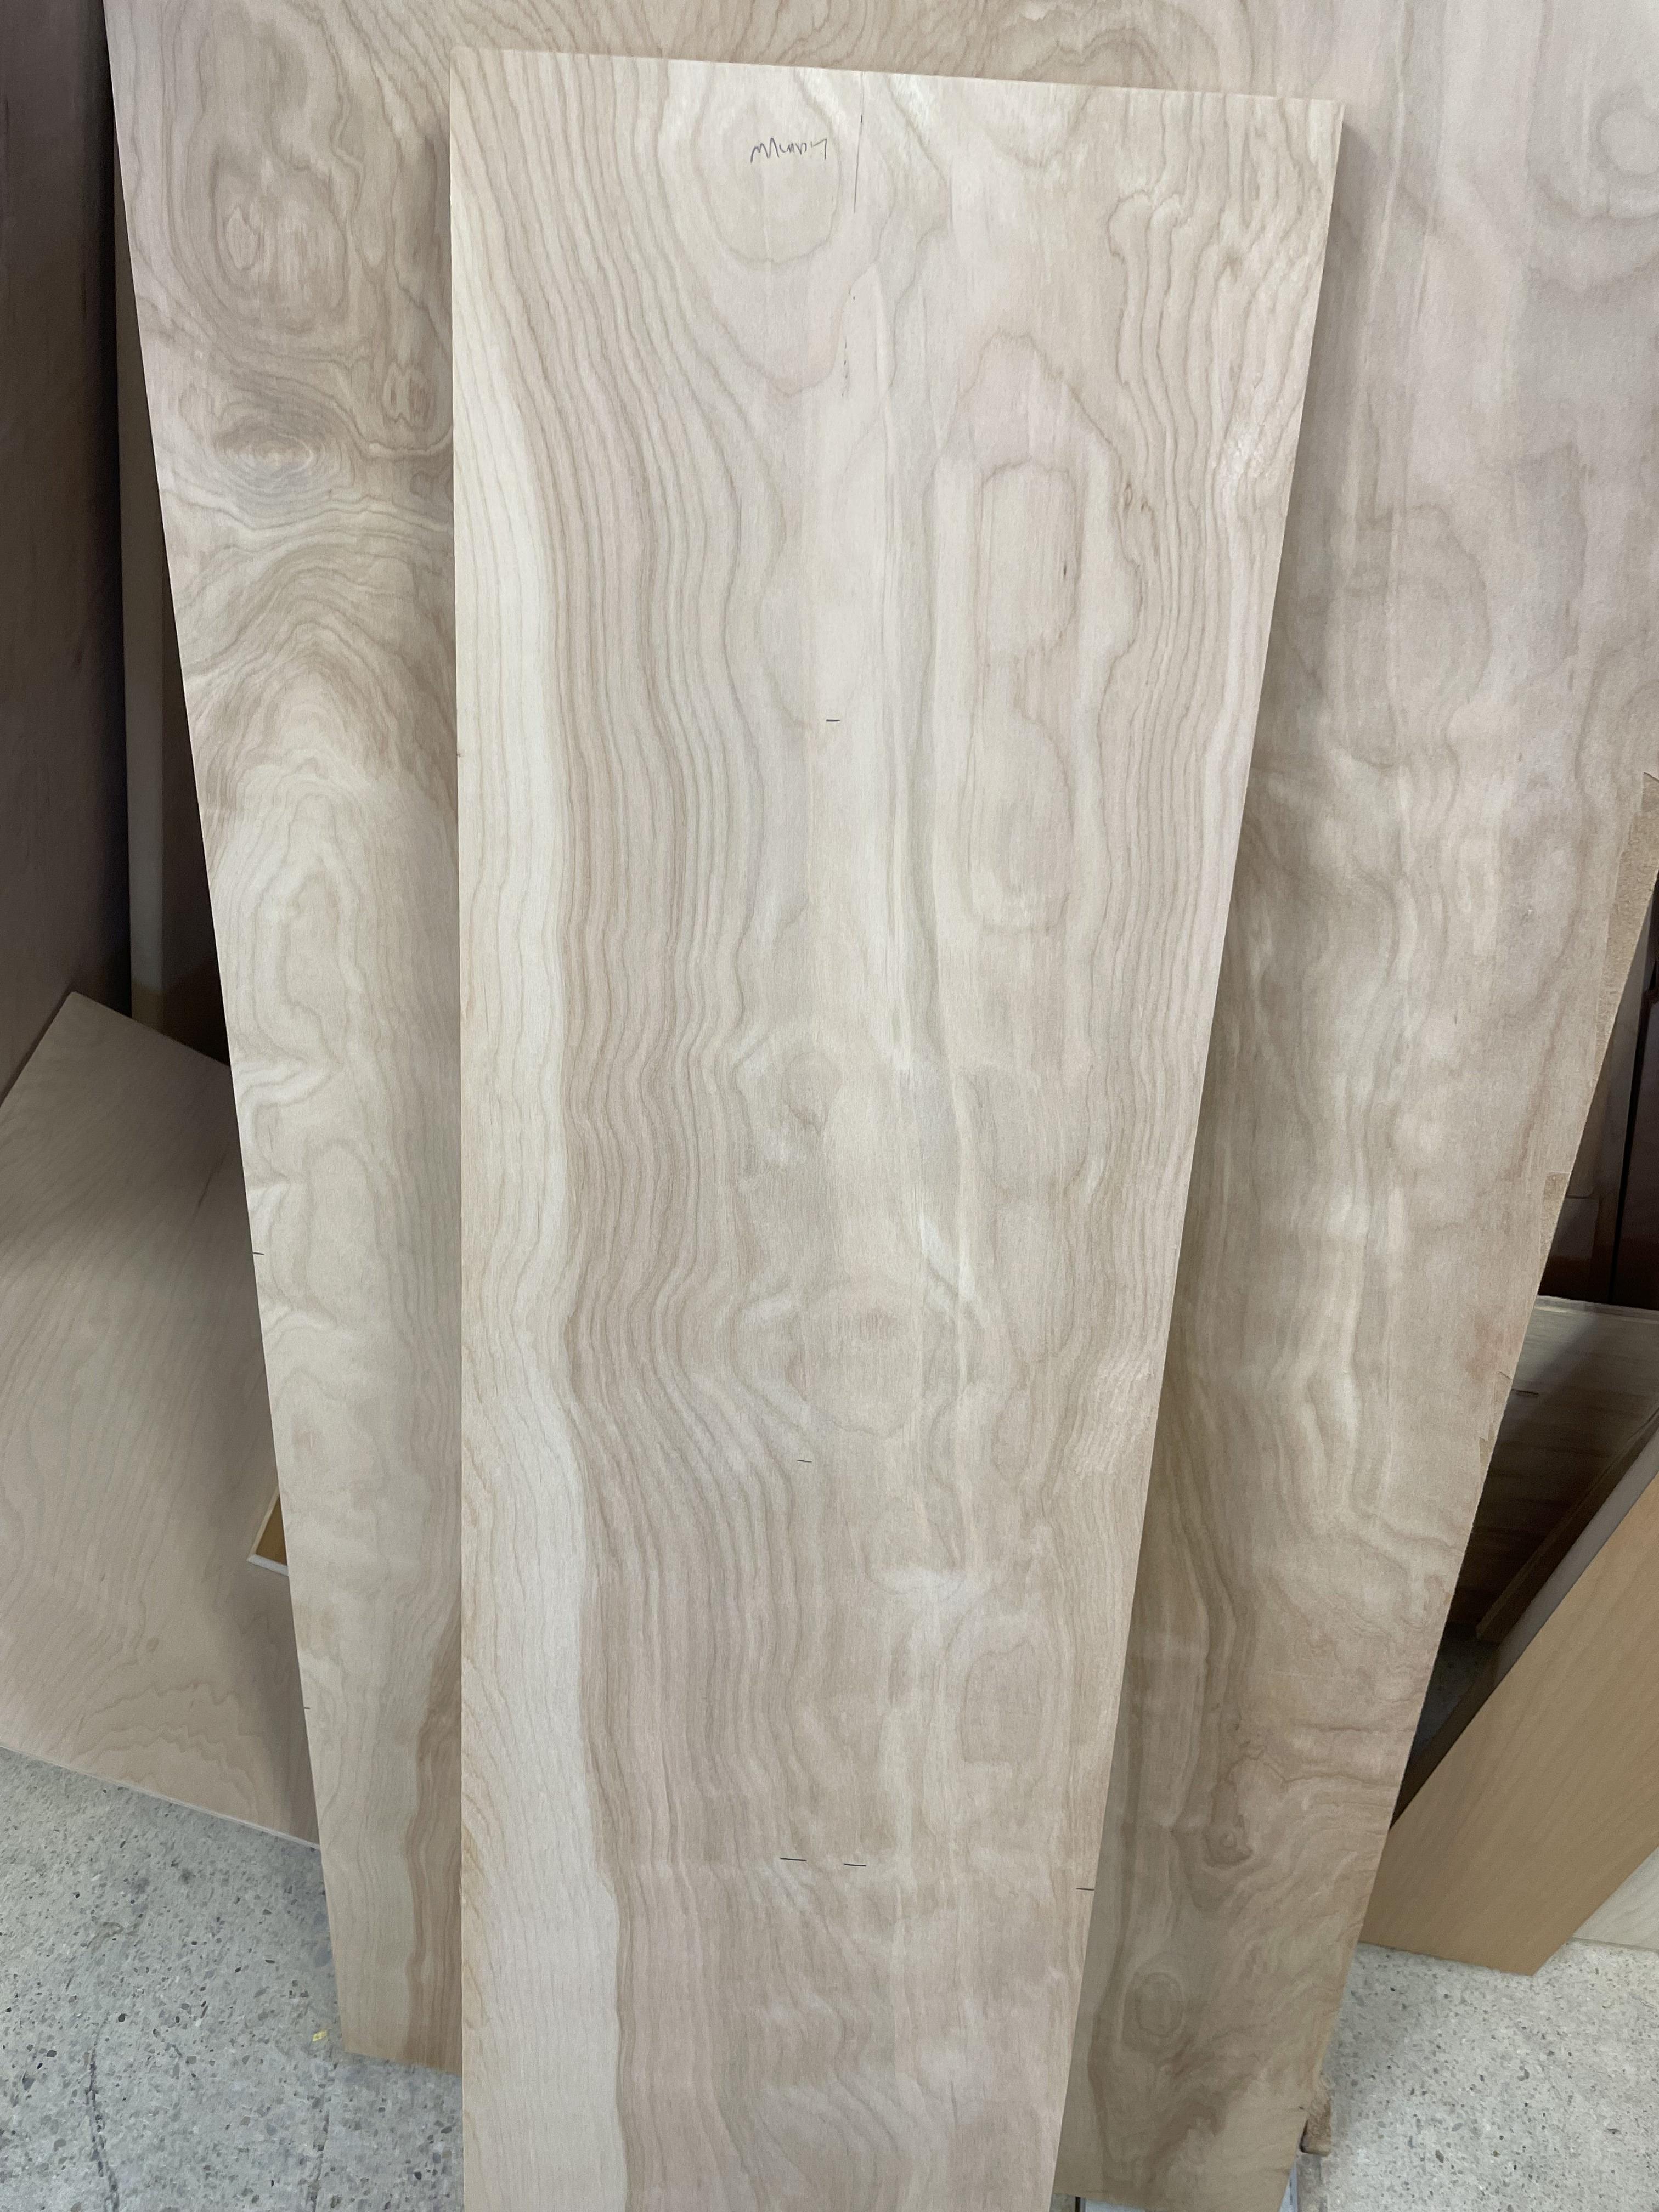
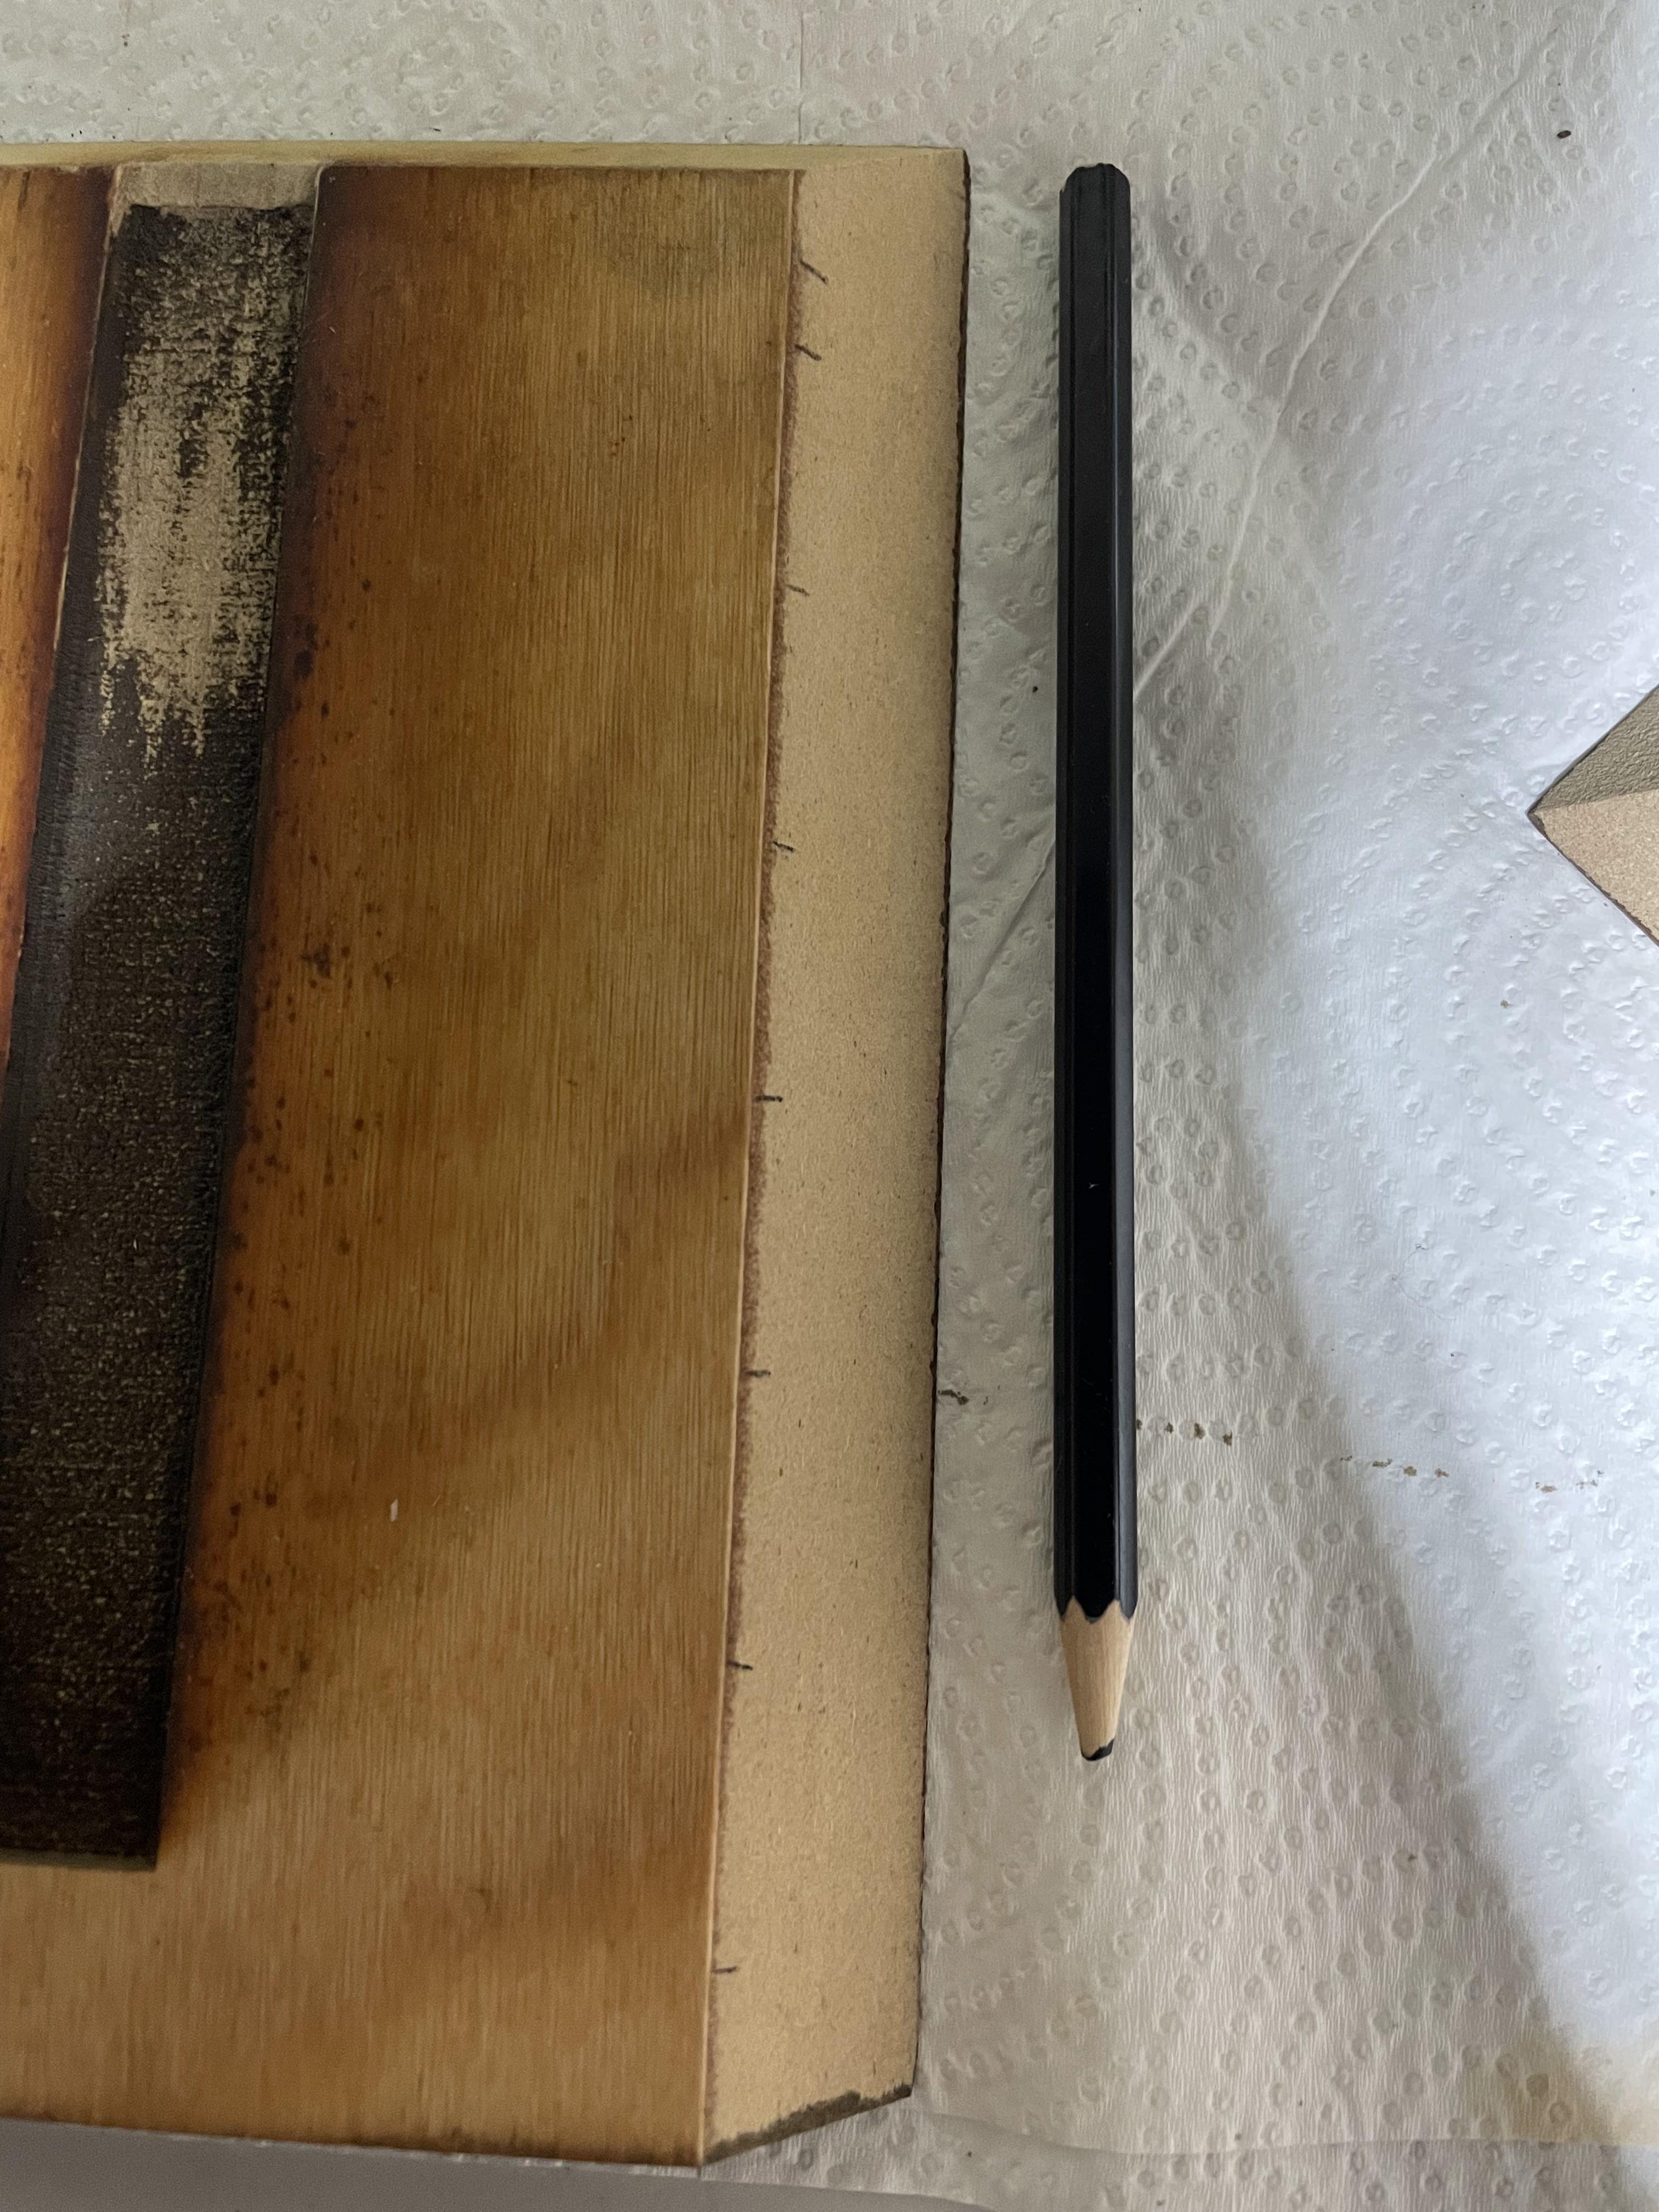
- Measure out dimensions. Take a plank of 3/4" wood and measure out the dimensions each side of the box with a pencil and a measuring tape.
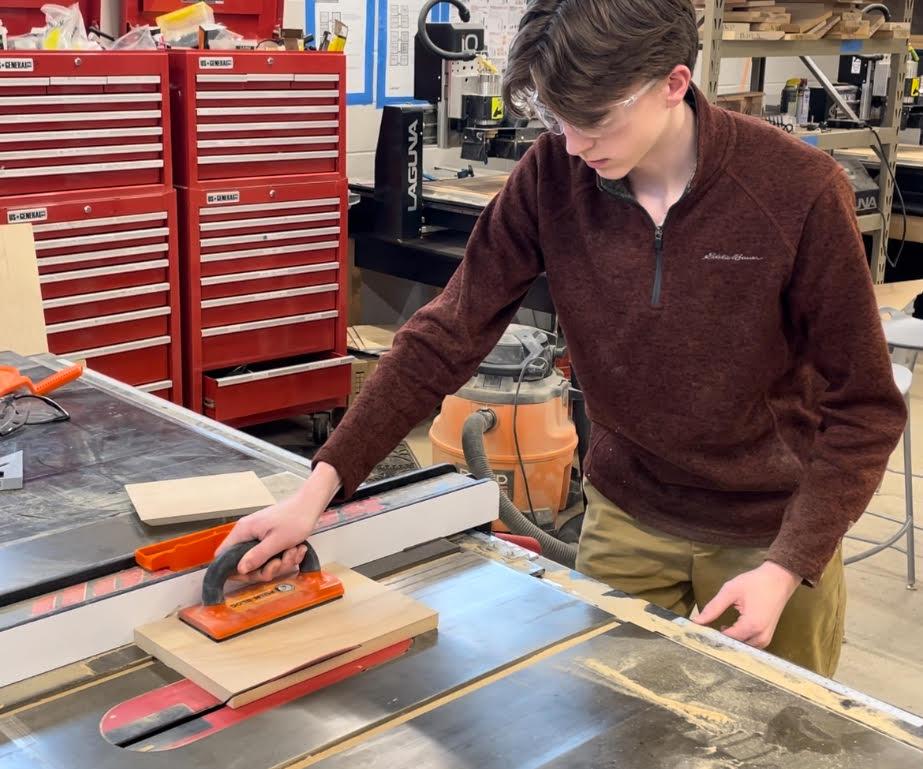
- Cut sections using table saw. Following safety precautions, use a table saw to cut each side out following your dimensions.
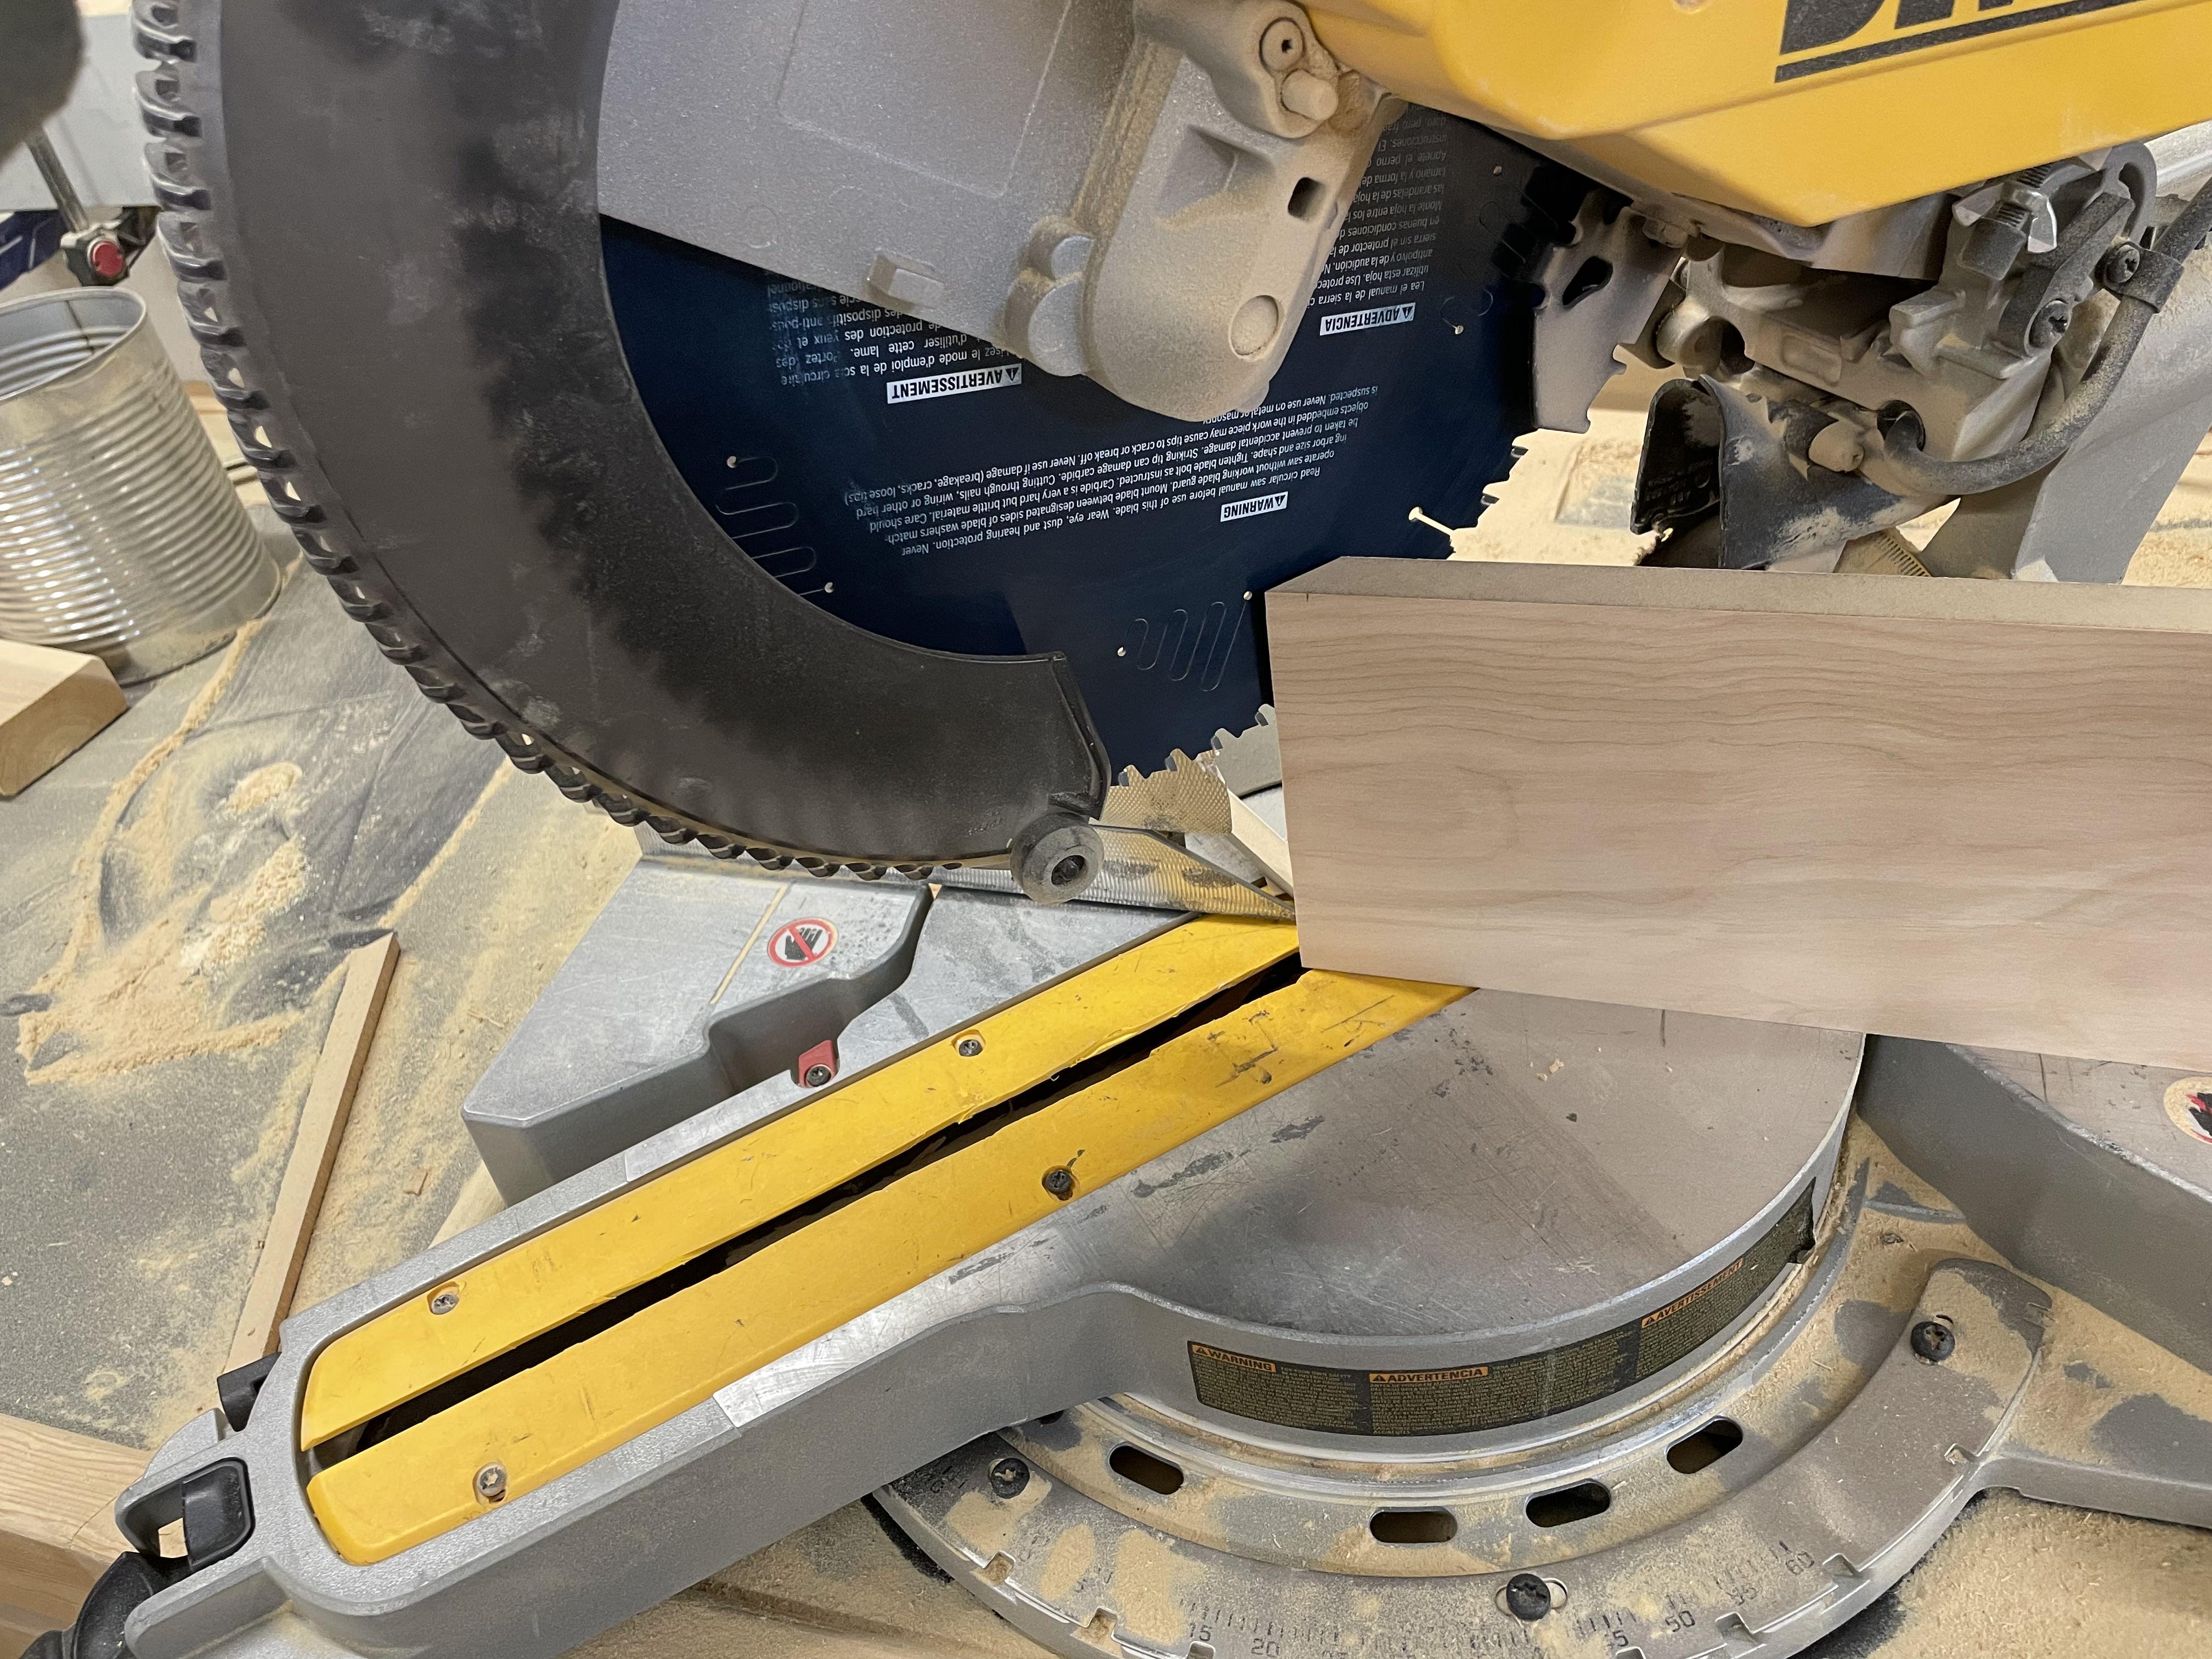
- Cut all sides except the front sides at a 45° angle. Use a mill saw to cut a 45° angle on as many sides that fit. Use a table saw for the rest or the pieces.
- Laser cut a section for LED. Using the rectangle sketch we made before on the base of the box, create a .dxf file using the same process as before. Then line up your base with X=0 Y=0 on the laser cutter and start cutting. I had to run the program multiple times to get the section deep enough to fit the LED strip.
Paint and Stain Wood
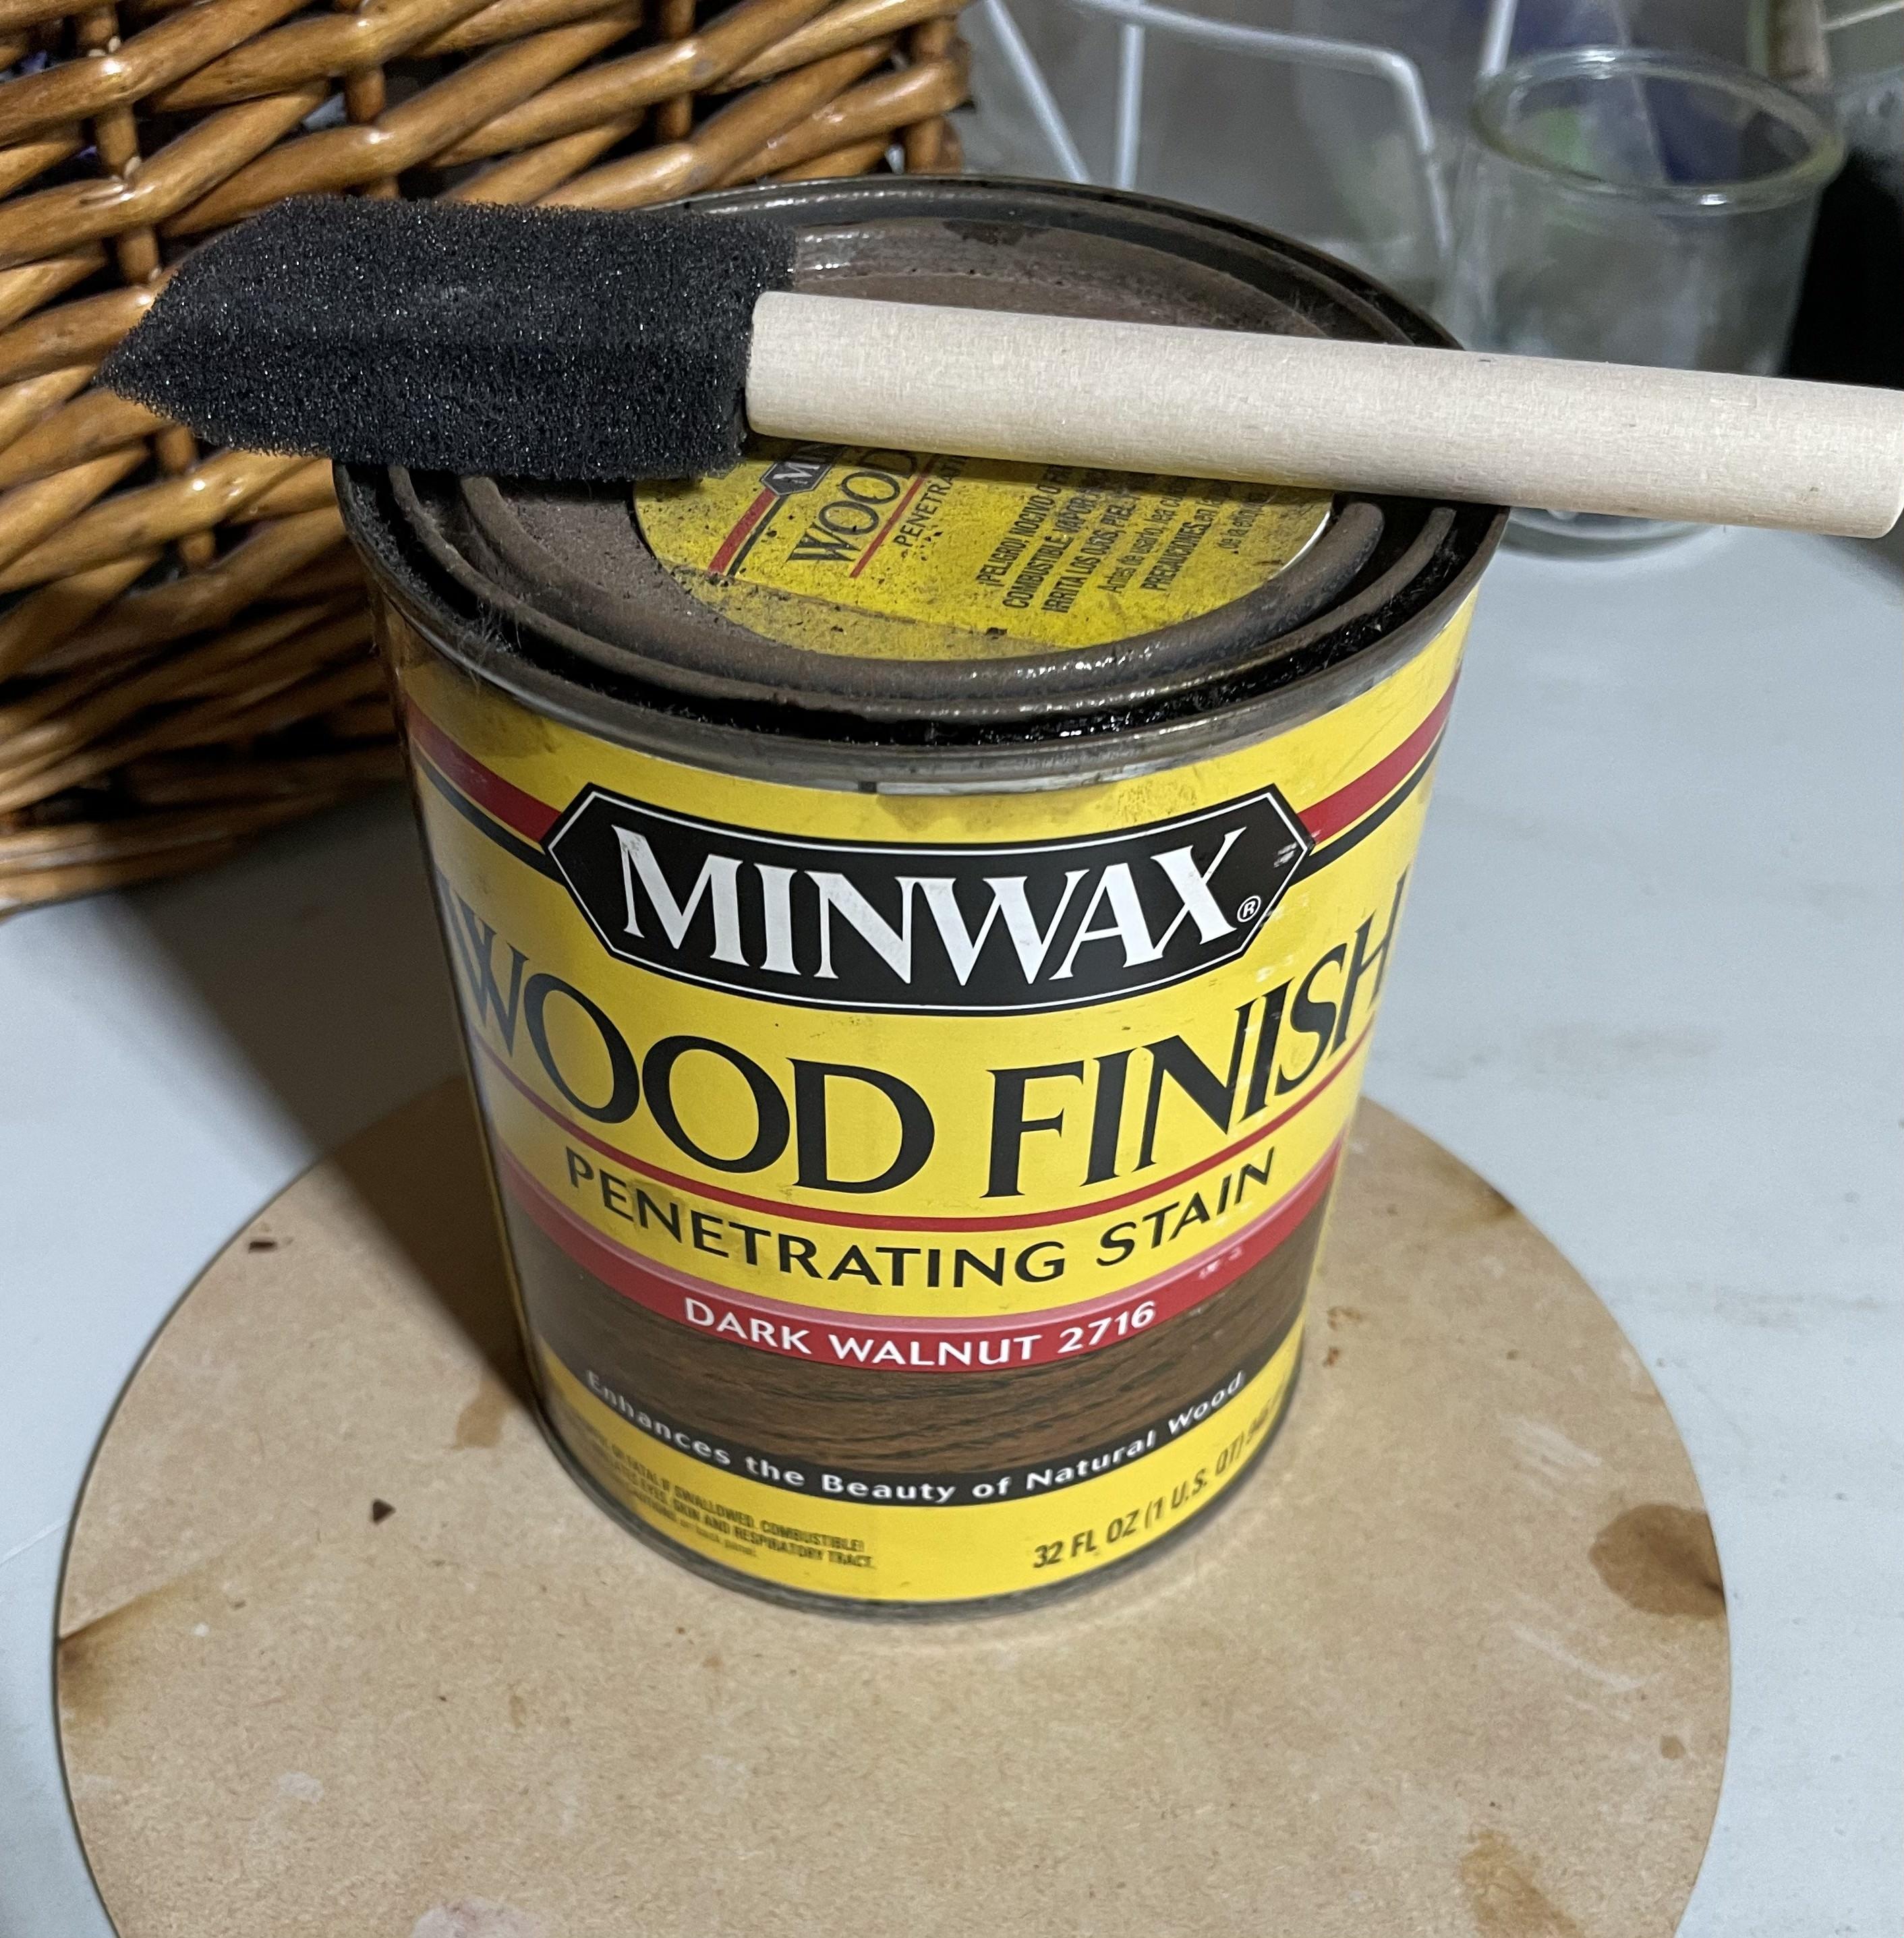
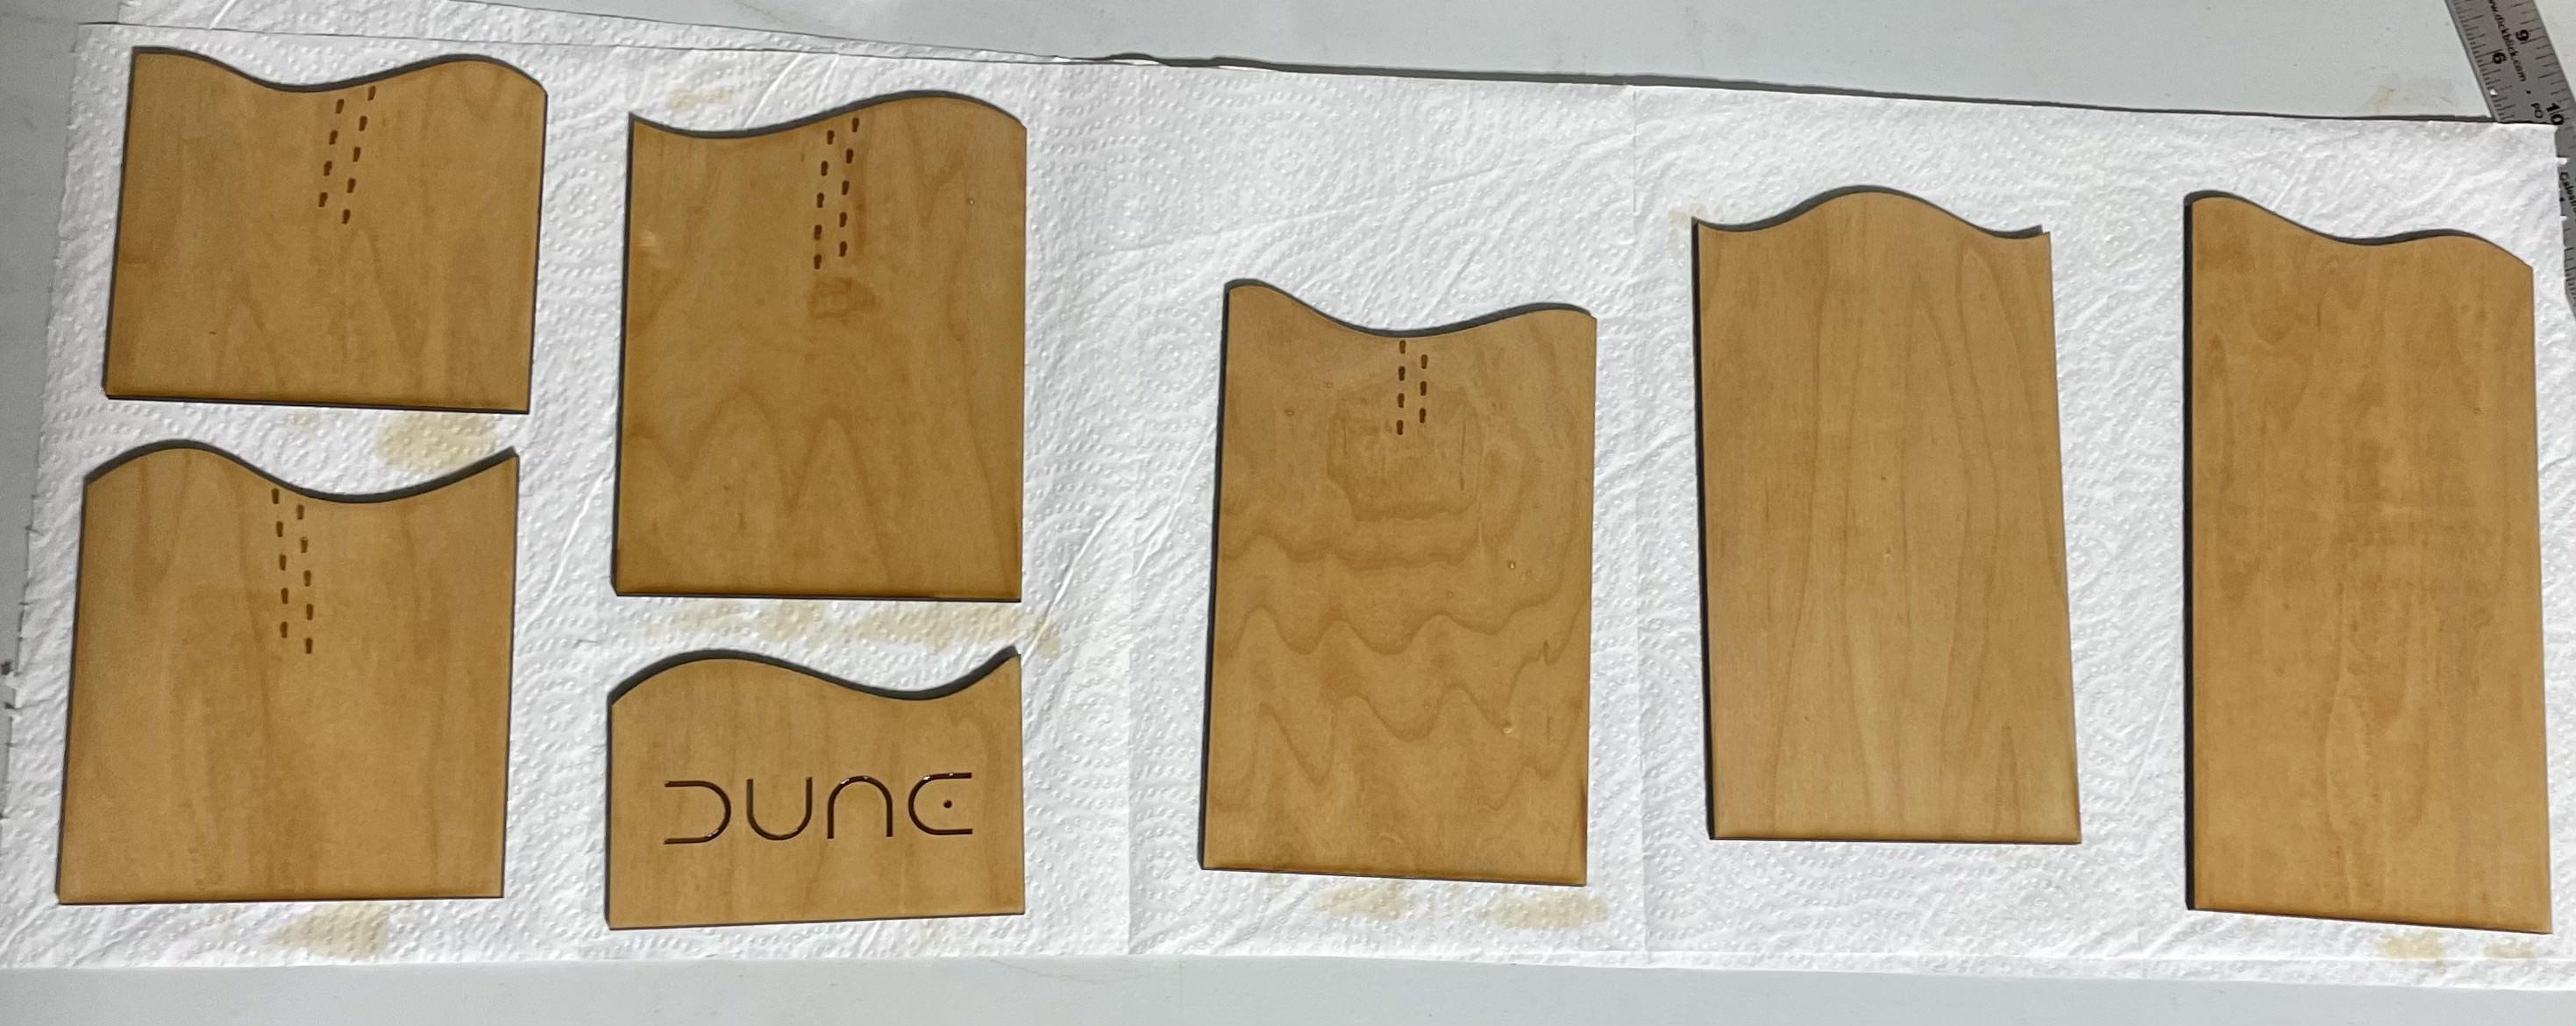
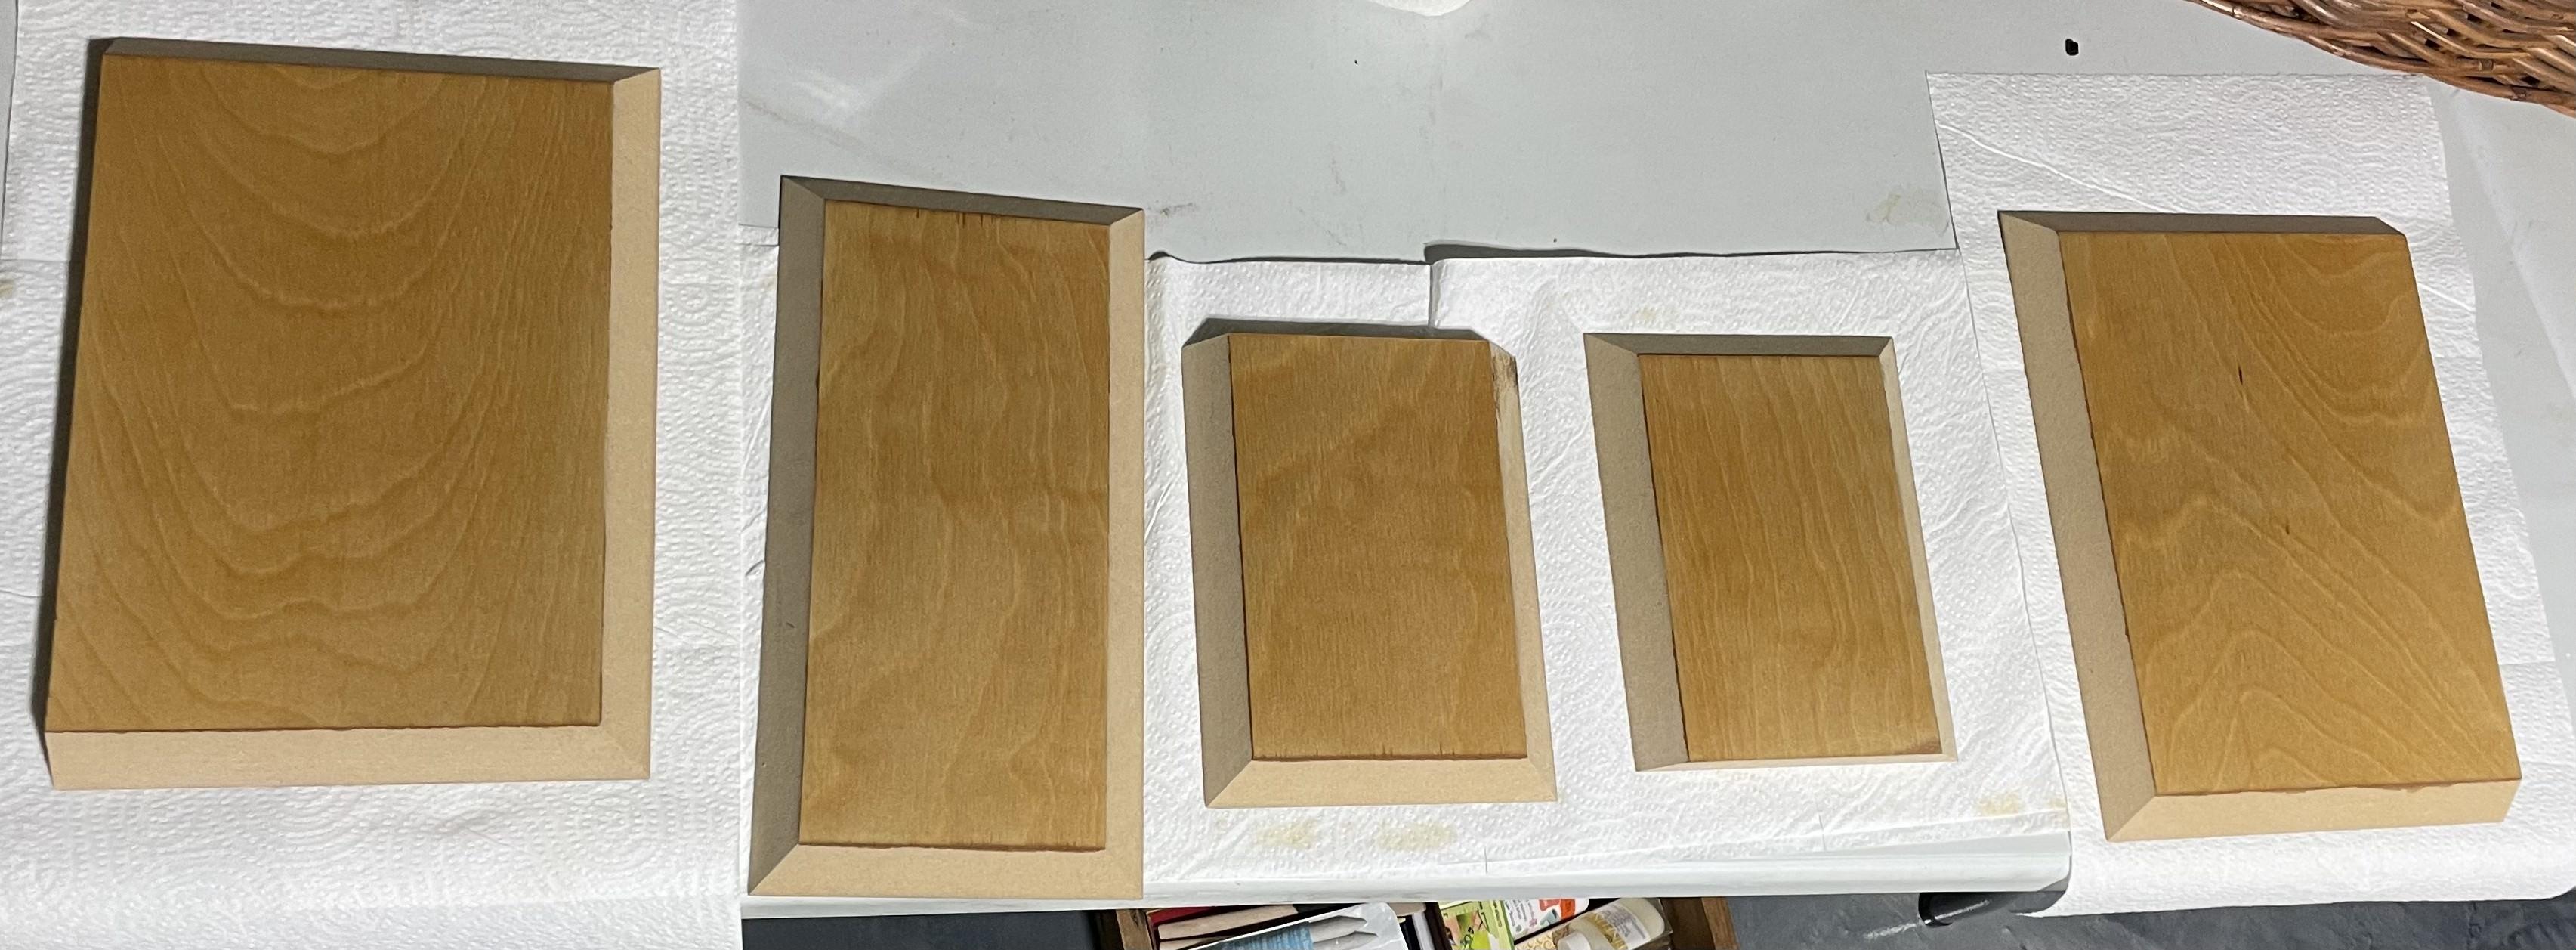
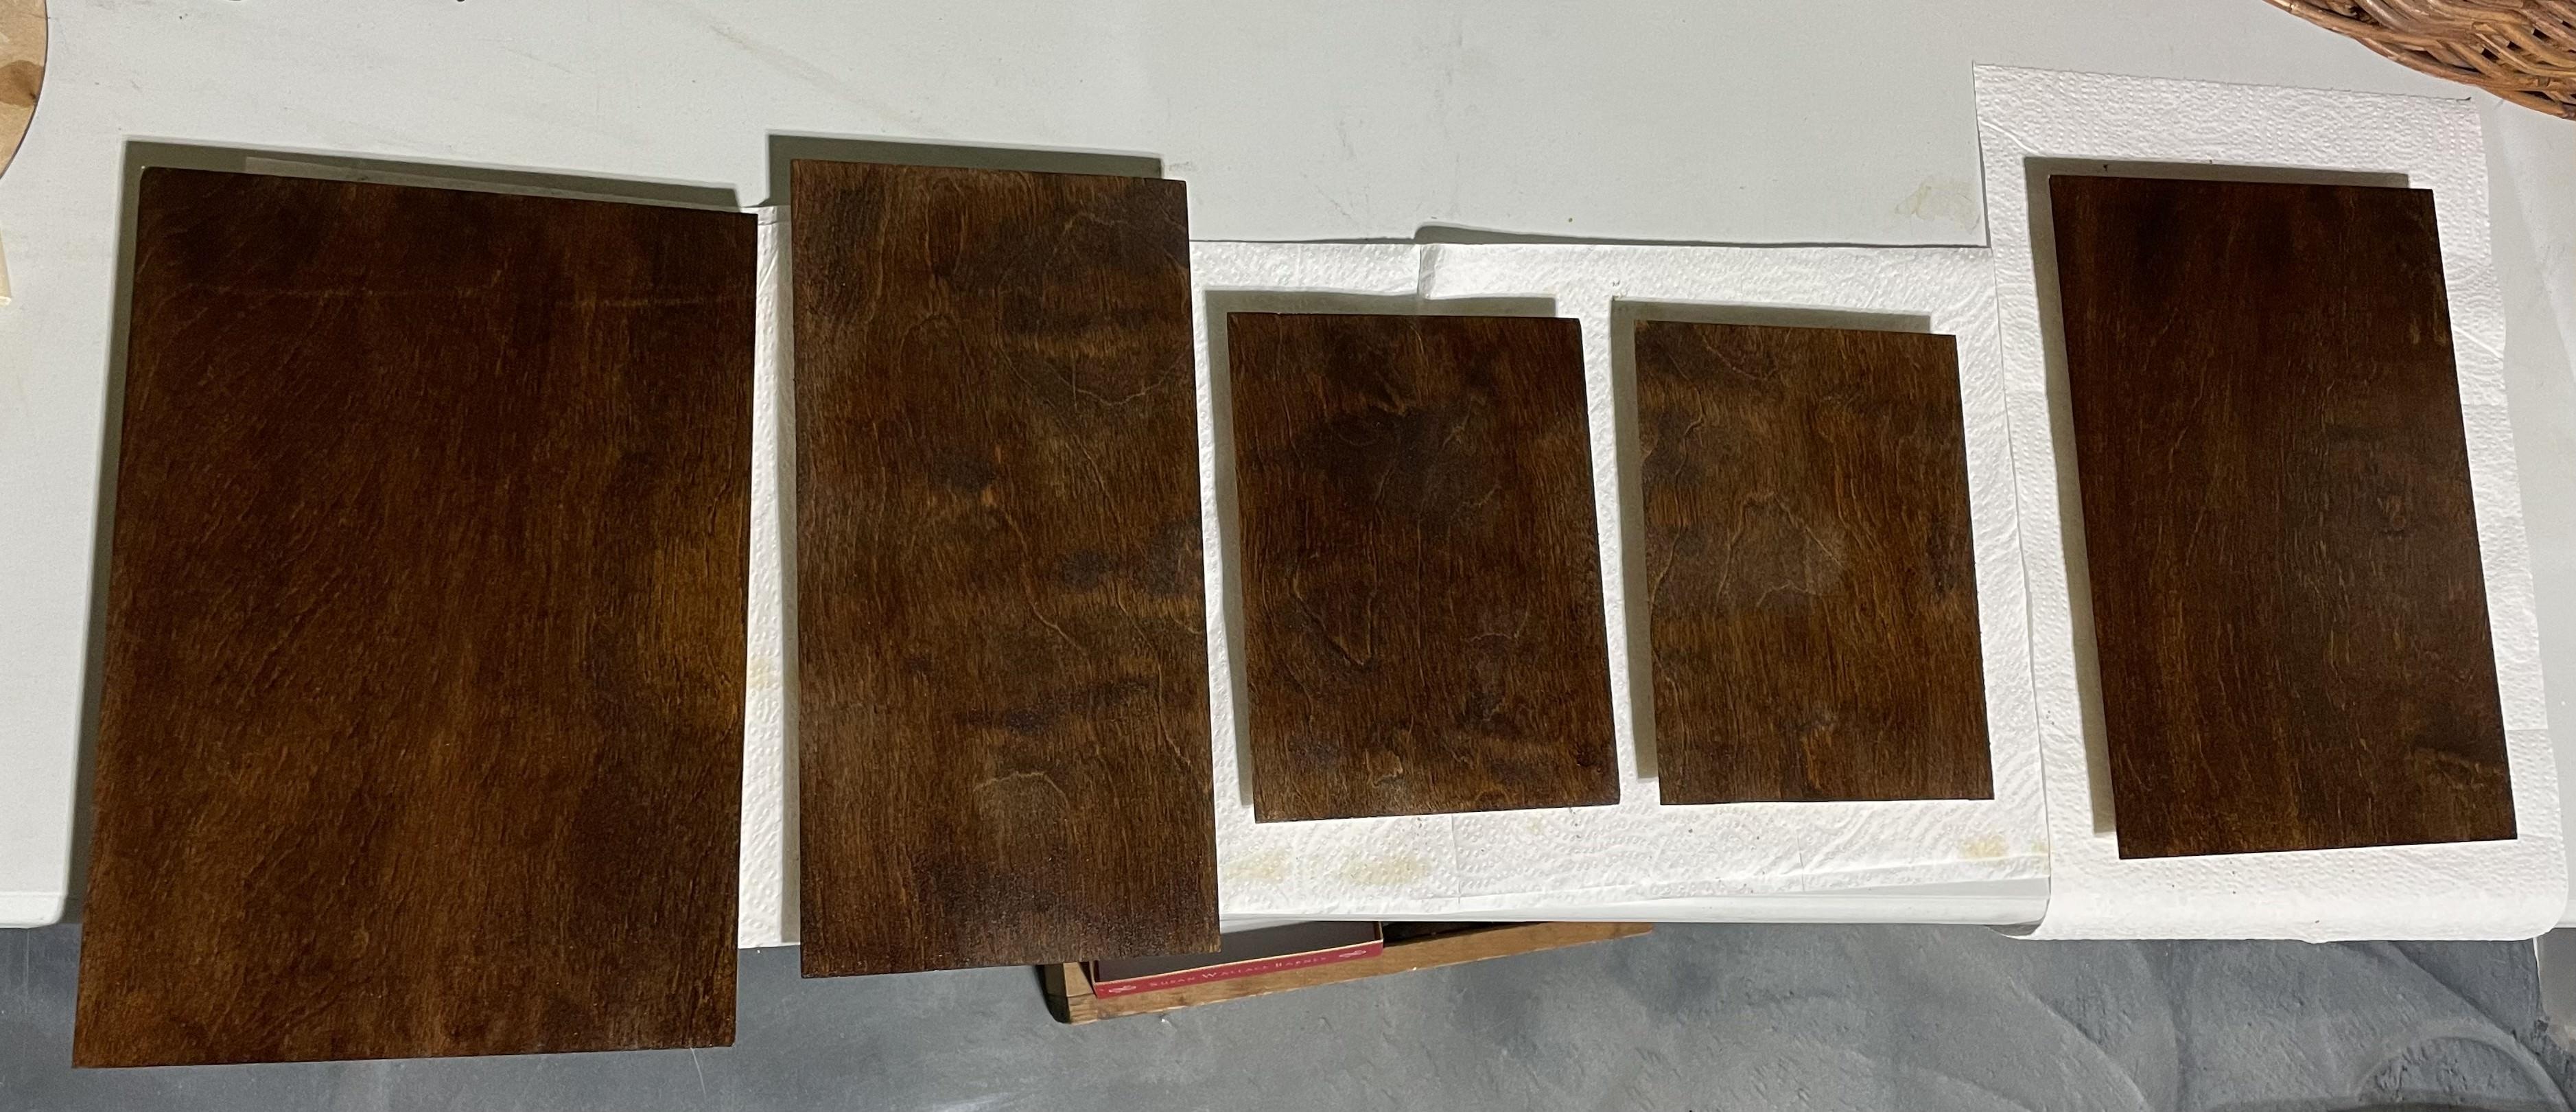
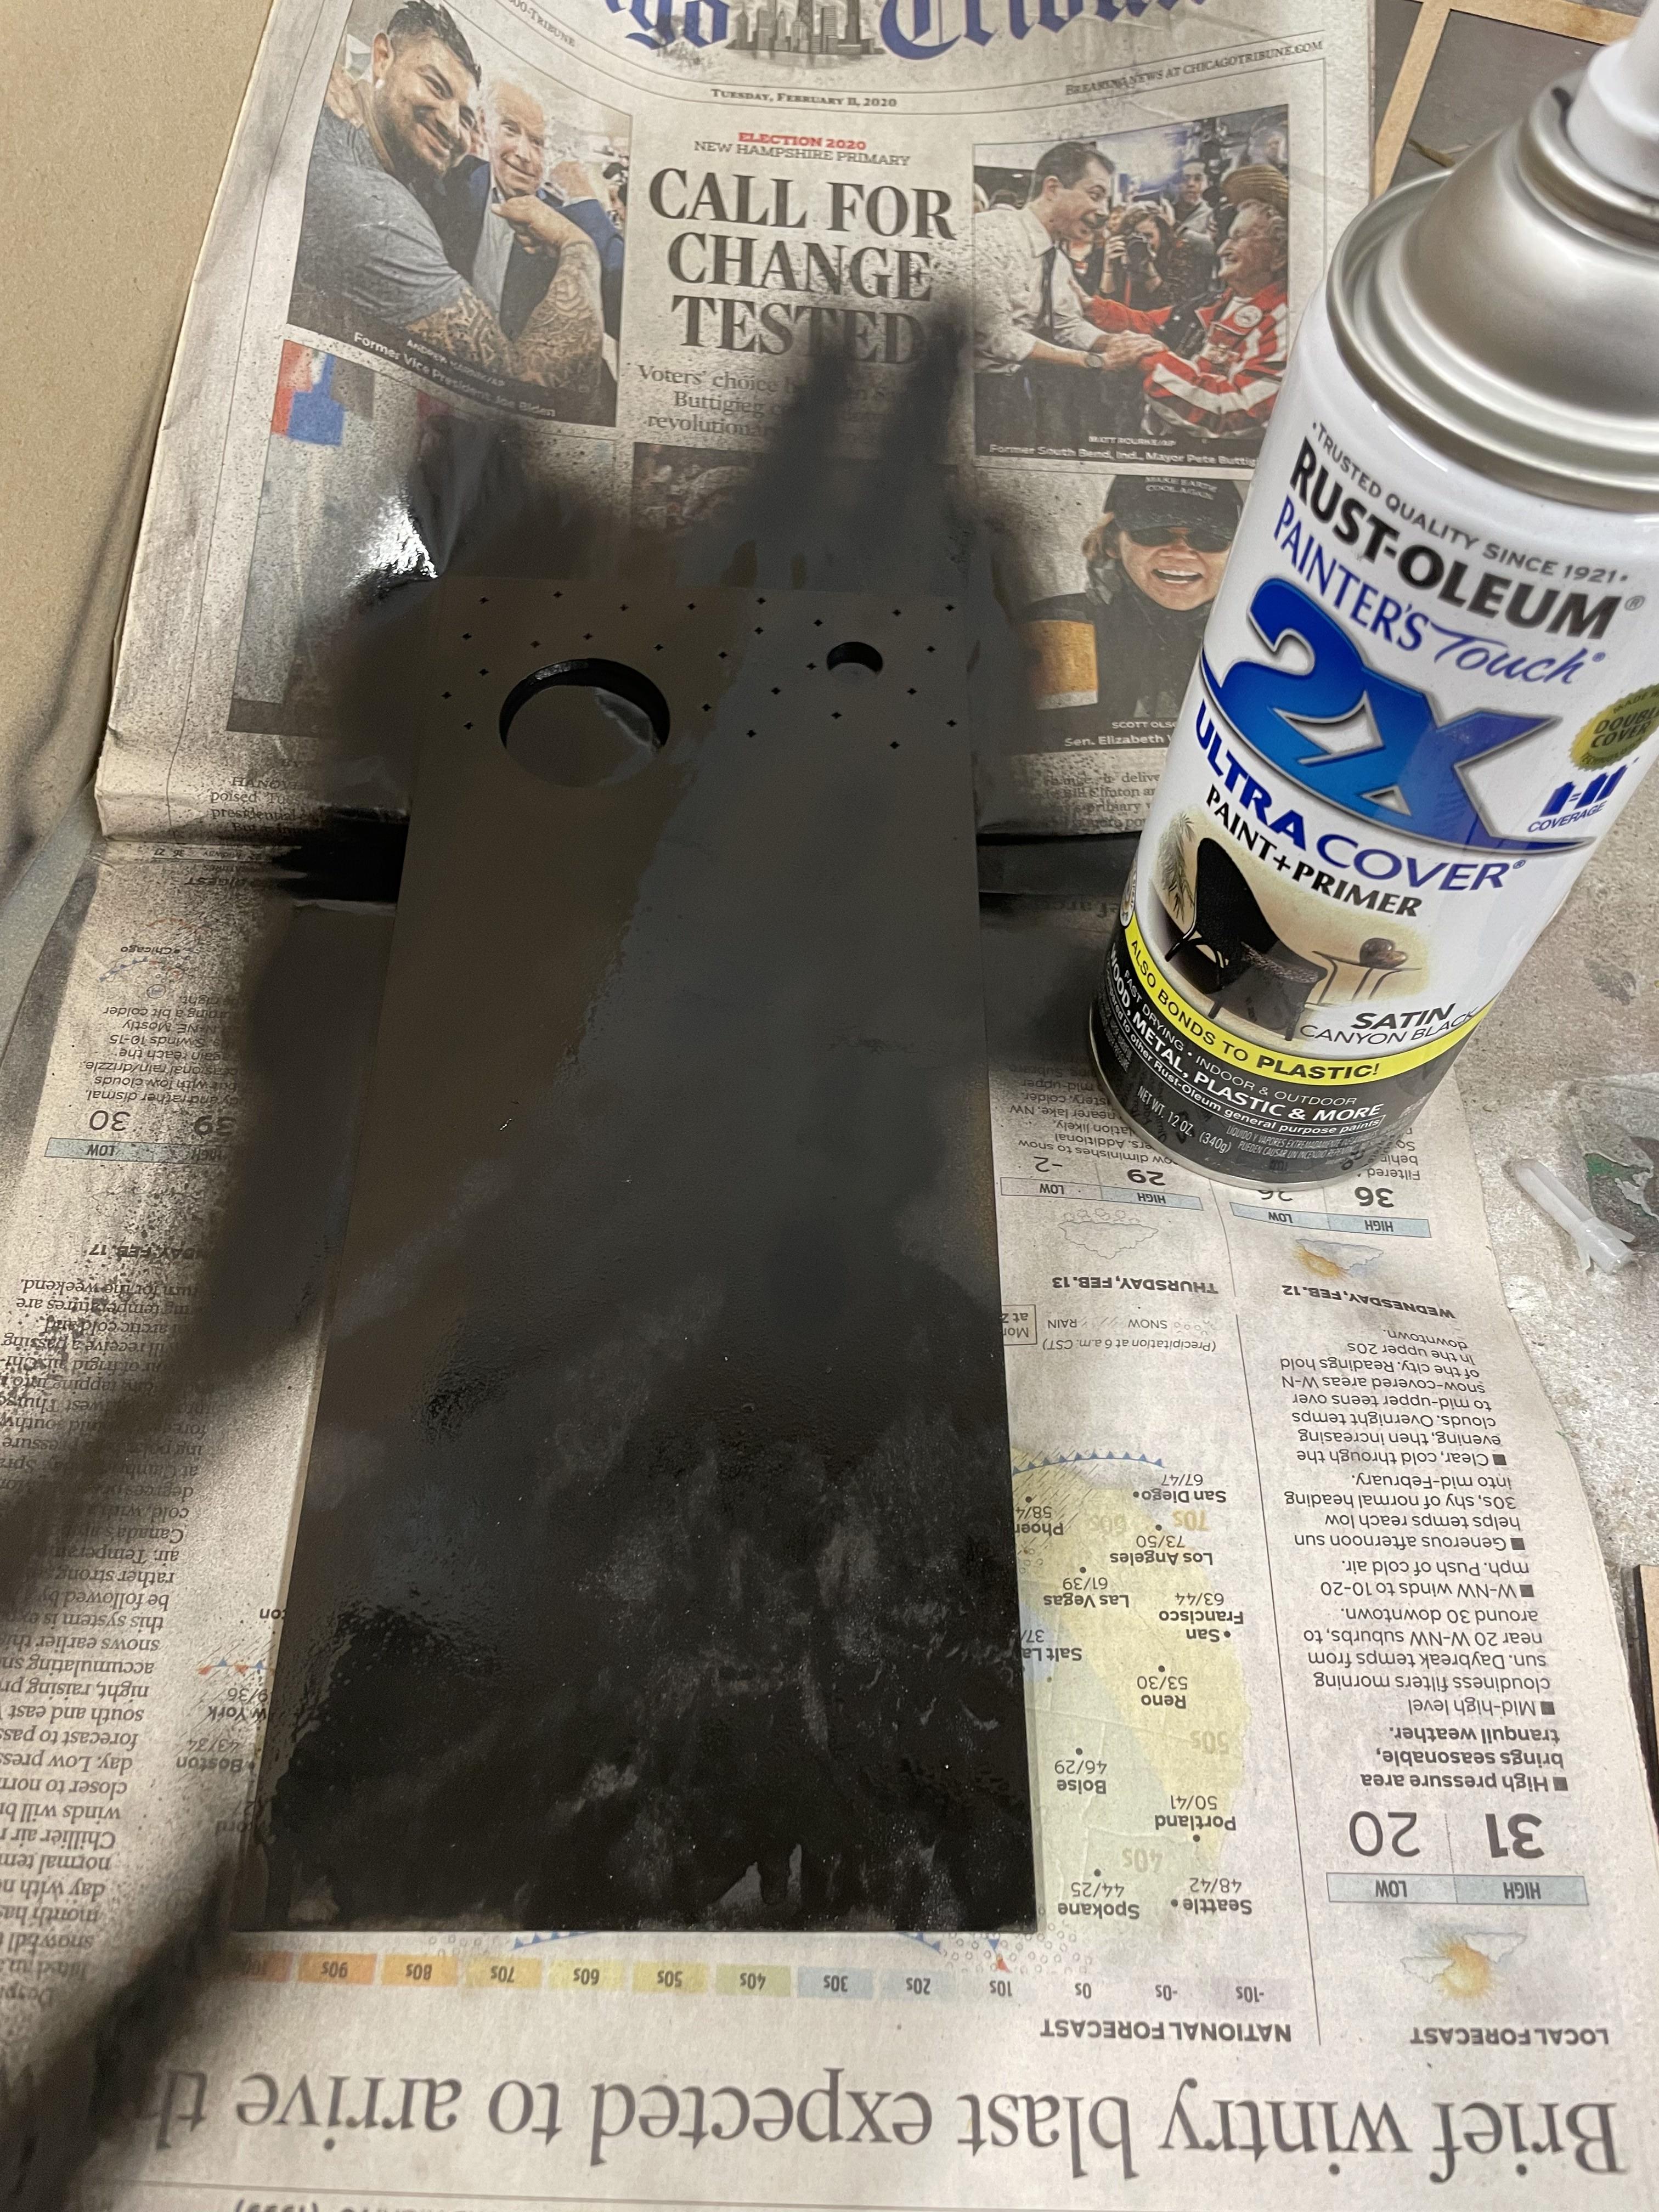
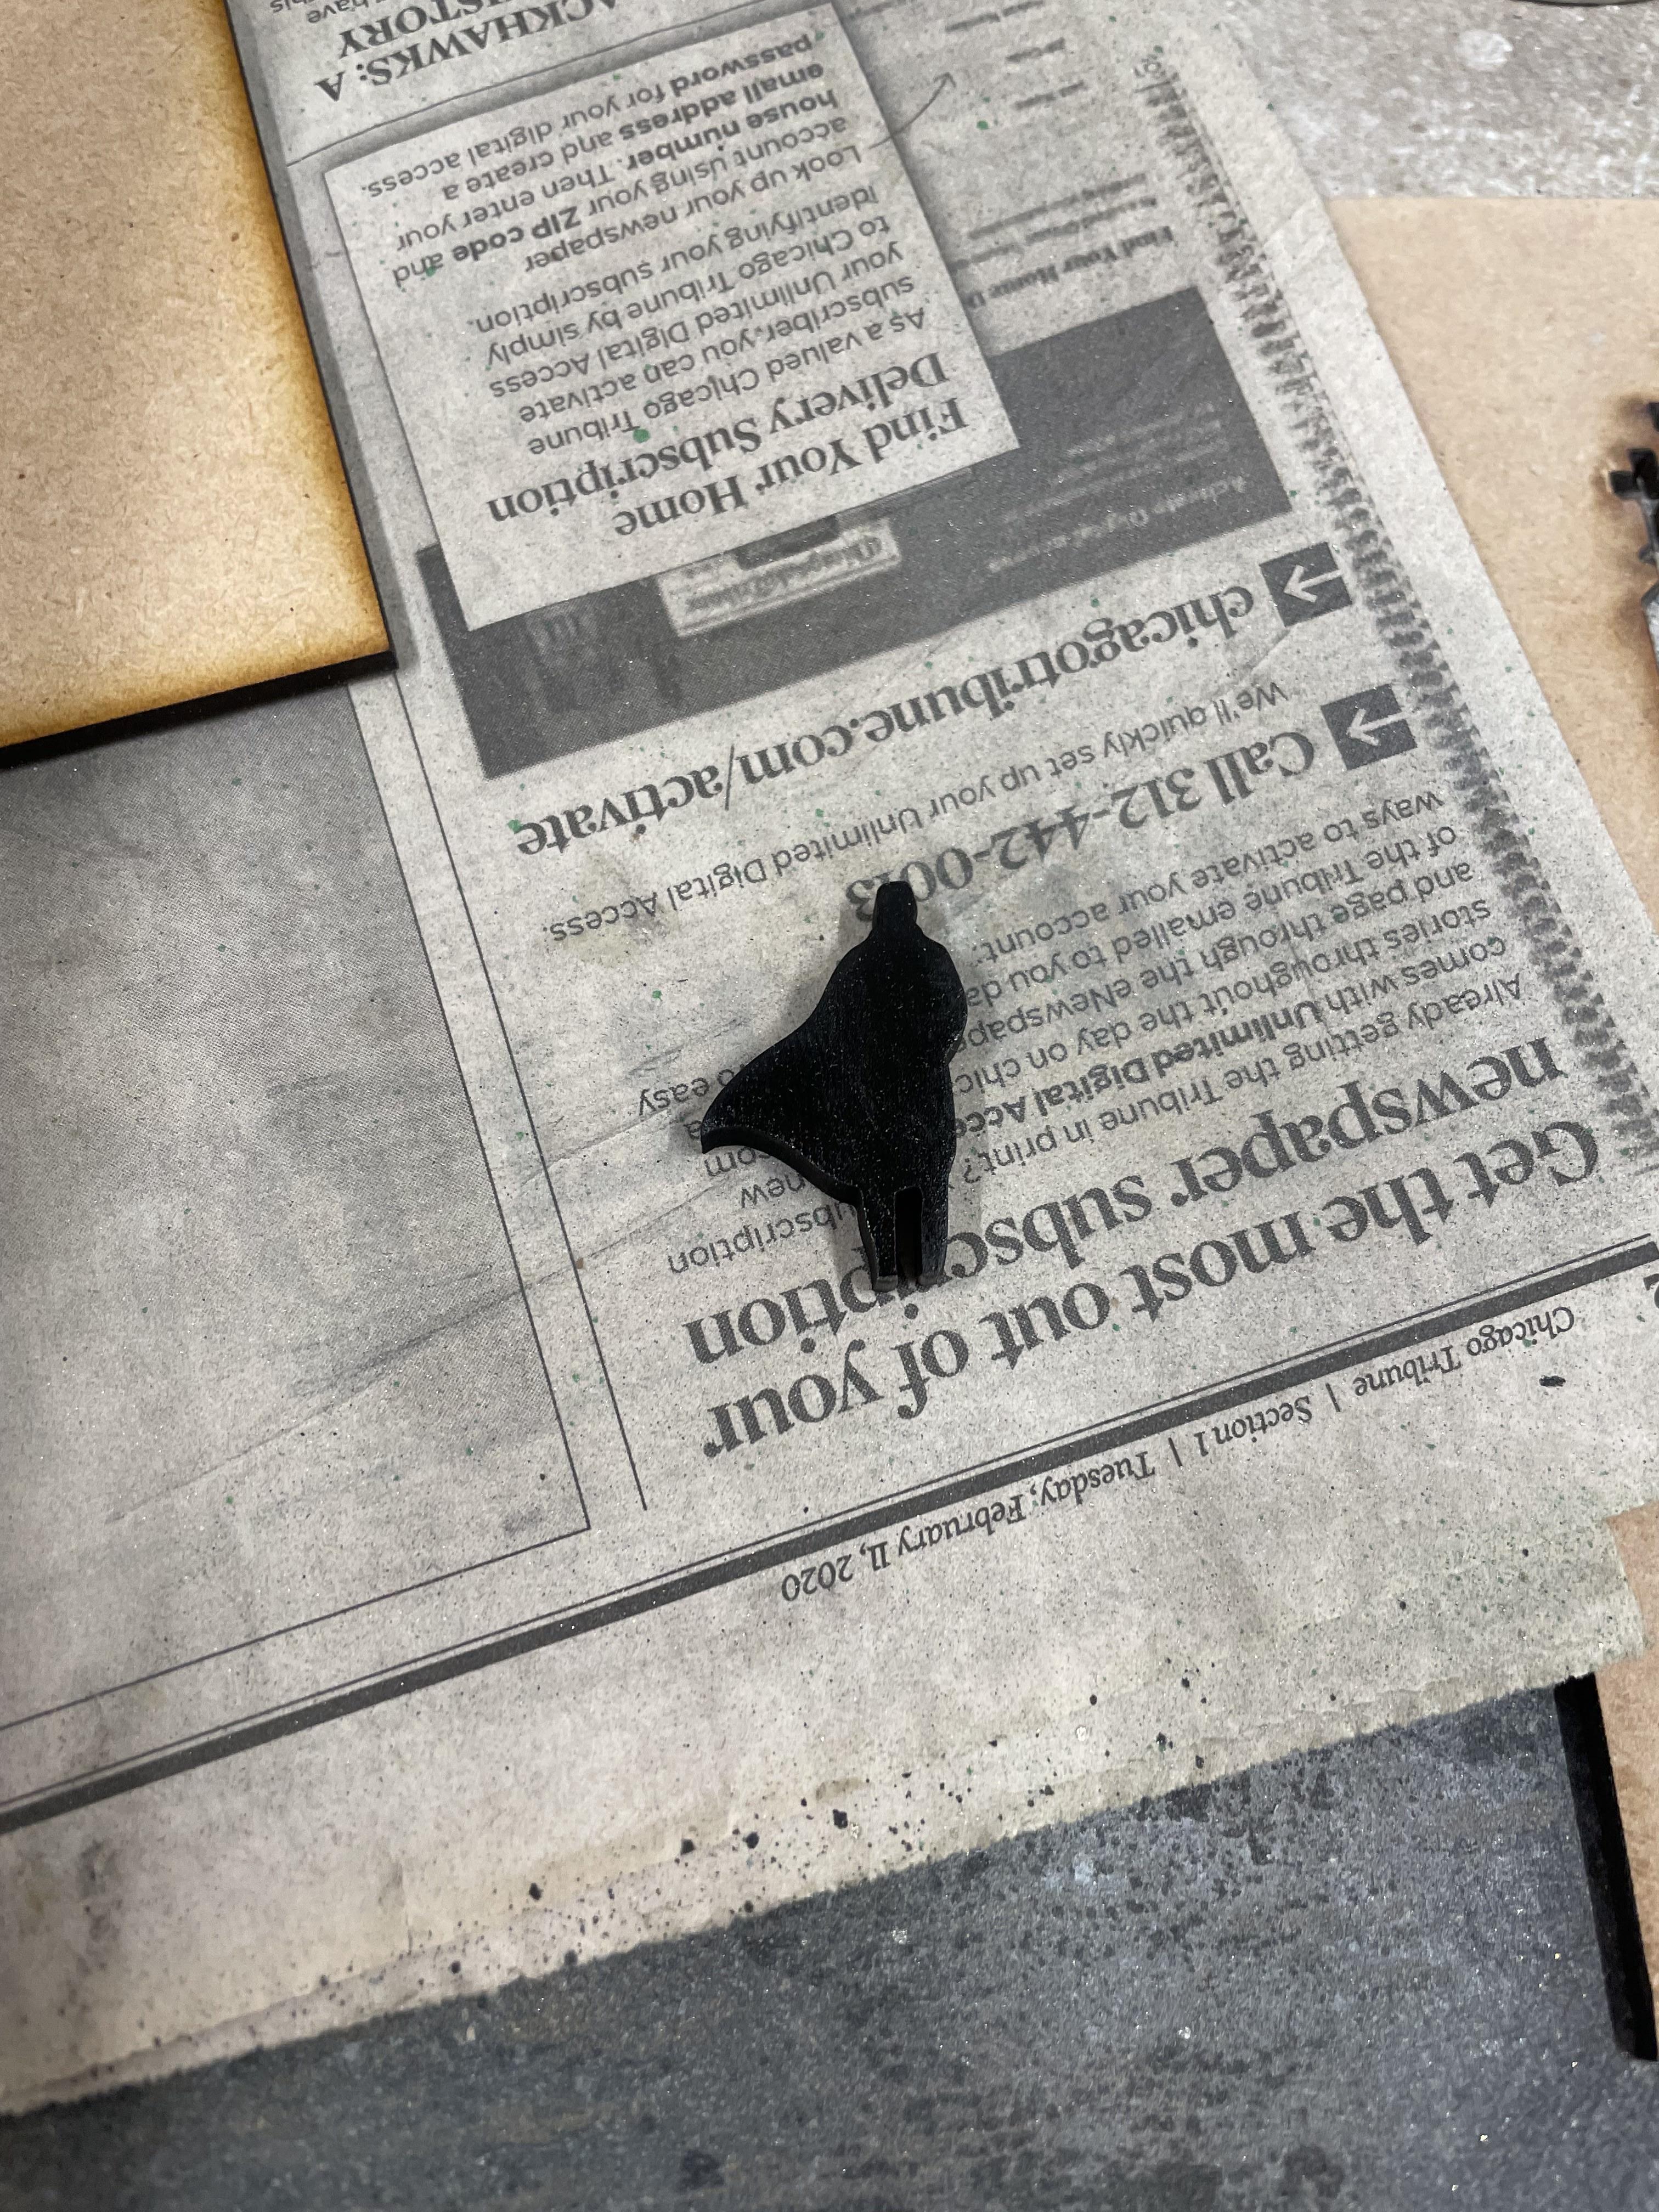
With the pieces cut out, we now need them to look like sand. I used Golden Pecan and Dark Walnut stains. Use a paint sponge to layer the Golden Pecan stain on each dune piece. Do the same for the inside face of each 3/4" box side. Then make a layer of the Dark Walnut stain on the outsides of each 3/4" box side and on the front edges. While those dry, spray paint your walking Fremen and the space background with any black spray paint.
Glue Box Together
The next step is to finally put the box together. You will need some super glue or wood glue. I would use super glue because it dries faster but wood glue also works.
Follow these steps to assemble the box:
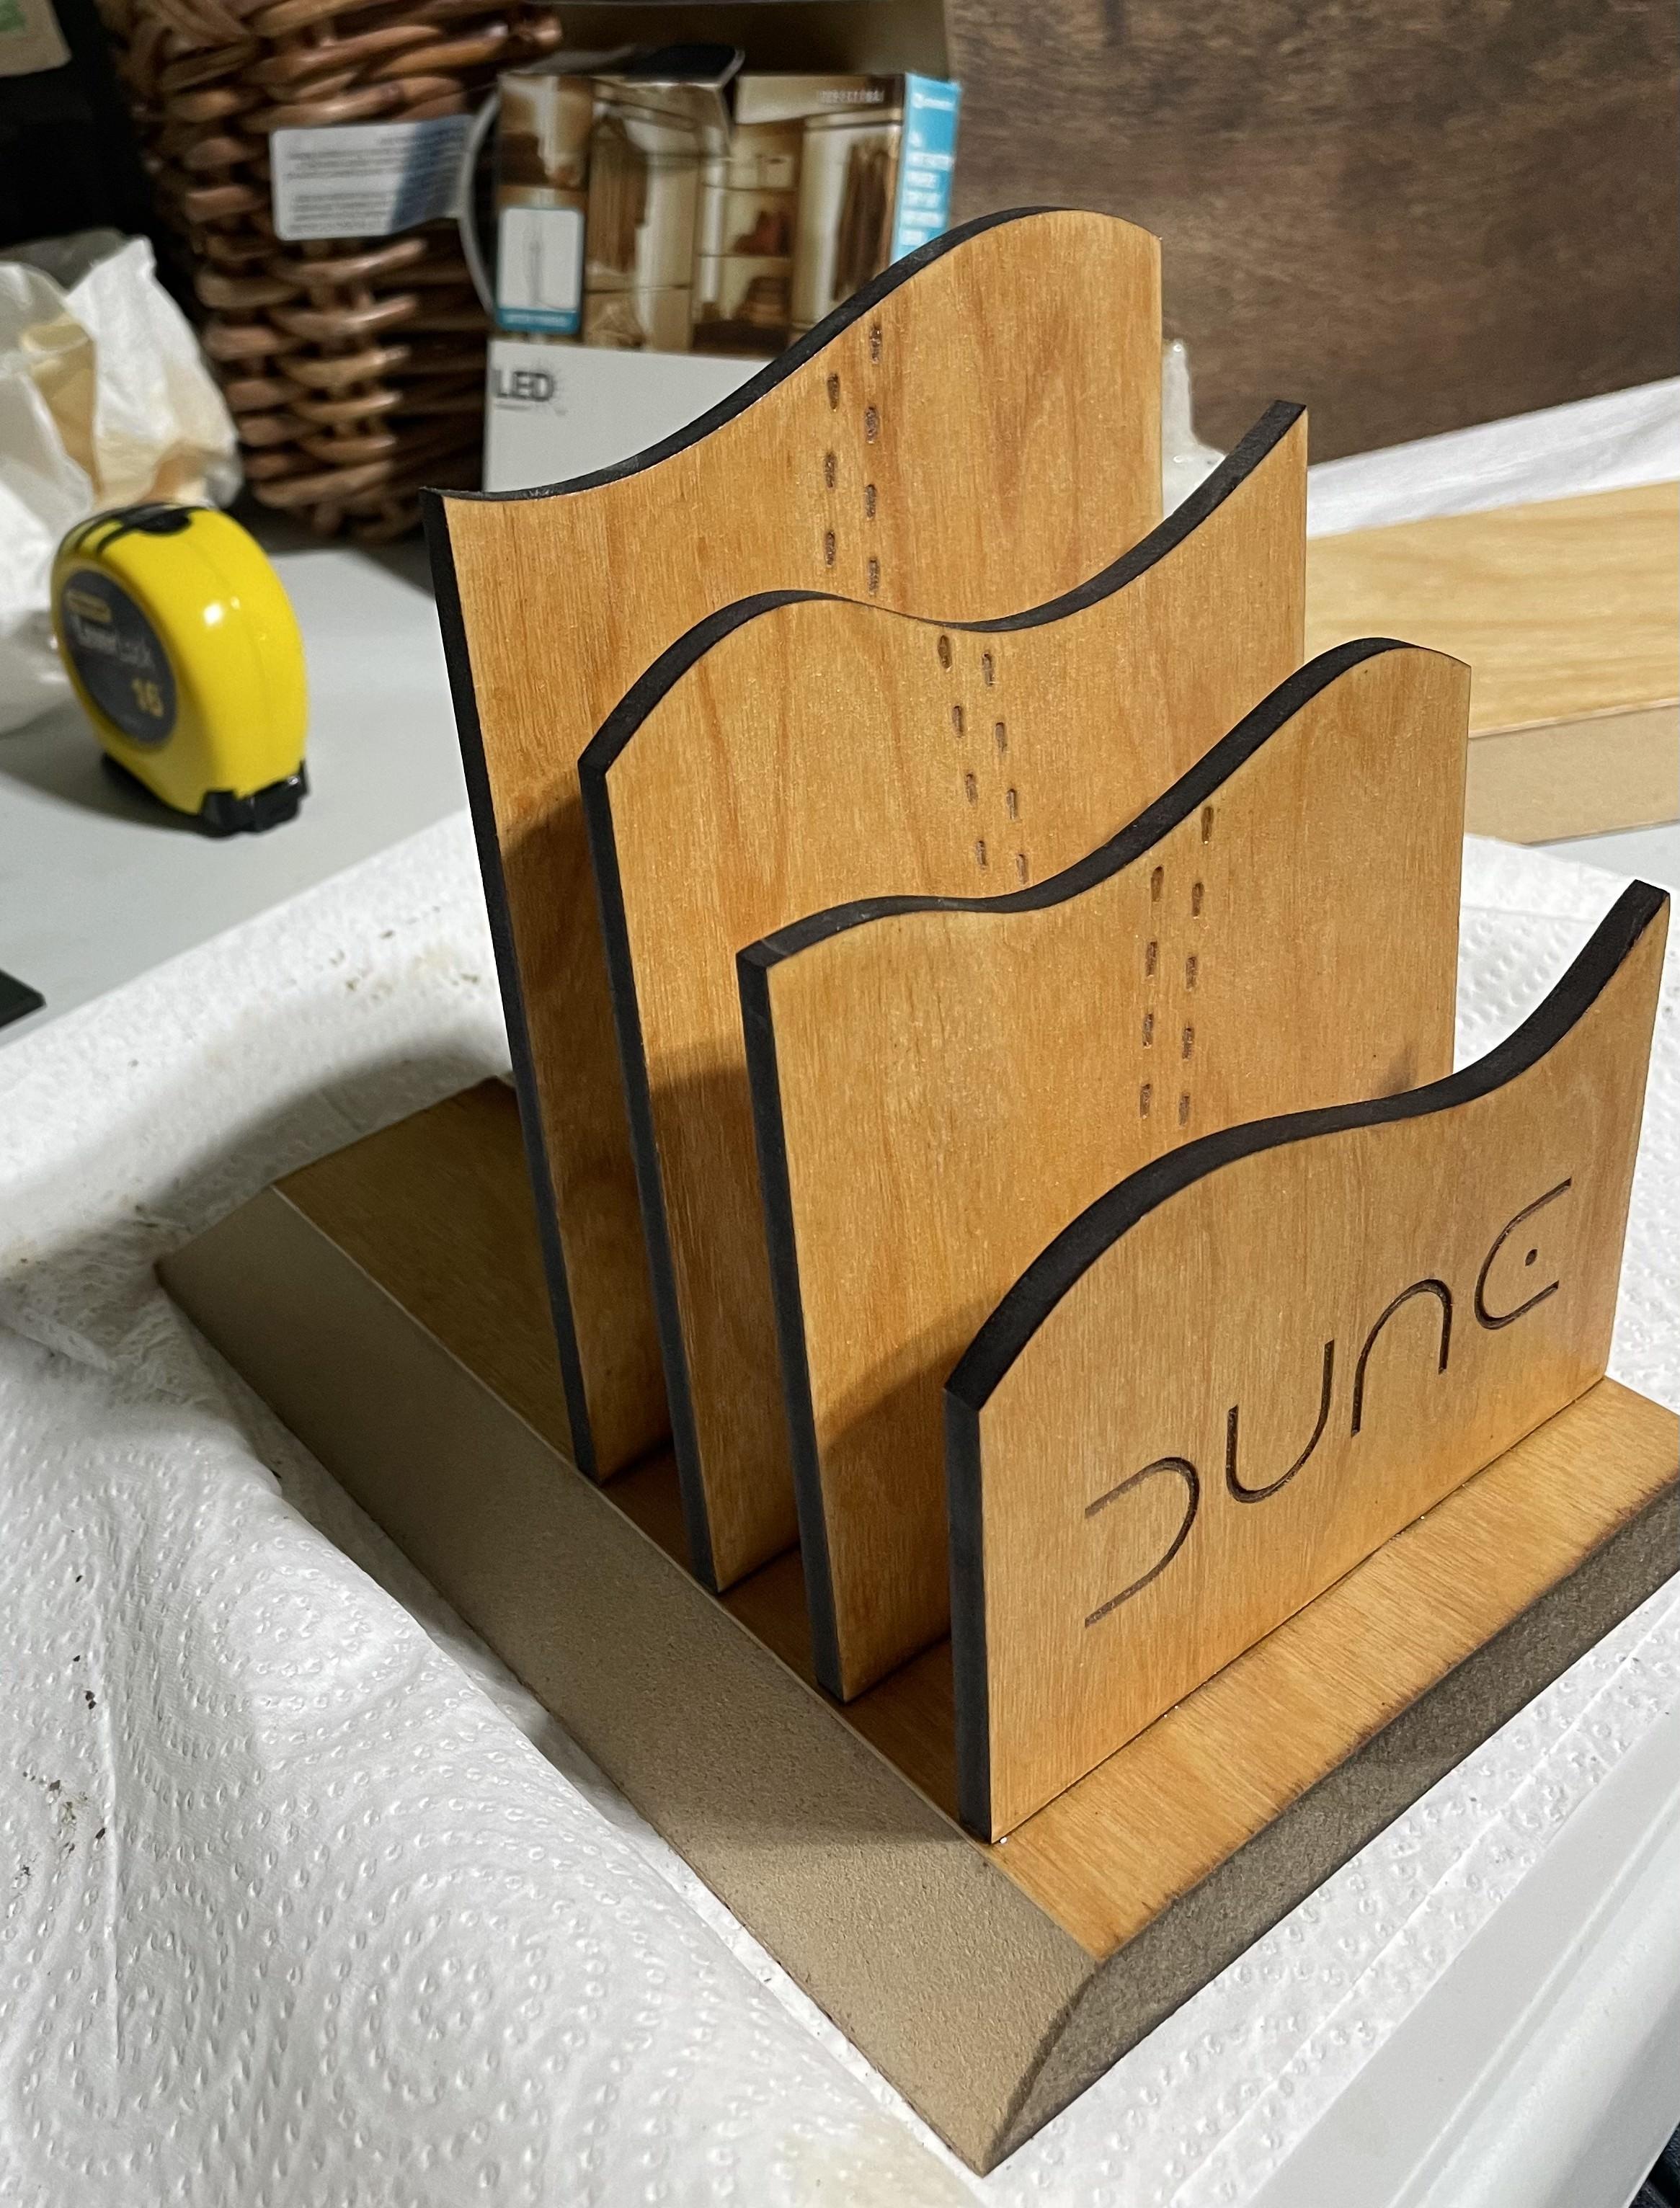
- Glue the walking Fremen figure to the 5th dune.
- Line up and glue each dune section with an equal spacing between them. Make sure that they are lined up as best as possible with the base so they wont block when gluing the sides
- Install your LED strip by sliding it under each dune. I looped the LED strip up into each section to make the light even in each section.
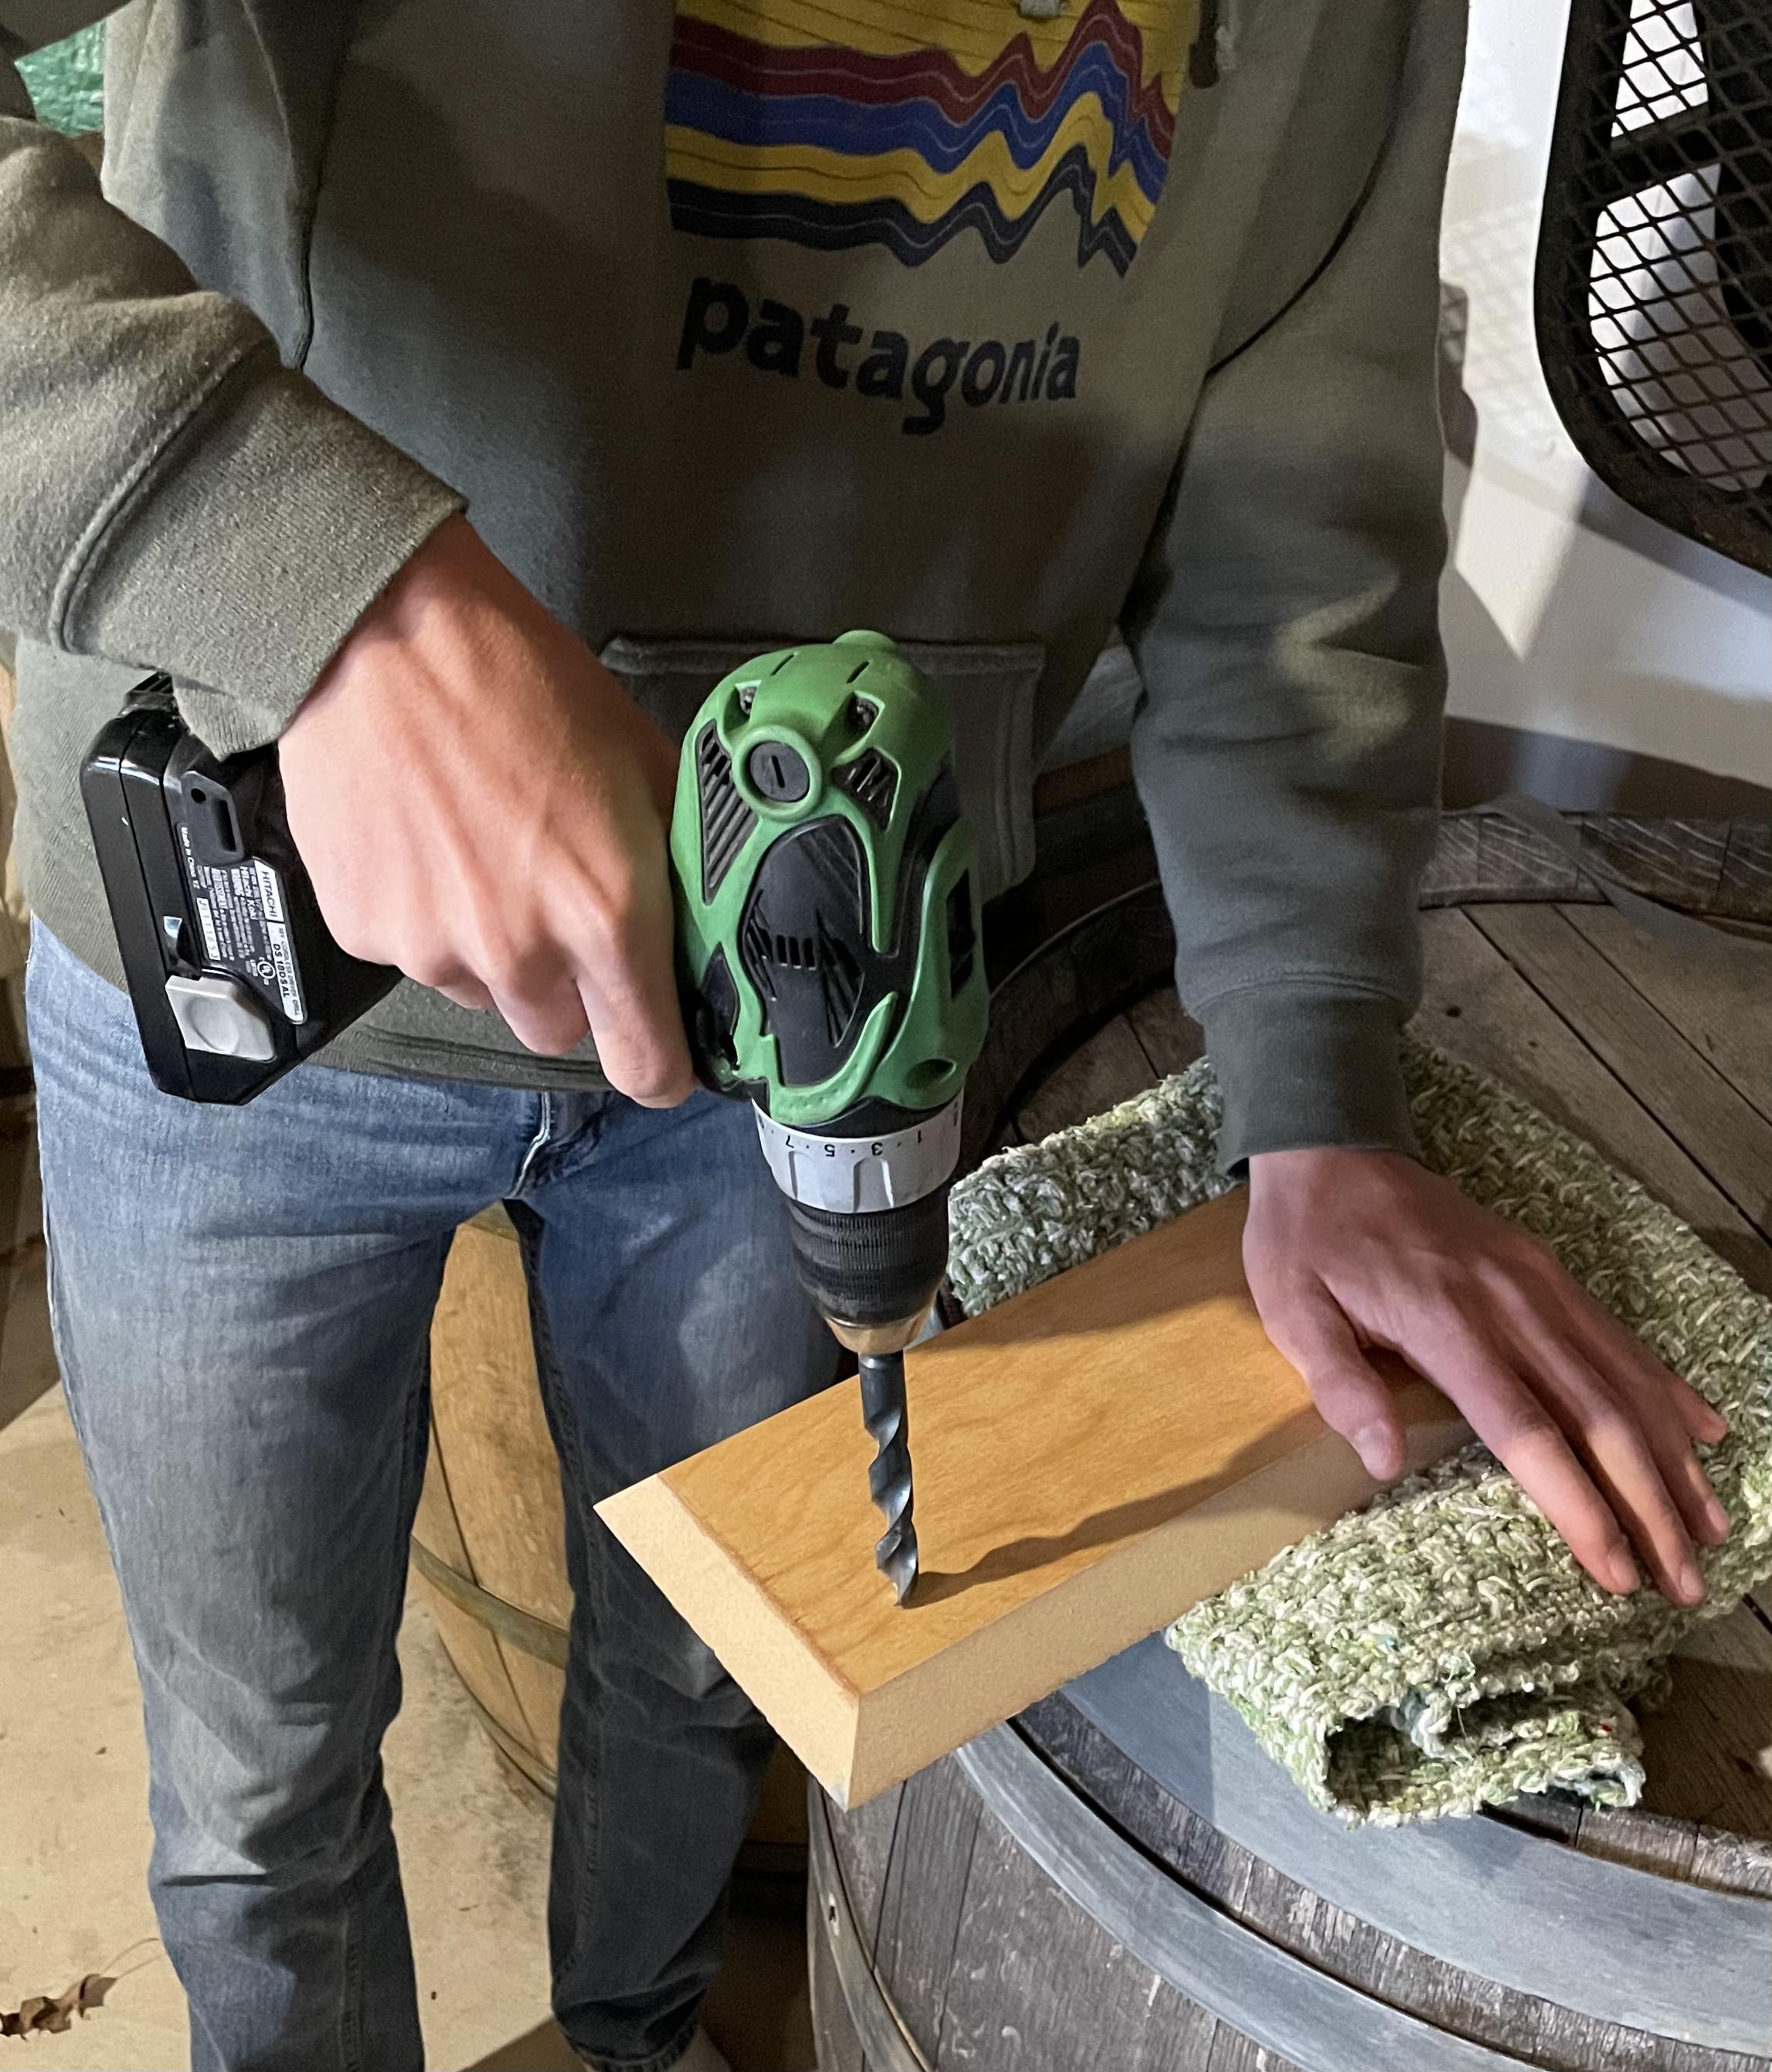
- Drill a hole in the bottom of the back box side. This is where the LED strip will lead out of the box and connect to your batteries. I mounted my battery box on the back of the box when I finished gluing.
- Glue each side of your box together making sure that they are in line with the others as best as possible.
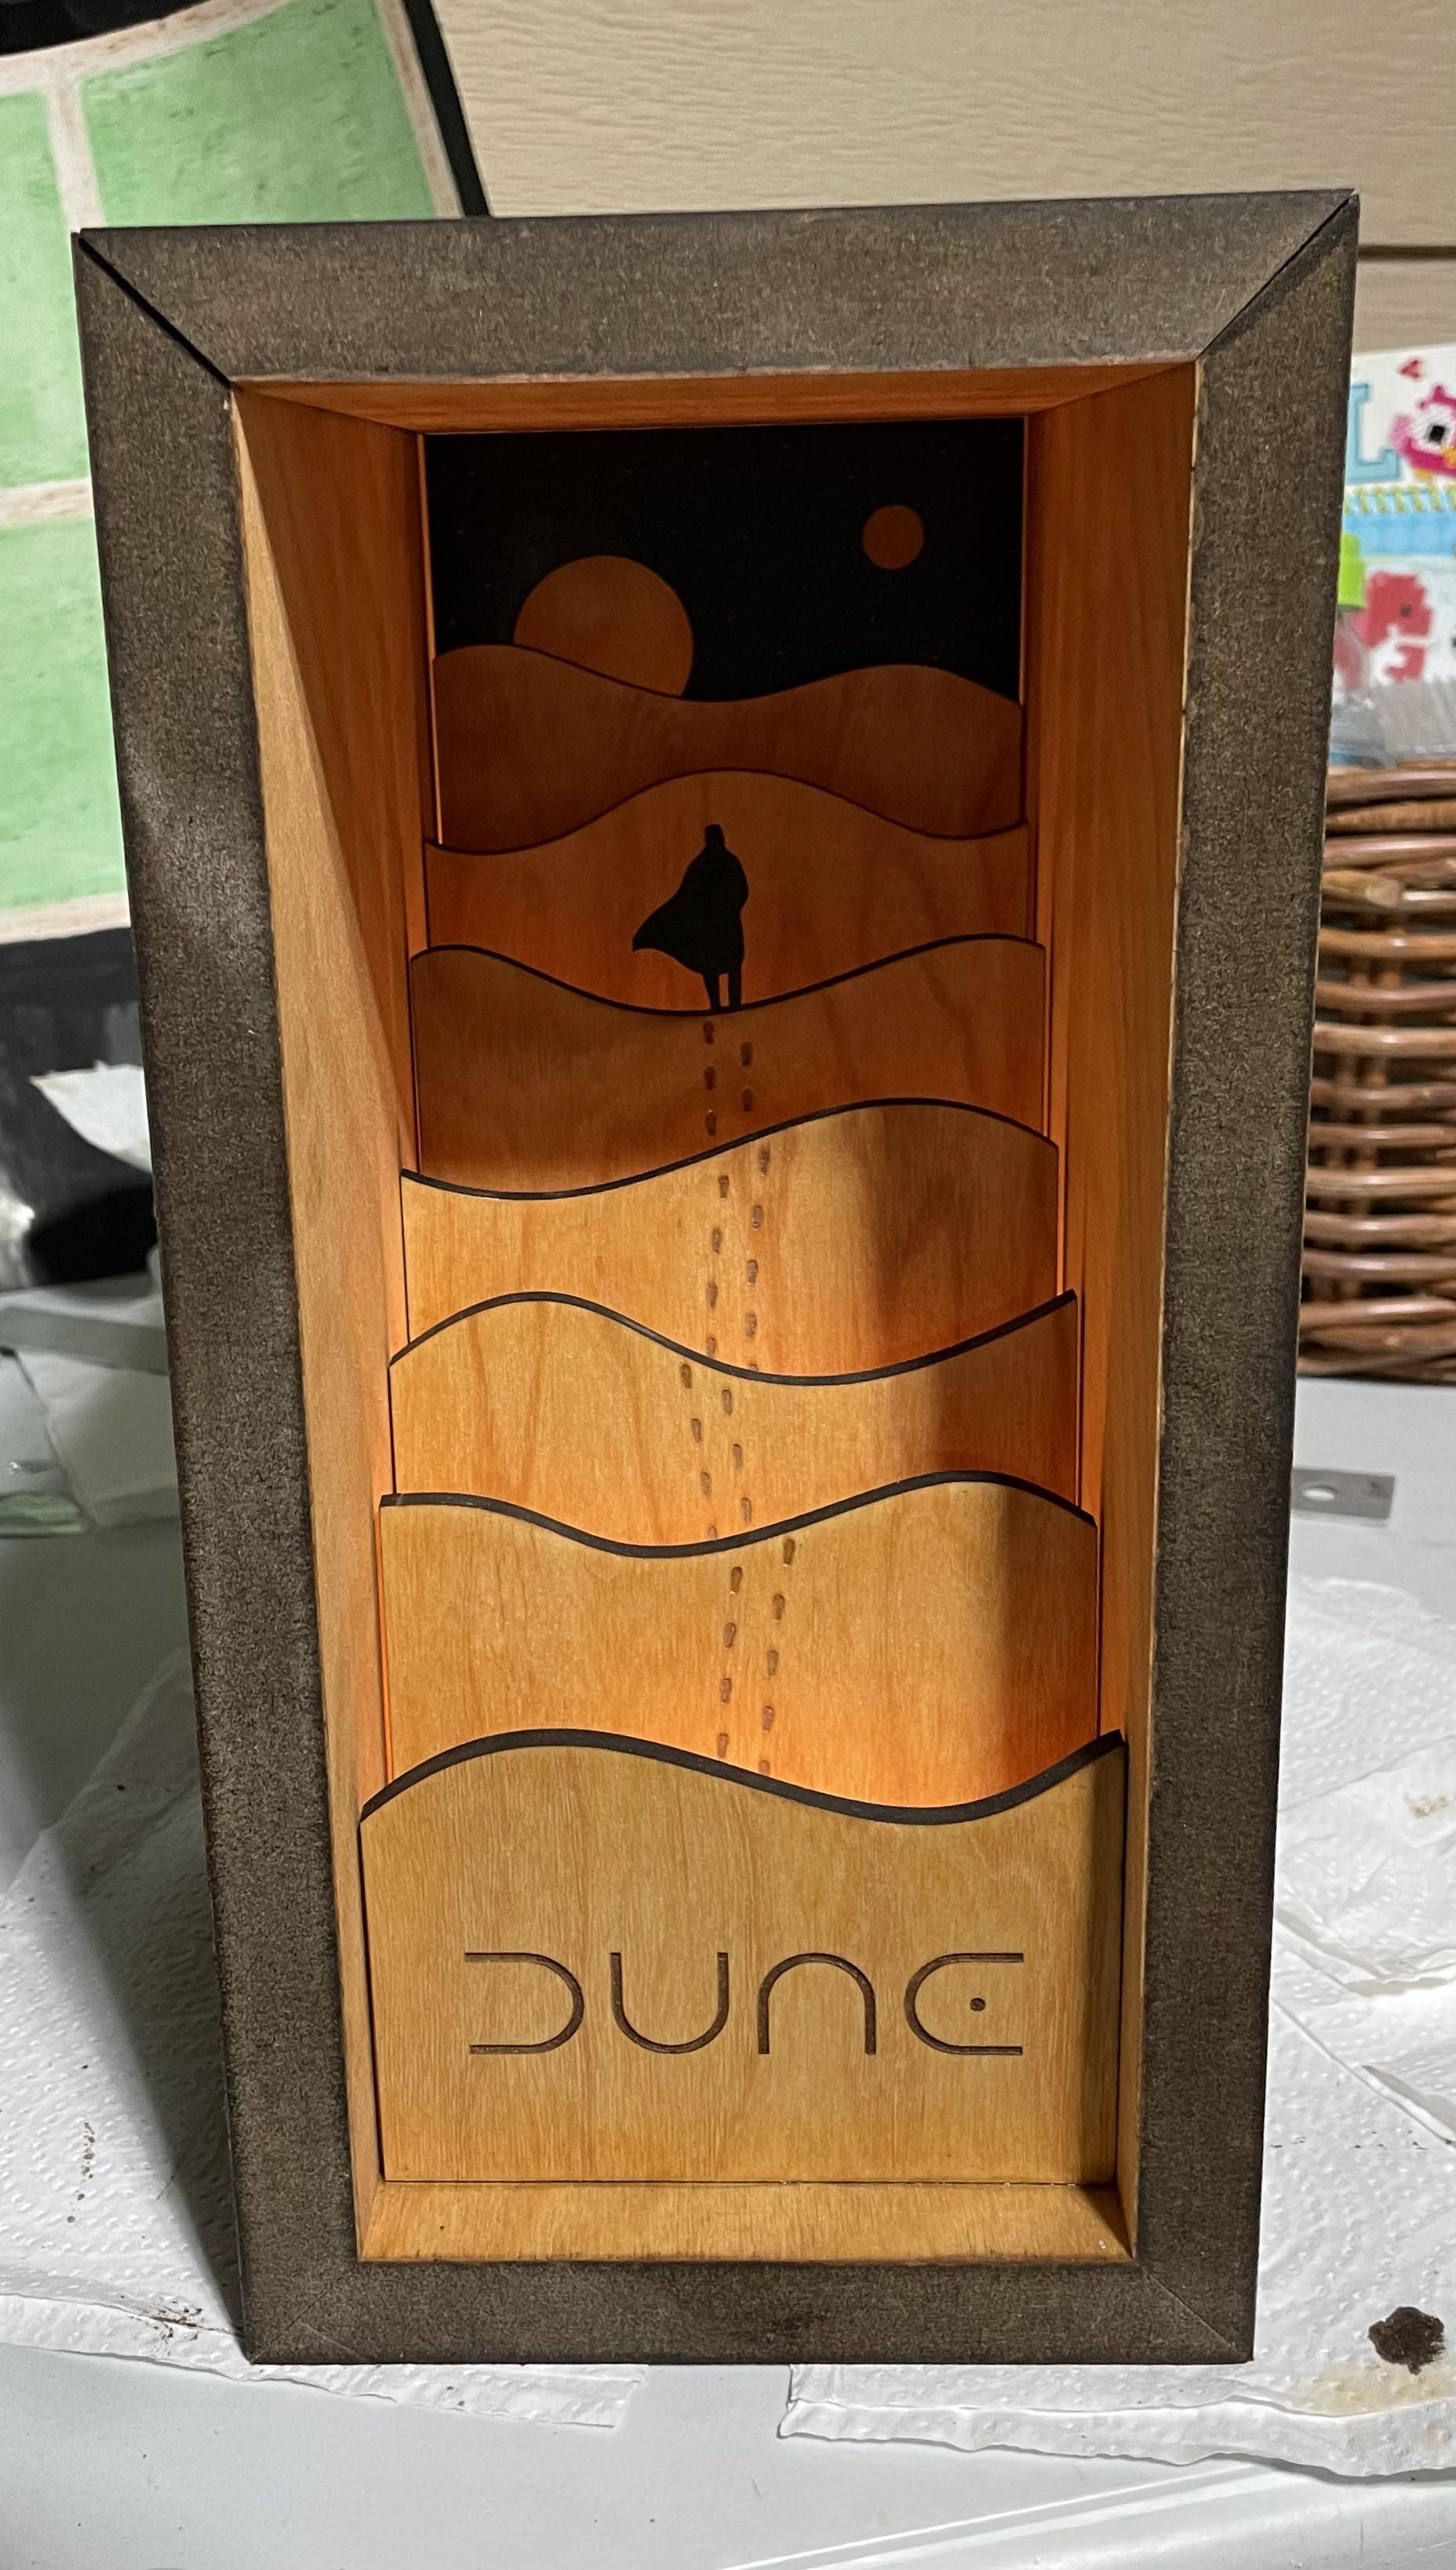
Enjoy Your Creation!
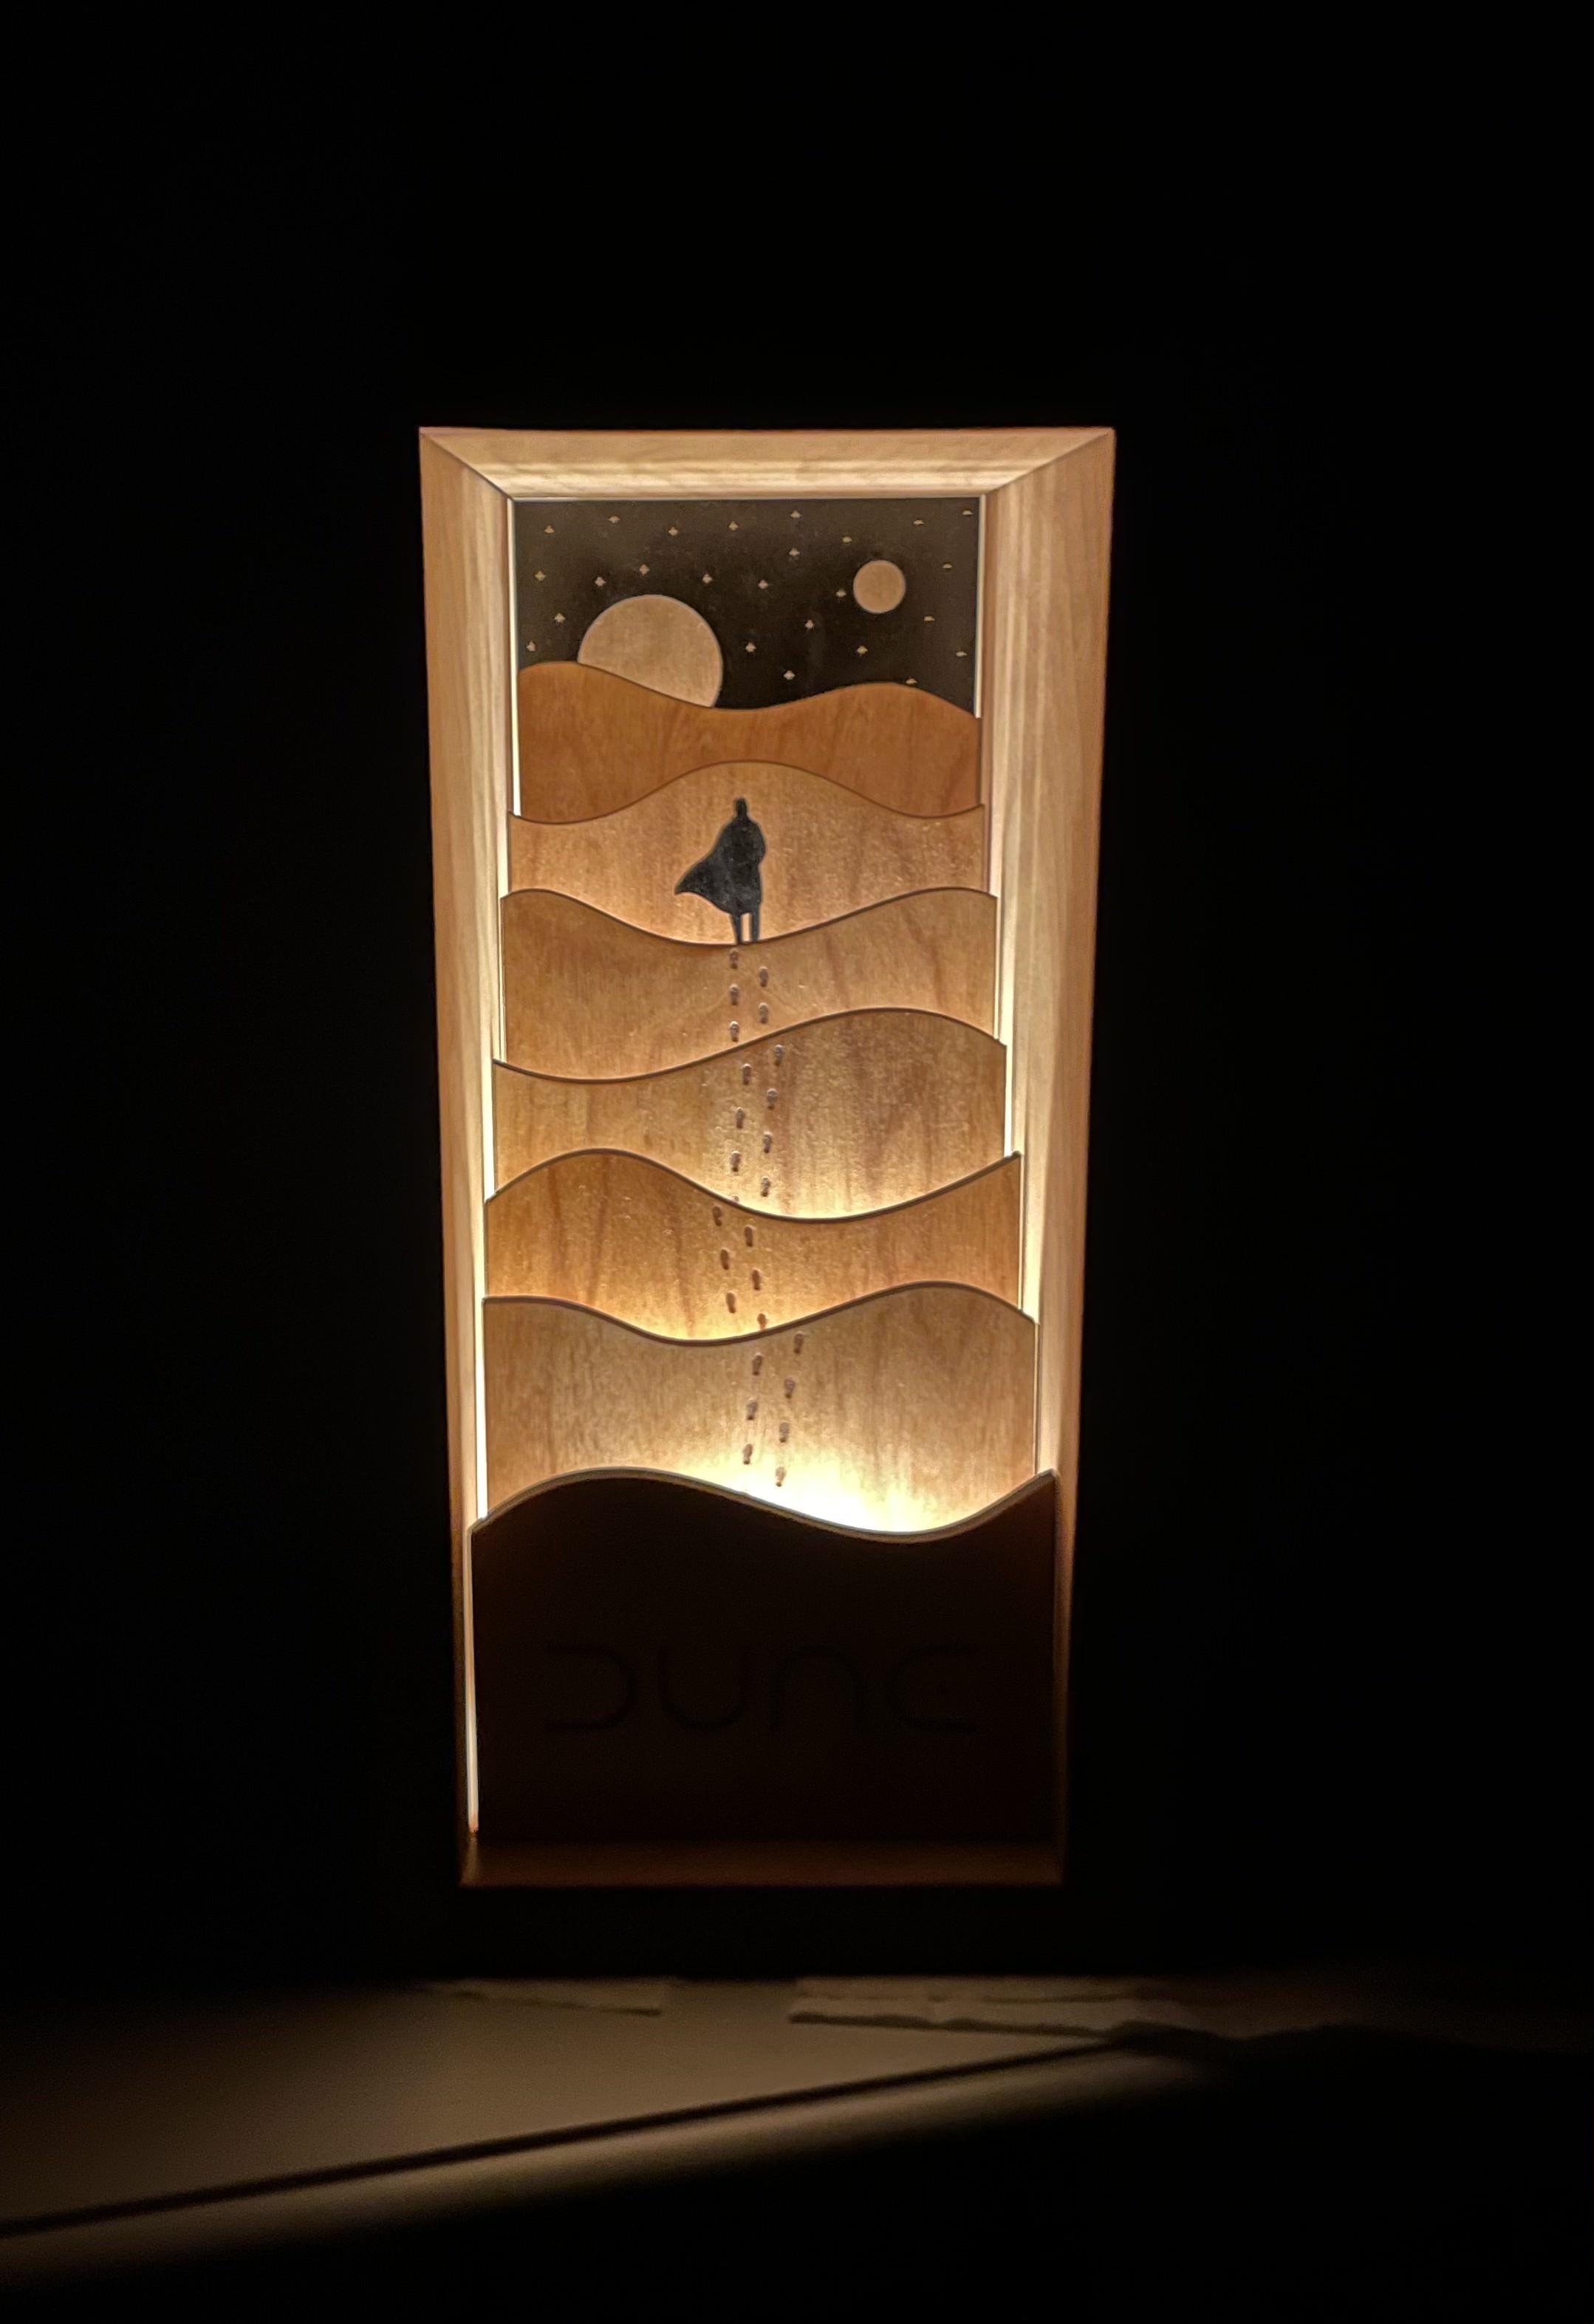
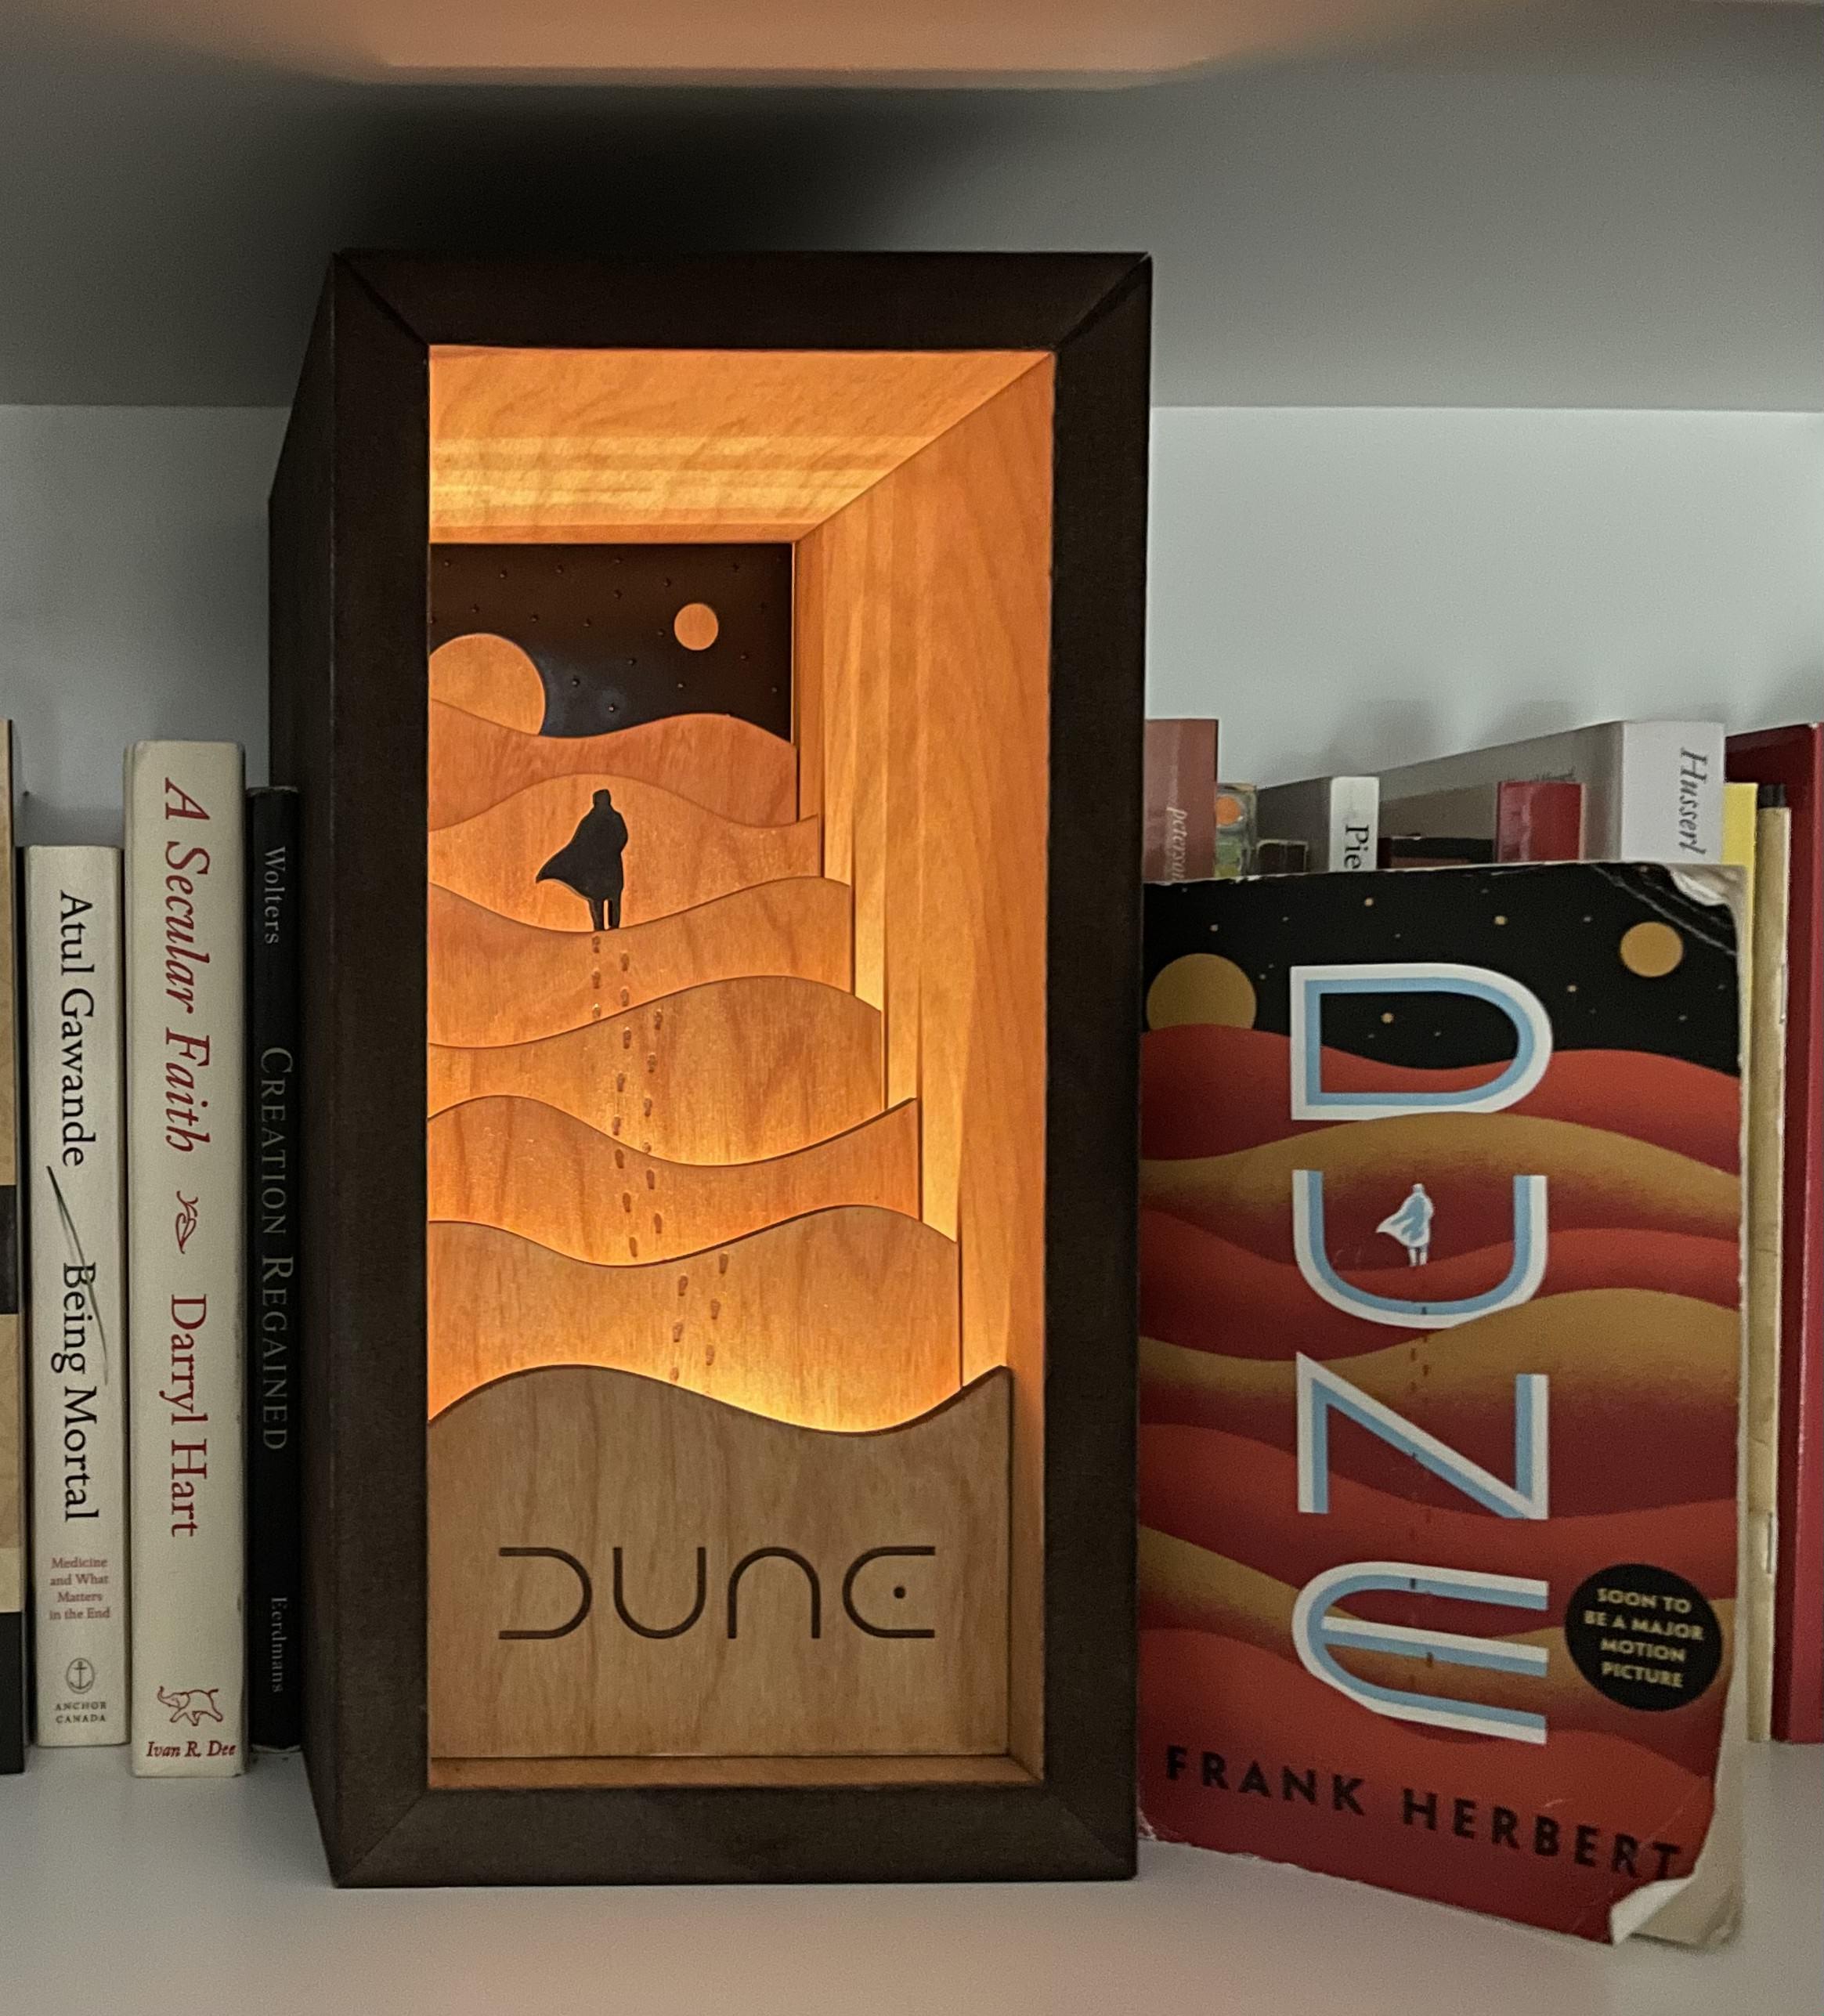
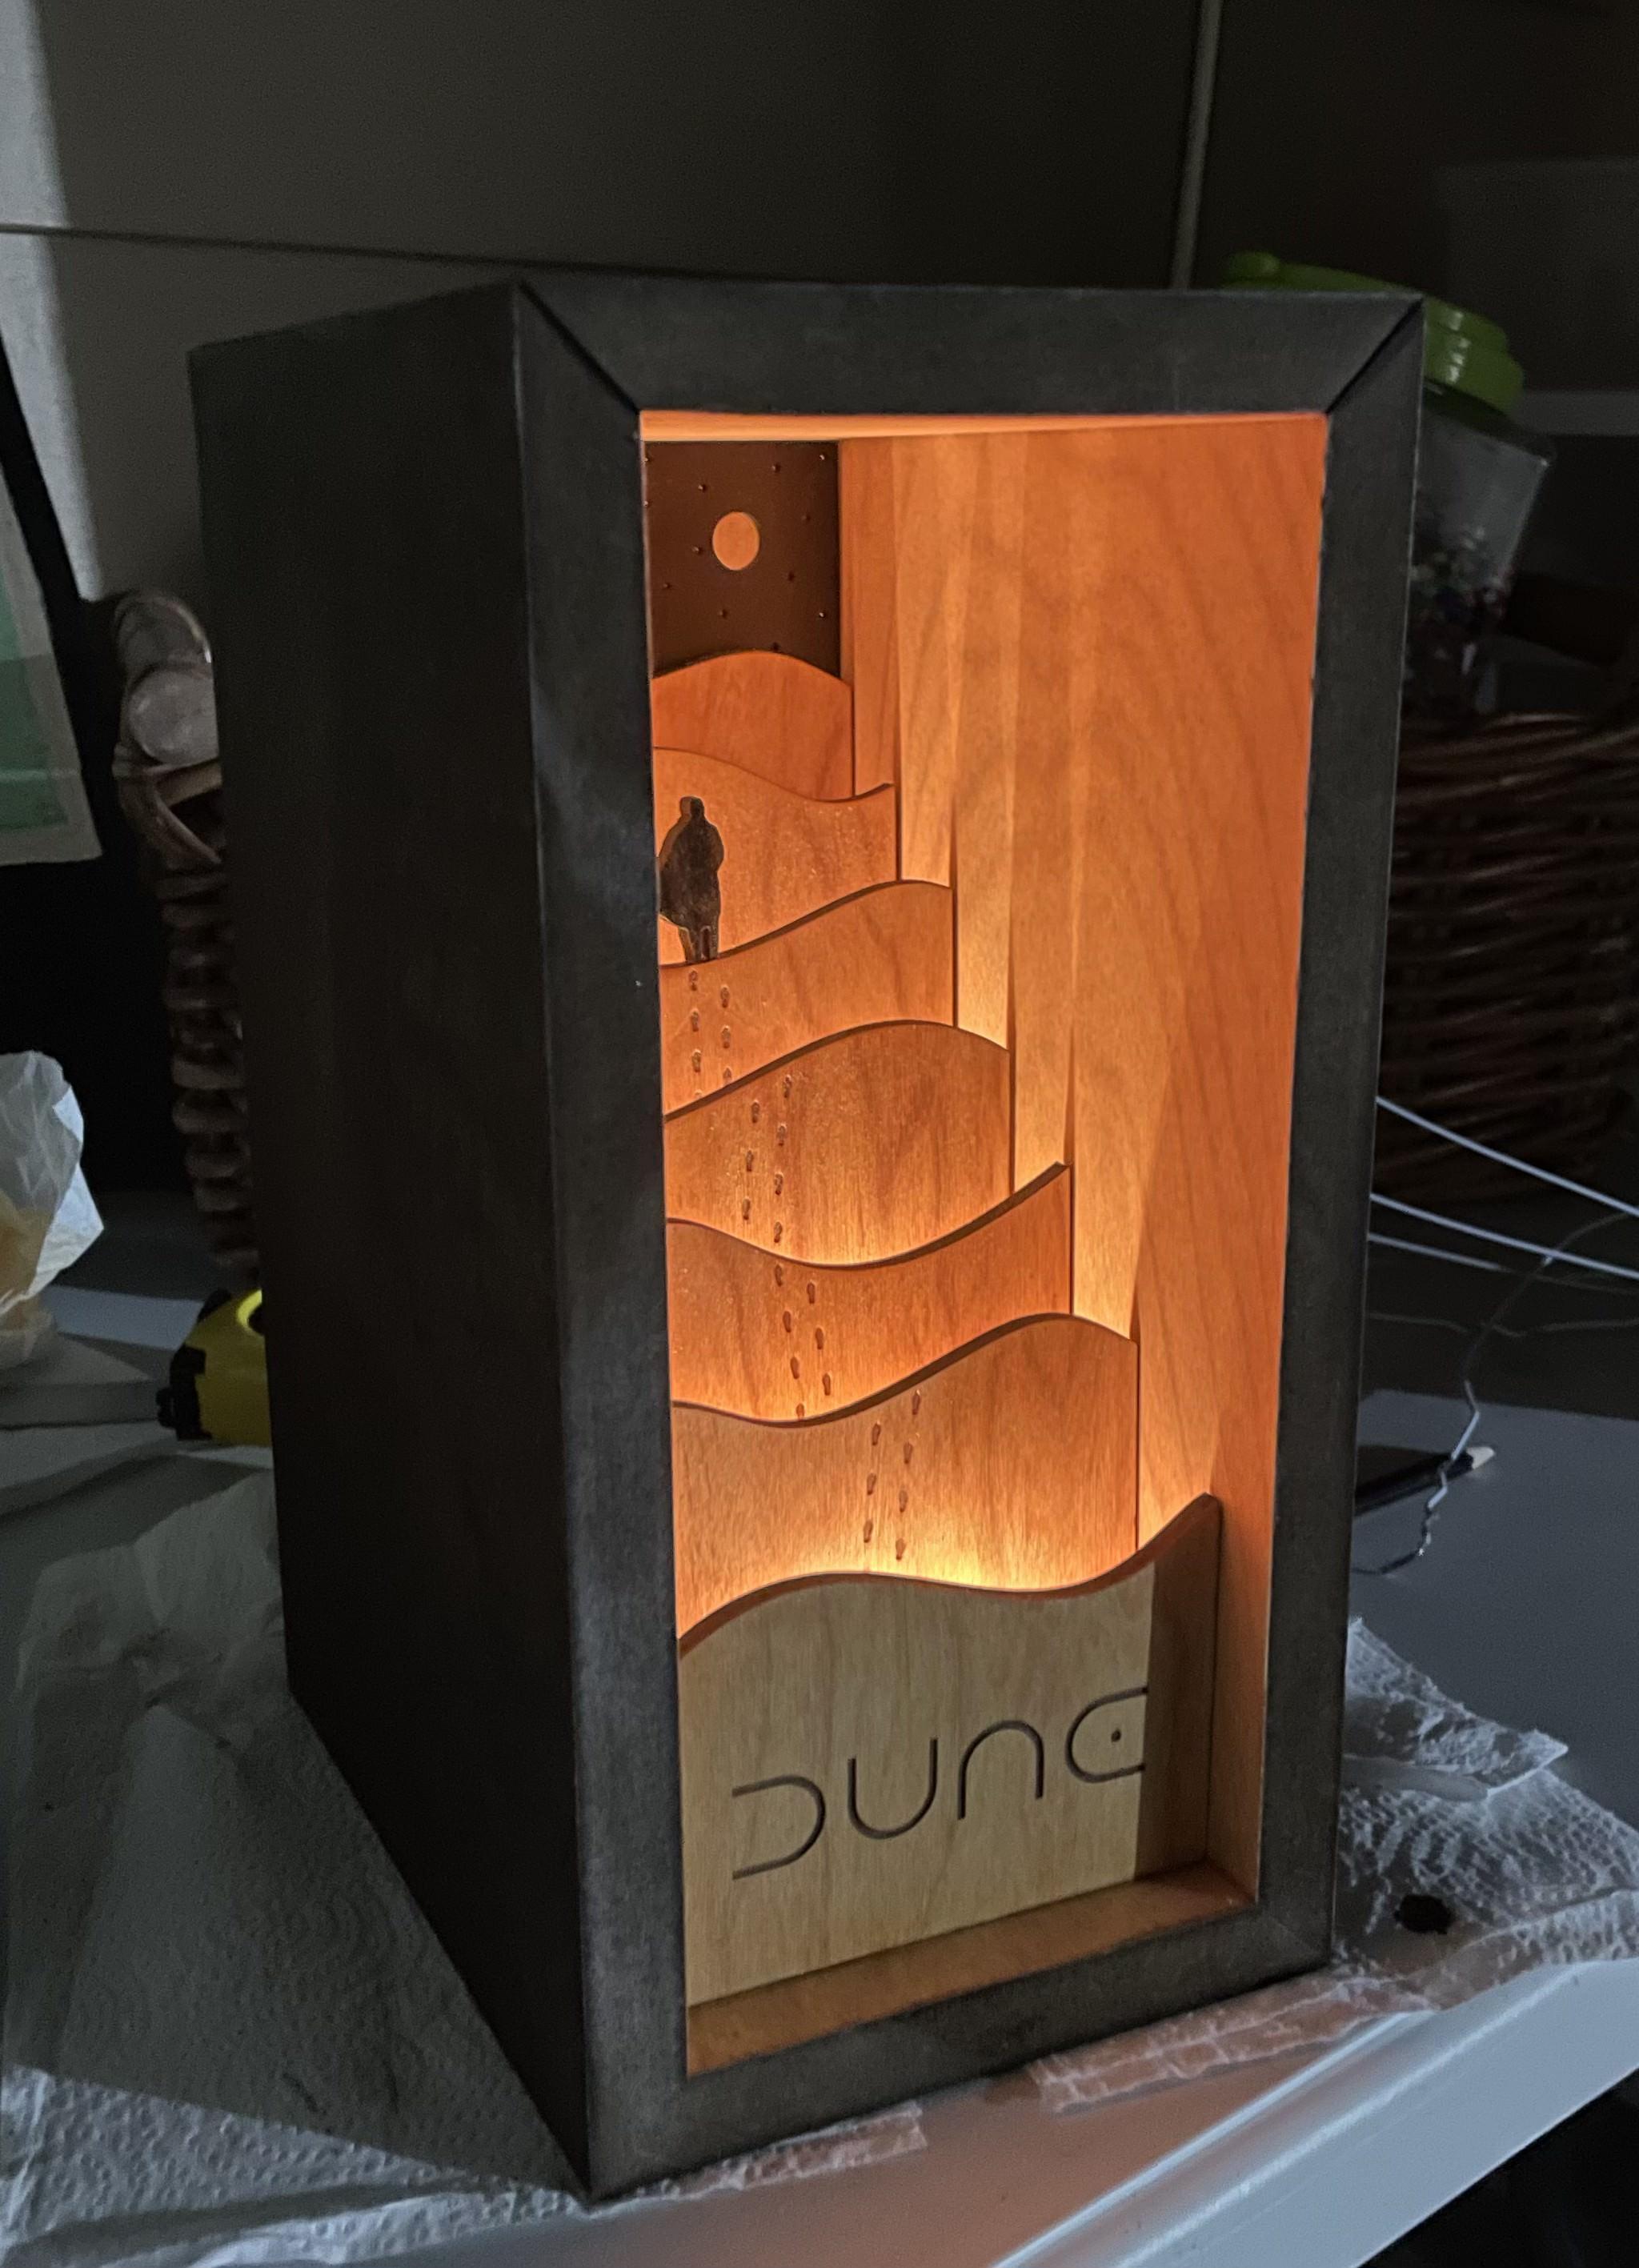
And that's it! Your Dune Book Nook is complete! Take it to your bookshelf or wherever you want to place it, test the lighting, and see how it looks!
Overall, I think that this was a very fun project and had a lot of problem solving involved. I am very satisfied with how the project turned out and I hope that if you also make a Dune Book Nook, it will be a fun and satisfying time. Thanks for reading!