Wooden Business Card Holder

by JoeGadgetry in Living > Organizing

4828 Views, 57 Favorites, 0 Comments

Wooden Business Card Holder
0A BusinessCard.jpg

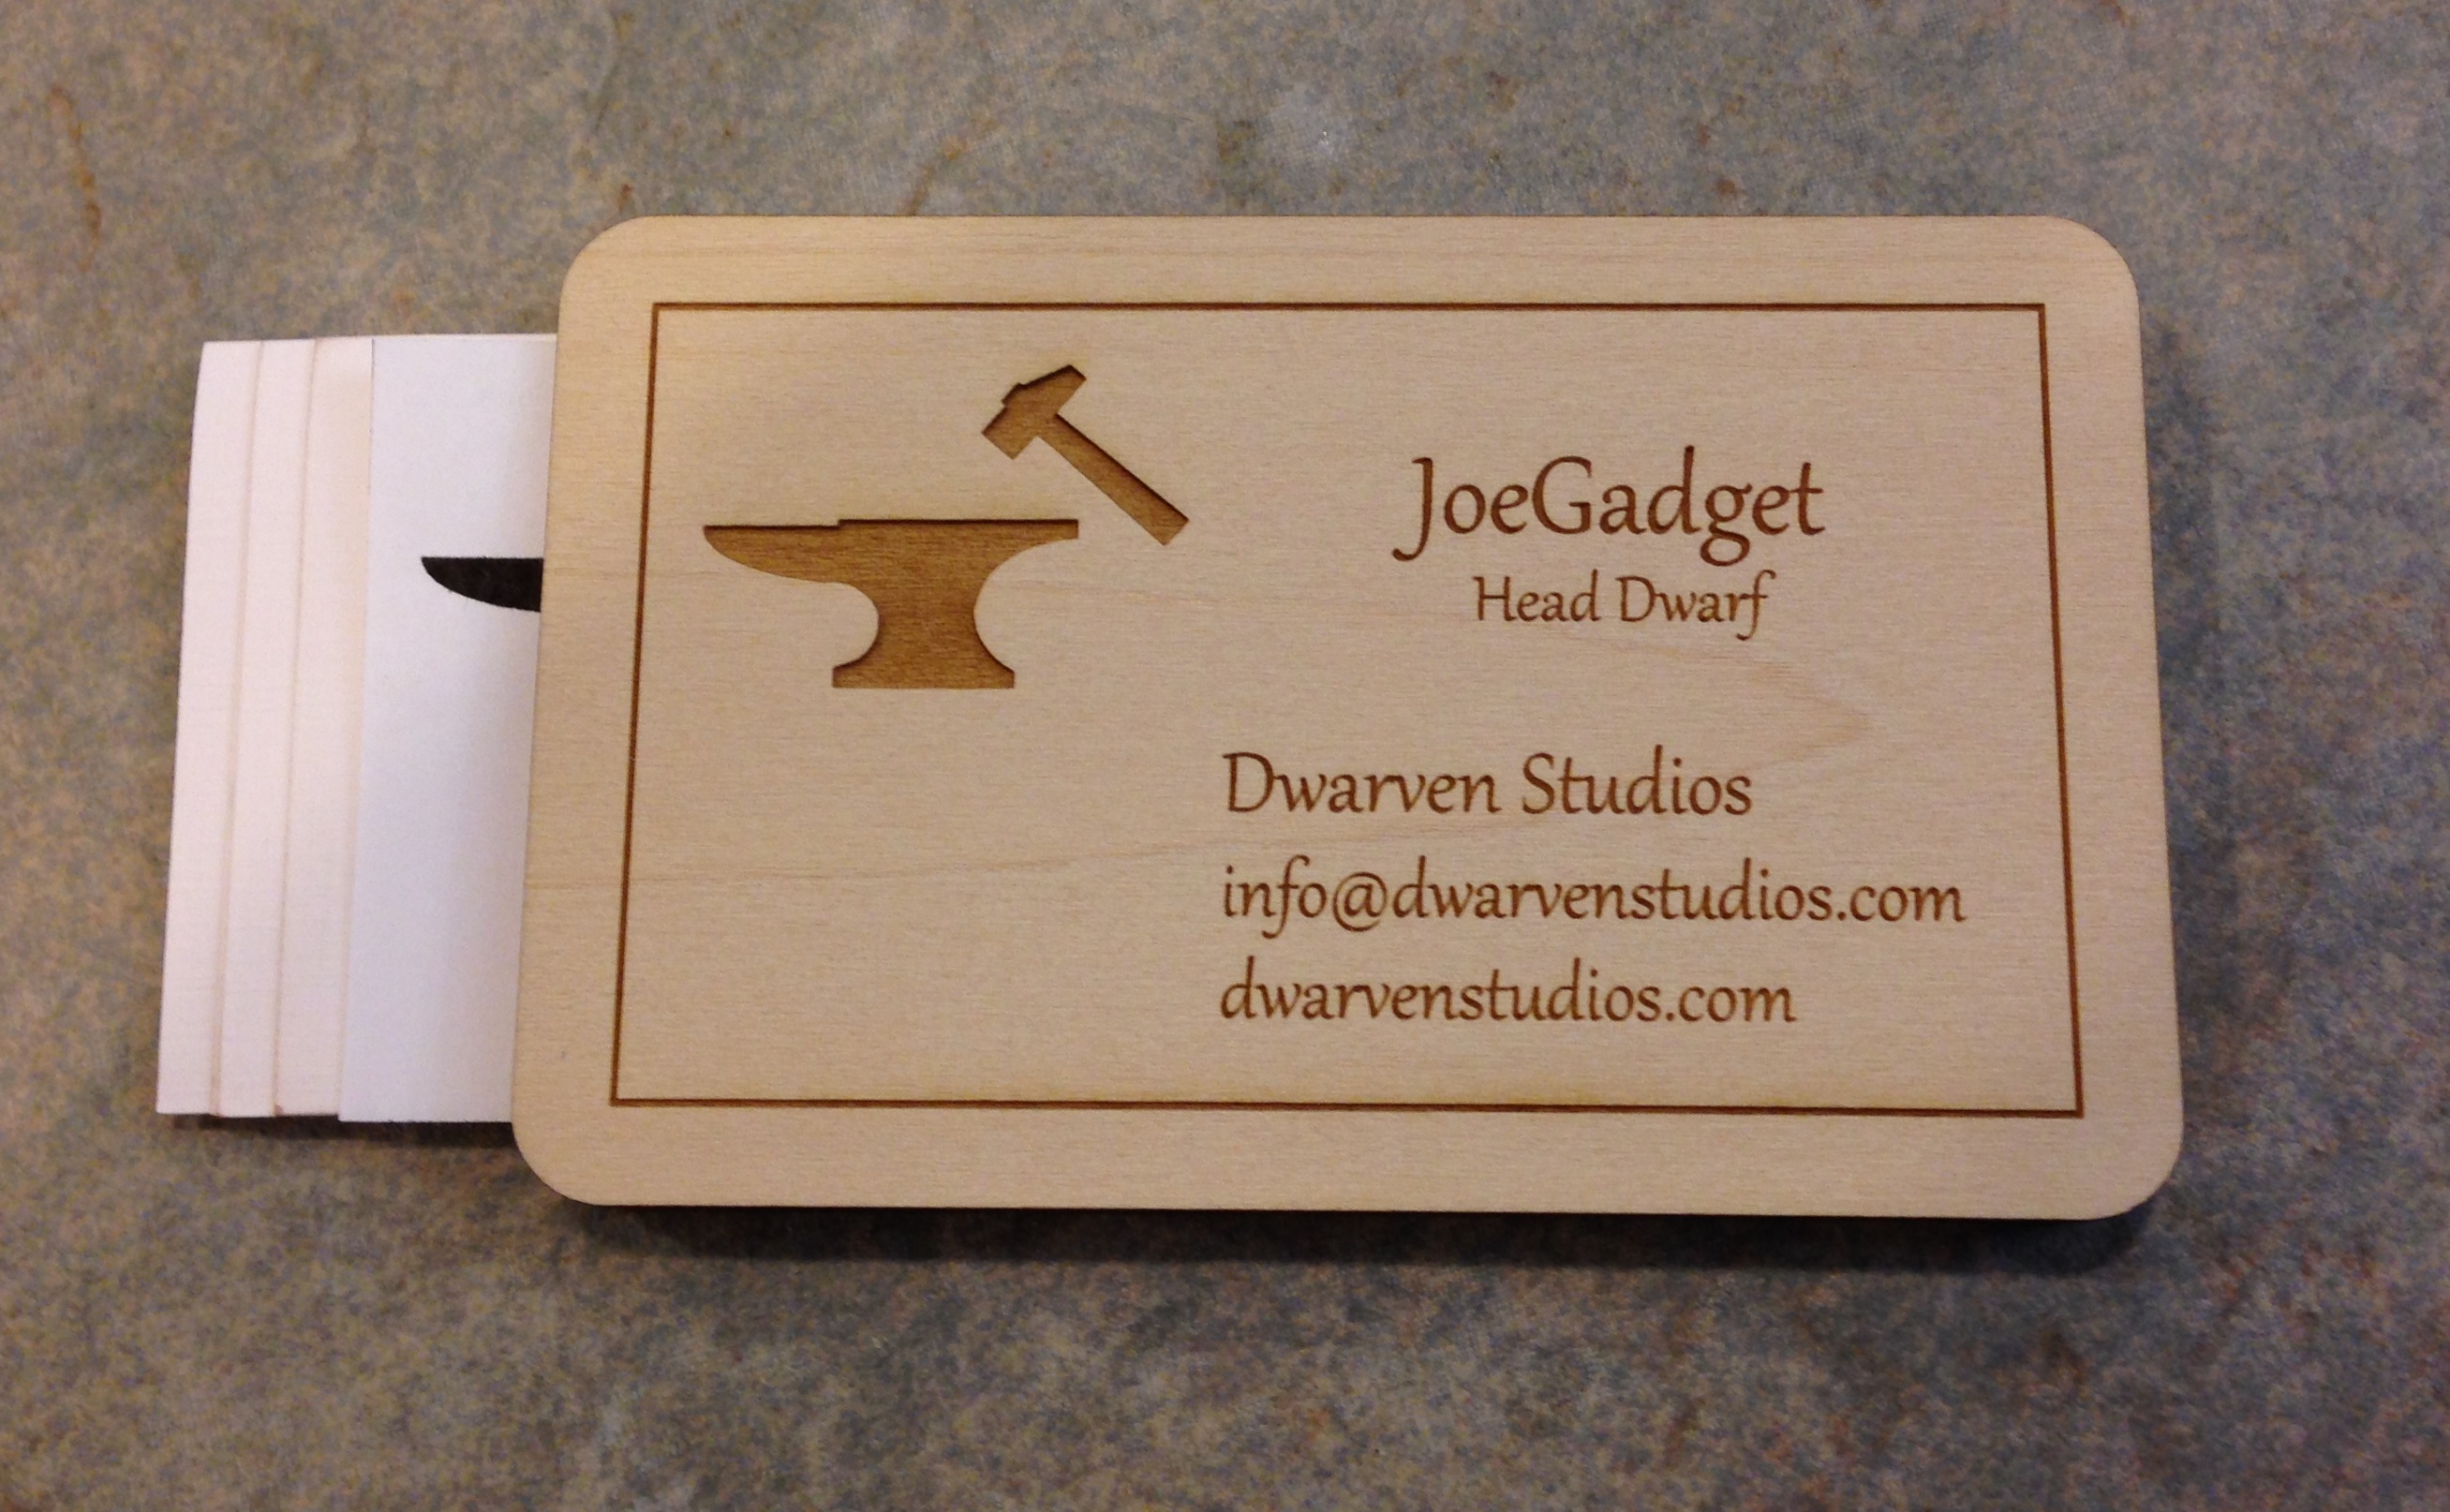
I tend to leave my box of business cards bouncing around in a drawer somewhere, and thought it would be nice to keep them a little more accessible.  However, I didn't want to leave them sprawling out on my desk so I made this simple laser cut/engraved business card holder to keep them handy.

I made this at TechShop  www.techshop.ws

Materials and Equipment

Vector Drawing Software (I used CorelDraw)
Laser Cutter (my TechShop has a Trotec Speedy 300)
3/32" thick 3"x18" Basswood (or other species)
Wood glue

This instructable assumes some basic familiarity with CorelDraw and a laser cutter.

Design the Decorative Top
2A CardTopDesign.png
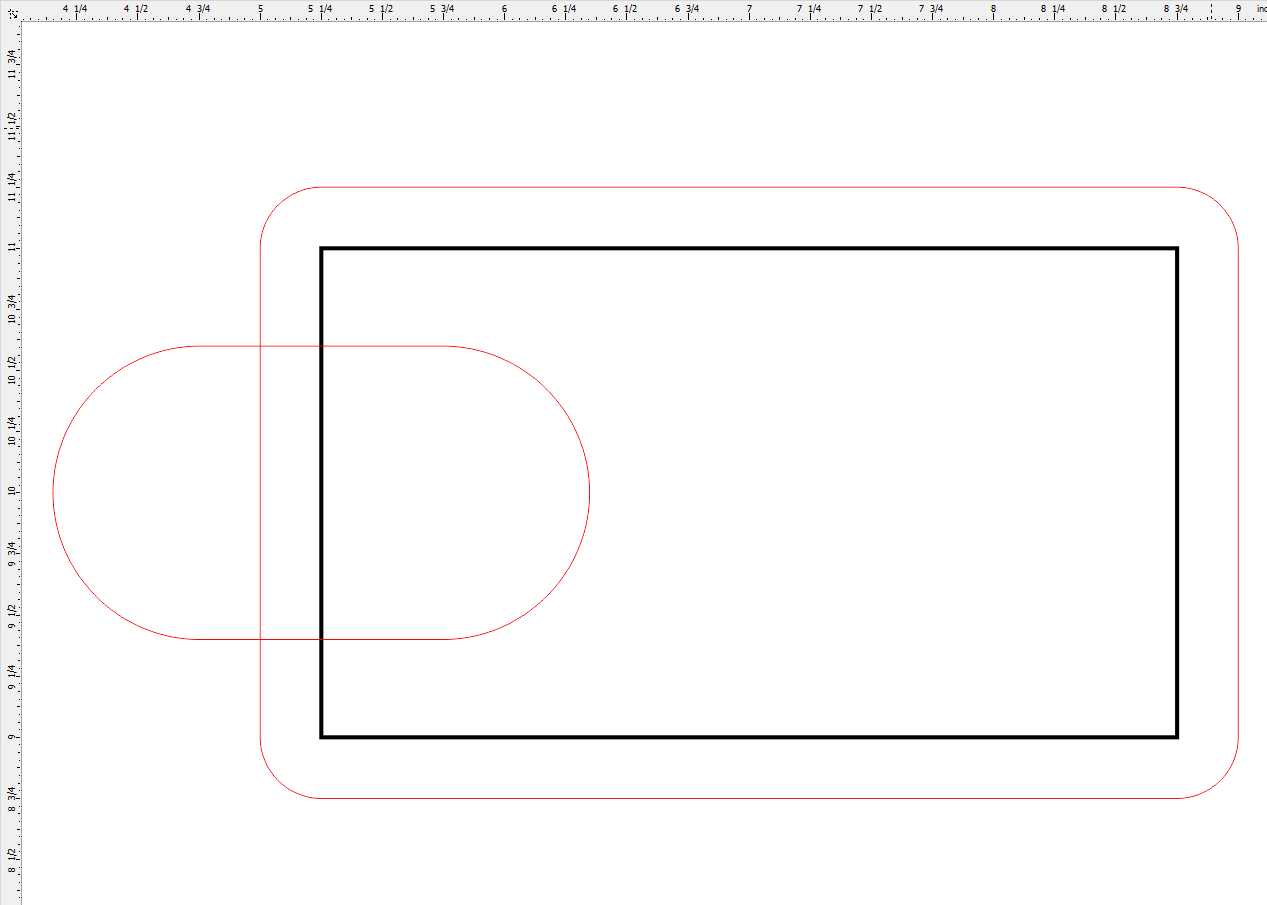
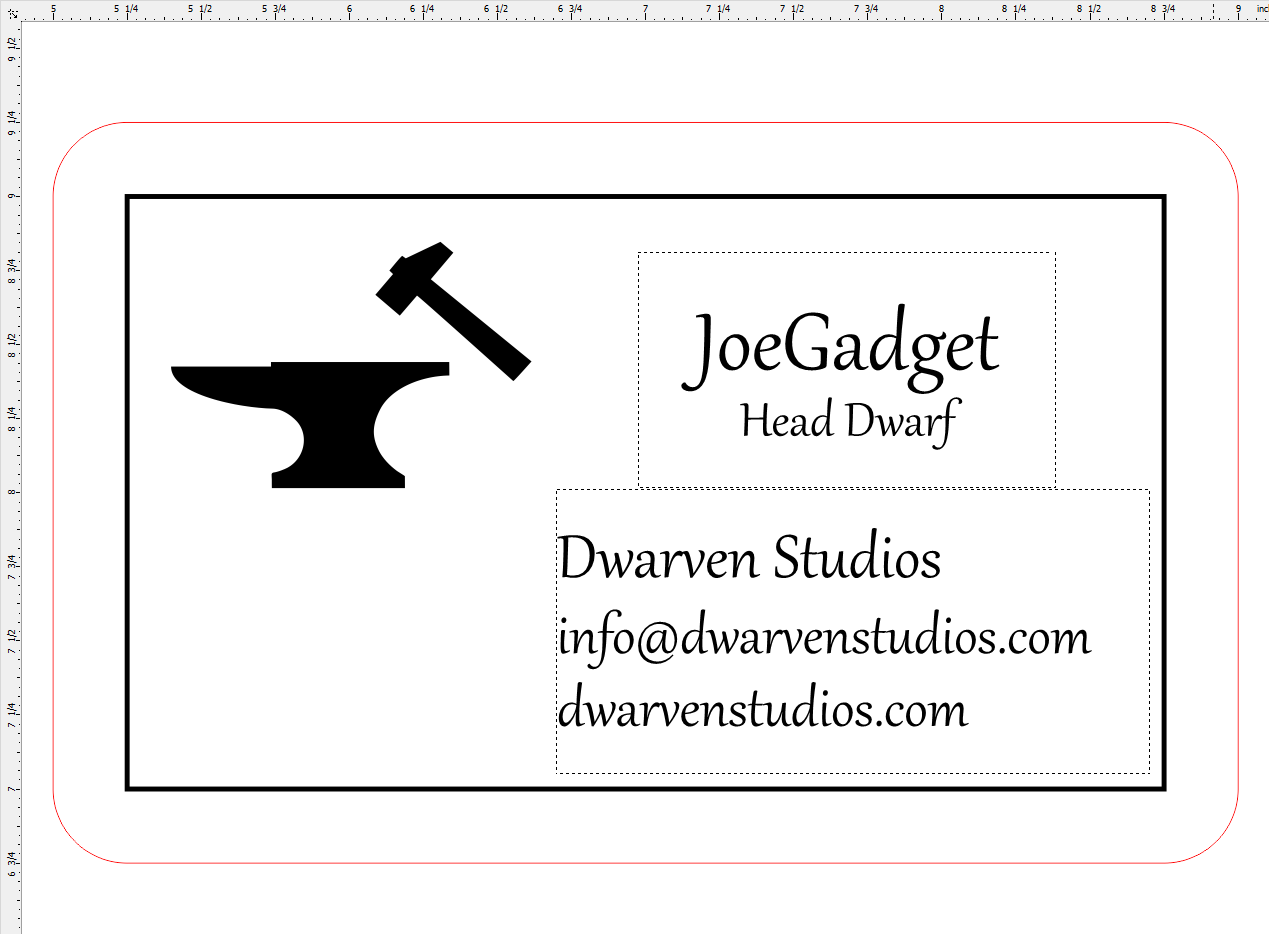
I started by drawing a black rectangle the size of my business card (the size of a typical business card in the US is 2"x3.5").  This will act to frame the business card image on the top of the holder.  In this design everything that is black will be engraved, and everything that is red (and set to hairline width) will be cut.  I decided that I wanted the holder to be 1/4" larger than my card on each side, so I drew a 2.5"x4" red rectangle around the black rectangle.  Then on the Object Properties page I set the corners of the red rectangle to be rounded with a 1/4" radius.

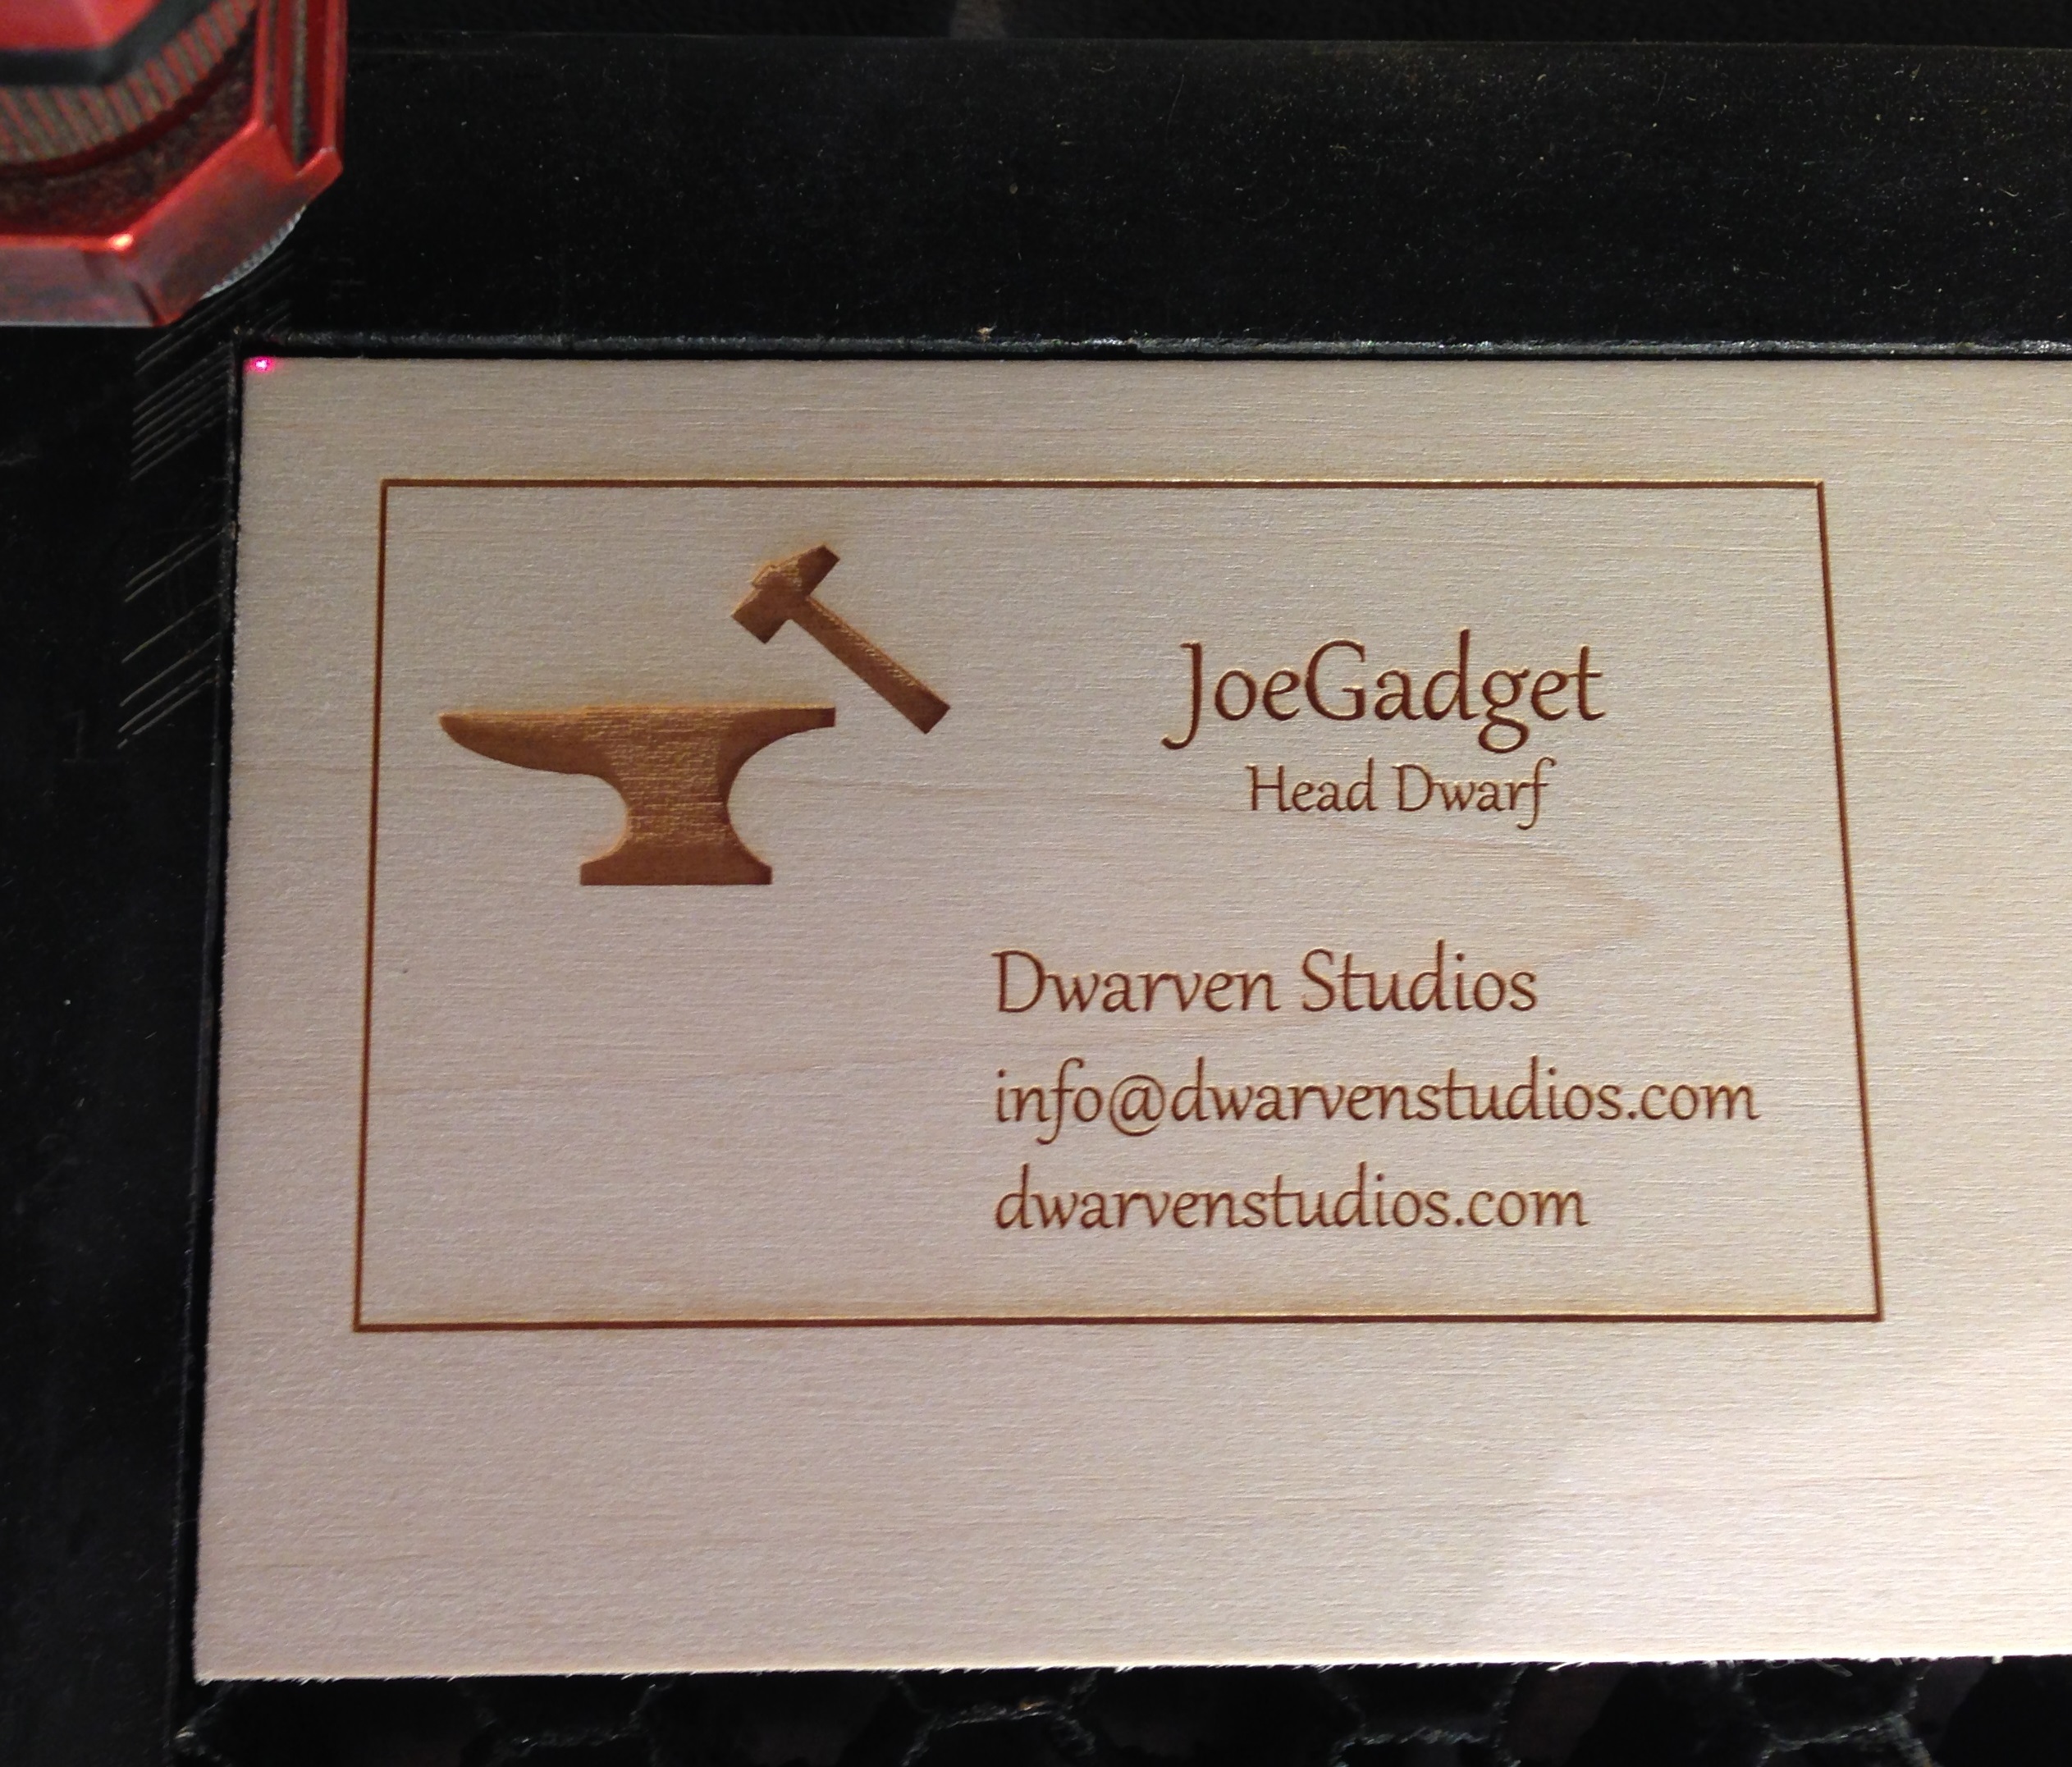
Next I would have scanned in my business card and pasted the image into the black rectangle, but I decided to make a mock one for this instructable.  A little bit of text and clip art later and I get to be the Head Dwarf.


Design the Spacer
3A CardSpacerPrep.png
3B CardSpacers.png
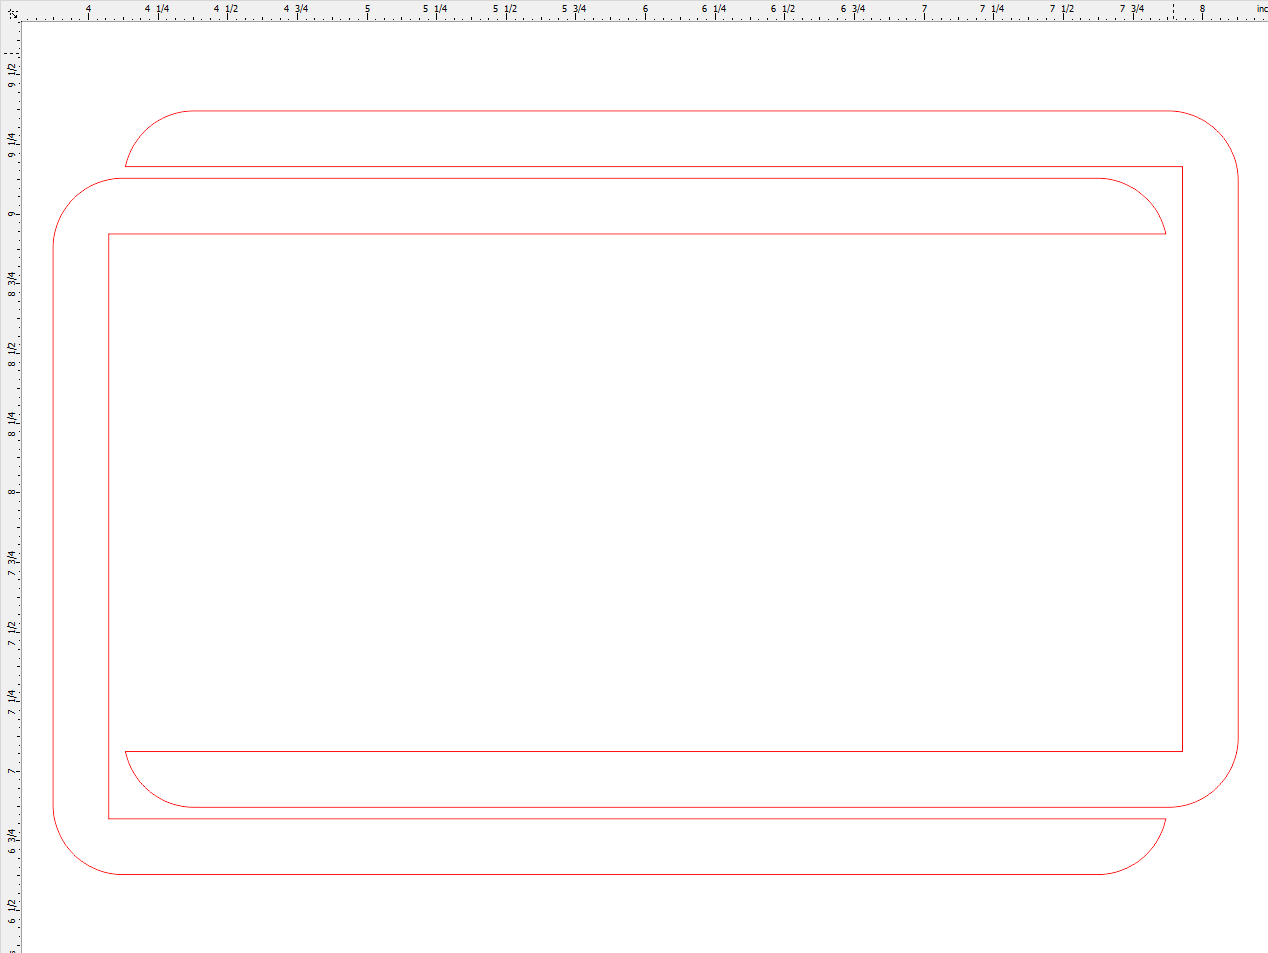
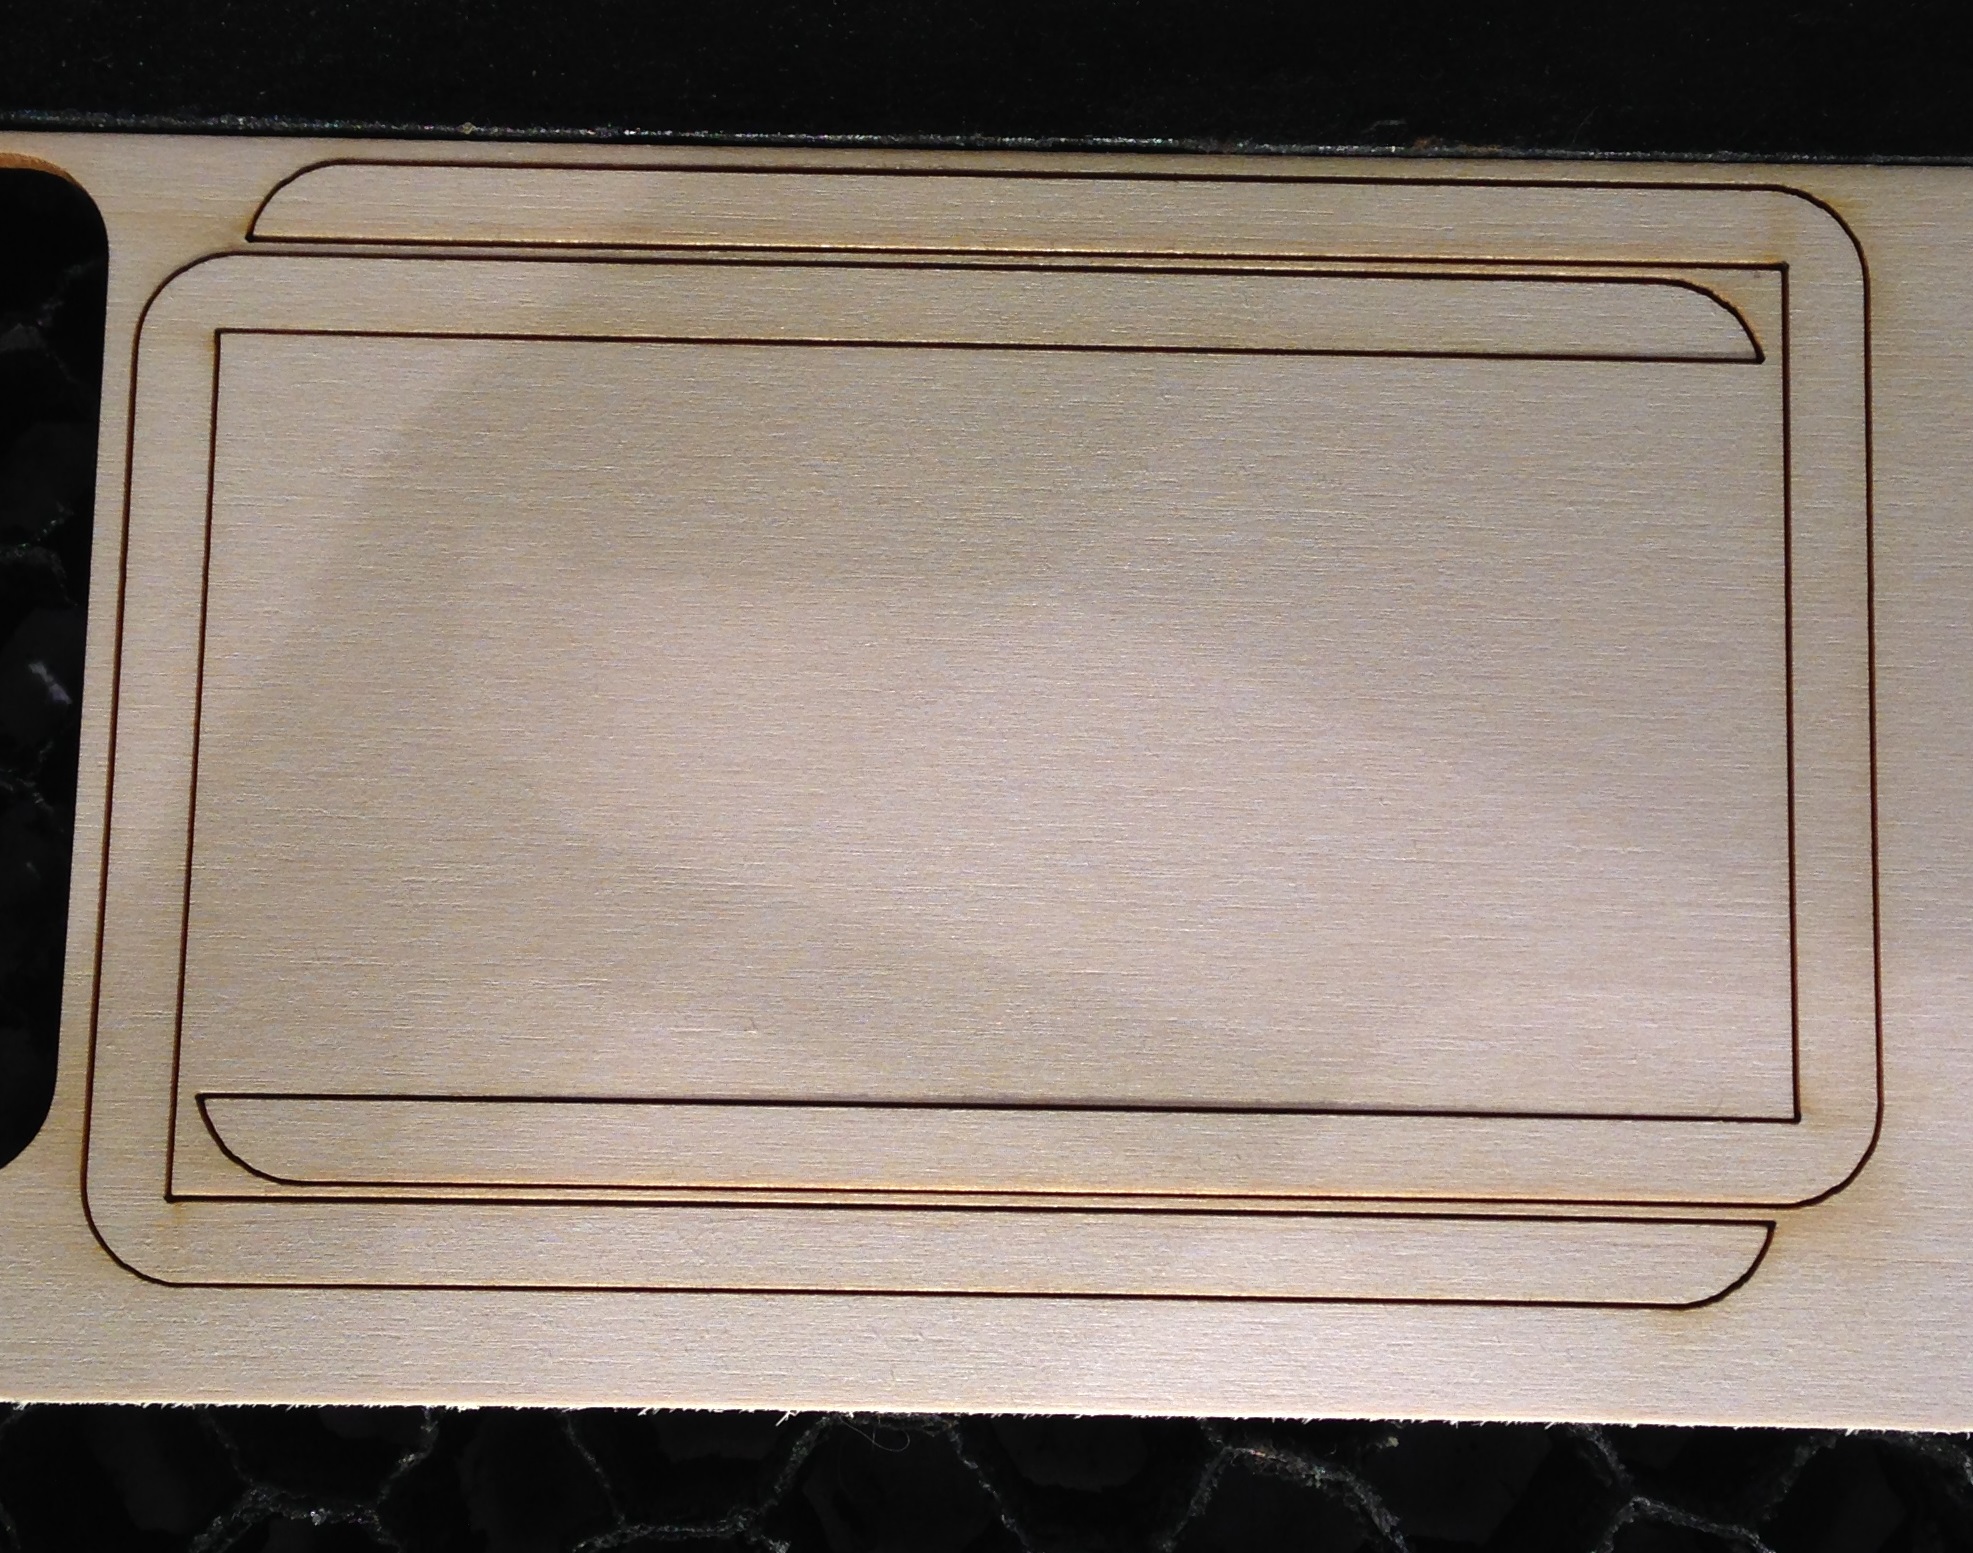
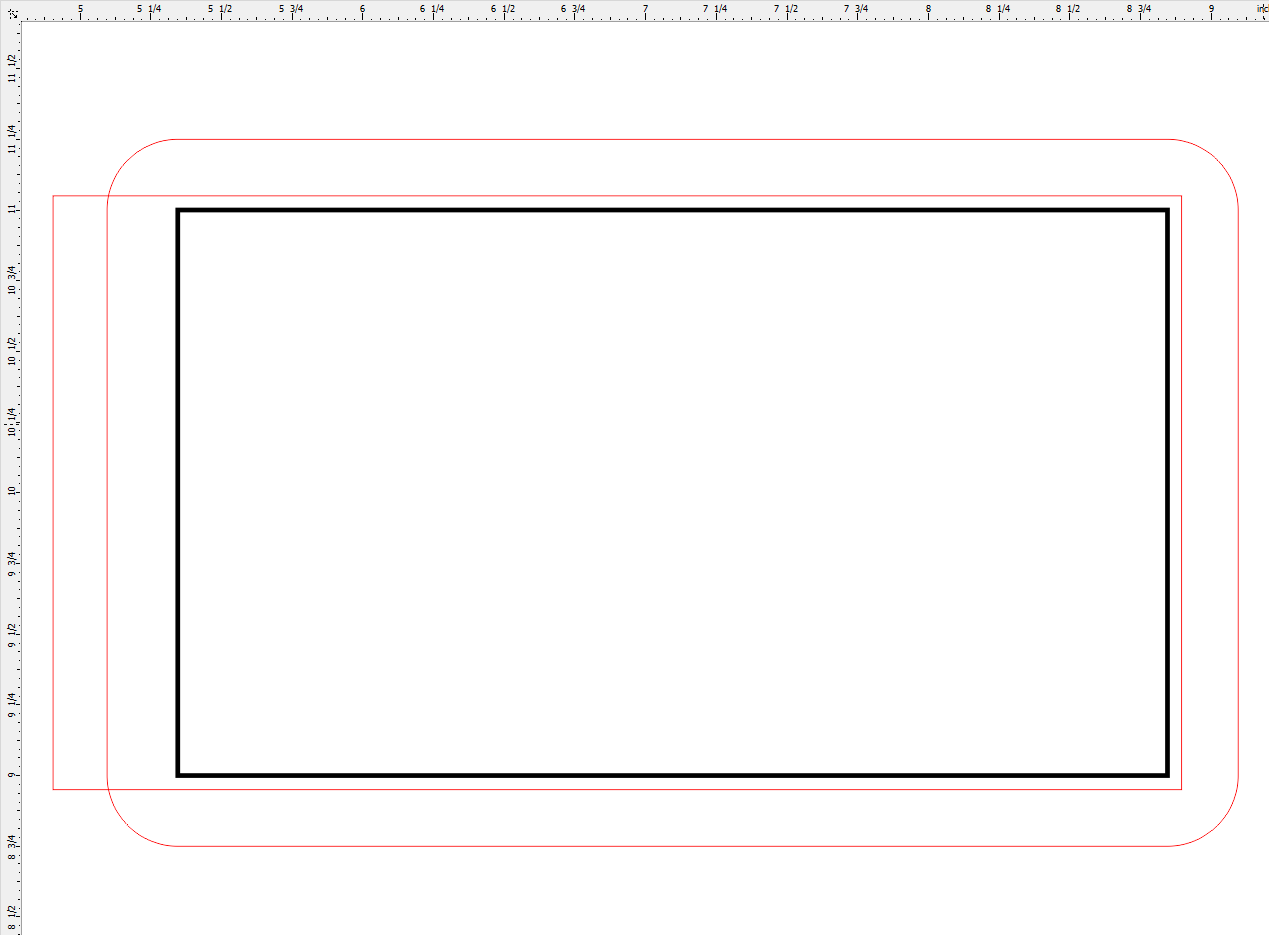
I decided to space the top and bottom pieces apart by 3/16", so I need to cut two 3/32" spacers.  I copied the design of the top and deleted the text and clip art.  I thought that a 0.05" gap on each side of the card would be appropriate (to allow the cards to fit easily but not flop around excessively).  I drew the oversized rectangle and aligned it with the black rectangle as a guide.  Once that was placed, I deleted the black rectangle and (using the Virtual Segment Delete tool) removed the lines on the left side to create the open end of the spacer.  To more easily minimize wood waste, I copied, rotated, and nested a second spacer with the original.


Design the Back

4A CardBackPrep.png
4B CardBack.png
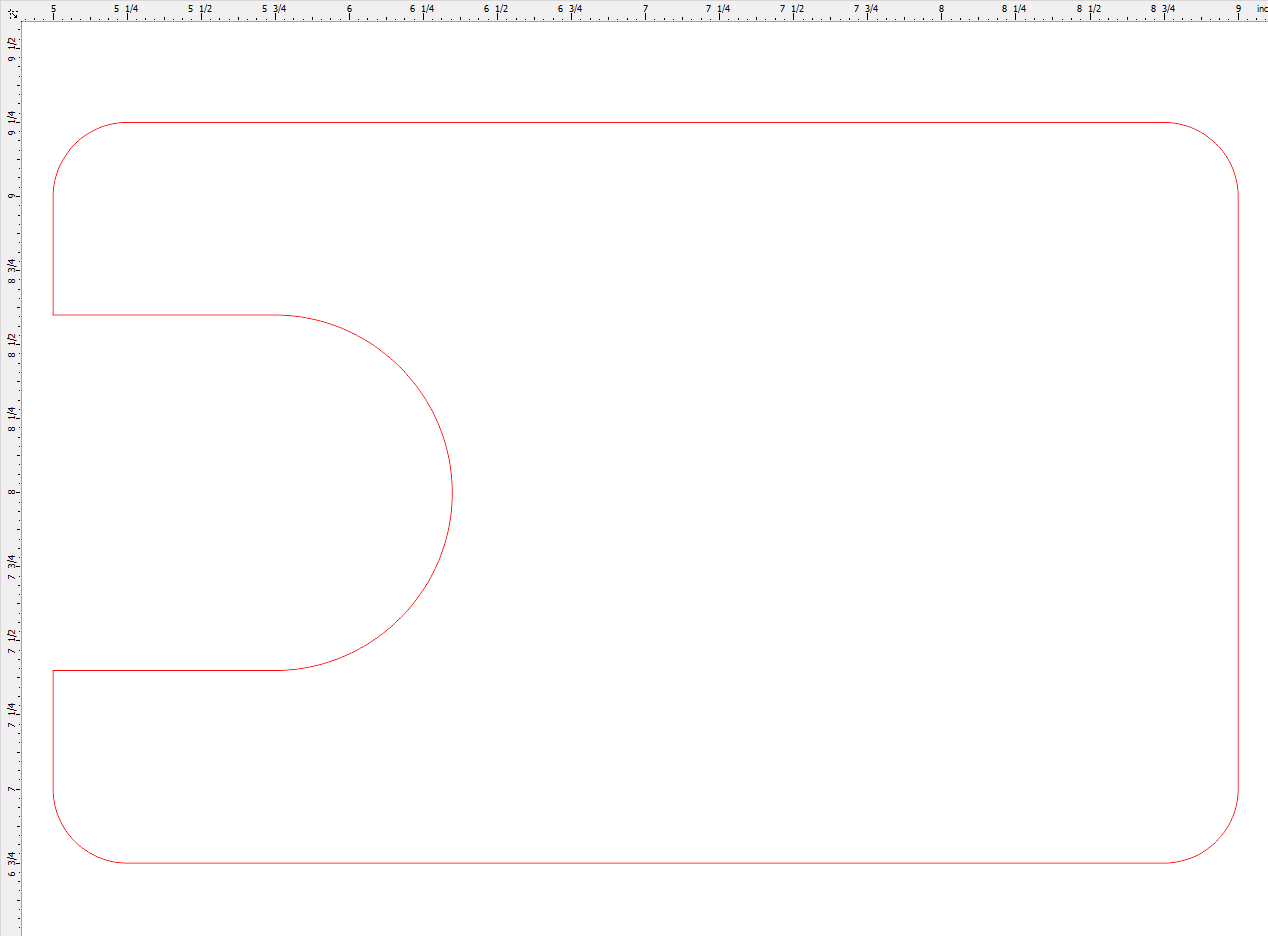
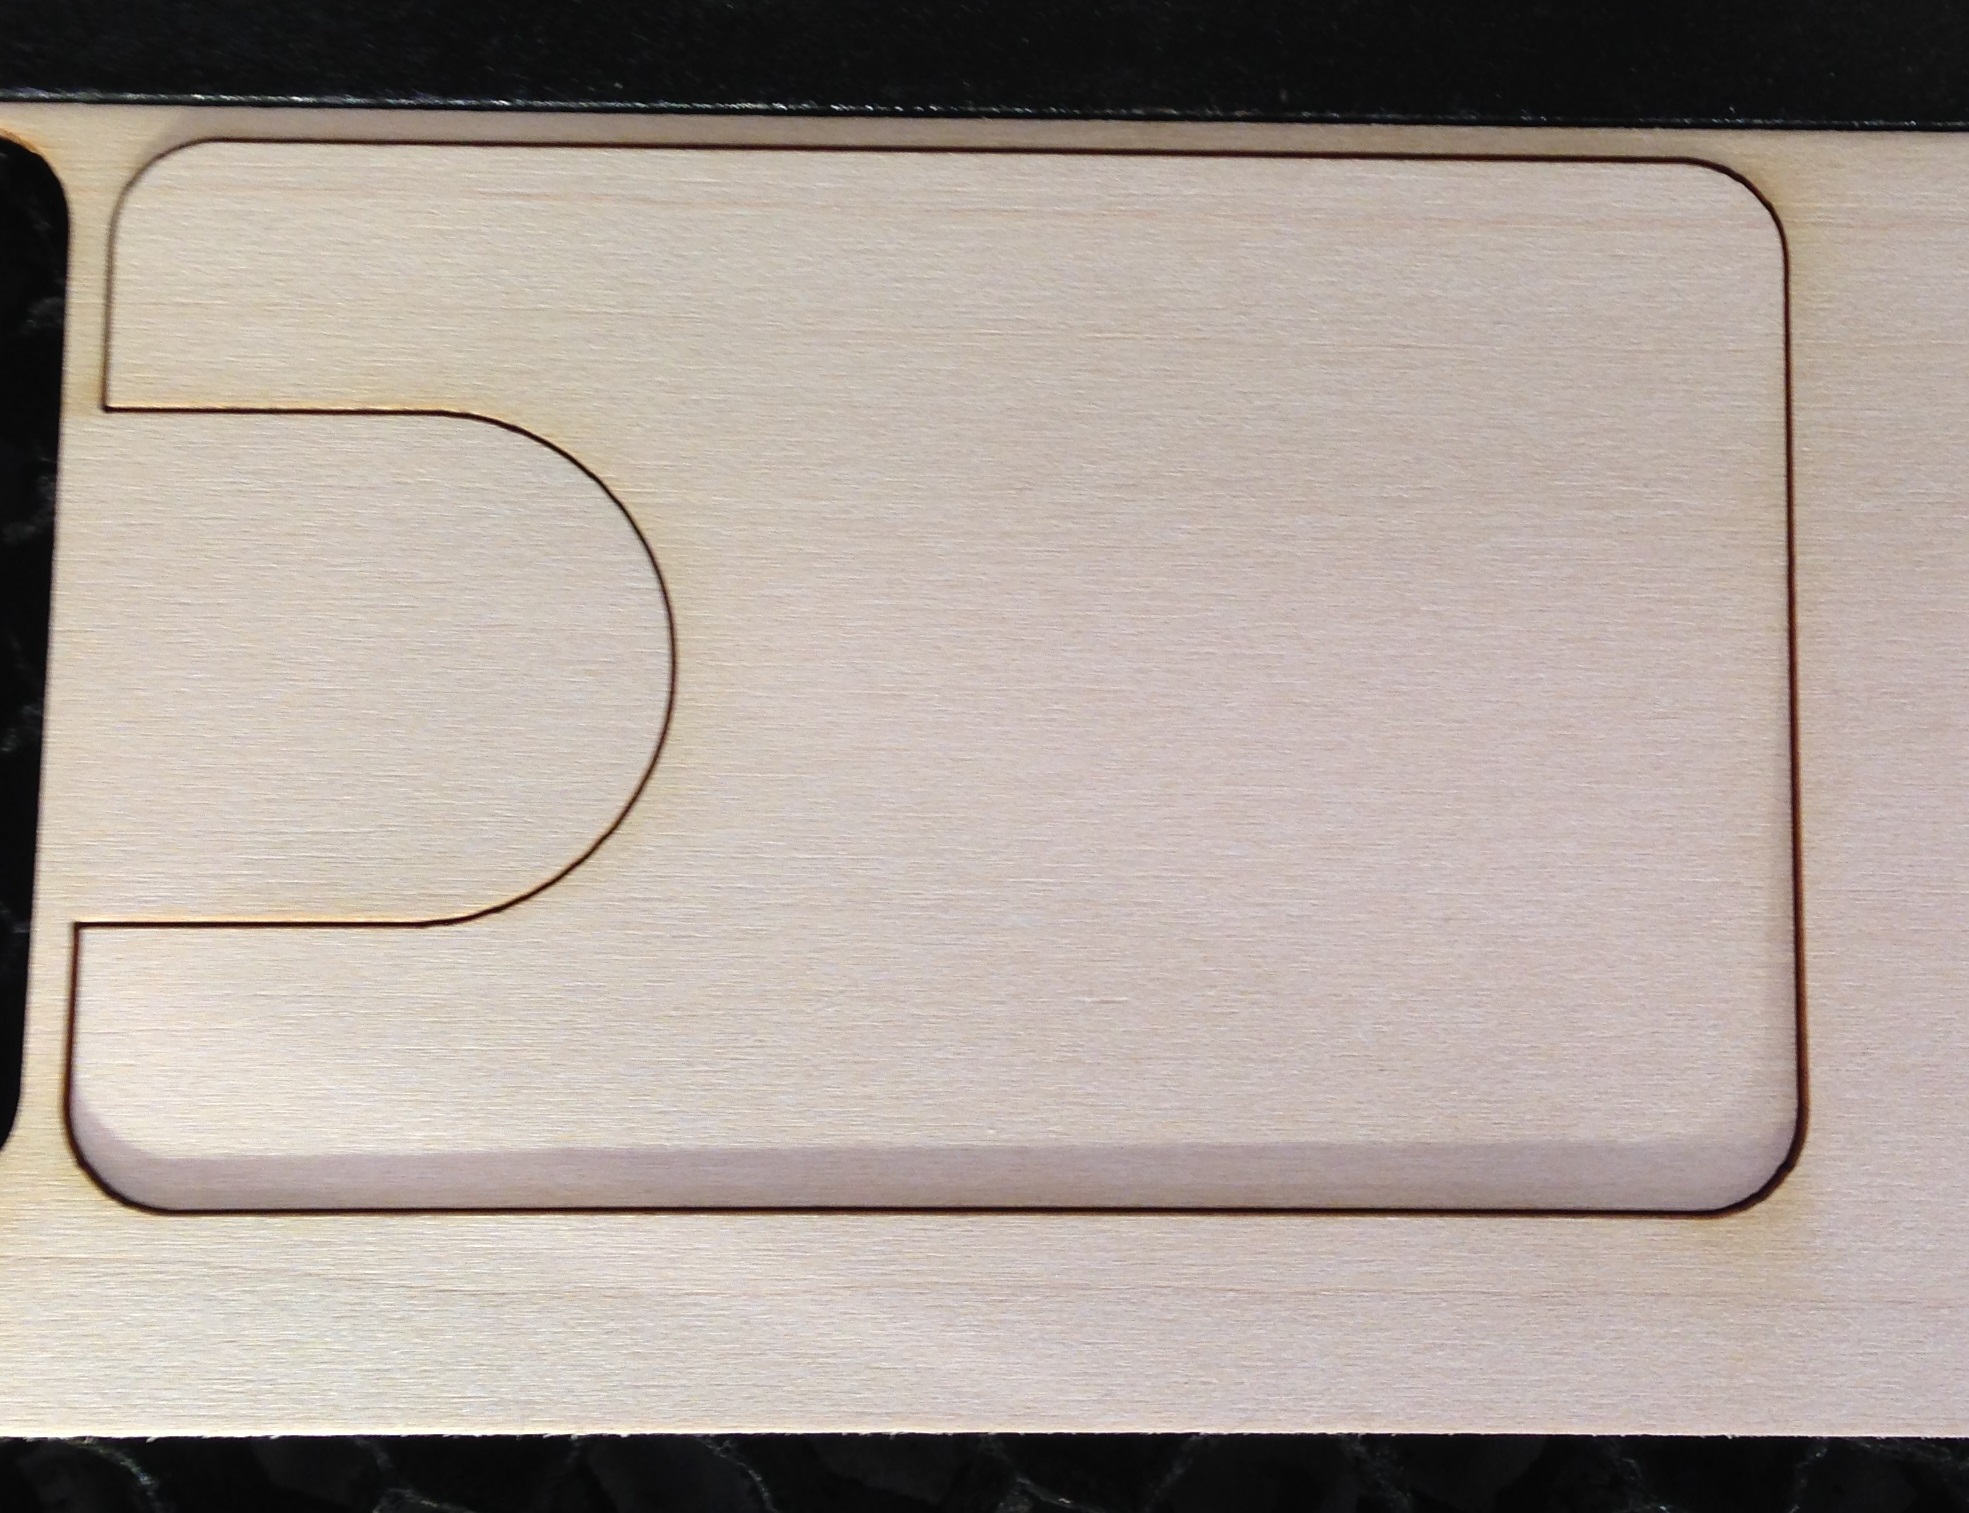
Similar to the spacer, I started with the top side design and deleted the text and clip art.  I wanted easy finger access to the cards, so I drew a finger wide rectangle and fully rounded the ends (resulting in an oval with flat sides on the top and bottom).  I then deleted the black rectangle and the extra segments on the left side to get the final shape.


Laser Cut the Pieces

5A LaserCardTop.jpg
5B LaserCardSpacers.jpg
5C LaserCardBack.jpg
Basswood is relatively soft, and is easily cut and engraved.  Engraving settings of 100% power and 40% speed worked well, as did 100% power and 2% speed for cutting.

Glue the Pieces Together

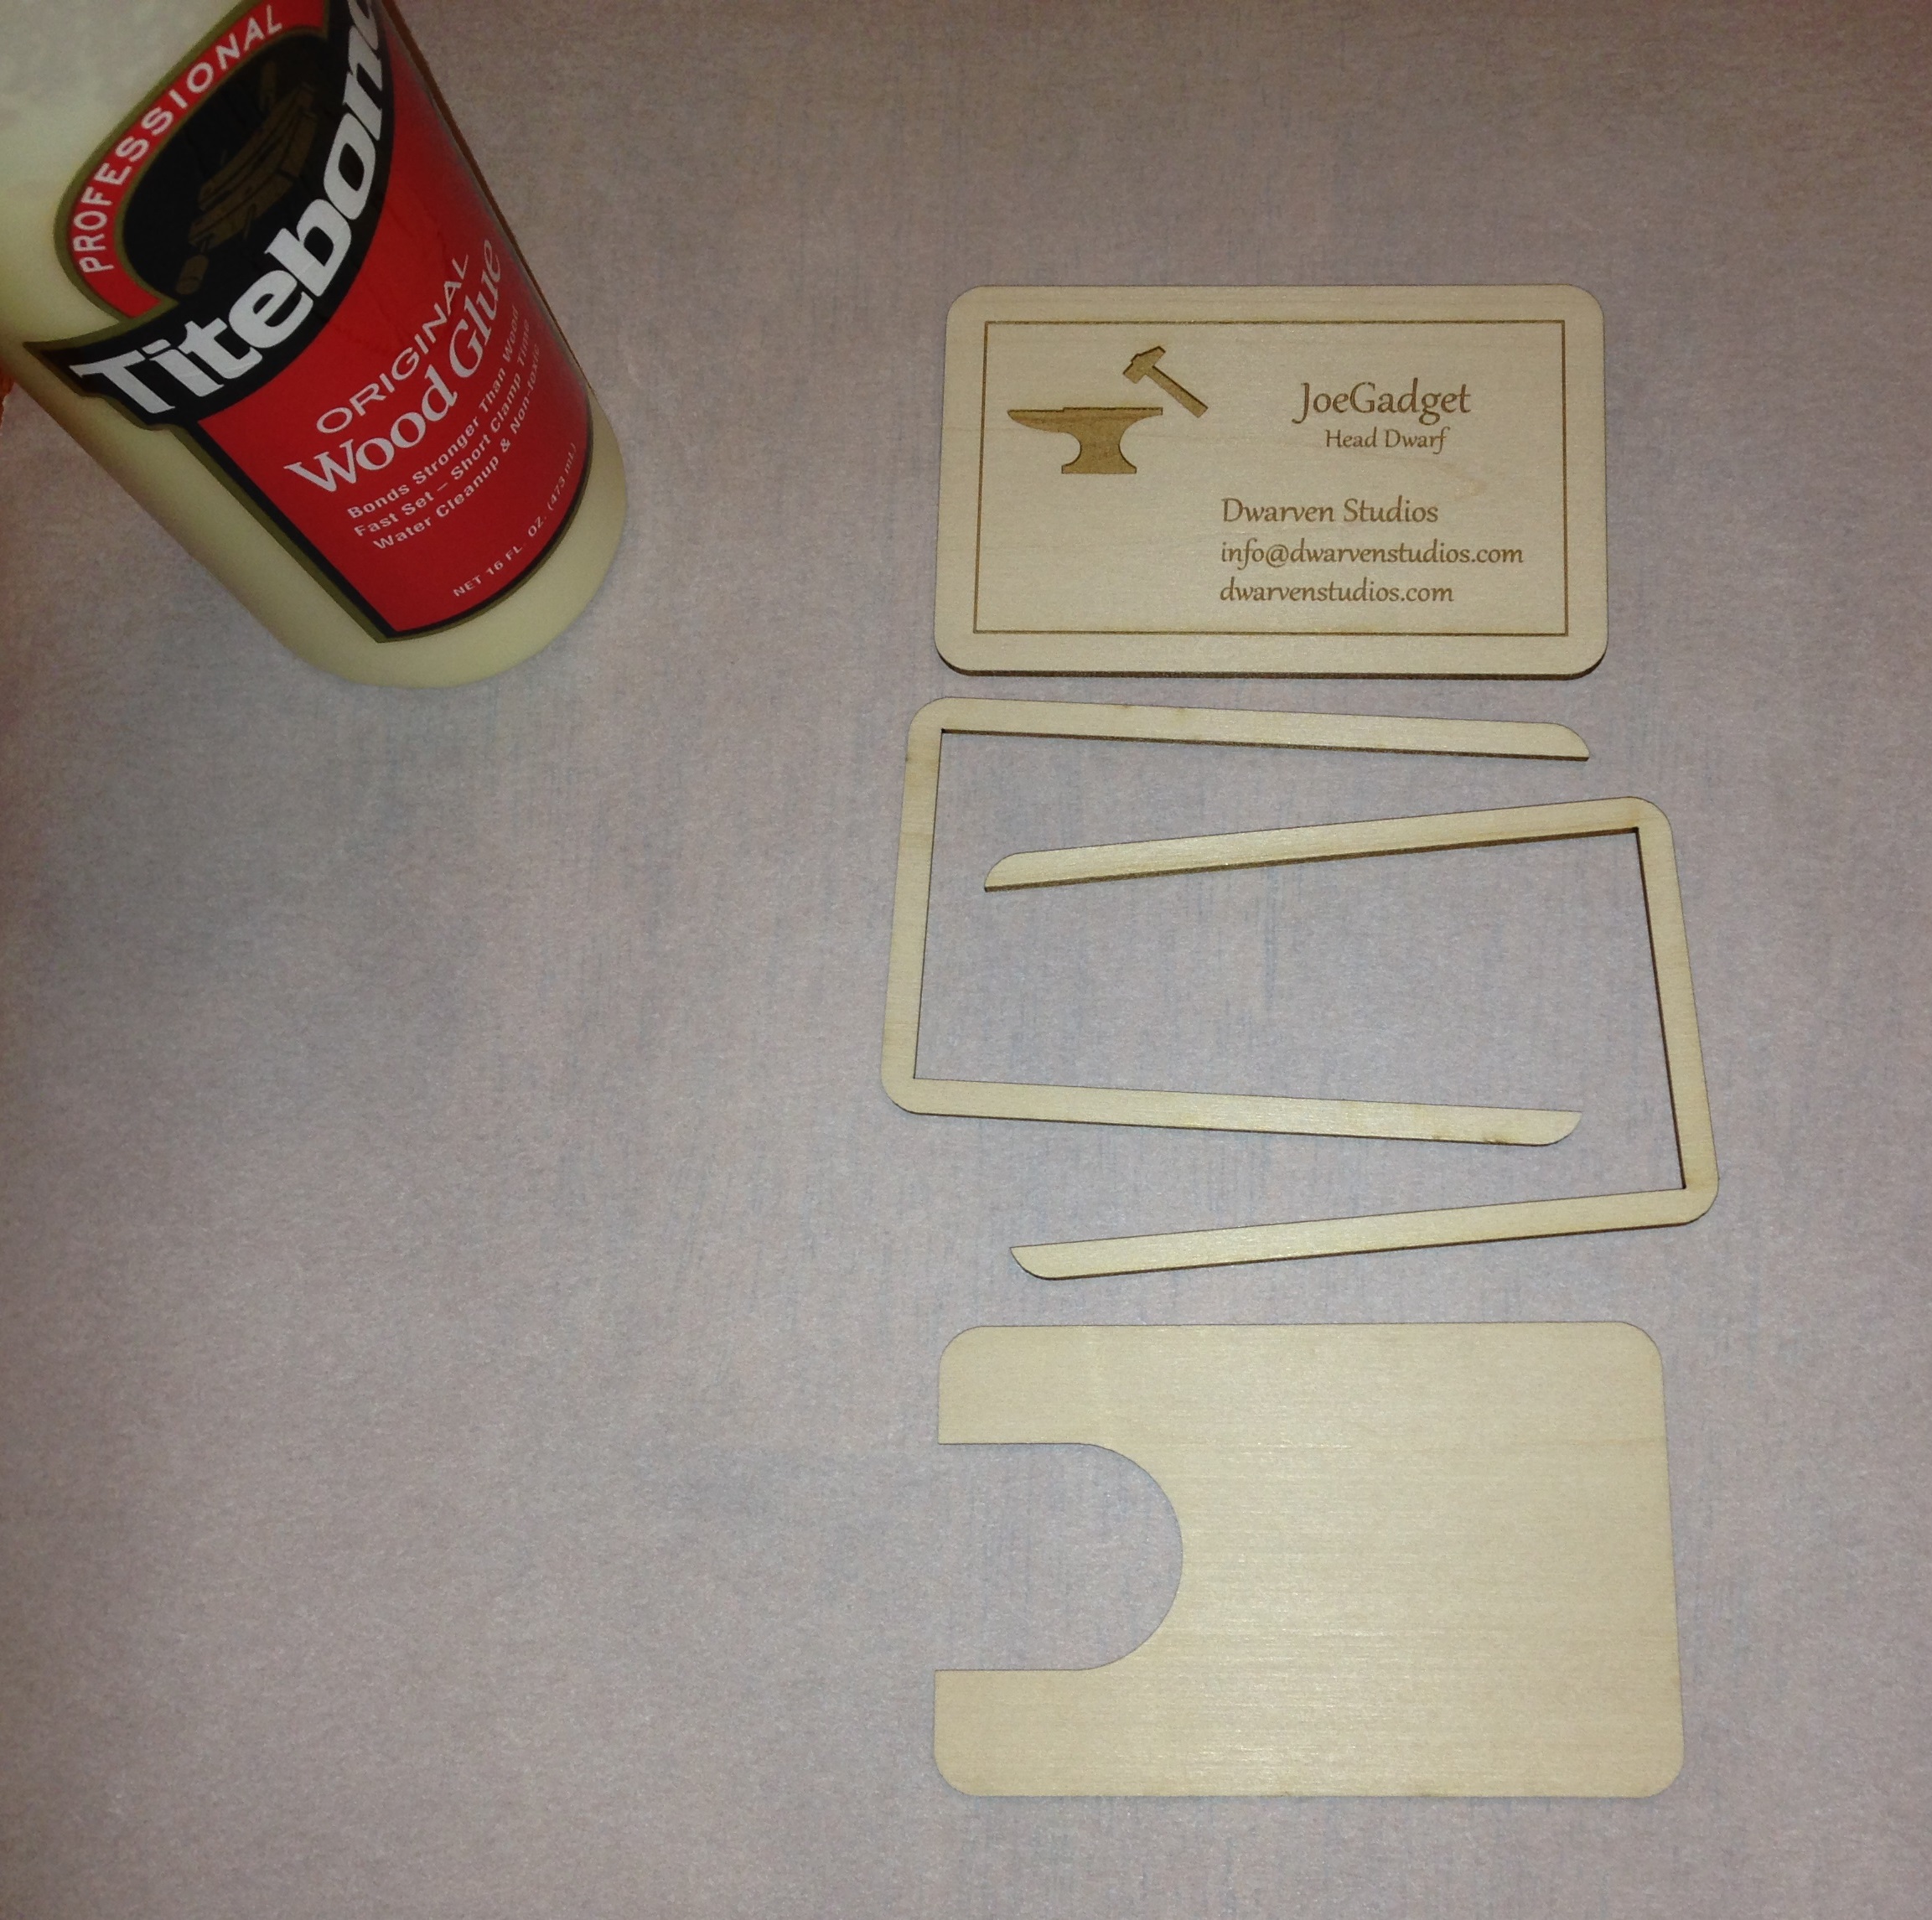
6A GlueCardParts.jpg
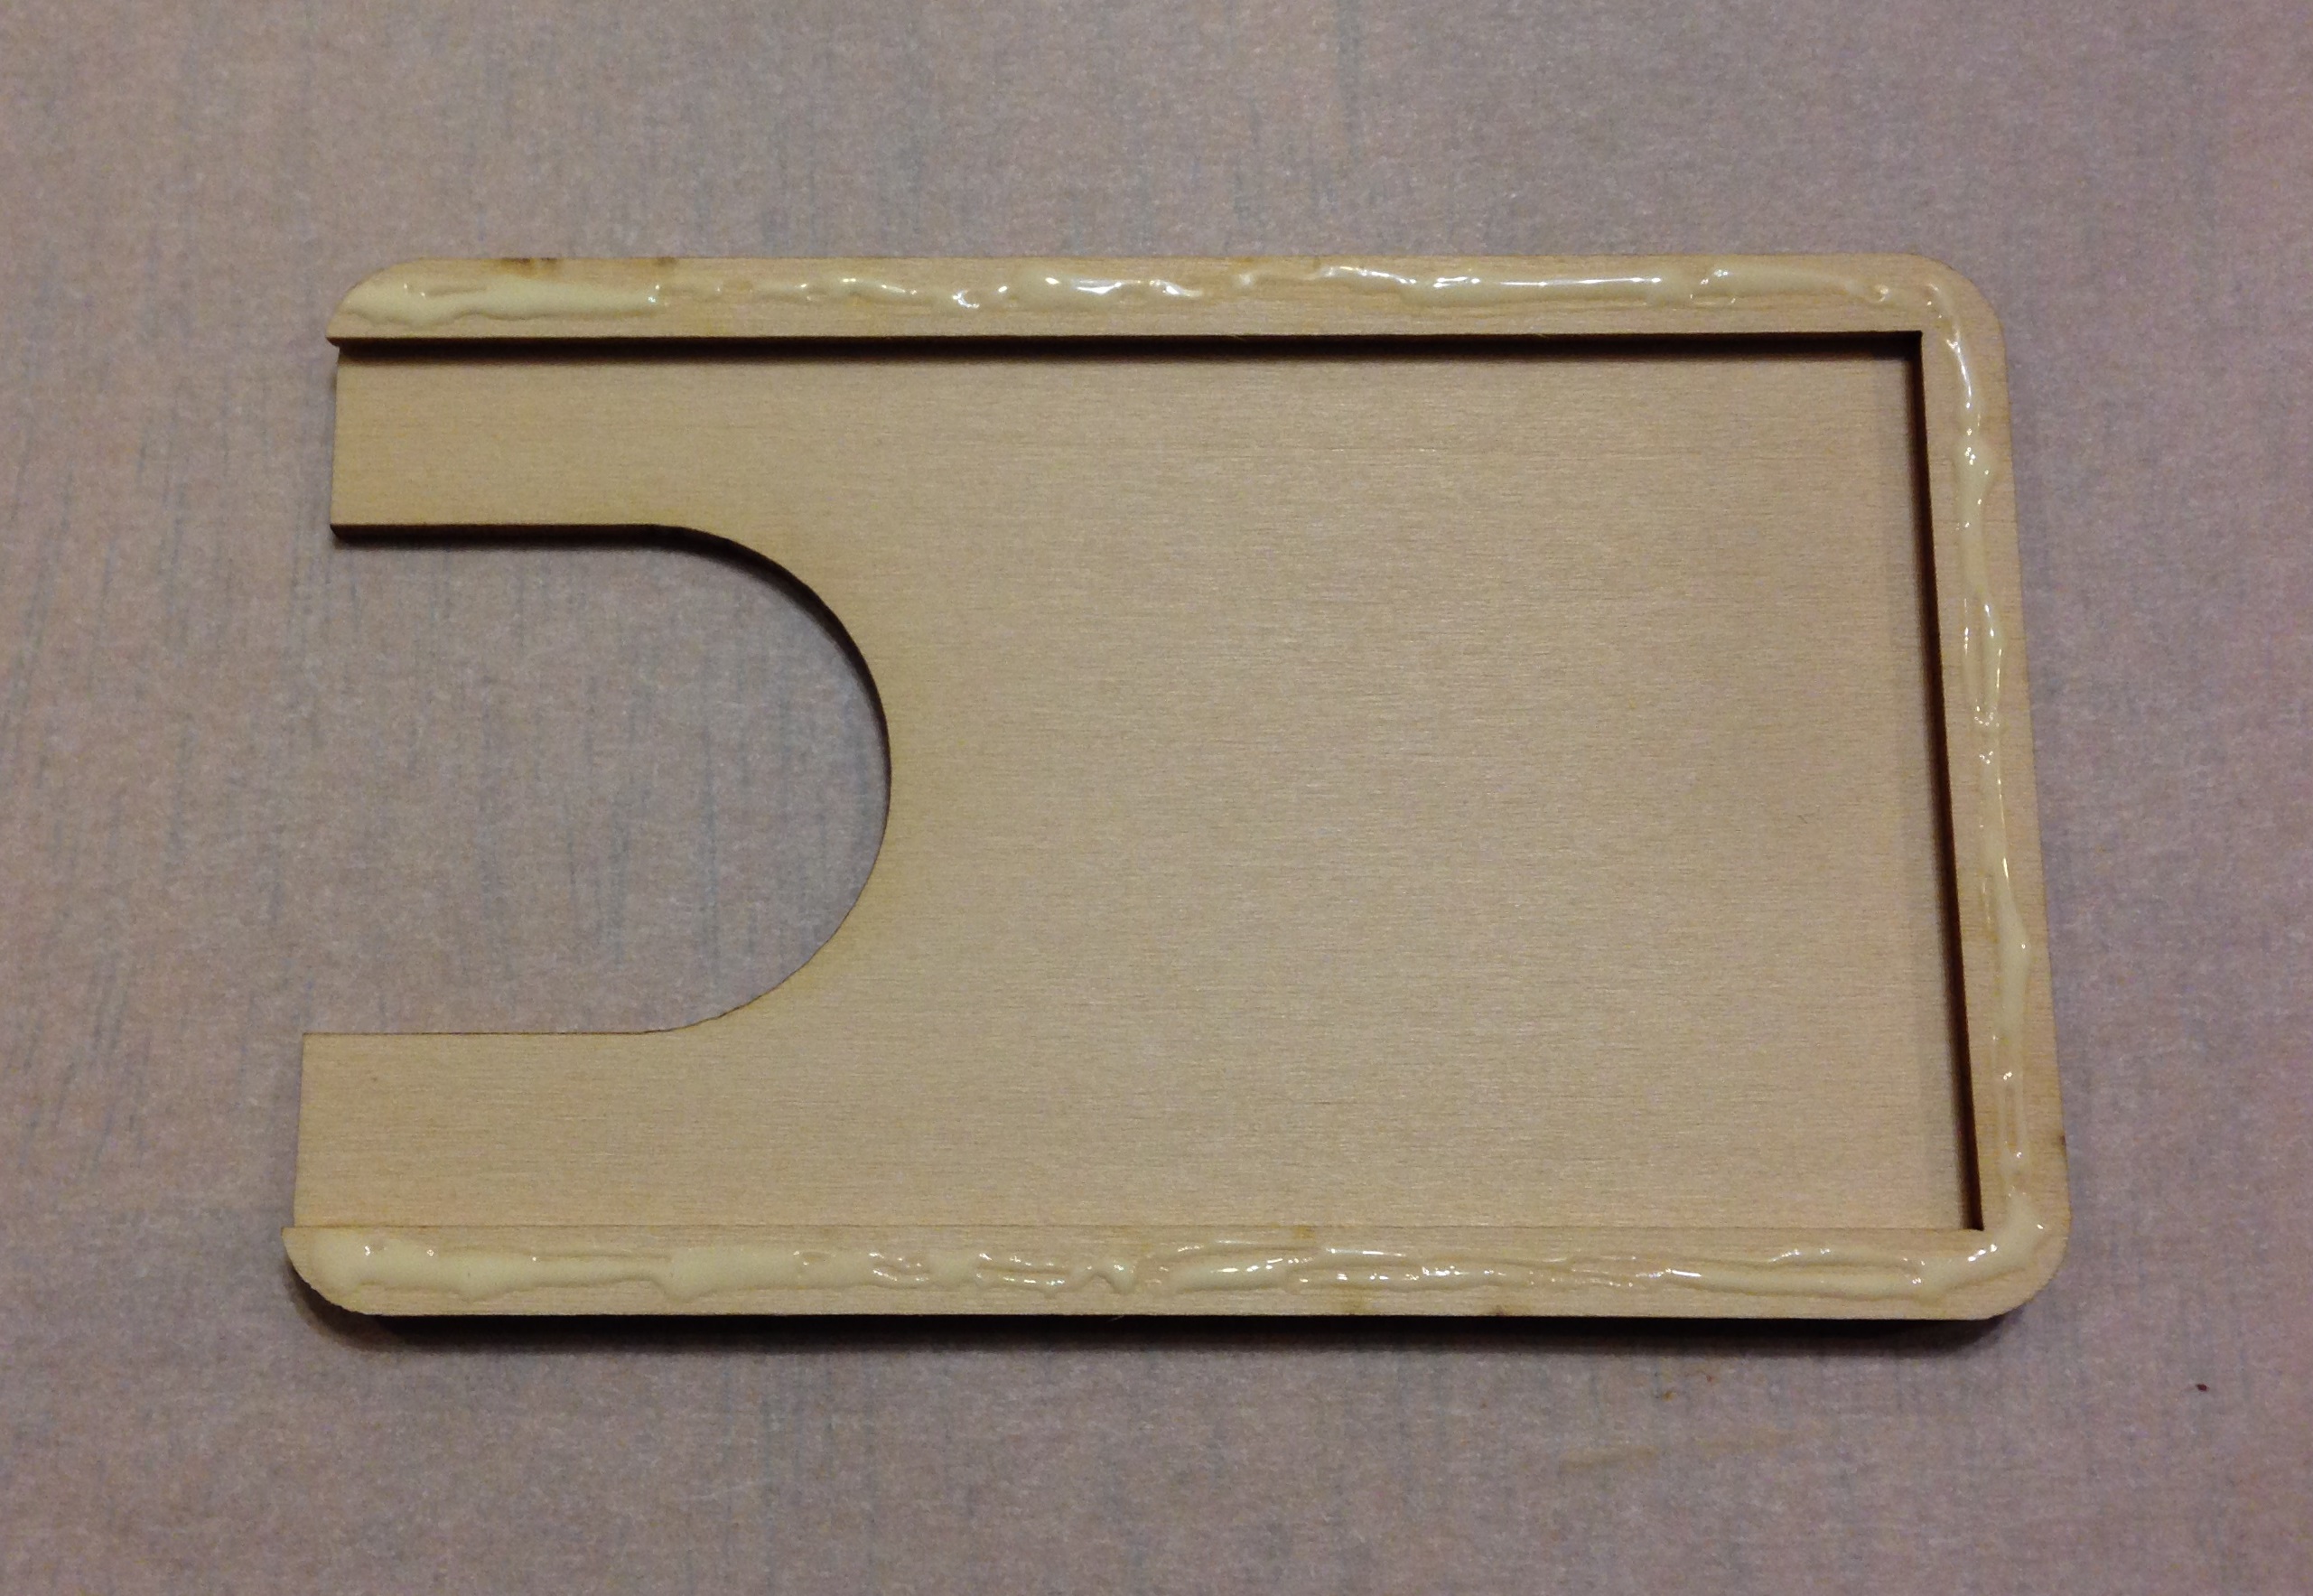
6B GlueCardSpacer.jpg

Start by spreading a thin layer of glue along the top edges of the back piece.  Carefully place and hold the first spacer for a few minutes allowing the glue to become sufficiently tacky to keep the spacer in place.  Next spread a thin layer of glue on top of the spacer, and add the second spacer.  Finally, do the same to glue the top to the rest of the assembly.  Place something heavy (like a book) on top of the card holder and let it dry overnight.

Put It to Use!
7A CardHolderDone.jpg

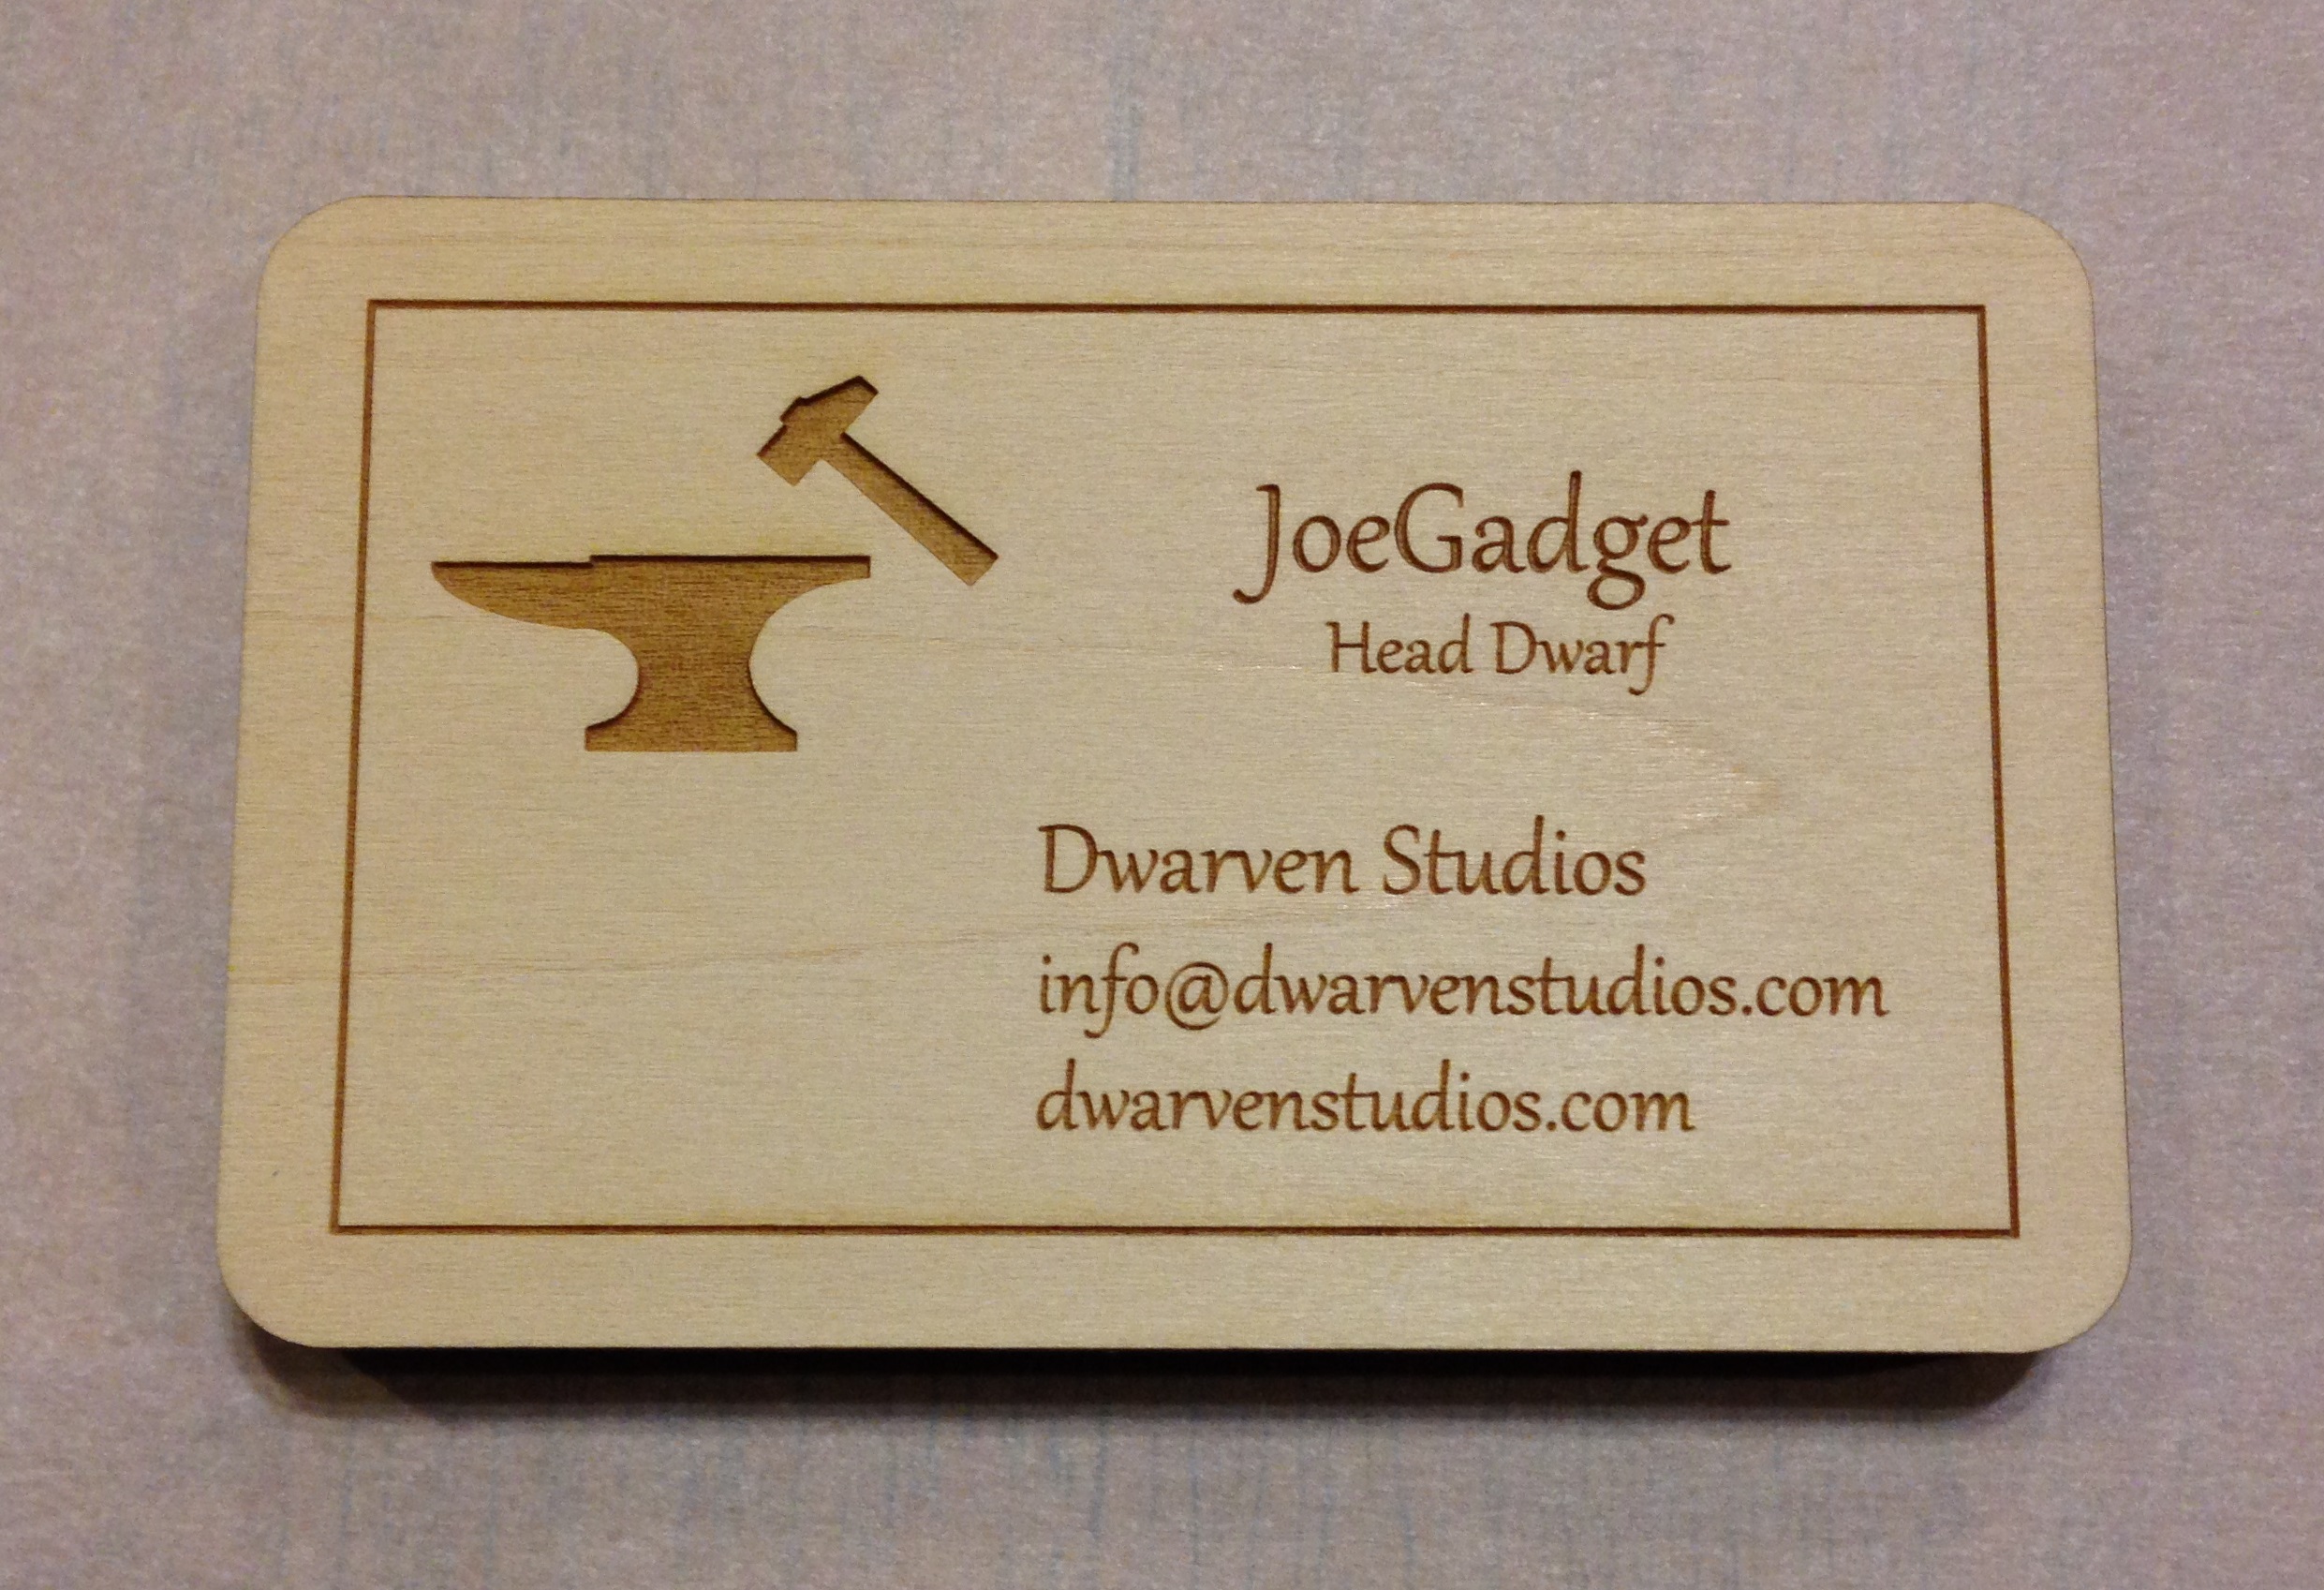
I left the wood bare so that it could age naturally.  This does run the risk of getting stained or oddly discolored, and if that concerns you spray or brush on a few coats of polyurethane to protect it.

Fill it with cards and put your project on display!