Wood Inlay MC Escher Reptiles Motion Art (part 1/2)
by ccrome in Workshop > Woodworking
17897 Views, 111 Favorites, 0 Comments
Wood Inlay MC Escher Reptiles Motion Art (part 1/2)
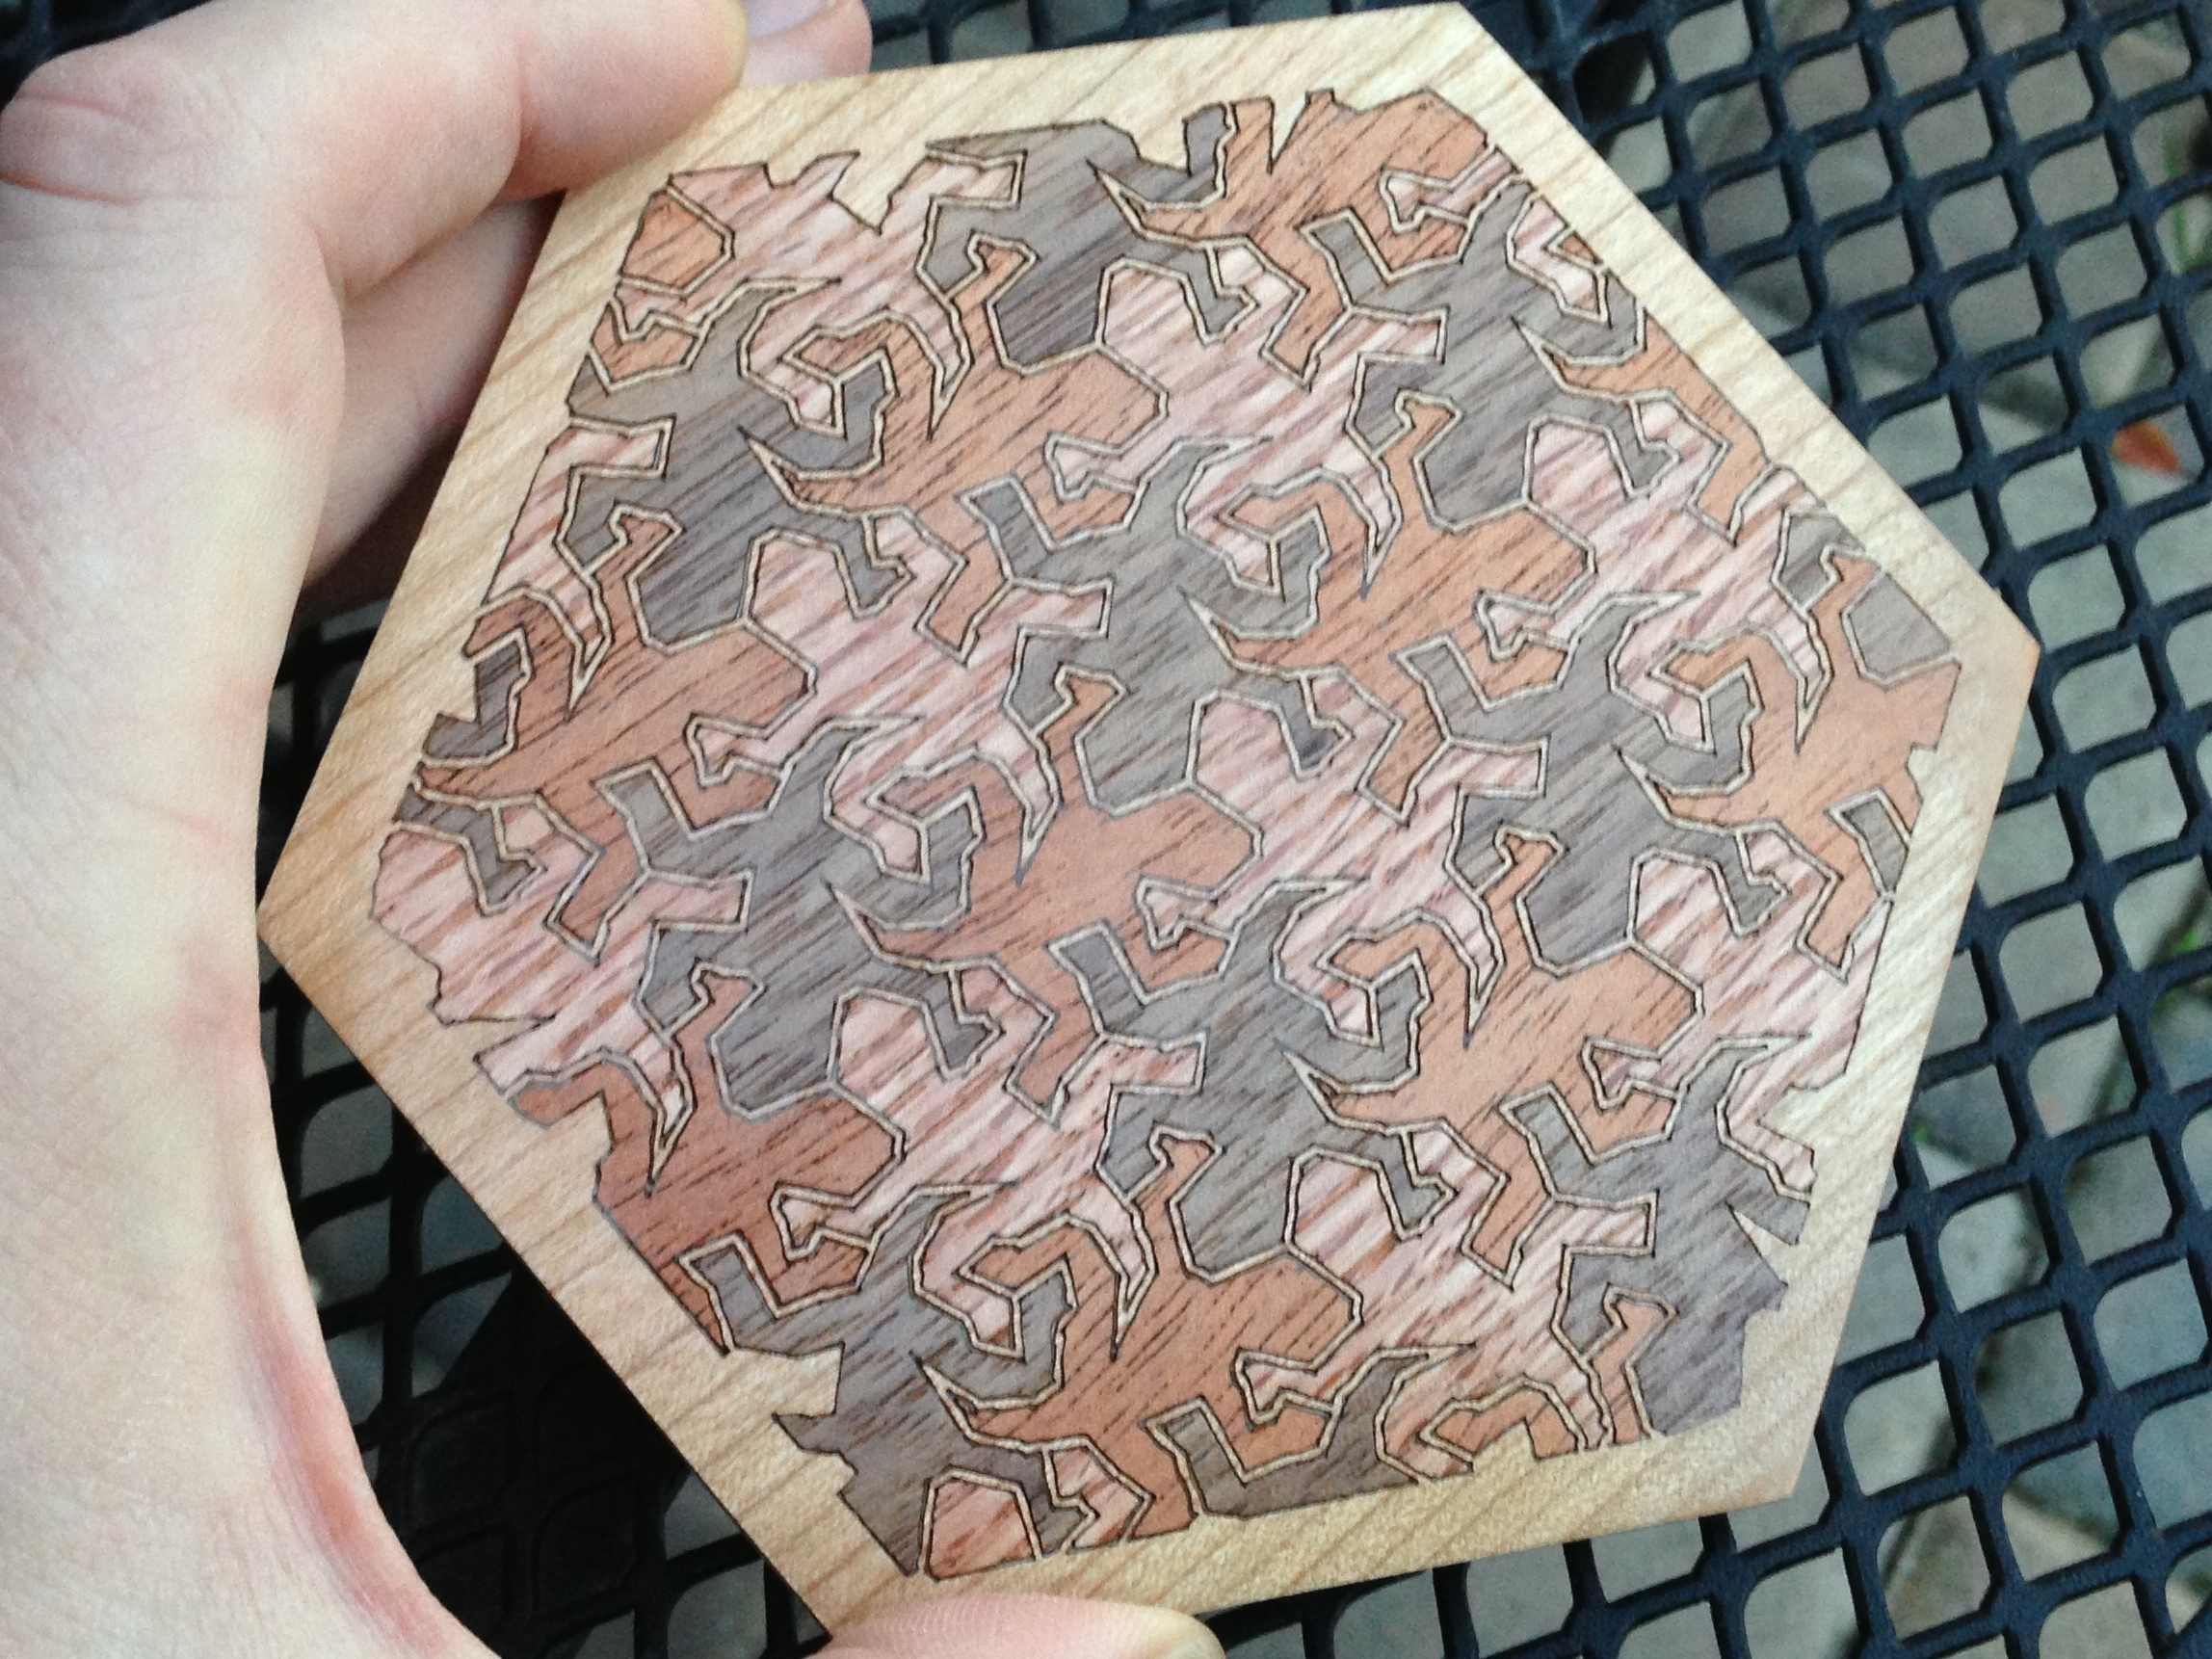
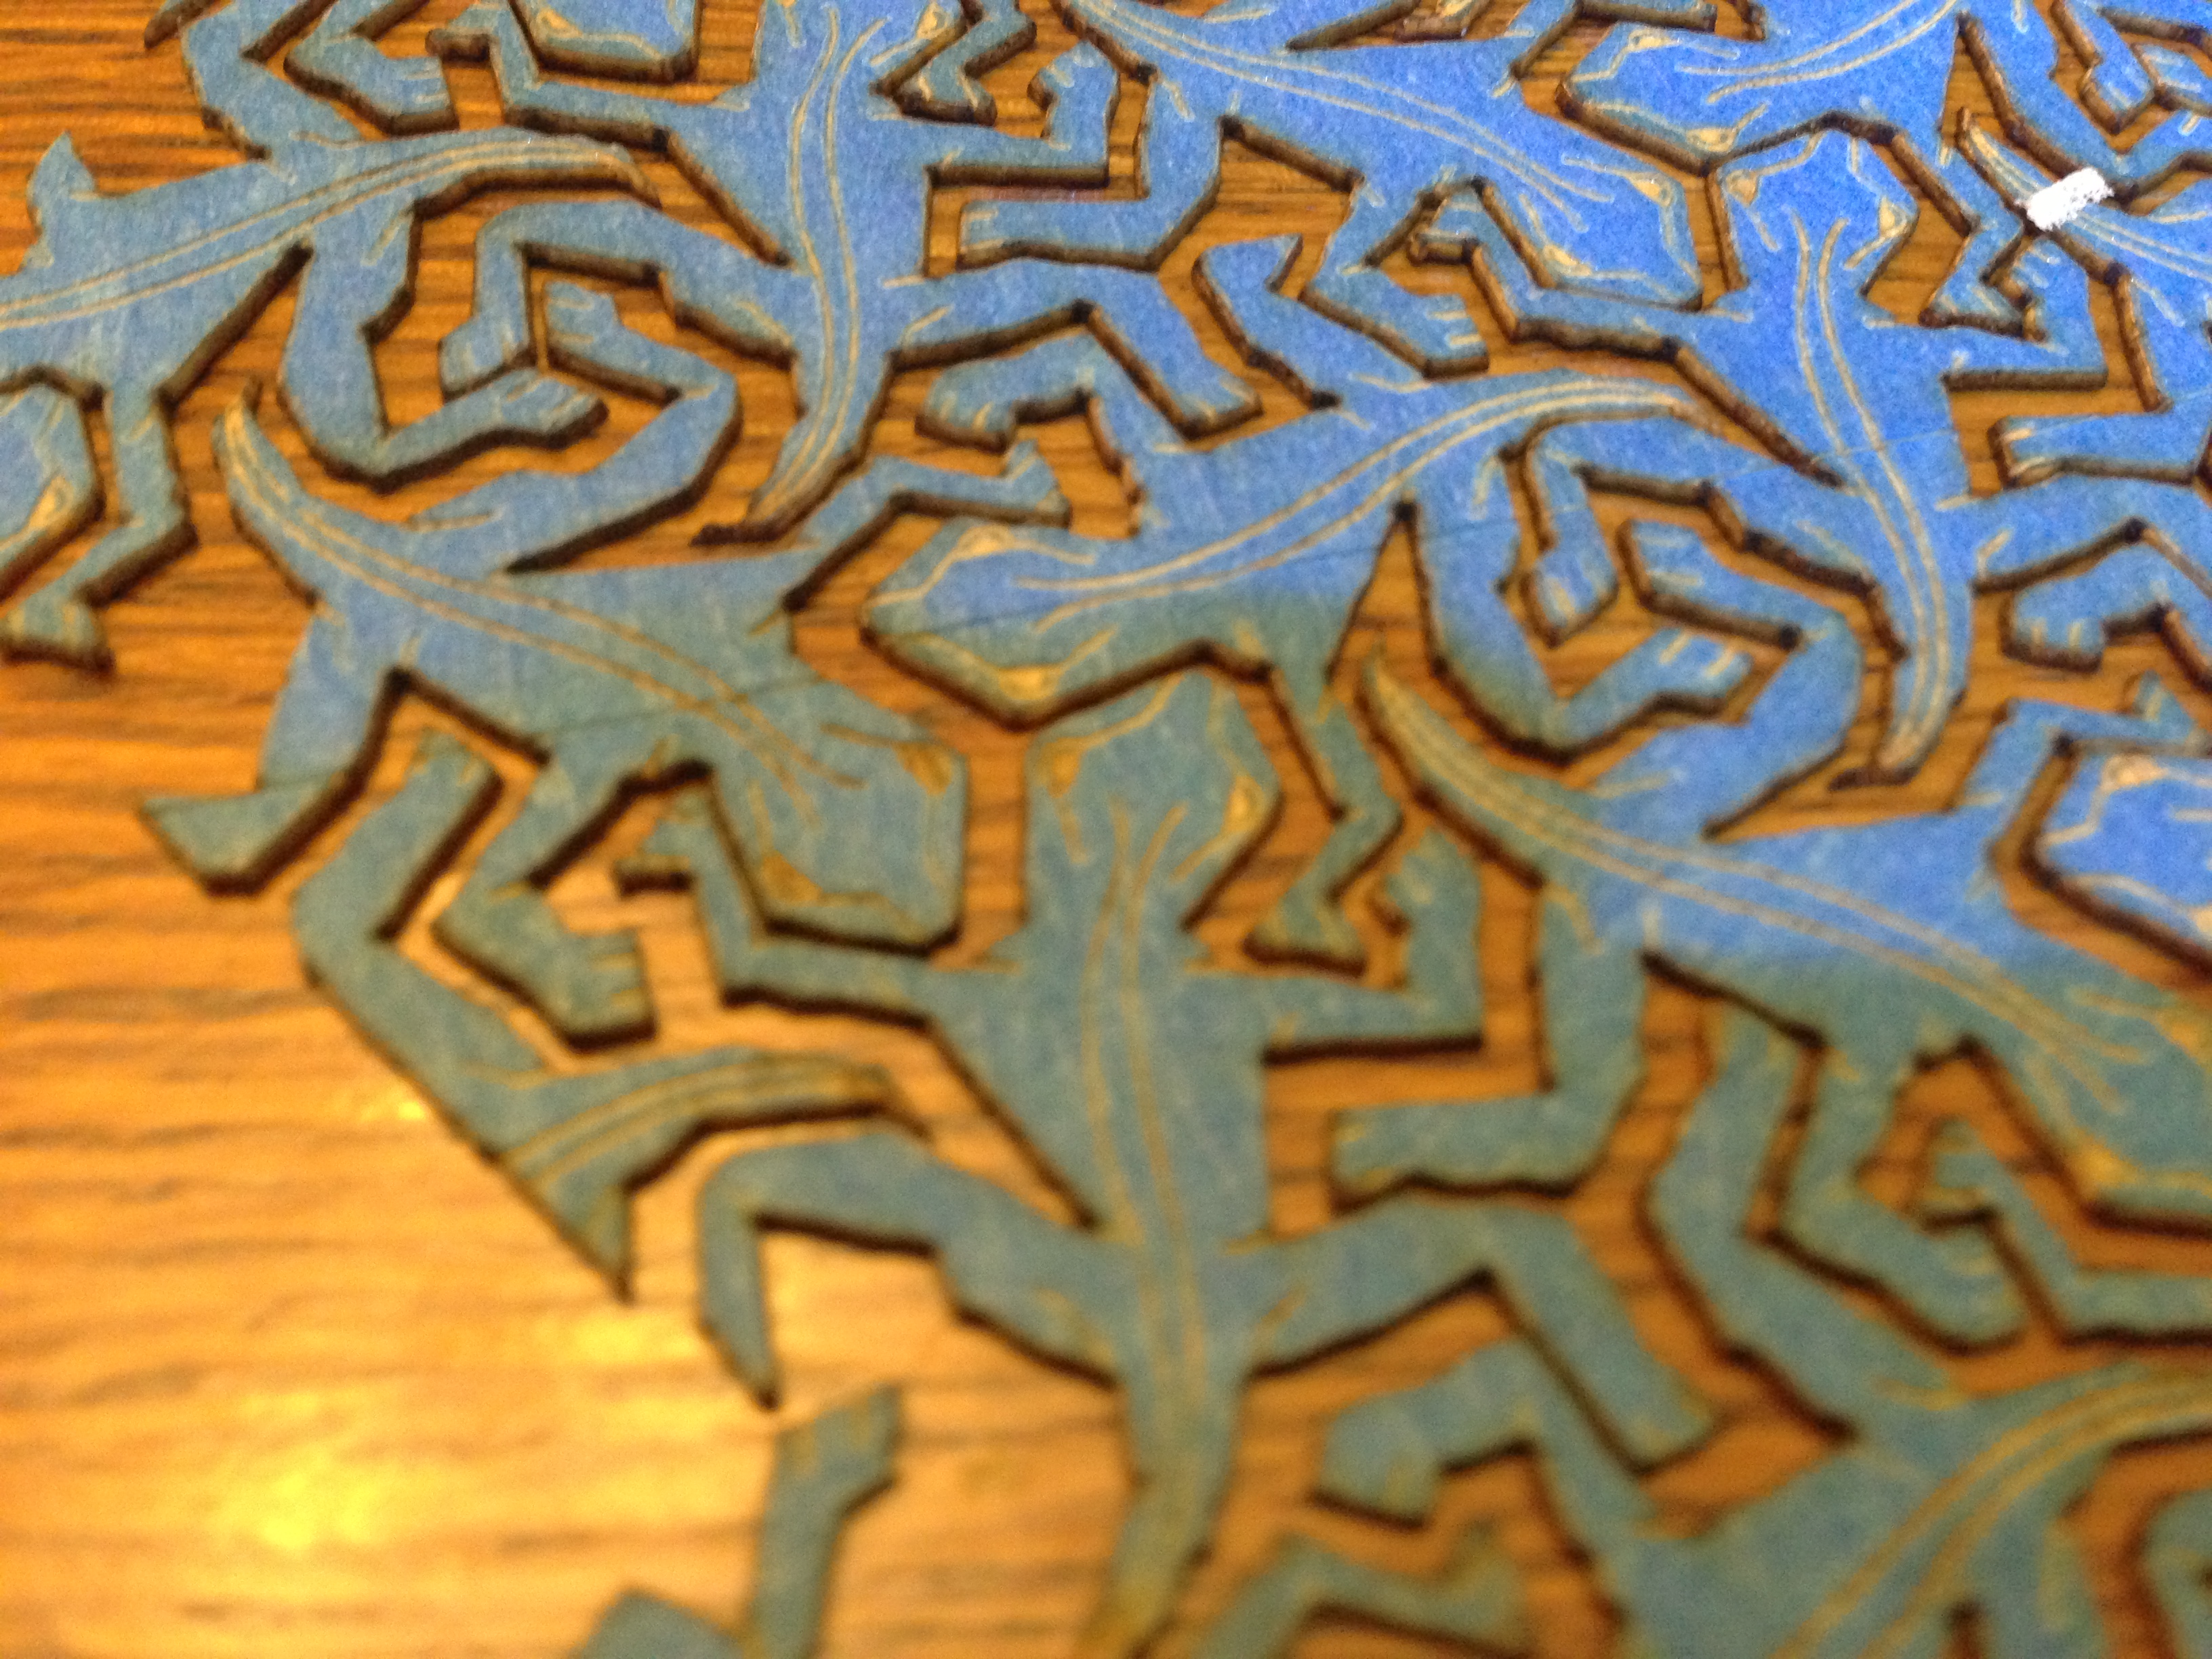
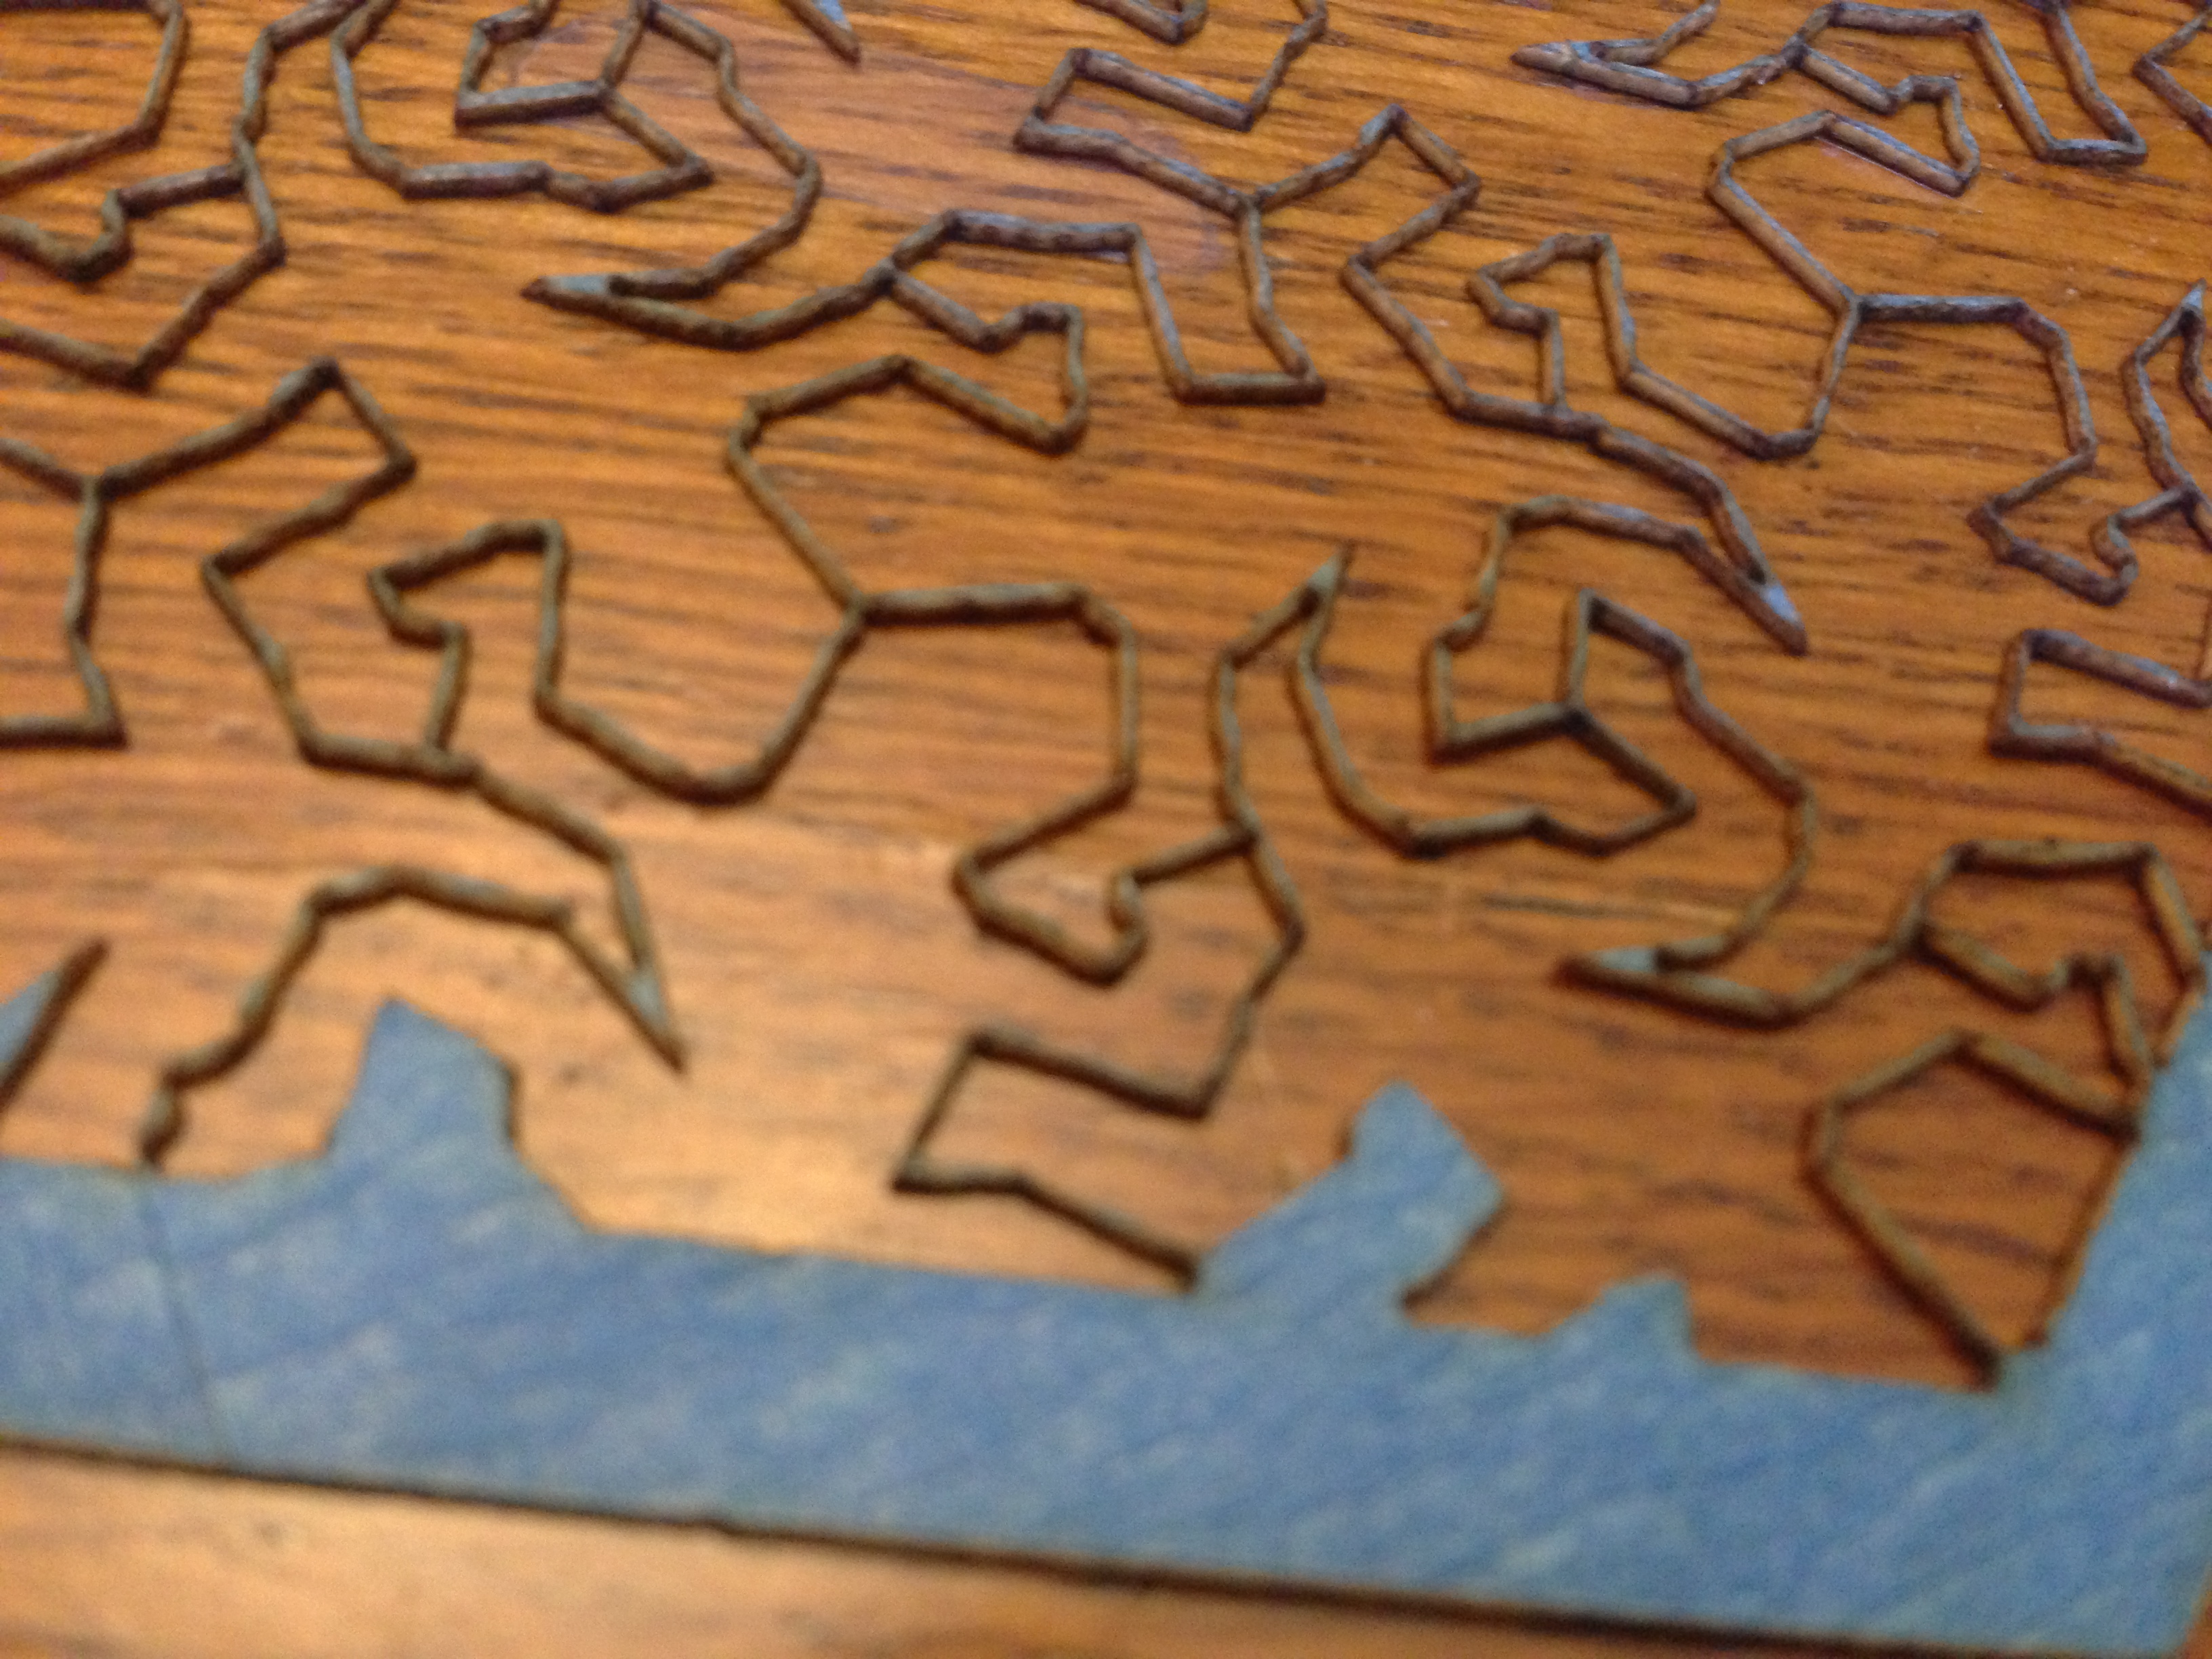
Did you ever want to try wood inlay, but thought it was too difficult? It turns out that you can do some absolutely incredible stuff with a laser cutter and a little patience. This instructable is a twofer: you get instructions on building a vector file, and some instructions on doing the inlay itself.
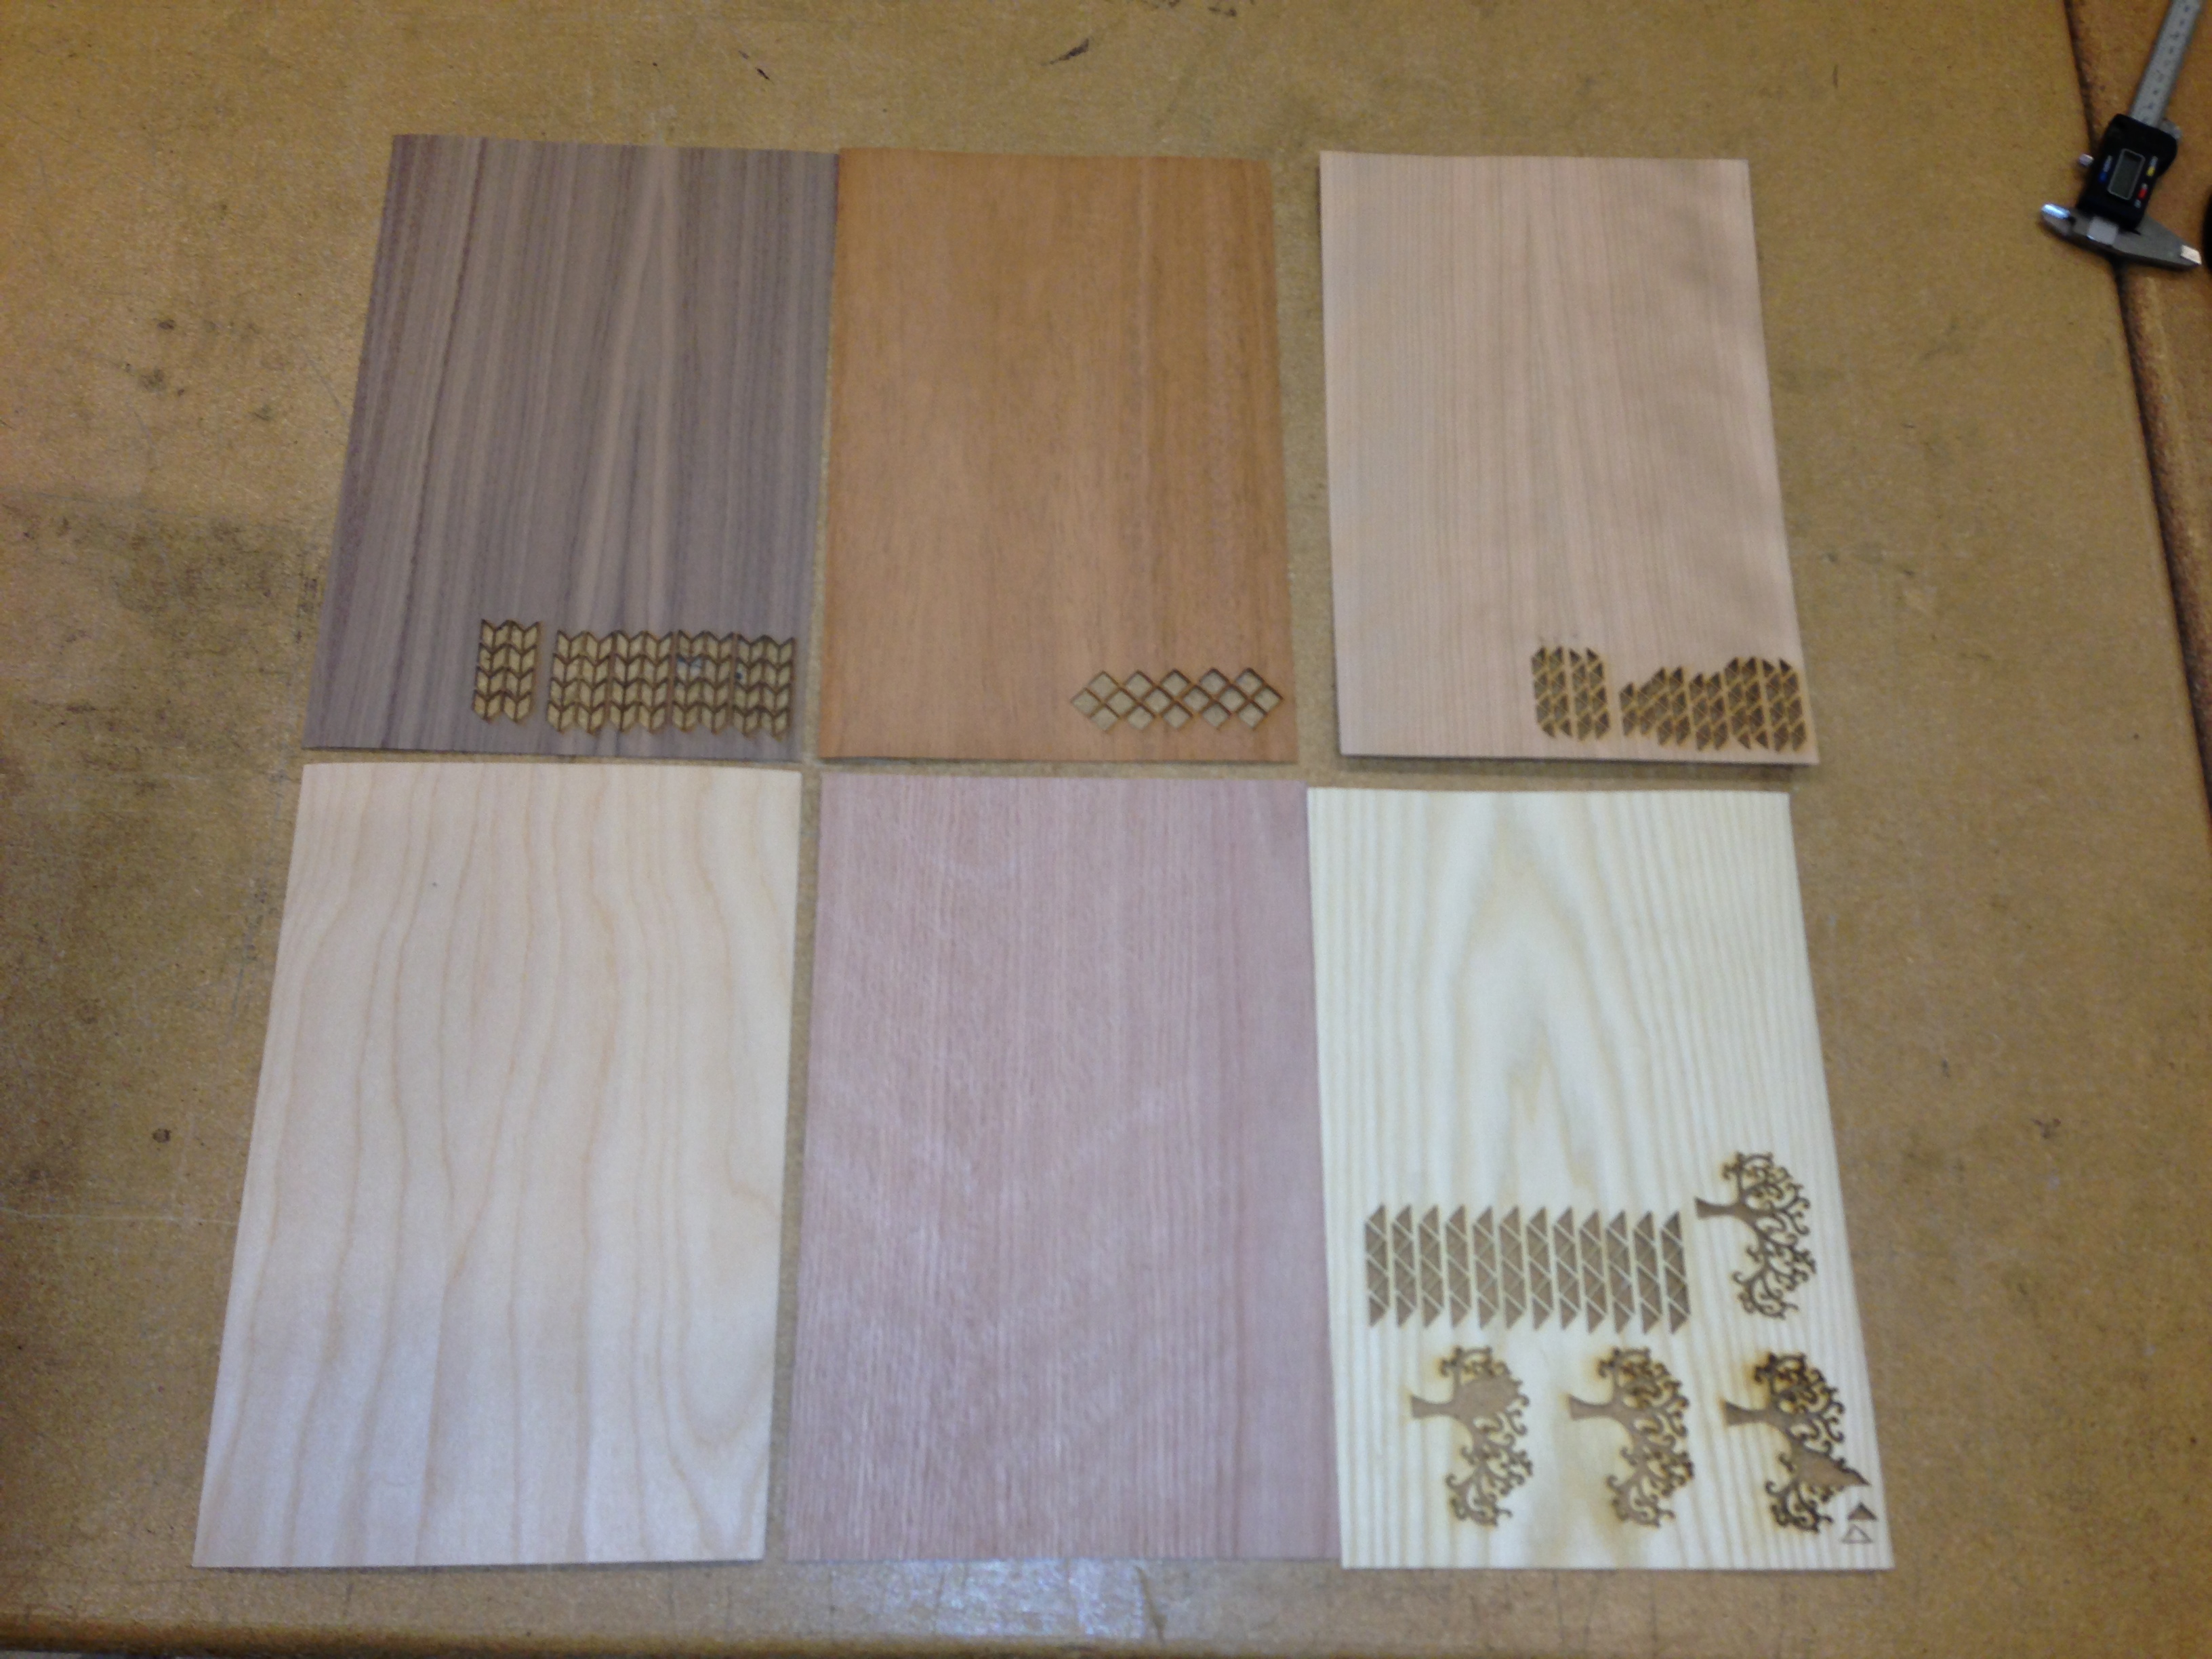
I decided to see how extreme I could go with the inlay process using the Epilog laser cutters at TechShop. It turns out, they can be pretty incredible. Check out the photo: There are 4 types of wood veneer there: Red Oak, Walnut , and a couple more that I'm not sure how to identify.
Notice that the perimeter wood literally continues around in between every reptile!
All the hardwood you see is actually veneer.
Here's how you can make your own crazy-awesome hardwood inlay.
In case you didn't already notice, I made this at TechShop.
This is the first installment of a 2 part instructable. The first part takes you through the inlay construction process. The second part (will turn these pieces into a super-sweet piece of motion art. (Part 2 not done yet though...).
Tools Required
- Laser Cutter
- CorelDraw
- Sanding Block: must be FLAT. Attach sandpaper with spray adhesive, rubber cement, etc.
- tweezers are handy
- a scalpel
- magnifying visor is handy too
- Veneer sample pack with at least 4, but preferably at least 6 species of wood.
- 6mm baltic birch plywood, or just about any other substrate you like.
- contact cement (NOT rubber cement)
- sandpaper (150 up to 400 grit or higher)
- some kind of wood finish and a means to apply it: I'm trying a few different ones to see what works for me. Choose your own depending on your intended use (i.e. coaster, or art piece. A coaster should use epoxy like 'Glaze Coat', whereas an art piece may just use oil or some other traditional finish, or even polyurethane).
- Blue painters tape
Create Your Design File
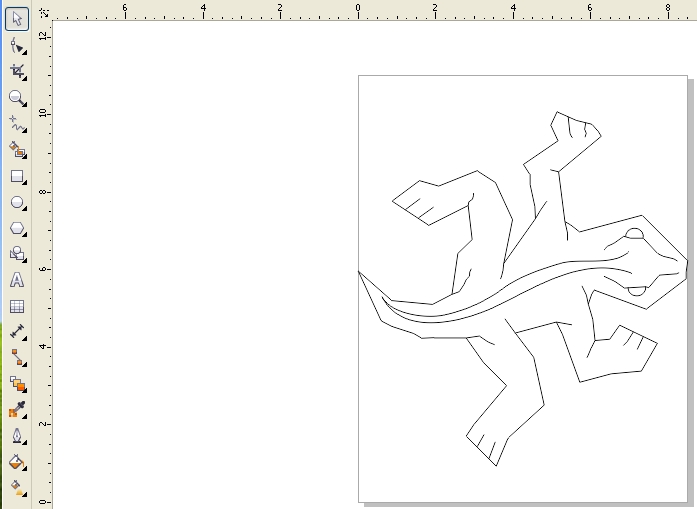
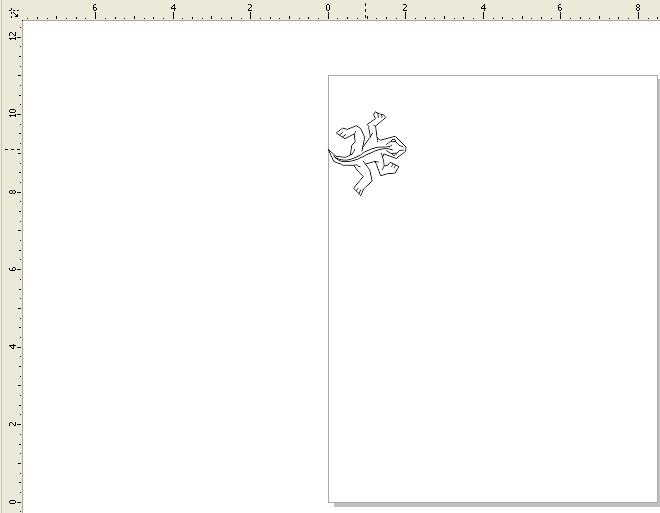
Once again, I started with this vector drawing of the Escher reptiles. In my previous instructable on the subject, I had to make some major modifications to the drawing in order for it to work with a CNC router. Since we are using a laser cutter in this case, rather than a cutter with a significant radius, we can start with the original vector drawing as-is without worrying about cutter radius. There's still lots of work to do, but filleting every vertex isn't part of it :-)
Note: If you simply want to get going, and not do any of the file construction yourself, you can just jump to step 15 and download the .cdr files and continue this instructable from there.
So, here's how to create your design file from scratch:
Download MC_Escher_single_lizard_tile.dwg and import it into CorelDraw..
File->Open->MC_Escher_single_lizard_tile.dwg
This comes out fairly large, as seen in the first image. Resizeit to be reasonable as seen in the 2nd image, maybe 2" across or so.
Downloads
Differentiate Between Edge (cuts) and Interior (decoration)
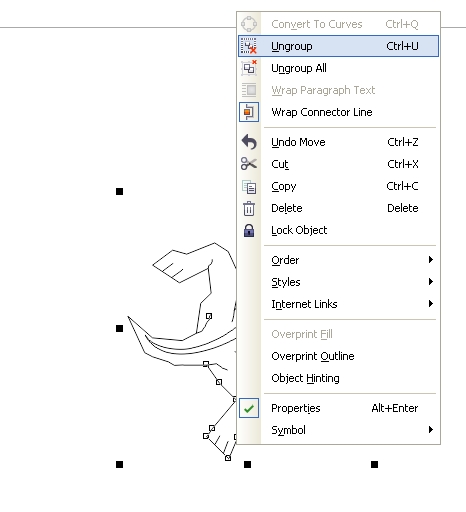
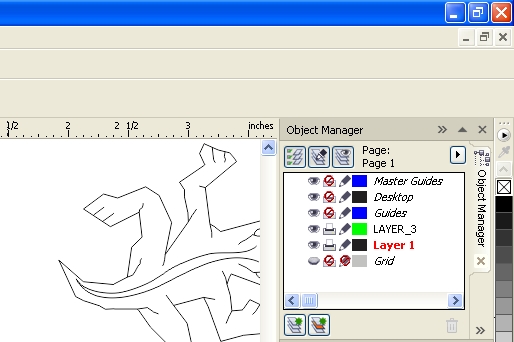
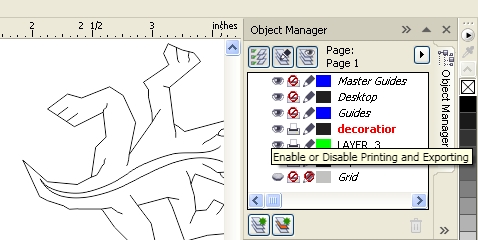
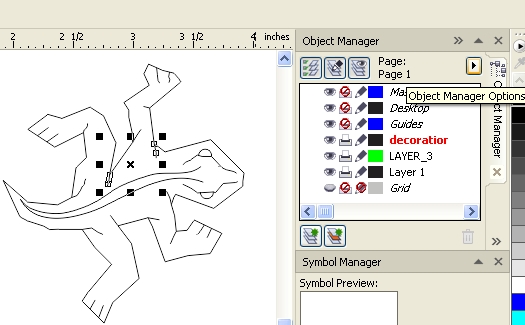
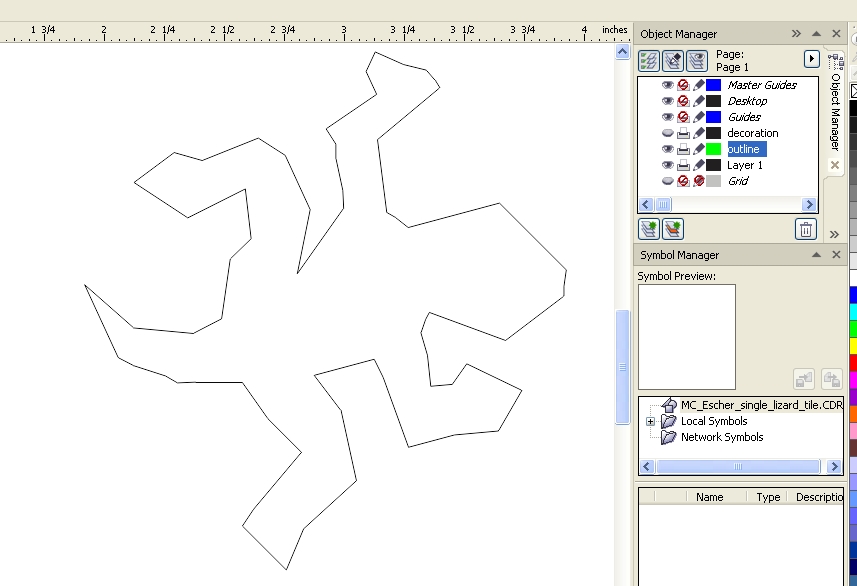

In this step, we need to let the laser know which lines will be vector cut, and which lines are just for decoration (rasterized). To do this, we must ungroup, differentiate edges from decoration by using layers.
- Image 1: Zoom in. Click on the reptile. Right-click and choose ungroup.
-
Image 2: Open the object manager
- Open the Object Manager. If the tab is not already there, choose: Window->Dockers->ObjectManager
- This should give you something like that seen in the 2nd image.
- Image 3: Create a new layer, and call it 'decoration'. Do this by clicking on the 'new layer' button in the object manager. rename the layer to 'decoration'
- Notice the eyeball (visibility) button, and the printer button. We'll be making use of these. The eyeball turns visibility on and off for that layer, and the printer turns on and off the ability for that layer to print. that way we can decide which layers go to the printer when.
- Image 4: Move all decoration to the 'decoration layer'. Turn off visibility of the decoration layer first. Then shift-select and/or area-select the interior decoration of the reptile. Then choosing the Object Manager Options button, and Move To Layer. Choose the 'decoration layer'. Don't try to do it all at once. Move just a few lines at a time.
- Image 5: Once you have all the decoration moved to the decoration layer, you should have just an outline of the reptile. (notice in the process, I also renamed the default LAYER_3 to 'outline' to make things easier.
- Image 6: To see what's what, turn off the 'outline' layer, and turn on 'decoration' layer.
Convert Outline to Harline, Set Thickness of Decoration
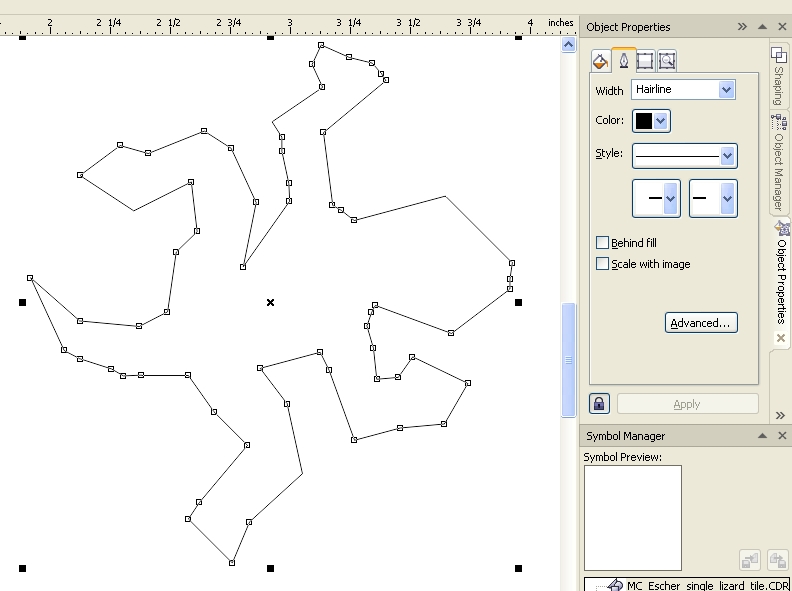
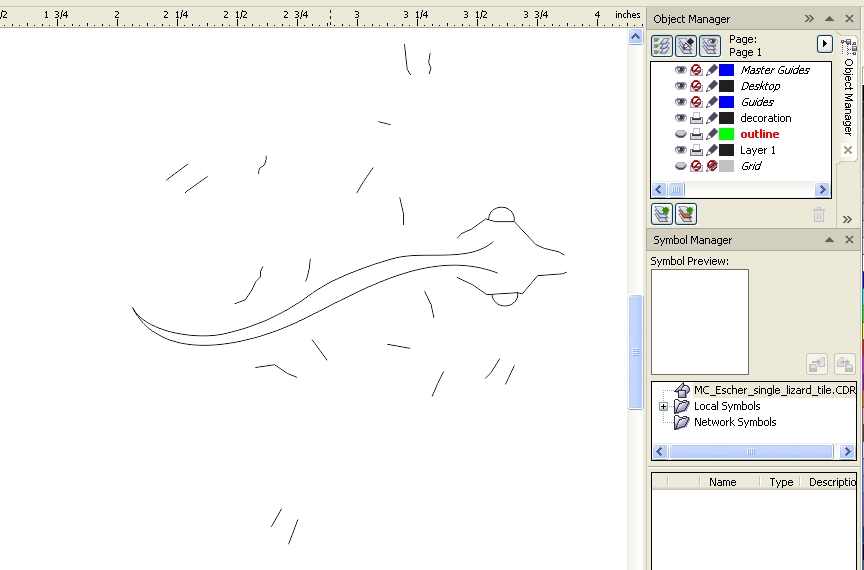
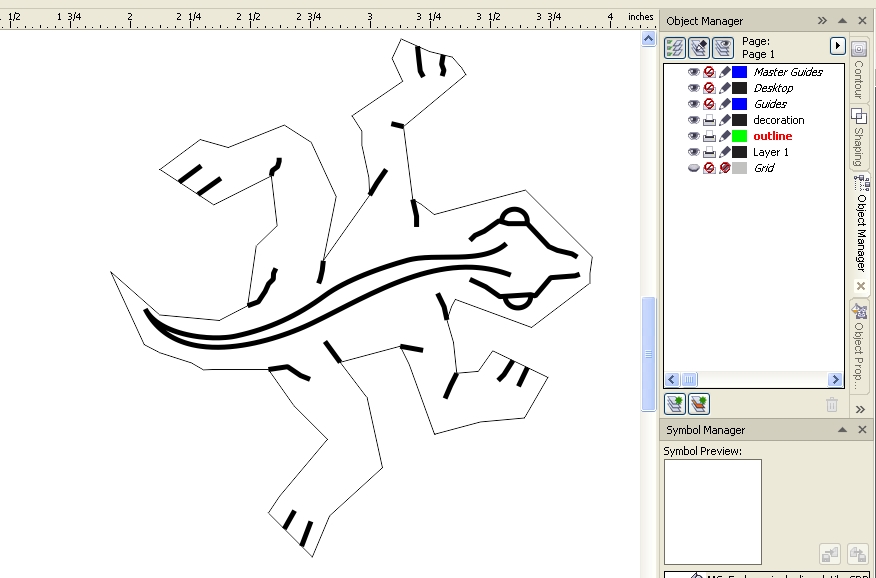
In order to make the outline 'cut' in the epilog laser driver, we need to set the line weight of the outline to 'Hairline'. In this step, we'll also thicken up the decoration layer to make it a little weightier.
-
Image 1: Make just 'outline' visible
- Select all (Ctrl-A)
- Go to Object Properties (Alt-Enter).
- Set Fill Type to 'No Fill'
- Set Width to 'Hairline'
- Go to menu item Arrange->Join Curves, and/or select the join curves tab. Hit Apply to join the outline into 1 continuous object.
-
Image 2: Make just the 'decoration' visible
- Select All
- Set Fill type to 'No Fill'
- Set Width to 1.5 pt, or whatever you like
- Back to Join curves to join up these lines too.
- Image 3: Now, we finally have the reptile preprocessed into a manageable form. Turn on both outline and decoration layers.
Create an Outline-offset That Will Create the Spaces Between the Reptiles.
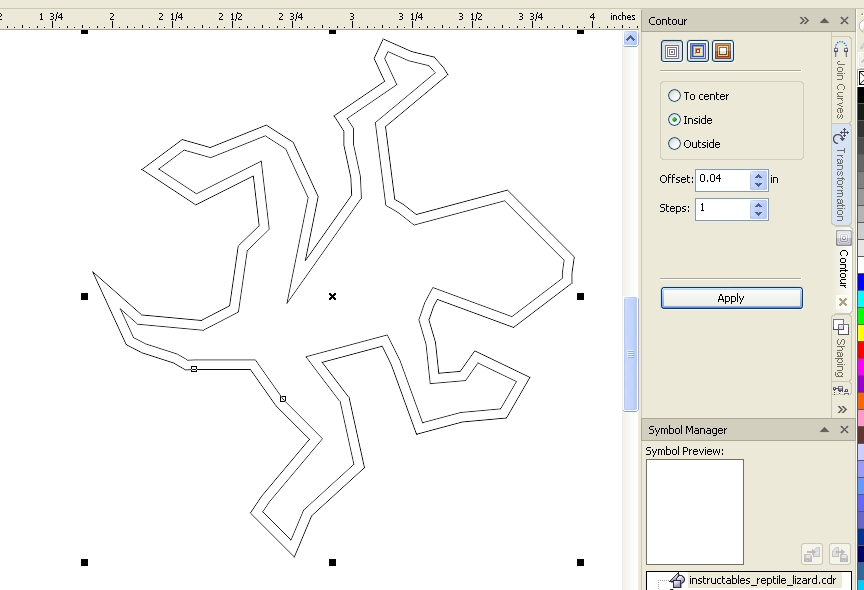
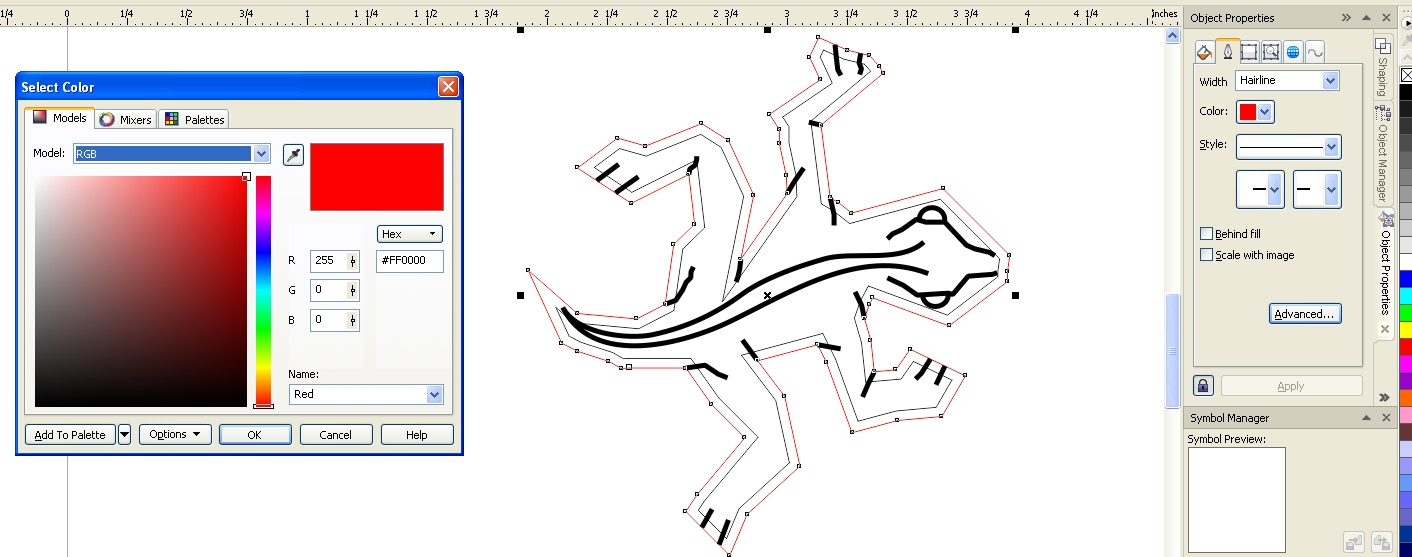
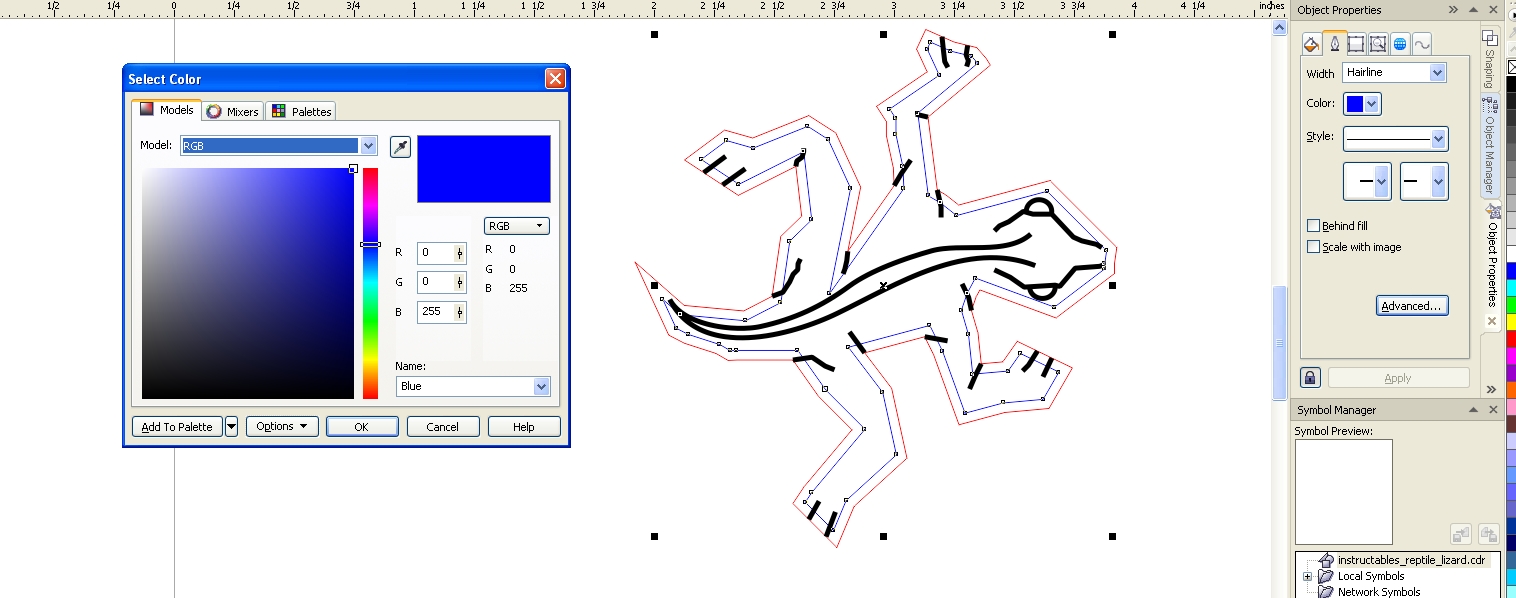
In this step, we will shrink the reptile with an offset so that veneer will appear BETWEEN reptiles. This gives an awesome look to the finished product.
- Make just the outline visible (hide the decoration layer)
- Select your outline object (should be 1 single joined path if the 'Join Curves' worked previously).
- Open the Contour tool: Window->Dockers->Contour
- Choose 'Contour Steps' button, select 'inside', offset=0.05 in, steps=1 and apply.
- If it looks good, great. If not, undo and try again with a different offset. until it looks about right.
- Once you like the looks, right click on the INNER LINE of the reptile and choose 'Break Contour group apart' from the context menu. Now you have 2 separate vectors that can be independently manipulated.
Fix Your Decoration to Fit the New Outline
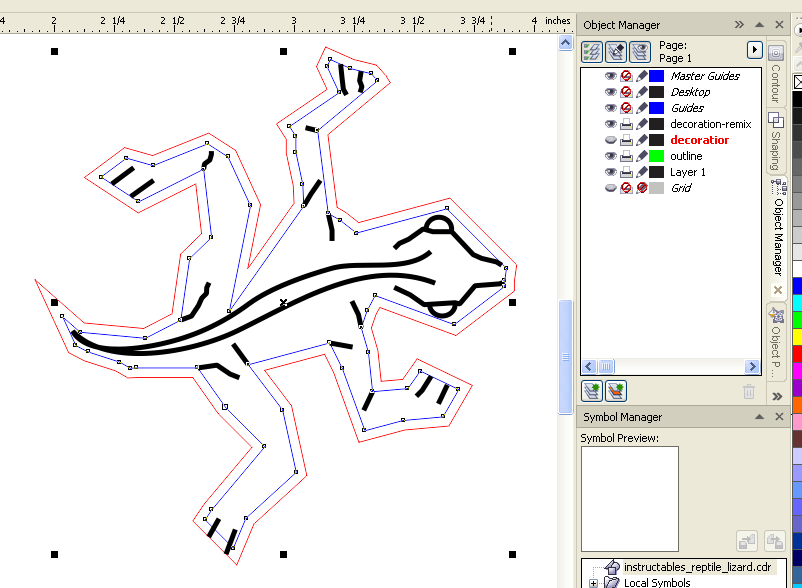
Make your decoration visible. You can see that the decoration now overlaps your inner blue line. You don't want that. You want it to just touch the line. This is an optional step: if you don't want decoration on your final result, you can skip this step.
This really just consists of tweaking each bit of decoration until you get something you like. You may also want to preserve the original decoration, so I suggest copying the 'decoration' layer to a 'decoration-remix' layer and modifying just that one.
Now you should have 2 decoration layers, the original, and the remix version. The remix version is the one we will use for engraving later.
Create a 'shape'
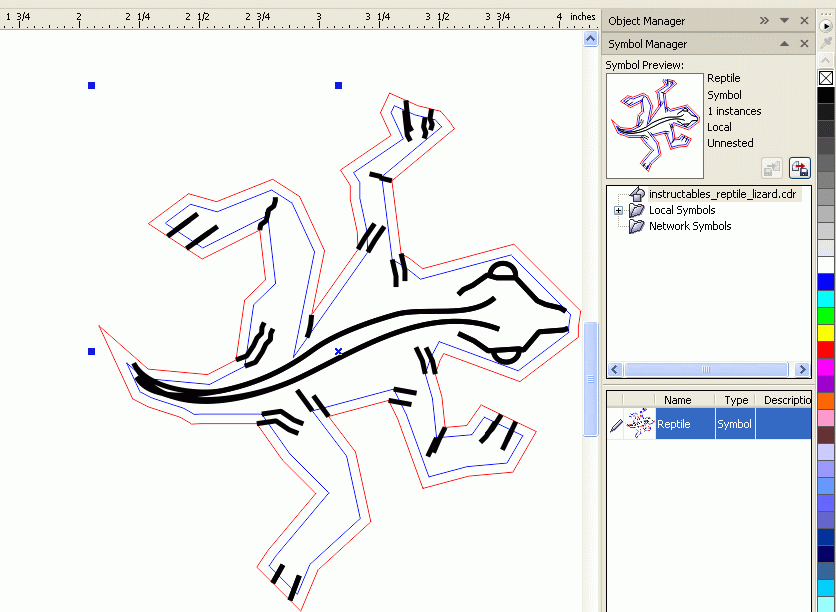
CorelDraw has the concept of 'Shapes'. This is a super useful concept, basically it creates an object that you can stamp out multiple times. Then you can go back and edit the object at a later time, and all instances of it will get modified. This is different from a group: if you copy a group and modify one group, only that one instance is modified. You want this to be a shape, not just a group.
Here's how you do it:
Doh! The Symbol does not preserve the layers. We'll have to differentiate decoration from decoration-remix with colors. Re-color your reptile decorations with GREEN (00FF00) and MAGENTA (FF00FF). Once you're done editing, right-click on the reptile and choose, "Finish editing symbol."
Here's how you do it:
- Make all the layers we care about visible: outline, decoration, and decoration-remix.
- select all (Ctrl-A)
- Right-click on the object. From the context menu go to Symbol->New Symbol
- Name the symbol 'Reptile'
Doh! The Symbol does not preserve the layers. We'll have to differentiate decoration from decoration-remix with colors. Re-color your reptile decorations with GREEN (00FF00) and MAGENTA (FF00FF). Once you're done editing, right-click on the reptile and choose, "Finish editing symbol."
Instantiate a Bunch of These Little Guys
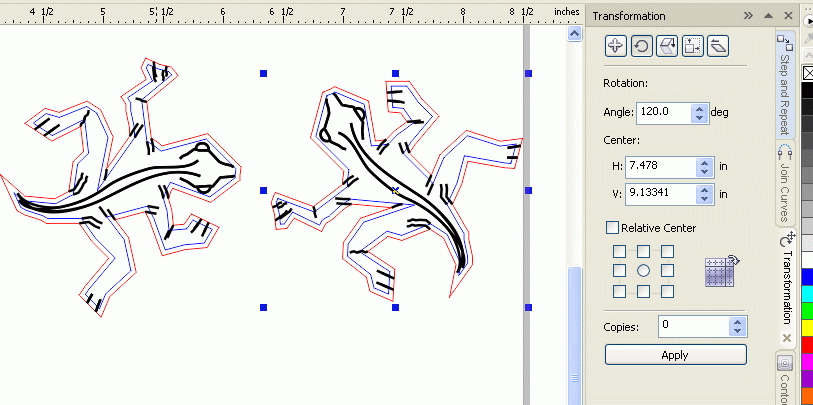
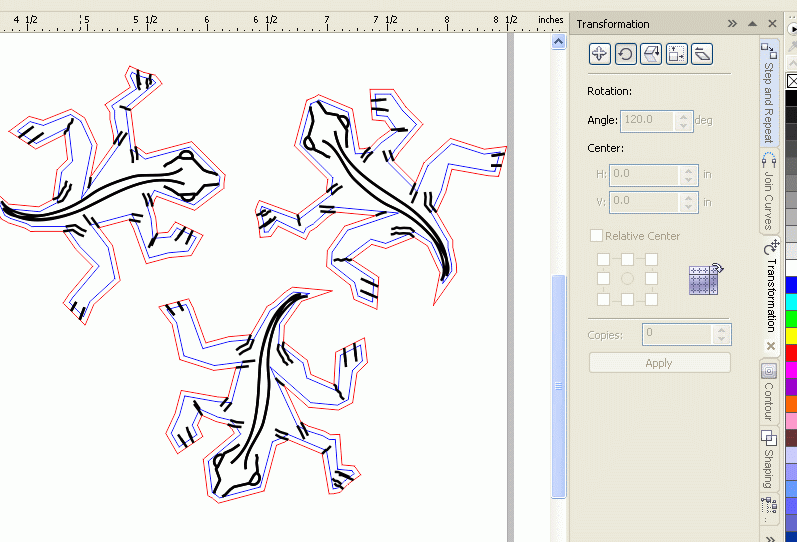
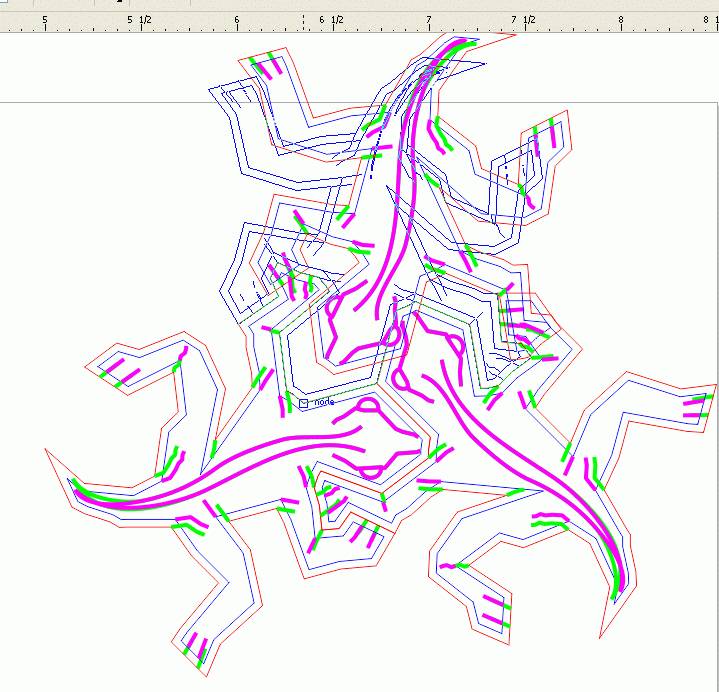
Now that we have our handy dandy new symbol, we can instantiate a bunch of reptiles. To do this, you'll need to stamp out a few and do precision rotation on them.
This gives you the basis for creating your tiling. The trick to precision placement to to be in the 'Pick tool', and choose a nodeon the red reptile (say the nose node), and line it up with the corresponding node on the next reptile. Corel is quite nice and it will auto-snap to the right place. (see last image on this step).
Okay, so about now is when I realize that my layer assignments didn't make it into the symbol. All items in the symbol are on the 'outline' layer. This isn't the end of the world. Now we learn to edit symbols. Right-click on a reptile and choose, "Edit Symbol". This gives you just a single reptile
- Copy paste to create 2nd instance of the reptile.
- Choose reptile #2 and go to transformations (Window->Dockers->Transformations->Rotate)
- Click on the rotate button if necessary
- Make Angle=120 degrees and press 'apply'
This gives you the basis for creating your tiling. The trick to precision placement to to be in the 'Pick tool', and choose a nodeon the red reptile (say the nose node), and line it up with the corresponding node on the next reptile. Corel is quite nice and it will auto-snap to the right place. (see last image on this step).
Okay, so about now is when I realize that my layer assignments didn't make it into the symbol. All items in the symbol are on the 'outline' layer. This isn't the end of the world. Now we learn to edit symbols. Right-click on a reptile and choose, "Edit Symbol". This gives you just a single reptile
Create a Large Tiling
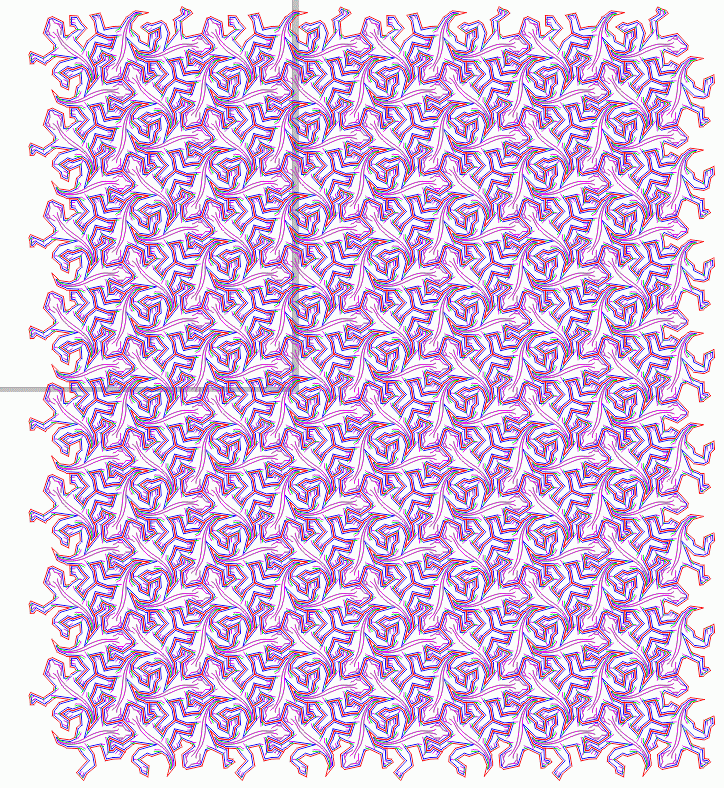
Now, tile your little guys all over creation to make a nice surface tiling. Just copy, paste and align a bunch of times. Careful not to overlap any reptiles because that will create double vector cuts along the same line -- a bad thing.
For your convenience, this file is attached on this step as, "reptiles-array.cdr".
For your convenience, this file is attached on this step as, "reptiles-array.cdr".
Downloads
Create Your Hexagon Outline for Trimming.
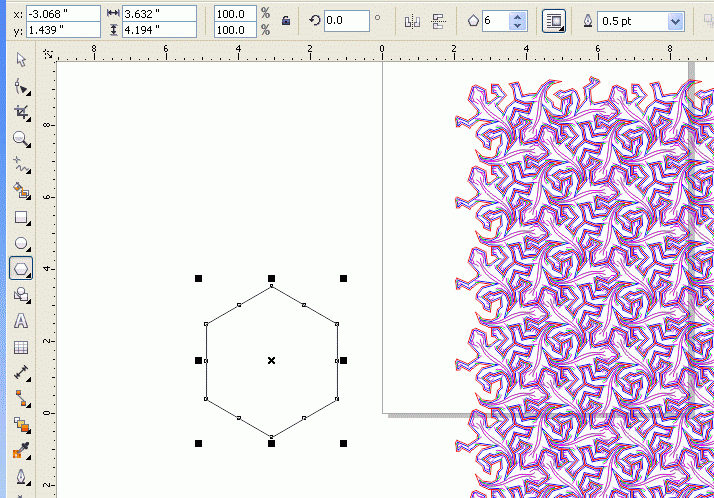
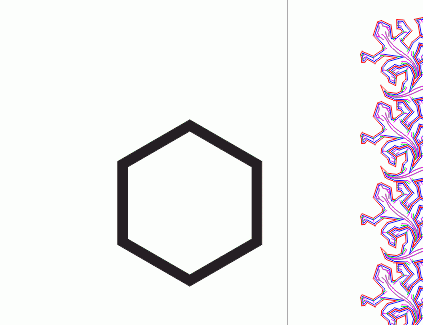
Once you're happy with your reptile array, you should save off your last step, or create a separate layer, or do whatever to preserve your work so far. We're about to destroy it all to create a flattened image. Did I mention, save your work so far? Into a different file name....
Anyway, here we go, we're going to create an object, then cut the reptiles around it.
Anyway, here we go, we're going to create an object, then cut the reptiles around it.
- Choose the Polygon tool, (Y),
- Draw yourself a polygon with the CTRL key held down (makes all sides equal).
- Choose 6 sides in the toolbar for a hexagon
- Set the size to the size of object you like.
- Create a 2nd hexagon, concentric with the first, but smaller.
- Select both hexagons and select Arrange->Combine.
- Choose Object->Properties and set fill to solid black.
Trimming Style A: Painful to Piece Together!
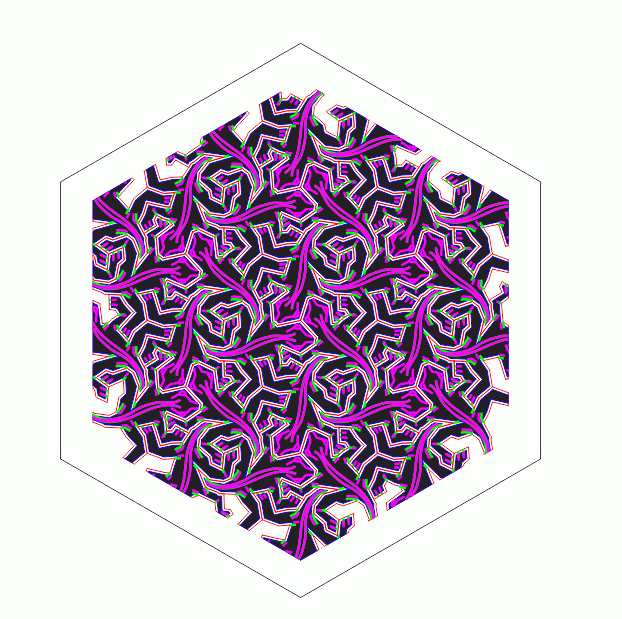
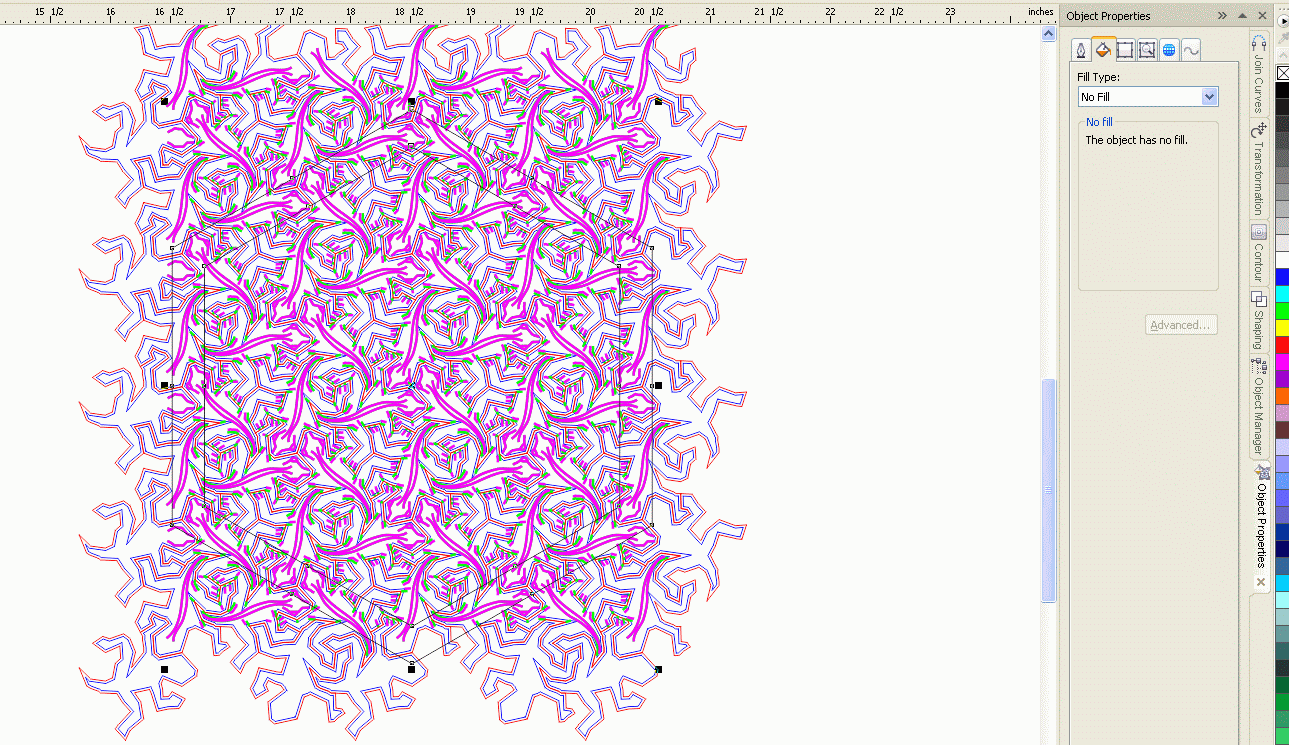
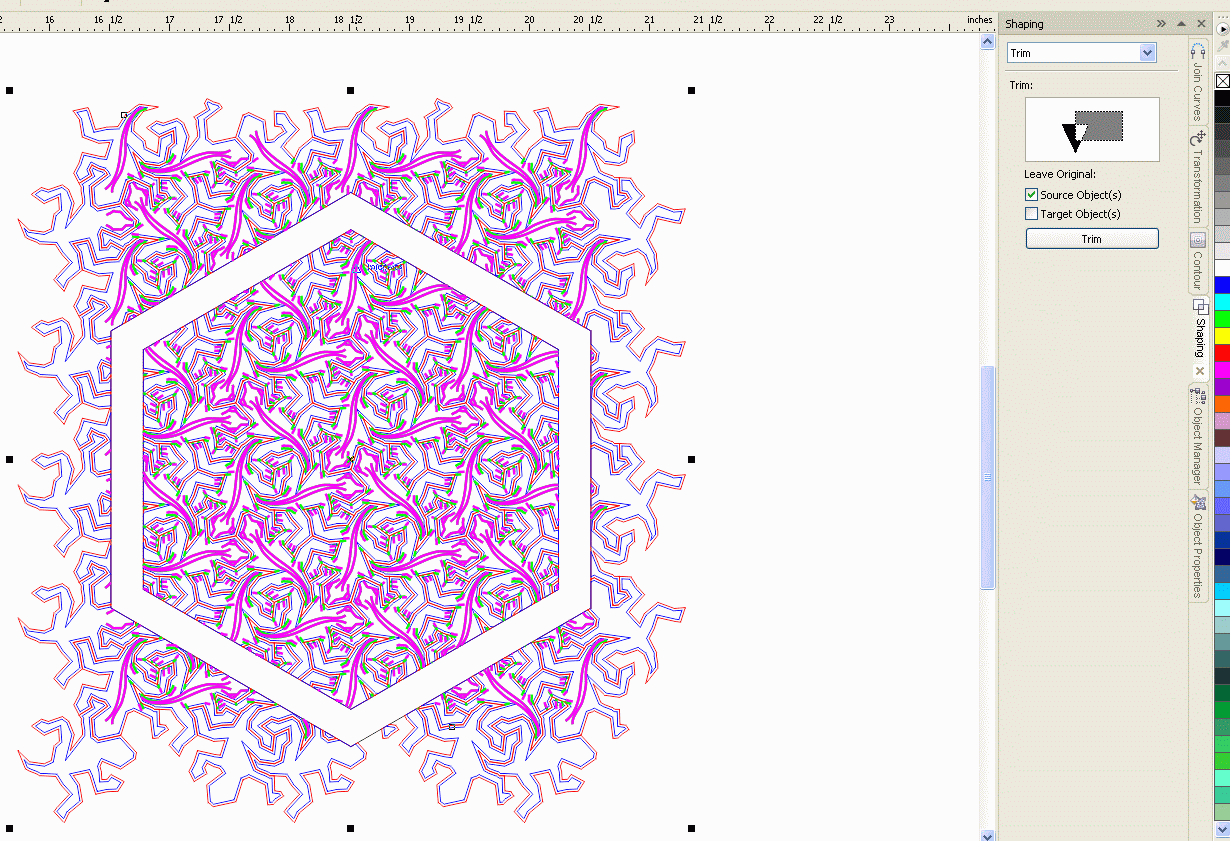
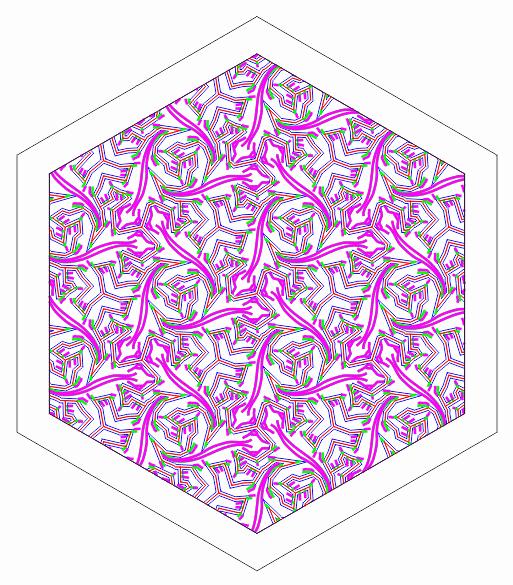
Now, you've got your outline and a trim area where to cut the reptiles. The next step is to place the hexagon in the middle of the reptile array and trim the reptiles. This will trim off your reptiles right at the hexagon, and create many slivers that are hard to piece. See the initial photo in this instructable.)
- Flatten the reptile Symbols by selecting all the reptiles, right click and choose Symbol->Revert To Objects. This flattens everybody and makes the reptiles simple objects again.
- With all the reptiles still selected, right click and group.
- Move the hexagon into the array, and center it nicely. Resize the group as you see fit so that you have the right number of reptiles inside your hexagon.
- Bring up the Shaping docker: Window->Dockers->Shaping
- Choose 'Trim'. type shaping.
- Select the Hexagon.
- Select the 'Leave Original Source Object(s)' checkbox.
- Click, "Trim". The 'source object' is the already selected hexagon
- Click the reptiles group.
- Wait for a while while your reptiles group is trimmed.
- Clean up all the slivers that you don't want to piece together, as well as the pieces outside the hexagon
- You will notice that when you want to delete a reptile piece that had a source reptile that's both insid and outside the perimeter, you can't delete the part outside without deleting the part inside. The way to fix this is to right click on the piece, and choose 'Break Curve Apart'. Then you can delete just the part outside the perimeter. The script below will break apart multiple curves -- very useful:
Sub breakIt()
Dim s As Shape
Dim sr As ShapeRange
Set sr = ActiveSelectionRange
For Each s In sr
If s.Type = cdrGroupShape Then
s.UngroupAll
ActiveSelection.BreakApart
Else
s.BreakApart
End If
Next s
End Sub
Dim s As Shape
Dim sr As ShapeRange
Set sr = ActiveSelectionRange
For Each s In sr
If s.Type = cdrGroupShape Then
s.UngroupAll
ActiveSelection.BreakApart
Else
s.BreakApart
End If
Next s
End Sub
Downloads
Trimming Style B: the Easy Way, and Will Still Look Good
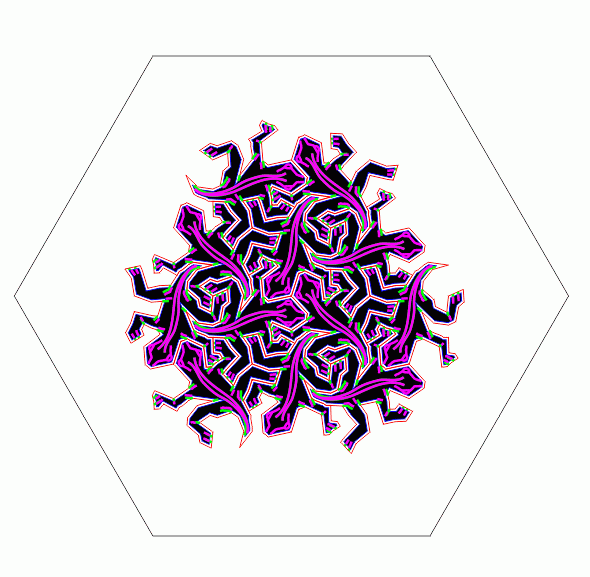
The easy way is to simply place as many whole reptile shapes into the hexagon as you can, rather than the whole flatten-and-trim business. This will be quite fast and easy, but will definitely give a different look.
- Ignore the flatten reptiles step. Or just go back to before your flattened the reptiles.
- Place the hexagon on your reptile array.
- Delete any reptiles that are touched by your hexagon.
Downloads
Color Your Hexagon Blue
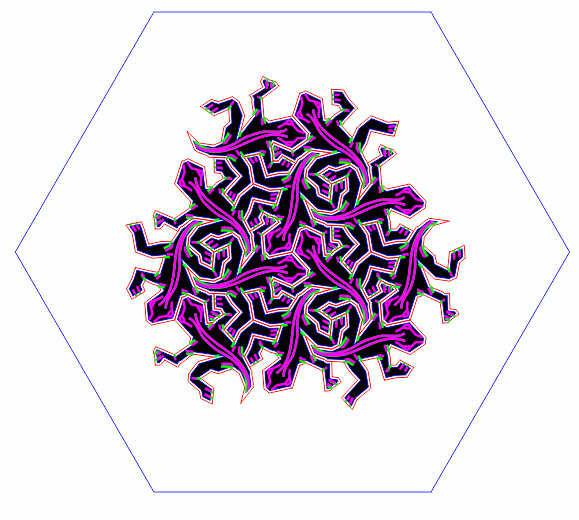
Whether you choose Trimming style A or style B, you must change your hexagon's properties. The outer outline must be hairline and blue. The inner outline must have a line weight of non-hairline. Say, 3 pt. The reason for this is that we want the outer outline to be a cut-vector, whereas the inner outline should be completely ignored. In fact, you can simply delete the inner outline.
- Click on your hexagon, and choose Break Curve Apart.
- Delete the inner outline.
- Change the outer outline to BLUE, exactly (0000FF)
Set Up Your Printer Driver.
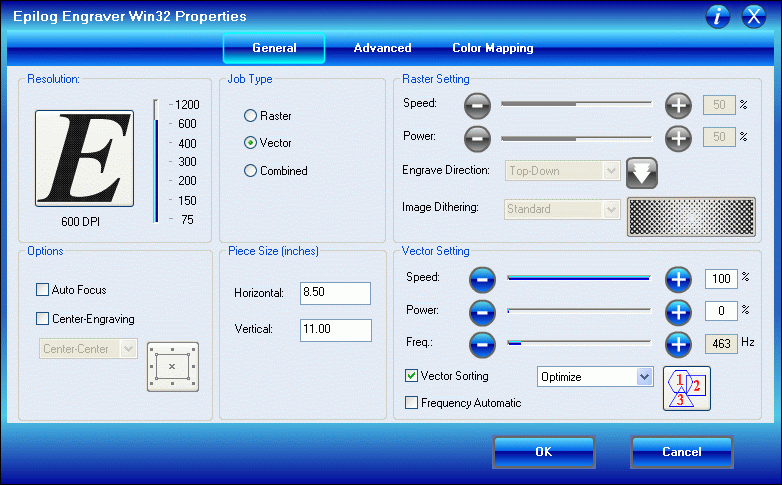
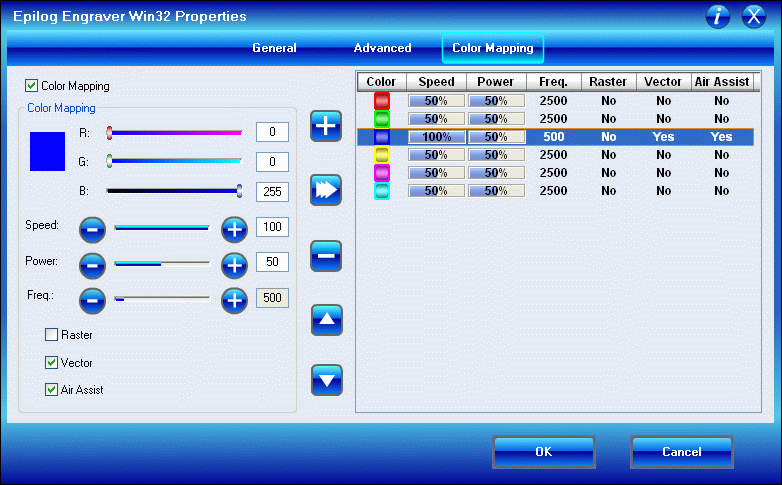
Now, we're only VECTOR CUTTING now, and only on the BLUE lines. So we need to set up the printer driver to do that.
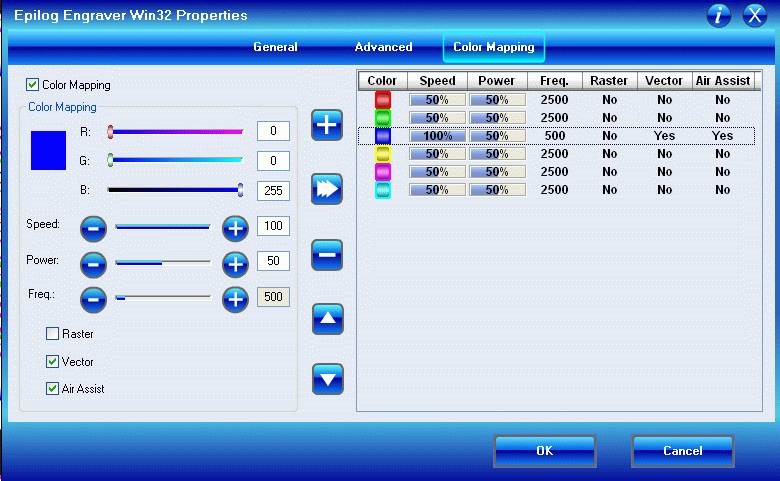
We'll use the Color Mapping tab so that we ONLY cut the BLUE lines. Configure the printer driver according to the two images below.
Note: On the Color Mapping page, be sure to set all colors but blue to NO RASTER and NO VECTOR. That's so we can simply ignore all the other colors.
Later on, if you'd like to raster your images onto your completed object, you can do that with the Color Mapping tab too. Just pick the right colors and raster settings.
Prepare Your Veneer
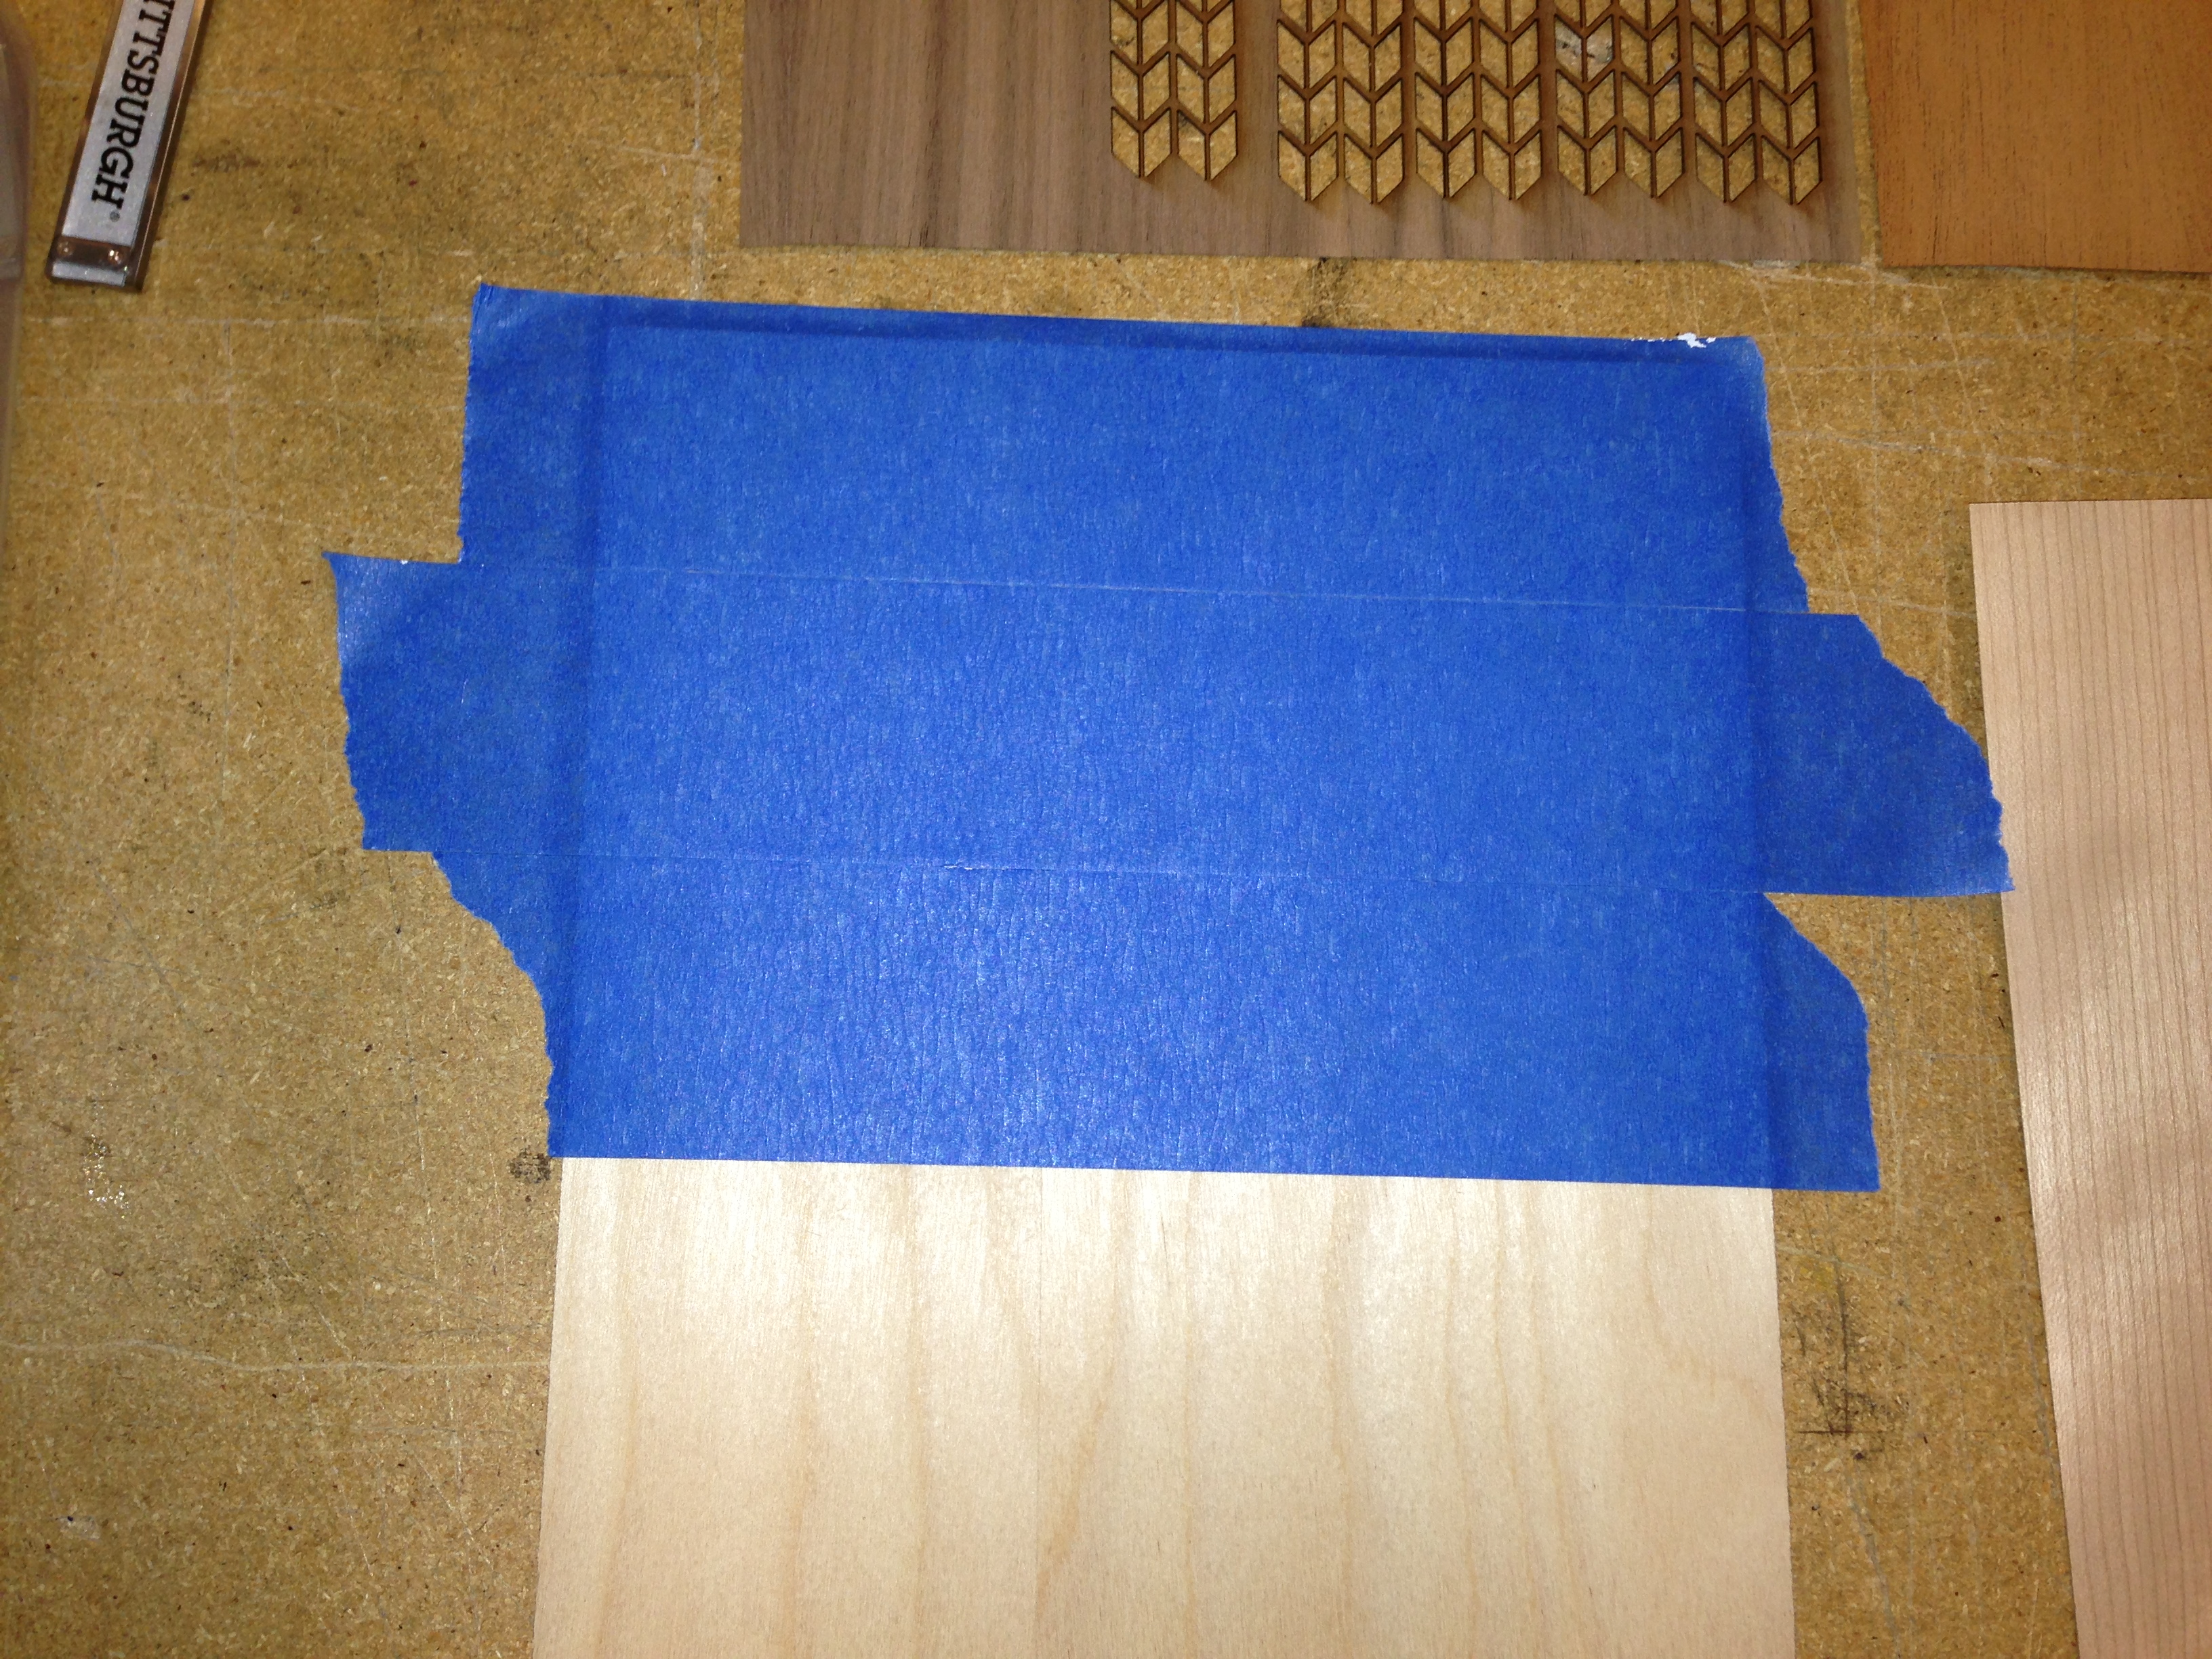
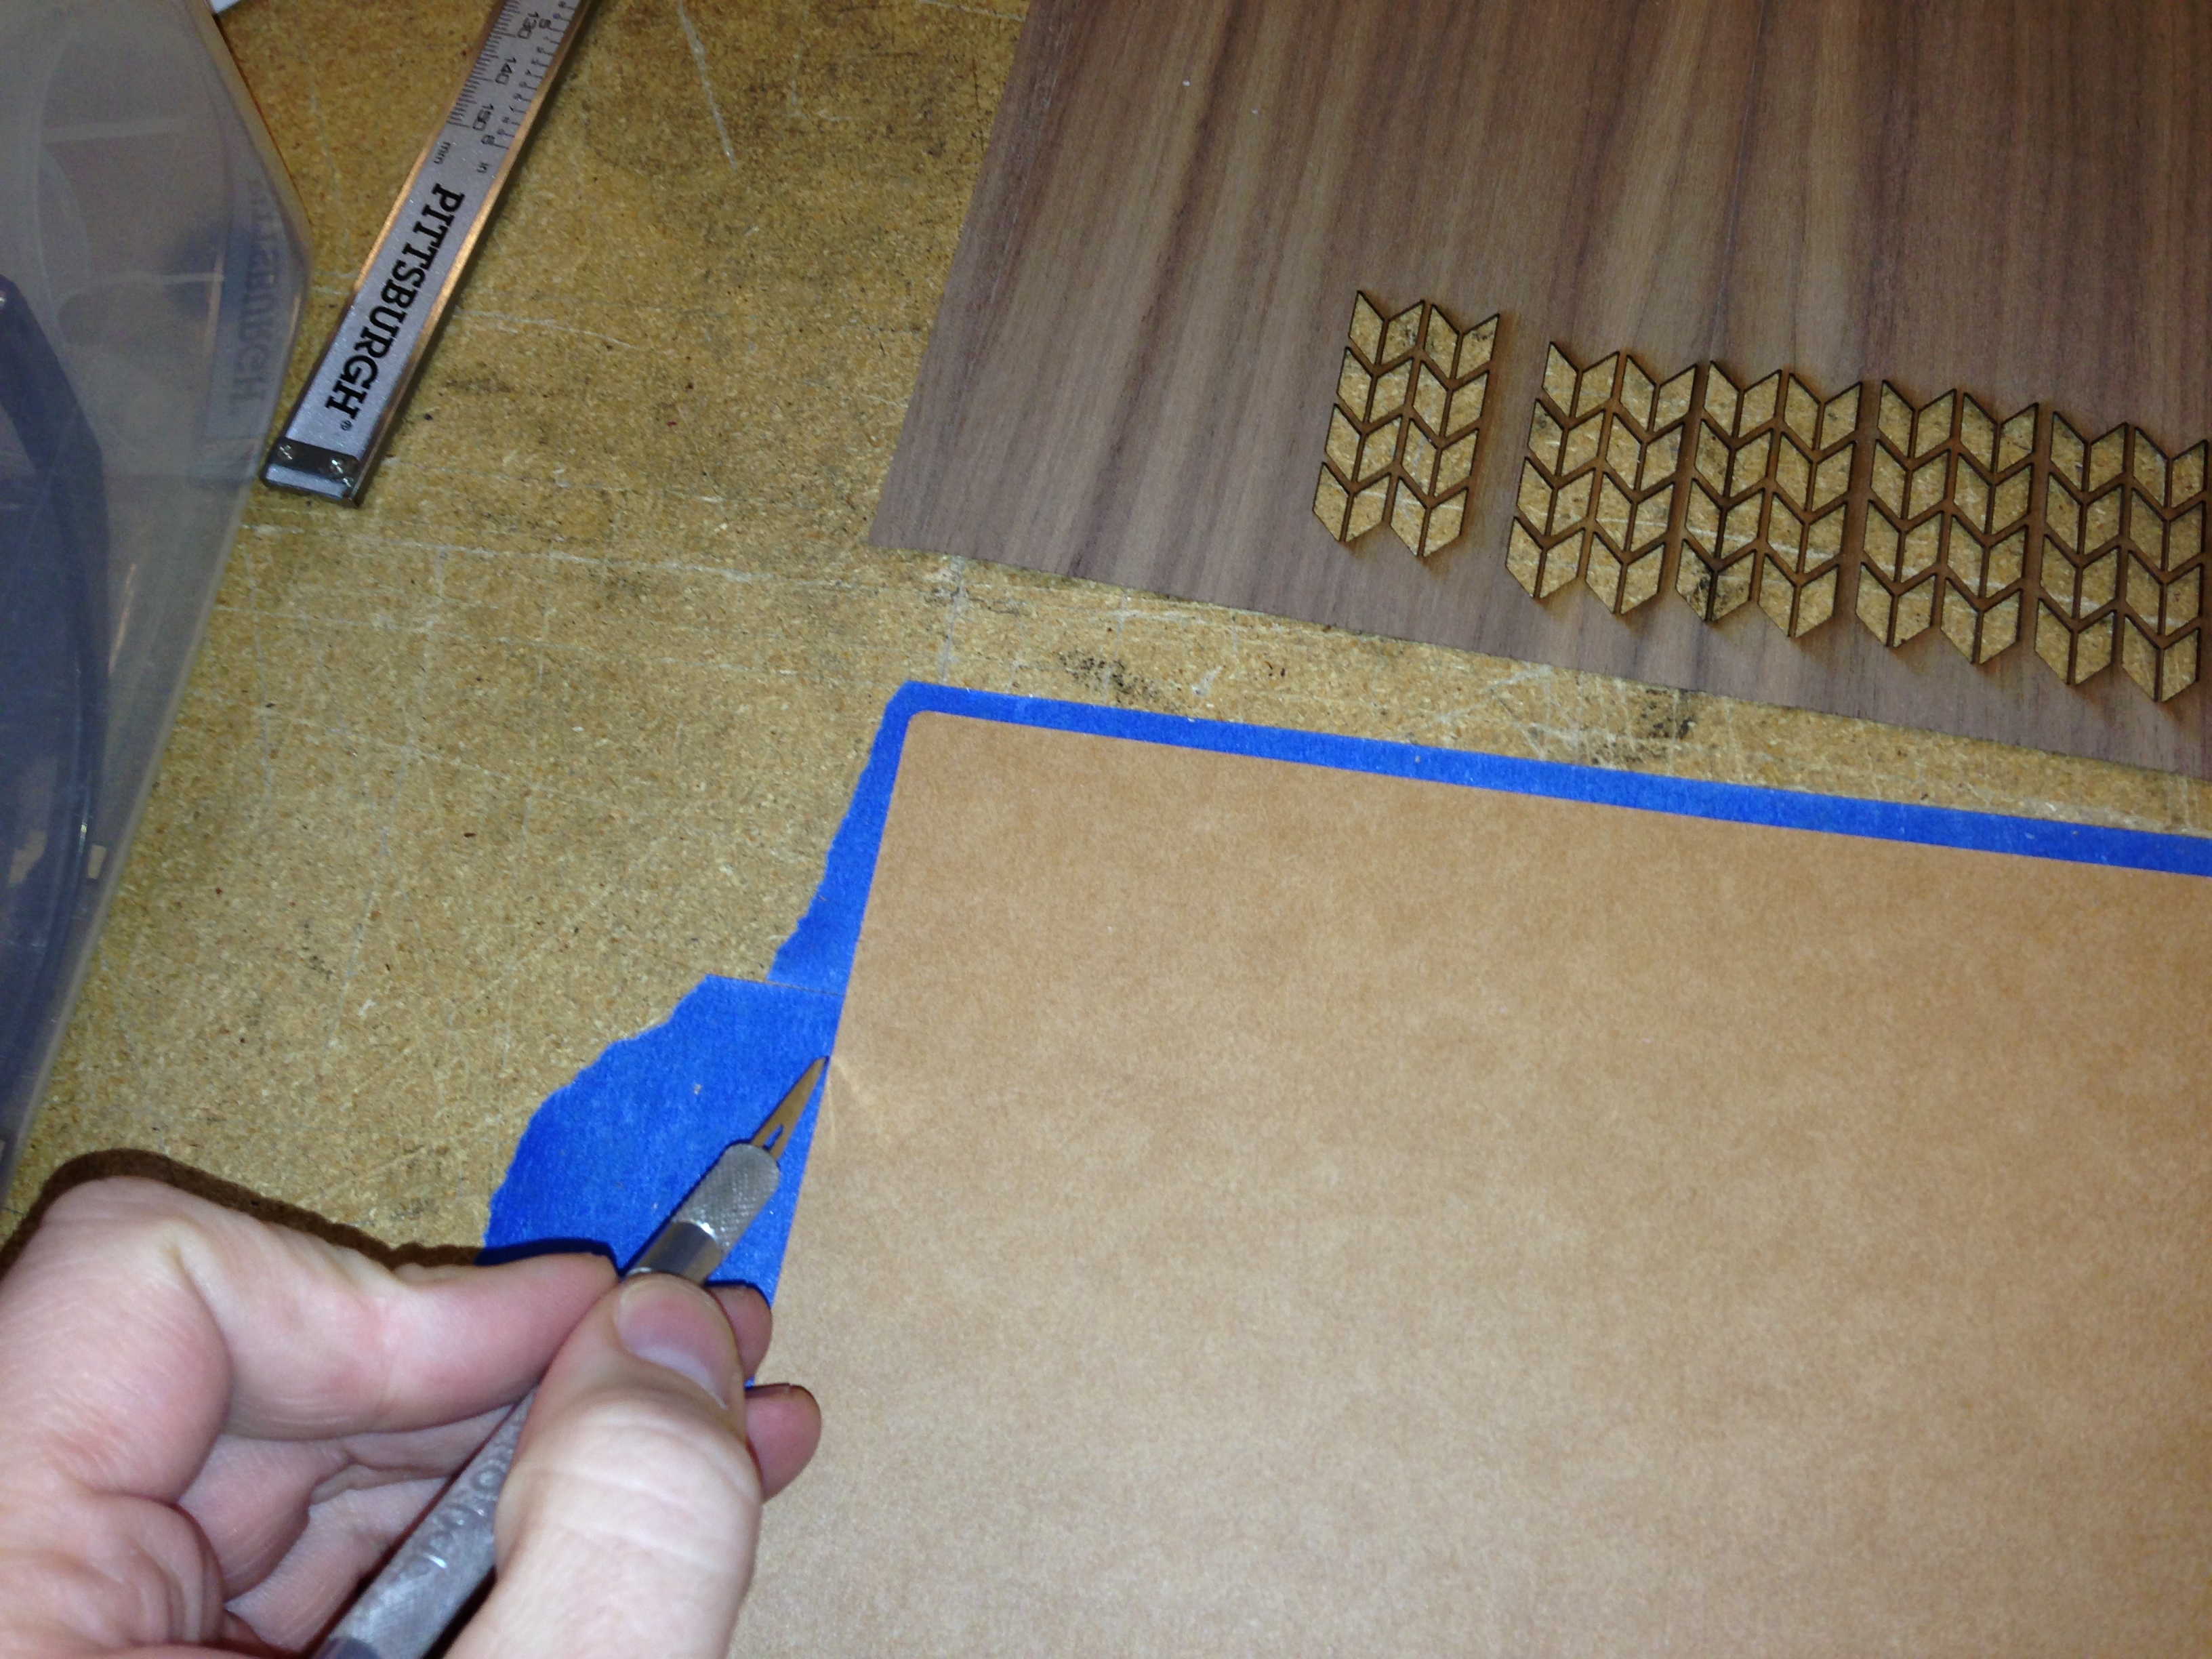
Okay, Skip this step: DO NOT, I repeat DO NOT cover your veneer with blue tape as you'll see in the following photos. It's a nightmare to remove later. You'll sand off any burn marks in the sanding step anyway.
Vector Cut. Don't Raster.
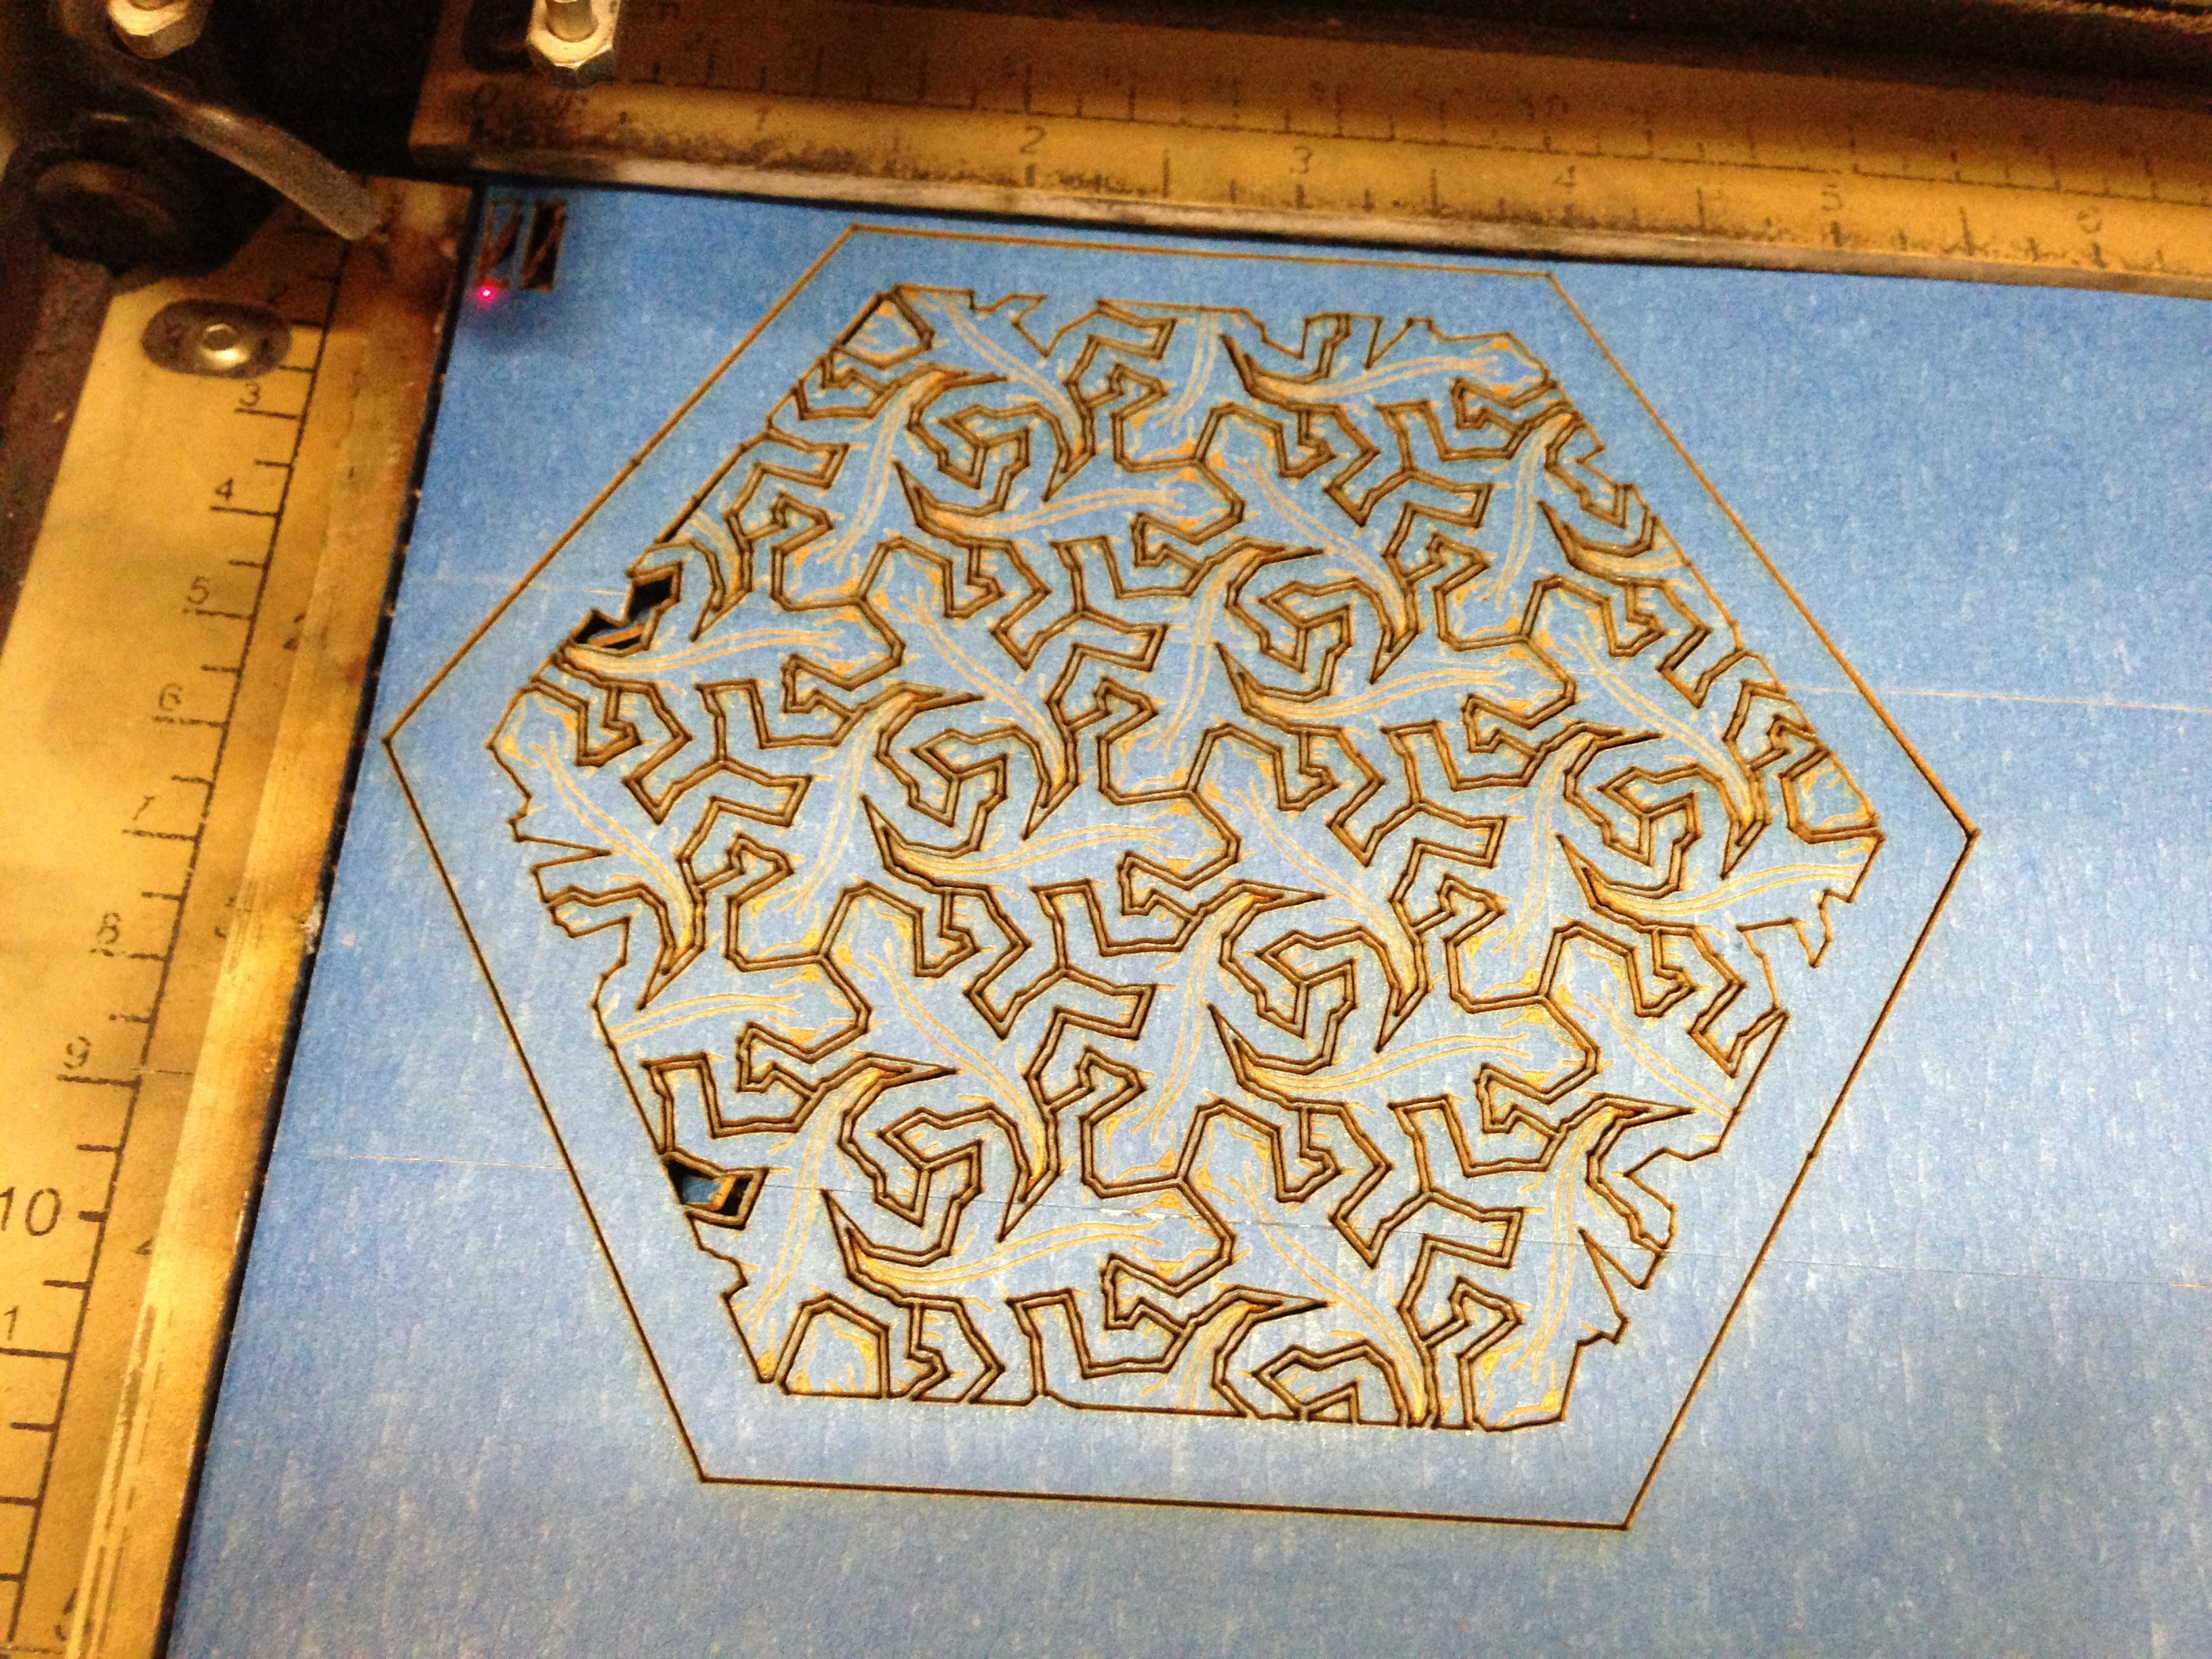
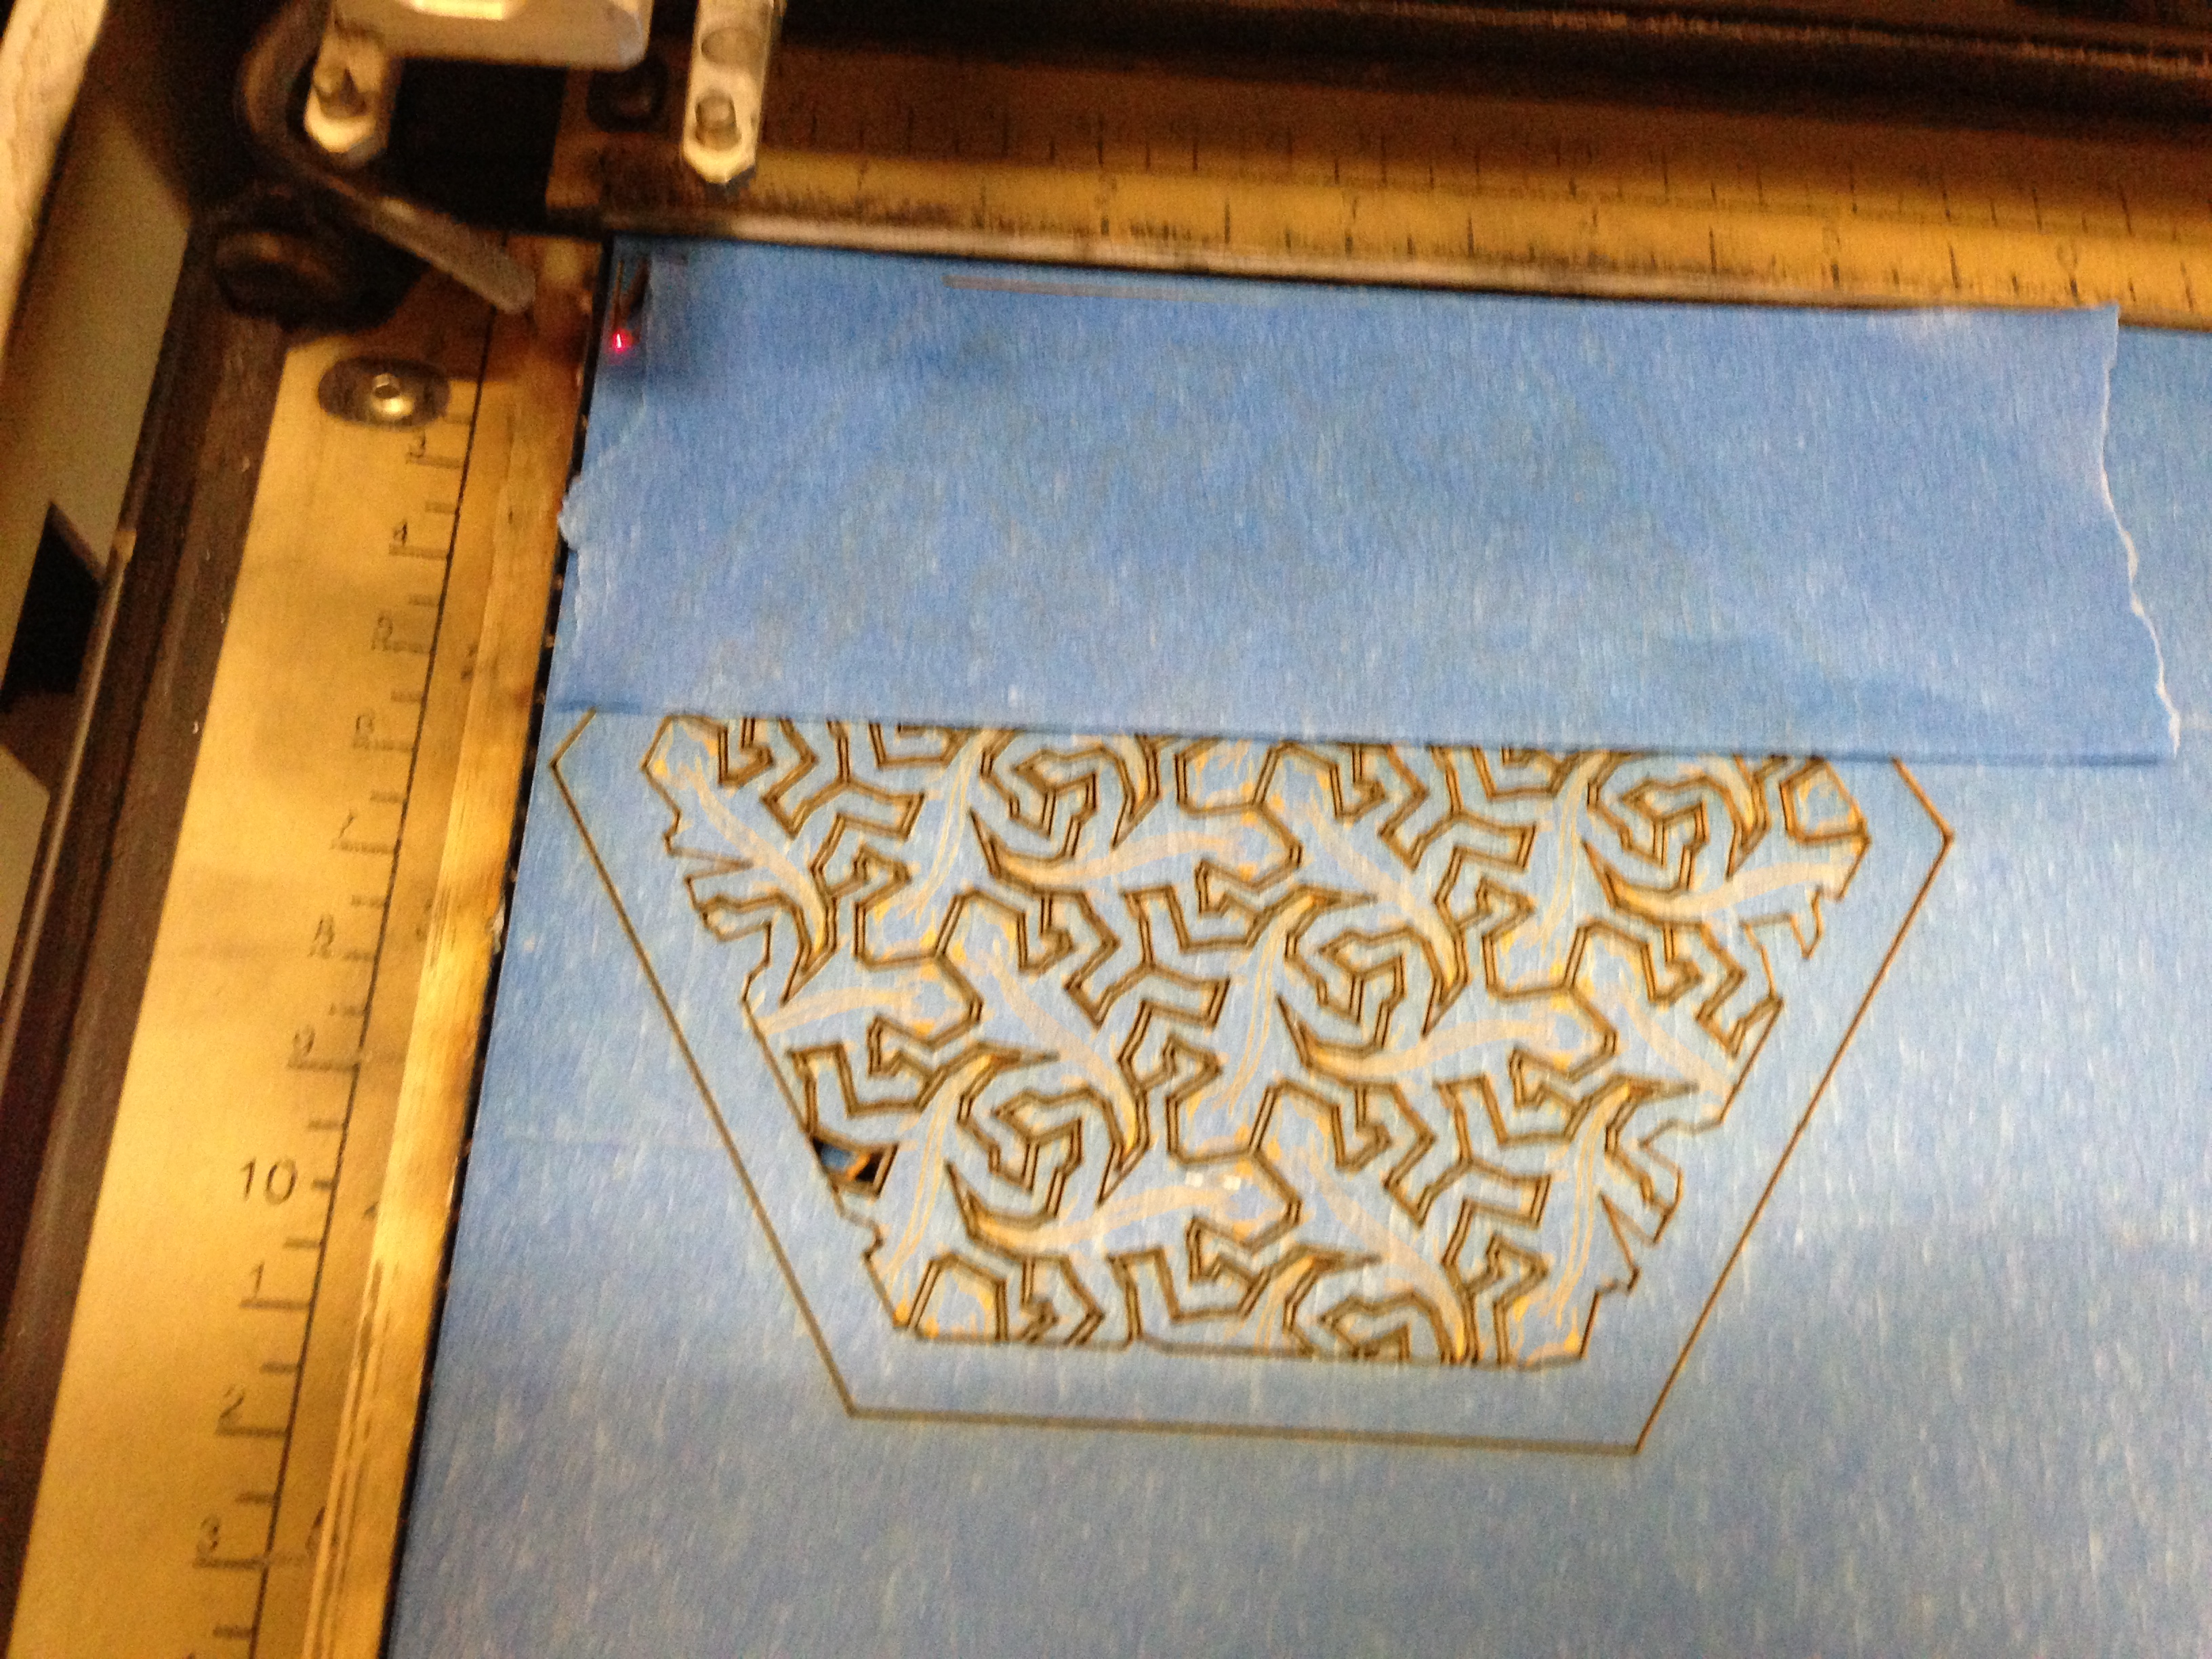
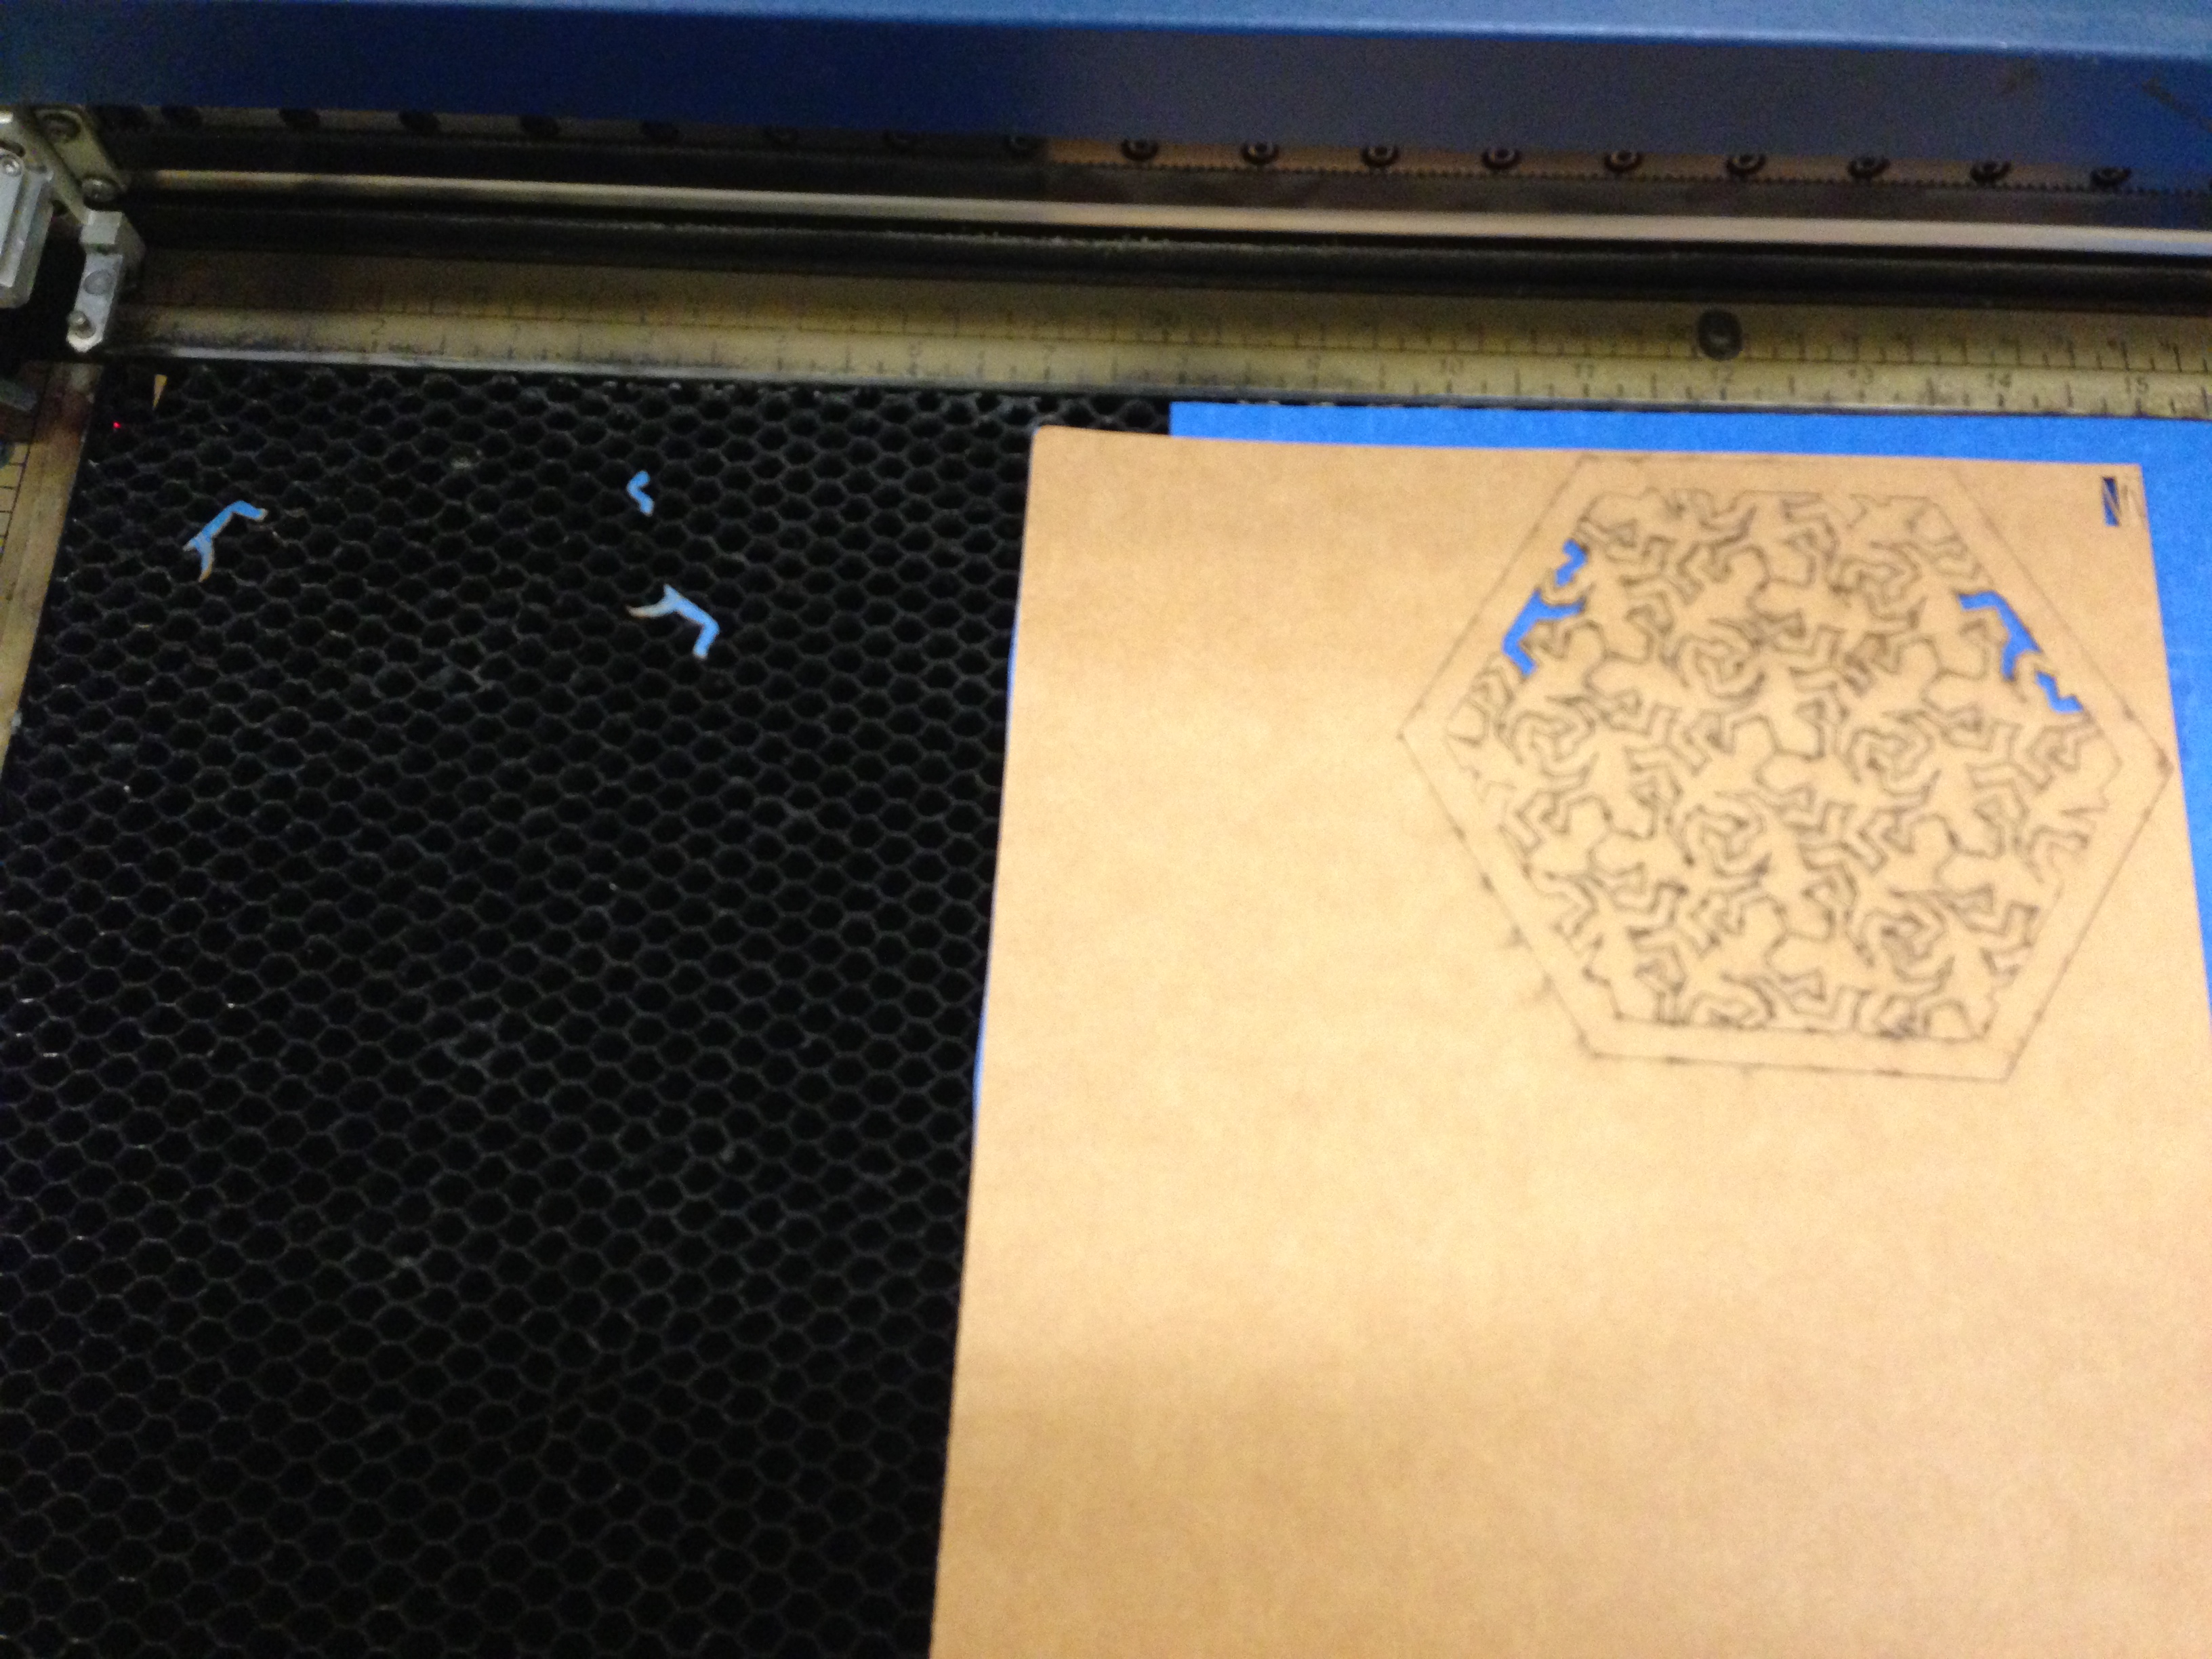
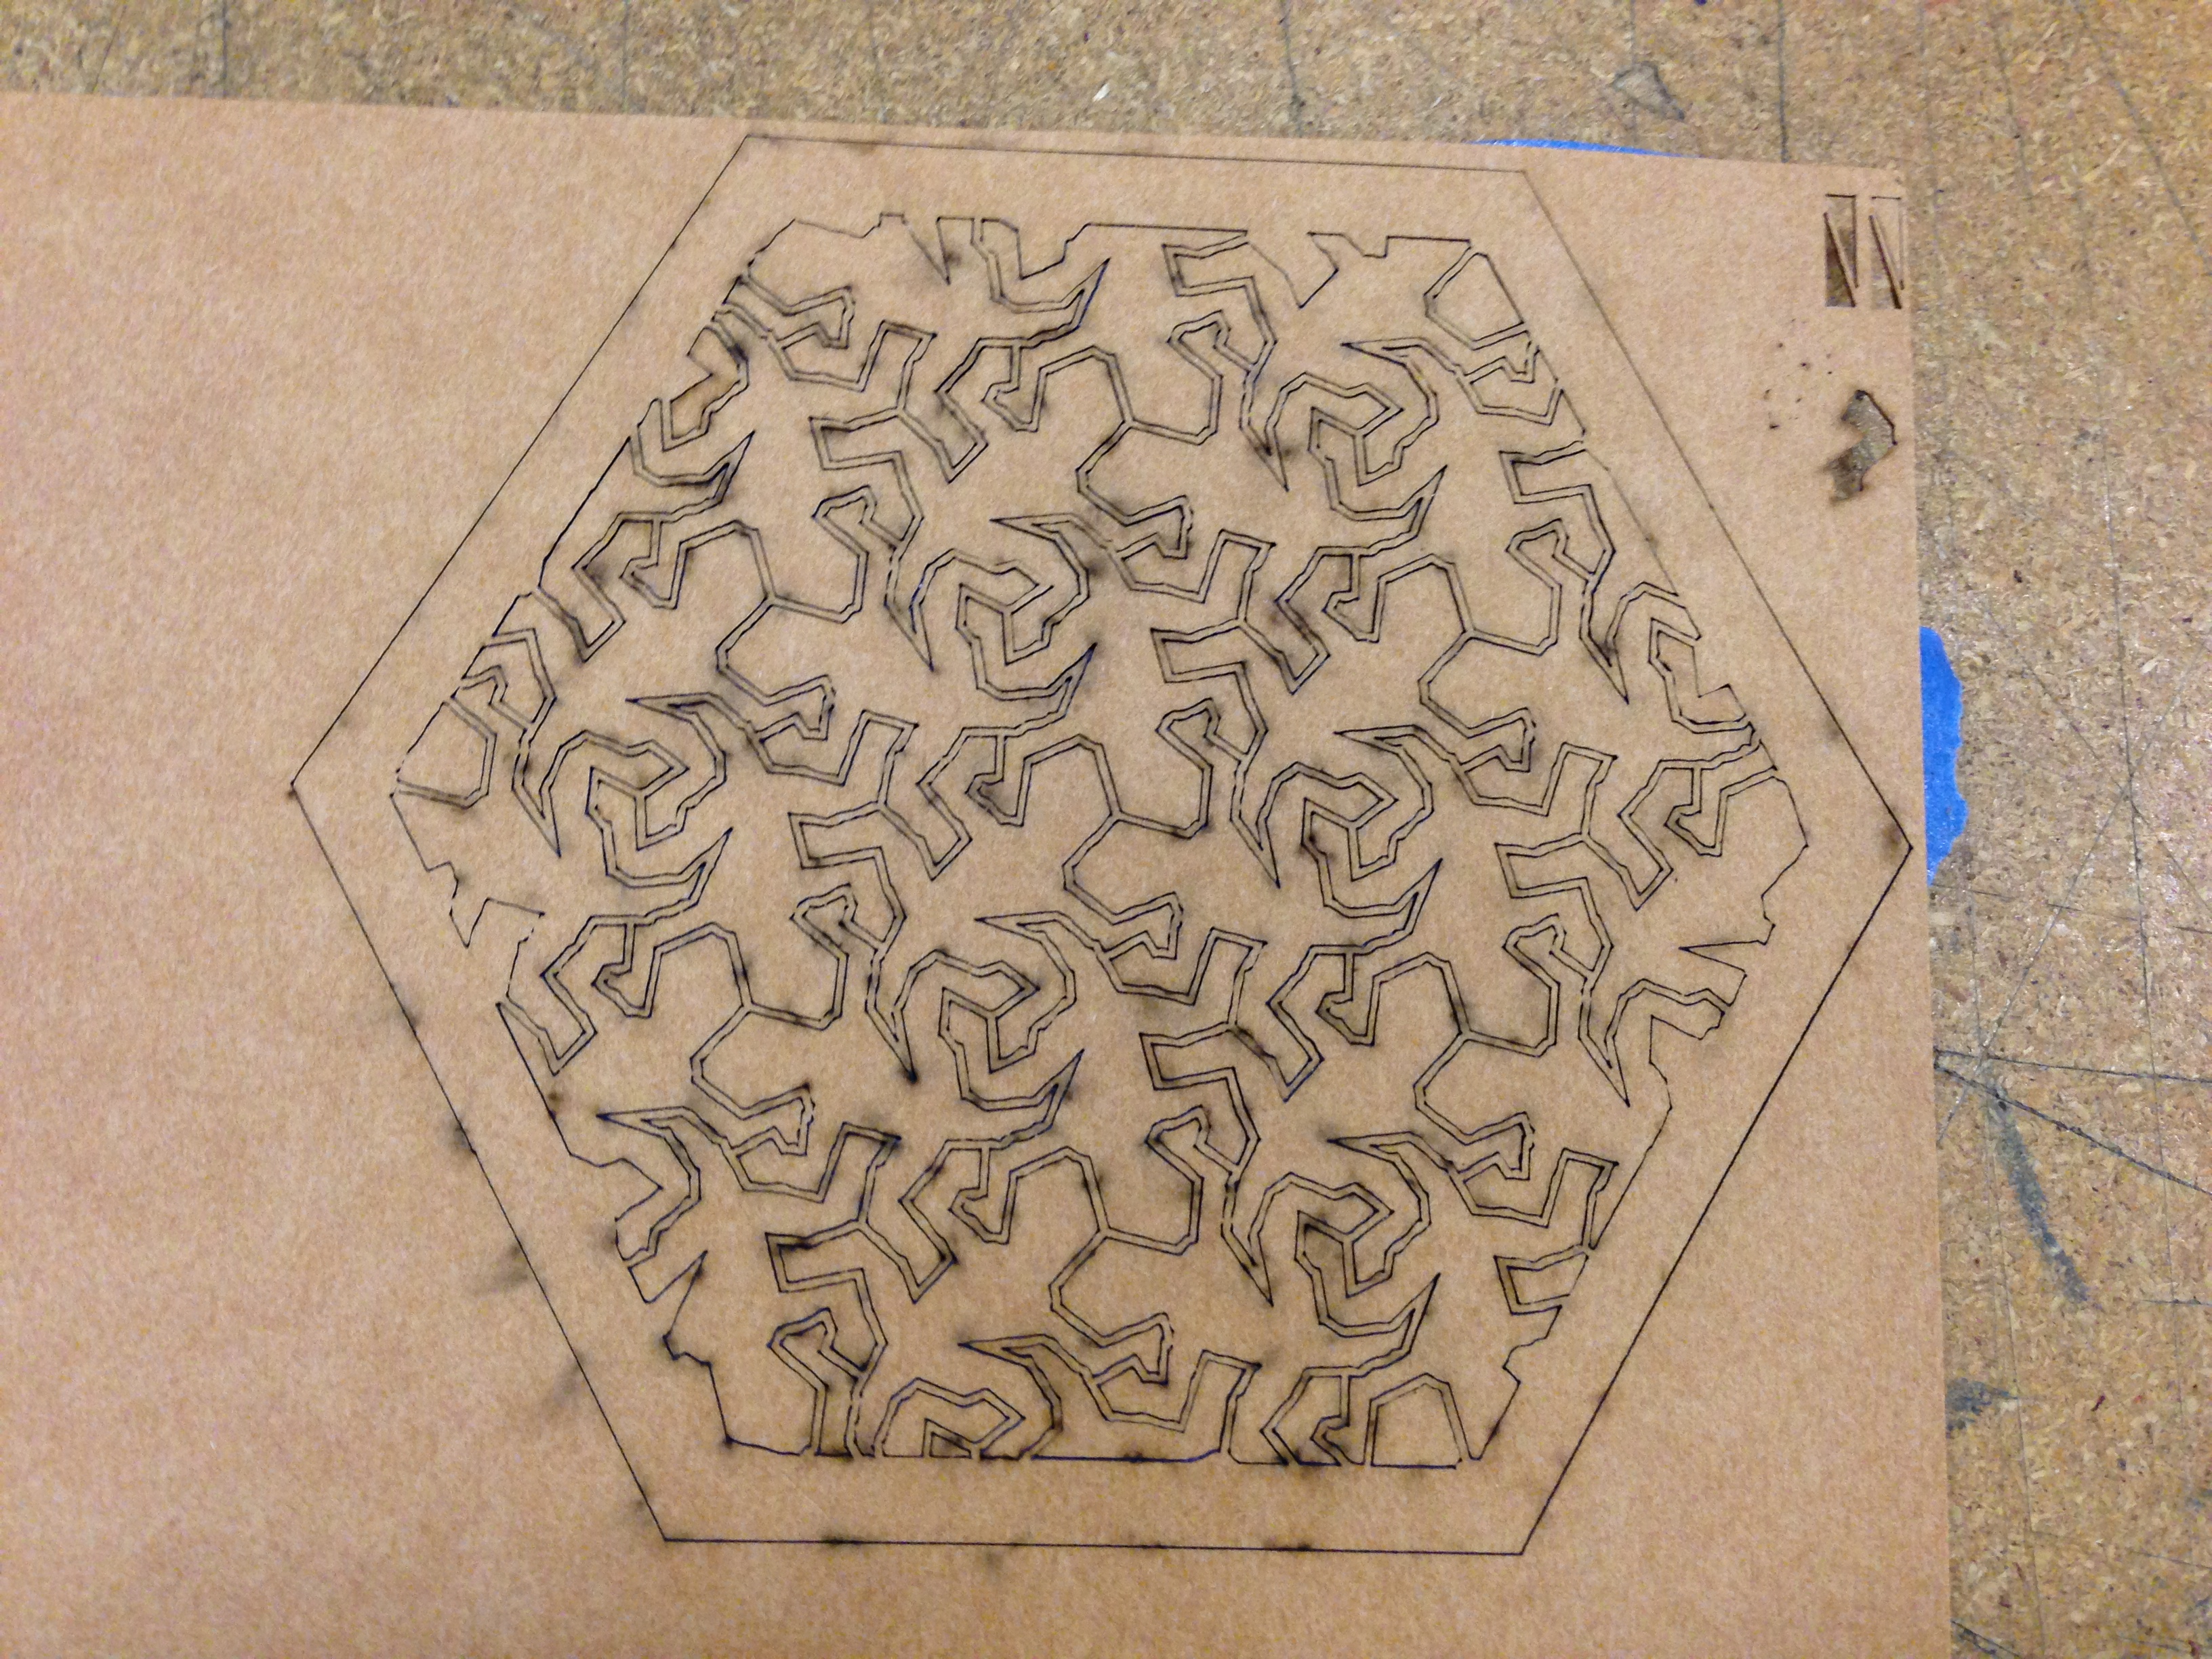
Note: if you have skipped here from an early step, and you don't want to do your own artwork, just download one of the .cdr files attached here. Also, go back and check step 13 to understand the printer driver. 'reptiles coaster construction.cdr' is the actual file I used. The other .cdr's were developed just as an example for this instructable, but are still totally usable.
In this step we will vector cut only. In the photos, I did both vector and rastering. This is a BIG MISTAKE. This created zillions of little pieces of tape that are a huge headache to remove later. If you're going to want to raster, do this AFTER ASSEMBLY and SANDING!
For vector cutting the veneer the goal was to not burn the veneer. To that end, I did low power, fast cutting, and multiple passes with the vector cutting. For this step, you need to make sure that only the BLUE lines are going to be printed. You do this in the 'Color Mapping' tab of the Epilog printer dialog as shown in step 13.
Turn off all raster and vector cutting in every color but blue. Make the dialog look like the one attached. i.e. make sure RASTER and VECTOR are turned OFF for everything except BLUE. On Blue, set speed to 100%, power to 50%, air assist on, vector on, raster off. This is how the color coding comes back to help us.
And... focus the laser and hit print! Definitely run this on a piece of paper before you run on your veneer :-)
DO use blue tape to pick the pieces up off the laser.
Repeat for Each Piece of Veneer. Suggest 6 Separate Species.

Run this on exactly 6 pieces of veneer, with 6 different species. The reason is this: we need 4 colors per coaster, 3 for the reptiles, 1 for background. When you have 6 pieces of veneer, you can map the colors like this:
Let's name the 6 veneers A, B, C, D, E, F, and the 6 coasters 1, 2, 3, 4, 5, 6
Coaster 1 will use A for background, D, E, F for reptiles.
Coaster 2 will use B for background, D, E, F for reptiles.
Coaster 3 will use C for background, D, E, F for reptiles.
Coaster 4 will use D for background, A, B, C for reptiles.
Coaster 5 will use E for background, A, B, C for reptiles.
Coaster 6 will use F for background, A, B, C for reptiles.
You should group your A, B, C as the lightest colors, and D, E, F as darkest colors. This will provide the best contrast between foreground and background, and subtle contrast between reptiles.
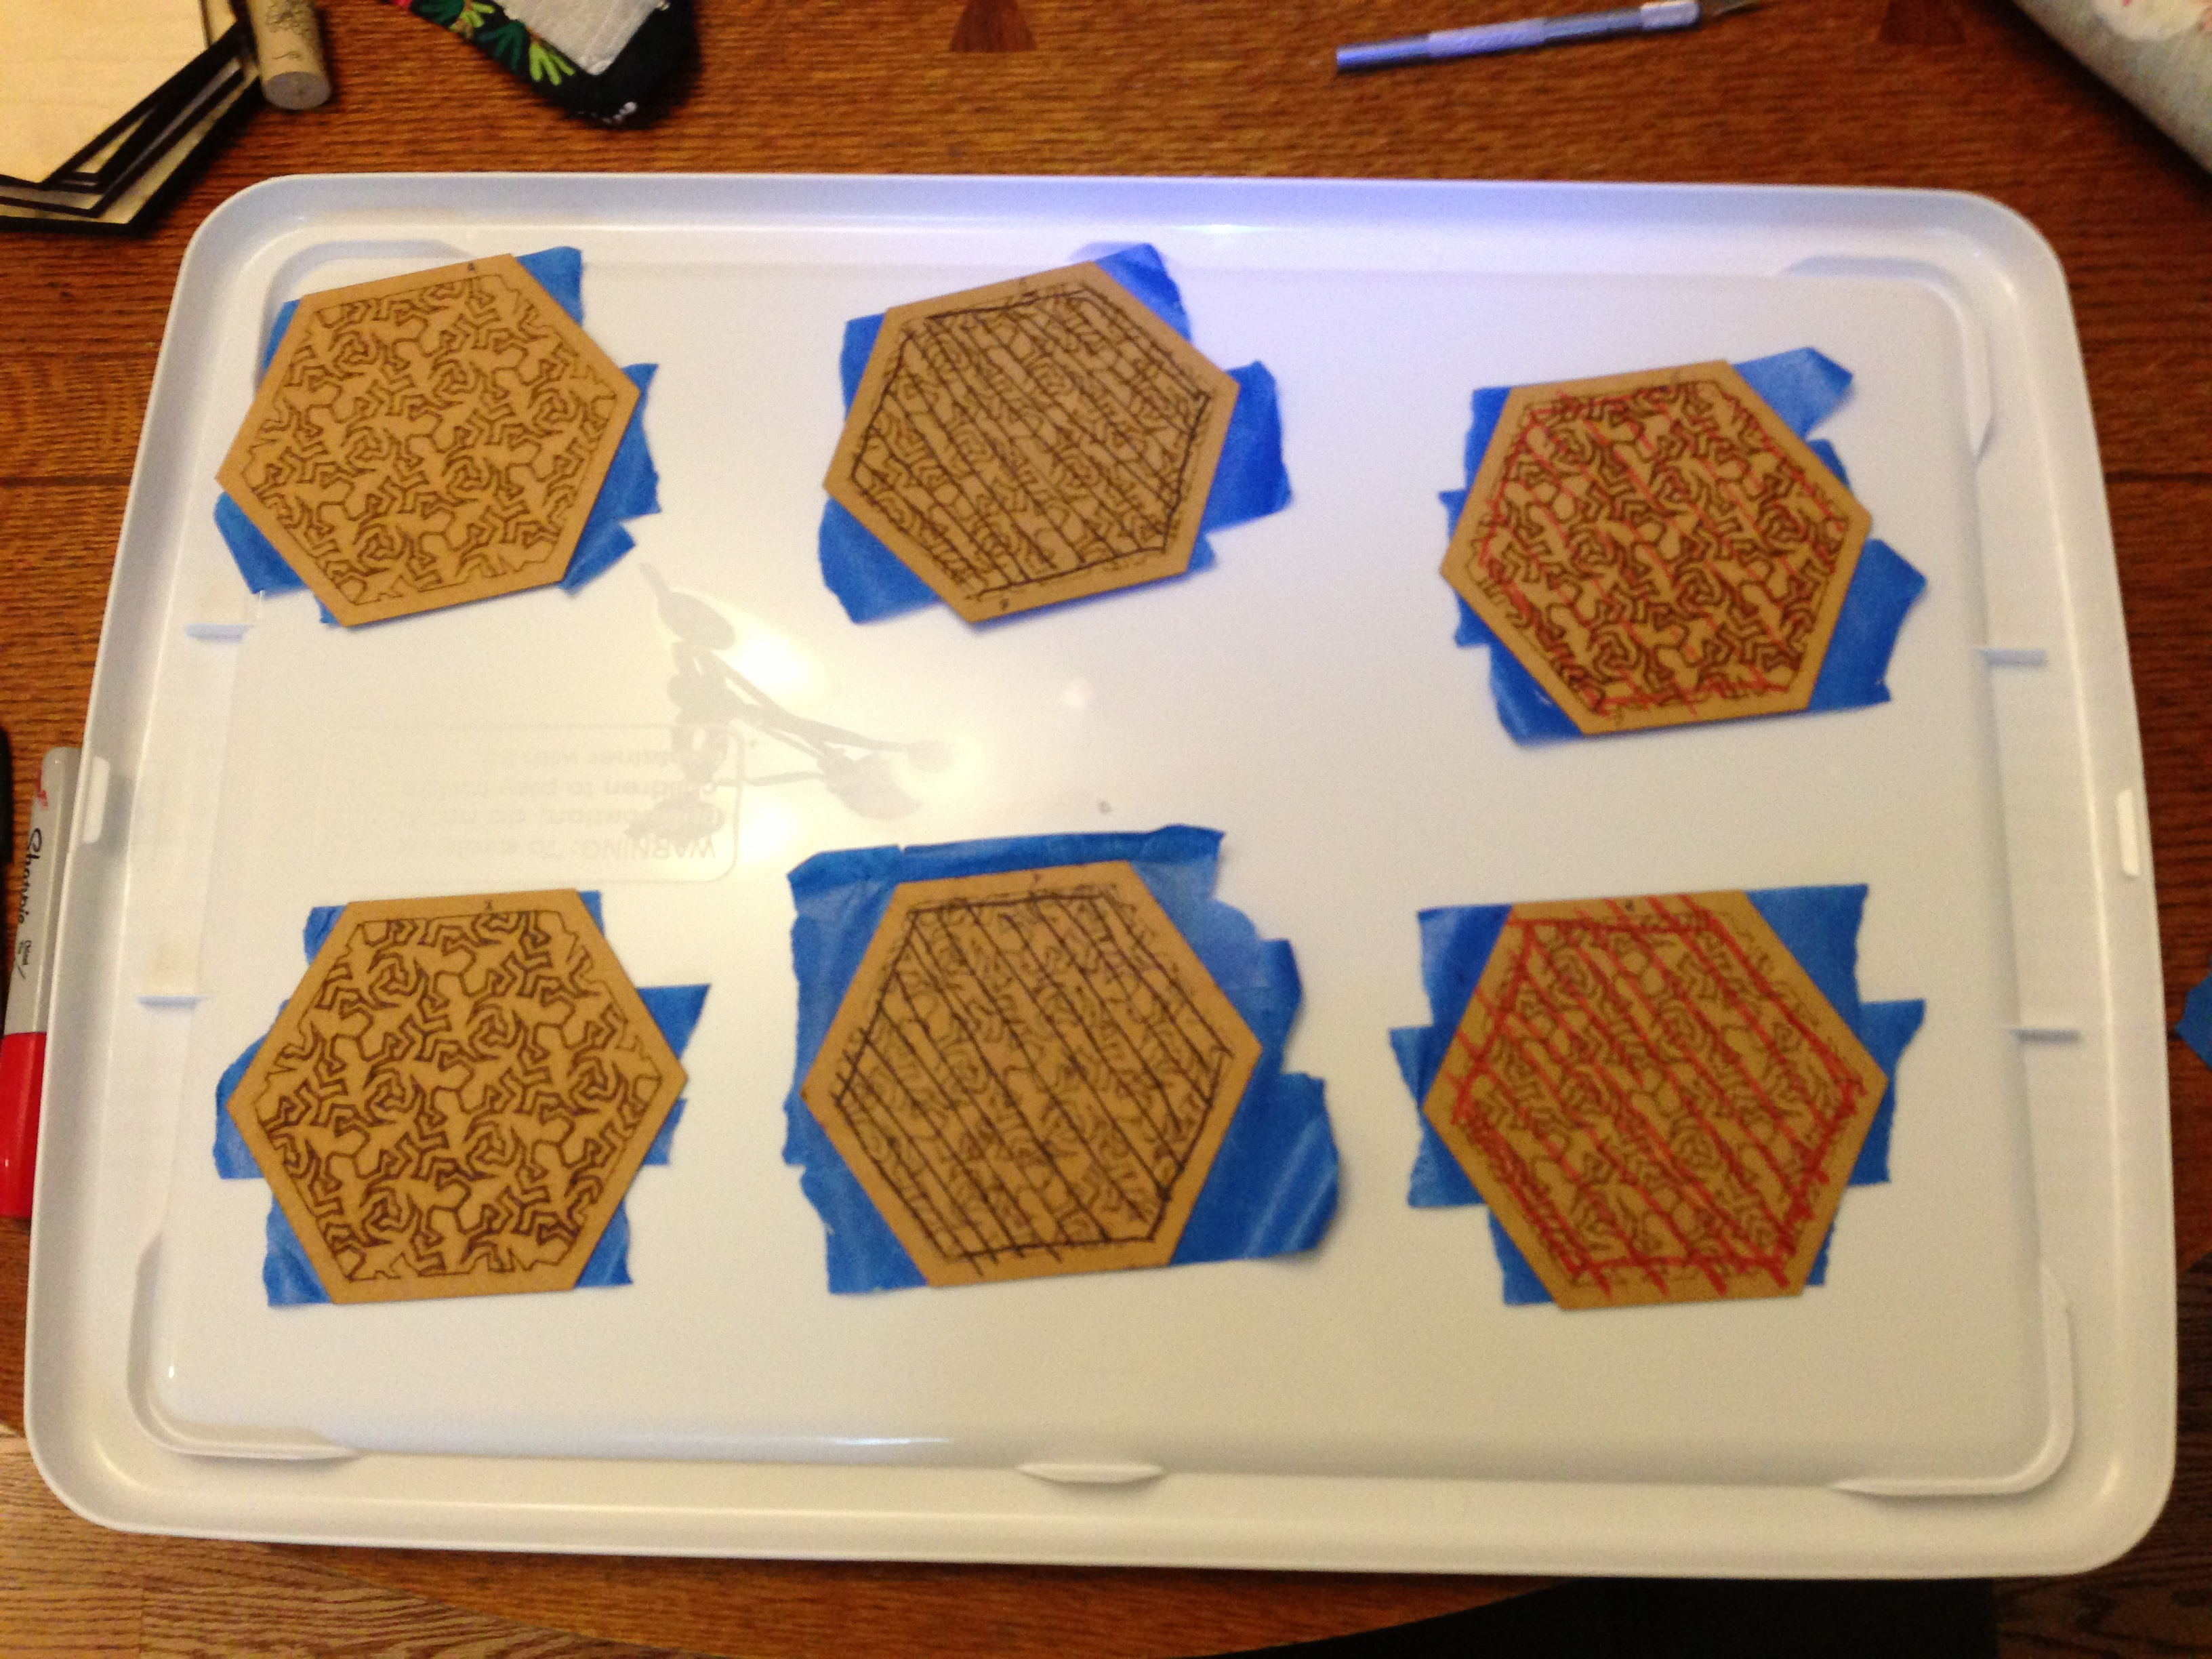
After cutting, use blue tape to hold every piece in place. Turn the pieces over, and uniquely color each one with marker so you can tell which is which from the back. My veneer here is paper backed so they all look the same from the back side. It's especially important to mark them because I can't tell which is which from the back. (this image is BACK up (the blue tape is holding all the pieces together.).
Vector Cut Your Substrate
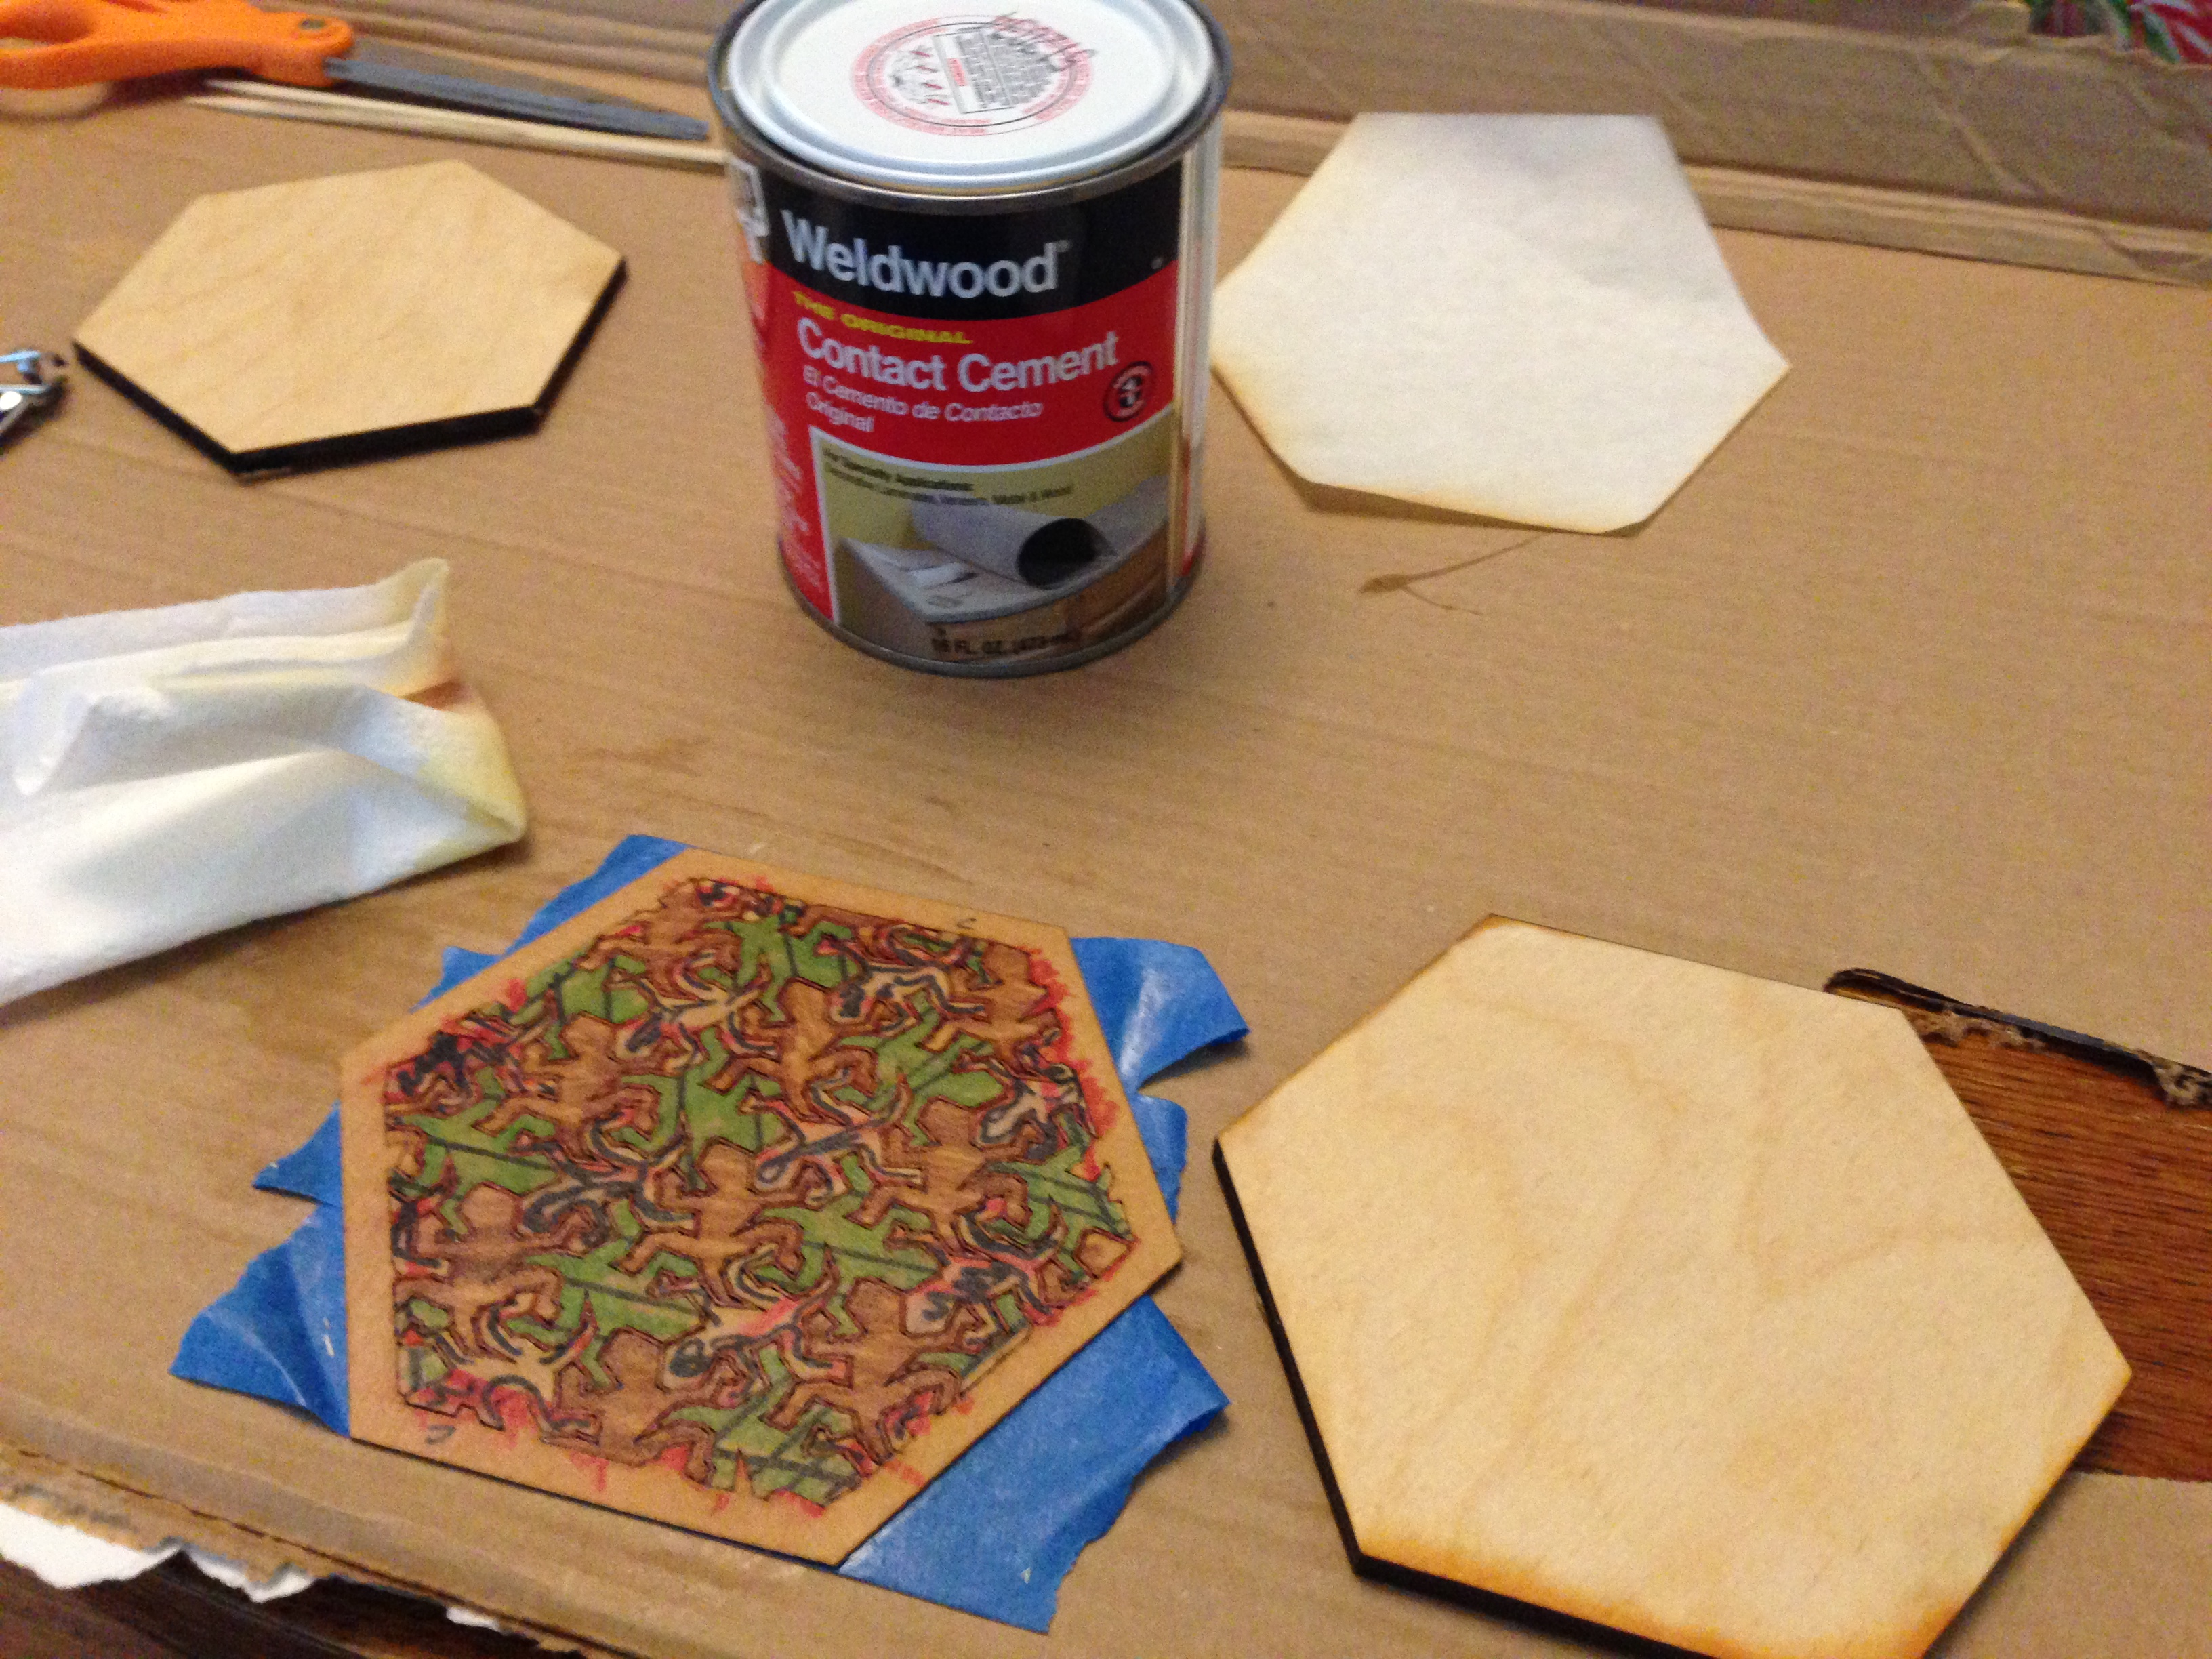
I used 6.0 mm Baltic birch for my substrate. 4mm would probably be fine too. Vector cut out 6 pieces, using only your outline hexagon. You can manage this by selecting just your outer hexagon, and in the print dialog do a 'print selection'. This will print only the outline, and therefore cut only the outer hexagon. Turn off Color Mapping, and set speed & power to whatever is required for your substrate. Maybe 10-15% speed, 90% power if cutting 6mm.
The end result is simply 6 hexagons of Baltic birch the same size as your outer veneer outline..
The end result is simply 6 hexagons of Baltic birch the same size as your outer veneer outline..
Remove All Reptiles From Veneer A, and Set Aside.
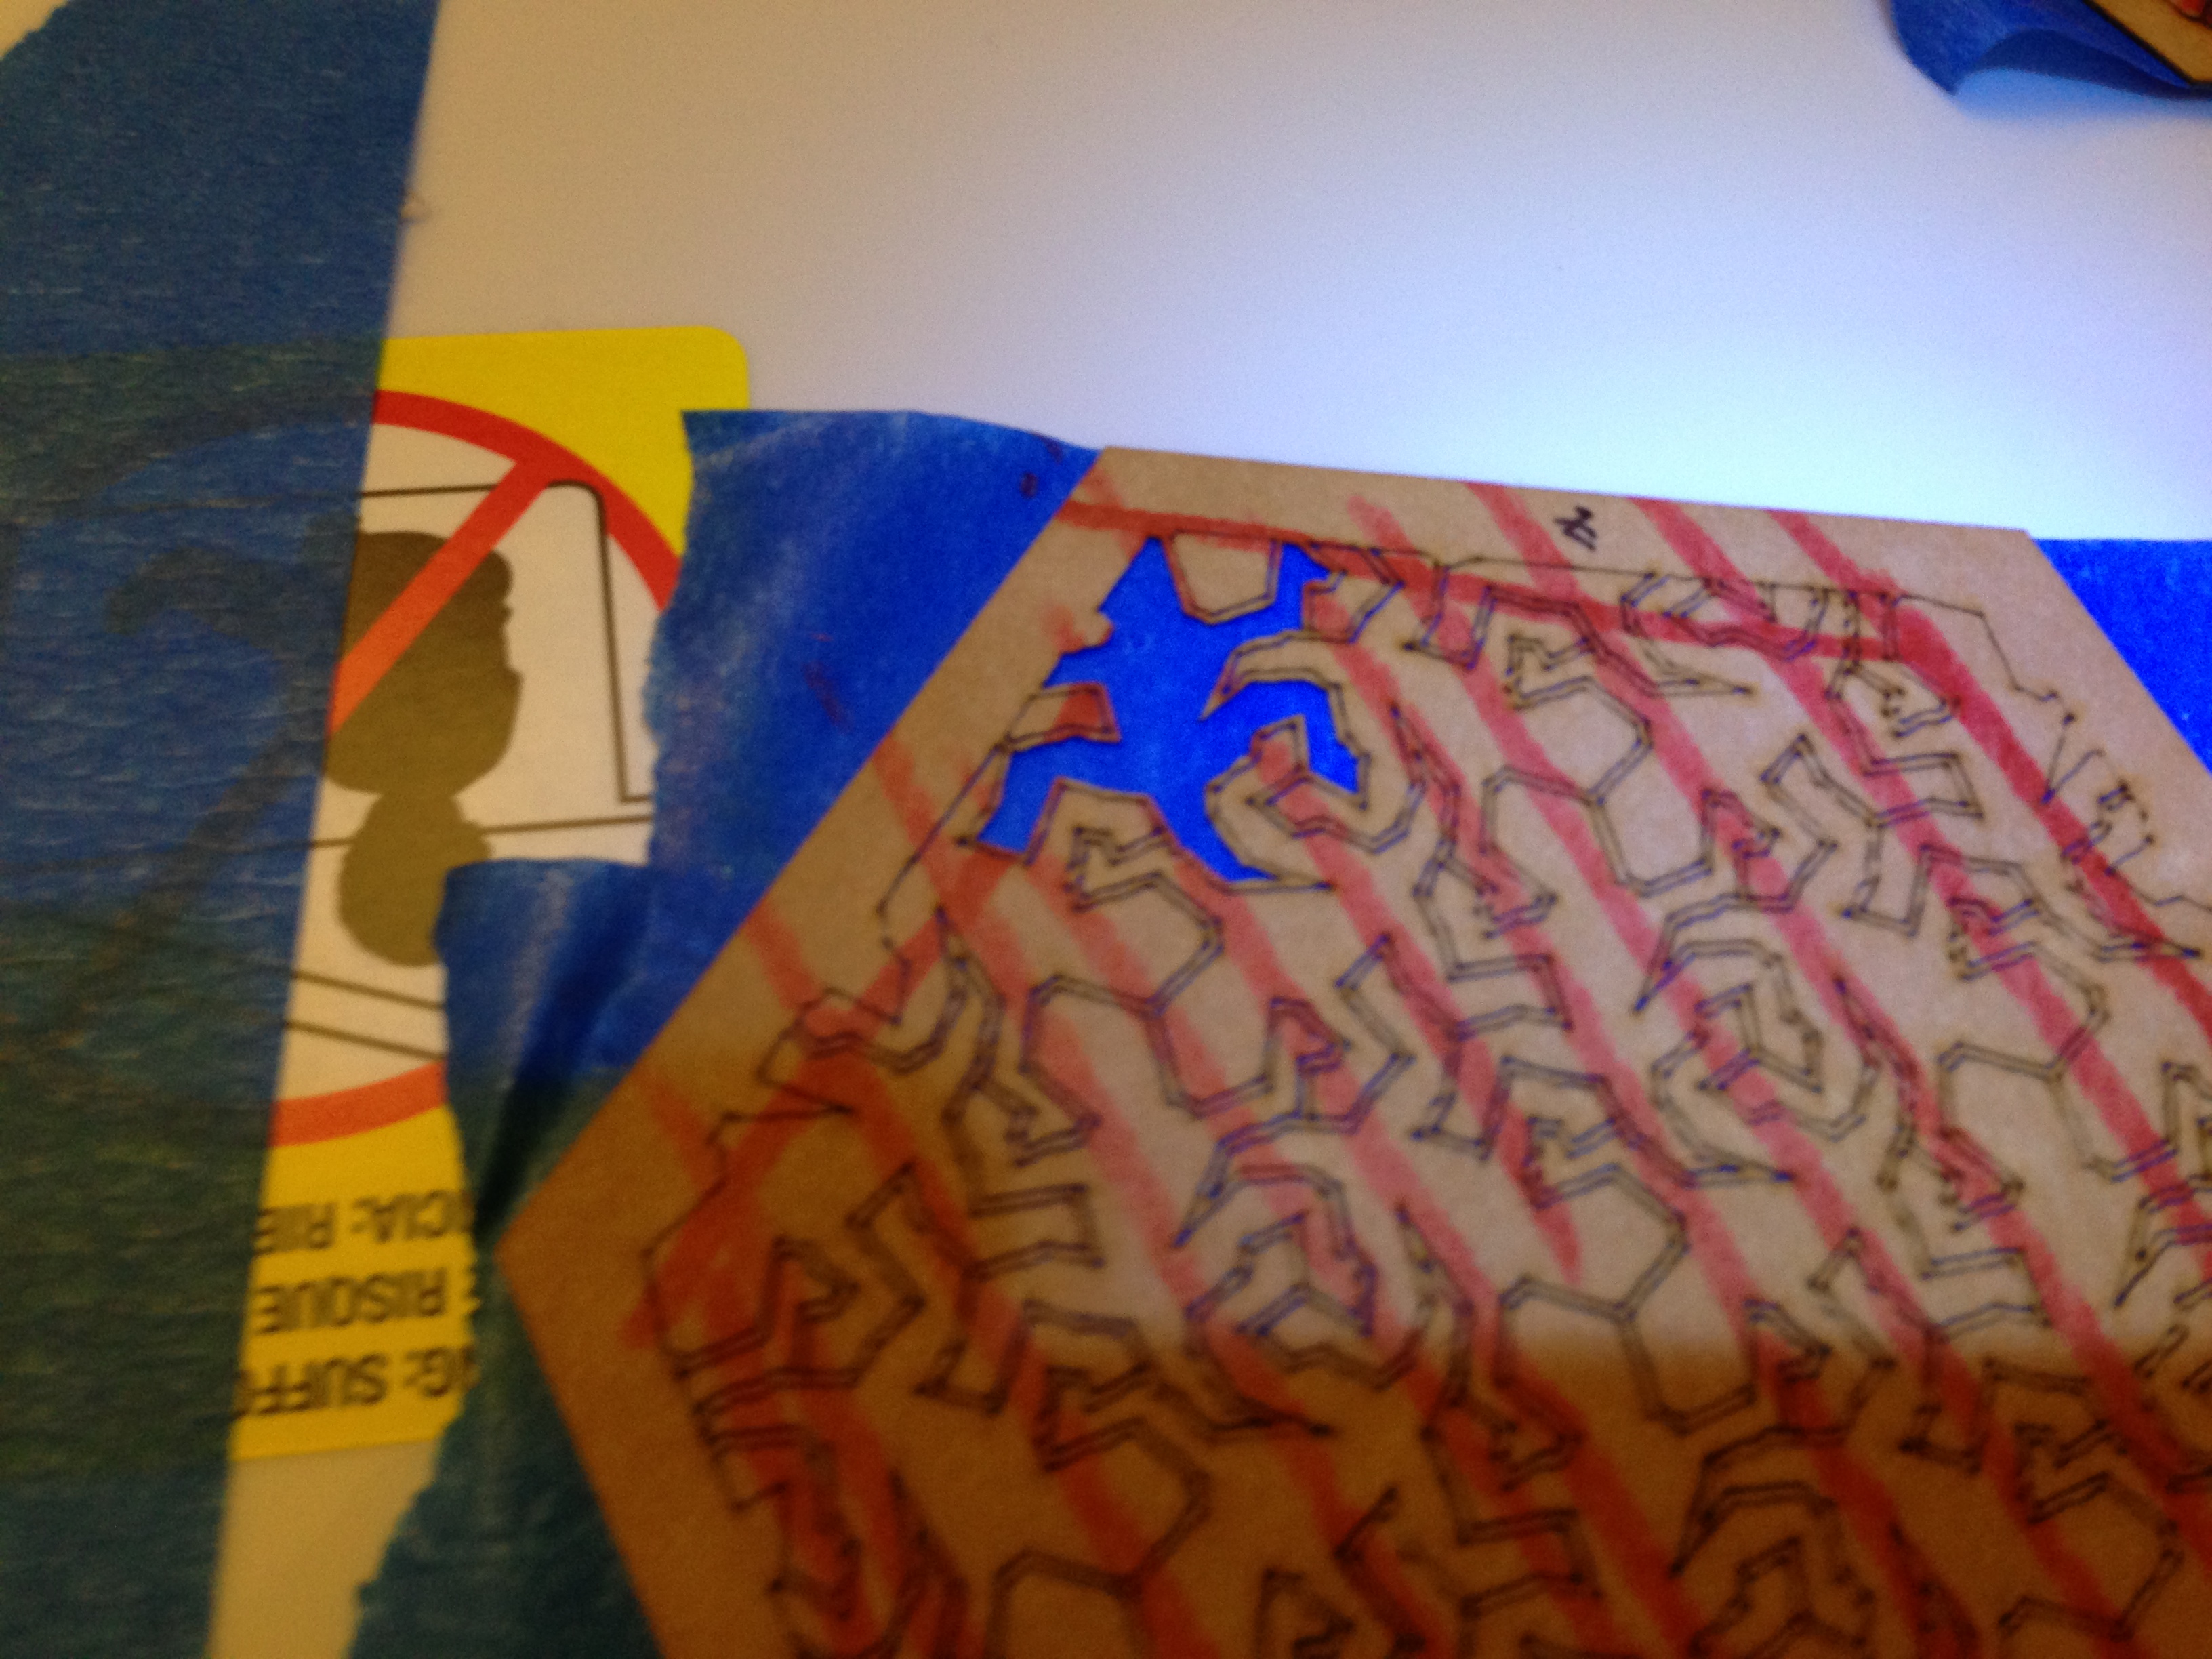
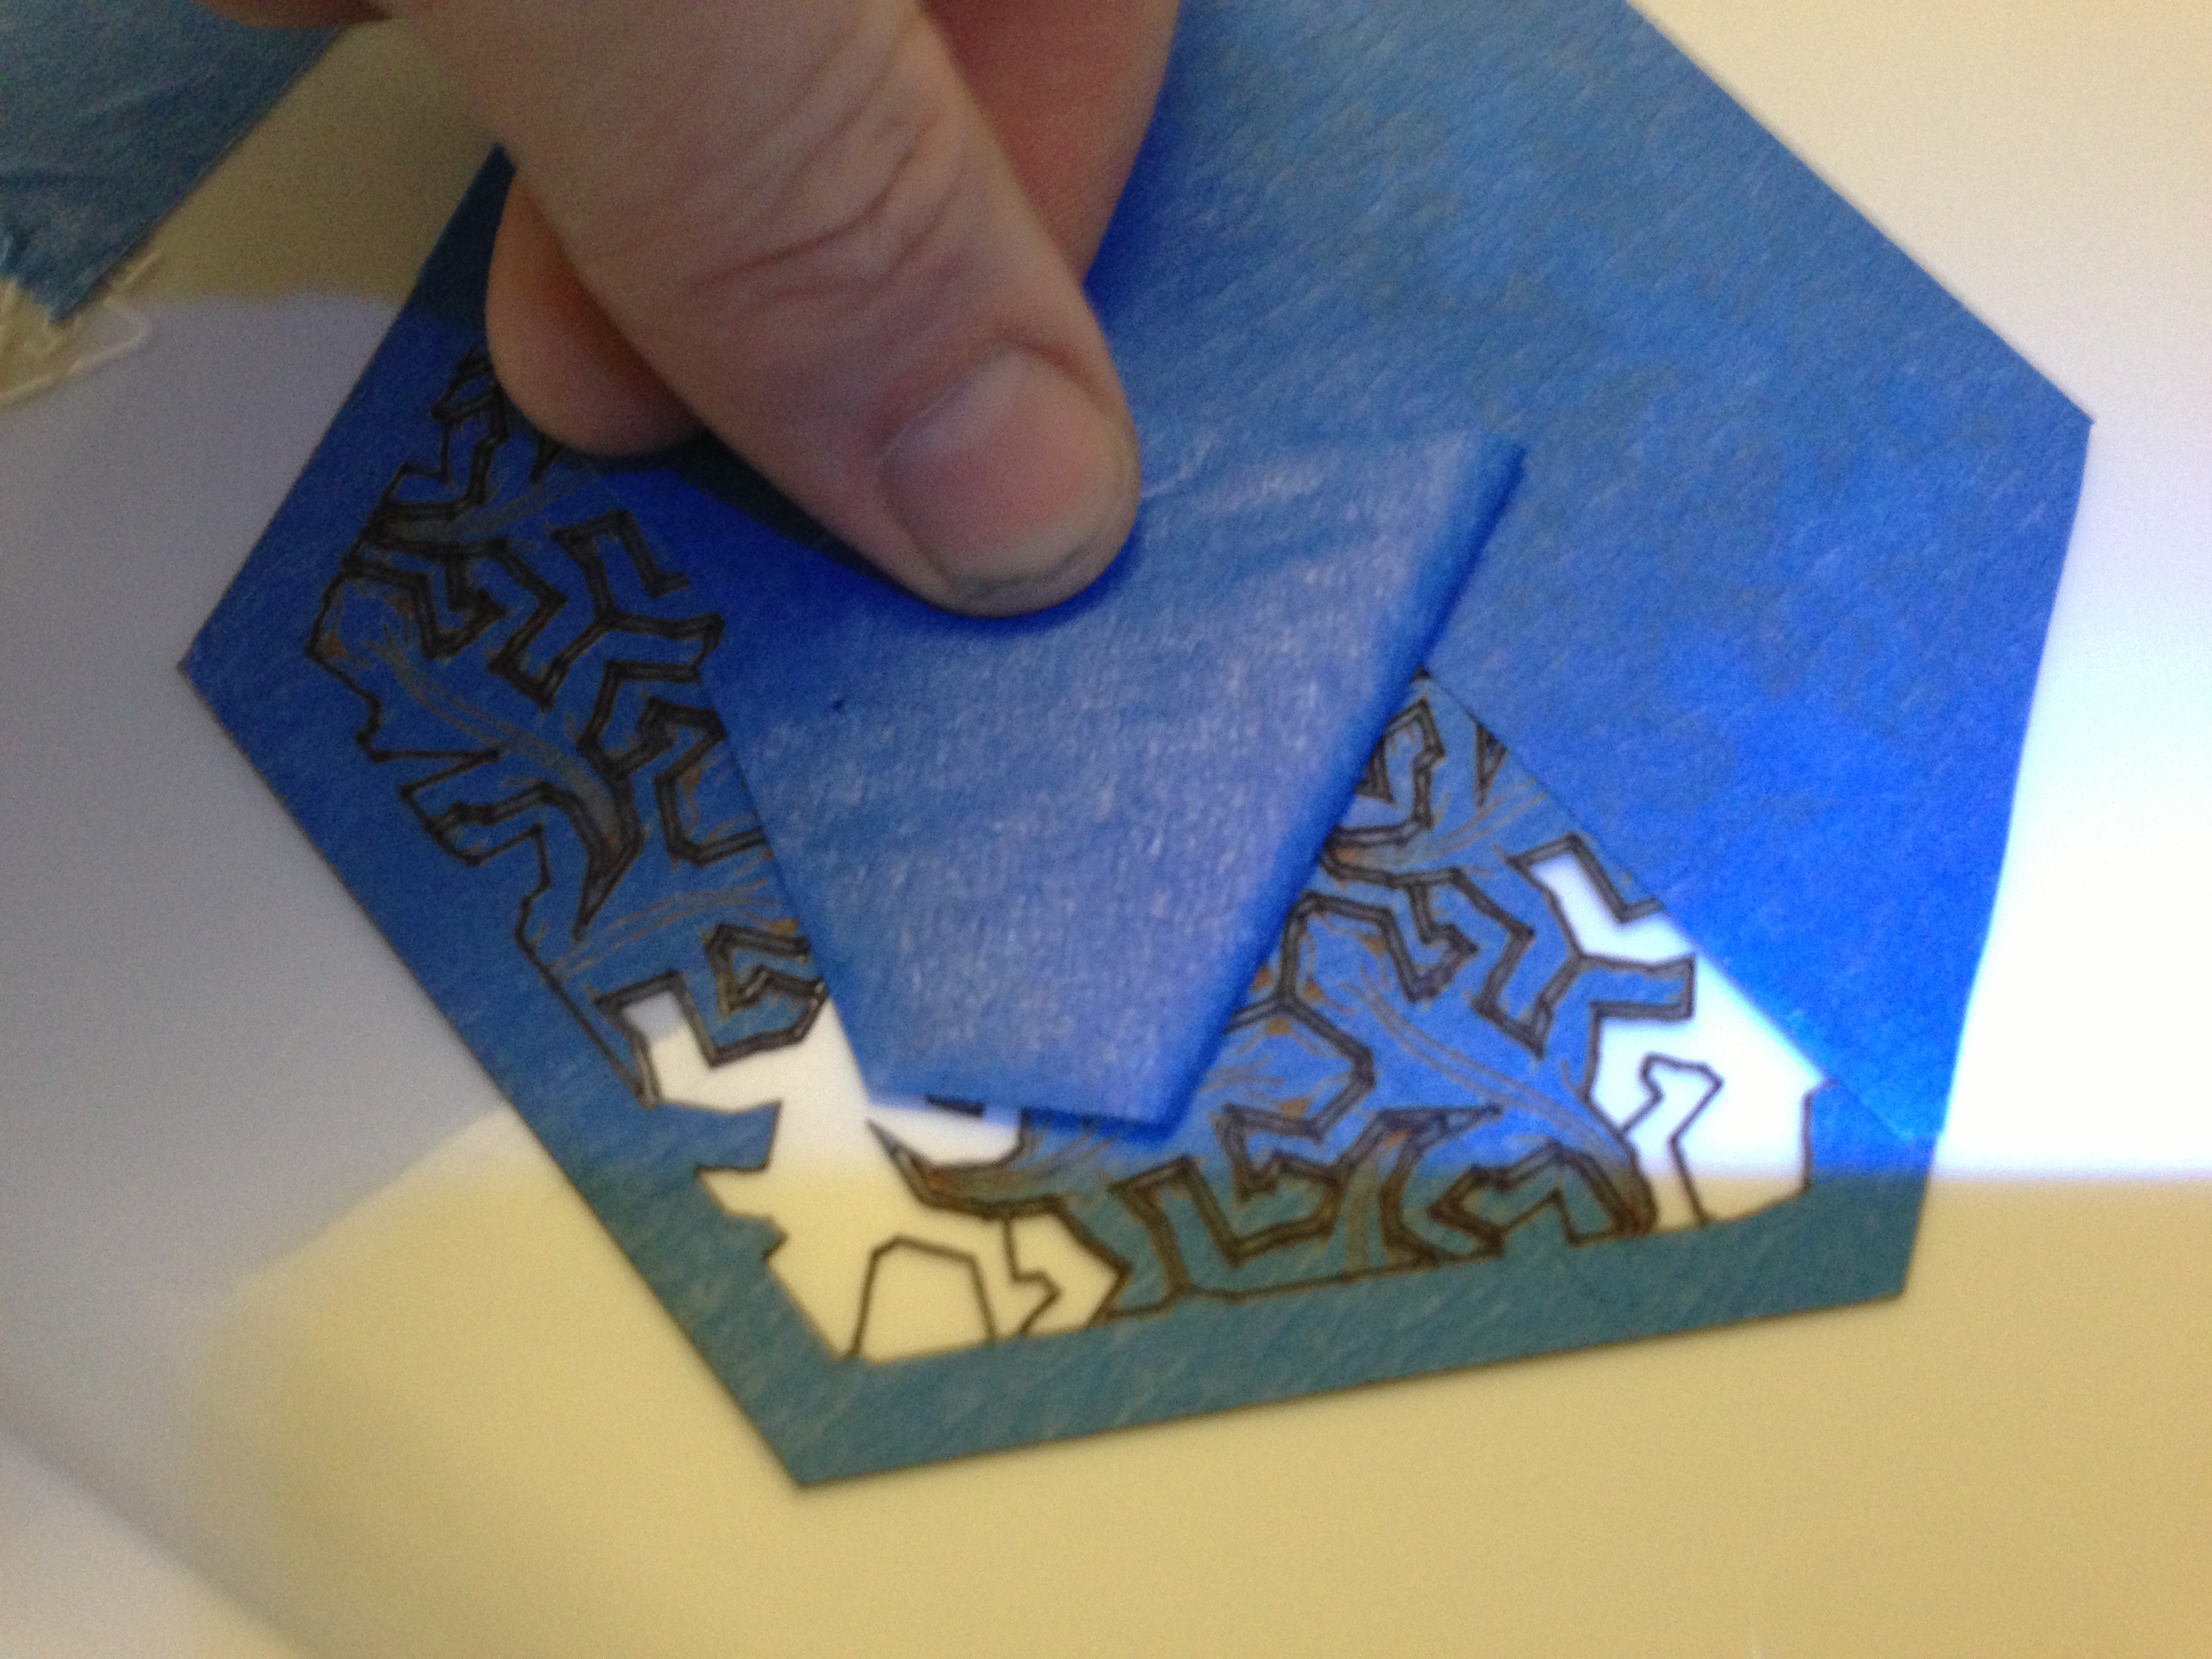
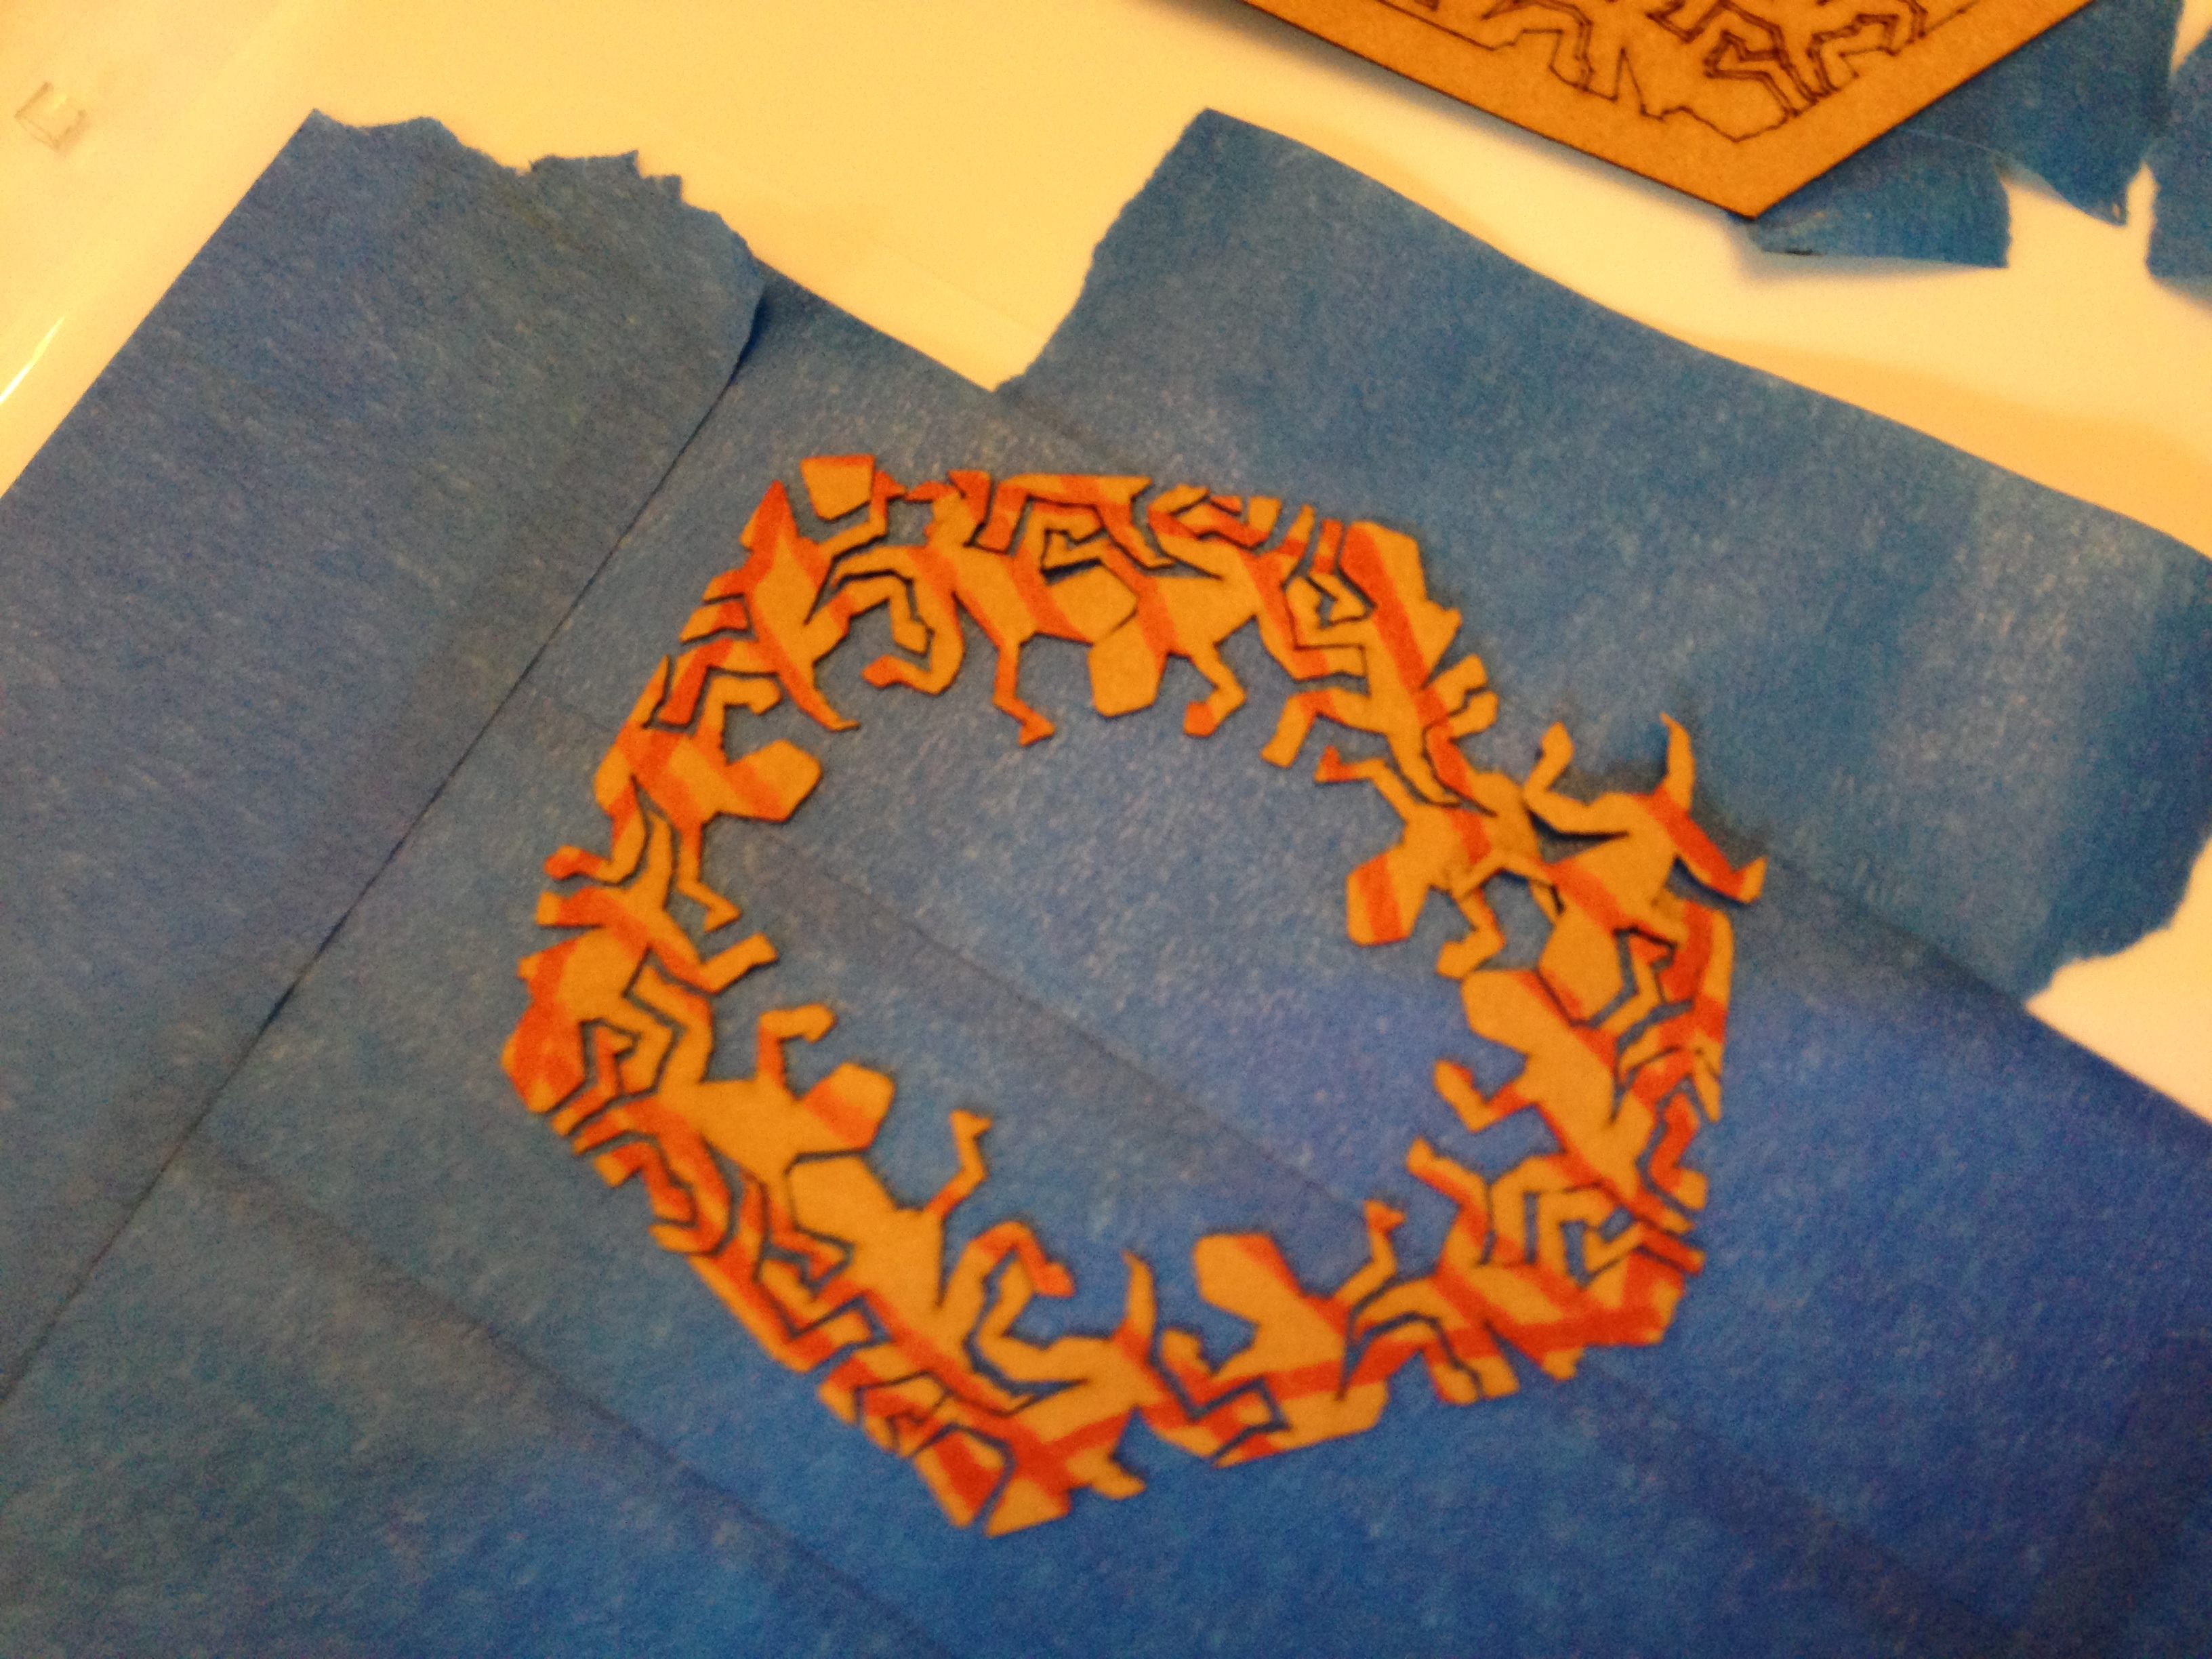
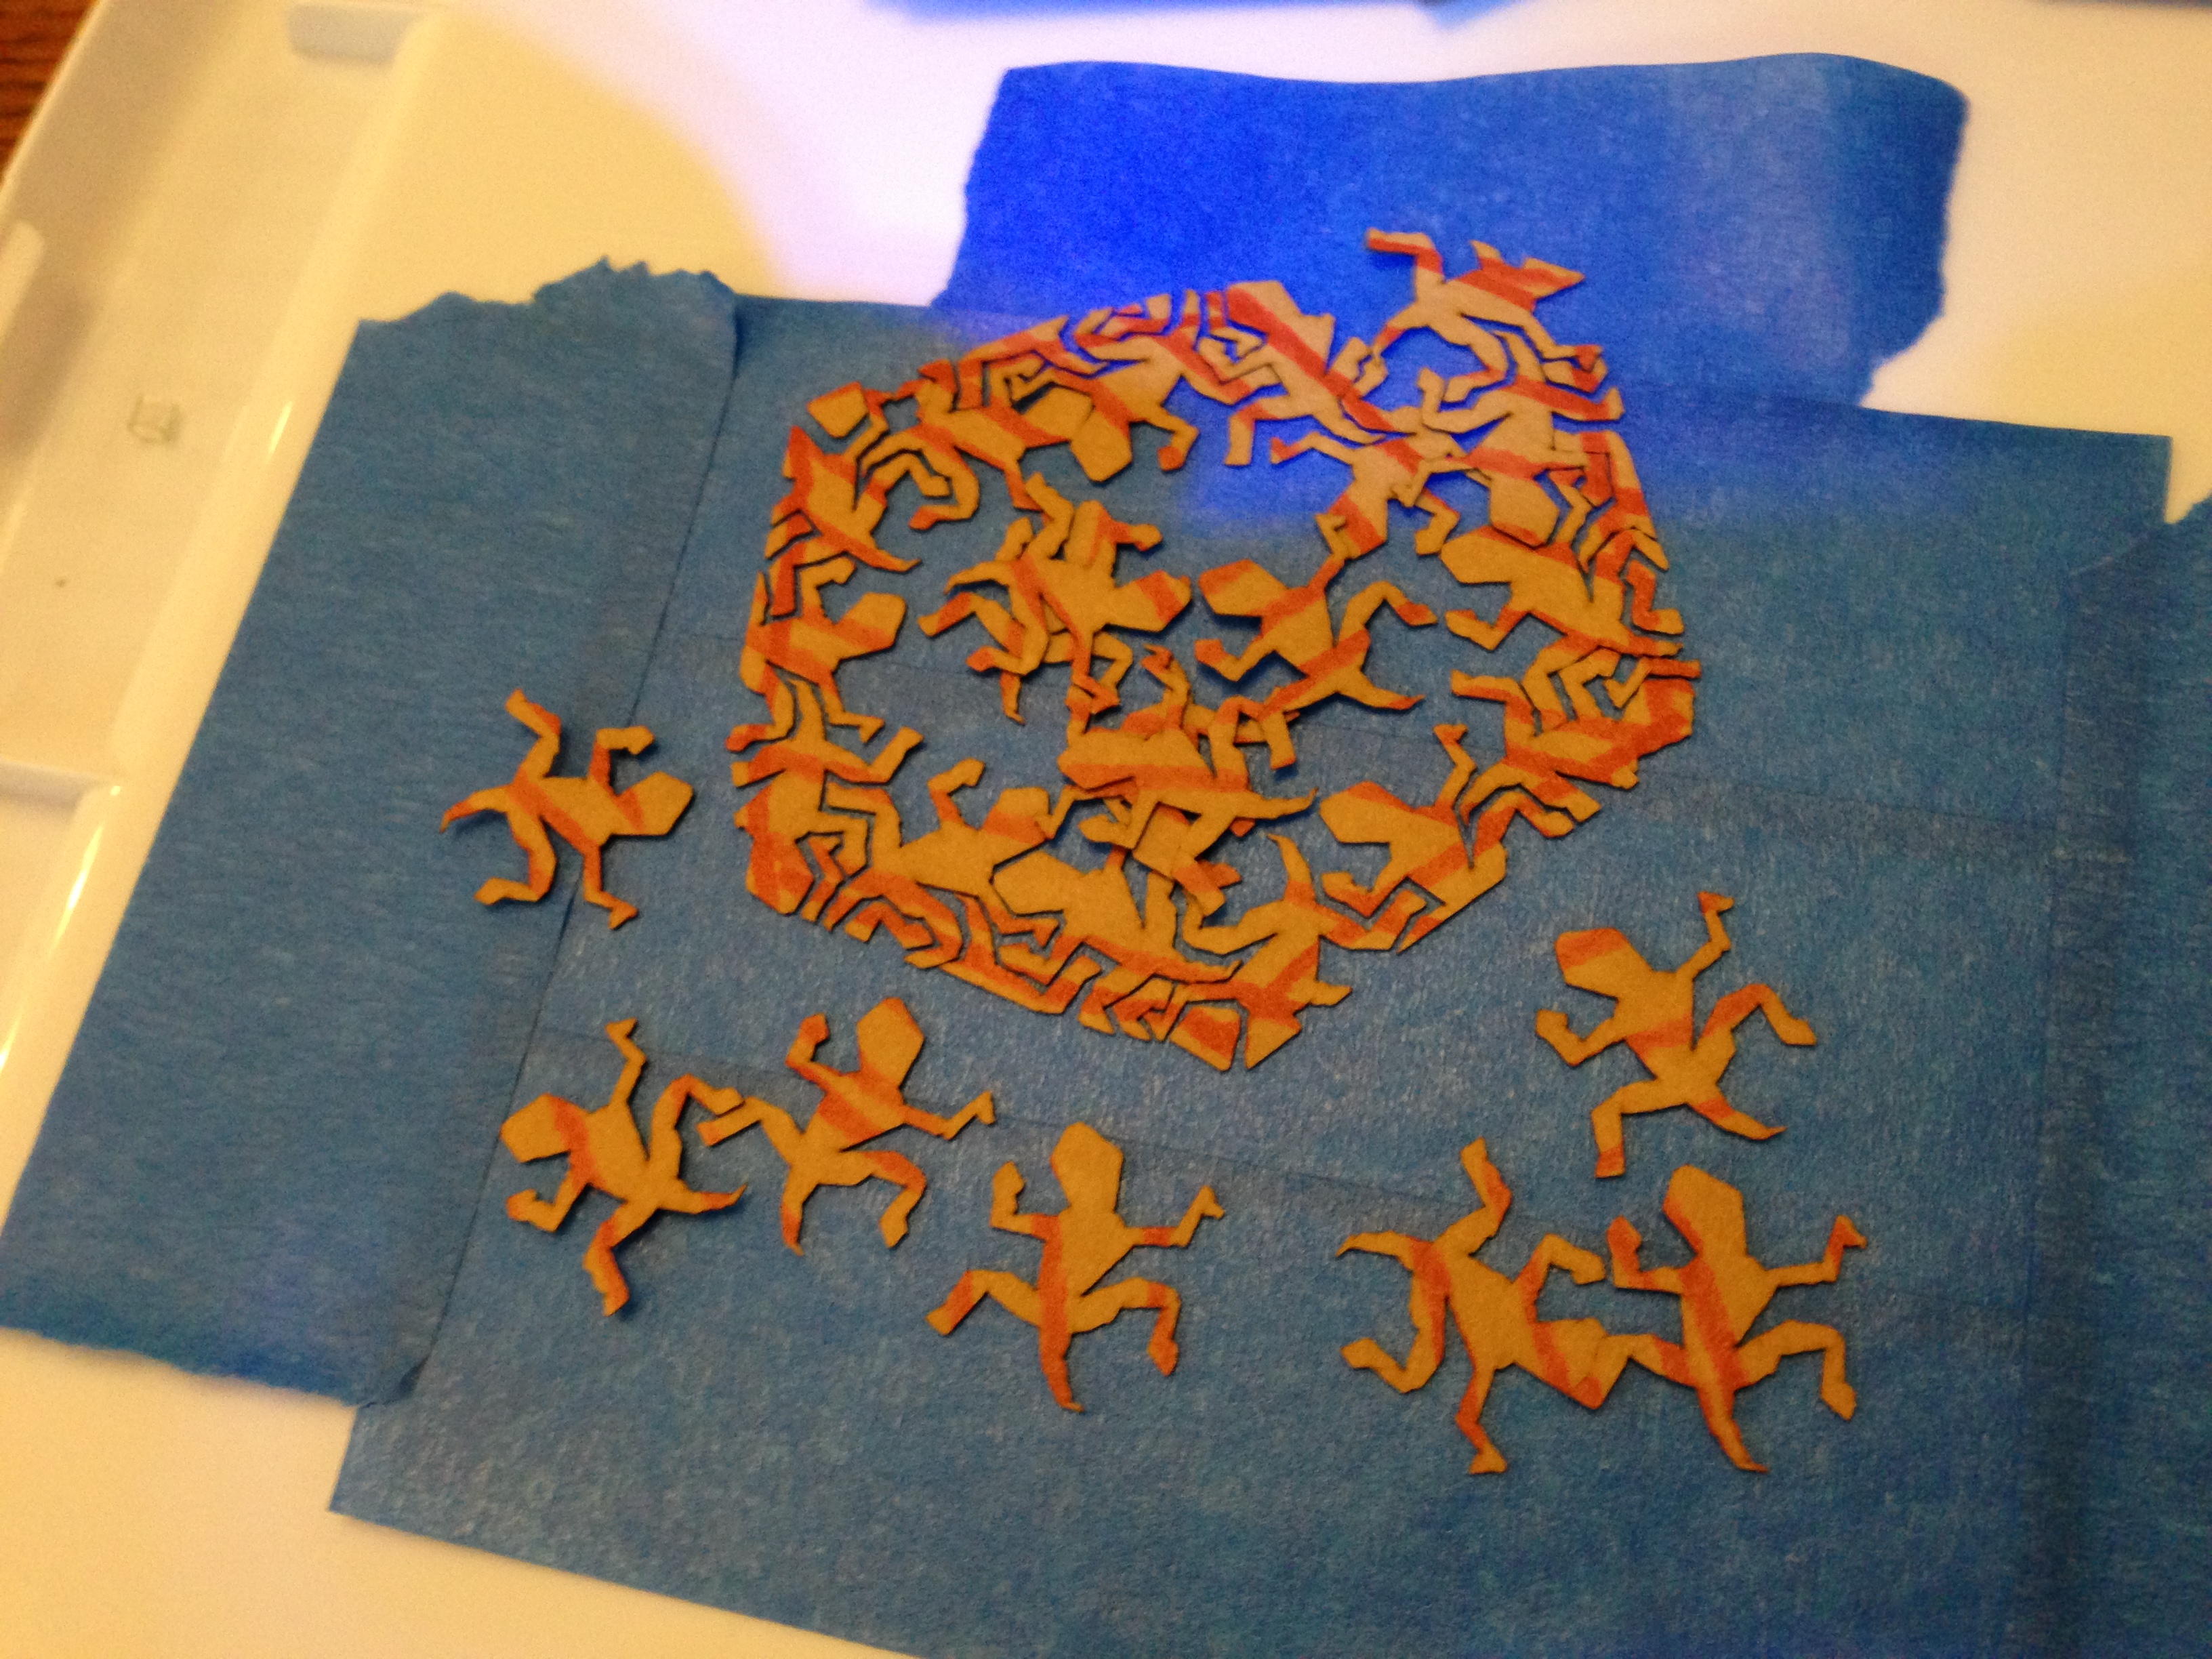
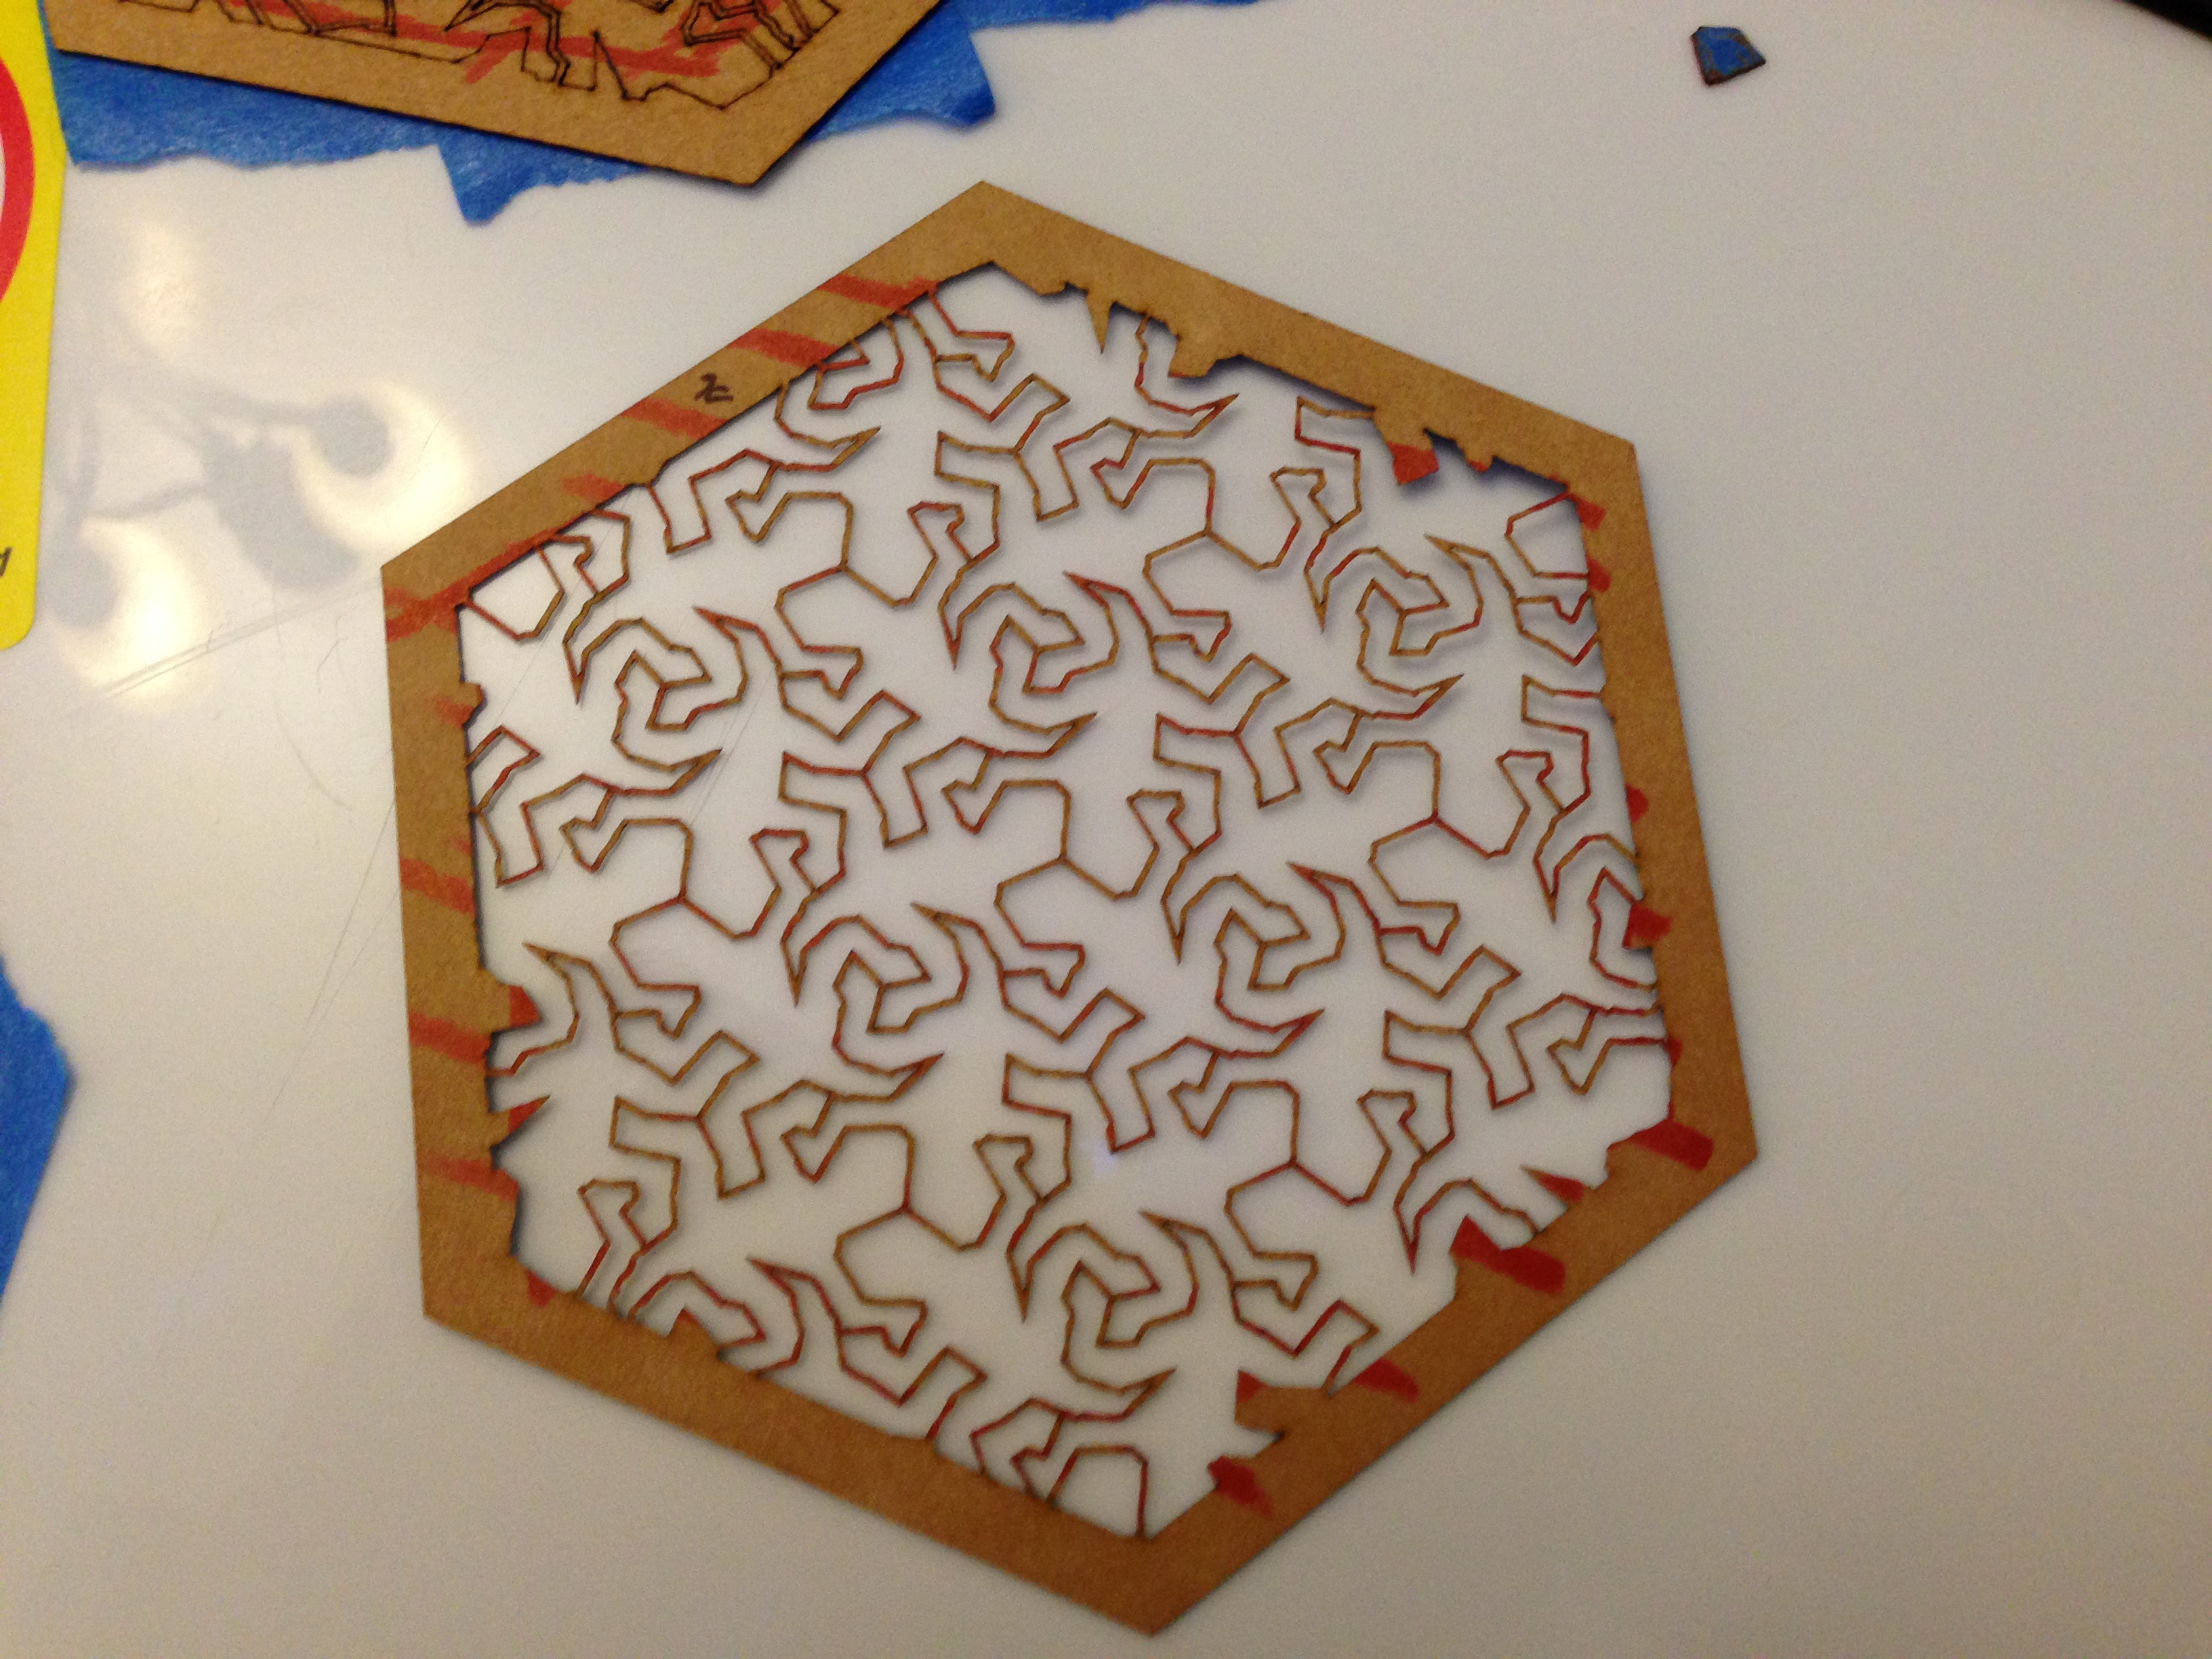
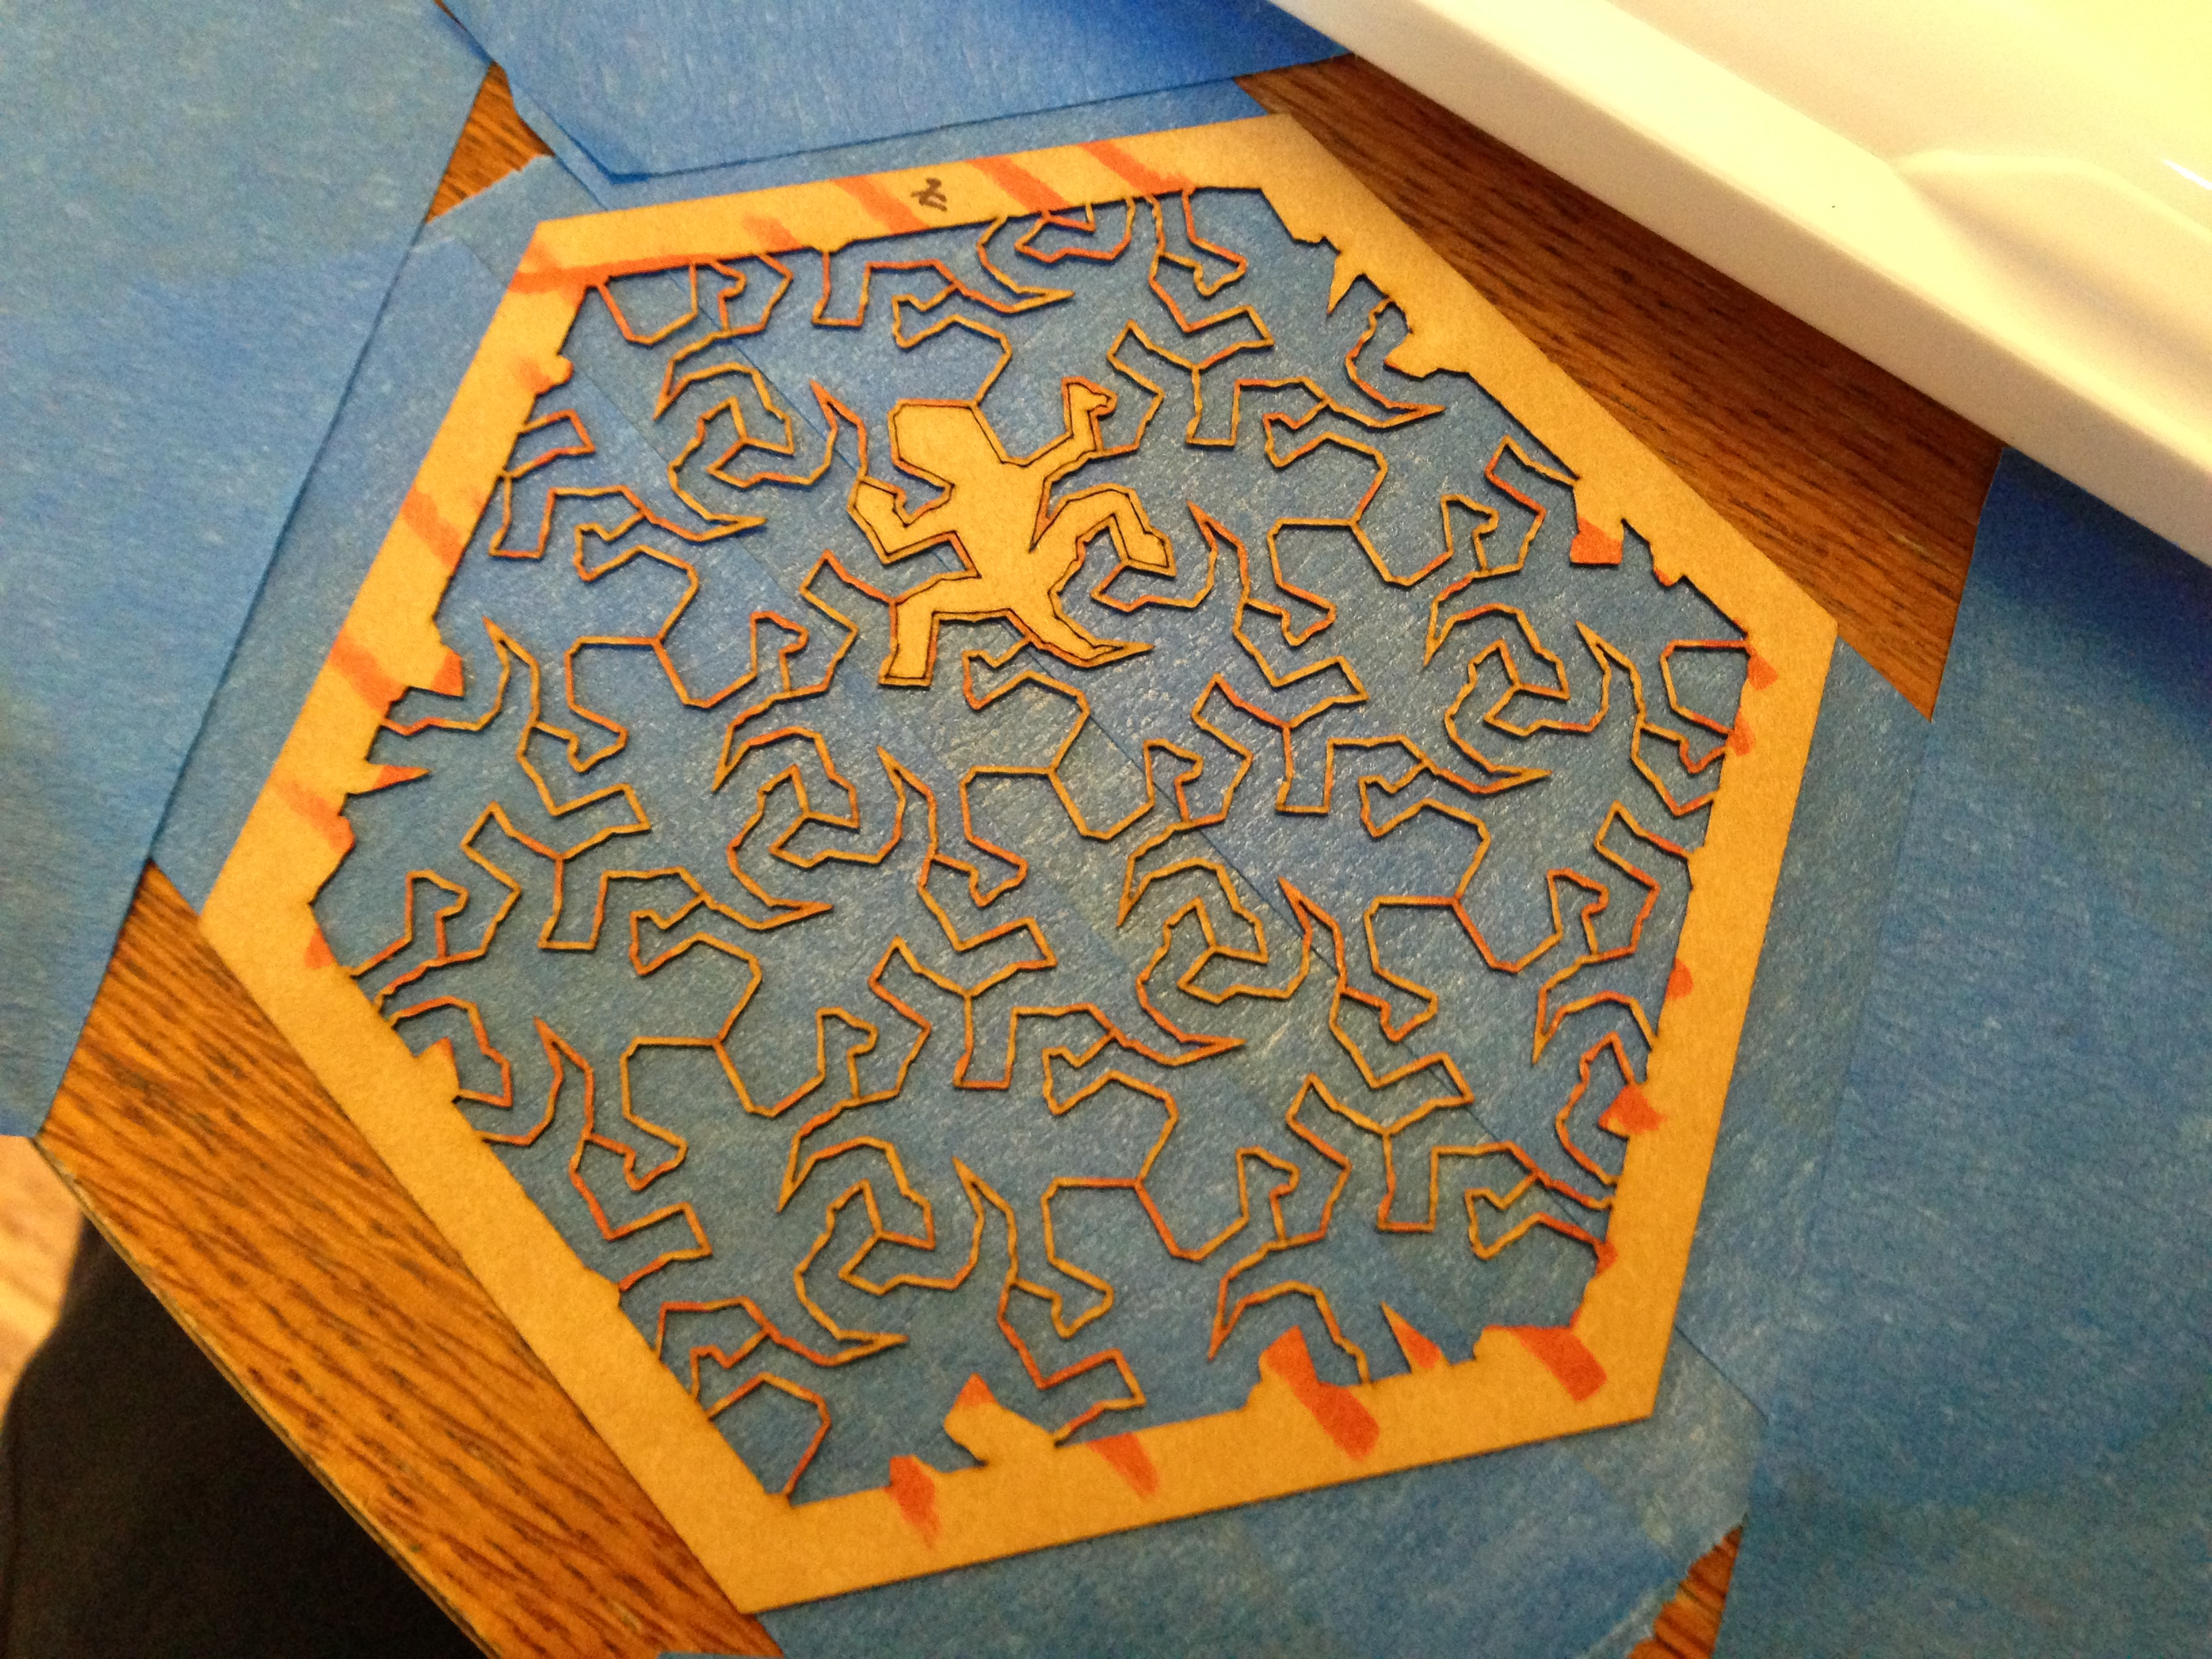


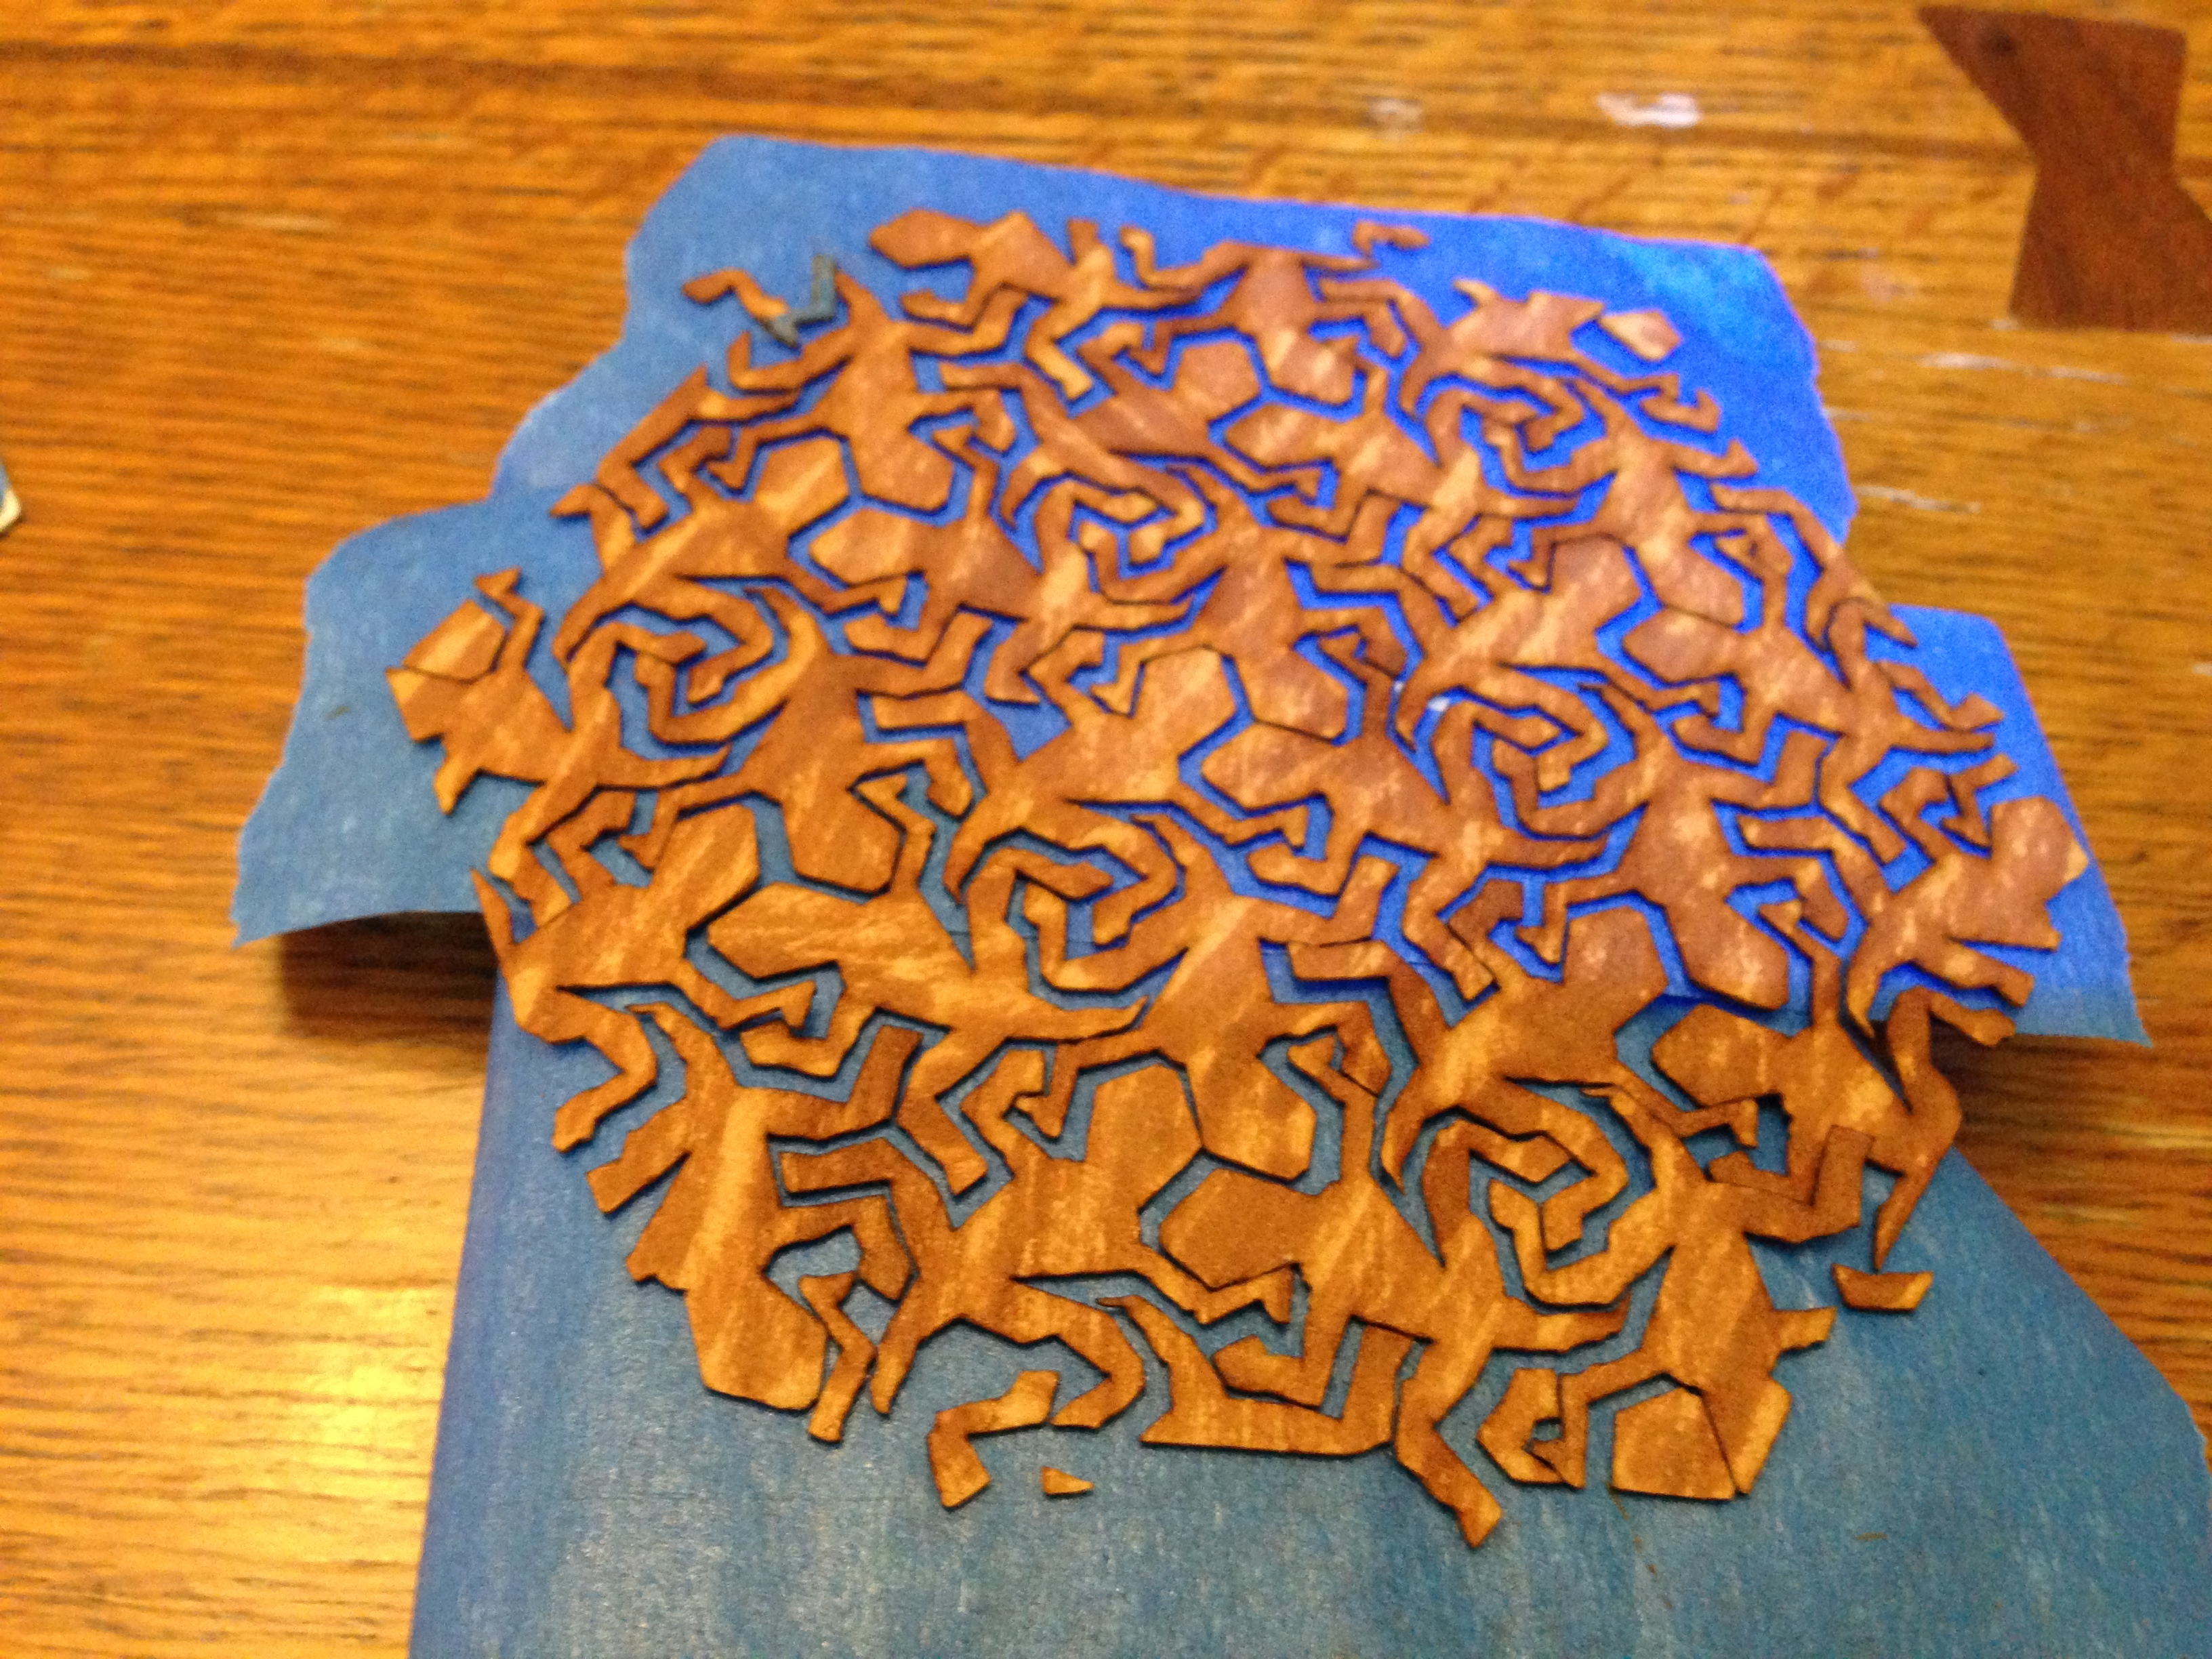

Now it's time to start to piece everything together. This is a bit tedious, and may be the longest time consuming part of the process.
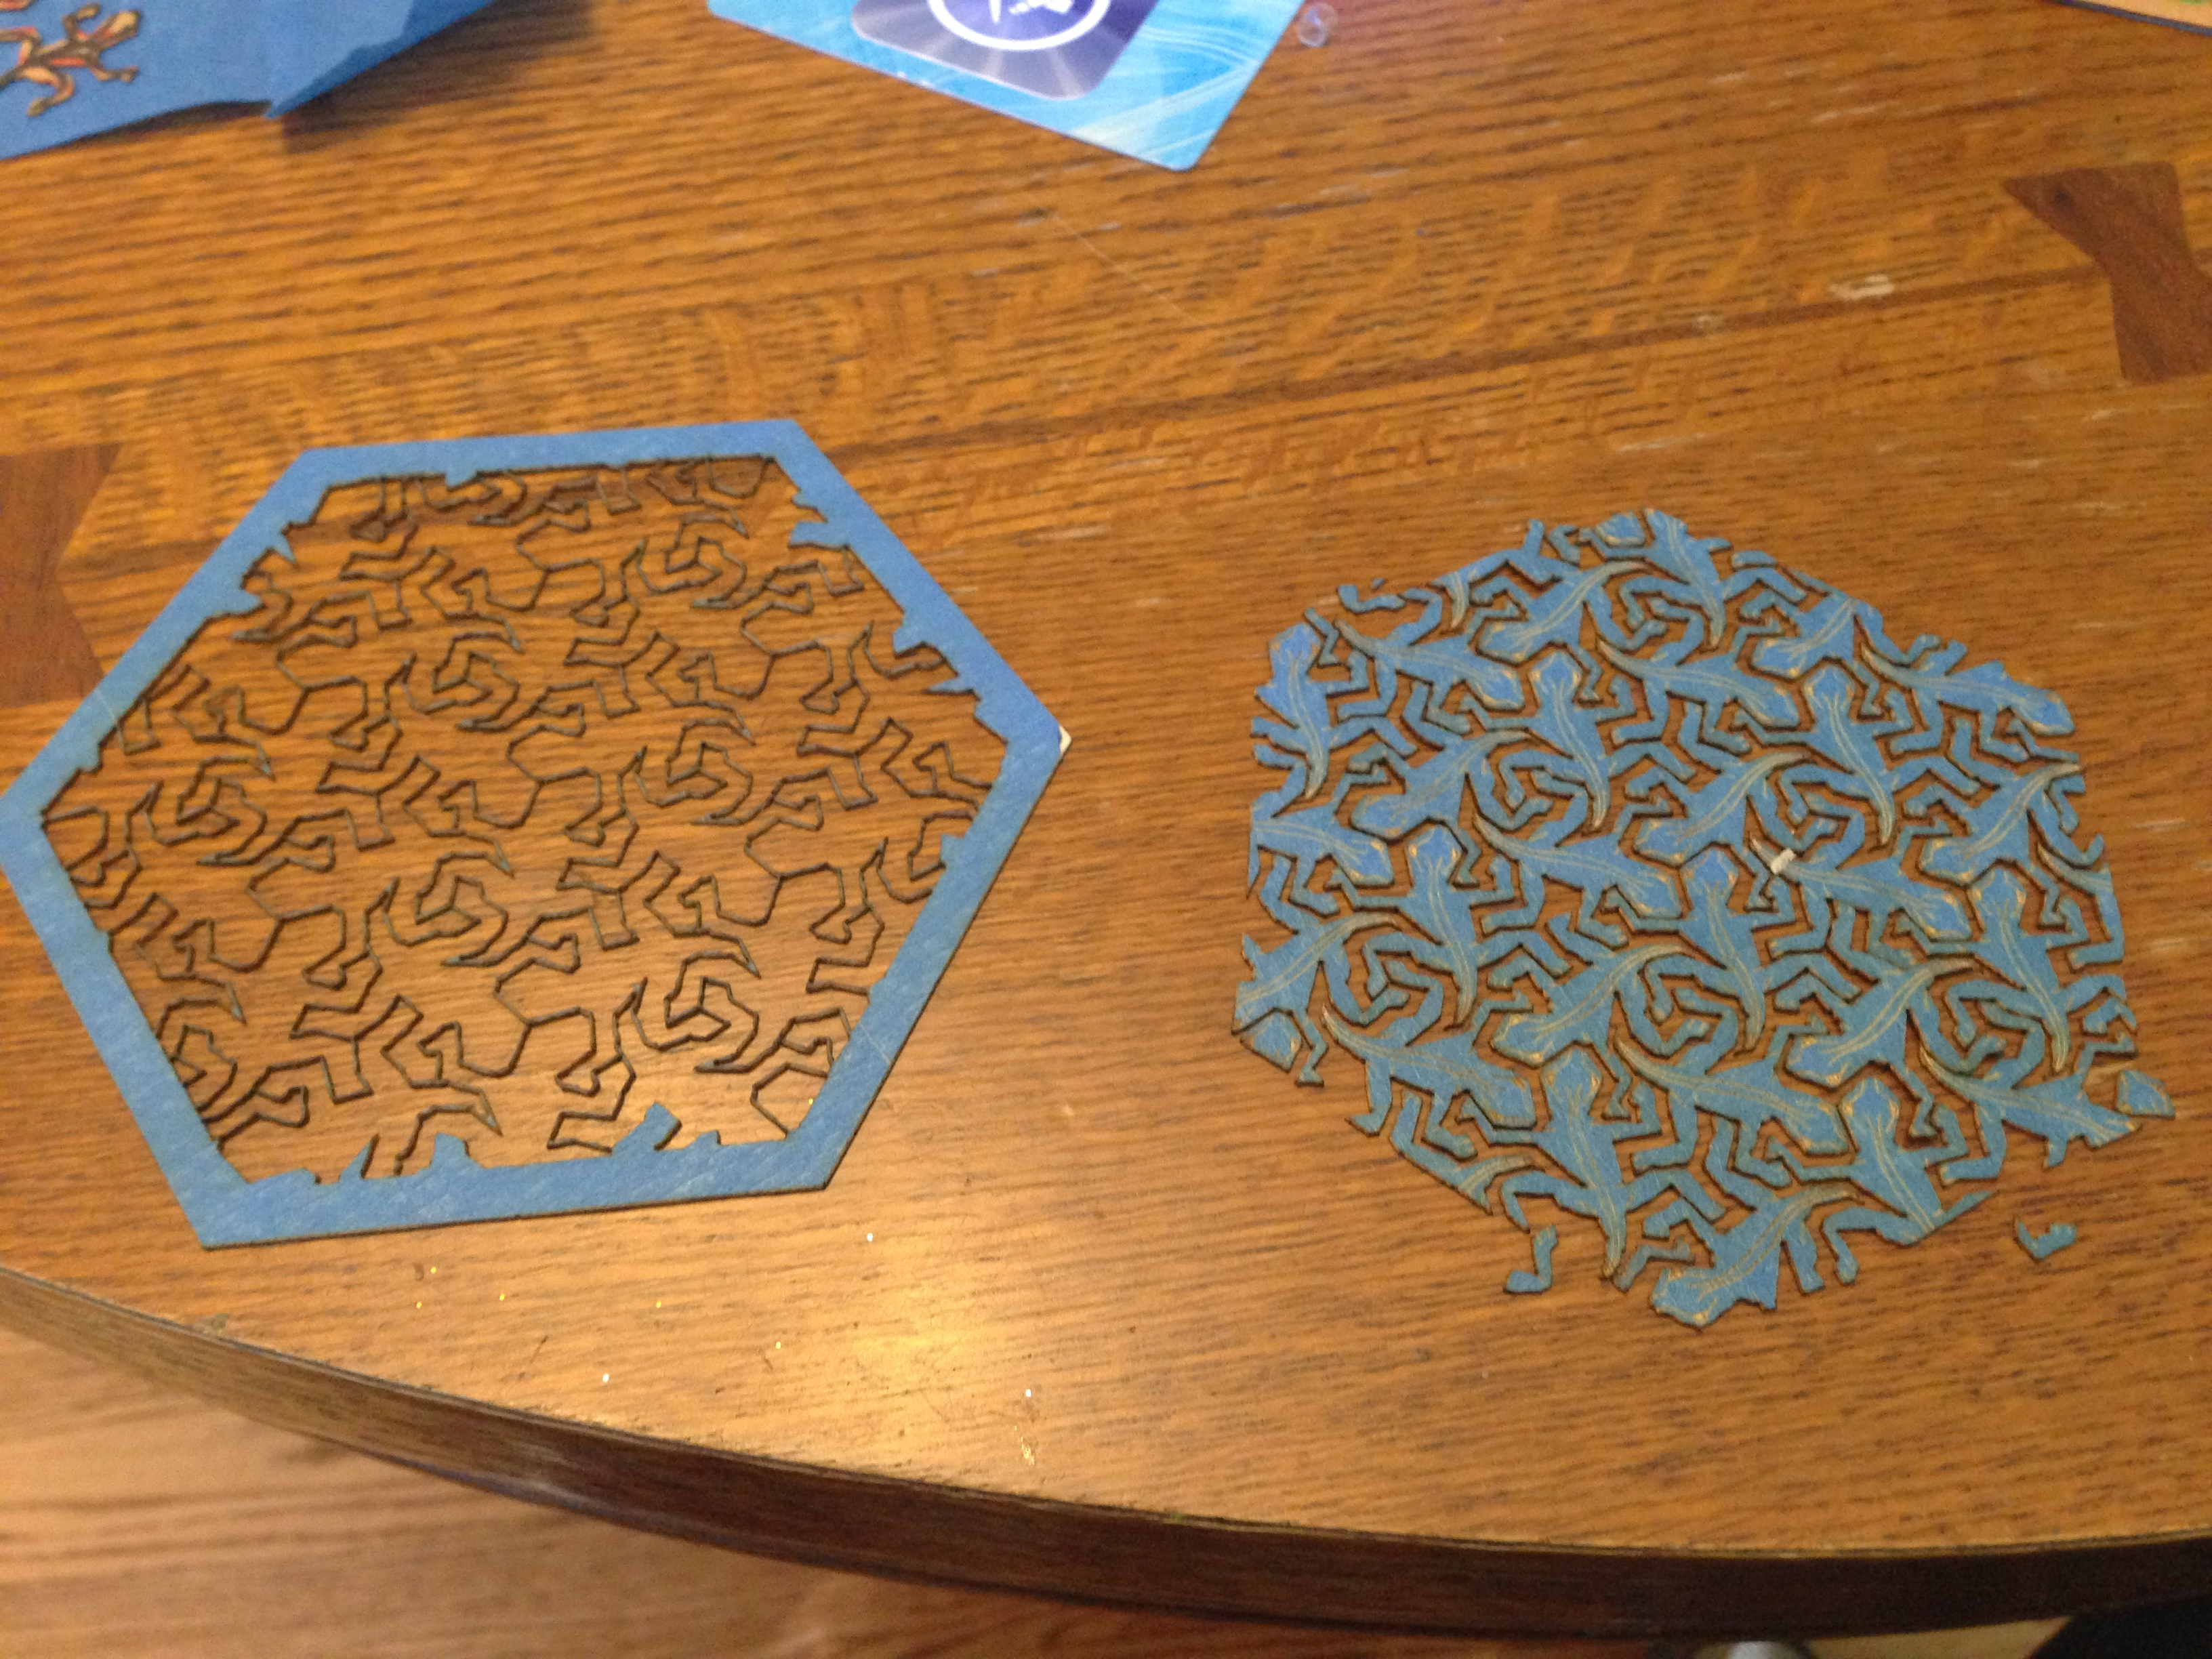
Take veneer A. REMOVE ALL REPTILES. You end up with a pretty awesome lattice work of veneer, and a bunch of type A reptiles. Use upside-down blue-tape to hold on to all the pieces you've removed. Tape the upside-down blue tape to your table so you have a place to put them.
I strongly suggest a tweezers, scalpel, and magnifying visor for this process.
Place Reptiles From Veneers D,E,F Into Latticework of Veneer A.
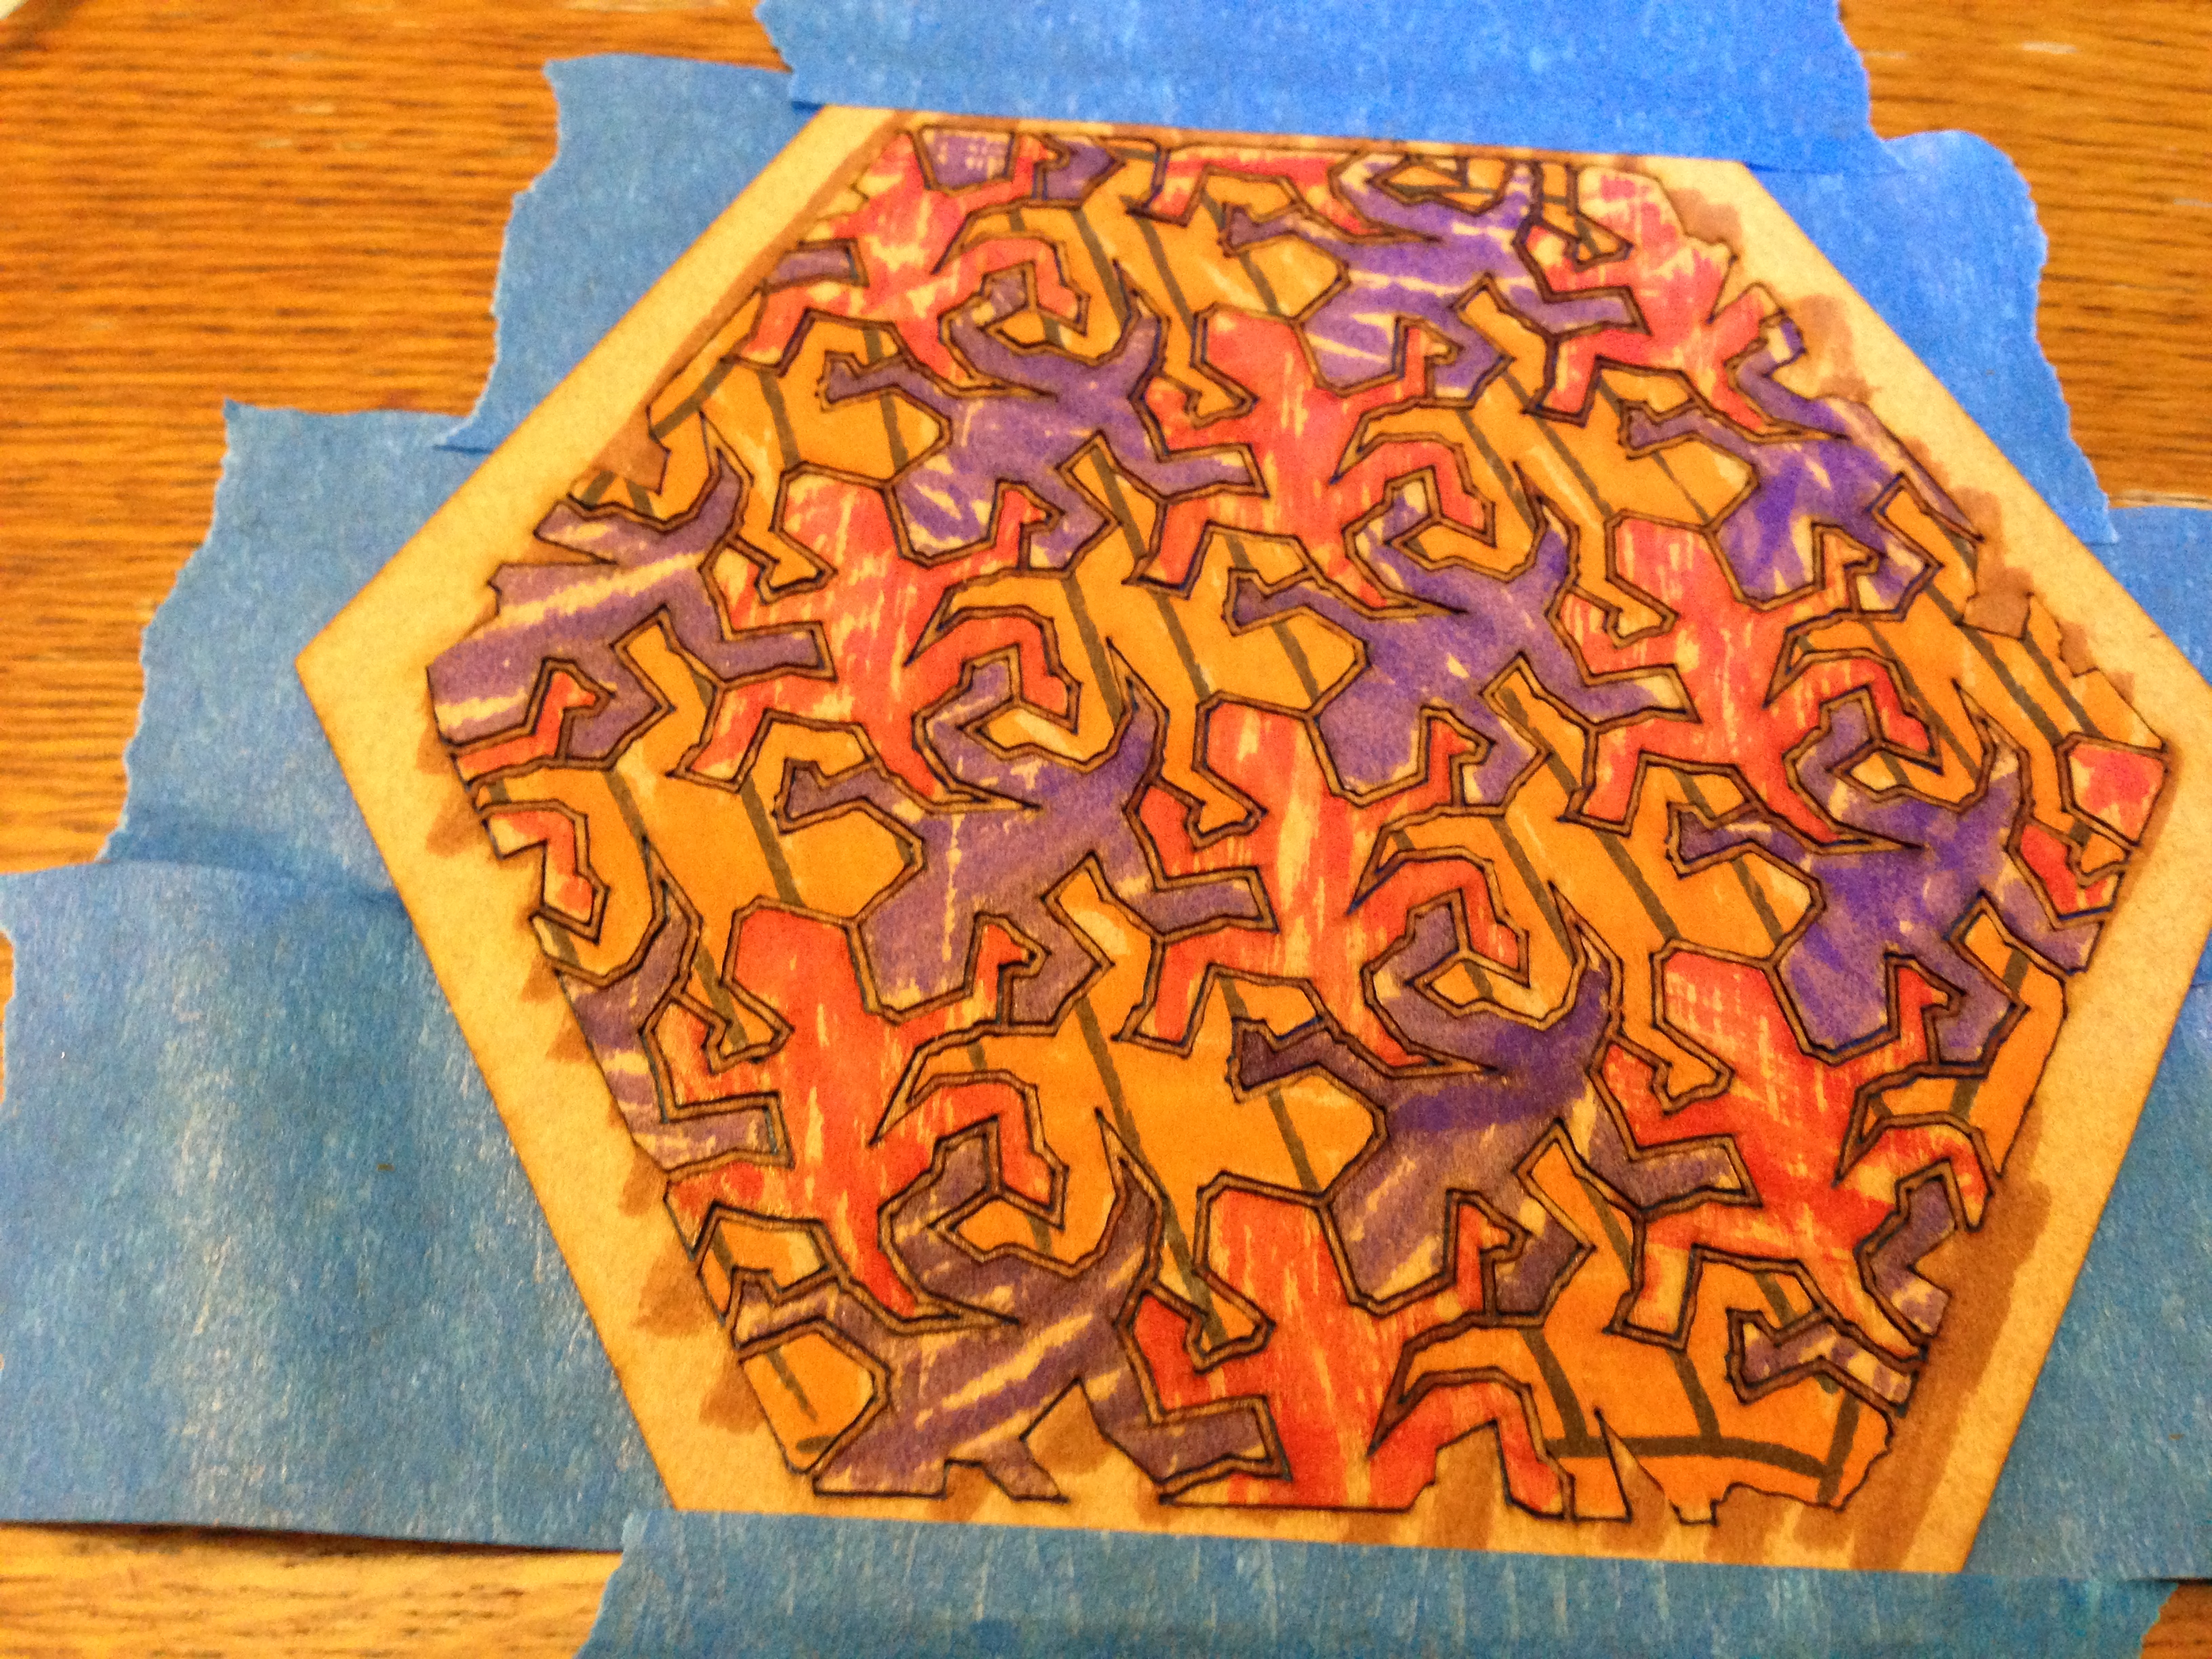
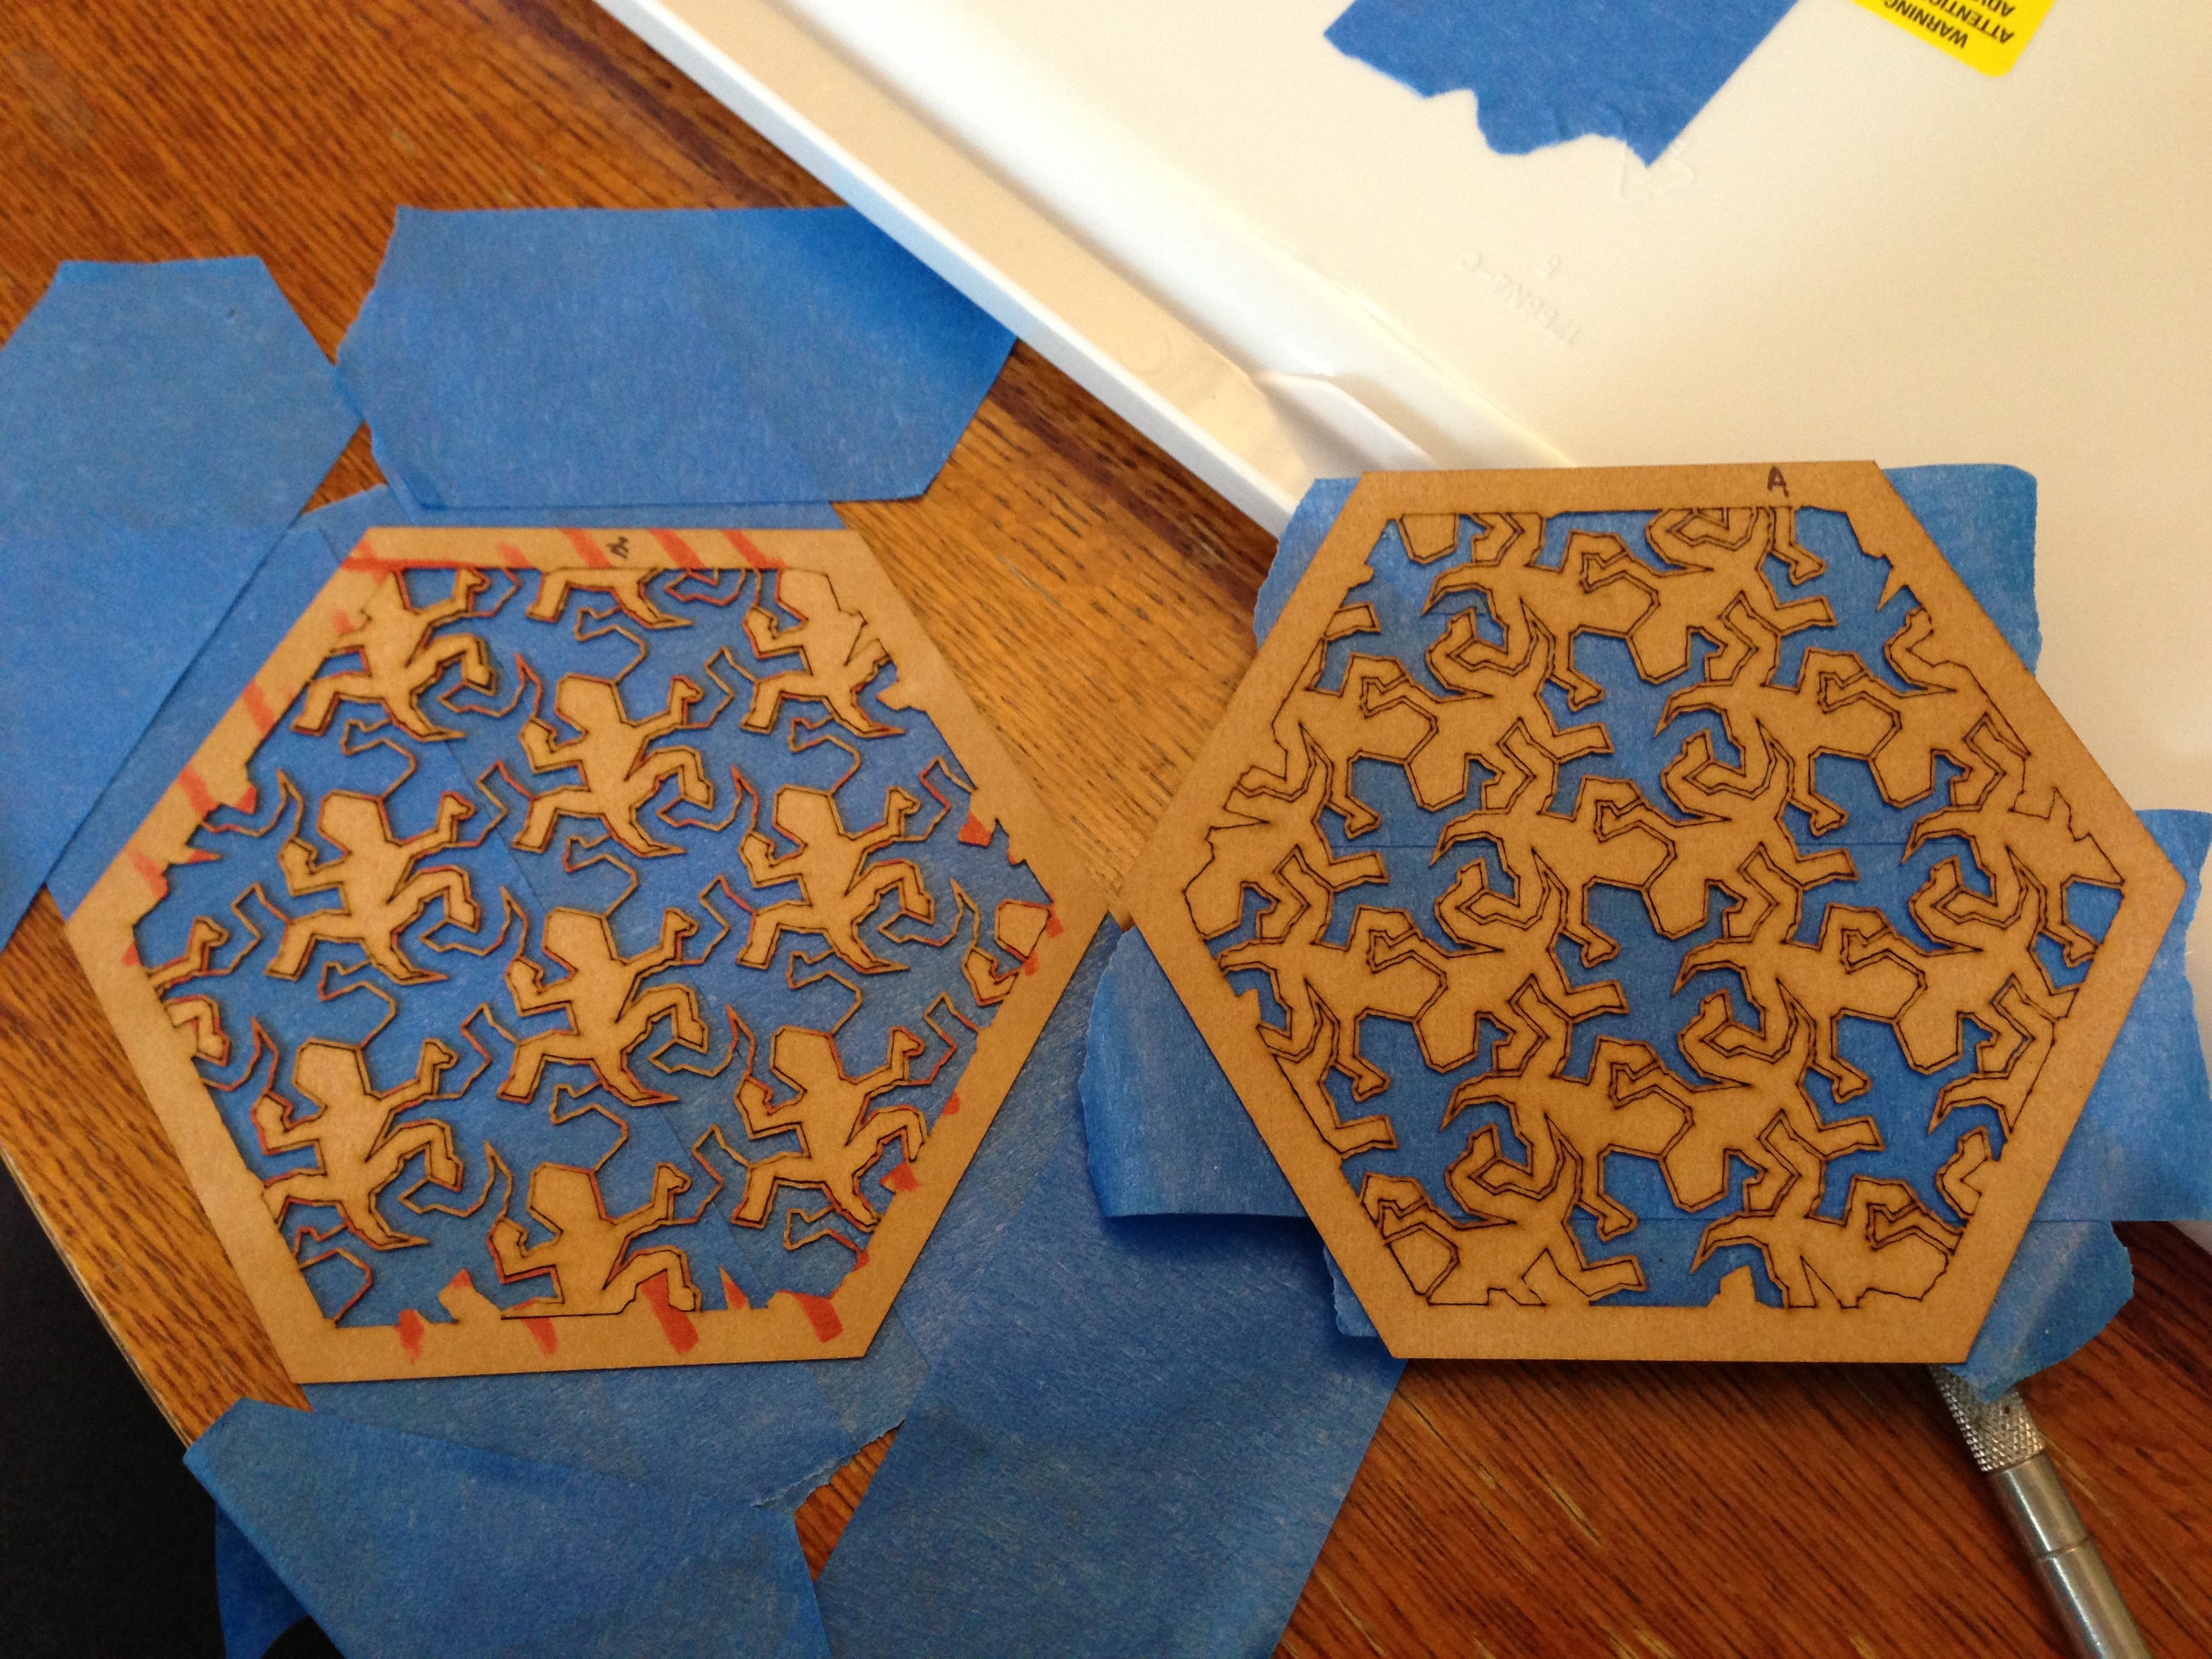
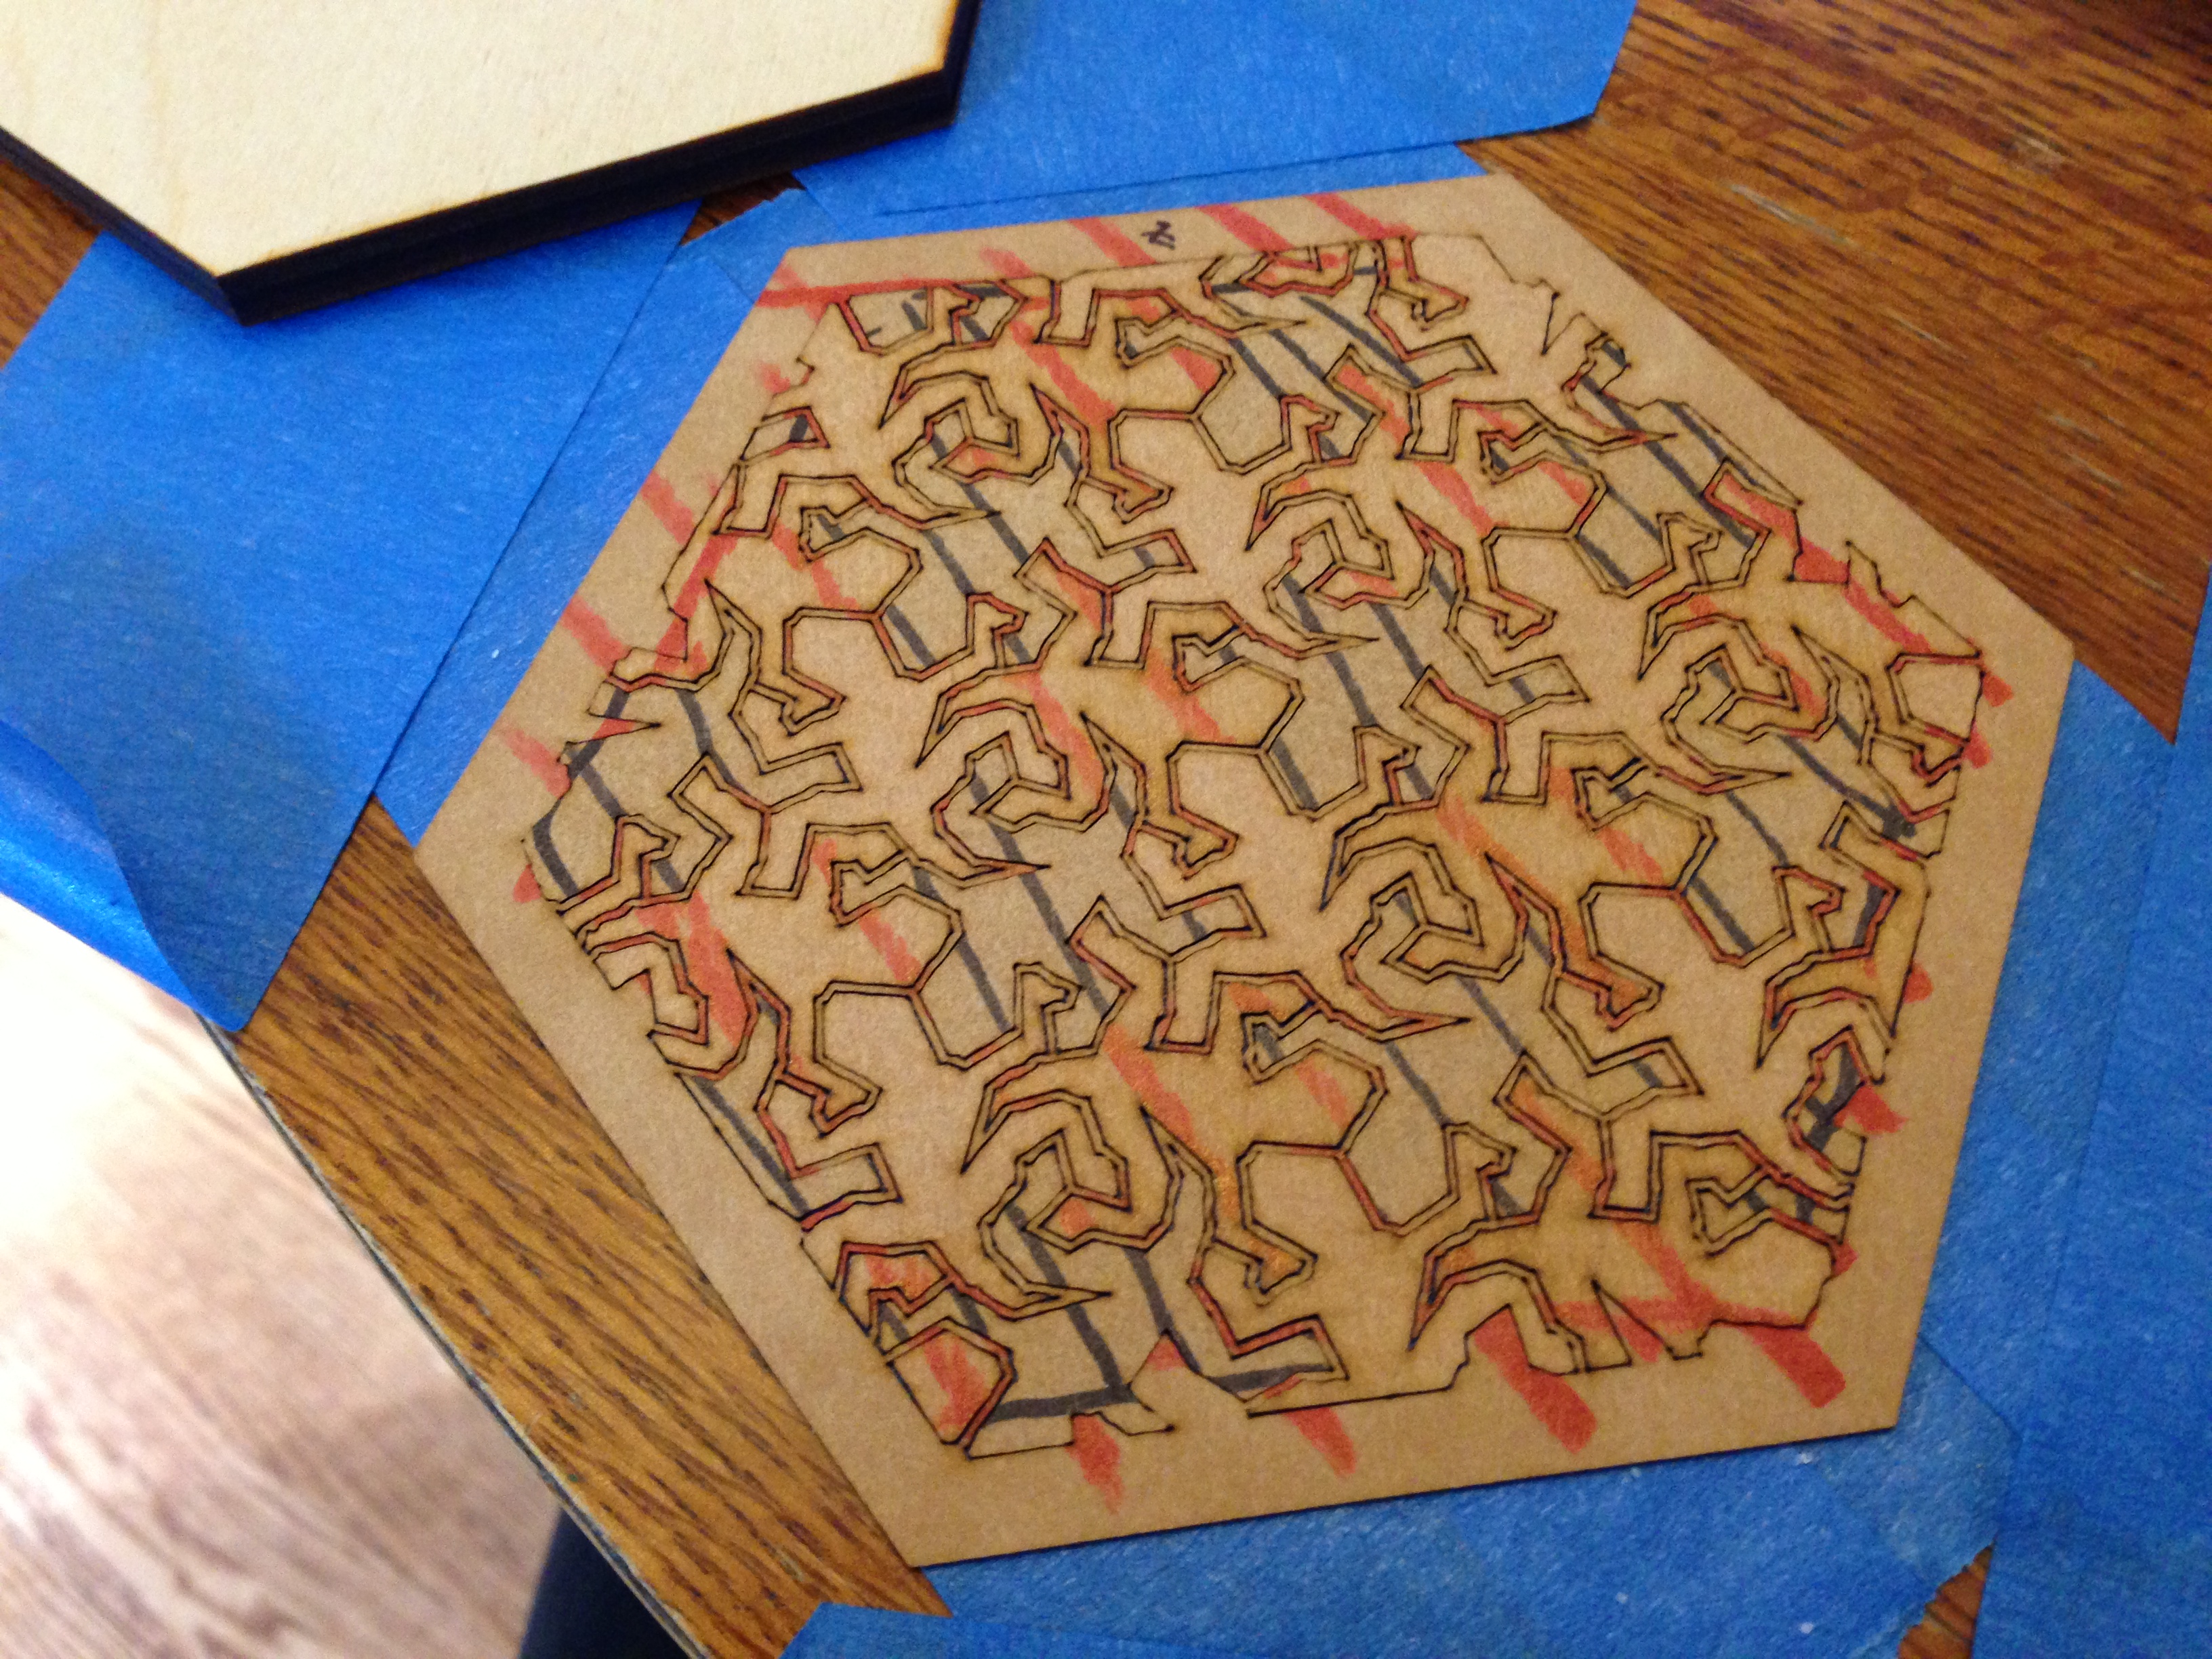
Here's where the rubber hits the road. Carefully place the reptiles from veneers D, E, and F into the latticework of veneer A. At the end, you should have a fully populated, tri-colored reptile tiling. This takes some tedious work, but it's well worth it :-)
Notice how all reptiles that face a given direction are the same color.
Notice how all reptiles that face a given direction are the same color.
Laminate Your Reptiles Onto Your Substrate.

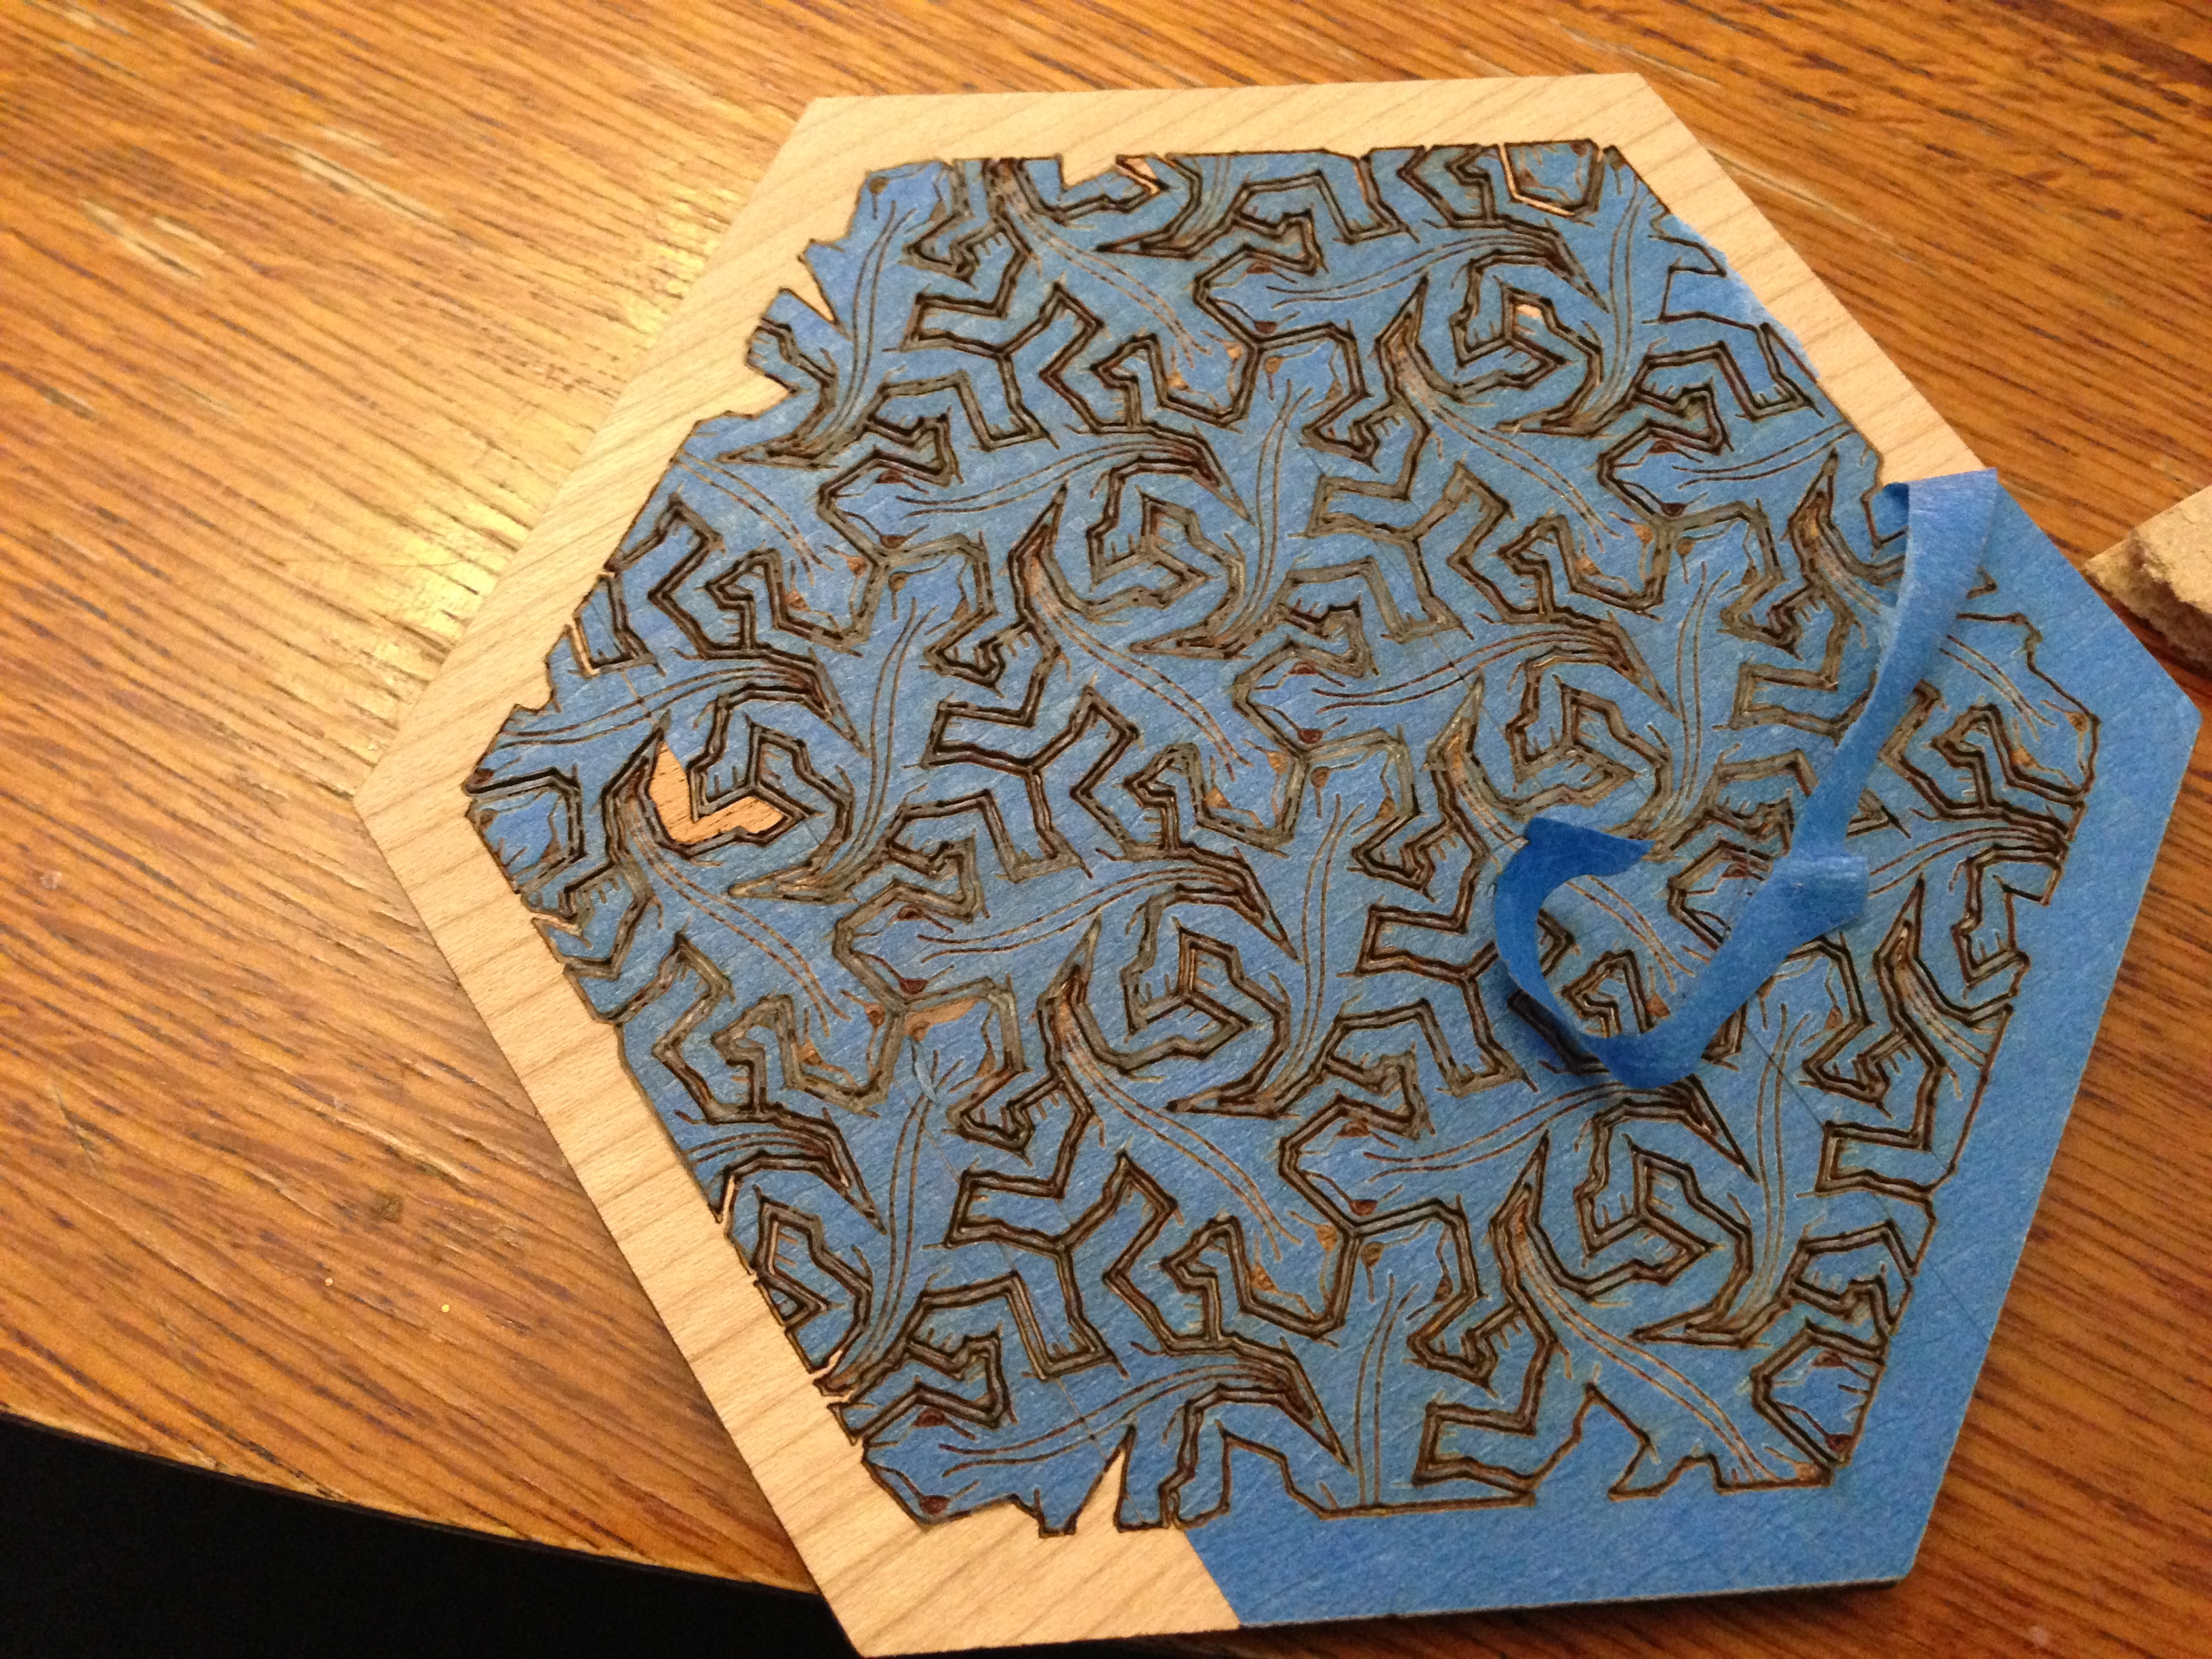
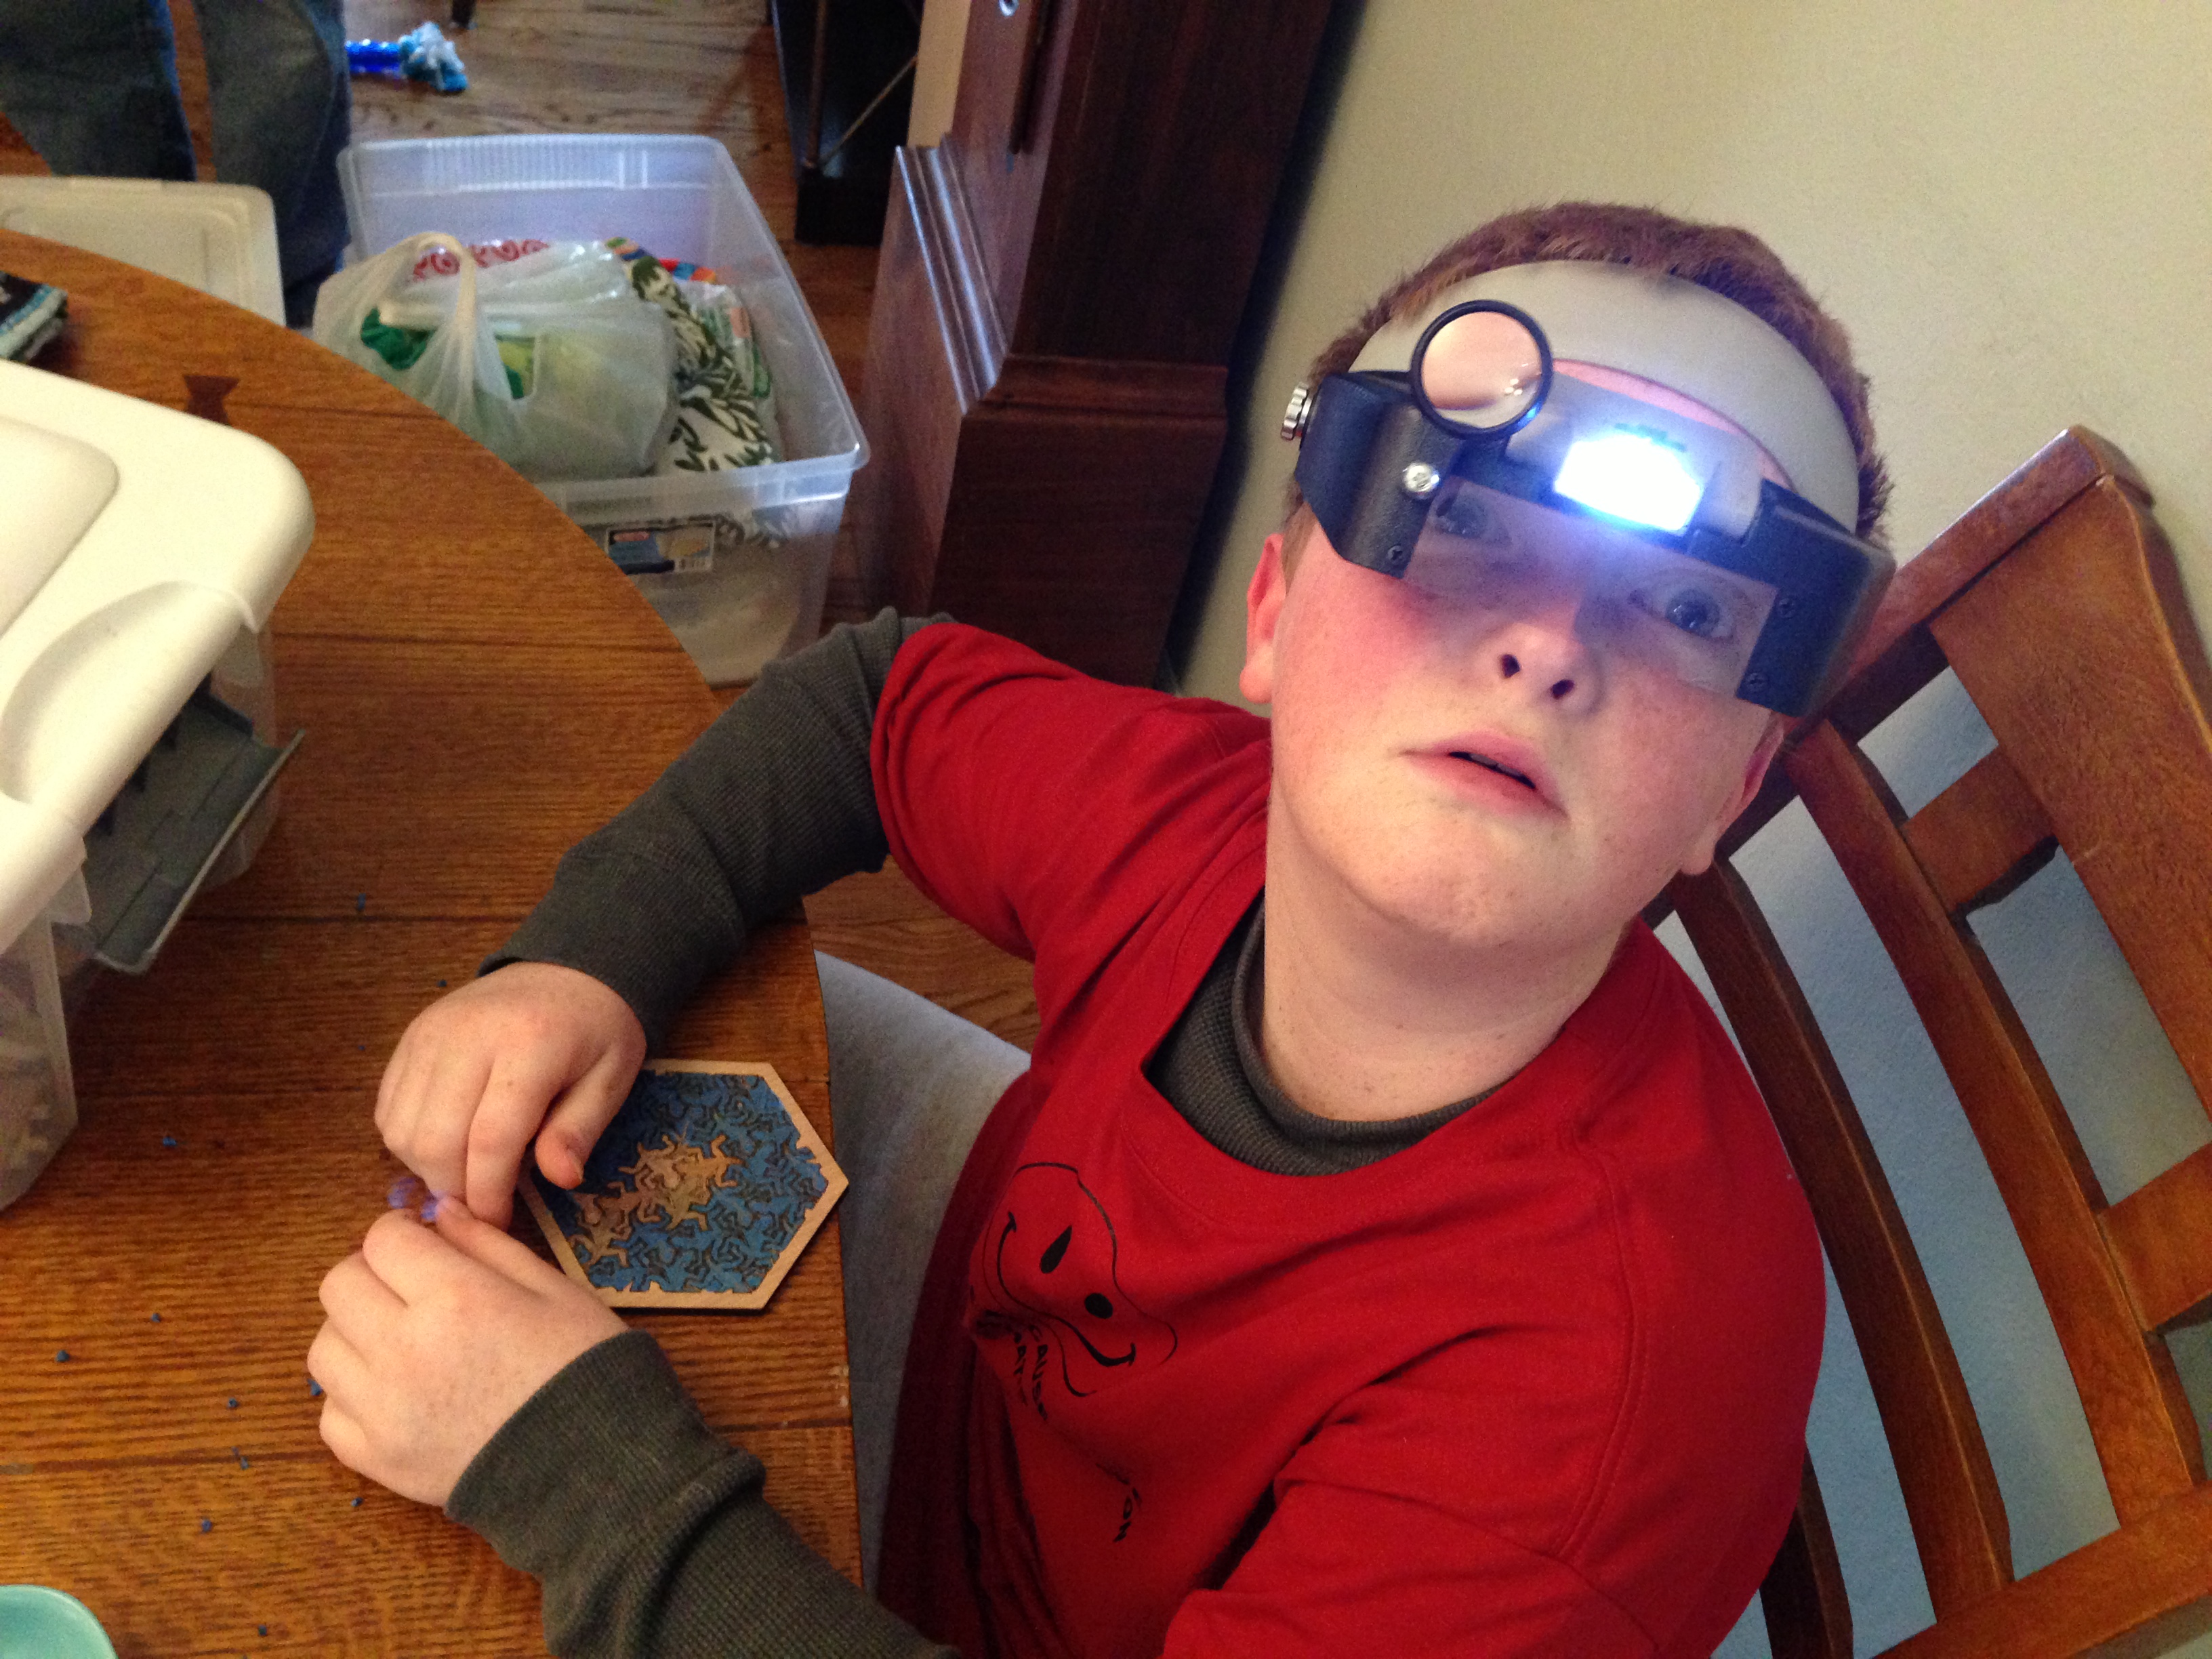
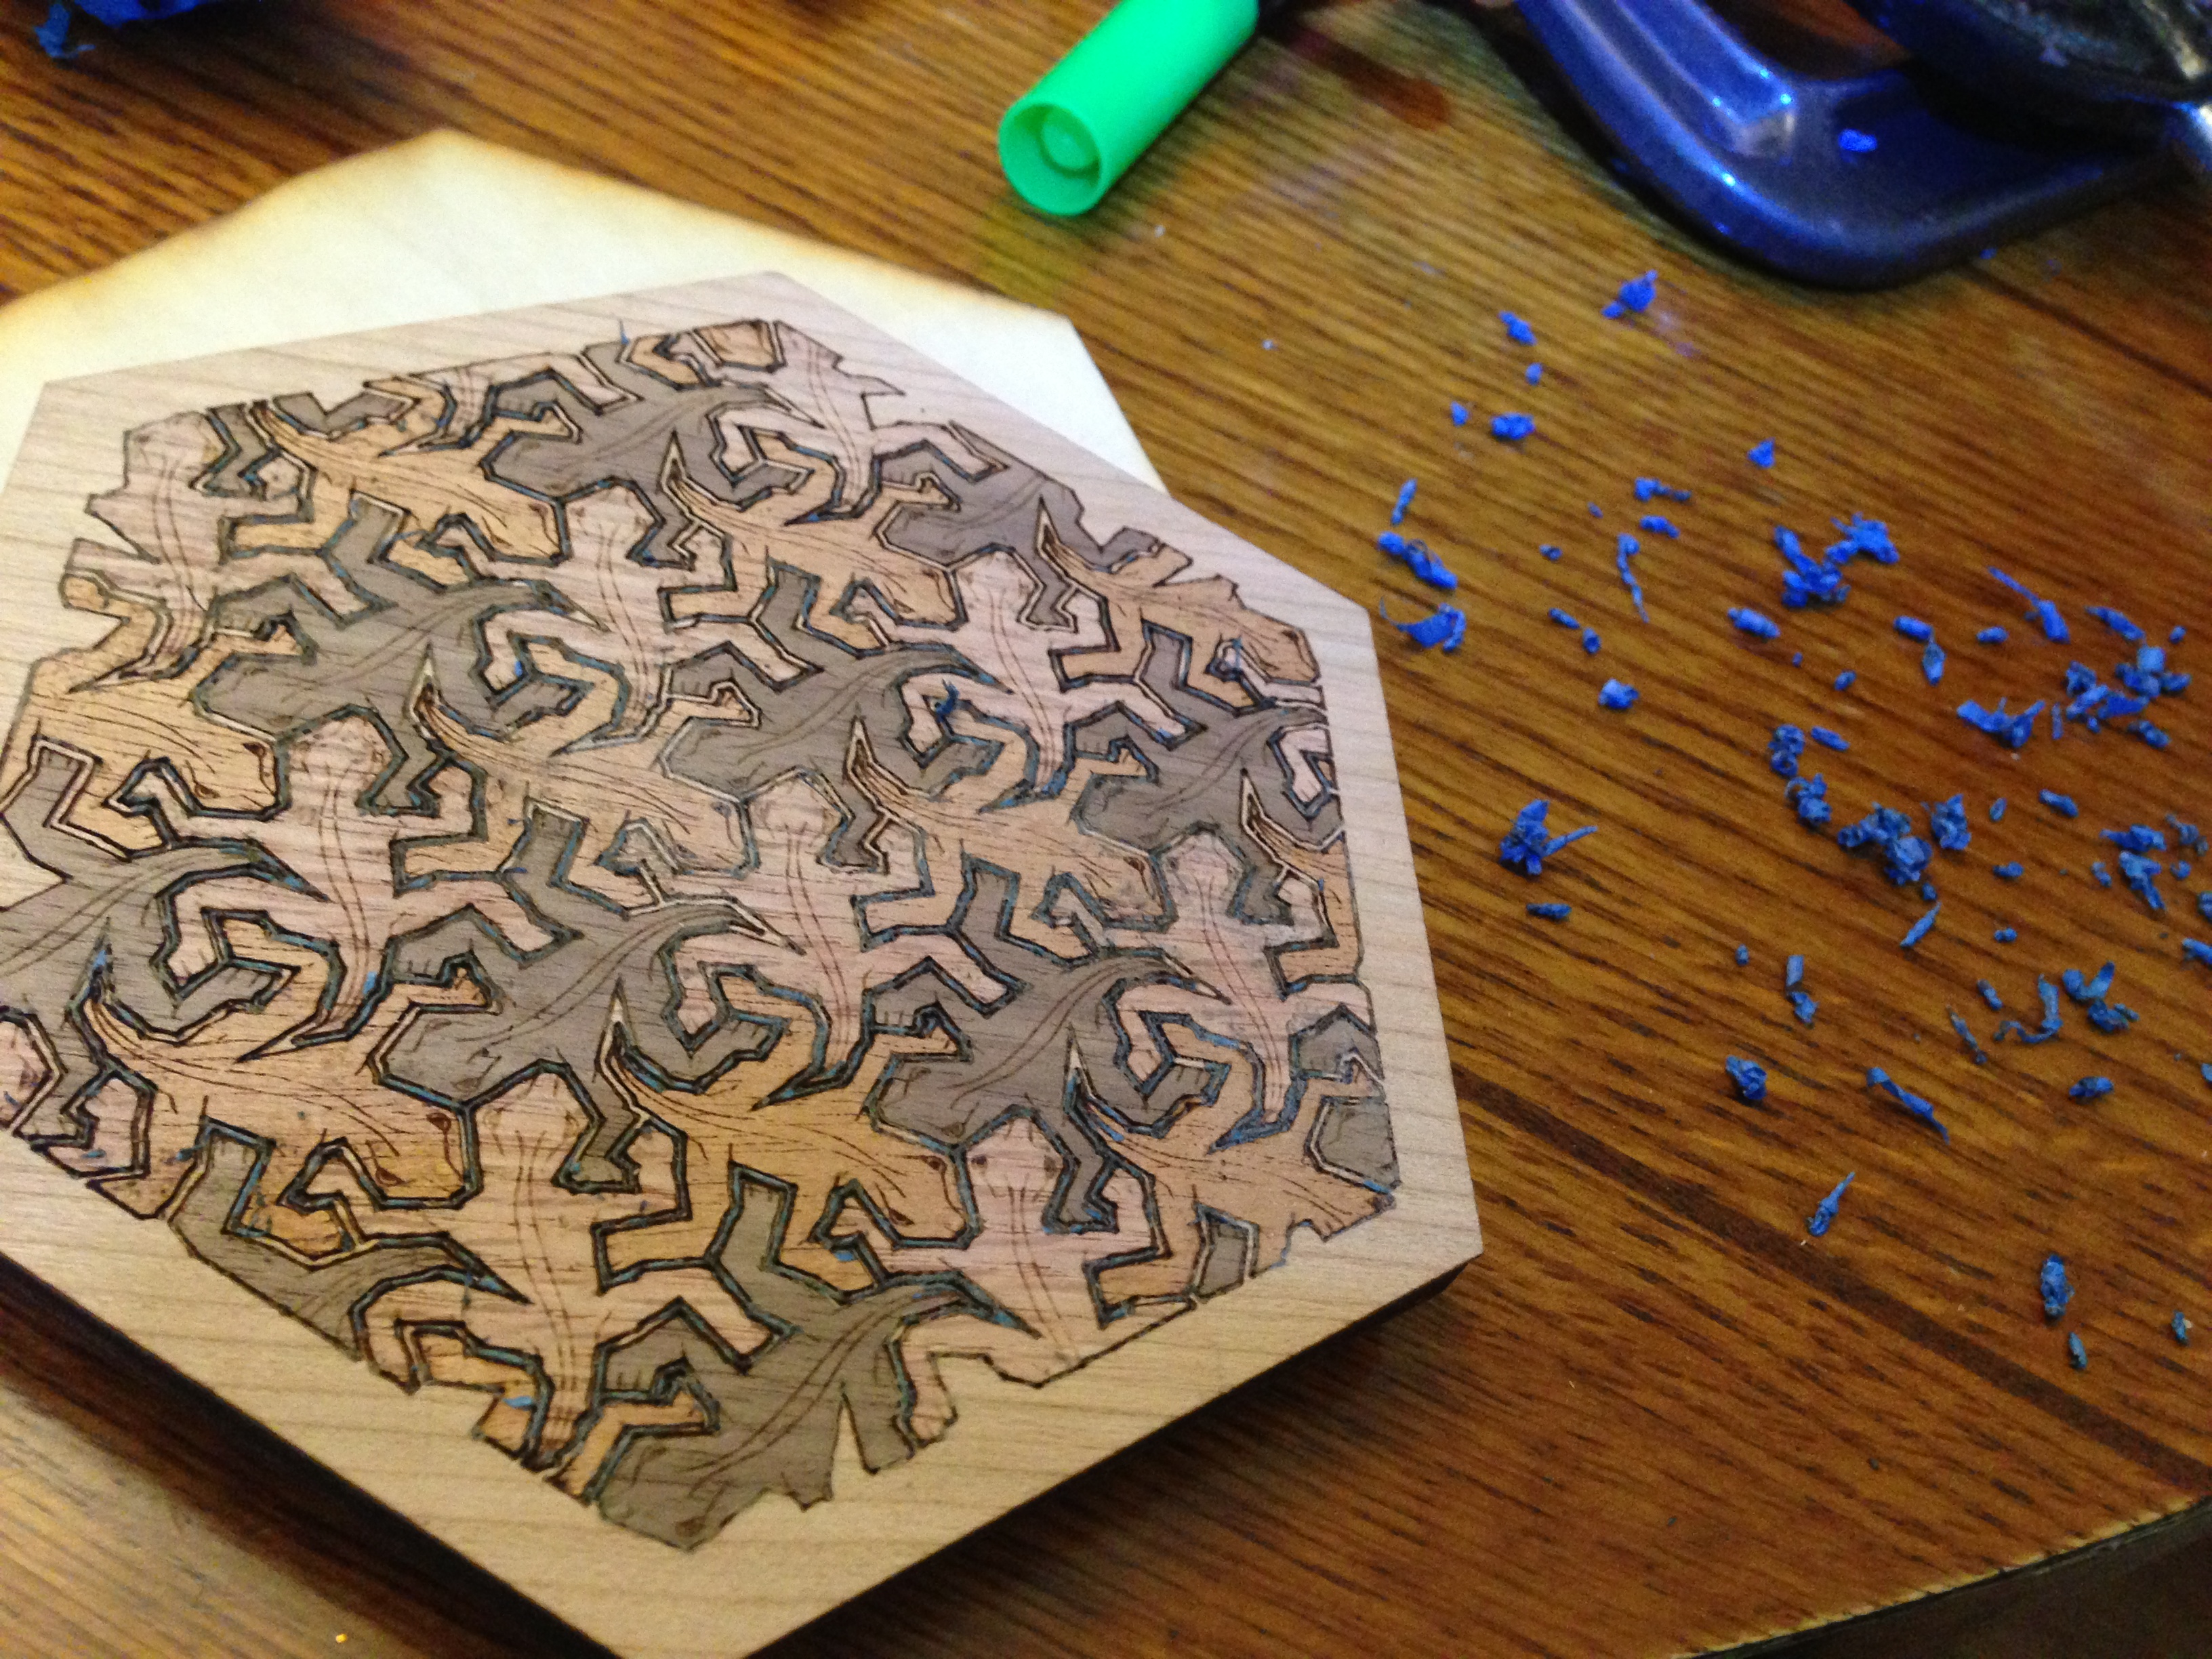
I have tried both wood glue (titebond or equivalent), and contact cement. I prefer the contact cement.
- Carefully apply 2 thin coats of contact cement both to the top of the substrate and to the bottom of the veneer. I used a paper towel for this.
- wait 20 minutes for glue to dry
- CAREFULLY align 1 edge & corner. I used wooden skewers to keep the veneer separate from the substrate until I was ready
- Once you're ready, slowly work the pieces together & remove the skewers. Don't mess up -- you get only 1 chance!
- Firmly press down all reptiles onto the substrate.
- Remove backing tape.
Sand Down Your Surface
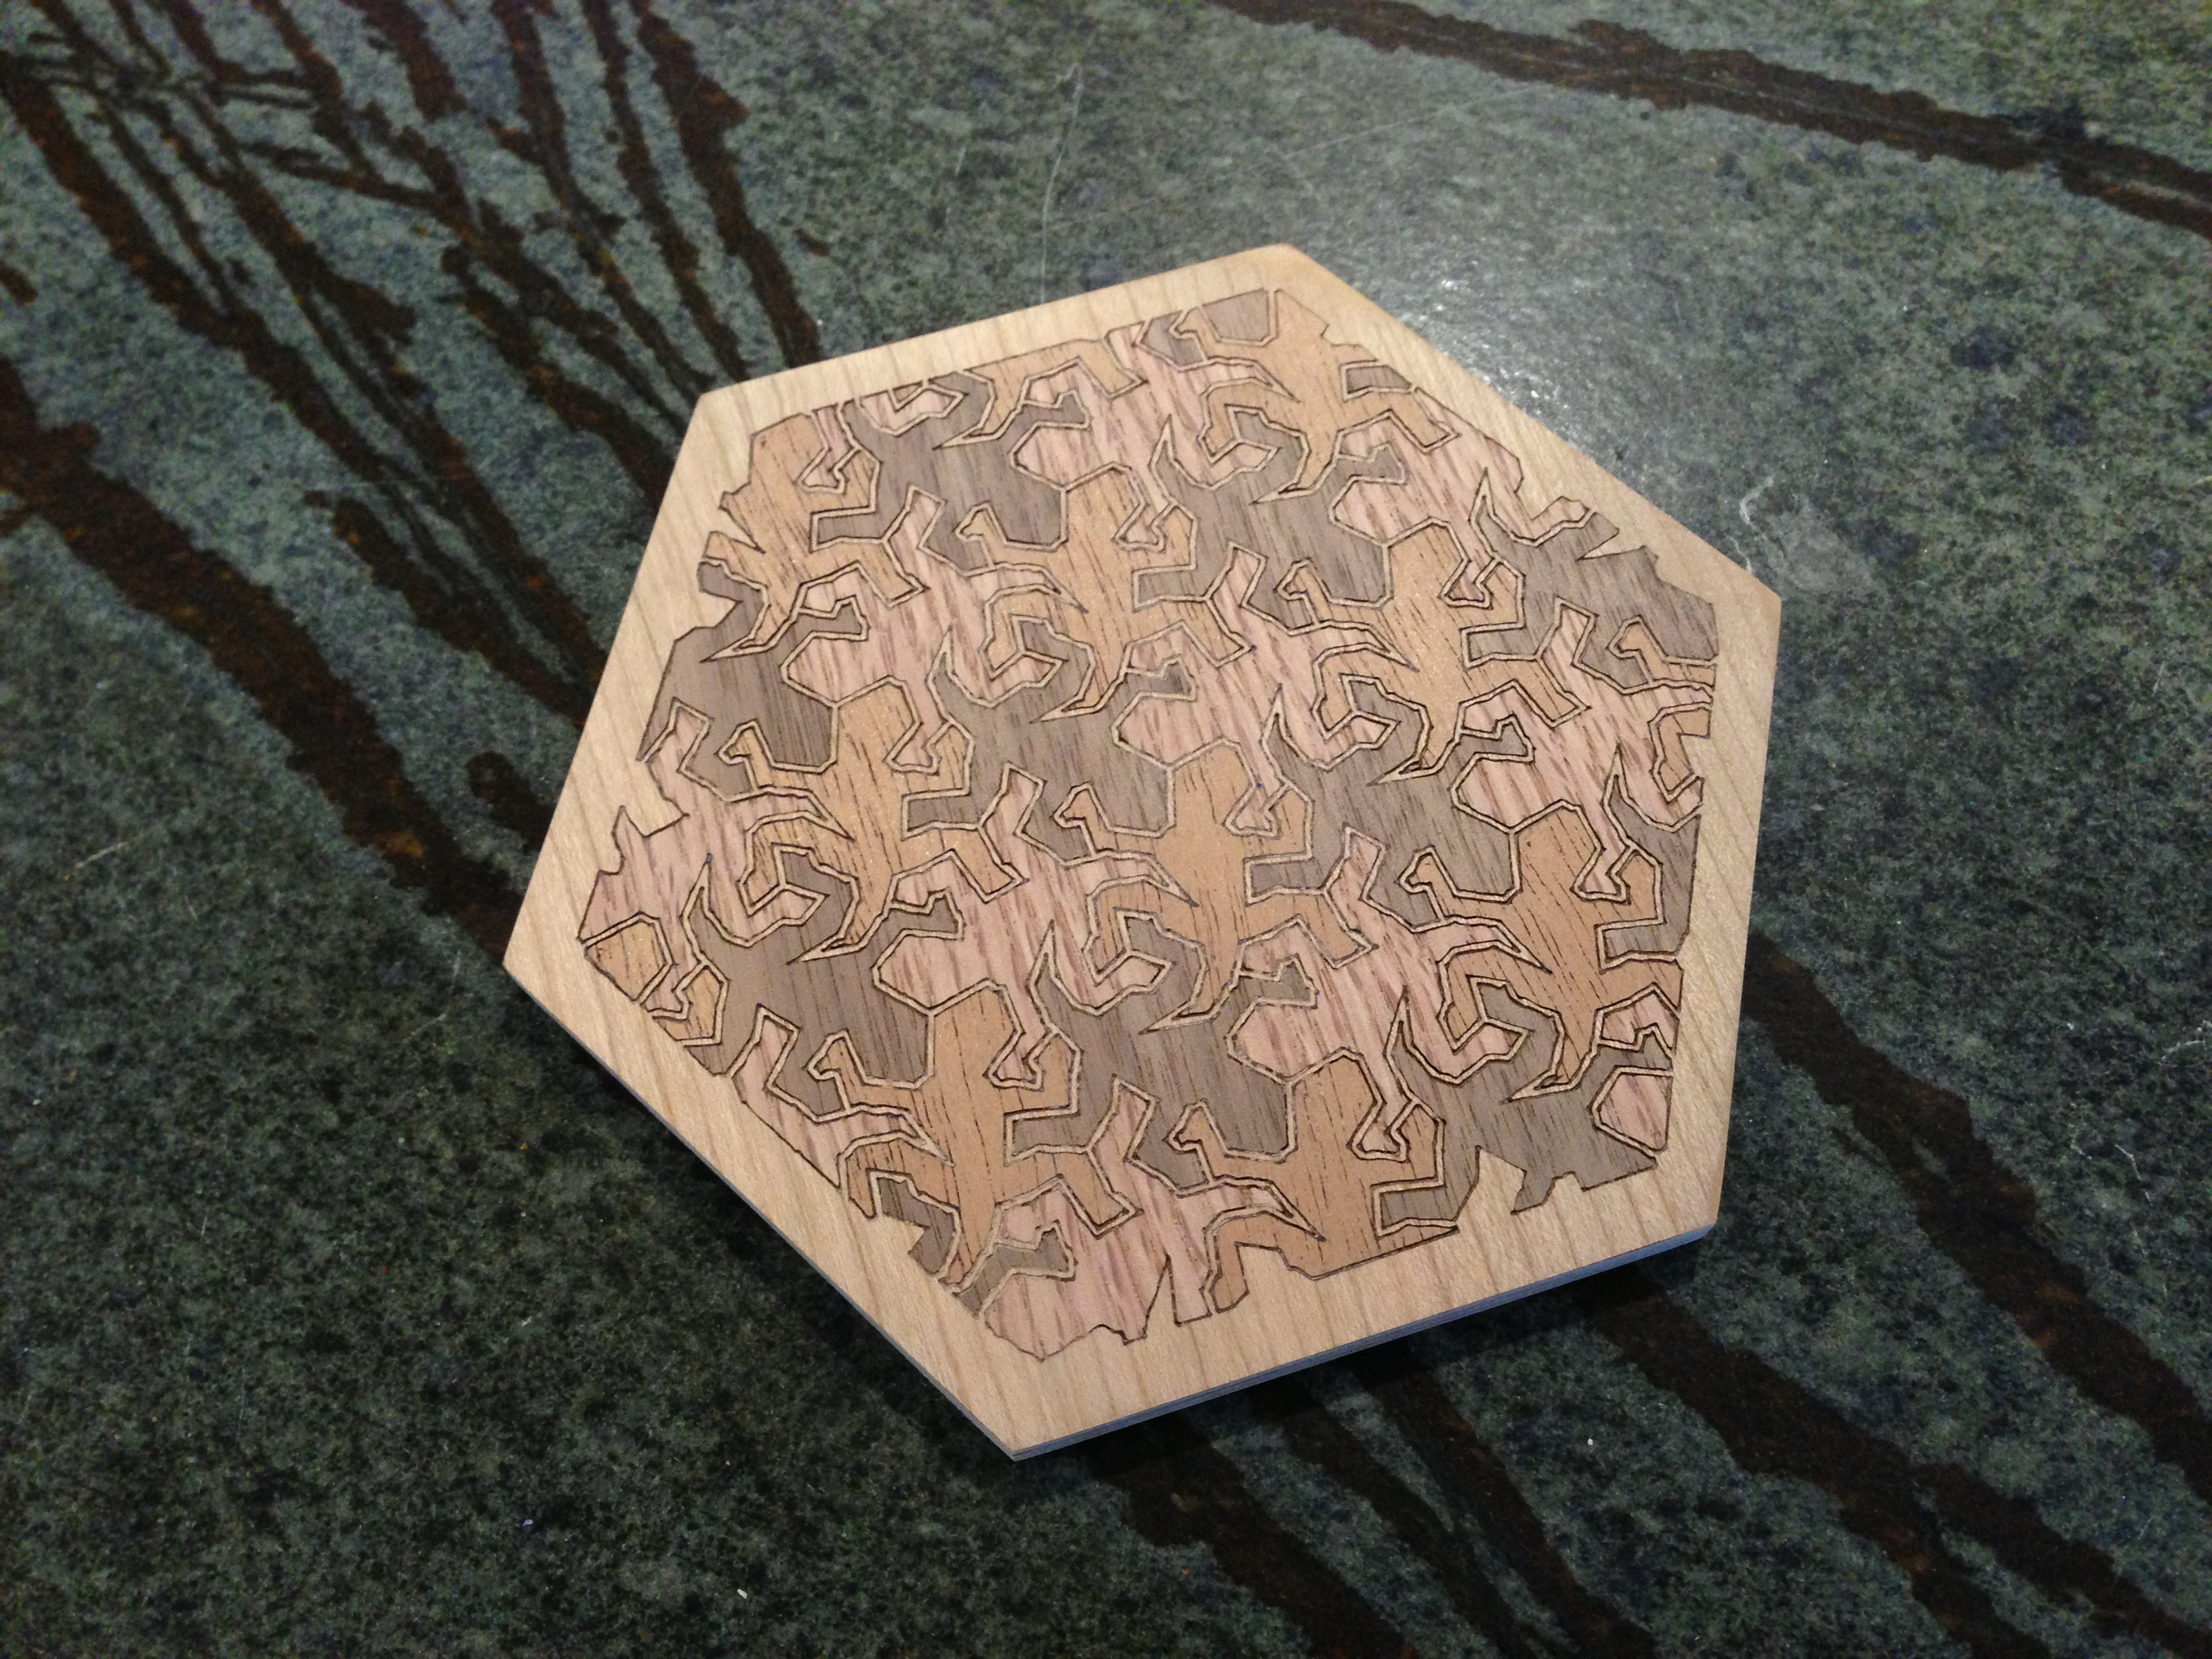
All that headache removing the tape was to no avail. You have to sand off all the rasterized stuff anyway. :-(.
Simply start with about 150 Grit until smooth. Then 200, 300, 400 grit, and it starts to look and feel amazing!
Simply start with about 150 Grit until smooth. Then 200, 300, 400 grit, and it starts to look and feel amazing!
Finish With Your Finish of Choice

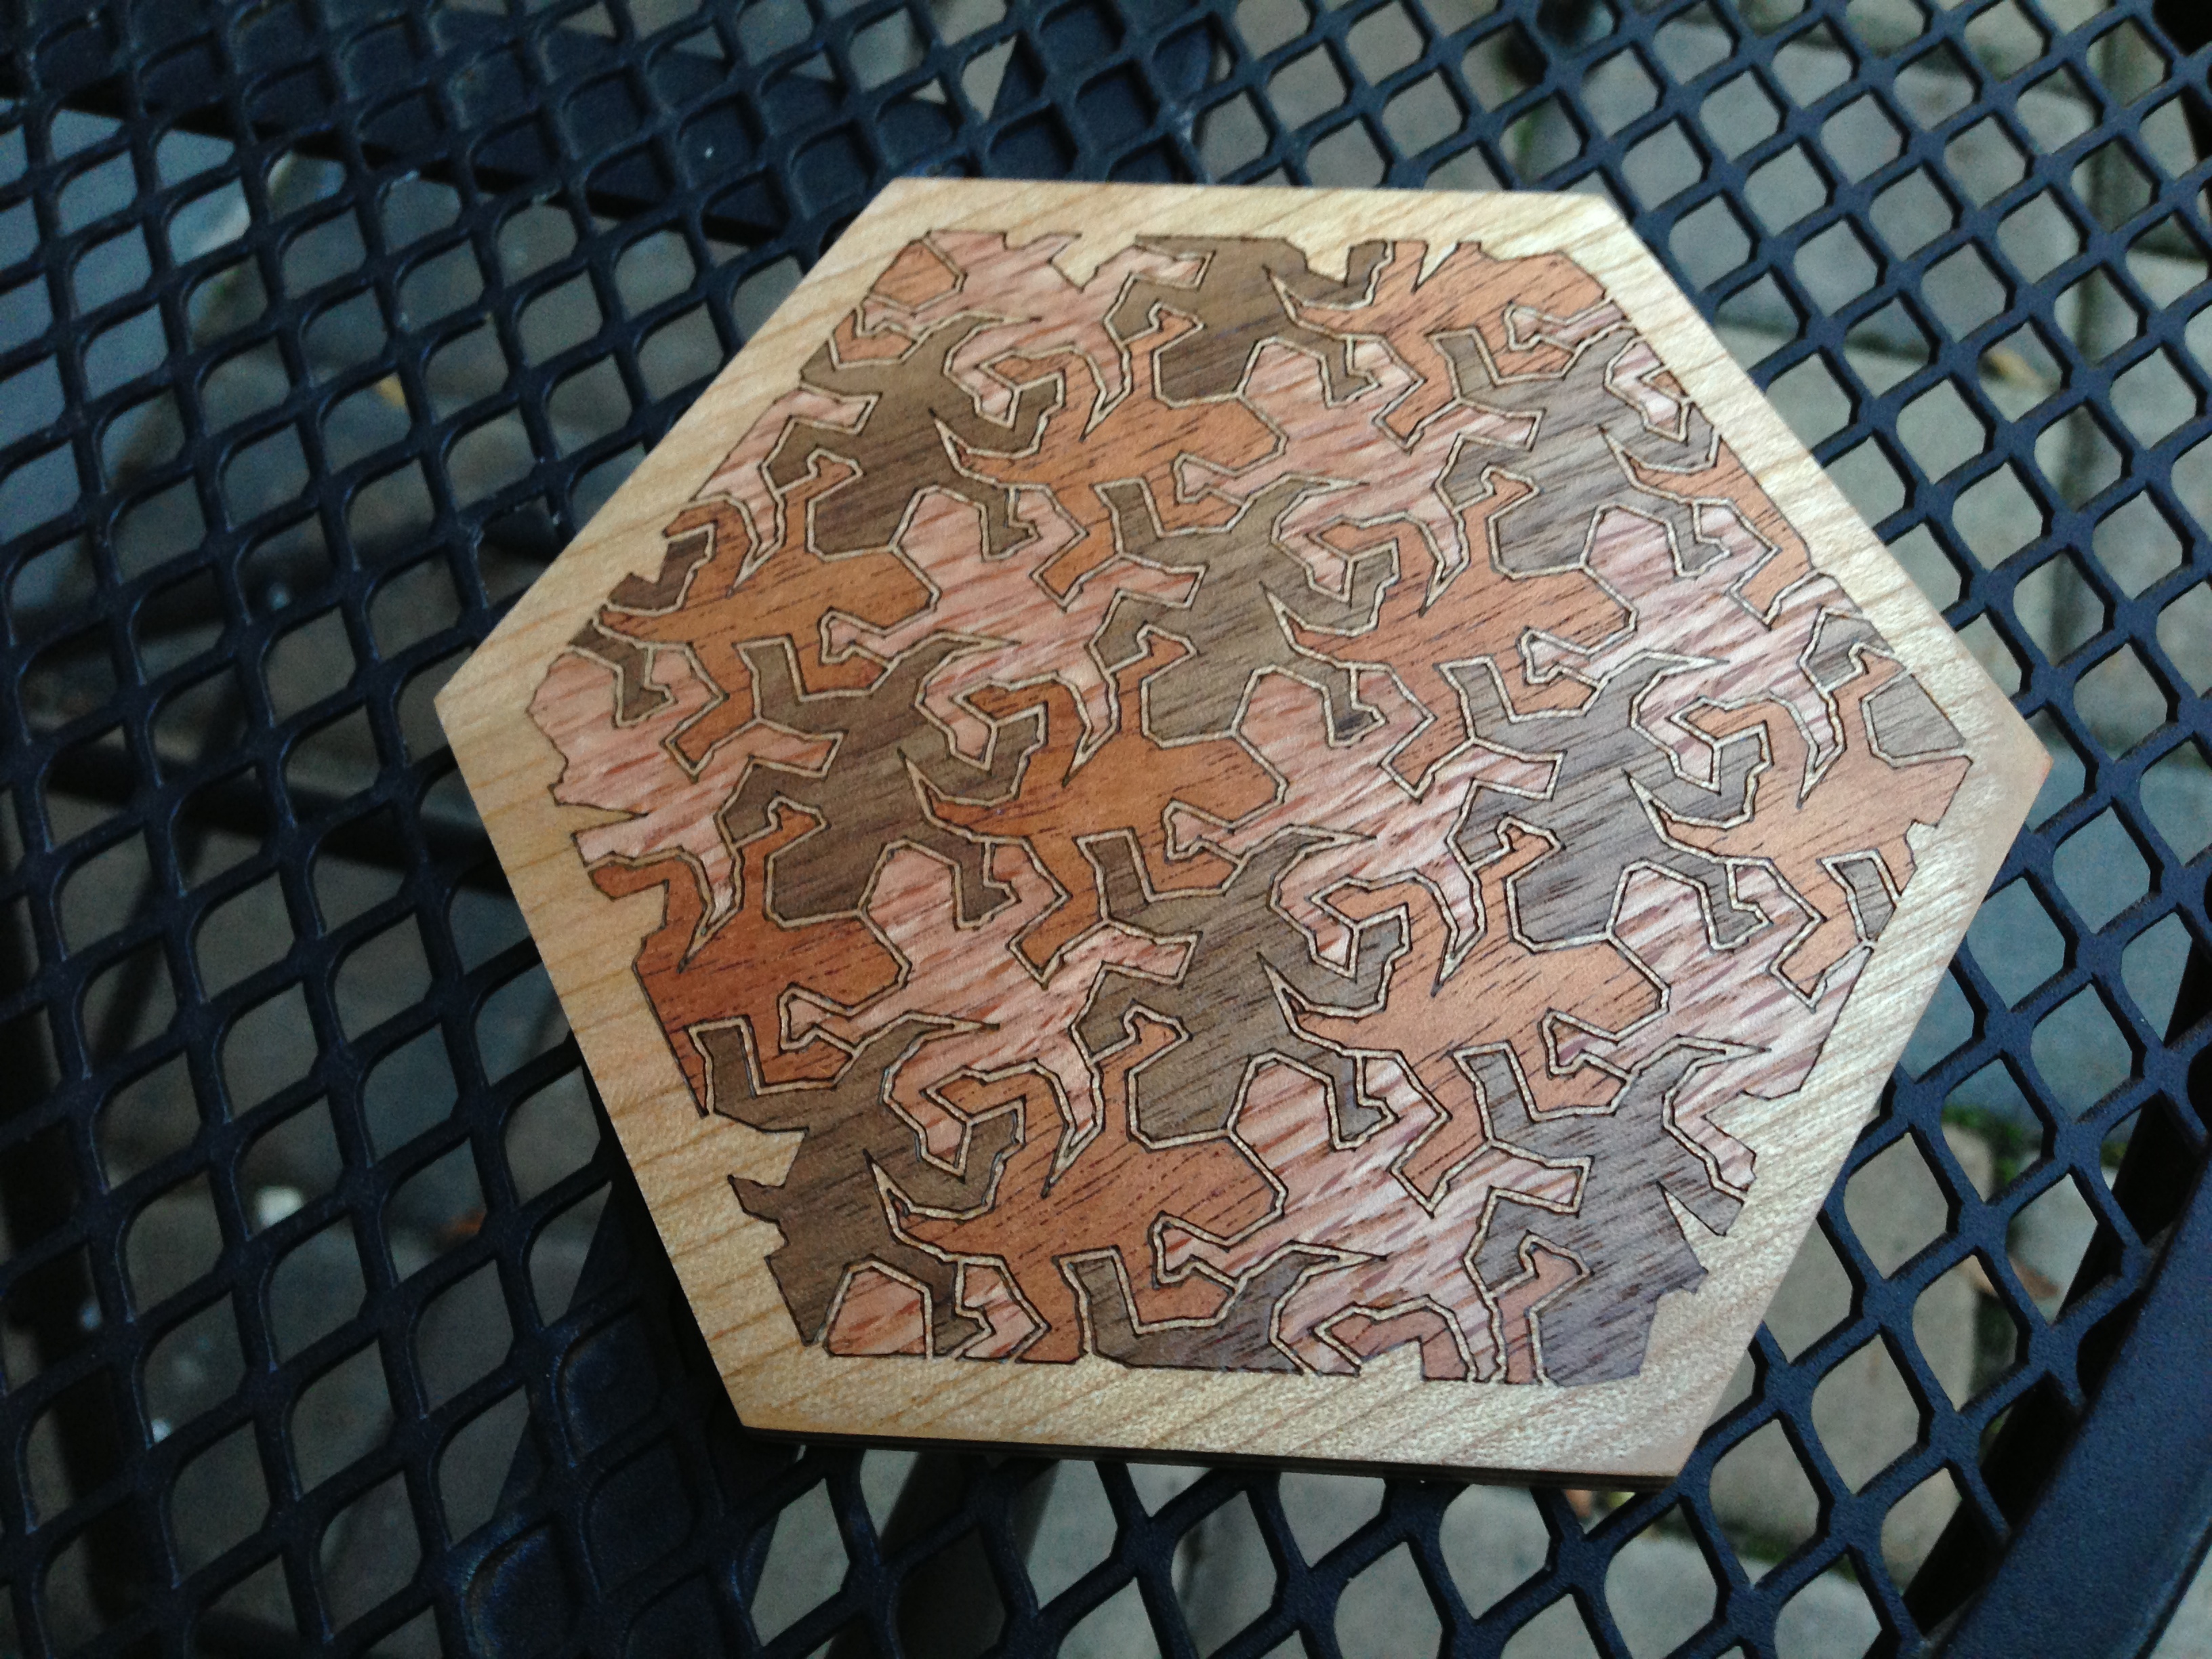
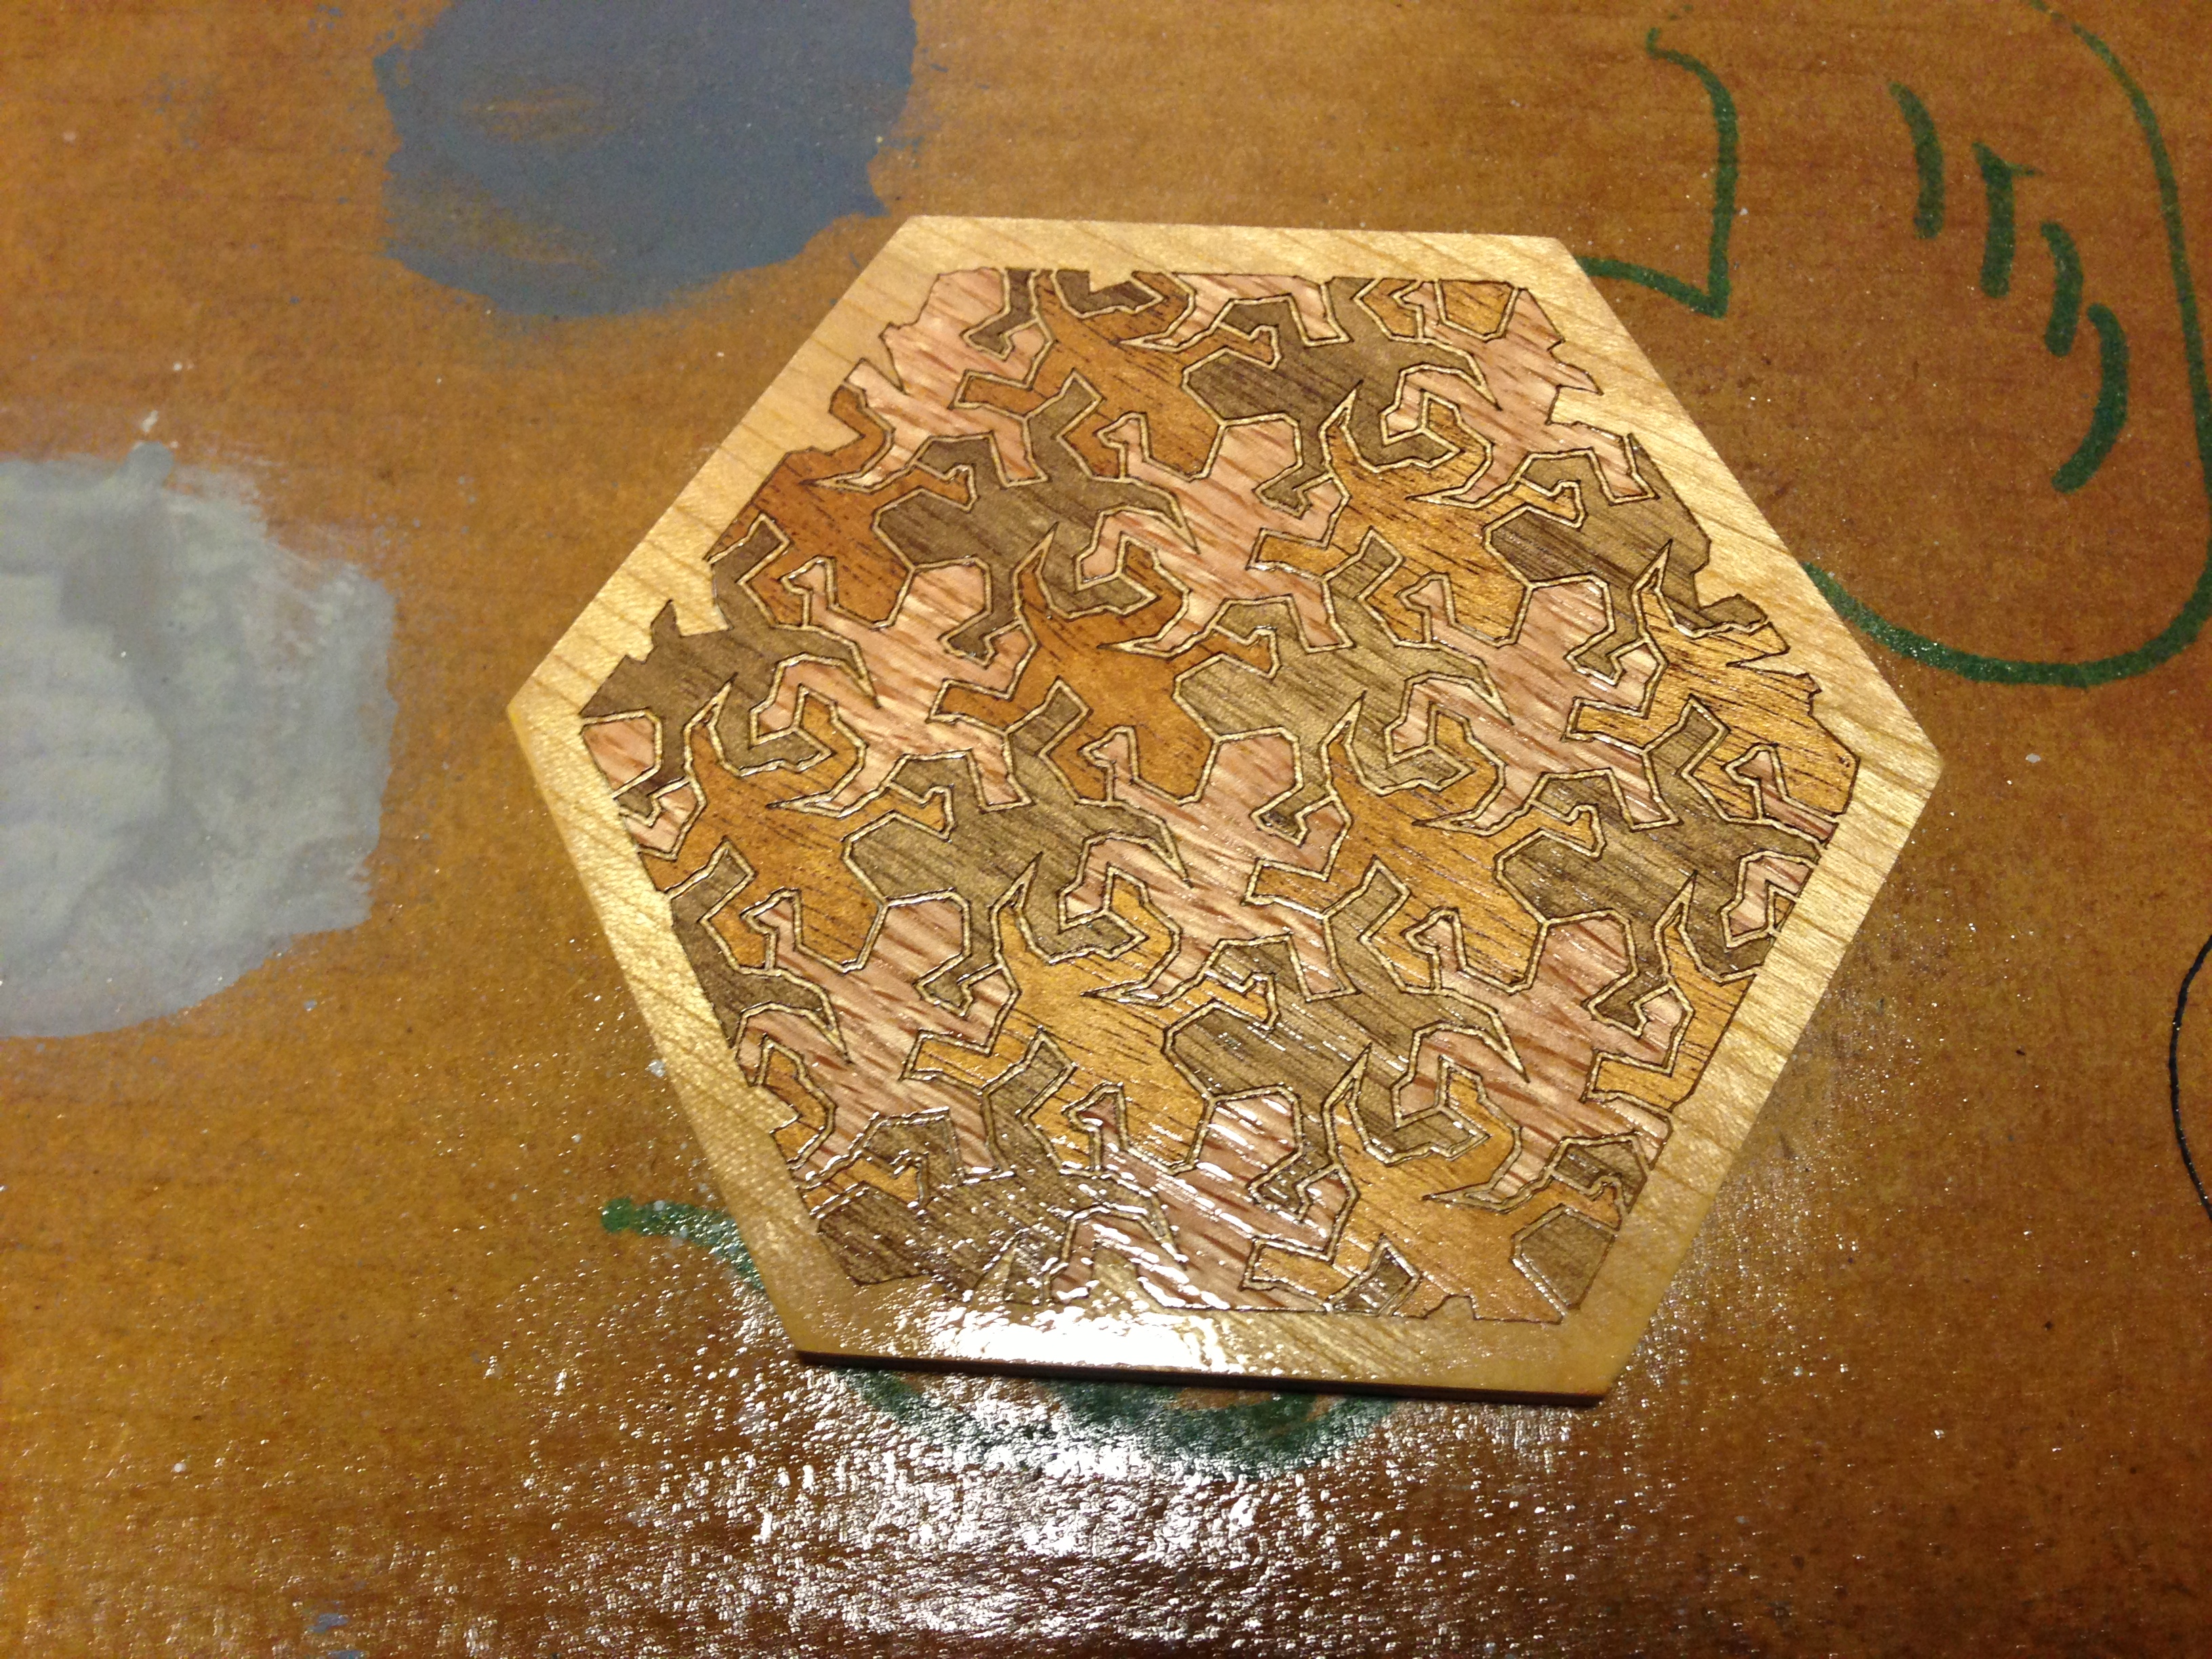
Once you're past the 400 grit sage, you're ready to finish. I'm no pro here, so I really don't know what's best. I have tried both polyurethane and Glaze Coat. If this is a coaster, I recommend Glaze Coat. If this is a wall hanging, or a clock face, use some more traditional wood finish like polyurethane, oil or something.