Wood IPhone Case Made at TechShop Chandler With No 3-D Software
7782 Views, 32 Favorites, 0 Comments
Wood IPhone Case Made at TechShop Chandler With No 3-D Software
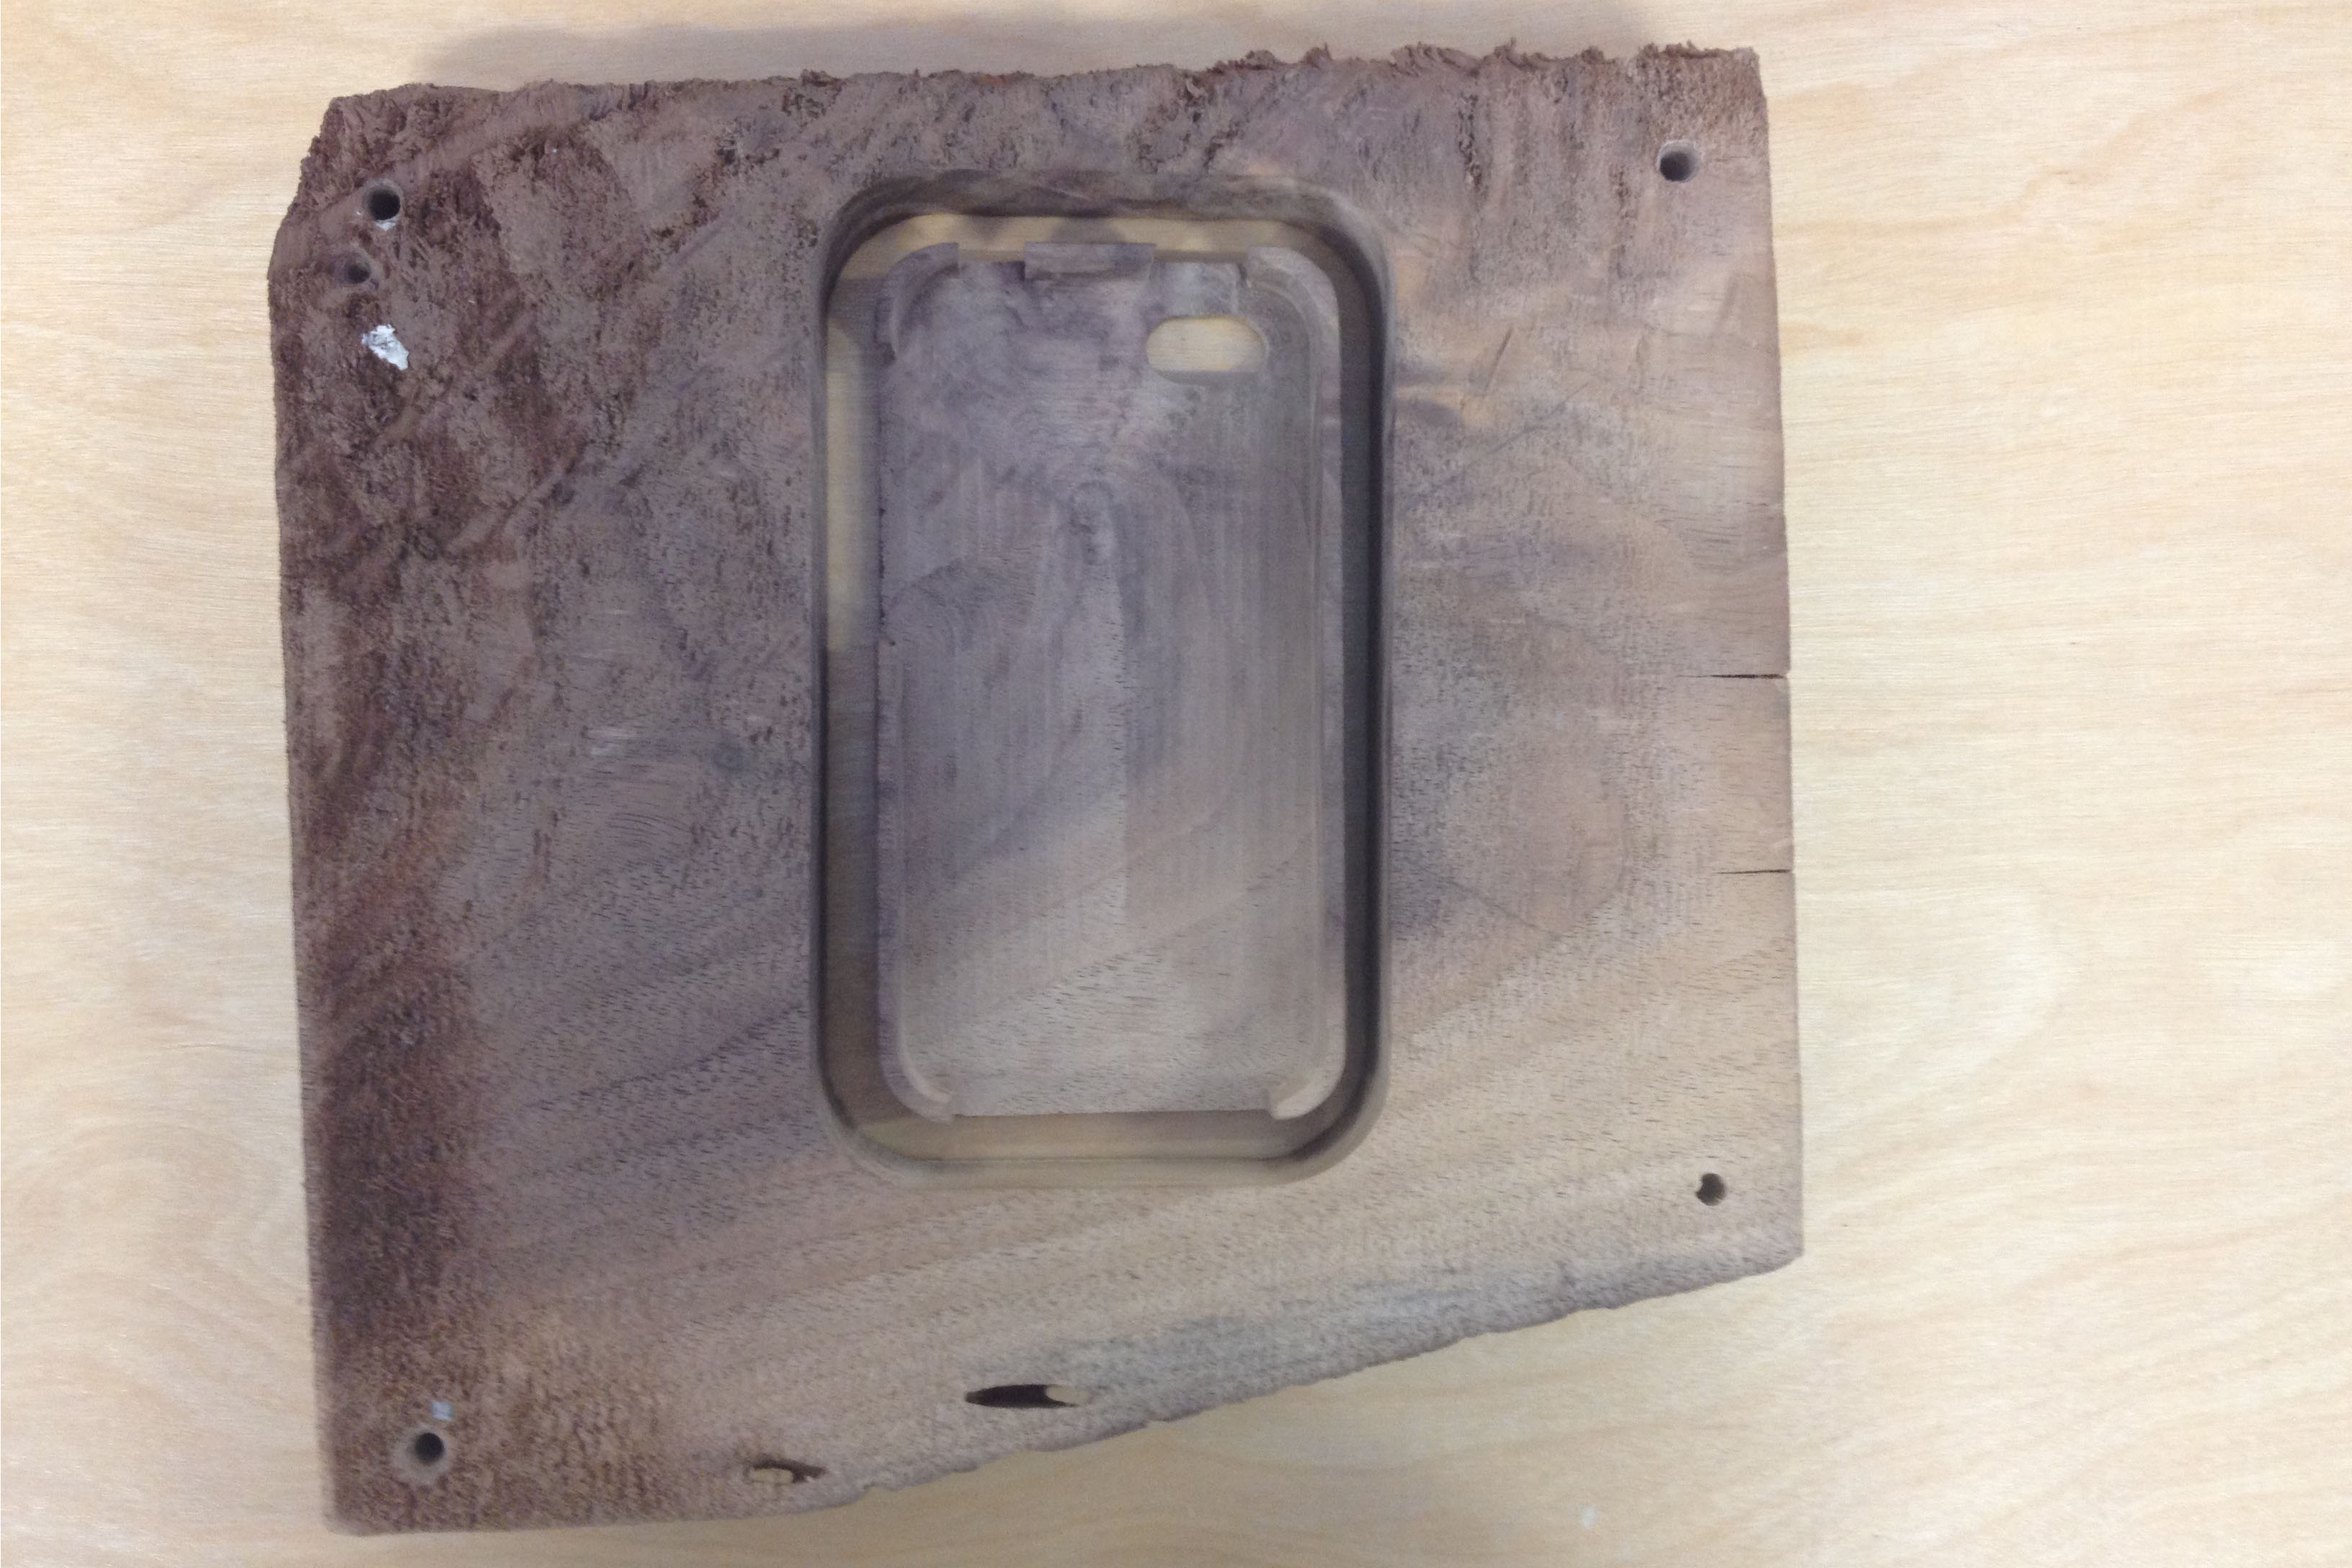
Wood iPhone case made with just Adobe Illustrator, Vcarve, and a Shopbot/CNC router
made at TechShop Chandler, www.techshop.ws
made at TechShop Chandler, www.techshop.ws
Making the Vectors
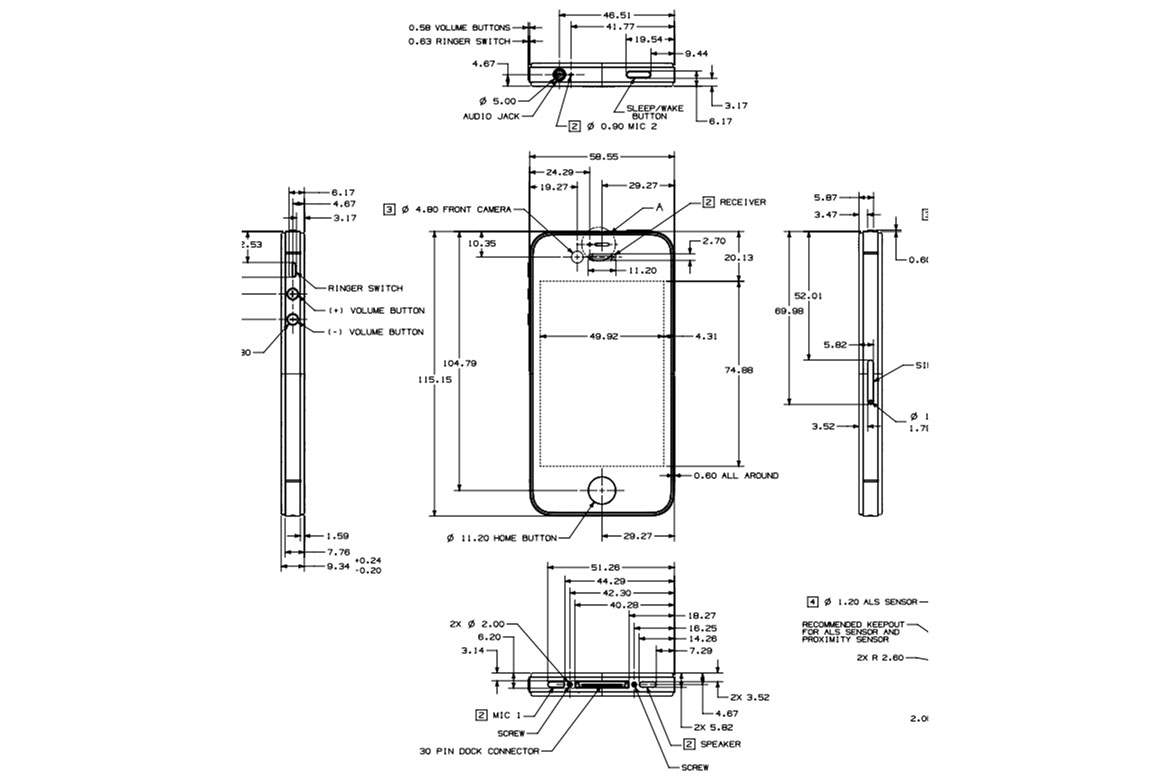
Go onto the Apple website and find the technical drawing to which model you want to design your iPhone case for
https://developer.apple.com/resources/cases/ click the top .pdf and scroll until you find the right one.
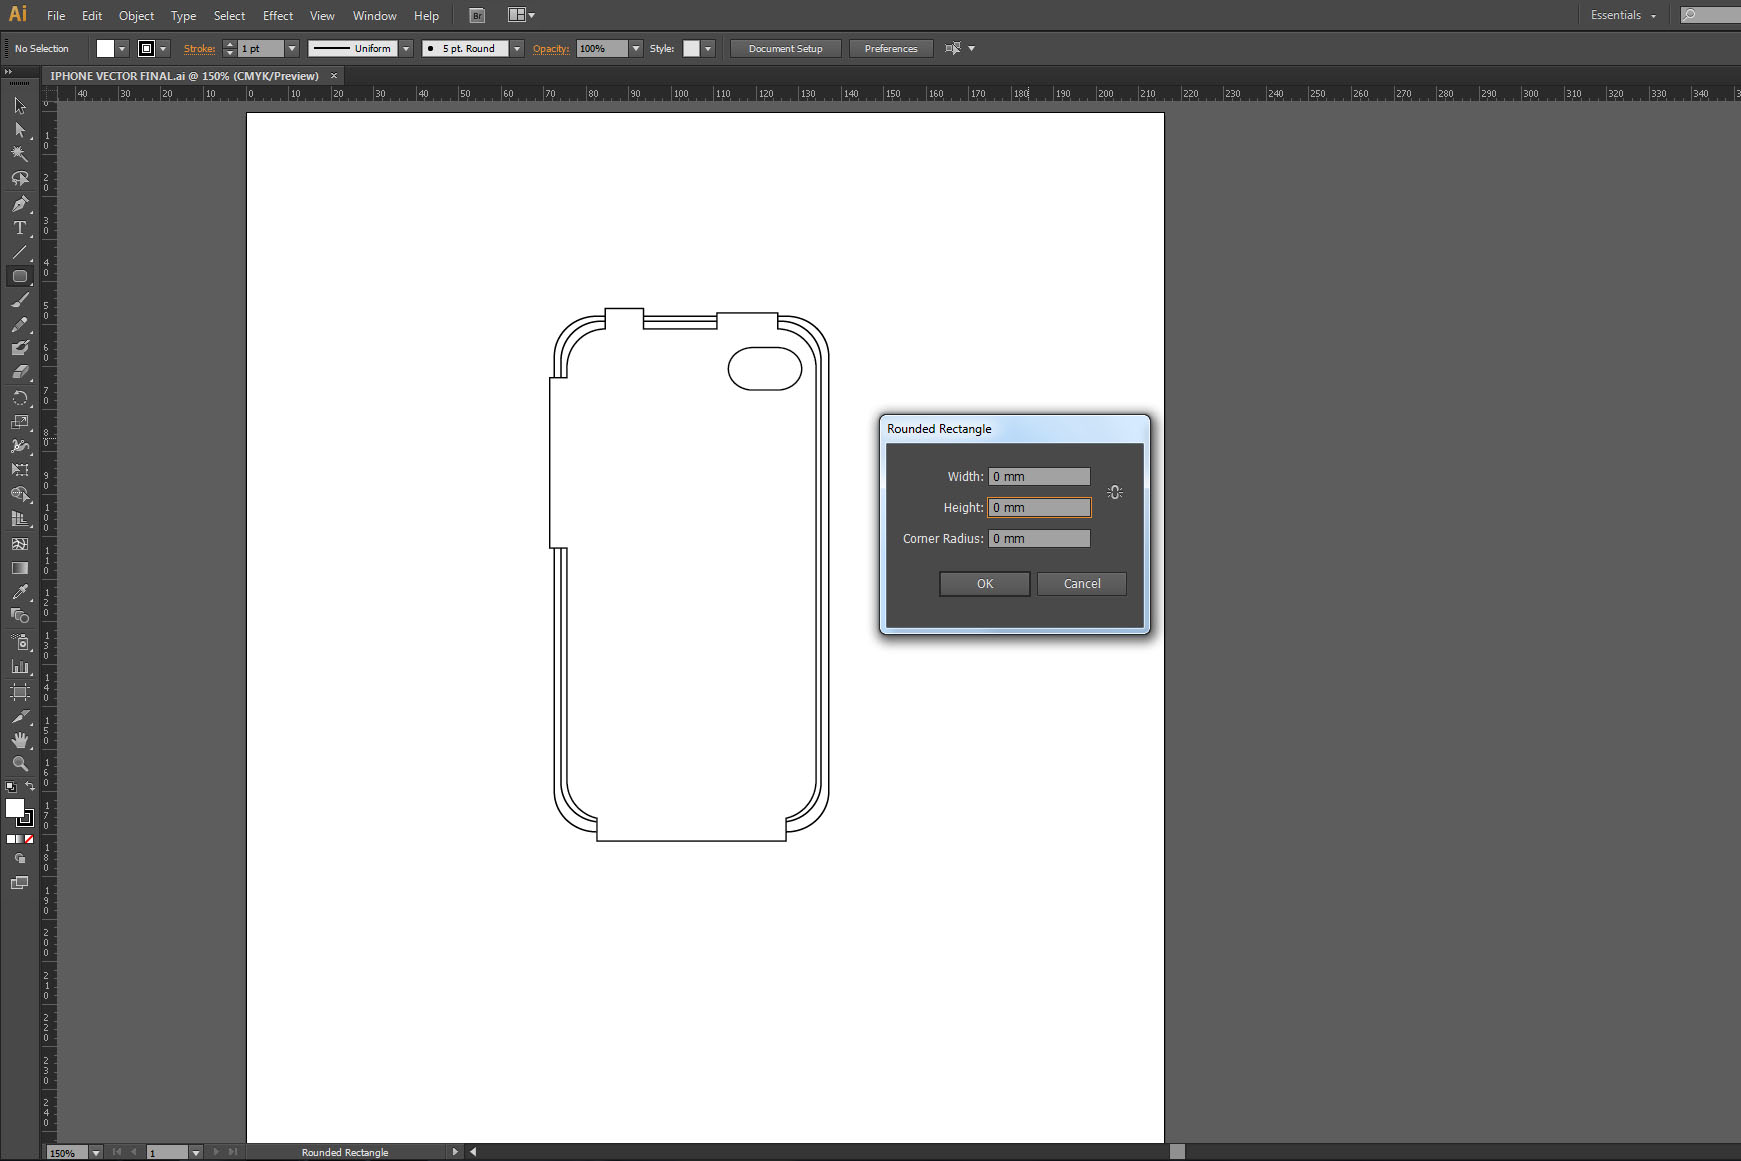
After I got all of the measurements from the drawing I simply went into illustrator and went to the rounded rectangle tool and clicked on the screen to input the measurements. I believe for the 4S I used 9mm rounded corners.
After I had the initial shape I located the buttons around the side of my phone and decided how big of a gap I wanted to leave on the side for them. All I did to do this was make a rectangle, input the dimensions like the rounded rectangle, laid it over the initial rounded rectangle vector in the appropriate place and went to the pathfinder menu > unite
I then made the shape for the camera, and 2 more vectors scaled very slightly than the original rounded rectangle to create toolpaths, and to cut out the case.
Making Your Toolpaths in Vcarve
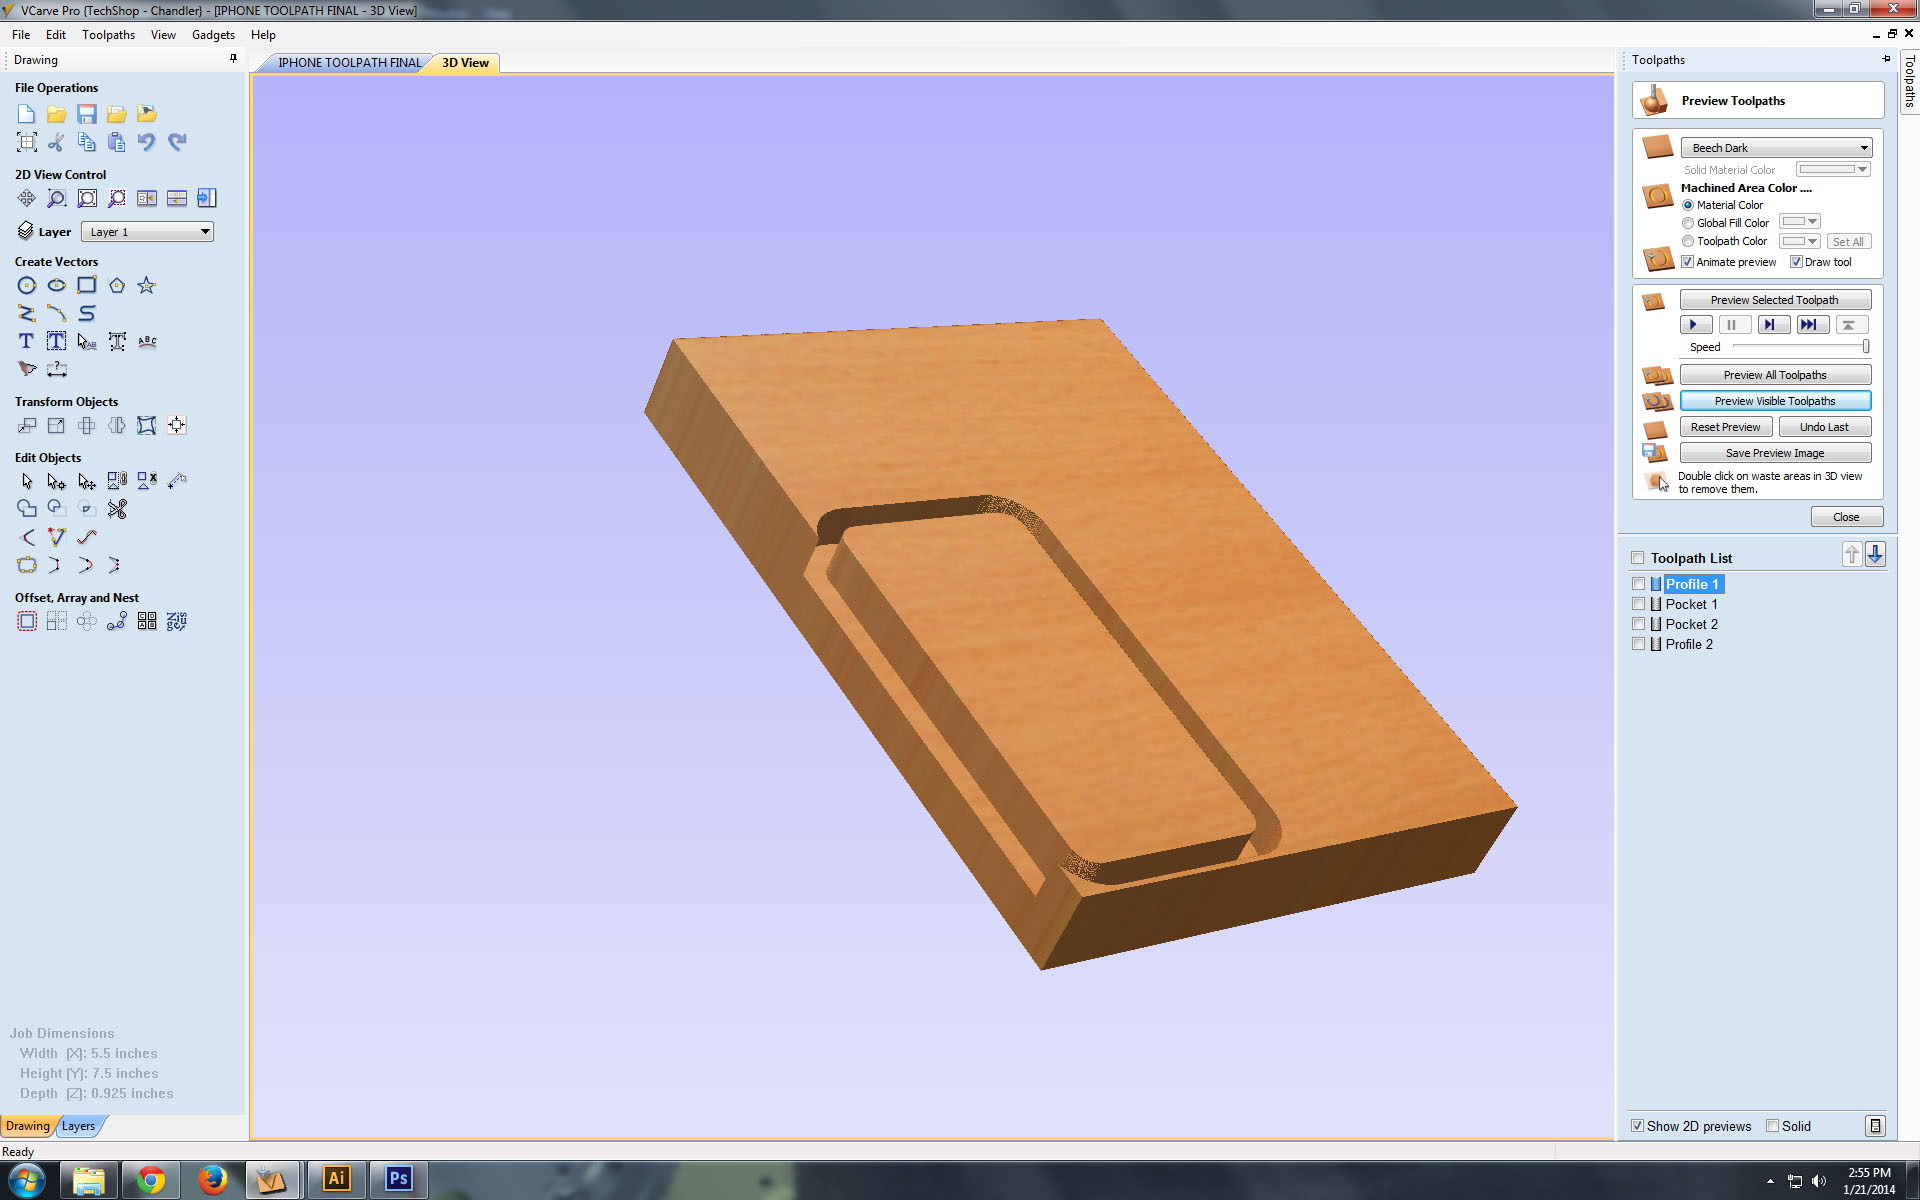
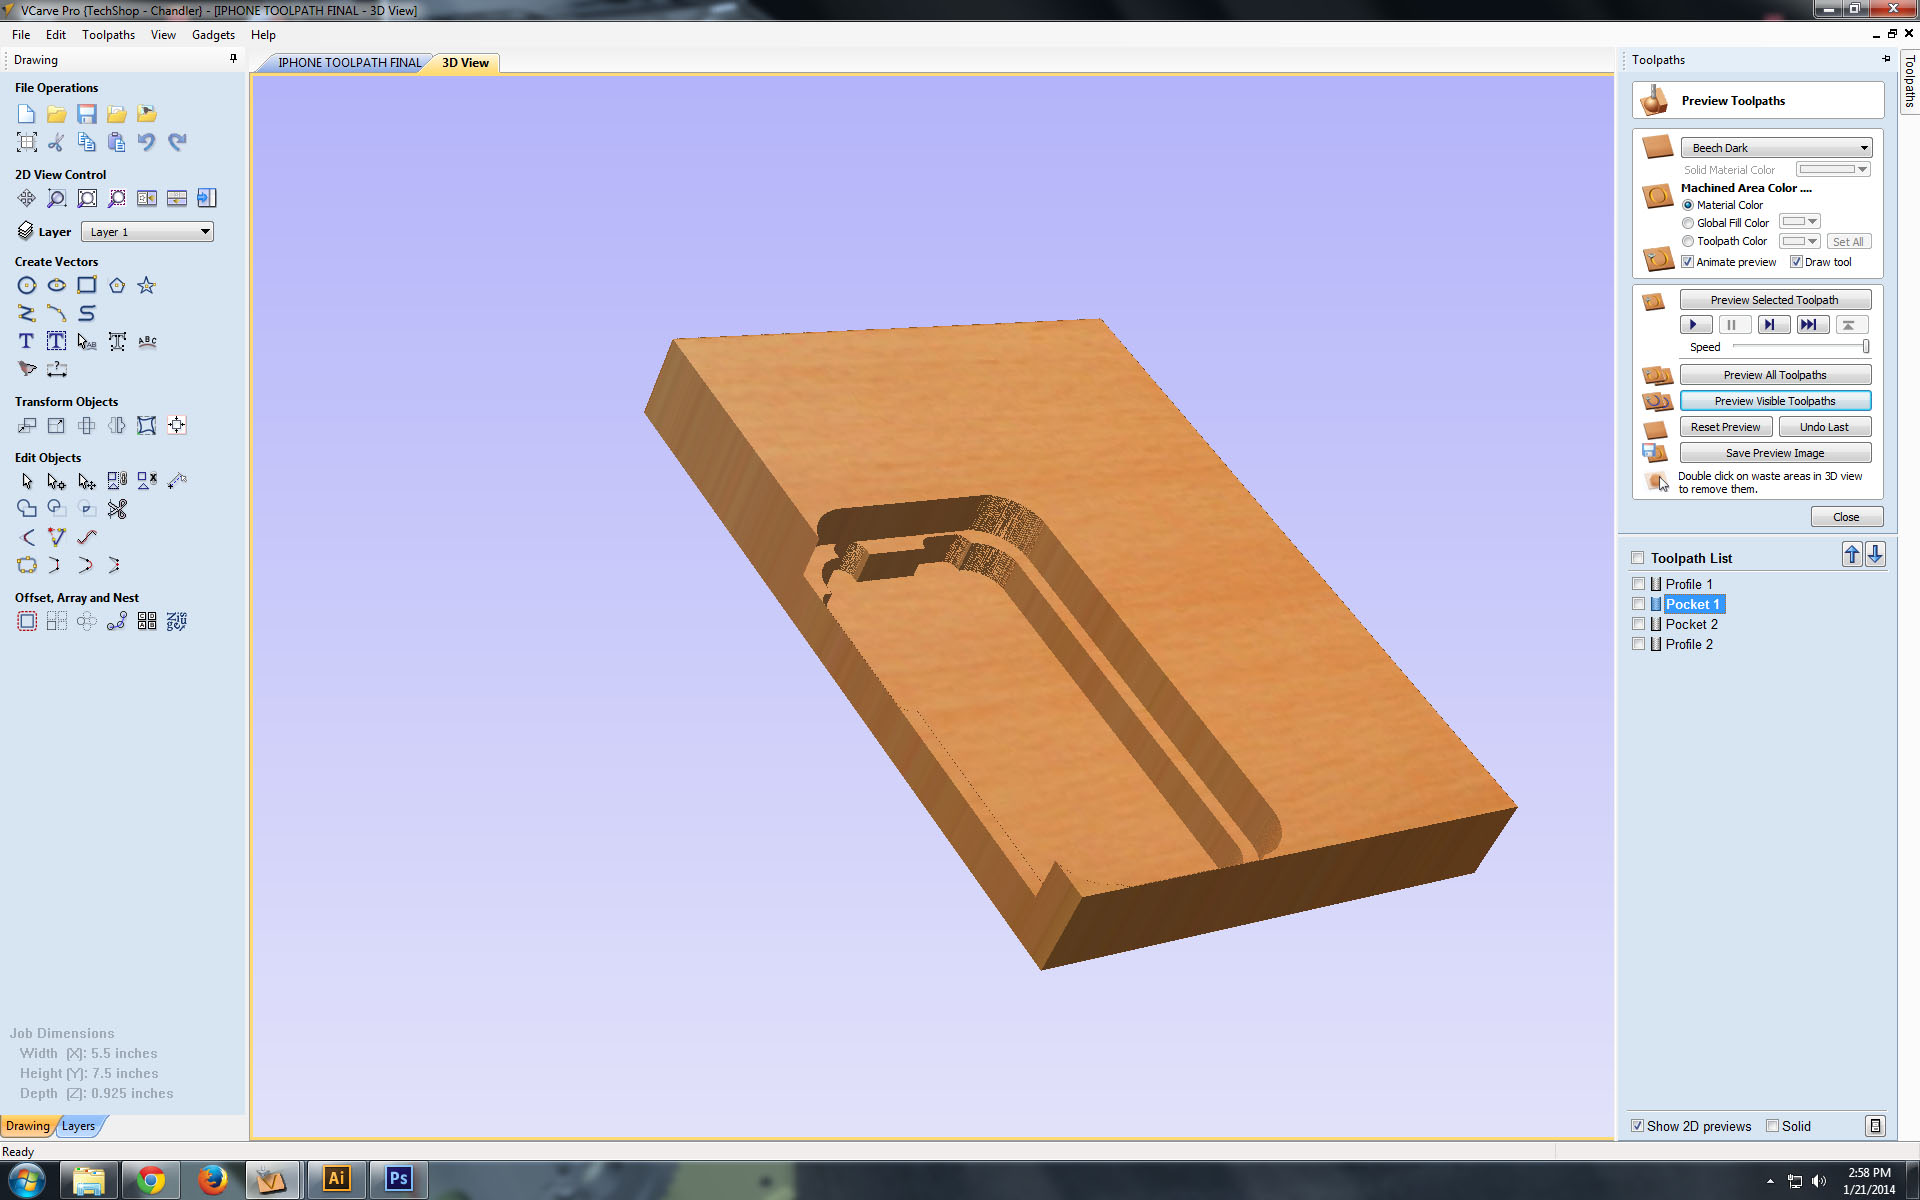
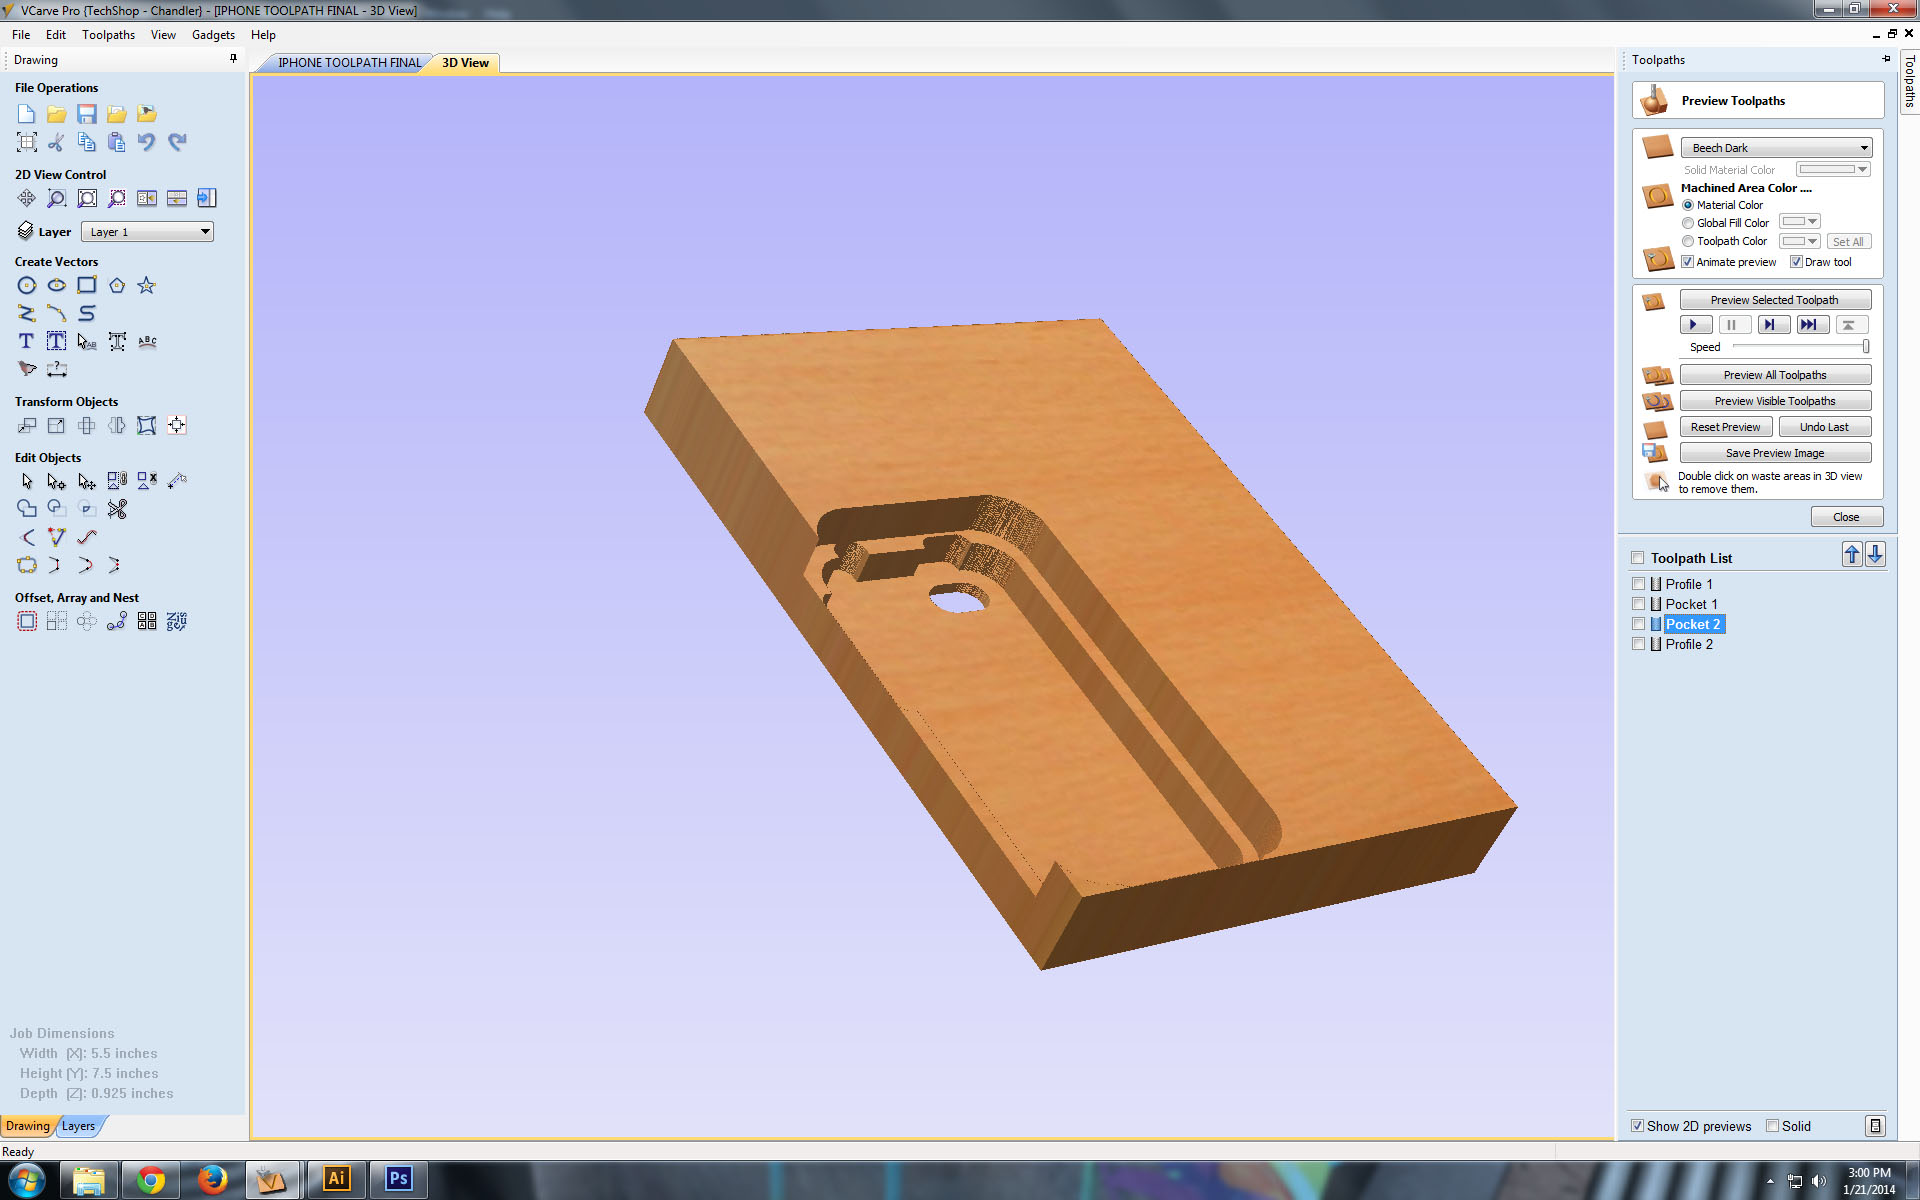
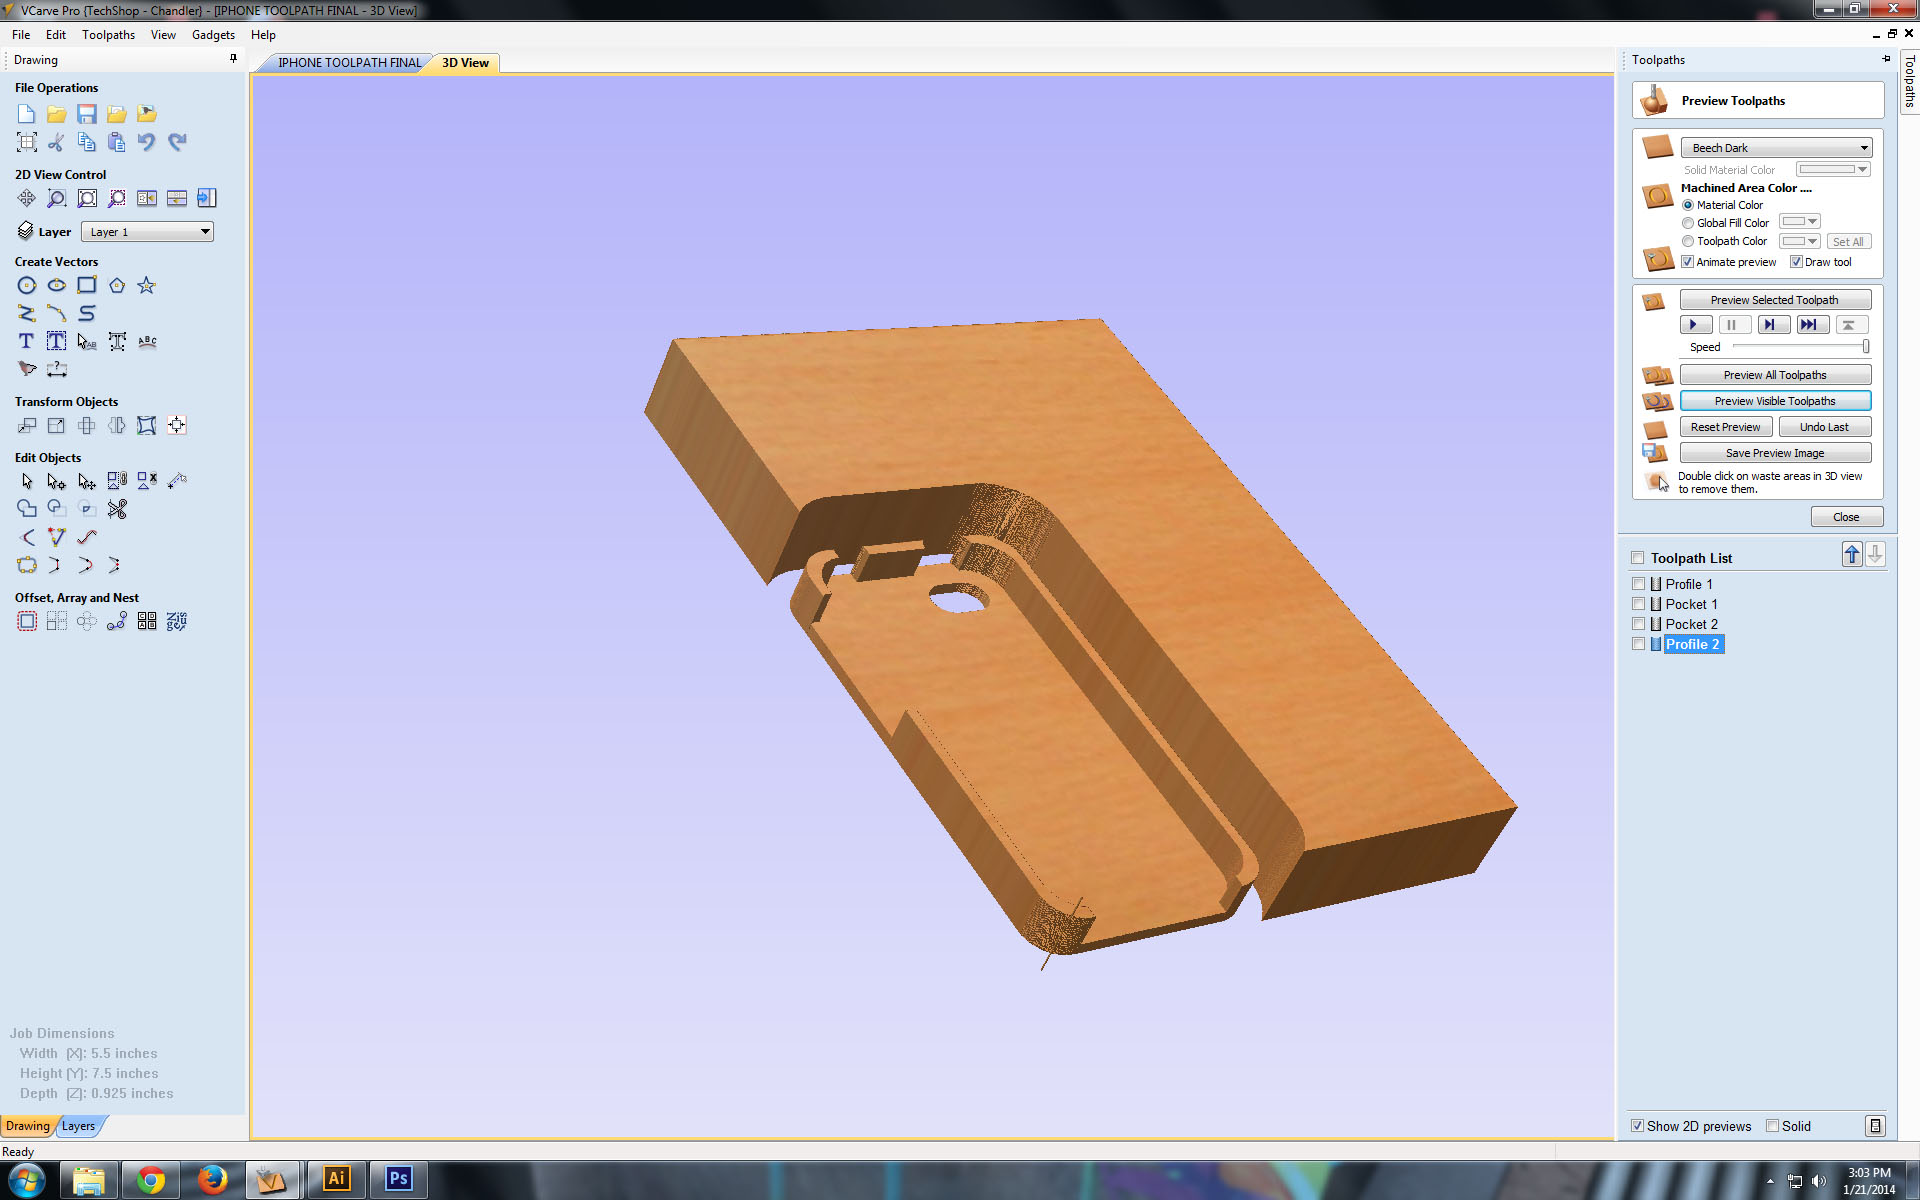
After all of the vectors were drawing I brought them into VCarve, a CAM software used for 2/2.5D toolpaths.
The first profile toolpath I made was to bring the sides of the case down to an appropriate height in relation to the piece of wood I had. I did this one first because the walls are thin and delicate and I didn't want to destroy them after the other toolpaths.
The next one was the big pocket toolpath to make the space where your phone would fit, this is the initial rounded rectangle you made with with shapes cut out for the side buttons
After that I made a second pocket toolpath for the camera hole that went all the way through my wood.
Then the last profile toolpath to actually cut out the case
Sanding and Finishing
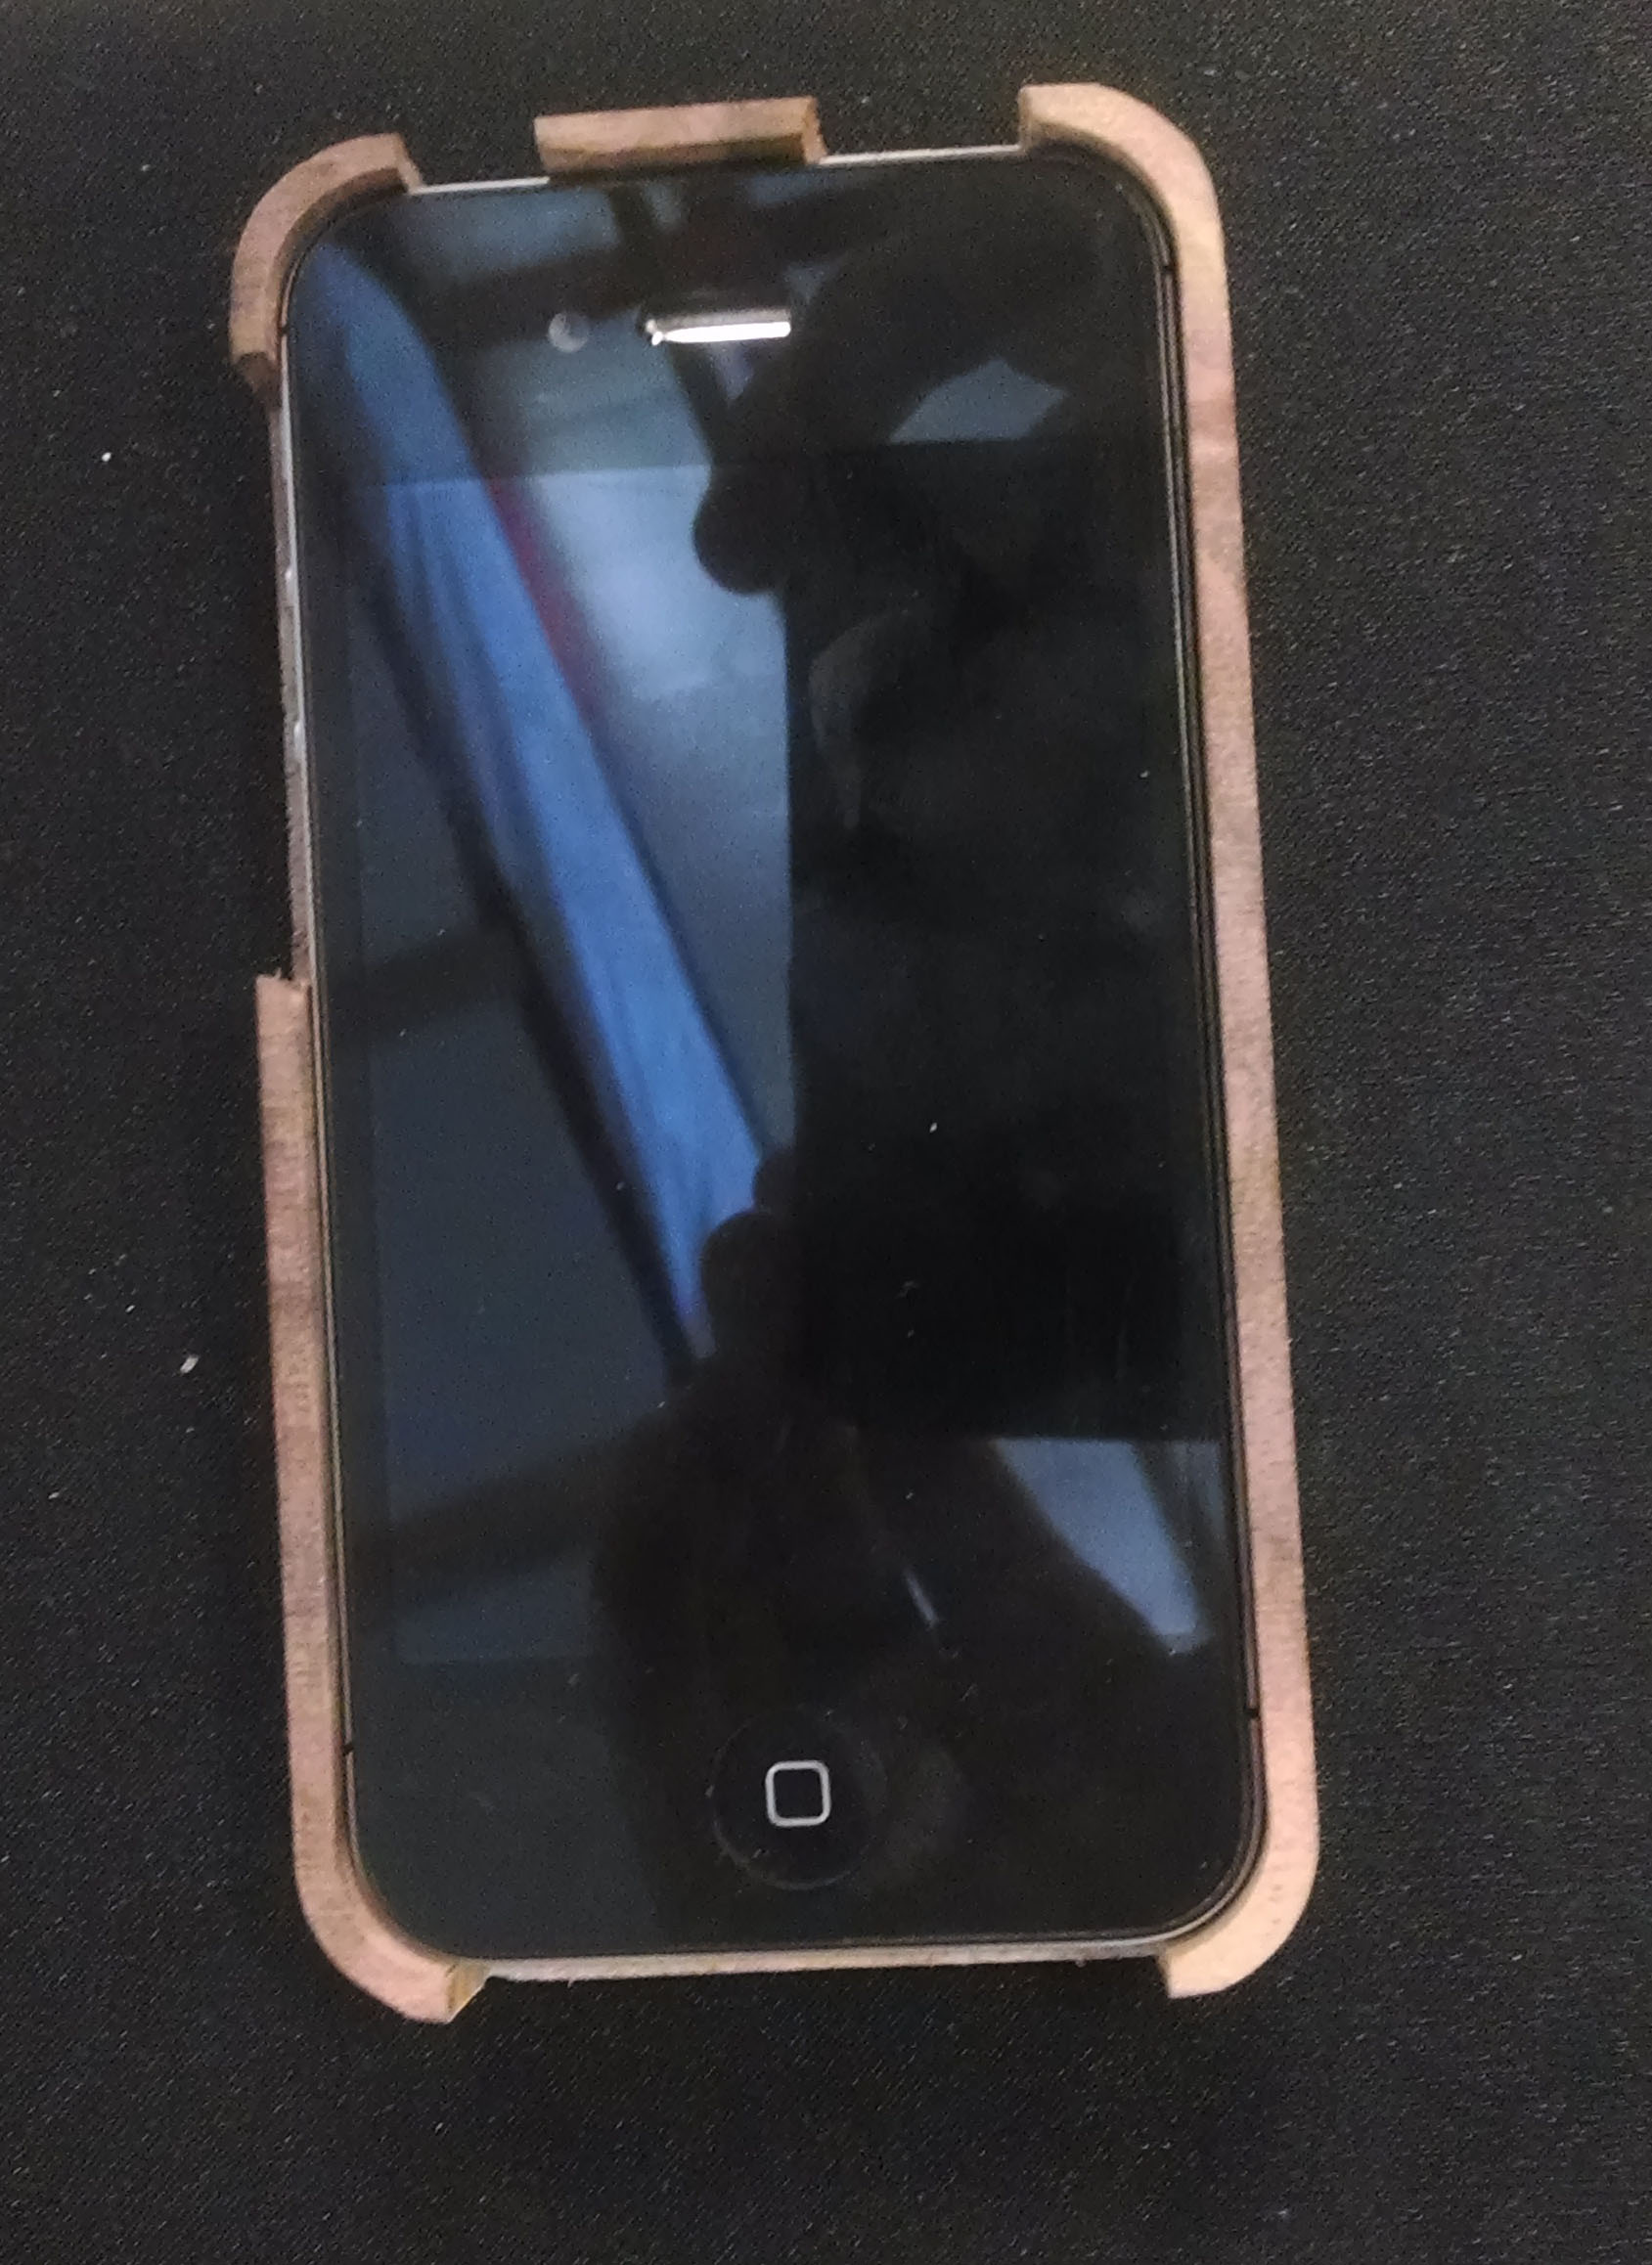
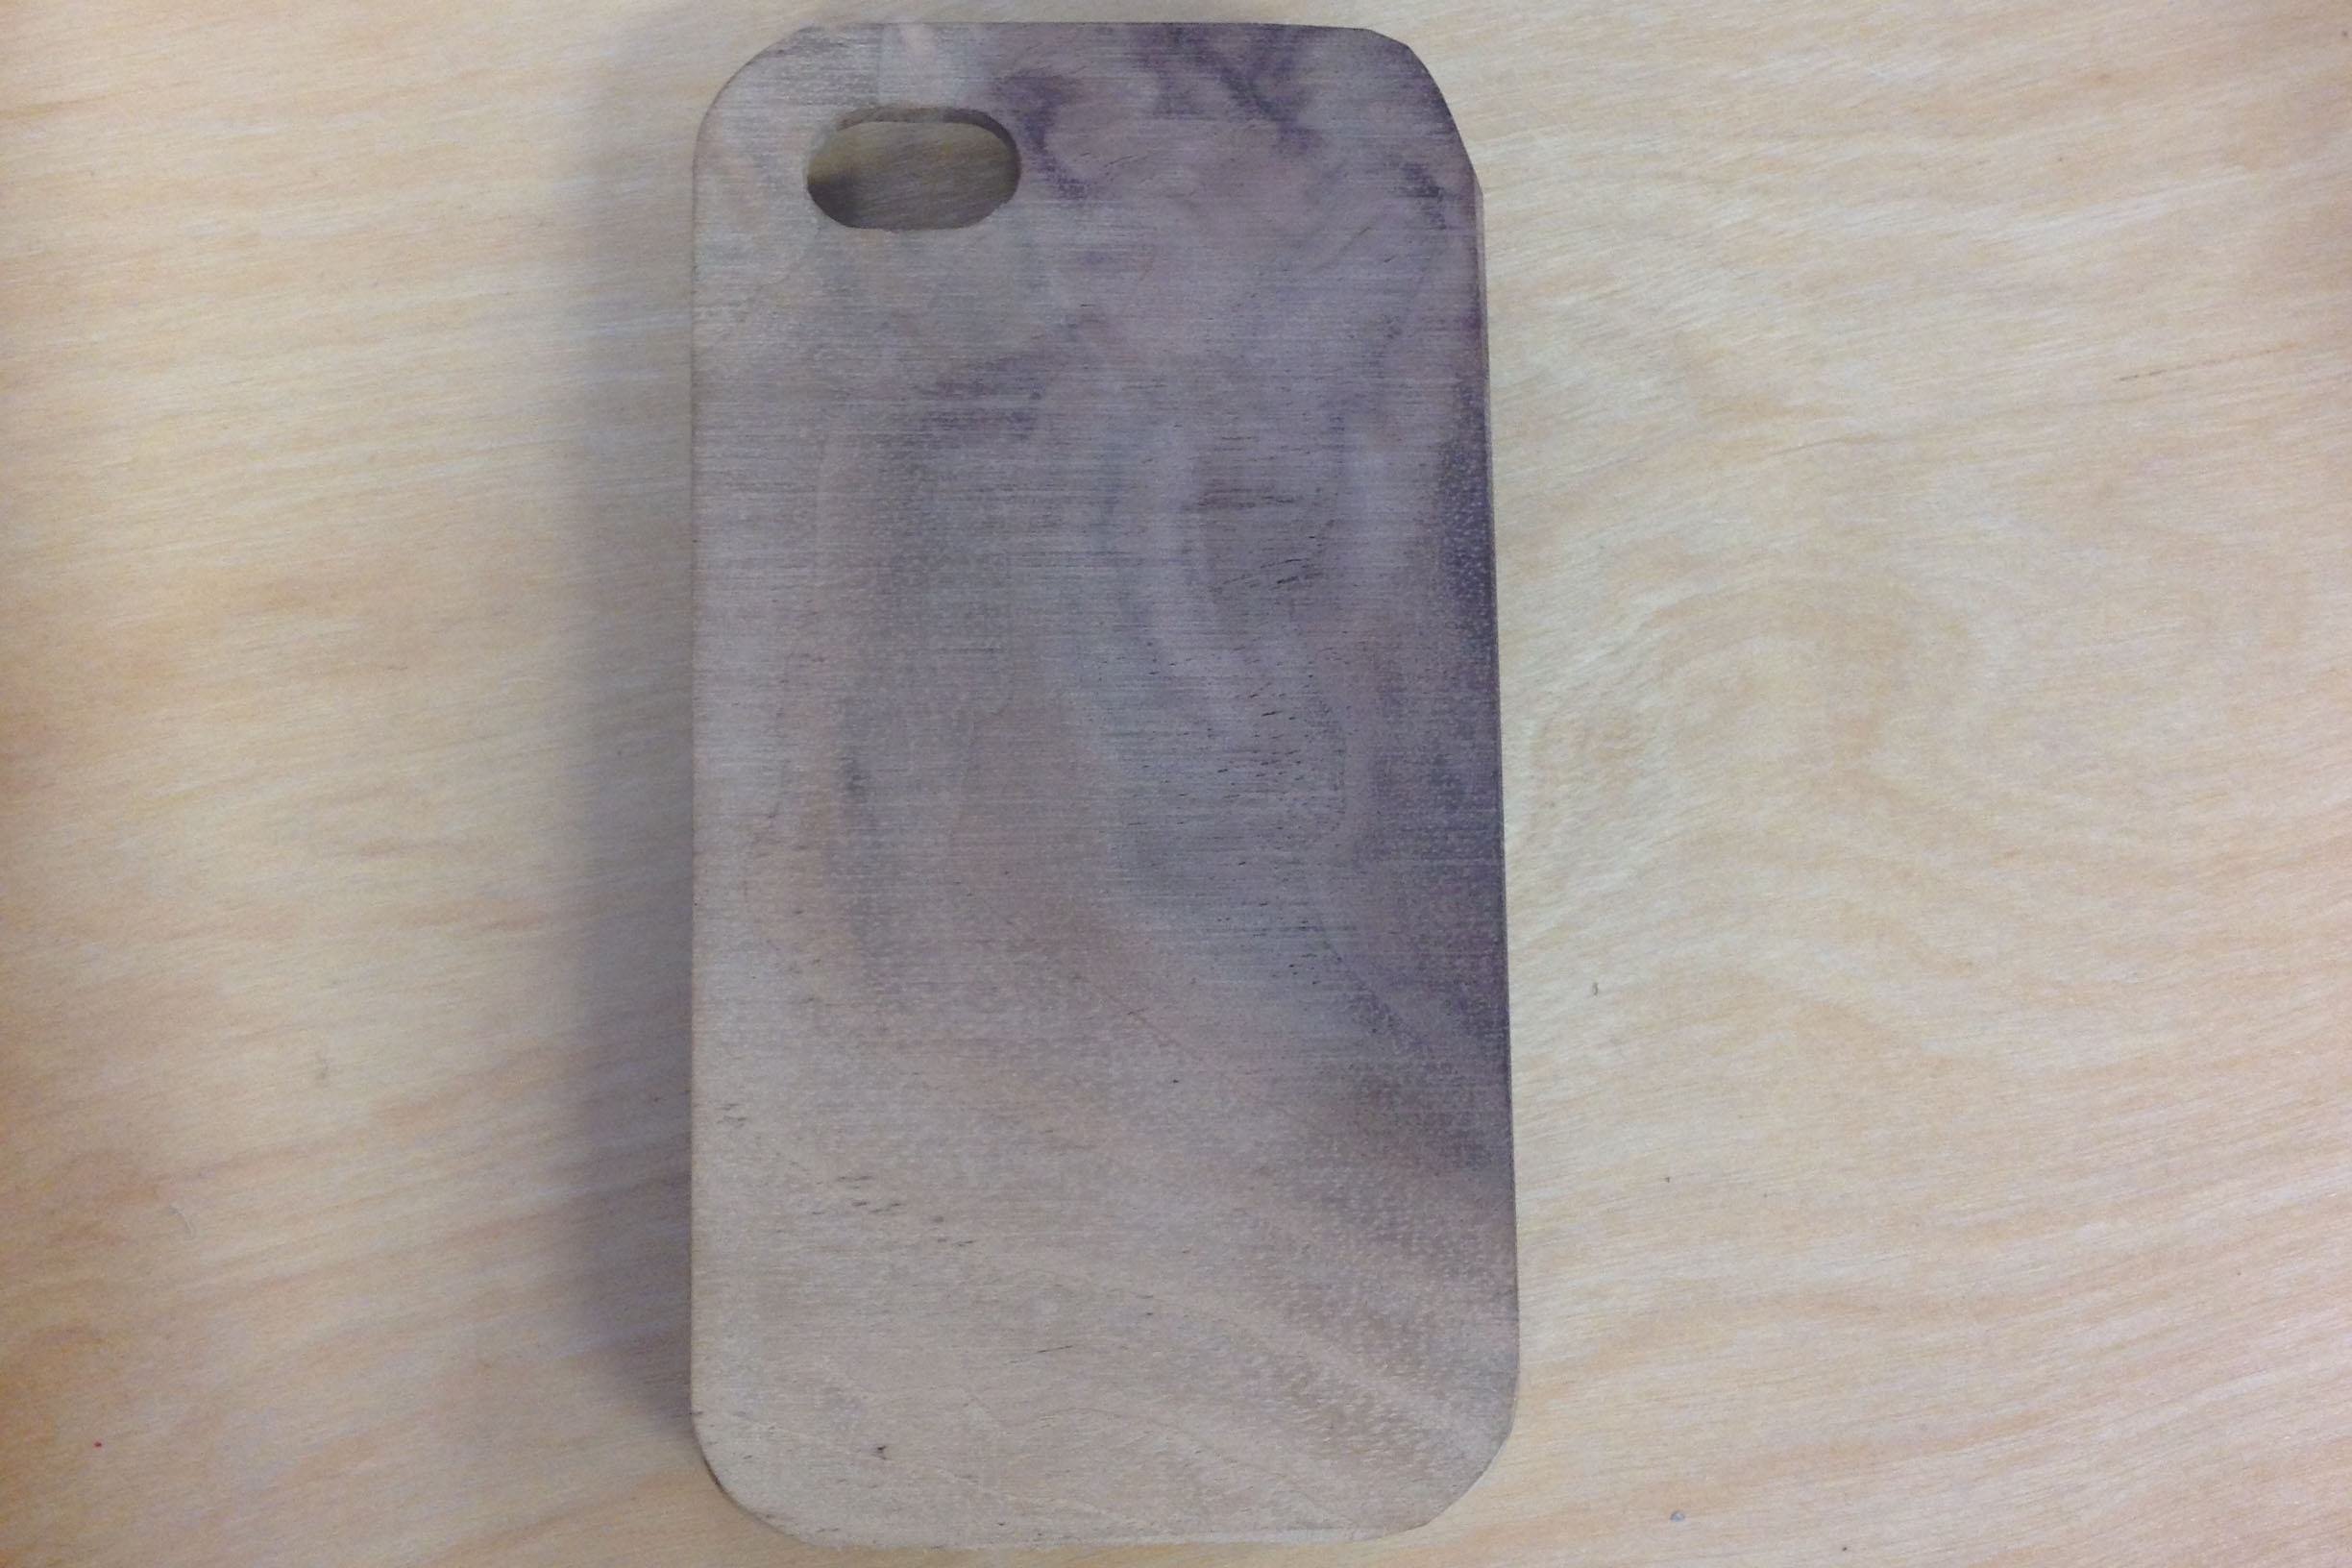
This will leave you with a block of wood that your phone will fit in, you could choose to not have any walls on the bottom side of the case so you can simply slide your phone, or like mine and push it out through the camera hole with your finger.
It will feel clunky, so just take some sandpaper to it until it's the shape you like. This is why I didn't include any measurements because it is almost impossible to get it perfect right off the shopbot.
It will feel clunky, so just take some sandpaper to it until it's the shape you like. This is why I didn't include any measurements because it is almost impossible to get it perfect right off the shopbot.
Done!
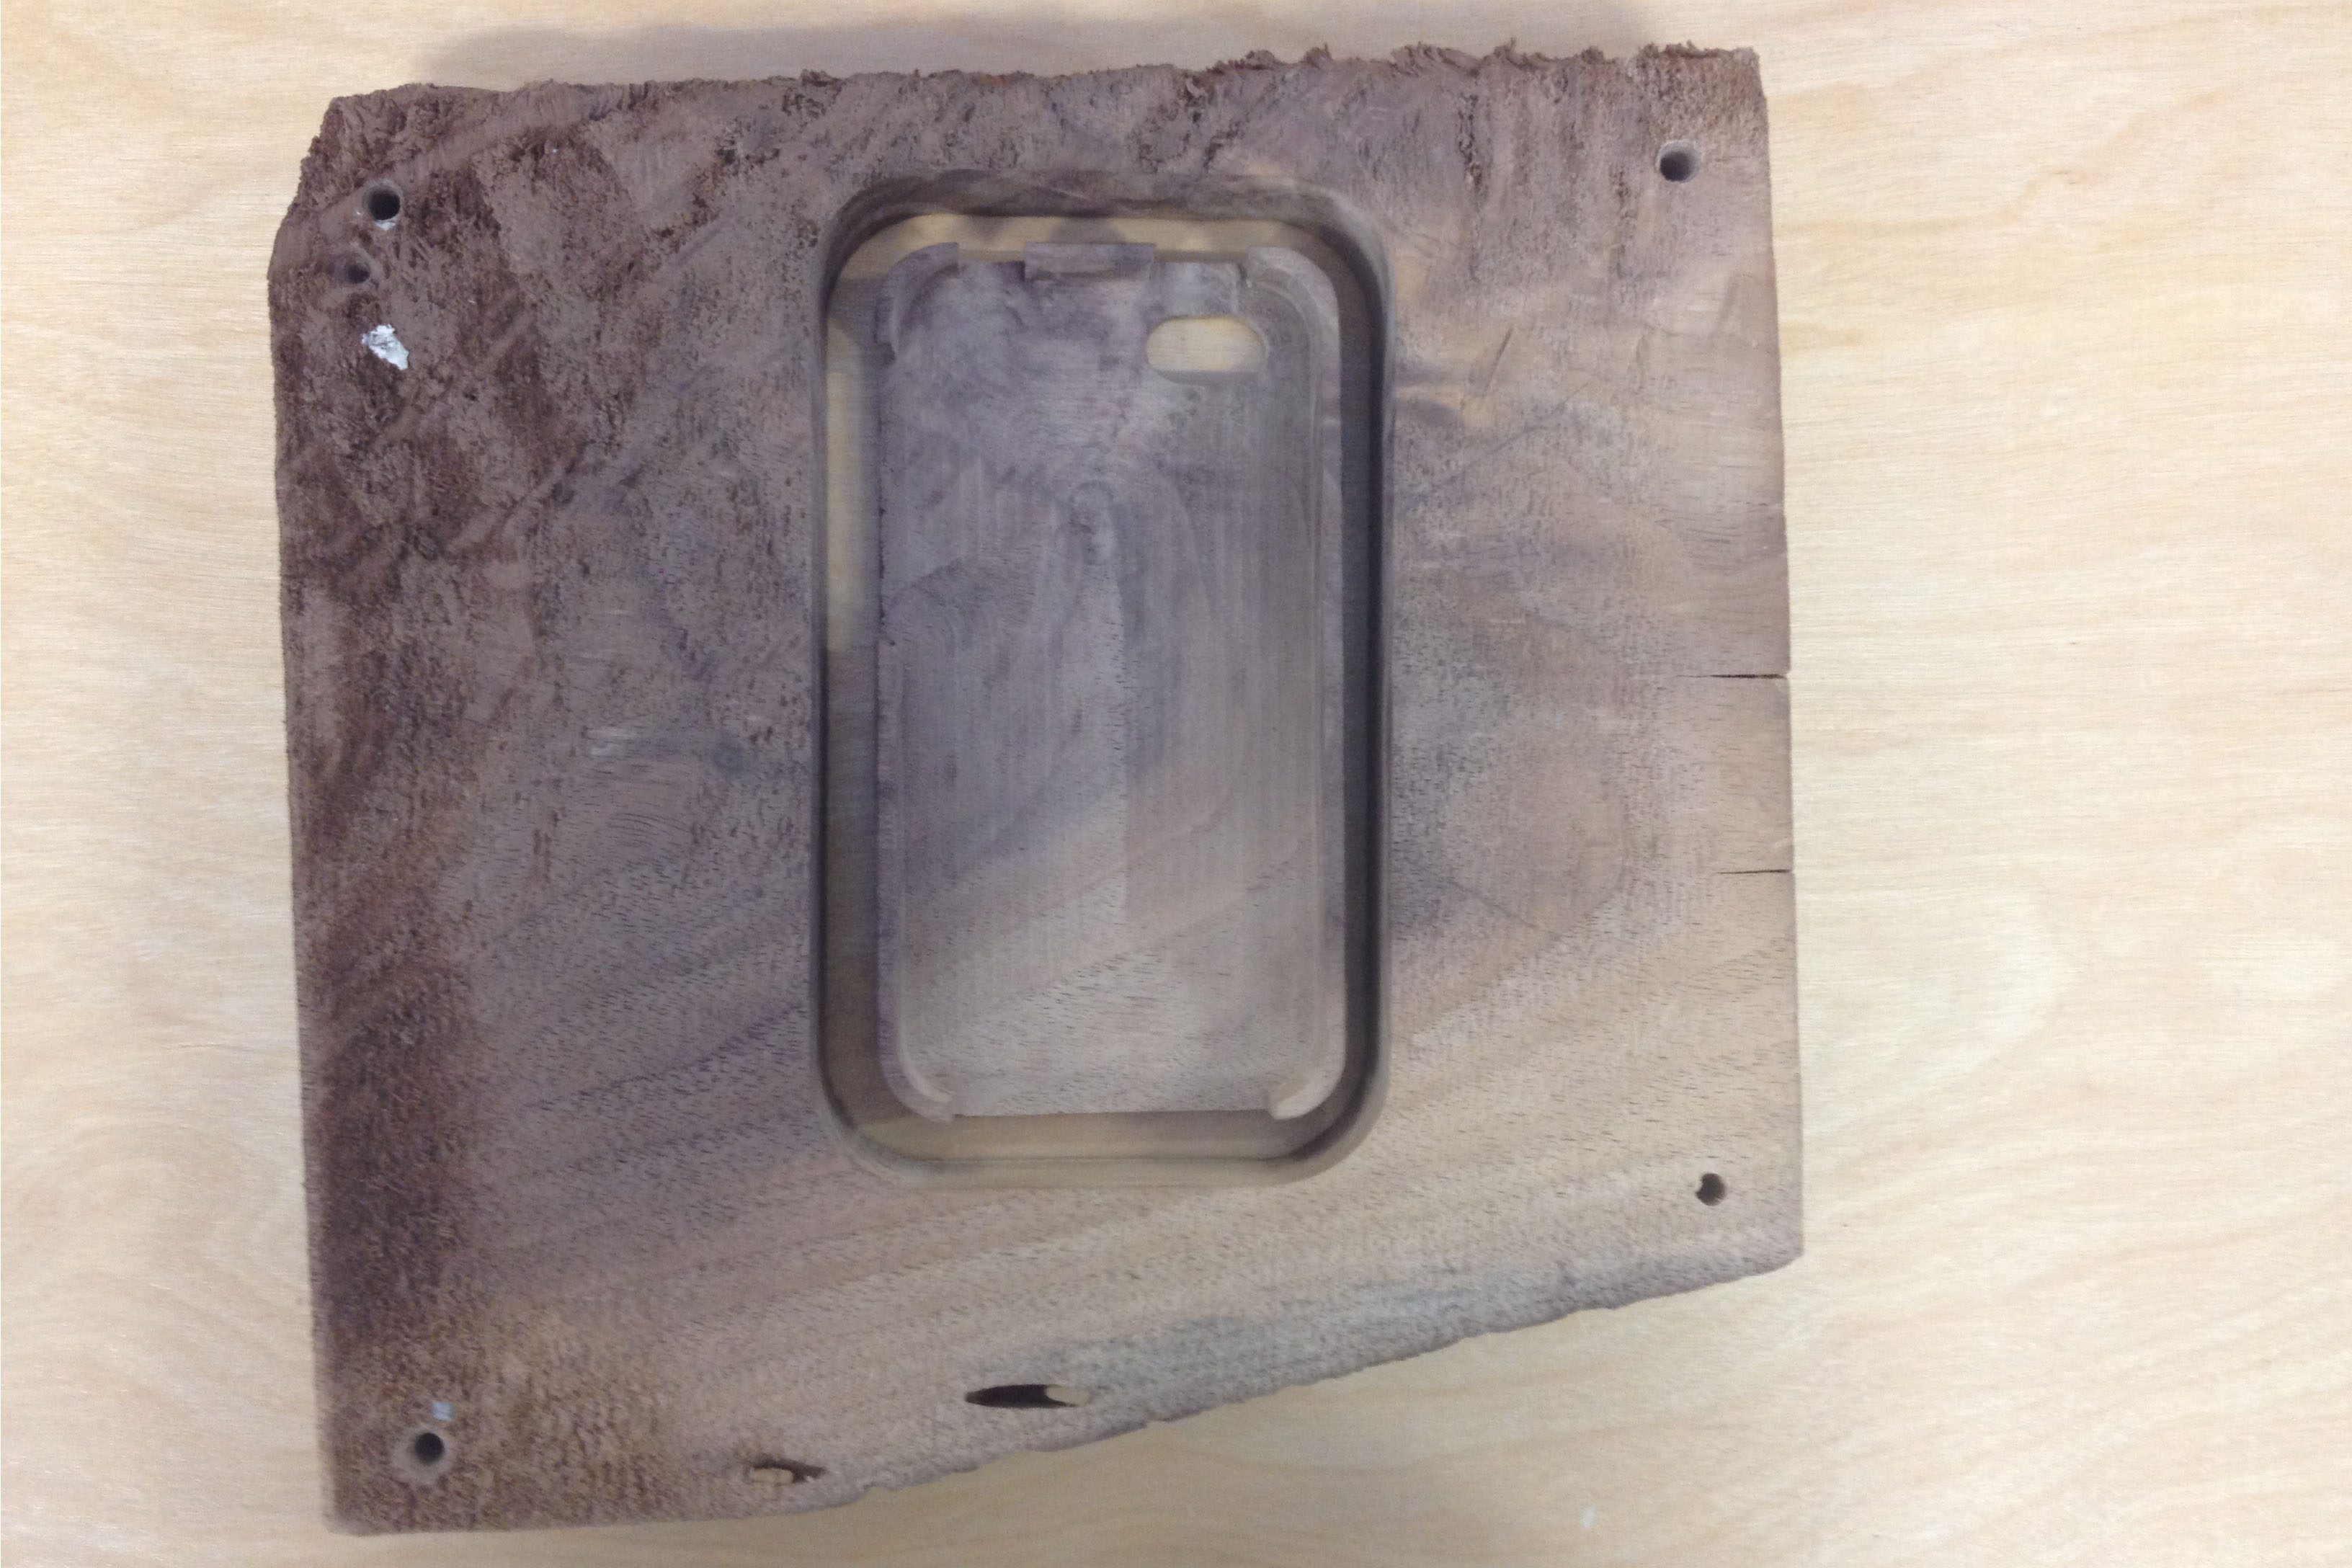
I made my initial rounded rectangle the exact size of my phone so it fits pretty snug. If you want to slide it in from the bottom I would suggest putting some soft material against one of the inside sides to hold your phone in.