Wood Burning 101 - Techniques and Tricks
by mimaki cg60 in Design > Art
661967 Views, 1768 Favorites, 0 Comments
Wood Burning 101 - Techniques and Tricks
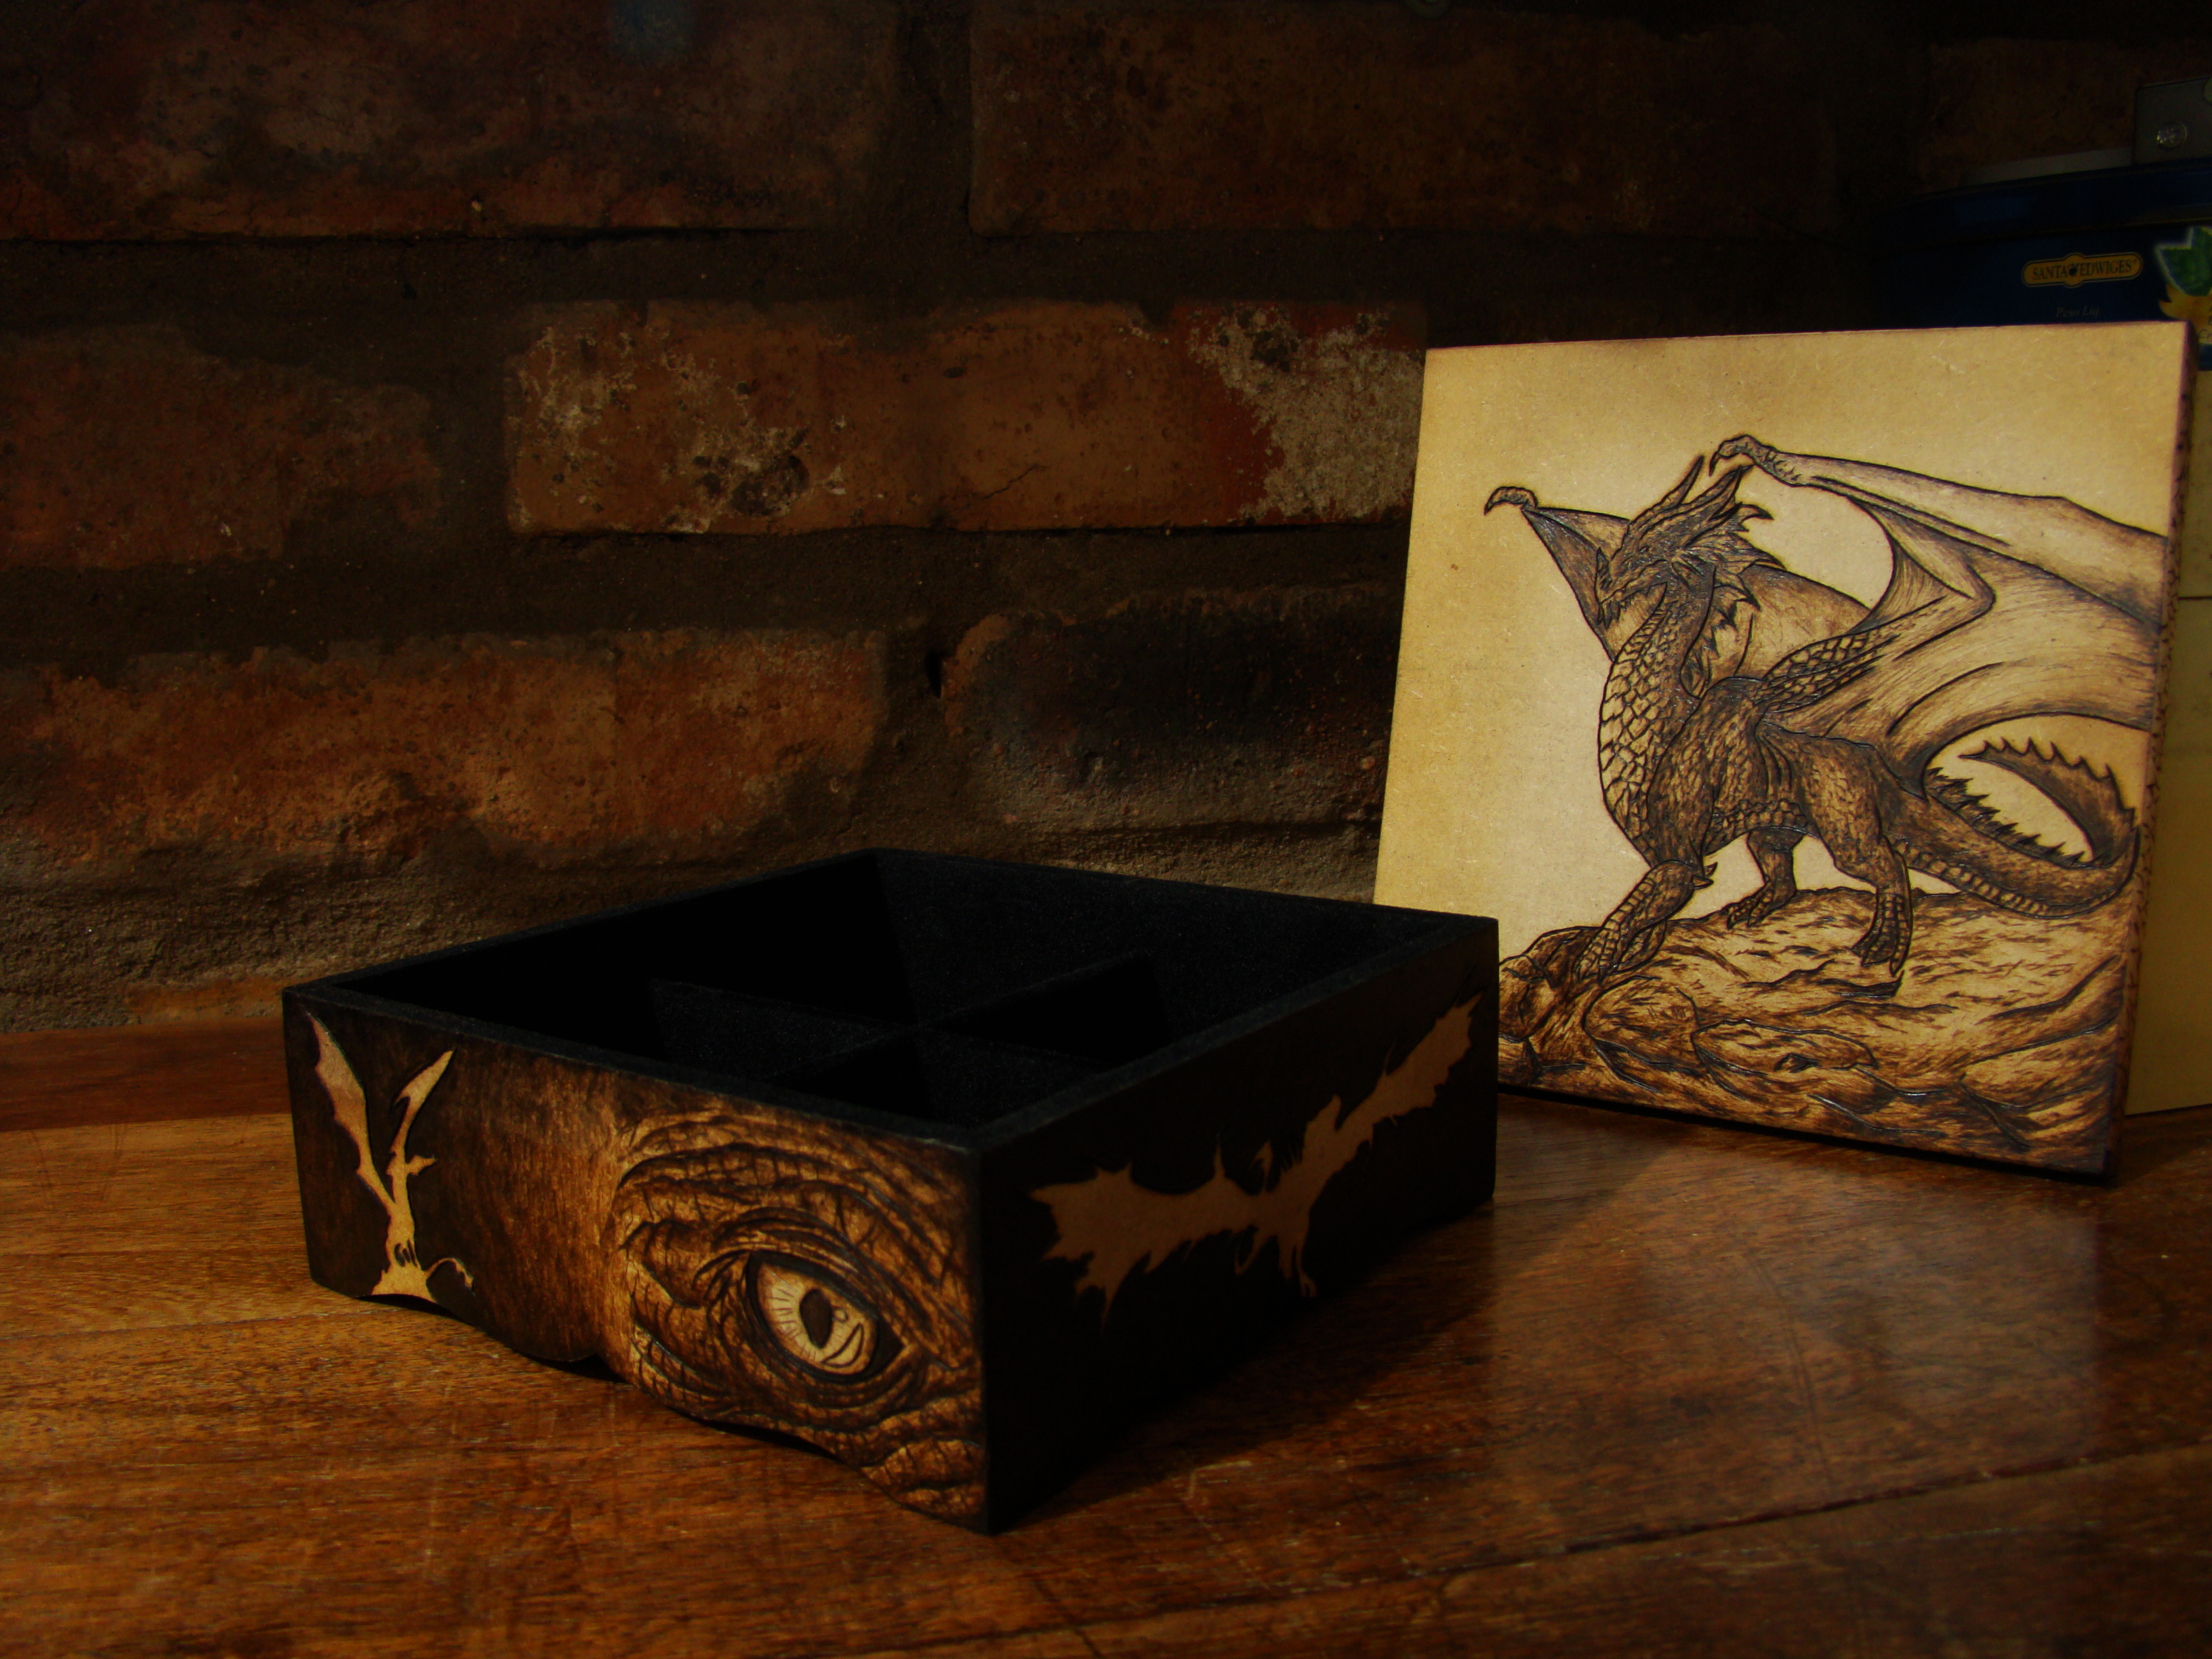
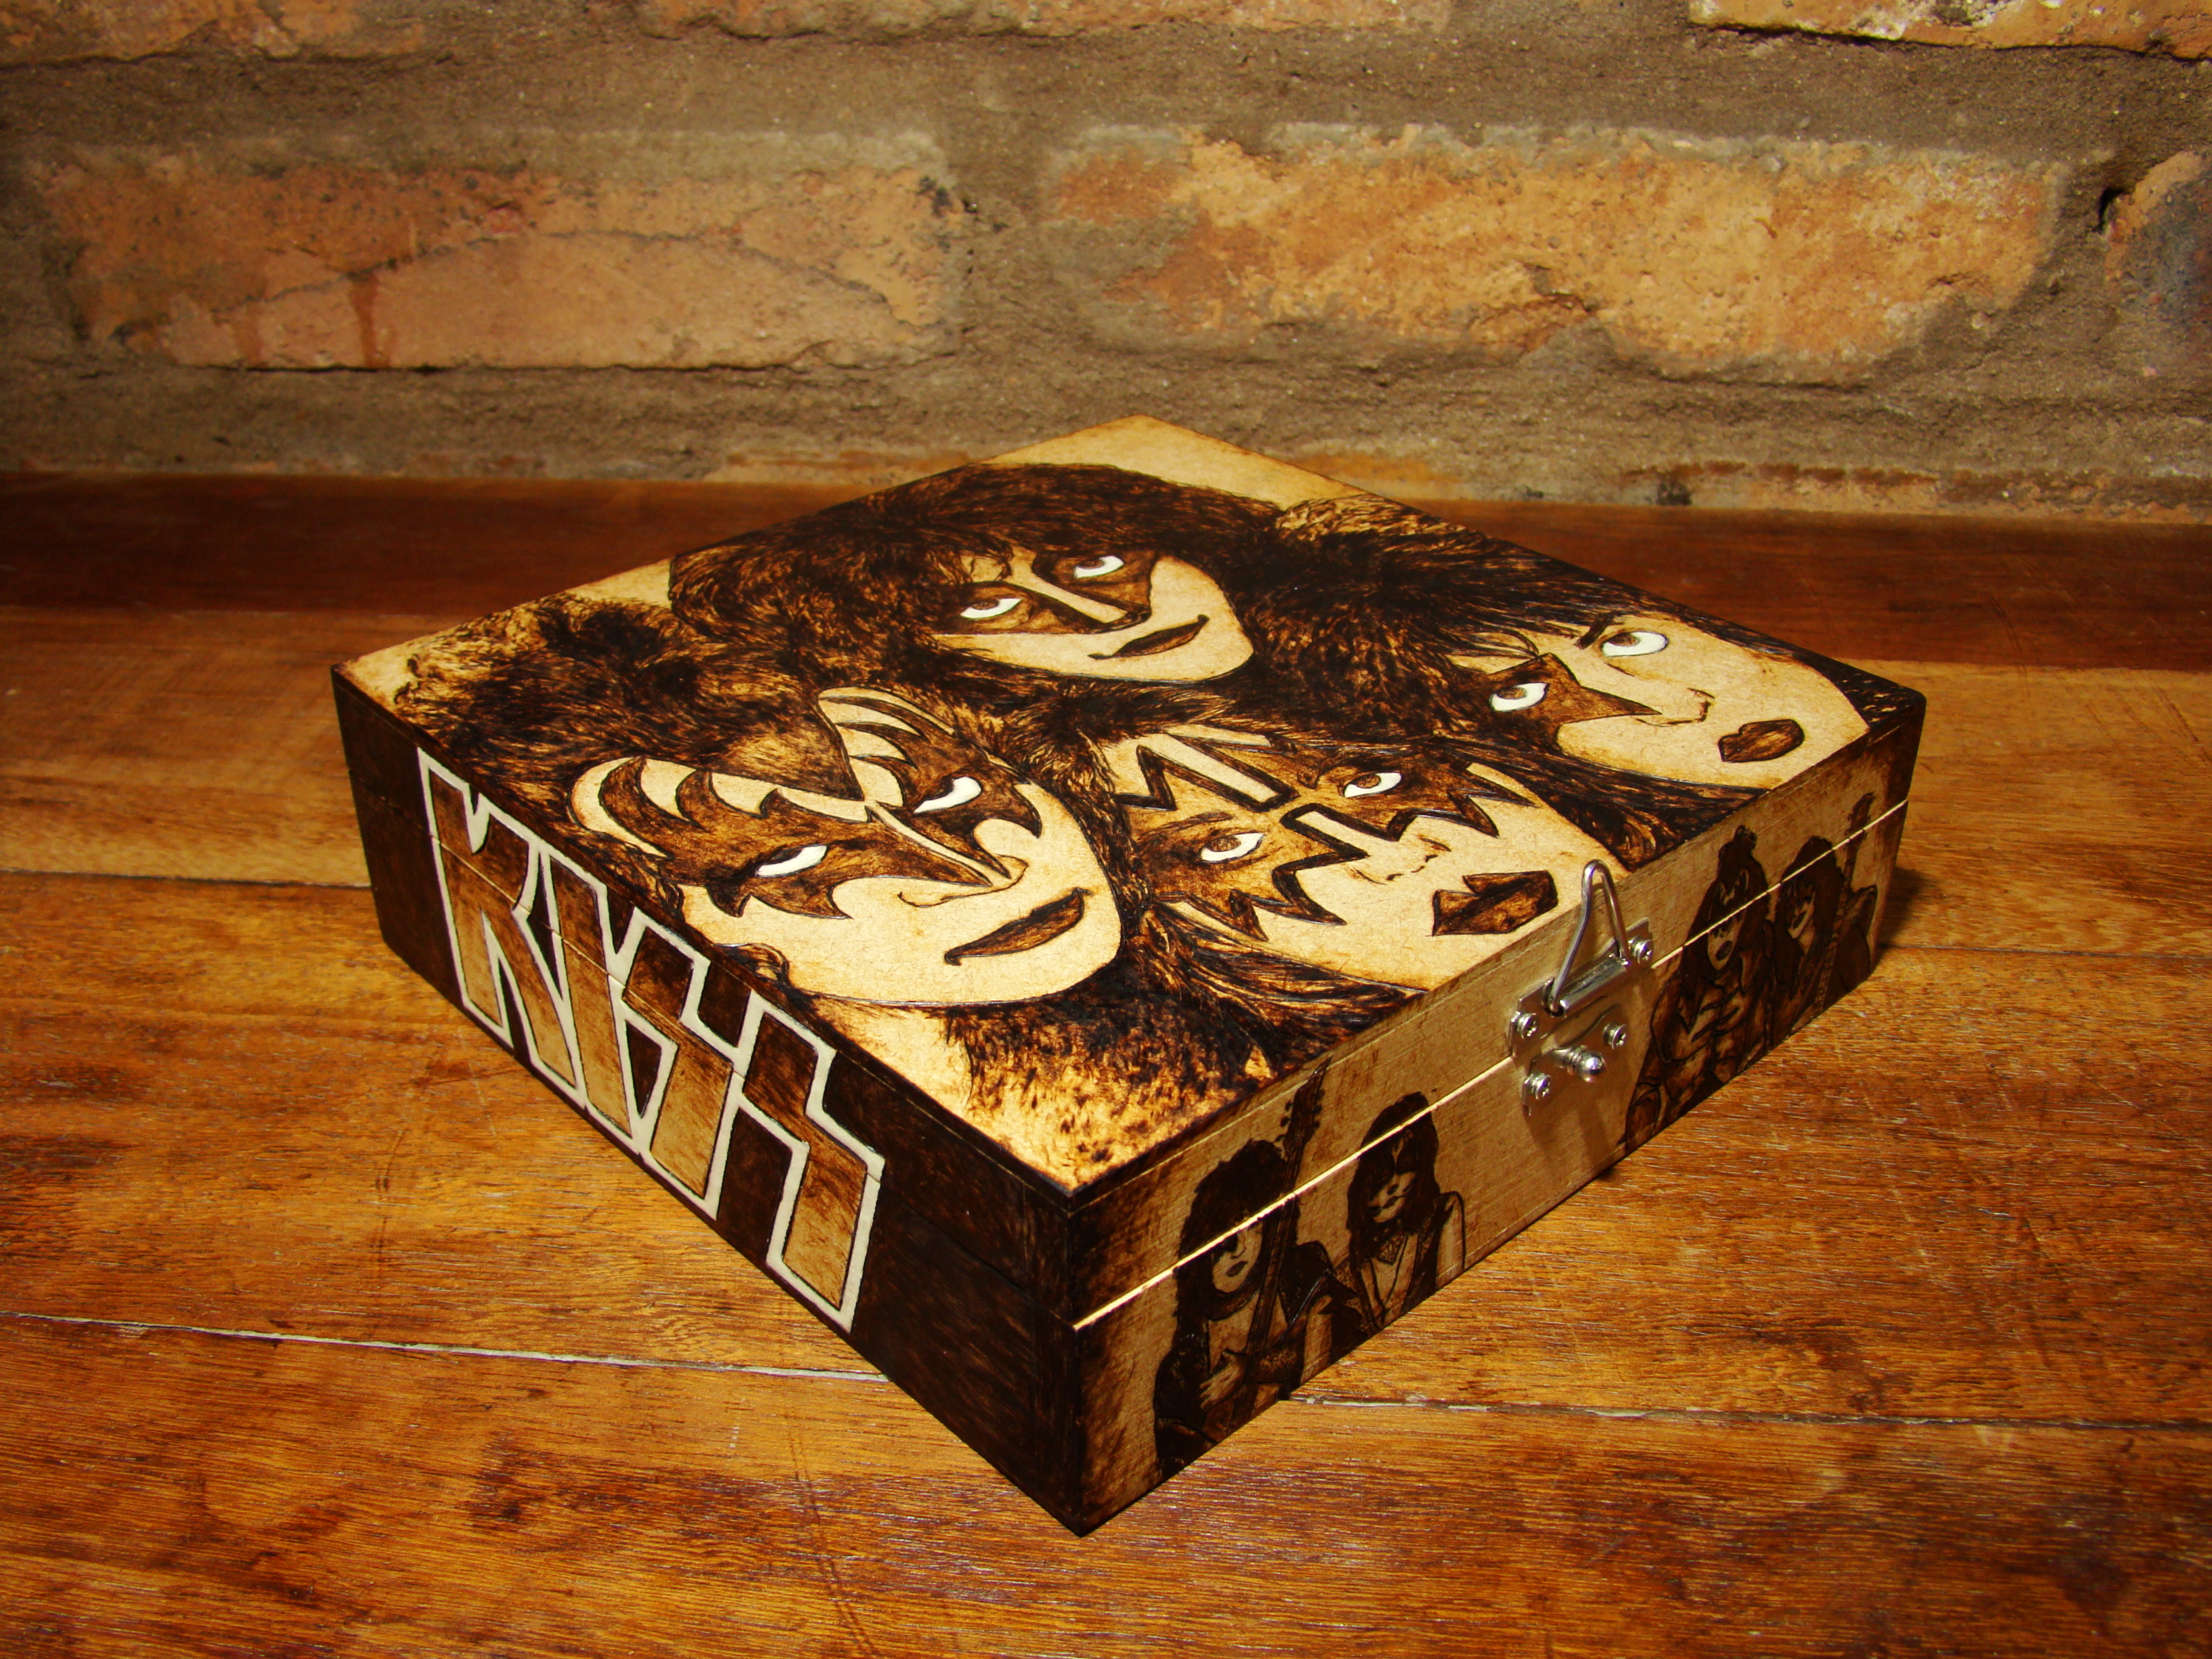
Hello everyone!
This tutorial will give you a nice compilation of techniques and tricks for wood burning in any level of detail. As someone who loves drawing, I was fascinated by how easily I could transfer those skills into woodburning and finally make 3D art. Since now I have some experience in the subject, it's time to teach whatever I can!
In addition to teaching you about wood burning, I'll also tell you what tools and equipment you need and give you some helpful tricks and tips.
This instructable was made for the Burn It! contest, since it will talk about burning 100% of the time. Let's get started!
Wood Burners
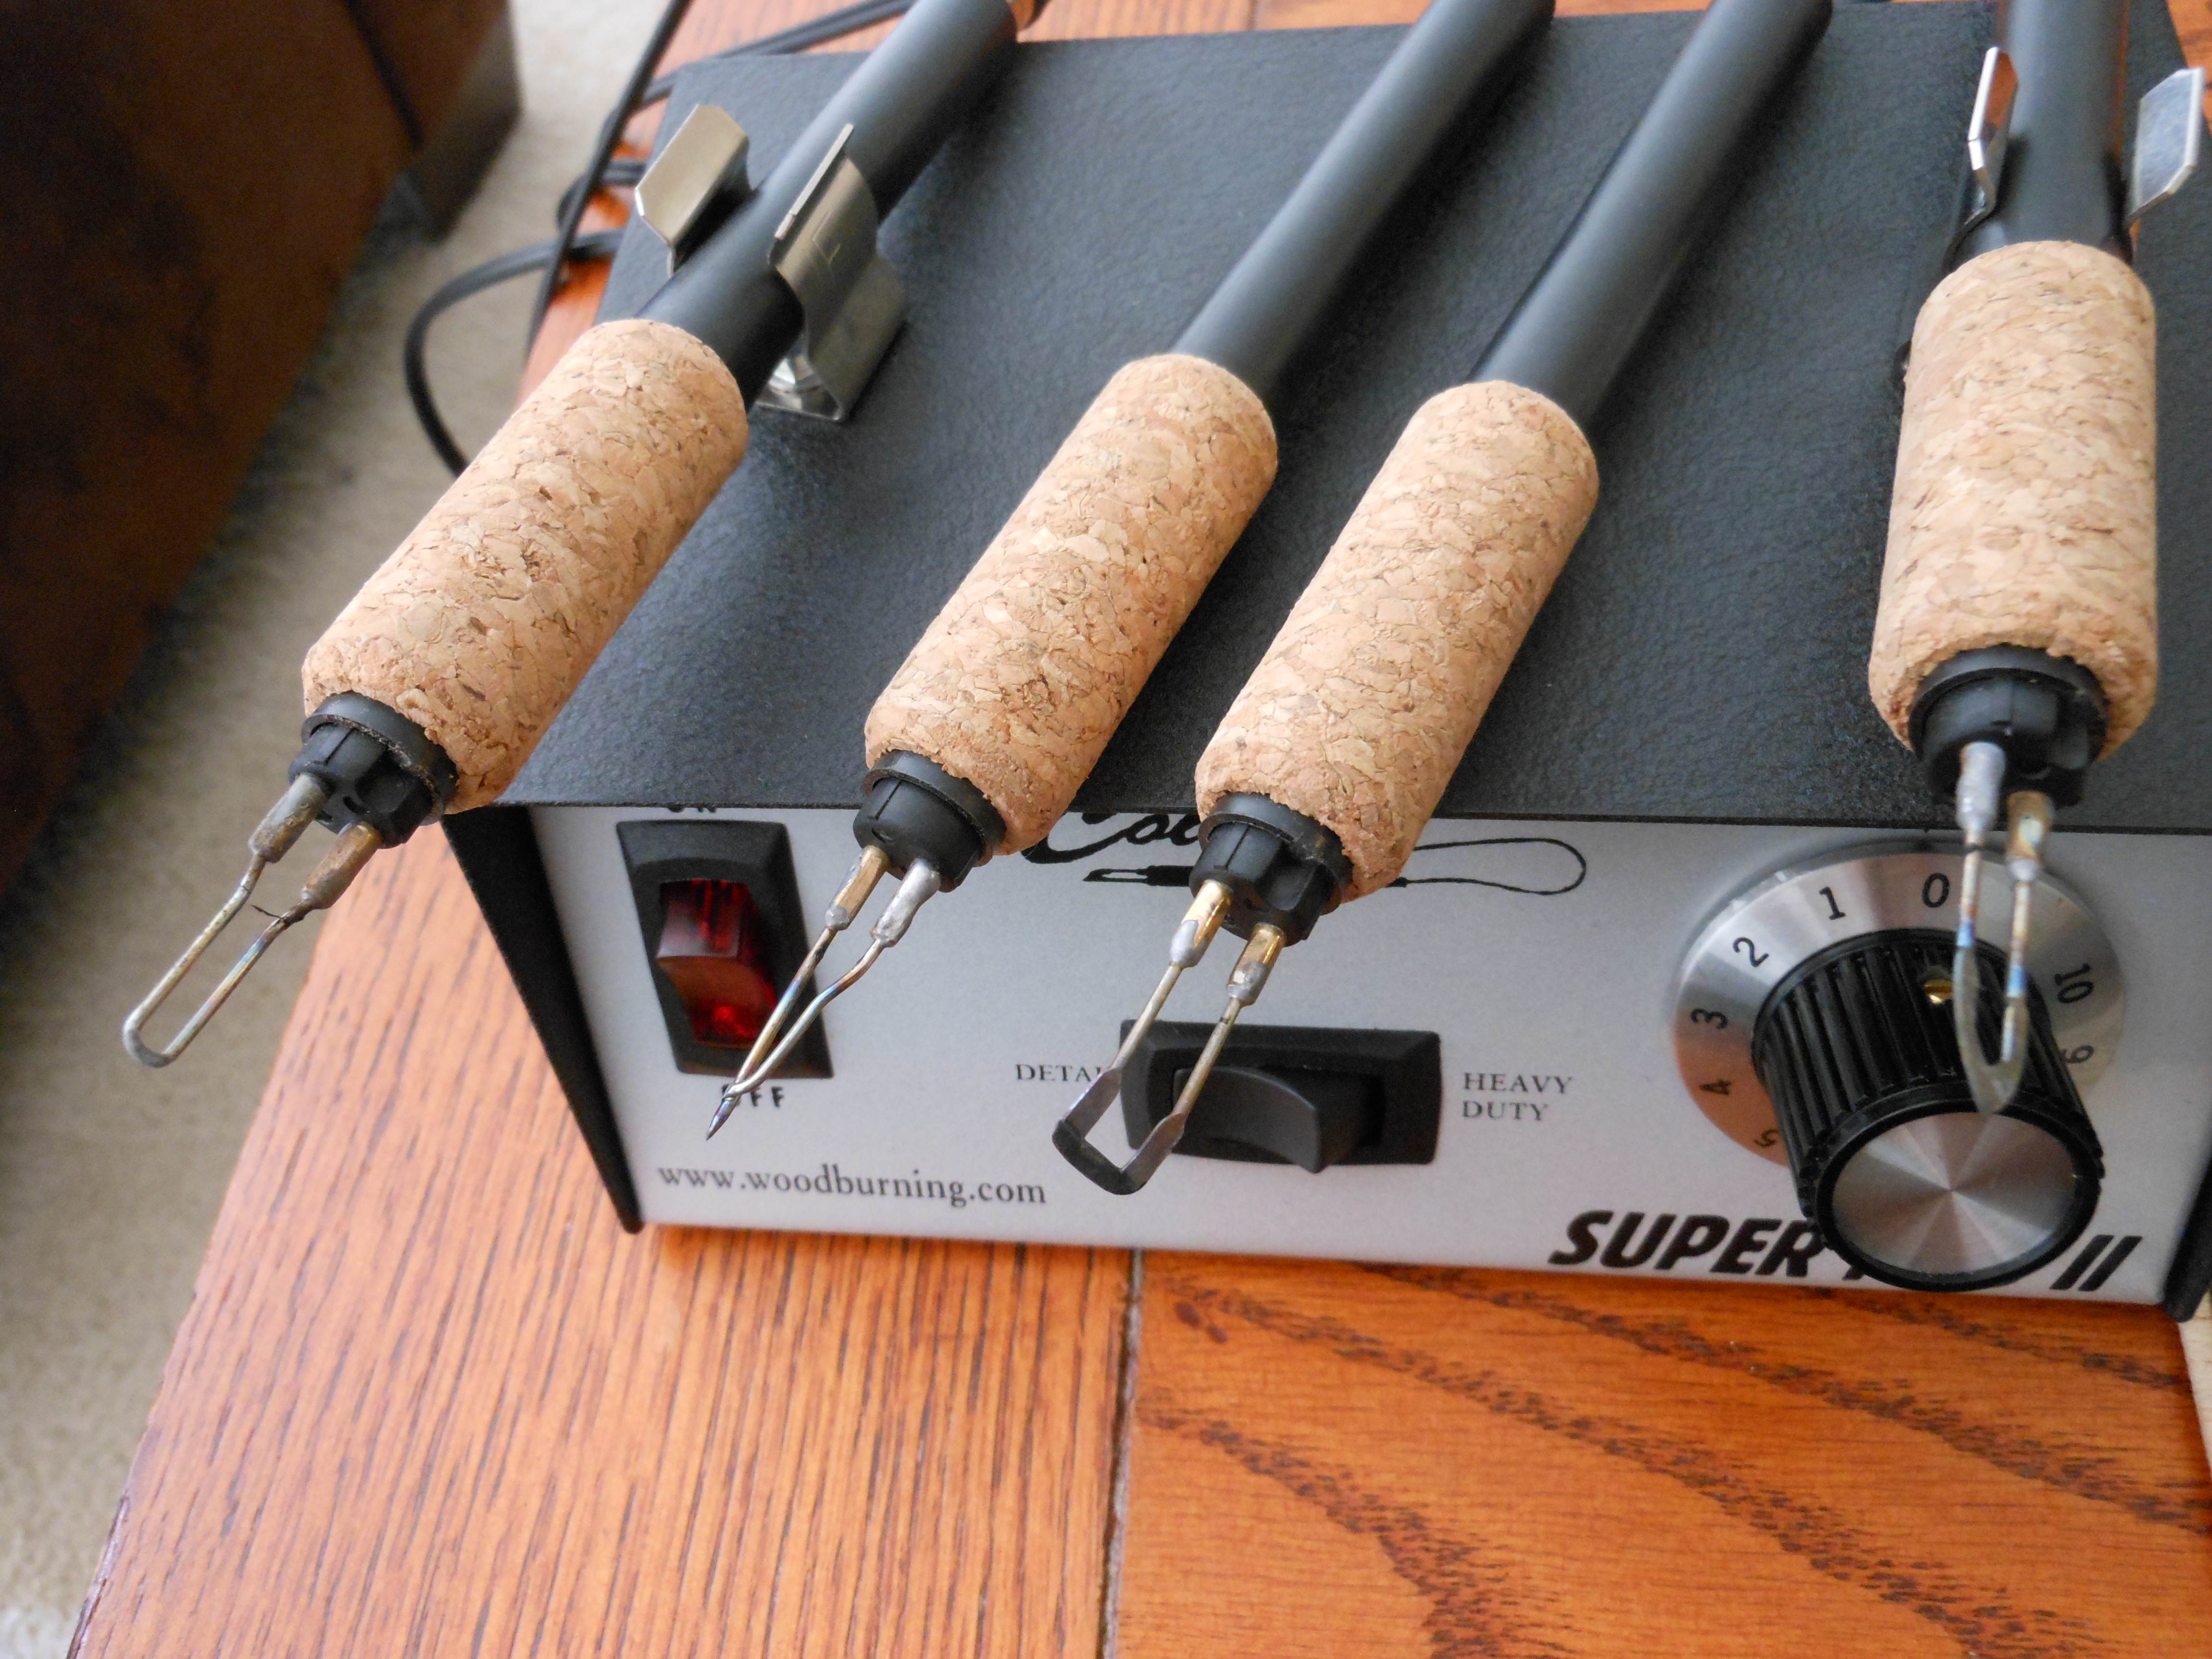
Tools for wood burning can come in many prices and control levels.
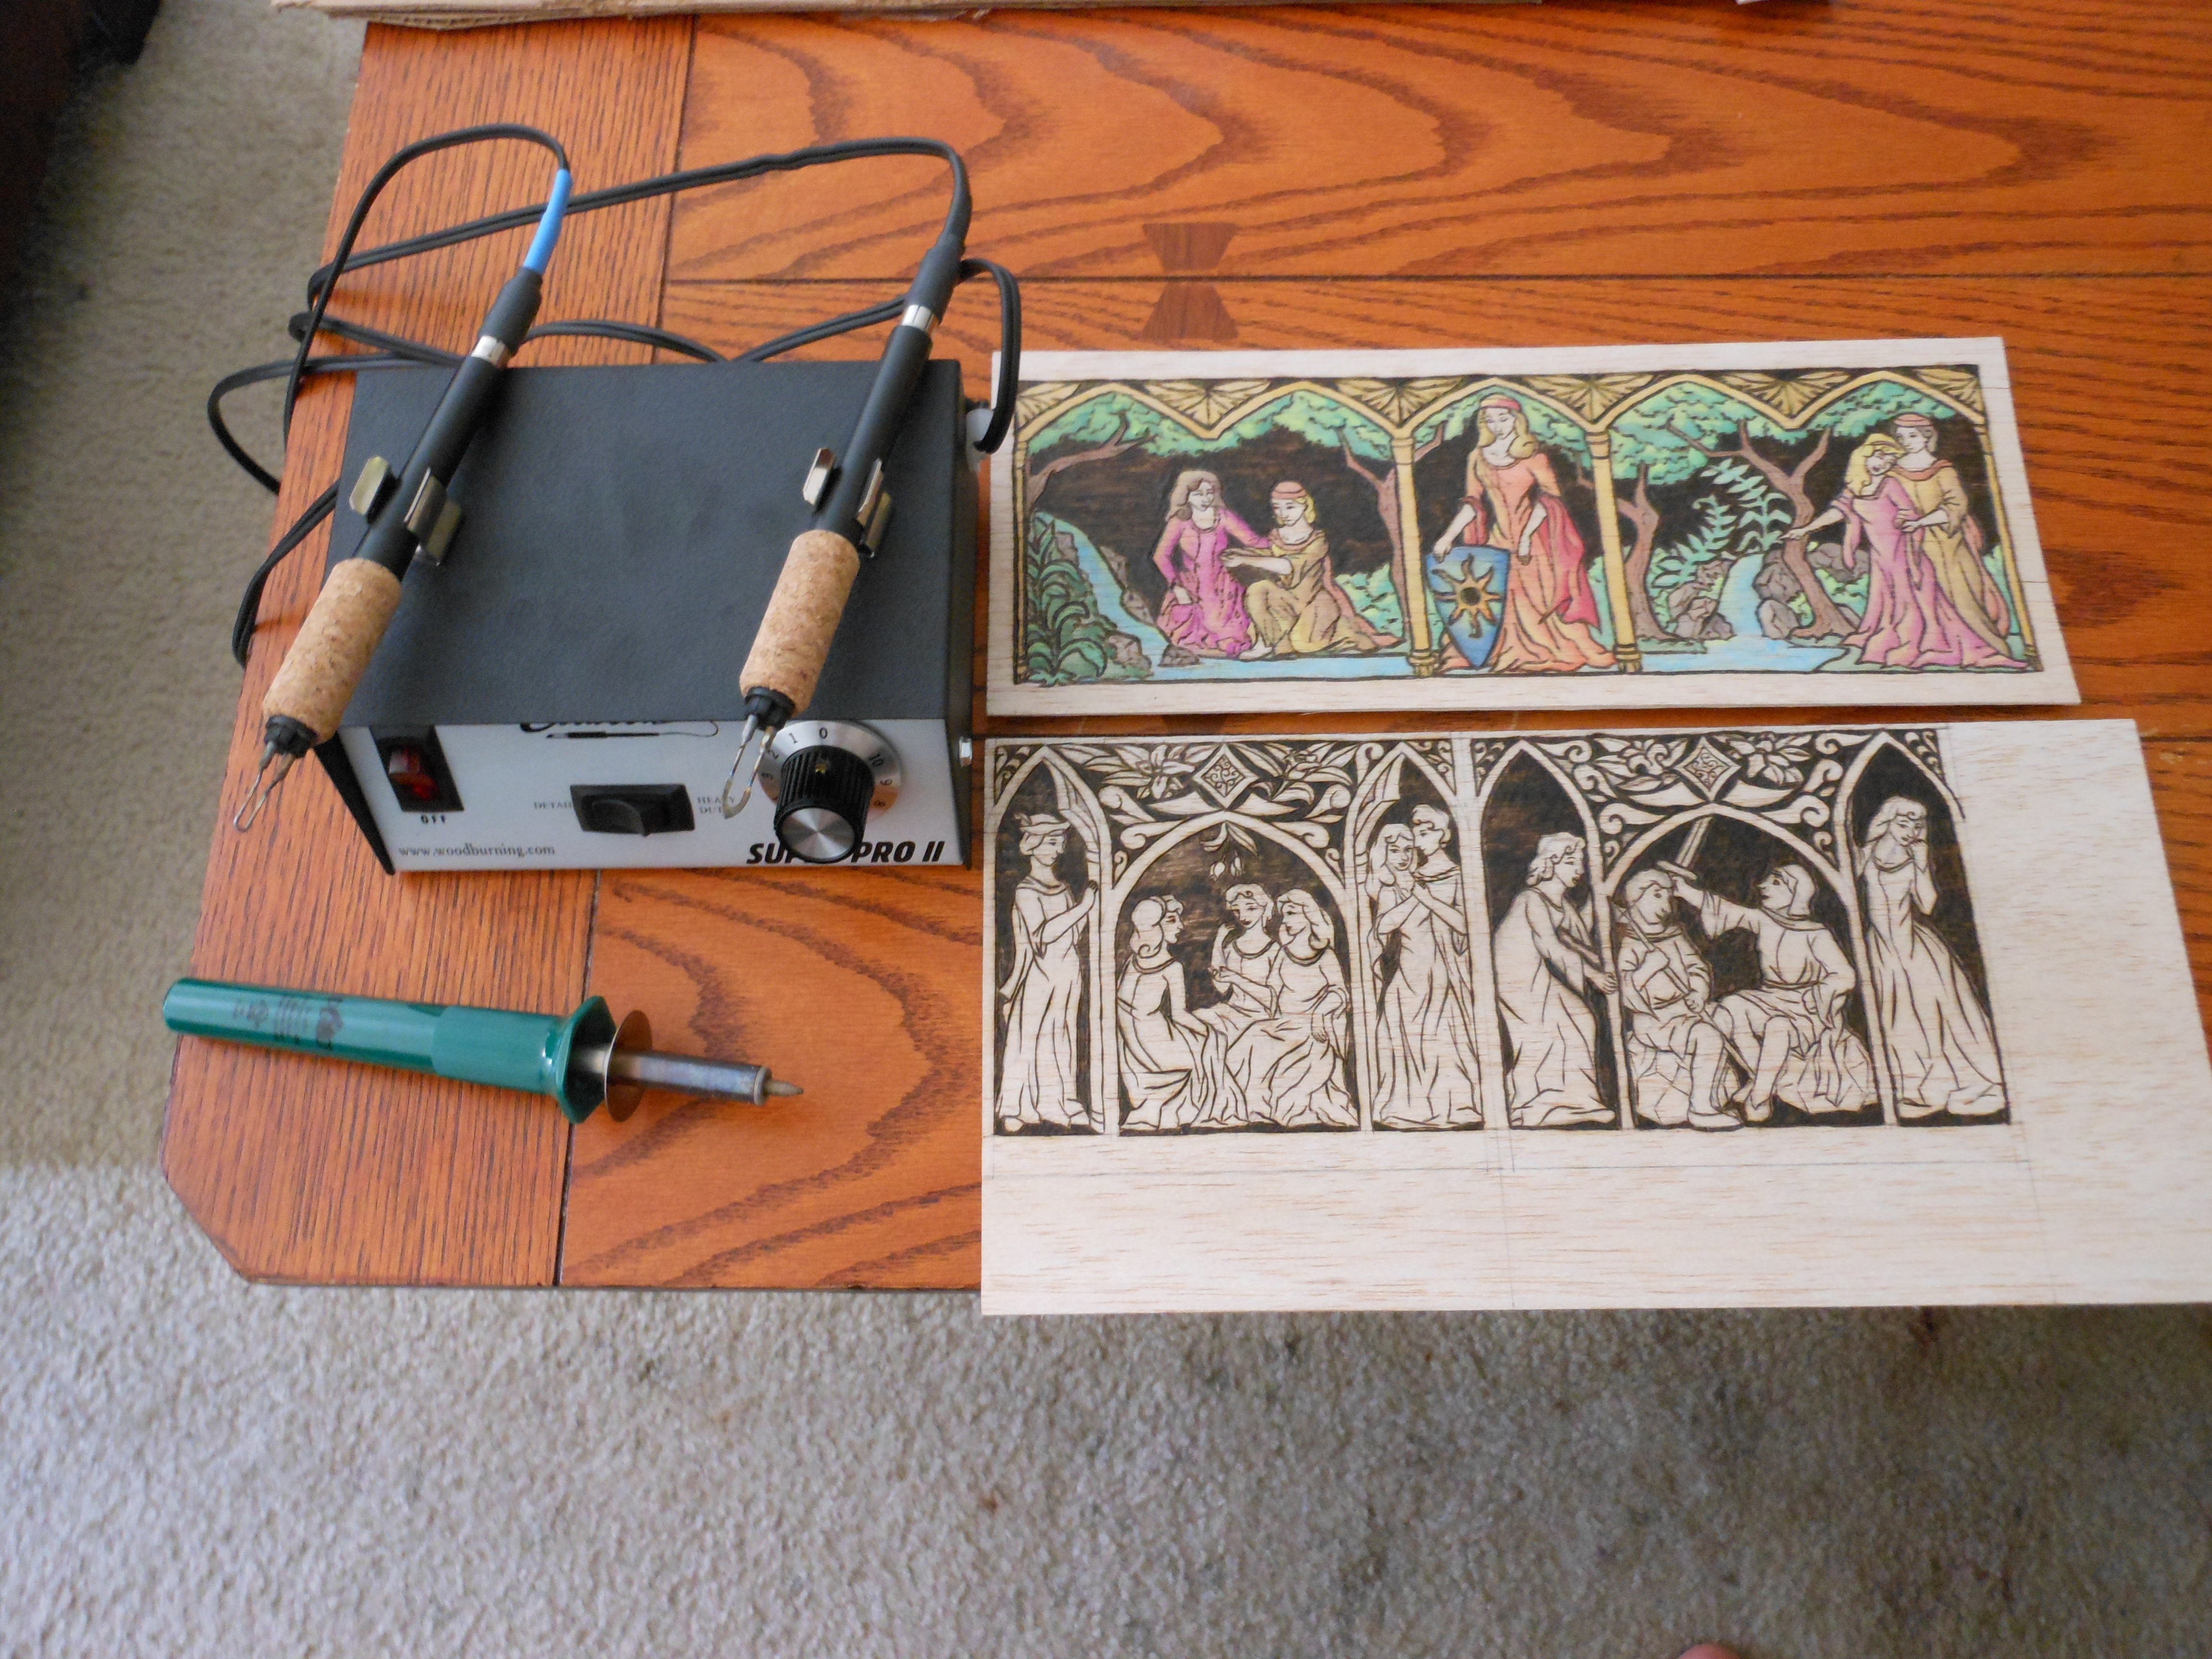
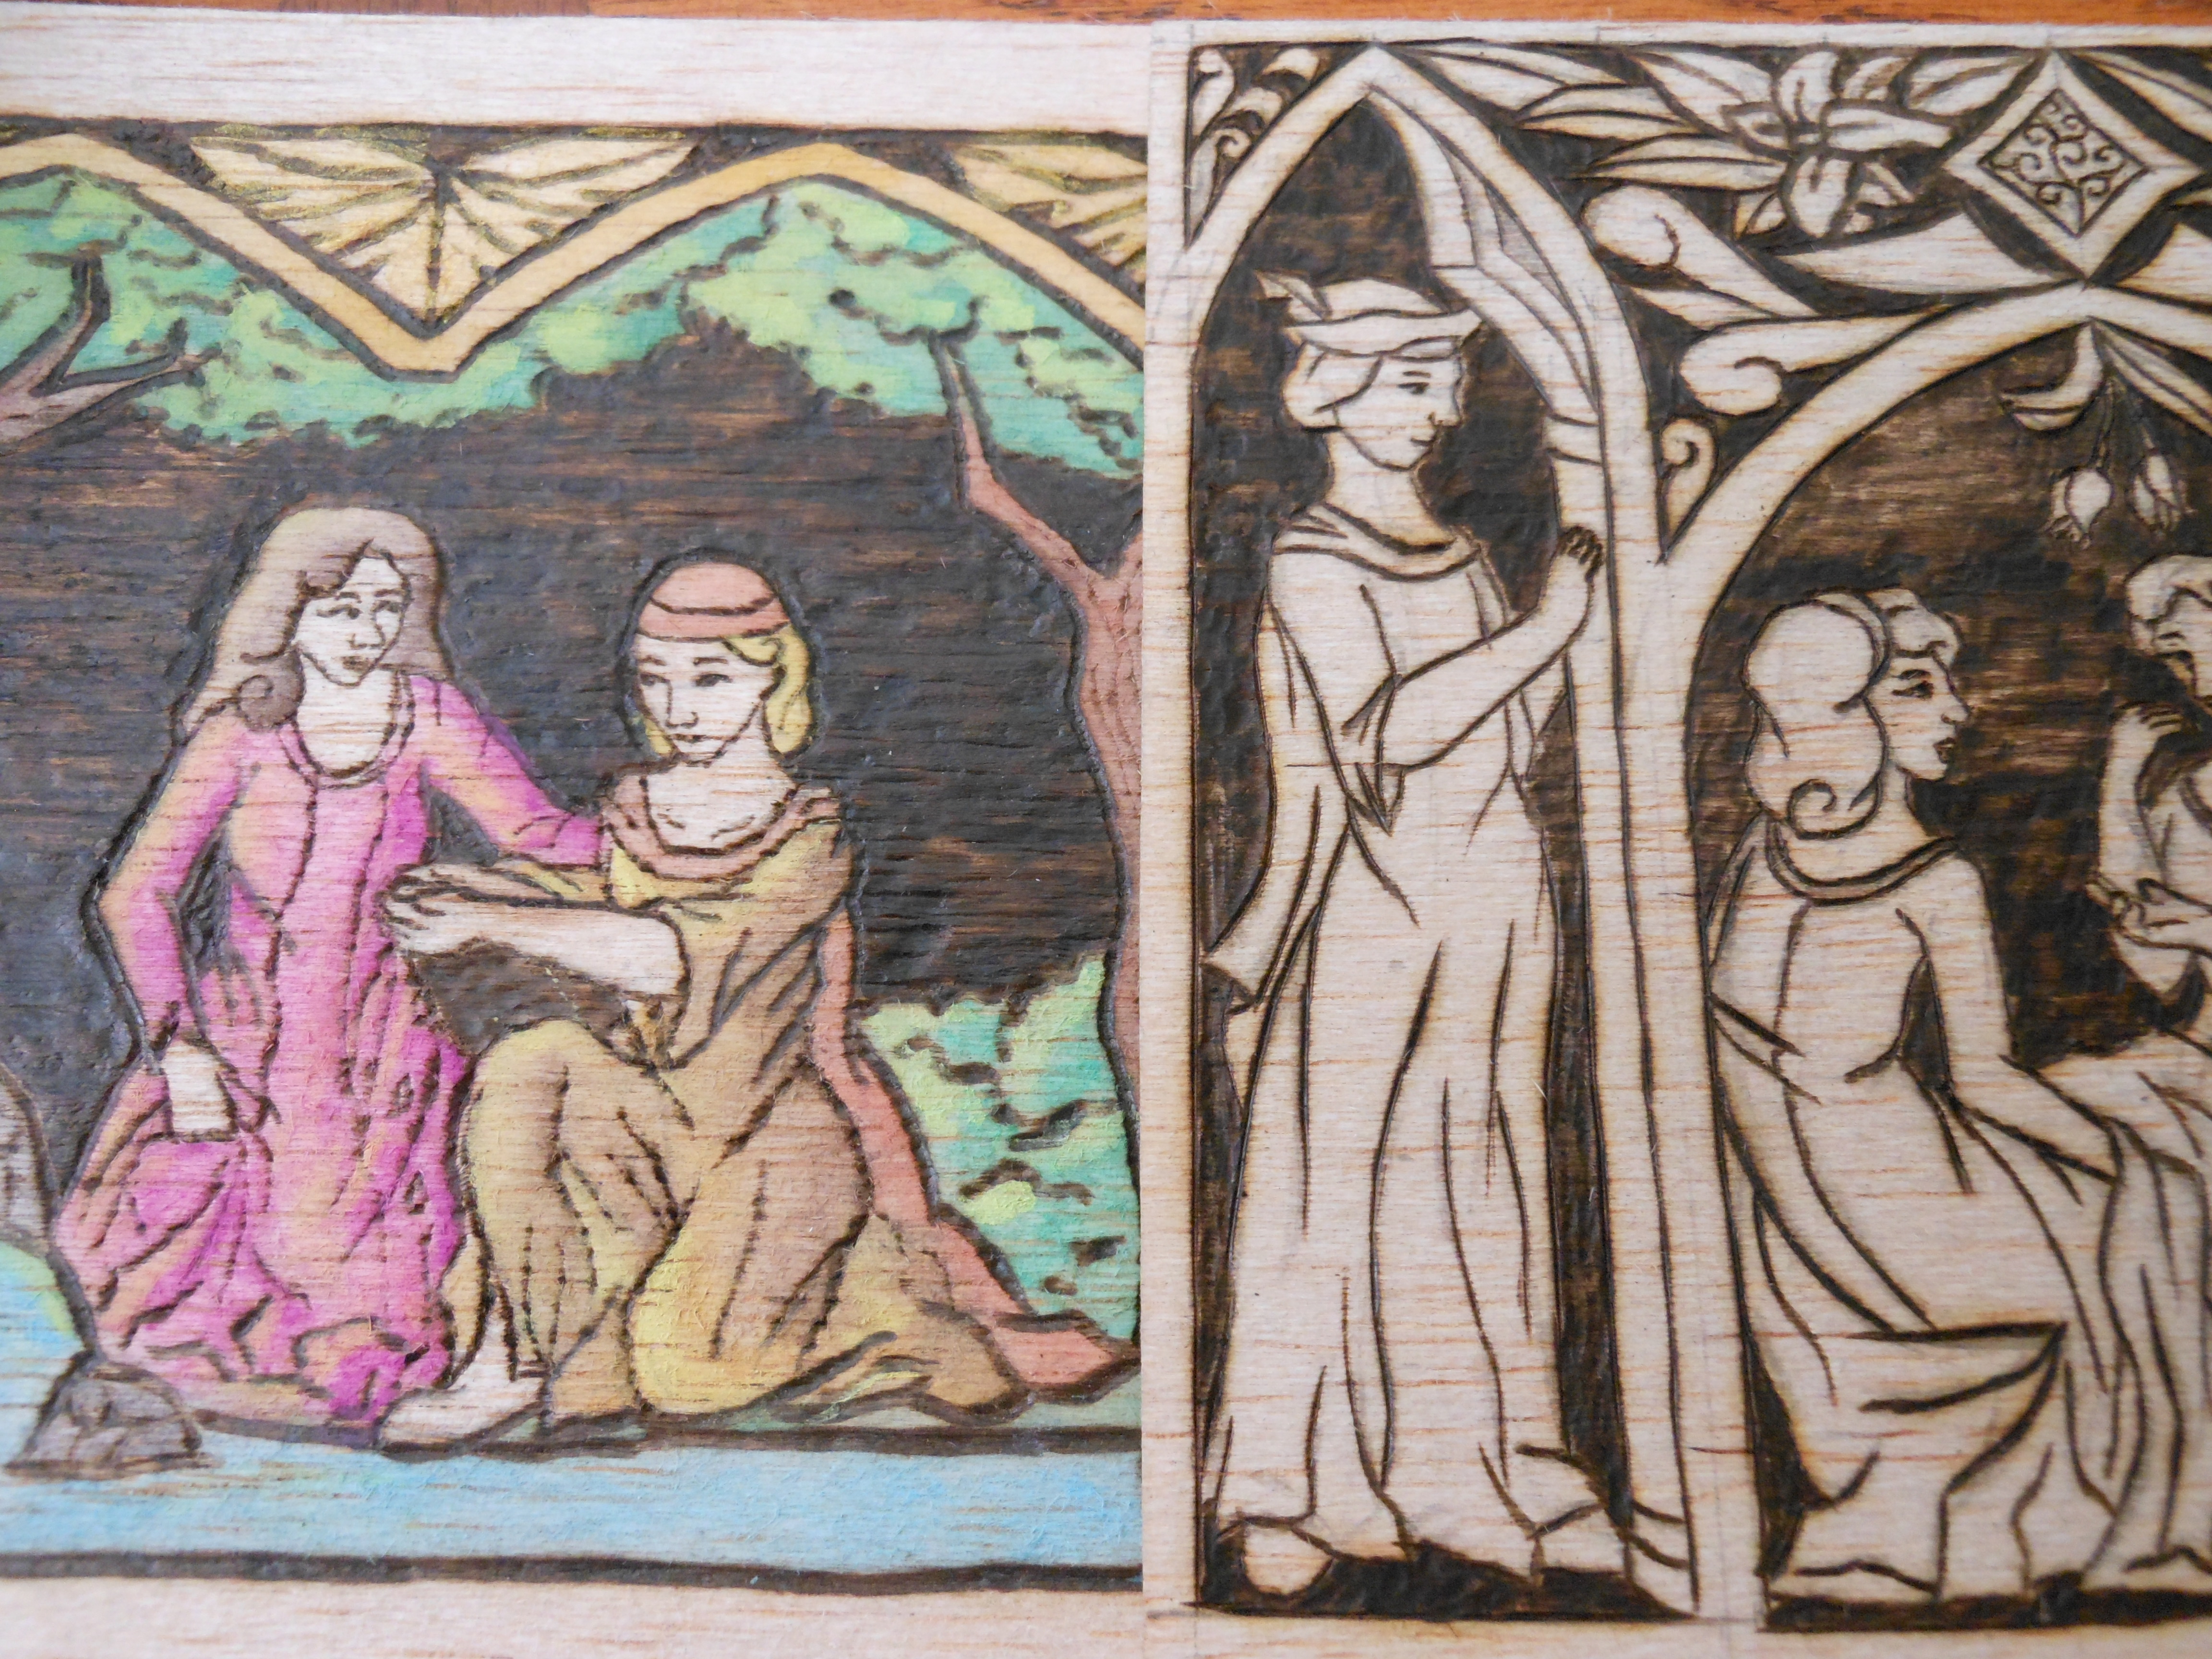
My first one was very cheap (US$10 at Walmart) and did a good job. It comes with five different tips and I still like to use it for background filling. I would recommend this one if you want to have the feel for it, and find out whether you like the burning art. However, as you start burning for hours and hours, this little guy will literally start slow-cooking your fingers. You also hold the burner far away from the tip, so you lose some precision.
It all led me to buy a professional Colwood burner. Having the heat regulation option was really handy when it came to burning different types of wood (we will talk about that) and doing some careful shading. Instead of changing the tips, you switch the whole "pen" for new effects; the big advantage here is not having to wait until the tip has cooled down to switch it.
Just so nobody can say I am praising Colwood, I must say their costumer service is terrible. It was impossible to order another pen from Brazil when mine broke, they simply would not answer.
My starter kit it the one on the picture, and to be honest I still don't feel in need for anything else!
For way more information on burners, I suggest this excellent review by Nedra Denison:
Woods to Burn
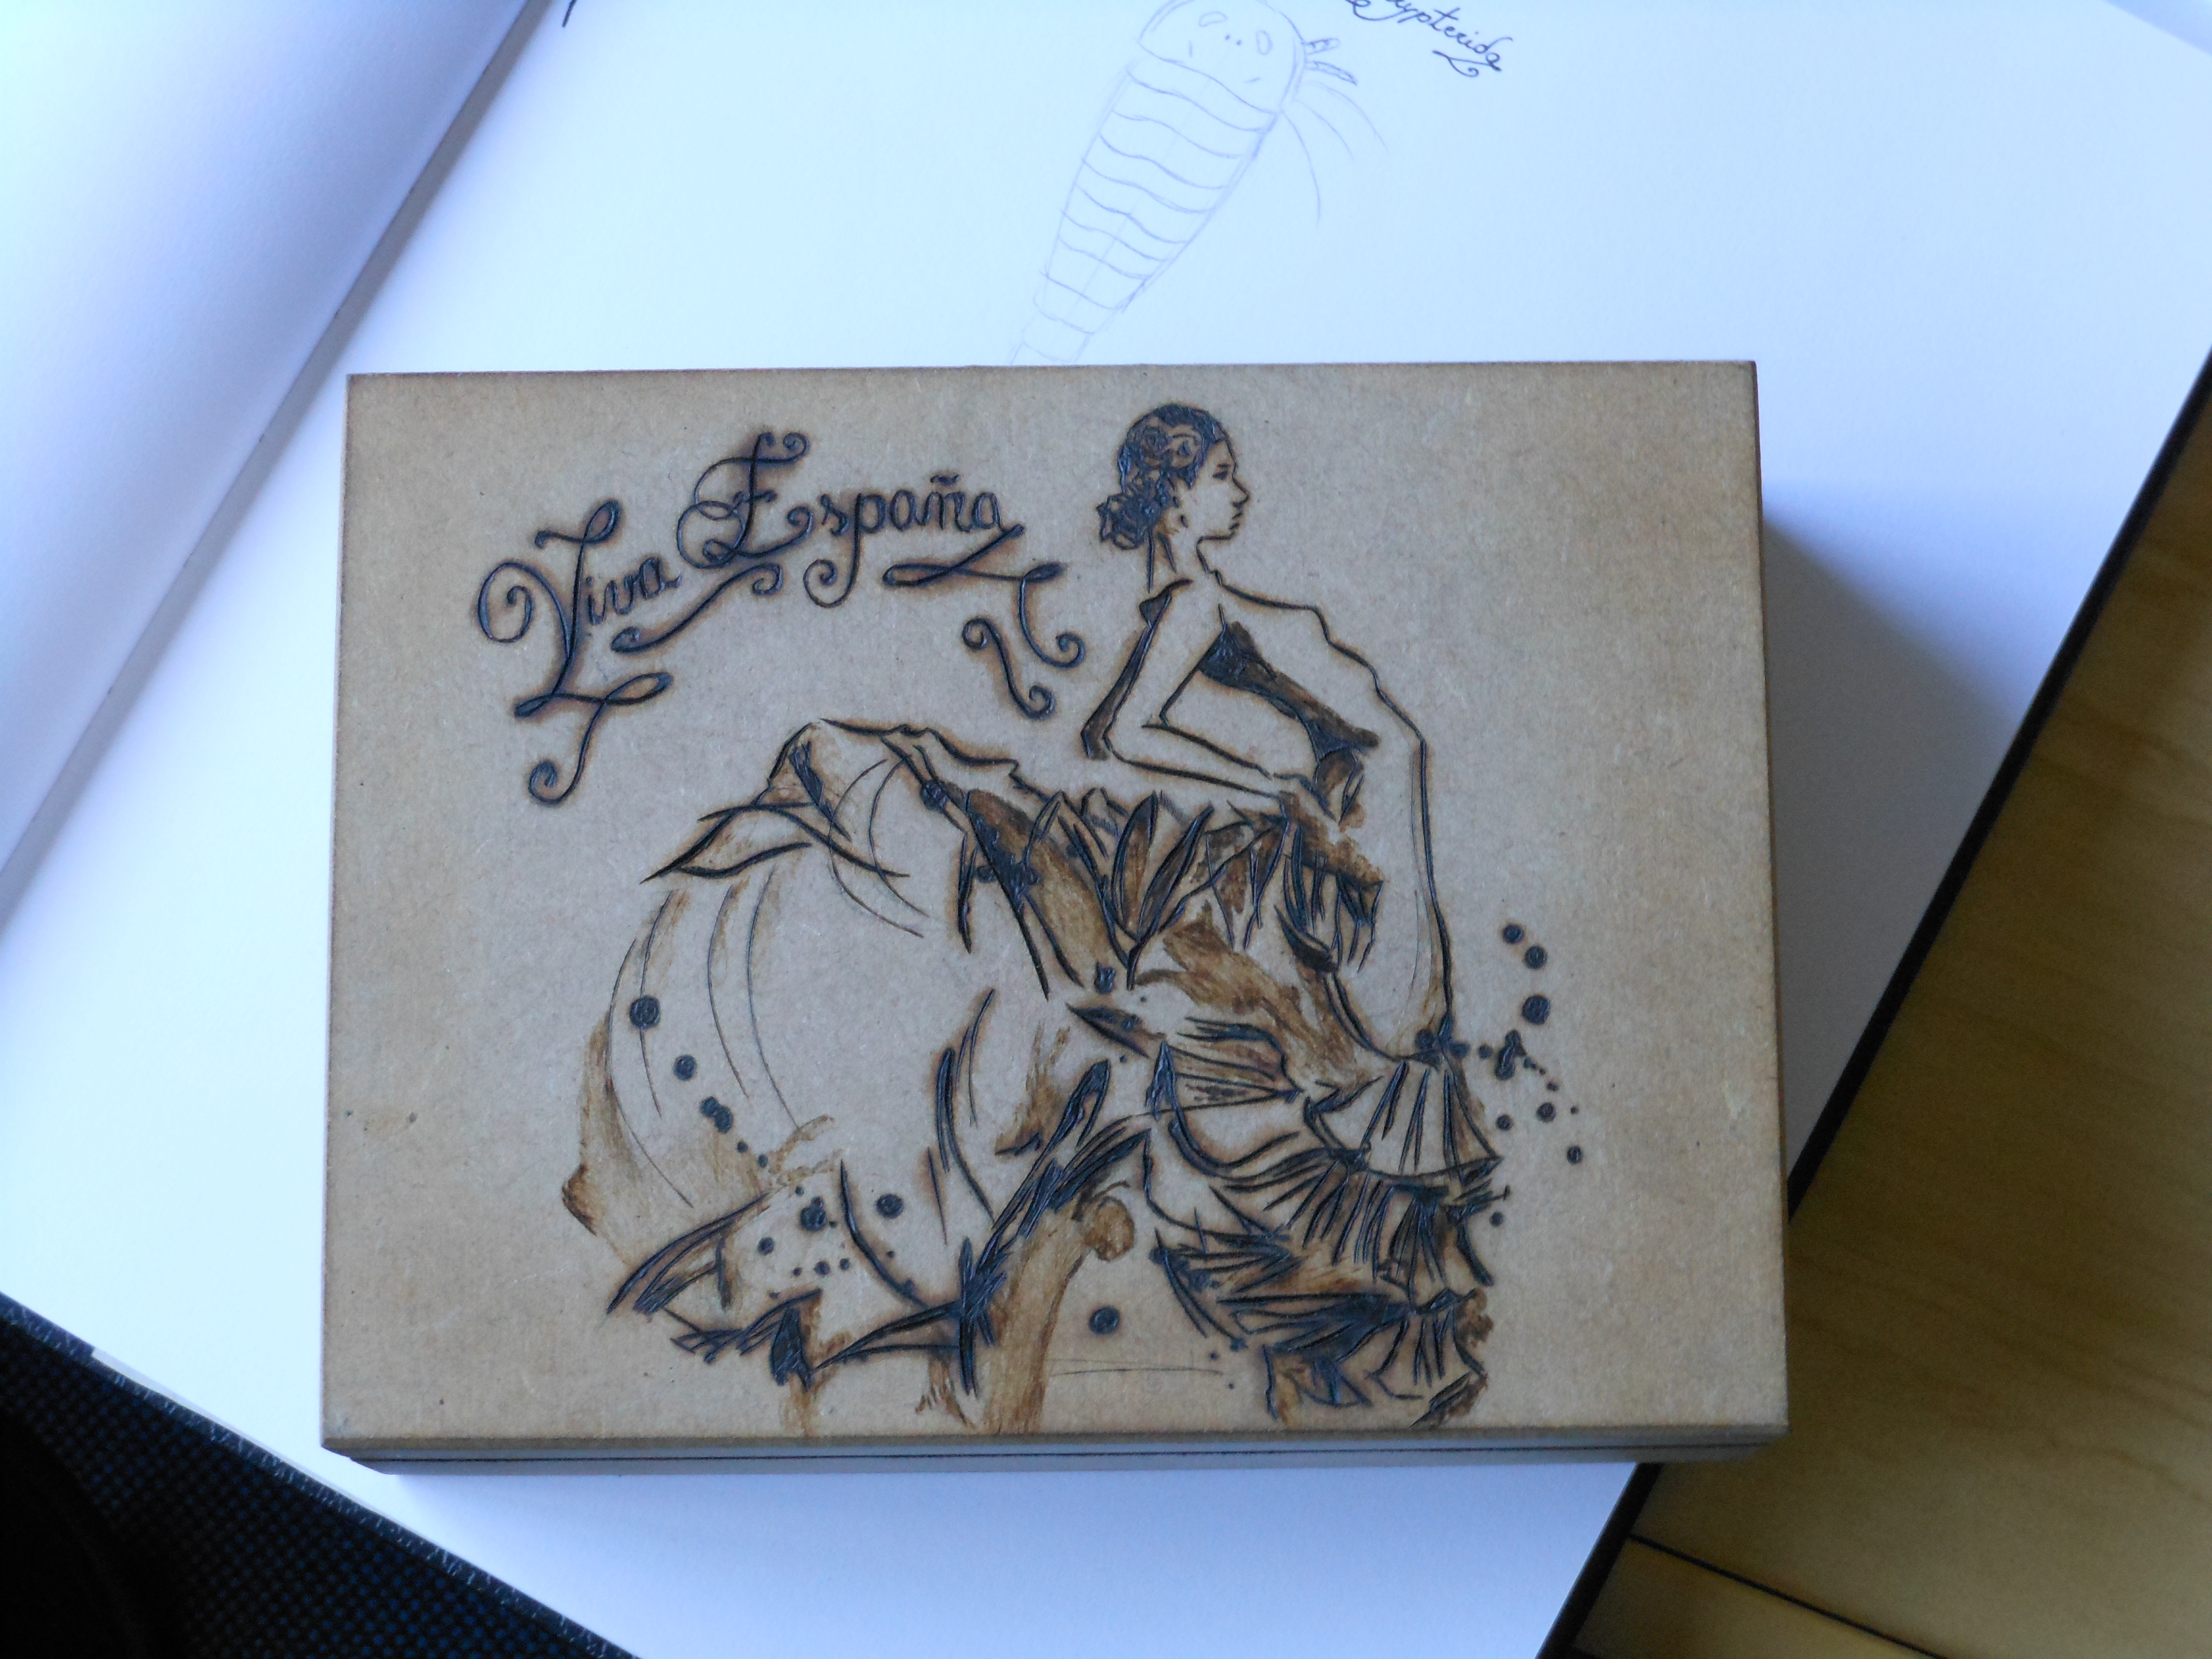
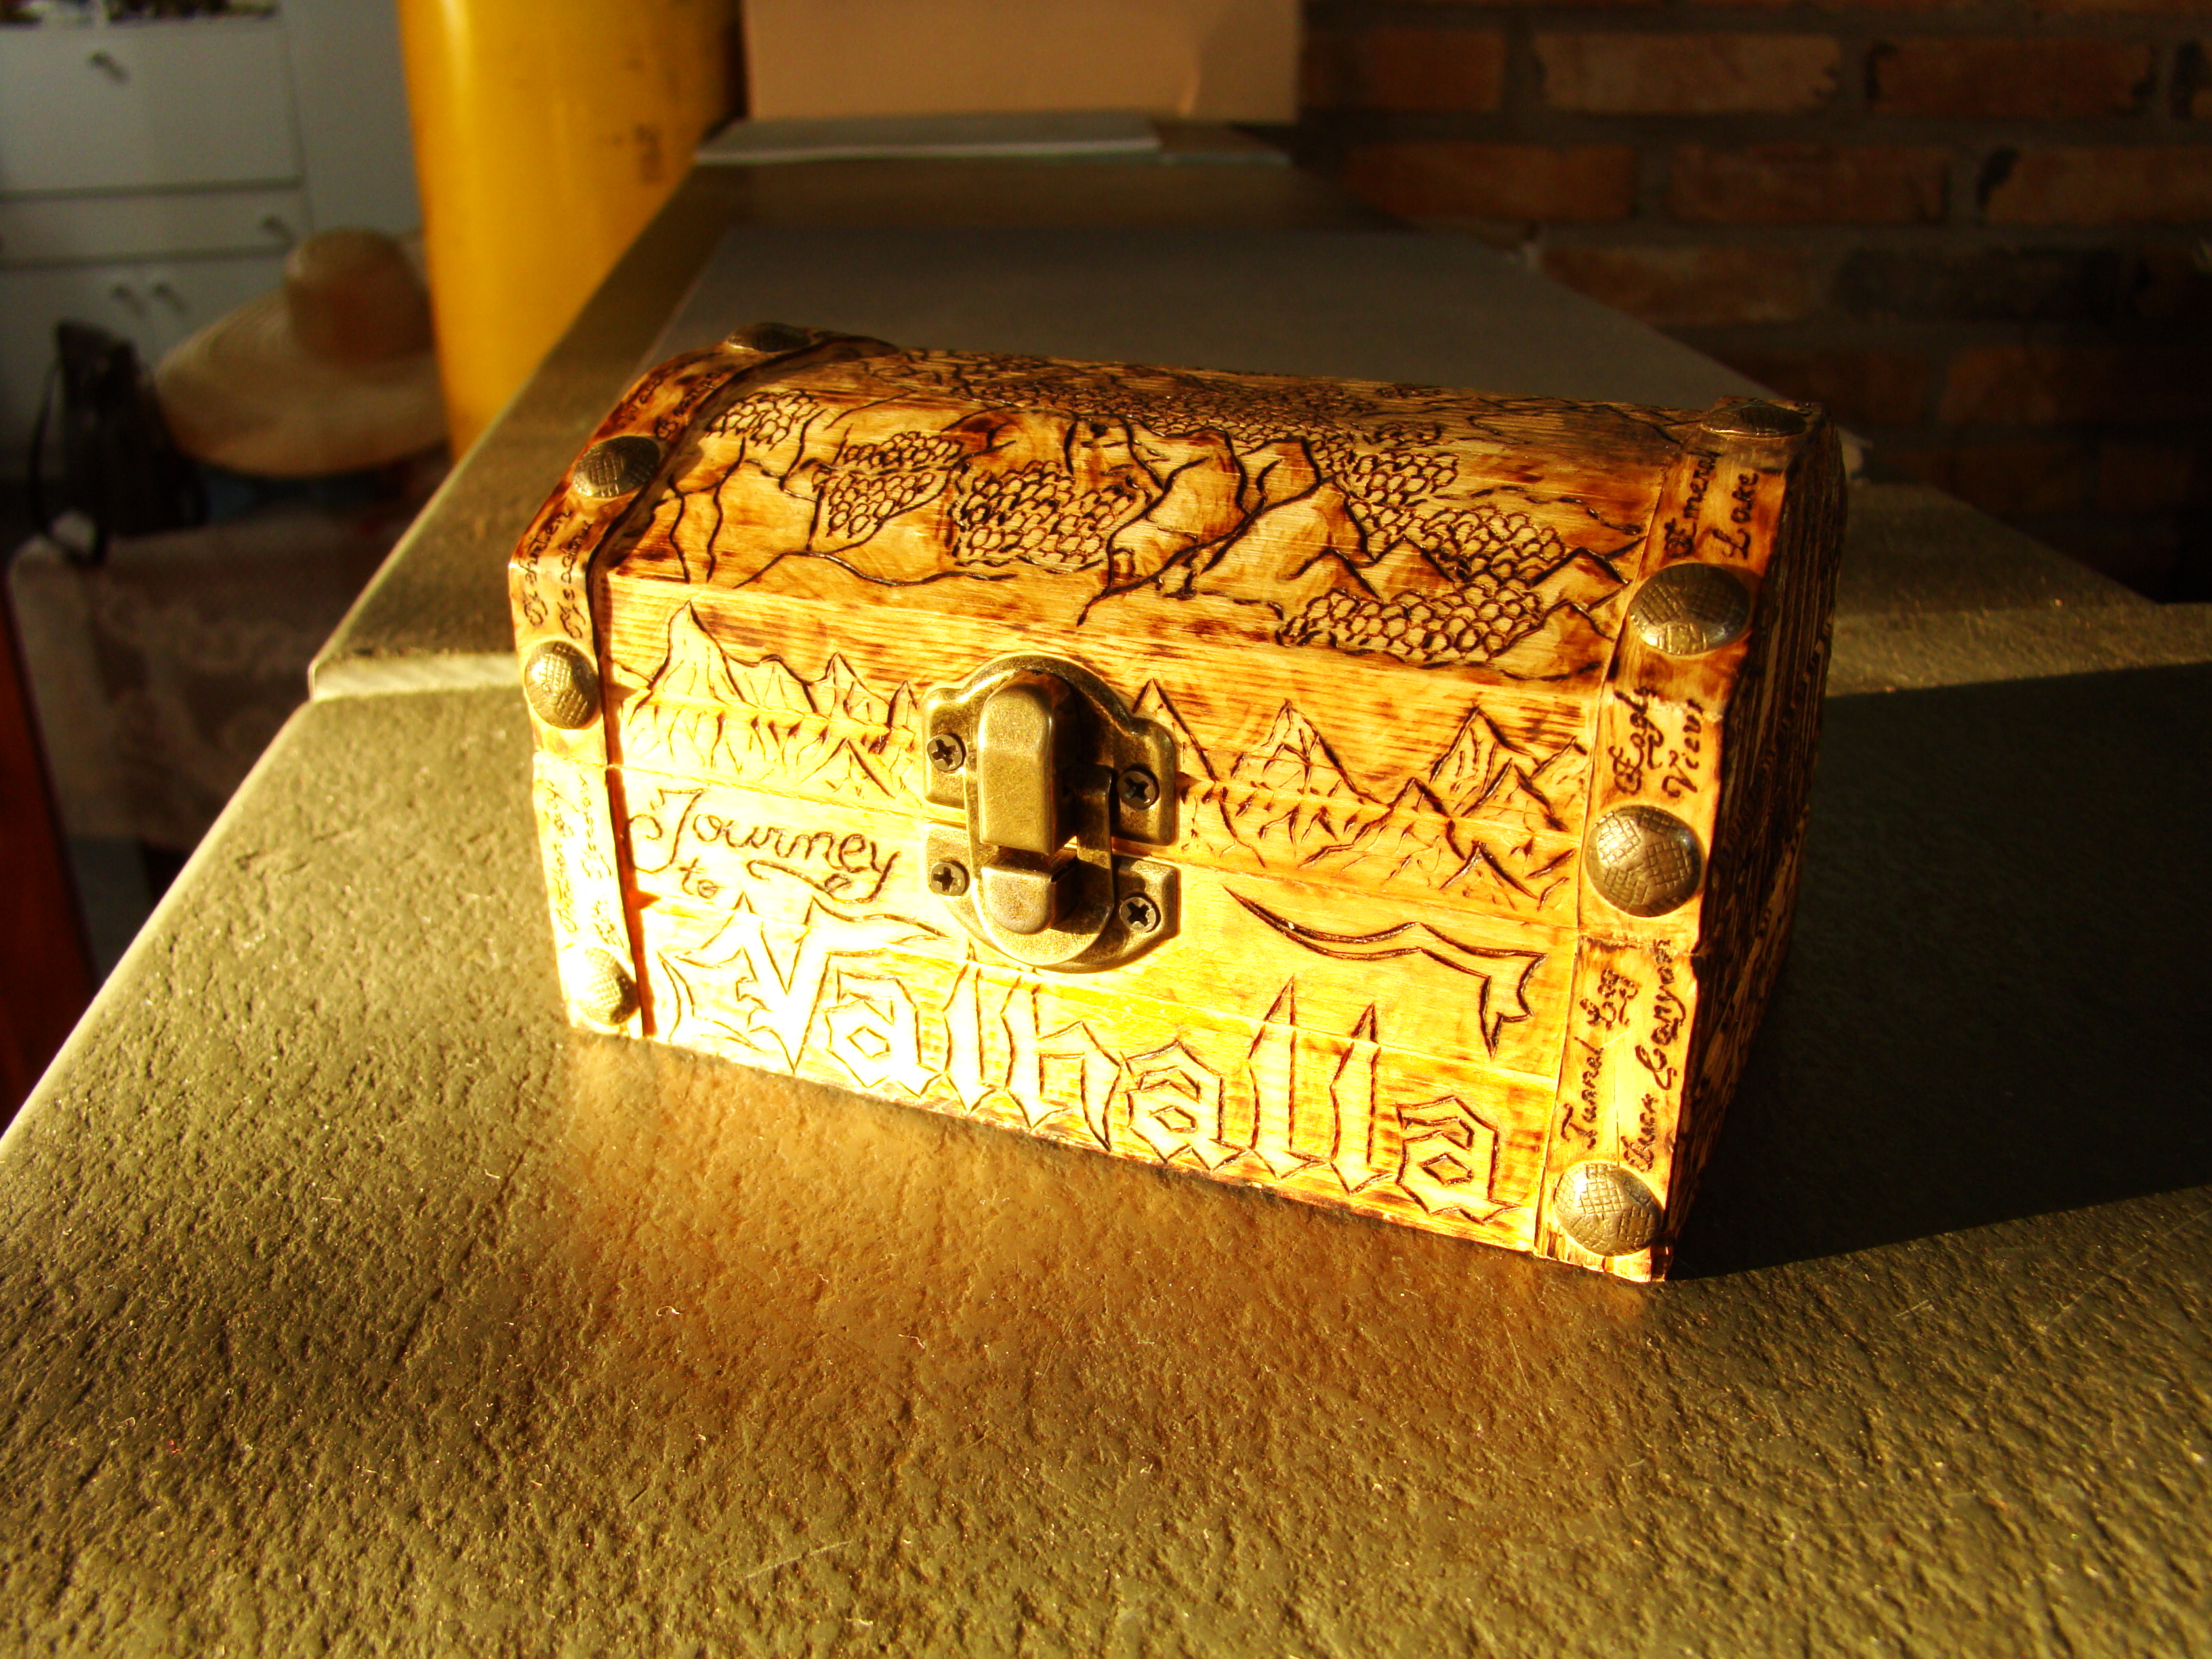
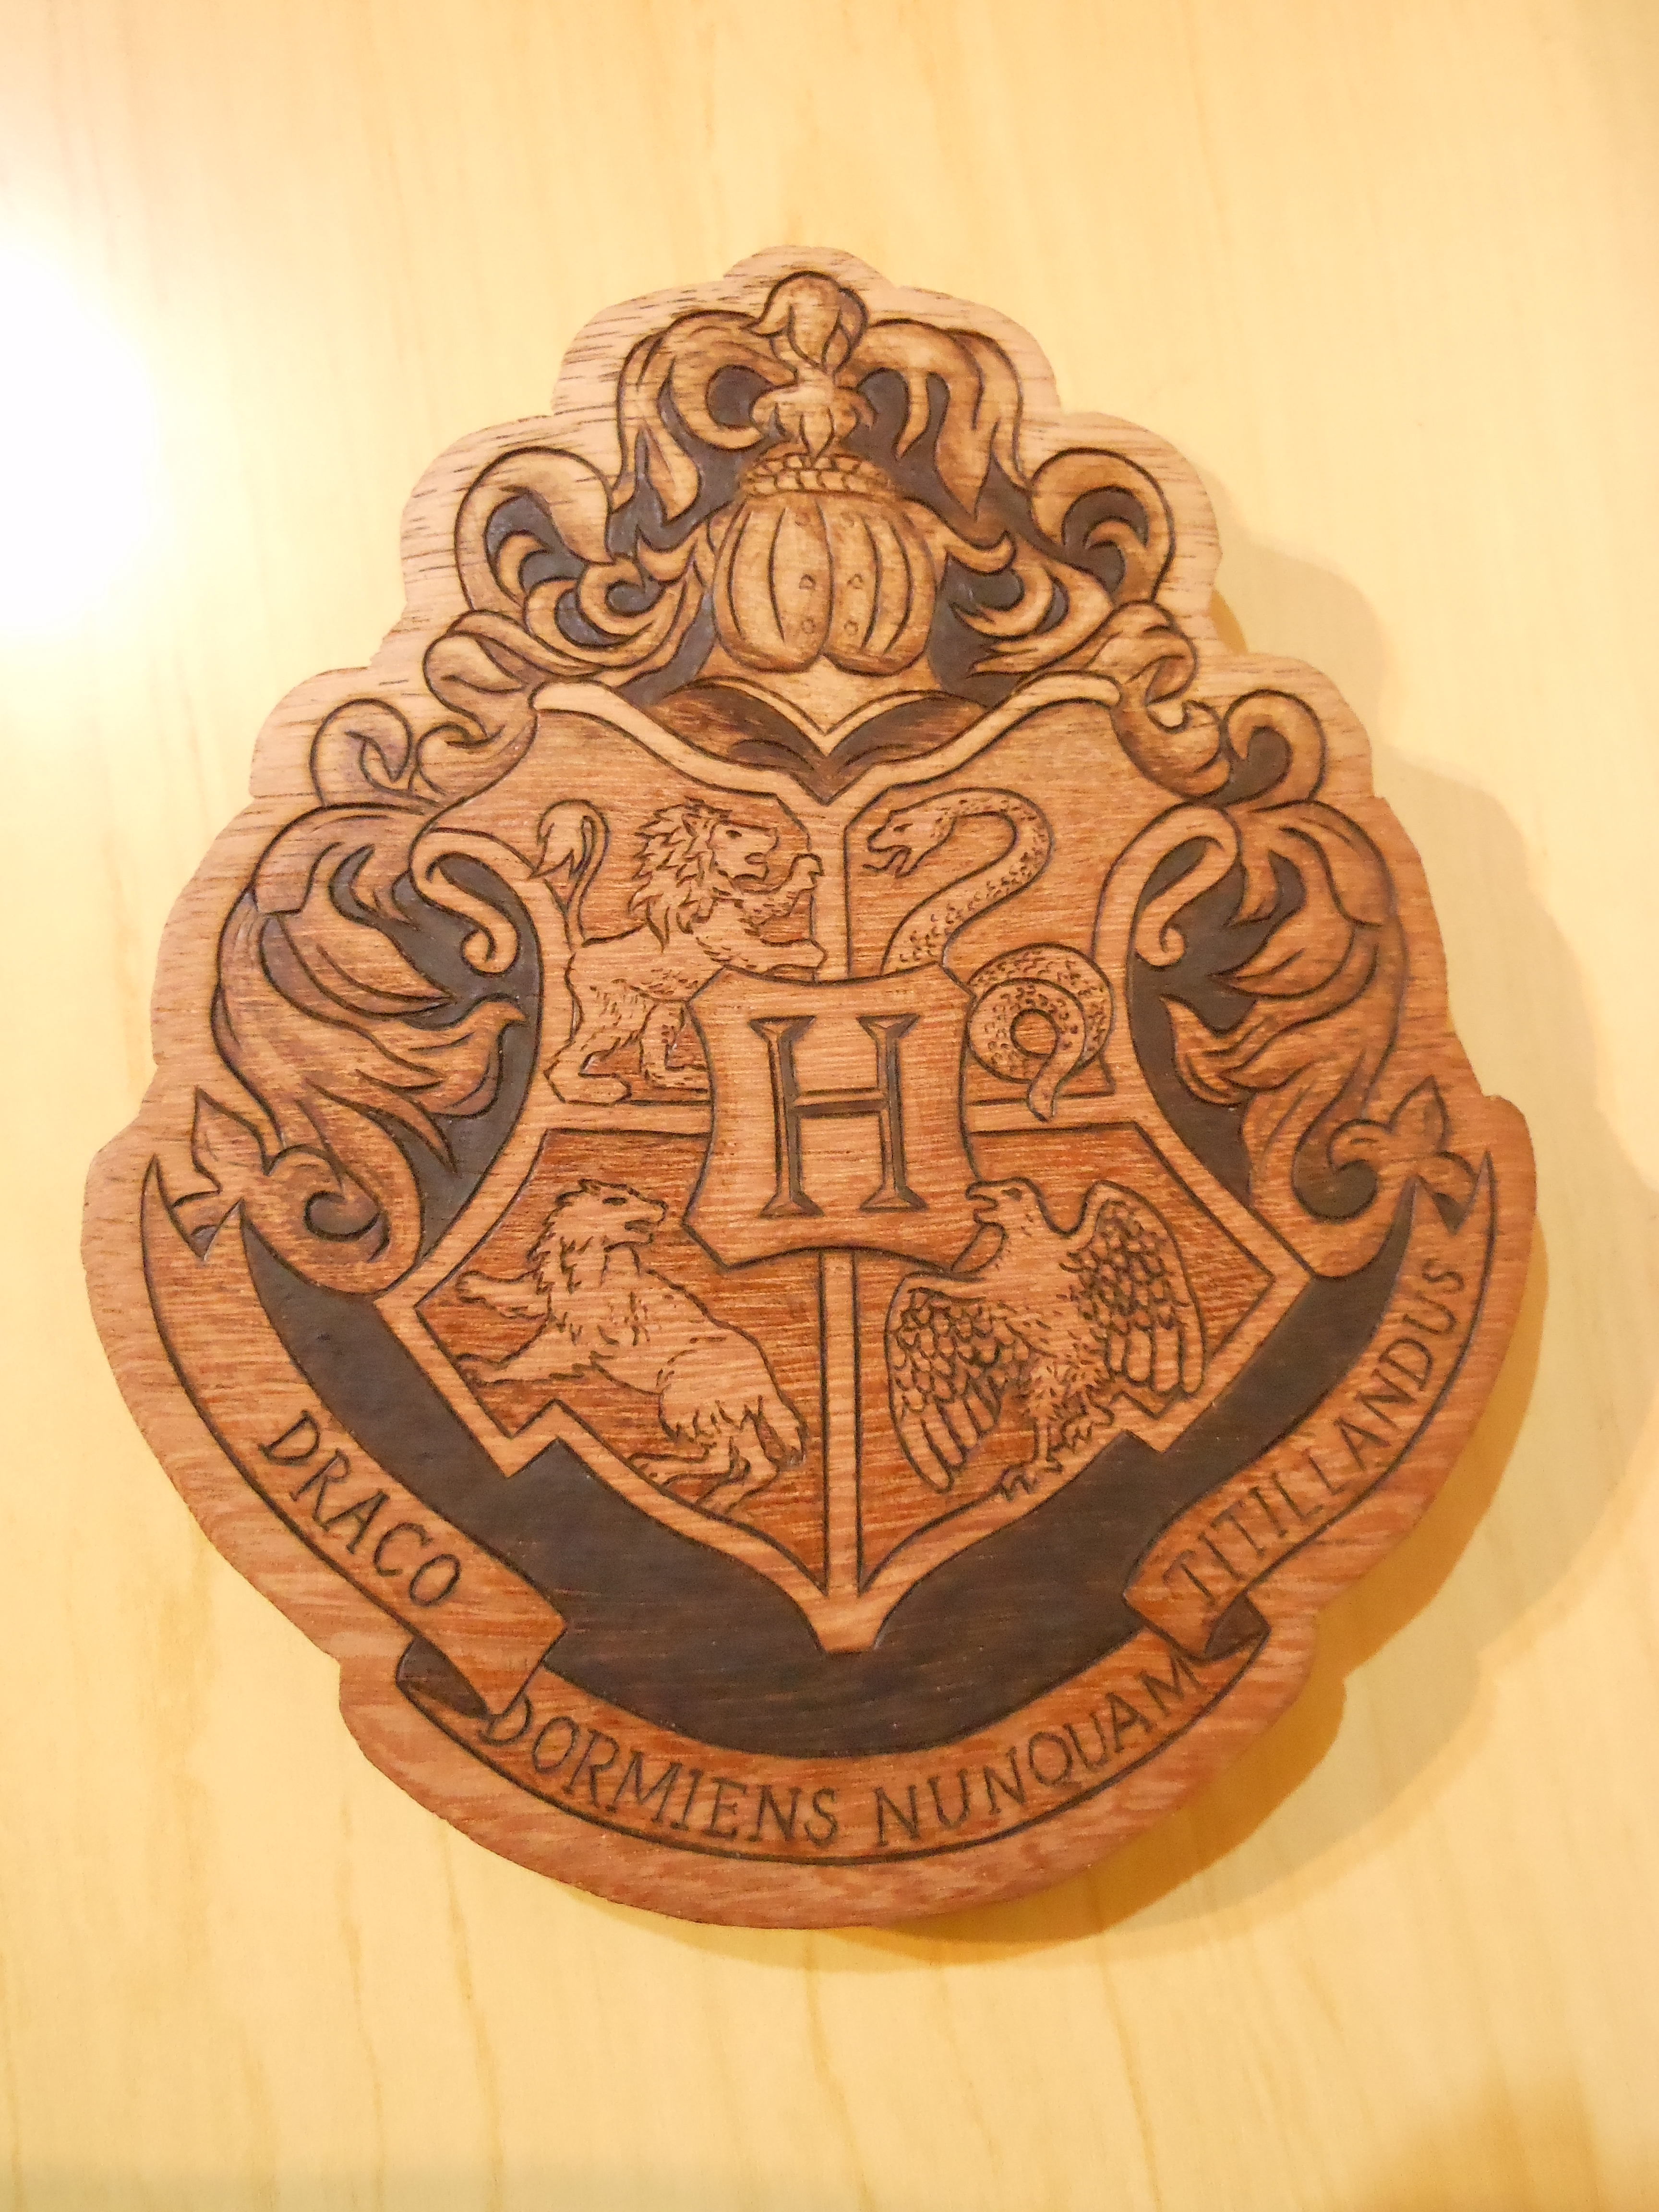
I am not an expert on wood types, so I will limit this step to a review to the ones I had the pleasure (or displeasure) of burning. Edit: Regardless of the wood, Always use a fan close to the piece, drawing air out of your work (don't throw air on it, as it will cause your woodburner to loose too much heat)
MDF: Not the most beautiful, but it was the one I had available most of the time. When I was working in Brazil, MDF boxes and chests were the only option in every craft shop. It is a hard wood, so it demands more heat, but you have the advantage of not worrying about the grain (since it doesn't have any). When making gradients, most surfaces would display a nice golden shine; however, a few times it would just become grayish and lifeless.
Edit: Please keep in mind that MDF is composed of wood dust mixed with nasty toxic substances such as formaldehyde based resin (there are some recent options without formaldehyde though). At any rate, only give this one a shot for lack of a better option, and take extra exhaustion efforts such as fans drawing air from your work and out the window.
Pinewood: Cheap and broadly available (now that I am back in the US, at least) in all shapes, this one is soft and easy to burn. The grains are a trouble, because they are harder and demand more heat, so you must balance the pressure you are applying. The resin inside will give a varnish effect to your work.
Cedar wood: Another soft substrate, and grains are not a big worry. Line art will pop out beautifully, but gradient shadings will barely be noticed.
Cherry wood: Smells wonderful while you work! I only tried this one once, and seemed very good.
Never burn wood that has some kind of finishing. Burning varnish is not good for your health, and (trust me) might even make the wood burst into small flames.
Drawing Guidelines
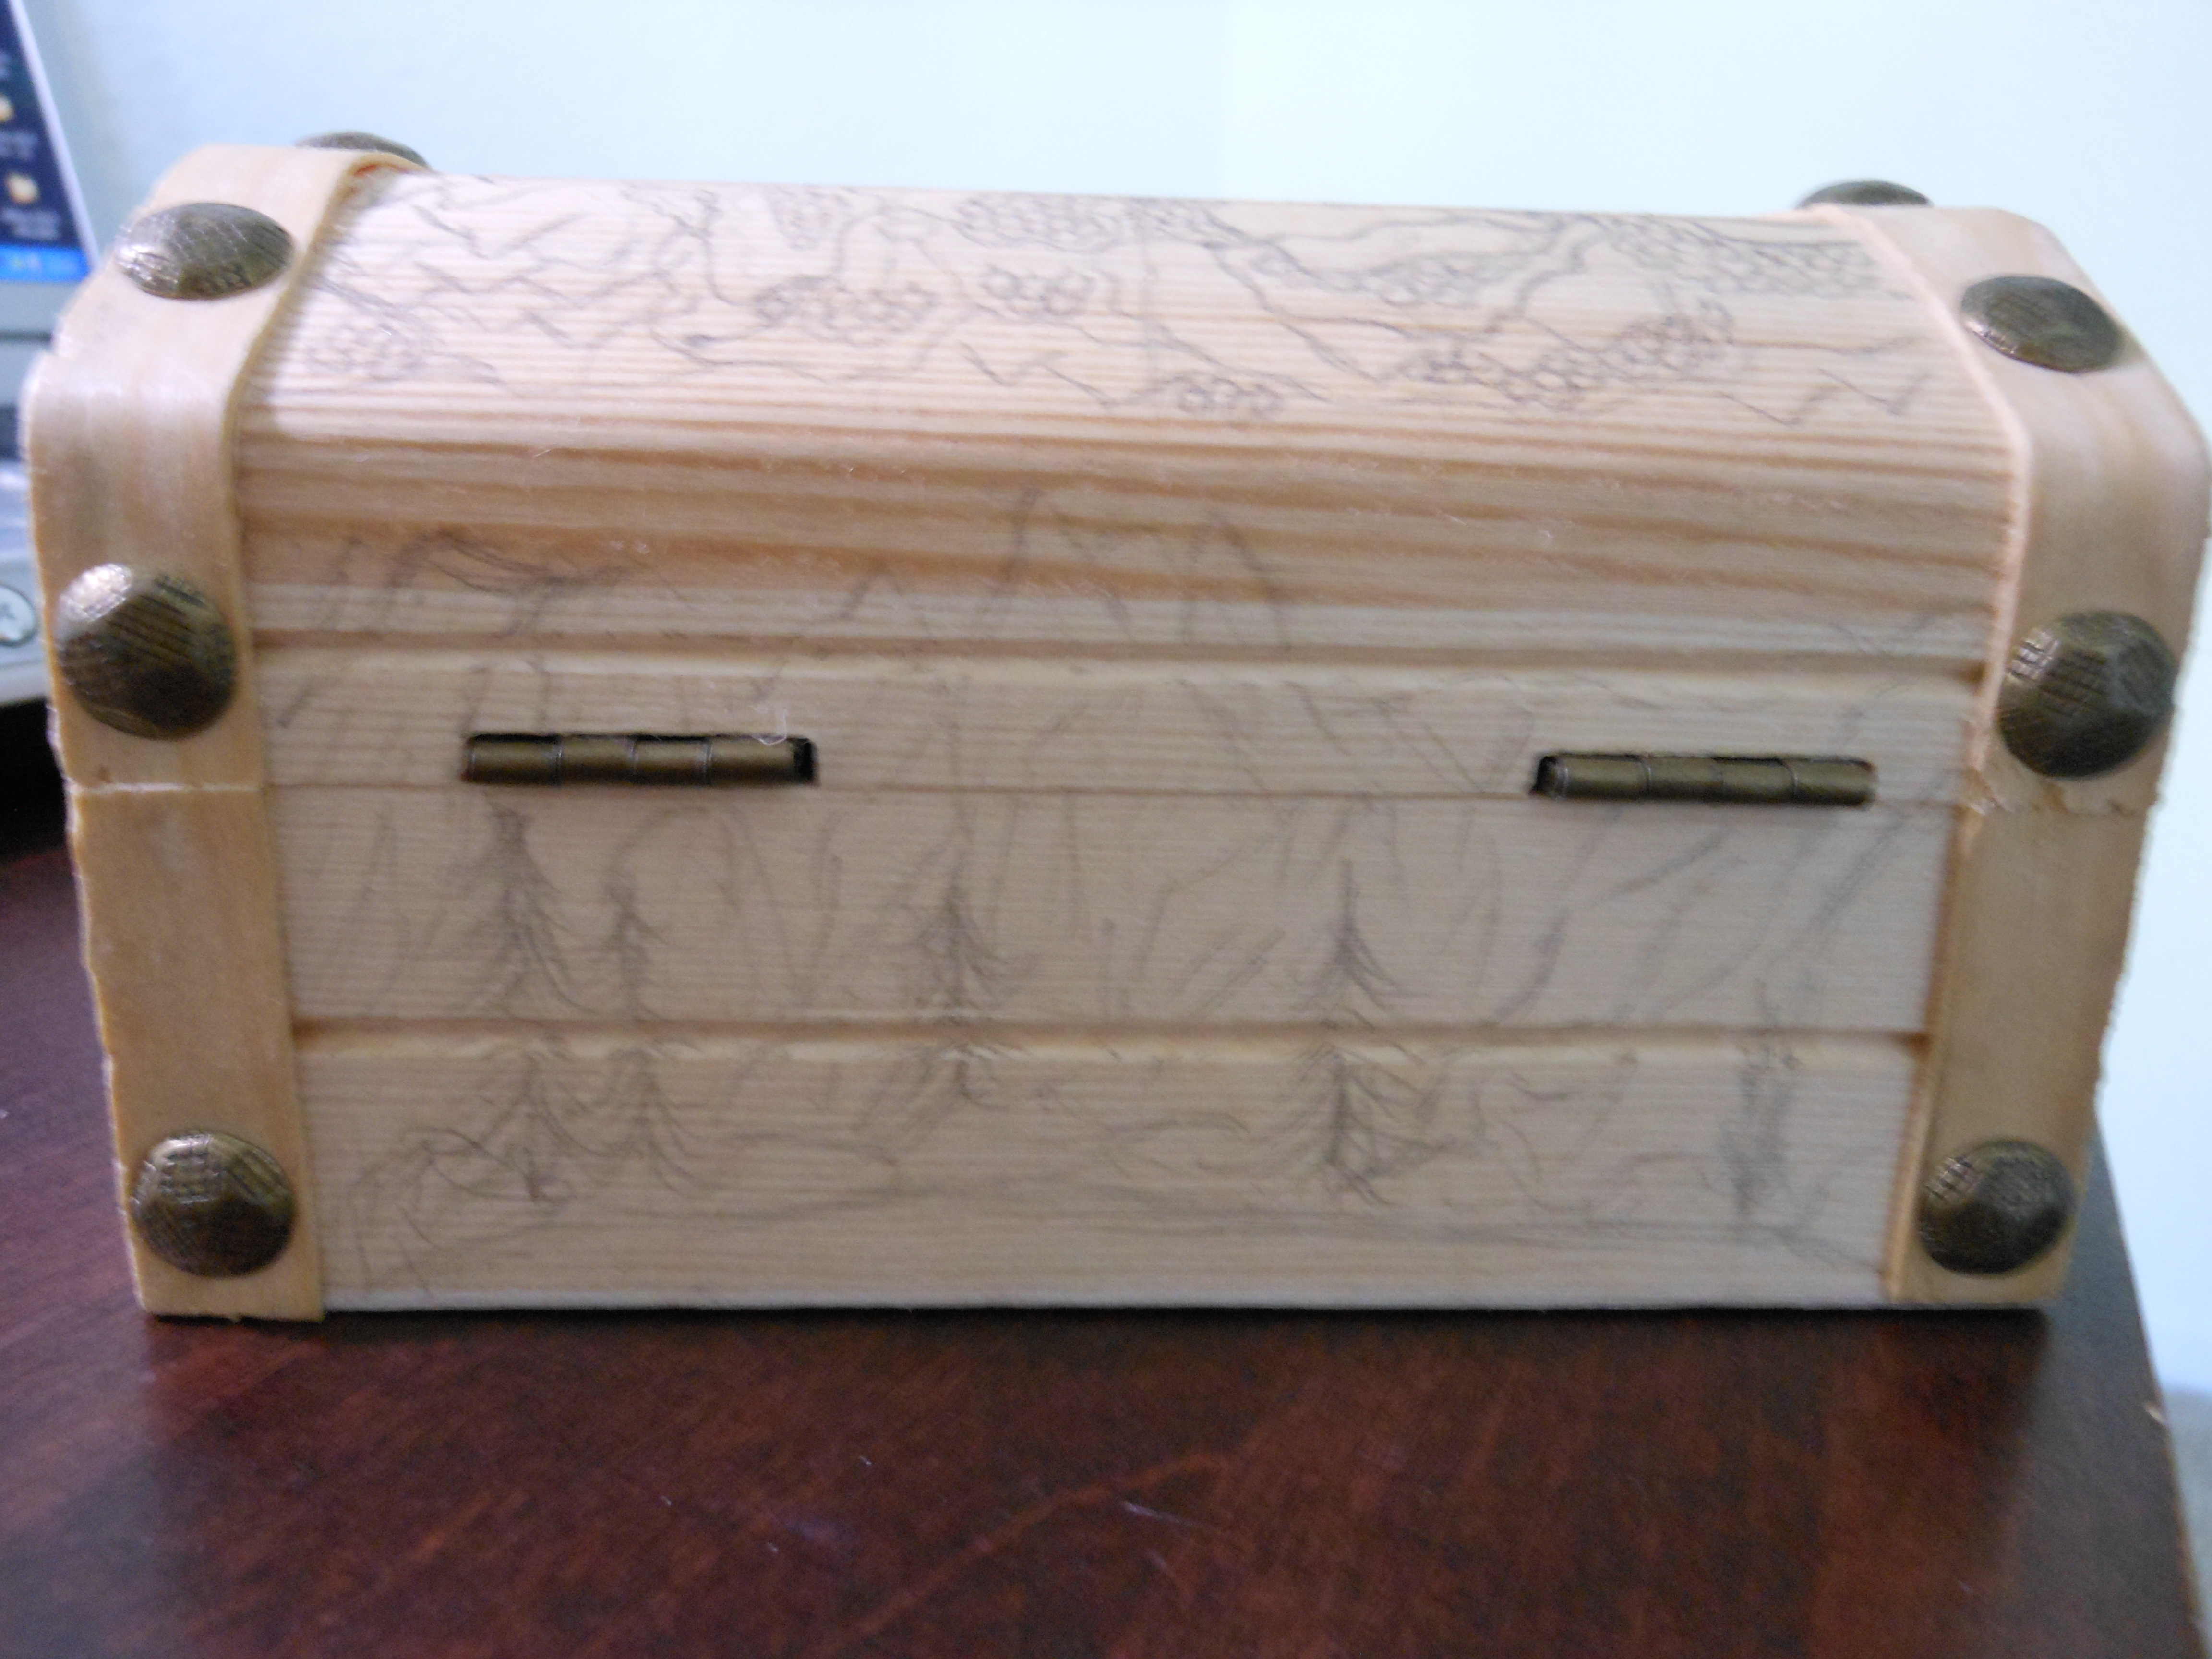
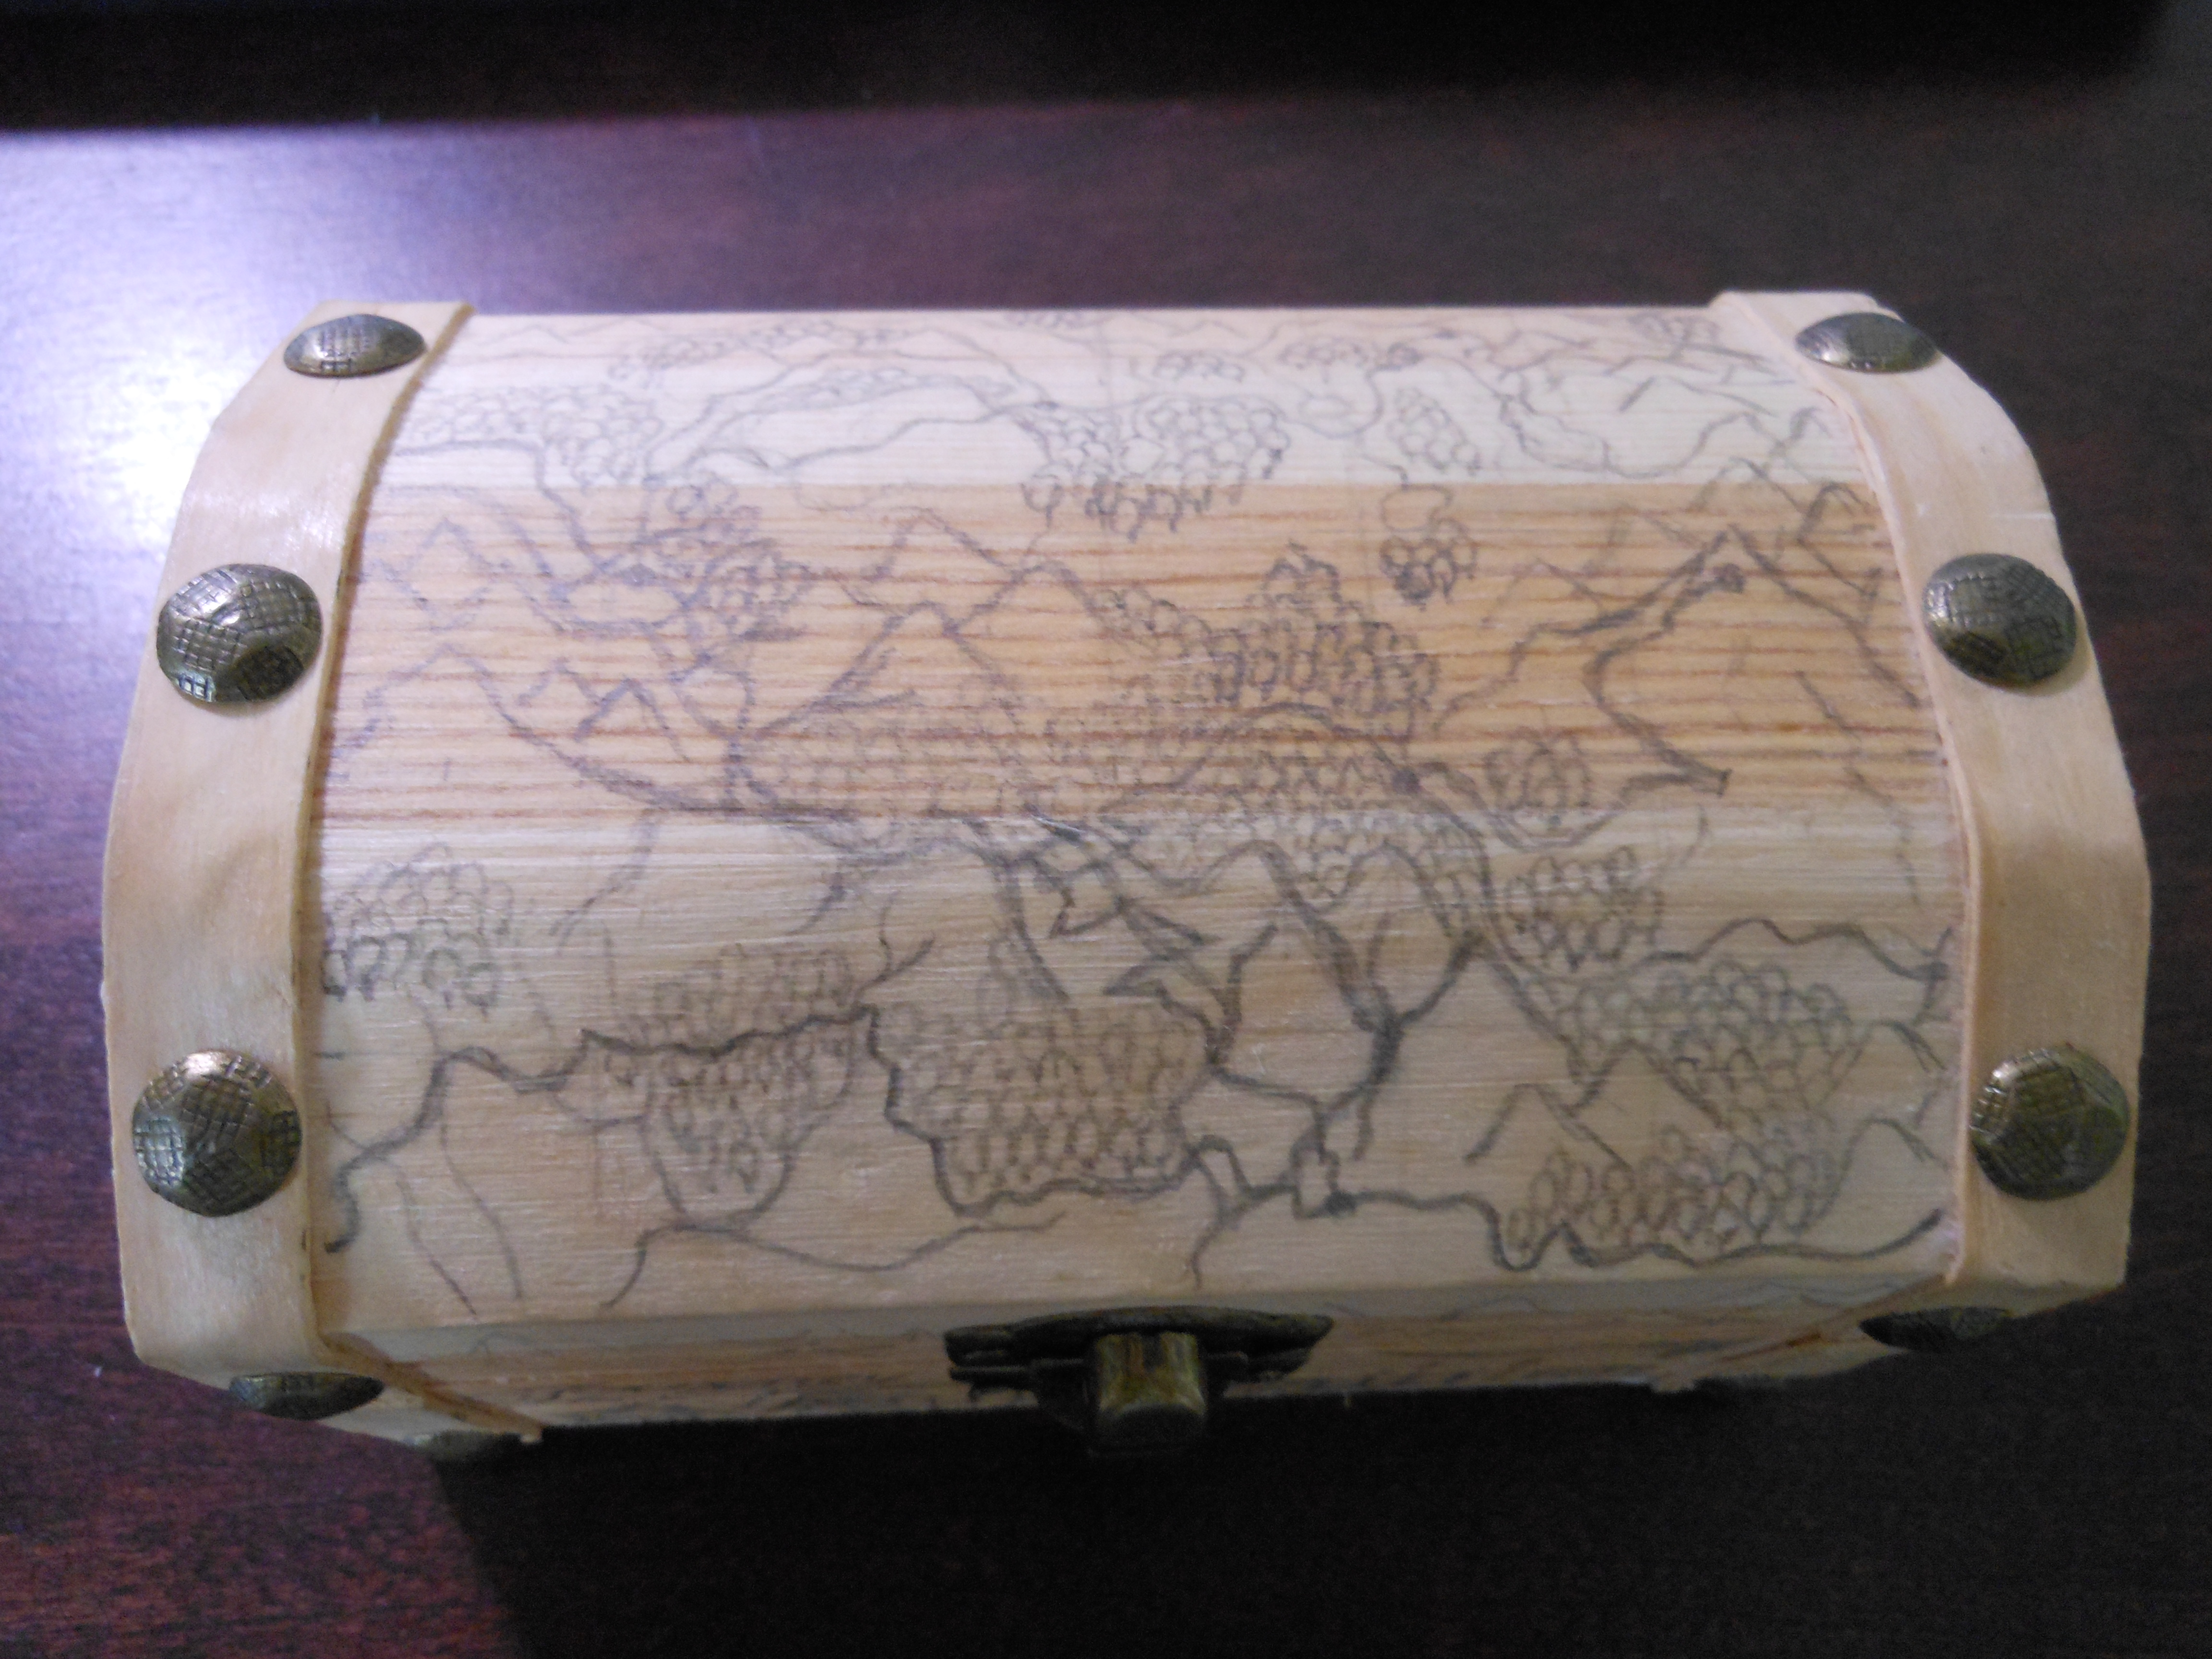
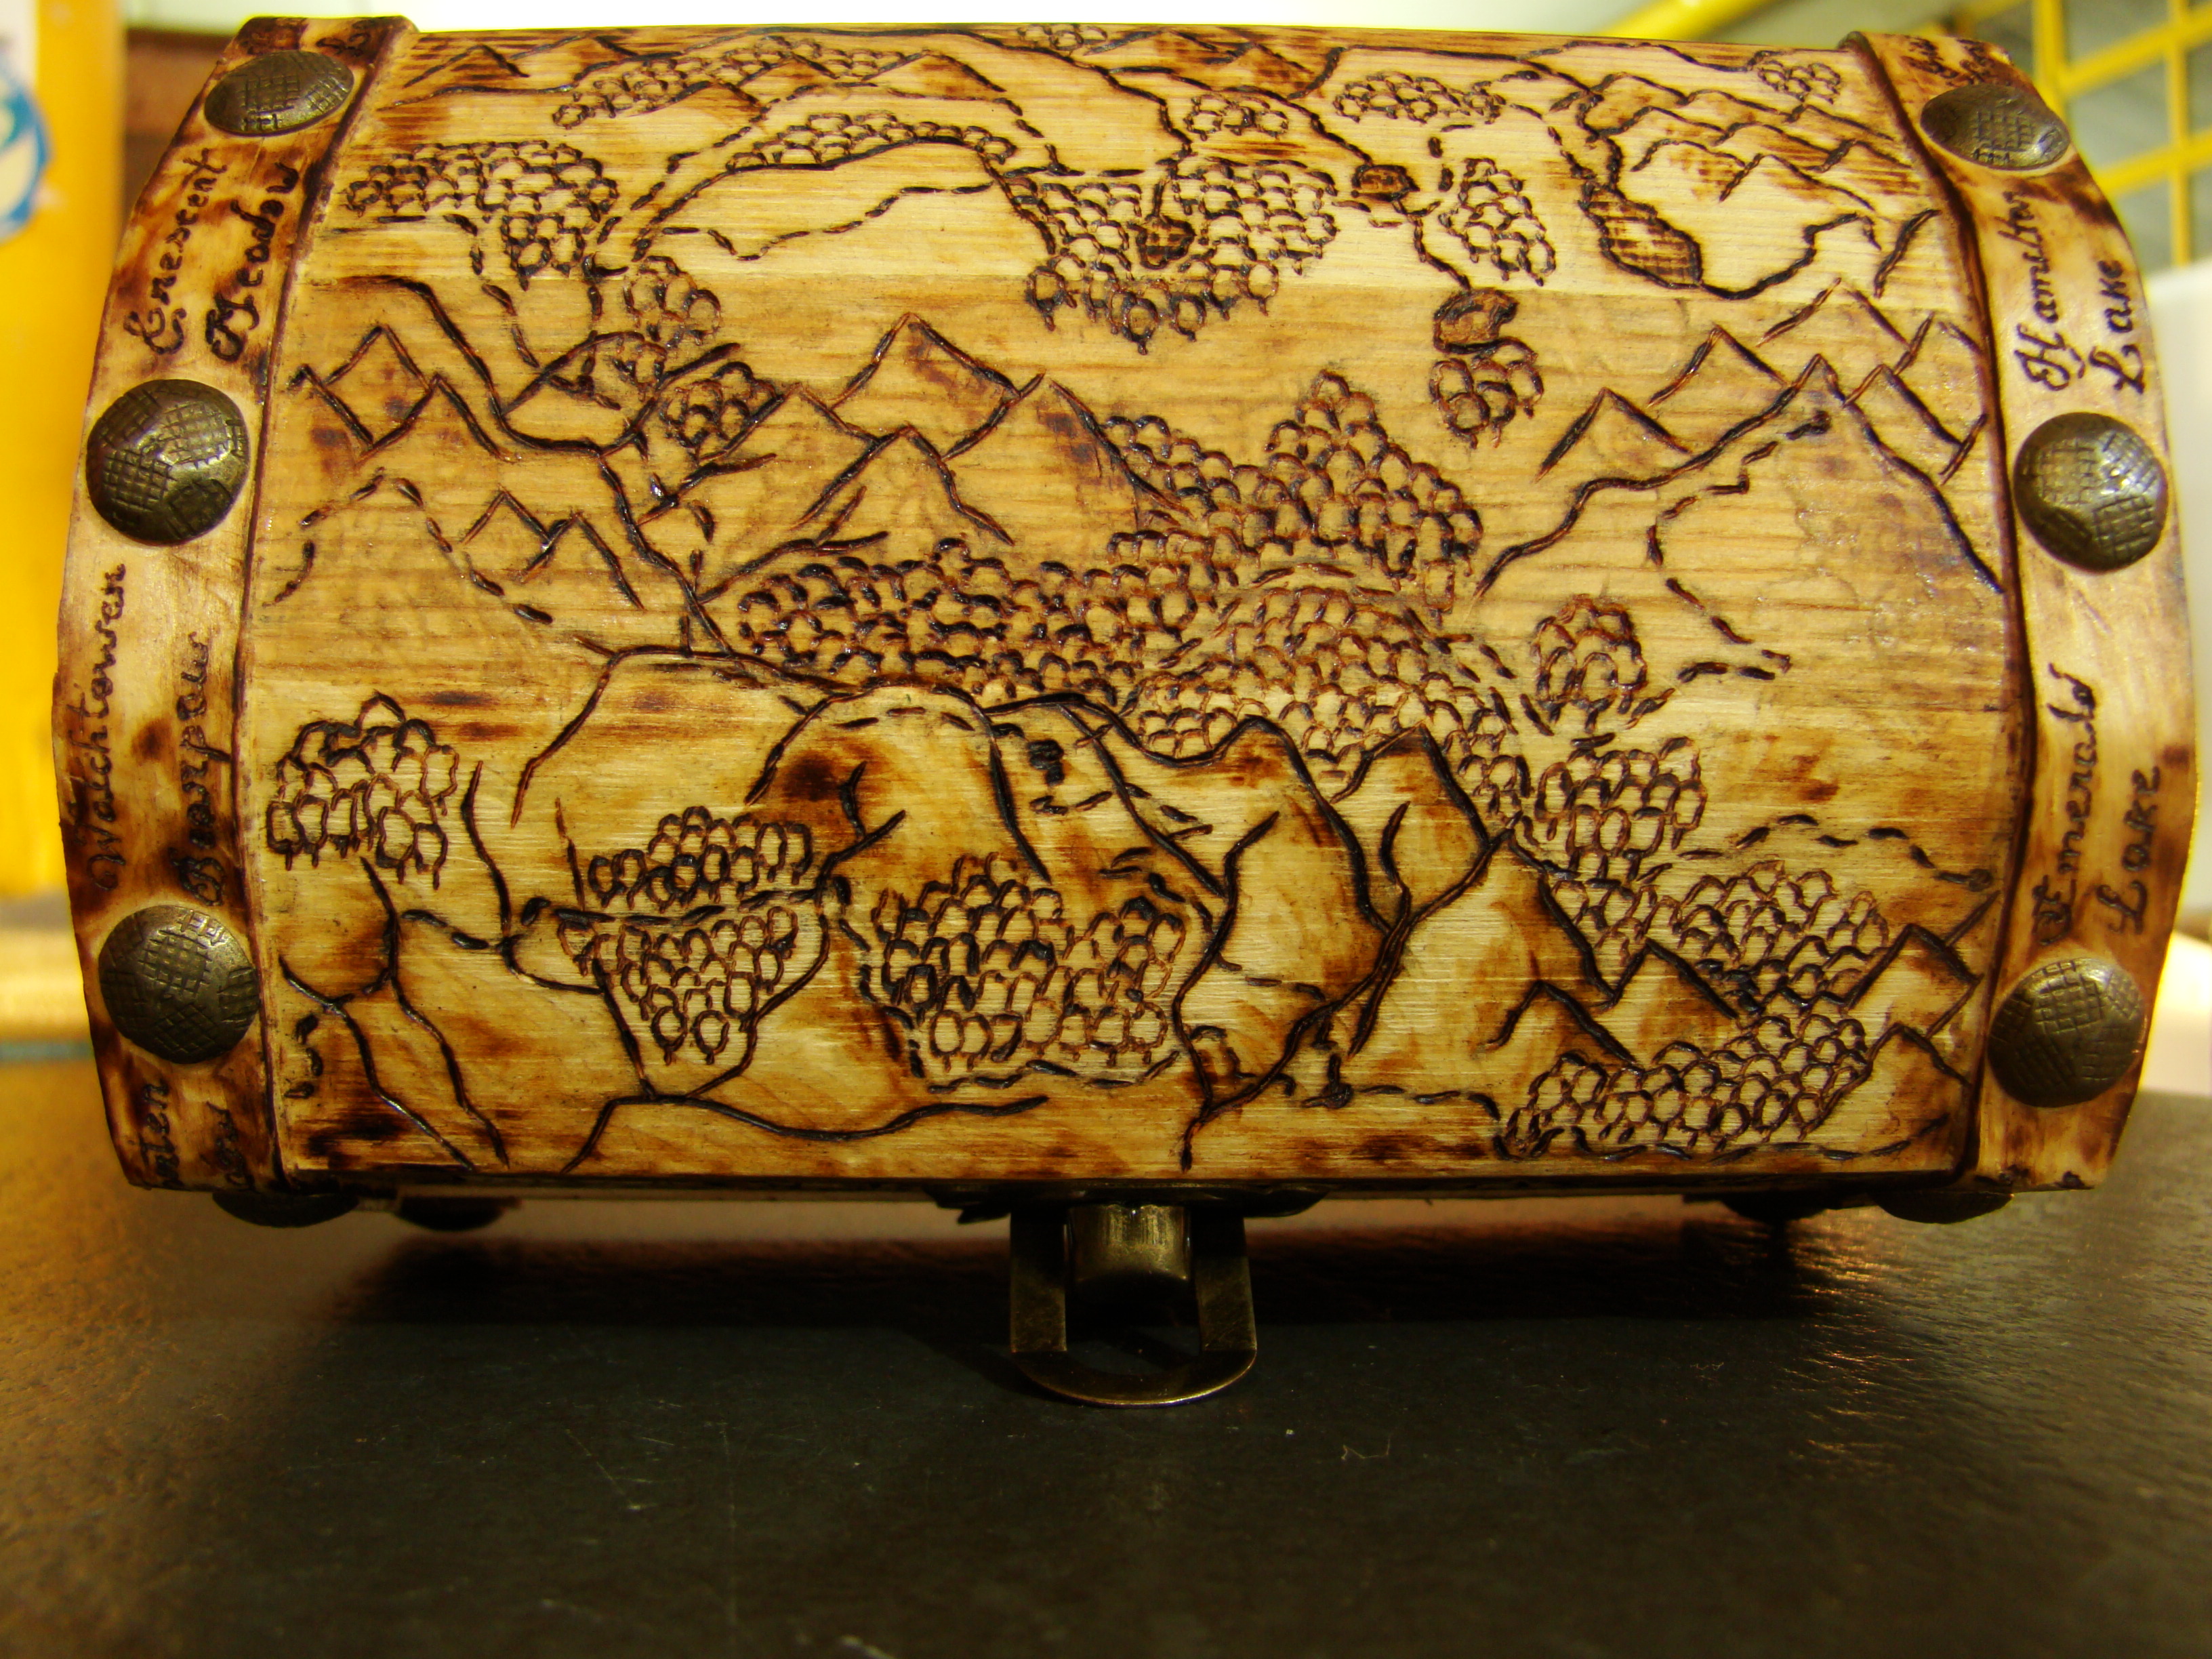
Before we start with the burning itself, let me spare a thought about drawing your guidelines.
On my first projects, I put a lot of effort on drawing everything by free-hand. I felt I would be cheating if I did any kind of effortless transfer to the wood. Turns out I was wasting time.
As I began to receive more orders with lots of different themes, I realized people really don't care about it. What really matters is the burning itself, the final result. So now I constantly use BLACK carbon paper (using blue is a disaster, trust me) to make the transfer, and some free-hand if I need to. Of course, once in a while it's still nice to do a whole project in the old style...
Trick: Some people print the drawings and transfer the toner from paper to wood with heat, using a common iron or even a heat press. Make sure your drawing looks exactly how you want it to be in the wood, since you will not have control over which lines will be transferred. Personally, I prefer to have a finer control over my guidelines. Also it can warp the wood if you're not careful!
Basic Outlines
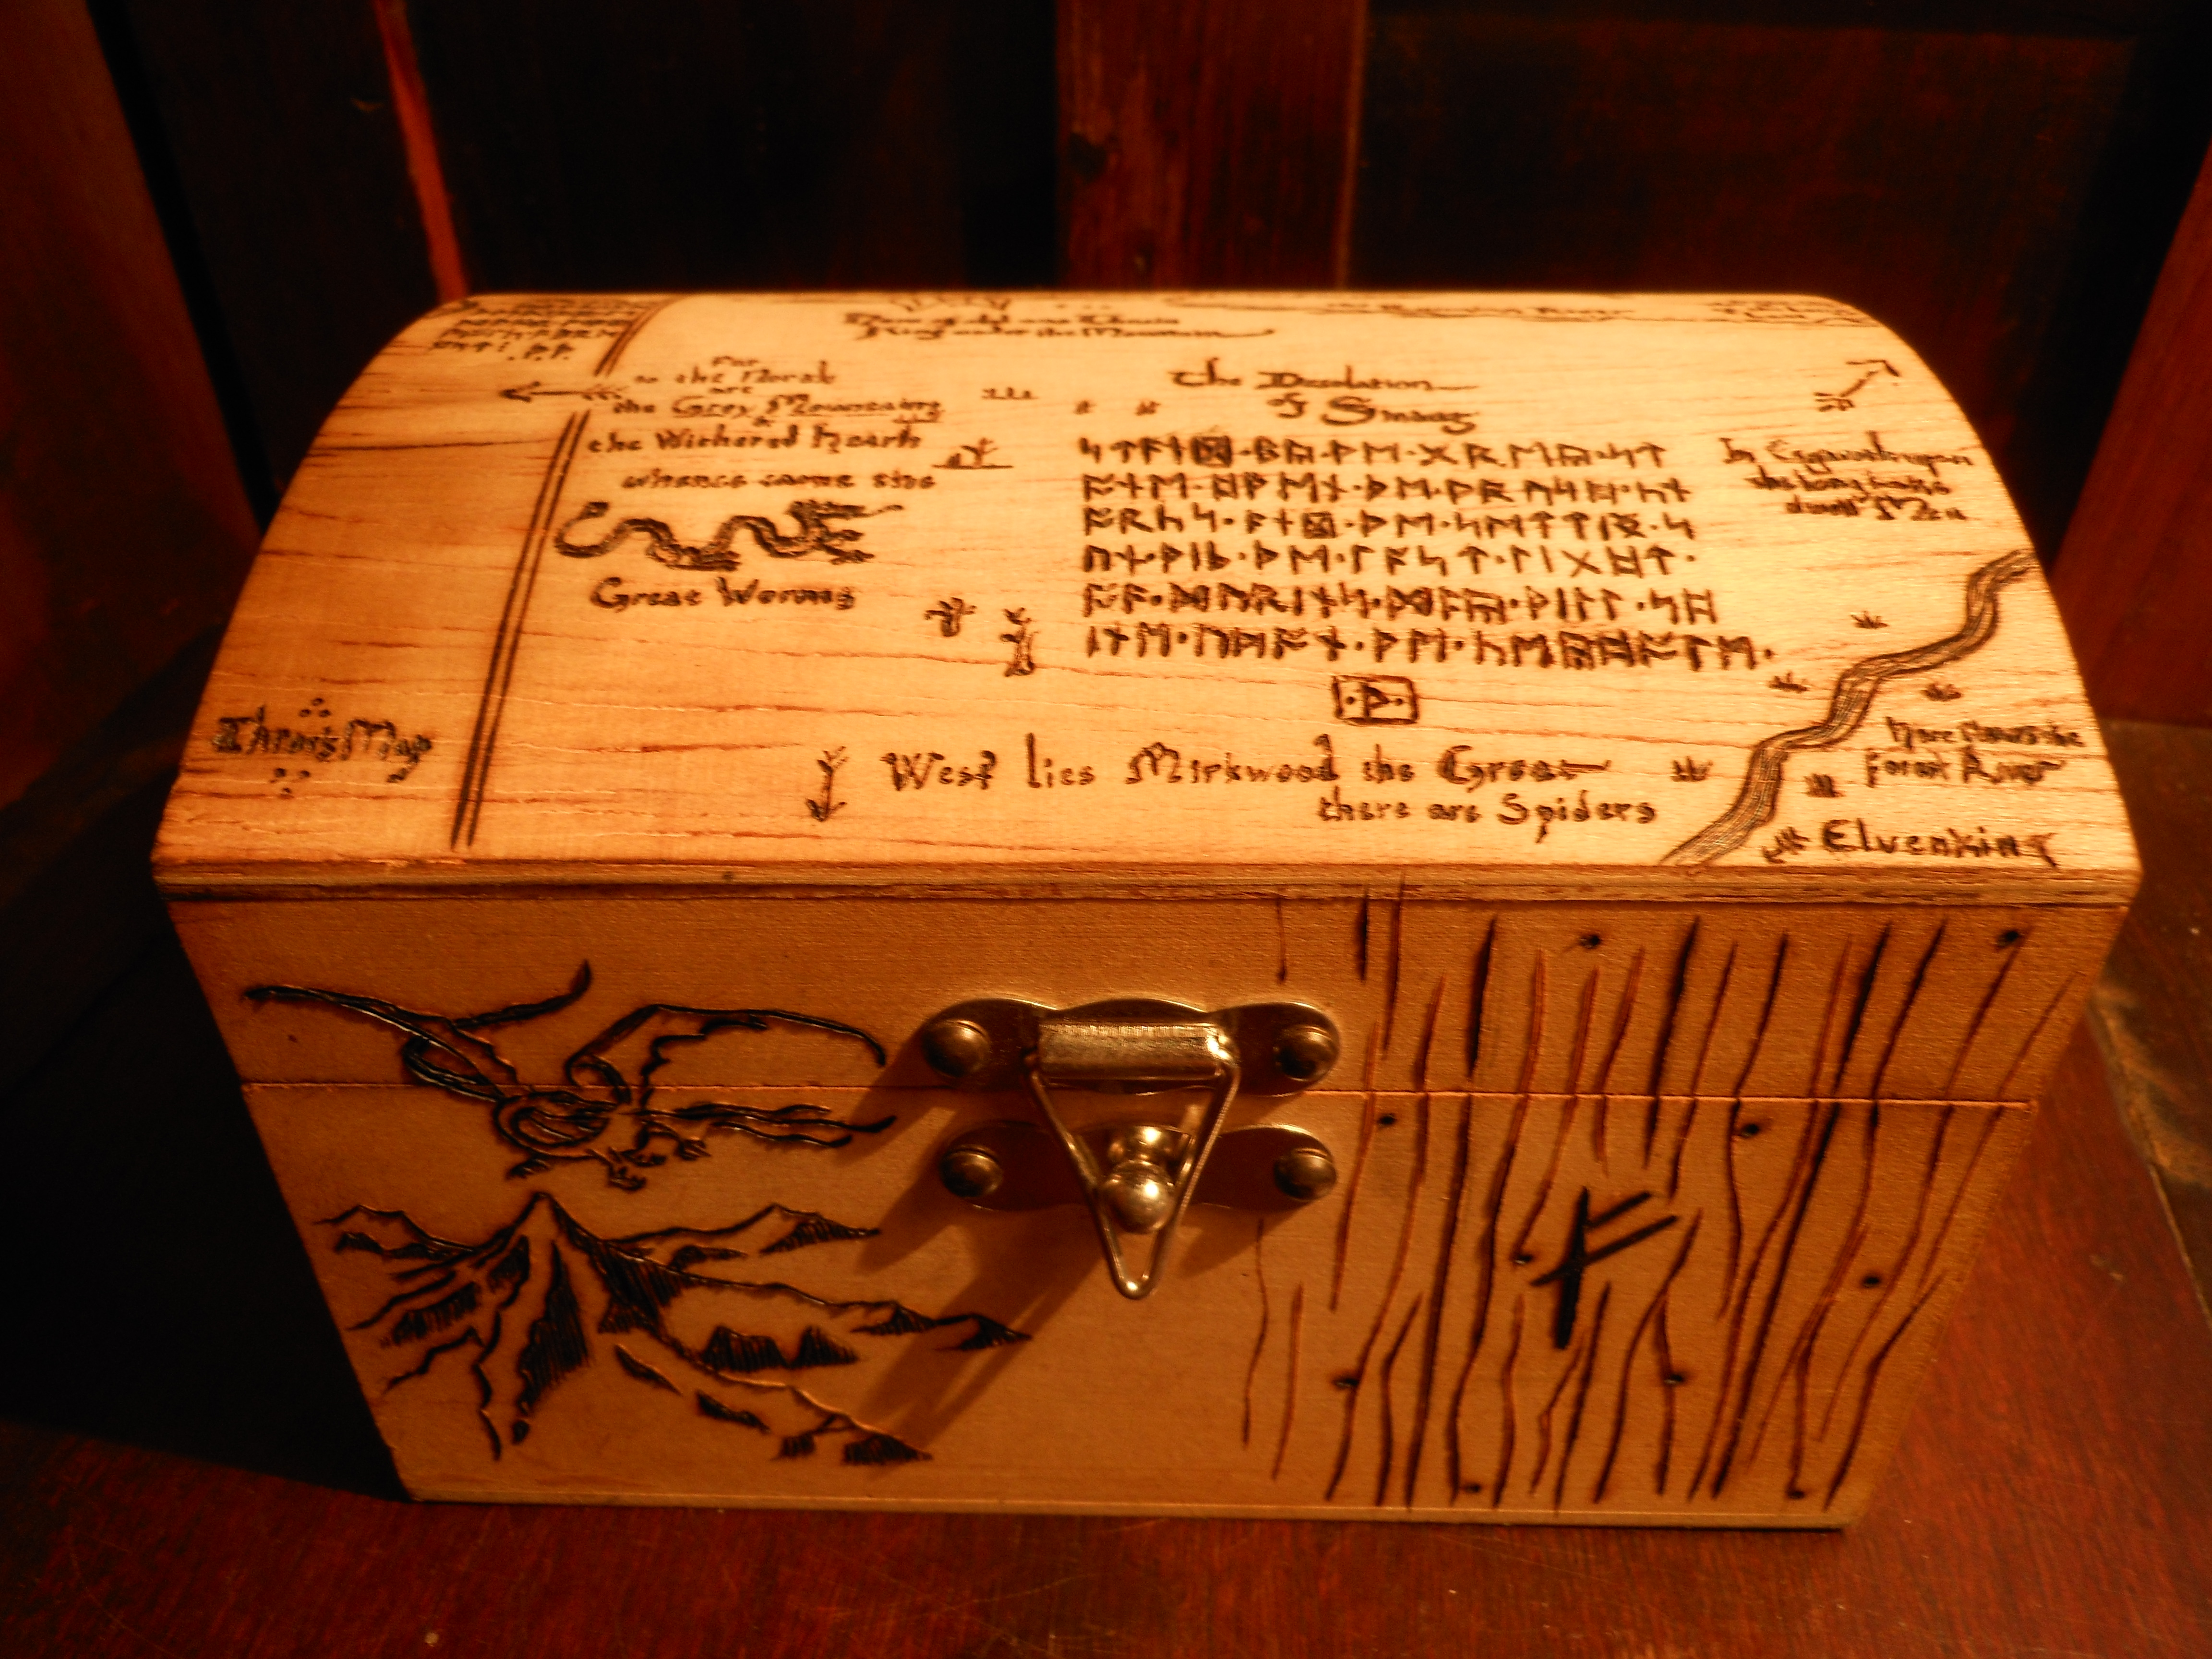
At last, let's burn it!
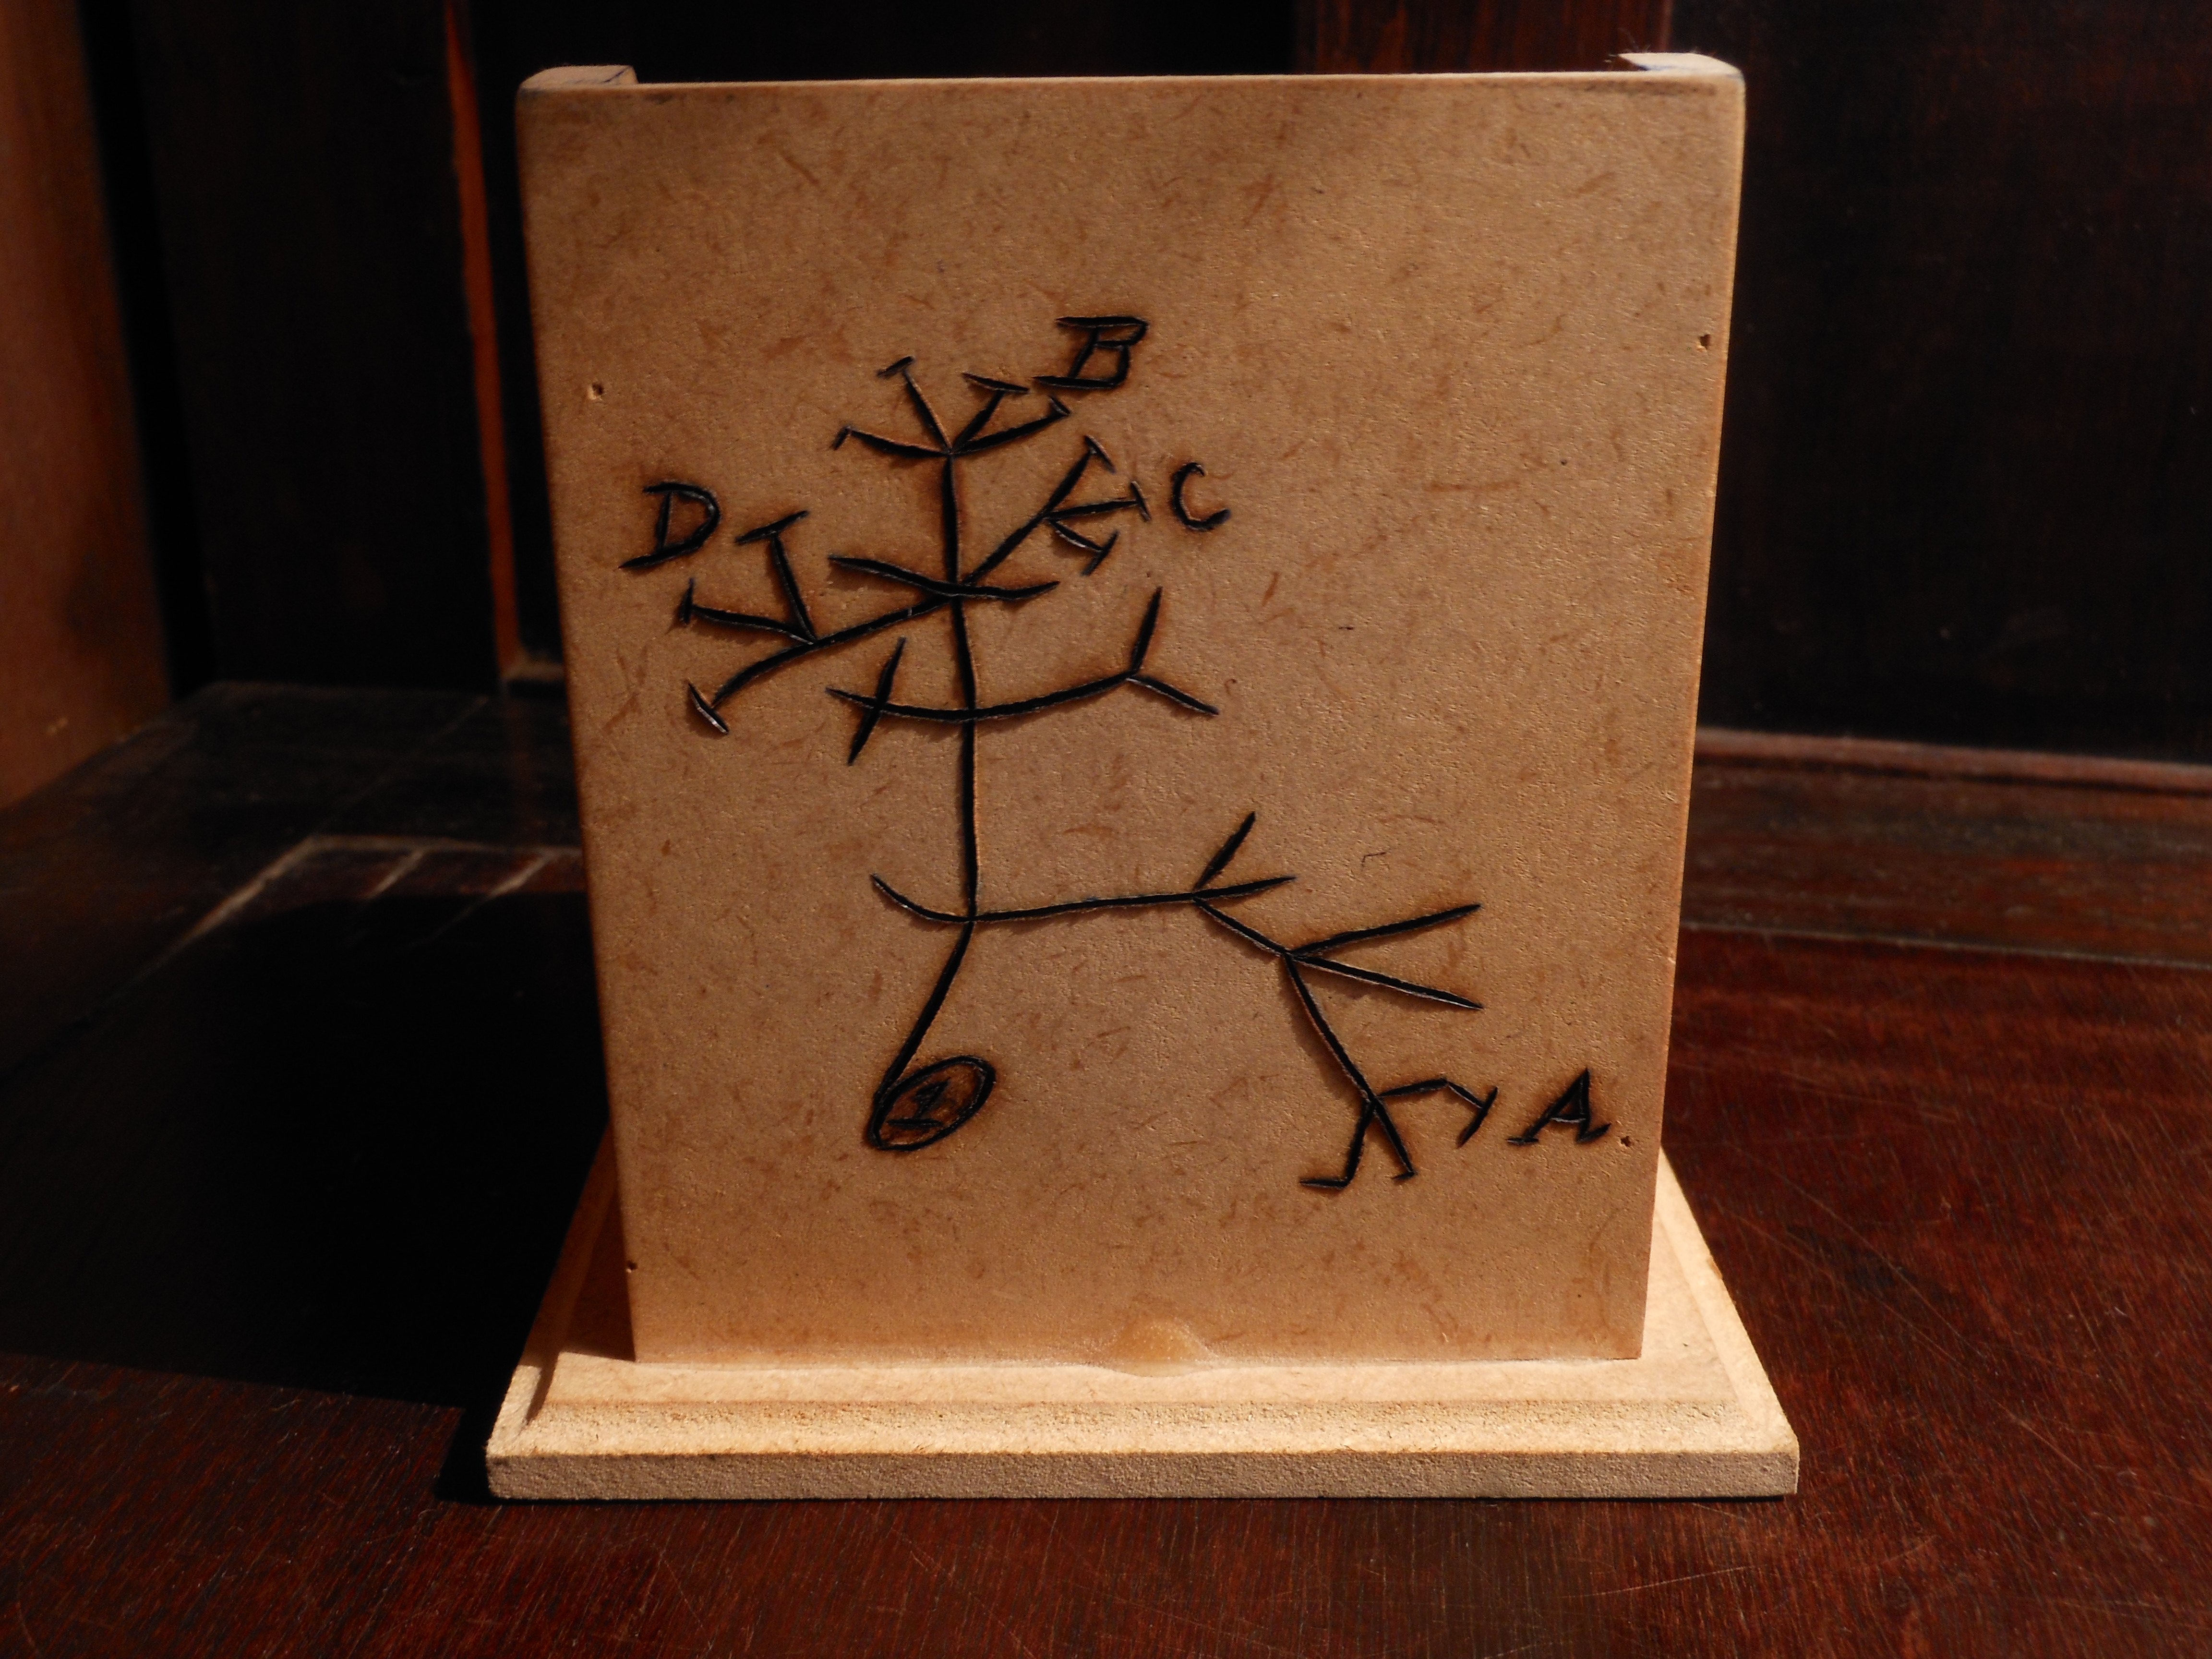
If you ever did some line art with pen, this part will be very familiar. My favorite burning tip for this process is the Colwood spear-shaped one, mostly set on 7/10 heat intensity for MDF, or 5/10 for softer surfaces like pine wood.
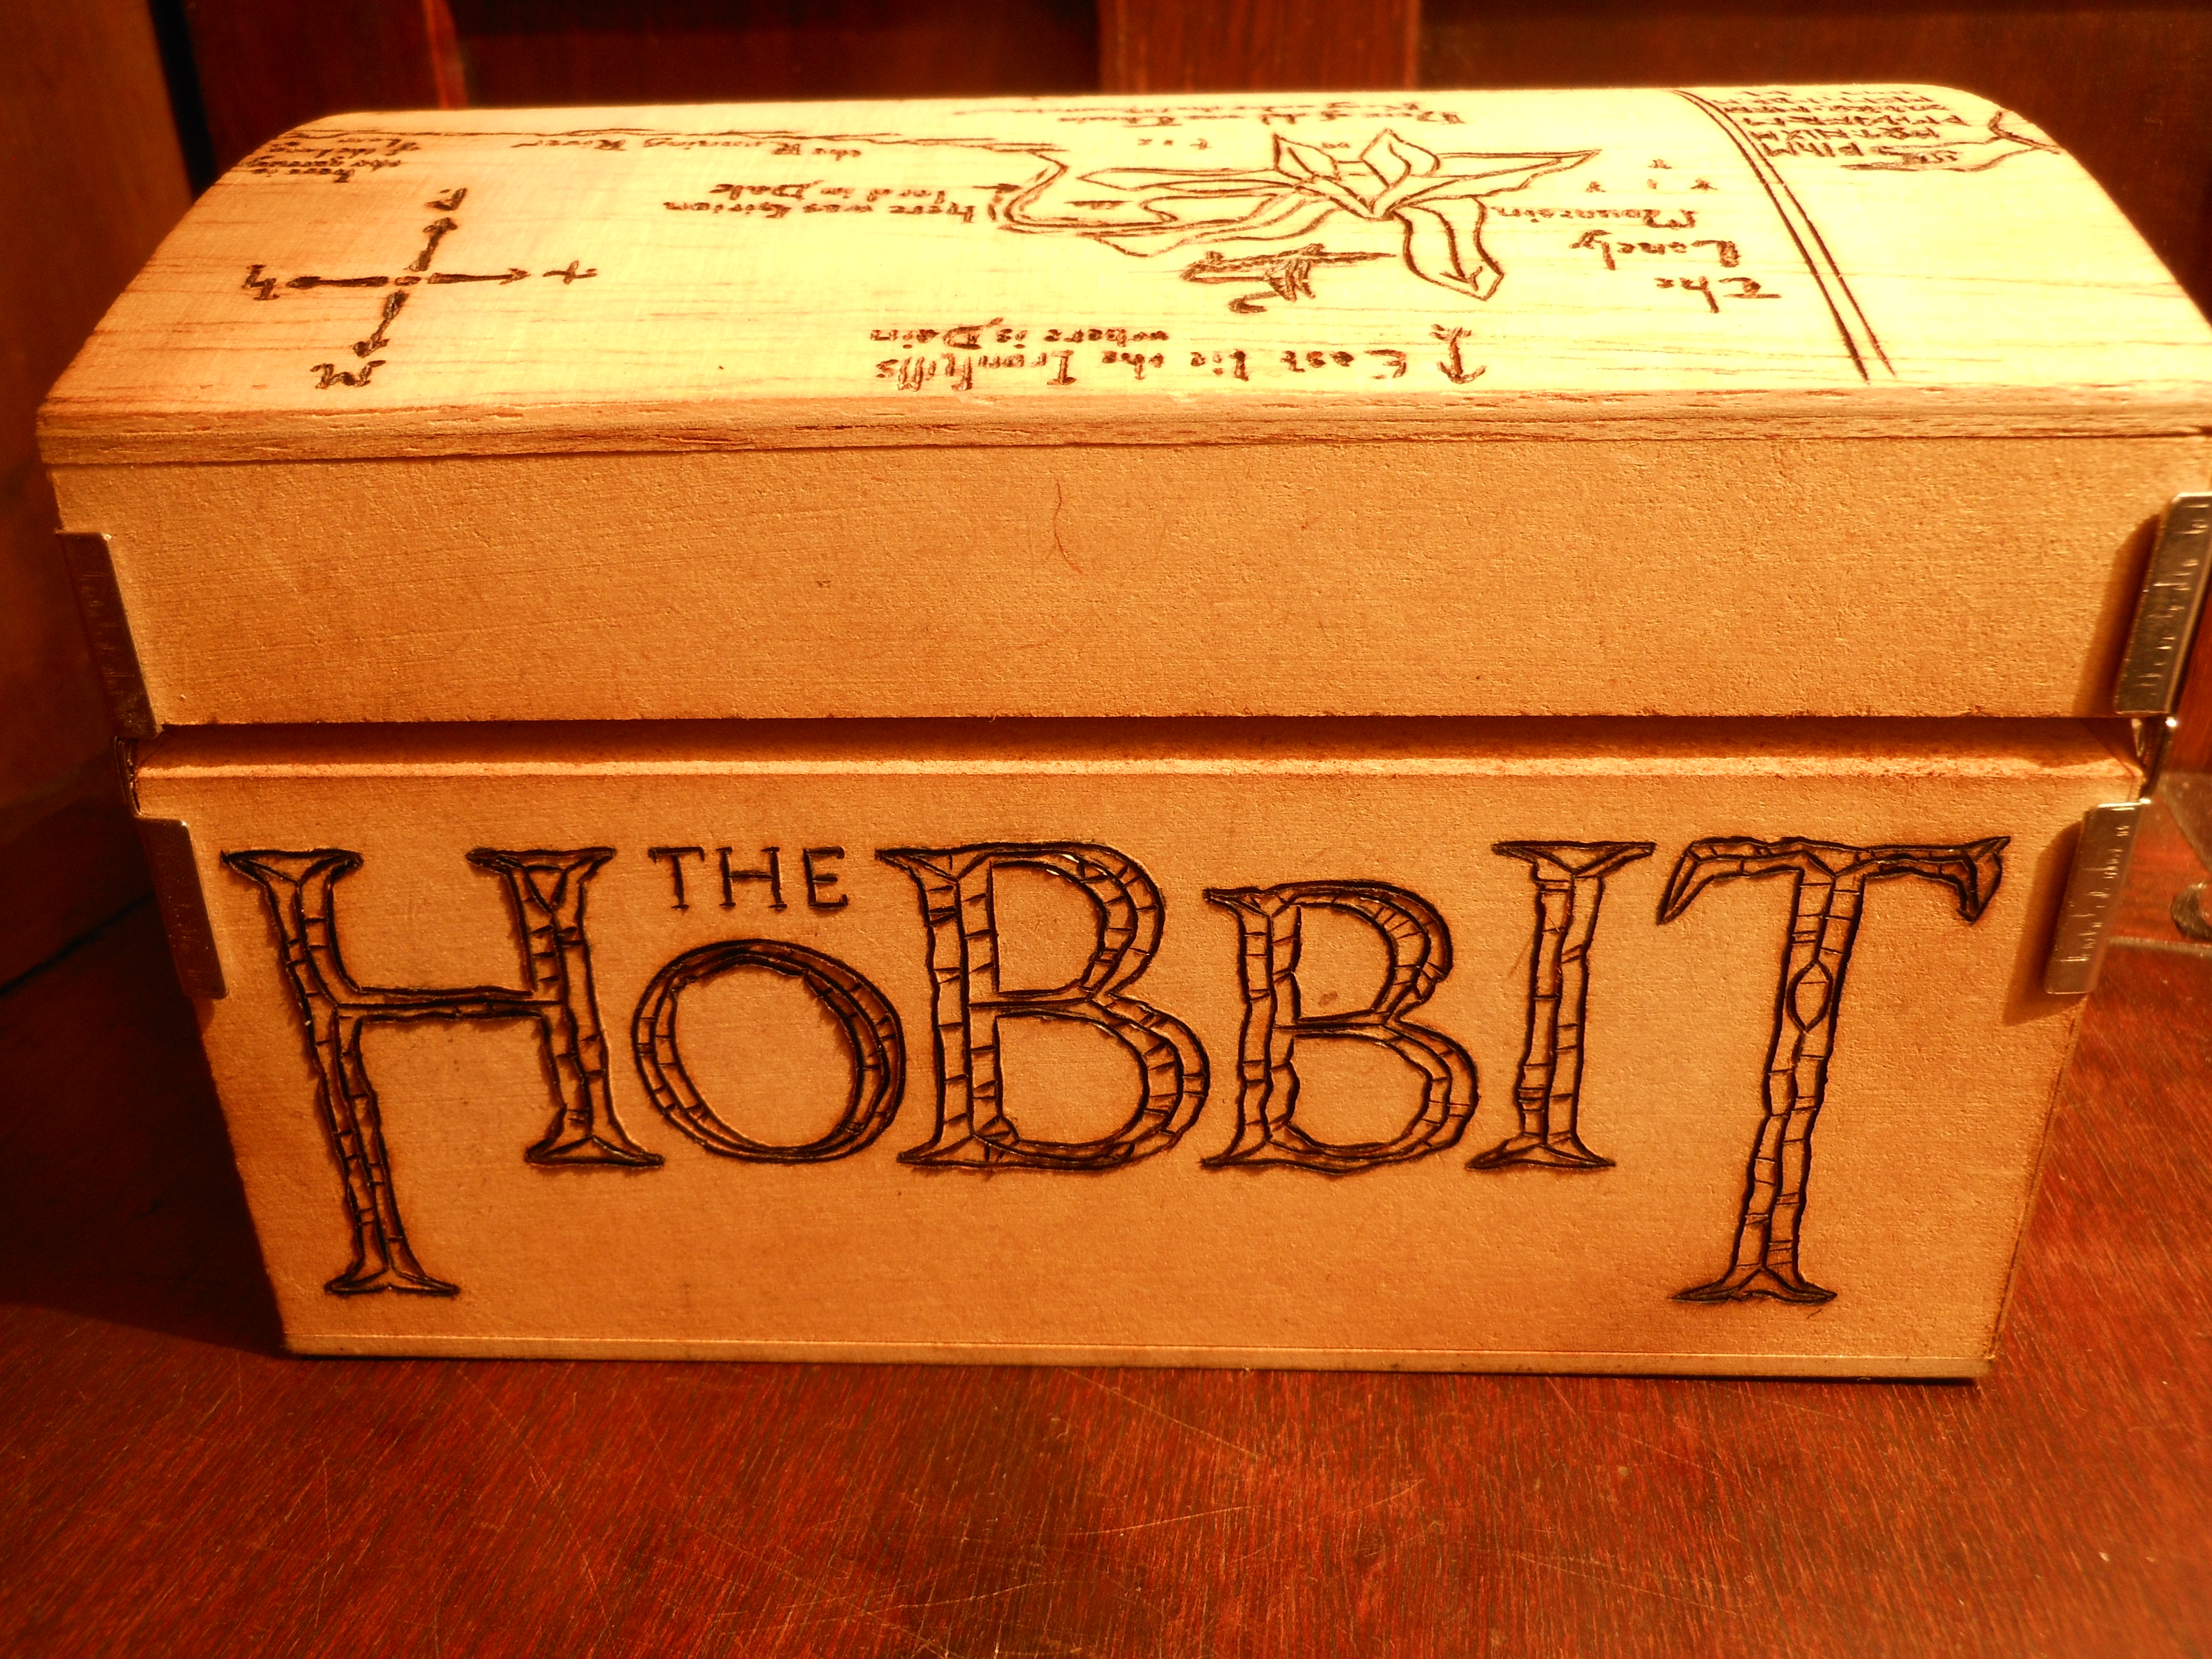
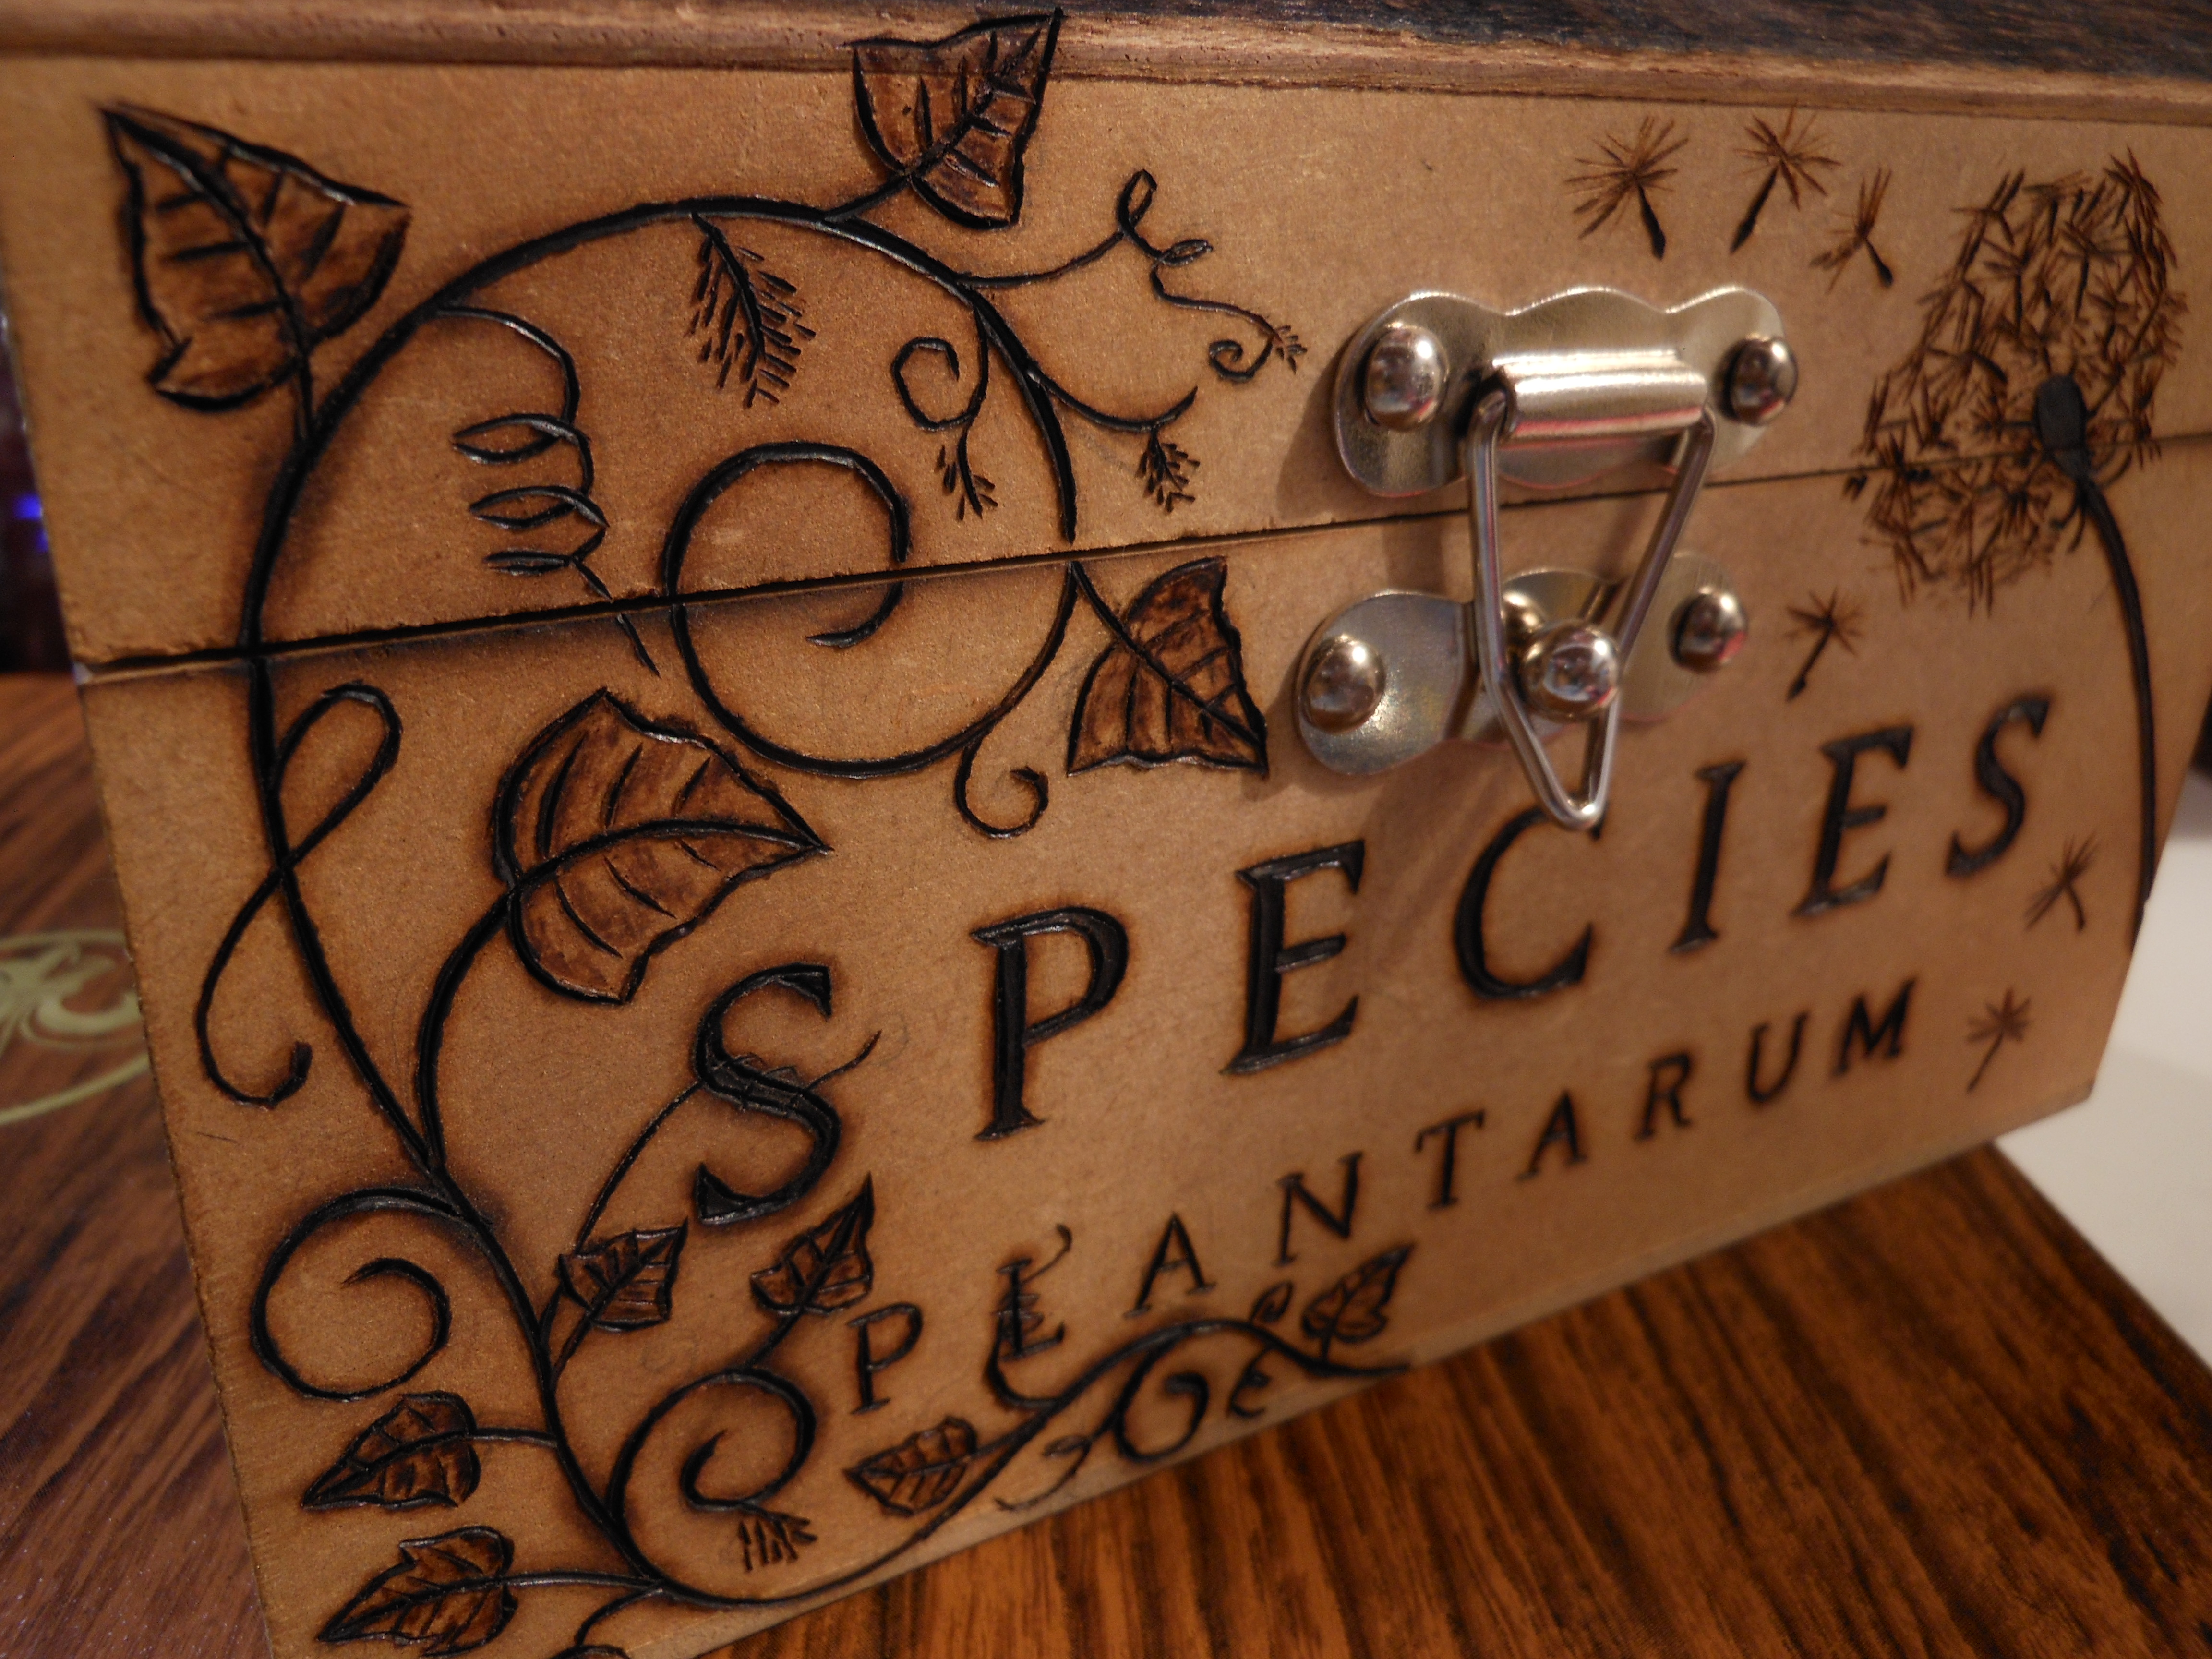
Trick: Use sure traces and try to do it in one stroke, but do it slowly. If you are making large curves, try moving both your hand and the piece of wood for a softer movement (see Species Plantarum). Don't hush, or you might scratch the wood instead of burning it.
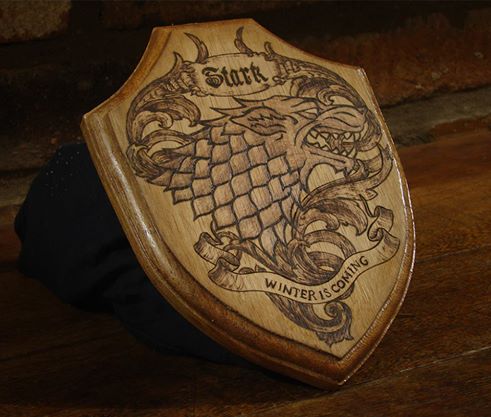
This tip leaves little walls flanking each line, for being enough sharp to lift the wood around the trace. I really like this texture, and confess I just went for something softer when my pen broke. Out of options, I used my calligraphy tip for many projects and ended up enjoying the result (see Stark crest). With a round tip that does not sink into the wood, you have more freedom of movements and can easily change the direction of your traces.
Technique: Filling Silhouettes
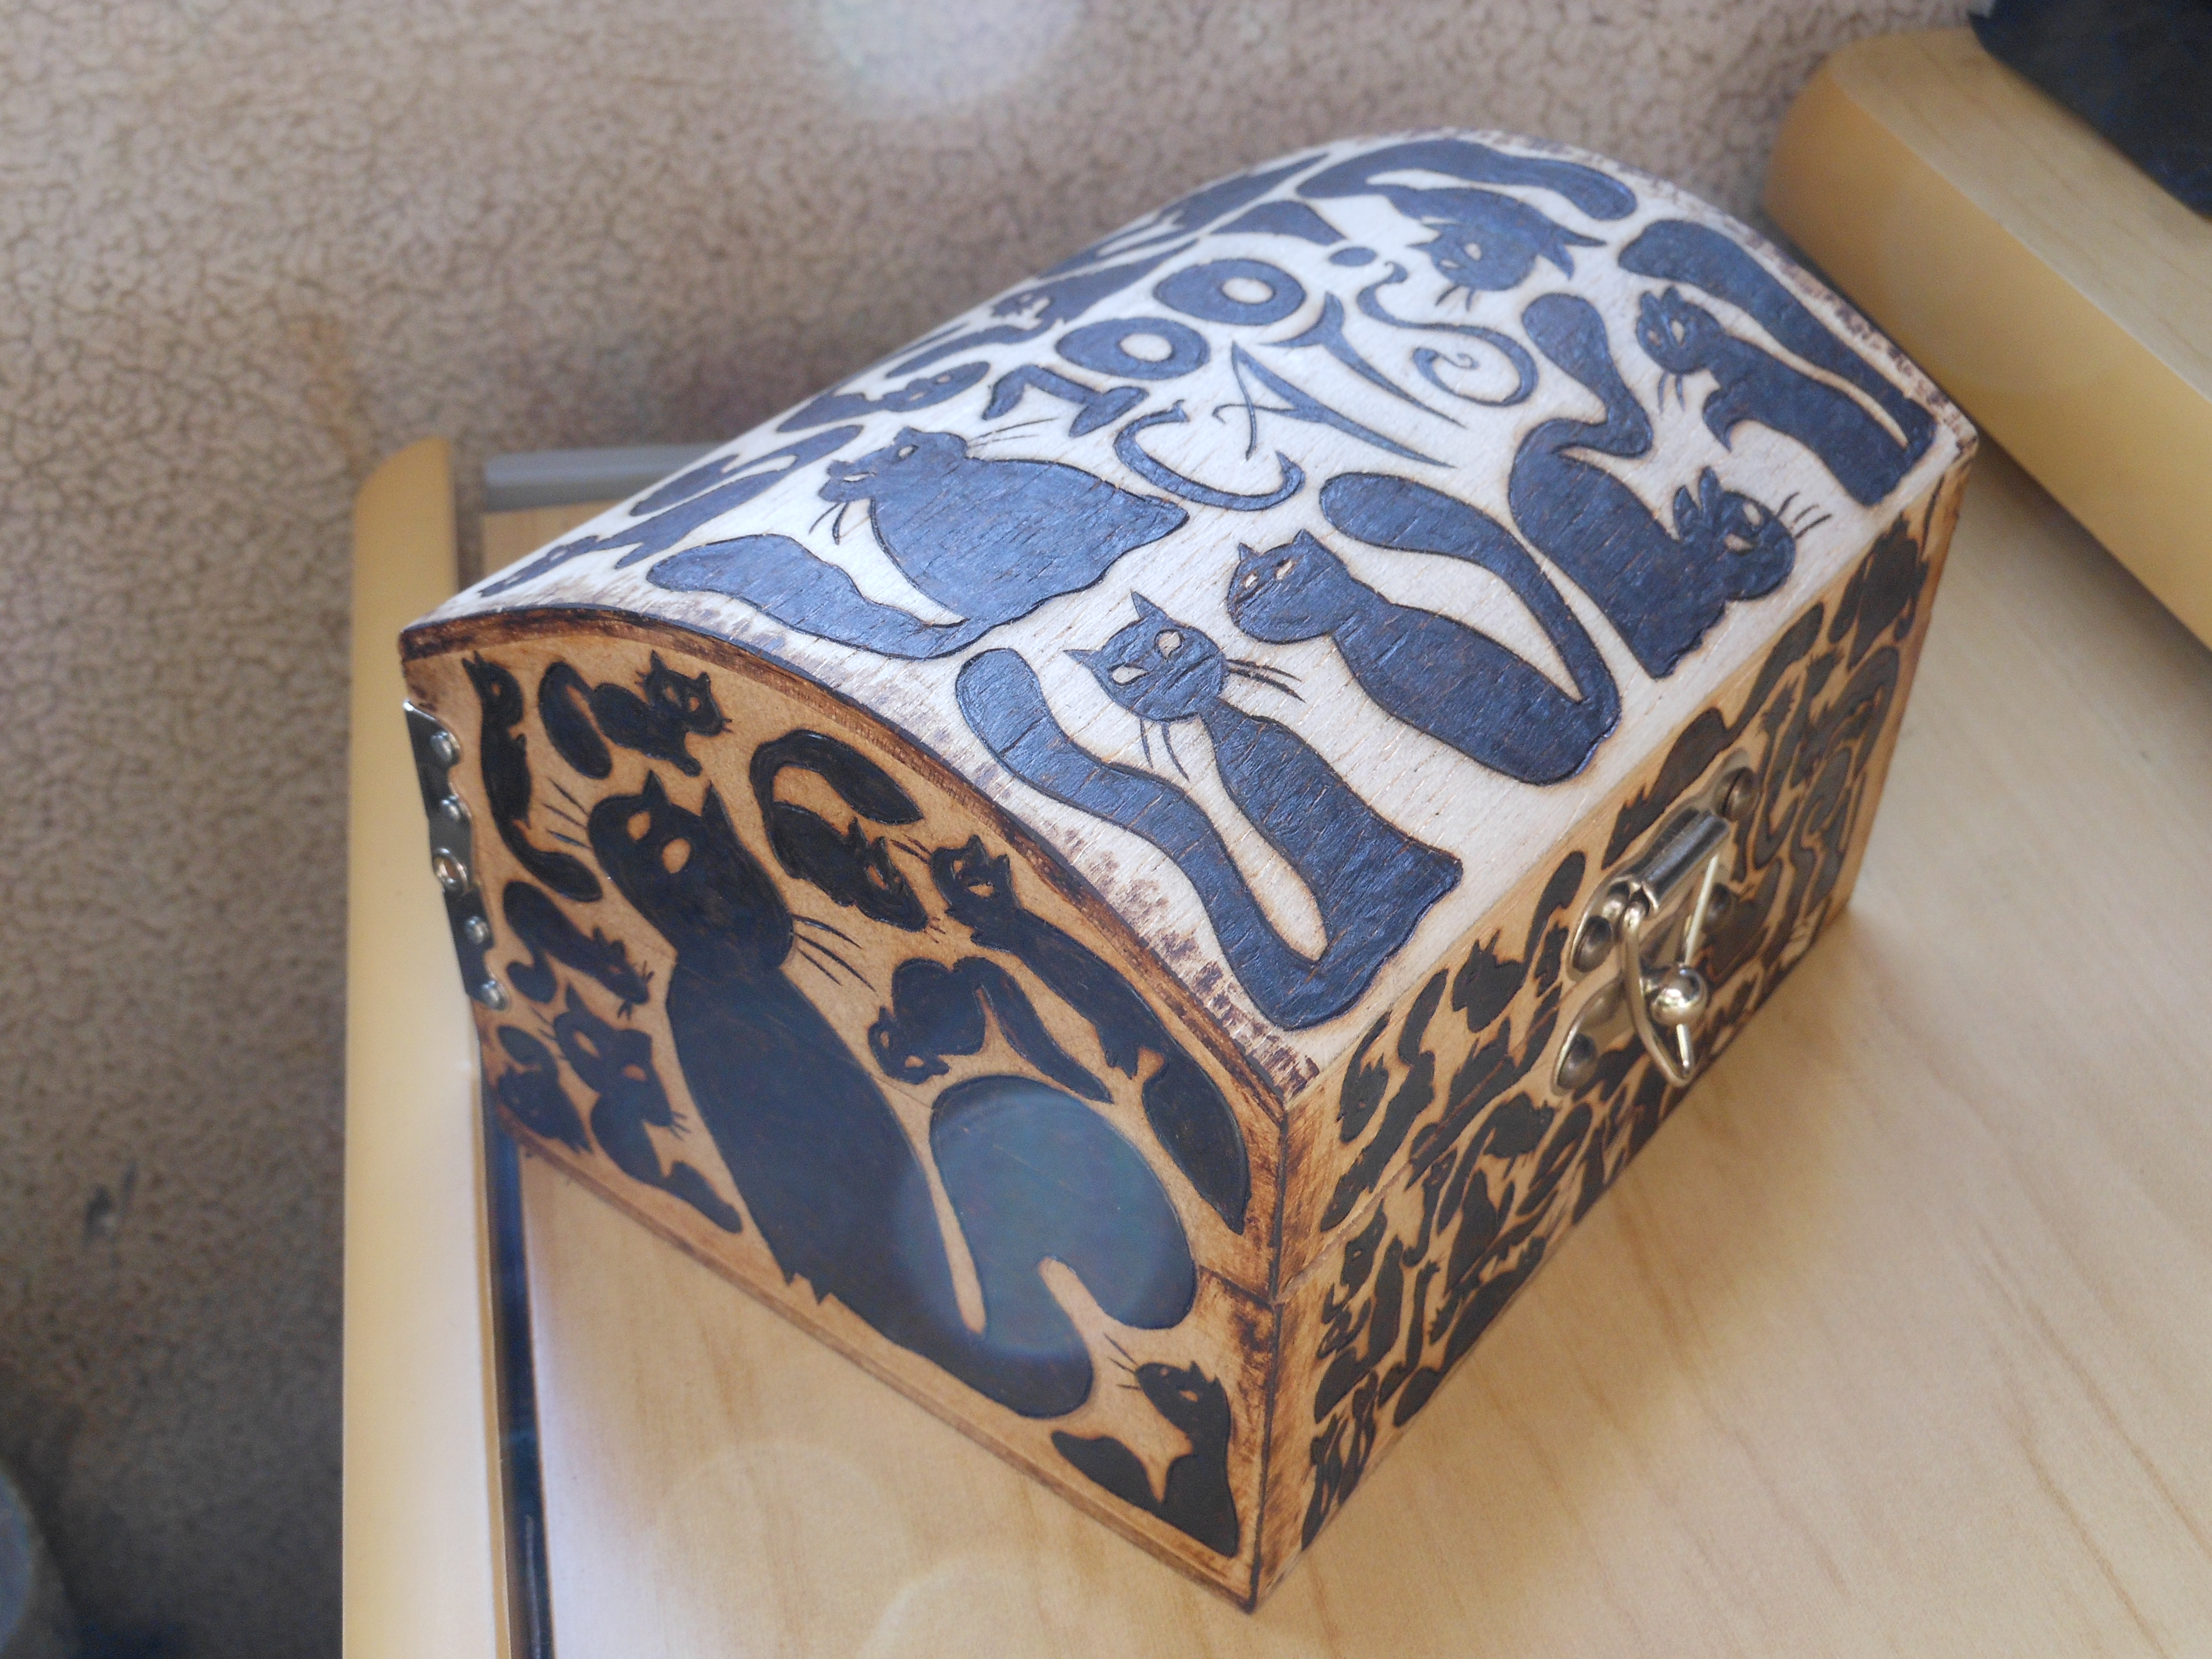
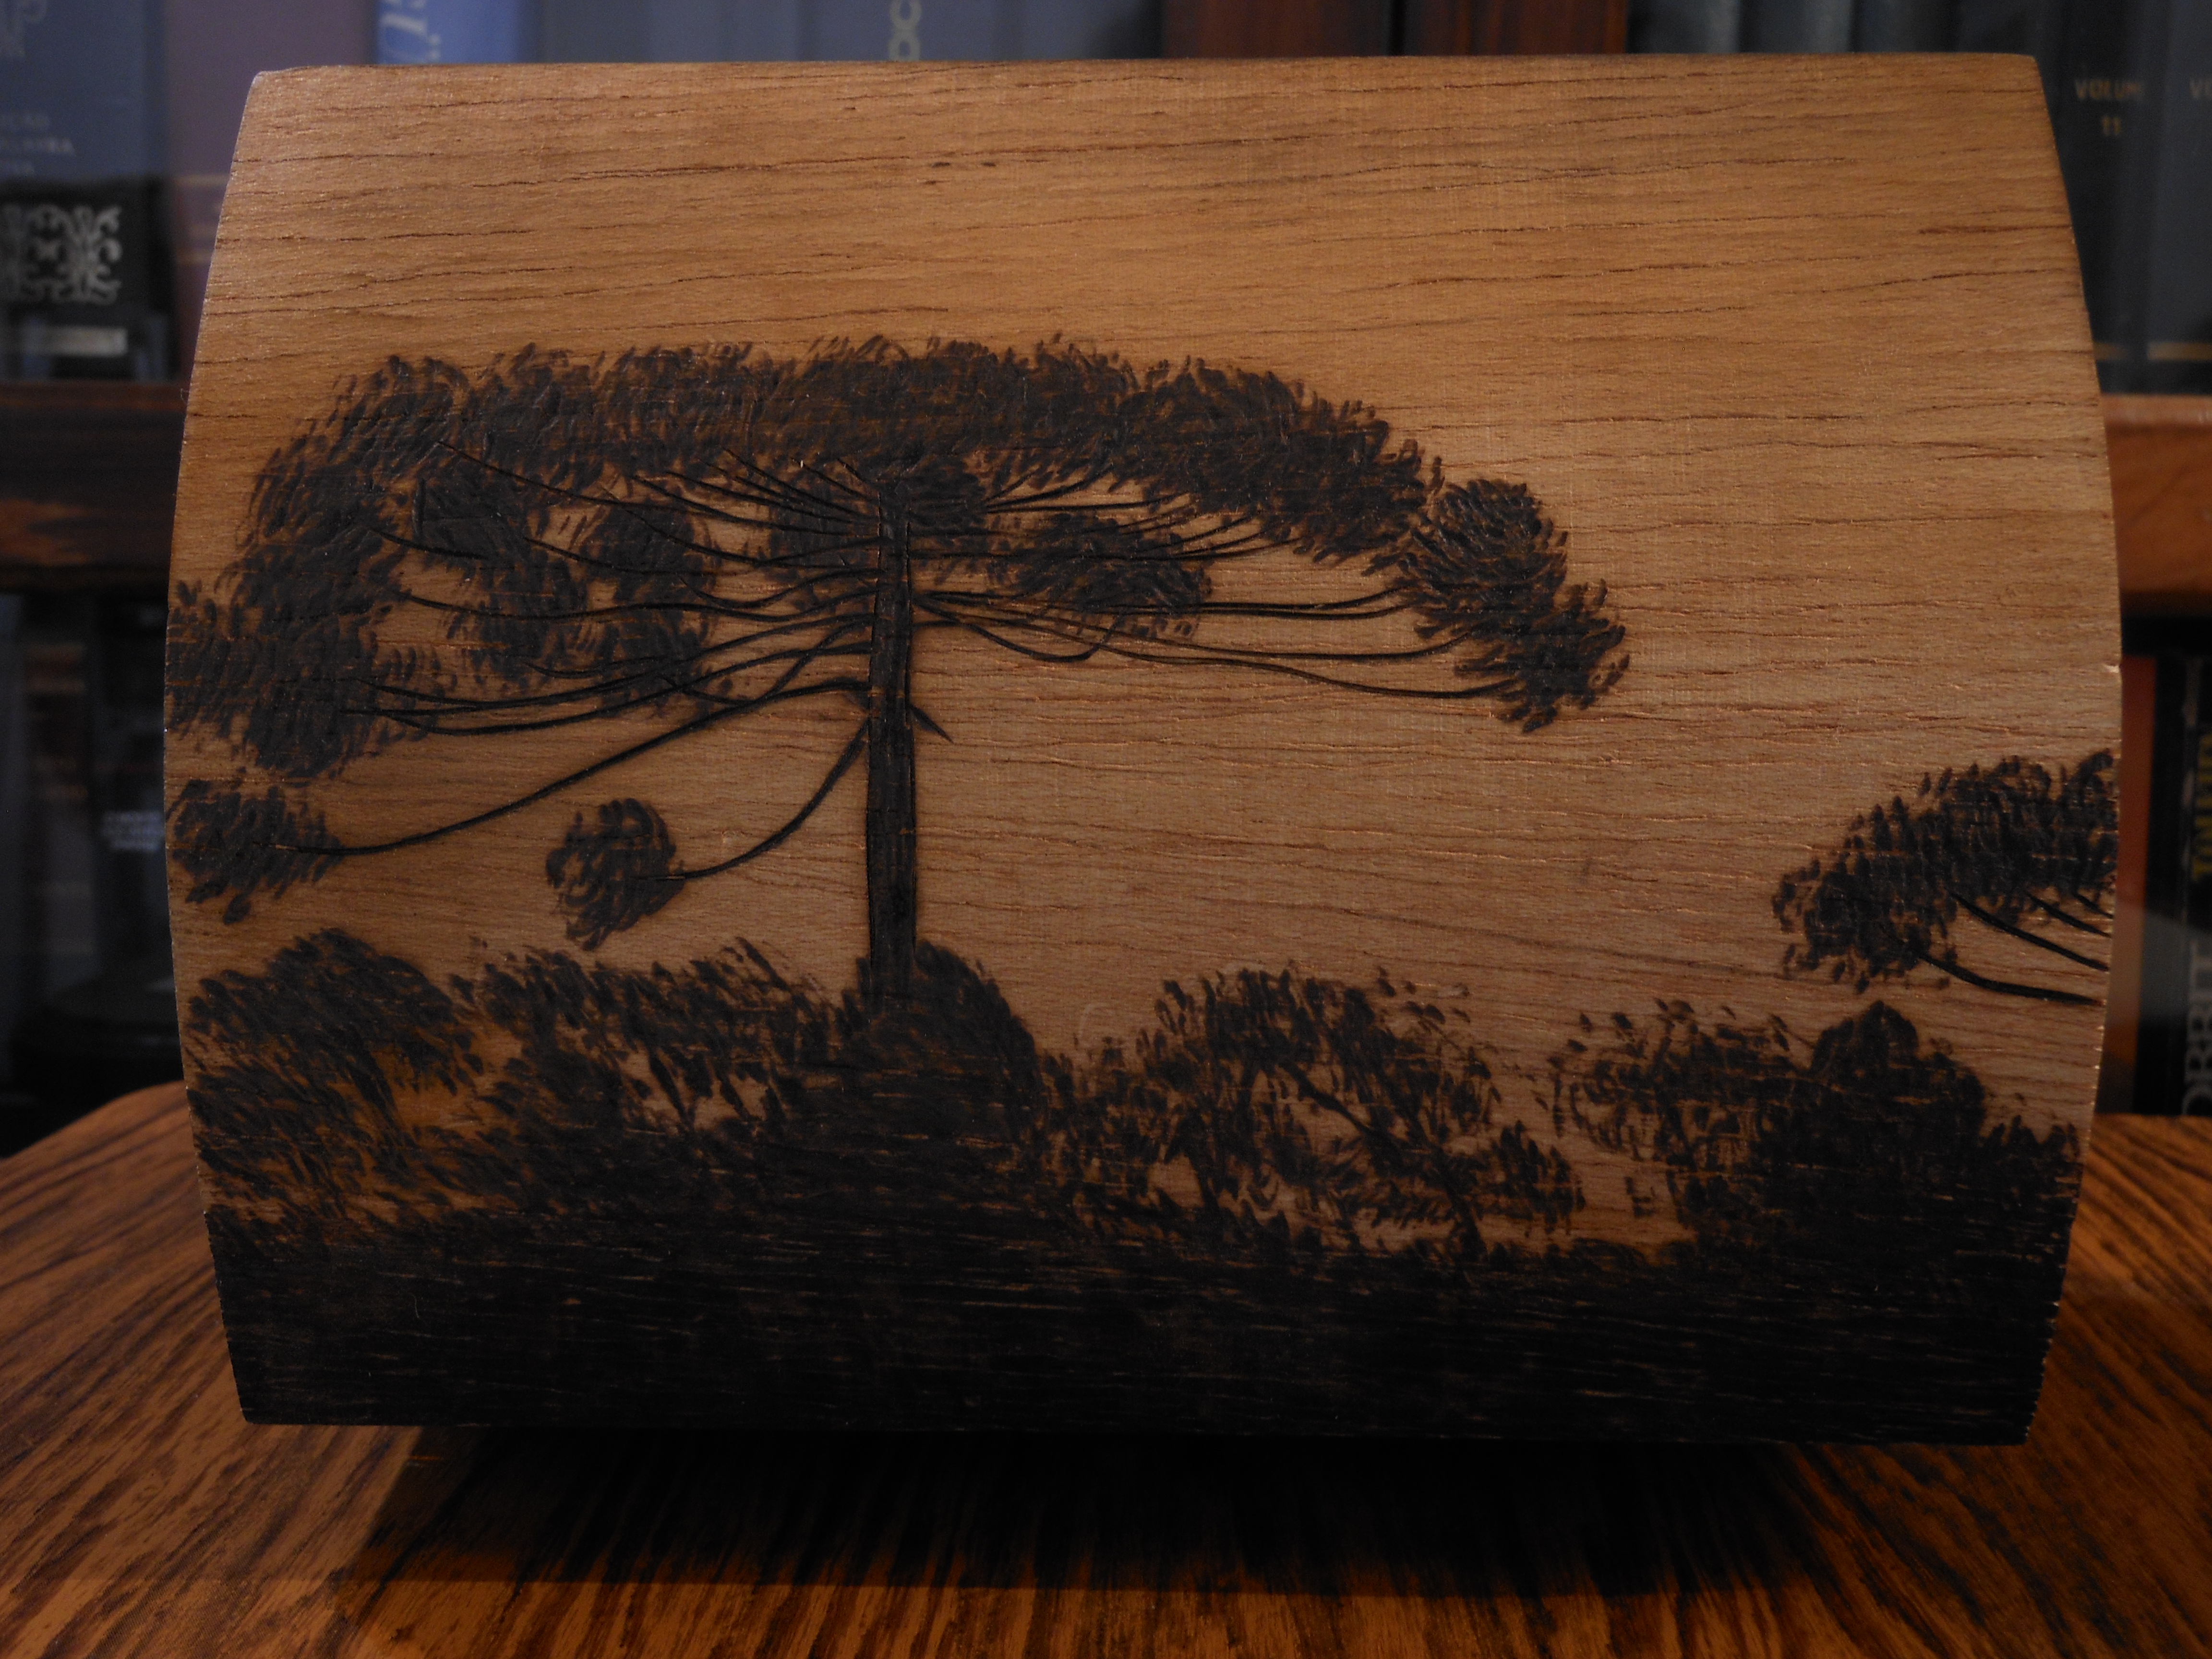
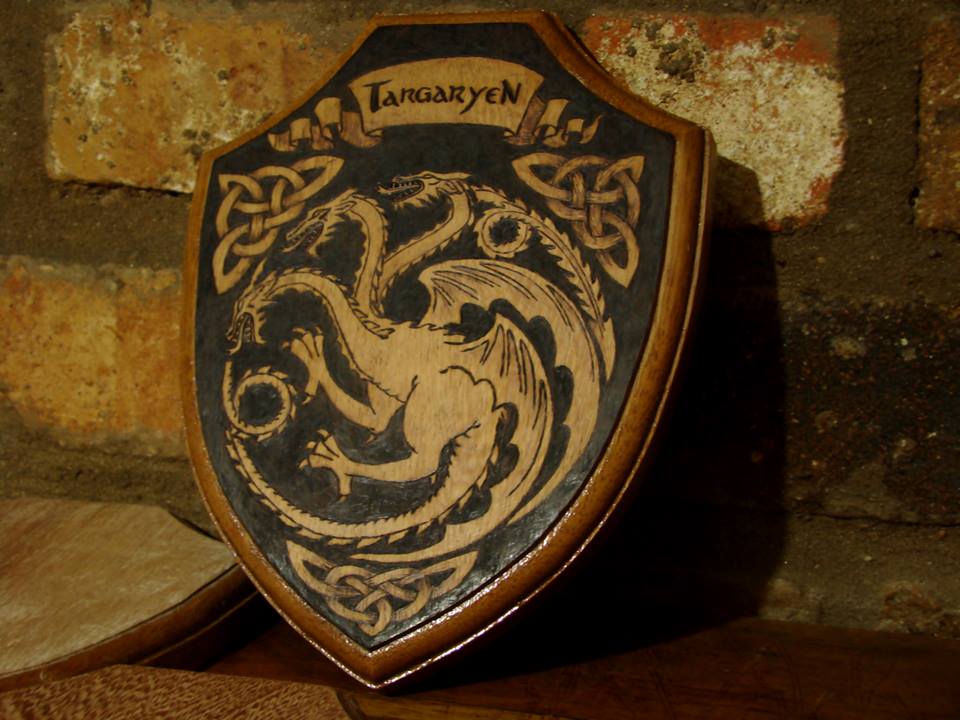
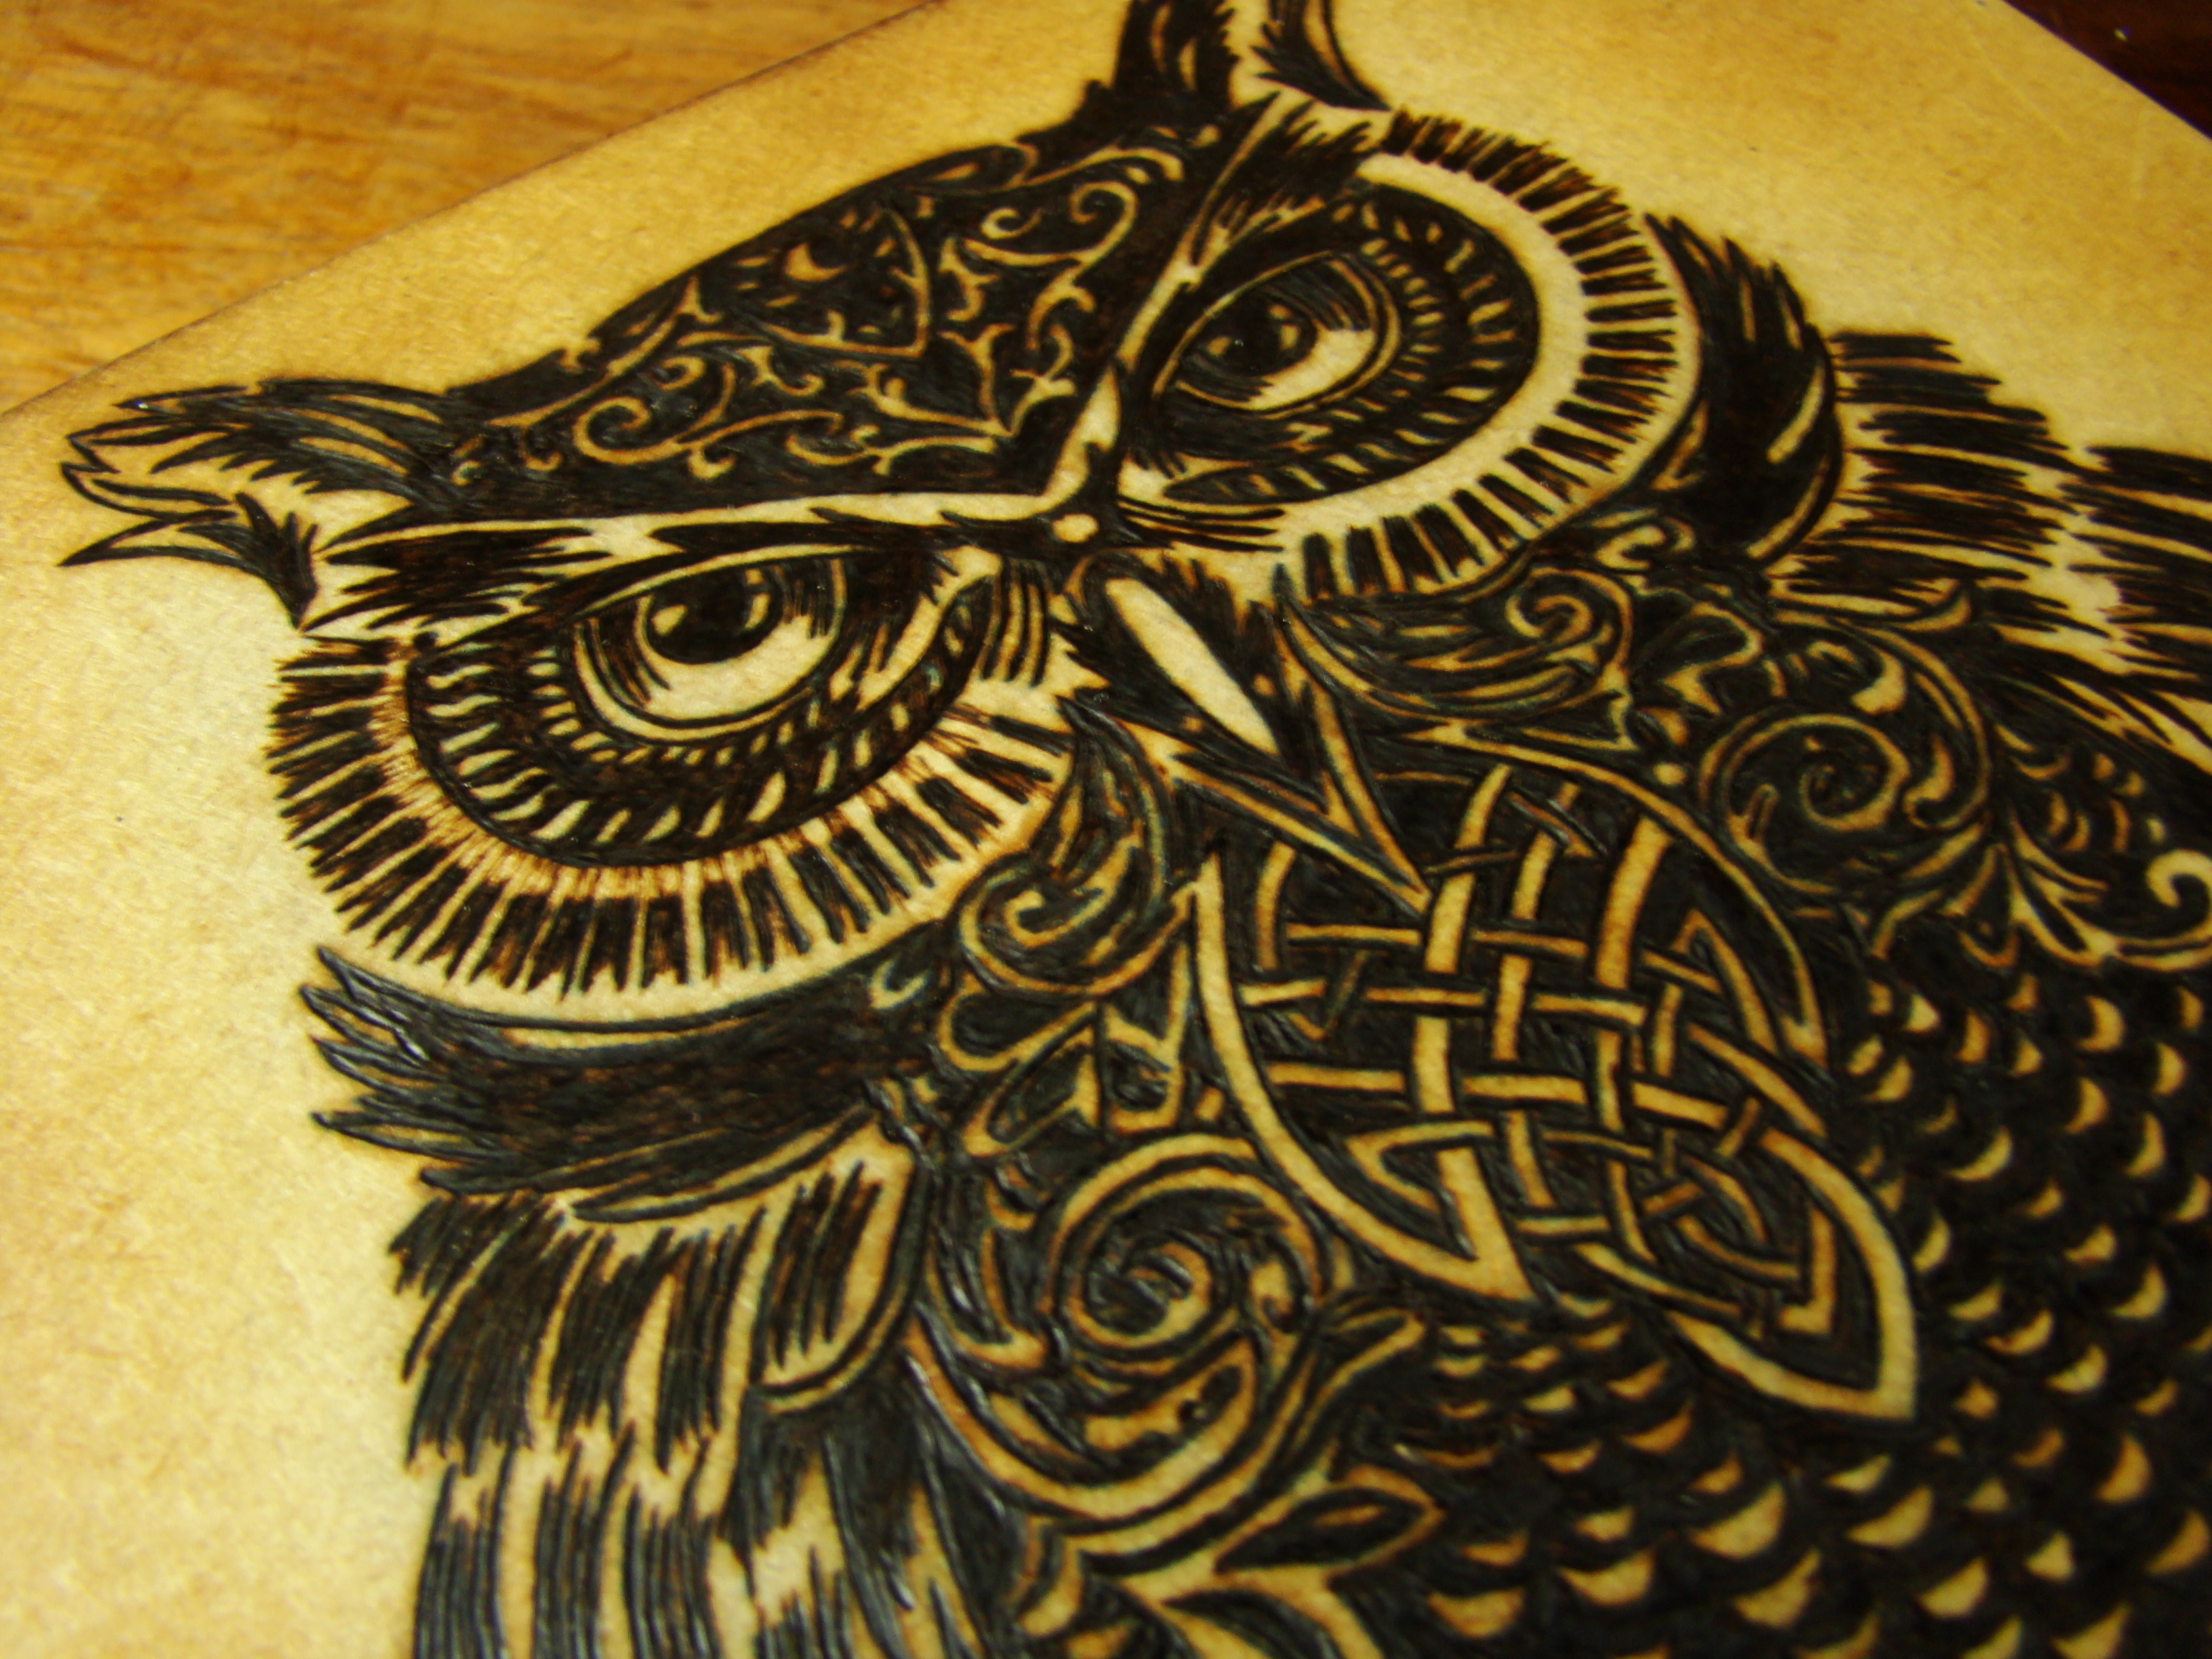
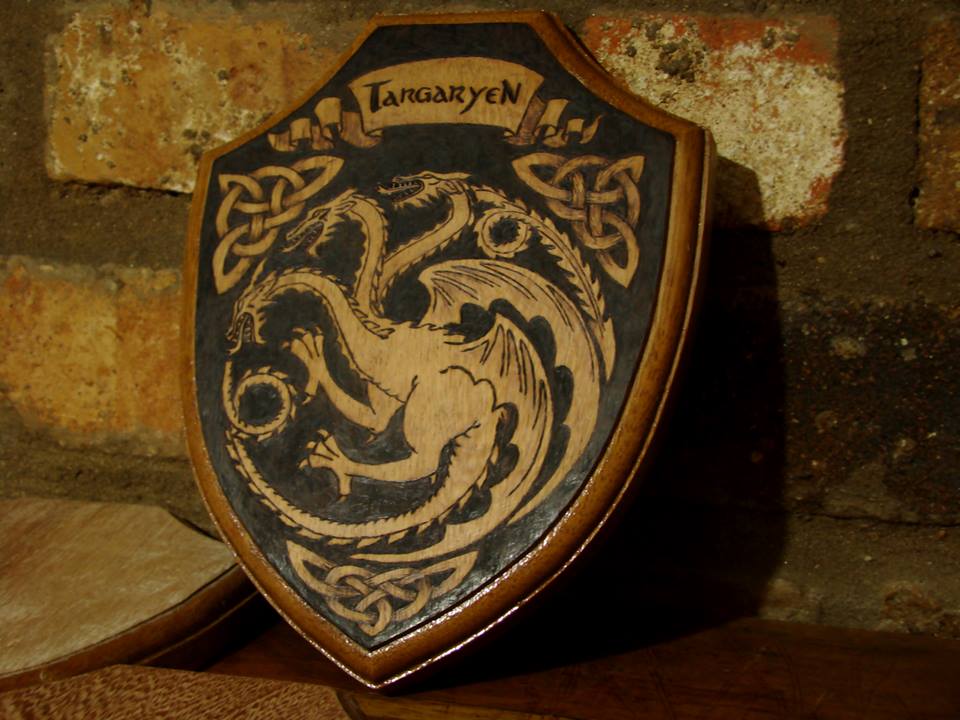
Filling in black is always easier than making gradients, and can be just as beautiful. For large surfaces, I recommend a flat gradient tip in medium to high heat (see Targaryen crest). For small areas, the calligraphy pen is really great (see Owl).
Trick: Do not try to fill your drawing using as much heat as possible, unless you want to leave ugly stroke marks all around. Work on medium heat with soft circular movements, and slowly darken each area at a time.
Golden trick: Gently blow on your tip as you touch the wood for the first time, and let it heat naturally as you move in a short circular pattern. This will guarantee a smooth start!
The more heat you apply, the more opaque your result will be. Work with this idea to create contrasts against shiny gradients.
Technique: Gradient Effect
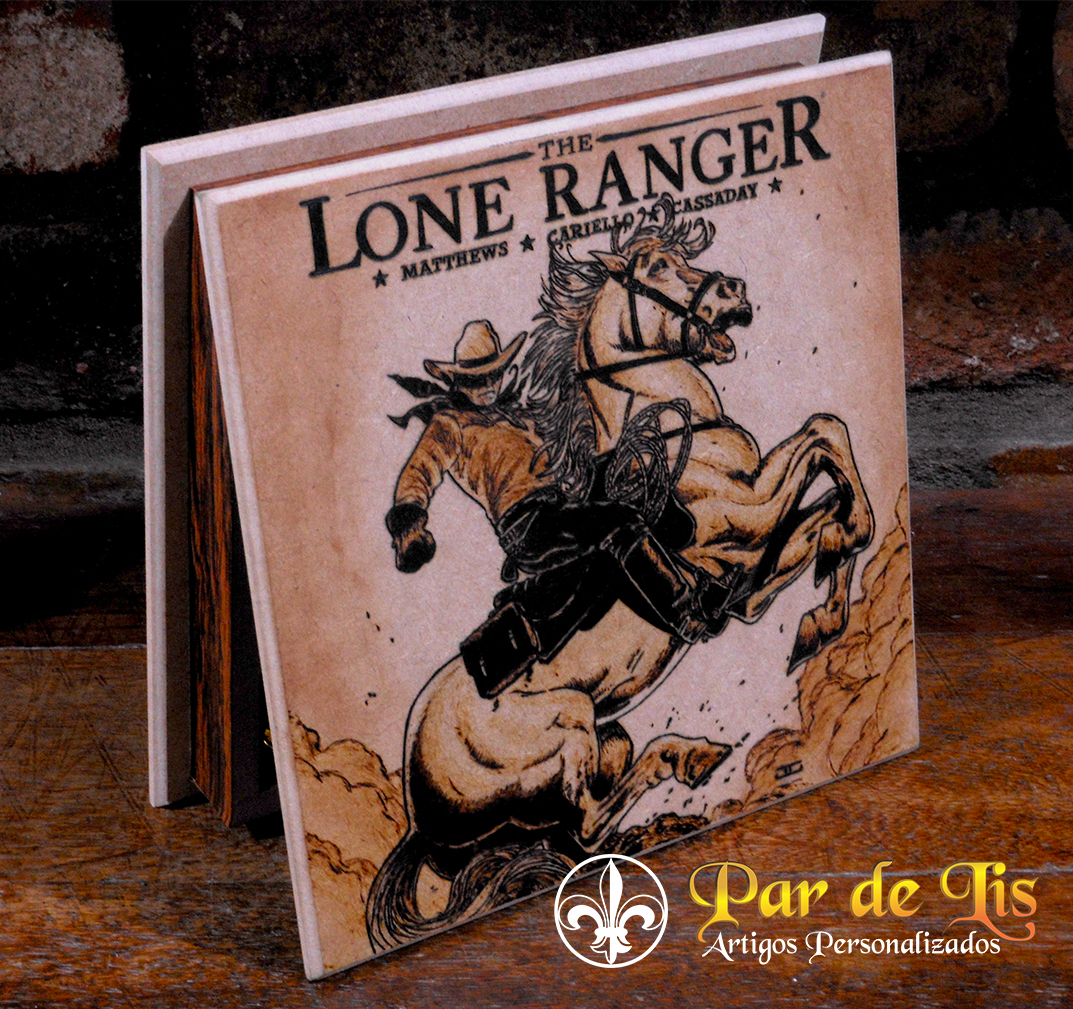
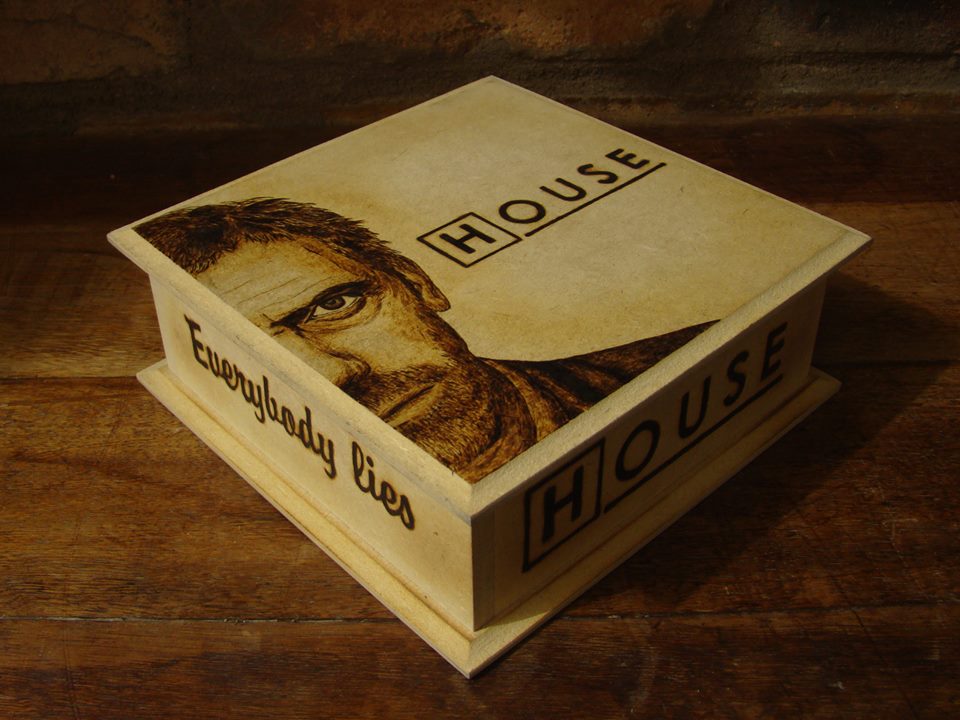
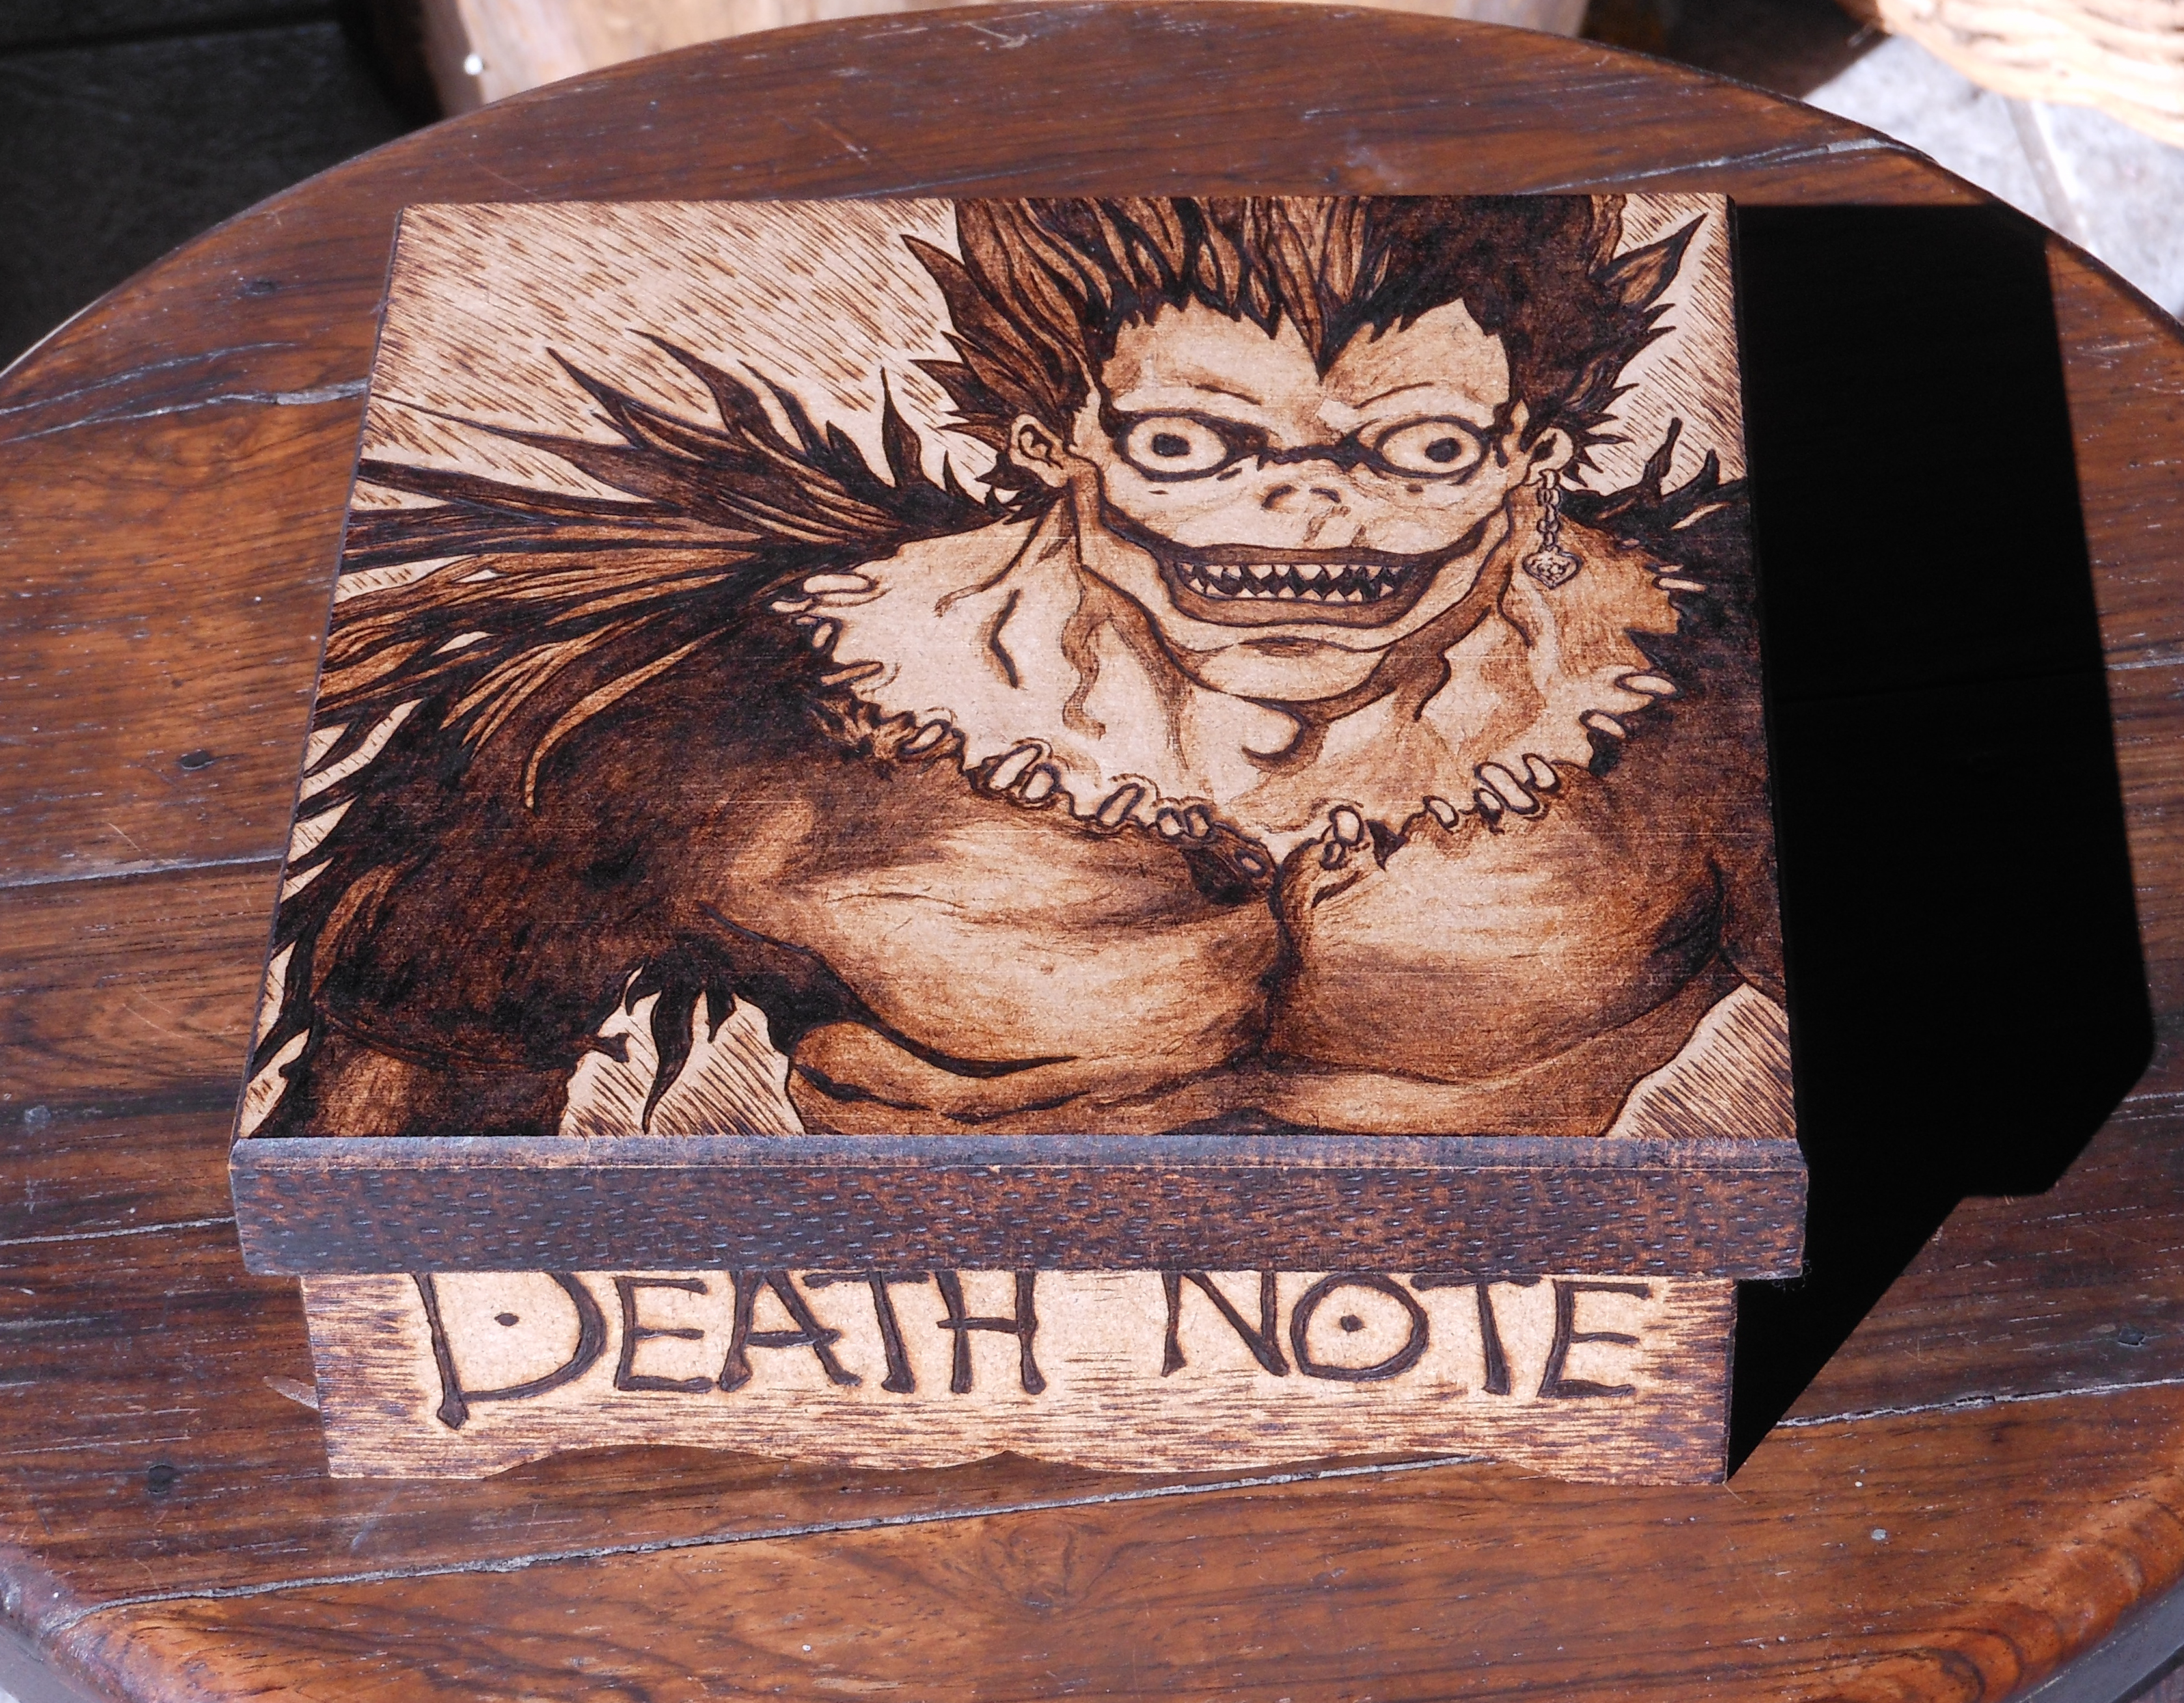
Making gradients is harder than filling in black, because you need less heat, more patience and finer control.
I always use a flat tip for this job, and rather use a wood burner with temperature selection. For most woods, a 4 to 5/10 temperature level is what you need.
In this case, start slowly with circular movements and heat up one little area at a time. At first you will not notice any change, but slowly the shading will show up. It is always easier to move along adjacent areas, because they are already warm, than move back and forth among distant places of the surface.
Important: Be careful with the wood grains, because you will not be able to burn as effectively in these regions. If you have large grains, they will make gradients much harder to see. You can always try to apply more heat in these areas.
Technique: Hatching
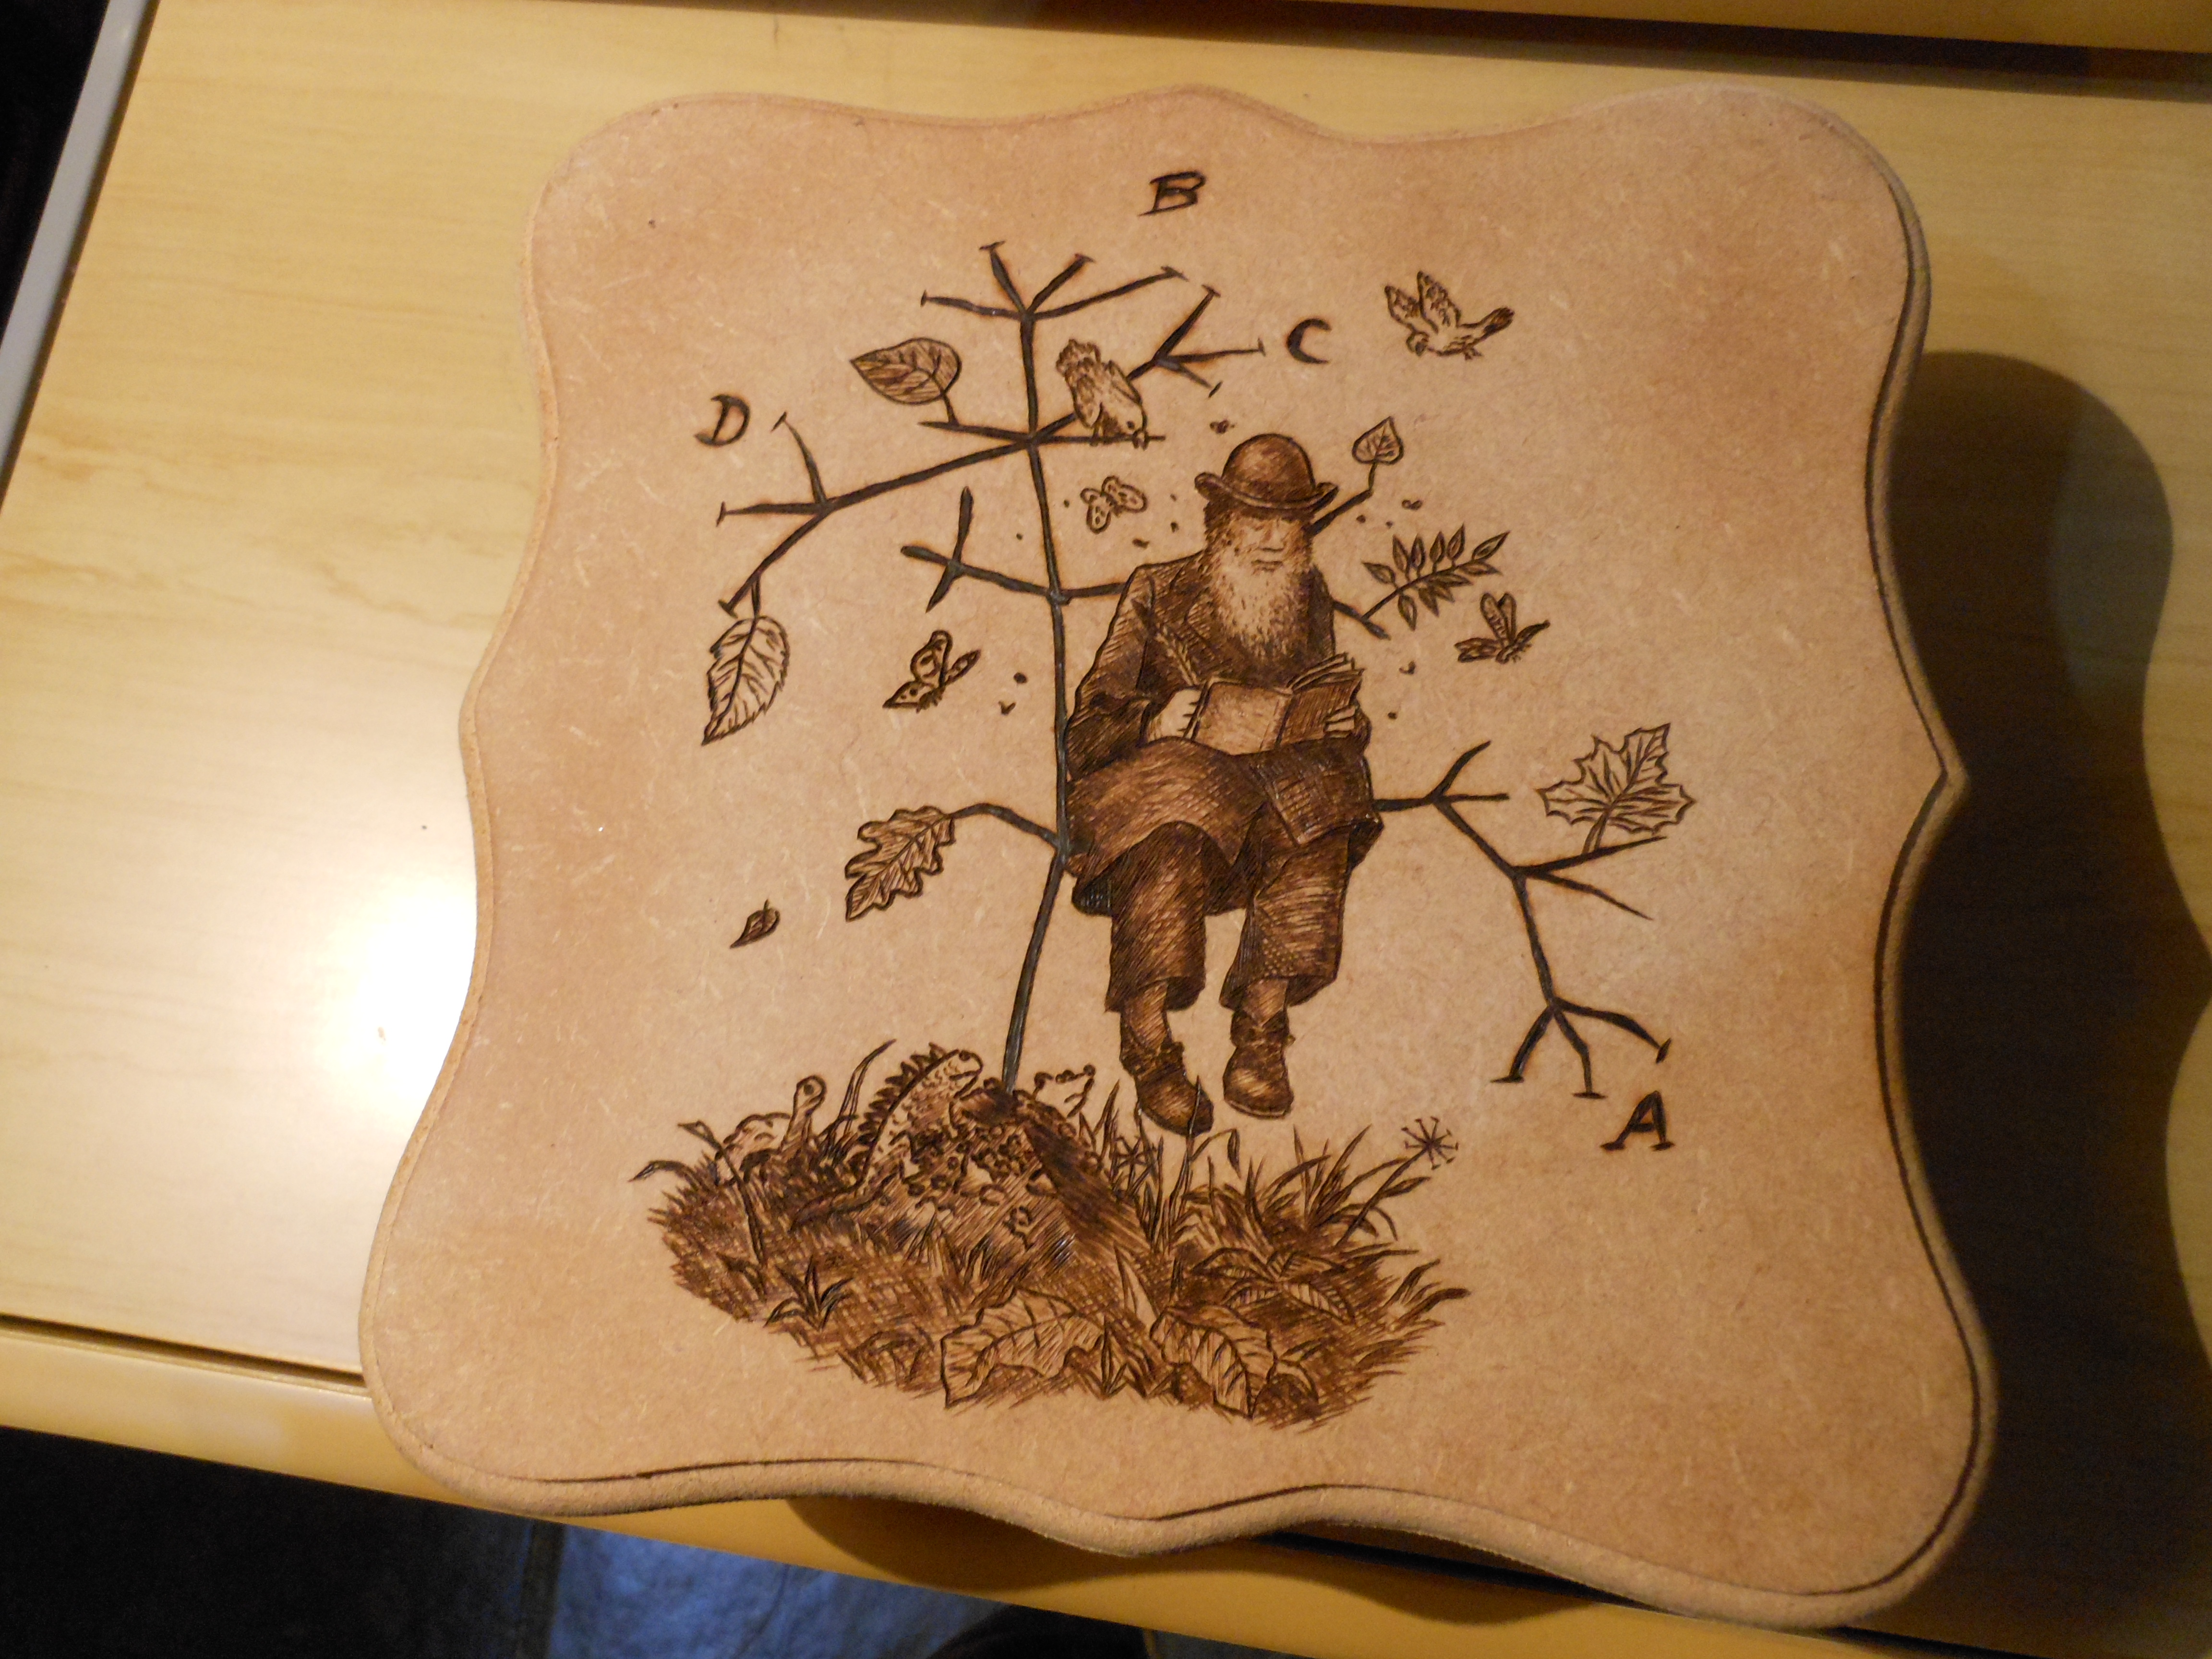
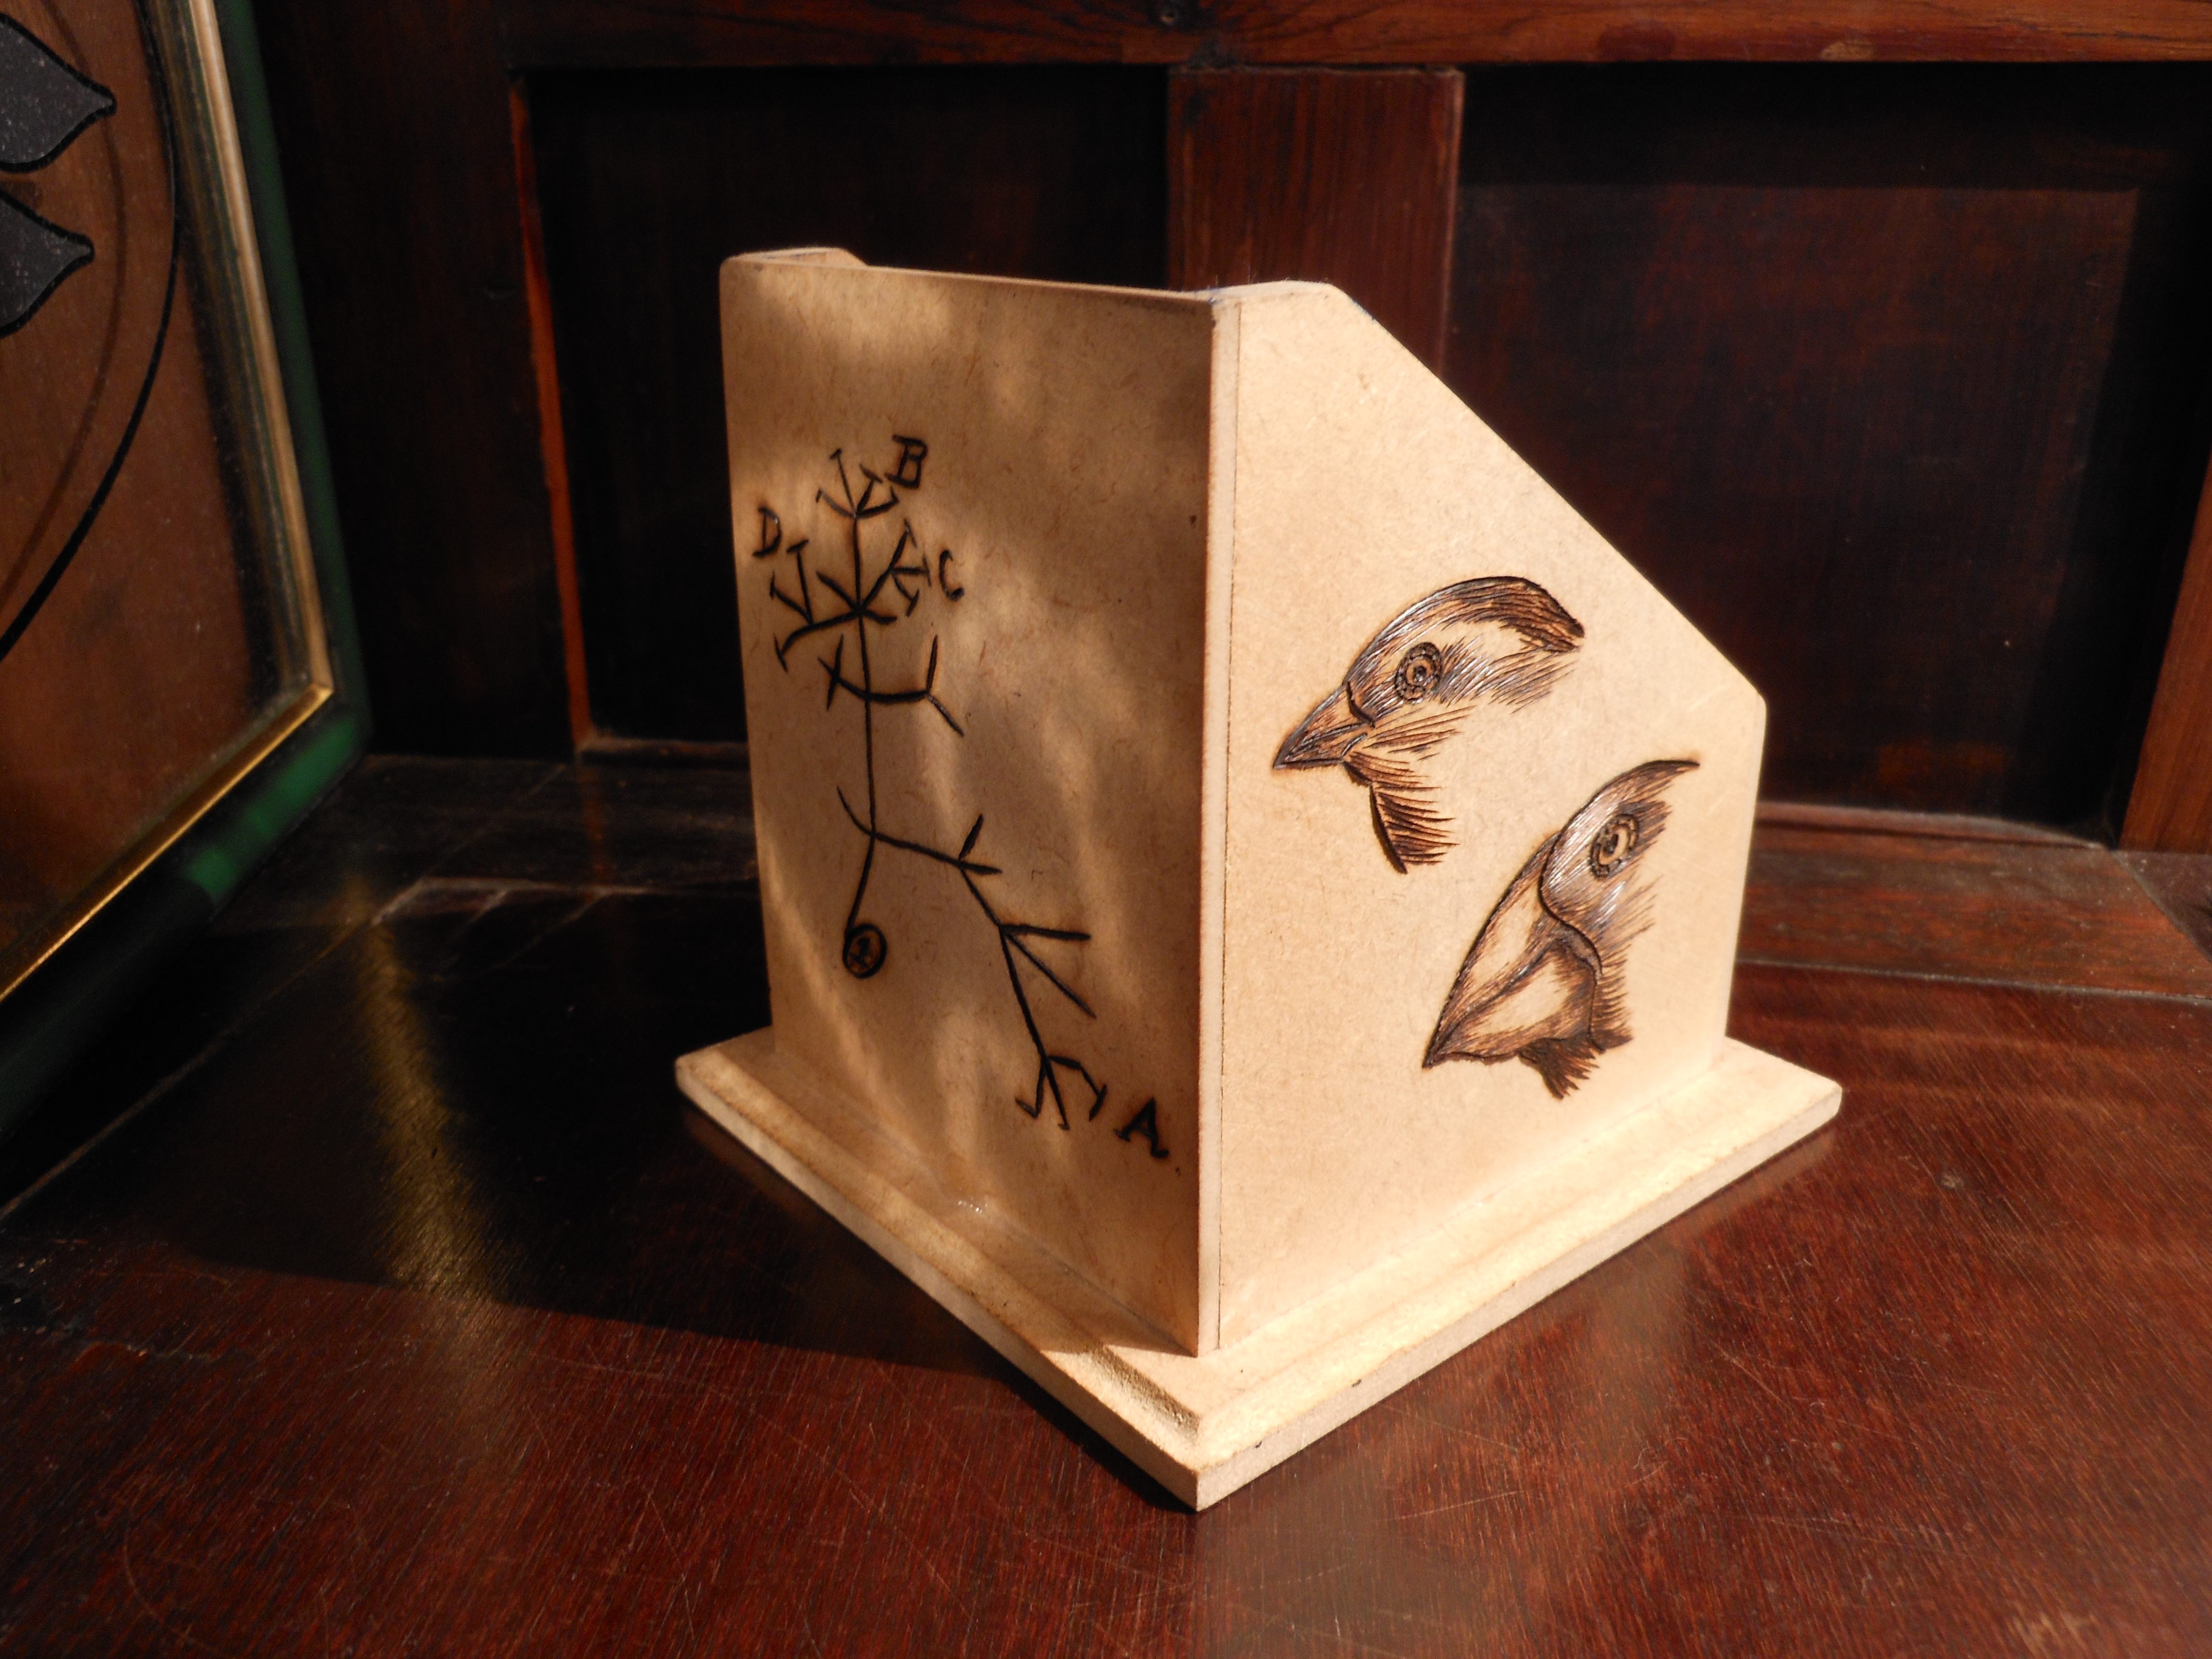
Hatching and cross-hatching can give you a beautiful effect of shading and texture without the trouble of making gradients, and may work even better when your wood is too grainy.
For this technique, use a tracing tip (like the spear-shaped one) as if you were drawing any other line. Start by hatching in one direction, always starting by the edges; this way the stroke will burn stronger in the outline, and gradually get weaker in the inside of the drawing.
To make your shading really stand out, try some cross-hatching by adding another set of lines perpendicular to the first.
Technique: Textures
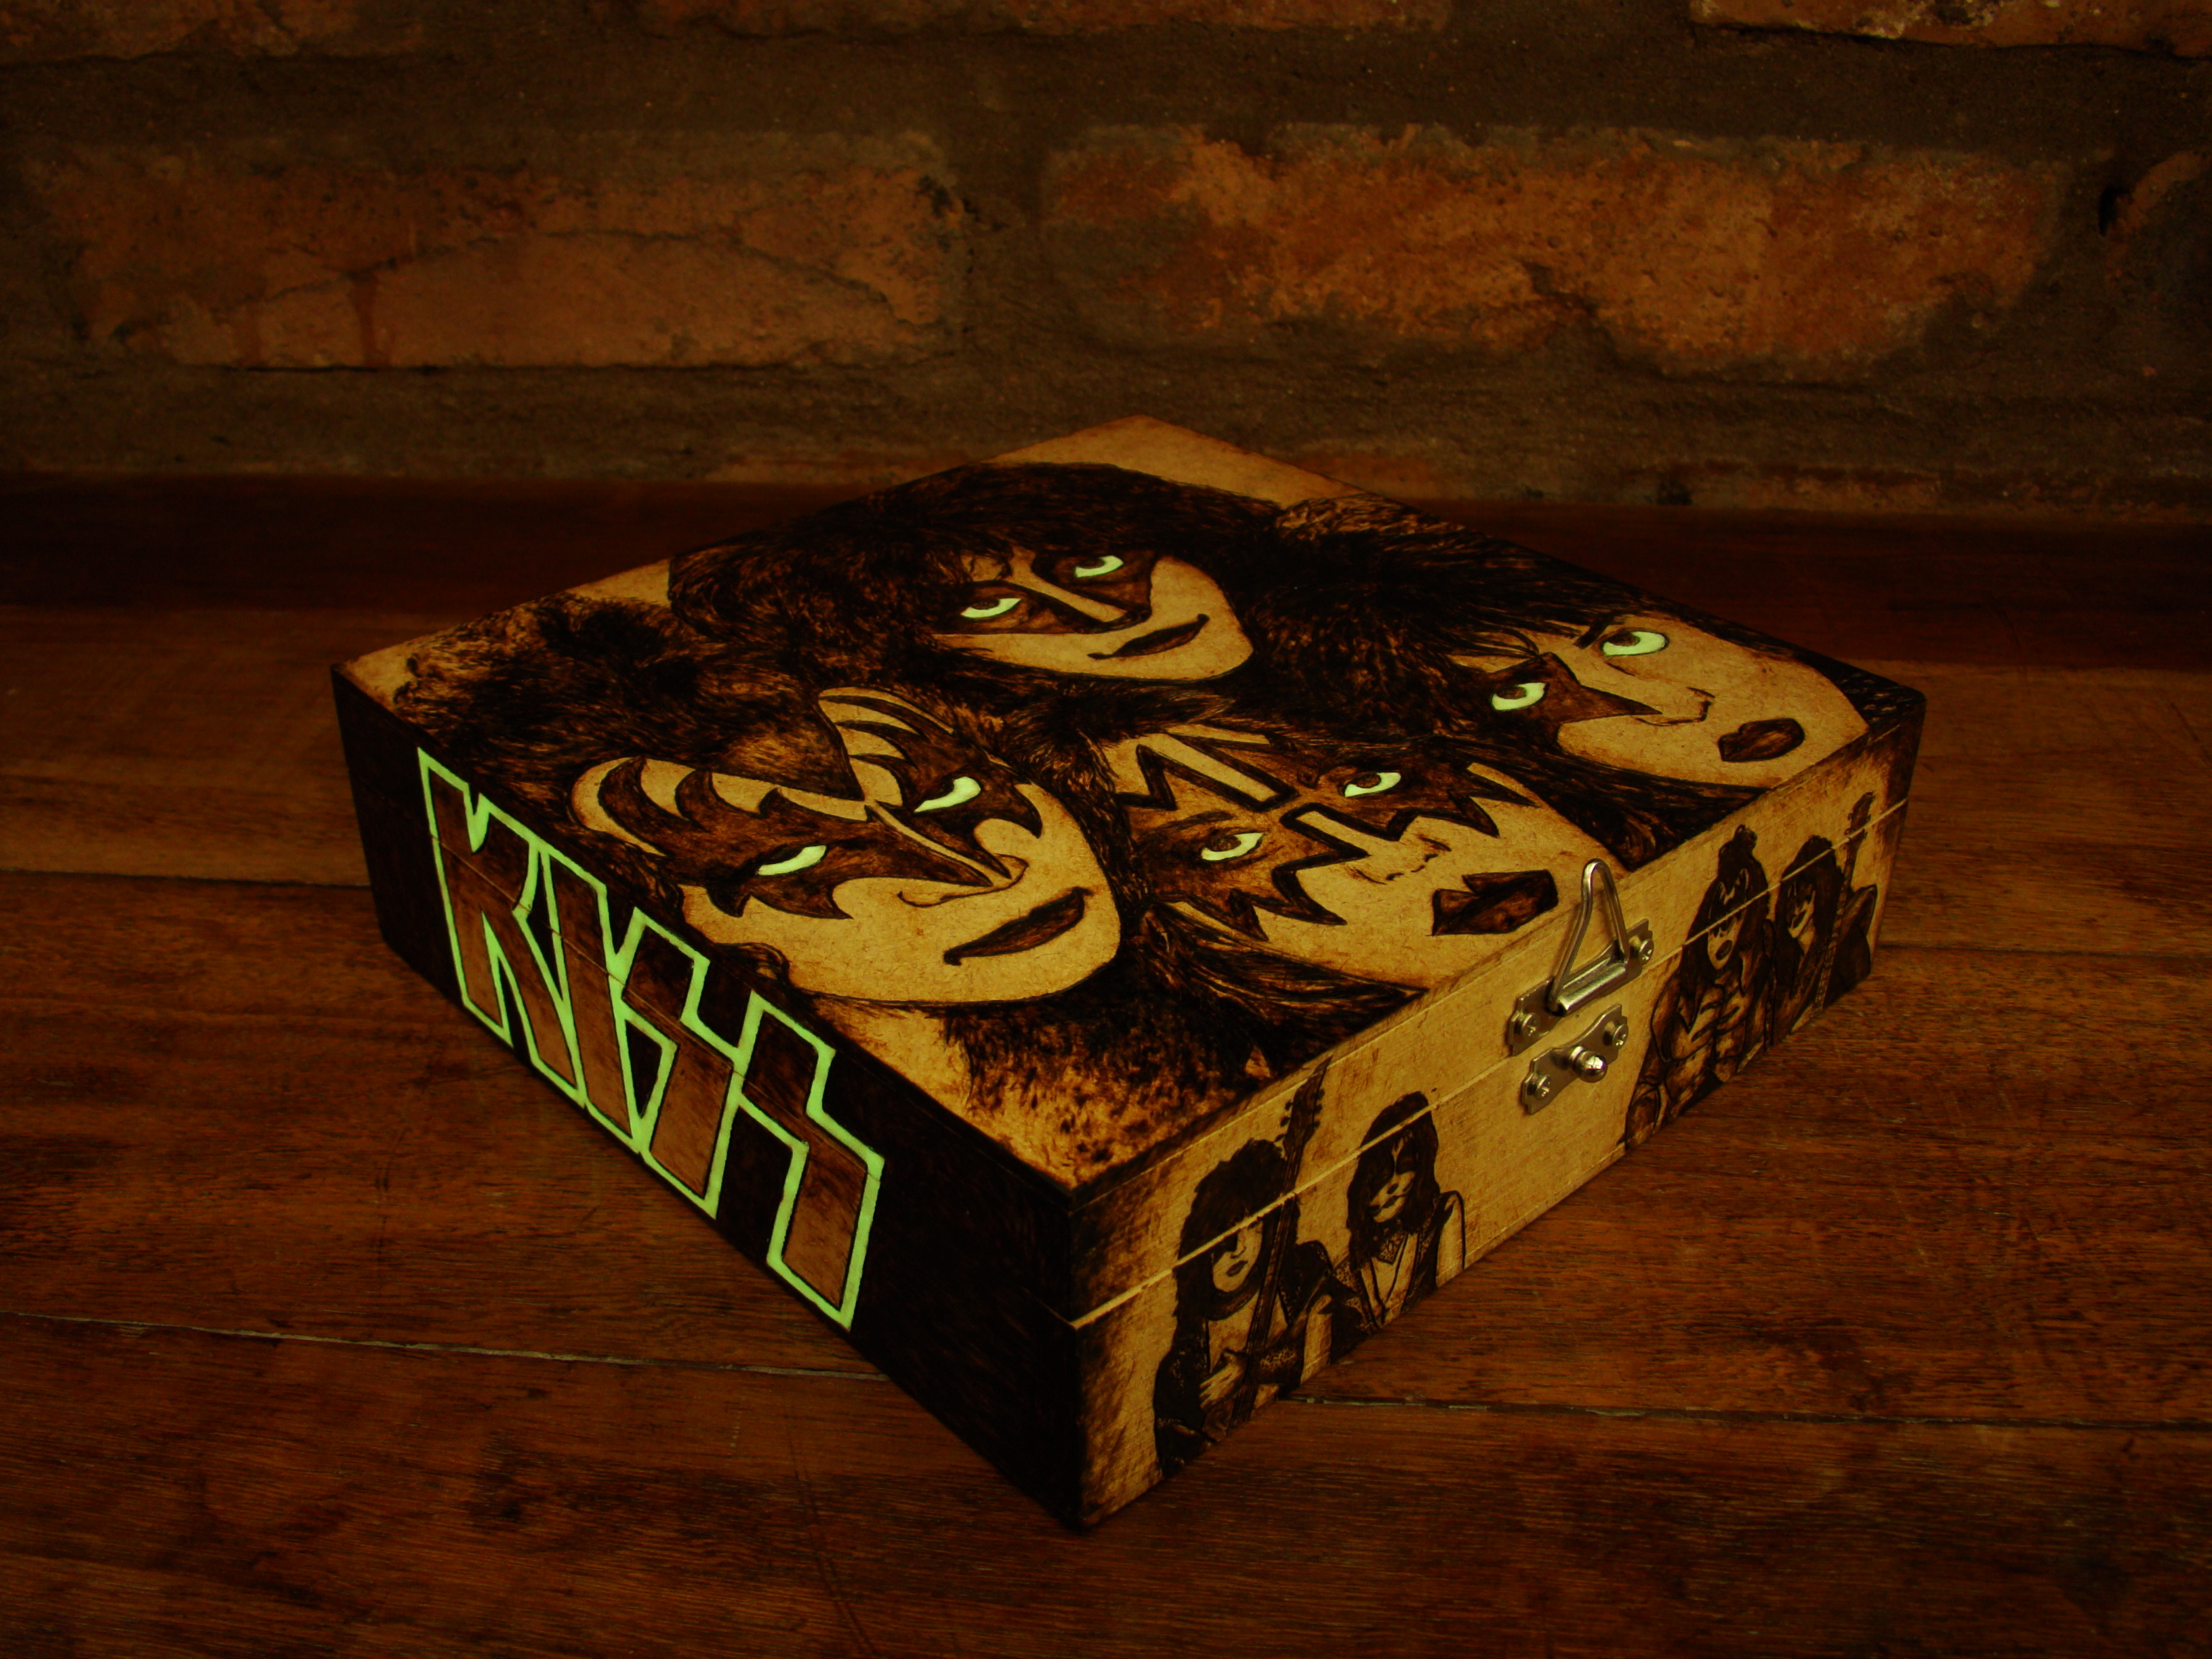
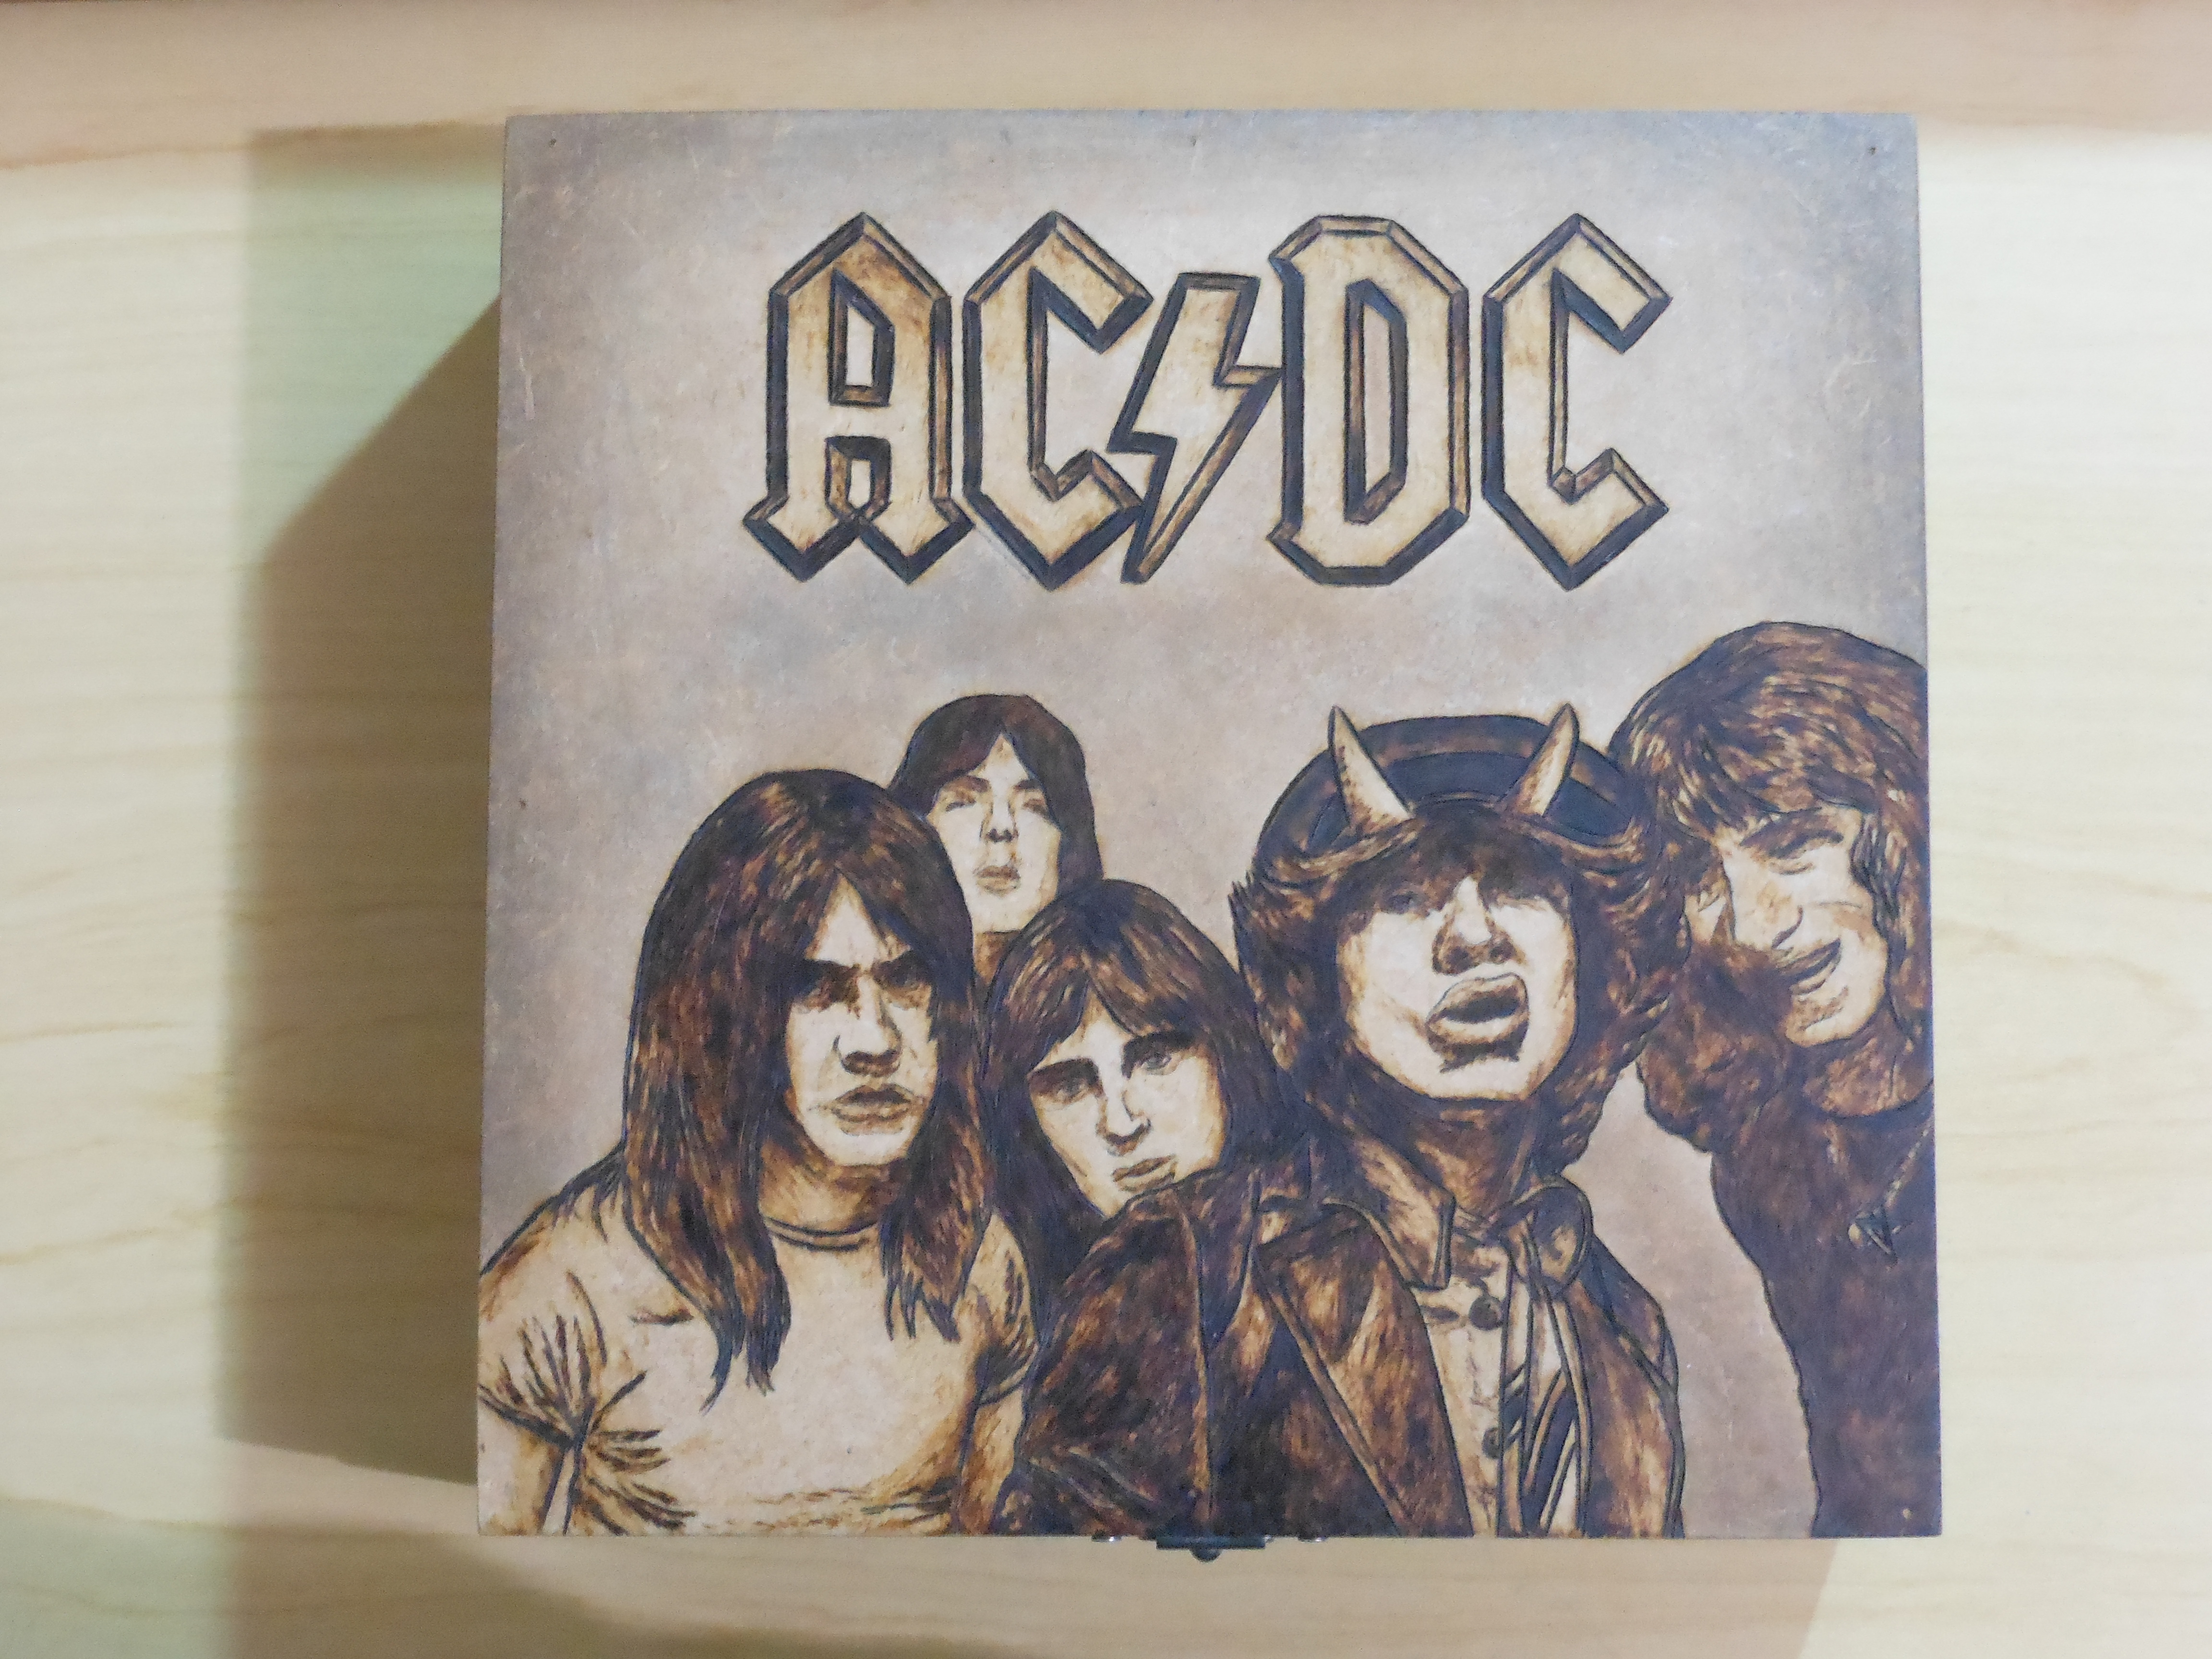
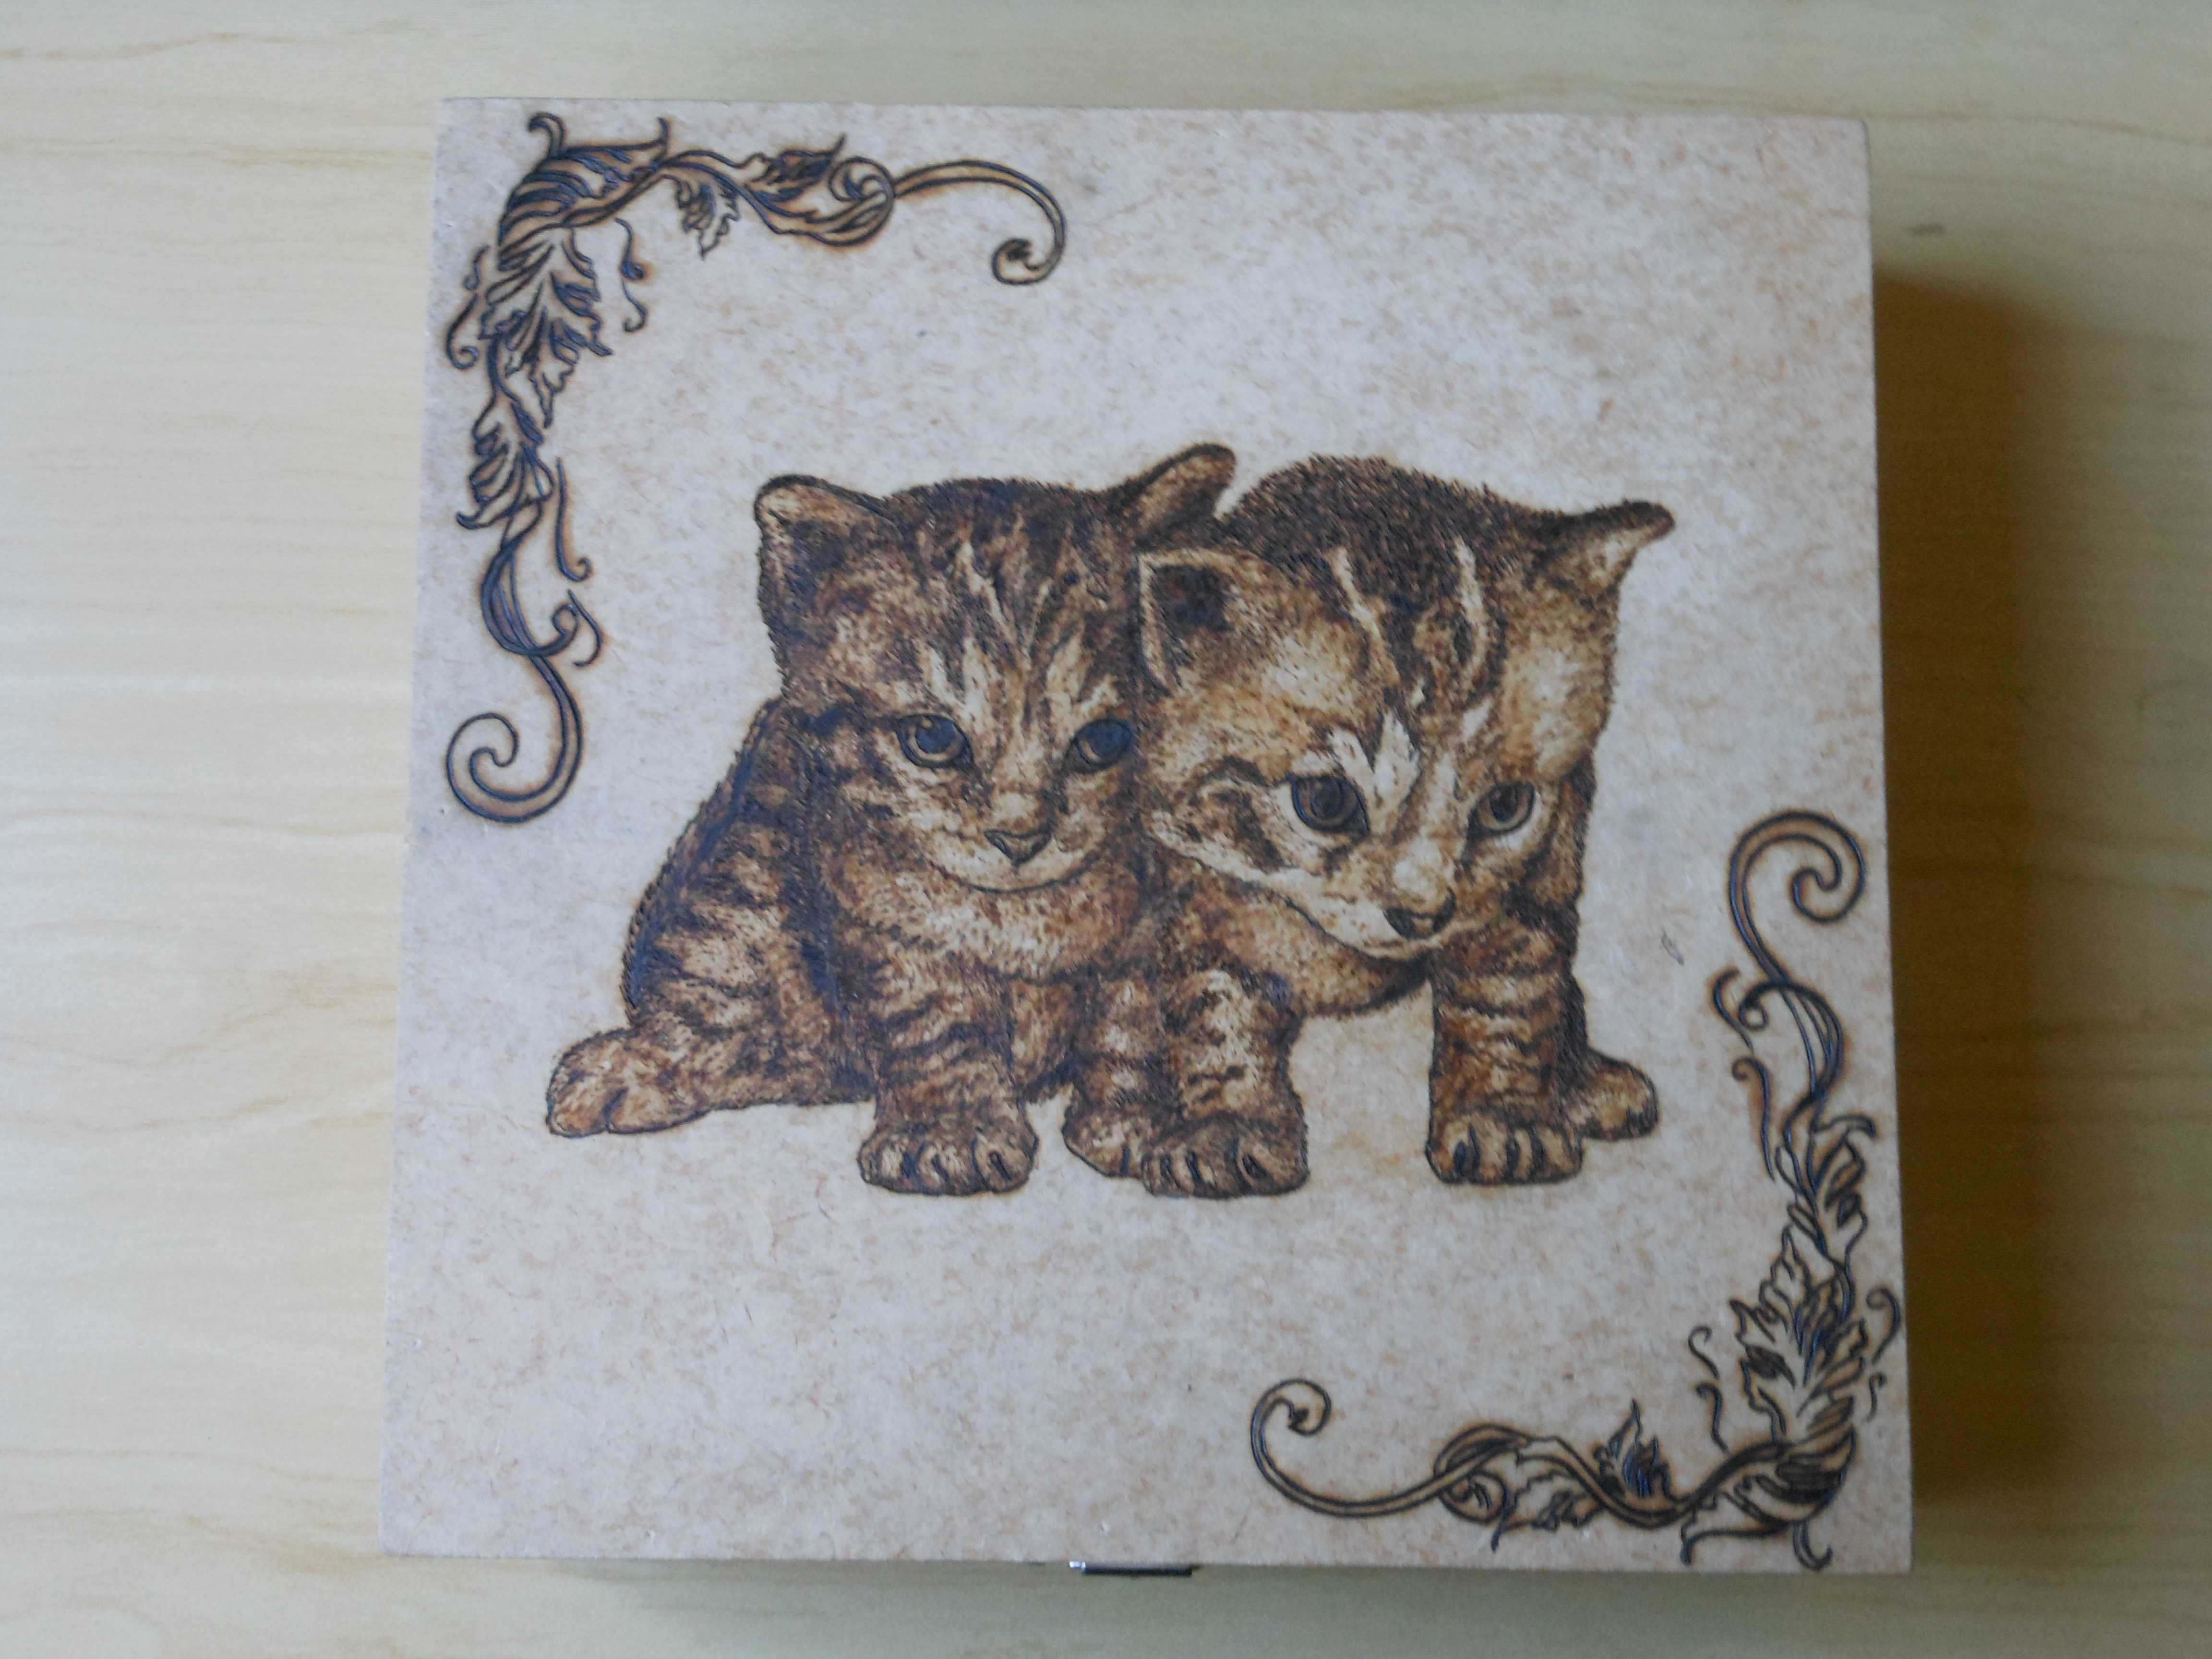
There are infinite textures you can mimic by burning, so I will give some tricks for a few ones:
Hair: For crazy hairs like the 80's style (see Kiss) or just a little messy (see AC/DC), use the flat shading tip with higher heat intensity. This time you do not need to be smooth, because you actually want to leave direction marks all around. By controlling the pressure you apply, you can vary between dark black strokes and softer shades. To make it easier, you can start by outlining the hair volume and delimiting blank spaces for the lighting.
Fur: A tracing tip, either sharp or round, can create an awesome effect of short and soft fur and account for the shading. The golden rule is to apply more heat and closer strokes in areas you want to look darker, and less and faster strokes where you want to be light. If you think the overall look is too sharp, smooth your lines with a flat shading tip.
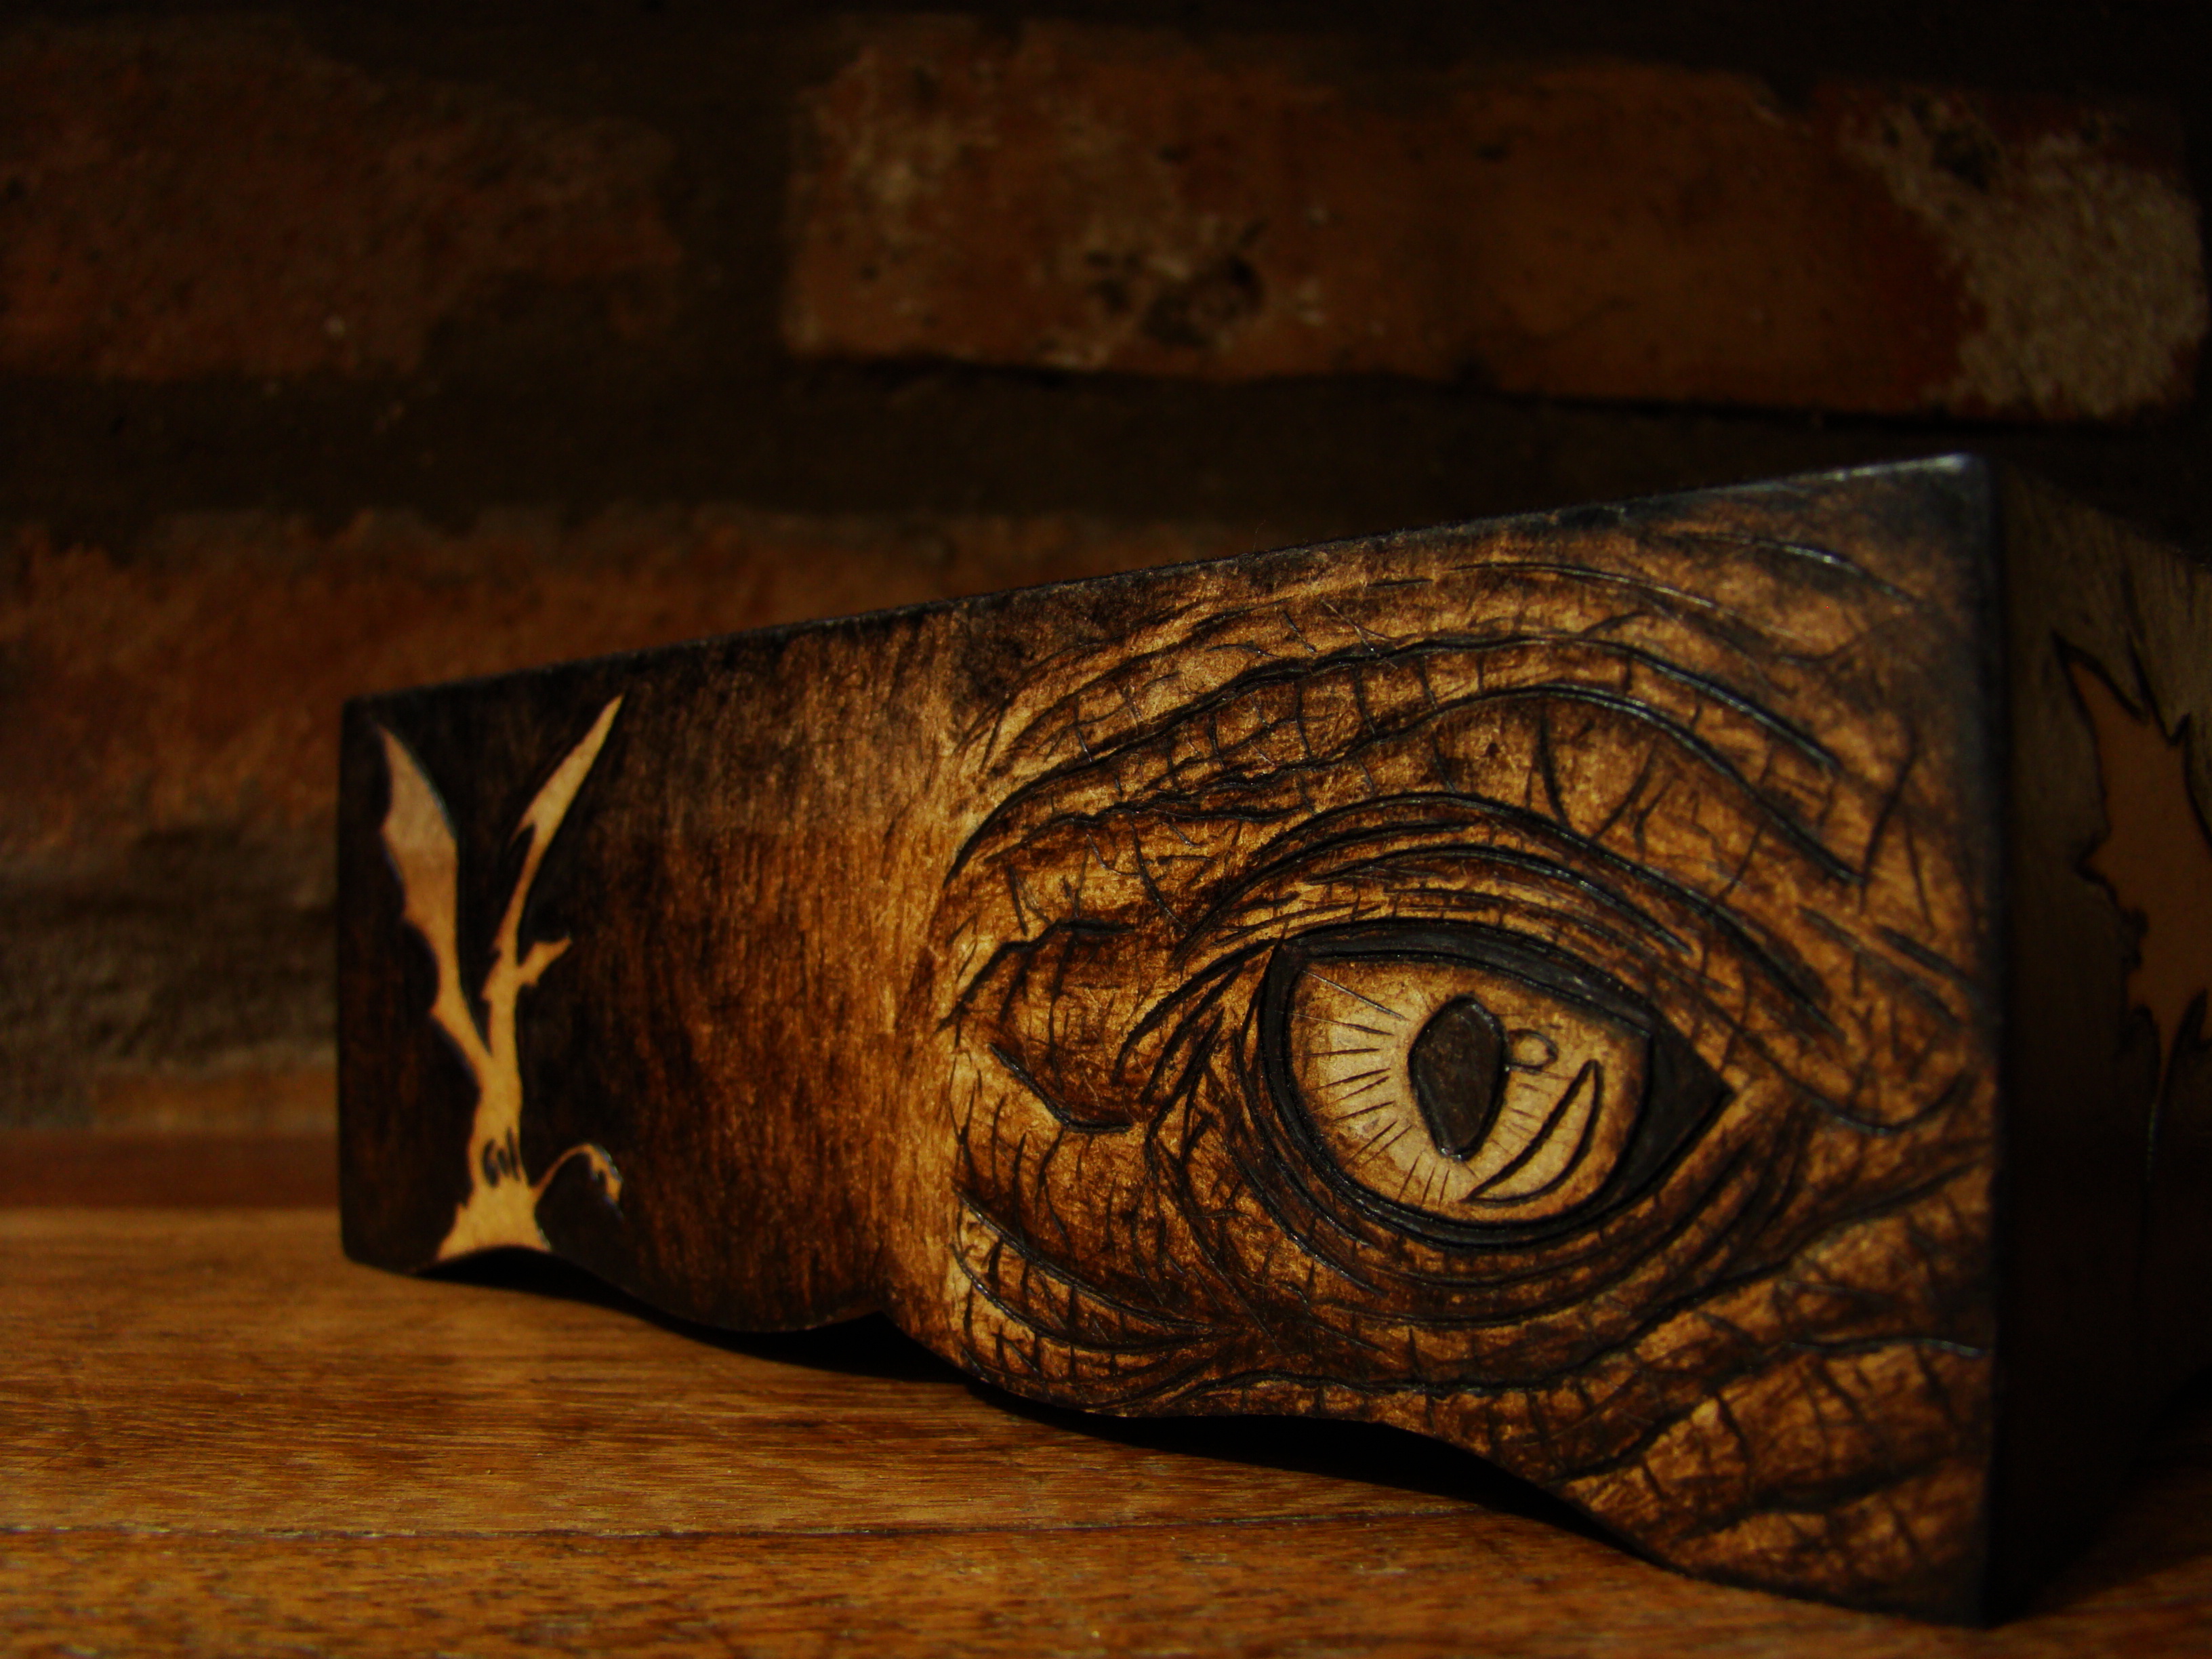
Scales or leathery skin: Time to use sharp and broken lines, to create the effect of a cracking skin. Use a flat tip for shading, making the edges really dark to create volume. Do not use hatching in this case, unless you want to end up with a furry dragon.
Background Techniques
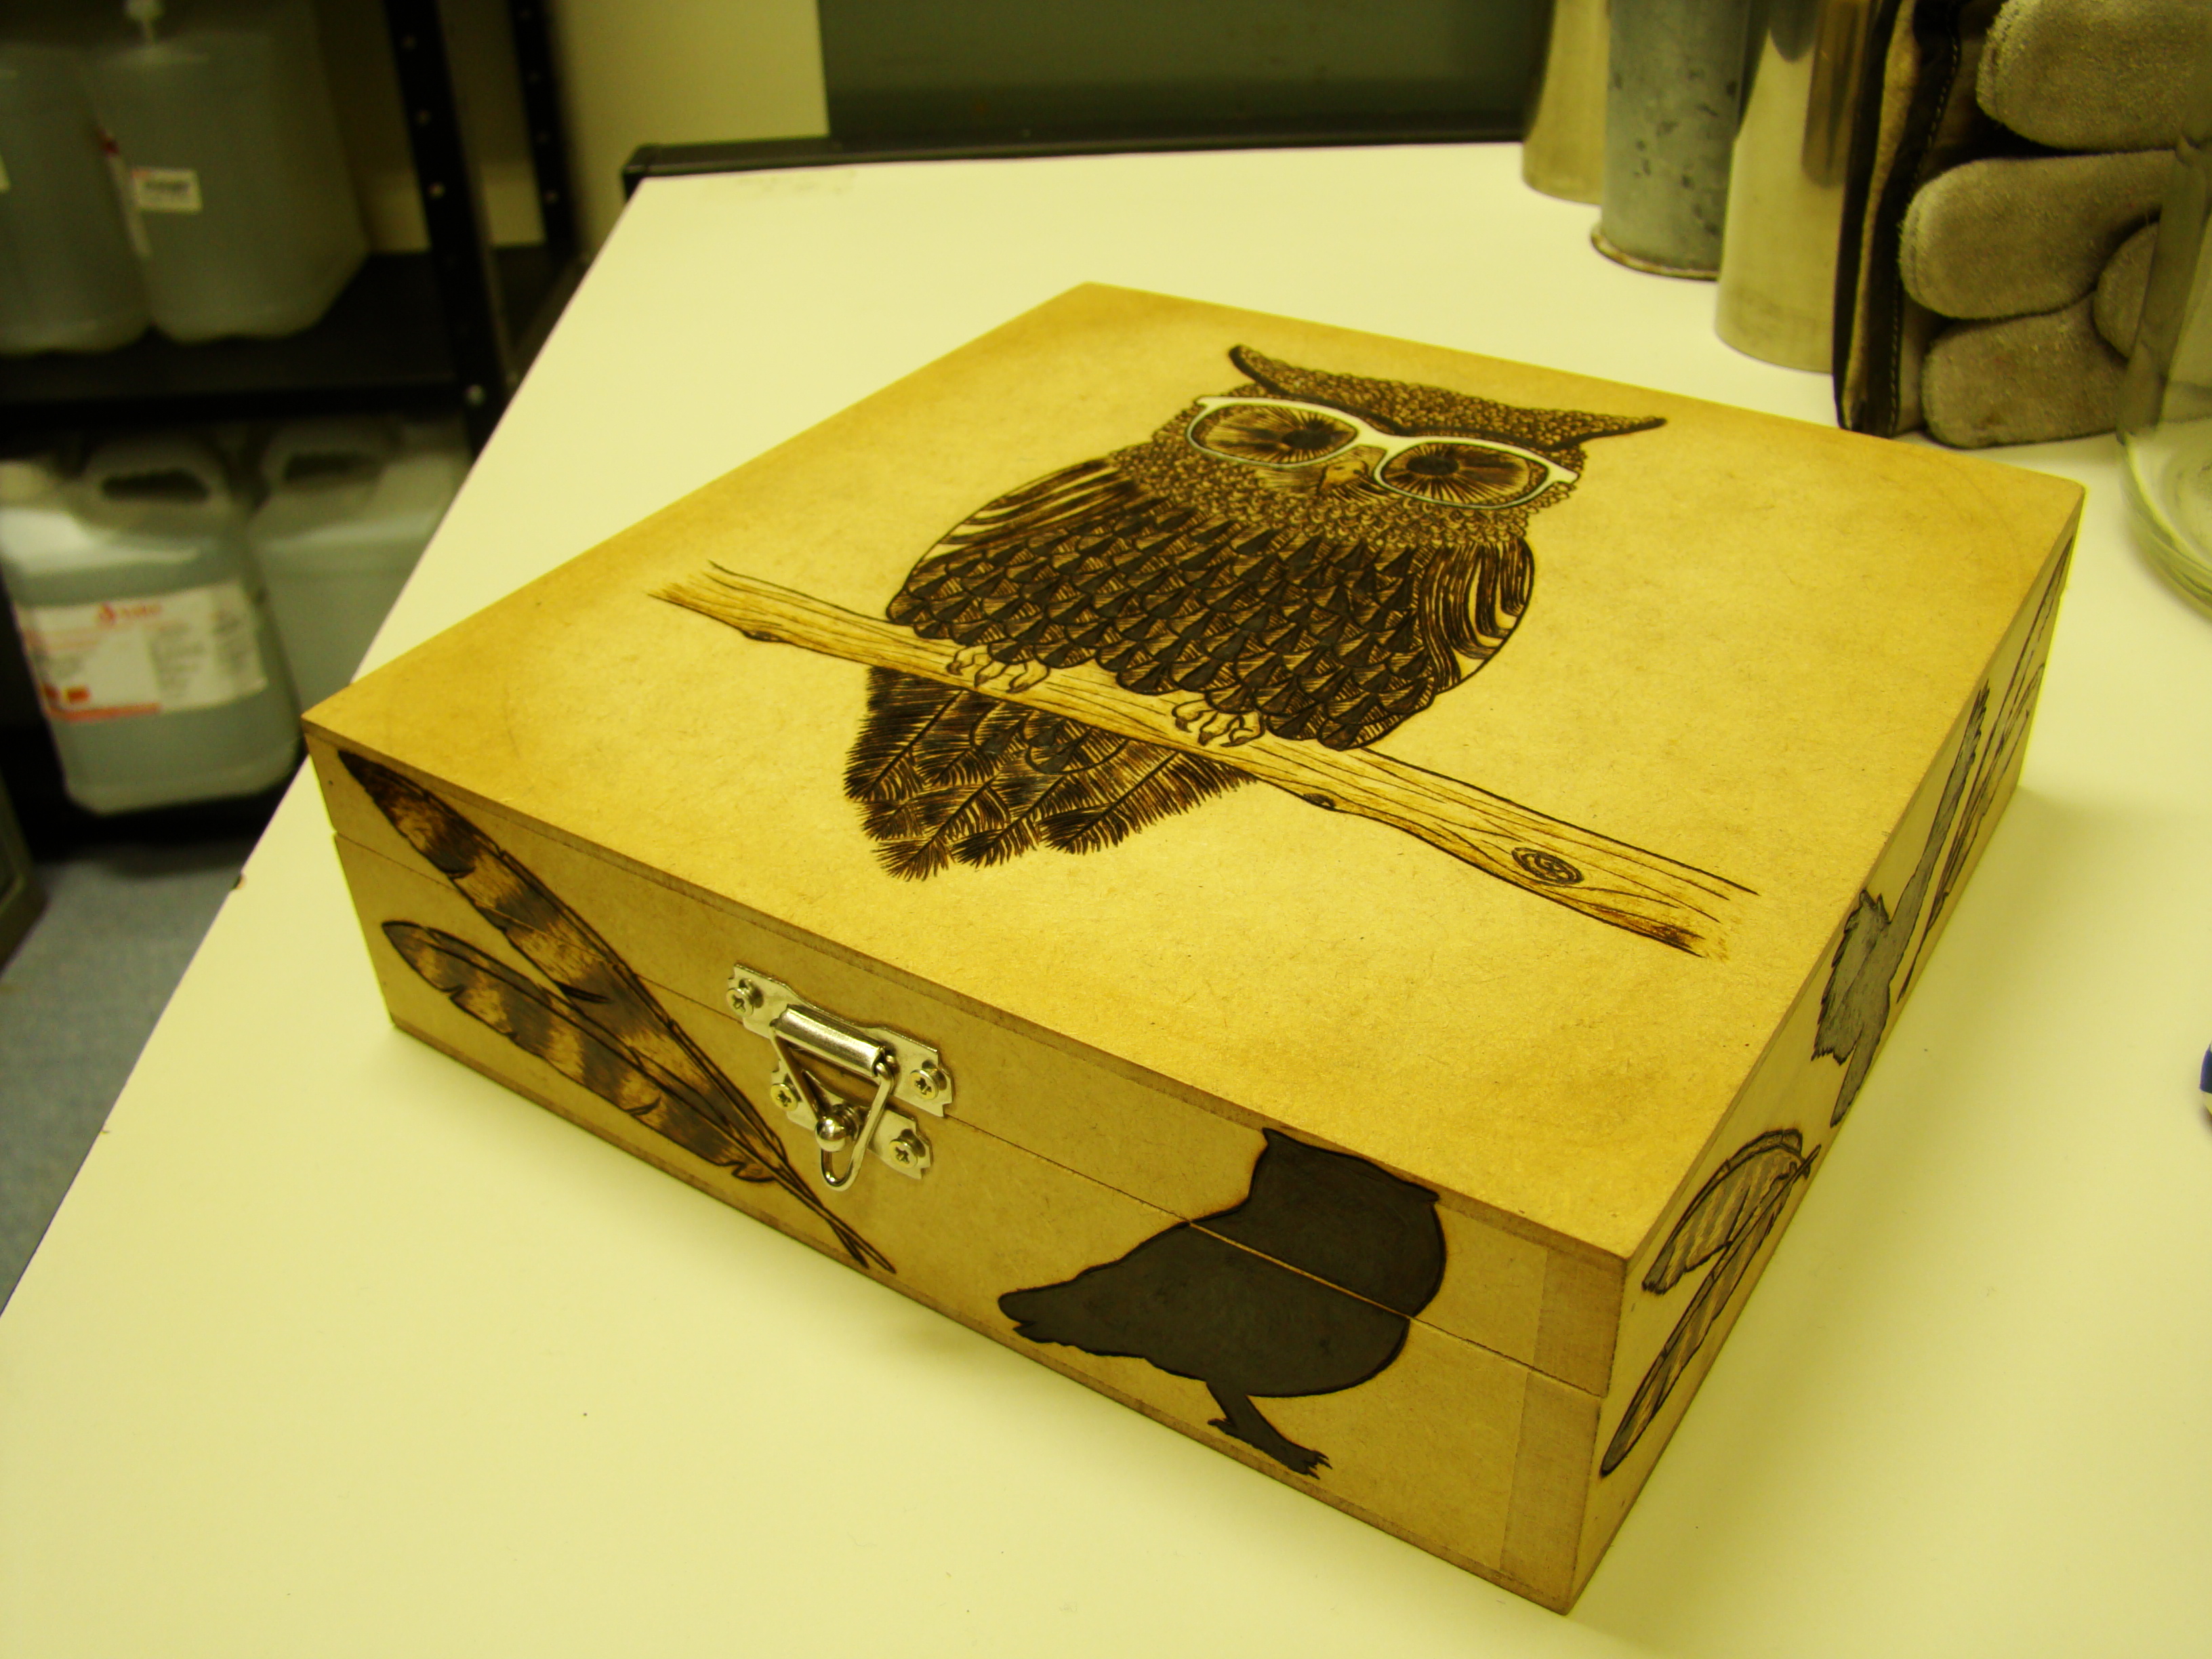
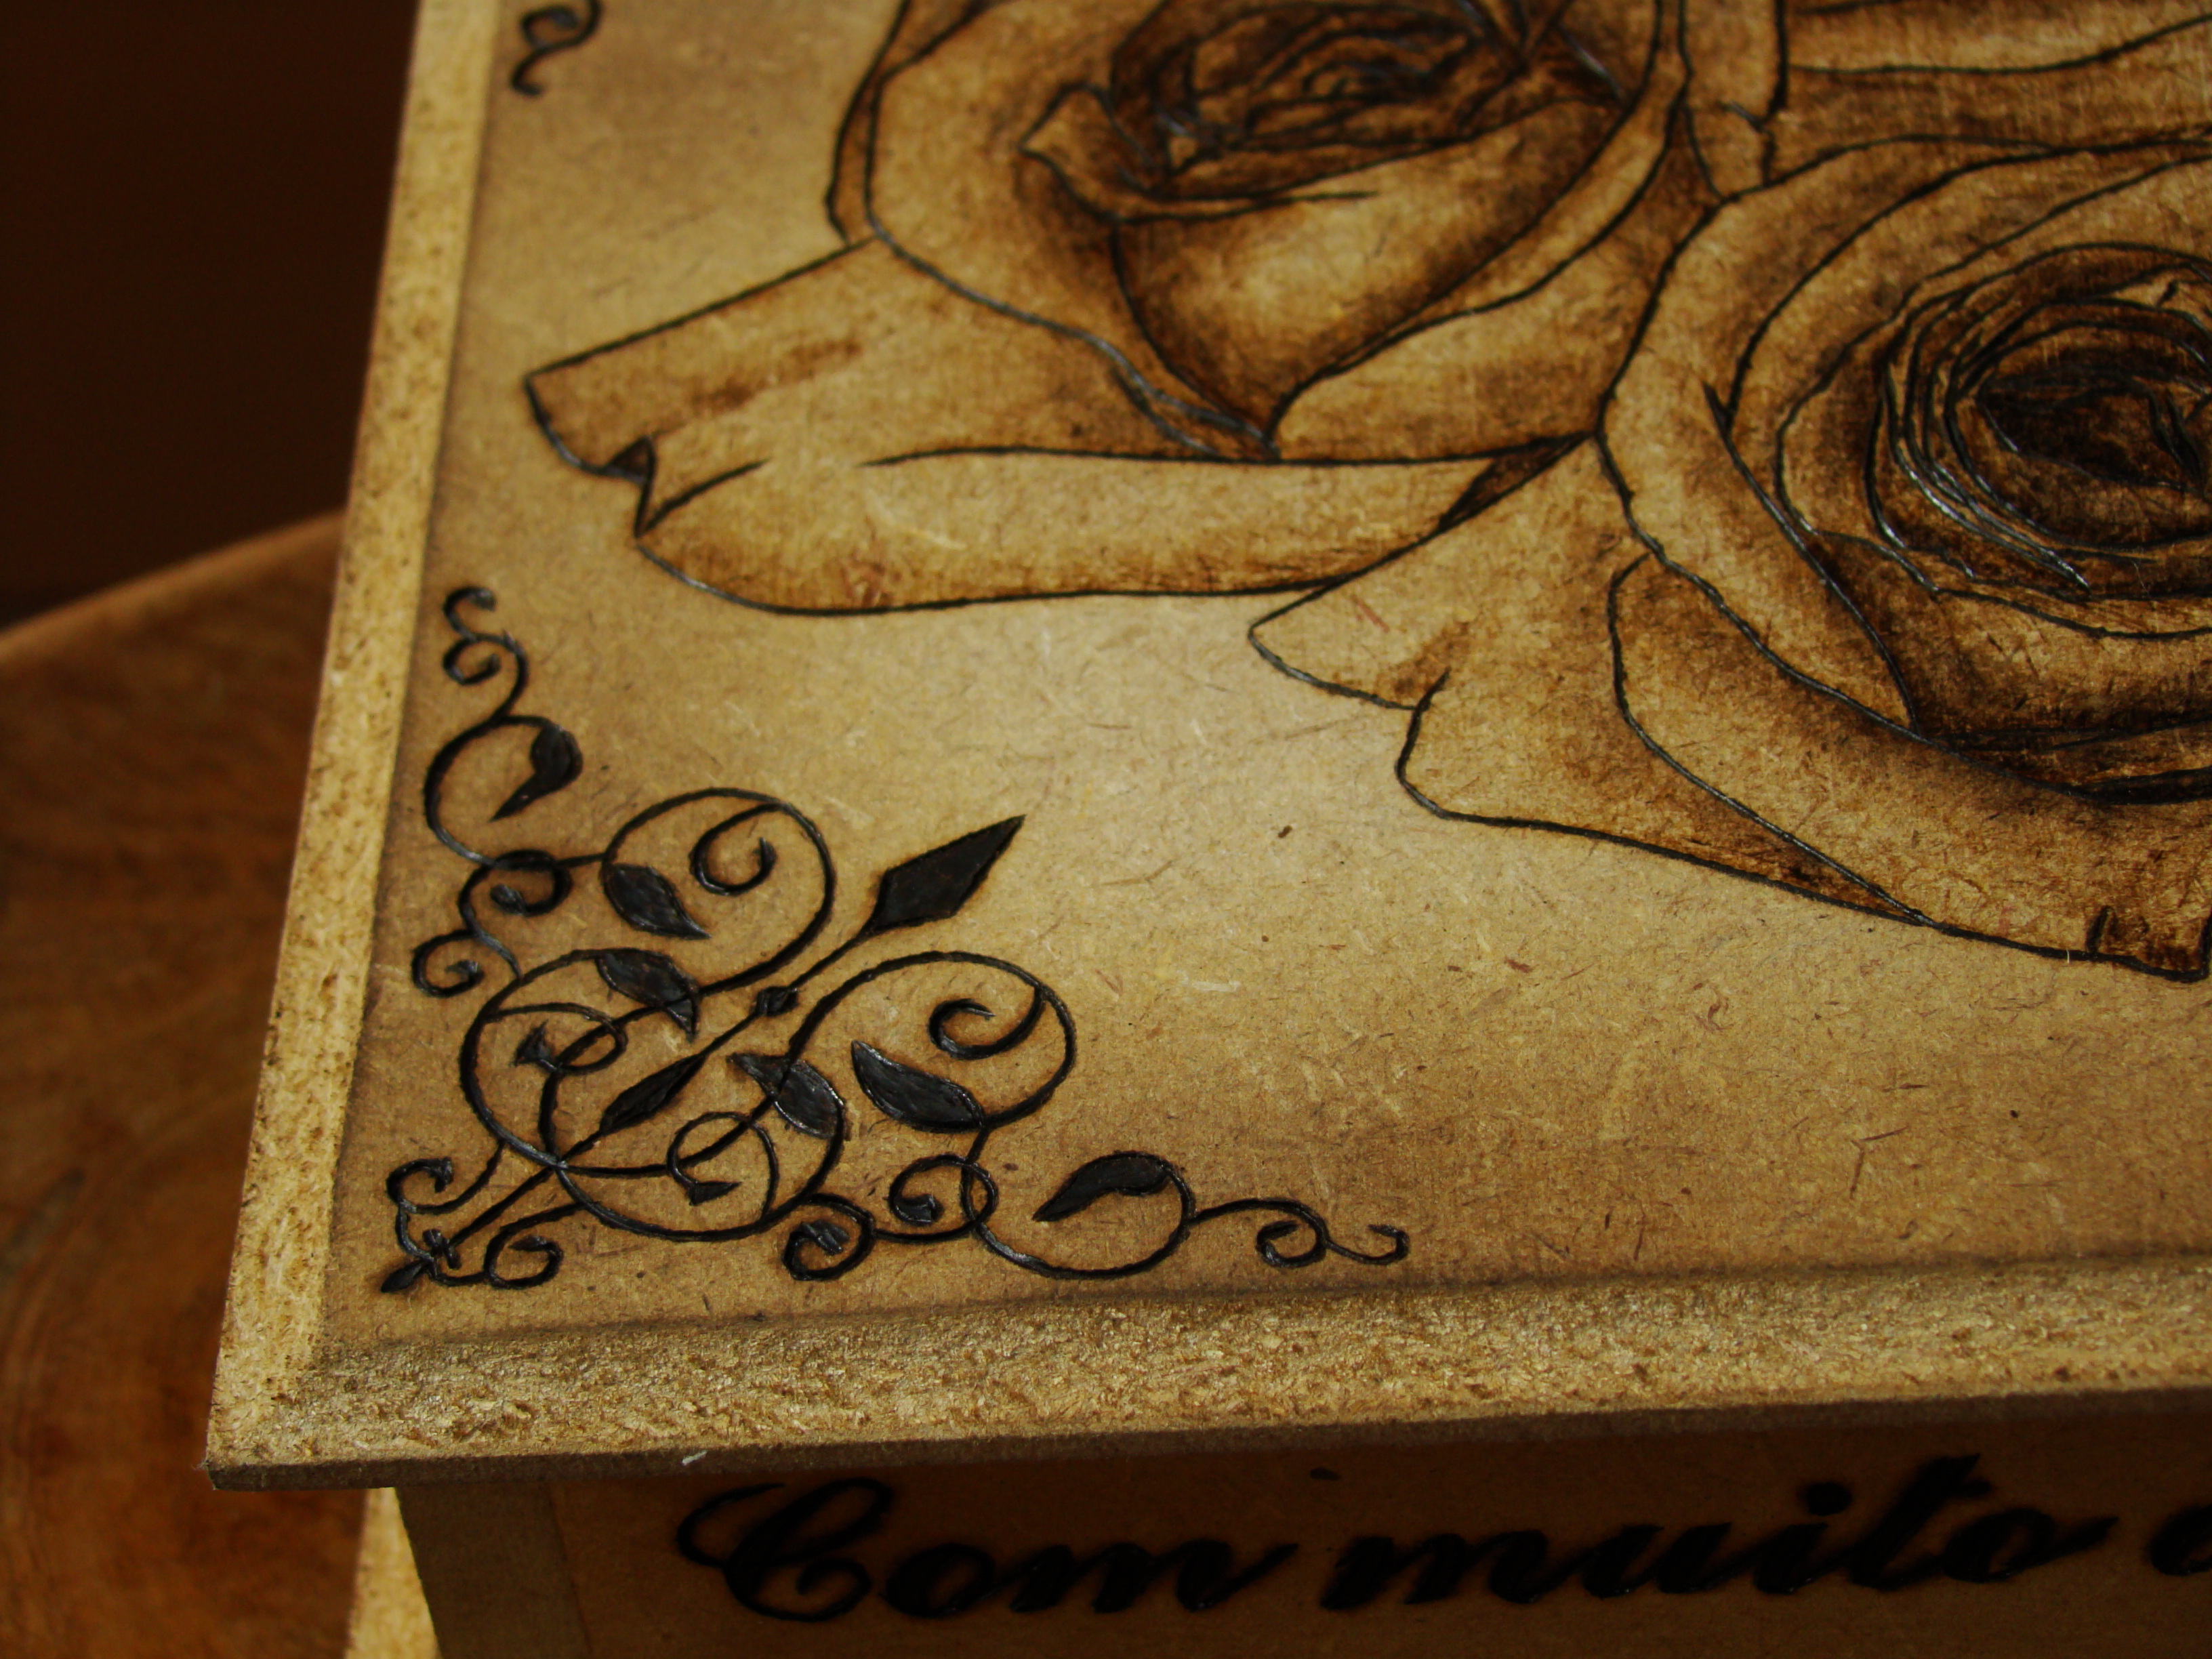
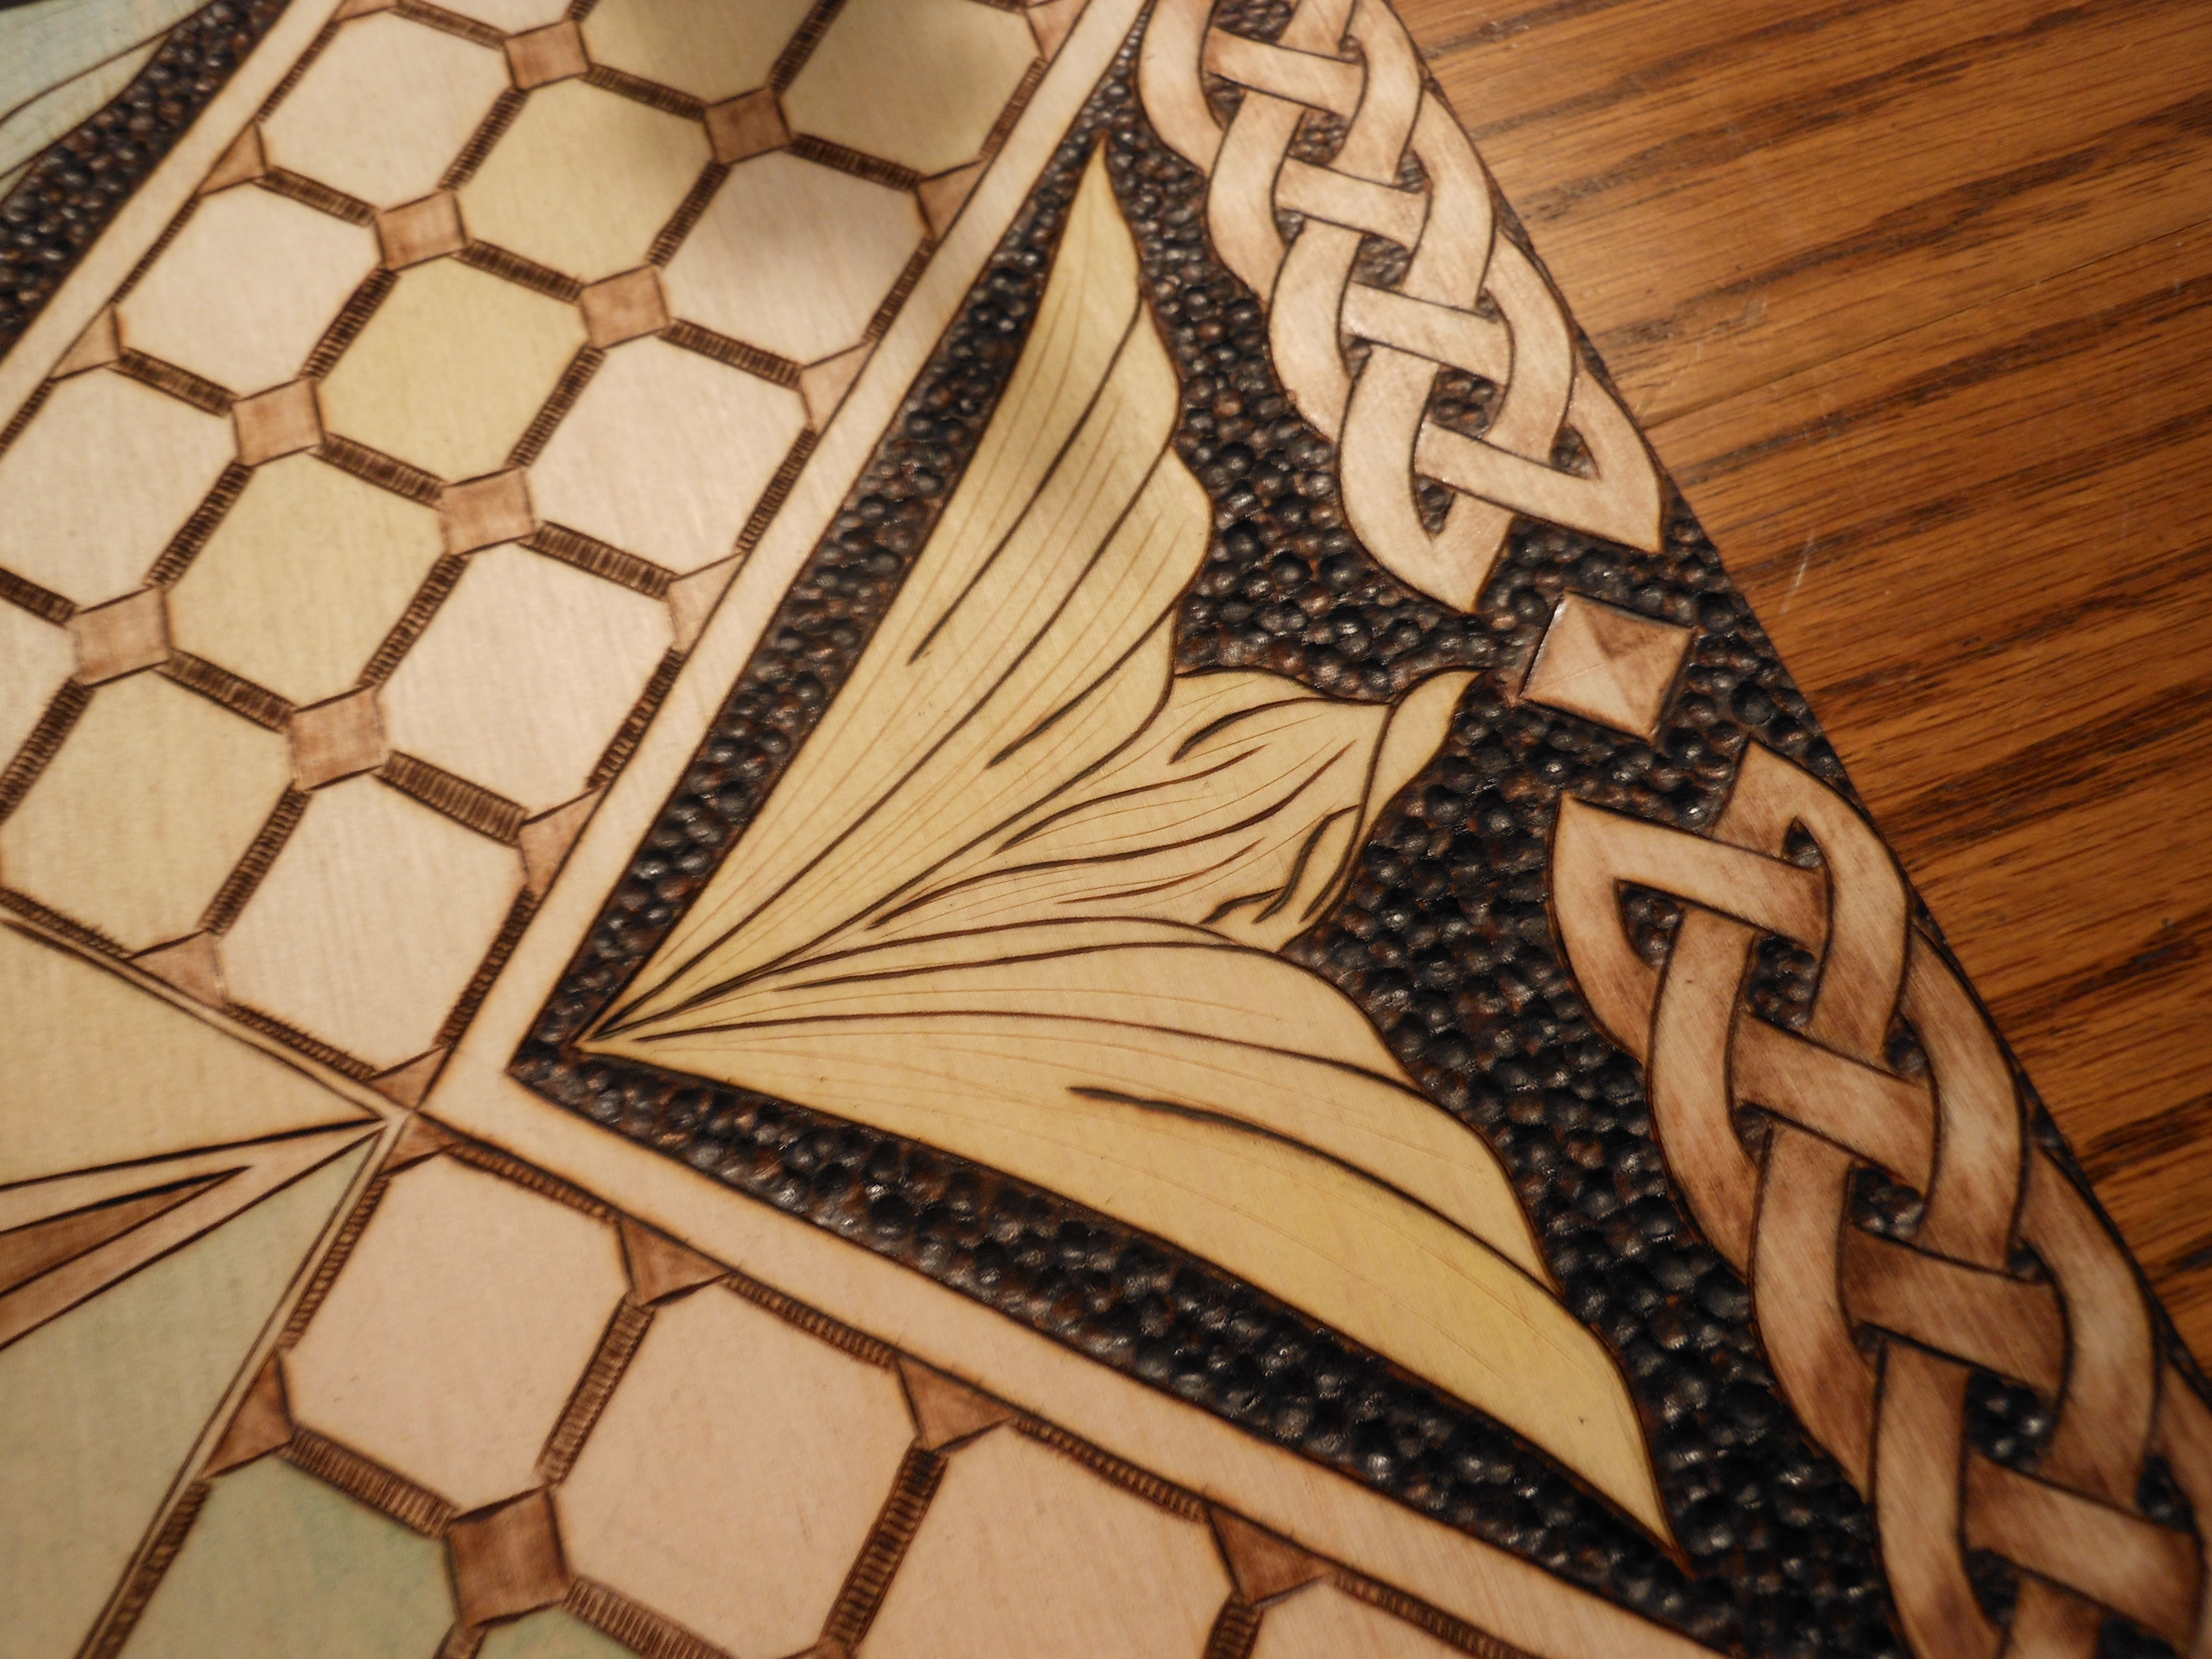
When you are finally done with your main burning, it's time to think about the background. It can make a great difference in the overall looks of your project, specially when using a cheap-looking piece of wood. The following techniques are suitable for all levels of effort and time you plan to invest in this rather monotonous stage.
Rust: By far the easiest technique, when you really don't have any time to lose. I used to take a few rusted screws and bolts, and remove some of the rust with sandpaper. To apply this on the wood, simply pick some of the dust with your fingers and spread in the surface as you would do with chalk or charcoal. If you don't want to get reddish fingers, use a cotton ball instead.
All the times I used this technique I was working on MDF, and the rust covering was smooth and opaque. It is very interesting to make your background opaque when the main burning has a shiny gradient, for it will really stand out.
Heat blower: Often my best call, a heat blower can be used for a great vignette effect. Turn on the blower and move along the edges, NEVER blowing the same spot for more than a second. Move along the whole area and heat it all evenly. It will take a while for you to start seeing some shading, but once it begins the process is quite exponential (meaning it will get darker and darker in the blink of an eye).
Be extra careful with the metal tip of the heat blower, so it won't touch the wood or your skin. Seriously, I have a pretty scar on my wrist due to an accident.
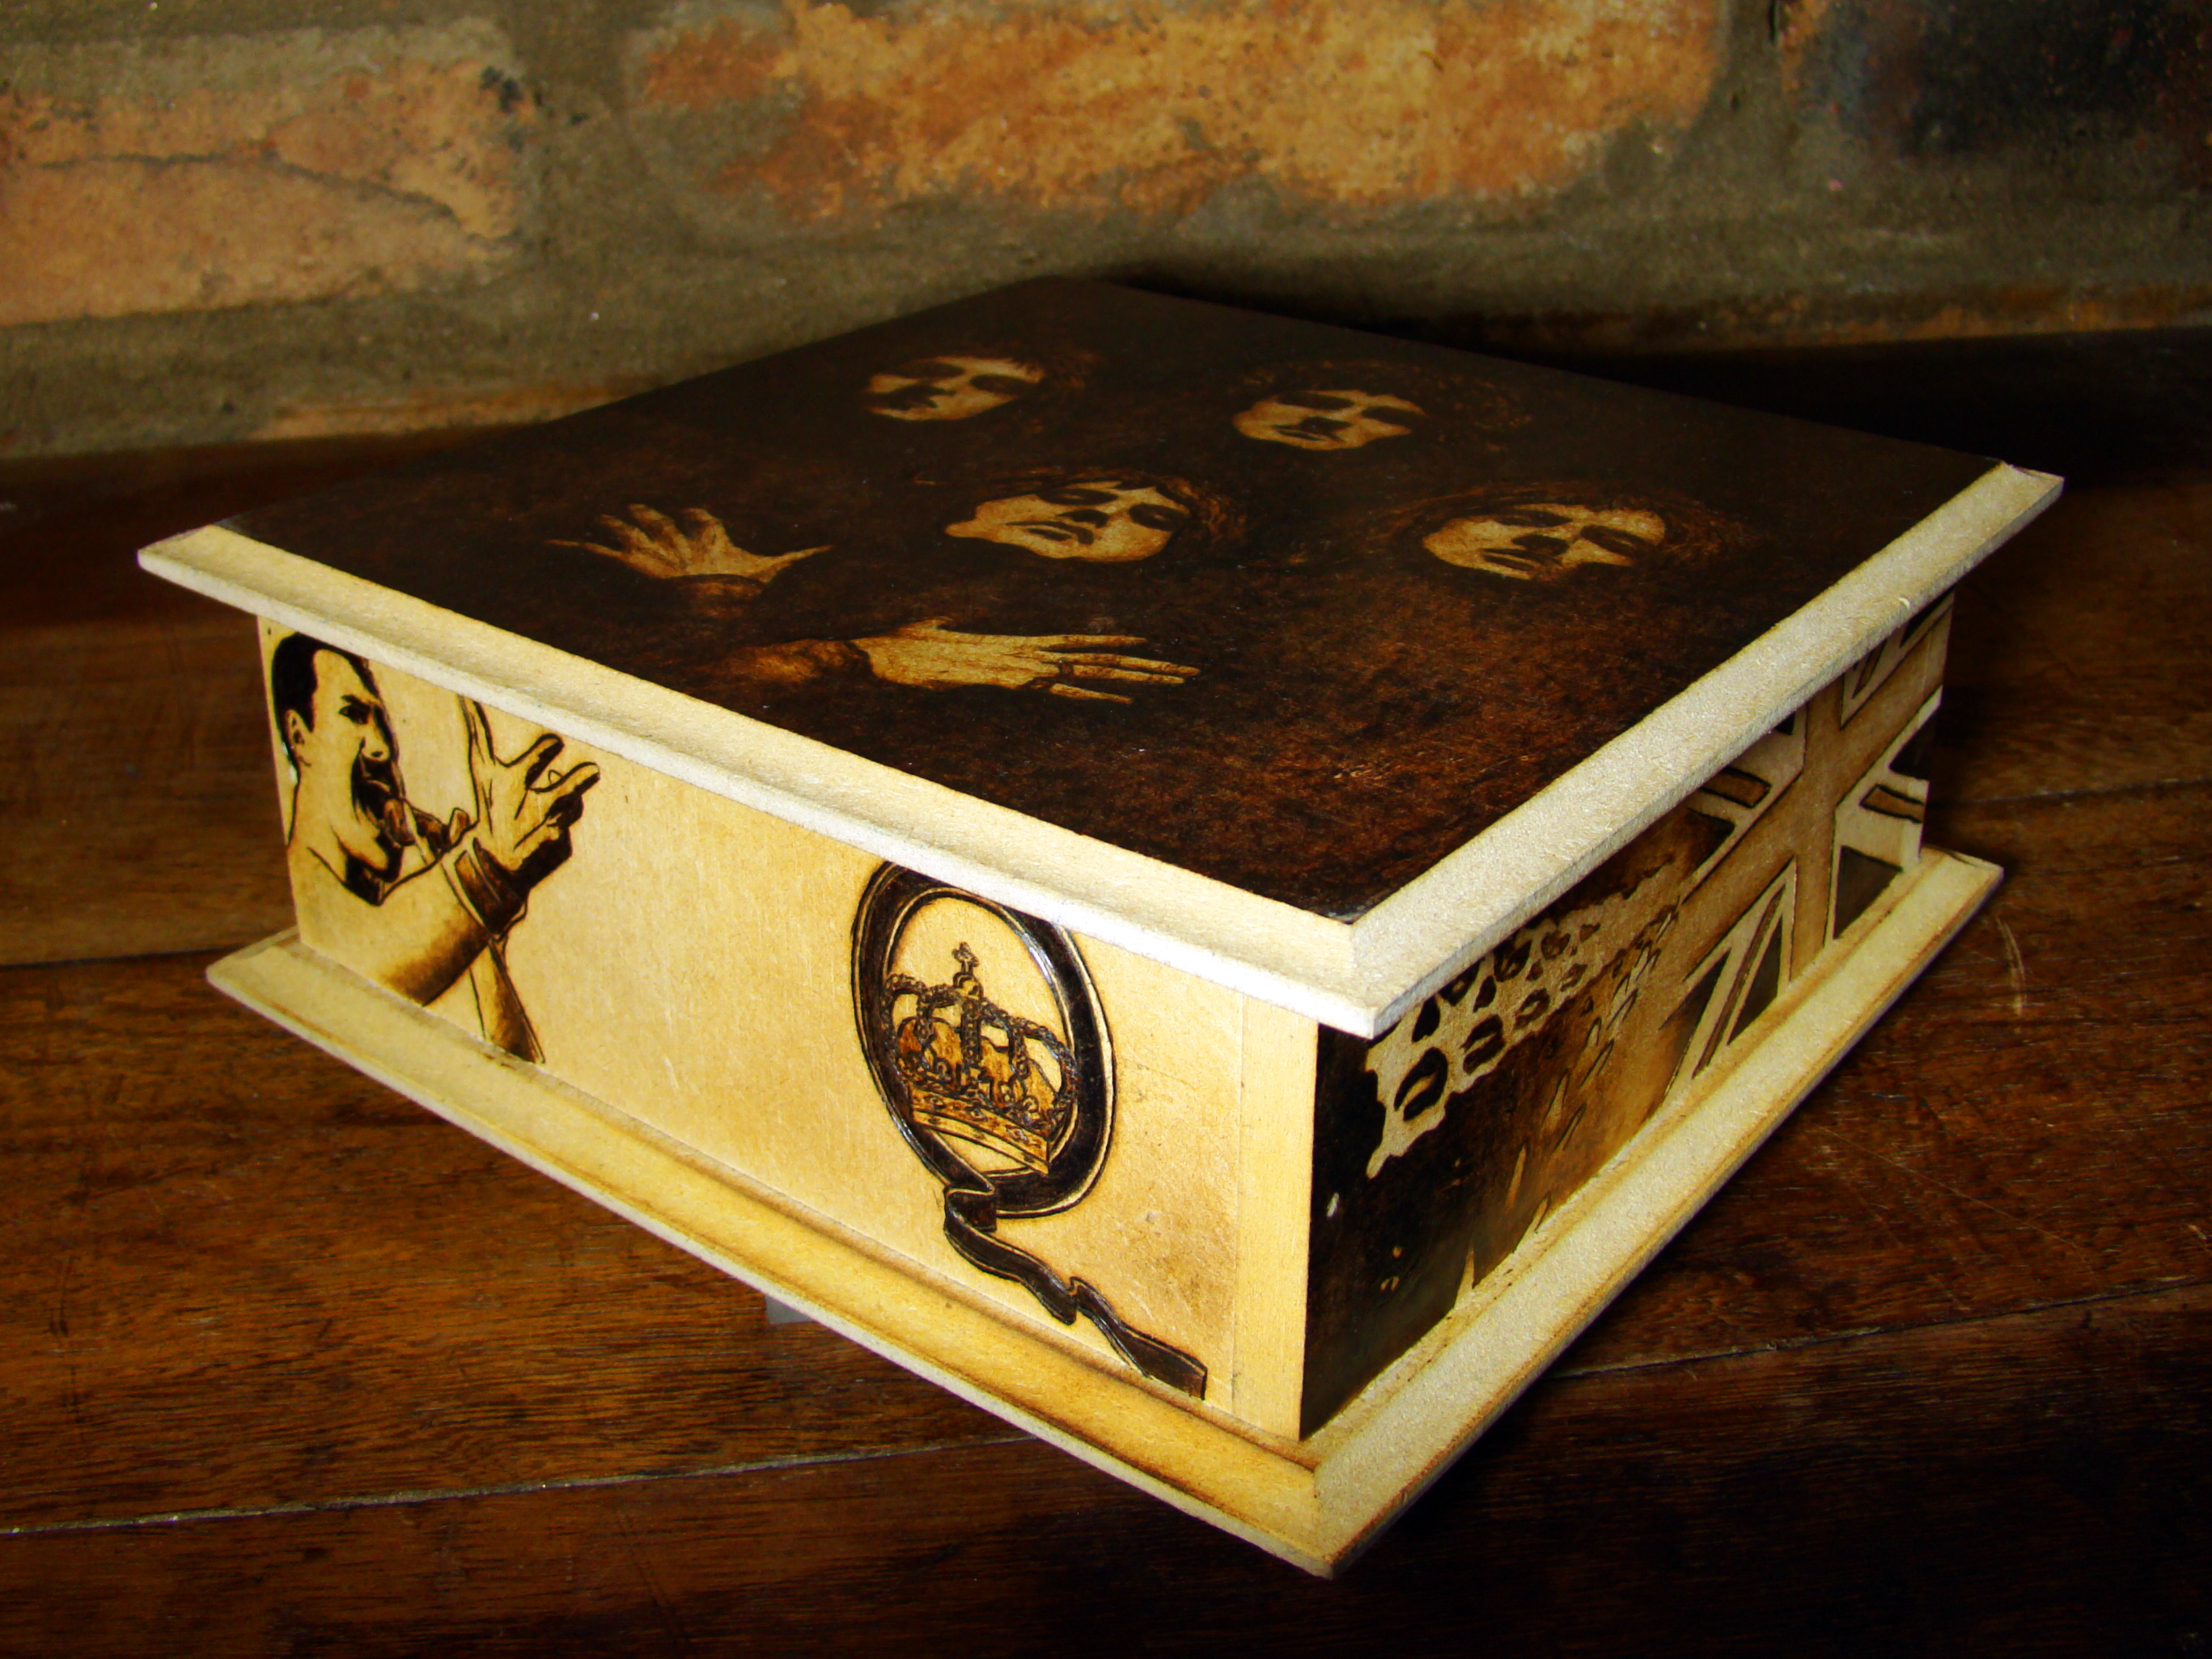
Shading or filling: If you are patient enough or you really don't have big areas to fill, you can try some gradient filling or even take a full black approach. Sometimes the full black background is a requirement for the art (see Queen box), but this is honestly an awful lot of work. My advice would be: only do it if you're confident that the final result will be worth it, otherwise the background will give you more trouble than the actual work.
Dotting: This is a very old technique, and can be found in some medieval art pieces; by that time, it was done by heating metal bolts and "branding" the wood multiple times with them. Now even the cheapest wood burner will come with a large round tip for this kind of work. Wait until the burner is really hot and fill the background one dot at a time, stopping to clean the tip whenever it accumulates too much matter. When you do this in a soft wood, you create a real bevel edge plus the shiny/opaque contrast.
Enjoy!
Now it's your turn! If you liked the techniques and tricks you saw here, go buy yourself a wood burner and dive into the awesome art of pyrography!