Wood Molds for Pewter Casting (I Made It at TechShop)
by TomCloss in Workshop > Metalworking
14929 Views, 62 Favorites, 0 Comments
Wood Molds for Pewter Casting (I Made It at TechShop)
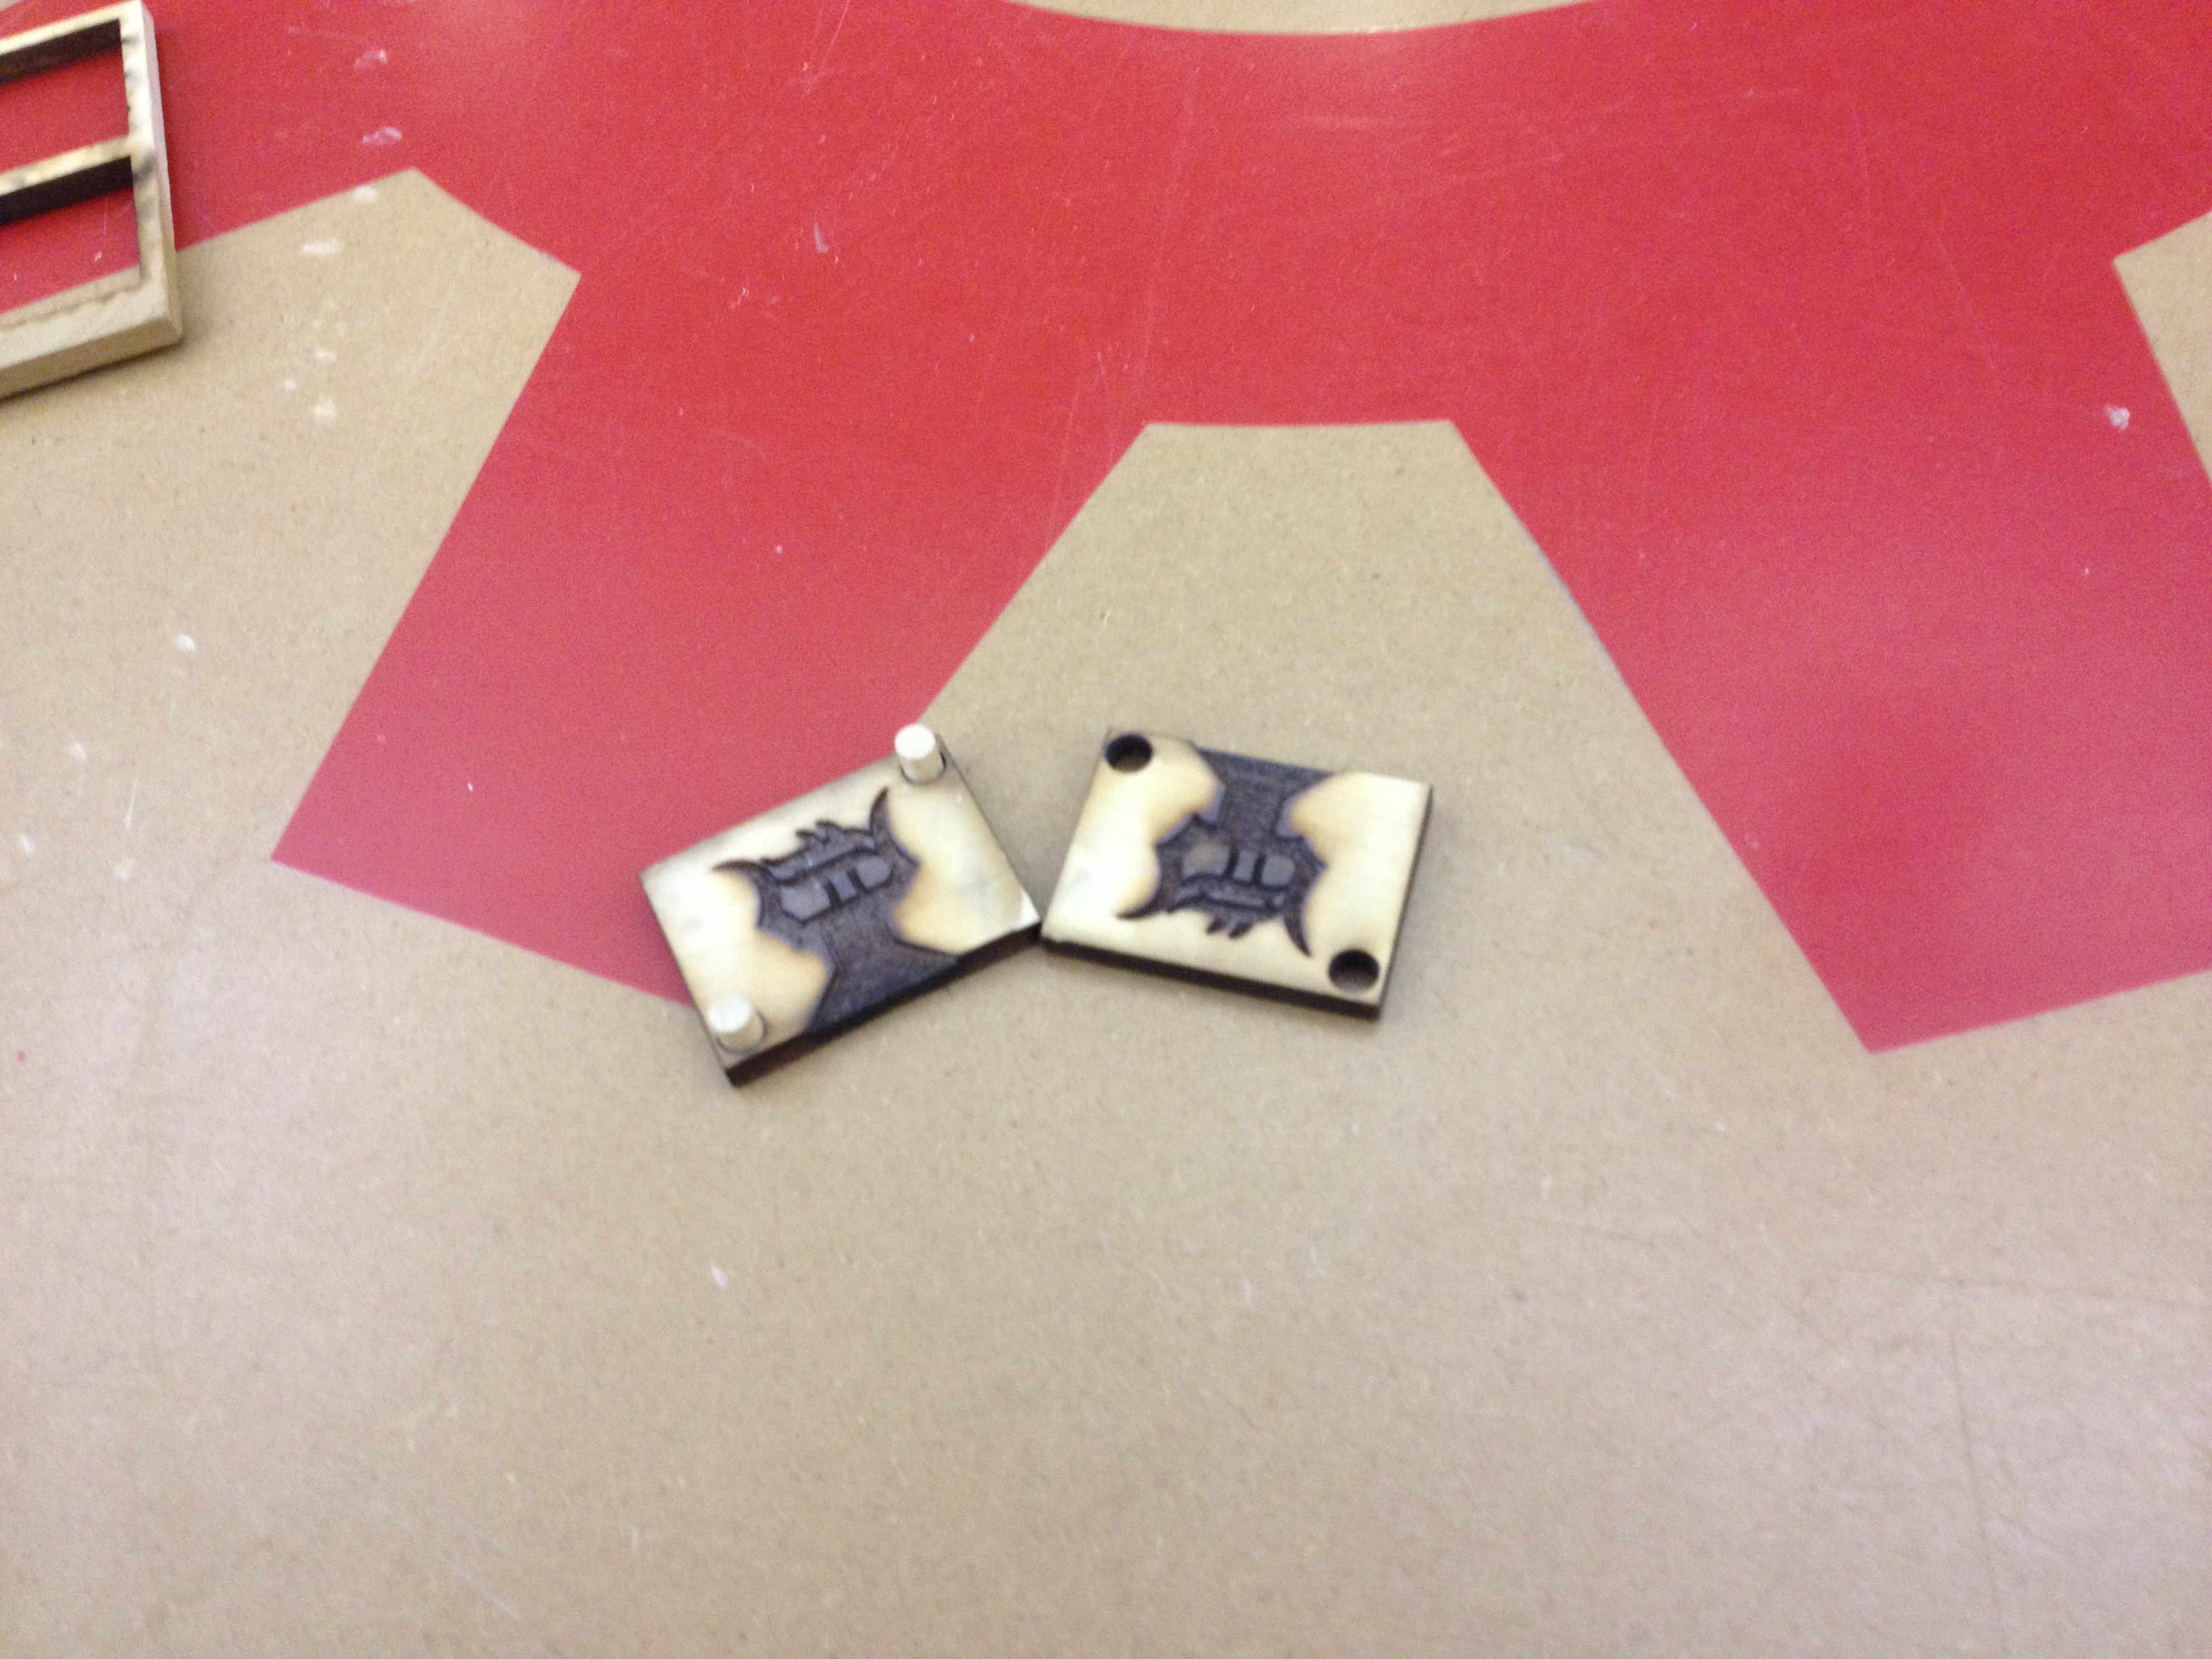
With pewter's melting point being so low you can make molds out of lots of different materials. The following information will help you build a two part mold using a laser cutter and 1/4 inch thick wood. I used the laser cutter at my local TechShop. For more information on TechShop look them up. http://www.techshop.ws
Draw the Design.

The shape of the cast piece can be drawn in any drawing software as long as the software can export a DXF file. The DXF file can be read into Corel Draw for the laser cutting.
Draw a Rectangle Around the Design.
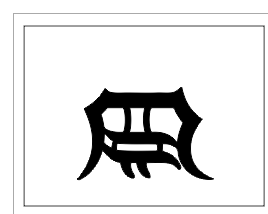
This rectangle will be the outside edges of the mold.
Draw the Sprue.
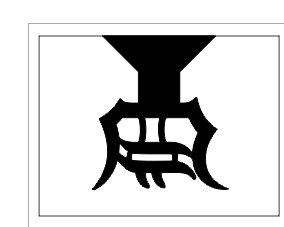
Draw a funnel shape from an outside edge of the design to the outside edge of the rectangle.
Draw Two 1/4 Inch Circles in Opposite Corners.
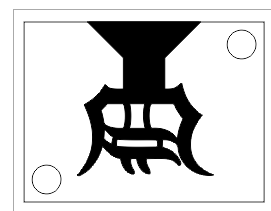
Making the circles a little smaller will allow you to use less glue later.
Convert the Design and the Sprue Into a Raster Image.

The space being cut for the mold has to be a raster image for the laser cutter to cut it correctly.
Set the Rectangle and Circles to the Proper Thickness.
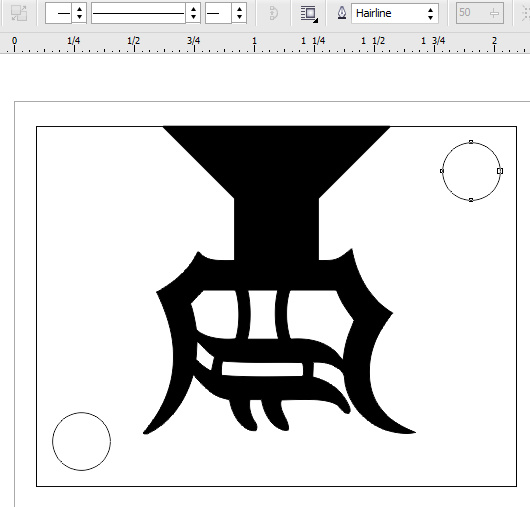
The rectangle representing the oputside surface of the mold and the alignment circles need to have their line thicknesses set to Hairline.
Create the Second Half of the Mold.
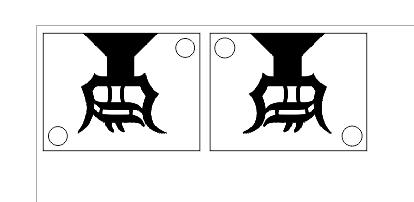
Mirror the entire drawing to create the second side of the mold. You can leave the design the same or change it to create a different backside. Do not move the circles, Rectangle or sprue.
Adjust Holes on the Second Half of the Mold.
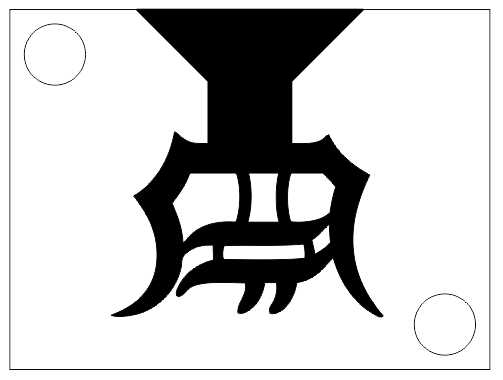
Make the circles exactly 1/4 inch if you made the previous holes slightly smaller as suggested.
Run the Vector Print to Cut the Mold Out.
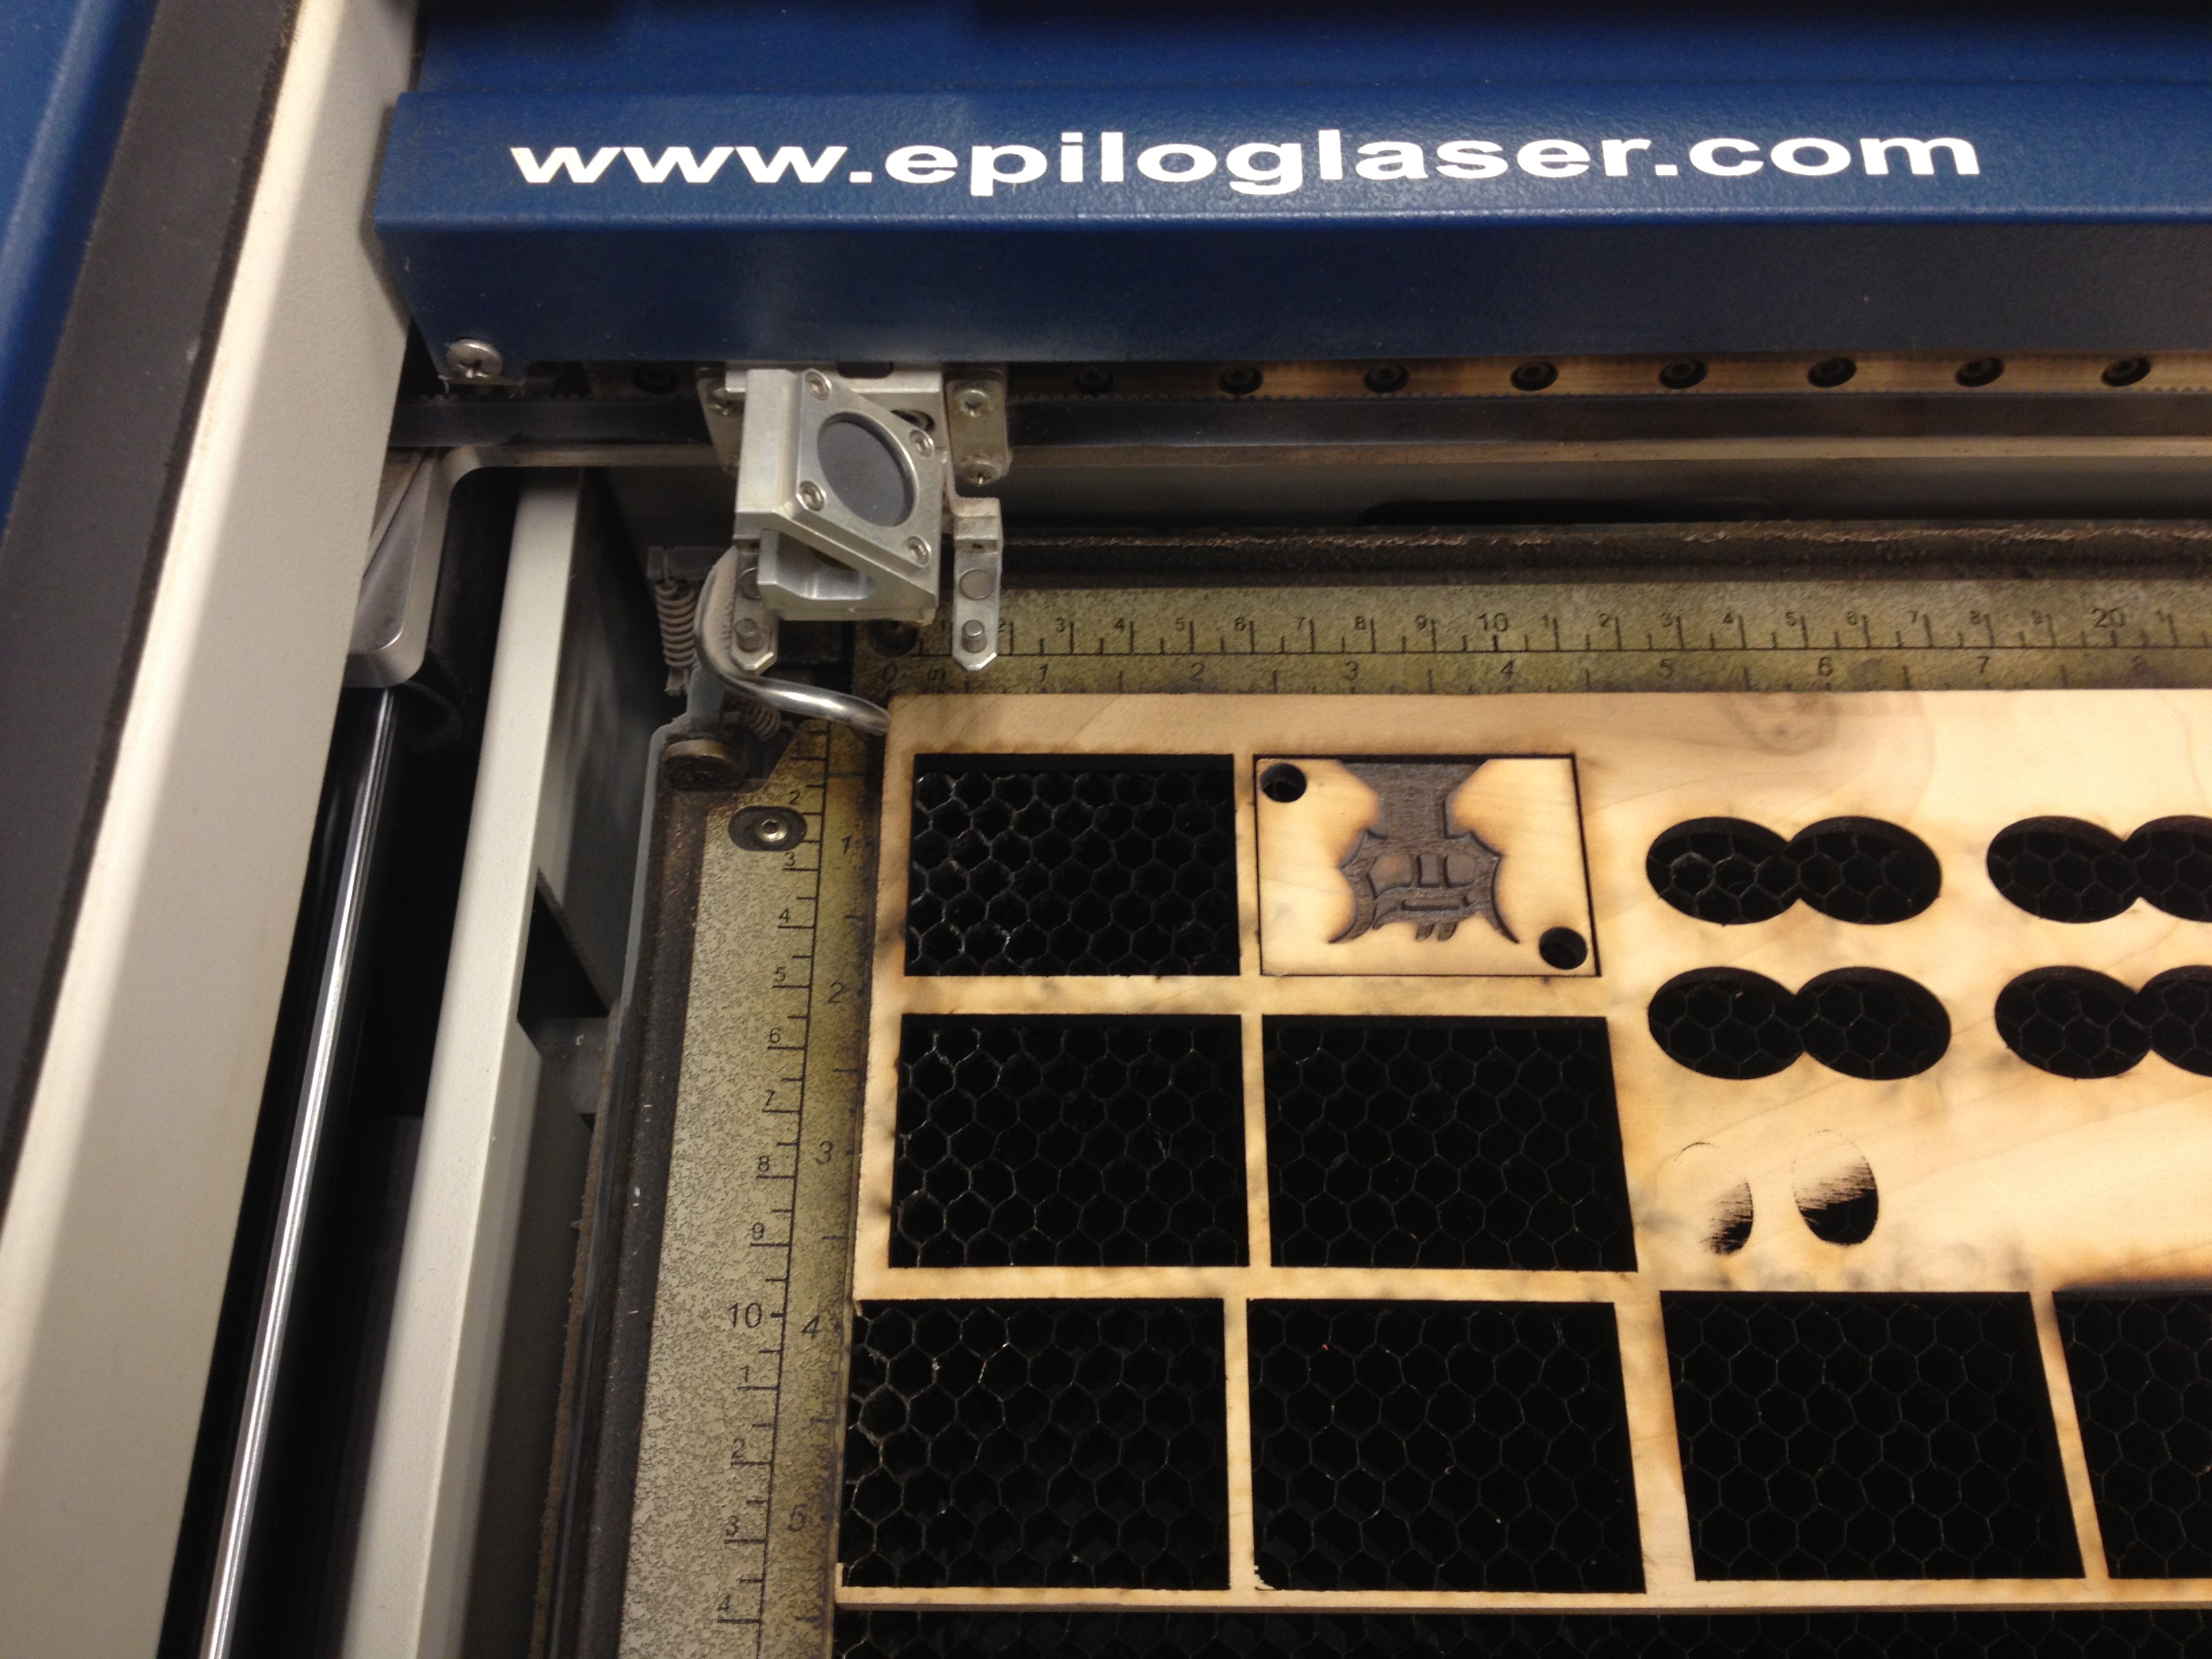
Using the laser cutter print the raster design on a piece of 1/4 inch thick wood. (I used poplar.)
After the first time running the laser cutter measure the depth of the burned in design using a pair of calipers. It is best not to move or remove the board from the laser cutter while measuring the depth. If the desired depth is not reached after the first cut just press "Go" on the laser cutter to run the program again.
Once the design burned into the wood at the proper depth run the vector print to cut the mold out.
Finish and Use the Mold.
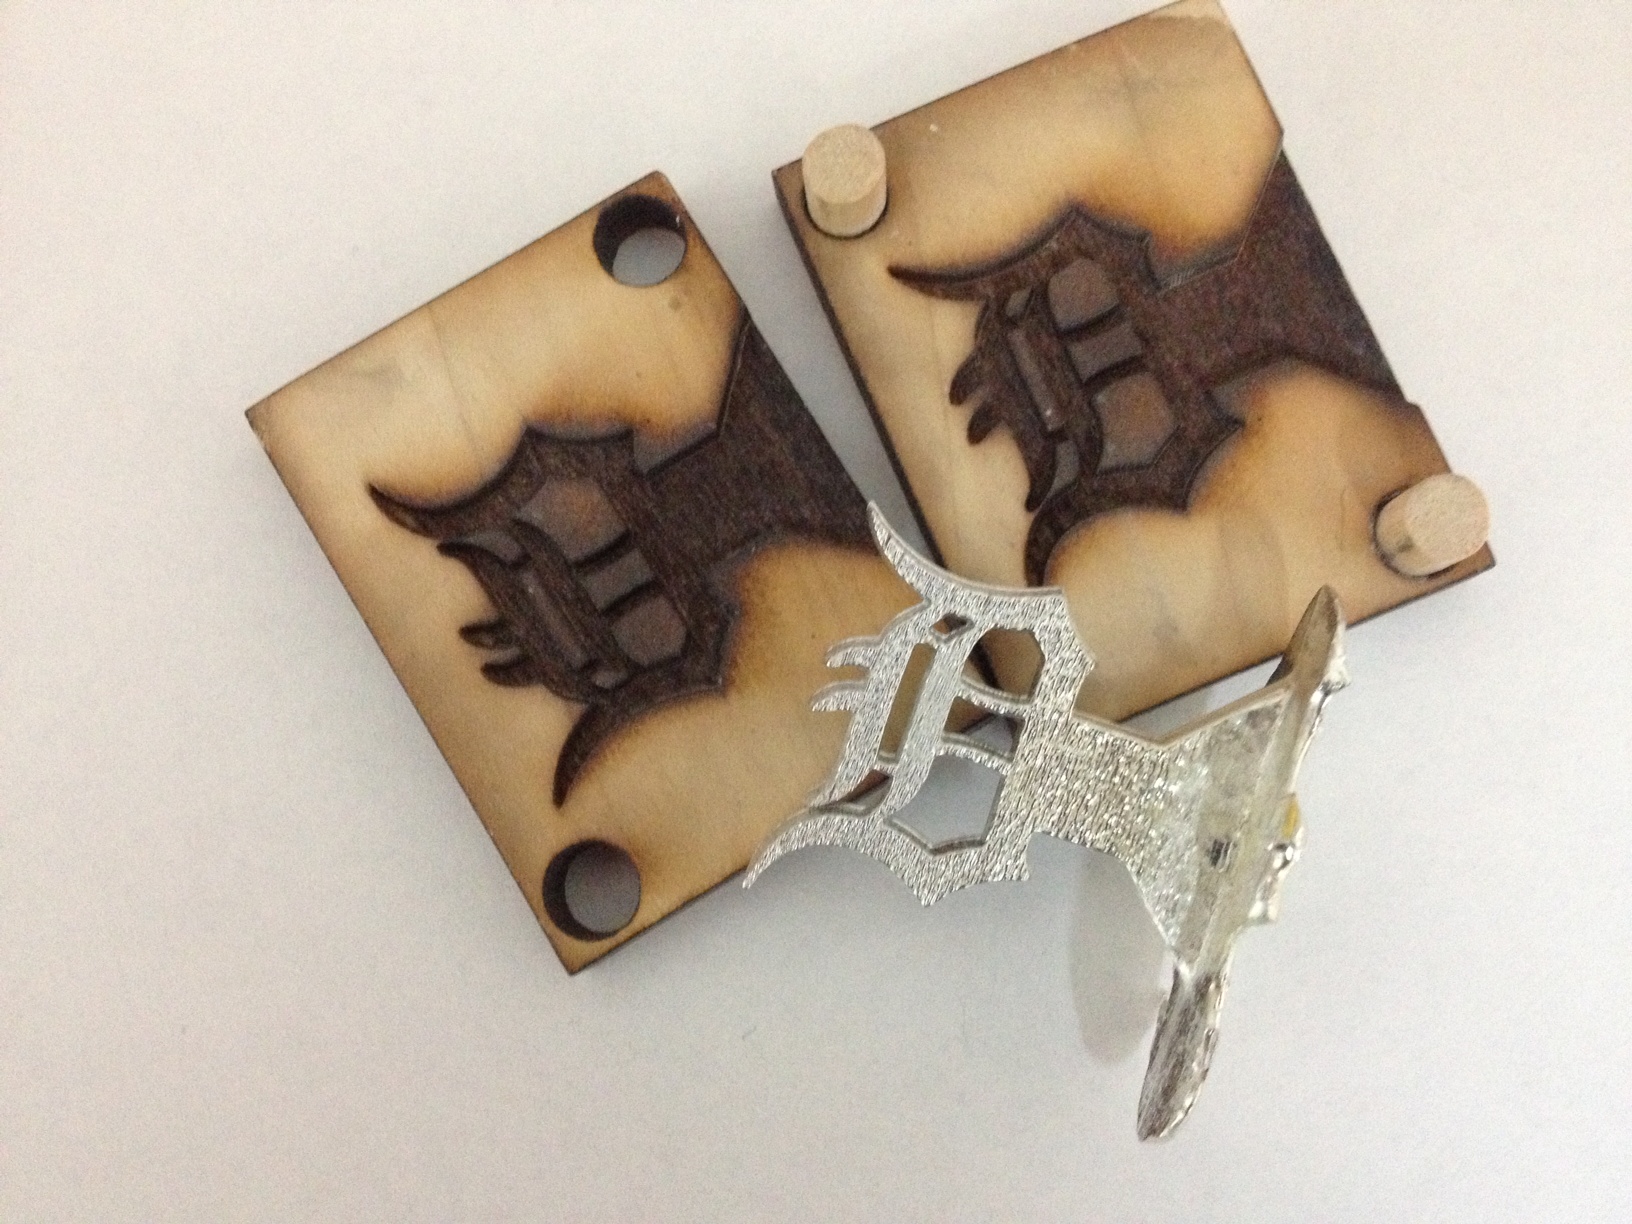
Add two 1/4 inch wooden dowels into the piece with the smaller holes. Glue them in if necessary. Once the glue has dried, apply a thin coating of baby powder, clamp the mold together, and pour the pewter.