Wood Burning and Painting Cartoon Characters
546 Views, 2 Favorites, 0 Comments
Wood Burning and Painting Cartoon Characters
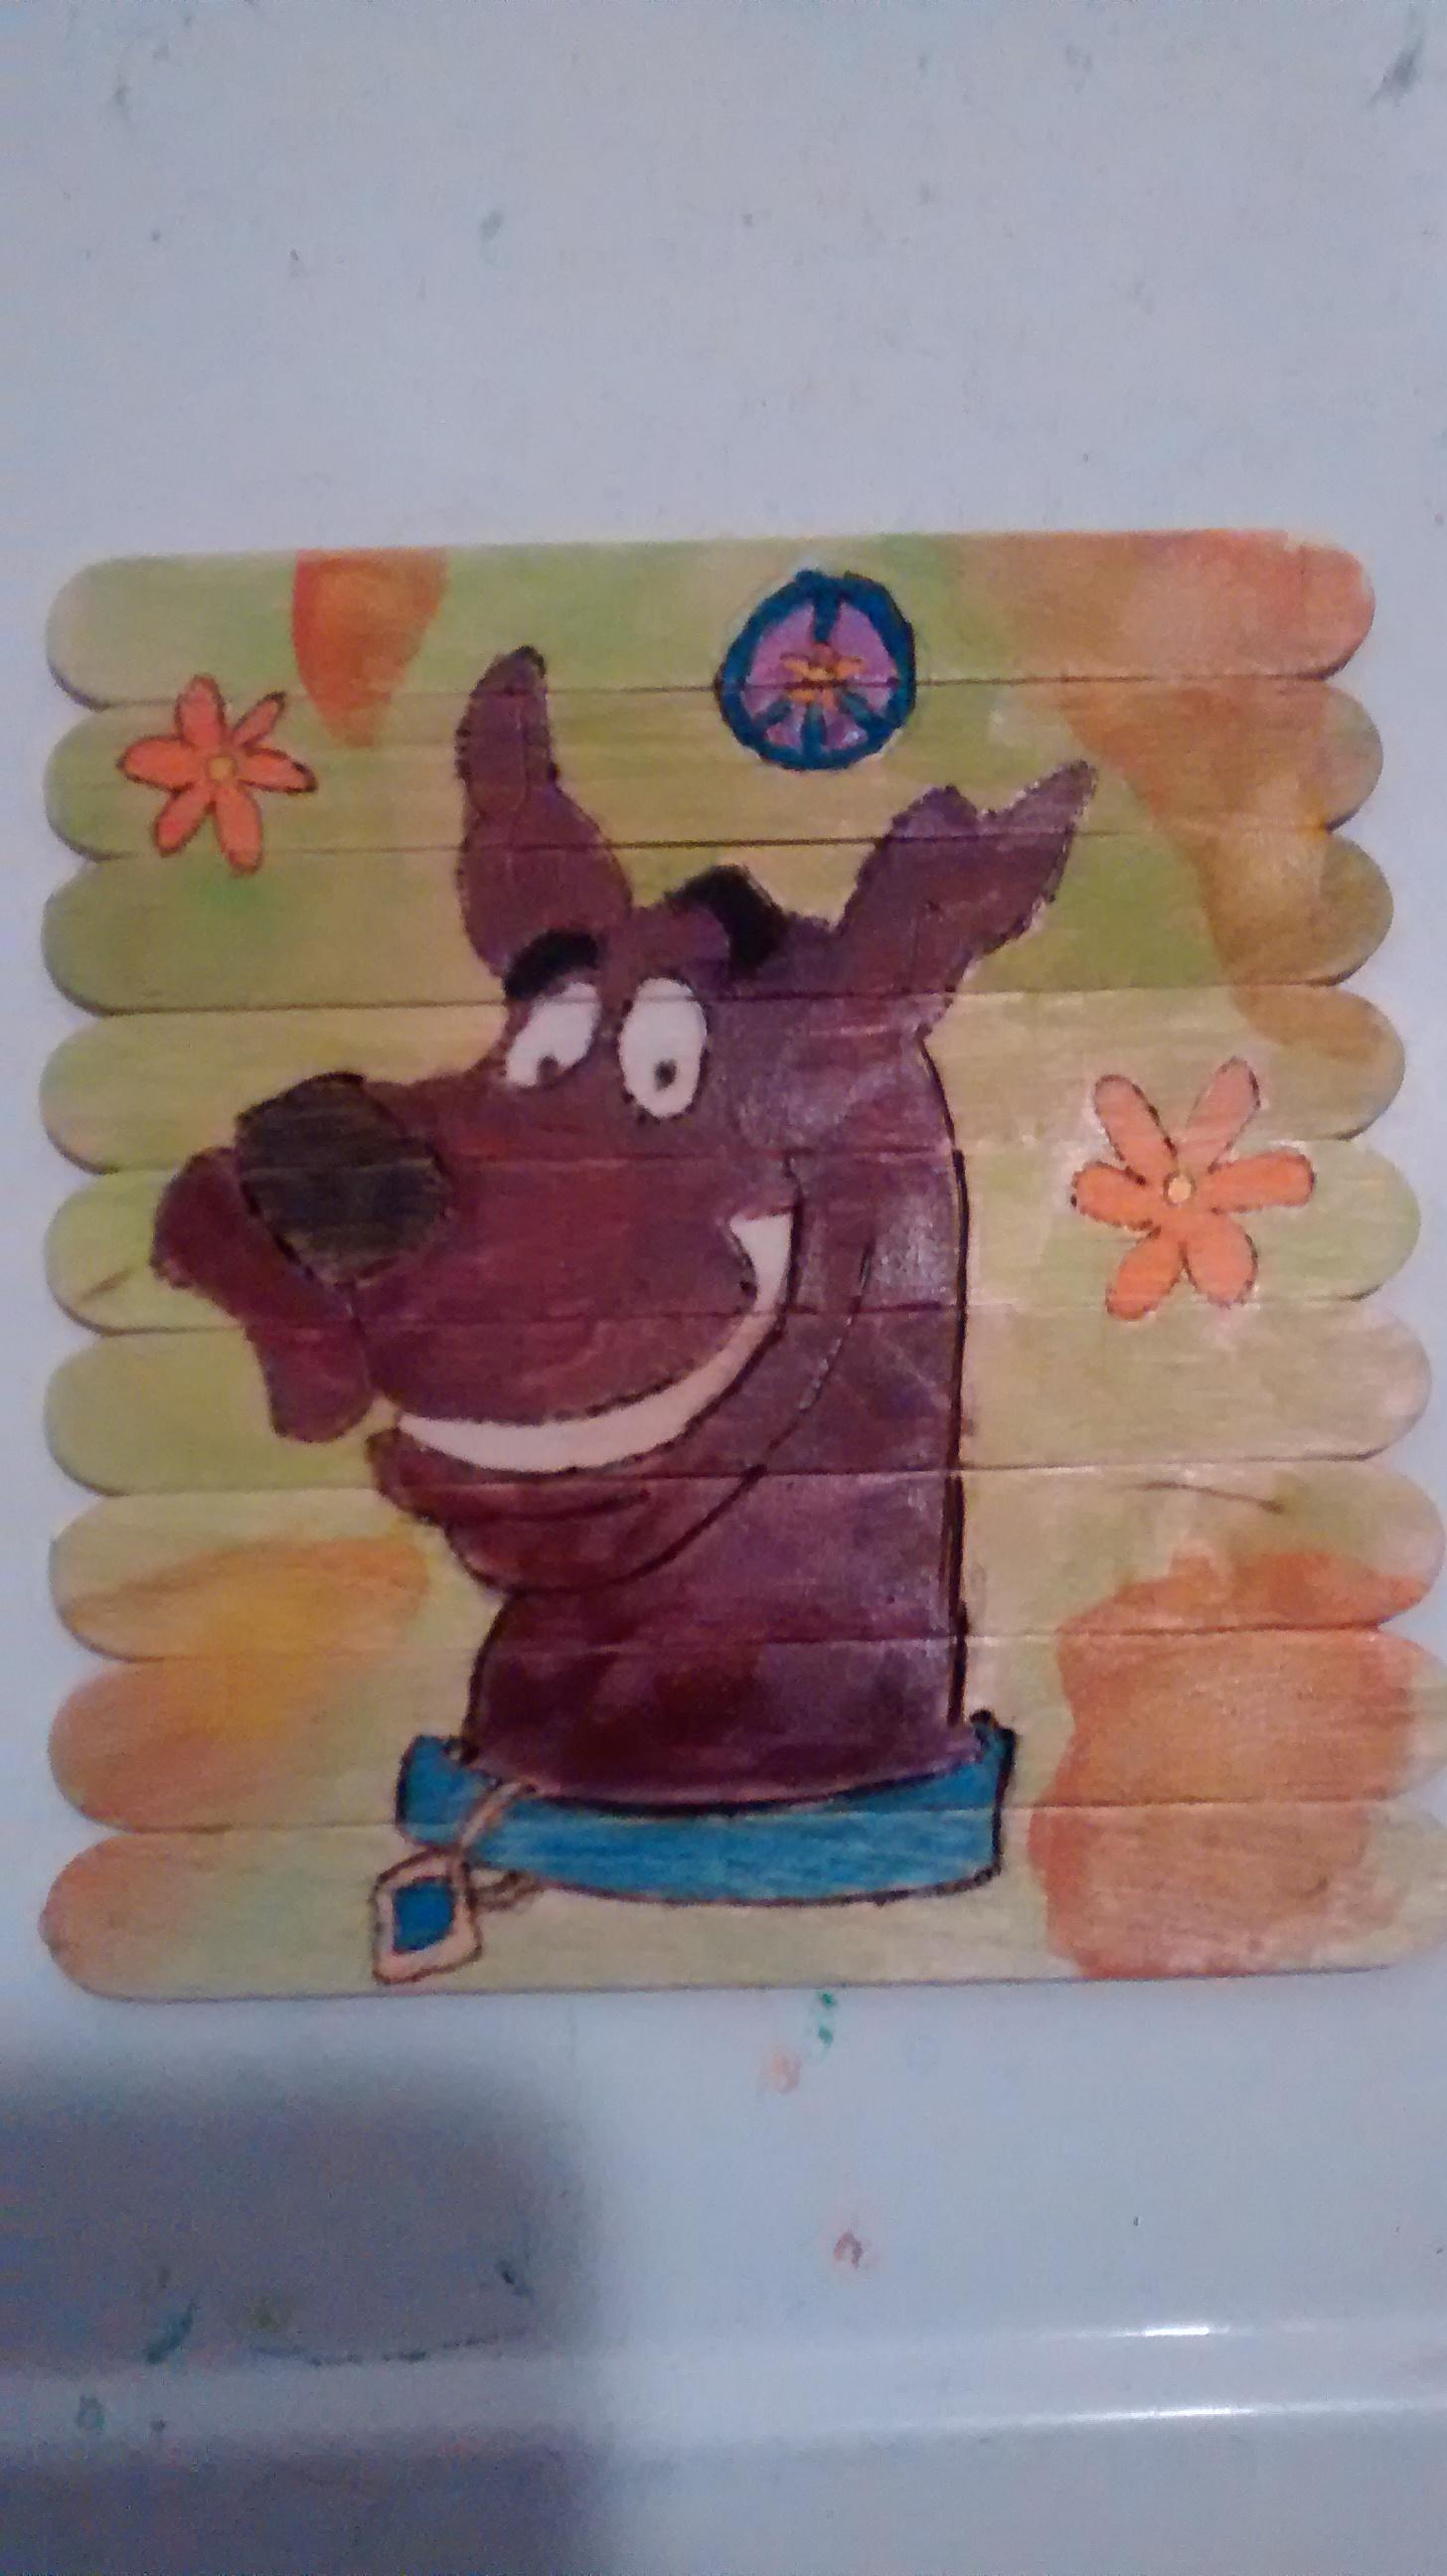
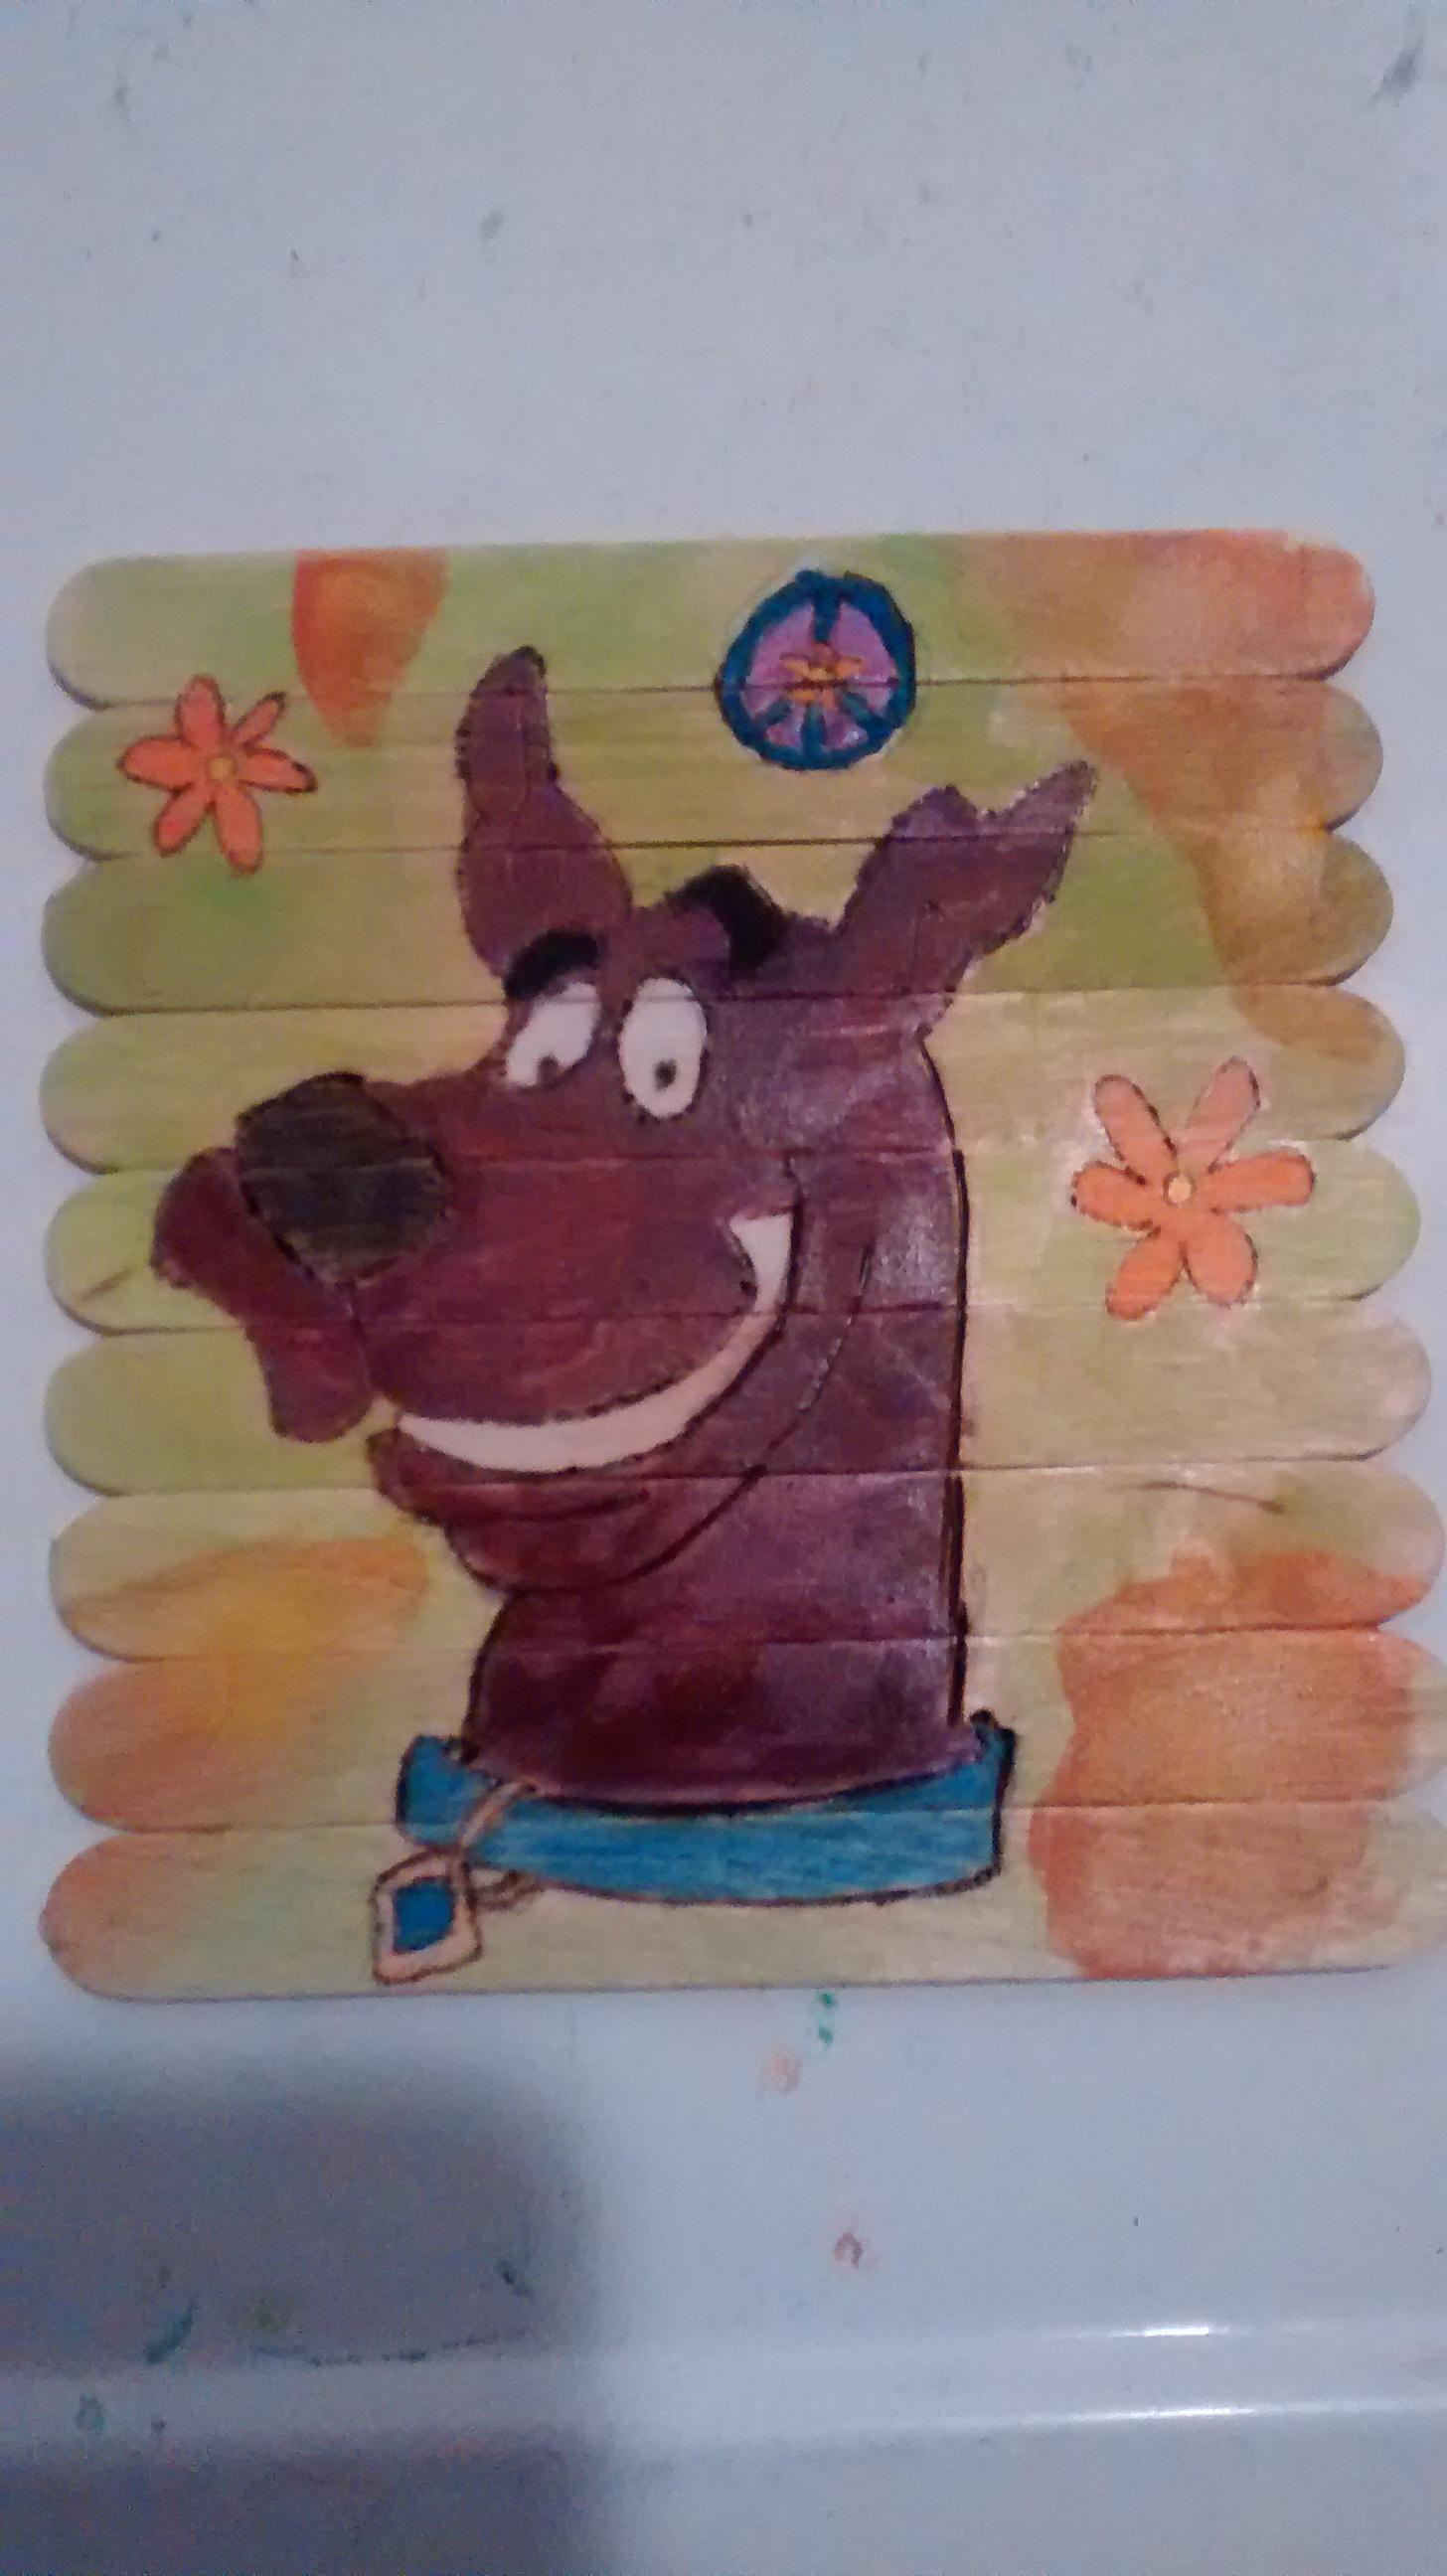
I've found I like doing things that I find fun. If I find fun making cartoon characters on popsicle stick, then that's what I'm going to do. I want to share with everyone how I do it. Just to clarify that is not Scooby-Doo because I don't want to claim a copywrite violation.
Supplies
Straight flat popsicle sticks
Hot glue gun and glue sticks
Pencil
Something to draw
A wood burner
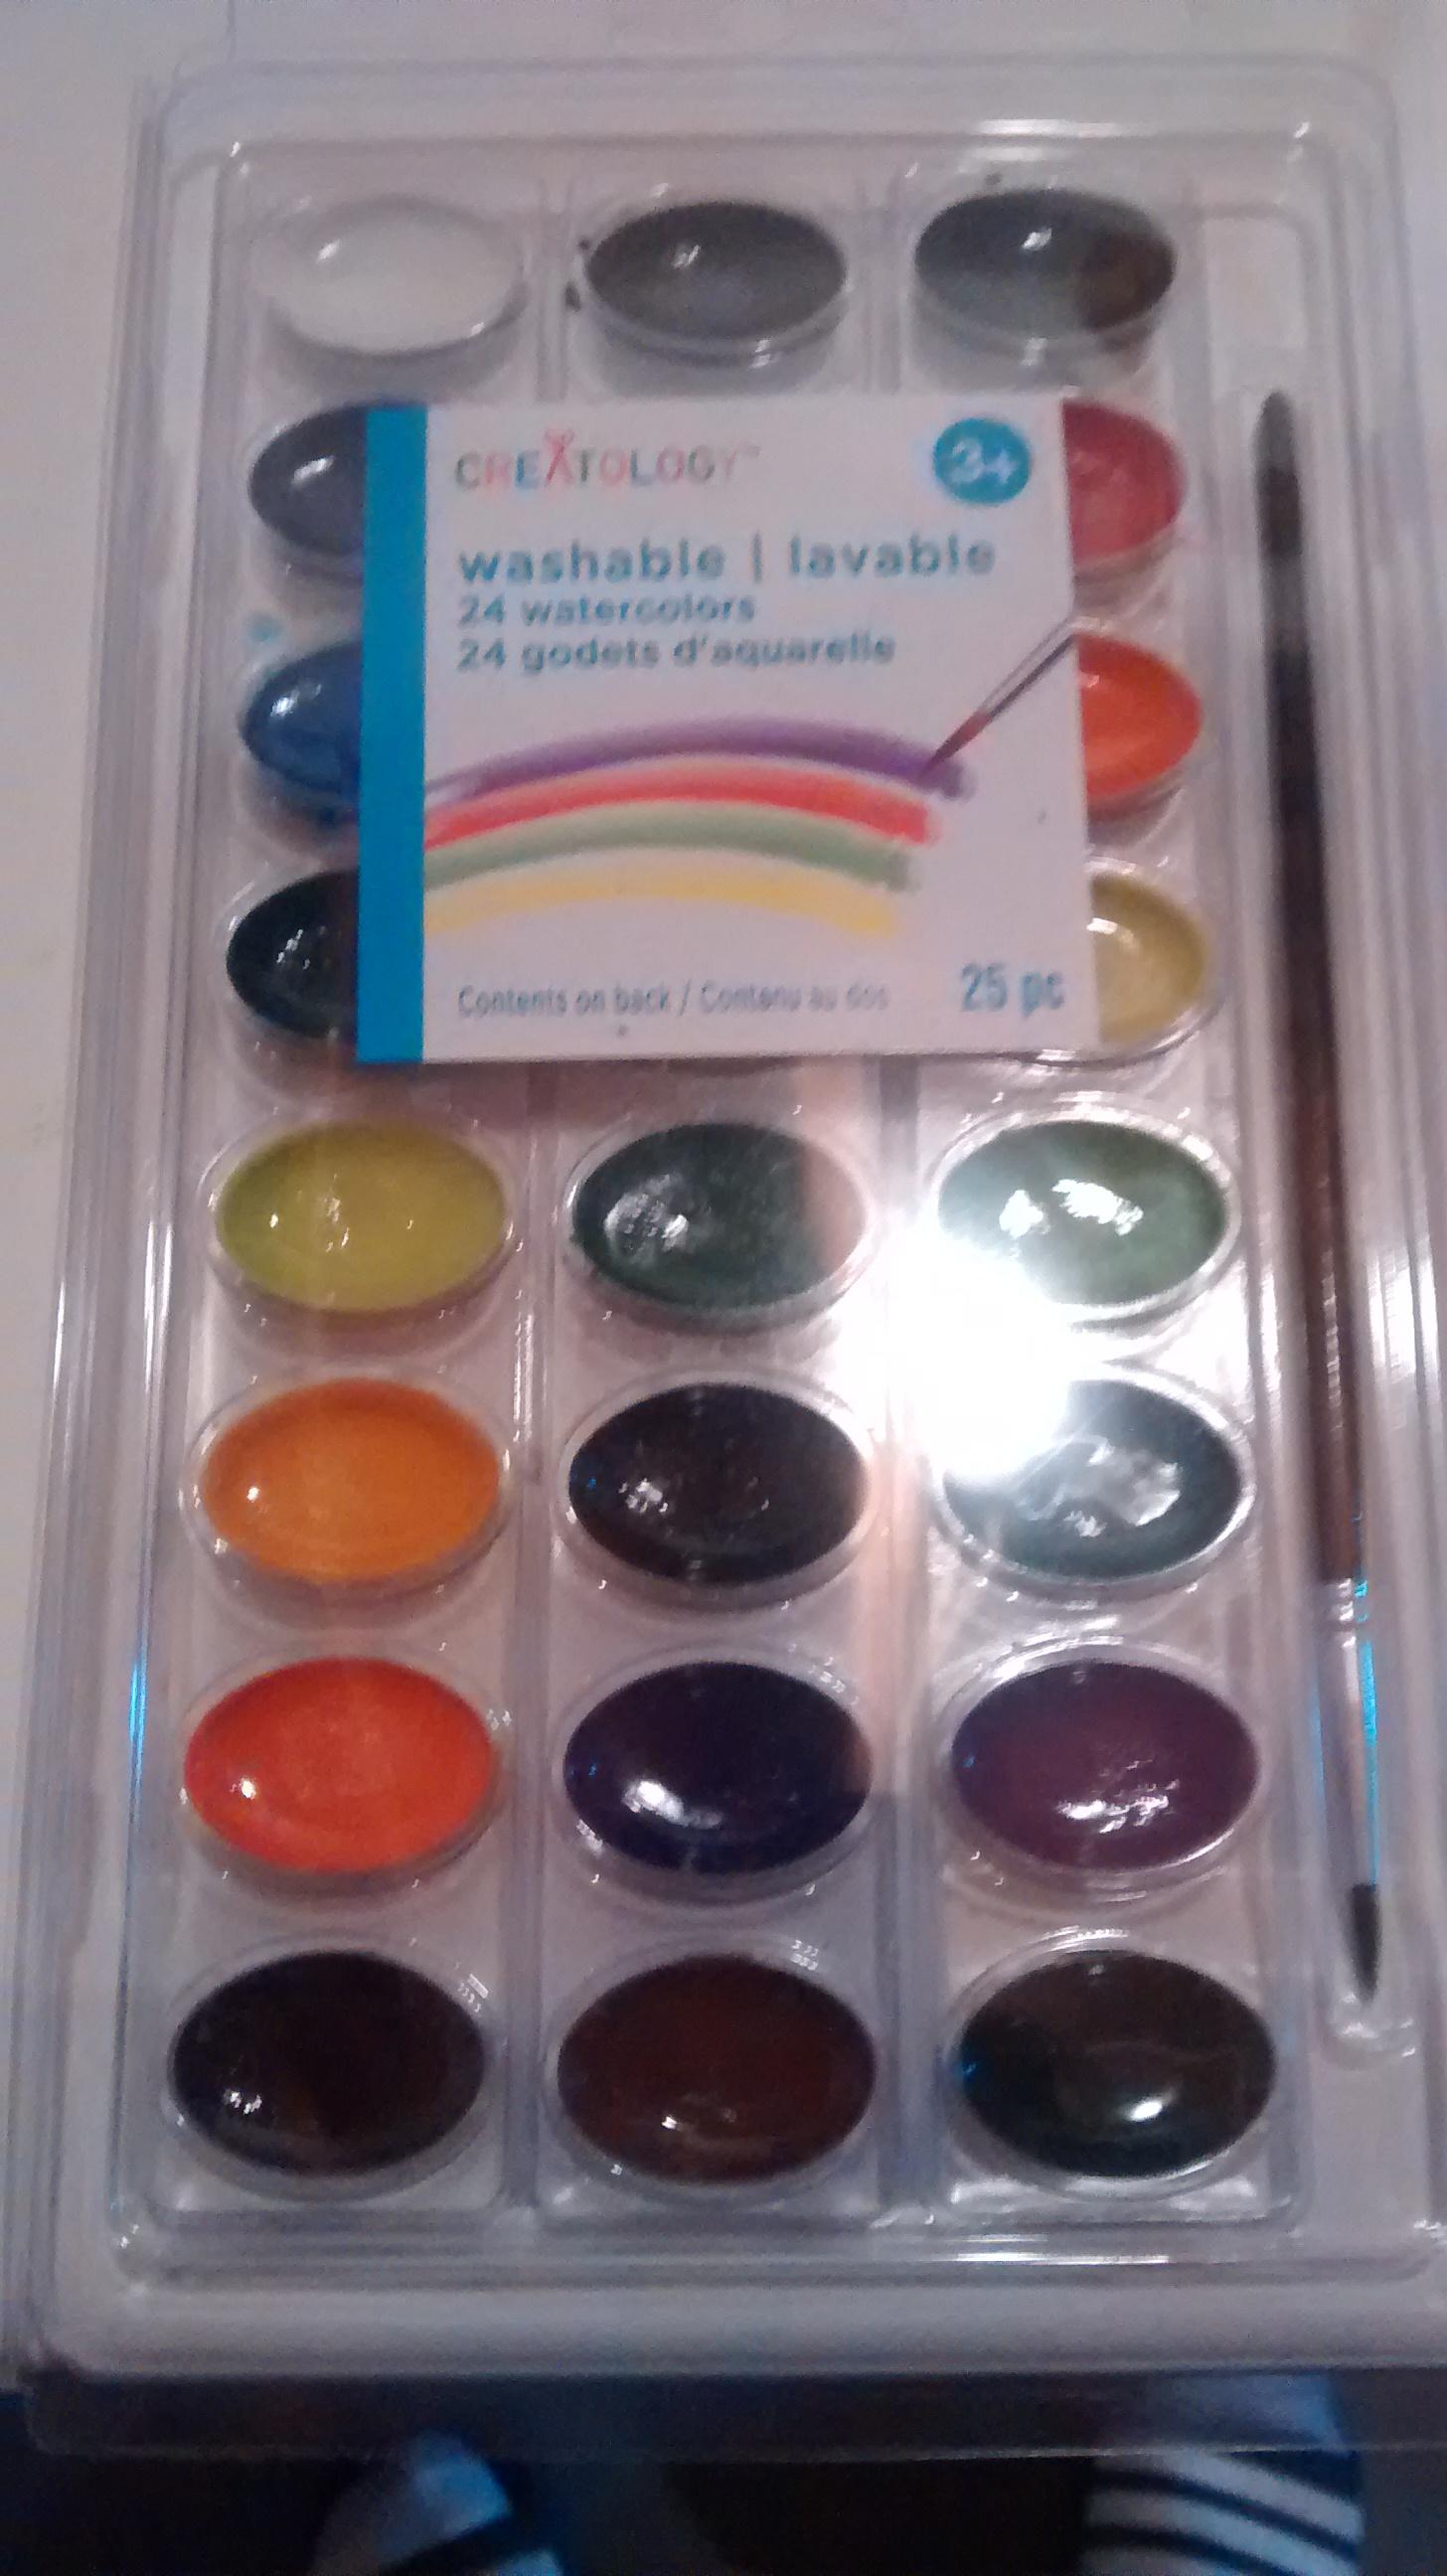
Water colors (small paintbrush, cup of water, and paper towel)
1: Make Your Surface
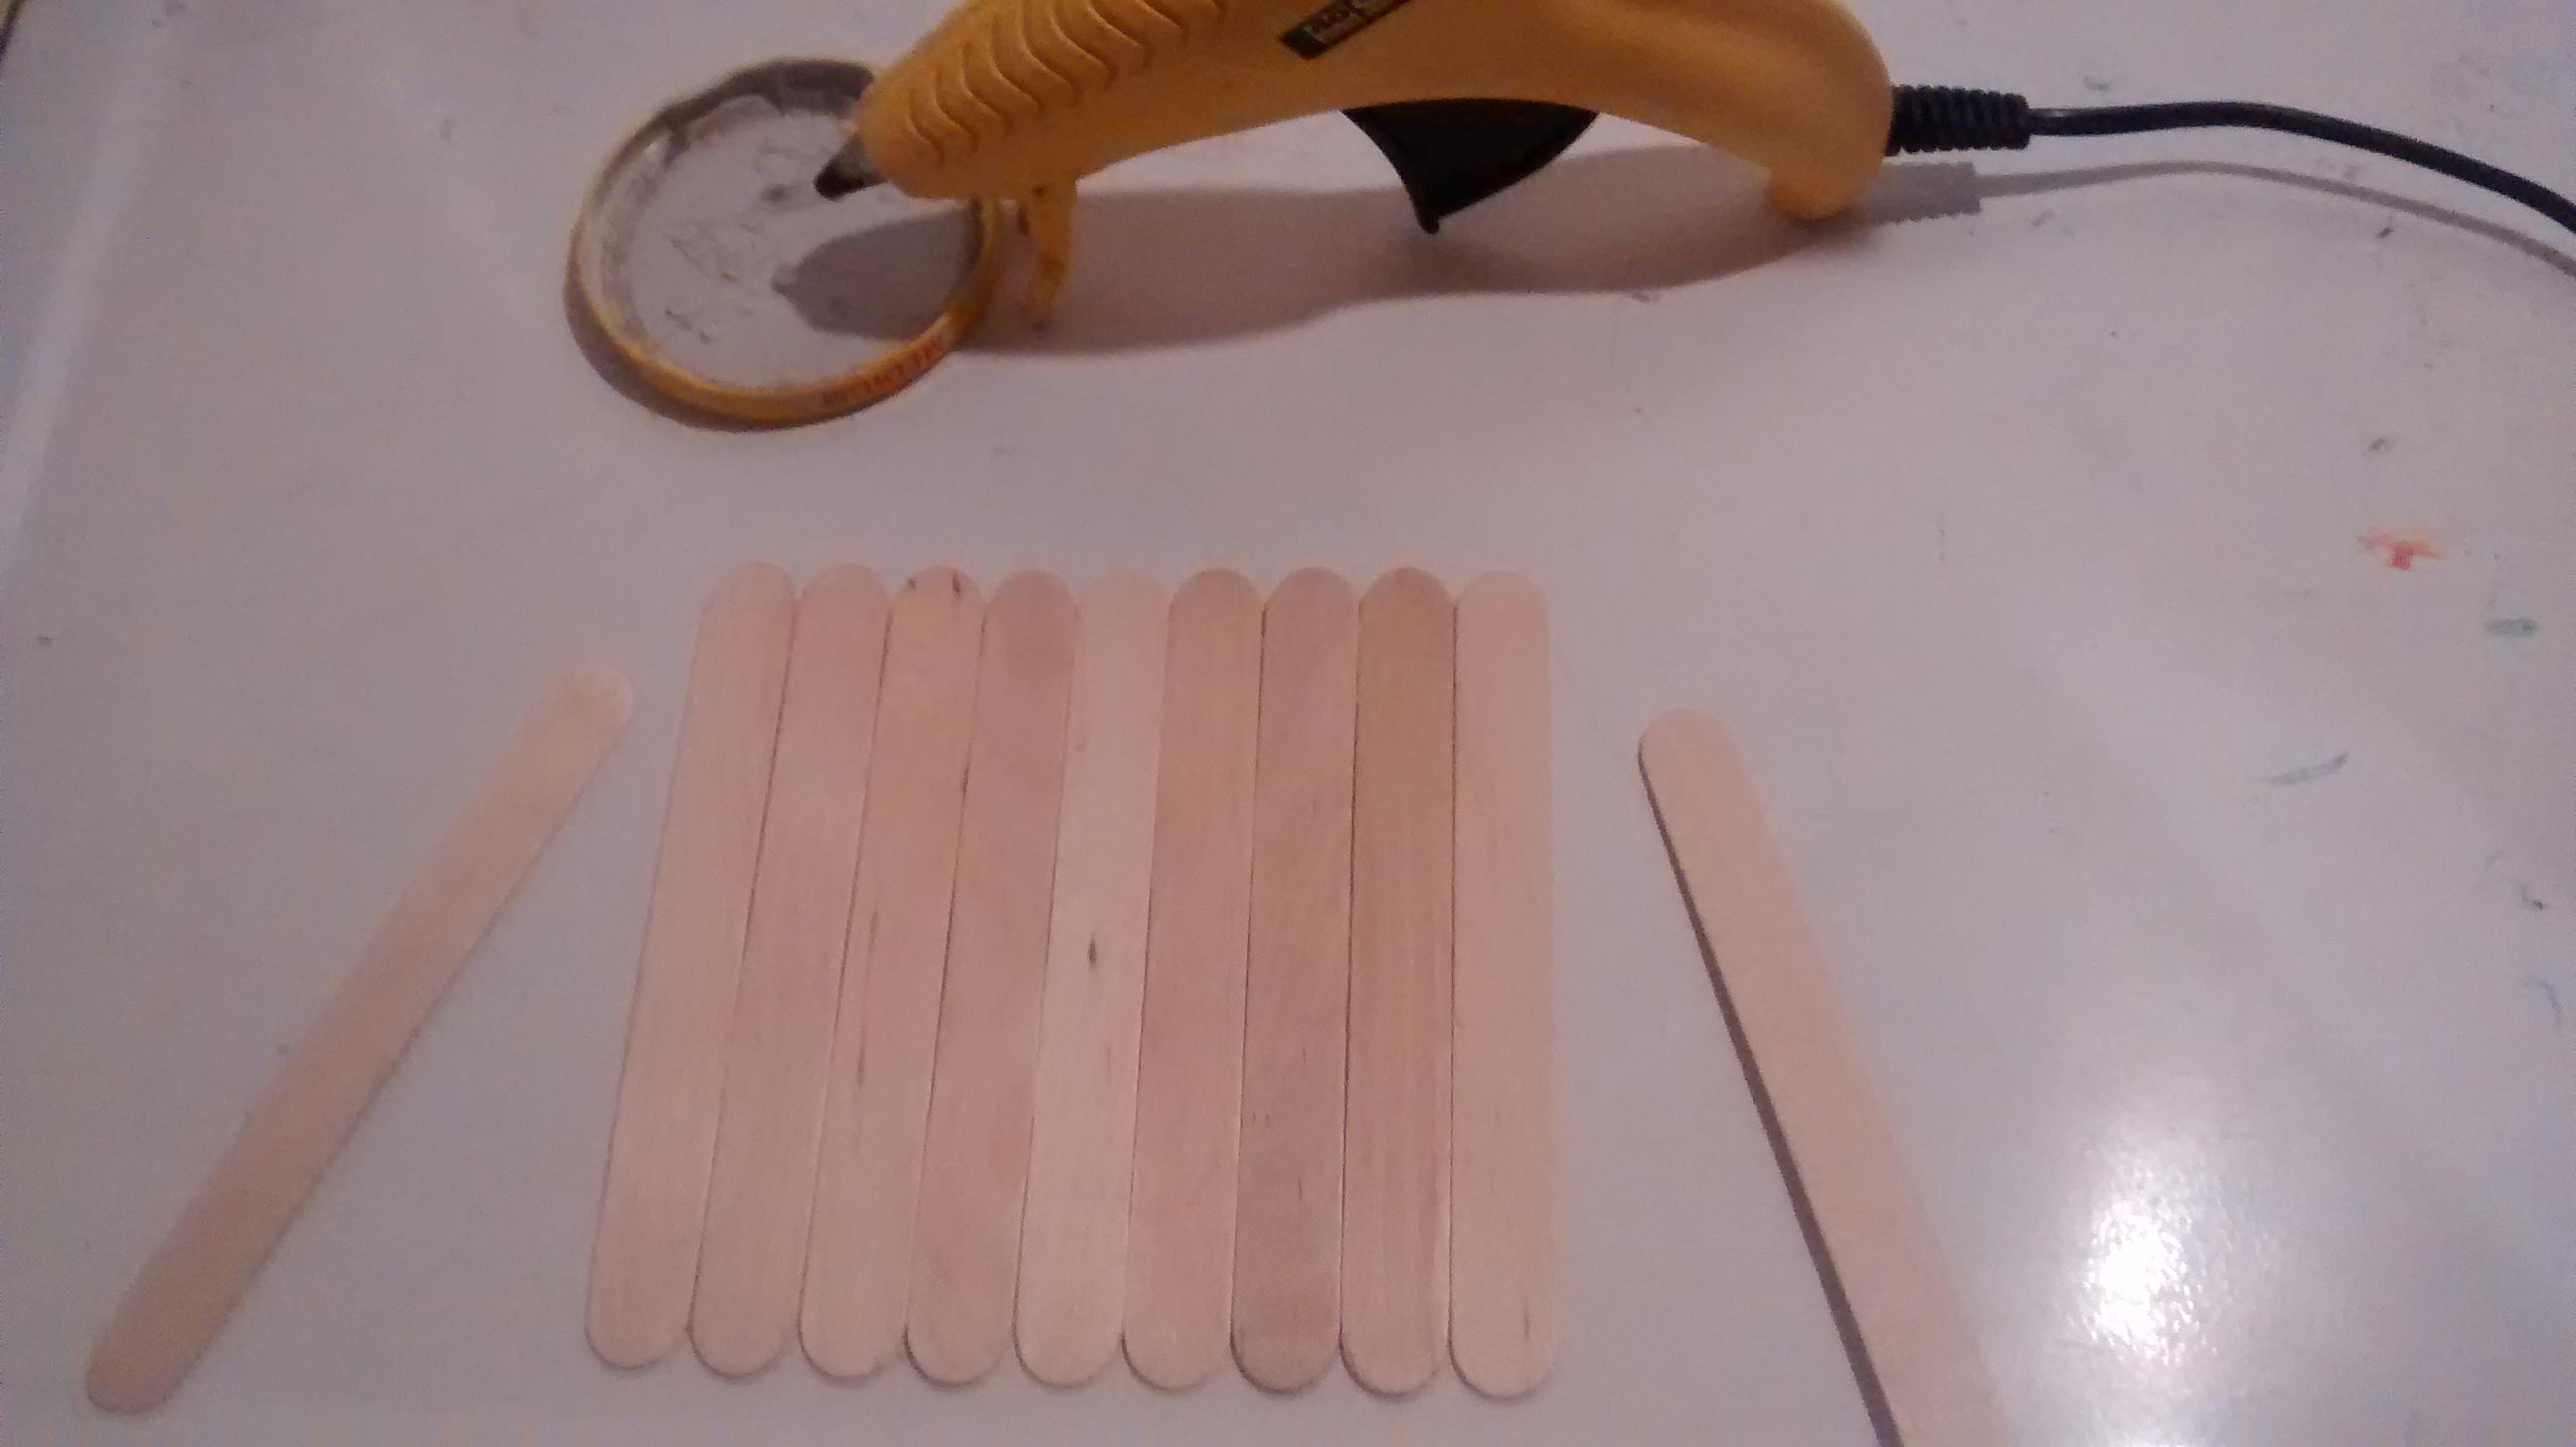
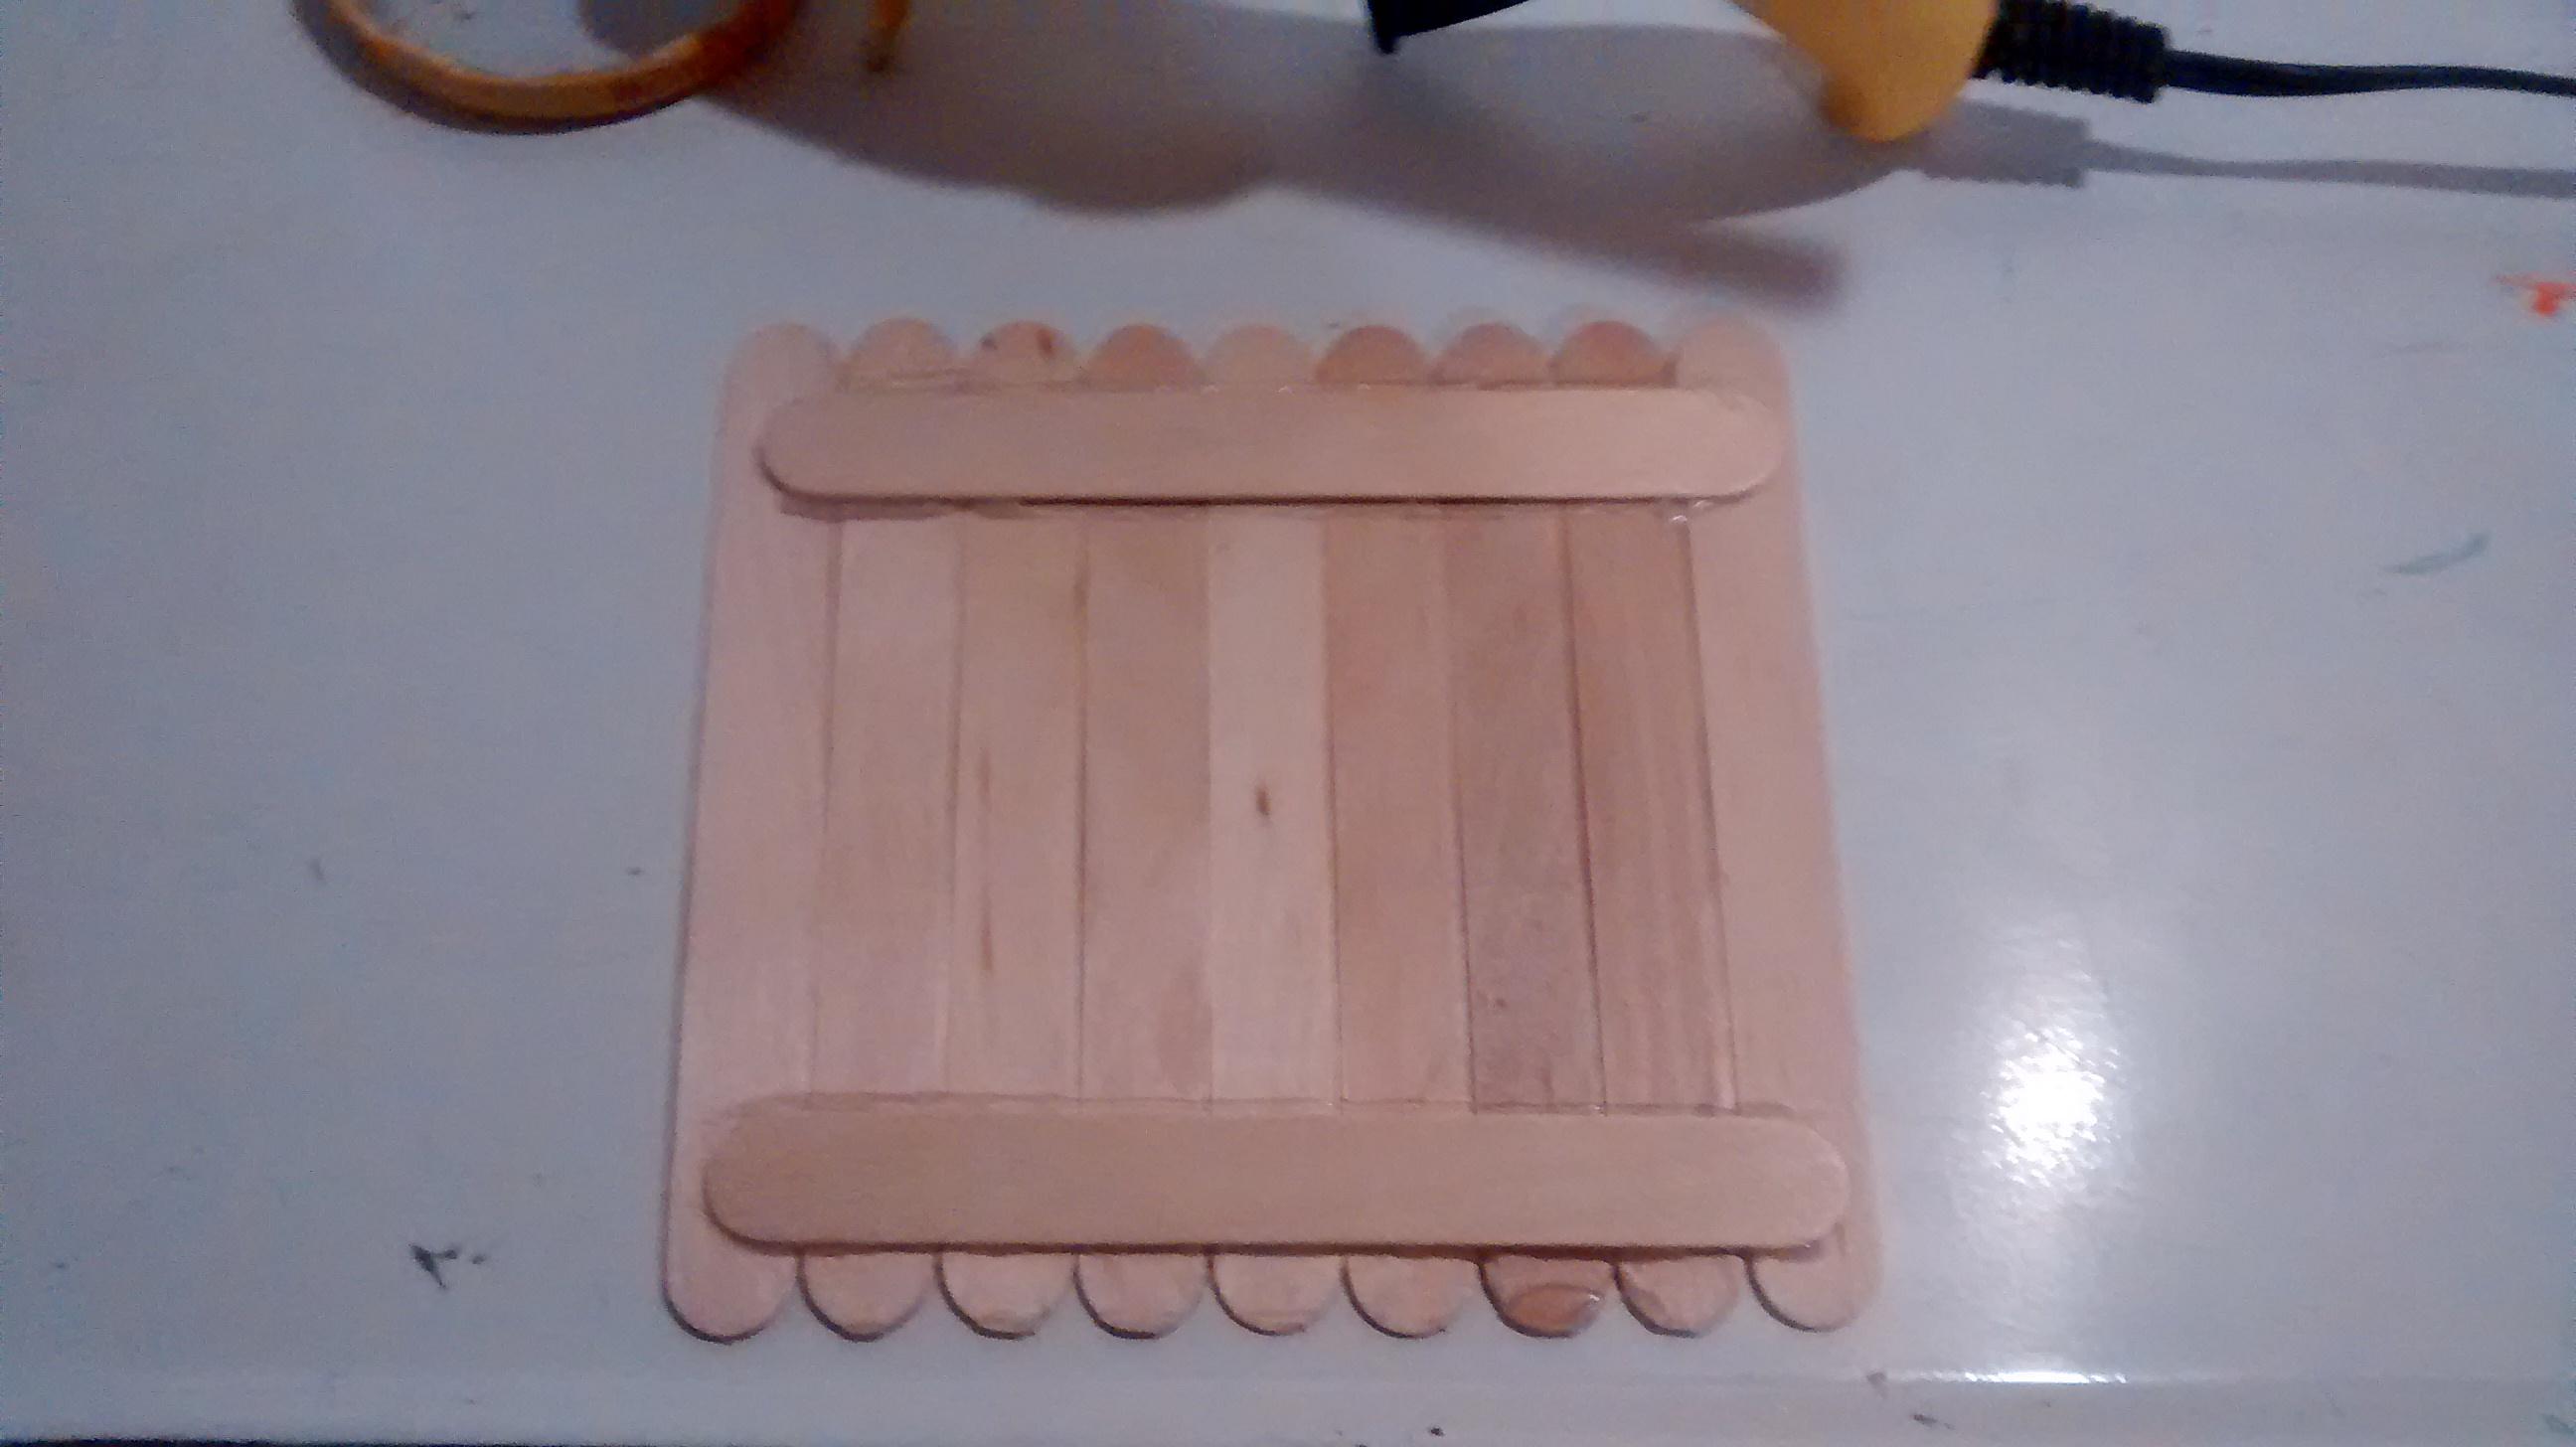
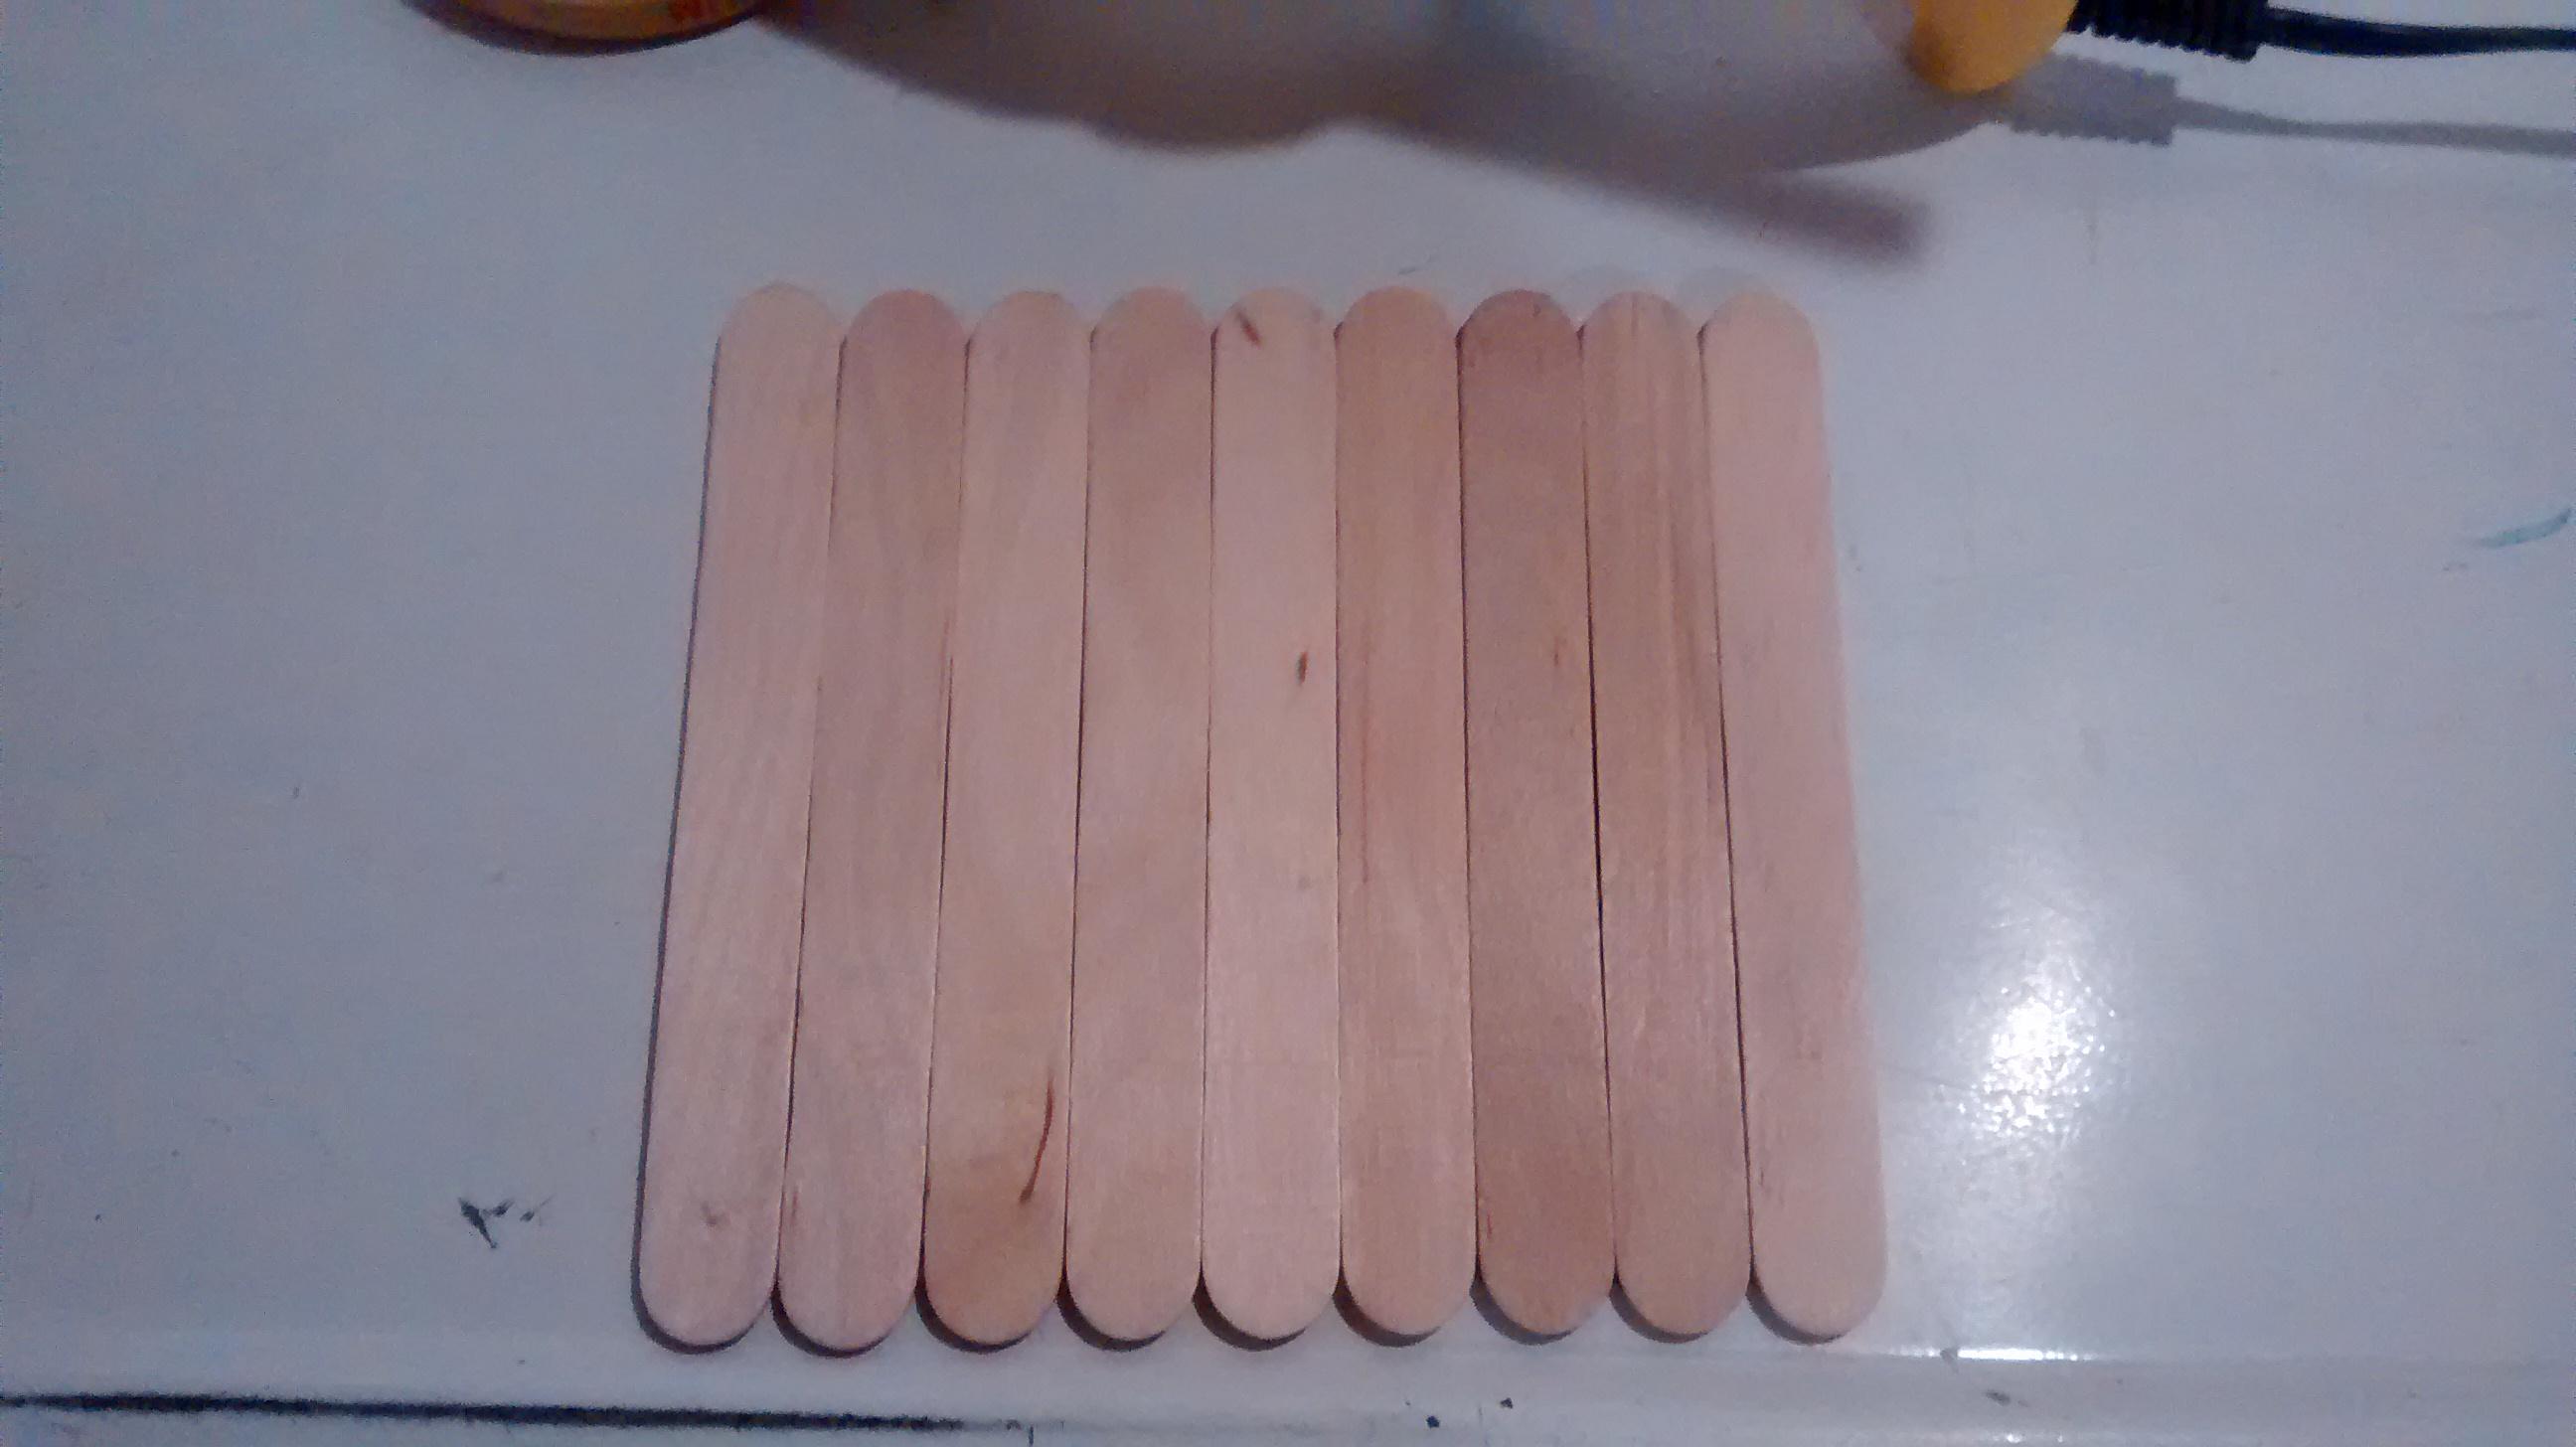
You could go get pine pieces of wood to burn and color, but I don't do that. There's something about the different grains of wood with popsicle sticks that I like.
First line up enough popsicle sticks that they'll be just slightly longer than the back braces.
Put a line of glue on one brace stick, and holding the other popsicle sticks with your other hand, press firmly with the brace stick. This should hold everything together so you can put another line of glue on the other brace stick and secure the popsicle sticks together.
I usually put a small line of glue down both sides of the brace sticks just to make extra sure things won't come appart.
2: Get Your Image
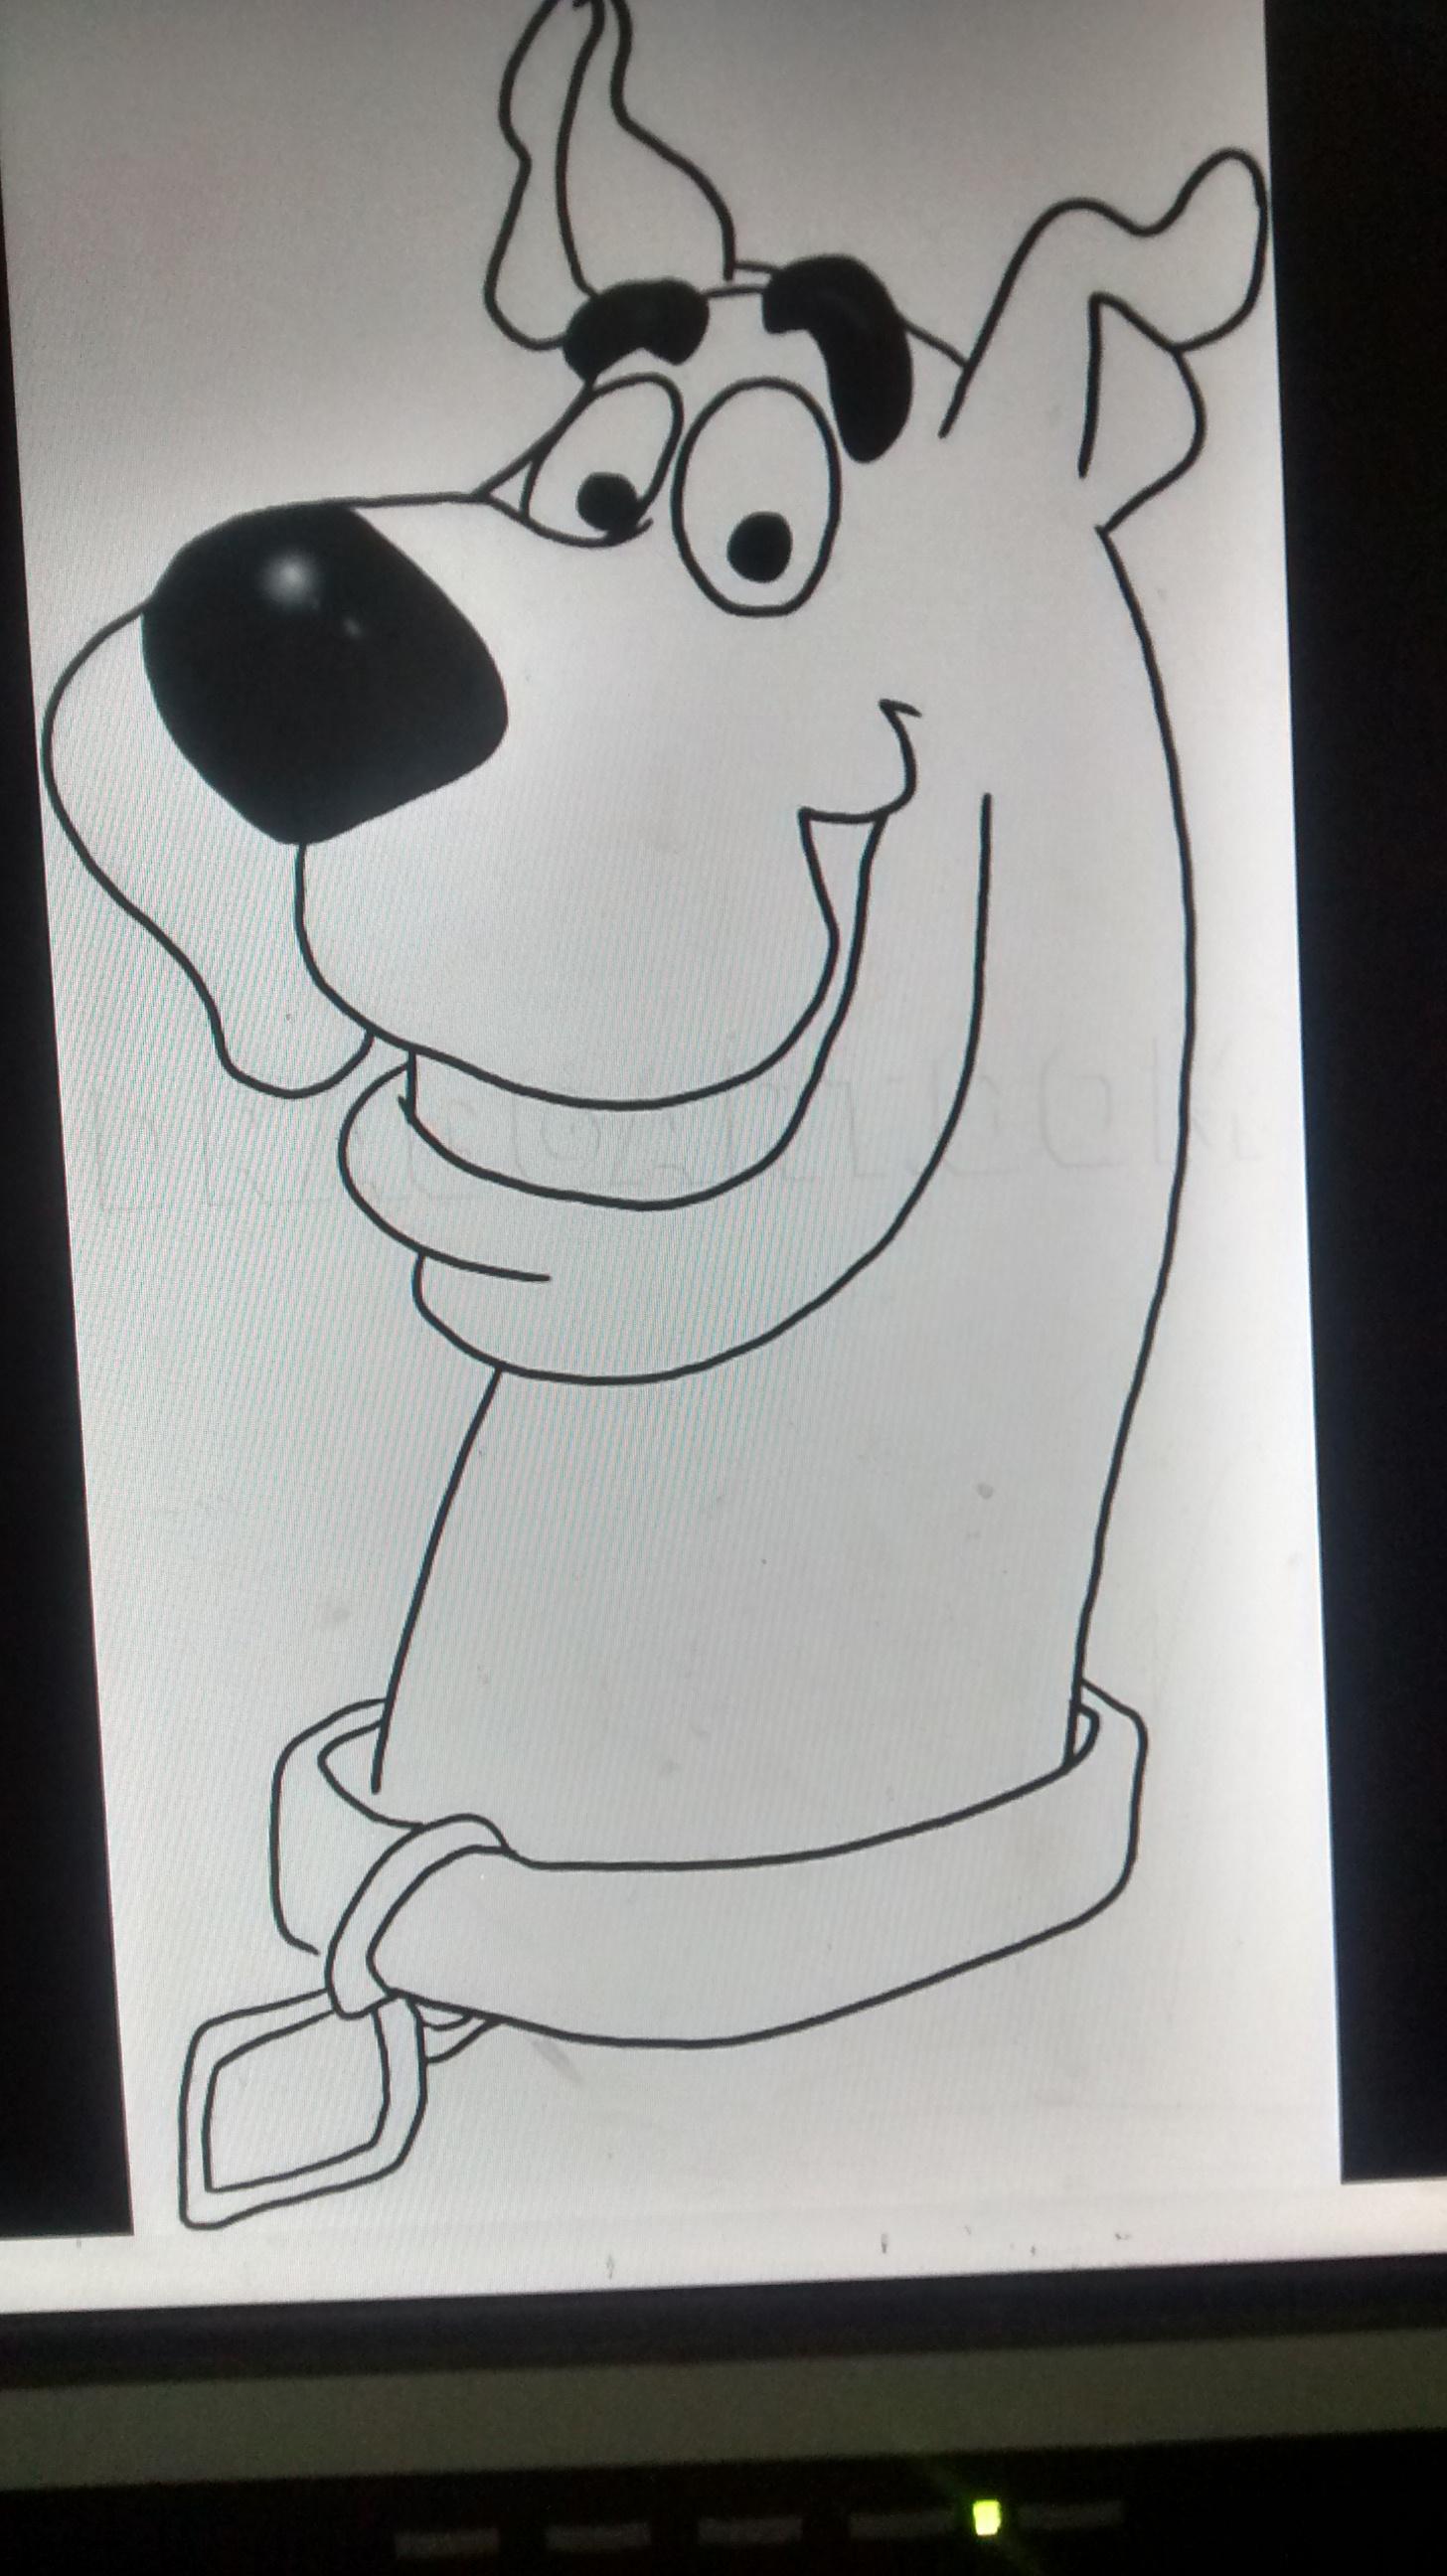
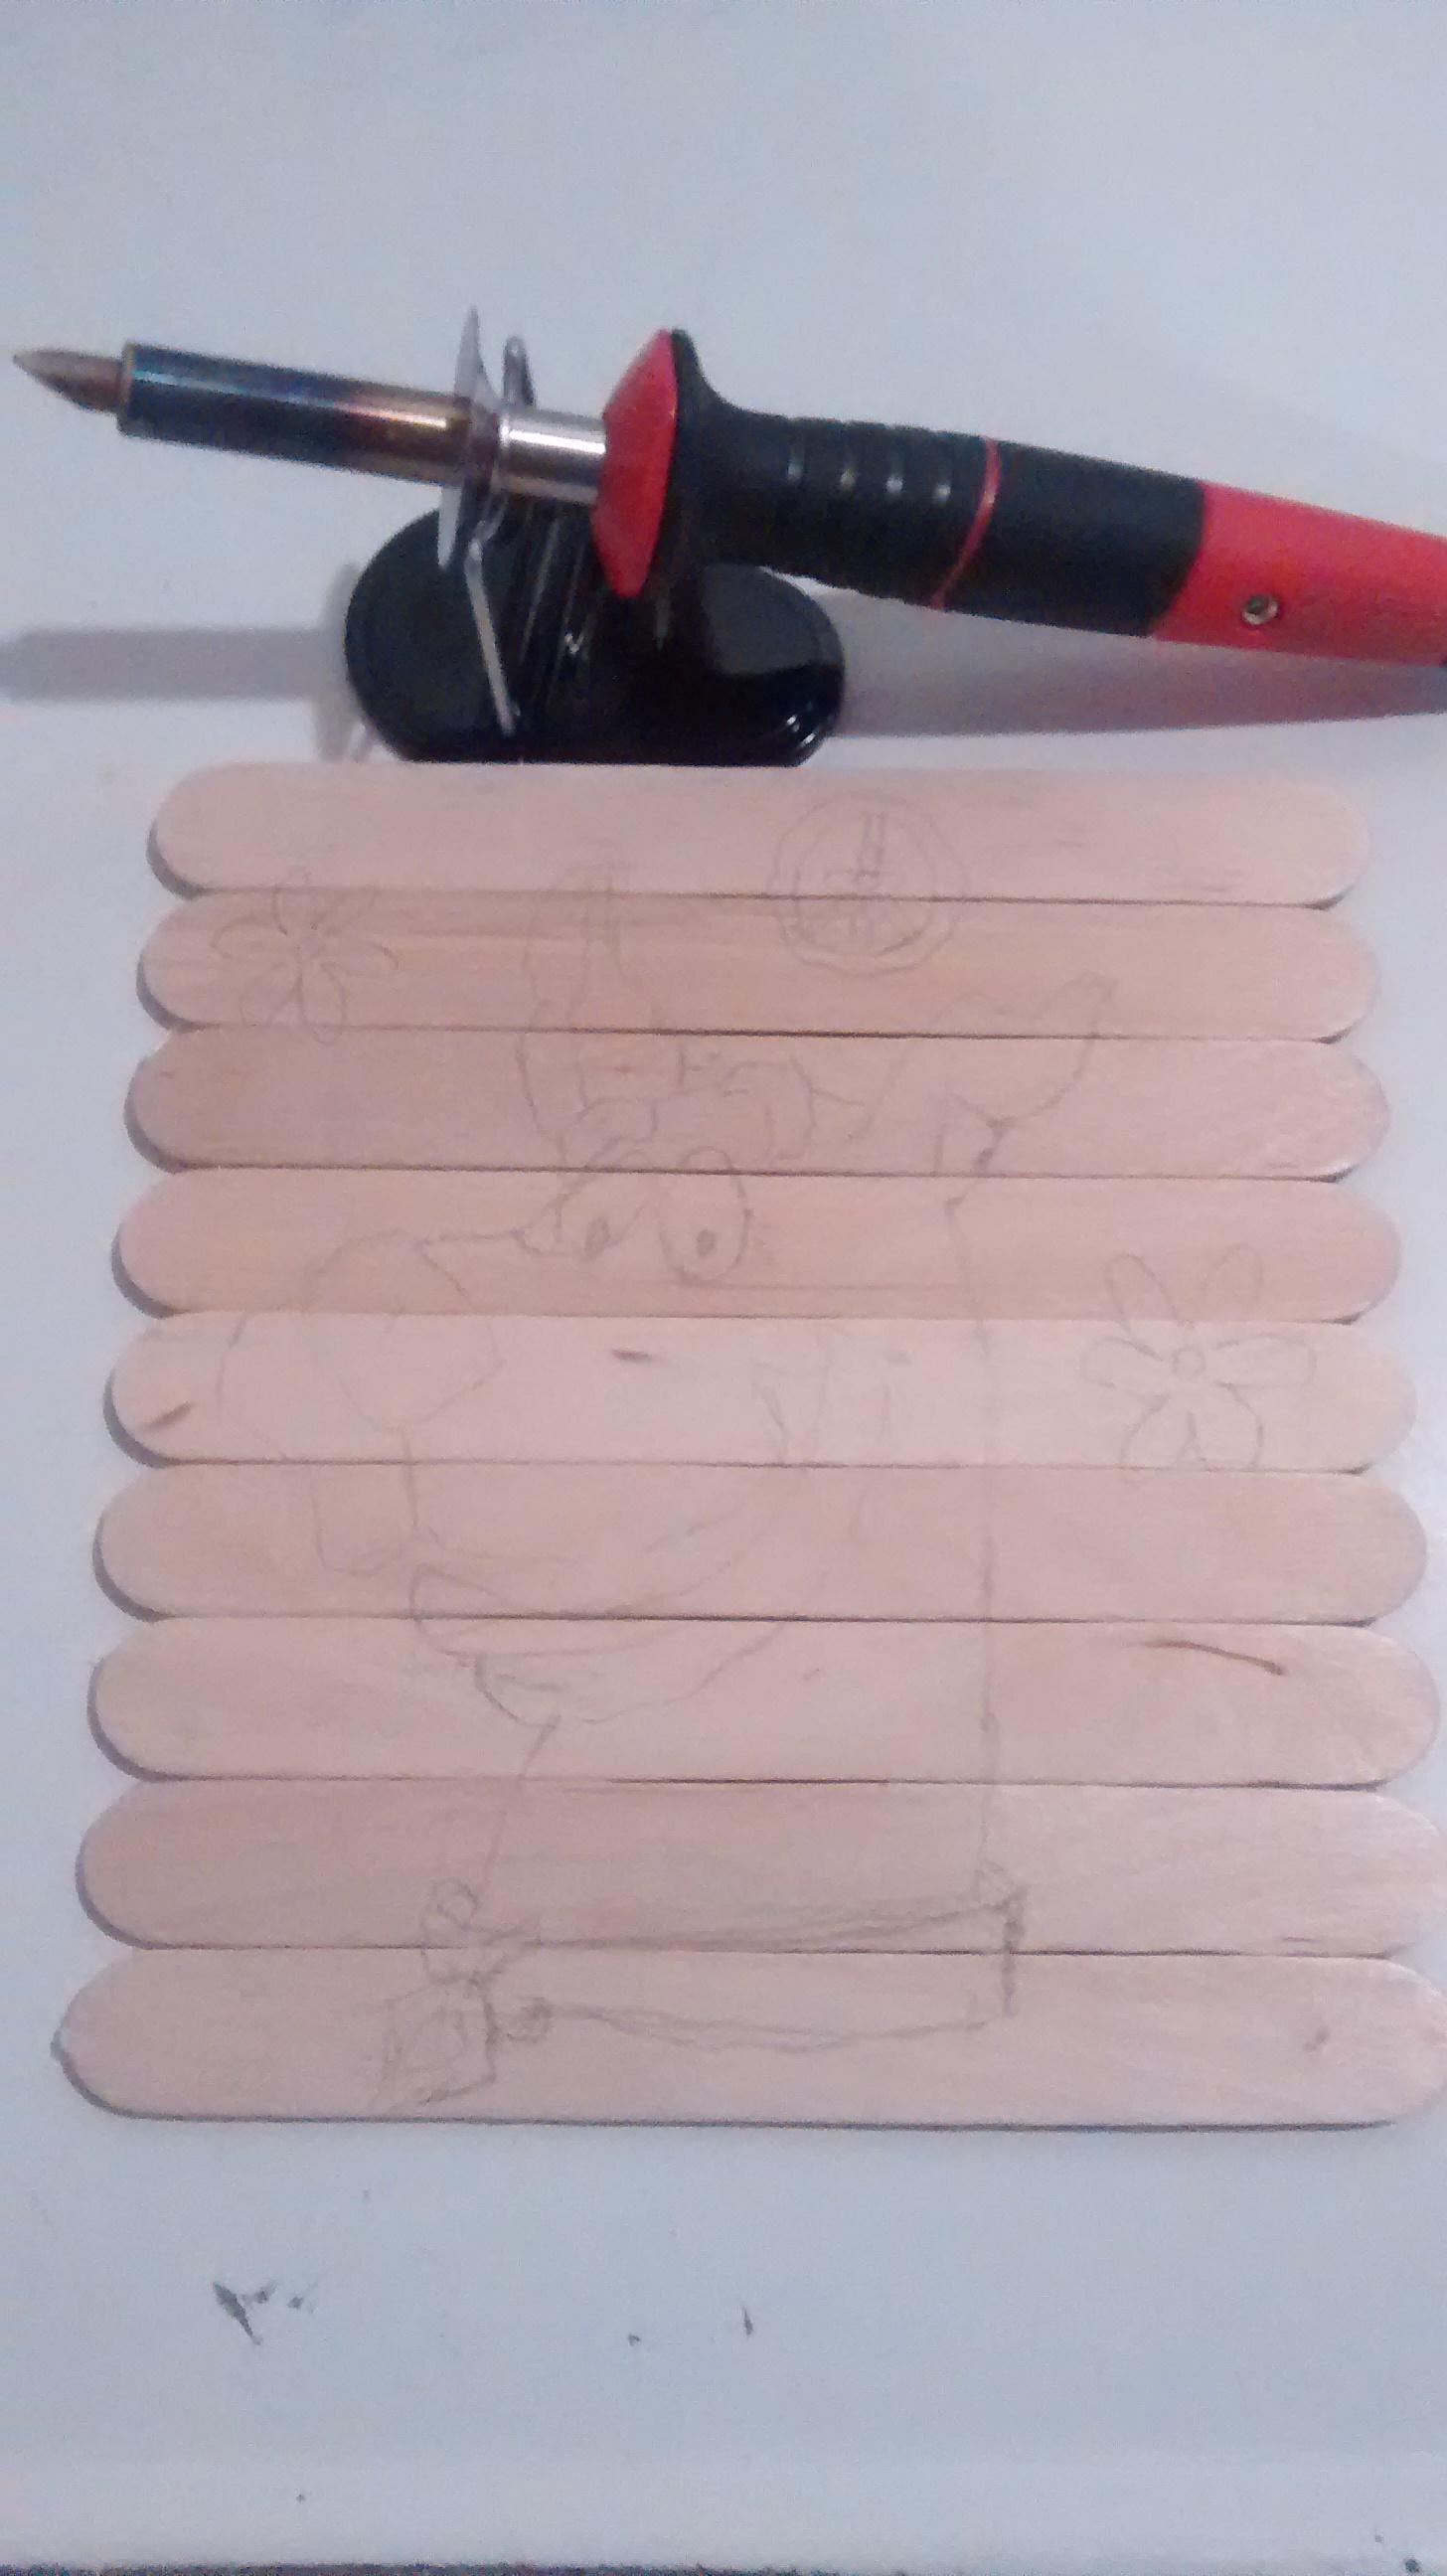
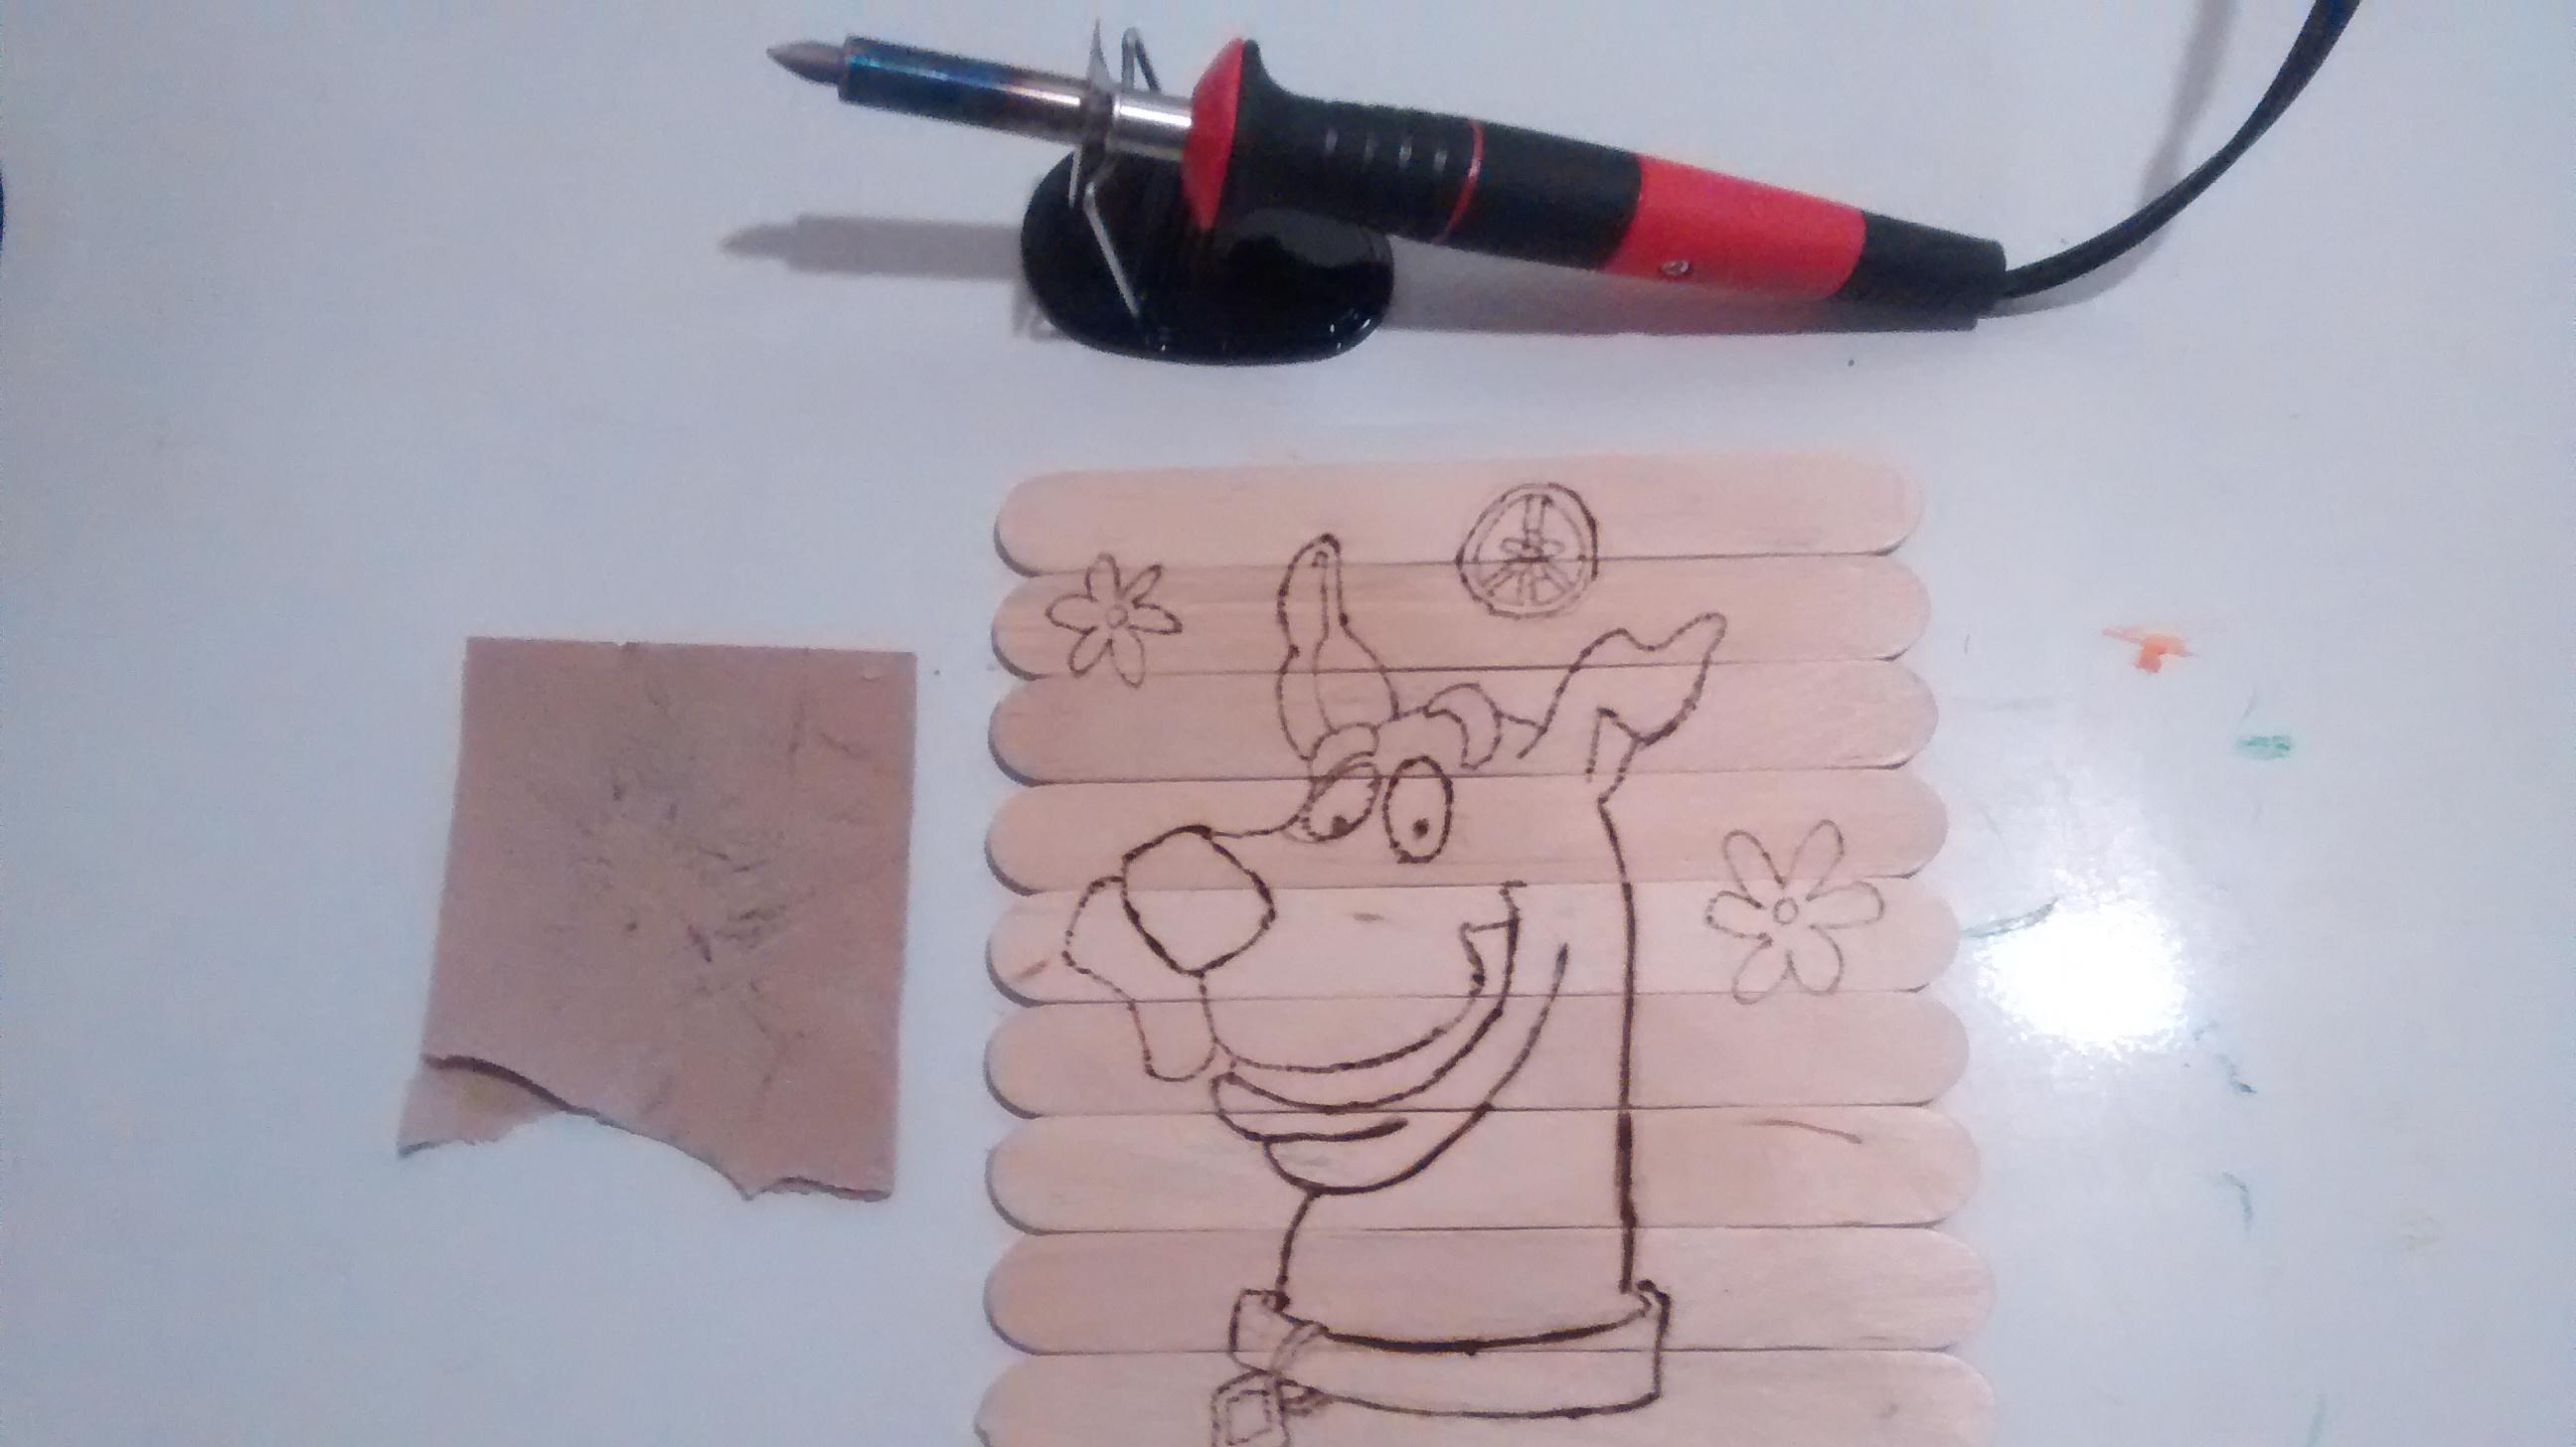
I like to use cartoon characters because they have dark outlines of their images. I chose to imitate Scooby-Doo because I like Scooby-Doo. I also picked an easy one to imitate since there are some very complicated line drawings out there and I'm not that good.
Lightly imitate the image in pencil on the wood surface. Keep in mind that if you don't get it exactly correct, you can erase things and do them over. Also the image doesn't have to be perfect, this is after all for you.
Now the hard part, burn the wood. I bought mine at Home Depot for about $20. You can get better wood burners for more money, but I'm not a professional, and I don't plan on selling these. So carefully go over your pencil lines with the wood burner. Know that you can pick up the wood and move the wood if you can't get the tip of the wood burner where you want it. Wood burning takes practice.
3: Color Your Image
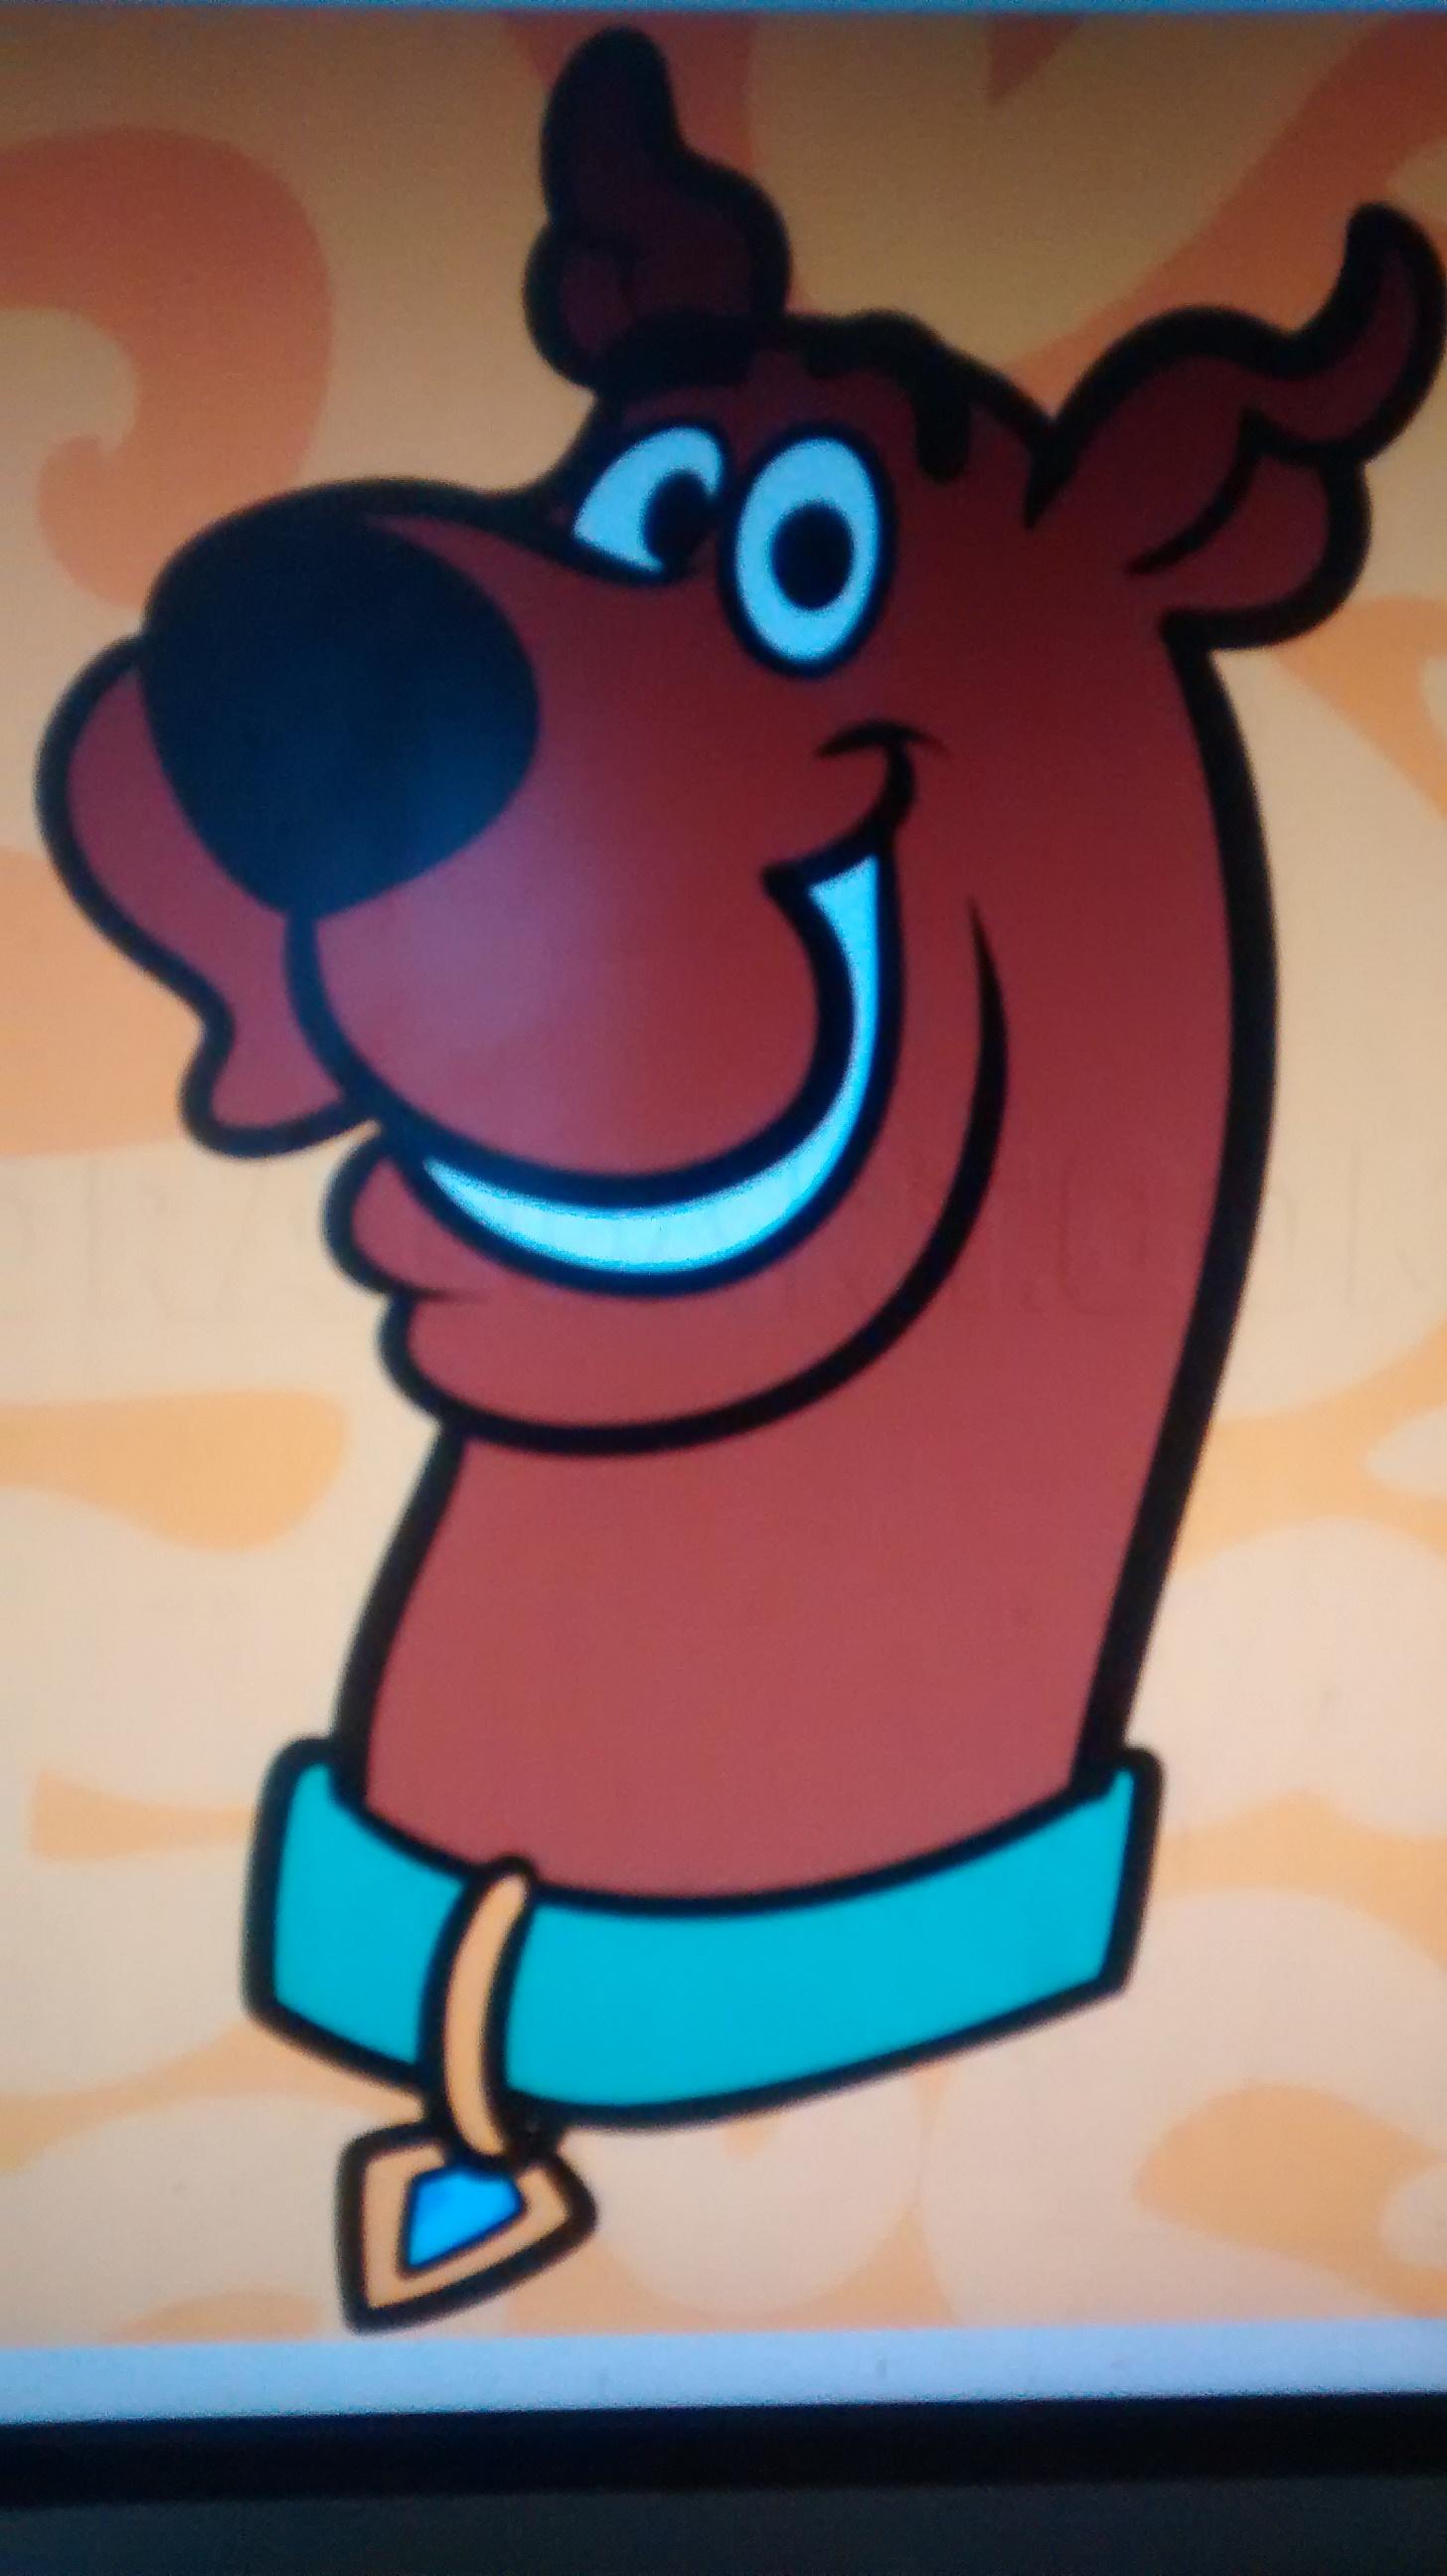
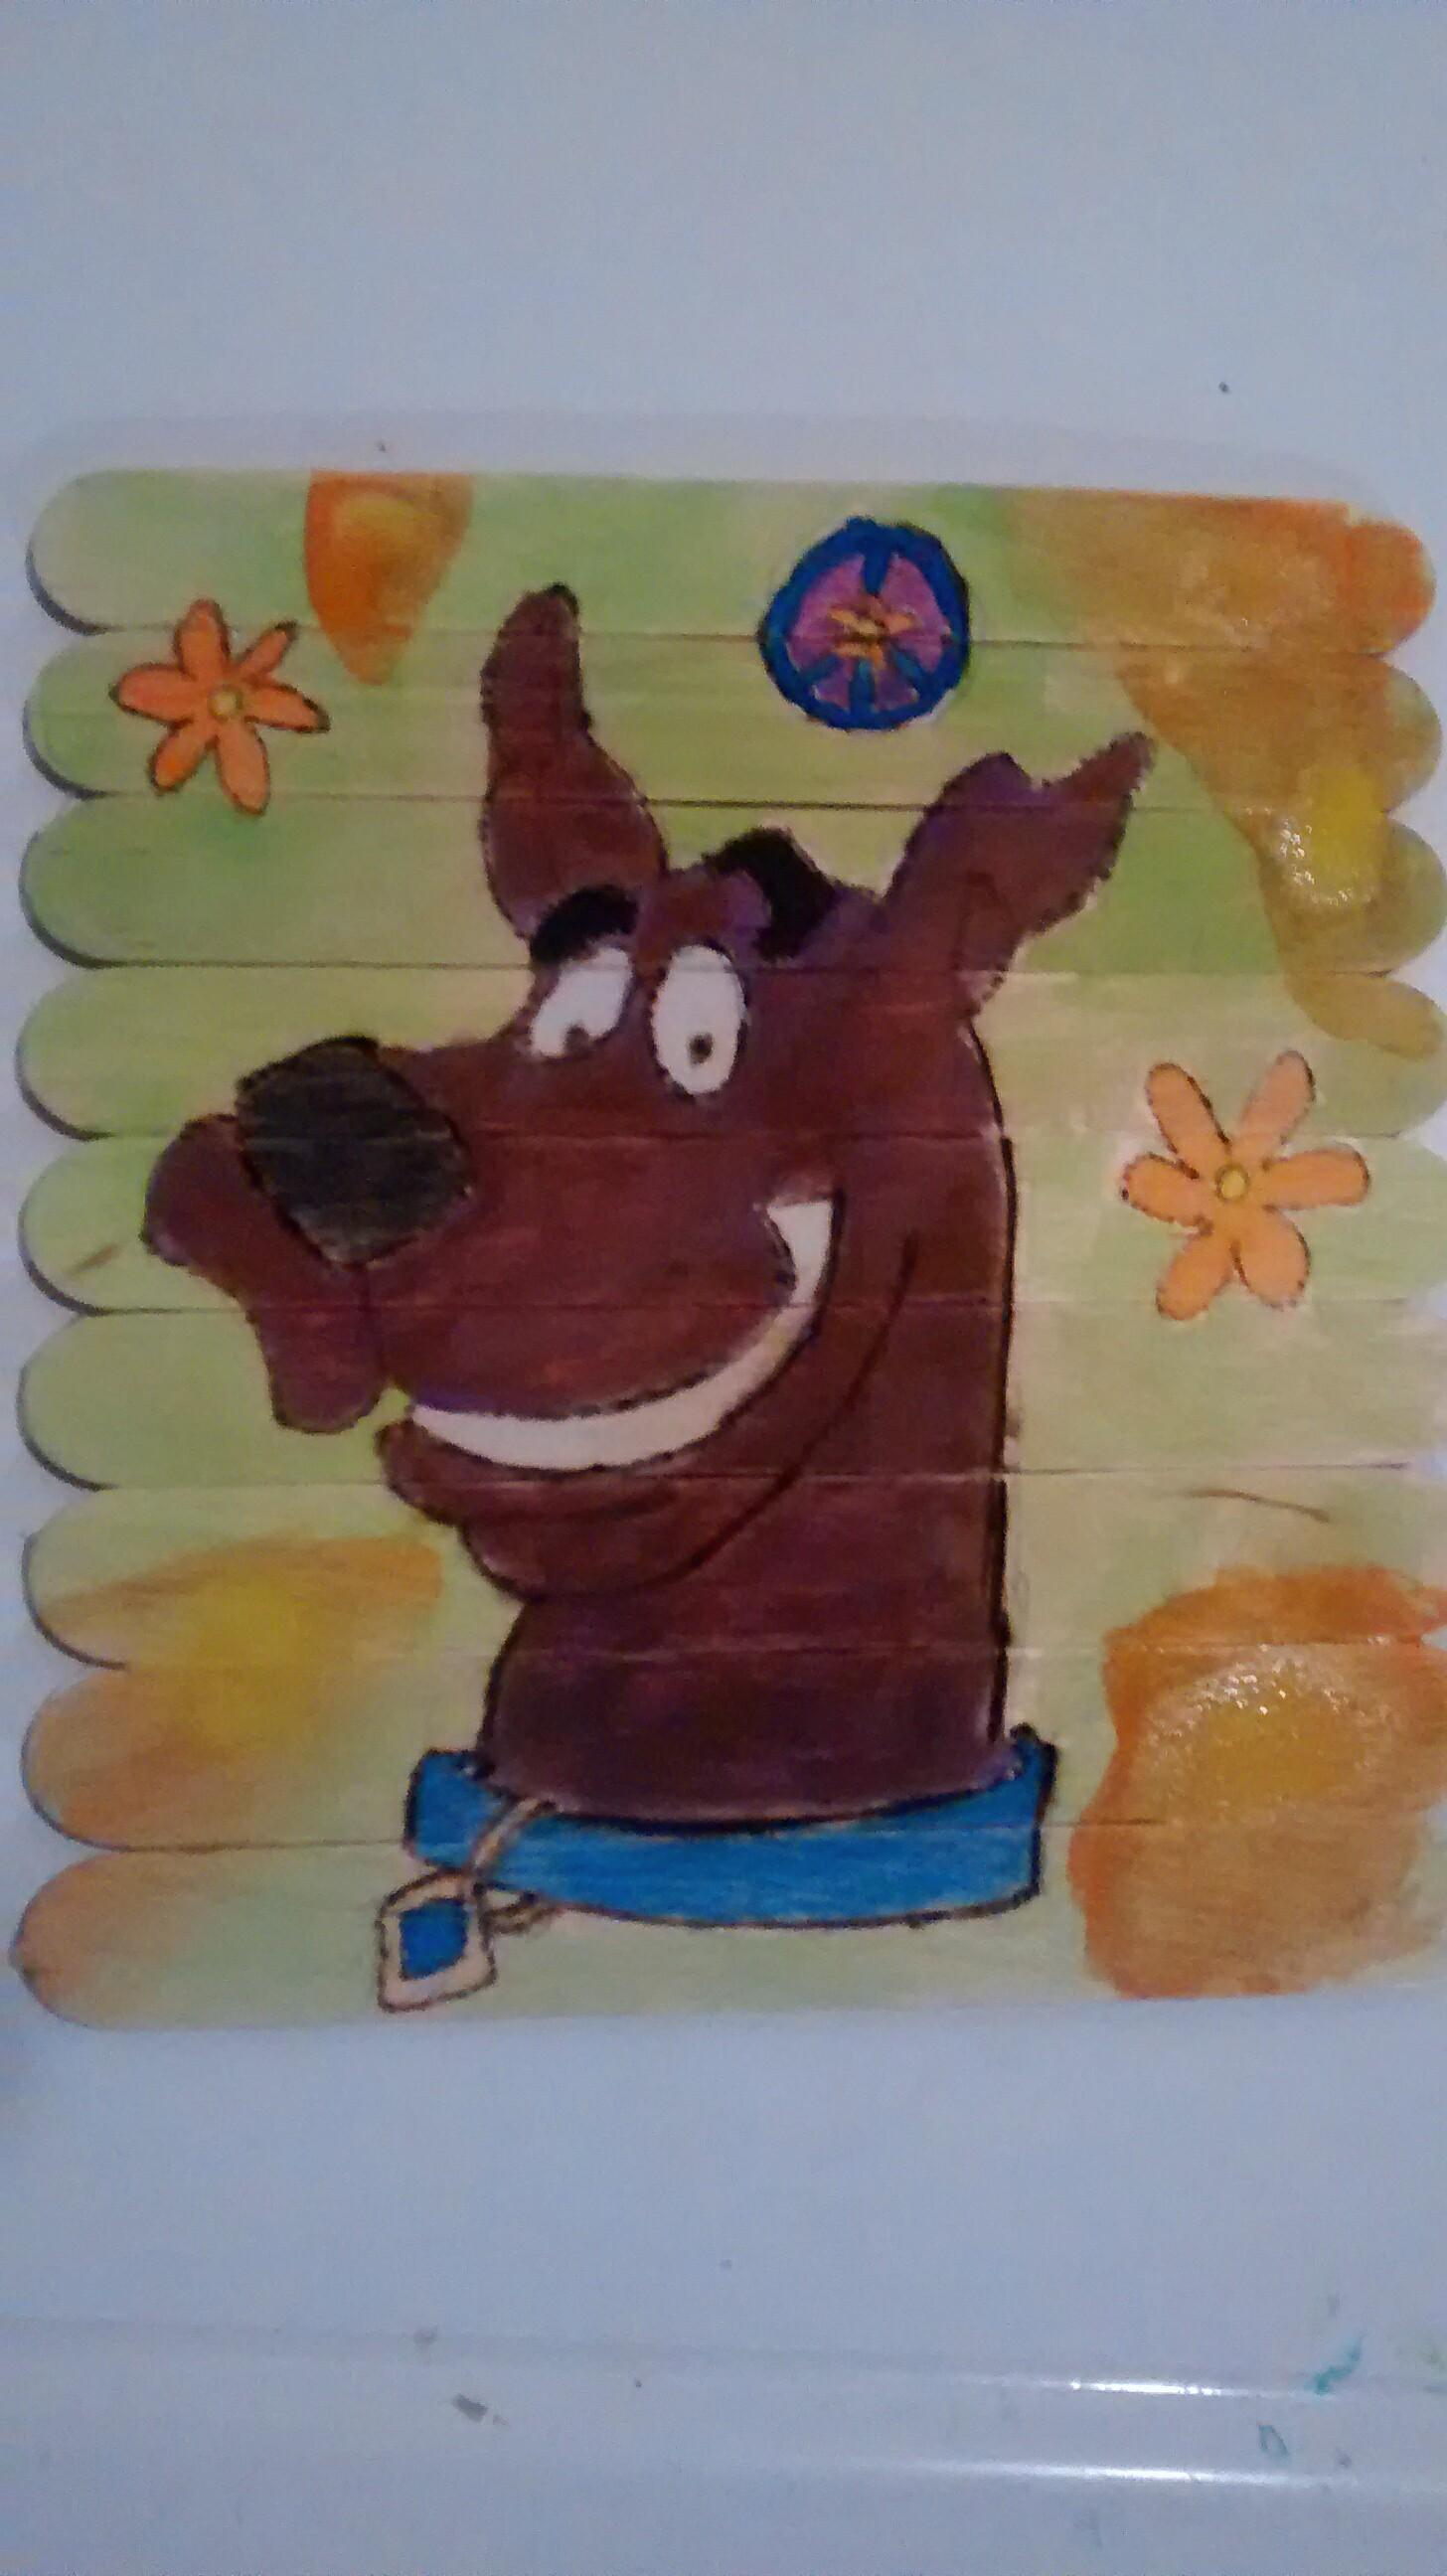
I forgot one step with my example, before you paint erase the left over pencil lines. You can just make them out in some places, but you can erase them so no one will know they were there.
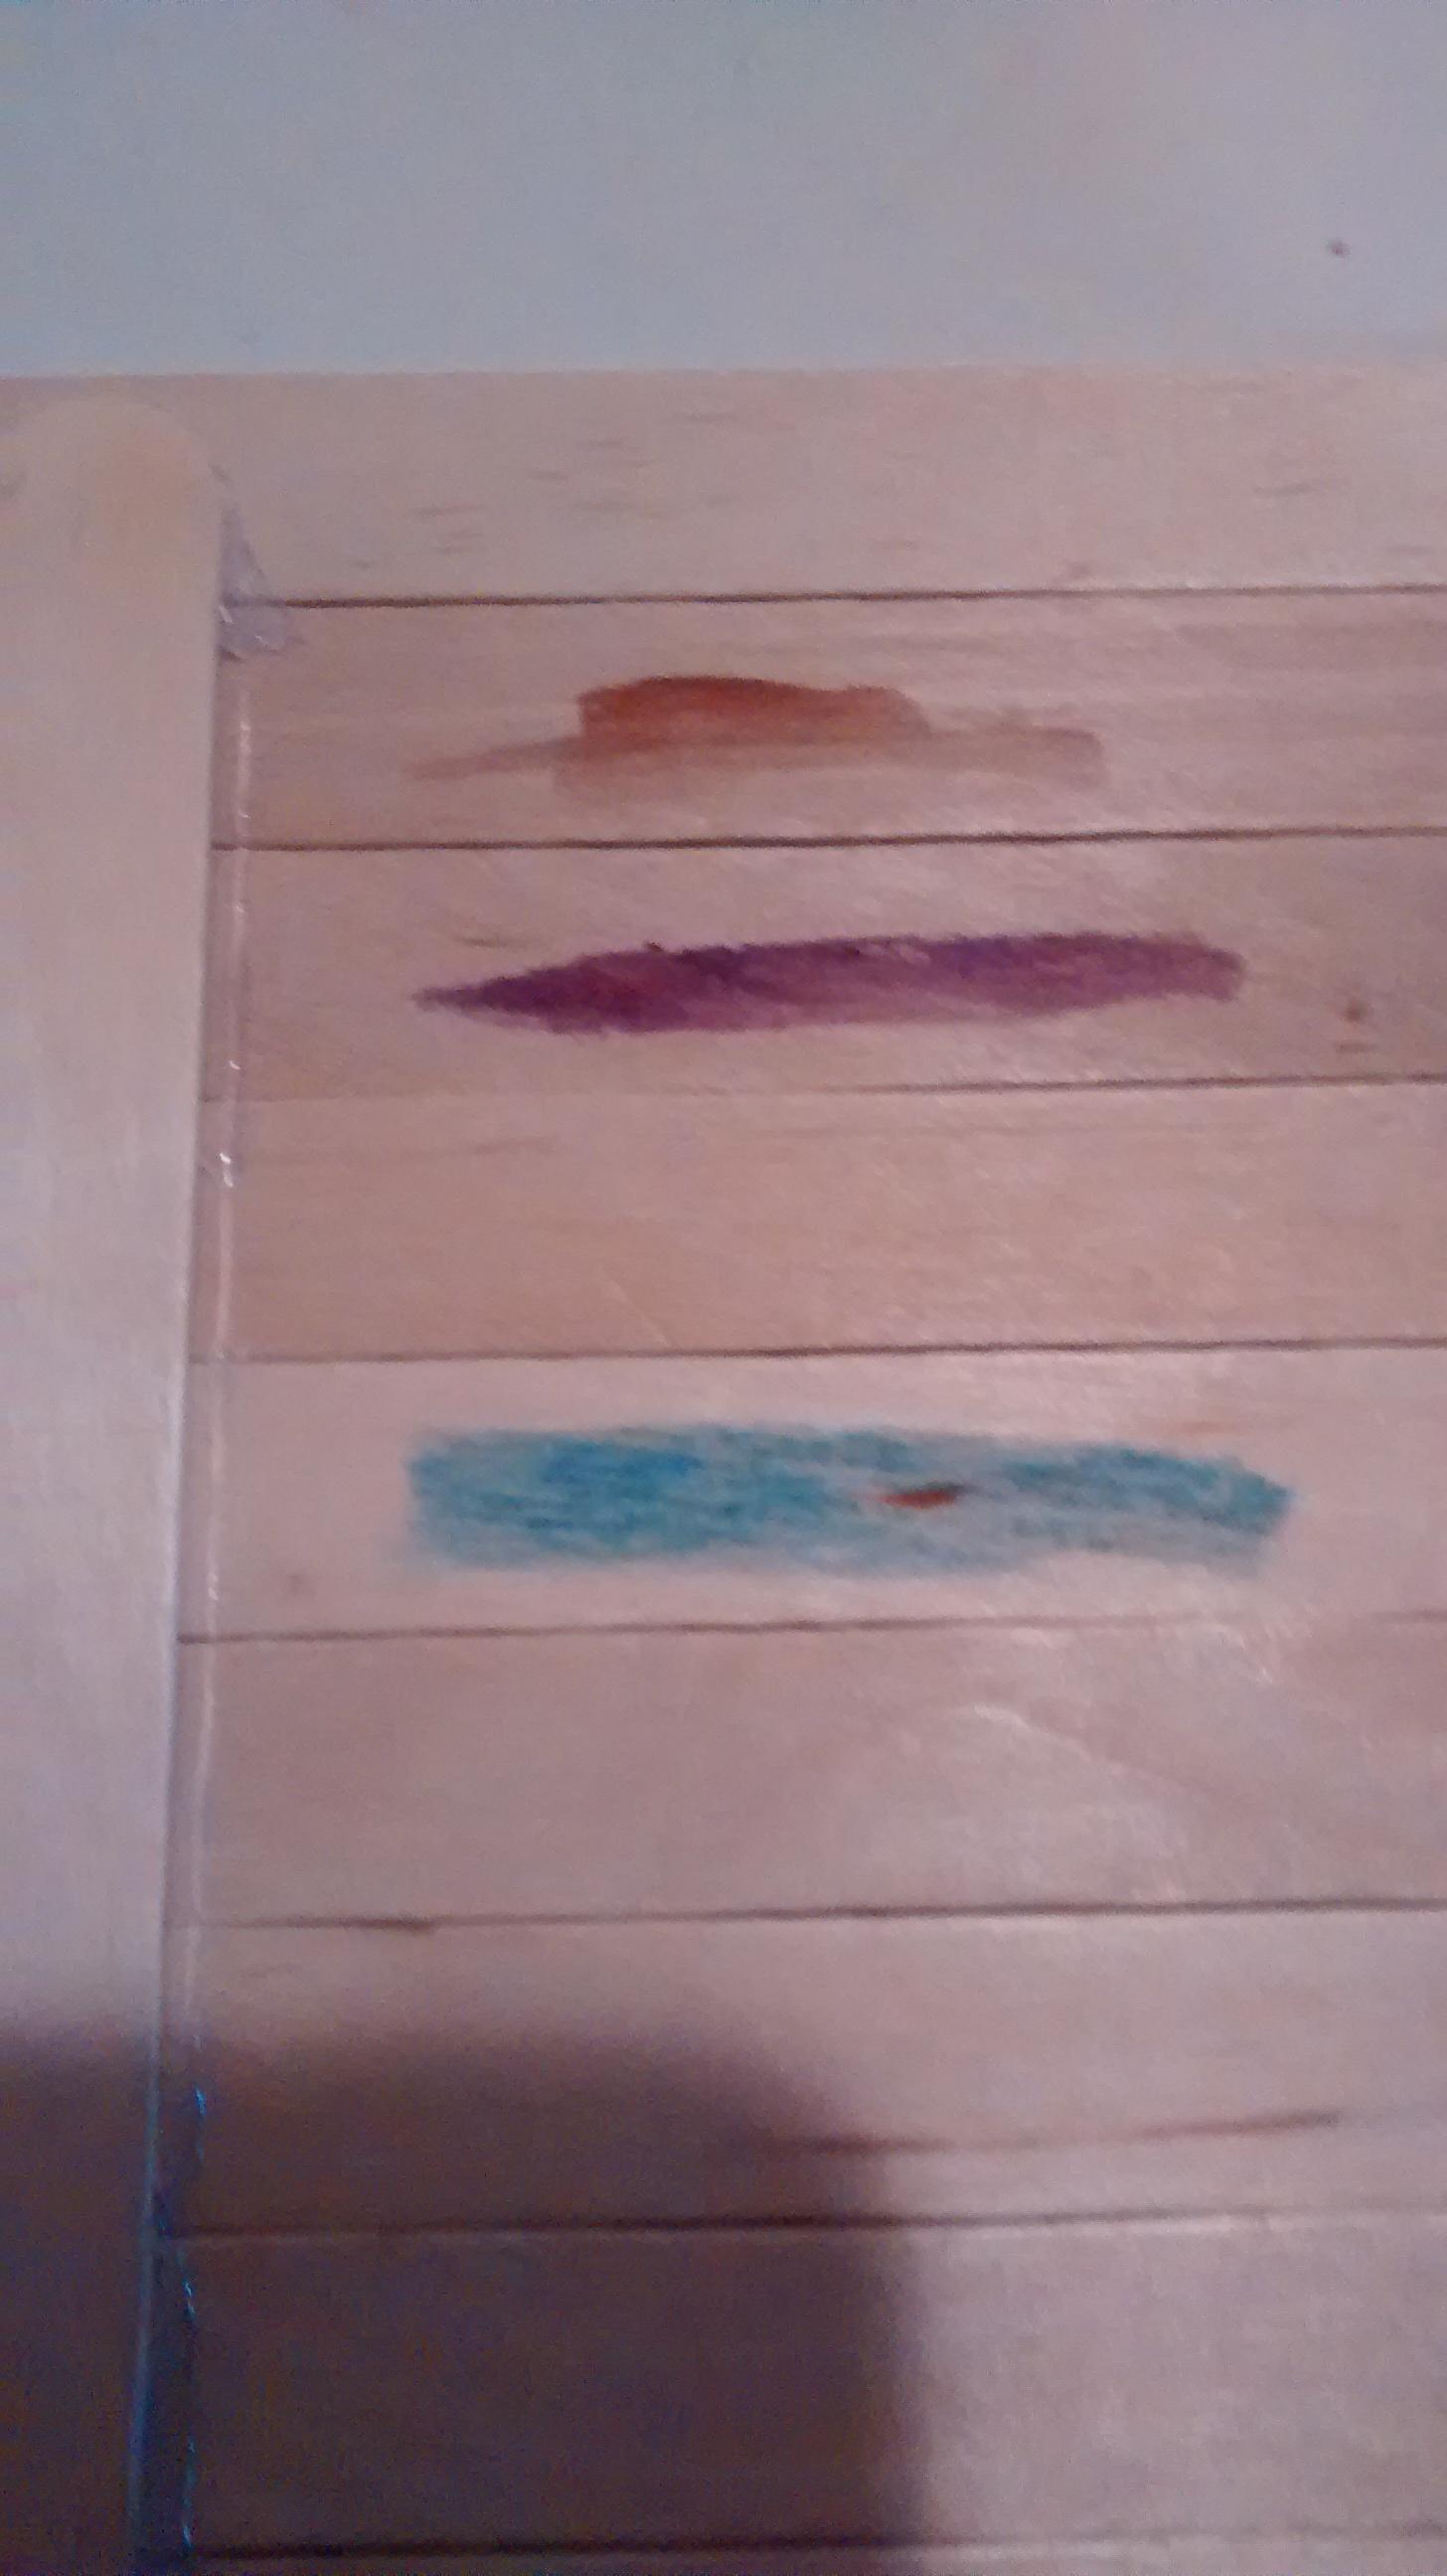
I chose water colors for my panting of wood because the water color can seep into the wood, and you can still see the wood grain when you are done. I chose a large multi-color pack from a craft store because I didn't want to fuss with mixing color, but in fact you can. Since the wood holds the color you can literally mix the color on the wood. Since these are water colors and you may not know what they will look like on the wood, flip the surface over and give some test swipes with the paint and see what they look like, make sure to blow on the paint to dry it out so you can see what they'd look like dry. That way you are not putting purple down where you want brown.
Again water color takes practice, but with the burned wood edges you have some grace where color are next to each other. Just stick with the idea that if you are having two highly contrasting colors next to each other, paint one color, go to something else, and then come back when it is dry. For me I found that giving the background a little color really brings out the image, but make the background light (lots of water) and even.
4: Seal It Up
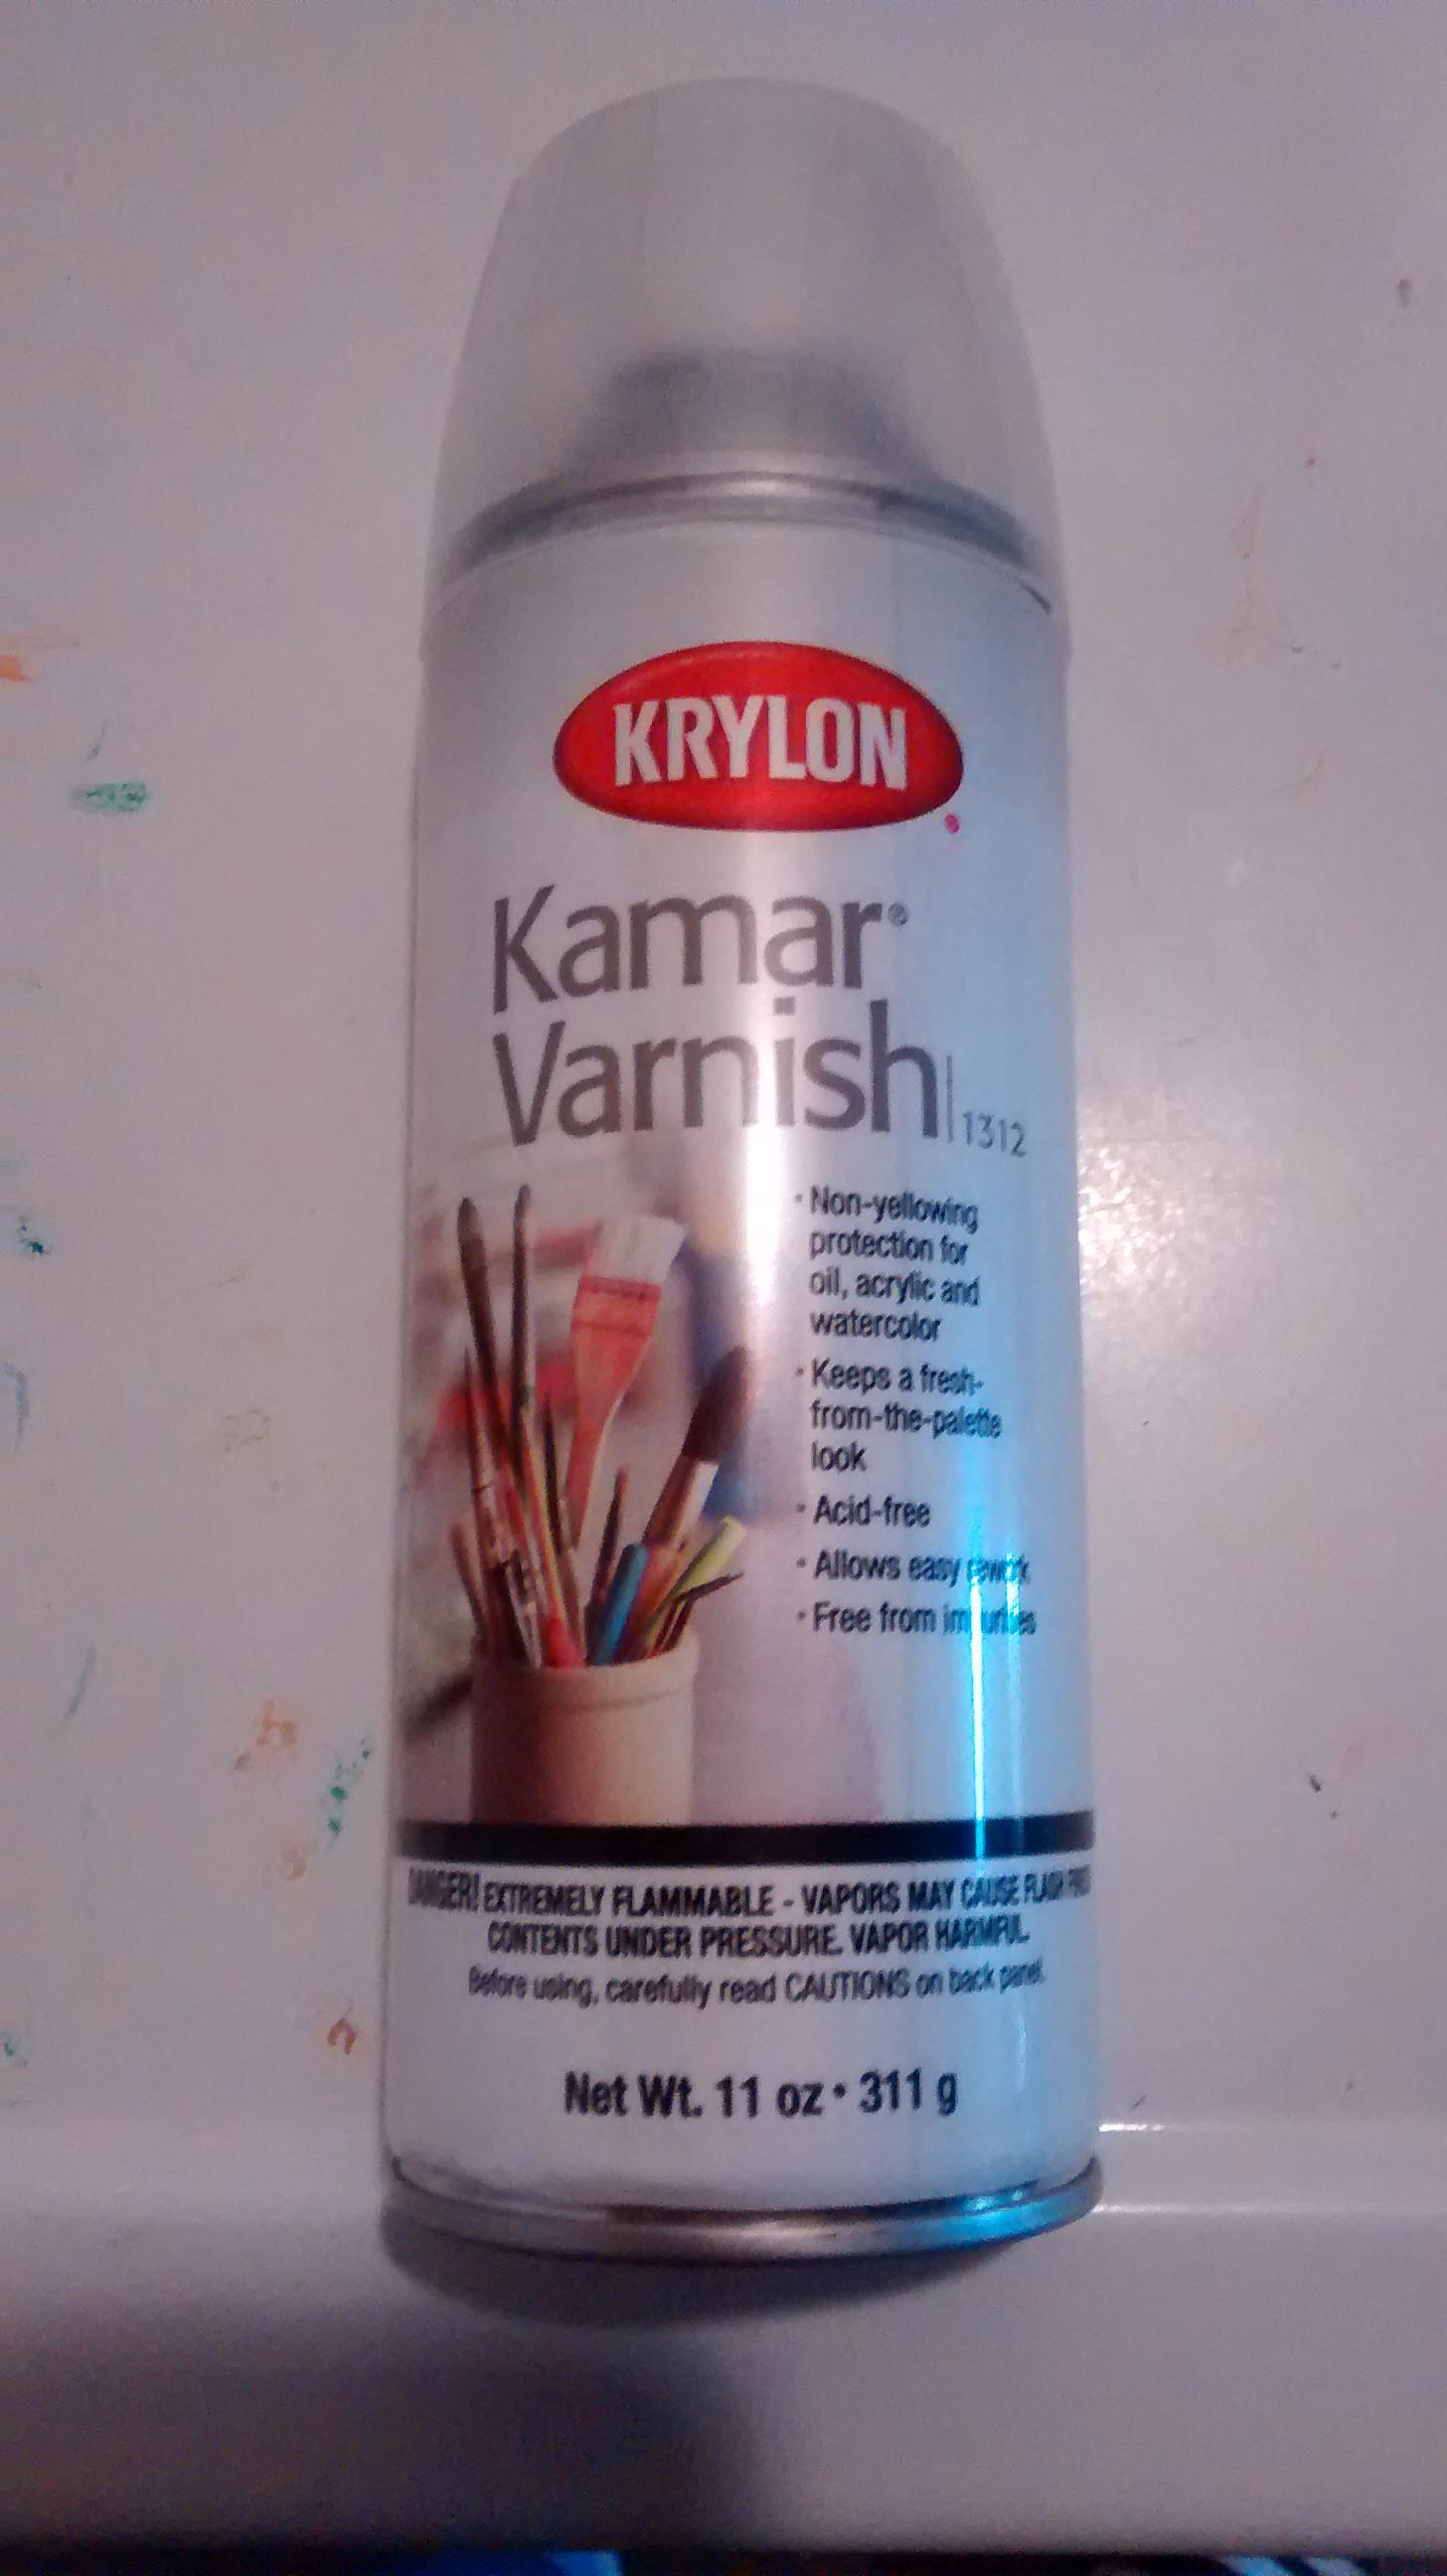
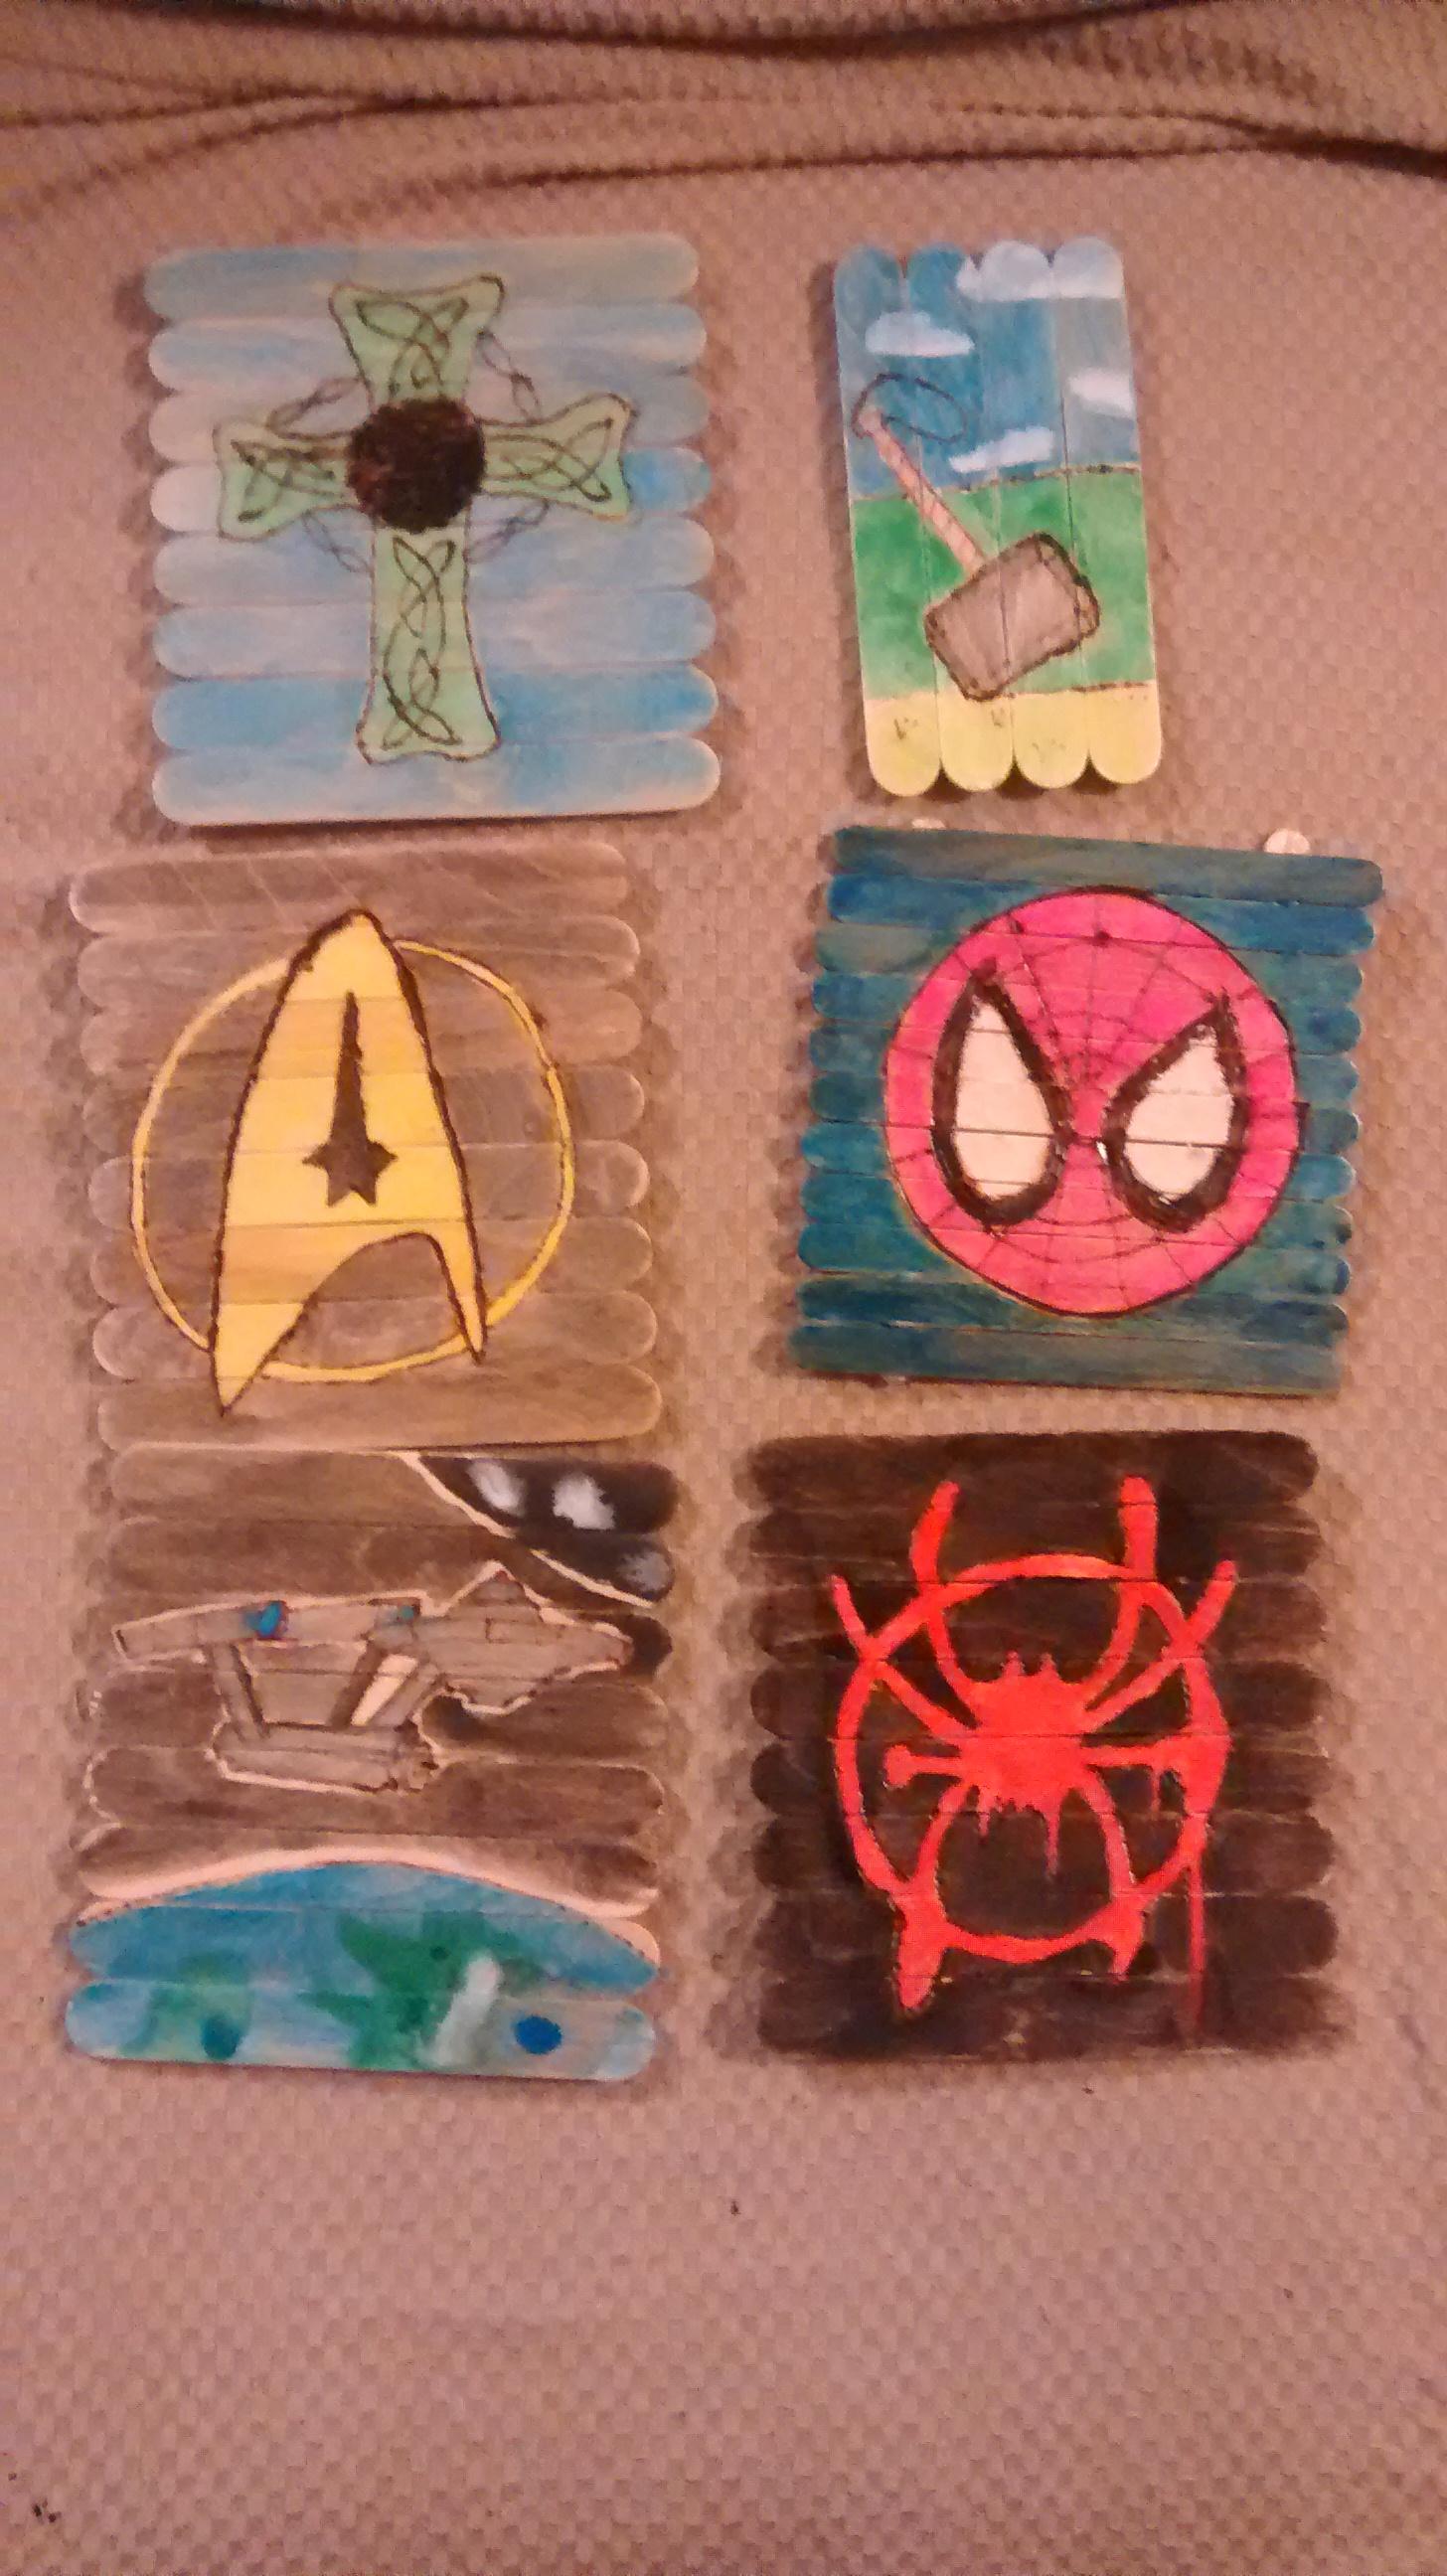
On the off chance that your water color might be used for something like a coaster or at least be in a humid environment at some point, you'll want to seal it. I've found this varnish to be pretty good, so far. I got mine at Walmart in the craft section and it says it's good for water colors. Still giving my painting a light even spray, and then waiting 15 minutes and then spraying again seemed to work out well.
There you have a little project that I enjoy. You get to make your surface, burn your image, paint your picture, and then seal it up for all time. It calms me. I've made many others, again I claim none of them as being other than from my imagination and you can call them whatever you want.
Good luck! Have Fun! I just find this kind of project soothing, and something to do while I listen to podcasts.