Wobble Coin Using Tinkercad for 3D Printing
by implaxis in Living > Toys & Games
3534 Views, 29 Favorites, 0 Comments
Wobble Coin Using Tinkercad for 3D Printing
![20210612_115717[1].jpg](/proxy/?url=https://content.instructables.com/FME/C4E7/KPTRPUDX/FMEC4E7KPTRPUDX.jpg&filename=20210612_115717[1].jpg)
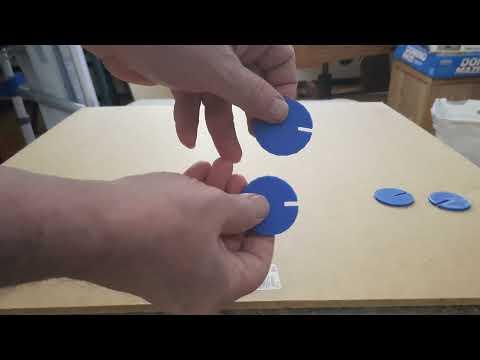)
Make an interesting little toy that demonstrates scientific principles. It doesn't look like it would roll, but it does!
Designed in Tinkercad and printed on a 3D printer.
View the video tutorial in Step 10.
Supplies
3D Tinkercad software
3D printer
PLA (or other) plastic filament
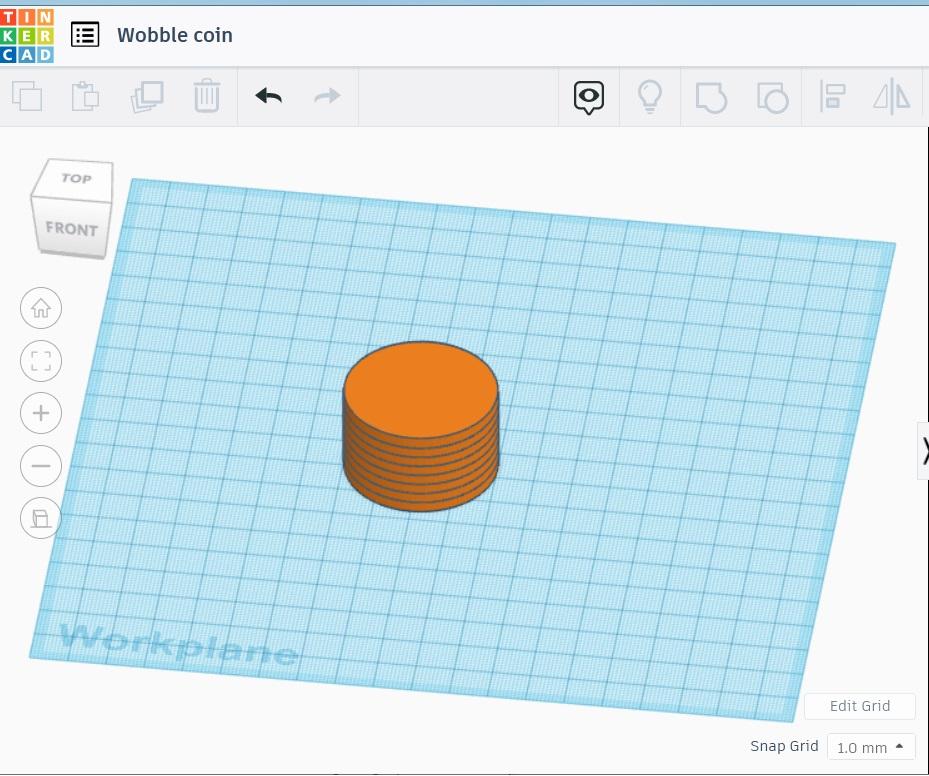
Place a Cylinder and Set It to the Proper Dimensions.
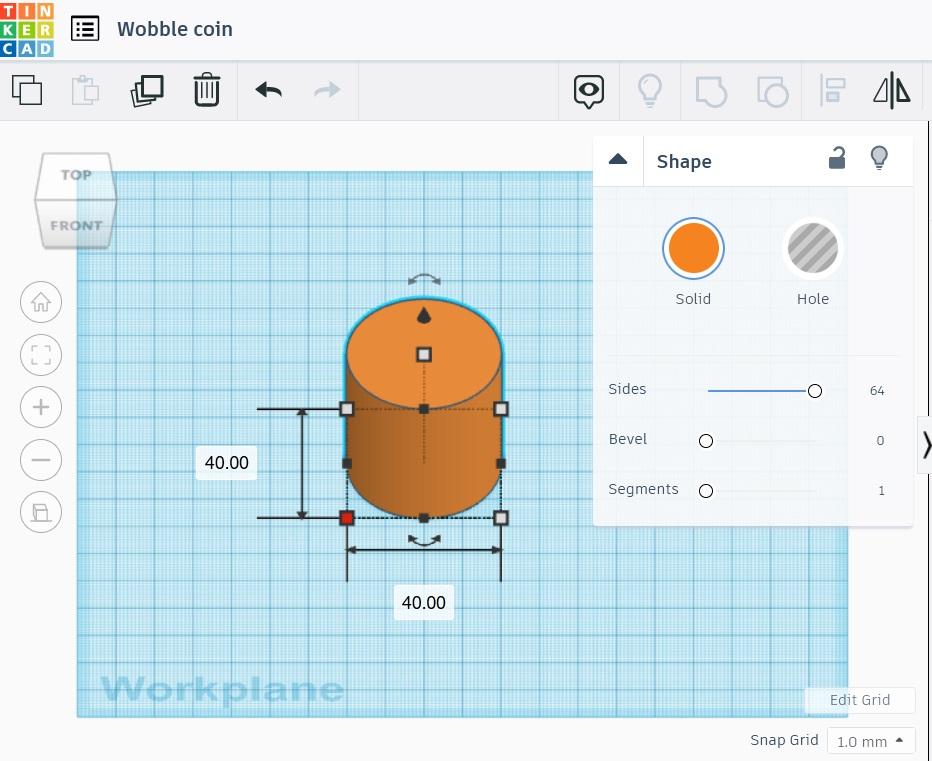
A 40mm diameter is a good size to begin with. Set the number of sides to maximum (64) to get the roundest shape.
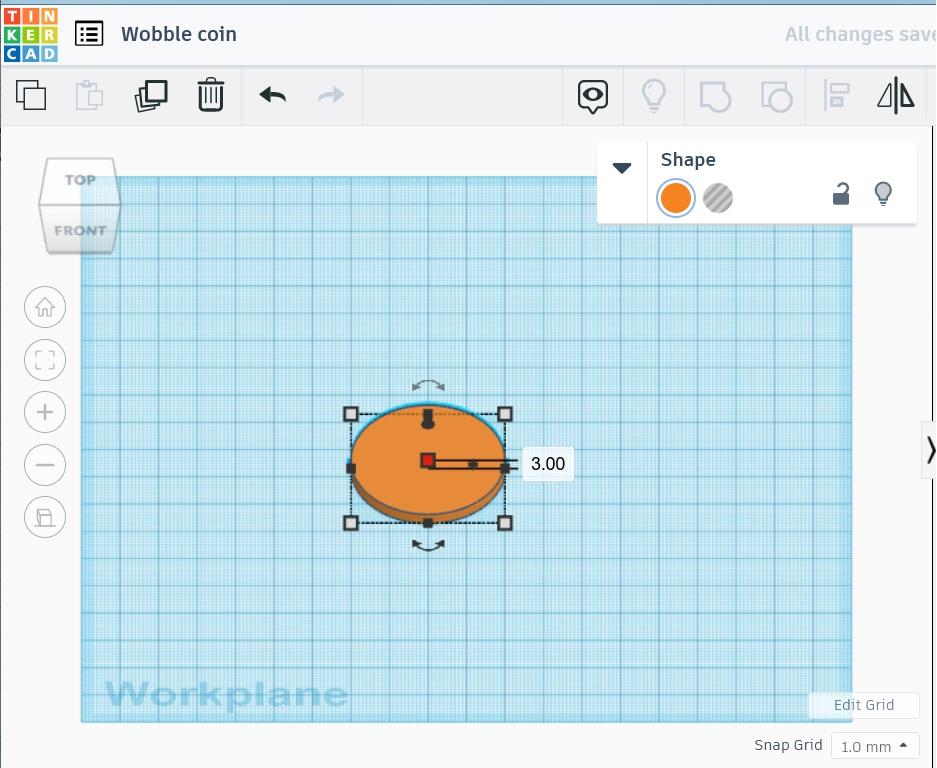
Set the thickness desired size by dragging the top sizing handle. Here we set it to 3mm.
Duplicate, Stack, and Repeat.
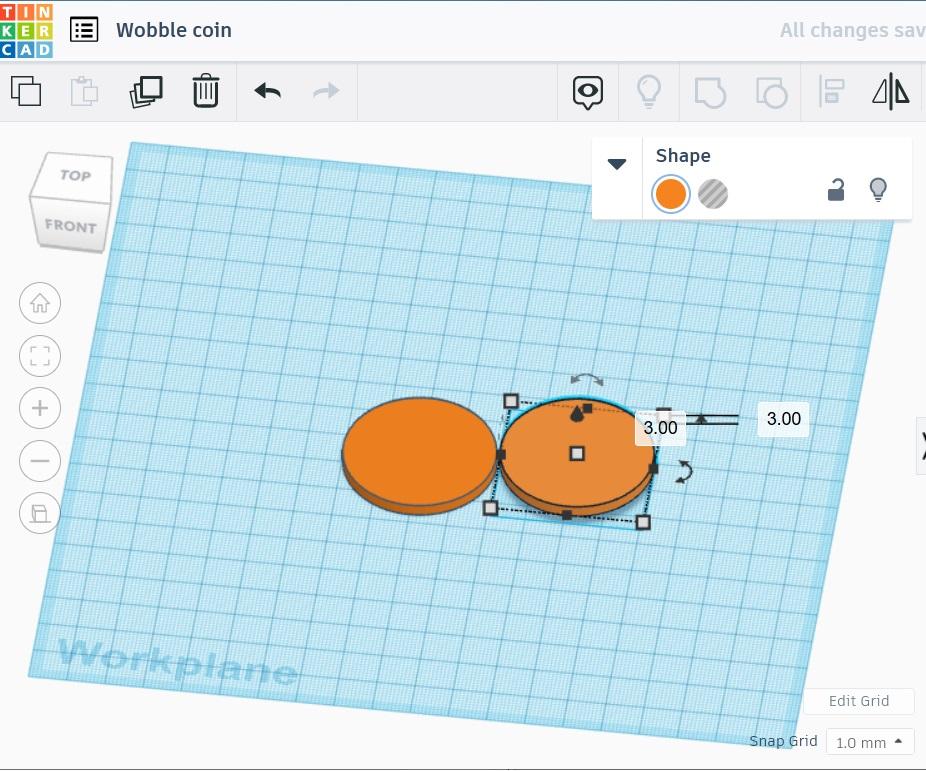
Create as many pairs of coins as desired. Here we are making 4 pairs.
It's not really necessary to stack them but it is a good visual check in case some of the proportions are inadvertently changed.
Separate Into Stacked Pairs.
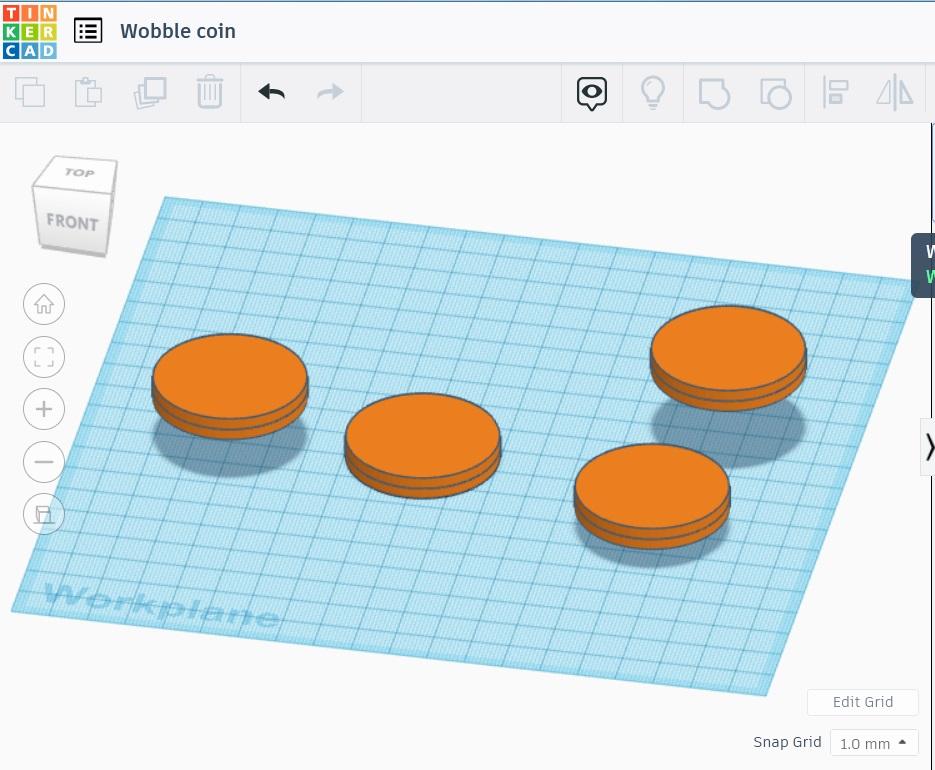
Select two coins at a time and move out to a position where you can view them from the top. The two coins within each pair should be center aligned on the x and y axes, but stacked flush on the z axis. At this point being flush with the workplane does not matter.
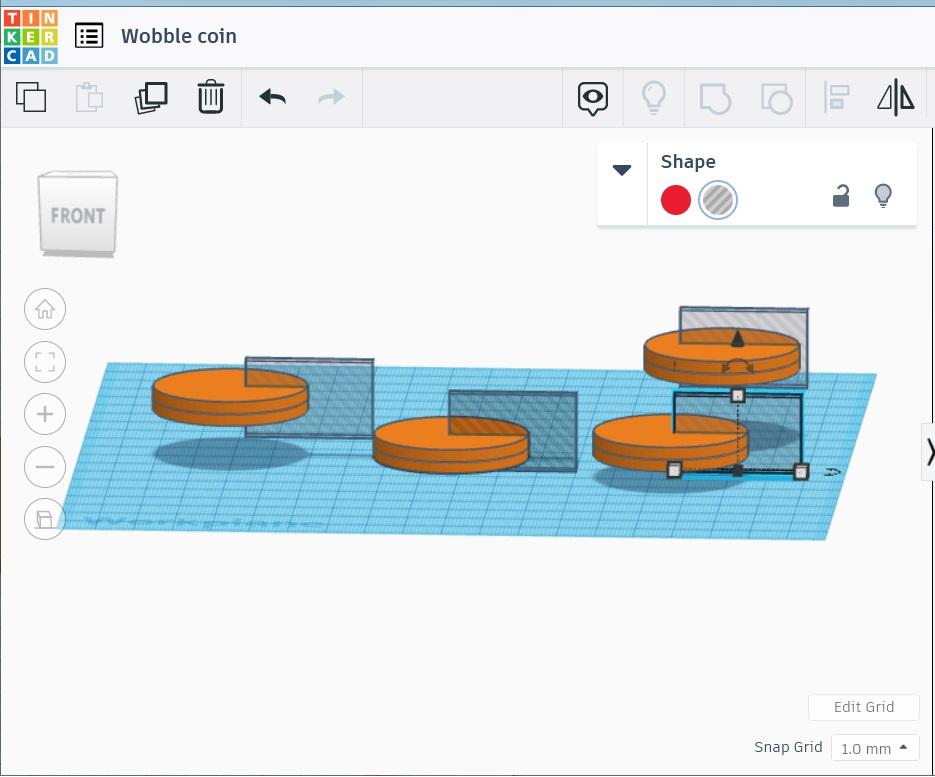
Create and Place the Notch.
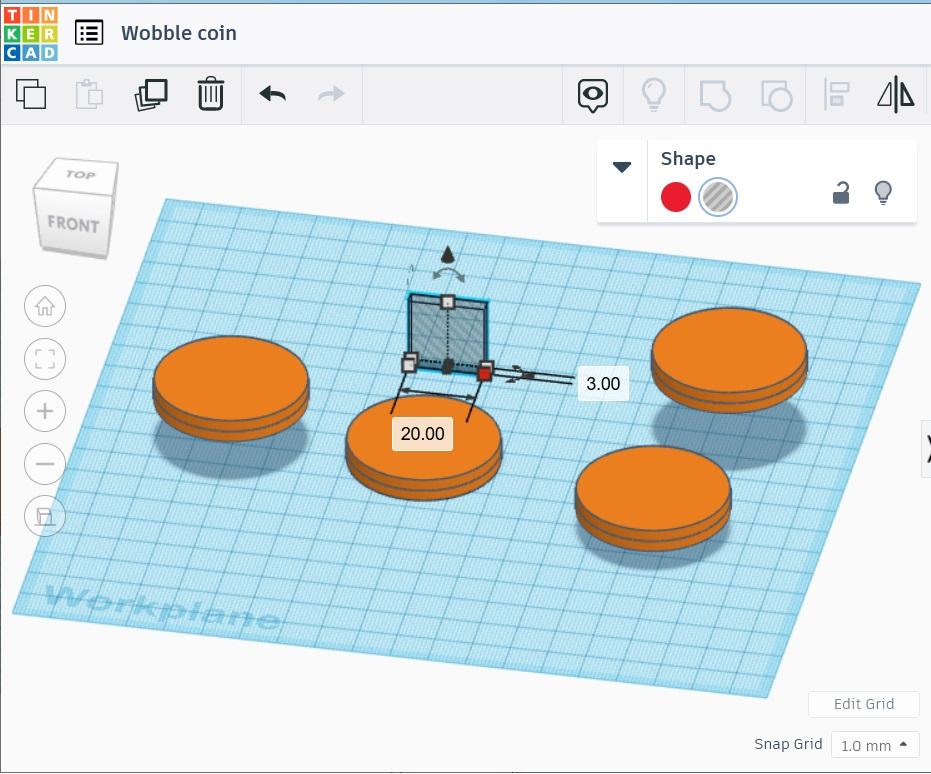
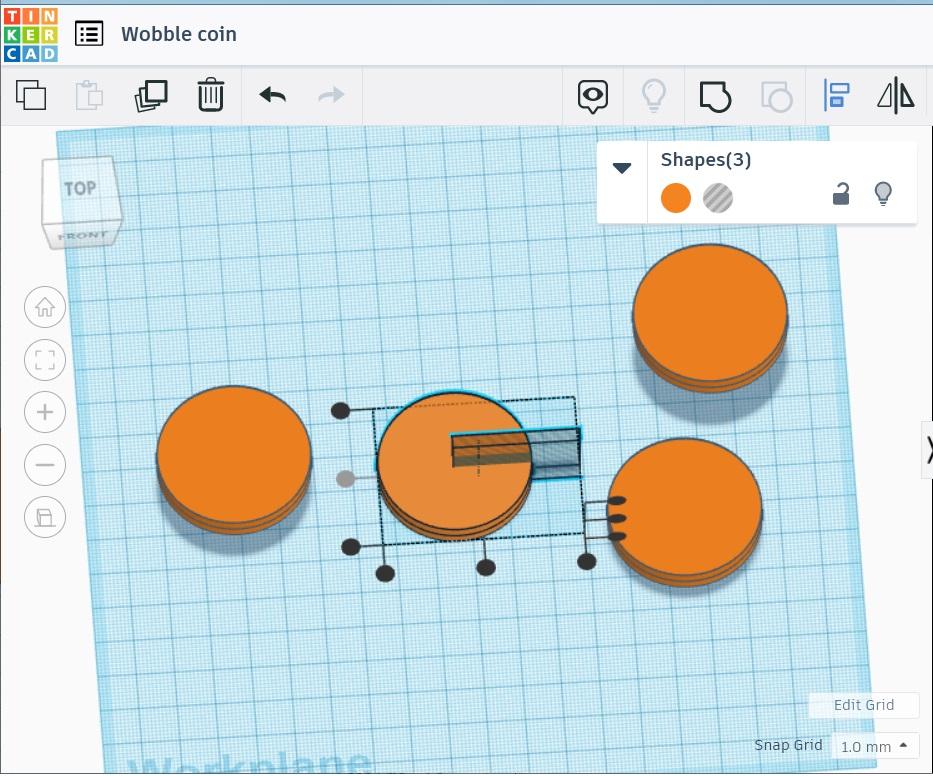
Select a box hole, and size it to the desired notch length. For the first example the long side will be just over 1/2 the width of the coin (20mm), allowing for some extra. (Moving it side-to-side will create the different notch lengths.) The short side of the notch must match the height of a single coin (3mm). (The edge of a coin is inserted into a notch.) The height must extend beyond the top and bottom of each stack.
Use the Align tool to center the notch along the y and z axes. You will have to eyeball the x axis placement, but here the left edge is placed at the center of the coin.
Duplicate and Place Additional Notches, If Desired.
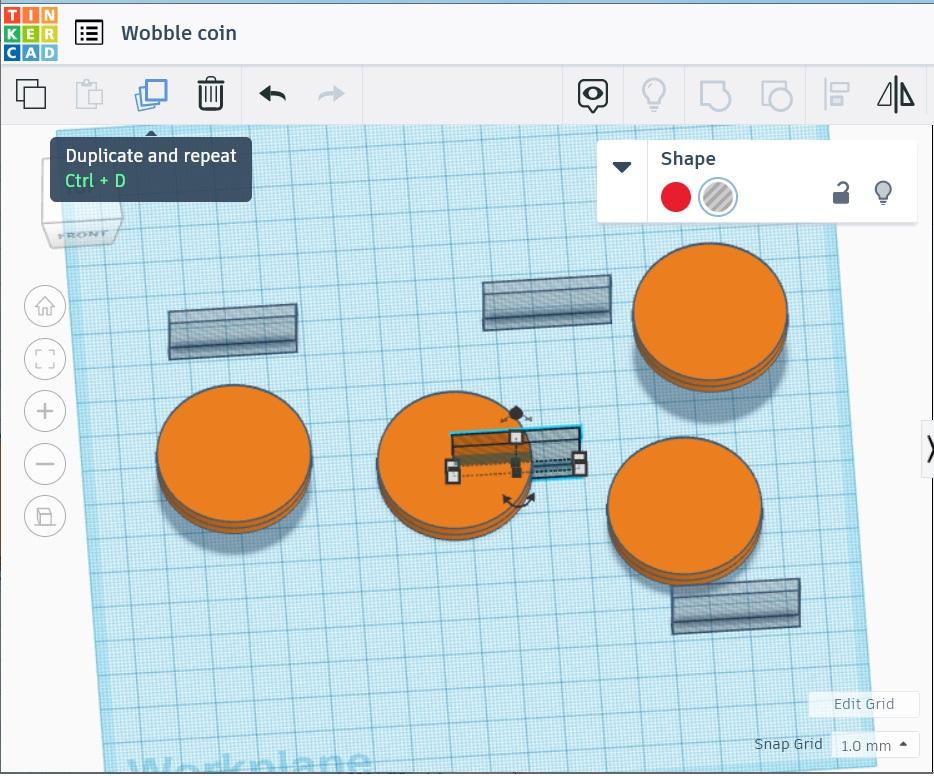
Place the notches in different positions along the x axes to get different wobble effects. Check the z axes to make sure they are cutting through both coins in the stack.
Which x axis placement will produce the most pleasing movement? Will all those placements work, i.e. will they roll at all? What happens if you combine two different sizes?
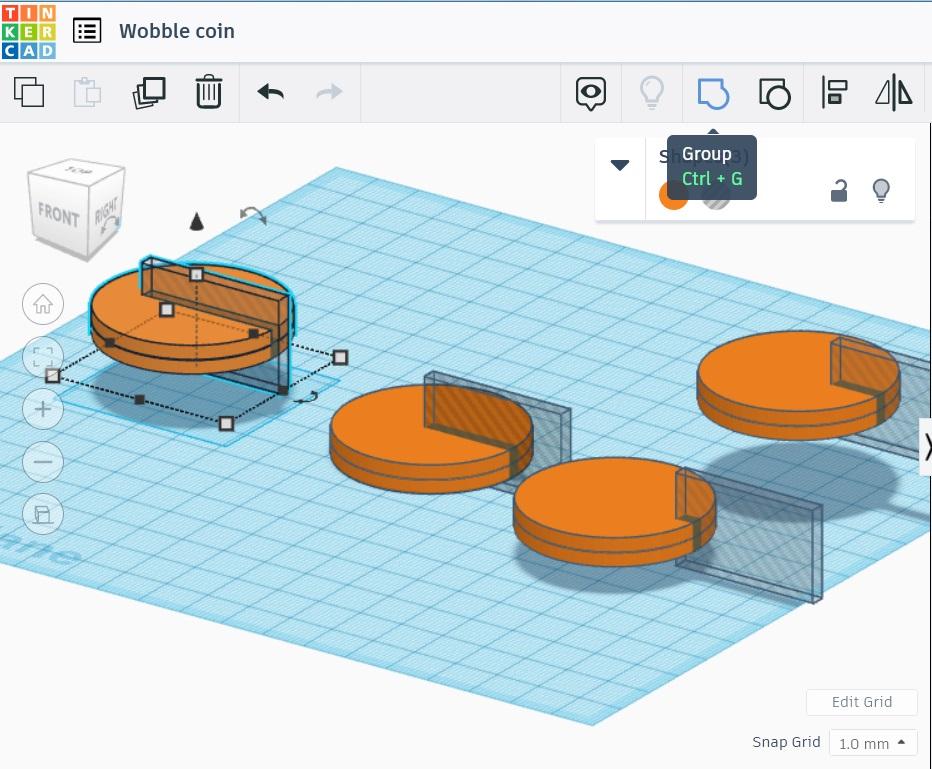
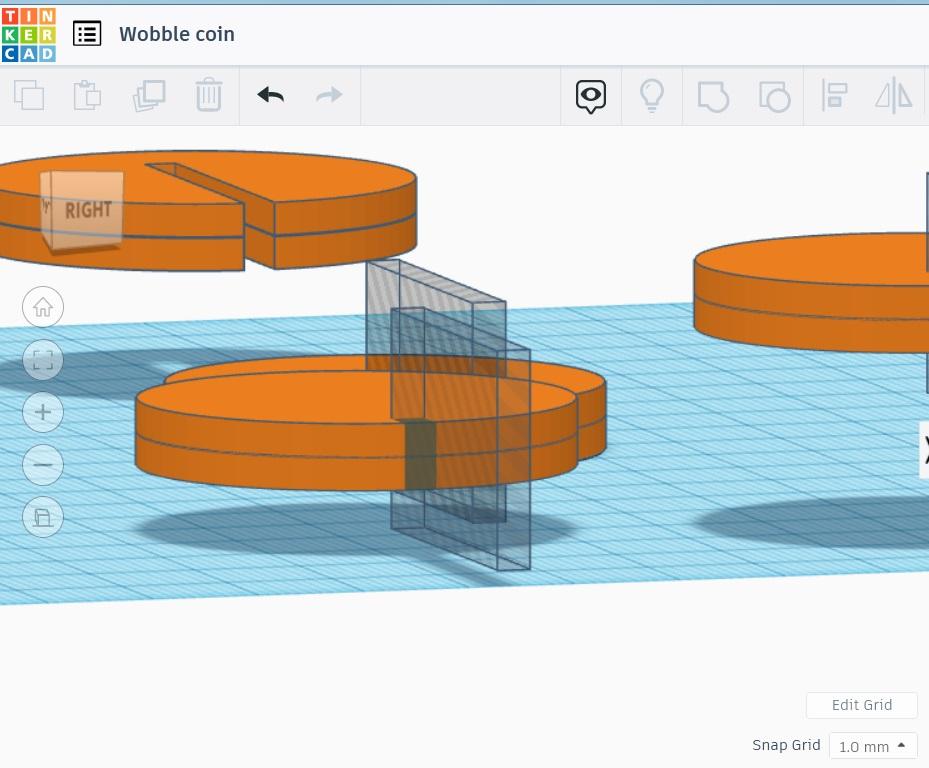
Set Up the First Notch Cut.
Here's where it gets a little tricky. You want to cut an identical notch in each pair of coins, but you don't want to group the two single coins together as one, so they have to be done individually.
Determine one pair of coins to work with at a time. Select the notch and duplicate it. Don't move the duplicate!
Now select the top coin, and pressing Shift, select the notch. It will only activate the "outer" one of the two notches in that position, which is what you want.
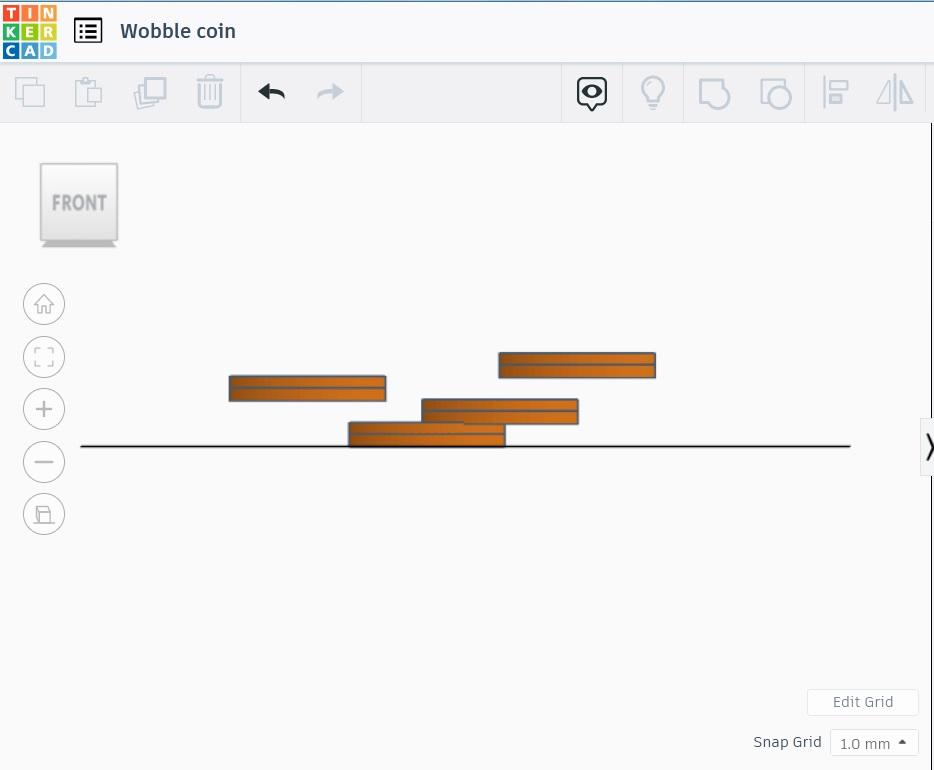
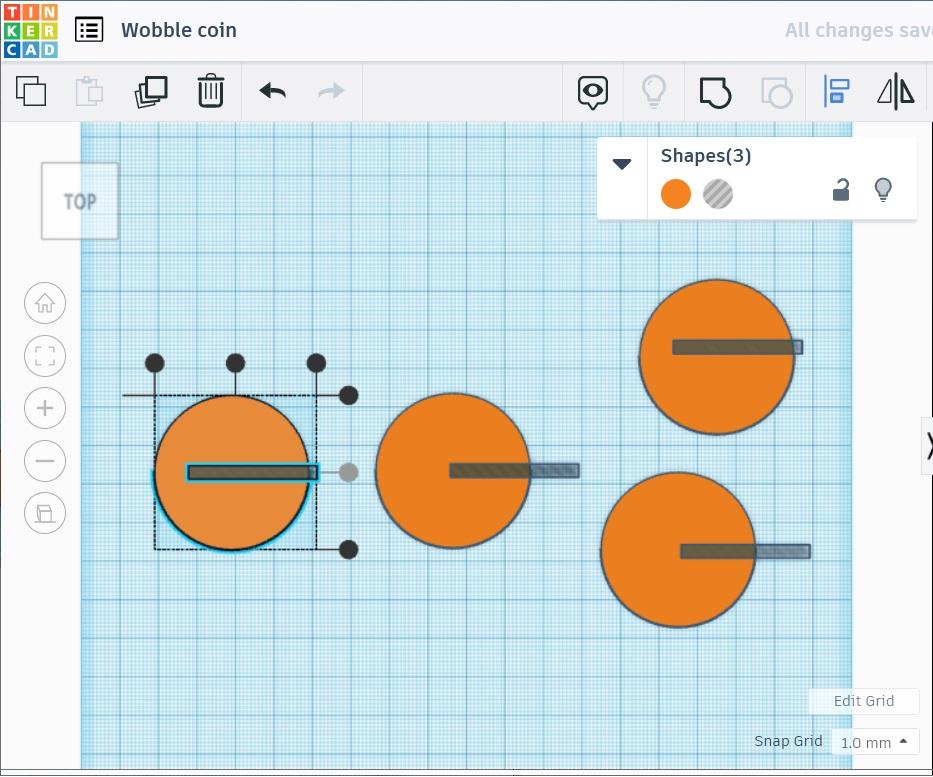
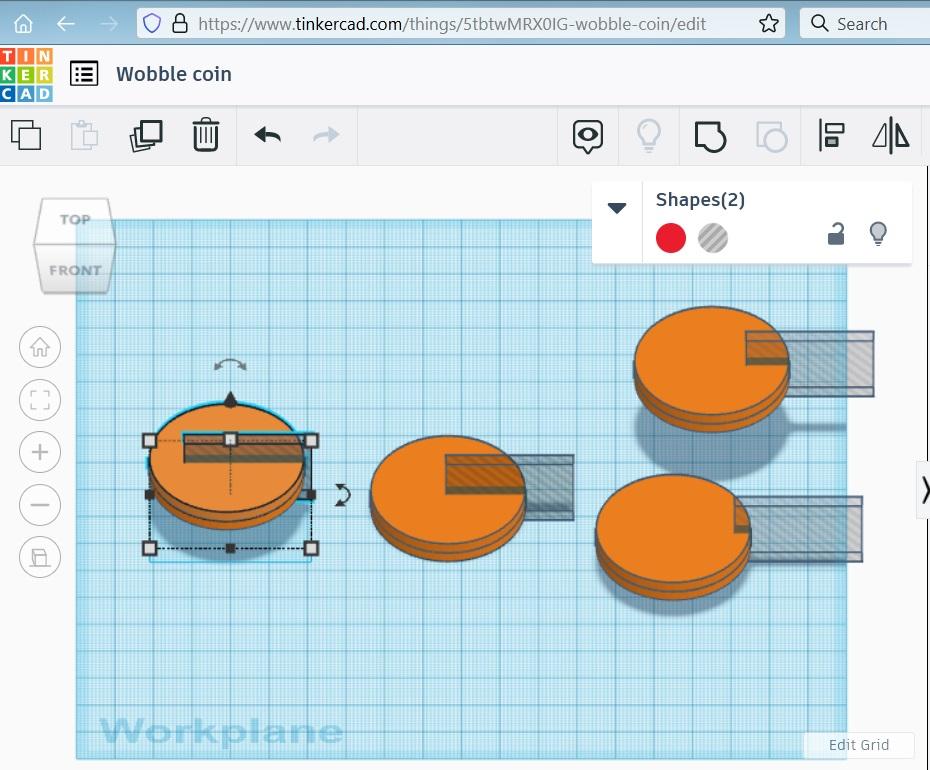
Cut the Notches.
Use the Group tool to combine the top coin and the first notch. This creates a notch in the top coin only (visible on top coin pair in the second picture - the second, duplicated notch is still there and the bottom coin is not cut yet).
Select the bottom coin and the remaining notch, and Group to combine.
You now have notches cut into both coins of the pair.
Continue with remaining pairs.
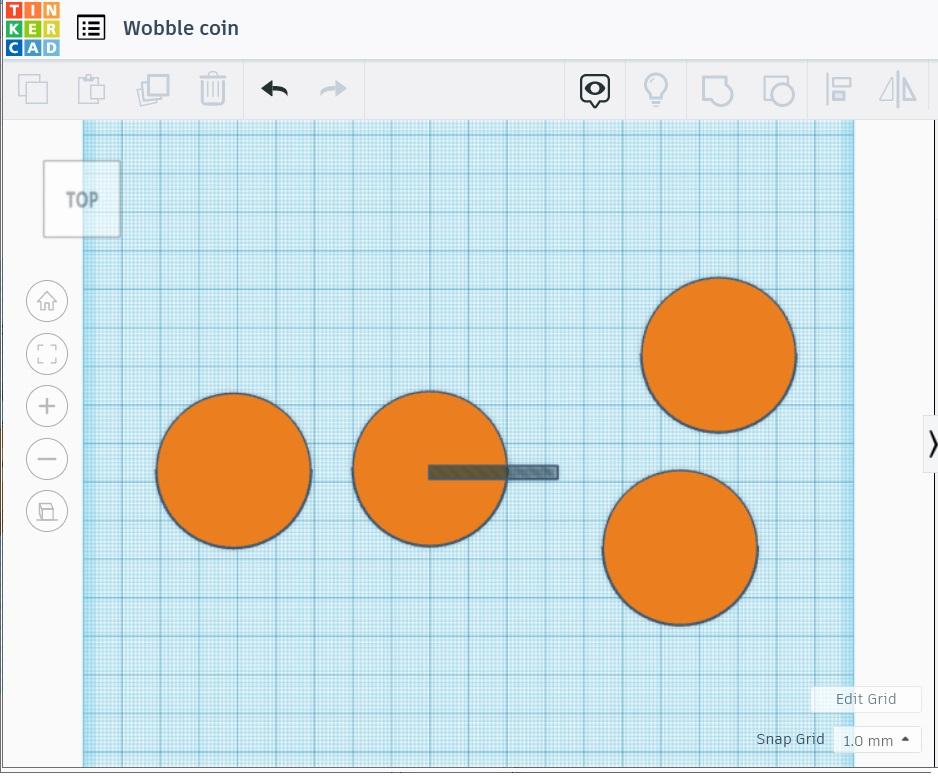
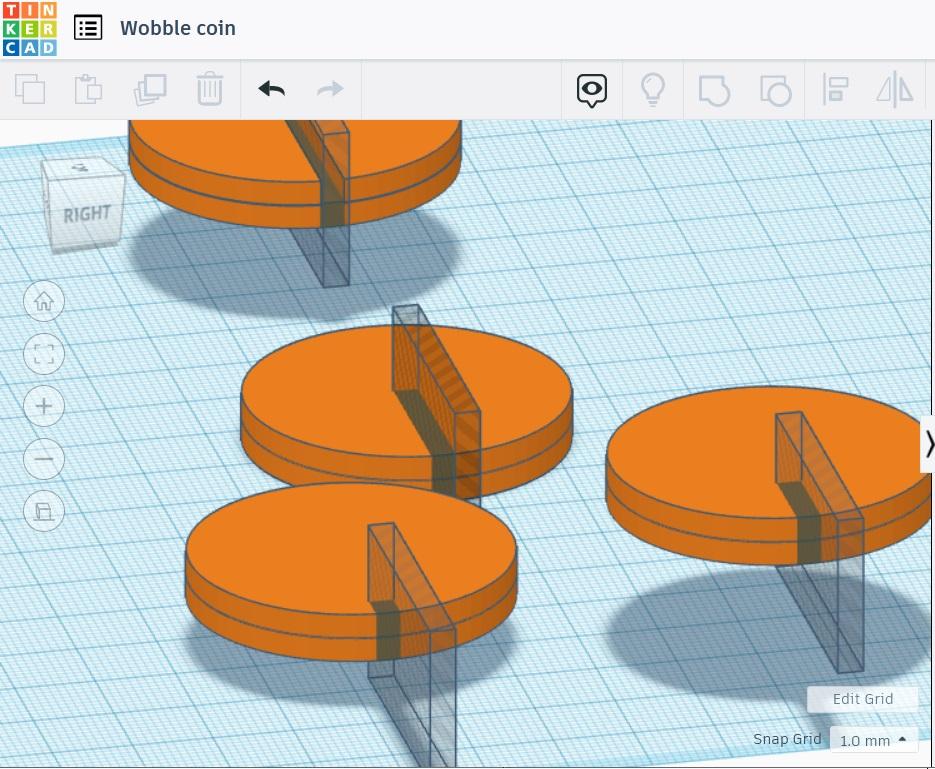
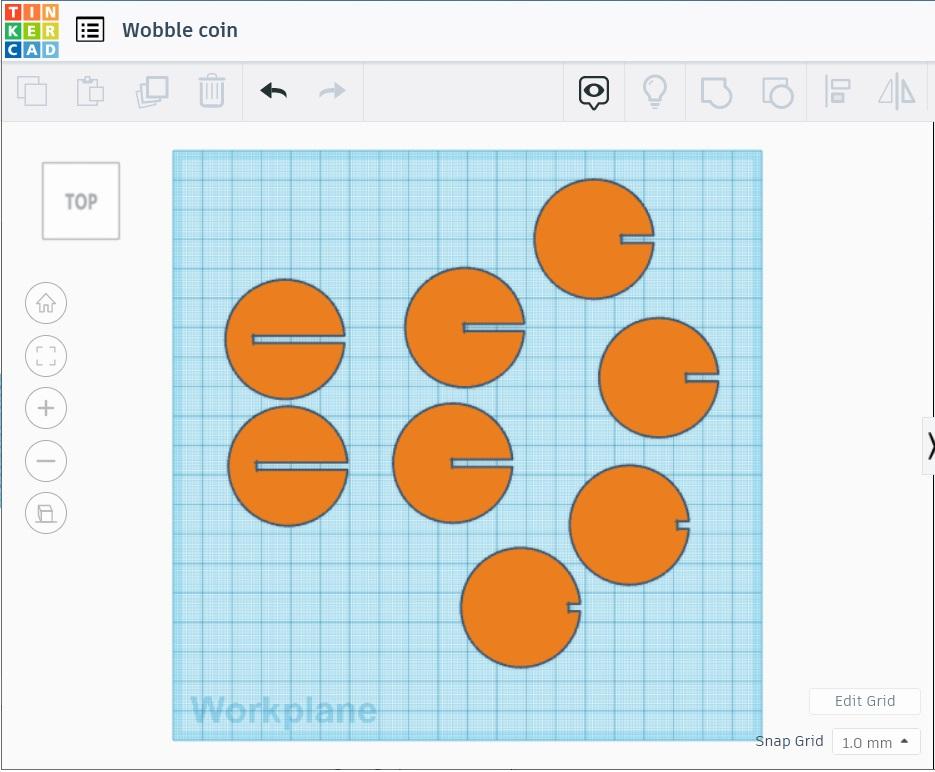
Check Alignment and Separate Stacks.
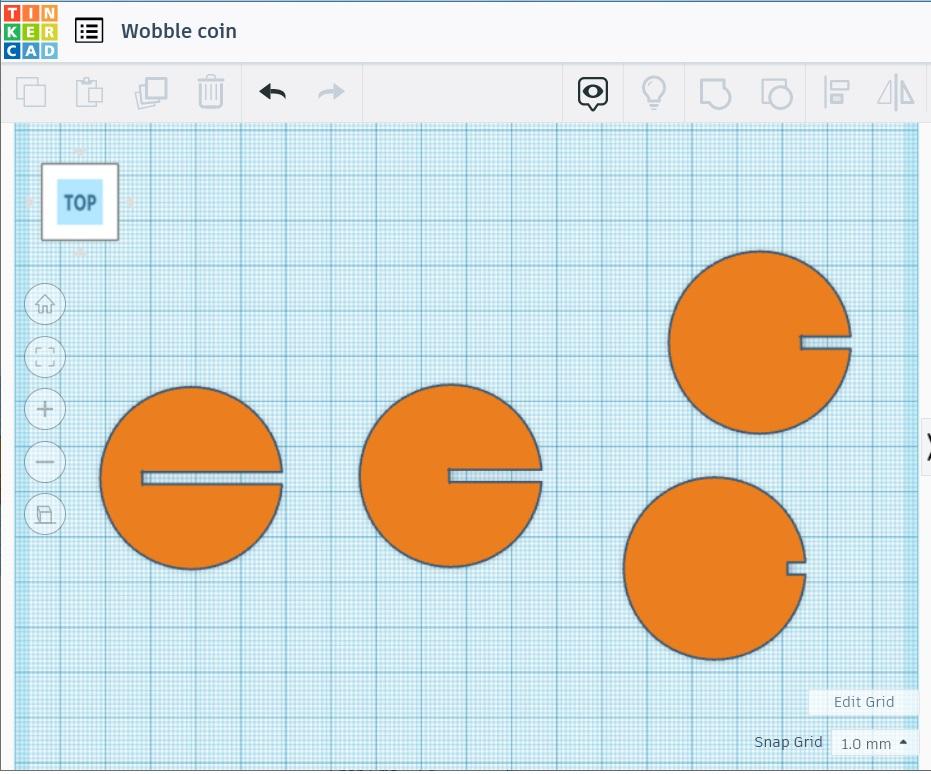
Go to the Top view and verify that the notches are cut all the way through, and identical within each pair.
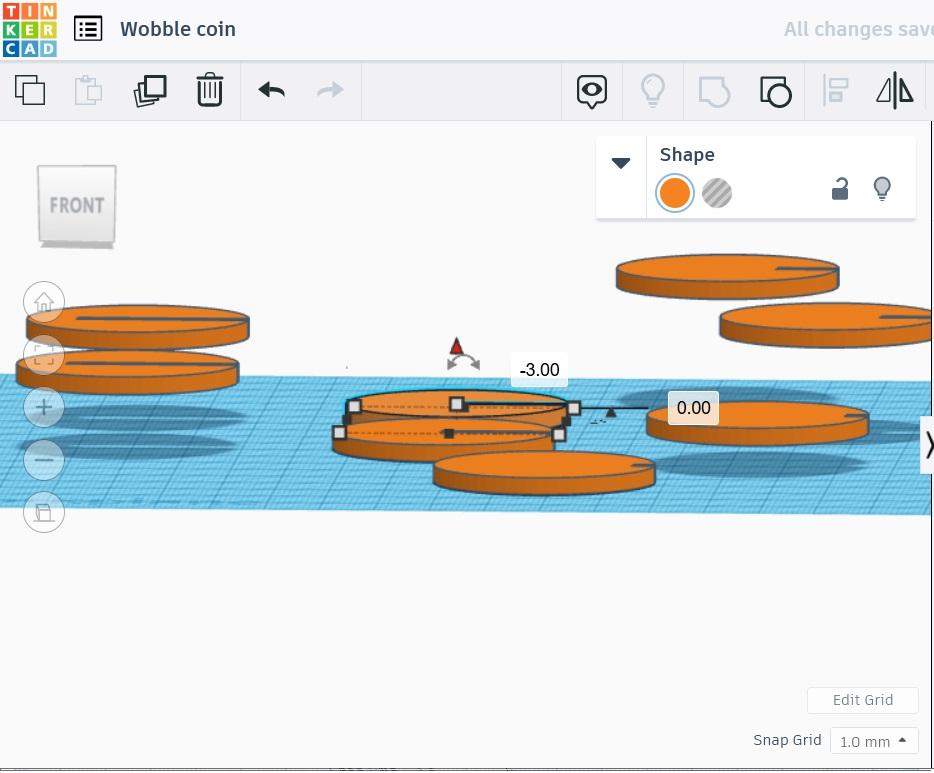
Return to a Side view and separate the stacks into individual coins.
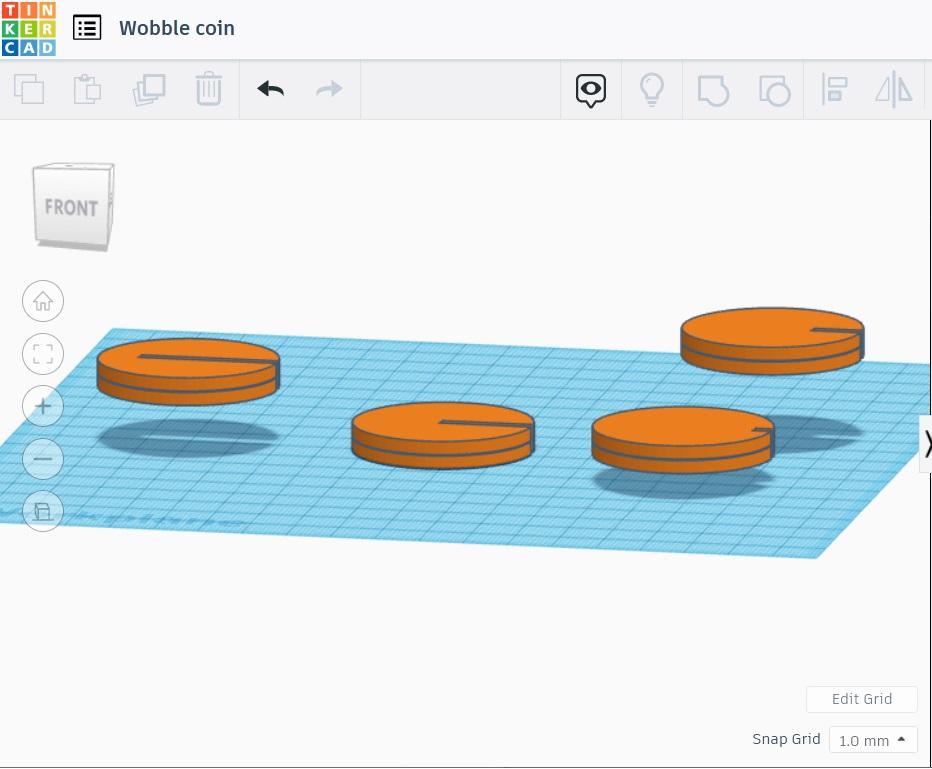
Move Individual Coins to Be Flush With the Workplane.
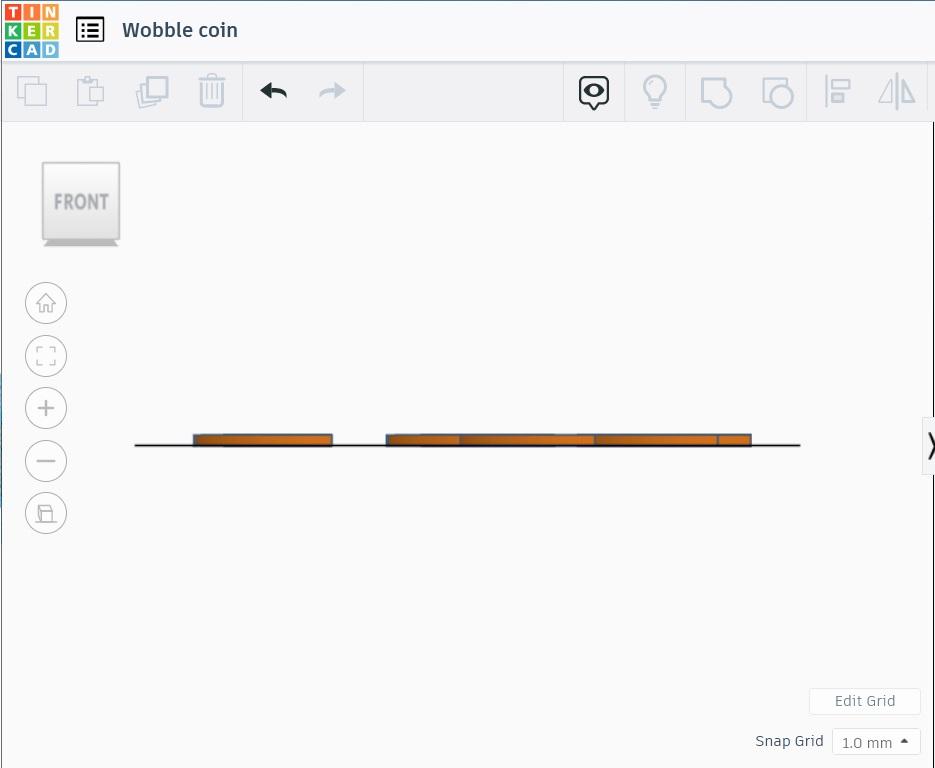
Set to a Side view and move coins that are above the workplane down using the teardrop-shaped handle.
Space out and organize for 3D printing.
Export to your 3D slicing software and print.
Video Tutorial and Demonstration.
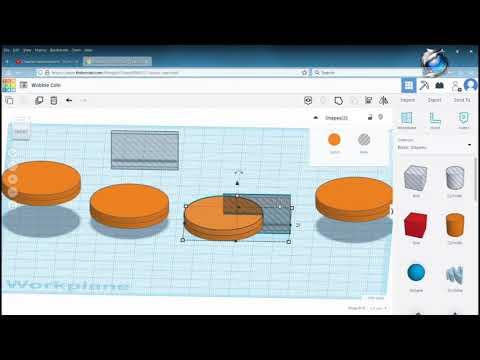
)
Enjoy this video tutorial and demonstration.