Wireless Weather Indicator
by ehudwill in Circuits > Microcontrollers
4062 Views, 46 Favorites, 0 Comments
Wireless Weather Indicator

I decided to use the Linkit One's GSM capabilities to create a weather indicator. This would allow me to make something both practical and visually pleasing, a wireless weather indicator.
Materials/Tools


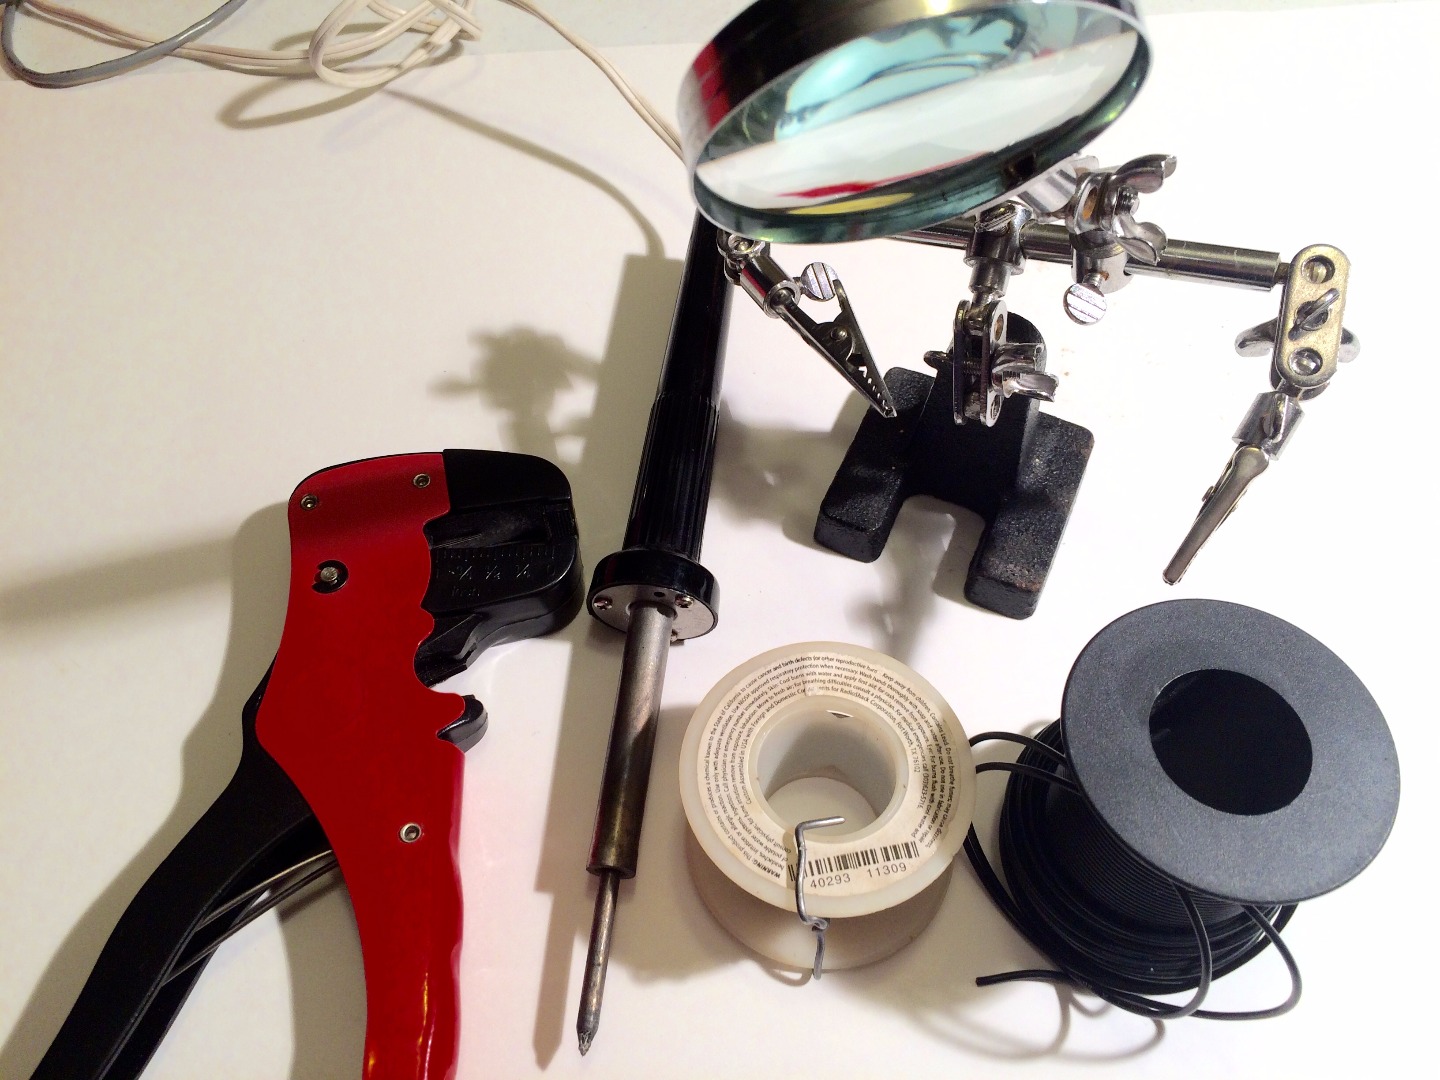

Tools
Soldering Iron
Computer
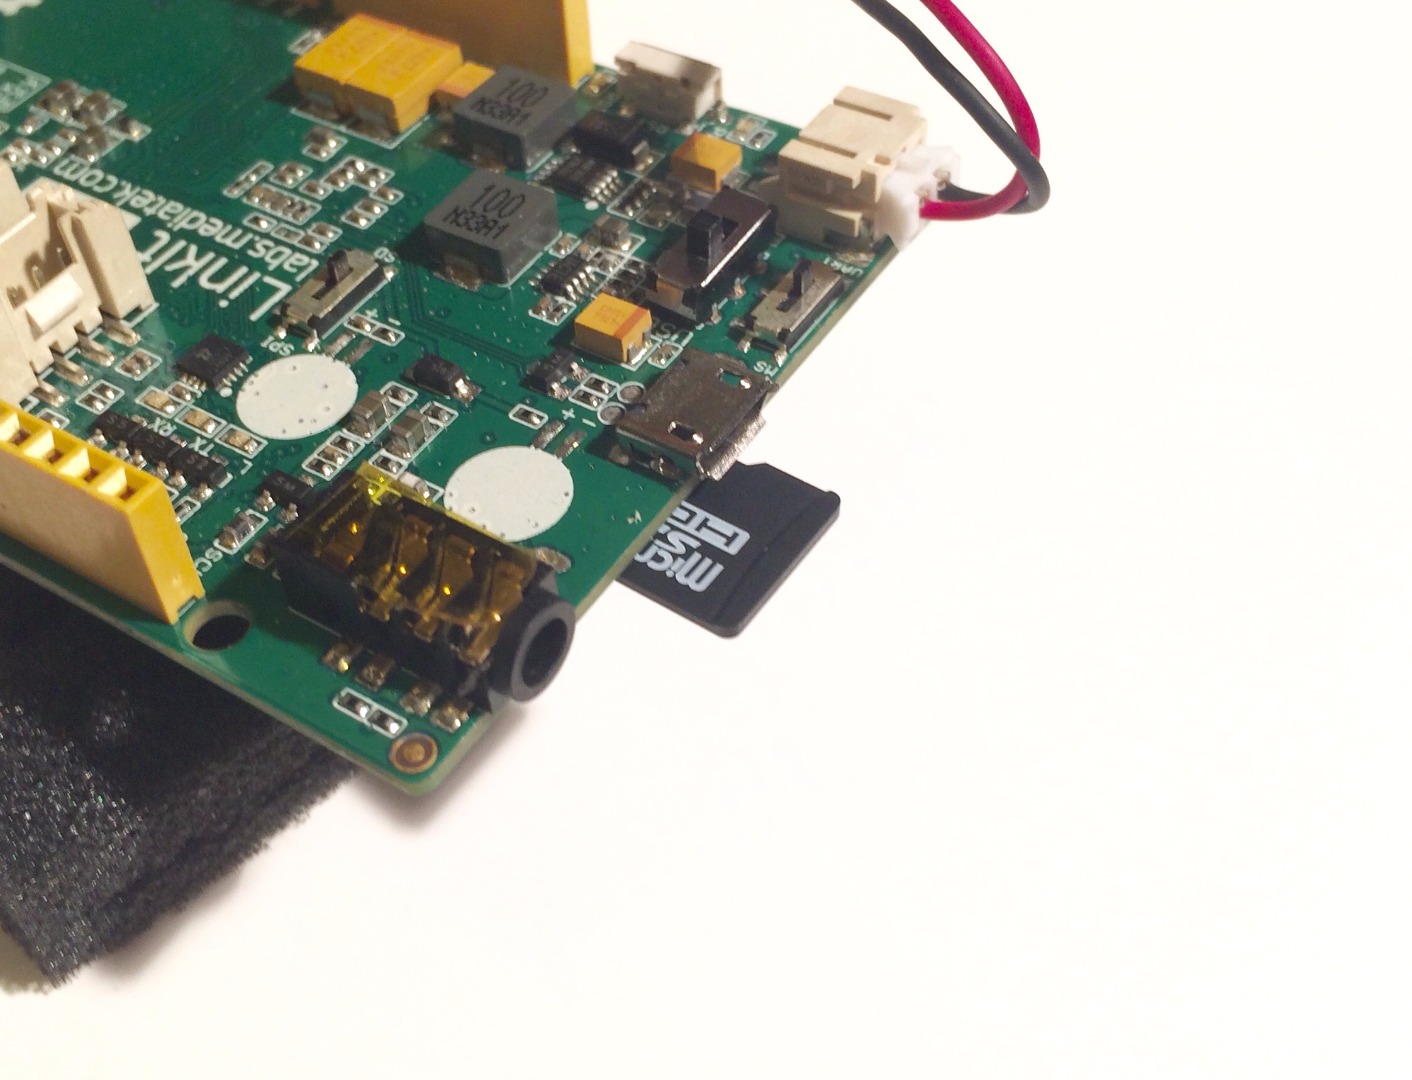
Linkit One
GSM anntenna
Battery for Linkit One
USB cord
Wire Cutter
Materials
RGB LED
White LED
Solder
Poly-Fil
Container - Should be transparent so you can see the lights from the indicator.
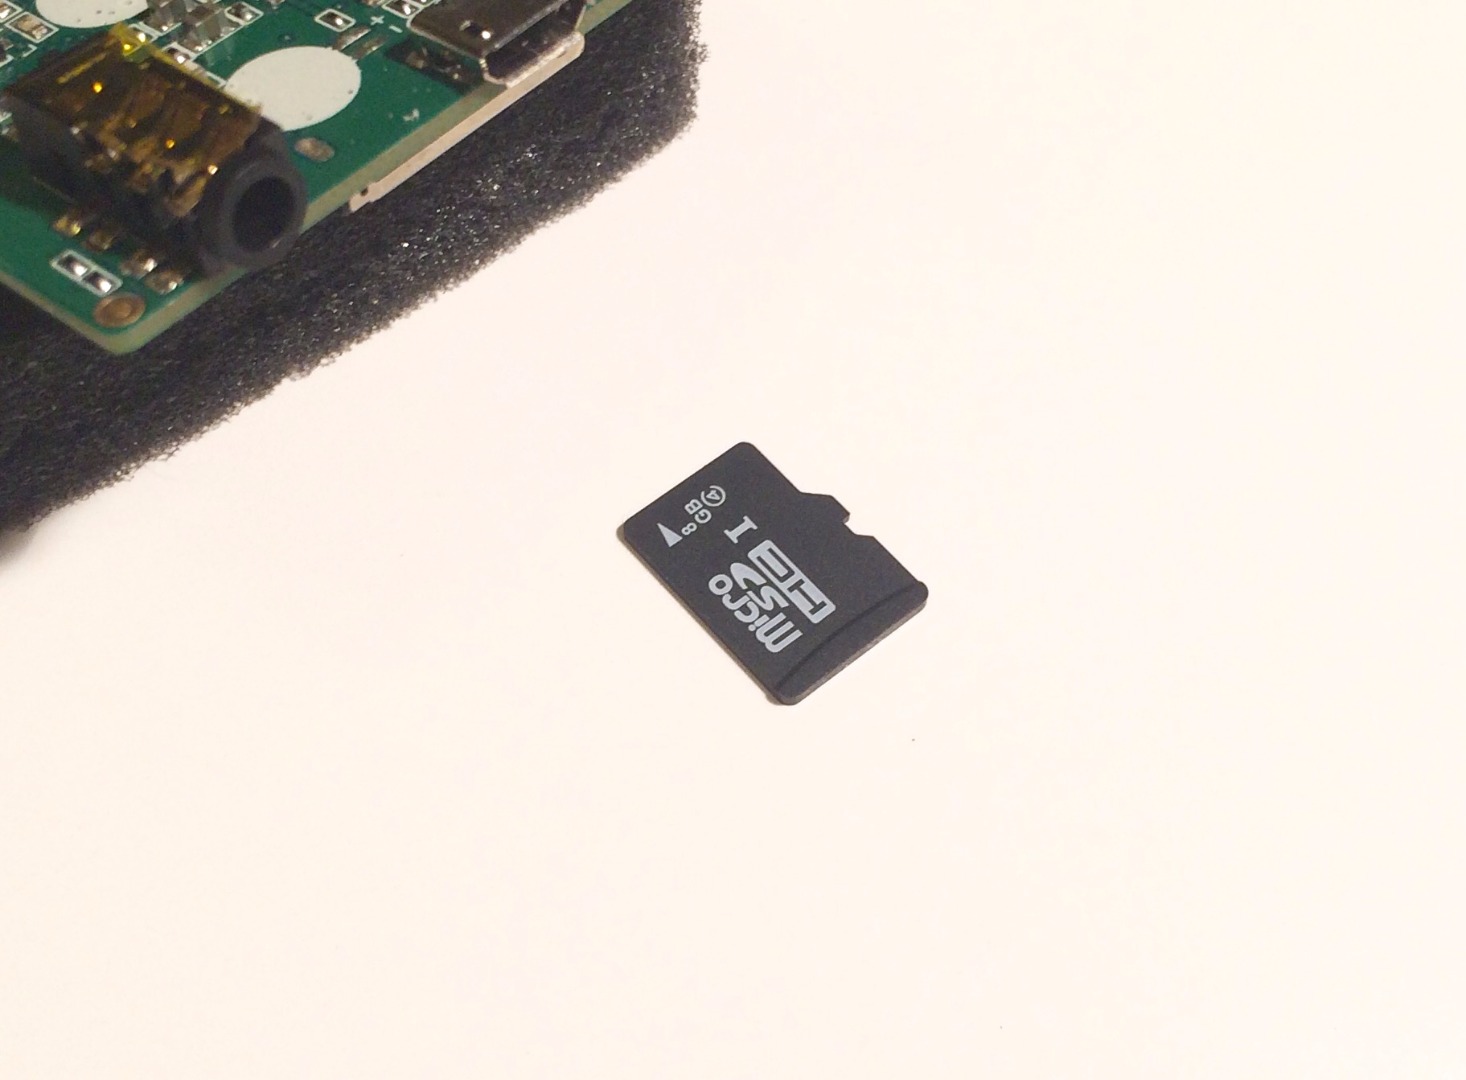
SD card
Ballast - I had a round contatnier and used pennies to balance it.
Battery for Linkit One
GSM antenna
Speaker
Code

The code went through several very different versions before it was finished. I tried utilizing the wunderground api at first but them abandoned it. I decided to use the Linkit One's SMS capabilities to read the weather update text alerts from wunderground. I had to set up the code to read the text and pull out the relevant text dealing with the current weather conditions. I had to set it up to look for the specific abbreviated phrases that the text alerts use. For example if conditions are clear then the text will use the abbreviation clr. I have tried to gather all the abbreviations, but have not been able to find it documented anywhere so at the moment I am using the weather conditions I am aware of. As I get more updates I will update the code.
Here are the abbreviations I know about;
- Clear - Clr
- Thunderstorms - T-storms, Chnc T-storms
- Rain - Rain, Chnc Rain
- Cloudy - Ptly Cldy, Mostly Cldy
- Fog - Dense Fog
I also used a bit of code for testing of the light patterns/sounds I planned on using. I have attached it also.
Setting Sound Effects

I wanted sound effects to go along with the lights. I got my sounds from Sound Bible. I downloaded the sounds I wanted to go along with my effects. For example rain hitting a house for rain, someone walking in snow for snow, and the sound of a thunder for a thunderstorm. I renamed them and loaded them onto my micro SD card. The code to play the sound is below. If you want to add sound effects that I have not added simply copy and paste the code below into the if statement you want it to go off with.
<p>LAudio.setVolume(5);<br>LAudio.playFile( storageSD,(char*)"001.mp3");</p>
Setting Up the Wunderground Text Alerts


Setting up the wundergroud text alerts is easy. If you do not have an account go ahead and set one up. Click here to open the wunderground text alerts. First enter the city you want to receive alerts from. Sorry if you are an international maker only U.S. cities right now. Hopefully they will have international soon. After selecting your city you will need to select a time of day to recieve your alerts and if you want just a daily forecast or if you want to know about severe weather alerts or advisories. Be warned if you do you will receive a barrage of texts about the weather at all hours. I am not sure if this is a bug or if it is because I selected most of the severe weather alerts when setting mine up. After that you will select if you want email or text alerts. Select text alerts and enter your phone number. Finally click the finalize button.
Inserting SIM Card


I used the SIM card from my phone temporarily. For long term use I would recommend buying a prepaid SIM card.
Assembling the Indicator


I found this oversized coin machine plastic case years ago at a costume shop. I like the aesthetic and knew I would use it in a project one day. Everything needs to fit into that container. First you will need to set up the LED array. Since I was not attaching the LEDs to anything but the board I was able to use their common ground to hold them together. I bent the legs of the LEDs to the side and in the same direction, toward the ground. After placing them in the correct pins on the board and testing them I soldered them all together. Then I attached the battery, GSM antenna, and speaker. I placed a bag of pennies at the bottom of the container to help keep it from rolling. I placed the board inside and placed a thin layer of Poly-Fil over it to cover the board and LEDs.
Testing

There are several elements of this project that you may want to tweak to fit the individual build. You will need to set up the colors and sounds to your liking. Also you need to make sure your connections are good and that your LEDs are installed correctly.
Final Setup

Assemble the indicator and place it somewhere prominent where you can be pleasantly altered of the weather and never have to look out a window again.