Wii Speak on Pc and Wii
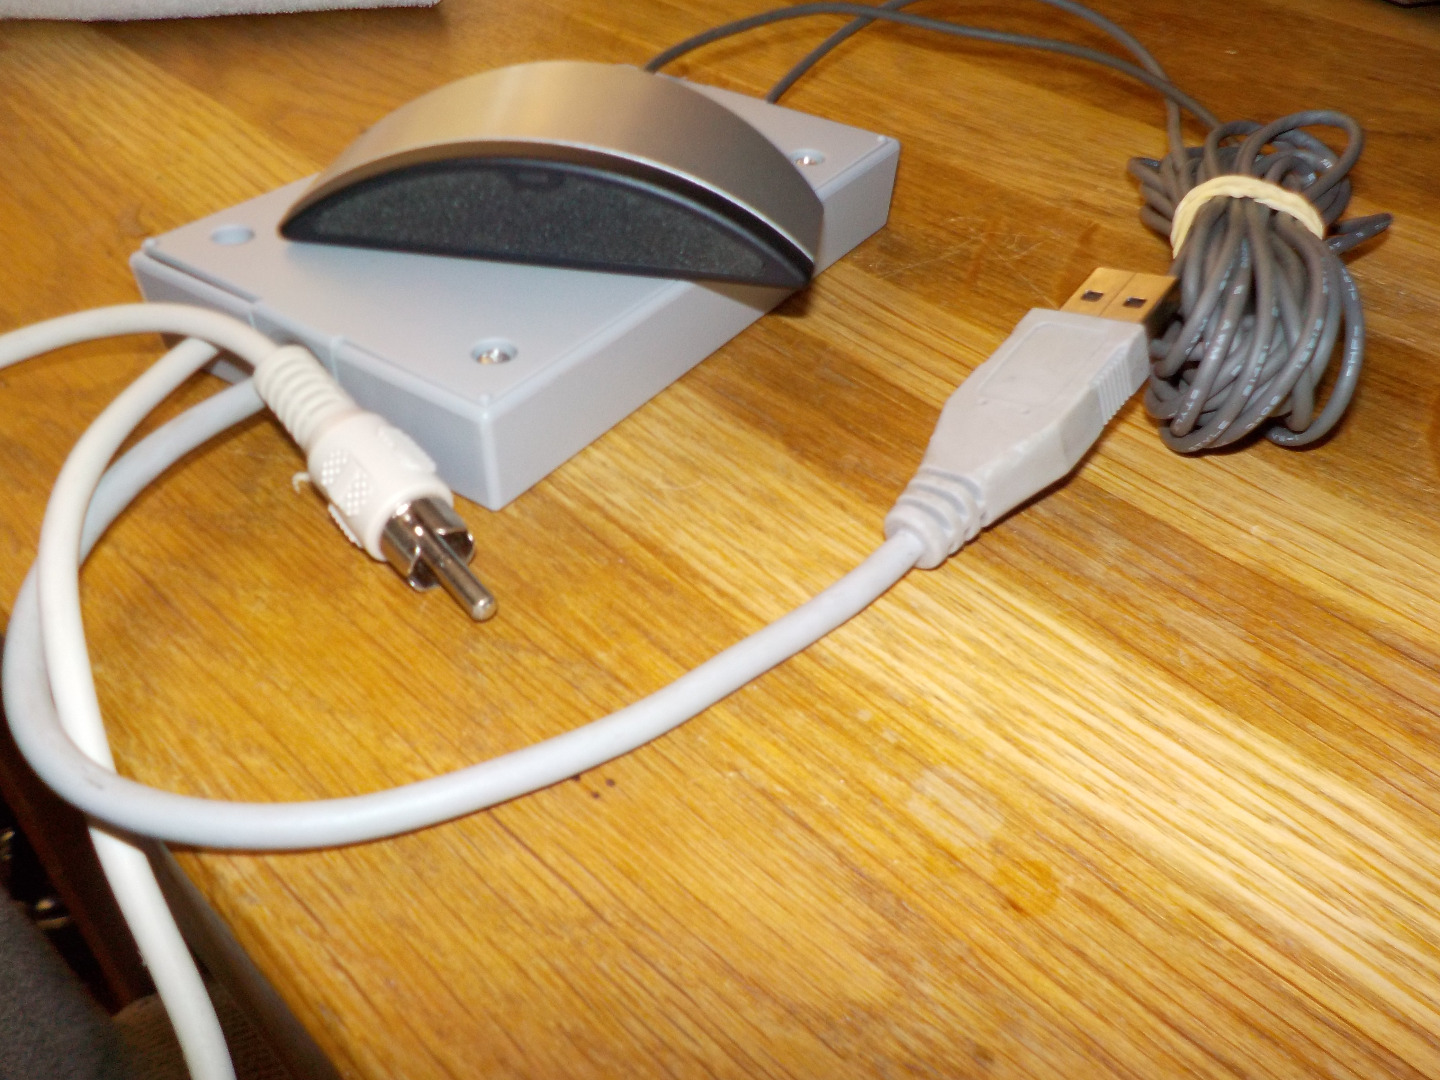
Do you have a old Wii Speak laying somewhere around the house? Go and get it, it's a great microphone. A lot of people including me tried to get it to work on a pc, without losing the possibility of using it on the Wii. Now it's possible. And quick and easy to do.
Let's get started
Tools and Materials
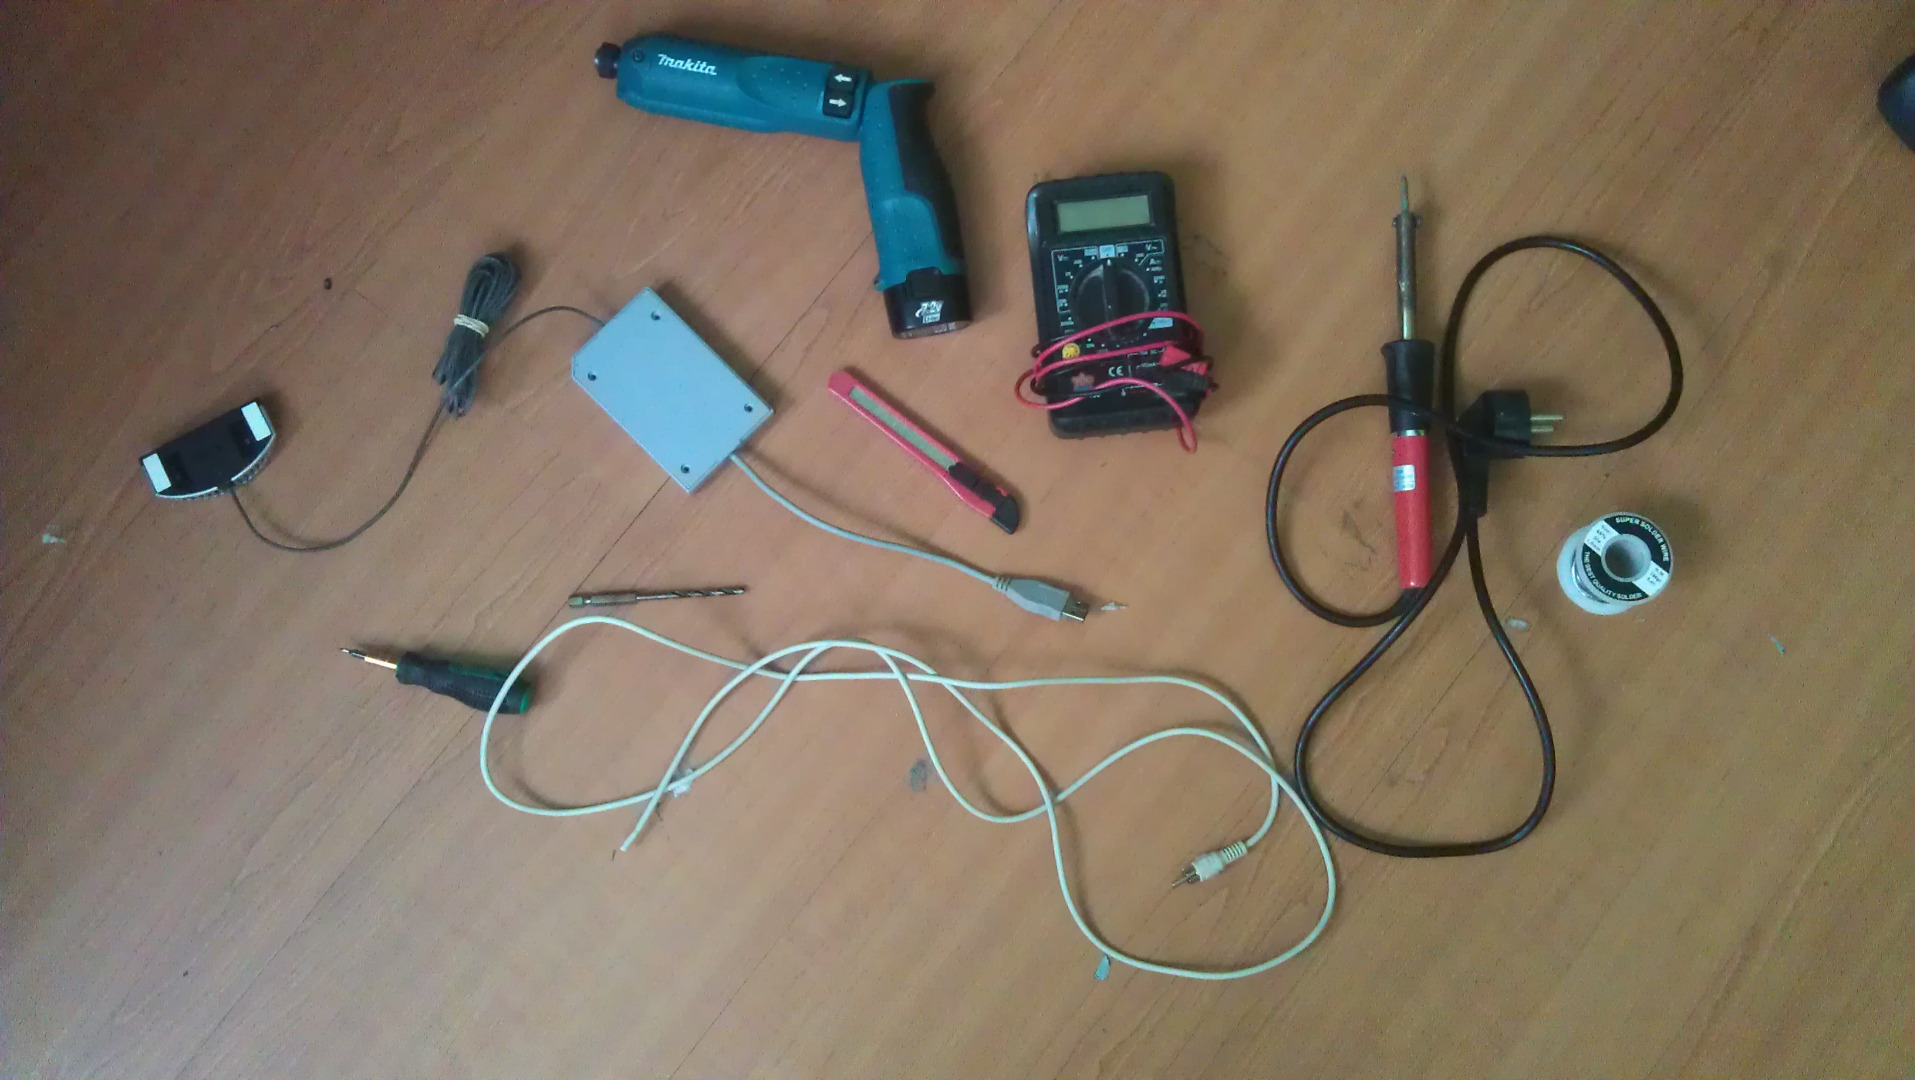
What you will need for this project:
- Wii Speak
- Rca or Audio Jack cable
- Screwdriver(Flat head or Tri wing, Not sure what size)
- Drill
- Utility Knife
- Soldering Iron
- Solder
- Extra: Multimeter
- Extra: Usb cable
- Extra: 100ohm resistor
Opening It Up
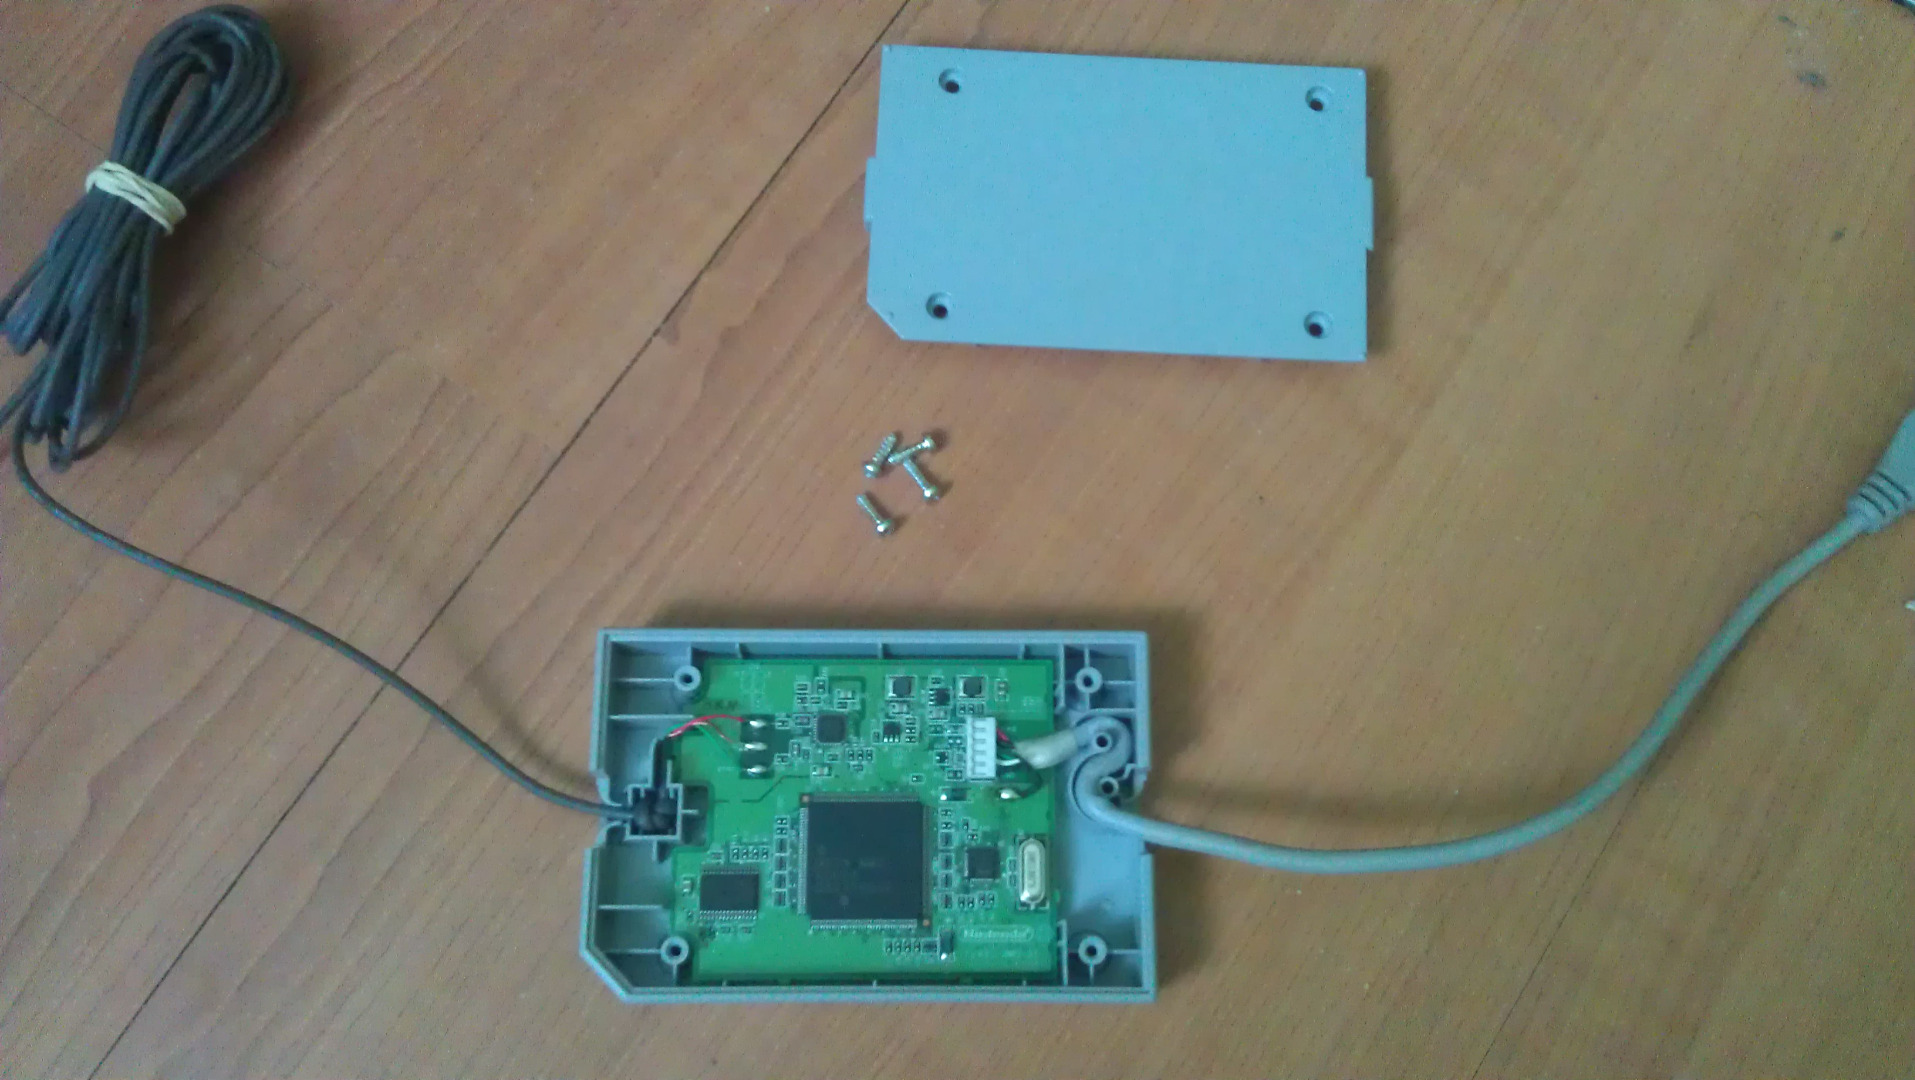
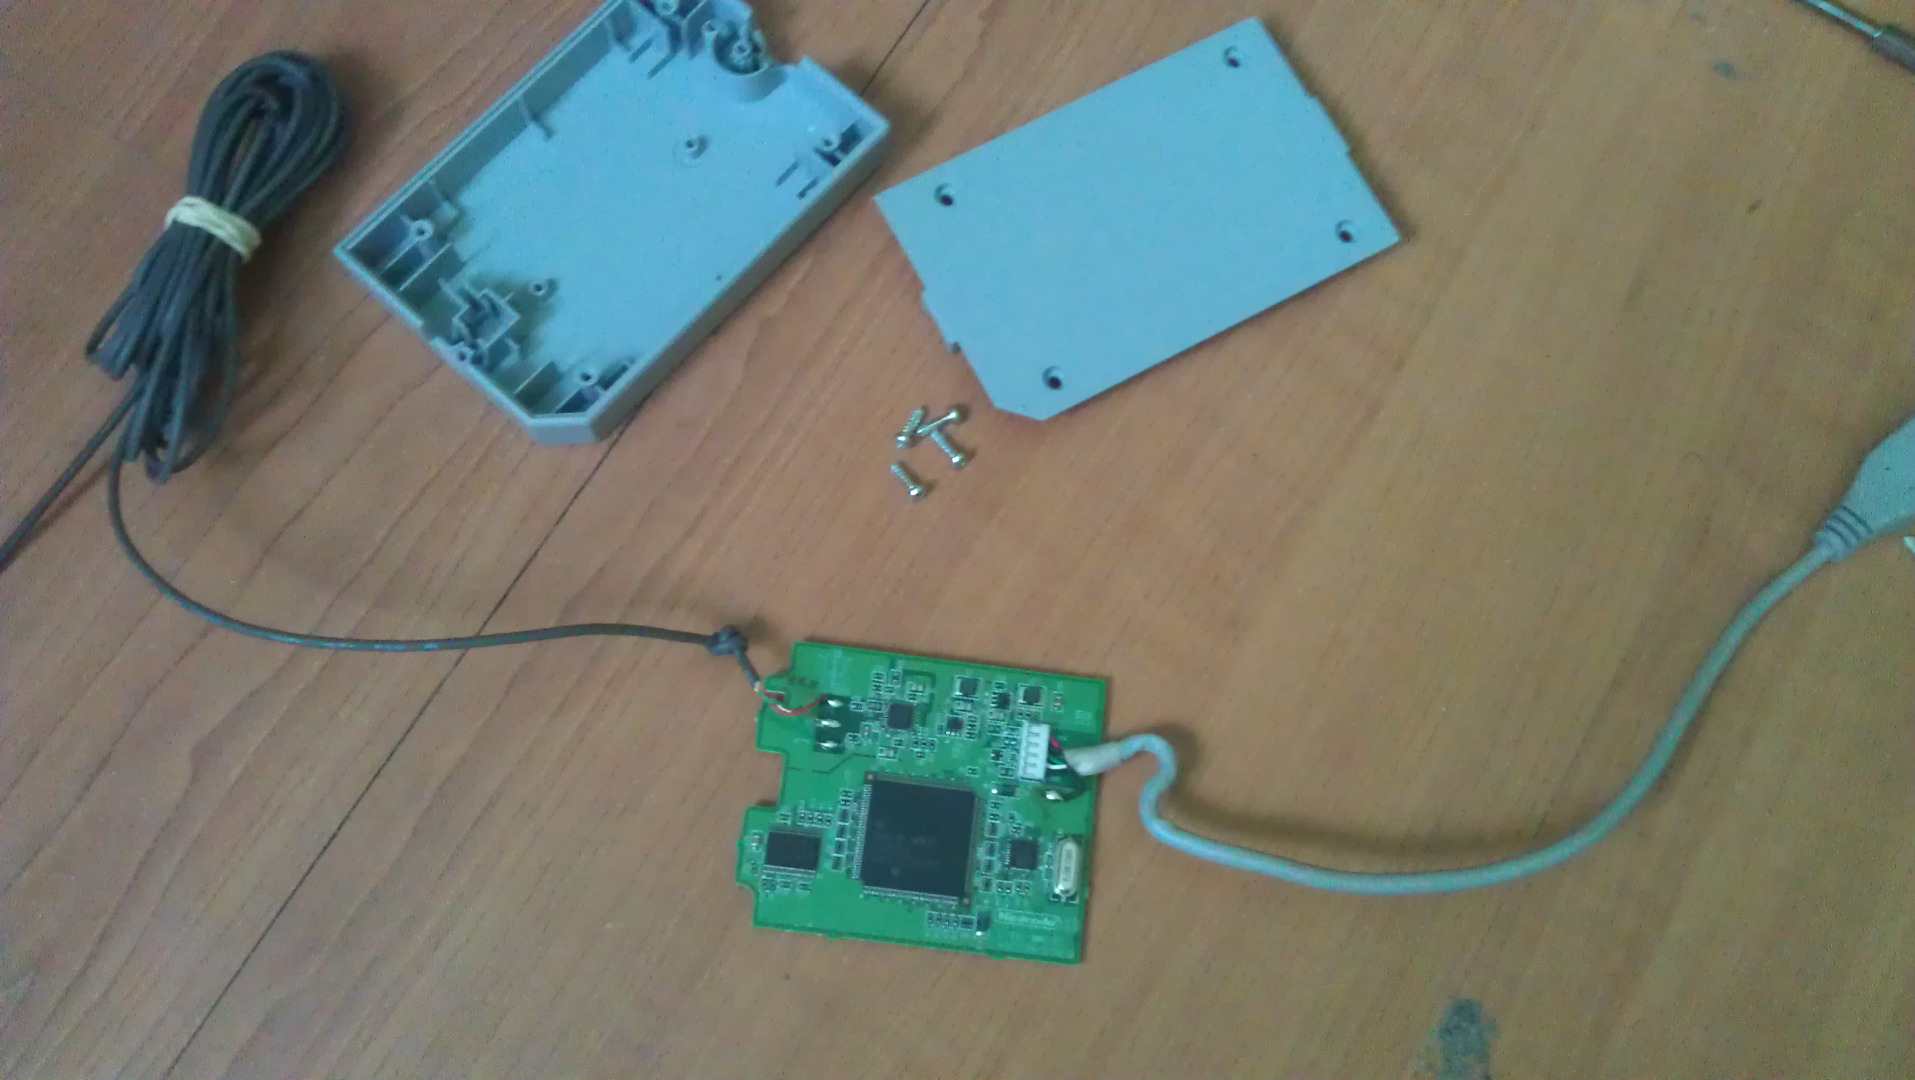
Take out the four screws out of each of the corners, and take off the cover. Now you can take the main board out of the housing.
Preparing the Housing
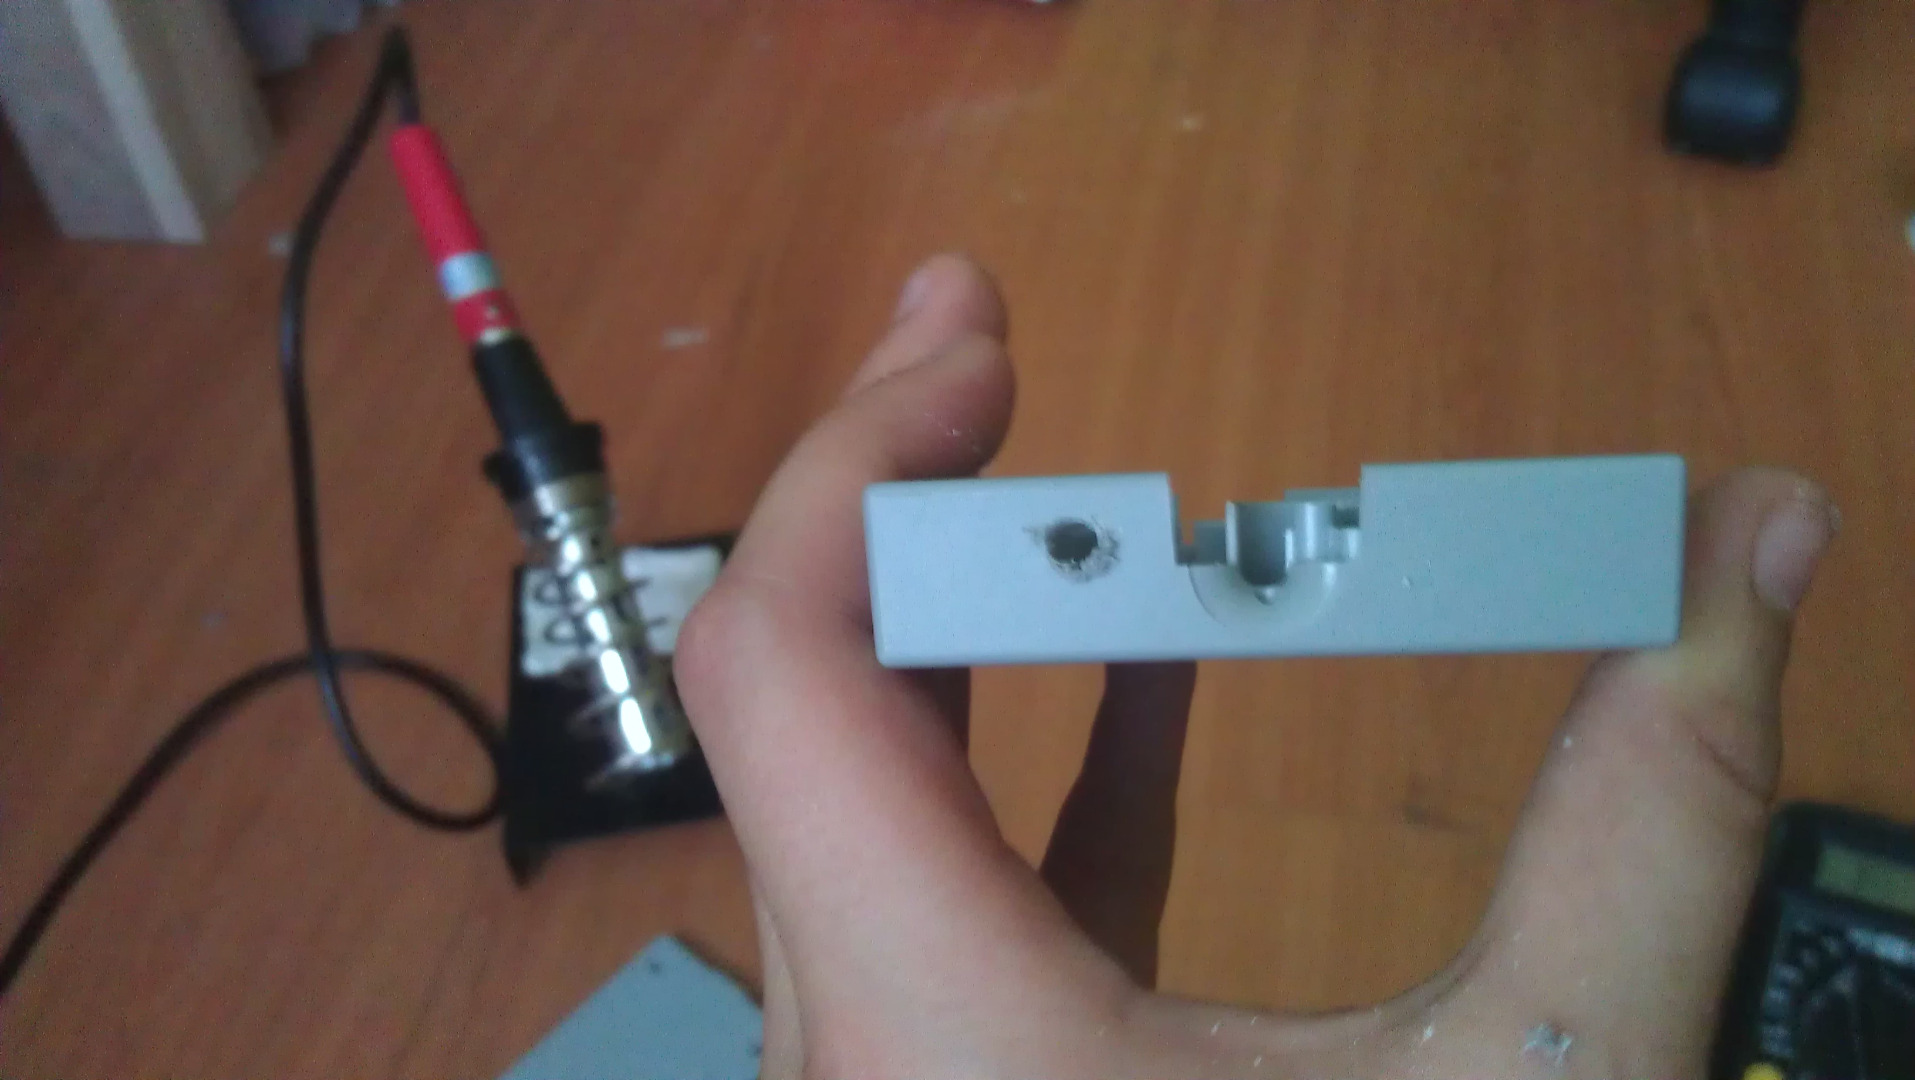
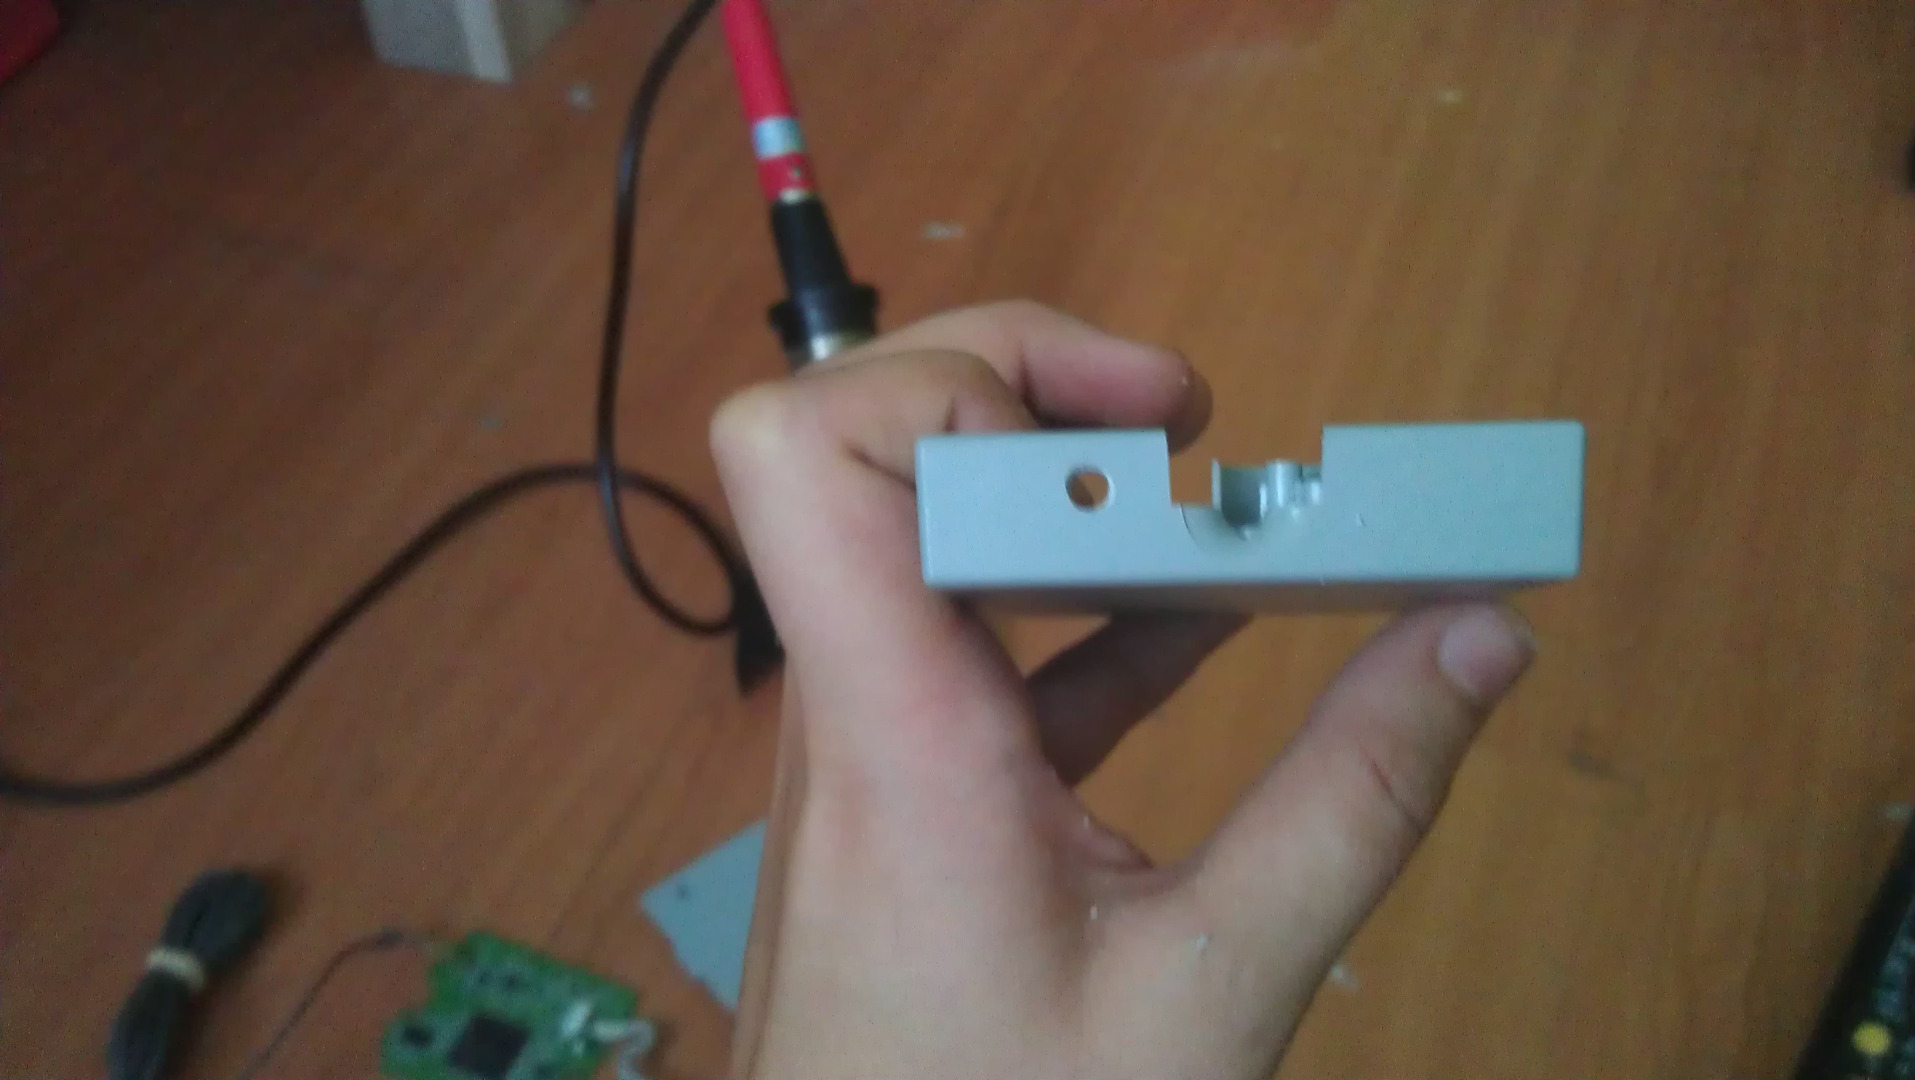
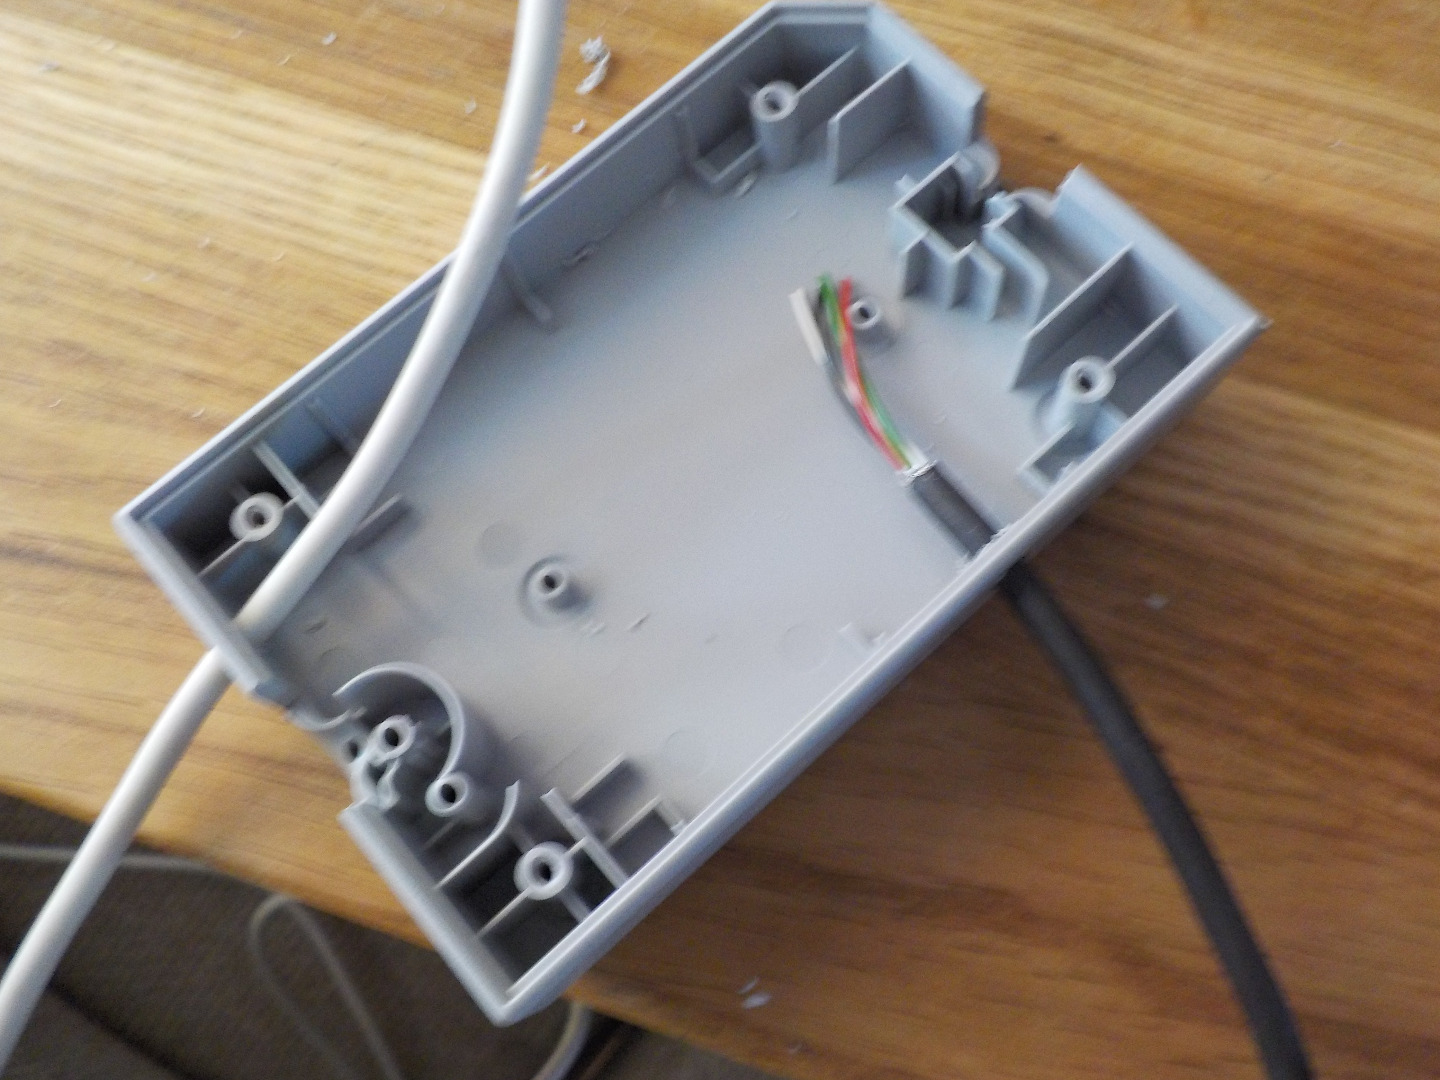
Take a drillbit that's slightly bigger than your cable and drill a hole, you can do it almost any where but i decided to do it a bit left of the USB hole. Just make sure that you removed the main board. After drilling the hole, clean it up a bit with the utility knife.
Getting the Cable Ready
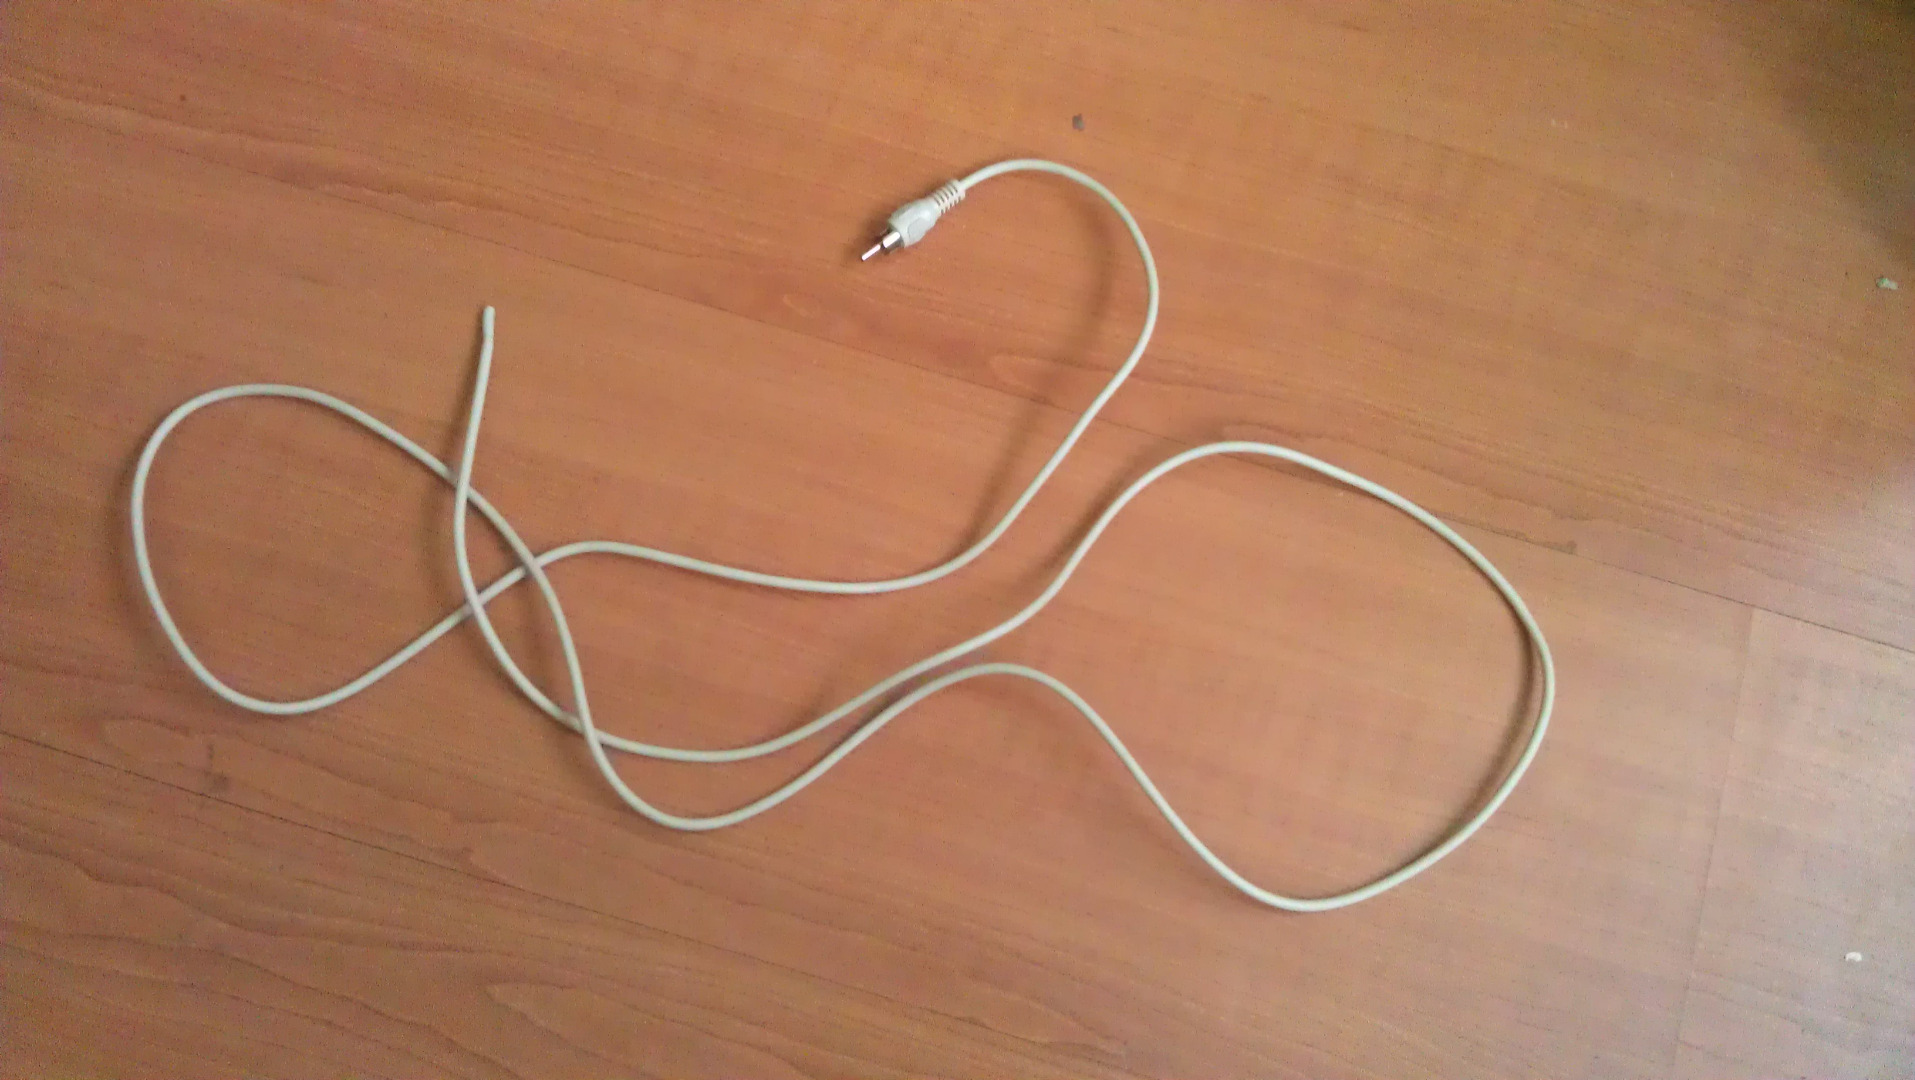
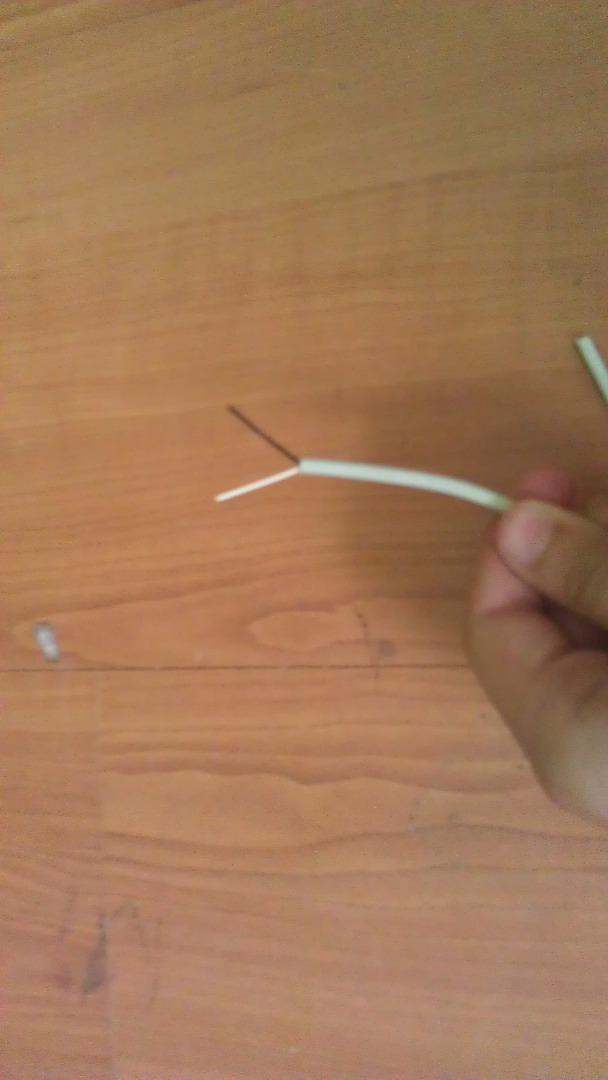
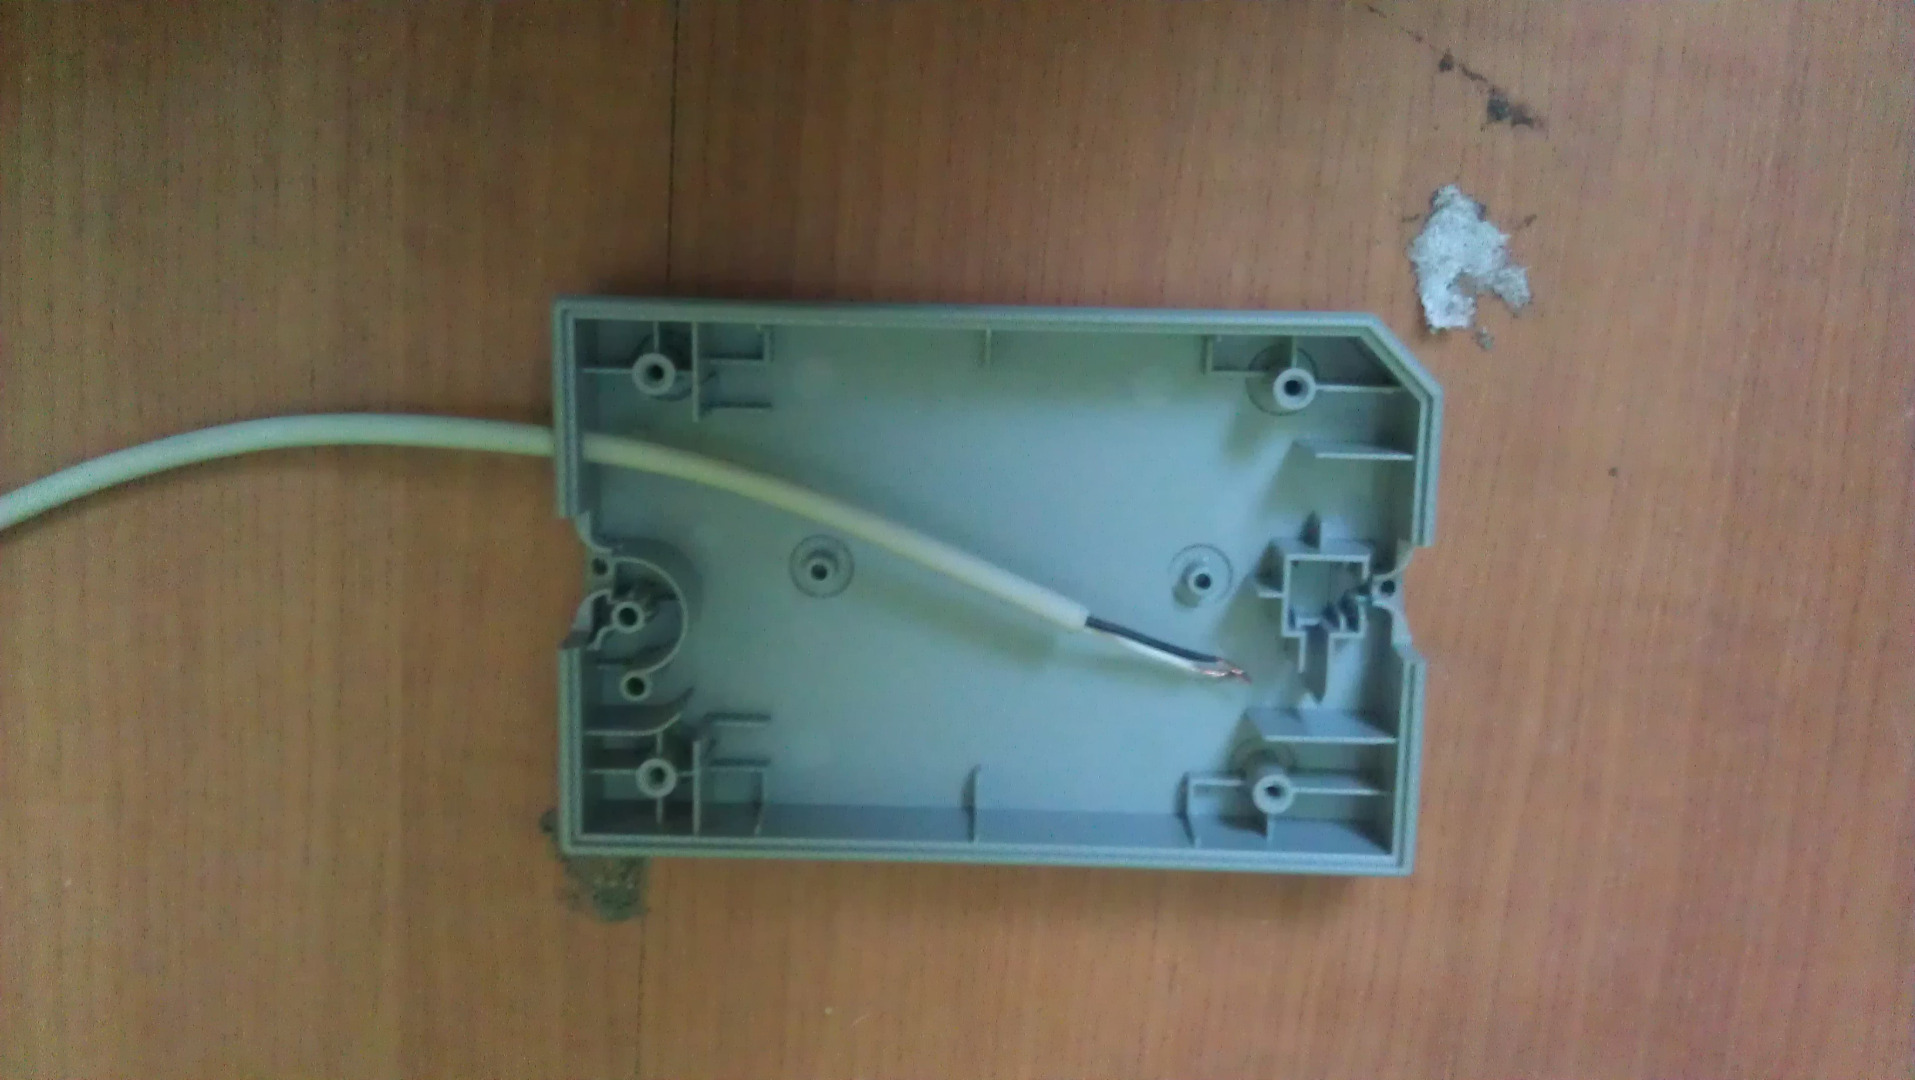
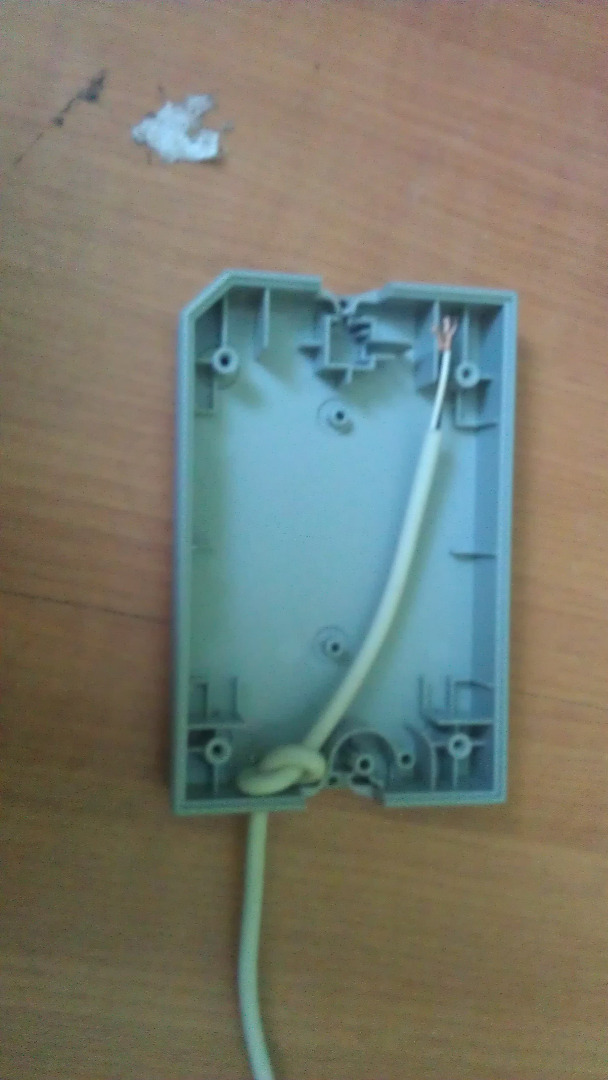
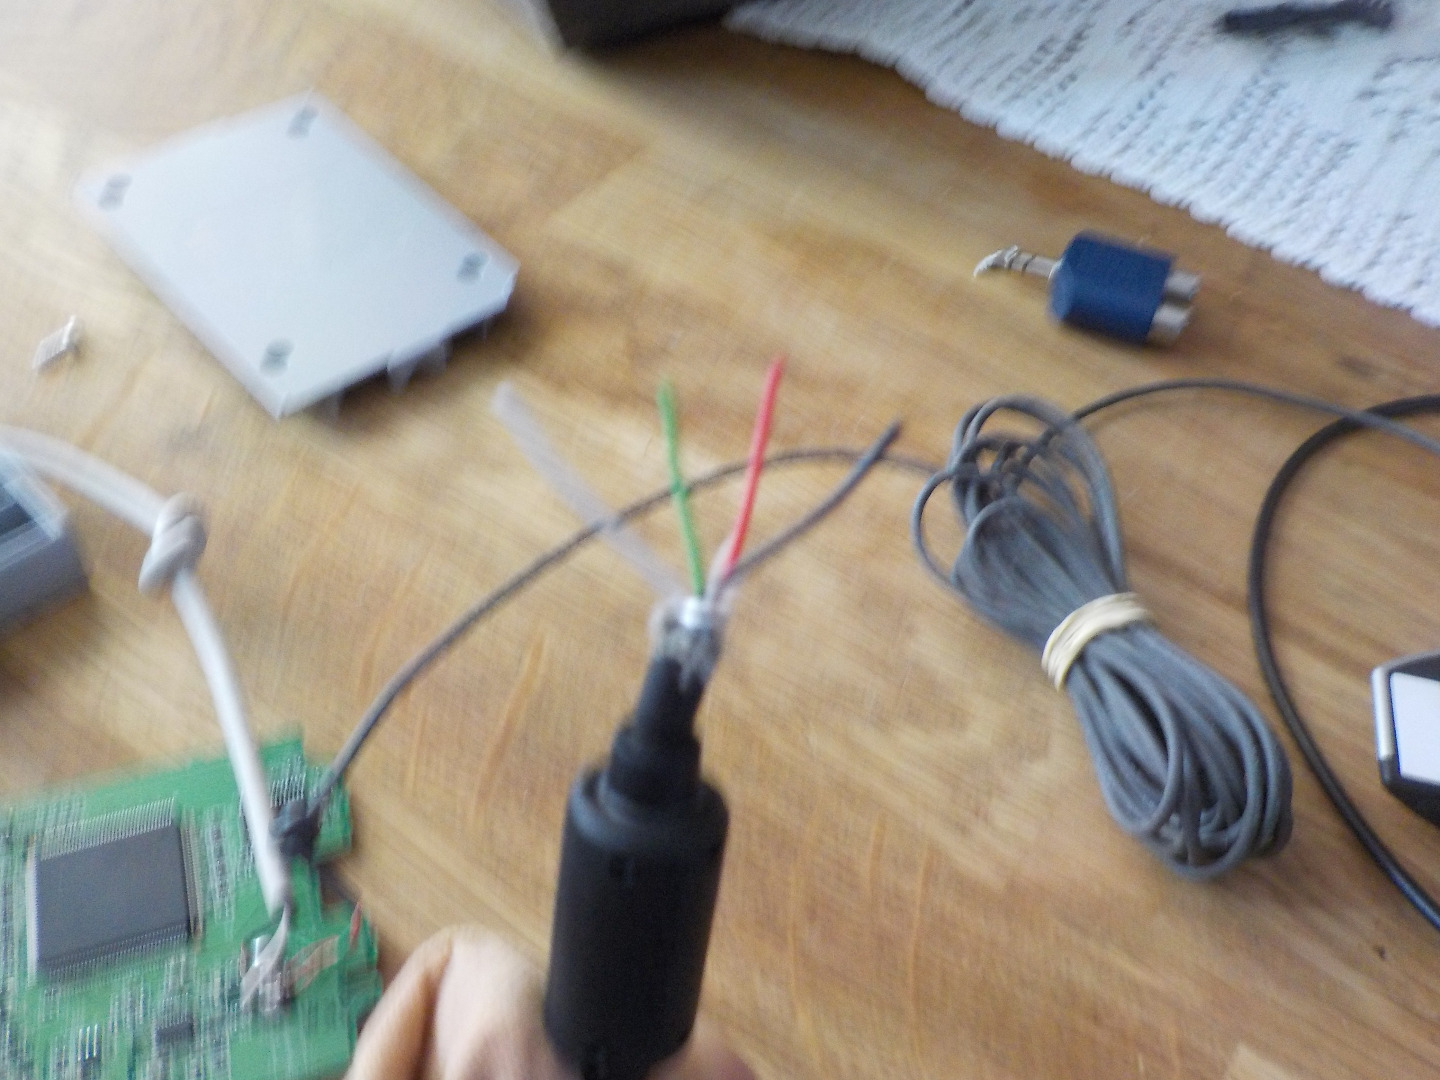
First take your cable and remove the outer layer, you can use a wirestripper but i don't own one so i used a utility knife instead. After that's done you'll see two cables. Now you must strip the ends of these cables. Most of the time the black wire will be ground, but you can make sure that it is by using the continuity test function on your multimeter. On RCA cables the outer shell is ground, on audio jack cables the piece the closest to the plug is Ground. Now you'll need to push the cable thru the hole and put an knod in it so it won't fall back out. make sure the cable is long enough to reach to the microphone hole of the case.
Soldering It All
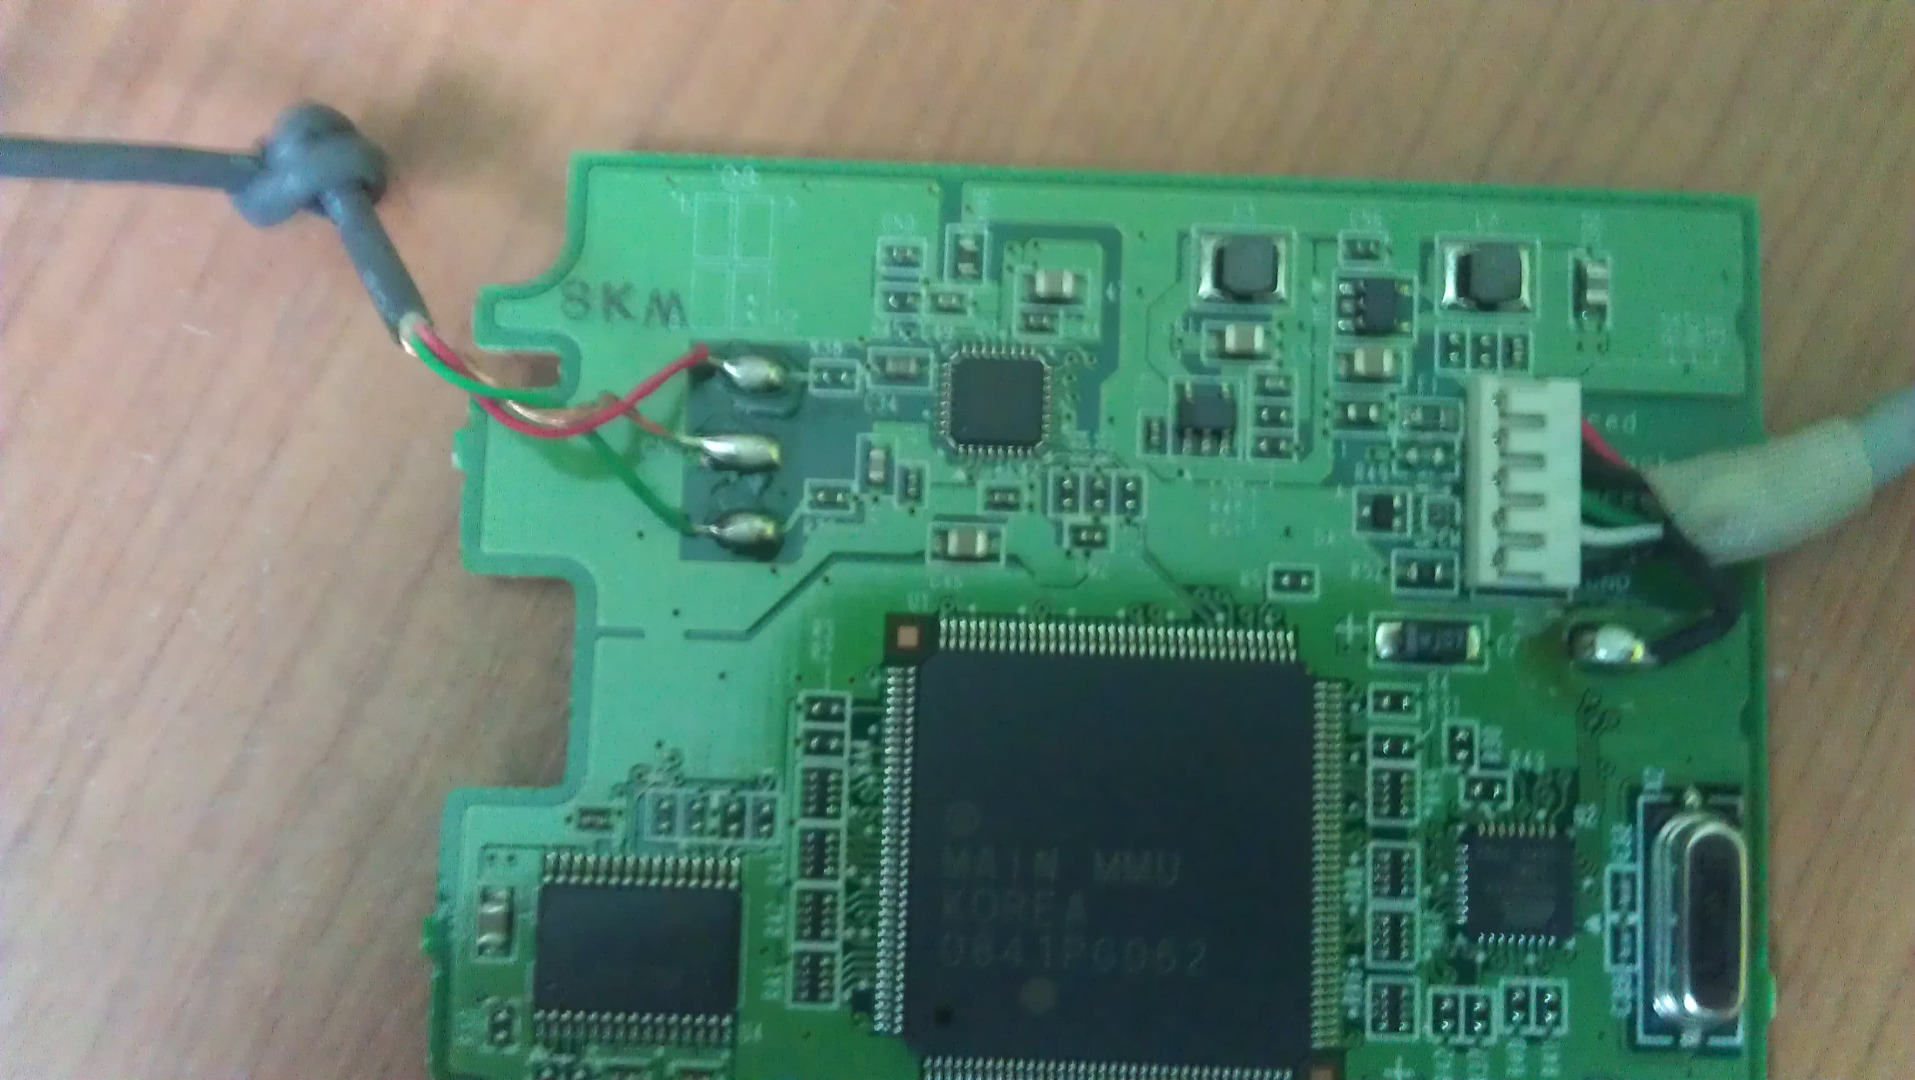
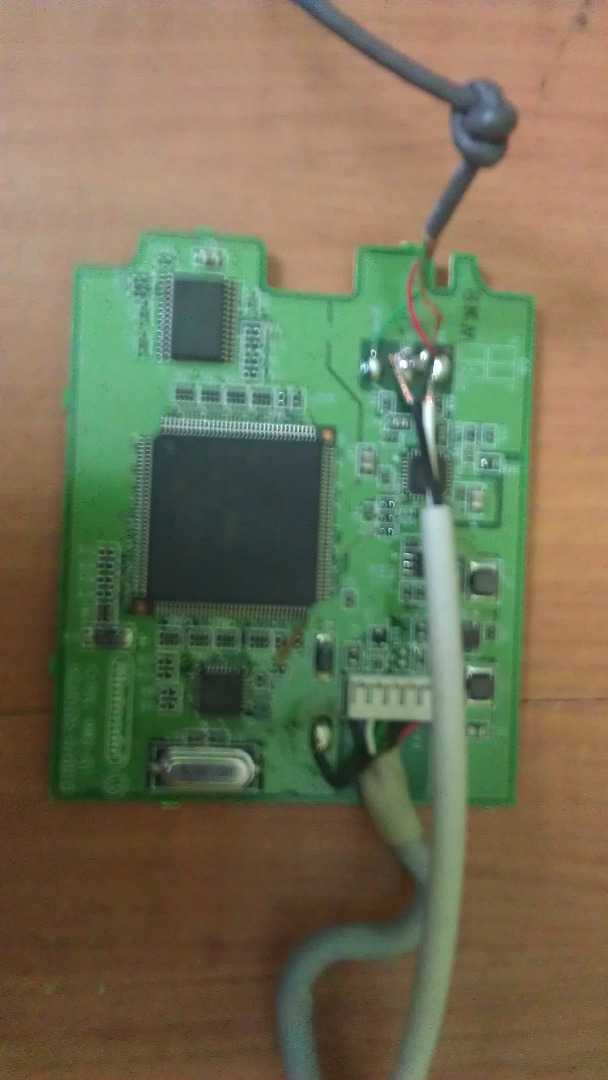
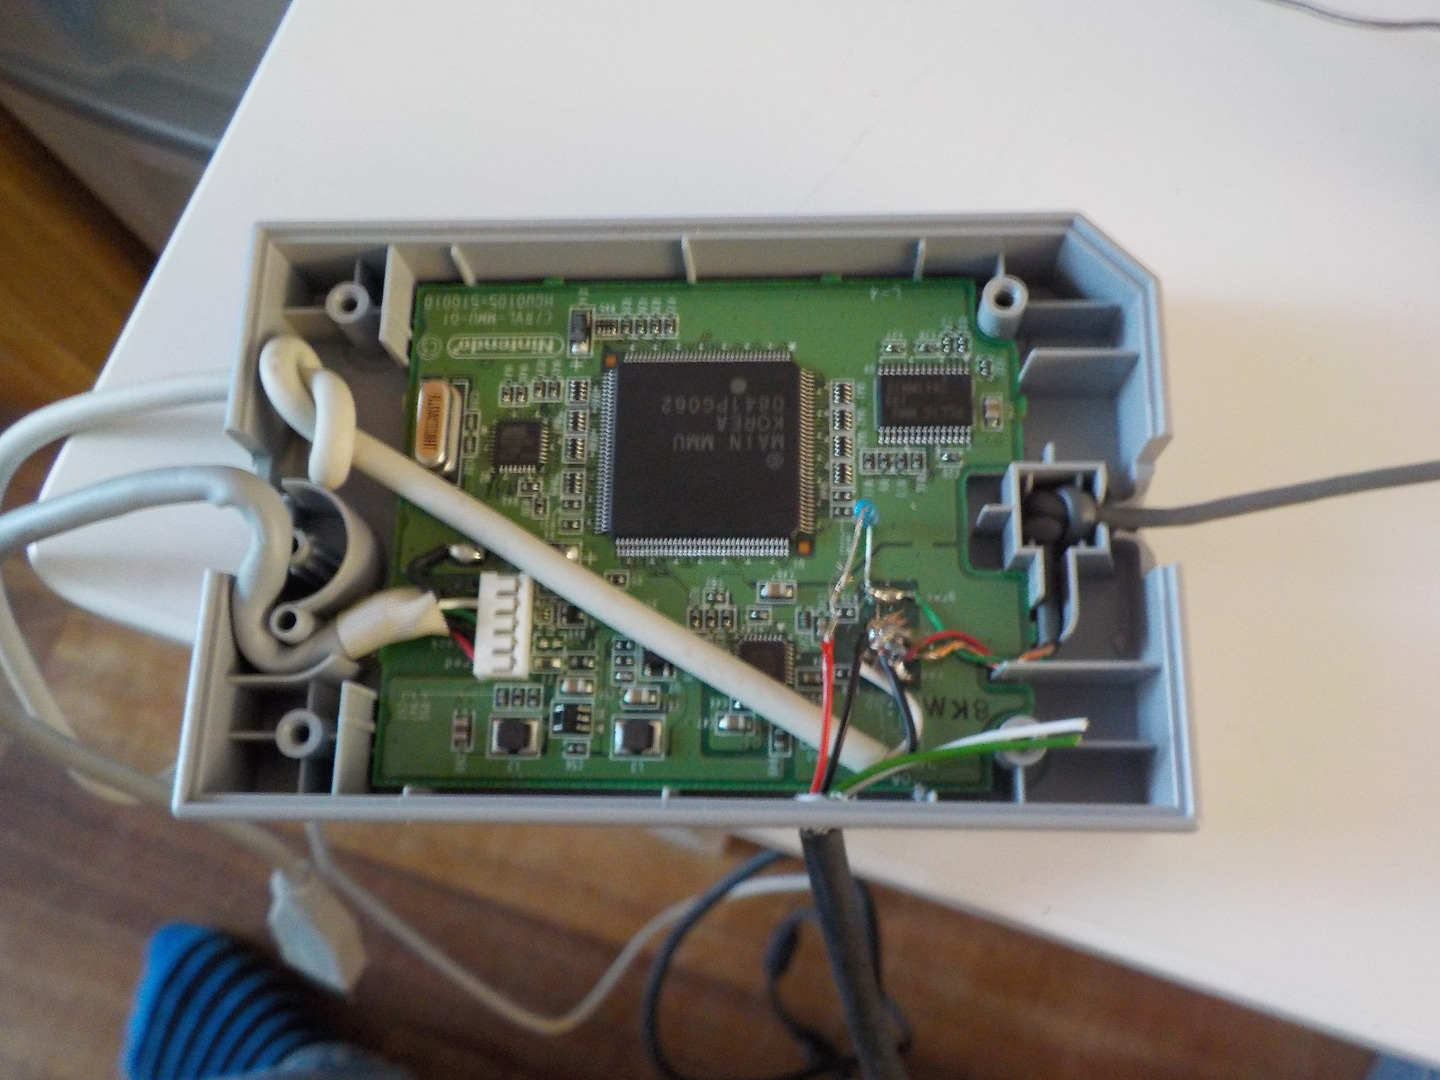
On the left of the board there will be 3 connectors. Red, Copper and green, we only care about Red an copper because green is for the blue led on the microphone that we don't need. We will need to solder the ground wire of your cable to the copper cable but make sure it's still soldered on the board. Now we will need to do the same thing with the other wire of your cable and the red wire of the microphone.
Using It
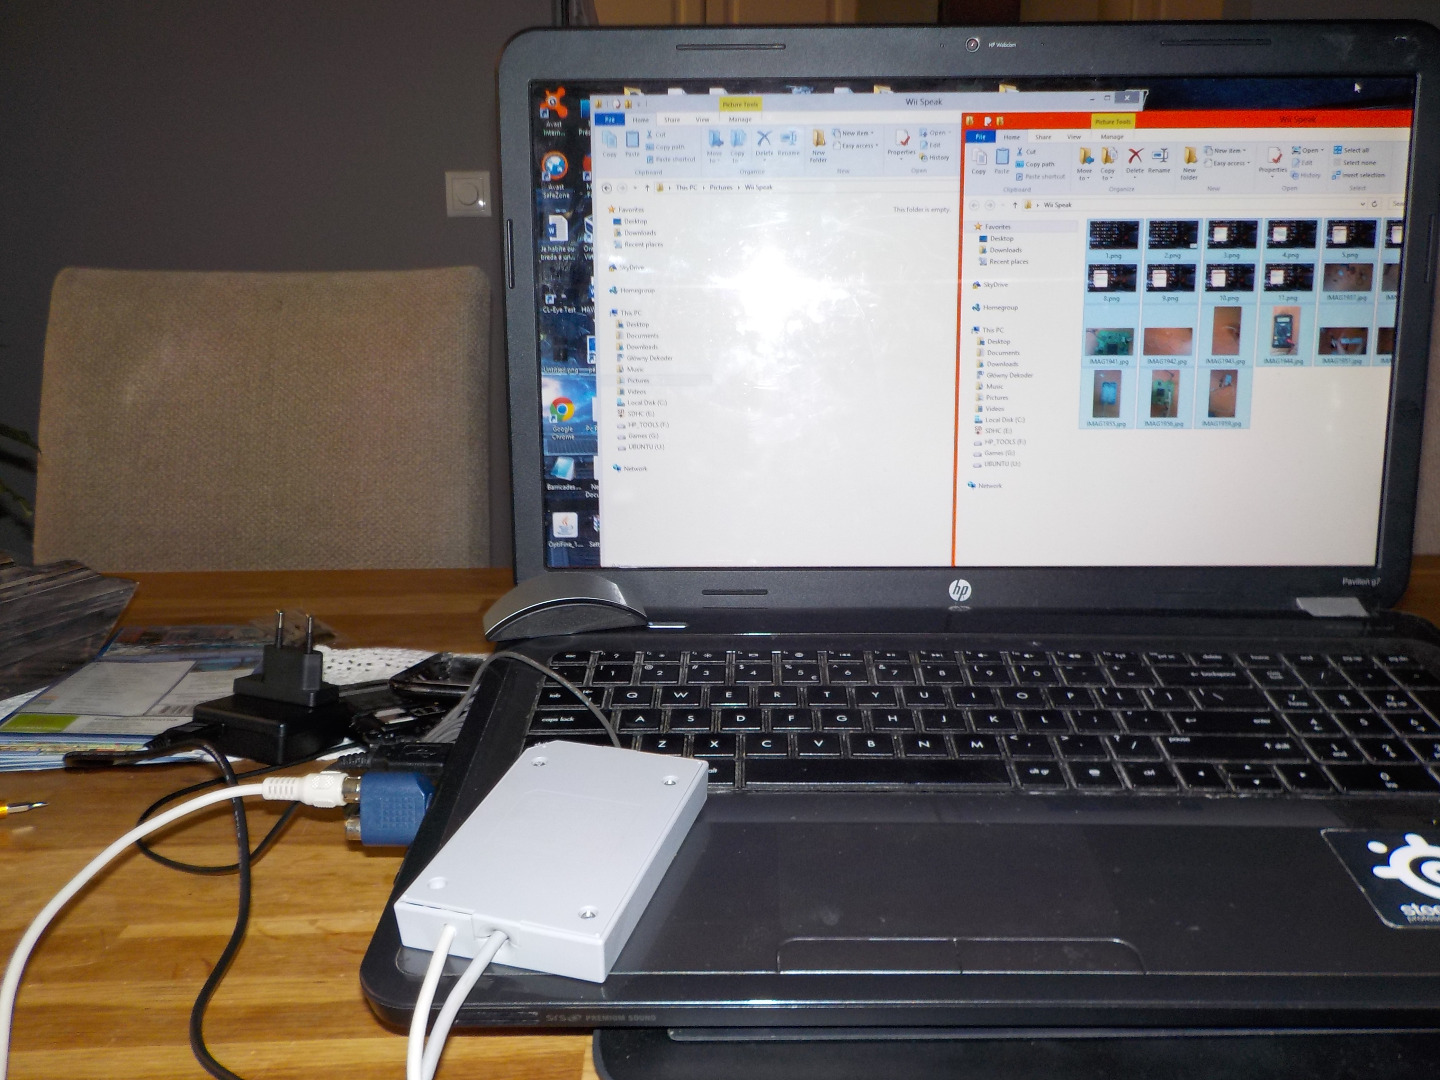
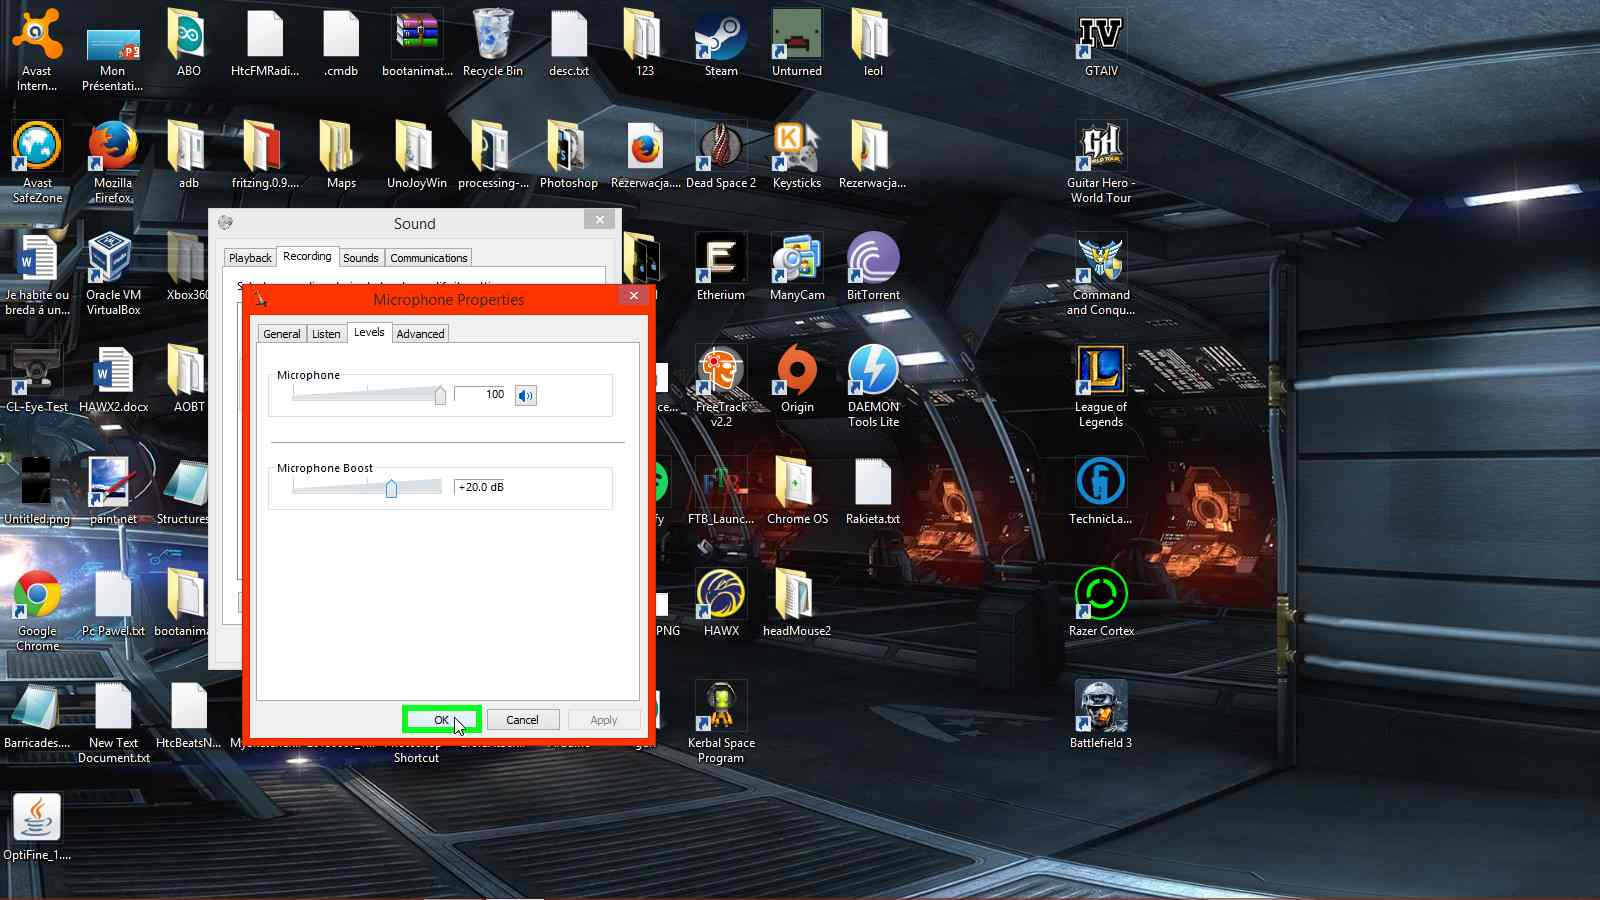
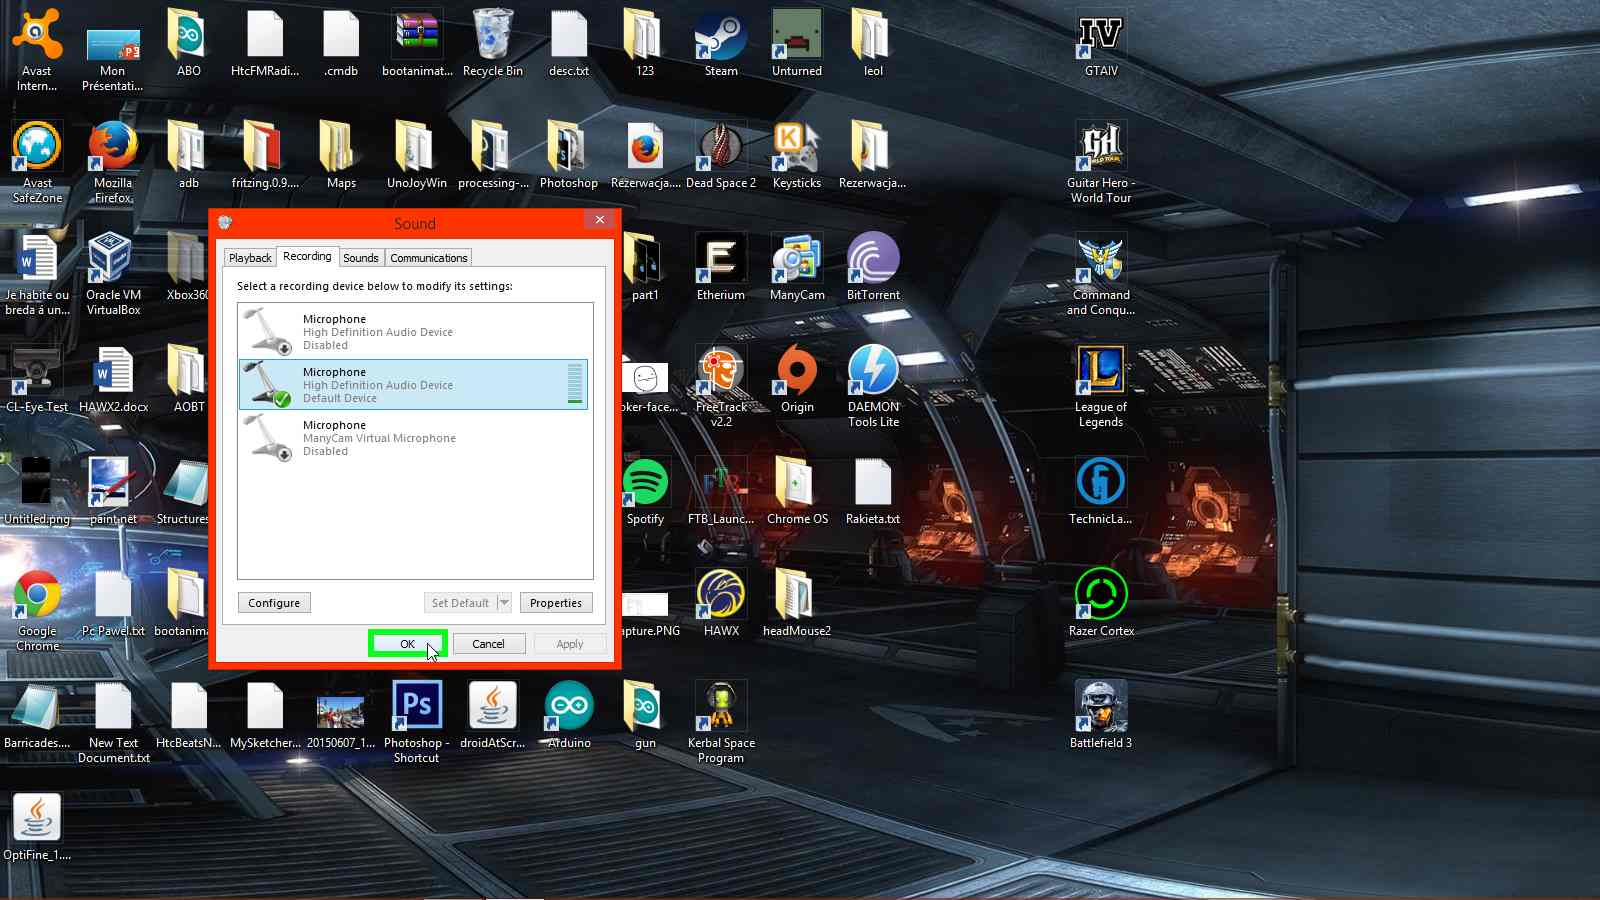
Connect the thing to a microphone port on your pc.
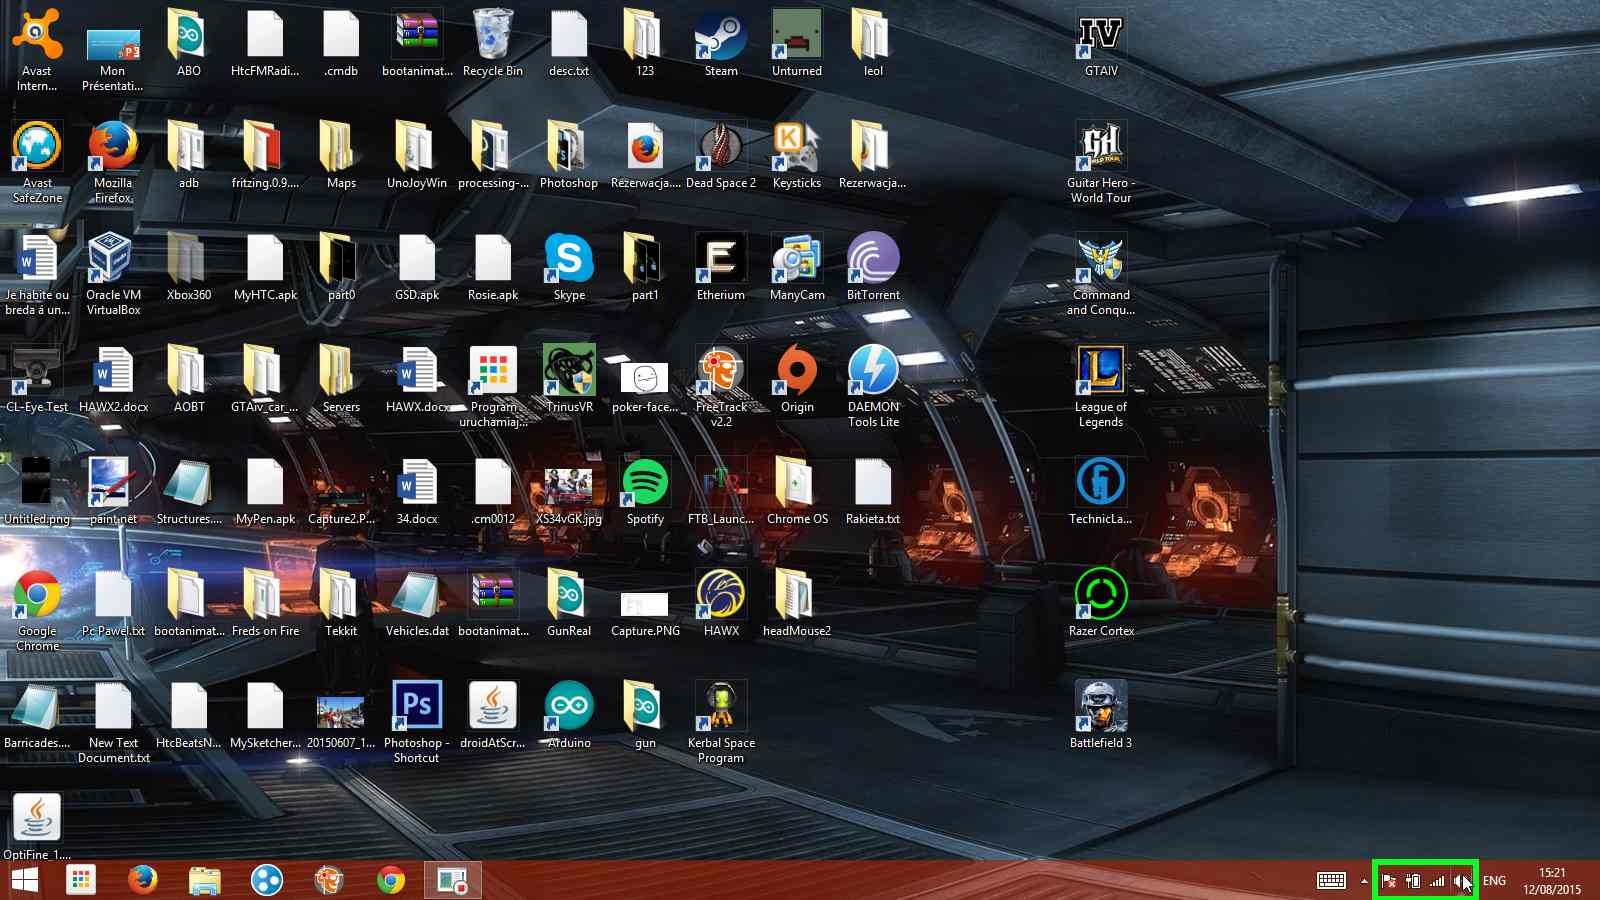
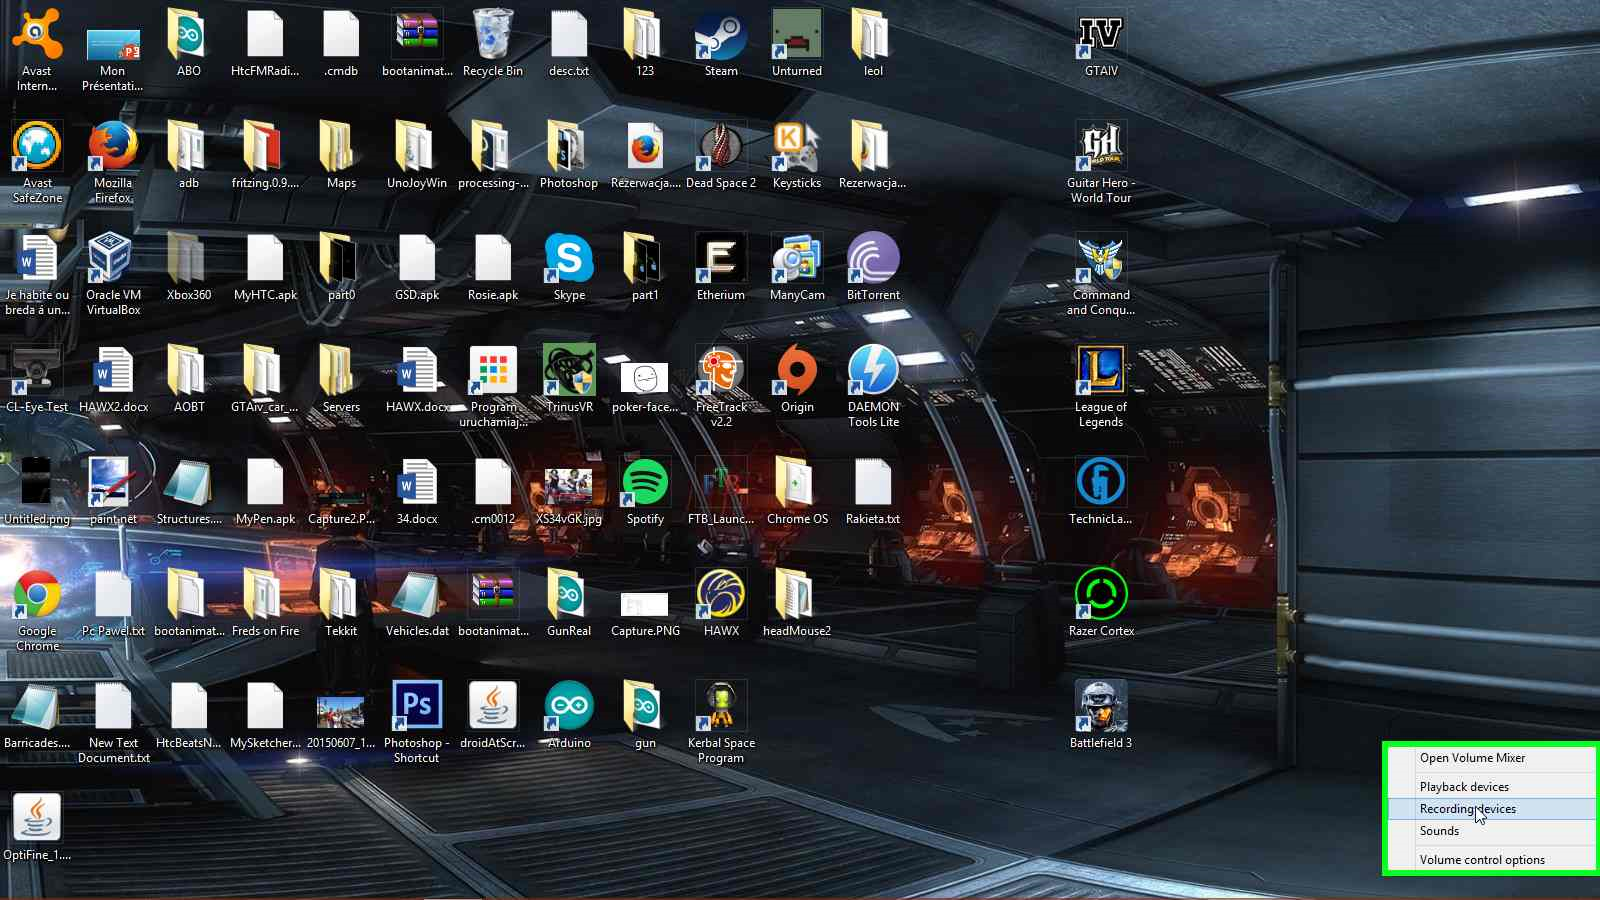
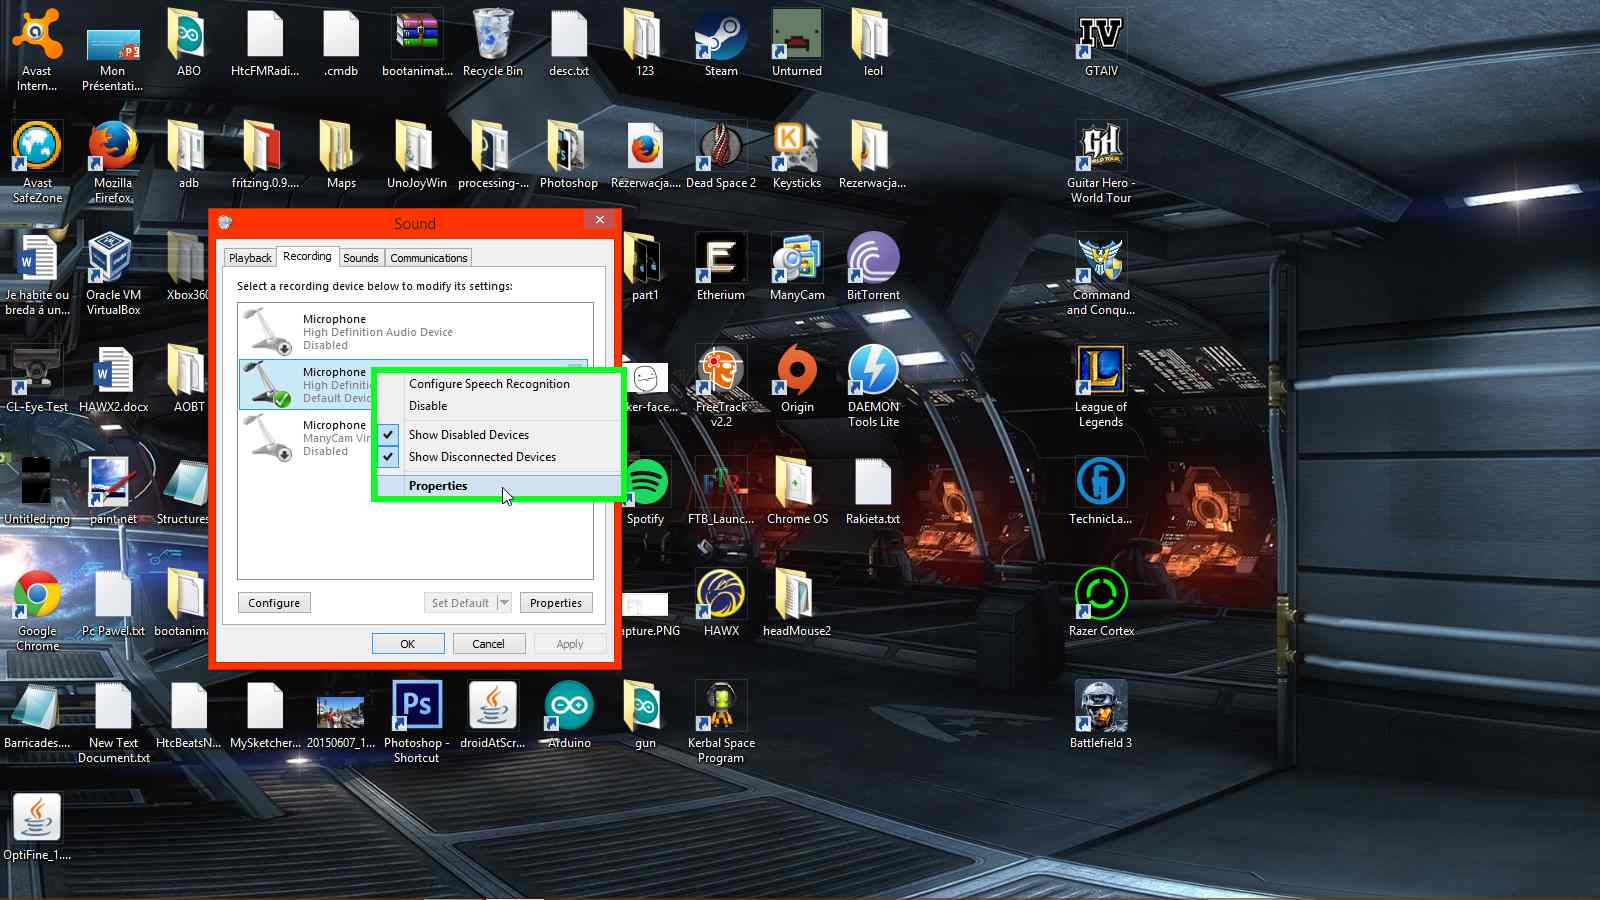
- Now right click the little speaker in the bottom right corner and click on Recording devices.
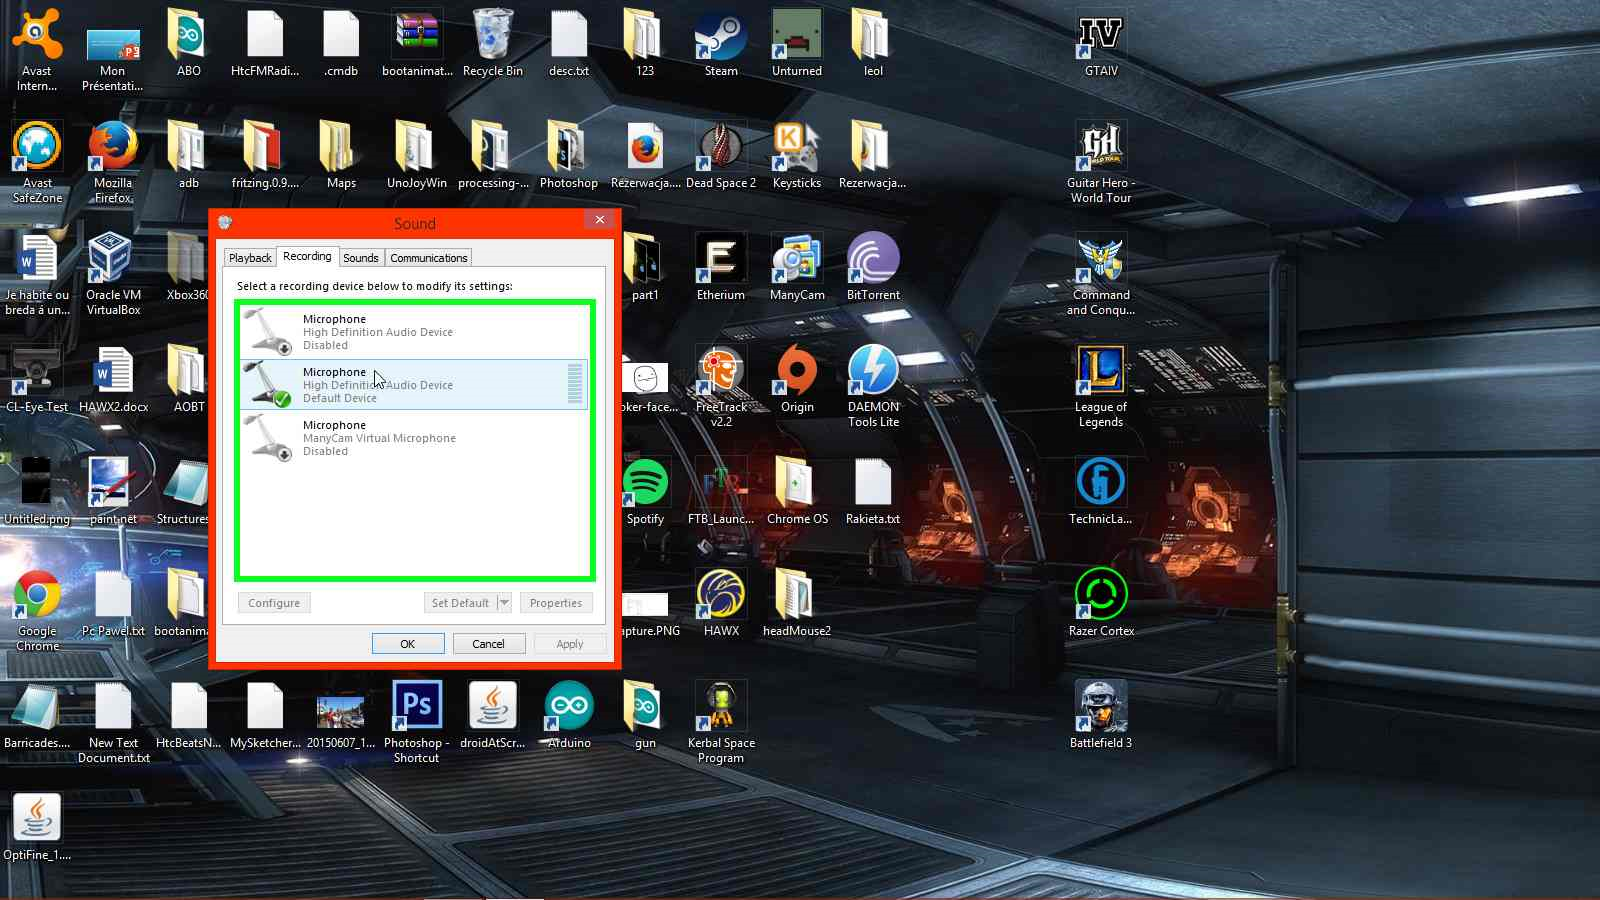
- If you have more than one microphone just blow in the Wii speak and se which one on the microphones works.
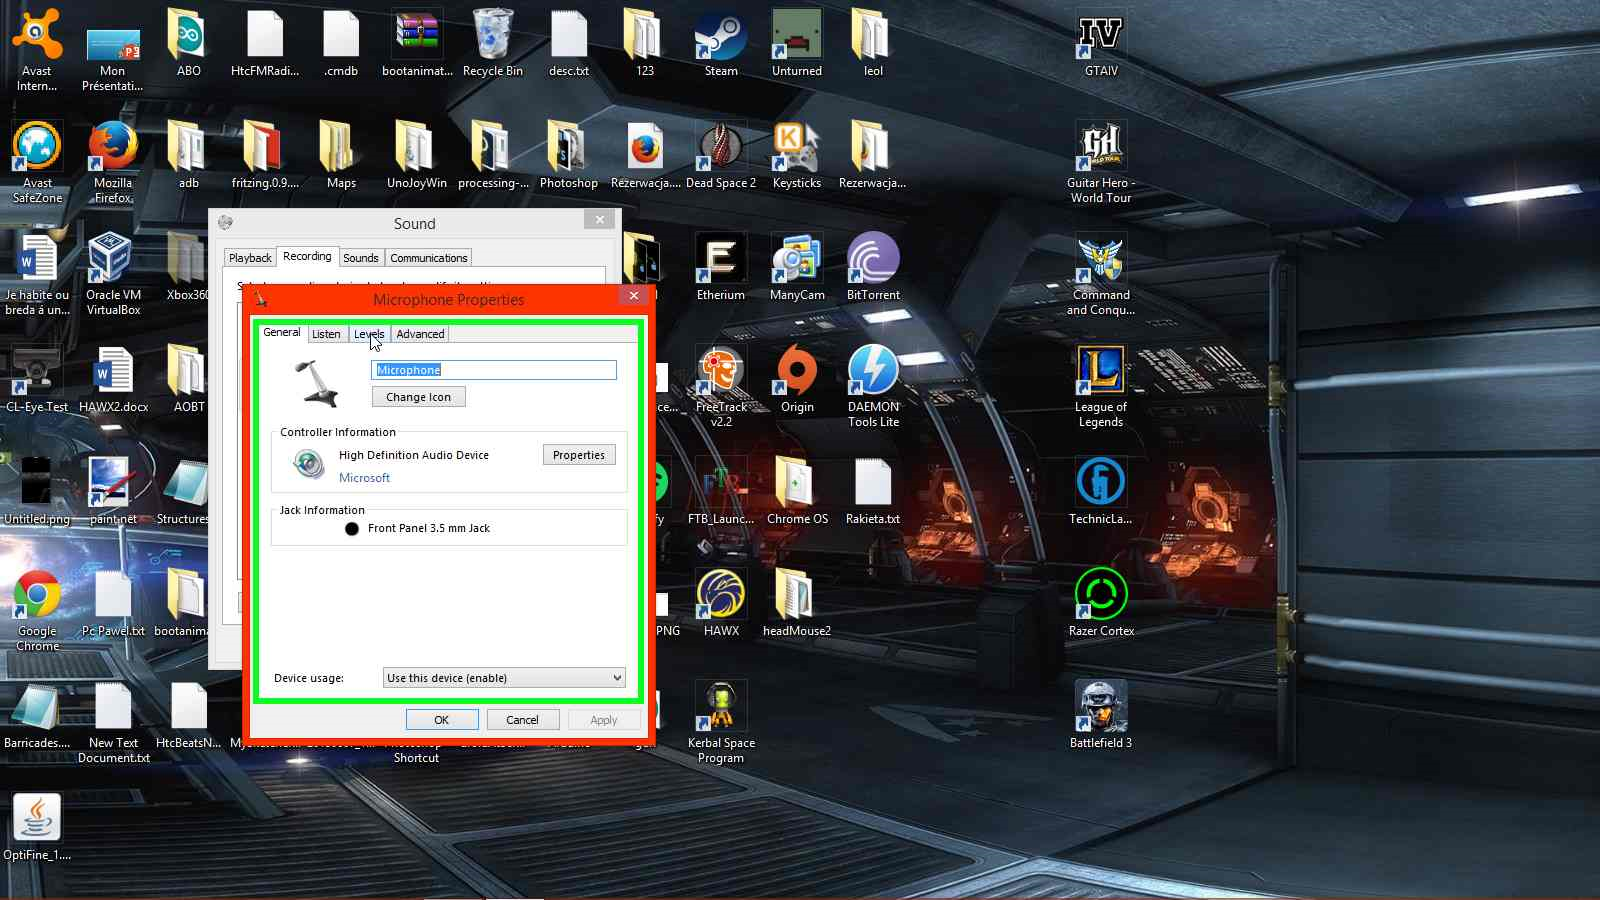
- Right click on that microphone and click on proporties.
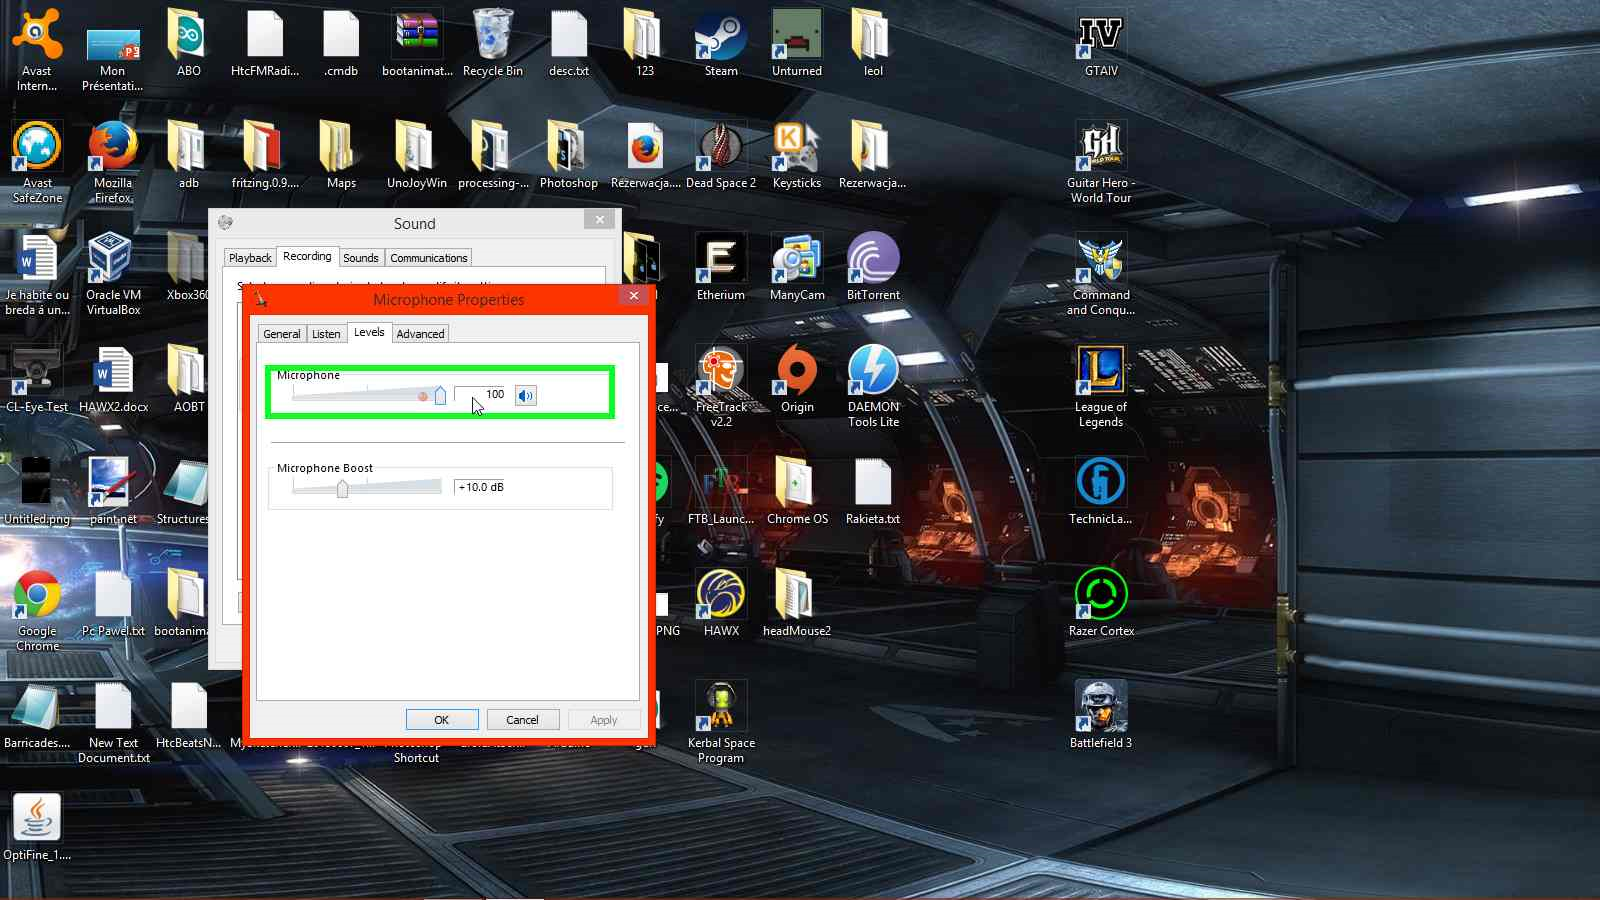
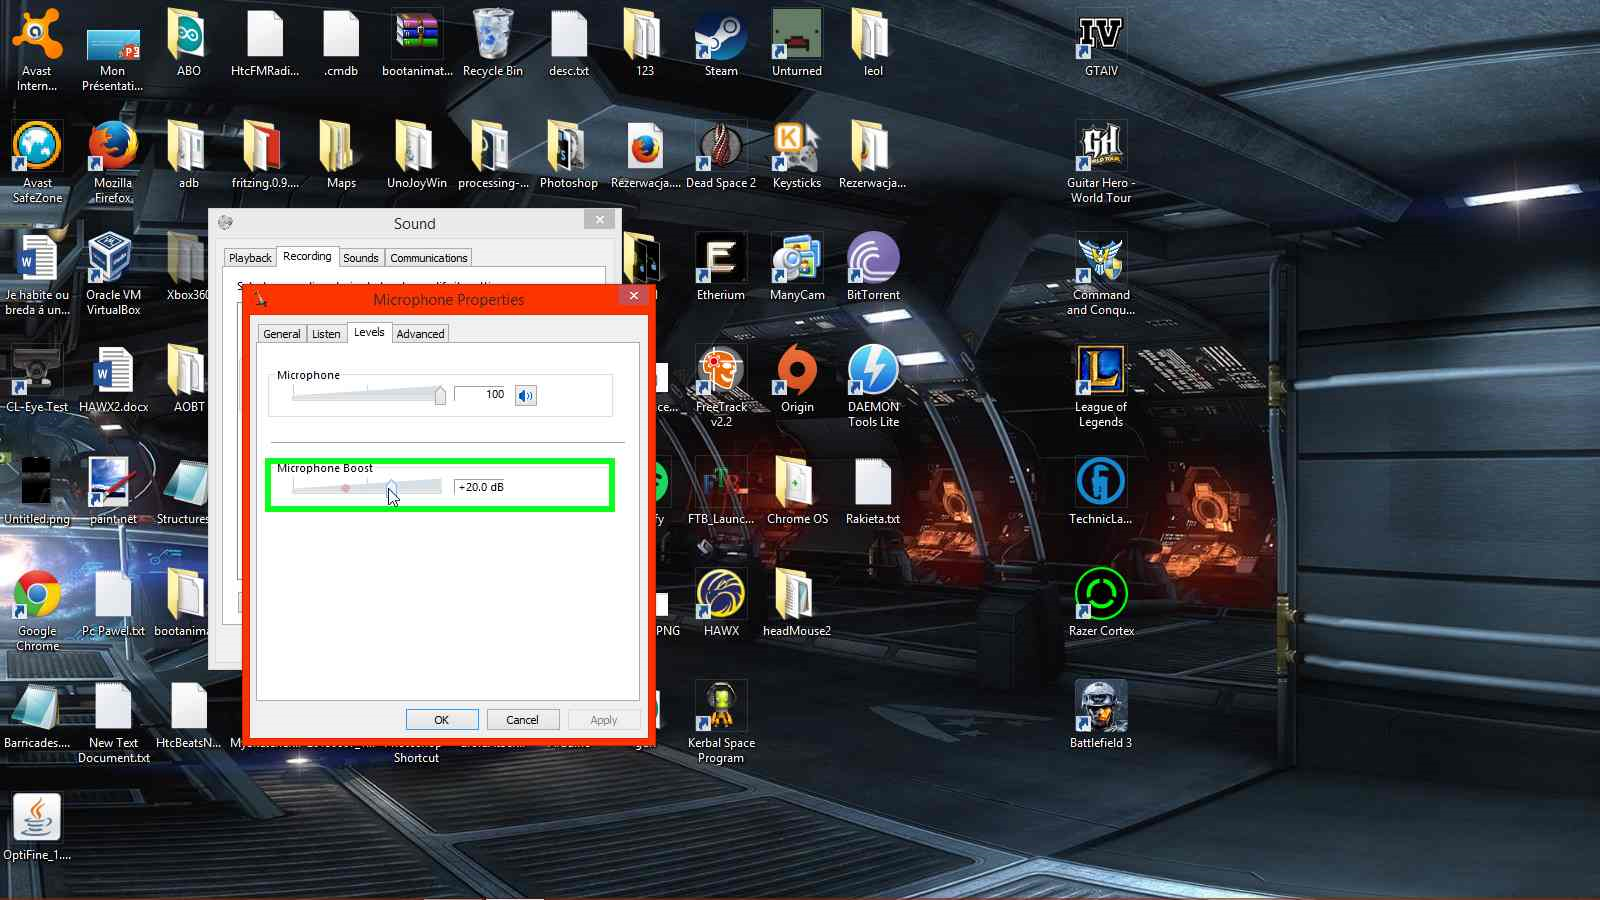
- Go to level and adjust it like you want, i used 100 on microphone and 20db on microphone boost.
And you are done! Congratulations now your Wii speak works on your pc but also still on your Wii.
Make the Led Work
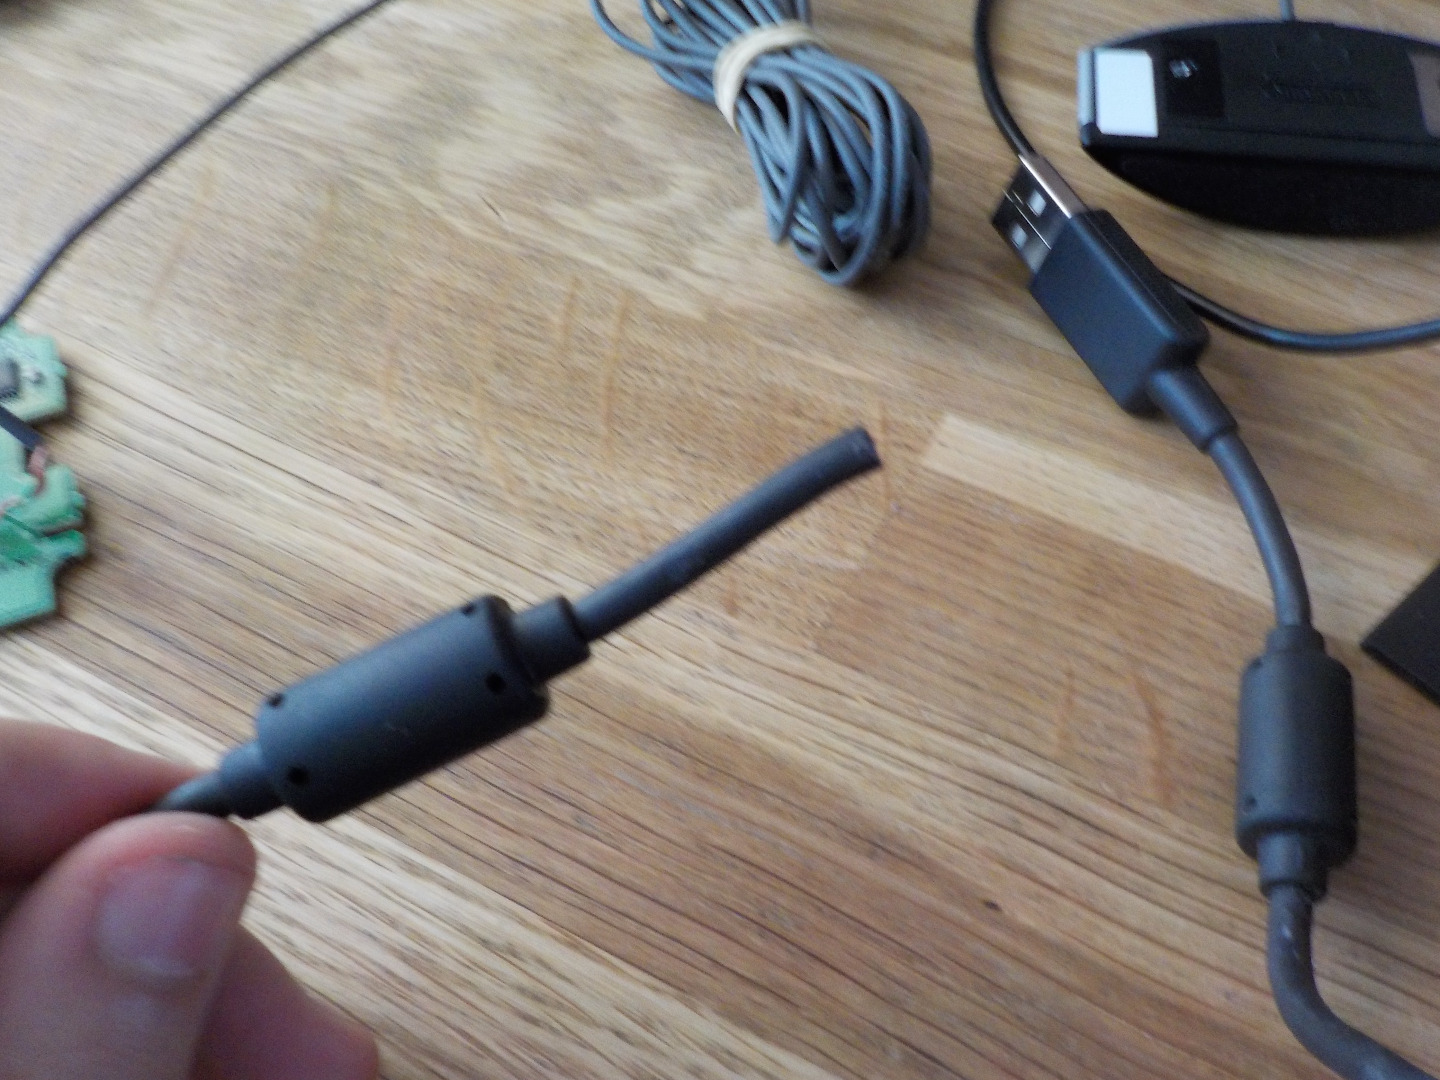
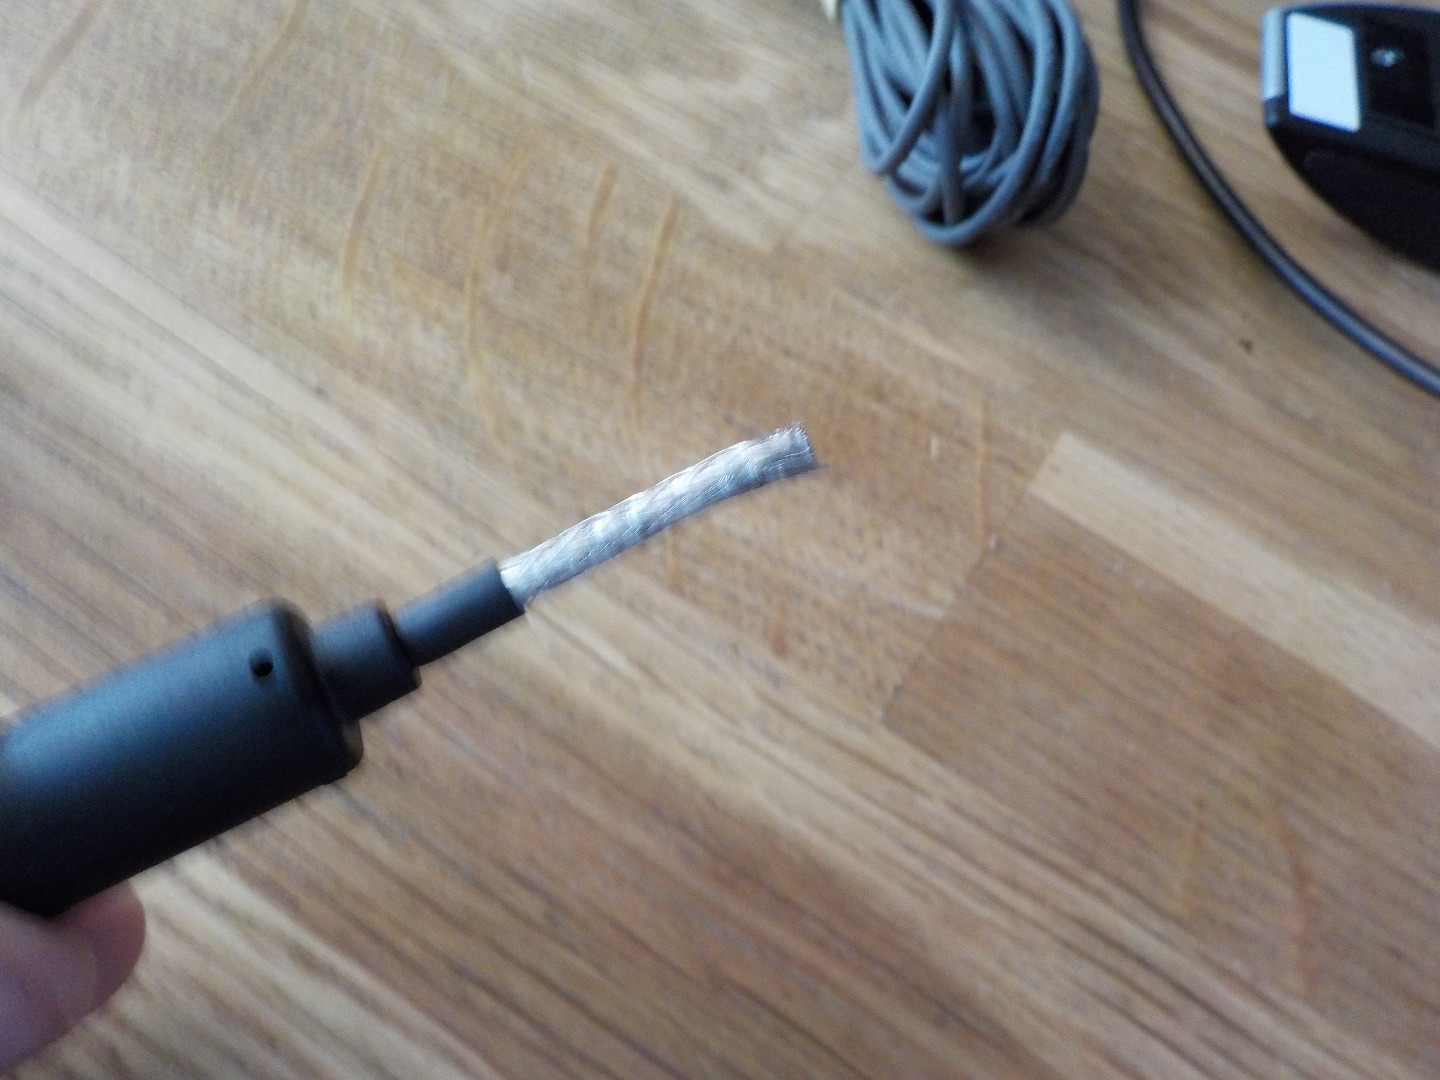
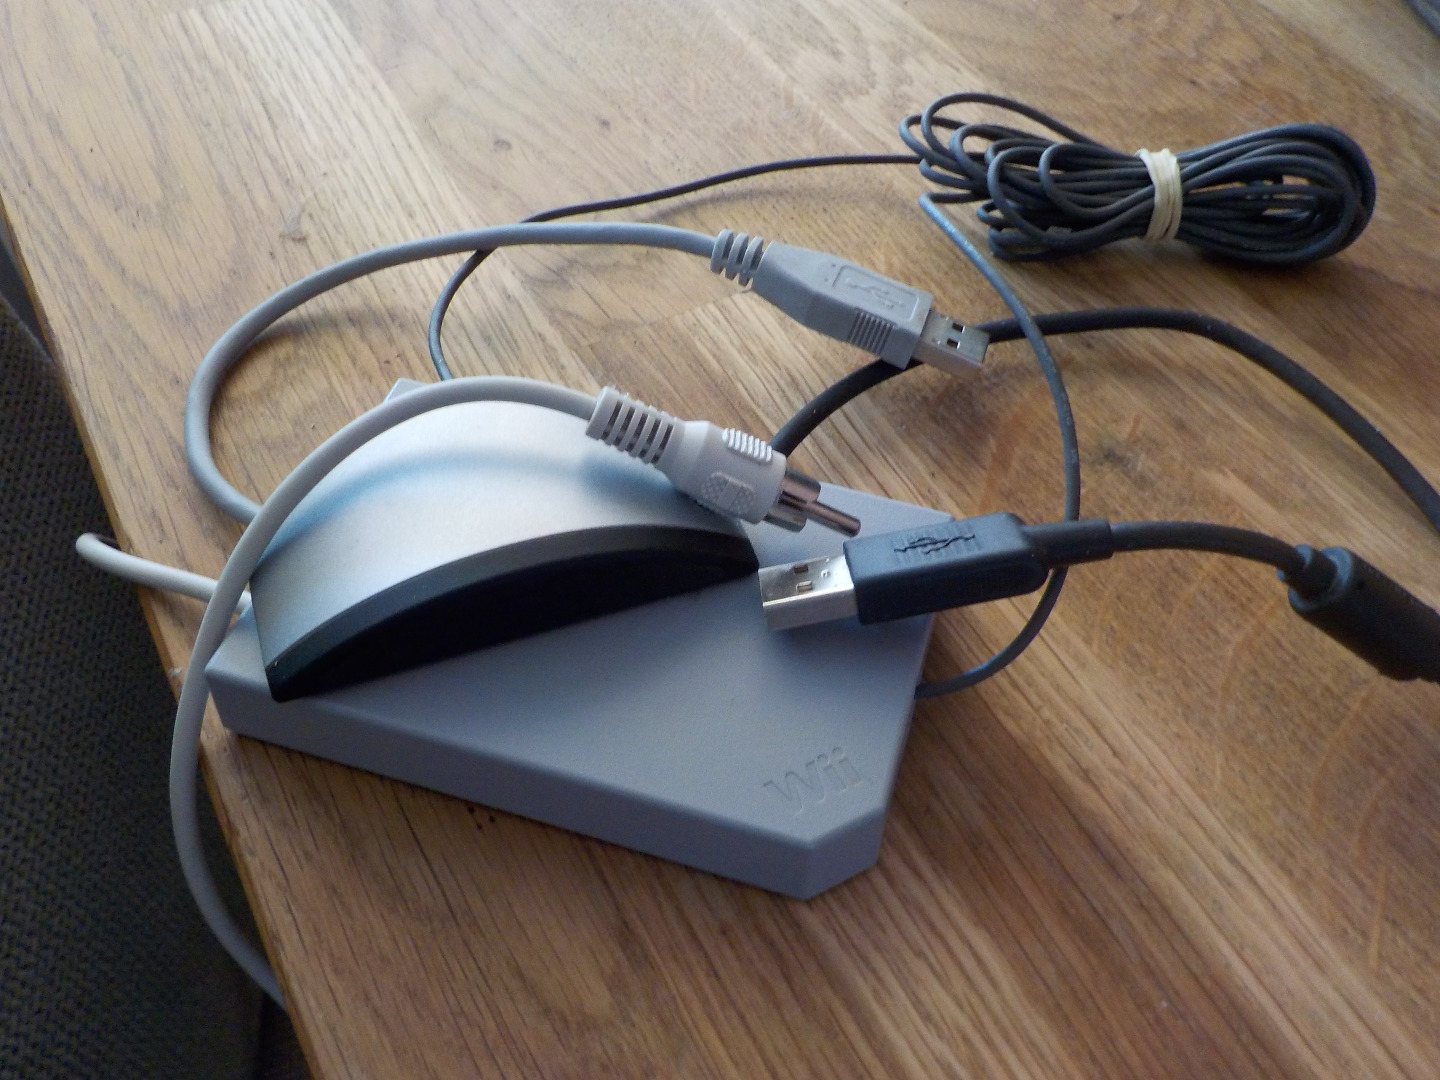
If you want the blue led to work you can do this.
- Open the case again
- Get a Usb cable and cut the end off.
- Cut off the shielding and expose the 4 cable.
- We only need black and red.
- You can cut off White and green or leave them so you can later add a usb drive in the Wii Speak.
- Take the board out of the case.
- Drill a hole.
- Put the cable thru the hole.
- Solder a 100ohm resistor to the red wire.
- Solder the red wire with the resistor to the green cable, but leave it on the board.
- Solder the black wire to ground on the board.
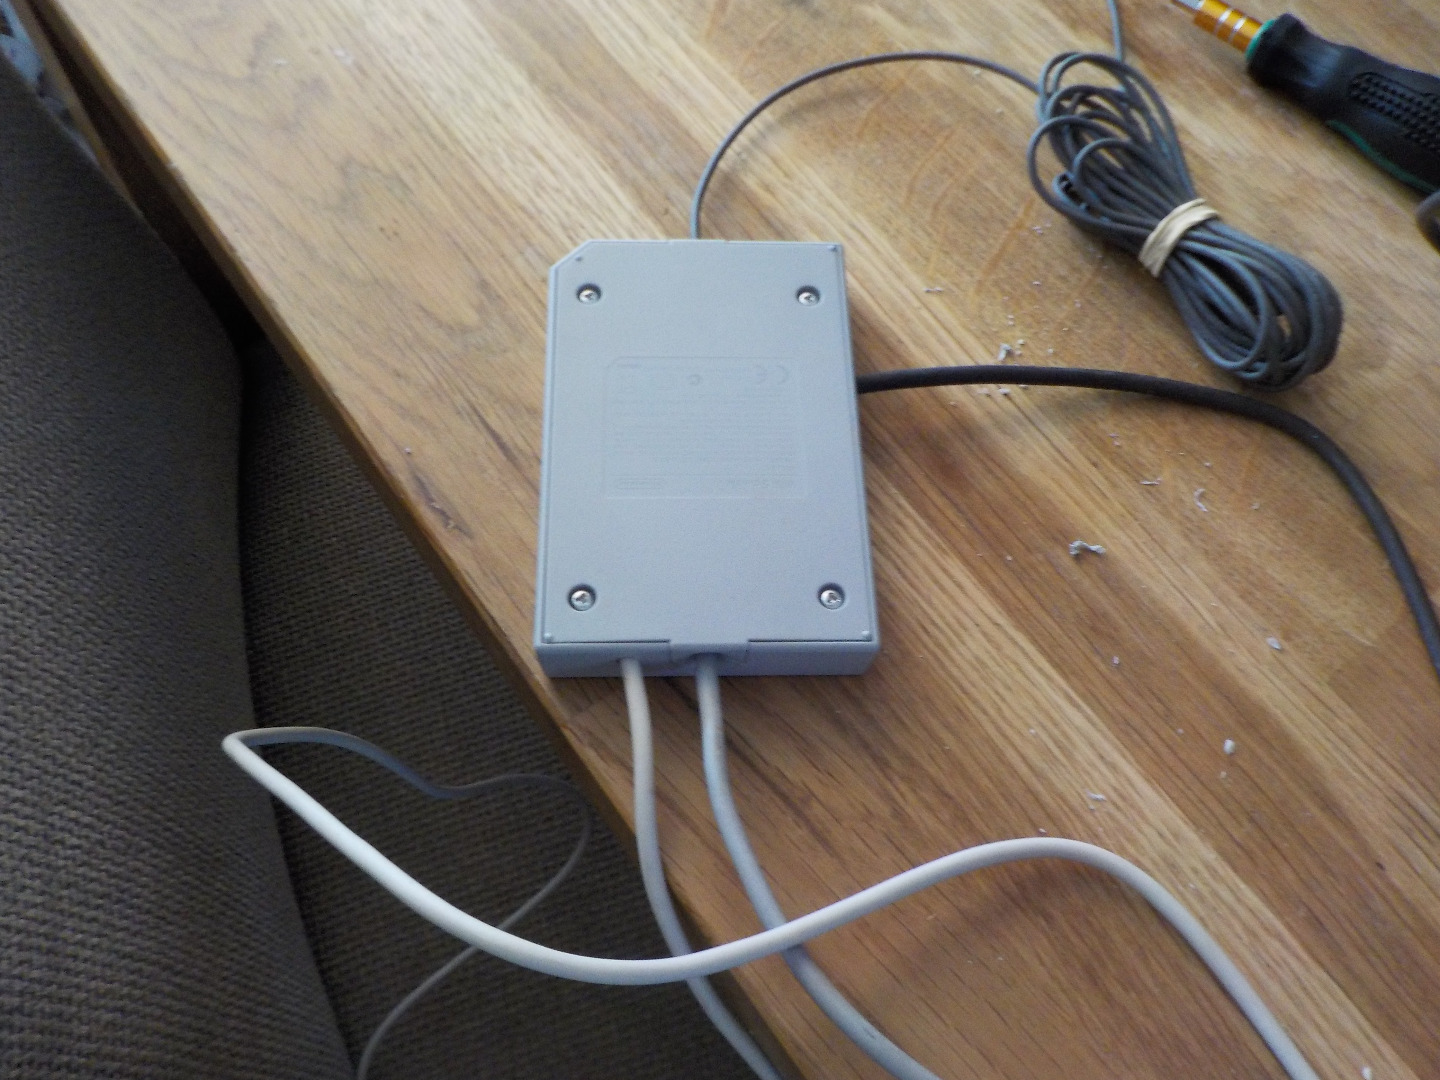
- Close it up.
- Done!
Sorry for the bad english i'm Polish