Wifi Calendar
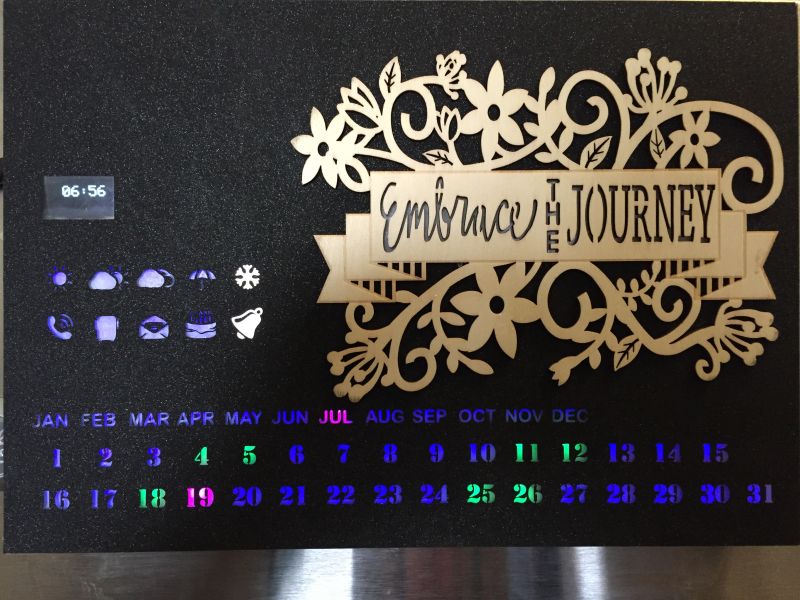
Ever since I created my physical android notifier, I've been thinking of a more complete dashboard; this recipe describes the initial hardware setup for a basic calendar; the internet capabilities are yet to be developed.
The next iteration would have the following features:
- Weather [ongoing]
- Shuttle / bus status [ongoing]
- Email [ongoing]
- Missed Call [ongoing]
- Calendar Appointments using Google Calendar [ongoing]
Setting Up the ESP8266 Tool Chain
There is a lot of information on the internet to setup the ESP8266, however it is extremely fragmented. Also, I wanted to use the Arduino IDE instead of Lua, and that was slightly more difficult to find information on. I have collated all the information required to make this project a success and to ensure that everything needed is in one place.
Download Arduino IDE
Download the arduino IDE (any version greater than 1.6.4):
https://www.arduino.cc/en/Main/Software
Install the ESP8266 Board
- Start Arduino and open Preferences window.
- Enter
http://arduino.esp8266.com/stable/package_esp8266com_index.jsoninto Additional Board Manager URLs field. You can add multiple URLs, separating them with commas. - Open Boards Manager from Tools > Board menu and install esp8266 platform (and don't forget to select your ESP8266 board from Tools > Board menu after installation).
(Reference: https://github.com/esp8266/arduino)
Install the ESP8266Wifi Arduino Library (if it wasn't installed in the earlier step)
Programming Circuit
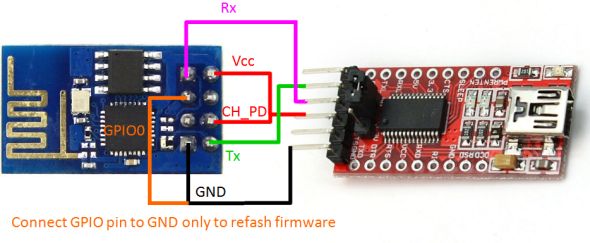
Reference: http://www.esp8266.com/wiki/doku.php?id=esp8266-m...
The ESP8266 needs to be put into the boot-load mode before it can be programmed. Very easy - once you know how. Just connect as per the circuit diagram above.
(Reference: http://iot-playground.com/2-uncategorised/38-esp82...)
Ensure that CH_PD is connected to +3.3V and GPIO0 is connected to GND
DO NOT TRY TO CONNECT TO WIFI WHEN THE MODULE IS CONNECTED THROUGH THE USB-UART. It is recommended to power the module separately and connect the ground from your power supply to the USB-UART.
Components Required

.jpg)
The following components are required for the build:
- ESP8266 ESP-12 / ESP-12E board (http://www.aliexpress.com/item/2015-New-version-1P... )
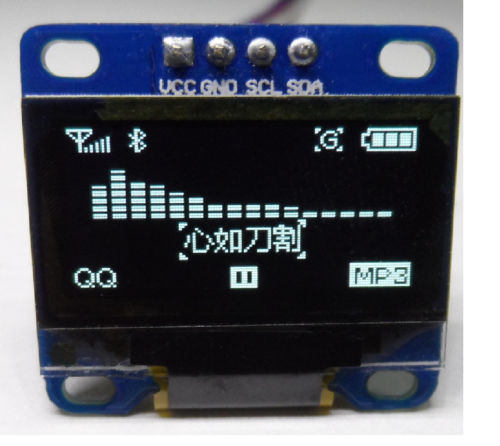
- 0.96" OLED Display ( http://www.ebay.com/itm/0-96-I2C-IIC-SPI-Serial-12... )
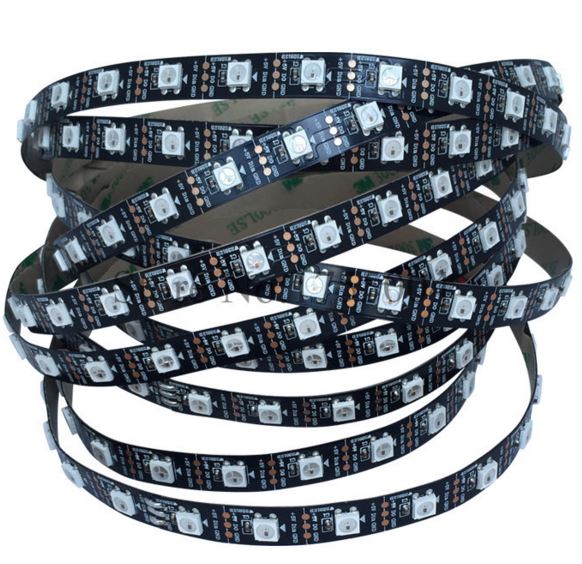
- 1m 60 LEDs per meter WS2812B LED Strip ( http://www.aliexpress.com/item/1m-4m-5m-WS2812B-Sm... )
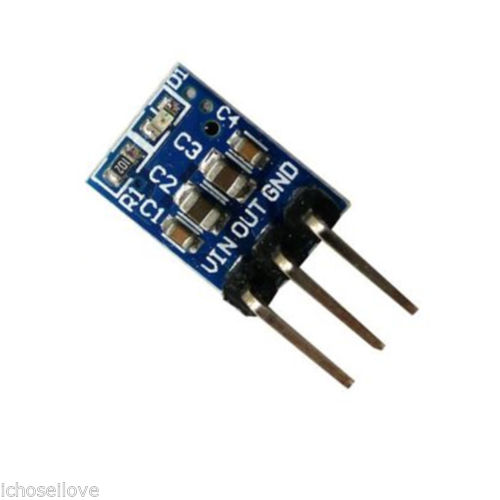
- 5V to 3.3V Step Down Converter (http://www.ebay.com/itm/DC-5V-to-3-3V-DC-DC-Step-D... )
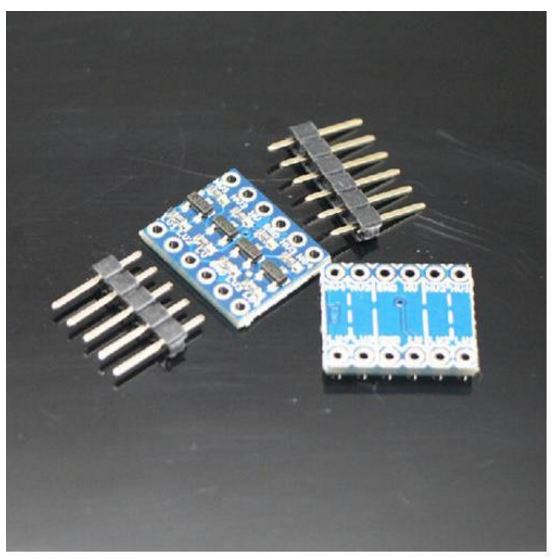
- Logic Level Converter ( http://www.aliexpress.com/item/1Pcs-5V-to-3-3V-IIC... )
- Some wires
- 5V Adapter (minimum 500 mA) - you can use any of the mini cell phone chargers available
- Clear Acrylic Sheet
- Black Vinyl Sheet
- Foam Core Board (White)
- Magnetic Tape (optional)
The Circuit
Cut the LED strip into the following sizes:
- 15 pieces
- 16 pieces
- 12 pieces
- 5 pieces
- 5 pieces
Solder the above pieces in order -> ensure Dout is connected to Din Connect V to +5 and G to Gnd. I used a 1 Amp cell phone charger.
The circuit is very simple. Connect the ESP8266 (ESP-12) as per the circuit above.
Creating the Dashboard
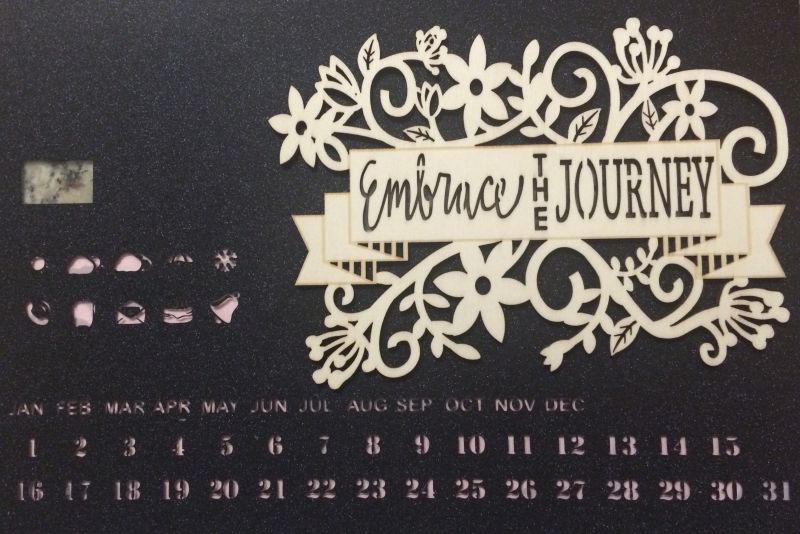
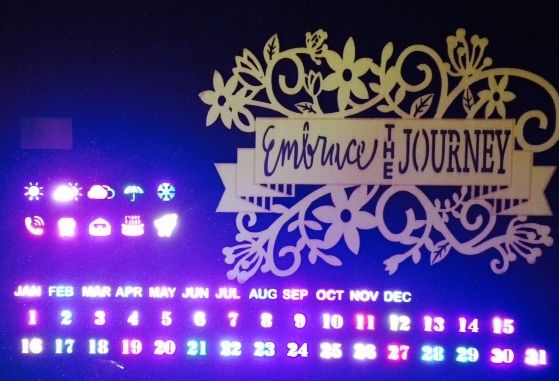
I created the dashboard using the following pieces:
- Transparent Acrylic Sheet
- Double-sided tape
- Black Vinyl
- Magnetic Tape
- Foam Core Board
Use the template attached to cut the vinyl using a Silhouette Cameo / Studio Cutter. Alternatively you can print the PDF and cut manually.
- Stick the vinyl sheet onto the acrylic sheet carefully - avoiding any bubbles. You can use a plastic squeegee to help.
- Stick the decoration piece on the top right - I used a laser-cut piece from Michaels - but you can stick anything that catches your fancy.
- Stick a foam core board on the back side to act as a diffuser to ensure the LEDs look good.
- Stick the LED strips to the foam core using tape in the following order:
- Piece 1 - behind dates 1-15
- Piece 2 - behind dates 16-31
- Piece 3 - behind the months
- Piece 4 - behind the lower row of icons
- Piece 5 - behind the upper row of icons
- Stick the OLED in the window - ensure it is the right side up.
- Stick down the wires and boards with cello tape to ensure there are no shorts.
You can use the test sketch to align the LEDs (second image)
The Sketch
Upload the following sketch to the ESP-12 using the programmer circuit described above
-- The sketch is currently in development - I had it working on a xadow module, however need to re-write it for the ESP-12 as the FastLED library currently does not support the ESP8266 chipset.