WiFi Weather Display With ESP8266
by bekathwia in Circuits > Arduino
33639 Views, 333 Favorites, 0 Comments
WiFi Weather Display With ESP8266
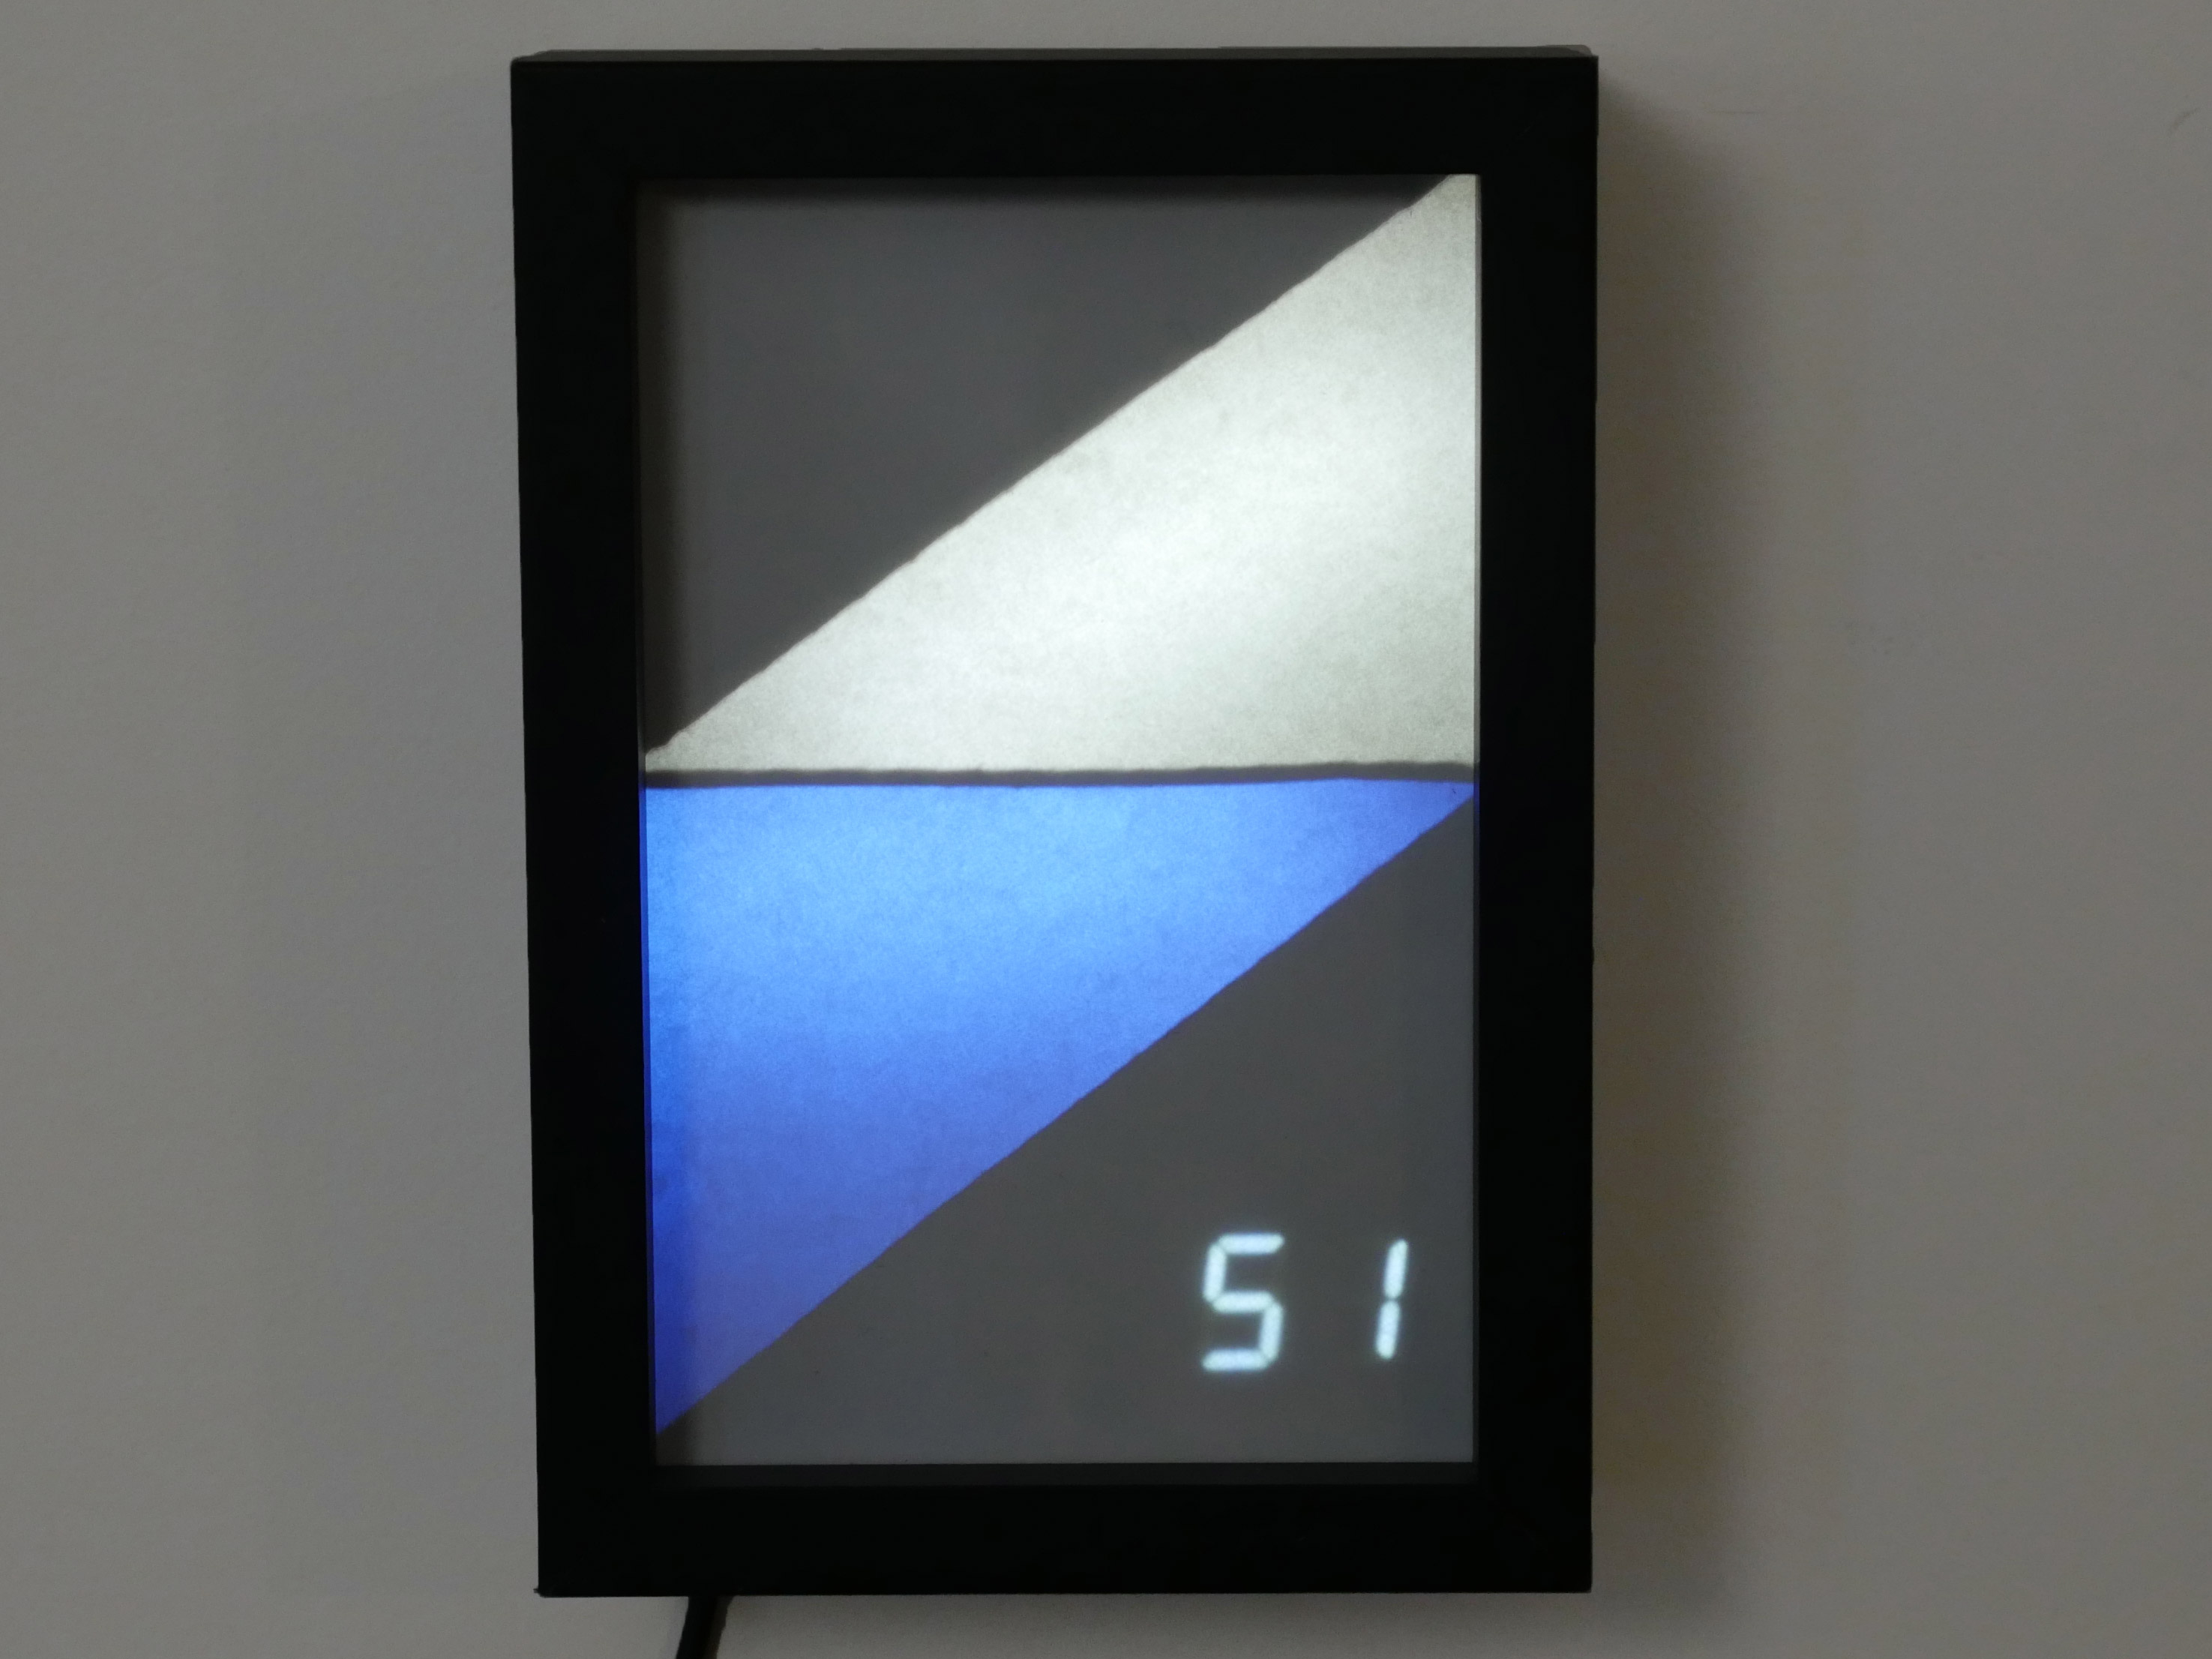
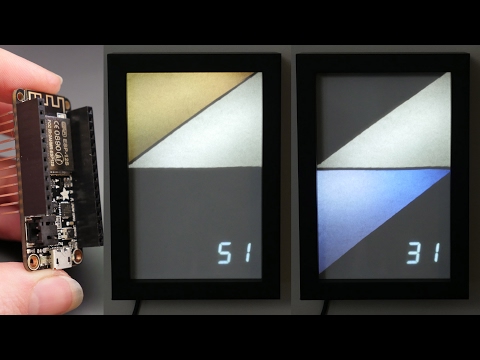

Every morning when I get ready to walk the dog, I want to know what the weather is like outside. Is it raining? Cold enough for the dog's sweater? From my current NYC apartment, it's even hard to tell if I'll need sunglasses when I step outside. I usually use my phone for checking the weather, but wouldn't it be nice to have some wall decor that provides this info at a glance?
I built this IoT weather display using a small shadow box, some RGBW NeoPixel LEDs, and an Adafruit Feather Huzzah ESP8266 with seven-segment display FeatherWing. Weather data is tracked using IFTTT, an incredibly rich (and free ) API gateway, which sends data to the cloud service Adafruit IO, which is then accessed by the Arduino program running on the microcontroller.
Before attempting this project, you should be familiar with Arduino, and you can take my free Arduino Class, or Randy's LEDs & Lighting Class or Electronics Class if you need to brush up on any of the basic skills.
For this project, you will need:
- Small shadow box
- Scrap cardboard
- A piece of paper
- Metal ruler or T-square
- Cutting mat or more scrap cardboard
- Utility/craft knife
- Tape
- Feather Huzzah ESP8266 with stacking headers (also available preassembled)
- 4-digit 7-segment FeatherWing display
- Soldering iron and solder
- 12 RGBW NeoPixels (cut from a 60/m strip)
- Stranded wire
- Perma-proto half size breadboard
- Flush diagonal cutters
- Wire strippers
- Multimeter (optional but handy for troubleshooting)
- Third hand tool
- Tweezers
- Desoldering braid or solder sucker (optional if you're flawless)
- Micro USB cable
- USB power adapter (optional)
To keep up with what I'm working on, follow me on YouTube, Instagram, Twitter, Pinterest, and subscribe to my newsletter. As an Amazon Associate I earn from qualifying purchases you make using my affiliate links.
As an alternative to the Feather Huzzah, you can also use the NodeMCU board (USB programmable) or Huzzah ESP8266 breakout, for which an FTDI cable is required to upload new programs (use the standard 7-segment backpack rather than the FeatherWing version).
Software & Hardware Setup
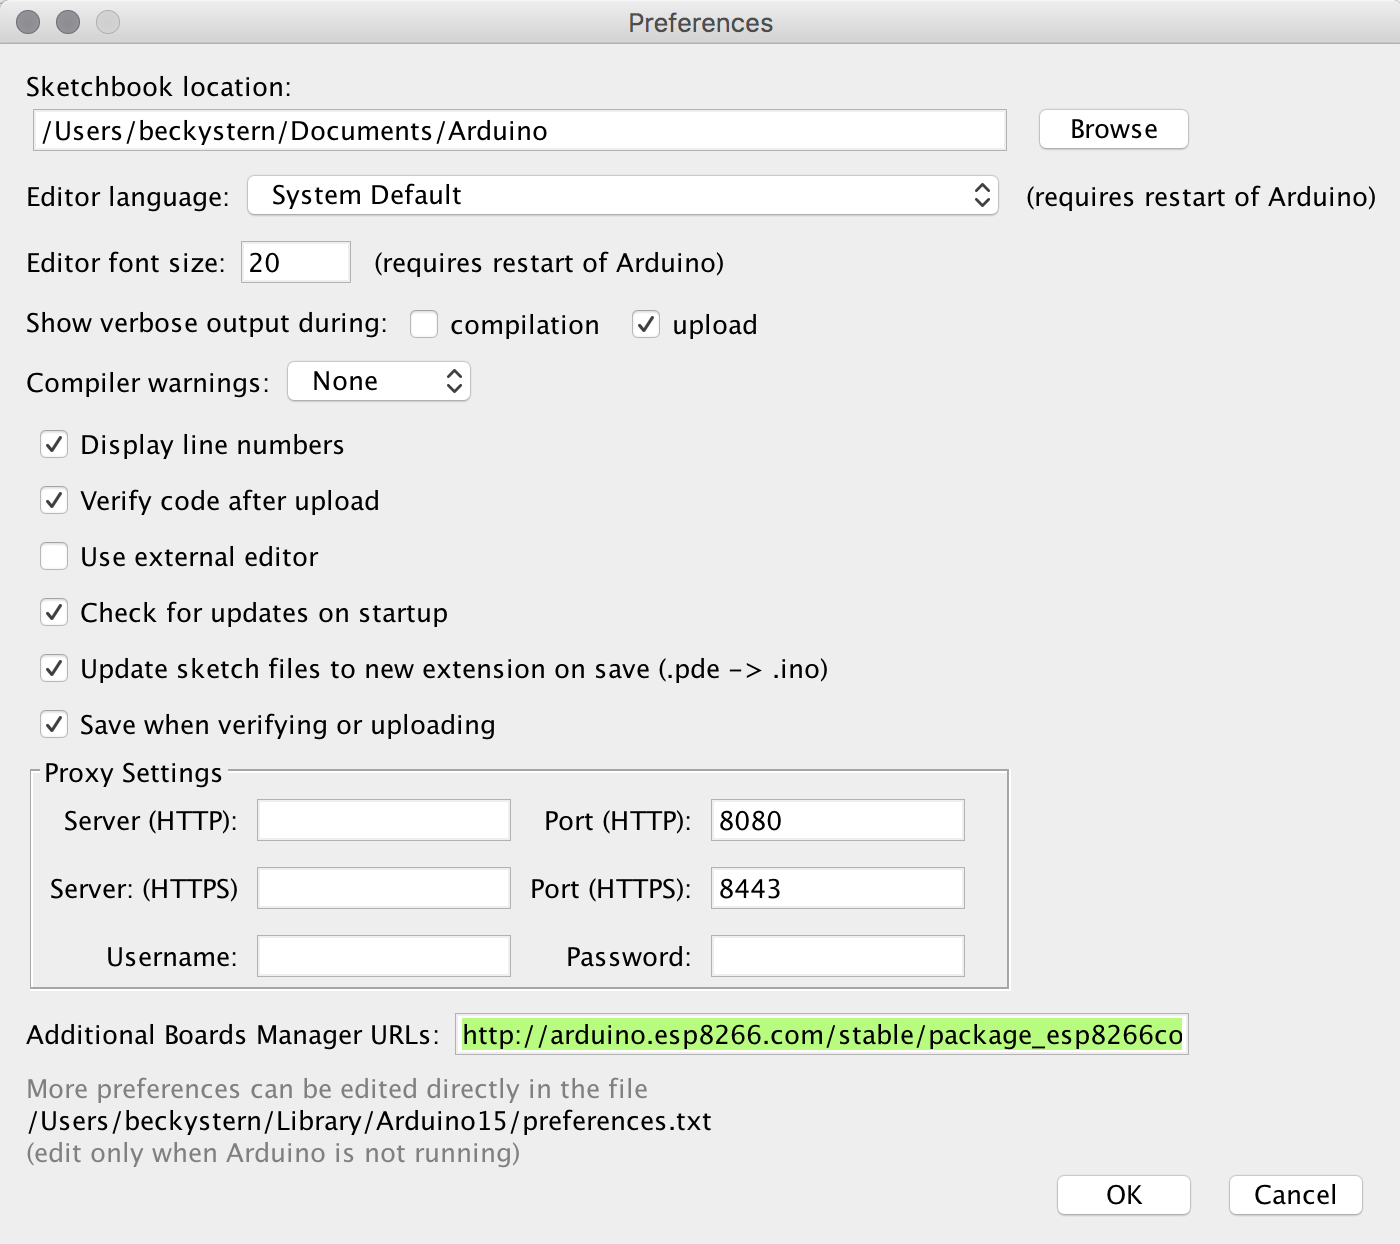


Before you dive into the code for this project, you should first make sure you've got your Arduino software set up properly to program the board you are using, which involves installing the SiLabs USB driver and installing ESP8266 board support (explained in more detail in the Feather Huzzah tutorial):
- Go to Arduino-> Preferences...
- Look for a text field labeled "Additional Boards Manager URLs:" and paste the following URL into the field (separate multiple URLs with commas if applicable):
http://arduino.esp8266.com/stable/package_esp8266com_index.json - Click OK
- Go to Tools->Board-> Boards Manager...
- Search for ESP8266 and click the Install button in the box "esp8266 by ESP8266 Community" when it shows up
Huzzah ESP8266 boards have an LED connected to pin 0, and you can find a sample blink sketch by navigating to File->Examples->ESP8266->Blink, or copy it from here:
void setup() {
  pinMode(0, OUTPUT);
}
void loop() {
  digitalWrite(0, HIGH);
  delay(500);
  digitalWrite(0, LOW);
  delay(500);
}
Plug in your USB cable to the board and configure your settings under the Tools menu as follows:
- Board: Adafruit Huzzah ESP8266
- CPU Frequency: 80MHz
- Flash Size: 4M (3M SPIFFS)
- Upload Speed: 115200
- Port: whichever one ends in SLAB_USBtoUART (Mac) or COMx (Windows)
Click the Upload button to send the program to your board. This will take several seconds (longer than you are used to with Arduino Uno). After complete, the onboard LED should start blinking.
While the Feather Huzzah auto-detects when it's being sent a new program, other ESP8266 boards may require a sequence of button presses to get into bootloader mode.
Do not proceed until you've successfully uploaded a blink test program to your board.
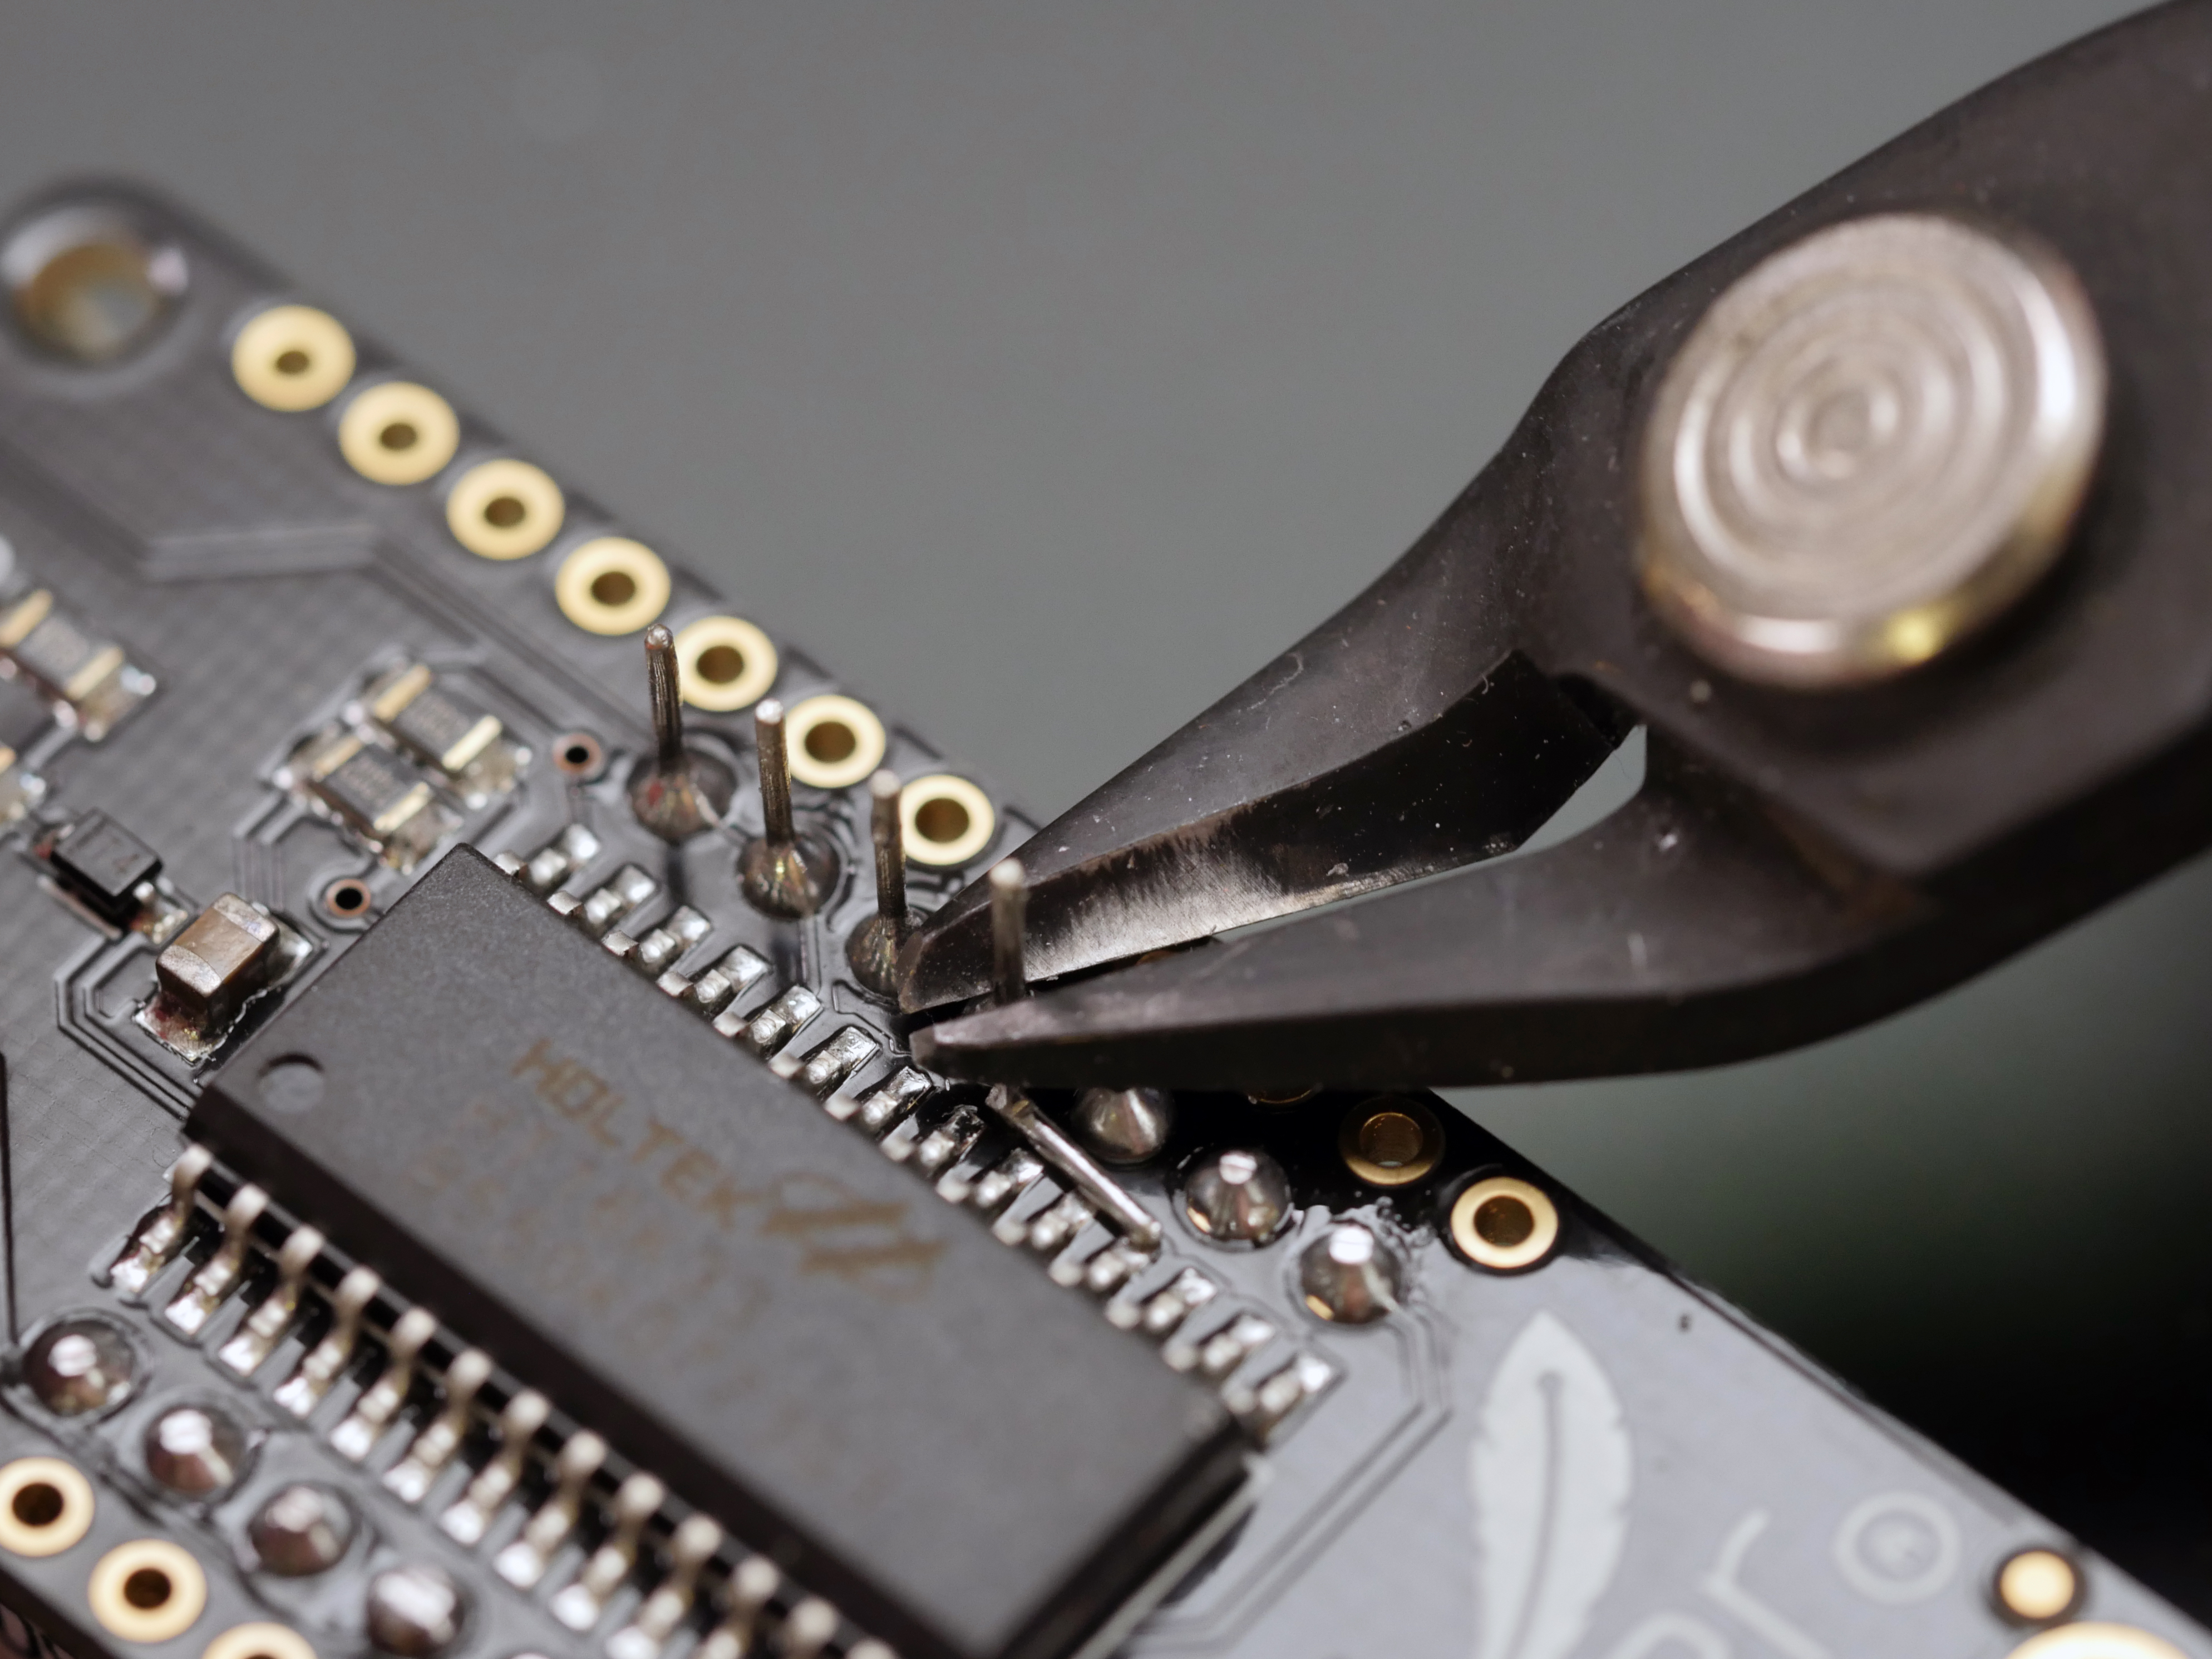
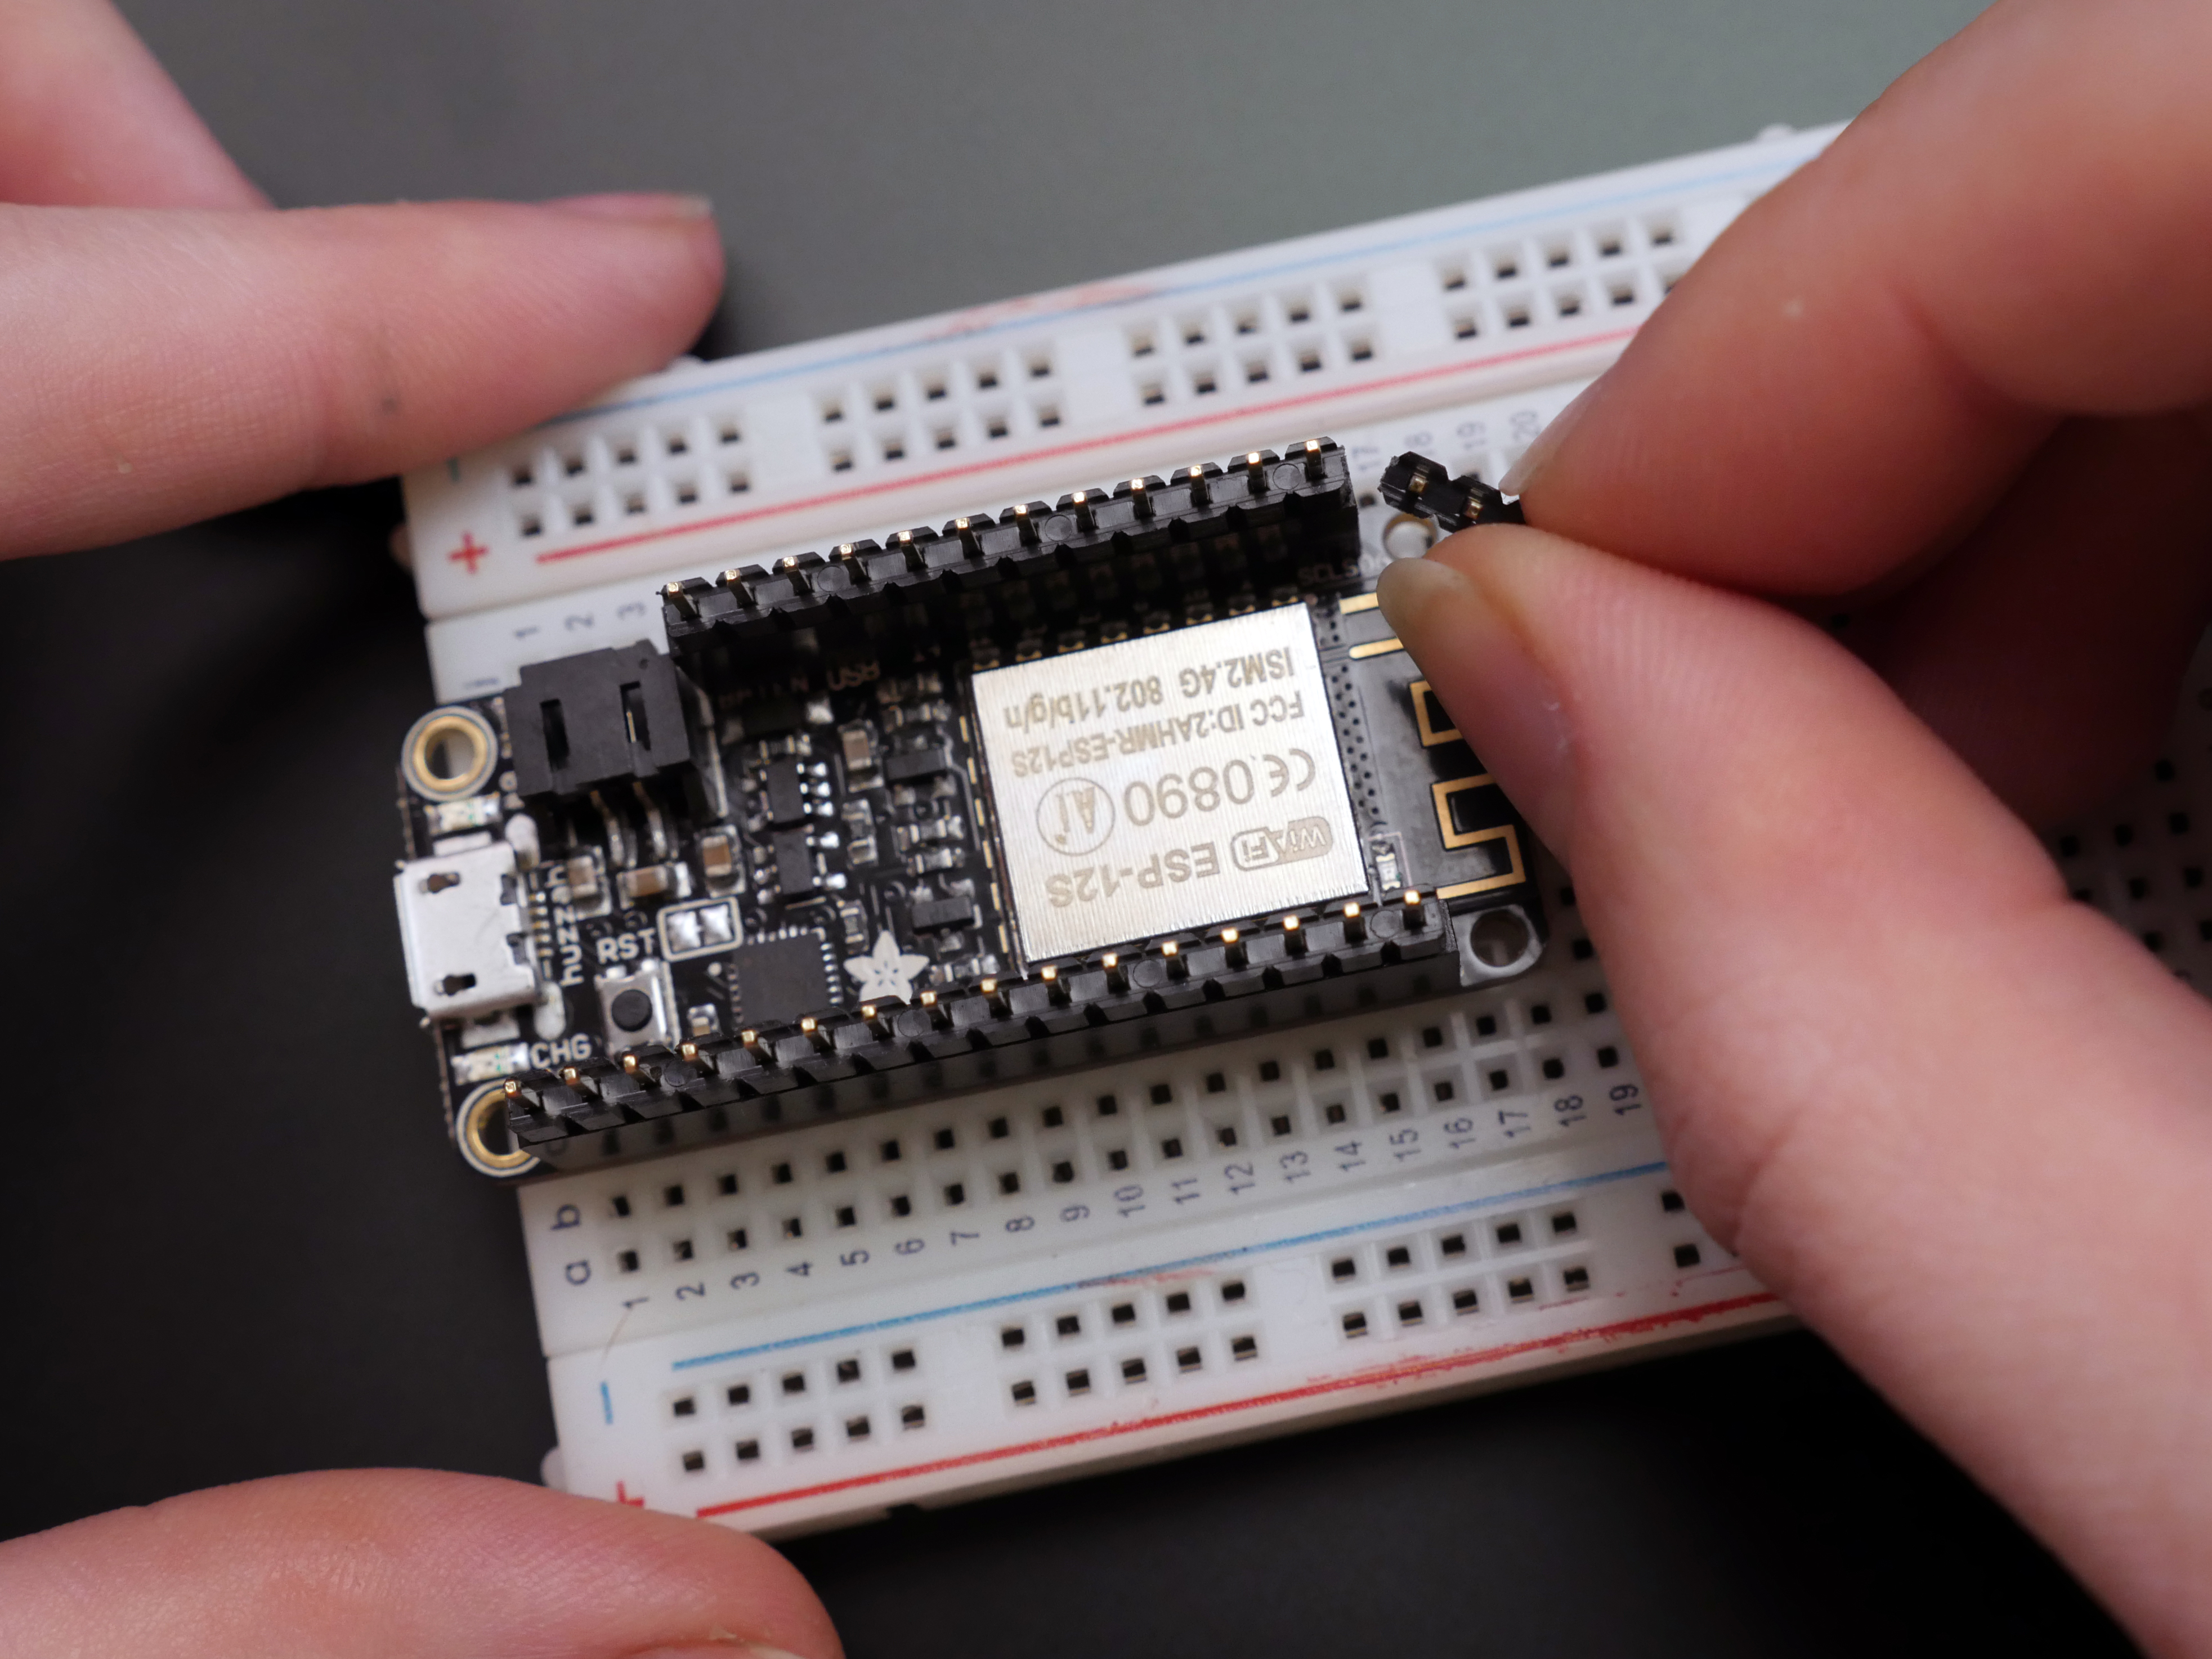
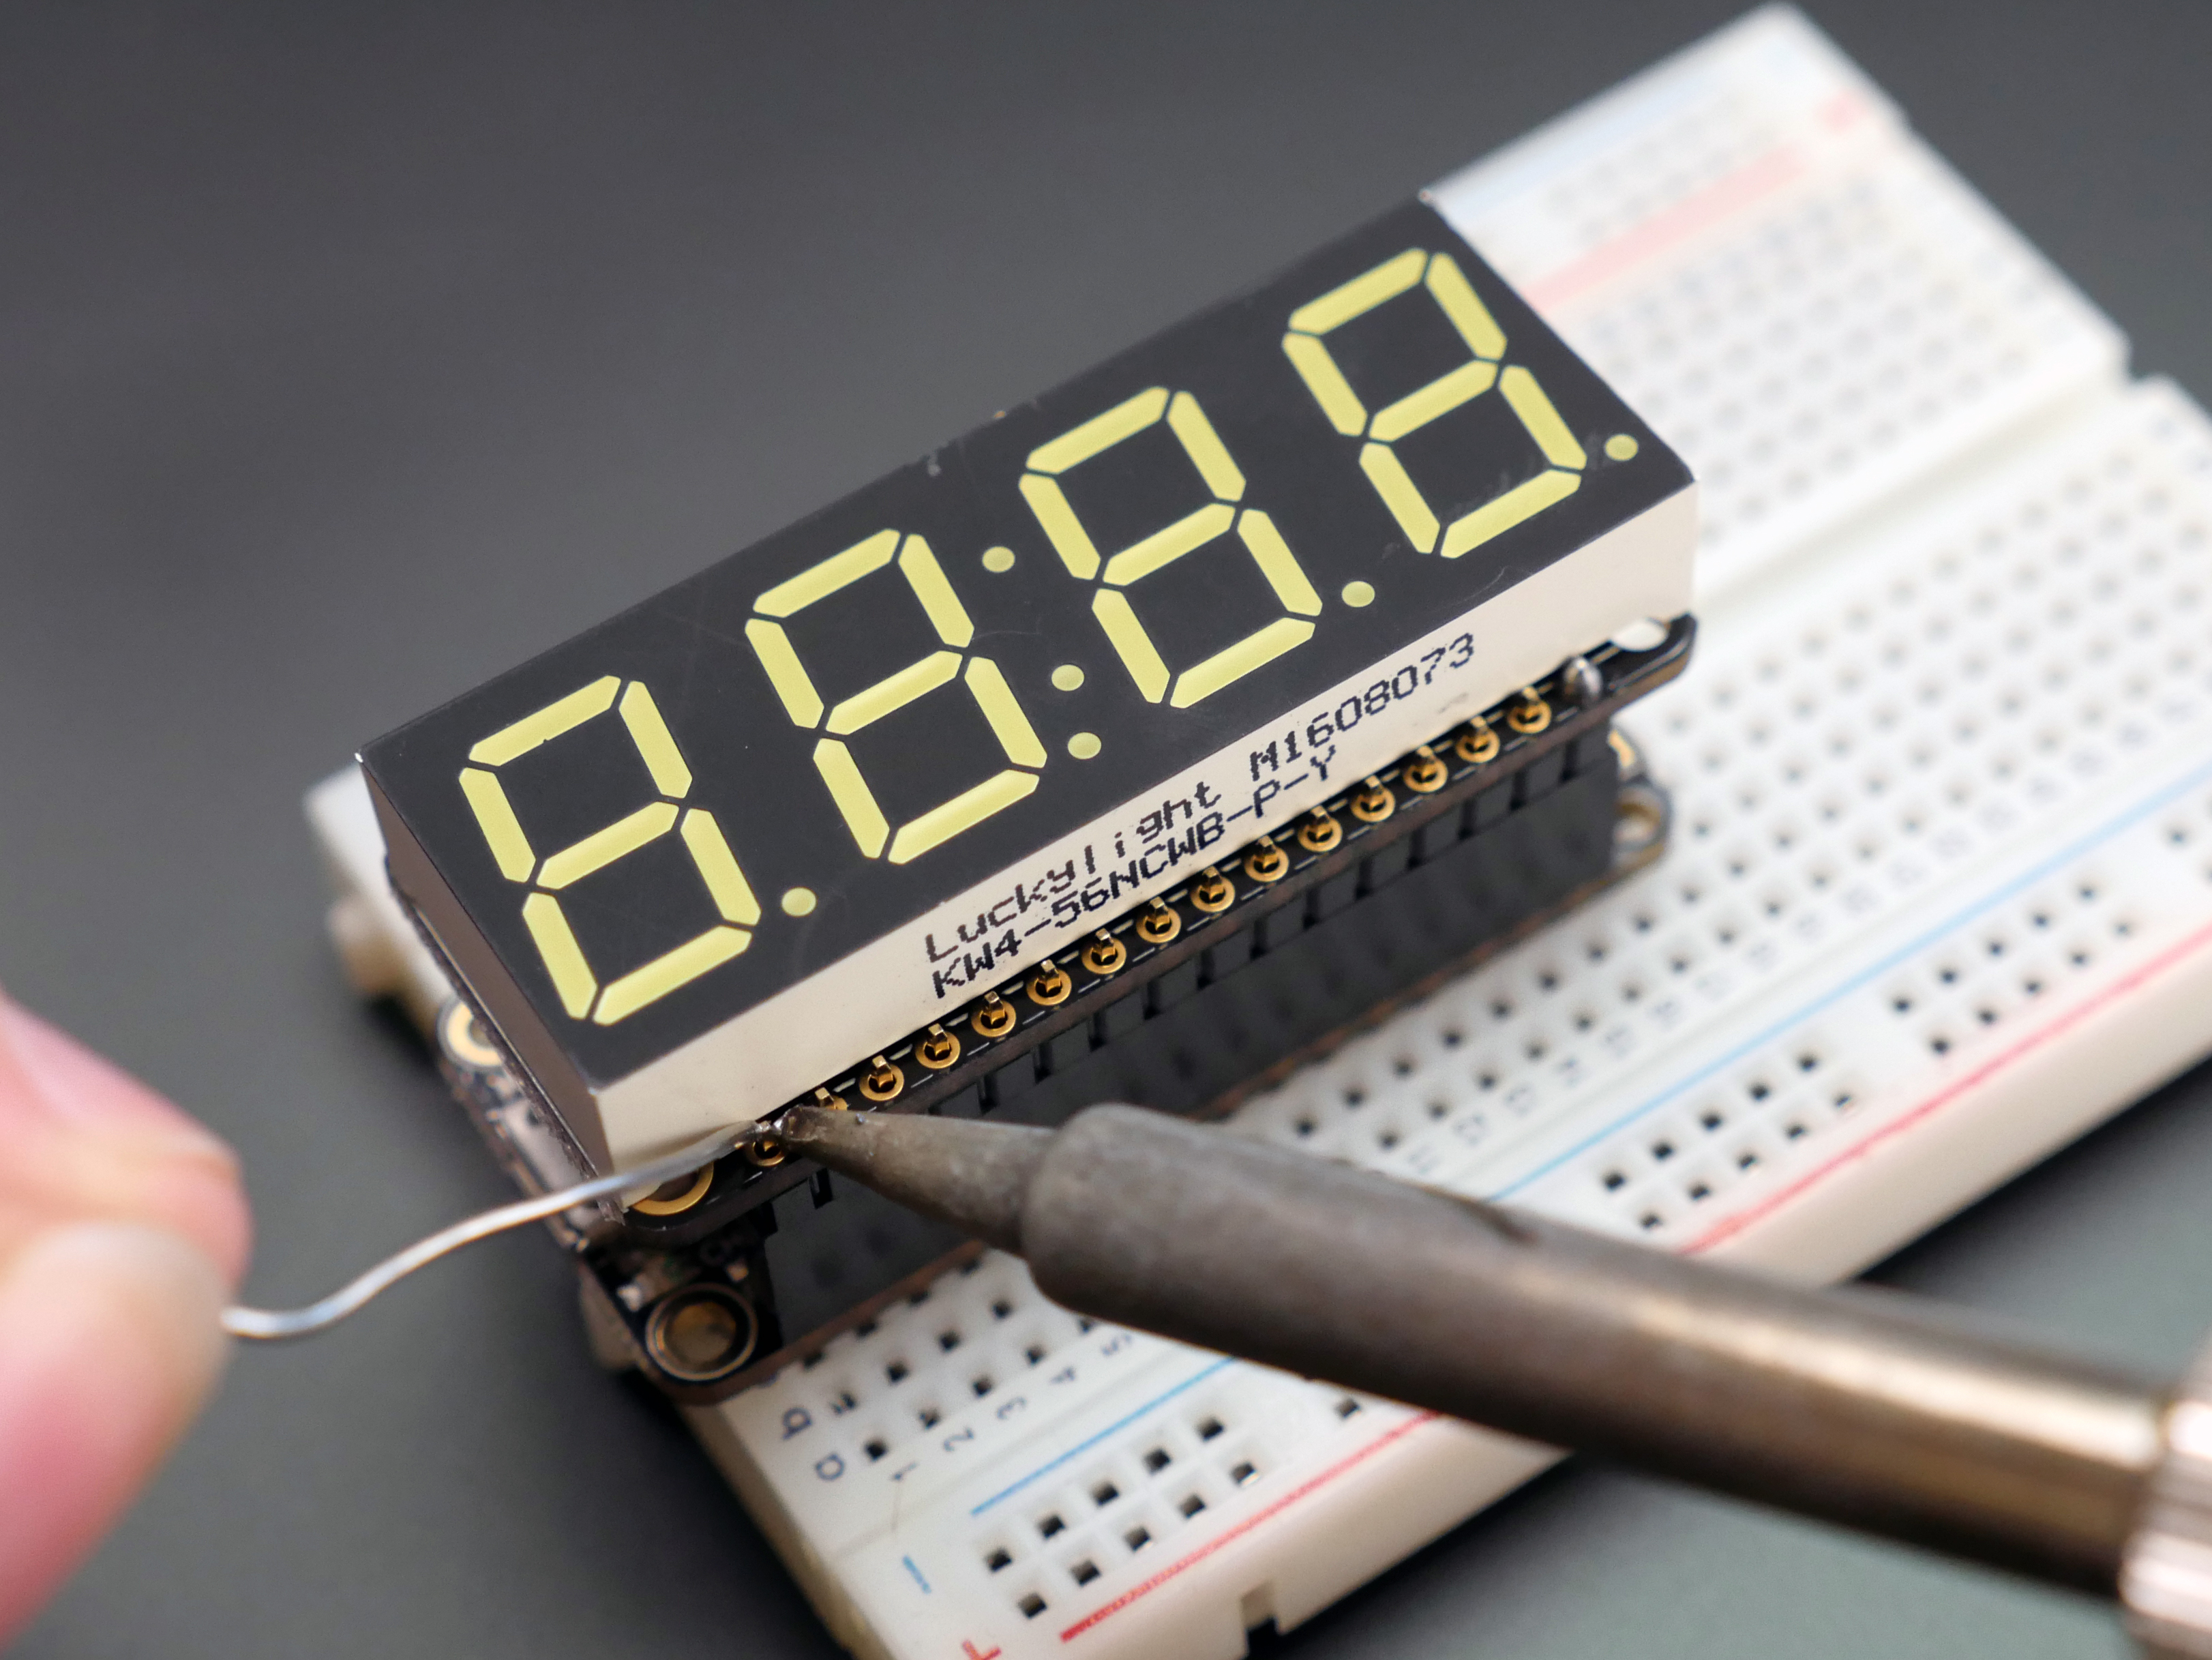
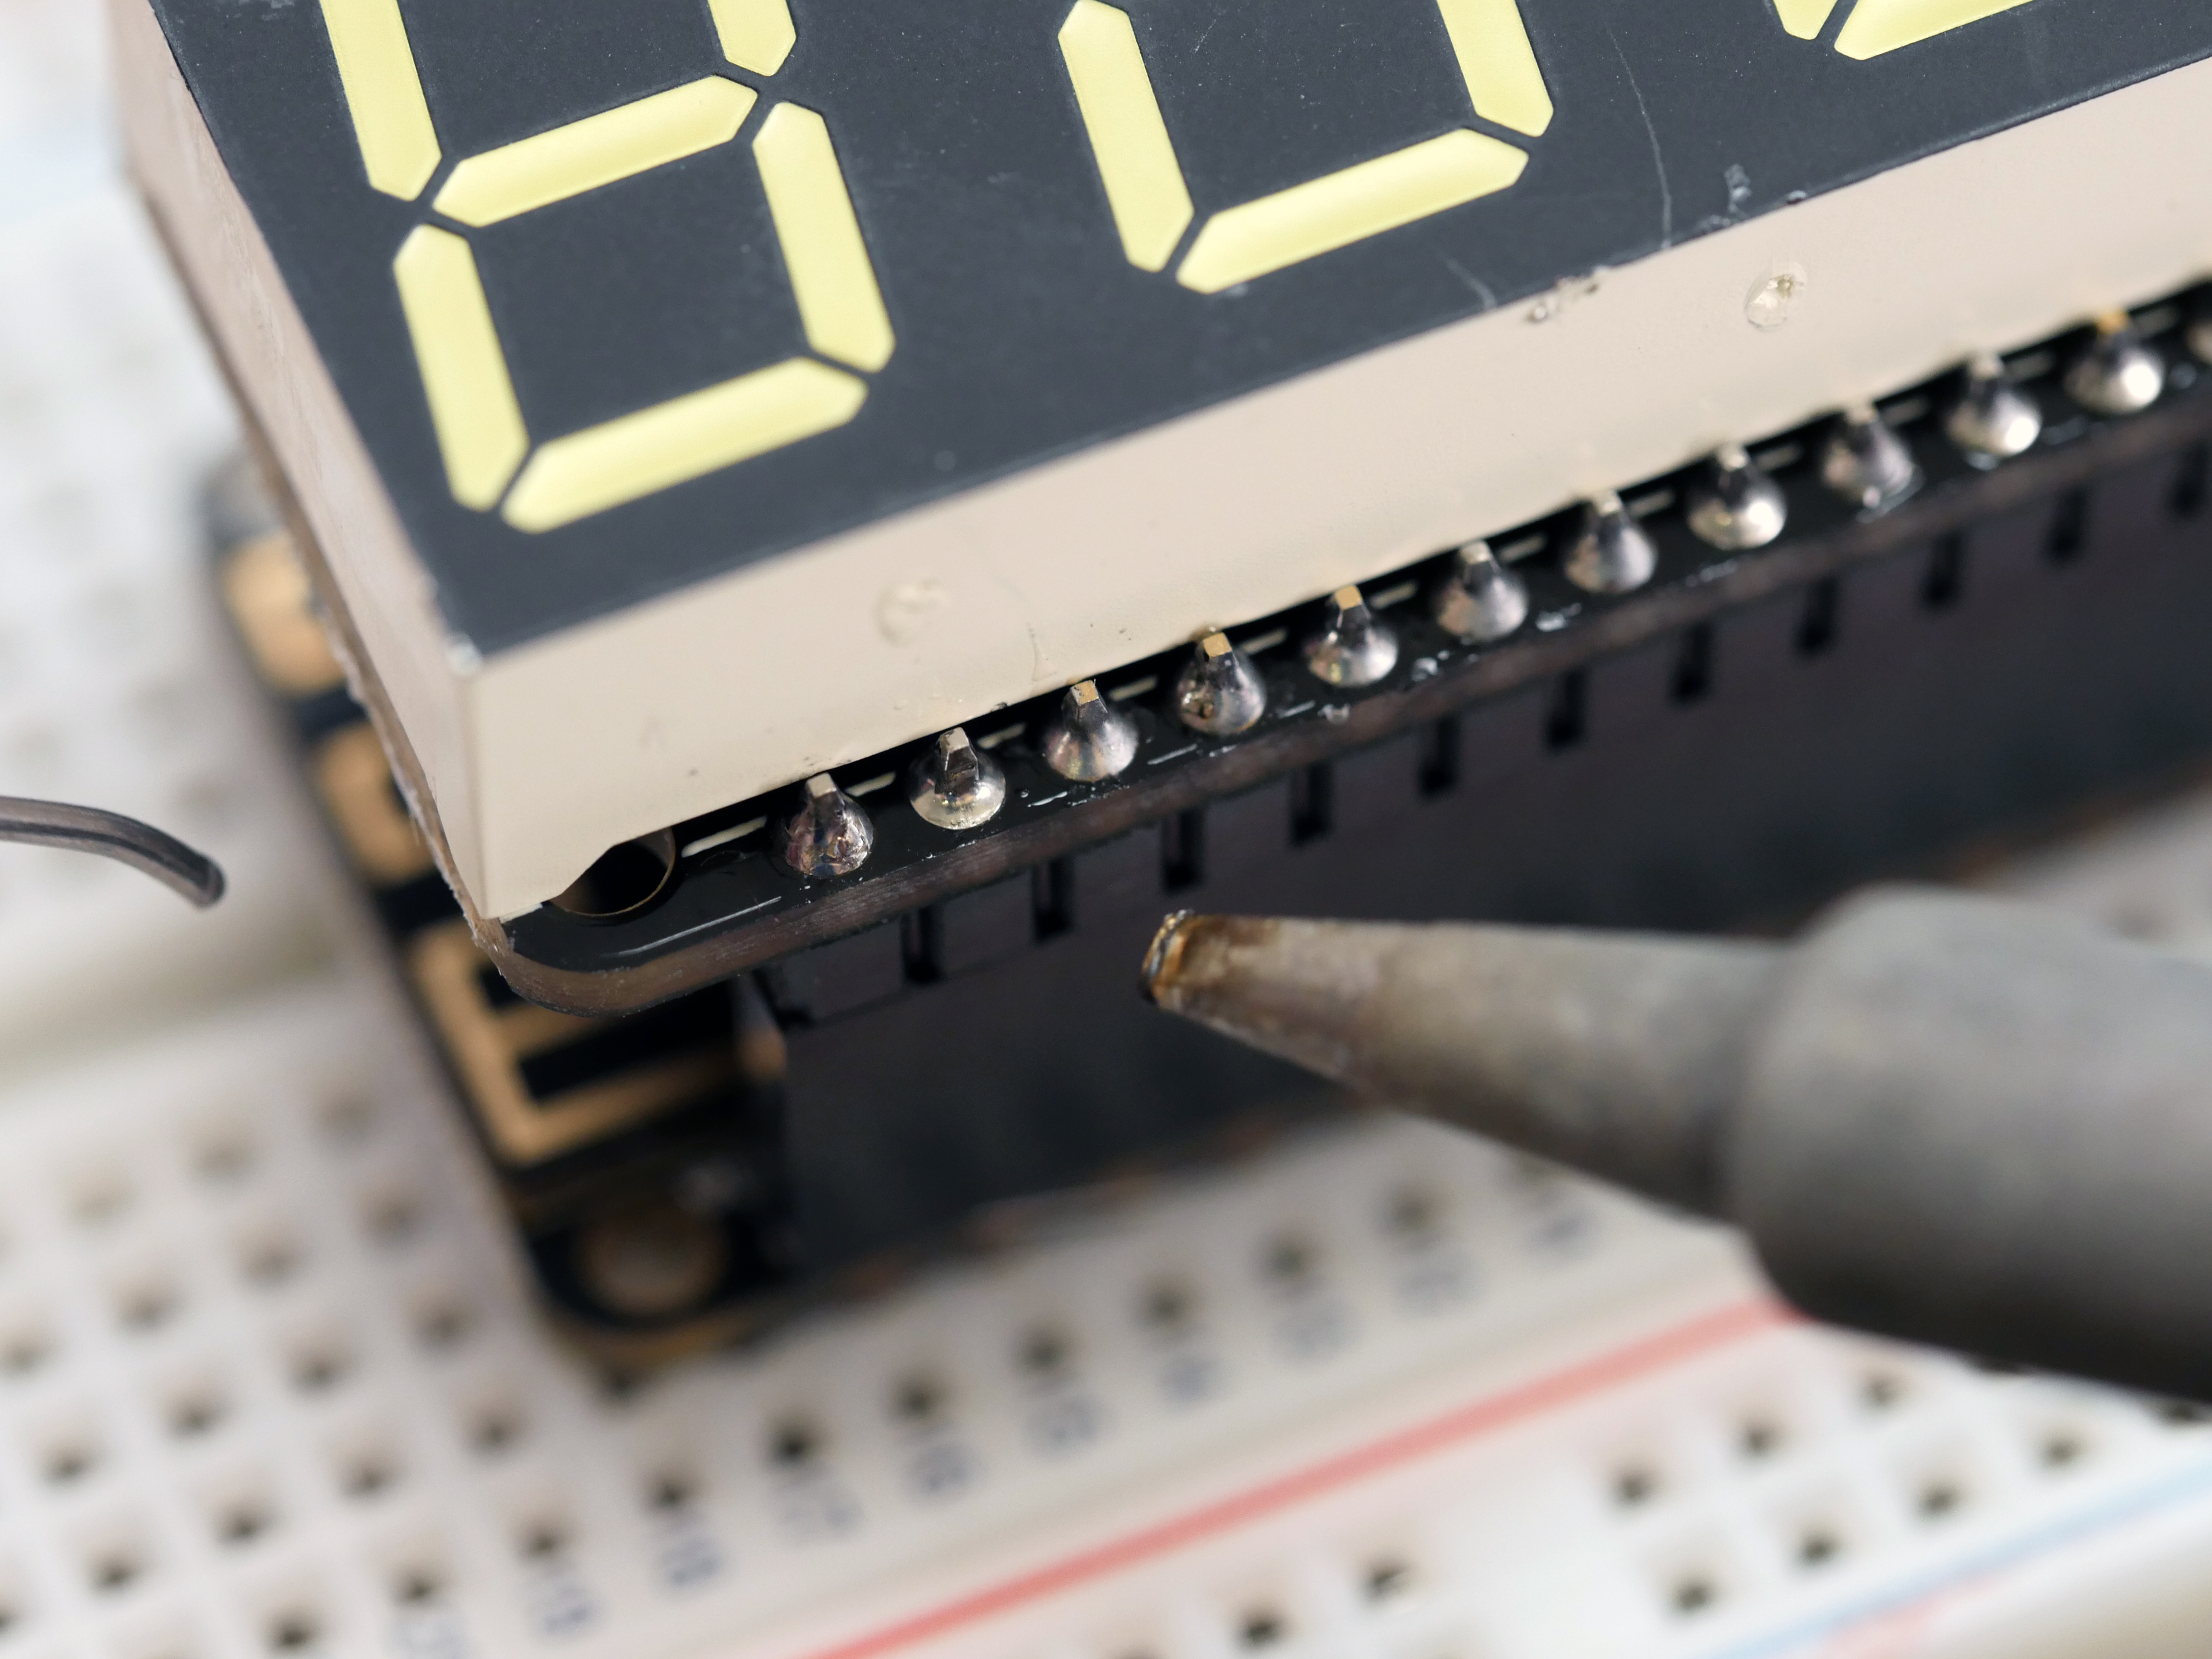
Follow the assembly instructions to solder up and test your FeatherWing seven-segment display.
Code & Circuit Diagram
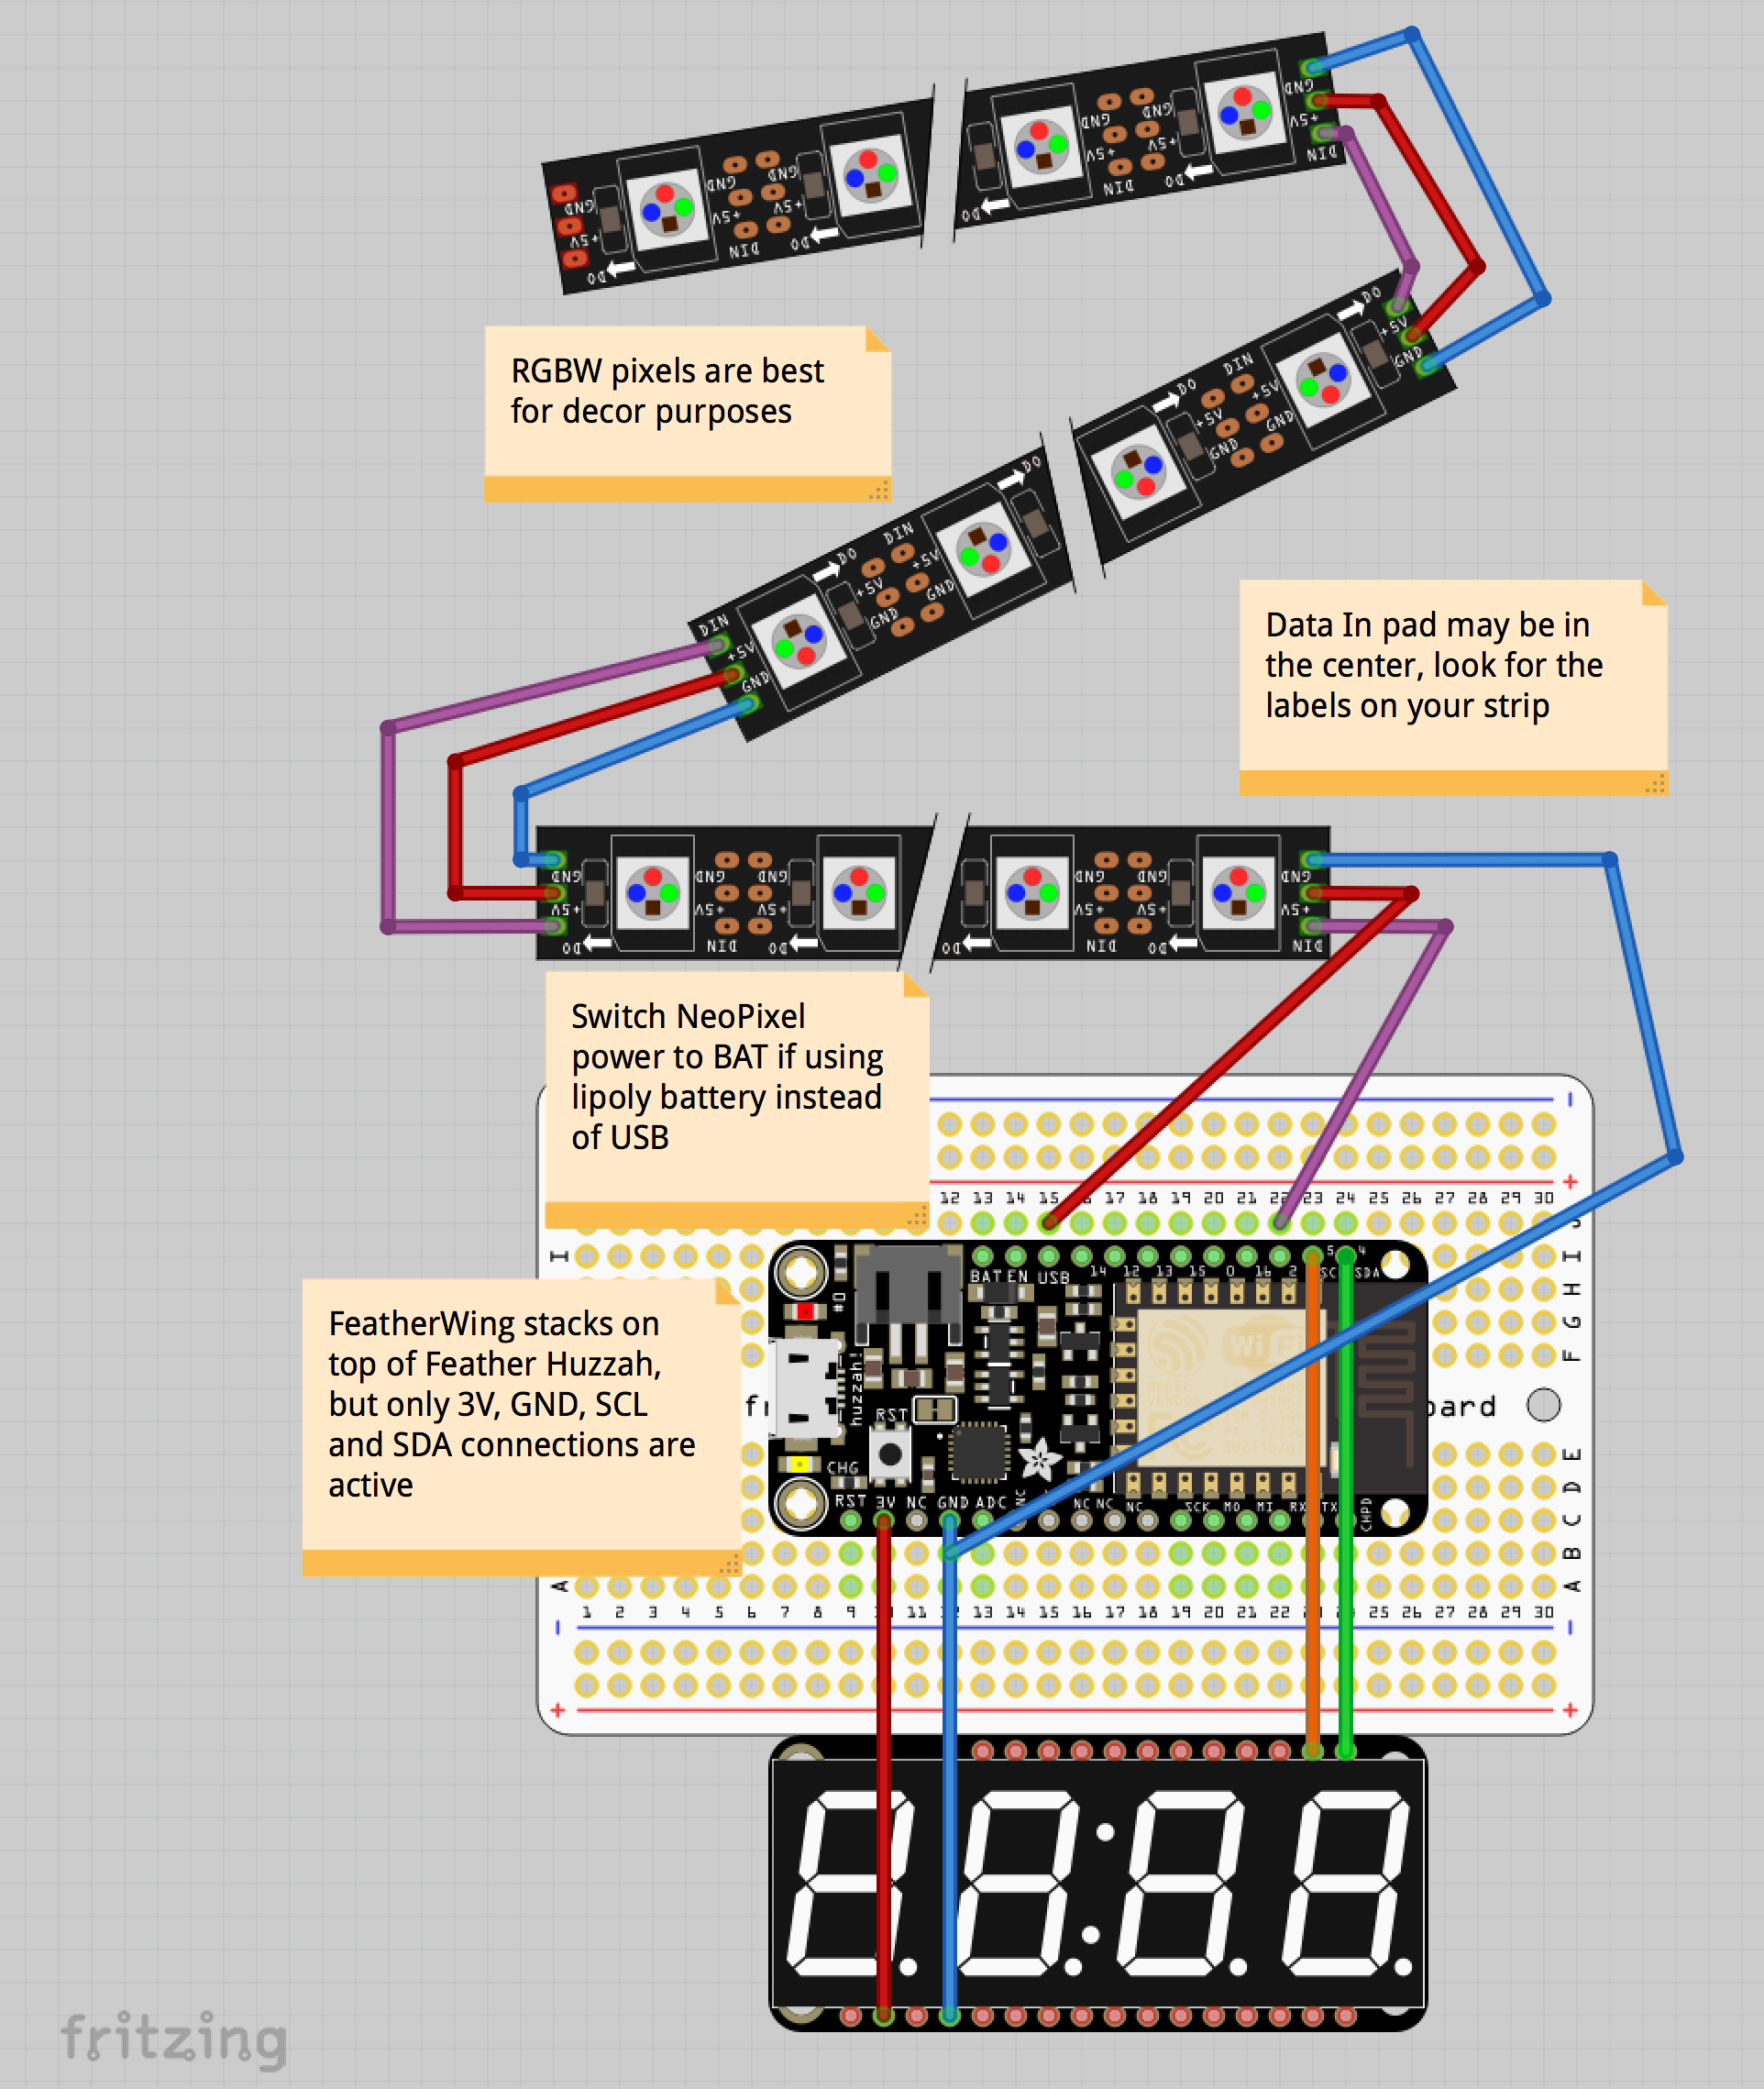
For this project, you will need the following Arduino Libraries. Easily search and install each one using the Library Manager by navigating to Sketch->Include Library->Manage Libraries... or download from Github and install the old fashioned way:
- Adafruit GFX (for the 7-segment display)
- Adafruit NeoPixel (for the addressable RGBW WS2812b LEDs)
- Adafruit IO Arduino (for interfacing with the feeds and data on the cloud data service)
- Adafruit MQTT (to support the data protocol used by Adafruit IO)
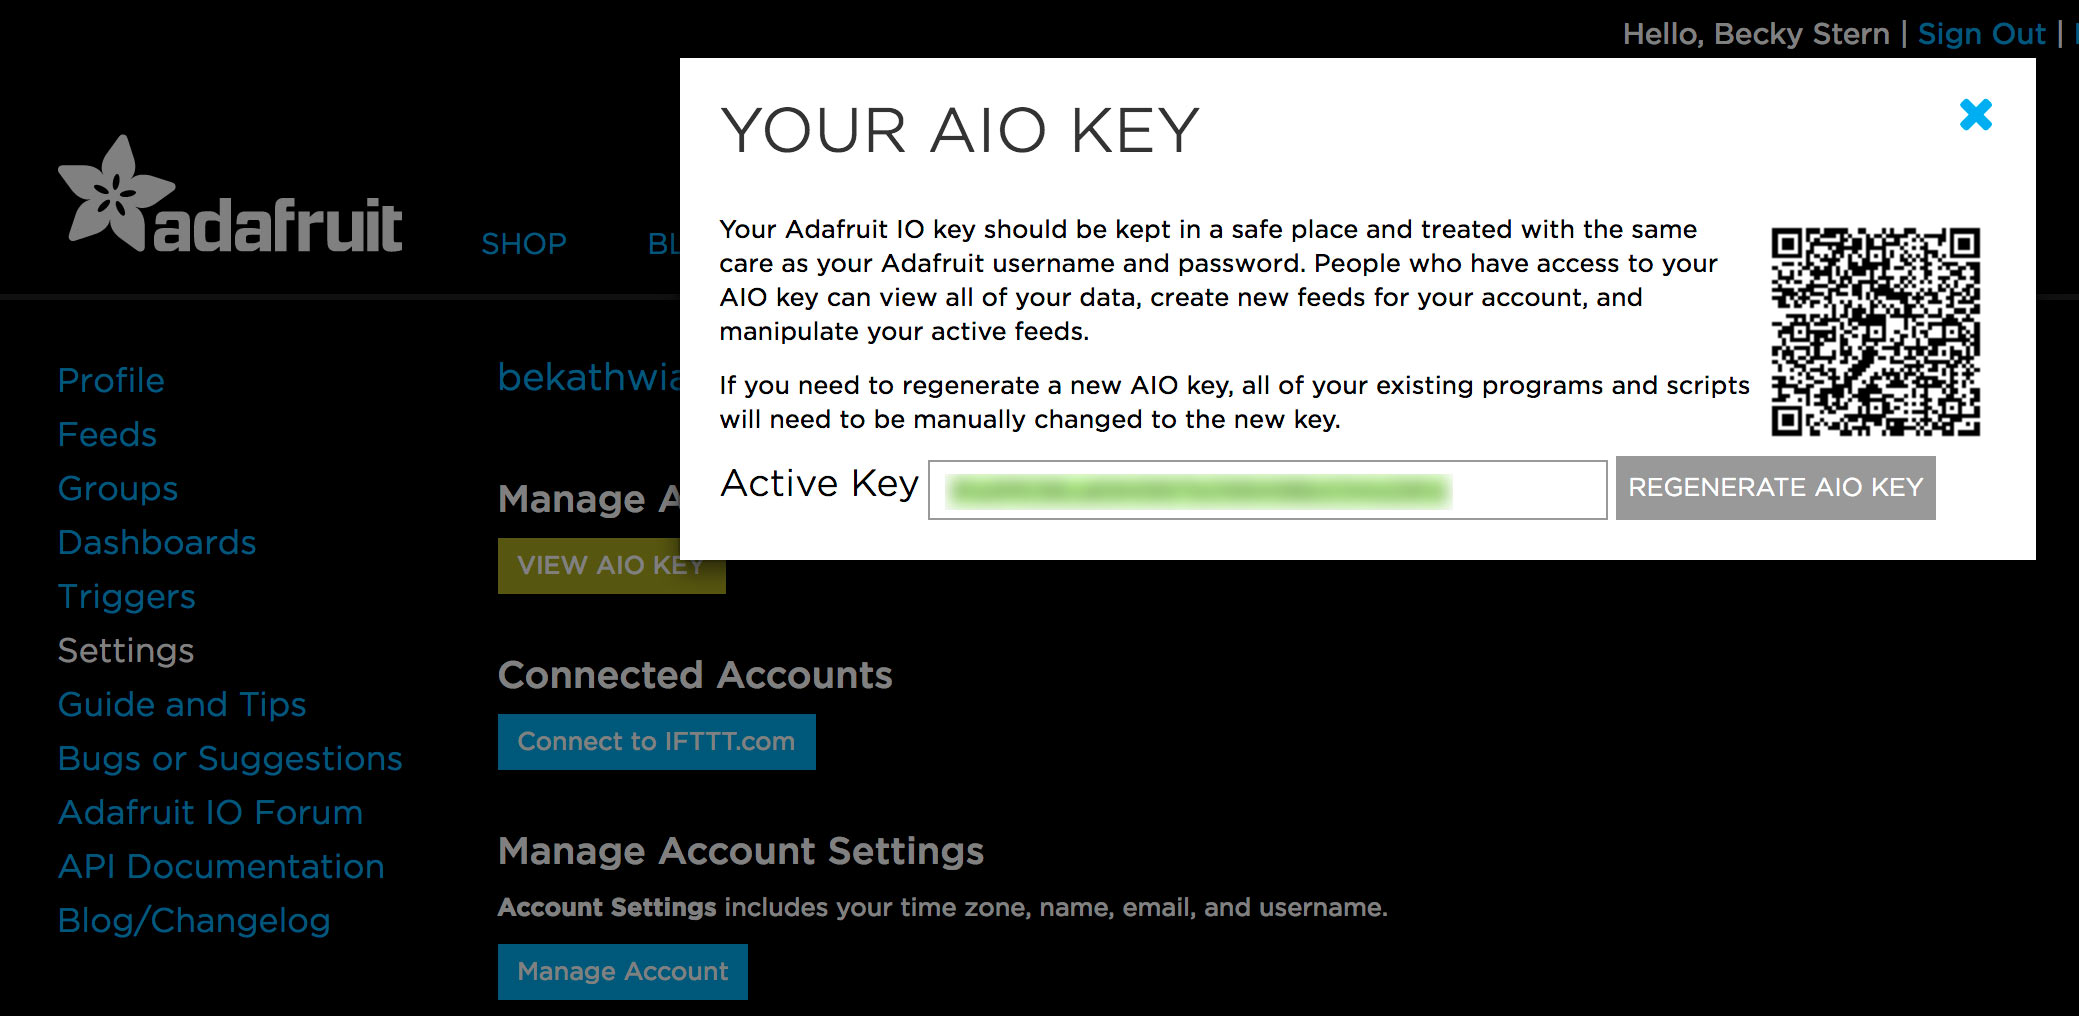
Download the code attached to this step and open the file "weatherdisplay_example.ino" in the Arduino IDE. Navigate to the config.h tab in the editor and customize to your own personal data:
- SSID (Network name)
- Wifi password
- Adafruit IO username
- Adafruit IO key
Upload the customized code to your board. You may want to prototype your circuit on a solderless breadboard, or use female headers on your NeoPixel wires to plug them directly to the long header pins on the Feather. You can build the circuit now or after the next few configuration steps, your choice.
Downloads
Temperature Data Feed
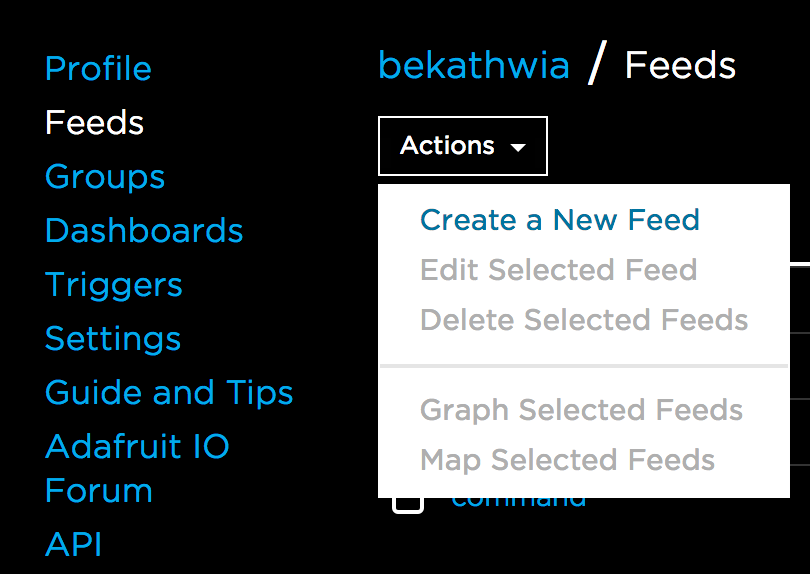
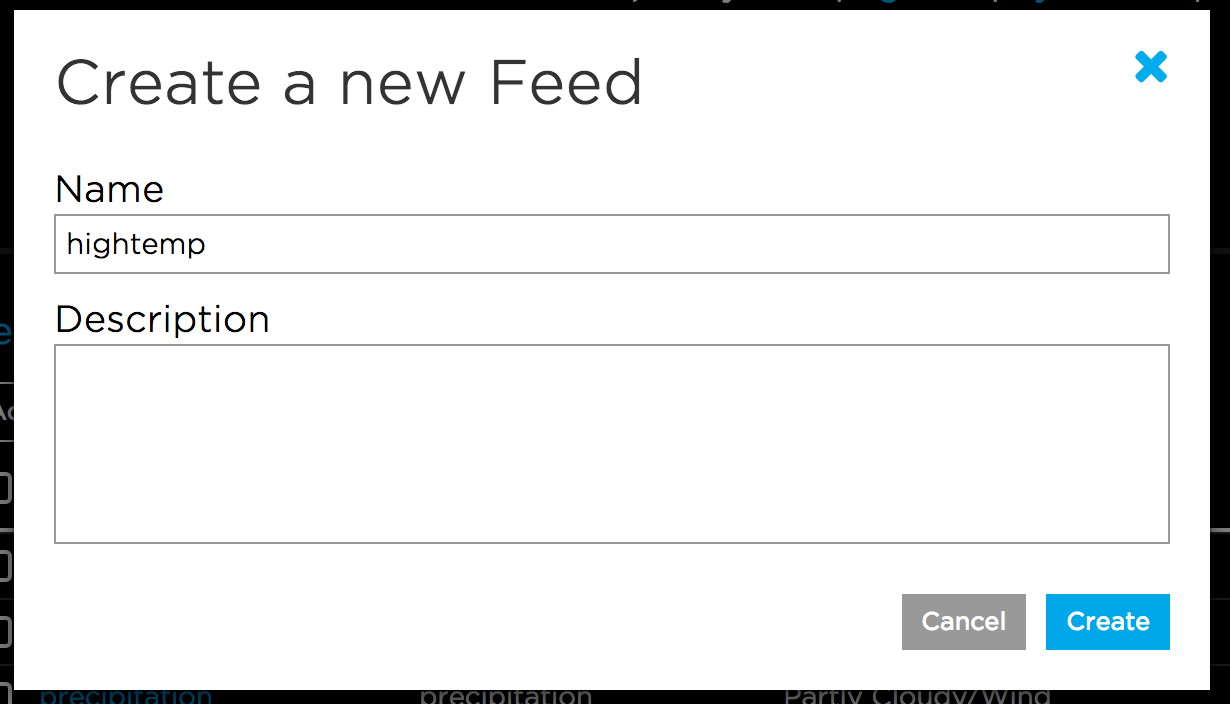

Log in to Adafruit IO and create a new feed called "hightemp".
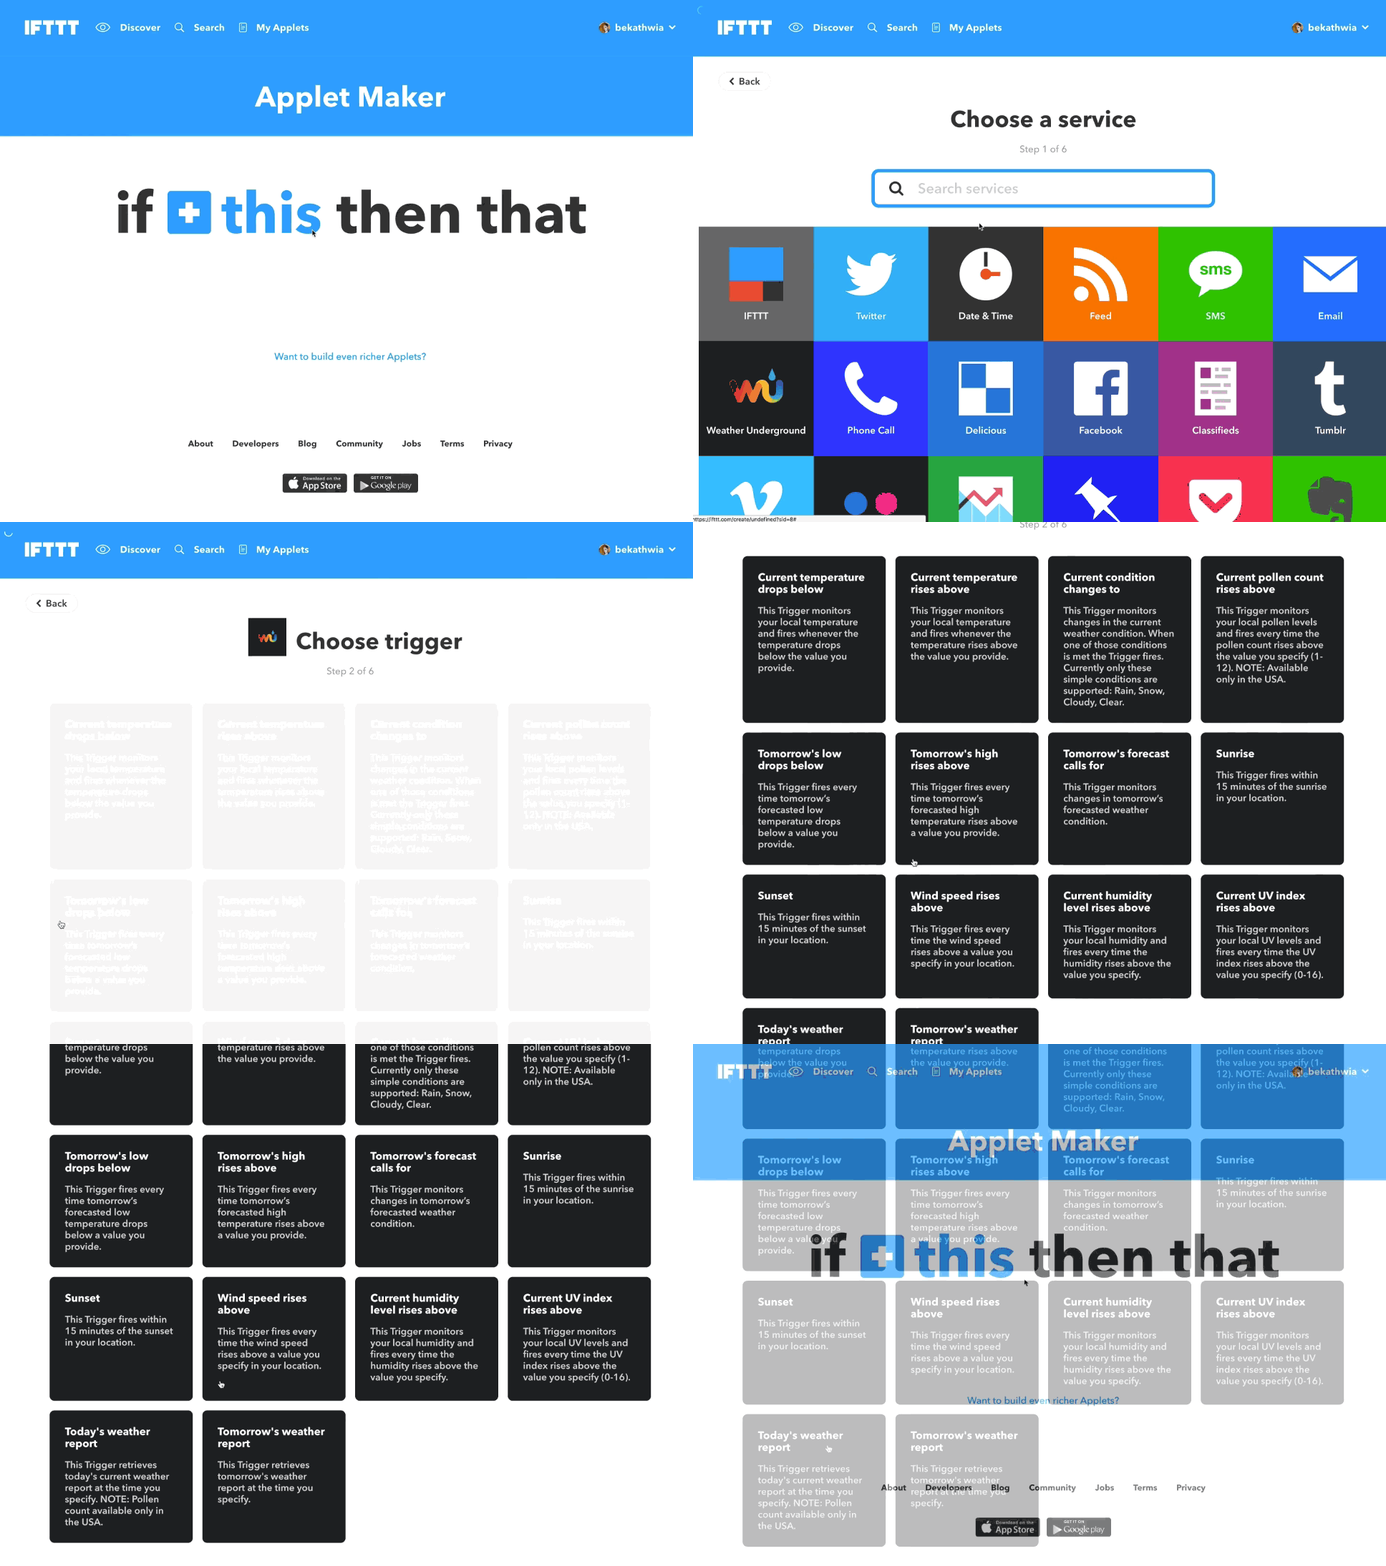
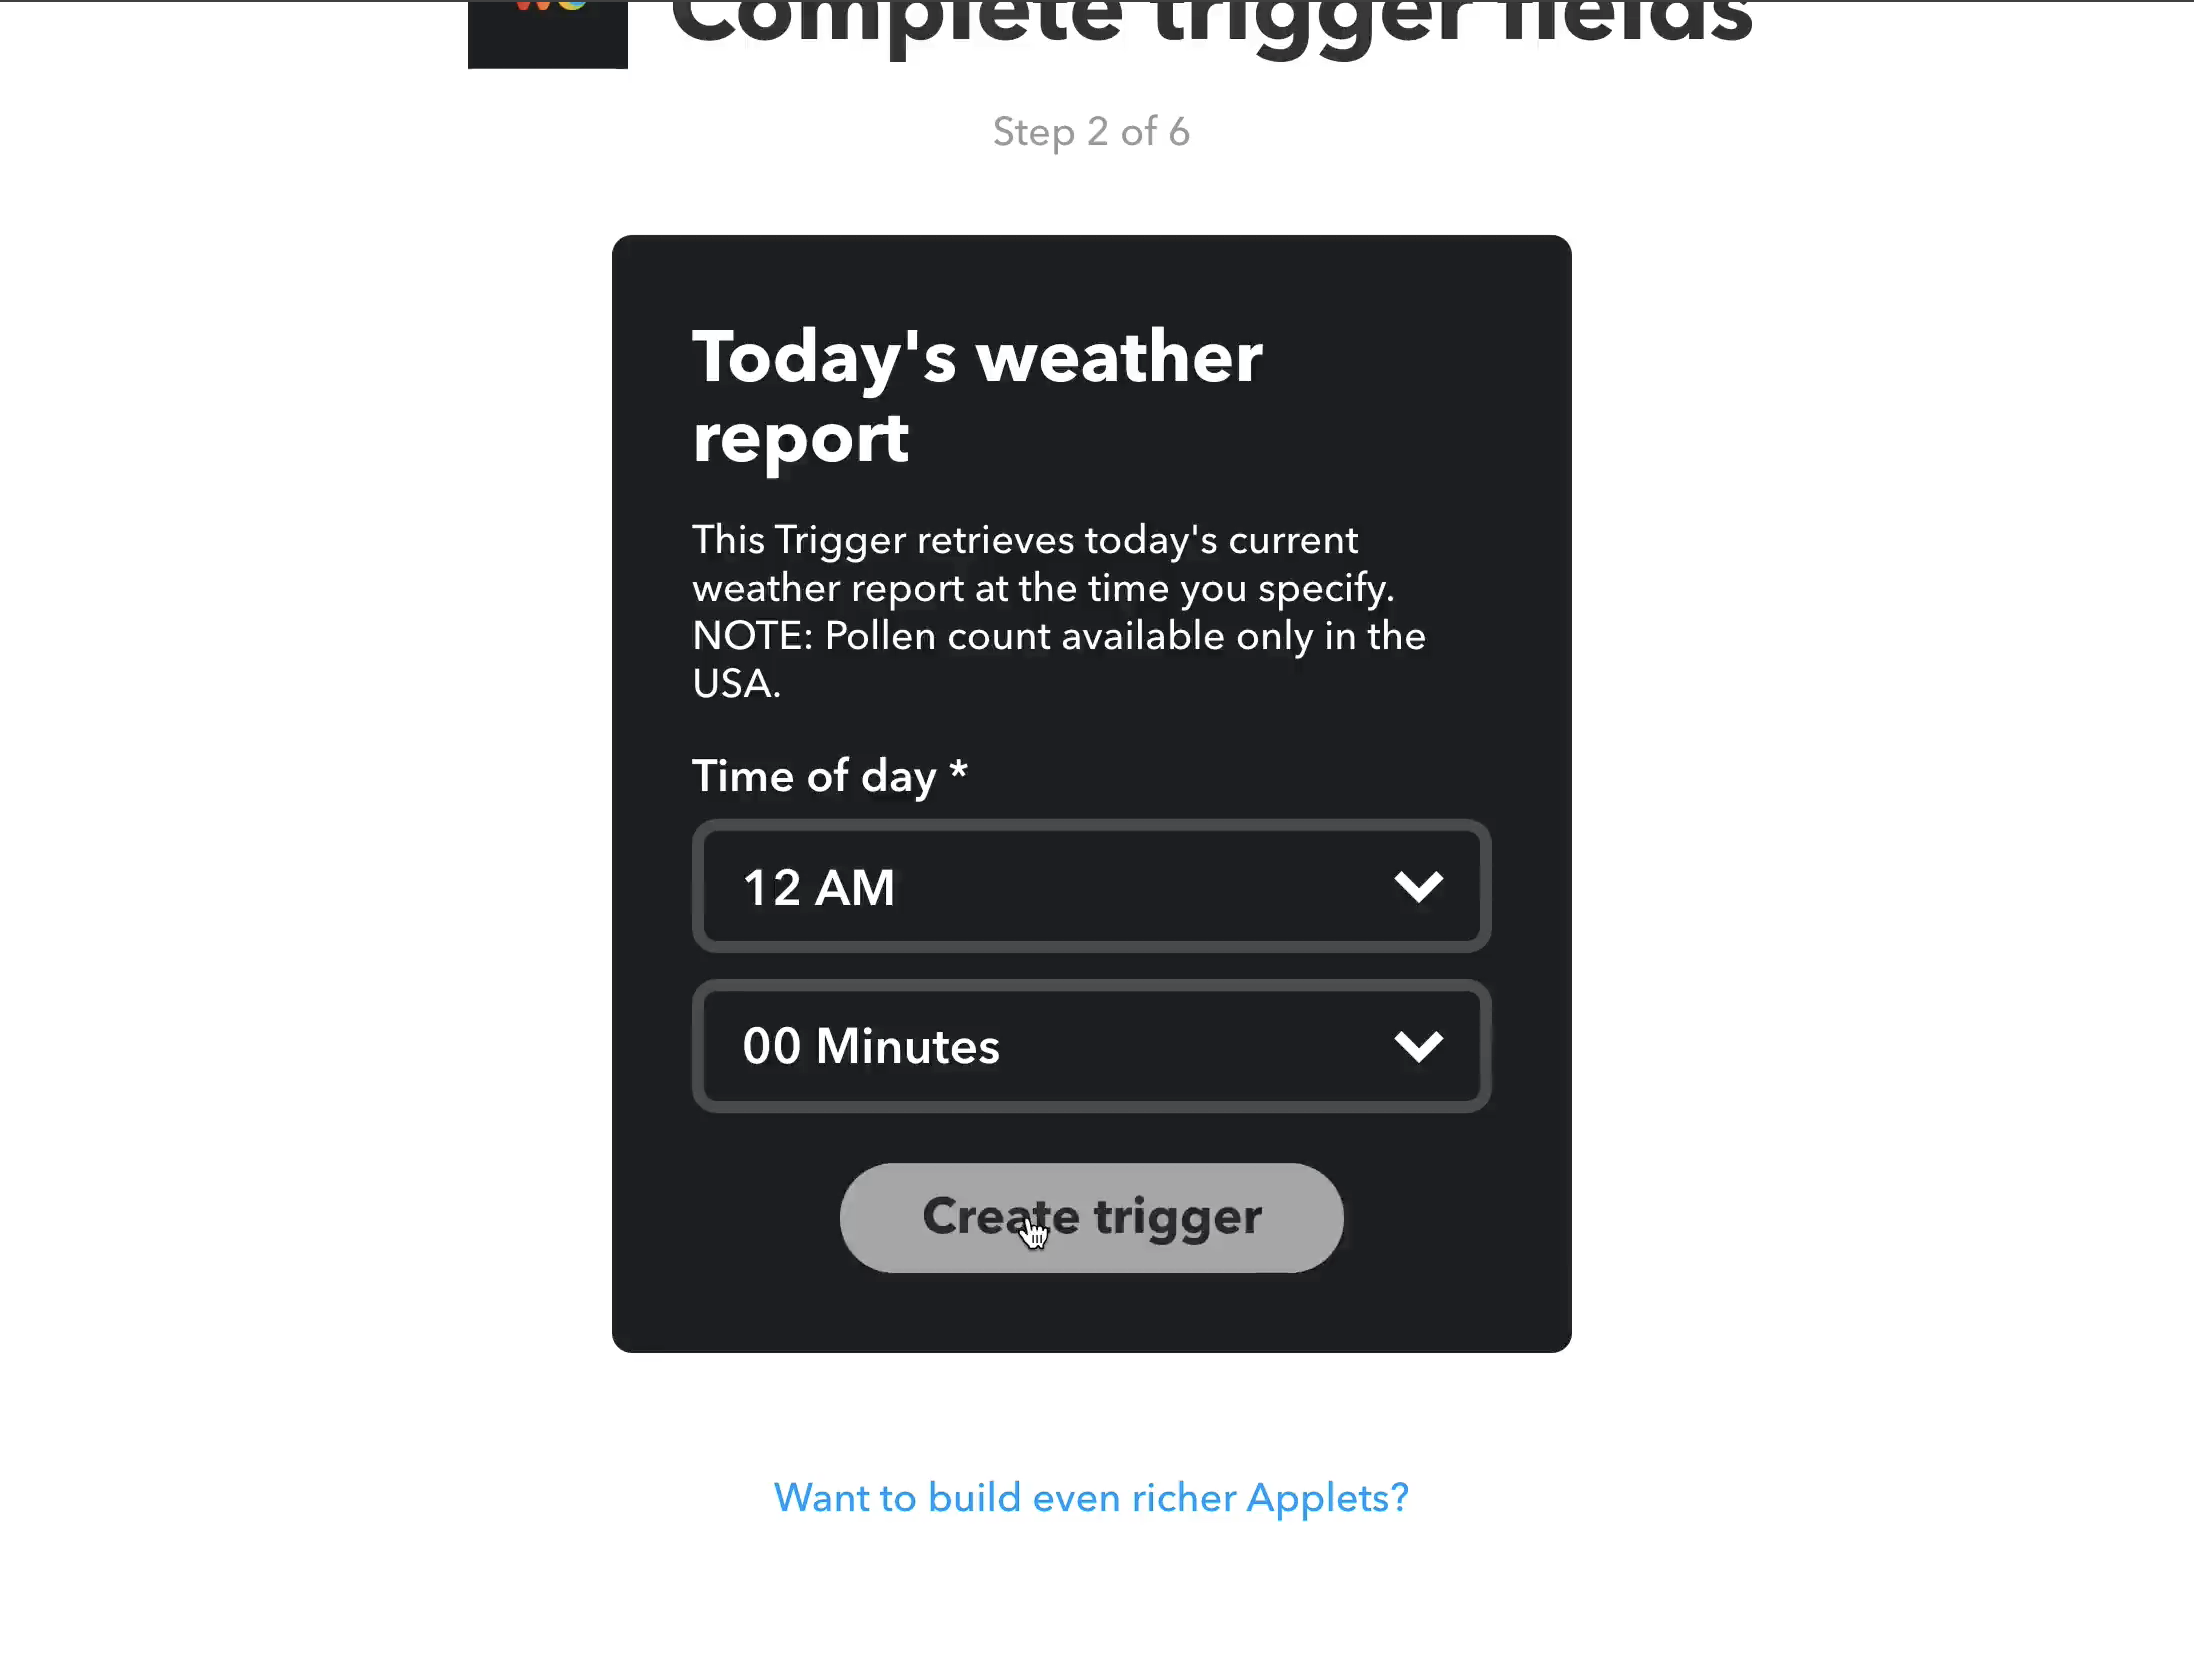
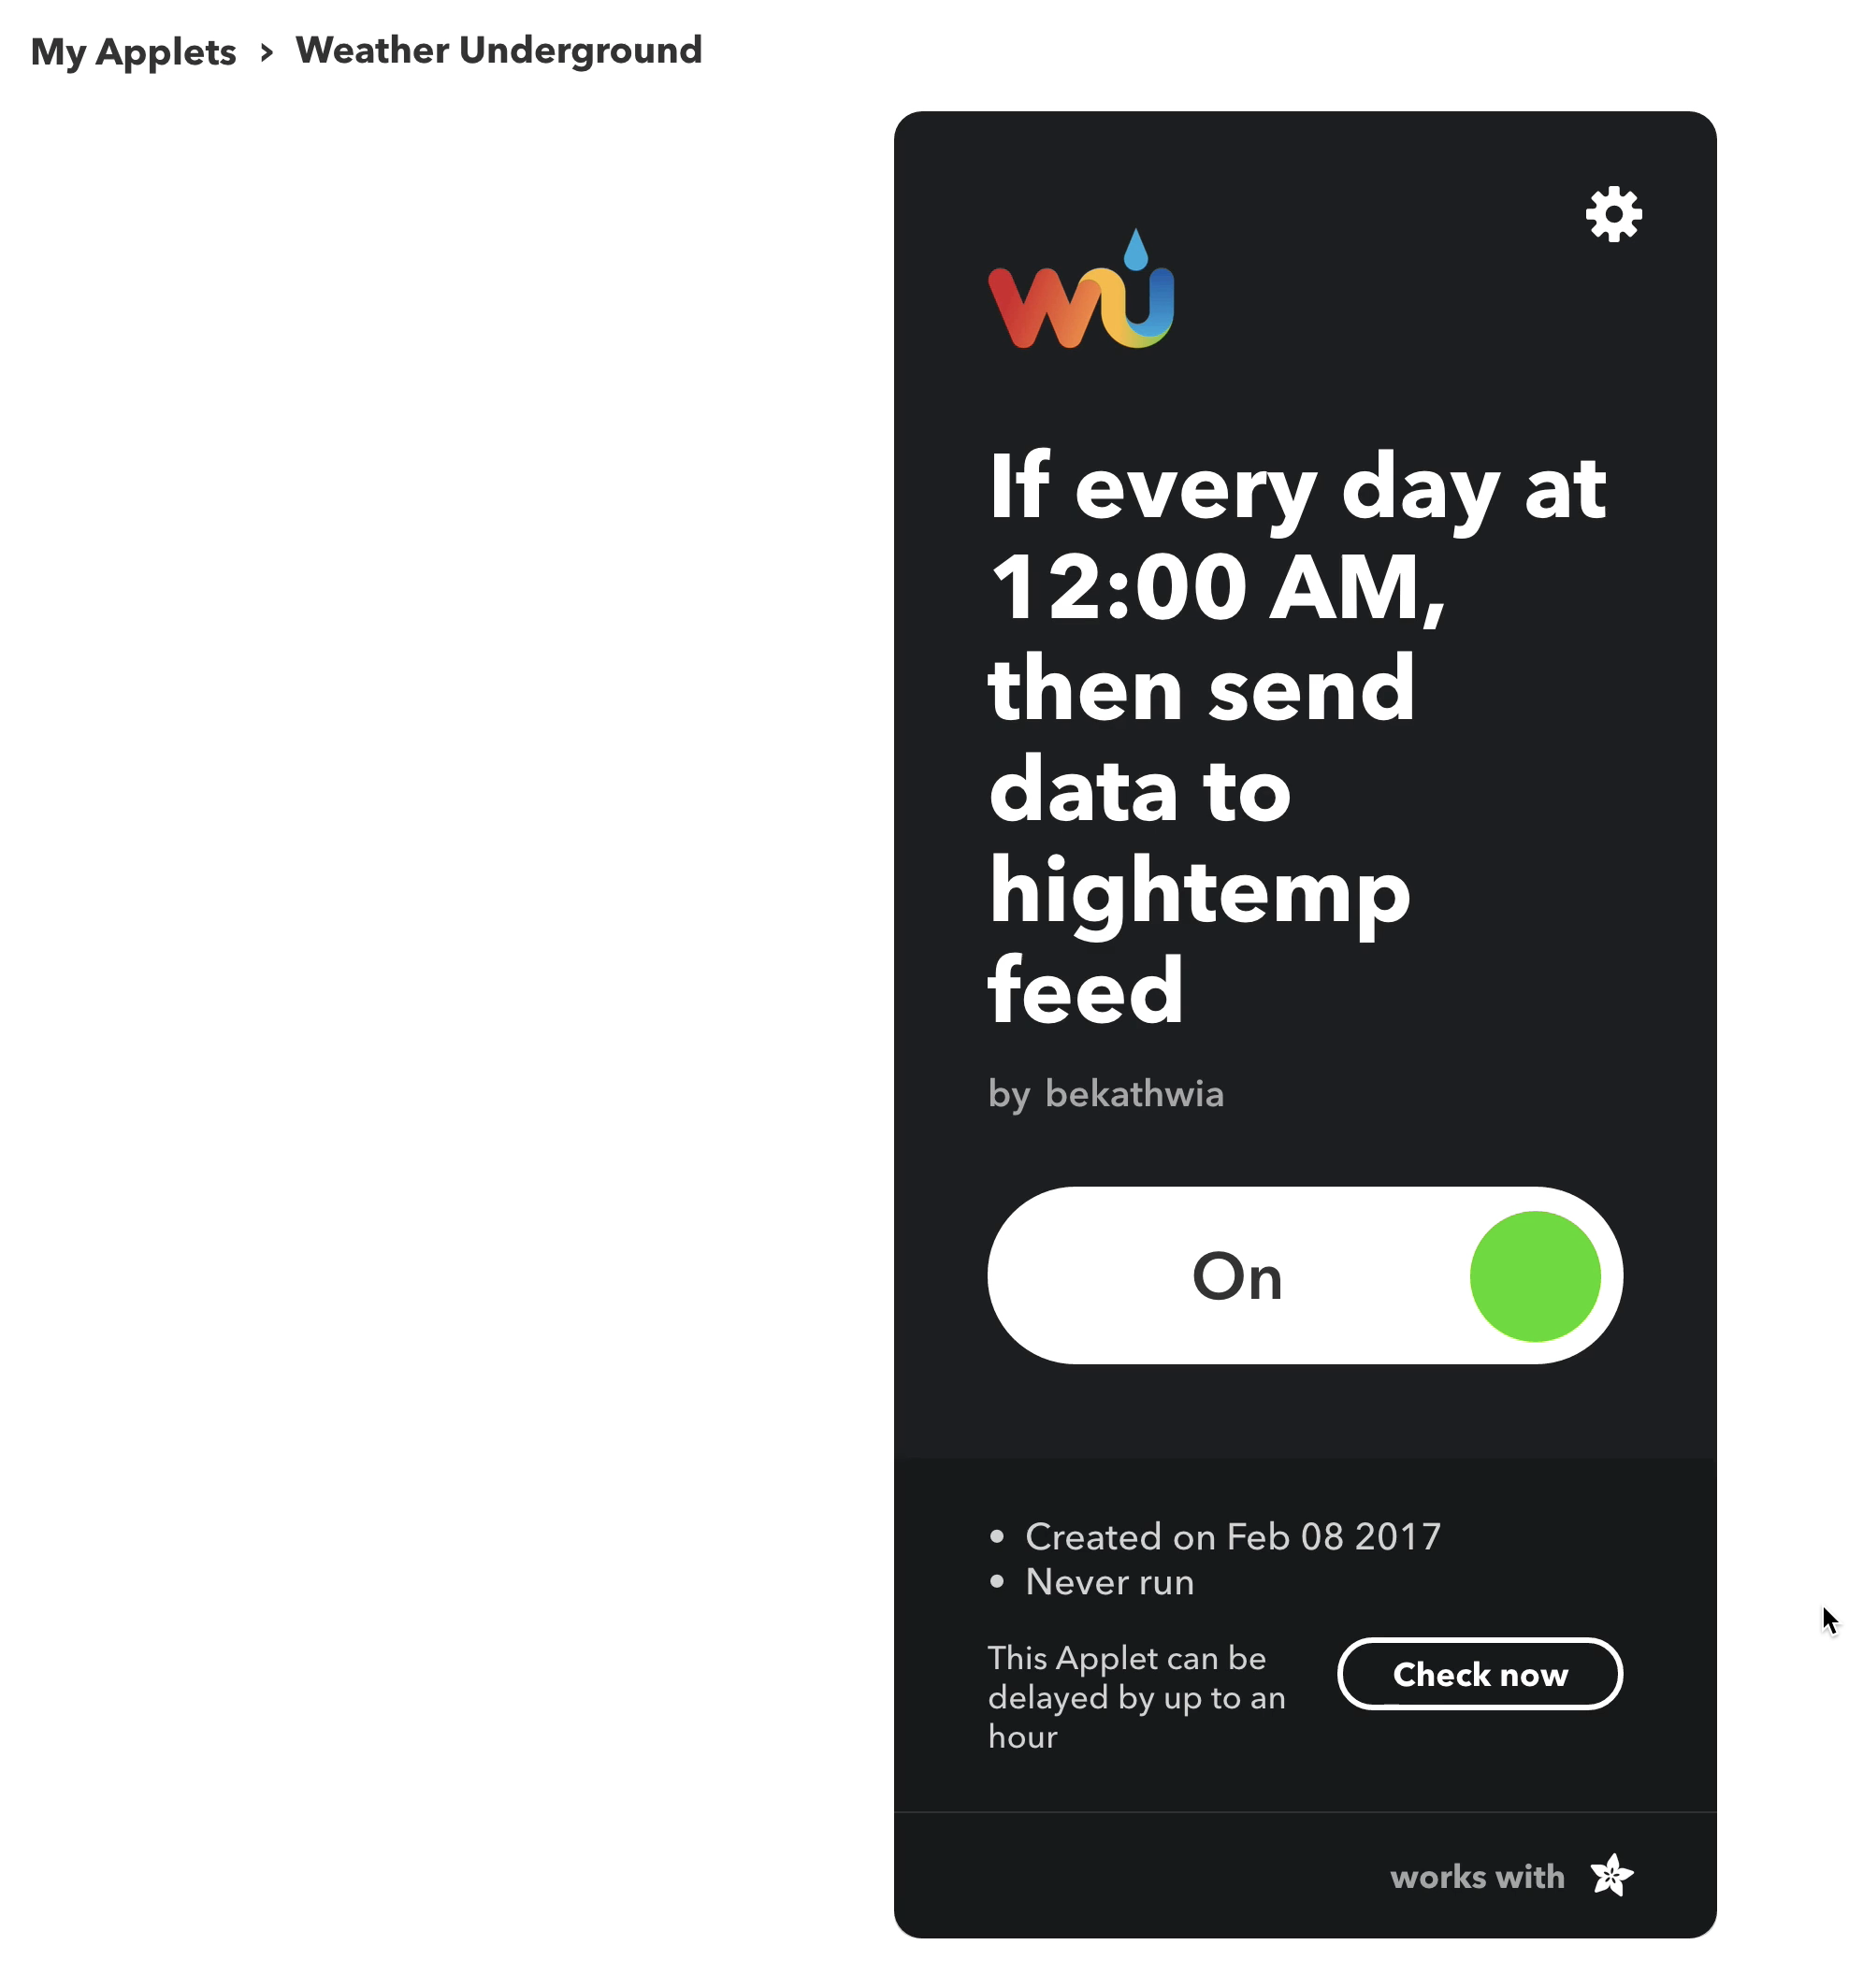
Log in to IFTTT.com and create a new applet. Select Weather Underground as the trigger ("this"), and configure it to retrieve today's weather report at a particular time each day.
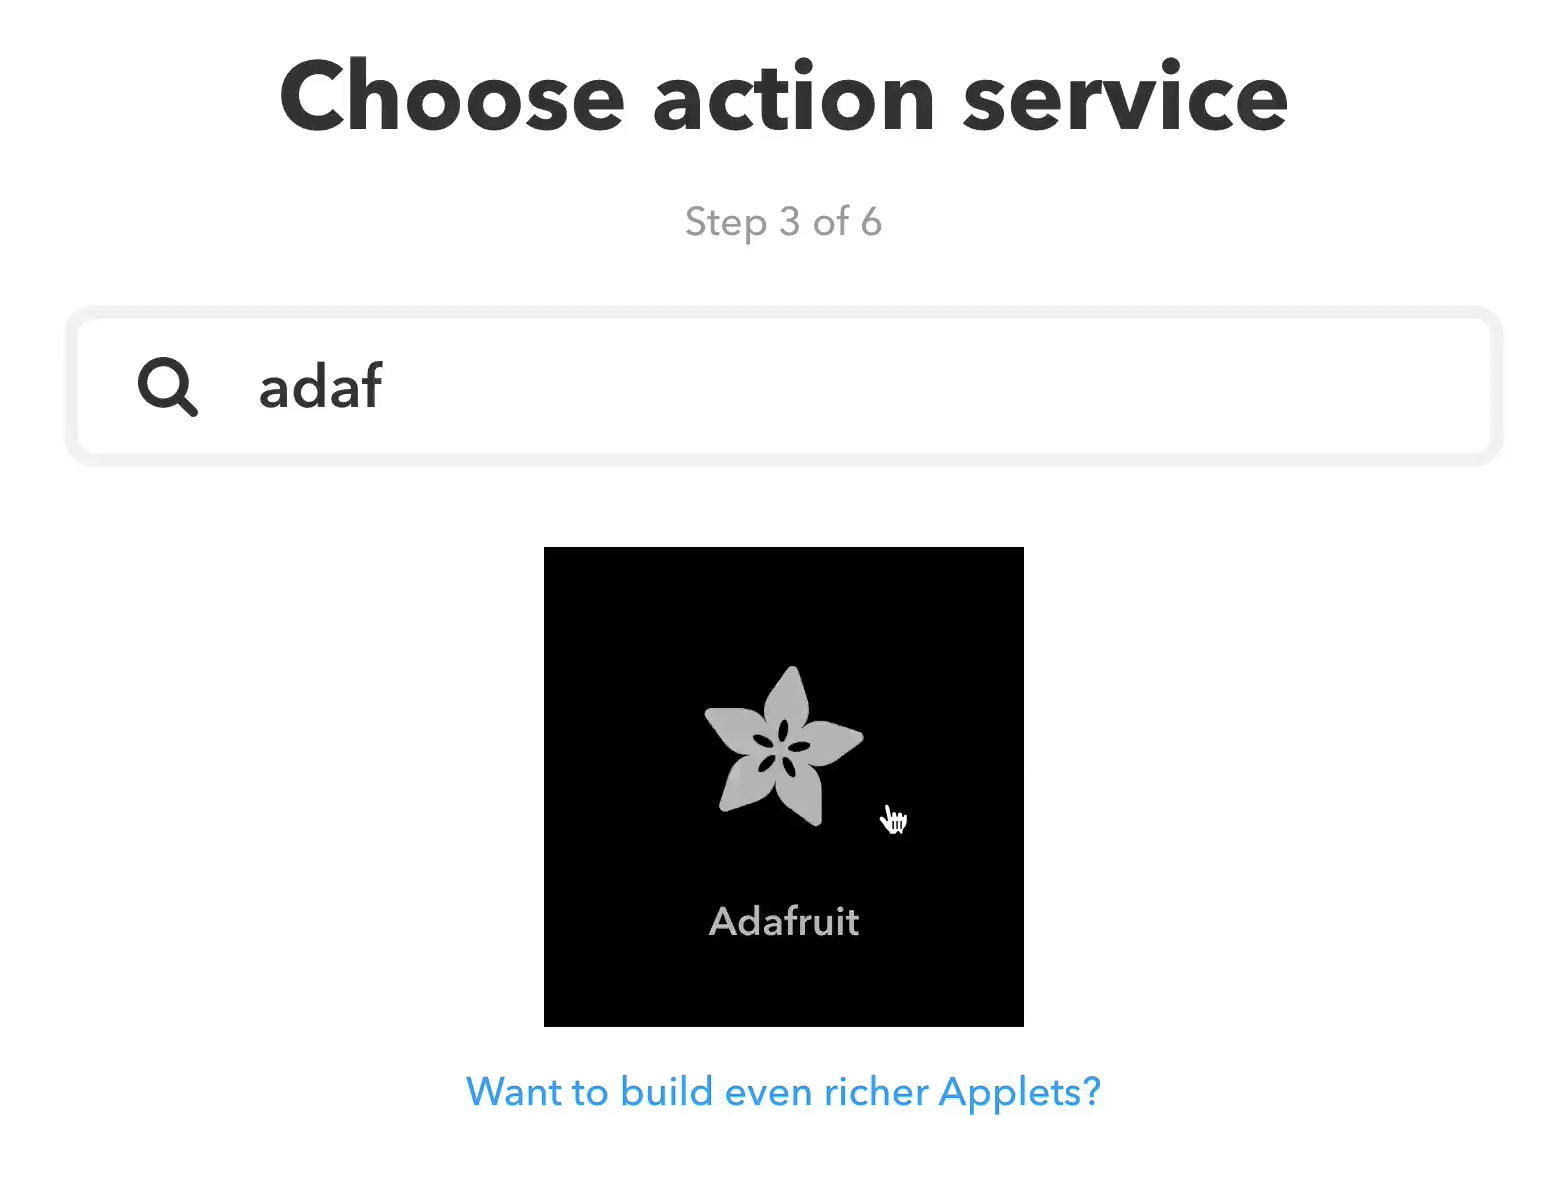
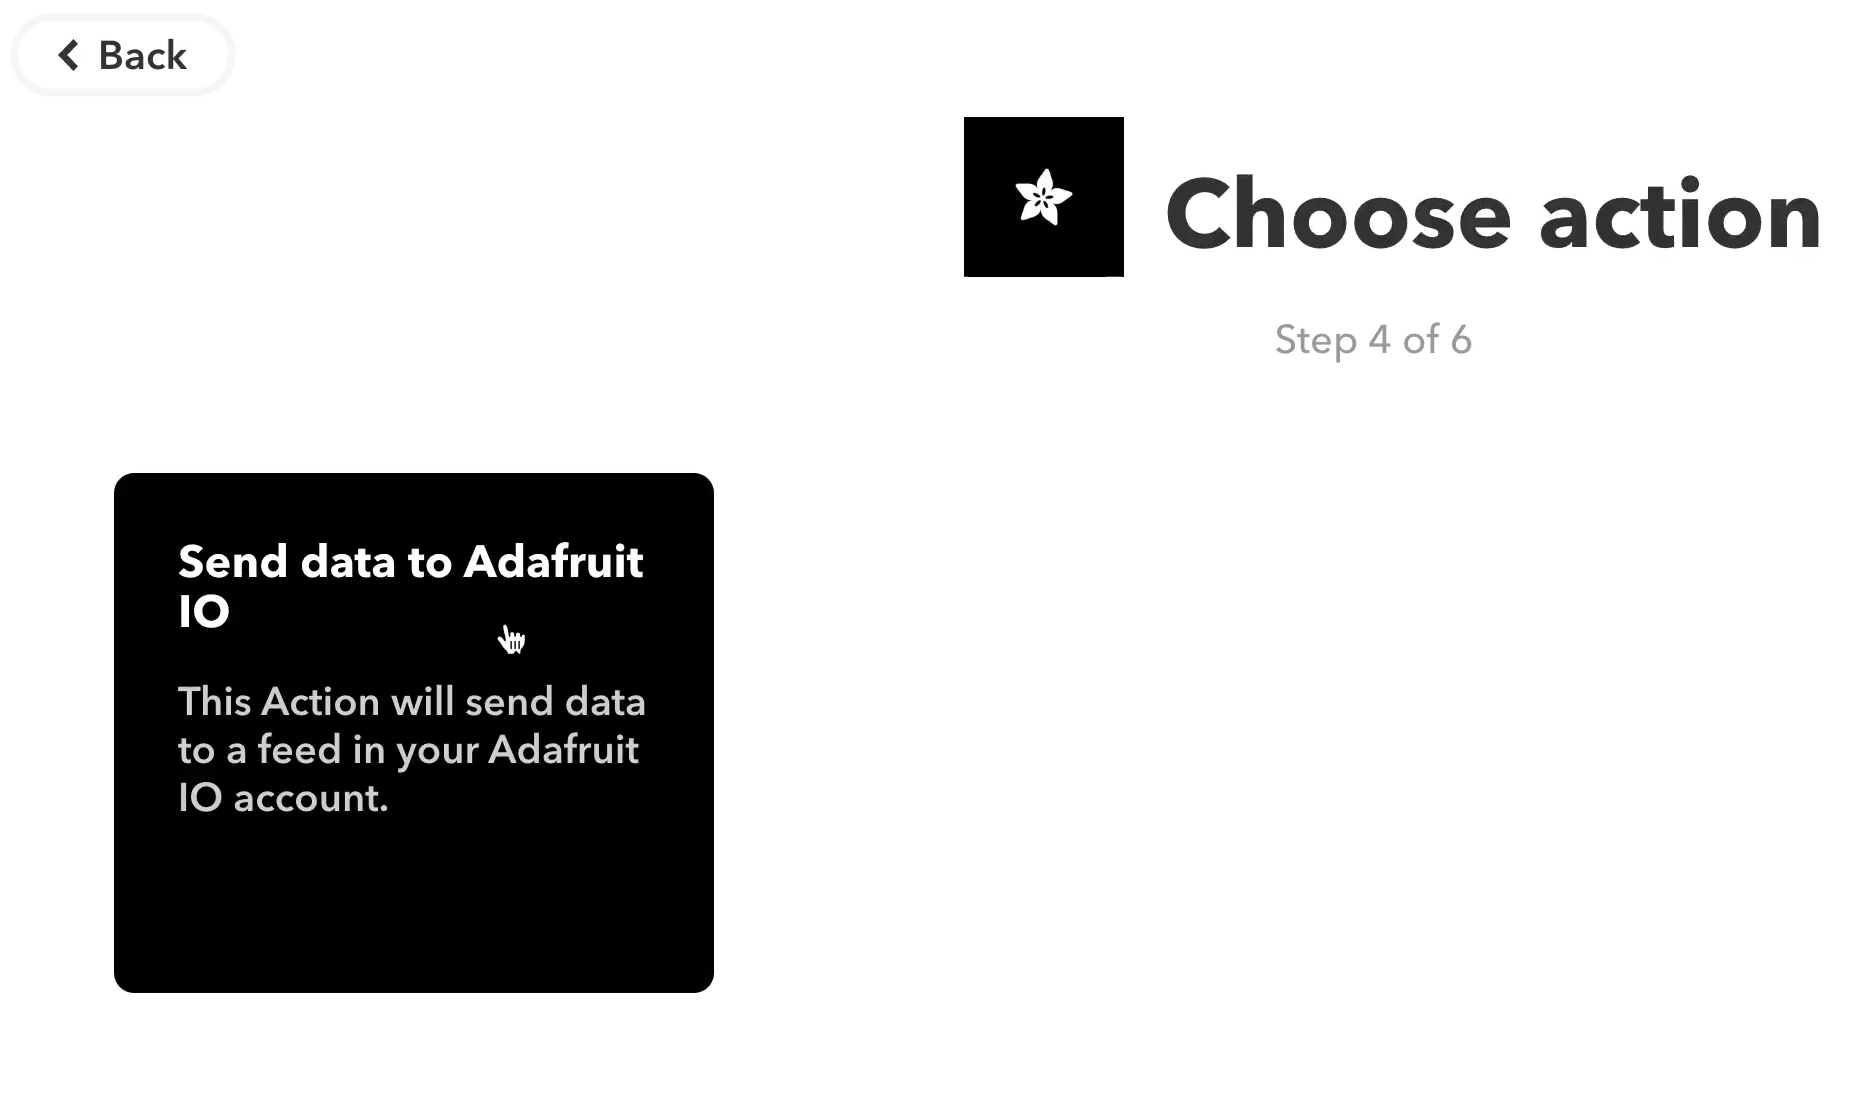
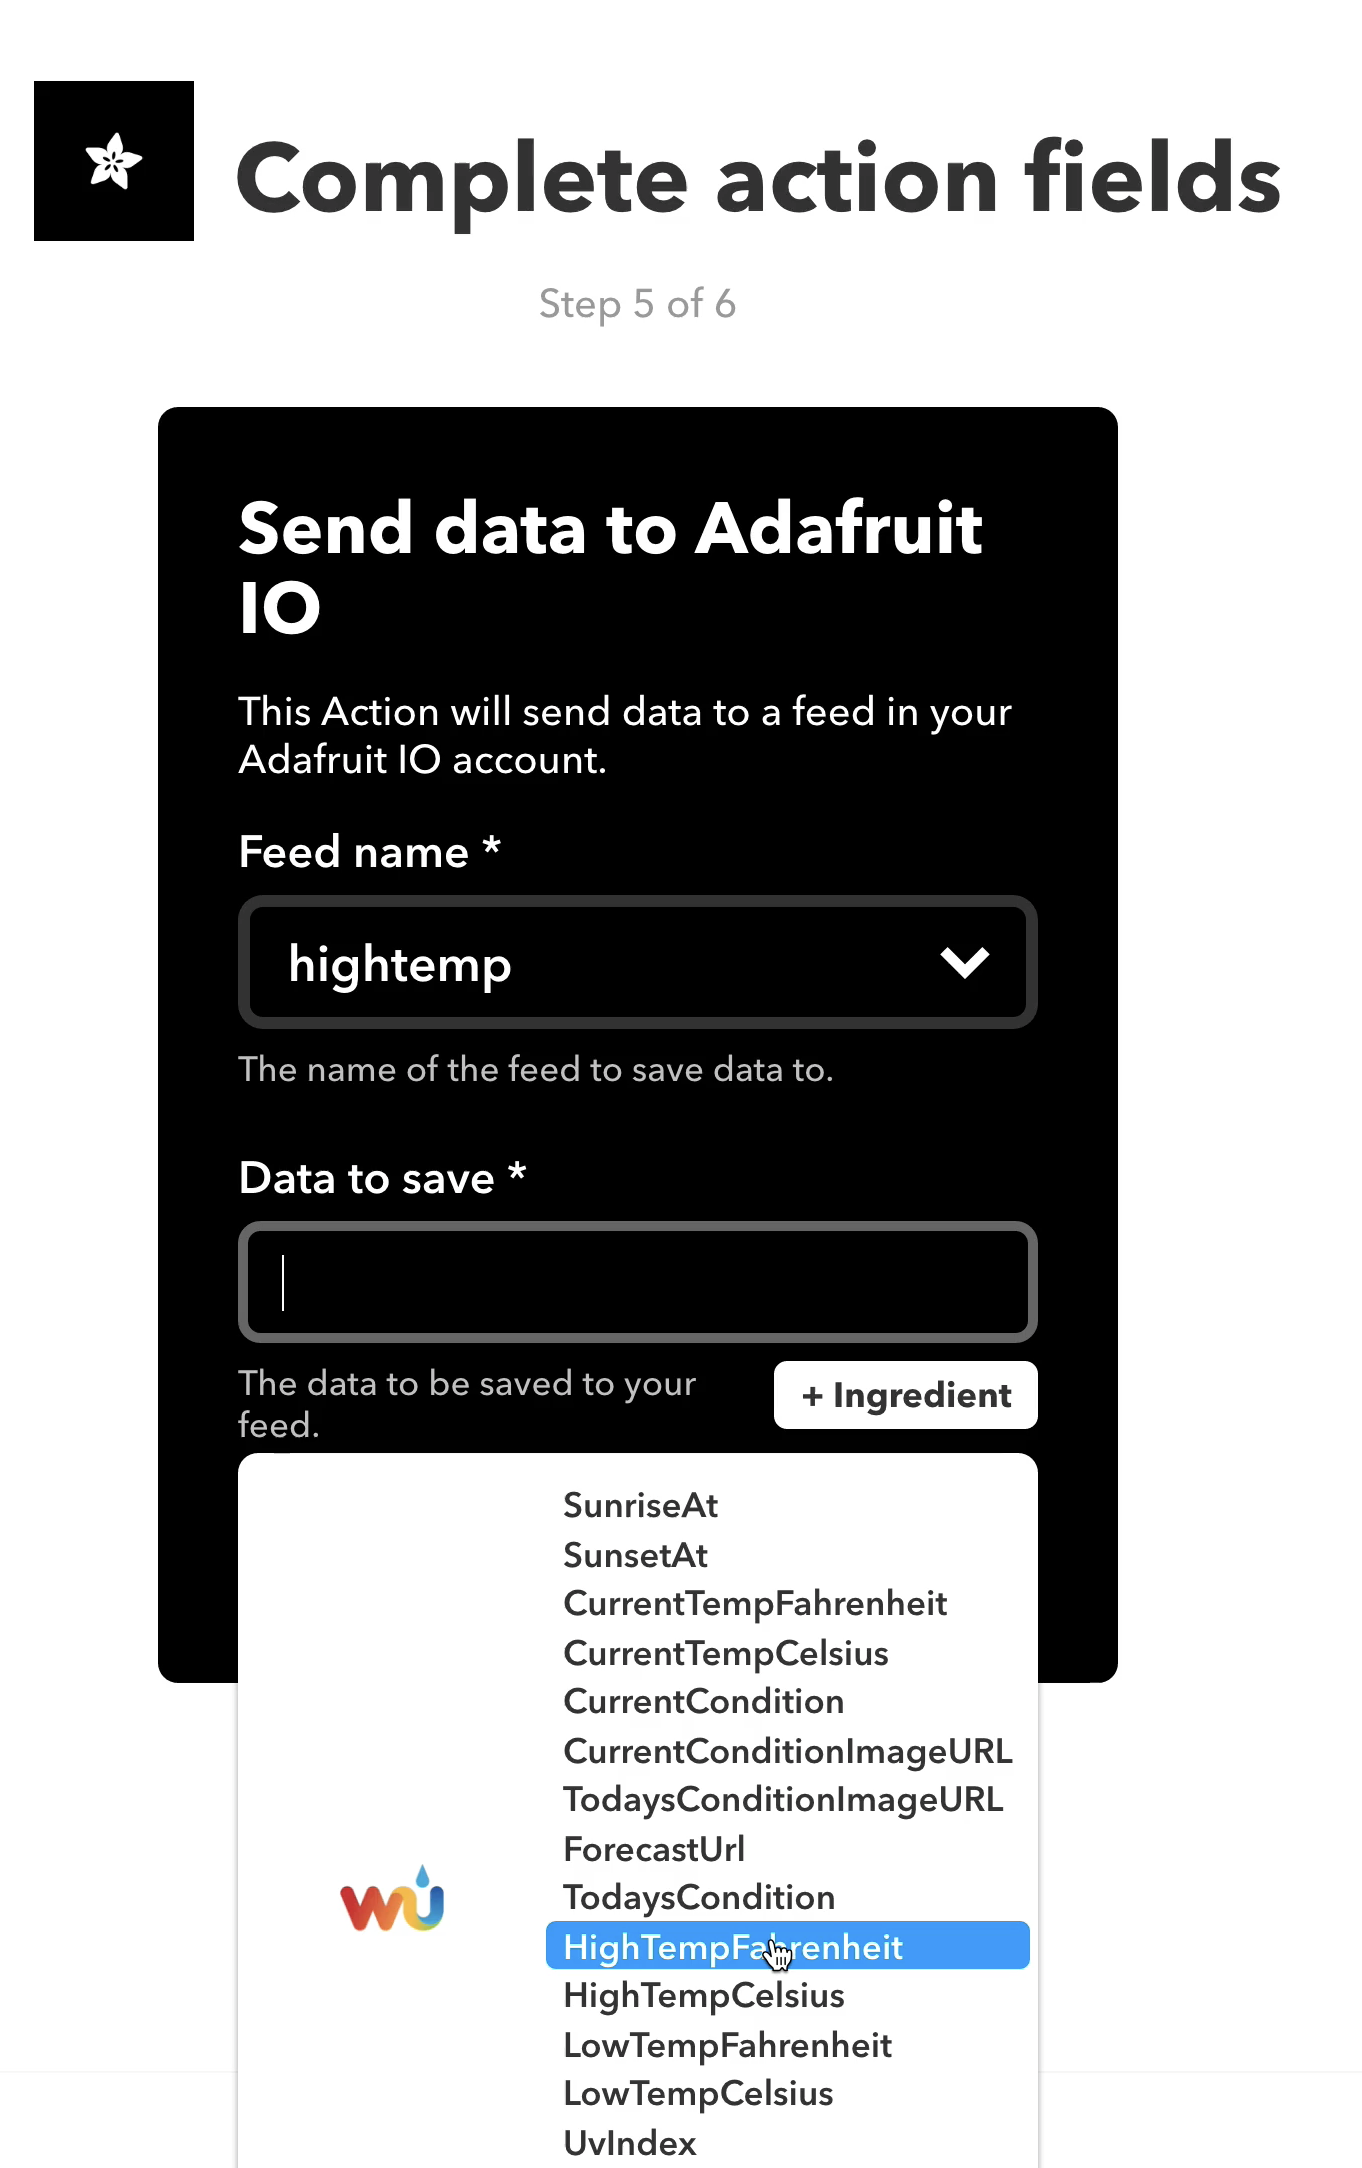
For the second part of the applet ("that"), select Adafruit as the action service, then "Send data to Adafruit IO" (you will have to link your IFTTT account to Adafruit IO the first time). Select your feed named "hightemp" from the dropdown menu and click the +Ingredient button to select HighTempFahrenheit (or your preferred value).
You should now have an applet that sends today's high temperature to the hightemp feed on Adafruit IO every day at the same time. Since that can be a long time from the current time, feel free to adjust the trigger time for testing, or add testing data directly to the feed in Adafruit IO.
The code displays the numerical value from the feed on the 7-segment display.
Weather Condition Feed
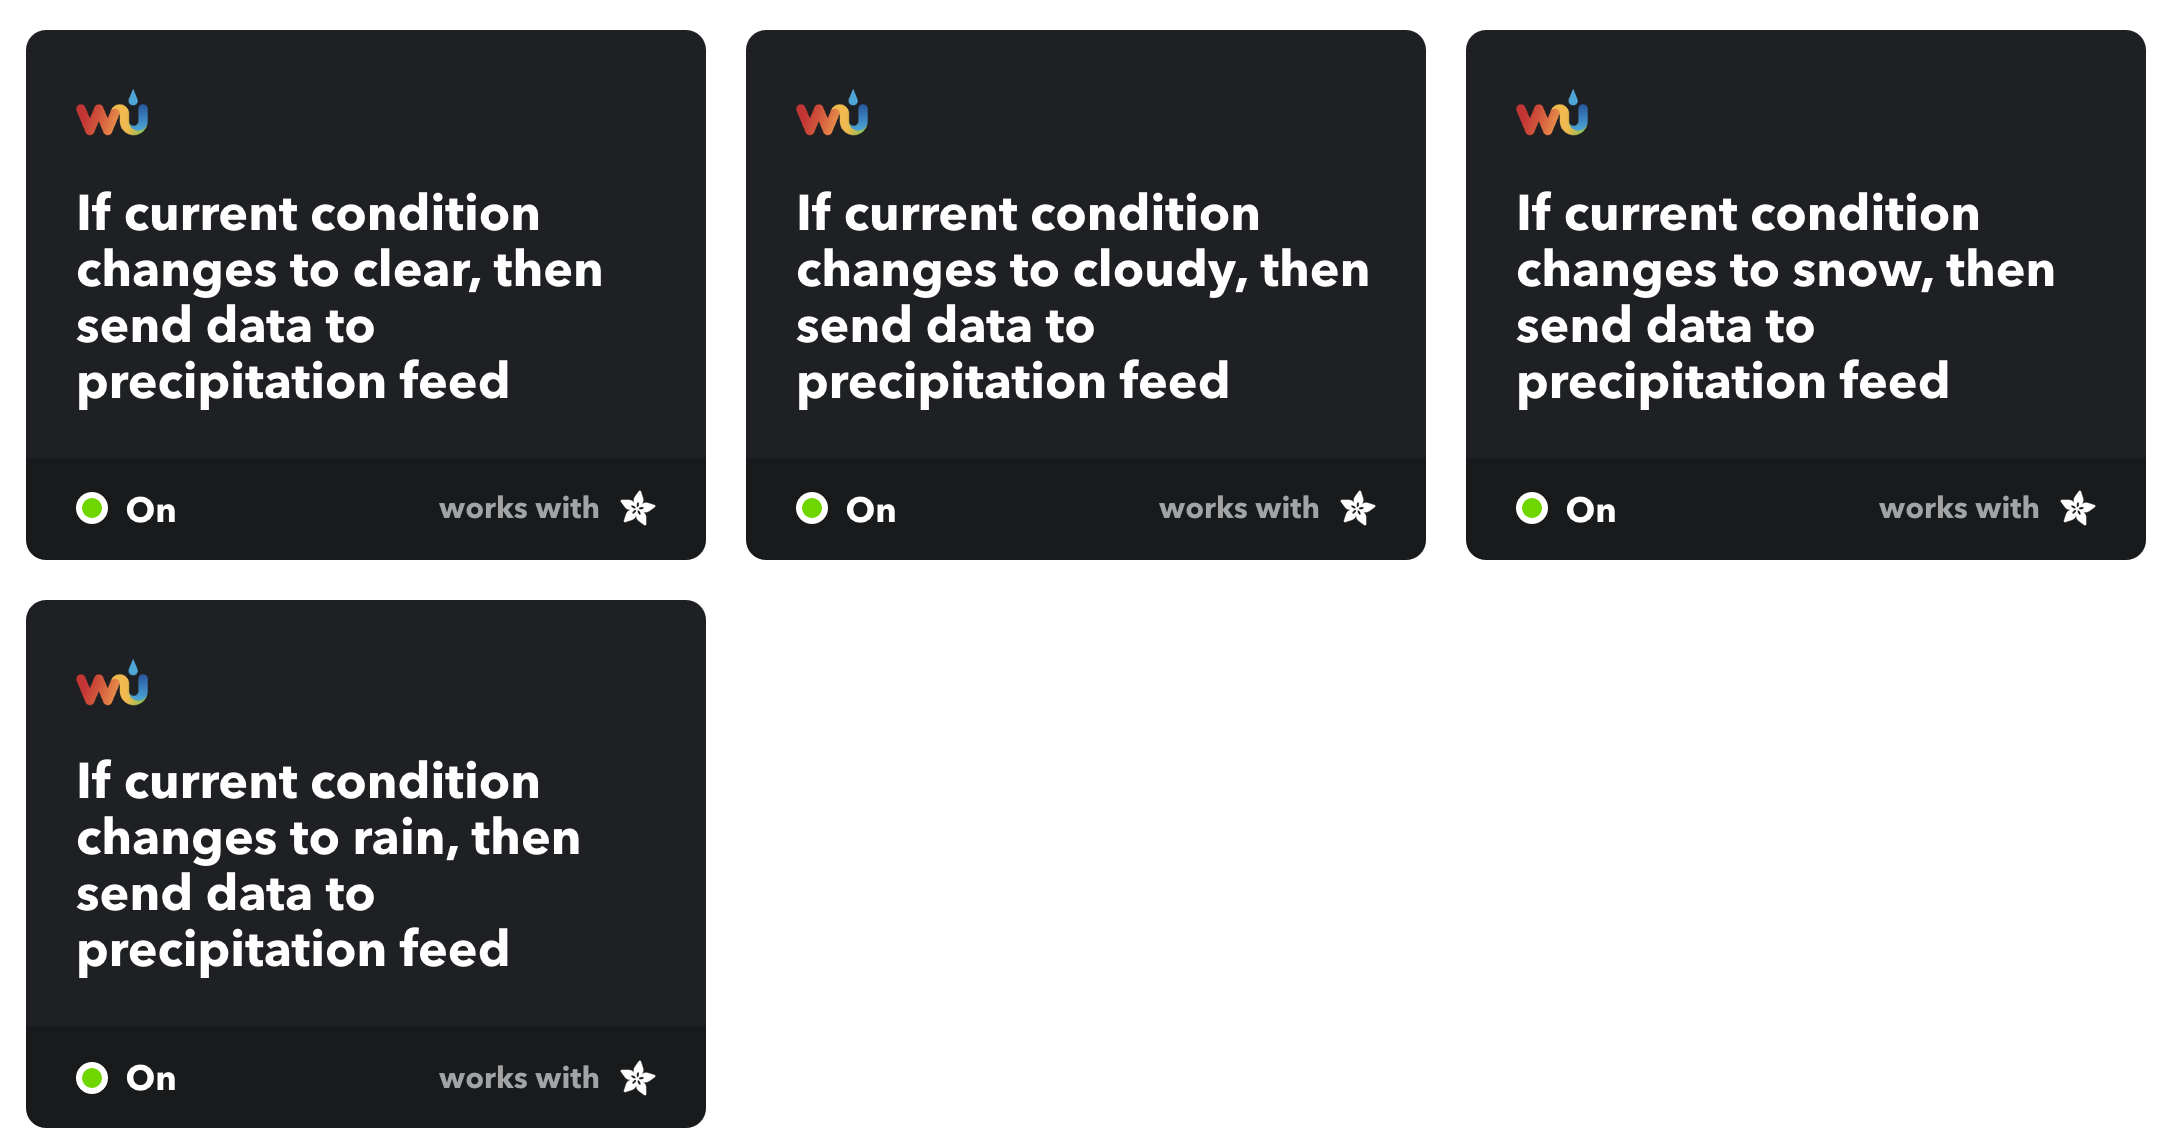
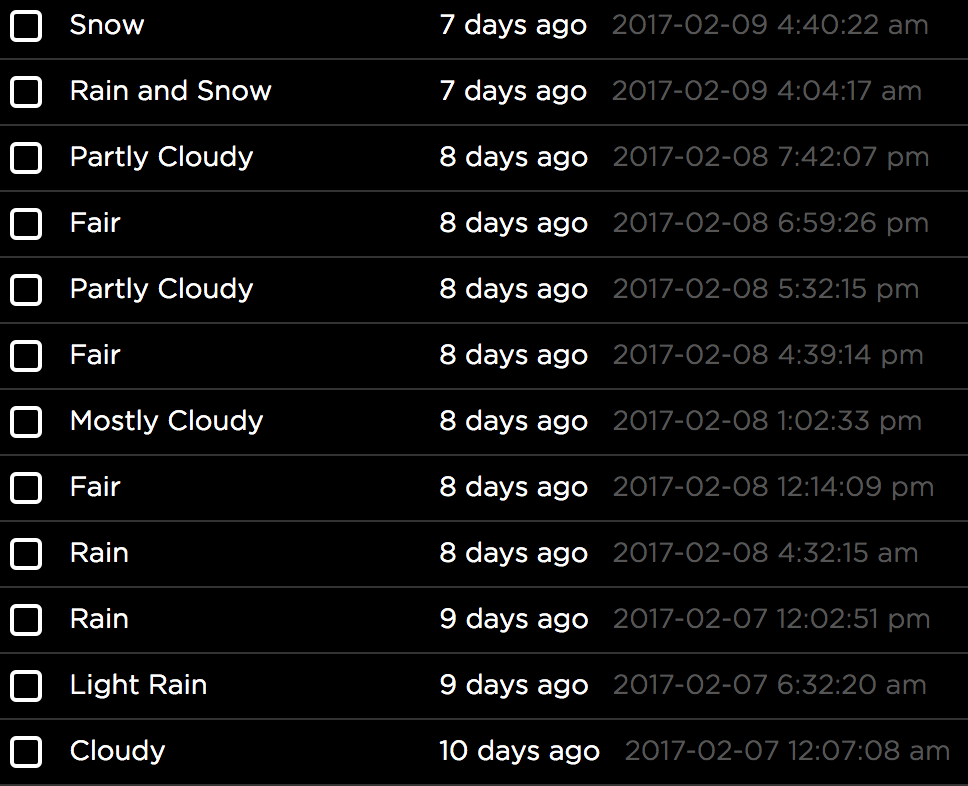
Create another new feed on Adafruit IO for tracking the current weather condition called "precipitation". Rather than create one applet that sends weather data daily, I created four applets, one each for the supported condition variables: clear, cloudy, rain, and snow. Whenever the condition changes, the current condition is passed to the feed. Although only four simple conditions are used to trigger the action, the resulting feed data is much more varied.
Here's one part of the code that evaluates the weather condition string and lights up the NeoPixels accordingly (I used the example under File->Examples->08.Strings->StringComparisonOperators program as a reference):
String forecast = data->toString();if (forecast.equalsIgnoreCase(String("Rain")) || forecast.equalsIgnoreCase(String("Light Rain") || forecast.equalsIgnoreCase(String ("Rain Shower"))){ Serial.println("precipitation in the forecast today"); pixels.setPixelColor(0, pixels.Color(0, 30, 200, 20)); pixels.setPixelColor(1, pixels.Color(0, 30, 200, 20)); pixels.setPixelColor(2, pixels.Color(0, 30, 200, 20)); pixels.setPixelColor(3, pixels.Color(0, 30, 200, 20)); pixels.setPixelColor(4, pixels.Color(0, 0, 0, 255)); pixels.setPixelColor(5, pixels.Color(0, 0, 0, 255)); pixels.setPixelColor(6, pixels.Color(0, 0, 0, 255)); pixels.setPixelColor(7, pixels.Color(0, 0, 0, 255)); }
Circuit Prototype
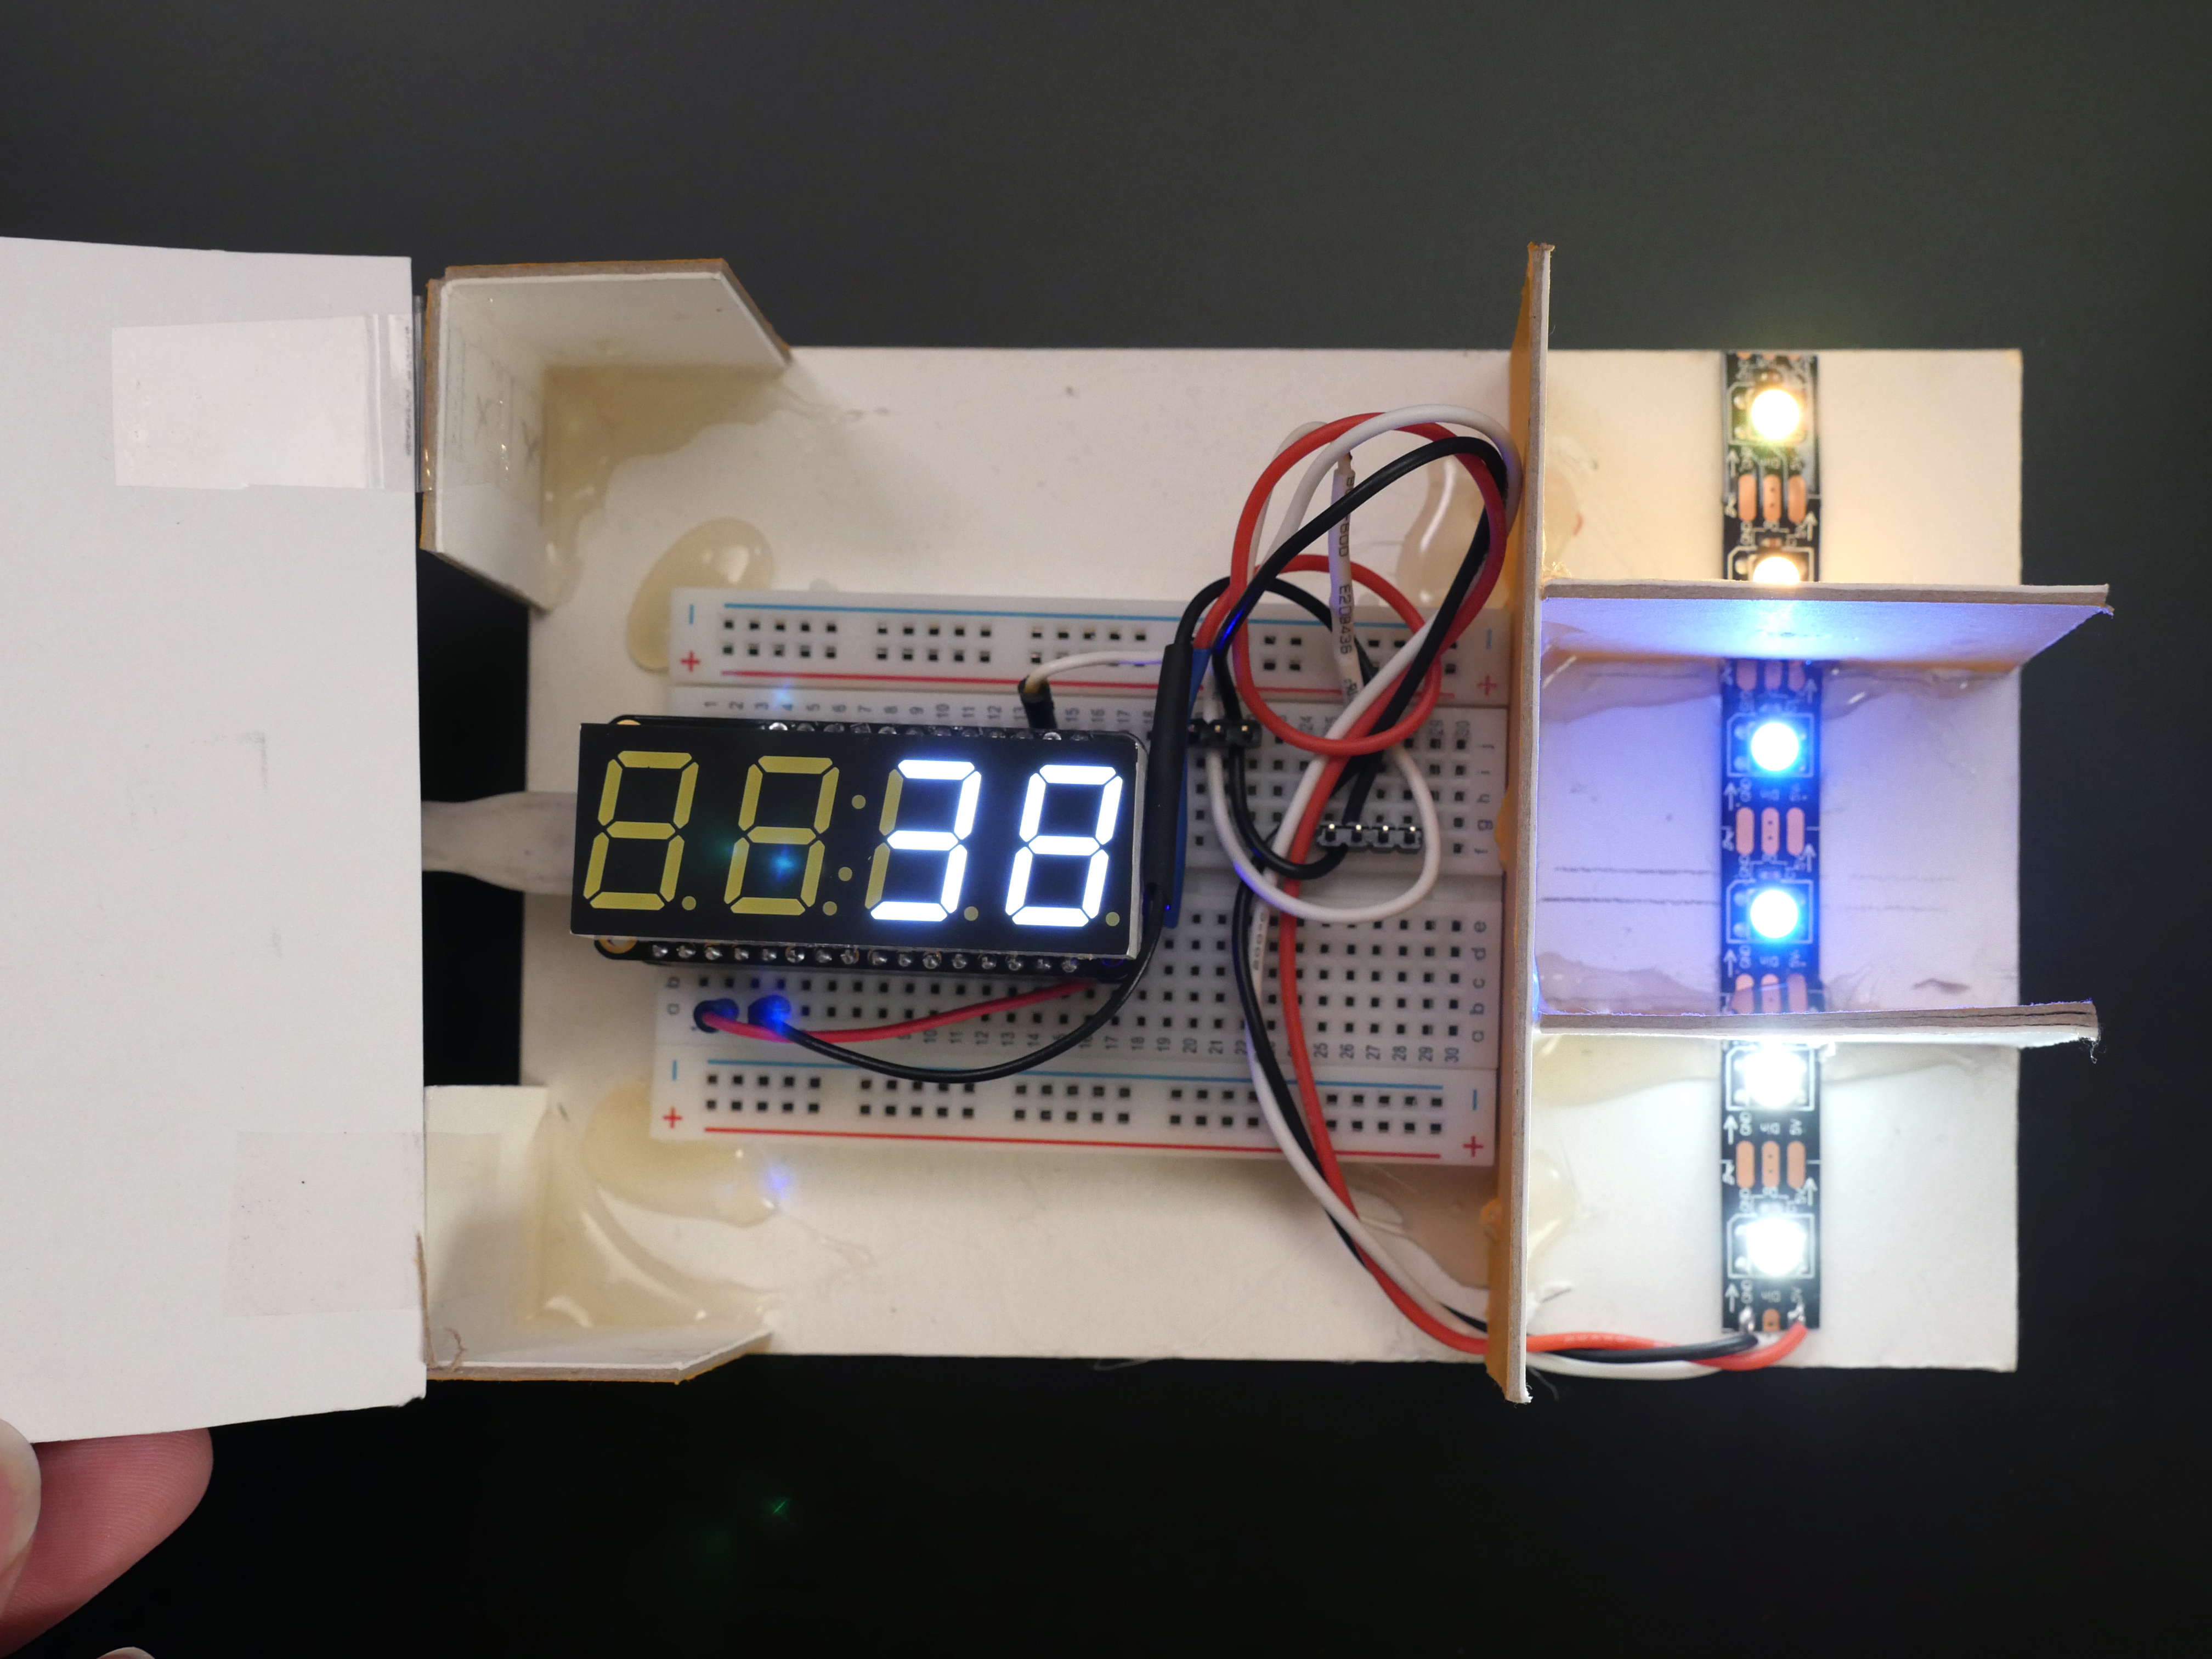
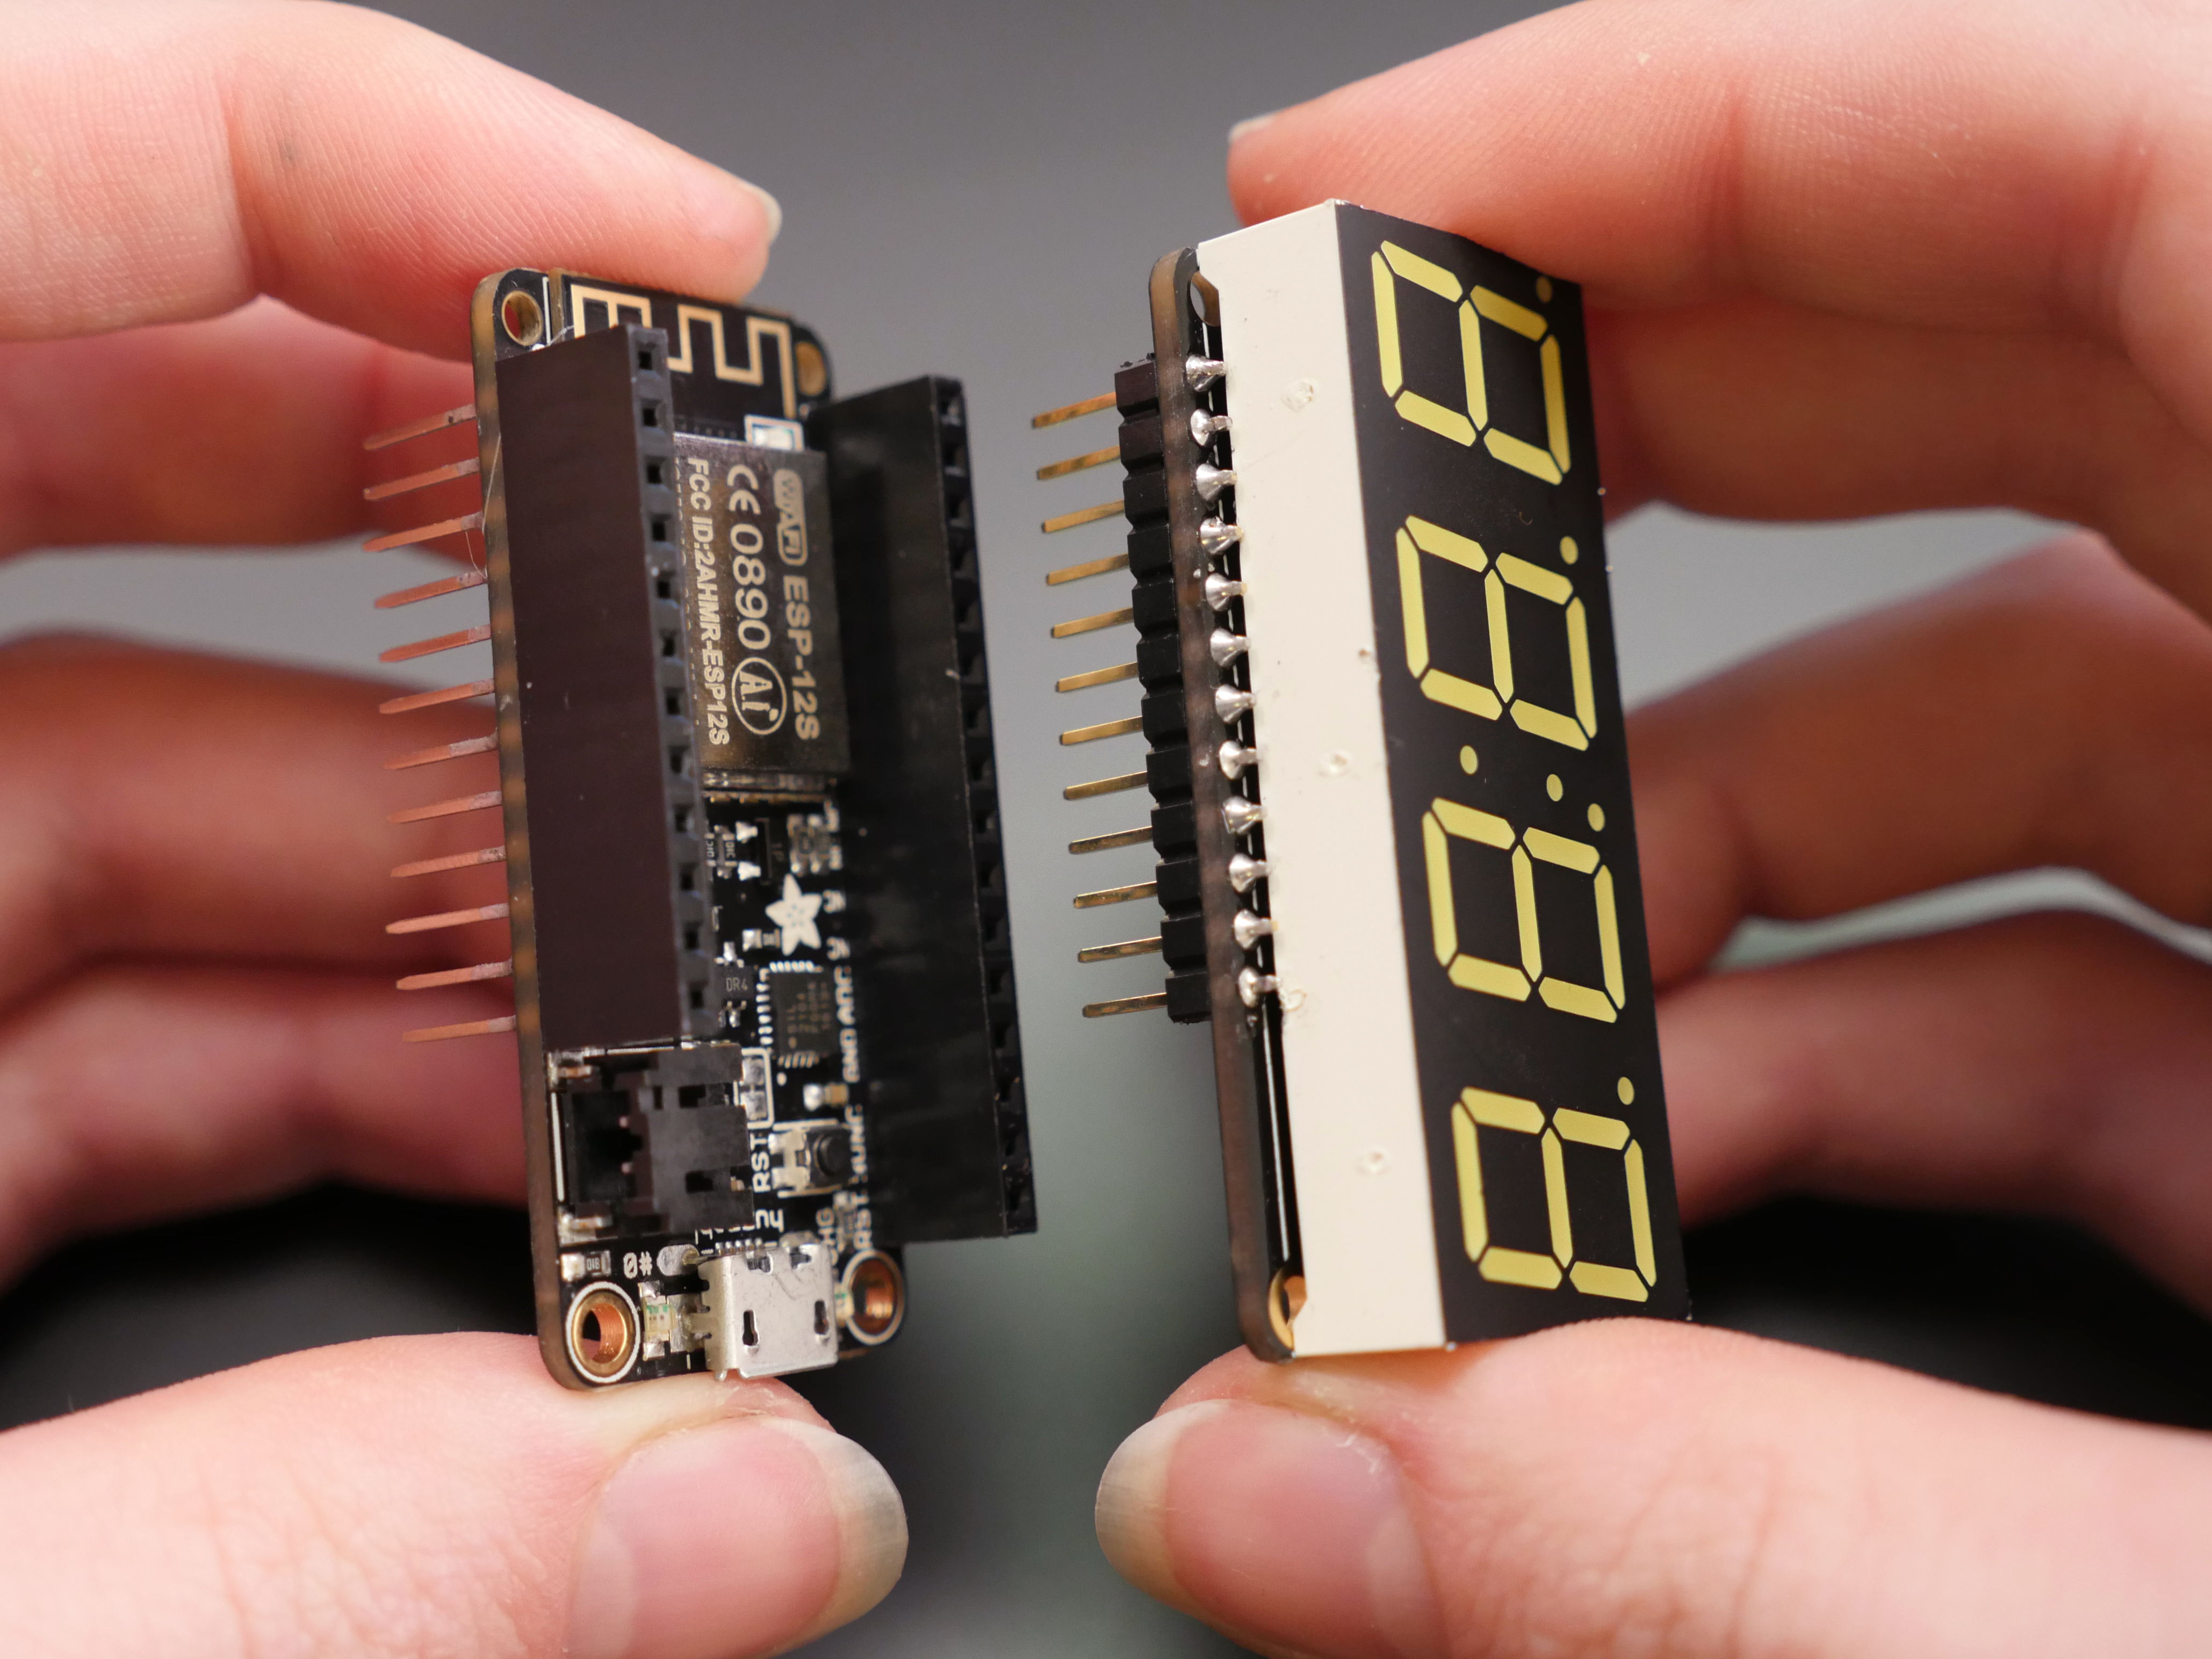
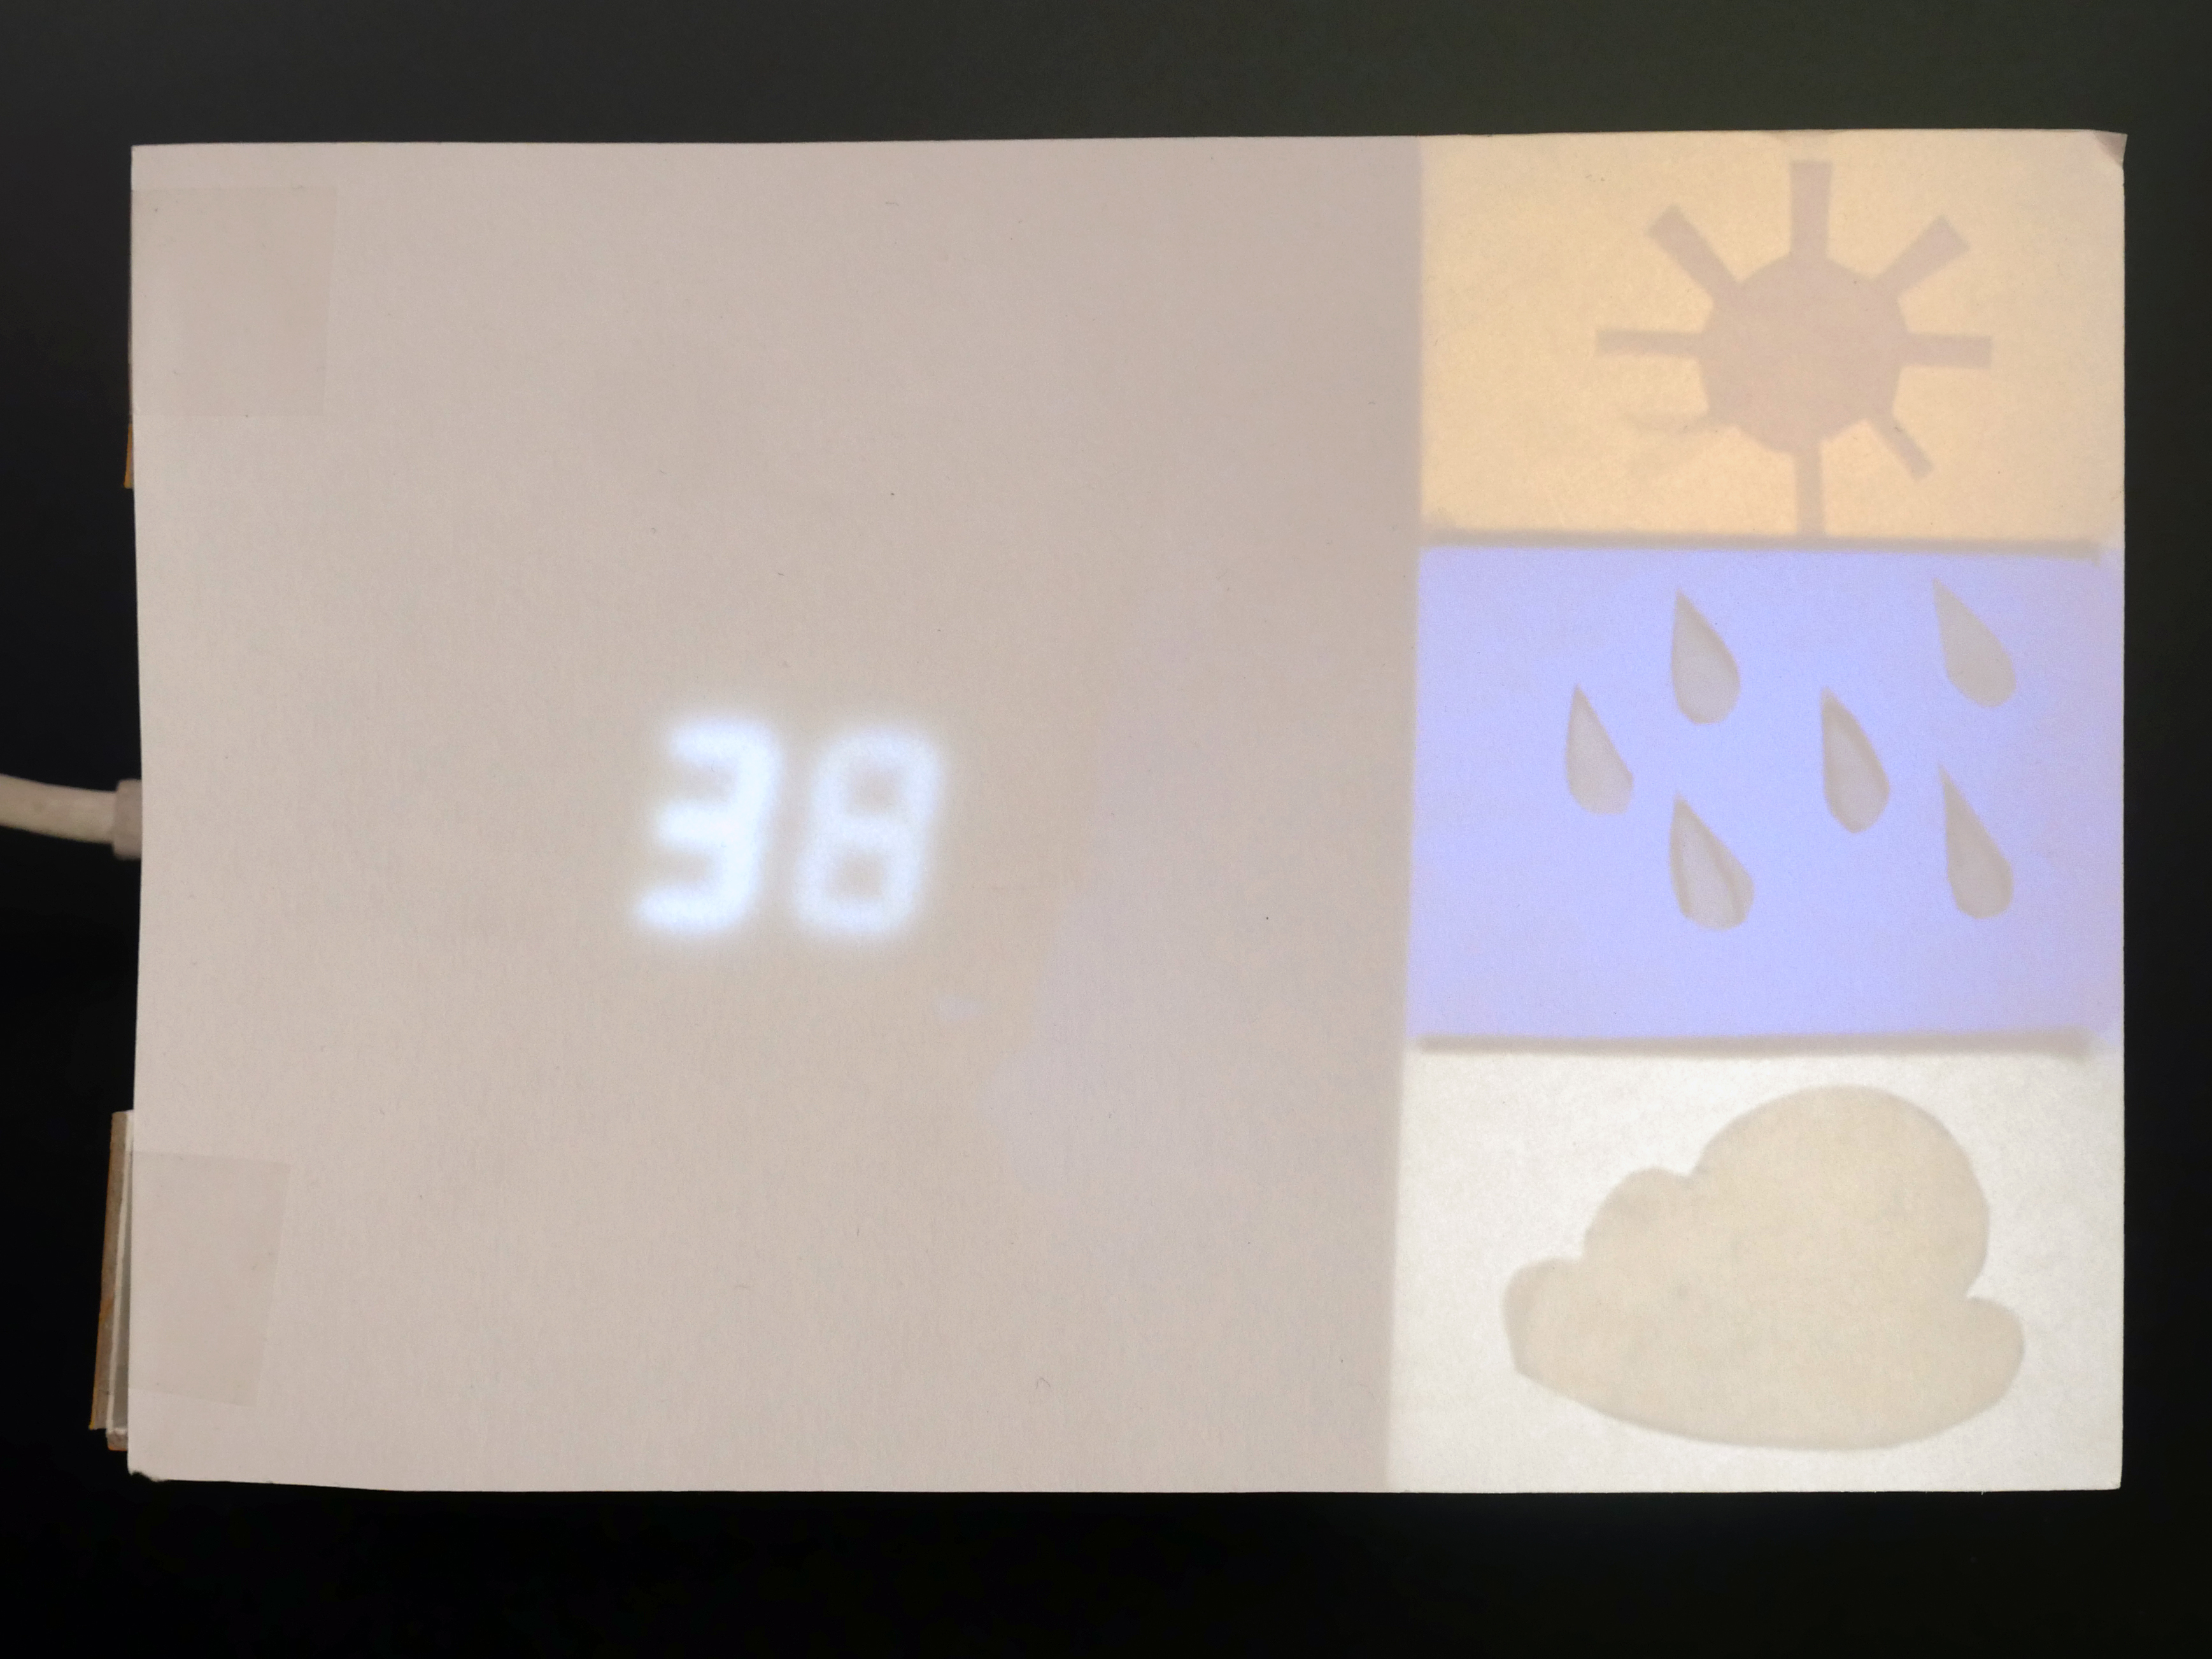
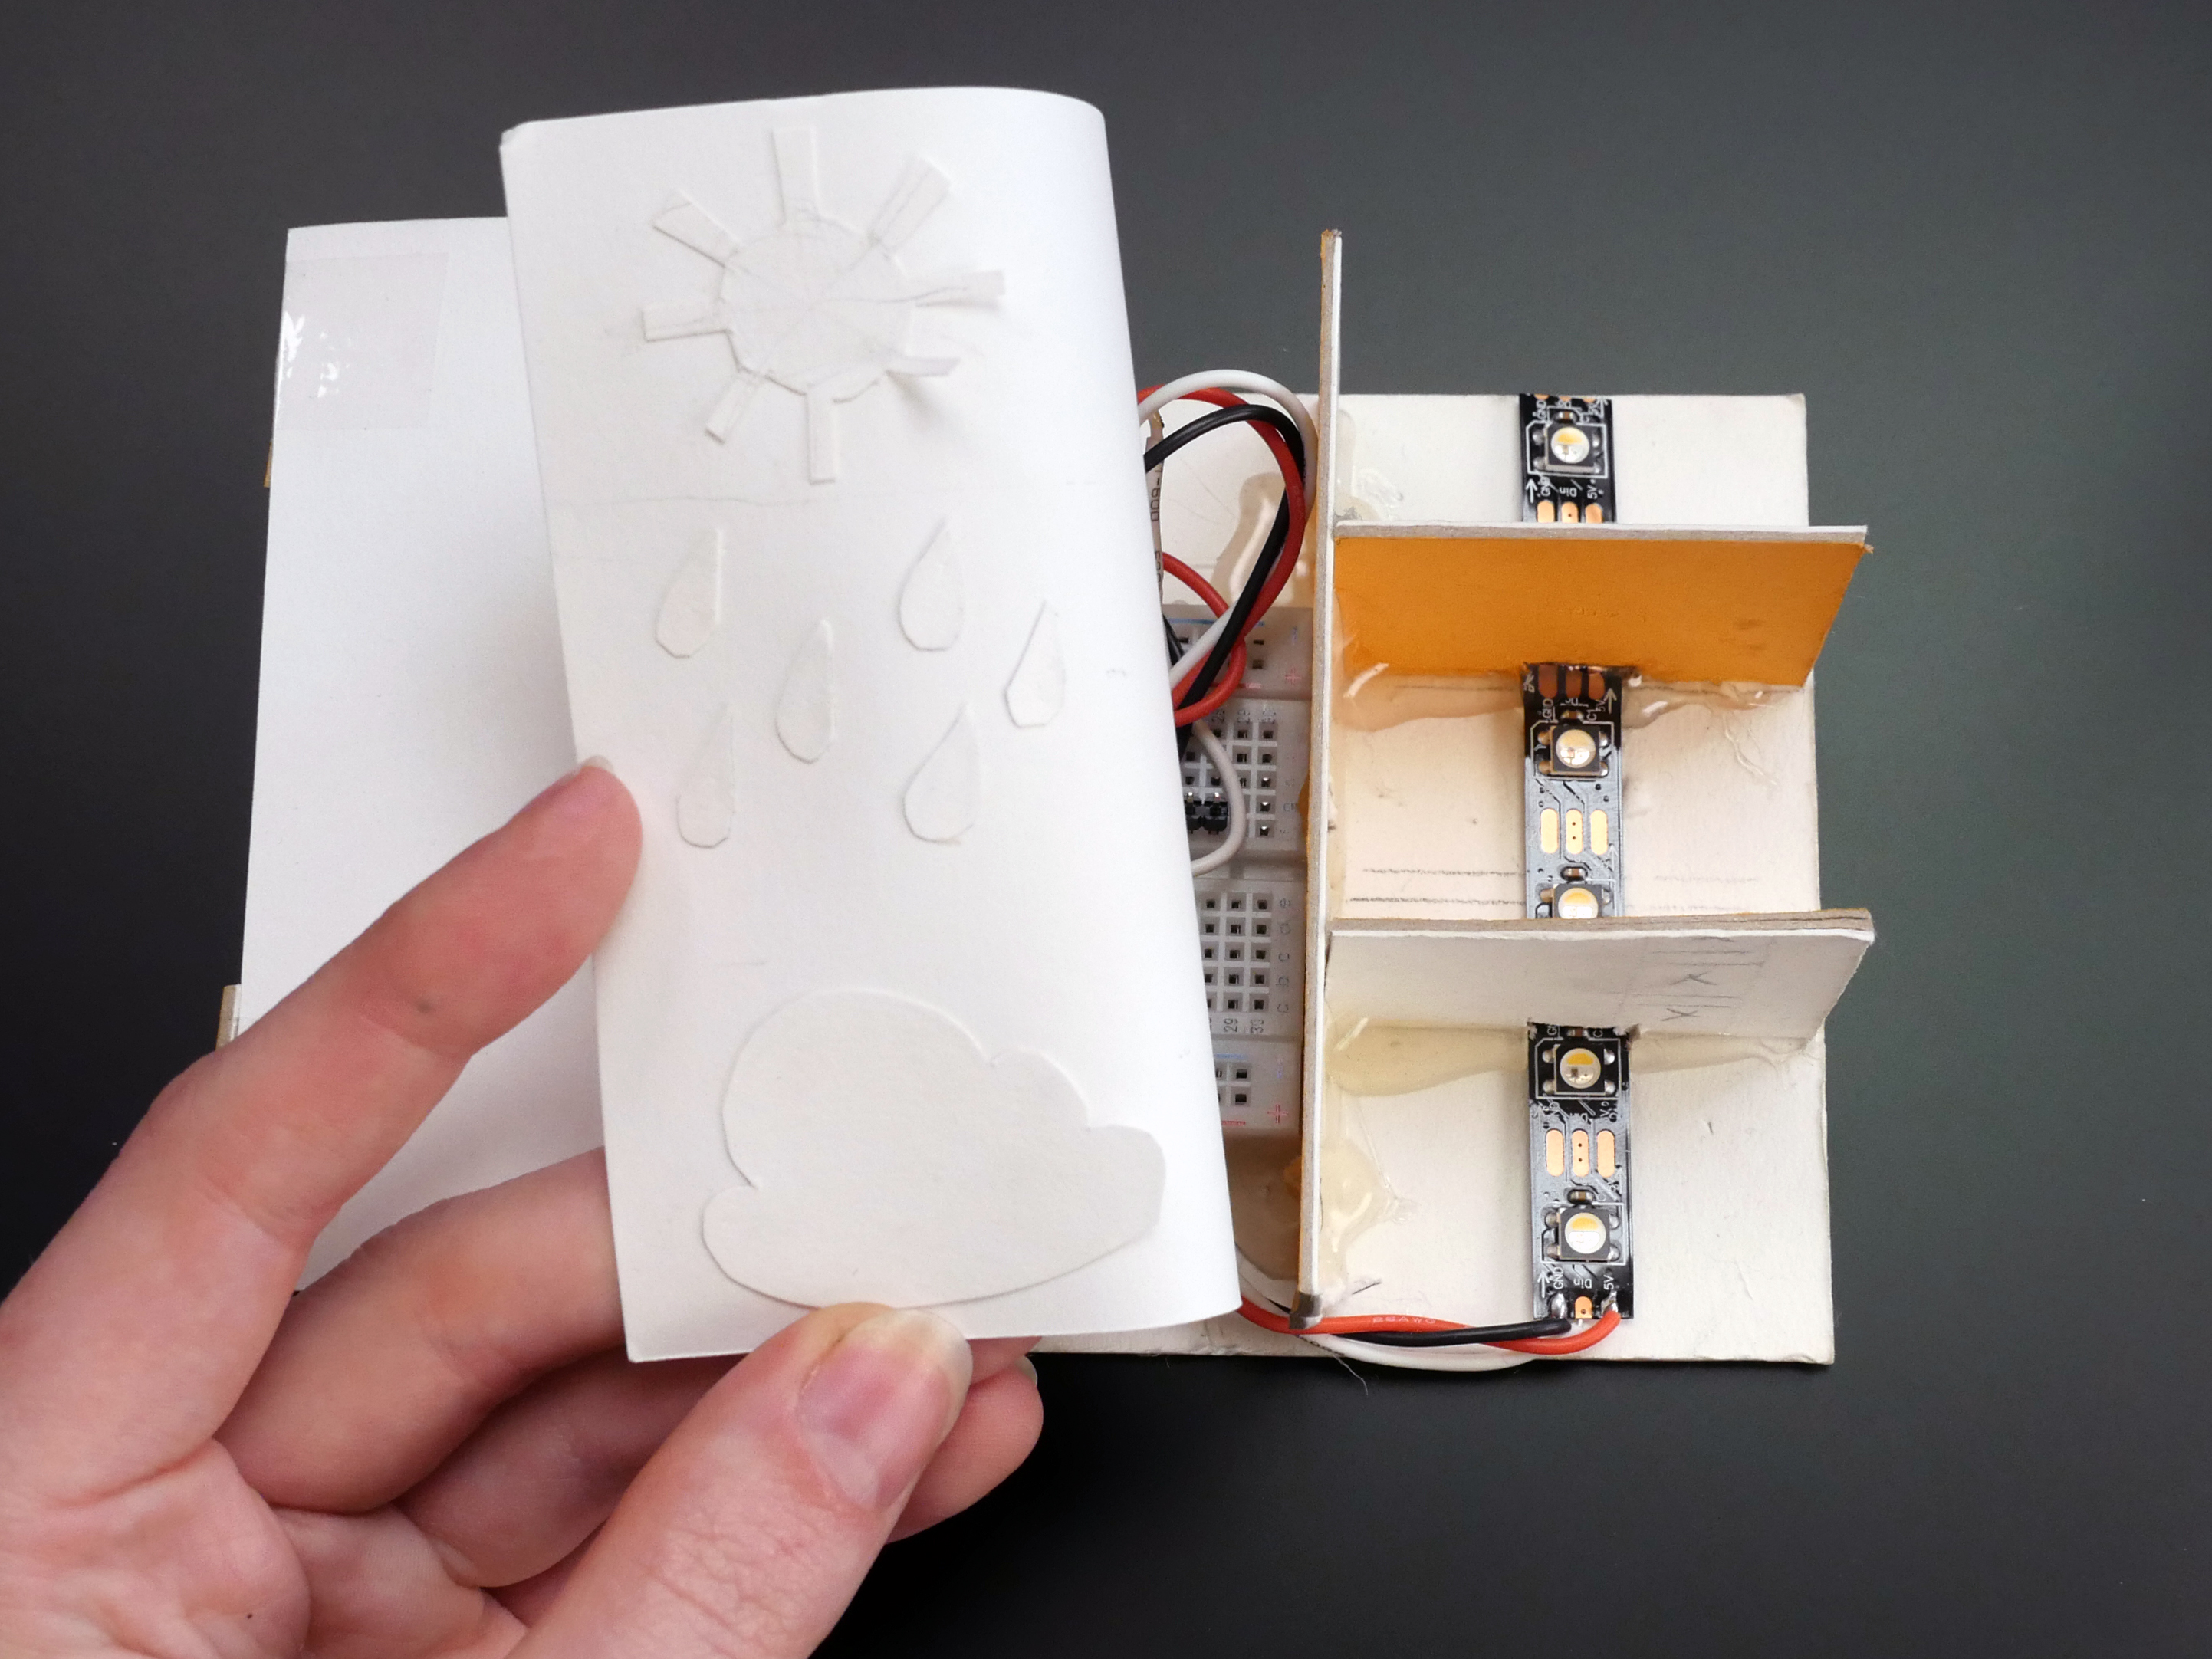
You can play around with the positioning of the various display elements before permanently attaching them-- for instance the perma-proto board fits in the corner, so the placement of the Feather will determine its position relative to the corner-- adjust as you see fit! I created triangles within the shadow box using pieces of scrap cardboard, and masking tape to temporarily secure the pixels in place. To prototype different color effects, you can send test data to the device by manually adding entries to the two feeds. Once you like the way it looks, you can proceed to finalizing the circuit a bit more.
Shadow Box Circuit Assembly
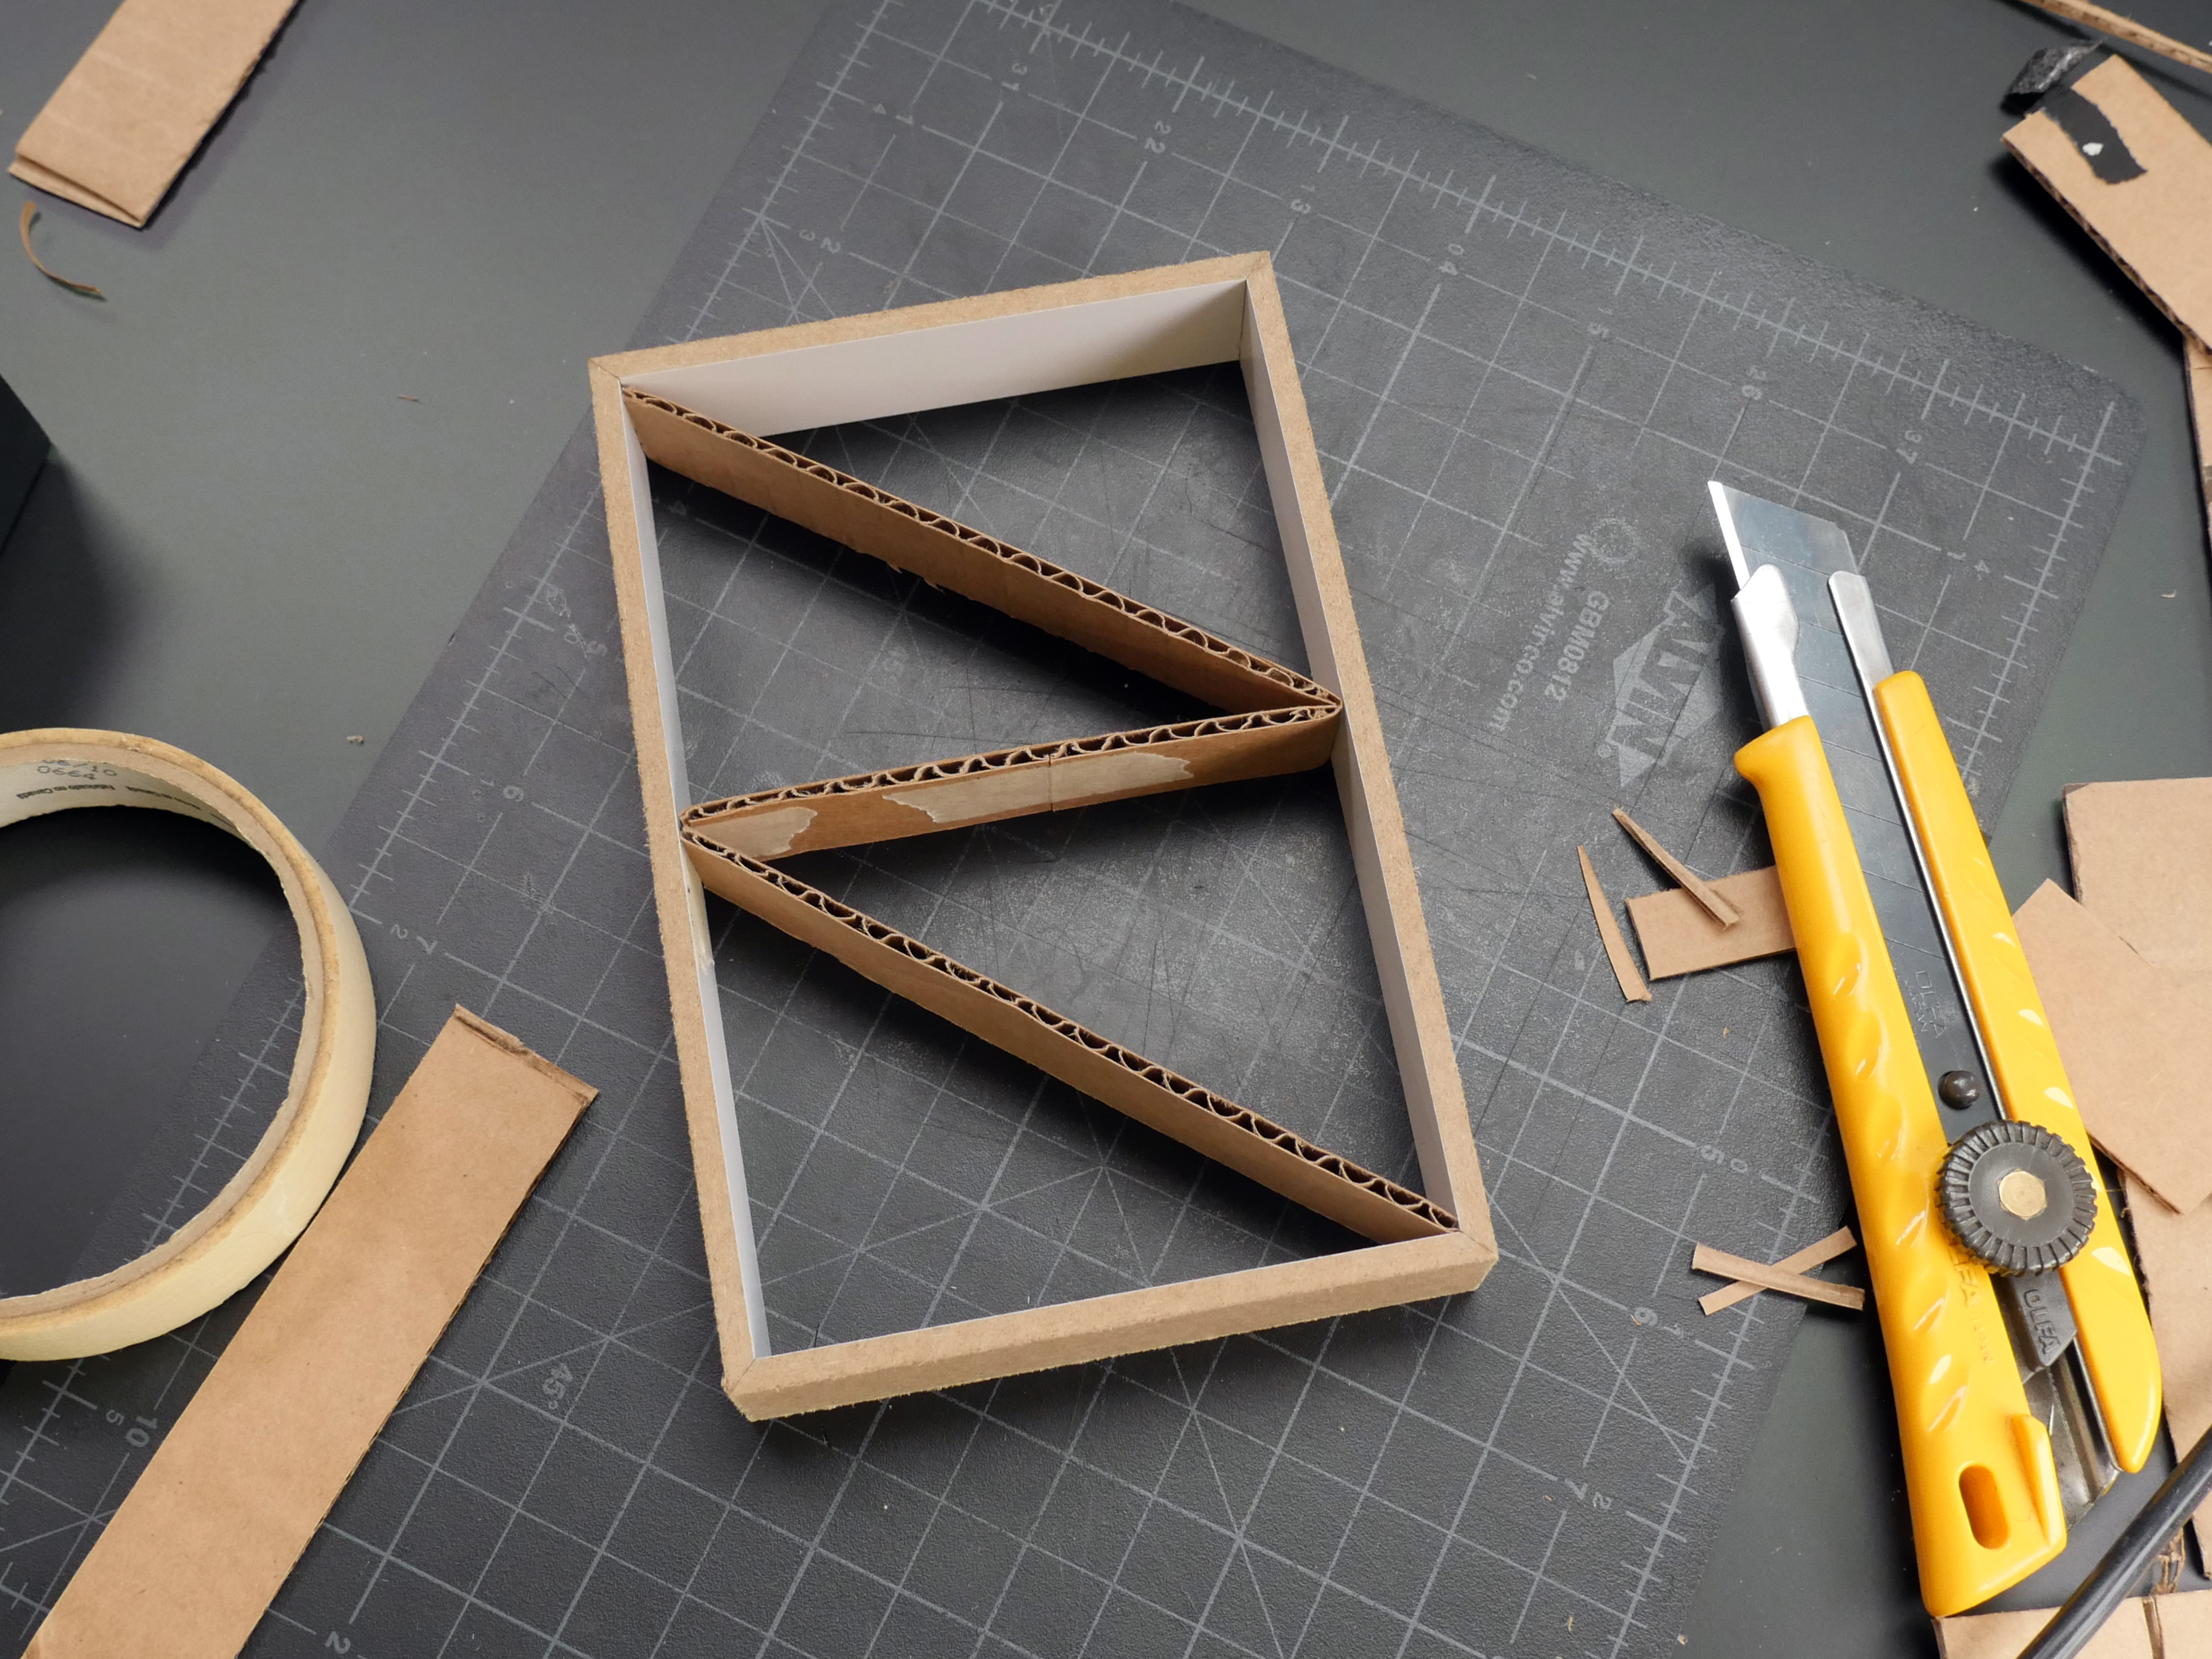
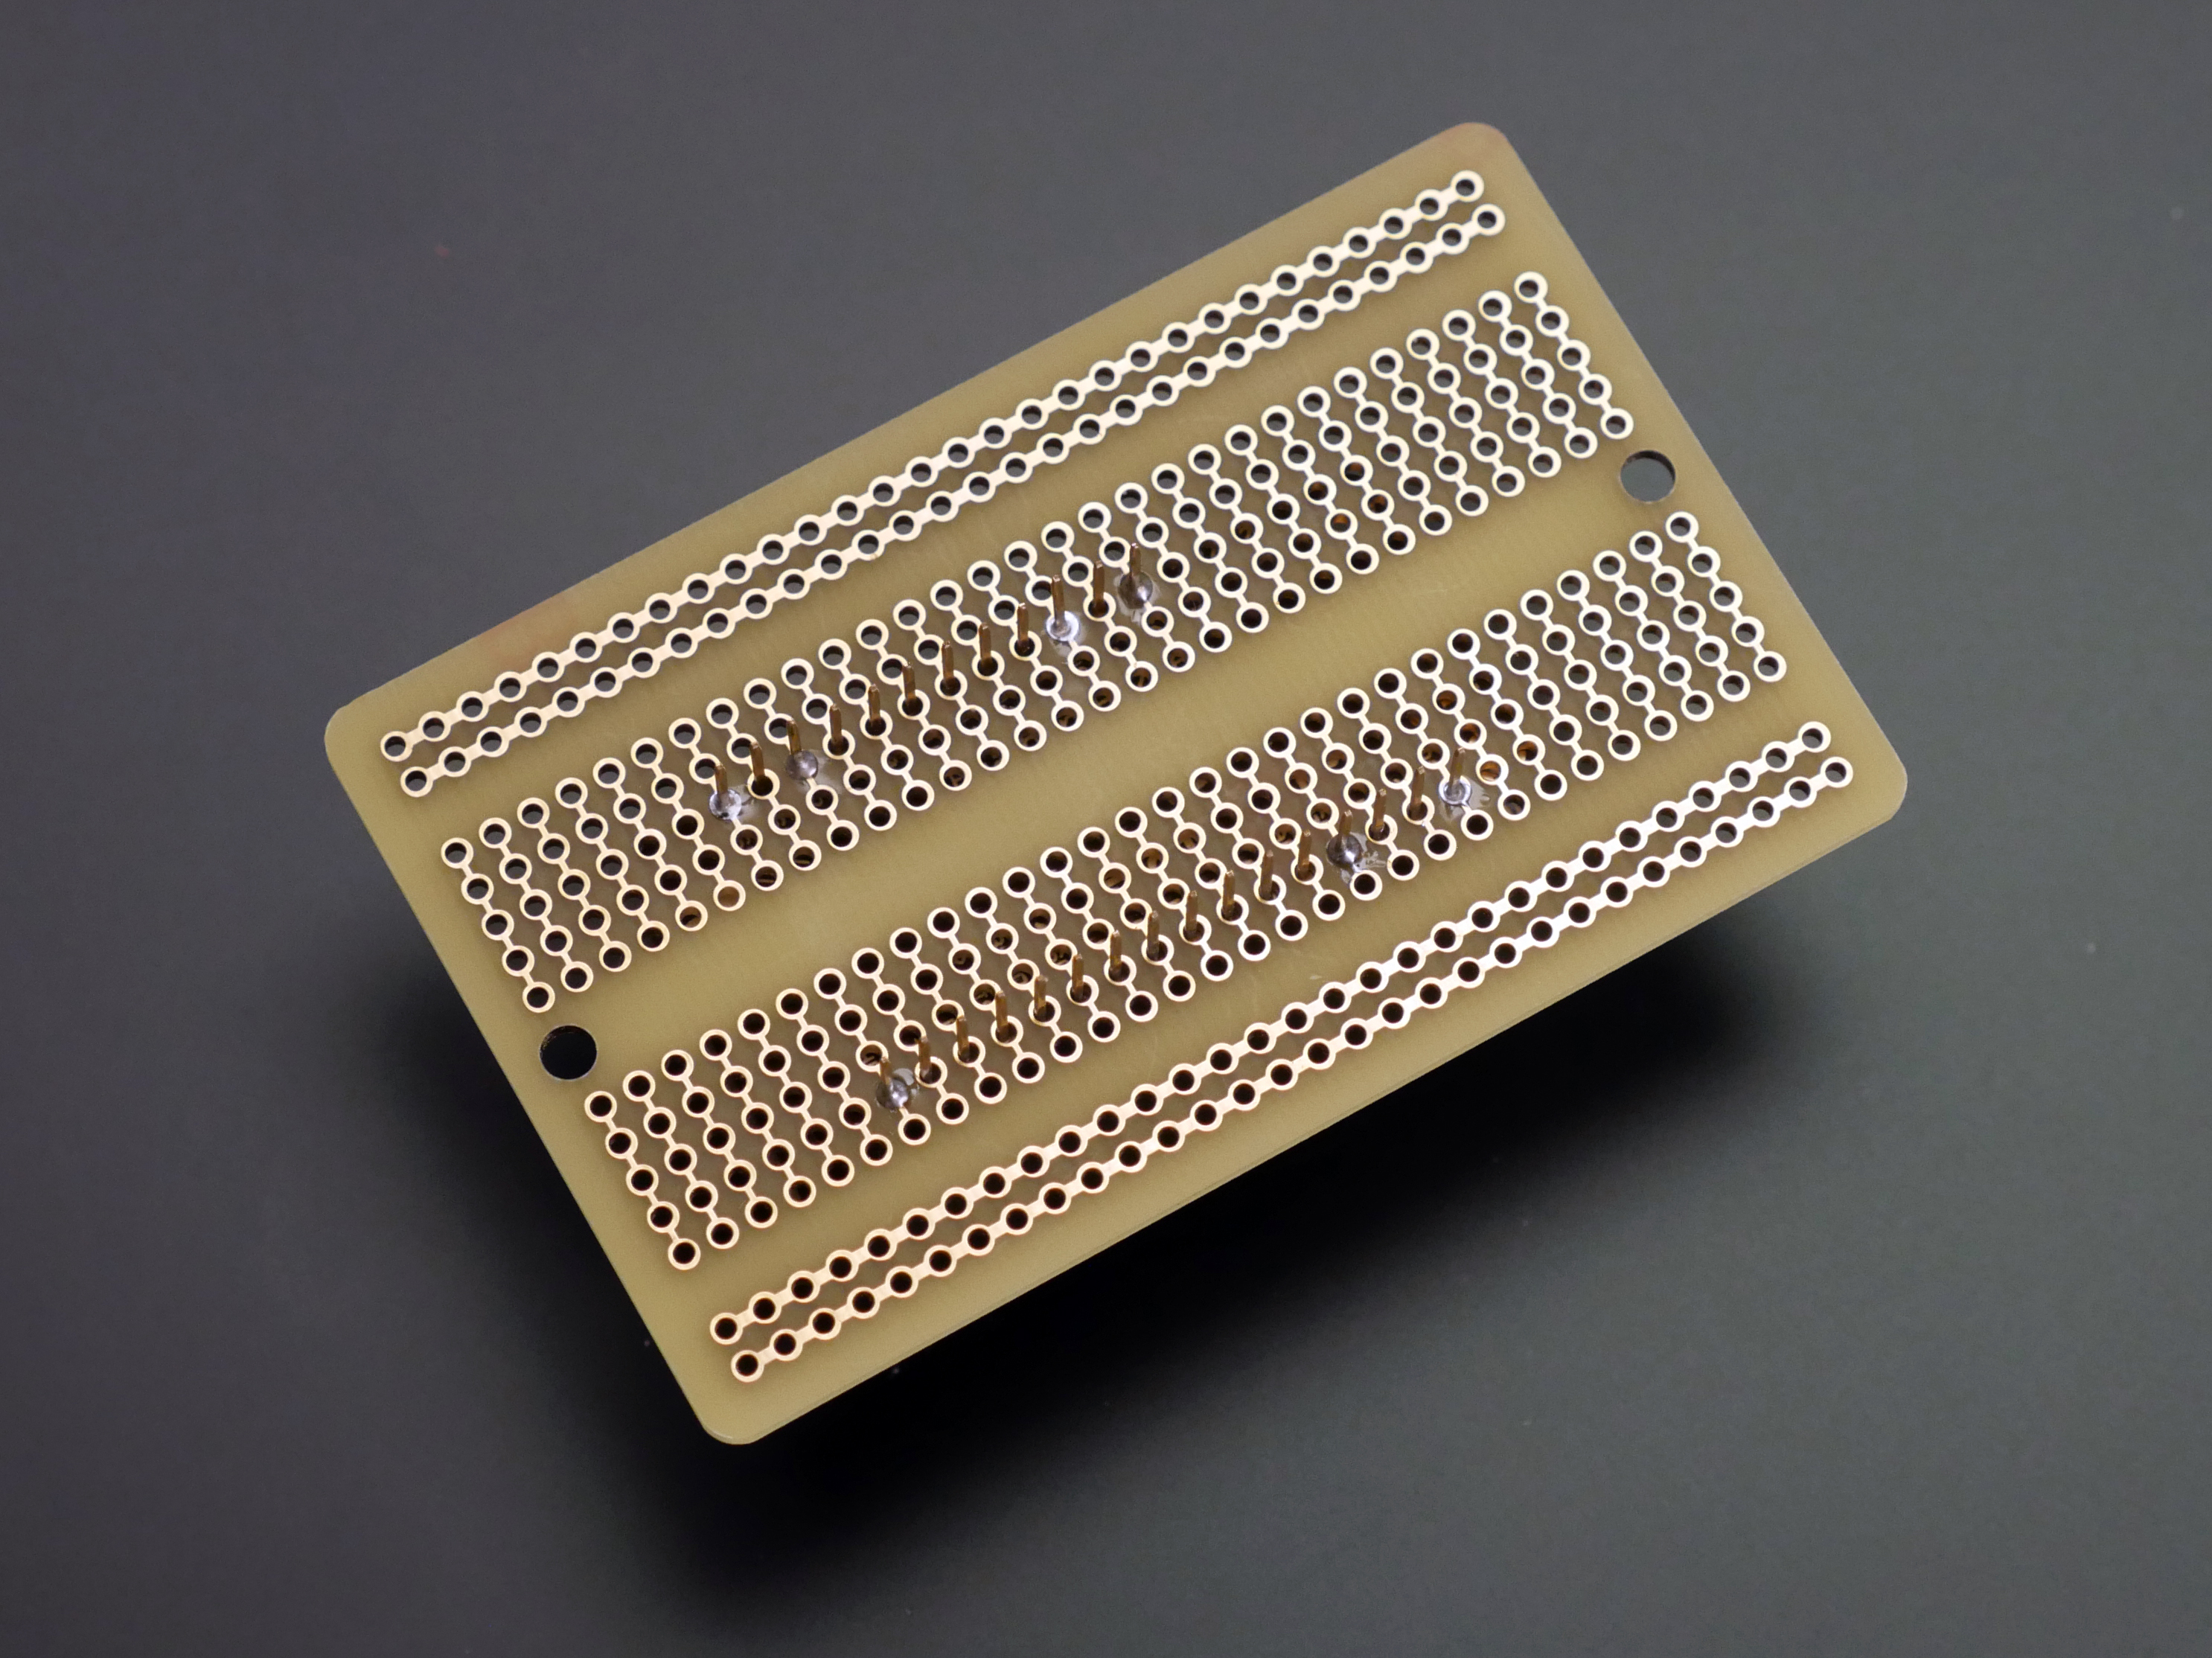
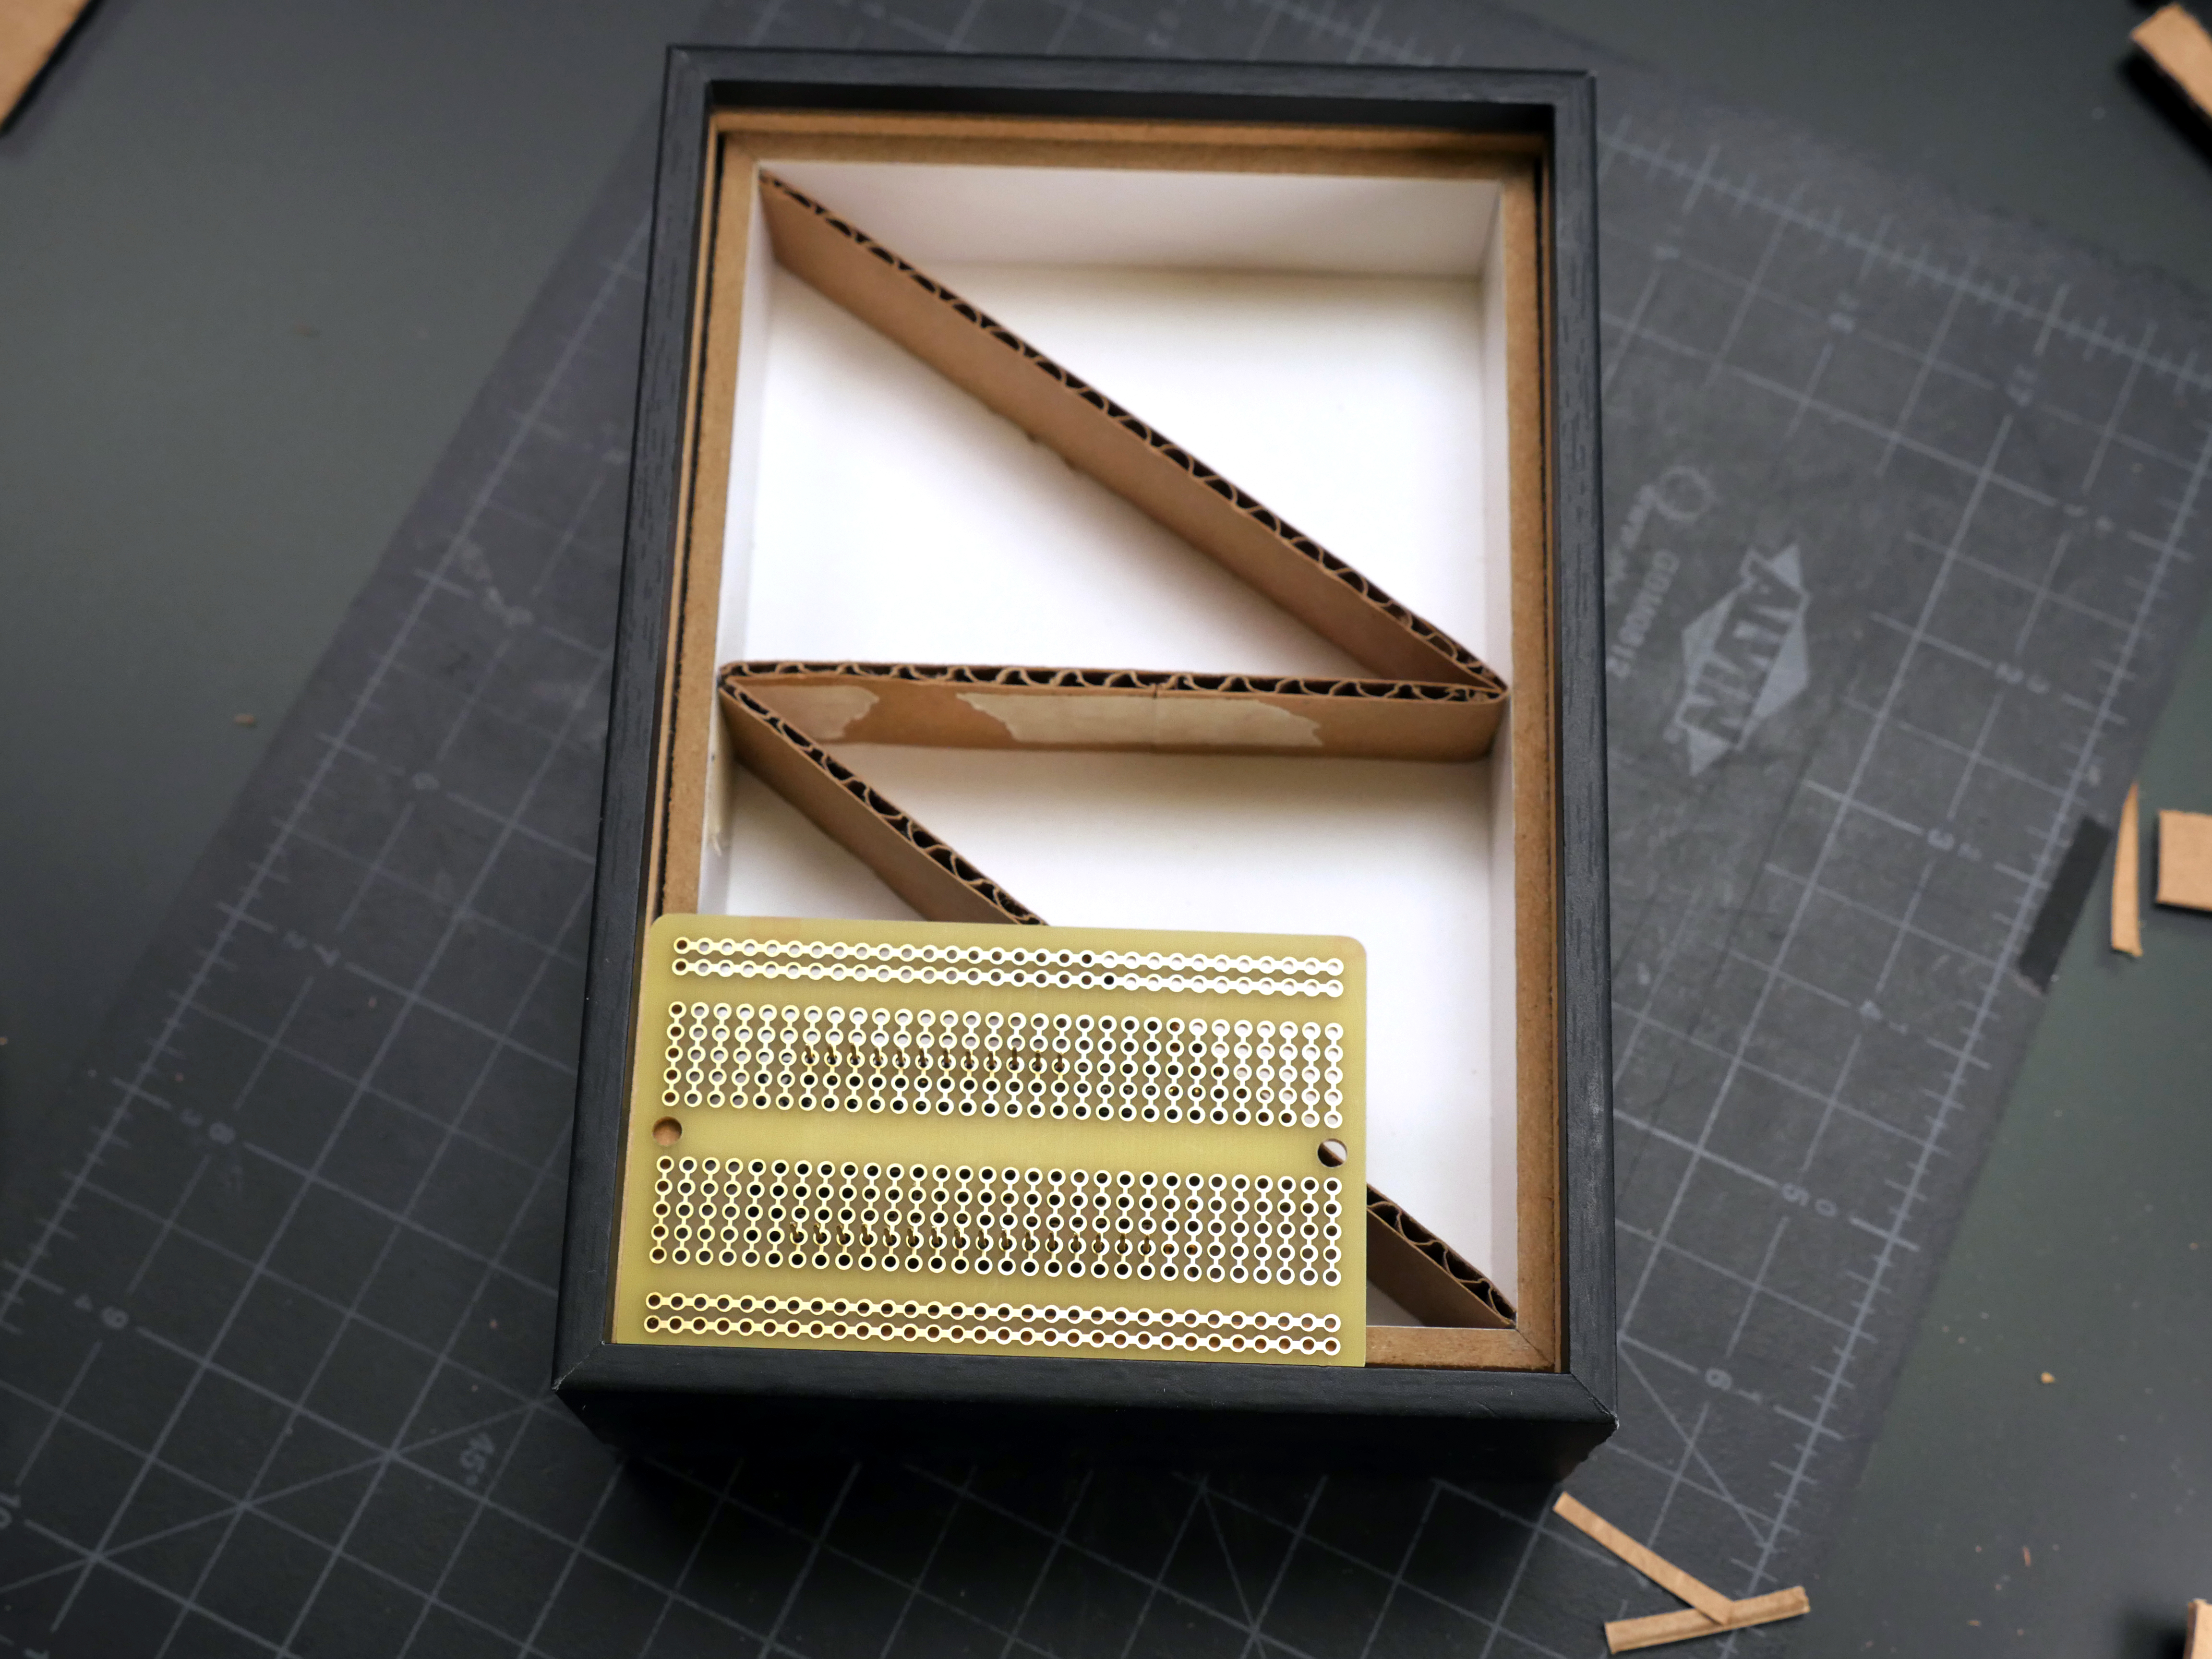
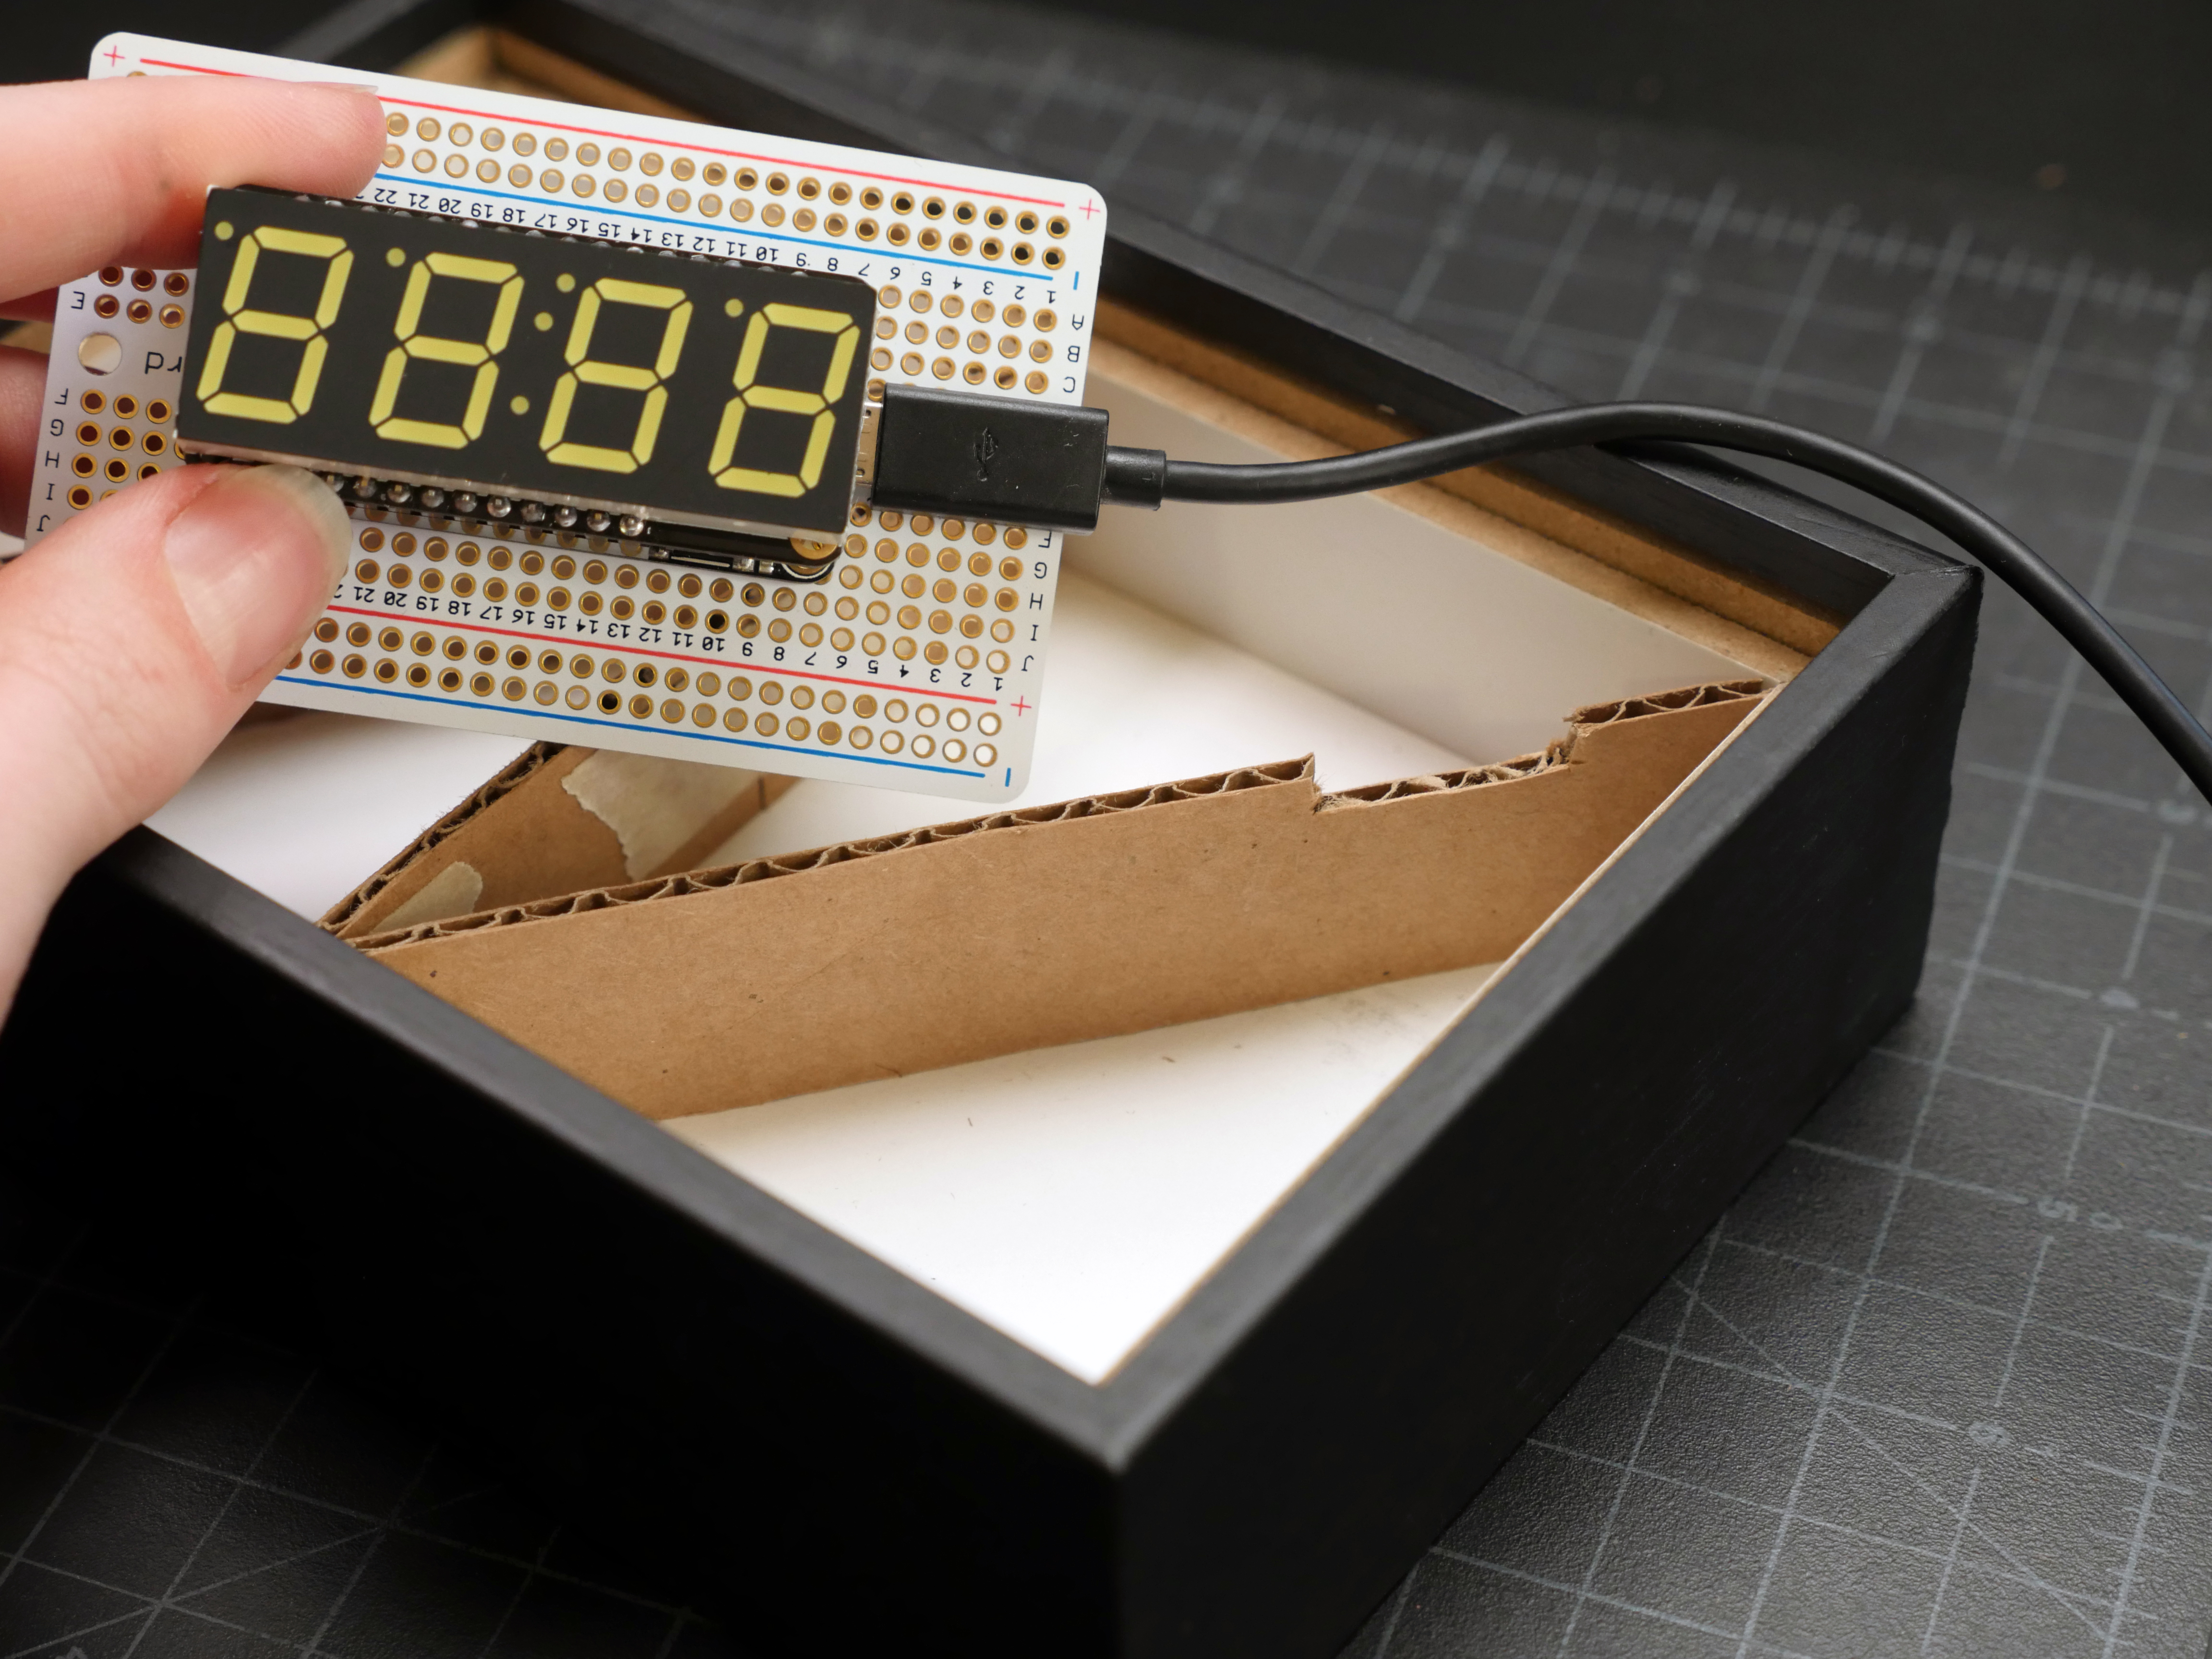
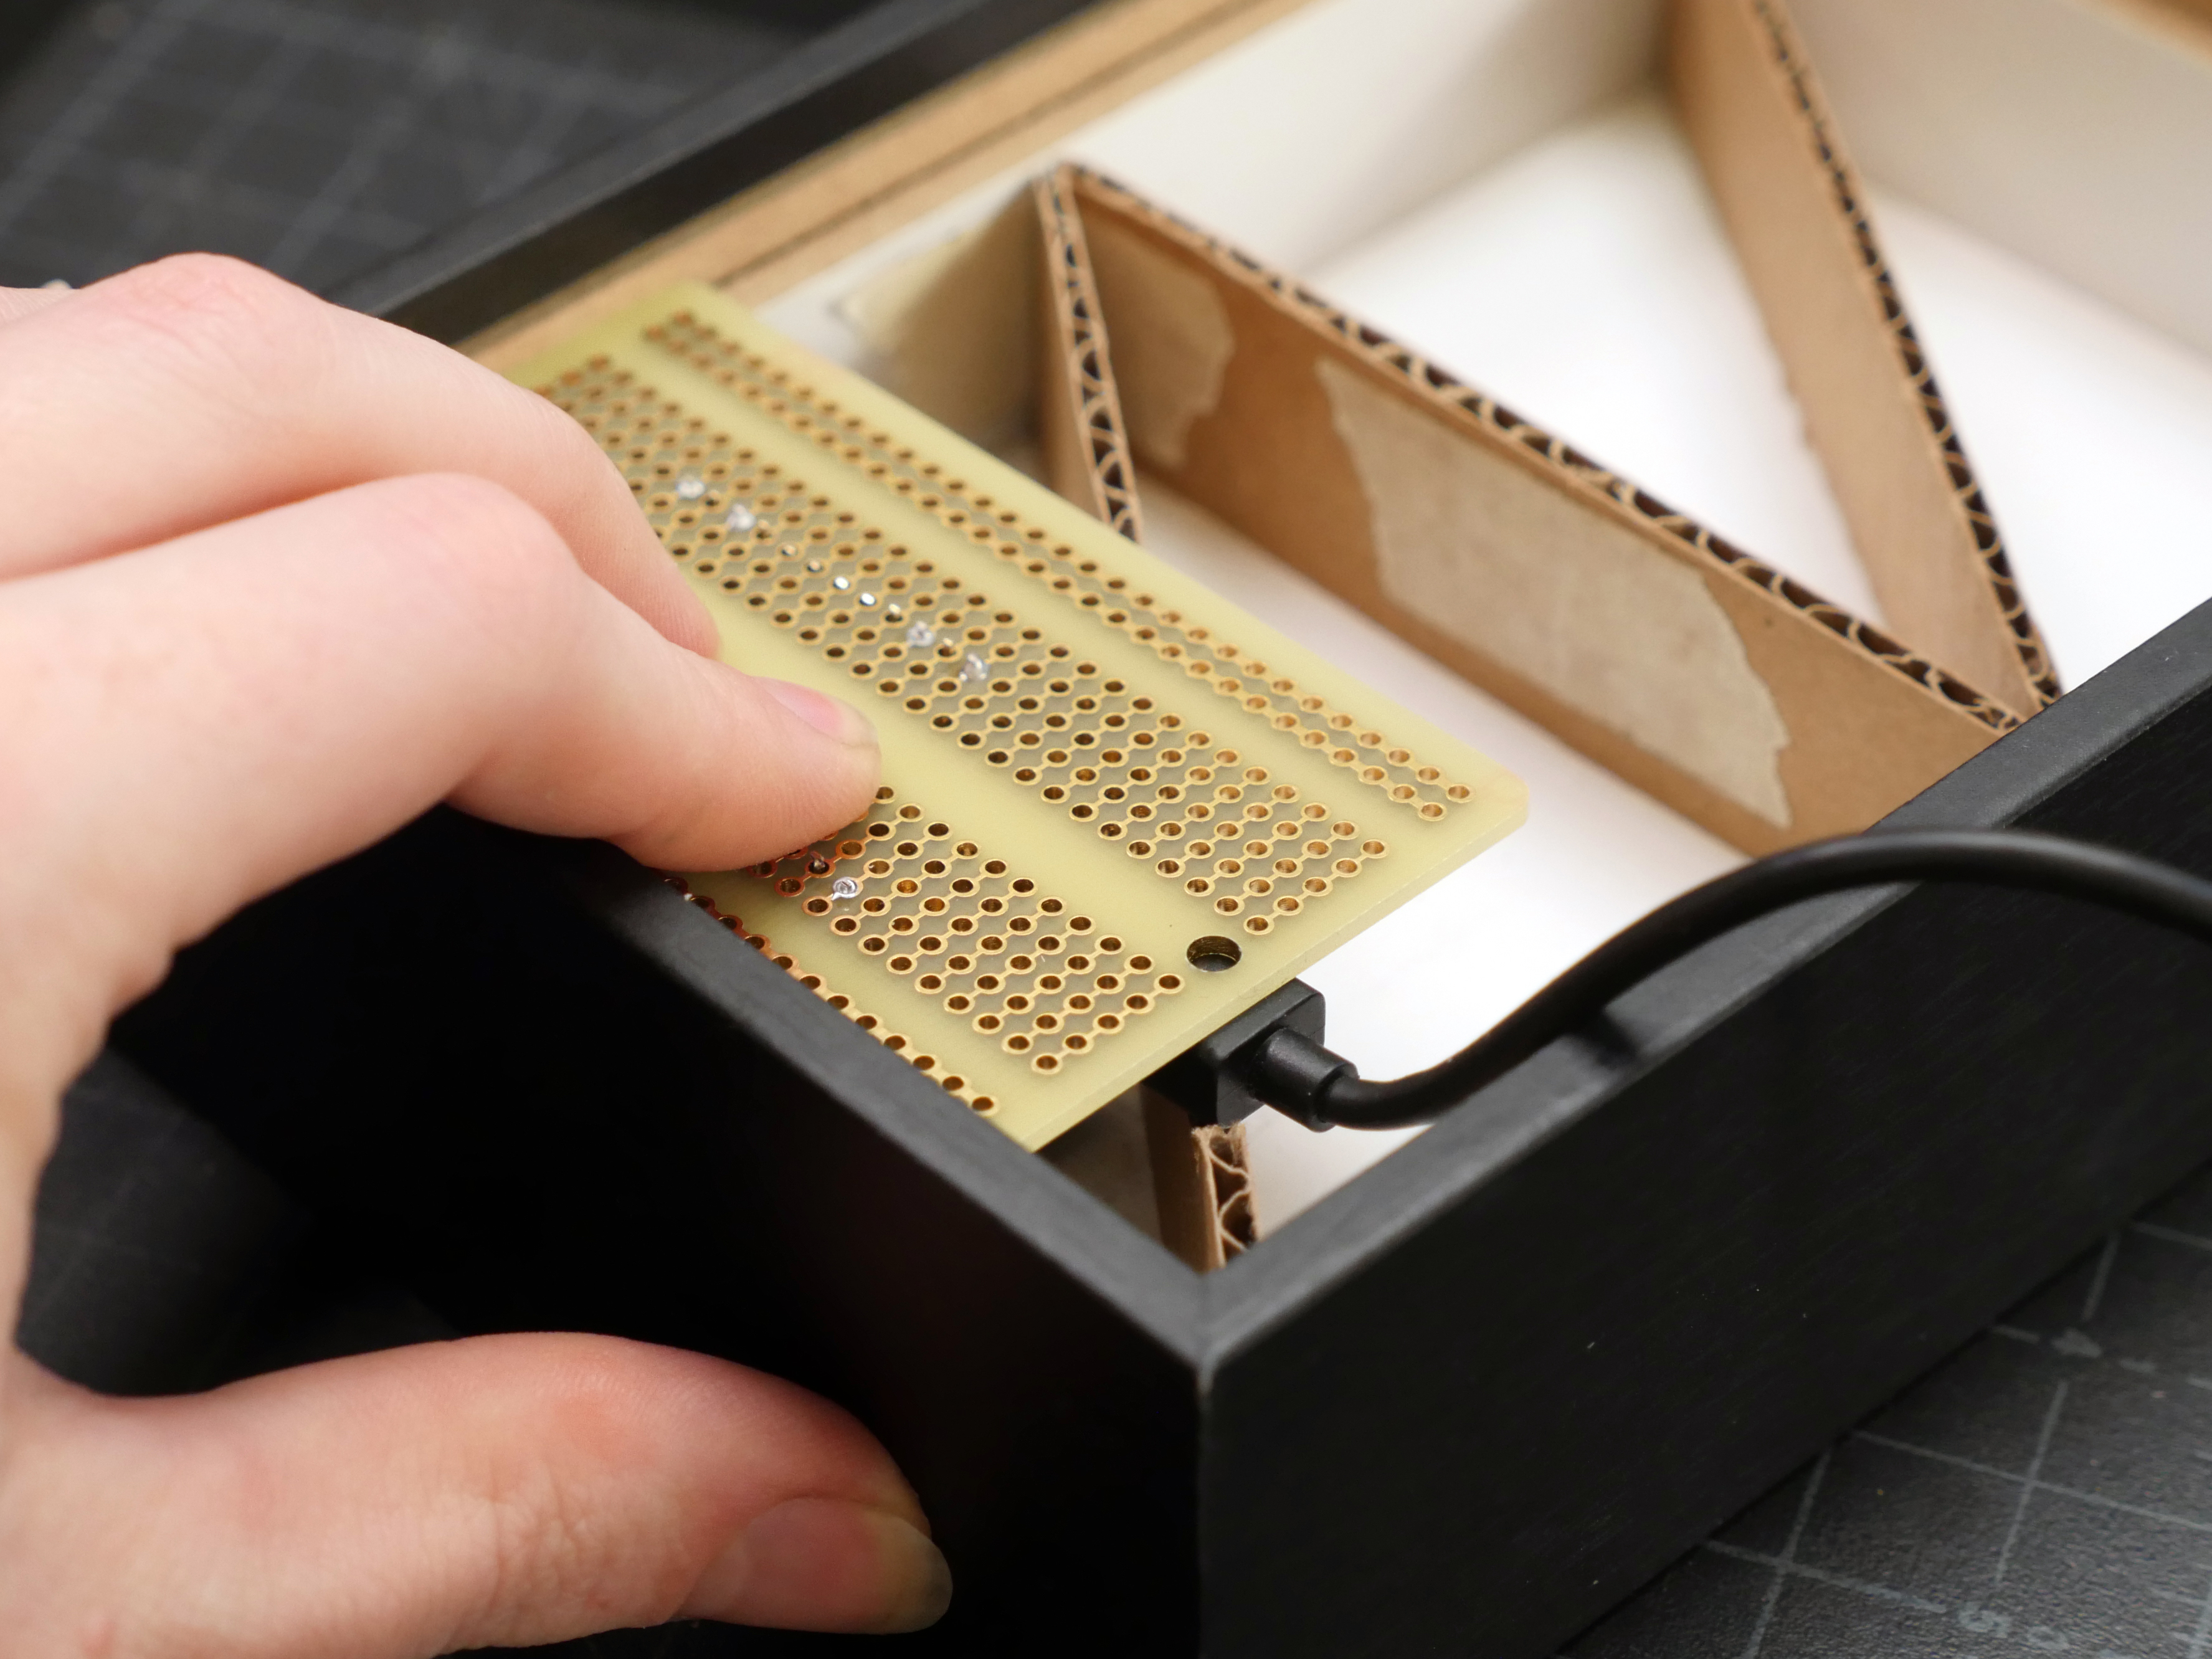
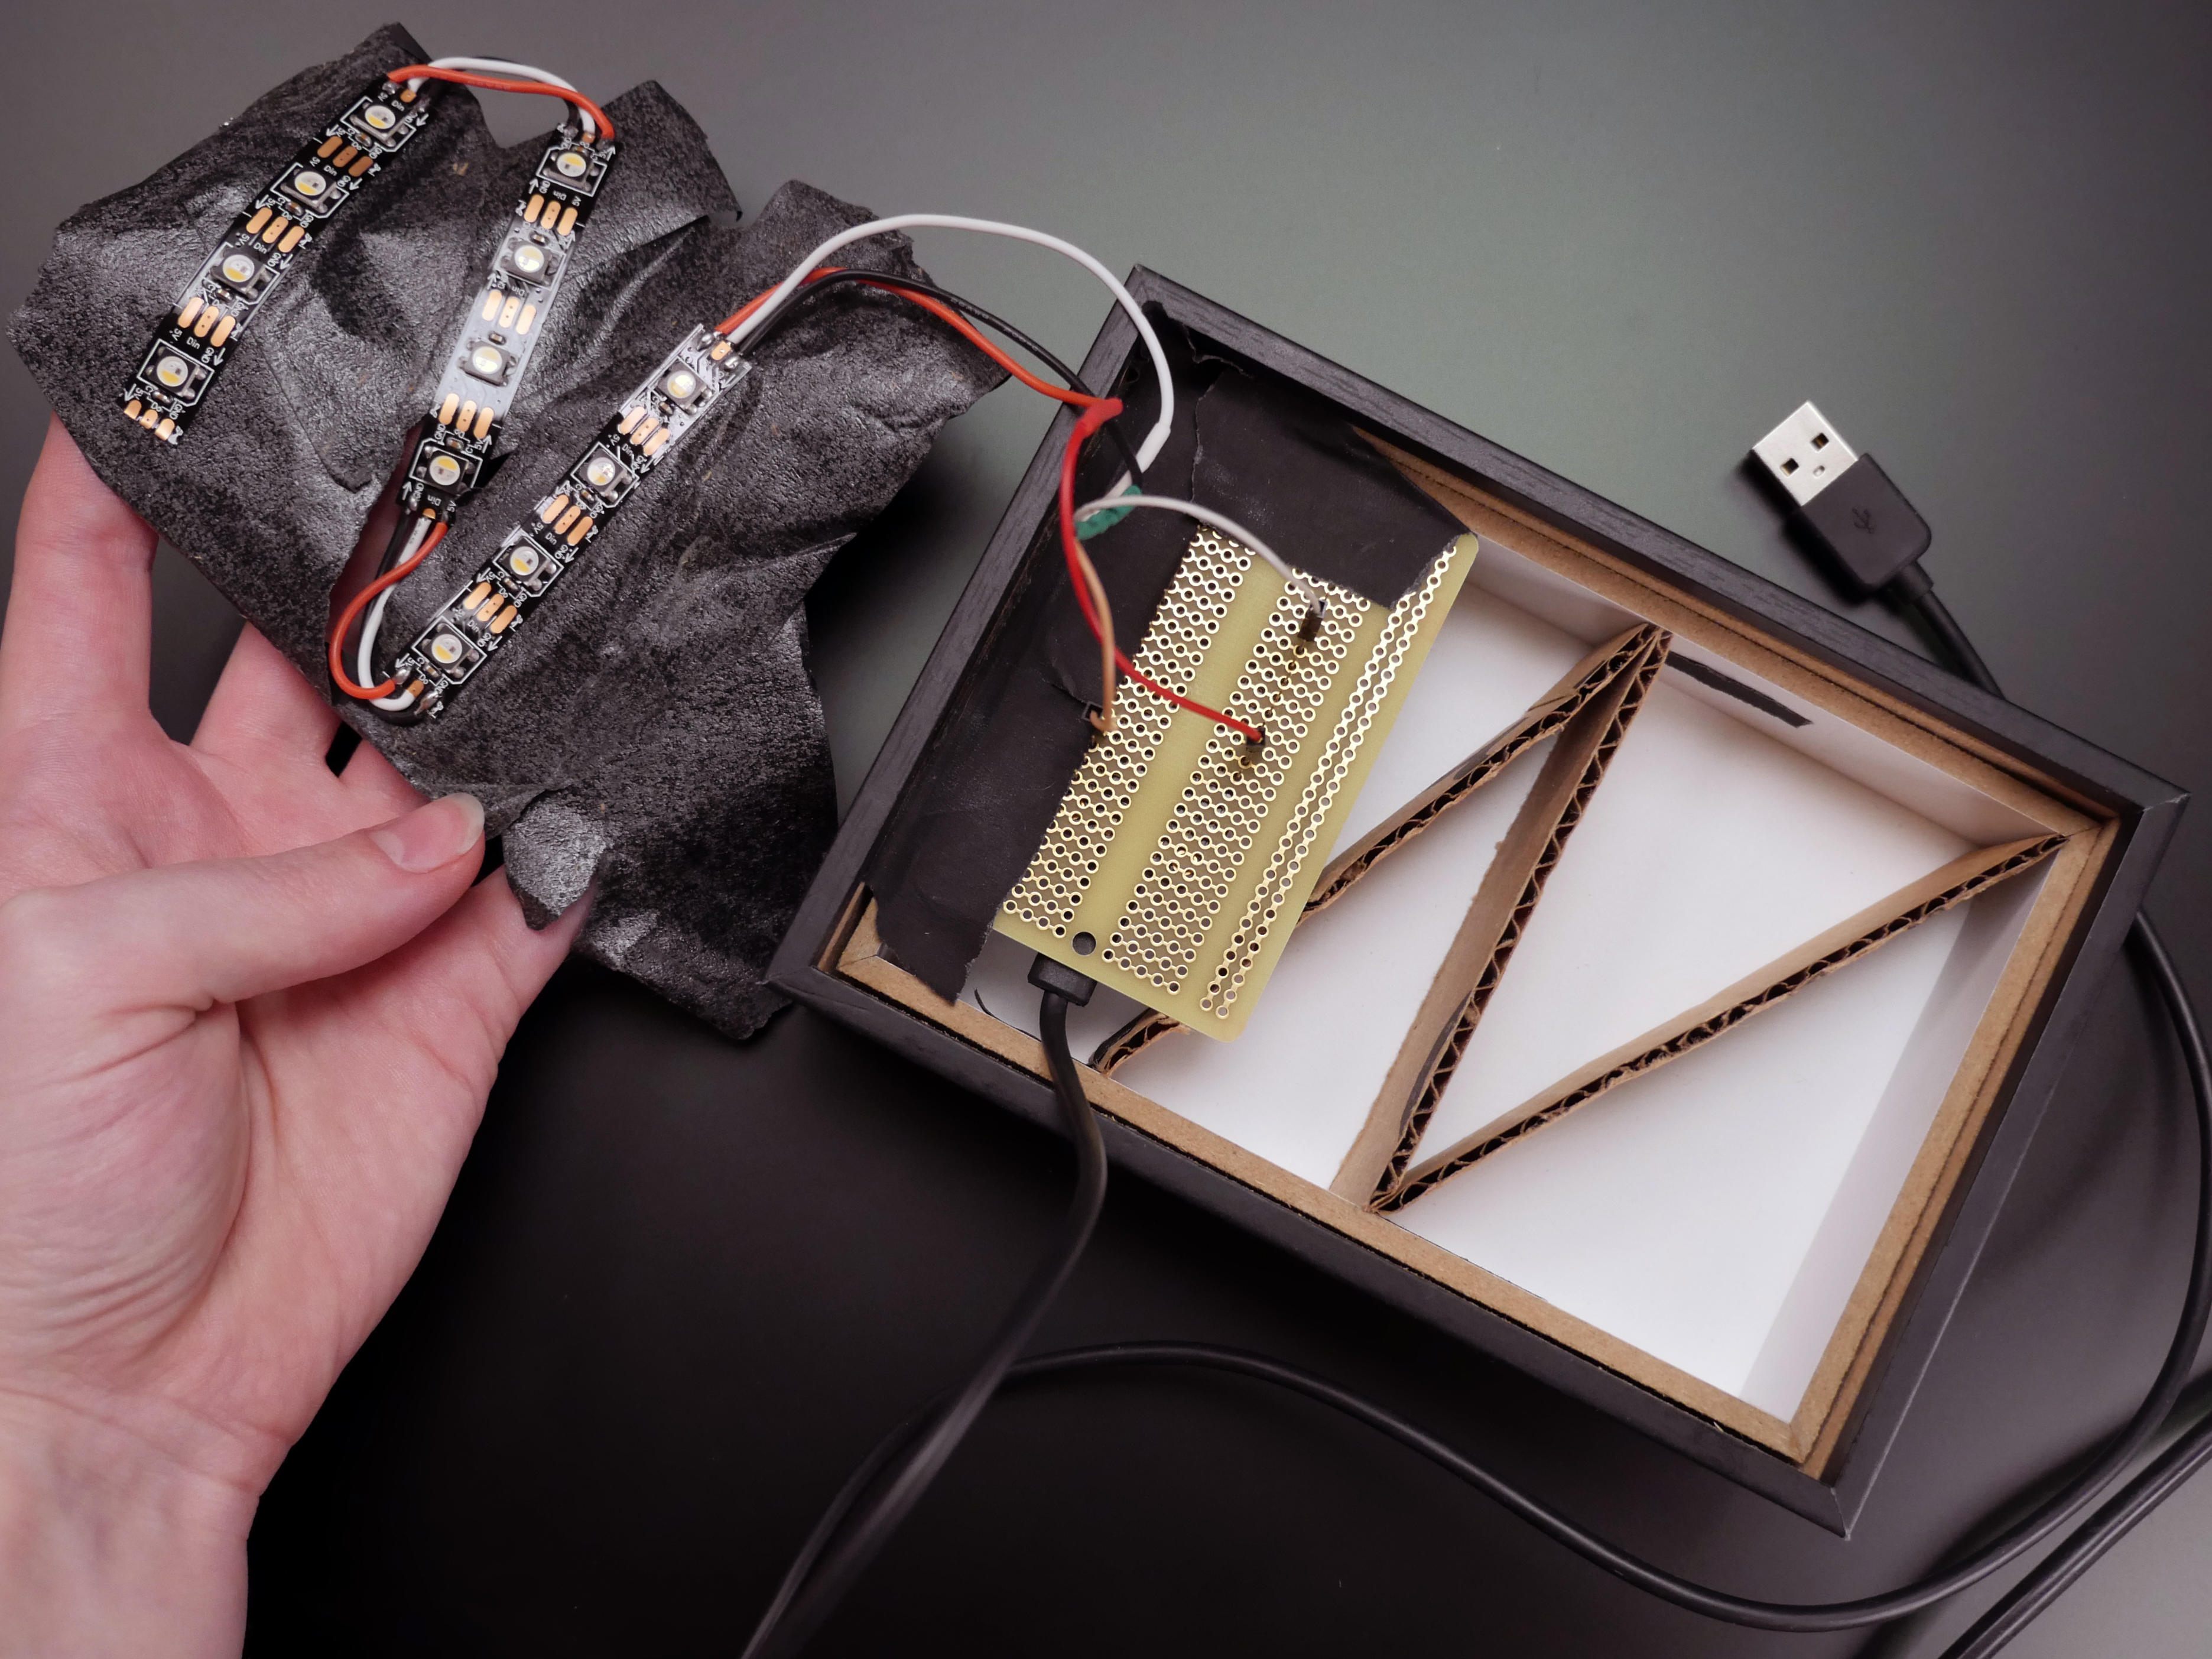
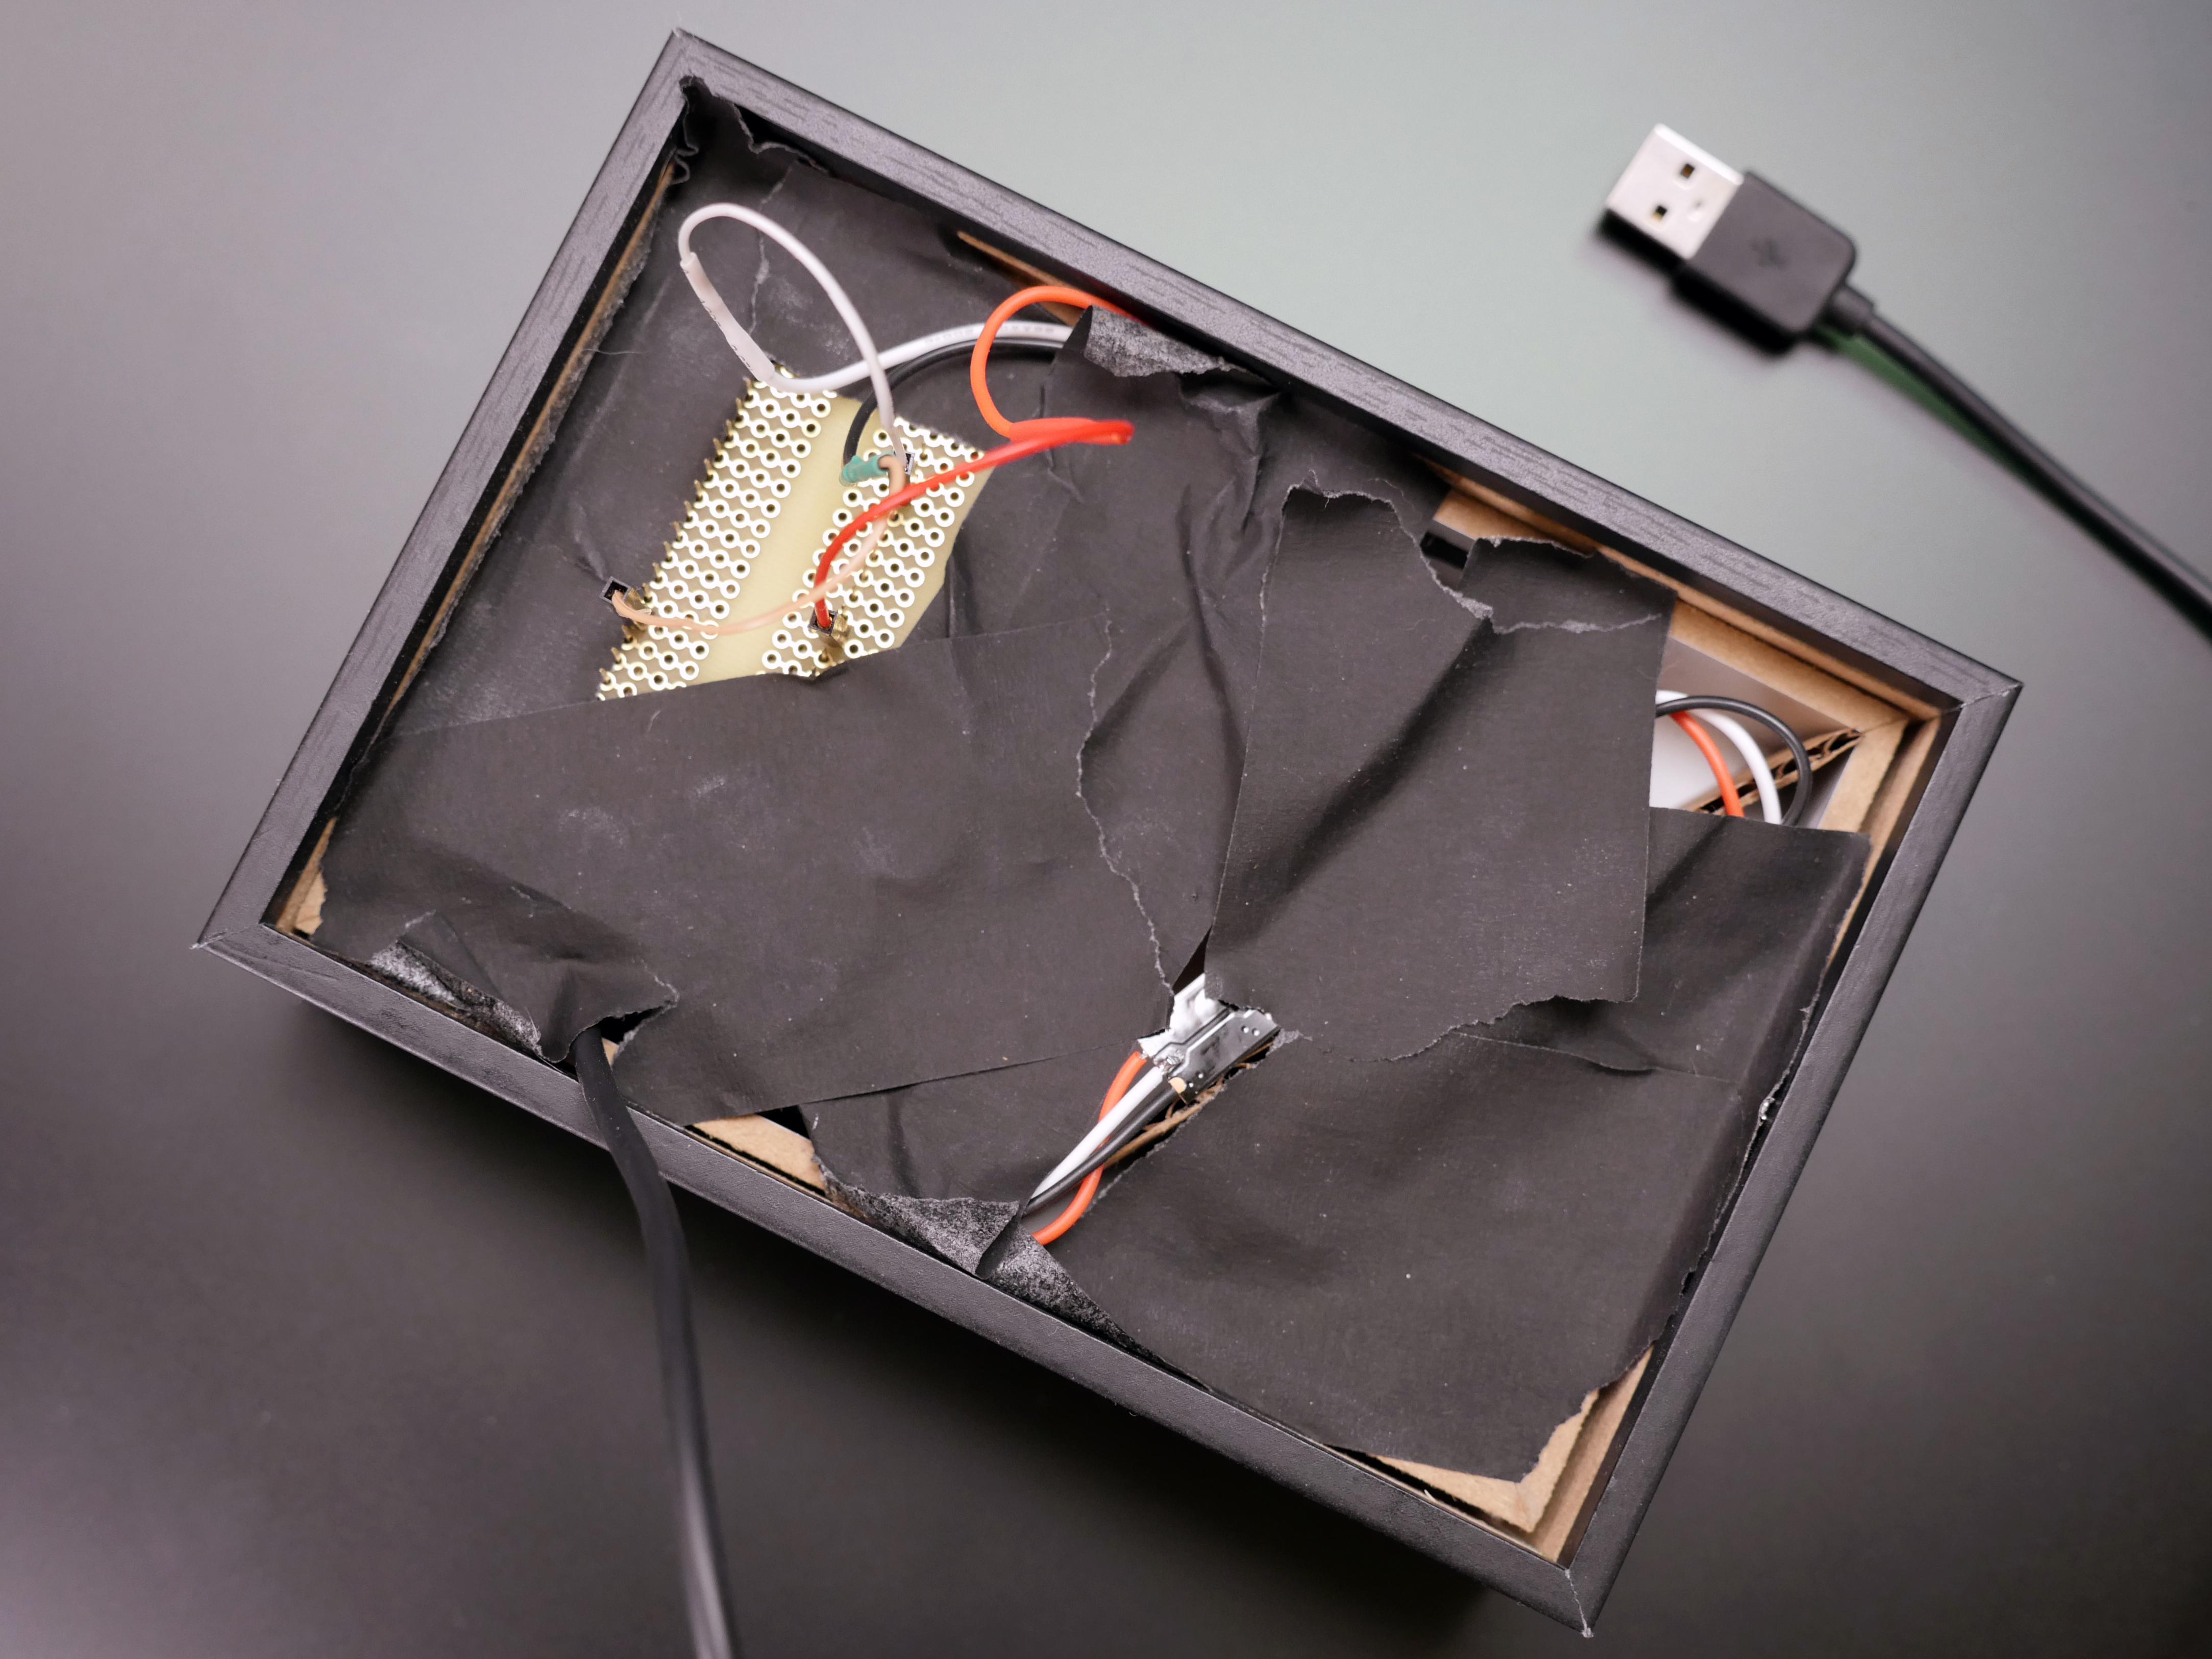
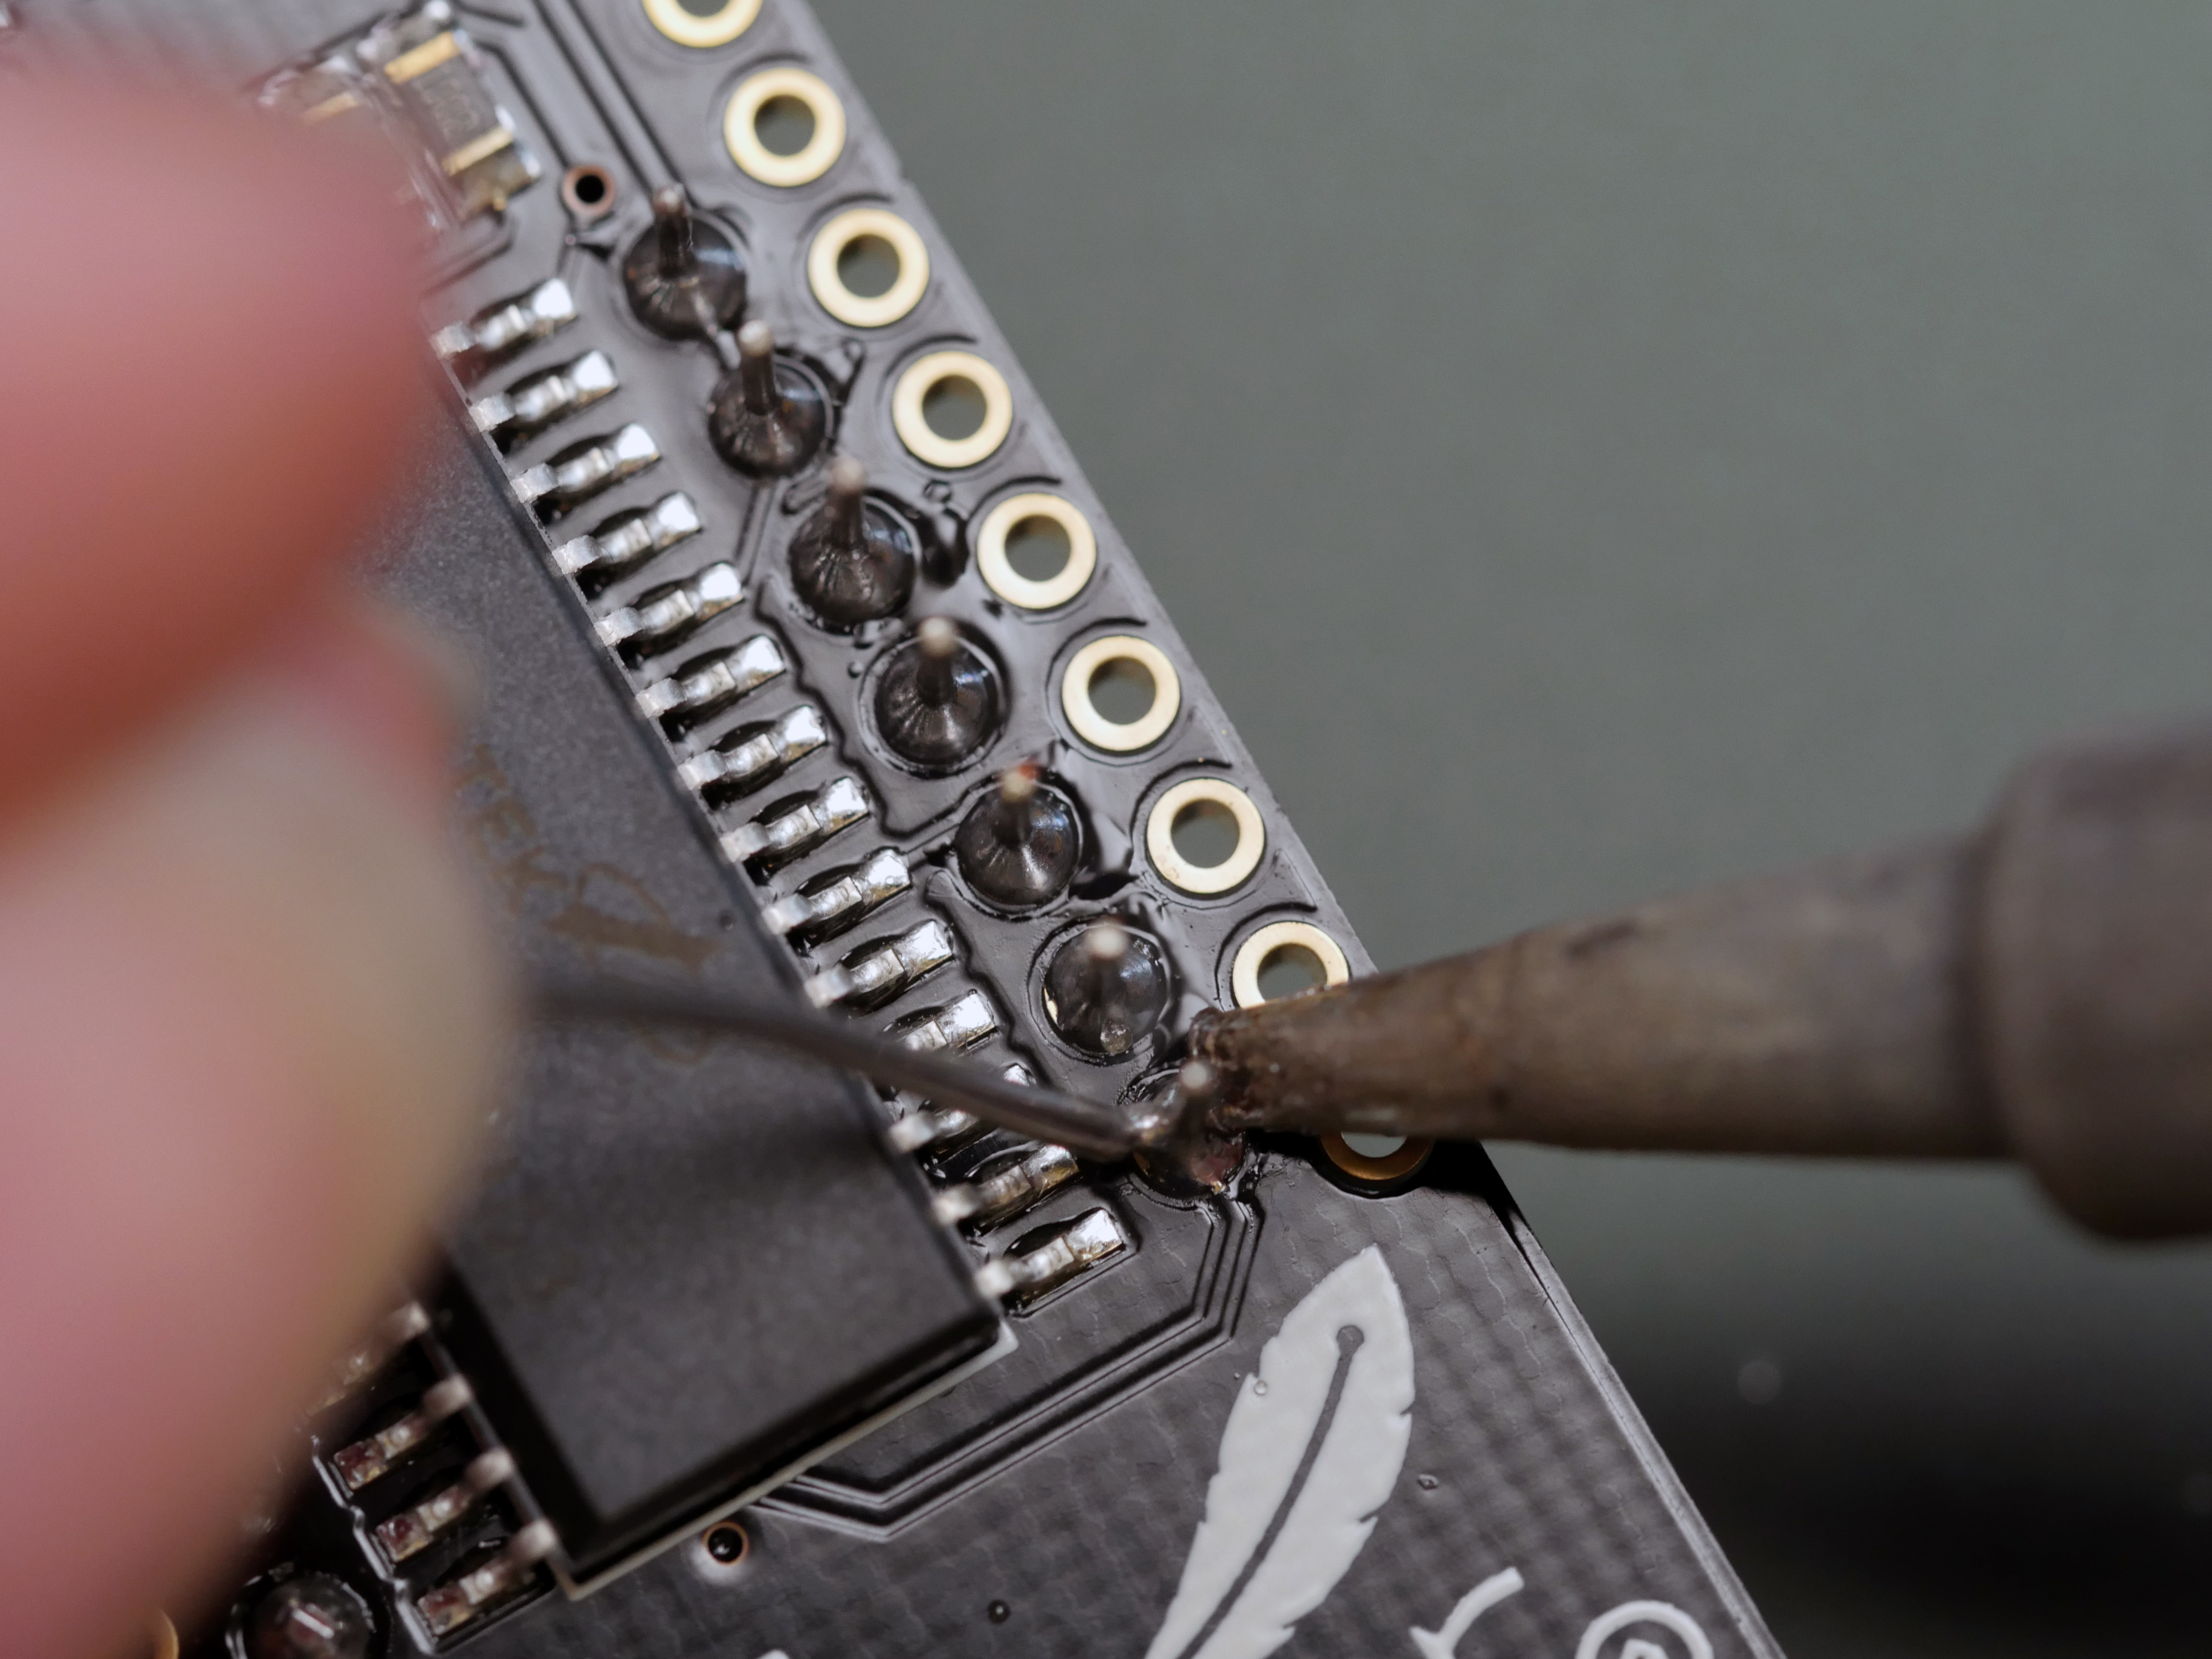
Solder the Feather and NeoPixel wires to the perma-proto board and trim the extra long headers with flush diagonal cutters (wear eye protection, they go flyin'!). Leave the tape securing the NeoPixels or replace it with some hot glue to hold the strips to the shadow box backing plate.
Finishing Touches
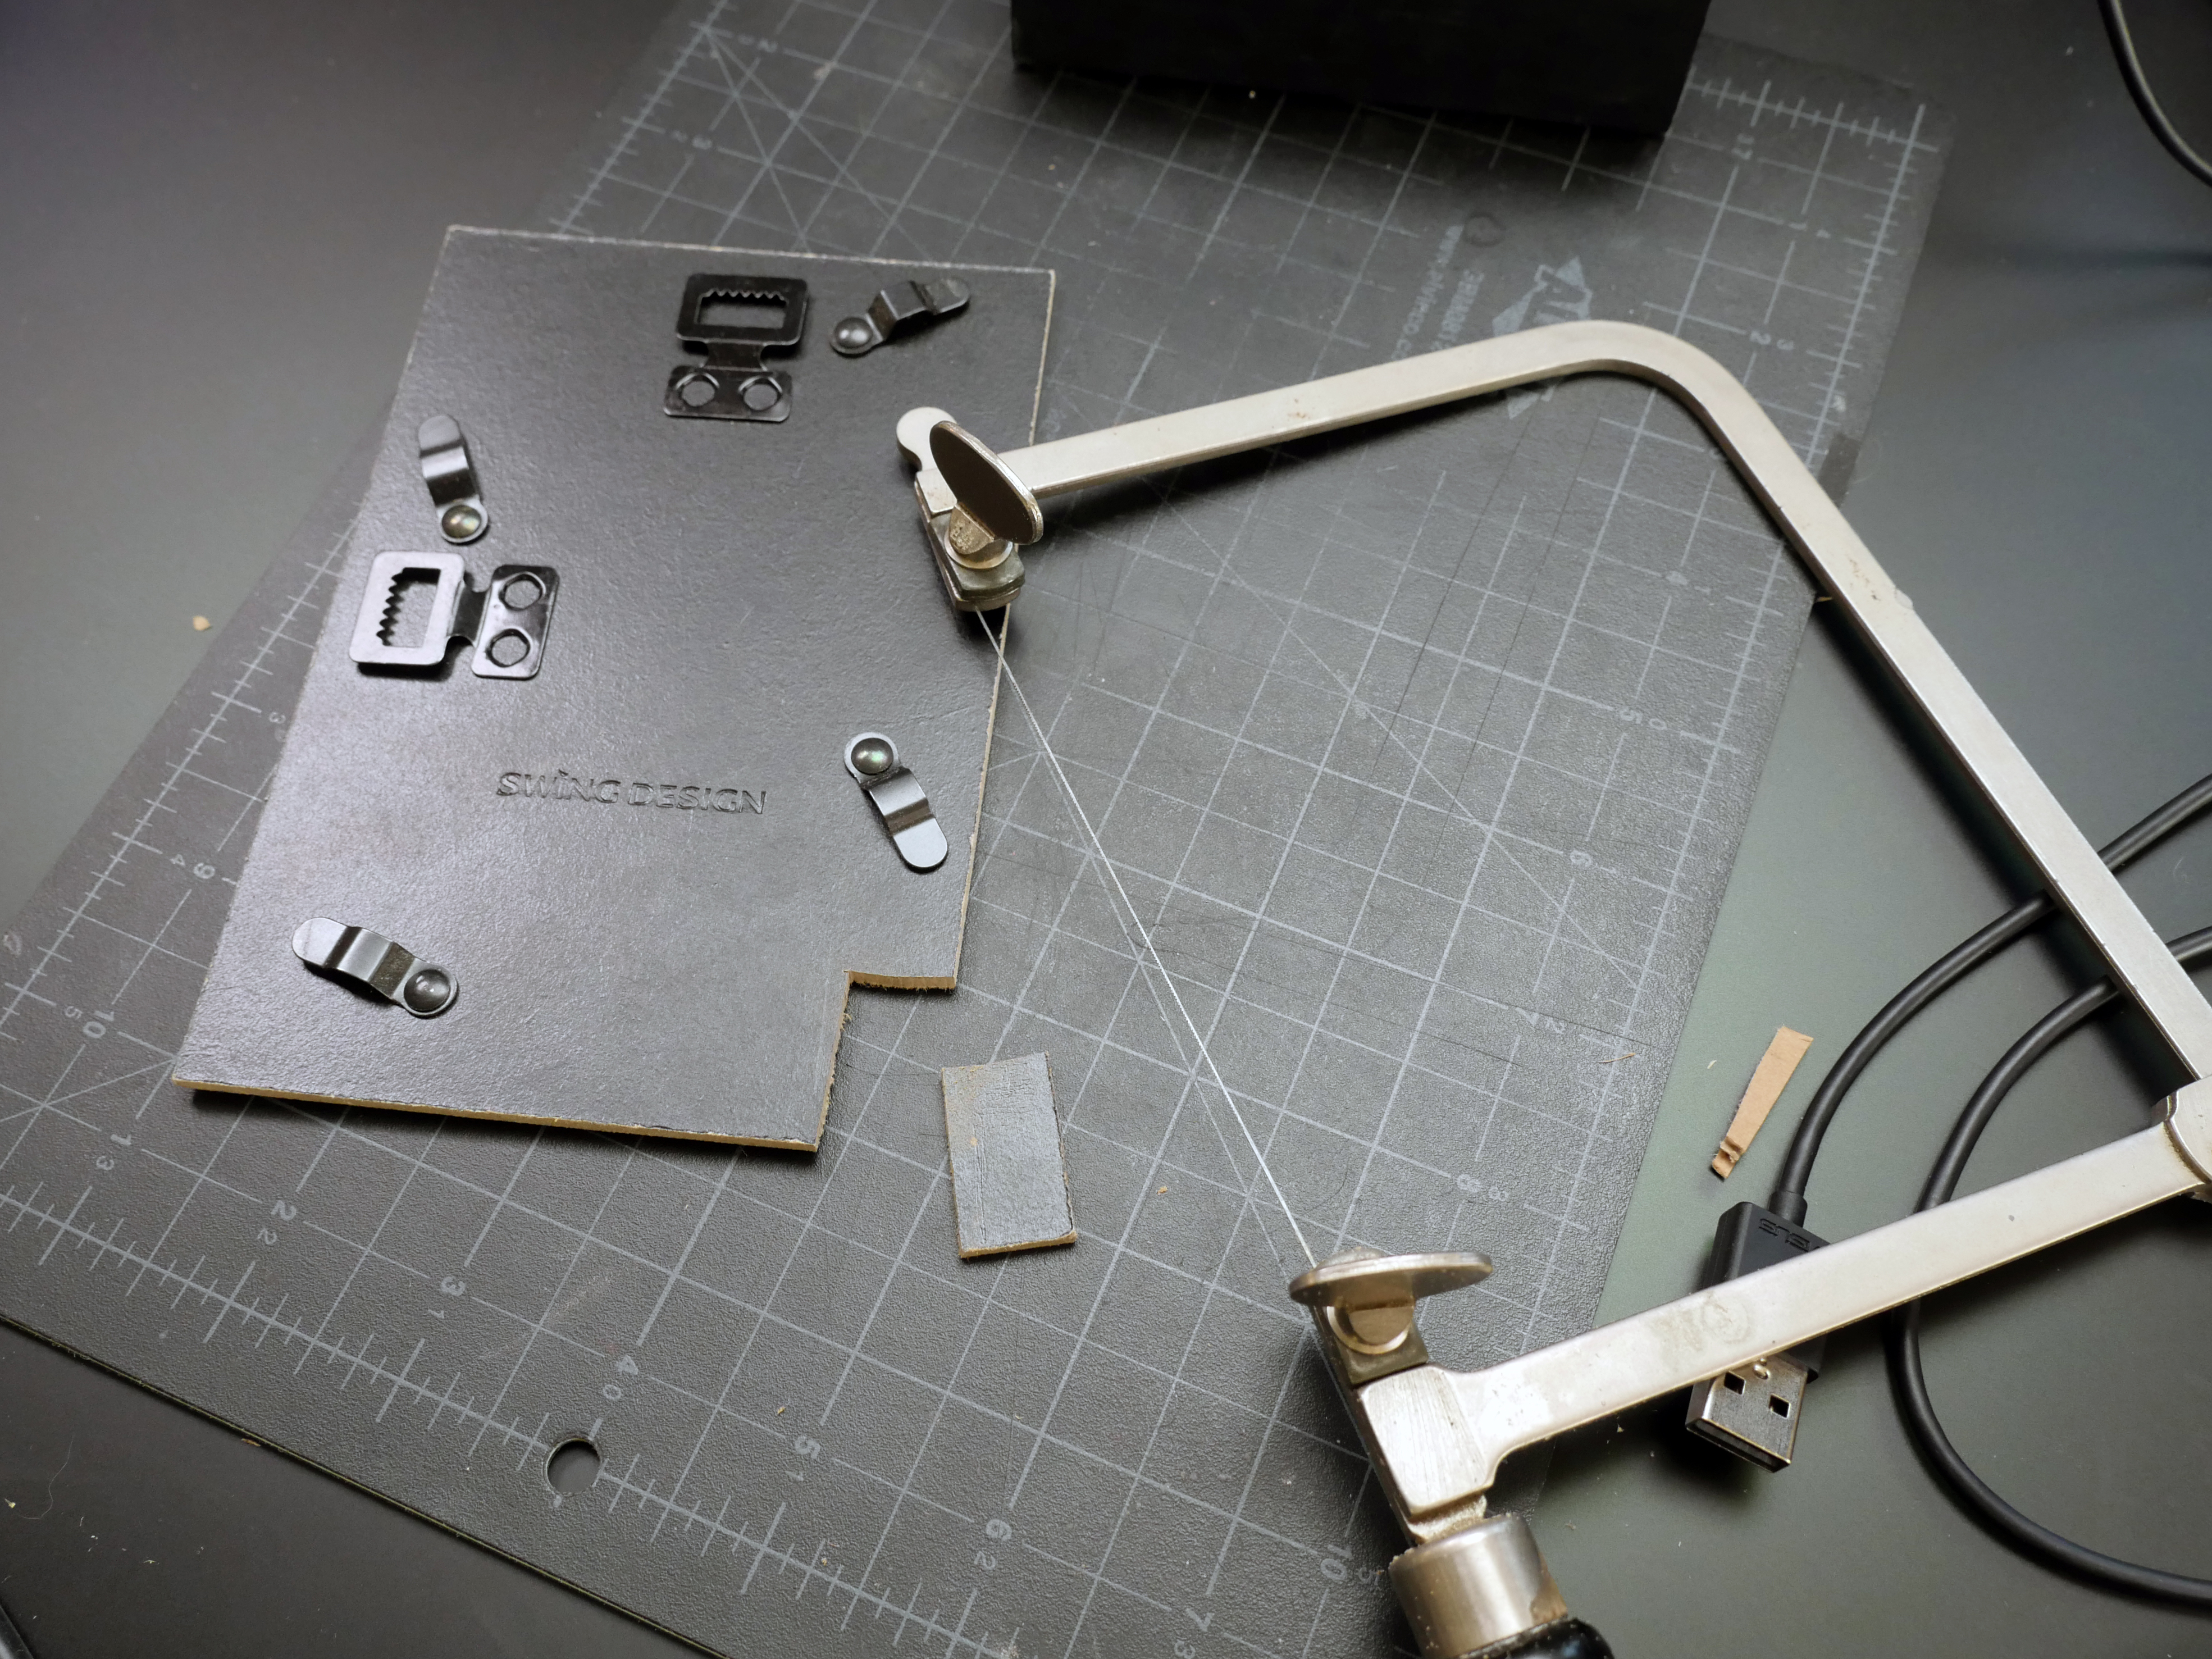
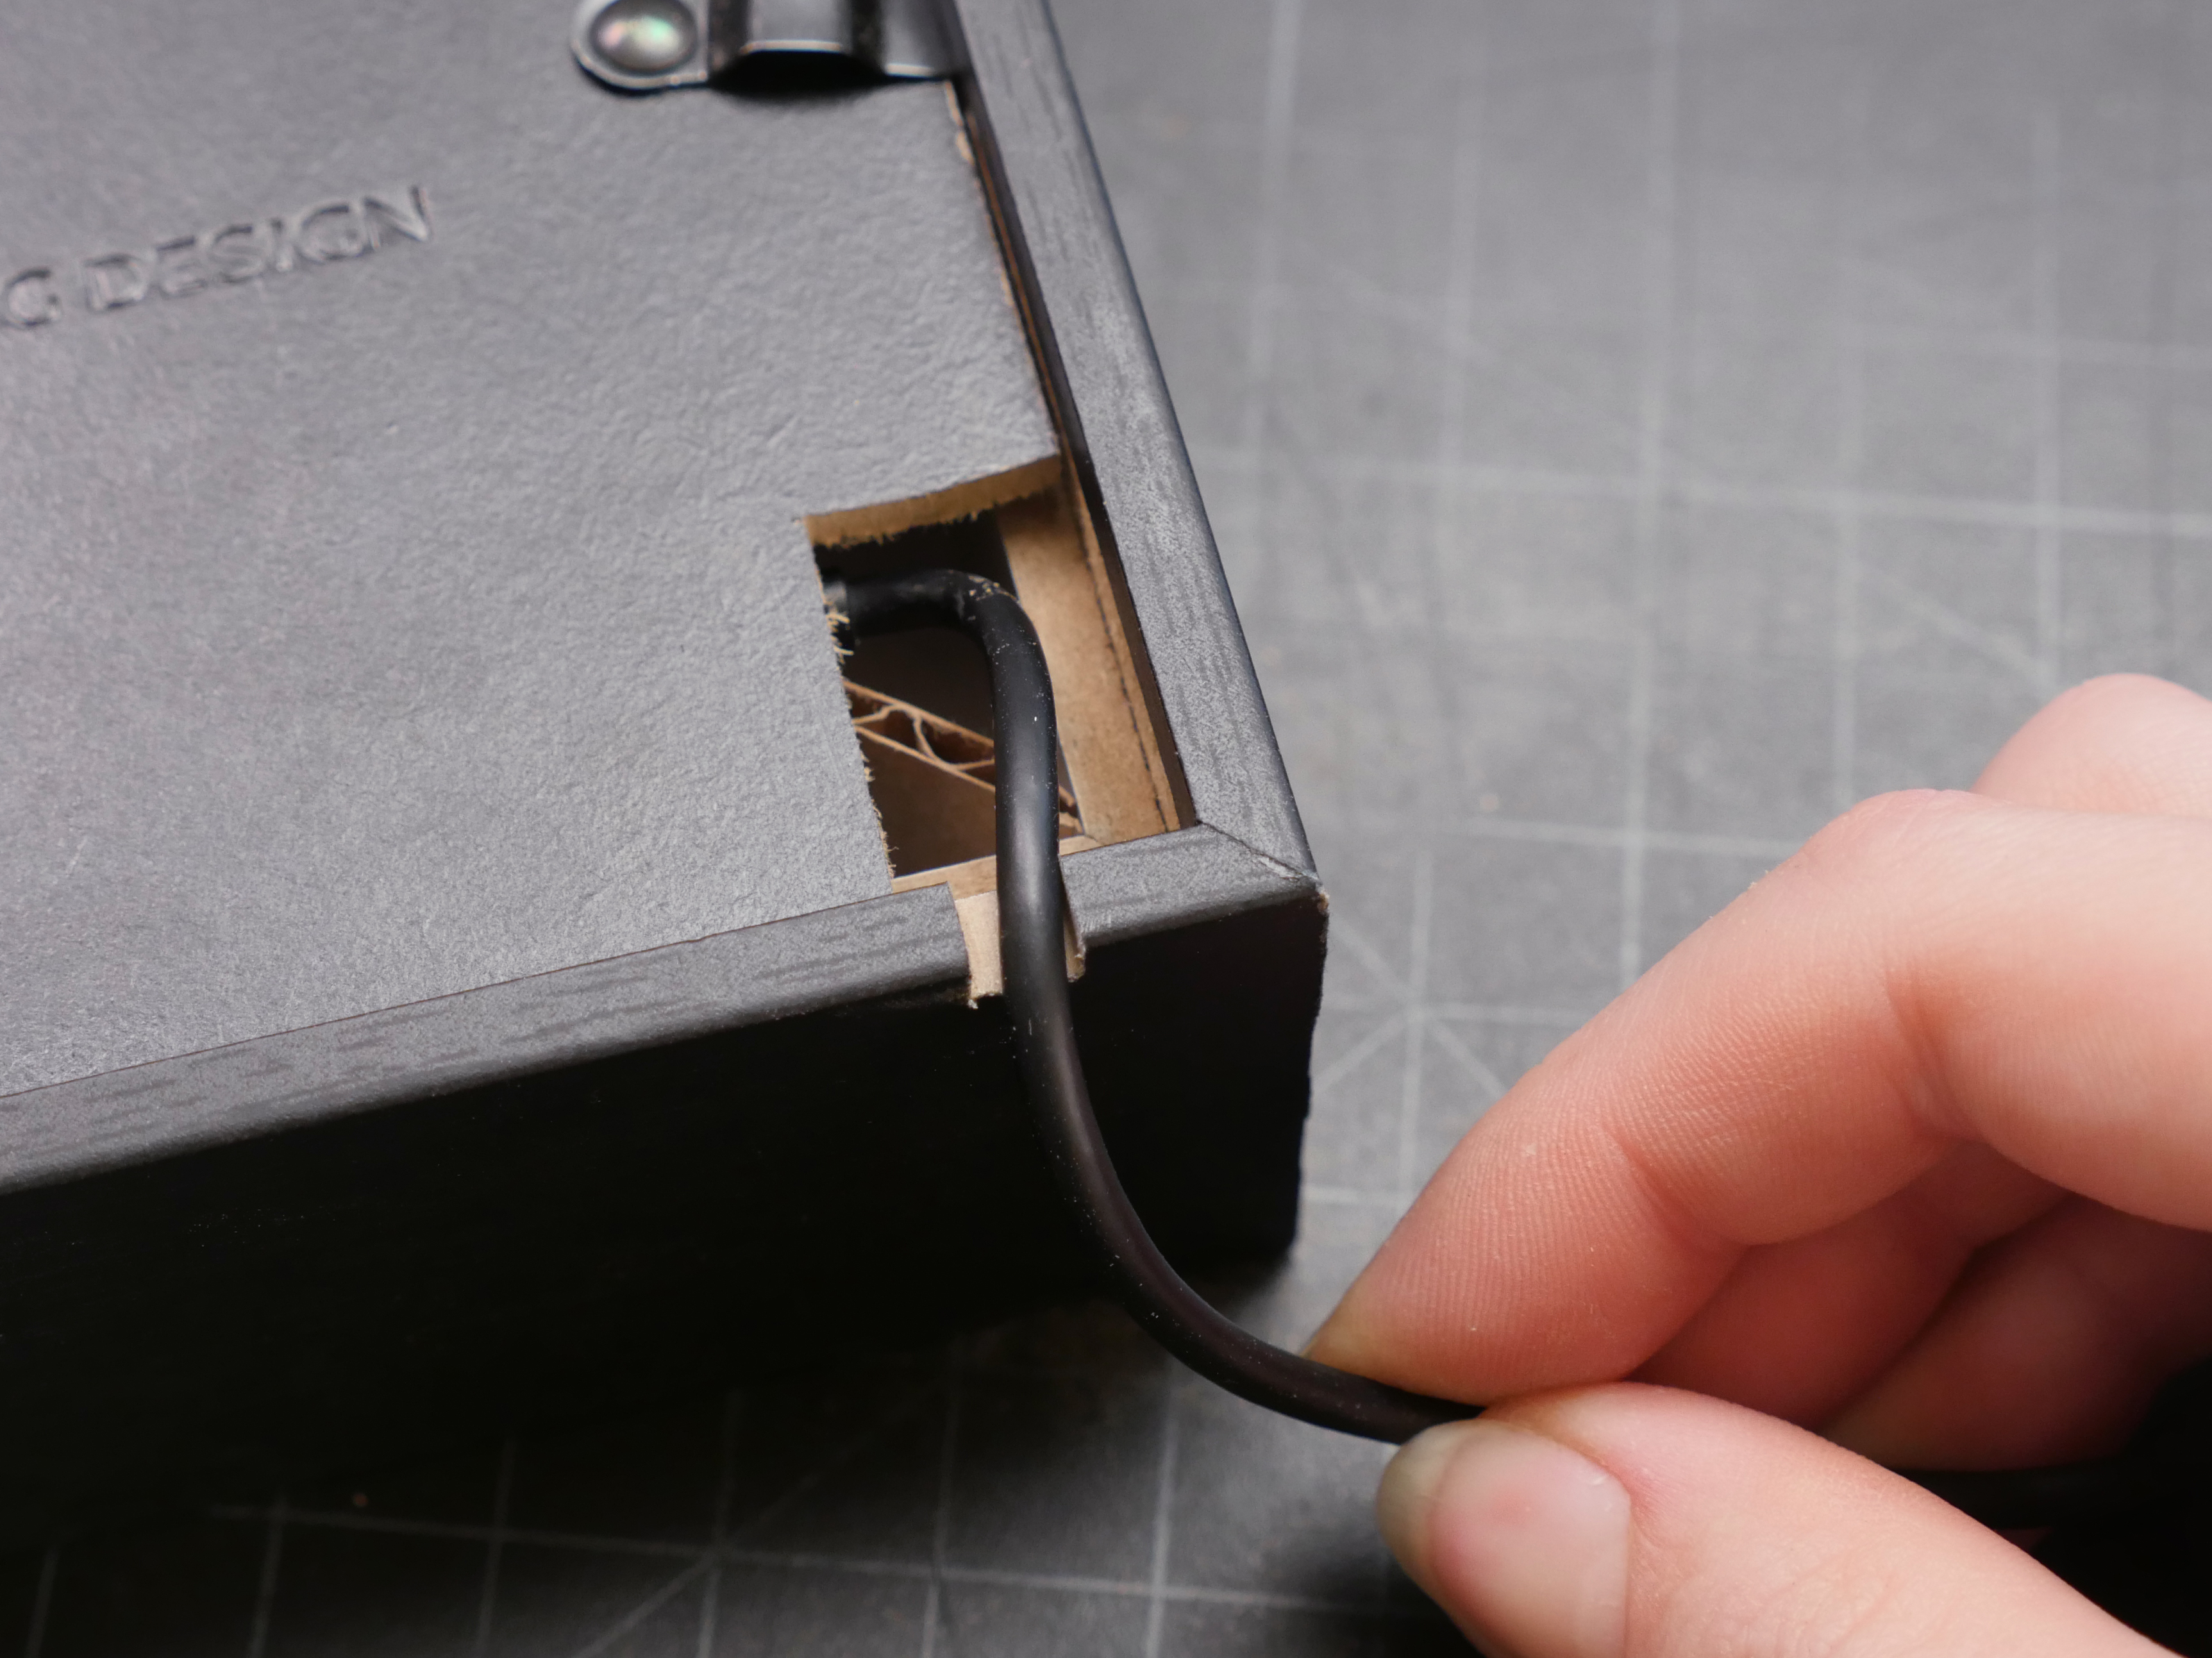
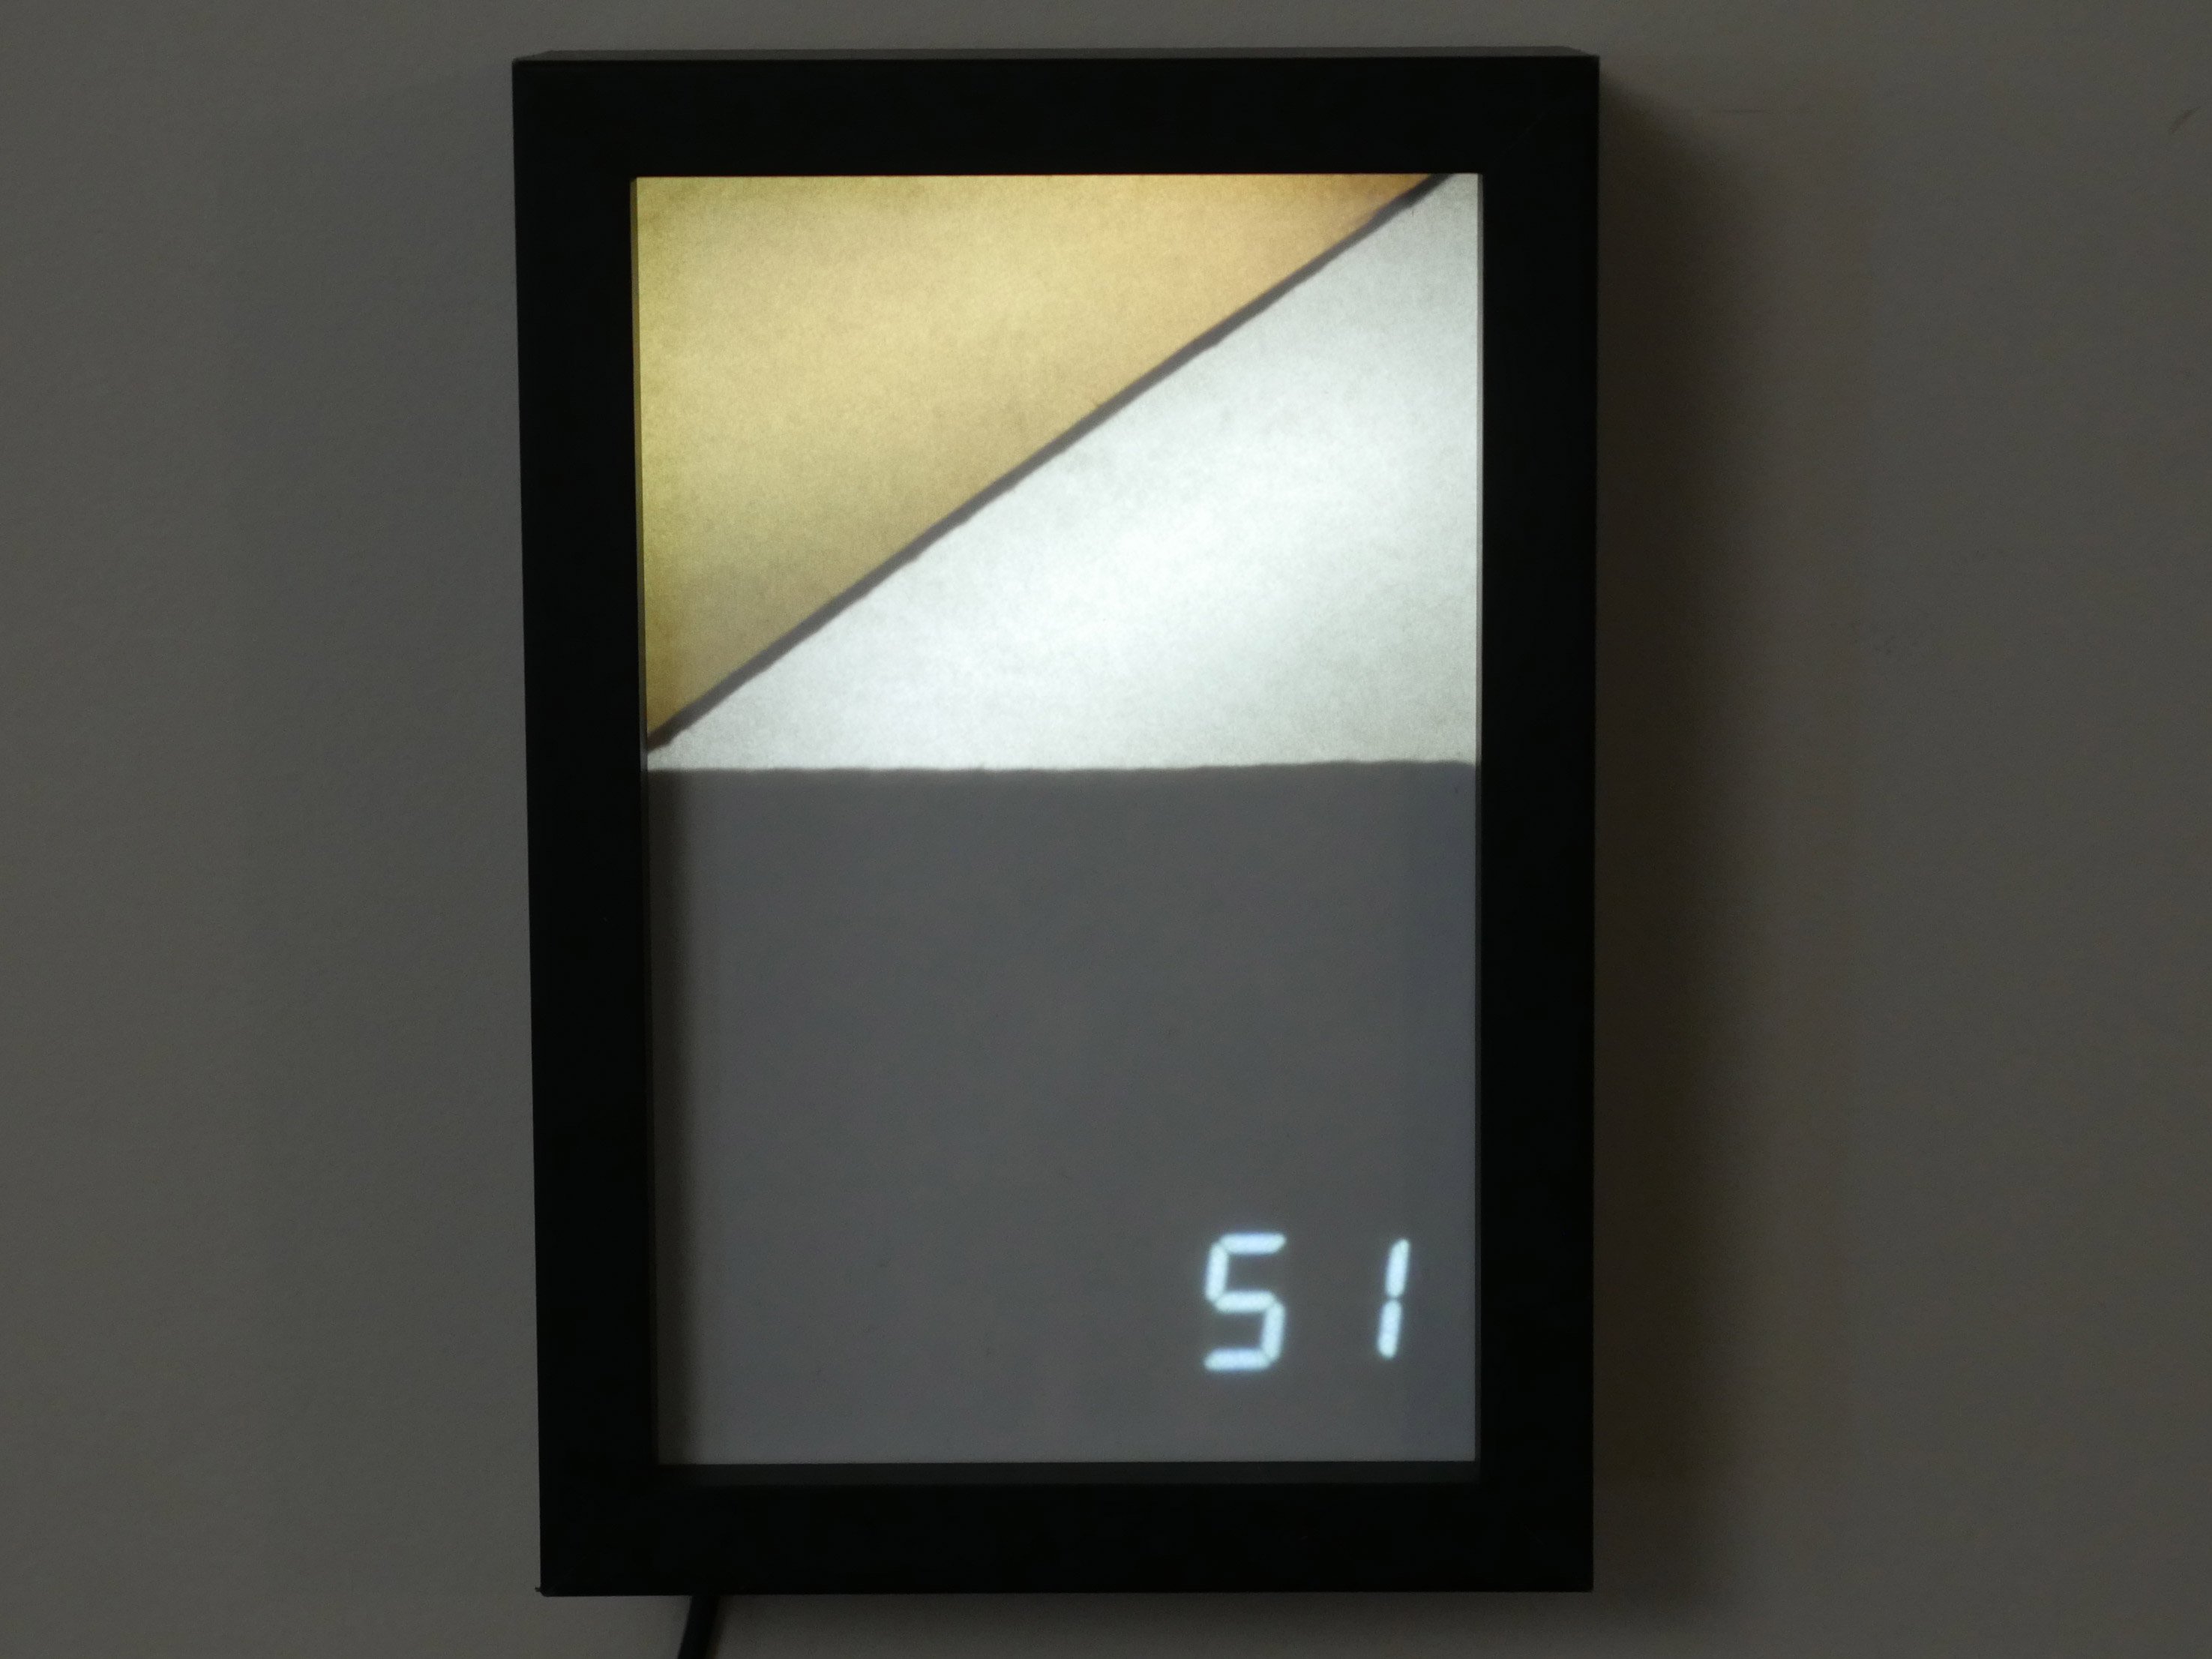
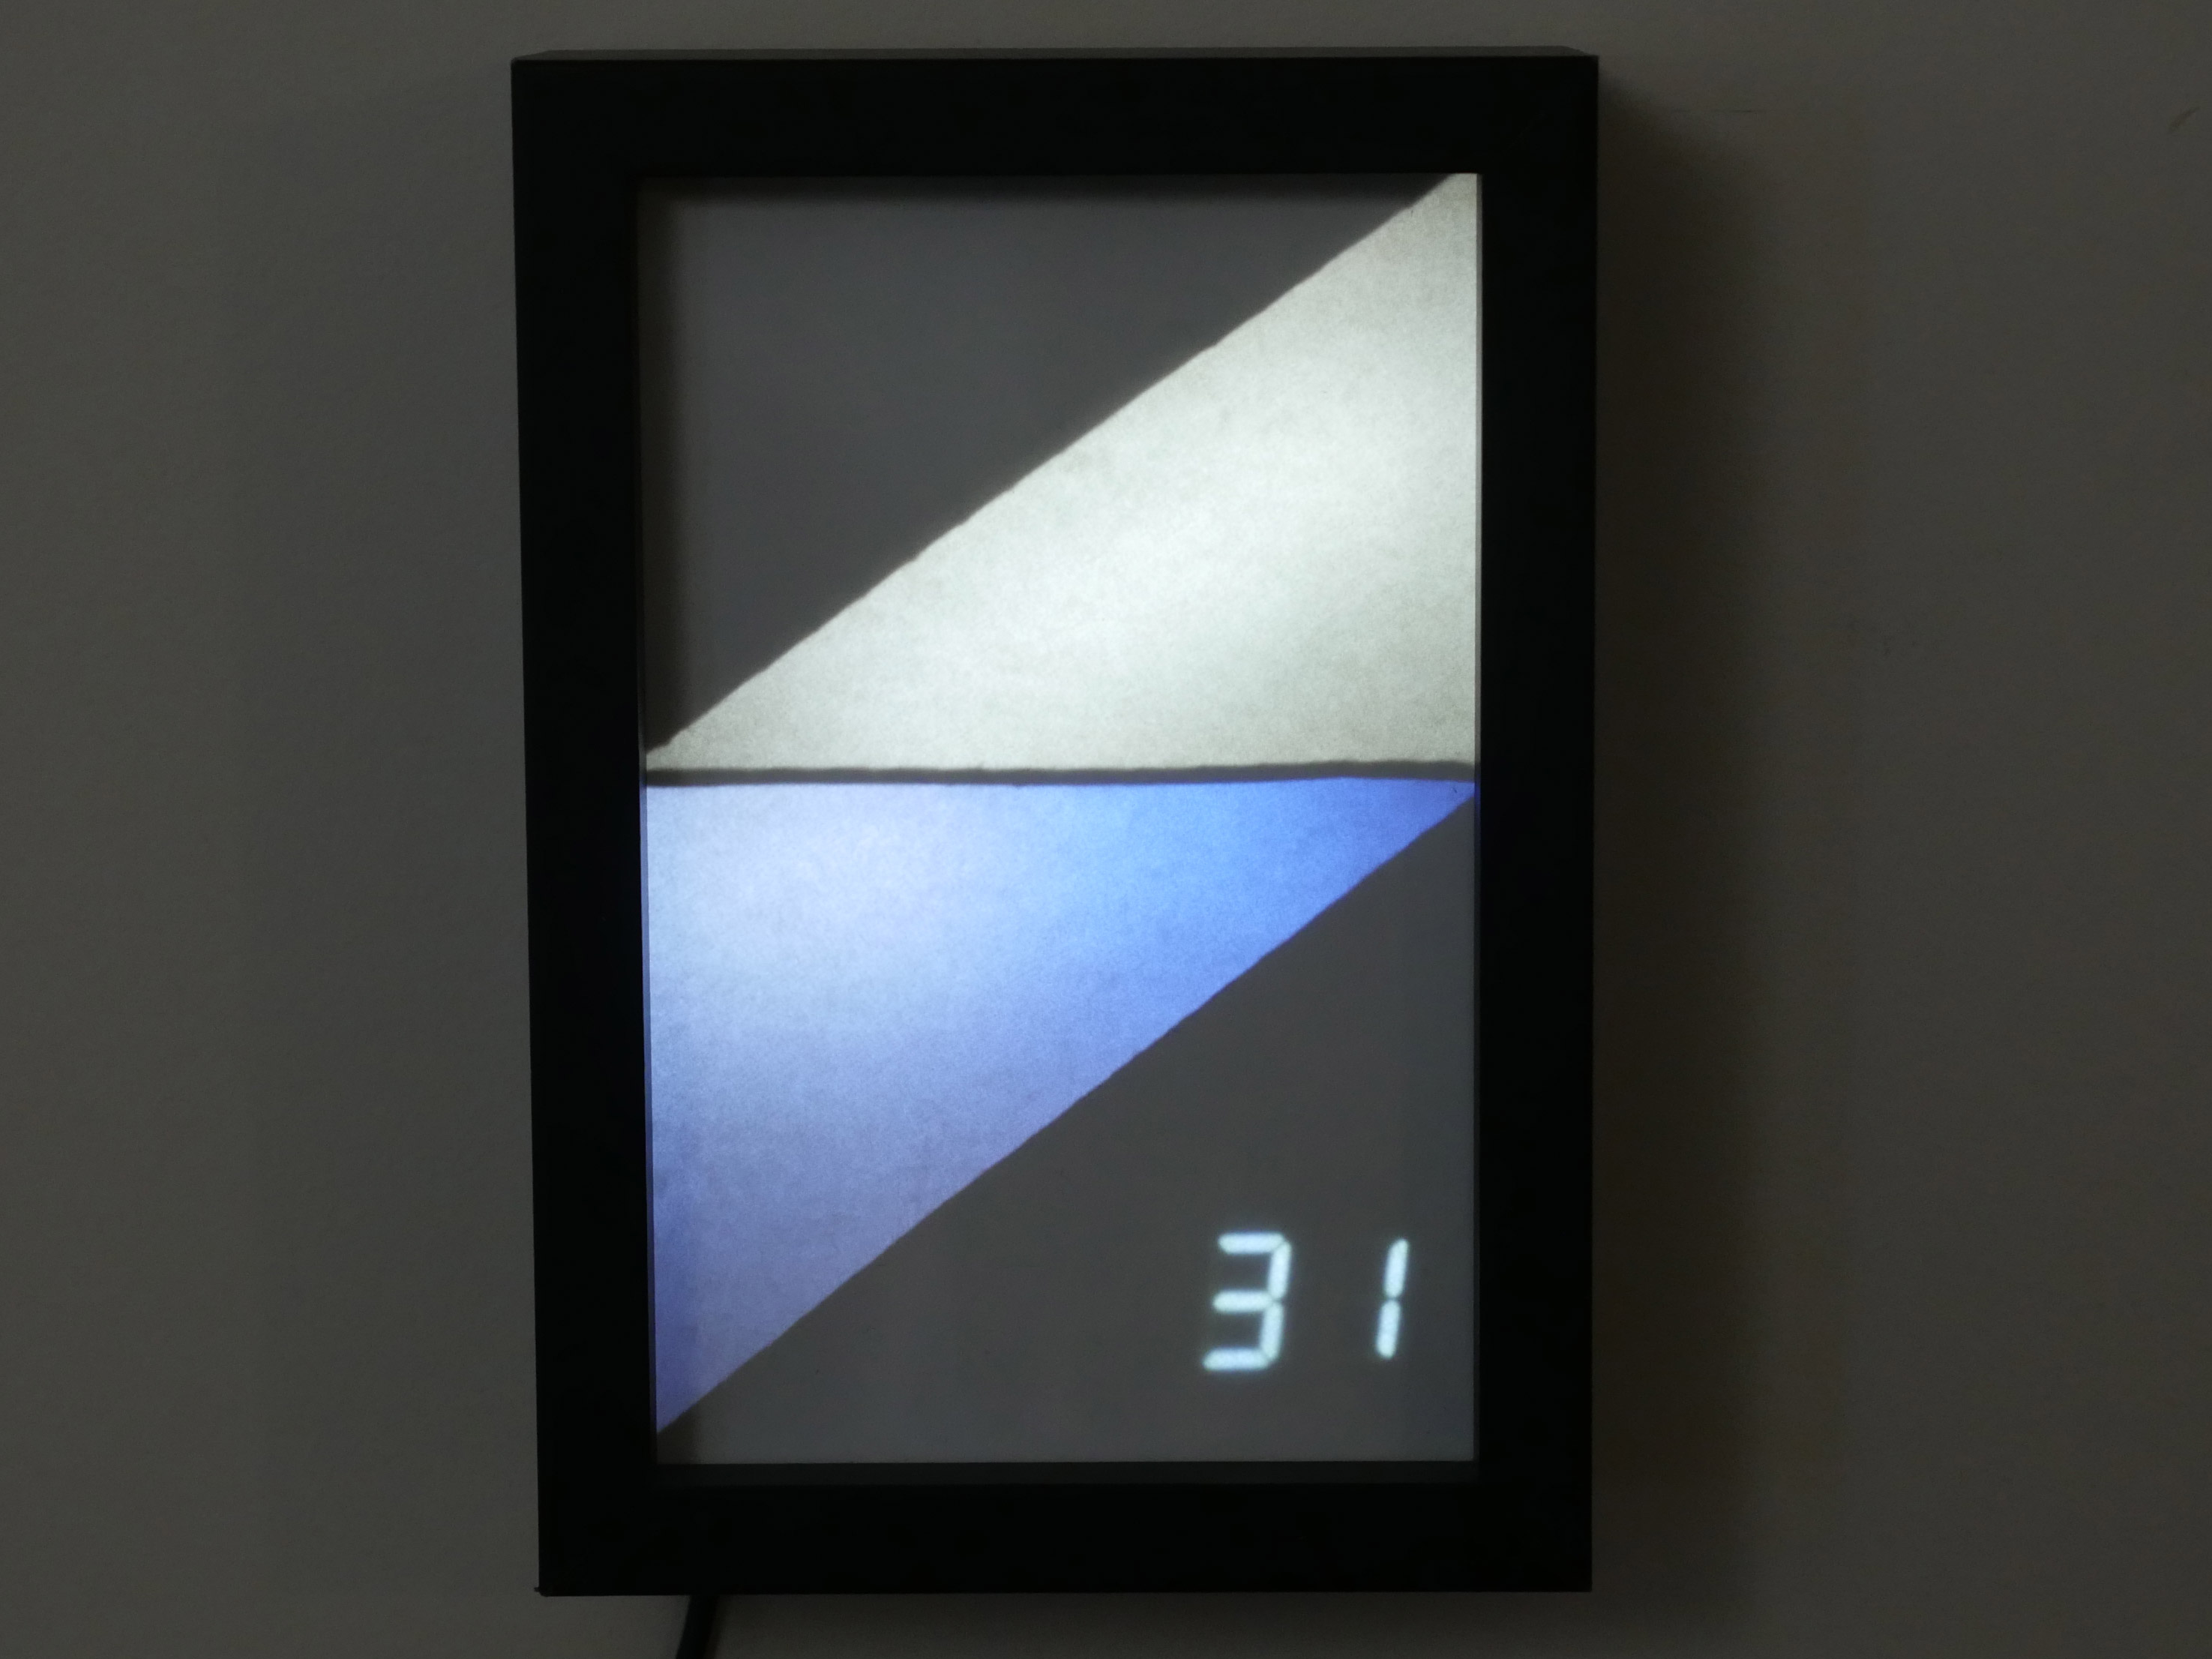
Cut, drill, or file a hole in the edge of the backing plate so the USB cable can exit the back of the shadow box. To make it sit flush with the wall, you will also need to cut a groove in the frame to accommodate the USB cable.
Thanks for reading my Instructable! If you use it to build something, I'd love to see it in the comments!
If you like this project, you may be interested in some of my others:
- free Internet of Things Class
- YouTube Subscriber Counter with ESP8266
- WiFi Weather Display with ESP8266
- Internet Valentine
To keep up with what I'm working on, follow me on YouTube, Instagram, Twitter, Pinterest, and Snapchat.