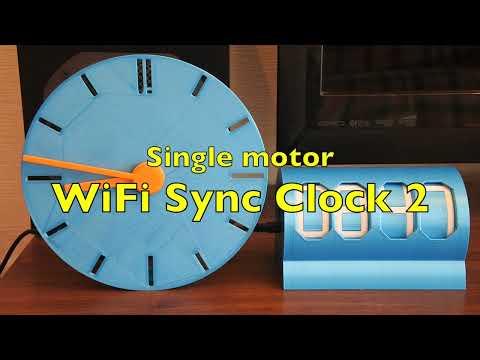
WiFi Sync Clock 2
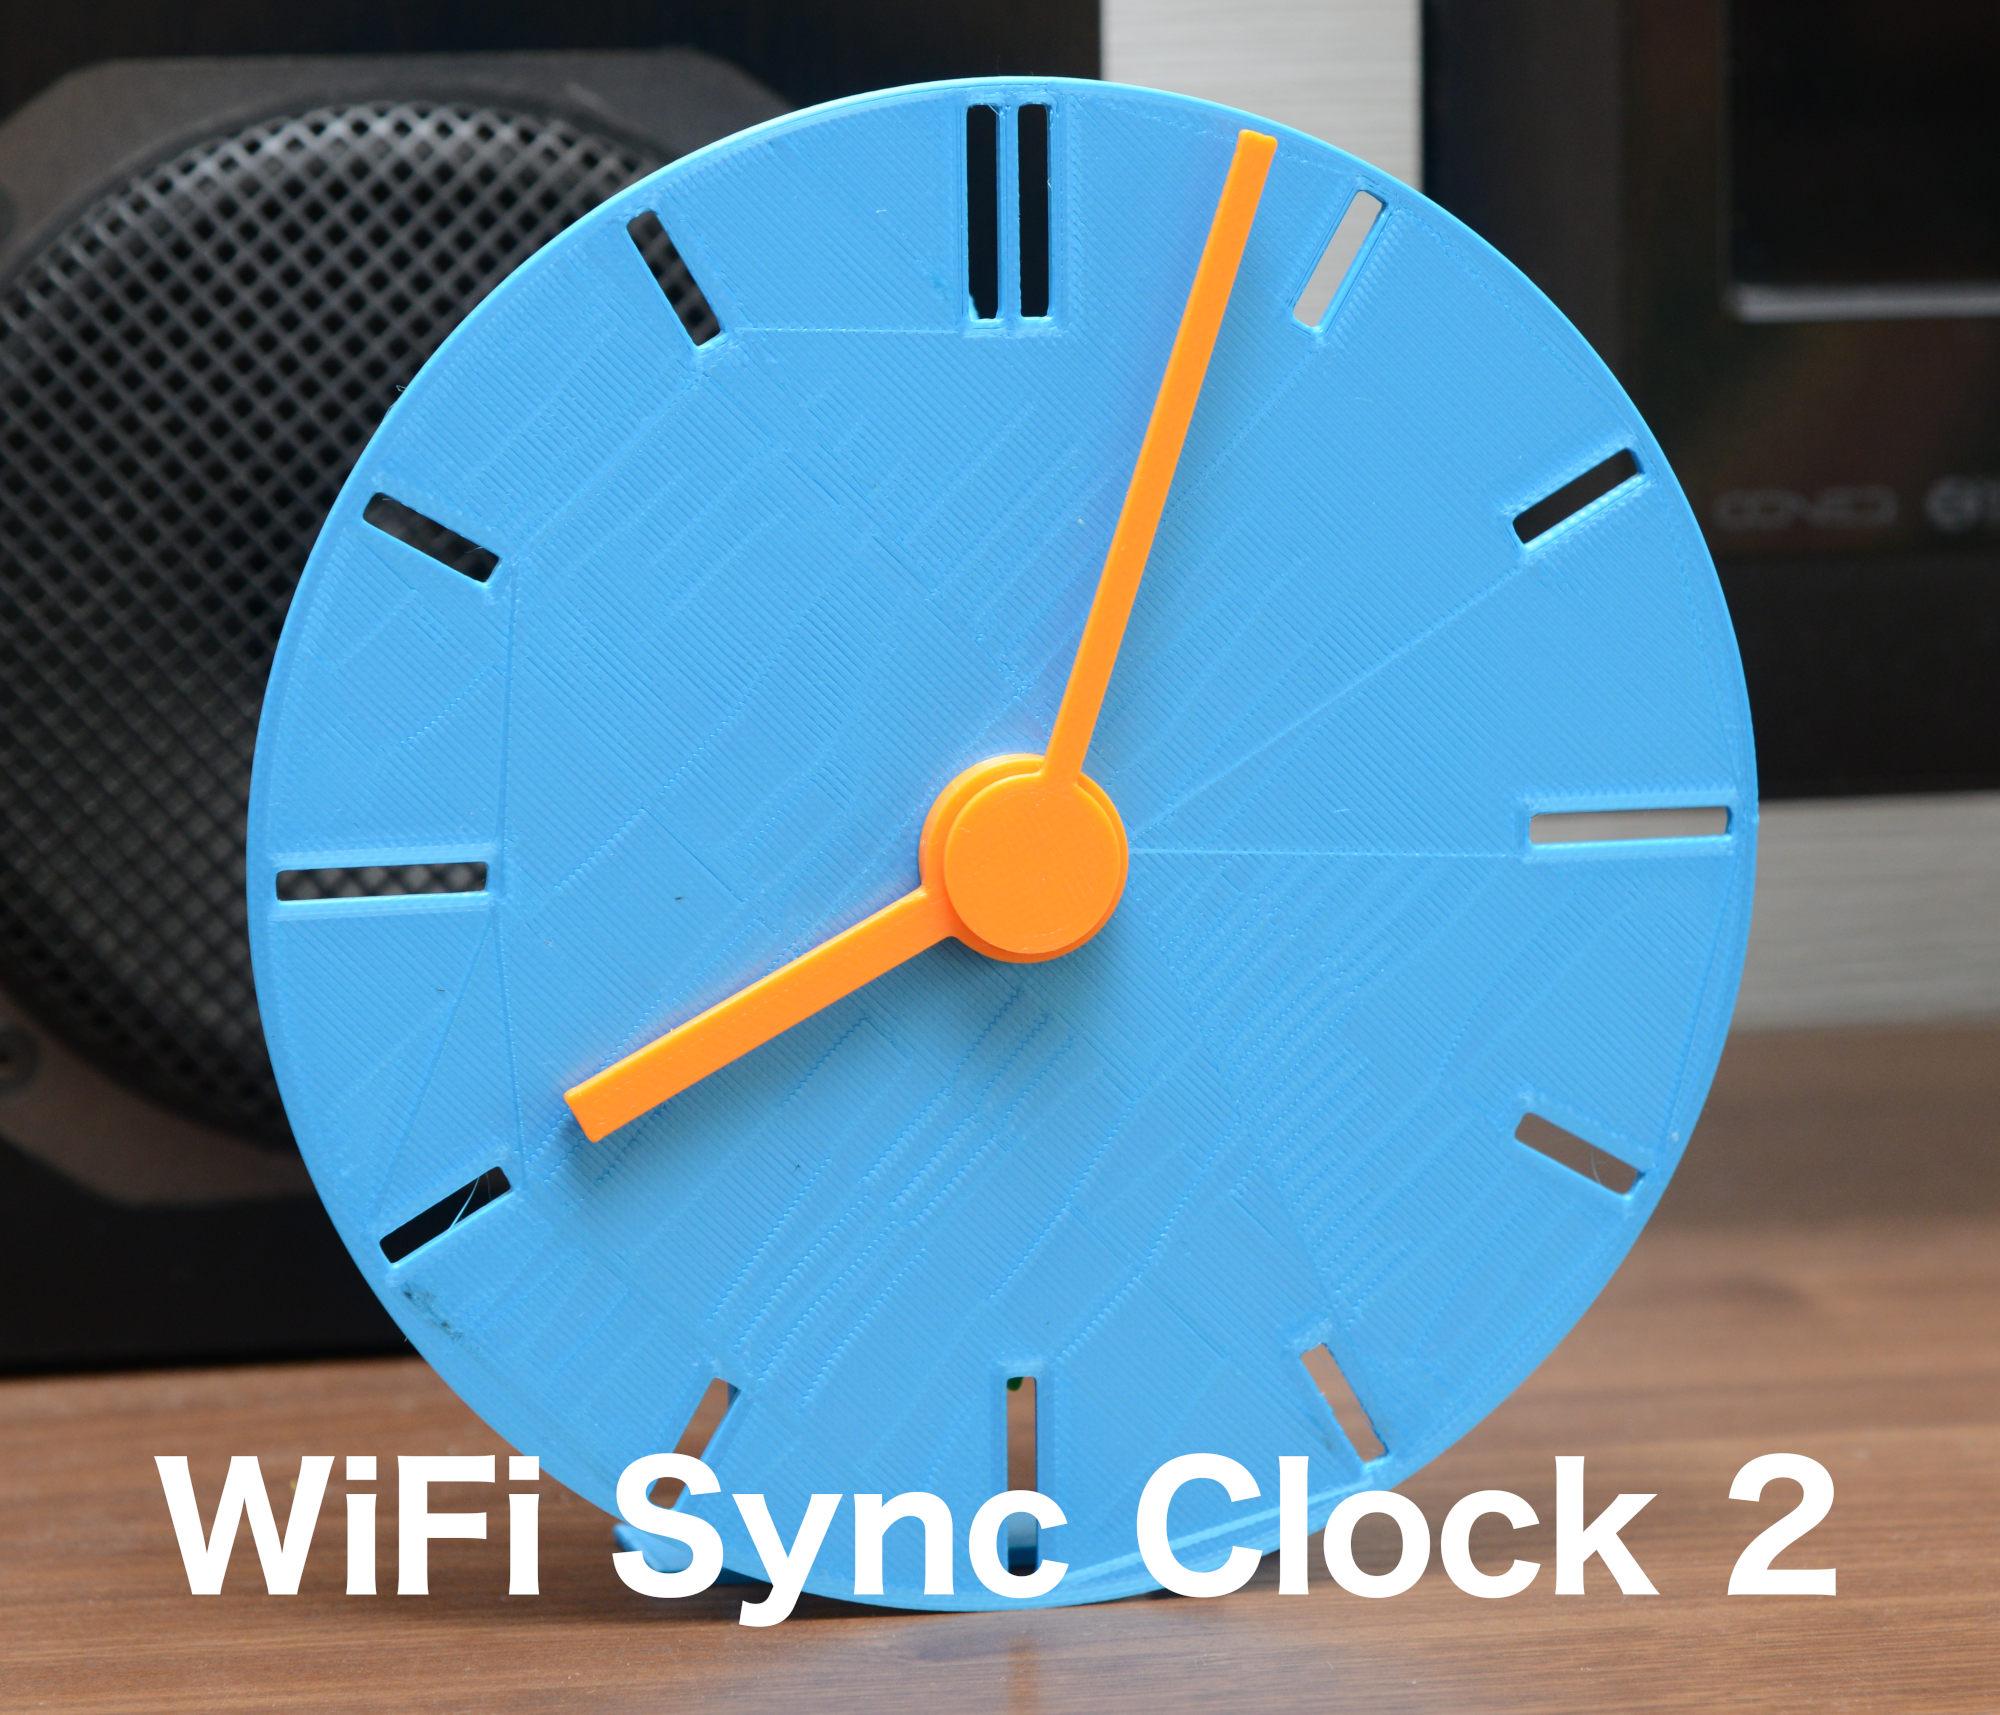
Two hand analog clock with automatic time adjustment using NTP via WiFi.
Contrary to the former WiFi Sync Clock, this clock works normally with monotonic CW rotation (except origin alignment once a day).
- It resets the position of hands once a day at 0:00 (and initialization period after power on). The hands of the clock rotates CCW (counter clockwise) and stopped mechanically at 0:00.
- Owing to the special hook mechanism, it can precisely align the position of the hands.
- ESP32 microcontroller connects to the time server (ntp server) via WiFi.
Supplies

You need (other than 3D printed parts)
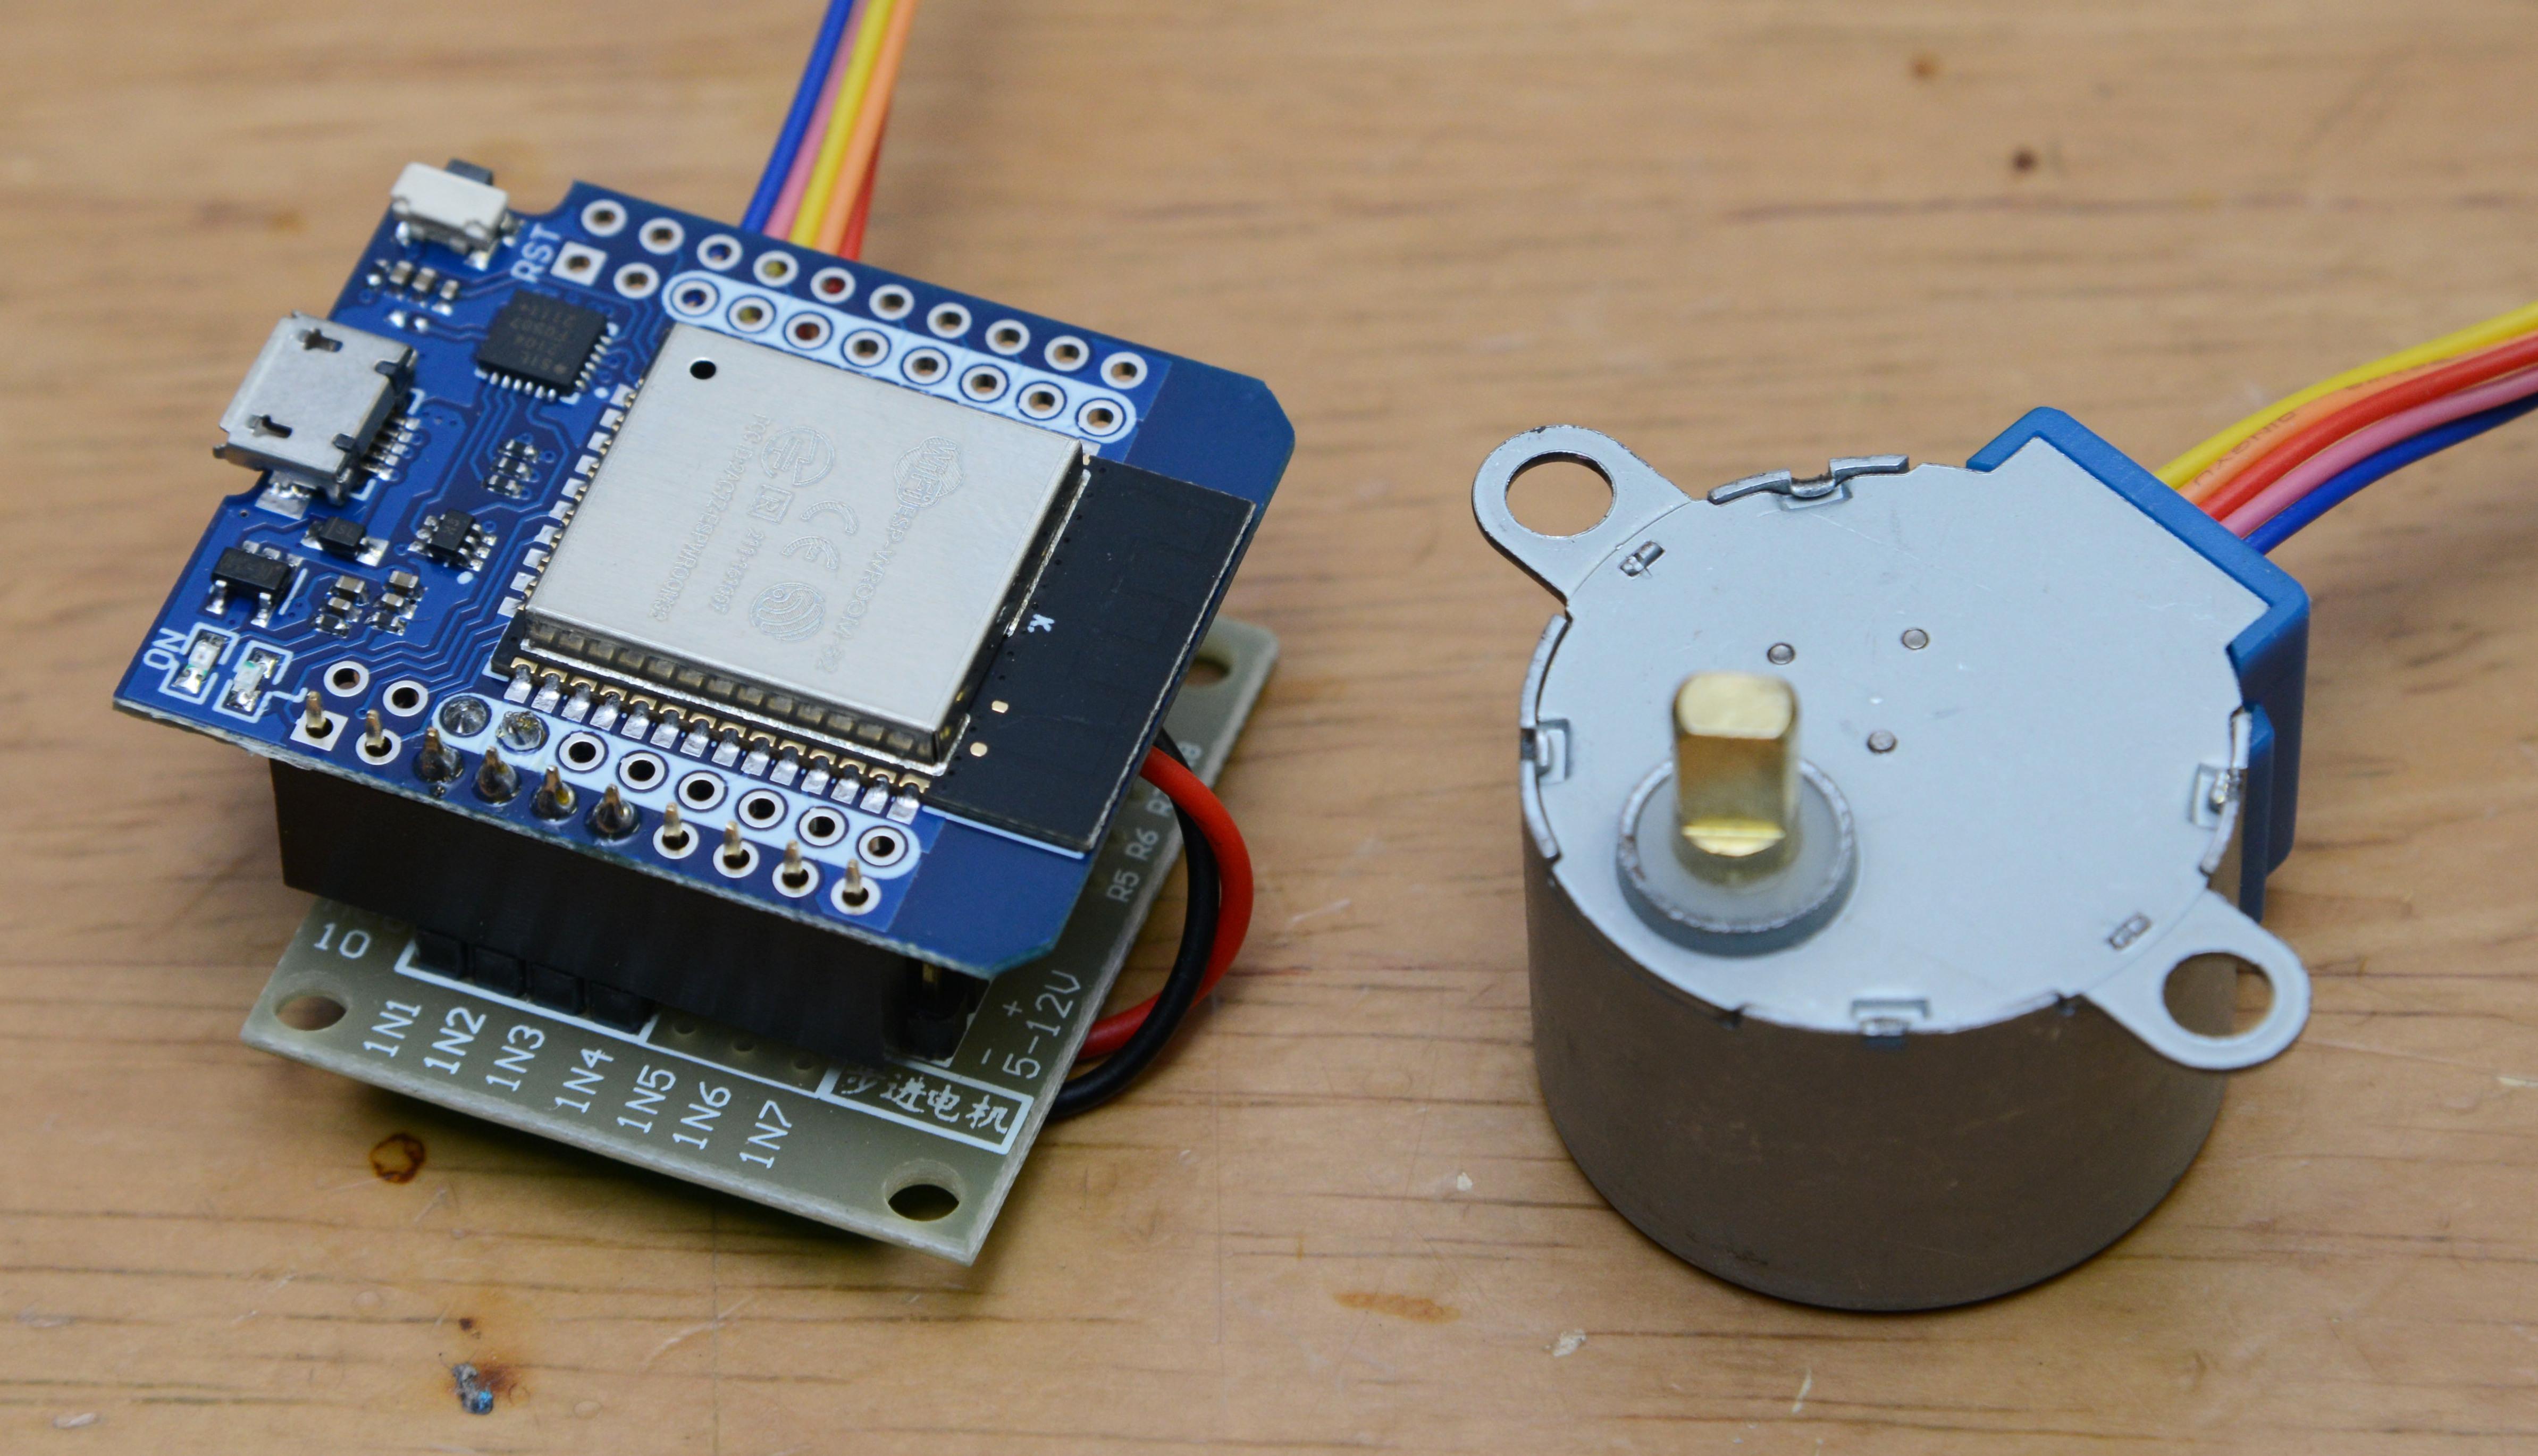
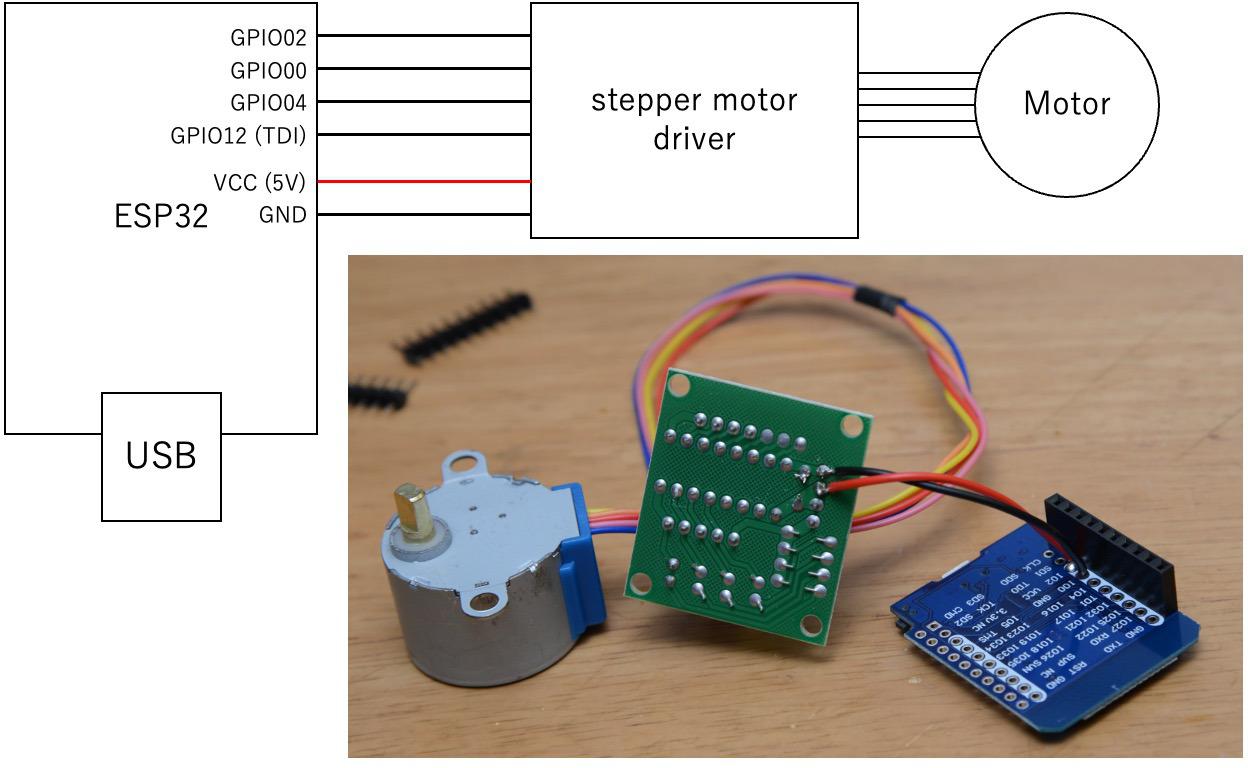
- ESP32 based micro controller with WiFi. I used "MH-ET LIVE MiniKit" type ESP32-WROOM-32 board (around 5USD).
- 28BYJ-48 geared stepper motor and its driver circuit (around 3USD)
- M2 and M3 tapping screws
Print Parts

- Print all parts with supplied posture.
- No support needed.
Assemble Hour Hand and Gear

- Attach hour-hand to the hour-gear through the clock face (dial) using two 2mm tapping screws.
- Align the direction of the hour hand to the notch of the gear.
Assemble the Other Gears

- Stack the gears as shown above.
- Attach minute-hand to the minute-gear using a 2mm tapping screw. The angle between the hand and the gear can be adjusted afterwards.
- Set the hook (shown in yellow above) and spacer (purple).
Attach the Stepper Motor

- Attach the back plate to the clock using tapping screws.
- Please be careful not to use too long screws or the tip of the screw blocks the movement of the other parts.
- Attach the circuitry.
Configure Your WiFi
You can configure your WiFi to the micro controller by two ways : Smartconfing or Hard coding.
Smartconfig
You can set SSID and password of your WiFi using smartphone app.
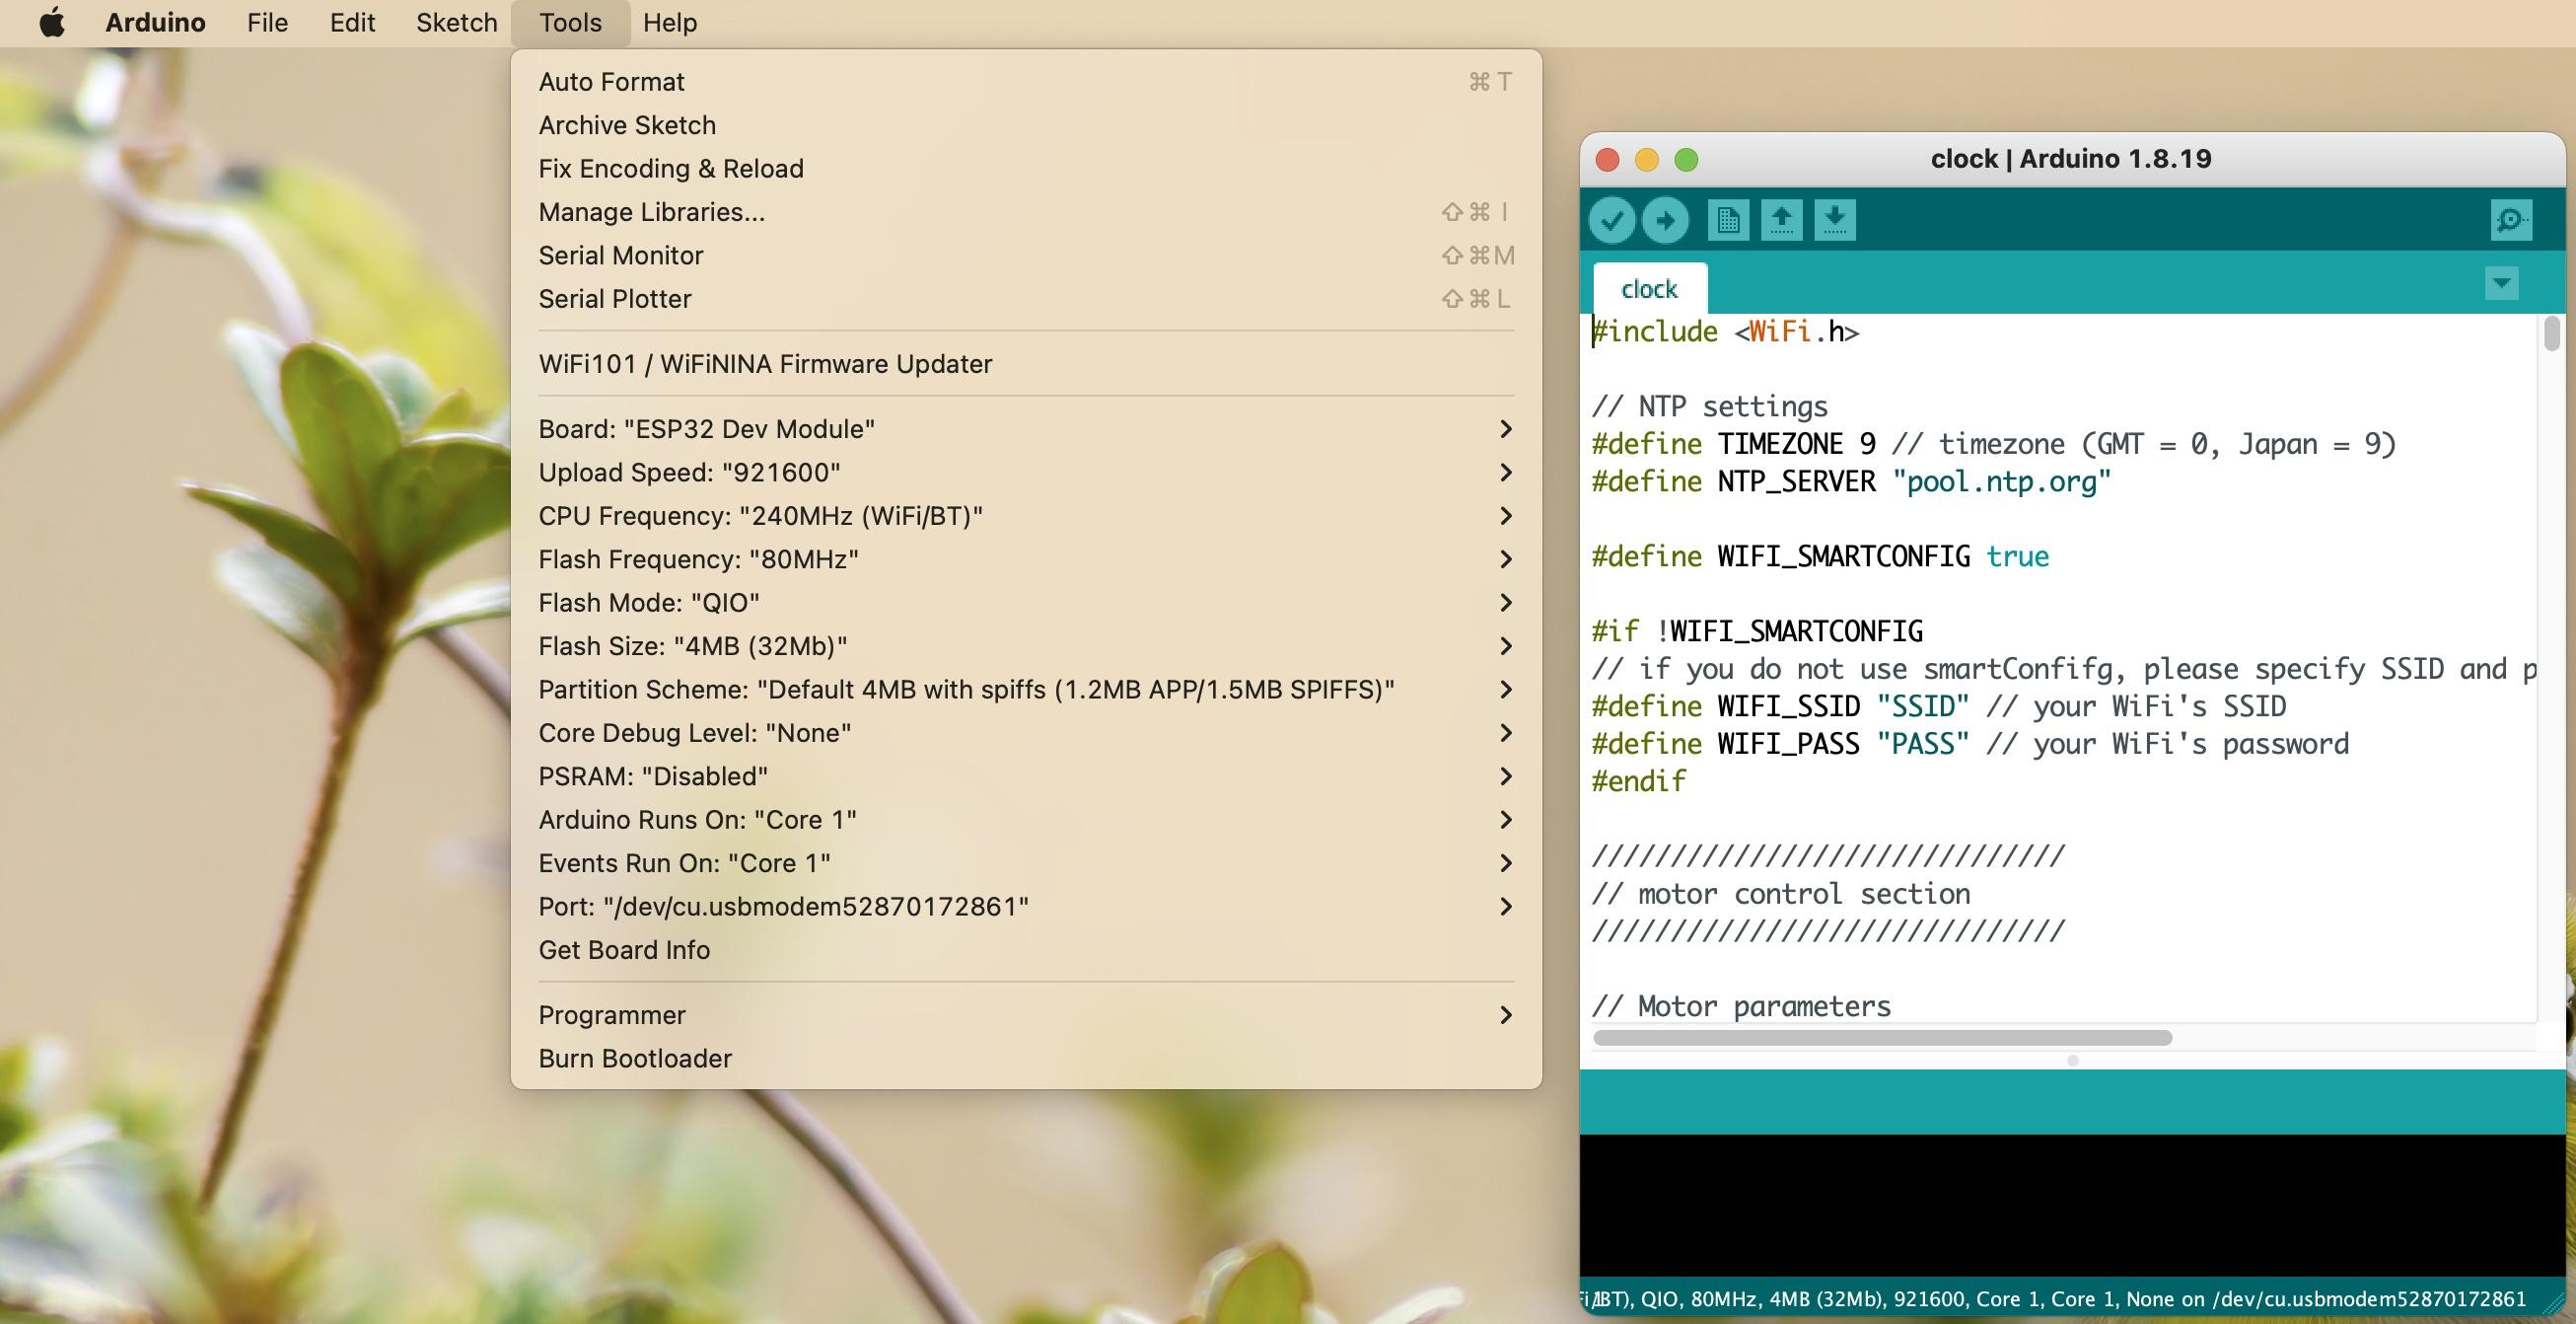
1. Set true to the flag named WIFI_SMARTCONFIG at line #7 in the source code,
#define WIFI_SMARTCONFIG true
then compile and flash it to the micro controller.
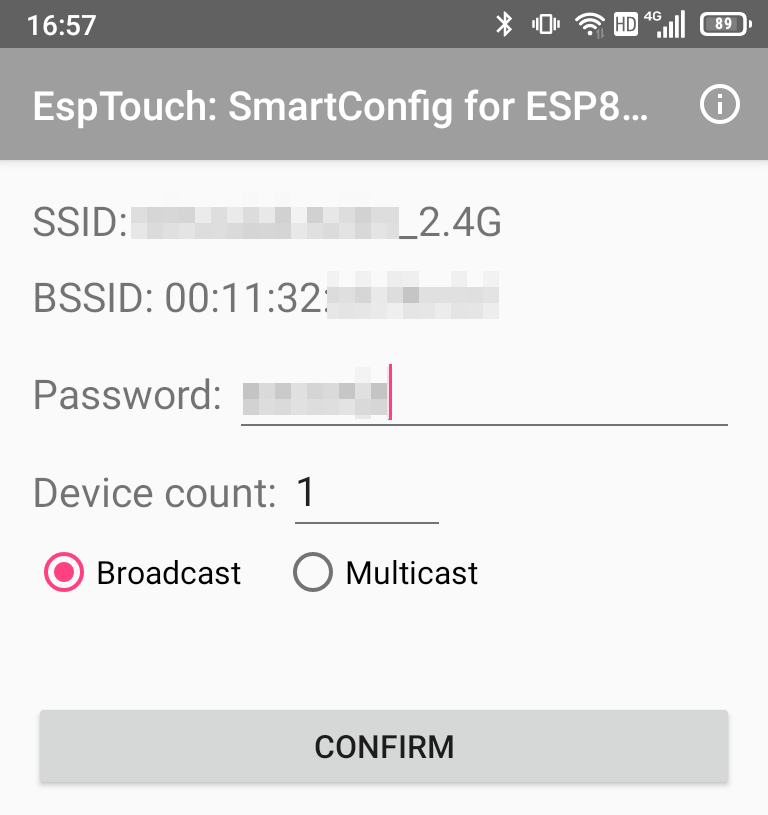
2 Install the apps for setting WiFi. The apps are at
- Android: https://play.google.com/store/apps/details?id=com.khoazero123.iot_esptouch_demo&hl=ja&gl=US
- iOS: https://apps.apple.com/jp/app/espressif-esptouch/id1071176700
3 Power on the clock and wait for a minute. The status of WiFi connection is indicated by the motion of the second hand.
- Large reciprocal motion : connecting to WiFi using previous setting stored in non-volatile memory.
- Small reciprocal motion : SmartConfig mode. If 30 seconds of WiFi connection trial fails, it automatically moves to the the smartConfig mode (waiting for the configuration from smartphone app.)
4 Set the password of your WiFi using the app as shown above.
Please not that your smartphone should connect to 2.4GHz WiFi. Configured WiFi settings are stored in non-volatile memory and are kept even when the power is turned off.
Hard coding
Set the SSID and password of your WiFi in the source code. It is useful if you can not select 2.4GHz wifi via SSID.
1 Set false to the flag named WIFI_SMARTCONFIG at line #7 in the source code,
#define WIFI_SMARTCONFIG false
2 Then set SSID and password of your WiFi in the source code directly at lines #11-12,
#define WIFI_SSID "SSID" // your WiFi's SSID
#define WIFI_PASS "PASS" // your WiFi's password
3 Compile and flash it to the micro controller.