WiFi / Internet Controlled Relays Using ESP8266 - Quick, 30 Minutes IoT Project
by Robokits in Circuits > Electronics
268956 Views, 1104 Favorites, 0 Comments
WiFi / Internet Controlled Relays Using ESP8266 - Quick, 30 Minutes IoT Project
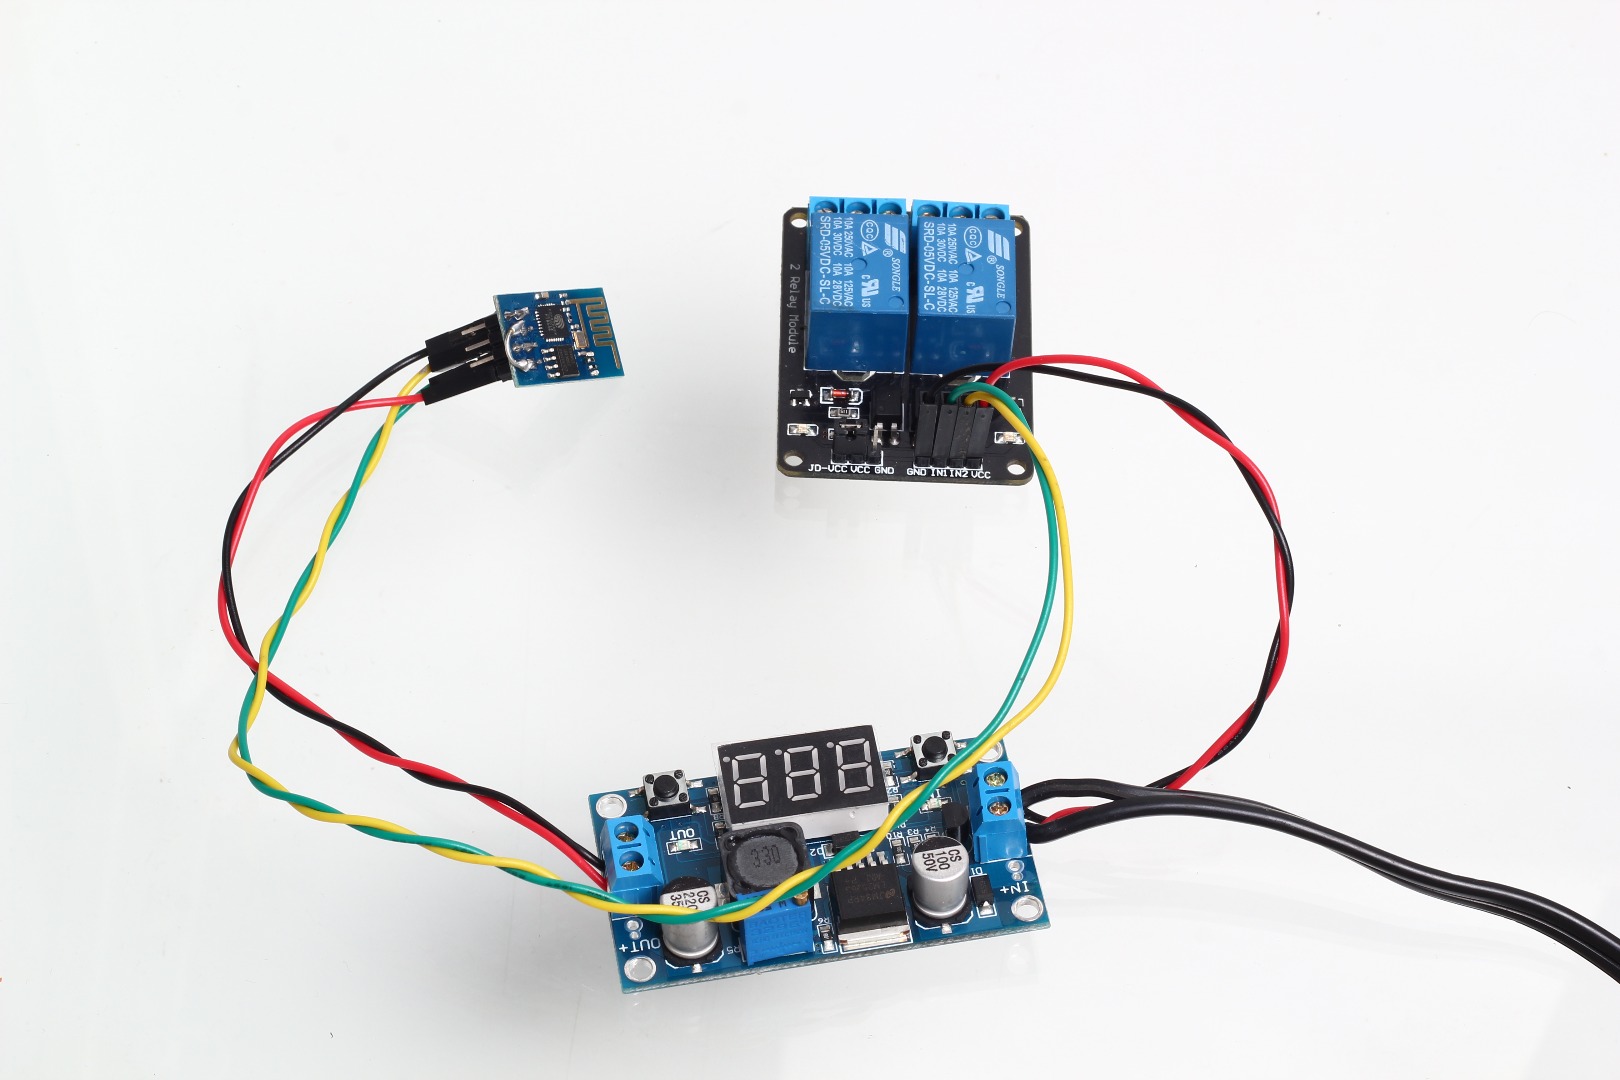
ESP8266 is a very popular device for IoT these days. ESP8266 is easily available as a module. Its a small and dirt cheap device which has a inbuilt controller running at 80Mhz and with optional firmware it can be used as a stand alone device without a microcontroller like arduino.
Video of working project and overview of making process -
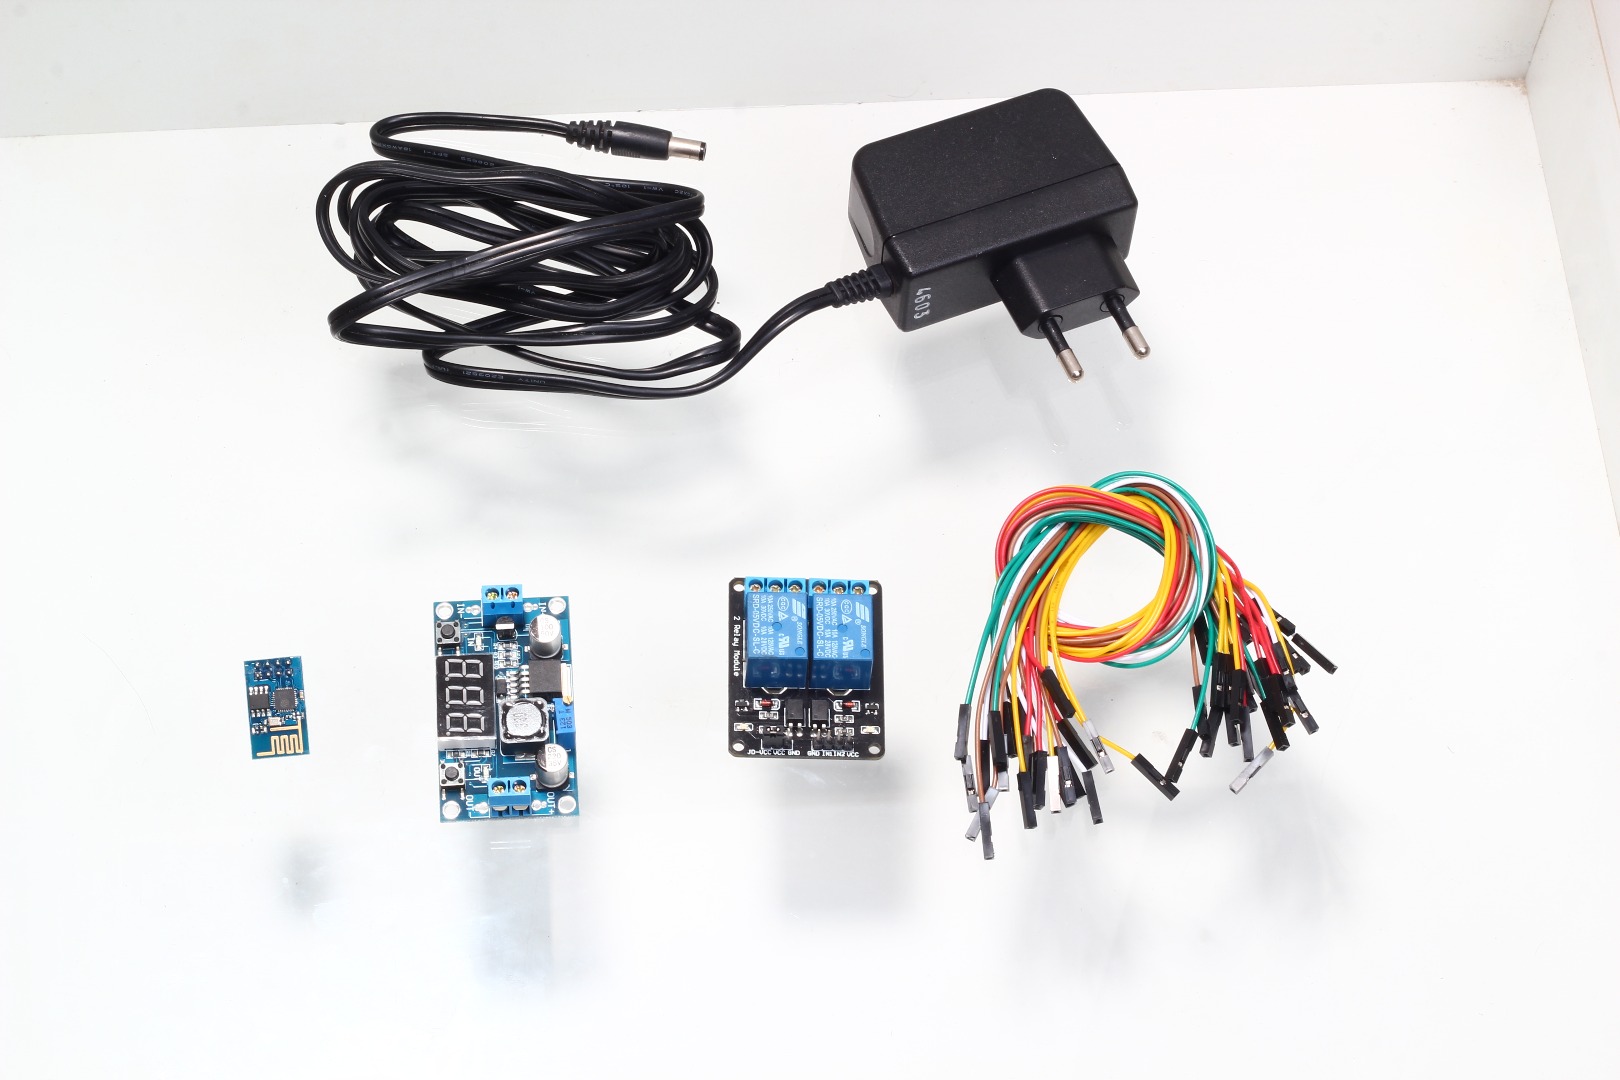
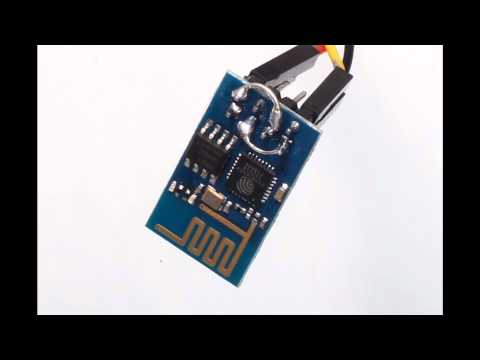
This project is very simple and uses an ESP8266 module ESP-01. It has pinout headers which provides very easy connectivity with other devices. A 5V 2A AC power supply, a voltage regulator and optoisolated 2 relays board is used. A CP2102 USB-UART is used to program and configure the ESP module. The module is loaded with NodeMCU firmware which support Arduino like functions for GPIO and lua scripting support.
Part List
Opto-isolated 2 Channel 5V Relay Board
LM2596 DC to DC 3A Step Down Module with Voltage Display - or any other step down voltage regulator to convert 5V to 3.3V for ESP module. Even a cheap IC like LM317 or LM1117 will do.
CP2102 USB UART module - or any other 3.3V compatible USB-TTL UART adaptor
Prepare and Test the Power Supply
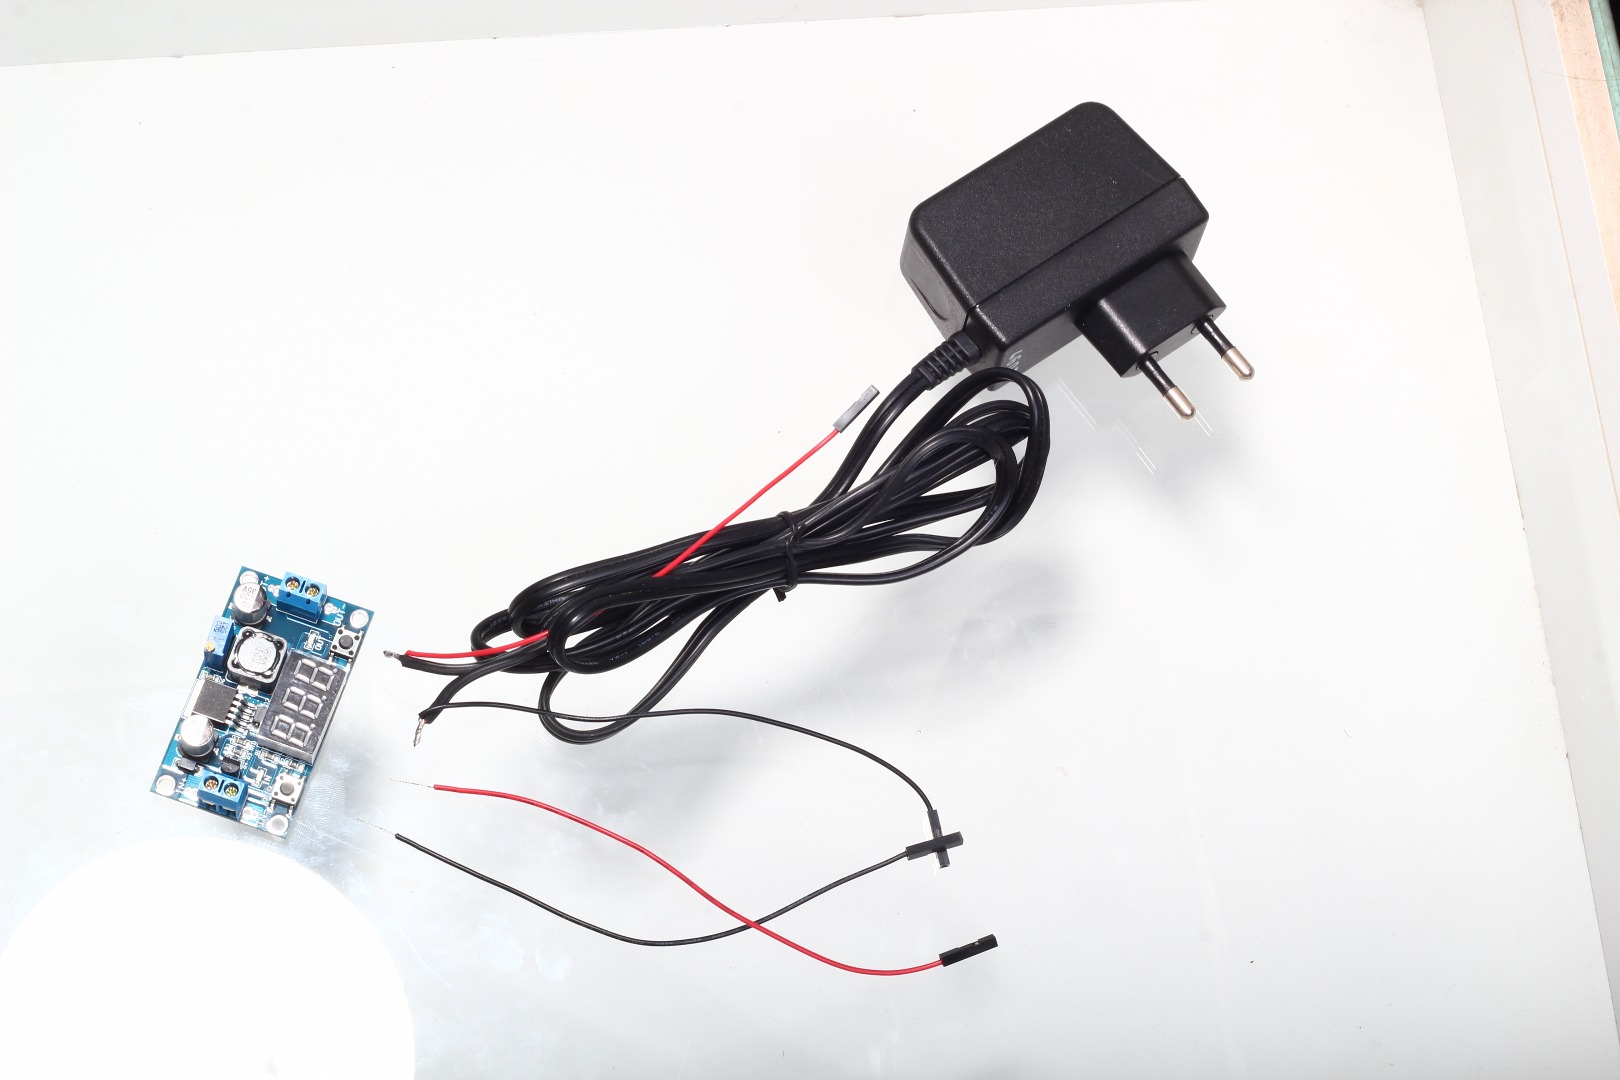
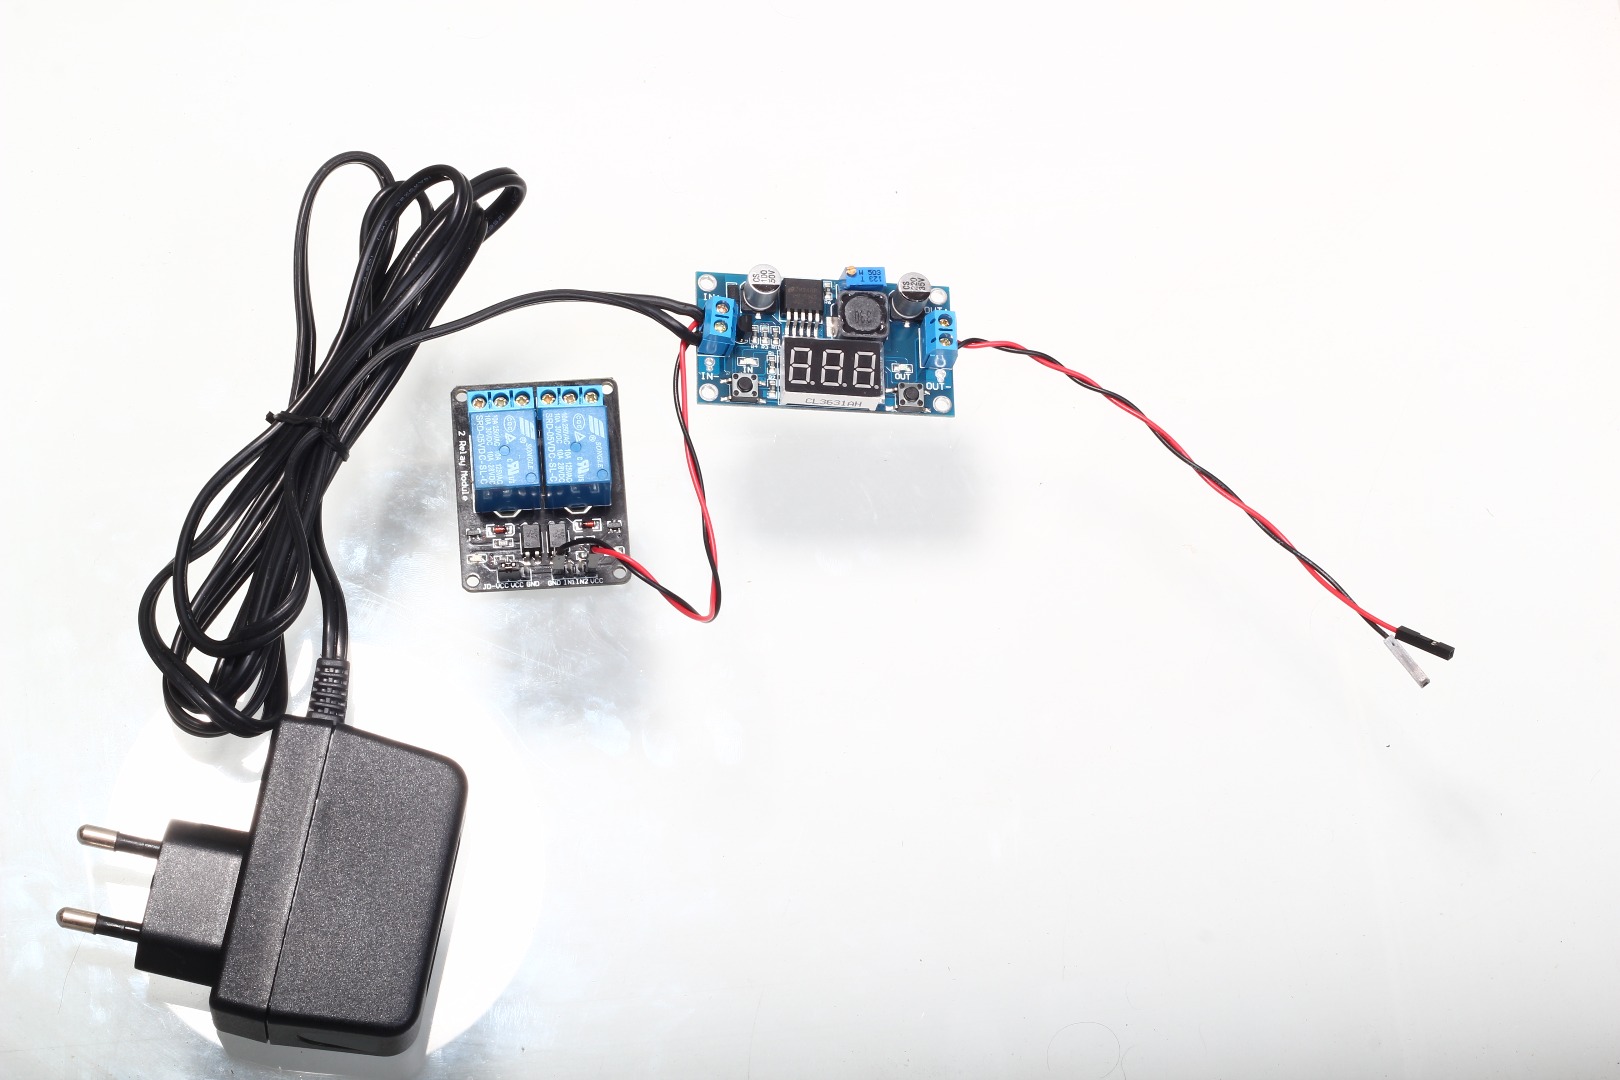
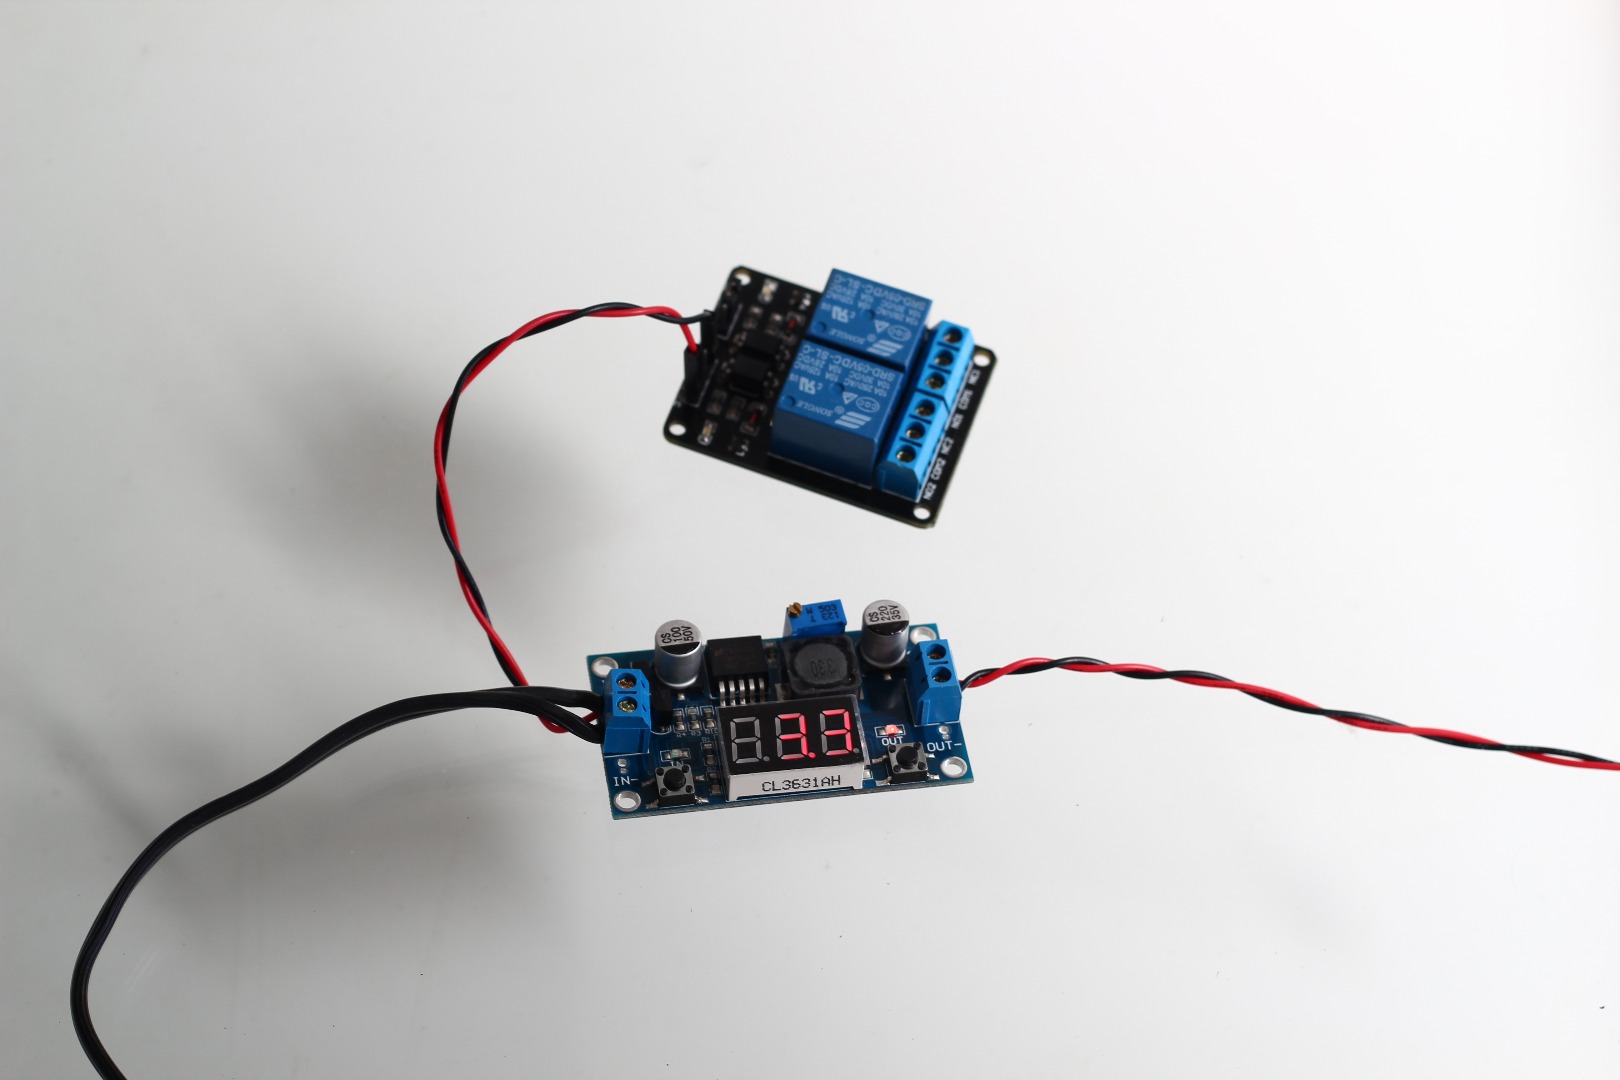
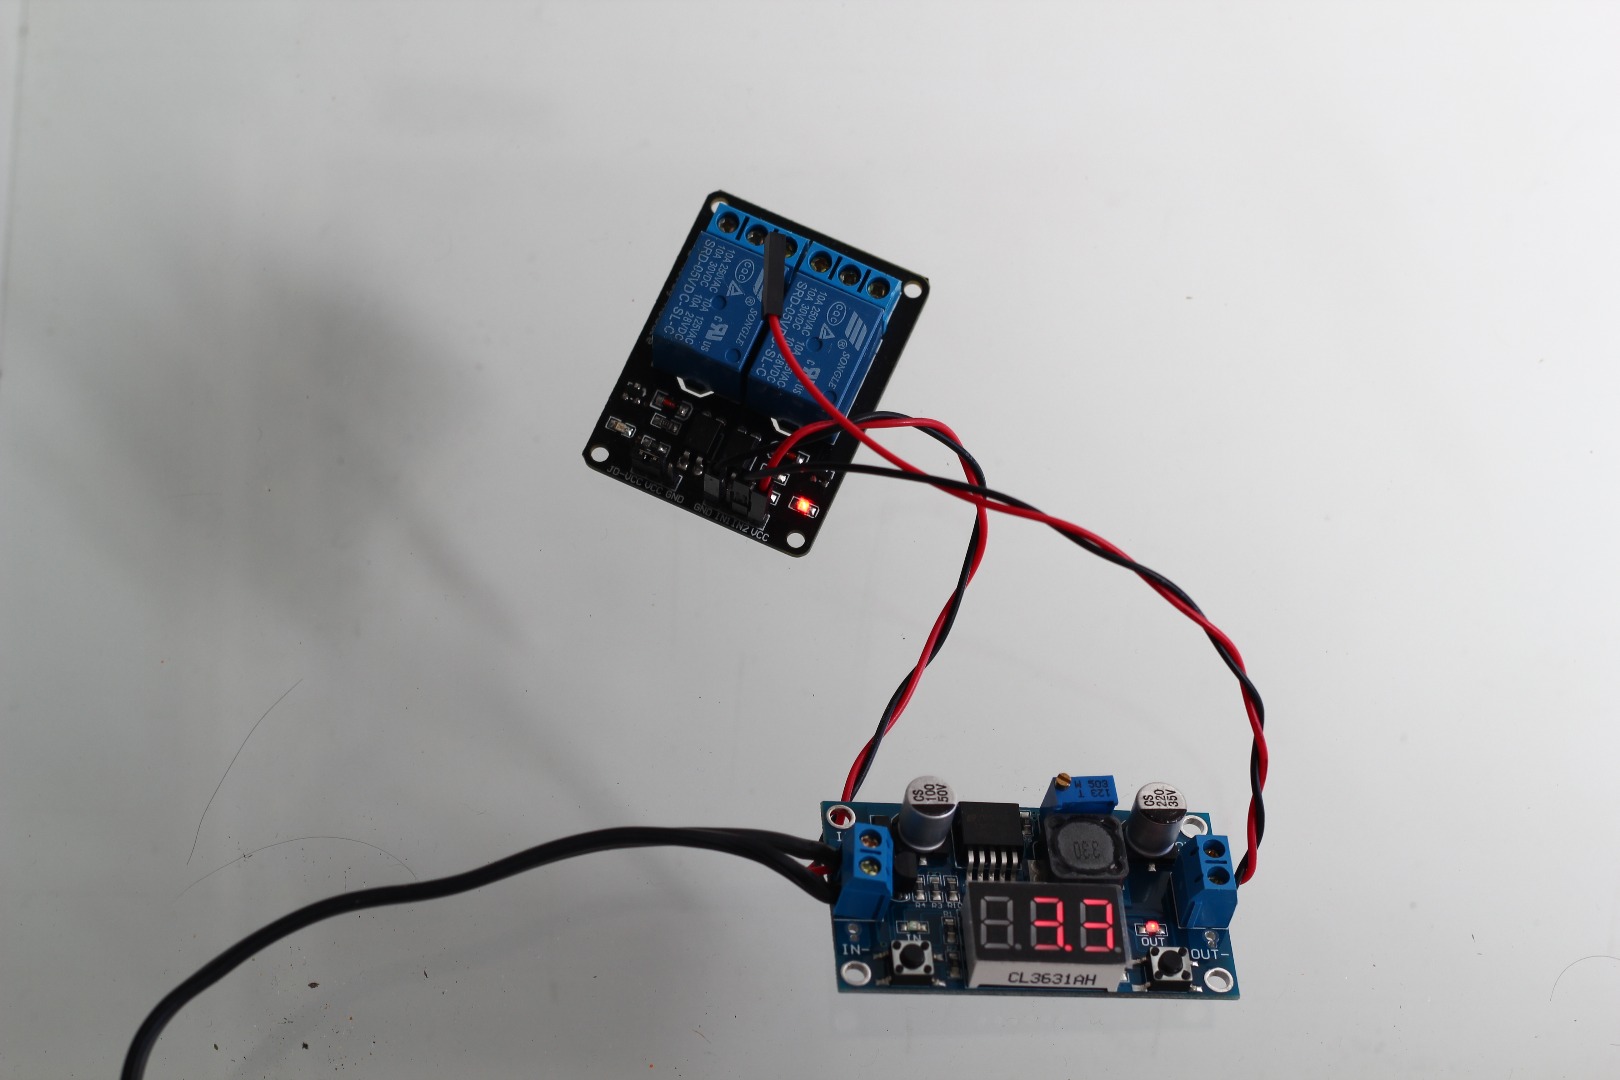
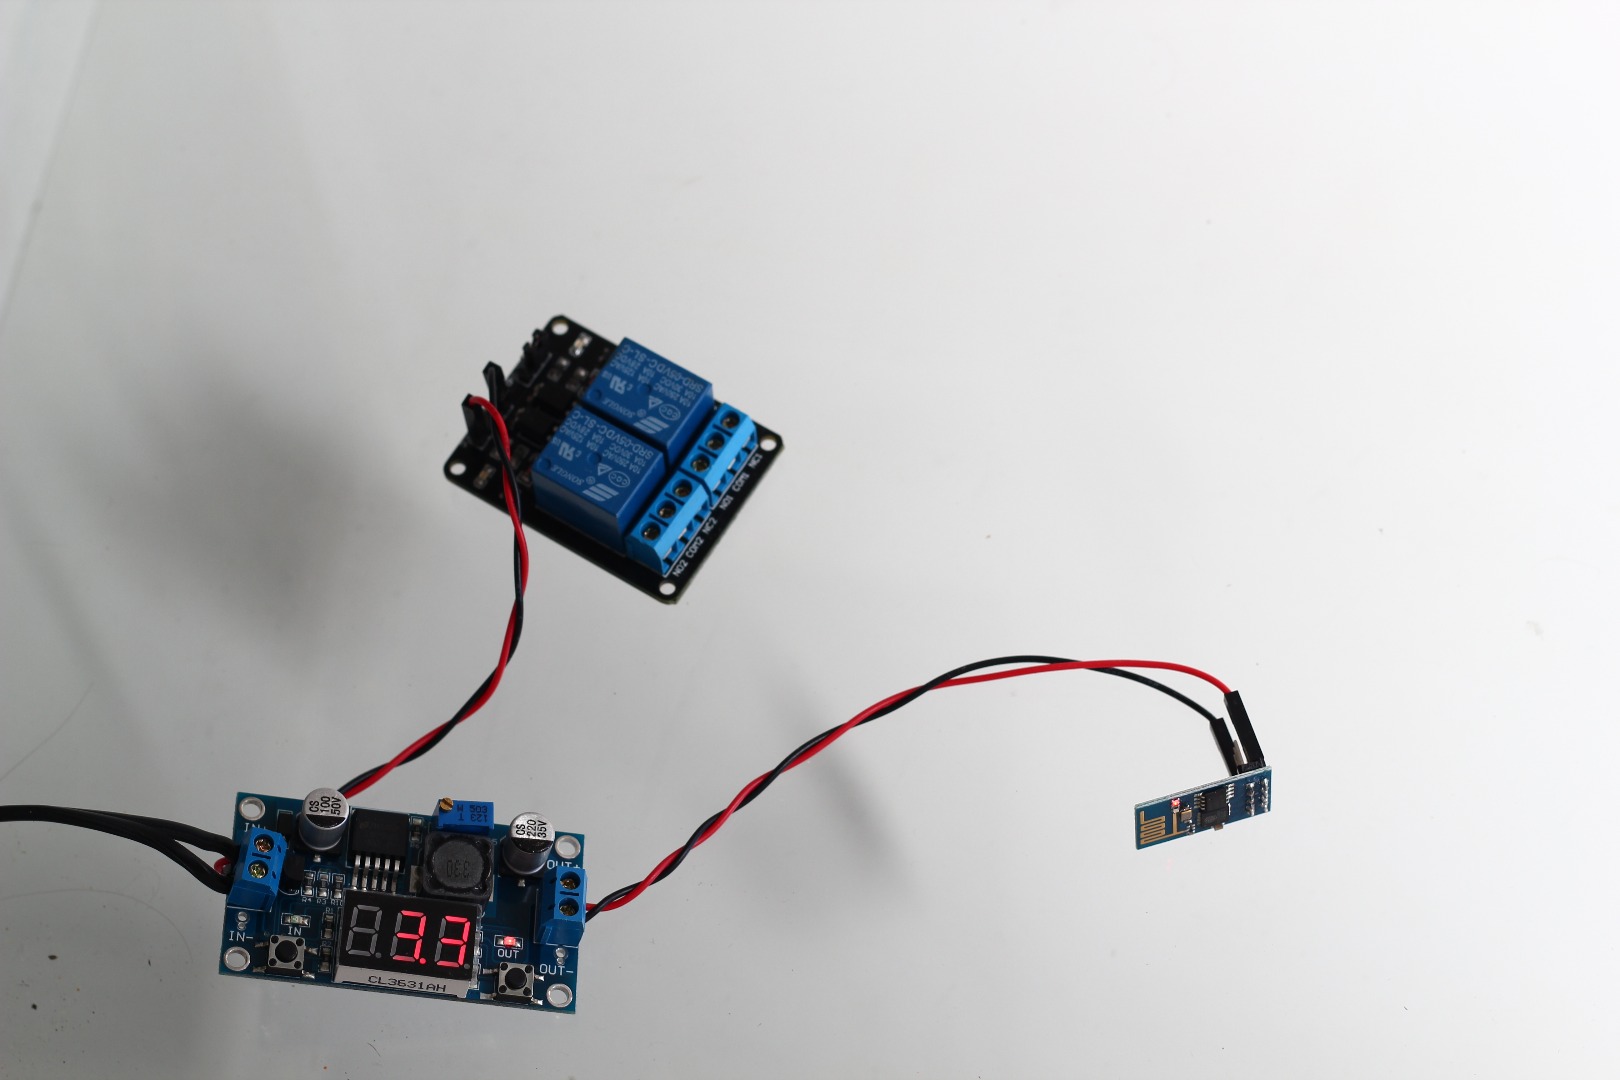
- Take a red and black jumper wire. Cut it in half. Strip the ends.
- Take power adaptor and cut the connector end. Strip the ends and connect them to red(to positive) and black(to negative) jumper wires in correct polarity. Use a multimeter to check positive and negative ends. Solder the open ends.
- Twist and tin the ends of other 2 jumper wires.
- Connect the power adaptor to input screw terminals of regulator in correct polarity.
- Connect other 2 red and black jumper wires to output screw terminals. Red to positive and black to negative.
- Power on the adaptor after double checking the connections and set the output voltage to 3.3 by changing the potentiometer.
- If you are using any other type of voltage regulator, use your knowledge to give input and take output from it.
Connect the relay board and test for working on the power supply
Connections
- +5V (Red wire at input terminal) - VCC of relay board
- GND (Black wire at input terminal) - GND of relay board
Relay board is now powered up. For testing the working, connect black wire(GND) at 3.3V output screw terminal to IN1 and IN2 pins on relay board. It should trigger relay and glow corresponding LEDs. If it doesn't check your connections. You may remove the connections for now if you want.
Connect and check ESP-01 for power
Once you verify that relay board is working and 3.3 V output is set, turn the power off and connect VCC and GND of ESP-01 to Red and Black jumper wires in proper polarity. Verify the connection and turn on the power. The power LED on module should glow. Remove the connections for now.
Now the power supply is set and tested with devices.
Prepare & Program the ESP01 Module
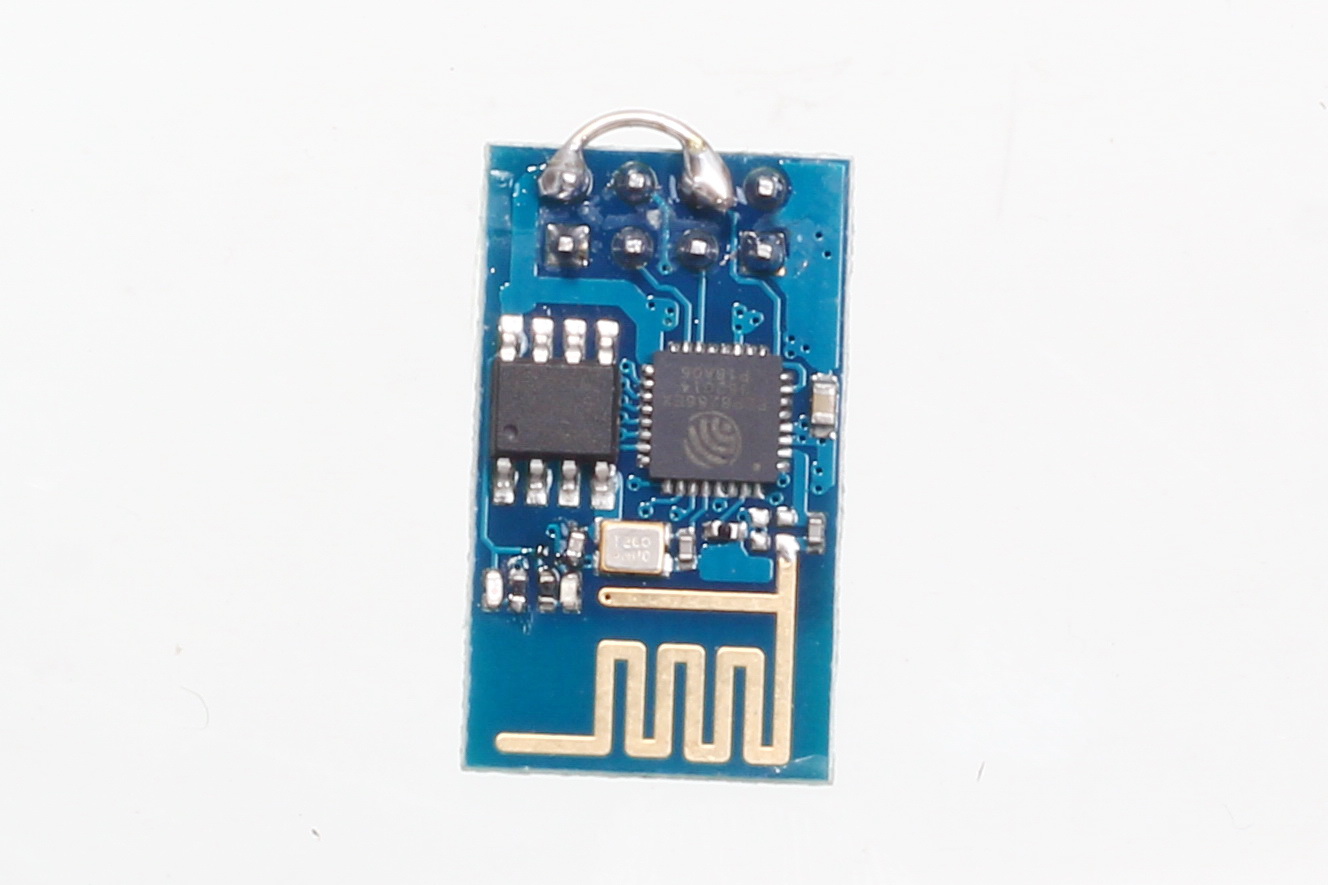
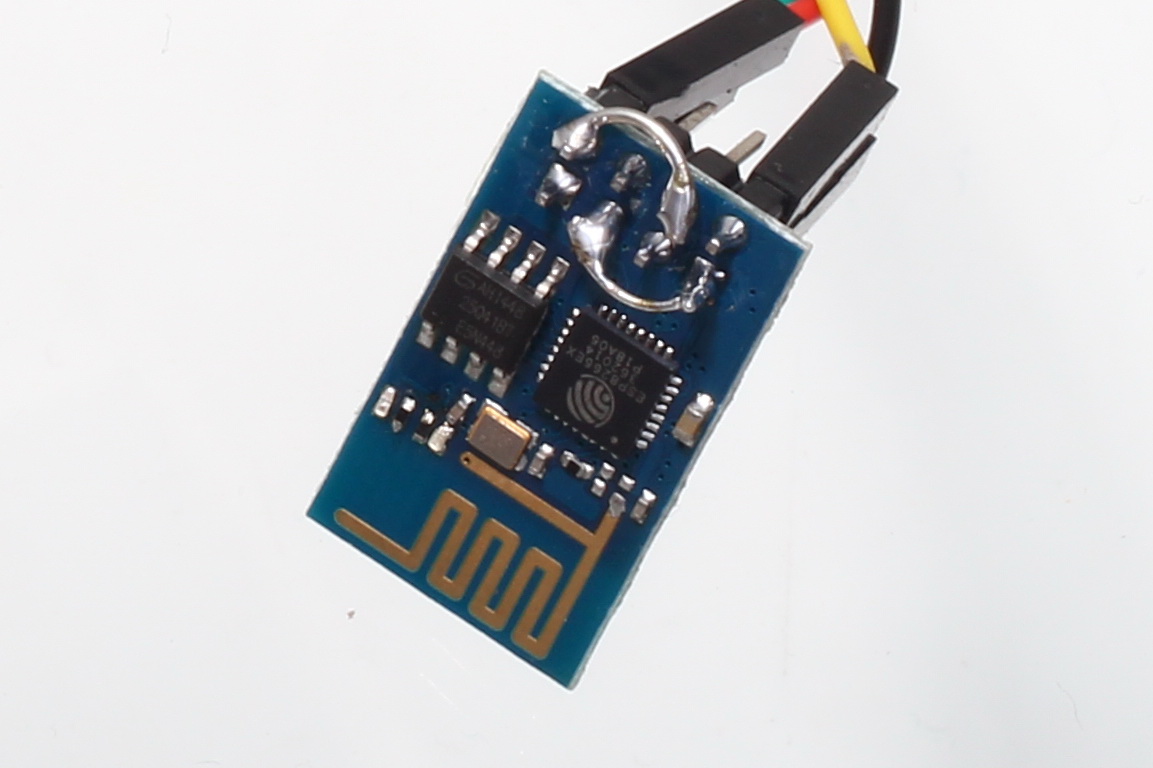
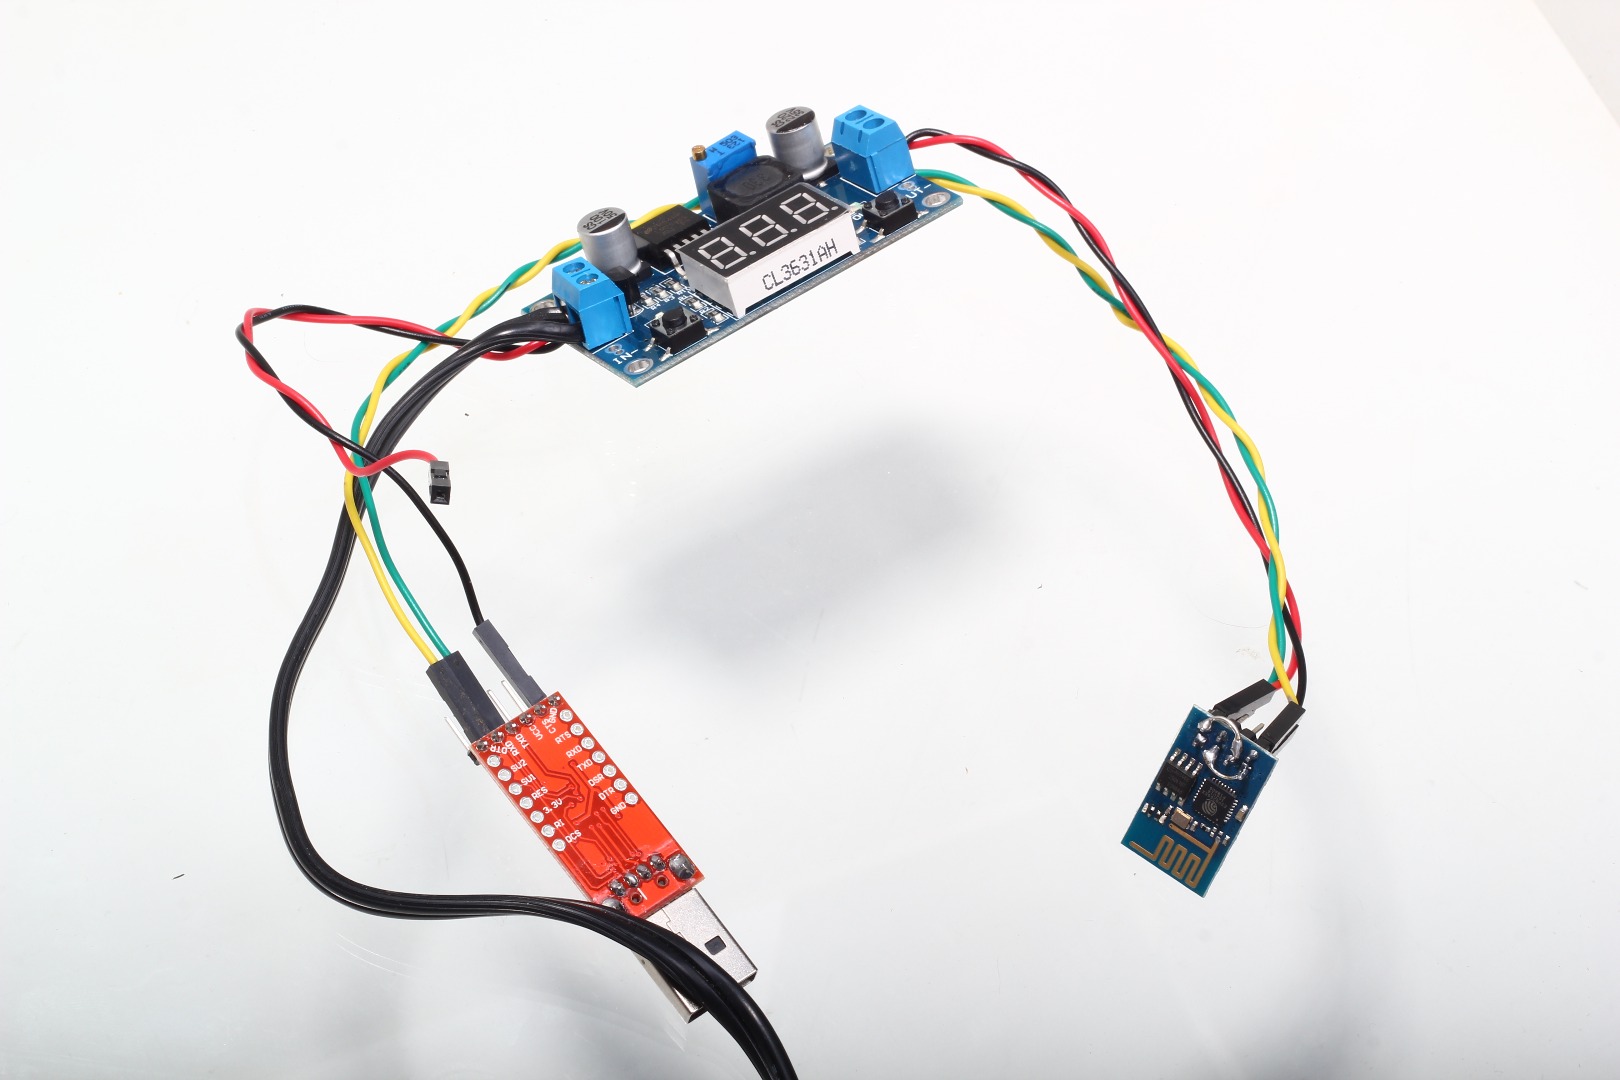
By default ESP module comes with AT commands firmware which is good but normally it requires another microcontroller like Arduino to control it using AT commands on serial. For this project we are not using any microcontroller so we need use the ESP as everything. For this we need to update the firmware. We will be using NodeMCU firmware for the same.
All information on NodeMCU is here : https://github.com/nodemcu/nodemcu-firmware
Download softwares and other files - these instructions are for Windows.
http://esp8266.ru/esplorer-latest/?f=ESPlorer.zip (Needs Java Runtime)
https://github.com/nodemcu/nodemcu-flasher (Download from release folder for 32 or 64 bit OS)
http://robokits.co.in/download/init.zip - Firmware for wifi module. Download, unzip and edit with editor like Notepad++ or Sublime. Change the IP address and your WiFi SSID and Password for your router. See comments in file.
For programming we need a USB-TTL UART converter module such as CP2012 or FTDI (3.3V).
Connections
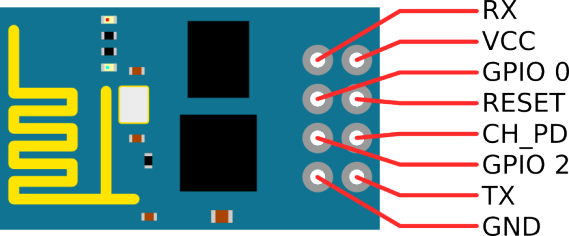
ESP VCC - ESP CH_PD to 3.3V +ve (Output from Regulator)
ESP RX - UART TX
ESP TX - UART RX
ESP GND - ESP_GPIO0 to system GND
UART GND to system GND
Note - any GND will work anywhere as all of them are common (Shorted internally).
- Connect the USB-UART to USB port of PC/Laptop
- It will generate a virtual COM port. Note the port number
- Open NodeMCU Flasher, select com port and hit Flash.
- Wait till flashing finishes. It will take about 50 to 90 seconds. If flashing doesn't start make sure connections are proper and module is powered up using external supply. It will not work properly on USB supply.
- If flashing stops inbetween, restart the power to ESP module and flash again till it completes properly.
- After flashing is finished successfully remove power and USB. Remove the short between ESP GND pin and GPIO0 pin.
- Open ESPlorer software (it needs Java, download and install if not already installed). Connect on the same COM Port as Flasher at 9600 baud rate. Don't worry for firmware detection errors if any.
- Upload the init.lua file after modifying your required IP address, WiFi SSID and Password (Key). You may use Notepad++ or Sublime Text Editor for the same. It may not open properly in normal notepad. Upload button is on the bottom left part of ESPloarer software.
- Reset controller using reset button on bottom center part of software.
- If you have set setting properly in lua file you should get connected IP address. Edit init.lua file if there is any error or you are not getting connected to wifi.
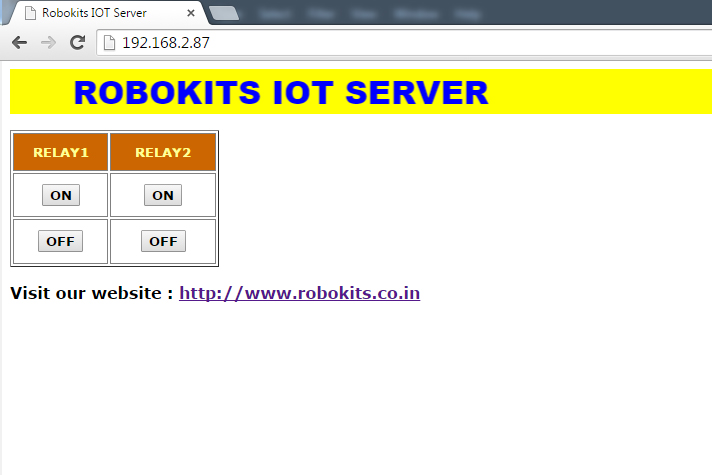
- Now you may open the IP address you set in browser to check if the server is working properly or not. If you get a page with 4 on/off buttons its working fine. Turn the module off and remove UART connections.
Connect Everything Together and Test


Now keeping the power off make/check following connections.
- ESP VCC - +3.3V (Keep VCC and CH_PD shorted for ever)
- ESP GND -GND
- ESP GPIO0 - Relay Board IN1
- ESP GPIO2 - Relay Board IN2
- Relay Board VCC - +5V
- Relay Board GND - GND
- Adaptor +5V to Regulator +ve Input
- Adaptor - to Regulatore -ve Input
- Adaptor +ve output - 3.3V
- Adaptor -Ve output - GND
Once this is done, power on the adaptor and open the set IP address in your browser. Turn relays on/off and see that the realys on relay board will work accordingly. Now you can control these relays from any device connected to your network like phone or tab with browser.
You can also control this device thorugh internet by using any DNS service like duckdns or no-ip.com. Many routers support No-IP and other DNS services which will keep your dynamic IP address updated. You may use other ports than port 80 (in init.lua file to create server) in order to control multiple devices on same public (internet) IP.