WiFi Controlled RGB LED Strip

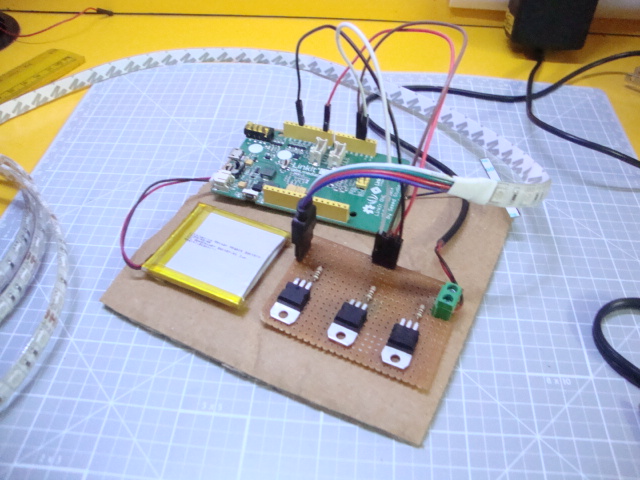
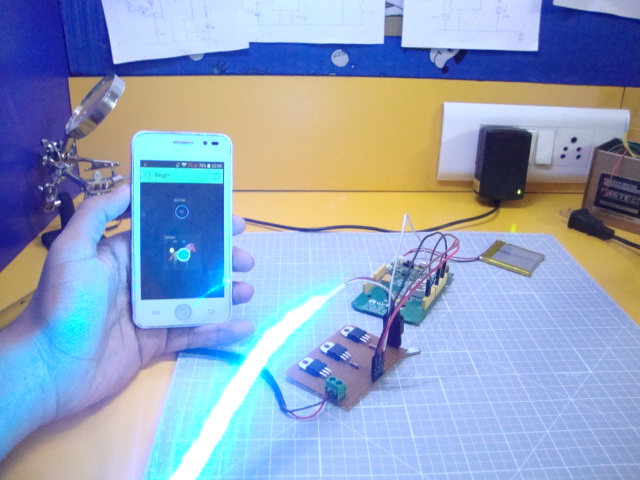
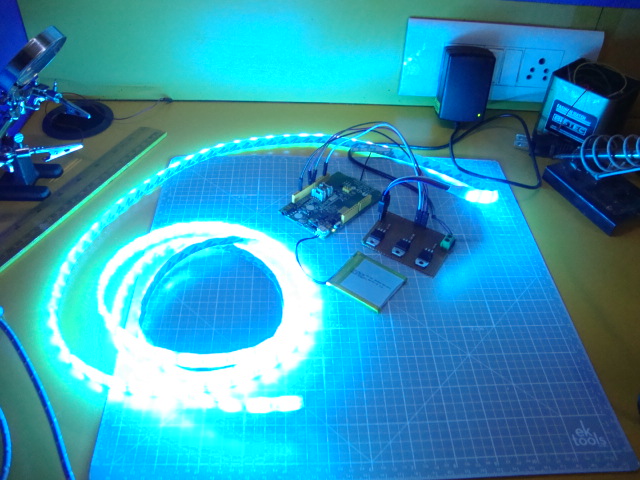
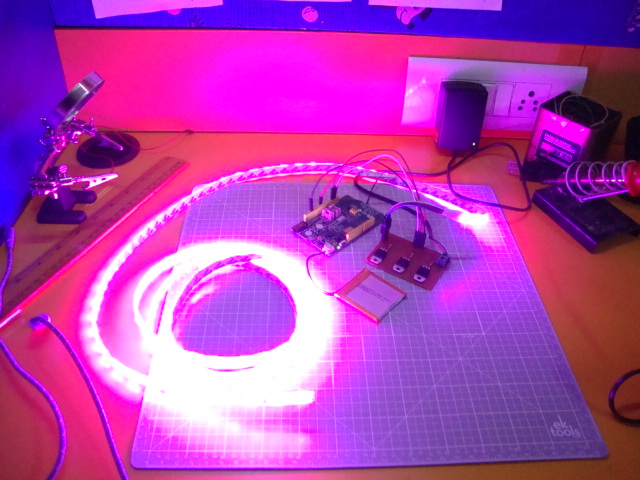
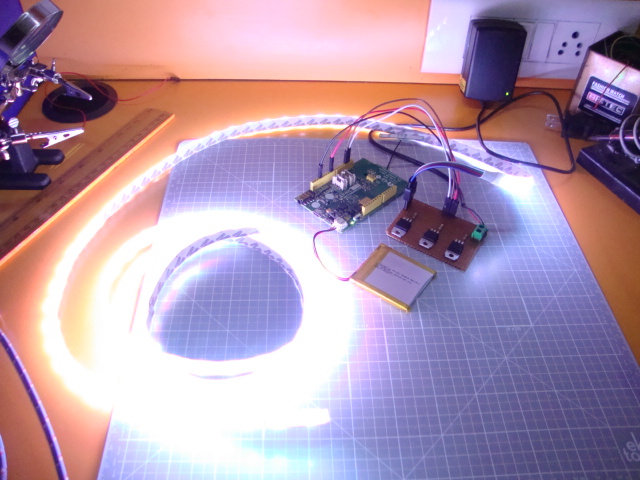
Those IR remotes used to control RGB LED strips can sometimes become irritating due to their limited range and hunting for the remote when you can't find it. This simple, yet effective project can solve a problem by controlling your strips via your smartphone over WiFi. Controlling over a web server means that it can be controlled from anywhere in the world! Having an internet connection isn't a problem as most of the people already have it for their daily use. So now you can make your christmas decorations or room lights better with this device.
The project uses the Mediatek Linkit ONE as the base which had in-built WiFi so you don't need any external shields or modules except one which would be needed to power the LED strips which require a higher output current than Linkit ONE can provide.
The best thing about RGB LED strips is that combining the three primary colors- Red, Green and Blue, you can produce an infinite range of colors with great effects. They are much better and consume much less current than normal christmas decoration lights. You can use this project as a great alternative for night lamps, decorations, ambient lighting and the best- Your christmas tree, coz christmas in coming! So get your things ready and start making this project NOW!
Don't forget to like, share, vote and follow. You are free to ask even the silliest question. Lastly, you can like my facebook page as well (Frozen Solenoid) for more cool projects.
How It Works?

The most important thing that should be considered while documenting a project is that the viewer should completely understand the concept, working and the actual use of the project. For this, I have mentioned the working process of the project before actually building it.
The project uses an Android app named 'Blynk' to communicate with linkit one wirelessly through an Auth token. Using the button and the zeRGBa widget, when you change the values, a string of data in sent to your linkit one which processes it and sets the RGB LED strip to a certain color. Practically, since all this occurs over the web server so this LED strip can be controlled from anywhere in the world provided that the linkit one has a WiFi connection and your smartphone has an internet connection. This project will NOT work without an internet connection.
Since the output current of Linkit ONE's digital pin is quite low, and external circuit along with an external power supply is required to power them. The linkit ONE just sends a signal to the transistor present in the circuit. The transistor amplifies those signals and powers the LED accordingly. The battery connected to linkit one is here to power just the linkit one thus it would last sufficiently long.
Parts and Tools
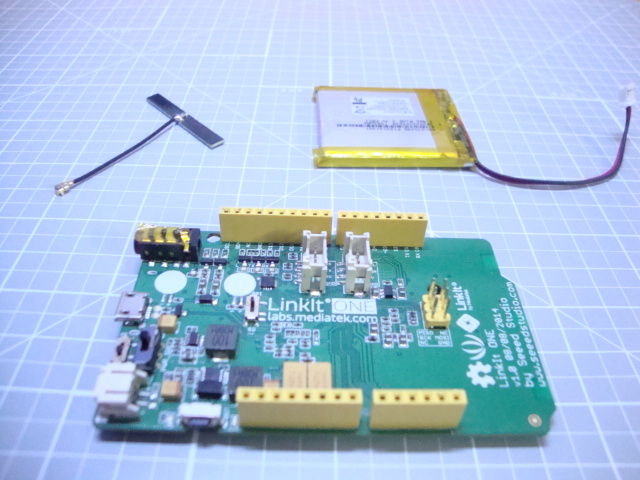
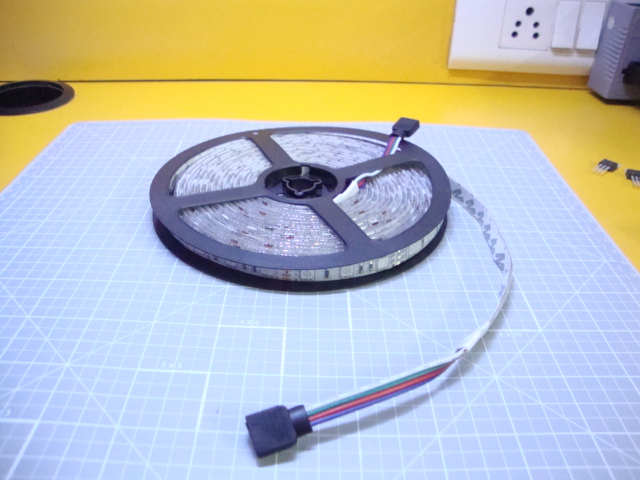
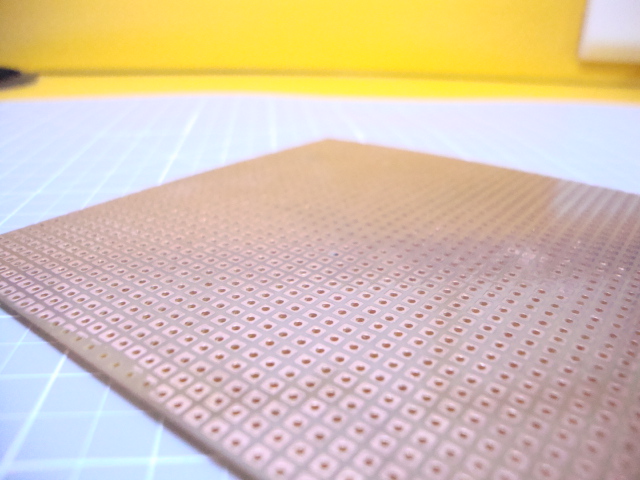
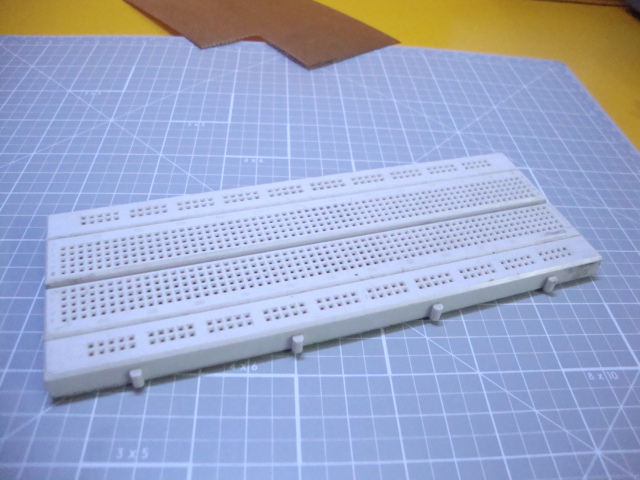
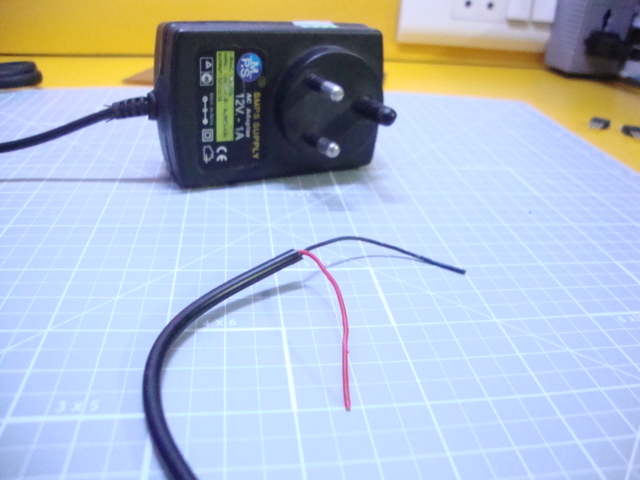
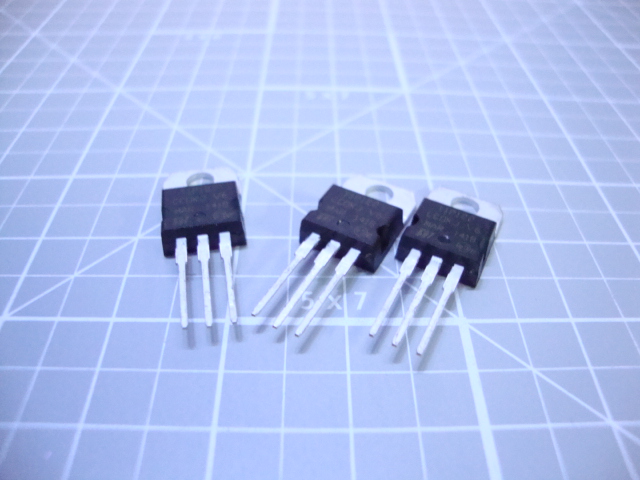
The following parts and tools will be required to make this project. The total cost including everything was approx. $90 or 5500INR. I ordered my LED strip from amazon for $24 which included a 40 button IR controller with a power supply. The length of the strip was 5 meters. The Transistor mentioned below can be varied to any compatible one. You can even use MOSFETS instead of those transistors.
Parts:
- 1x Linkit ONE
- RGB LED strip (length as per your choice)
- A 12v power supply
- 3x NPN power transistors (TIP31, TIP22, TIP121 or any other equivalent)
- 1x Breadboard for prototyping
- 3x 1K resistors
- 1x Screw terminal
- Male headers
- Perfboard
- Some wire
Tools:
- Soldering iron
- Soldering wire
- Hot glue gun w/glue sticks
- Wire cutter/stripper
- Pliers
- Double sided tape
Prototype the Circuit on a Breadboard
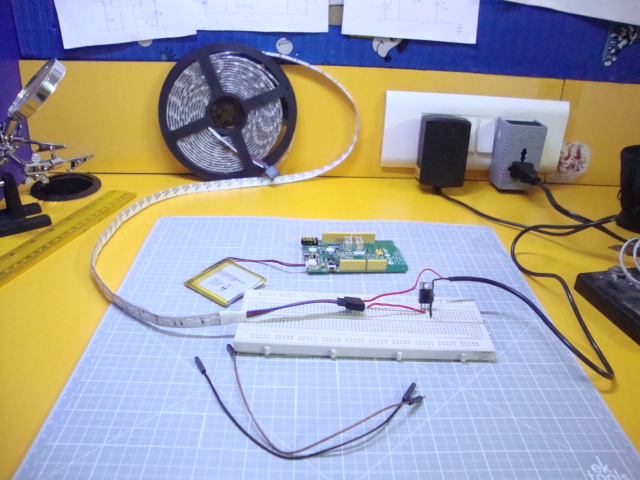
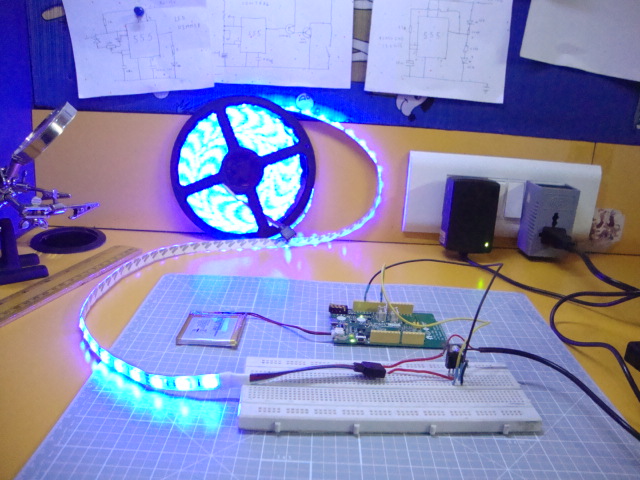
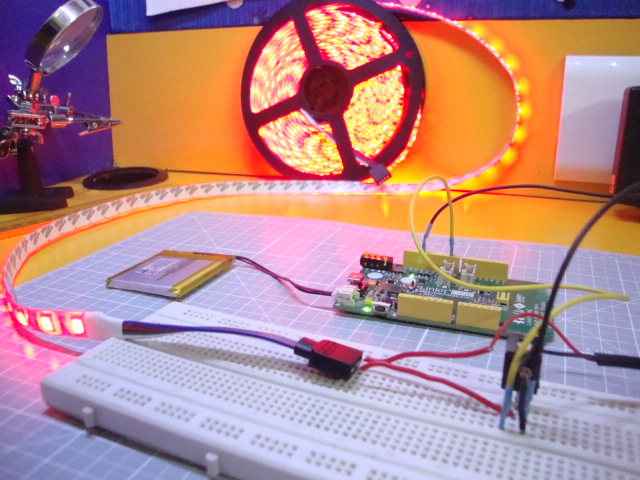
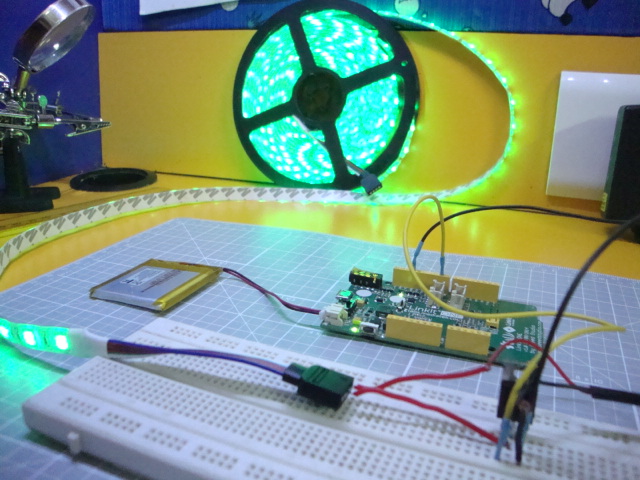
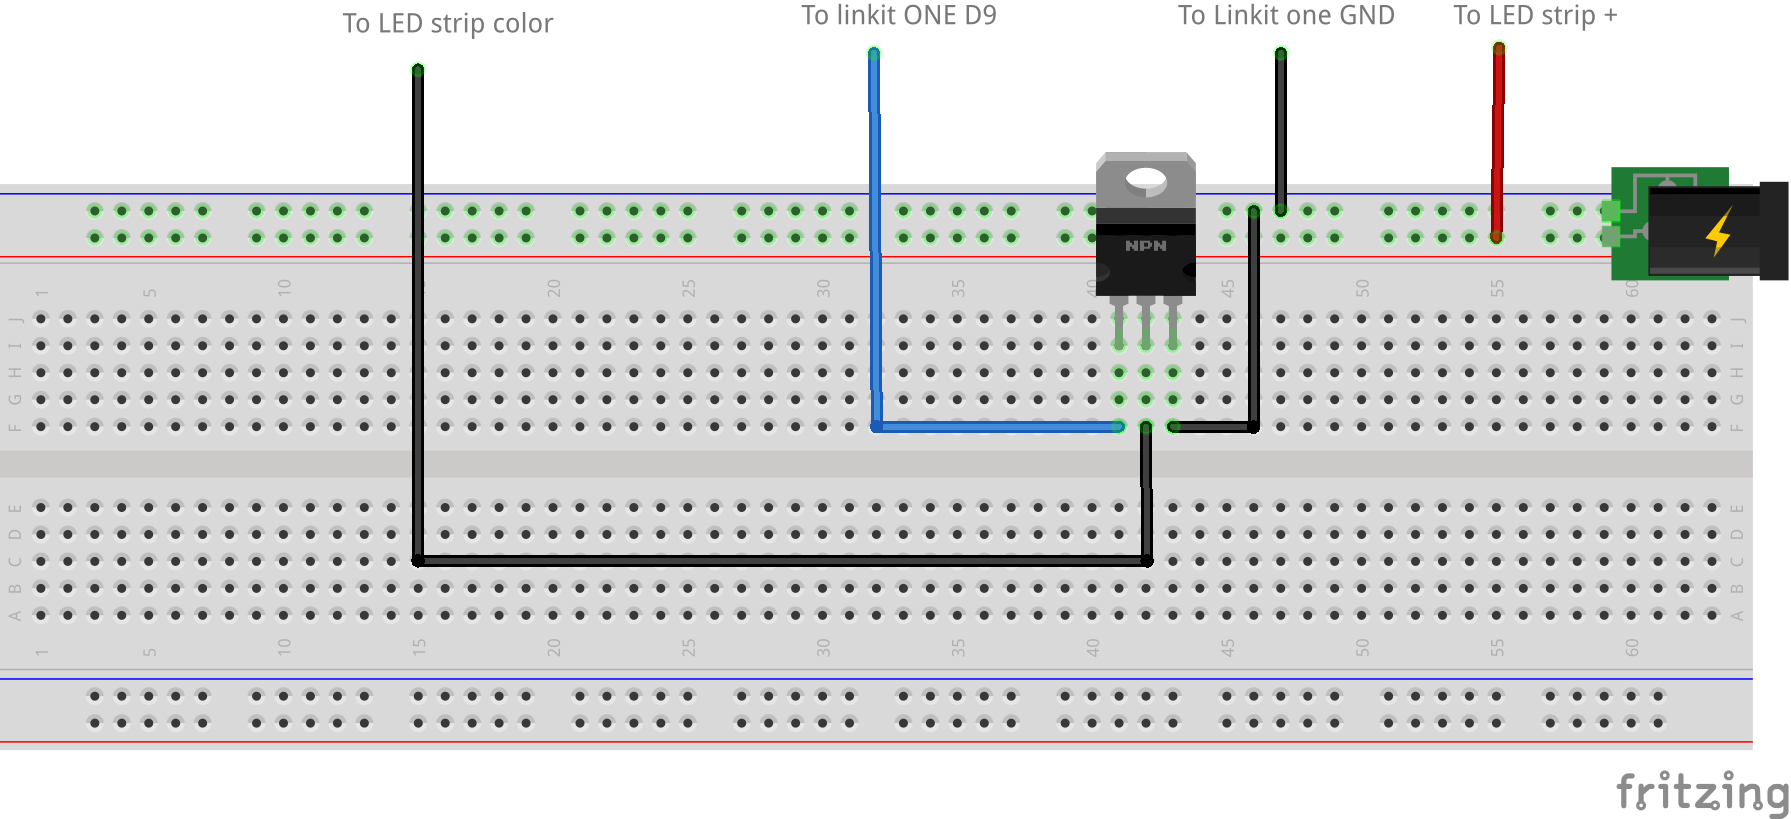
Before directly soldering a circuit on perfboard, it is always better to first prototype in on a breadboard. This can help you catch some unexpected errors that may arrive while making the project. On the other hand, if you solder it directly and an error occurs later, you won't be able to fix it and another half an hour would be wasted to re-solder the entire circuit. However, this step is still optional so you can skip it if you want.
For prototyping, I chose to check only one transistor with each of the three colors on the LED strip. You can even check all the three transistors together if you want. First connect everything as per the bread board layout given above. You will need to connect an external 12v power supply at this step for the LED strip to work. Then upload the 'Fade' or 'Blink' code to your linkit ONE keeping the pin no. 9.
First connect the collector pin of transistor to RED pin of the LED strip. In this case, the red LED would glow. Now connect it to BLUE and similarly GREEN to check if everything is fine. You can even experiment and do your own modifications as your want. Here, you should make sure that the LED strip won't work directly with the Linkit ONE's digital pin as their output current is very low. You have to have a proper 12v power supply with a transistor for it to work.
Solder the Circuit
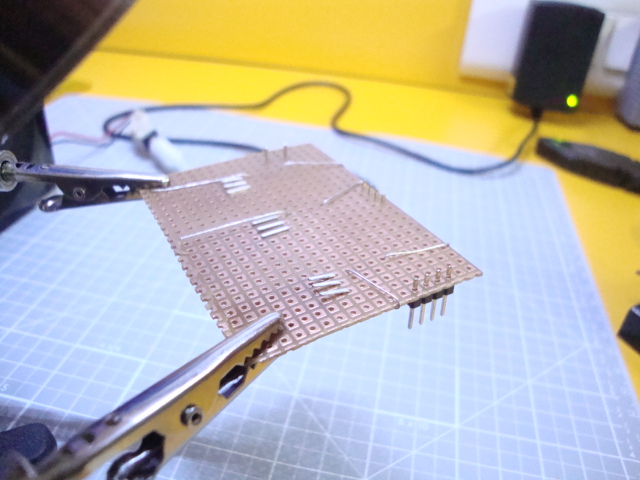
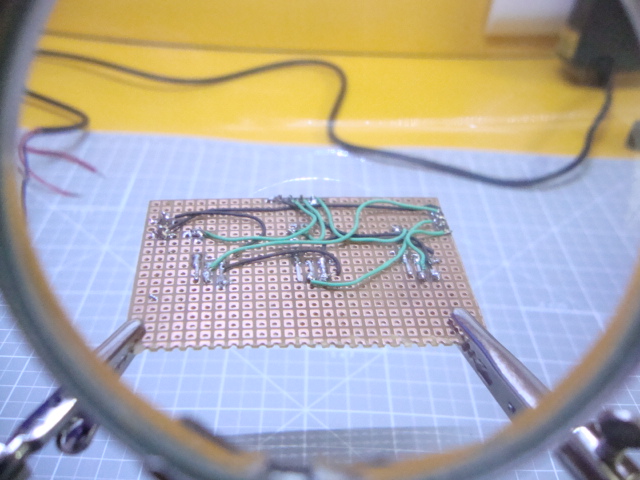
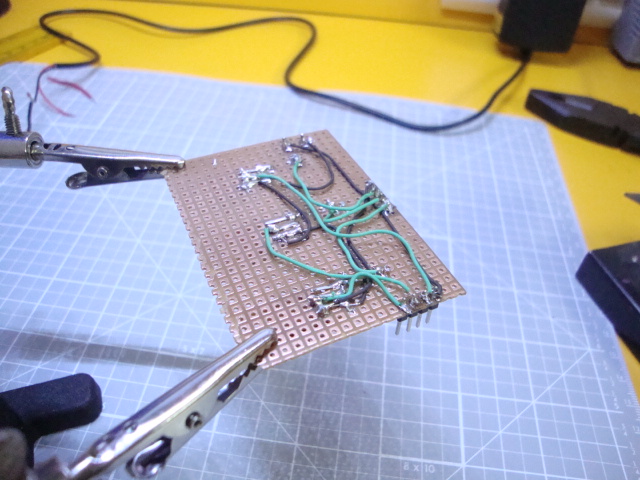
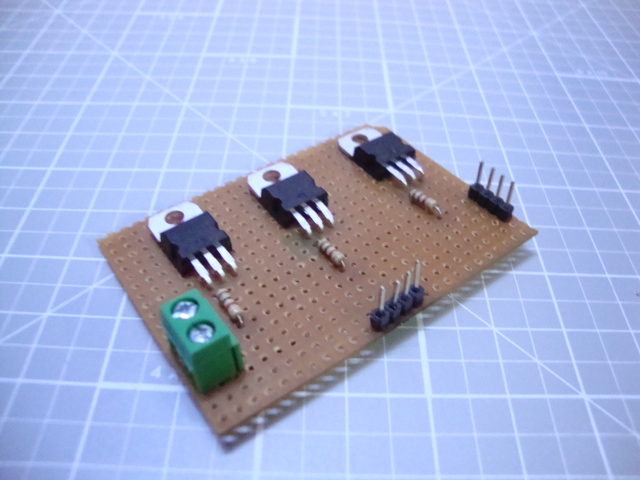
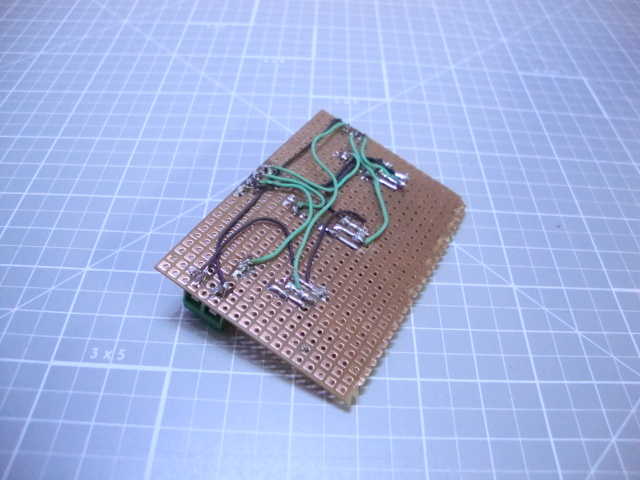
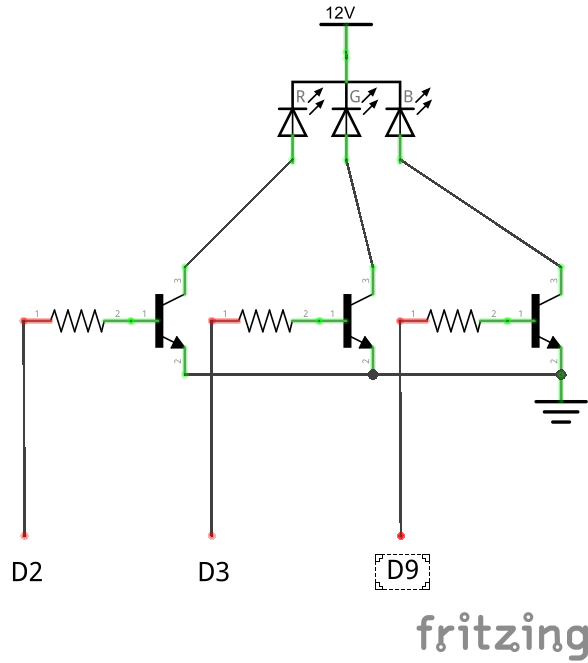
After checking the circuit if everything goes well, move on to directly soldering the circuit on perfboard and making it permanent. You can even leave your project on the breadboard and move ahead with rest of the steps but remember that breadboard never ensures tight and proper connections.
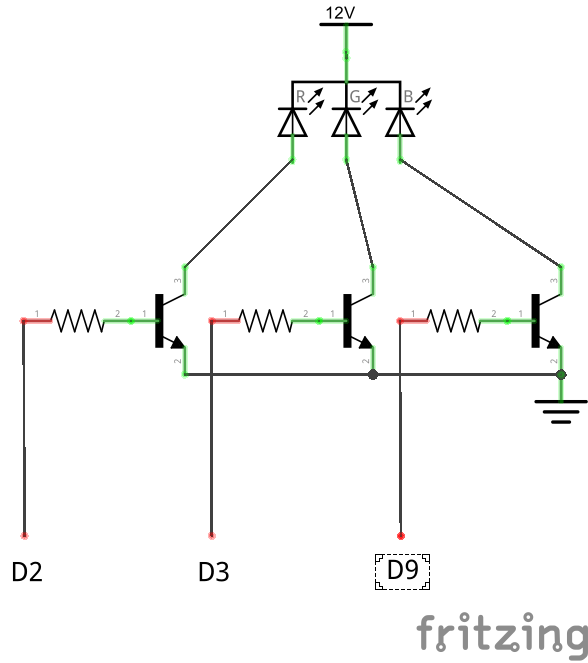
For soldering the circuit, refer to the schematic which is given above. For making it even easier, you can etch your own PCB and solder everything directly without using any external wires to connect them. At last, add a screw terminal for the 12v power supply checking the correct positive and negative terminals. Then solder two pieces of male headers each having four pins, one for connecting the circuit to linkit one while other one for connecting the circuit to the LED strip.
After soldering, you can connect the power supply, LED strip and check if everything is ok in the same manner as you did in the last step. If it does not work, check all the connections and try again.
Connect the Circuit to Linkit ONE and Power Supply
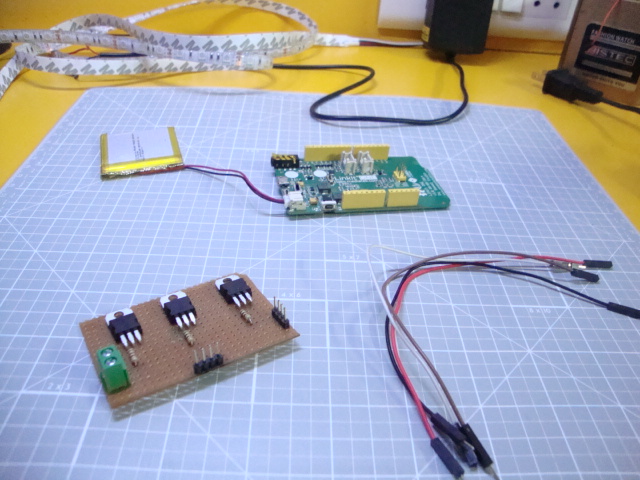
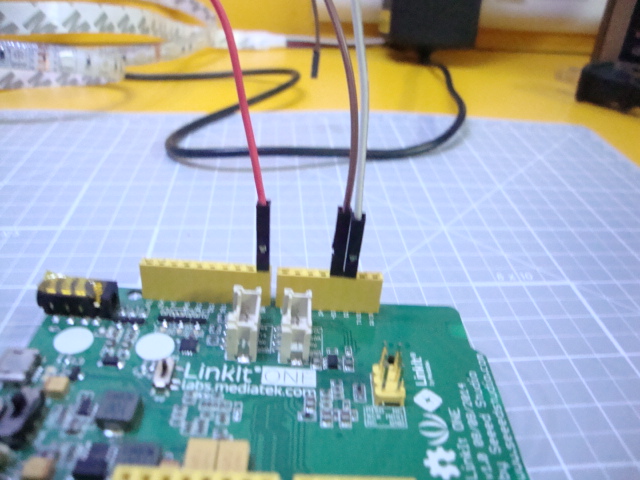
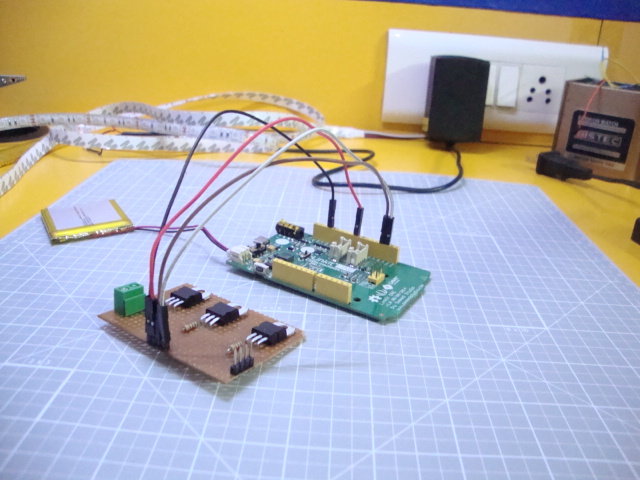
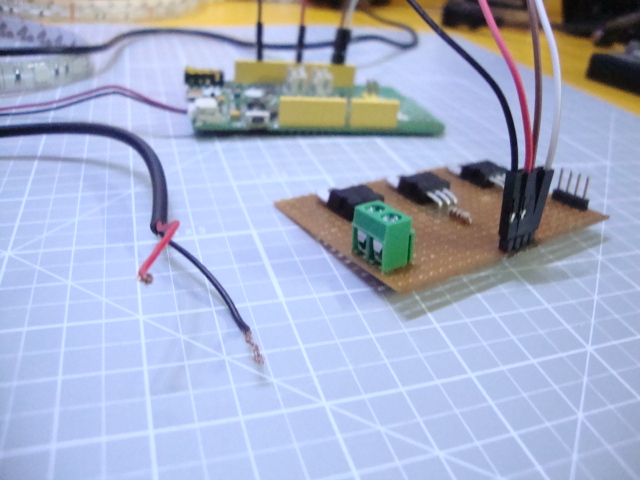
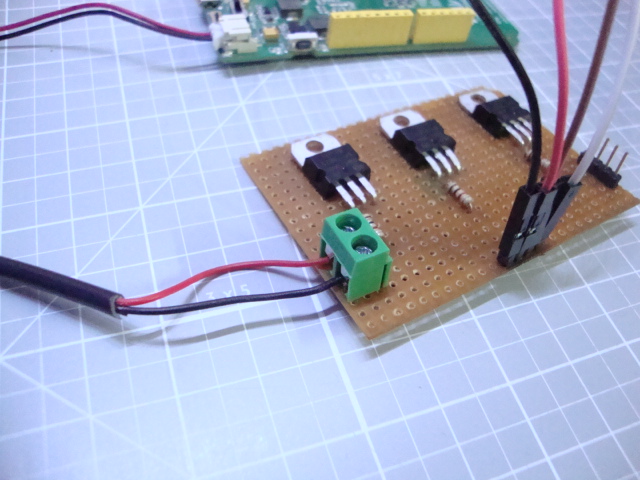
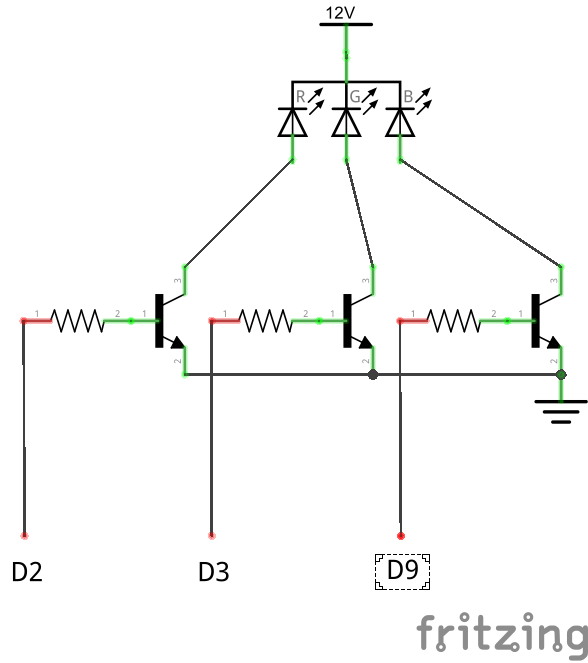
So the next step is to connect your soldered circuit to the Linkit ONE to get the signals for the strip and the power supply to power the strip. You can connect it by following the schematic or the text below.
- Emitter pin of all the transistors to be connected to GND pin of linkit one.
- Base pin of Transistor 1 to be connected to Digital PIN 9 of linkit one.
- Base pin of Transistor 2 to be connected to Digital PIN 3 of linkit one.
- Base pin of Transistor 3 to be connected to Digital PIN 2 of linkit one.
- Anode of LED strip to be connected to Power supply (+).
- Emitter pins of all the transistors to be connected to Power supply (-).
Remember that using pins 3 and 9 is necessary and they can't be changed as they are the only PWM pins of Linkit ONE. Since there are only two of them, the third color of the LED strip needs to be controlled to a normal digital pin.
Connect the RGB LED Strip to the Circuit
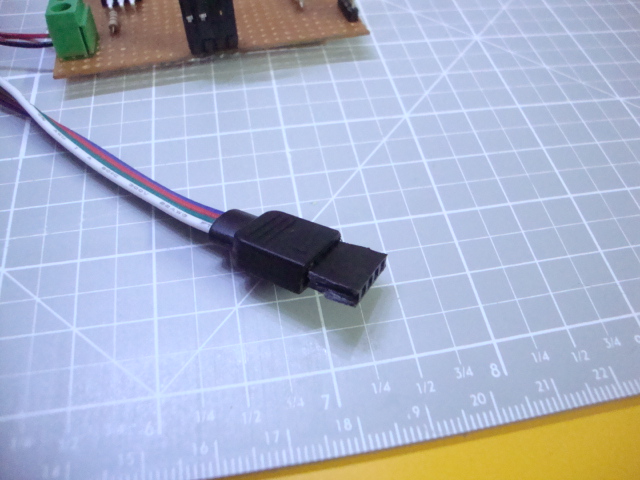
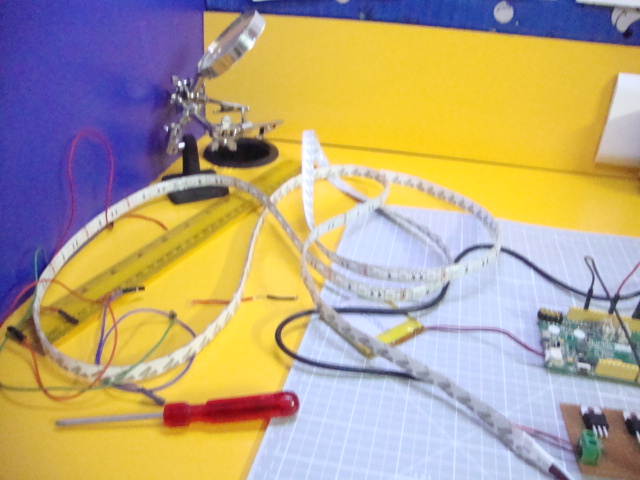
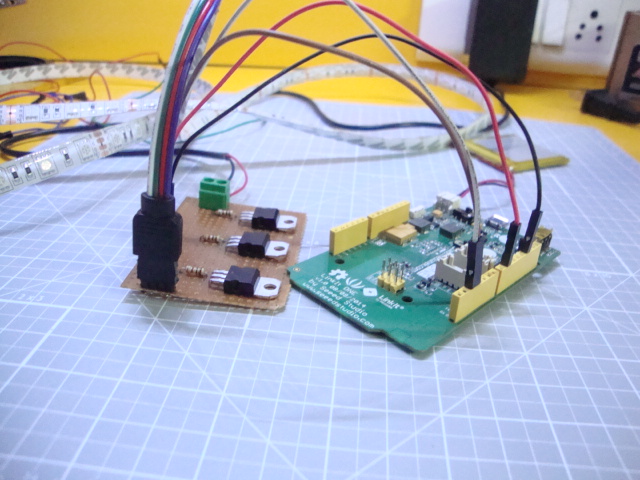
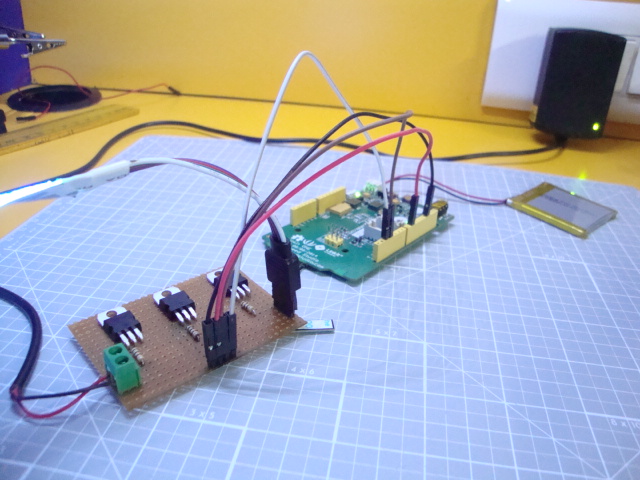
The next step is to connect the LED strip to the soldered circuit. Do so by directly plugging the socket into the male headers on the perfboard. If you don't have an in-built socket connected to the strip, then you need to solder four wires from the strip to the board. Look for the small copper pads located on the strip just from where you've cut it. Remove the 3M tape at the back so that the copper should be exposed.
At this step, you can measure and cut your strip according to your requirements. Make sure that you cut it only from the marked points present at a distance from 3 LEDs. After cutting it, you can plug it and test it by turning the Linkit ONE on. As all the pins are high by default, all the three colors will light up producing white light.
Upload the Code to Linkit ONE
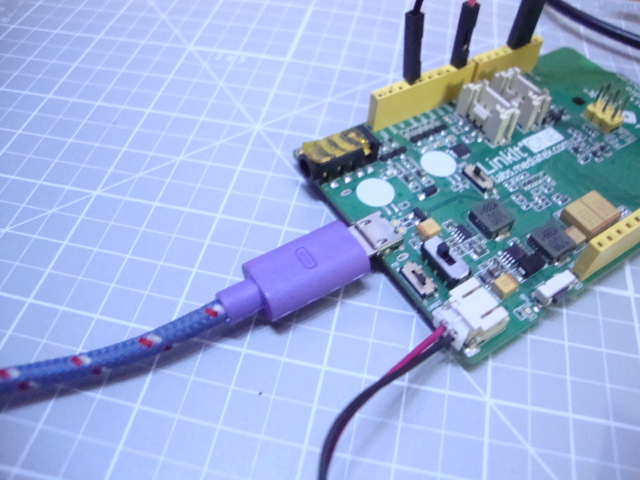
After doing all the soldering and connecting, now it's time to upload the code to linkit one. But before that you need to have the Blynk library. I have attached the zip file below. Extract all the contents and transfer them to Documents>Arduino>Libraries.
The code for this project is found in the Blynk library it self. In the arduino IDE, go to Files>Examples>Blynk>Linkit ONE. Now you need to make some certain changes in the code:
Under: char auth[] = "YourAuthToken"; //Add the auth token of your blynk project (see next step)
Under: #define WIFI_SSID "YourSSID" //Add the name of your WiFi connection.
Under: #define WIFI_PASS "YourPASS" //Add the password of your WiFi connection
Under: #define WIFI_AUTH LWIFI_WPA //Choose from LWIFI_OPEN, LWIFI_WPA, or LWIFI_WEP.
If you don't know the Auth token, skip to next step and then come back to this step. If you already have one, just set the switches on Linkit ONE to SPI, UART and USB positions and upload the code.
Downloads
Set Up the Blynk App
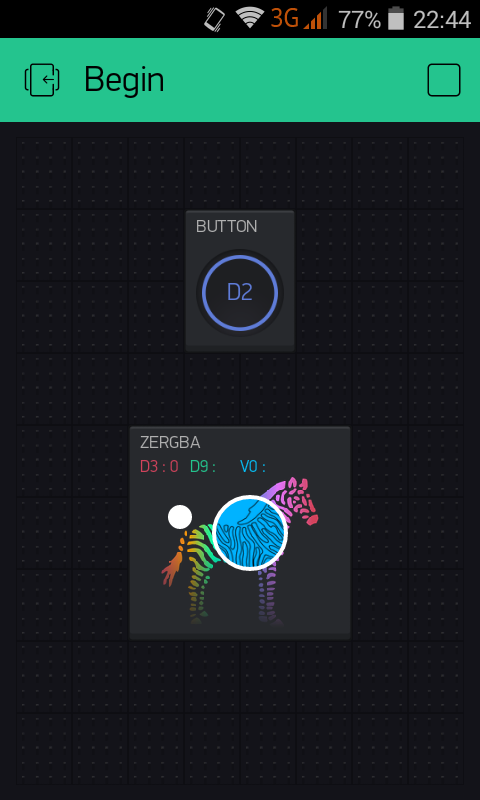
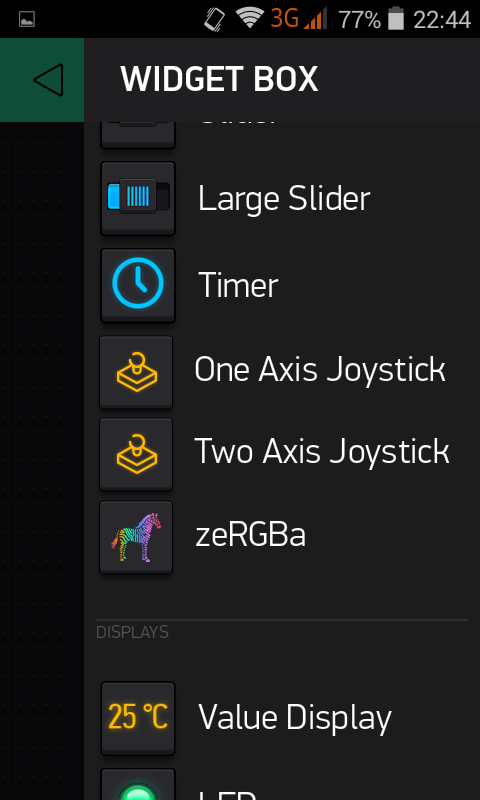
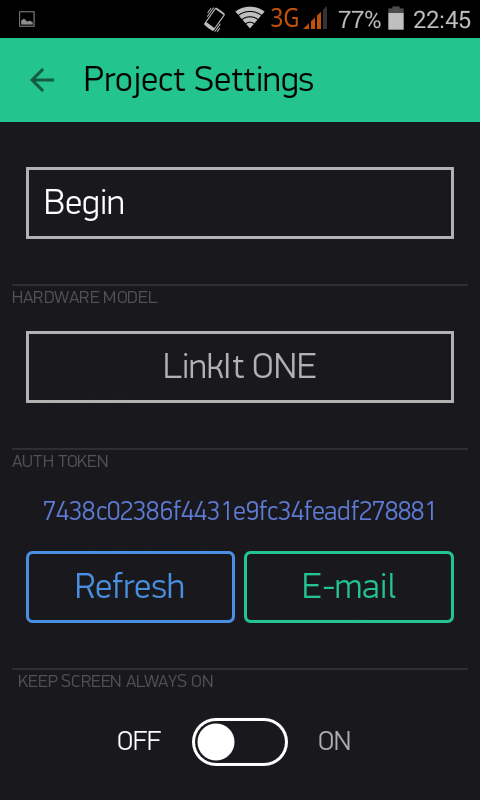

You can skip this step if you've already worked with Blynk before. This open source app for android gives you an amazing platform to build wireless projects which involves such an easy set up that you will learn how to use it in minutes! If you've never done that before, follow these simple steps.
- Download the Blynk App from play store for free.
- Sign up to an account by providing your email address and other details. You must have an internet connection to do this.
- On logging in to your account, create a new project with the name of your choice.
- You will see some digits and characters when you make a project. This is your auth token used to connect your Linkit ONE to the blynk server.
- Copy the Auth token and add it to code given in the previous step (Switch to the previous step for details).
- Now move on to the project screen which would be empty initially.
- Go to the widgets panel and copy a 'Button' and the 'ZeRGBa'. In the button, set the pin number as 2.
- Set two of the pin numbers in ZeRGBa as 3 and 9. Leave the third one empty.
- Now finally switch on your linkit ONE, let it connect to the Wifi network and then in the app, select the 'Play' option.
- That's it! Now you will be able to control the strip via your smartphone.
If it doesn't work, check your connections. Make sure that the auth token should be mentioned correctly in the code.
Mount Everything on a Base or Inside an Enclosure
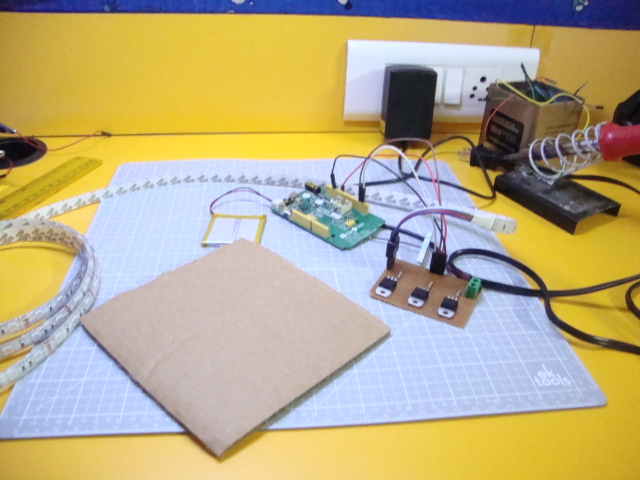
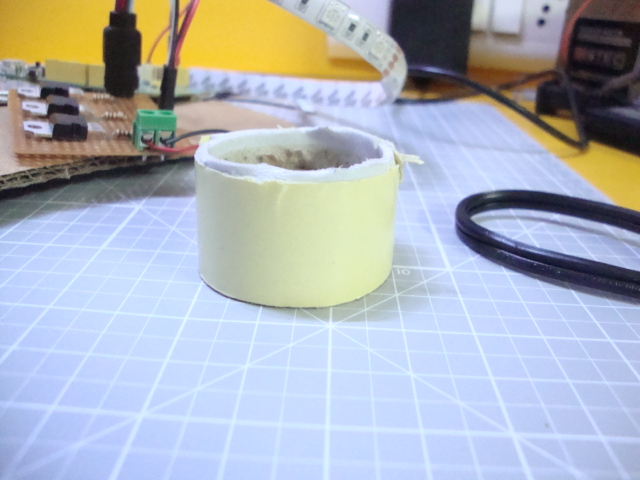
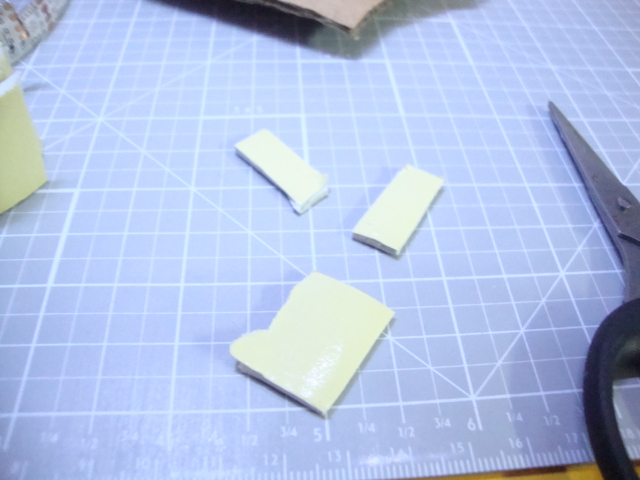
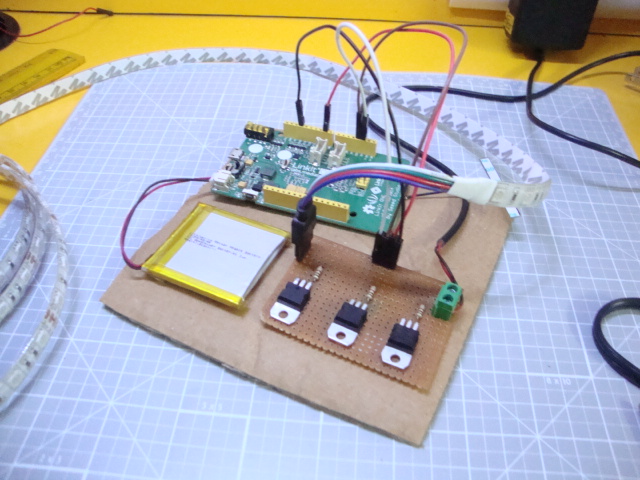
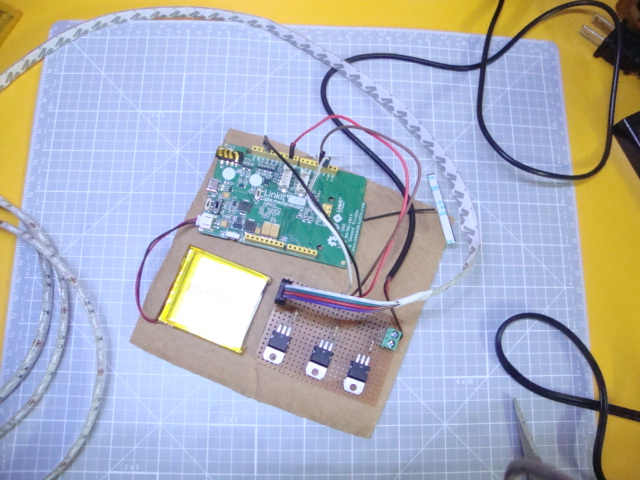
The last and the easiest step to complete your project is to mount all the parts on a smooth base so that things look more clean. You can even use an enclosure and mount all the parts inside.
I chose a simple cardboard base and mounted the Linkit ONE, Battery and the LED circuit on it using some double sided tape. It is easier to update the codes and make any changes in this case.
You're Done!


With this, another instructable based on Linkit ONE comes to an end. Now that's up to you that where and how you want to decorate those awesome multicolor LED strips. Make a night lamp out of it or decorate it on your christmas tree, that completely depends upon you. The only condition is that you should have a power supply available for the strip. For making it portable, simply use a 12v battery. You are free to make any modifications as you like.
Don't forget to follow and vote if you like this project. I assure you to post more awesome projects!
You can even like my facebook page: Frozen Solenoid
Thanks for watching :)