WiFi BrewPi Fermentation Temperature Controller With ESP8266
by lordfili in Circuits > Arduino
15901 Views, 35 Favorites, 0 Comments
WiFi BrewPi Fermentation Temperature Controller With ESP8266
As I started to get further into brewing I realized I needed a way to better control fermentation temperatures and quickly stumbled across the BrewPi project. It's a fairly ingenious combination of a Raspberry Pi and a microcontroller which allows for very precise control of fermentation temperatures - and web-based logging to boot.
Unfortunately for me, my fermentation chamber is across the room from where I have my Raspberry Pi, so I needed a way to control things wirelessly. The most common solution was to use an ESP8266-based board as a wireless "bridge" between an Arduino and the Raspberry Pi, but as I started thinking - the ESP8266 is actually the more capable microcontroller in that setup. Why not eliminate the Arduino in favor of the ESP8266 entirely?
After a bit of research and hours of coding, I did exactly that.
By the end of this instructable, you will have the following:
- A Raspberry Pi running Raspbian
- A WiFi-ready install of BrewPi
- A NodeMCU ESP8266 board running firmware that talks to BrewPi over WiFI
In short - you'll have everything you need for a WiFI temperature controller.
Gather Materials
To get started, you'll need a few things.
Things Specific to this Instructable:
NodeMCU-based ESP8266 board (I recommend the WeMos D1 Mini, but NodeMCU v2 dev boards also work)
Micro USB cable
A Raspberry Pi (see below)
Things you need for the Raspberry Pi:
Raspberry Pi 1, 2, or 3
4GB or larger SD card
MicroUSB
Things you need for a fully functional temperature controller:
Breadboard
Wire
LCD2004 LCD module /w I2C converter
Sainsmart 2-channel relay board
Set Up the Raspberry Pi

With your materials gathered, the first thing that you need to do is get your Raspberry Pi ready to install BrewPi.
The video above takes you through the process, but if you prefer - I have a full instructable written that covers this process as well. Whichever route you take, once you're done, you'll have Raspbian installed on your Raspberry Pi and it will be ready for the next step in the installation process.
Install BrewPi Using the Custom BrewPi Tools
Log into your BrewPi via SSH and download the custom brewpi tools using this command:
`git clone https://github.com/thorrak/brewpi-tools`
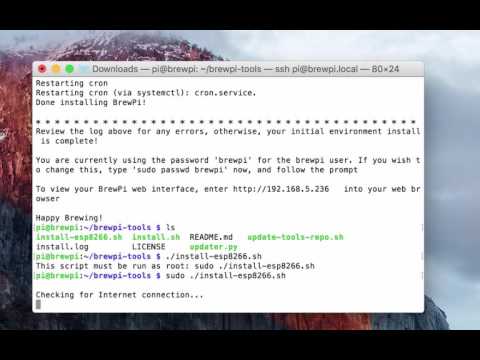
Change to the new brewpi-tools directory using `cd brewpi-tools` and run `sudo ./install.sh`. This will install BrewPi. Follow the prompts to finish the BrewPi installation.
Once BrewPi is installed, run `sudo ./install-esp8266.sh`. This will install the custom software needed to flash your ESP8266 board.
Video Note - Rather watch a video of this step (as well as the next two)? Click play on the video linked above!
Install the Firmware to Your ESP8266 Board
Before we can install the firmware on your ESP8266 board, you need to hook the ESP8266 up to your Raspberry Pi with a micro USB cable.
Once connected, you will need to locate the name of your USB serial bridge device. Generally this will be /dev/ttyUSB0, however if there is any question you can see a mapping of all USB serial devices by looking in `/dev/serial/by-id`.
Change to the bin directory where the software lives (`cd ~/brewpi-esp8266/bin`)
And finally, flash the firmware (`esptool --port /dev/ttyUSB0 write_flash -fm=dio -fs=32m 0x00000 ~/brewpi-esp8266/bin/brewpi-esp8266.v0.4.wifi.bin`)
Note - The version number of the firmware above may have changed (v0.5 or higher rather than v0.4). Use the latest version number.
Video Note - Rather watch a video of this step? This step is covered in the video in step 3!
Connect the ESP8266 to WiFi
Once you have flashed the firmware to the ESP8266 board, you will need to configure it to connect to your WiFi network. From a WiFi-enabled device (computer, phone, etc.) look for a new access point named "ESPXXXXX" where XXXXX is a number.
Write down the access point name - the ESPXXXXX - and then connect to this access point and open a web browser. (Some devices may automatically open one) Make sure you remember the access point name - you will need it later.
In the browser page that opens up, click "Scan for WiFi".
Select your wireless network & enter your password
Click "connect" to connect your ESP8266 to WiFi.
Video Note - Rather watch a video of this step? This step is covered in the video in step 3!
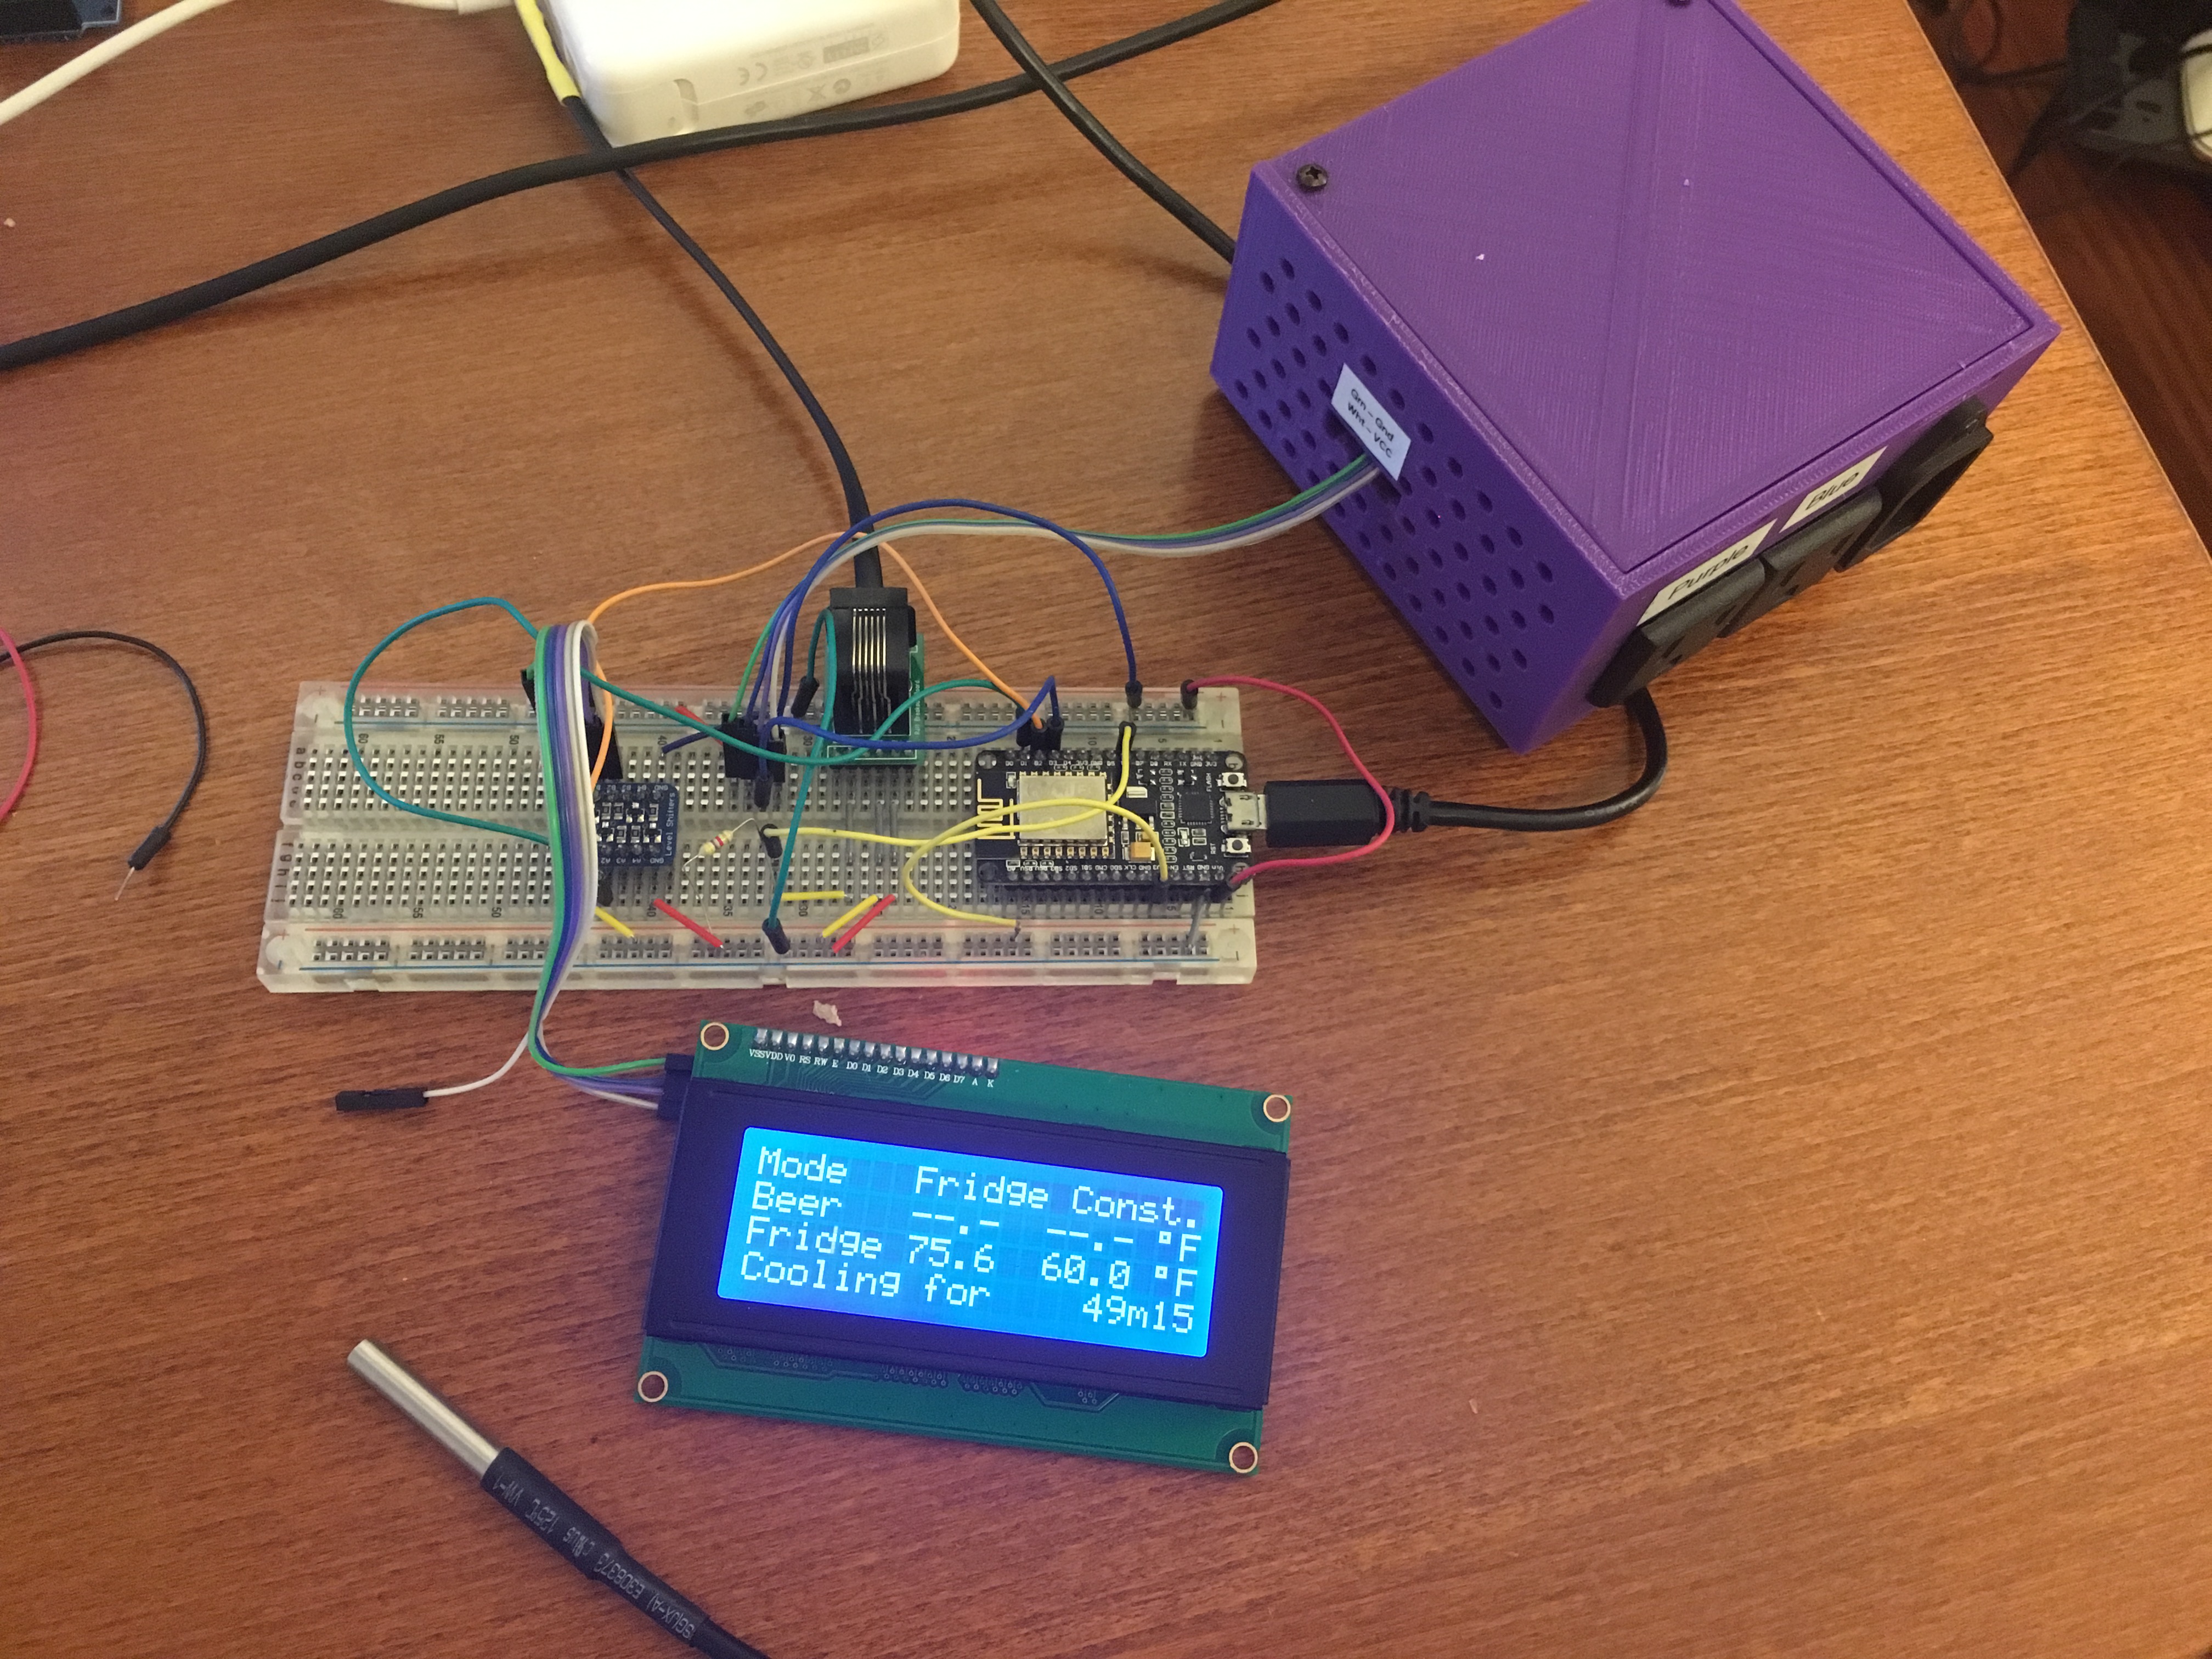
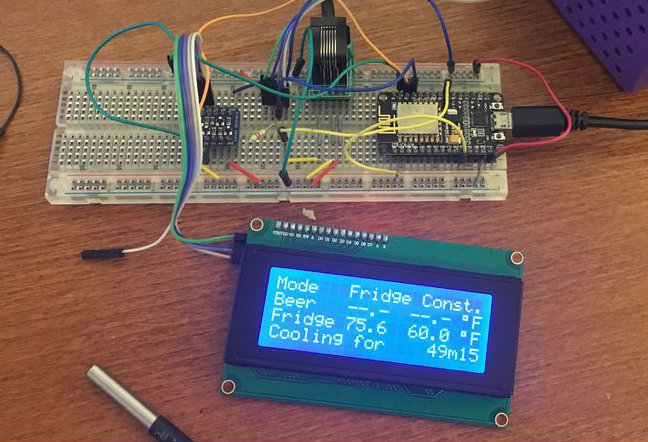
Set Up Your Hardware
Before you configure BrewPi to talk to your controller, now would be a good time to actually hook everything up. The expected pinout for this firmware is:
Expected Pinout (NodeMCU board numbering)
- D0 - Heat
- D1 - I2C SCL for LCD
- D2 - I2C SDA for LCD
- D3 - Buzzer (currently unsupported)
- D5 - Cool
- D6 - OneWire Data
- D7 - Door Sensor (Untested)
For the cool/heat pins I use a Sainsmart 2-Channel Relay board. It runs via 5v DC, accepts 3.3v signals, and can switch 110v (or 220v). For the I2C LCD, because I have a 5v LCD panel, I need to use a bi-directional logic converter to switch the SCL and SDA pins. This isn't ideal (it adds one additional layer of complexity) but it has the added benefit of allowing me to directly drive the LCD off my 5v source rather than relying on the voltage conversion on the NodeMCU board.
Configure BrewPi to Connect to Your ESP8266
Now that you've set up the firmware you need to point the BrewPi script at it.
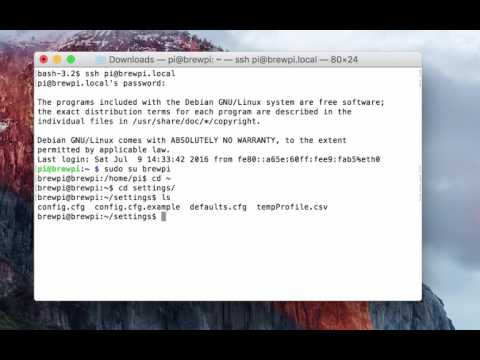
1. Log into the Raspberry Pi via SSH, and change user to brewpi (`sudo su brewpi`)
2. Copy the default configuration file (`cp ~/settings/config.cfg.example ~/settings/config.cfg`)
3. Open the configuration file with your favorite text editor (I prefer `nano`. To use it, type `nano ~/settings/config.cfg`)
4. Update the configuration as follows:
wwwPath = /var/www/html
wifiHost = ESPXXXXXXX.local
wifiPort = 23
5. Save & close the configuration file
Video Note - Rather watch a video of this step? Click play on the video linked above!
Congratulations! You now have an ESP8266 running firmware necessary for connecting to BrewPi!