White House Small Business Ornament
by dcq32 in Workshop > 3D Printing
279 Views, 2 Favorites, 0 Comments
White House Small Business Ornament
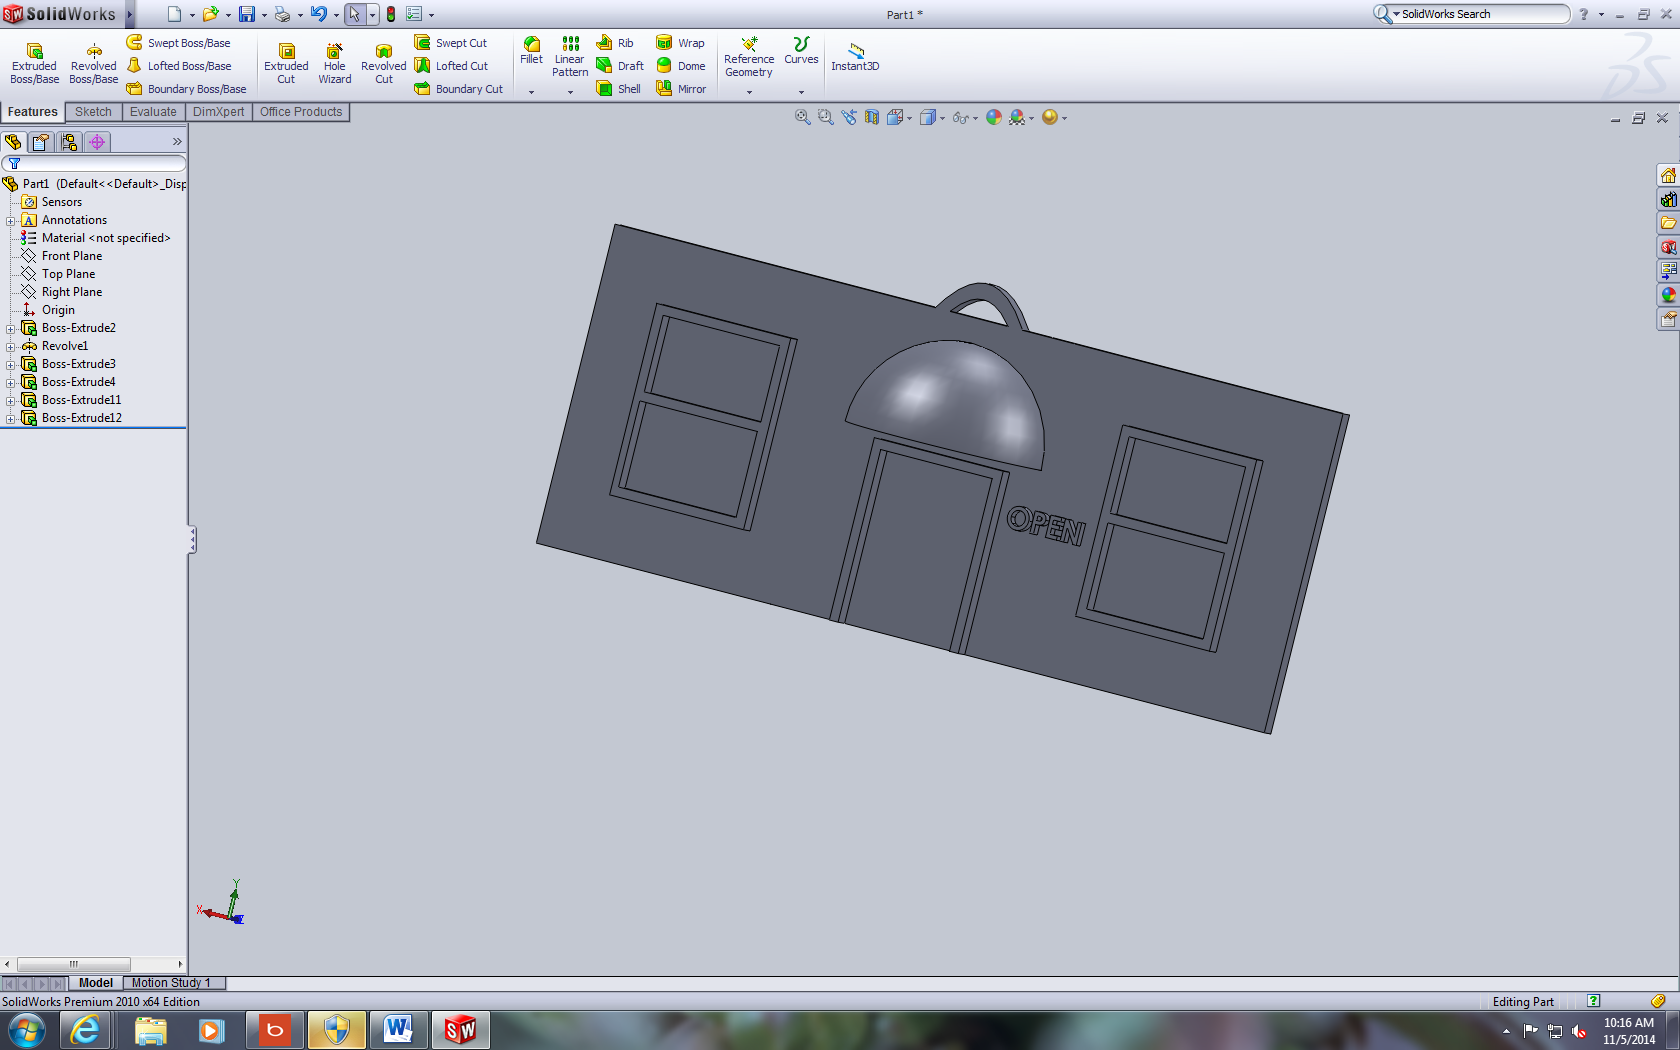
Hi World!
This is my first instructable so I'd appreciate some feedback.
In this Instructable you will learn the basic modeling techniques of solidworks through a Christmas ornament. If you like it please vote for it because it would be awesome to get it in the white house.
The steps are broken down here:
1. Model the base
2. Model the awning
3. Model the storefront
4. Create the text
If you want to 3d print it you'll have to export it and prepare it for 3d printing by making layers. I currently don't have a 3d printer but I'll add a step where I print it if I acquire one.
Downloads
Model the Base
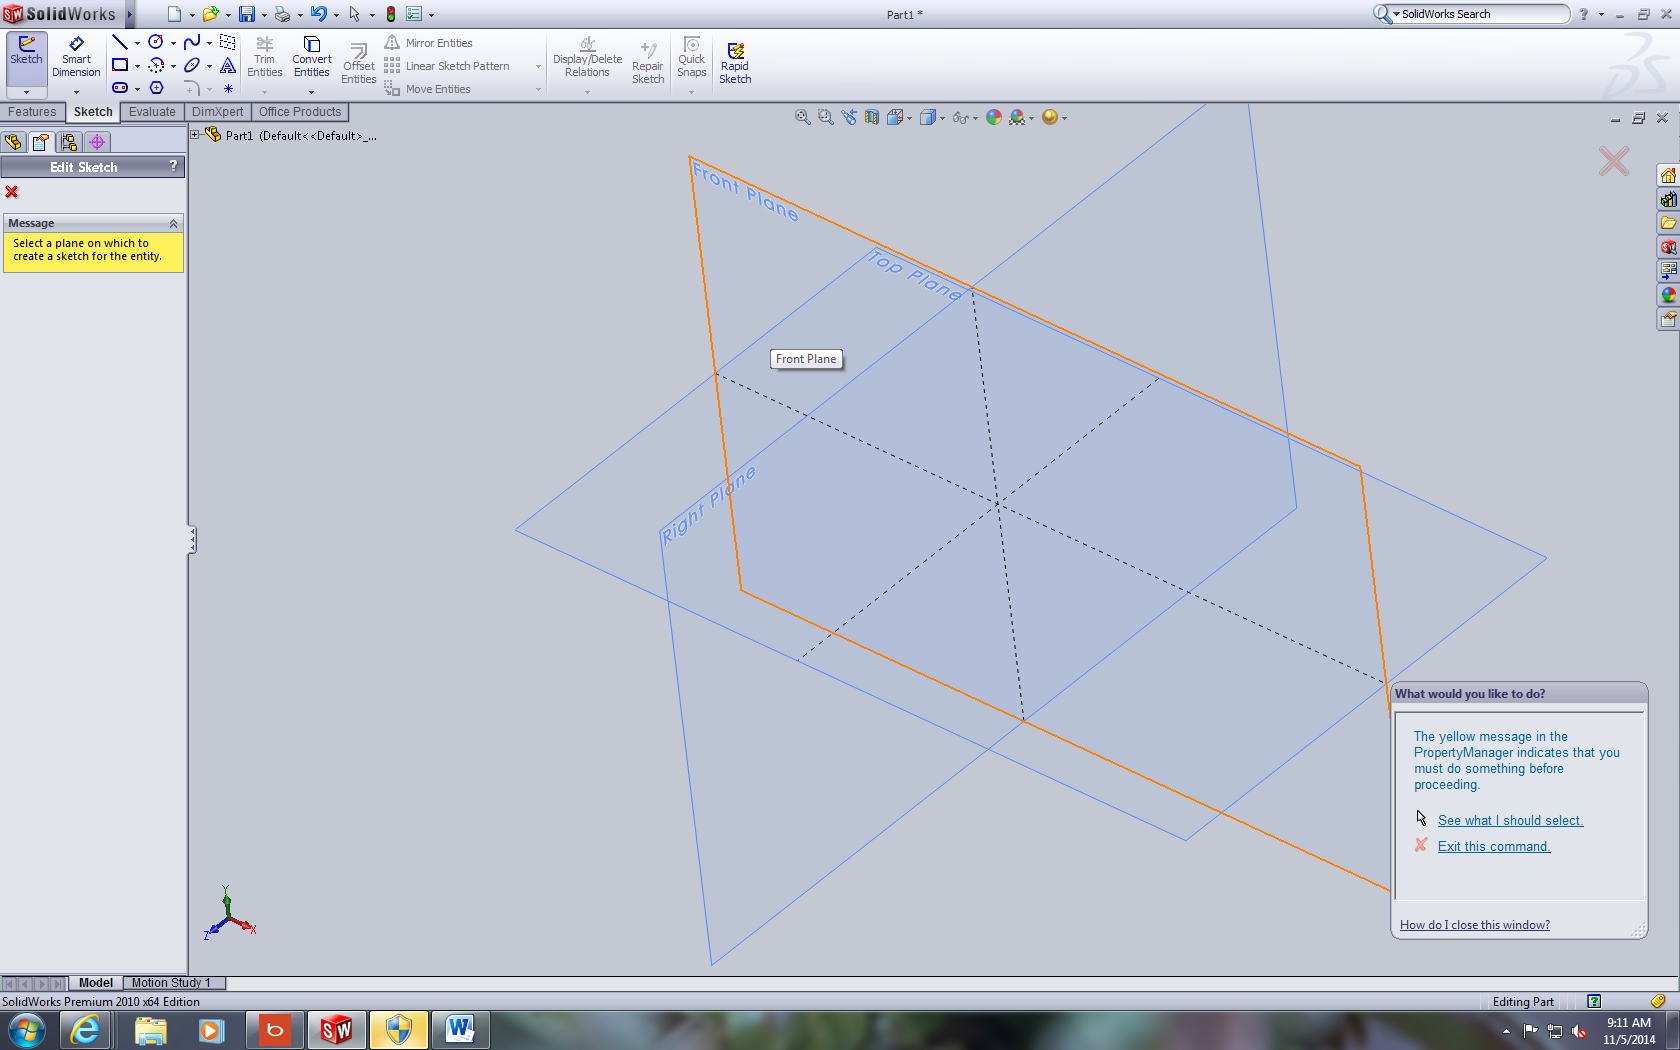
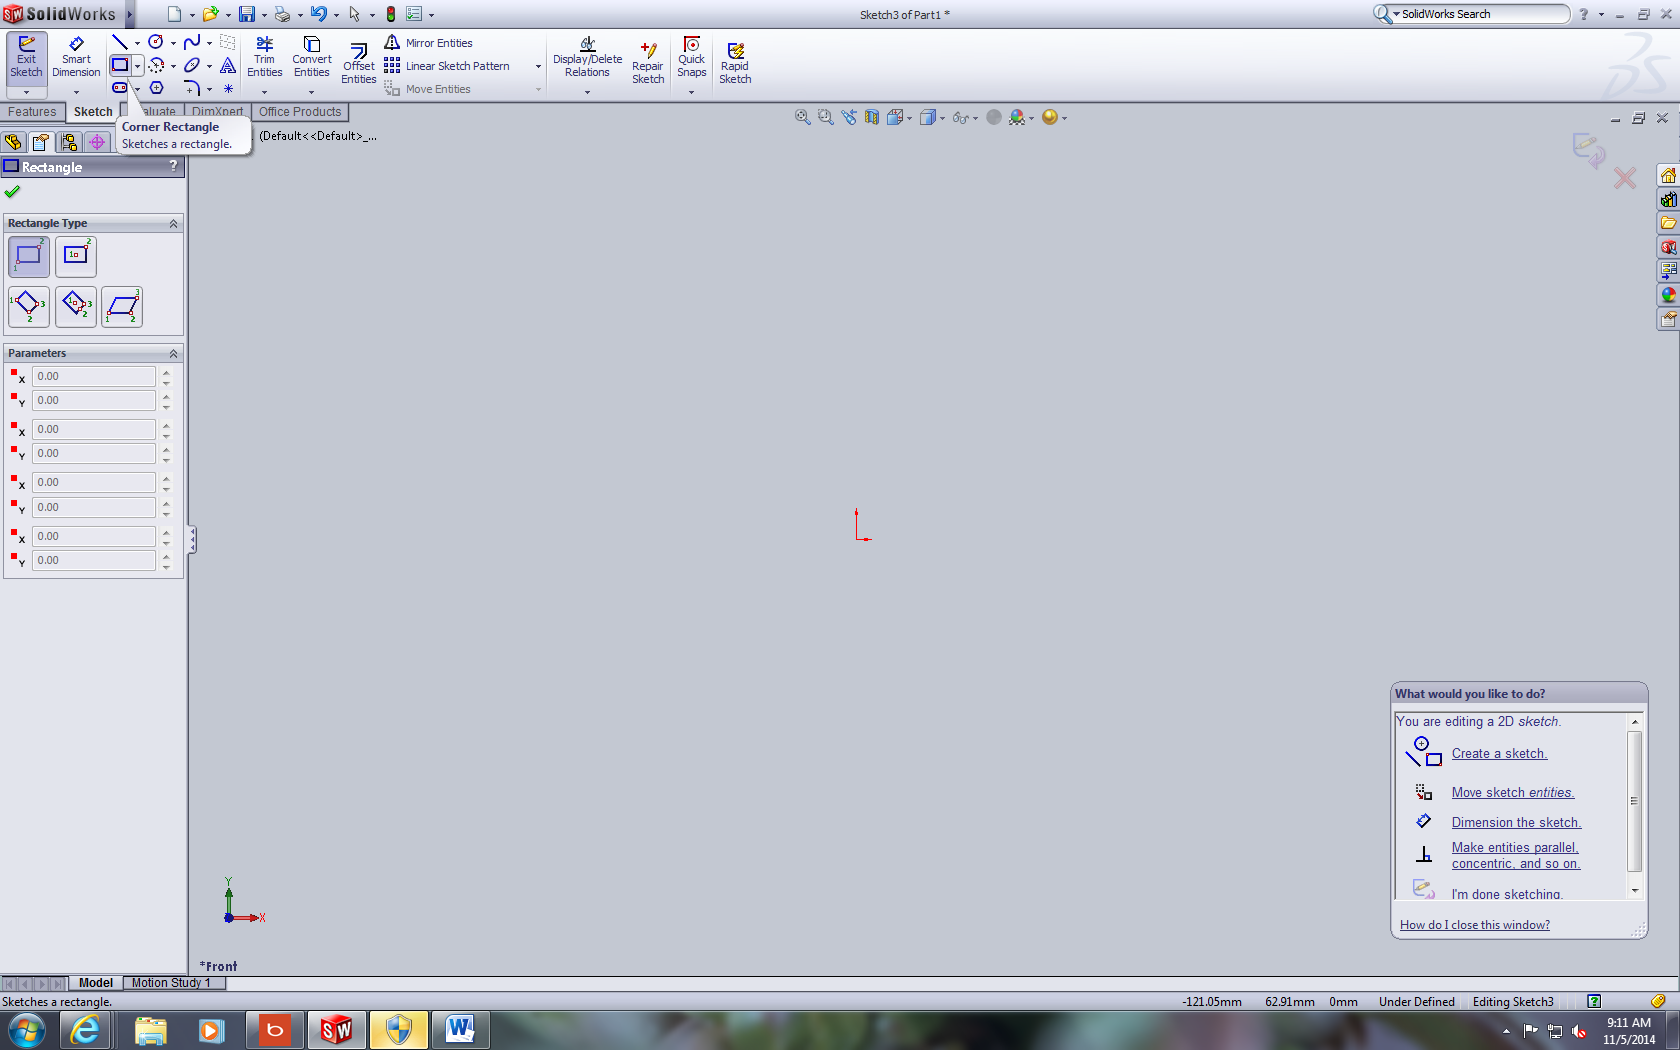
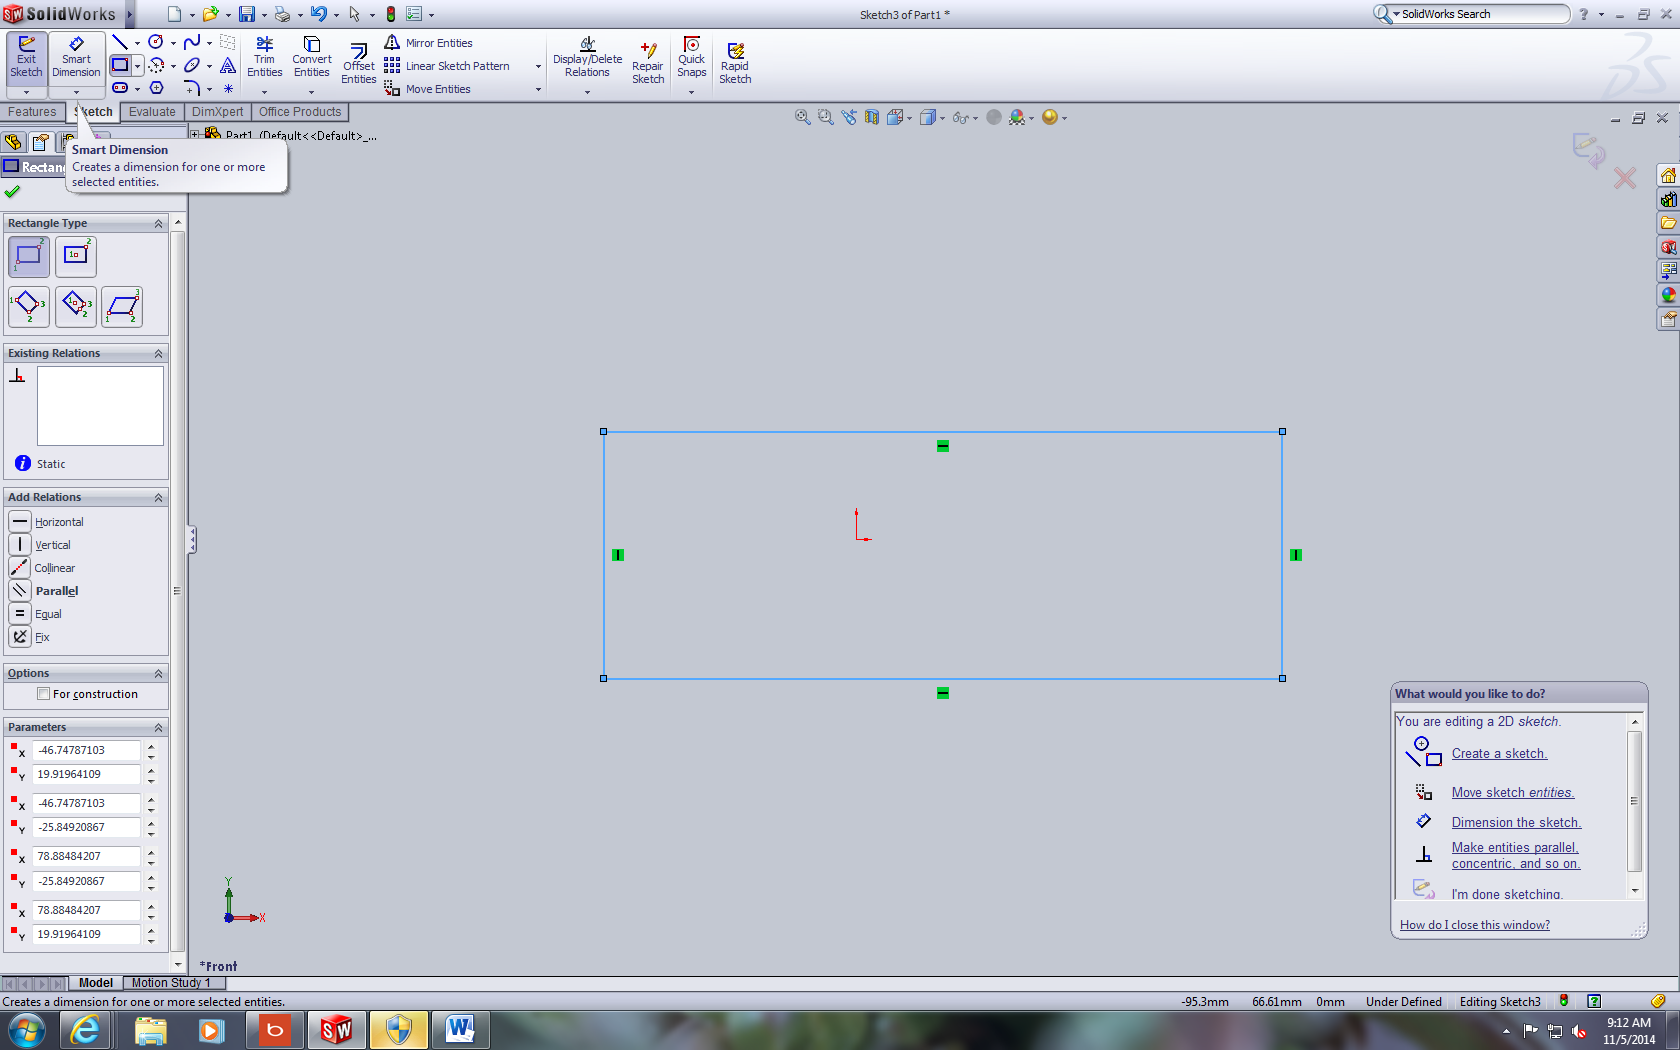
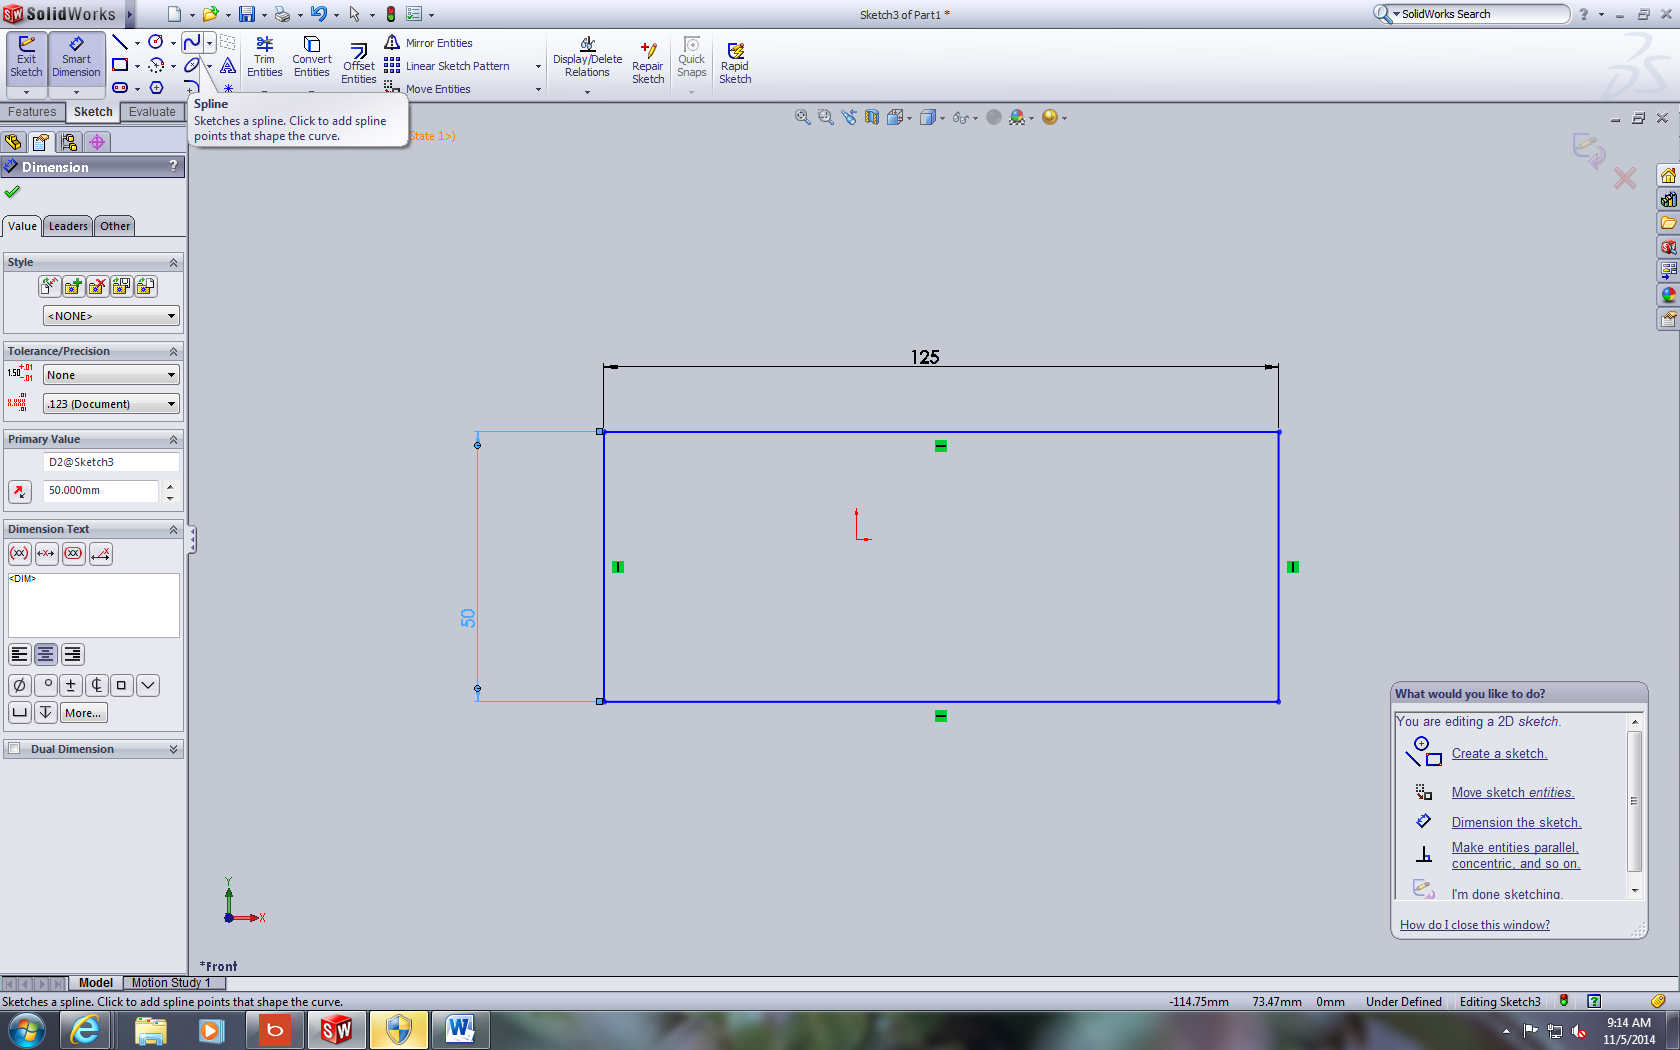
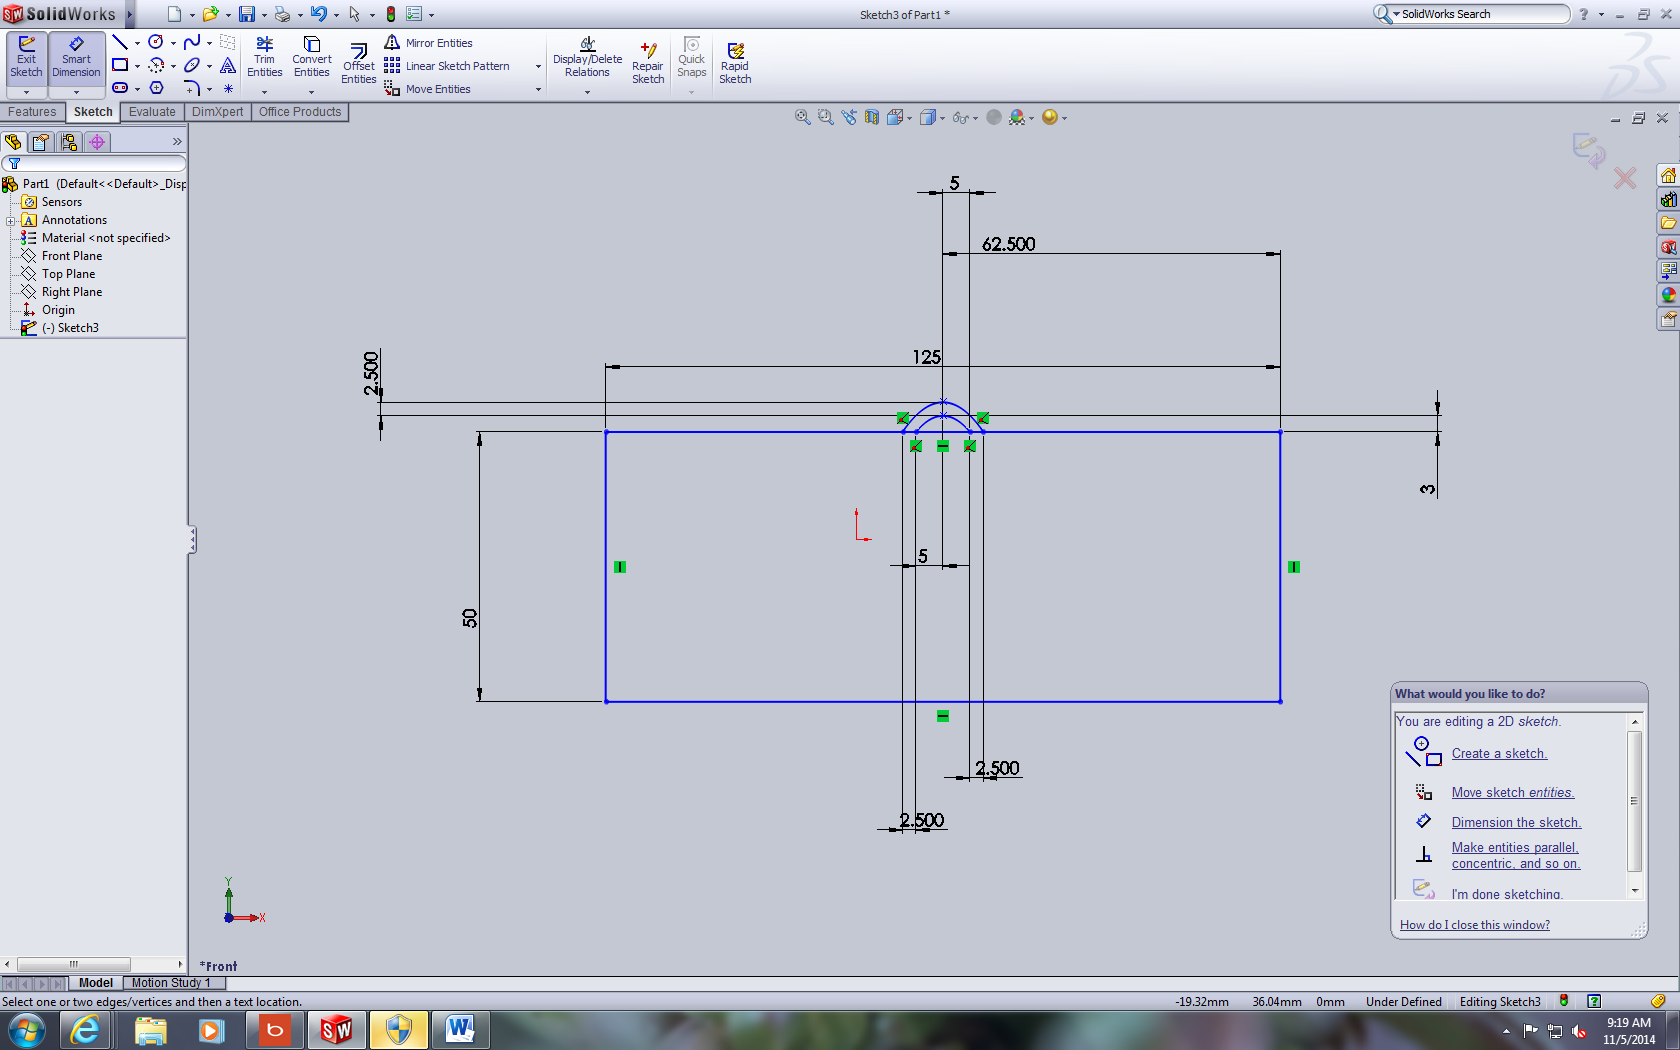
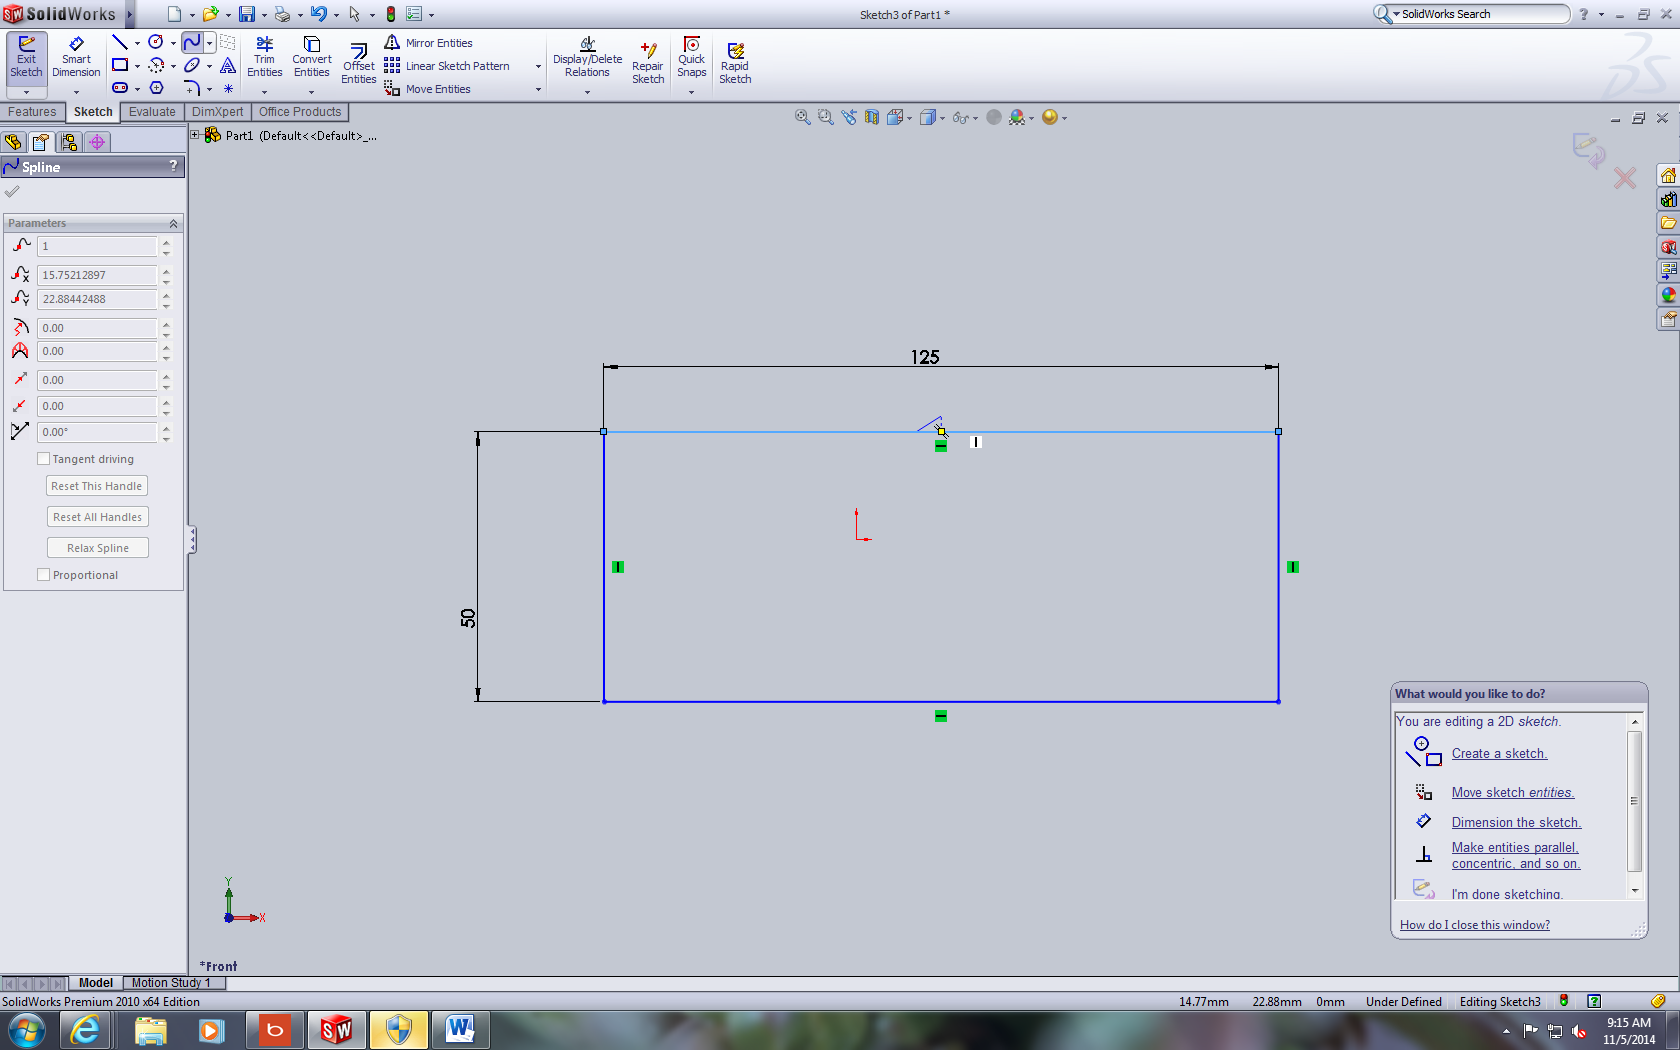
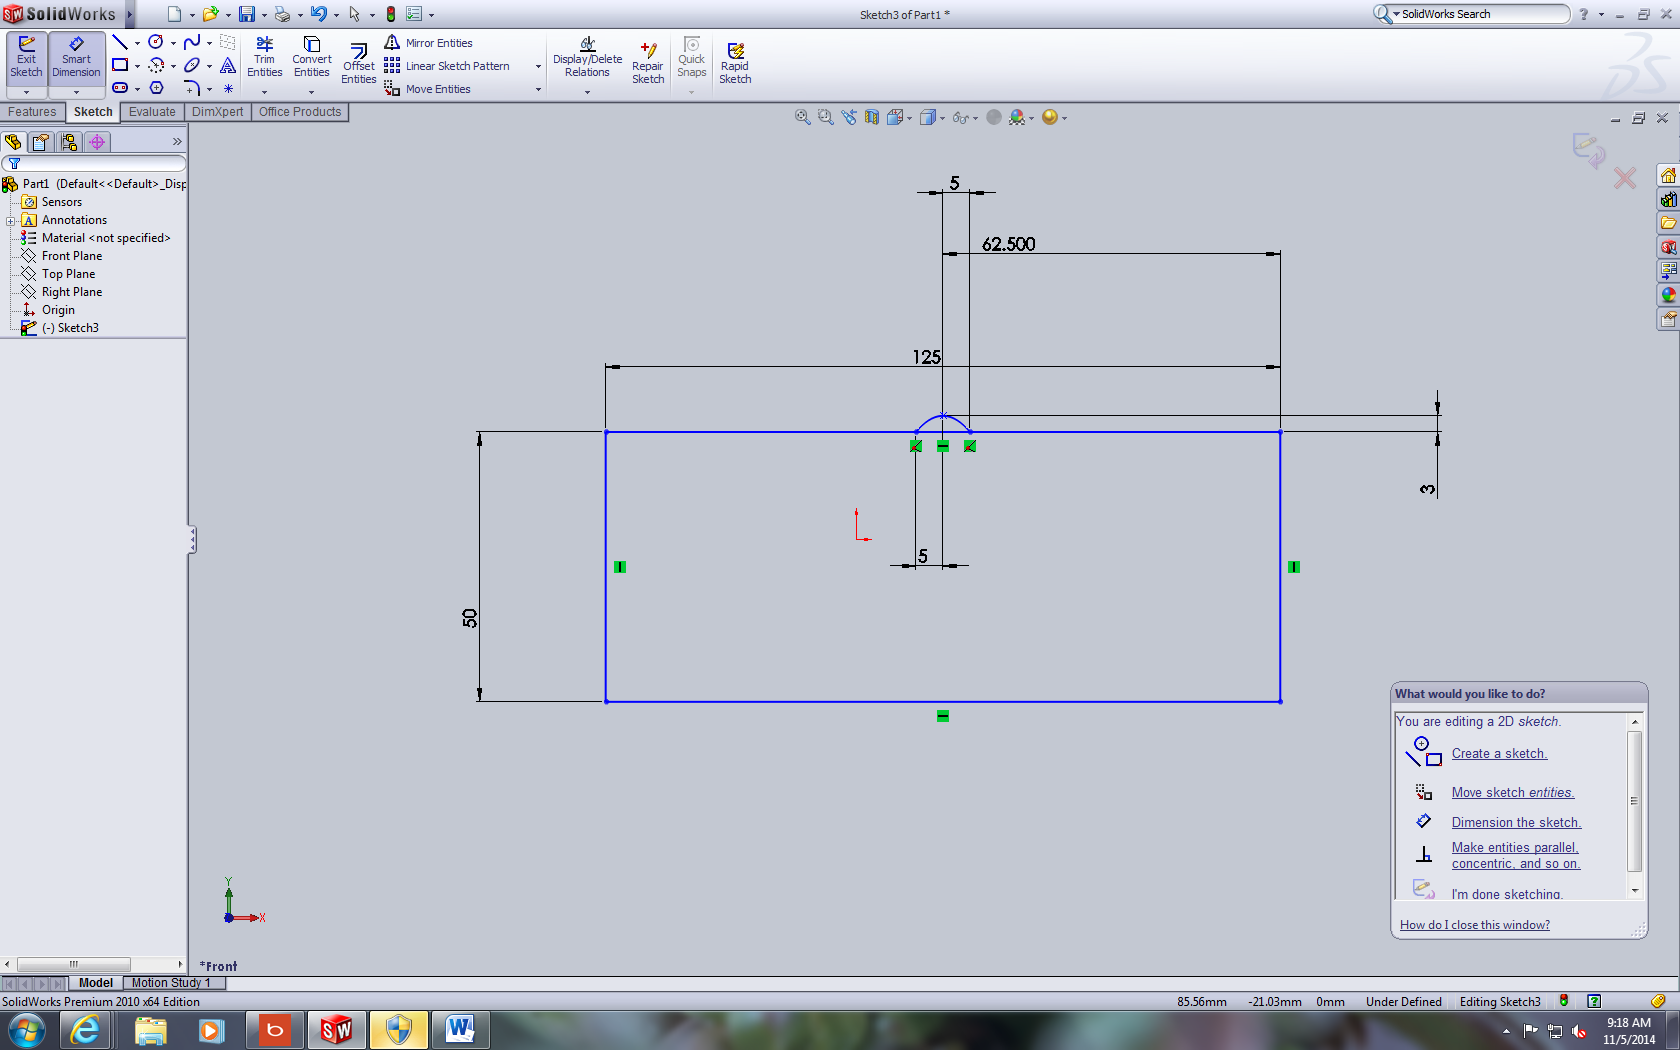
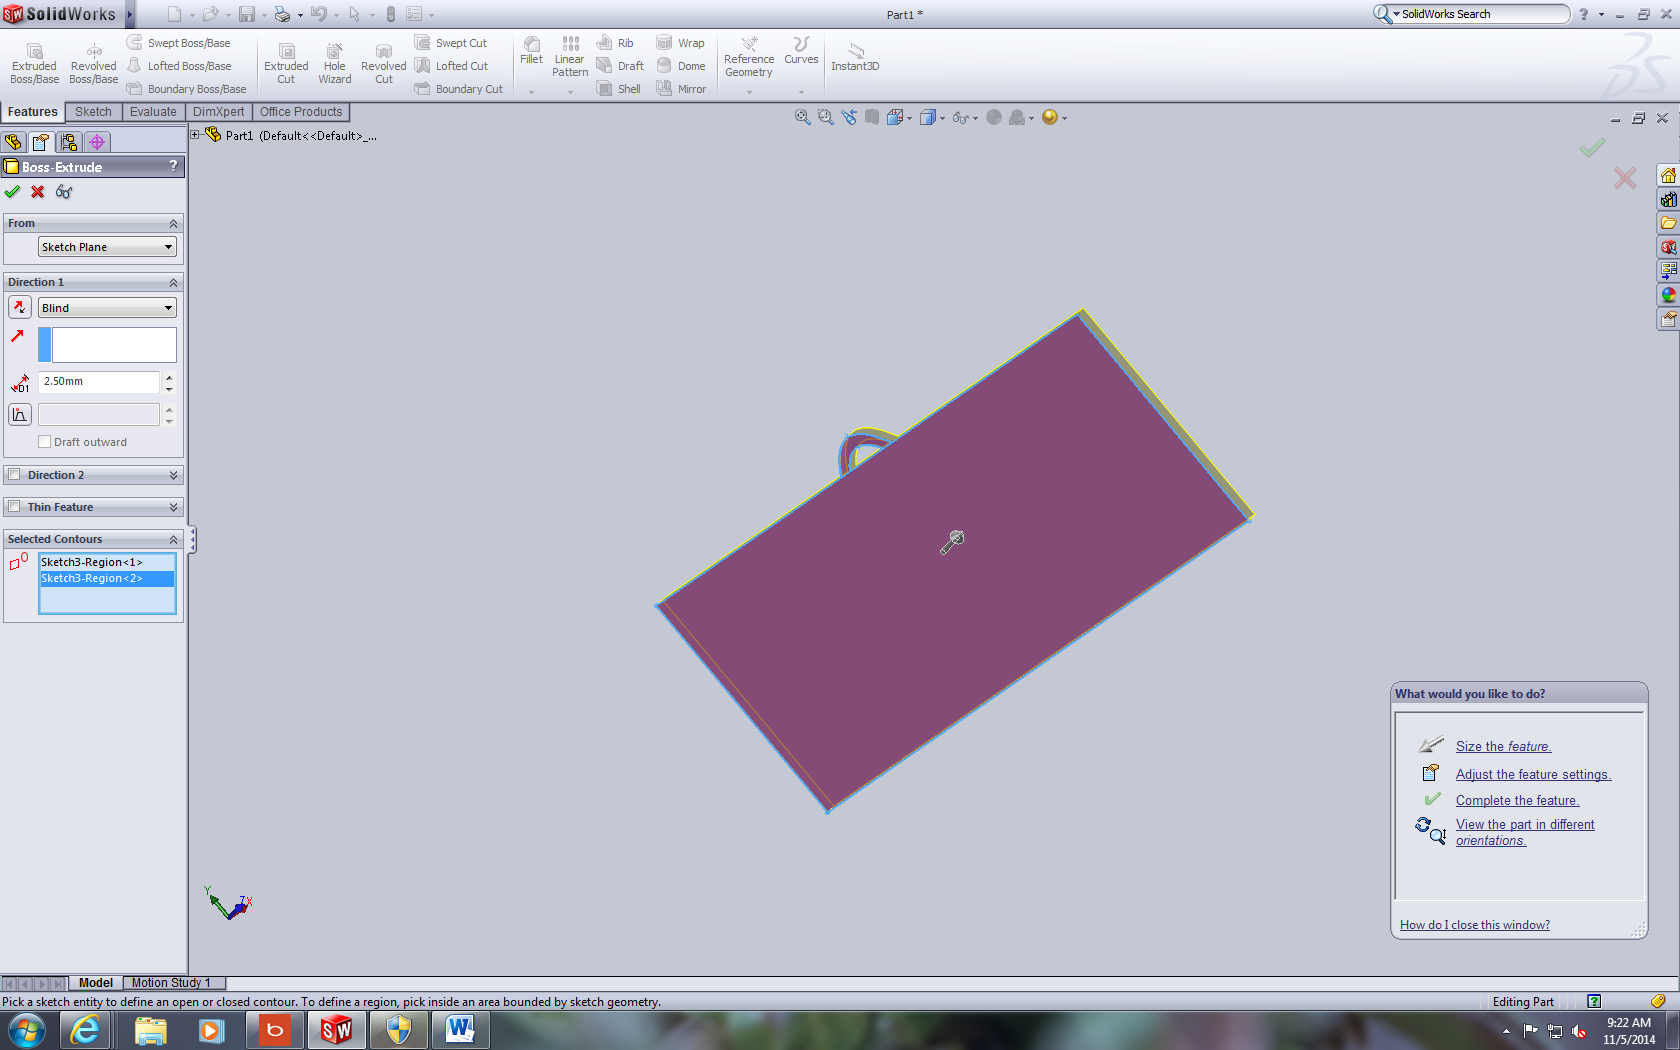
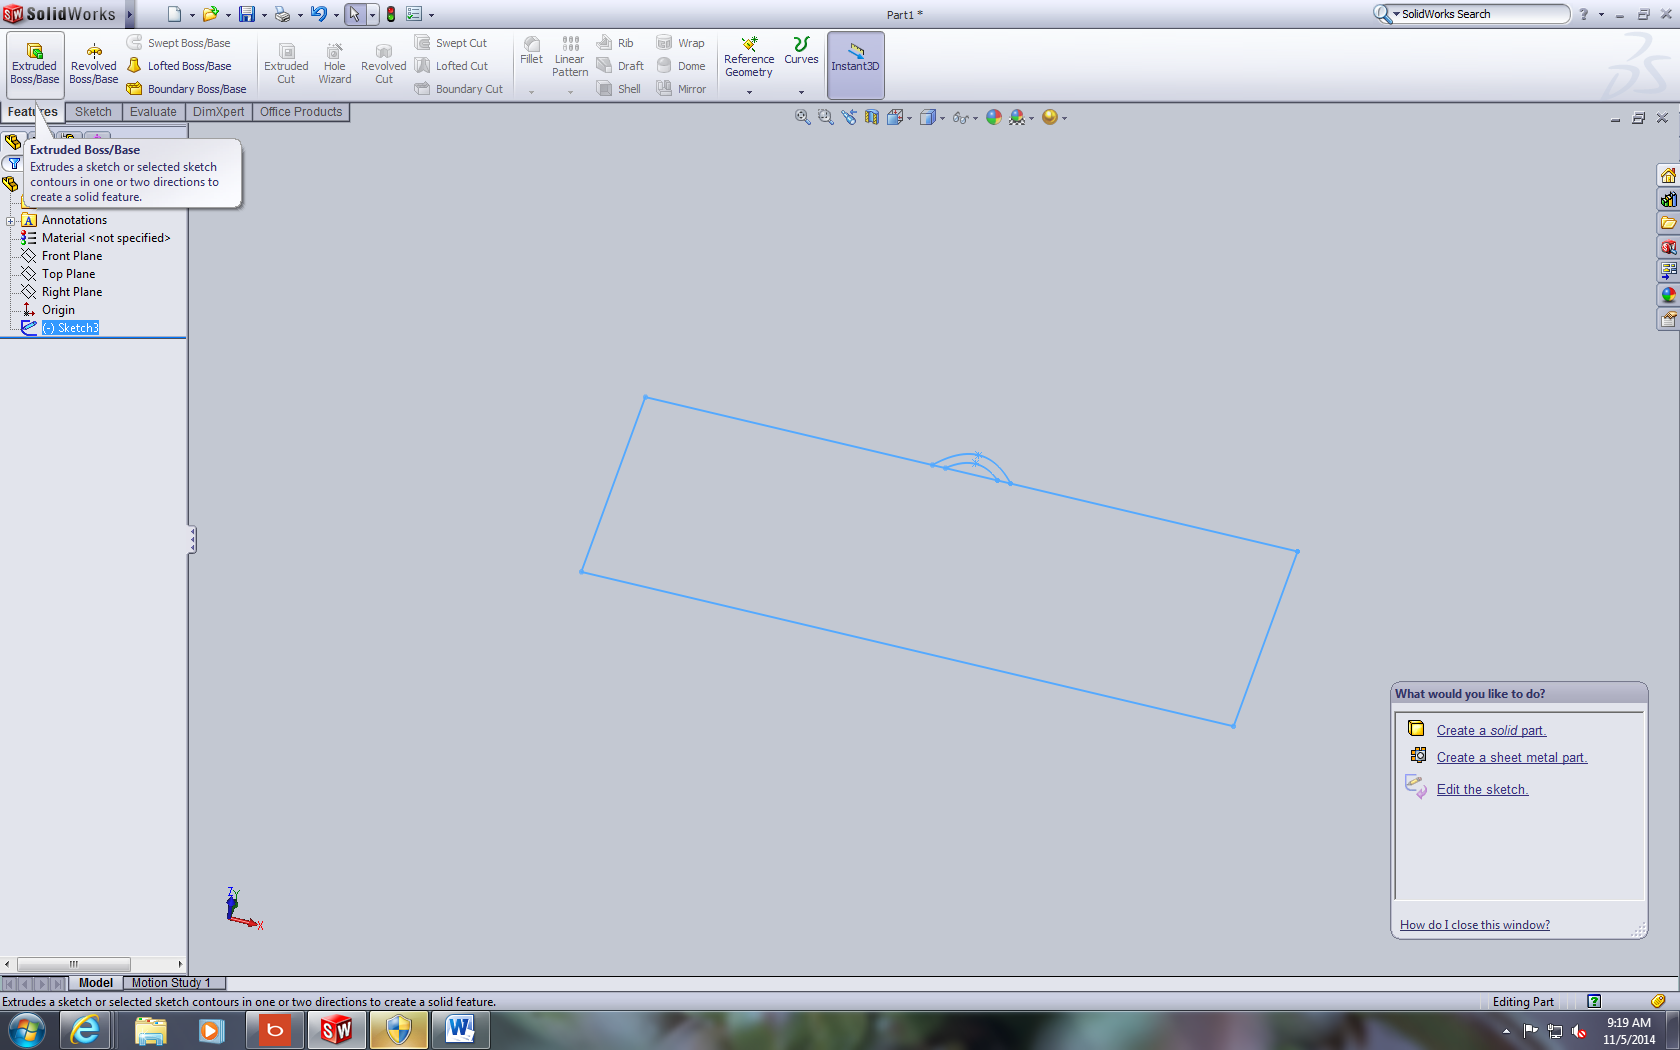
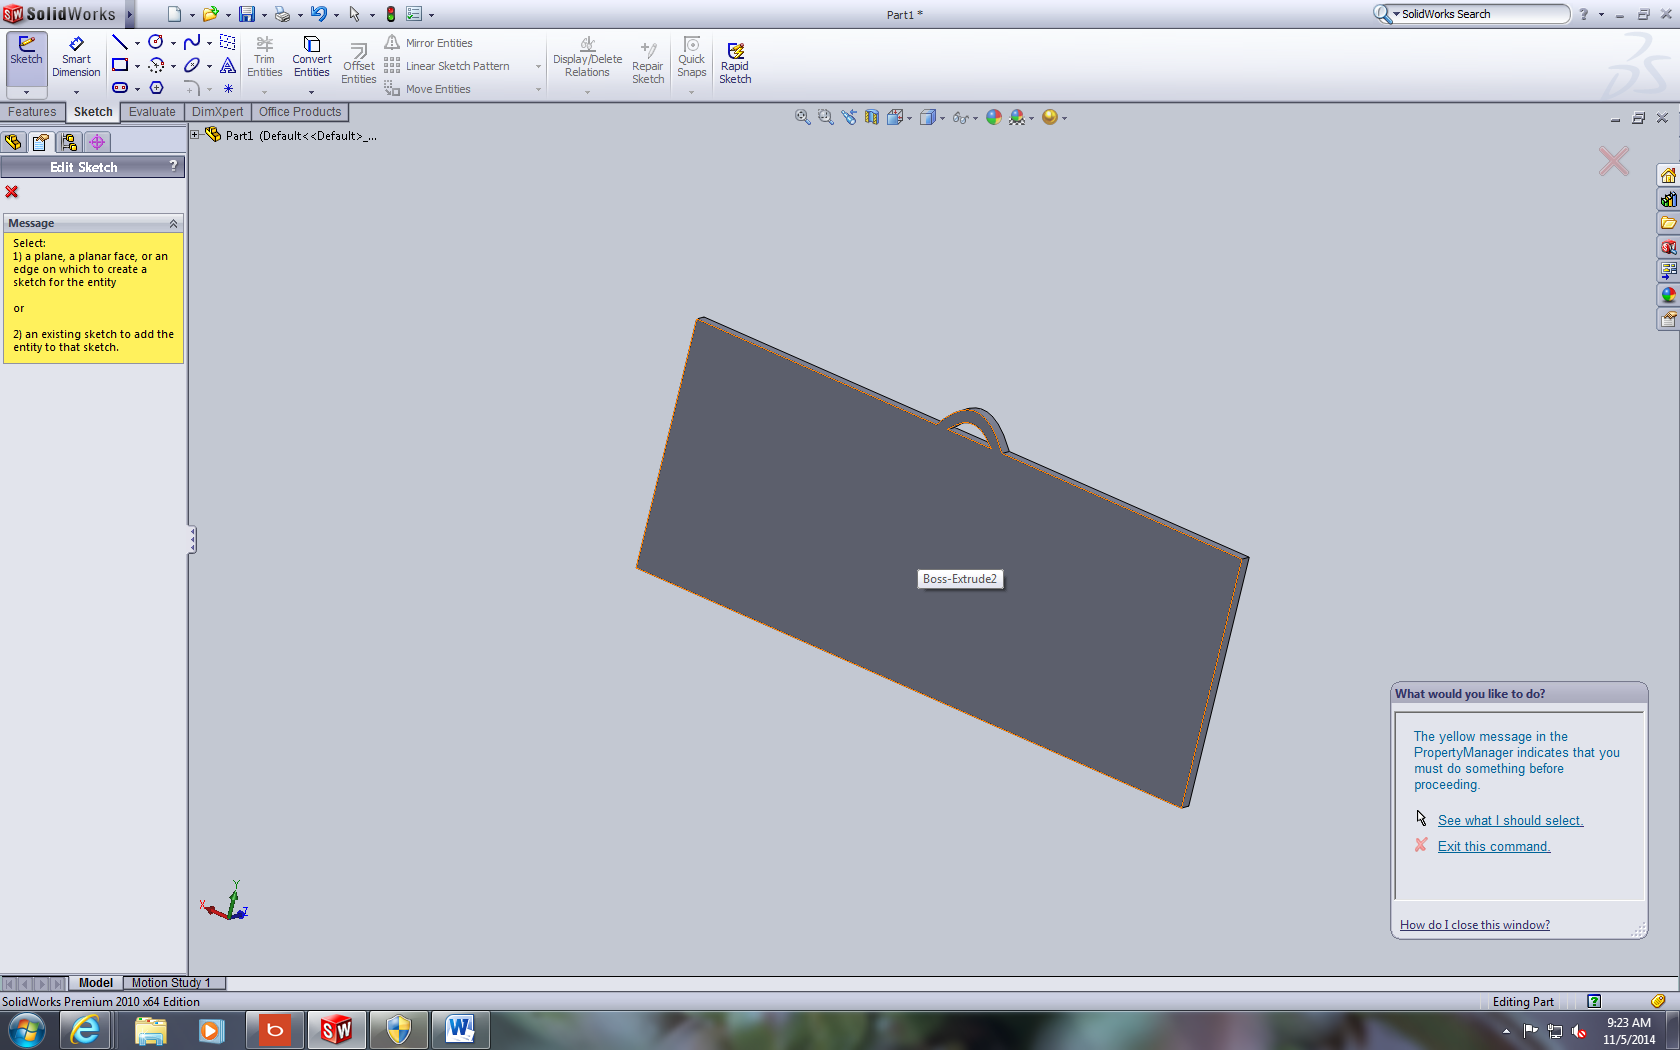
Since the ornament is going to look like a storefront we have to have a base for the store to come out of. First, Create a sketch and choose the front plane. Then create a rectangle. Then select smart dimensions and click on each dimension to edit them to the values shown in the images. Then, use the spline tool to make the arc on the top. Create another concentric arc. Then use the dimension tool to obtain all of the dimensions and adjust them to the values specified in the pictures. Then, take the whole sketch and extrude it making sure to select both the rectangle and the arc on top.
Model the Awning
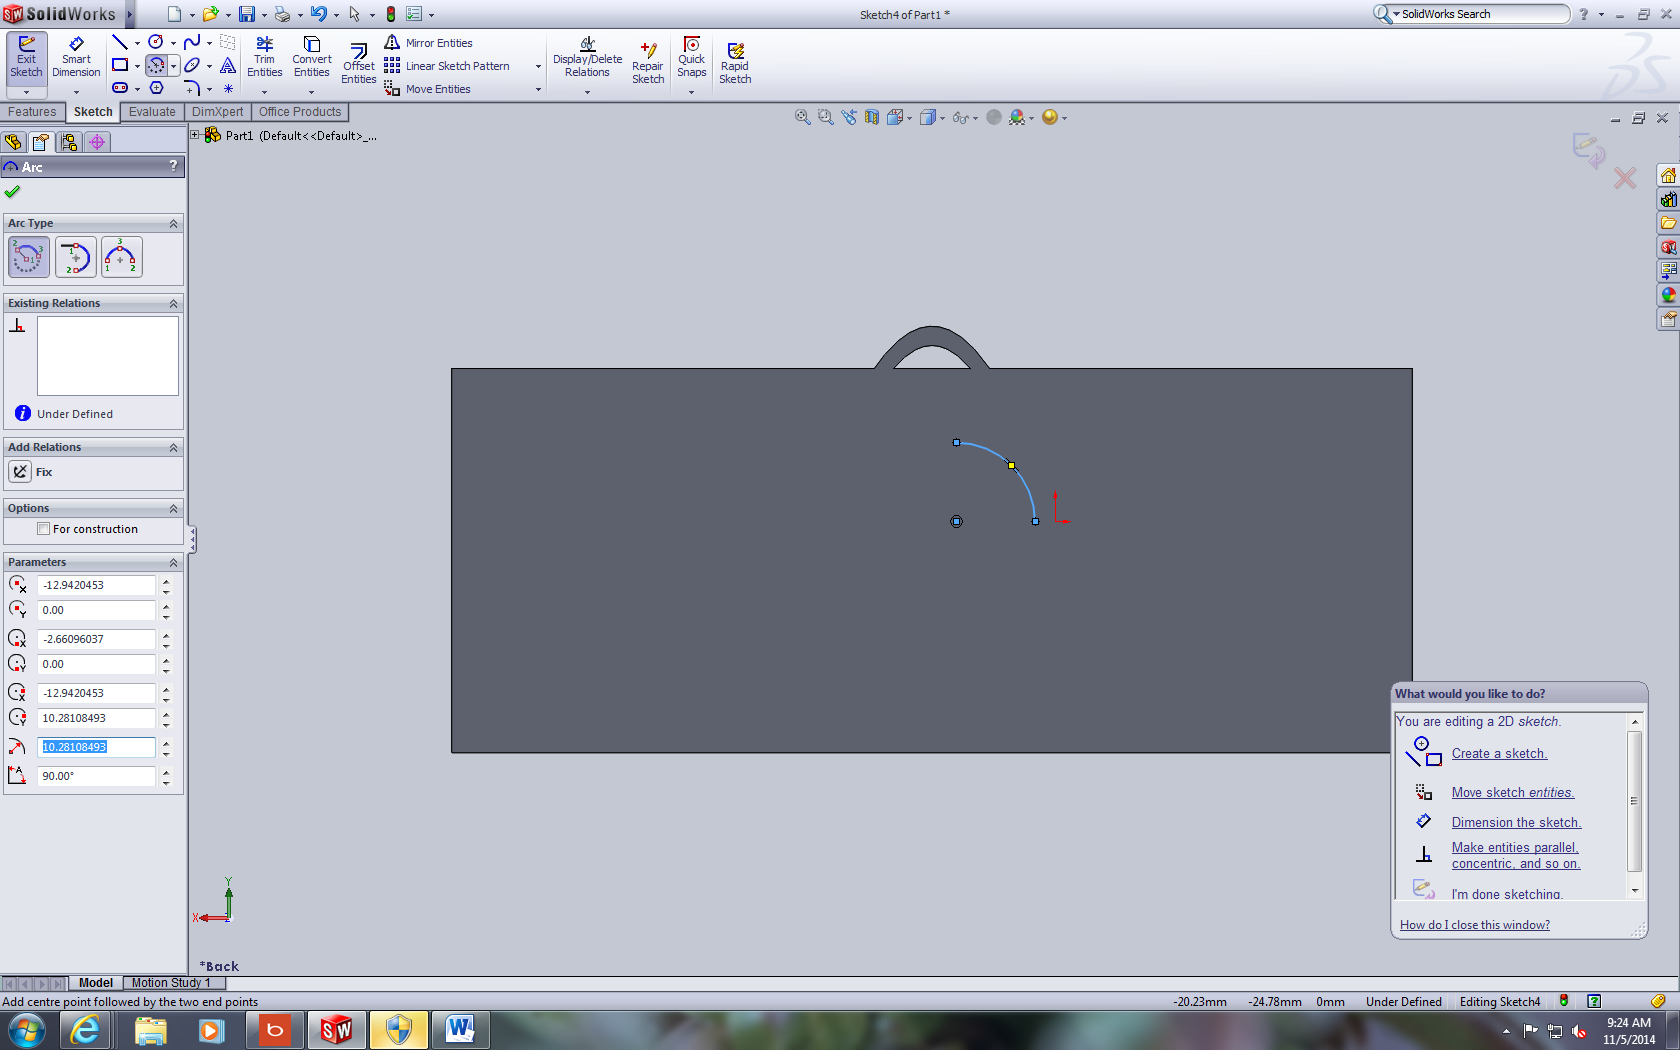
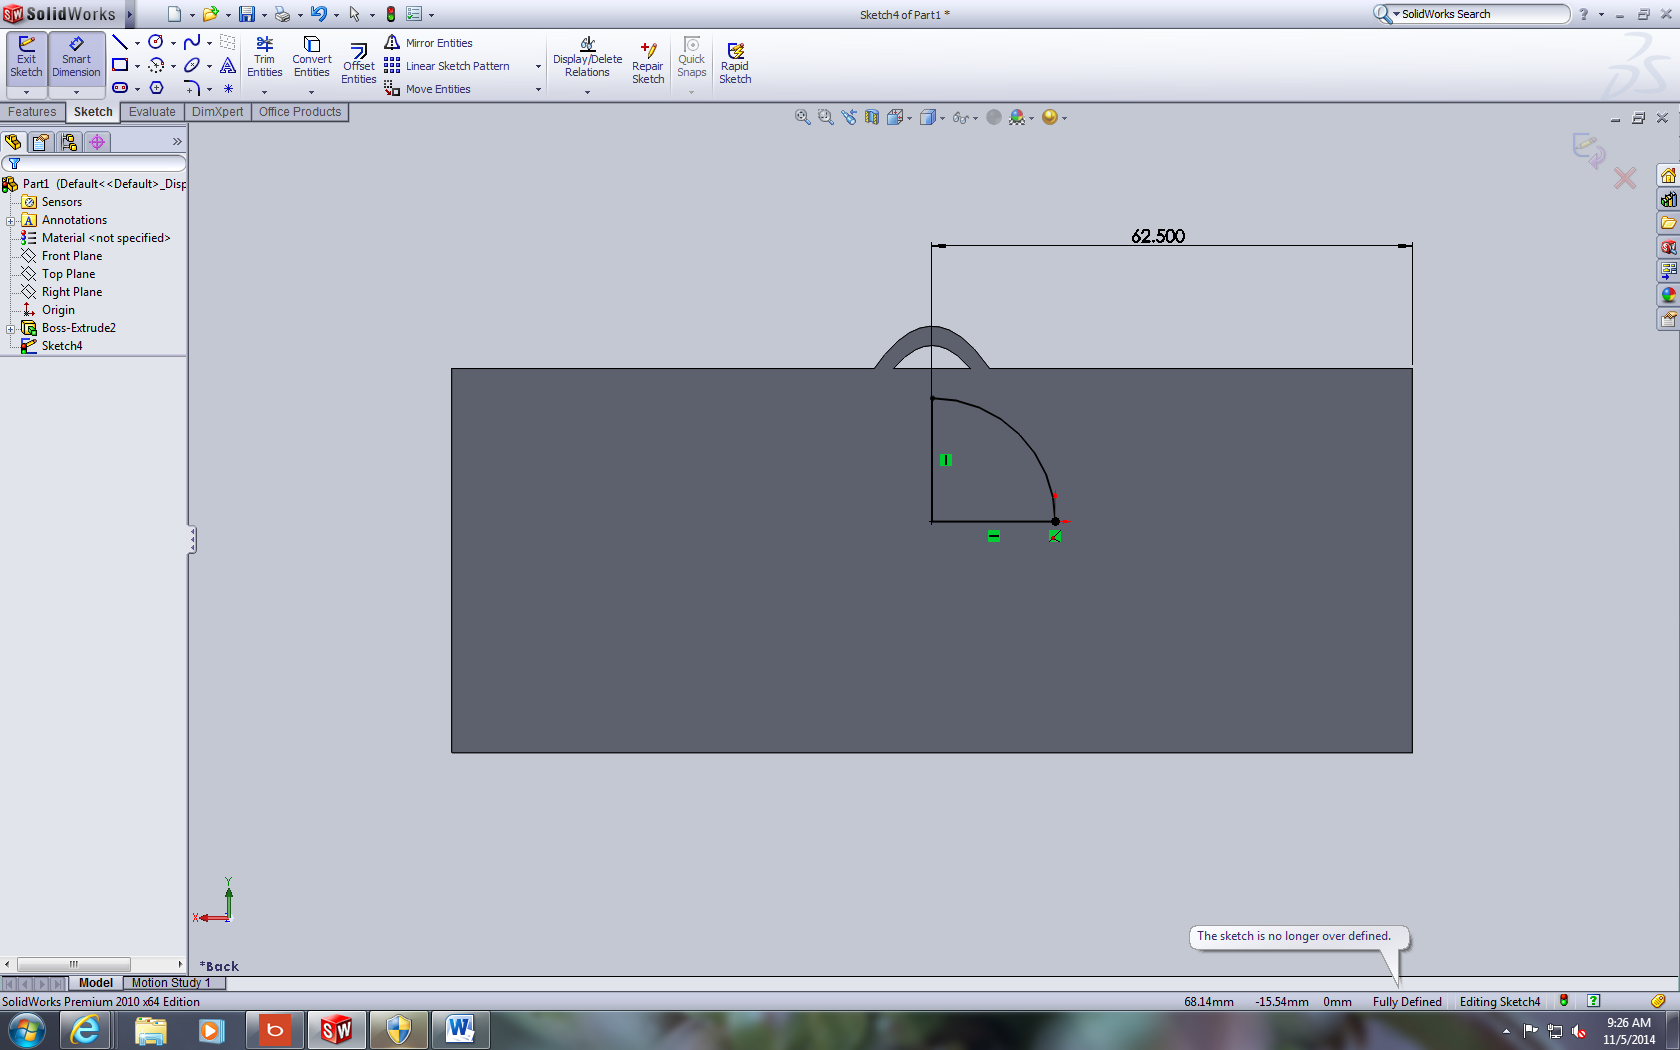
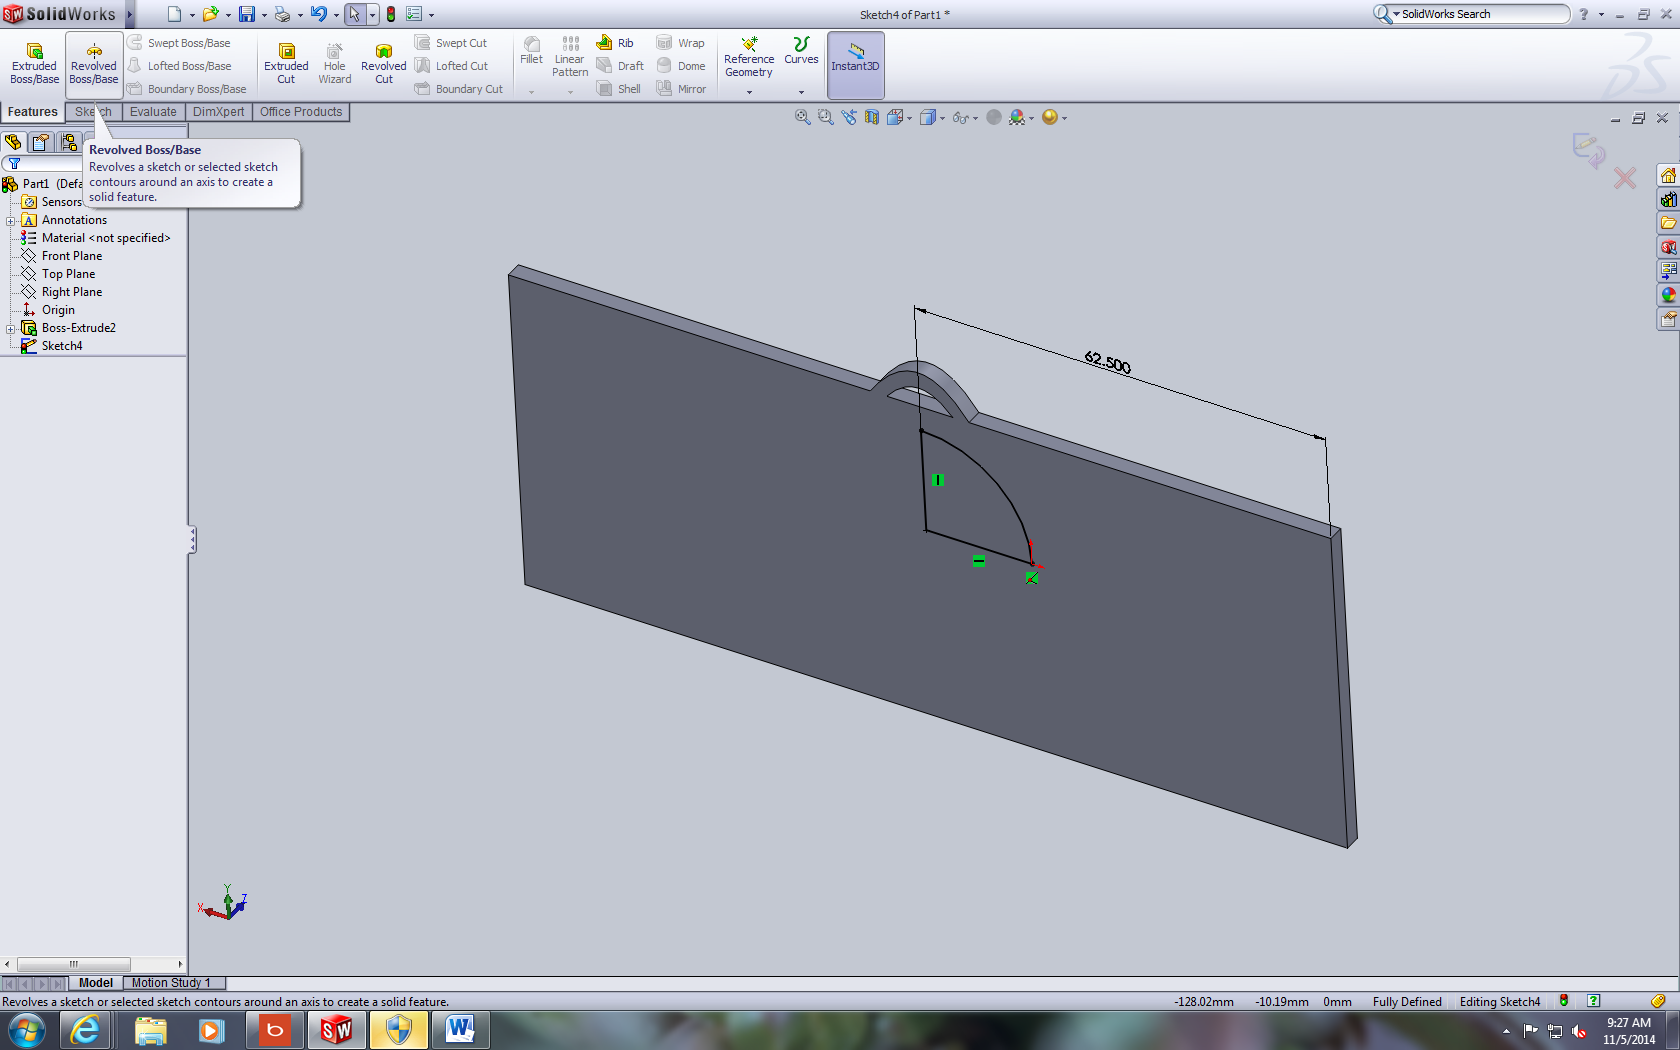
To model the awning use the centerpoint arc tool to make an arc that starts about halfway up the ornament and that spans 90 degrees. Then use two lines to connect the open sides of the arc. Then get the dimension tool and adjust the dimension to the given values. Once that's done go to the revolve tool, and select the center line as the axis of revolution and specify 180 degrees. Then click the green check mark.
Make the Windows
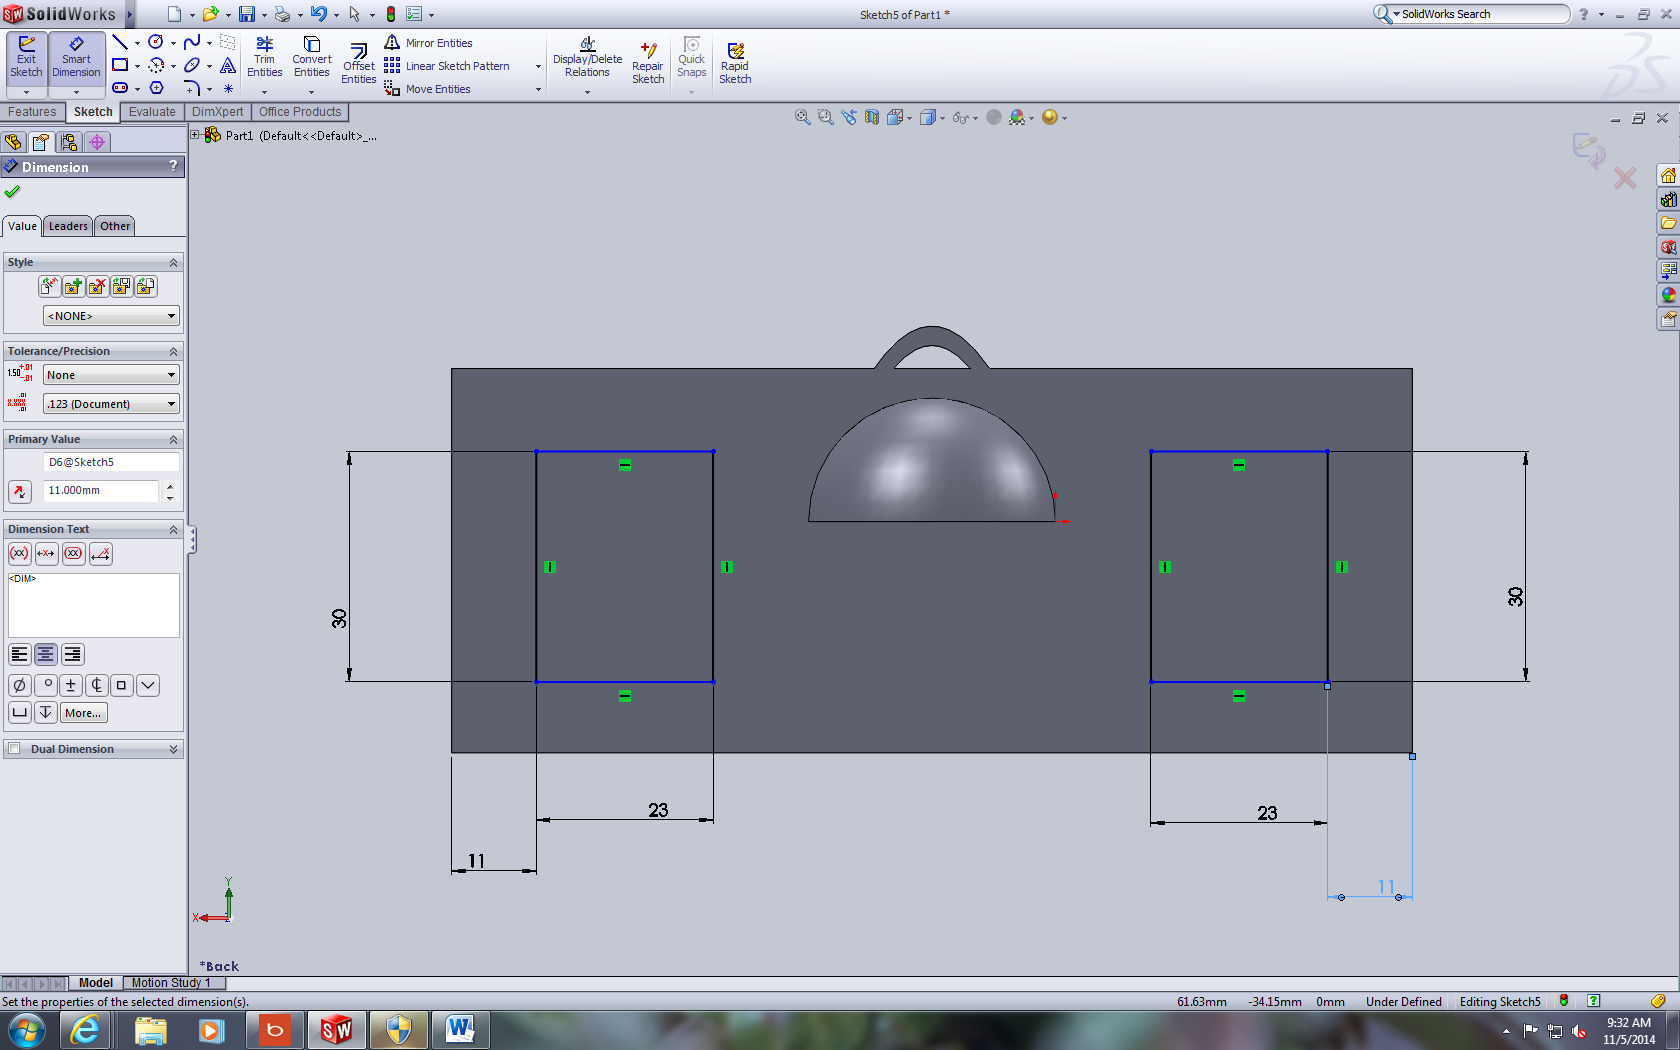
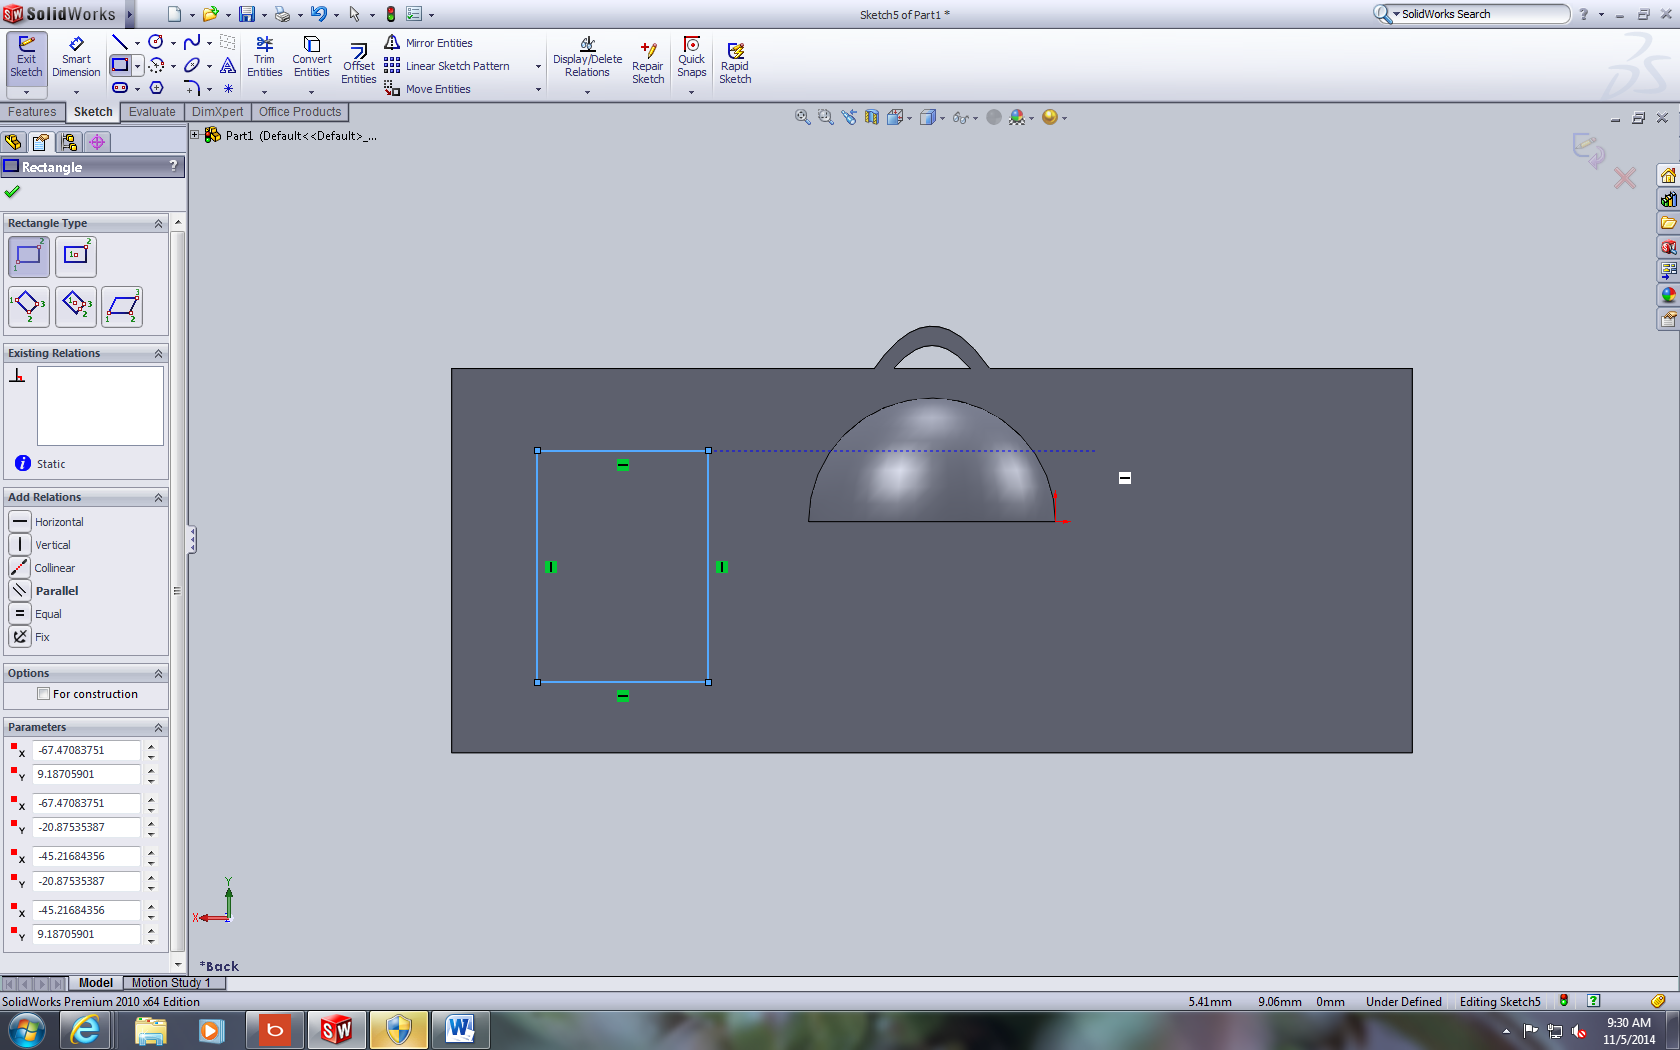
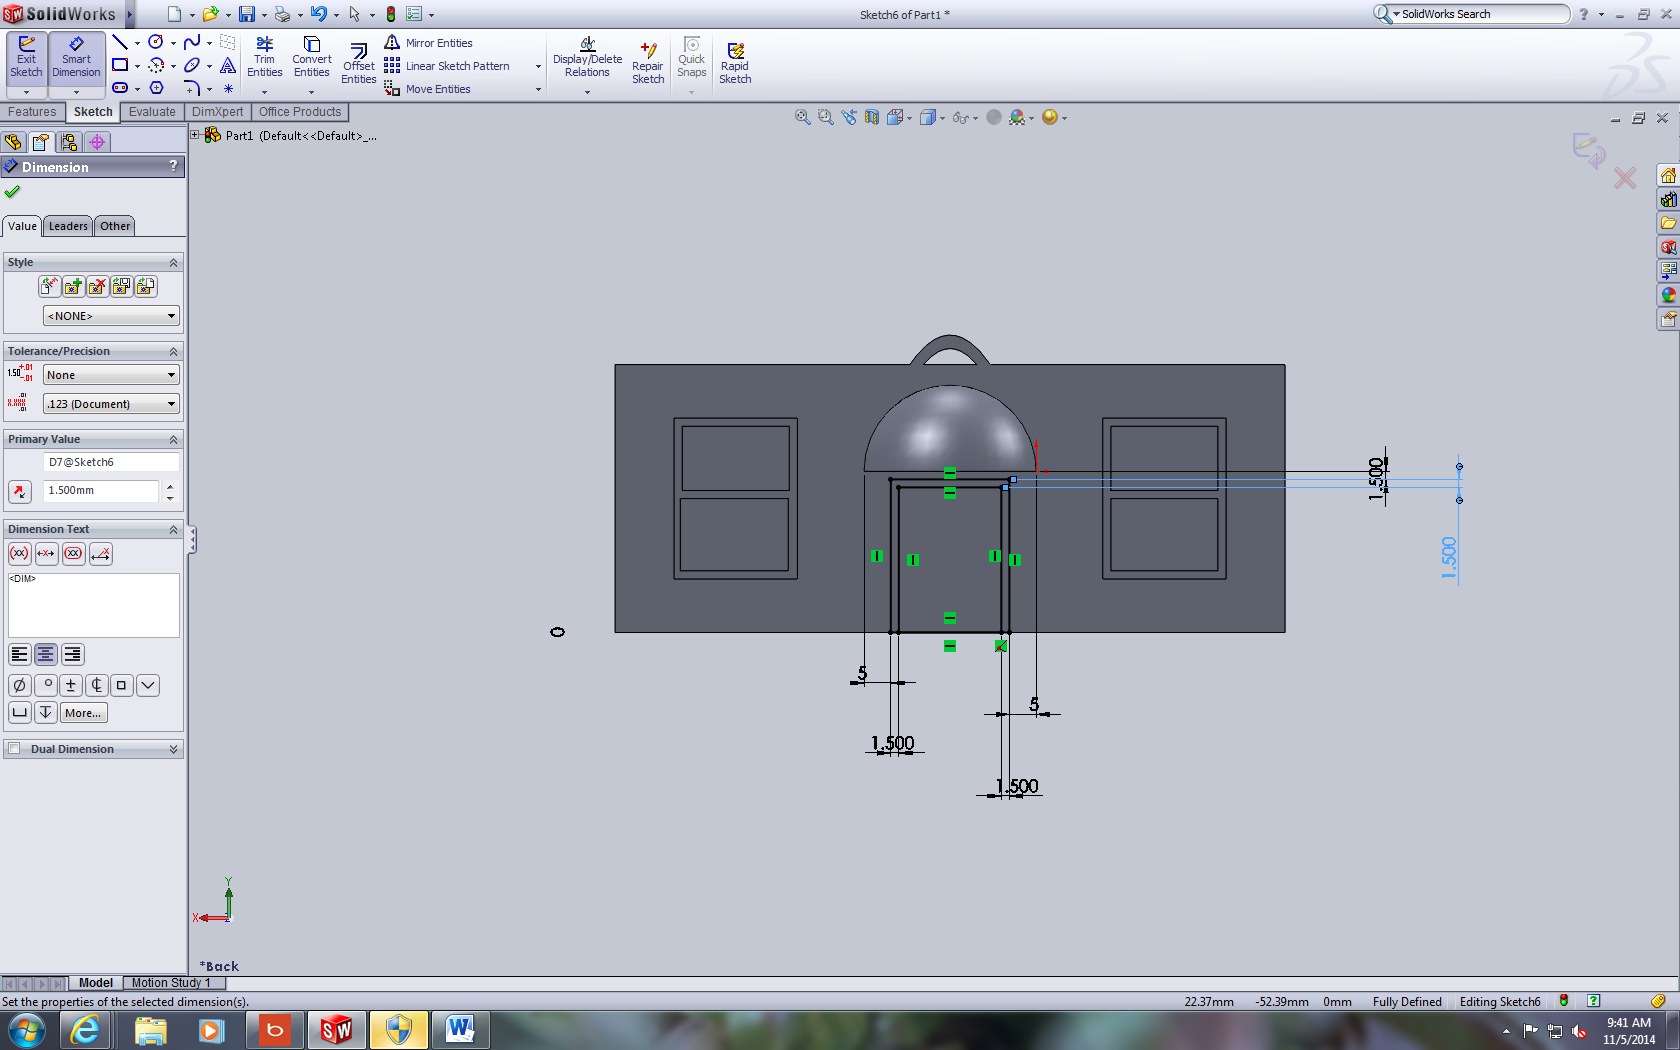
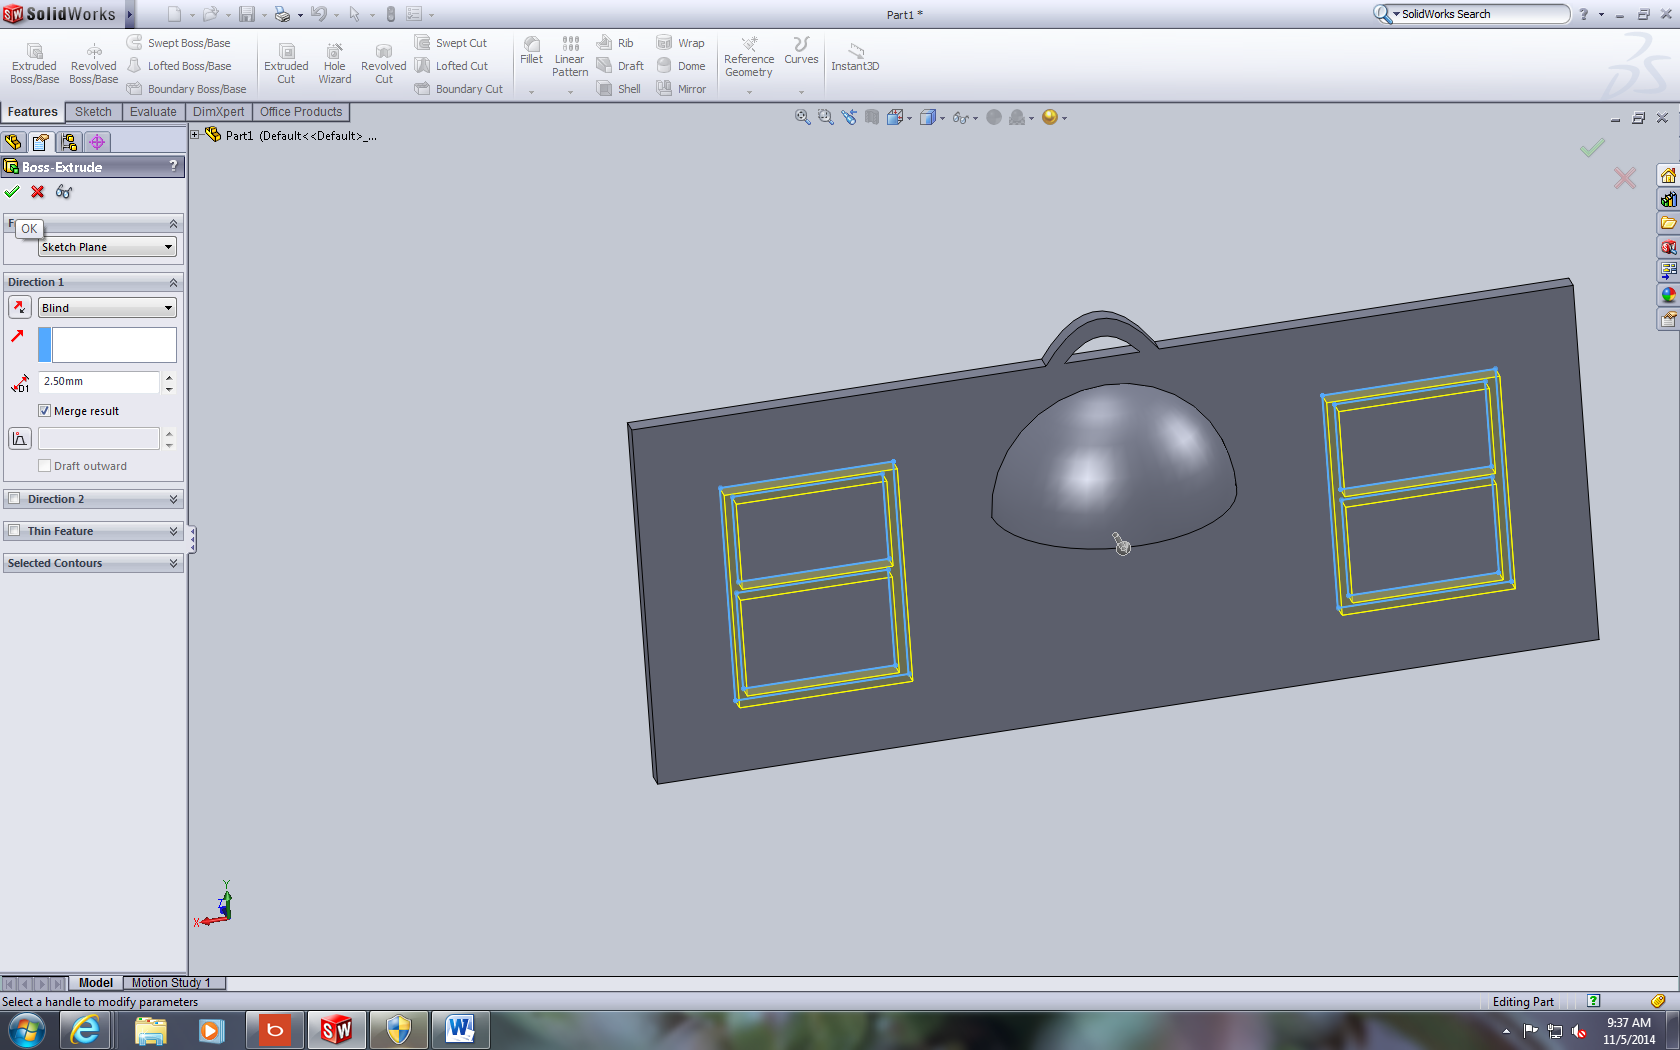
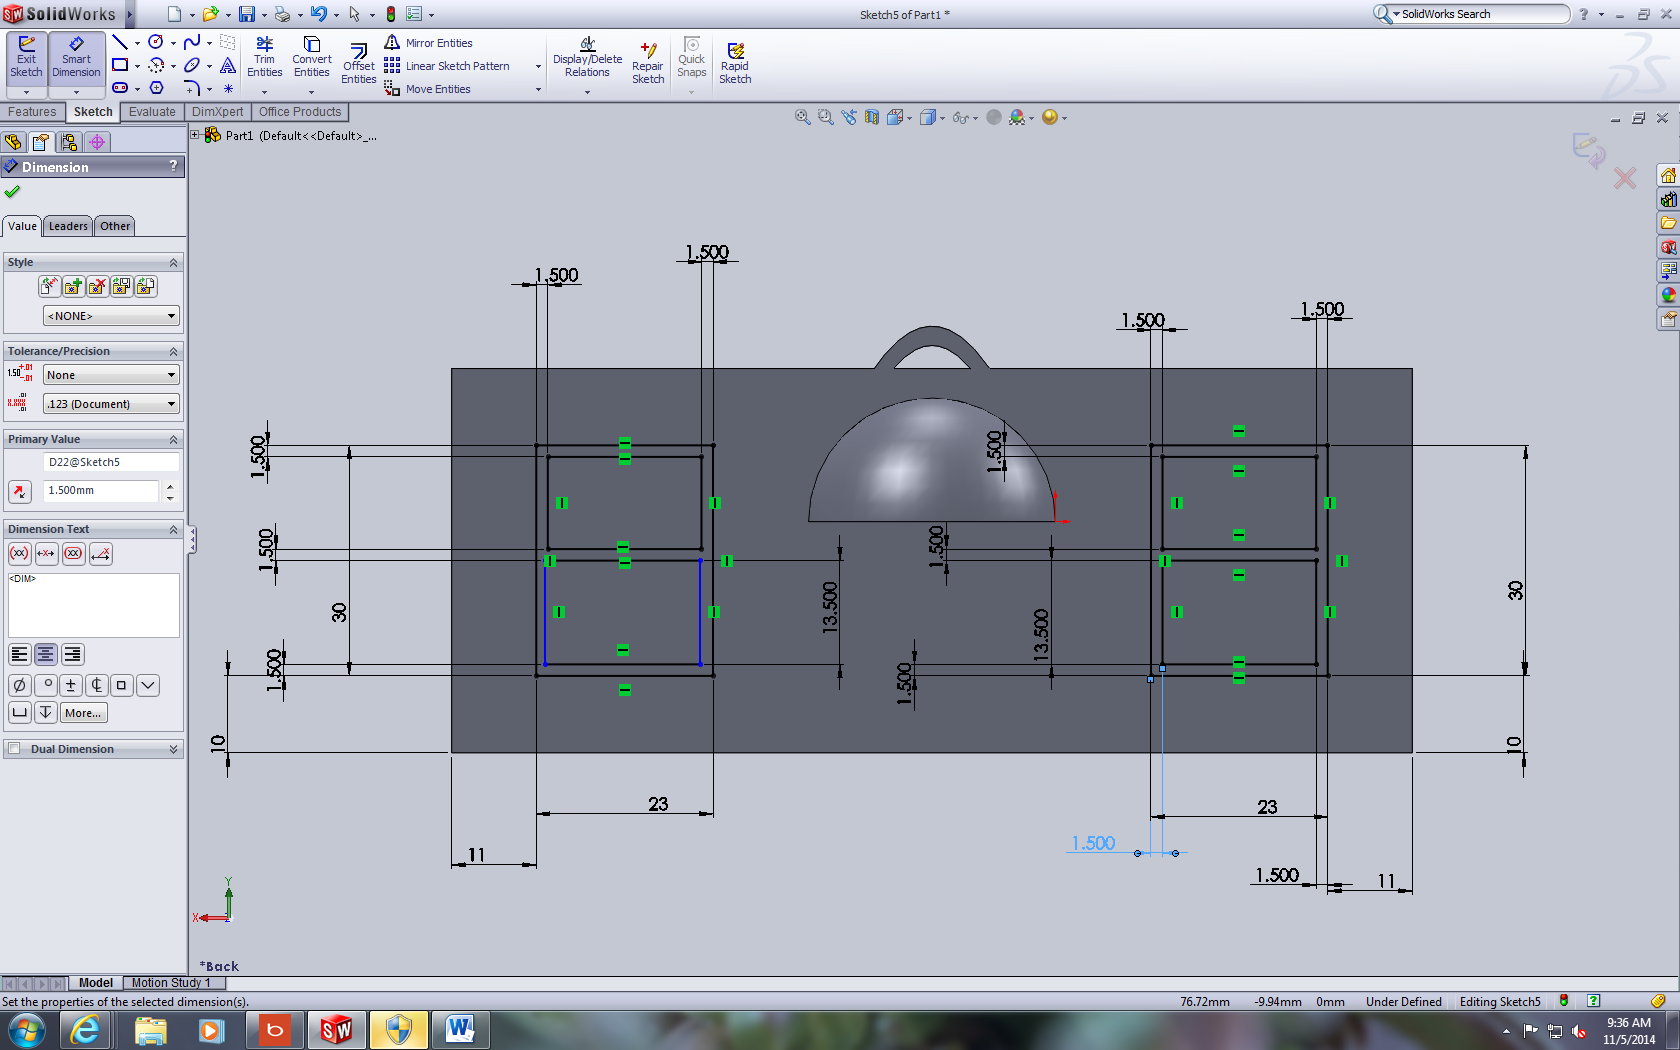
This is pretty complicated but in all honesty it's just a lot of dimensions. First draw two rectangles on the face of the ornaments and set their dimensions to the pre-calculated values. Then. draw the interior rectangles and set all of their dimensions to the values that are specified in the pictures. It's a lot of dimensions but it makes the final product look a lot cleaner. Then, extrude the windows and door 2.5 mm.
Add the Text
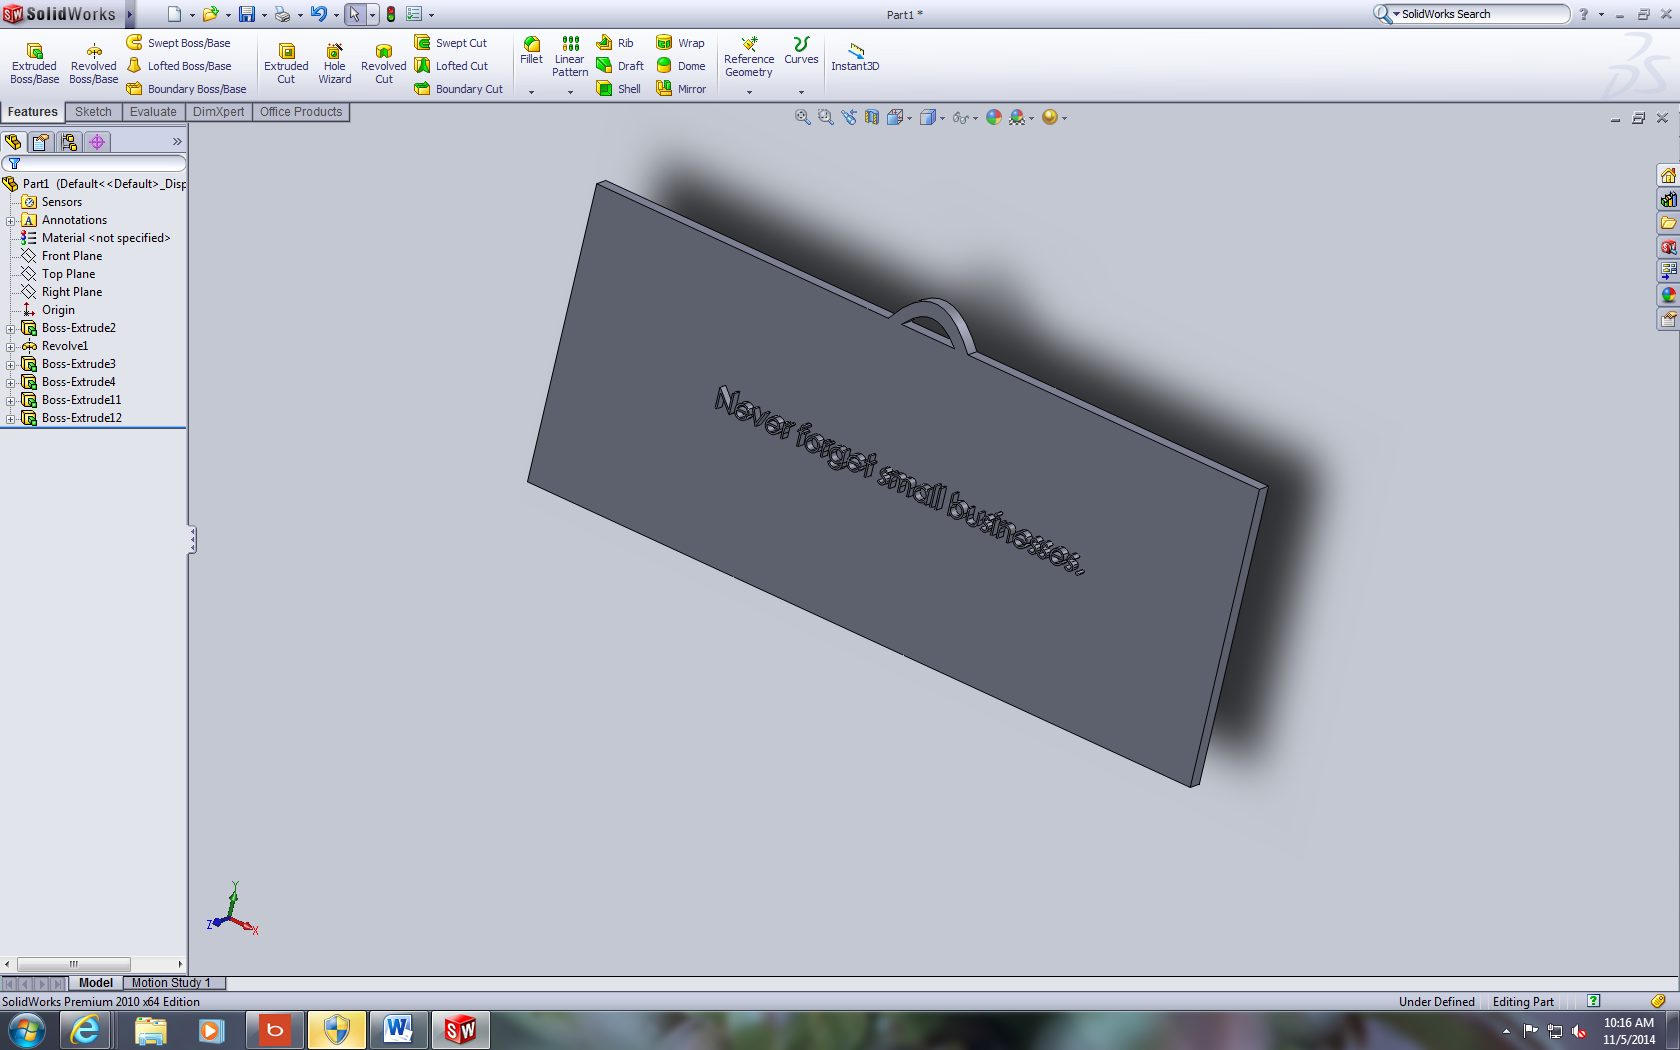
The text part can be a bit tricky. Be sure to make the text on the face of the ornament not an extrusion. Then, go to sketch, select text, and type away. You can use what I've put or choose your own. Then, exit the sketch and extrude it. 1.5 mm should be enough for the extrusion. Once you're done with that, you're done!