Welcoming a New Little Maker With a 3D Footprint Keepsake
12556 Views, 93 Favorites, 0 Comments
Welcoming a New Little Maker With a 3D Footprint Keepsake
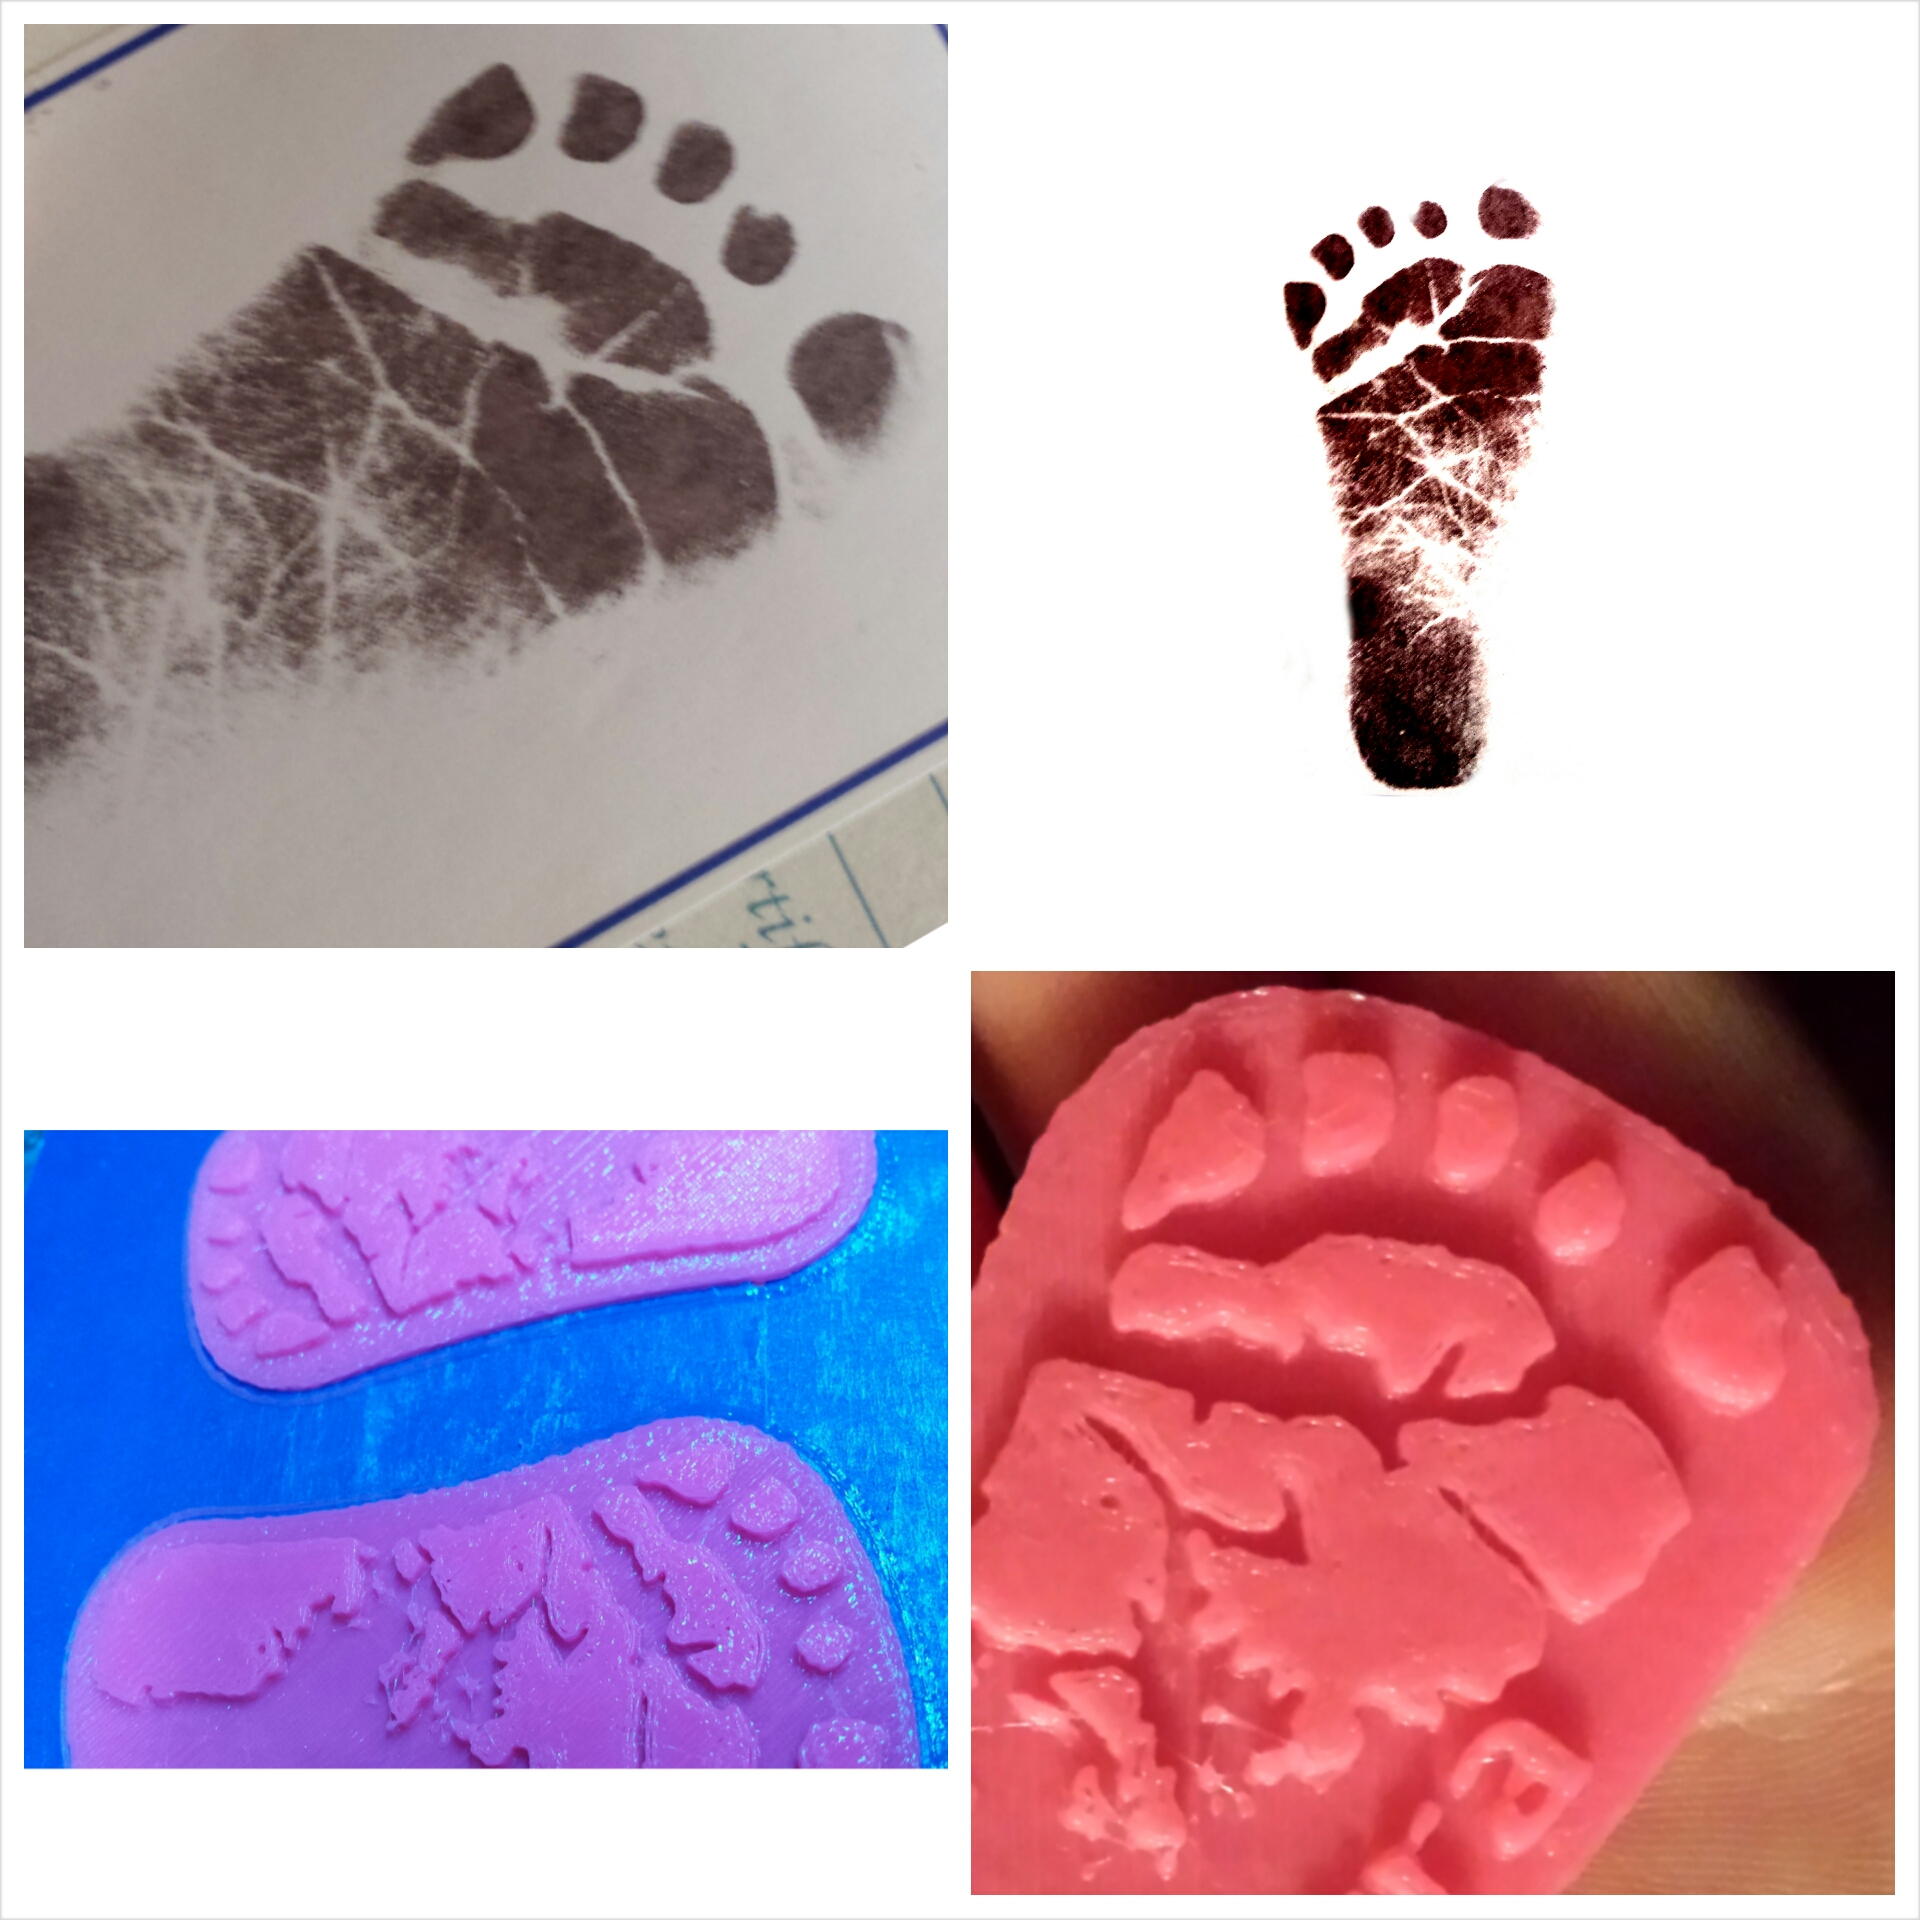
Today I had the chance to use my 3D printer in a most novel way... by thanking the nursing staff of the maternity ward who have been looking after my wife and new daughter.
Through the power of free software and 3D printing I was able to quickly turn the ink foot print they took into a Pink PLA plastic "token" of our appreciation... to scale of course.
This idea turned out so well that I'm sure I'll be making a bunch more for friends and family.
Take a Digital Picture of the Ink Footprint.
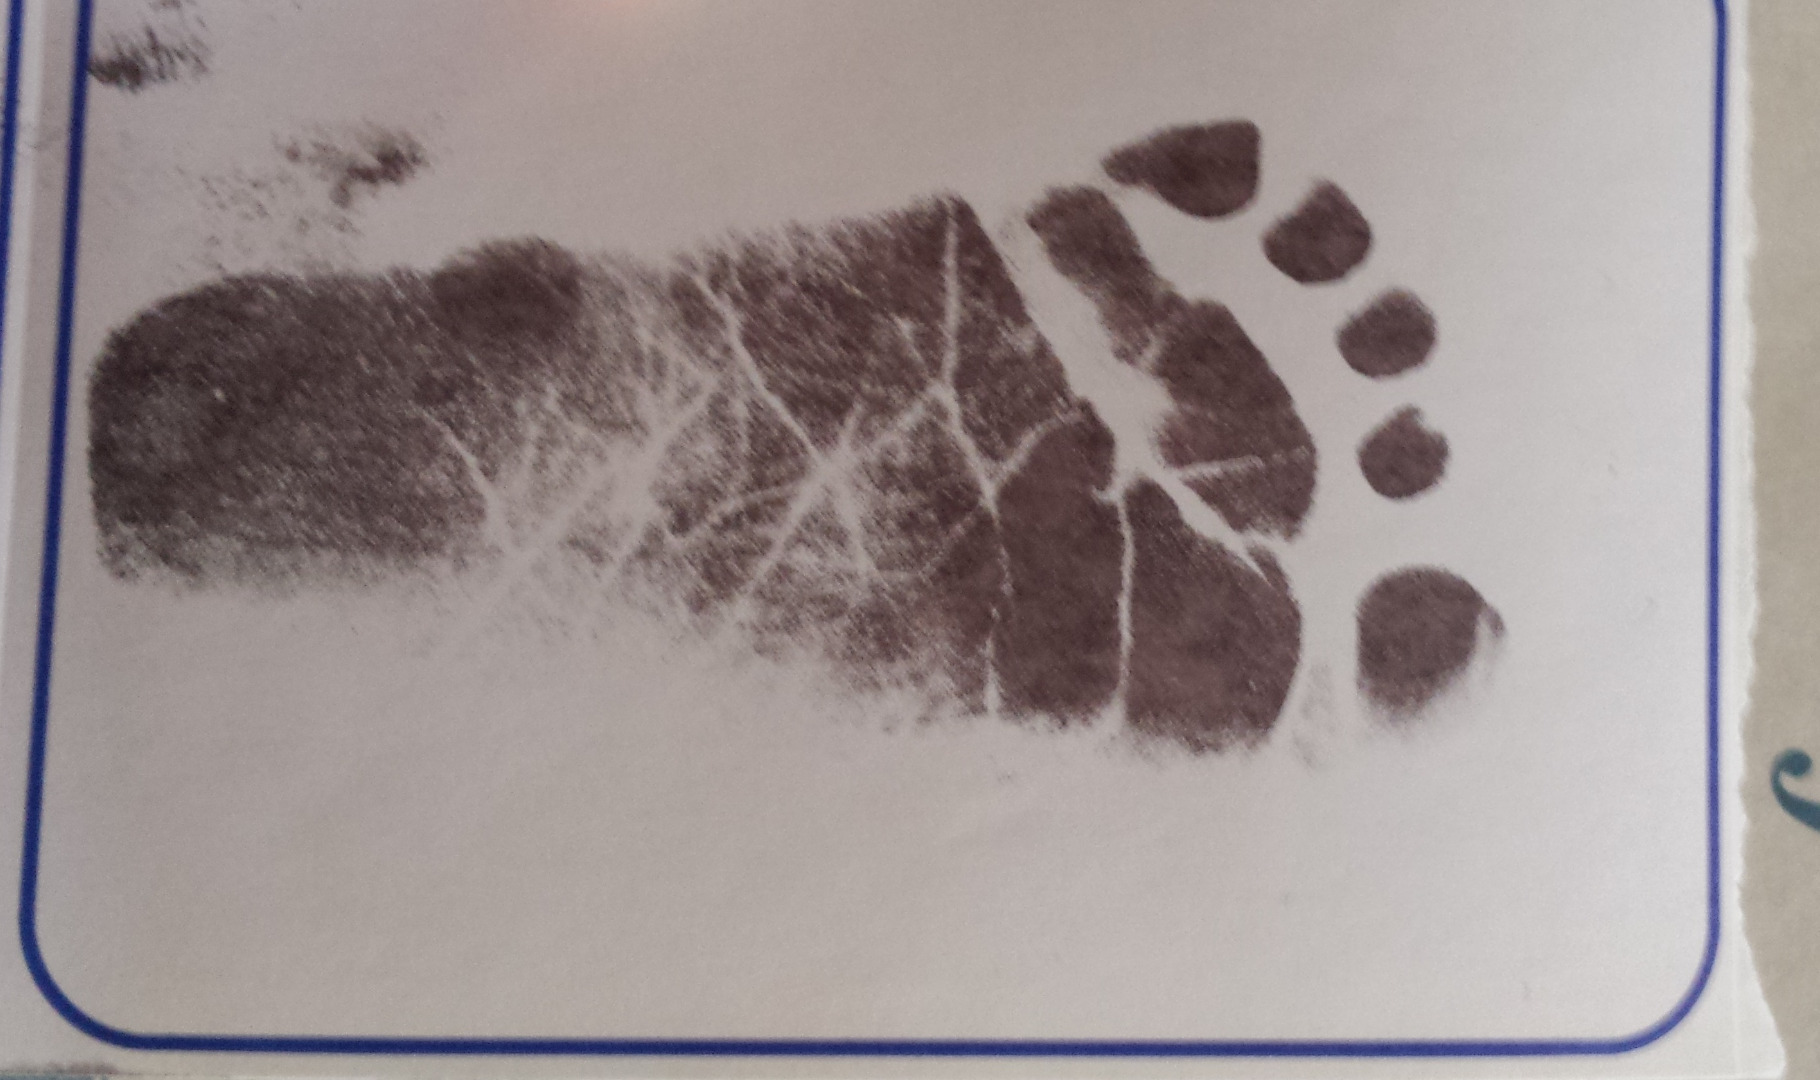
I used my smartphone camera app to take a picture of on of the Ink Footprints made by hospital staff and sent the image to my laptop via bluetooth connection.
Edit Footprint Image
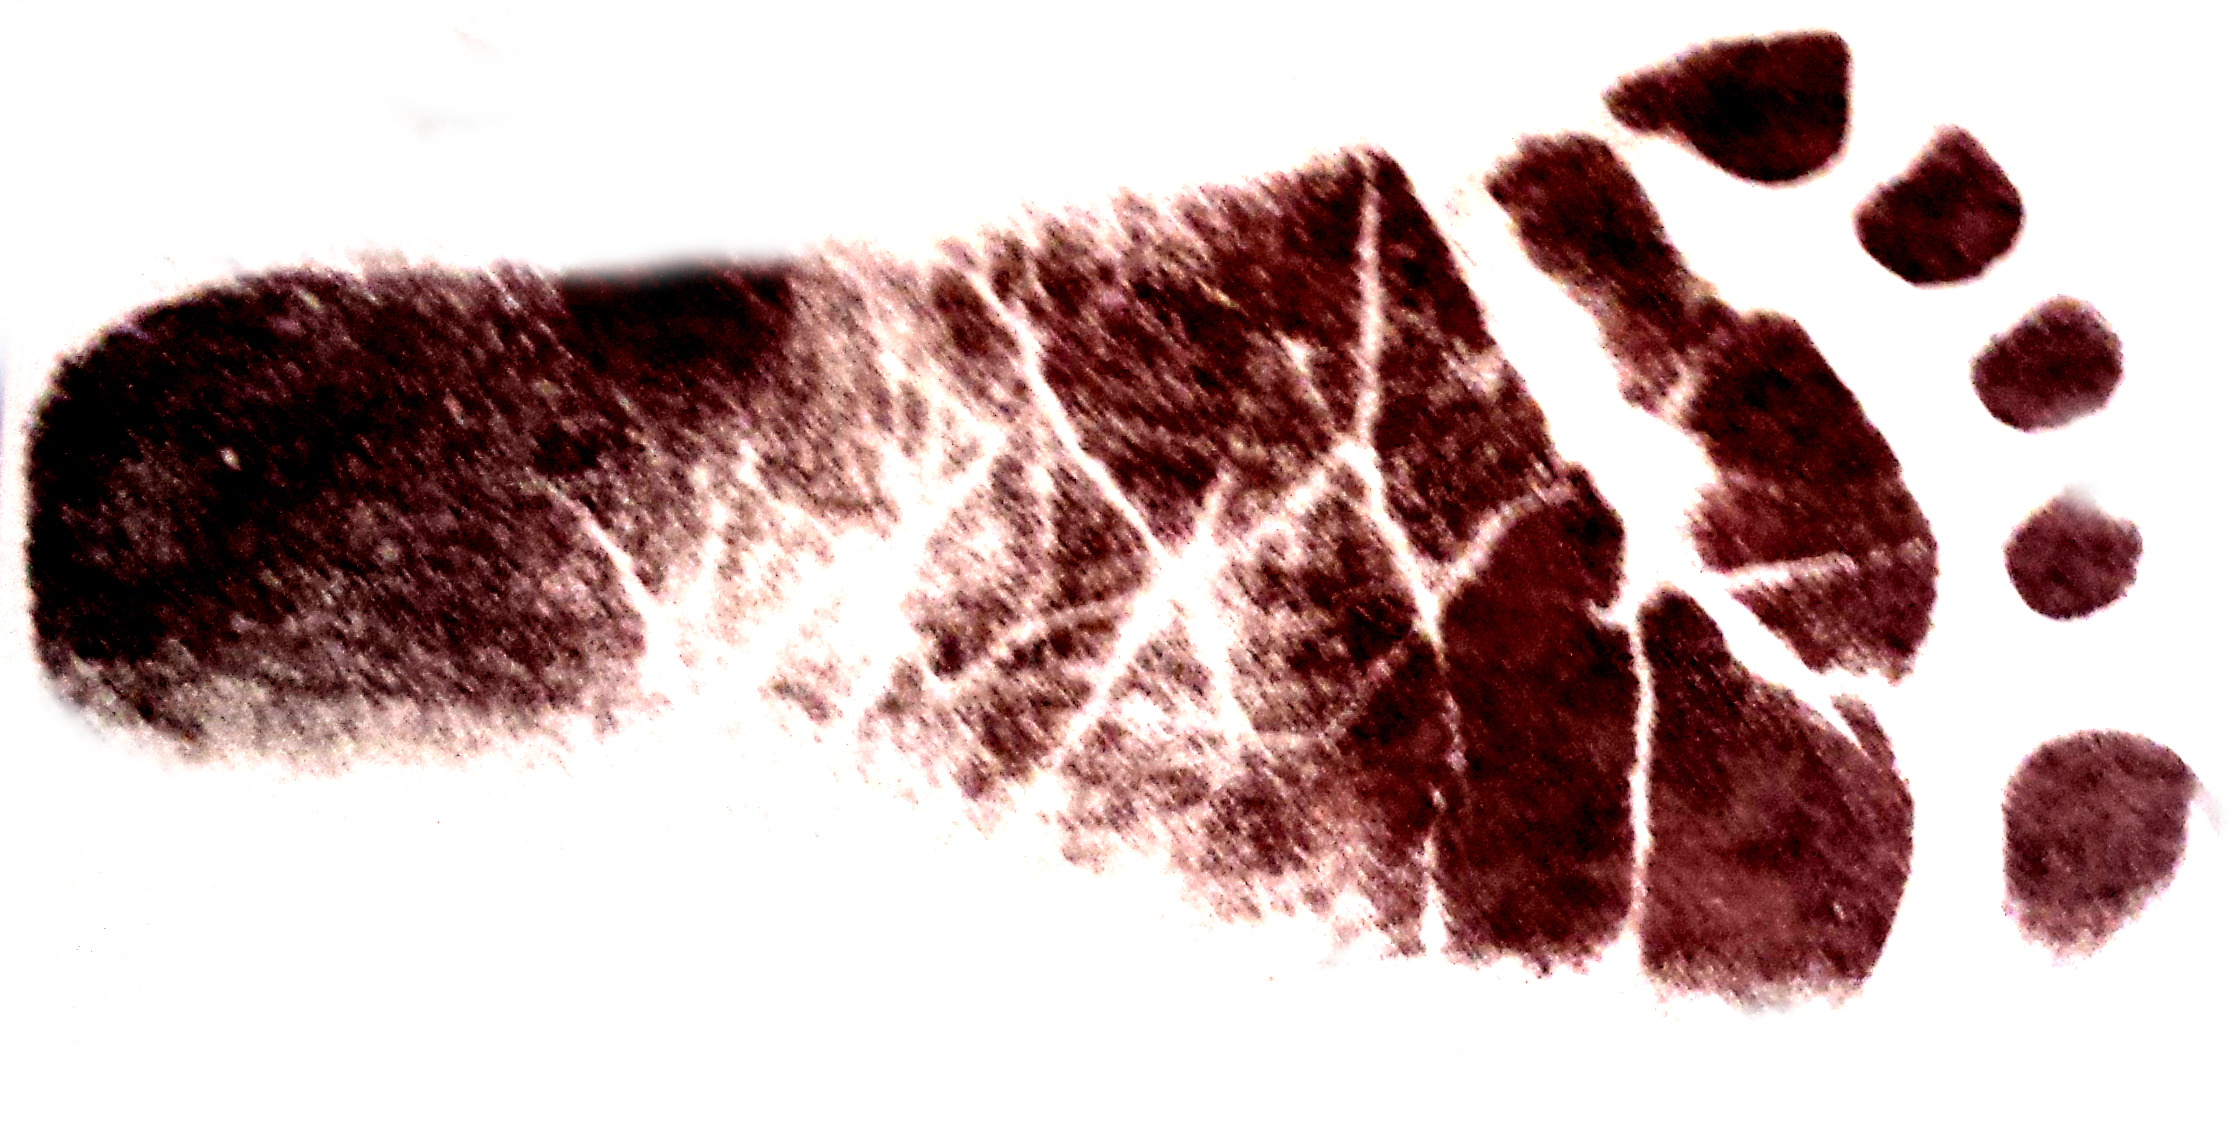
I used Gimp to crop the image, raise the brightness/contrast and clean the edges of the footprint. The more time spent in this step, the better the final result.
2D to 3D
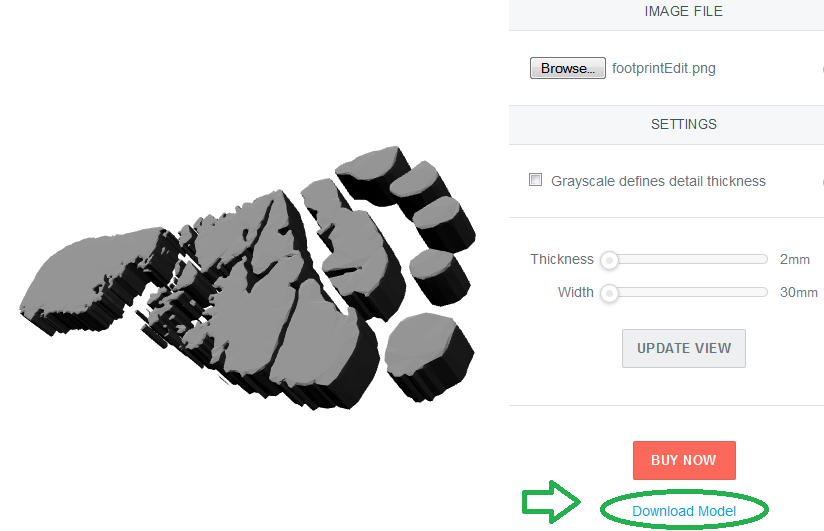
I used the Shapeways Creator App that allows you to make an extruded shape from a black and white image. You can control the size and depth in mm and if you want to experiment with texture, the gray-scale selection can be chosen as a variable.(If using my Backing Template in following steps, size your Footprint to around 60mm.)
Upload the Edited Picture of the footprint to the Creator App. Adjust the settings until the preview is what you want and click the Download Model link in the bottom right corner.
This will save a output.x3db file to your computer.
Convert Footprint to .stl Format
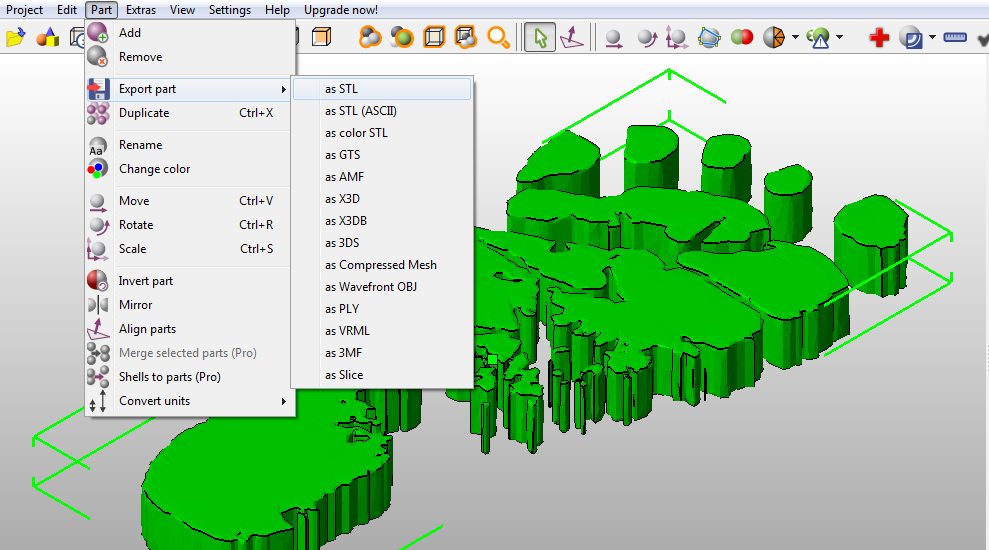
I used netfabb to convert the .x3db file to a .stl file by simply opening the downloaded file and exporting it in .stl file type.
Create the Custom Backing
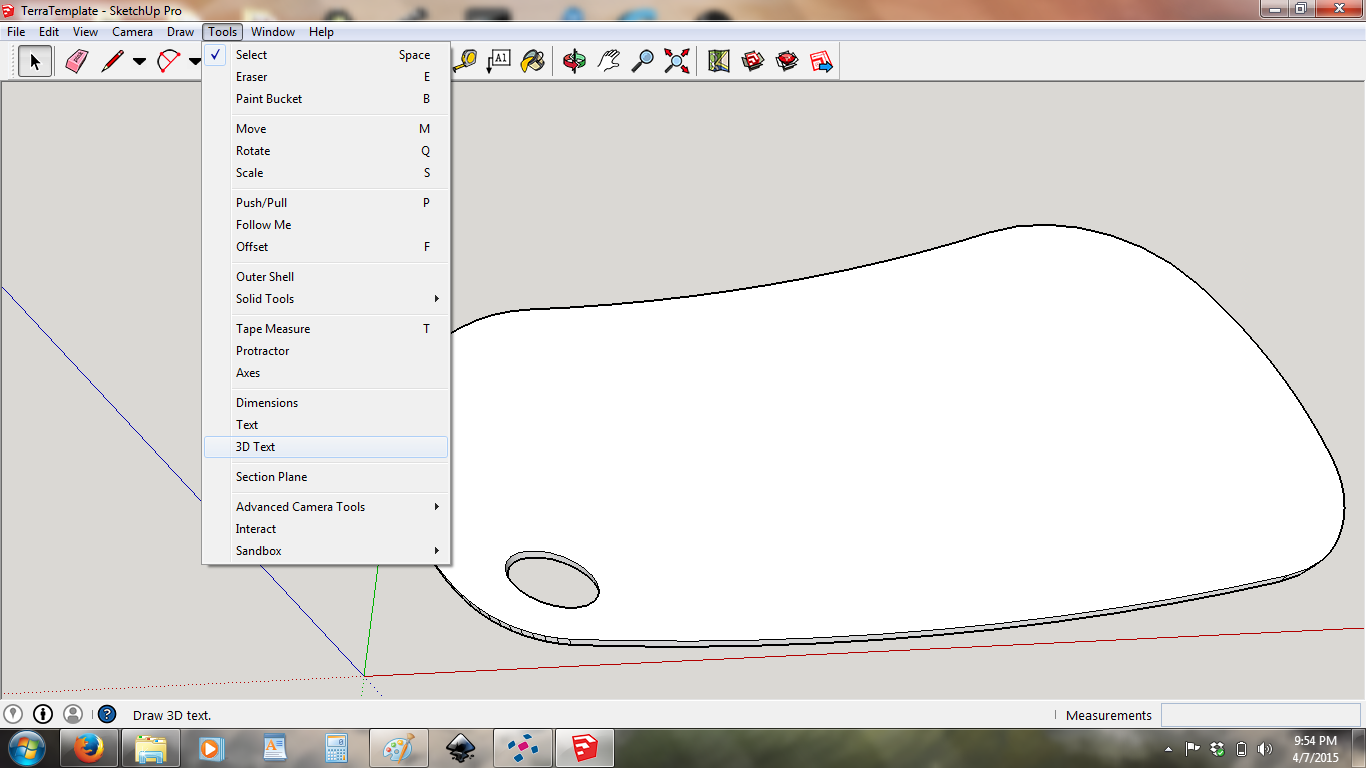
I used Sketchup to design the backing for the Footprint along with adding the Baby's name in 3D Text.
You can design your own, download the Blank version of my design or use my sketchup file as a template.
3D text can be added to my template .skp file by using Tools > 3D Text in Sketchup.
Alternative Source of Files with the option to "Tip" the designer!Combine Footprint and Backing
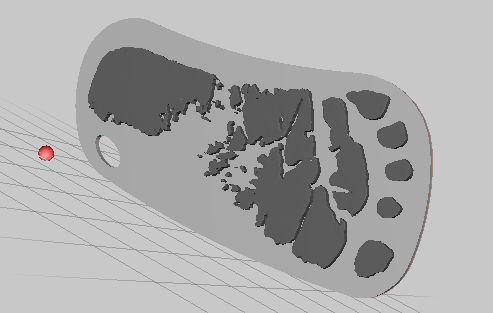
I used Meshmixer to combine the two files and export as a single .stl file ready for your slicing program of choice.
Import both files into Meshmixer. Select the Backing and use the Edit > Transform function to resize and align with the footprint. Make sure the two are touching by holding the Right Mouse Button to rotate your viewpoint.
Hold SHIFT and select the Footprint. Use the Edit > Make Solid function. Then EXPORT the combined object.
Ready for 3D Printing
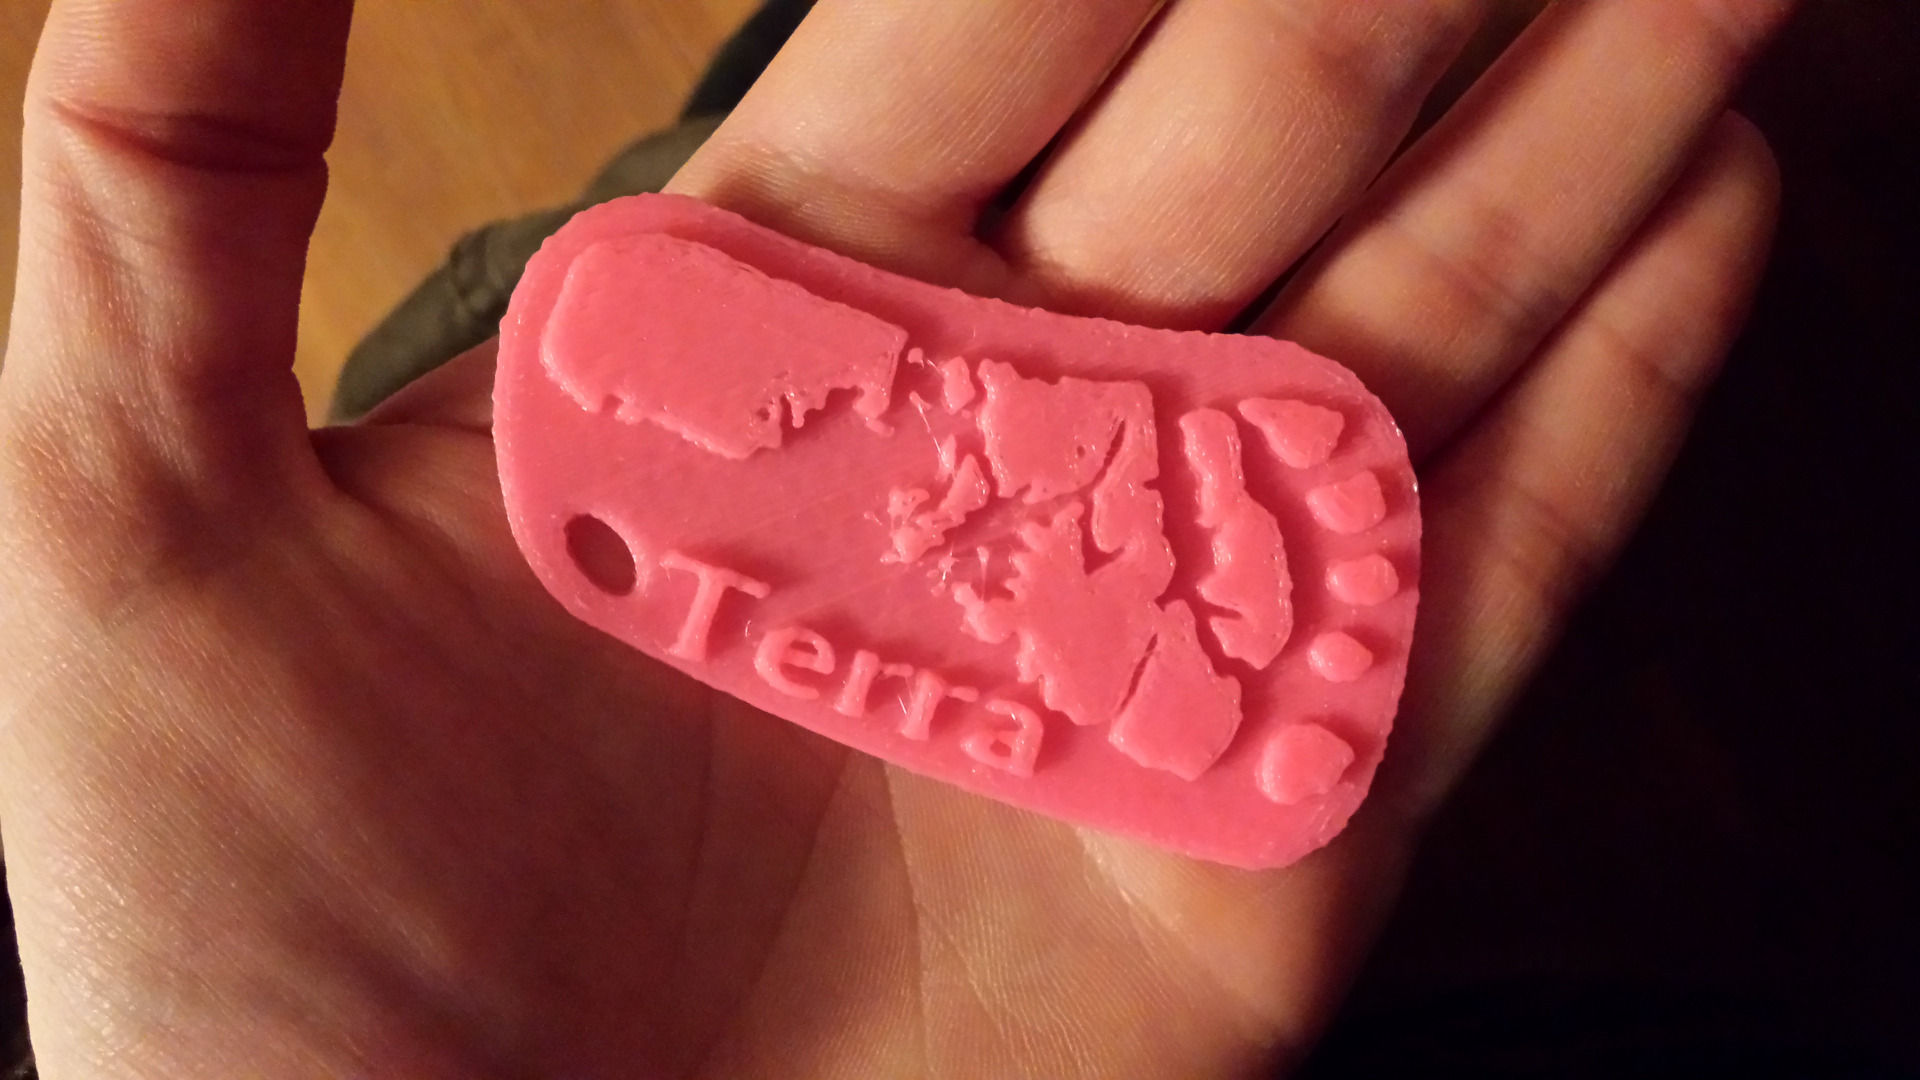
Your finished .stl is now ready for 3D printing with any slicing program.
If you don't have a 3D Printer available to you, visit 3DHubs to find your local 3D Printer for hire.
Bonus Step: Dual Color
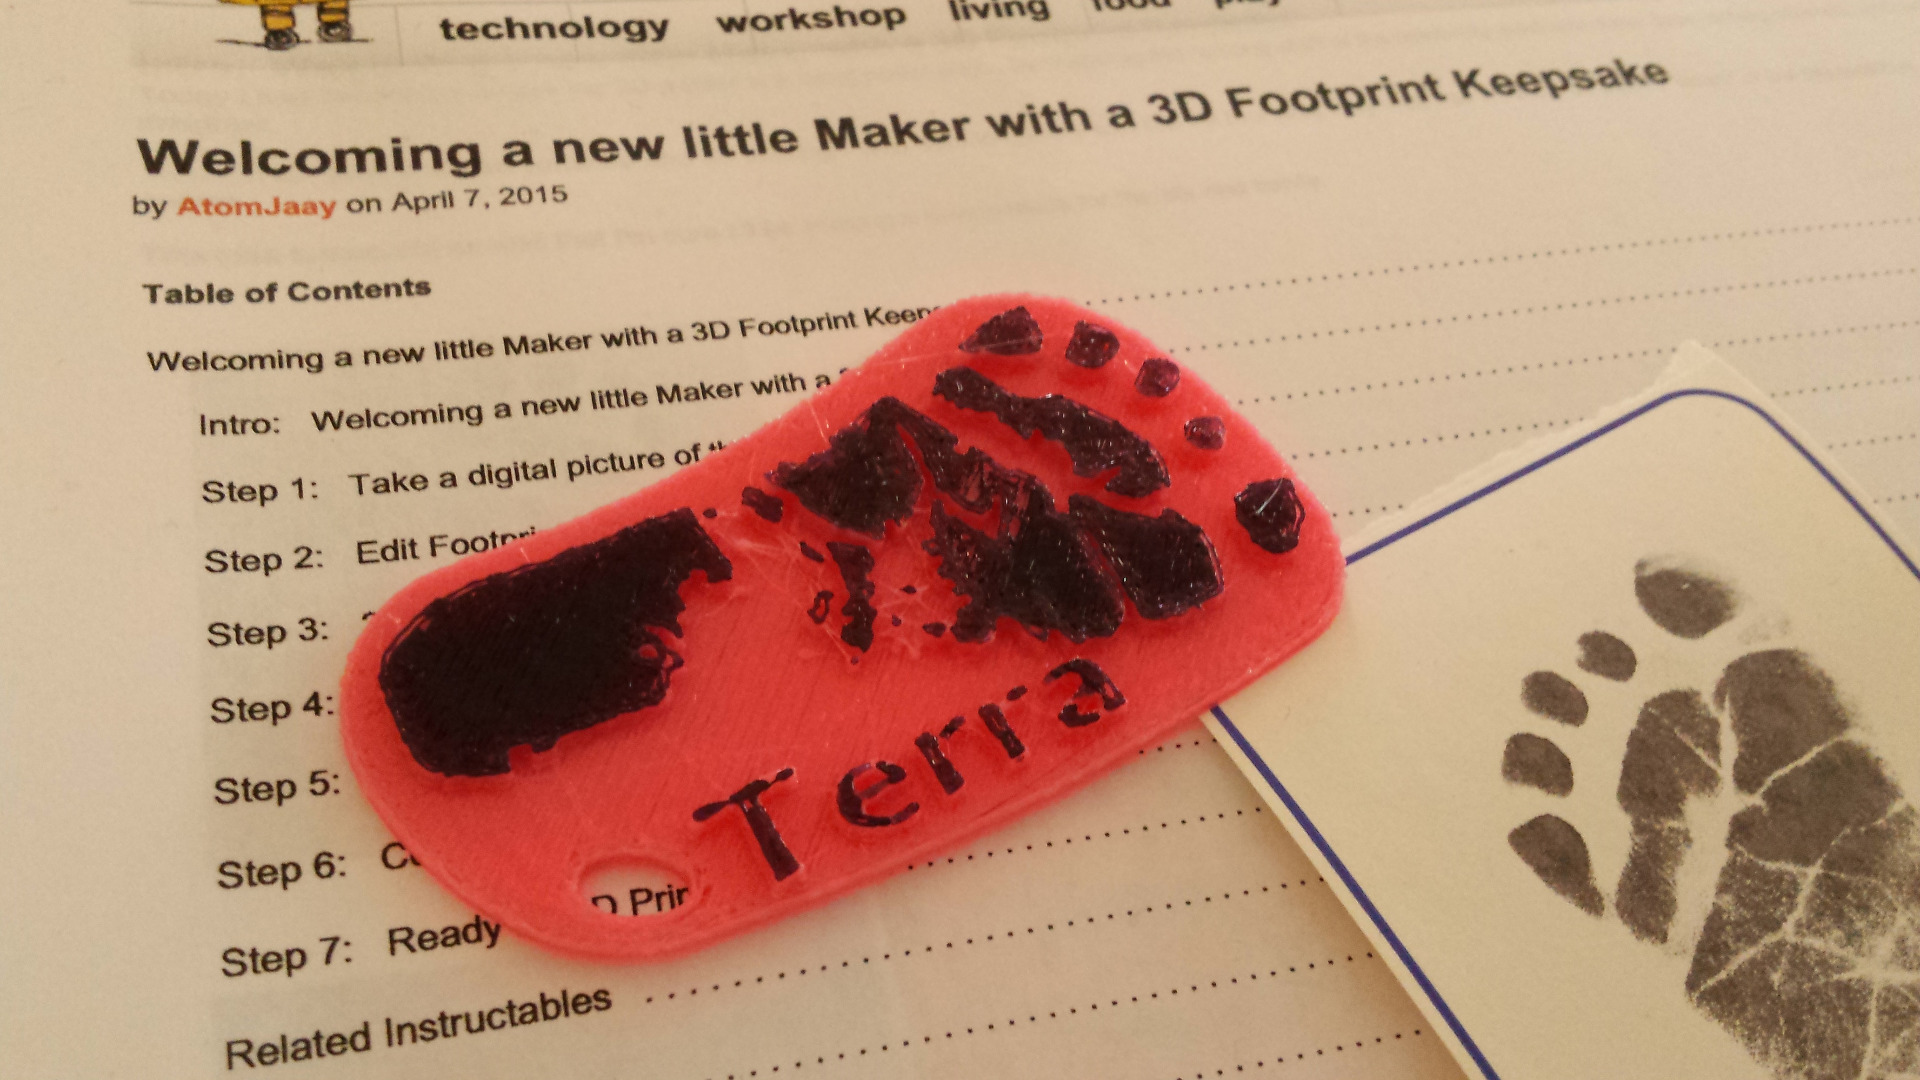
There are a number of ways to change filament color during the printing process. Everything from firmware filament change options, fusing filament together before printing and coloring selected of filament with Sharpie ink.
My Replicator1 firmware allows me to pause the print and change the filament. When I saw the print was nearing the last layers, I changed the filament from Pink PLA to lack PLA.
Note: During the design process, if you make the Name and the FootPrint different heights then the two can be different colors. If you change the filament before the Name last layers and again before the FootPrint last layers, you can make a 3 color print!
Bonus Step: Jewelry Set
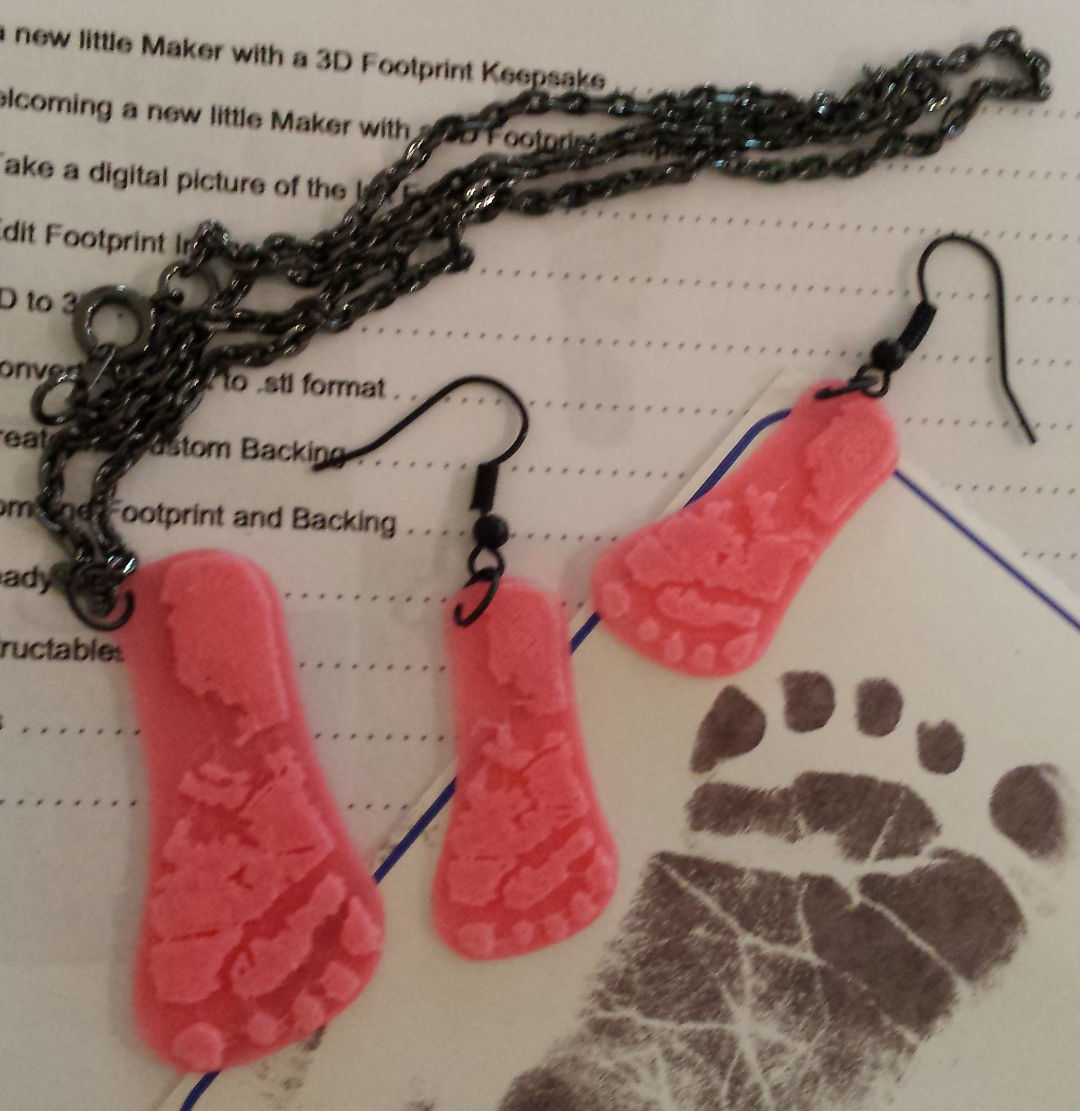
If you want to make a Jewelry set instead of a keychain, you can download the FootJewelryBack.stl file in Step 5 instead of the larger keychain backing. In either netfabb or your slicing program, you can resize the file to be a pendant or earring.
Extra step that I did not do: You can mirror on earring footprint in netfabb to make symmetrical earring set.
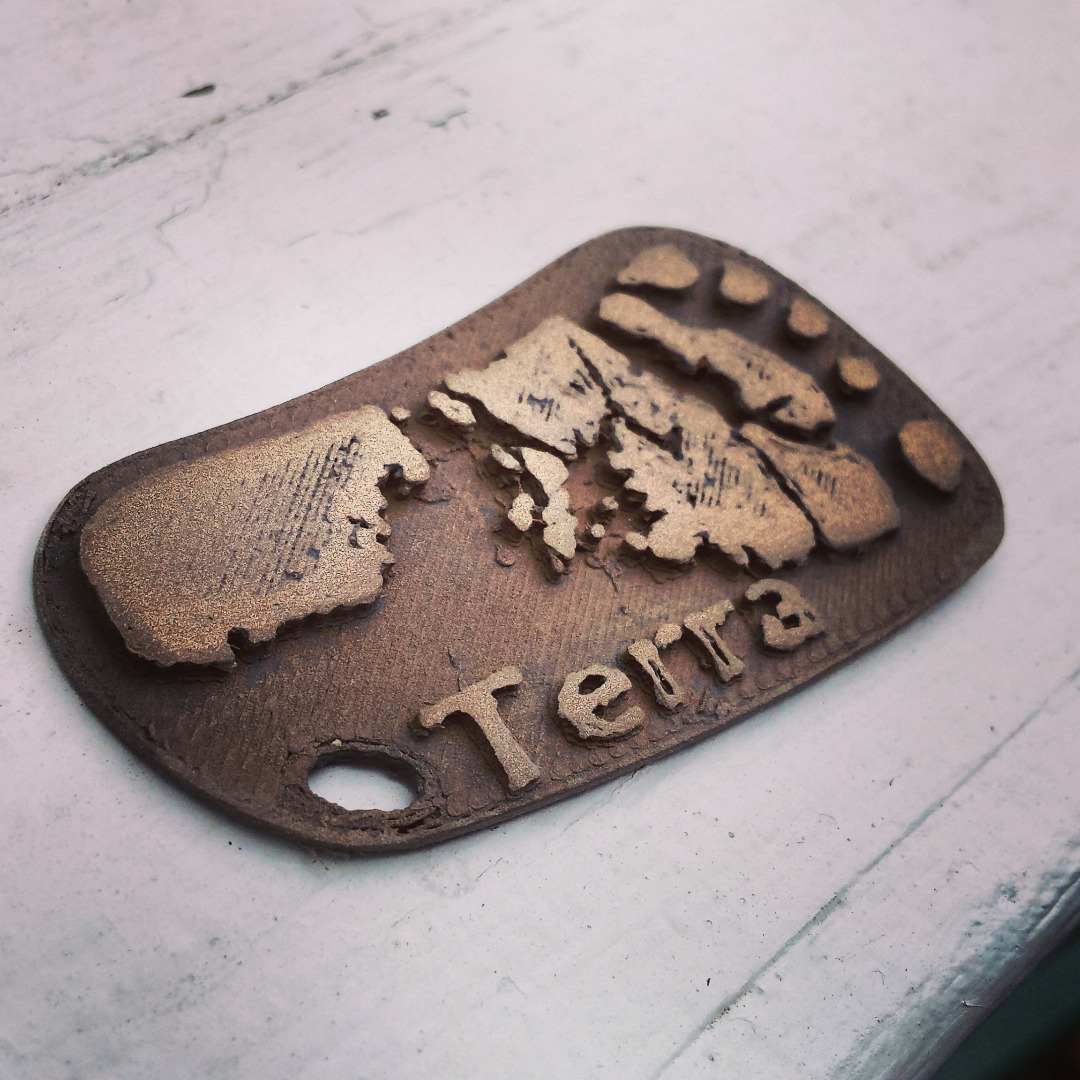
Note: Sanding and polishing required.