Welcome to Minecraft
by Penolopy Bulnick in Design > Game Design
15624 Views, 7 Favorites, 0 Comments
Welcome to Minecraft
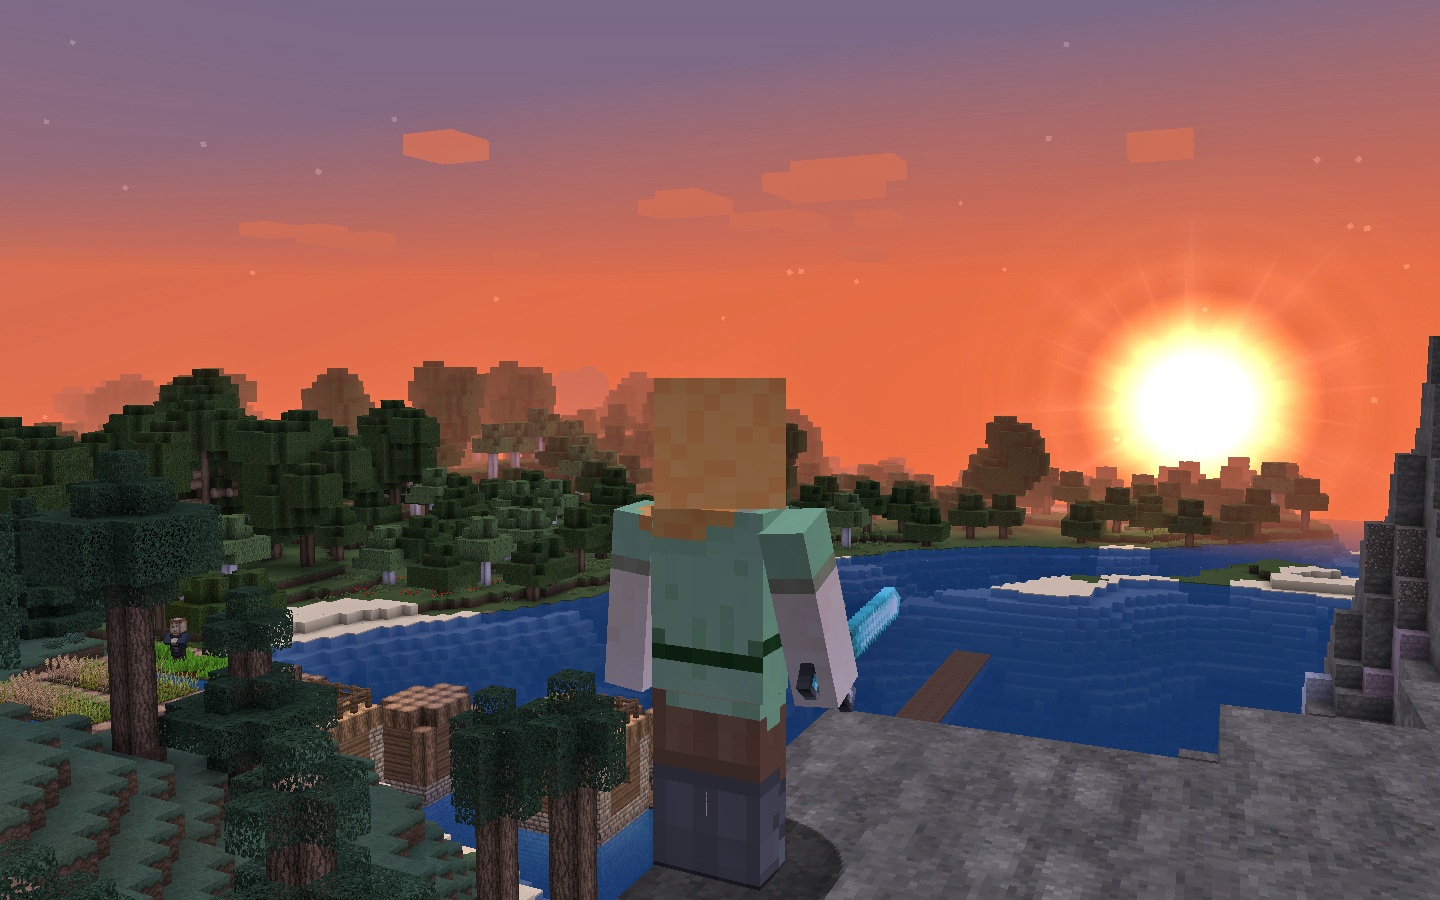
Before just jumping right into the game, learn about all the things you can do to customize your world. You can alter as little or as much as you want.
Once you know the basics of setting up your game, you'll learn how you can upload customized Resource Packs that will transform the look of Minecraft.

Creating a World
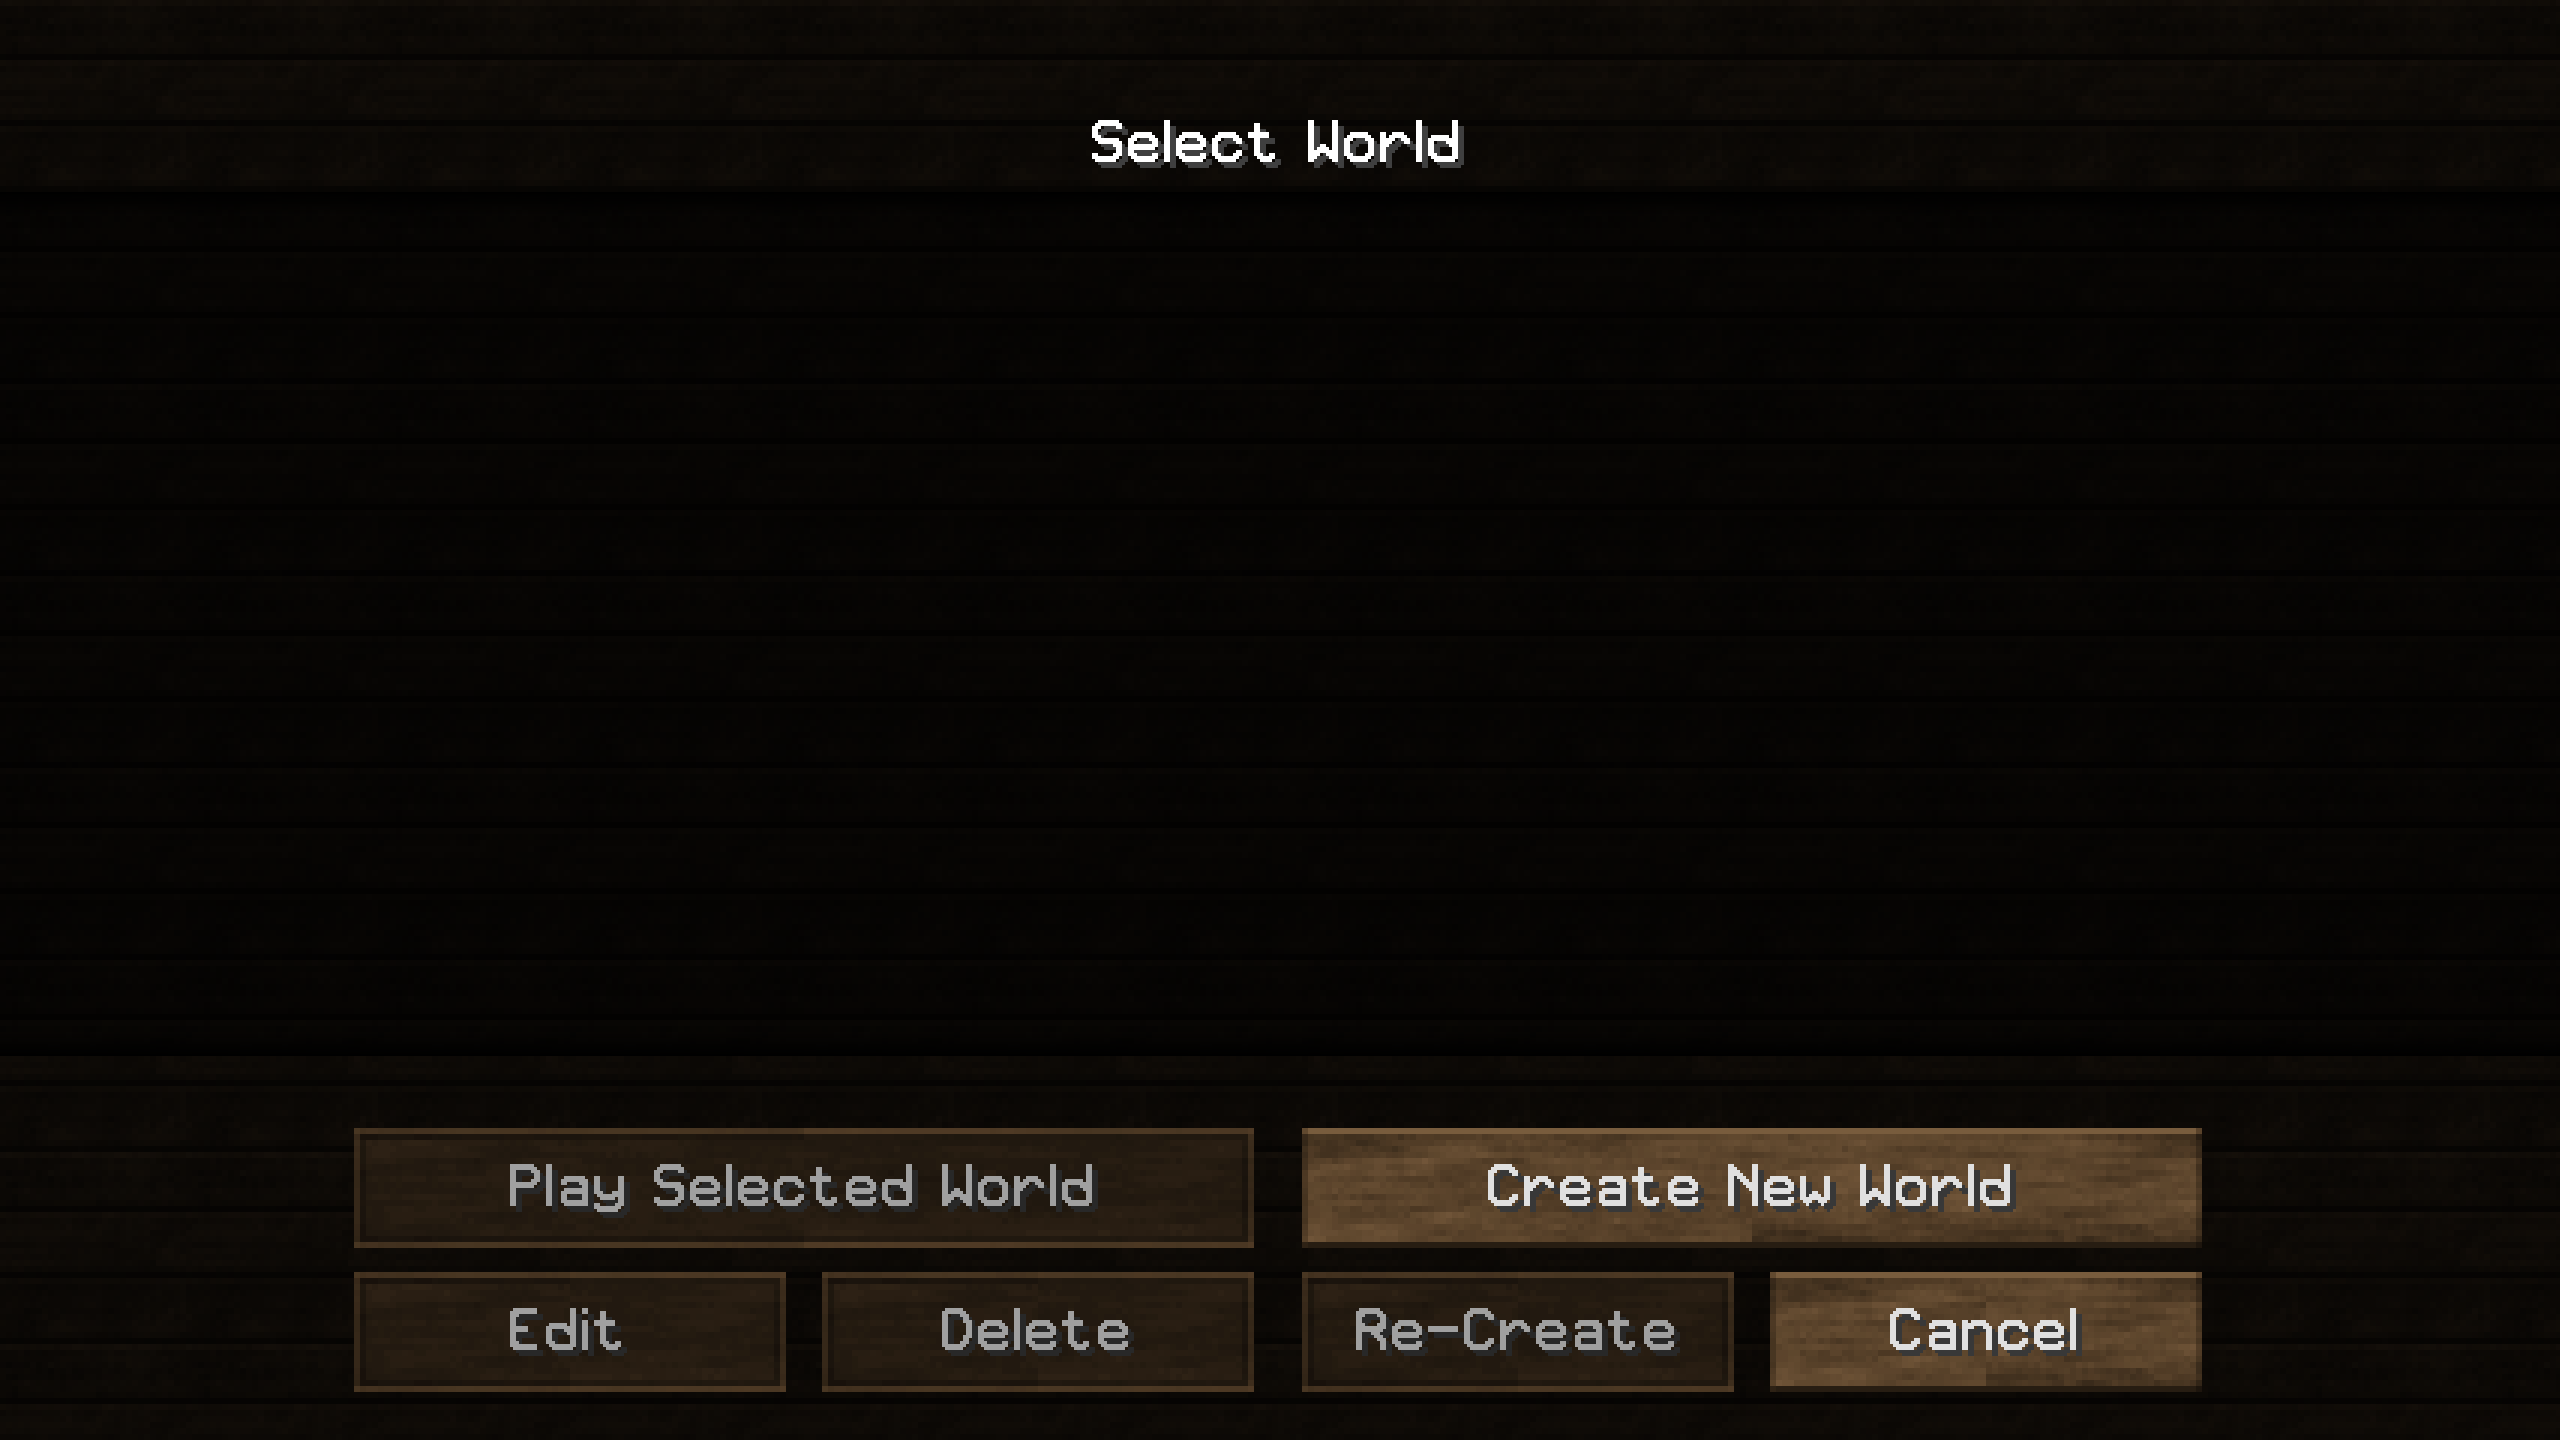
Once you have clicked on Single Player (multiplayer will be covered below), you need to create a world to play in. The first time you open the game, you should be faced with a blank screen. Choose Create New World to get started.
Name Your World
While not incredibly important, naming your world/game will help you remember what each save is once you have multiple worlds to play. You can edit the name of a game later if you decide there is something special about it you would like to remember (I've done this when I've come across fun structures or land formations).
There are three Game Modes to choose from.

Survival
- Collect resources, build, and craft supplies.
- Gain experience.
- Eat to refill hunger bar.
- If you die, you end up back at the spawn point minus everything you were carrying when you died.
- Hostile mobs will attack you.
Creative
- Access to every type of block and resource in the game plus some special items such as Spawn Eggs.
- Never die.
- Ability to fly.
- Hostile mobs will ignore you.
Hardcore
- Same as survival, but more difficult and once you die, the game ends.
World Options
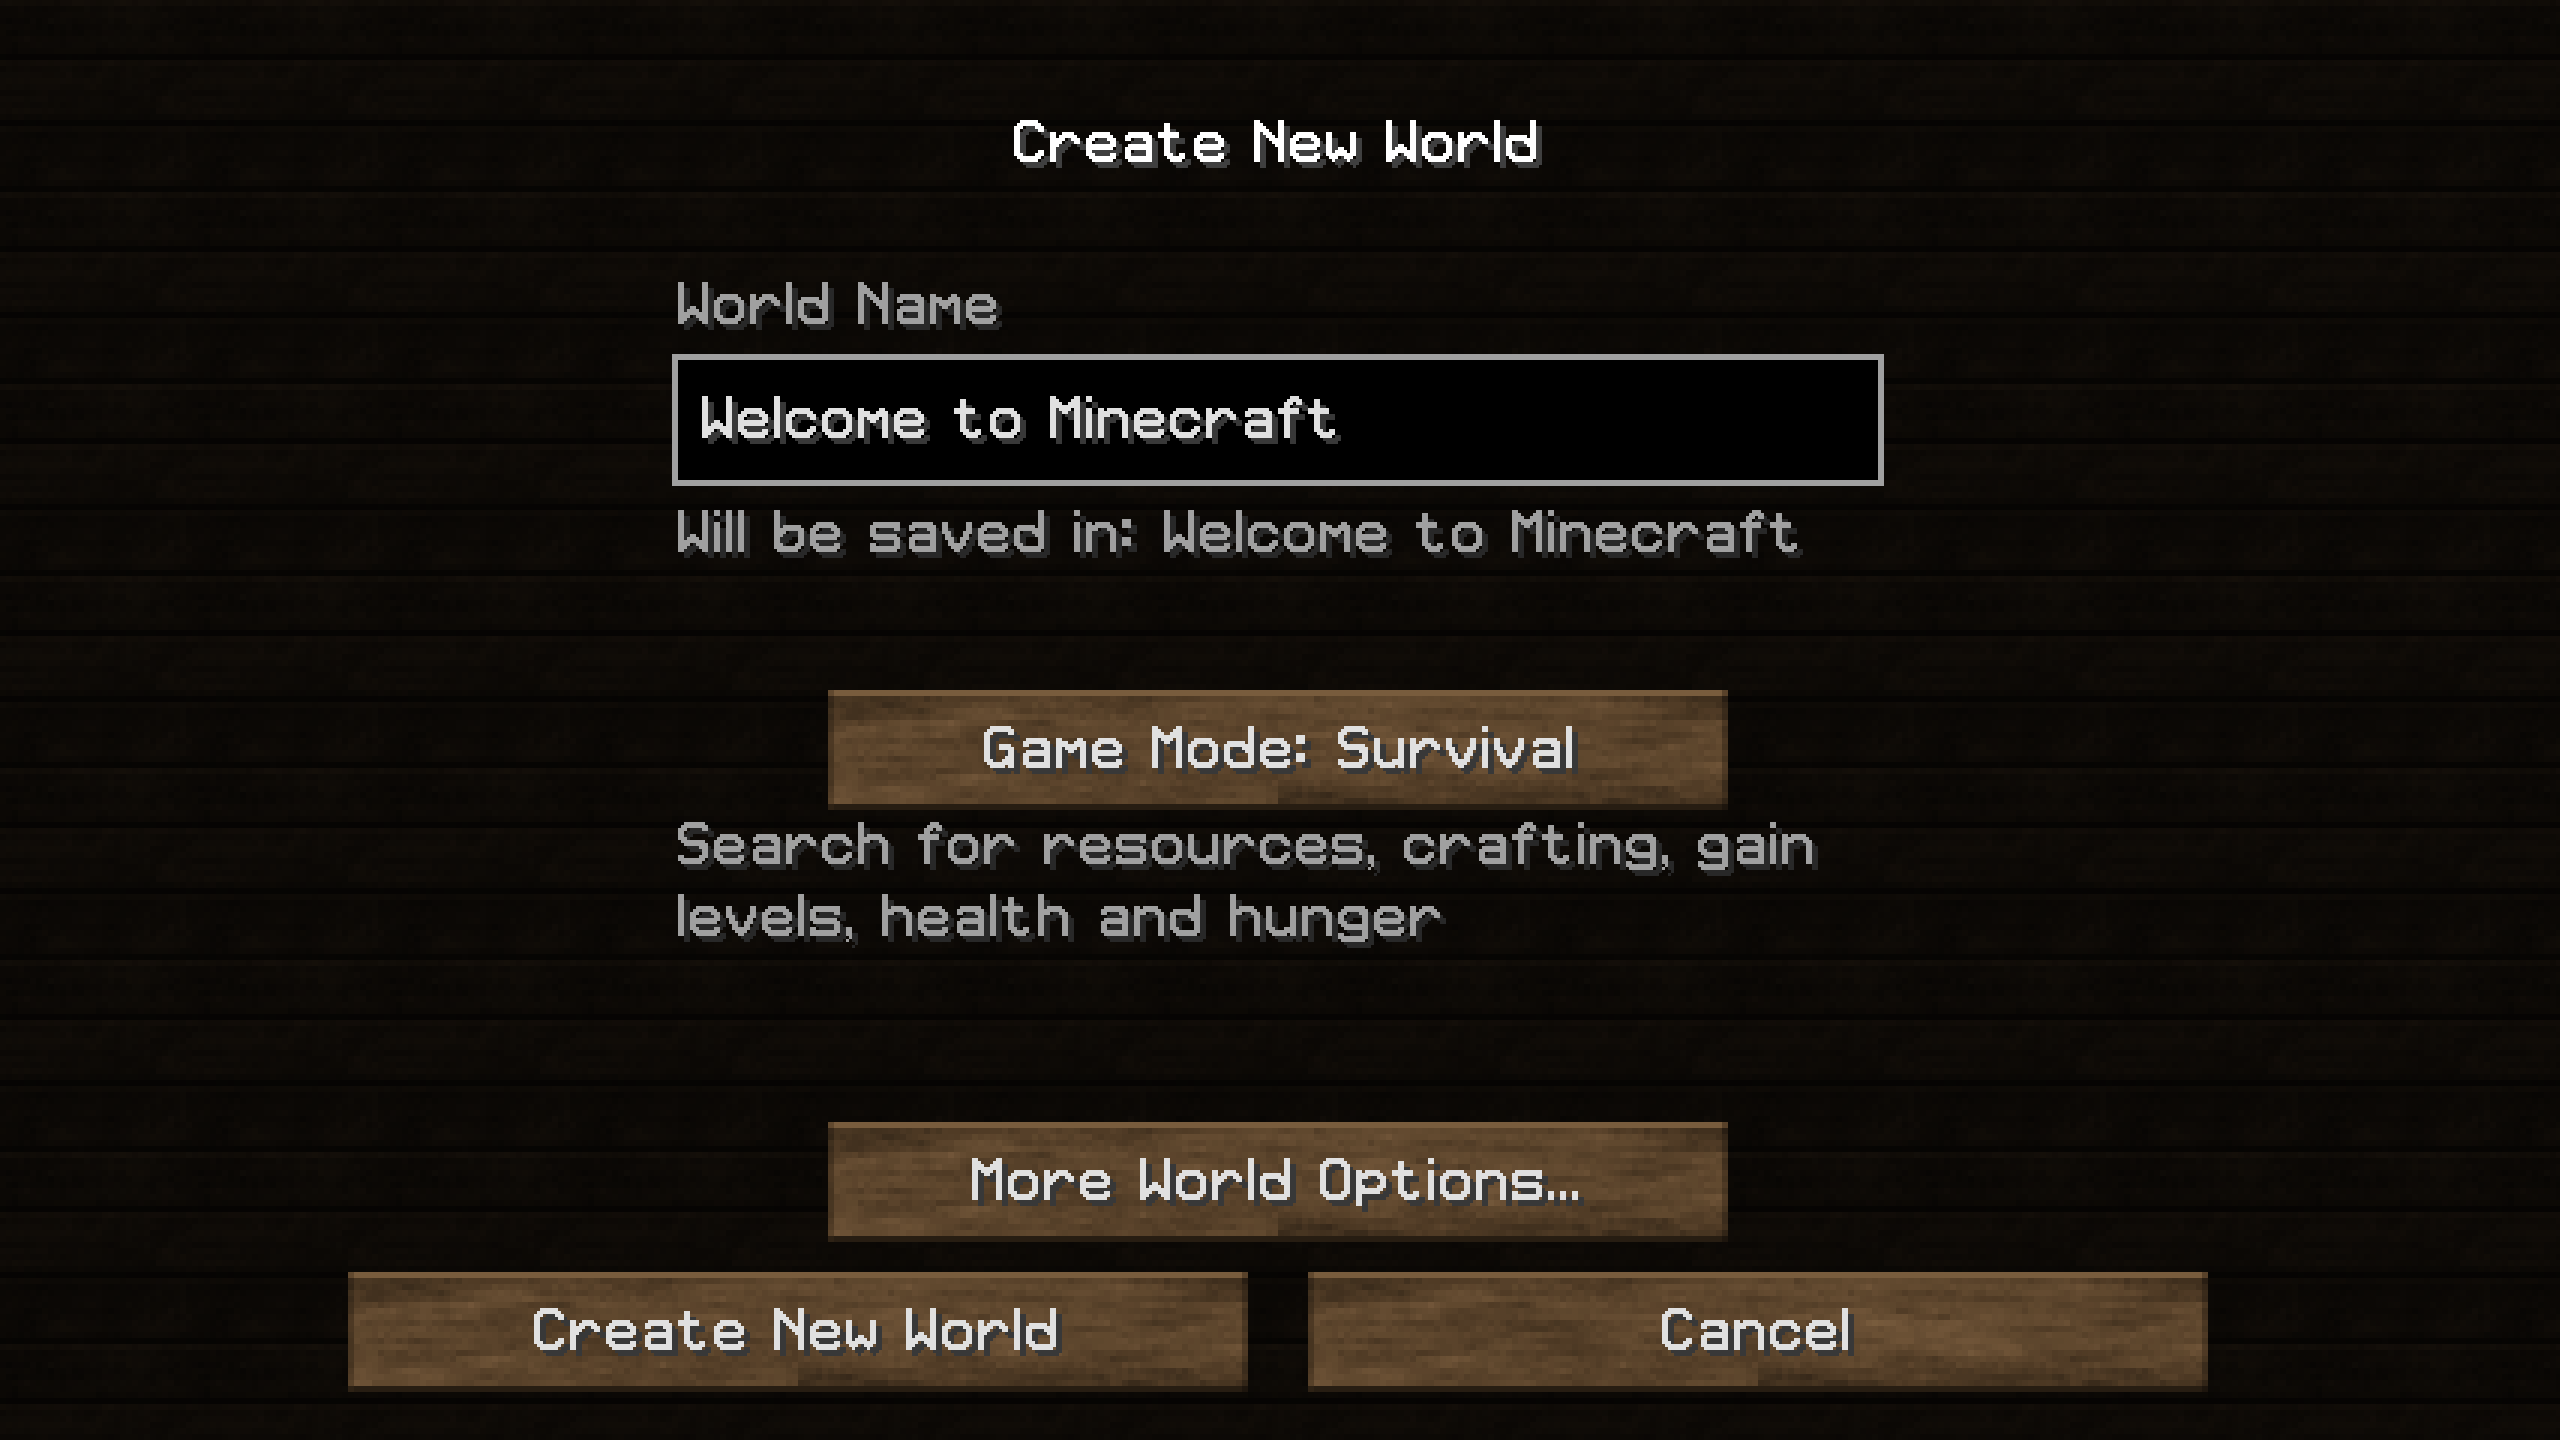
Once you've decided what game mode you are going to play, you can mess around with some of the other ways to personalize your game.
Click on More World Options to see what else you can change within your world.
Seed for the World Generator

- Every world that is generated has an associated "seed" with it that is made up of characters and can be negative or positive.
- If you do not enter anything in this section, a new world will generate along with its own seed which you can use to share with other people or simply recreate this same world again.
- If you want to share the seed for a world you are playing, the easiest way to find it is from the Select World menu screen. Click on the world you want the seed for, and click Re-Create near the bottom of the screen. This allows you to copy the world you selected. Click to see More World Options and the seed code will be right there in Seed for the World Generator box.
- You can type in anything you want to generate another seed, or you can look online for seeds other players have shared to play worlds they've already explored. This can be good for finding worlds with specific structures and unique landscapes.
Generate Structures - can only be ON or OFF
- If you turn this on, you will run into different structures in your world which can include villages, dungeons, temples, and witch huts.
- Structures are fun to explore and you can usually find supplies in various locations as well as villagers that are willing to trade for resources.
- If you turn this feature off, there will only be natural land formations such as oceans, mountains, and forests throughout the world.
- I will touch on this a bit more in Lesson 3: Building a Shelter.
World Type

Row 1 (L to R): Default and Superflat
Row 2: Large Biomes and Amplified
- Default is just a normal randomly generated world with or without structures.
- Superflat is a world that still has mobs and various structures, but the world will be completely flat.
- Instead of the world having mountains, caves, and various block types being generated throughout, there is only 1 layer of Grass beneath your feet, 2 layers of Dirt below that, and 1 layer of Bedrock at the bottom (this cannot be broken in Survival mode).
- You can customize your superflat world by removing any of these layers or choosing one of 9 different presets which includes a waterworld and desert.
- Large Biomes has extreme biomes throughout the world that are 4 times larger than normal.
- A biome is a region of the game such as plains, forest, or jungle.
- Mountains, forests, and deserts may seem like they go on for miles.
- Amplified is made of many extreme mountains.
- It is amazing how high they go, but it can be difficult to play in this game mode as falling off any of the mountains will hurt or kill you.
Allow Cheats - can only be ON or OFF
- Cheats are commands you can type into the chat in the game which you can activate by typing t.
- To type your command/cheat, start by typing /. Follow that with what you want to change, such as weather. You can now define this with the specific command, such as rain. So, if you type /weather rain it will start raining.
- If you type in a command and click tab, you can cycle through some options for that command; an example being, type /weather and then hit tab to cycle through clear, rain, and thunder. Remember to hit enter when you are done with the command to make it happen.
- Cheats I use the most often:
- /time set day - change to day
- /time set night - change to night
- /weather clear - clear skies day
- /weather rain - makes it rain
- /gamemode creative
- /gamemode survival
- /gamemode adventure
Bonus Chest - can only be ON or OFF

- If turned on, it allows you to start your game with a chest (will be covered more in Building a Shelter).
- It will contain a small selection of items that can include tools, food, and basic wood blocks. It gives you a small head start in the game.
- The chest can also be surrounded by up to 4 torches which can really come in handy if you do not find coal before your first night.
- Don't forget to take the chest with you before you start exploring too.
Once you have made all of your choices, you can click Create New World to generate a world to start playing the game. Read on to learn all the basic controls before you get started.
Game Controls
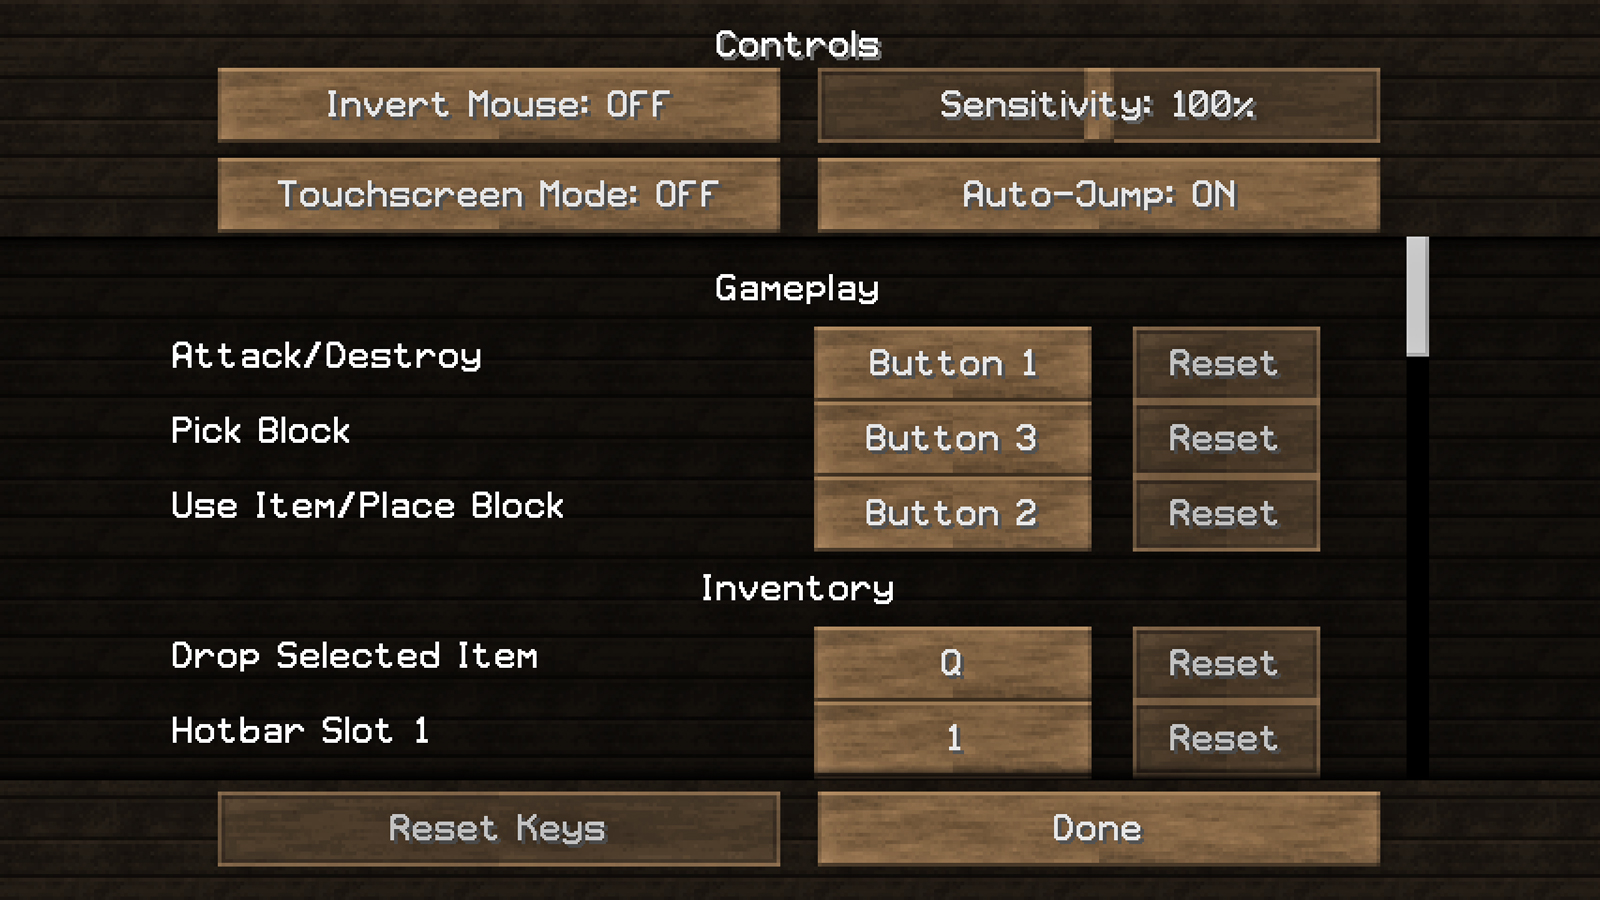
To save you a little time before you jump into playing, here are the basic controls. There are more controls than this, but these are the ones you will most likely use when you first play the game.
Mouse
Use the mouse to look around/aim and turn you in different directions
Left click - attack using a weapon or destroy blocks and other items
Right click - interact with the world such as placing a block and using an item: eat food, open doors, opening chest, etc. If you are trying to do anything other than hit/attack, use this button
Keyboard
W - move forward; double tap and hold to sprint: can work while walking, and with flying and swimming; you can also walk up 1 block in height when moving forward without having to jump
S - move backwards
A - sidestep left - not turn left
D - sidestep right - not turn right
Escape - opens game menu; pauses single player (but not multiplayer)
Q - drop/throw item currently selected - handy for getting rid of blocks you don't want clogging up your inventory or giving items to other people you are playing with
E - open your personal inventory - this is how you put on armor and shows the items you are able to carry; also shows your personal 2x2 crafting grid
T - open chat/command
F - switch item that you are holding to your off hand
Spacebar - jump up 1 block in height; double click to start flying and hold to continue flying upwards; double click while flying to free-fall back to the ground
Left Shift - hold to reduce altitude while flying; hold to crouch and sneak while walking (you will move slower than walking)
Left Control - click while walking or flying to sprint
Numbers 1 through 9 - select items in your hotbar in your heads up display; 1 is the far left item and it goes up to 9 which is the far right item
/ - opens chat/command with the forward slash already typed for you

Debug screen
F-Keys
F1 - toggles on/off heads up display which includes the inventory bar, health, hungry, and experience
F2 - takes screenshot
F3 - toggles on/off debug information; this tells you various information including your XYZ coordinates, which compass direction you are facing, and what type of biome you are in
F5 - changes view: 1st person, 3rd person from behind, 3rd person from the front
In-game Menu
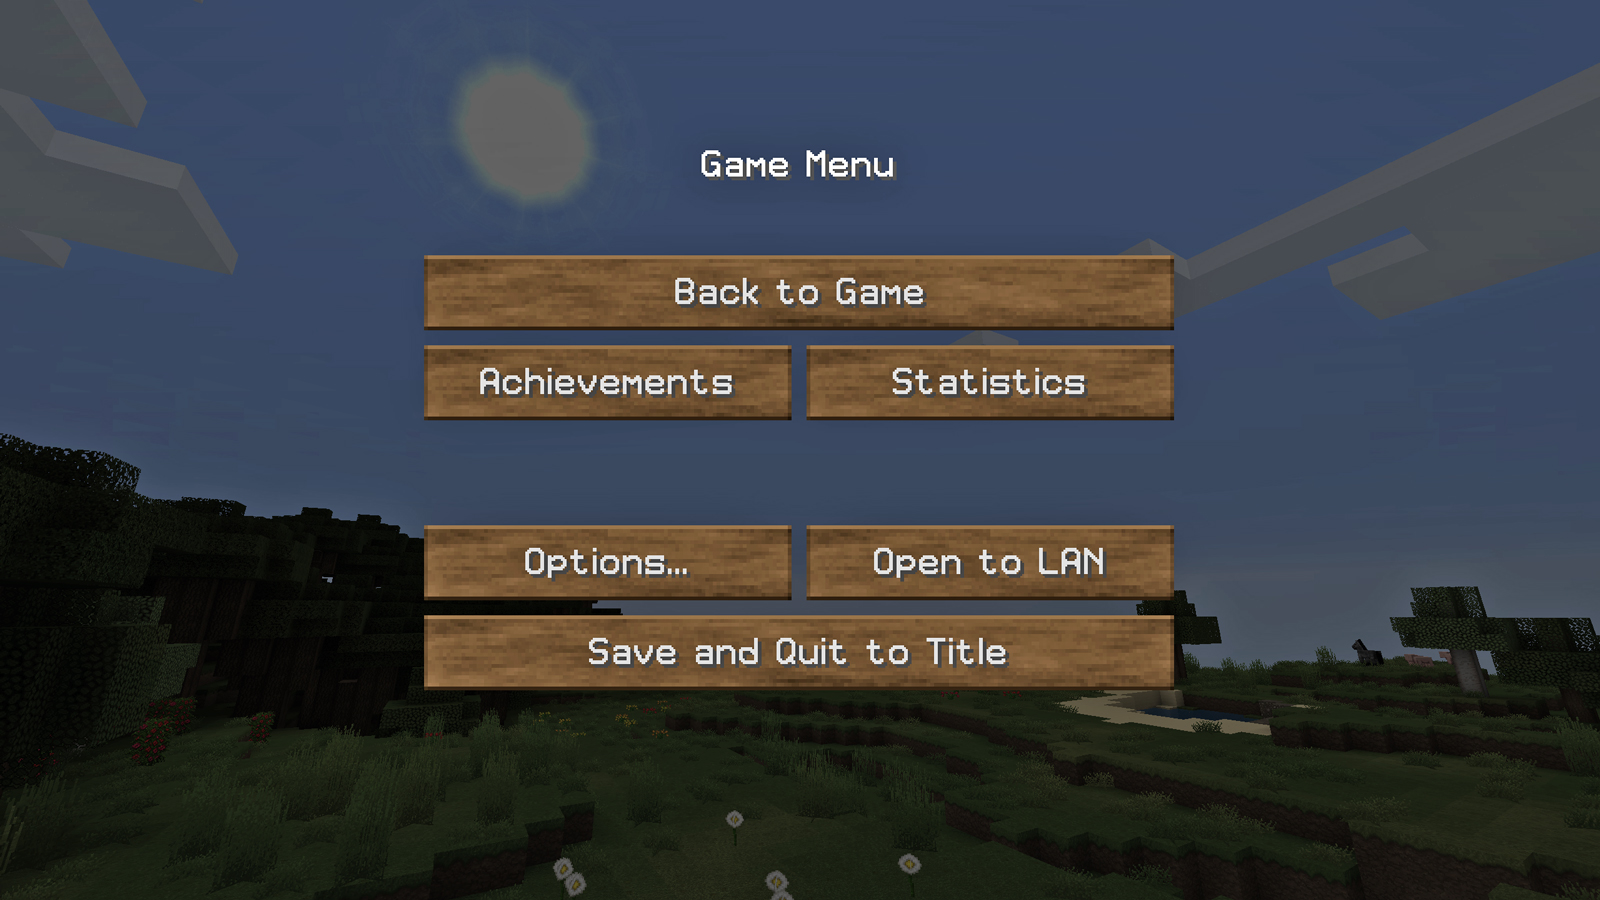
Once you have started your game, you can bring up the in-game menu by clicking Escape. This will also pause the game (unless you are playing multiplayer mode). Most often when you end up at this menu you are either going to use Back to Game (if you just used it to pause and are ready to go back to playing) or Save and Quit to Title (you are done and ready to quit). You probably won't use the other options as often, but we'll go over them in case it is something you want to explore.
Achievements

- On PC, there are 34 different achievements that can be obtained on survival or creative mode.
- You can see them all, but they won't necessarily tell you specifically what you need to do to get it, just a clue on how to obtain it.
- You can only get them in a certain order as shown in the menu.
- Some you will get simply by doing actions you have to take eventually in the game, others might take you more work to accomplish.
- You don't get anything for finishing them, but they are a great guide to things you should be doing and a challenge for things you can try to accomplish if you find yourself at a loss of what to do.
Statistics

- Another way to track your progress in the game.
- They are saved per world. If you have multiple games going on, the stats you are looking at are only for the game you are currently in.
- They are broken down into General, Blocks, Items, and Mobs.
- These stats don't do anything for you, but it can be fun to see how often you have interacted with a mob or item.
Options

Clicking Options will take you to another menu that you are likely to use often depending on how much you like to change up your game.
FOV
- Your field of vision.
- This ranges from 30 (zoomed in) to 70/Normal to 110/Quake Pro (zoomed out).
Difficulty
- You can set it to Peaceful (no monsters), Easy, Normal, or Hard.
- As long as you leave the little lock next to it unlocked, you can always switch this, but if you decide to lock it in place, that game will always stay at that level of difficulty.
- These levels will determine different details including the amount of damage hostile mobs can do to you (you will see this more in Combating Mobs).
Skin Customization
- Lets you toggle on and off parts of your characters skin. You probably won't use this for quite a while as it involves more customization of the game.
Music & Sounds
- Lets you change the volume of different sounds in the game and also turn on subtitles.
Video Settings
- Involves the graphics of the game.
- This also allows you to turn on 3D mode if you have 3D glasses.
- If something about the visuals of the game bothers you, mess around with this menu and it should hopefully get everything the way you want it.
Controls
- Lists all of the game controls including the ones I mentioned above.
Language

- Changes the text language wherever you see it in the game.
- All you have to do is click on the one you want to change to but it will take a few seconds for the change to take effect, so be patient.
- While this is pretty normal, I found it amusing that there are options for Pirate Speak and upside down English. If you want to have some fun, check out the list and see what you find.
Chat Settings
- Allows you to mess with the chat settings including commands and multiplayer chat.
- One thing you might end up using in here even if you don't mess with anything else is Reduced Debug Info. This will effect when you see on your debug screen which is what you see when you press F3. If you think you should be seeing more information, check this setting and make sure it is set to Off. If it is On, you will see much less information in your debug menu.
Resources Packs
- Will be covered a little further down in this lesson.
Snooper Settings
- This is where everything you do is stored and is used by Mojang to collect information about what you are doing to improve the game. If you don't want them seeing what you are doing, just turn it off.
Playing Multiplayer
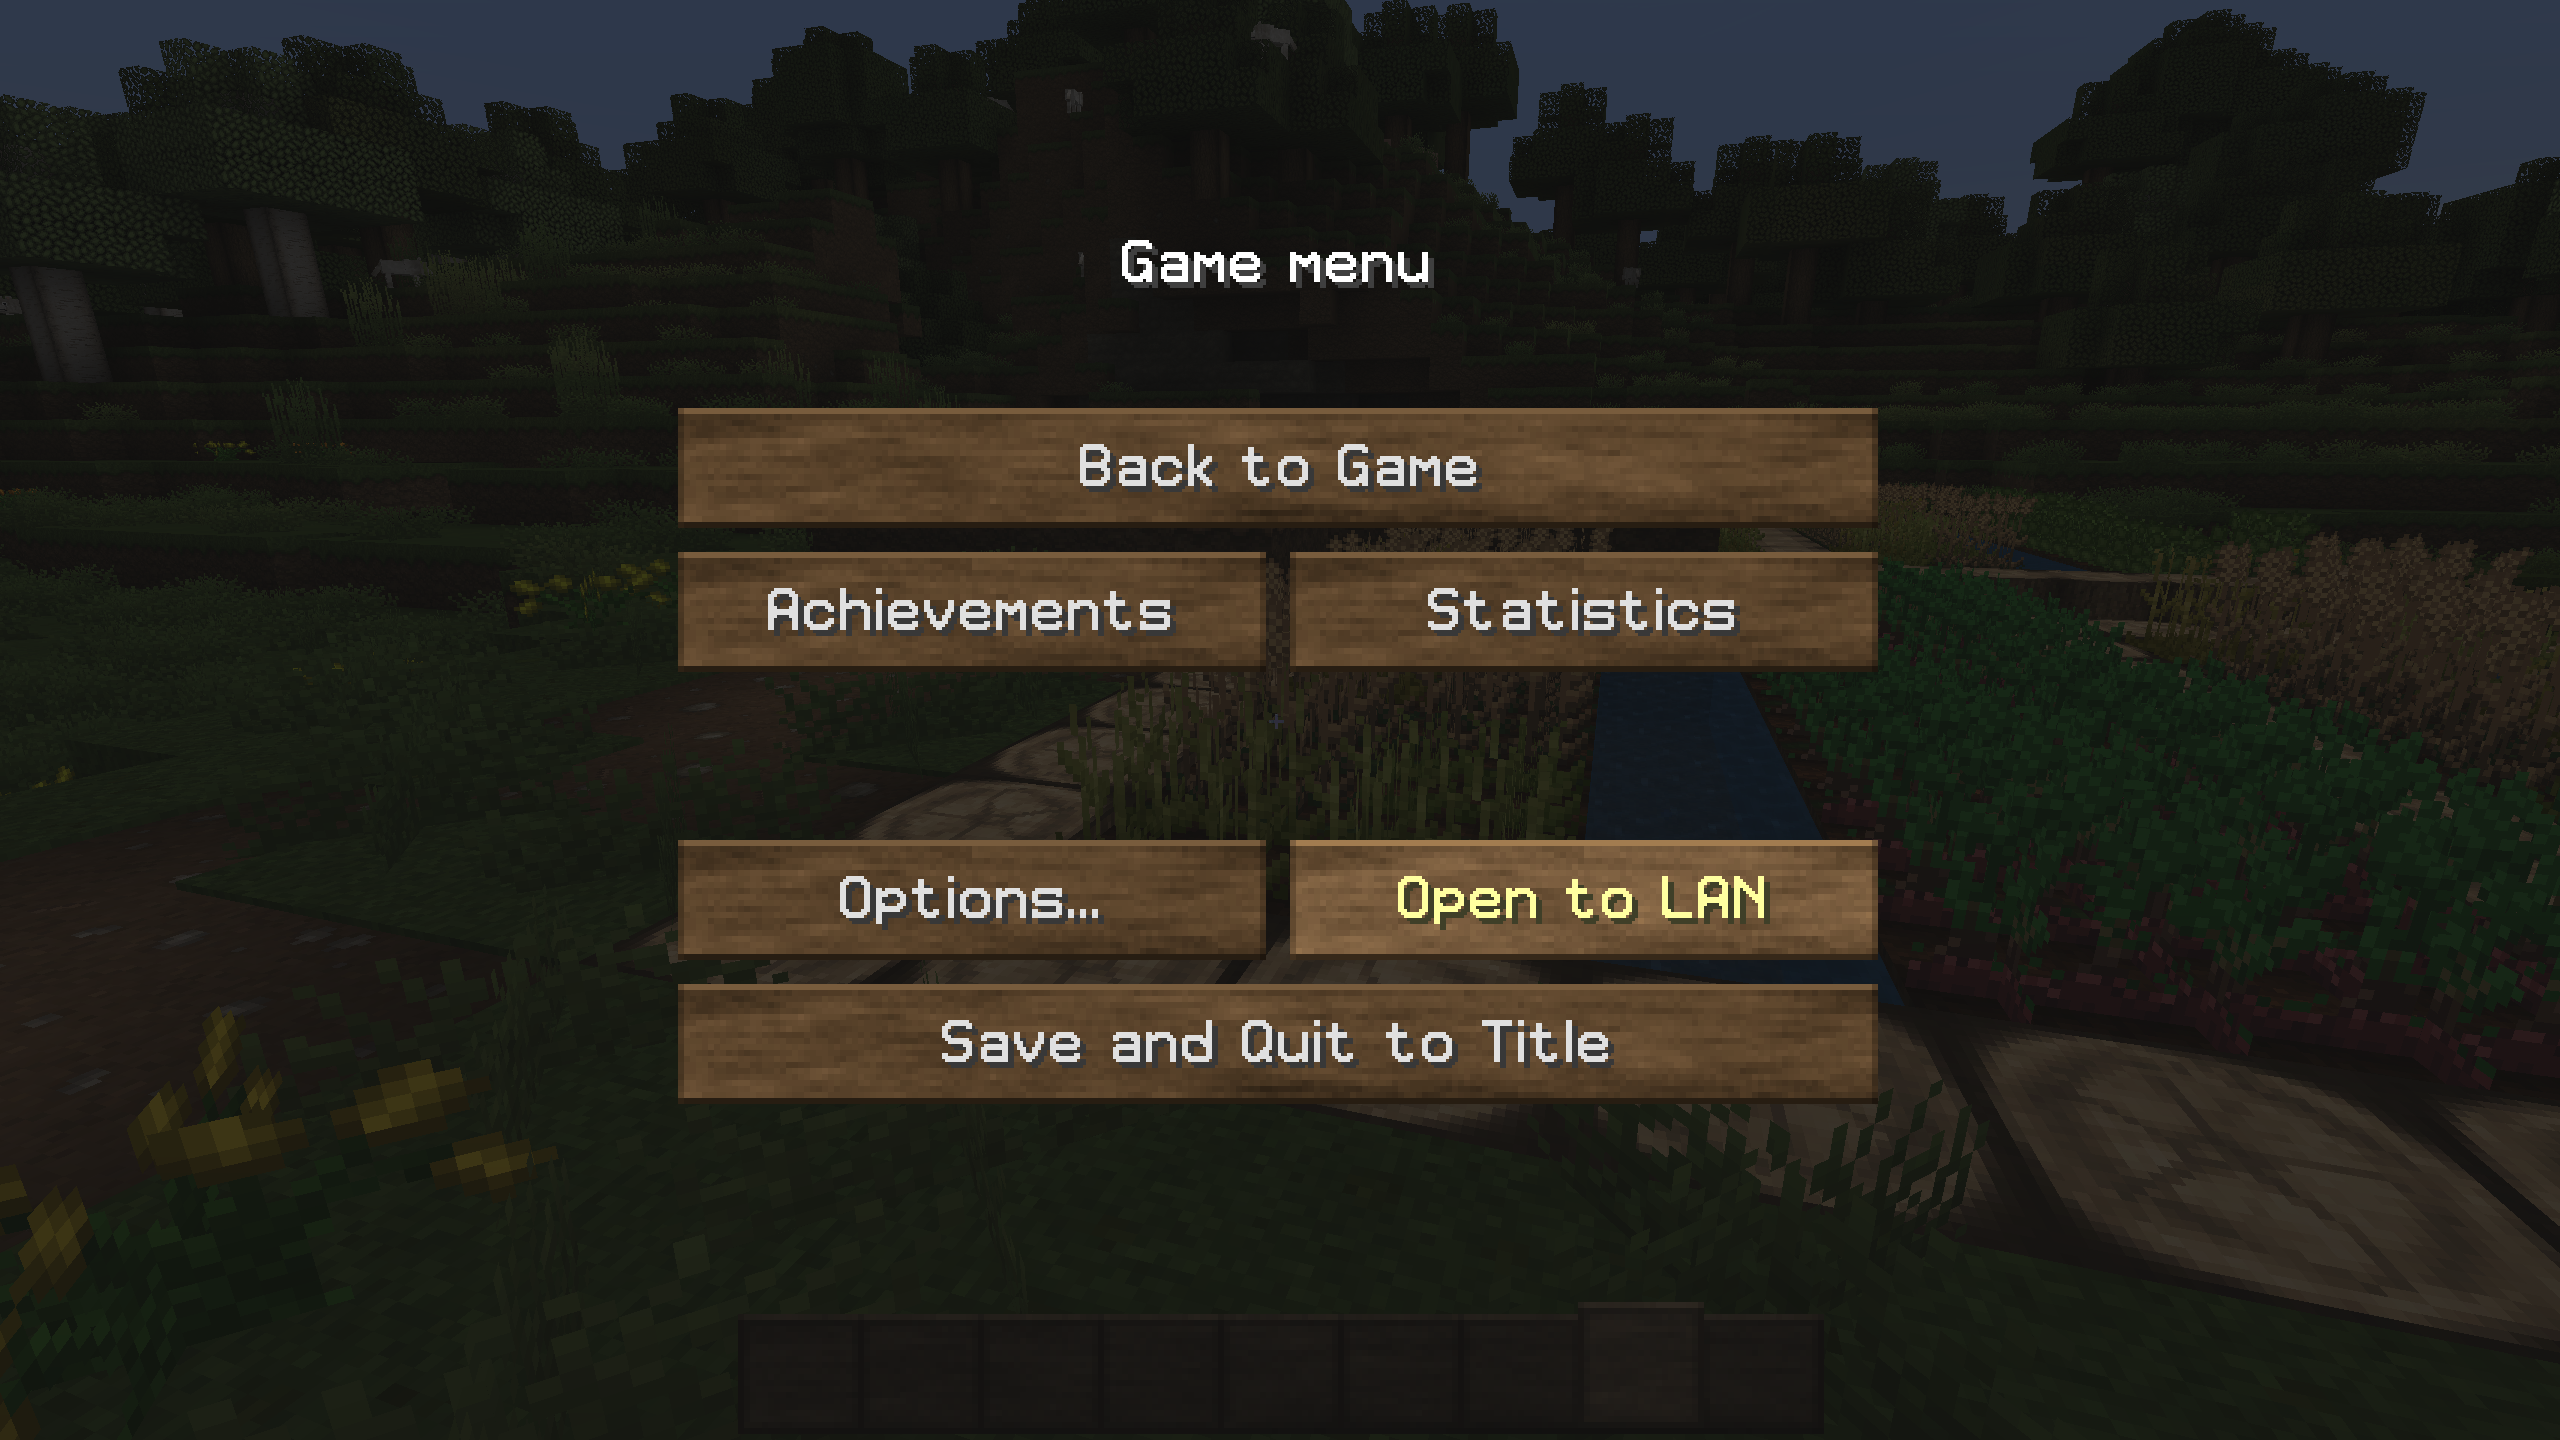
You can easily play Minecraft with multiple people by using the Open to LAN feature in the game menu. This allows you to create a world, start a game, and anyone that is on your network can join that game.
To start, simply start a Minecraft game. You can use a world you were already using or create a new one. Once you are in the game, click escape to get to the game menu. Select Open to LAN. This will take you to another menu where you can customize your game with 1 of 4 Game Modes and the choice to allow cheats or not. The game modes you chose when you started the game will be for you and anything you choose now will be for the people who join your game.

The four Game Modes available for multiplayer are Survival, Creative, Spectator, or Adventure. Survival and Creative will function the same as they do in single player mode (as covered above).
Spectator mode means the individuals who join your game will only be able to fly around (even fly through blocks), and they cannot interact with anything in the game. Spectators can see each other, but the individual who started the multiplayer game won't be able to see any of the spectators. Spectators can access their inventories, but they can't interact with it.

Here is what it looks like using a night vision potion while in spectator mode. You can go right through the ground and see where all the caves are.
If a spectator clicks on a mob character in the game, they will switch to seeing things from their perspective. There is no way to control the mob character, but the viewpoint can be interesting especially when you're seeing from the point of view of a spider or creeper. Click shift to move yourself off the mob character and switch back to flying around.

The world from a Spider's perspective as seen during spectator mode.
Lastly, there is Adventure Mode. This is like a restrictive Survival mode; it is ideal for showing off worlds you have created/modified to other people. Anyone who joins a game that is in Adventure mode will be able to walk around and interact with doors, levels, and mobs (including trading with villagers) as they normally would, but they can't break blocks with just their hands. They can, however, break and collect blocks if they have the correct tool (which will be covered in Lesson 2). To give your adventurers tools, I would suggest putting out a chest with everything they might need to get started inside.
Once you have decided on the Game Mode you want to use, select whether or not the other players can use cheats/commands. When ready, click Start LAN World. You will then be sent back to the game and anyone on your network will be able to see the game.

To join a LAN world, click Multiplayer from the main menu instead of Single Player. Any LAN worlds that have been started in your network will show up in this menu. Choose the one you want and click Join Server. Give the game time to load and you will appear at the world's spawn point. It is a good idea to start the world together so you can find each other easily. When possible, you should each claim a bed which will then become your new spawn points. A Spawn Point is where in the game you appear when you start and where you reappear when you die. This will always be the same unless you sleep in the bed (will be covered further in Building a Shelter), which will then make the bed your new spawn point.
You are now free to play the game together and see what you can accomplish. If you hover your cursor over another player, their name will appear above their head. Also, if you aren't too far away from the other characters and are facing in their direction, you should be able to see their name hovering above their head in the world. This is one way to keep track of each other but doesn't work if you get too far away.

The individuals who join the multiplayer game can disconnect or reconnect to the game whenever they want. They will always respawn where they were the last time they played the game. If the individual who started the LAN world leaves, everyone else will be booted out of the game so make sure you give everyone warning before you decide to quit for the day. People will not be able to play that world again until the individual who created and started the multiplayer game goes through the process of playing it and opening it to LAN again.
Using Resource Packs/texture Packs
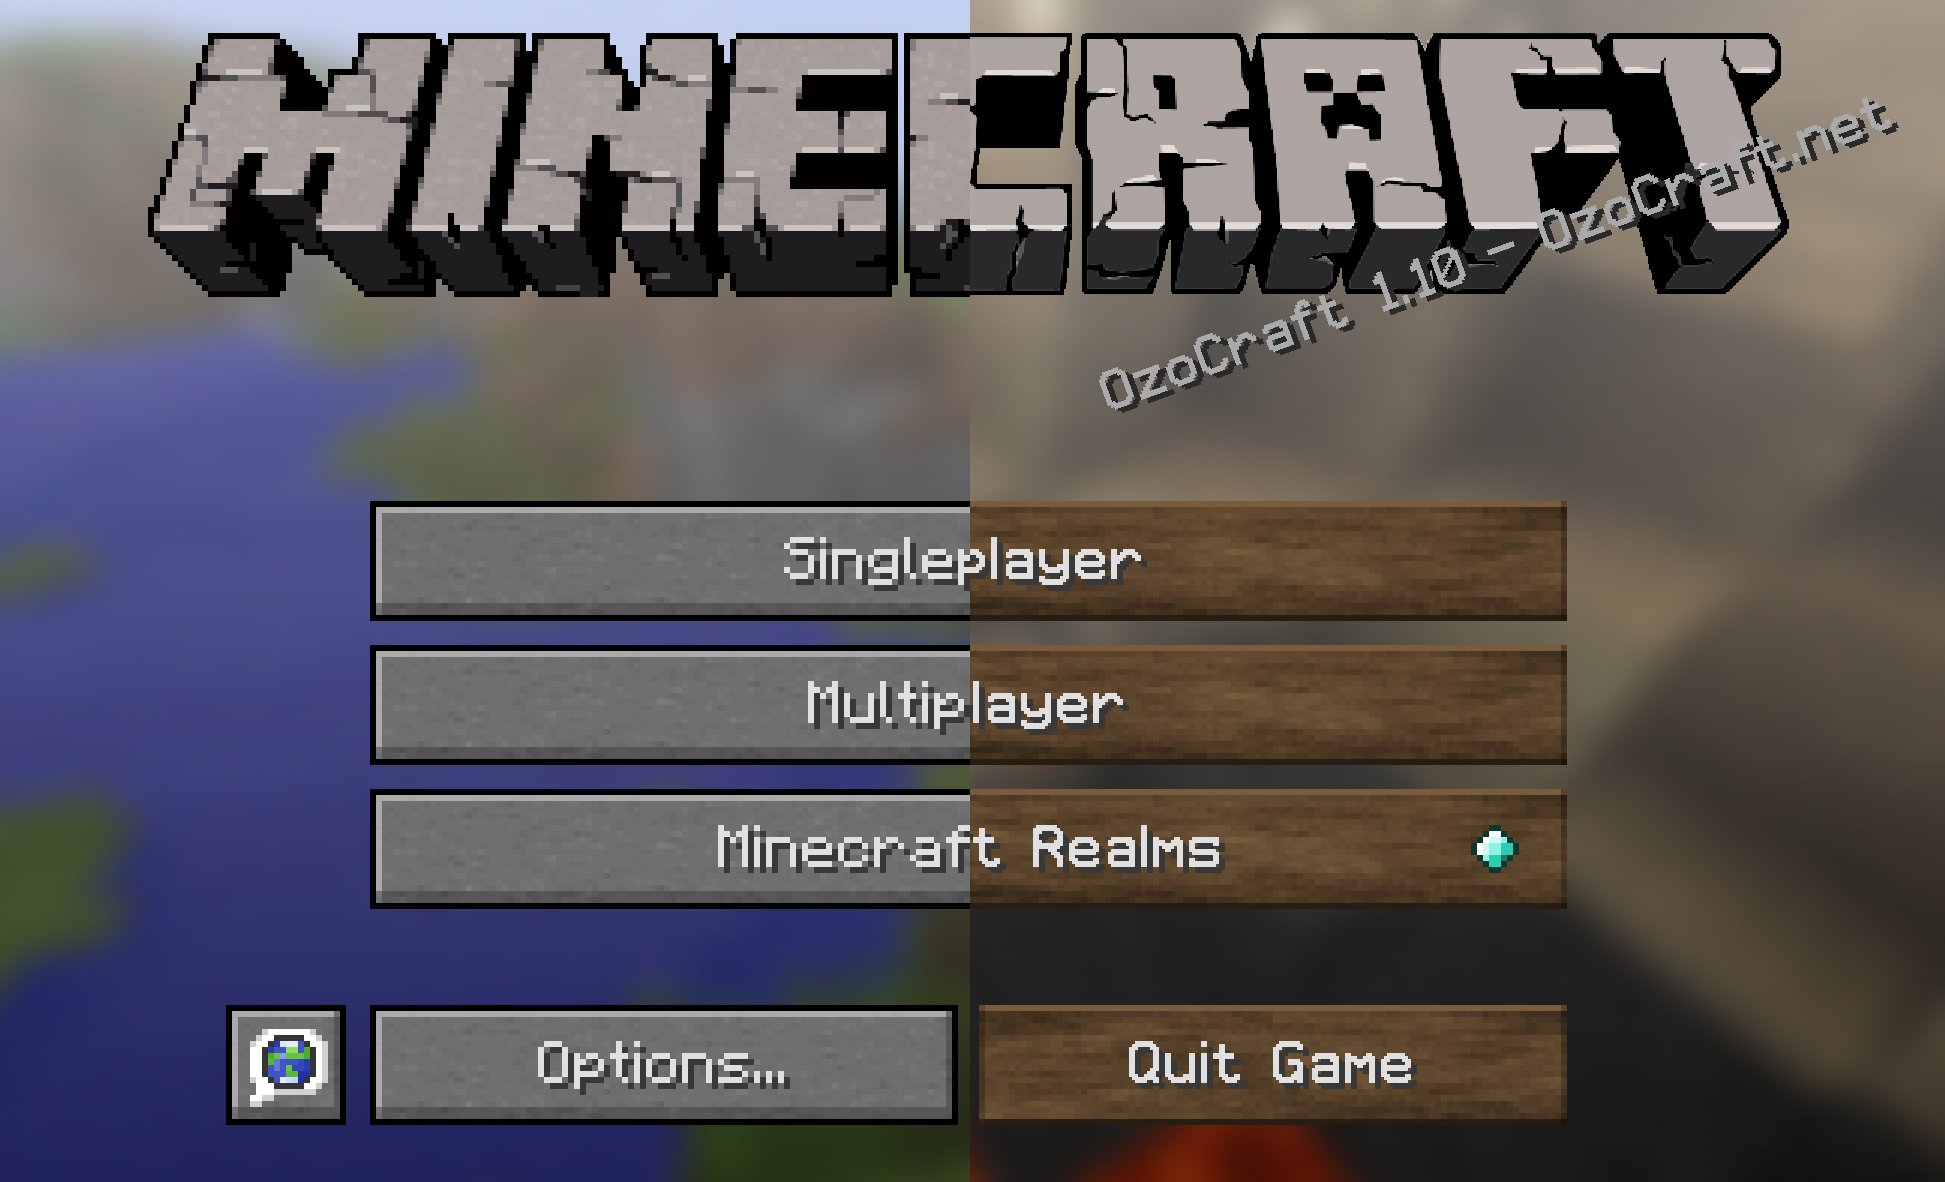
To customize Minecraft you can add Resource Packs. They were formally known as Texture Packs and only contained different skins for the blocks of Minecraft, but they can now contain many other items including music, text, and art.
To begin, you need to create or download the resource packs you want. There are various locations on the web to find them. The one I will be showing you for this class is OzoCraft*. Whenever you download a resource pack, the file will be zipped, make sure you unzip it. To use it in the game, move the new resource pack into the resourcepacks folder that is in the Minecraft folder on your computer.

Now you can open the game. On the main menu screen, click the Options menu. This will take you to many game options; the one you want is Resource Packs.
This will take you to the menu that allows you to add whatever resources packs you want from those you downloaded. If you have no resource packs added, the left column will be blank. Once you drag them into the appropriate folder (as indicated above) they will appear in this left column.

Click any of the resource packs on the left to move them over to the right. The Default resource pack will always be on the right. Once you have chosen the one you want, click Done. Give it time to load and once it takes you back to the menu, you will be ready to play. If you ever decide you want to remove that texture pack and go back to default or try another one, just go back to the Resource Pack menu, hover over the texture pack you want to remove and click the "X" that appears to move it back over to the left. Now you can choose a new one to try out or just use the default textures.

On the left is the default textures and on the right is the OzoCraft texture pack.
*Since installing this texture pack, Minecraft has updated to 1.11 which broke one of the Oak Log textures in this pack. Here is a quick video someone created showing how to fix the texture pack if you are interested in using it.
Common Issues With Resource Packs
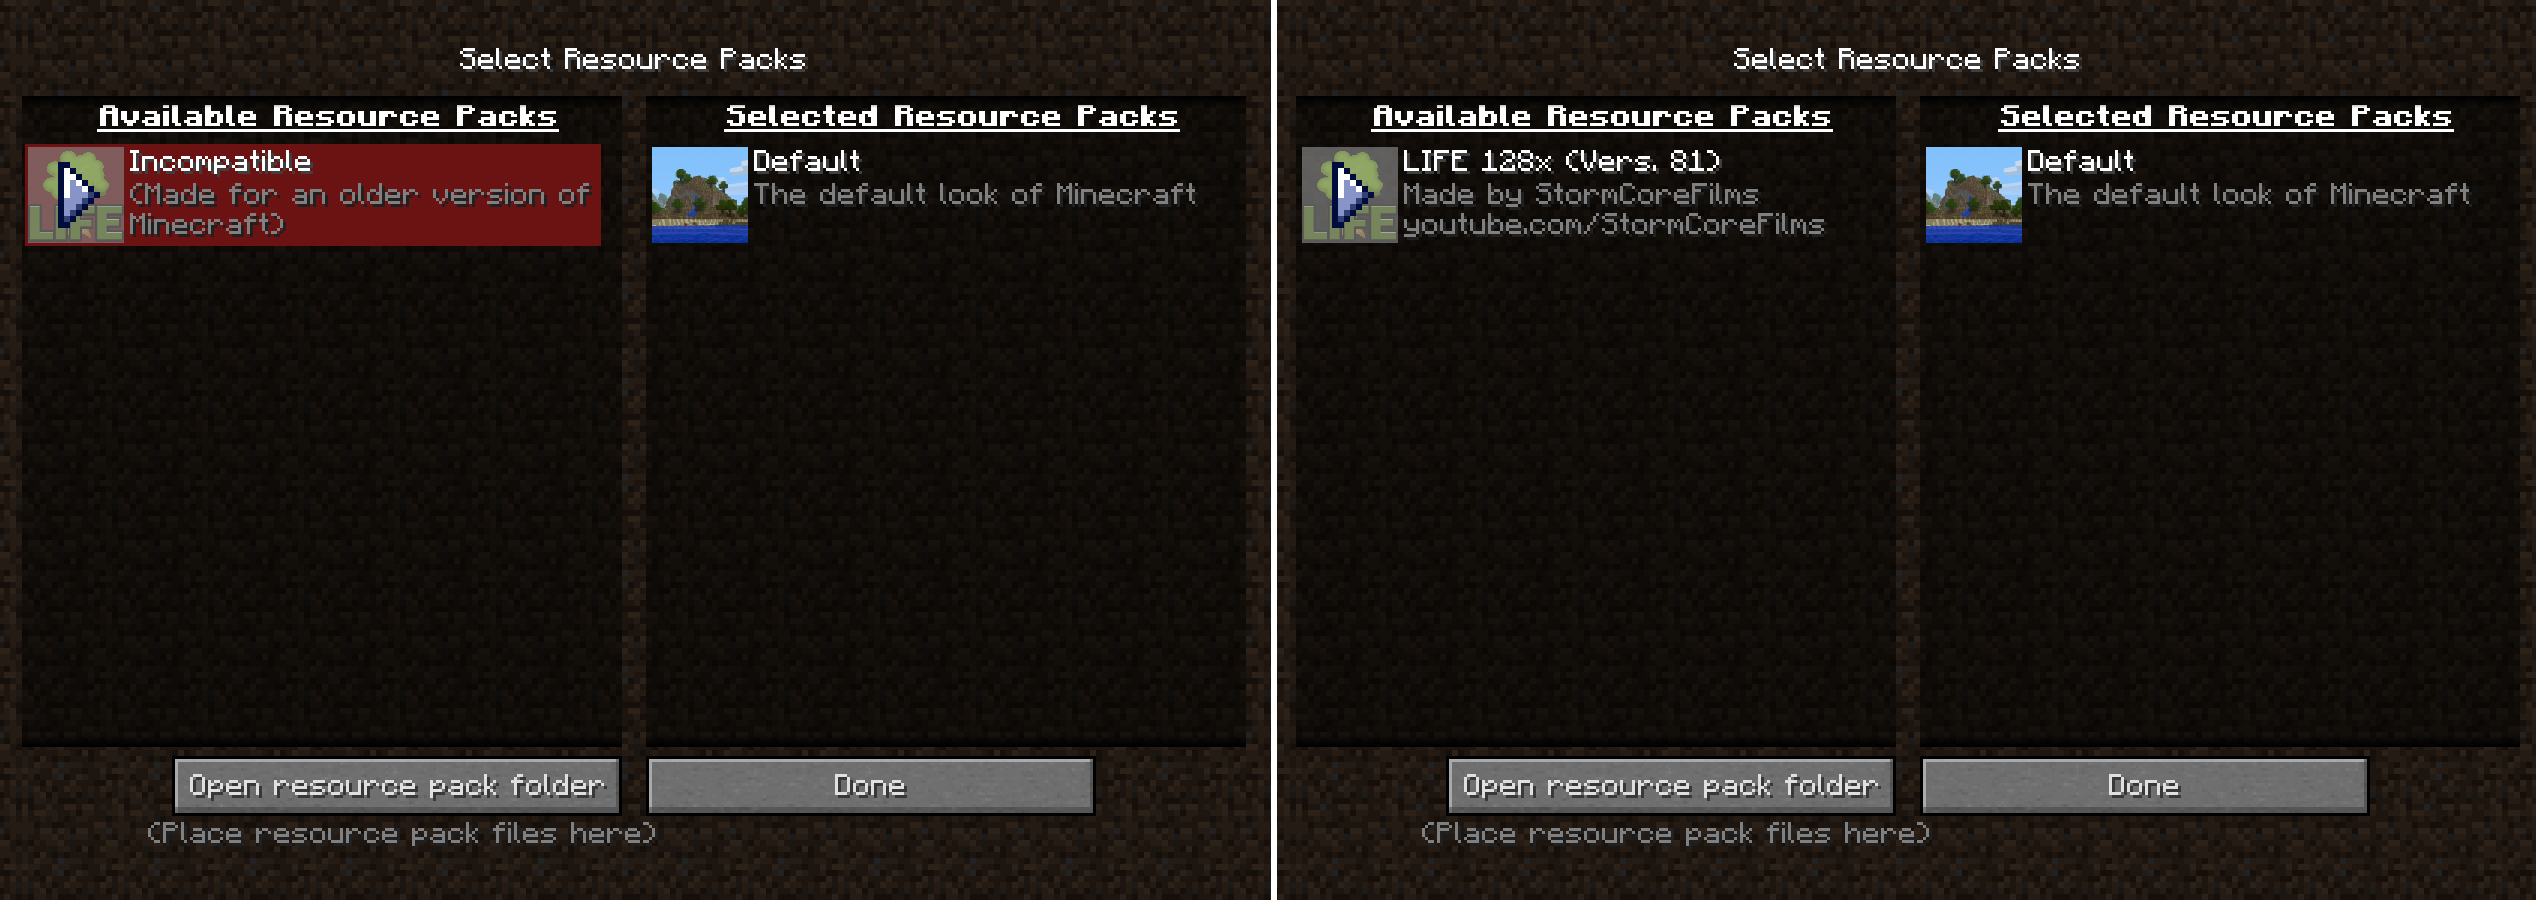
People have been creating resource packs through many versions of Minecraft. Since new blocks can be added at any time, some packs can become out of date. When this happens, the resource pack will show up highlighted in red and it will say that it was made for an older version of Minecraft. You can actually get around this.

Go into your resourcepacks folder within the Minecraft folder on your computer and find the resource pack you want to update. Look for the file called pack.mcmeta. Open this in a basic text editing program. Where you see it say "pack_format": 1, change the 1 to a 3 and save it. Go back into the Resource Packs in the Minecraft game and there should no longer be an error with it. The pack will now work with your game, you are just going to be missing some textures, but the default textures will still be in place for the missing items/blocks.
Another issue you may run into is the resource pack won't show up in the menu even after you move it to the right folder on your computer. The most likely reason this is happening is because the resource pack is missing the pack.mcmeta file. The easiest way to try to fix this is to copy an existing file from another resource pack and pasting it into the resource pack that is missing it. You can make edits to it to make it more fitting with the resource pack if you would like, but this shouldn't be necessary.

Put the expansion packs on the right in the order you want them to be, so top is the one you want to use the most, and those below it will fill in any gaps.
Lastly, if you really want to use an older resource pack, but also don't want the default designs to fill in any missing textures, you can use multiple resource packs. Start by clicking on all the packs you want to use to move them to the right. Hover over the resource packs images and use the arrows that appear to move them up or down. Put the pack you want the most at the top and the second most below it and so on. The default pack will always appear at the bottom.

The left shows just LIFE resource pack, while the right has LIFE and ORR.
On the Left:
The LIFE pack changed the grass texture, but the color is the same as the game's Default textures.
The skins of the minecart and rails are the same as Default because LIFE did not have a skin for this.
On the Right:
The grass is still the same texture the LIFE pack changed it to.
The ORR pack changed the texture for the minecart and rails.
The shade of green for the grass changed because ORR had a file for this while LIFE did not.
Starting Your Game

This may seem overwhelming, but you can mess with as many or as few settings for your game as you want. The important thing is to have fun while you're playing. If things don't seem right with your first game, you can always close it and try a new one with different settings.
Once you have the settings the way you want them for your game, you can click Create New World to start playing! When the world loads, you will be thrown right into the game. It can seem overwhelming to just start with nothing, but it's really easy to get going. The next lesson will talk more about what you want to get started on when the game loads and more of what you are going to experience as you explore more and more of your world.