Welcome Cat
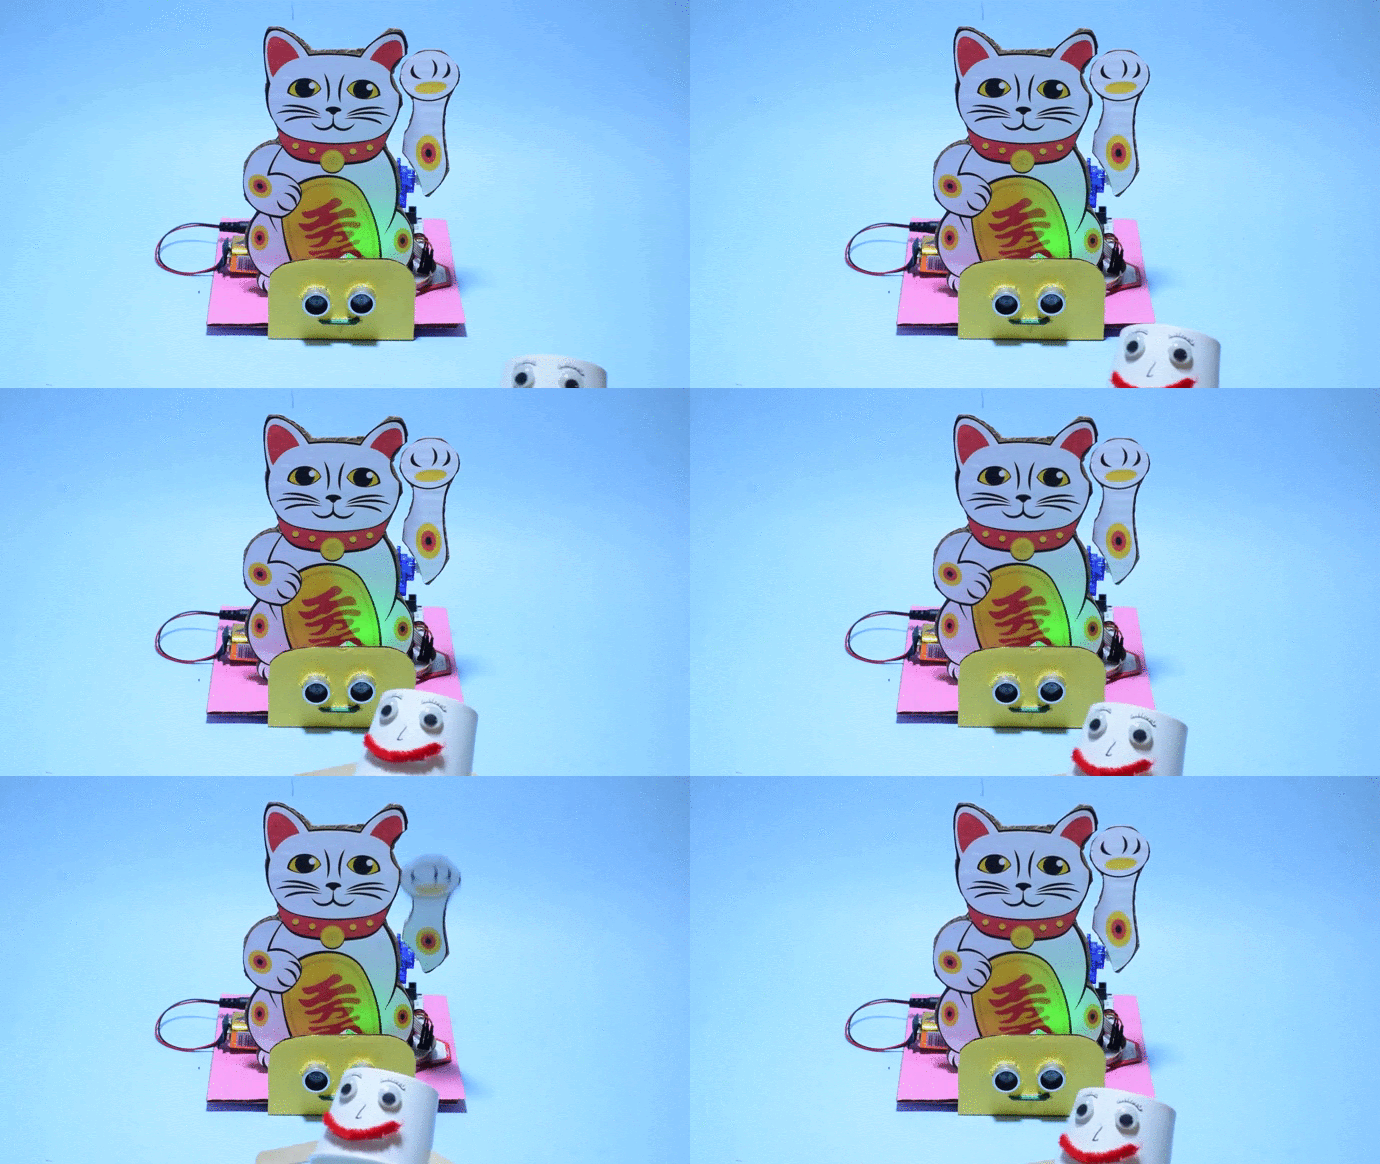
A warm welcome is beyond words. It creates a feeling of care and gives a sense of pleasure. What else will visitors expect than being greeted with a smile and kept comfortable?
Welcome home your guests with this cute little Welcome Cat spreading a smile across their faces!
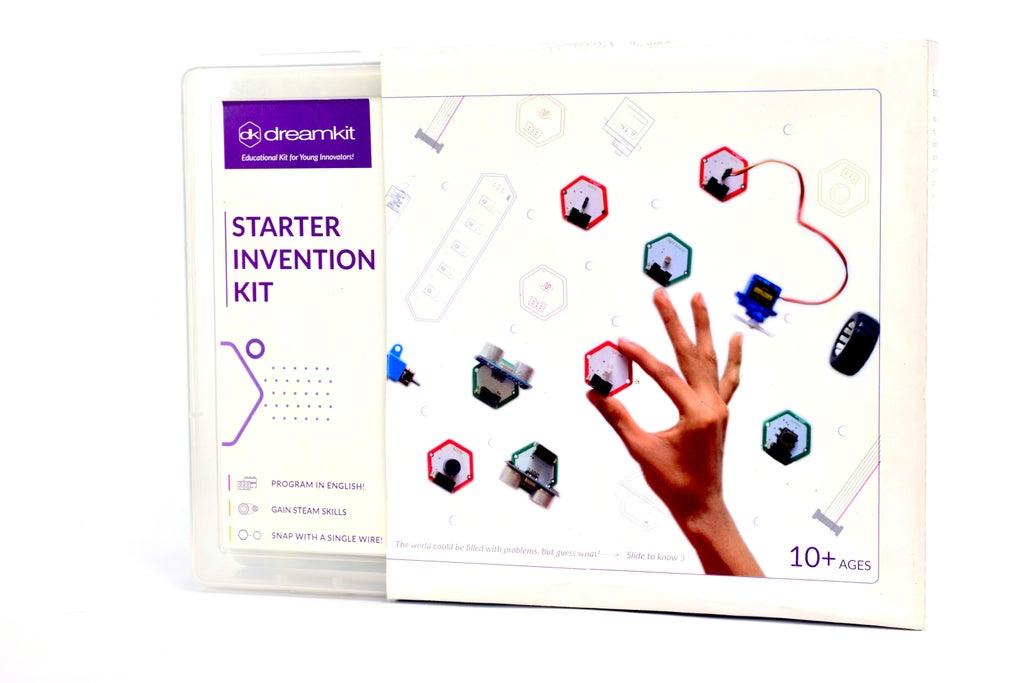
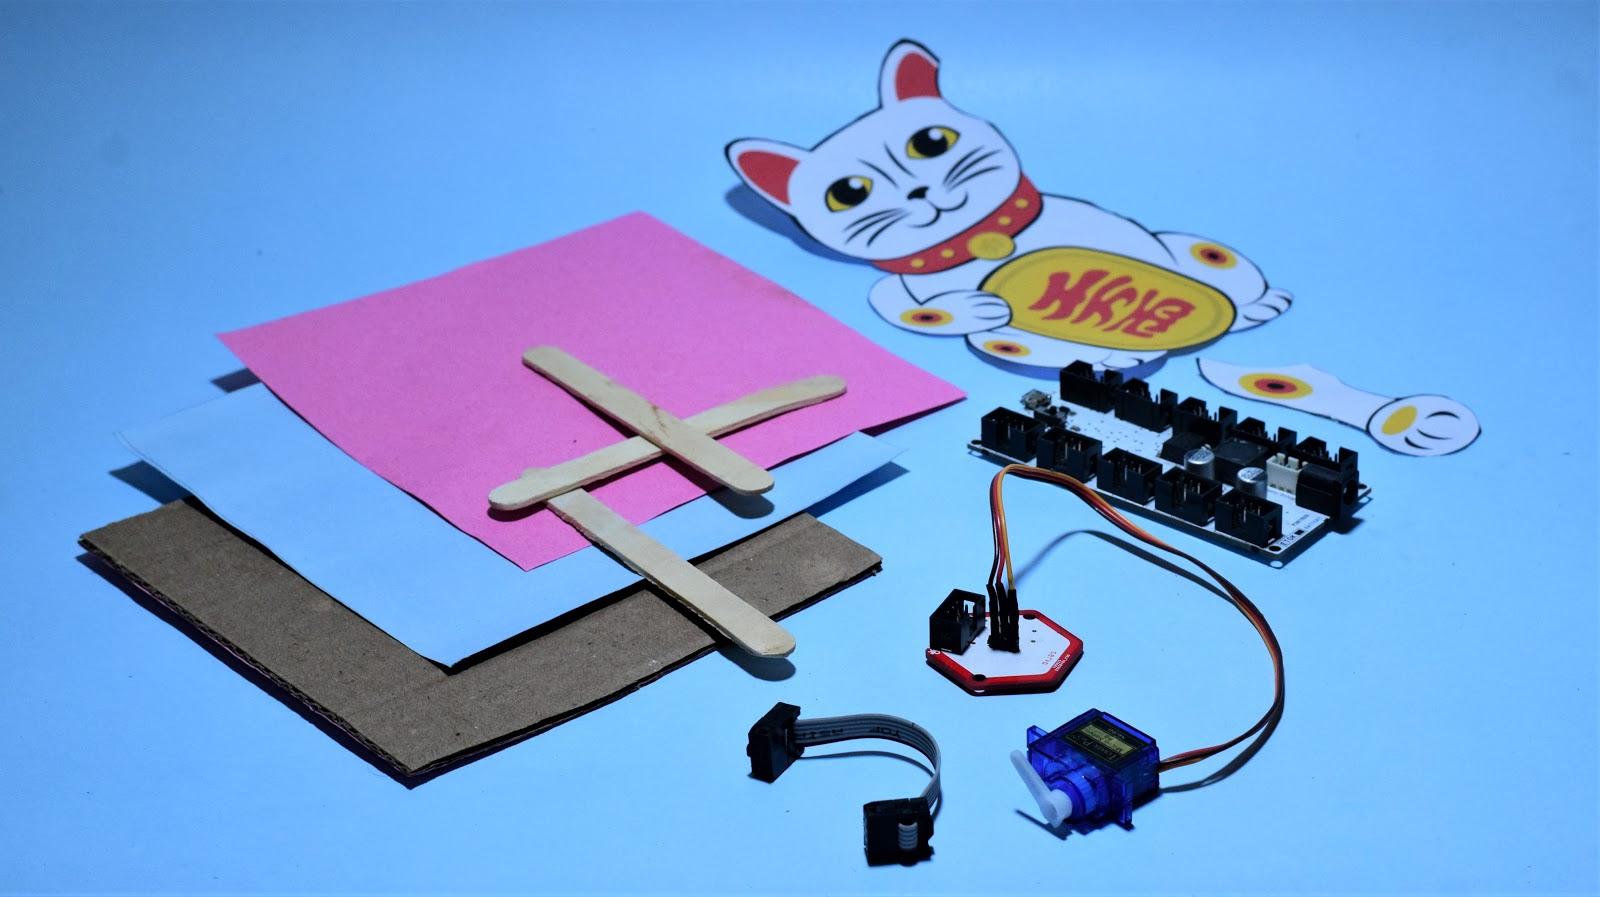
1. Dream Kit
2. Fevicols
3, Computer with DK studio
4. Cardboard sheet
5. Glue
6. Icecream stick
7. A pair of scissors
How It Works
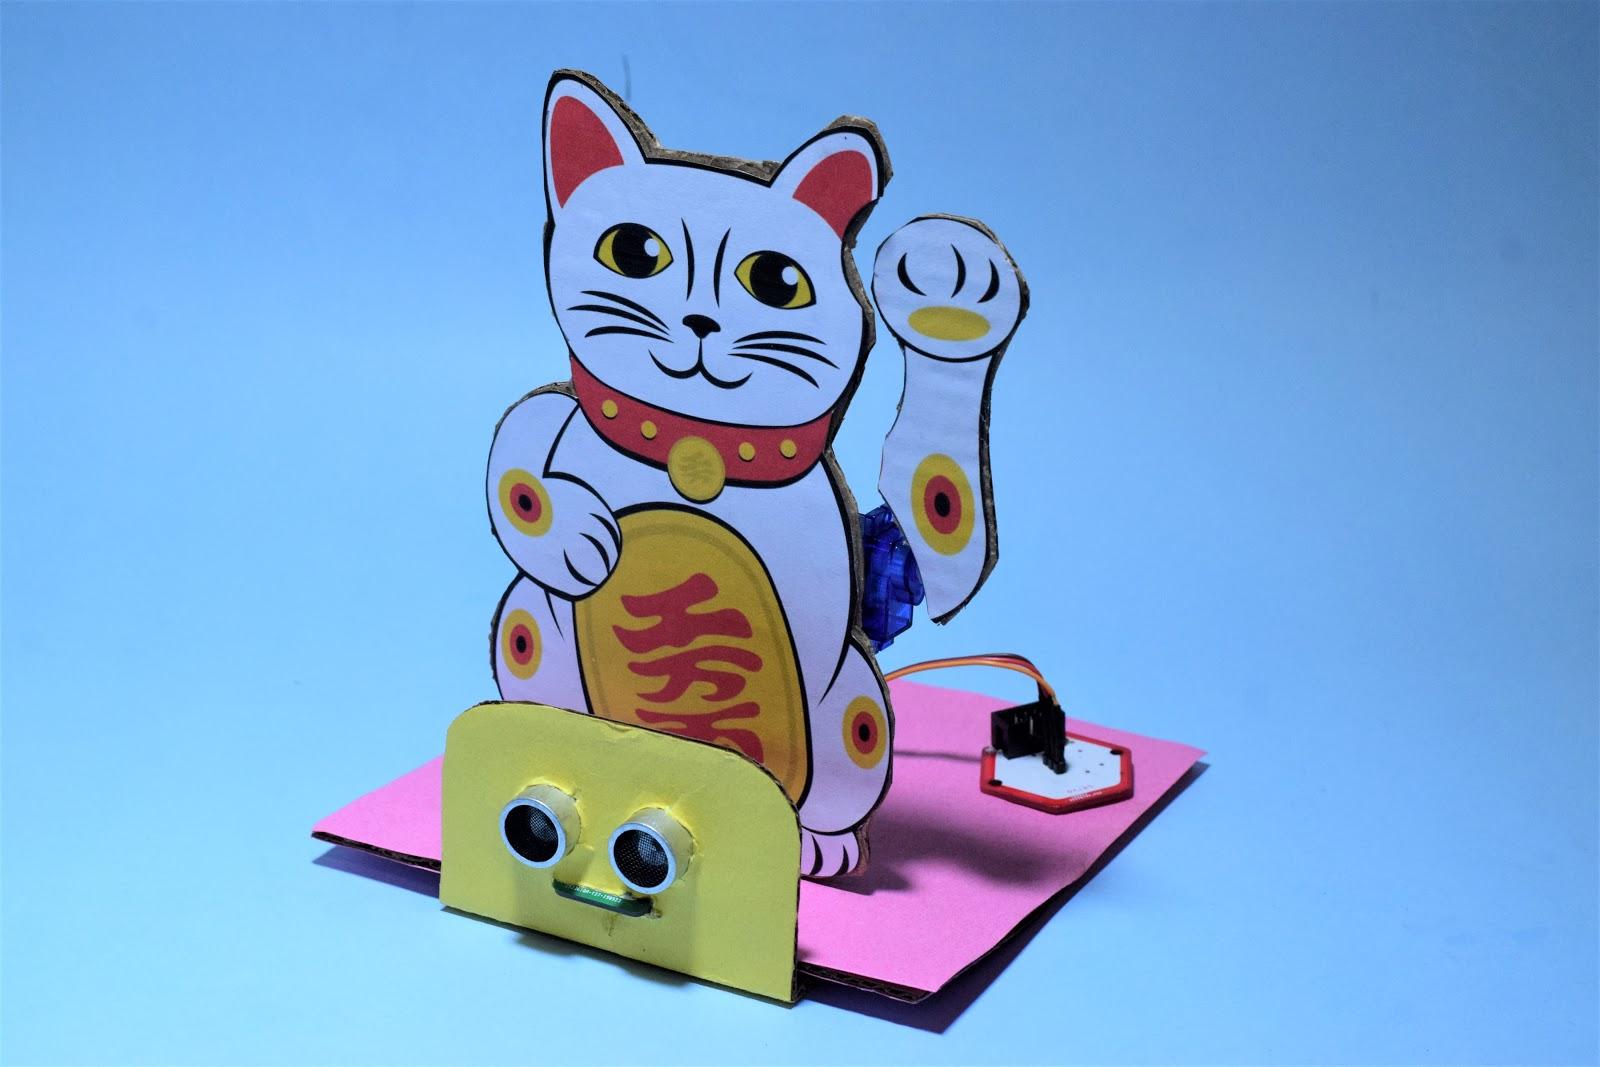
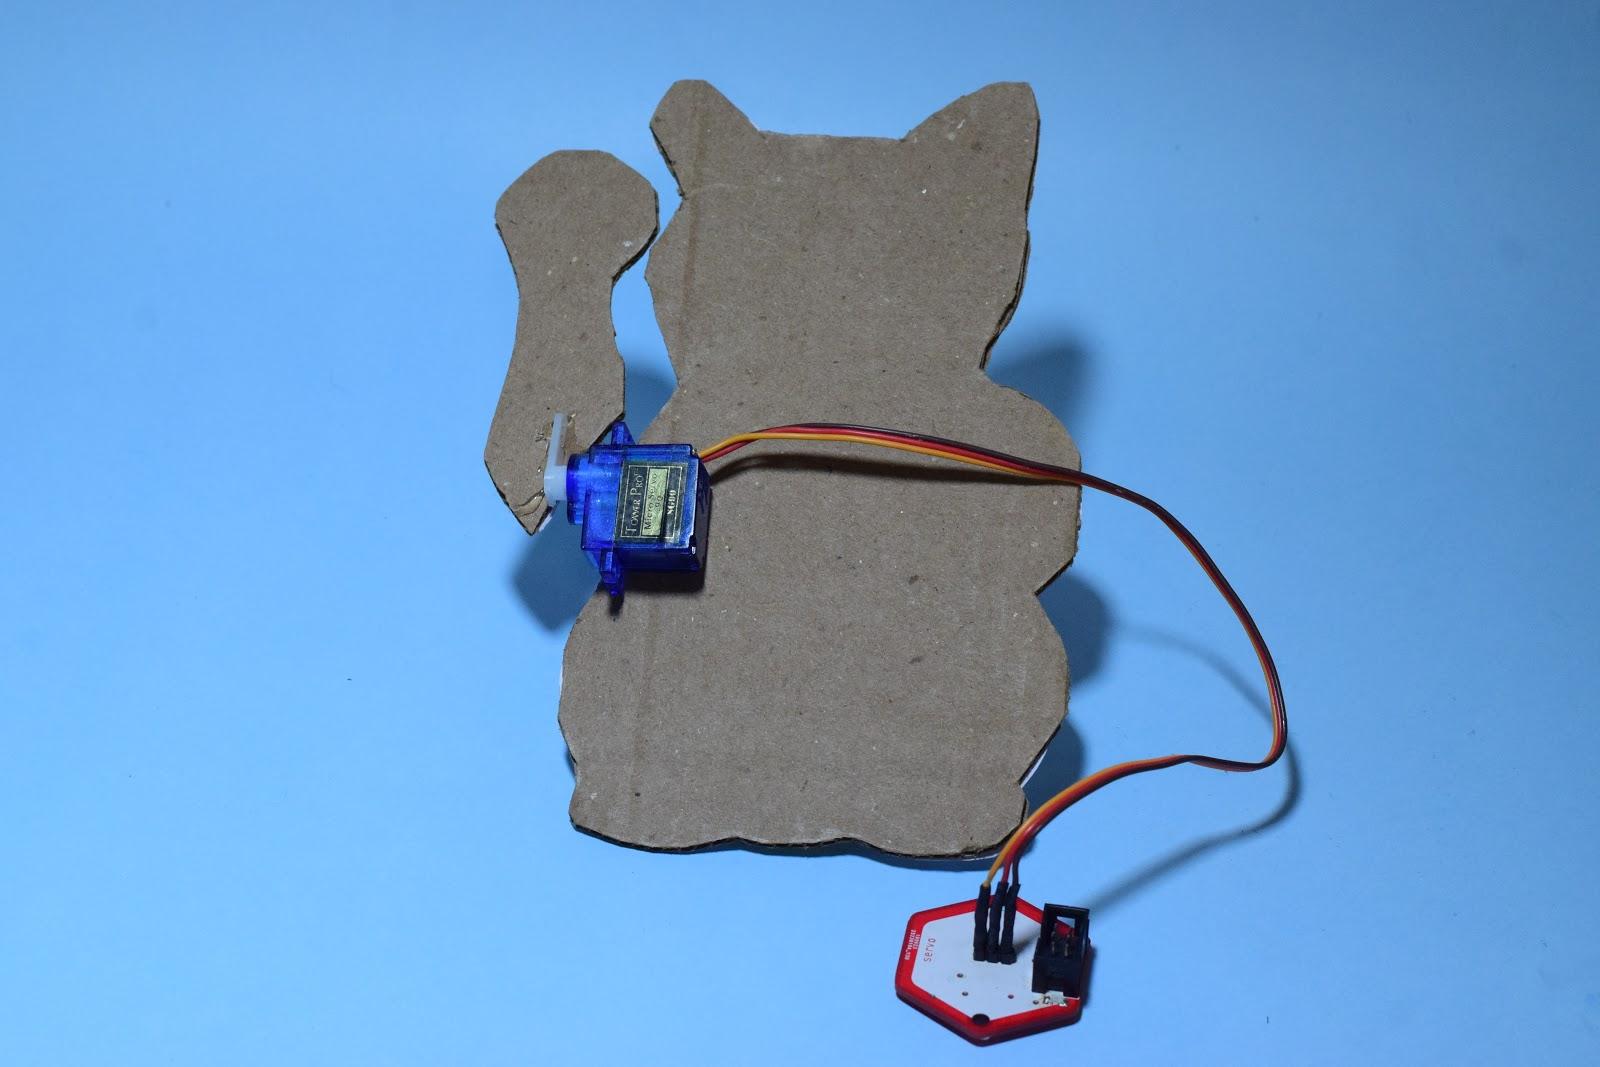
In the Welcome Cat project, the servo motor is attached to the cat arm. So, when the motor moves front and back, the cat arm fixed to it will also move front and back welcoming people by this charming li’l cat.
Connections
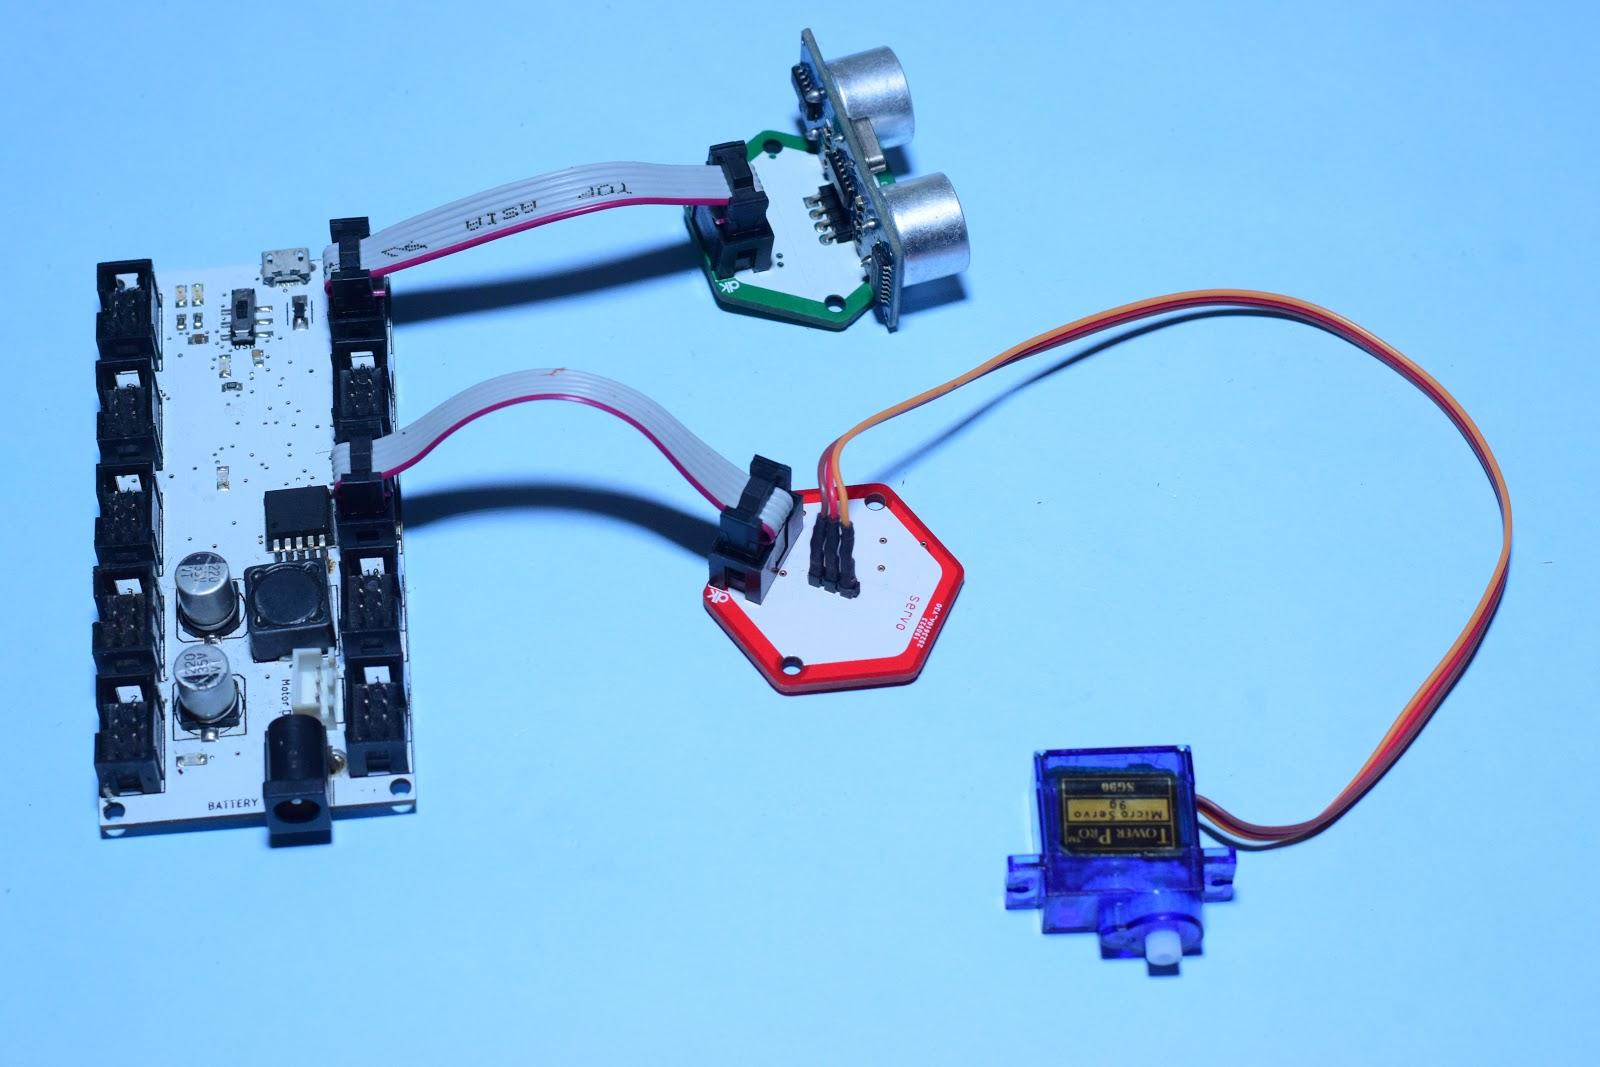
Programming Dream Kit With DK Studio
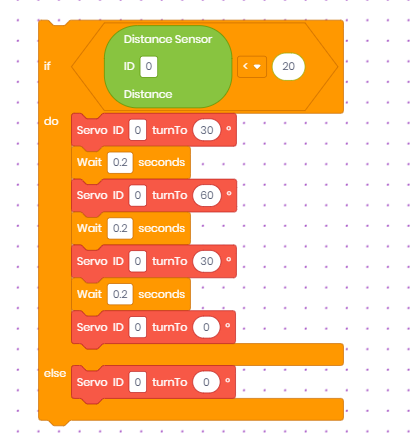
Connect the HUB to your computer using a USB cable and make sure the HUB is in USB mode. Open DK studio software in your computer choosing the correct port number and click on ‘Connect’. Place the blocks as shown below and click on ‘Upload’.
Click here to download the DK Studio Software
Build Your Model
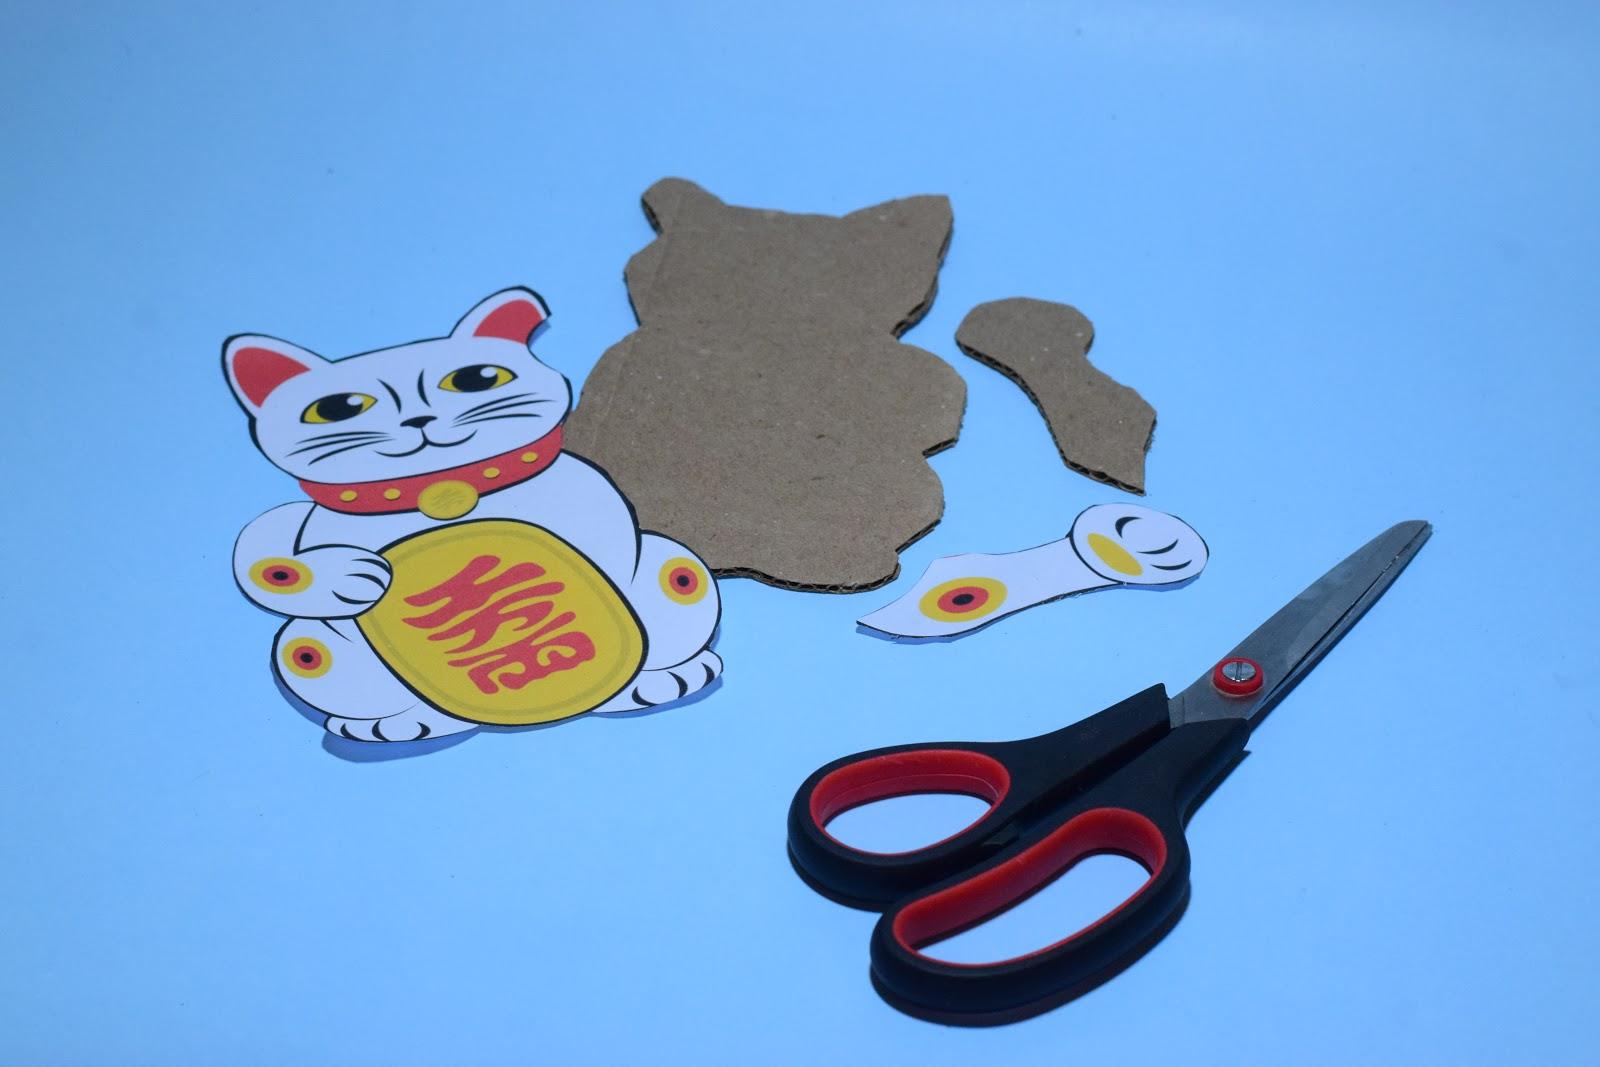
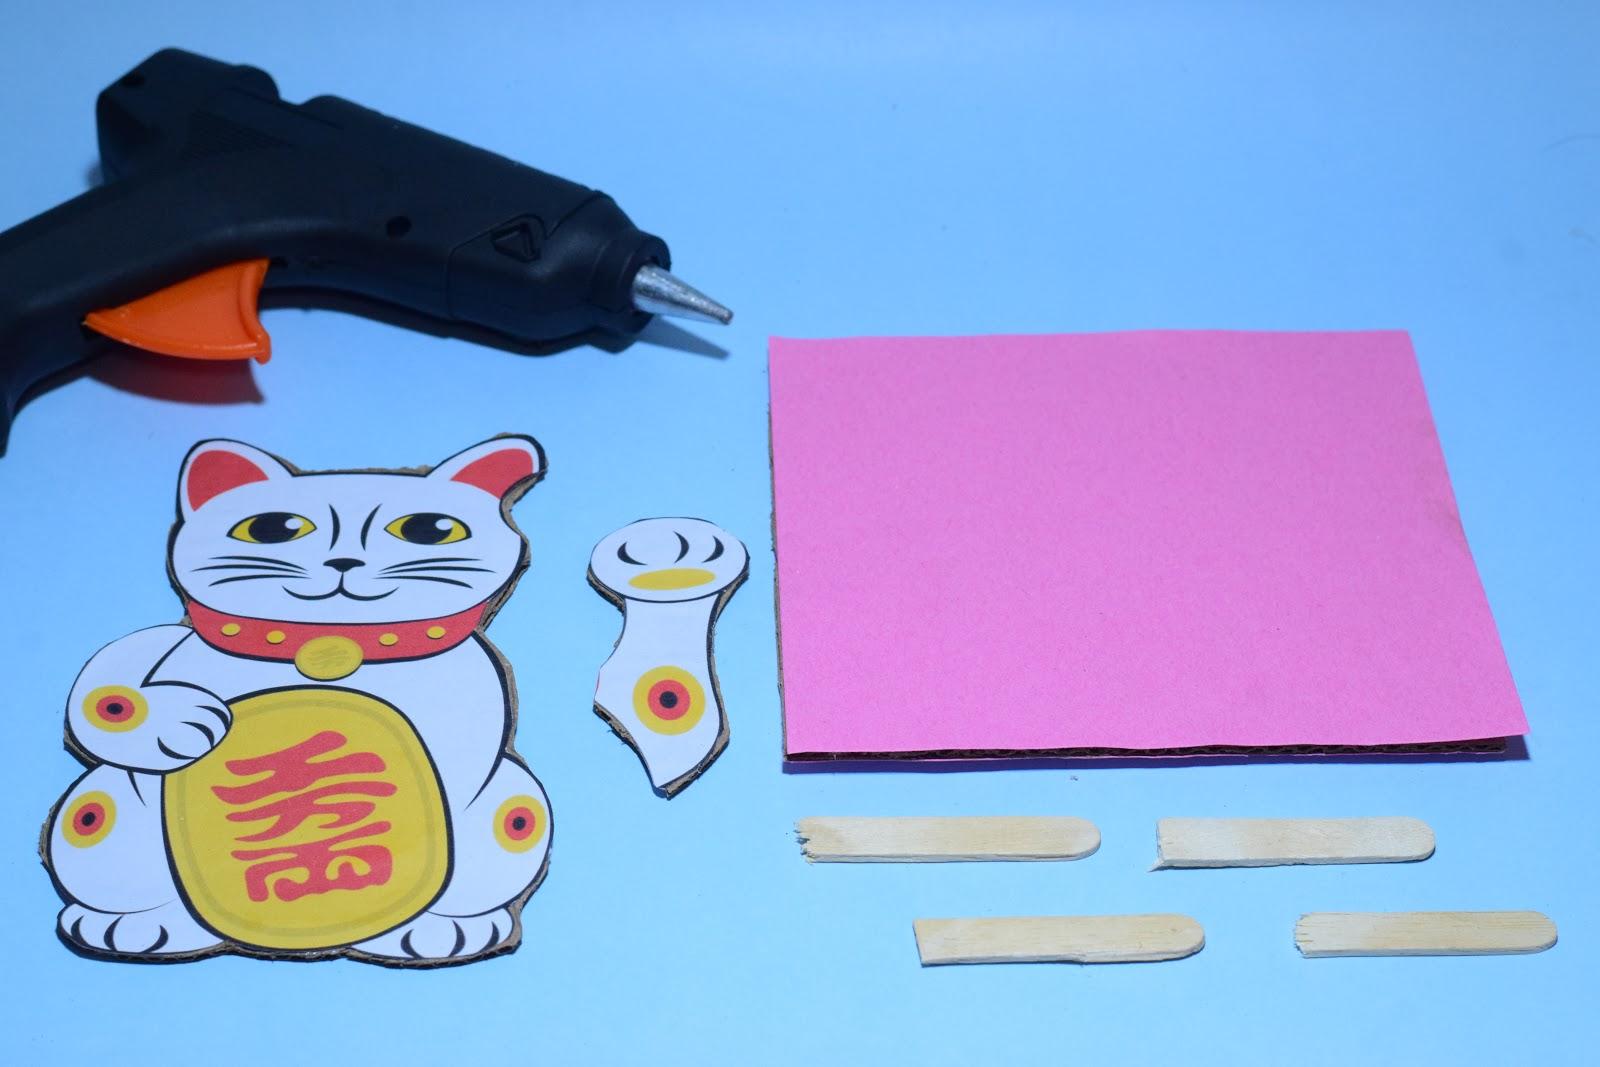
1.Take a printout of the cat image or just draw an image of the cat such that one arm of the cat is separate as shown in the image.
2.Cut the outline of the cat and stick it onto the cardboard sheet.
3.Now, cut the cardboard in the shape of the cat.
Cut the Cat’s Arm and Attach It to the Servo Motor.
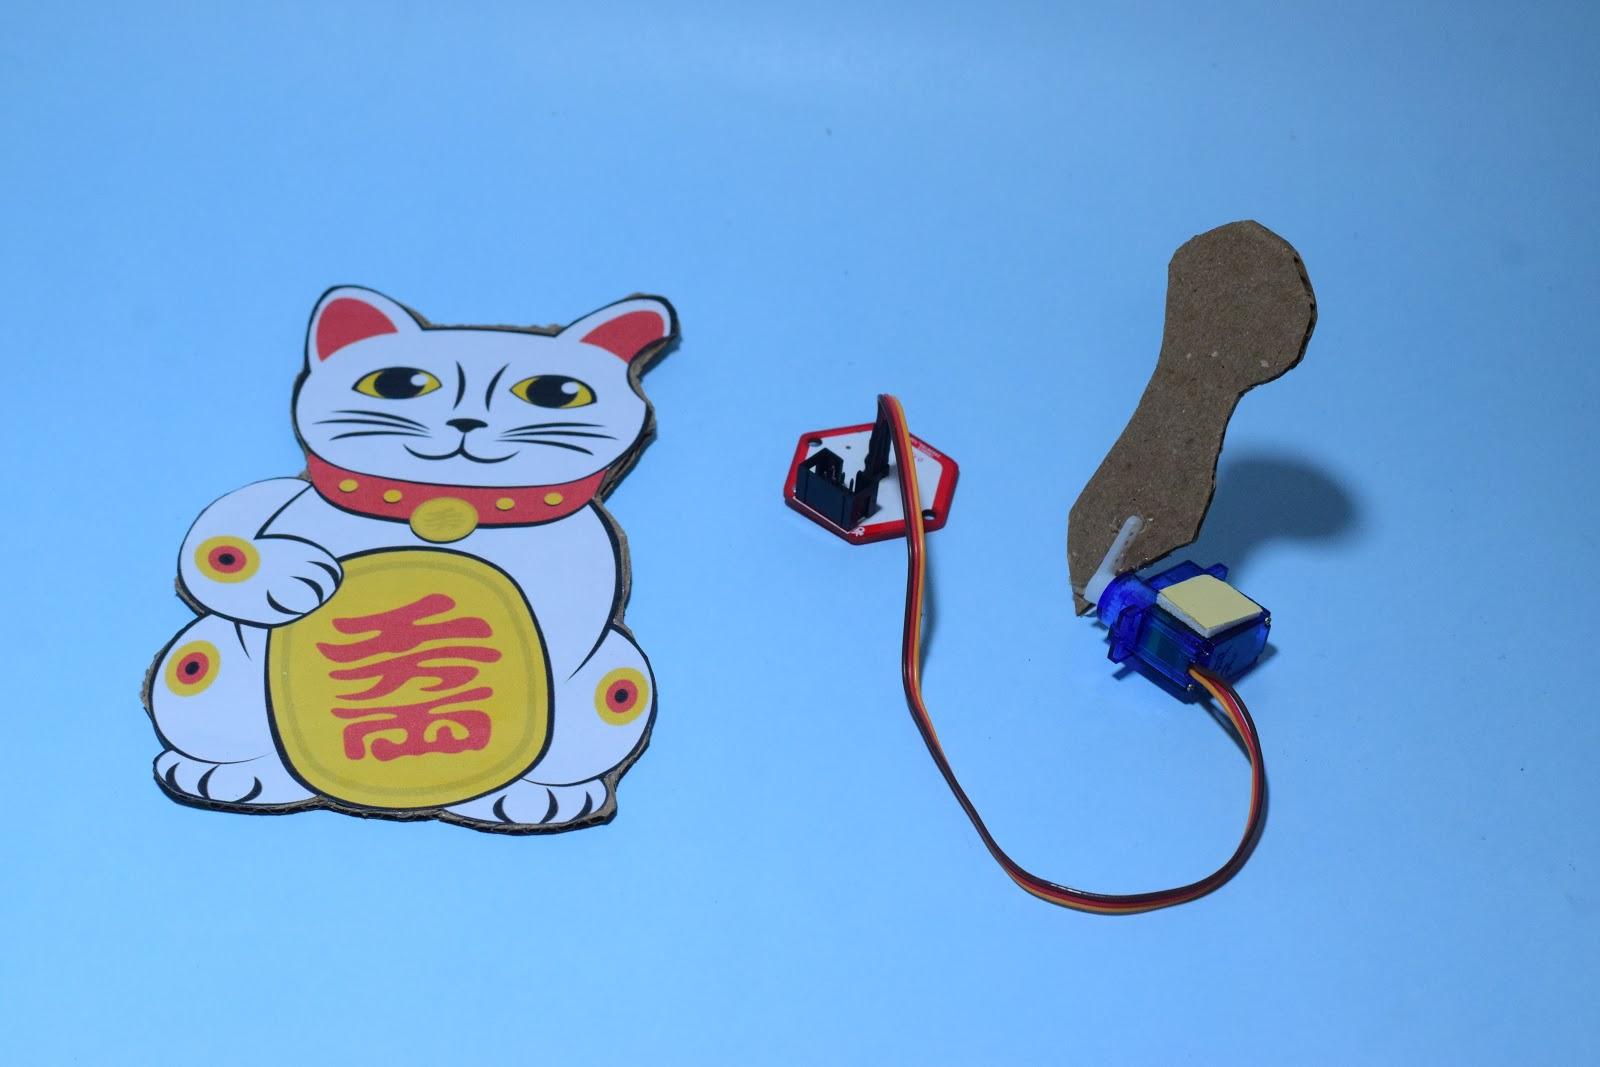
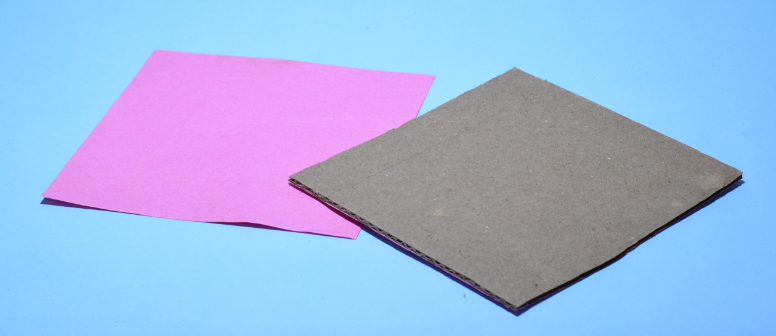
Cut a Cardboard Piece for the Base of the Cat.
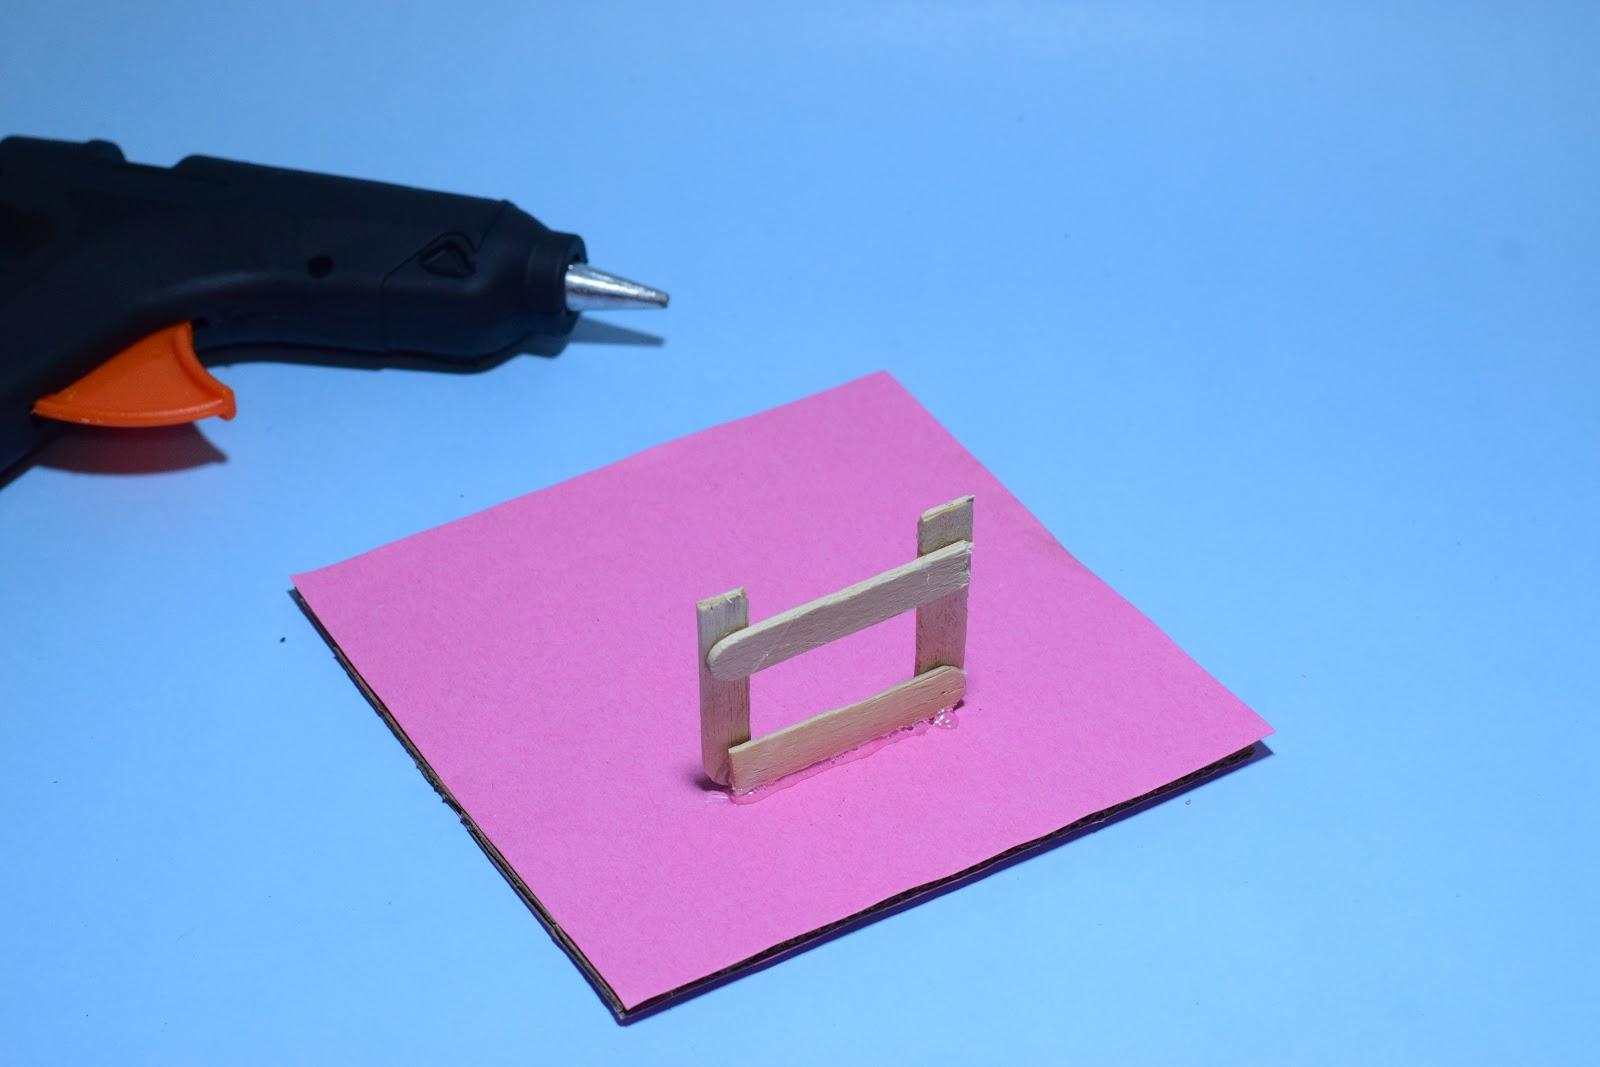
Take Some Ice-cream Sticks and Attach It to the Base As Shown Below.
Take a Cardboard Piece and Make a Stand for the Distance Sensor.
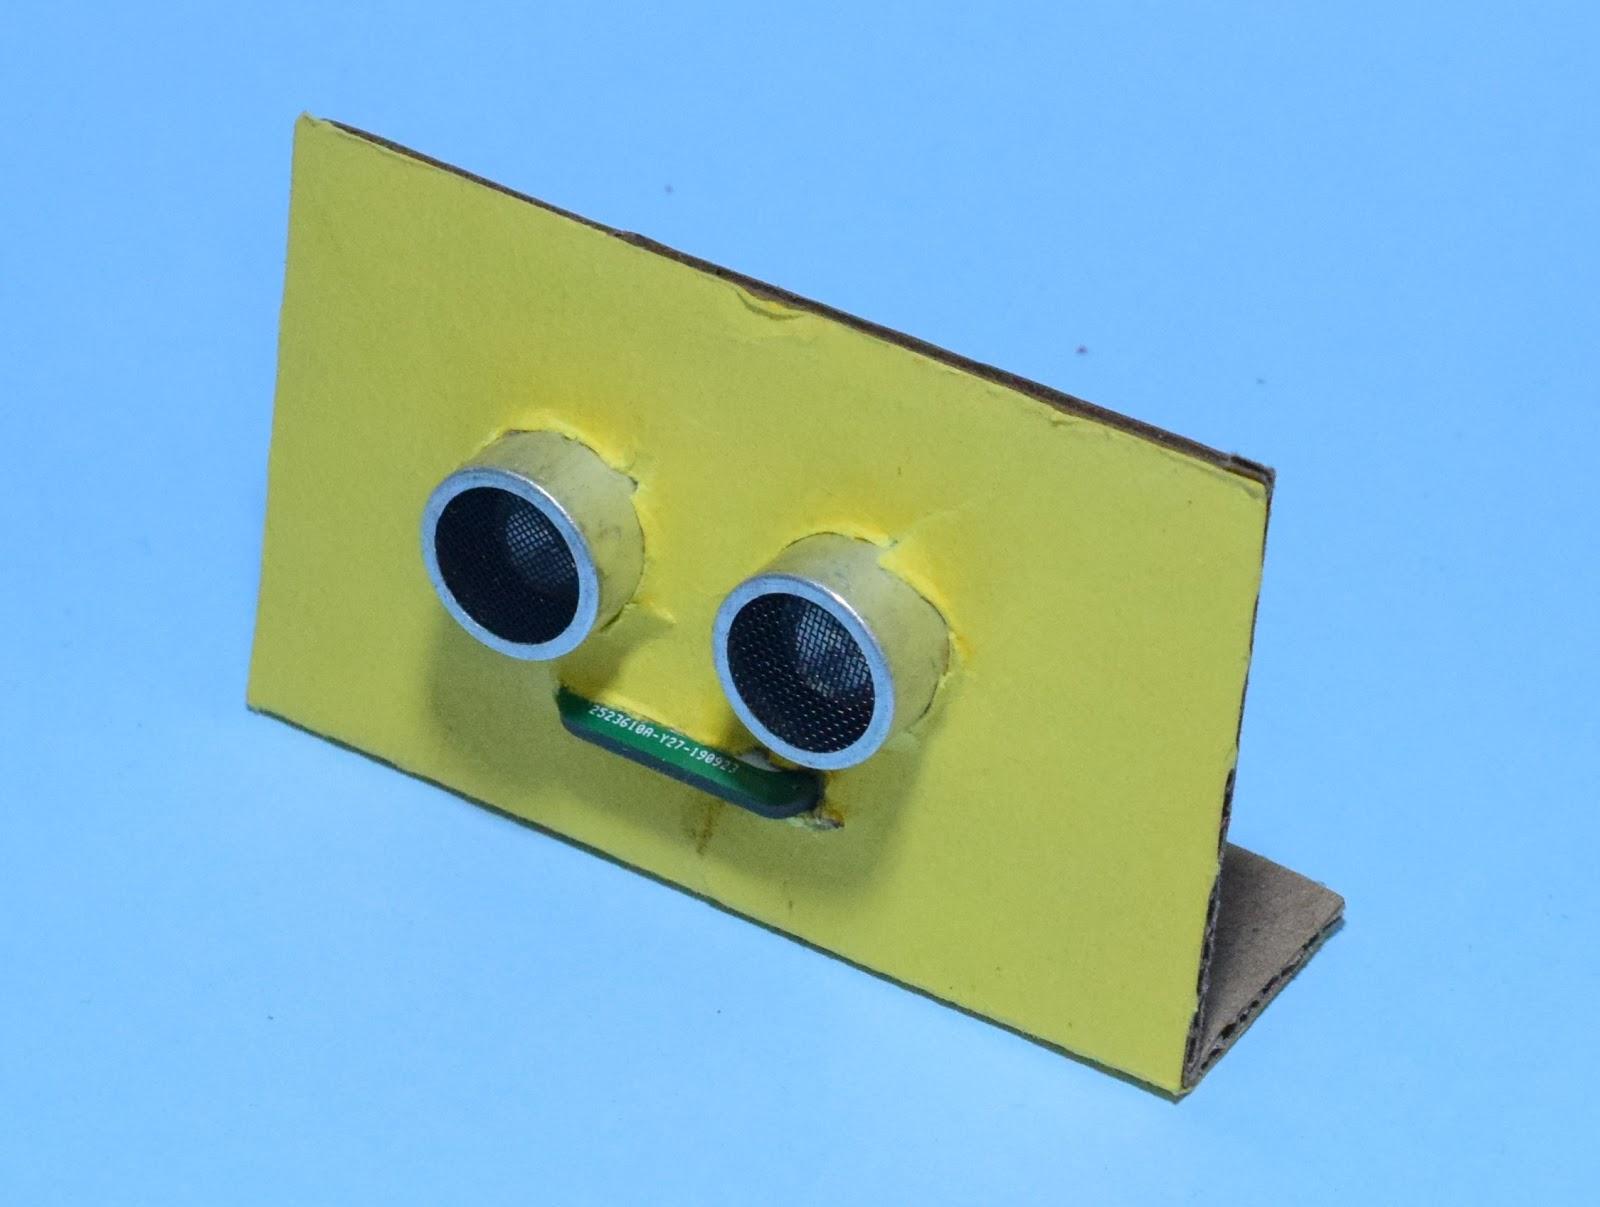
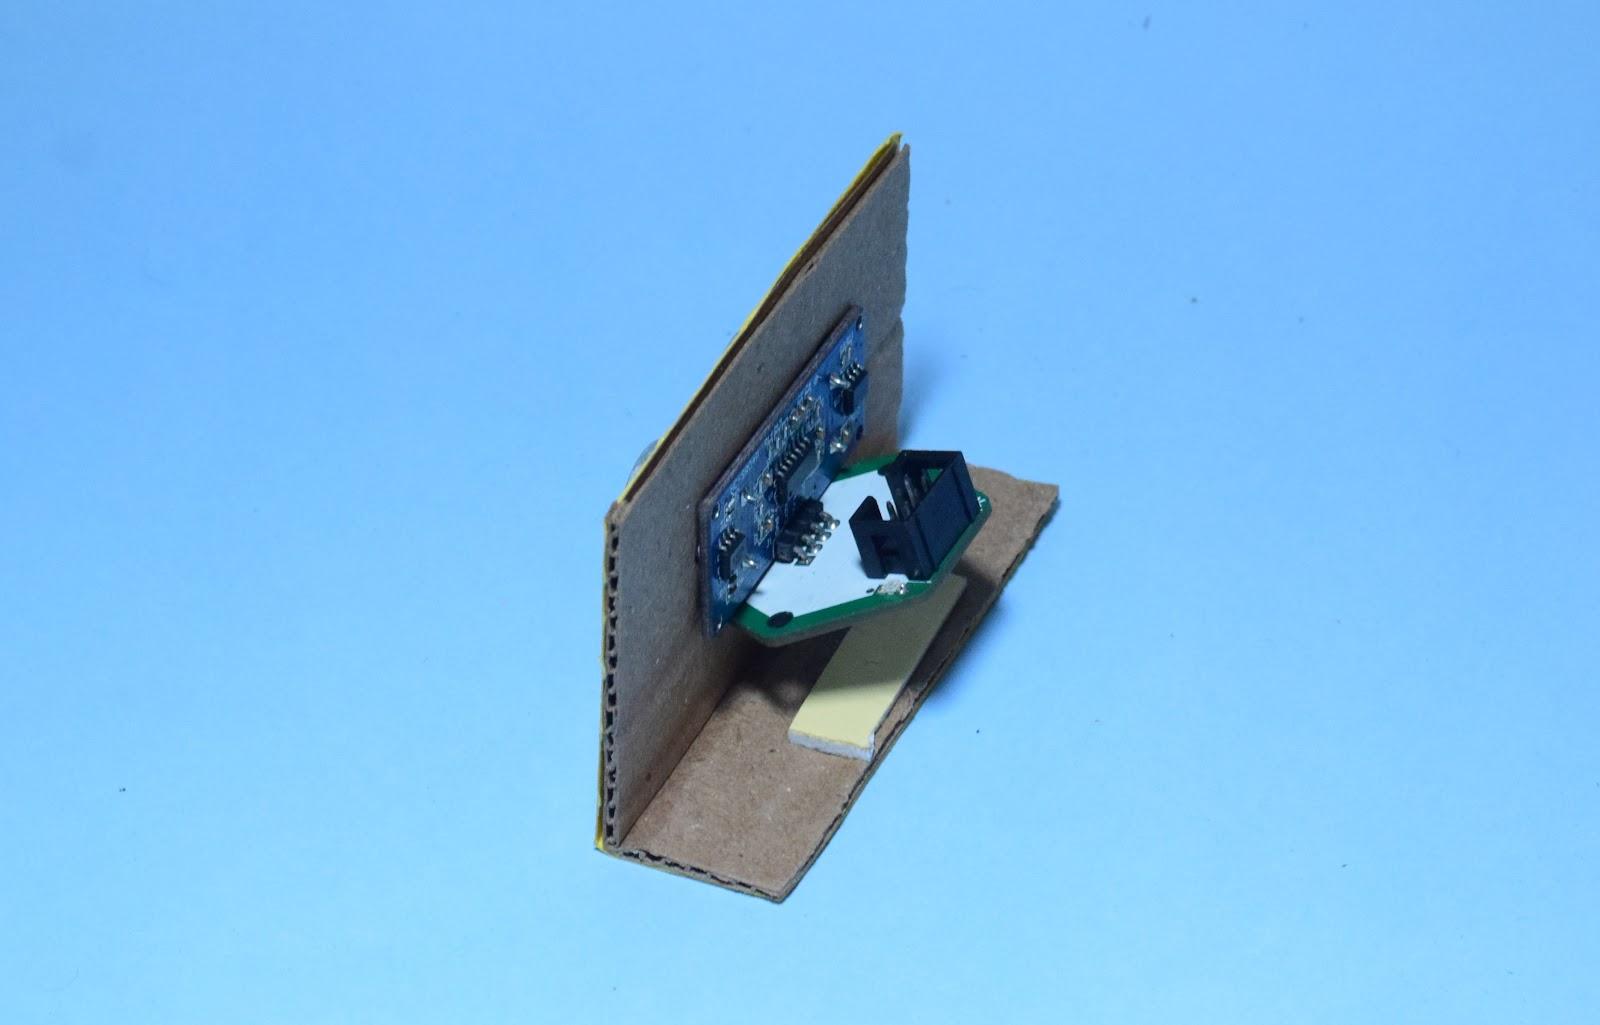
Attach the Cat to the Stand and Attach the Distance Sensor Stand in the Front of the Cat.
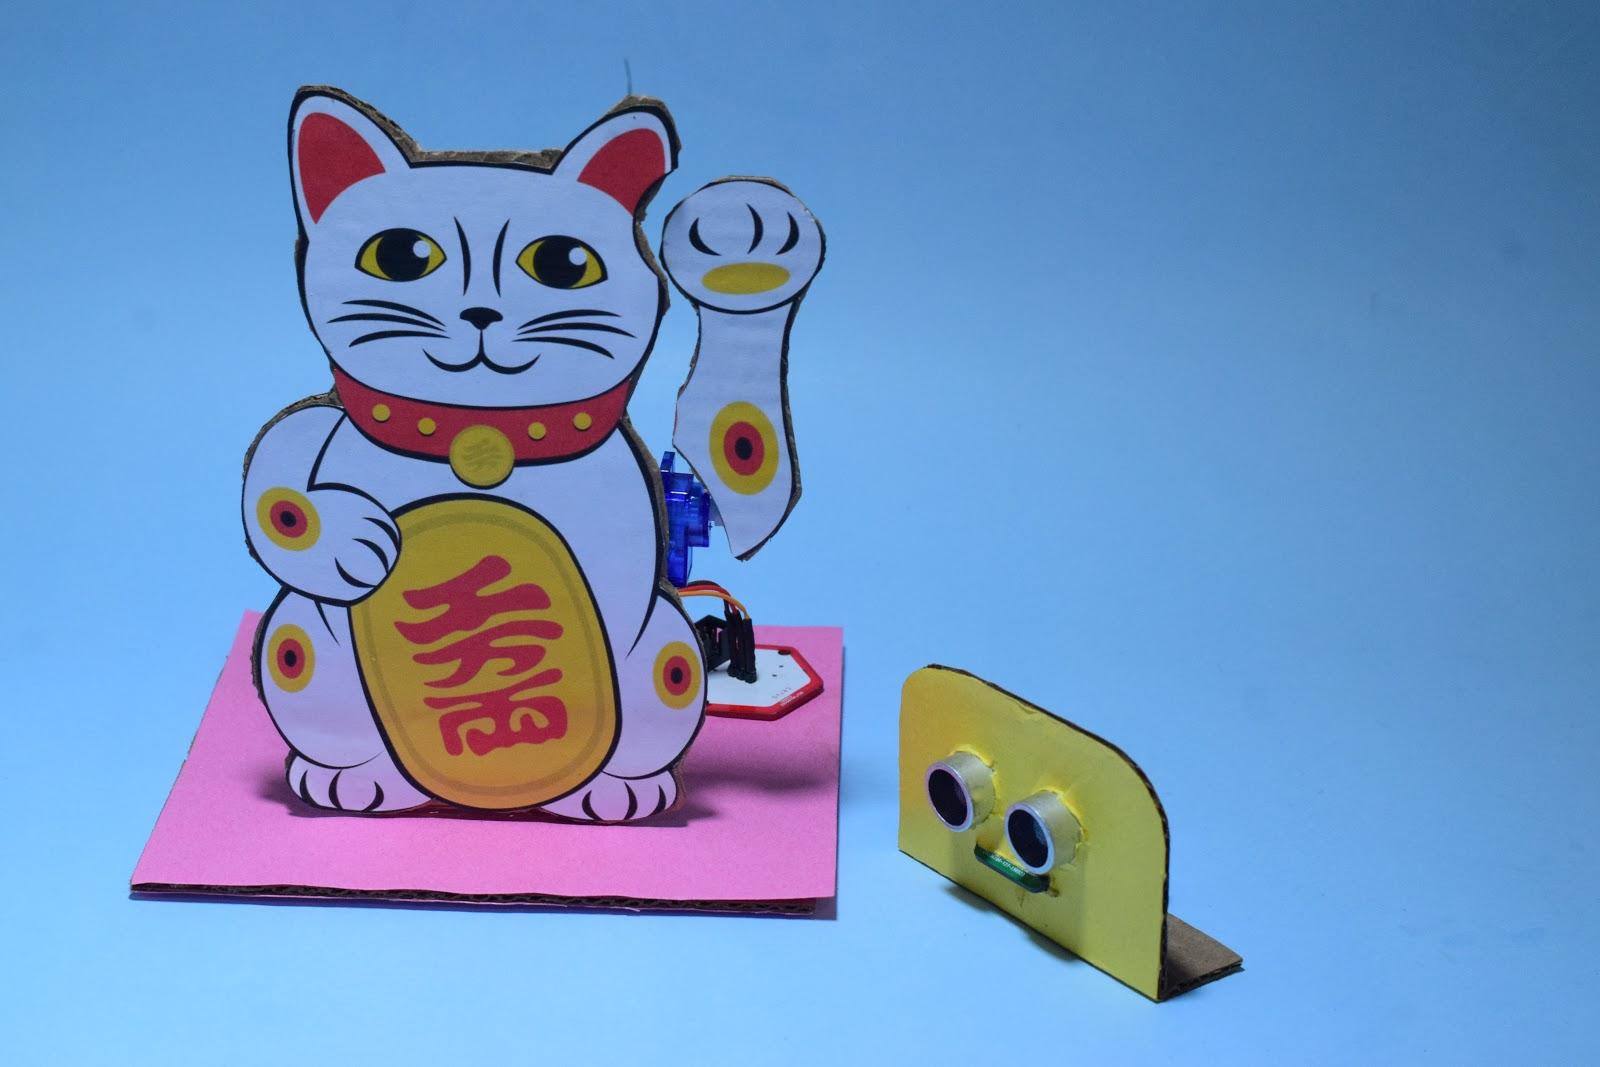
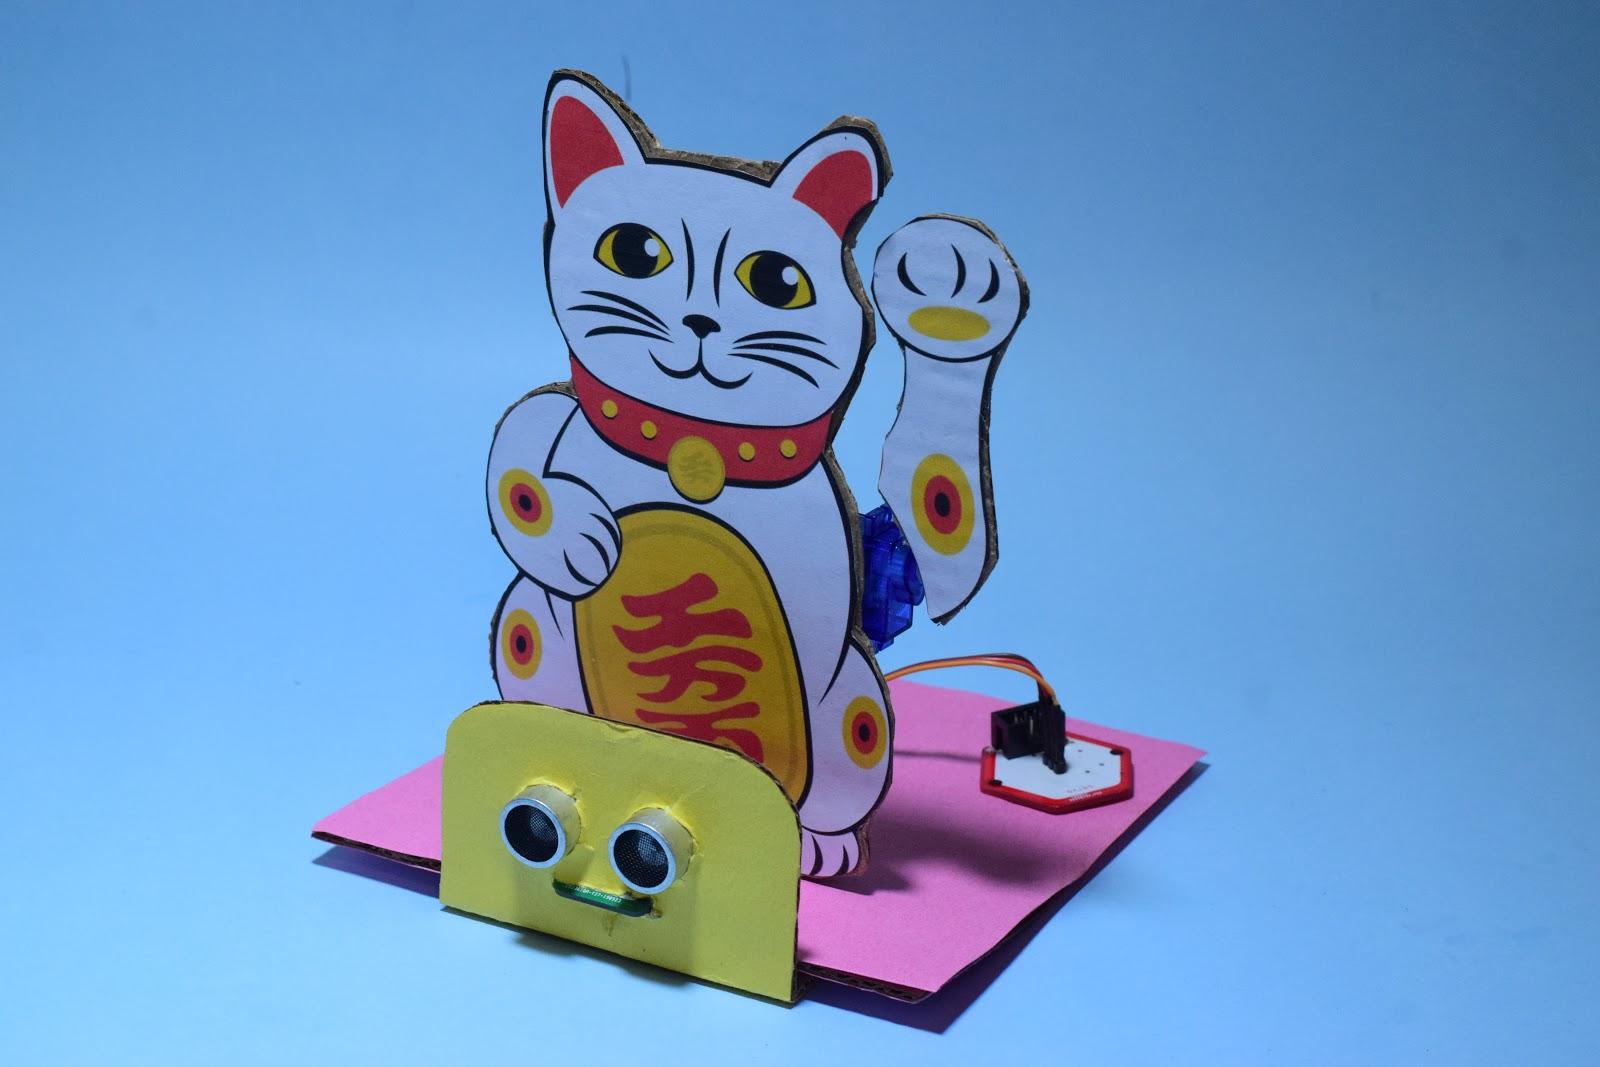
Connect the Servo and the Distance Sensor to the HUB and Start Programming.
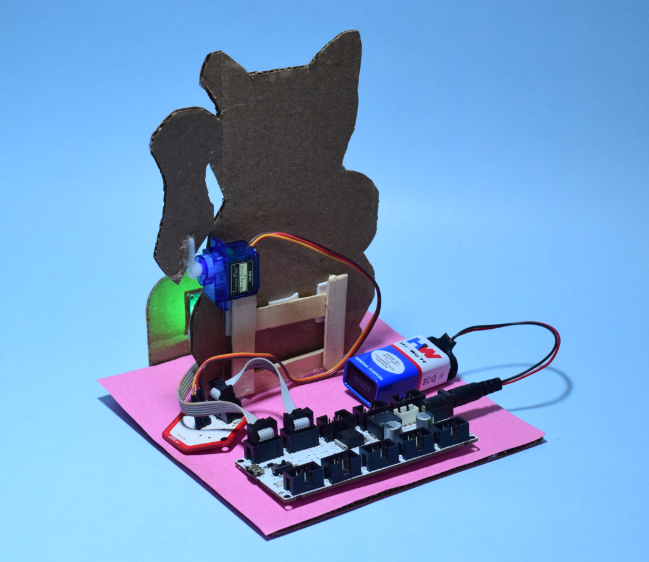
Awesome!!! You Have Created Your Own Welcome Cat :)
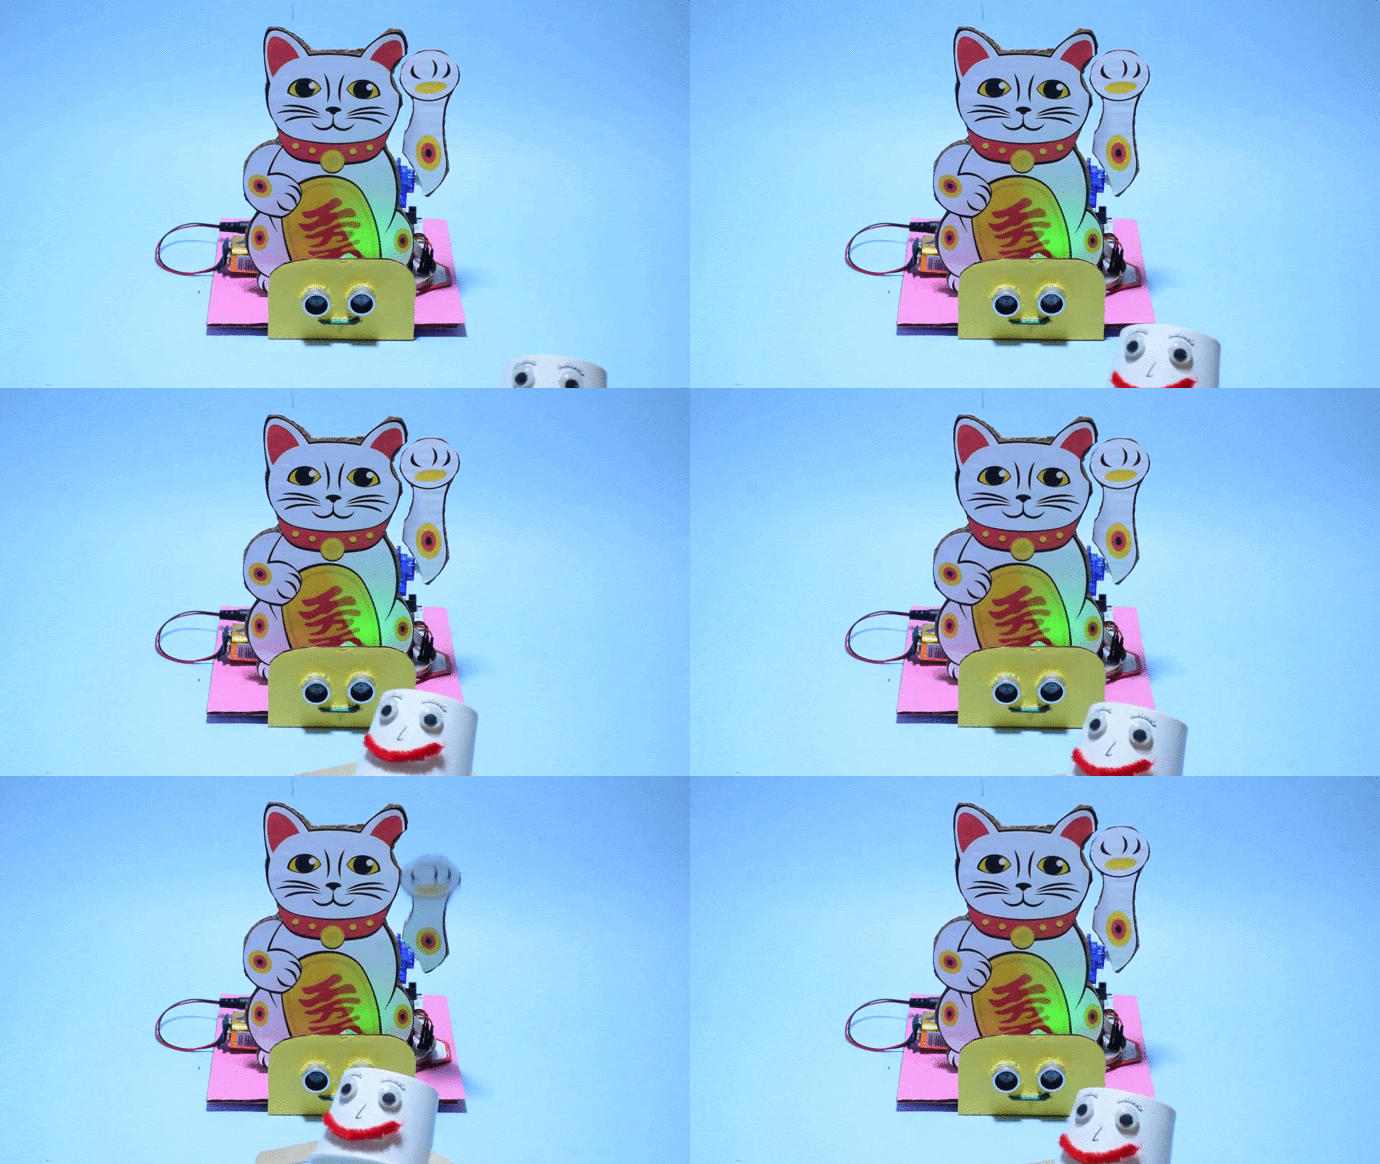
Once you complete the project share it on Instagram with Tag #dreamkit and #CreatedWithDreamKit
Happy creating !!!
Click here to Check out our YouTube Channel for More such DIY projects