Learn 3D Printing With These 5 Projects: Week-Long 3D Print Camp
by jennarichardsart in Teachers > 6
2949 Views, 20 Favorites, 0 Comments
Learn 3D Printing With These 5 Projects: Week-Long 3D Print Camp


Over the course of a week, students use Tinkercad to design five unique 3D models that are printed with FDM and SLA 3D printers. At the start of each day they are introduced to a new prompt, then they have the duration of the camp or class day to create their design.
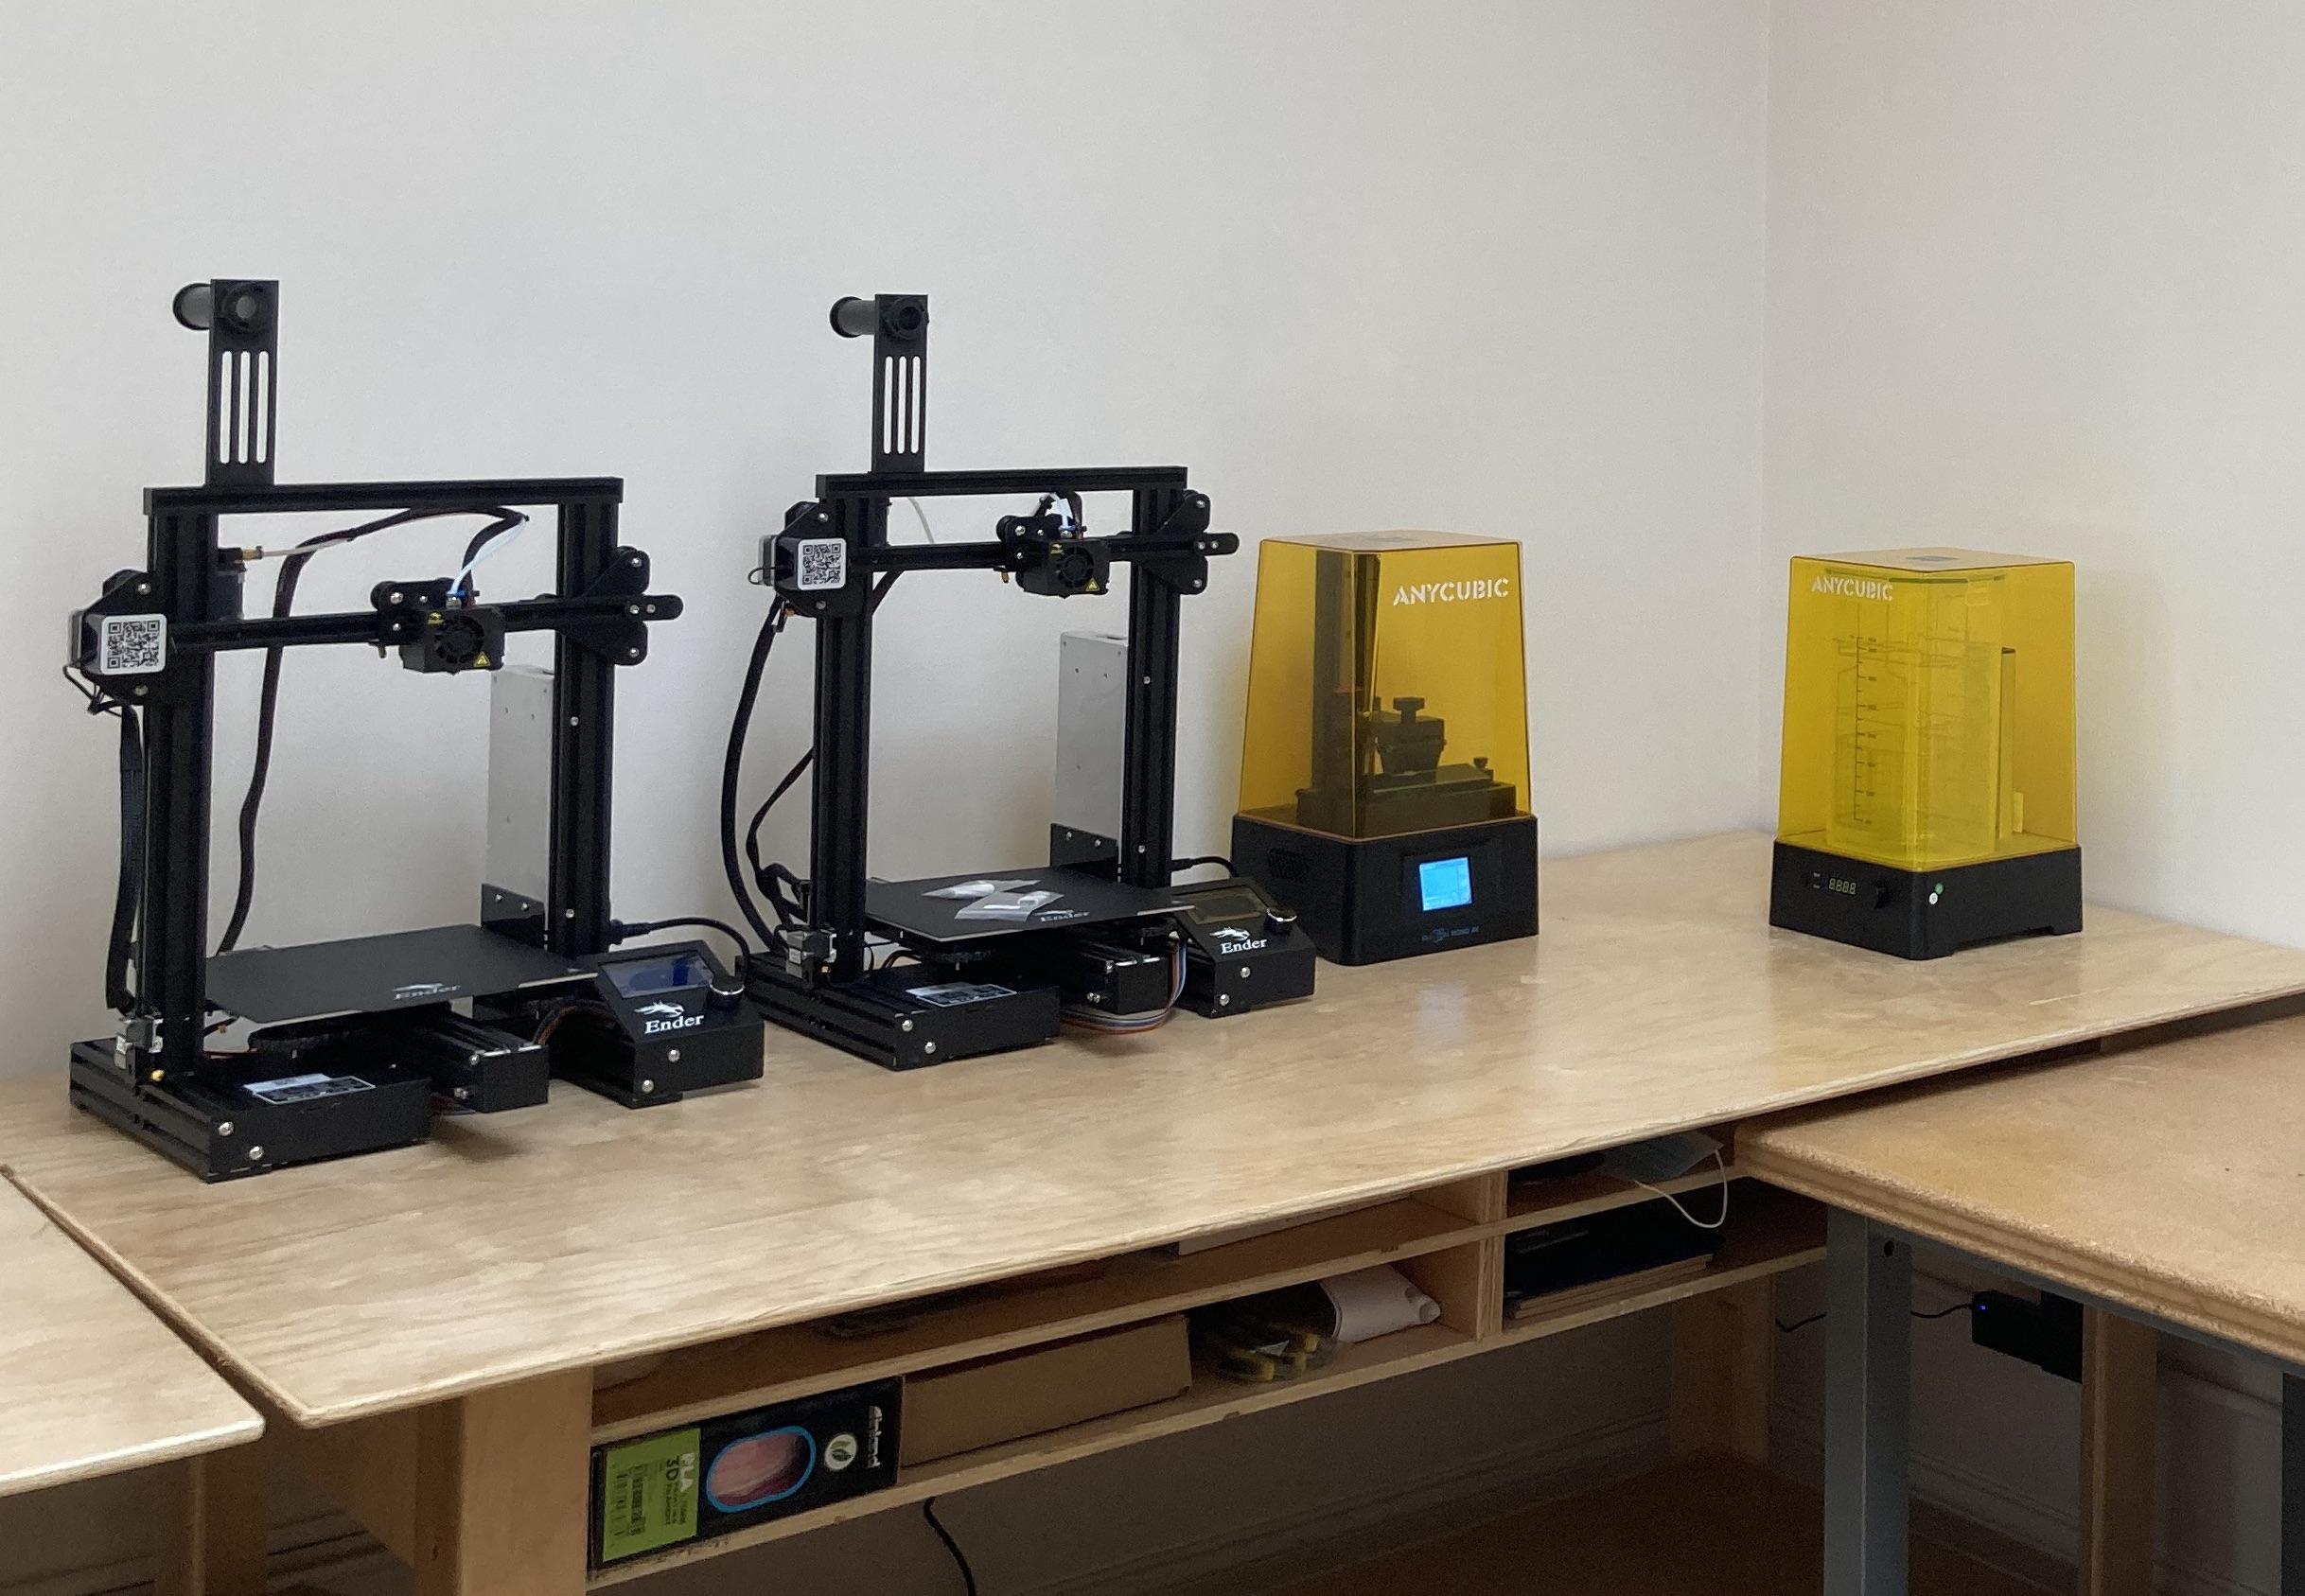
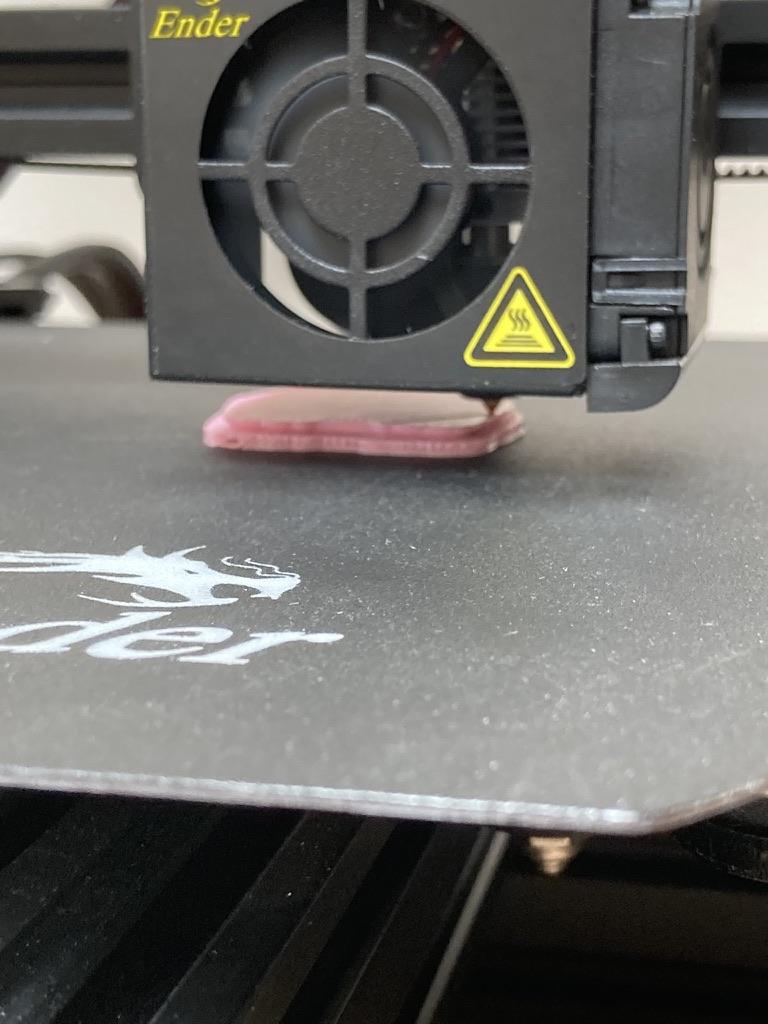
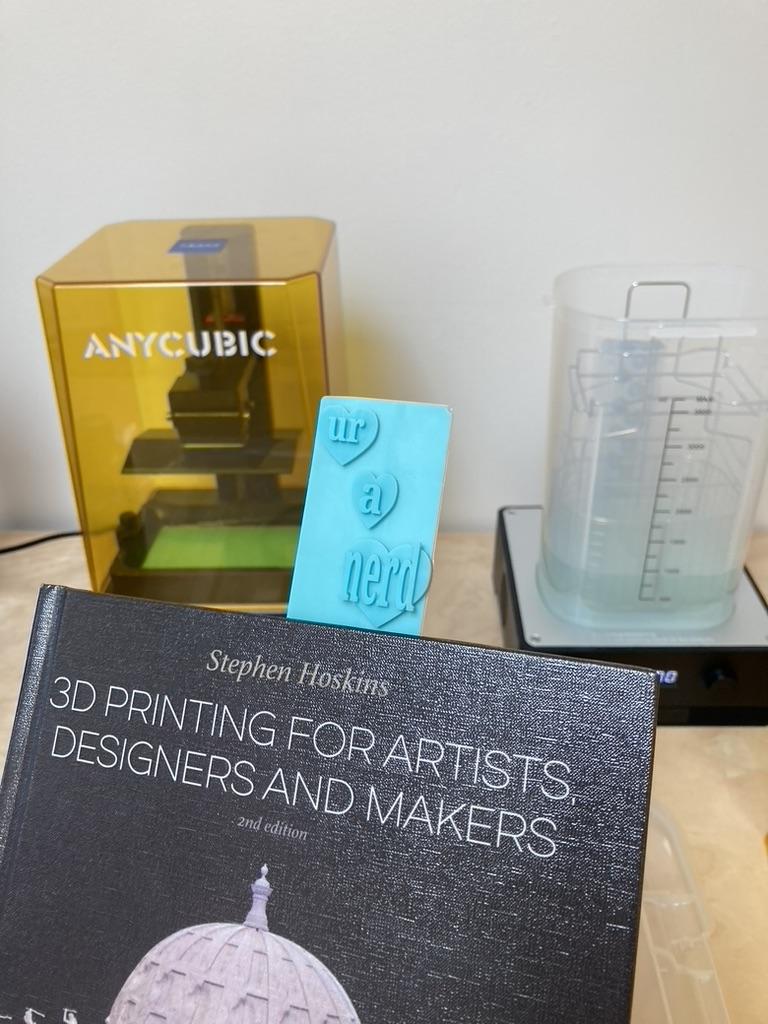
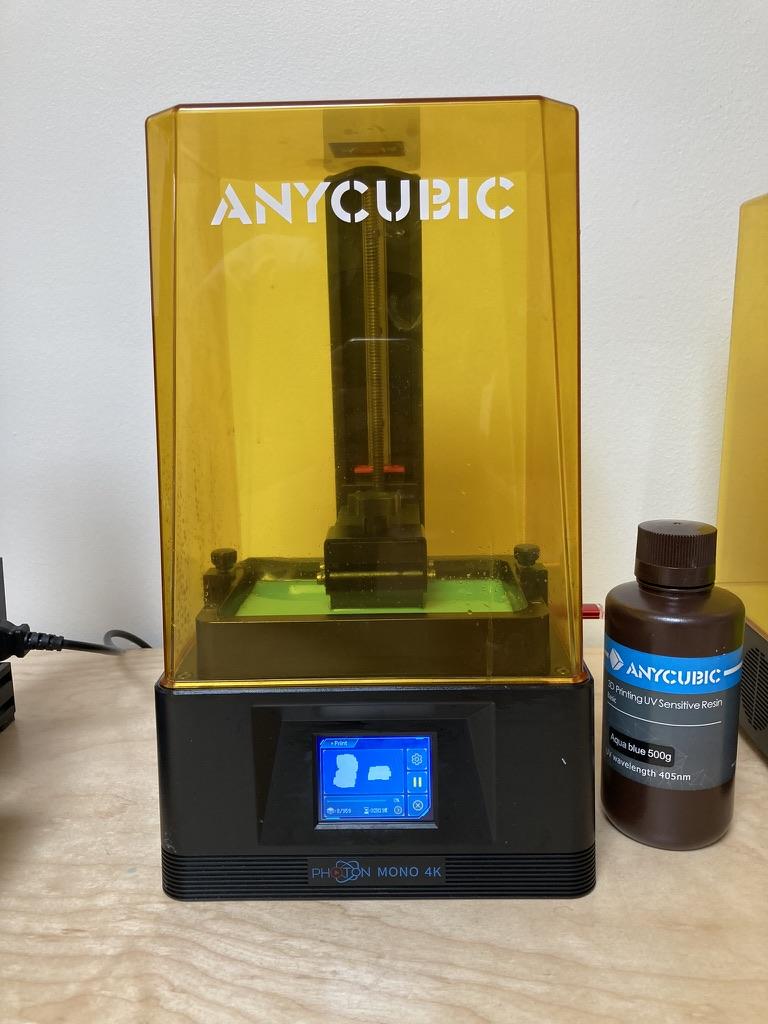
My camp sessions were two hours long, for five consecutive days. I printed the models at the end of each session, on FDM and/or SLA printers as appropriate for the model.
About the Instructor: Richards is a digital fabrication designer, conceptual visual artist, and Professor of Art. She holds a Master of Fine Arts from Indiana University.
Supplies
- Tinkercad Software
- Creality Ender 3-Pro FDM 3D Printer
- Inland PLA Filament
- Ultimaker Cura 3D Slicer Software
- Anycubic Photon Mono 4K SLA 3D Printer
- Anycubic UV Resin
- Anycubic Photon Workshop 3D Slicer Software
- Easel CAD/CAM Software
- computer
- flush cutters
- sand paper
- files
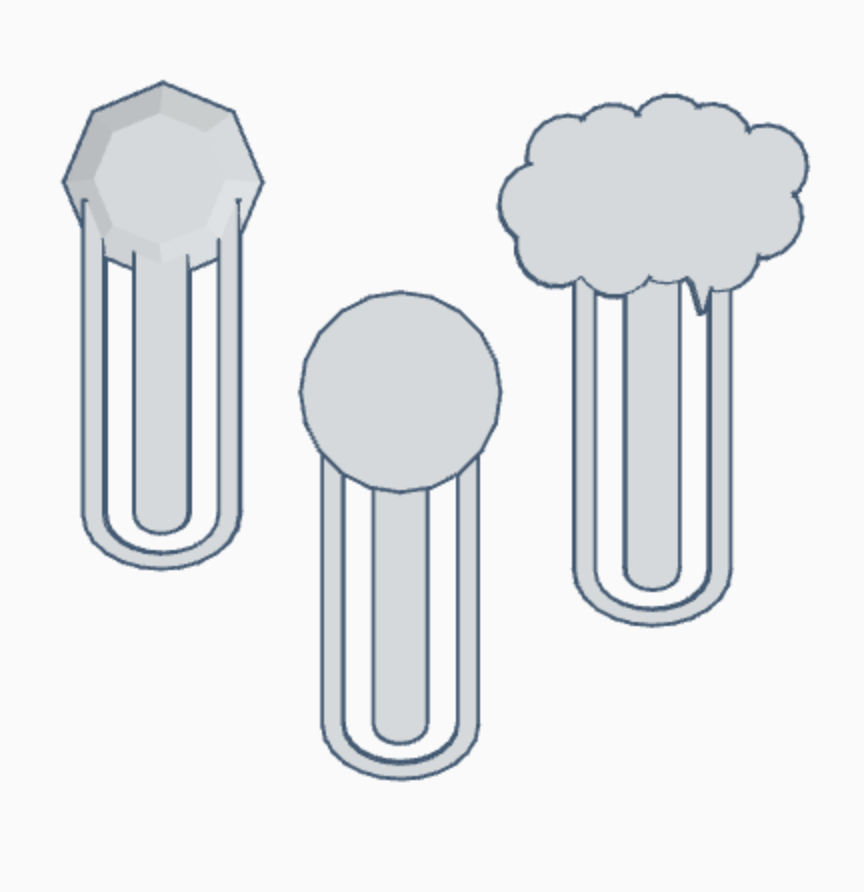
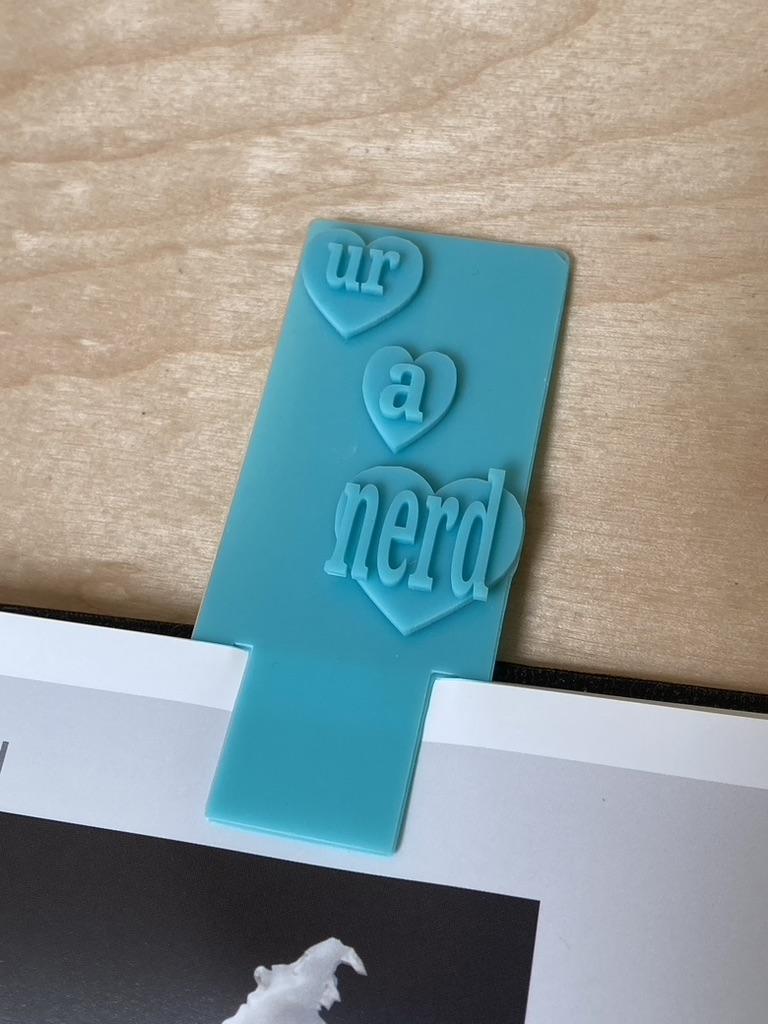
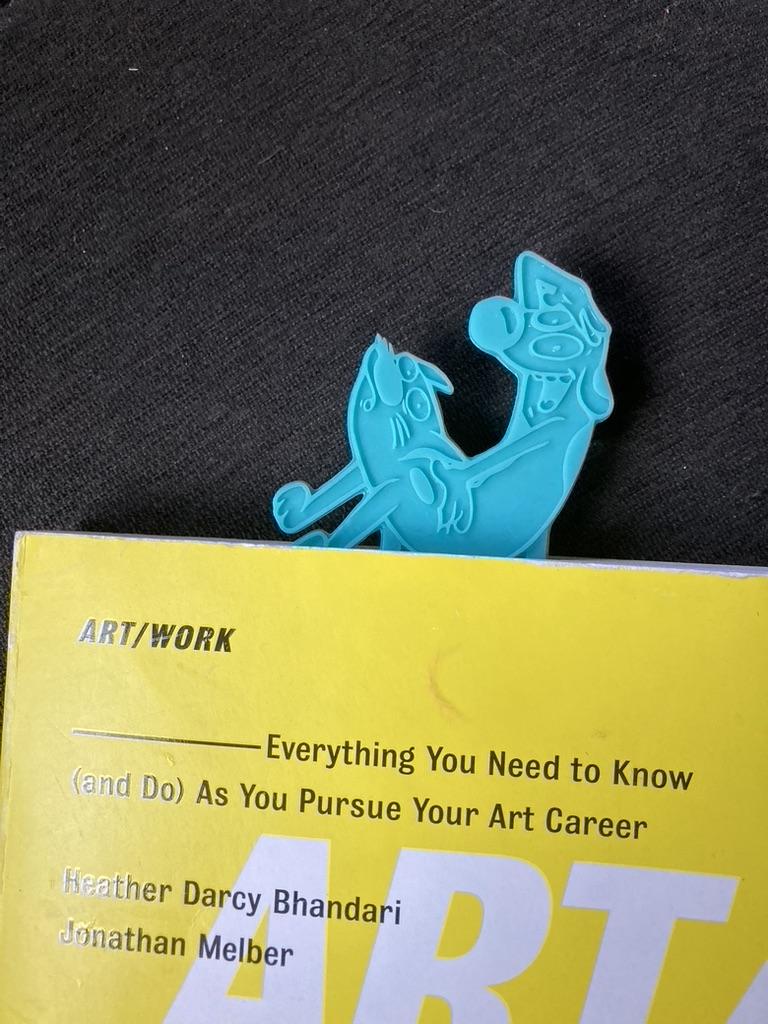
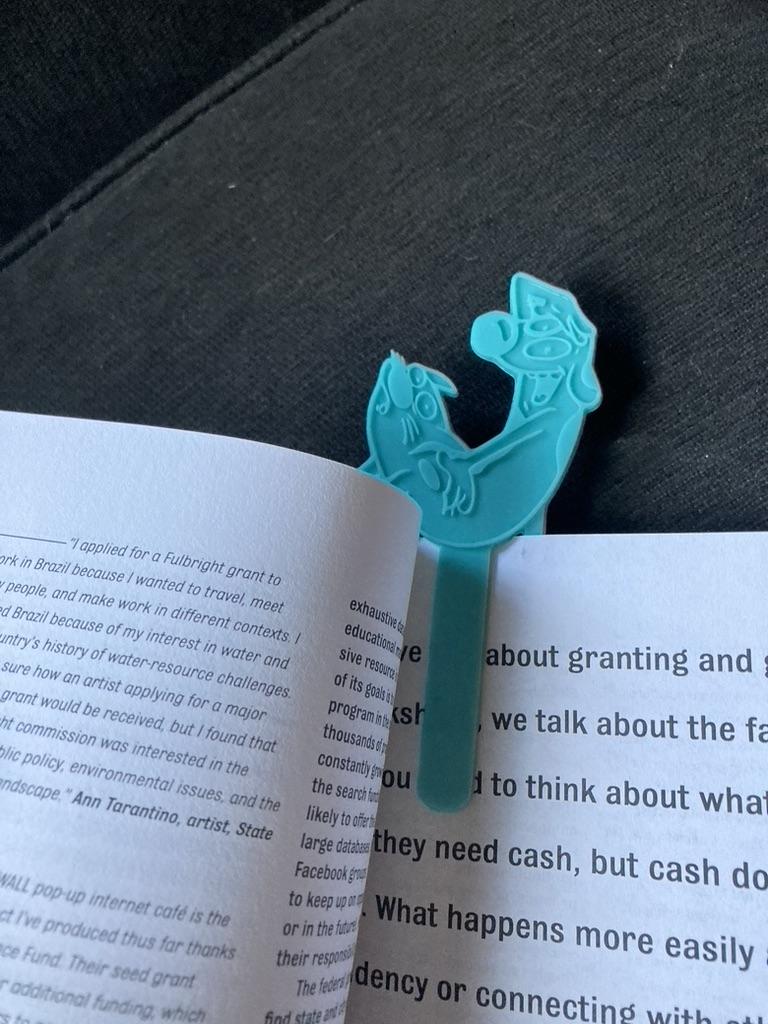
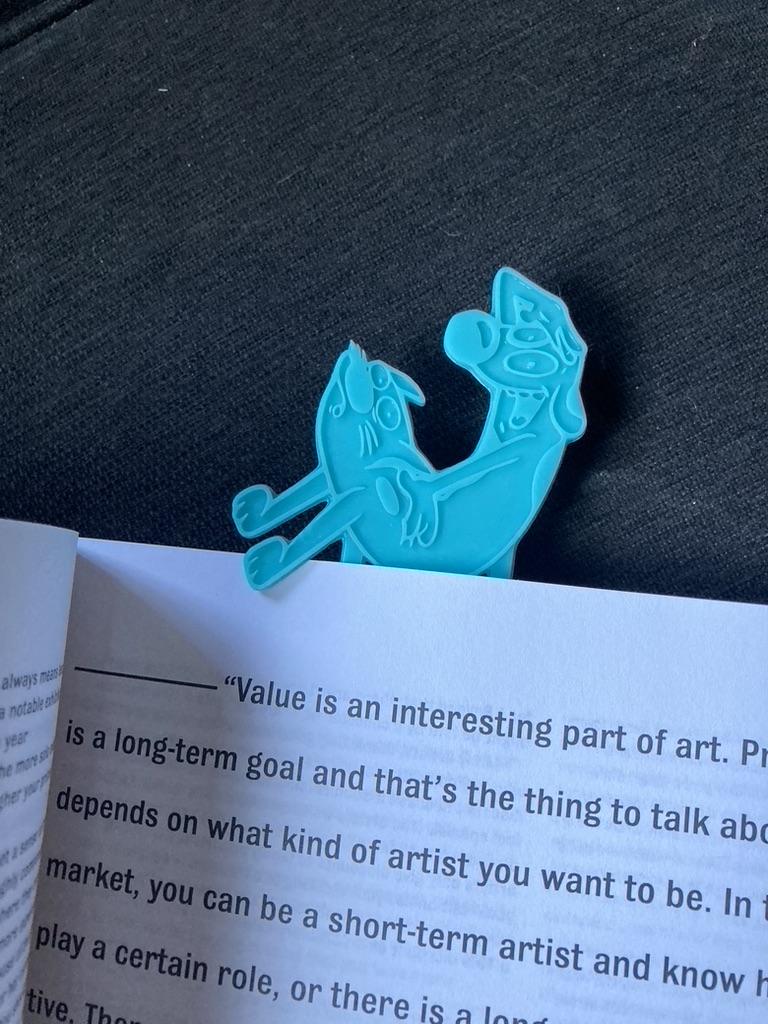
Bookmarks- Day 1


Day 1 Agenda:
3D Print Introduction
Tinkercad Introduction
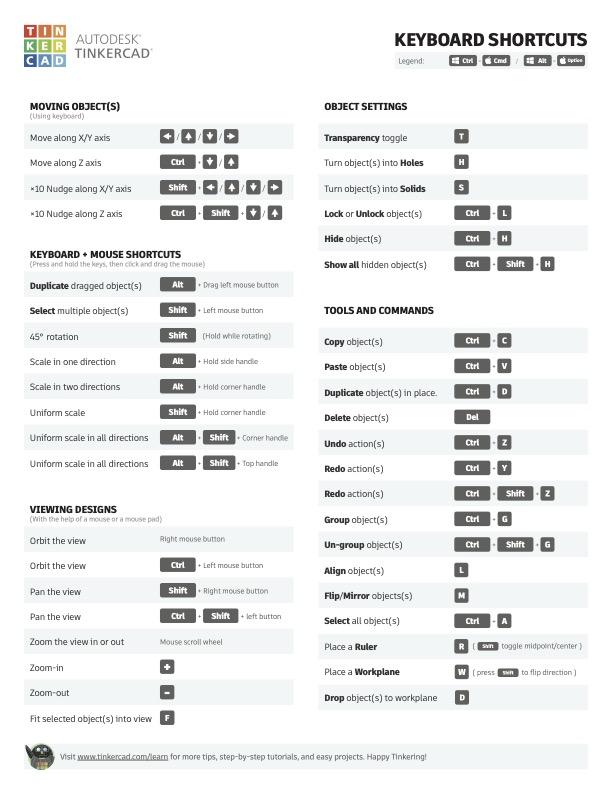
Tinkercad Keyboard Shortcuts
Bookmark
3D Print Introduction:
- Additive Manufacturing
- SLA vs. FDM
- CAD/CAM & Slicer Overview
- Resources:
Make: Getting Started with 3D Printing, 2nd Edition
The 3D Printing Handbook- Technologies, design and applications
3D Printing for Artists, Designers and Makers
*depending on your age range and teacher to studio ratio, you may have to spread the topics over more days or cover more breadth and less depth. You can use the coloring template to keep it simple, or allow students to design their own shape bookmark.
Tinkercad Introduction:
- Top-down, Left to Right tour of Tinkercad interface covering: dashboard, recent designs, title, copy, paste, duplicate and repeat, delete, undo, redo, shapes, bringing shapes into workplane, solid versus hole, hide, group, ungroup, panning with mouse and/or trackpad. The remainder are covered throughout the week, you will see in further steps.
Tinkercad Keyboard Shortcuts PDF is attached.
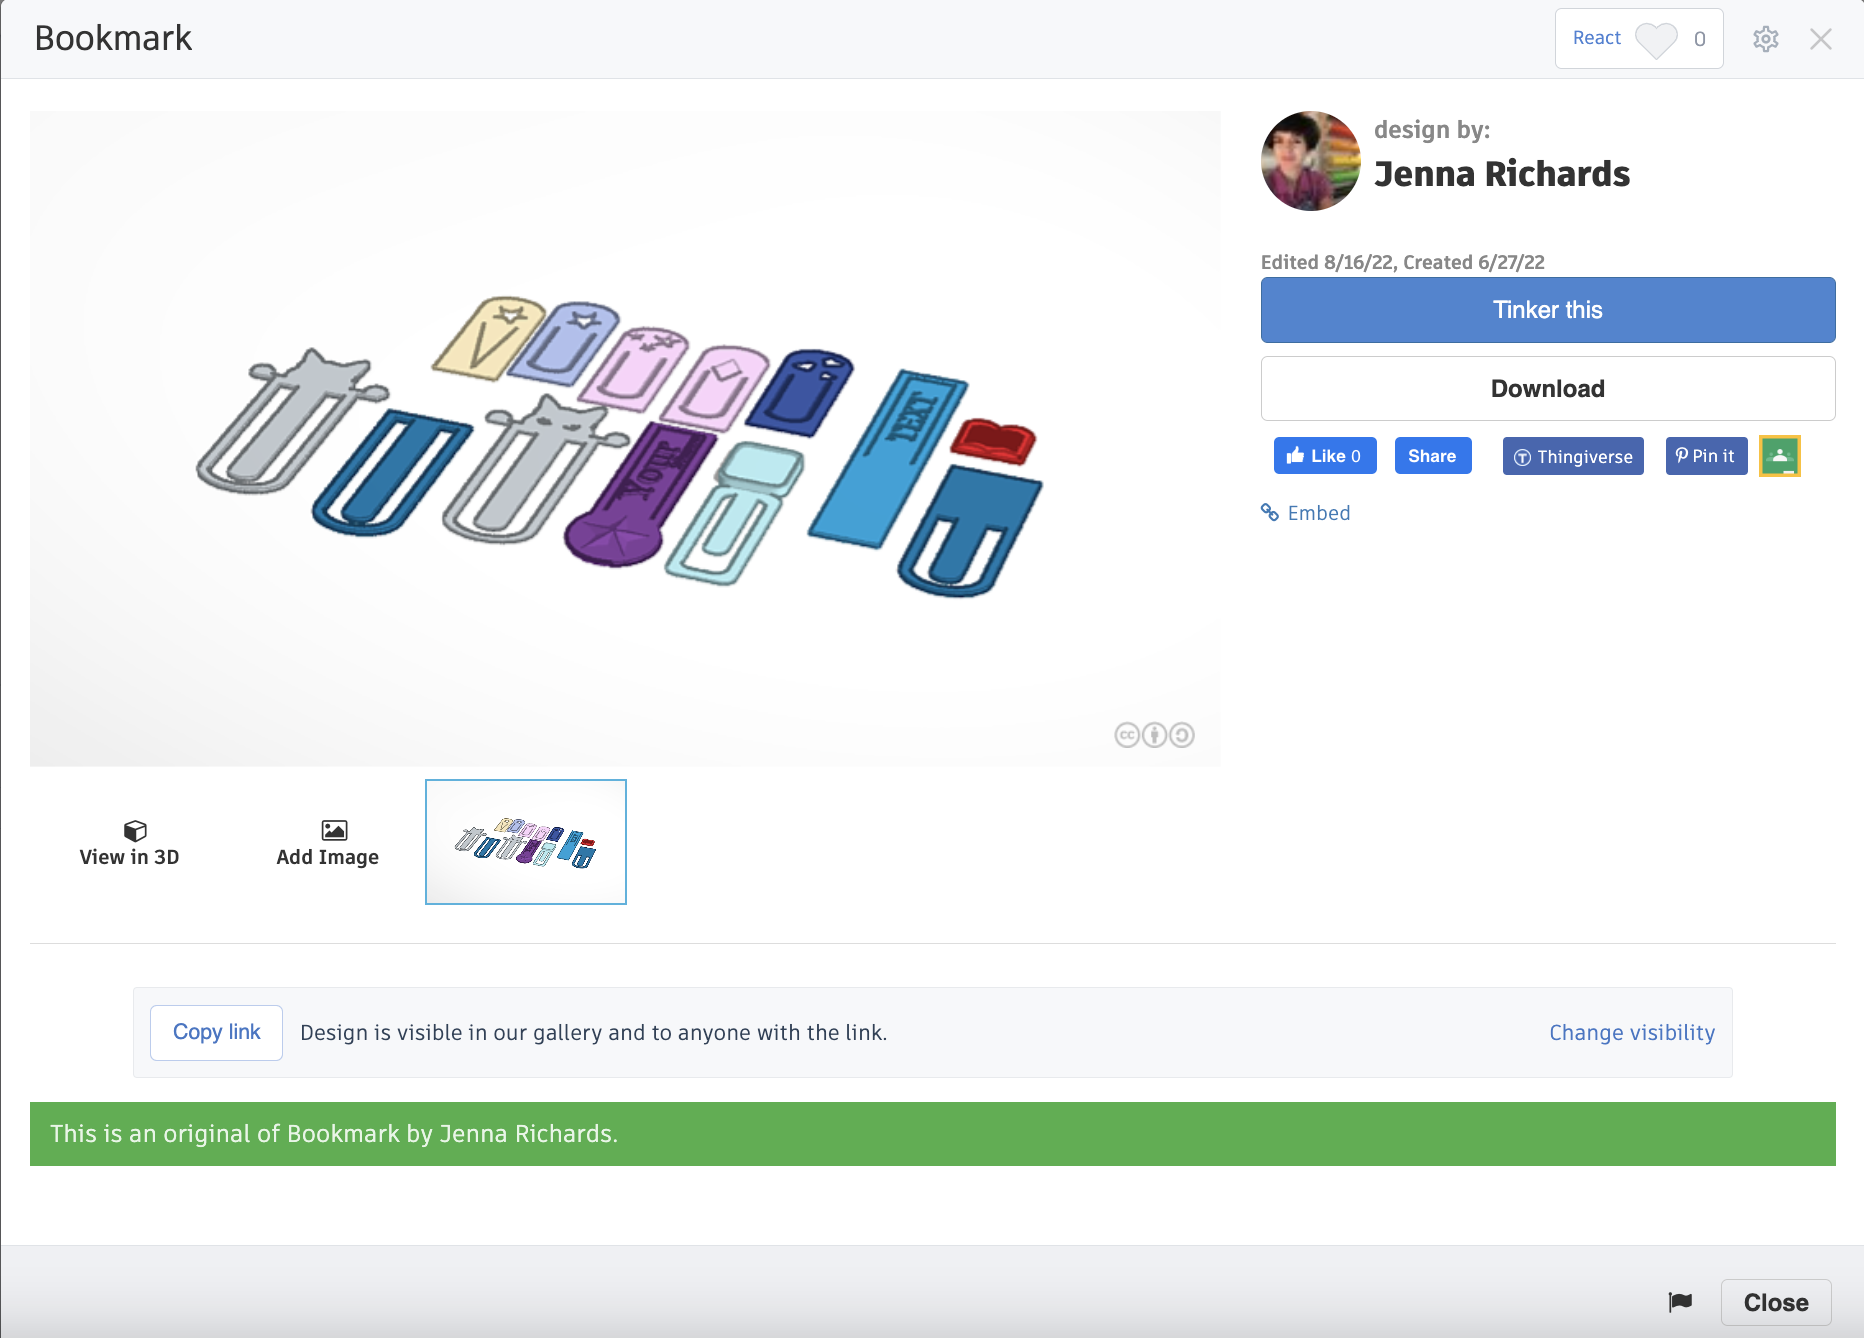
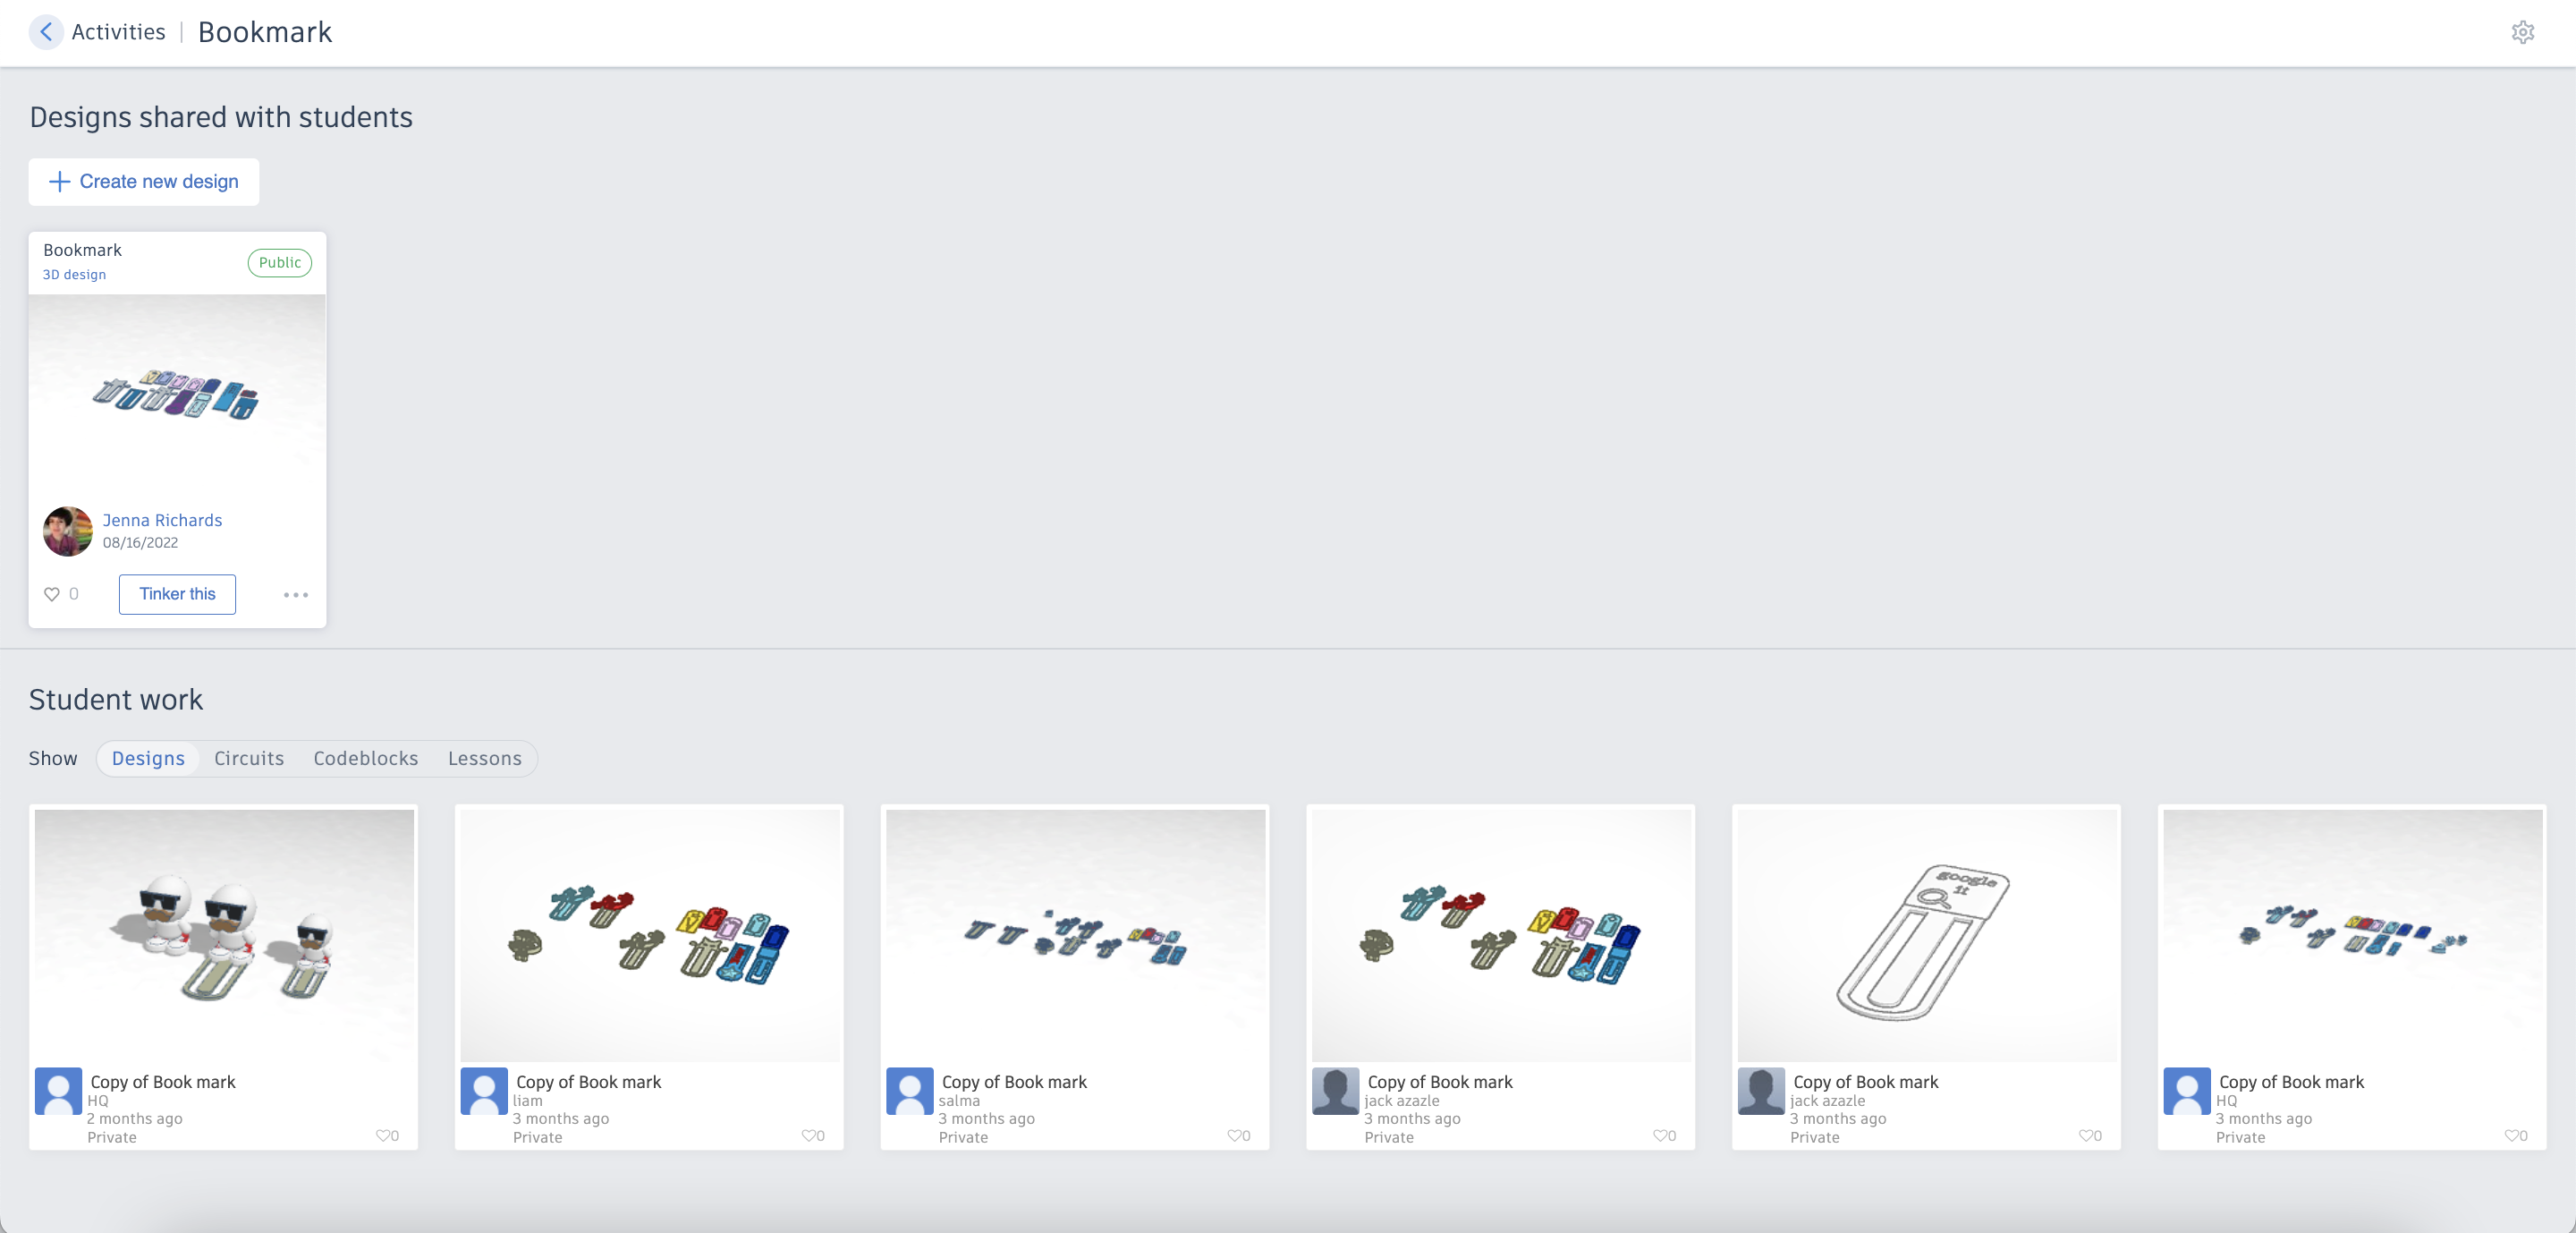
Bookmark- Prompt 1:
- Introduce the Bookmark activity
- Demonstrate using Tinkercad to create a new bookmark
- Design Time and Troubleshooting with students individually to help carry out their design
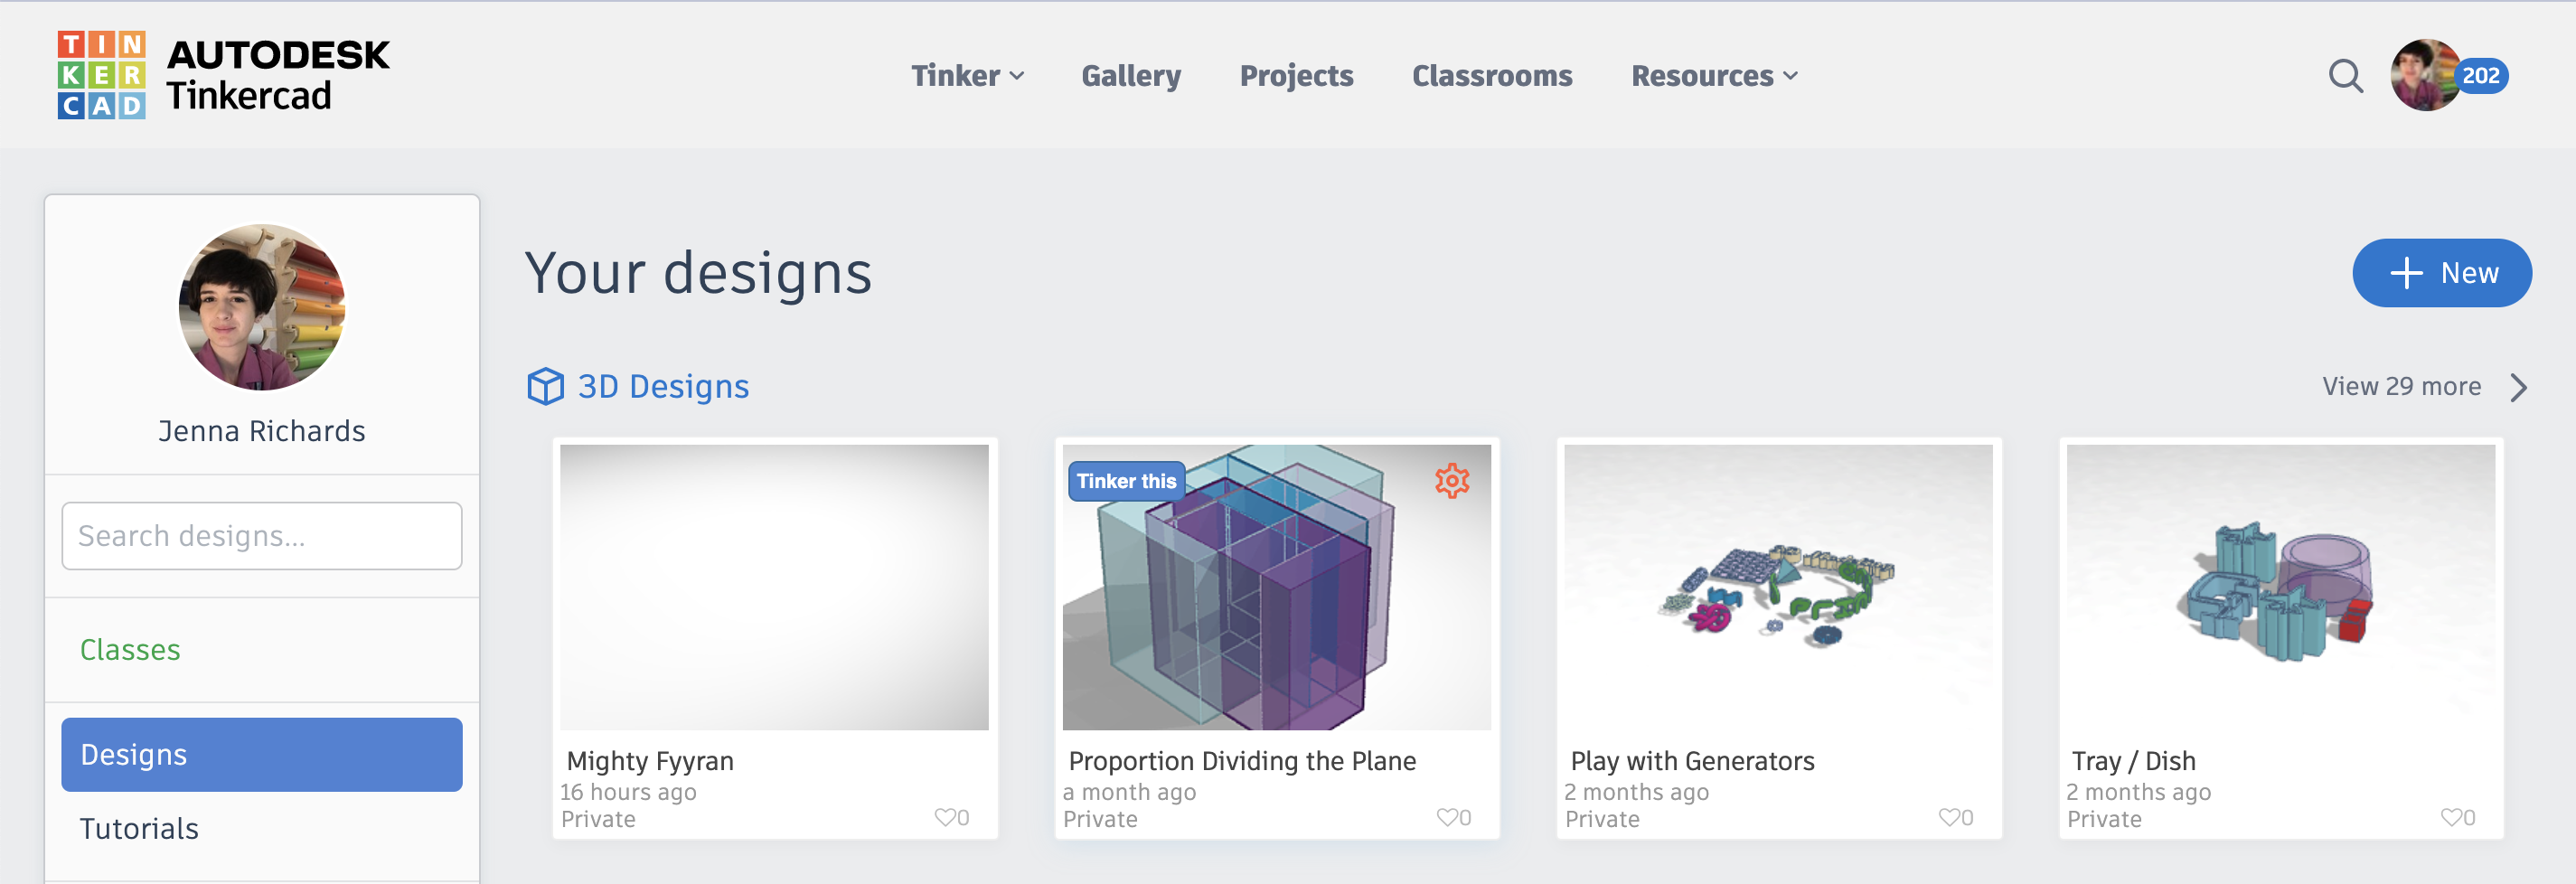
Teacher Notes for preparation in Tinkercad:
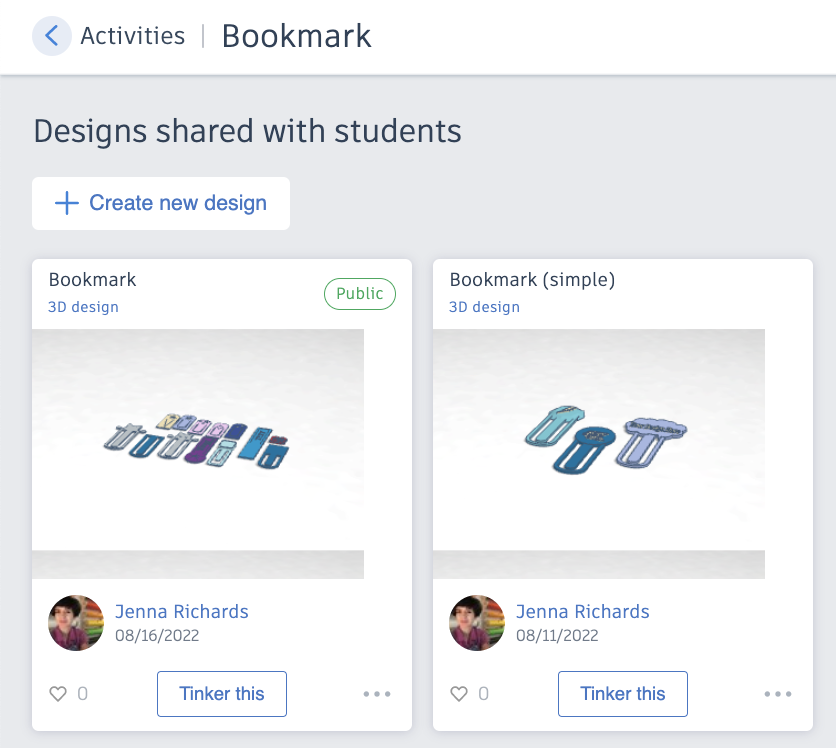
- Create Design (Designs > blue '+' button) You can start with this Bookmark Design.
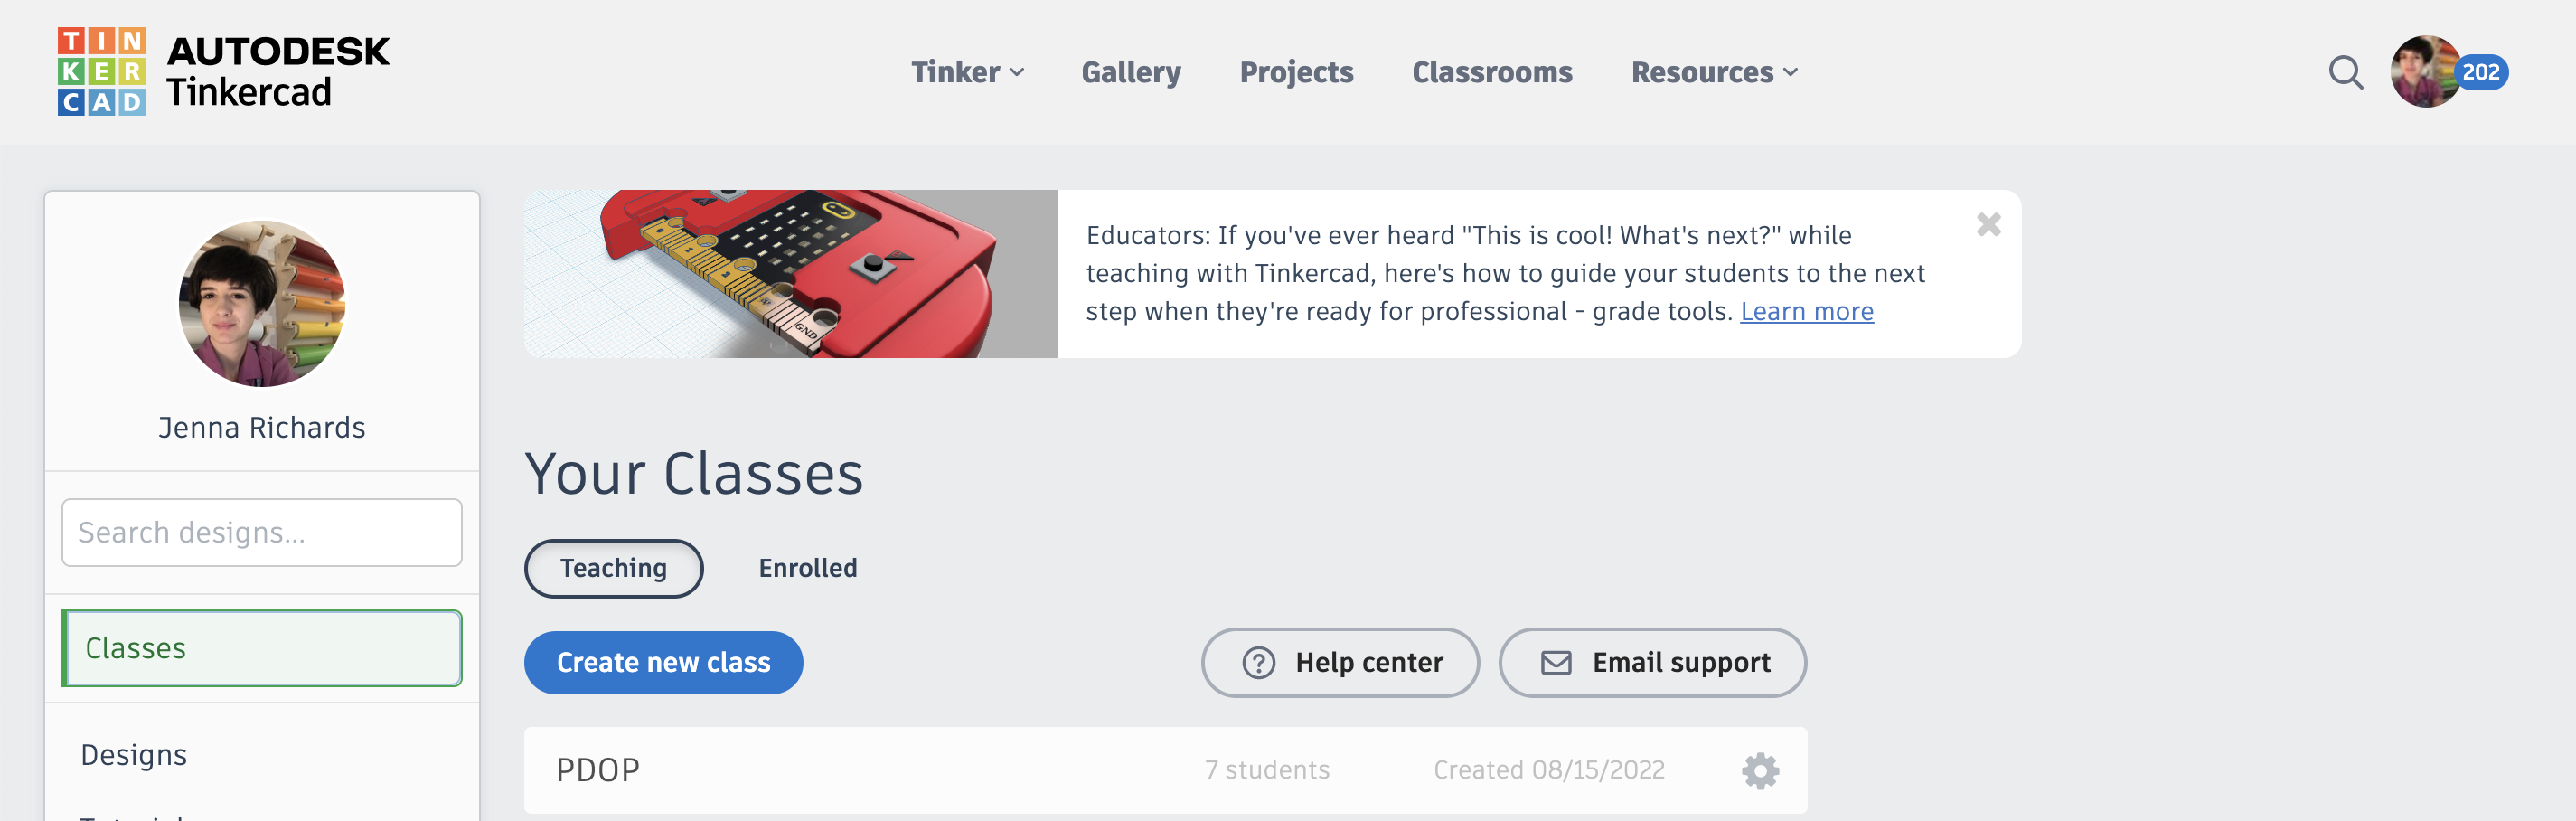
- Create new class (Classes > blue 'create new class' button) *note: you need a teacher account in Tinkercad
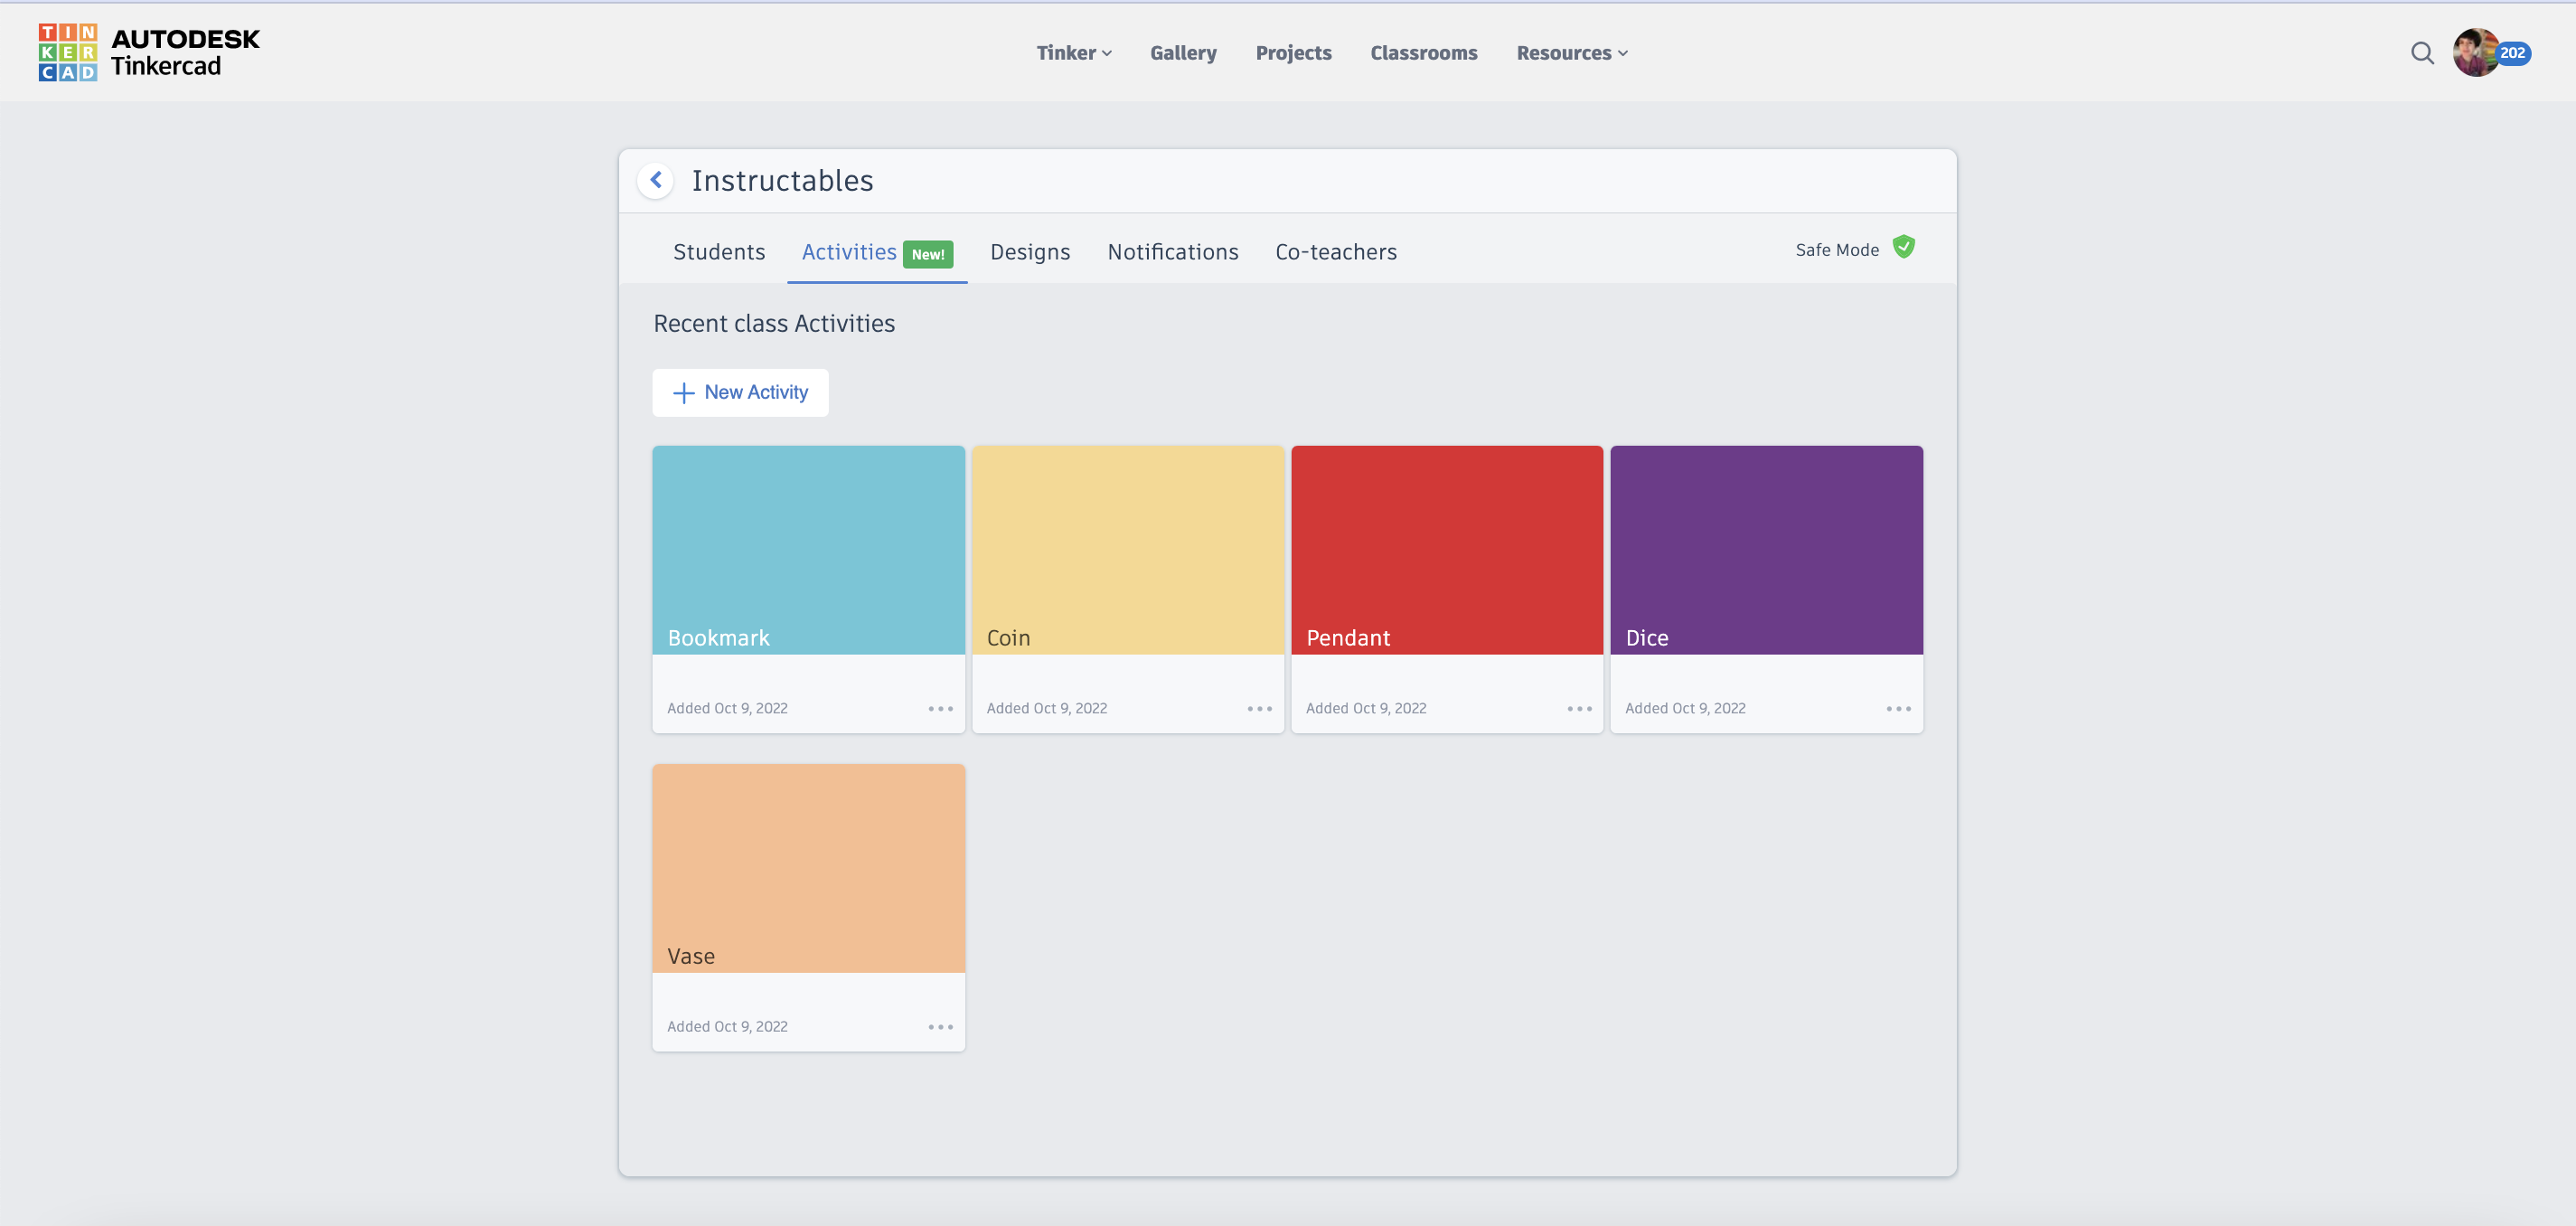
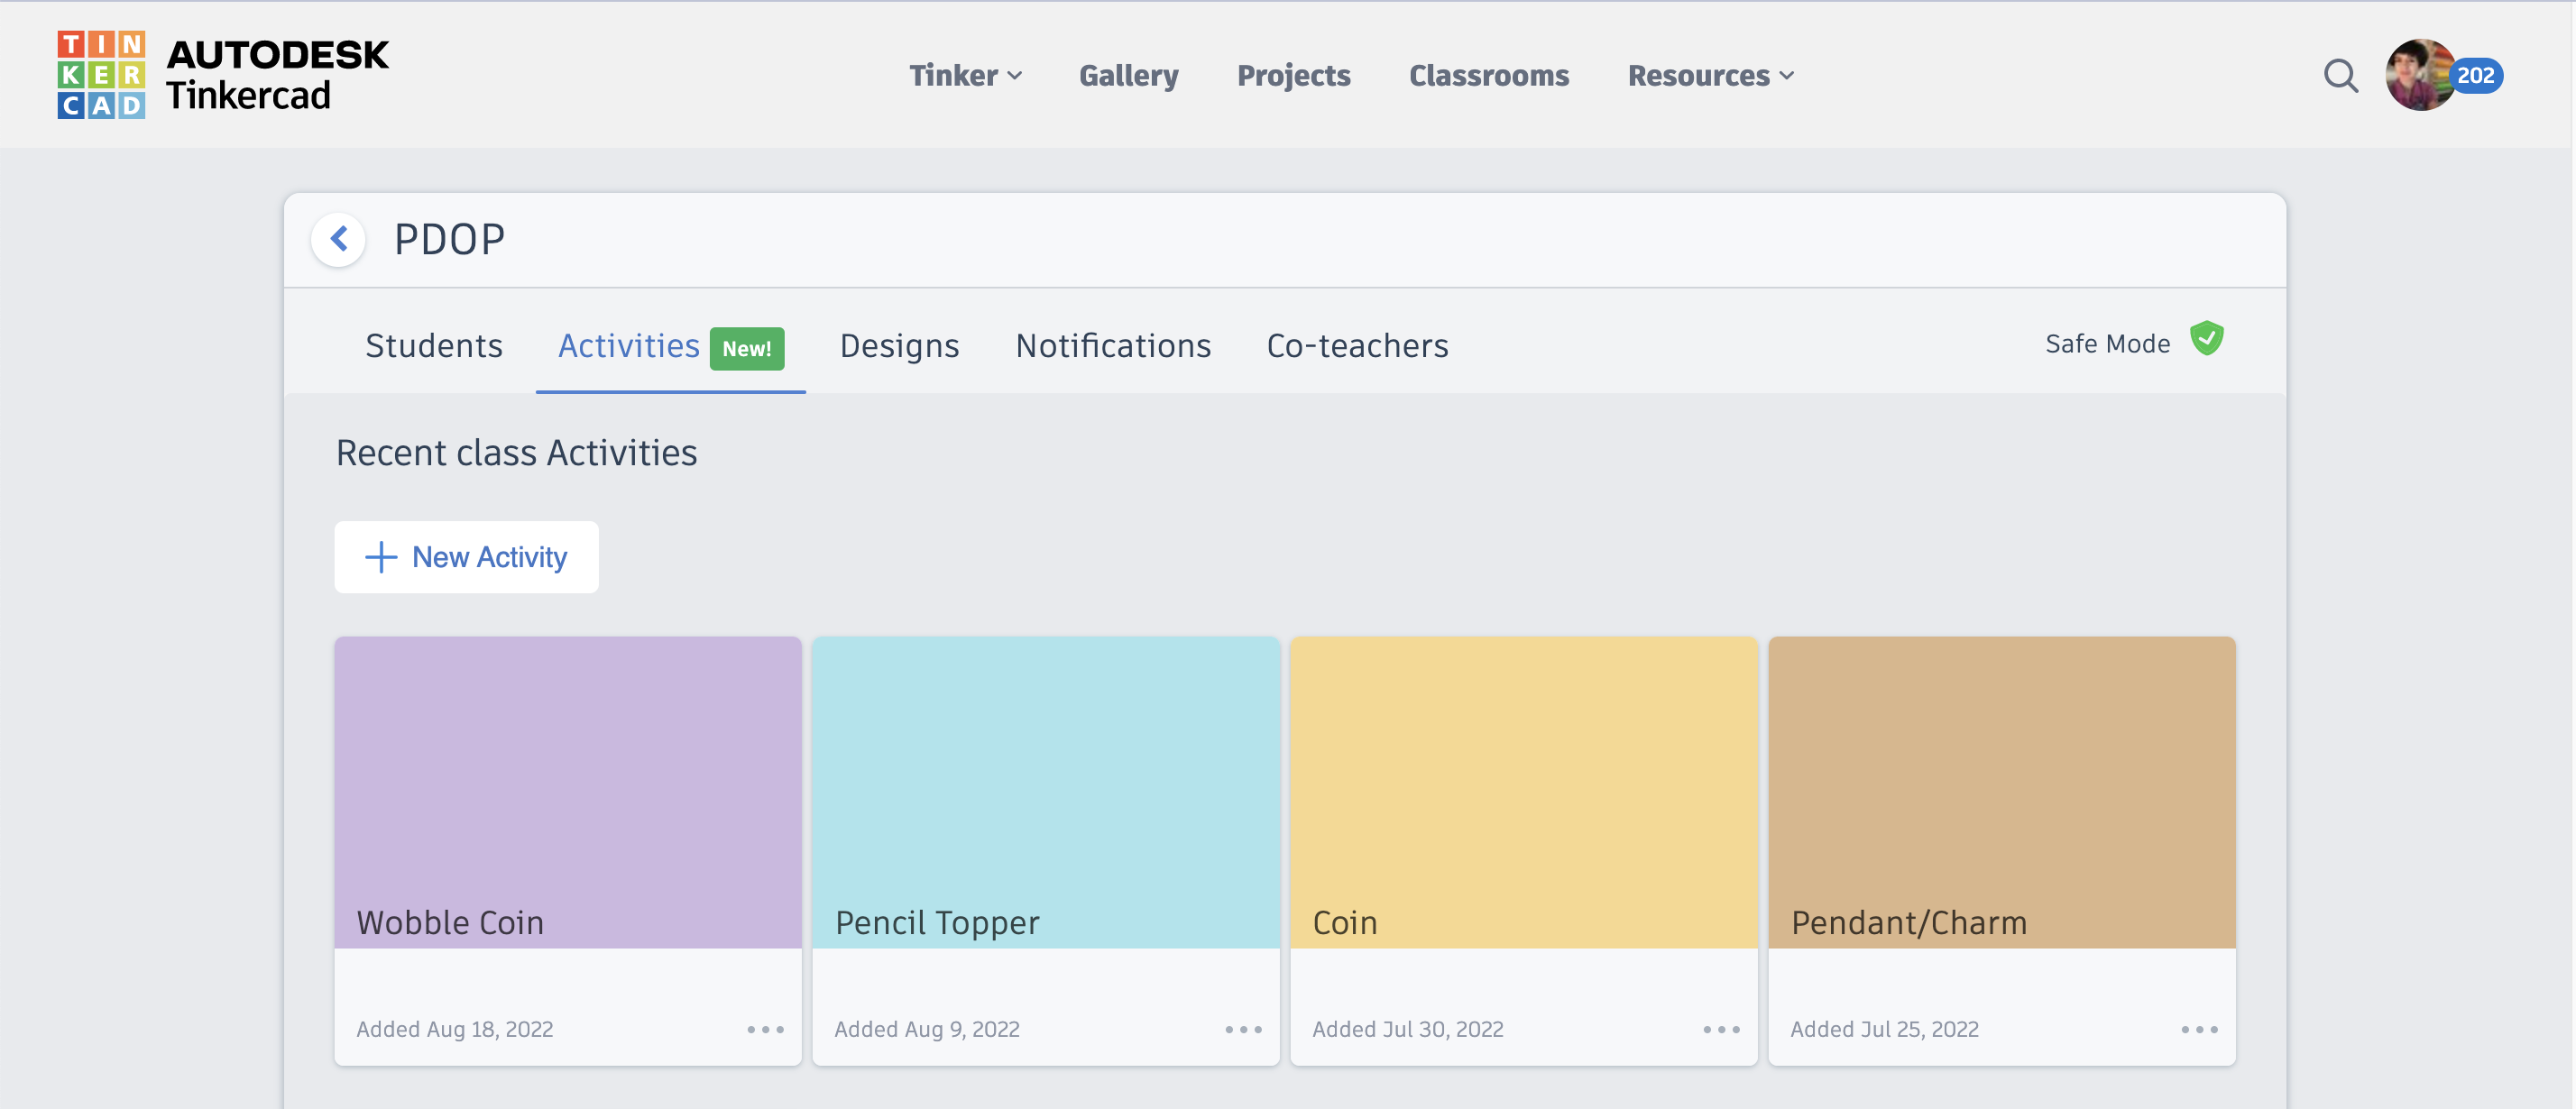
- Create Activity (Classes > Click class title > Activities > '+ New Activity' button)
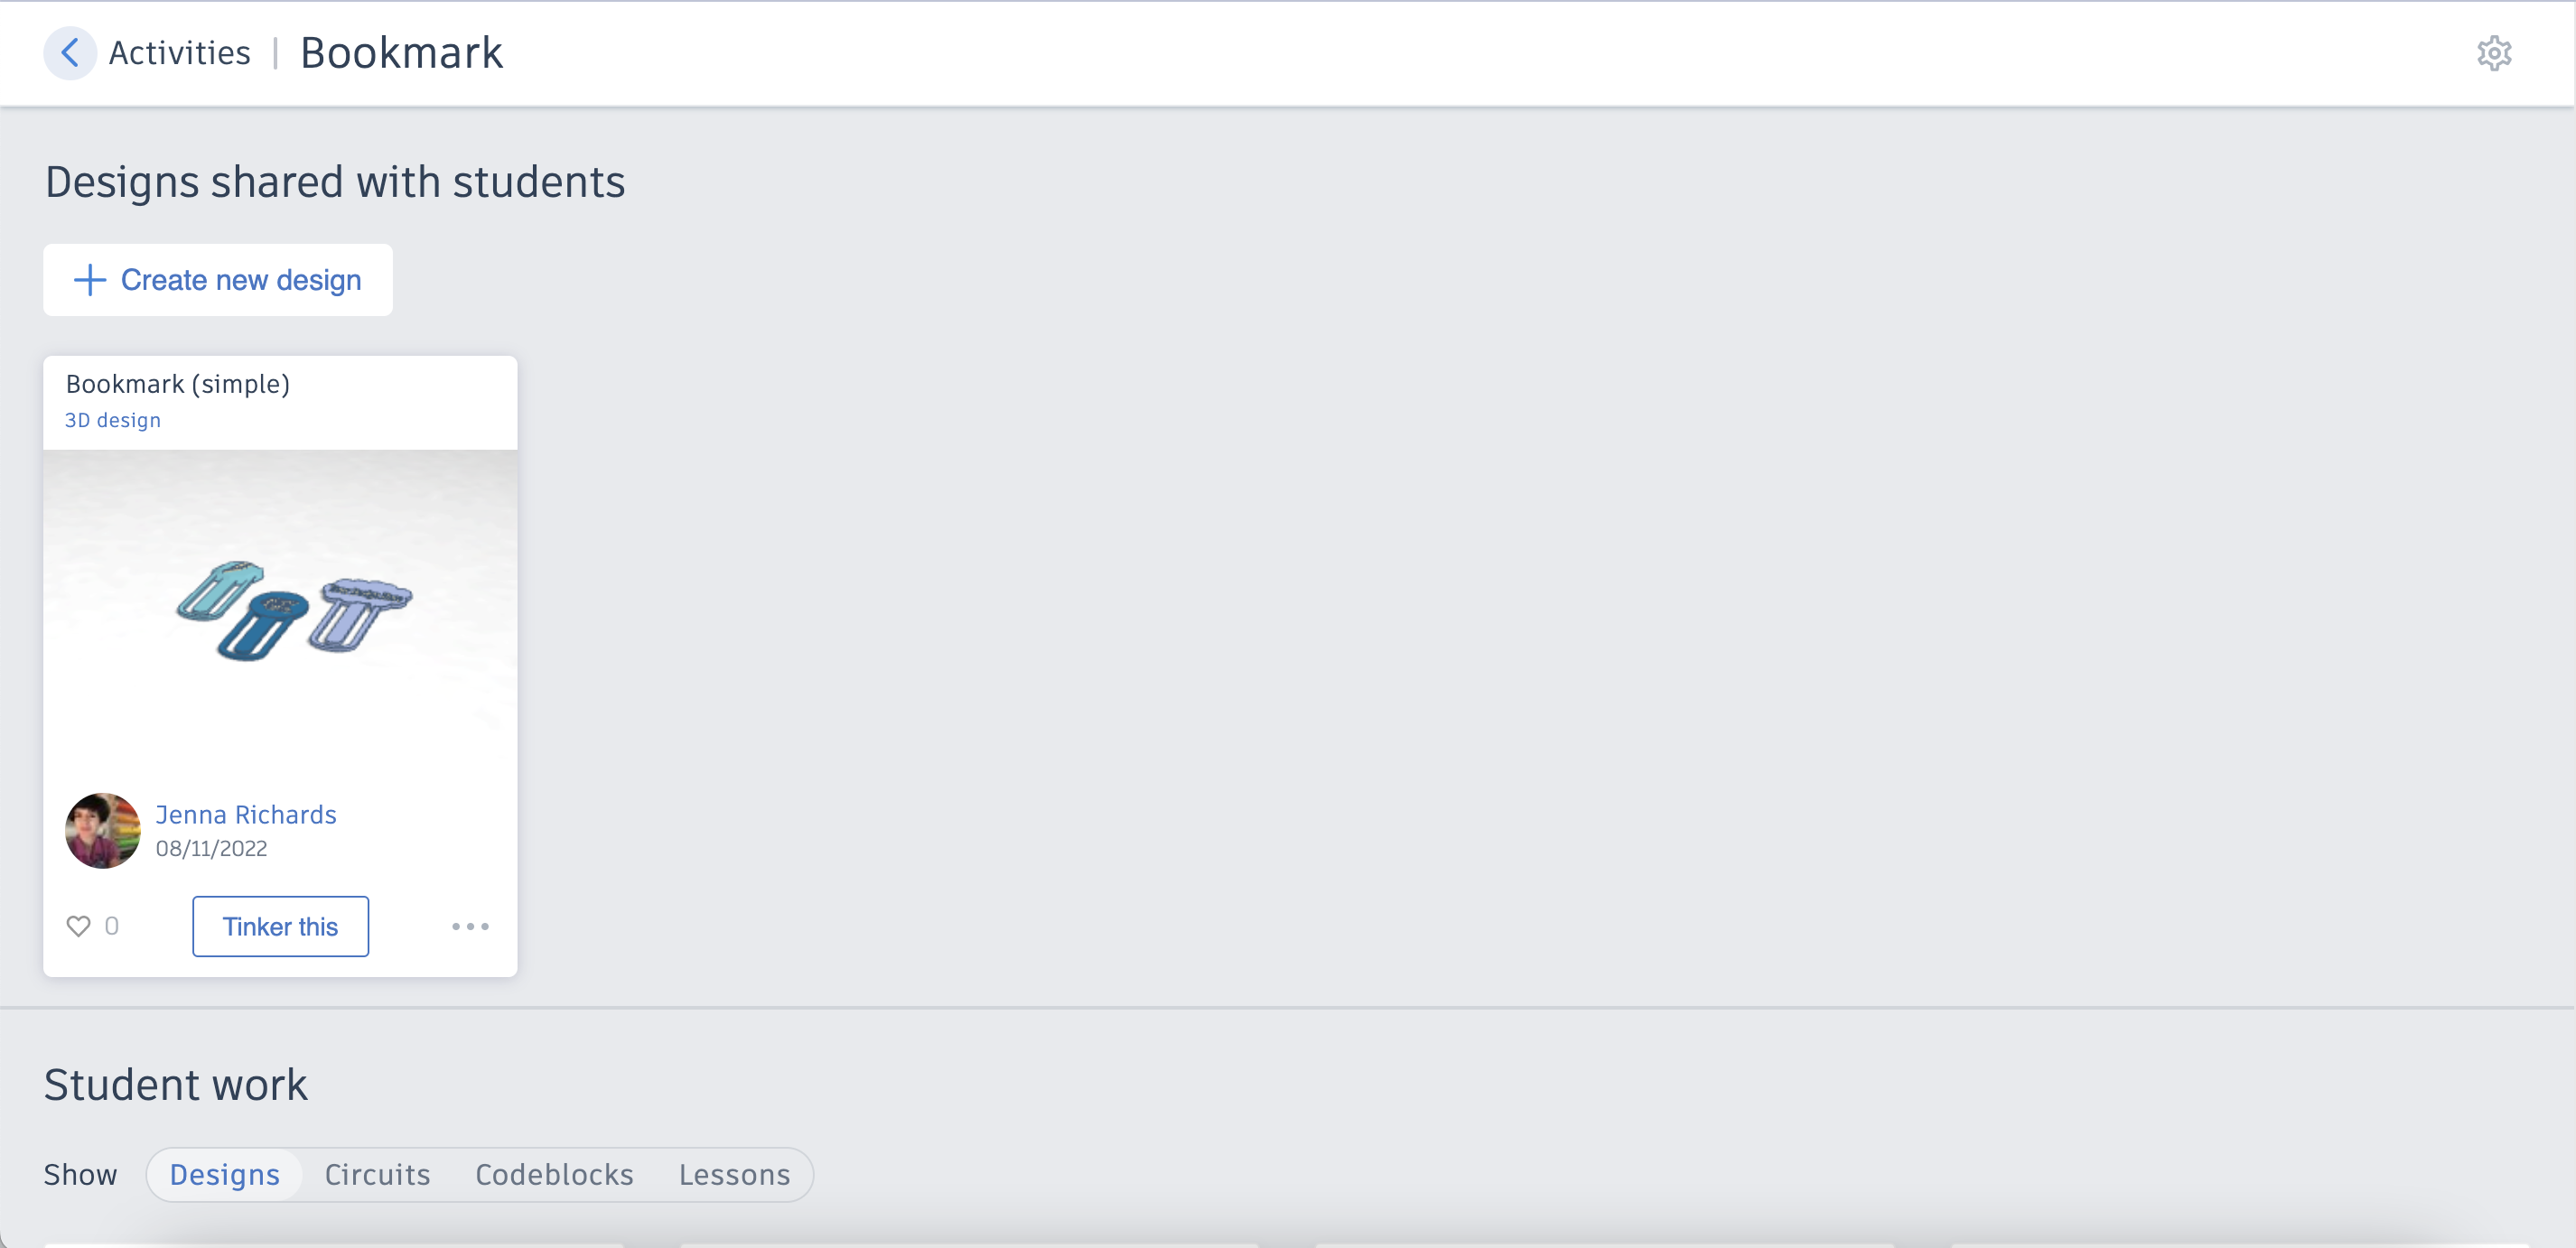
- Add Design into Activity (Design > Locate your design and hover over until the 'gear' button appears > Click Gear > "Add to Class Activity..." > Choose Class and Activity
Now any students who are in the class can Click on your Class > Activities > Click Bookmark > "Tinker This" and start with your provided design.
You can also insert that design into any class' activity using the gear, you do not have to create the design again.
For instructions on how to add students into a class or any other troubleshooting Tinkercad has great documentation and tutorials in their Knowledge Base.
Coin- Day 2
Day 2 Agenda:
Tinkercad Keyboard Shortcuts Review
Tinkercad Interface Continued
Coin
Tinkercad Interface Continued:
- Left pane: ViewCube, Home view, fit all in view, zoom in, zoom out, Perspective View, Orthographic View, Mirror, Align, Workplane Tool, Ruler, Shapes Library
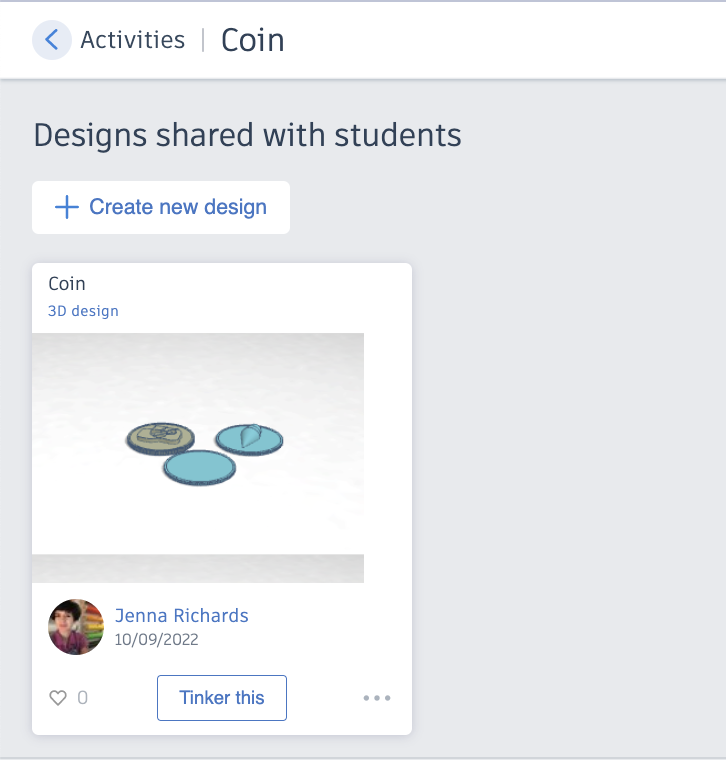
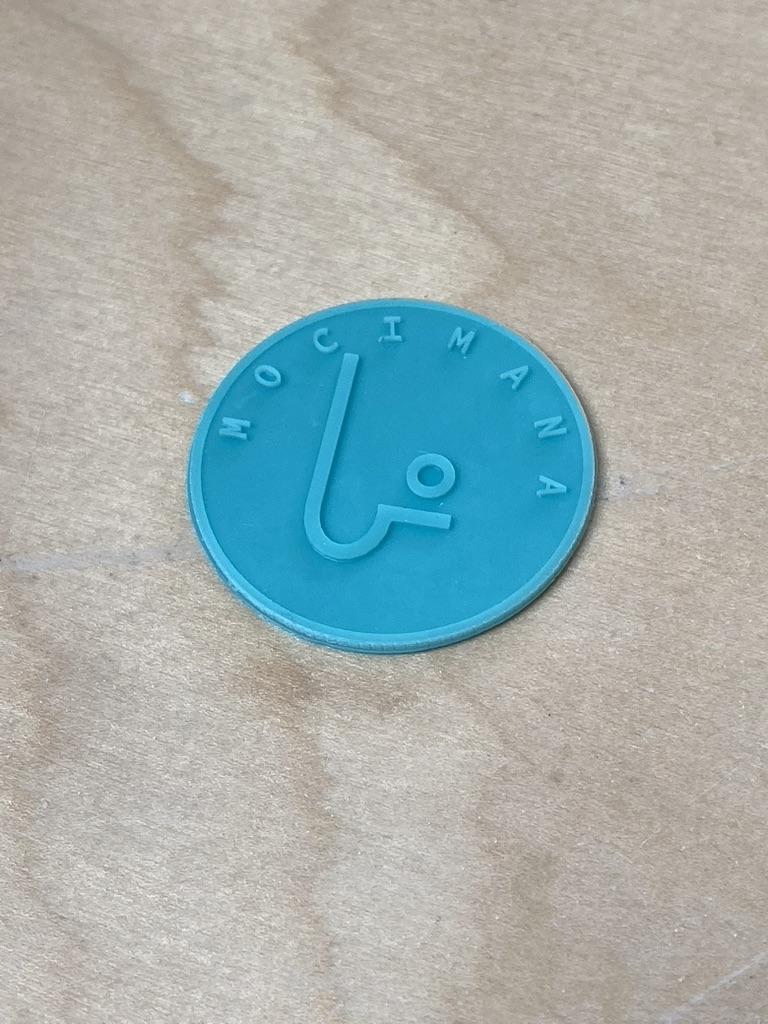
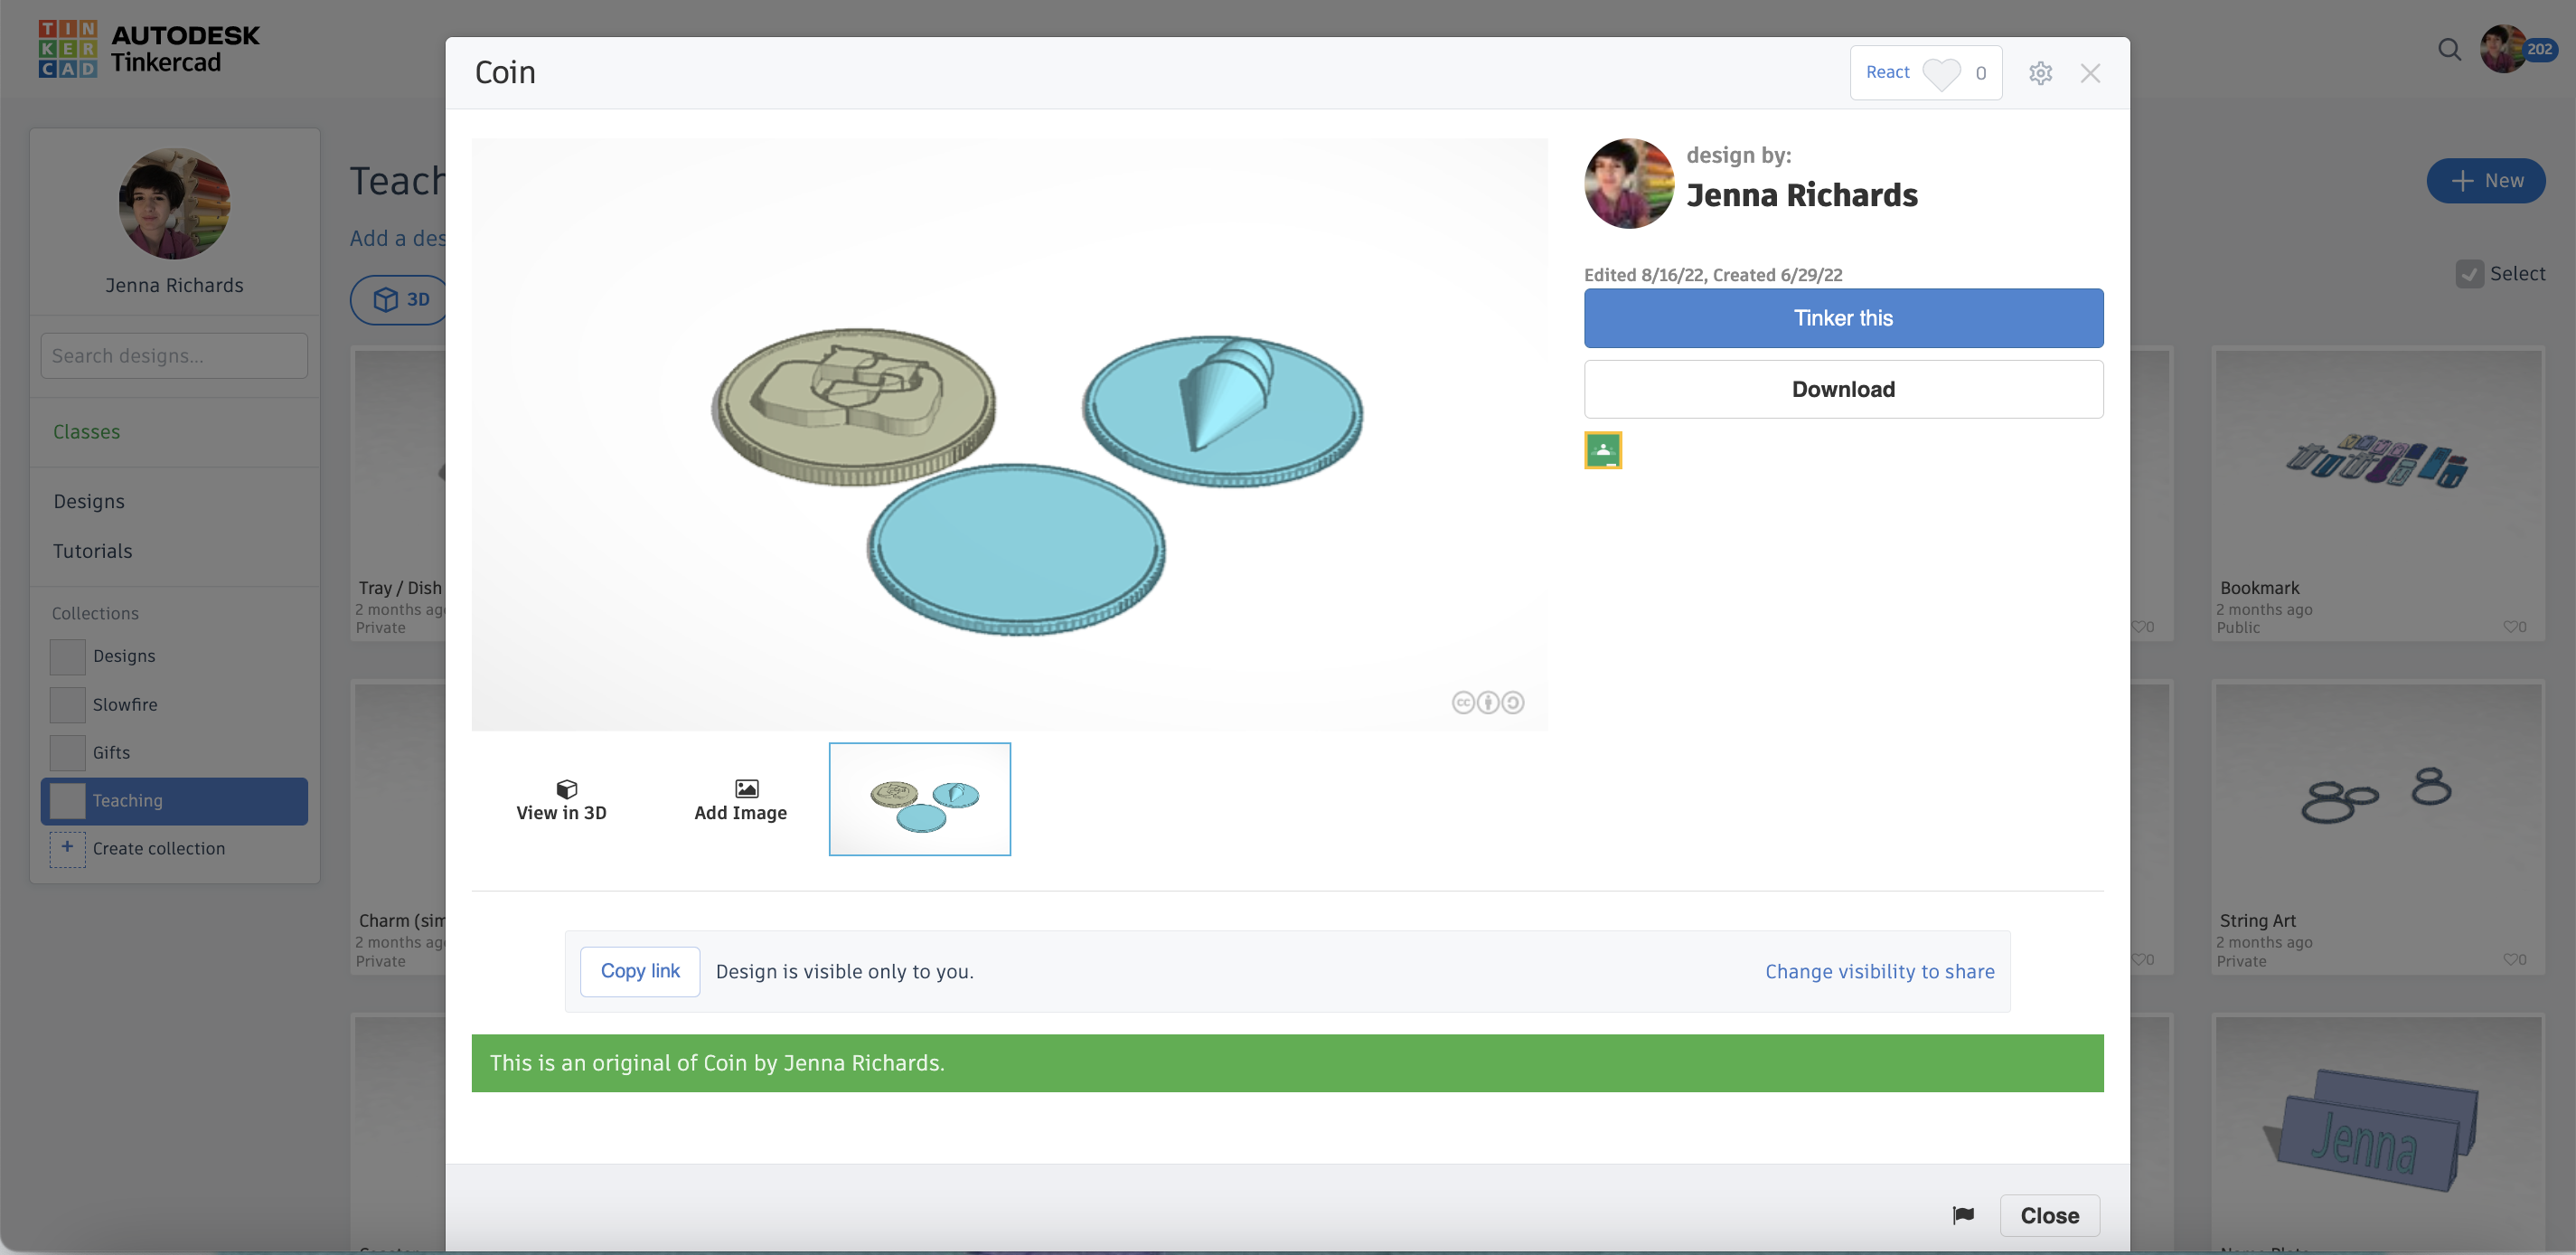
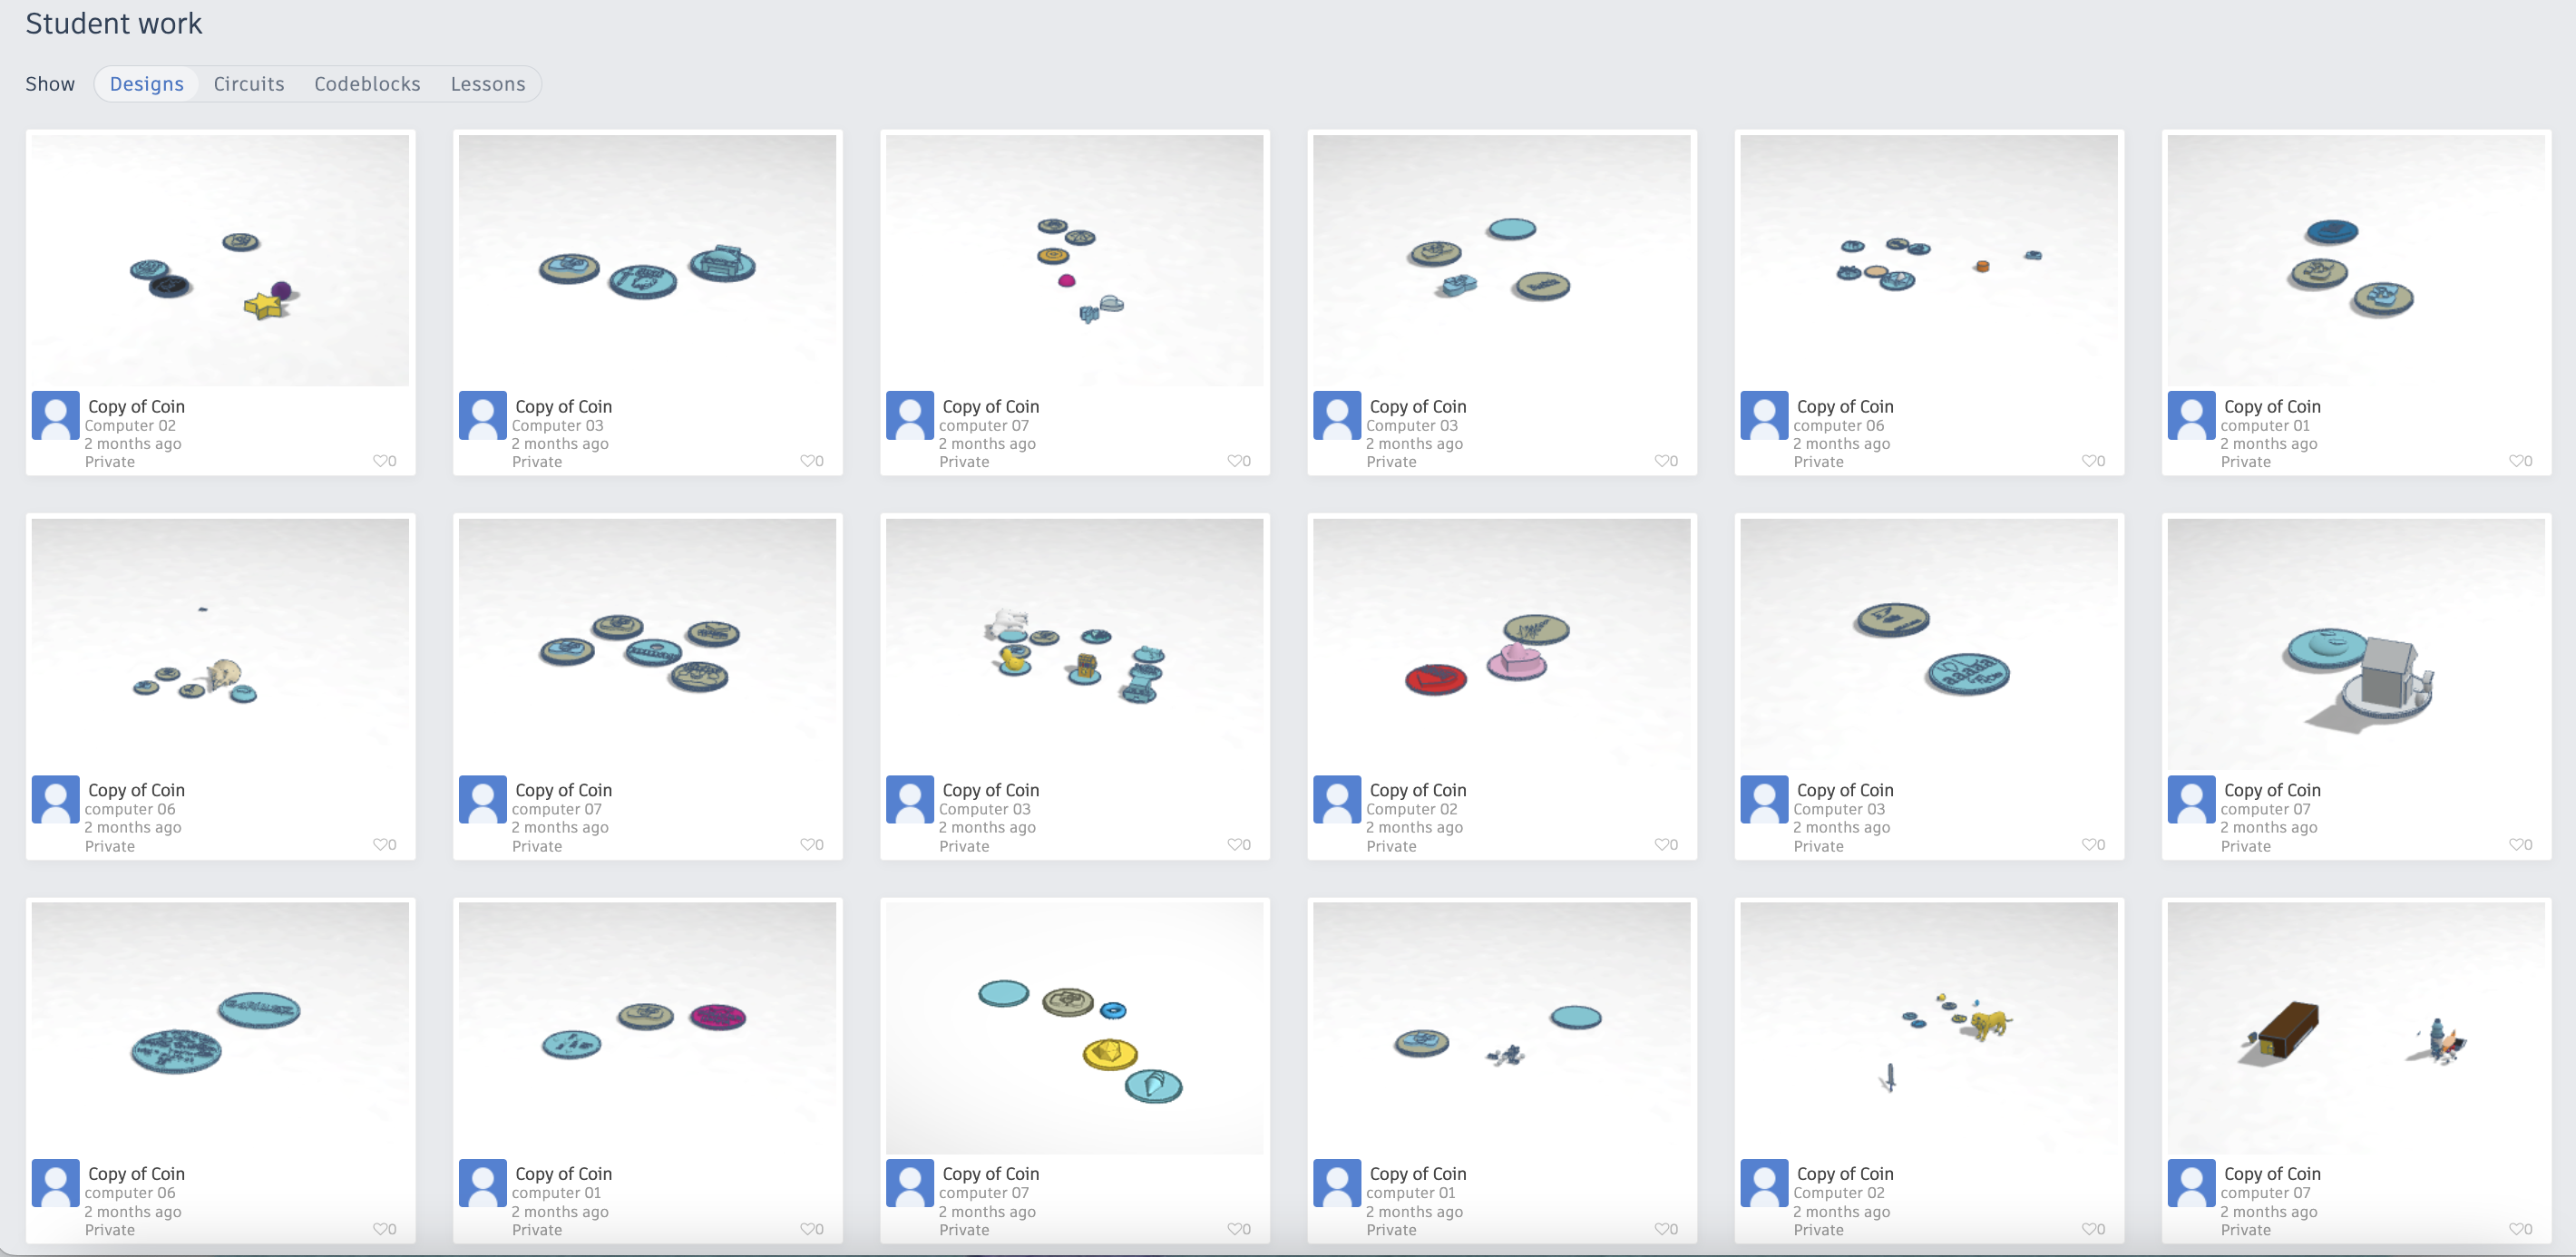
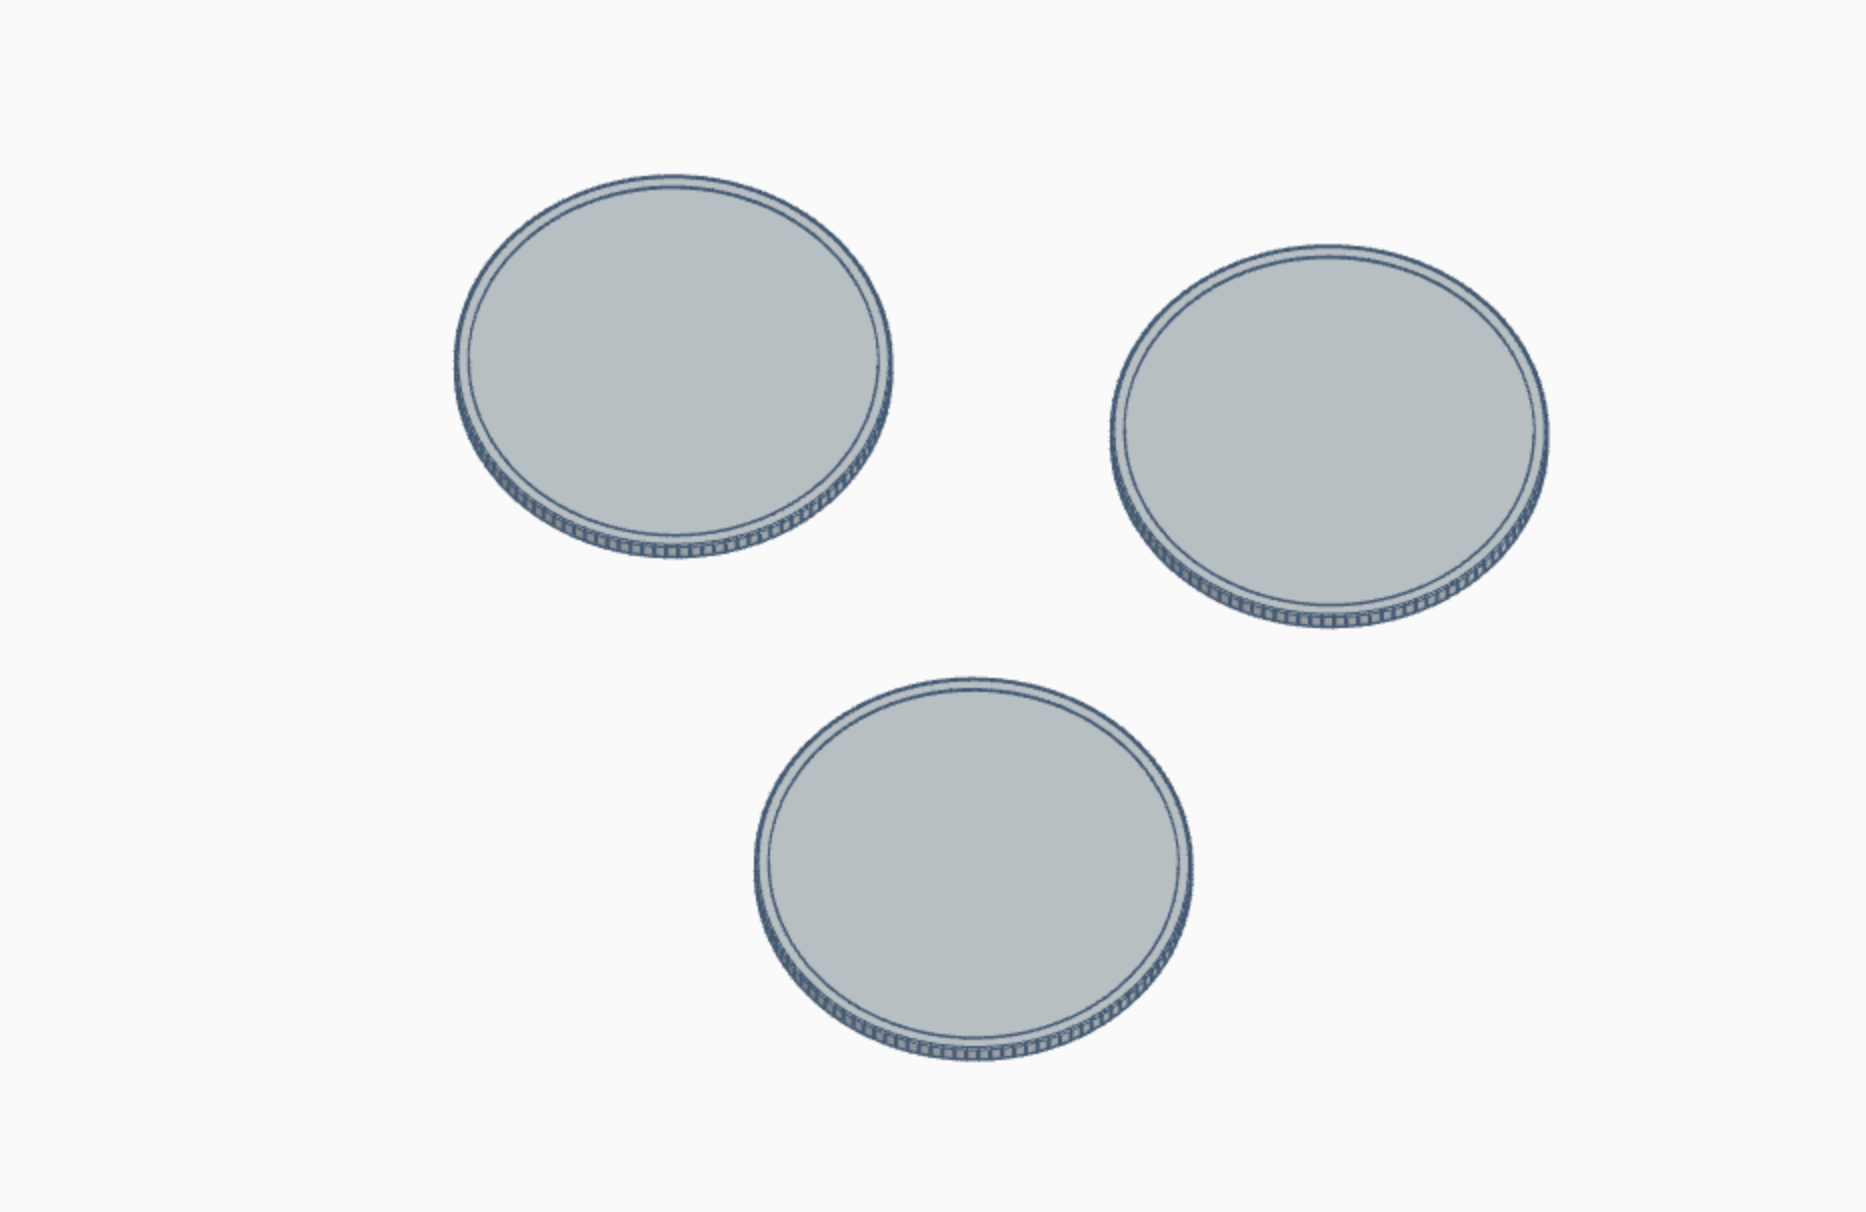
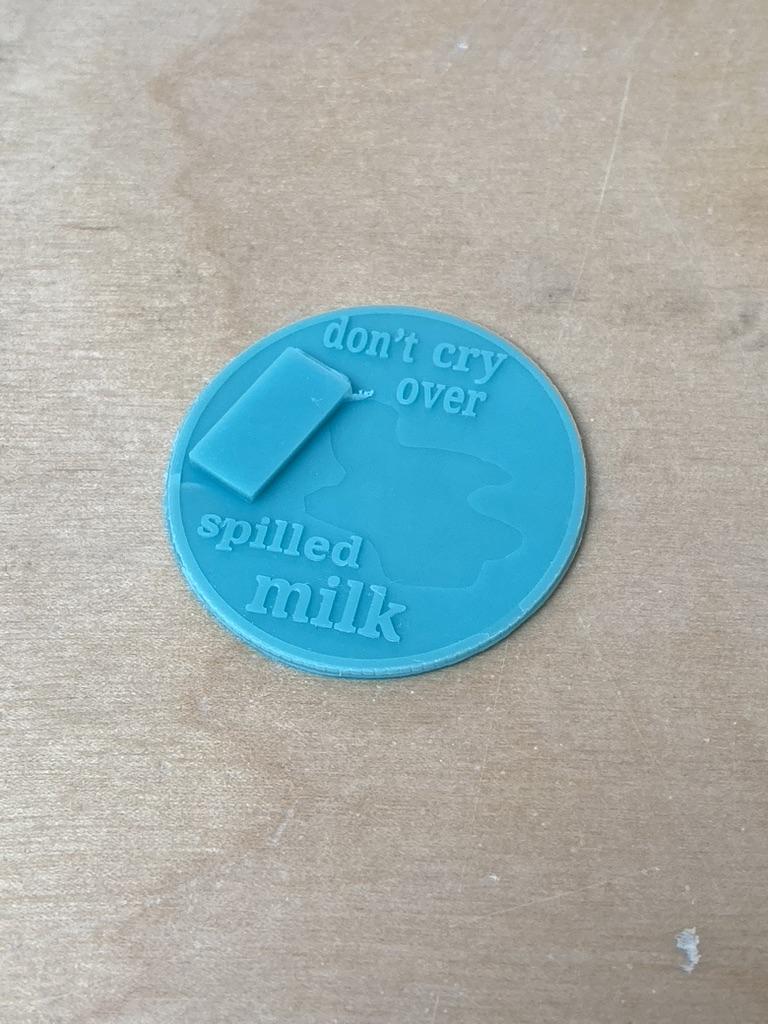
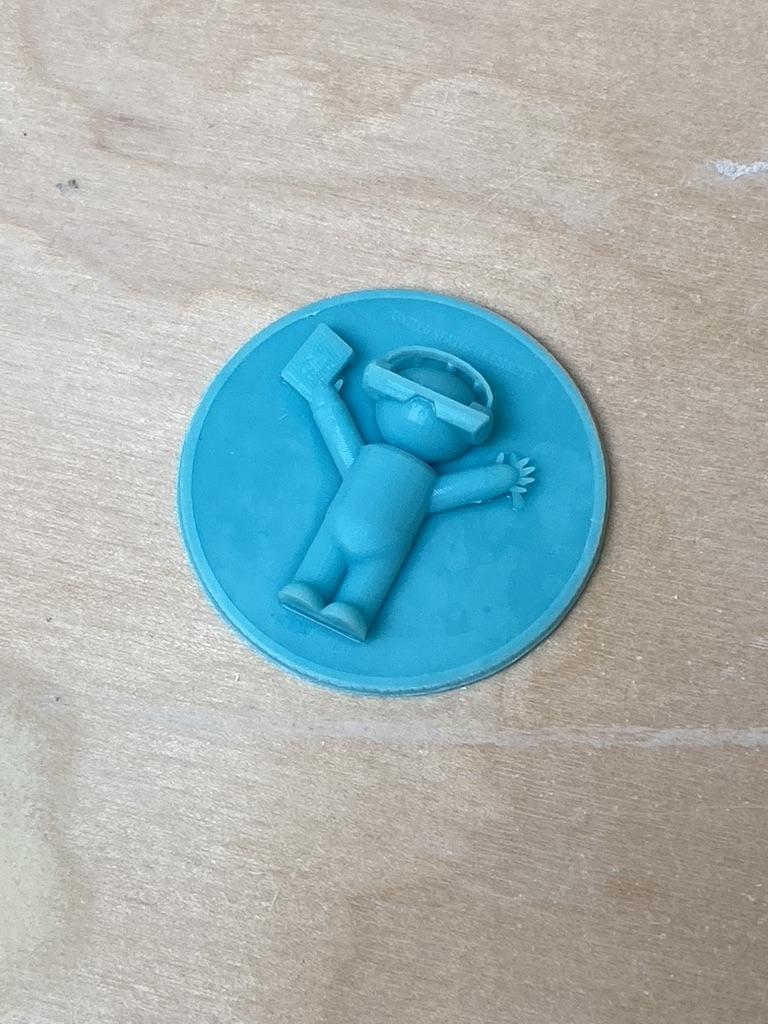
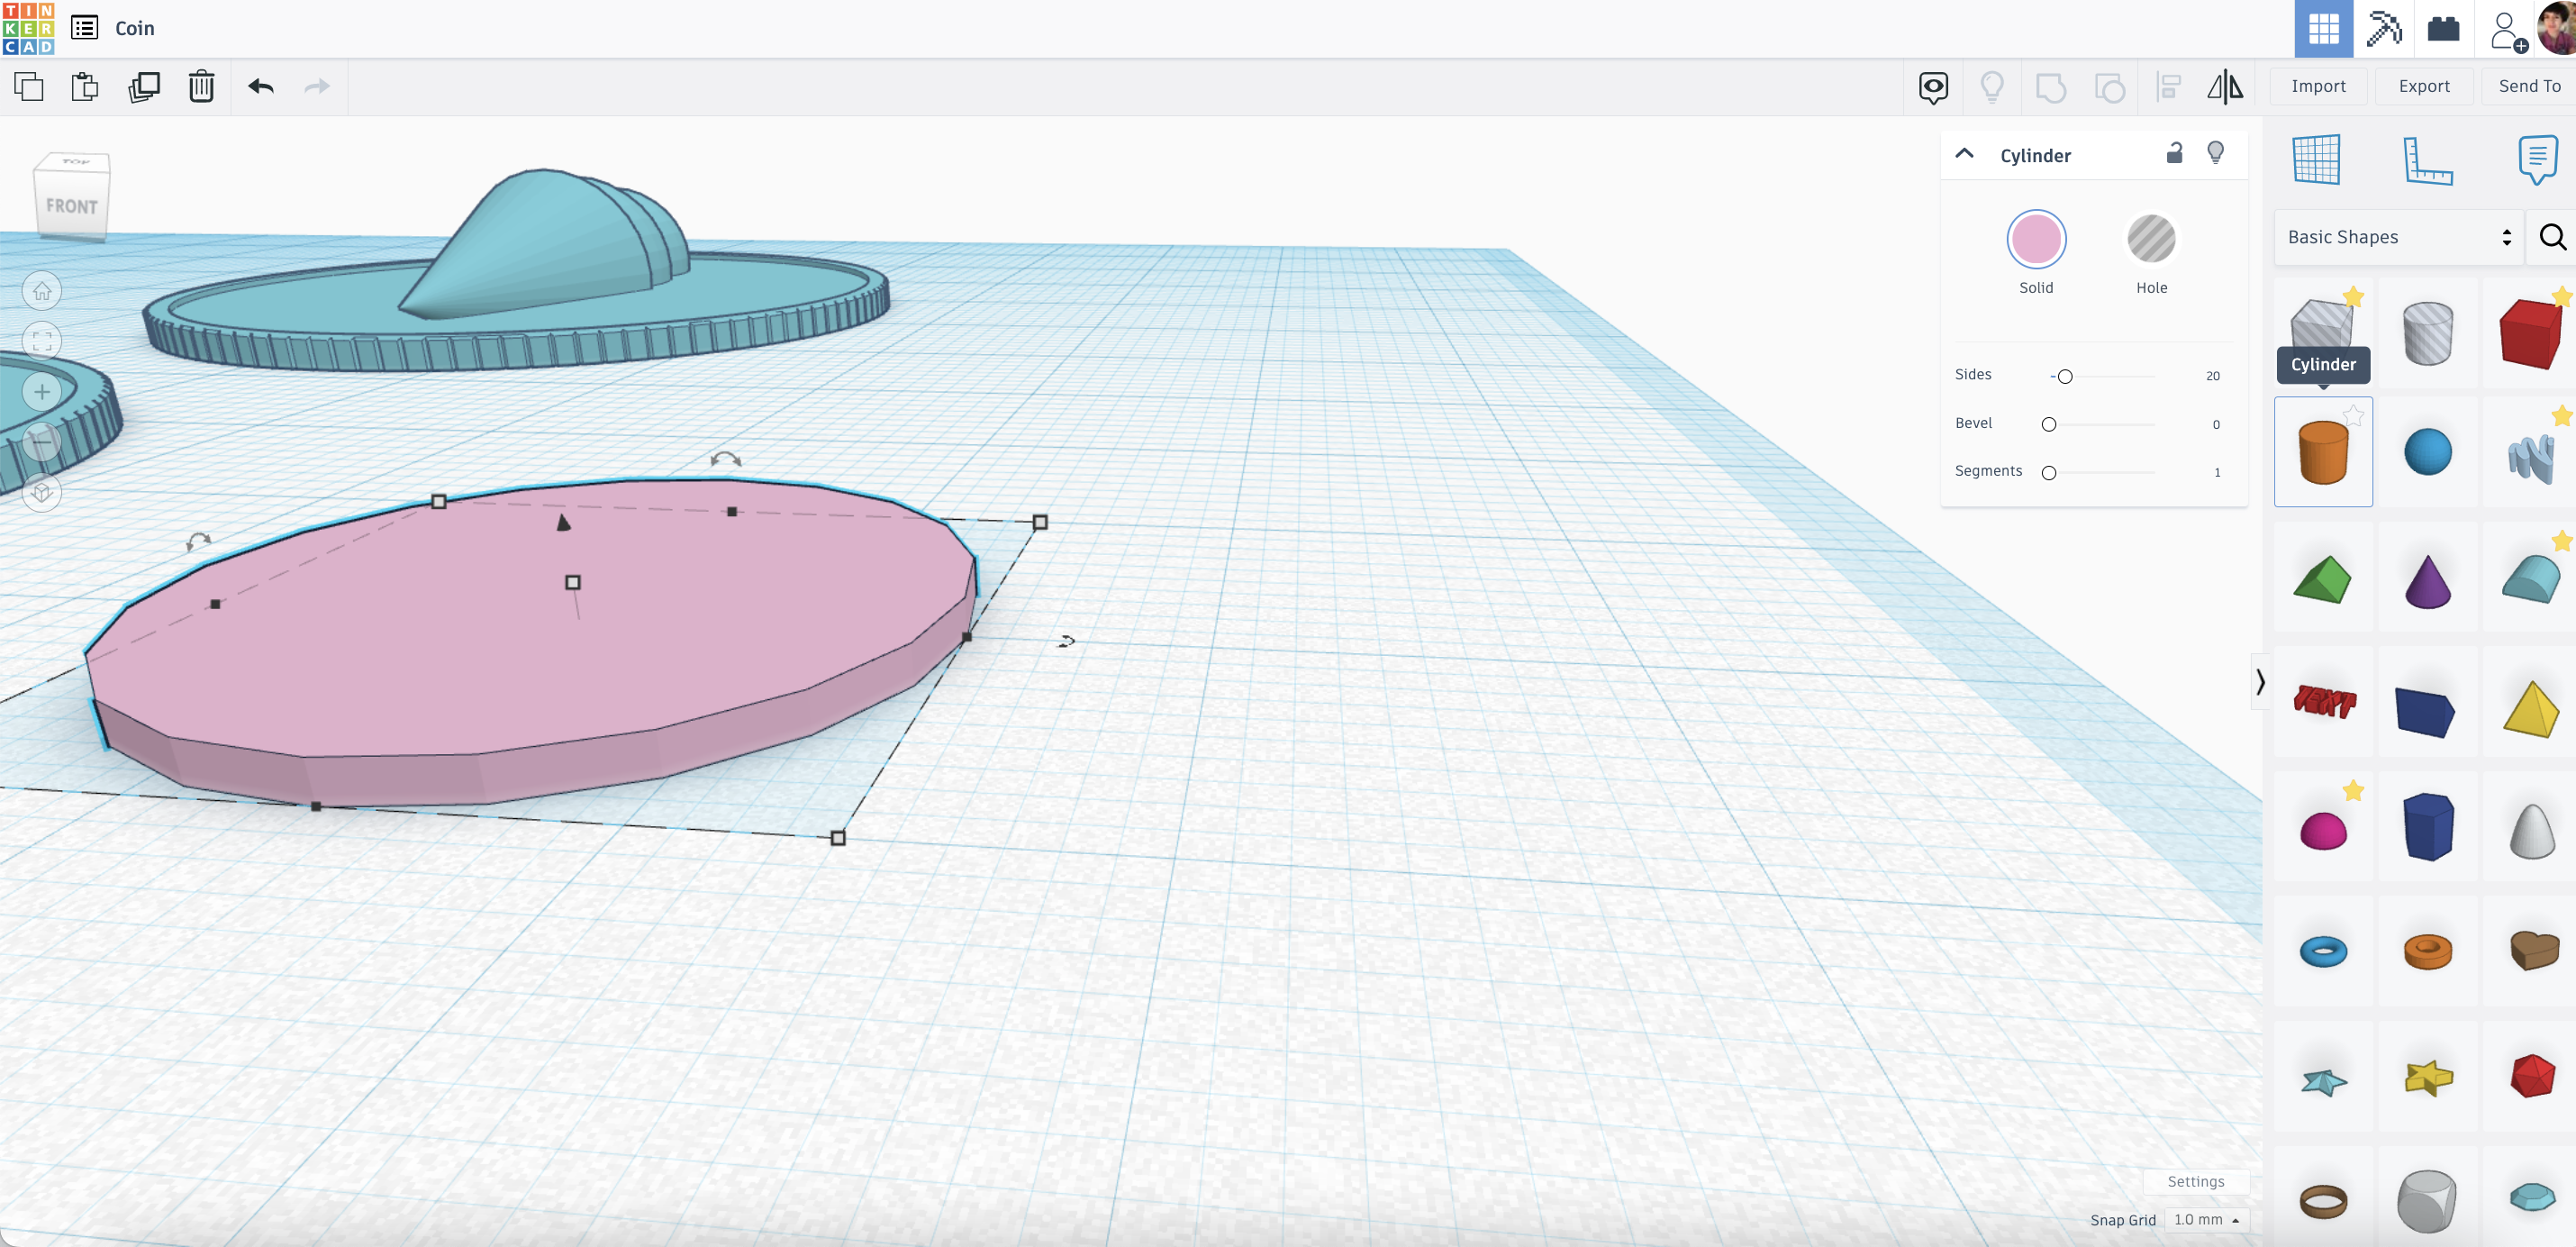
Coin- Prompt 2:
- Introduce the Coin activity
- Demonstrate using Tinkercad to create a new coin
- Design Time and Troubleshooting with students individually to help carry out their design
Teacher Notes for preparation in Tinkercad: you can make a simple coin by using the cylinder in basic shapes- just change the height to 1 mm. See the images- they have additional process notes, or click the "Coin" project below and "Tinker this" to start.
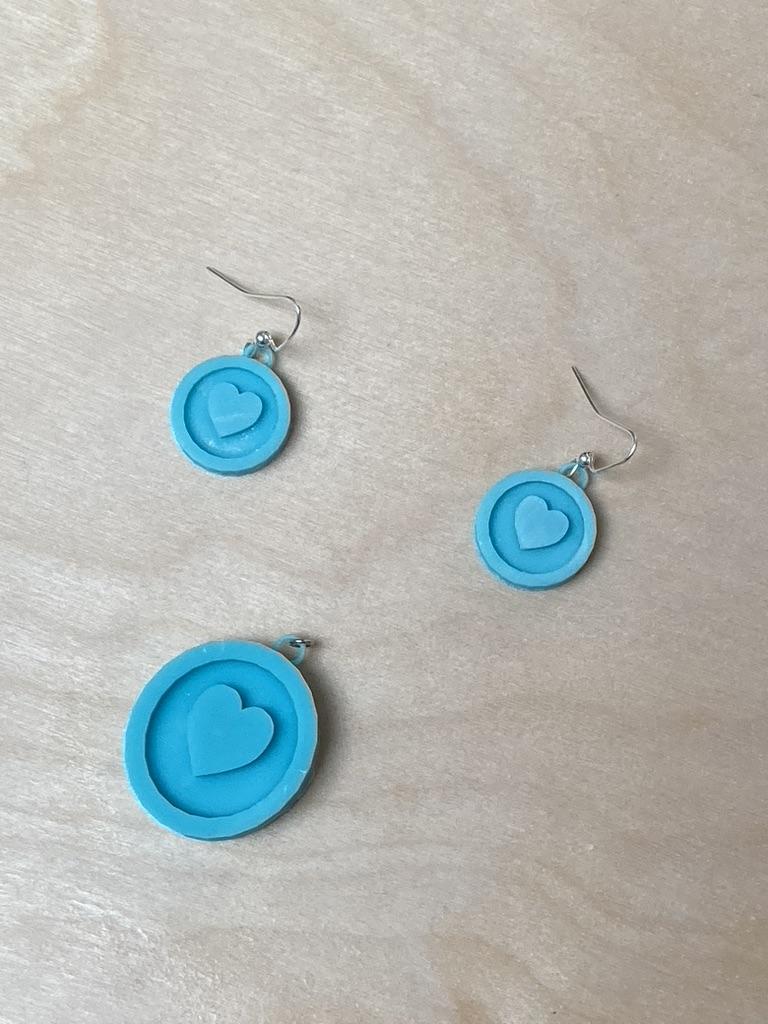
Pendant- Day 3

Day 3 Agenda:
Tinkercad Interface Final
Pendant
Tinkercad Interface Final:
- Import, export, Workspace Settings, Snap Grid
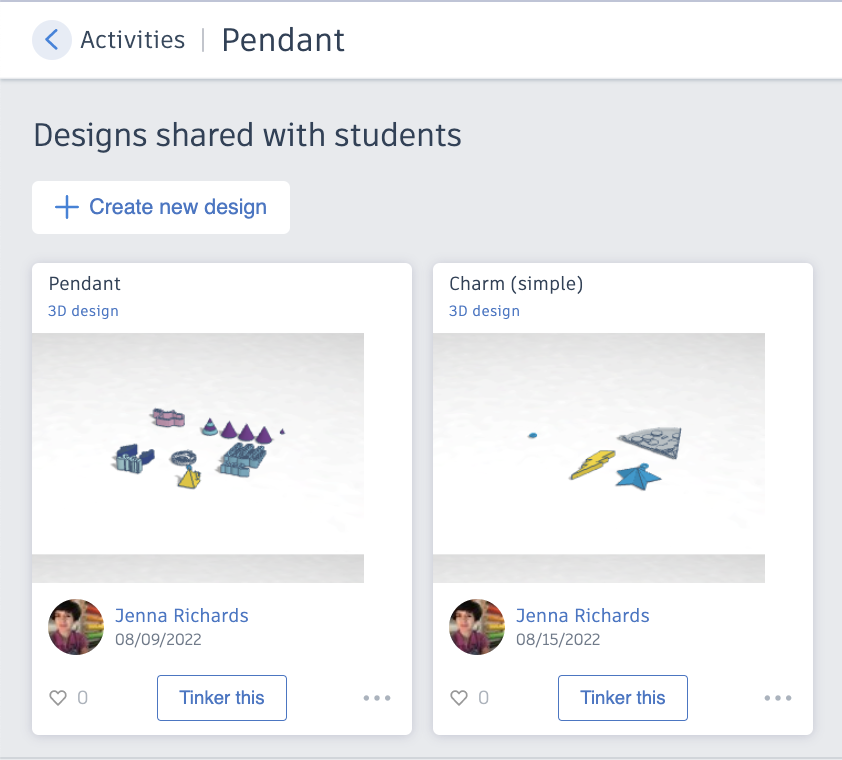
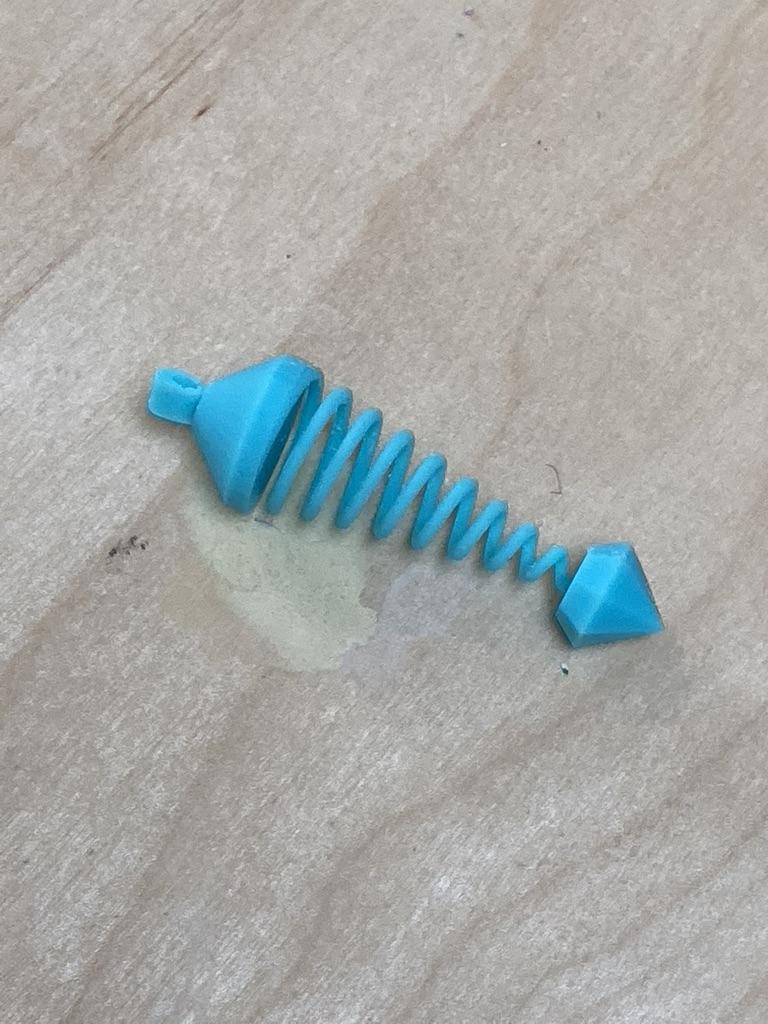
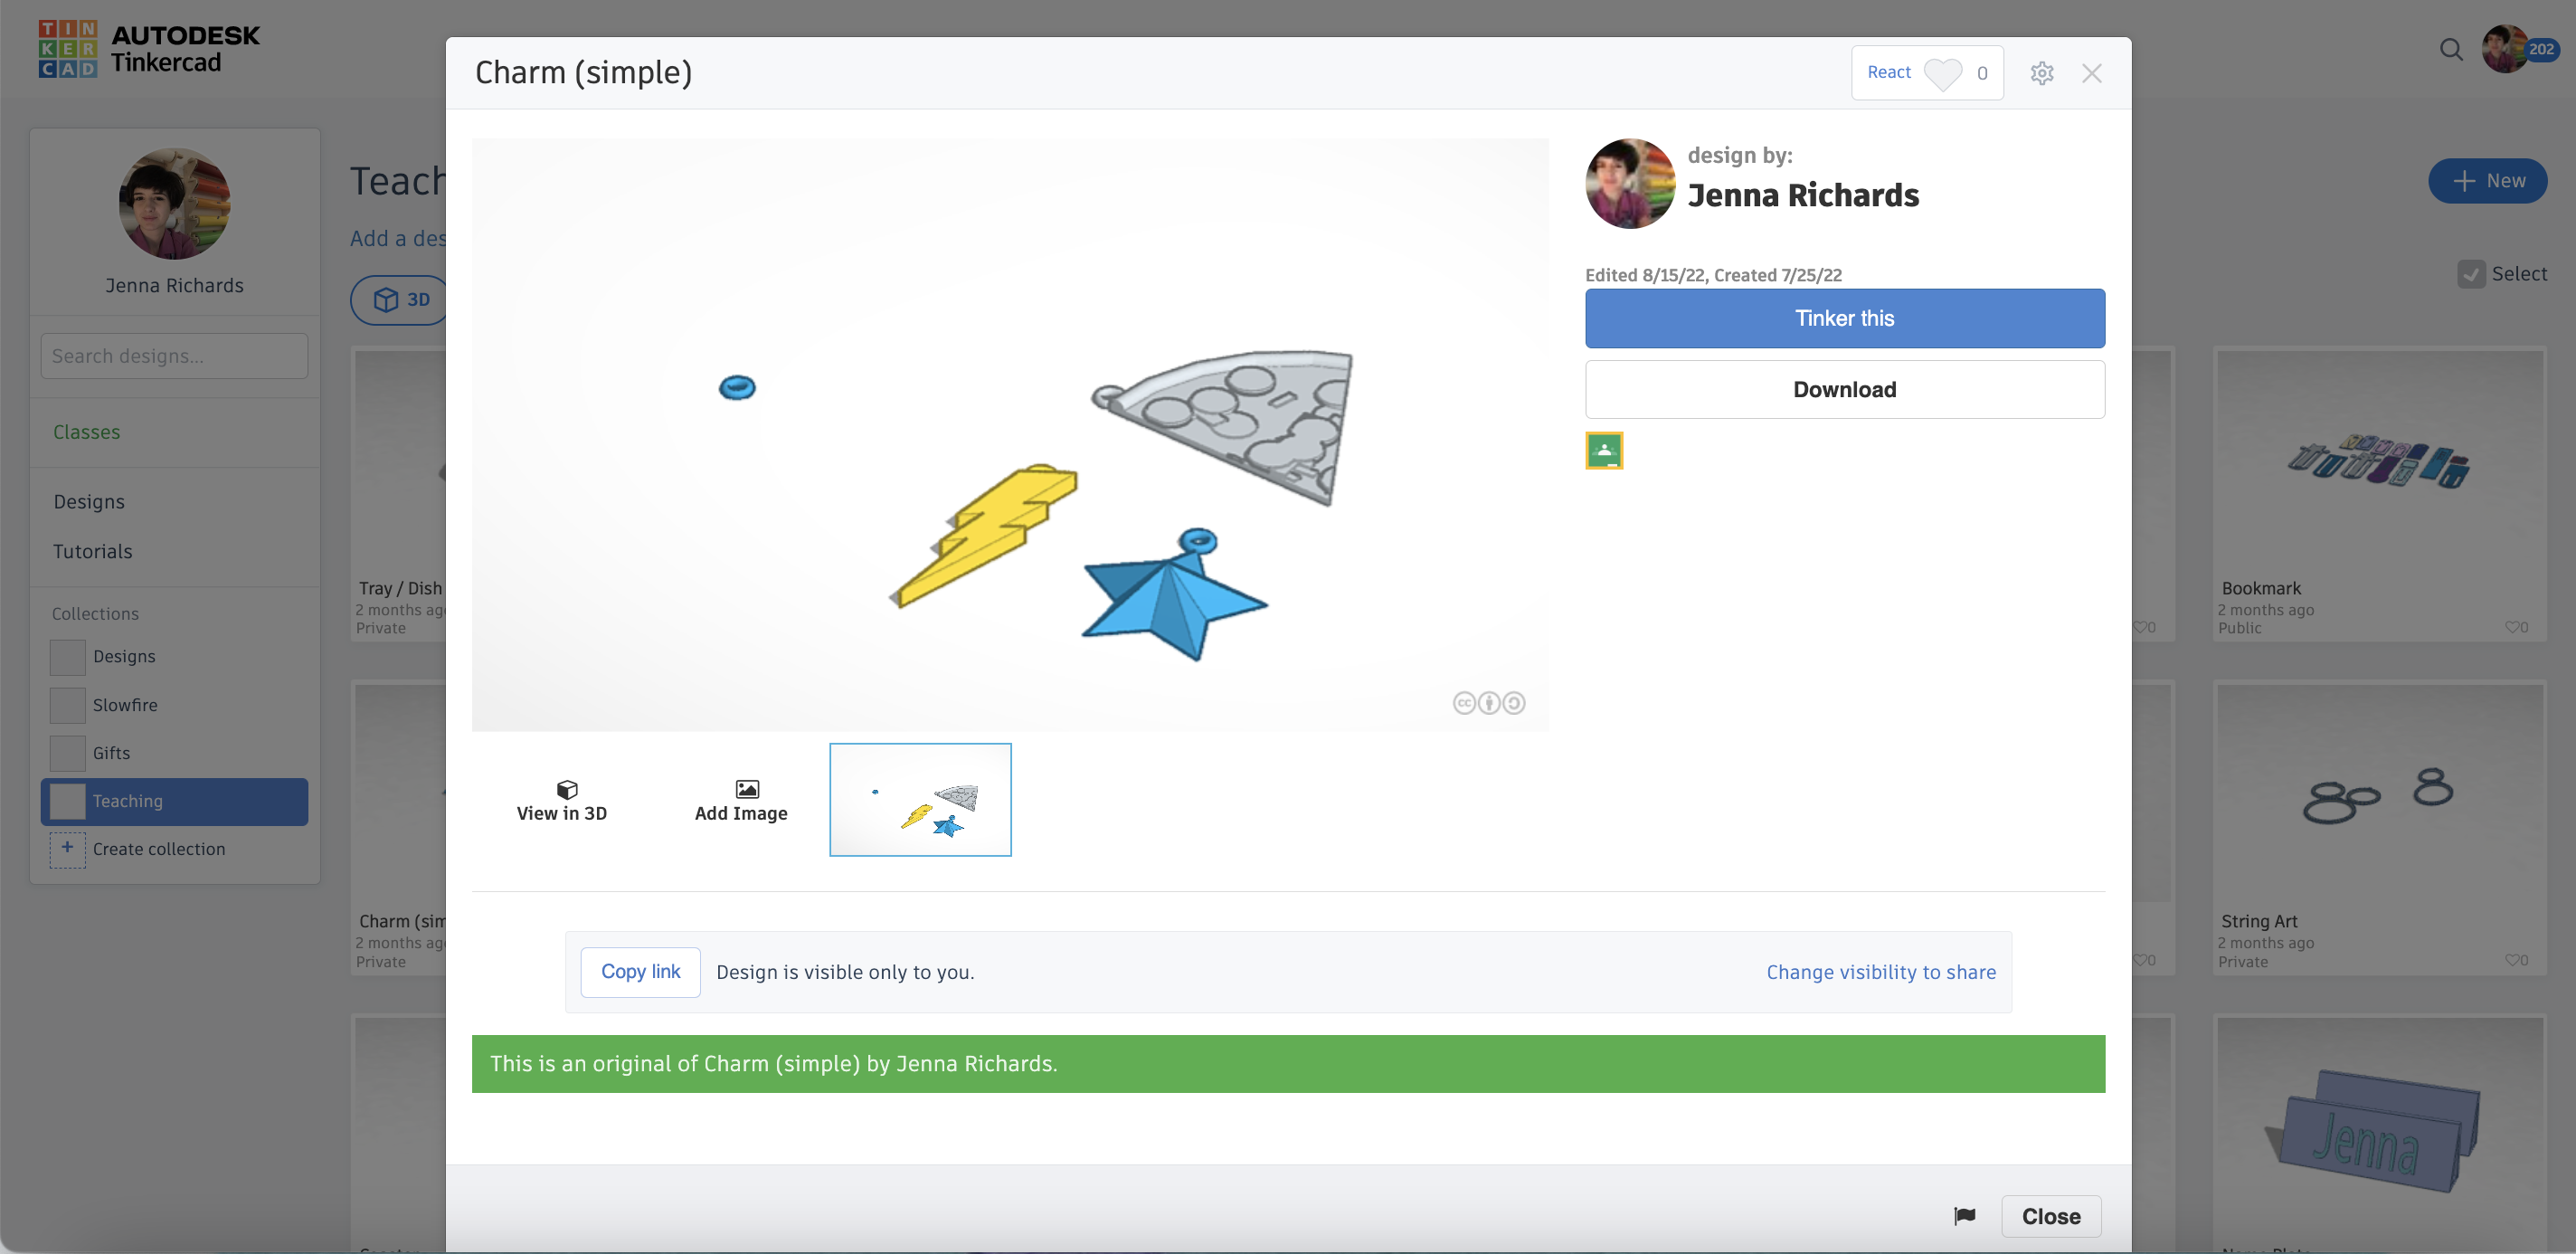
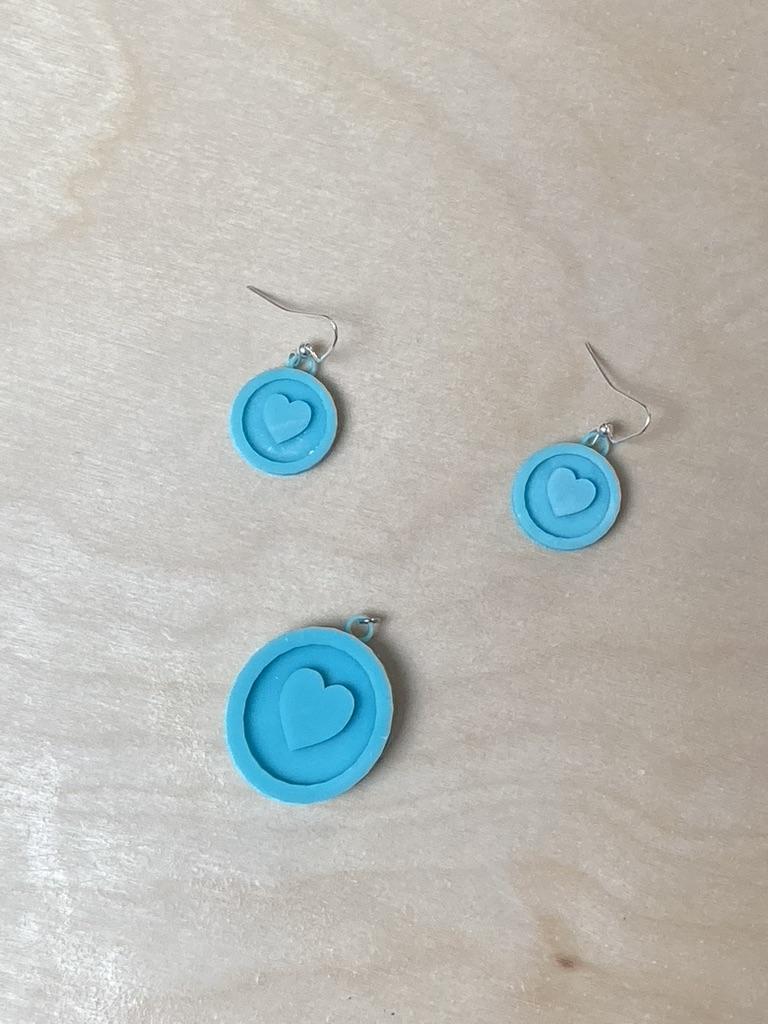
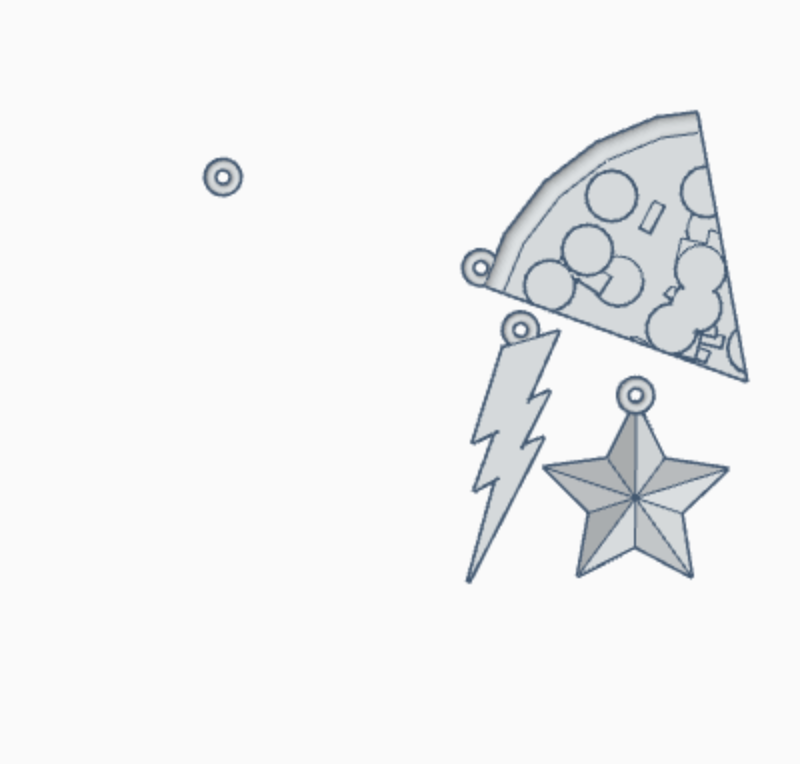
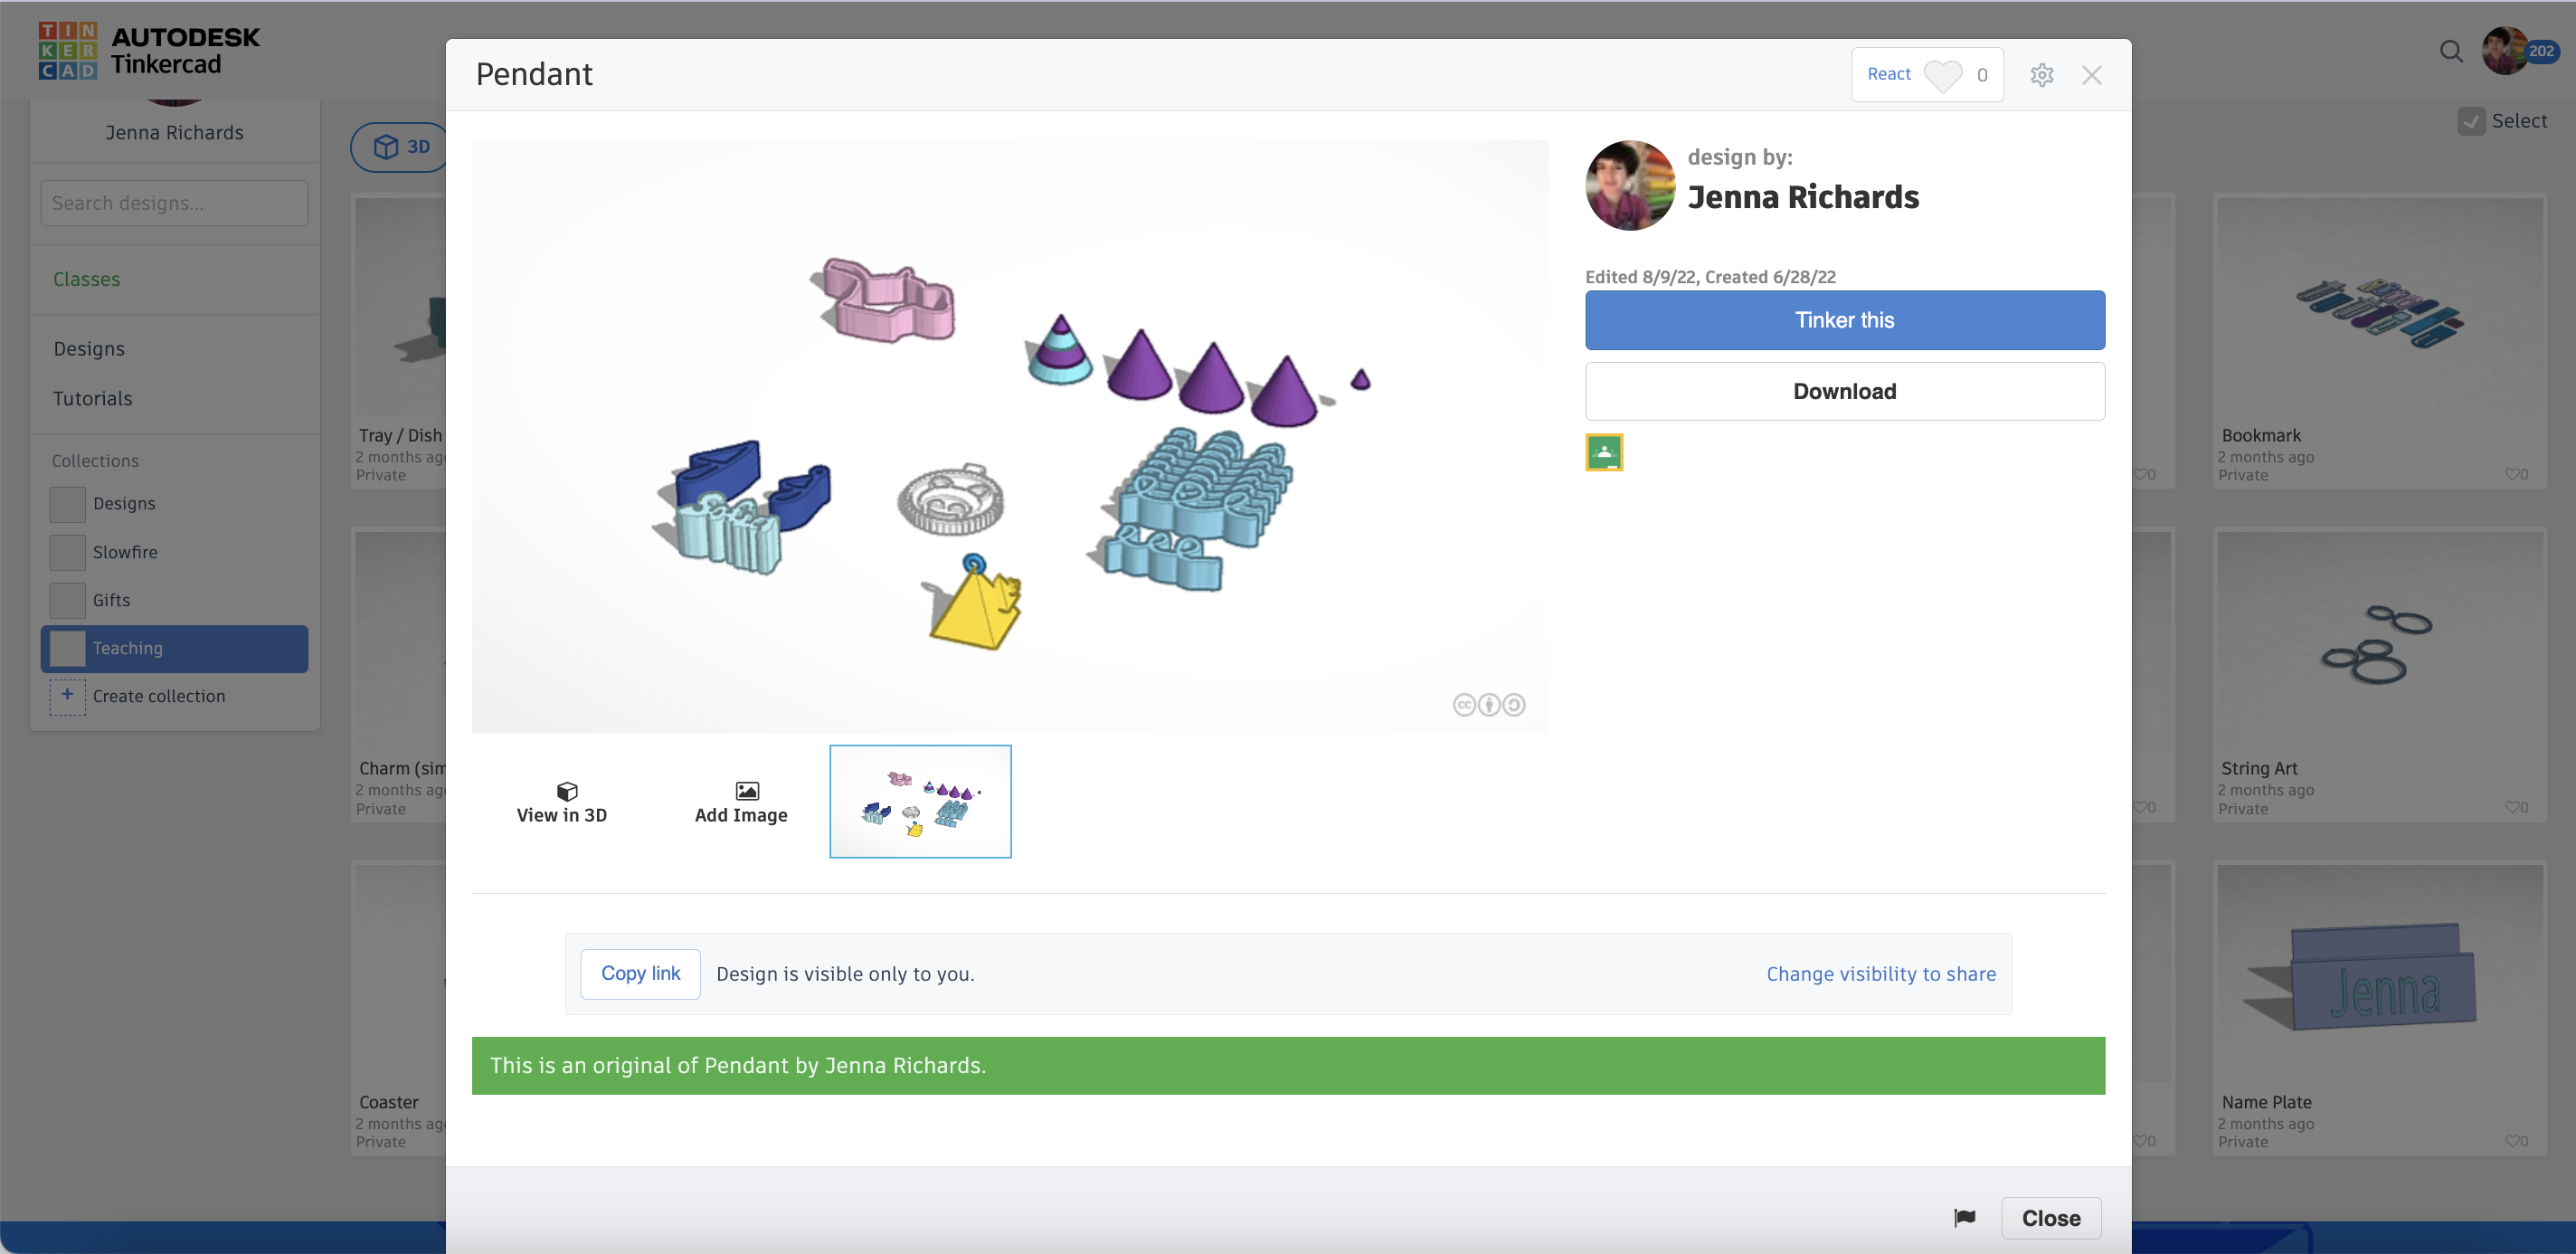
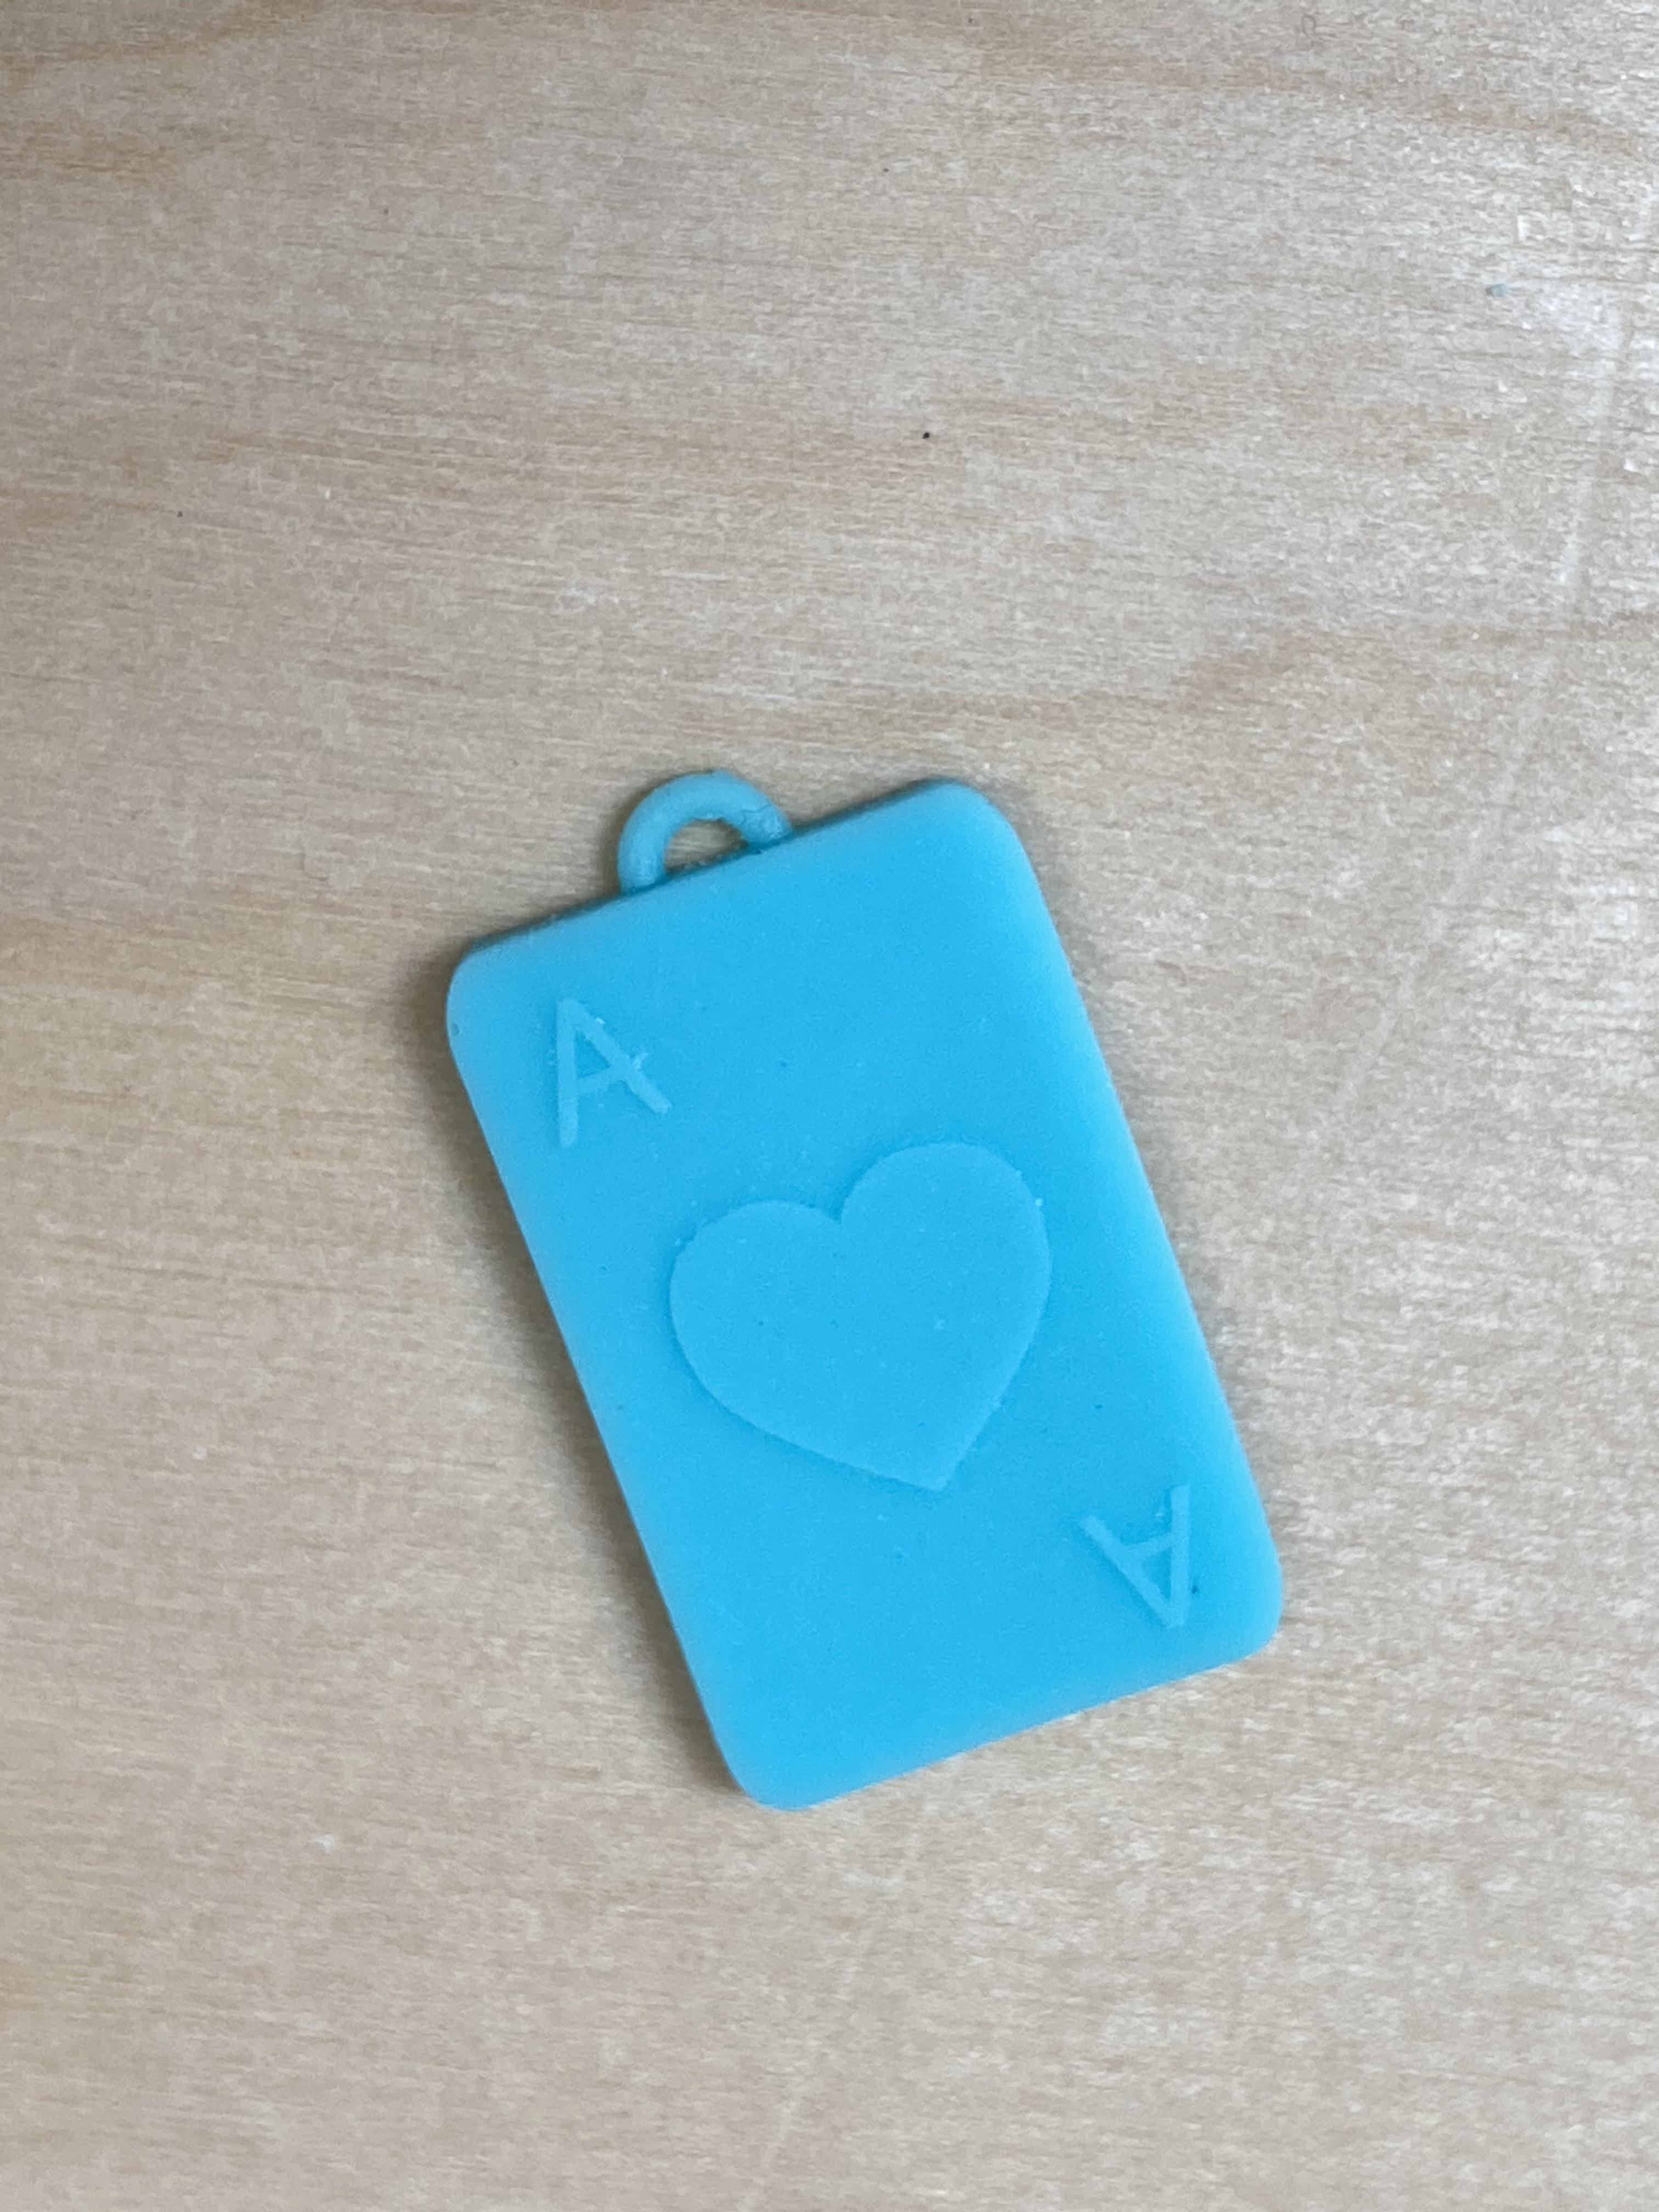
Pendant- Prompt 3:
- Introduce the Pendant/Charm activity
- Demonstrate using Tinkercad to create a new pendant
- Design Time and Troubleshooting with students individually to help carry out their design
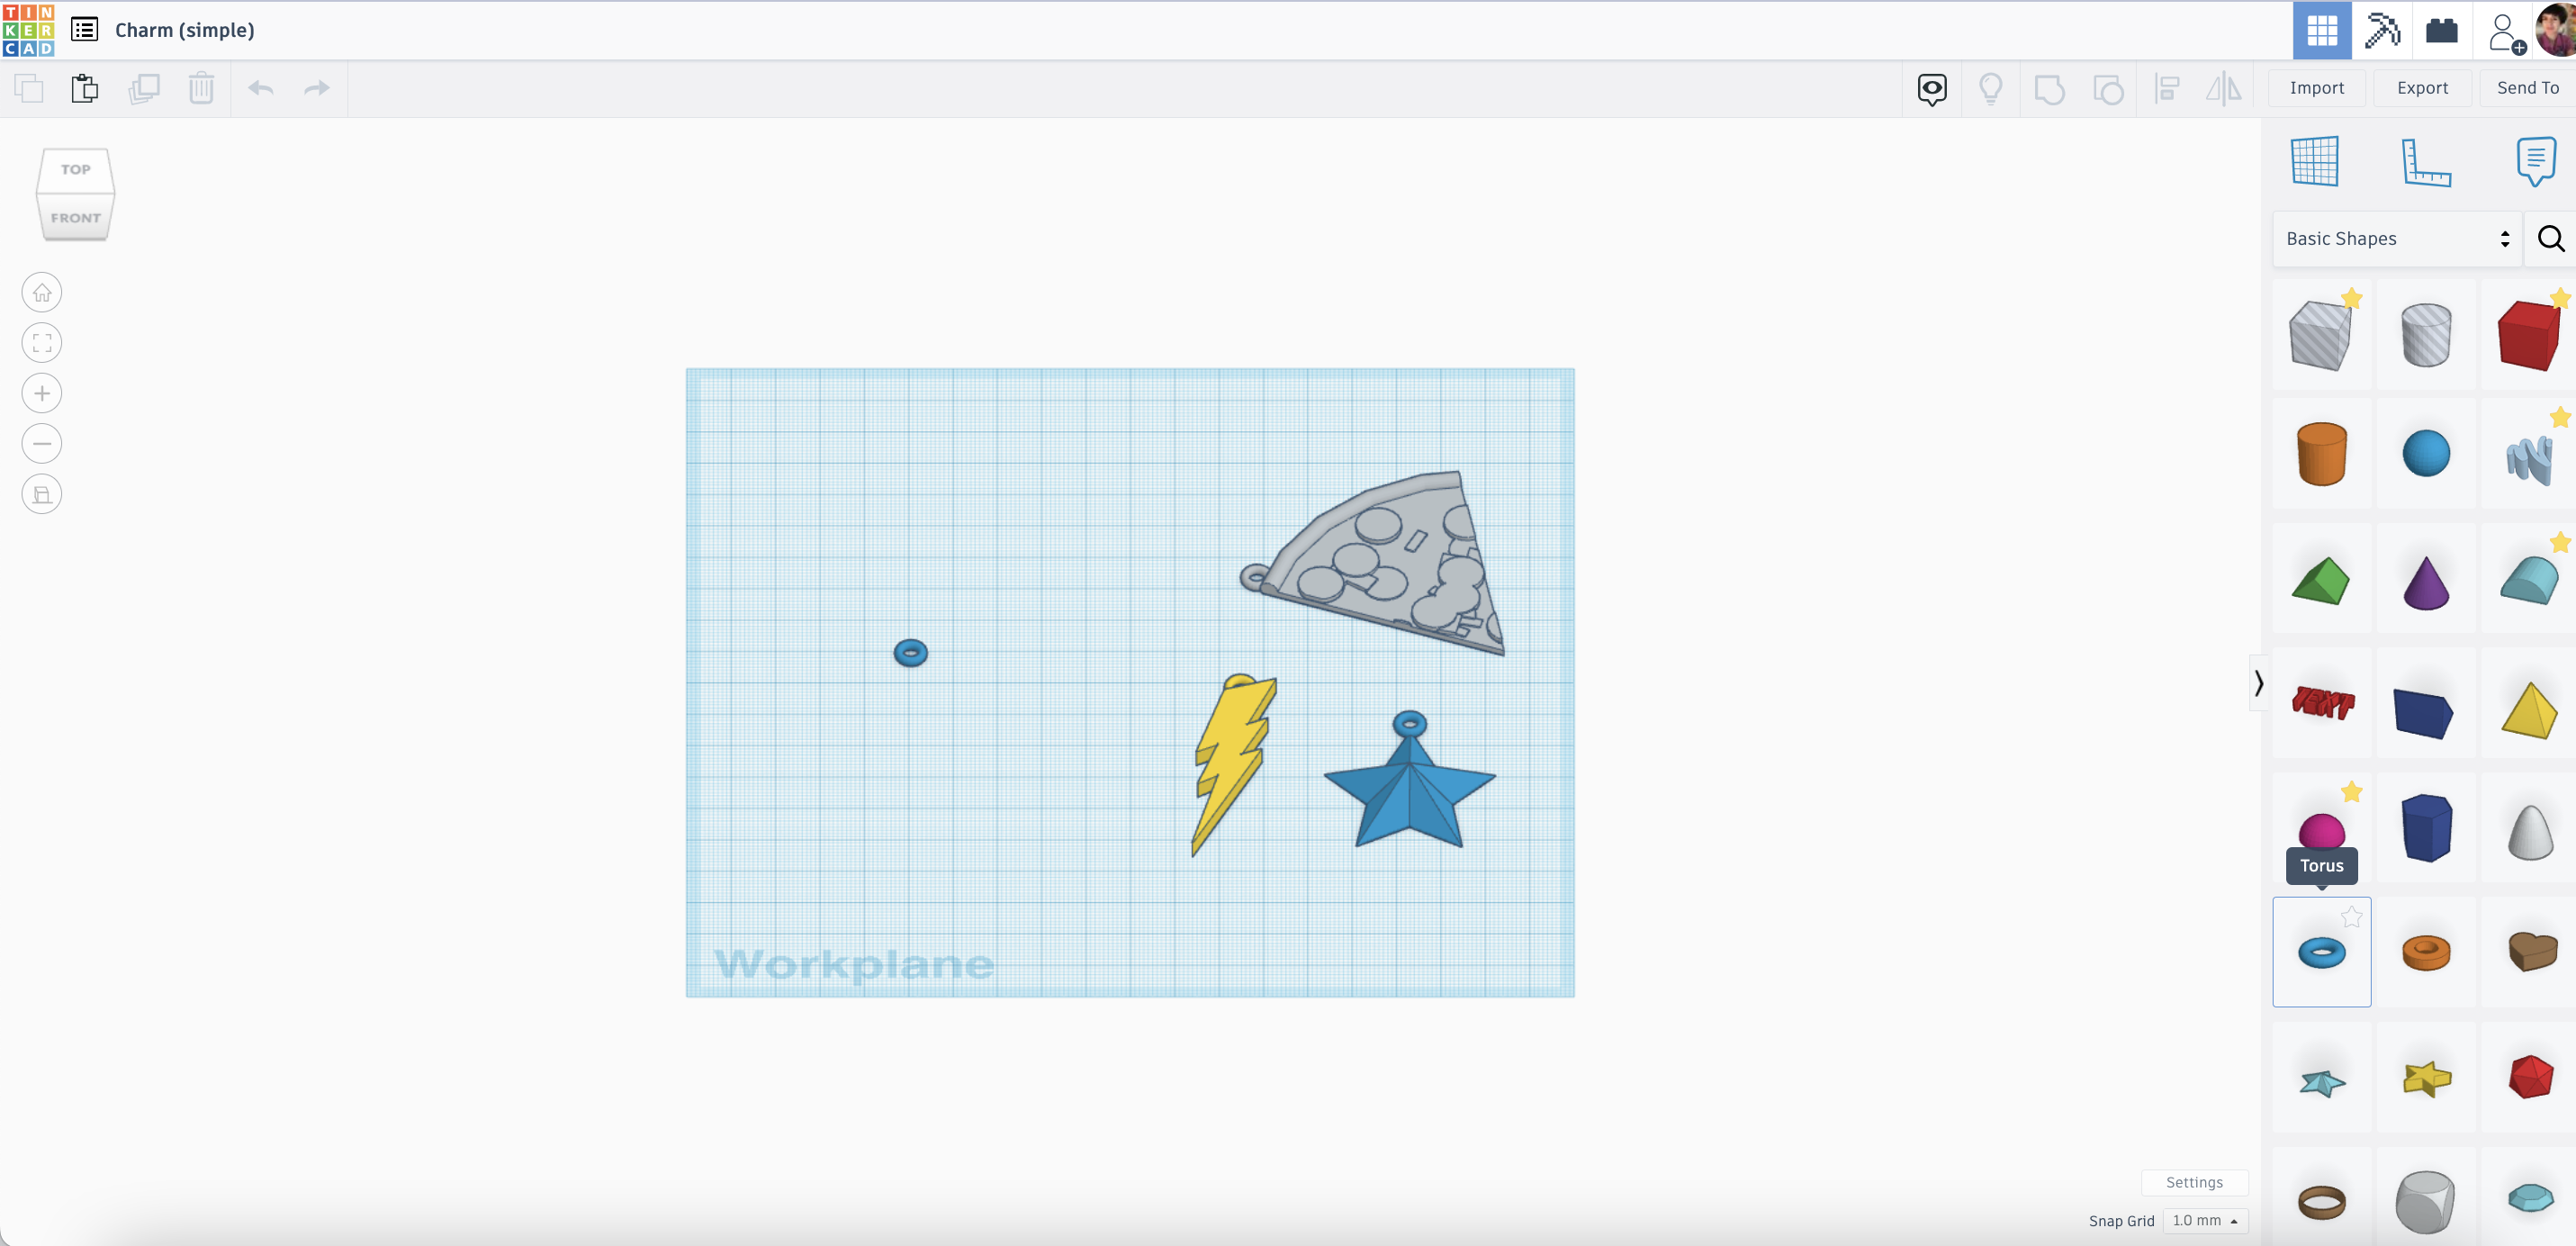
Teacher Notes for preparation in Tinkercad: you can use the 'torus' to create the ring for the pendant. The example one above is 7 mm x 7 mm x 2 mm. You can click the "Charm" project below and "Tinker this" to start.
Dice- Day 4

Day 4 Agenda:
Dice
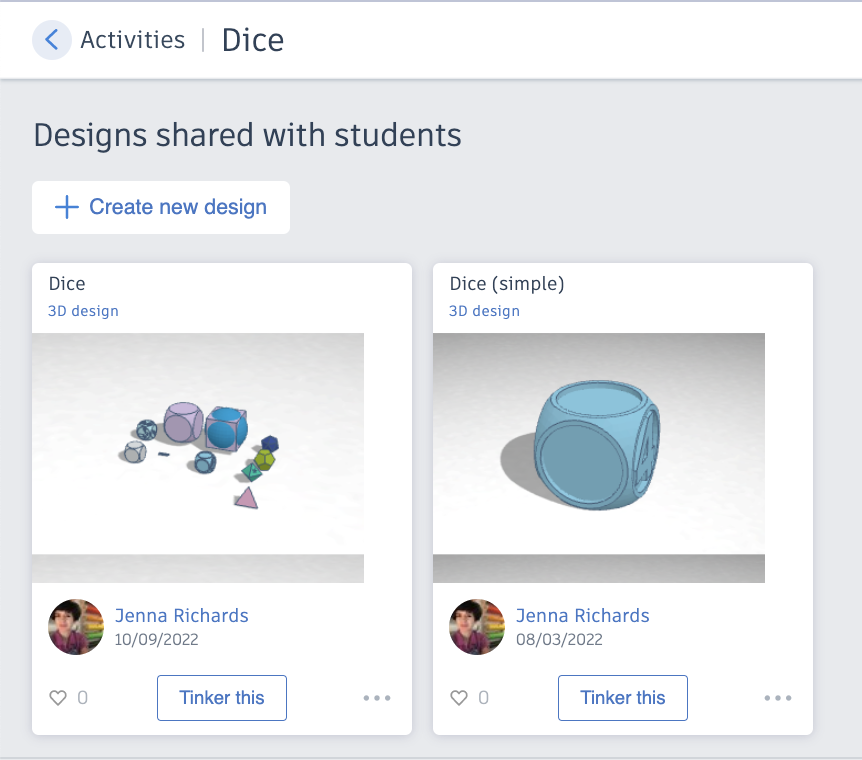
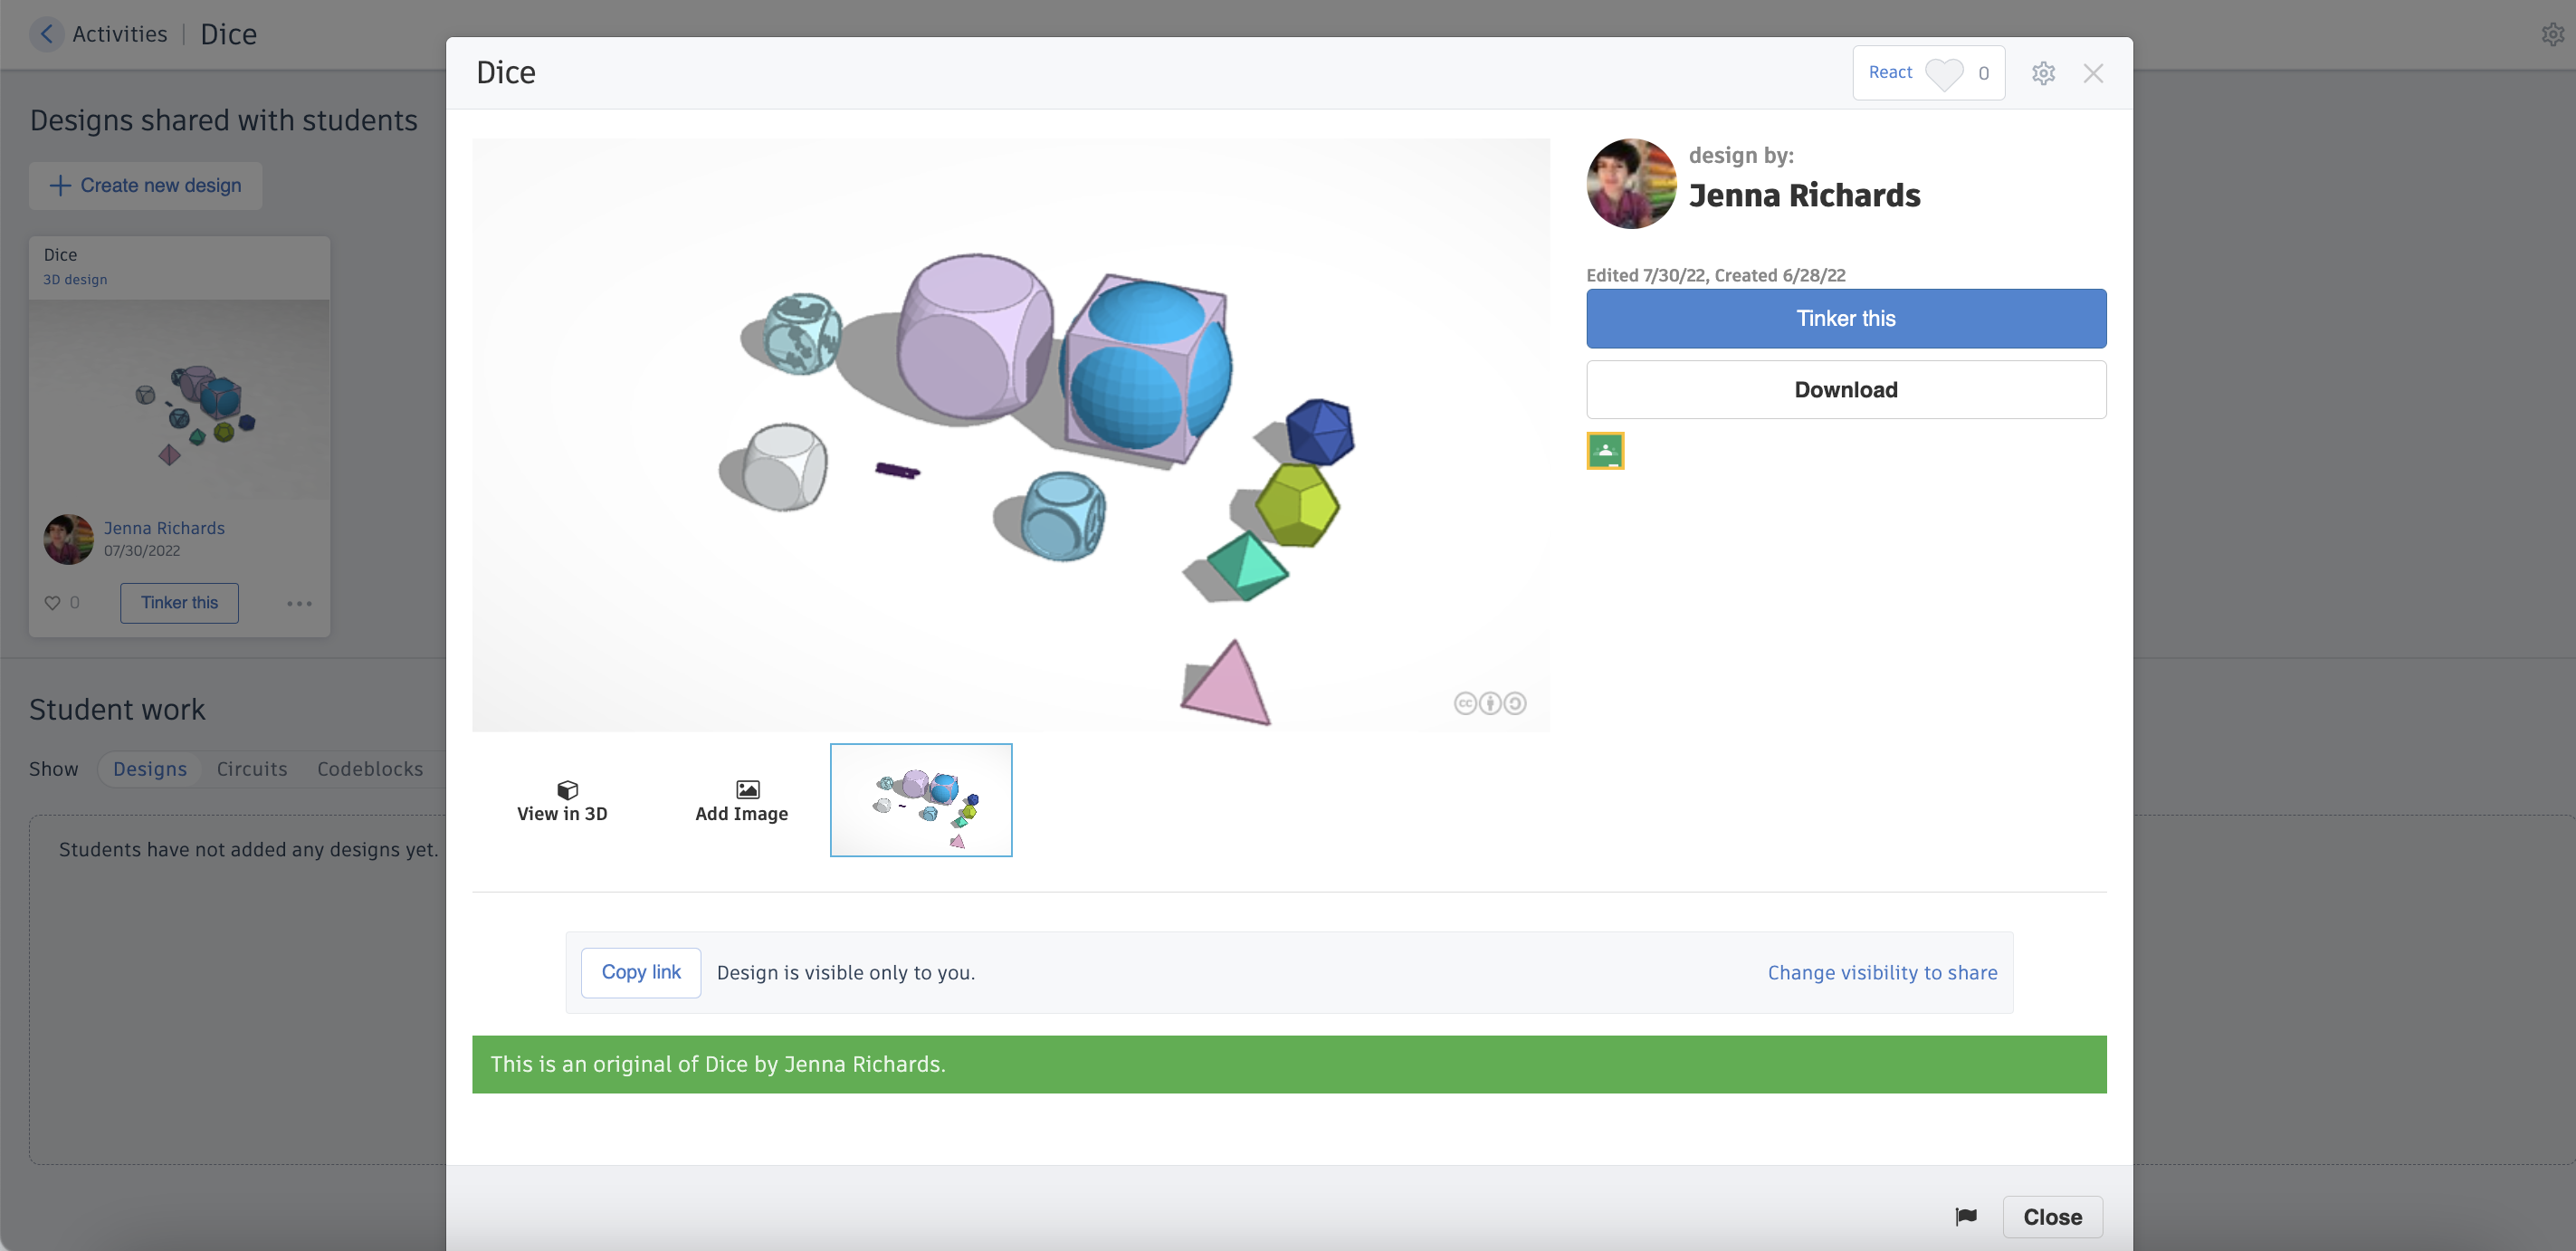
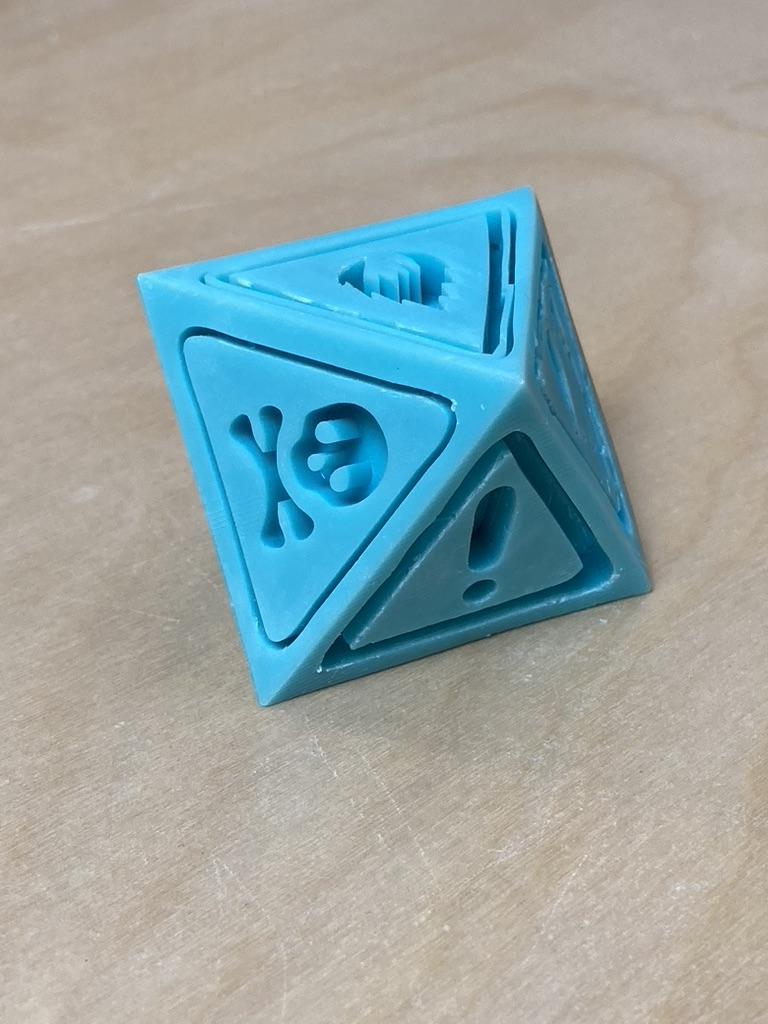
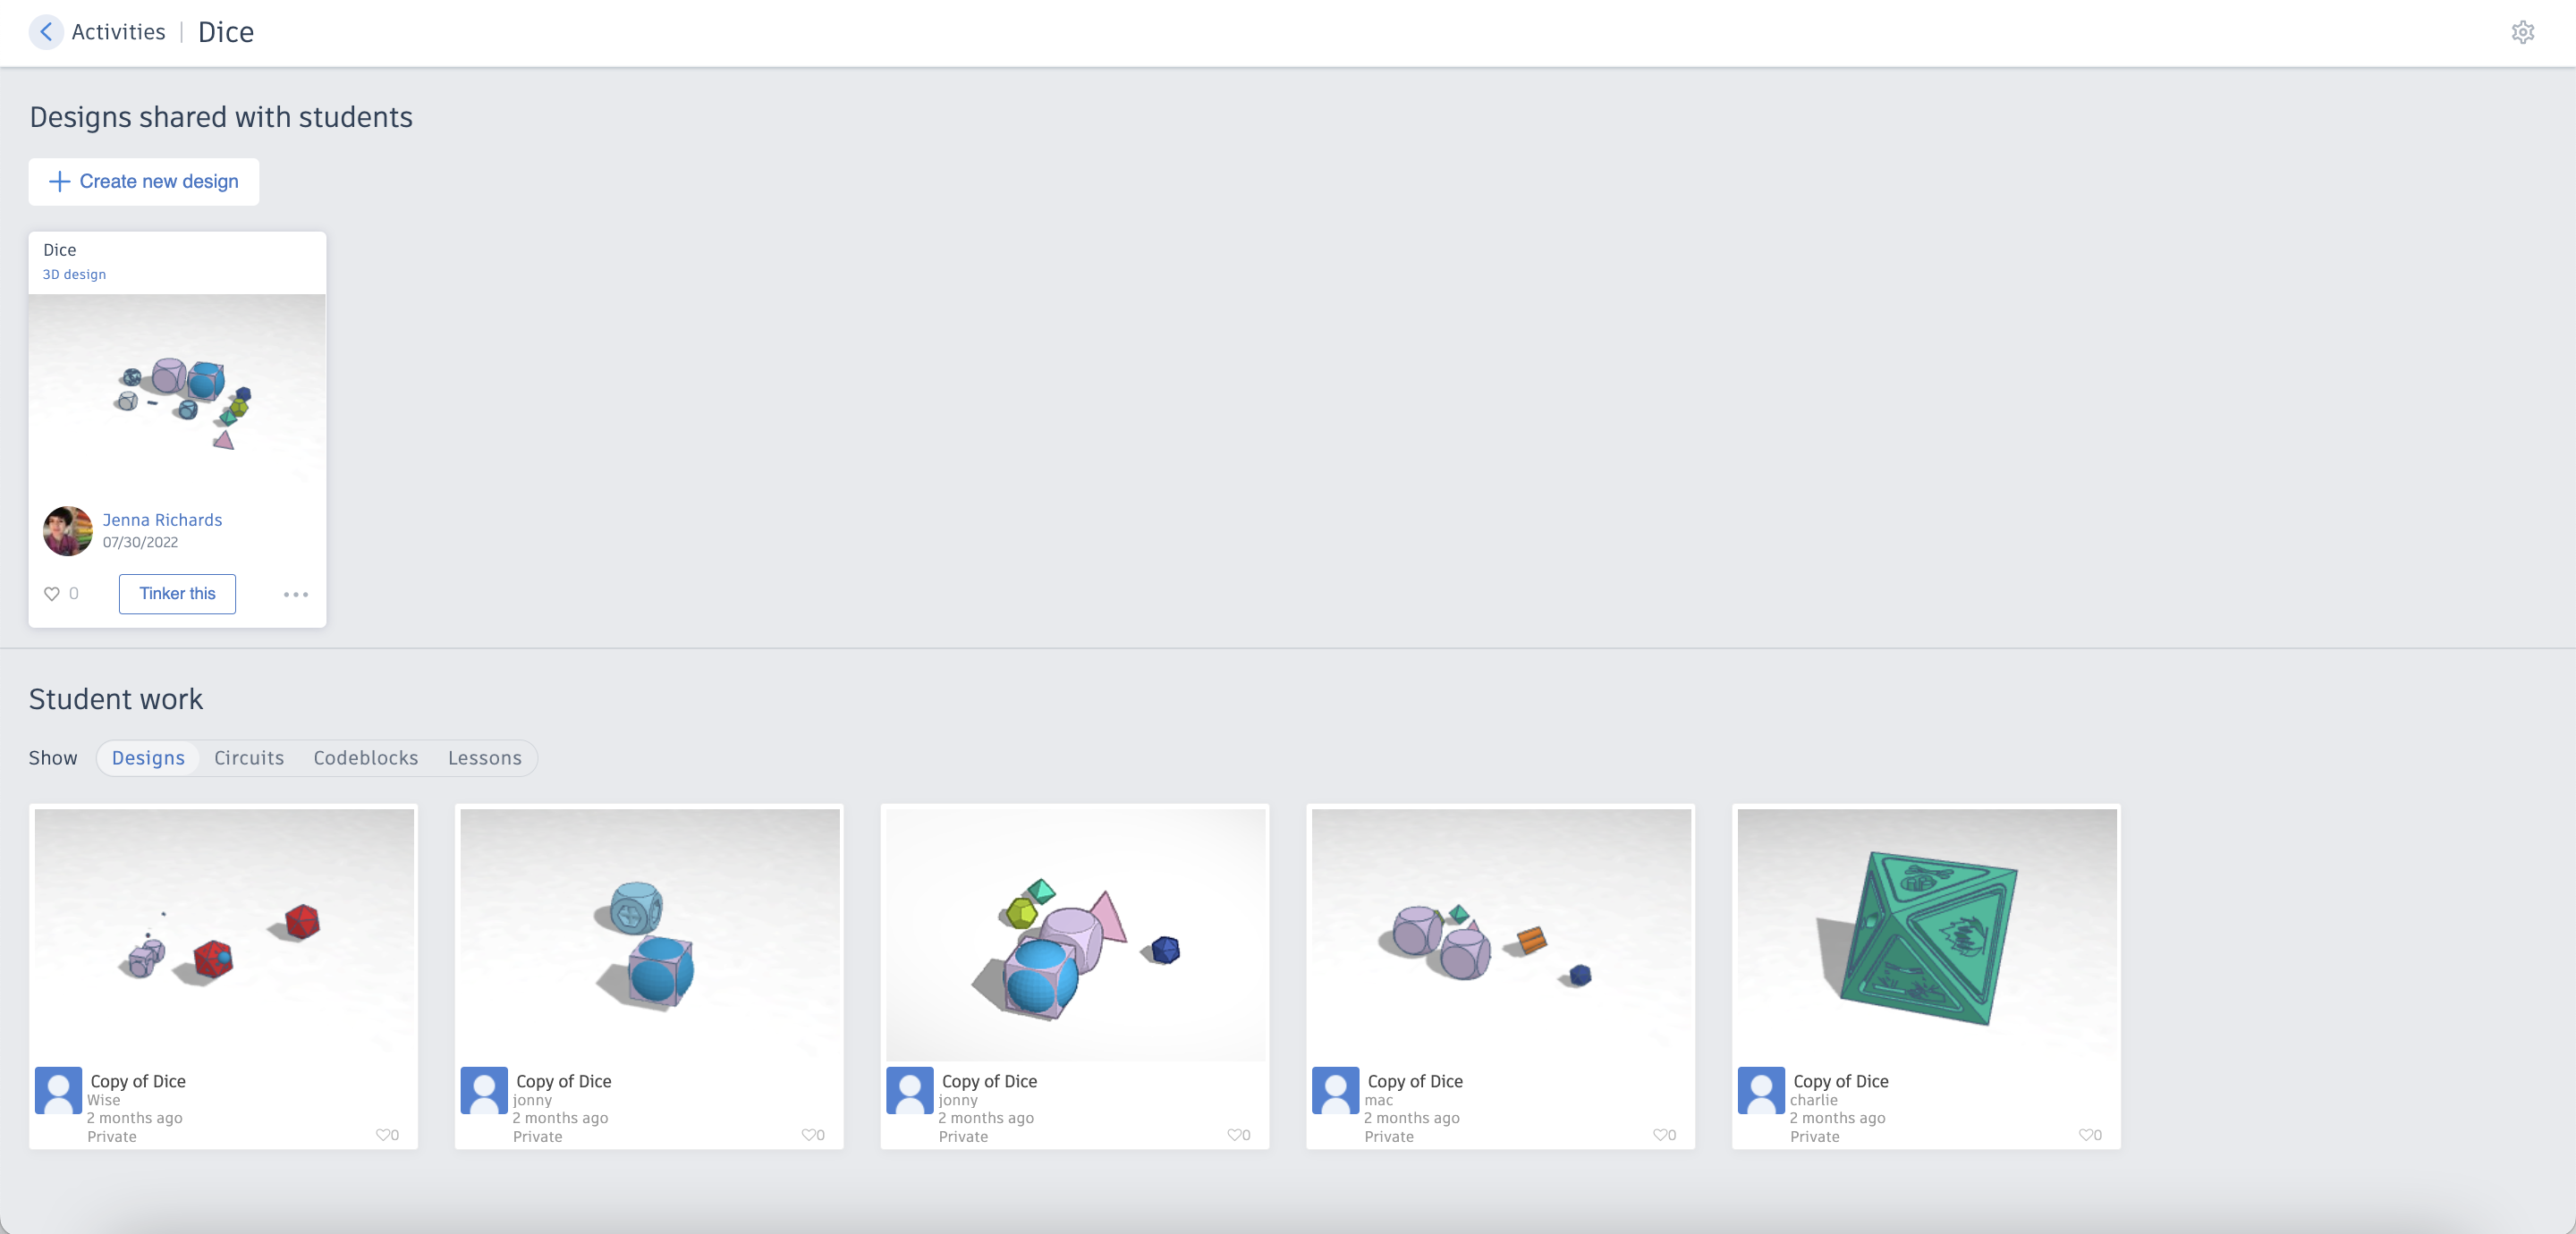
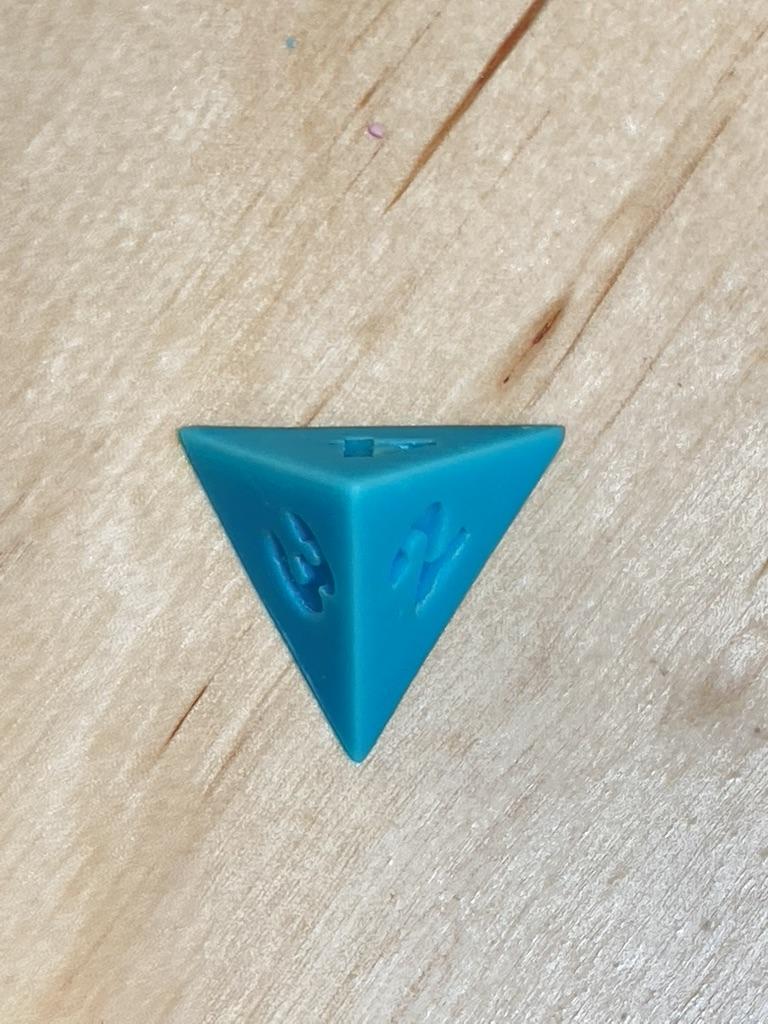
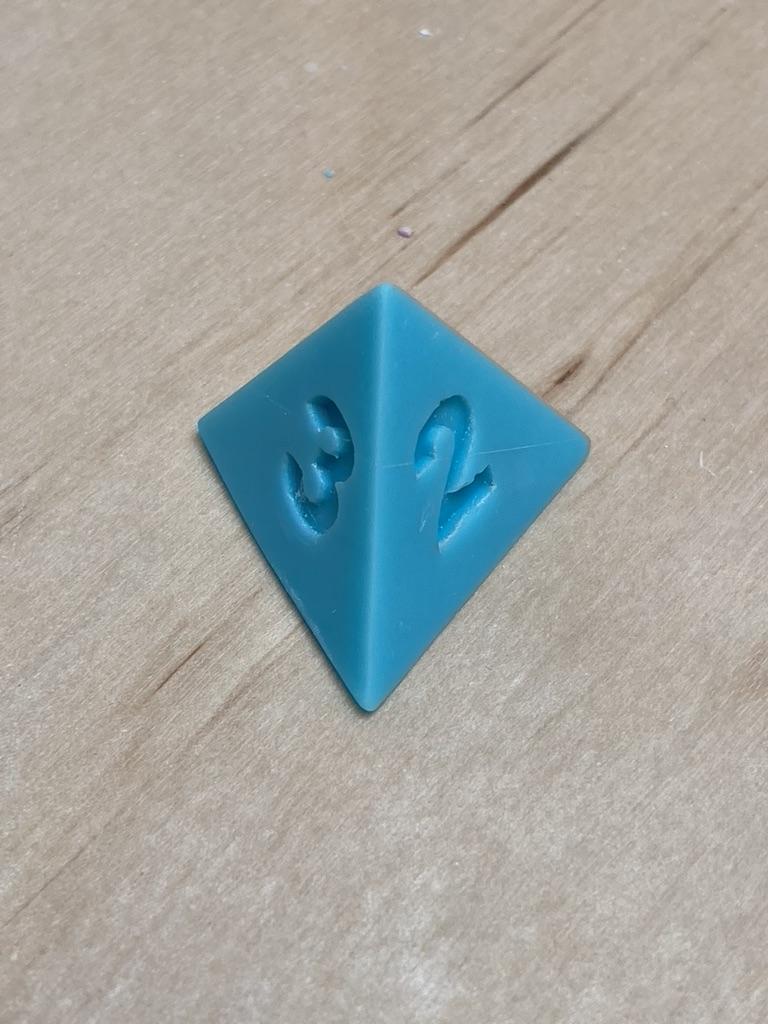
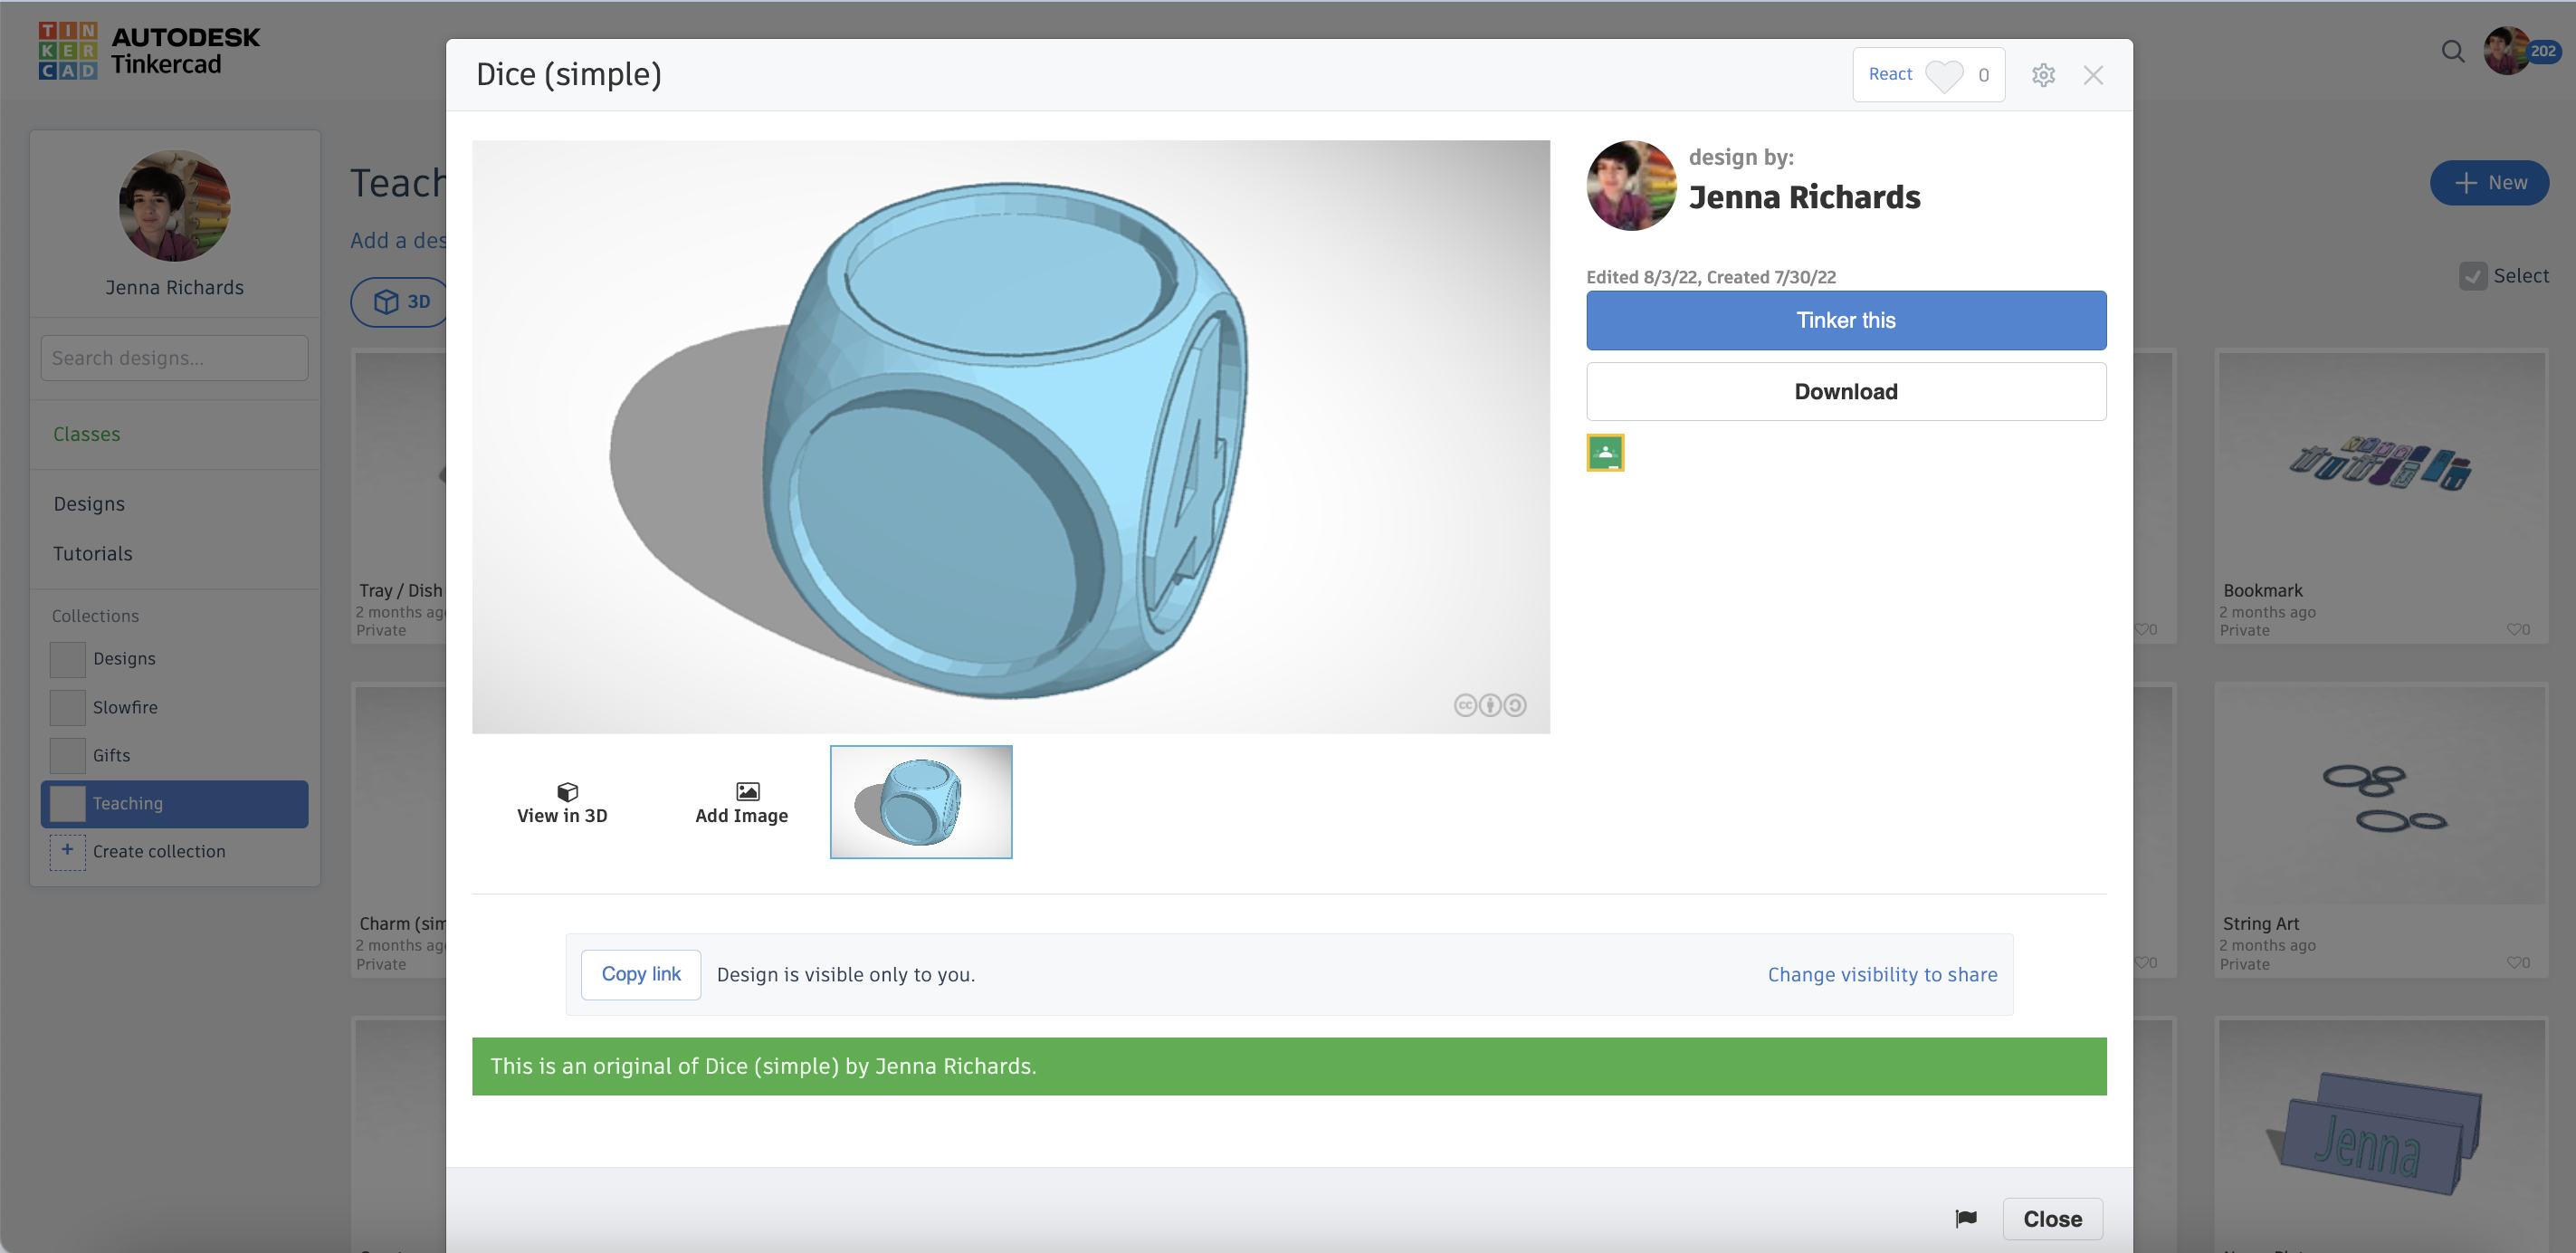
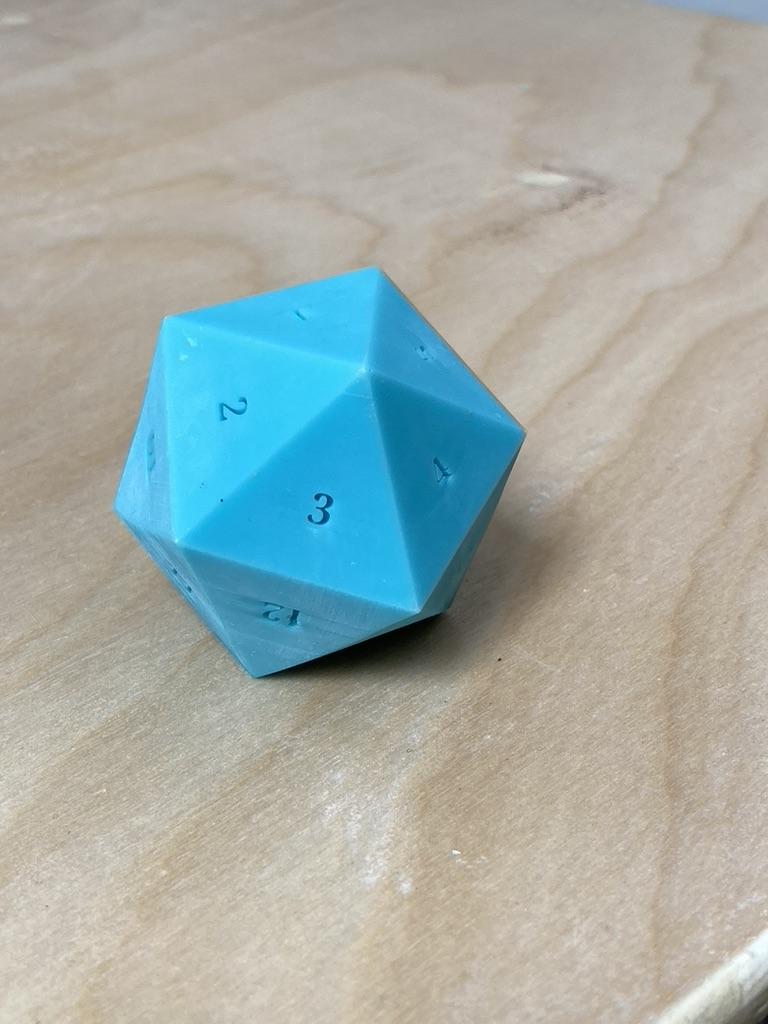
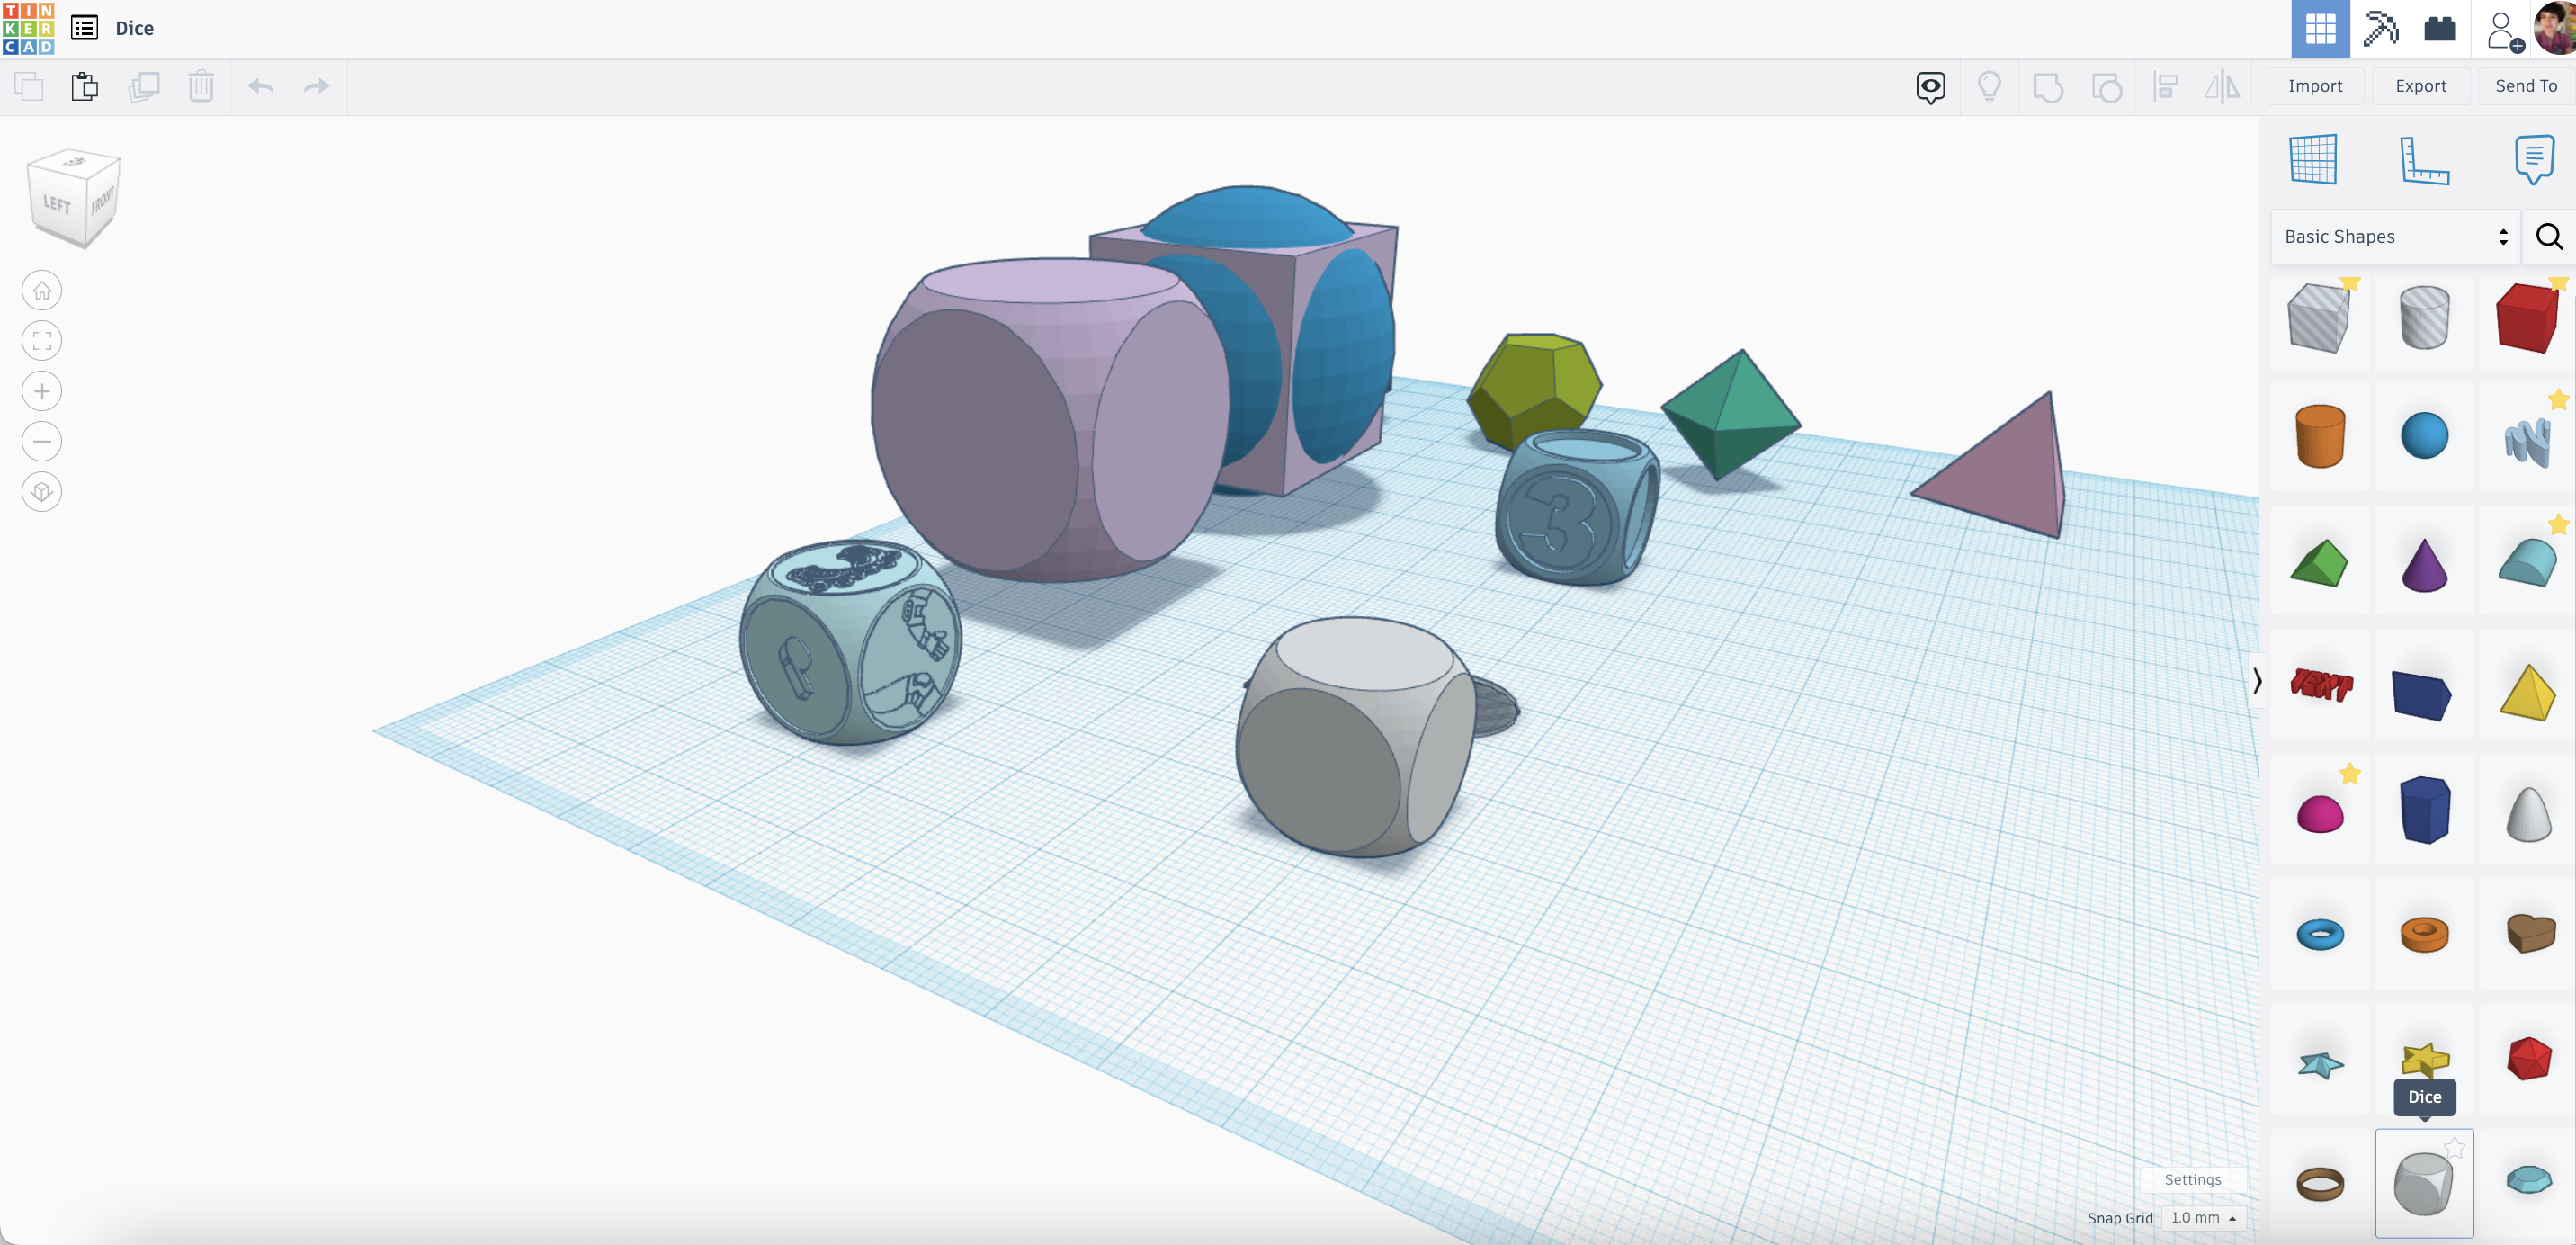
Dice- Prompt 4:
- Introduce the Dice activity
- Demonstrate using Tinkercad to create new dice
- Design Time and Troubleshooting with students individually to help carry out their design
Teacher Notes for preparation in Tinkercad: there are existing dice in the Basic Shapes section of the Shapes Library. You can drag and drop, click the "Dice" project below and "Tinker this" to start.
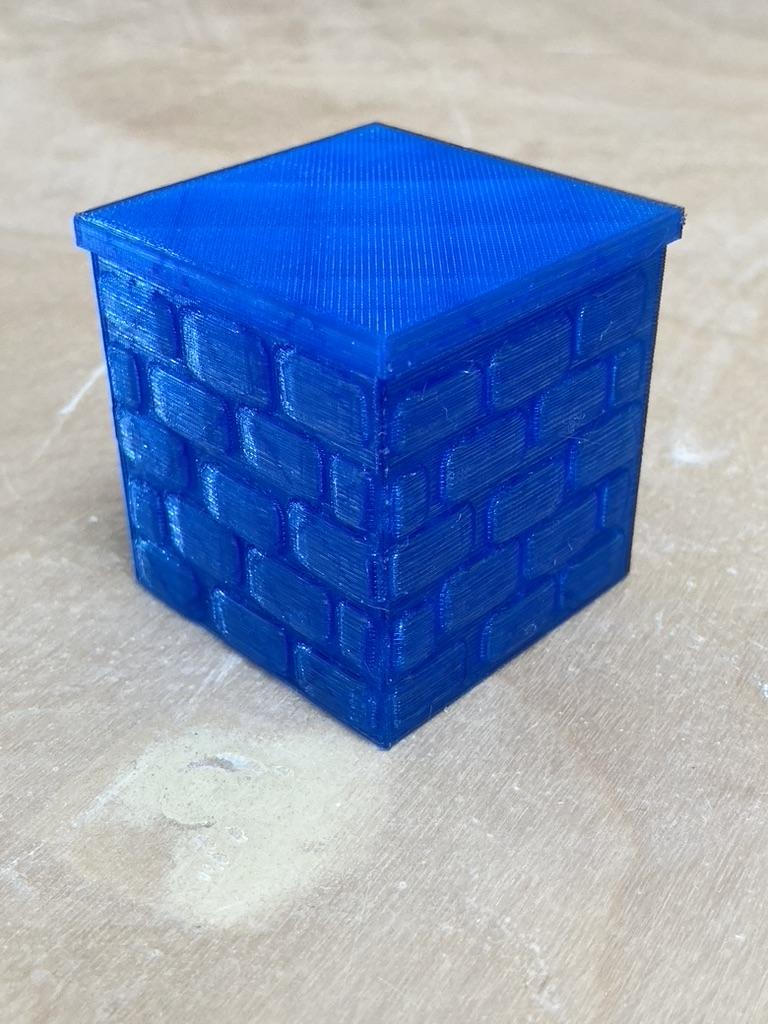
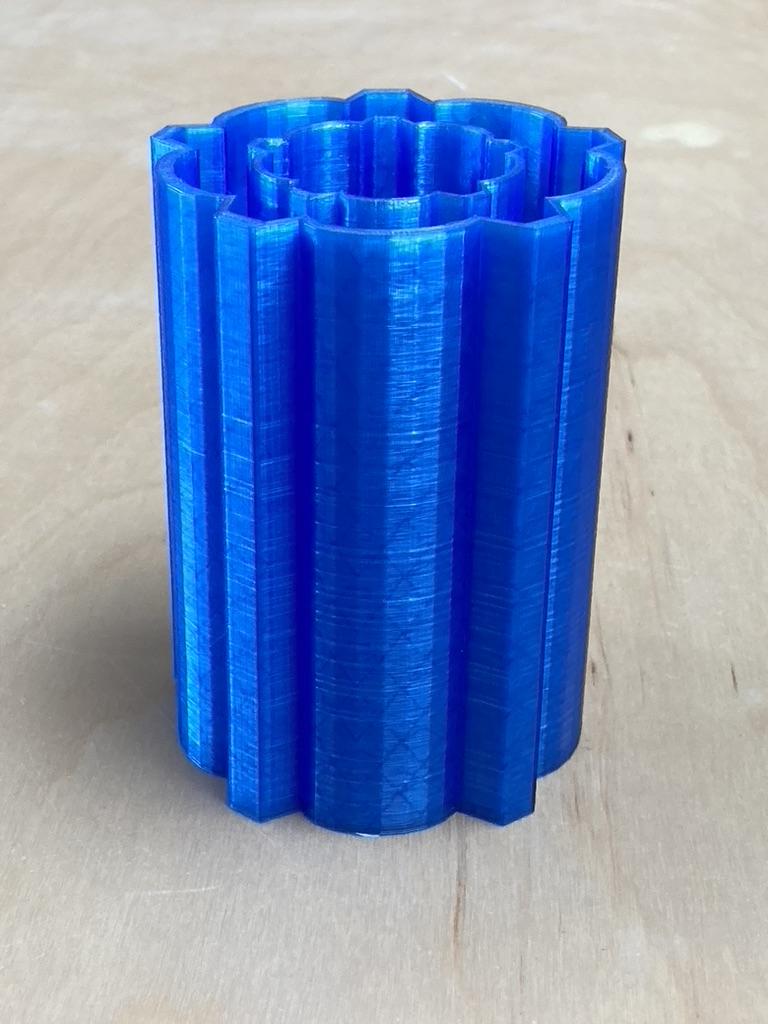
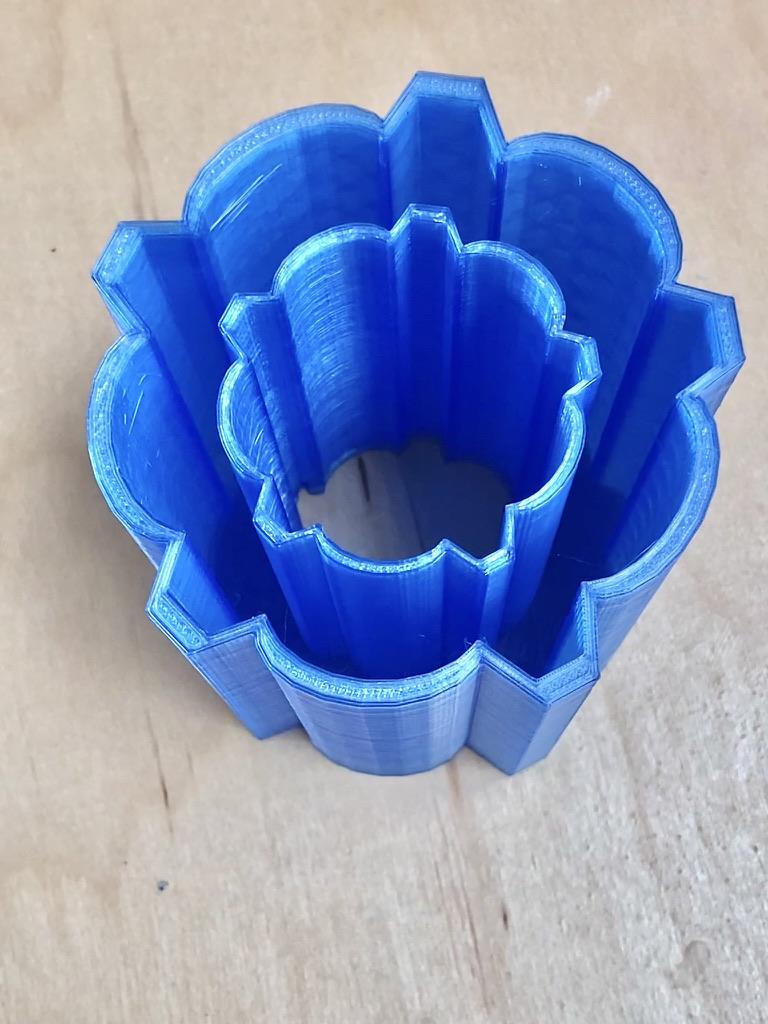
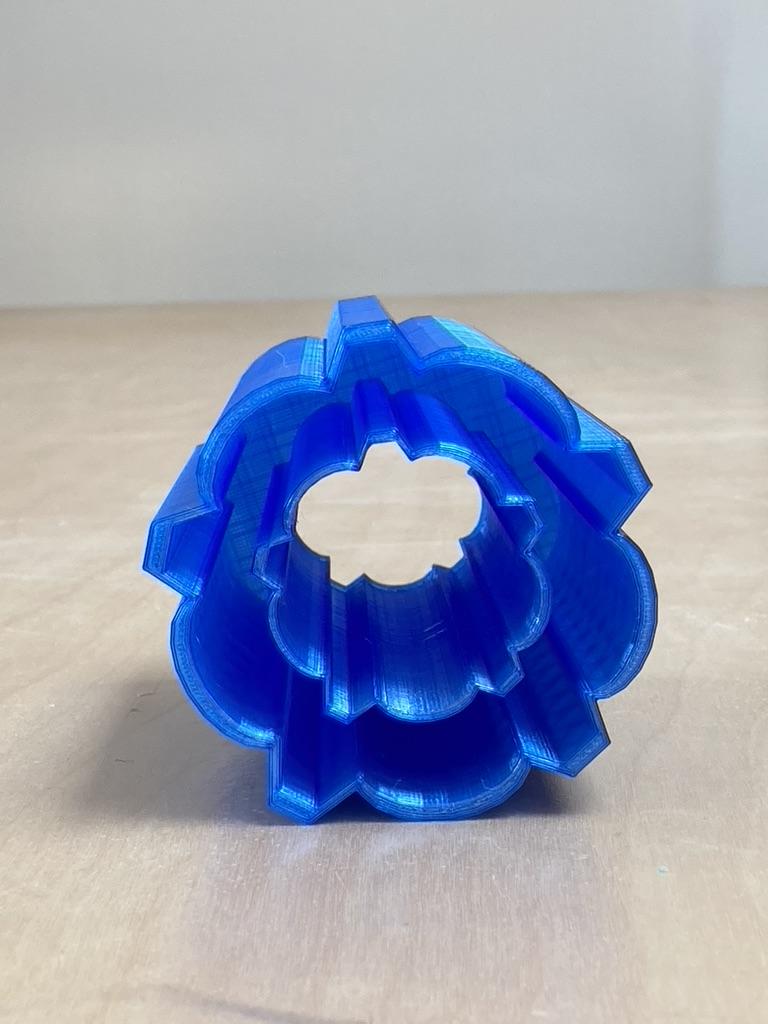
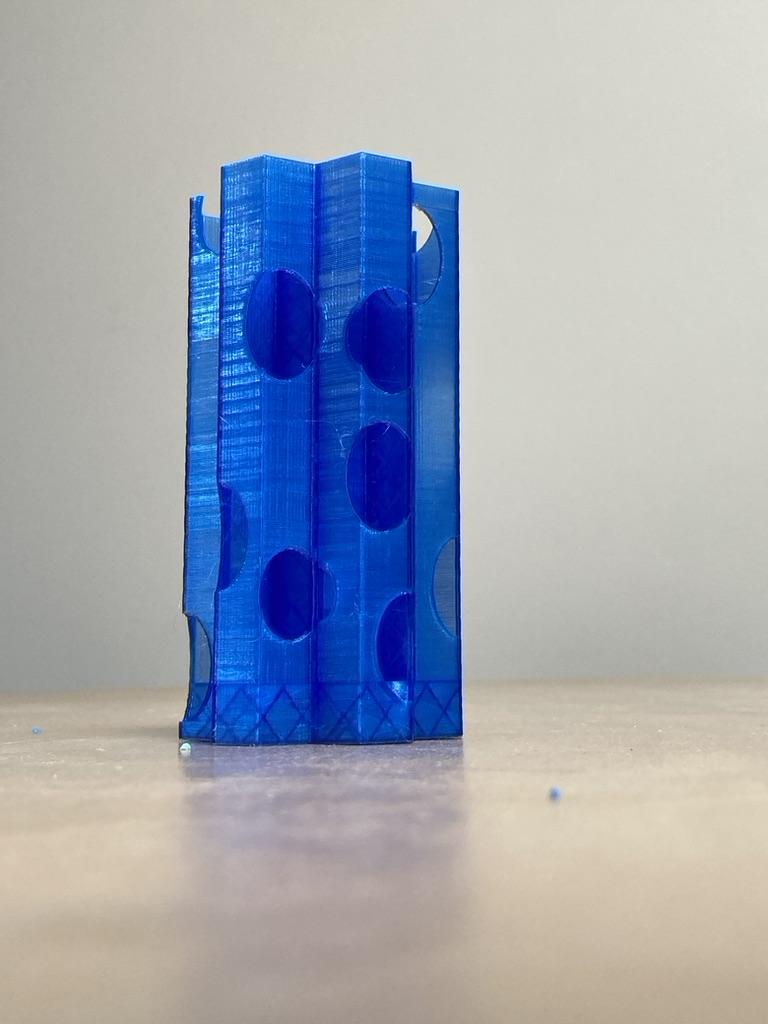
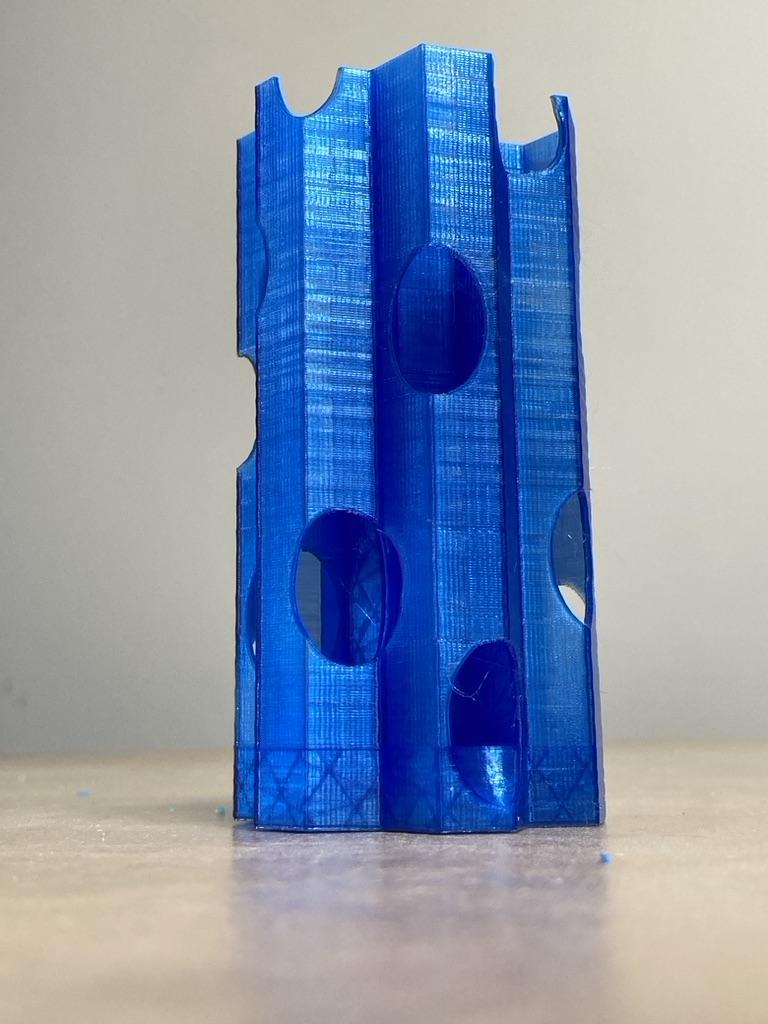
Vase Mode- Day 5 (Thin Wall Design)


Day 5 Agenda:
Vase, Box, Container, Tray, Dish
Thin Wall Design
Tinkercad- Shape Generators
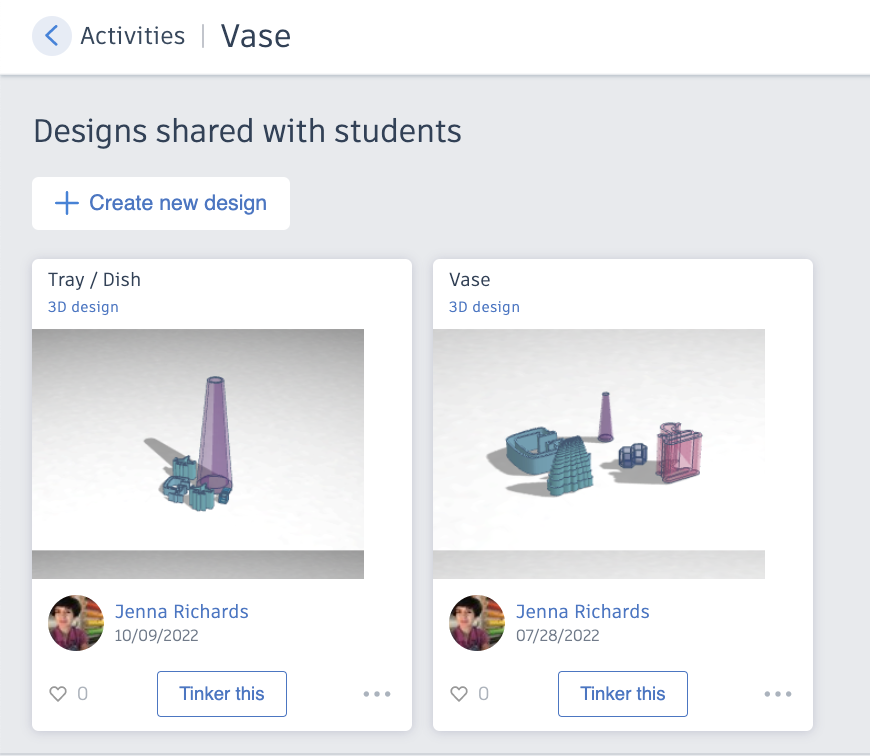
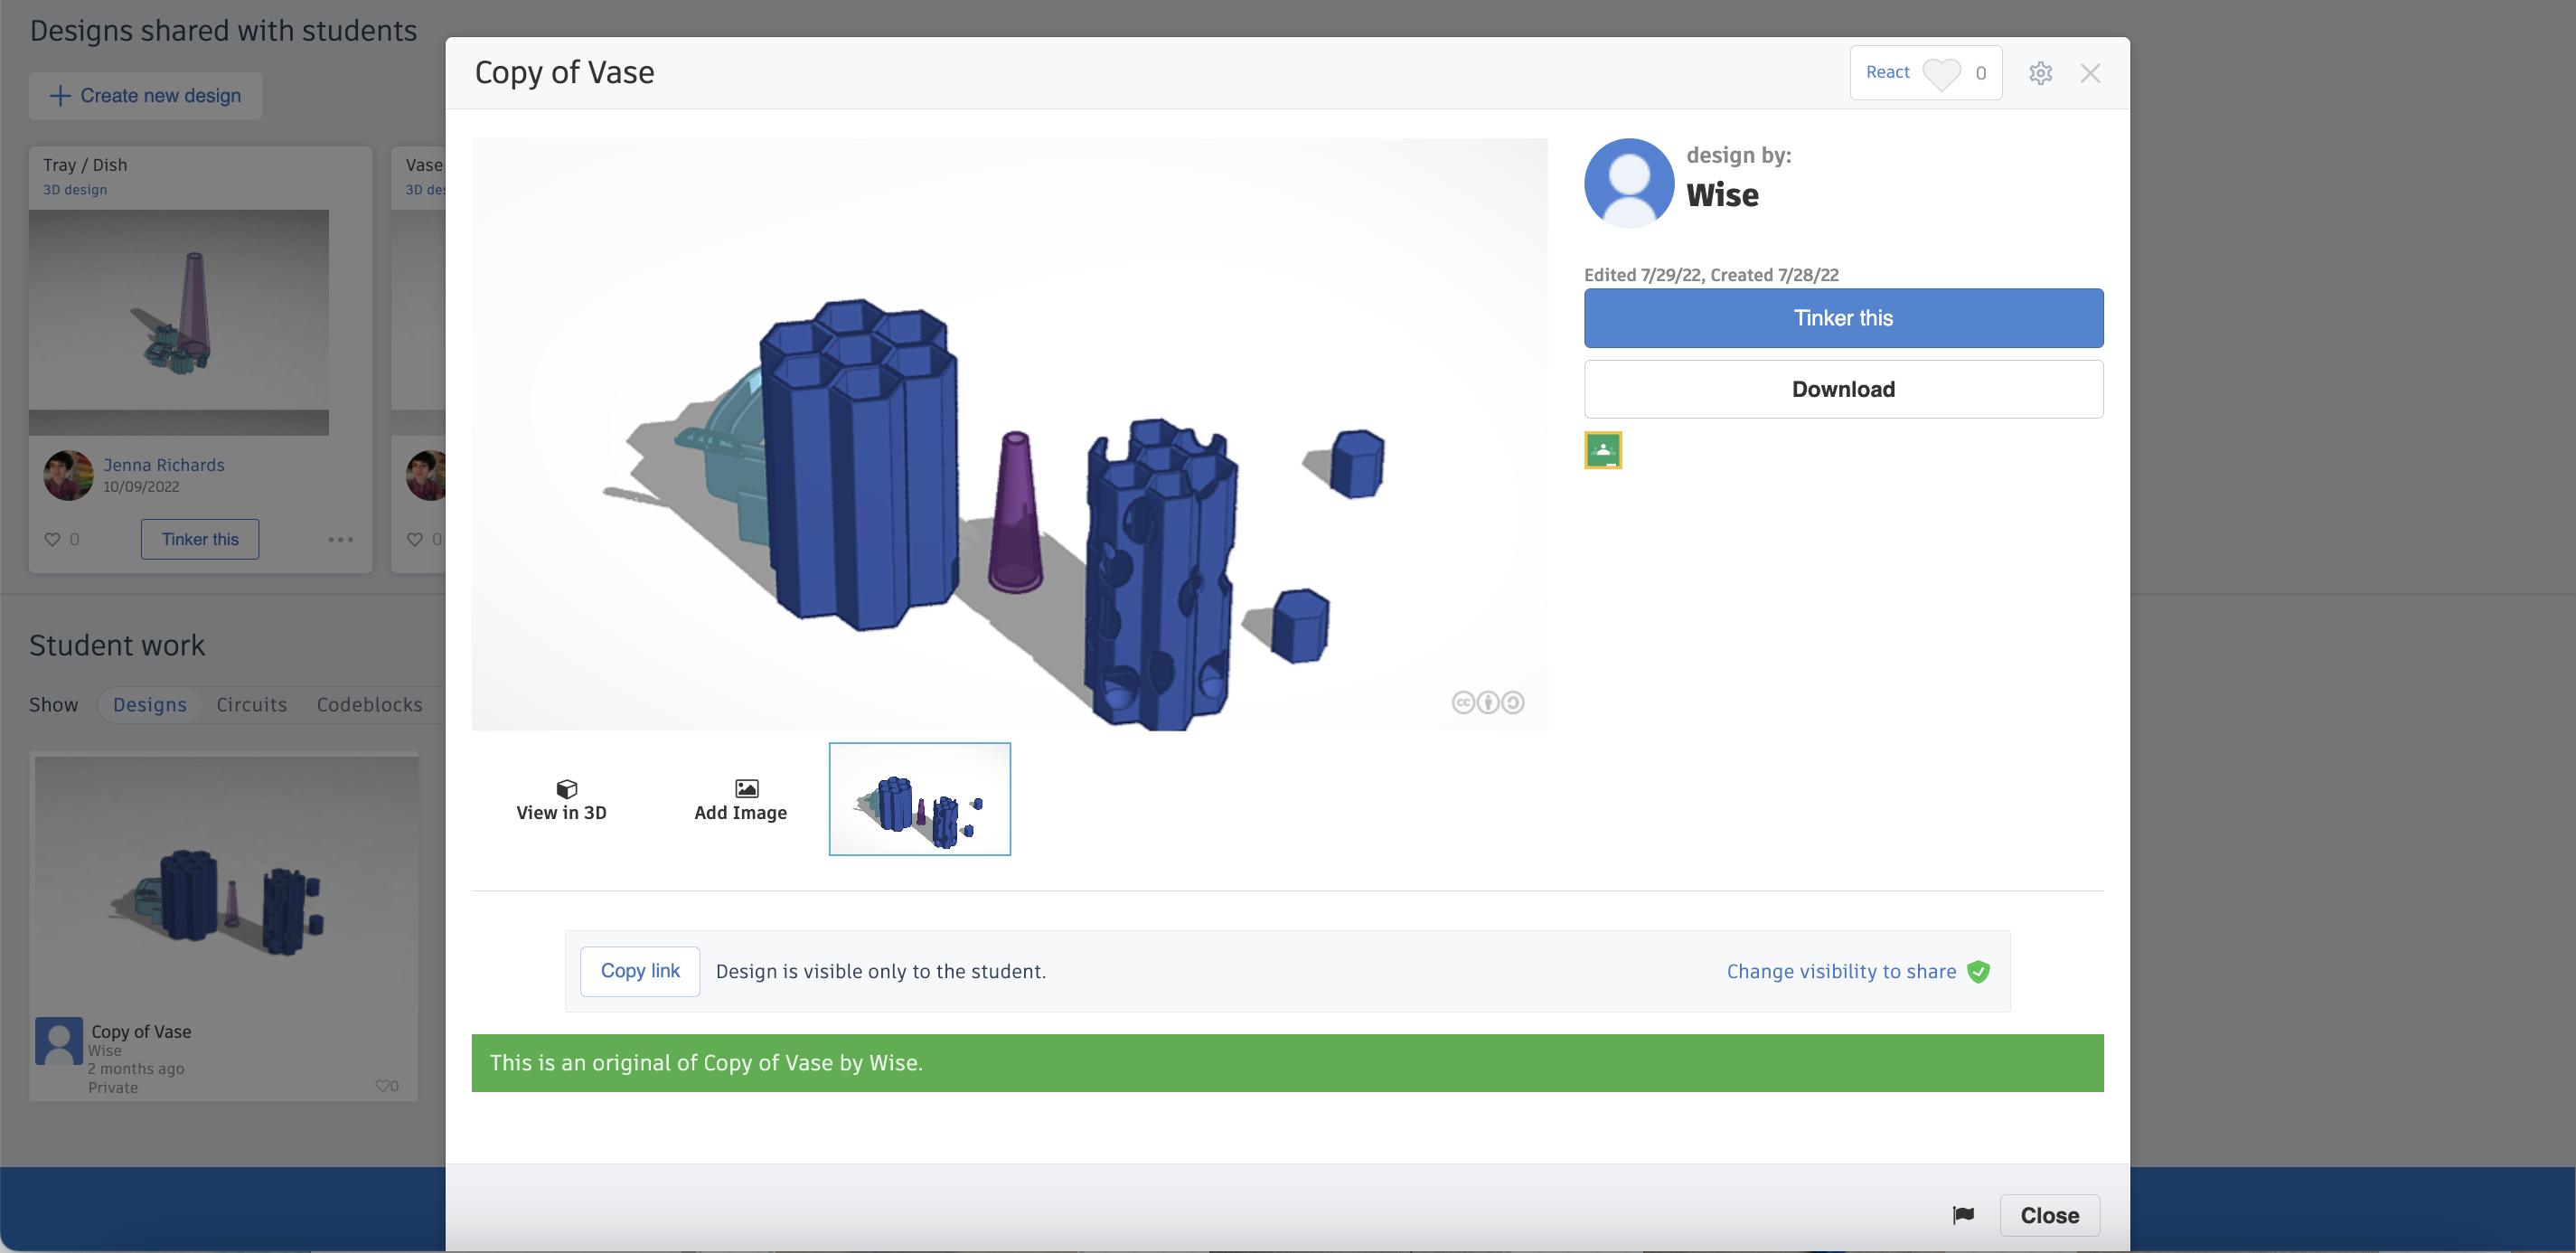
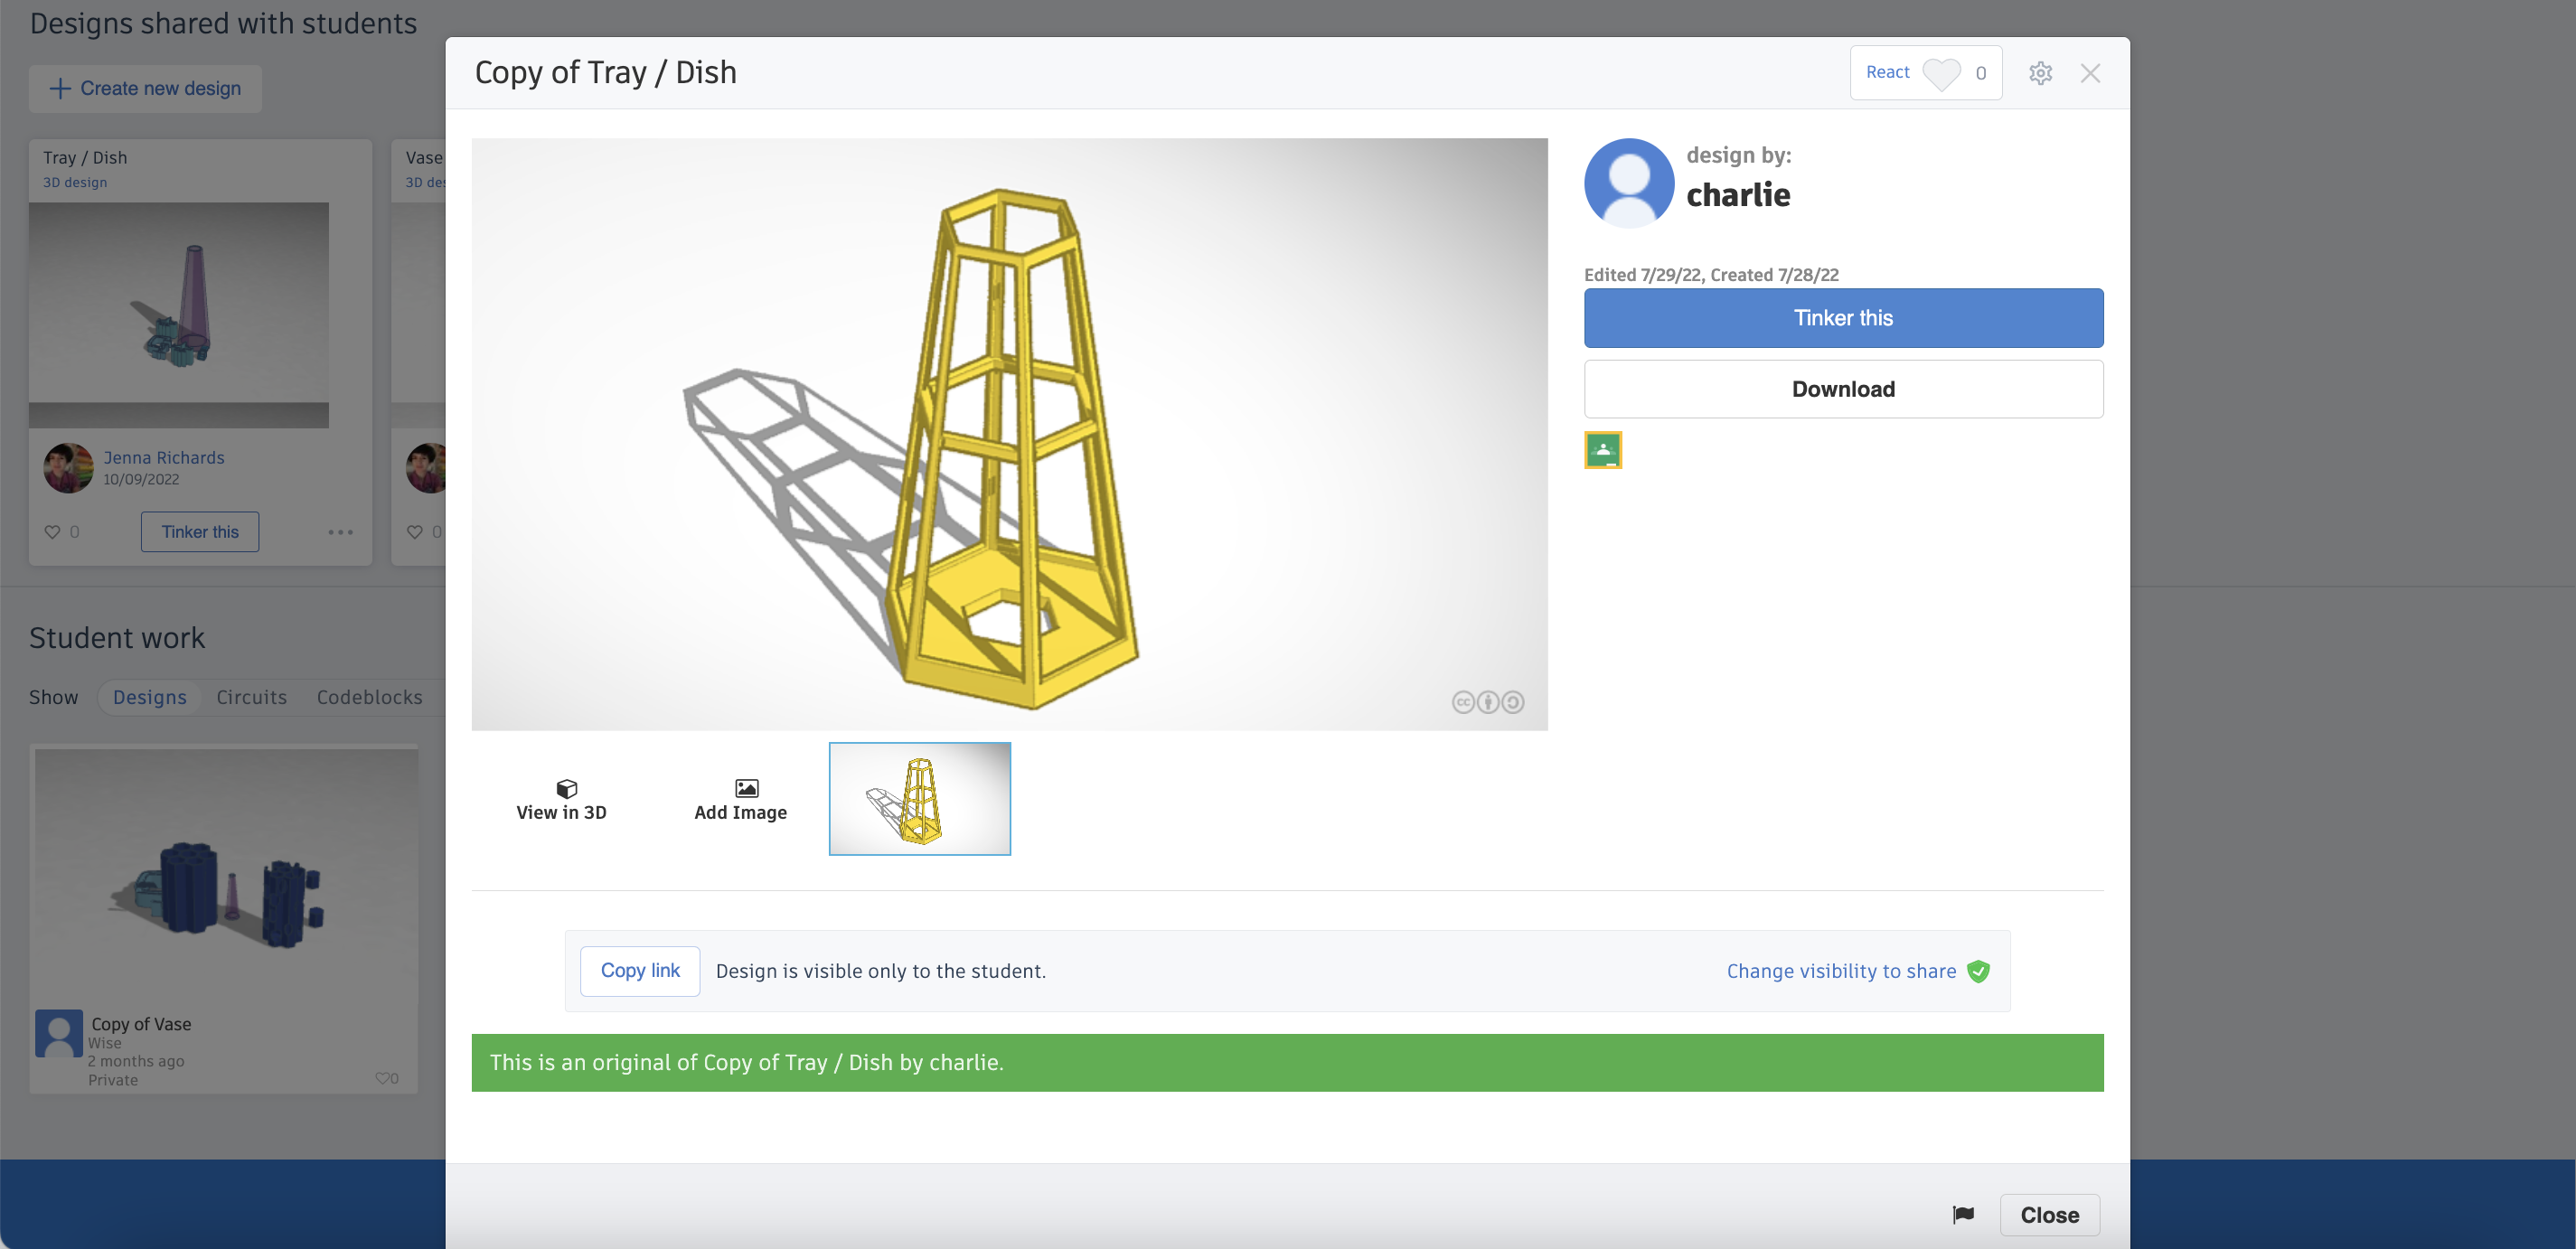
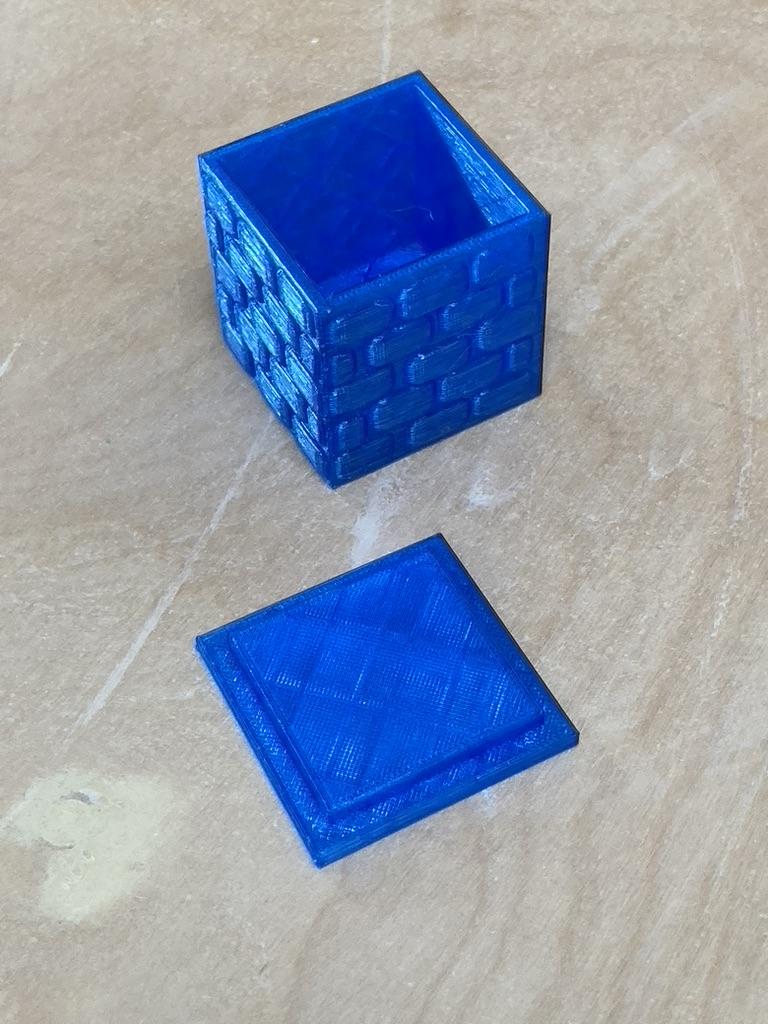
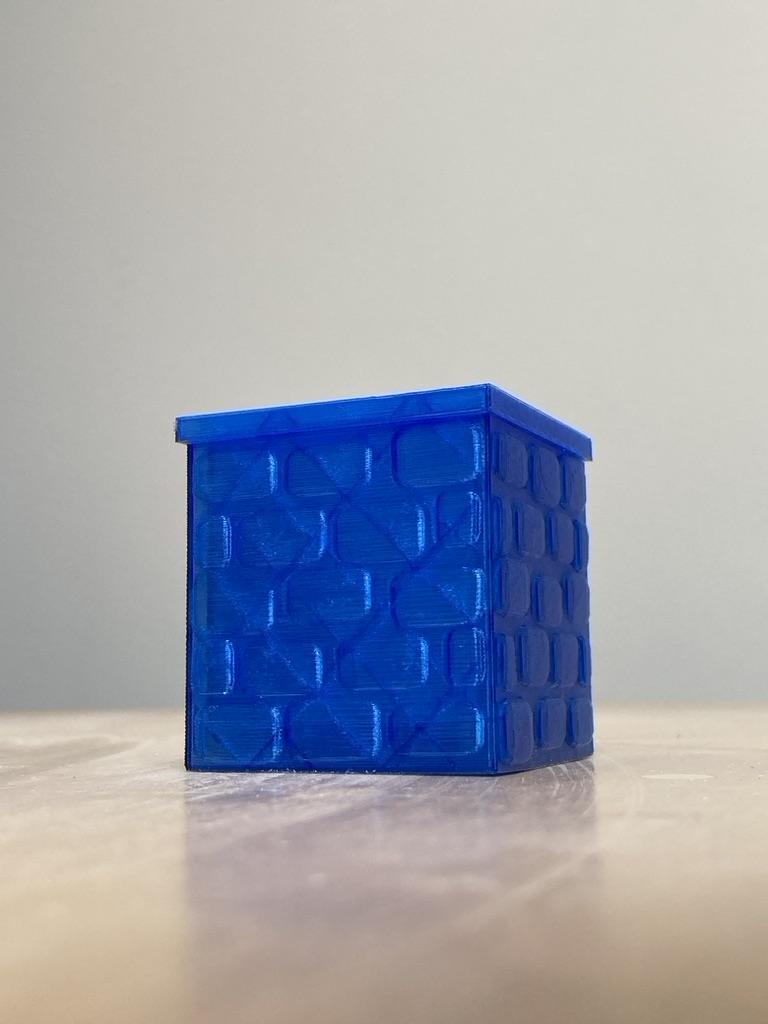
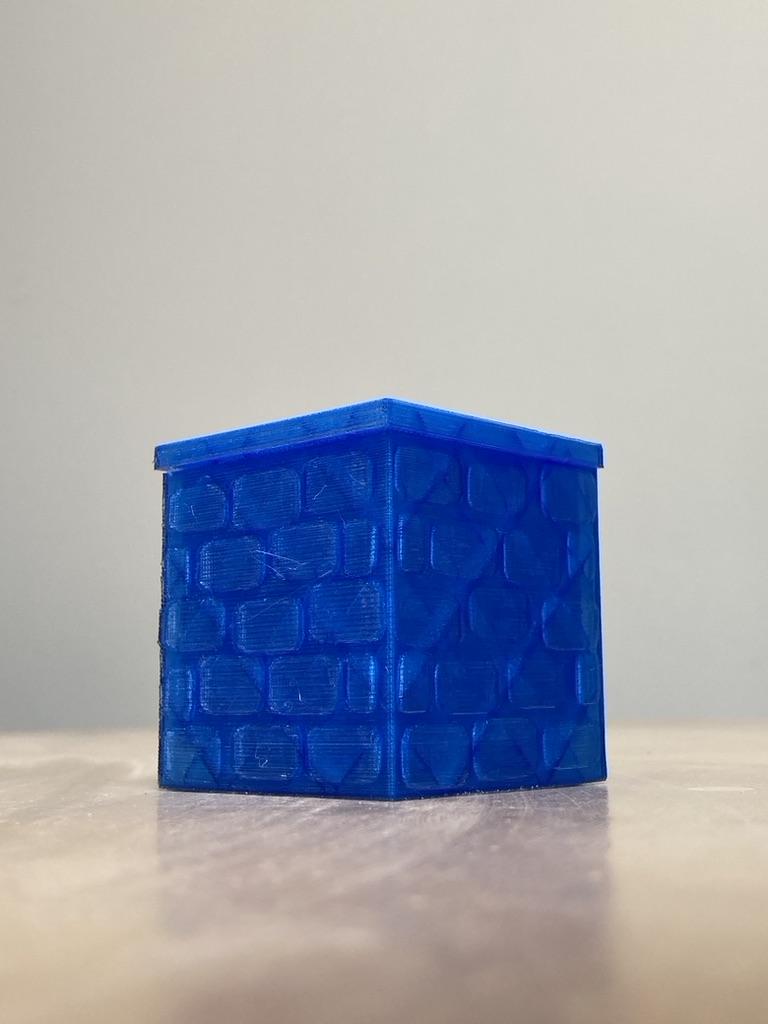
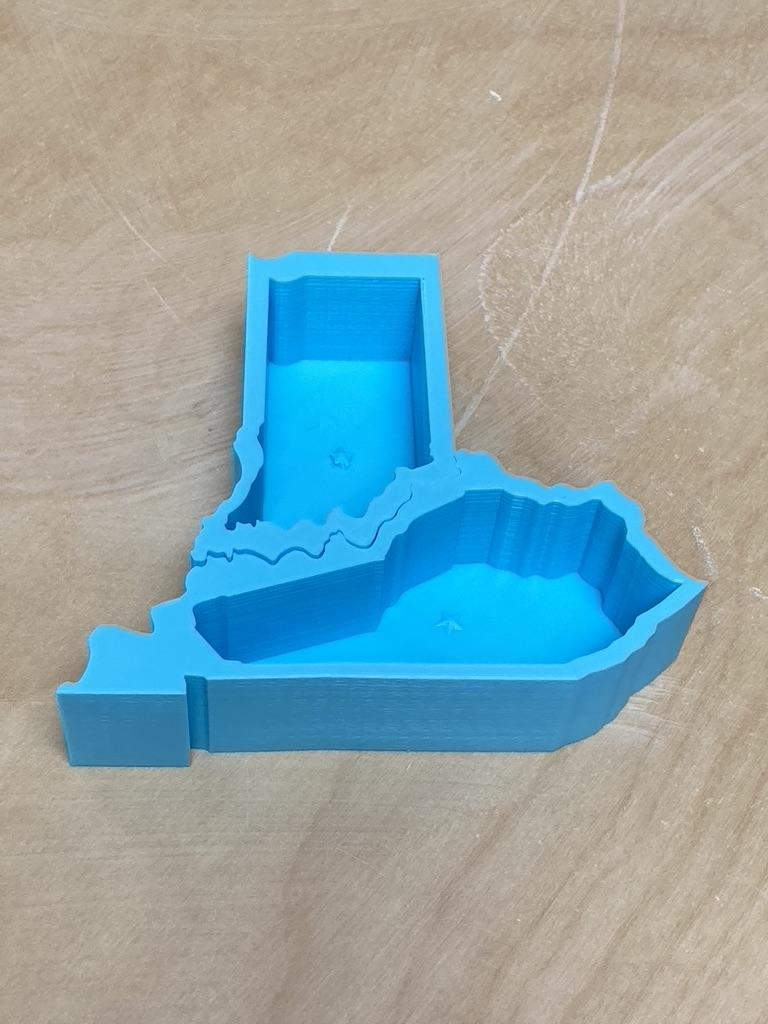
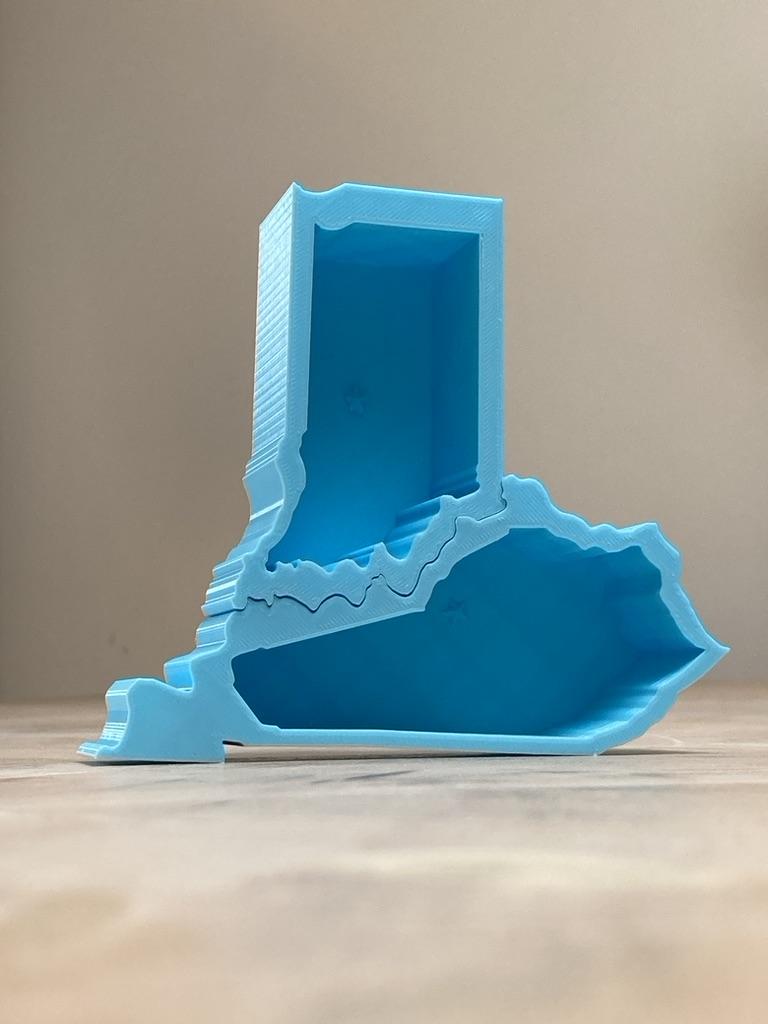
Vase, Box, Tray- Prompt 5:
- Introduce the idea of a Thin Wall Design
- Vase & Tray Activity
- Demonstrate using Tinkercad to create a vase or tray
- Design Time and Troubleshooting with students individually to help carry out their design
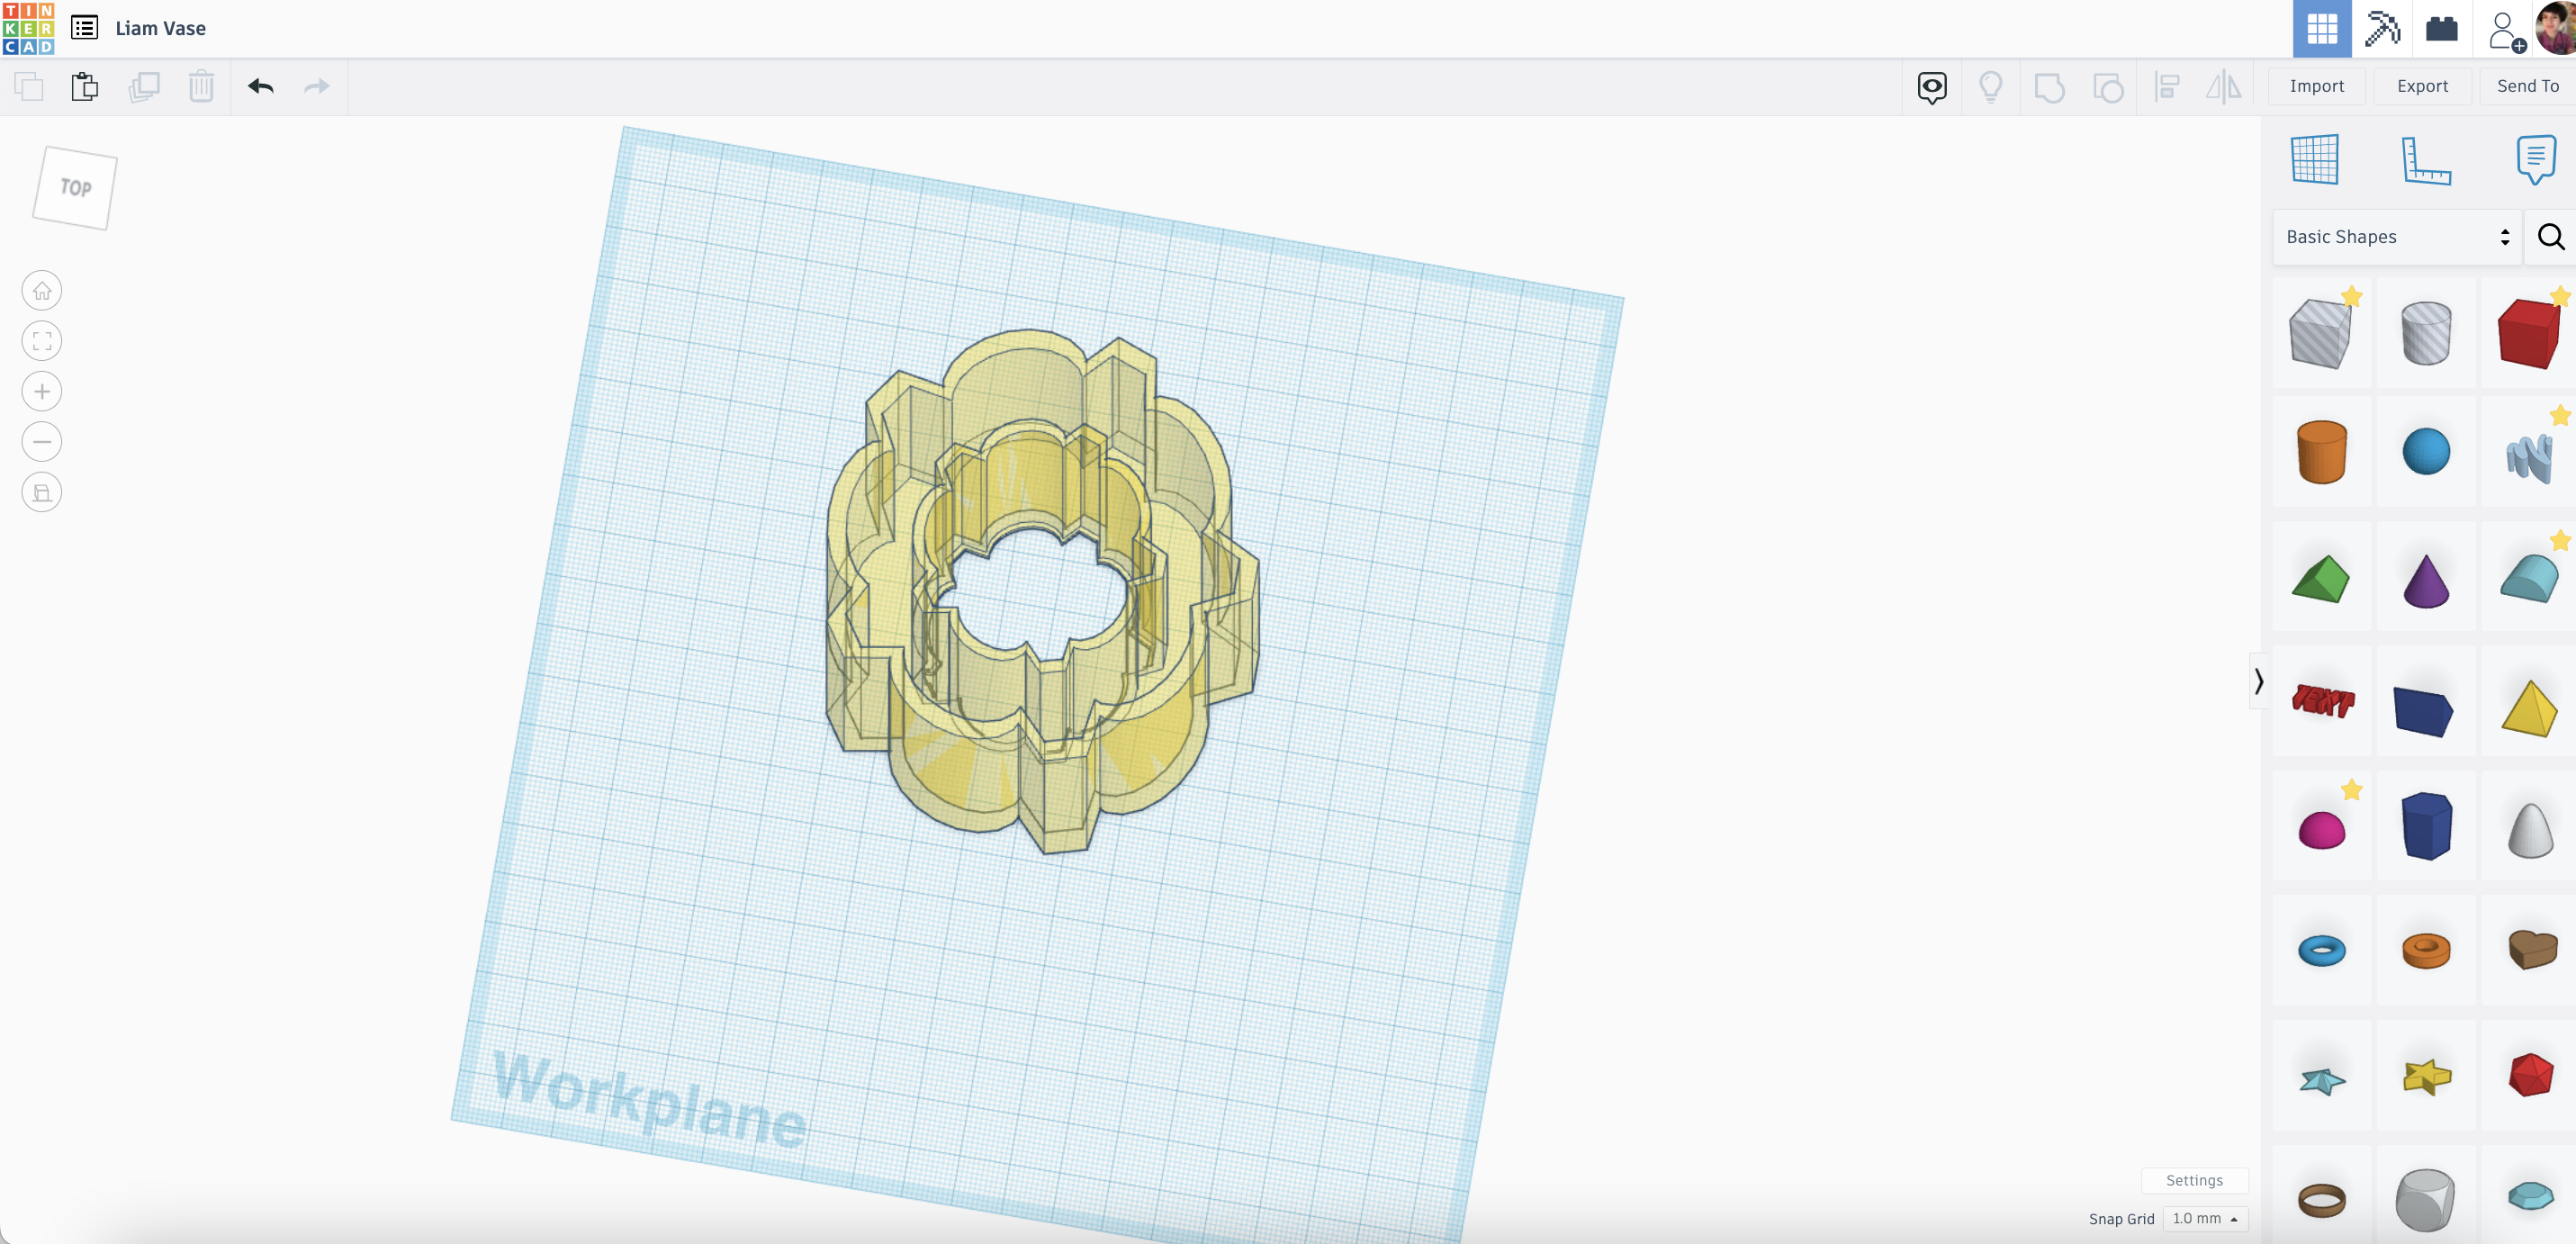
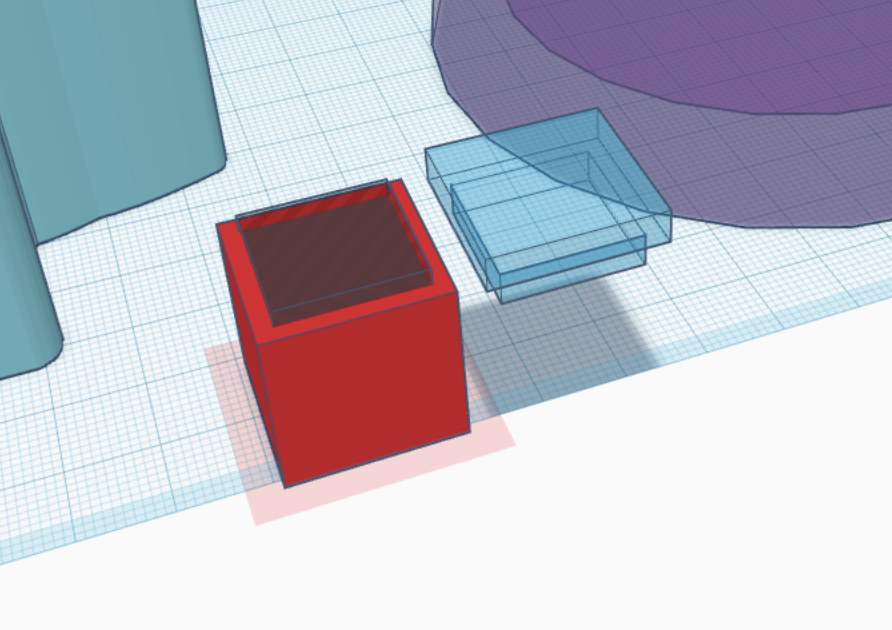
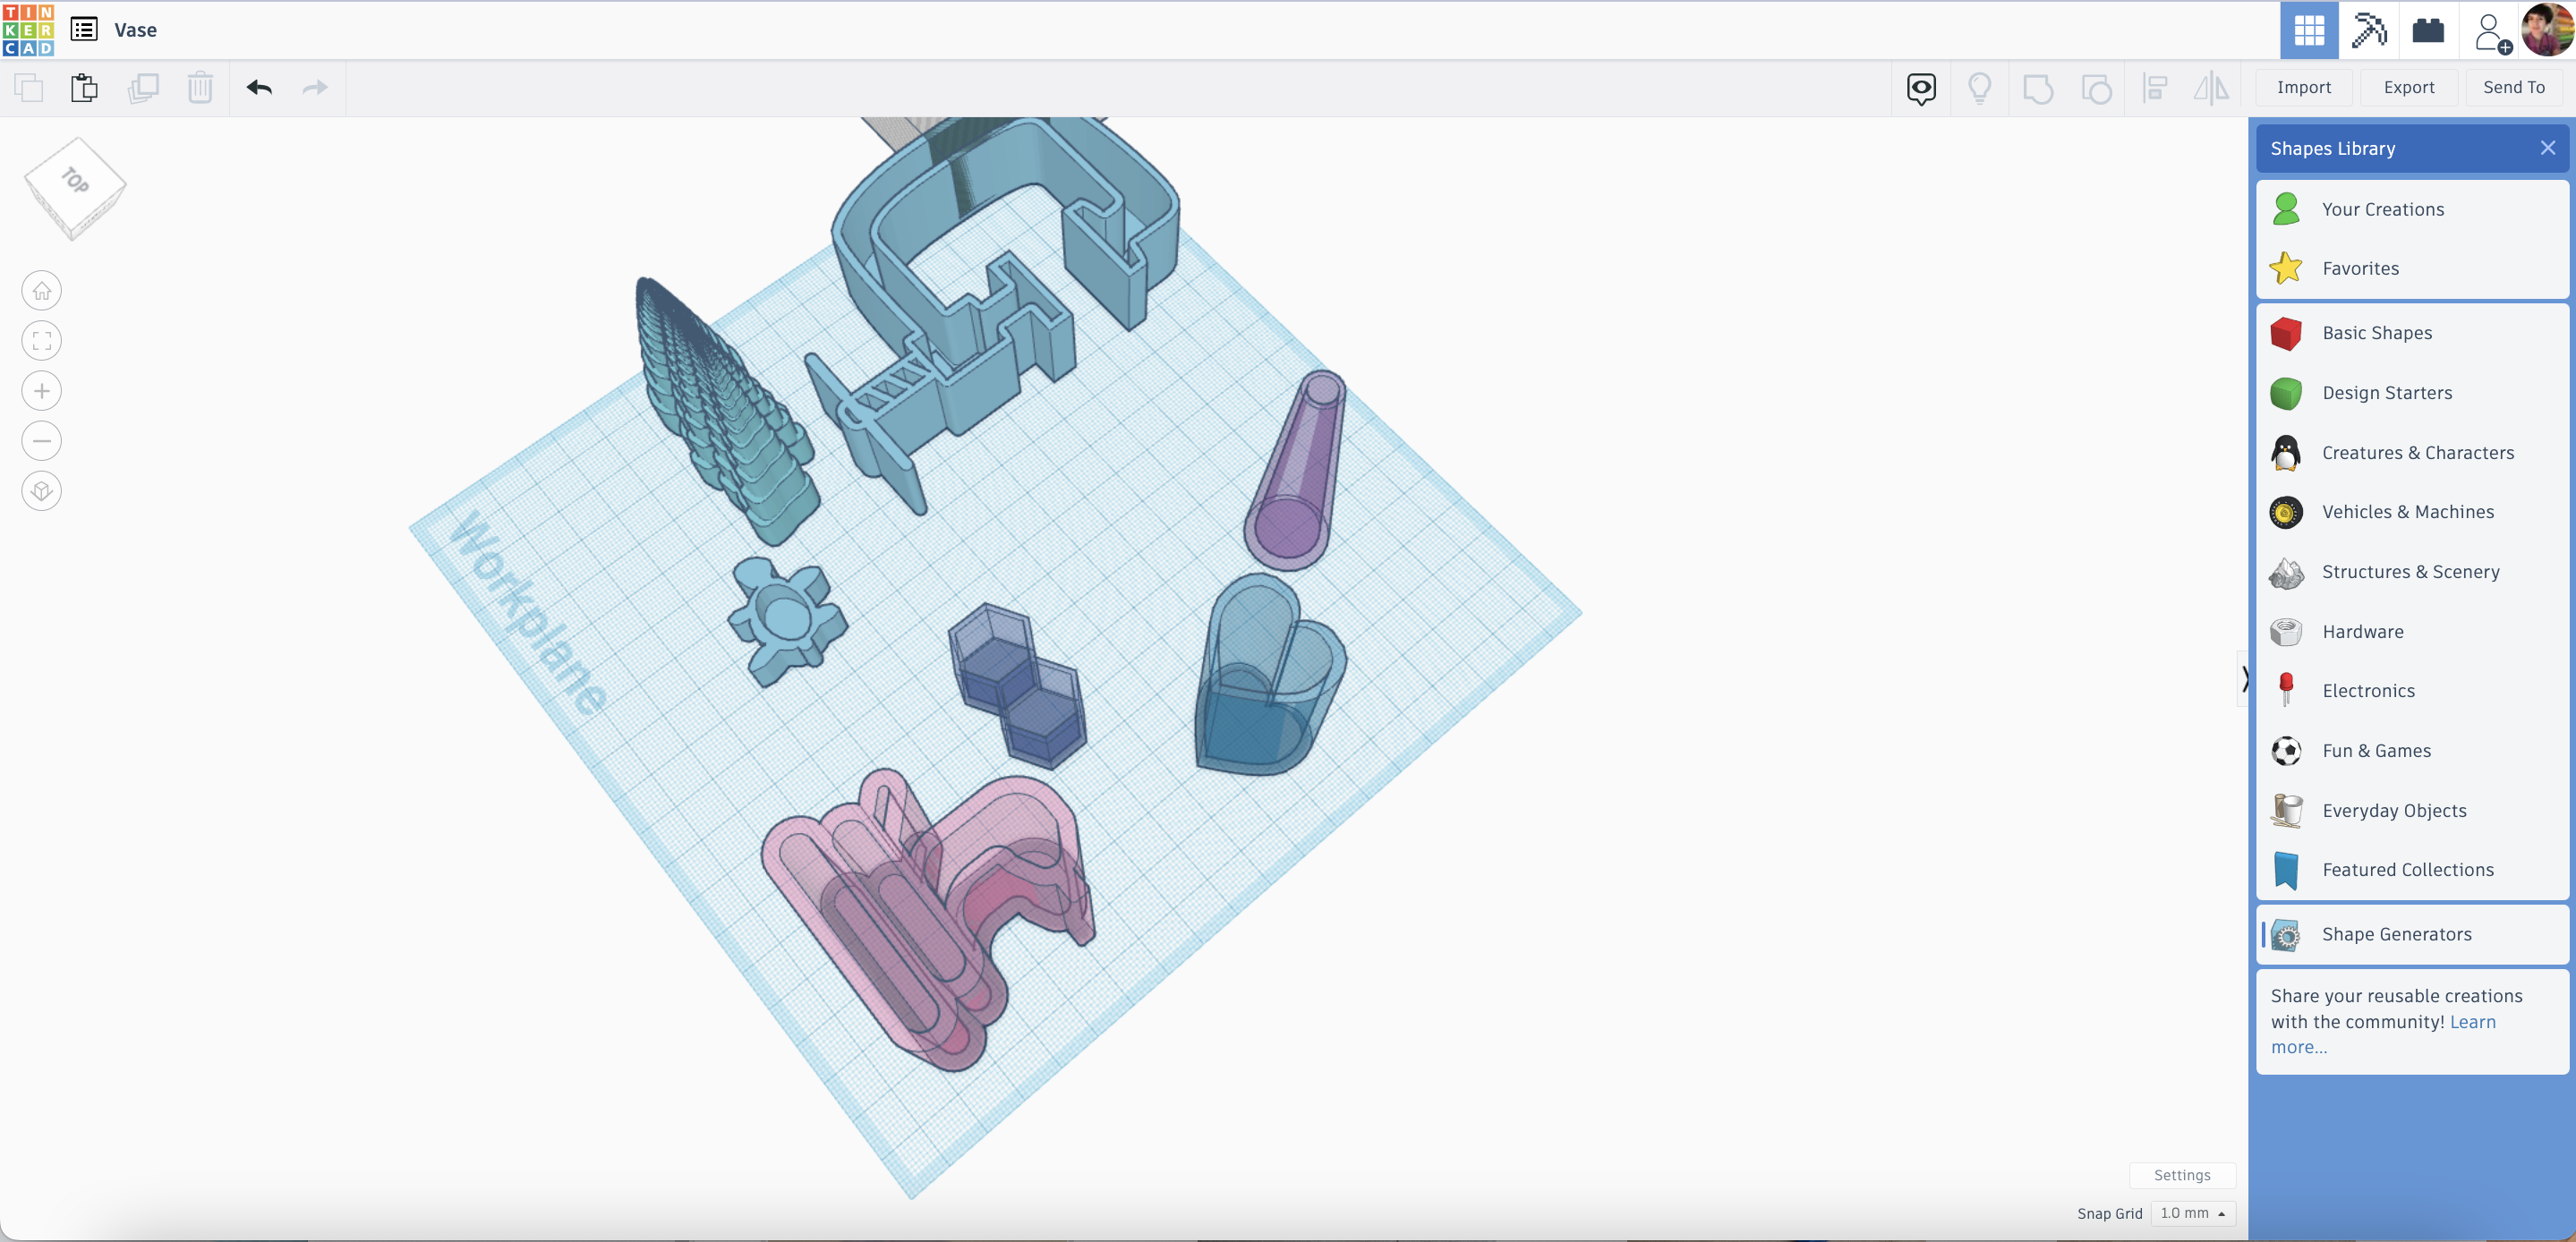
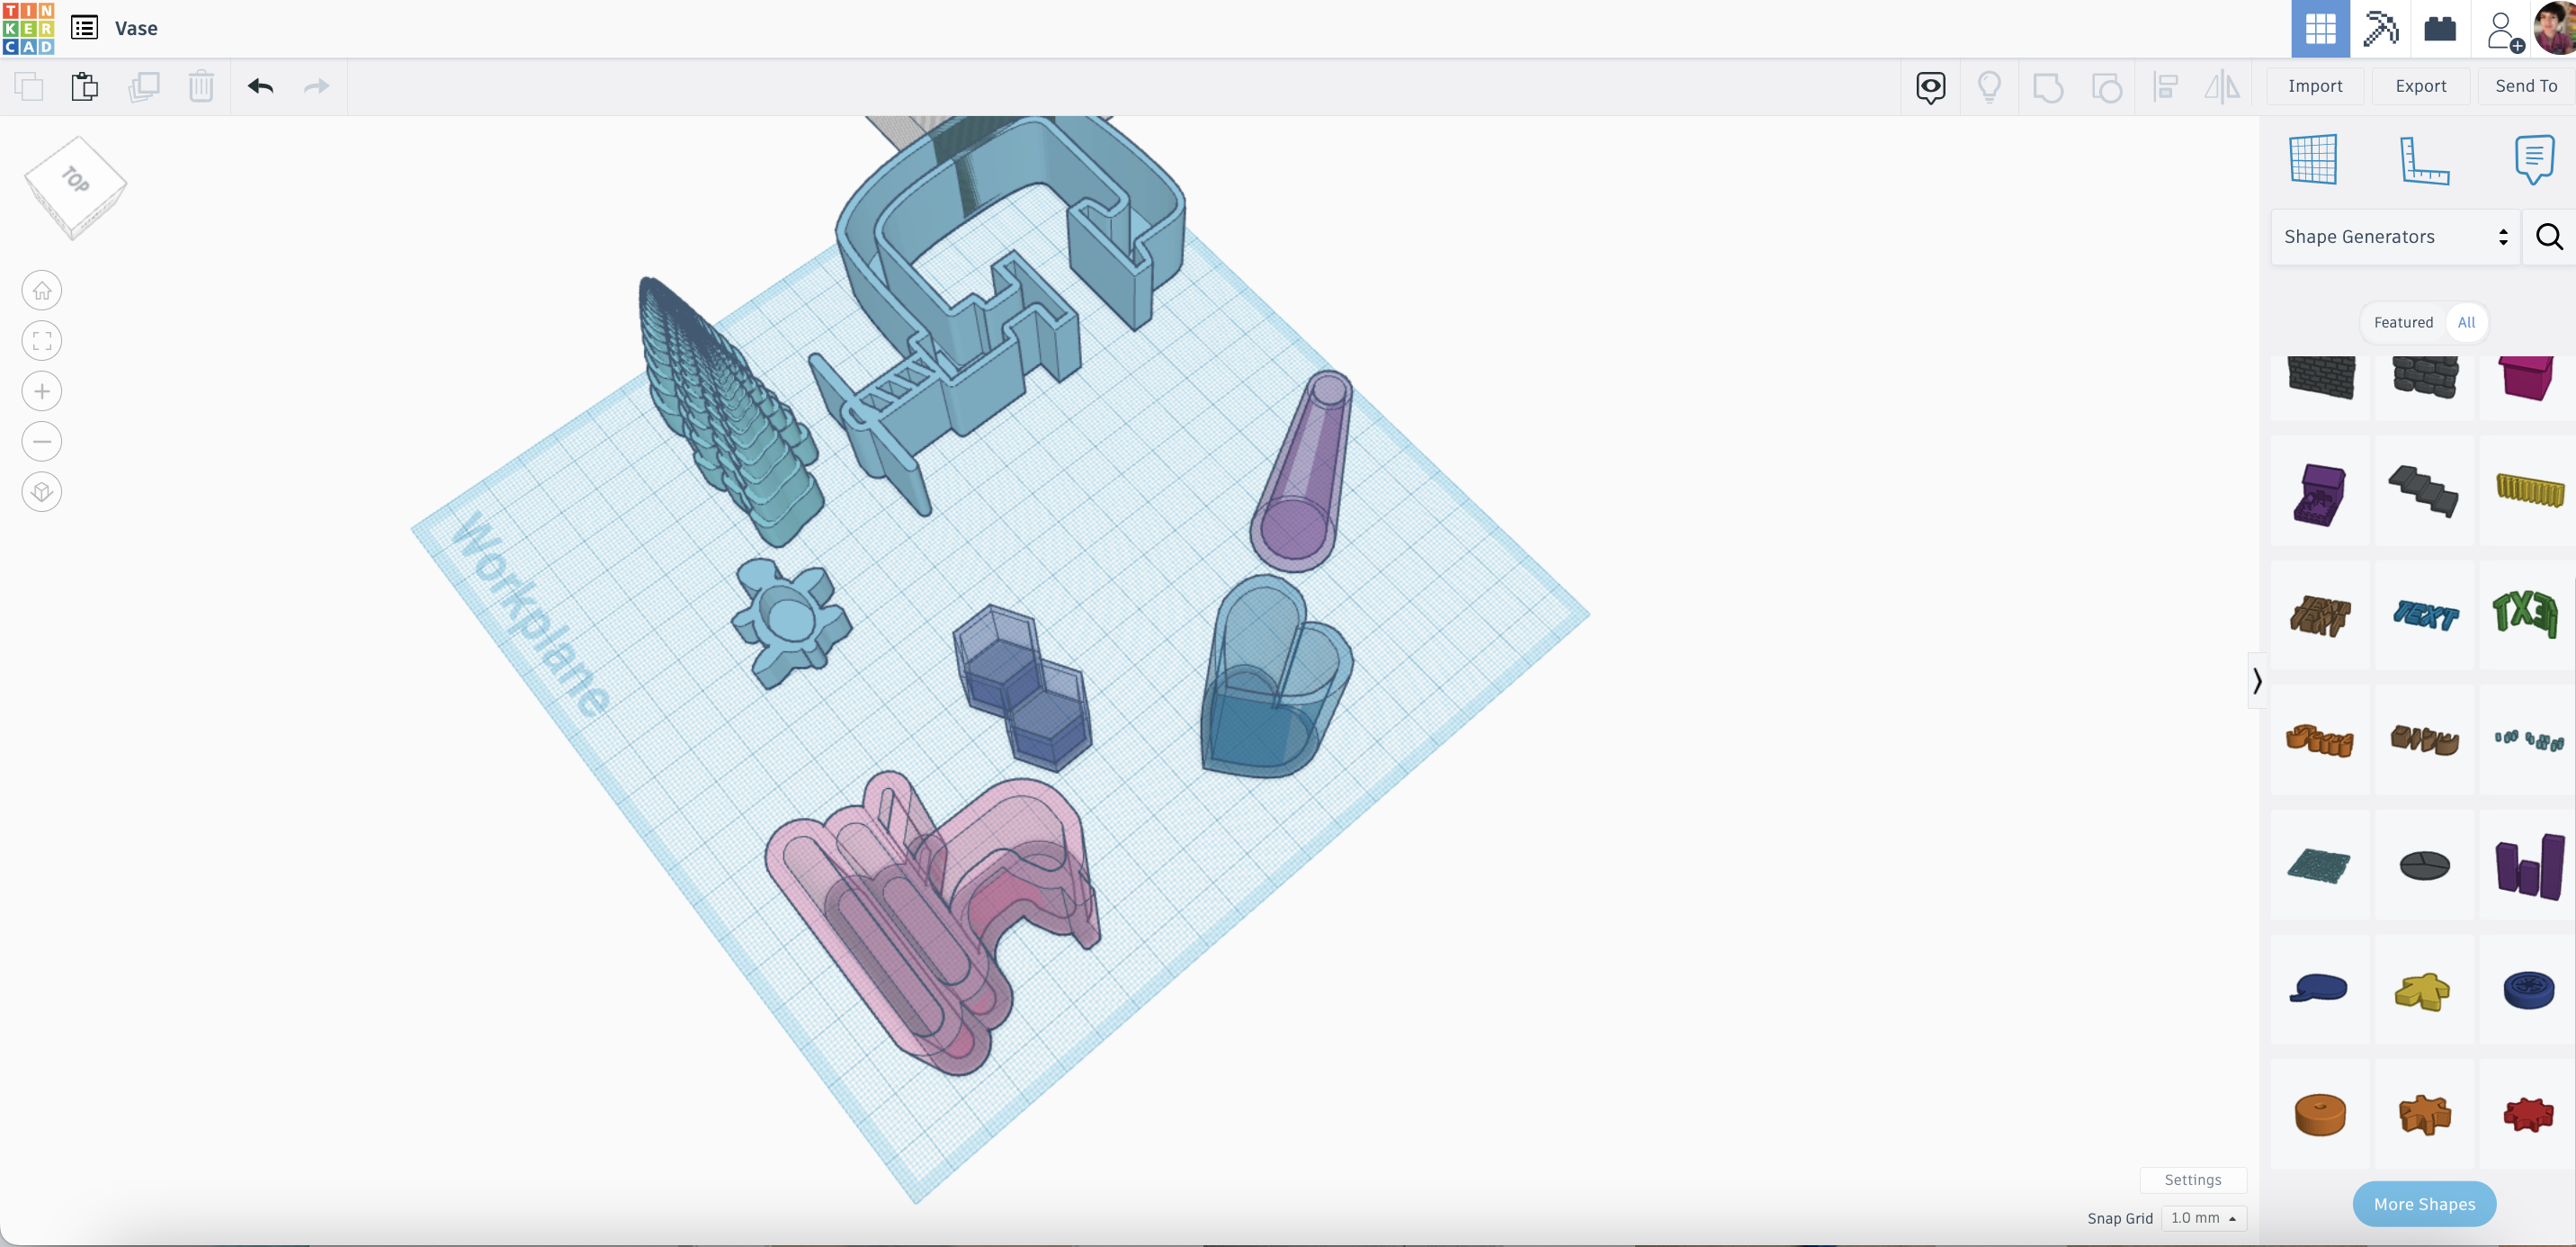
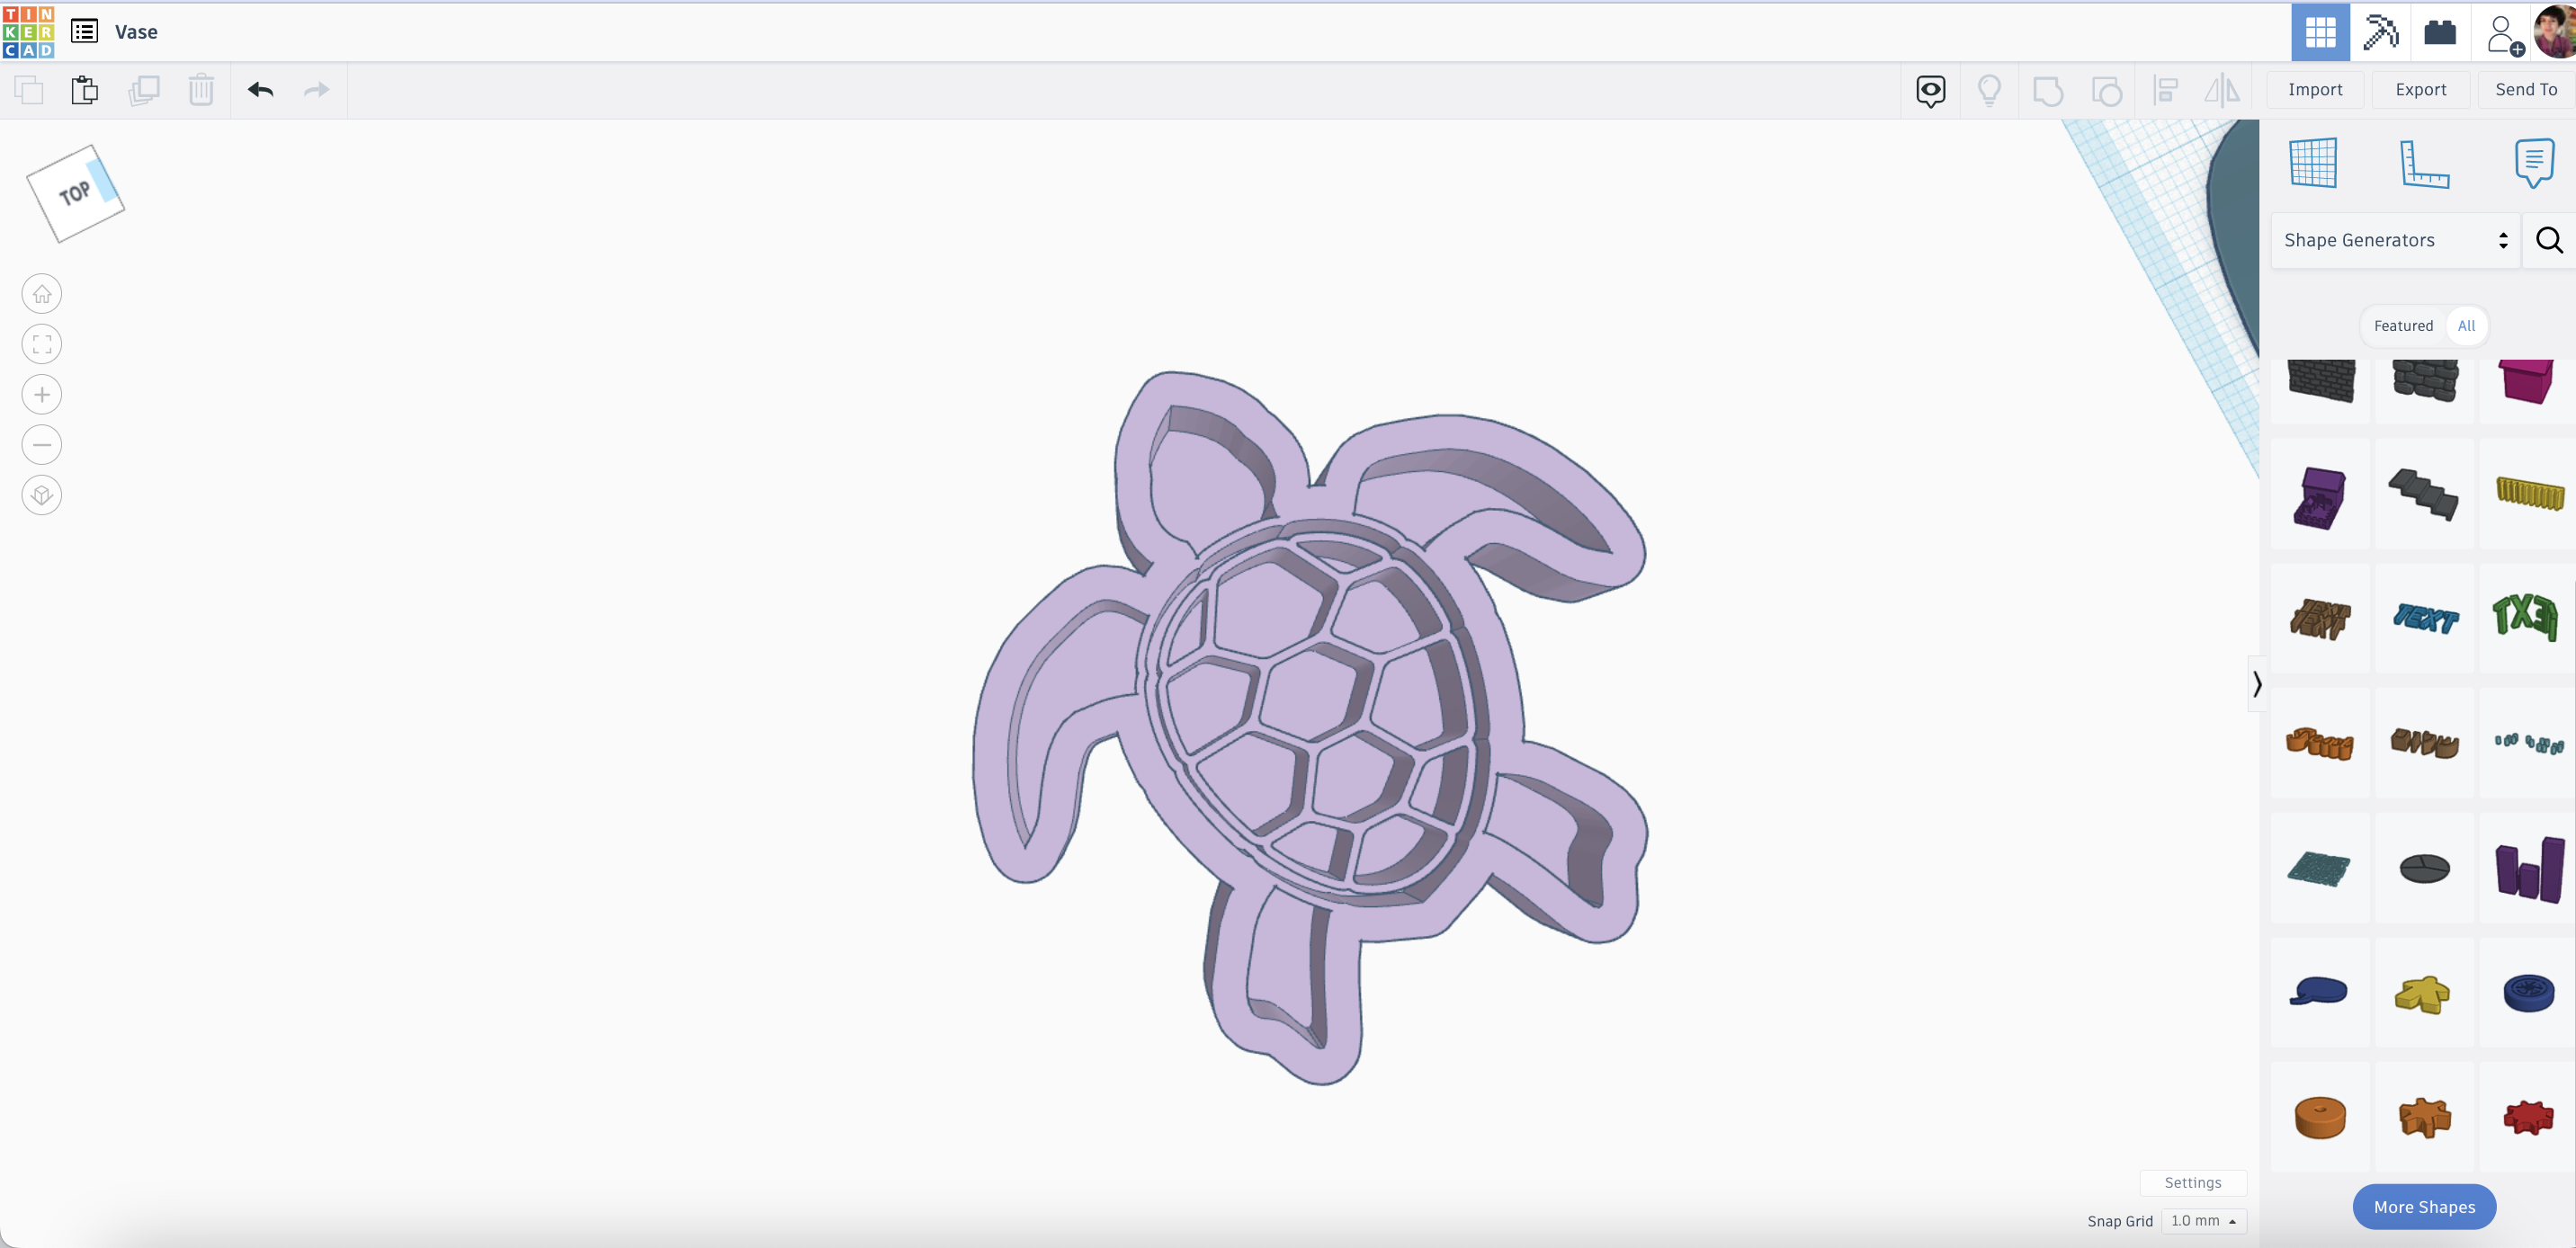
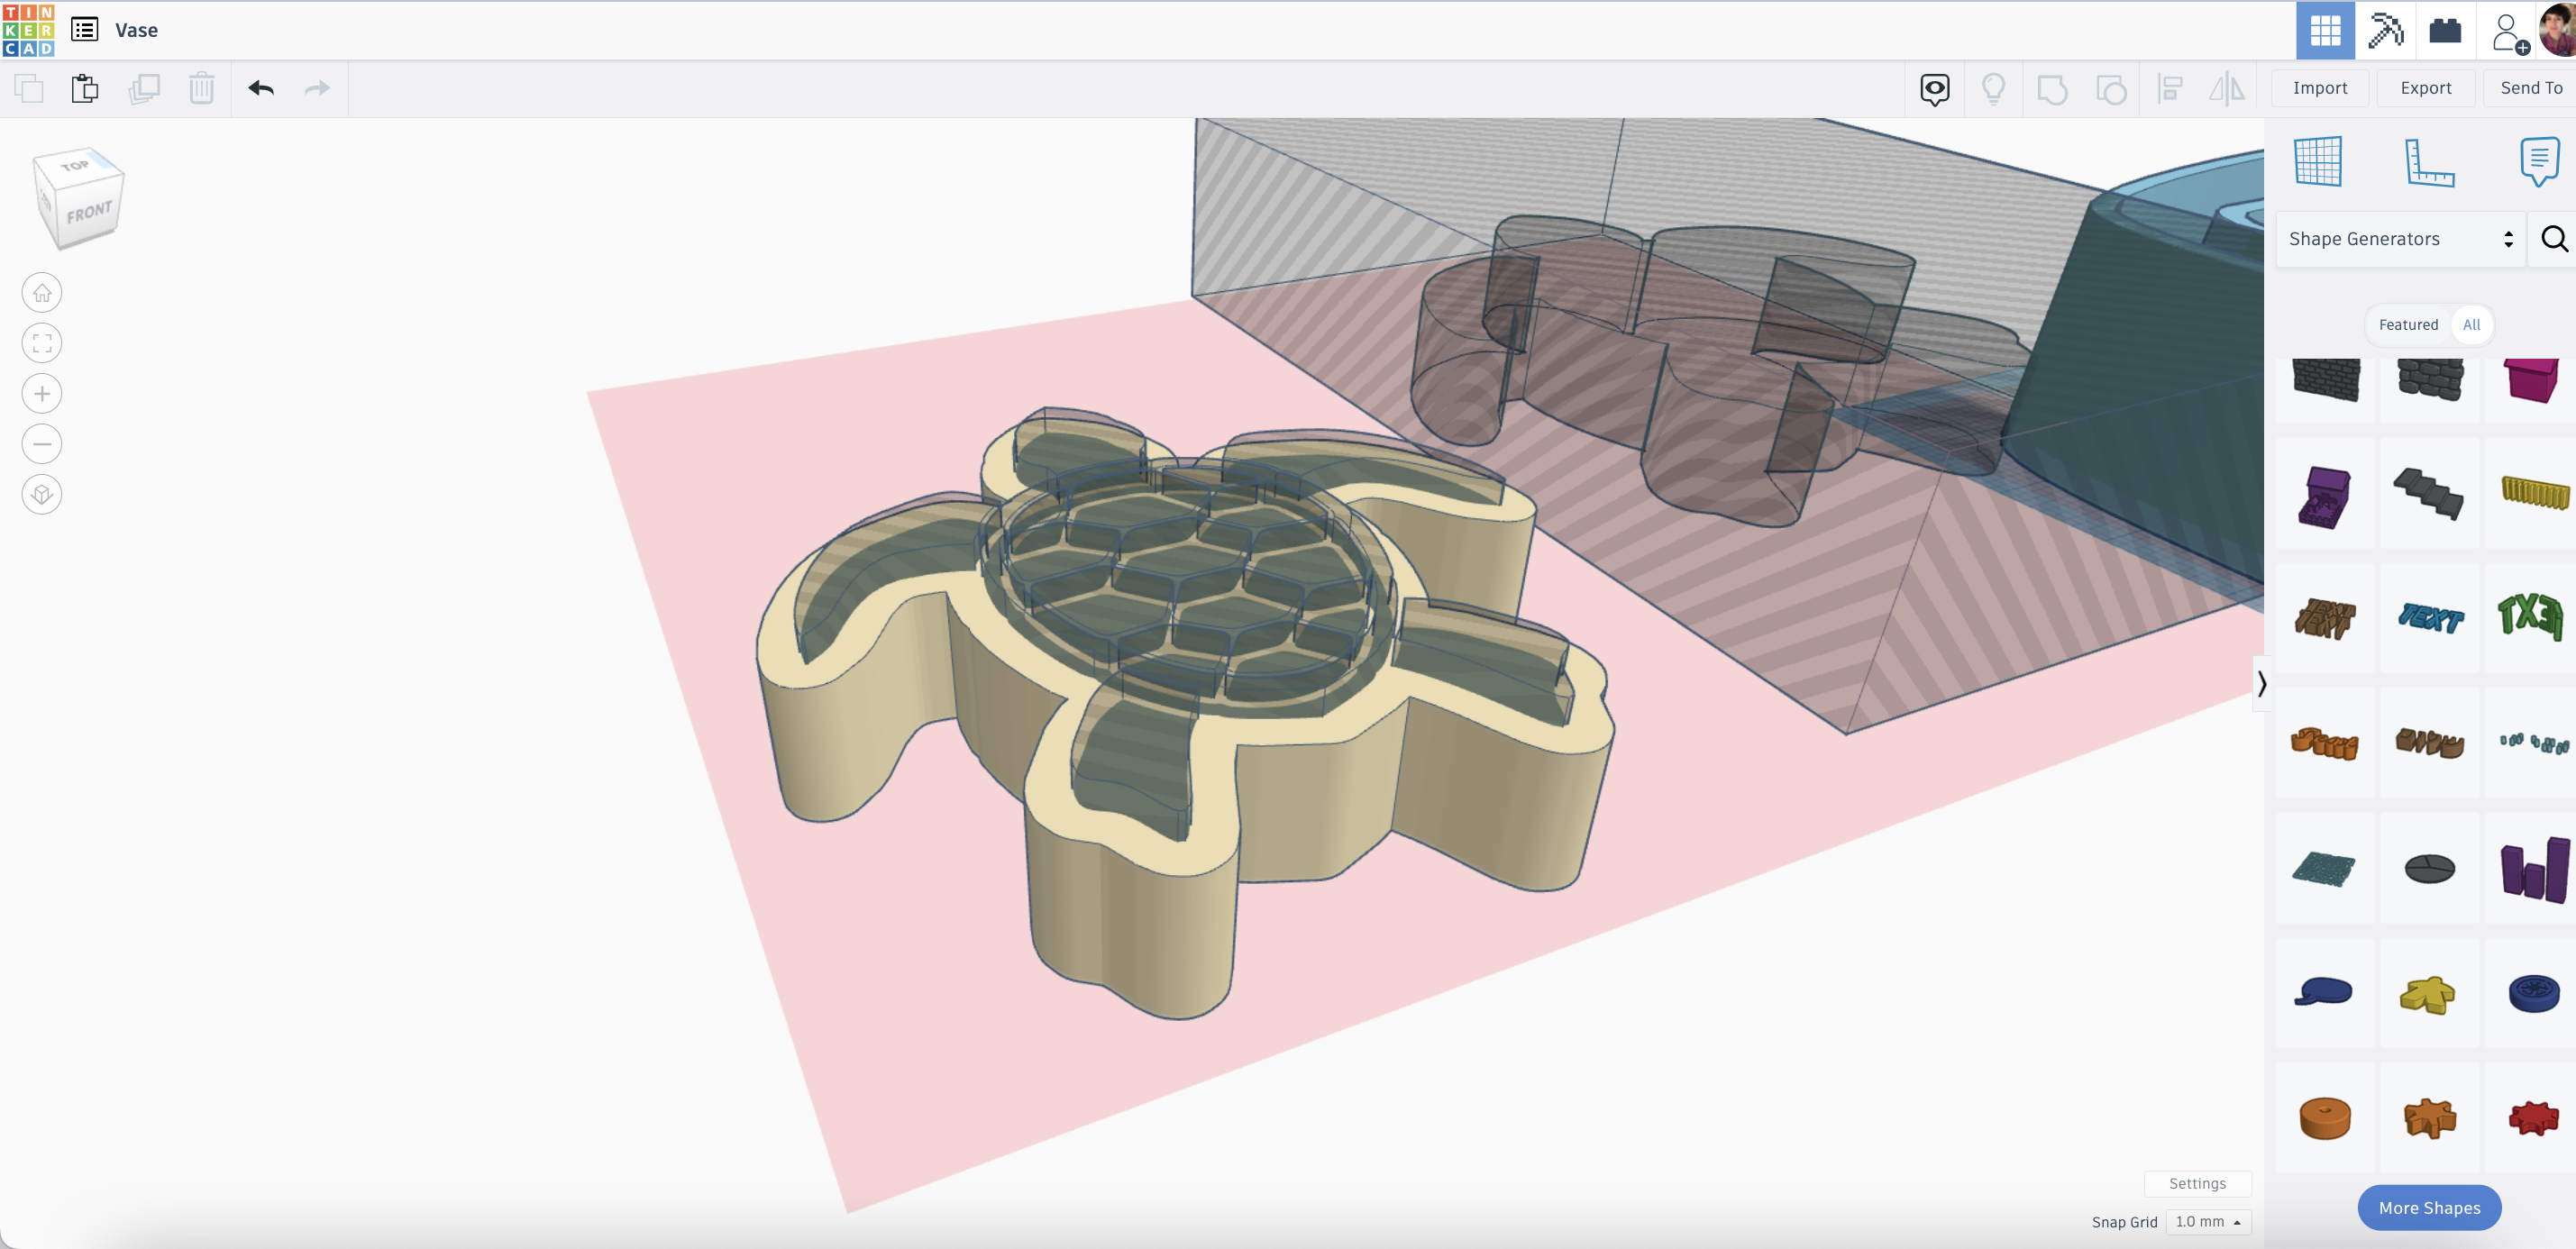
Tinkercad- Shape Generators
- Go to Shape Library > Shape Generator > All > More Shapes
- Using Shape Generators to create the original container form.
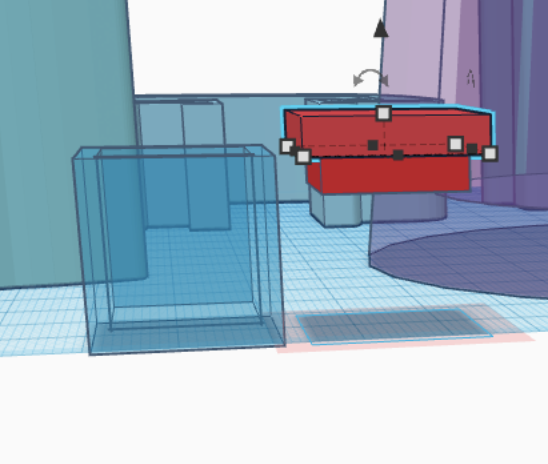
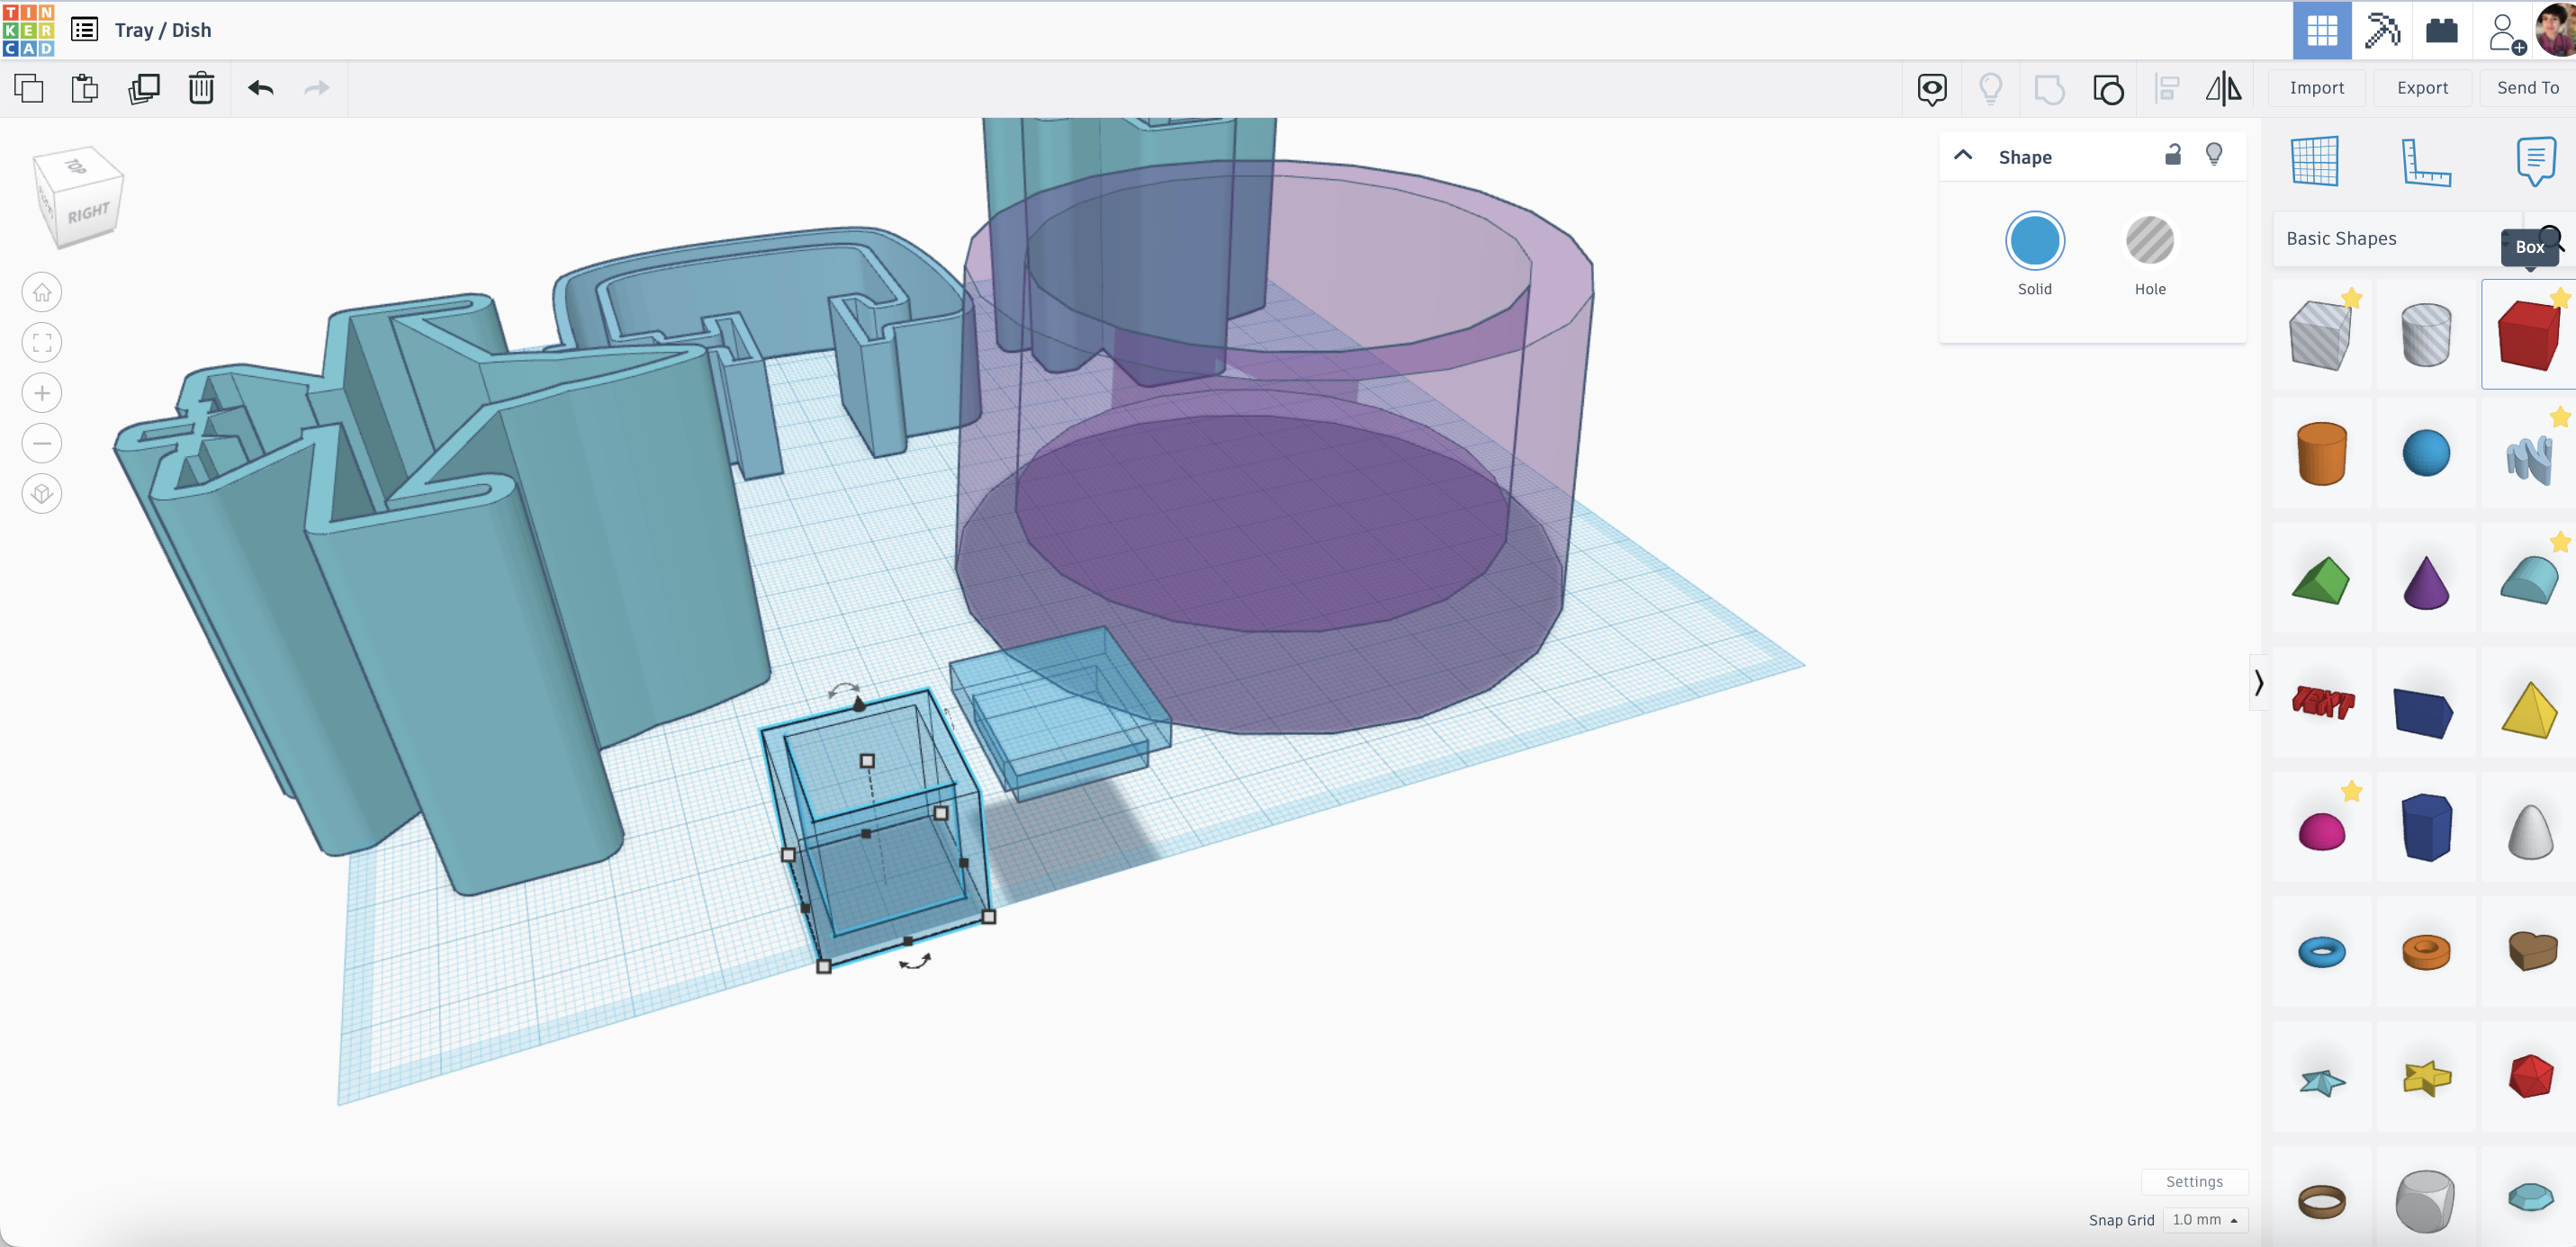
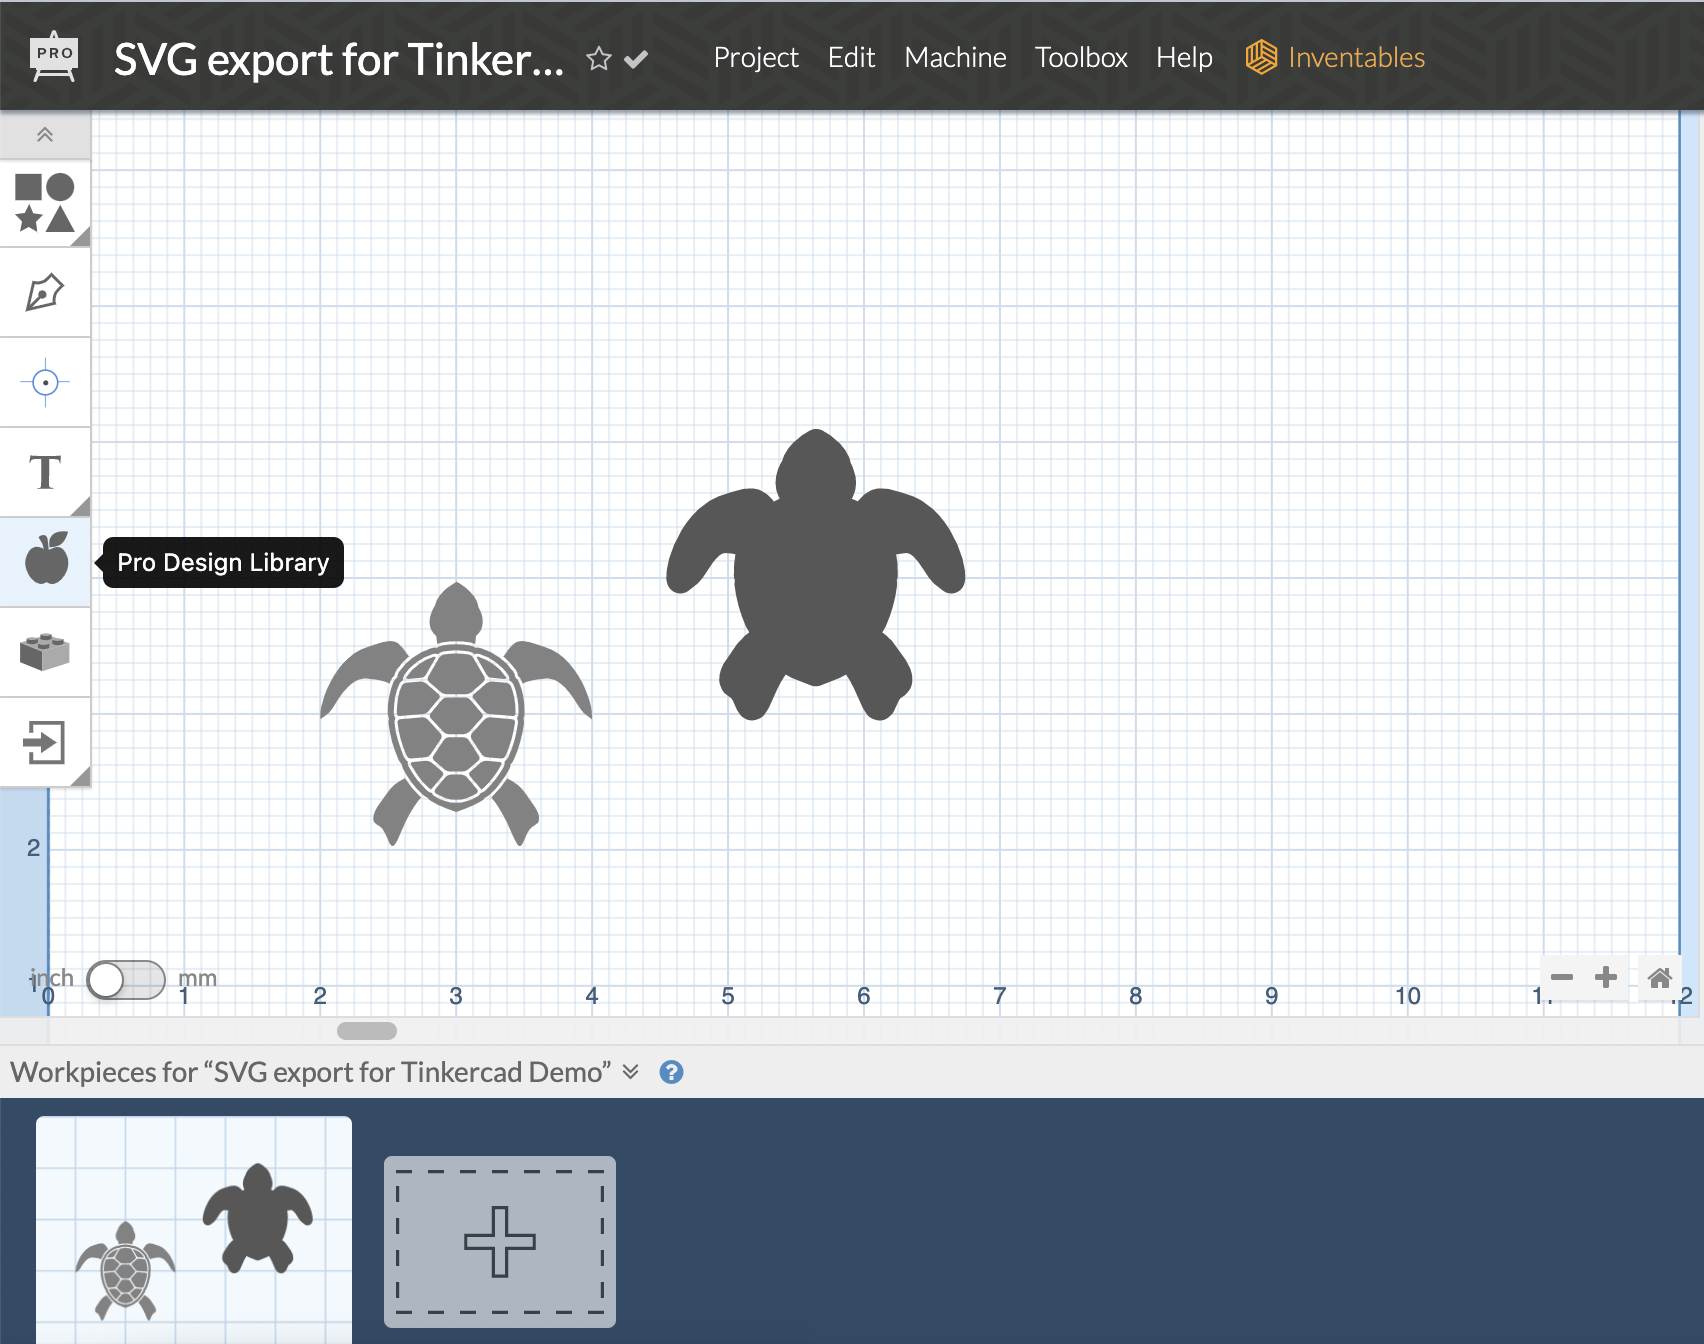
Teacher Notes for preparation in Tinkercad: this design is the most complex. In short you must create a design, then offset the design (making it 2 mm smaller in all axes), raising it 2 mm, then turning it to a hole. This hole is used to create the cavity of the vase, box, container, tray, dish, etc. You can limit the student design option to one of those or keep it open ended, since they all work off the sample principle. See the images- they have additional process notes, or to see an example click the "Tray / Dish" & "Vase" projects below and "Tinker this". I do sometimes also use the Easel software to create an offset from a 2D design, export the SVG from Easel, then import that svg into Tinkercad, and extrude it. This is more involved than necessary but you can get more complex forms using the Pro Design Library in Easel. Teachers can get free accounts and students can get free 30 day trials.