Week 7: Object Scanning and Reconstruction
by jas0126 in Workshop > 3D Printing
522 Views, 4 Favorites, 0 Comments
Week 7: Object Scanning and Reconstruction
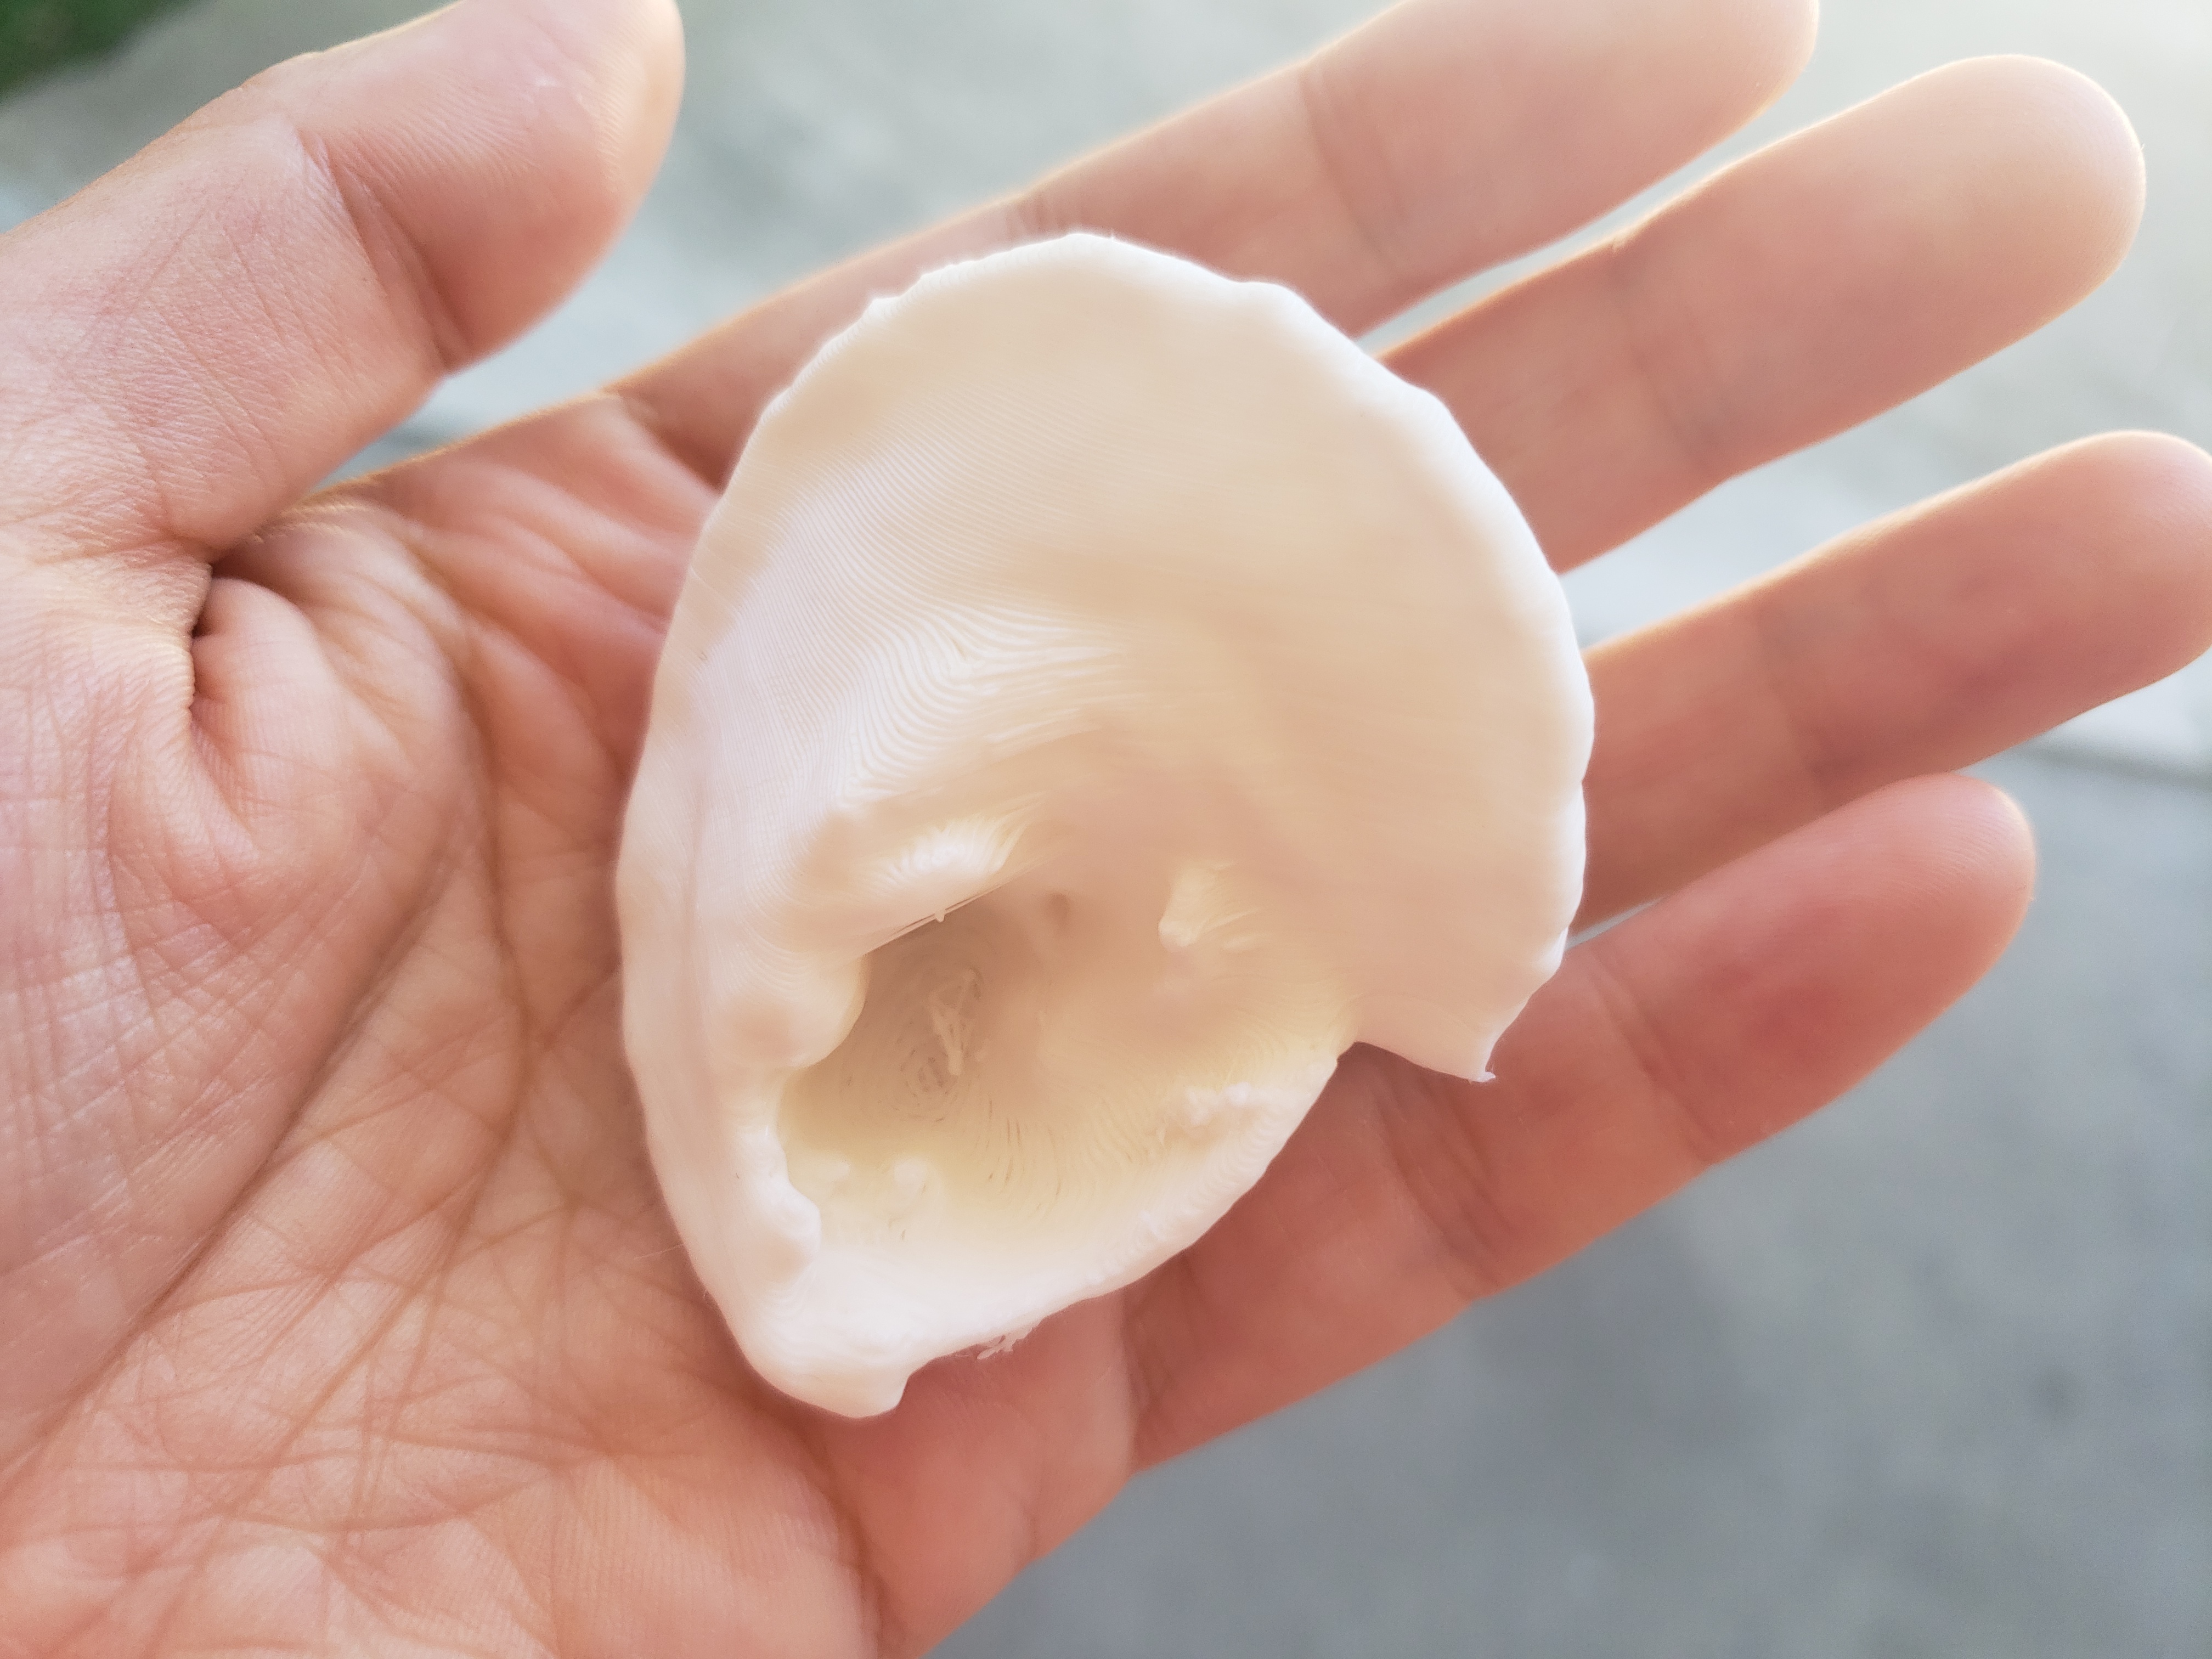
This week's assignment was to scan and print an existing object.
Cleanup
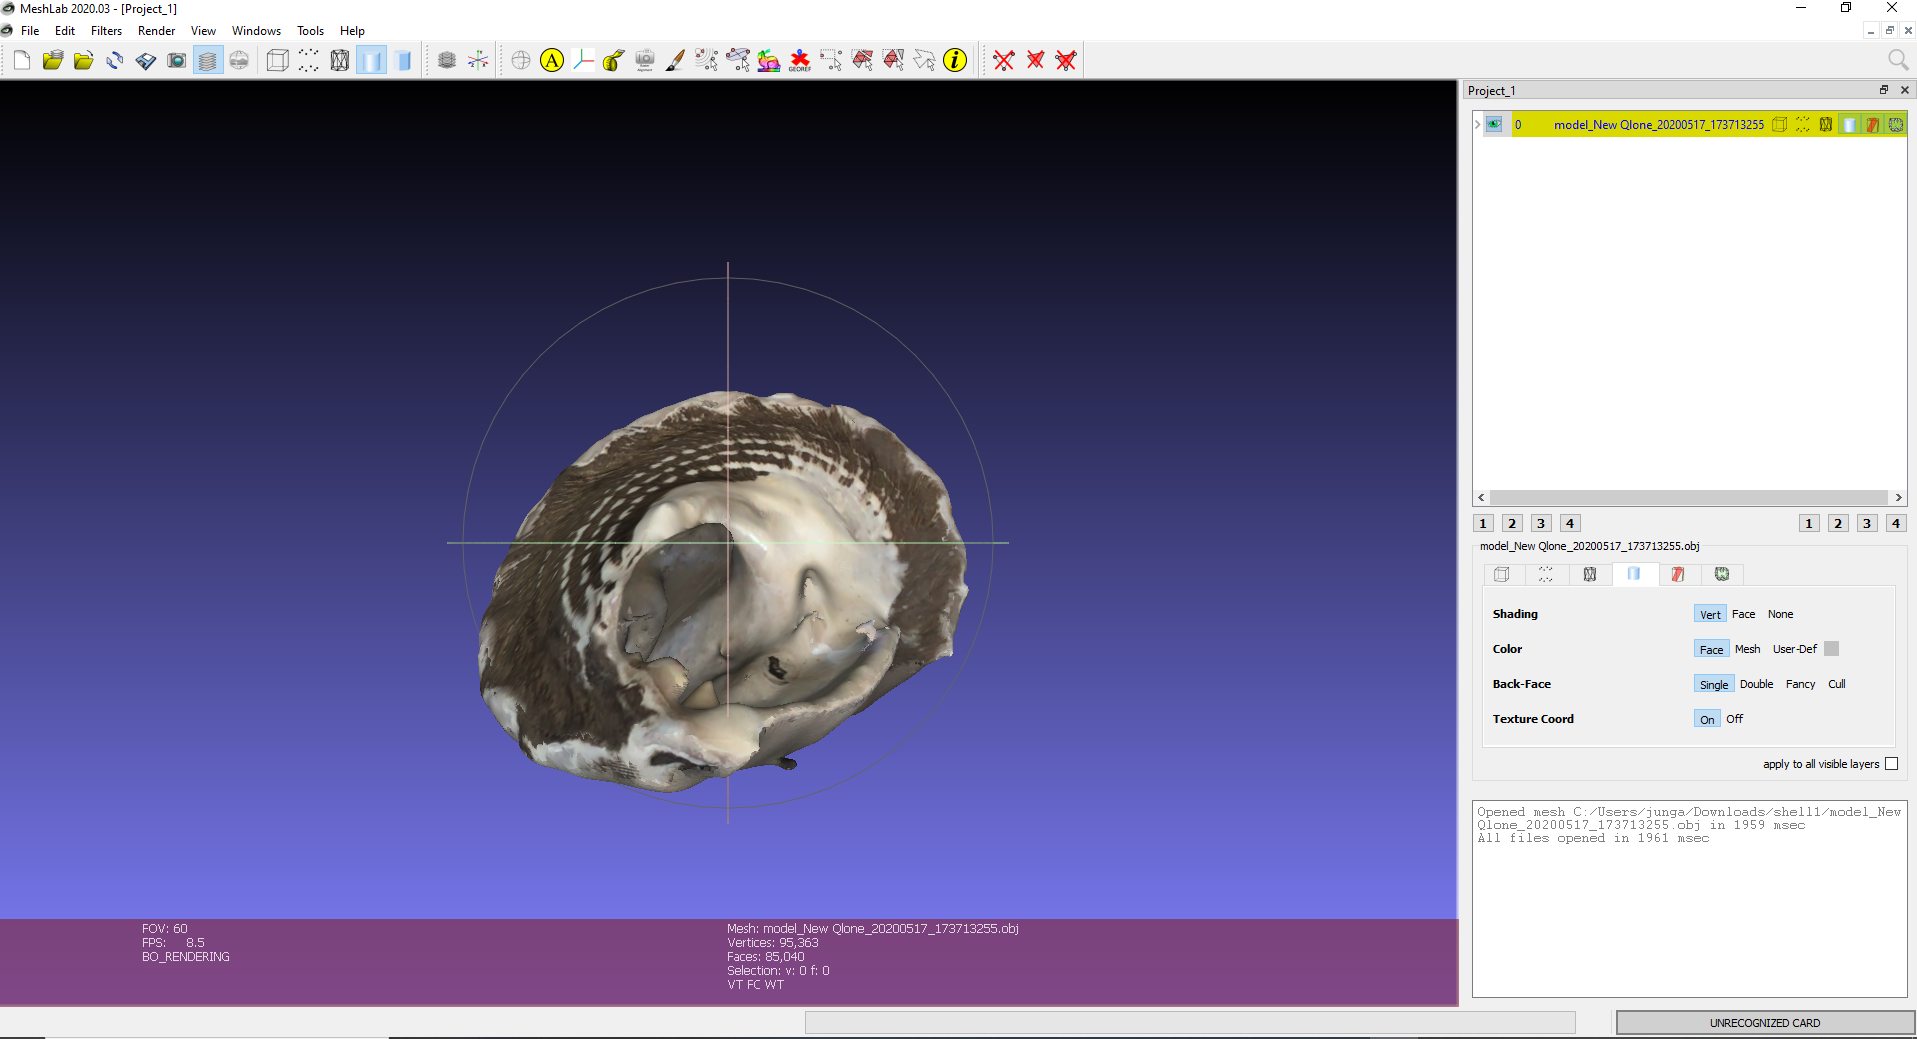
I have chosen to use the pre-scanned object shell1 in the folder shared by Professor Jacobs. To clean up the scan, I first imported mesh to MeshLab. Then I followed the MeshLab tutorial for cleaning:
https://www.youtube.com/playlist?list=PLBBF41579E4... (Triangle and Vertices removal, Basic filters)
Repair
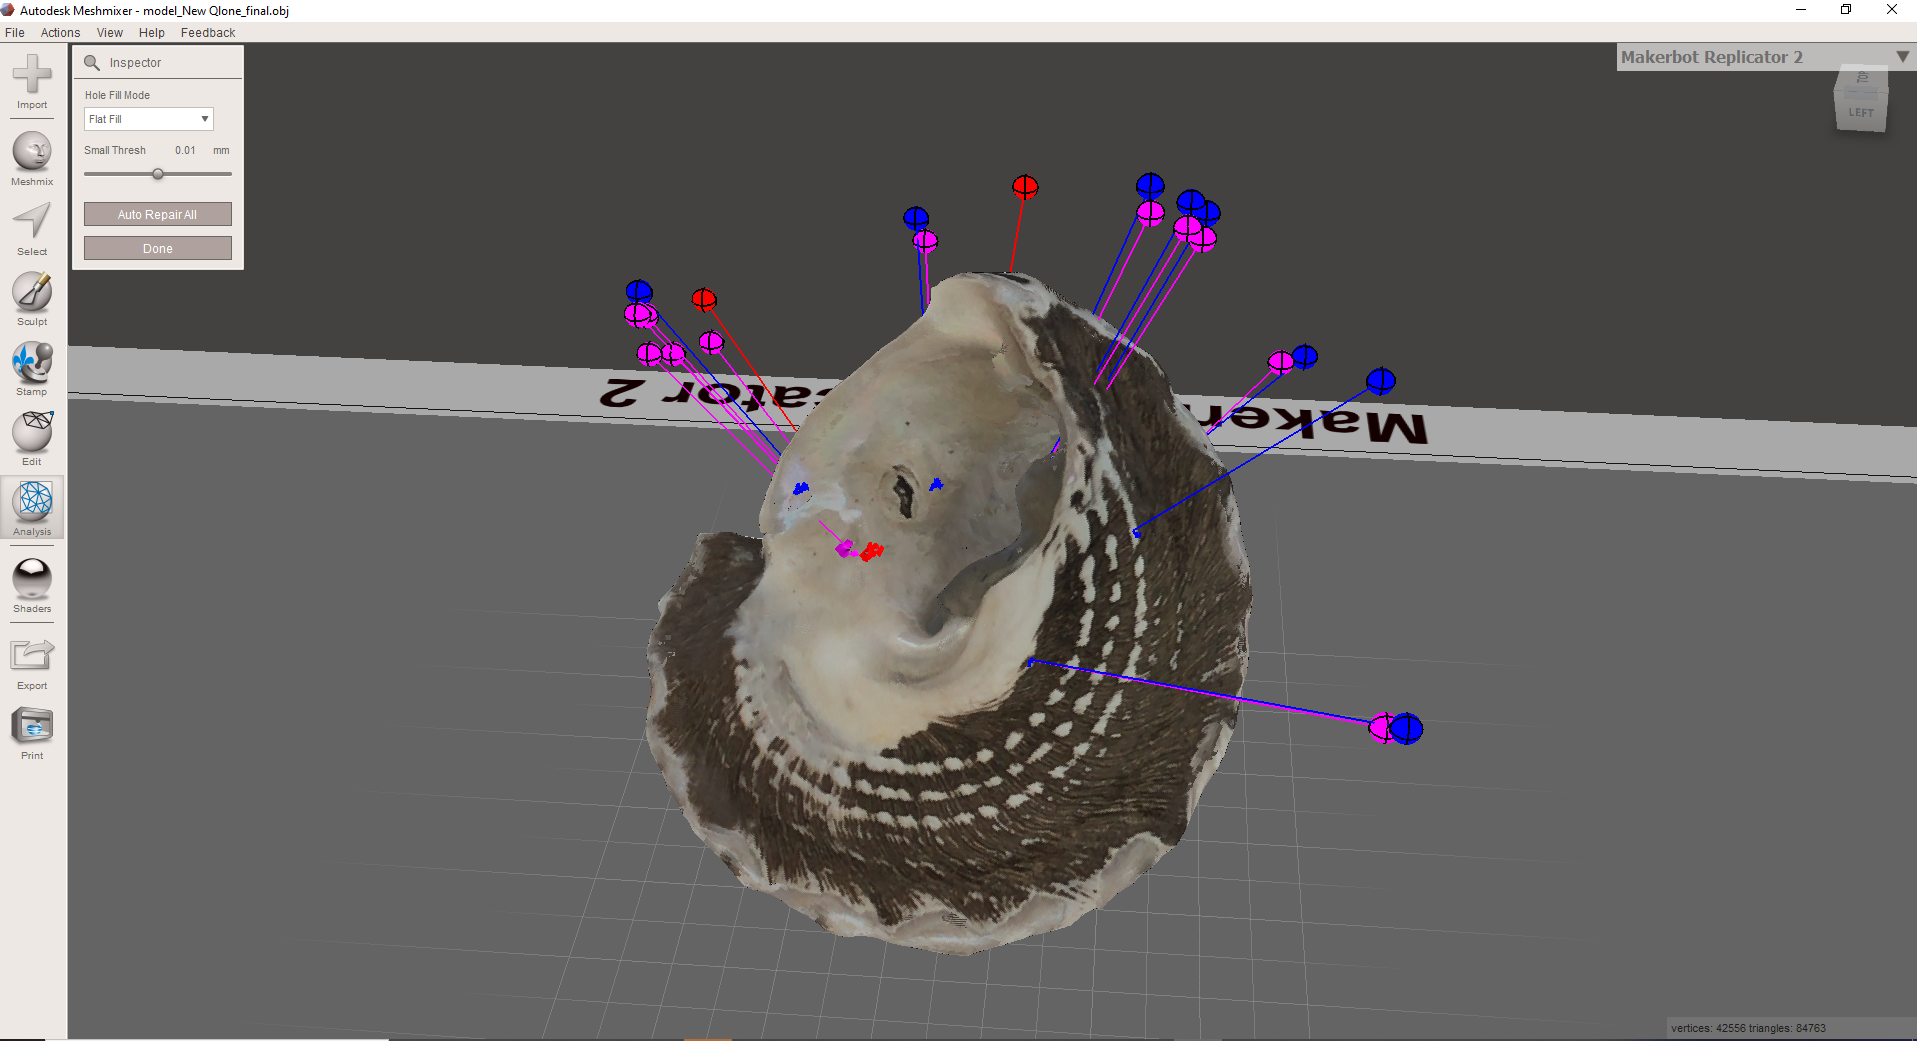
After importing the cleaned mesh from MeshLab into Meshmixer. Then using 'Inspector' in Analysis tab, I've repaired the mesh. I found some part of the mesh not possible to fix, so have used 'Make Solid' to make it printable:
Due to reduced mesh, the final result is not as sophisticated as the original mesh. Increasing the number of elements will help me get the better result.
Print the Result
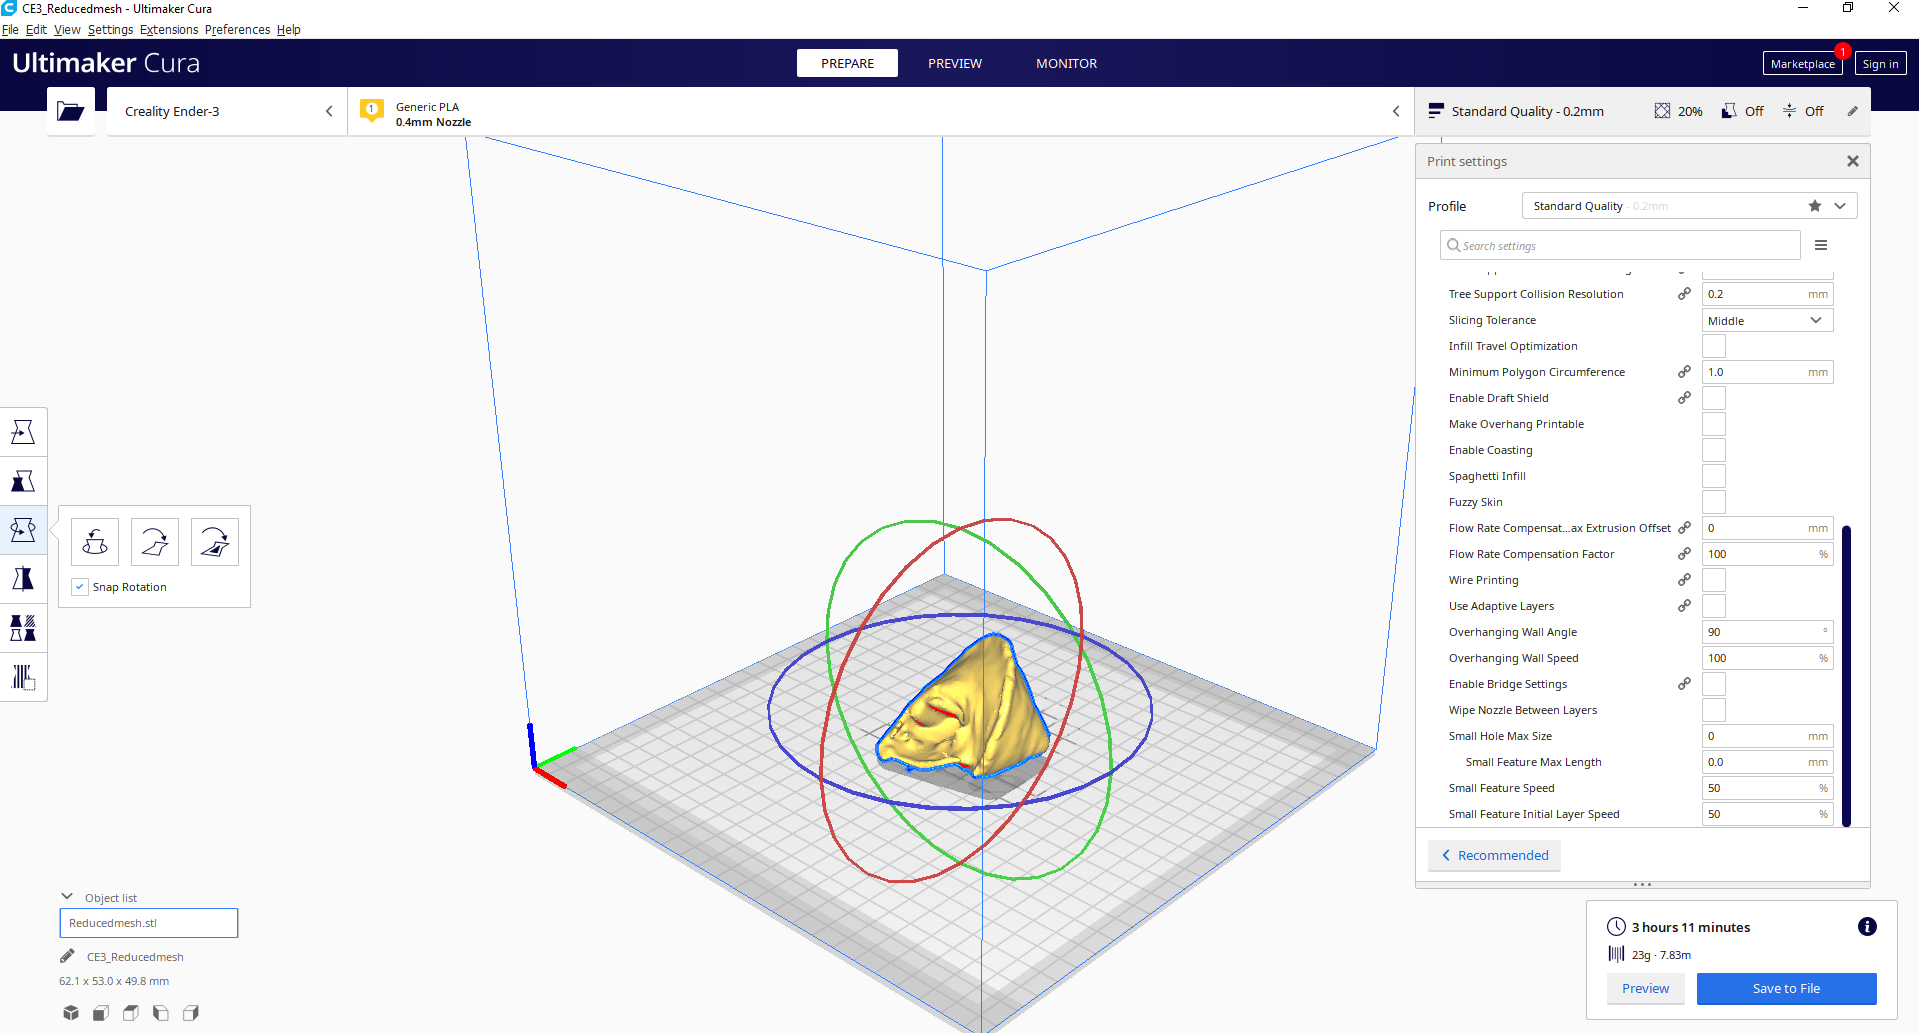
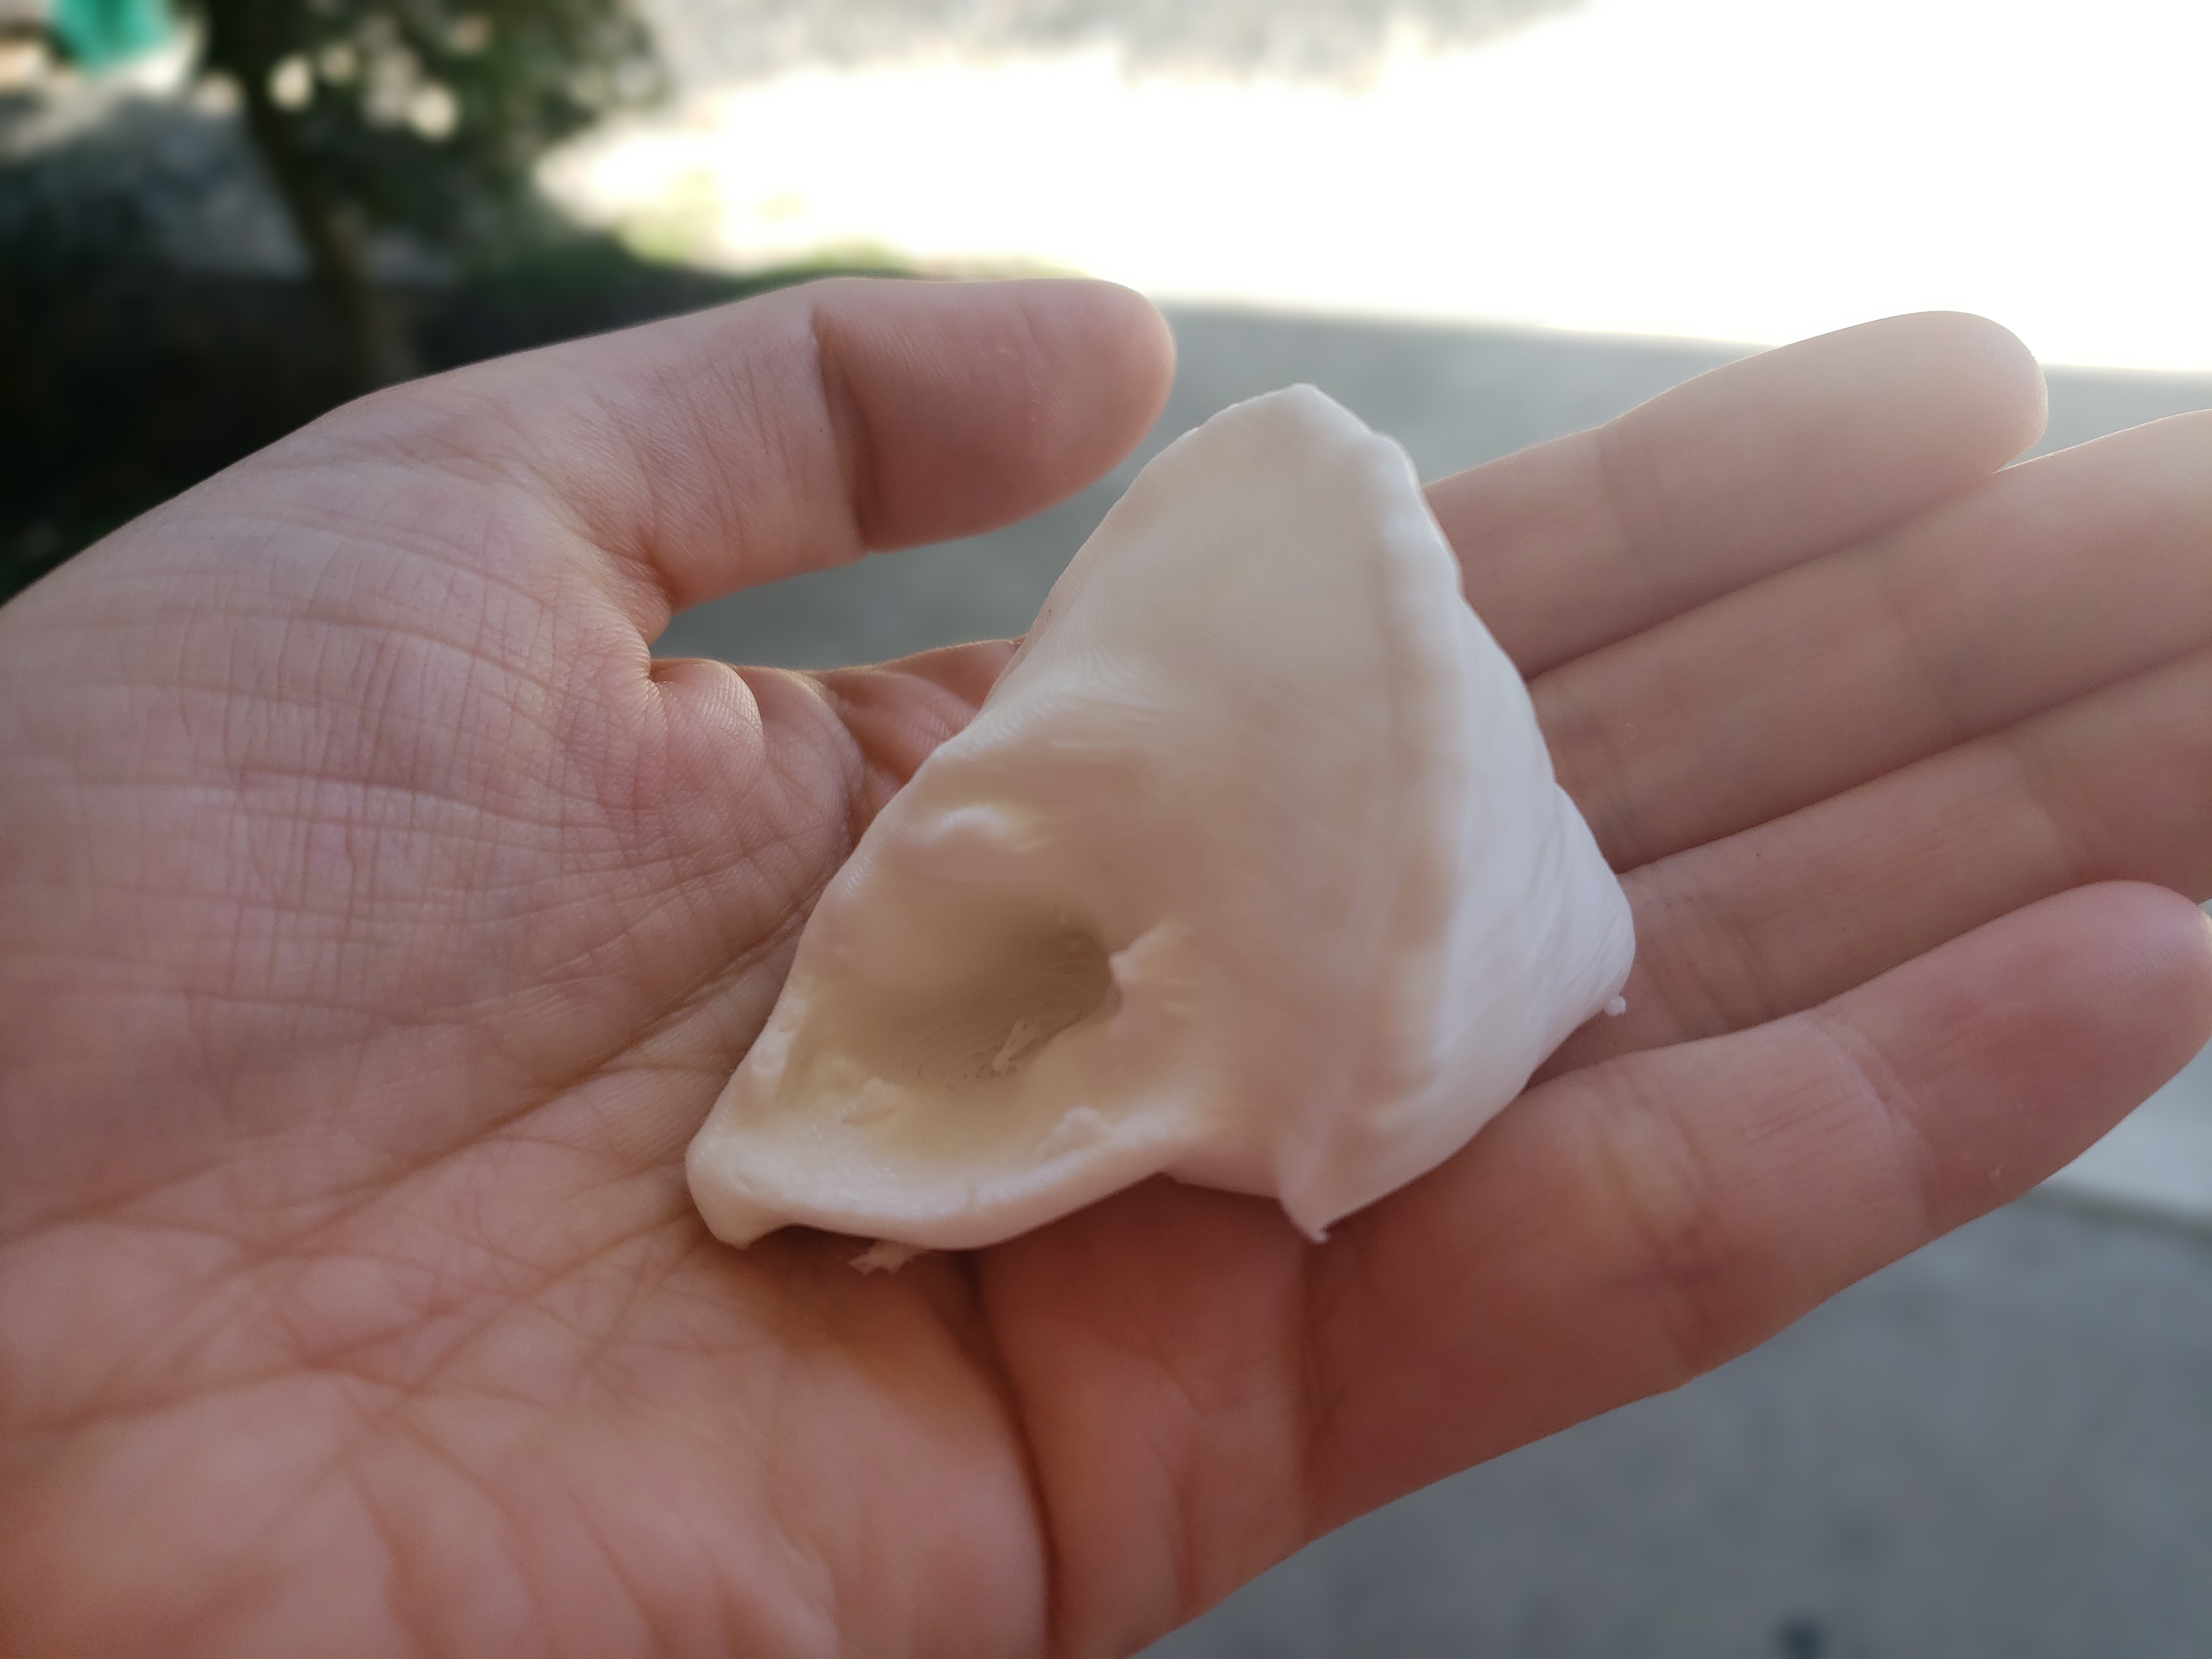
It took 2-3 hours to print the final result. (I had some accidents/failures in the middle which made the process longer.)