Web Controlled SMD Electronics Reflow Oven
by JackDavies in Workshop > Tools
6214 Views, 74 Favorites, 0 Comments
Web Controlled SMD Electronics Reflow Oven
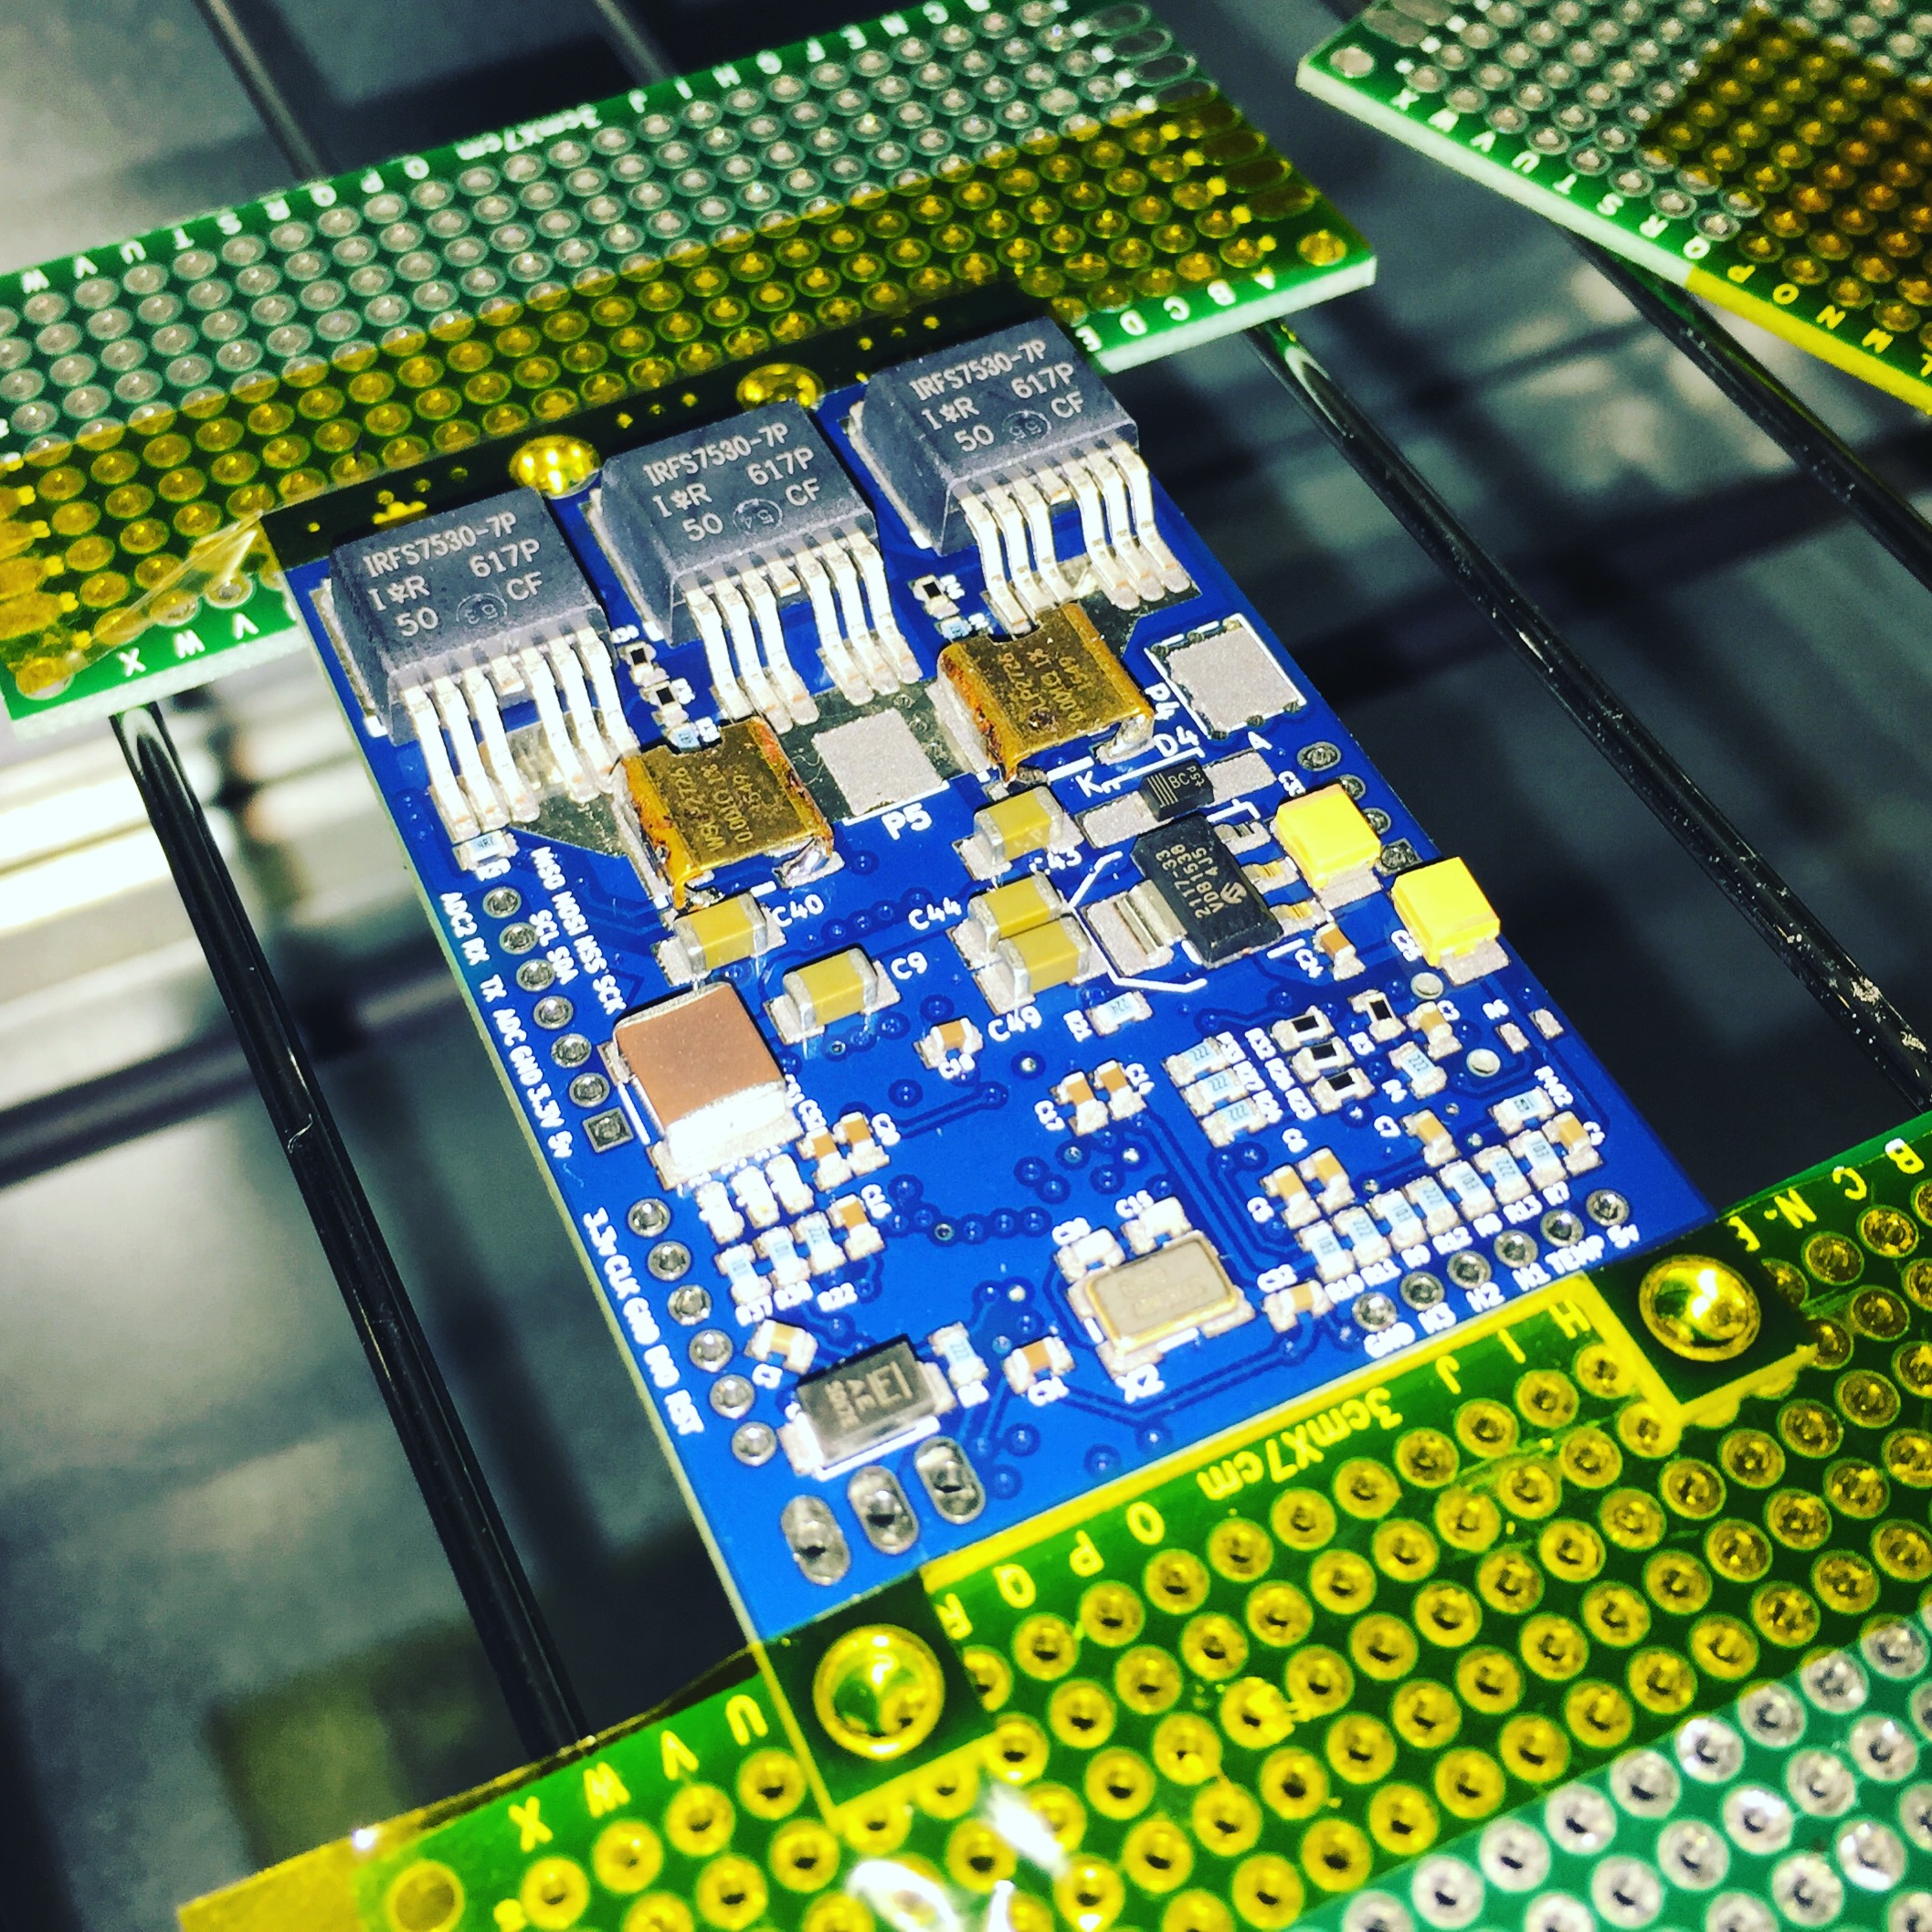
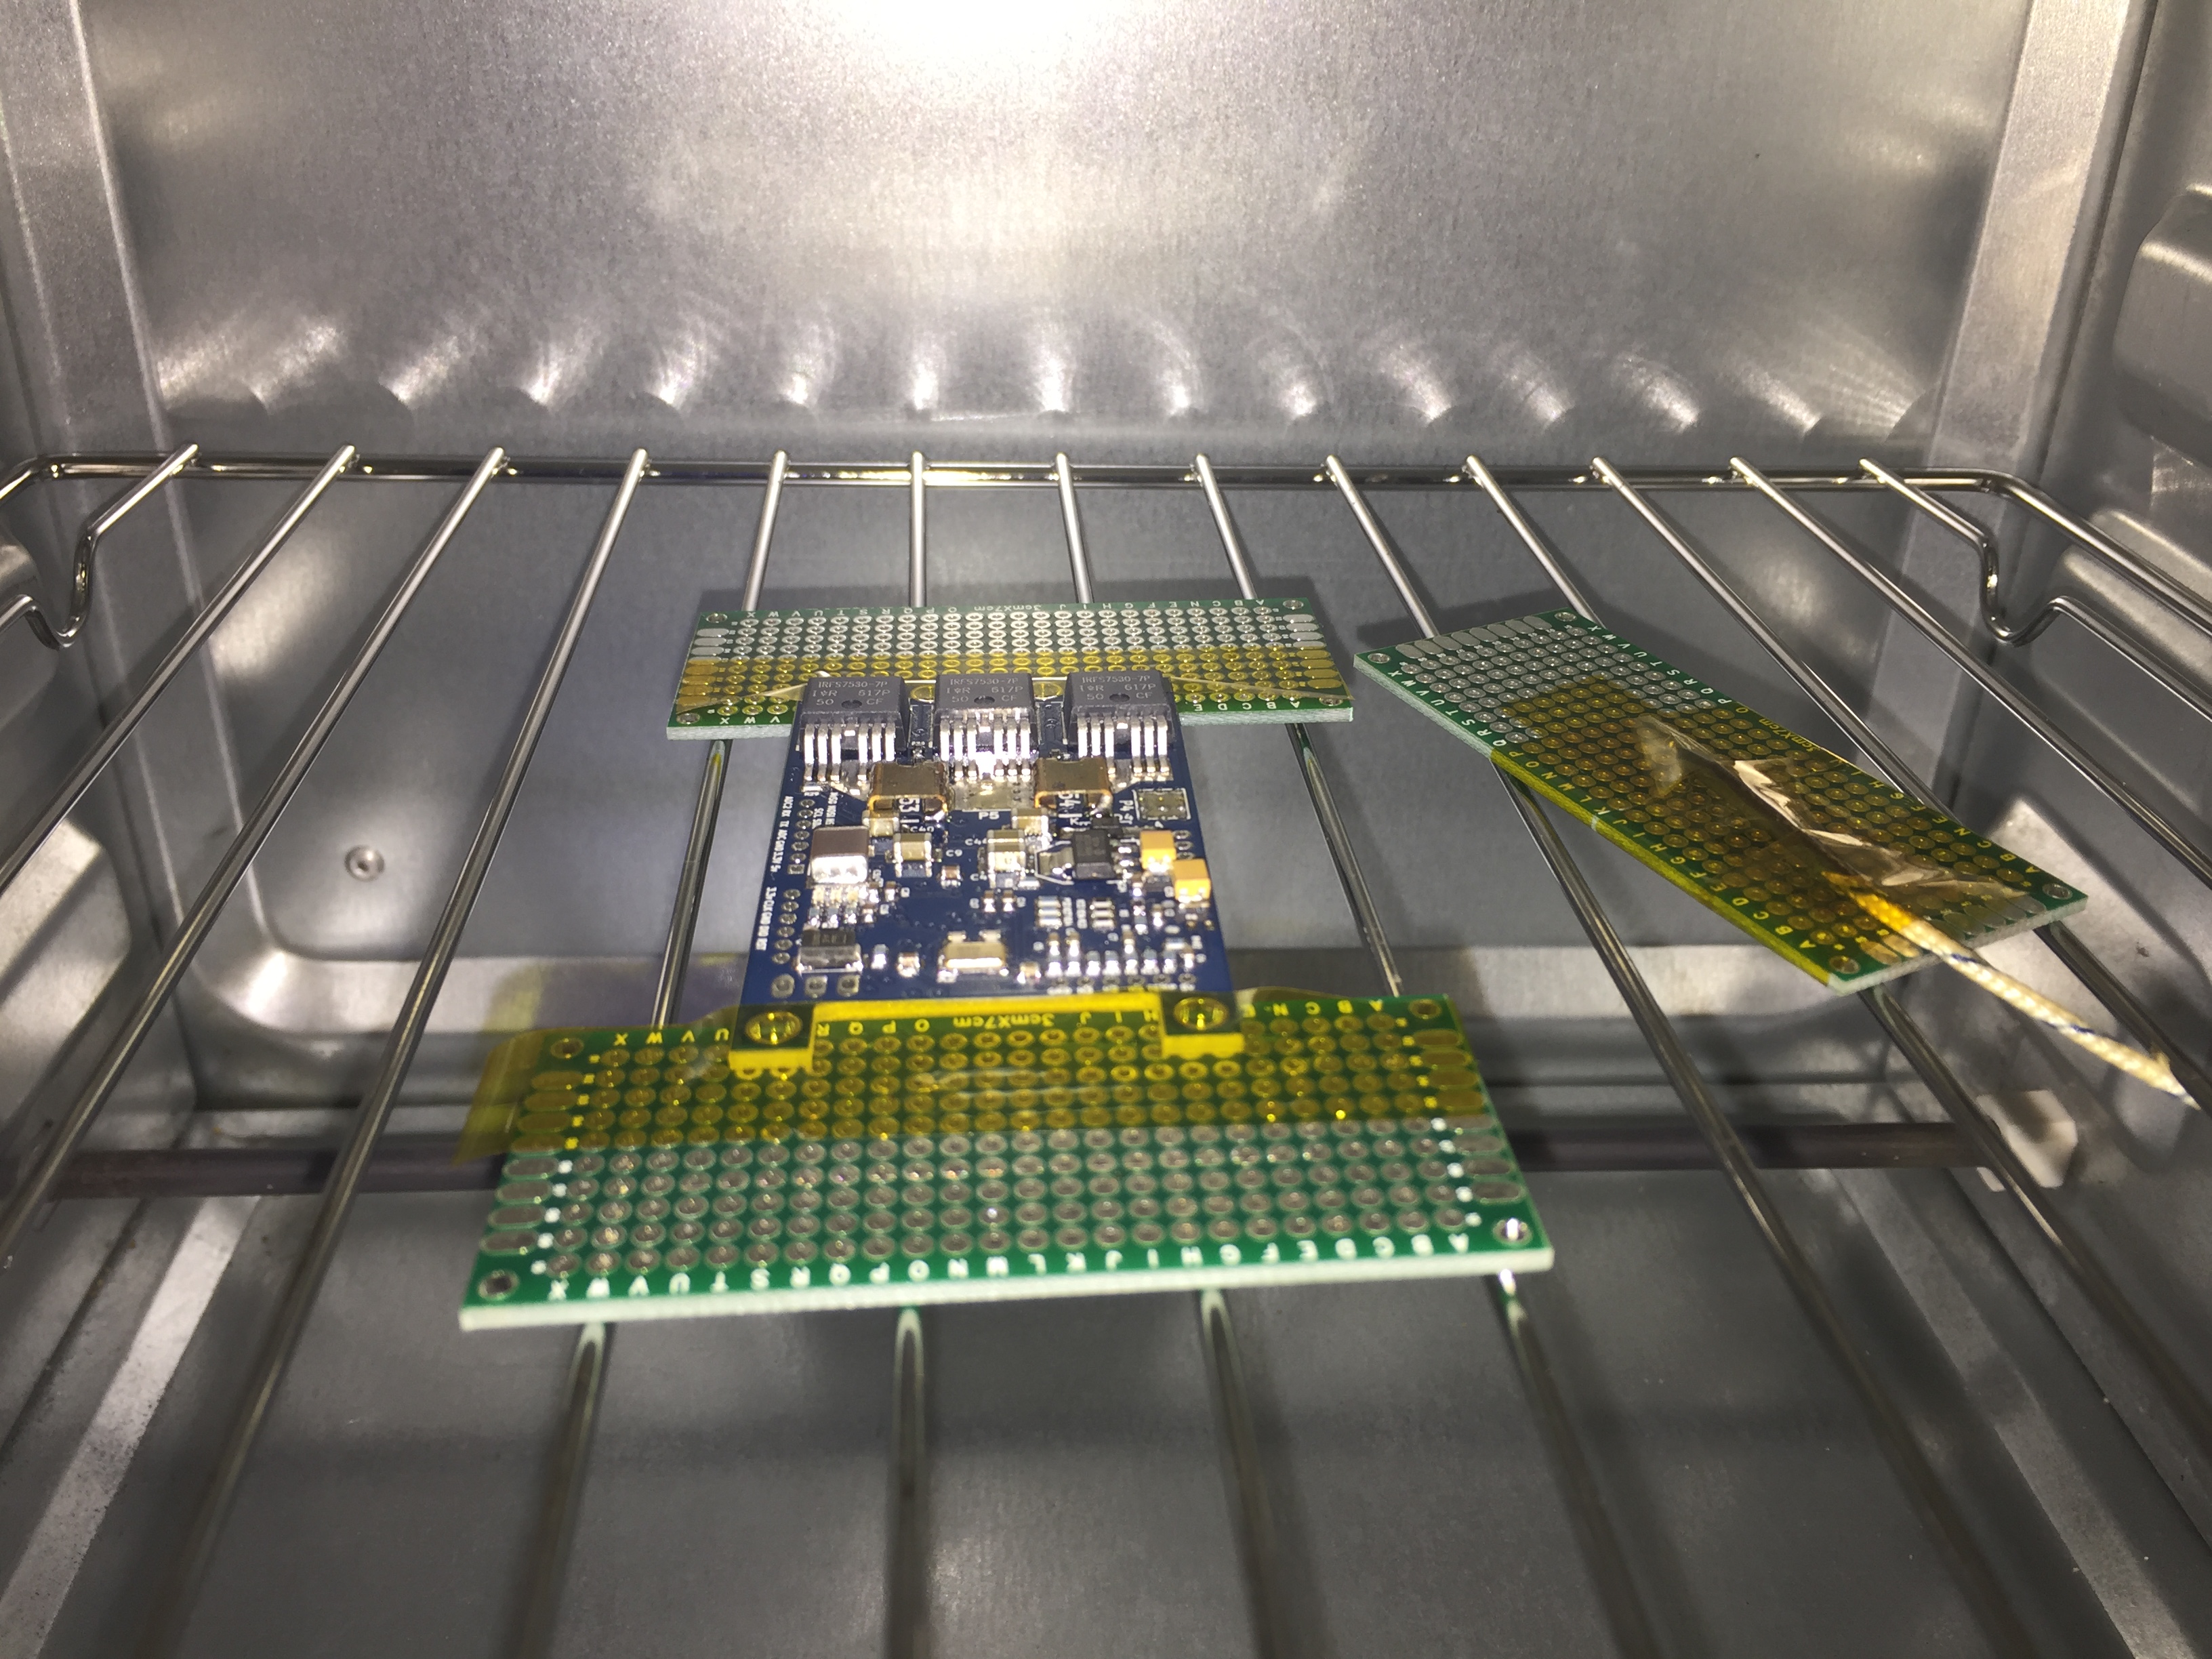
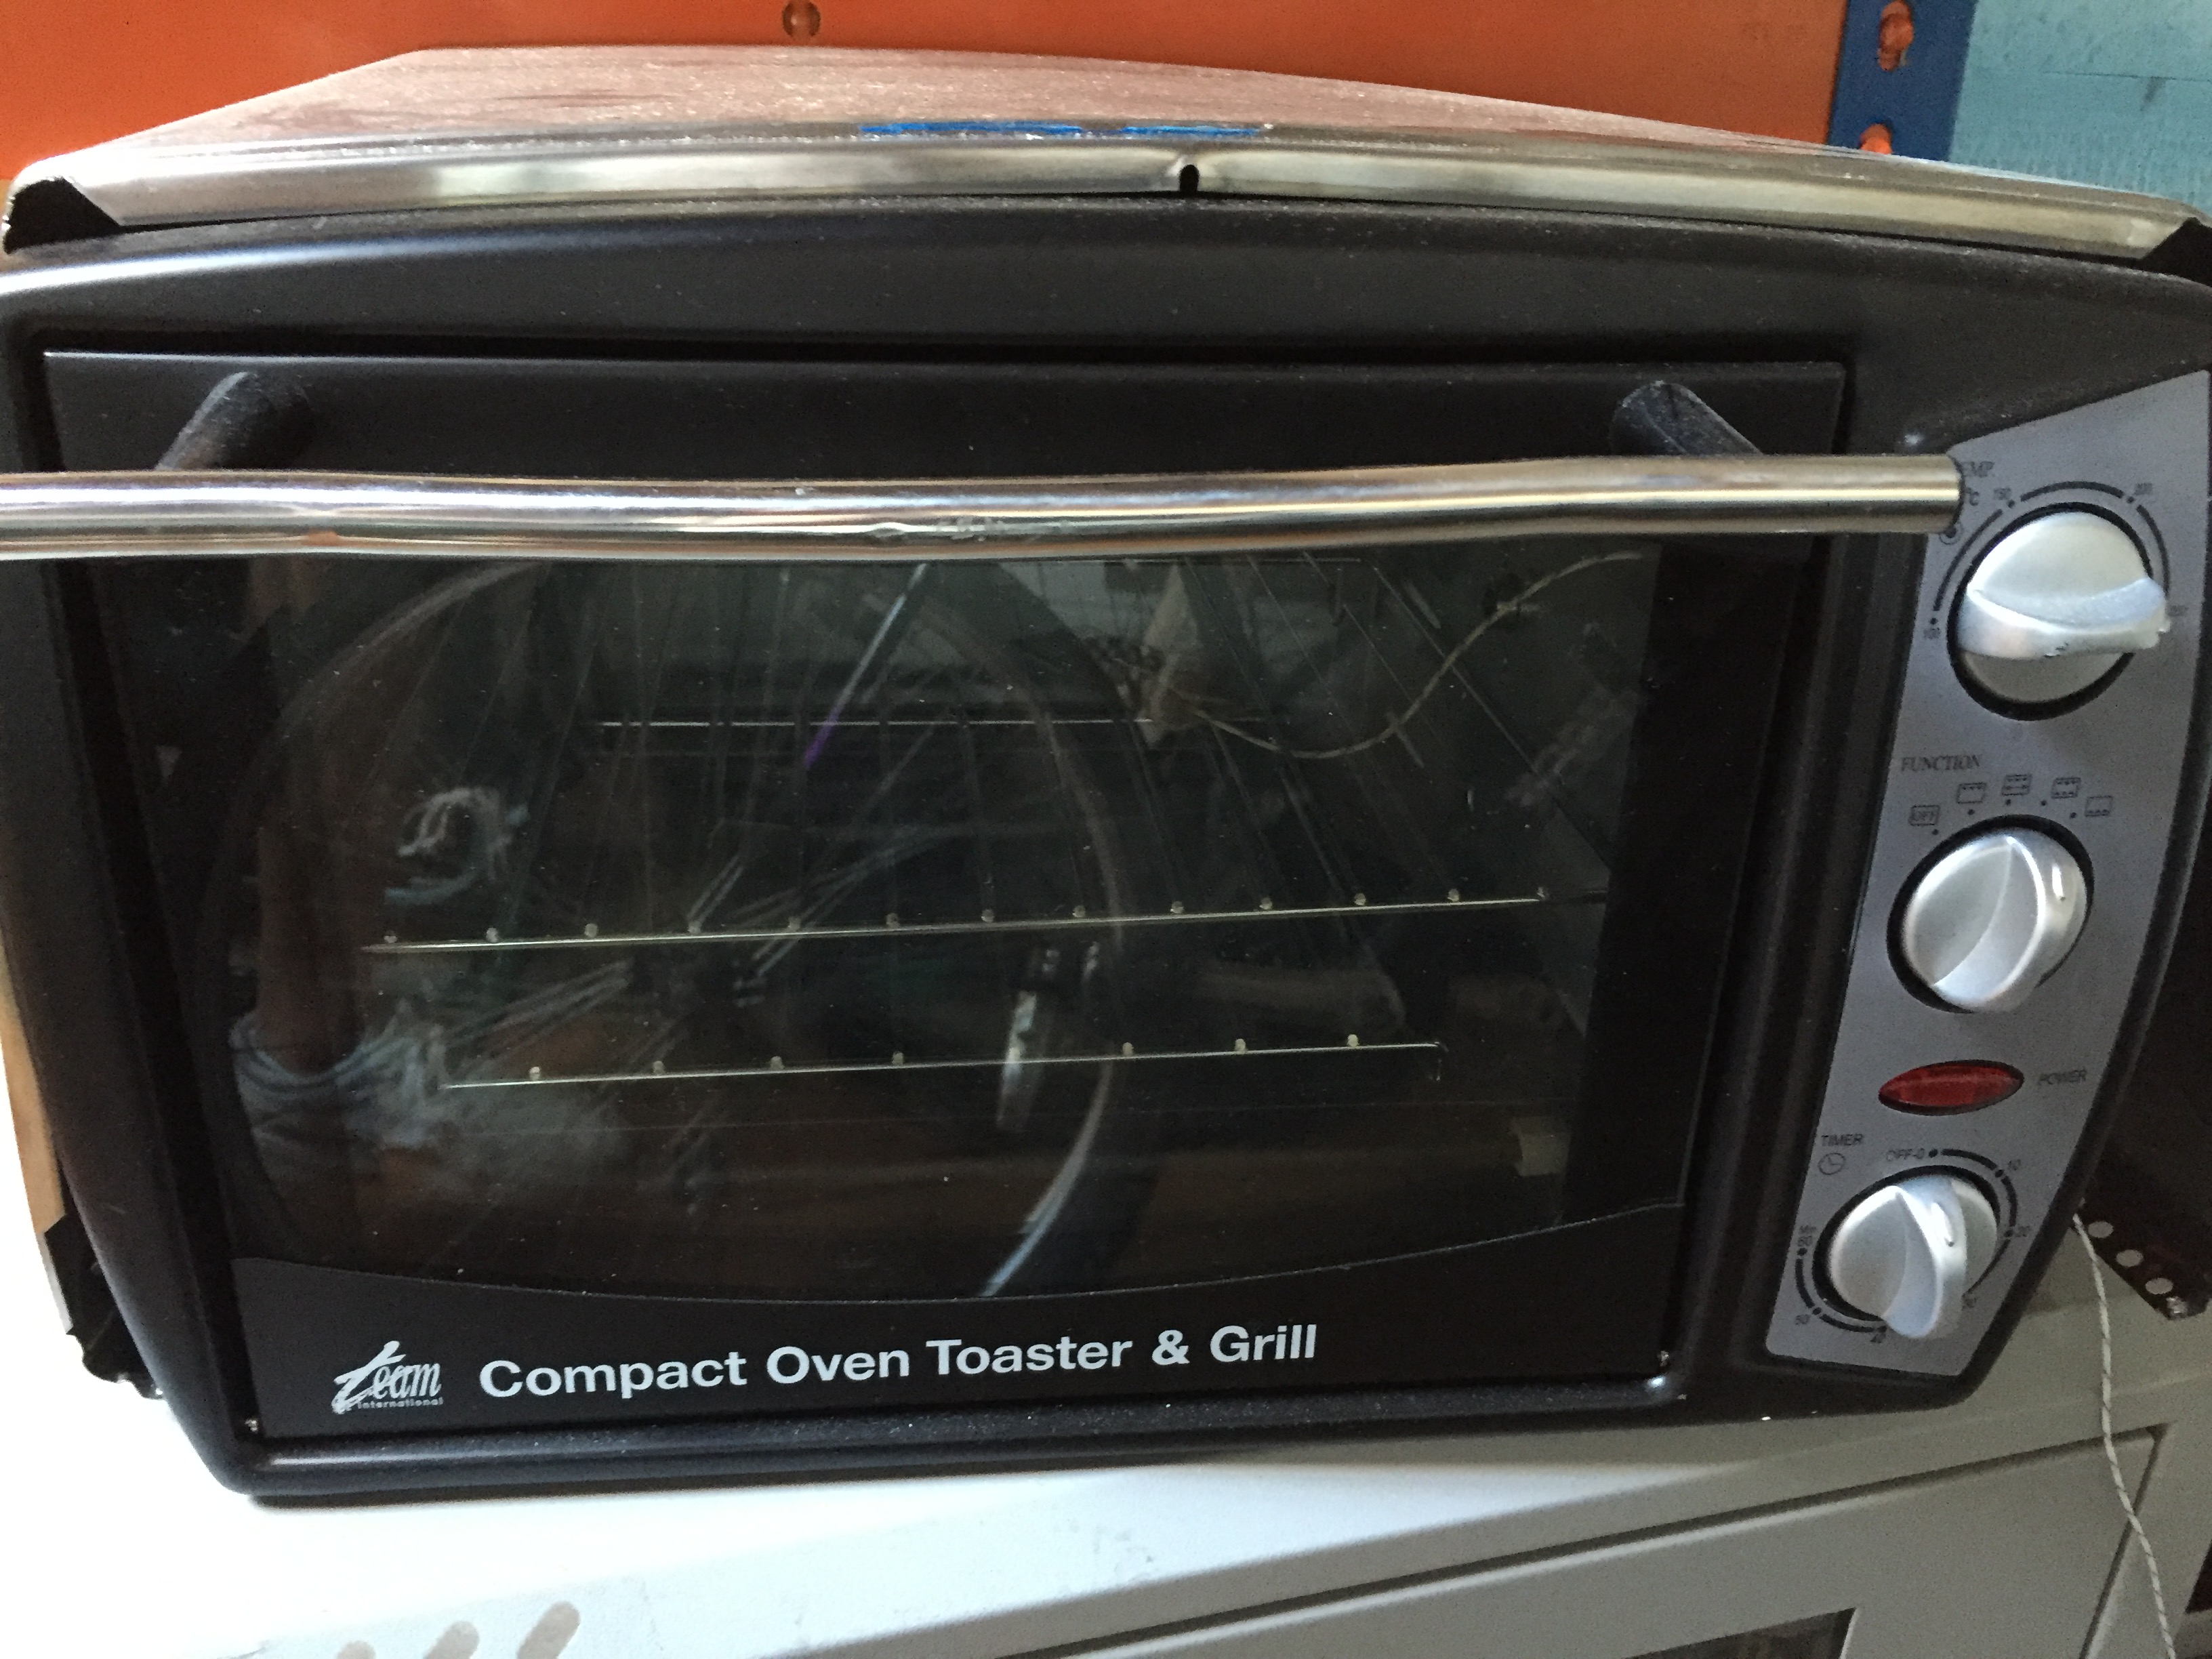
Welcome to this Instructable on how to build a web controlled toaster oven. You can control the oven from any web browser even mobiles and tablets. The reflow profile is easily edited for different solder paste types as well as different applications such as a powder coat oven or even for scientific food cooking!
It is based on the awesome picoReflow software that runs on a Raspberry Pi, any flavour will do.
Lets get started!
Testing
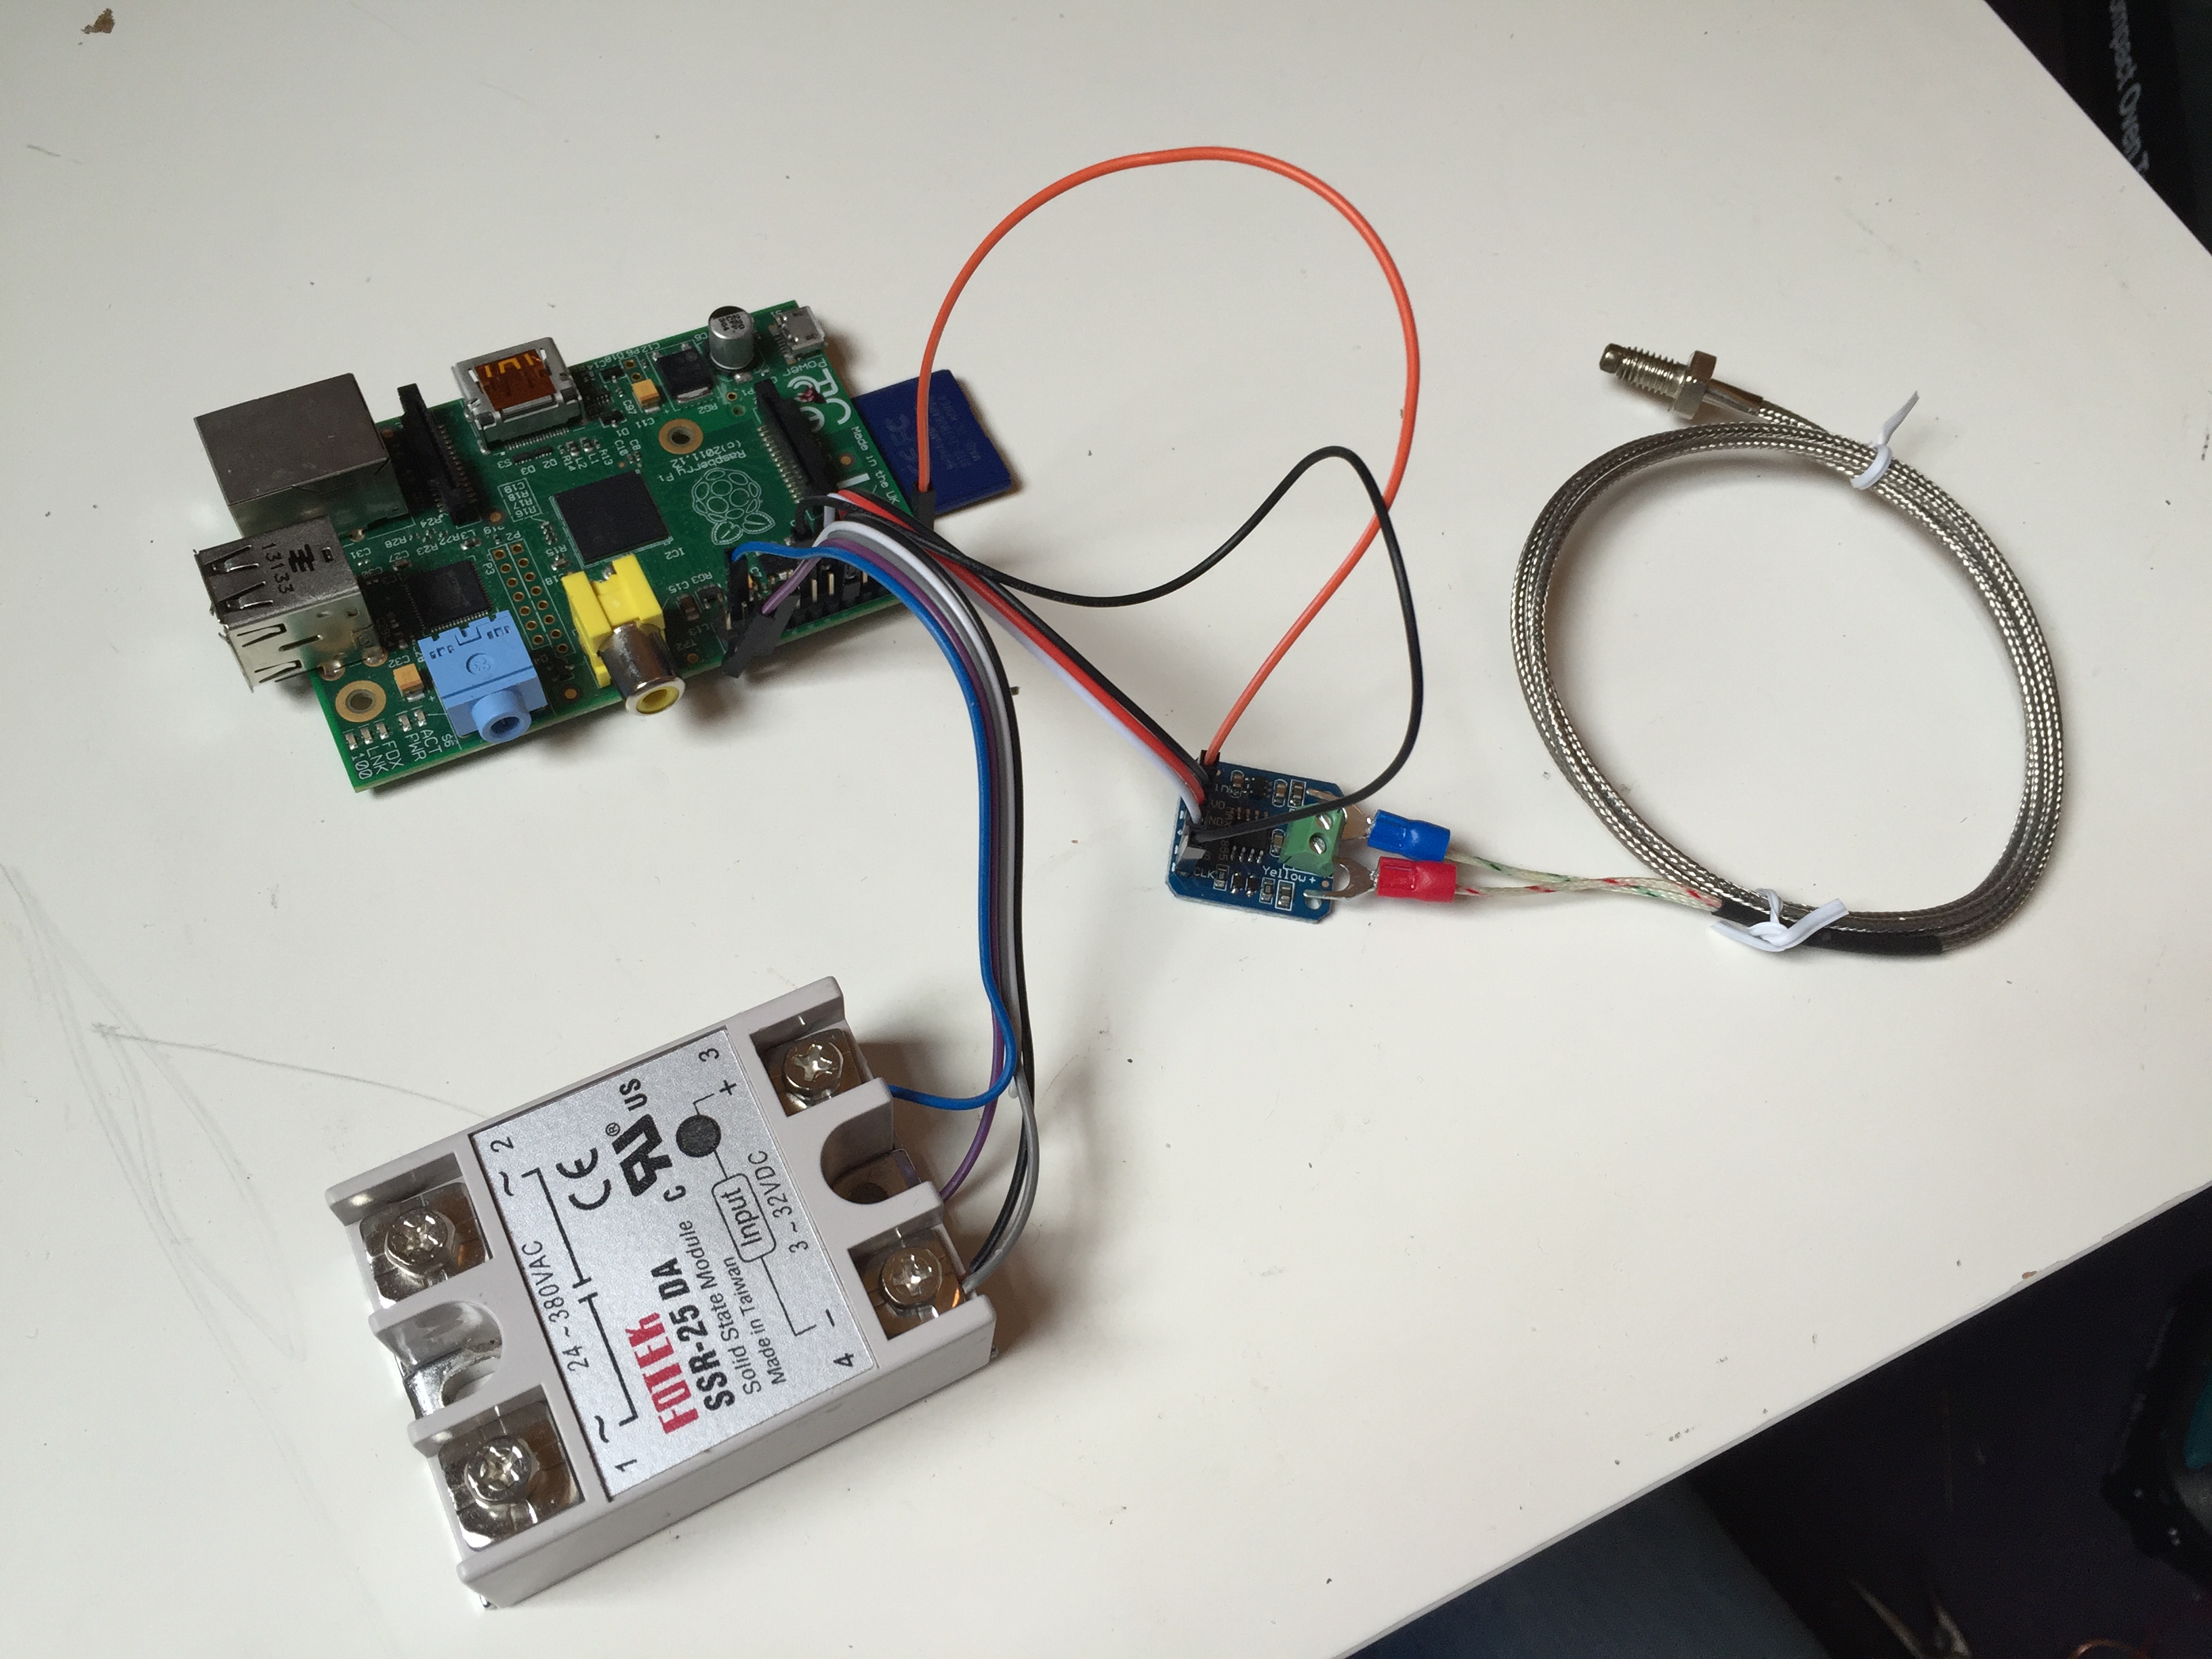
Gather your parts!
- Used or new toaster oven (microwave oven will not work!)
- A Raspberry Pi with a clean install of Raspbian
- An SSR (Solid State Relay)
- MAX31855 breakout board
- Hookup wire
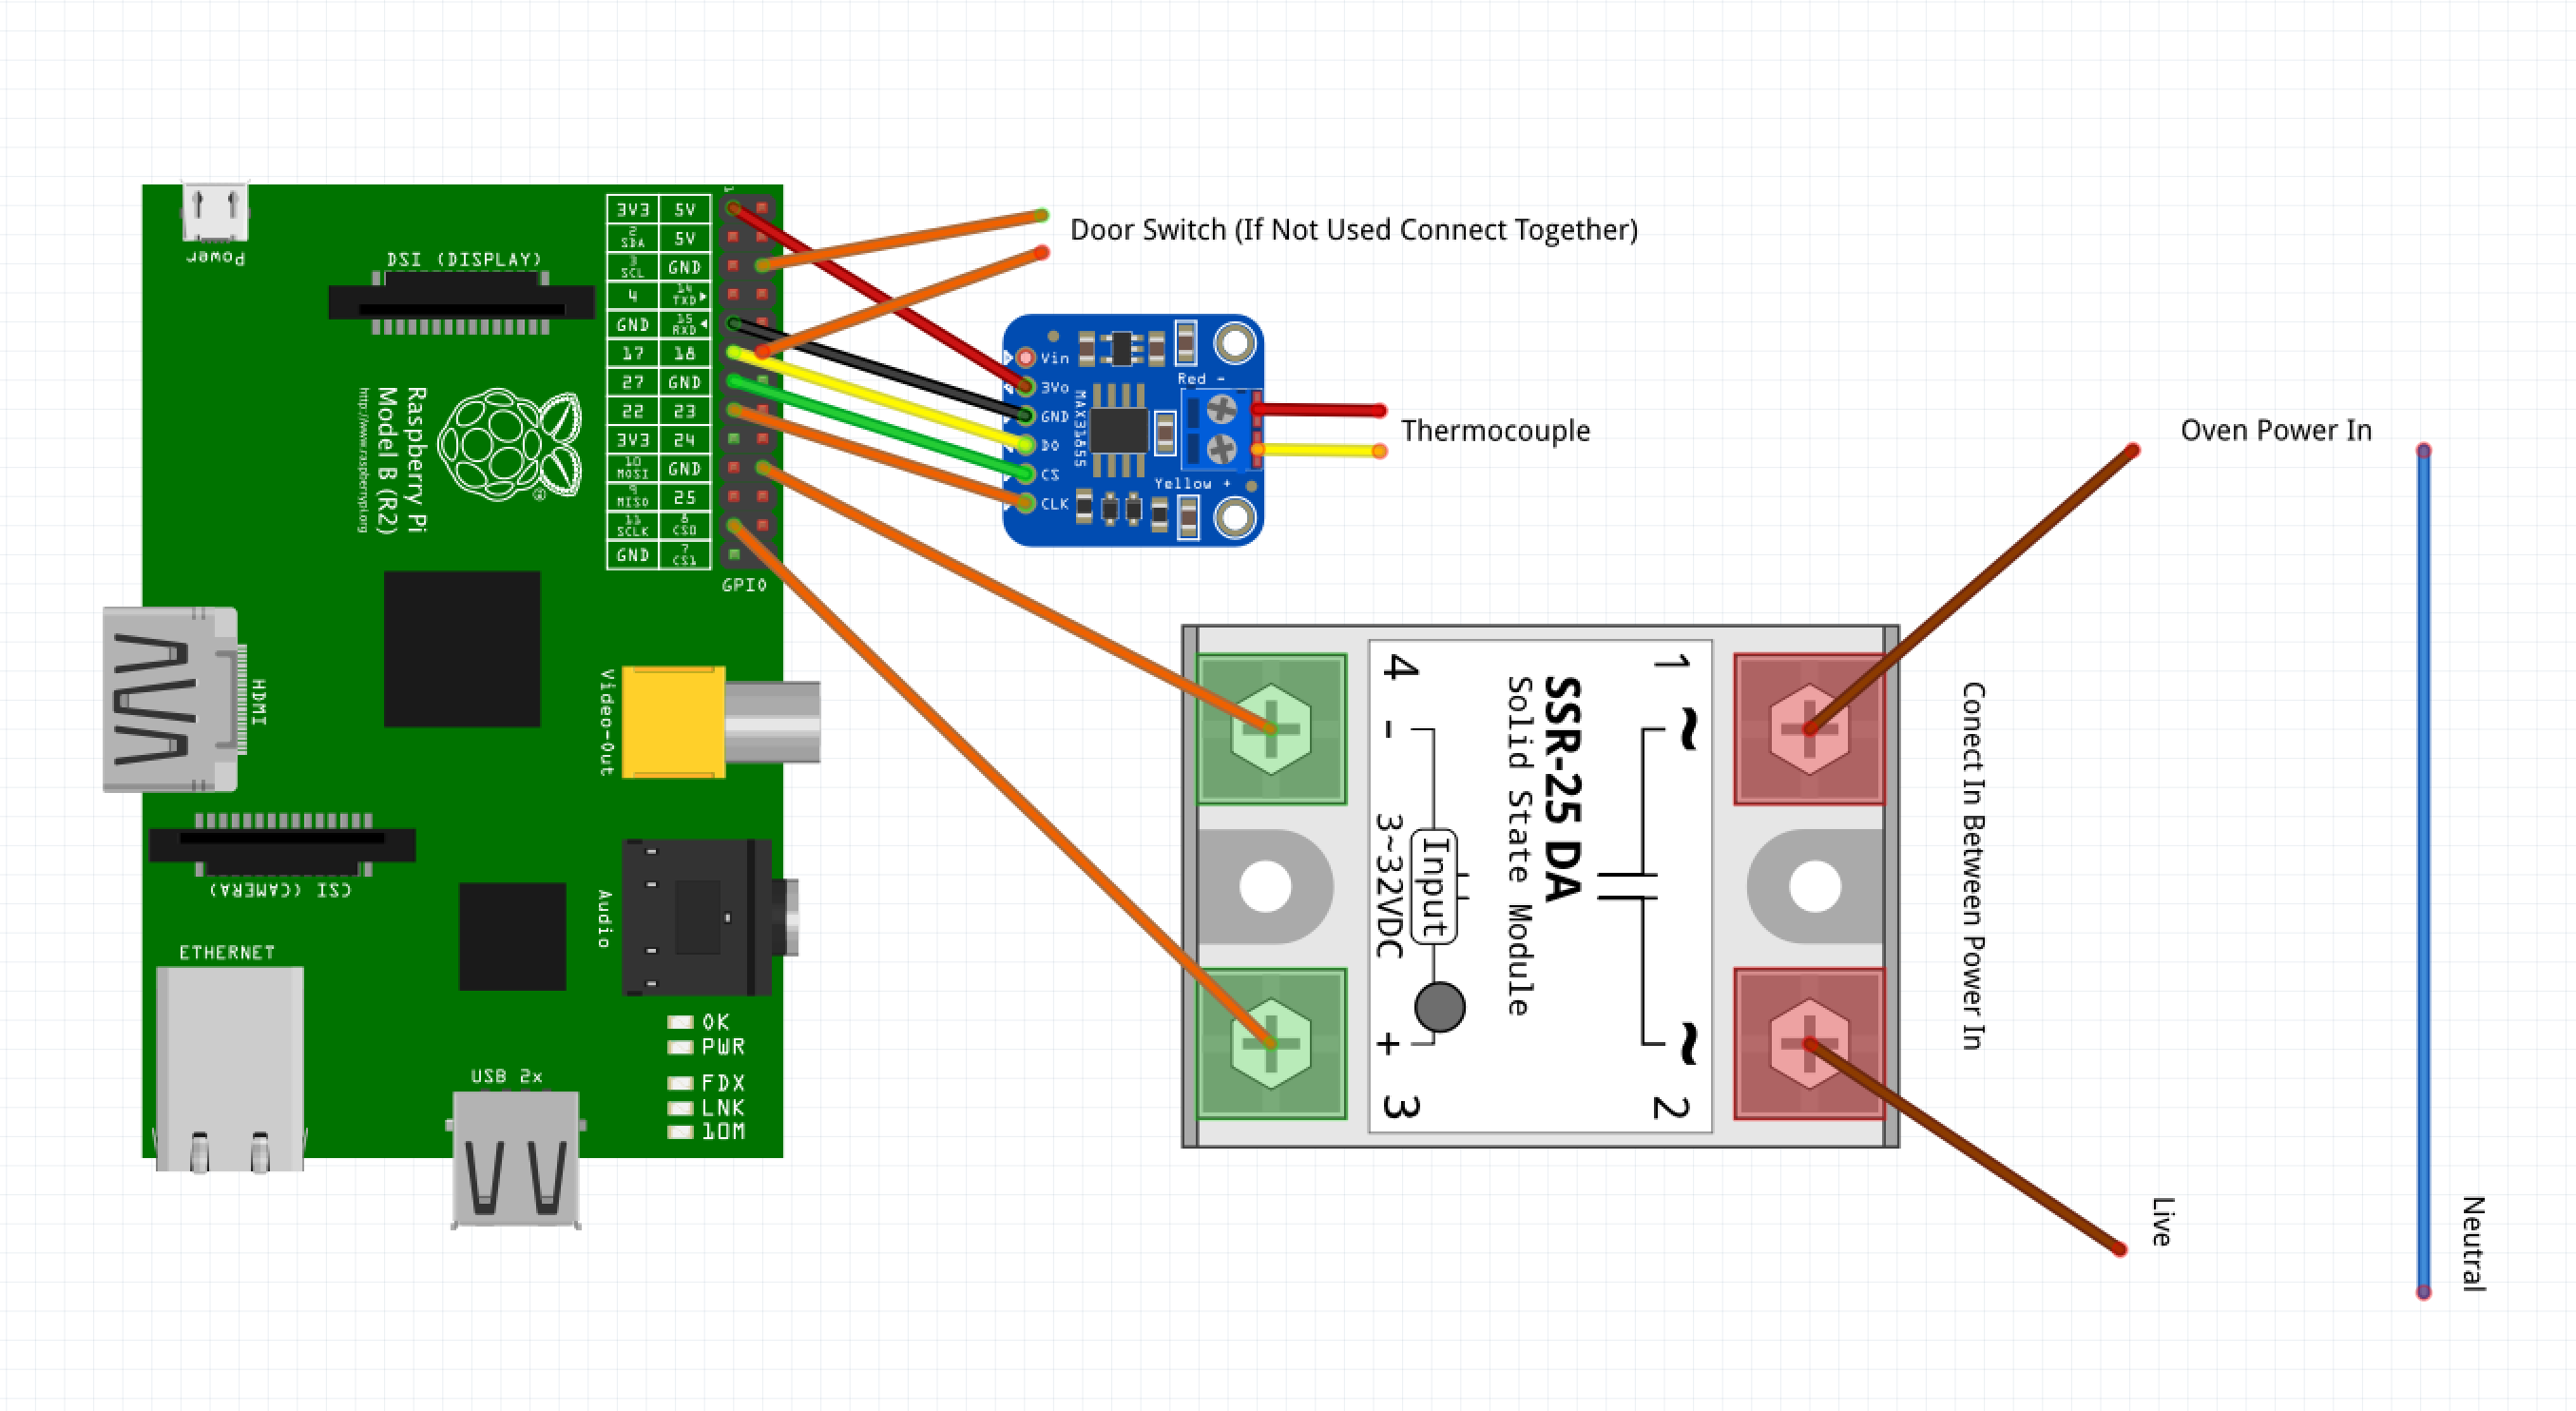
Follow the attached diagram to connect all the parts. If your oven has a microswitch to detect if the door is open or closed connect it to GPIO18 and GND, otherwise just connect them together otherwise the software will give you an error and will not start heating.
Software Install
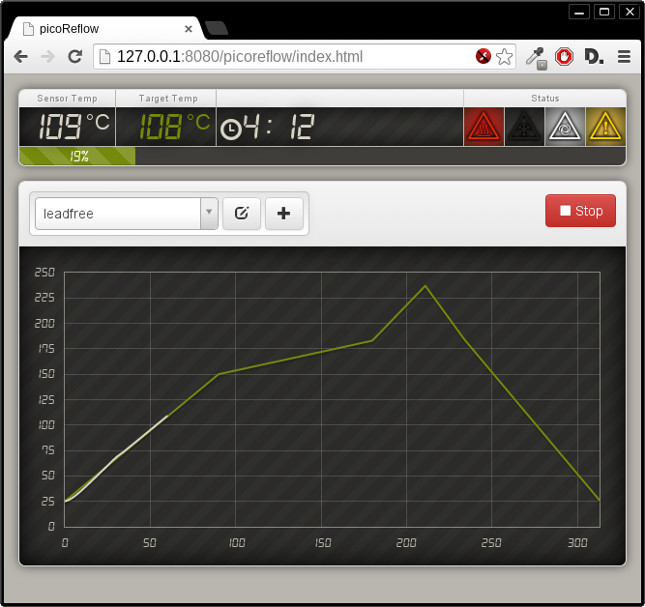
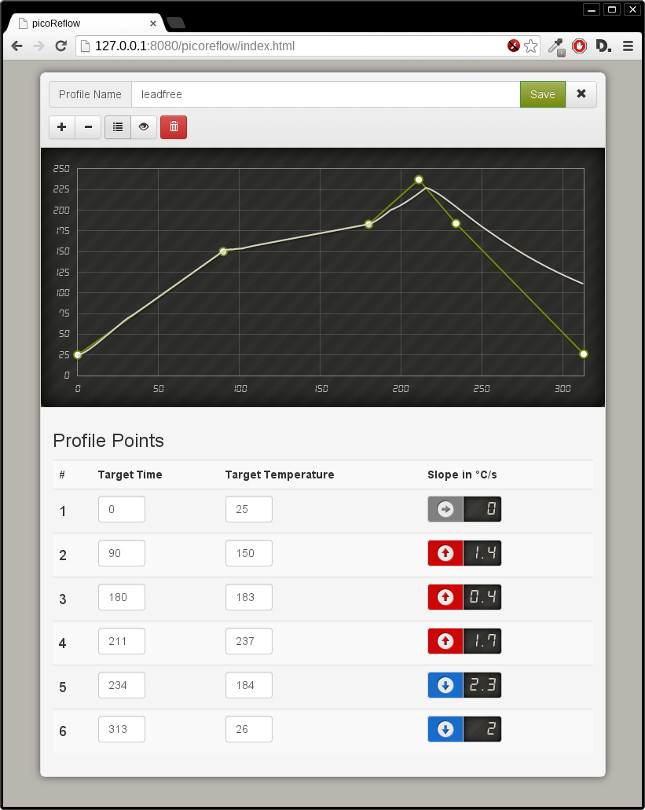
If you want to do this remotely without hooking up a monitor and keyboard to your pi follow these steps, if not go down to Install using Pi.
Plug an ethernet cable into your pi thats connected to your router. Then on a Mac open a terminal window and find out what your Pi's local IP address is with the command "arp -a" or use an app like Fing. Once you've took a note of the IP address use "ssh pi@IP-ADDRESS to connect (should look something like "pi@192.168.1.39"). You will be then prompted for the password. If you haven't changed it then it will be "raspberry".
Your now connected to the Pi using SSH and you will be able to execute commands remotely.
For Windows see this guide - https://www.raspberrypi.org/forums/viewtopic.php?f=26&t=21610
Follow the commands below to remotely configure your reflow server.
Installing using Pi
Boot up your pi and ensure it is connected to your network (plug in an ethernet cable) then use the following commands to install the dependencies. Type the 3 lines in one at a time, pressing enter each time to execute the command.
sudo apt-get install python-pip python-dev libevent-dev
sudo pip install ez-setup
sudo pip install greenlet bottle gevent gevent-websocket
Next you will need to clone the source from Github, do this using,
git clone https://github.com/apollo-ng/picoReflow.git
this will install the picoReflow software onto your pi
Now we will start the server, enter the following commands and you'll be up an running!
cd picoReflow
cp config.py.EXAMPLE config.py
./picoreflowd.py
This will start the server and you will be able to see the control panel by going to your Pi's IP address plus the port no 8081, example - 192.168.1.39:8081
Installing in the Oven
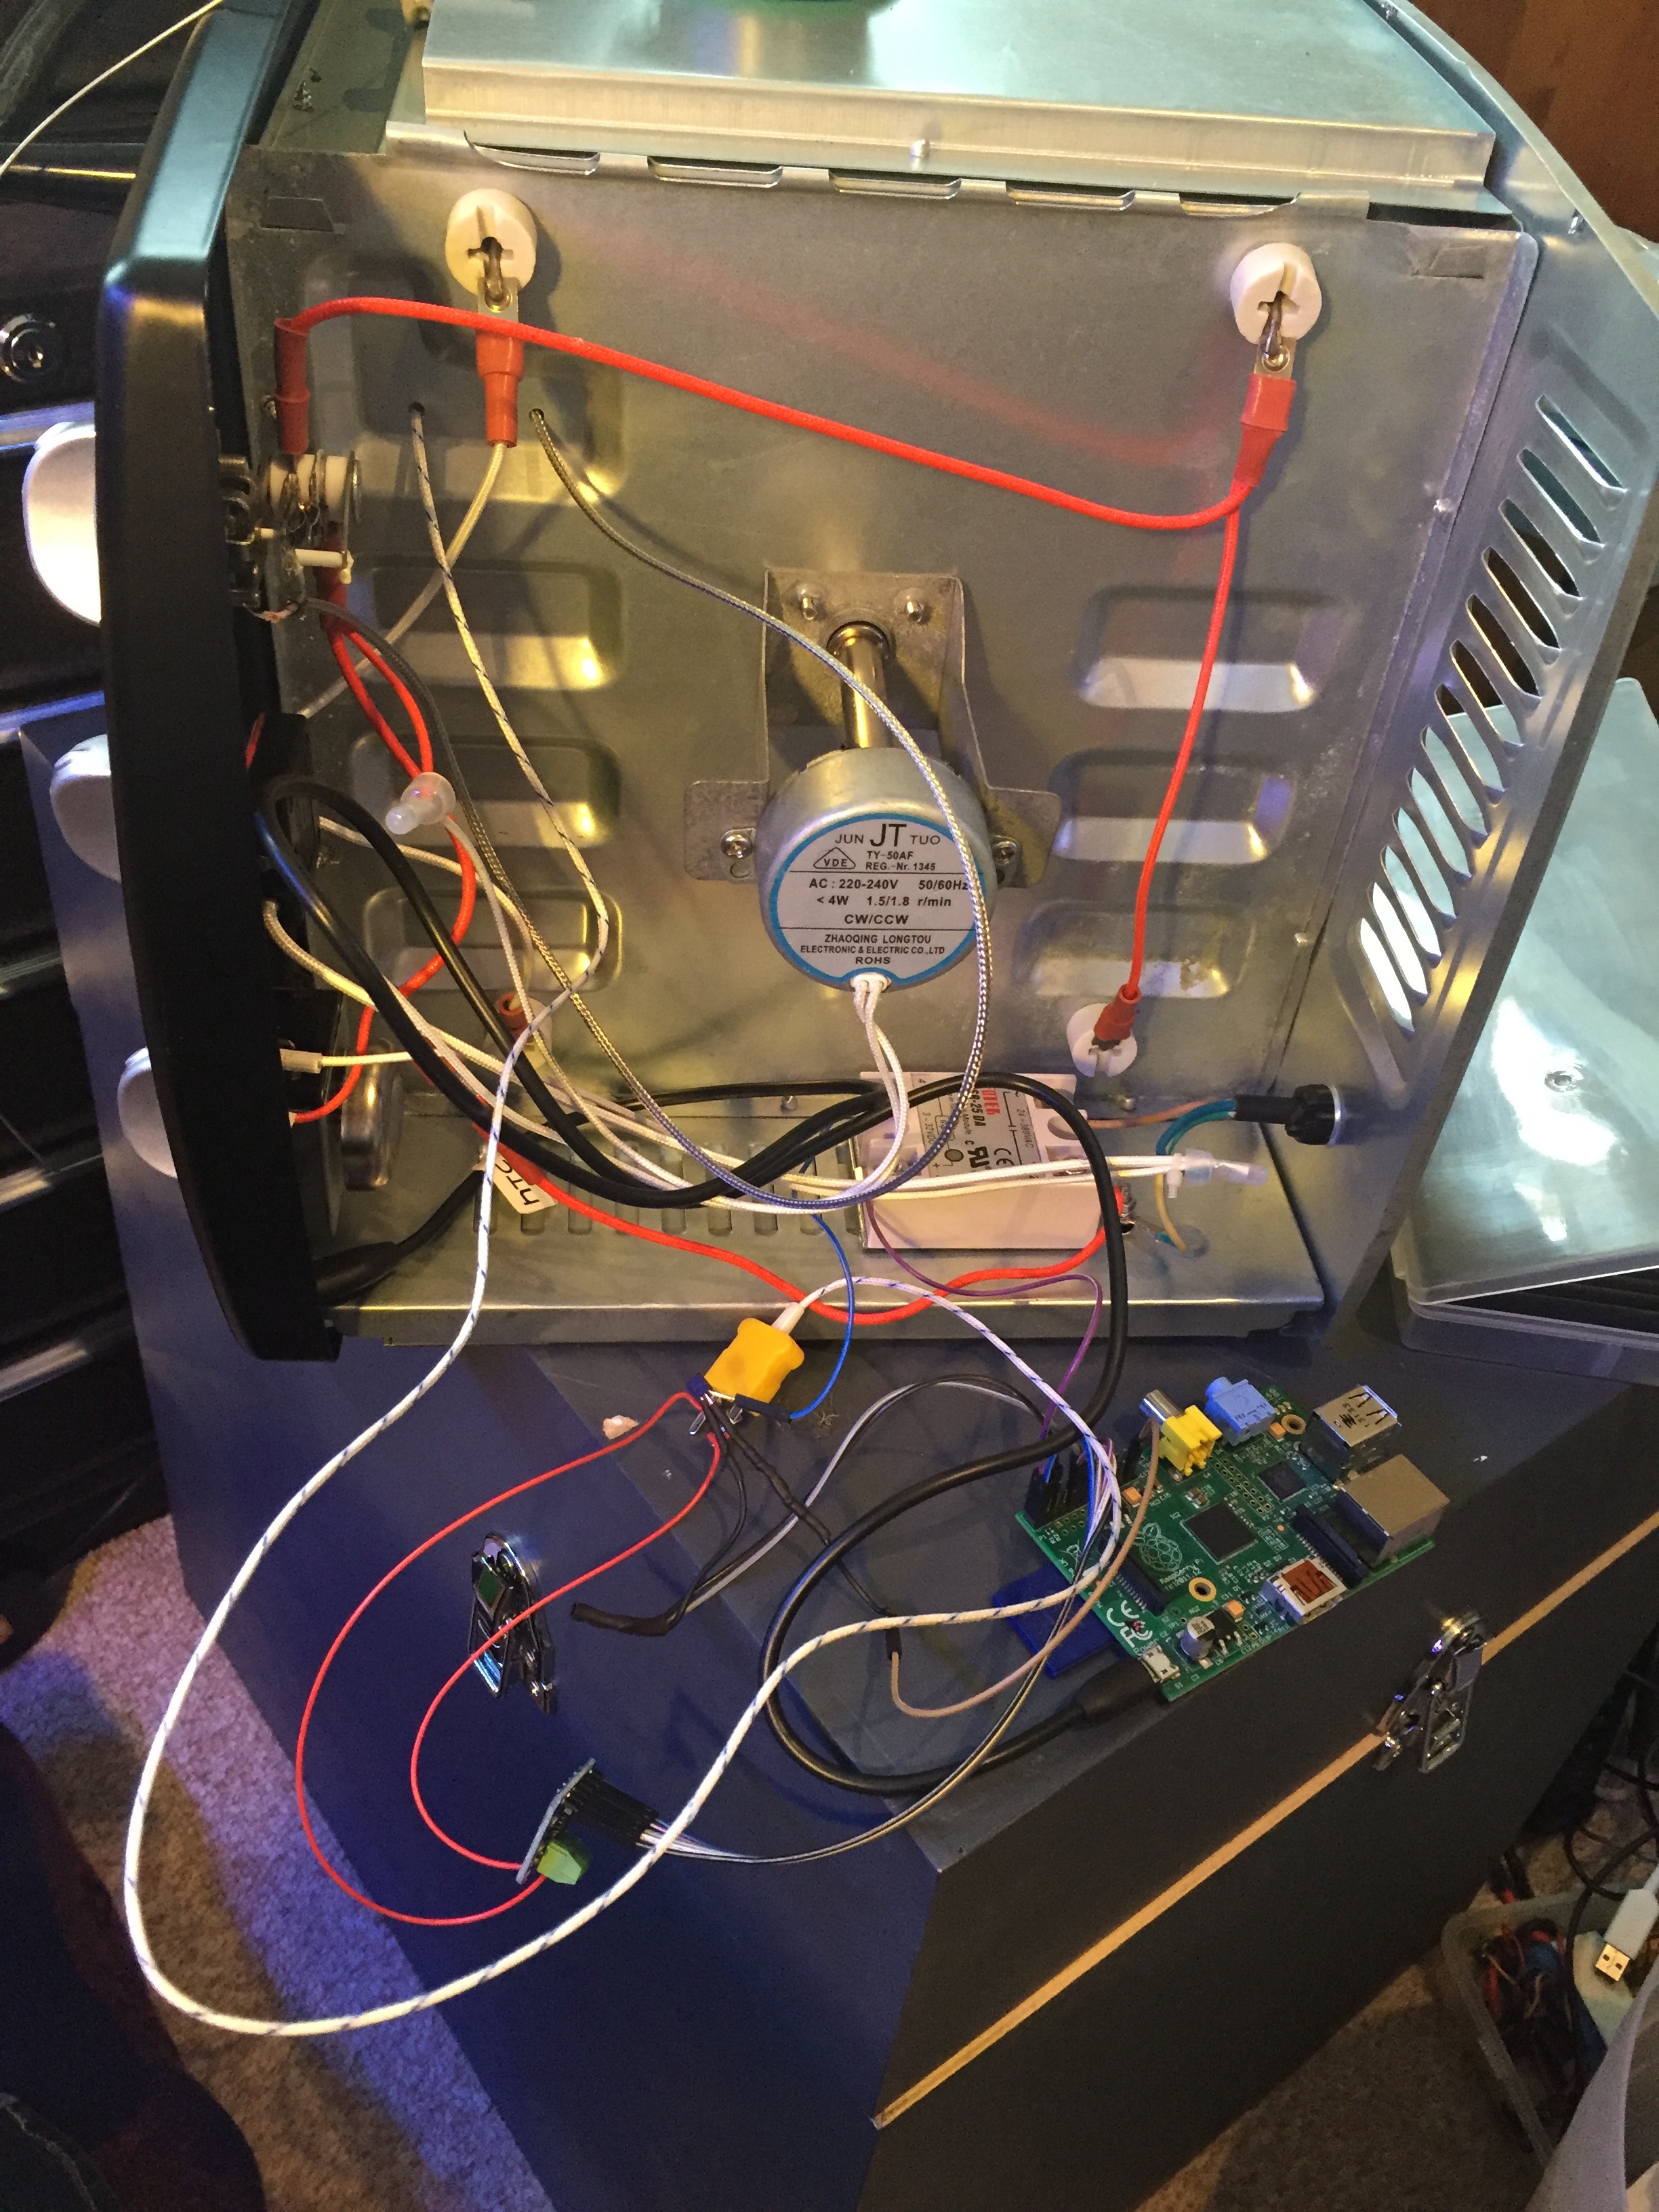
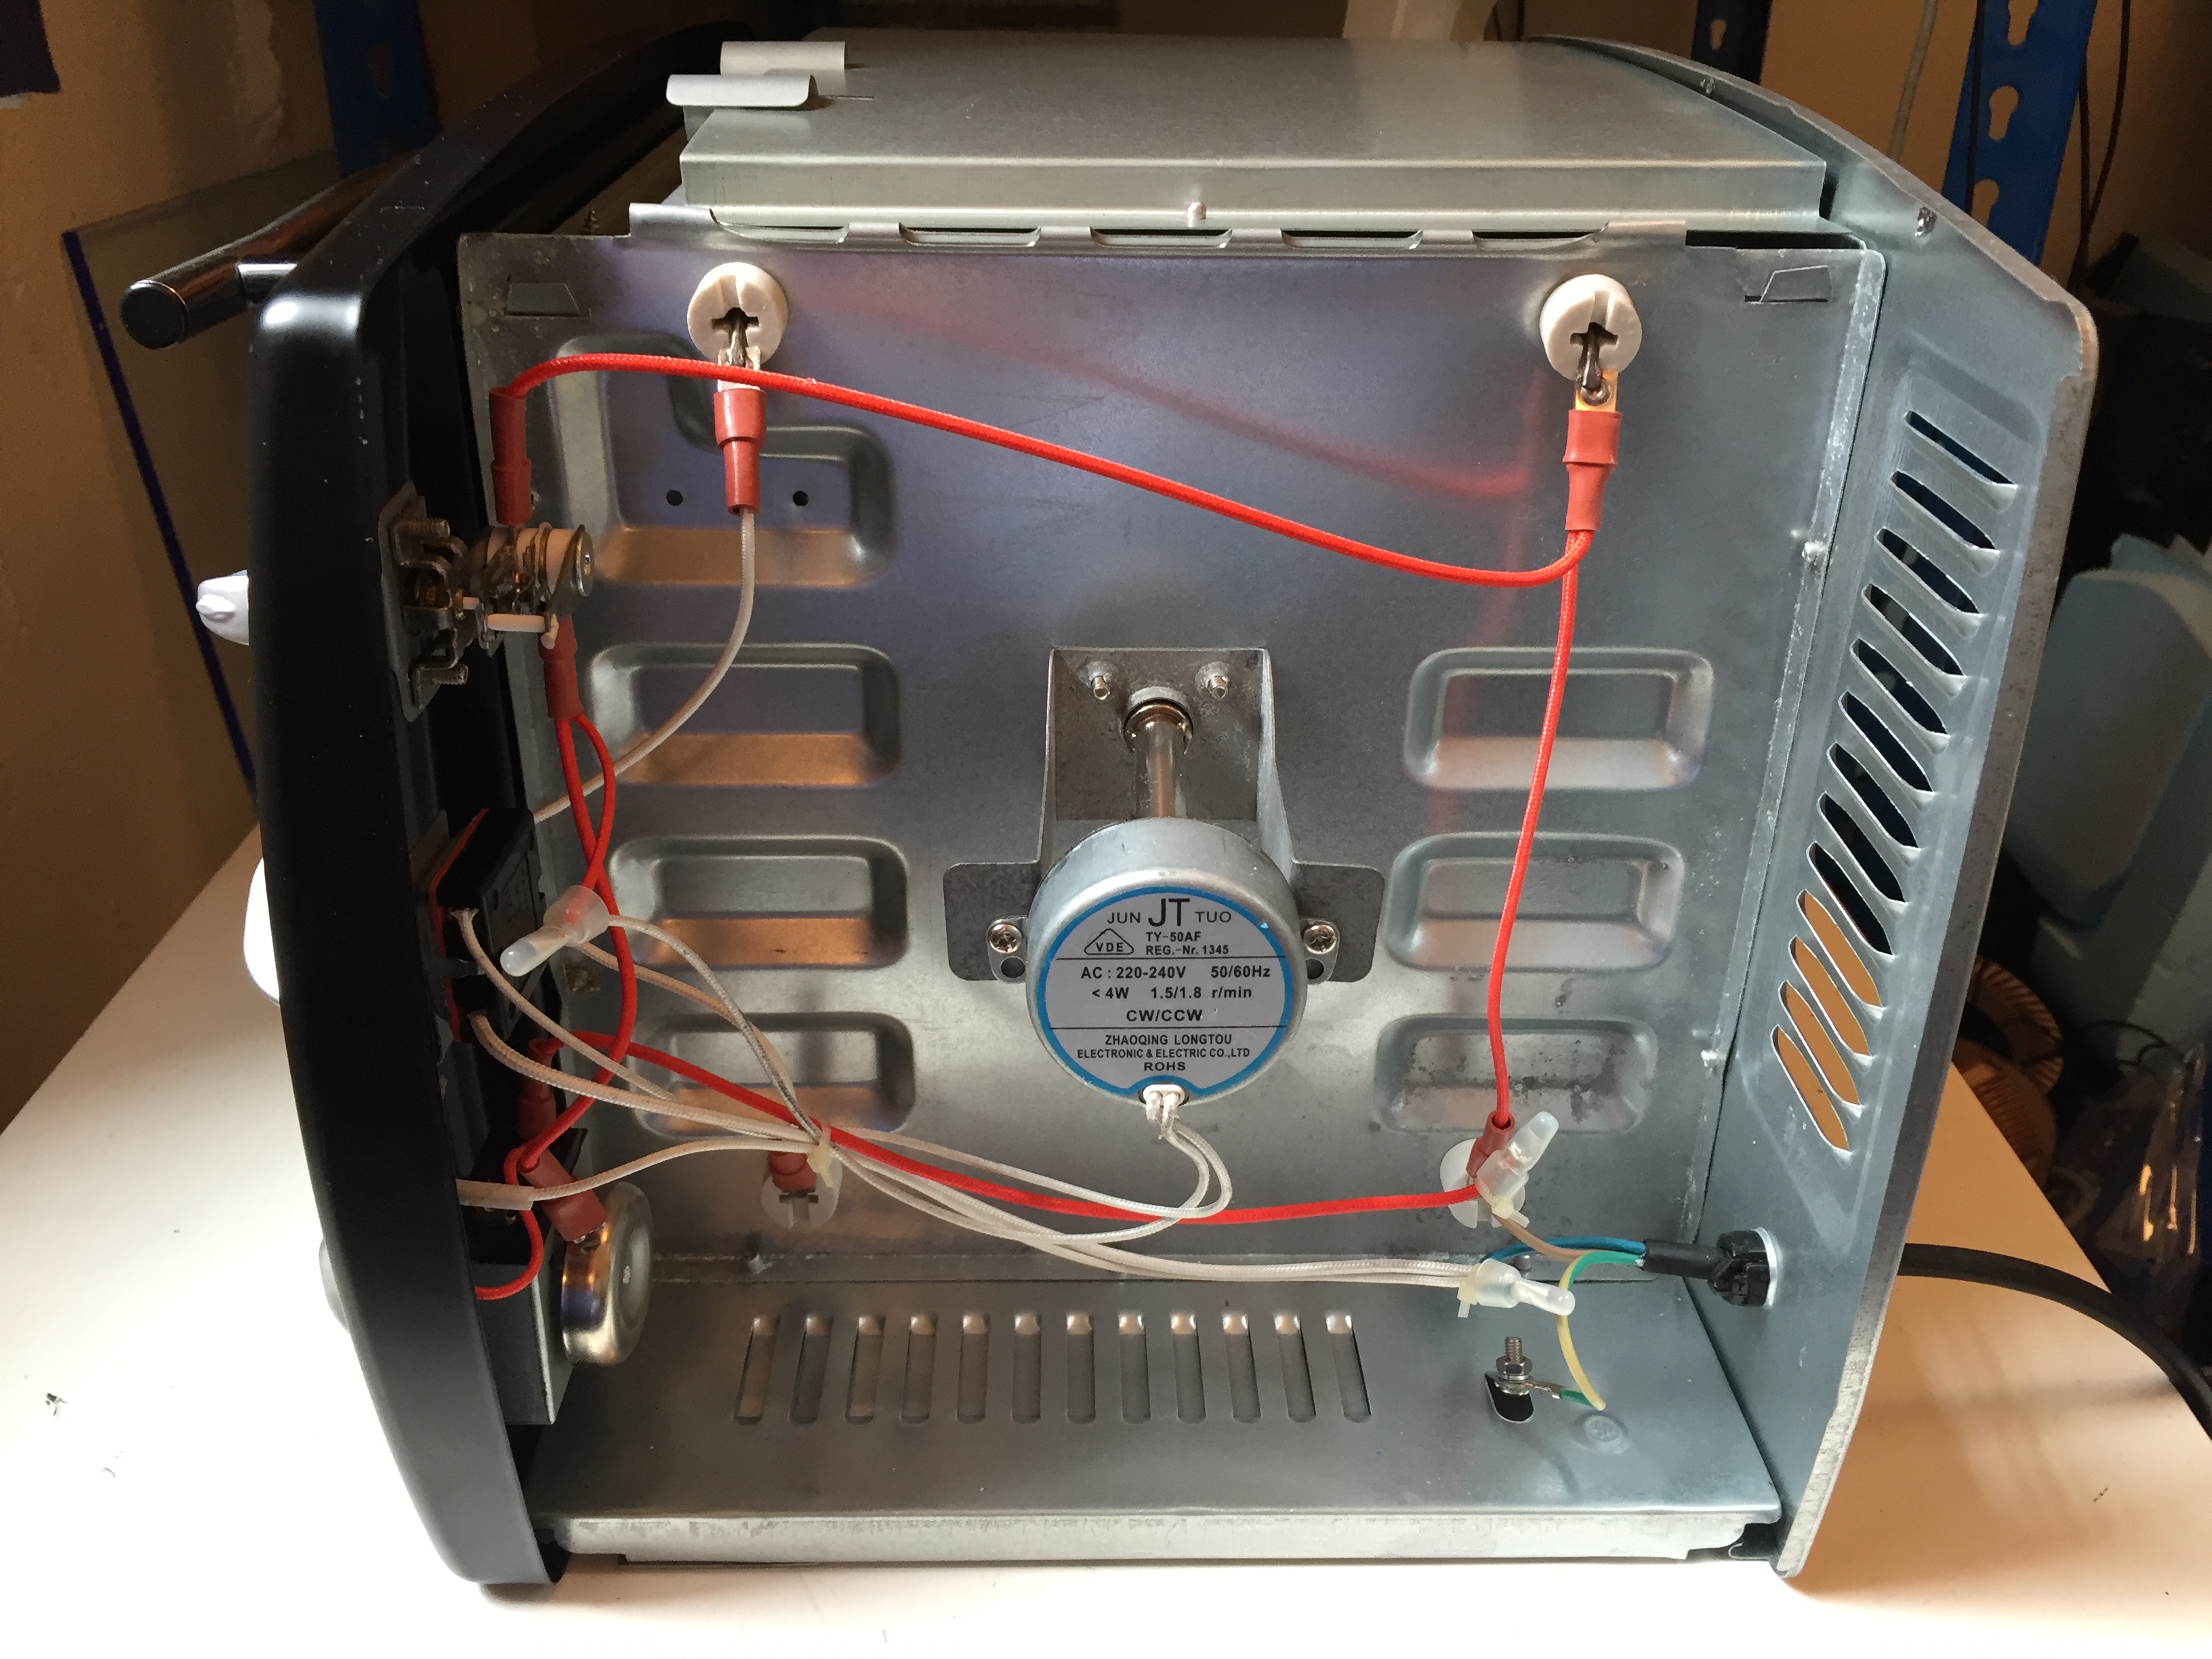
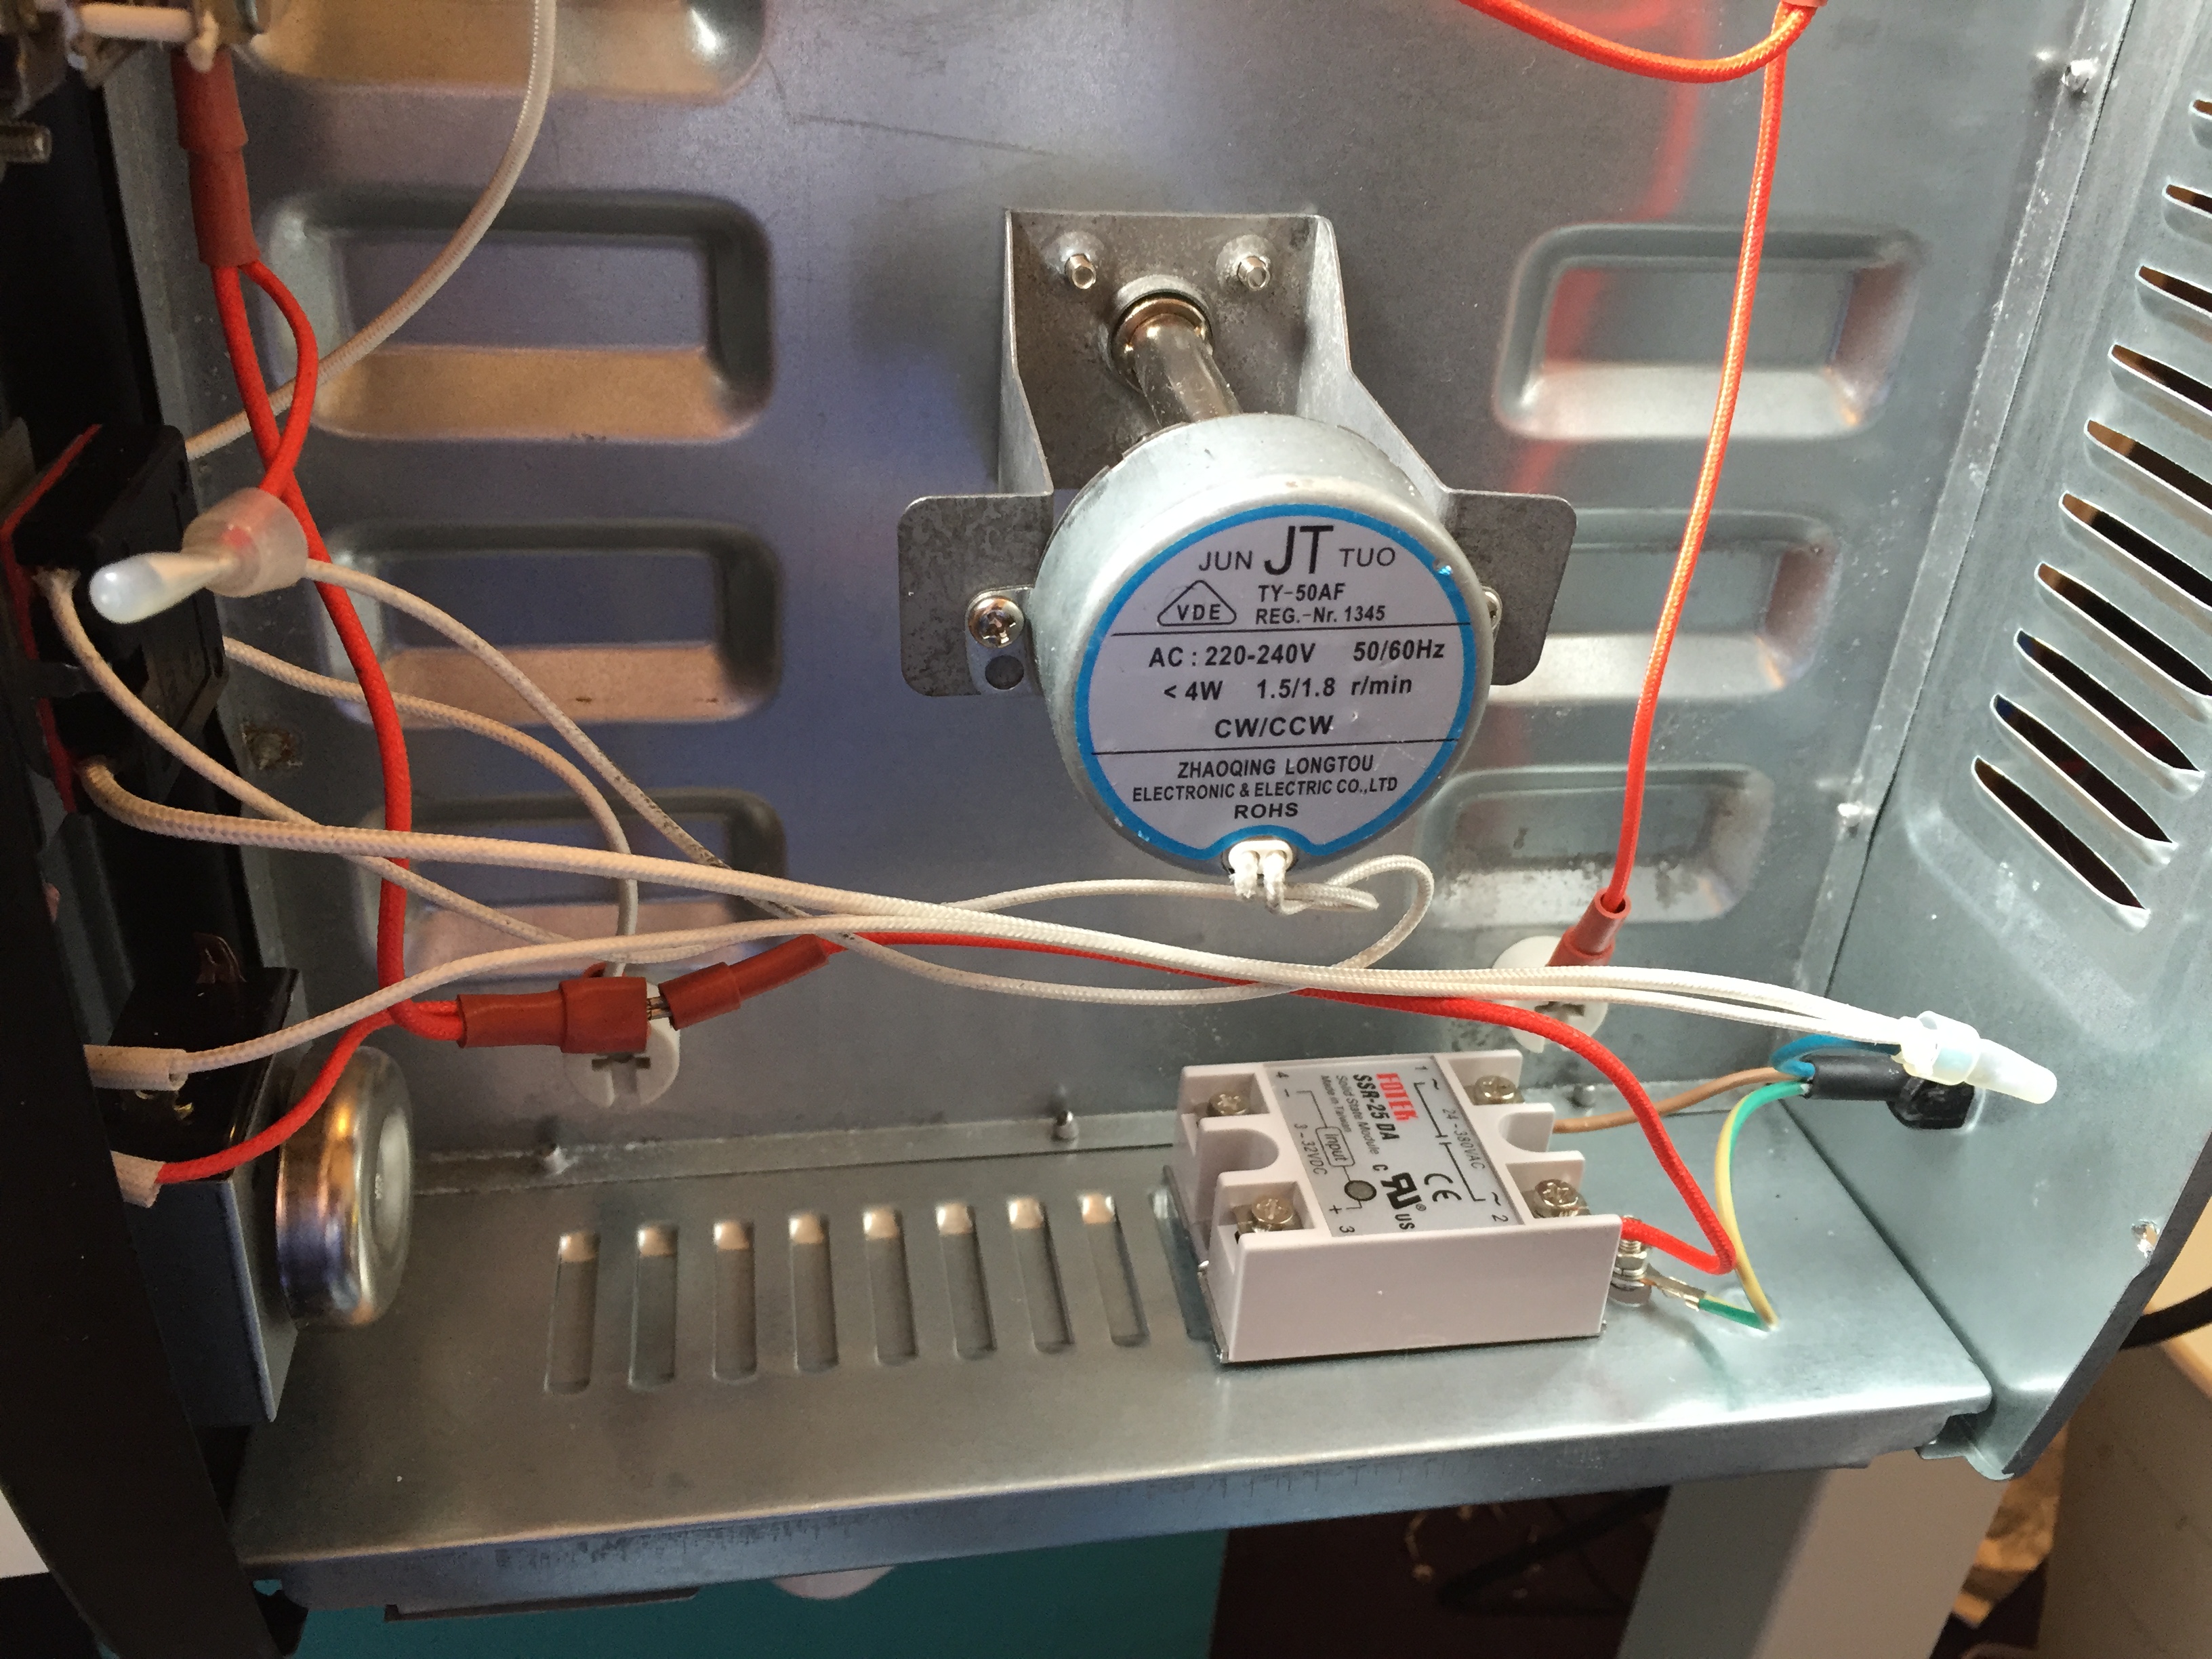
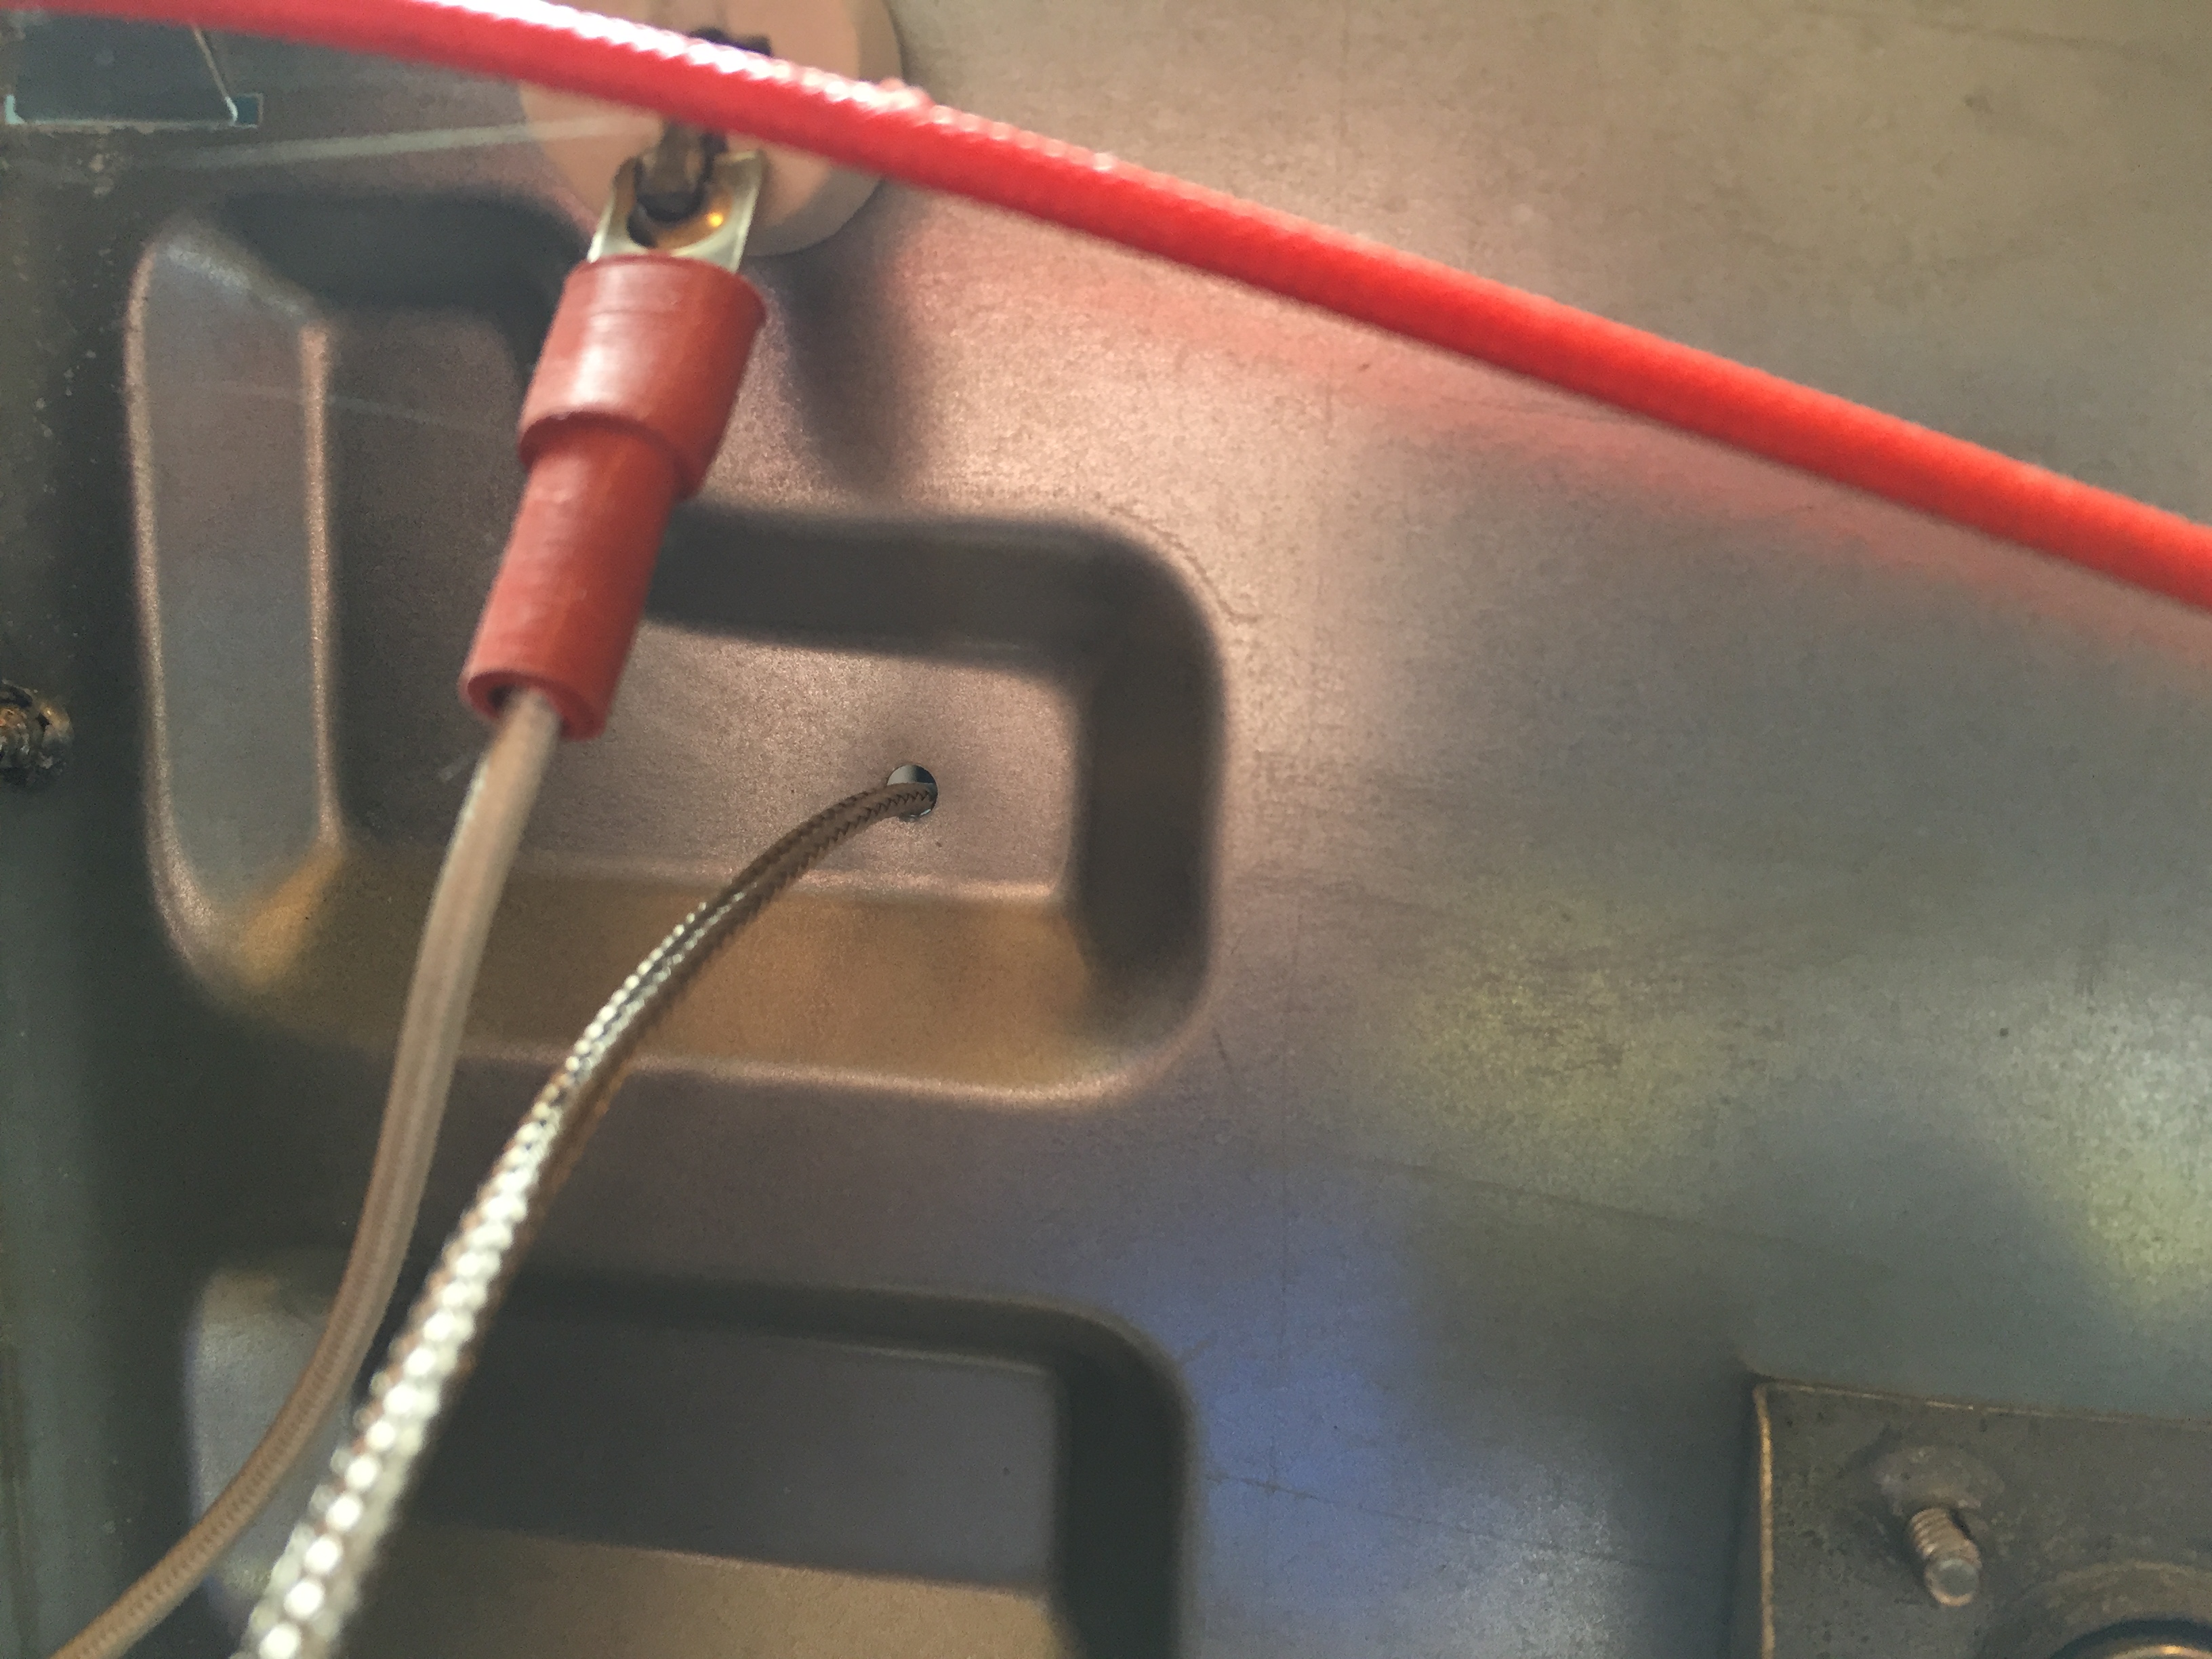
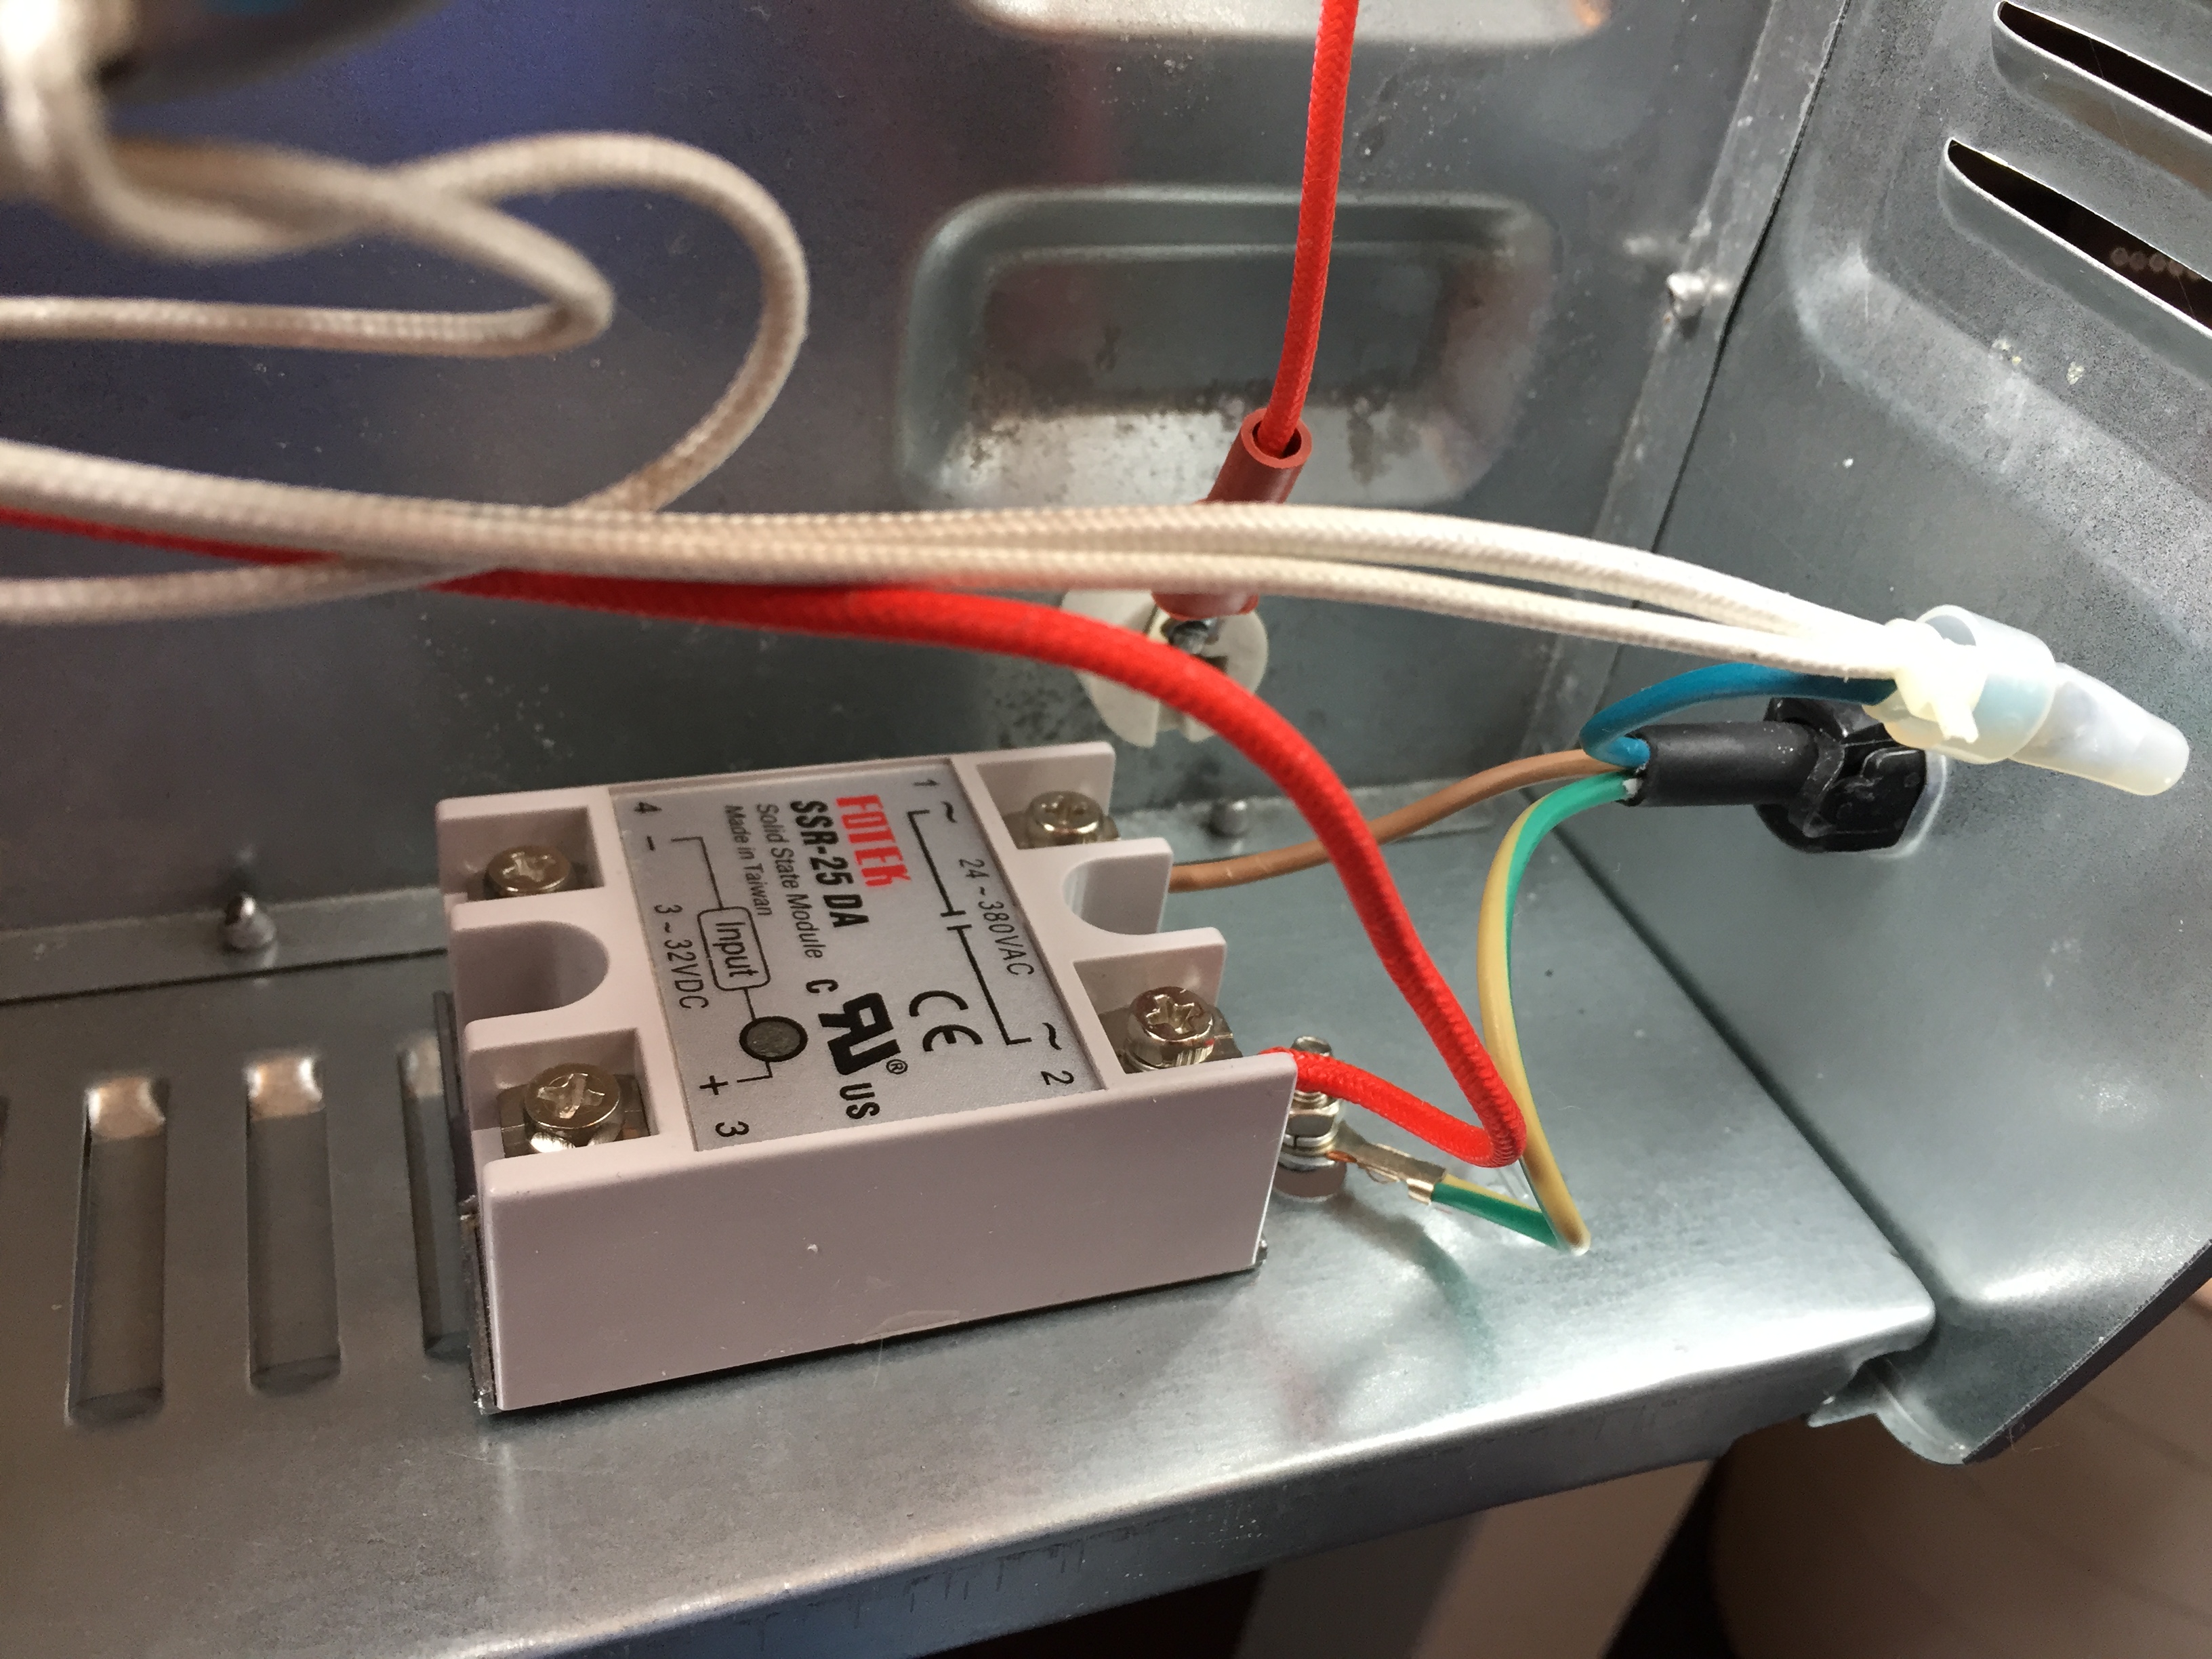
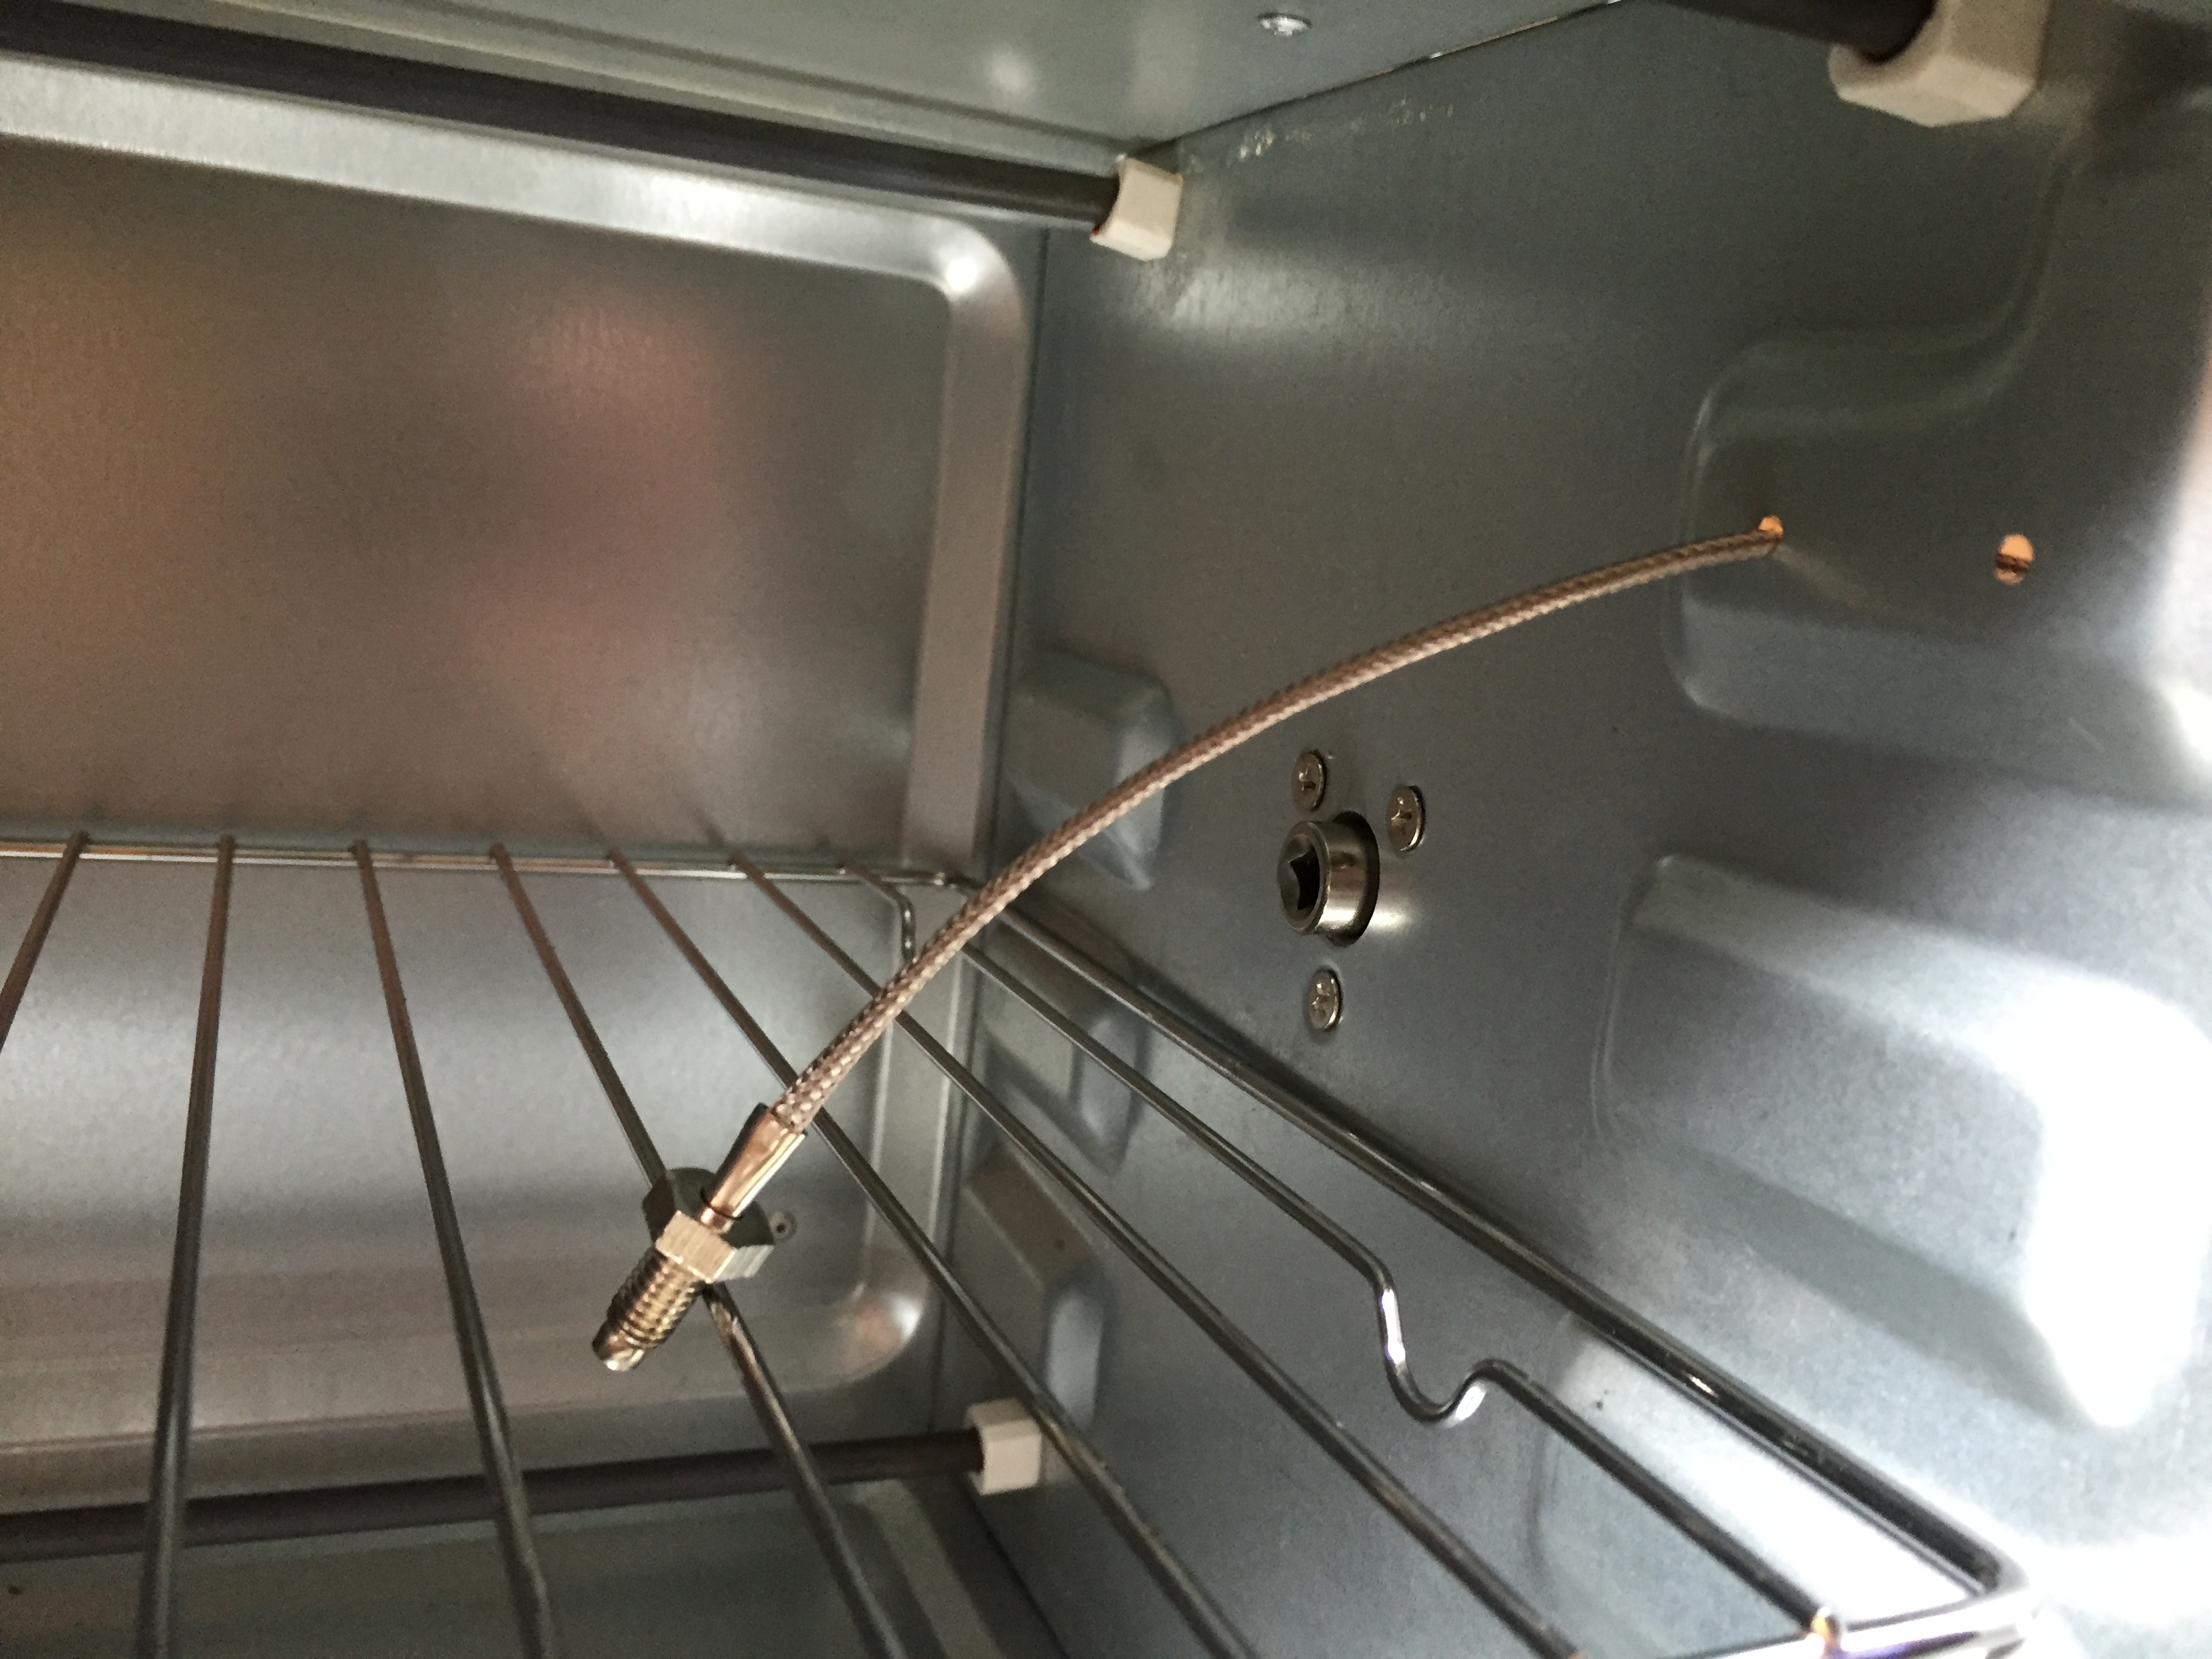
Once you have verified that your system works it is time to connect it to the oven. This step looks more complicated than it really is. Just take your time and do each step at once. All you need to do is mount the thermocouple inside the oven, ideally as close to the board your reflowing as possible to get the best temperature accuracy.
Then connect the SSR between the live (or neutral) coming from the wall plug acting as an on/off switch. This will control the temperature by turning the oven on if the temp is below the target temp or off if its hotter than the target temp.
Reflow Some PCBs!
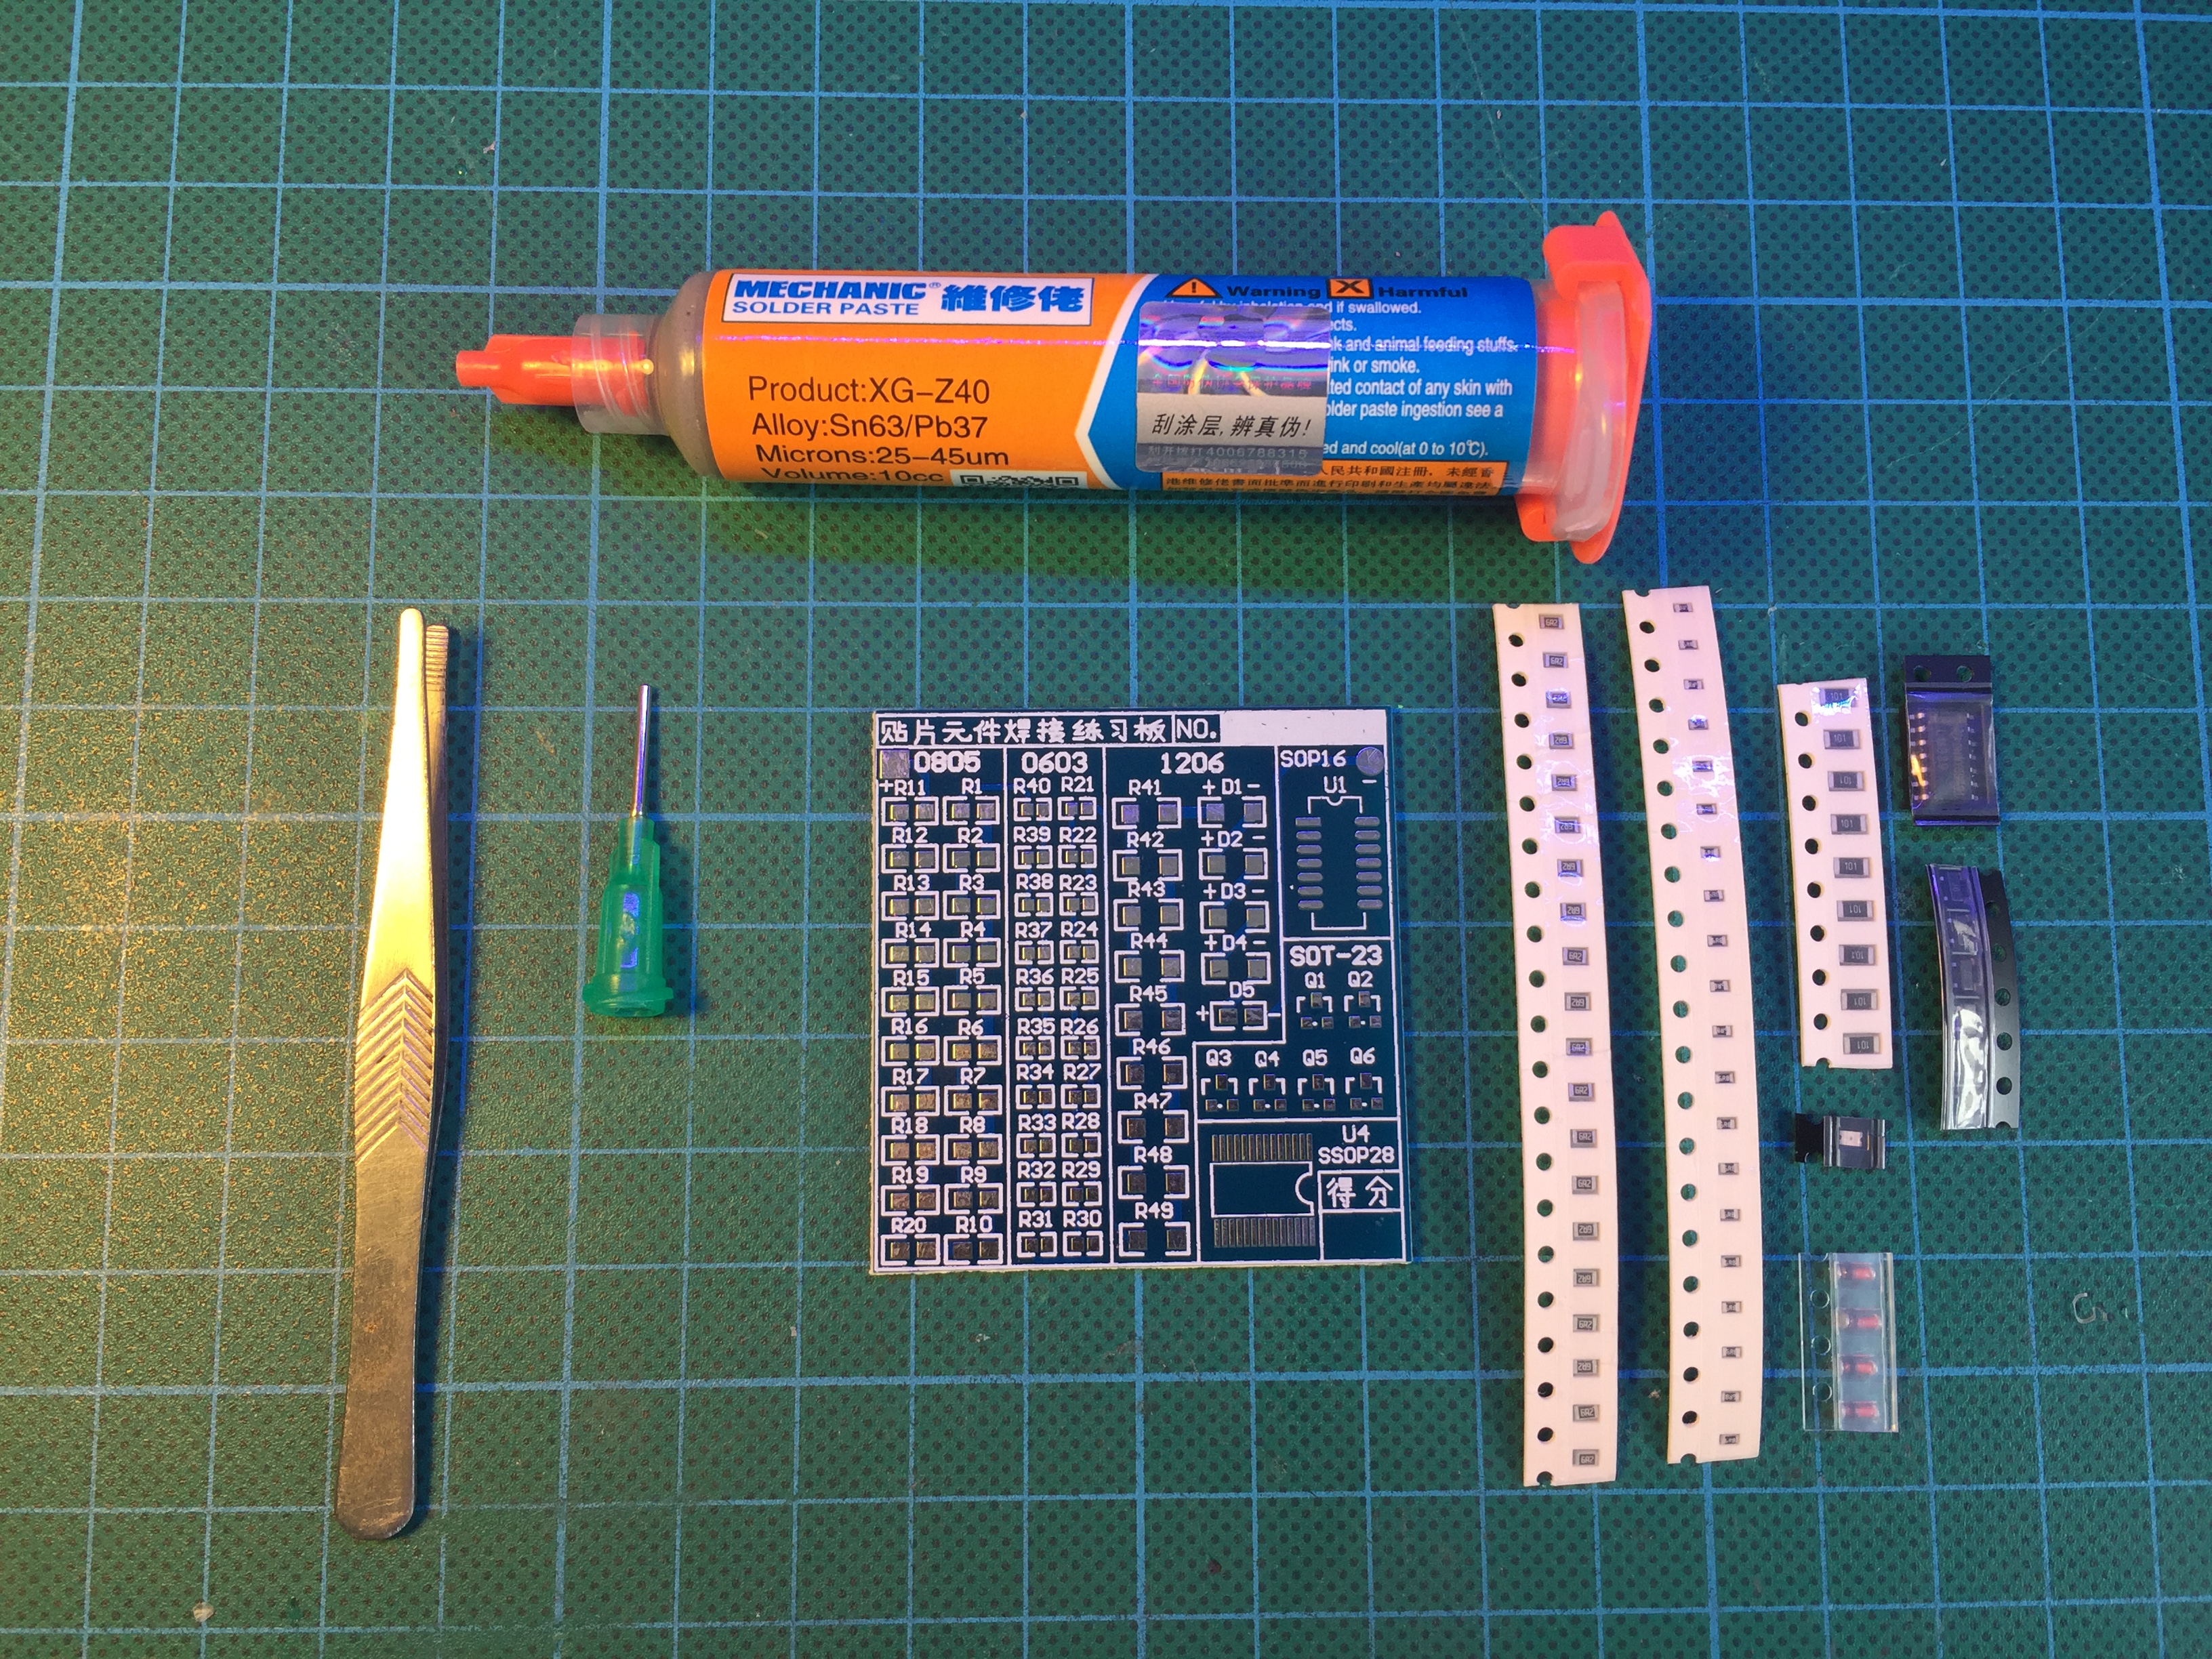
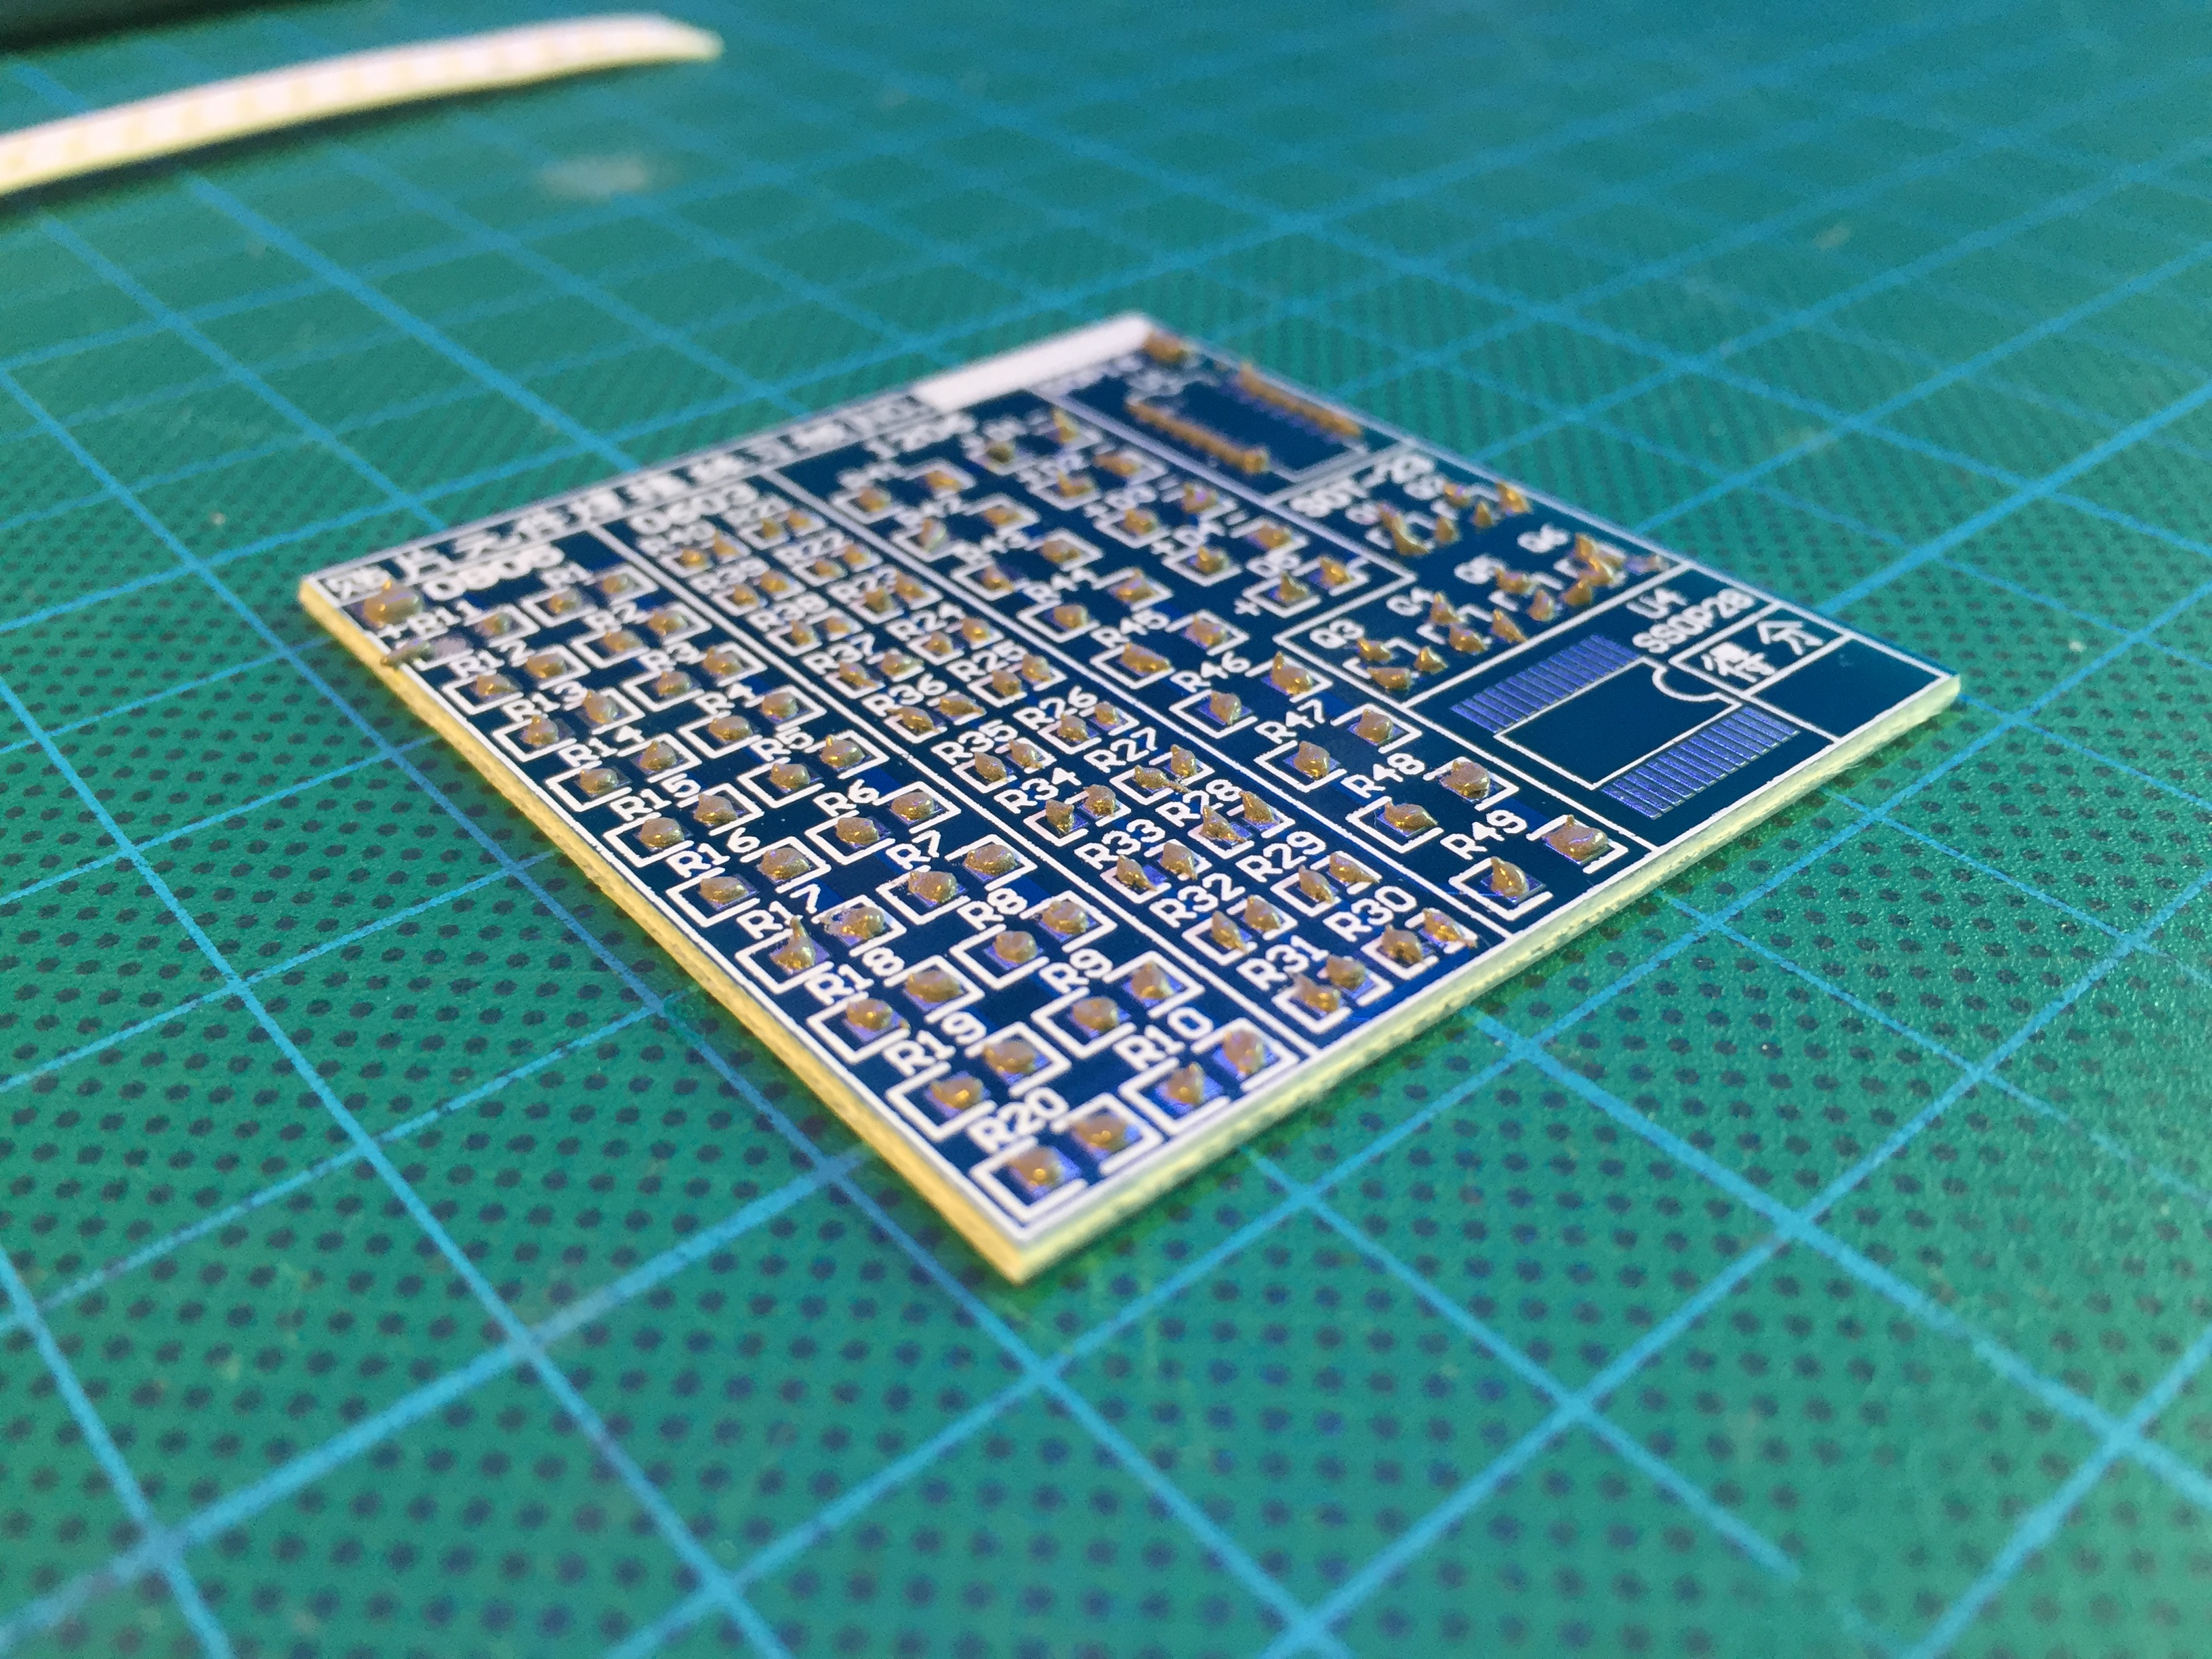
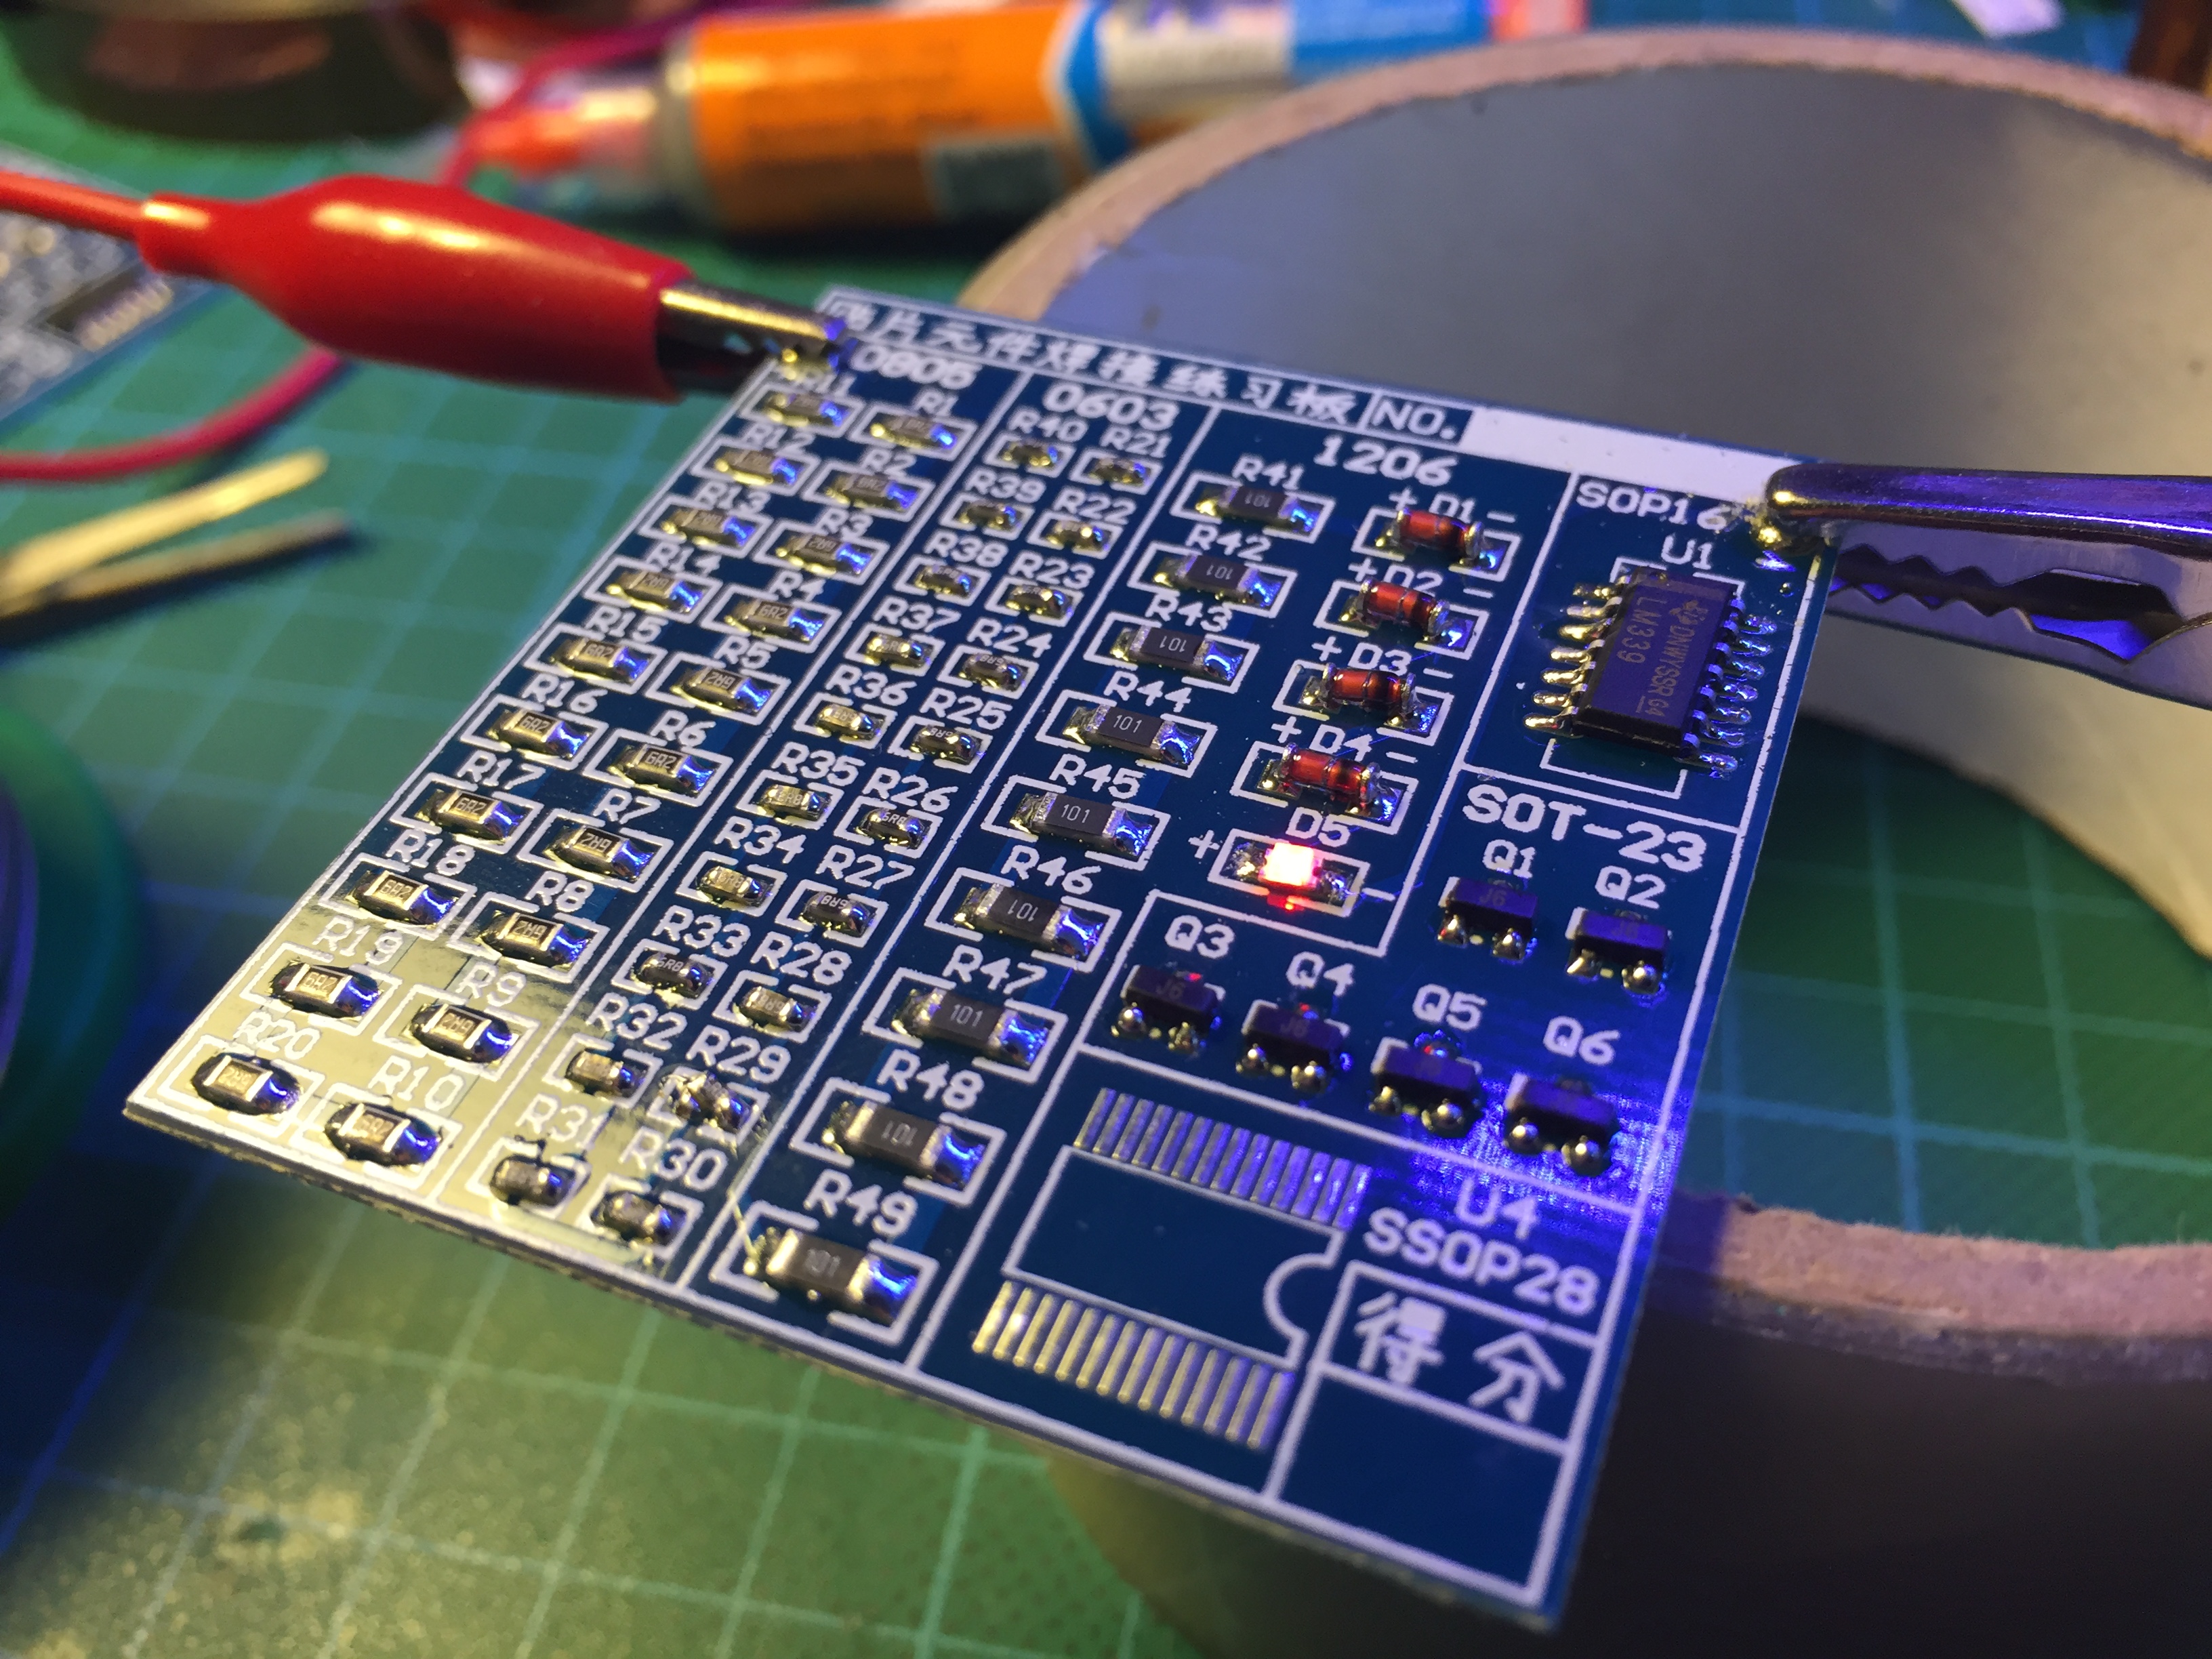
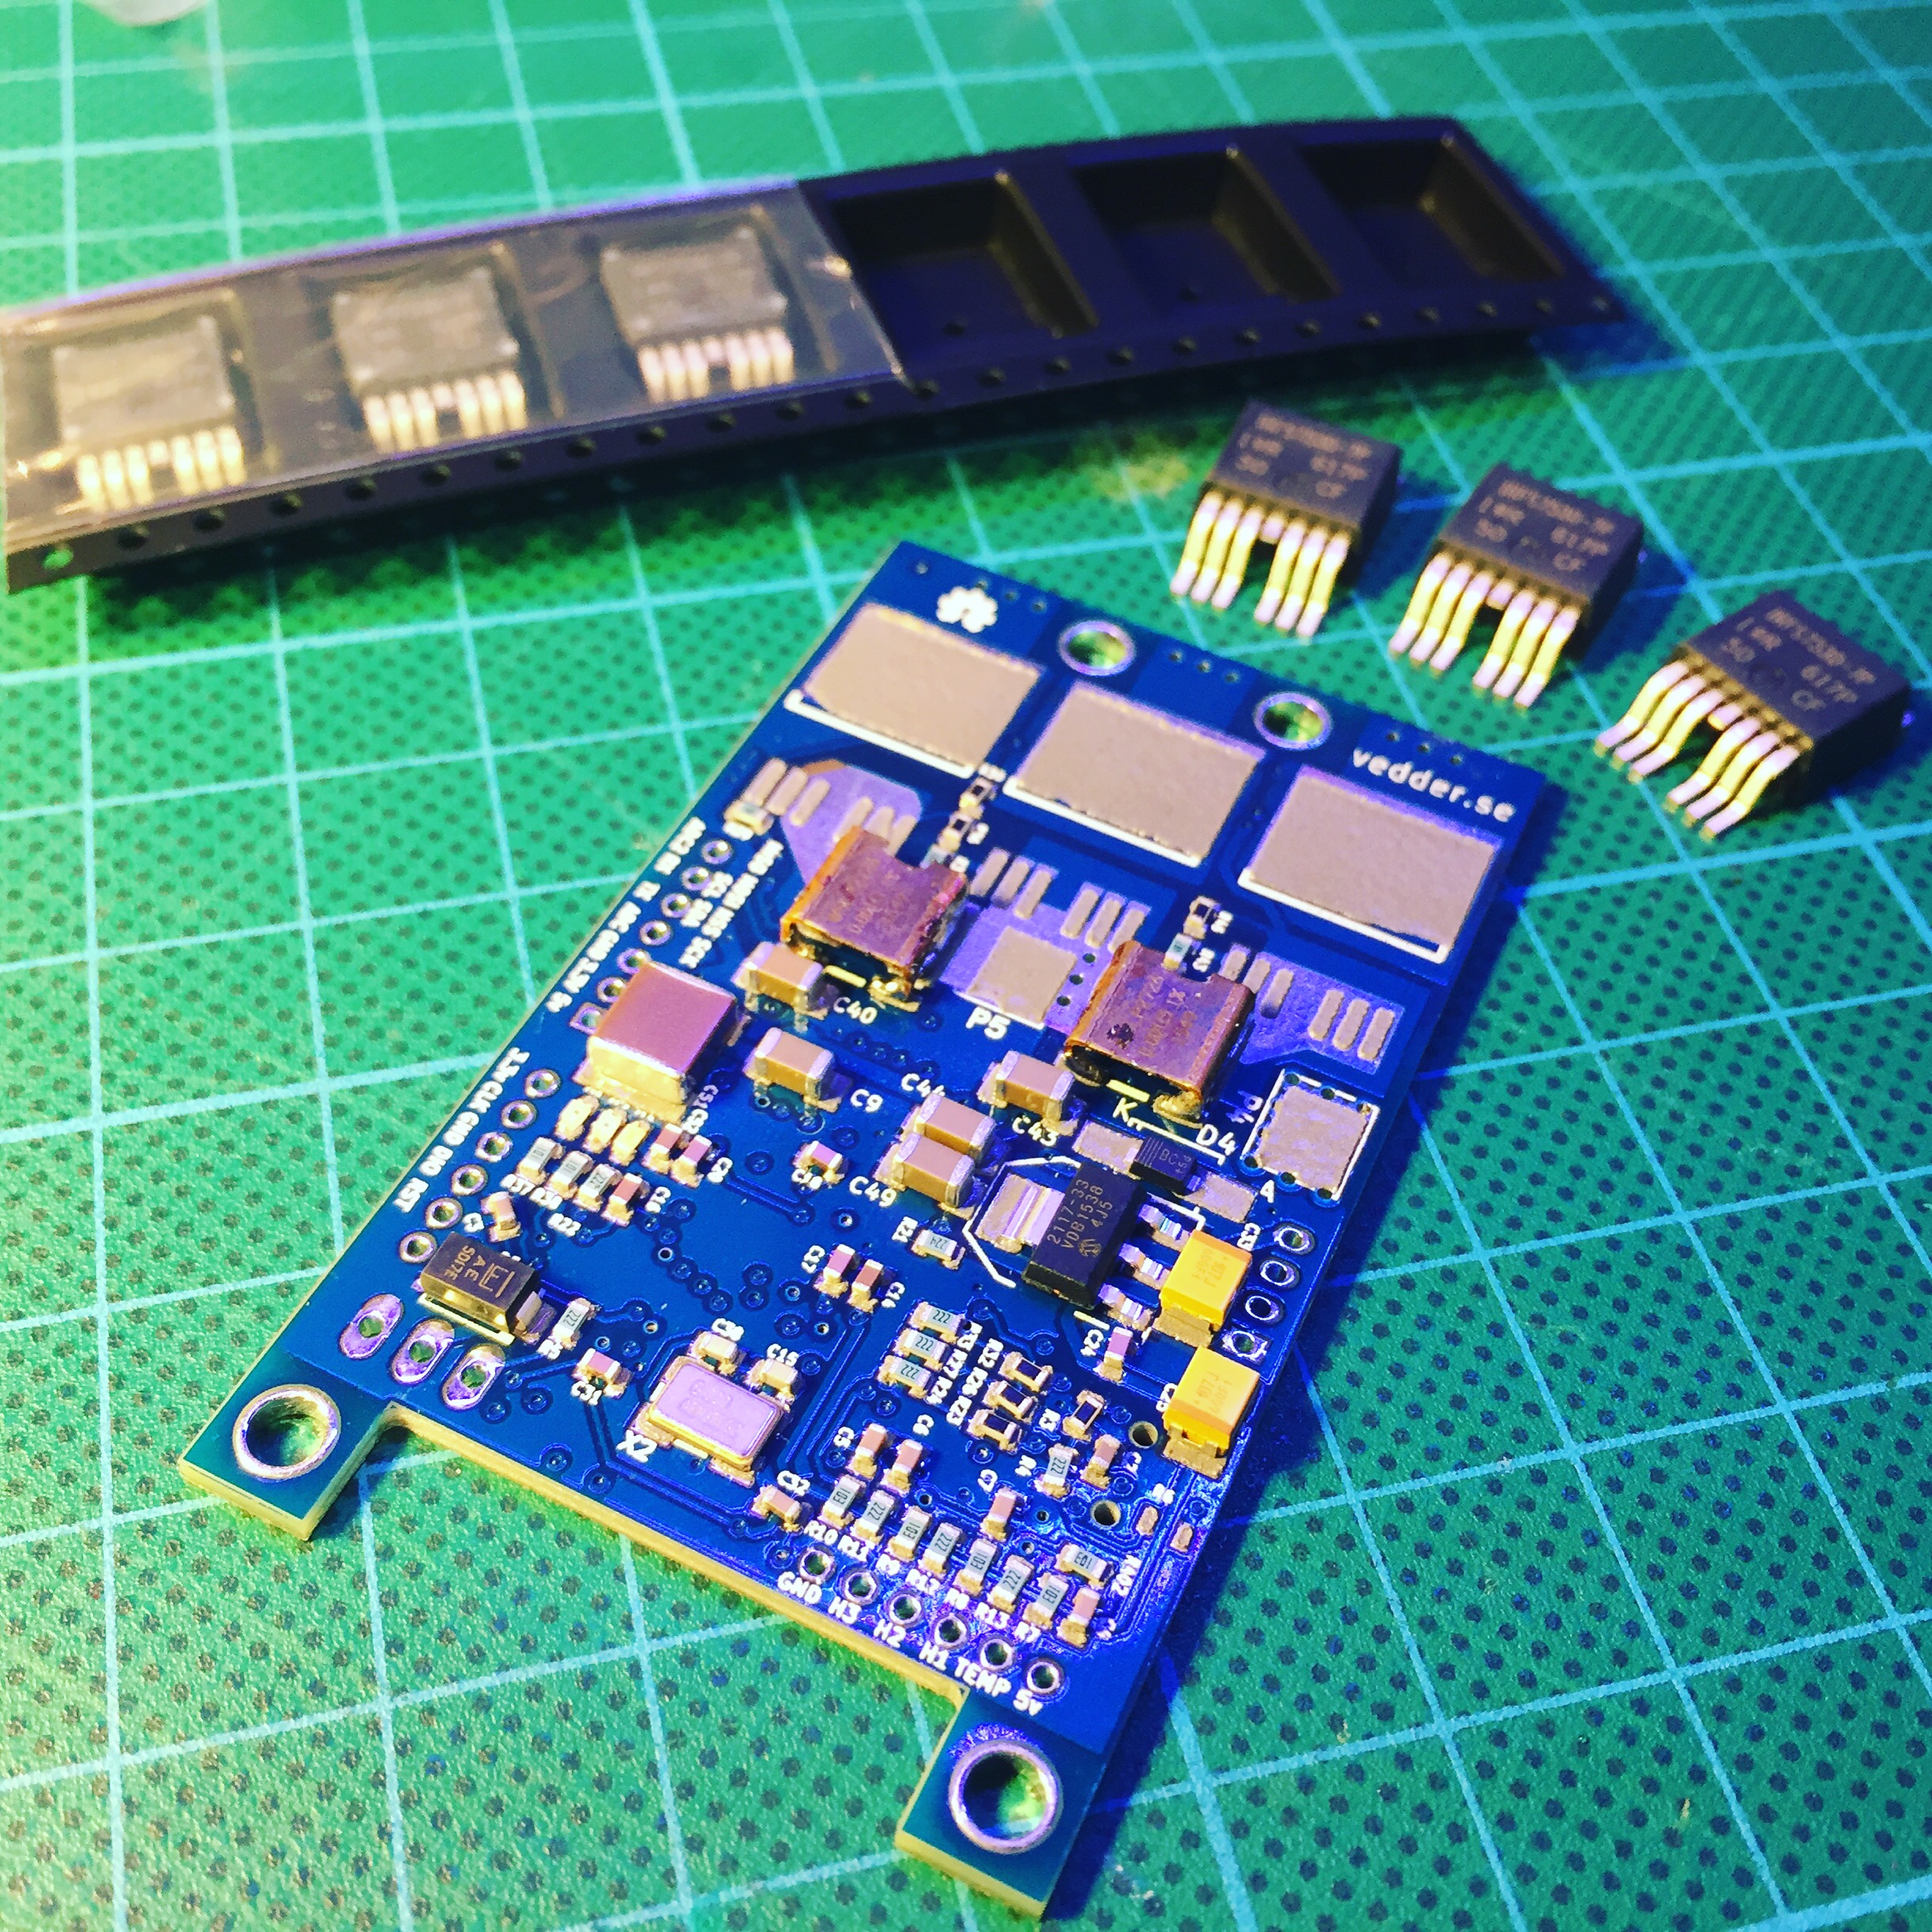
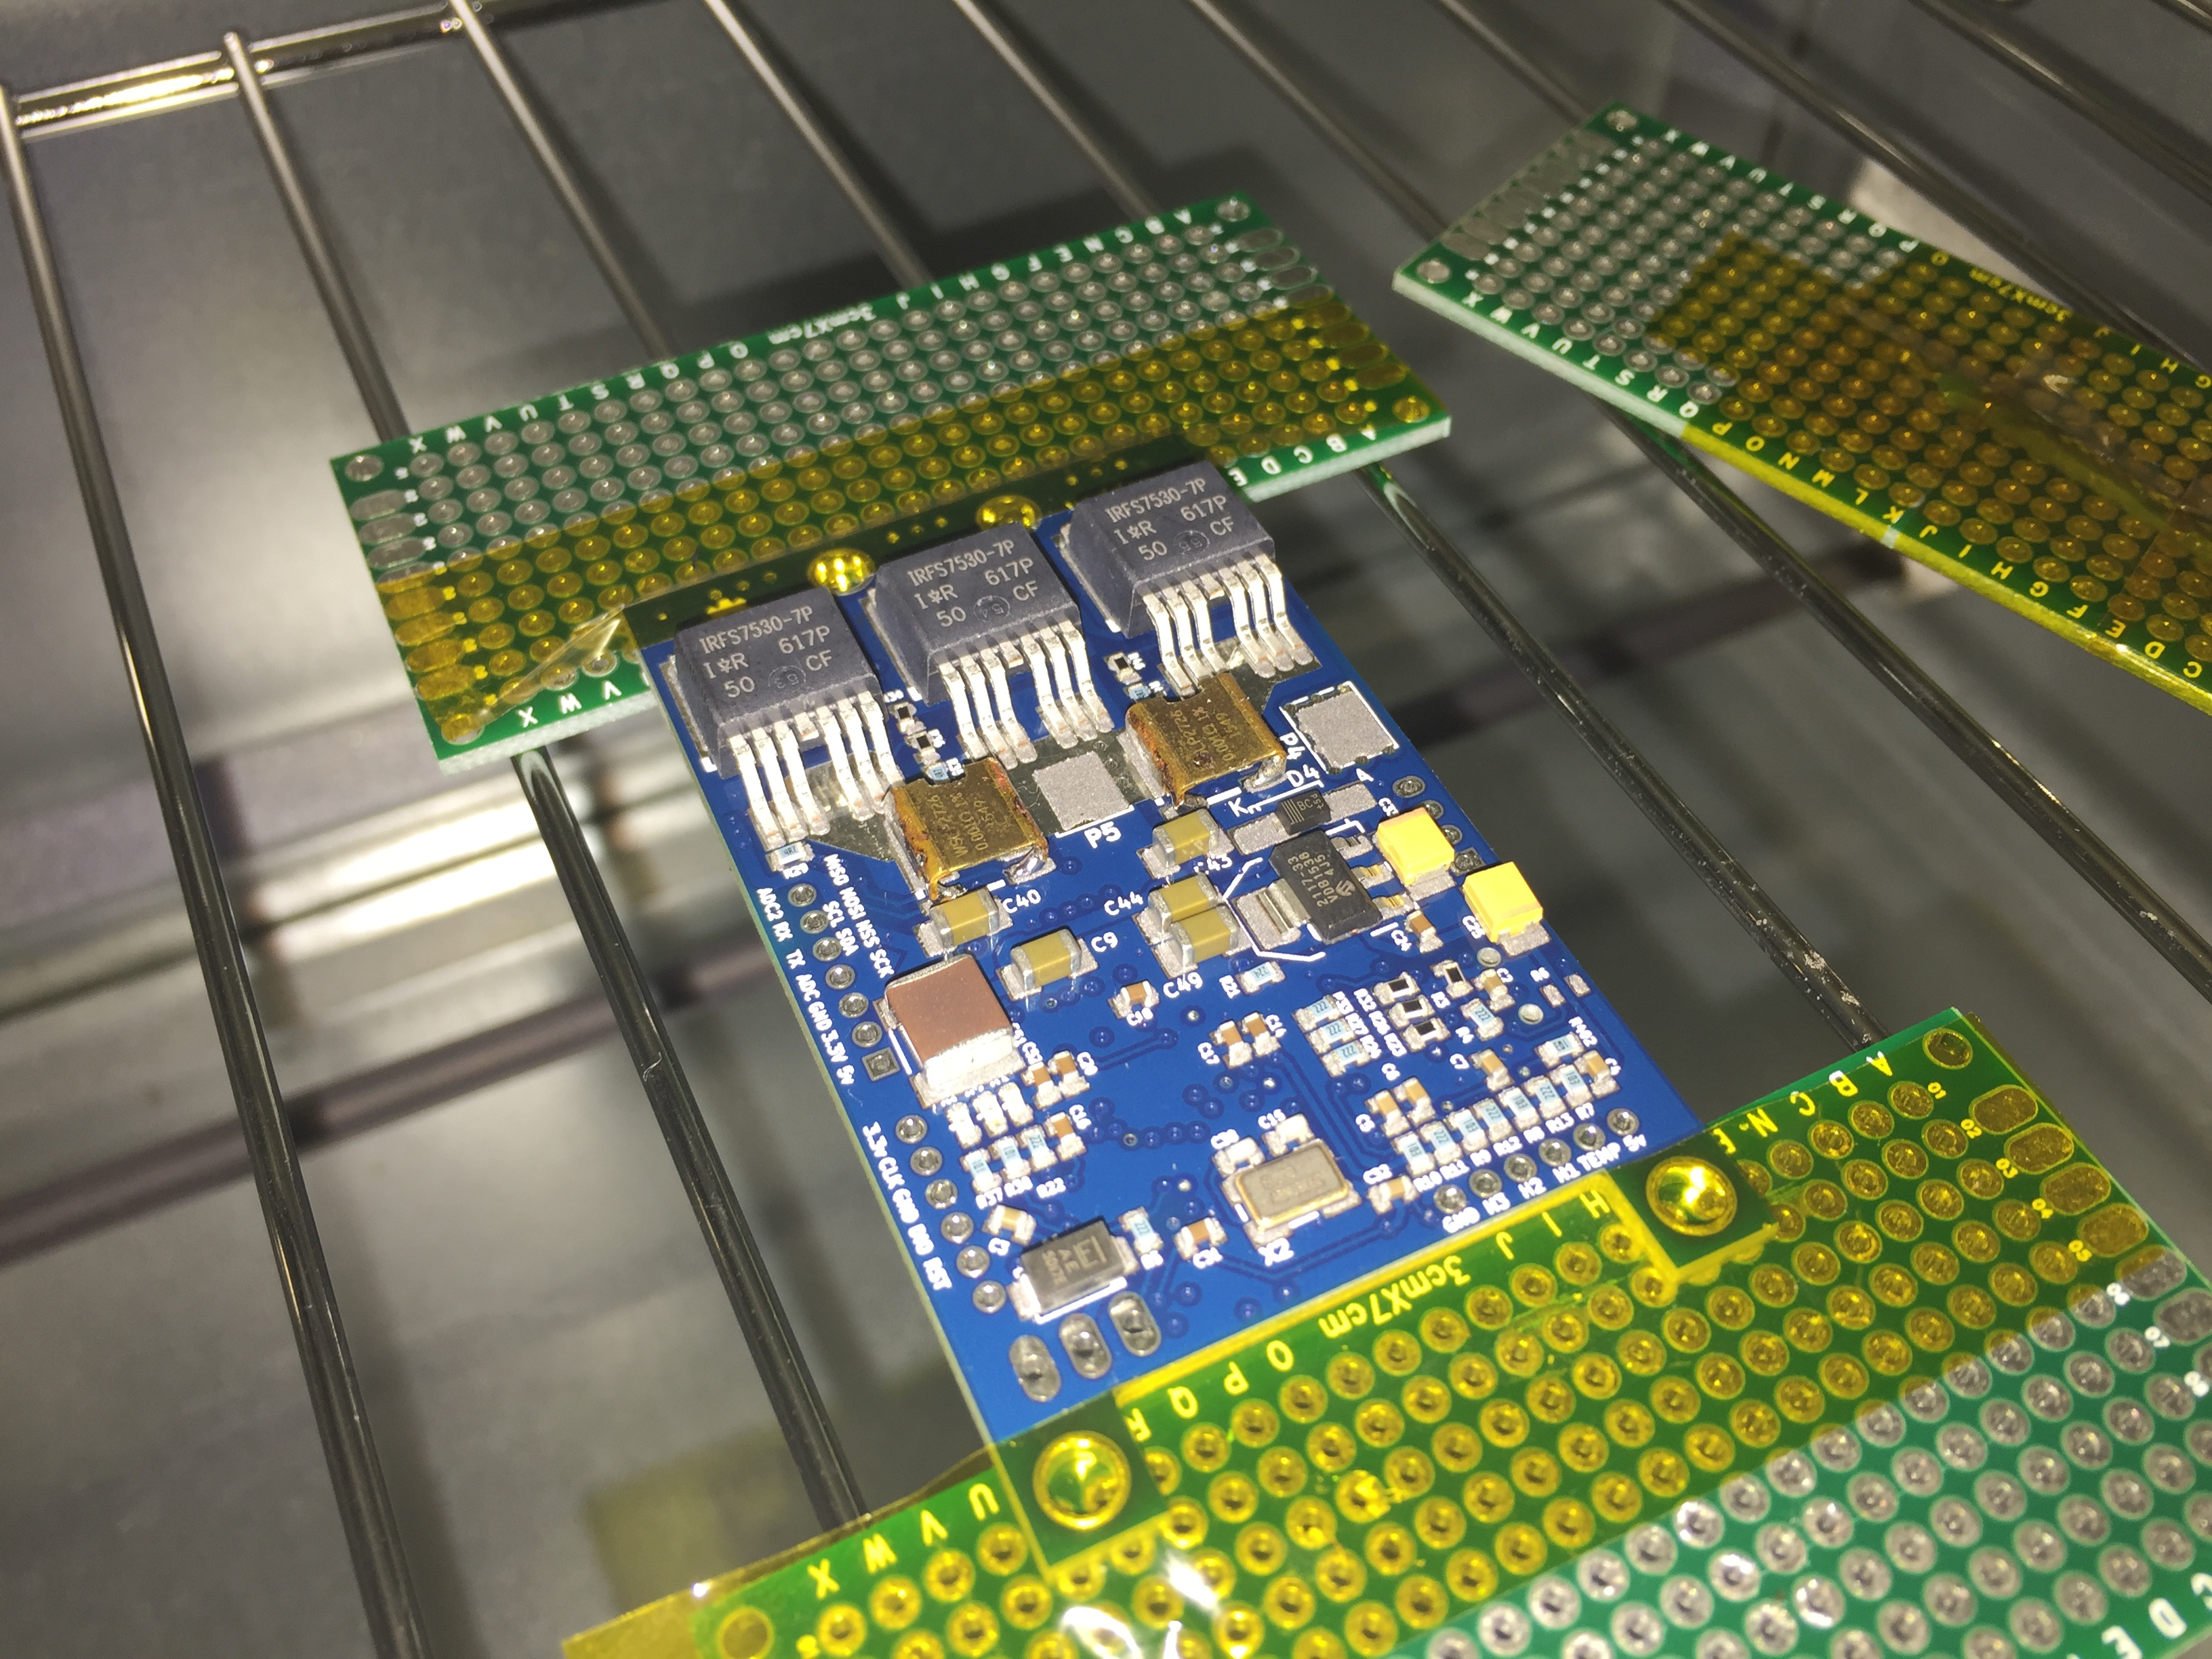
Well done you should now have a new web controlled reflow oven!
Either use a syringe or stencil to apply the solder paste, place your components and then reflow! The whole reflow process is controlled by the Pi via the web interface so its really easy to see current temperatures and follow the profile as its happening. I have attached some projects I have reflowed using the oven.
Thanks for checking this Instructable out and good luck with your reflow projects!
Jack