Weaving a Storytelling Interface
by ngaskins in Teachers > Electronics
7756 Views, 65 Favorites, 0 Comments
Weaving a Storytelling Interface
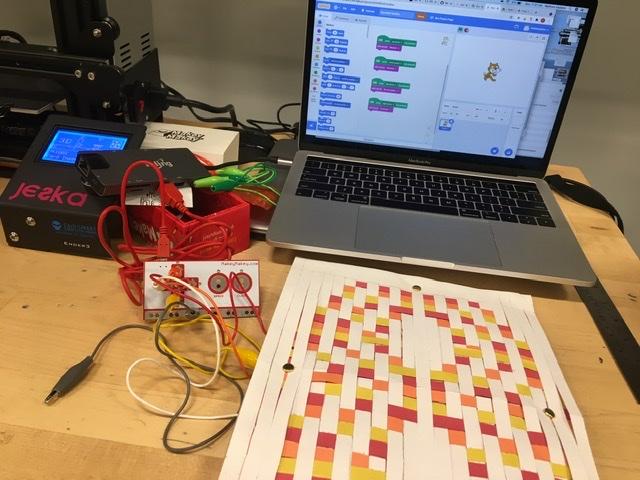
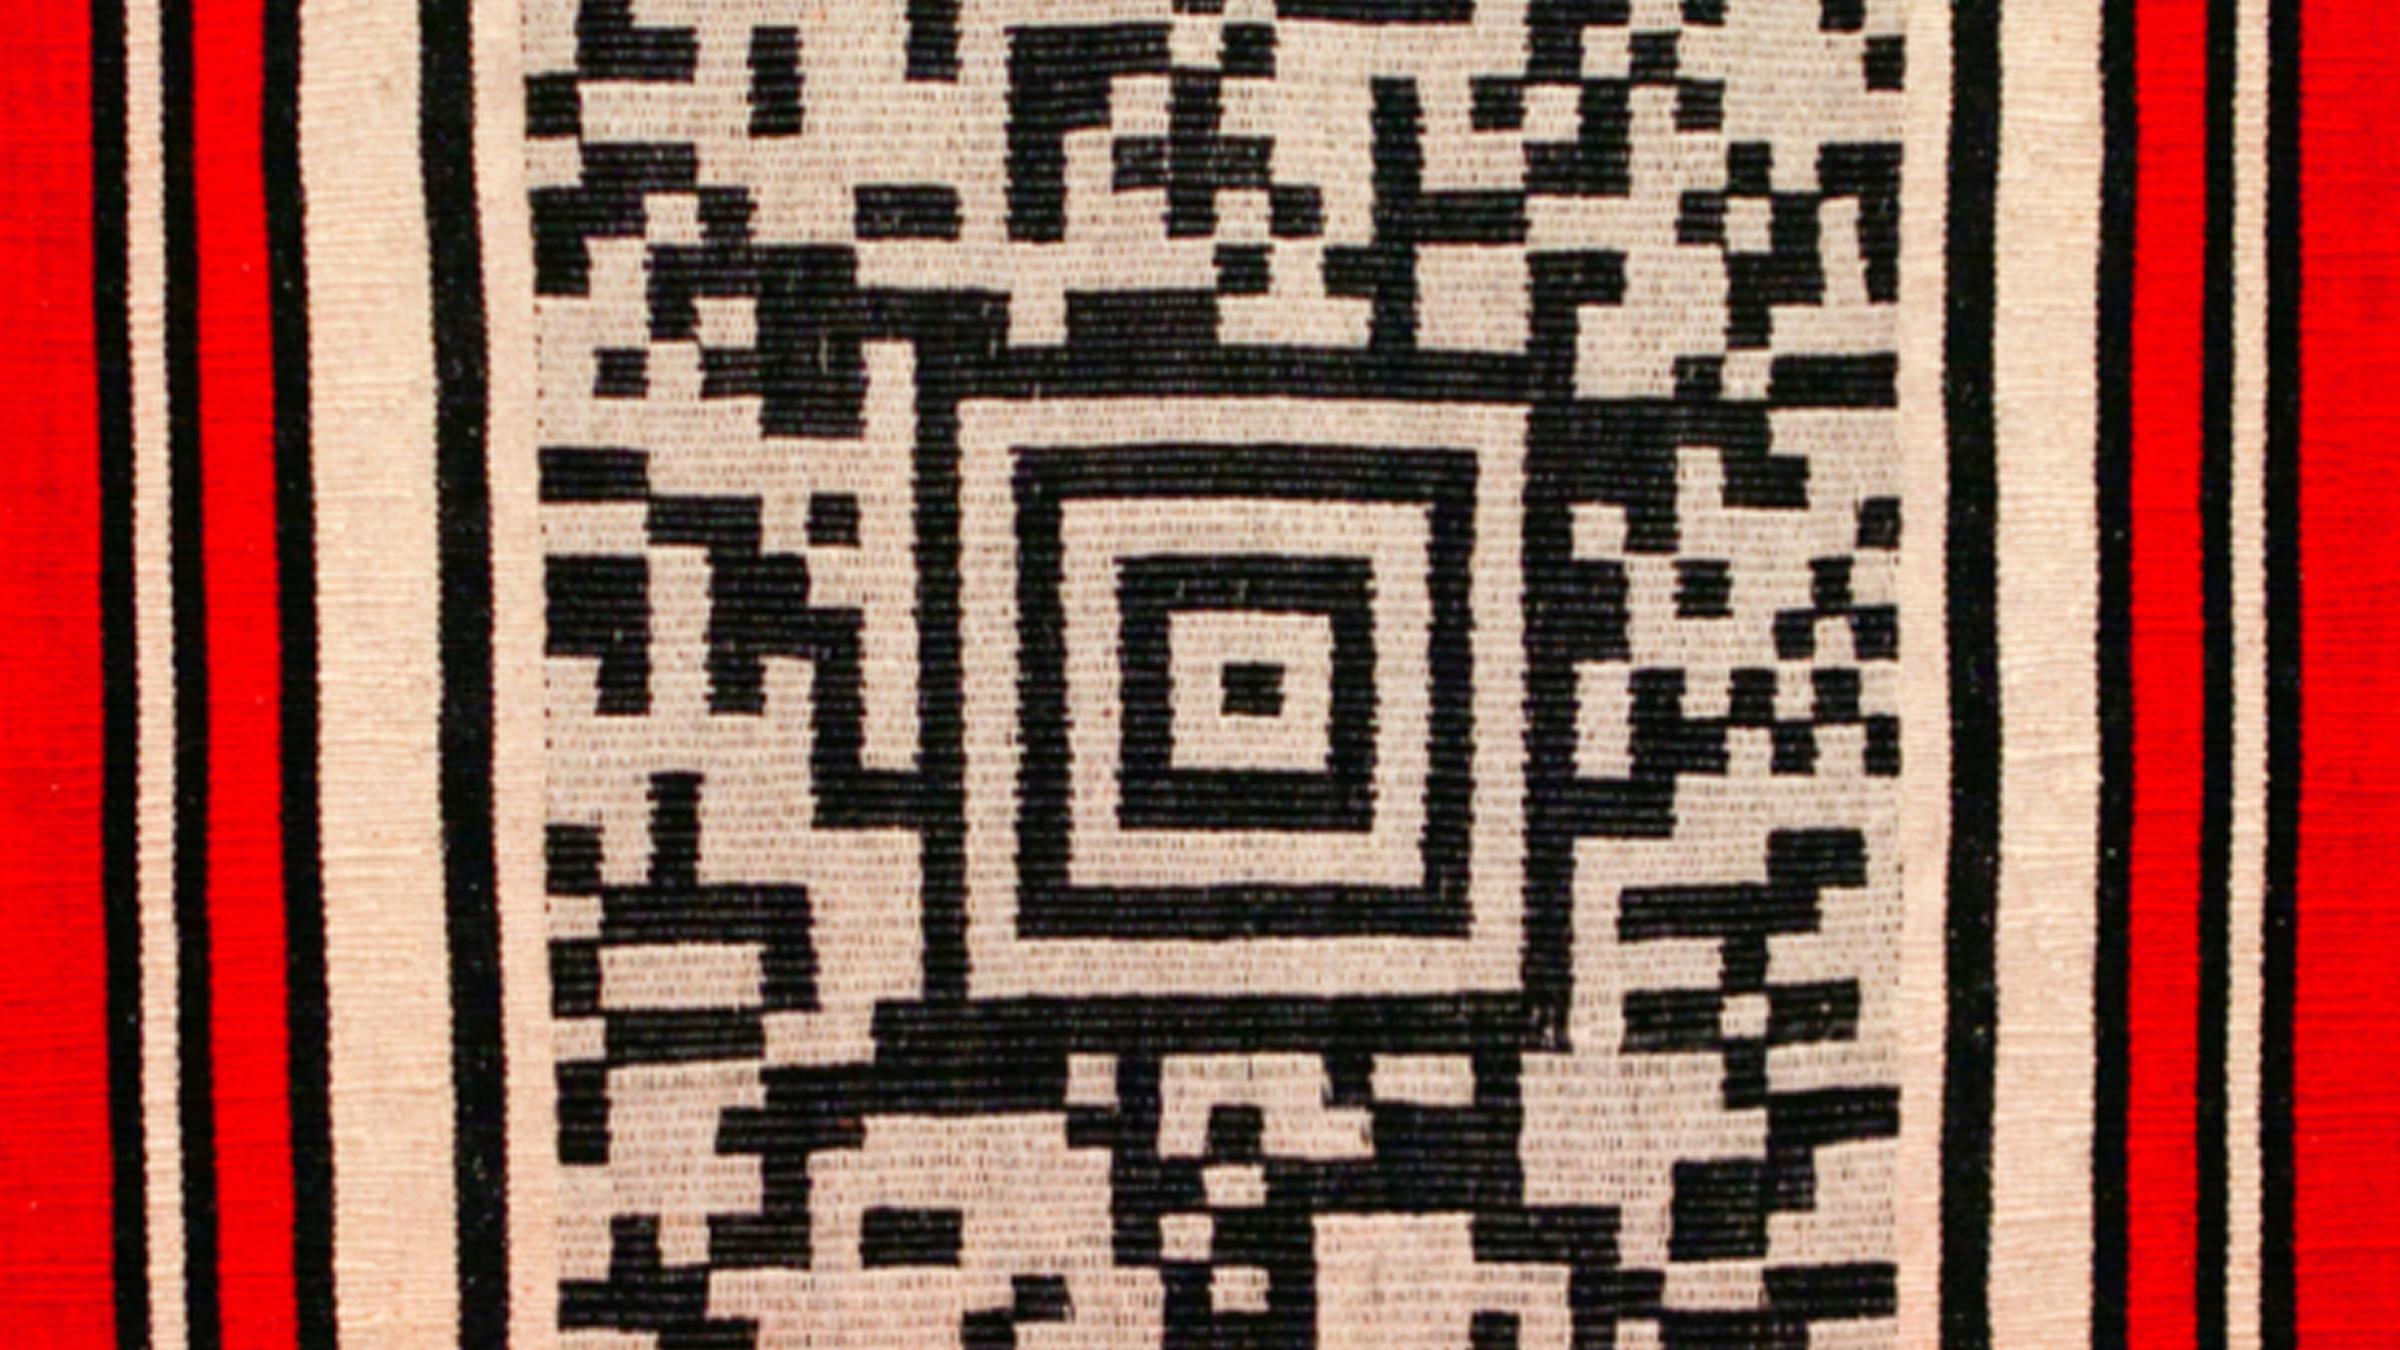
The goal of this activity is to combine art, culture, computation, and fabrication such as in the example of Encoded Textiles, a project by Los Angeles-based, Chilean artist Guillermo Bert who involved a Mapuche community in Chile. Bert observed similarities between Aztec Code, a specific form of QR (“Quick Response”) code, and the graphic designs in Indigenous textiles. Bert brought these designs together to transform an emblem of secrecy into a transmitter of cultural values.
Have students watch this video introduction:
Embedding stories in textiles and other artifacts can help students communicate clearly and express themselves creatively using MaKey MaKeys connected to physical objects (embedded in the designs) that can be touched to trigger stories. A MaKey MaKey is a small device that turns objects into buttons for your computer. It works by creating electrical circuits. For this project, the MaKey MaKey will replace QR codes and the computer keyboard, and make a paper textile into a storytelling “interface.”
Downloads
Supplies
Colored construction paper or card stock
Scissors, or X-acto cutter
Tape, or a glue stick
Ruler
Pencil
Brads, small binder clips, or paper clips
MaKey MaKey Kit with alligator clips
Laptop or computer with Scratch access
Google Sheets (or MS Excel)
Learn About Guillermo Bert and Mapuche Textiles
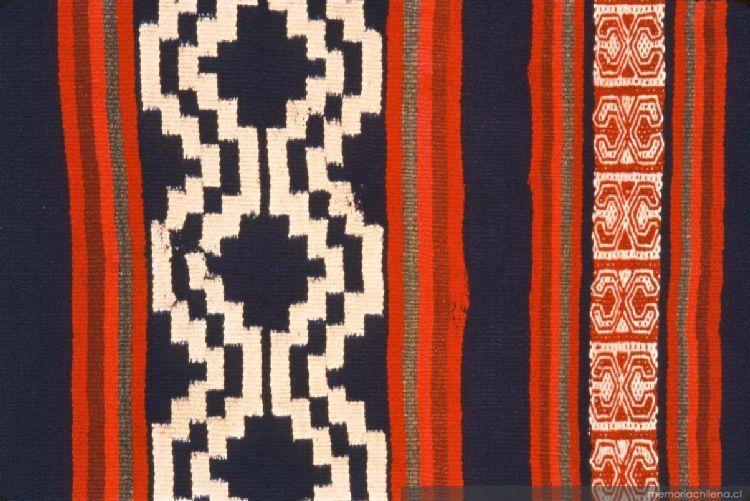
The Mapuche people of Chile are known for textiles that are woven for domestic purposes (ex. ponchos). Mapuche women weave fabrics according to ancestral customs, transmitting knowledge from mother to daughter, and from grandmothers to granddaughters. This knowledge is transmitted as the fabric is woven; the weaving and transmission of knowledge go together.
Guillermo Bert collaborated with Mapuche weavers, and other community members to amplify Indigenous crafts and cultural identities that are revealed through textiles that display QR codes viewers can scan with their smart phones, thereby opening access to the Mapuche world.
This project repurposes things in ways that revalue, resignify, and relocalize artifacts from mainstream, or dominant, cultures; and "combining" cultural art and digital media.
For this step, students can visit the Encoded Textiles website and scan QR codes embedded in the woven artwork.
Next, students can create pixel art based on a cultural design or personal symbol. Students should discuss the meaning of their symbols and designs before moving on to the next step.
Make Pixel Art Using Google Sheets
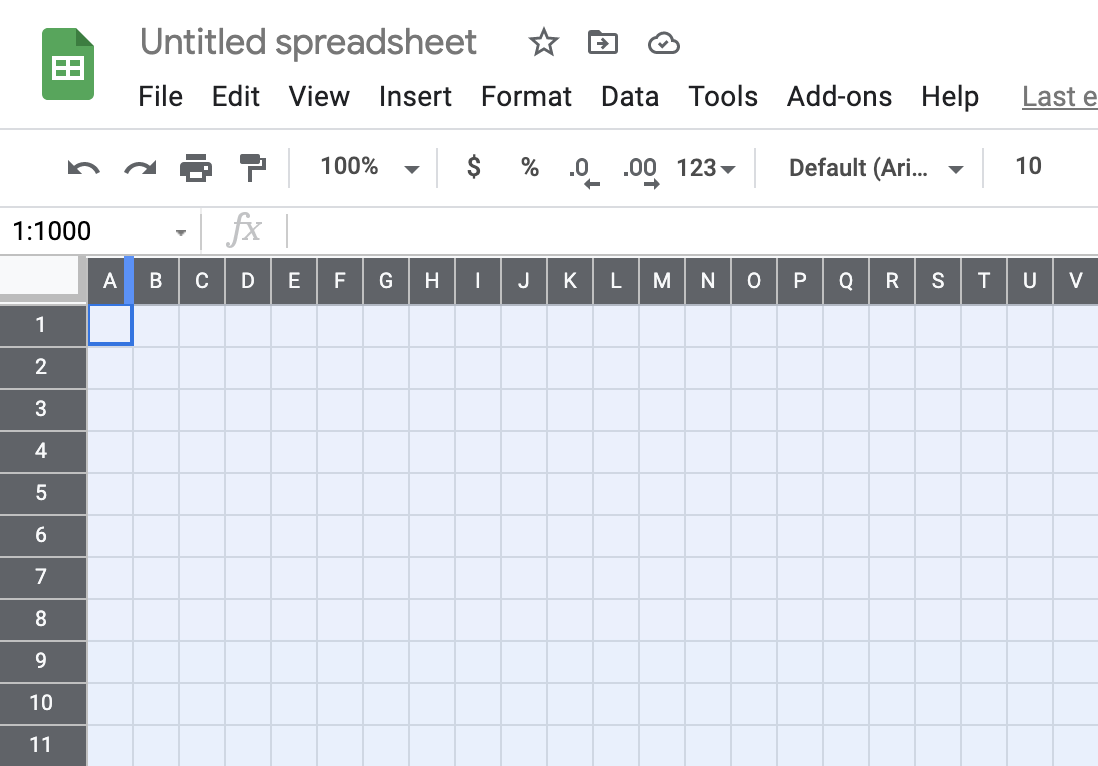
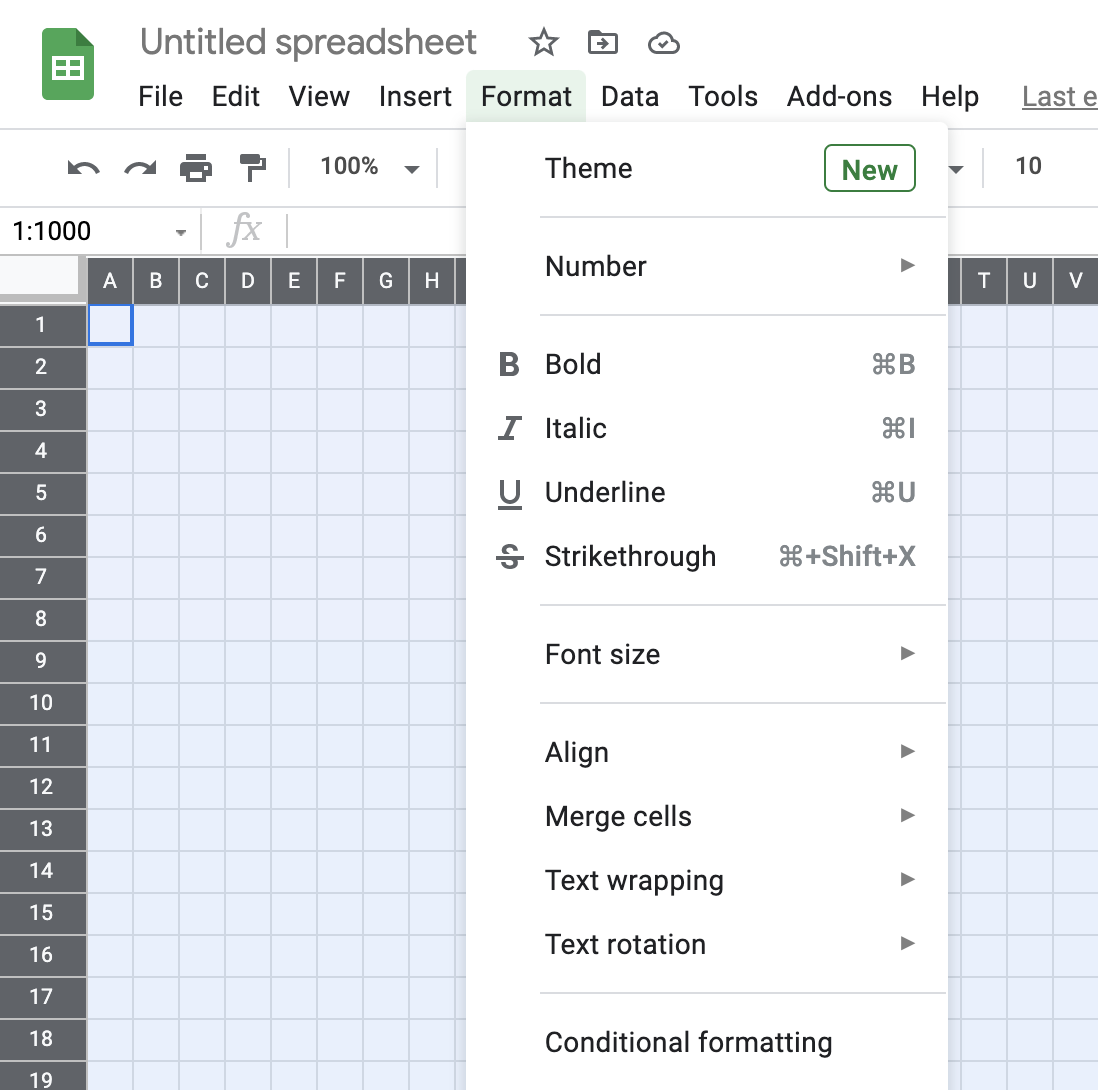
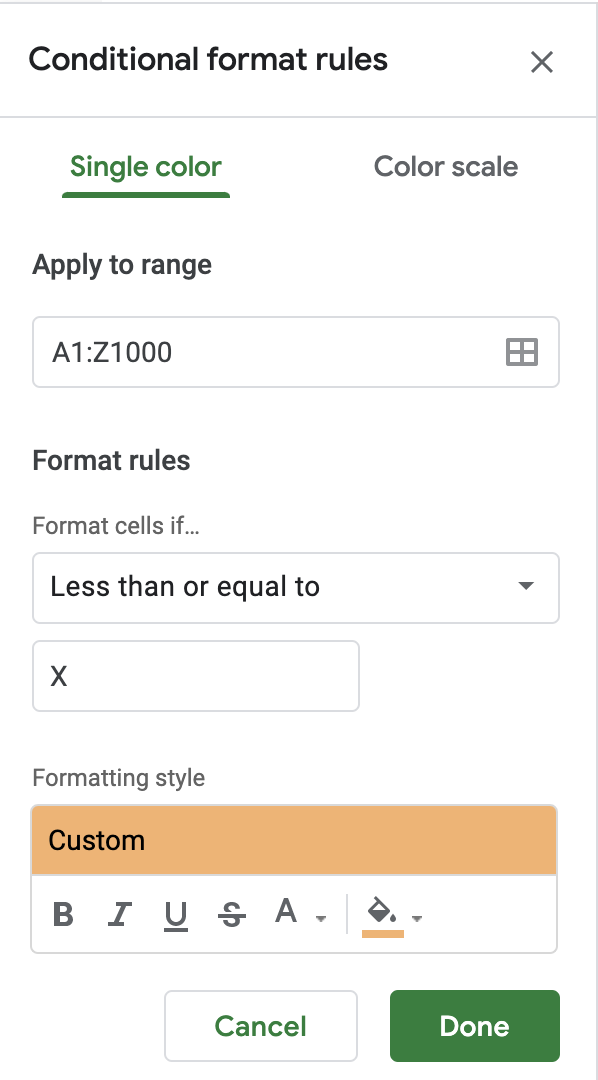
Note: This step is optional. Students can use the template (PDF) without creating pixel art.
The Mapuche textiles are amenable to algorithmic design. Students can re-create these and other designs by Making Art with Google Sheets. Students can use conditional formatting, which changes the appearance of cells in a spreadsheet on the basis of conditions that users specify. This is a good pre-coding activity, as it involves using conditionals.
Students can make their own pixel-based designs in Google Sheets or MS Excel. First, start by having students watch this Introduction (3 min video).
Then, watch this video tutorial (2:27 min) and follow these steps (10 minutes)
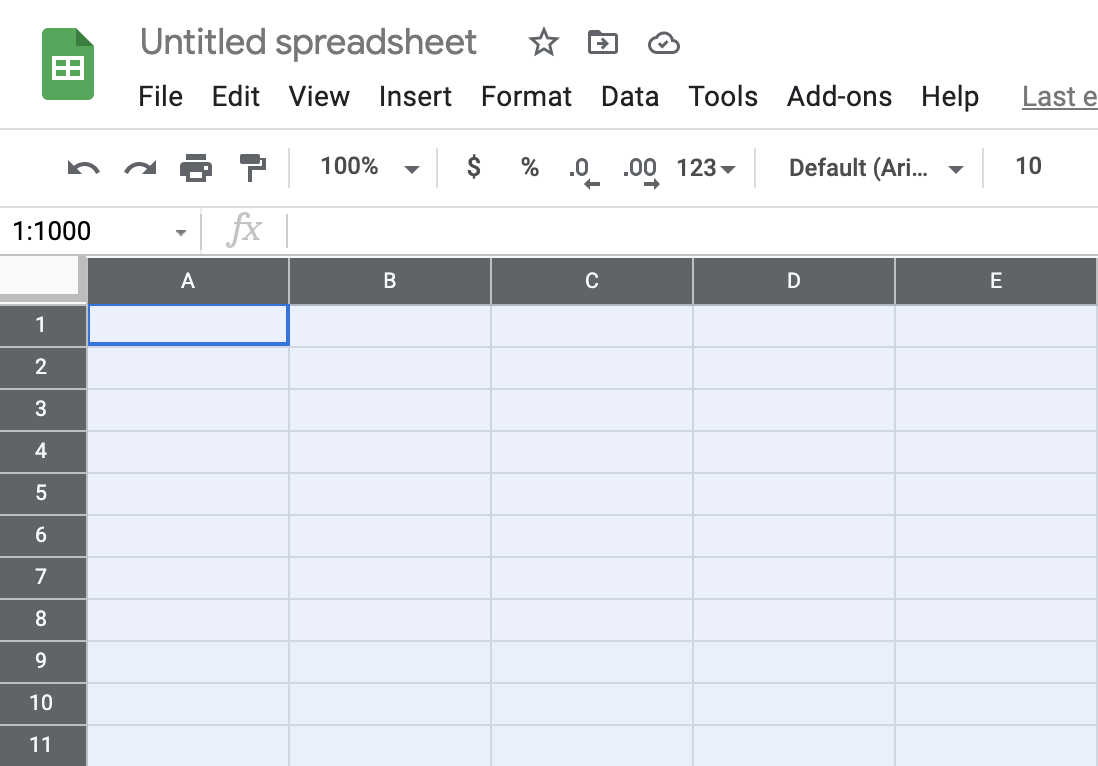
- Set up your spreadsheet canvas by selecting all of the cells in your sheet - click top left box above the table (see photo)
- Resize all cells to form a grid in your spreadsheet.
Finally, watch the video tutorial (3:30 min) and follow these steps (10 minutes):
- Select all the cells in the spreadsheet.
- Open conditional formatting.
- Create a rule for 1 color in the design. Try using "X" instead of a number.
- Check work by adding color to the project.
- Finish the design.
Create a Paper Loom and Weave in the Design
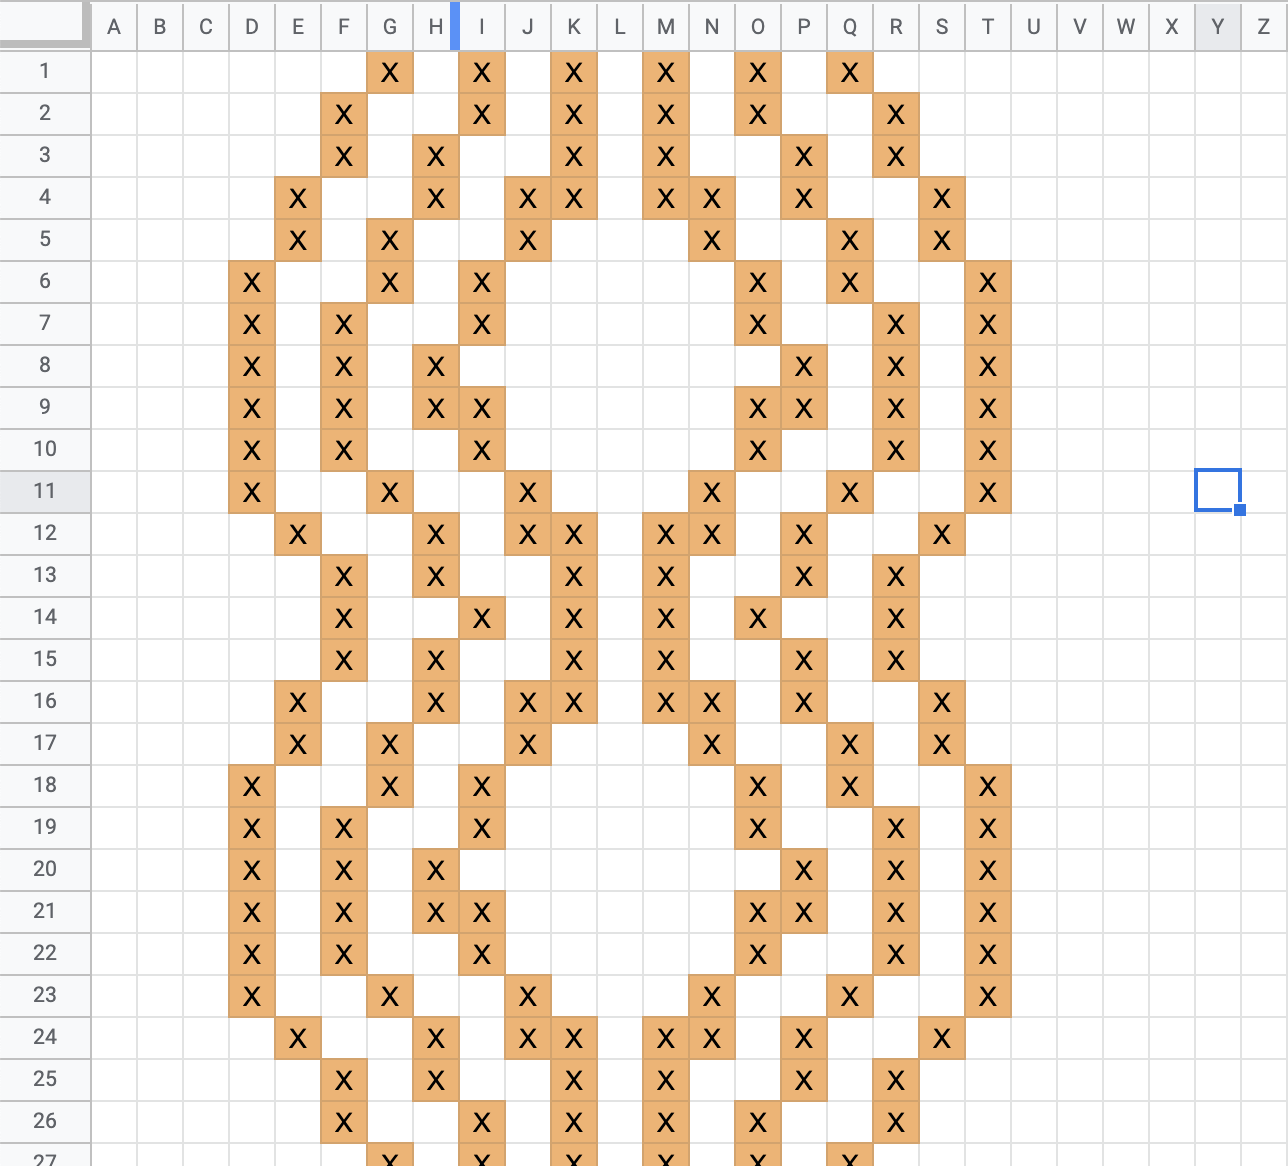
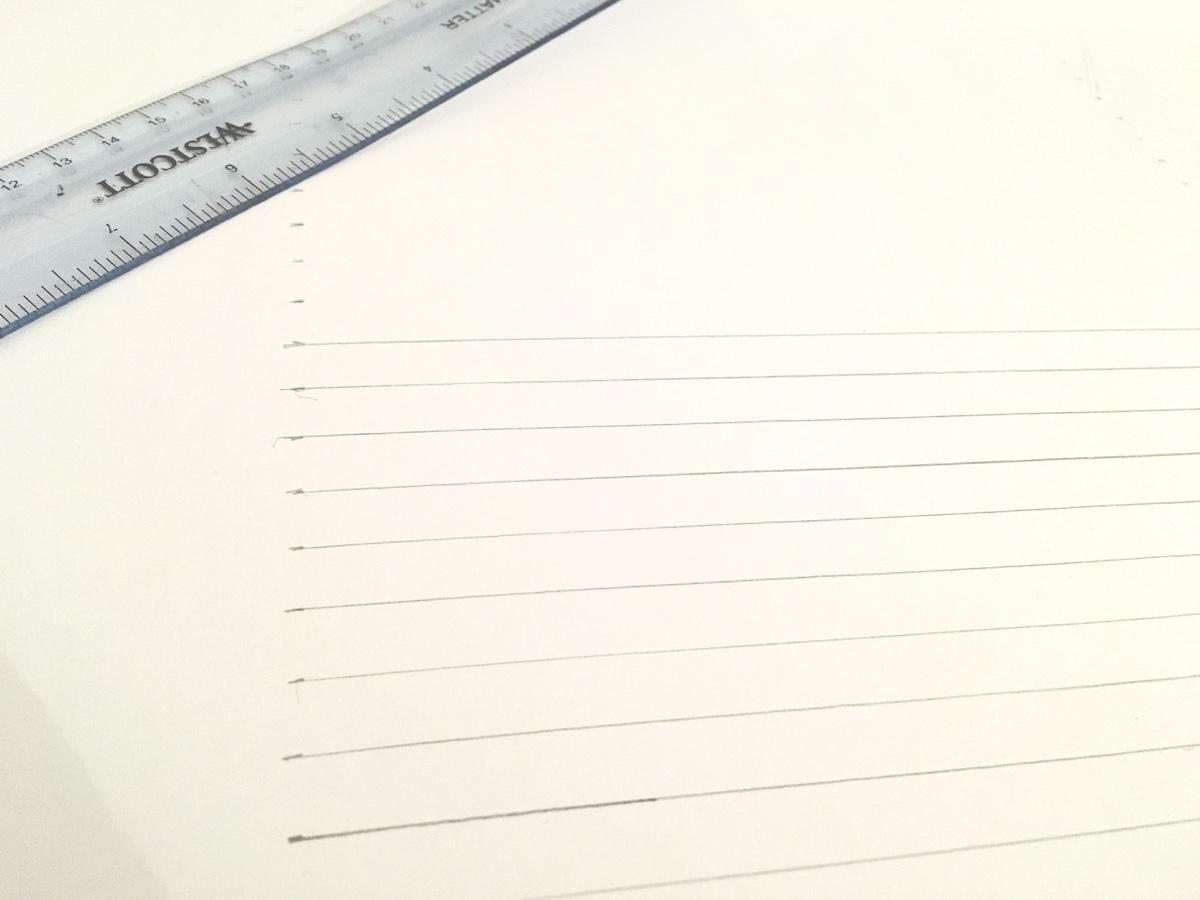
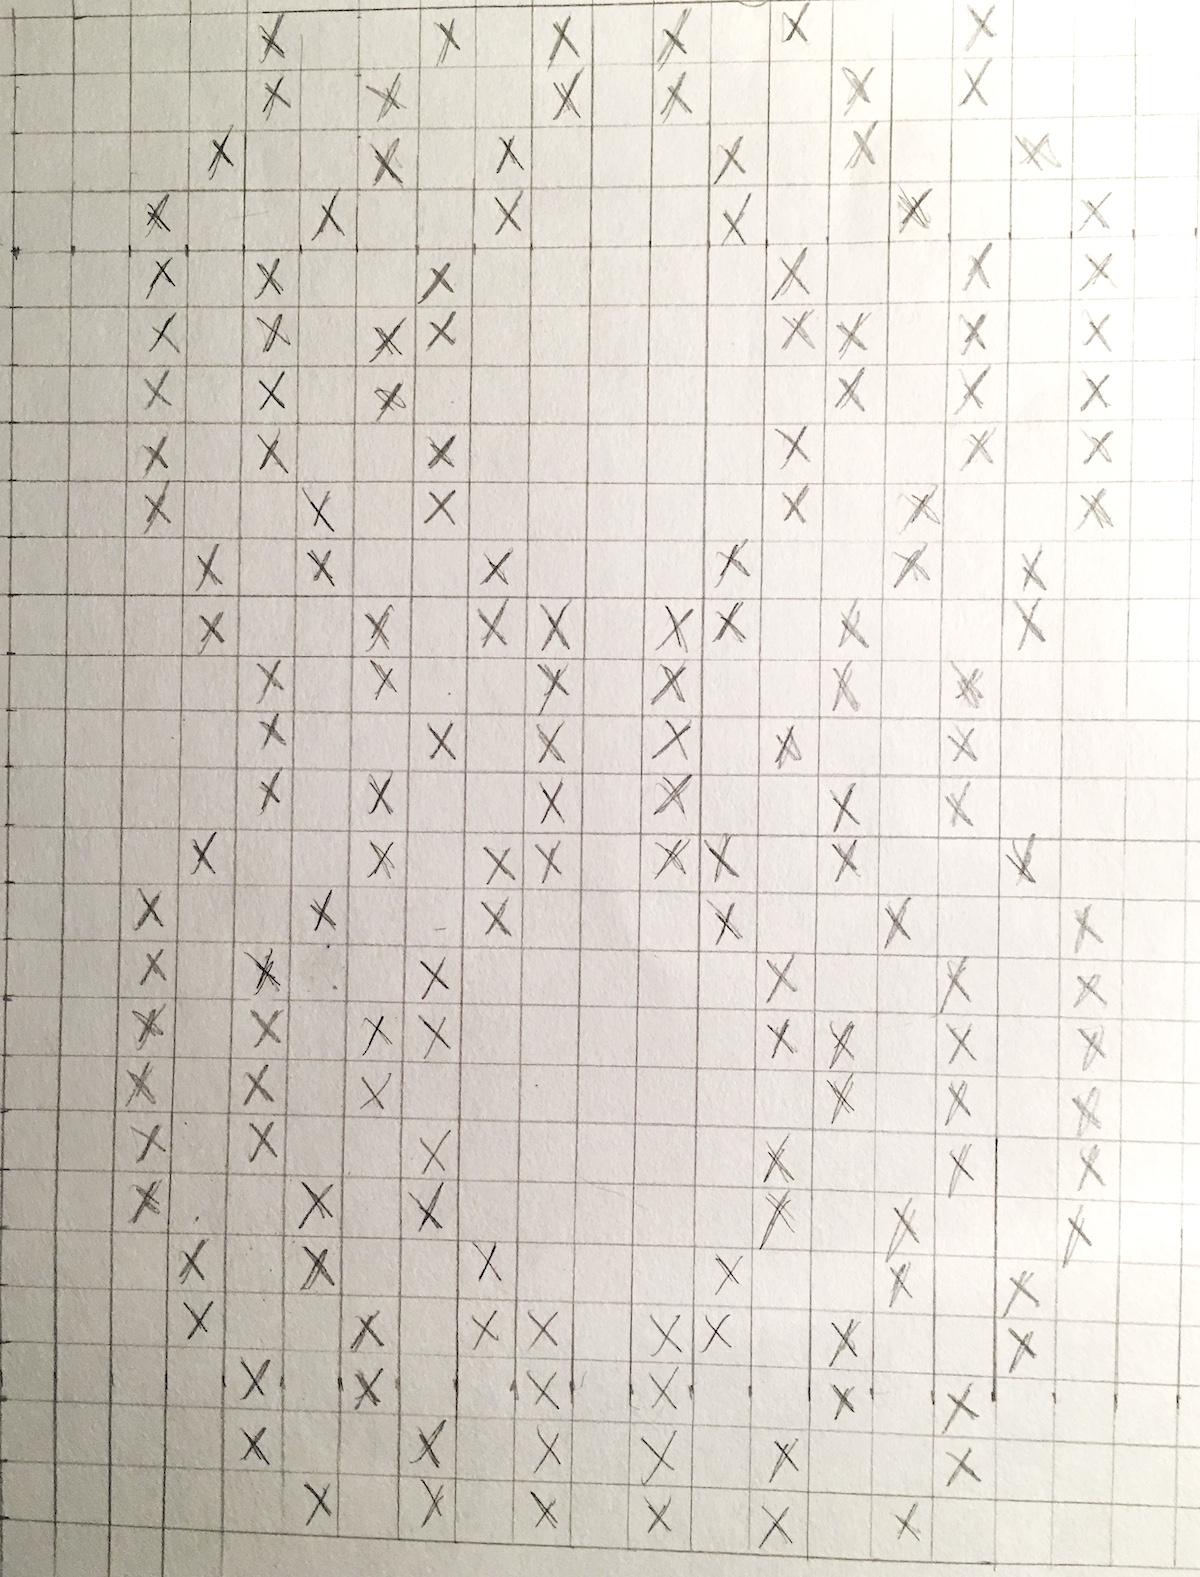
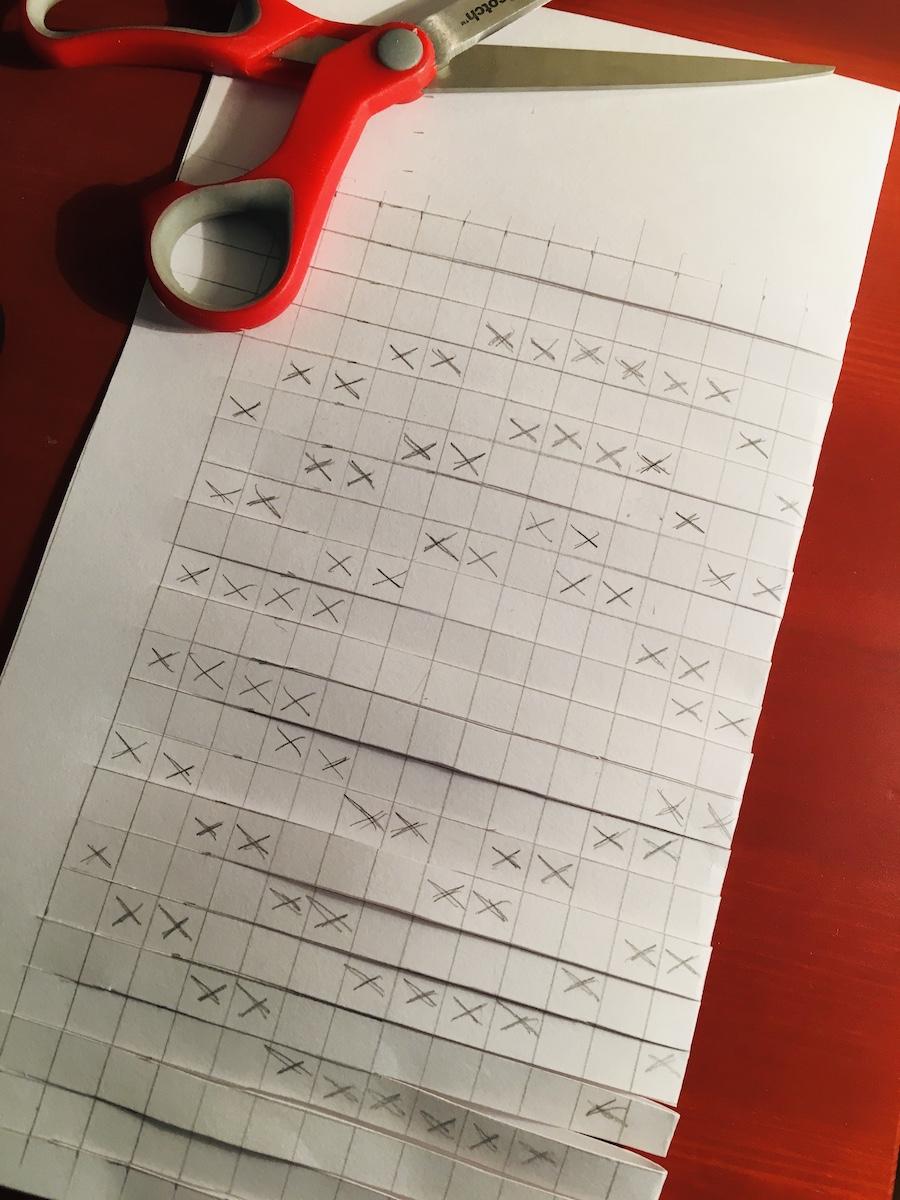
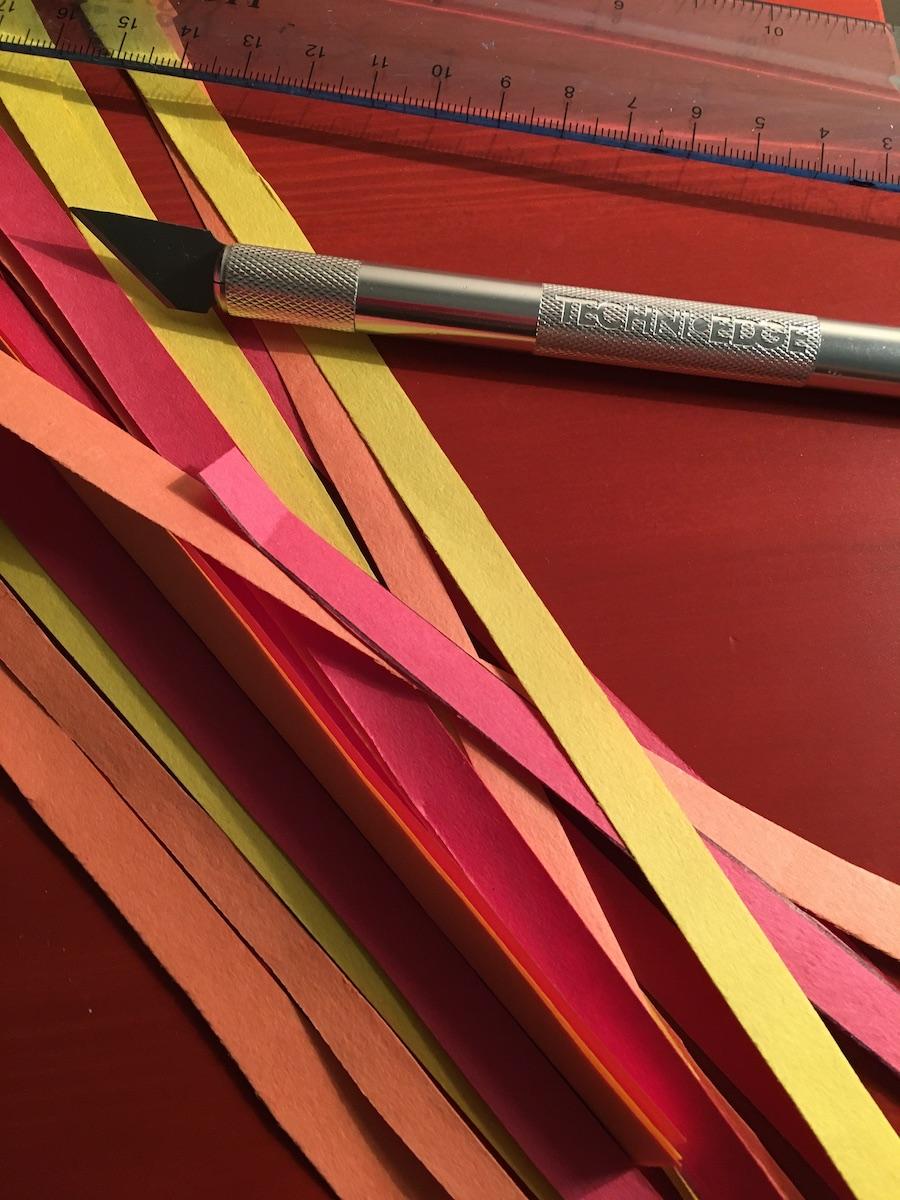
Note: For this step, paper weaving template (PDF) has been provided. However, you can also use a ruler and pencil on heavy paper to draw a grid for the loom. Place Xs in the grad based on the pixel art / design, then cut the slats vertically (see images). Otherwise, print the template on cardstock, place the Xs, and cut the slats.
Cut lots of weft strips based on the width of the slats in the paper loom (ex. 10 cm wide). The strips should be cut fairly precisely to ensure they fit properly across and through the slats of the loom.
Watch the video tutorial here:
Add Conductive Touchpoints to the Paper Textile
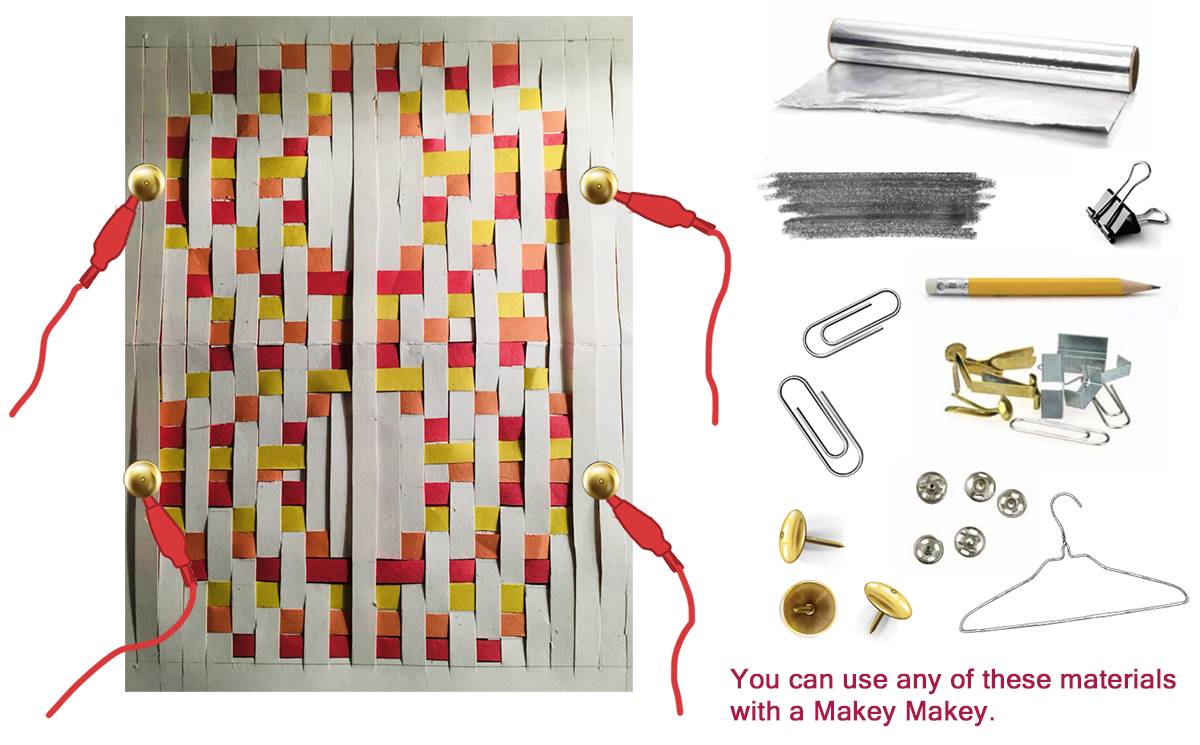
Instead of QR codes, students will embed physical objects in their paper textiles that trigger sounds and other media when touched. These objects can include metal brads, paper clips, or small binder clips to make the textile interactive. Alligator clips will be used to connect the objects to a MaKey MaKey. By adding different conductive touch points you are making the hardware that will go with the software you create in Scratch programming language. In other words, touching the metal (conductive) objects will trigger the stories.
Mounting the paper textile on heavier card stock or cardboard will make adding the hardware easier.
Import Sounds and Stories Into Scratch
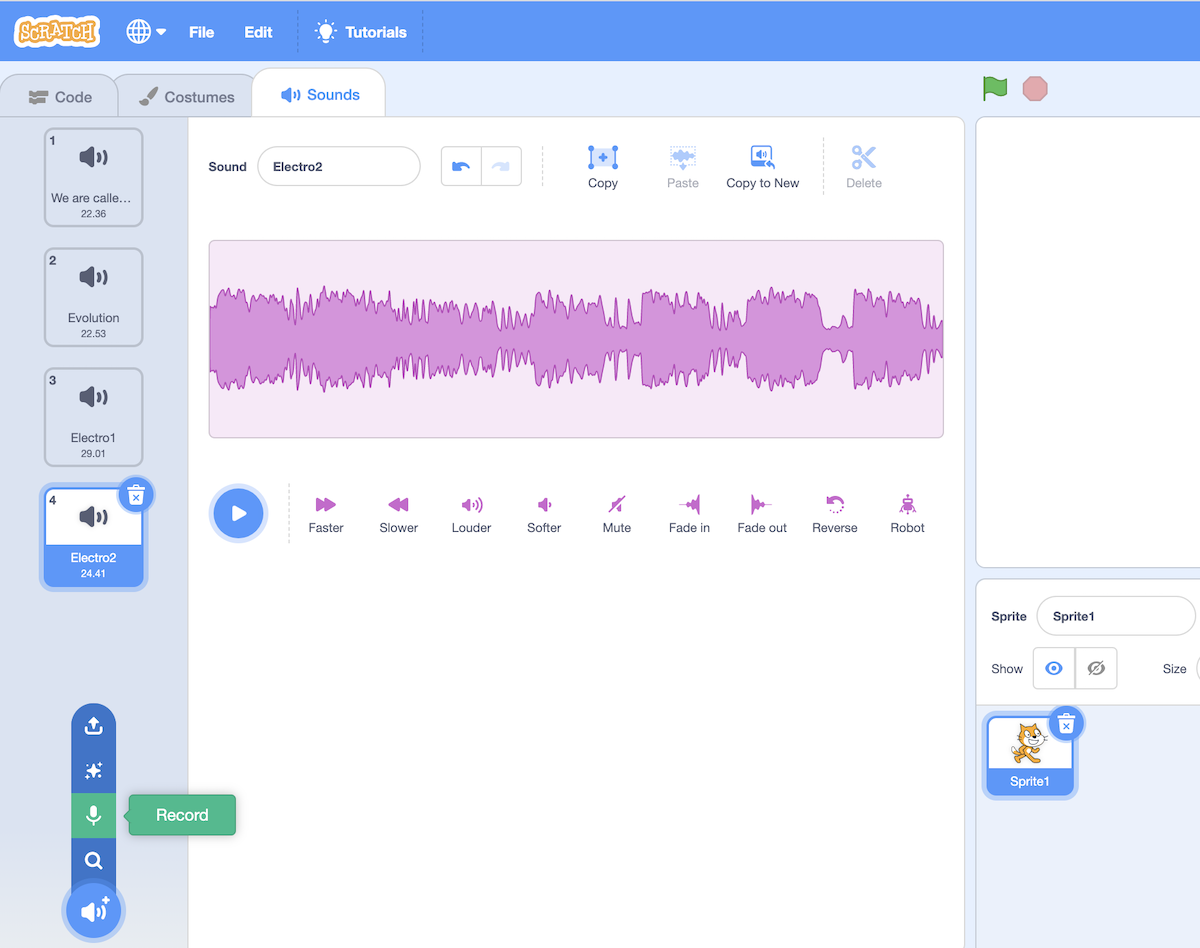
For this step it might be fun for students to interview 3-4 people from their community (ex. using their phones); then save the audio files for use in Scratch. Students can also play and record their own voices or music, create animations, and videos.
Next, students will import the sound files into Scratch, then link them up with sprites. Sprites can take the form of shapes and characters, sounds, etc. Sprites can be created by clicking on a button labeled "Choose a Sprite".
You can find an example of story-based Scratch project here:
Now, launch Scratch on your laptop or computer: https://scratch.mit.edu.
To add your stories as sounds to your project, click on the "Sounds" tab where you can choose a sound from the Scratch library, record your own sound, or upload an mp3 or wav file to use in your project.
Click on the microphone to record your own sound.
Program Events and Code Stories in Scratch
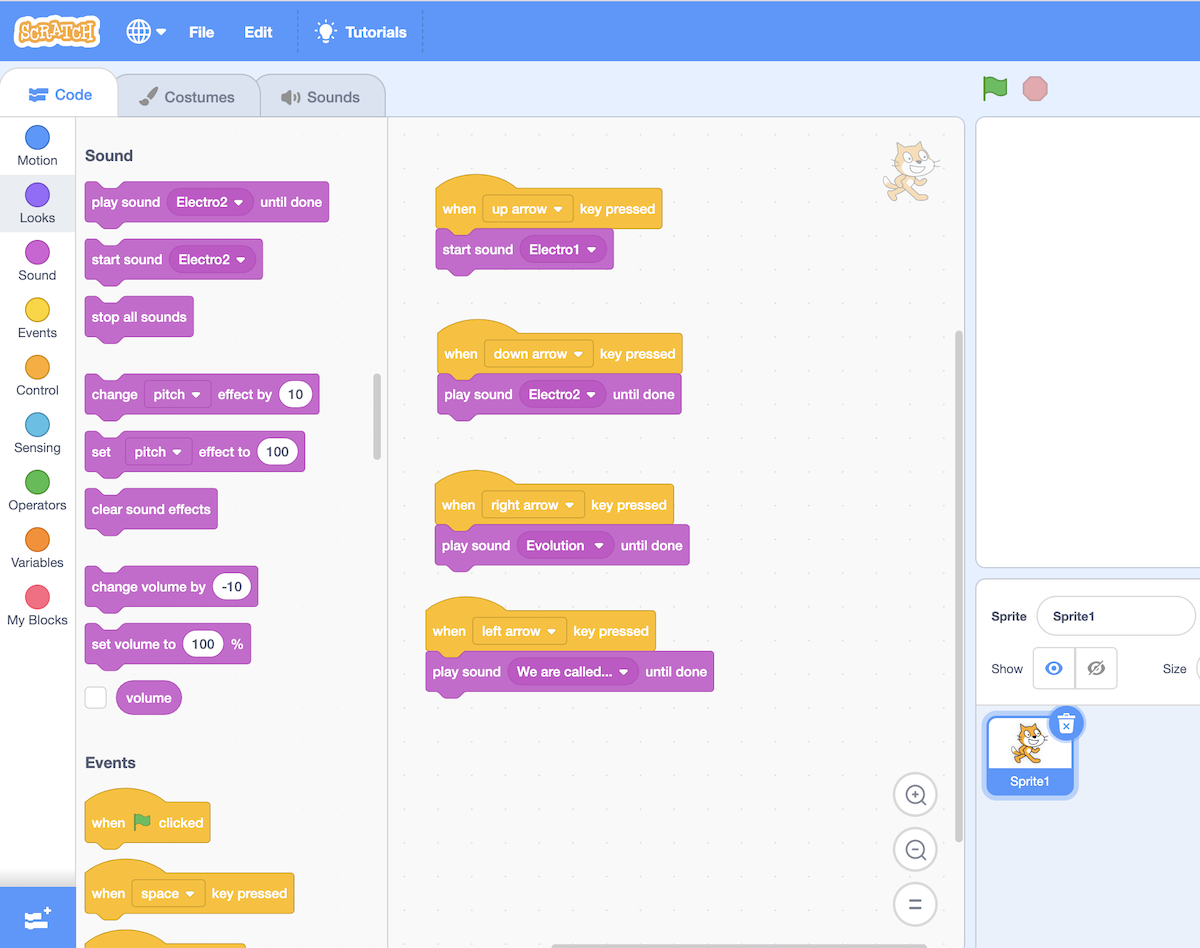
Once the sounds are uploaded to Scratch, students can find them in the "play sound until done" or "start sound" blocks from the programming palette on the far left side of the window. Try adding both sound blocks to the stage (in the middle) to see how they are different.
Drag Event or "hat" blocks such as "when key pressed" from the programming palette to the stage. Click and drag a sound block to the bottom of the event block until it snaps in place (see images). Do this for each sound you want to use. Choose up, down, left, right or spacebar for each event. These events correspond with the MaKey MaKey (see next step).
When you are finished, click the green flag at the top of the window and test your code using your keyboard (keys for up, down, left, right or spacebar). Click the red stop sign to stop running the program.
Add an Extension and Connect the Makey Makey
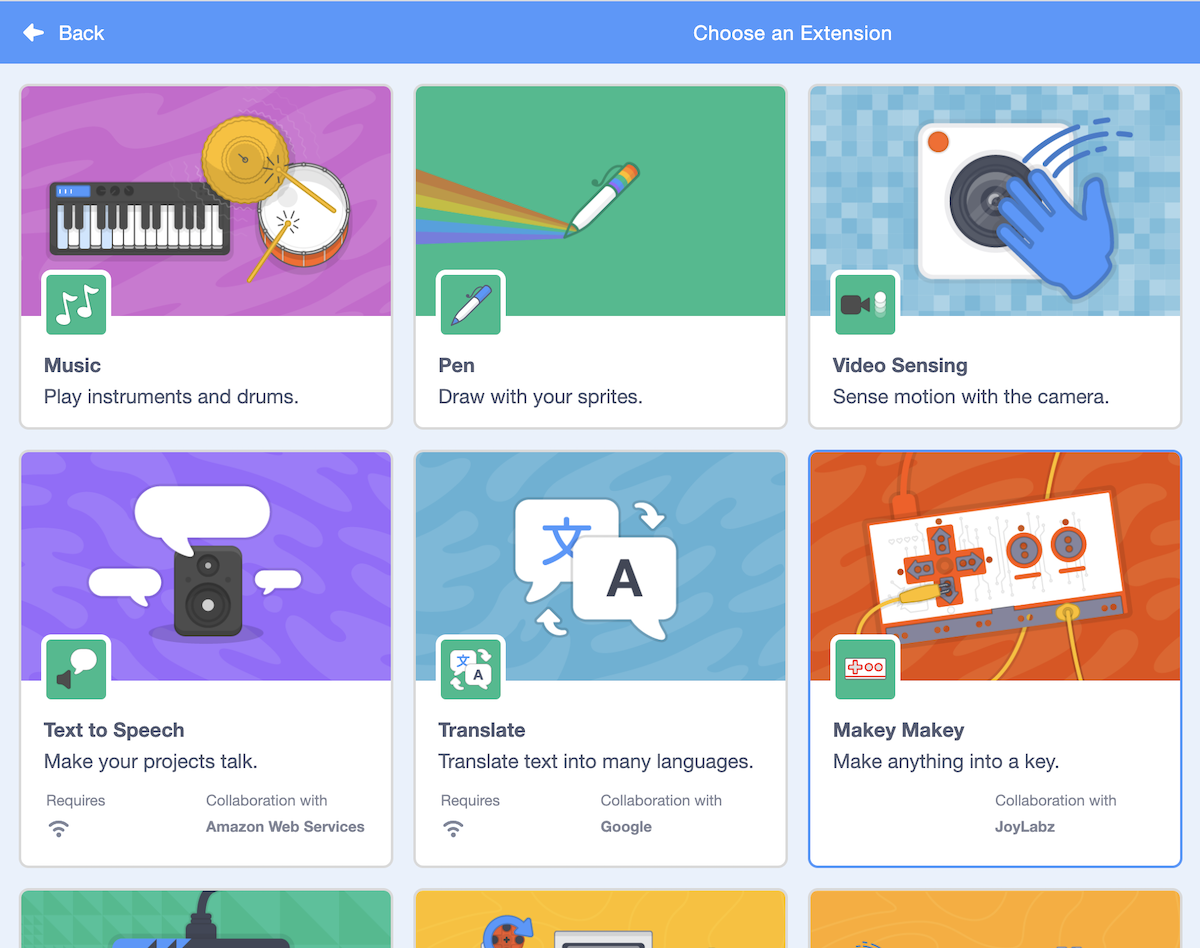
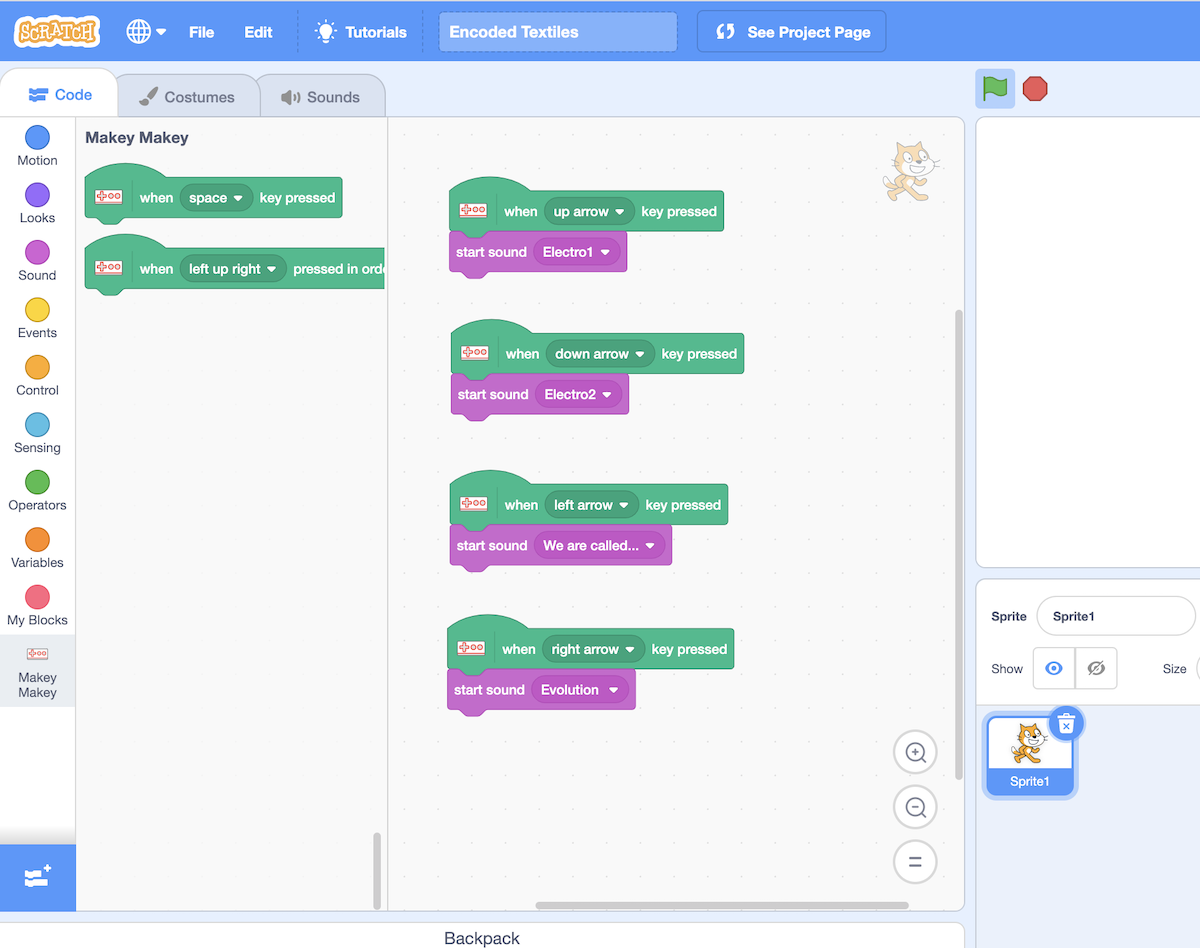
At the bottom of the programming palette (lower left) is a blue button to add extensions. Click this button, then select the one for MaKey MaKey. Click the back button and you will see this extension has been added to the palette (see image).
Next, connect the MaKey MaKey to the laptop / computer.
For first-timers follow these instructions: https://makeymakey.com/blogs/how-to-instructions/f...
Once connected via USB the device will replace the computer / laptop keyboard. Now, students can clip the objects embedded in the paper textile and test out the hardware. Touching the embedded textile objects should trigger sounds.
Connect the Touchpoints to the MaKey MaKey
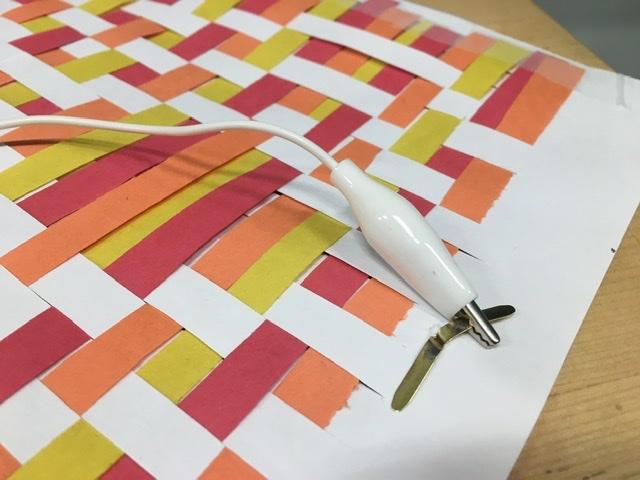
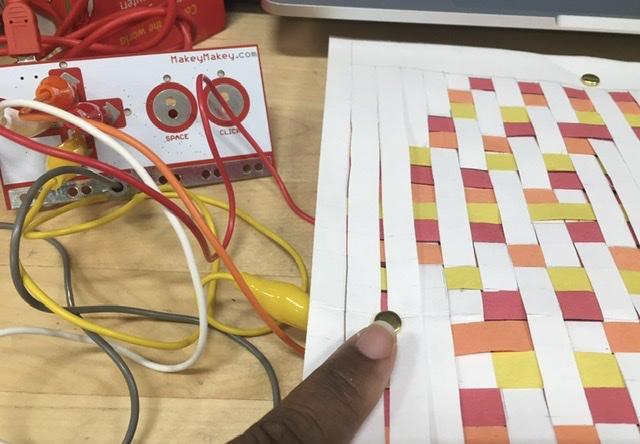
Once the Scratch code is working connect the conductive touch points to the MaKey MaKay using the alligator clips (see images). These clips can be attached underneath the paper textile. Next, run the code and touch the objects. Encourage students to play around with the code in Scratch and give them challenges:
Can you create a program that triggers sounds only when the keys are pressed?
Can you replace the sounds with other media such as animation?
What are other ways people can interact with the paper textile?