Weather on the Web With Sense Hat
by ZRob314 in Circuits > Raspberry Pi
5316 Views, 12 Favorites, 0 Comments
Weather on the Web With Sense Hat
The following components are used for this project:
HDMI Cable
Monitor
Keyboard
Mouse
Looking for a great introduction to Raspberry Pi? Try the Zagros Raspberry Pi 3 Starter Kit which has everything you need to begin discovering Raspberry Pi.
Revise Weather Display.
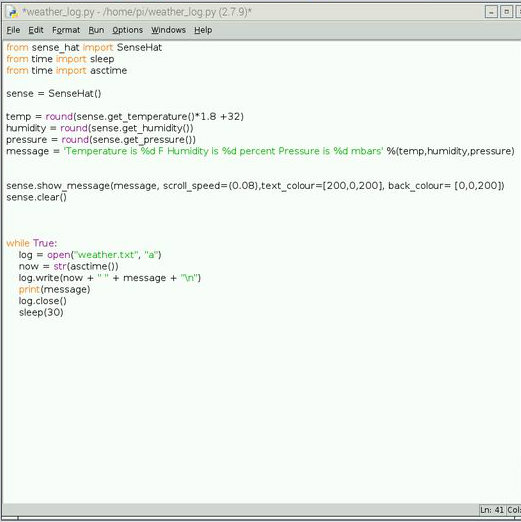
This tutorial begins with a Python file from a previous instructable: Weather Display with Sense Hat.
You can go back and follow that instructable first or download and open this file in a Python 3 editor for the next steps.
Downloads
Install and Import Flask Framework to Project.

Install Flask. In the Terminal type:
sudo apt-get install python3-flask
Import Flask to your project. In the weather_log.py file add this line below the other imported modules:
from flask import Flask
Python Code to Display HTML on the Web.
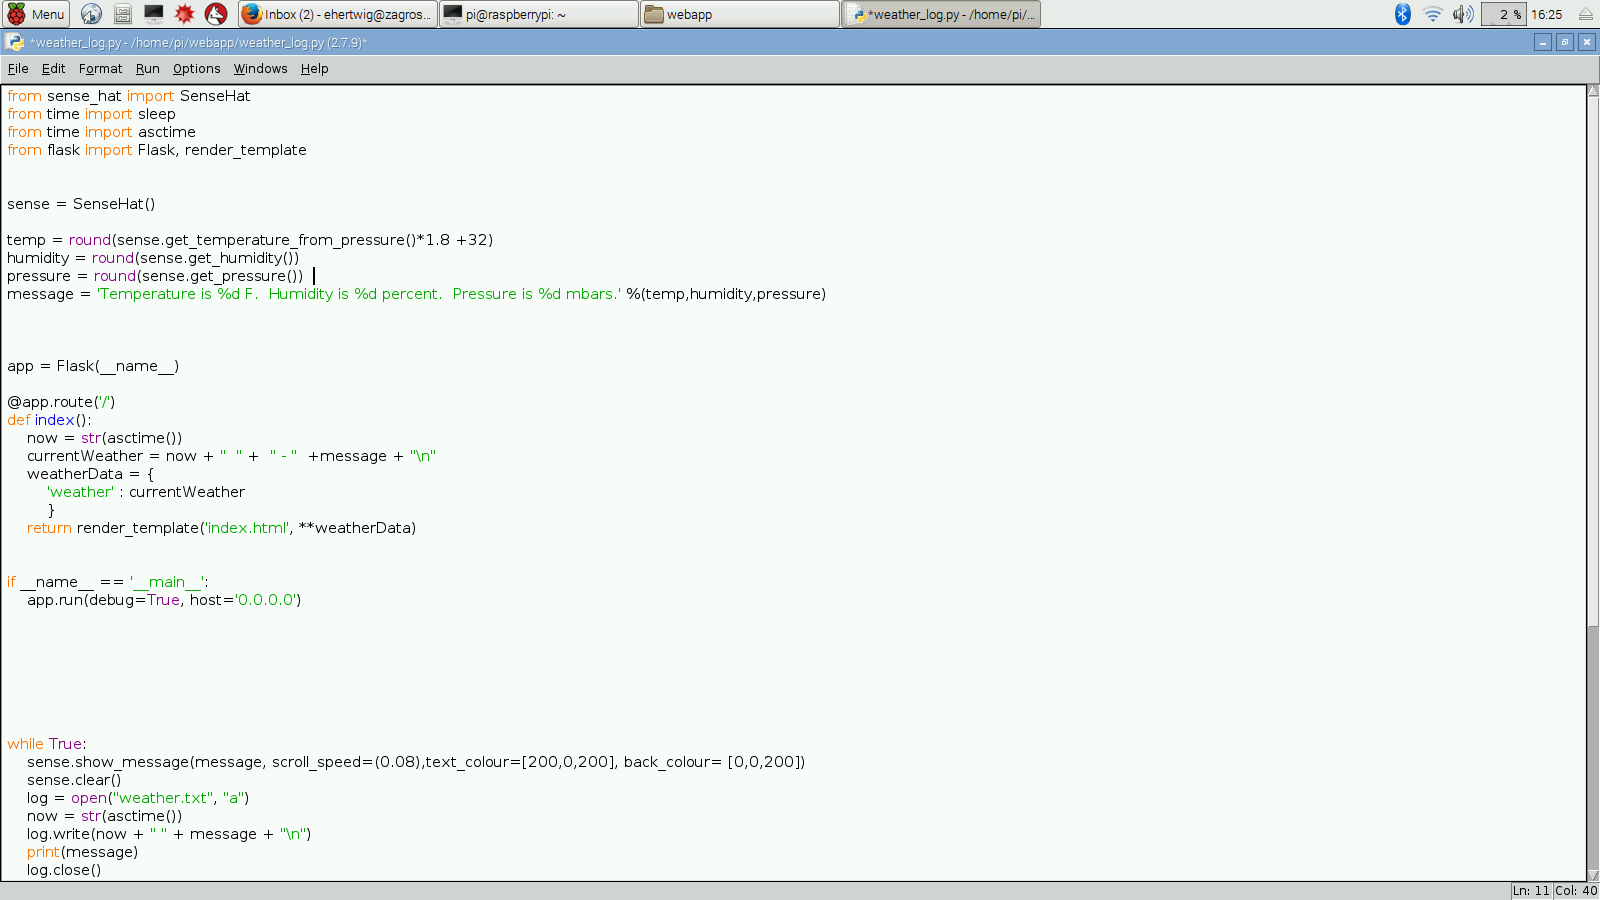
Insert this code just below the "message" variable and save it. We will build out the rest of the app in future steps.
Python is space sensitive, the entire code below the line of 'def index():' should be indented.
@app.route('/')
def index();
now = str(asctime())
currentWeather = now + " " + "-" + message + "\n"
weatherData = {
'weather': currentWeather
}
return render_template('index.html', **weatherData)
You can go ahead and delete the while True: statement at the bottom of the code. In this step we have moved it inside the index function. The 'weather' property will be passed to the double curly braces in the HTML.
Create a Web App Folder for Your Project.
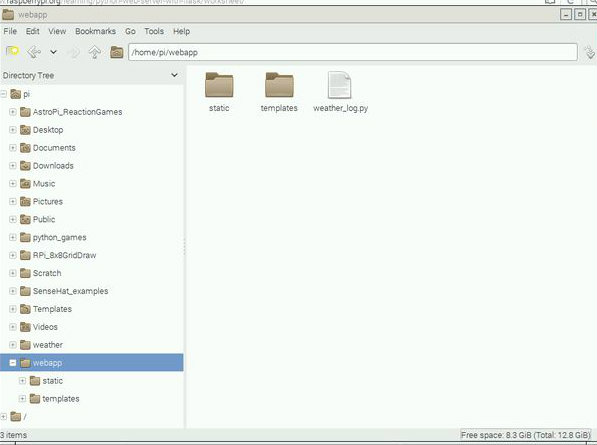
Create a folder webapp in the pi directory.
Create two subfolders templates and static.
Create an Index.html File From the Text Editor.
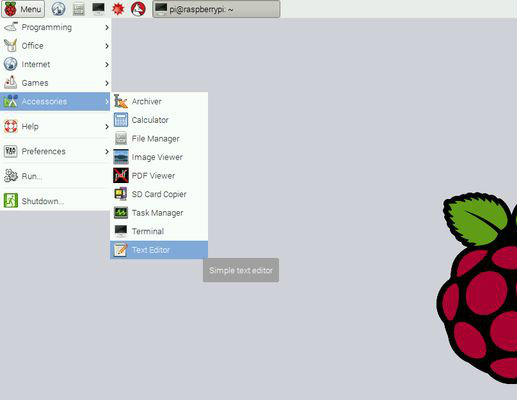
Navigate to Menu > Accessories > Text Editor
Paste in this section of HTML and save it under the templates folder with a file name of index.html.
<html>
  <head>
    <link rel = "stylesheet" href = "/static/style.css" />
  </head>
  <body>
    <h1>Weather:</h1>
    <h2>{{weather}}</h2>
  </body>
</html>
Style Your App.
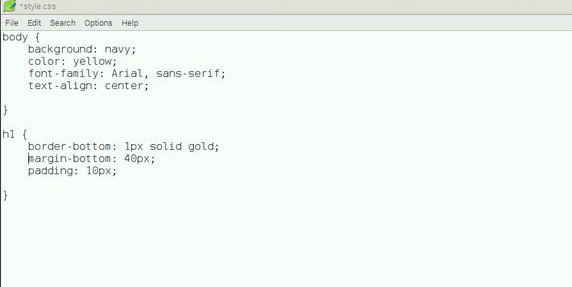
Create a new file in the text editor save it in the static folder with a file name of style.css.
Paste this CSS code into the editor. Feel free to get creative and change the colors and style to your liking.
body {
background: navy;
color: yellow;
font-family: Arial, sans-serif;
text-align: center;
}
h1 {
border-bottom: 1px solid gold;
margin-bottom: 40px;
padding: 10px;
}
Start the Web Server.
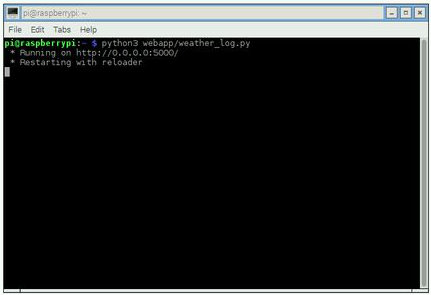
In Terminal run the web server by entering:
python3 webapp/weather_log.py
It should output the following:
* Running on http://0.0.0.0:5000/
* Restarting with reloader
Test Your App in a Browser.

With the web server running point your browser to:
This will also work on any computer on your network!
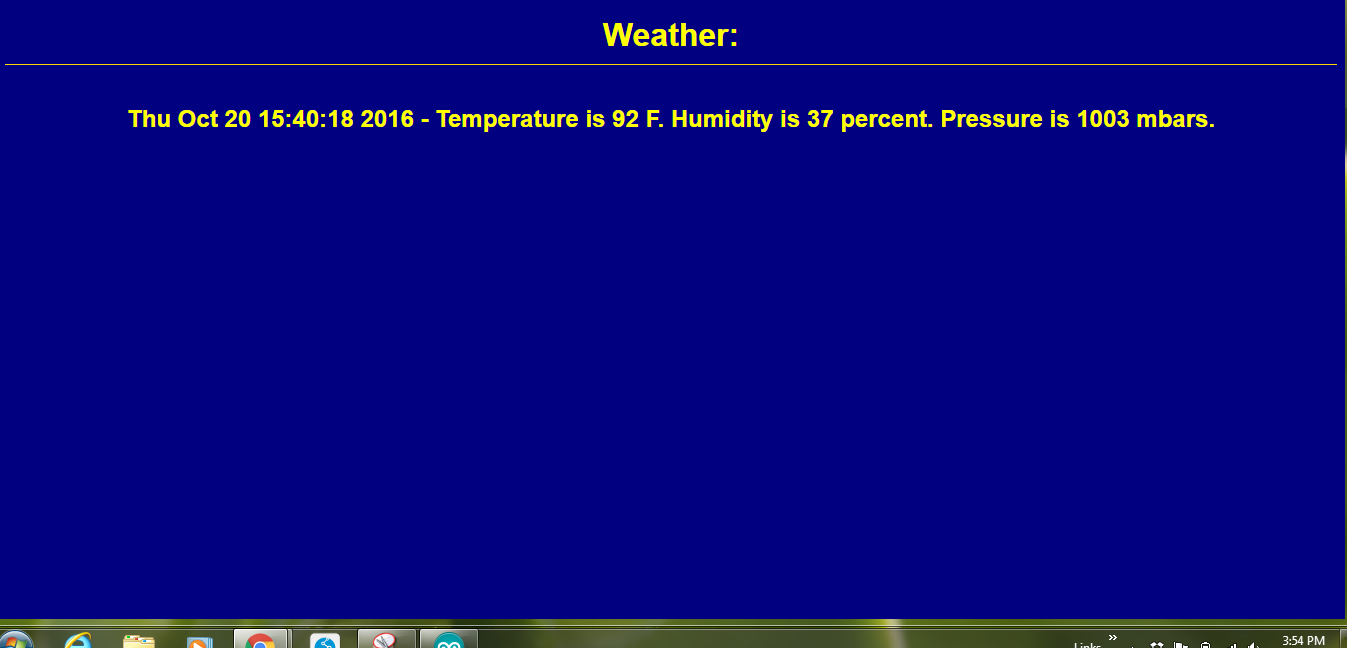
You should now see the current Temperature, Humidity and Pressure.
As long as the web server is running you can navigate to that site to get the latest weather.